
jwrass
-
Posts
848 -
Joined
-
Last visited
Content Type
Profiles
Forums
Events
Gallery
Posts posted by jwrass
-
-
U2 with B B King
When love comes to town
Yes Sir!!!
-
Chris,
Looking Great!!! FYI Offer still stands..... PM me let's get this done!
Jimmy "RASS"
-
Nice Choice!!!
Clean Build.... Sweeeeeeet
-
I'm Down, by The Beatles. Looks like I beat Harry to a Beatle Tune!!
Ding Ding....I thought Harry would be all over the Beatle tune like stink.
-
Snake,
#3 Them changes.... yes sir great tune!
#4 Dave Mason is correct... We just Disagree
-
Just give him a light coat of tuna fish oil and he's good to go.
TEEN EXPLOITATION MOVIE ALERT!!!!!!!
"High School Hellcats", starring Yvonne Lime is on right now on TCM!!!!! MUST-SEE-TV!!!!!

" And points all her own sittin' way up high, way up firm and high"
-
Chris,
It's been awhile since I've been on the site.
Looking Absolutely Surreal.....That is not a build.... it's art at it's finest!
Peace.... Jimmy "RASS"
-
John,
SMOKIN' HOT !!!
Great build....Care to share what was the baseline for the build....( what you used)
Foster.... One of the best Fabricators and Shoe's of his time.... That man could whack the loud pedal with the best of them.
-
Hey Kids.... Like a bad penny I'm back..............
Five 4 Friday.....
1) Layin' down one night, Papa tell Mama
Well... Papa tell Mama
2) You tell lies thinking I can't see
You can't cry cause your laughing at me
3) She had me runnin', she had me ridin'
She had me runnin', hidin', ridin', runnin'
4) Been away, haven't seen you in a while
How've you been? Have you changed your style
5) Hey Yeah Yeah
I was a sailor, I was lost at sea
I was under the waves before love rescued me
Have a great weekend!!!! Peace Jimmy "RASS"
-
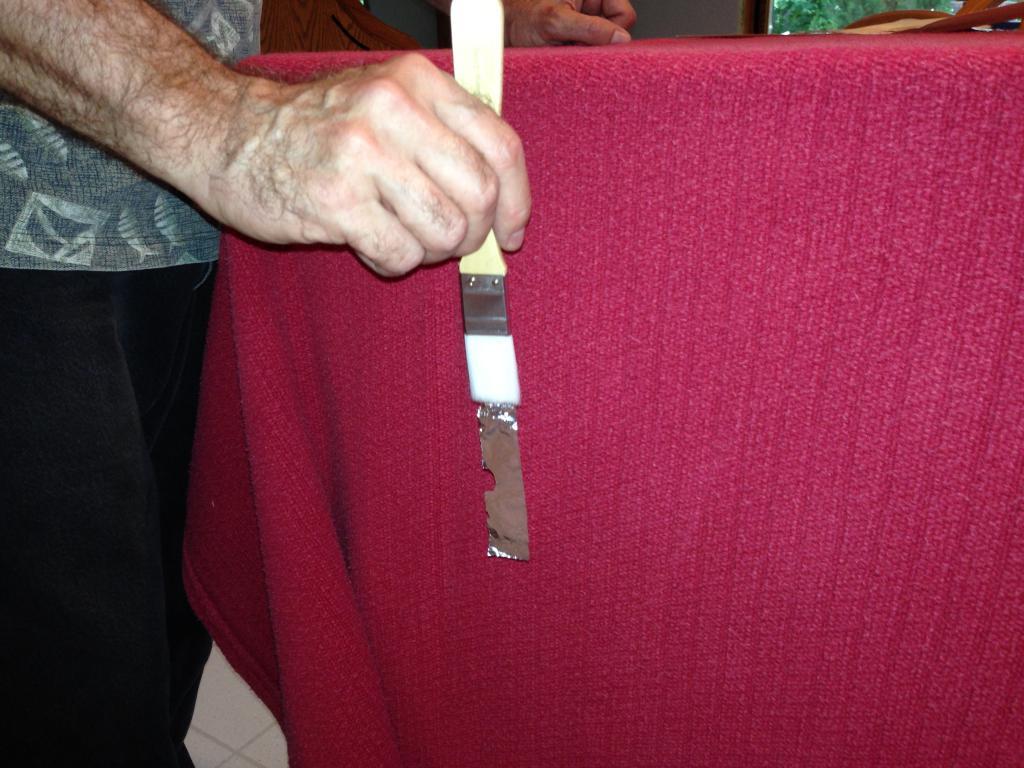
To get the leaf to stick to the Gilders Tip the tip needs to be charged with static Electricity, to perform this procedure you simply rub the ends of the Gilders tip though your hair in a rapid back and forth motion to create the charge like this...
As you can see by the picture I am not using a Gilders tip.... It's a cheapo nylon brush..... it will work in a pinch however the Gilders Tip is much more effective.
(I'm running out of area's to create a charge) Now that the Gliding tip is charged it's time to pick up some leaf and lay it down.
In a swooping motion touch the edge of one of the strips that have been previously cut and pick up the leaf.... it should hang from the end of the tip as in the photo
Note: This is a very delicate procedure.... slow and deliberate movements and a calm environment is a must.
Approach the sized areas and simply lay the leaf into the size....the leaf will actually somewhat be sucked into the size.
Continue to lay the leaf on the sized areas...After the leafs are applied gently push the leaf into the sized area's with a cotton ball.
Next up: Burnishing The Leaf
P.S. It won't be four months
-
That was a long phone call................Right!
My last post was in January..... I apologize for the delay..... I have been having some Medical issues.....Hence the delay!
Let's get back to laying some leaf. The size has been applied to the areas you want to leaf and a swatch of size has been brushed out and the time recorded. Recording the time and the swatch of size is so very important...........This will make or break how the leaf lays on the surface.
For modeling I would recommend a fast size........This size starts to tack up in about 30-45 minuets.
...........................................The Knuckle Test..................................
To apply the leaf the size has to be just right...On the swatch area lightly touch the size with one of your Knuckles (I use my index finger) when you touch it the size it should have a slight tack and not leave a impression (a delicate touch here) drag your knuckle across the swatch and it should have a slight tack and have a low squeak sound...............The size is now ready for the leaf.
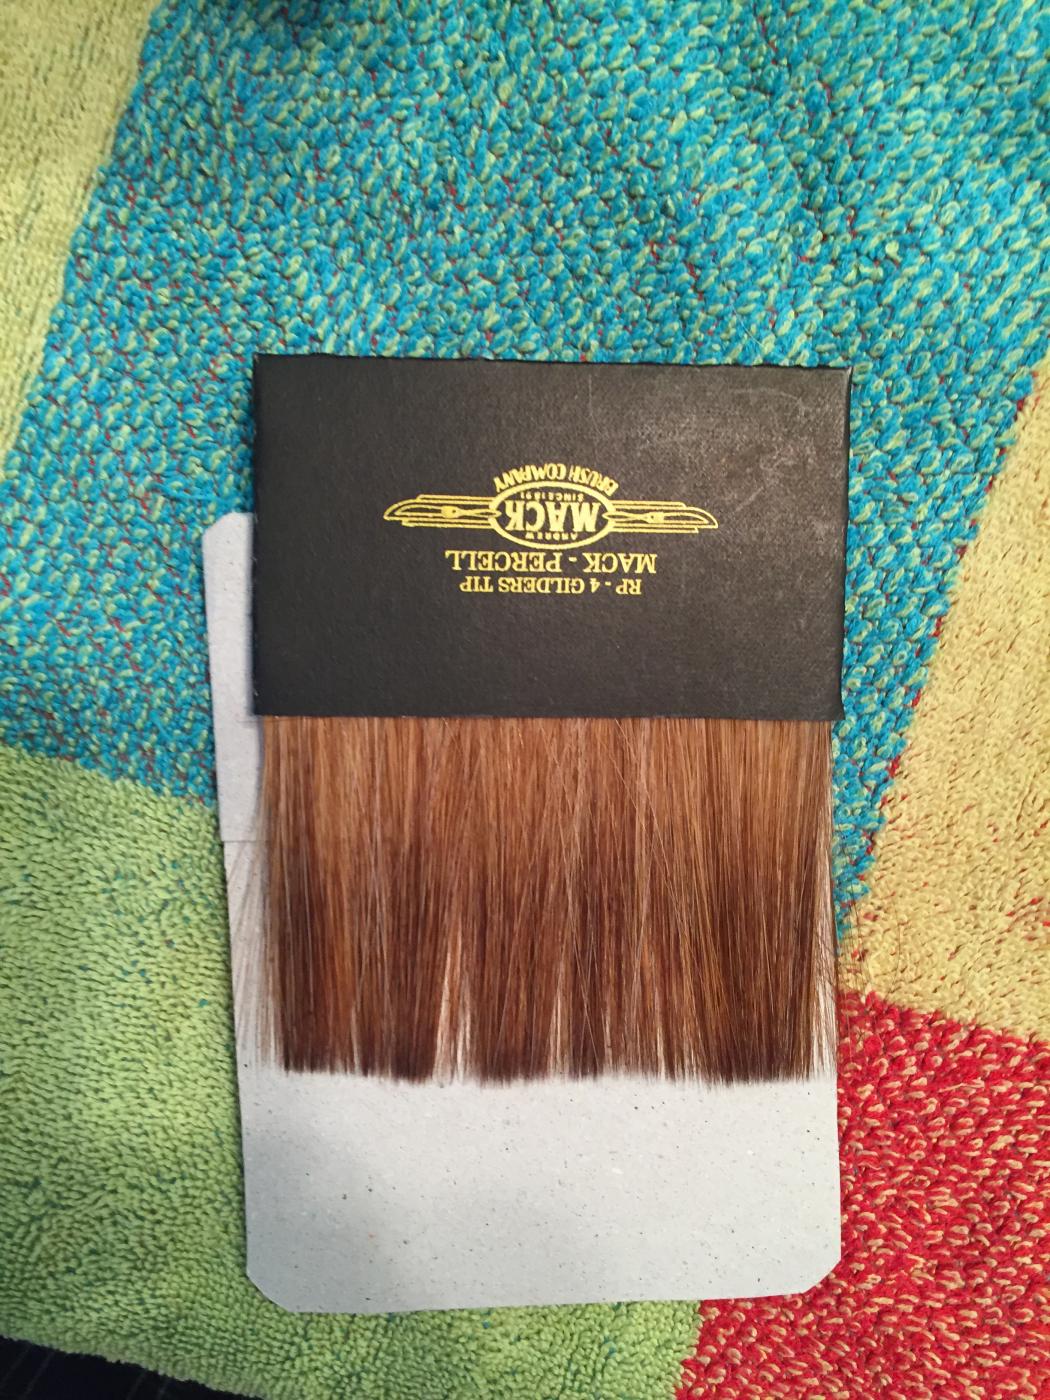
To apply the leaf you will need one of these..... A Gilders Tip. This tool will transfer the leaf to the areas that are sized
-
Geez. Guys, it's only a model. Even though this project is not in the "Workbench" forum, it's still a WIP. Here's a quote from the Workbench;
"Rules for On The Workbench
For those viewing others who are presenting their works in progress in this section of the forum, please keep your criticisms, sarcasms, and other comments to yourself, unless the builder/poster has specifically asked for such replies".
Maybe it would be better to let guys build there models as they see fit, and be a little more friendly.
The above entry is a fine example of why I don't visit the Drag Forum much anymore.
Jesse, I don't know if the apology was directed at me or the forum or me either way it's all good, However I do want to clarify a few things
1) The photos I posted were from my research folder for this build.... All depicting a four port injector. Back in he early 70s when Revell was making a small fortune off the backs of race car drivers. Purported Sponsorships were 1 body per year (Approx. $1,500.00) and 1 paint job (Approx. $1,000.00) plus contingency $$$$ based on national ratings.
-
You know that car in the Garlits Museum is a flat nose car that was updated with a slant nose, right?
Jesse,
And your point would be what? That you are a expert on all things JJ. I can call Big himself, Mr J or Glen.... All personal friends (see Profile)
Based on my Posts you mostly look as if you are not a expert!!! At least not on this car!!!!!! I'm here to share modeling with a bunch of great builders and friends. Not to prove my race car prowess.................ENOUGH.... Go Hassle some other thread!
Respectfully, Jimmy "RASS"
-
Actually, the 8 Port Crower Injector is correct for this car.
I don't think so...... Of course I was absent the day we learned to count to eight........ lol
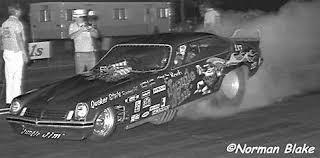
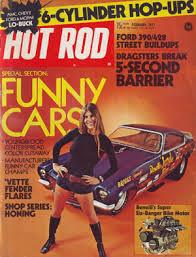
I just saw this car on display at Big Daddy's Museum In Ocala, Fla (1971 Vega) Yep Four Port Hilbourn
-
Jimmy, mock-up is looking good. I saw JJ many, many times in Maryland back in the day (Capitol, Budds Creek, Aquasco speedways) and still love thinking back to the good old days of the sport. I will be watching you progress on this. I built his Camaro F/C a few years back and did alot of mods to build it as close to prototype as possible. I have pics on my website (protechmodelparts.com) if you would like to check it out (Model Car Gallery/Pro Tech builds).
Charlie
Pro Tech
Charlie,
Saw JJ many times back the day myself! If anyone could stand on the loud pedal for 1/8 (sometimes longer) mile Burnouts it was JJ. He truly had NO FEAR and Pam............
Love Your Products and builds..... Many PROTECH goodies will be on this one!!!
Jimmy "RASS"
-
Mike
Southern Motor Sports Hobbies has a 1969/70 resin body & Decals (SMH resins pg 1)
I have a few of their bodies and they are very nice! I would agree that a Polar Lights would make for a great platform.
Other bodies would be from Revell 69 COPO and Revell 69 Yenko
IMO Tin work will need to be modified or fabricated to depict 1:1 That's half the fun!
Hope this helps!
Jimmy "RASS"
-
BMF/Leaf Update # 2) ..................... Laying The Leaf......................
In the last installment I stated that before you lay down the size for your shinny bits you have to paint a patch of size off to the side
This step is very CRTICAL as this will make or break how the leaf lays down! I also stated that you need to record the time at which
you laid that patch of size down. This patch and time will be the measure of when you lay the leaf down!
Much like BMF, leafing is a skill that will have to be practiced to achieve success. it's not magic! However IMO the results give you
more options and flexibility as compared to BMF as you will see as we progress.
In my initial post I failed to mention the Body I selected for this tutorial it is a 1959 El Camino. The reason I chose this body is if you look at the trim it has concave, convex and compound curves, Also the windscreen post has a very
complex curvature.
NOTE: I will return to continue, I got a important phone call I had to take Sorry
-
JJ Update #3
Got some bench time in today while watching the play-offs
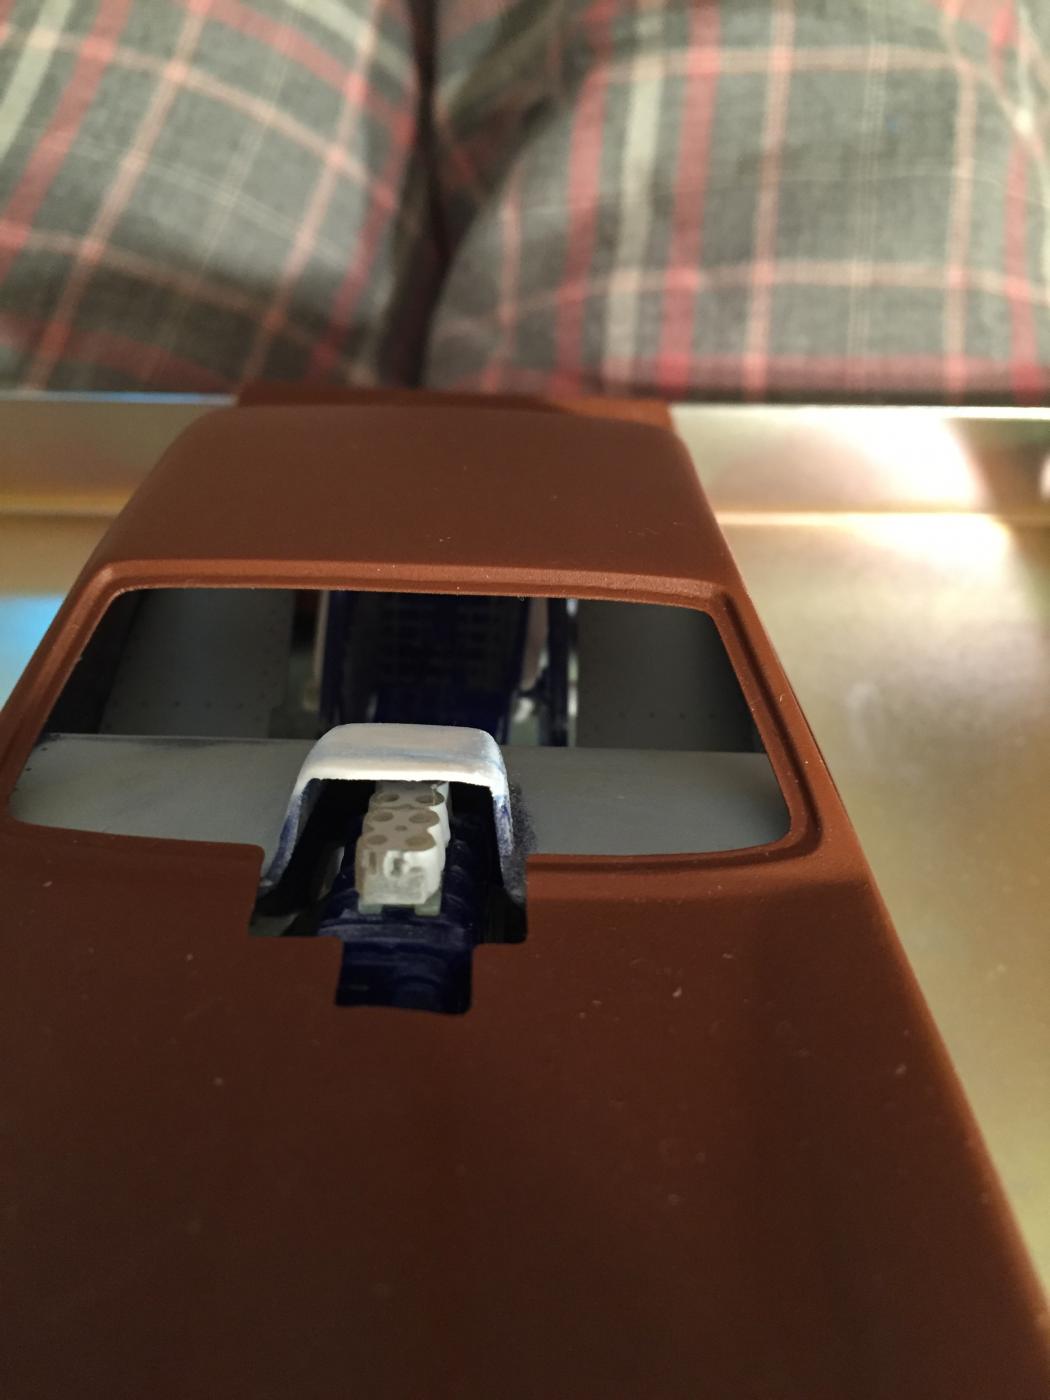
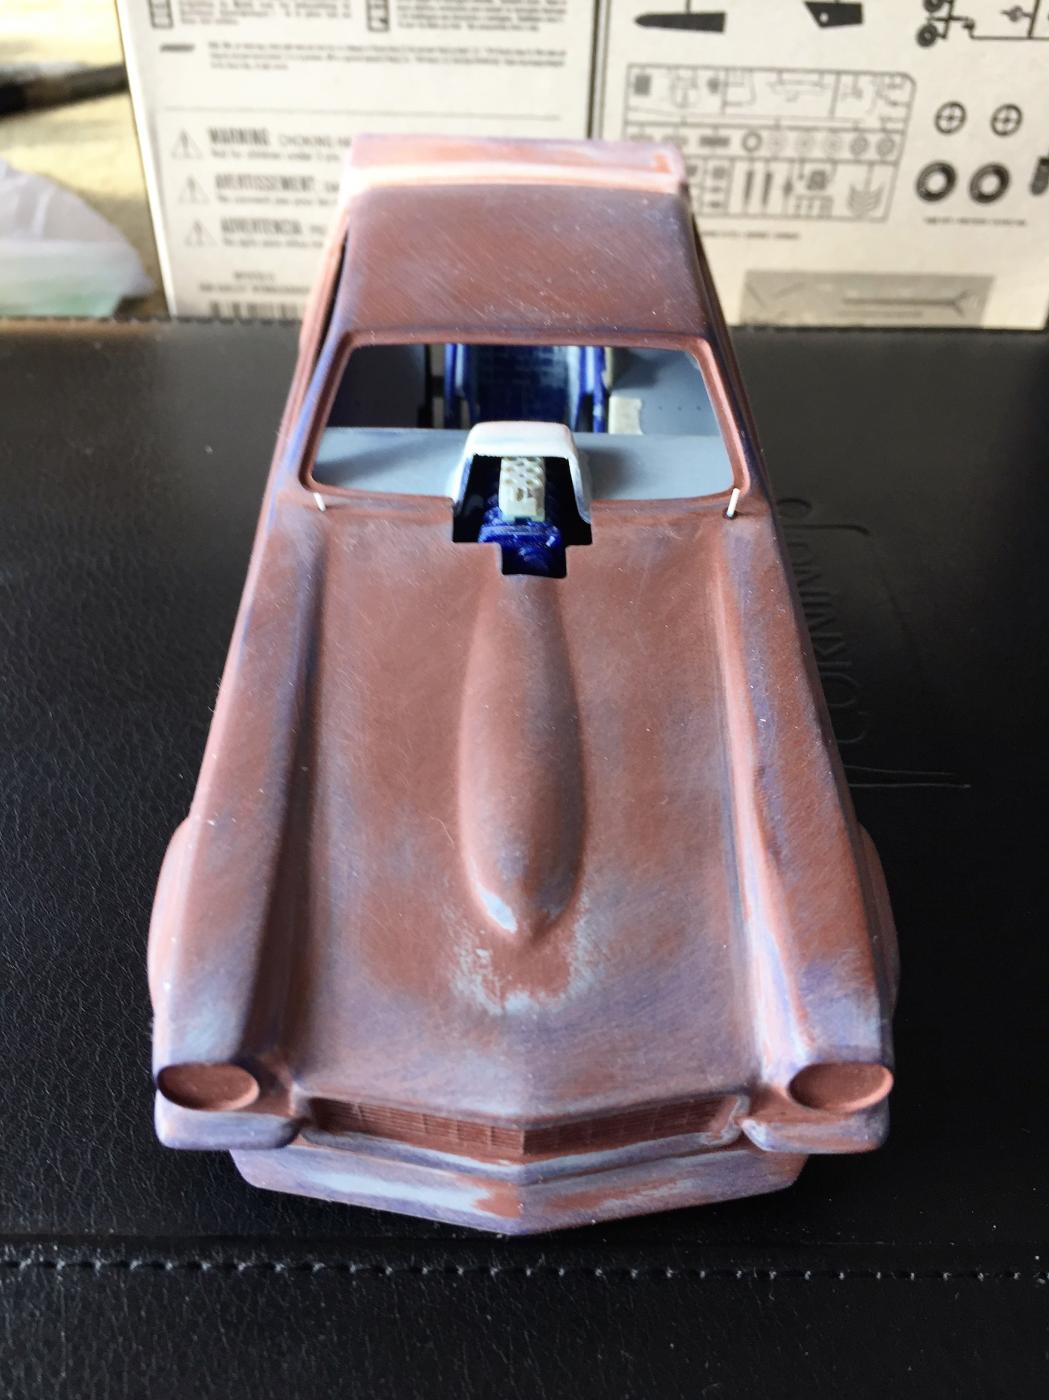
Buy lowering the body the upper tin work now sat on the injector hat. This needs to be fixed
Cut upper tin work to raise opening for injector hat clearance.
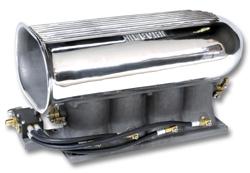
Modification to tin work complete (to scale) Injector hat in kit is incorrect. JJ ran a four port Hilbourn injector hat not a eight
Kit supplied injector hat incorrect. Eight port
Aftermarket four port Hilbourn correct
Thank You for looking
Jimmy "RASS"
-
John, Curious: What is the 1:1 Wheel Base? Look'in great! Jimmy "RASS"
-
Stefan,
Very Nice!! Period correct paint (decals) looks Great!
Jimmy "RASS"
-
Short People, Randy Newman?
Geeeeez That was quick like two minutes
-
They got little baby legs
That stand so low
You got to pick'em up
Just to say hello
-
If that pushes unreduced paint, I'll stick my tongue on my flag poll and post it
-
JJ Update #2)
I was able to get some bench time in last night. I'm putting the worms back in the can!
As stated in last post, when I lower the rear end mounting points the seat no longer fit down in the chassis, it was resting on top
of the torque tube. I had to take a section out the seat to get it to fit back on the chassis. while I was at it I removed the molded in
seat belts as am going add after market belts.
The sectioned seat stitched back together. I didn't like the fitment of how the seat sat on the rails so I add 020 to the back and sides.
The kits lower seat was incorrect as it didn't mate to the lower sheet metal pan. I extended what would be the lower sheet metal with
020 to mate with the lower pan. The kits inaccuracy would have left the driver exposed to fire and a weenie roast.........
I also re-scribed the tucks in the seat, and gave them more texture the kits were to linear.
Modified seat back between the rails.
If I get some bench time today I'm going to correct the bulge in the upper tin as it now sits on top of the injector hat.
I want to thank all who have looked and given me help!
I want to give Randy AKA dragcars a special thanks!!! Your information was most useful!
I know for many of you what I'm doing is no big deal (modifications) not having built a kit in 25 years and they were all pretty much box stock
I'm having a blast!!!! Much of it has to do with the talent on this forum. I'm taking baby steps! however at least I'm not warming the bench any longer!
Thank you!
Jimmy "RASS"


.JPG.22eeaa2d949b447f7f3a3cad1df11bb4.JPG)
_-_Copy.JPG.826f7387be97d6858ad826d624072dd2.JPG)


SOAPY SALES FC / OOB - I'm Almost Back - 6/17/16
in WIP: Drag Racing Models
Posted