

baycolony
-
Posts
227 -
Joined
-
Last visited
Content Type
Profiles
Forums
Events
Gallery
Everything posted by baycolony
-
Thanks everyone, much appreciated!
-
1960 Pontiac Laurentian & Scratch Built Travel Trailer
baycolony replied to DR JAY's topic in Model Cars
Terrific build all around. -
Yes, I clear coated the body with my usual decanted UPOL synthetic lacquer from an aerosol, then polished Yes, it is there and was part of the resin trans kit:
-
Presented is the 1/25 scale Chevrolet Corvette Z06. This is a resin trans-kit comprised of the Historic Racing Miniatures and Revell 67 coupe kit. The body, interior, engine, wheels and tires are resin. The remaining is plastic. It is painted in Chevrolet "Saddle Tan" from "Scalefinishes" with a Saddle interior. Scratchbuilt parts consist of coolant filler neck, overflow container, master cylinder, and antennae. Engine is fully plumbed and wired. Bare metal foil was used for the trim, and the bumpers were stripped and rechromed with Molotow chrome ink. Also, photo-etch from "Model Car Garage" along with decal scripts from Kieth Marks finishes it off.

-
Tamiya VW Beetle GSL Common Kit build - Tribute of parent's 1960
baycolony replied to 89AKurt's topic in Model Cars
Very cool! -
Very neatly done. I remember this kit fondly. I am sure you enjoyed detailing that instrument panel as I did. It was quite a challenge. Love the suitcase too.
-
Yes Randy, it is Calypso Coral, one of my favorite Ford colors. In fact I have a 1:1 1970 Mach I that color.
-
Ok, I remember that build of your Mach I and I noticed that you did what I did with headlight bezels on that build, you left them off which recesses the headlights and gives it a better appearance. Here is my Boss build with the Mach I kit and deleted bezels.
-
Great job, Randy. Are you the same Randy that built one of these out of the Mach 1 kit years ago on the other forum? I did the same back then. Did you find this body different than the Mach I? It looks like the headlight bezels are similar so I wonder if the front end is the same. Revell seemed to have difficulty back then with the rendition of the front end of the Mustangs from that era.
-
I recently received an order from Gravity Colors USA after about 5 weeks. I didn't initially receive any answers to my emails, and after researching other customers having problems, filed a dispute with paypal which got prompt response from Matt (I think that is his name). He stated he was far behind on orders and intimated that I never had problems with his service before. I agreed with him that he has always been good to me in the past but I added that, with the revelation of the split with the Spanish Co. and recent complaints, I didn't know what his status was. I did ask him to contact me outside of paypal so he can let me know what his future plans were. I have not heard as of this writing but I did promptly receive my order as he promised.
-
LOVE IT!
-
Simply stunning! I am impressed with the cleanliness of this build, especially the chrome work. how did you do the scripts?
-
To do that many kits in that amount of time at that level is impressive.
-
Thanks everyone. Much Appreciated.
-
Thanks all, and the F1 was a trouble free build. It is essentially a curbside. It builds into a good rendition with the right TLC.
-
Only did 4 this year Messerschmitt 110C (Eduard) 1997 McLaren GTR longtail "Davidoff" (Fujimi) 1970 Dodge Charger Hemi RT (Revell) 2010 Nissan GTR R35 (Fujimi)
-
Presented is the 2010 Nissan GTR r35 in 1/24 scale. The model is manufactured by Fujimi and was painted in "Scalefinishes" Nissan Ivory White Pearl. This is pretty much an "out of box" build with the exception of the addition of an oil dipstick. Wheels and lower trim as well as hood scoops and front grill area was painted with "Gravity Colors" Gunmetal. Clear coat was decanted UPOL. The interior is black with white seats.
-
I always had a liking for these cars and remember looking with awe at one in the showroom when I had my 1982 mustang in for service at the time. These were ahead of their time and you did it justice.
-
Thanks everyone for your kind comments.
-
Thanks for posting this, for some reason my pictures wouldn't cooperate. As far as the paint for the steering wheel, I used a Vallejo color. I think it was a military sand color brushed over with dark brown oil paint.
-
Here it is: http://public.fotki.com/GilCosta/ Actually, I just entered it into our annual club show where it came in second. The person who won took his build to a level I choose not to go to (too many to build...lol). Well deserved though.
-
Yes, I just added trimmed Tamiya tape to the seam locations and lightly overcoated with Rustoleum "textured" paint. Of course I had to reverse mask all the trim first.
-
Thanks for the replies. For some reason the undercarriage pic wouldn't upload. Here is a pic of the interior: Although I usually install some type of rug material I decided not to this time. Can't see it in the car unless you light it up anyway.
-
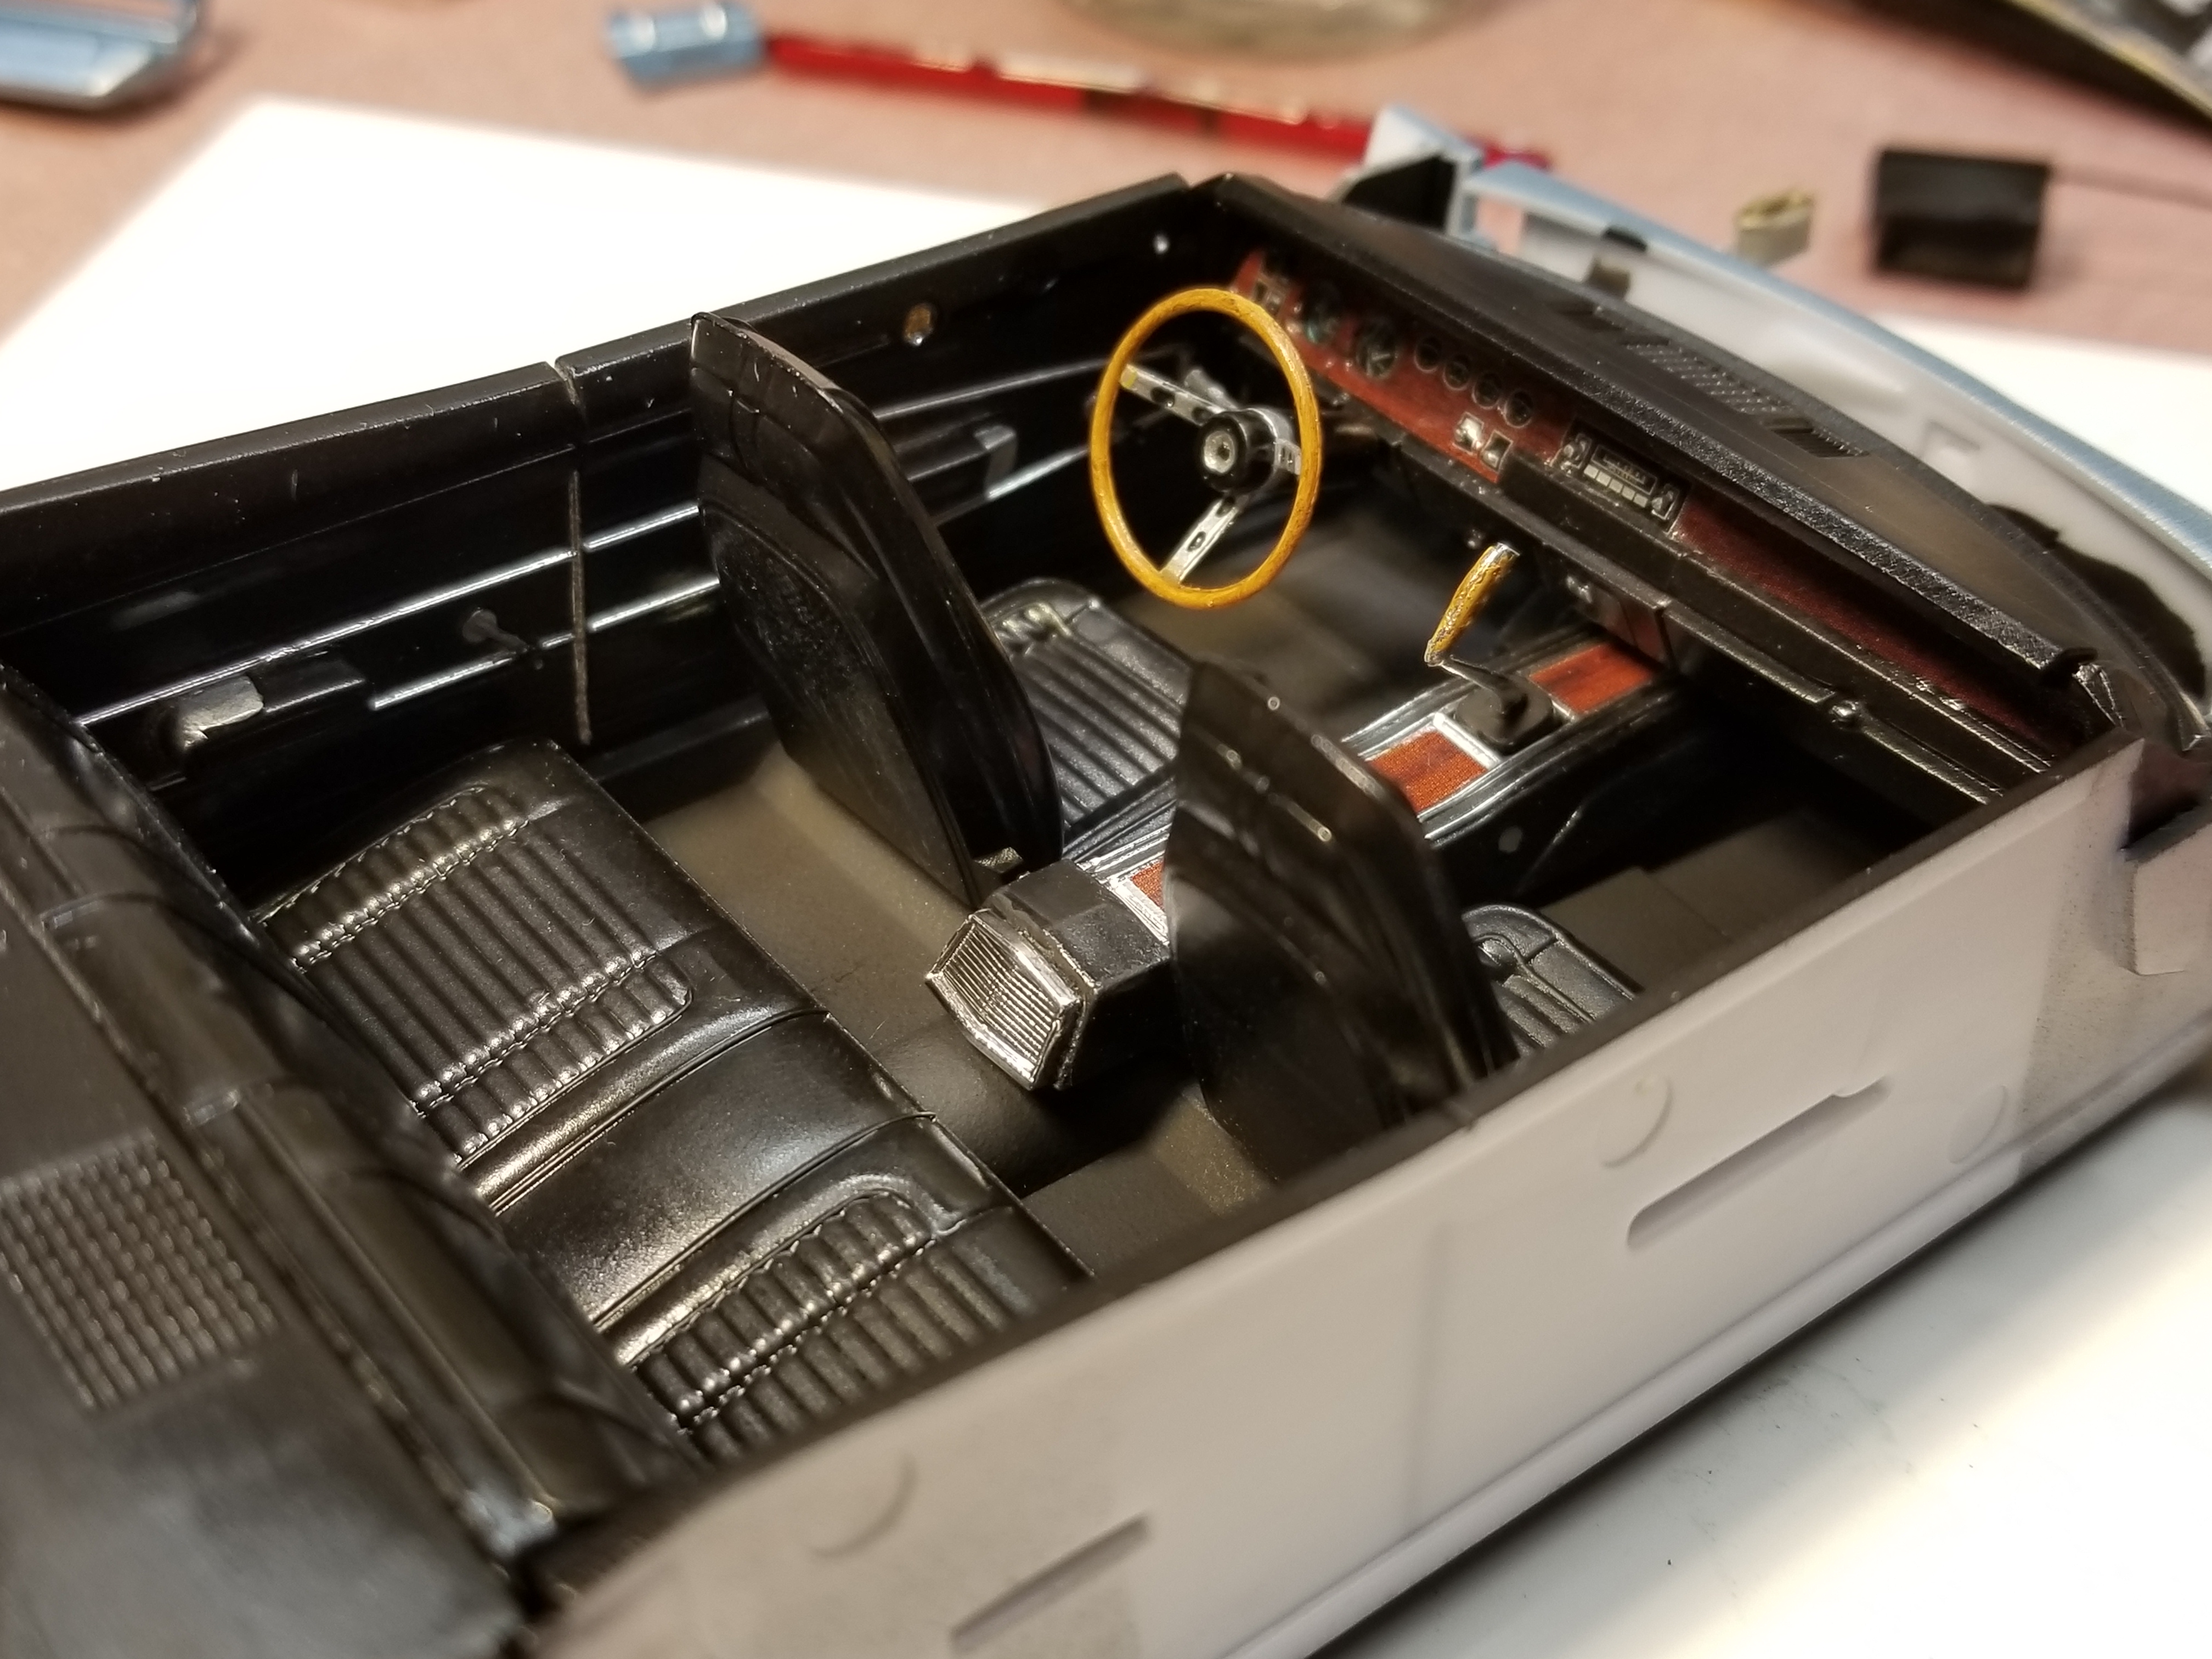
Presented is the 1/25 scale Revell 1970 Dodge Charger Hemi R/T in "Scalefinishes" factory B3 light blue paint. Engine was totally plumbed and wired and factory hub capped wheels were provided by "Fireball Models." Also, a vinyl top was applied with textured paint over masking tape seams after lower B pillar moldings were added with plastic strips. A scratchbuilt antennae was added. Factory undercarriage inspection marks were also replicated.
-
I built this kit and I agree the fit is pretty good although the door hinges are fiddly at best. I painted mine in Lambo yellow pearl tricoat. Yours looks great in pearl green. Did you end up gluing the doors shut?
.jpg.a87966cba397ea7e6fcb2cc0530d4fa0.jpg)
.jpg.d5539e8d2ecbc4a96656876c663b9e5a.jpg)
.jpg.bca40947a187e77d74472c4fa26c5fd0.jpg)
.jpg.a81dd0d7874608eb510f1404bbe39d1e.jpg)
.jpg.ae7572b5a79d4d65e5239e88ba659d6d.jpg)
.jpg.c3b696816ef5d95df7c0f4fba0092cb3.jpg)
.jpg.e81927df0b7d11a7186bfca3f24a394f.jpg)
.jpg.aaa649d8584b90762a228291e98d37a3.jpg)
.jpg.1441cf93609131f652d8b466096e435b.jpg)
.jpg.d890d11370ded9b23c42d5ae3eb0e0be.jpg)
.jpg.434b263994018882a9c3df8253d12b8b.jpg)
.jpg.e7e653e4a4a1e88e1942000ec419e718.jpg)
.jpg.8f2505f759d202f39576e3921875413a.jpg)
.jpg.043cab764814ff2cad1e3fe9bf343d10.jpg)
.jpg.dc0c09cc3dd882575f010ee3a9c56680.jpg)
.jpg.98e46642224e59dd09f9b617aae572bd.jpg)
.jpg.08d7315c6fd3786b90af9d6b457f14ad.jpg)
.jpg.bab773150c633f5118396e22f75e35da.jpg)
.jpg.fc619c9729899aceede54b37803b3477.jpg)
.jpg.b178b4aafc55d5b770c25a256fb7b2ca.jpg)
.jpg.6899930ed03aea23ea8bec4c43356f57.jpg)
.jpg.8f3697bc1fac6597912bf4dbb41b5b75.jpg)
.jpg.b537ccffb87f7e2a26245159c80810ed.jpg)
.jpg.179461214f7ca93f7bbfe338a33719df.jpg)
.jpg.1f462c756756a9a8e66aba675ad75a14.jpg)
.jpg.4535012946a679daed53d021fa8069a8.jpg)
.jpg.7c4128b273b2aa70891e4014853193ca.jpg)