bh1701
-
Posts
388 -
Joined
-
Last visited
1 Follower

Recent Profile Visitors
3,755 profile views


.thumb.jpg.d0926de2d8346363976c7c0a63bd15d7.jpg)

bh1701's Achievements
MCM Avid Poster (5/6)
-
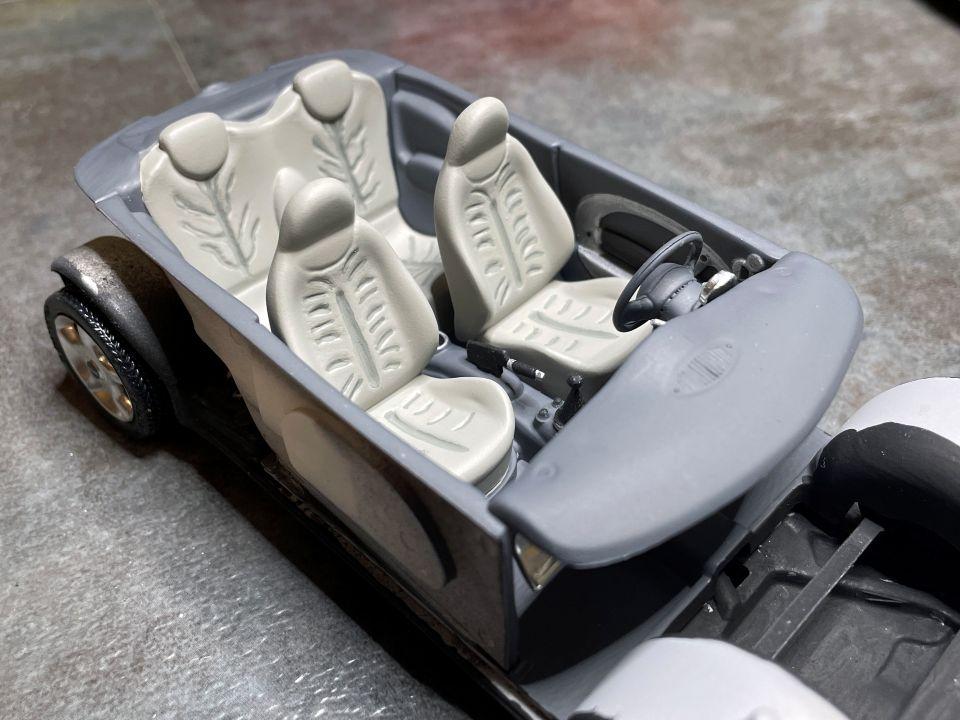
I agree! I had considered trying to fill in all of the depressions, but thought it was going to be too much work. Since it's a Coupe and has full window glass all around, I figured the seats wouldn't be that prominent when viewing the model. Bart
-
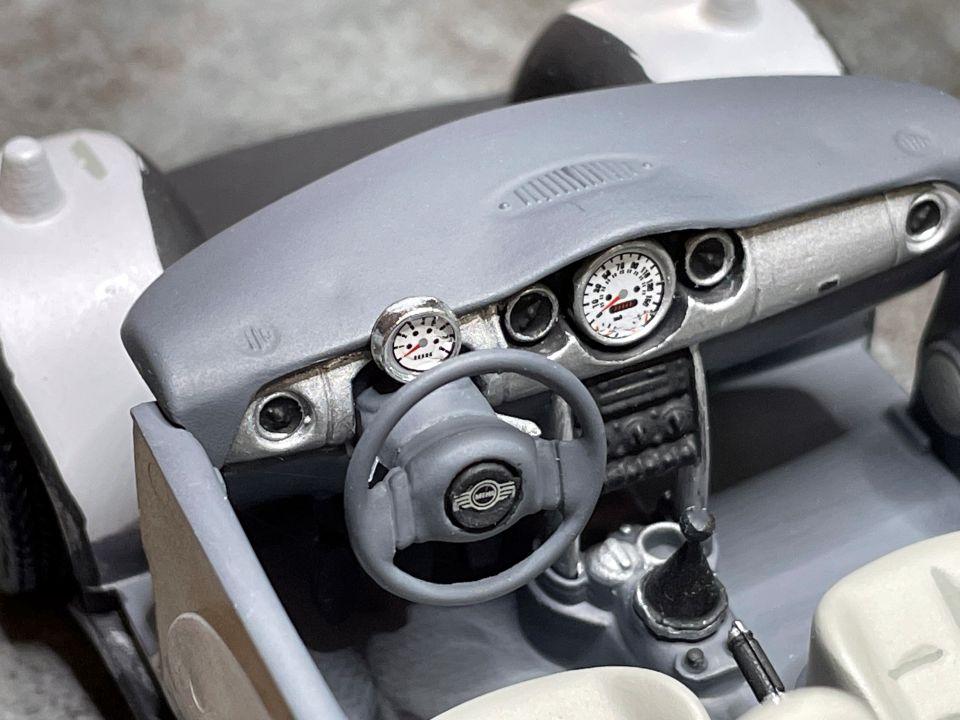
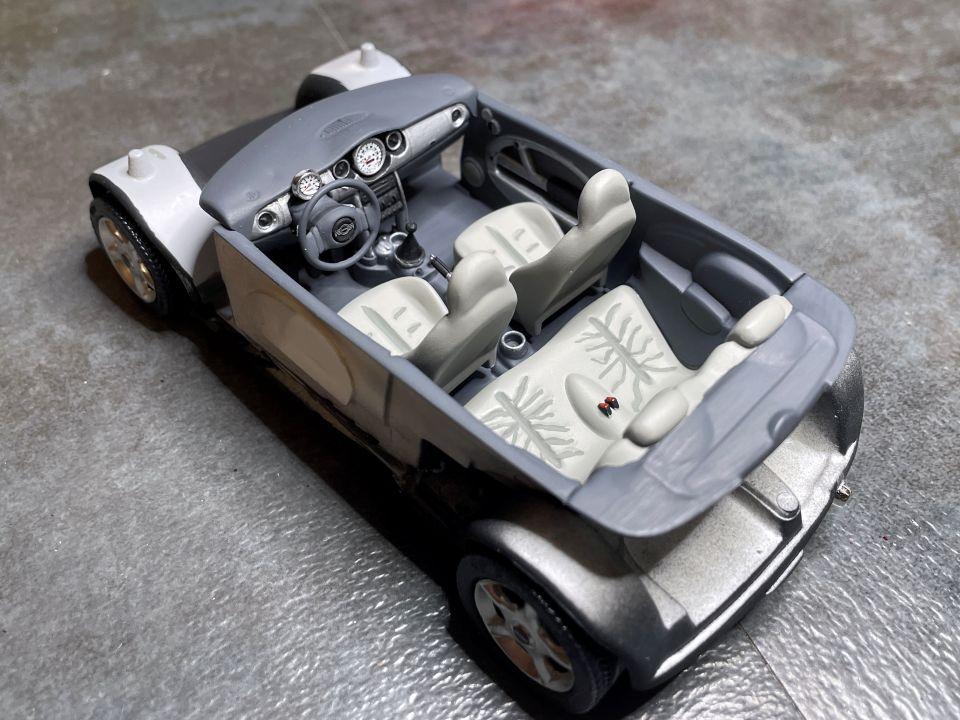
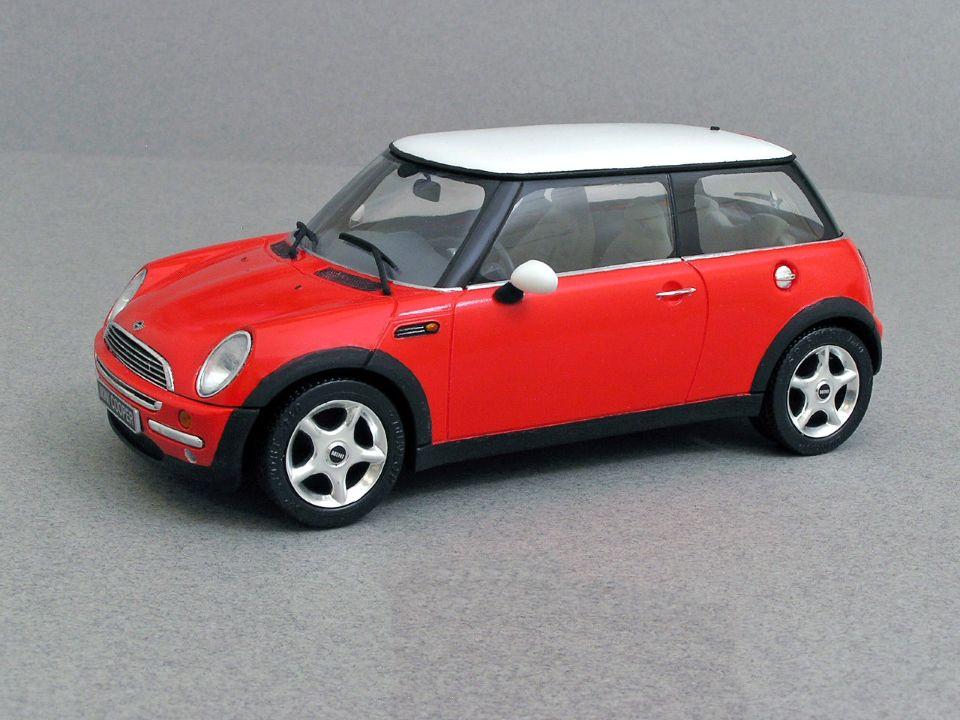
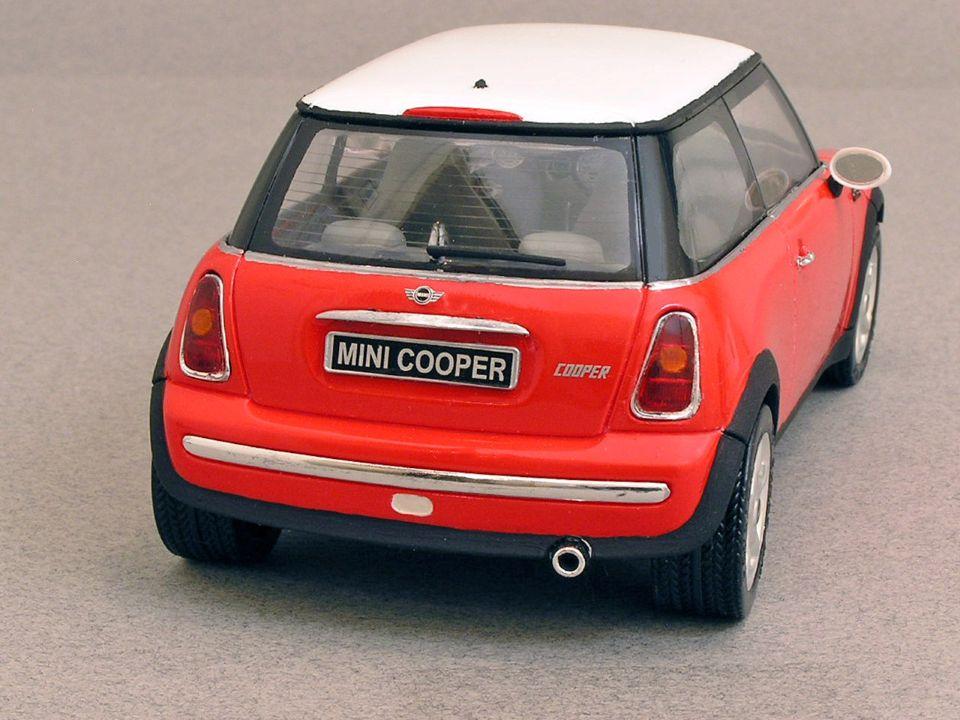
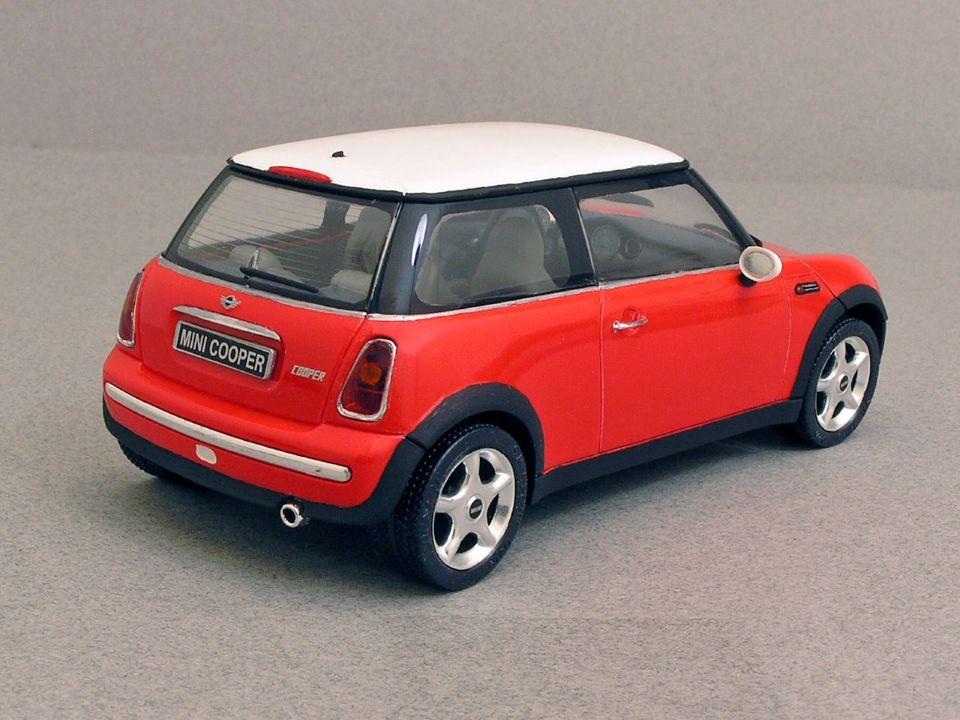
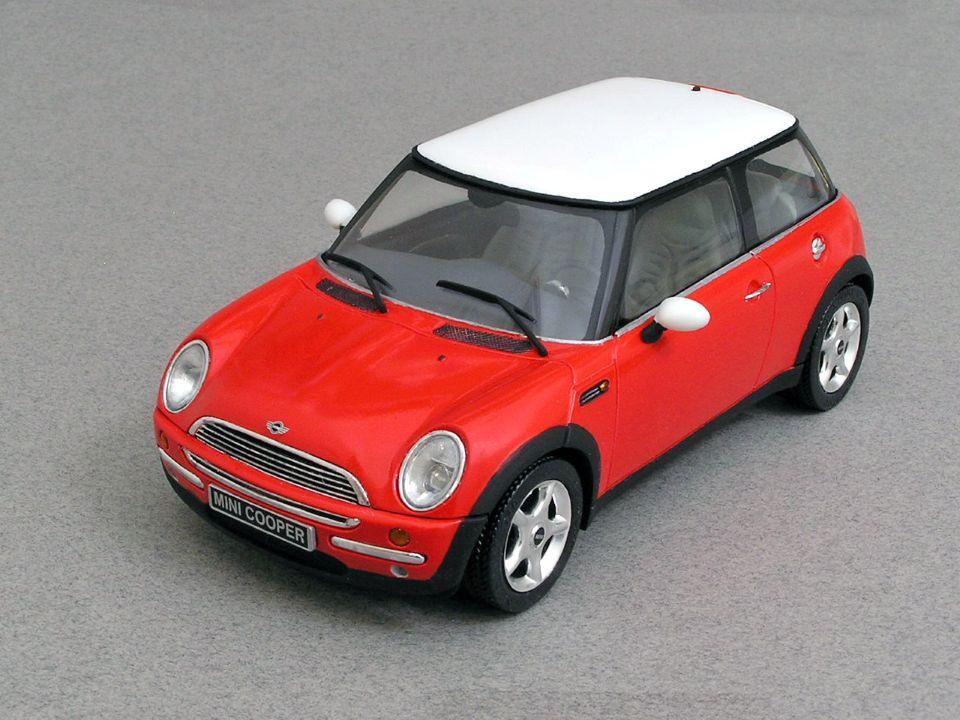
Here is my model of a Mini Cooper. I think it represent the car from the early 2000's. It is built from Revell's 1/25th scale kit. The kits made and designed by their location in Germany are a joy to work on. Parts go together well and the finished model is very solid. Paints are Tamiya's Bright Red and Pure White. The design on the interior seats is a little odd; I couldn't find any examples of real cars with that pattern on the seats. I painted them according to the instructions. Emblems, license plates, and dashboard gauges are from the decal sheet that comes with the kit. Thanks for checking this out! Bart

- 13 replies
-
- 12
-

-
Thanks, Devin! I got both of these models on eBay. You might want to look there. I just did a search for "Revell Sopwith Camel" and found quite a few listings at pretty decent prices. Bart
-
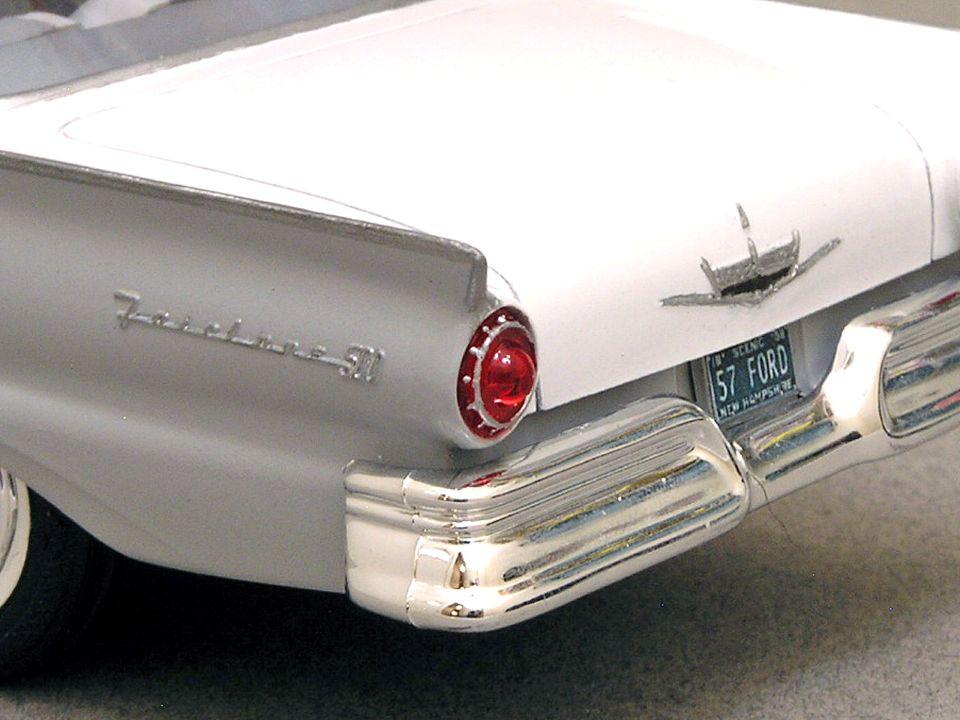
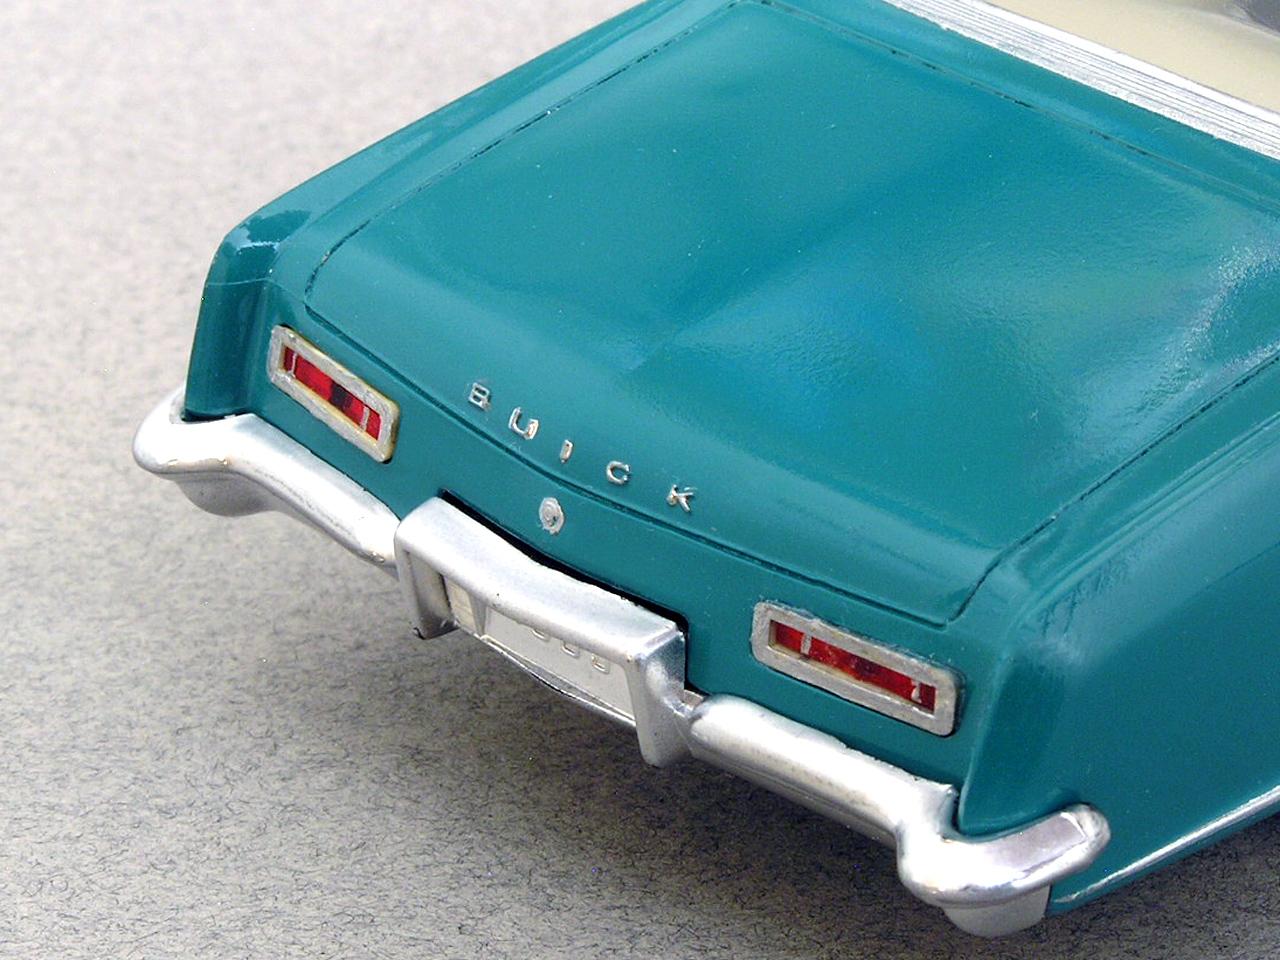
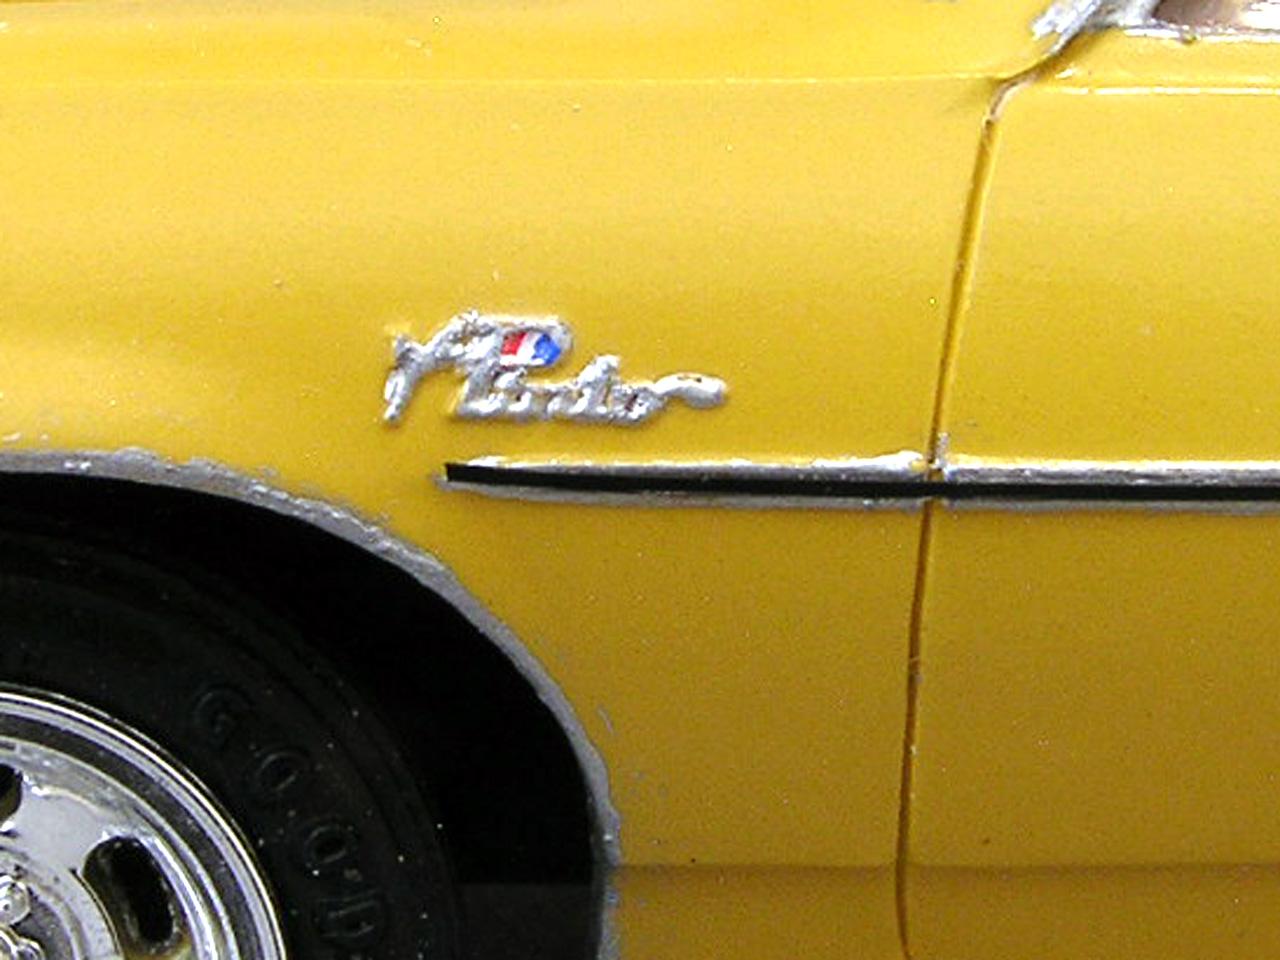
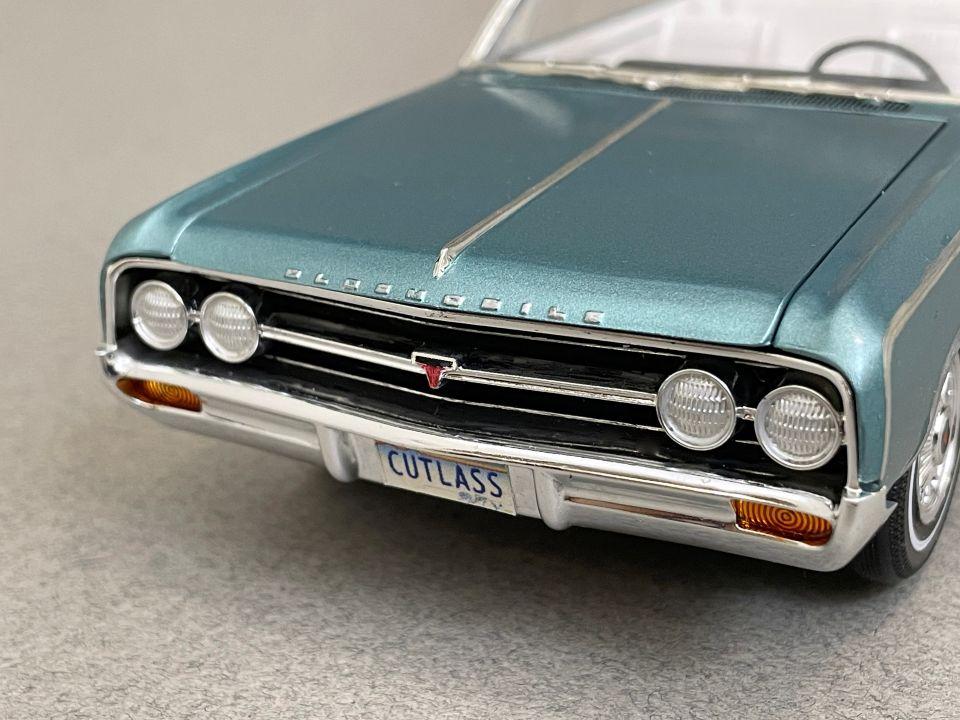
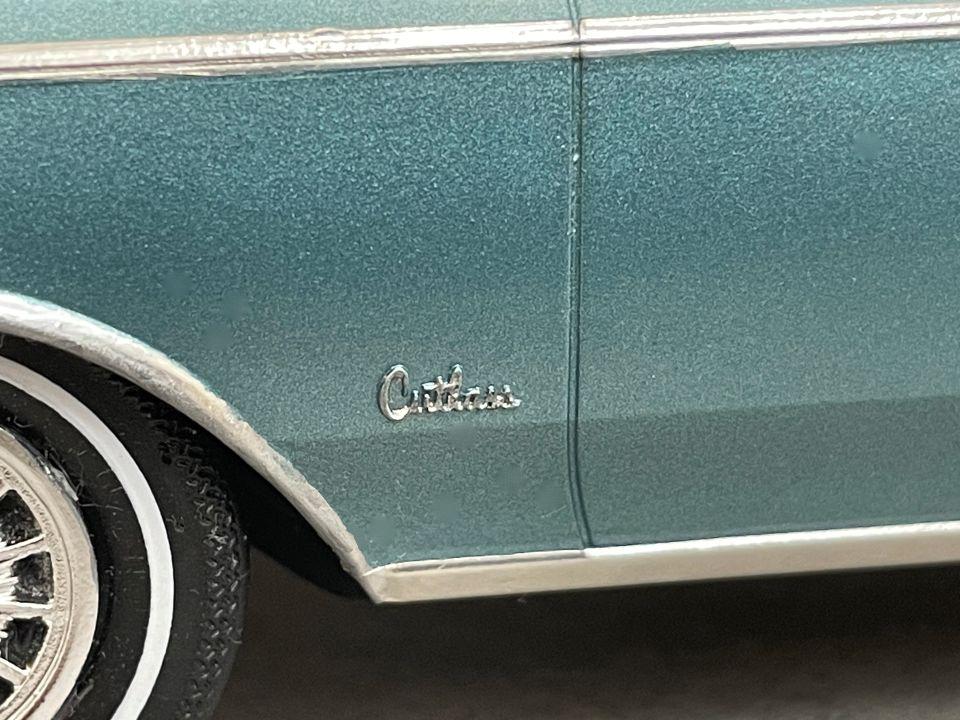
For this one, I used the Fusion Firm Chrome Paint that has been discussed lately on the forum. Shake the bottle really well! I will get a little bit on the end of a sharpened toothpick. If I think there is too much on it, I will tap it lightly on a piece of paper or plastic sheet to remove some of the paint. Very carefully and slowly, apply the chrome to the script. Sometimes I will use the pointed tip to apply the chrome, or I may use the edge of the toothpick to go over the script. For the "C" in Cutlass, I probably used the tip; for the remaining letters I probably used the edge of the toothpick and also the tip sometimes (Whatever seems to work best is the way I approach this). You may need to do this multiple times to get the right amount of paint on the letters. A lot of patience, good vision (or a good magnifier), and steady hands are needed. One good thing I discovered is that I was able to remove any chrome that strayed off the letters. The body was Scale Finishes paint ( a lacquer) and I figured out that lighter fluid would remove the chrome without affecting the lacquer paint. I'd apply little bit of lighter fluid to a sharpened toothpick or modeling swab and would use that to remove chrome where needed. I used this method to remove some chrome that had gotten inside of the C. I have done the BMF under paint method on some models. It's a bit of work to remove the paint from the script, and I can often see the edge of the foil that is outside of the script. It looks really nice if done properly, but I think my painting method works well, too. Here are some other examples done with this technique. All are 1/25 scale models. Hope this helps! Bart
-
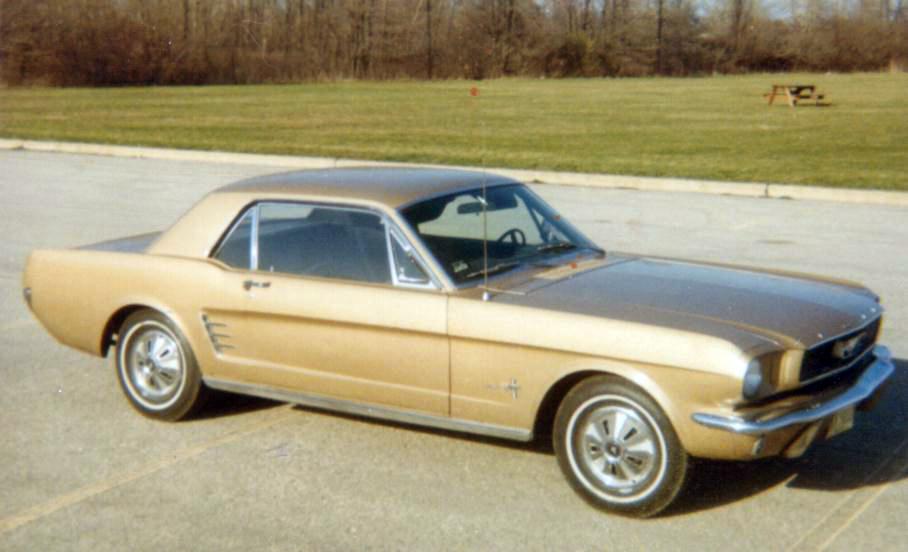
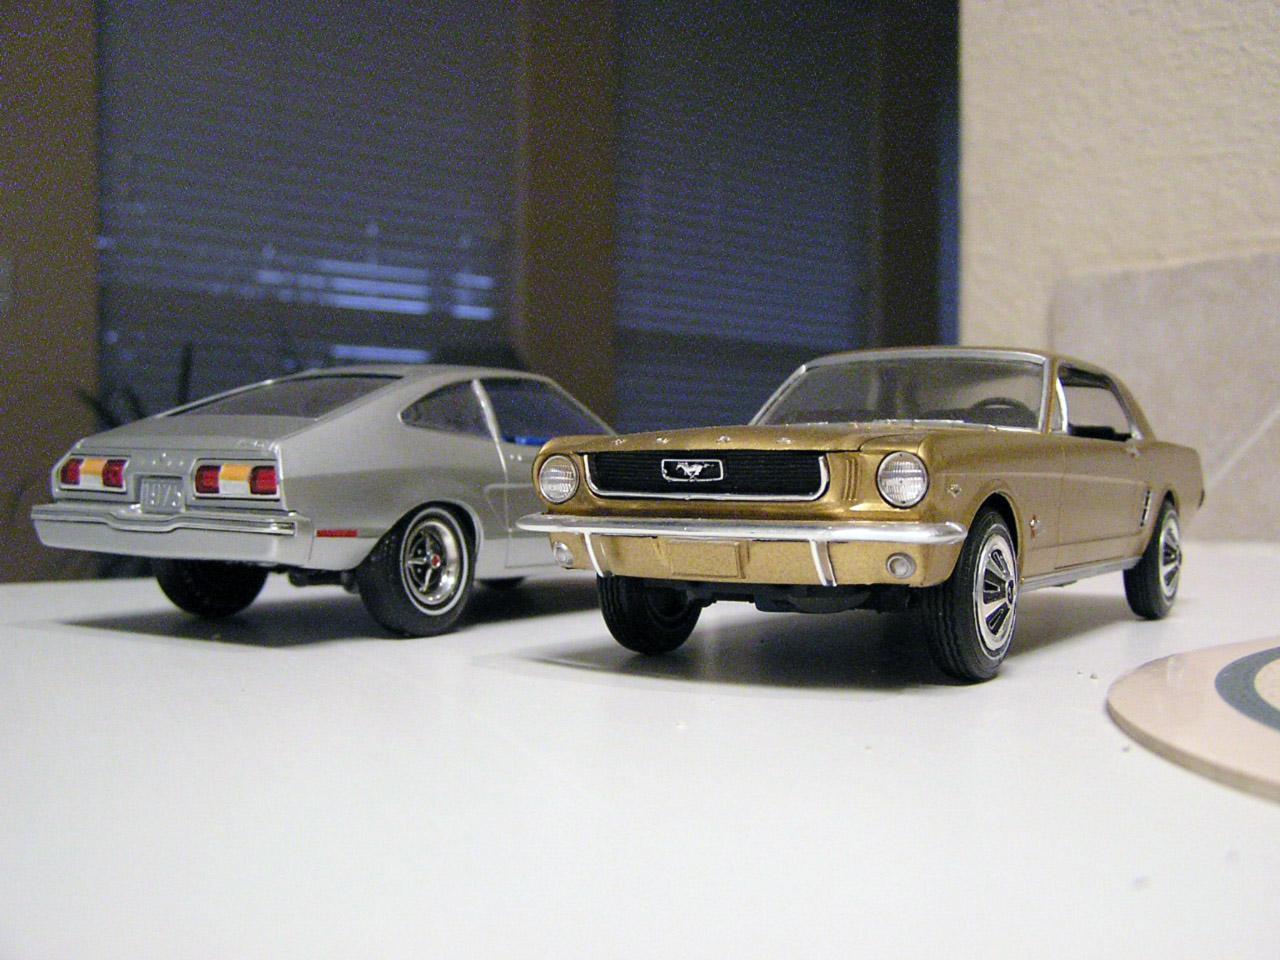
Your Nova looks great! My first car was this 66 Mustang! And, of course, I built a model of it (along with a model of a 75 Mustang II I owned)!
-
Looks great. Your photos are amazing!
-
Thanks! Yes, this is the AMT (Round 2 models) kit that was re-released a little while ago. Bart
-
Issue submitting a new topic?
bh1701 replied to bh1701's topic in Forum News and Questions (formerly: How To Use This Board)
Success! My post was accepted this time. I just rewrote the text and the title and it was accepted. Thanks for all of the quick replies! Bart -
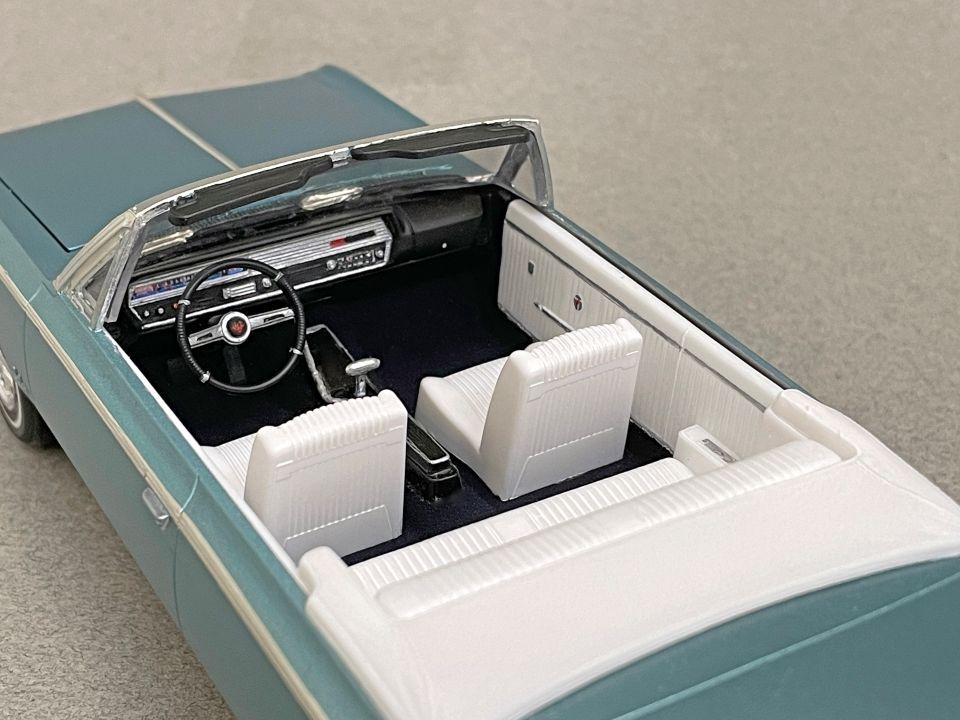
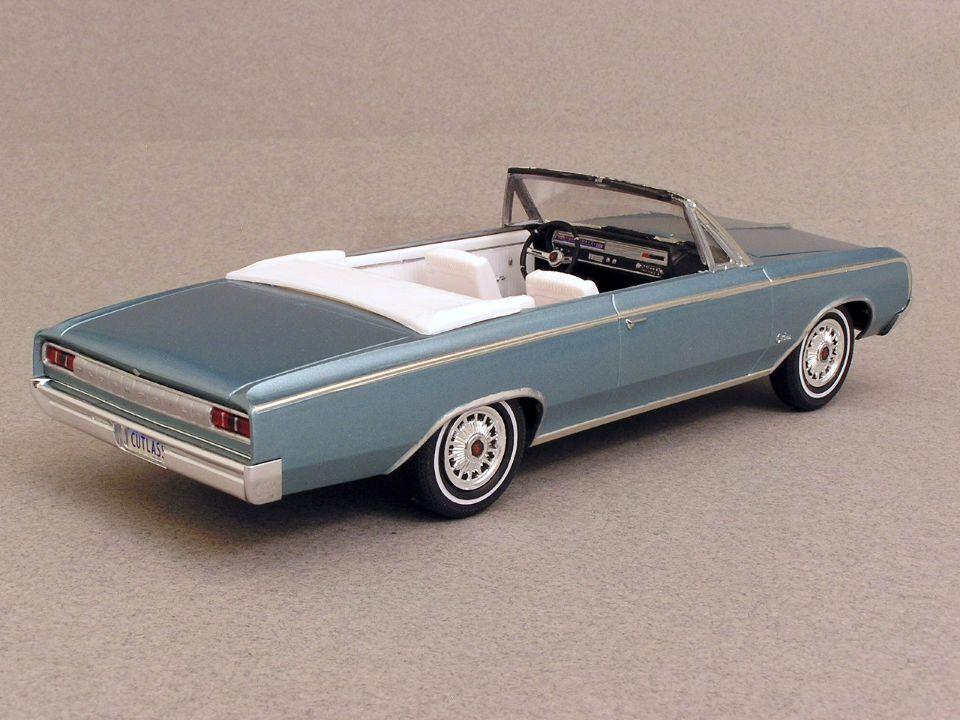
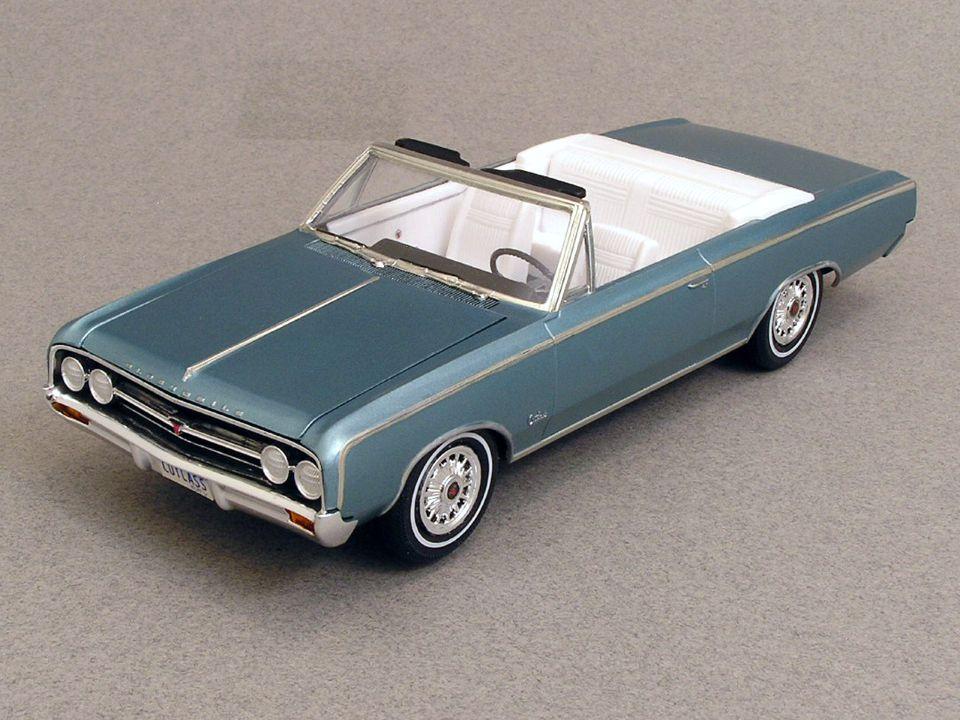
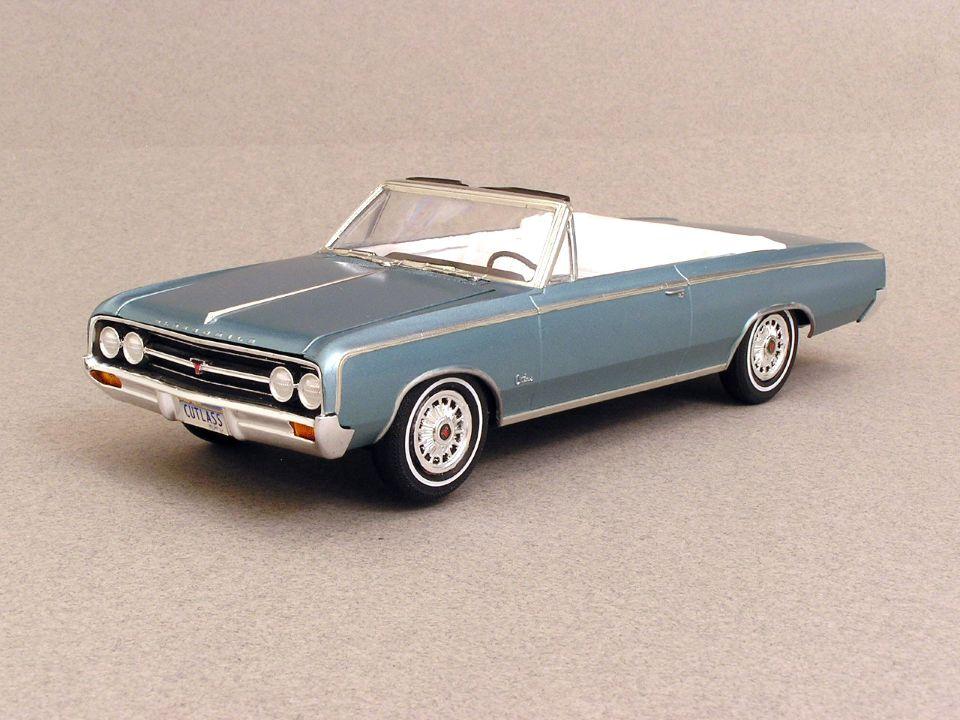
This is my 1964 Oldsmobile Cutlass convertible. Painted with ScaleFinishes Pacific Mist. Chrome trim was done using BMF and Fusion Firm chrome paint. The vent windows, Cutlass and Oldsmobile script, and wheel well trim was painted on with Fusion Firm; the remaining chrome was done with BMF. I used black embossing powder for the carpet, and the dash gauges used an image I printed from the internet. Thanks for checking this out! Bart
- 22 replies
-
- 22
-
-
Issue submitting a new topic?
bh1701 replied to bh1701's topic in Forum News and Questions (formerly: How To Use This Board)
Thanks - sounds like my problem. I will look at what I am posting to see if I find any forbidden words, or will rewrite my text. Bart -
Issue submitting a new topic?
bh1701 replied to bh1701's topic in Forum News and Questions (formerly: How To Use This Board)
So, everything seems to work fine in this section of the site. But in the Under Glass > Model Cars section, I still get the error shown above. I have restarted my PC, and have logged out of the site. Still no success posting to that section of the site. Anybody have any ideas on what's causing this and how to resolve it? Bart -
Issue submitting a new topic?
bh1701 replied to bh1701's topic in Forum News and Questions (formerly: How To Use This Board)
Testing to see if I can add a photo here. Bart
-
Issue submitting a new topic?
bh1701 replied to bh1701's topic in Forum News and Questions (formerly: How To Use This Board)
Just tried again in the Under Glass > Model Cars section. Still get taken to a screen that says " Oops! That page can’t be found. It looks like nothing was found at this location. Maybe try a search? I tried dragging a photo into the post (instead of selecting them), and still did not work. Bart -
Issue submitting a new topic?
bh1701 replied to bh1701's topic in Forum News and Questions (formerly: How To Use This Board)
So, I was able to create this post - so it seems to work at least in this section of the site. The post I am trying to create is in the Under Glass section. I create the title, body text, and add some photos. When I hit SUBMIT there, I get the message. I am going to try again now. Bart -
I have tried to create a new post several times. When I hit SUBMIT, I get taken to an error screen saying that the content couldn't be found. Is there a current issue affecting the submission of new posts? Bart