
pcm1977
-
Posts
146 -
Joined
-
Last visited
Content Type
Profiles
Forums
Events
Gallery
Posts posted by pcm1977
-
-
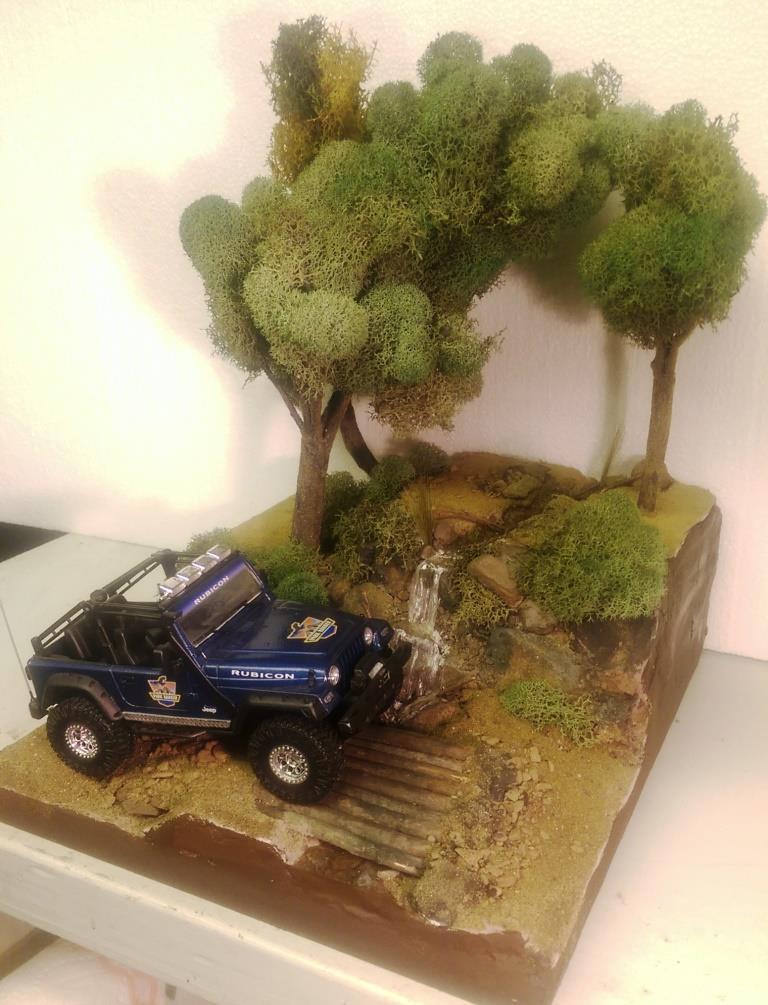
I was looking at the 1/25 Jeep Wrangler Rubicon that I put together sometime ago and had a great idea for a diorama. I started out with the idea of making a desert scene and have the jeep climbing a hill. However I got a little carried away and built it up too tall. So I decided to make a stream and waterfall instead.
I started with a wood base, sealed it and glued 2 layers of that pink styrofoam on top of each other. I then covered the entire thing in tinted joint compound. Some rock gathering at a local park proved to work out well. I painted the rocks and dusted the entire thing with sand and blended turf for model railroading.
The bridge is made out of similar sized maple branches I found in the back of my property. I used Scene A Rama Ripplin' Water Kit for the stream and waterfall. The three trees turned out the best. I used a thick wire I had, attached several tree branches found laying around the property to the wire using florist tape. Then I "painted" a couple of thin layers of joint compound on the trunks to blend them together. Once it was dry I painted the entire tree the same color, then added some variations in coloring with washes. I then took some stuff I got from my local craft store called Reindeer Moss and glued it to the branches. The final step in making the trees involved spraying them with diluted white glue the help hold them together and sprinkling some blended turf on the trunks to make then look like moss. The trees were then attached in holes with some foam-safe CA glue.

-
If you mean does it have a trailer and '40 coup, yes the one I bought appears to be complete
-
Went to my local Ollie's tonight (9/2/16) in North Olmsted, OH. They had a bunch of kits, most that are in the flyer.
I picked up the Dodge Rammunition for $7.99 and a Dodge L-700 & '40 Ford Coupe with flatbed trailer for $19.99.
Might go back later and pick up a Dodge Charger Super Bee.
-
-
Thank you all for your wonderfull comments.
-
Thank you all for your appreciation.
-
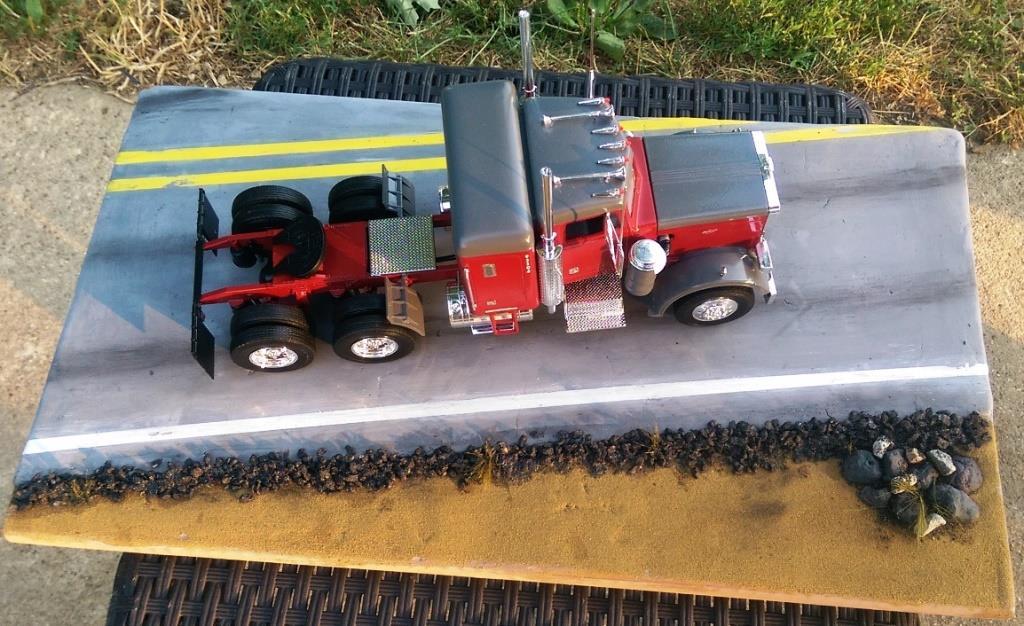
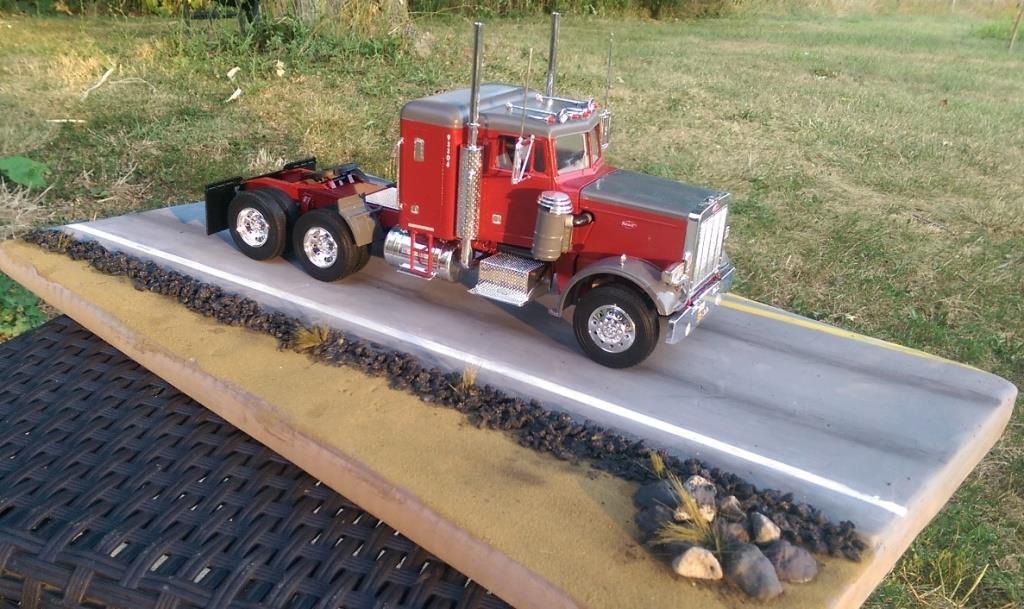
I made a diorama for my Peterbilt to enter in the local fair, however I missed the deadline for entries. But I will still let you guys enjoy the pictures. Thank for looking.
-
Nice job, looks great. I like that green on green, it does look sweet!!!
-
Sorry it took me so long to respond, I did not see the question from Jerry.
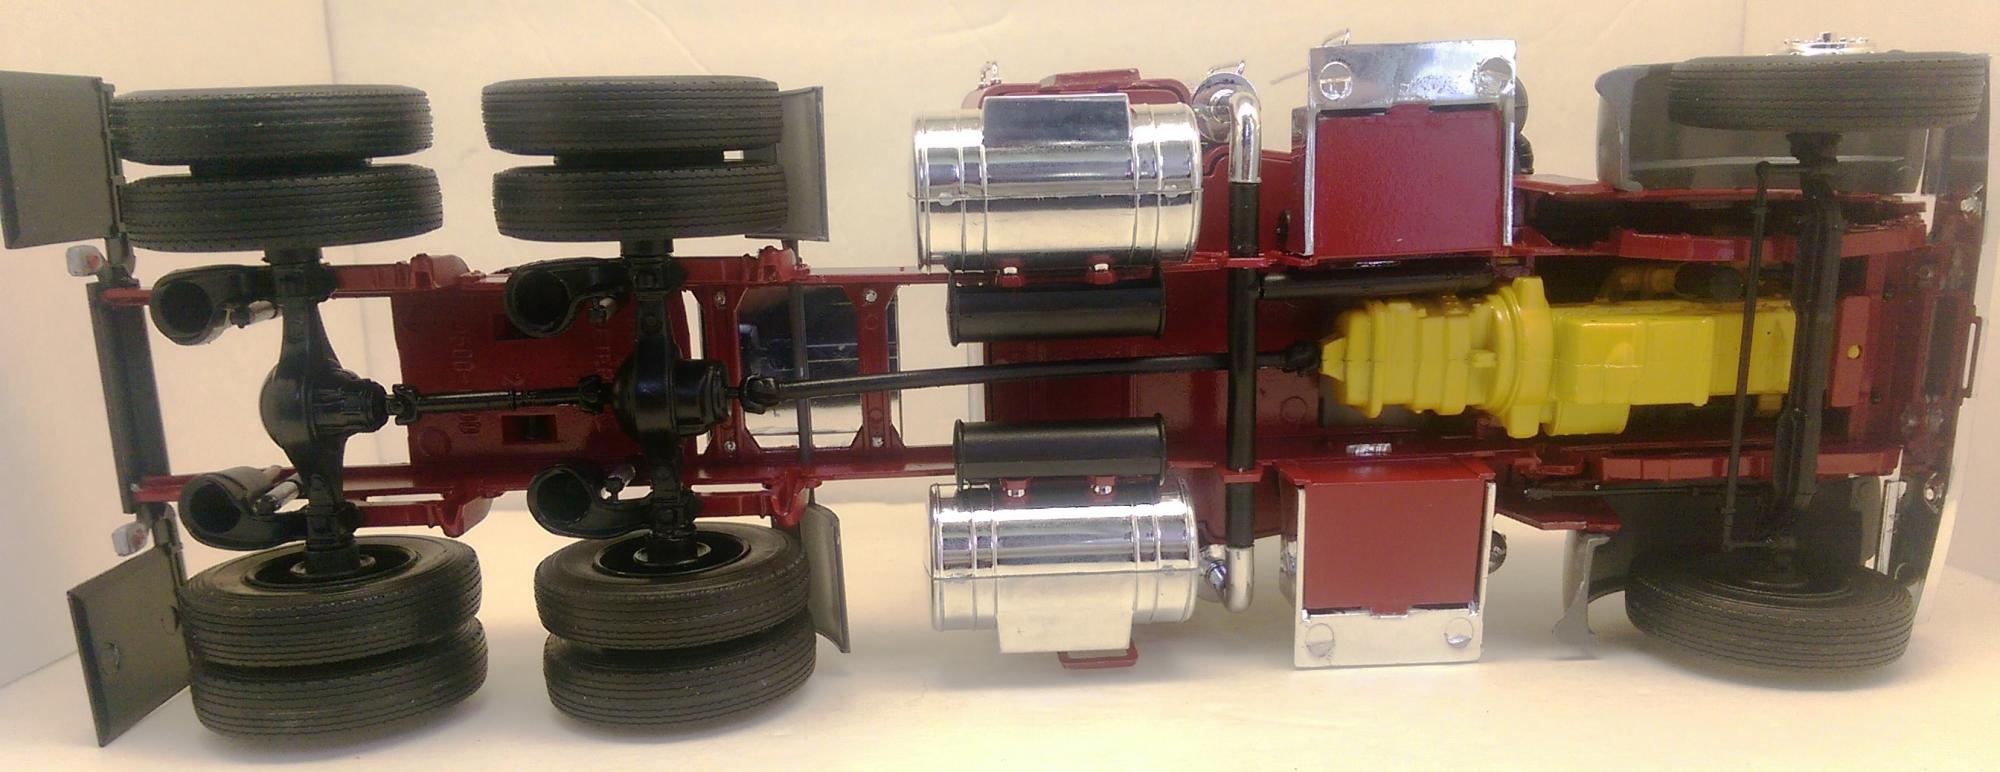
To answer your question those are the stock rims and tires. As a matter of fact the entire truck is stock. The only issue I had with the kit was with the hood. First, getting it on and then the step on the hood hangs on the air filter on the passenger side.
-
Thank you av405 and GLMFAA1 those will work.
-
It has been a while since I looked at this thread. Thanks GLMAA1 for the color information.
I have another question in regard to parts. Does anyone know where I can get the scale parts listed below?
- Light Bar
- Drop Lights
- Center Council
- CB
- Decals
I can only find them on ebay and don't really want to buy them there. I am looking for someplace that supplies these items.
-
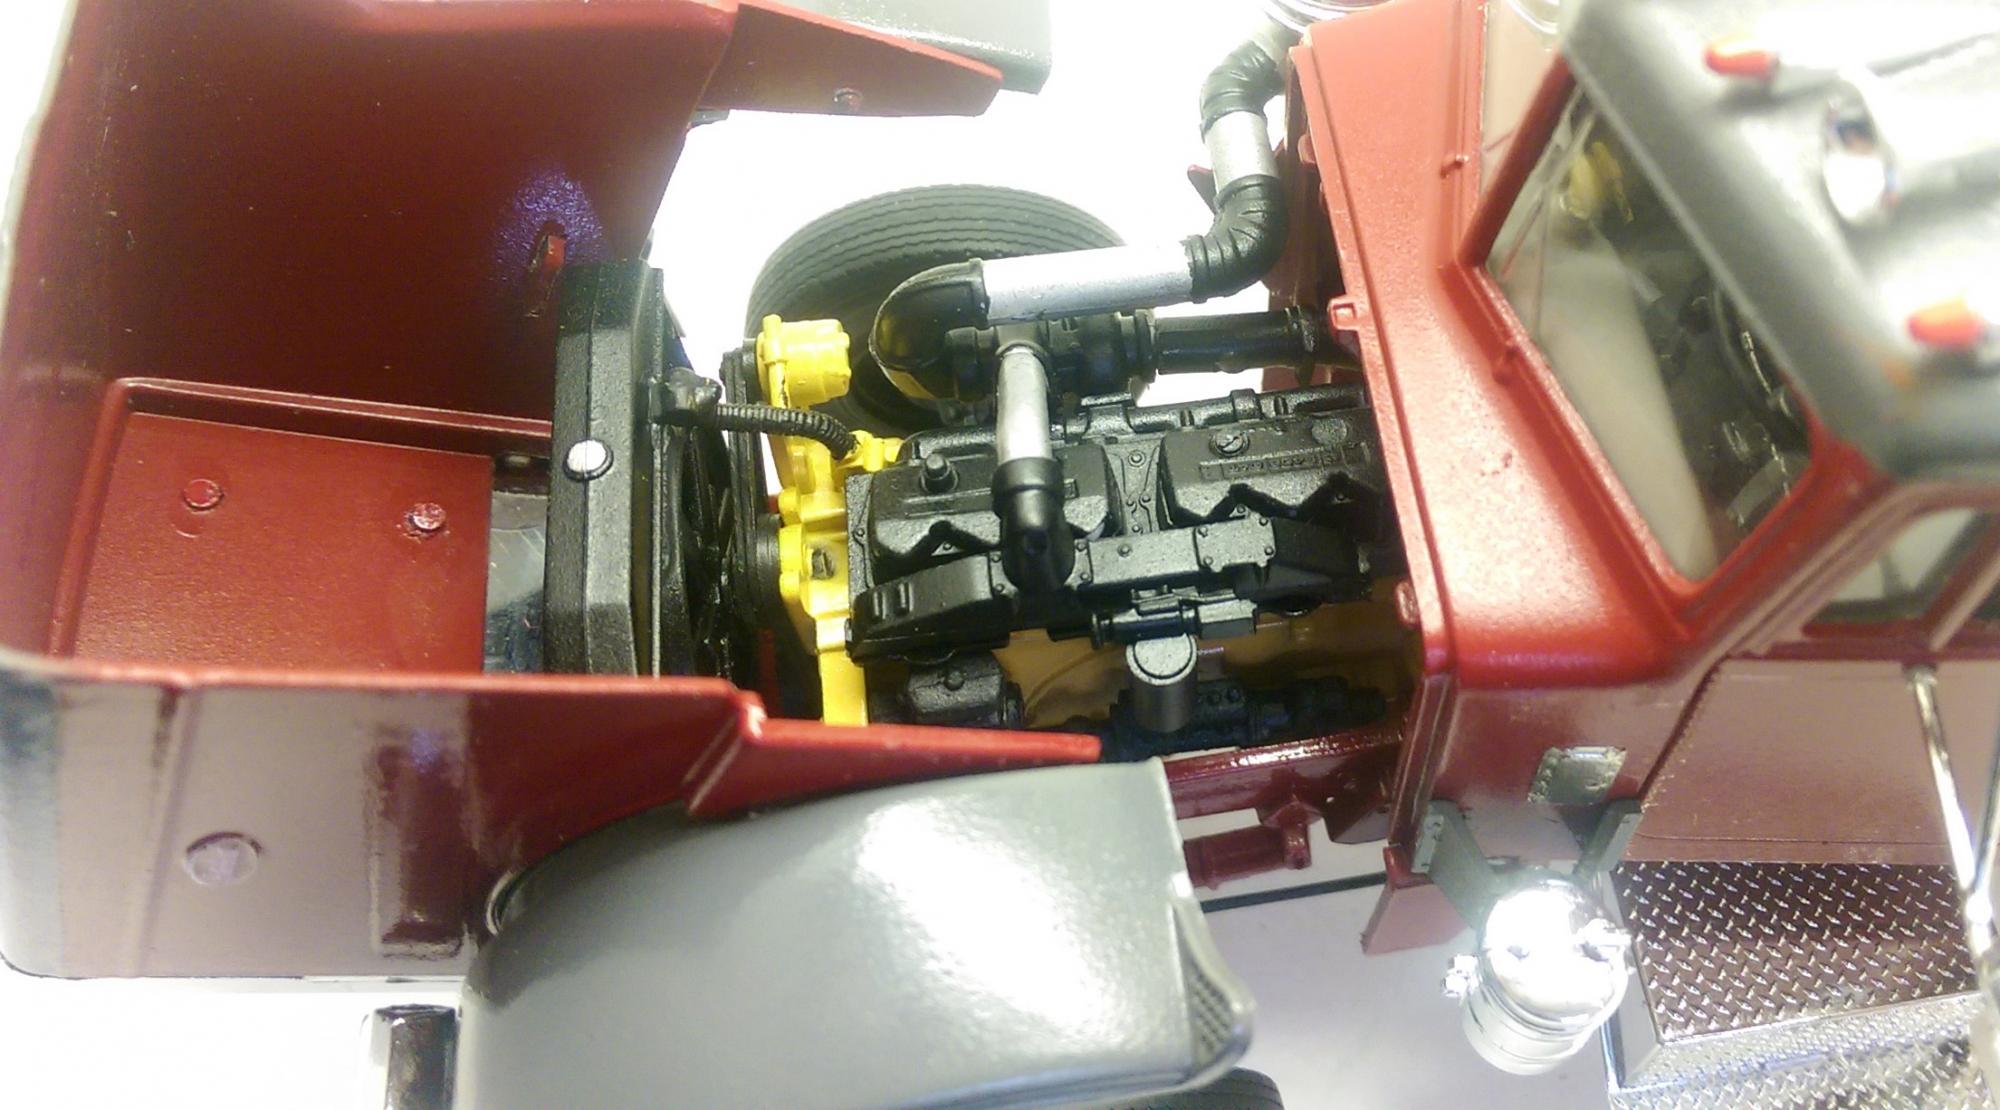
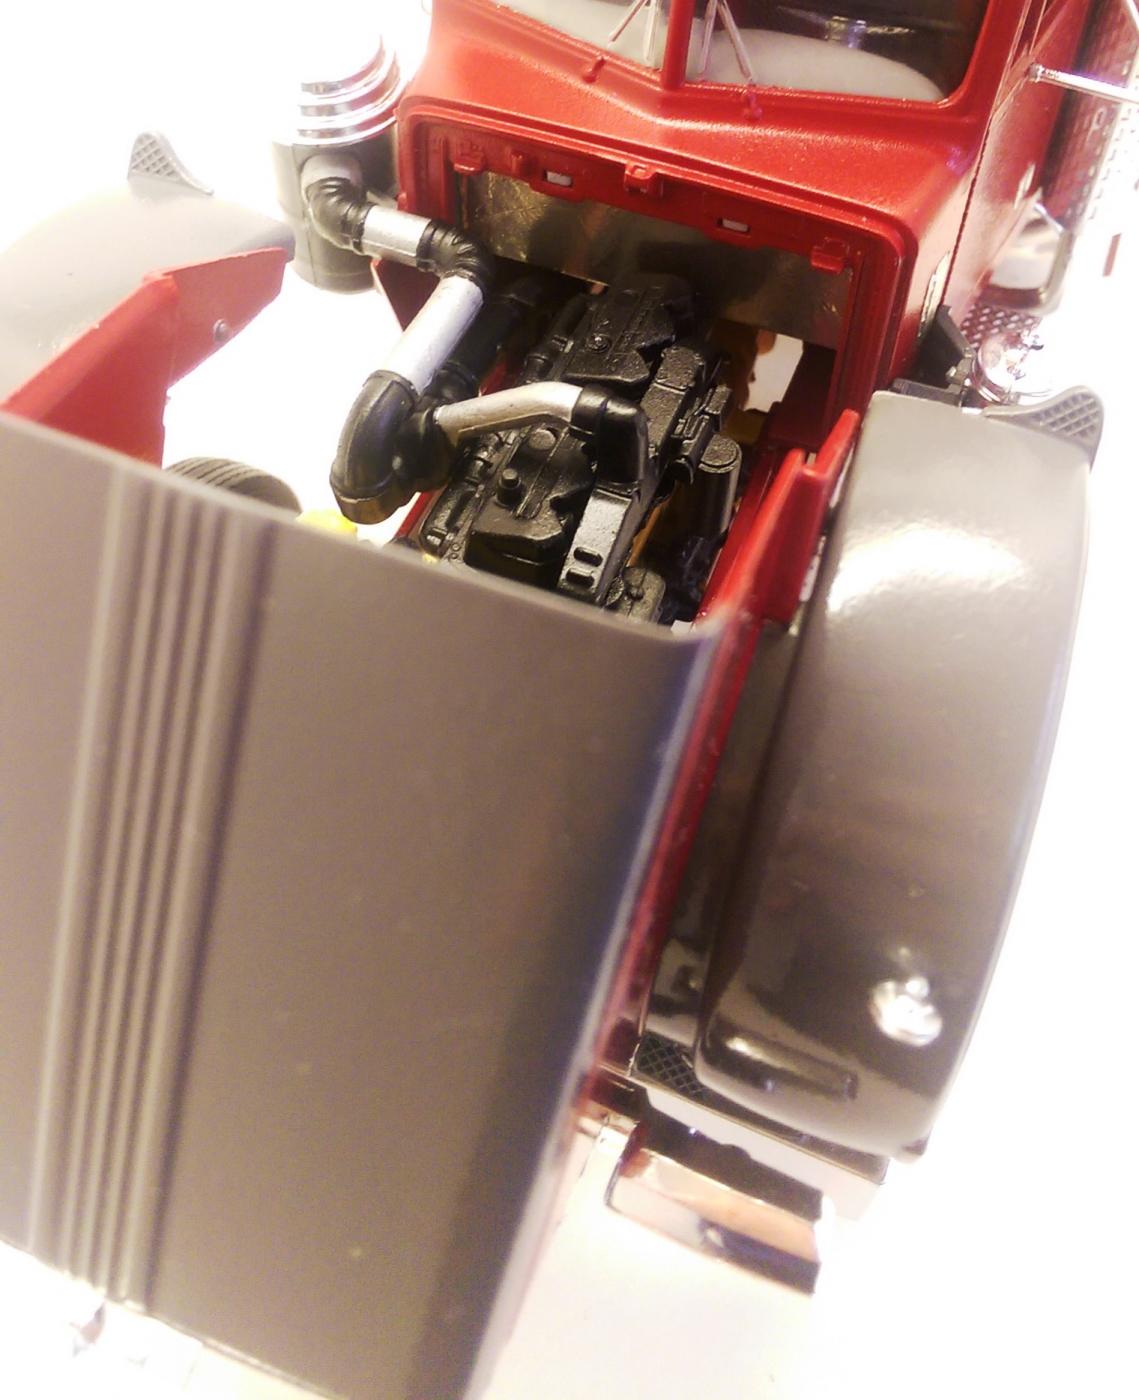
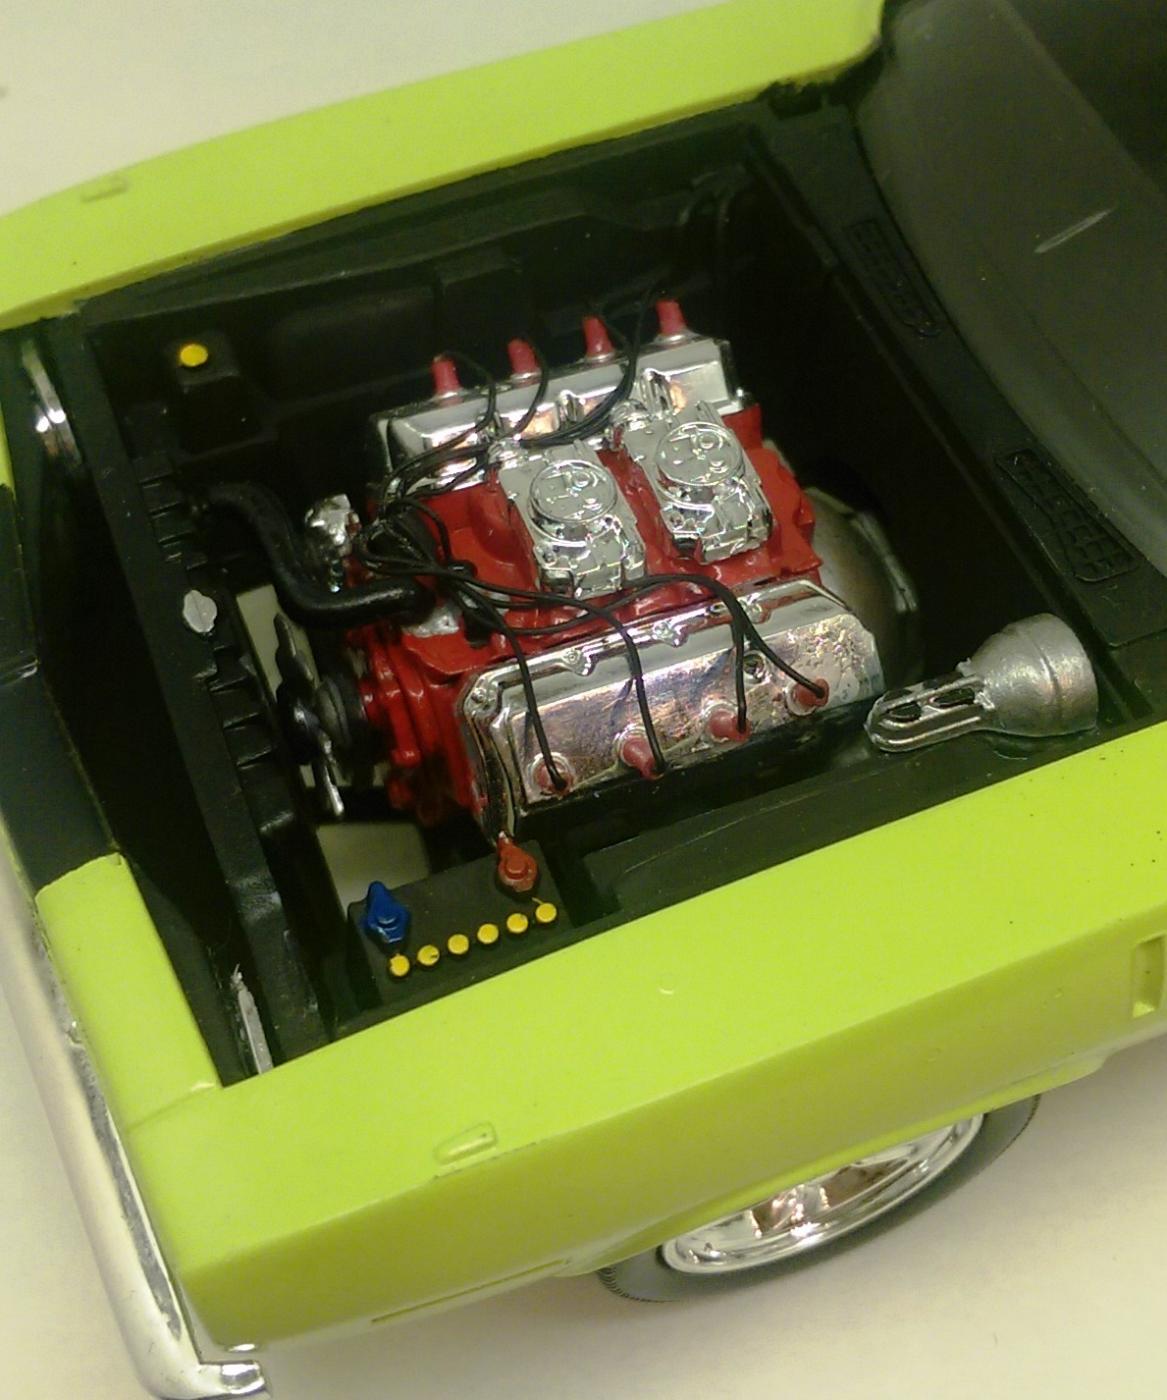
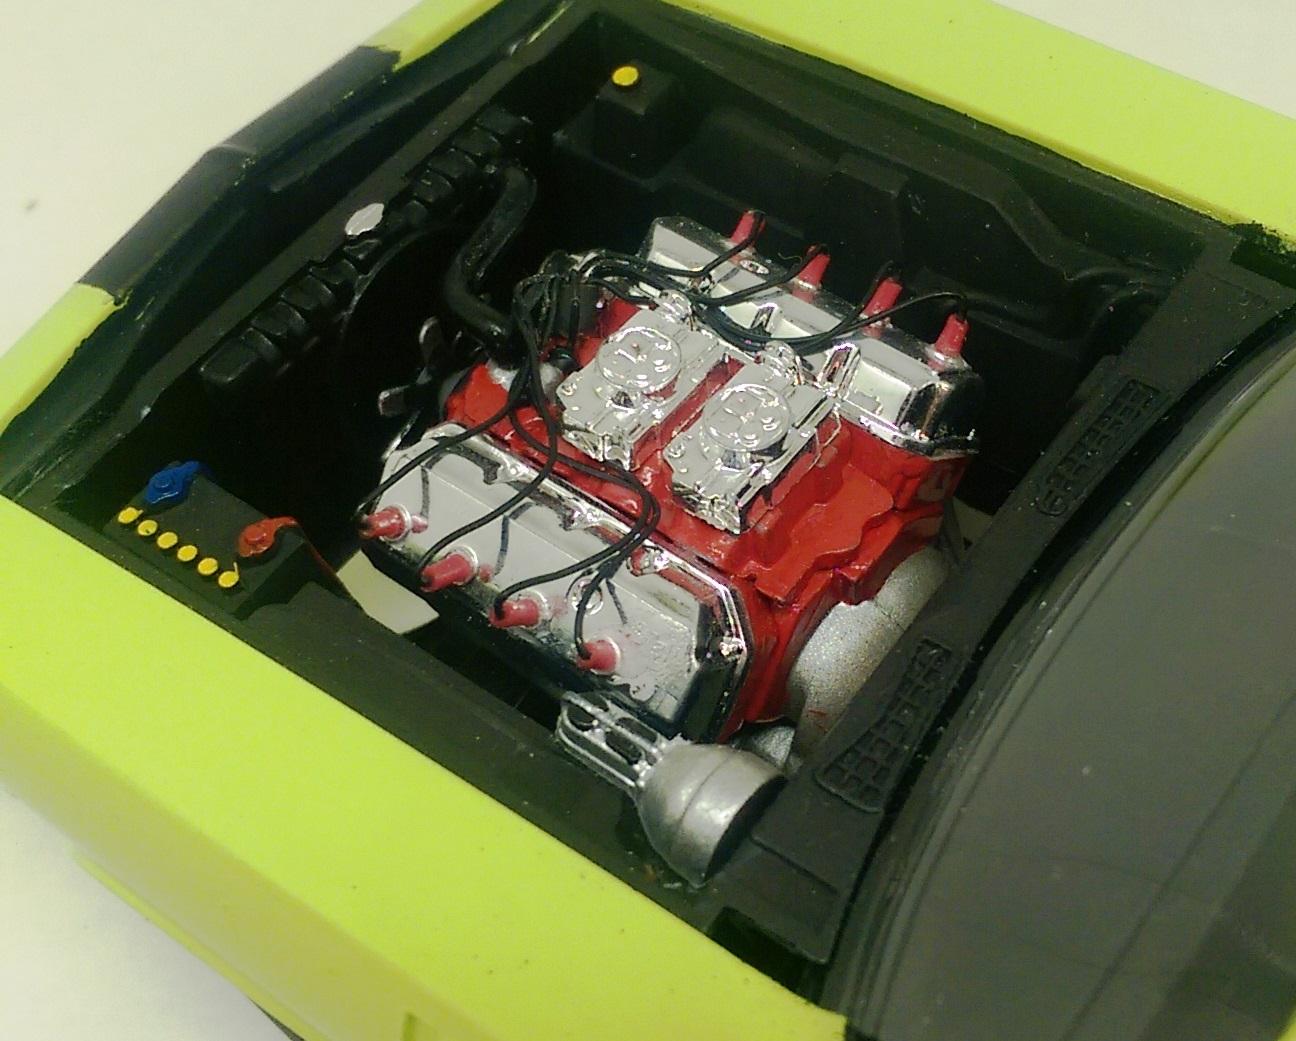
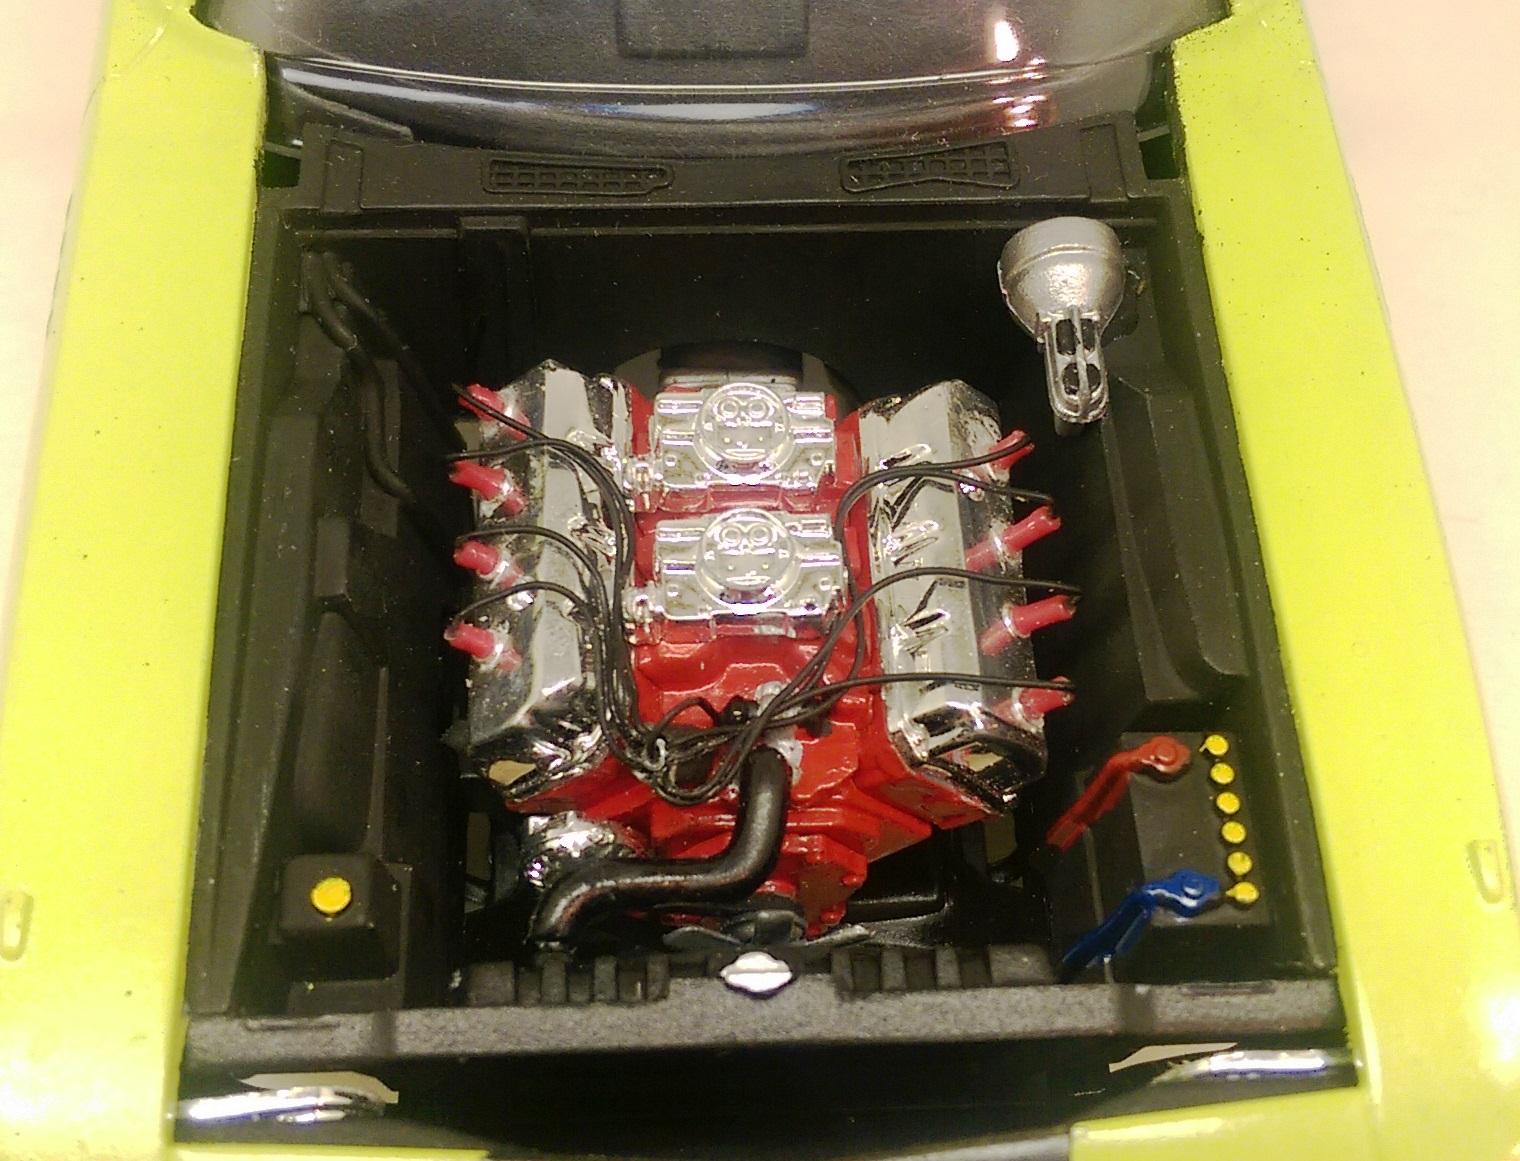
Thank you everyone for your wonderful positive feedback. I have to admit when building this one and even after I finished I never found the engine different enough to stand out. Wish I would have taken pictures of the interior before I put it in the body, I spent a decent amount of time detailing it and I cannot even get a decent picture to show you. I started the diorama base this weekend, however I don't have much time to fuse with models during the summer.
-
That was my first time using the BMF. I found it really easy to use, just as long as you don't put too much pressure or pull too much on it. I want to give it a try someplace that is more prevalent next time.
-
Thank you all for you wonderful comments.
-
I know he owns at least one 359 (his original truck), but I am not sure of the exact model number of some of the others he just told me that the Peterbilts are out there (as he motioned to the parking lot full of trucks that all look alike). He has gotten rid of most the Peterbilts for Volvos. He said he like them better. I don't know, I just like the models mostly.
-
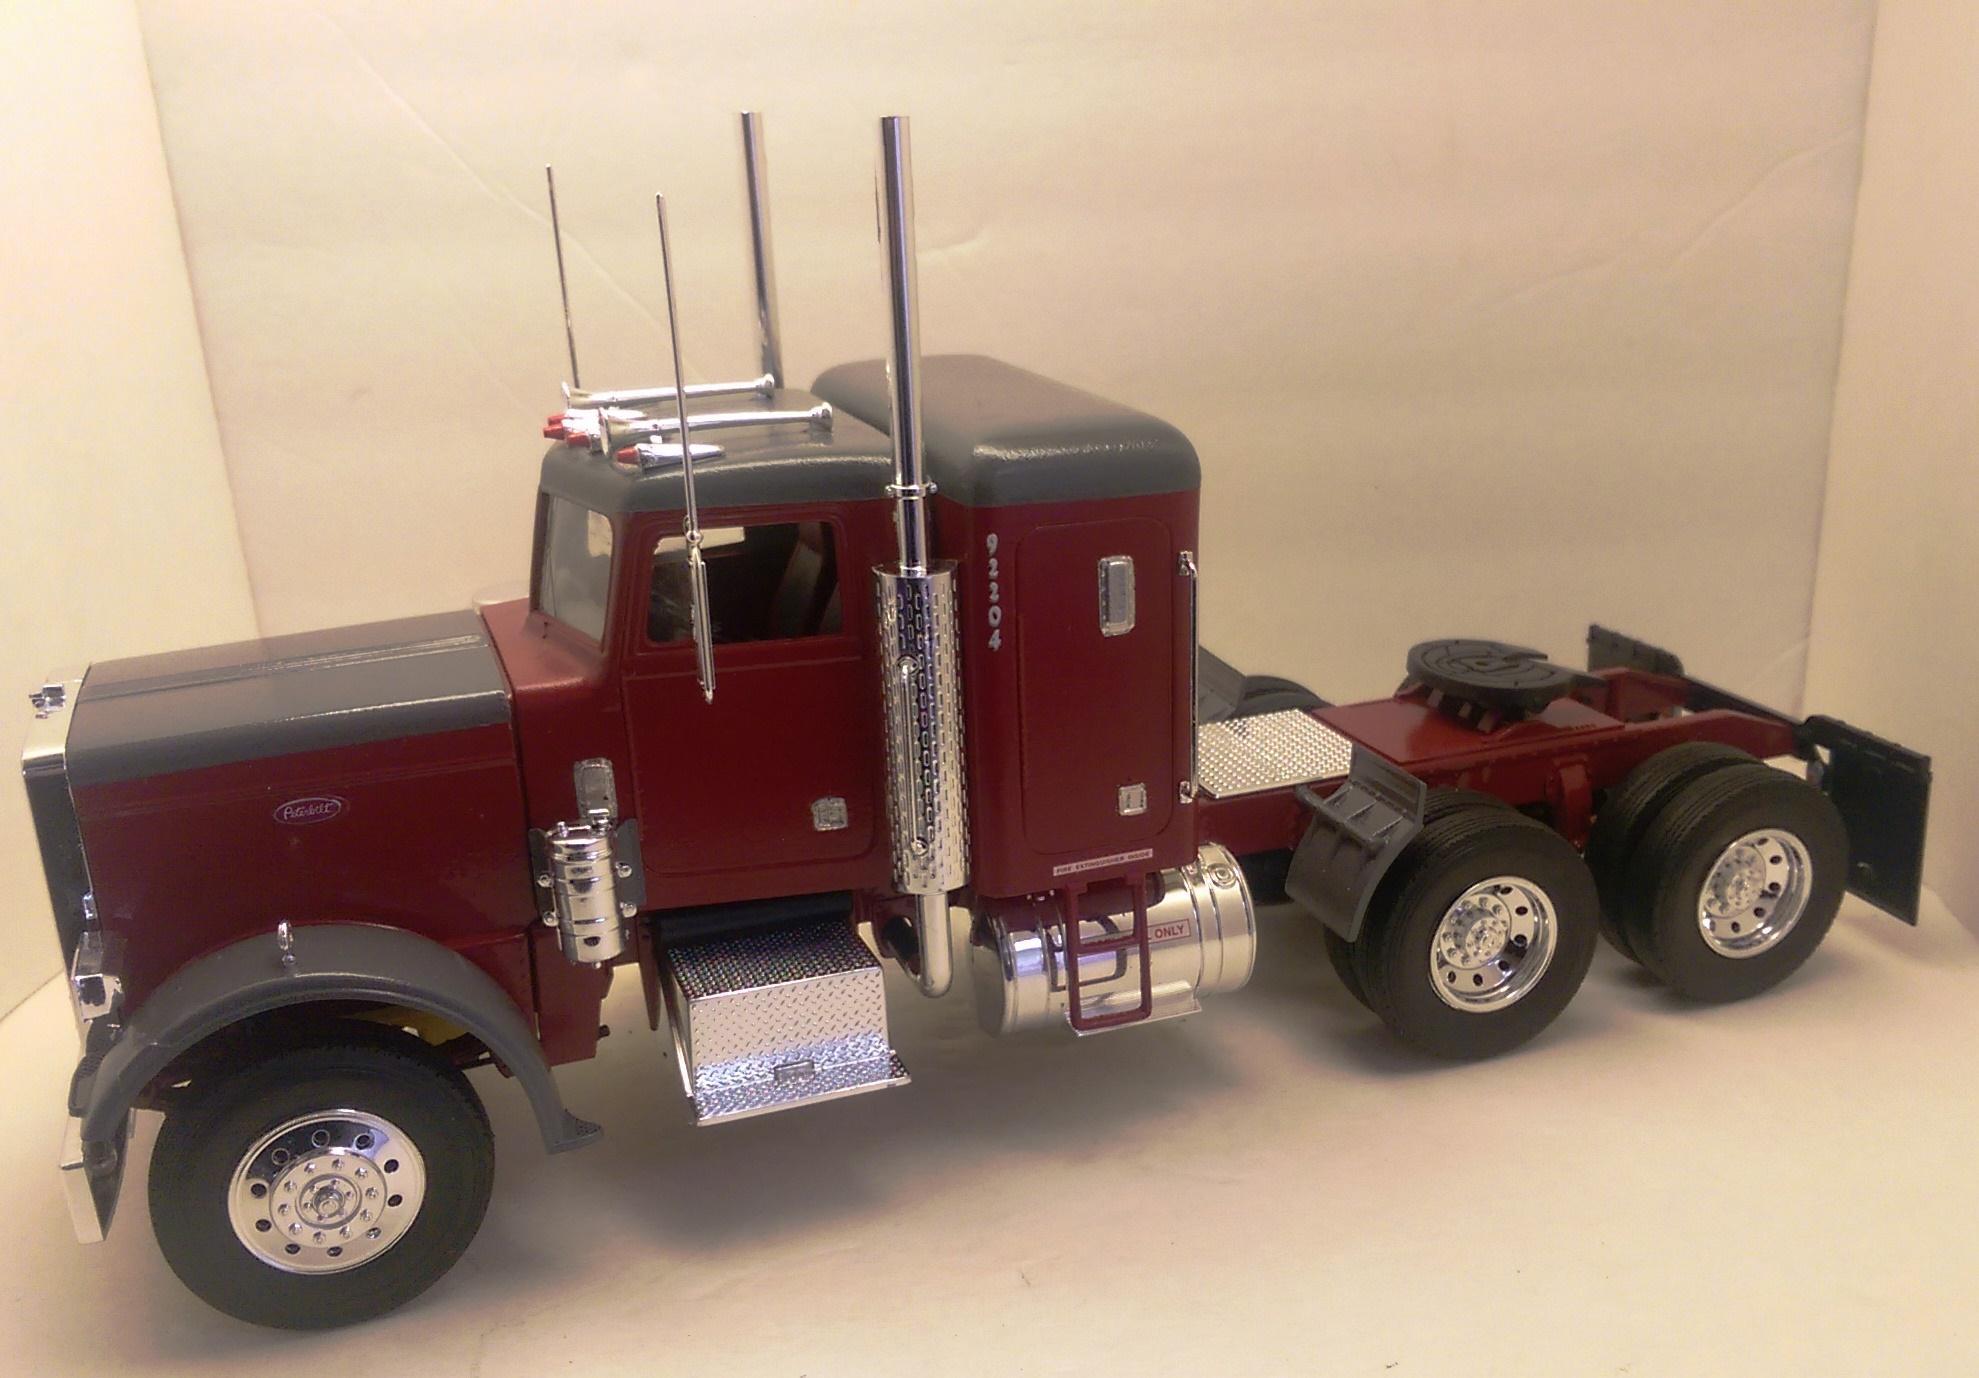
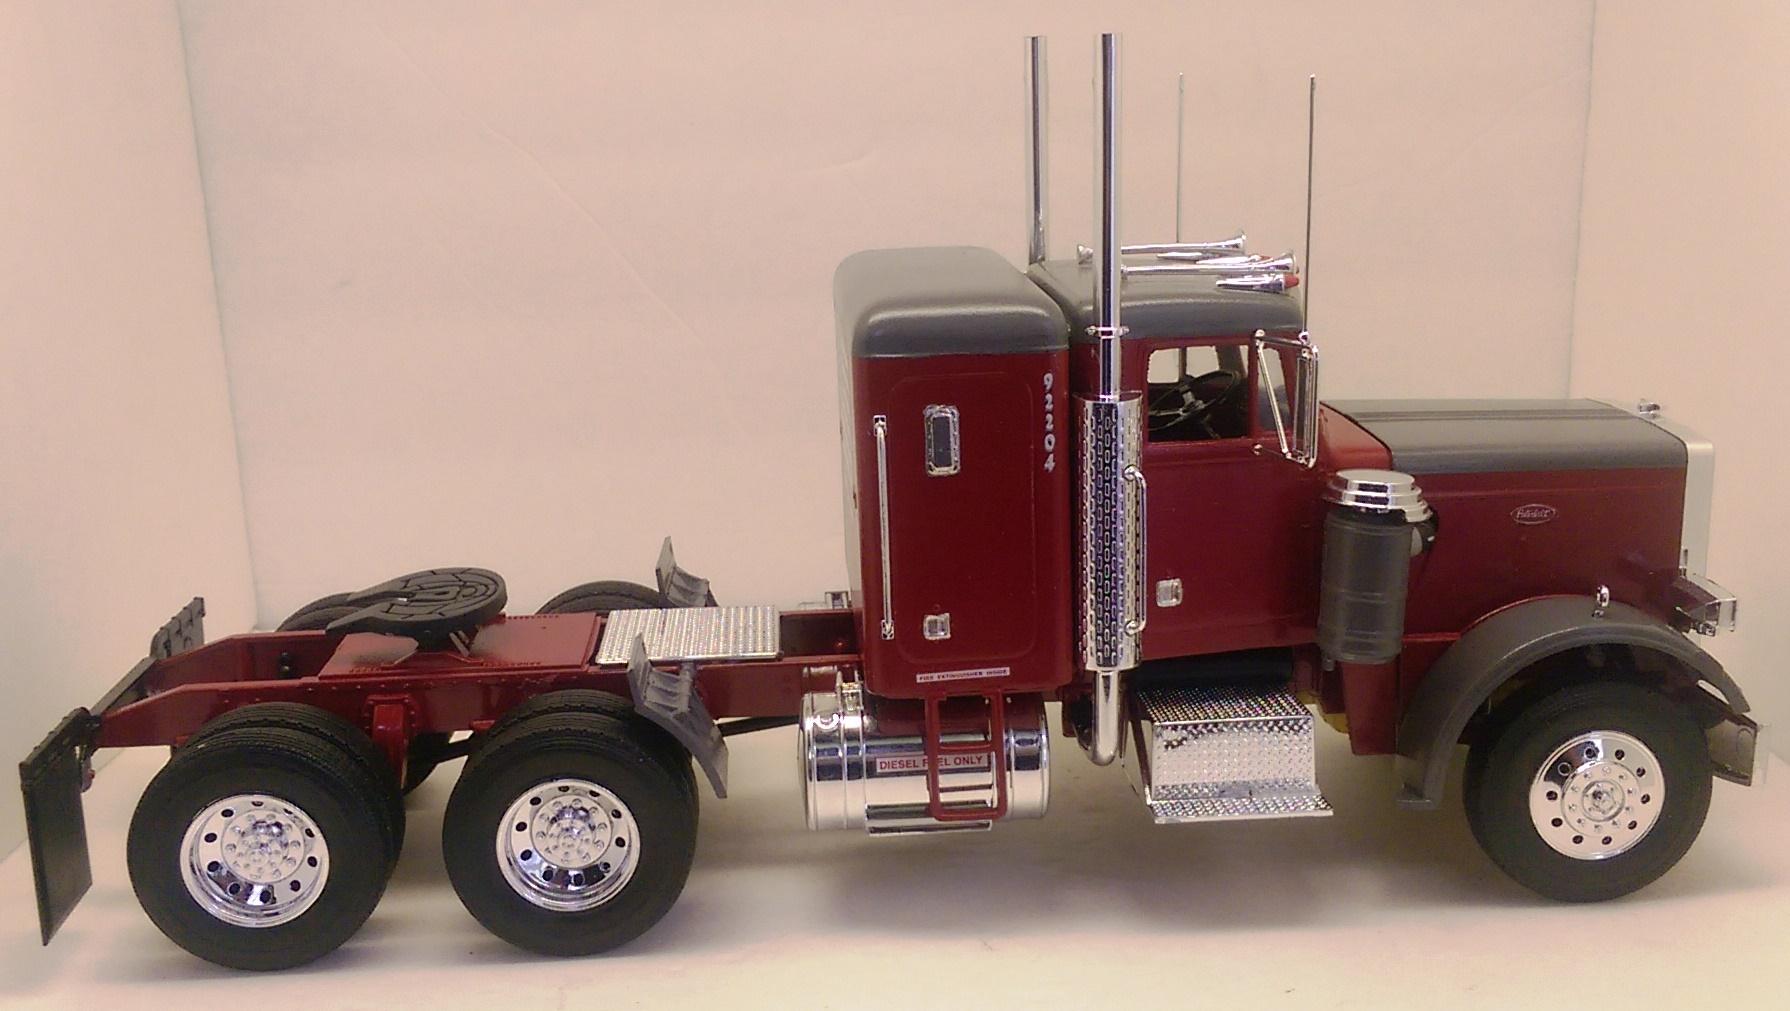
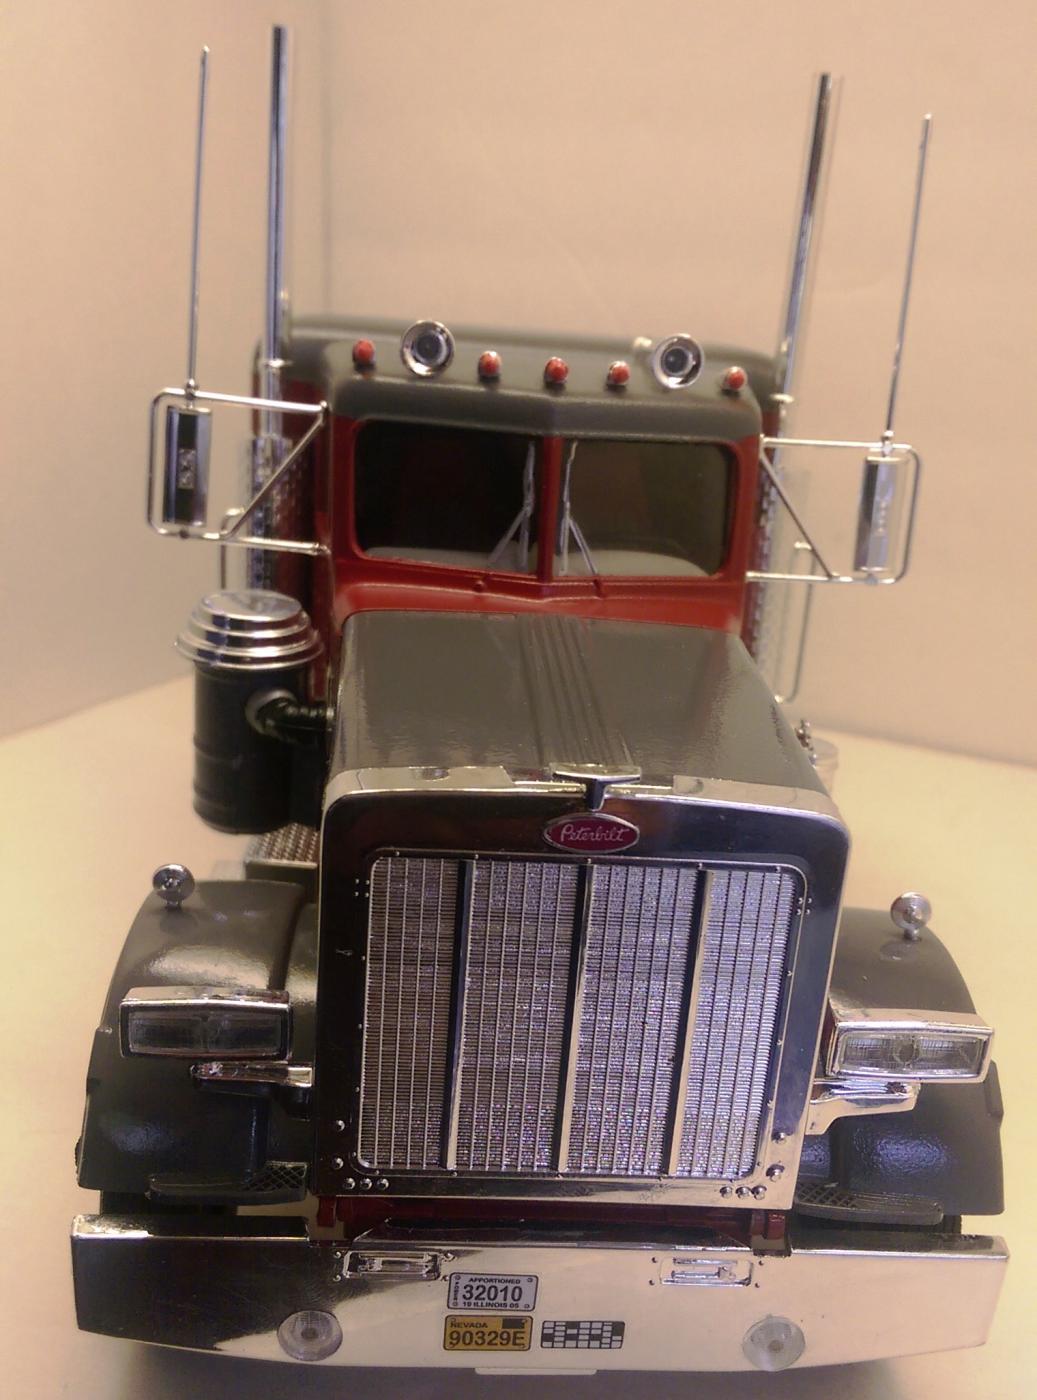
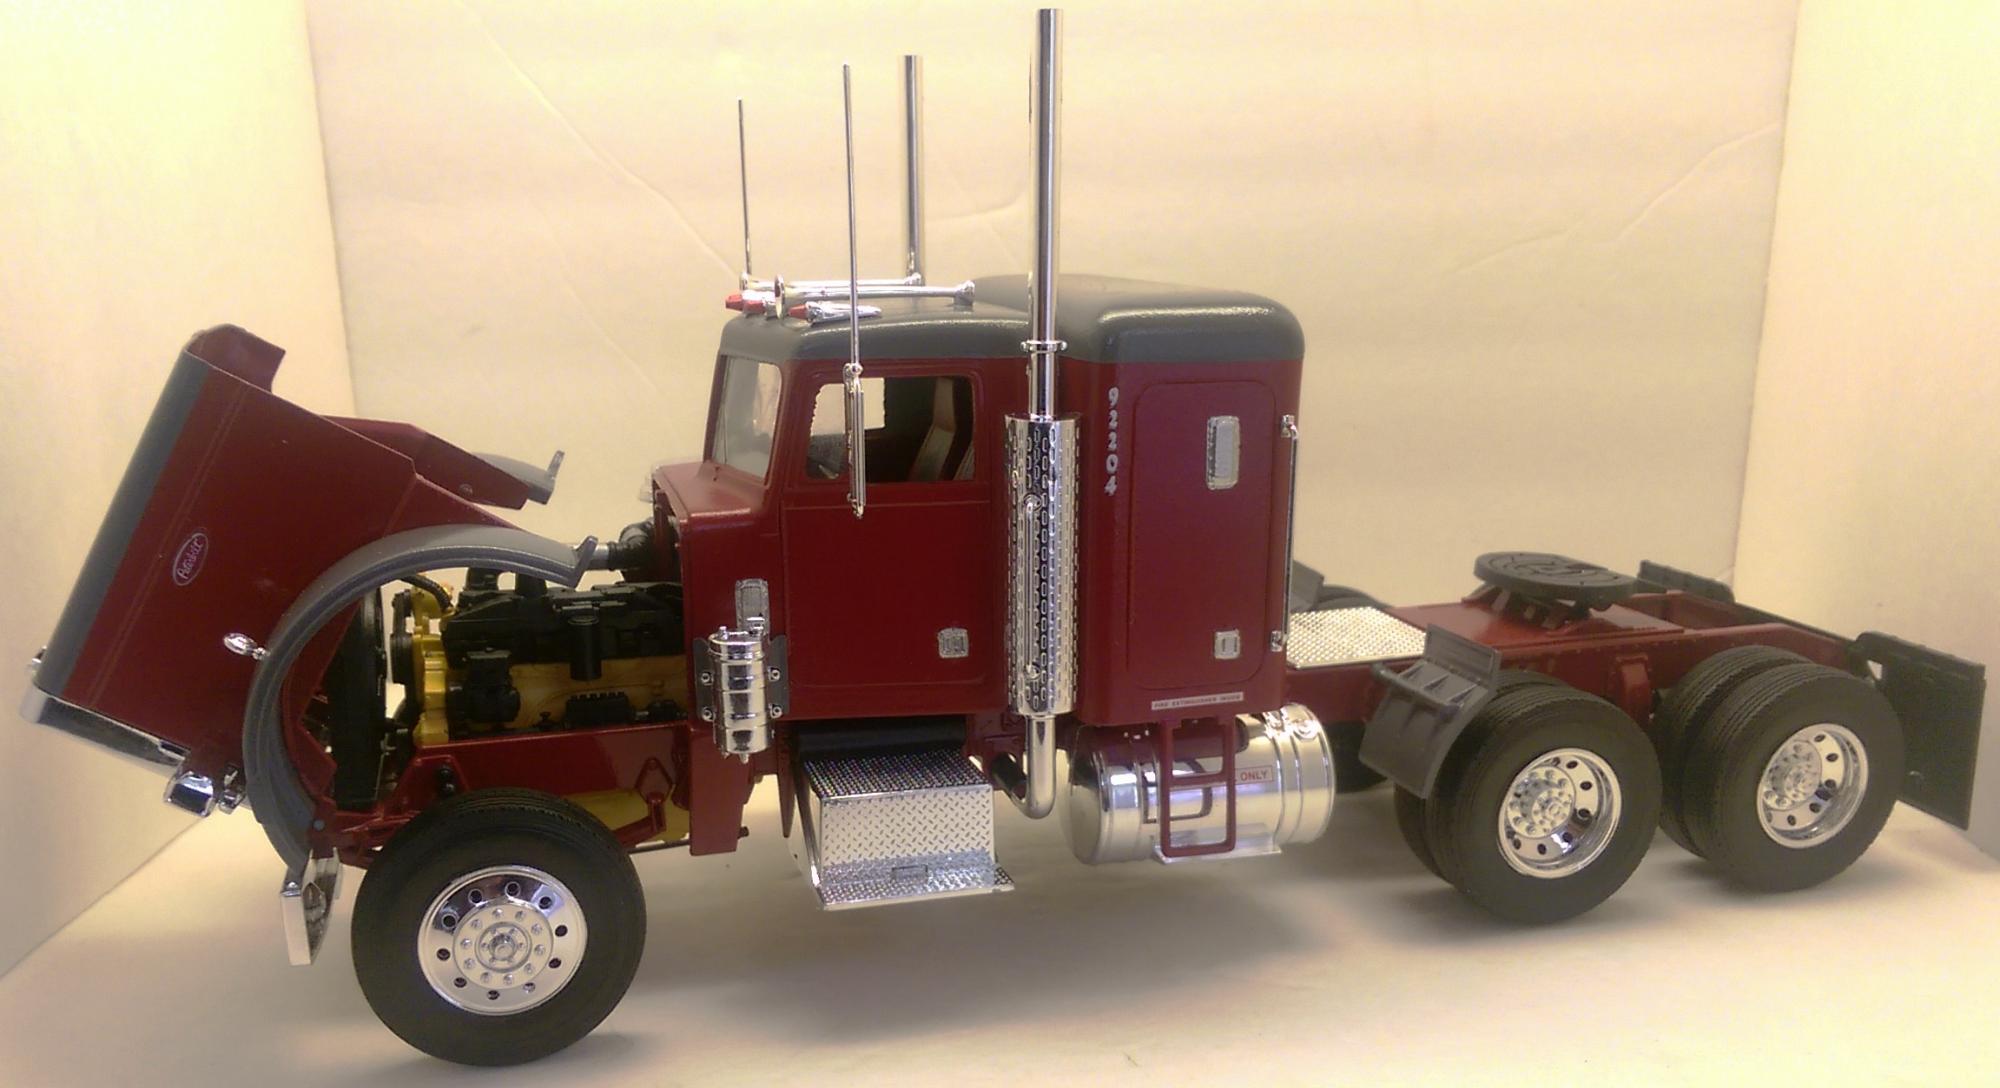
I finally finished the Peterbilt i bought a while back. The colors are a bit yellowed due to the lighting I have in my makeshift photo booth. I am going to make a simple diorama base for it, possibly a road and enter into the county fair this August. Then I might just hook it to my lowboy and have it toting around some cargo.
Thanks for looking
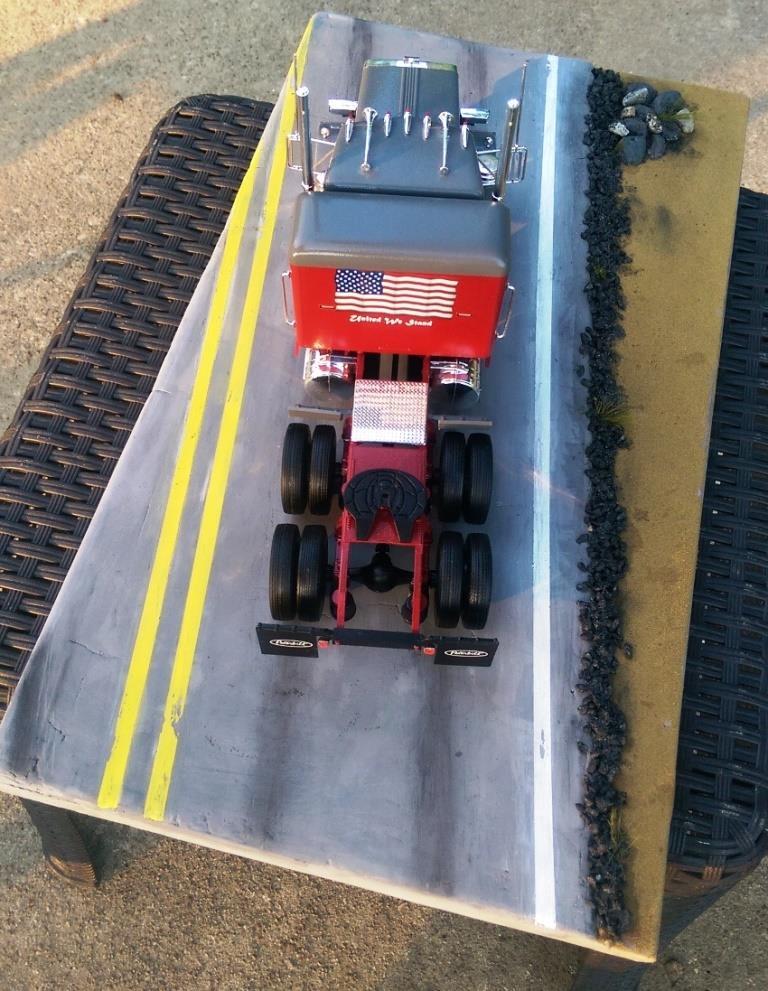
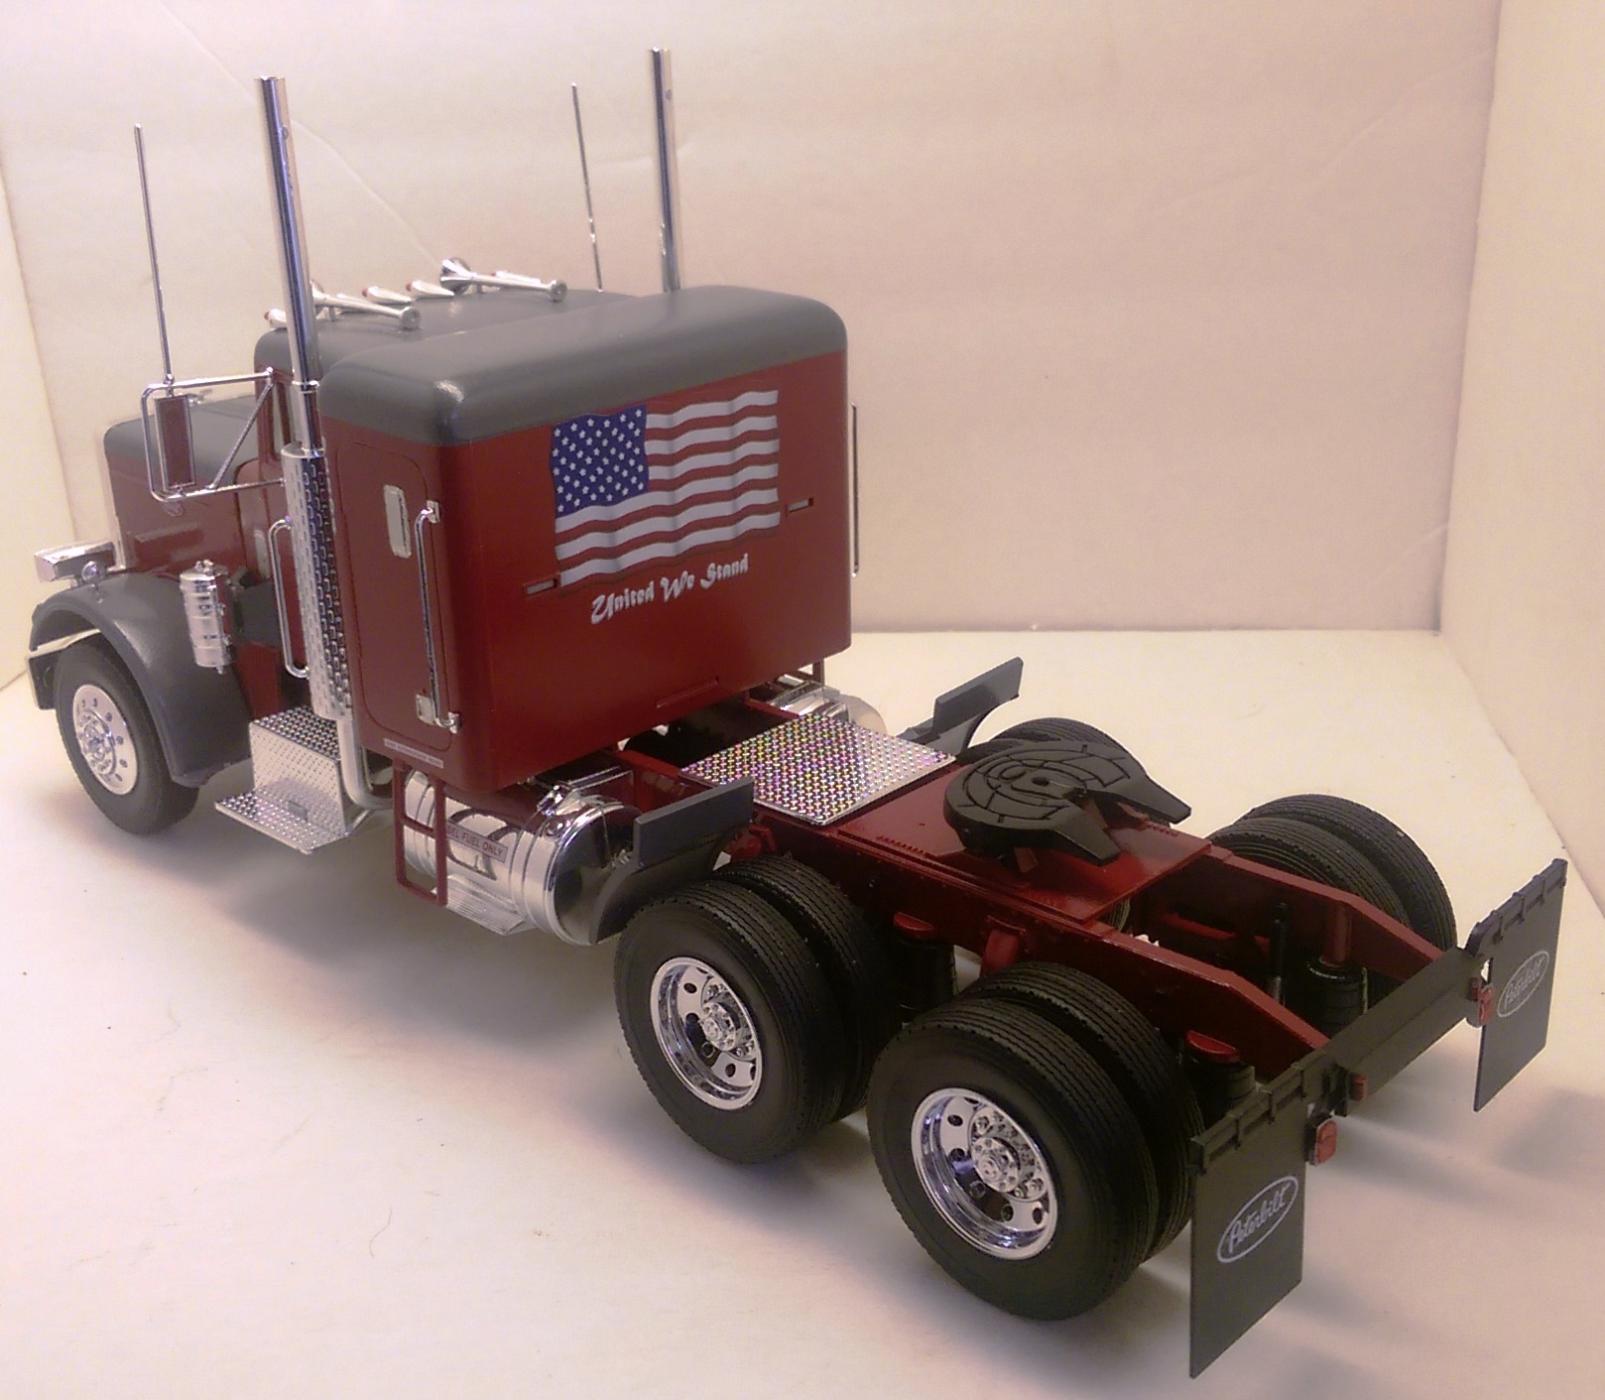
For some reason I wanted to put that flag decal that came with the kit on, it looks pretty good.
My first attempt at playing with the bare metal foil on the covers and door handles. I admit it looks pretty good.
If you notice the air filter is a bit crooked. If I would have put it on just how the instructions called for the step on the fender would catch and you could not open the hood. Glad I caught that before I glued it...test fitting...what a concept.
For some reason there is a bit of a gap between the hood and the body below the window. Good thing that it is even and does not look too bad.
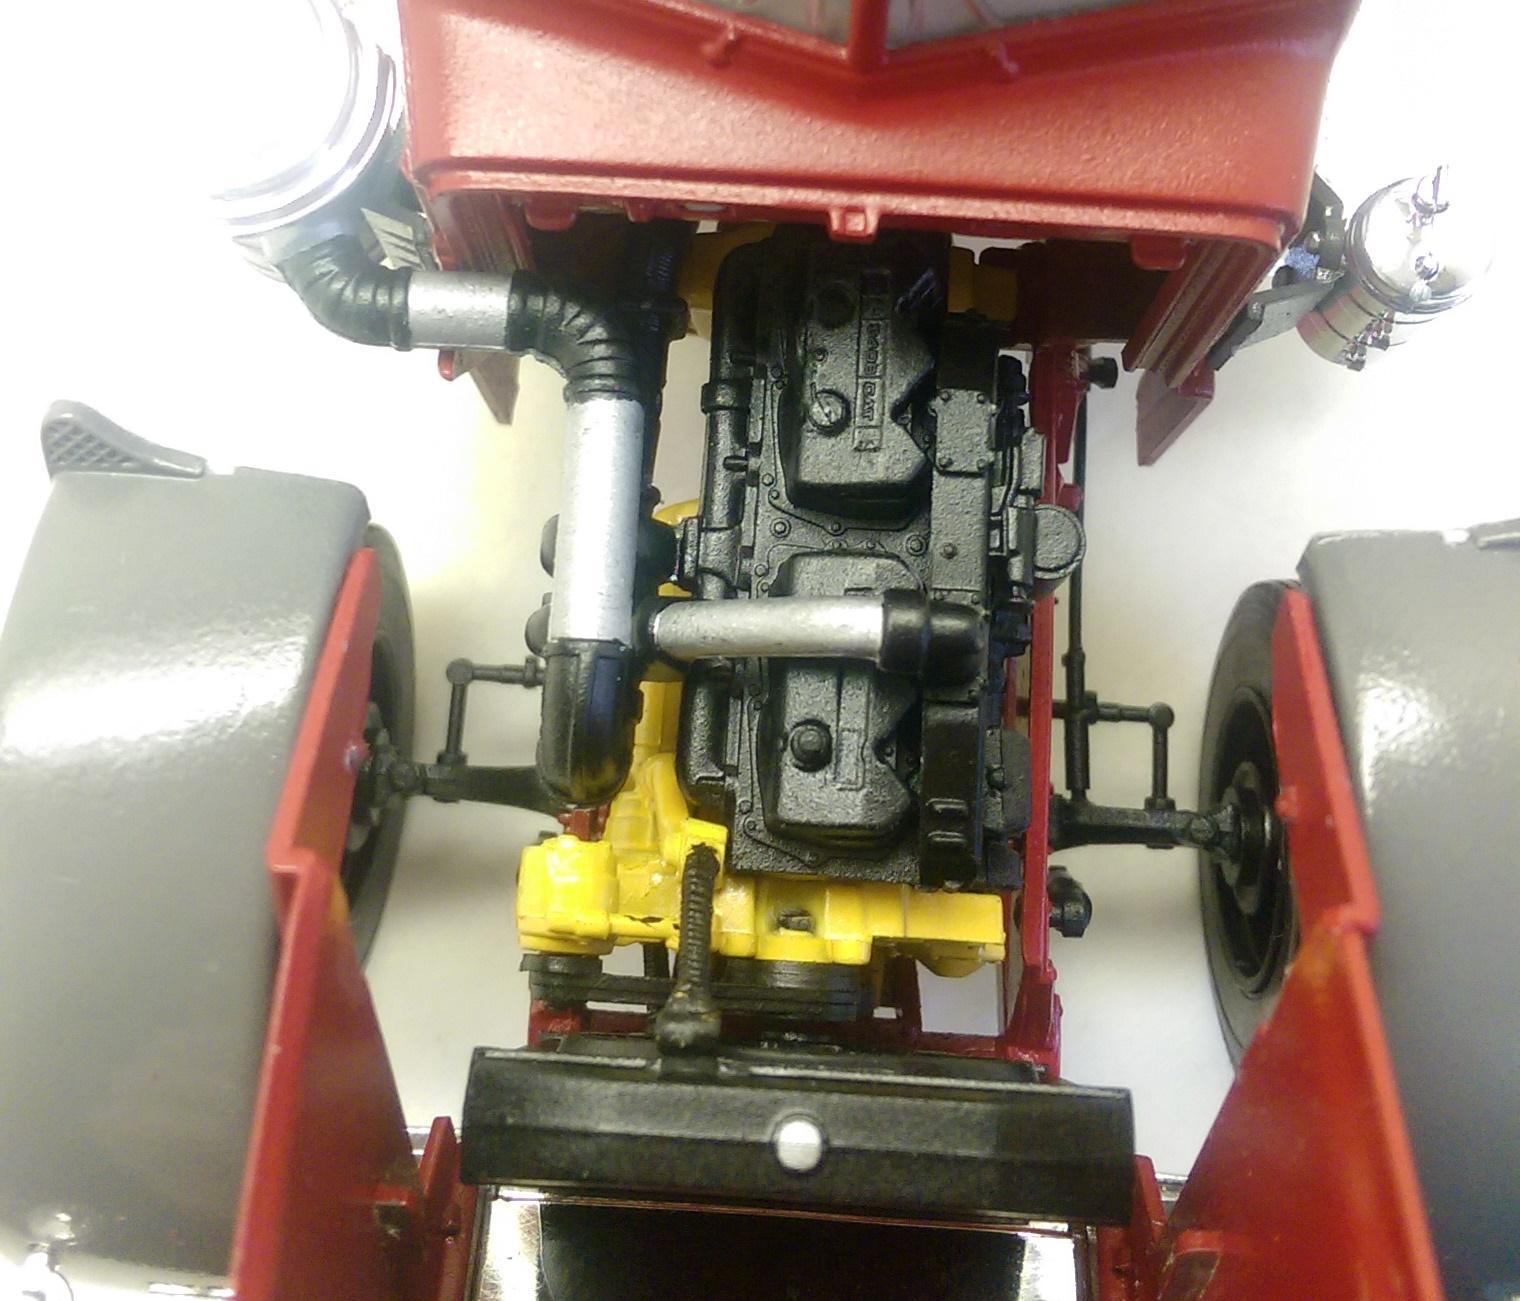
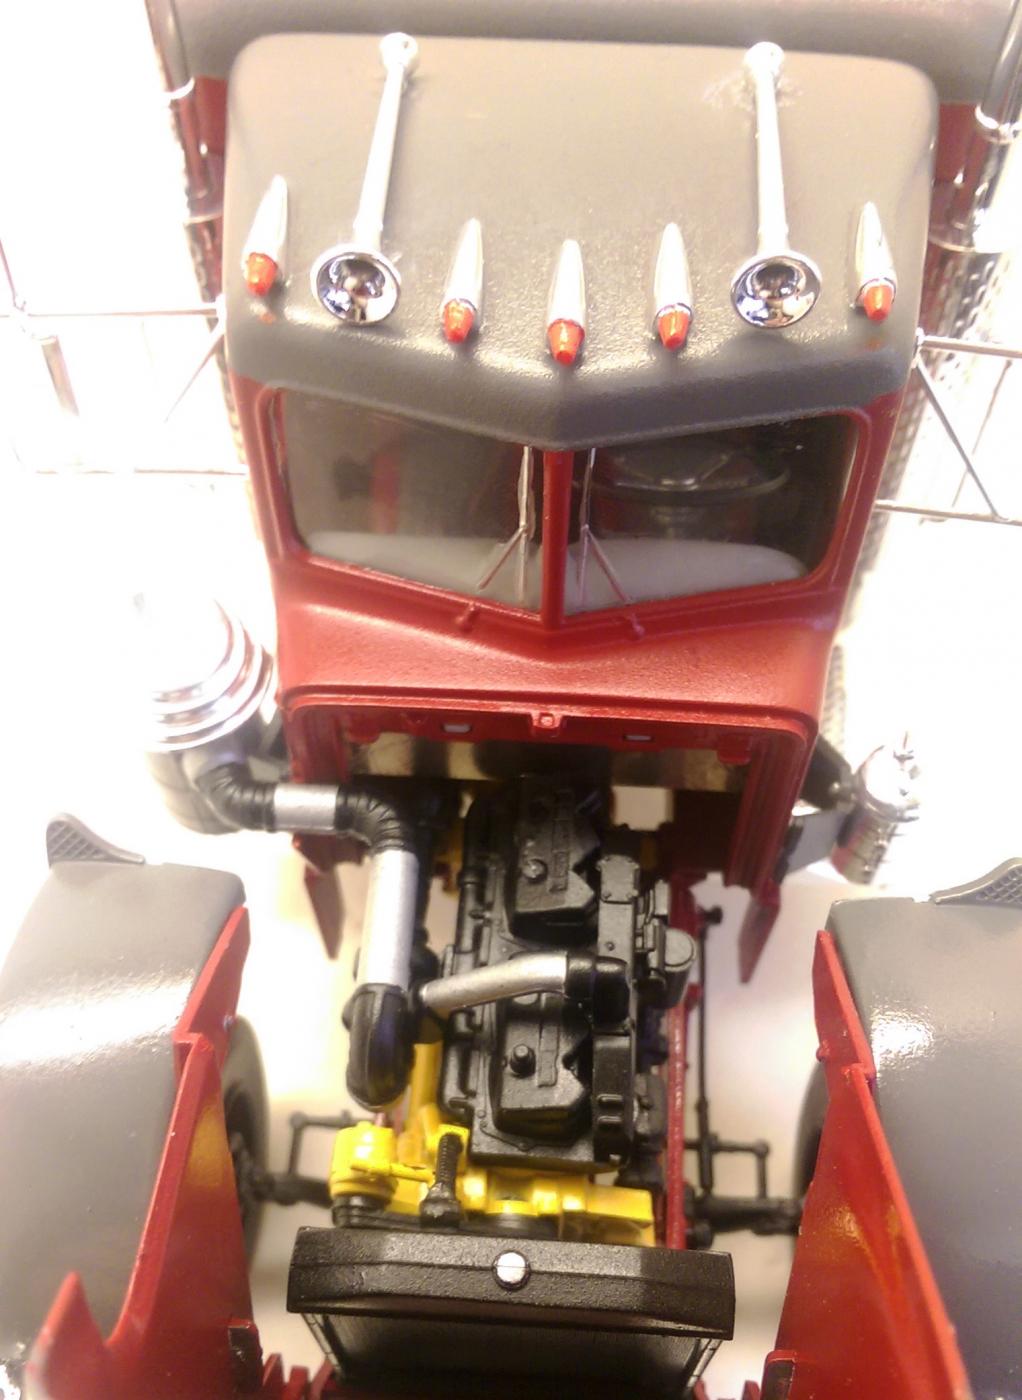
My landlord owns a trucking company and he owns a couple of these. Good thing he does not mind me taking reference pictures of the engine. Mine looks a lot cleaner than all of his.
It is a bit difficult to see, but notice the firewall is covered in bare metal foil. I painted it and it did not come out how i wanted it to, so I said why not.
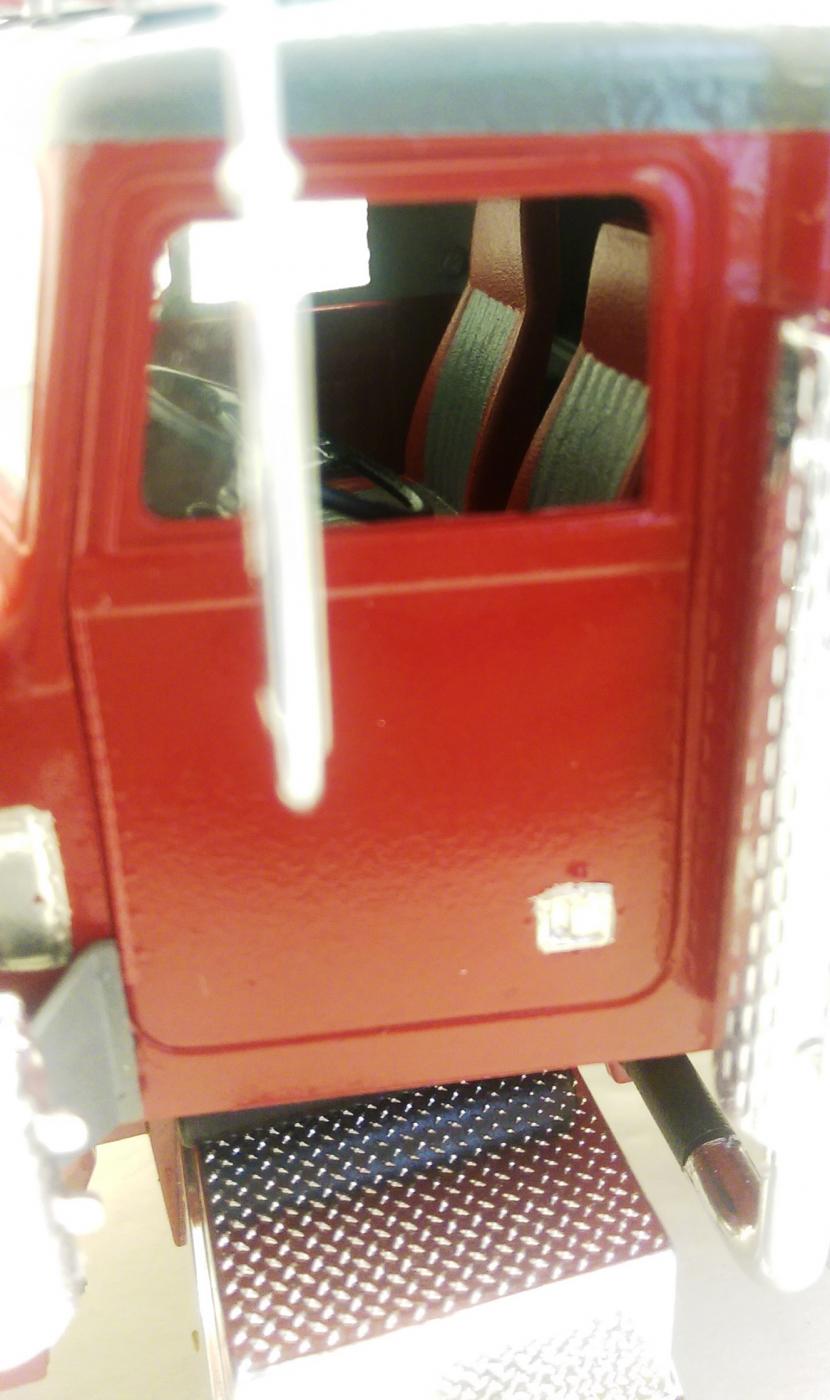
The seats are the same color read and grey as the body, too bad it is not easier to get a picture of them.
-
Went to the Ollie's with my son this evening in North Olmsted, OH. Not much to choose, except a bunch of dinosaurs. We did get a Dodge Charger SRT8 Super Bee and he got a amt 2011 Chevy Camaro SS/RS Convertible. I wish they would have had at least one of those Dodge L-700's...those look sweet and would have been awesome to pick up cheaper than the $30 the hobby store wants.
-
I was doing some cleaning and discovered I had one of these laying around from a model I started a long time ago and ruined the body, but kept the other pieces.
This got me to thinking...so i bought one of these from eBay
I figure I'll stretch the frame a bit, custom exhaust, and maybe even try to fit the Viper's seats into it. Then I'm going to paint it like this.
What do you think?
-
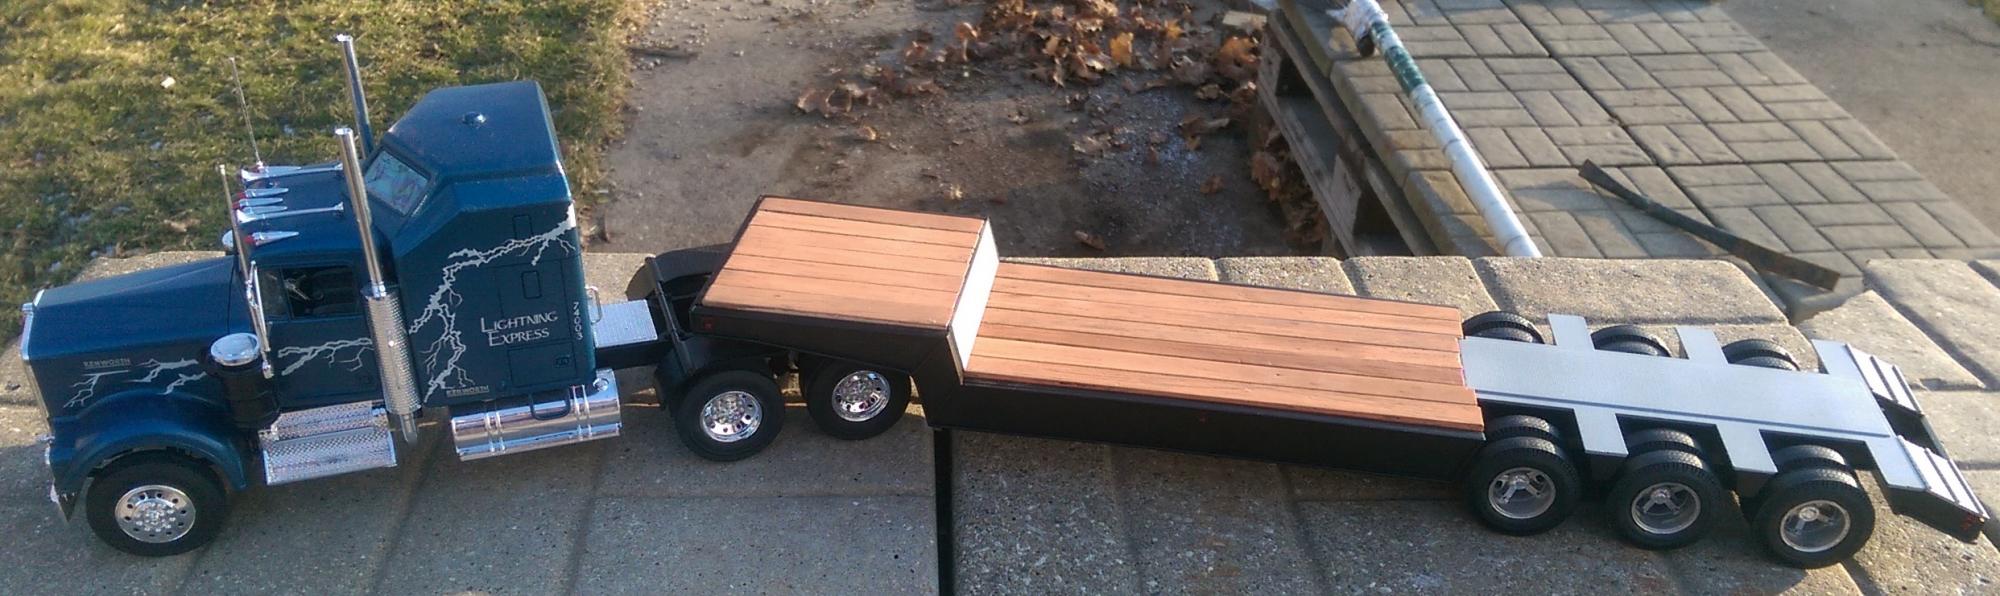
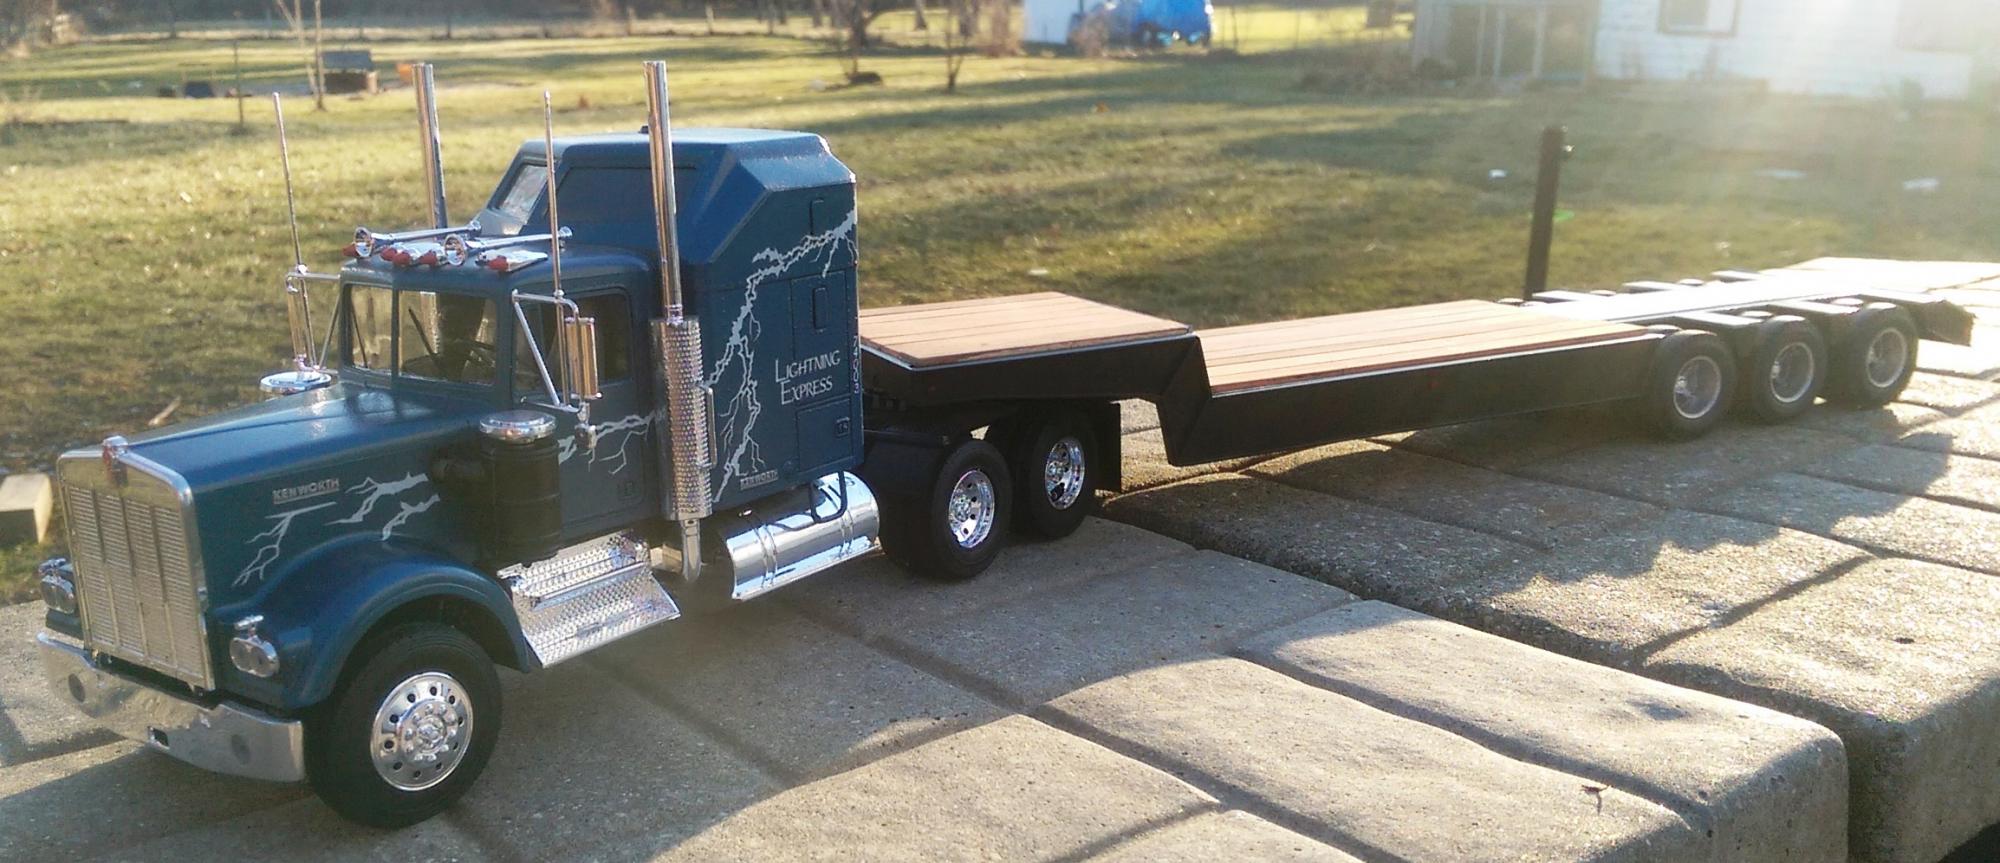
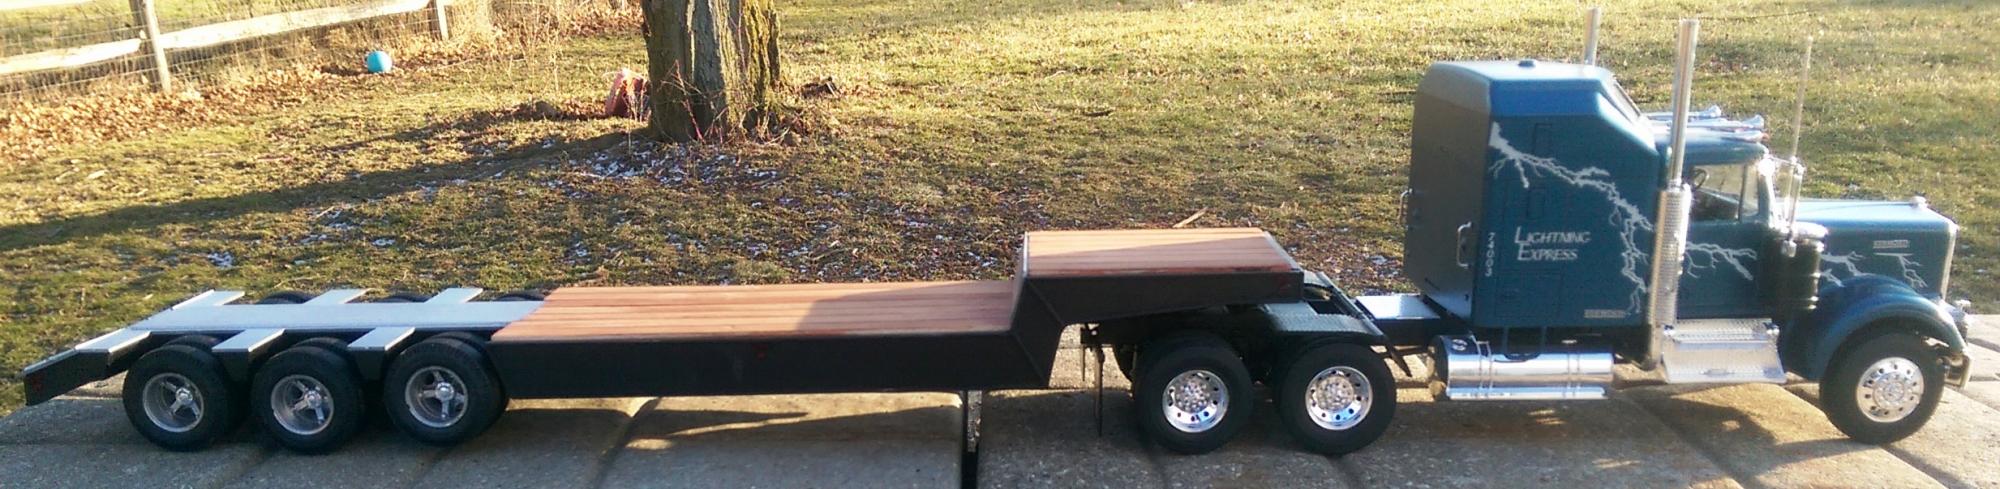
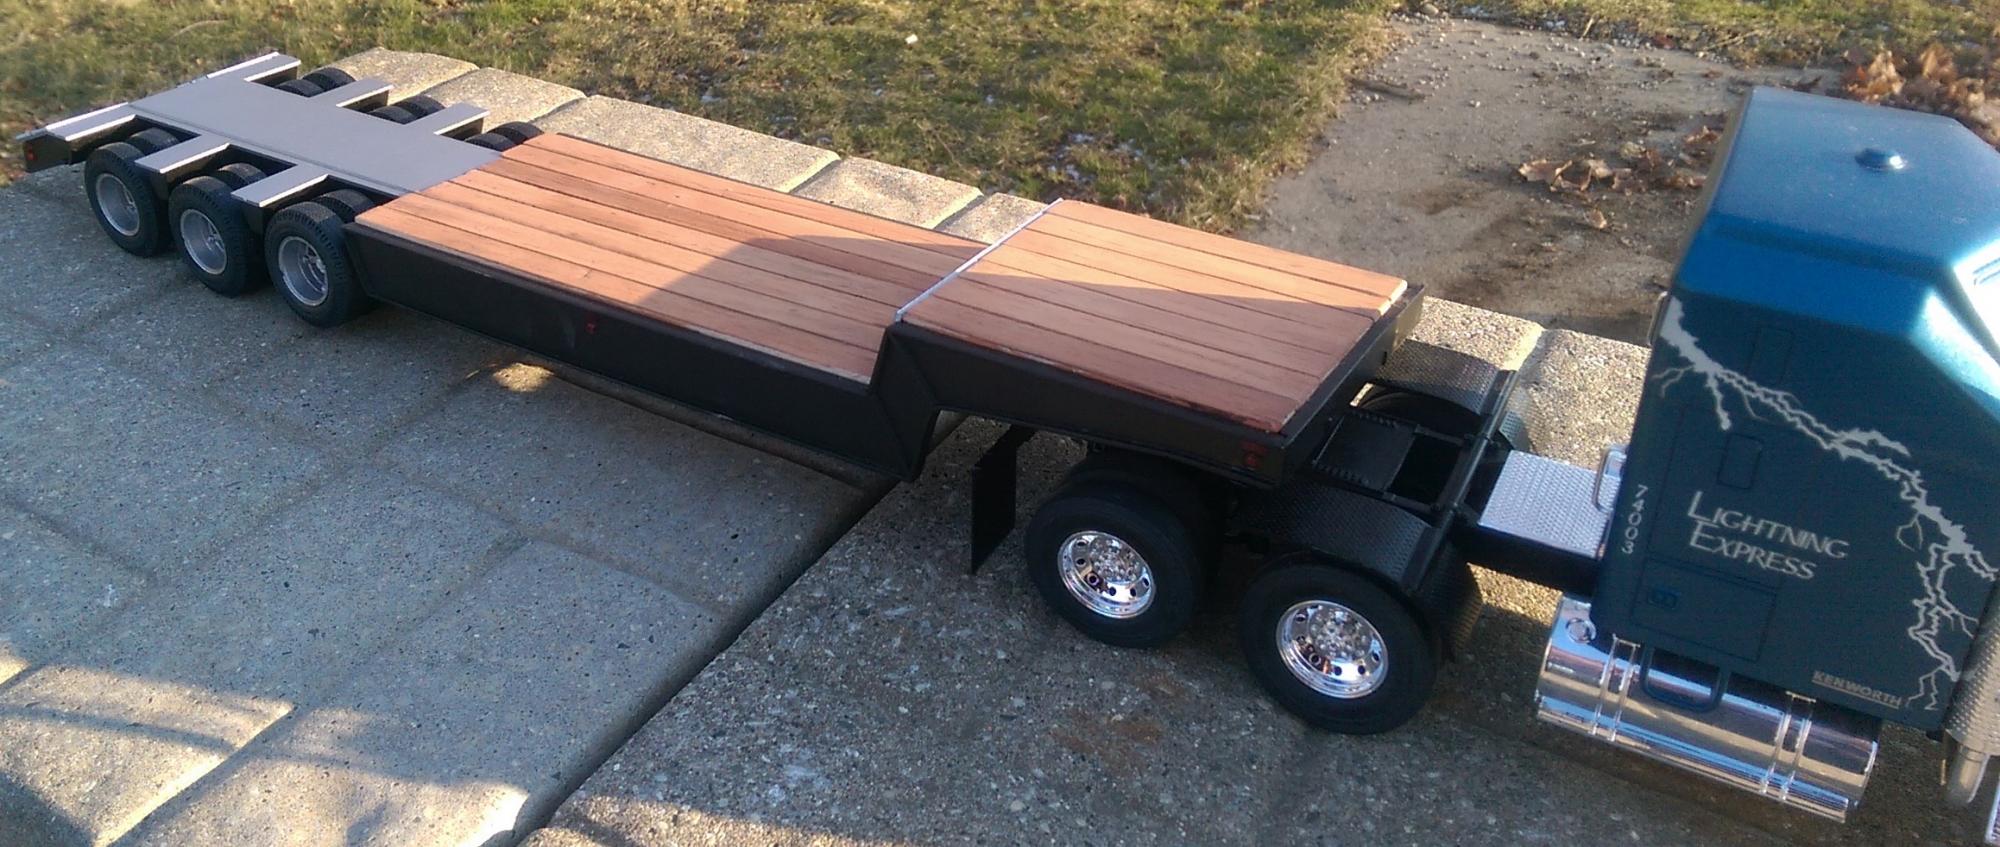
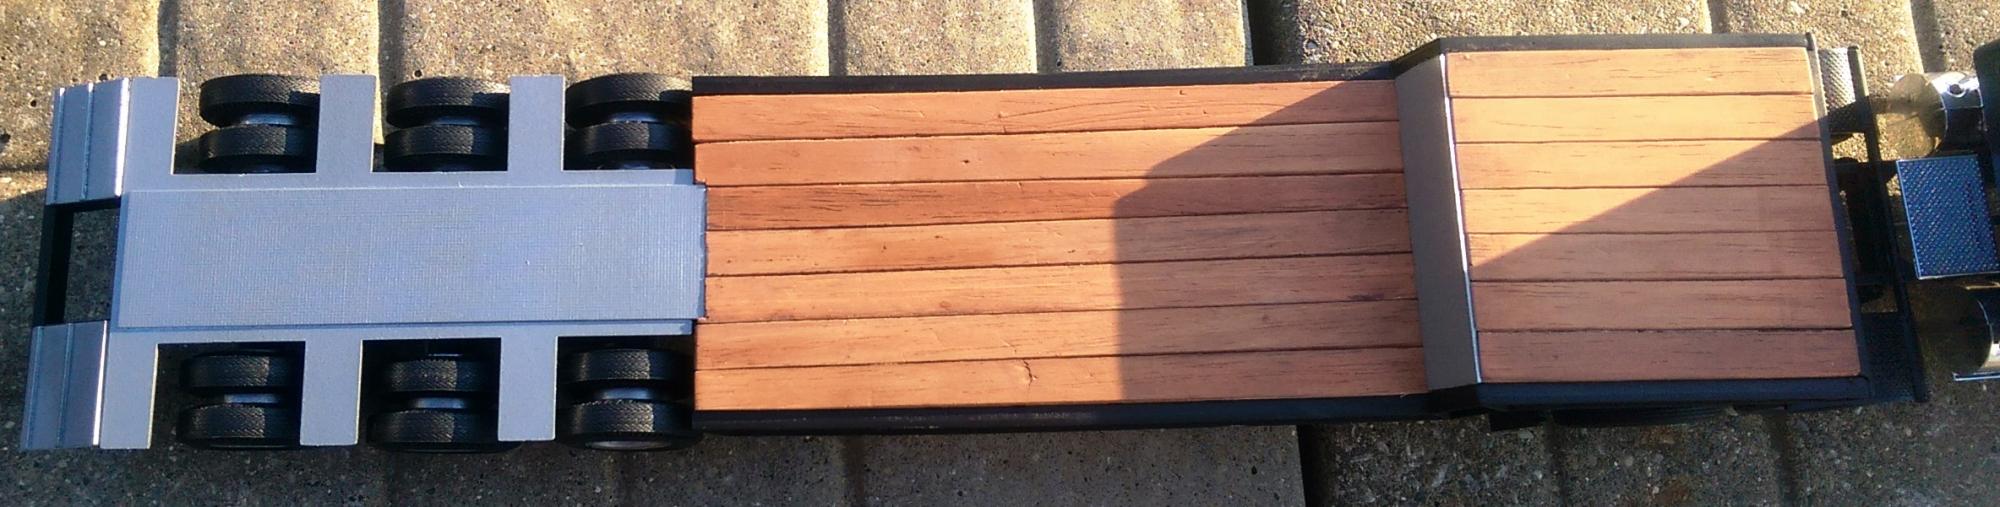
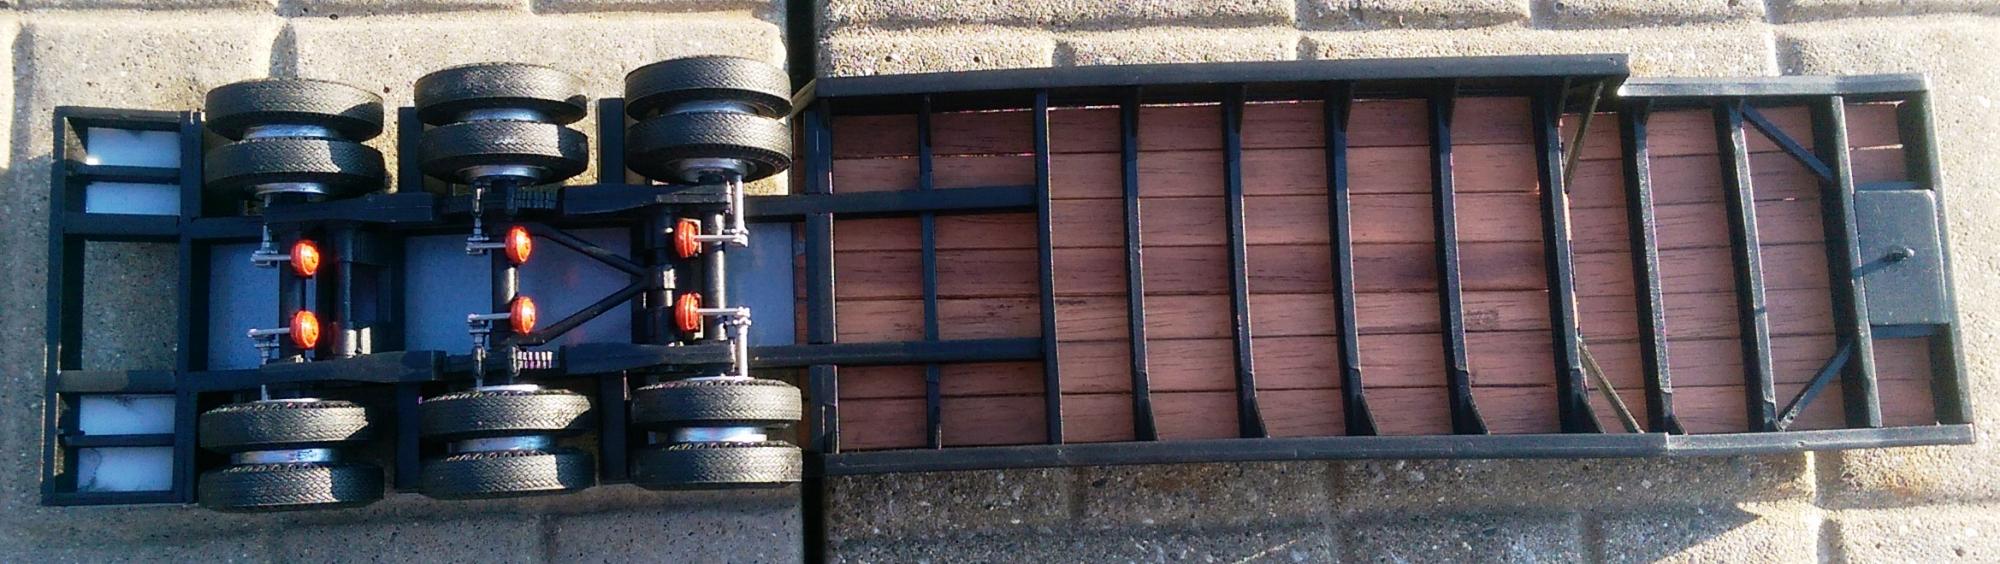
Finally finished the AMT Lowboy and stuck it on the back of the Kenwoth. When was the last time you took pictures outside in January without snow while wearing a t-shirt
? I used pieces of balsa wood rather then the plastic decking it came with. -
You truck and trailer look awesome.
I have one question, where did you get the headache rack on the back of the cab? I want to add one to my Kenworth.
-
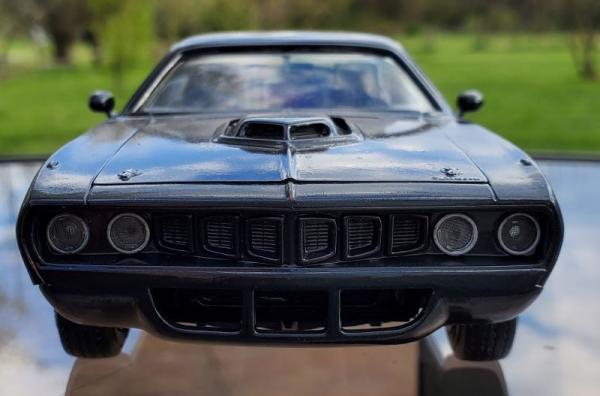
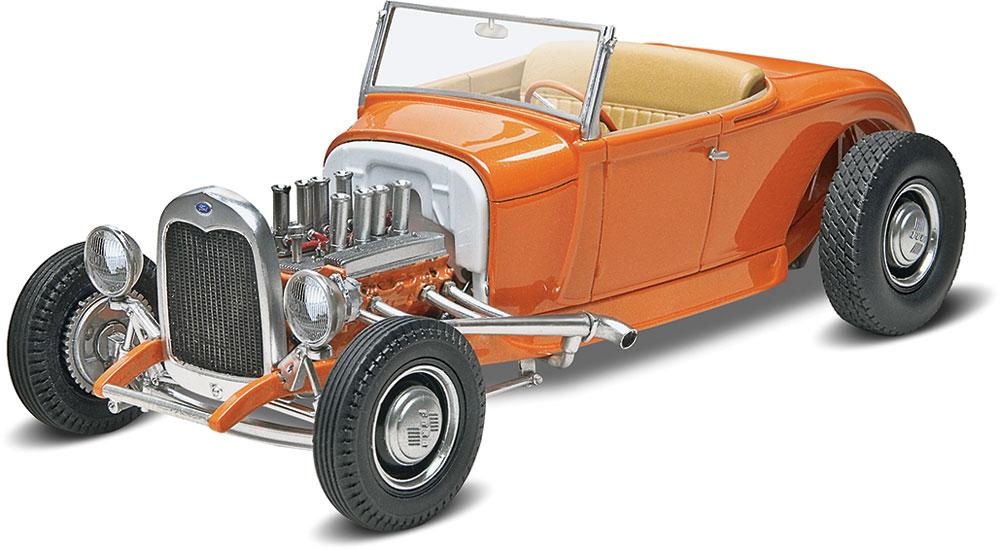
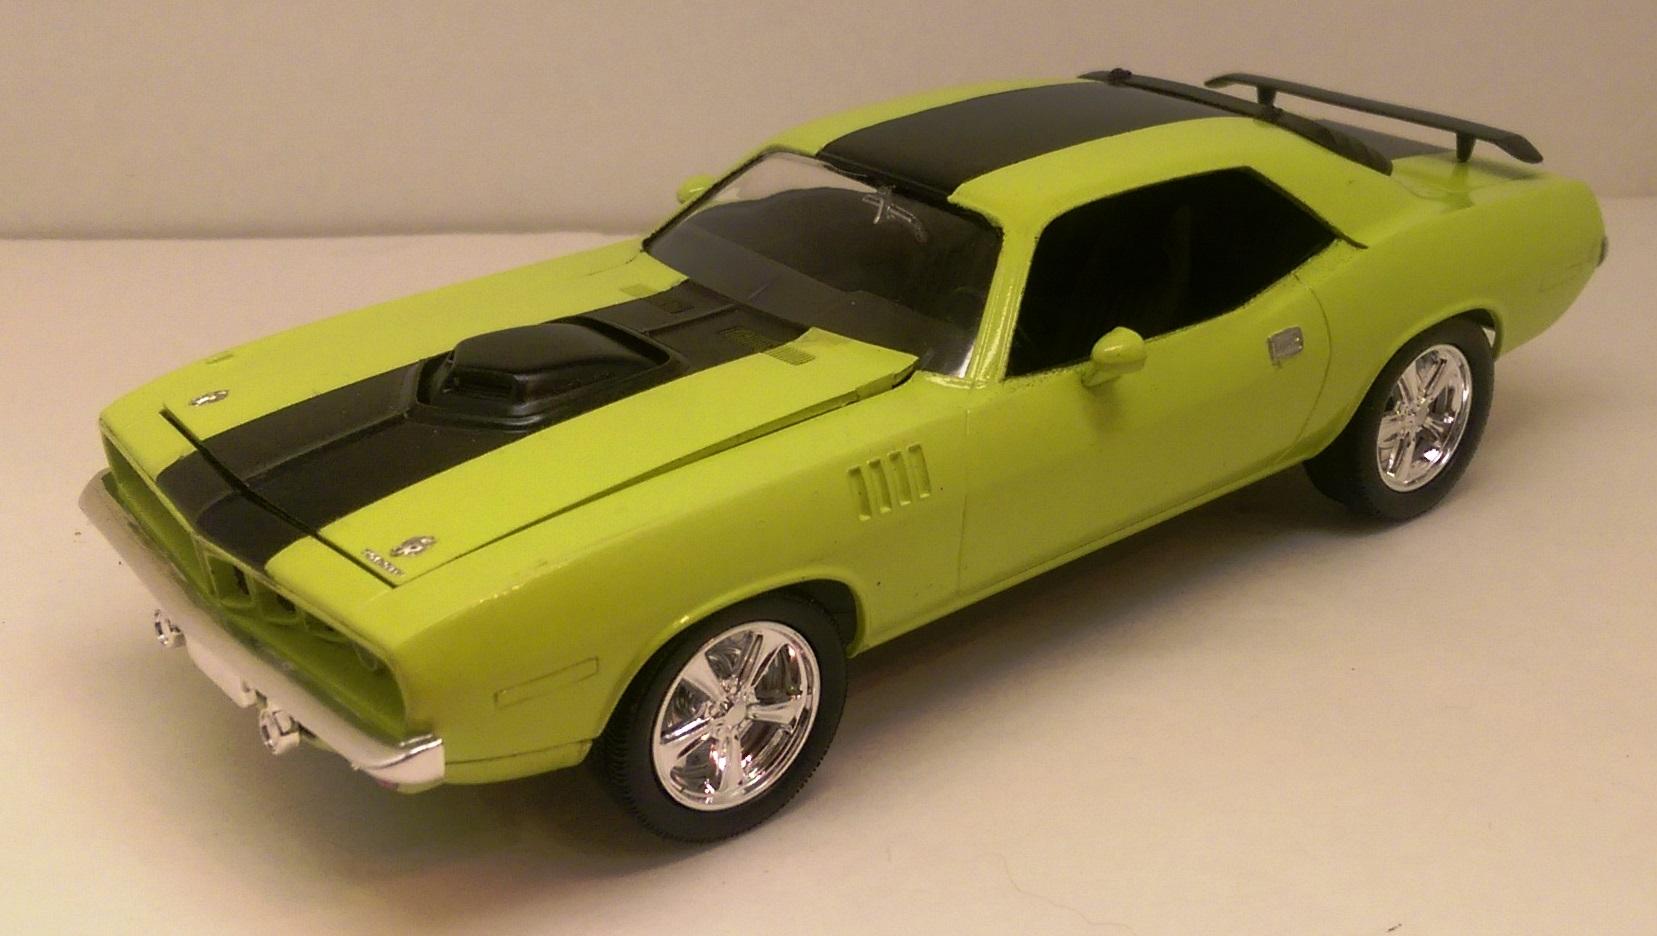
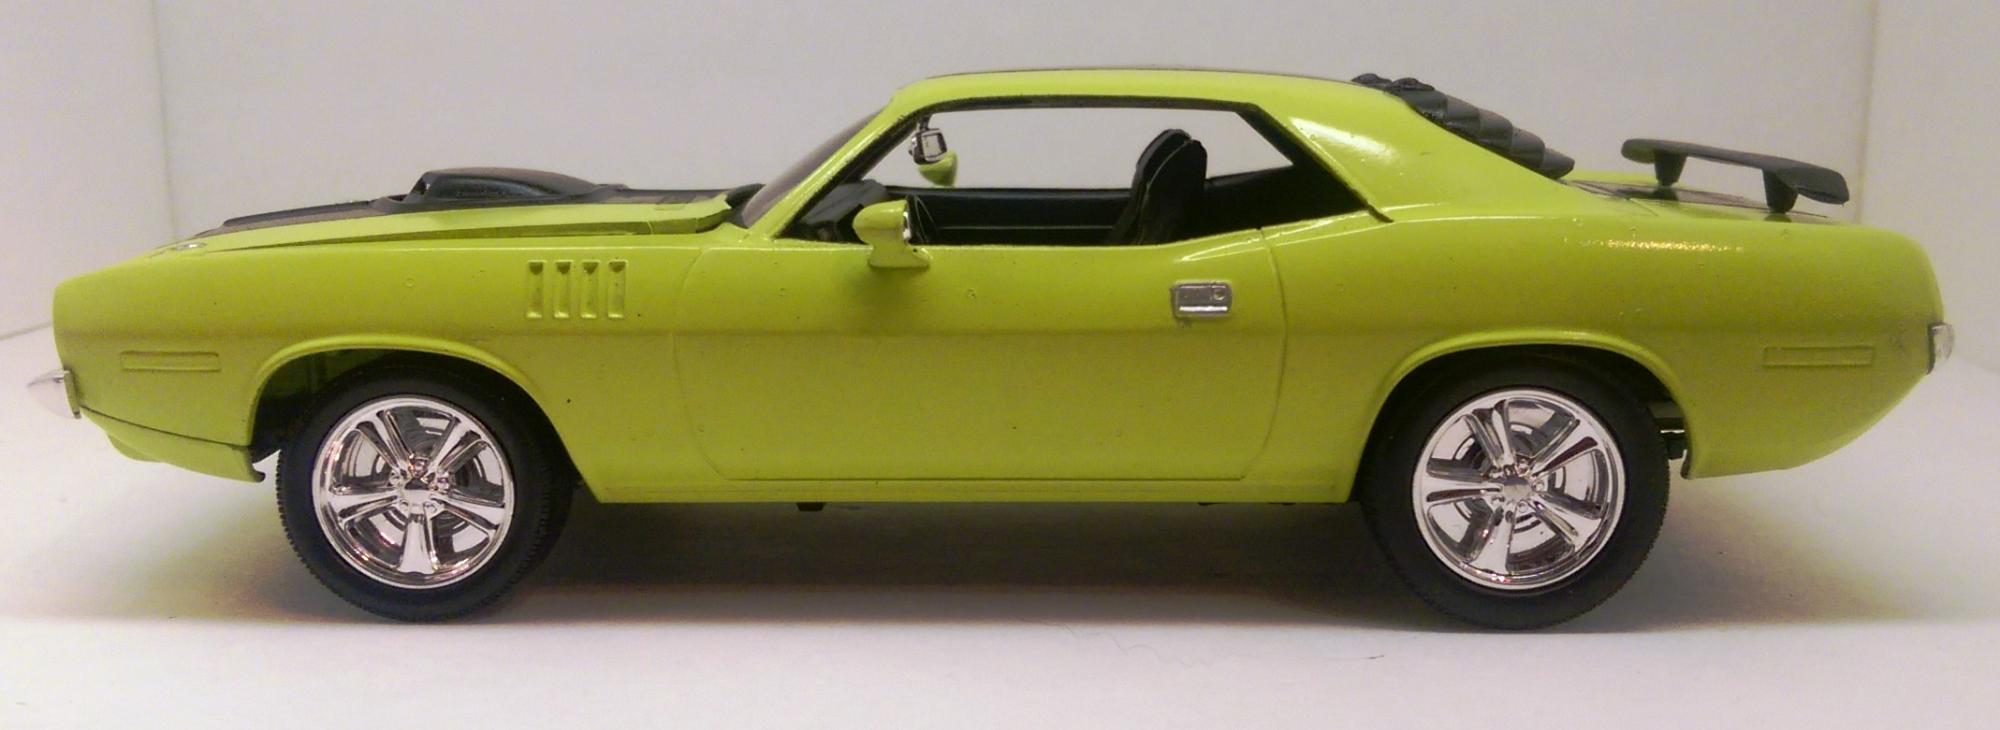
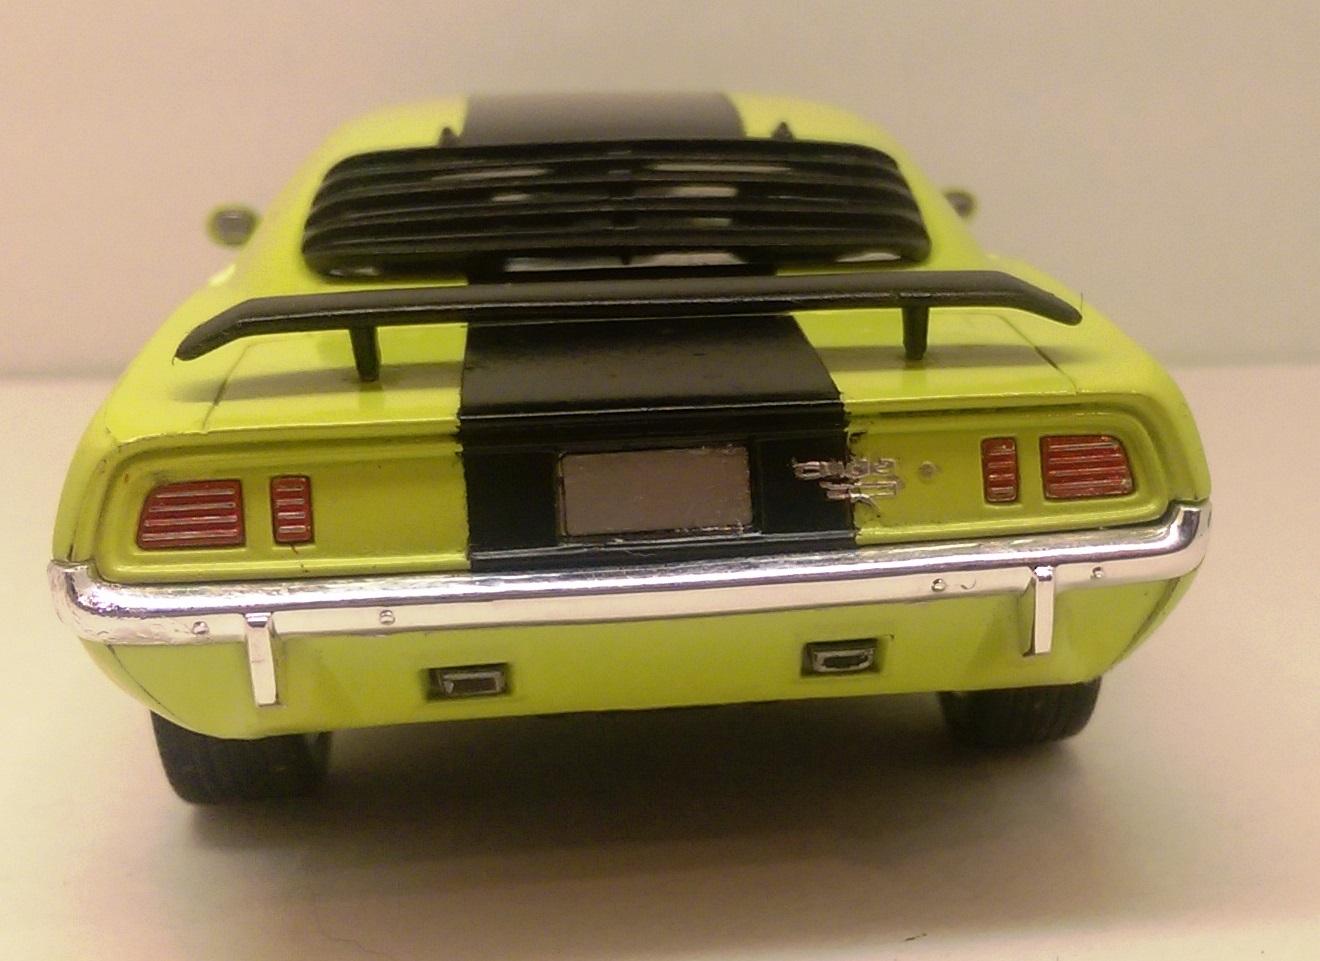
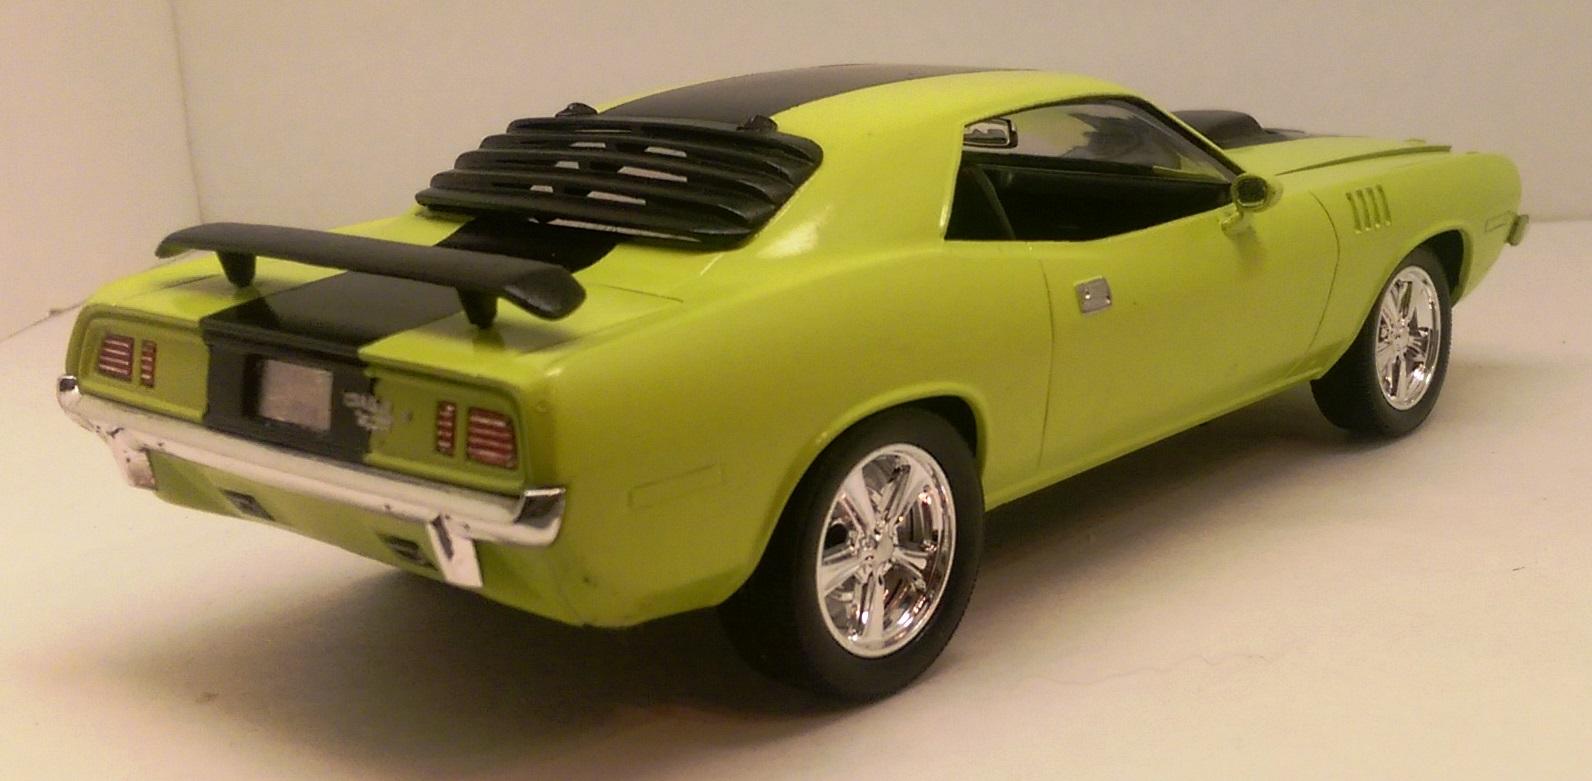
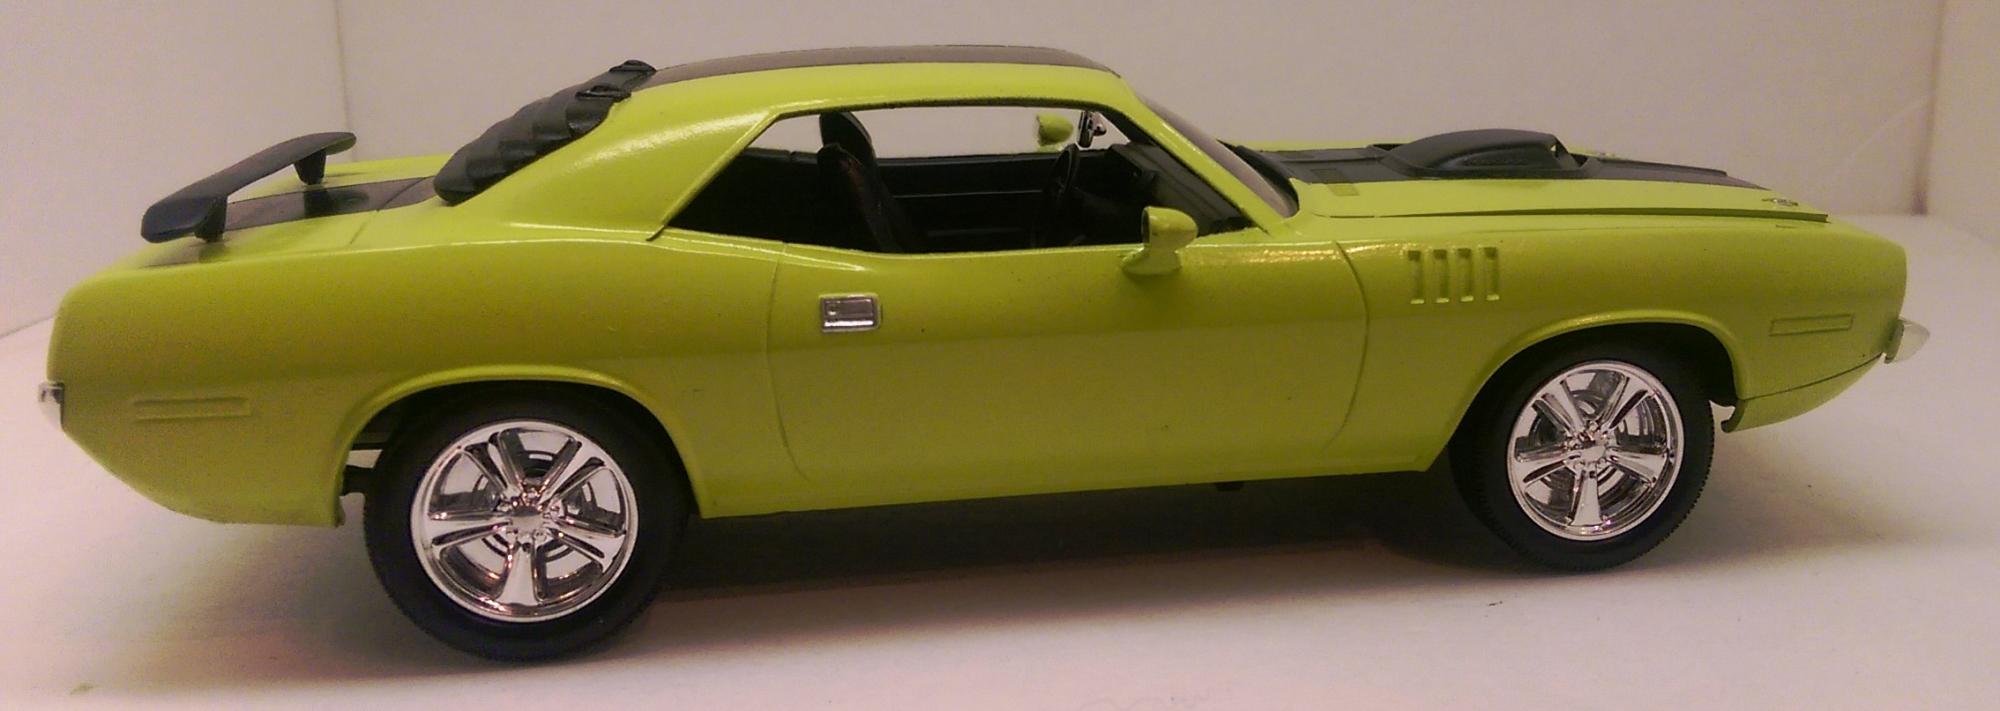
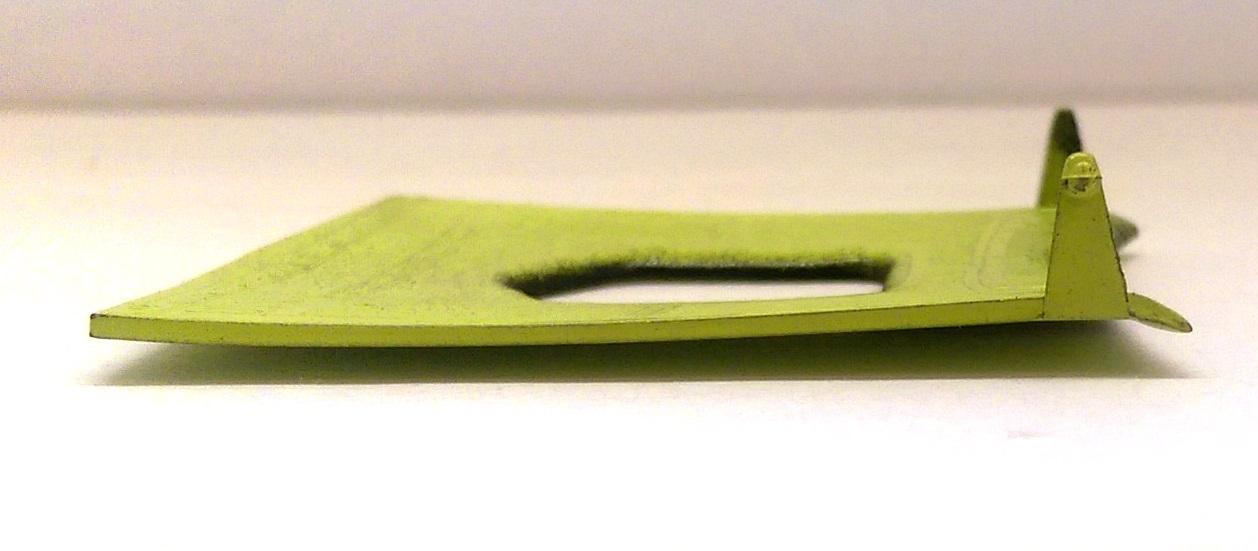
I made this model a while back. When it came to the paint scheme, I just did it on the fly with some stuff laying around. I got a prewired distributor, put some larger wheels and trick out rims on it. I thought the car came out real well...till I placed the hood on it and found out it is warped. I was so upset after I put so much time into it, just to find out that the hood is screwed up. I just gave up on finishing up the small details after that.
and the screwed up hood...see the warping? -
The more you build the snap kits the more you find different ways to change things. Nice looking truck you have. Enjoy your next one!
This was not the snap kit...100% glue.
-
Thank you all for the positive feed back.
-
Thank You all for your kind words.


.jpg.114d3f3e45322af422ba2da4c8ab3f78.jpg)


.jpg.de44cf9adde4dbf07ed36339b072de87.jpg)

.jpg.cb3cedfb01304422aba553d83c878974.jpg)
.jpg.5be90f8252ccff7e86adc032efc7988d.jpg)
.jpg.f6778fee6b92acf89a3aa4d18876caa7.jpg)


") ? I used pieces of balsa wood rather then the plastic decking it came with.
? I used pieces of balsa wood rather then the plastic decking it came with.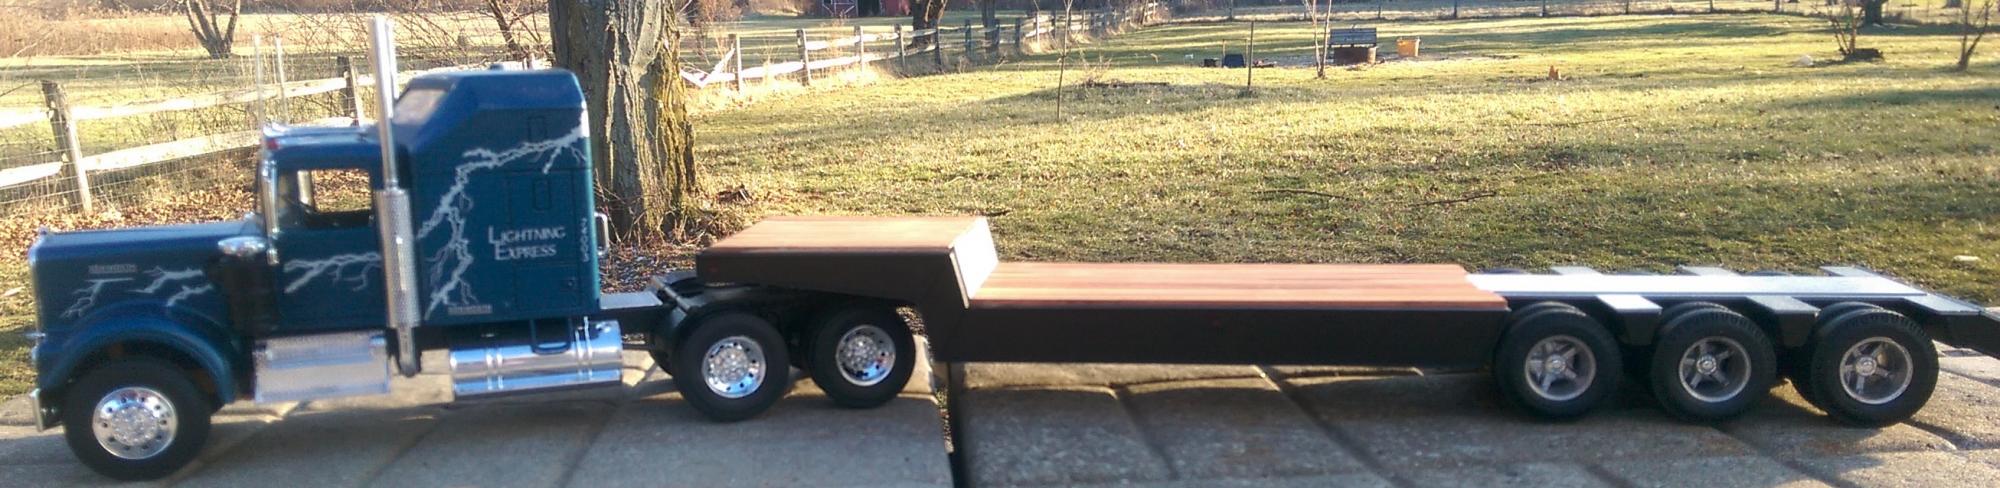


Jeep Rubicon Crossing Stream
in WIP: Dioramas
Posted
Thank you all for the positive comments. I will try and get better pictures soon, the lighting socks for these.