lghtngyello03
-
Posts
1,246 -
Joined
-
Last visited
Content Type
Profiles
Forums
Events
Gallery
Everything posted by lghtngyello03
-
 I love Alclad chrome, but it’s just not durable enough to handle or place ca glue/ca kicker on without killing the finish. Splash has knocked it out on the durability of this paint.
 -
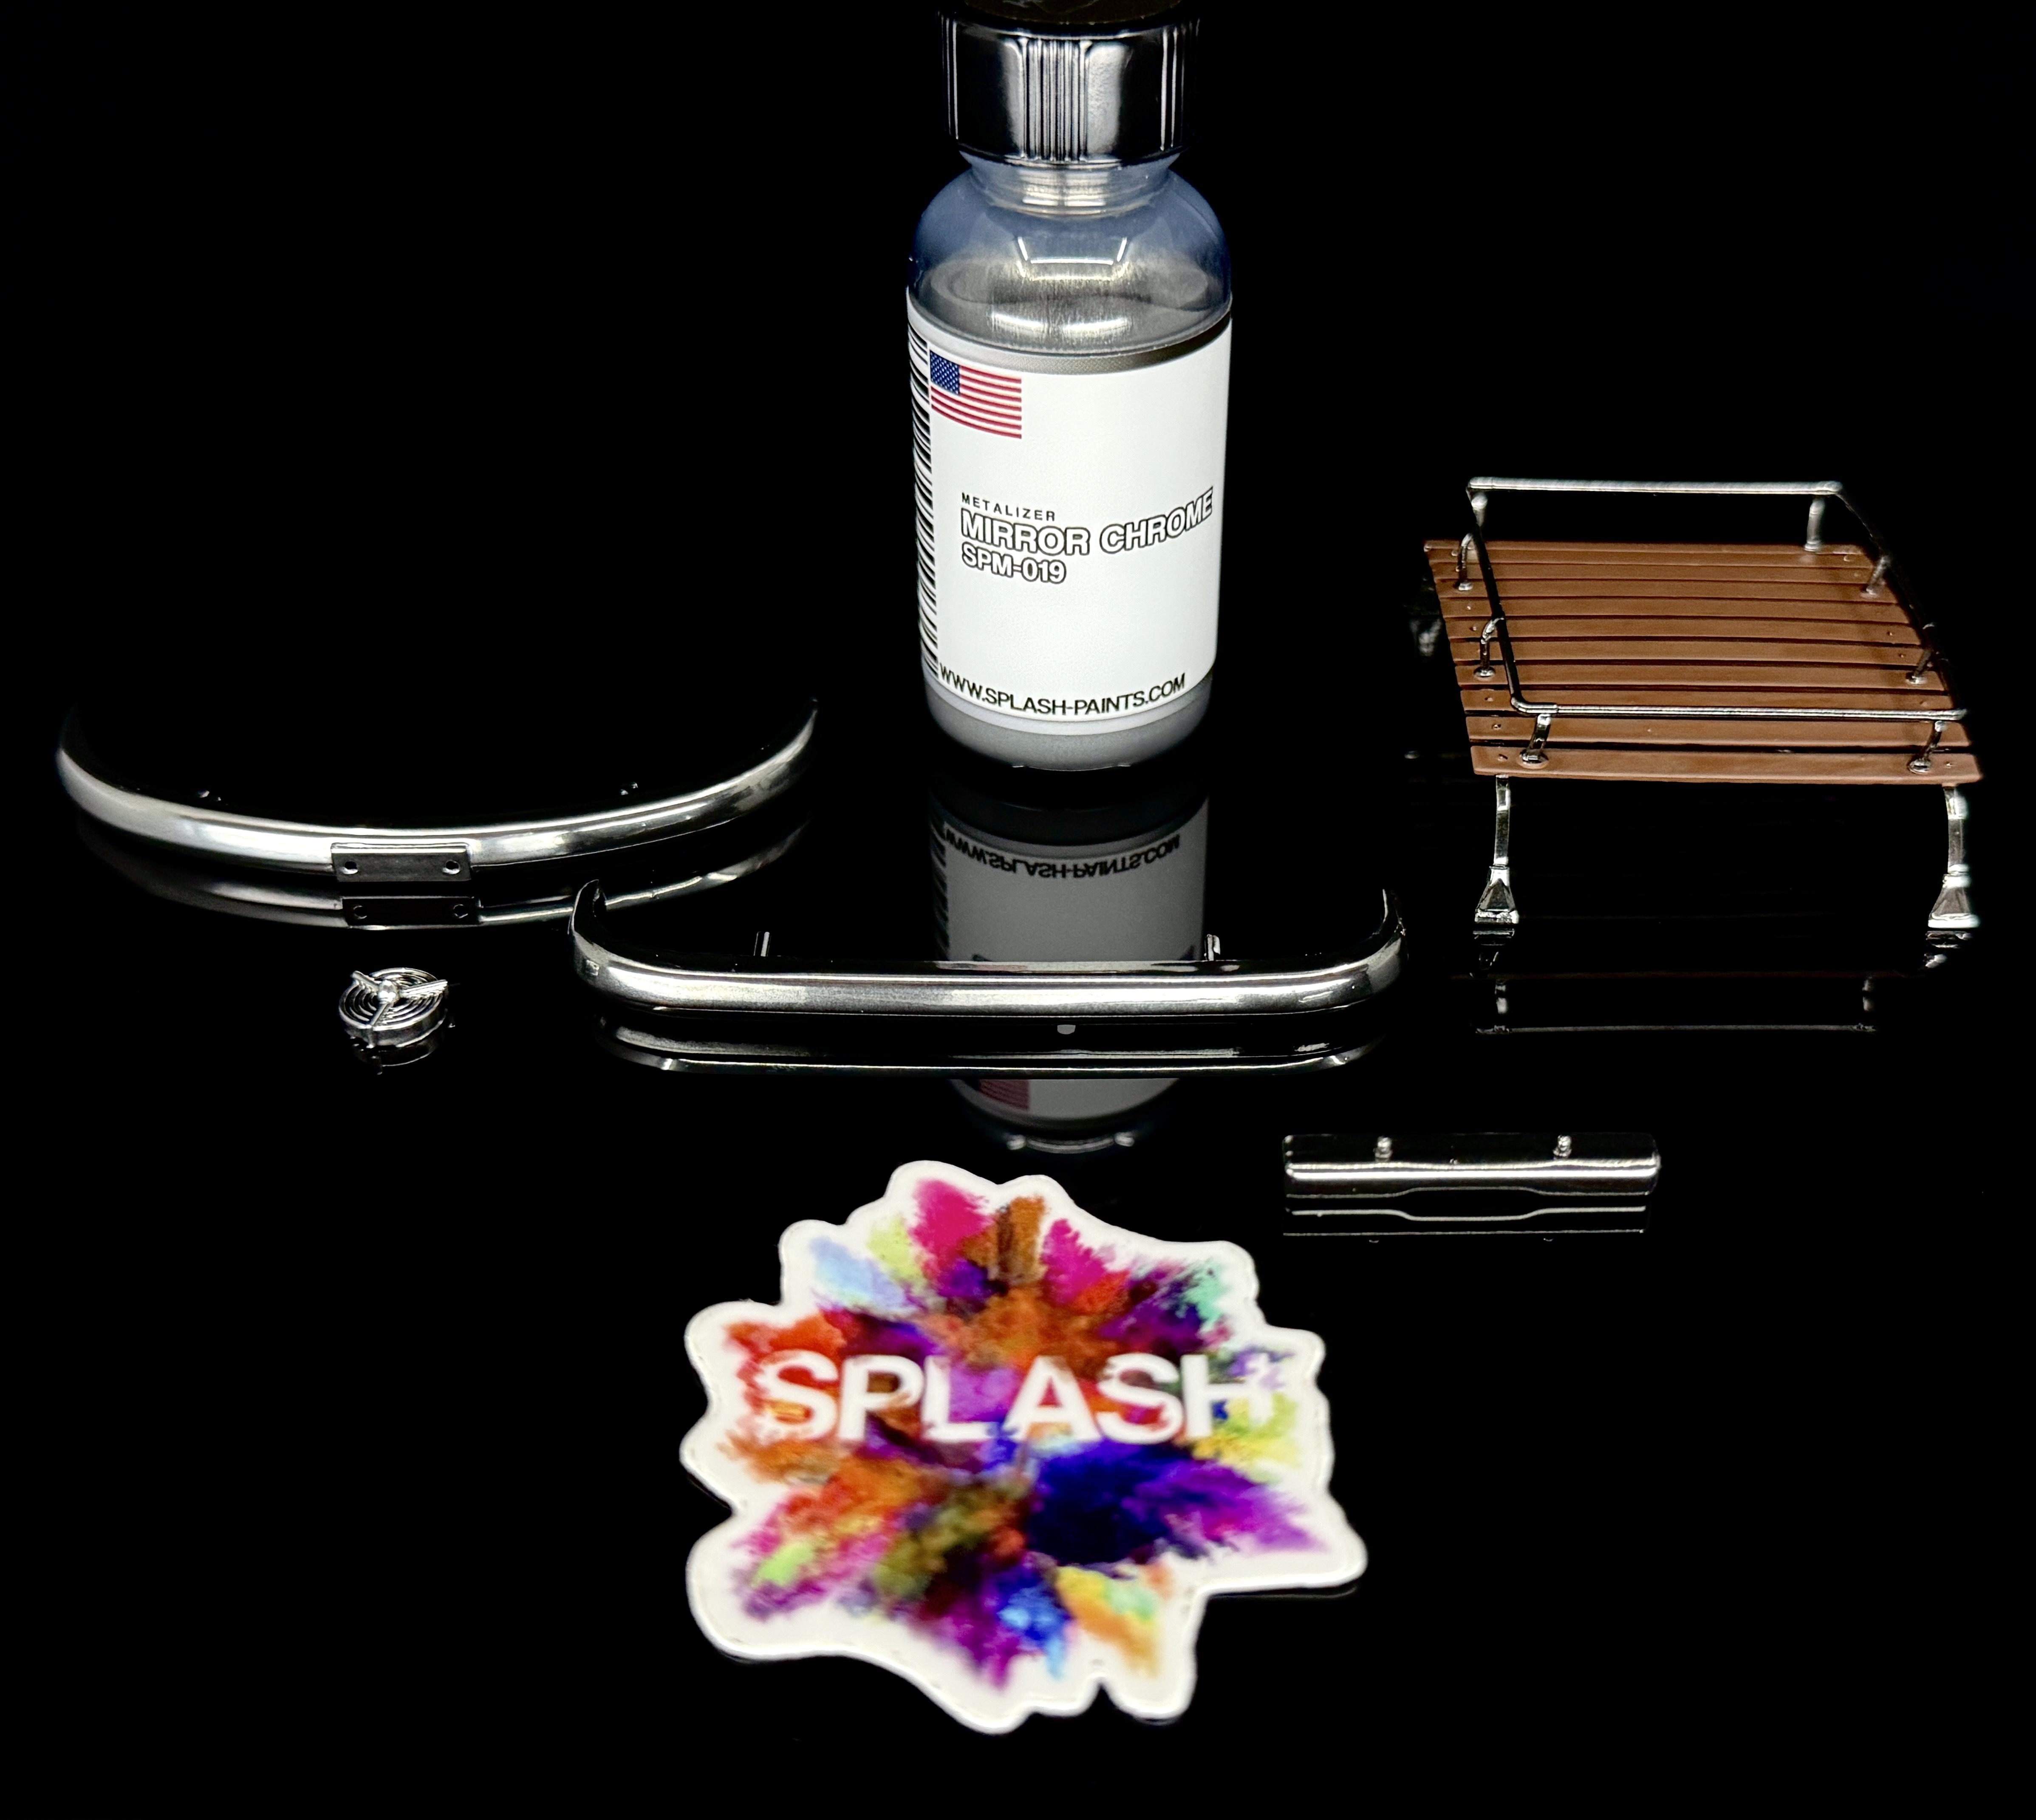
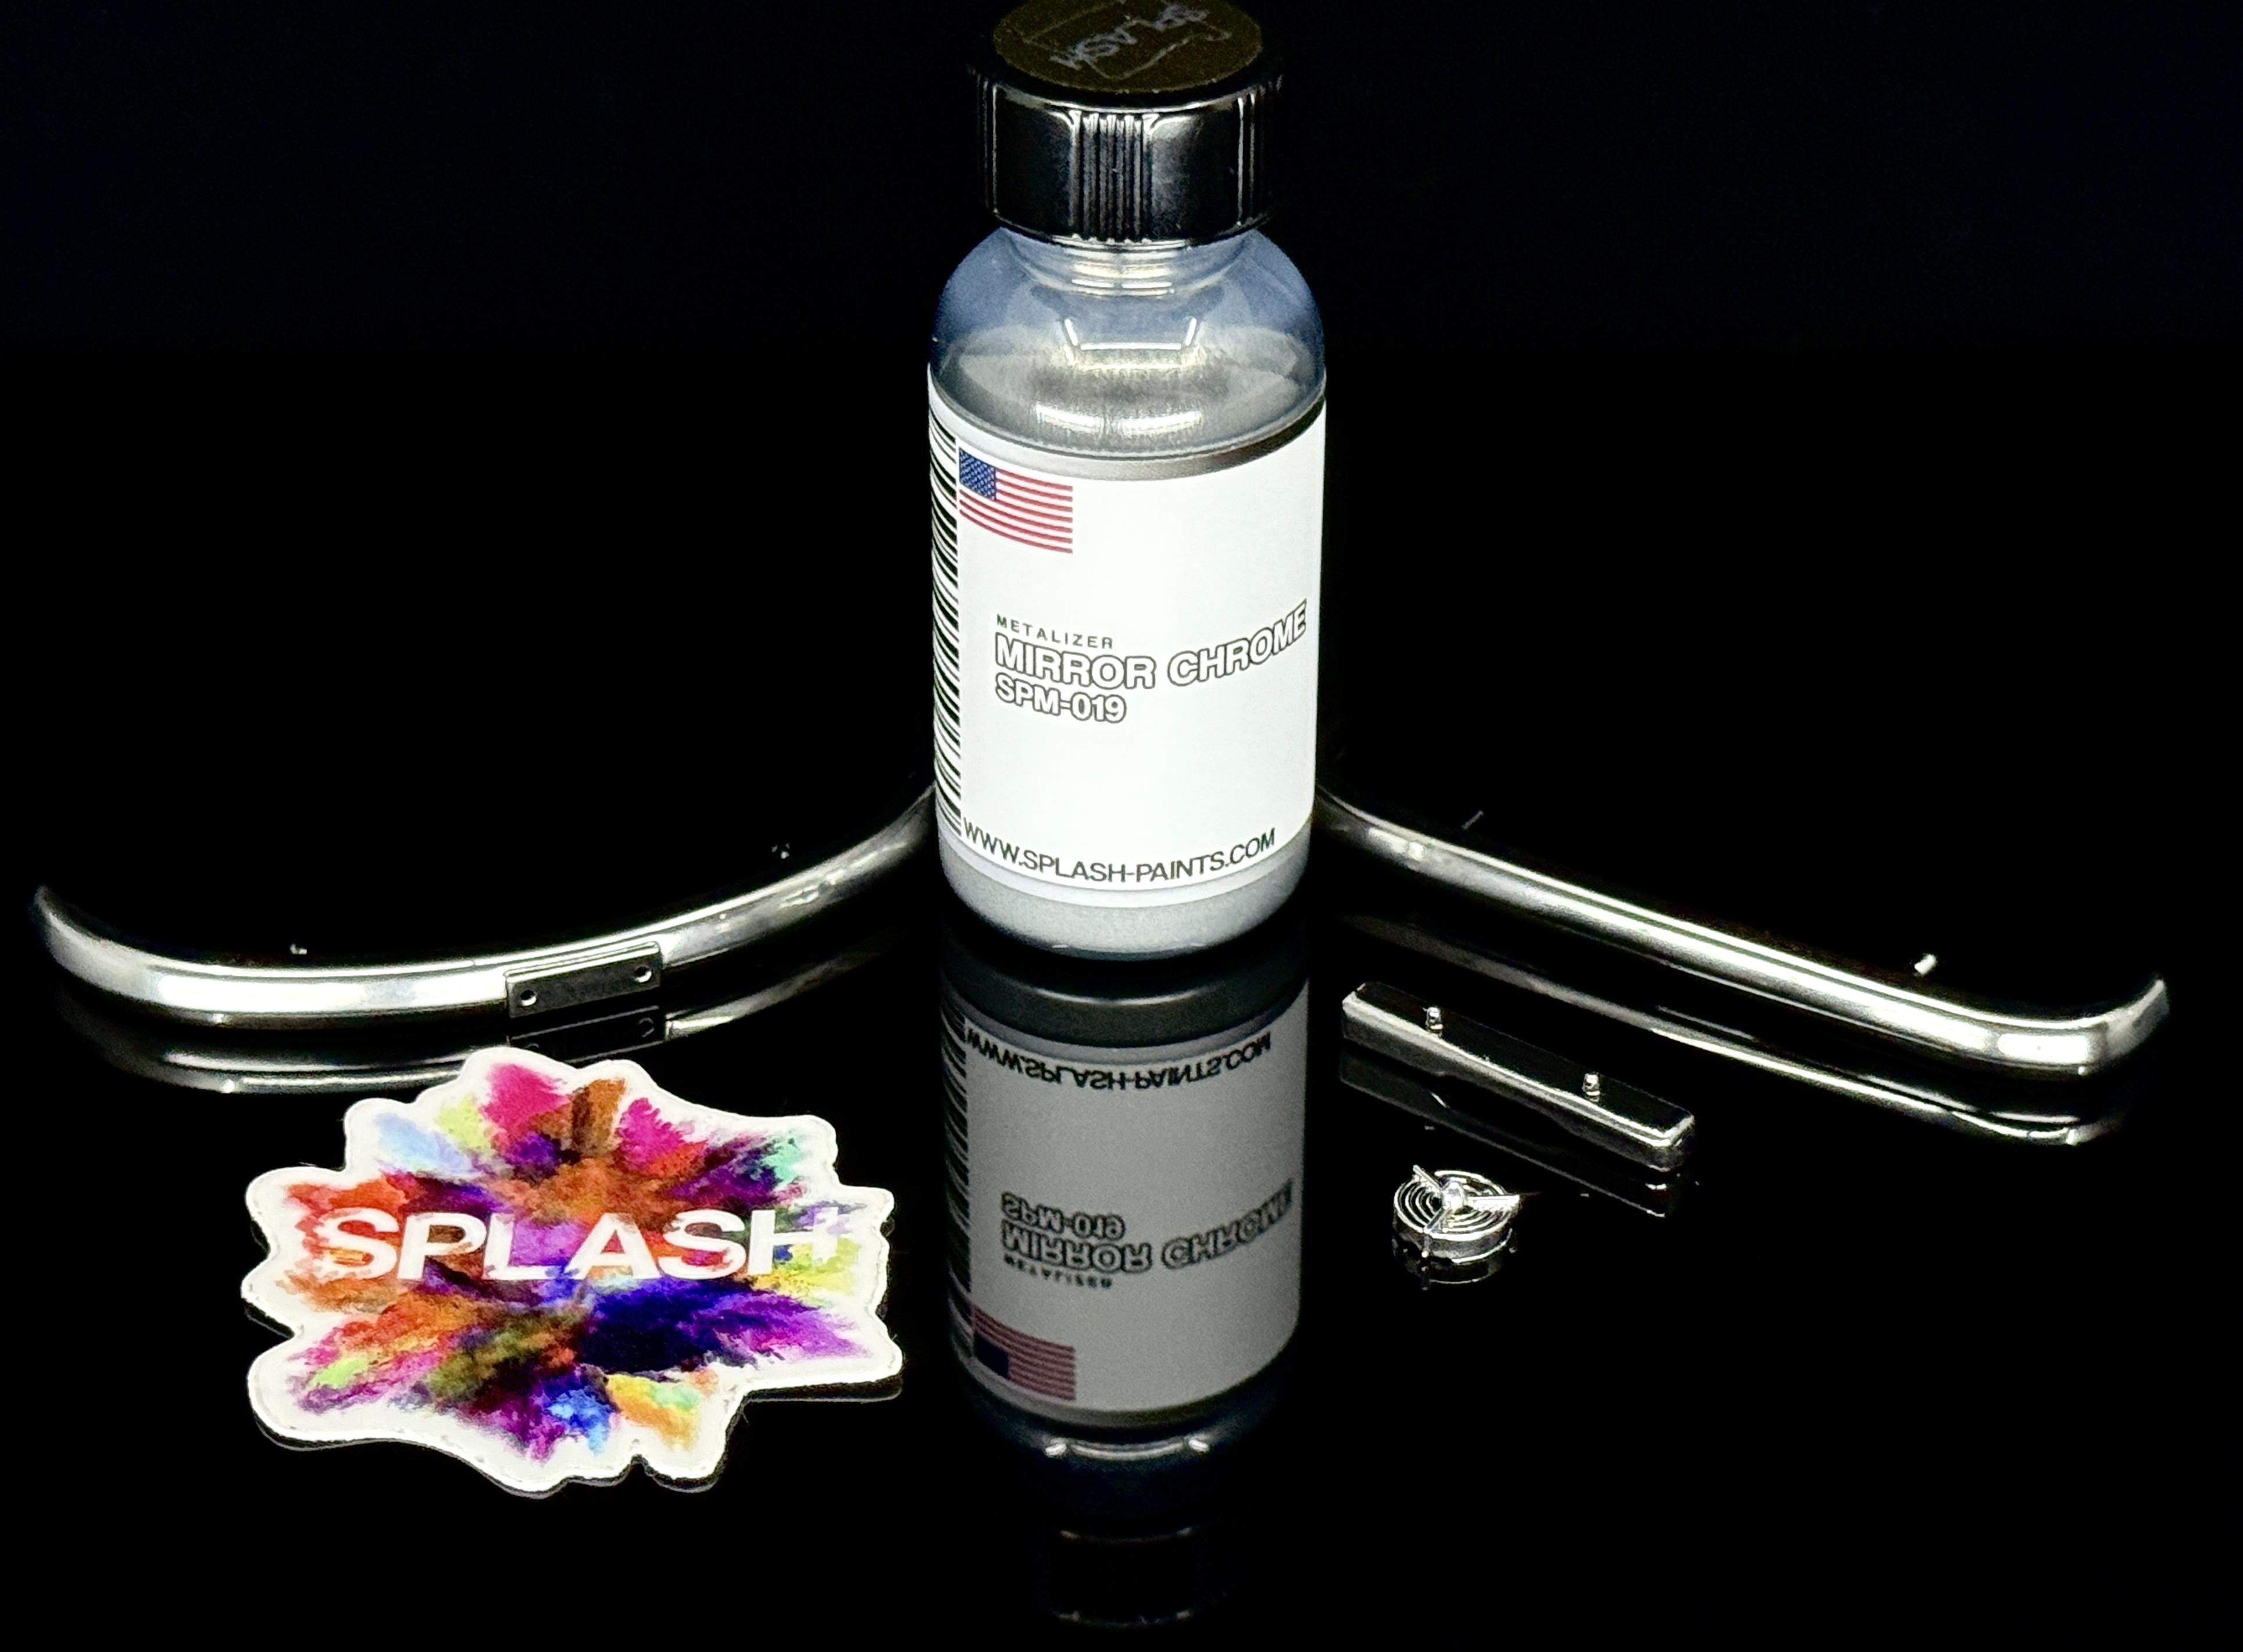
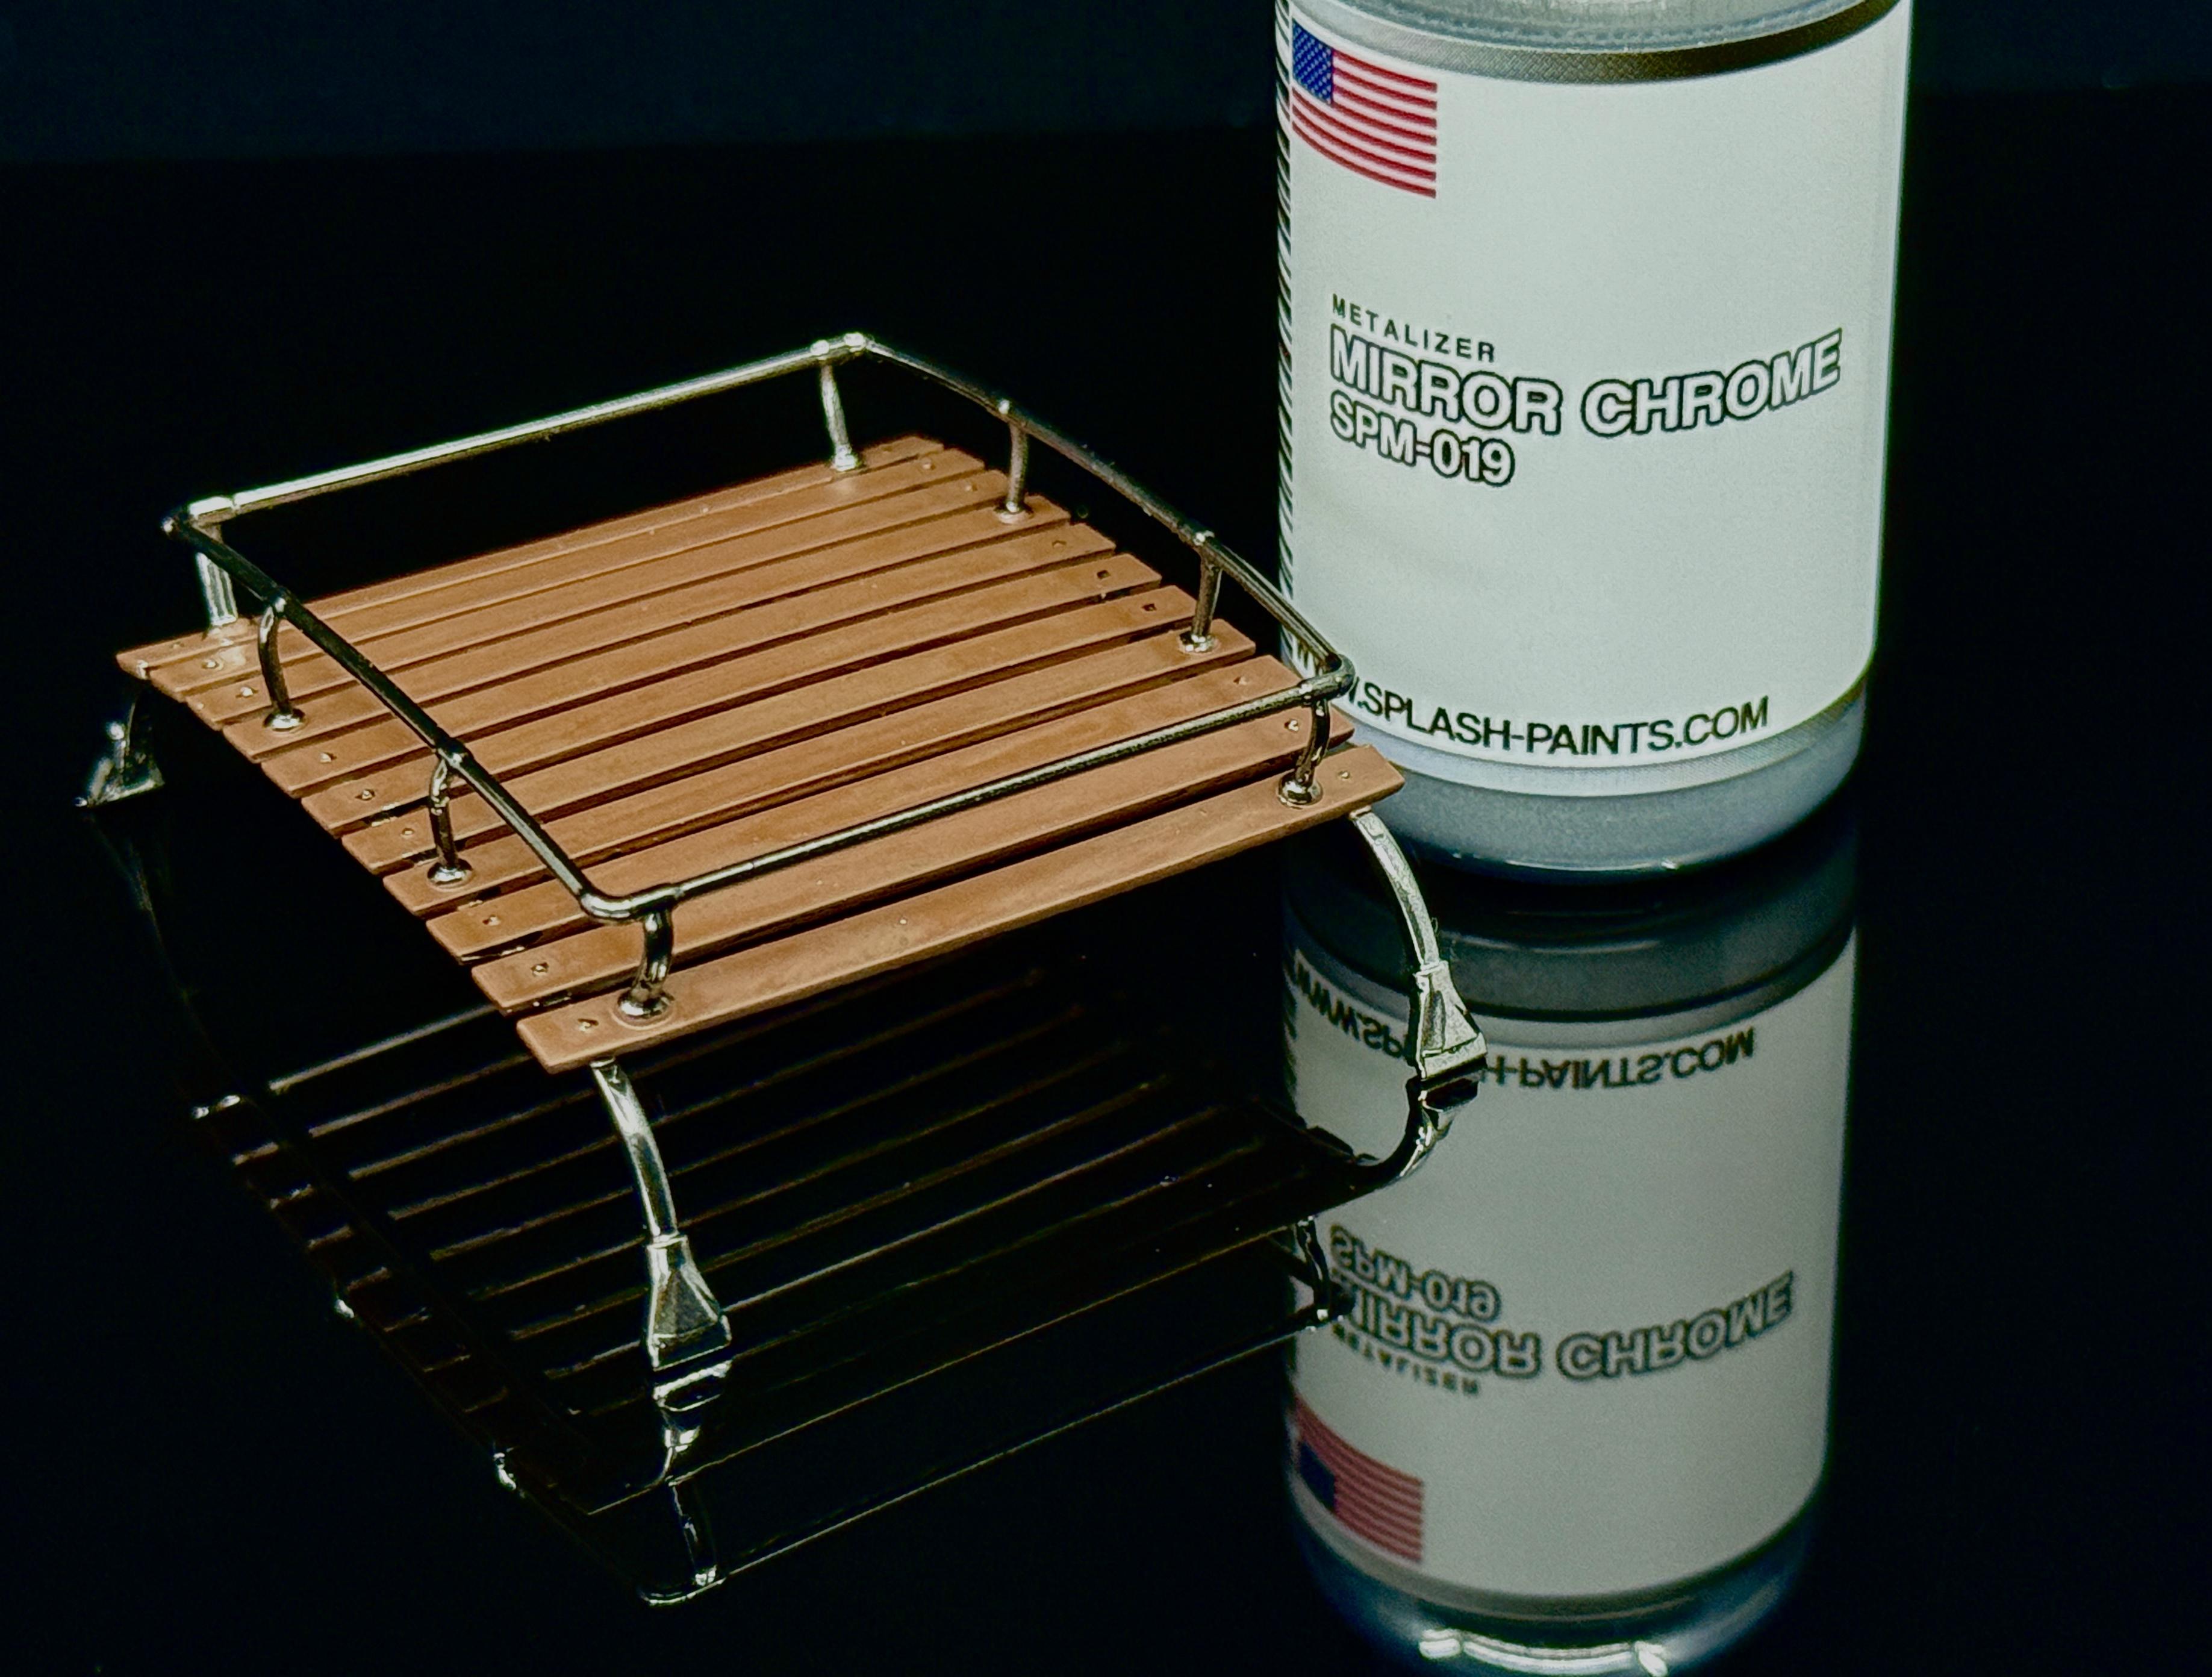
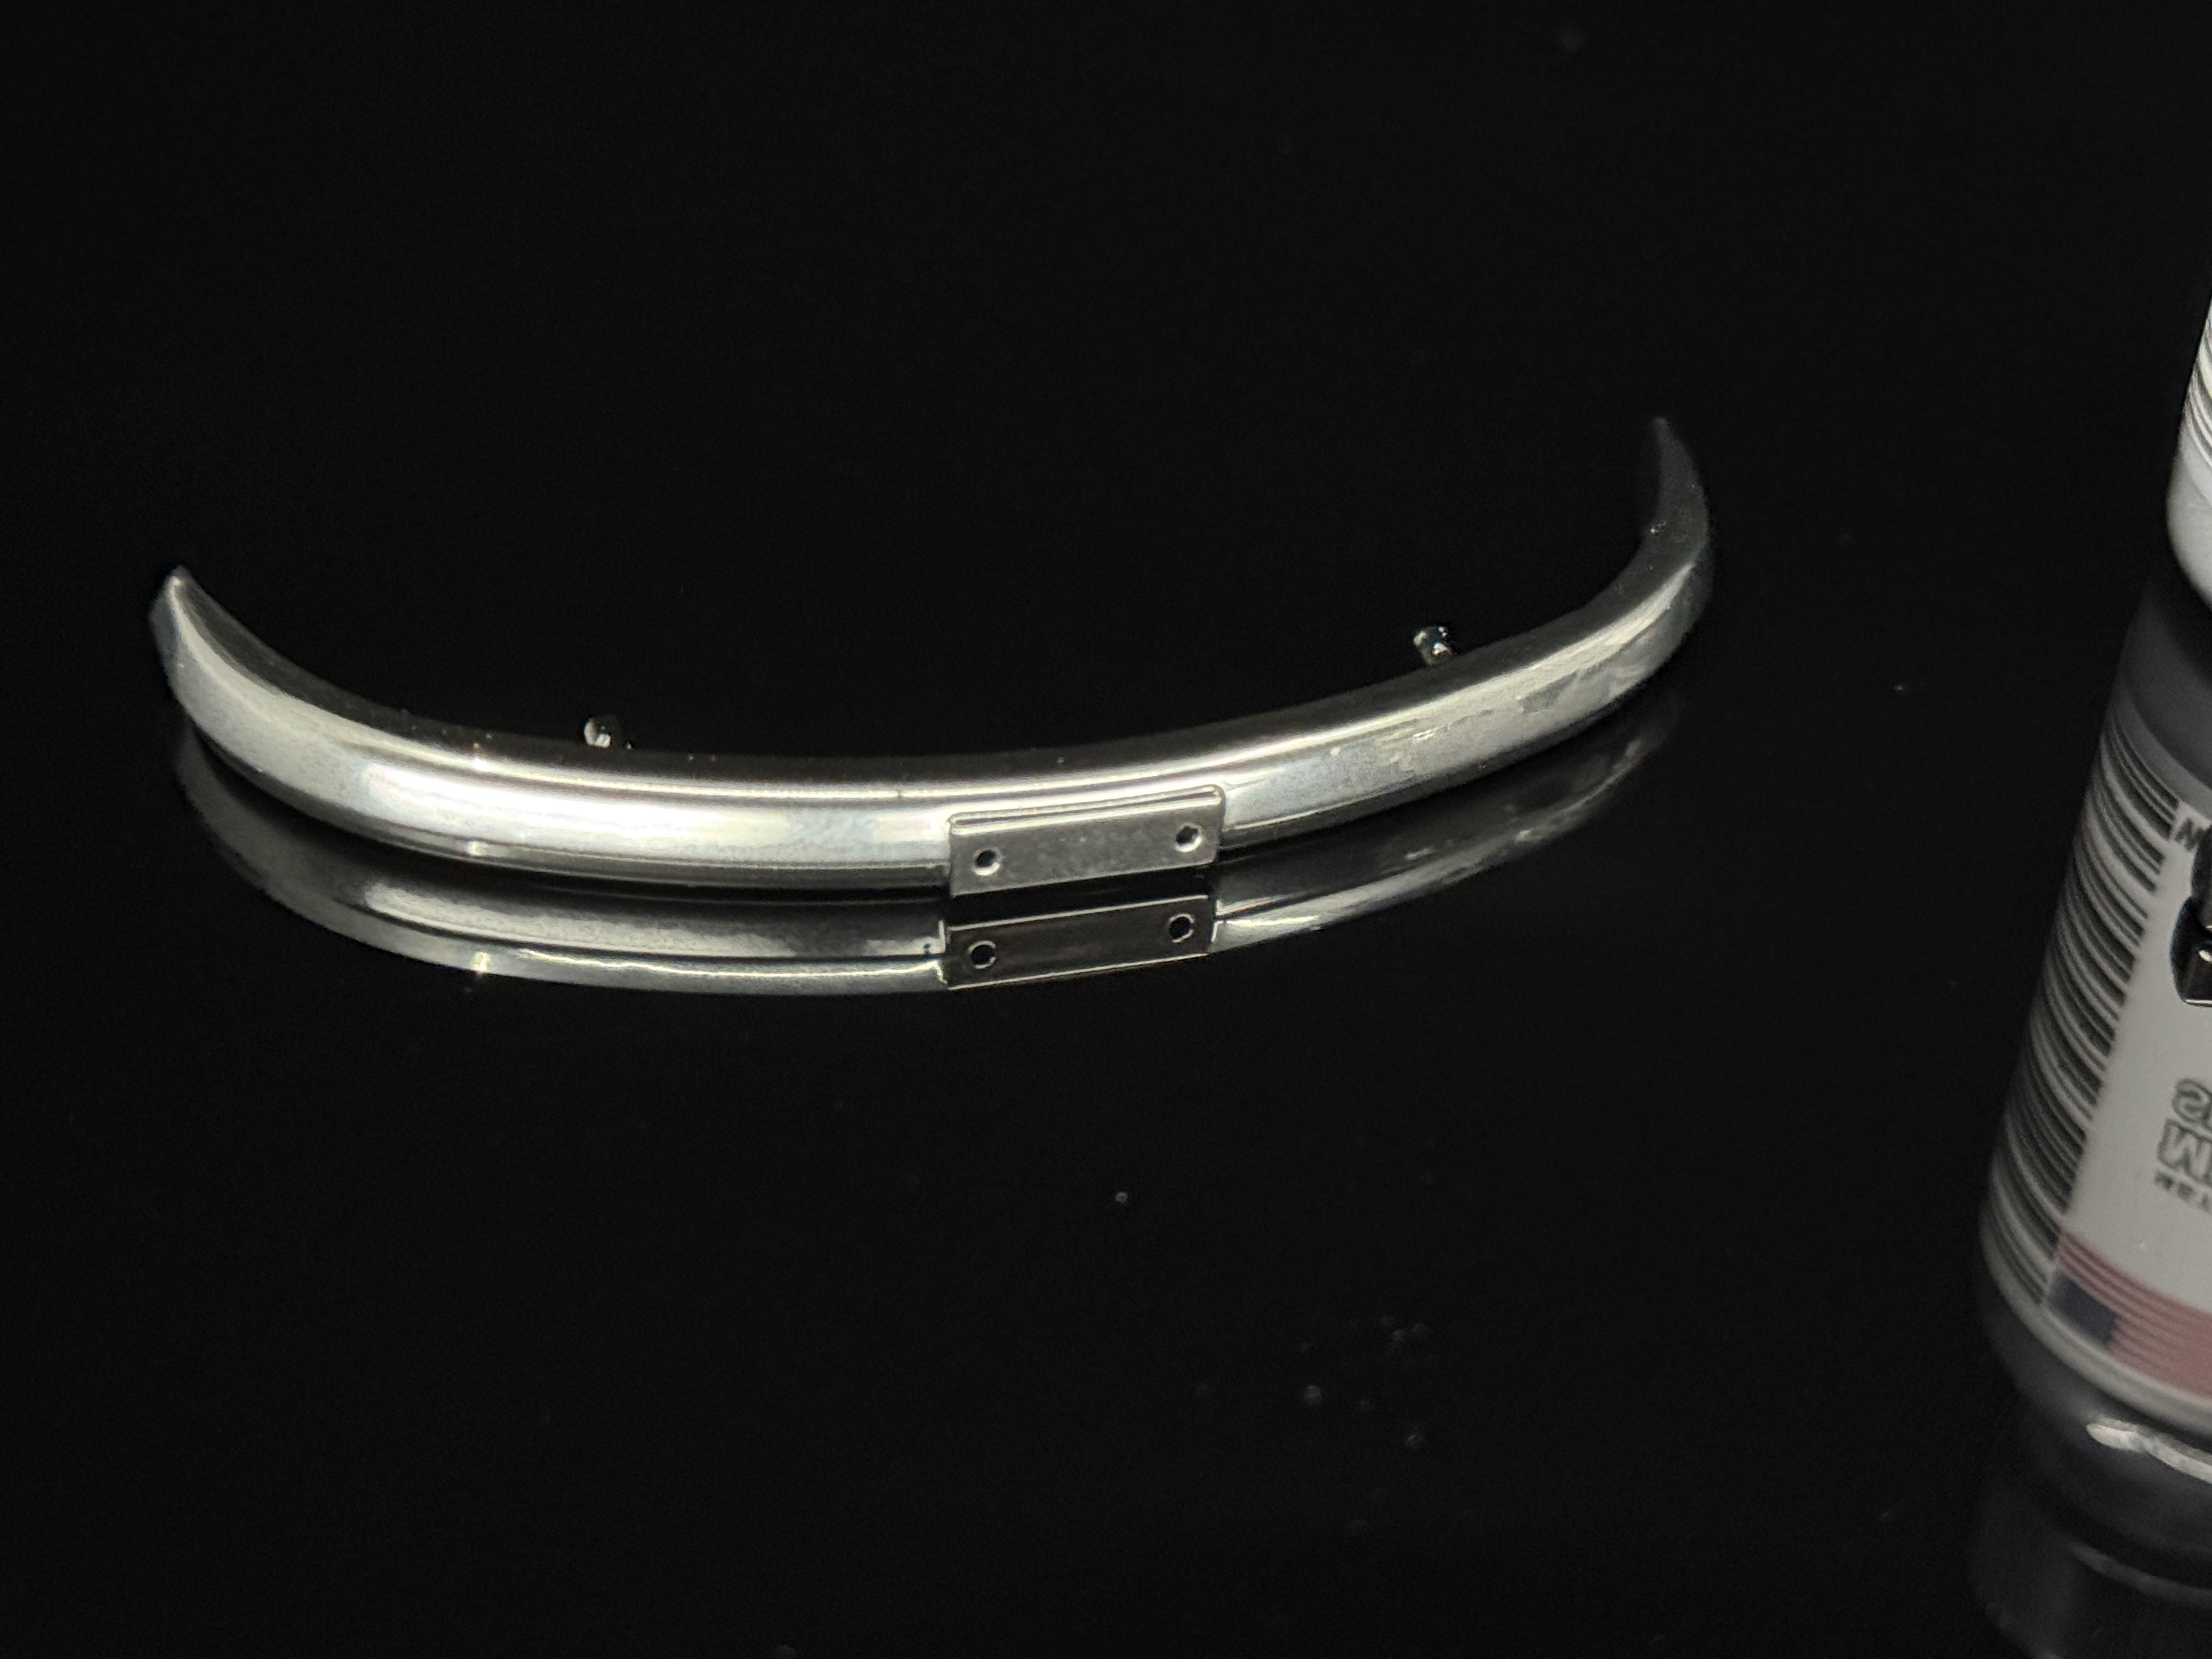
I had the chance to use some of Splash Paints new Mirror Chrome Metalizer for an upcoming build. I have to say, I have sprayed a lot of SpazStix and Alclad chrome and this so far tops them both. With Splash’s new Mirror Chrome, you don’t have to worry about smudging, printing, or the chrome wiping off with too much handling. Also, when using BSI Gold, it doesn’t remove the chrome color to expose the black base underneath. It is sprayed the same way that SpazStix or Alclad is sprayed, over a 2k Gloss Black base then shot at 15psi in overlapping light coats. This is definitely a paint I would recommend checking out if you’re looking to add some nice robust chrome paint to your arsenal.

-
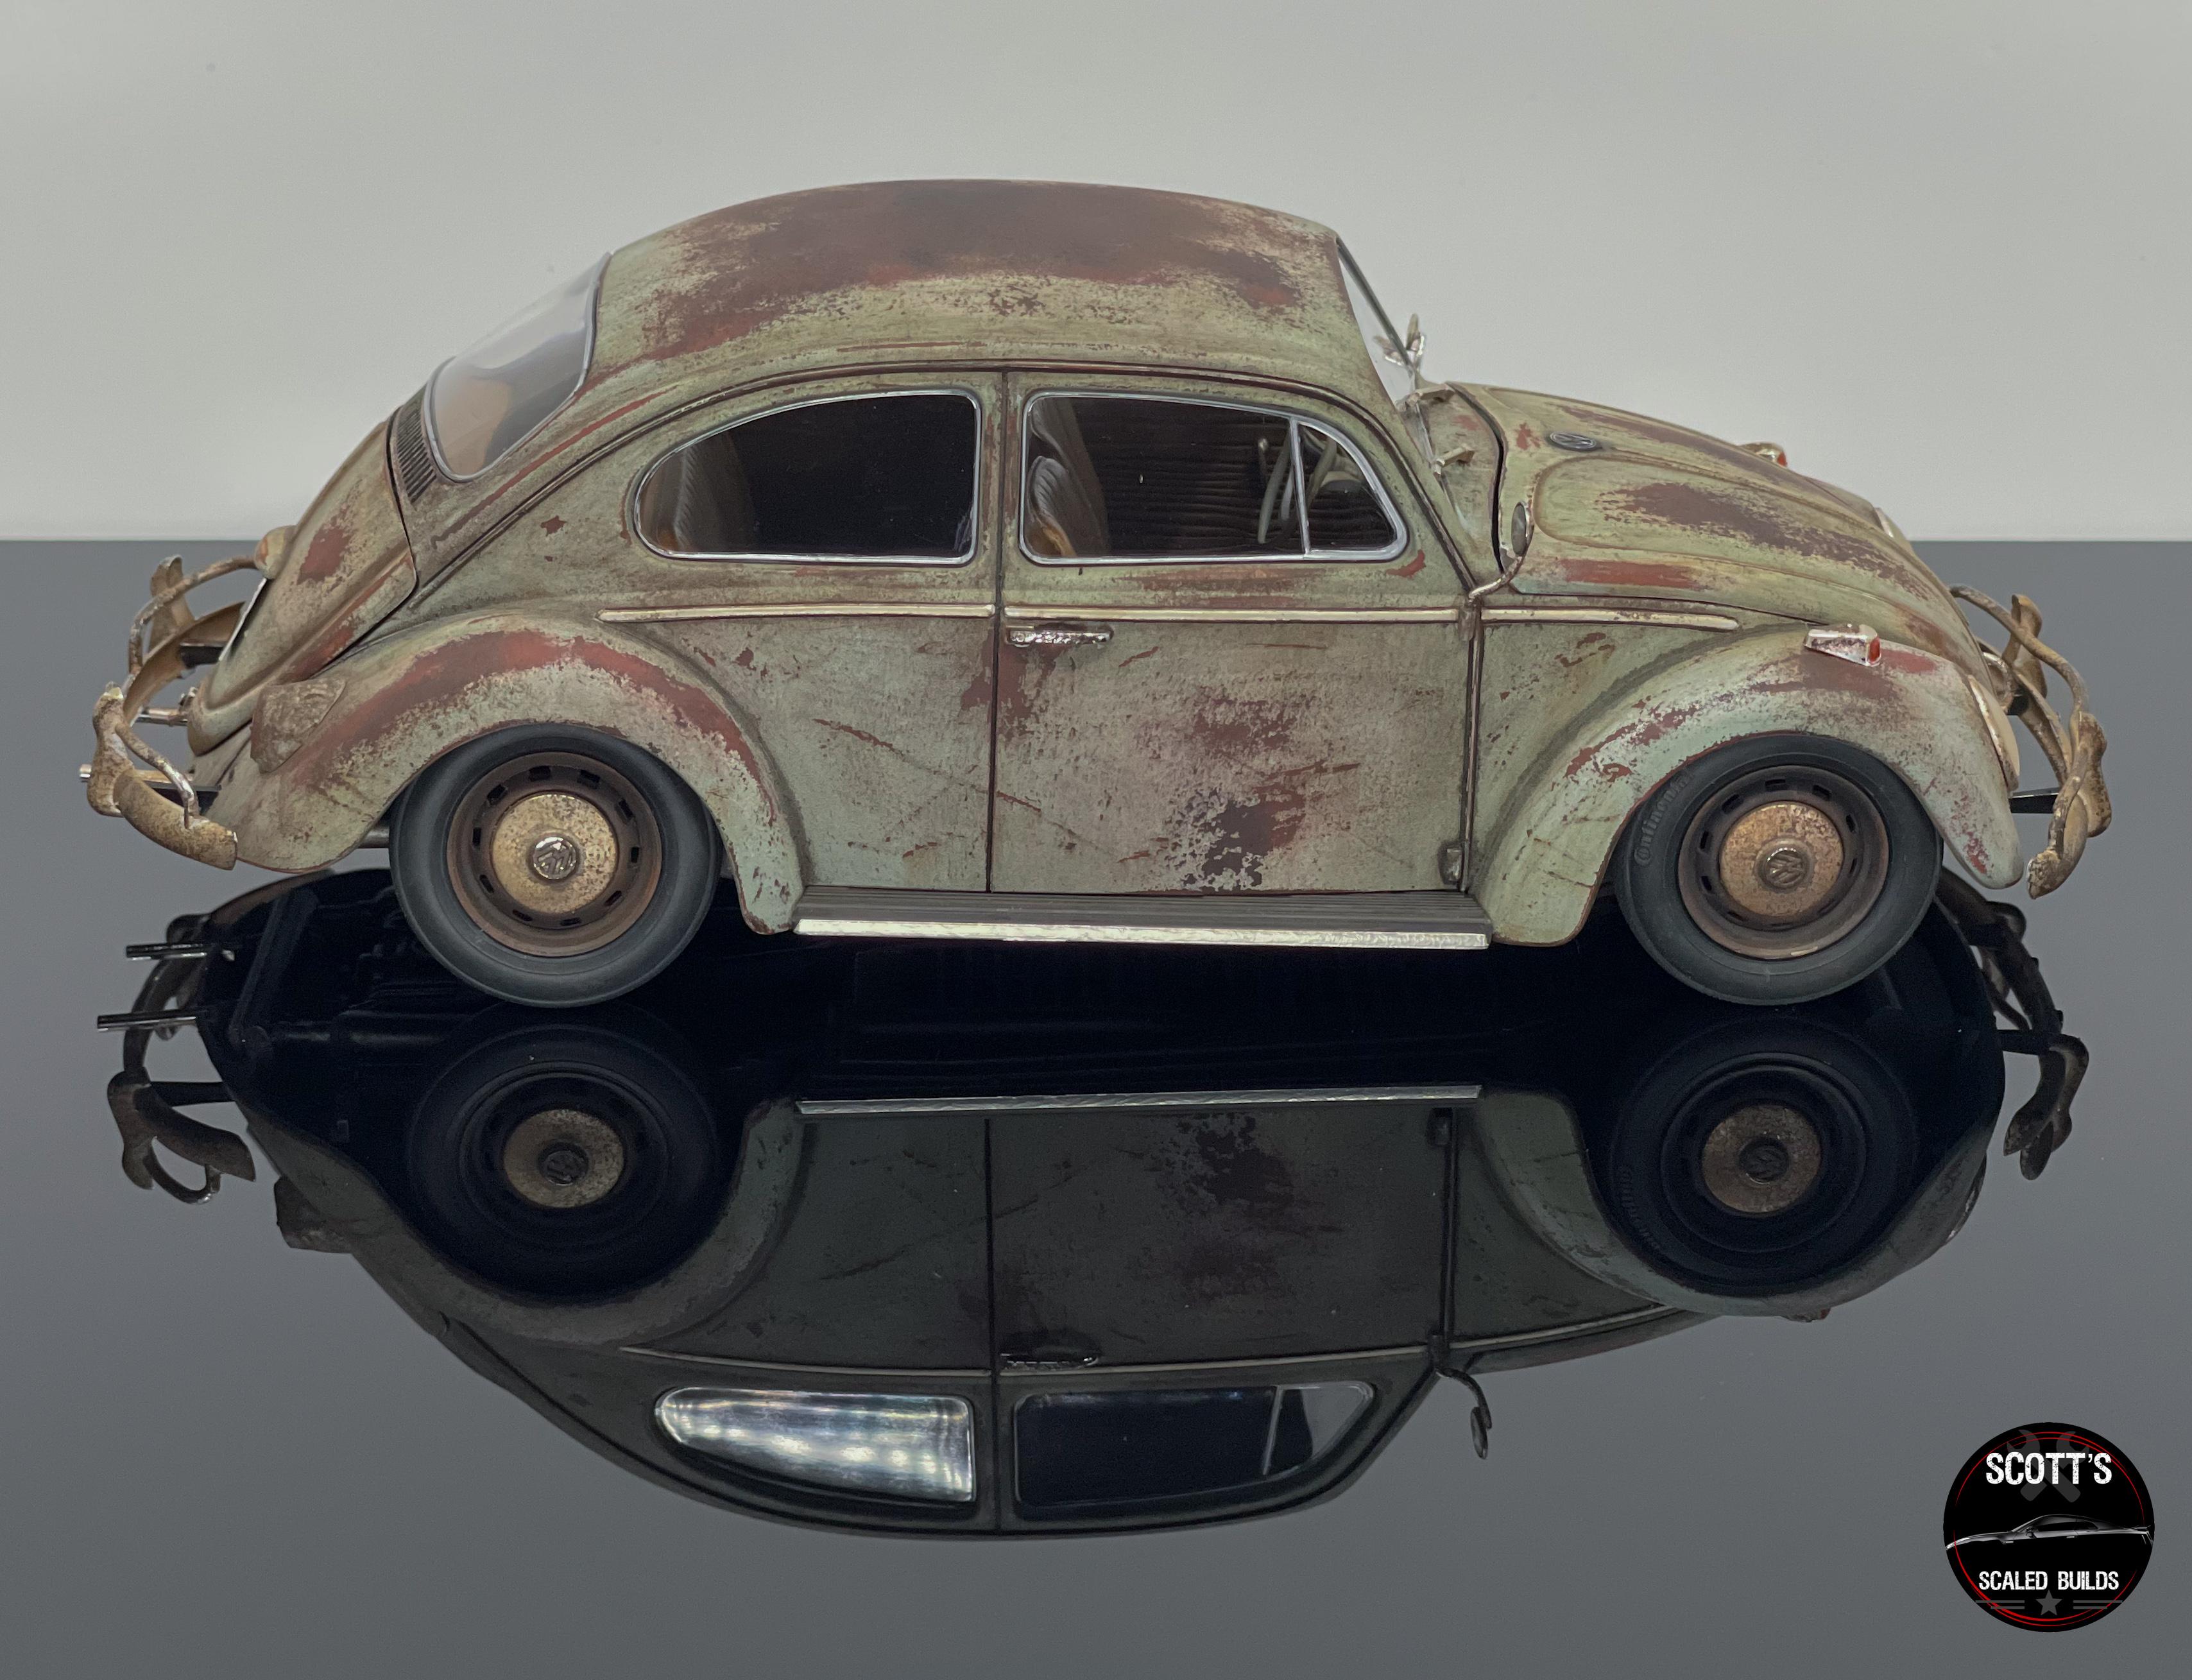
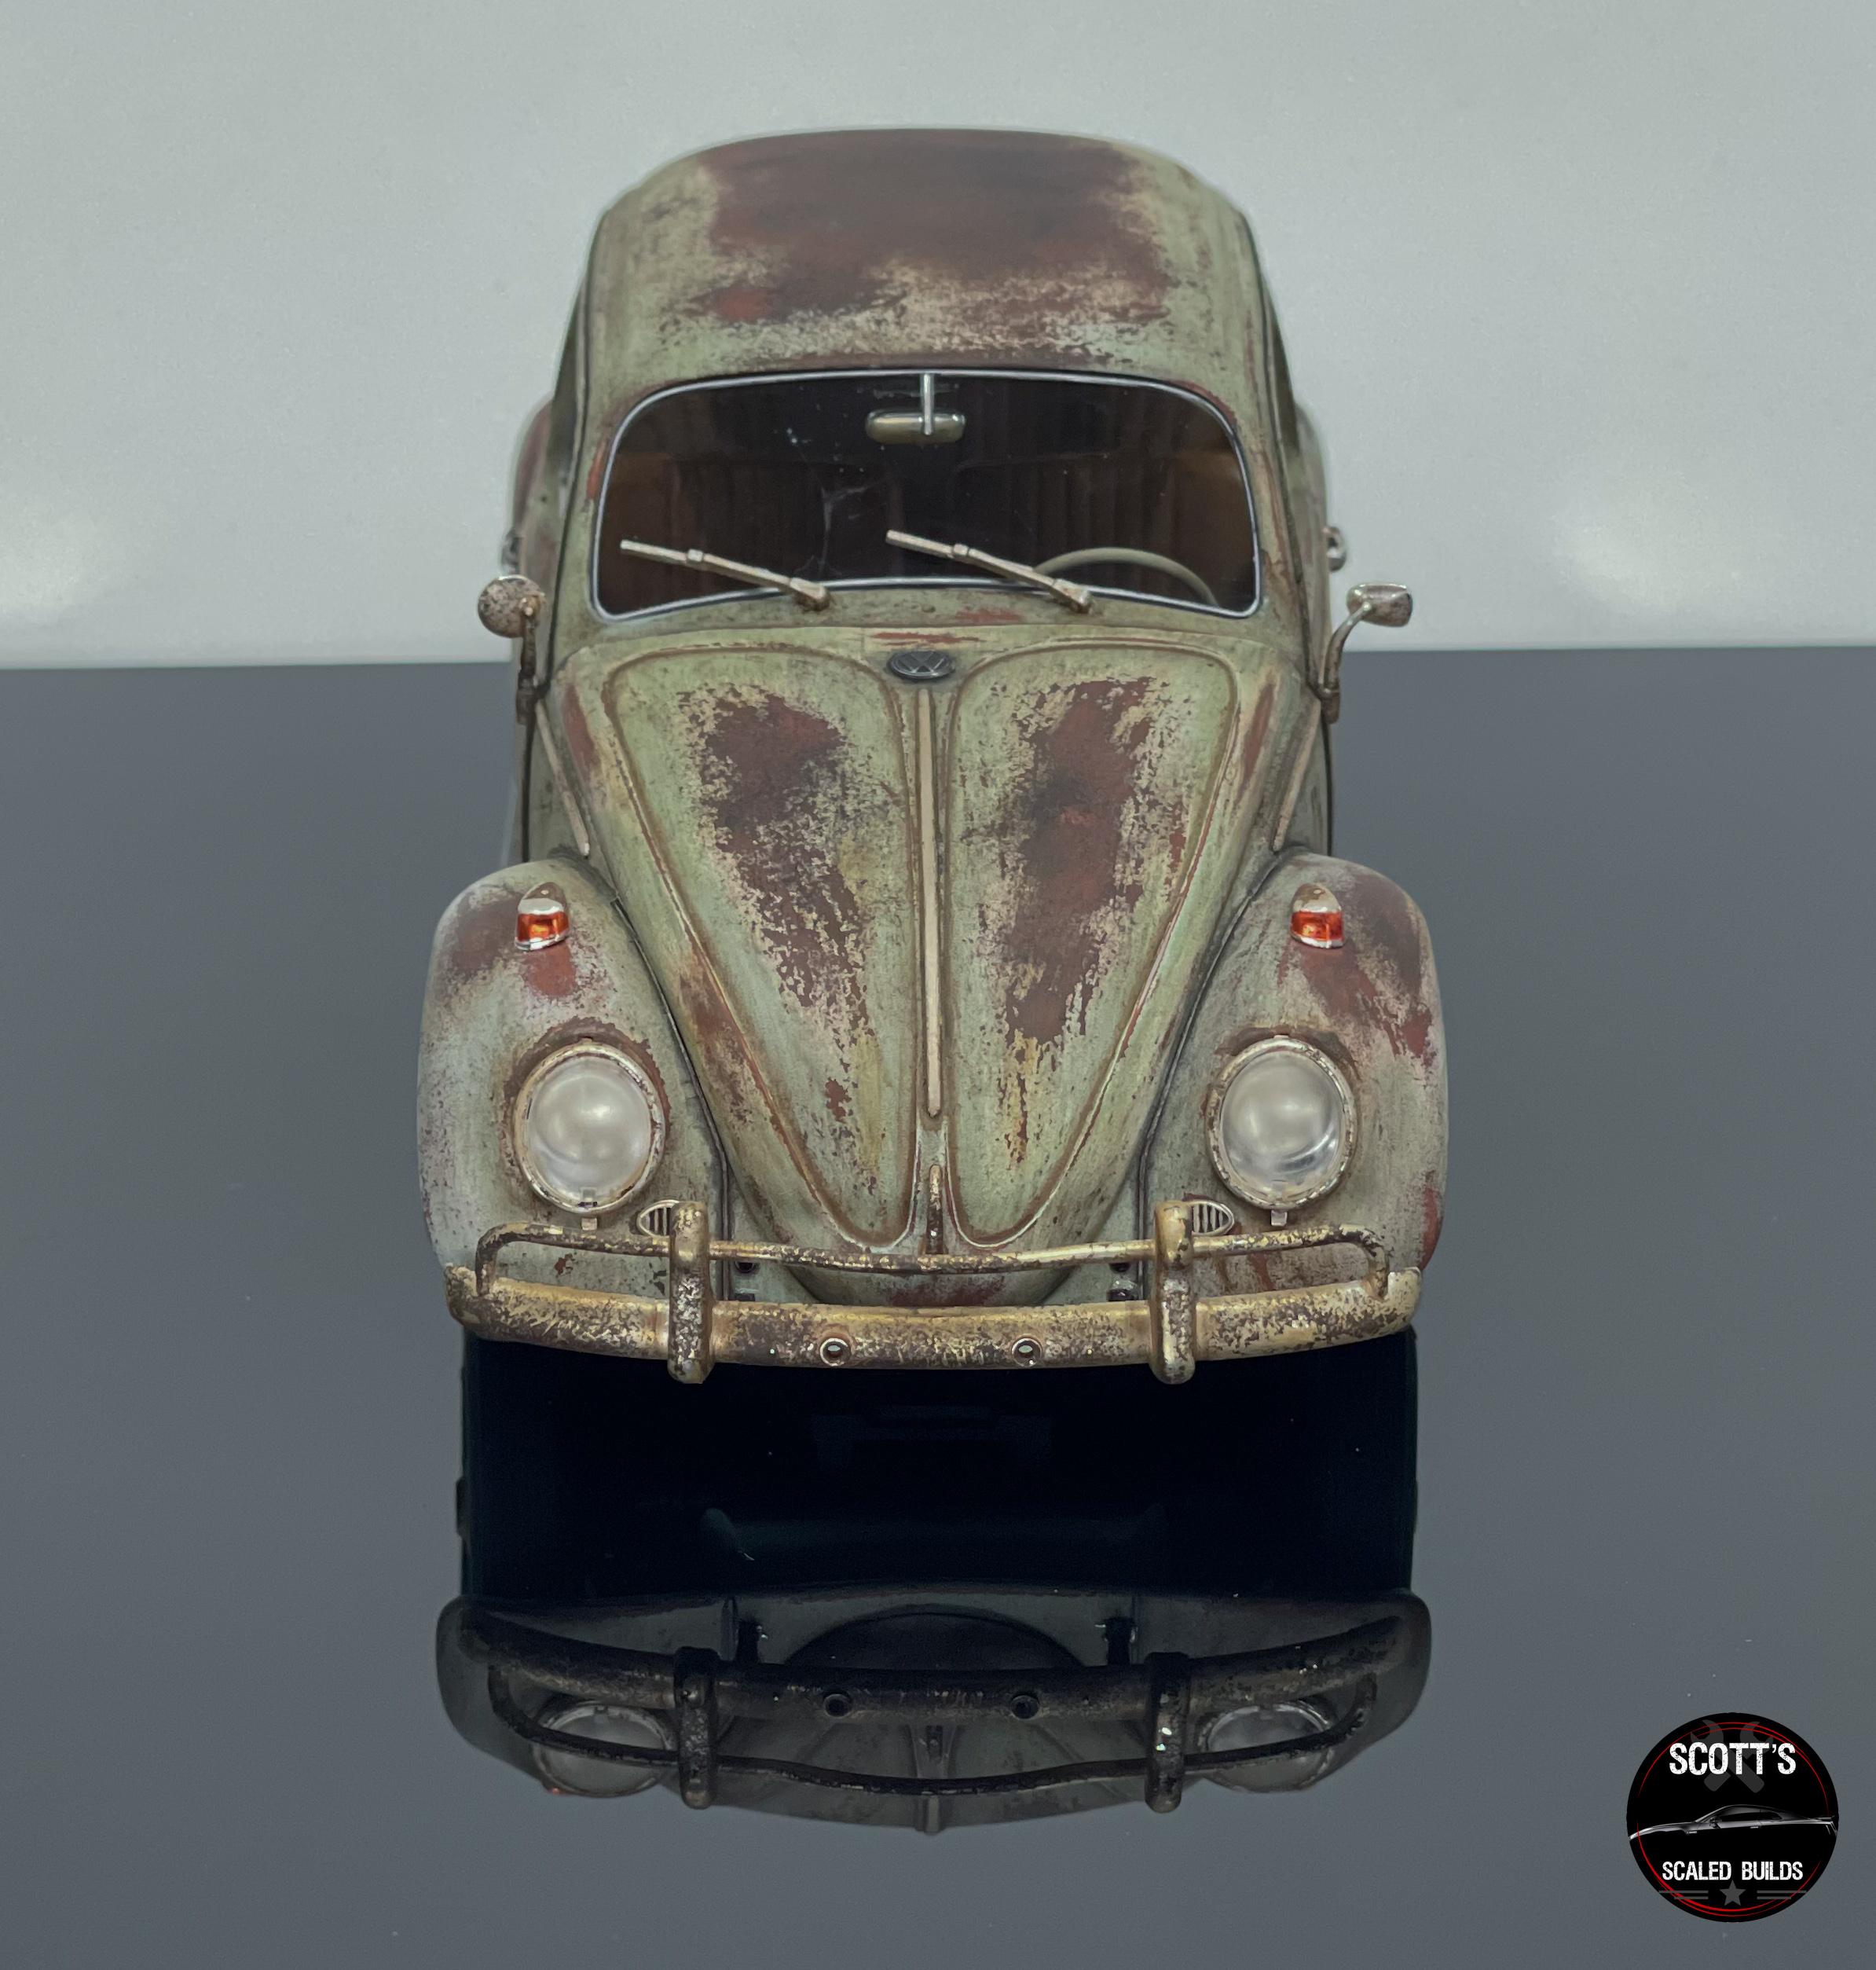
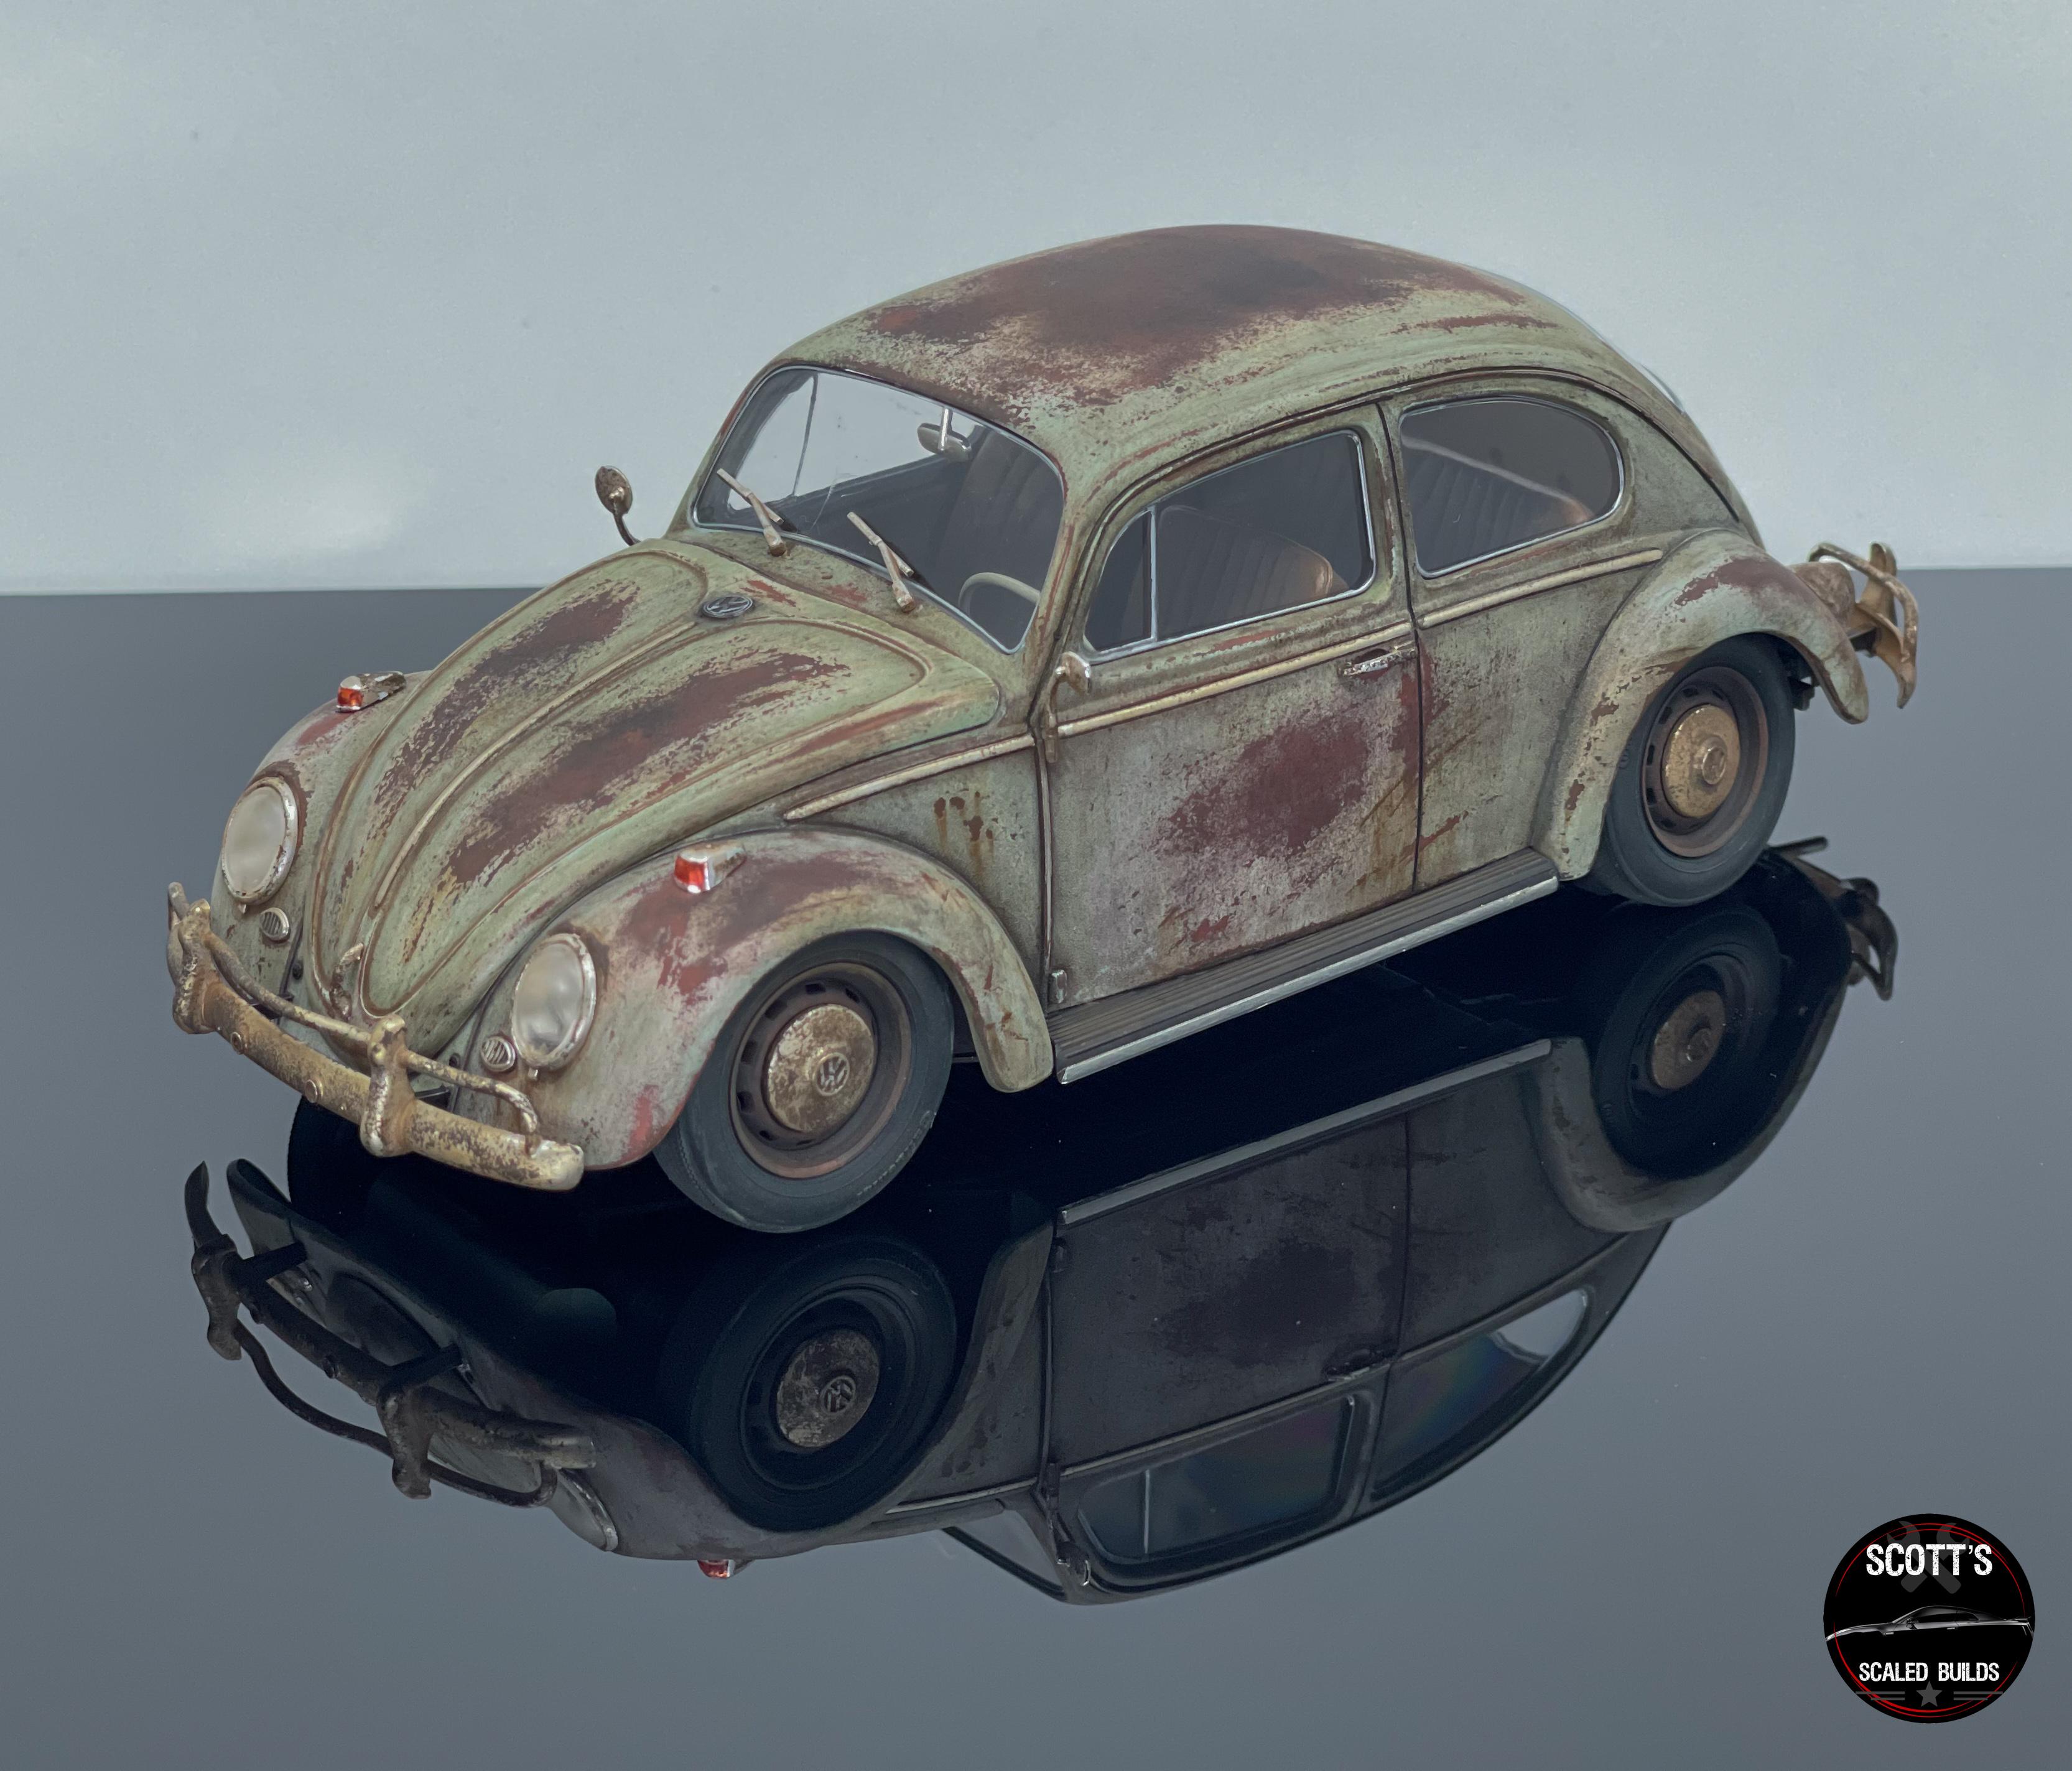
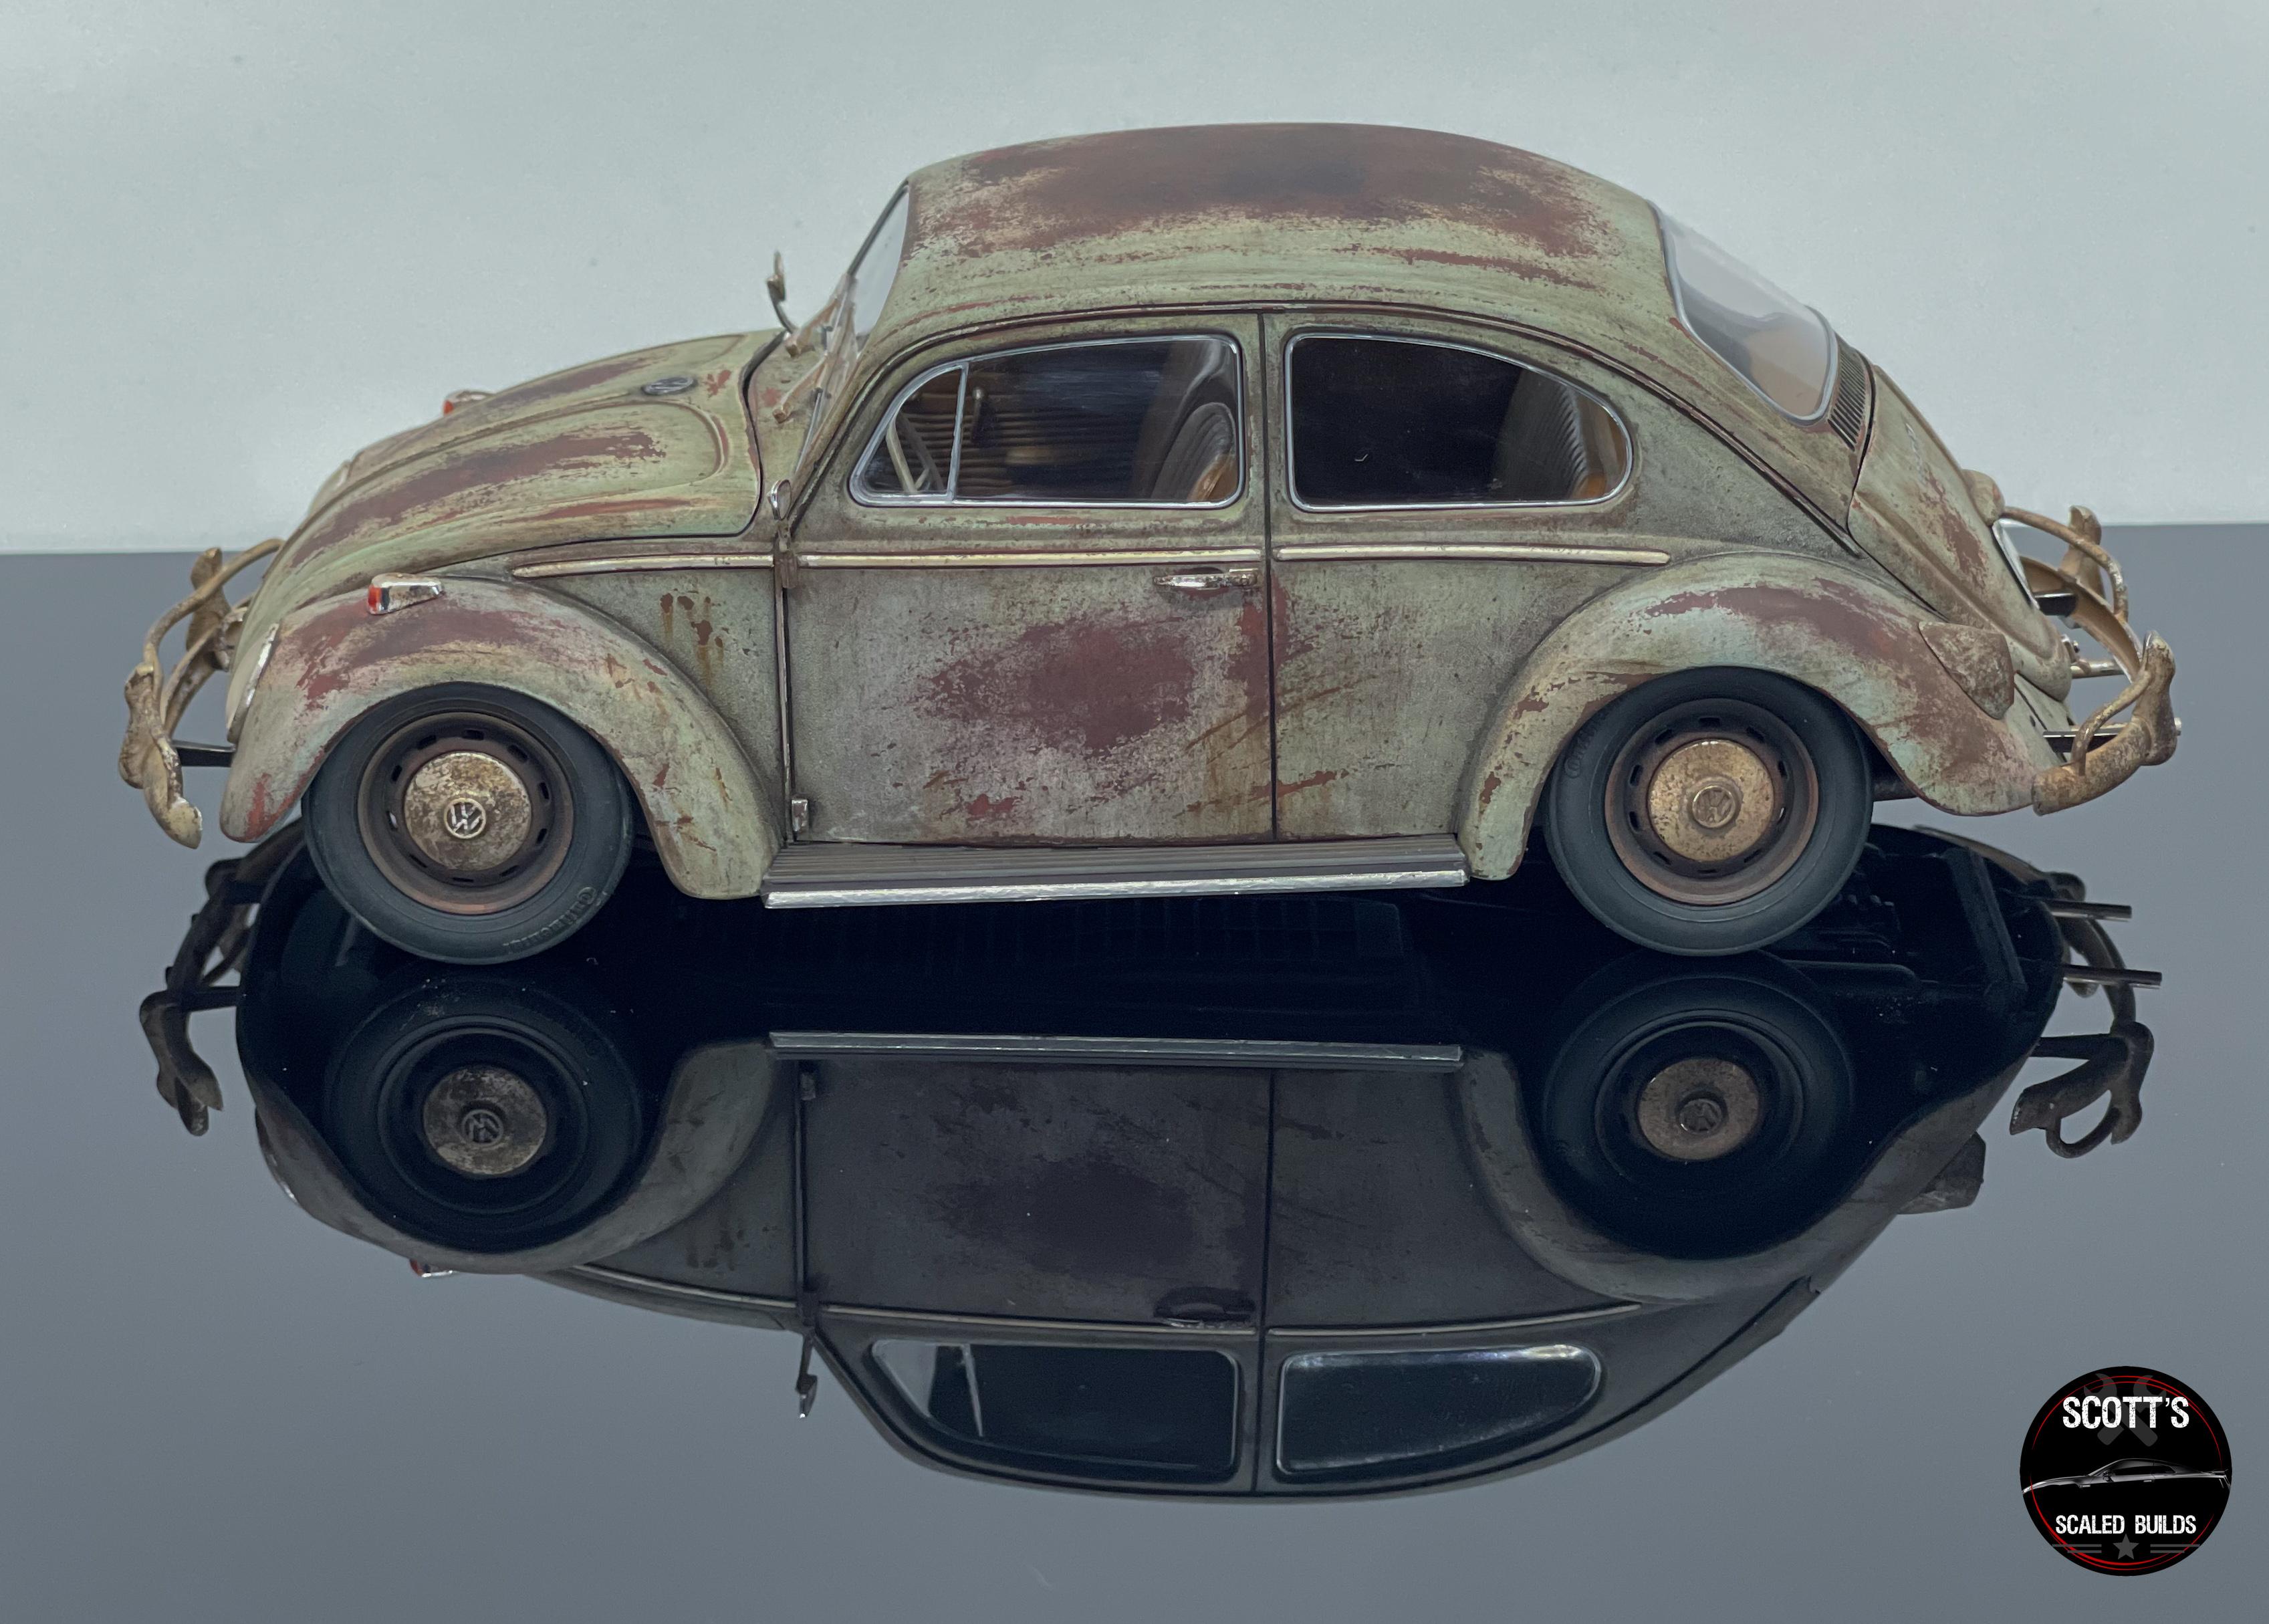
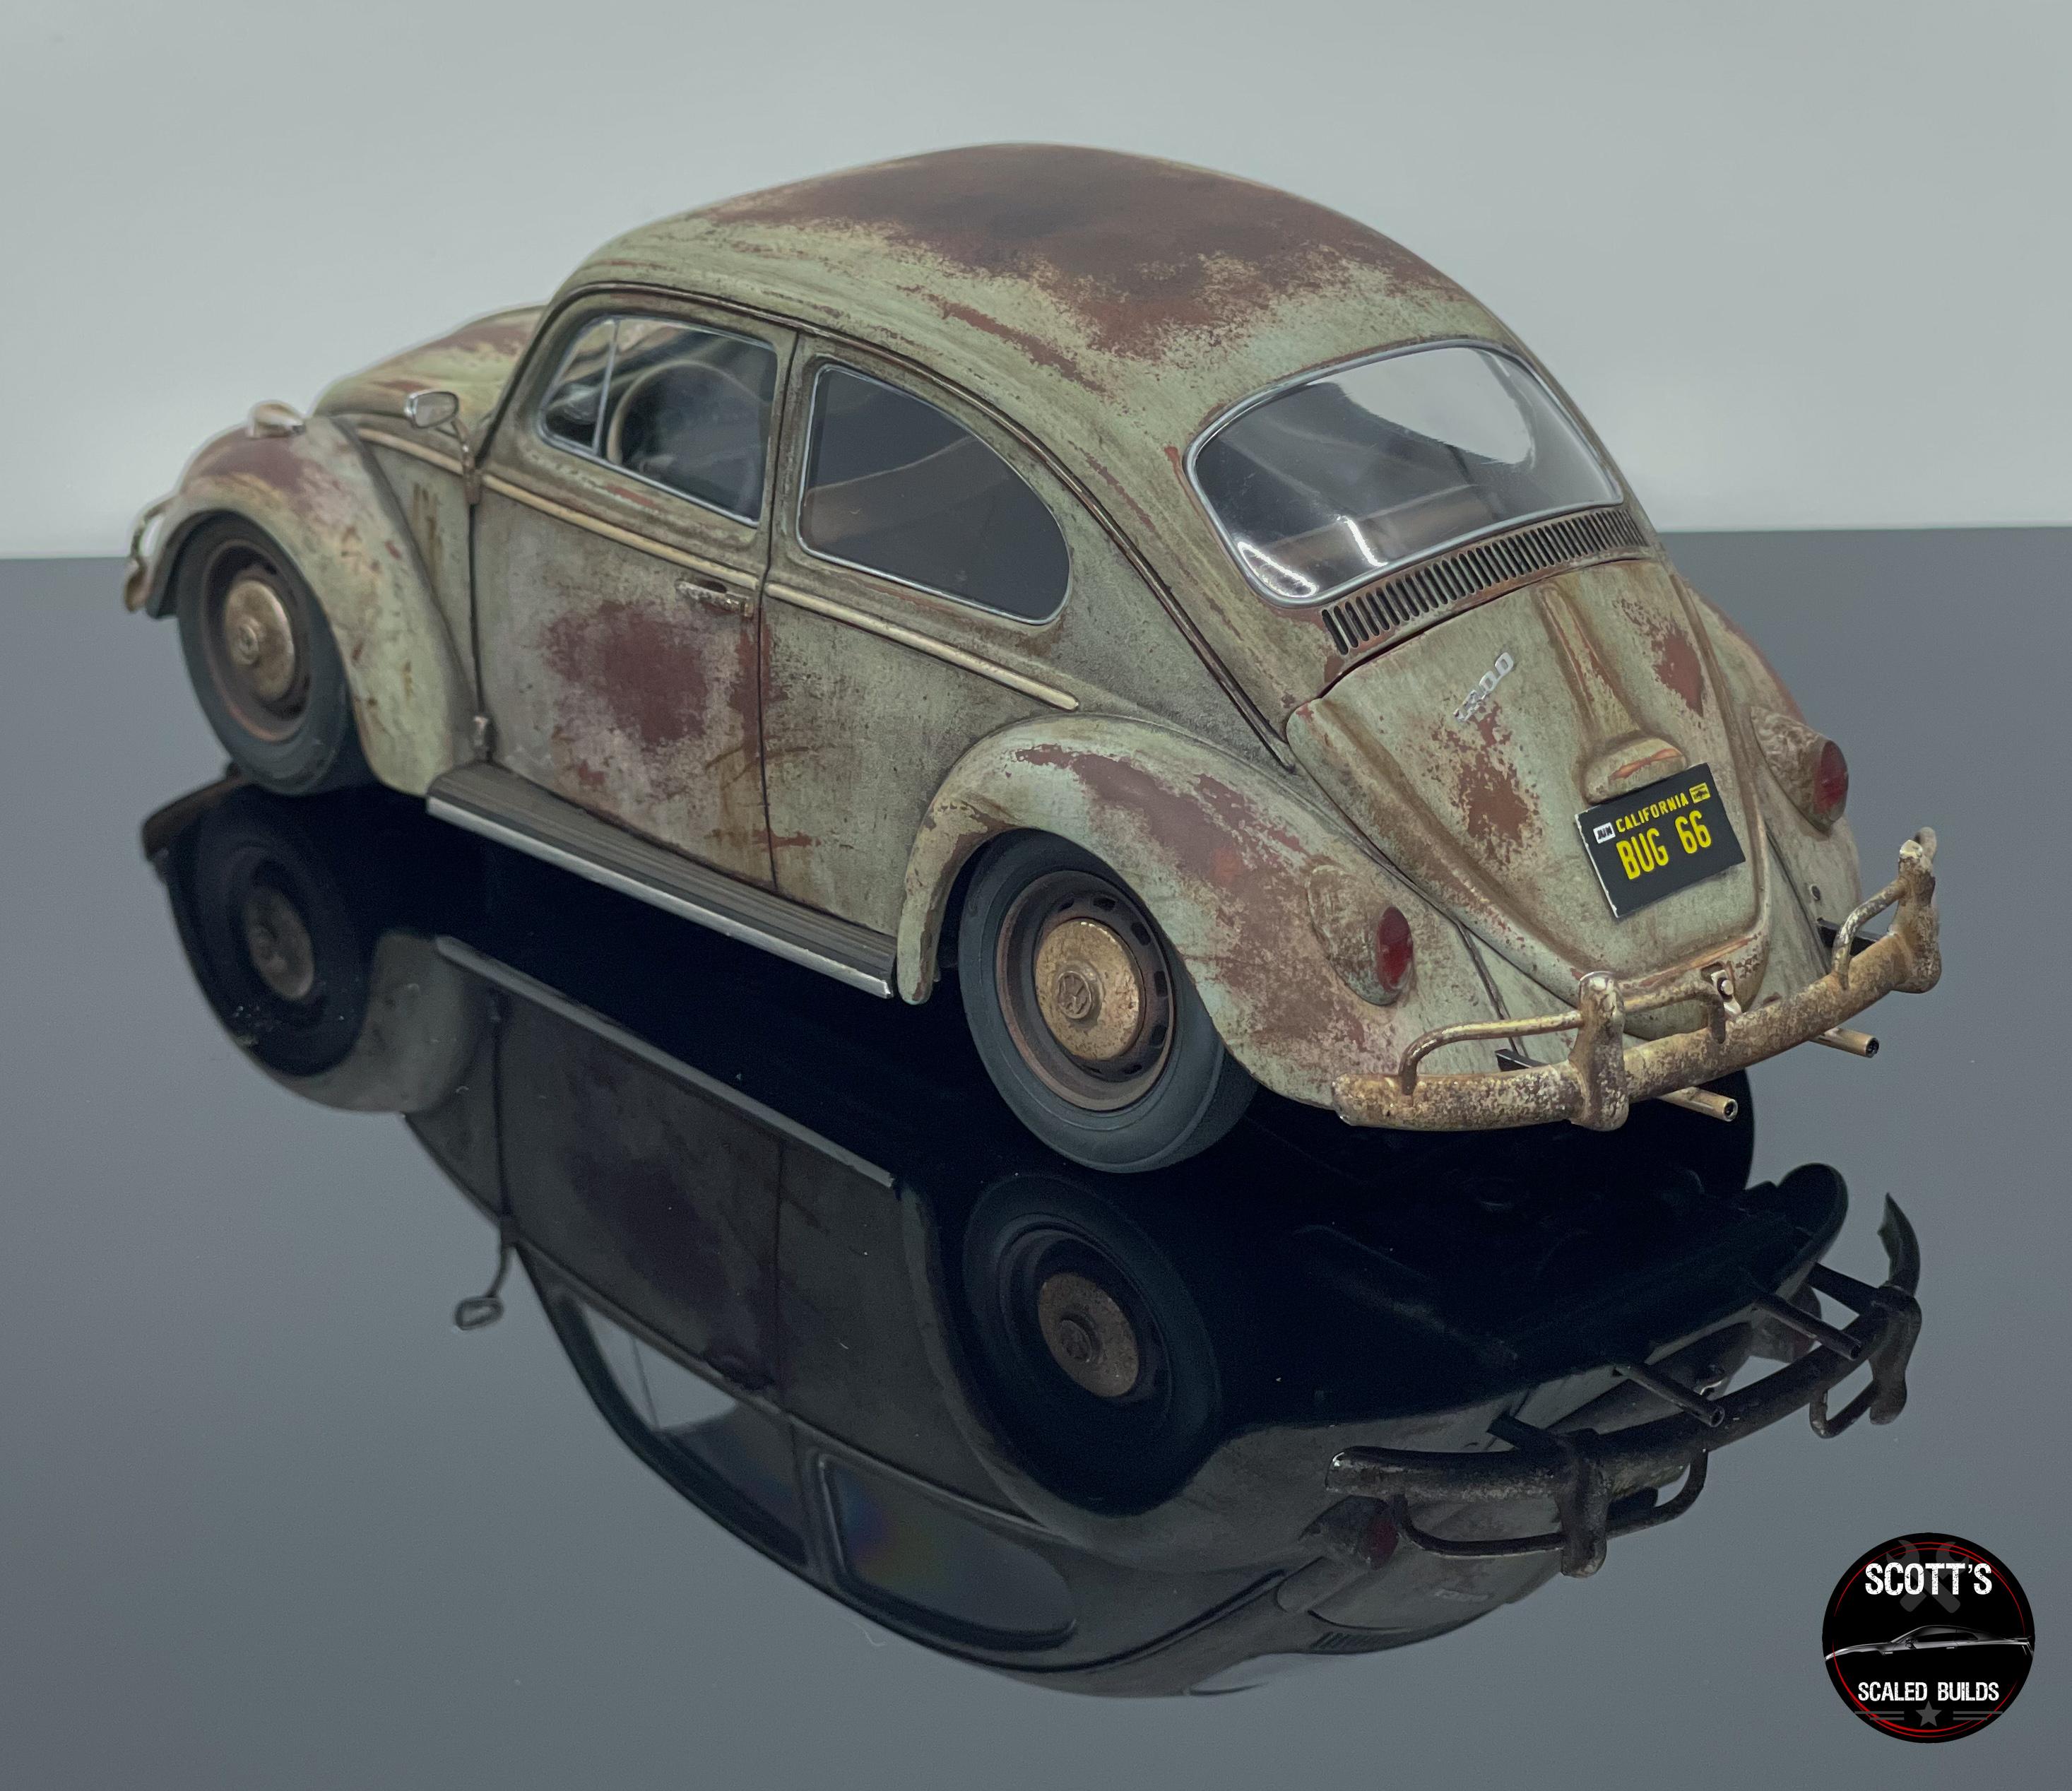
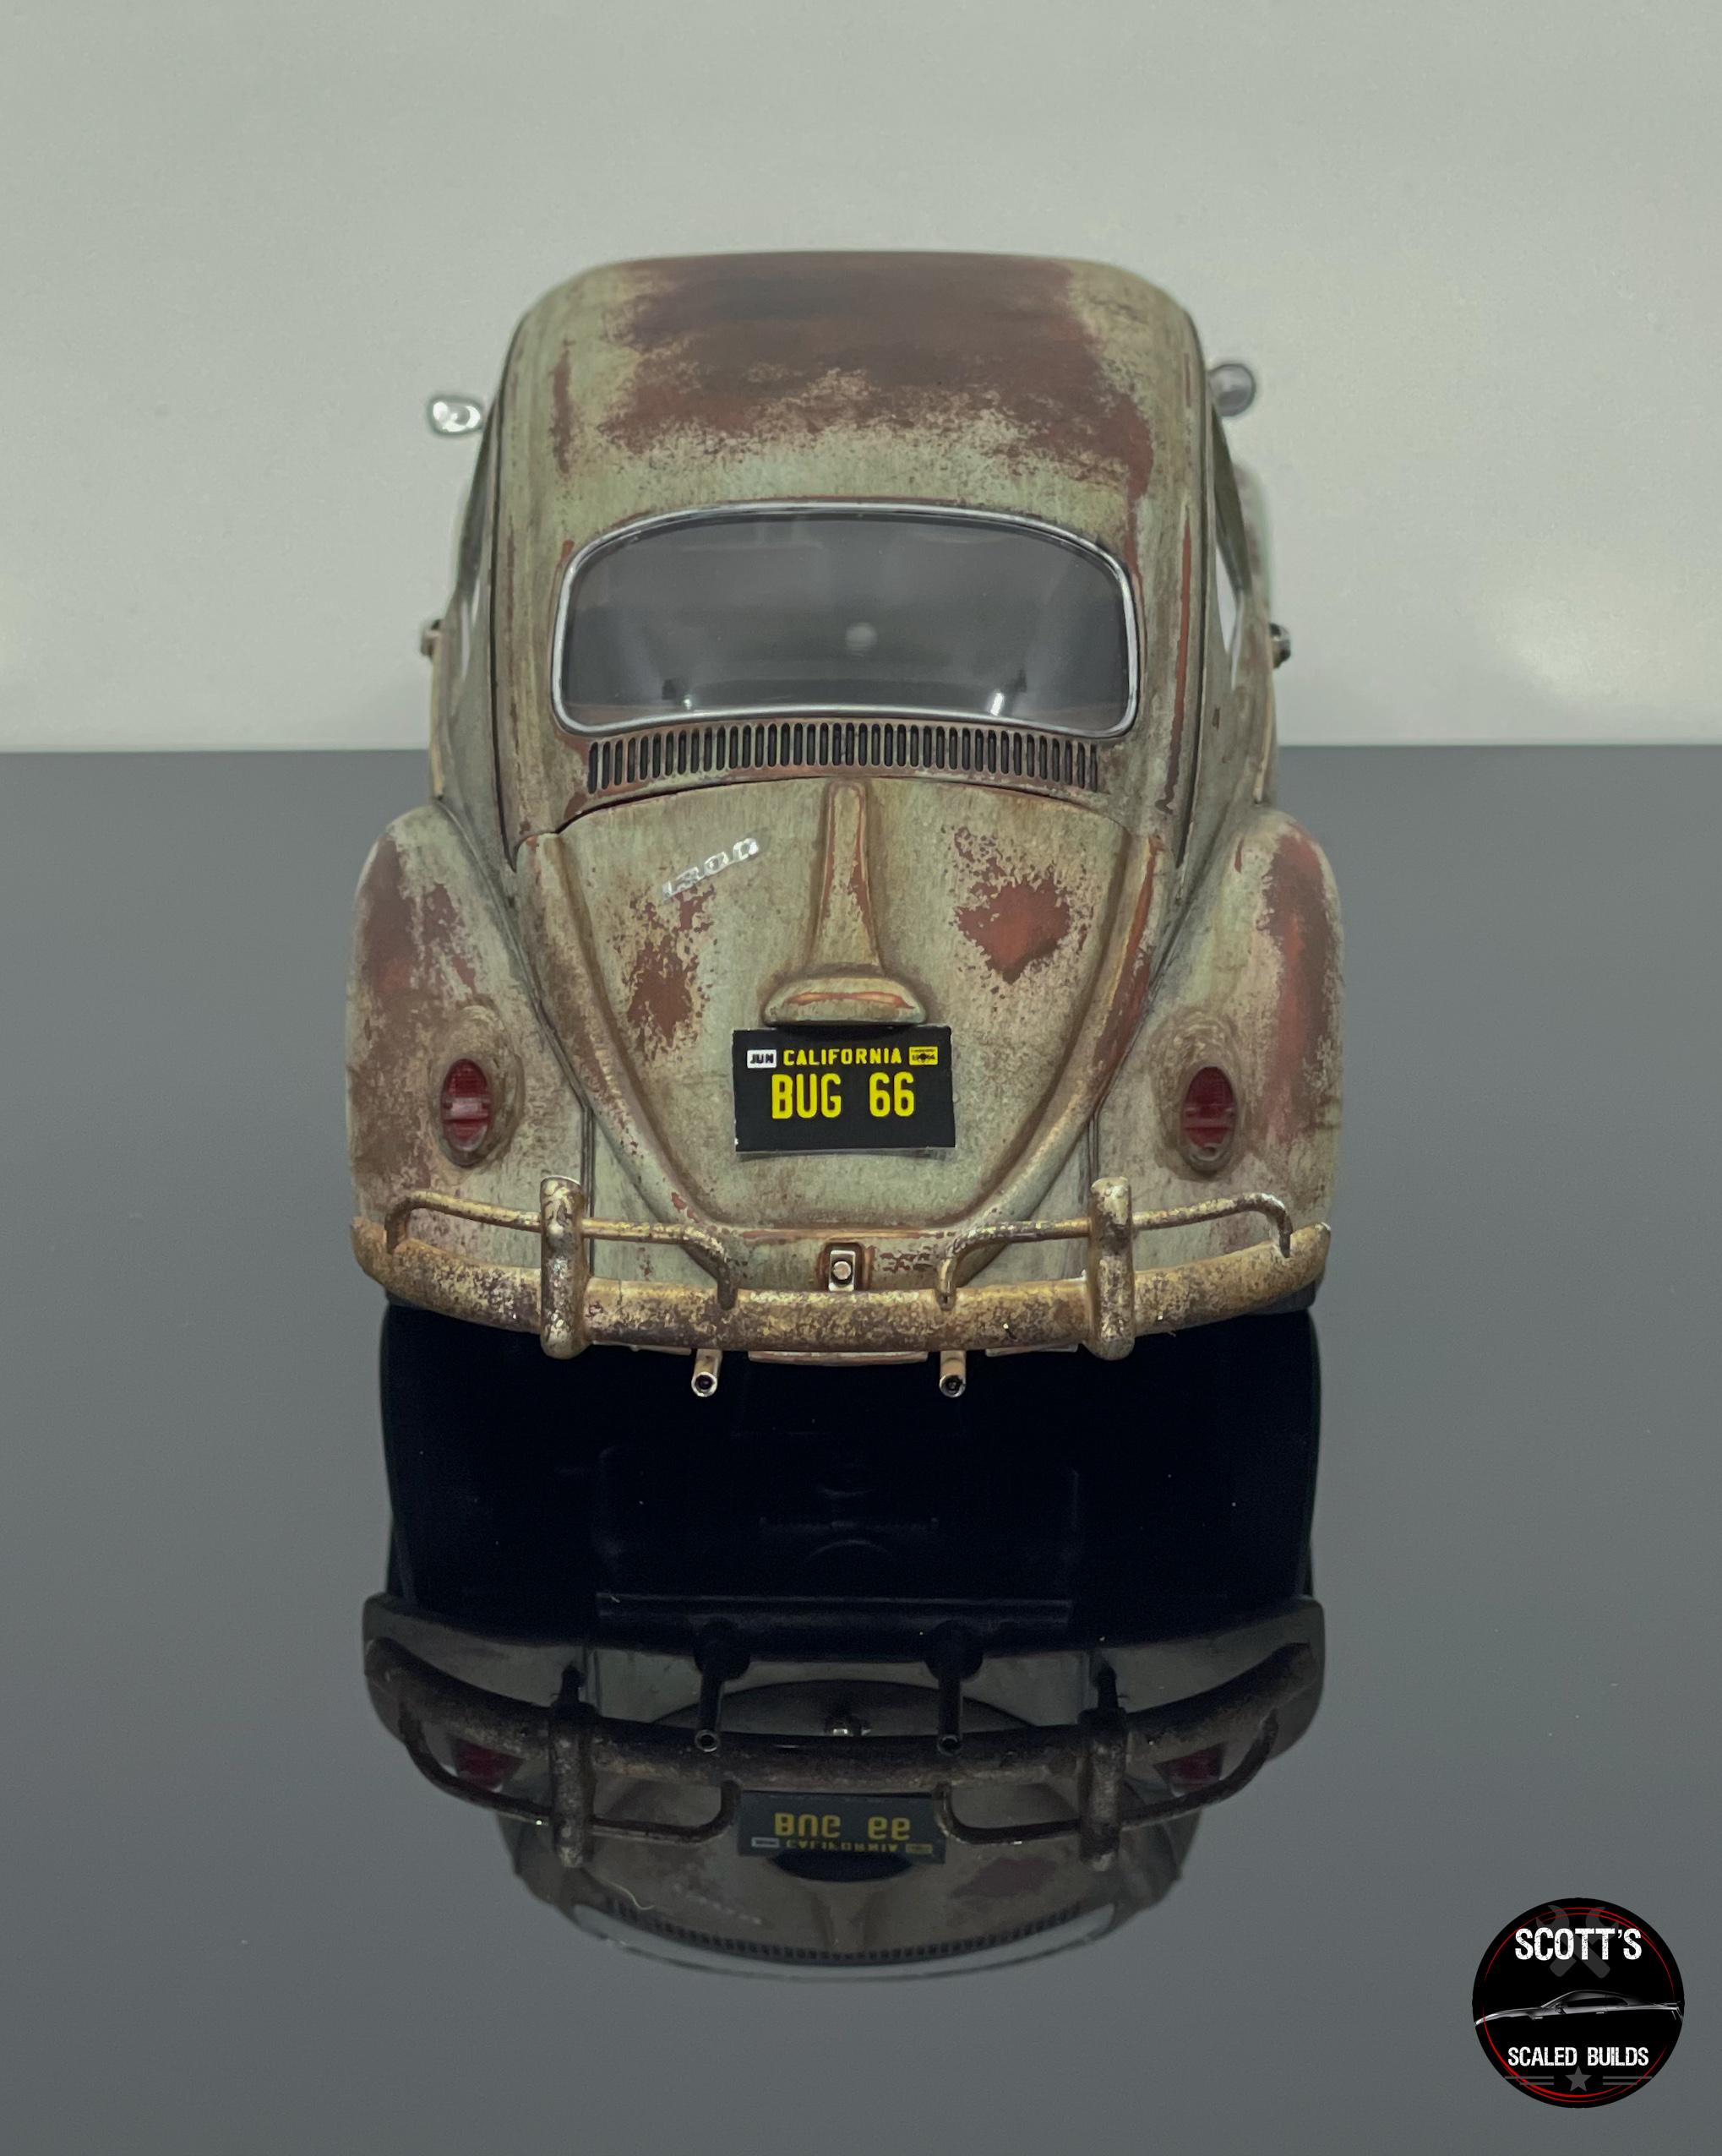
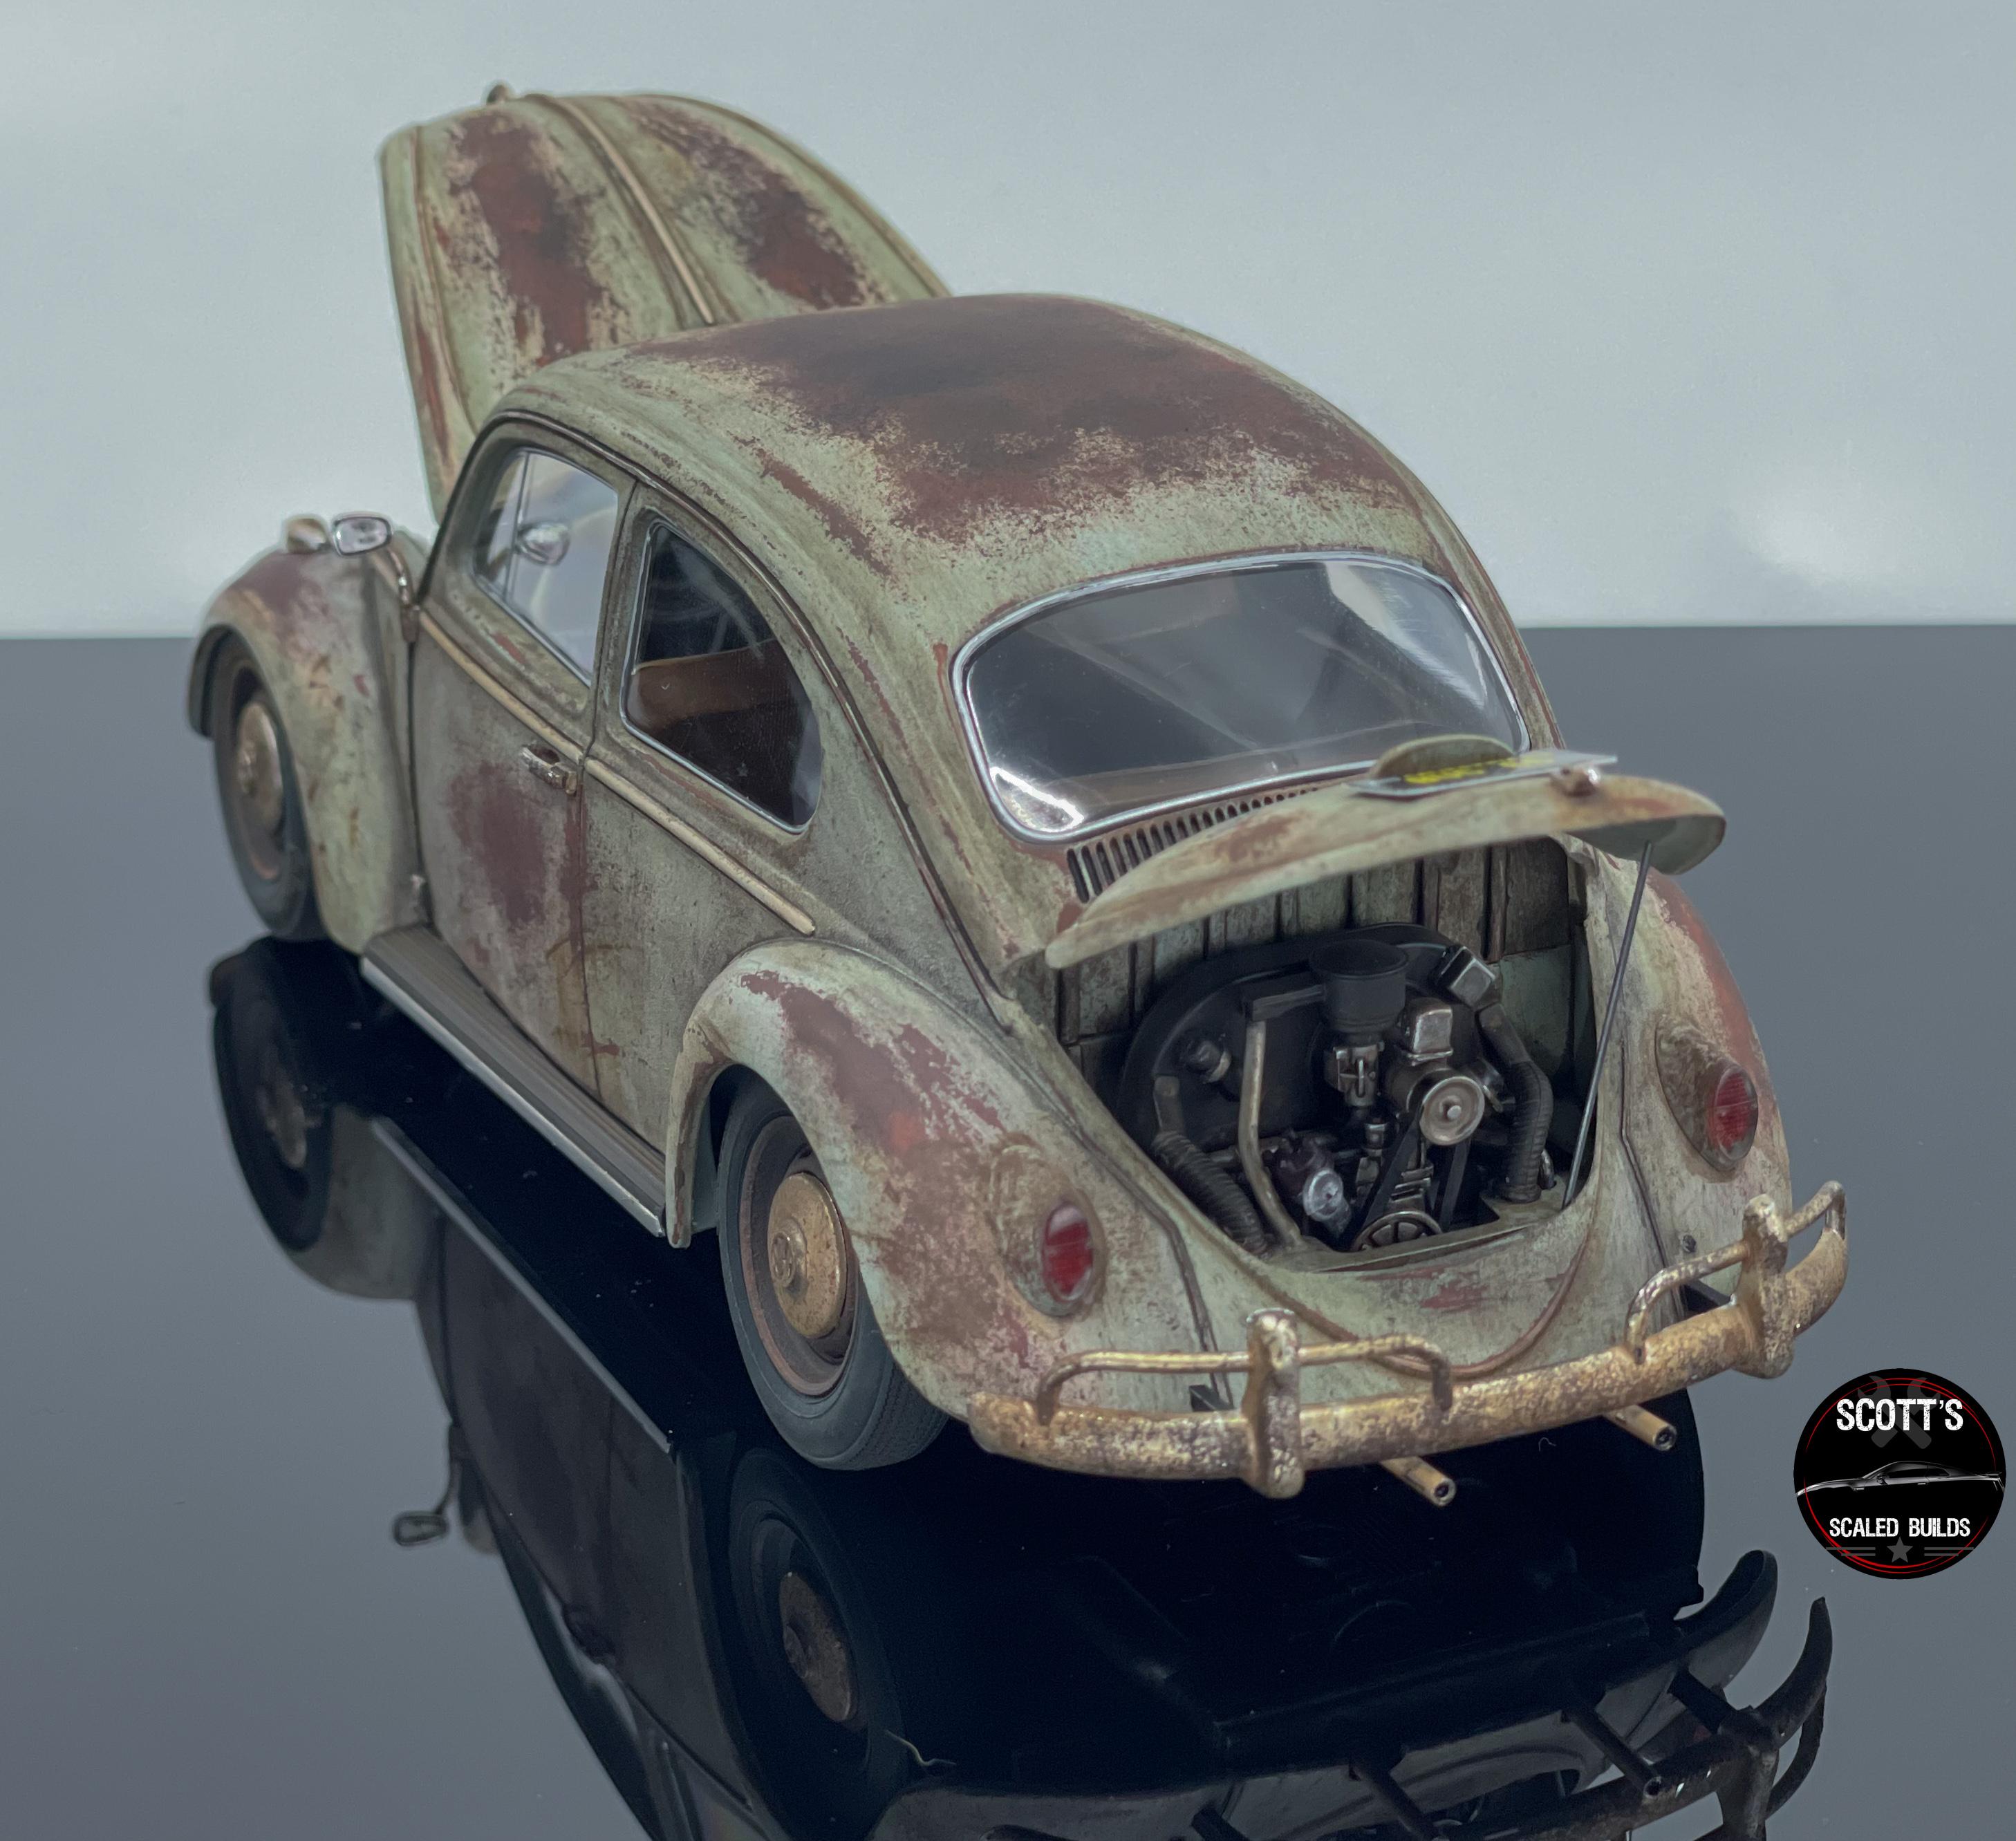
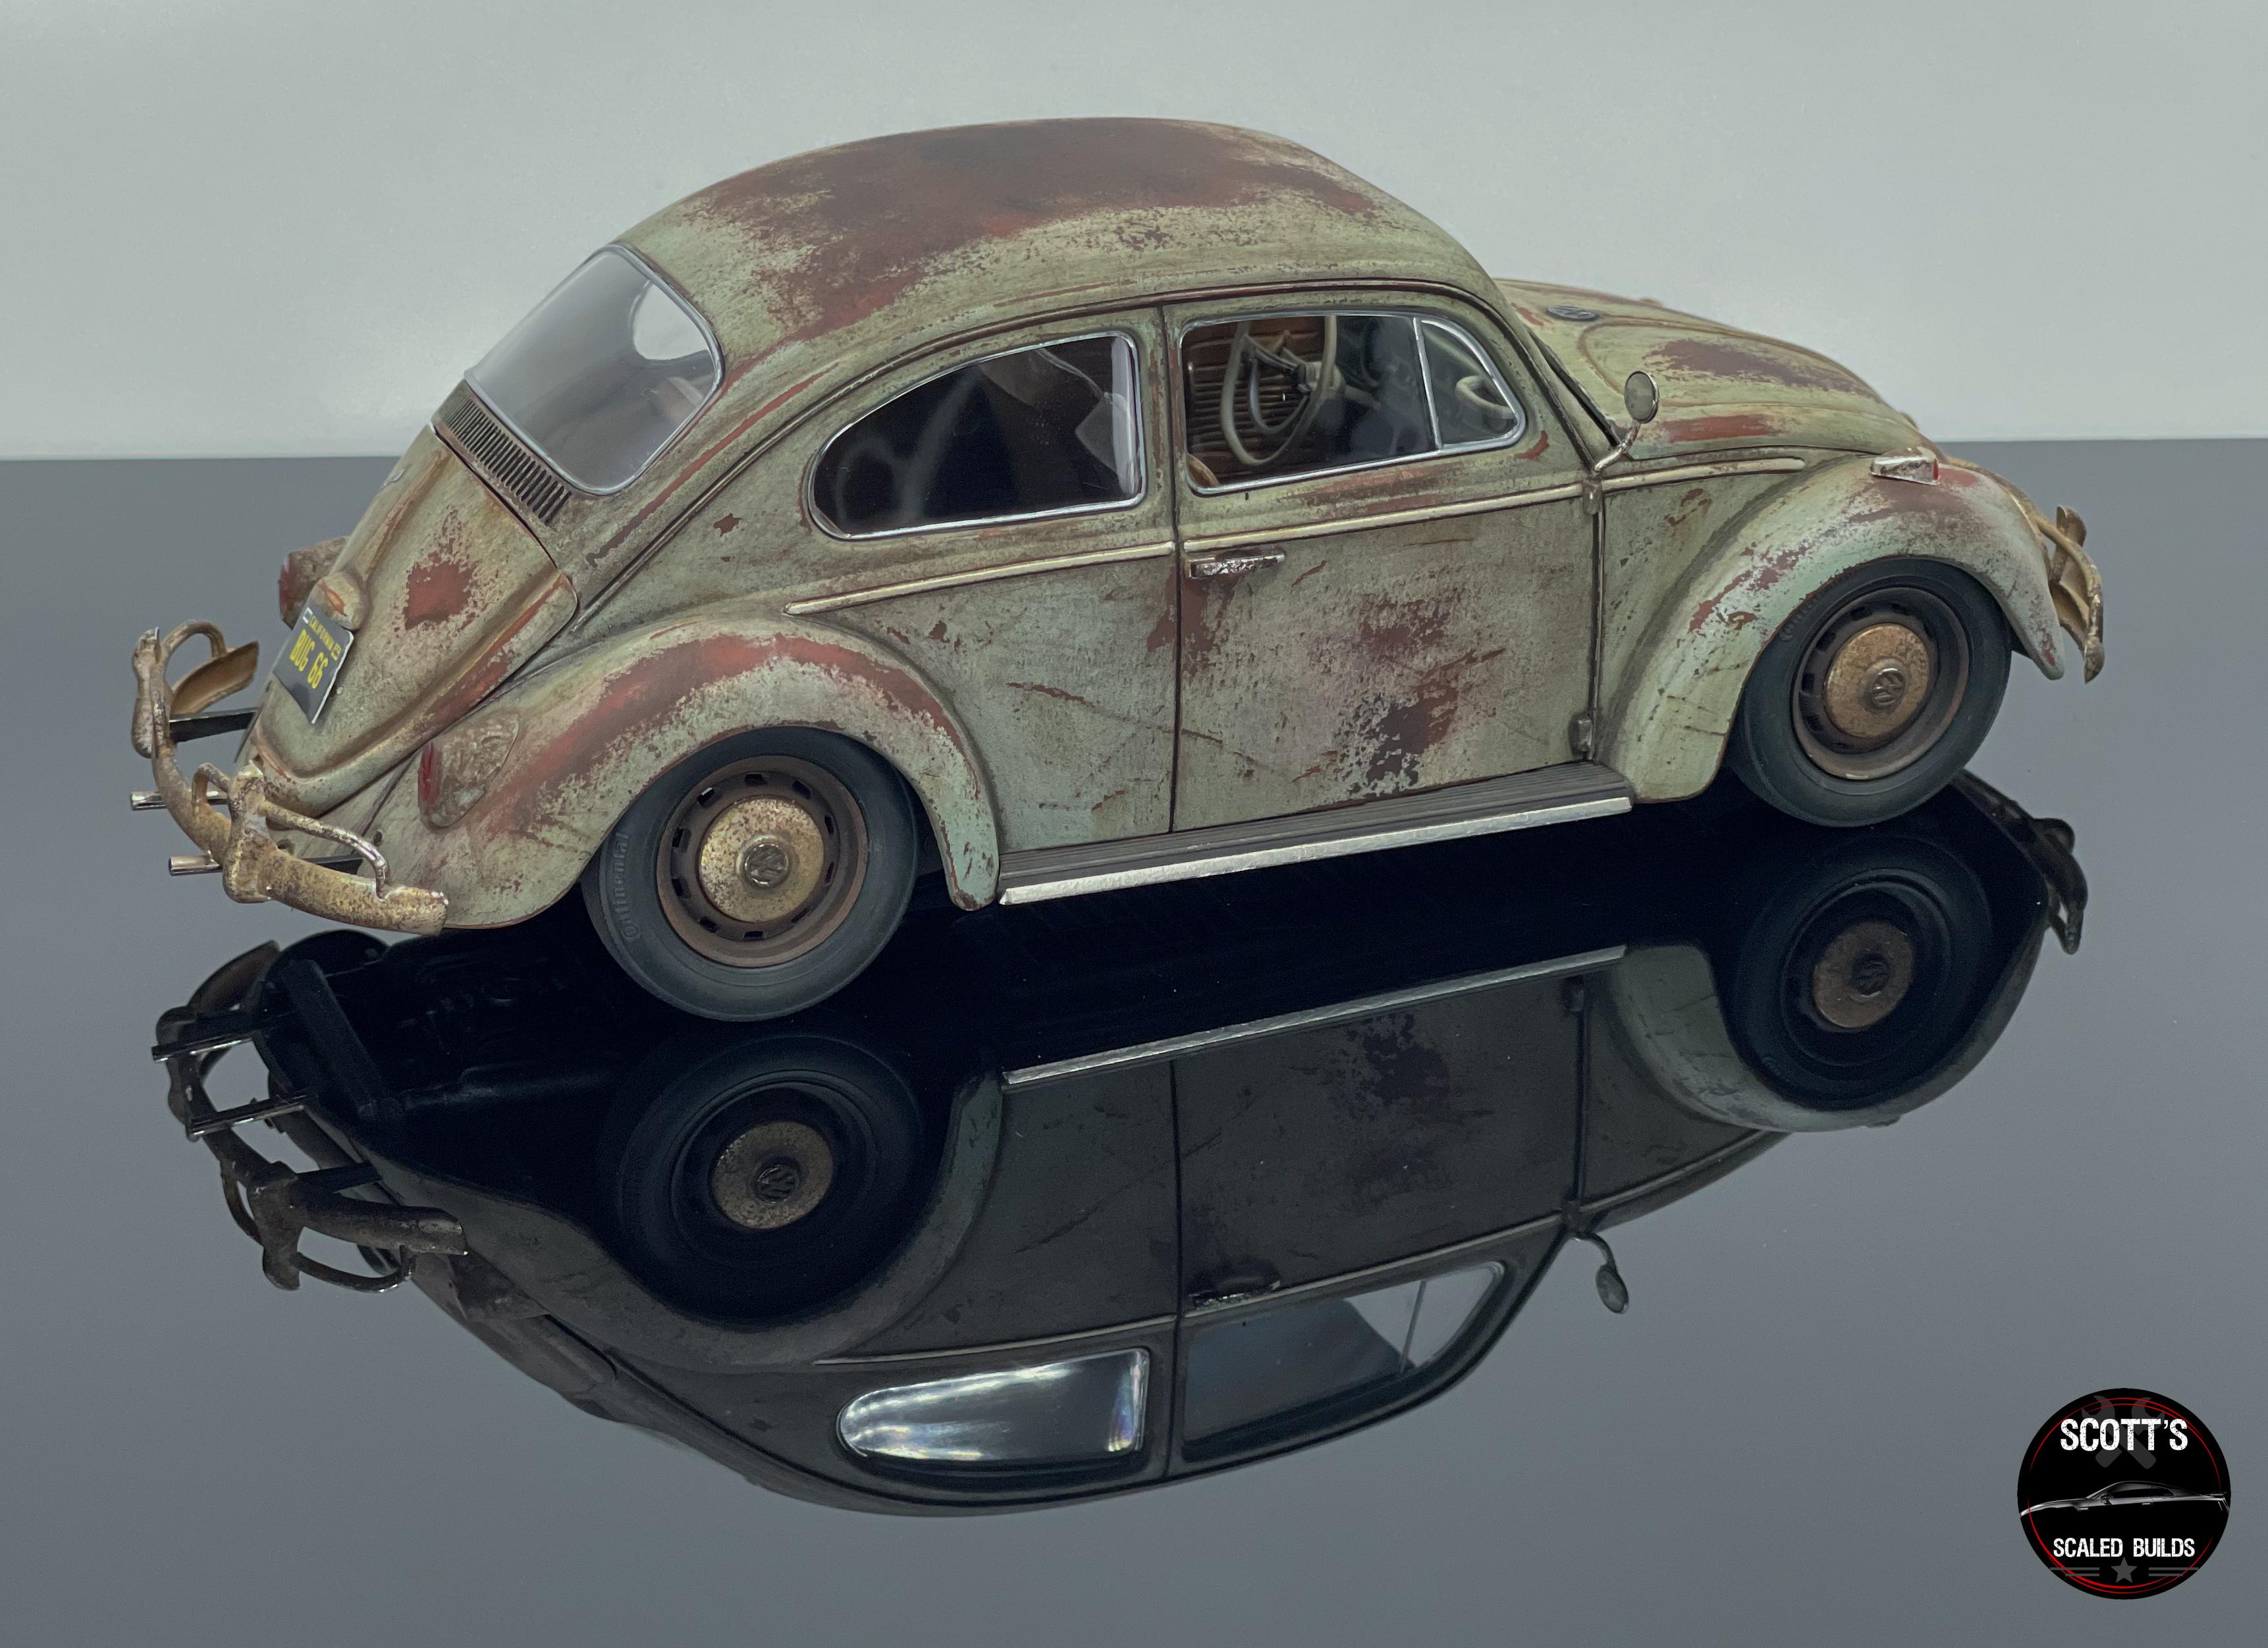
Tamiya 1966 VW Beetle - Weathered & Worn
lghtngyello03 replied to lghtngyello03's topic in Model Cars
Thank you guys!! -
Tamiya 1966 VW Beetle - Weathered & Worn
lghtngyello03 replied to lghtngyello03's topic in Model Cars
Thanks guys! -
Tamiya 1966 VW Beetle - Weathered & Worn
lghtngyello03 replied to lghtngyello03's topic in Model Cars
Clean tag and clean windows were intentional as it shows as it’s a driver that has been put back on the road but still worn and tattered. -
Tamiya 1966 VW Beetle - Weathered & Worn
lghtngyello03 replied to lghtngyello03's topic in Model Cars
That is strangely true. Thank you! Thank you!! Thanks Jim! This is only my 3rd weathered build and I love it so far. I’ve learned a ton in just 3 builds. Thank you! Pics were taken on an iPhone by the way lol. Thank you! -
Tamiya 1966 VW Beetle - Weathered & Worn
lghtngyello03 replied to lghtngyello03's topic in Model Cars
The shiny glass is a result of a driver that has had glad replaced to be driven. Just like others that you see in the road. Shiny chrome on a rusted out beat up car, with new glass as well -
Tamiya 1966 VW Beetle - Weathered & Worn
lghtngyello03 replied to lghtngyello03's topic in Model Cars
Thank you!! -
Tamiya 1966 VW Beetle - Weathered & Worn
lghtngyello03 replied to lghtngyello03's topic in Model Cars
That’s exactly what I was shooting for! Thank you man. This was such a fun build and I learned so many new weathering techniques on this build. -
Tamiya 1966 VW Beetle - Weathered & Worn
lghtngyello03 replied to lghtngyello03's topic in Model Cars
Thanks man!! -
This Tamiya Beetle went together awesome. I did not post progress pictures on here as I posted it all on my Instagram. This was such a fun easy build, and has perfect detail for a box stock build. The paint is VW Bahama Blue from Splash Paints weathered using a variety of washes, Vallejo Acrylics, and AK Streaking fluids. Clear coat is Vallejo Matte clear to lock everything in. The interior was finished in Tamiya desert brown, weathered with a variety of Vallejo acrylics and Tamiya washes. There was plenty of detail in the interior and it could be finished very nicely with some more add ons if you weren’t doing a box stock build. The engine was finished using Splash Paints semi gloss black, aluminum, and steel colors. It was weathered using Vallejo acrylics, Tamiya panel line accents, and AK streaking fluids as well. Again, this would be killer with the right details outside of a box stock build. The chassis and suspension were painted using Splash Paints semi gloss black and weathered using lots of different Vallejo acrylics and washes. I wanted a lower ride height than the stock ride height. This was achieved by a lot of cutting up front and an axle flip out back to give it the slammed stance I wanted. The wheels were finished in Splash Paints semi gloss black and weathered using Vallejo acrylics and washes. The tires were weathered using various Tamiya weathering powders. This is definitely a kit worth building, and one day I’ll build its twin, but not box stock, and it will be super clean and shiny to display beside it. Thanks to everyone for checked out the finished product. Now on to the next build!
- 32 replies
-
- 16
-

-
This is absolutely amazing! I have wanted to do something like this for the longest but had no clue how to even start, lol. This is such a cool build!
- 25 replies
-
- 1
-
-
- dumbanddumber
- shagginwagon
- (and 2 more)
-
Beautiful build. Looks exactly like the box picture! I have 3 of these in my stash and this really makes me want to build one now. How did the kit go together? Any problematic areas to be aware of?
-
SCMA Upstate Model Show in Simpsonville,South Carolina 2024
lghtngyello03 replied to thatz4u's topic in Contests and Shows
Awesome pics @catpack68 It was great to finally meet you. Your builds are definitely super clean as well. This show always has a really good turn out. The competition this year was super tough, and I have a feeling it will only get tougher. -
Thanks man!
-
Thank you Patrick!
-
Thanks Jim!
-
Thanks man! The little details like that really stand out!
-
Thank you very much. I’m really starting to get the hang of weathering convincingly. Thank you!!
-
Thank you! That is classic VW in my eyes. Thanks man!
-
'47 Chevy Delivery Sedan
lghtngyello03 replied to ATHU's topic in Model Trucks: Pickups, Vans, SUVs, Light Commercial
love the wood on the dash, how did you do this? -
Thank you Steve! Thanks Mike! I have to say, I really do enjoy the weathered builds now that I have done a few. You don't have to be as clean as you do with a nice shiny clear coated build, lol.
-
Thank you!! Thanks man! Not bad for my 2nd weathered build huh? Lol. These builds are so fun. Thank you sir!!
-
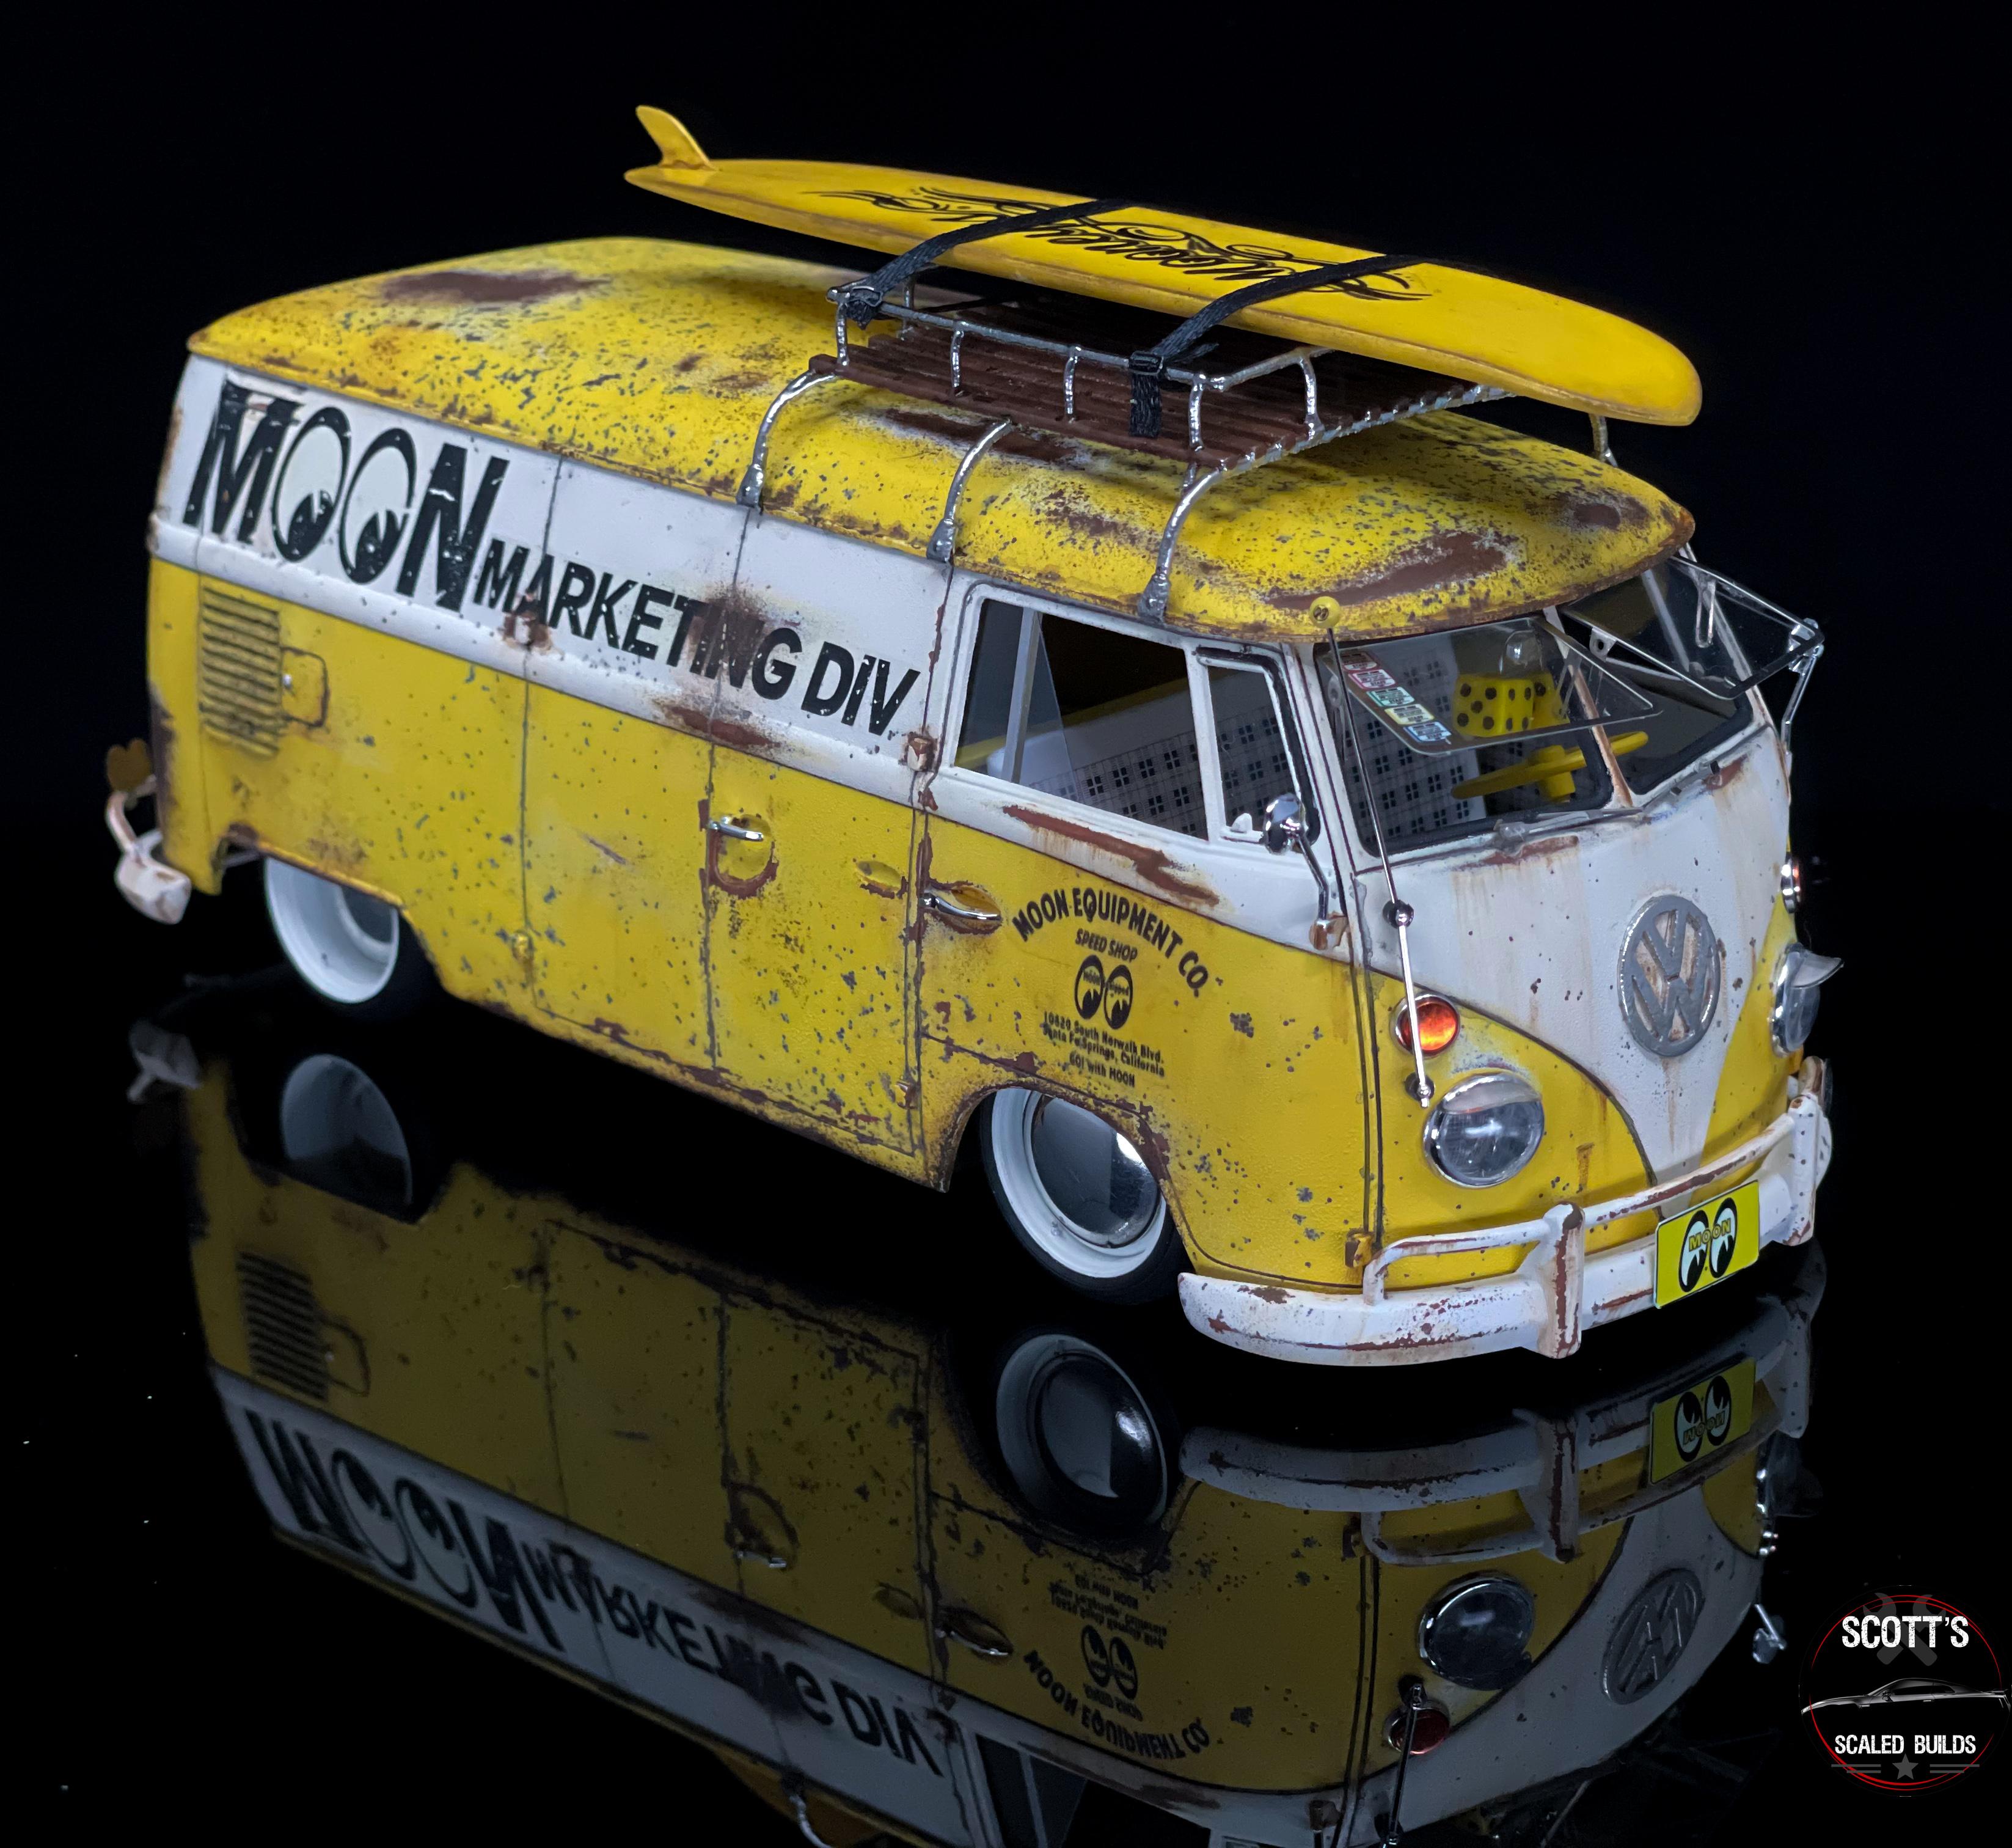
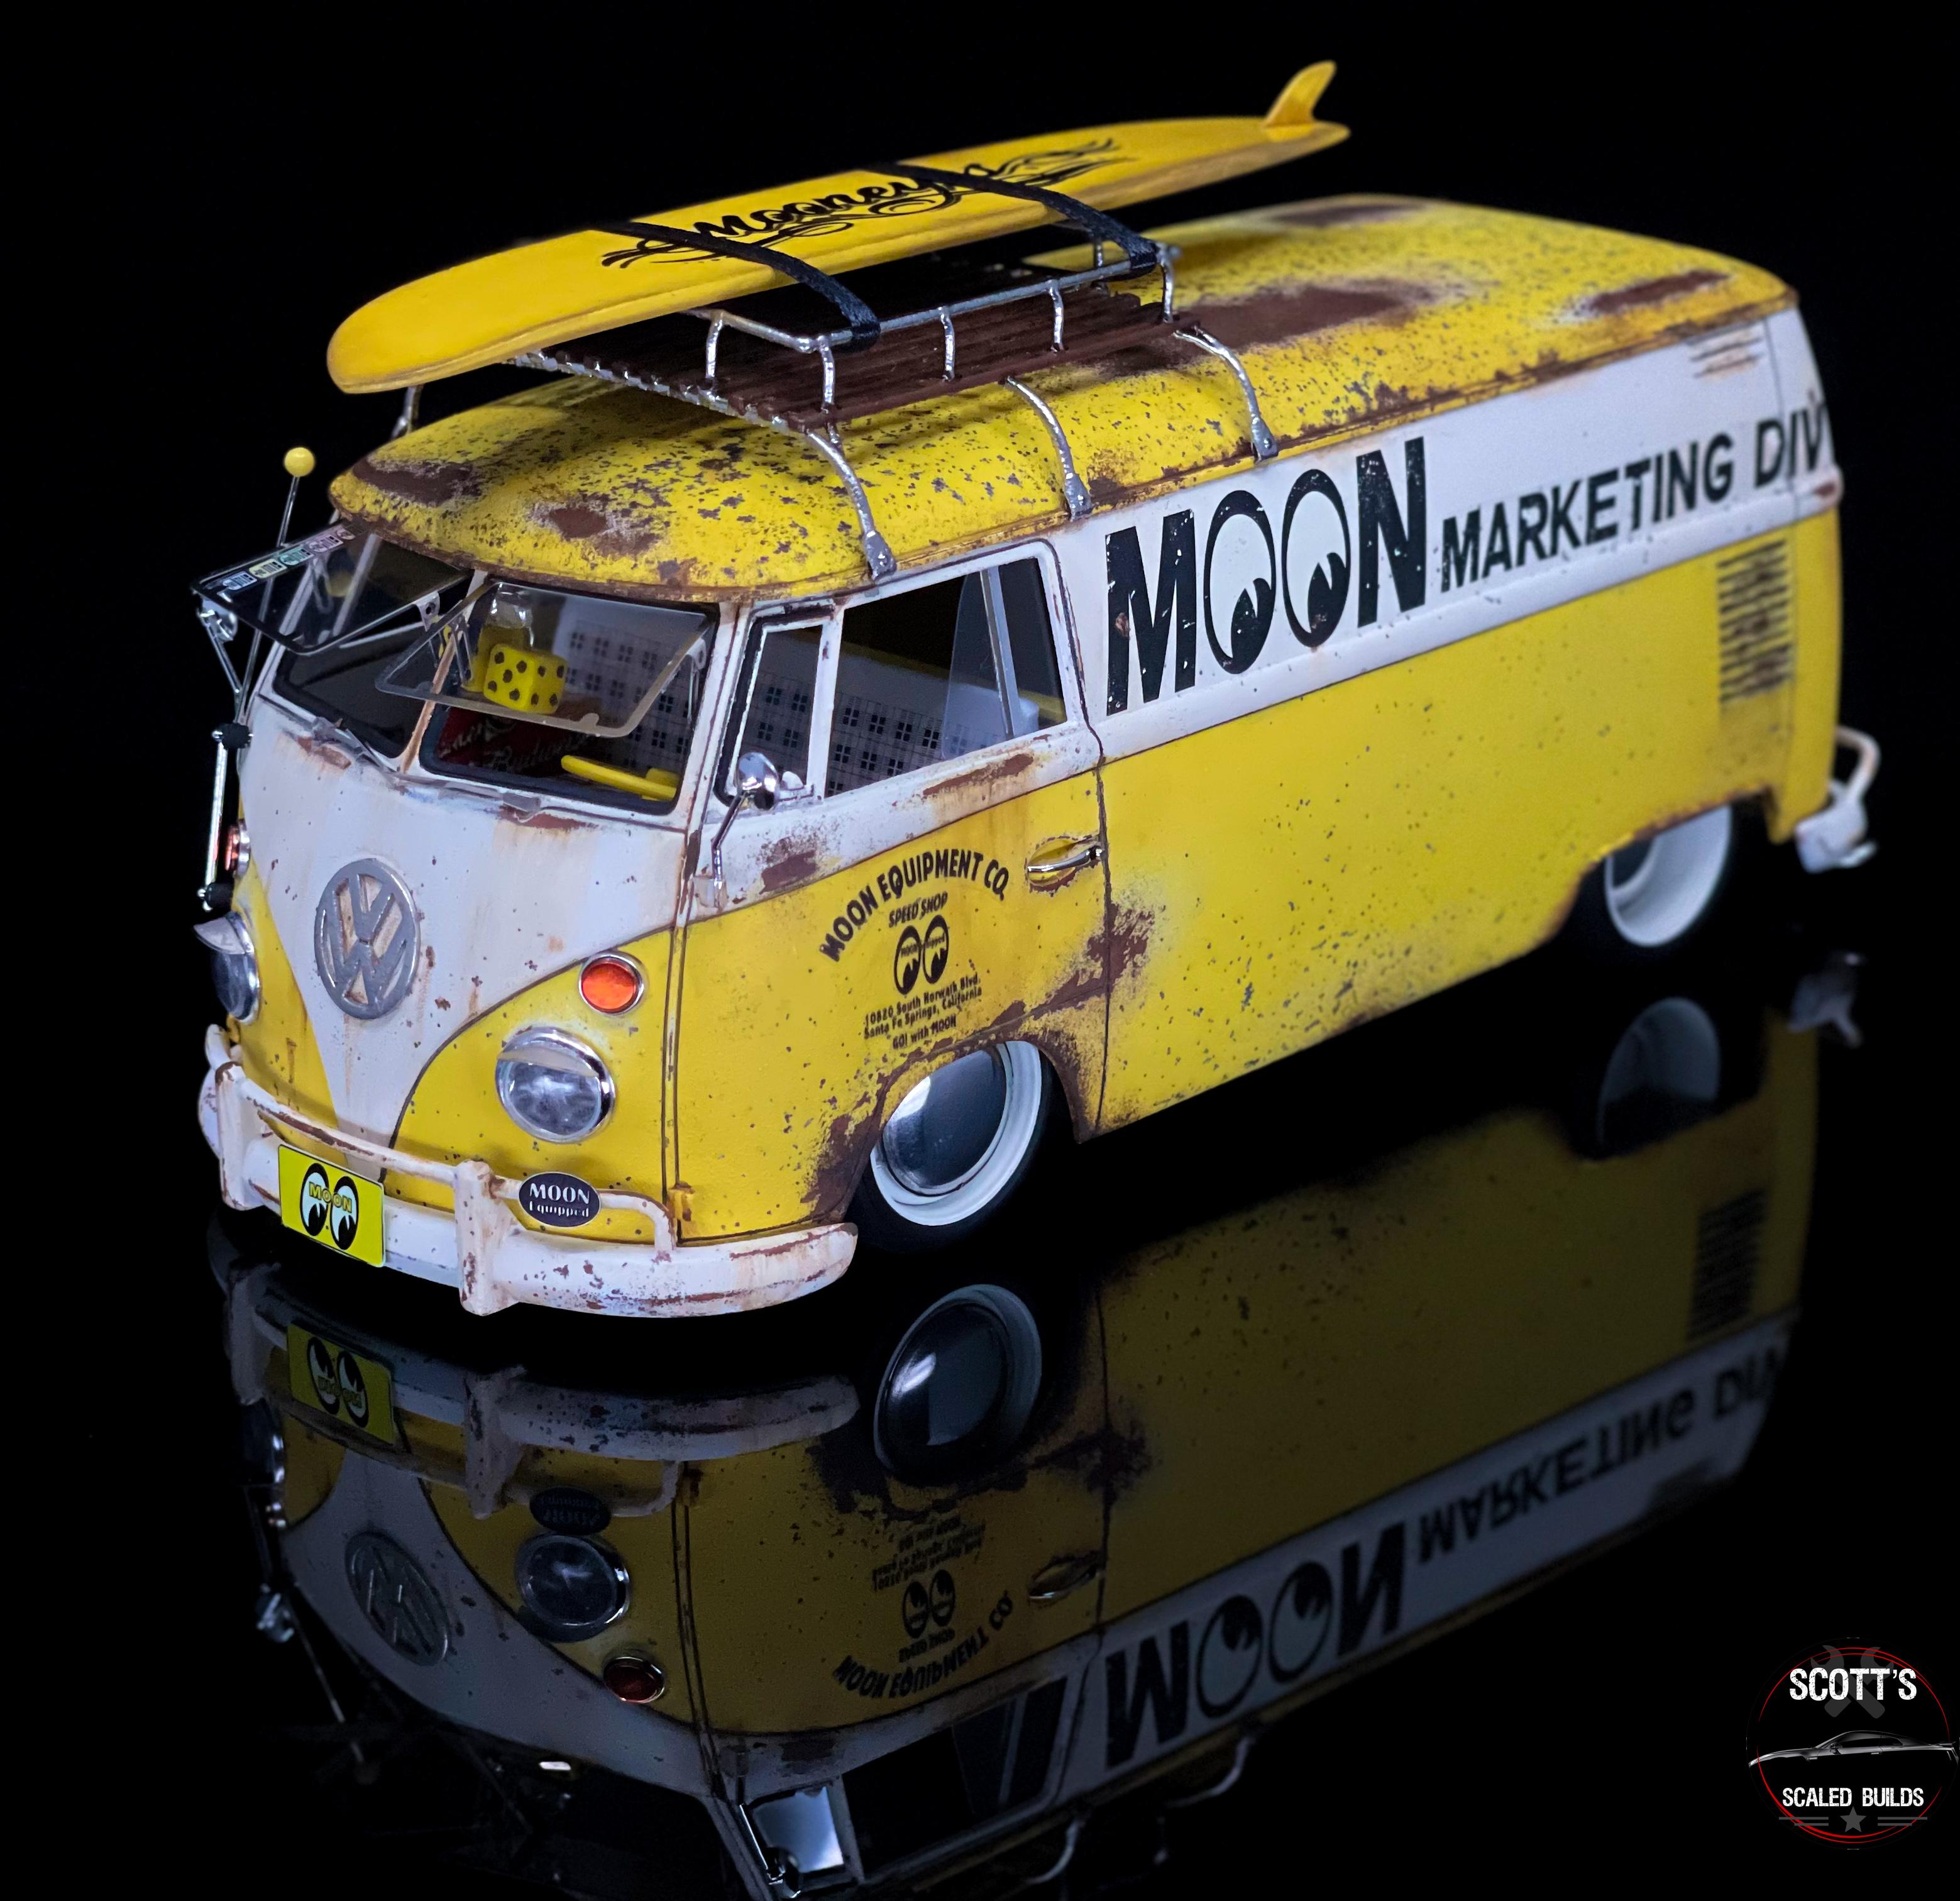
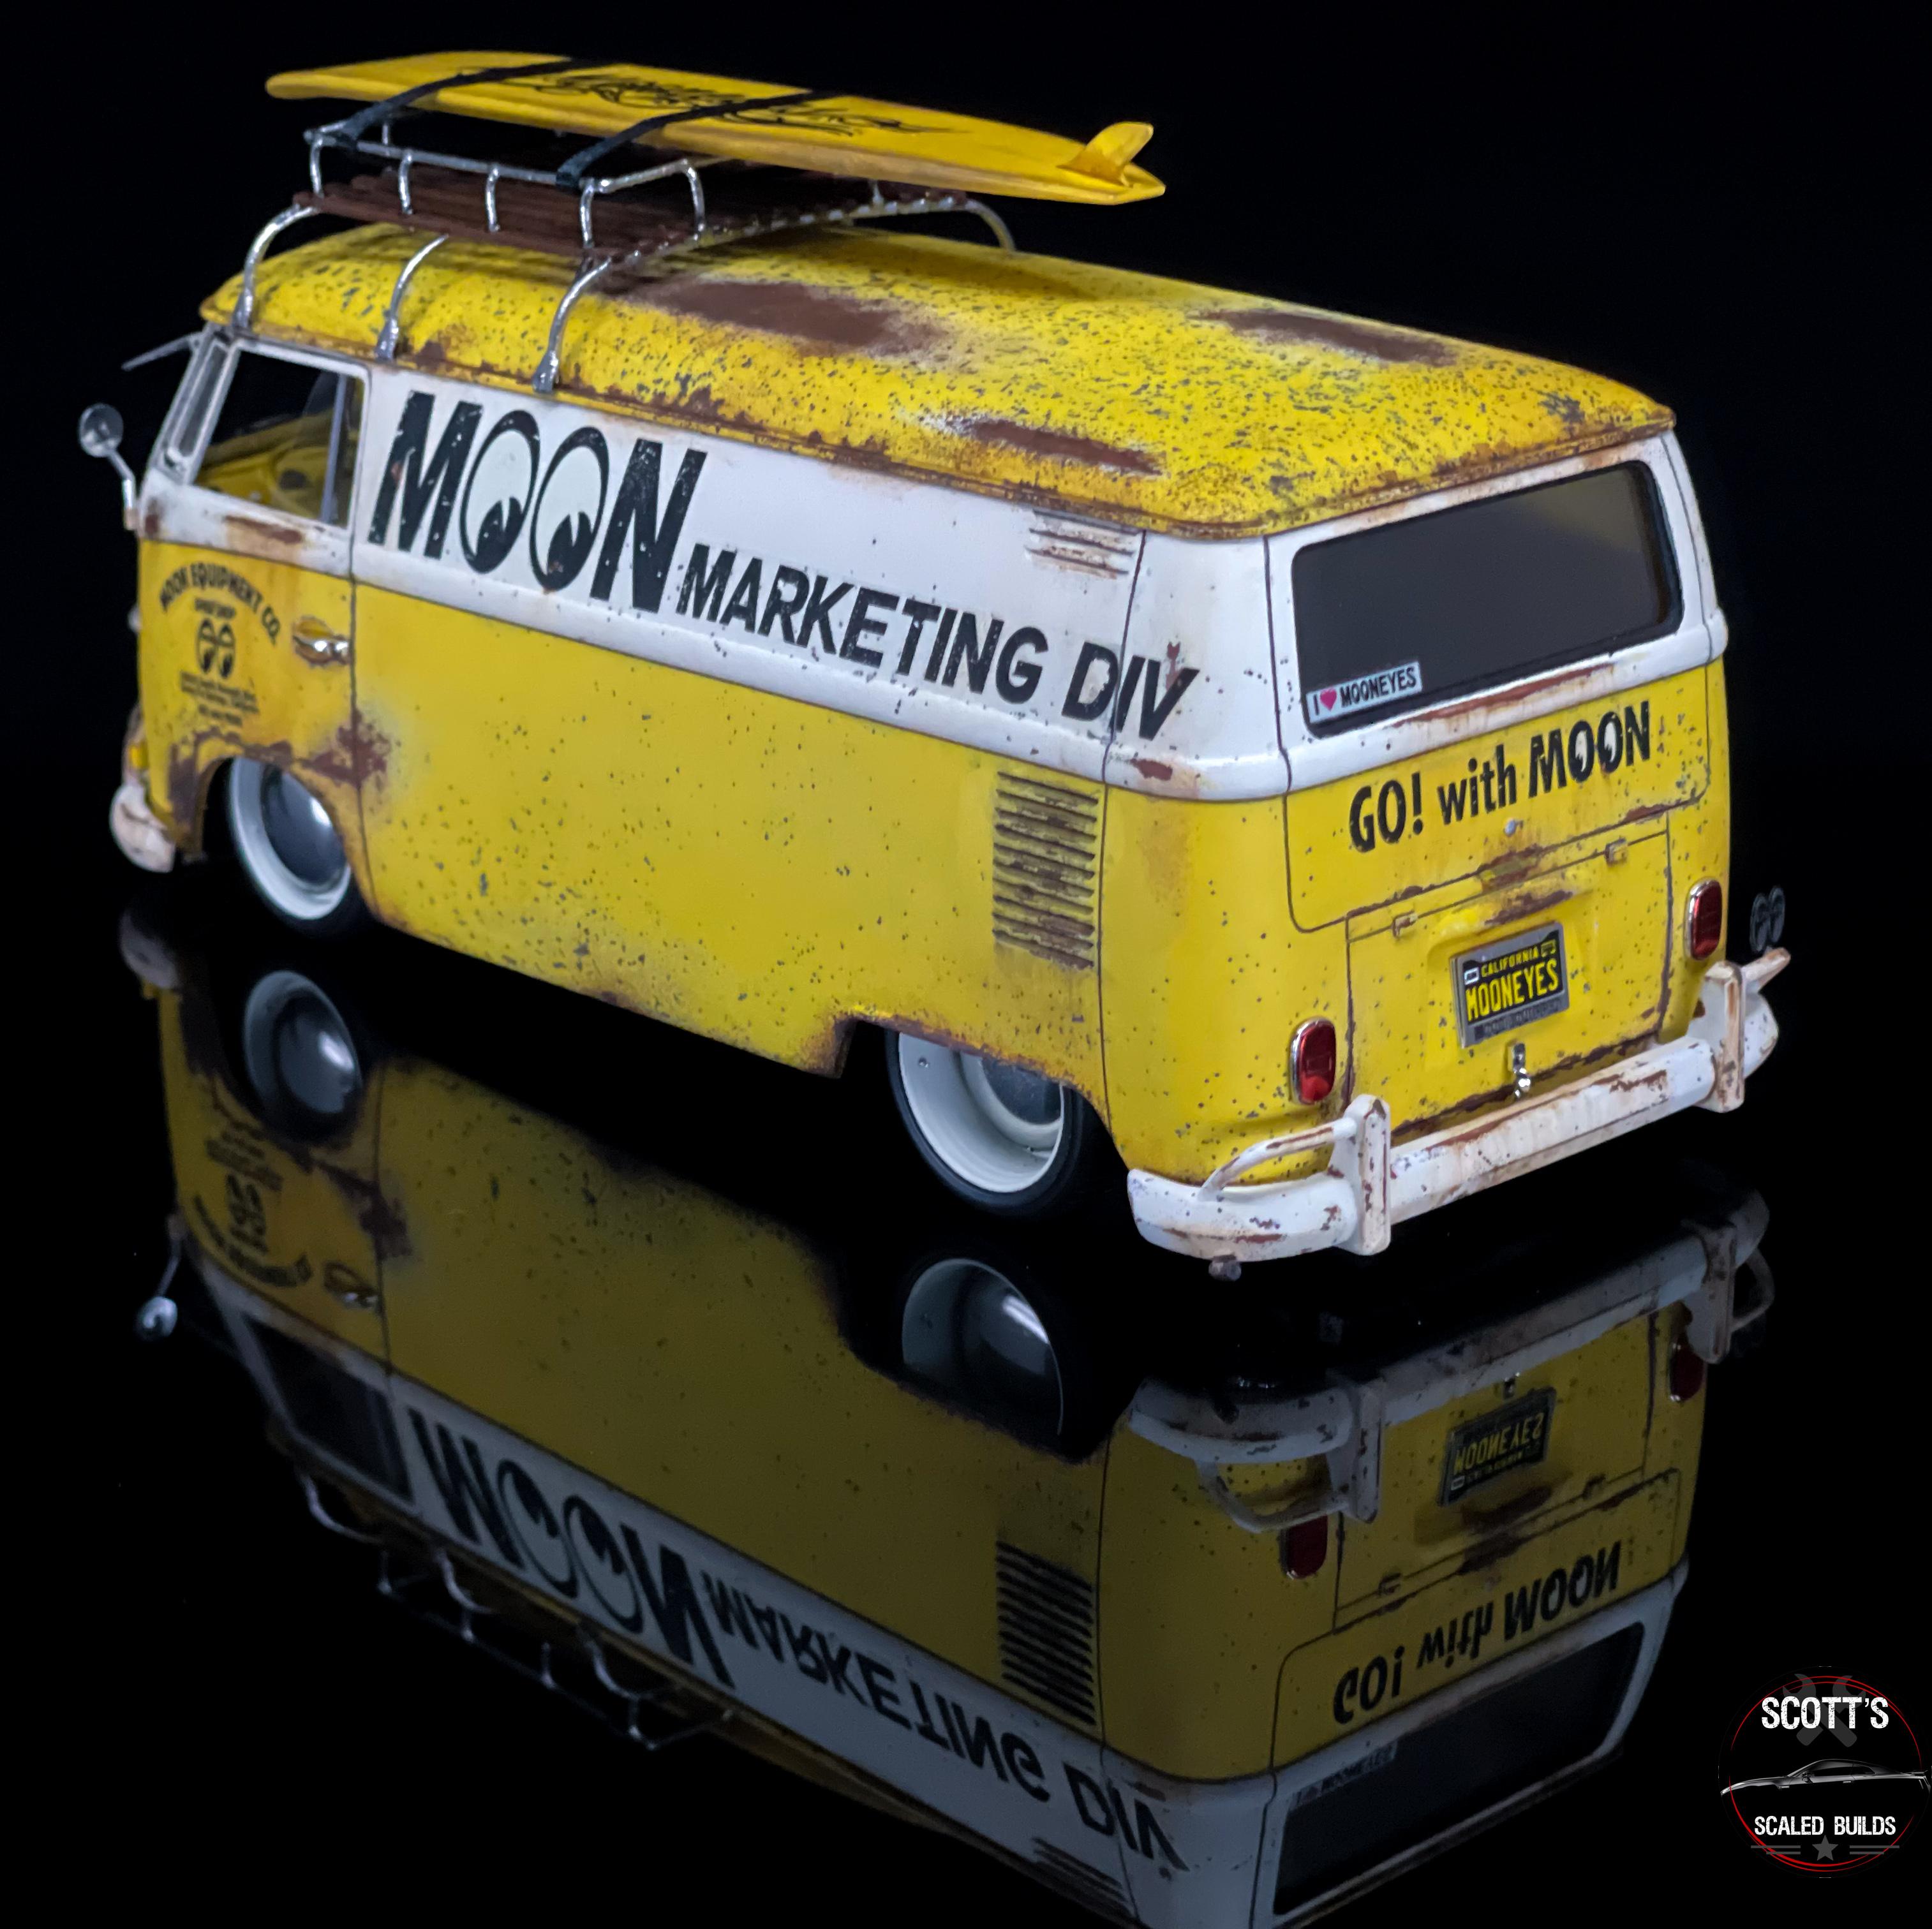
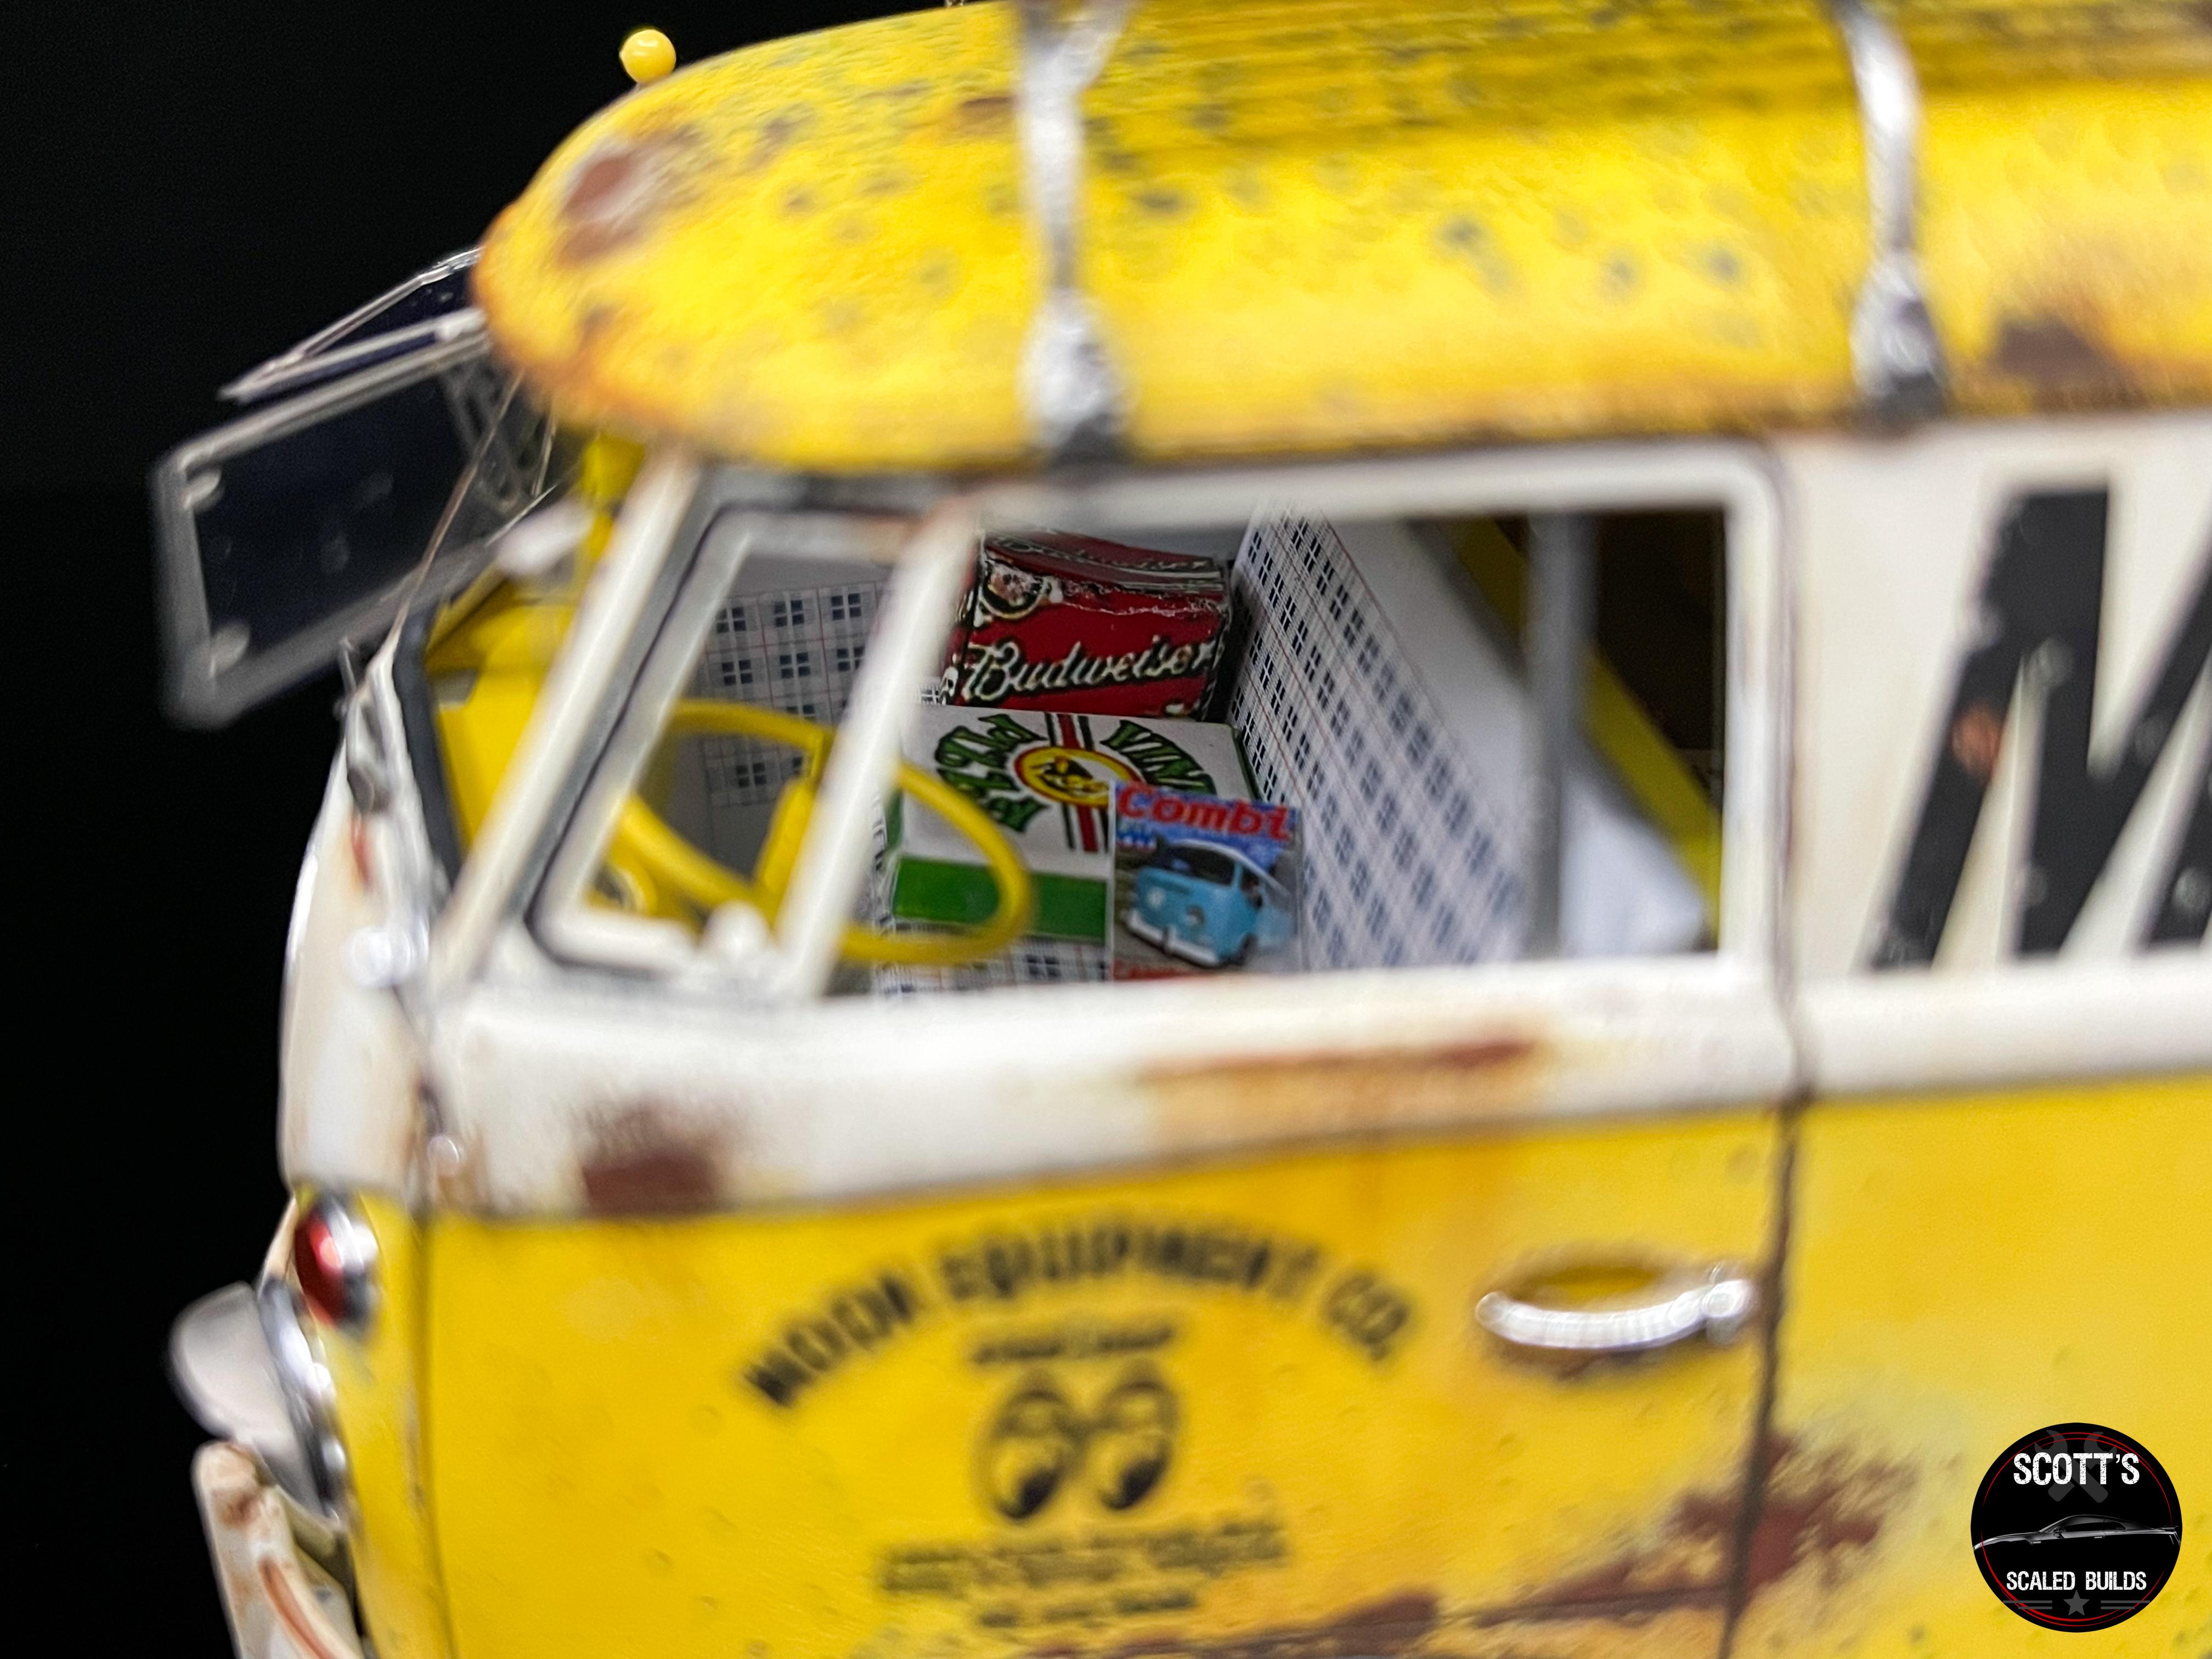
Again, many of you follow me on Instagram, so the work in progress wasn’t posted on here, it can be found on my Scott’s Scaled Builds page on IG. This started with a Hasegawa 67 VW Type 2 delivery van. The paint is Mitsubishi Lightning Yellow and a custom mix Pearl White from Splash Paints topped off with Vallejo Matte Clear Coat. The weathering was done using several different methods….Salt, sanding, sponge, brush, and streaking fluids. All of the rust was made using Splash Paints red oxide primer, various Vallejo acrylic rust colors, and AK rust streaking fluids. The interior was painted using Splash Paints Pure White. Highlight Model Studios door panels, Highlight Model Studios Mooneyes pedals, Scale Motorsport Euro Plaid decals, and various scale boxes were used throughout. A pair of dice was also a must hanging from the rear view mirror as well. The exterior received Highlight Model Studios Safari Windows, headlight visors, windshield wipers, tags/tag bracket, and Mooneyes bumper plaques. The antenna was made using a smaller colored ball sewing pin. I chose to use some of the kit decals, and I also ordered some custom Mooneyes shop logos for the doors to give it that shop truck look. To complete the 70’s Cali look that I was going for, I used a 3d printed roof rack sprayed in Splash Paints Hyper silver, and Tamiya Deck Brown. I then topped it off with a surf board from a random Aoshima kit, which is held on by straps made from 3mm ribbon, and some PE buckles from a racing harness kit. The wheels were 3D printed by myself, and designed by Slowlys Models. They are topped using the kit supplied metal Moon Disc caps. I wanted some pop to them, so I wet sanded and polished them. RB Motion valve stems are used as well. They are finished in Splash Paints rubber black, and the custom mix pearl white. Thanks for looking and enjoy!!
-
Great looking build! Hasegawa makes some great kits. This was my first dabble into them as well. Such a great little kit, that was put together just as well as any Tamiya kit that I've built. Here is a link to my finished build