-
Posts
797 -
Joined
-
Last visited
Content Type
Profiles
Forums
Events
Gallery
Posts posted by ShakyCraftsman
-
-
2 minutes ago, Pete68 said:
Nice job on the spokes I like them
Thanks Lee
-
 1
1
-
-
Hey Gary
I almost forgot. Don't forget the shift linkage between the main box & the brownie.
Ron G
-
 2
2
-
-
Here to help Buddy.
-
 2
2
-
-
32 minutes ago, Gary Chastain said:
Hey Gary
The set-up in the AMT Kenworth W925 is a twin stick. It is a 5 spd. Main box and a 4 spd. brownie (auxiliary),so you pretty much would have to use the second one too.
This is the setup I'm using on my build for Jeff.
Ron G
-
 1
1
-
-
21 minutes ago, Gary Chastain said:
Shout out to Ron (ShakyCraftsman) and Jeff (Biggu) for answering all my texts and messages about this build, thanks guys.
Your welcome
-
 1
1
-
-
Hey all
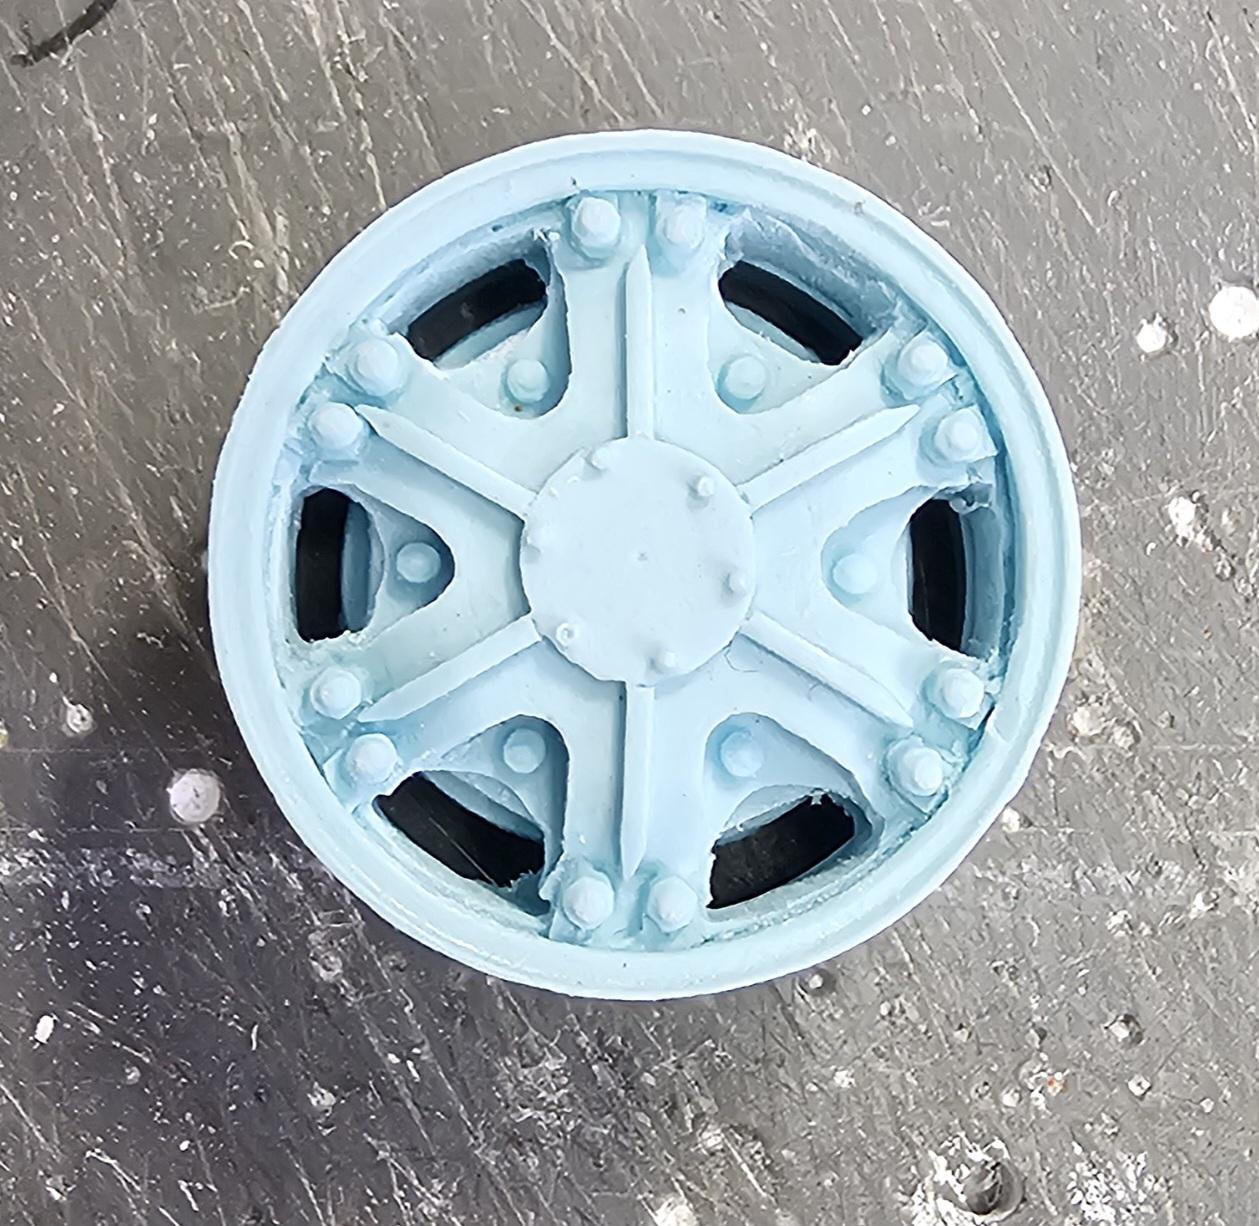
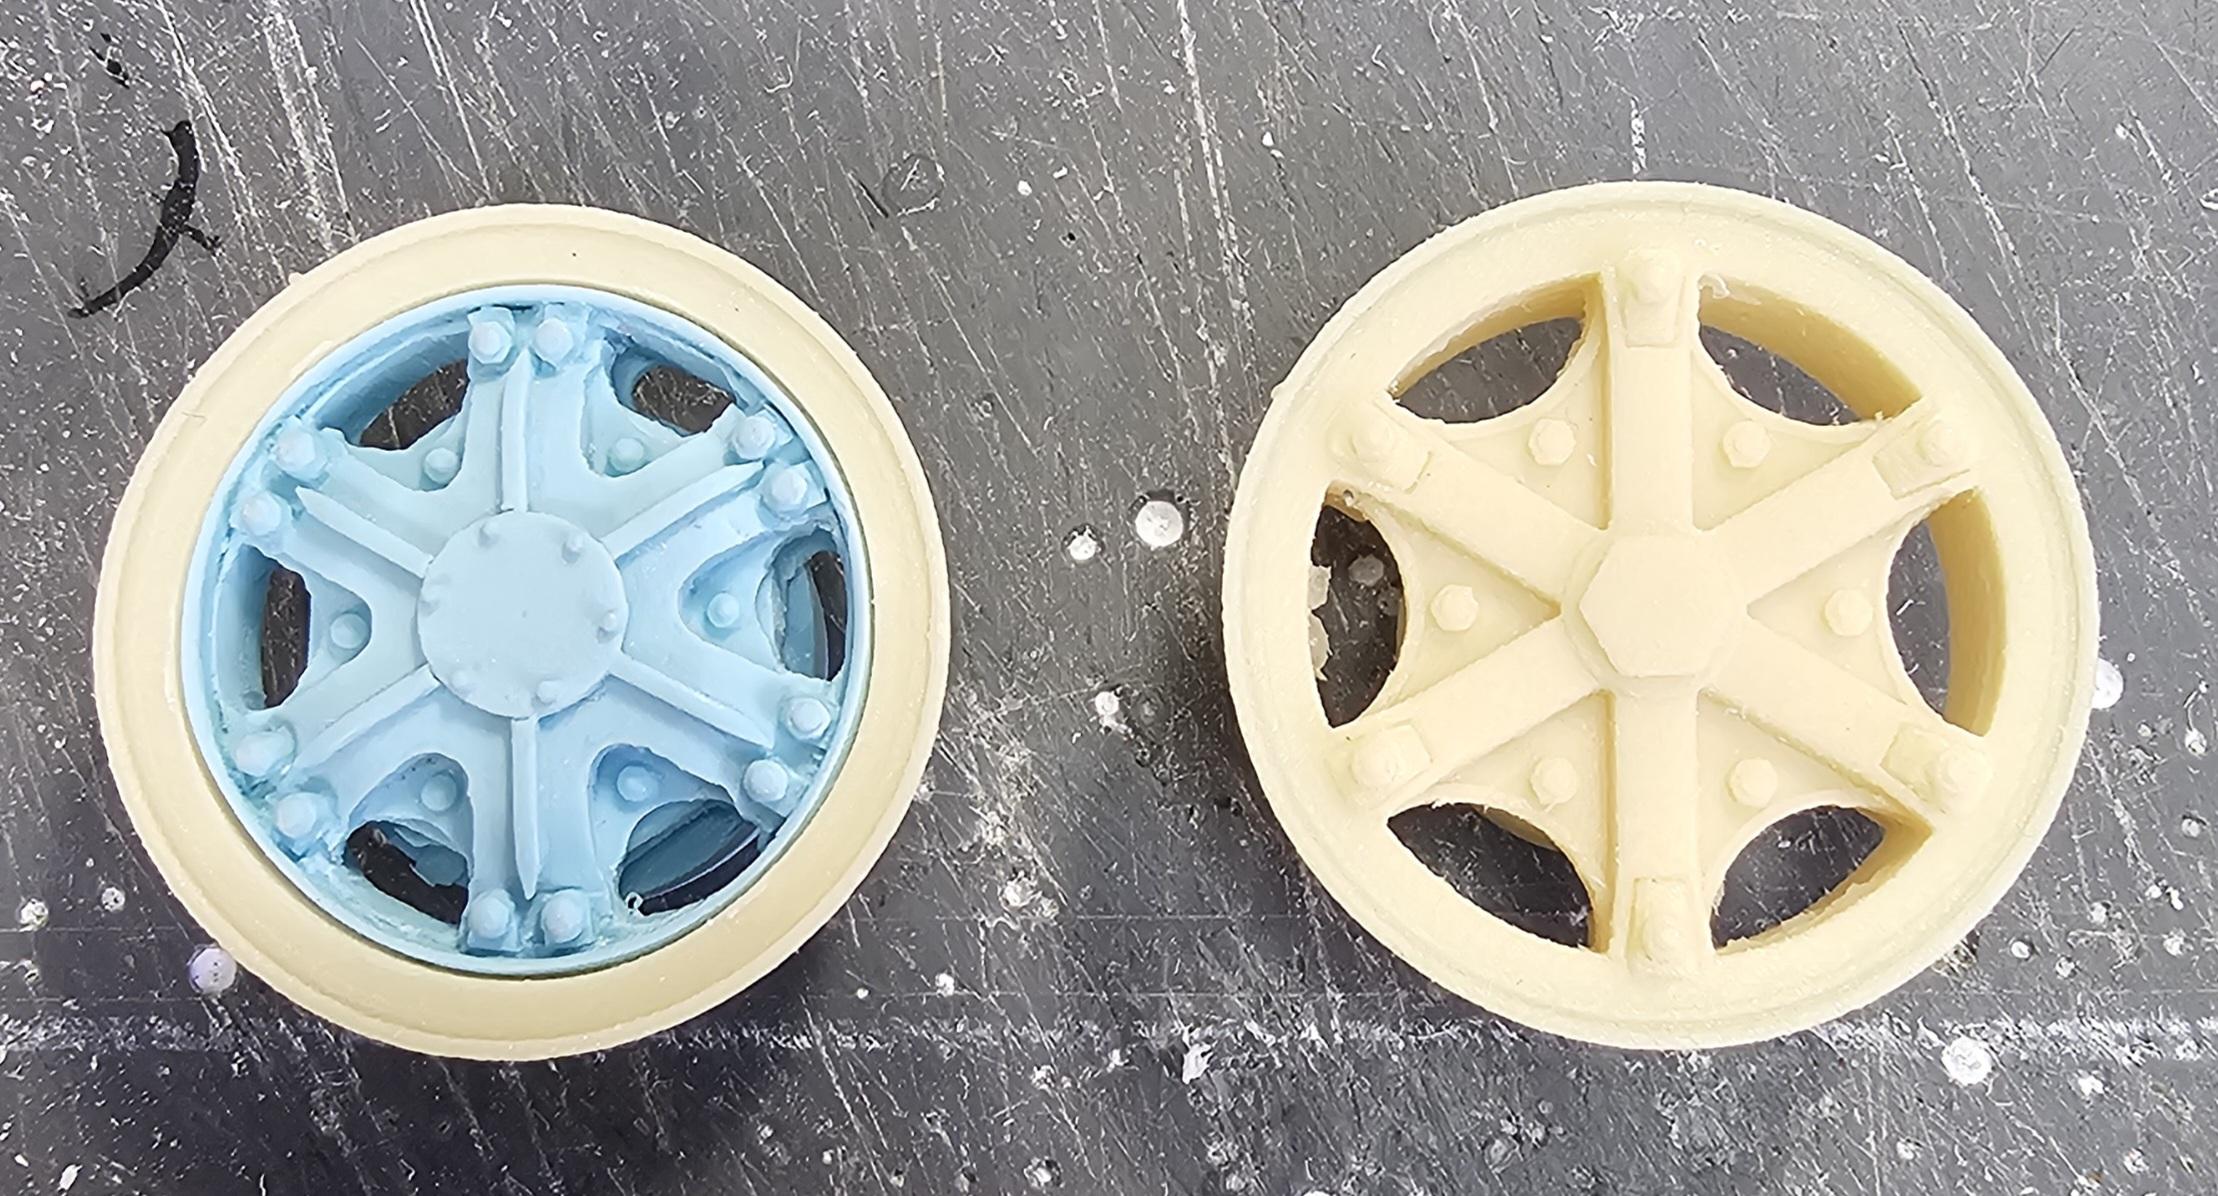
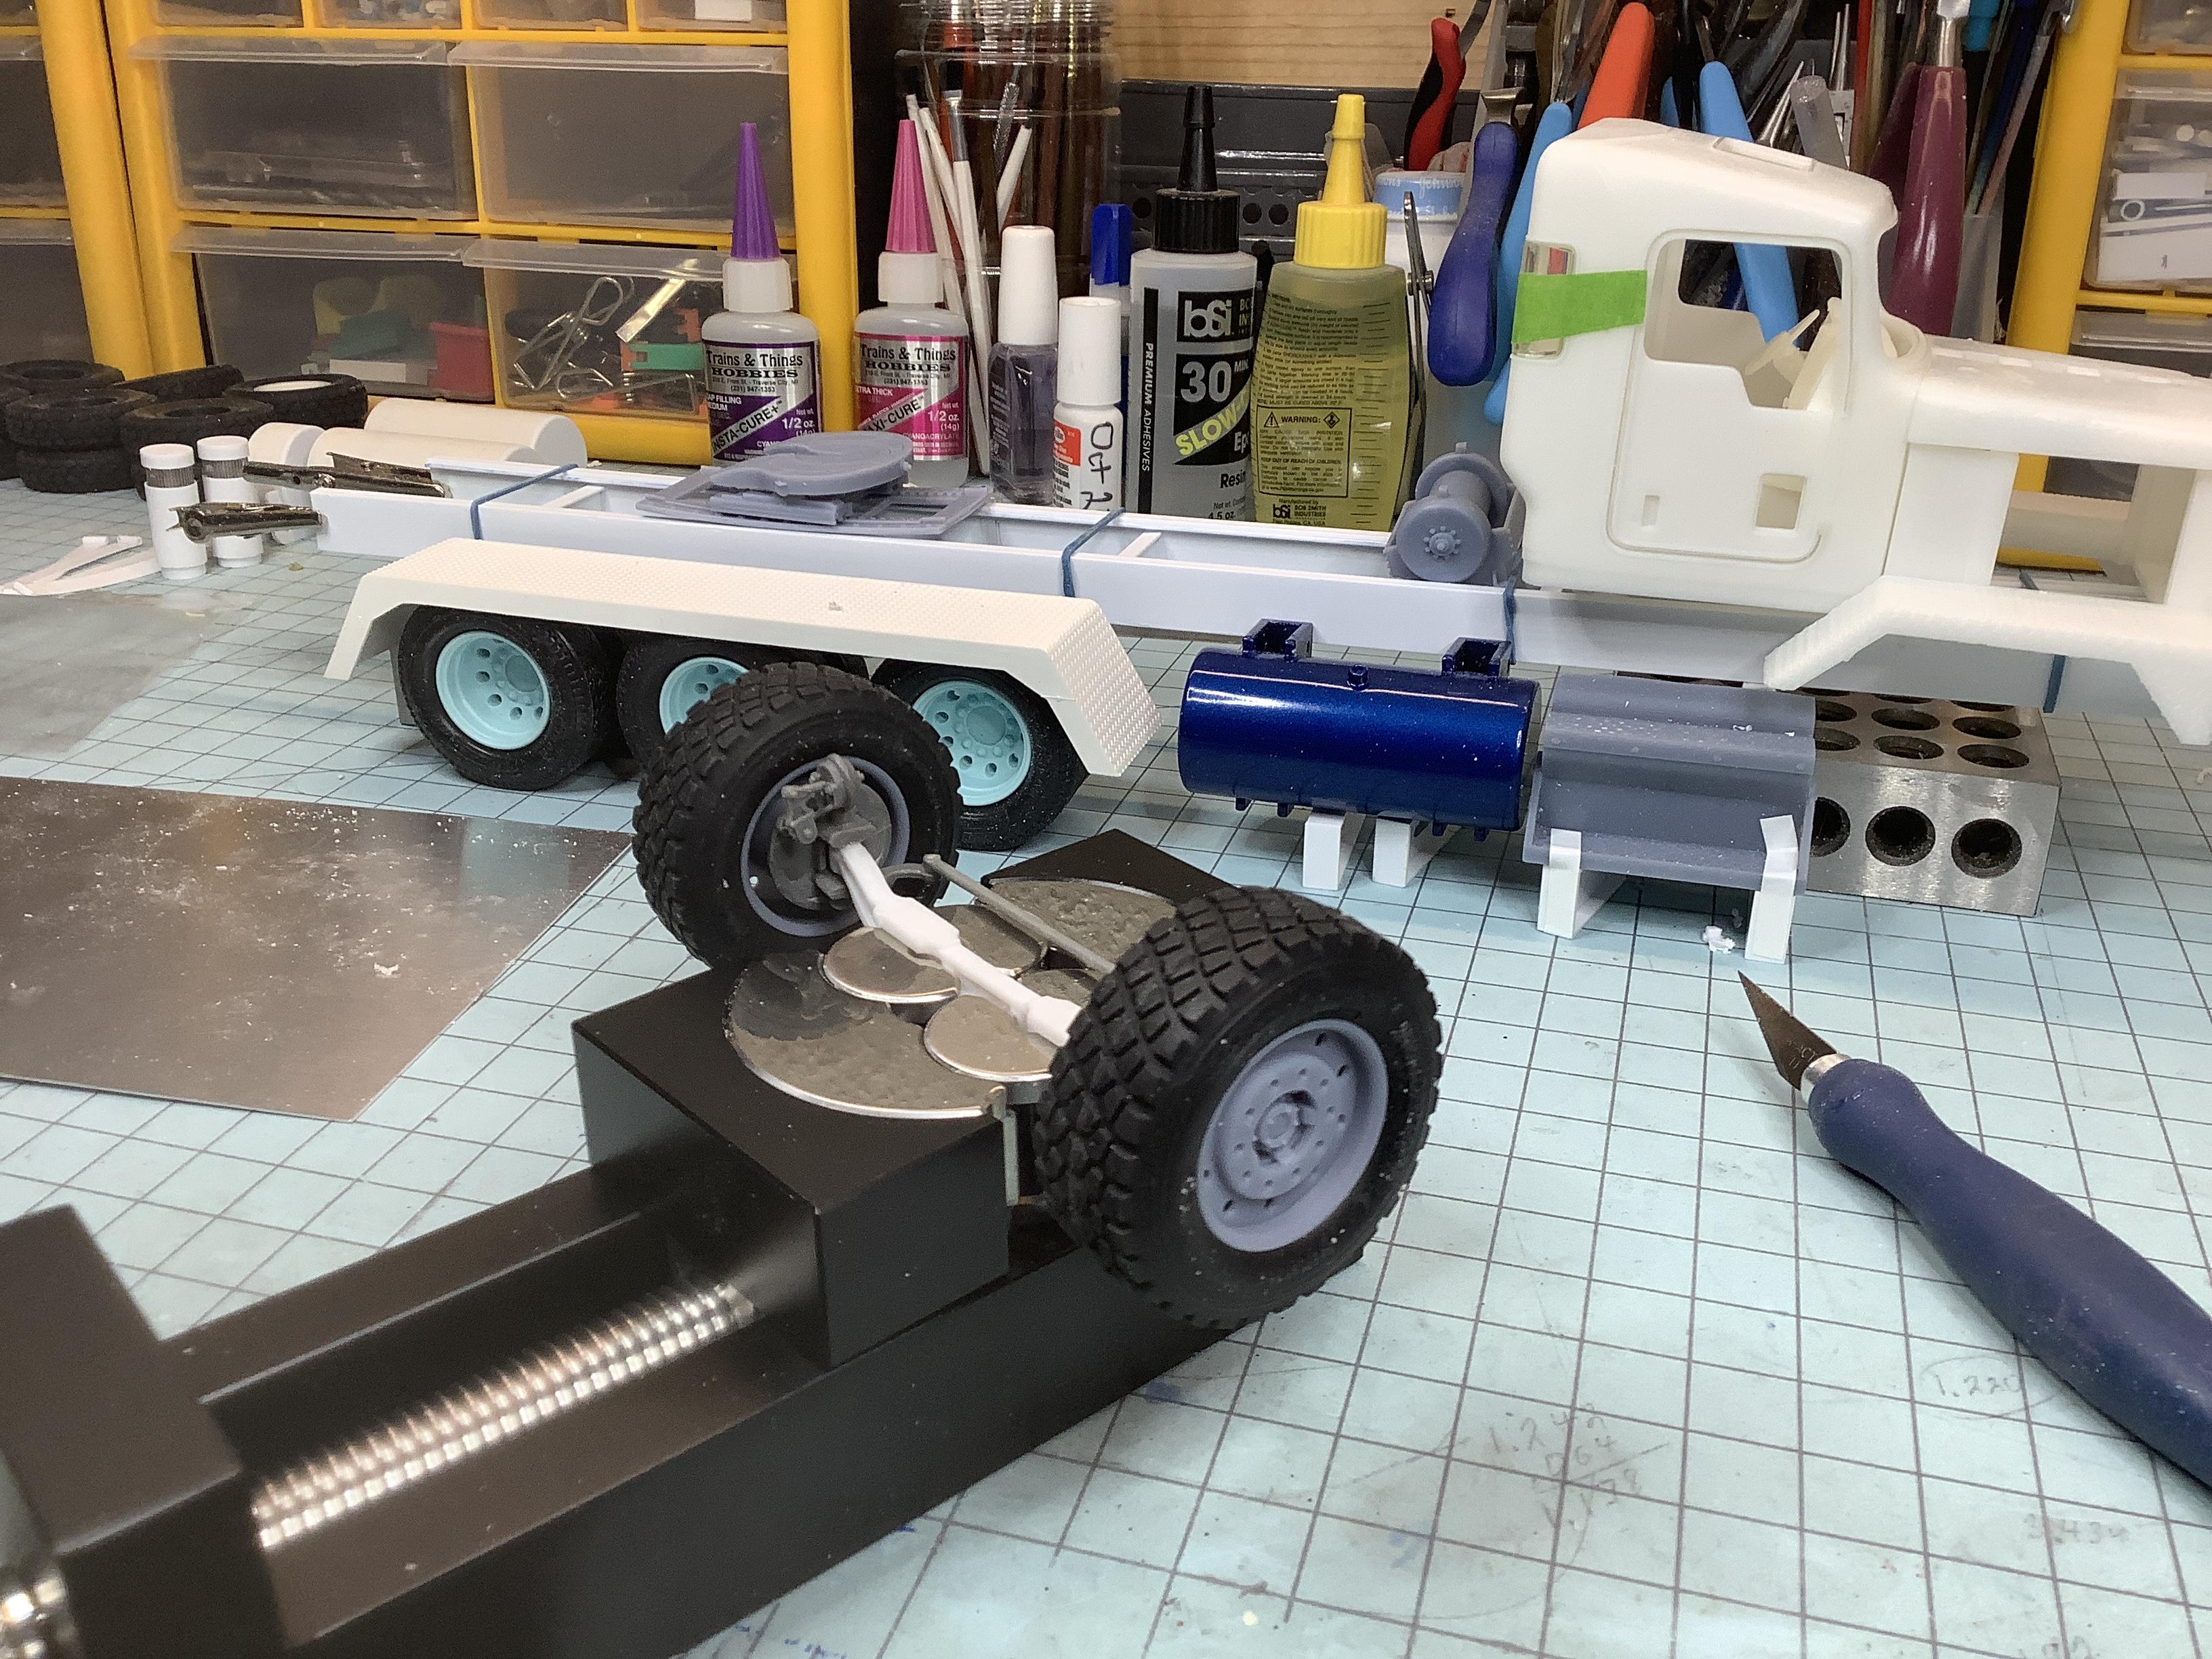
Did some more work on this build today. I modified the KFS 6 spoke front wheels to make them into twin bolt spoke mounts. I also got a start on the water tank/ headache rack.
 This view shows the Auslowe heavey Mack two bolt wheel I used for the conversion.
 The wheel on the right is the stock KFS 24.5 wheel. The one on the left is my modified version.
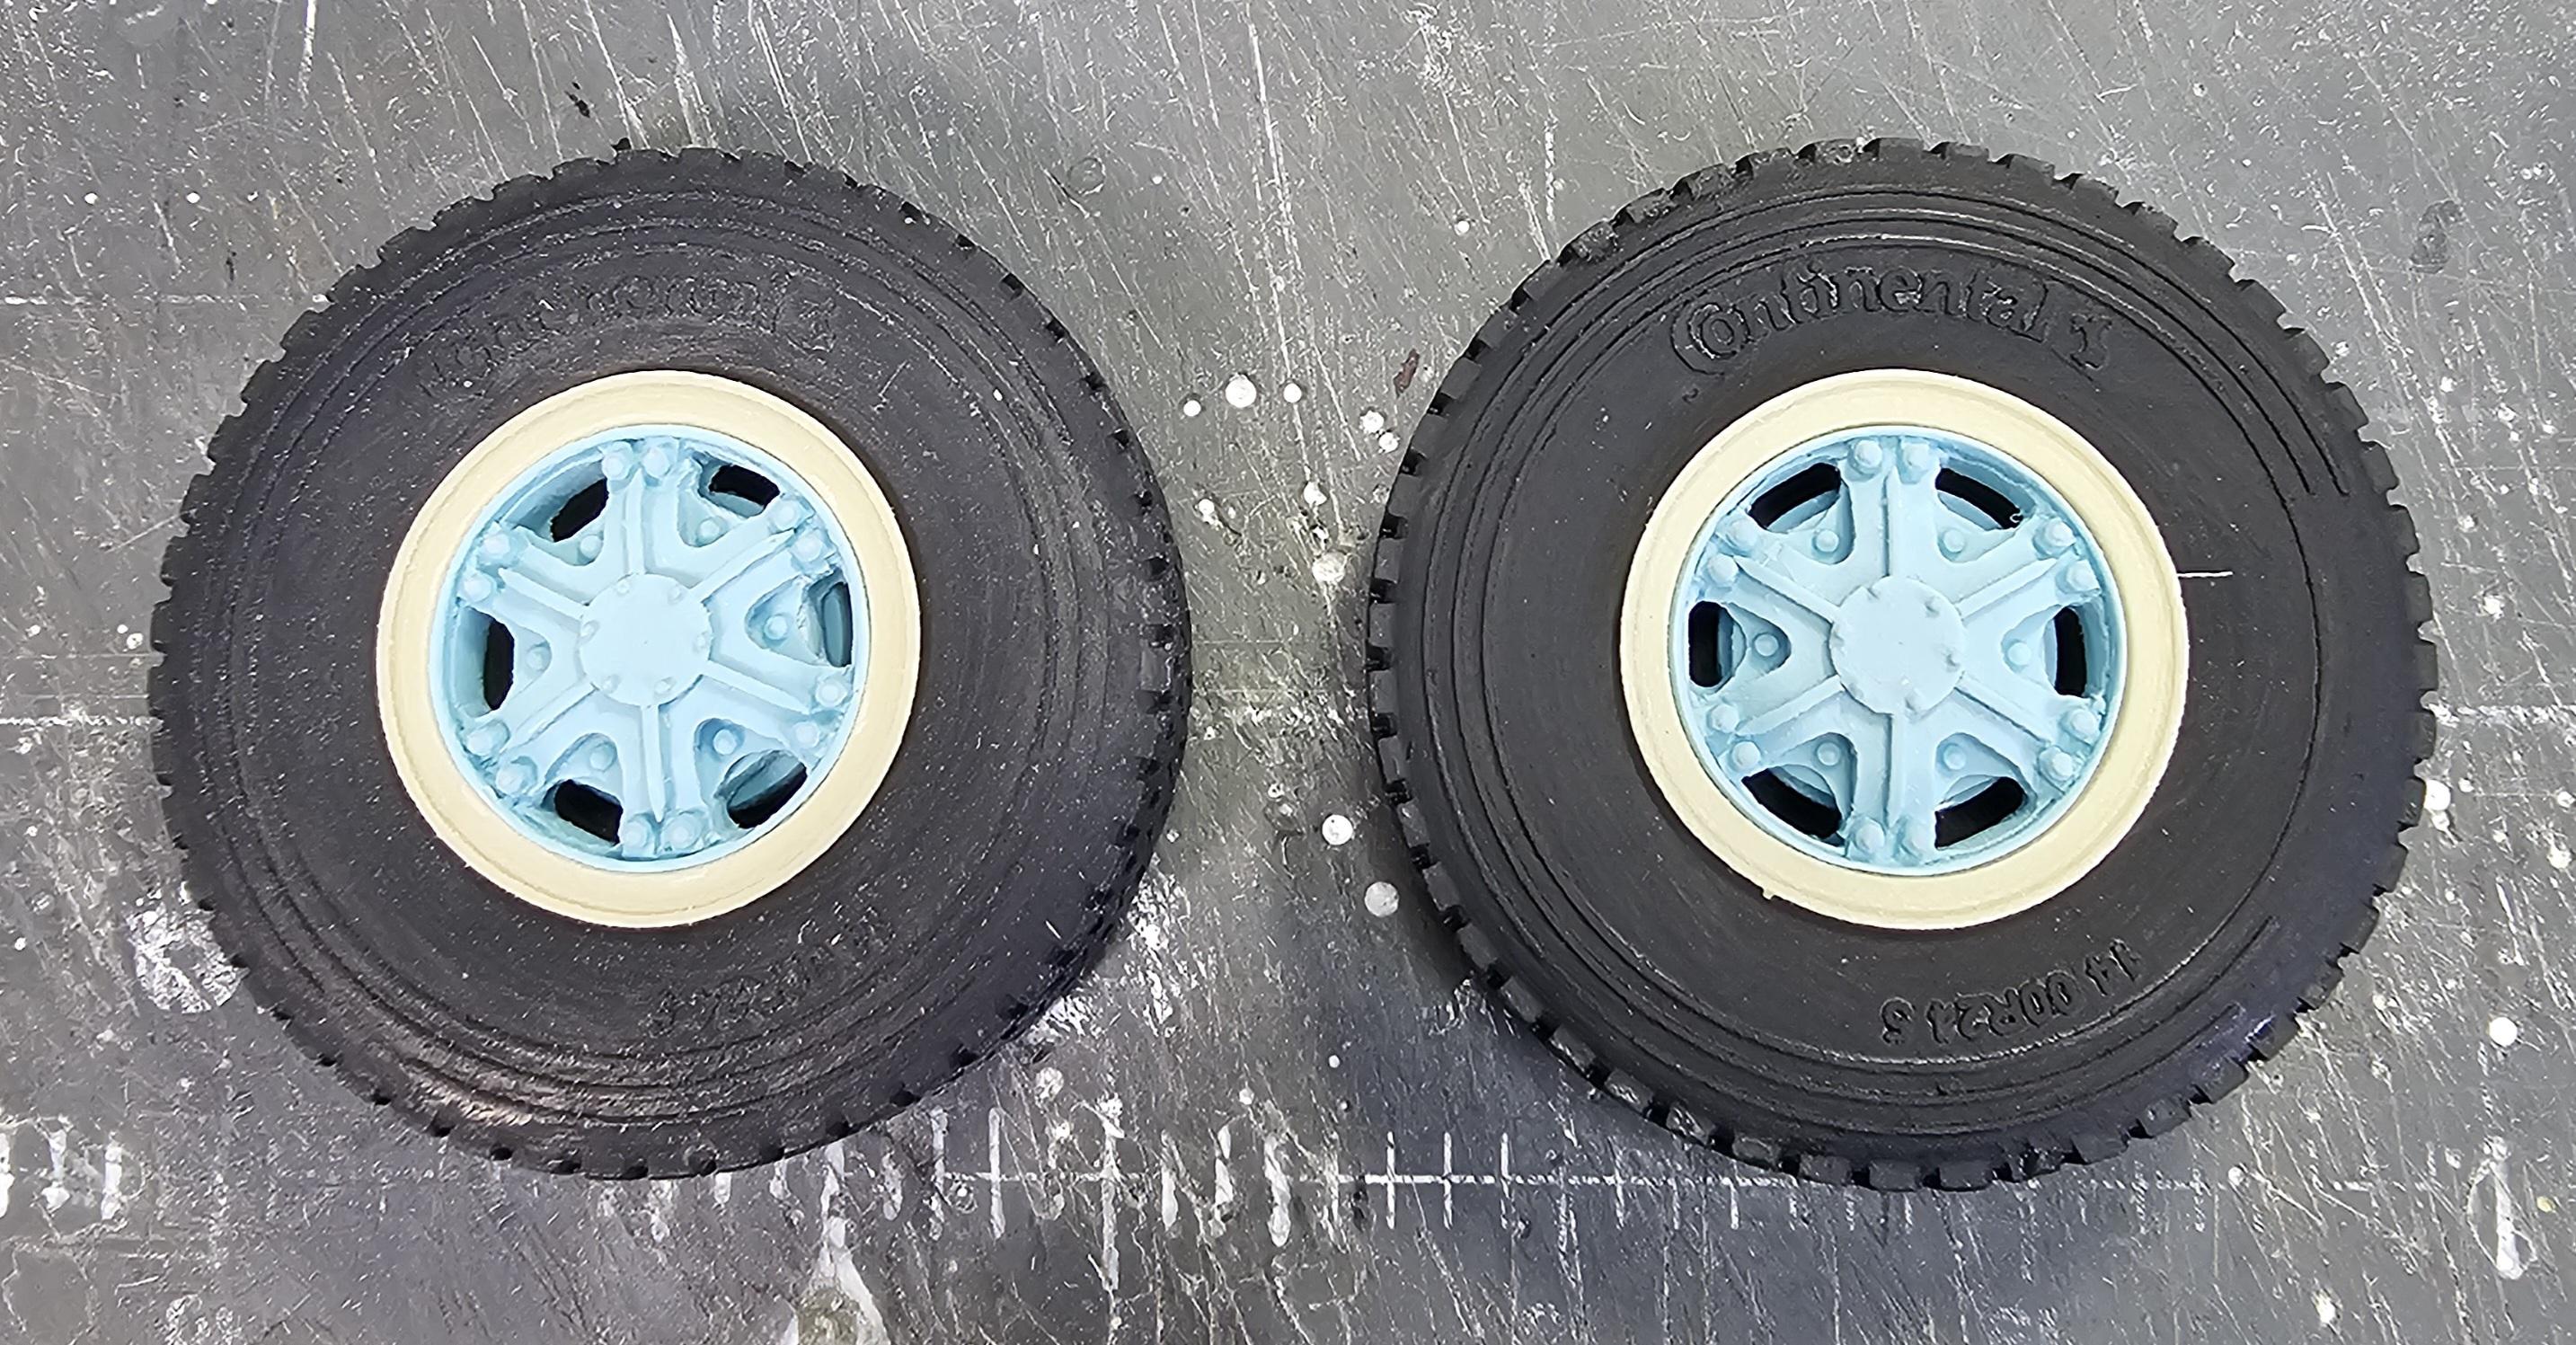
 This view shows them in the KFS 14:00 Continental tires. Tires are painted with Tamiya rubber black.
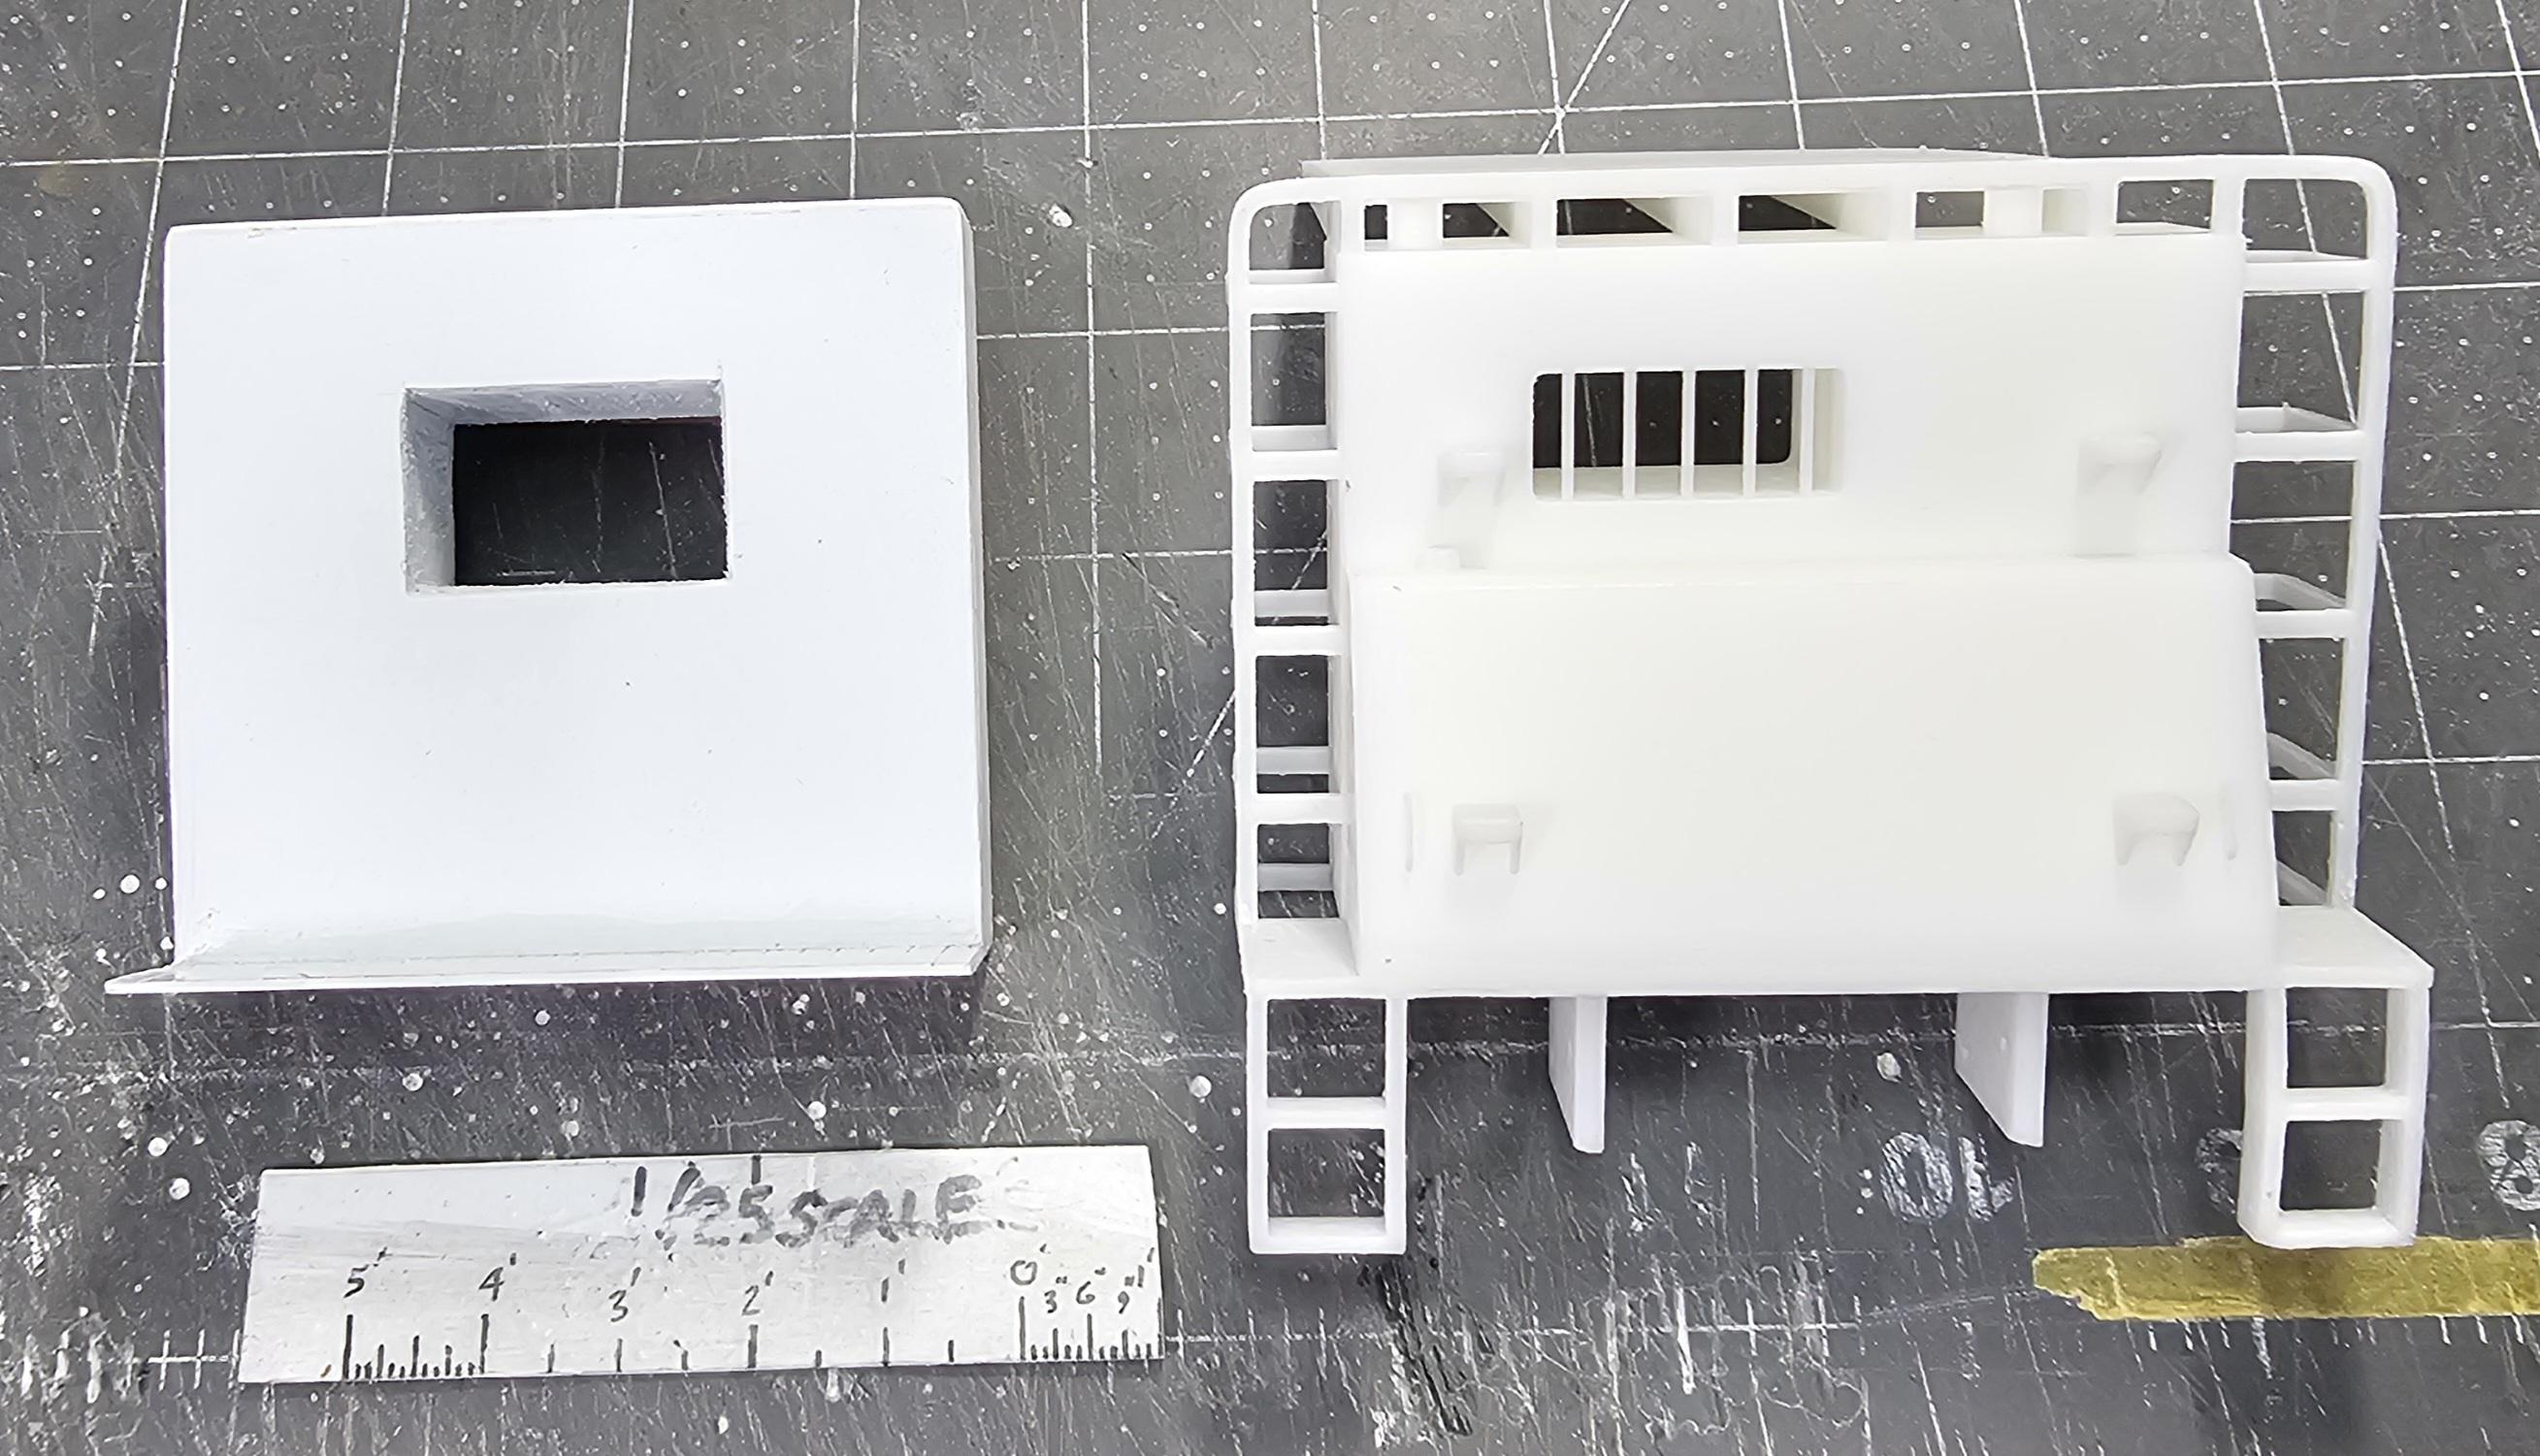
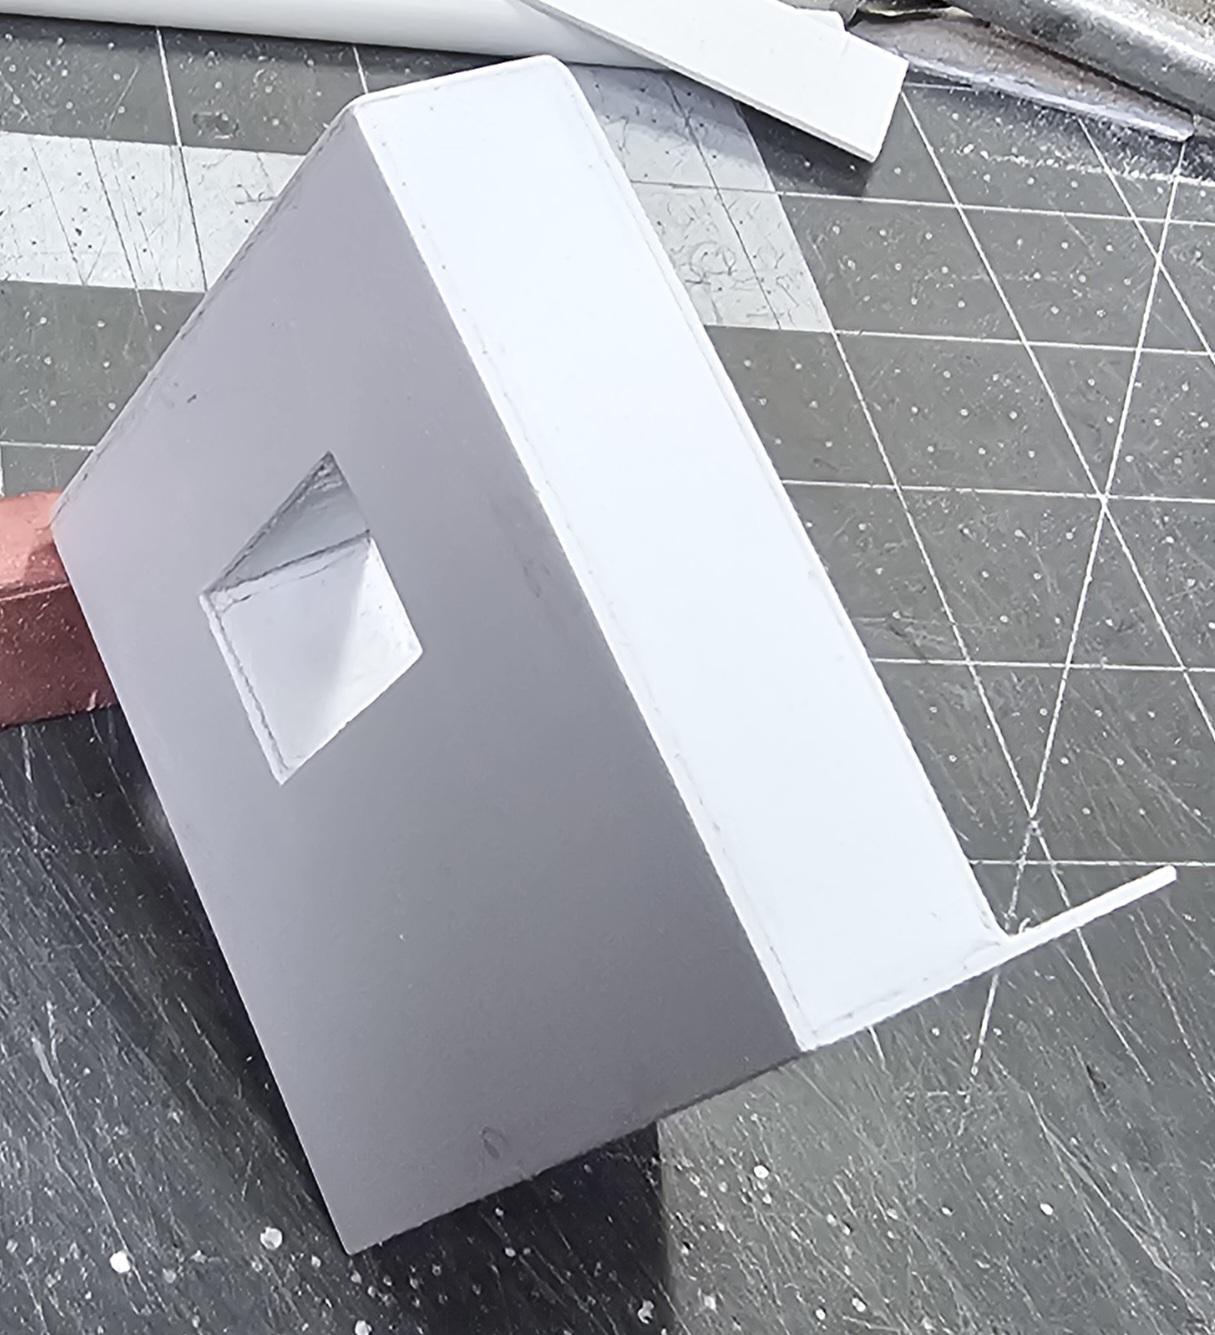
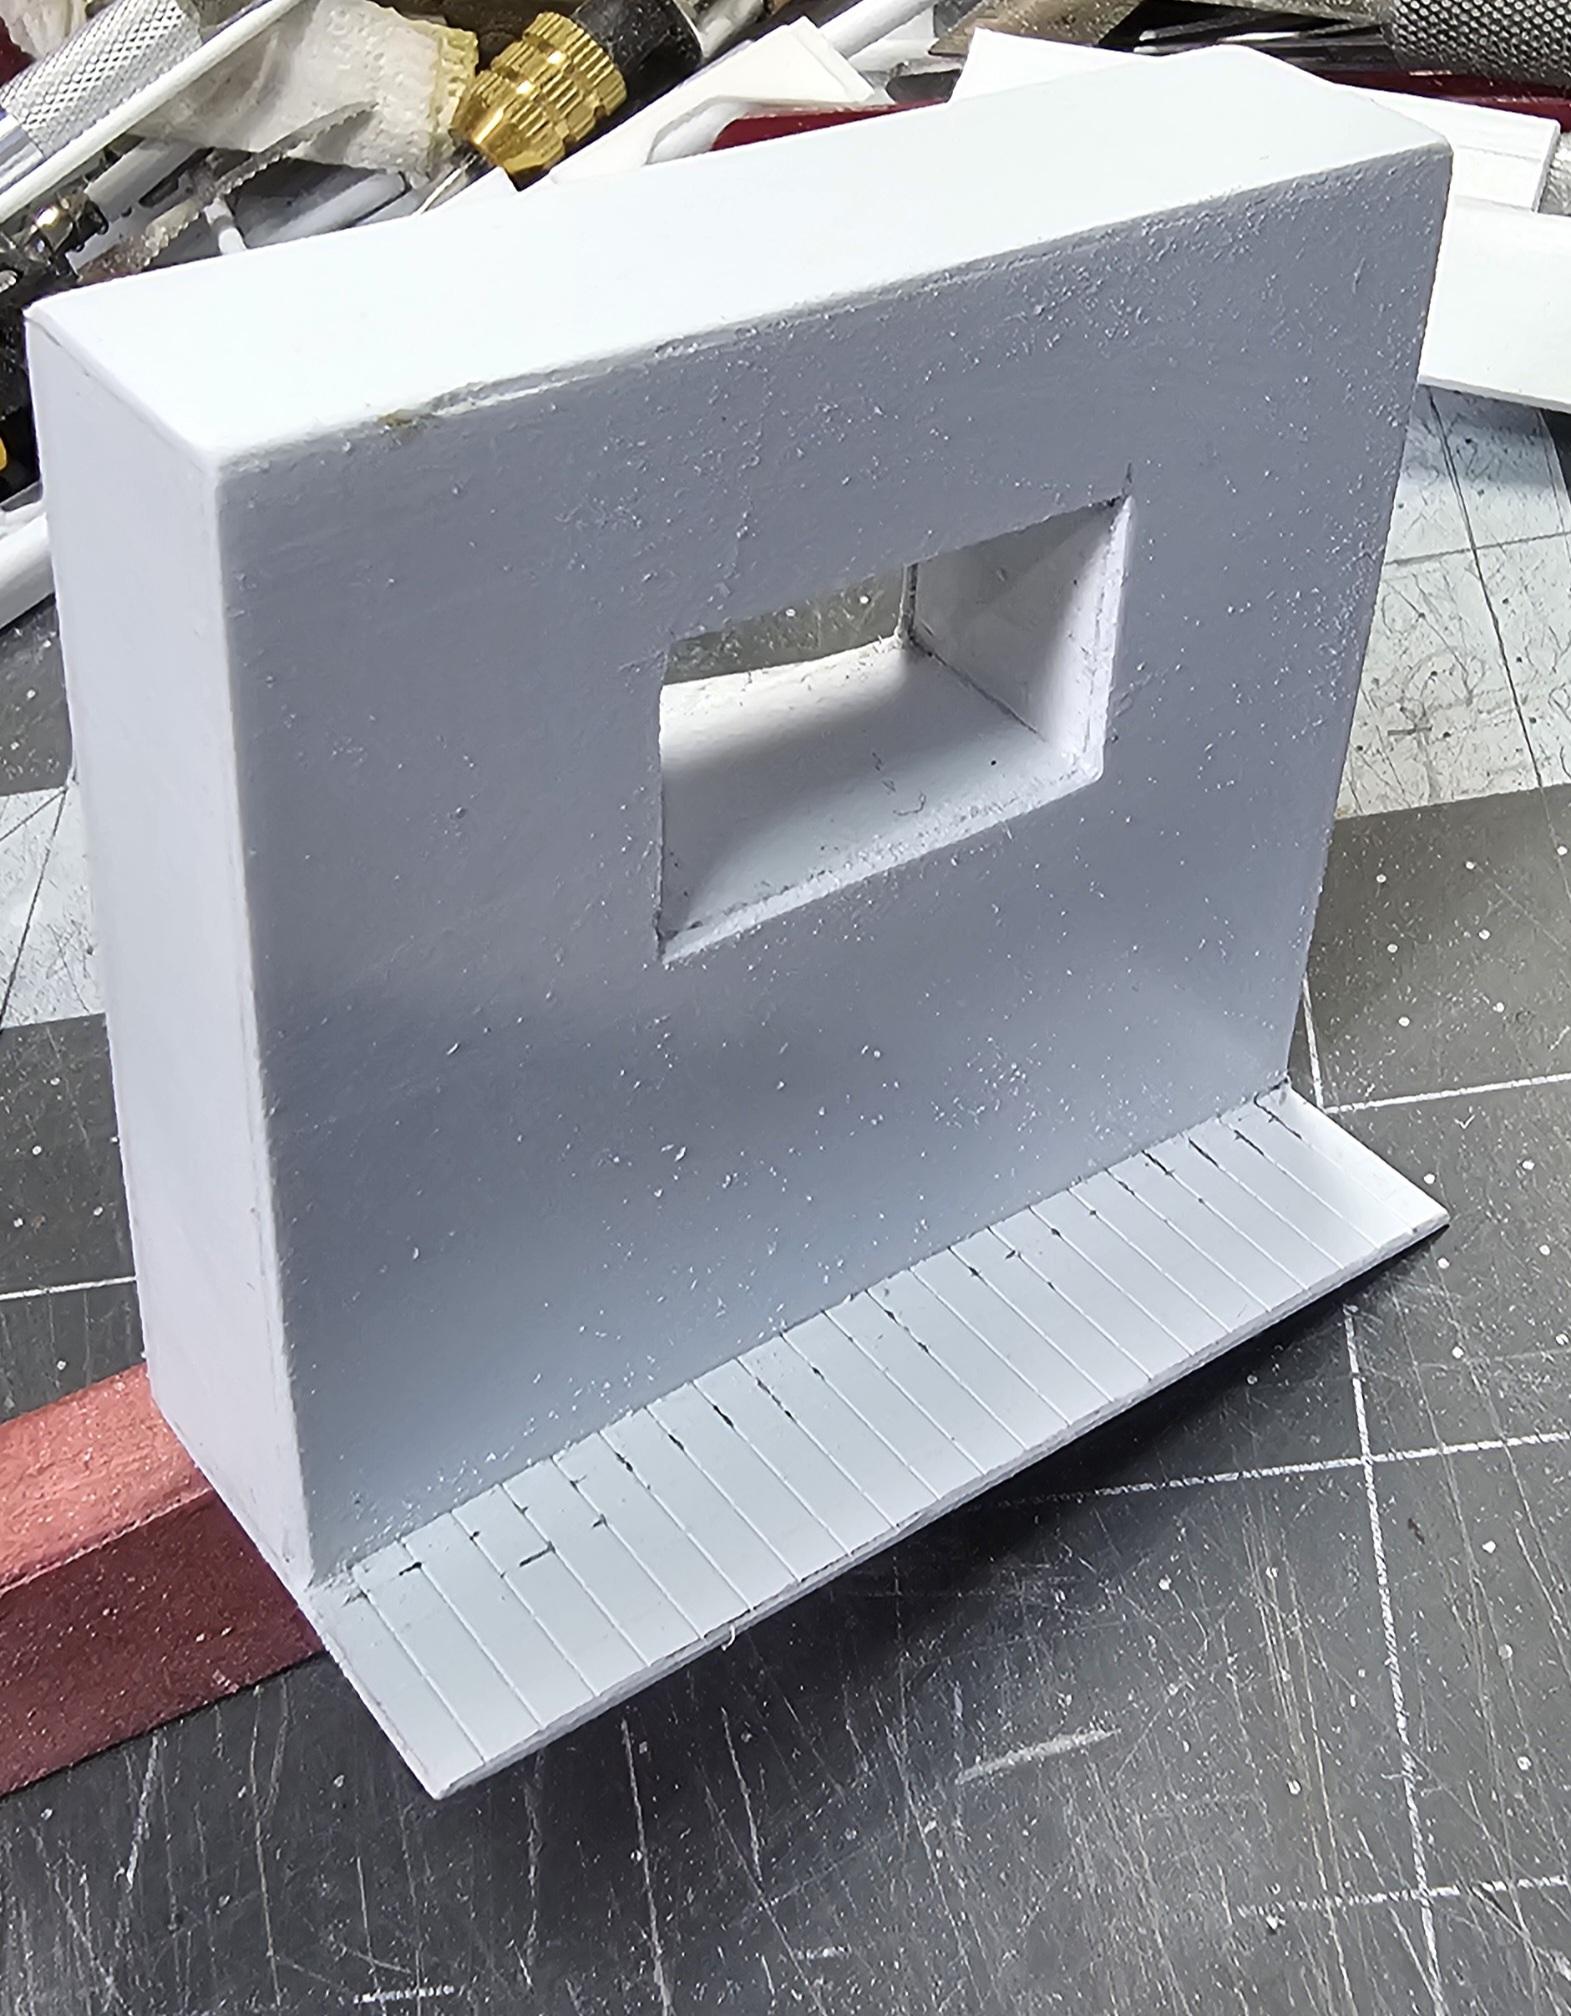
 This view shows the Global Hayes HDX headache rack tank on the right. I was going to use this but it is solid resin and is very heavy, plus it's offset for the Hayes. The one on the left is my scratch built one from sheet stock. Rear veiws.
 This view shows them from the front side.
 This view shows the window opening.
 Same thing from the other side. I still have to build the rear lower tank, steps upper cab protector and add details.
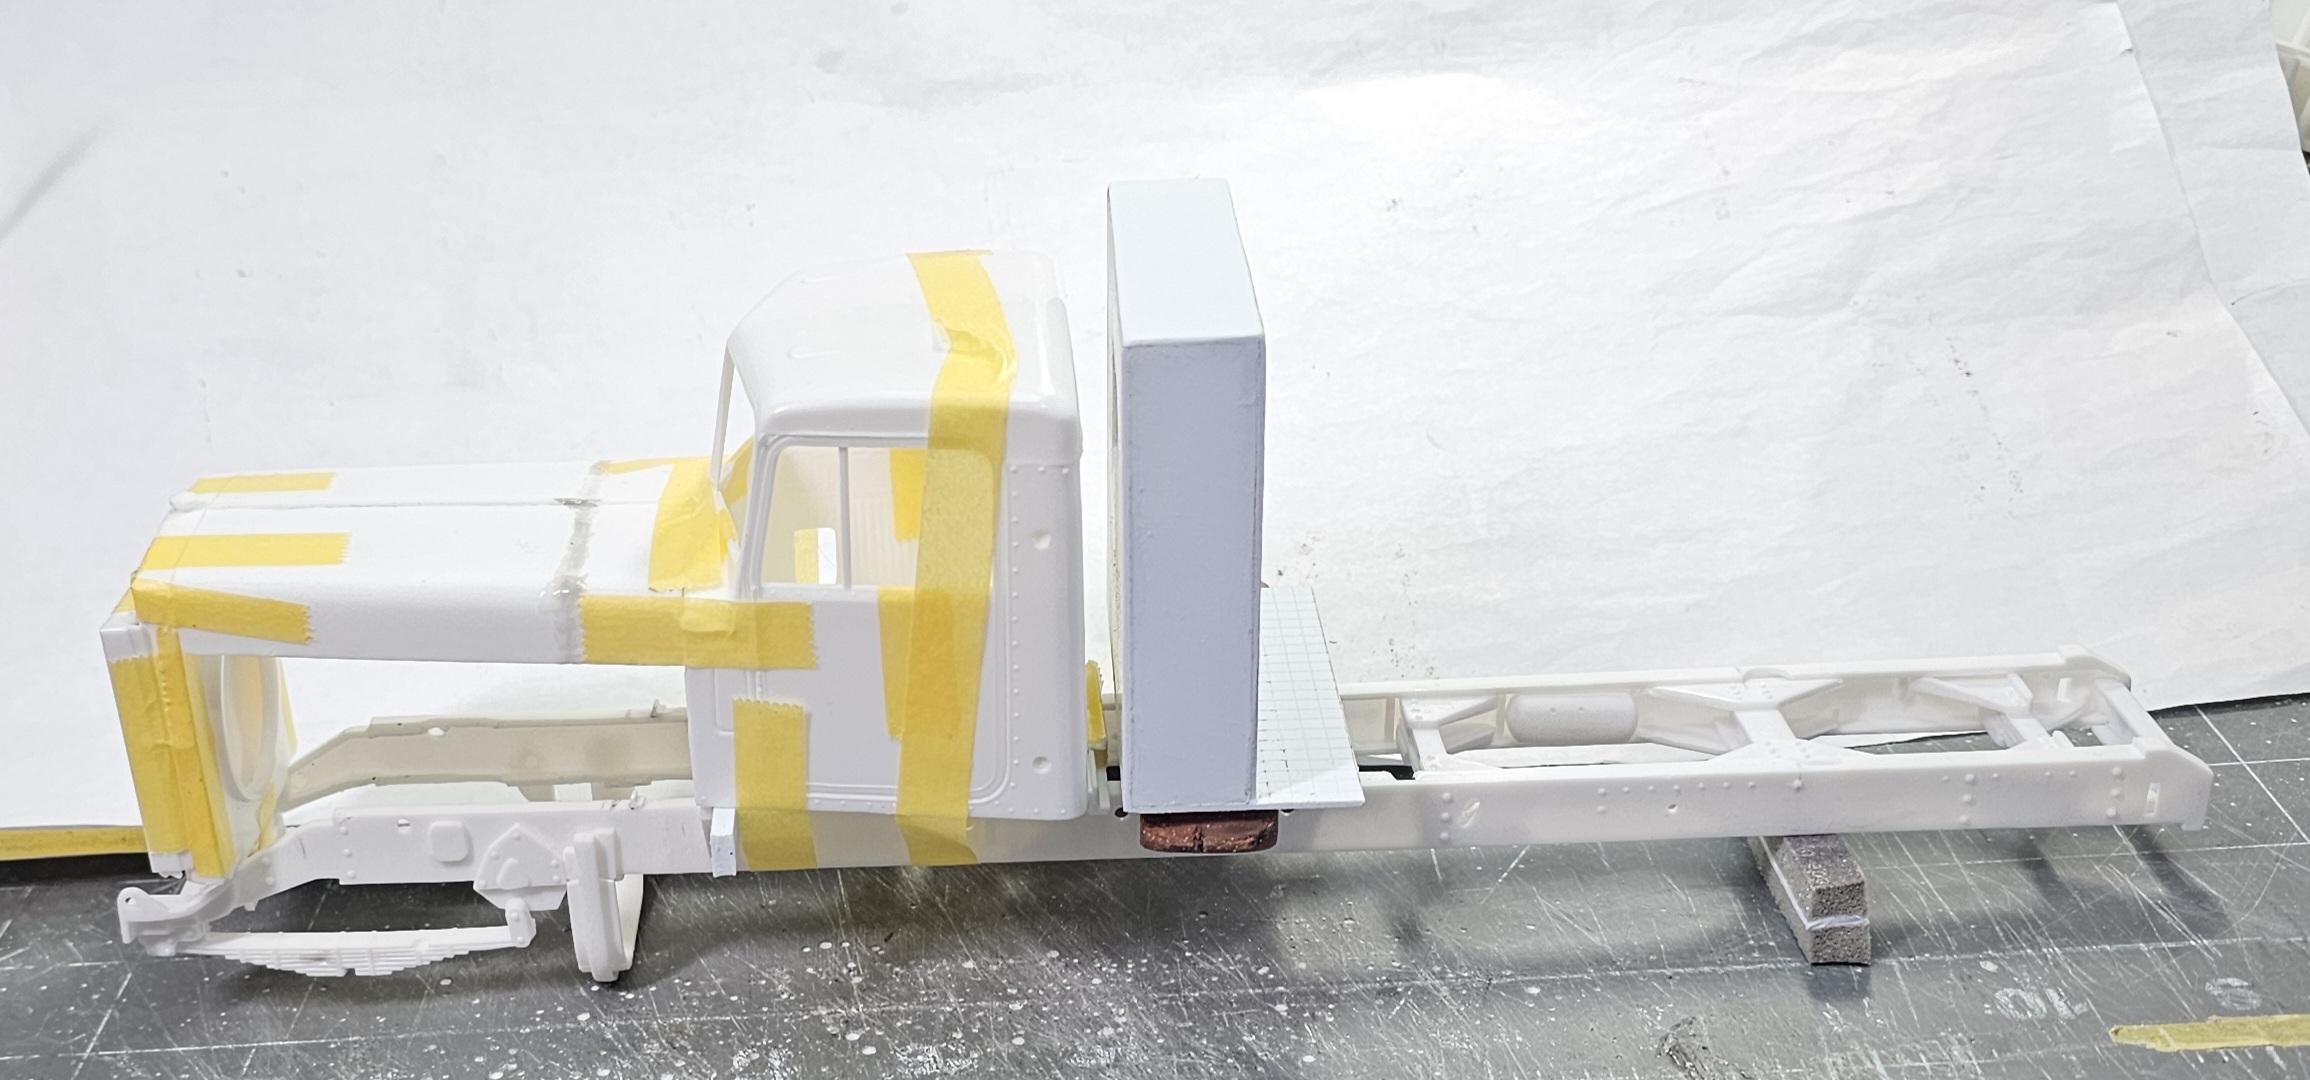
 This view shows it temporarily sitting on the truck.
 This view shows the window opening and the rear window in the cab. Well that's it for now be back with more soon.
Ron G
-
 4
4
-
-
Hey Gary
There probably lost to the carpet monster...😆 🤣 😂
Ron G
-
 1
1
-
 1
1
-
-
2 minutes ago, Gary Chastain said:
Hey Gary
They are pretty fiddly. I have 7 of those axle kits. They are the best ones for detail.
Ron G
-
 1
1
-
-
😁👍🏻👍🏻👍🏻👍🏻
Ron G
-
You know Gary sometimes they divide the fuel tank into two separate tanks for the def, but it is still one tank, but with to fill caps.
Ron G
-
 1
1
-
-
Hey Gary
Paul has some. Medium at $7.00 & small at $7.00.
Ron G
-
 1
1
-
-
8 minutes ago, Gary Chastain said:
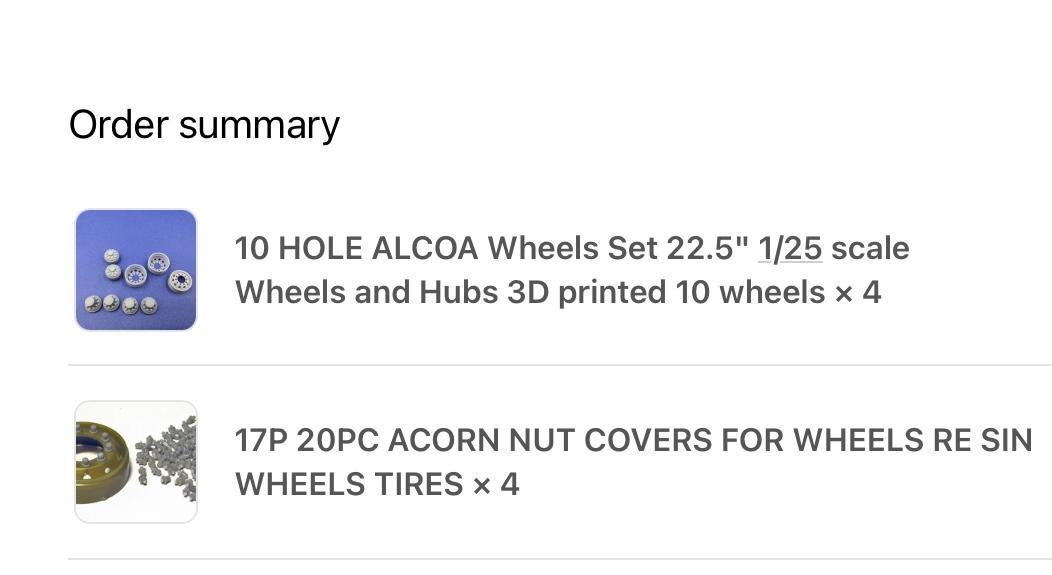
Well I got educated the last couple days, the offset for rear dual wheels from many different kits vary a lot, little unsure why. The wheels I thought about using are from the GMC General, but lug nut detail is poor and not convincing. So after some digging I ordered a set of 10 hole Alcoa wheels and separate lug nuts. The inspiration truck has dark gray wheels with chrome lug nuts, so shooting for that look.

Hey Gary
If you look close the hubs on those wheels already have the lug nuts.
Ron G
-
Your very welcome my friend.
Ron G
-
 1
1
-
-
Another fine build Gary.
Ron G
-
 1
1
-
-
There the best sanding sponge/sticks I have ever used and they last almost for ever.
Ron G
-
 1
1
-
-
Hey Brian
These are what I use for all my sanding. Infini Sanding sponge stick.
 I use these 4,000 ones to polish clear plastic to get rid of scratches and cloudy spots.
The rest of the line goes from 250 to 4,000. They also have there zebra sticks which are great for rough sanding. They go from 100 to 800.There all I use now.
Ron G
-
 1
1
-
-
10 minutes ago, BK9300 said:
Been raining for several days now, and a bit too humid to paint - even in the heated shed.
One of my issues, from way back, was the kit air cleaner cannister being too big - in a mock up, the bottom edge of the driver's side fender was hitting the cannister. A long overdue problem to solve, so I finally made myself tackle it. Gathered a few items to work with and made some progress!
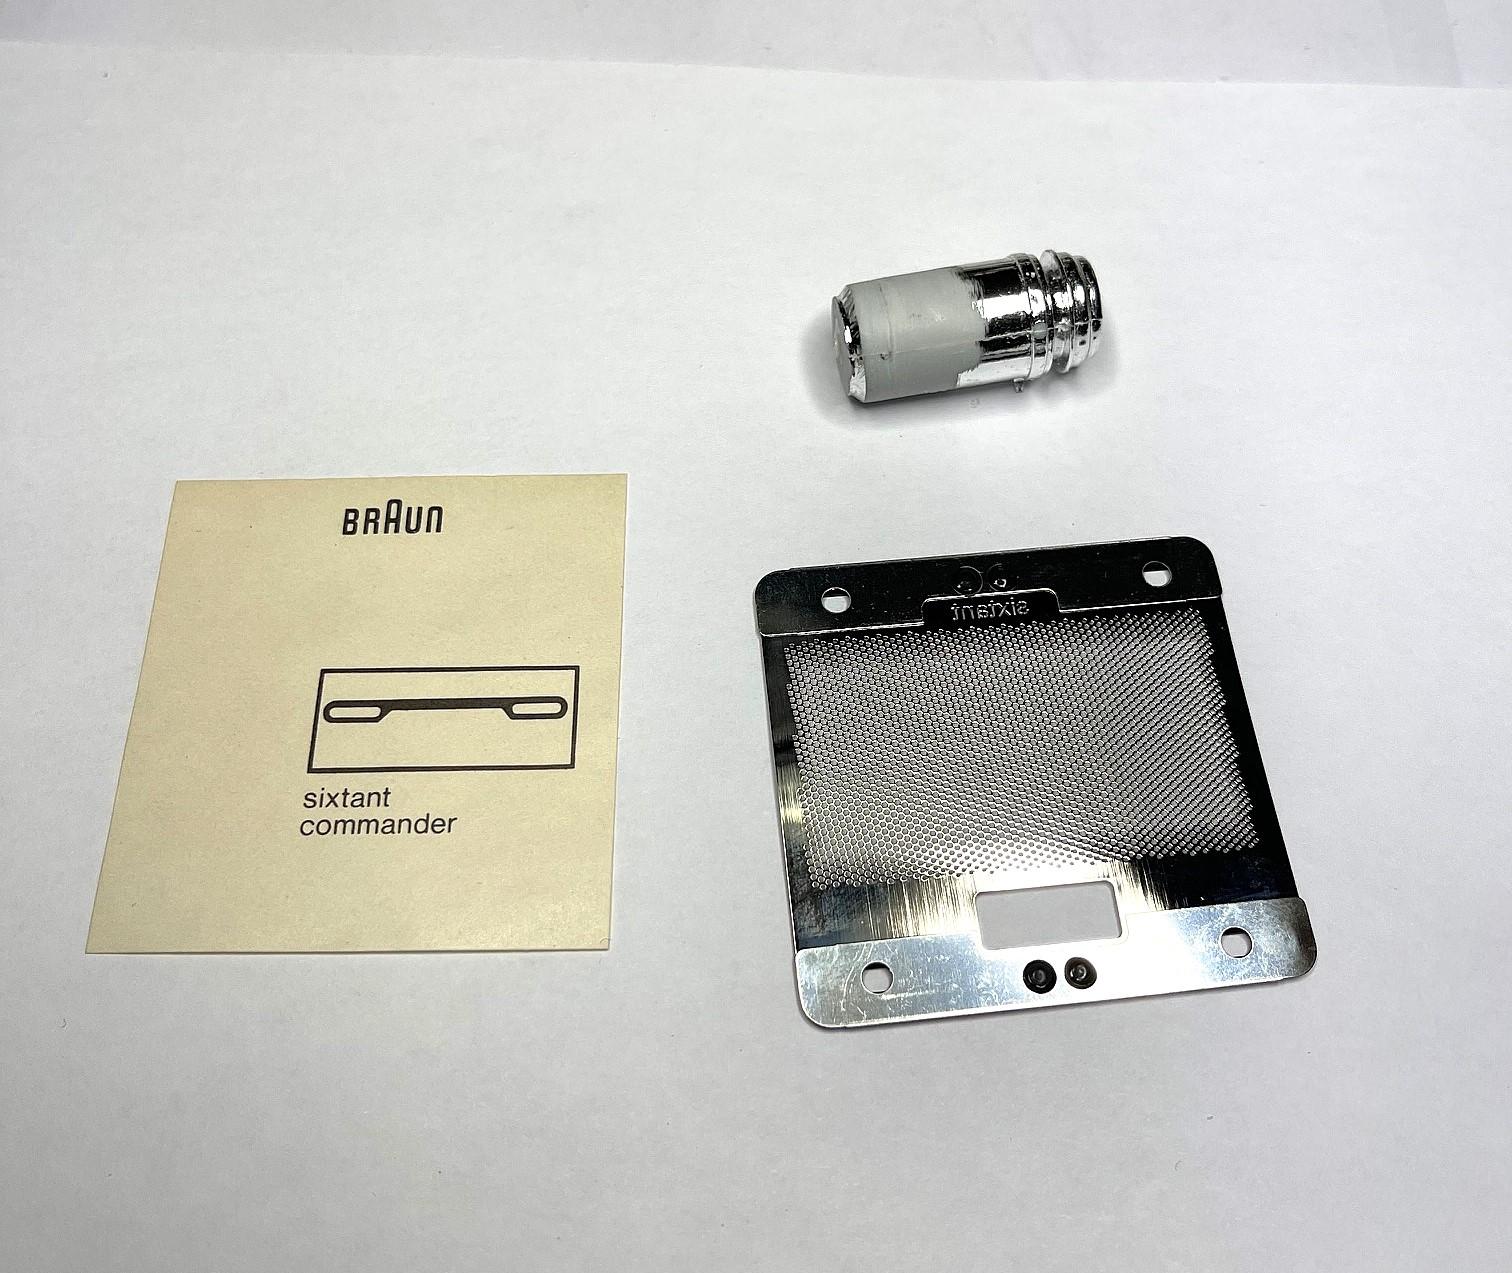
The air cleaner in the pic below is from an old kit - thought I could clean it up. But it wasn't close enough to resemble the Donaldson cannister on the real truck and too much work needed to be done for it to look smooth under chrome paint. I had a replacement screen from an old Braun, electric shave I thought I could use, to better look like the Donaldson -
This is what I wanted to get closer to -
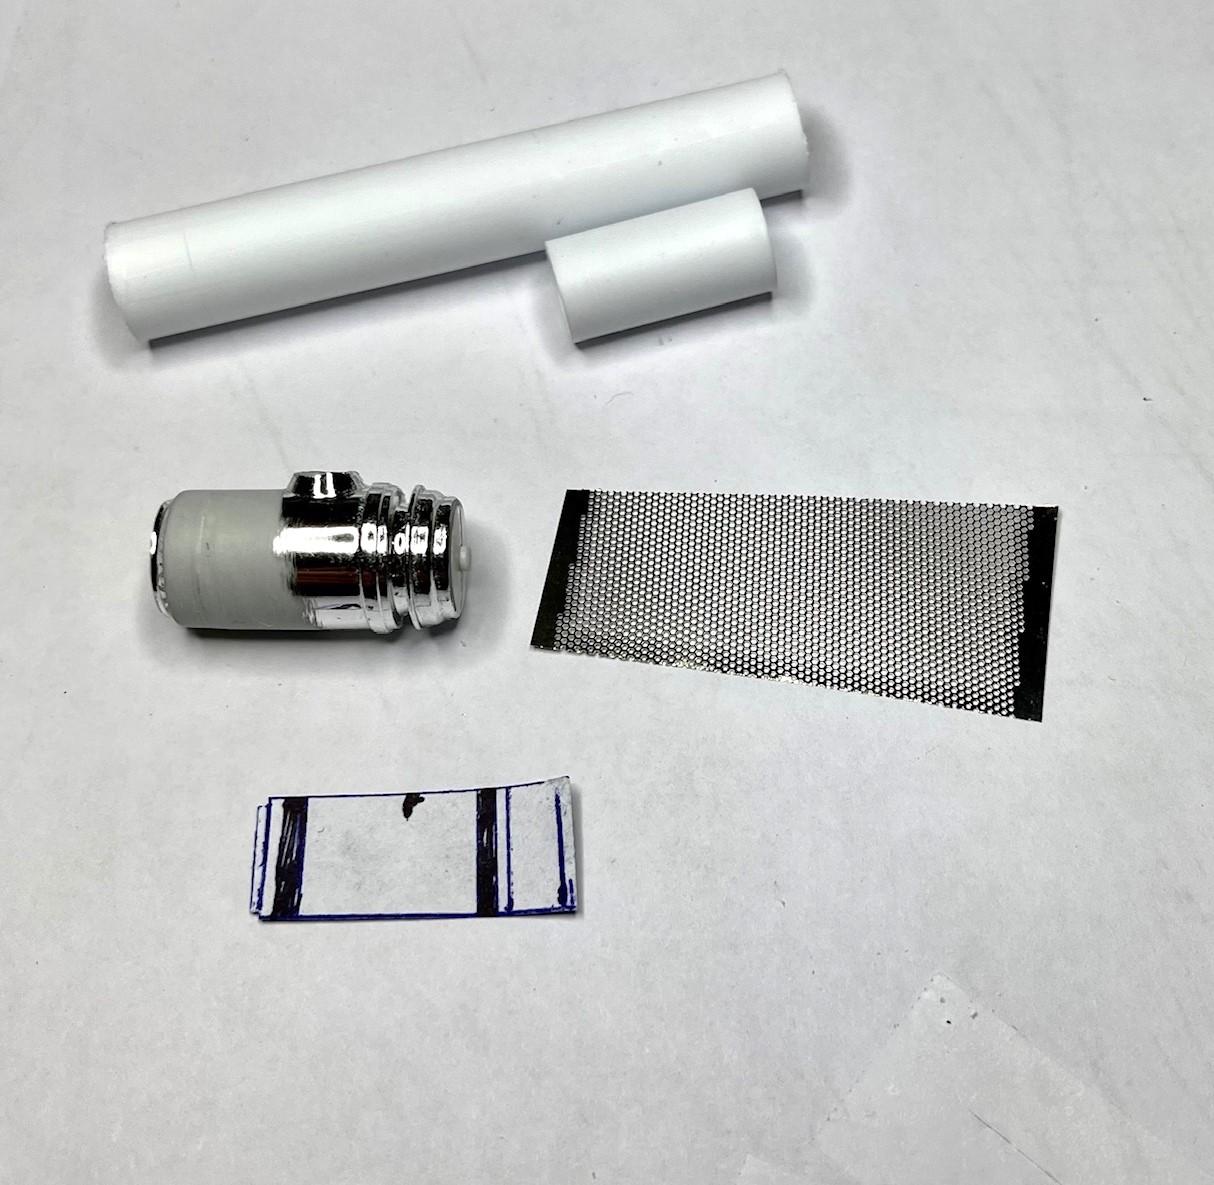
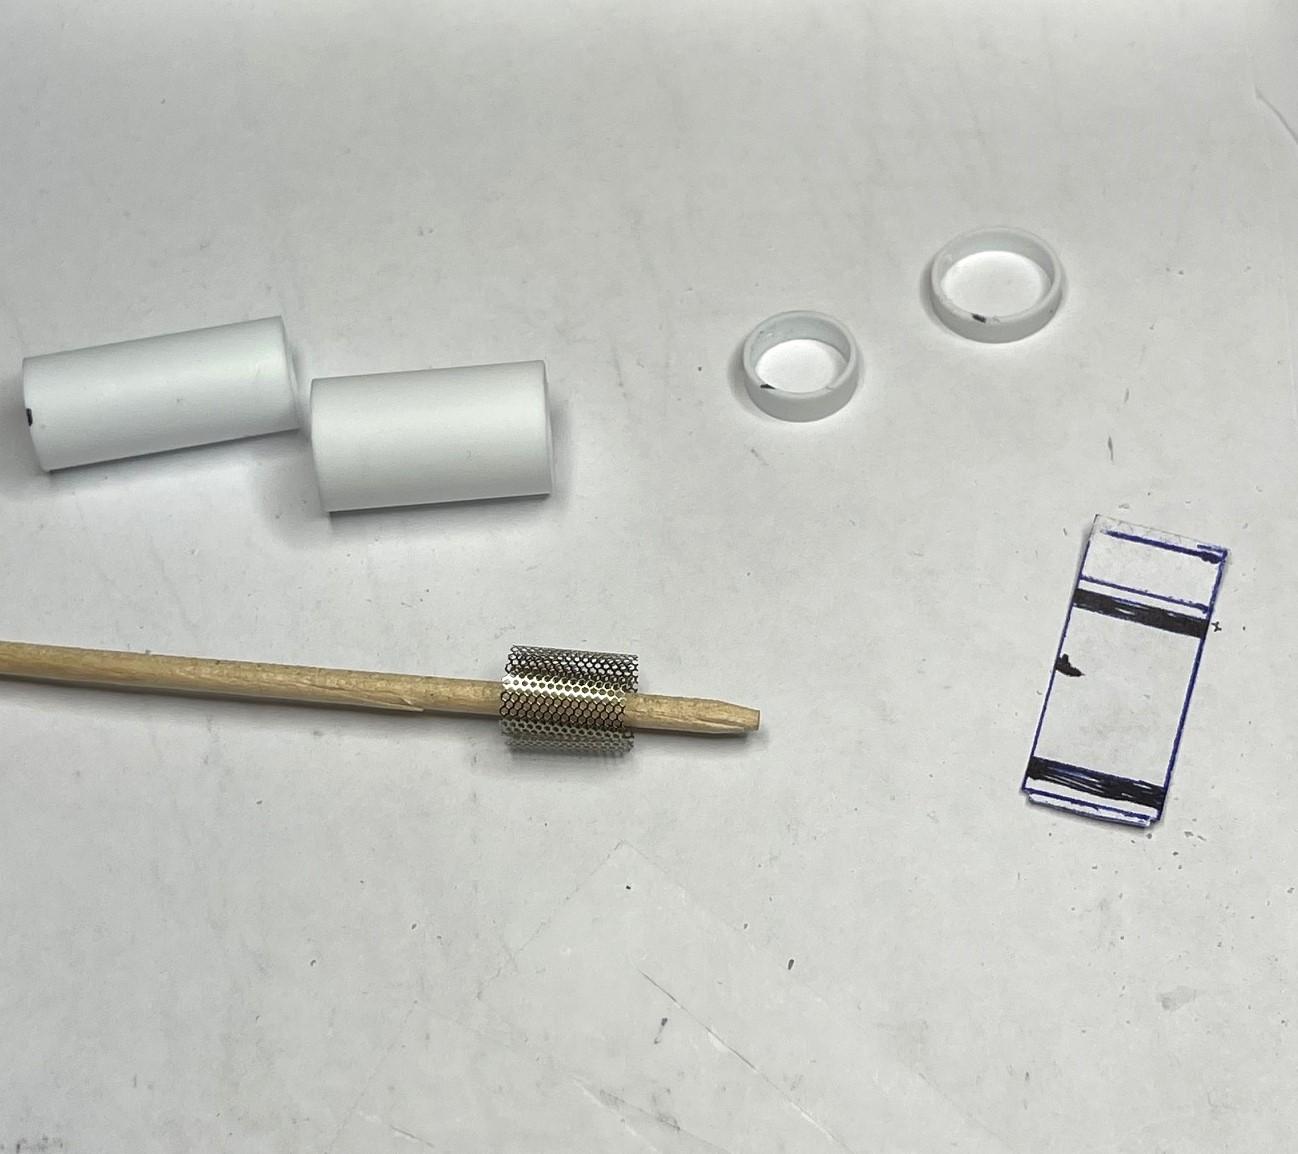
The outer cannister scaled to 1/2" in diameter and I wanted to use the next smaller size, to attach the mesh to and slide that assembly up into a piece of the 1/2" tube - had a small sketch to keep me aware of proportions needed -
Pieces cut out and squared up. I cut out a piece of paper to determine the size of the mesh section I needed to cut out of the shaver's screen. Once cut out, I needed to wrap the mesh section around a small dowel, so the mesh would retain a curved bend smaller than the inside tube, allowing it to stay in place until CA glued -
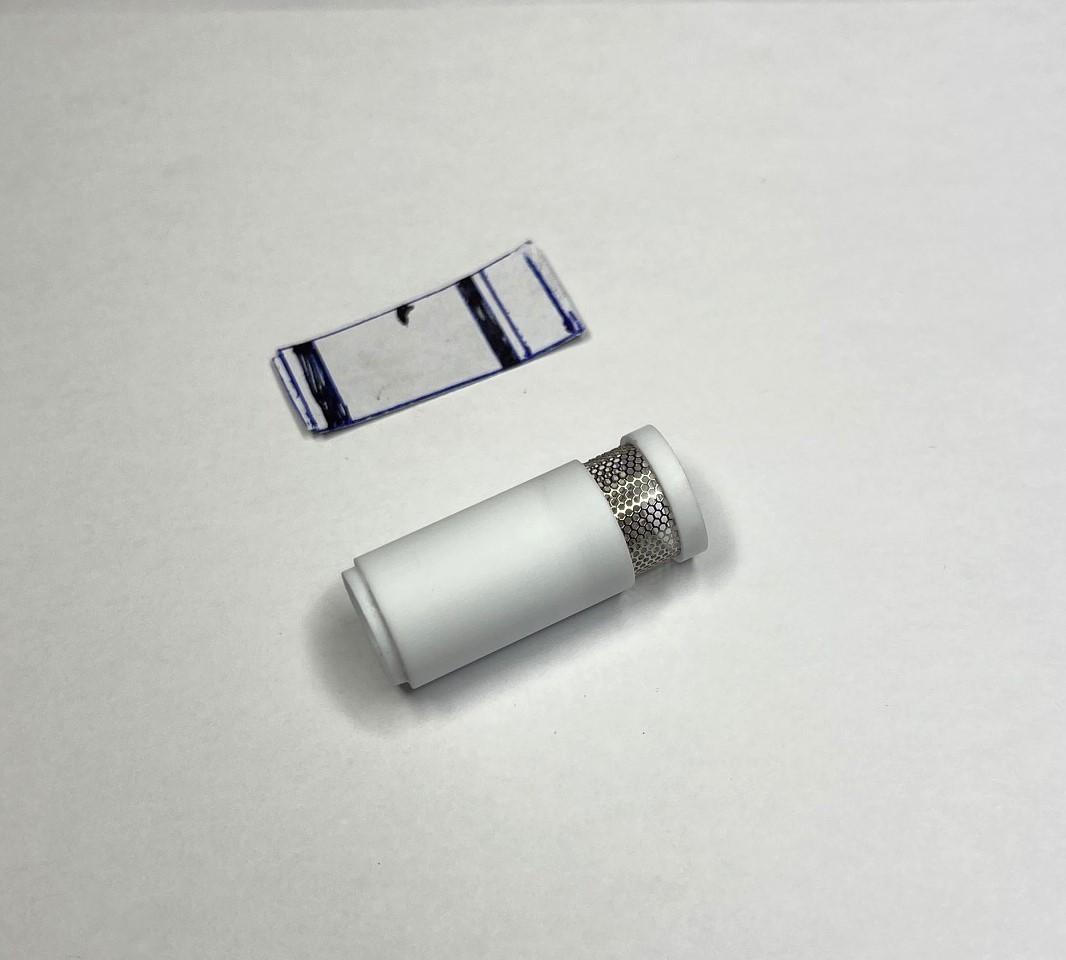
I had glued the mesh section a lower inner portion of tubing and to an upper, 2 mm section. Once glue had set, I was able to slip the 1/2", upper and lower tube sections over the inner tube/mesh, sealing the mesh in -
I still need to close off the ends of the cannister and make those end pieces smooth. Plus, will need to make two, simple mounting brackets with straps and add the outlet pipe. I tried to be careful not to scratch the cannister body, so it would still look smooth under the chrome paint. Should be able to get most of this work done tomorrow. I appreciate the continuing patience as I get closer to getting this done - take care!
Neat idea Brian. Polish the tube with some 4,000 or higher sand paper before painting.
Ron G
-
 1
1
-
-
Nice build Lee. I hope my Astro comes out as good.
Ron G
-
 1
1
-
 1
1
-
-
Hey all
I got some more work done on this monster yesterday.
 This view shows the 12V71-TT painted in DD Alpine Green.
 The other side. This is the first coat.
 This view shows the engine sitting in the frame along with the radiator and cab.
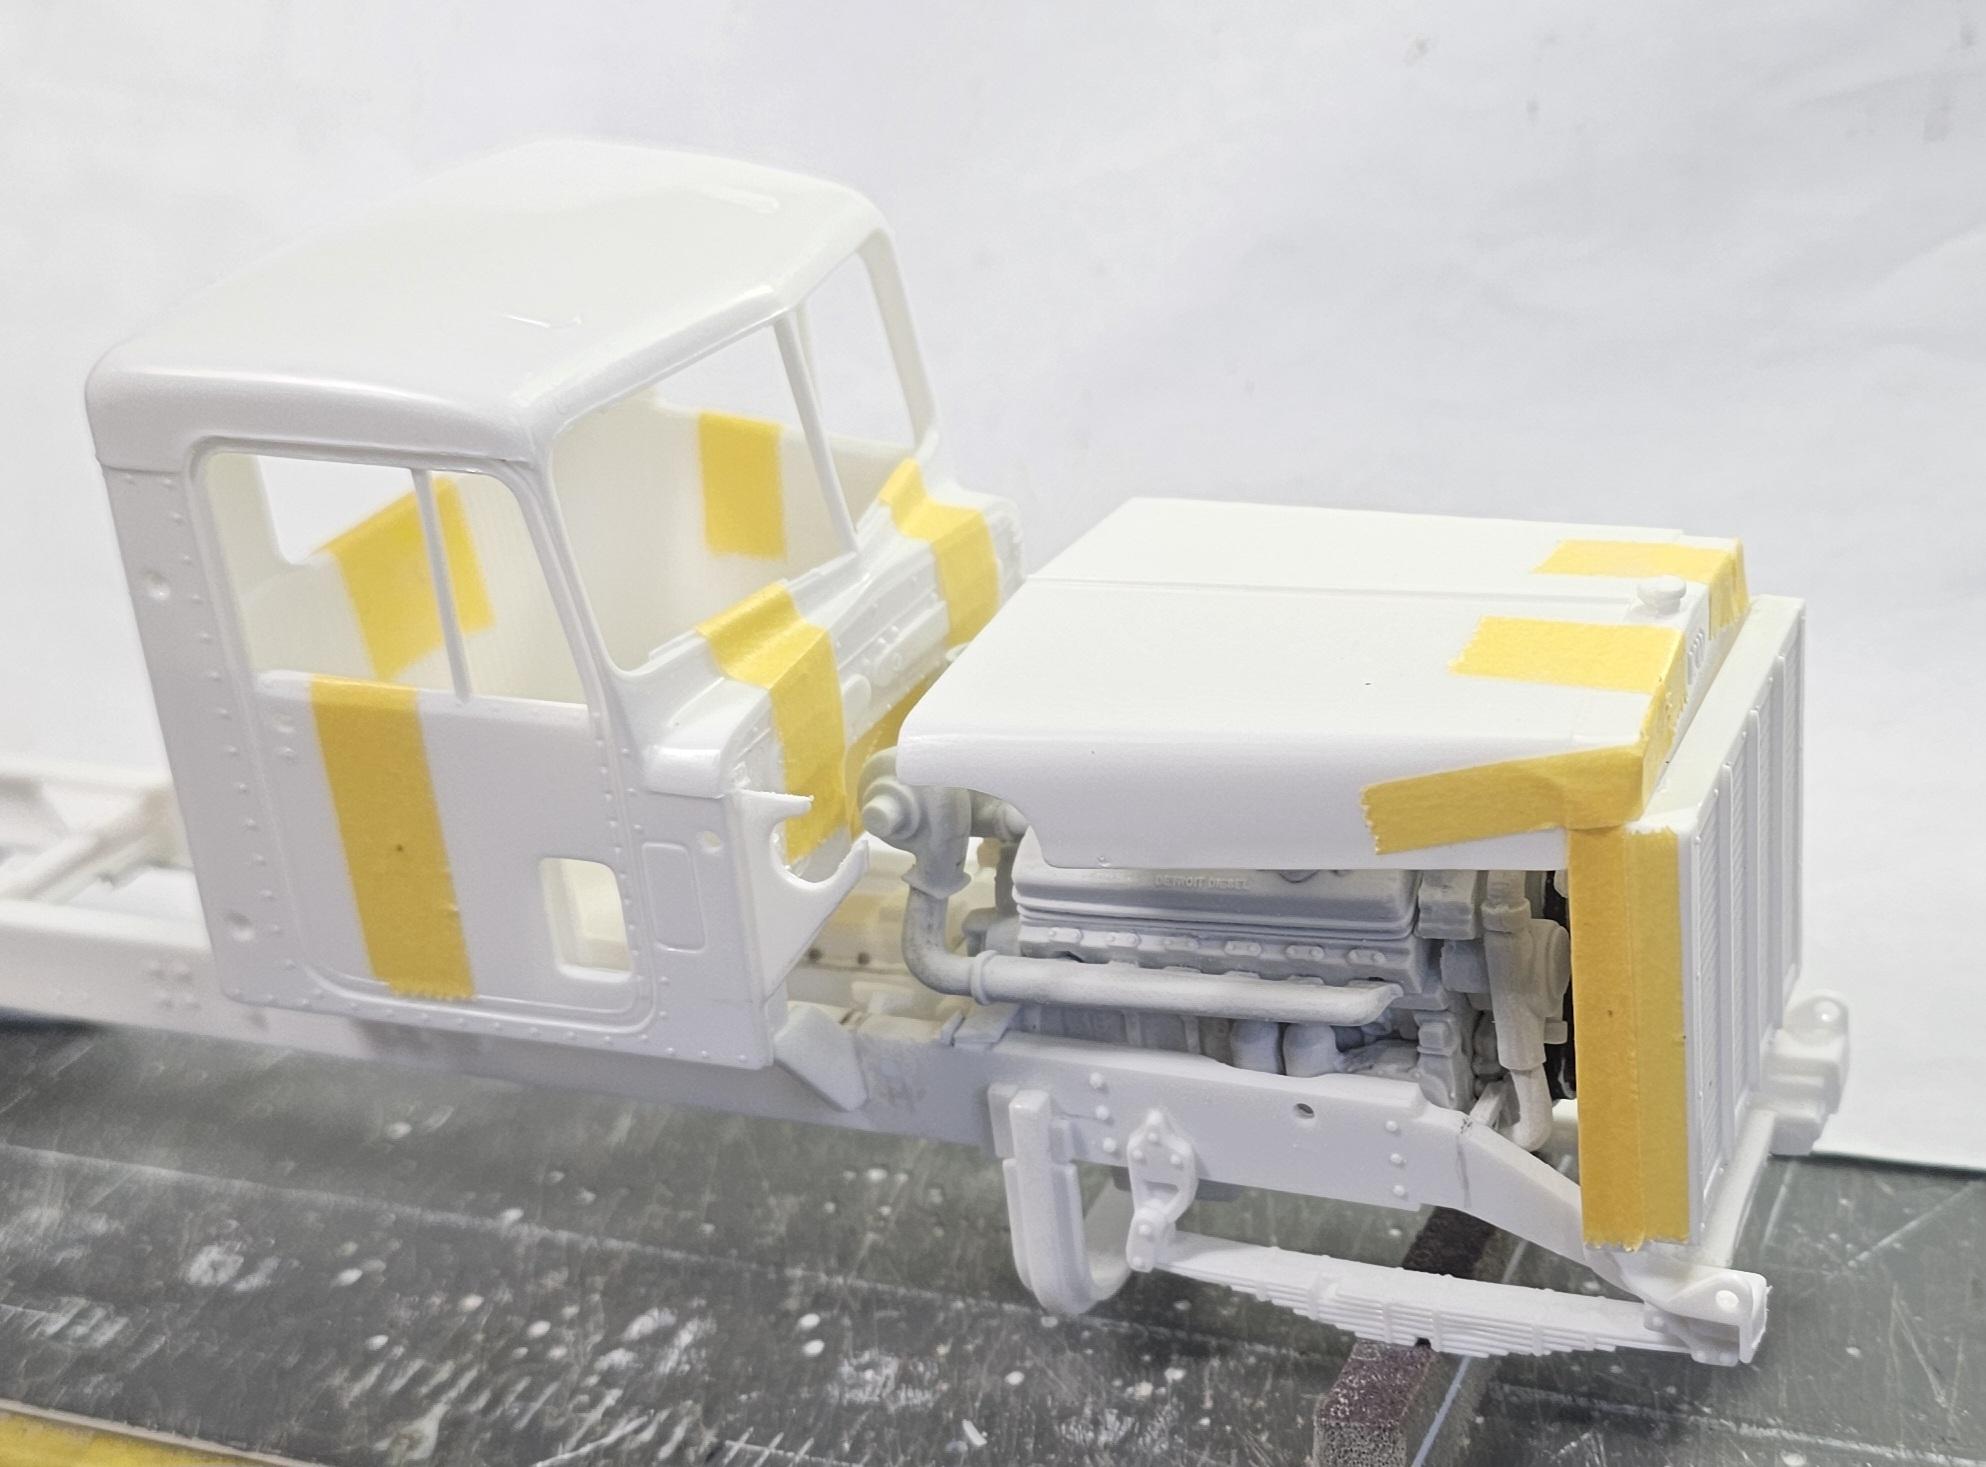
 This view shows the almost finished hood sitting in place on the truck. I still have to putty up the seam and sand smoth.
 This view shows how I altered the two hoods. First I cut approximately 15.5 inches off of the rear of one hood. Then I cut along each side of the center rib from the rear to about 5mm from the front on the otherhood. I then removed a thin wedge from both sides, trimed and sanded the edges. I then heated the front area of the hood so I could squeeze the hood together at the rear so I could glue back together. I then glued the 15.5" piece onto the hood I took the wedges out of and voila! Longer hood.
 This view shows the engine detail painted.
 Top front view of the engine with fan. Still have weathering to do on this.
 This view shows the "Brownie" painted.
 This view shows the front axle I plan on using for this build. I did order a 1/24th axle also because I'm not sure the 1/25 one will be wide enough.🤔😉
Ron G
-
 3
3
-
-
1 minute ago, BK9300 said:
Very good to see an update, Ron - you have a lot of good ideas! I am always reminded of your truck, jeep, trailer, stinger(?) build you have on the go - great work going on there, too.
Thanks Brian
Yeah, I am hoping to get back on the lowboy soon, now that I have transformer load for it.
Ron G
-
 2
2
-
-
Hey David
It's made by Auslowe in Australia. You can get it from ST Supply in both twin turbo and non turbo versions.
Ron G
-
 1
1
-
-
-
Hey all
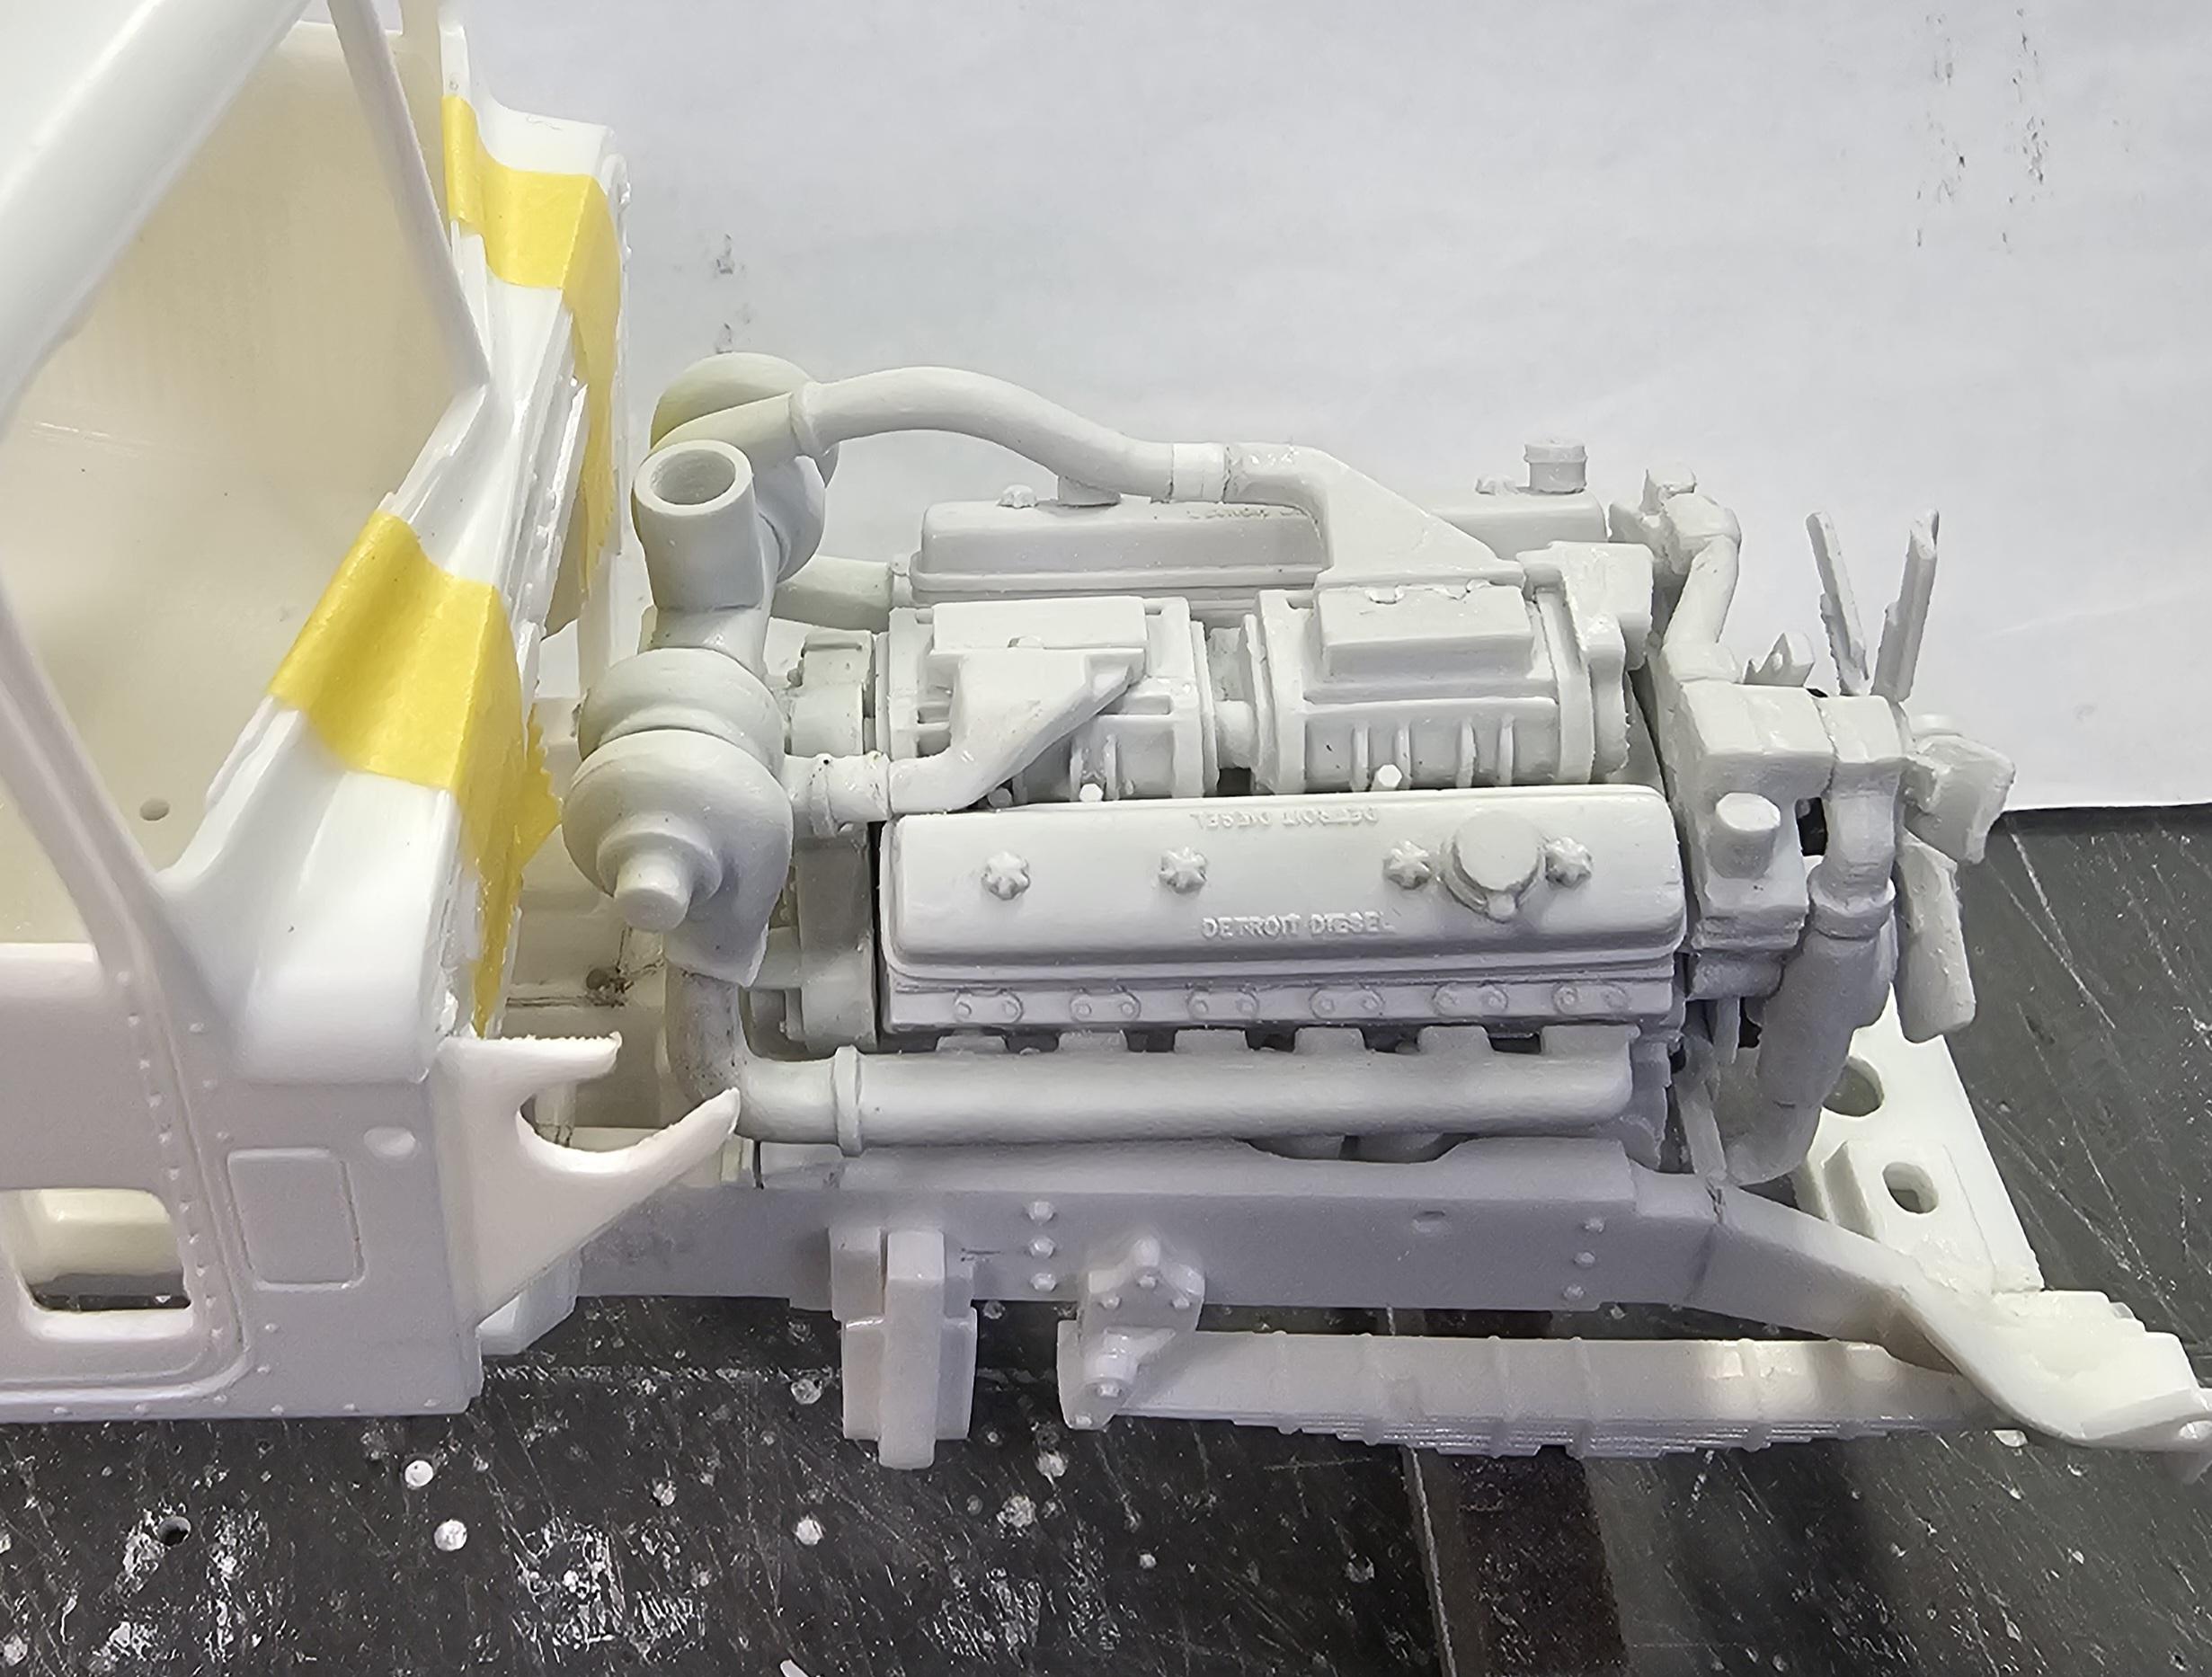
I'm back...lol. I had to modify the DD 12V71-TT. The turbos were sticking up to high. I had to drop them down about 5mm. This way I can get the hood to clear them and fit a air intake pipe system. Here are some pictures for yous to perose.
 This view shows the lower intake plumbing. I need to shorten the intake pipe about 3mm so I can add the intake plumbing to the air cleaner.
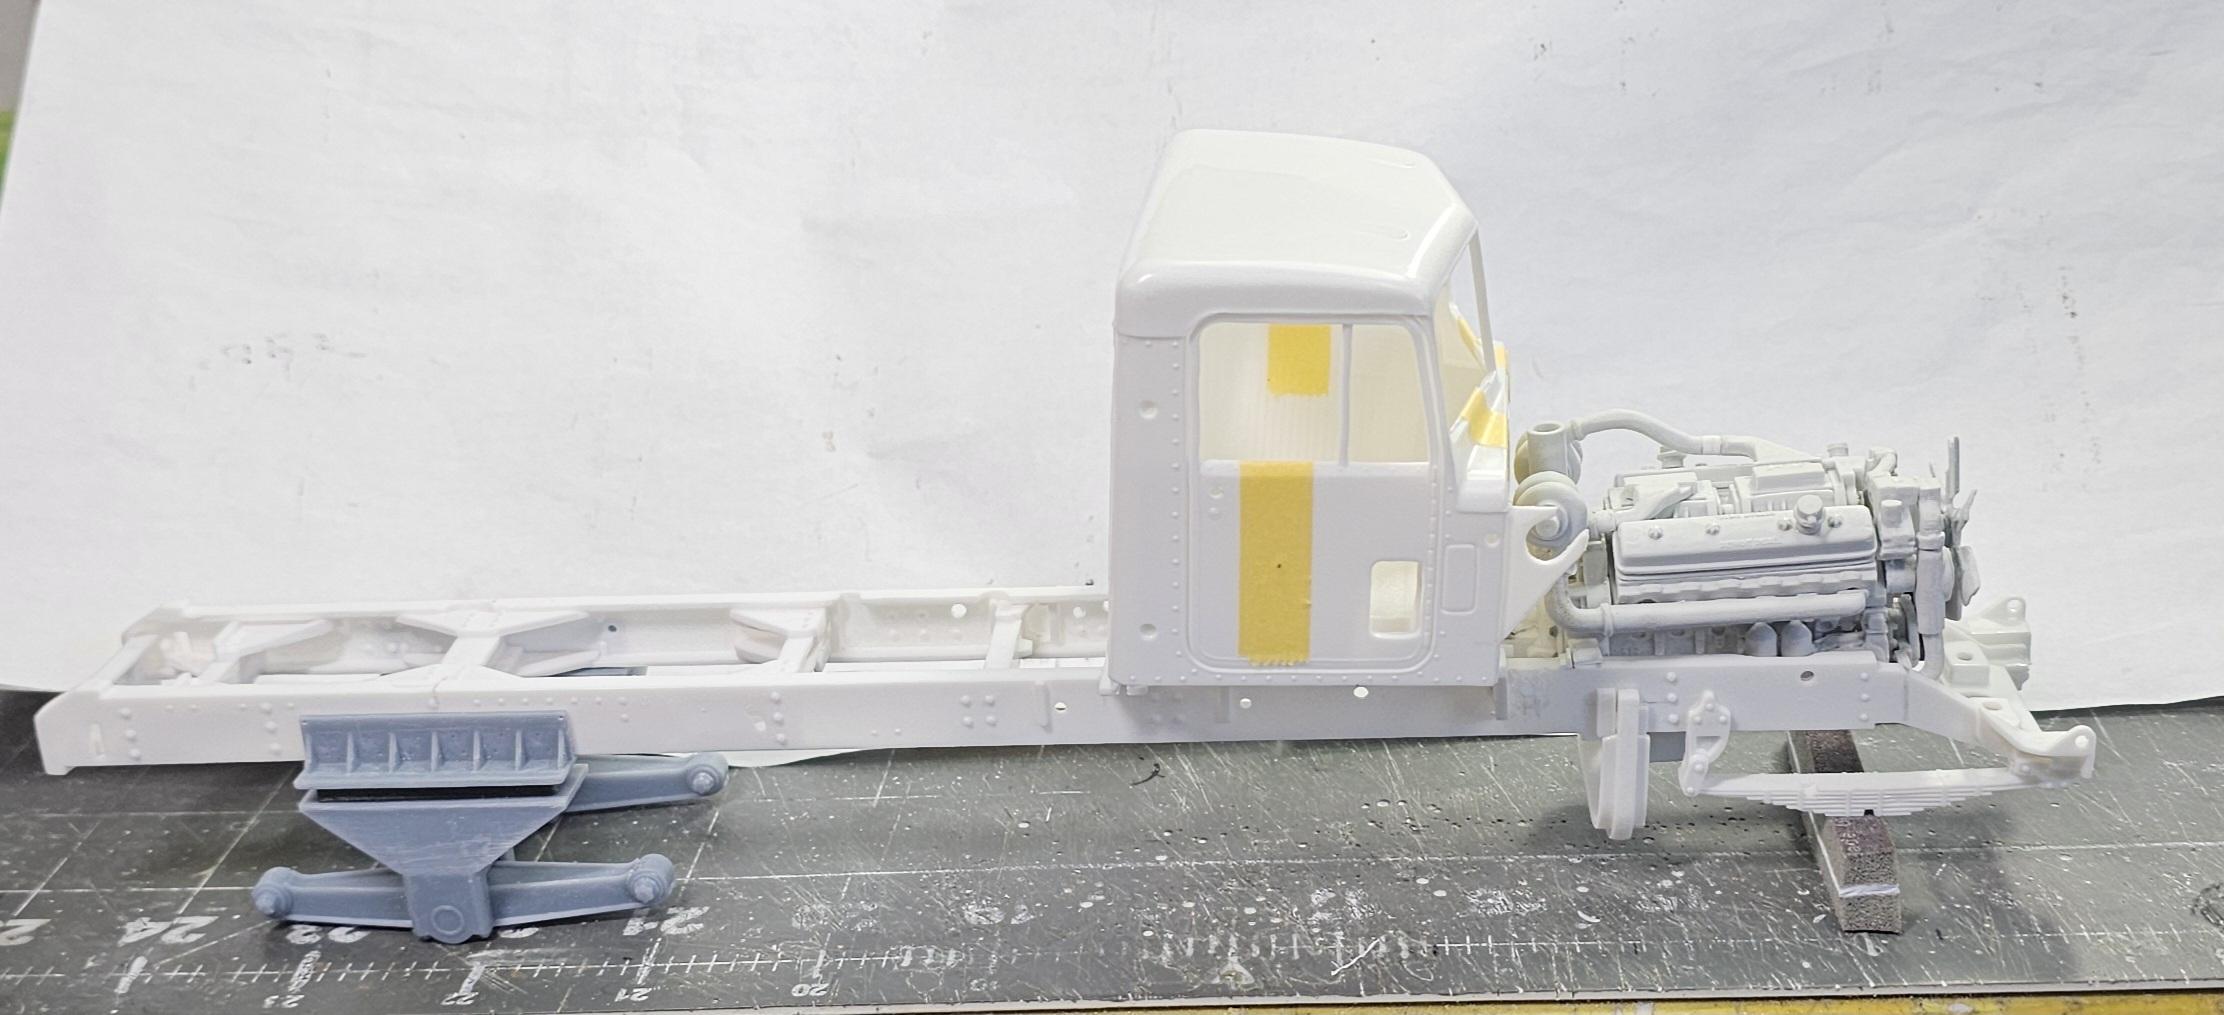
 This view shows the engine in the frame with the cab in place.
 This view shows that I have to add 15" to the rear of the hood. Well that's it for now be back soon with more updates.
Ron G
-
 7
7
-
-


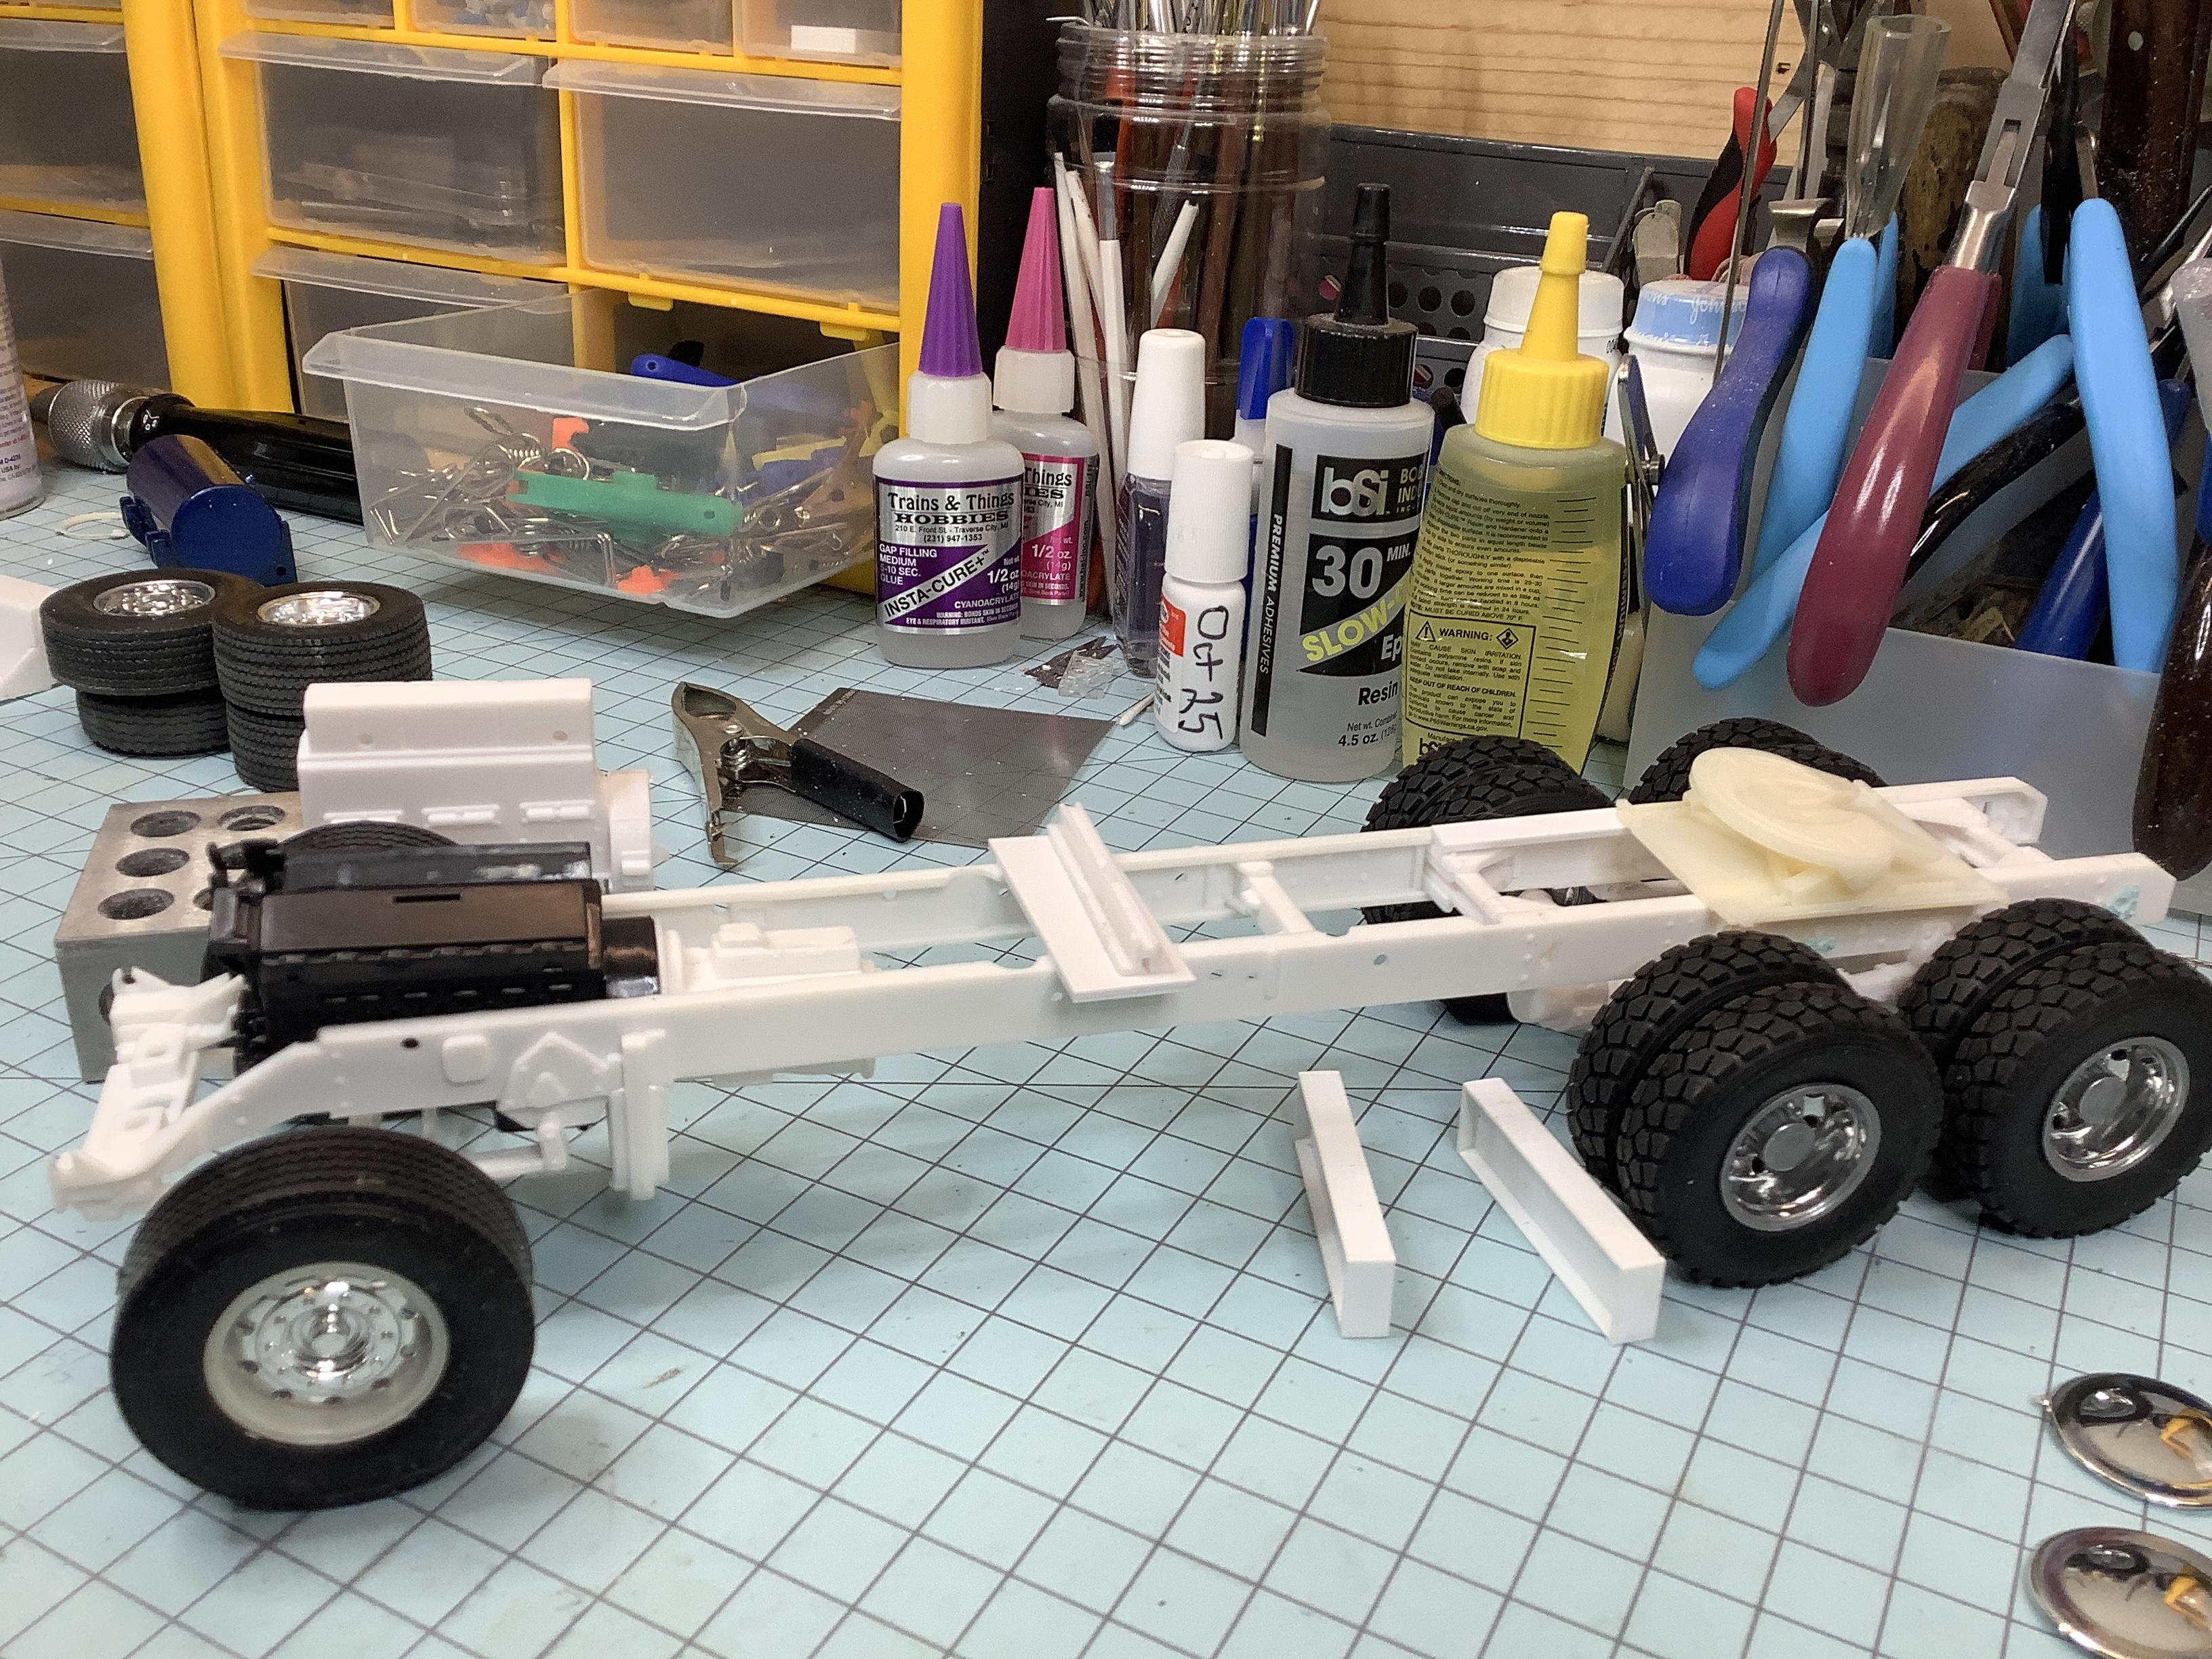


.webp.8ec571e1ae830f75802b27d797f8e66b.webp)


KW925 Something
in WIP: Model Trucks: Big Rigs and Heavy Equipment
Posted
They look great Gary!