

JeroenM3
-
Posts
119 -
Joined
-
Last visited
Content Type
Profiles
Forums
Events
Gallery
Posts posted by JeroenM3
-
-
Looking good,...
Never begrudge masking time,...it always takes as long as it takes,..beats sanding and scraping later,..!!
Quick question,...
Wouldn't the door jambs be the same colour as the body,...?
i totally agree, it just feels asif i take for ever, was wondering if everyone has that feeling
Regarding your question, you are correct, however im putting the doors in while laying the color down on the car. This way i shouldnt have the problem of color differences when putting the doors in when ive sprayed them seperately. However when i put the doors in, they will cover the door jambs, so thus preventing them from getting a color, hence why im doing it this way
")
-
Been a while that i worked on the murcielago, mainly due to having to finish 2 builds before xmas as im giving both my parents one (after a while i just cant think of anything to give them and parents always love stuff you put thought and time into ive been told). The cars in question are the Jaguar MK2 (link: http://www.modelcarsmag.com/forums/topic/127611-tamiya-jaguar-mk2-saloon-for-mom-update-16112017-pic-heavy/) and a Porsche 911 (996) GT3 (link: http://www.modelcarsmag.com/forums/topic/127704-tamiya-porsche-911-996-gt3-pic-heavy/)
However since our garage has temporarily been changed into a HUUGE spraybooth, ive decided to spray the murcielago aswell, ive only done the inside of the door openings now, the rest of the car will be done tomorrow again so this can get hard over night.
Masked up, only took an hour orso to do, does everyone take this long for this or is it just me?..
1st wetcoat on, pictures taken directly after spraying:
2nd wetcoat on, pictures taken after 30 minutes orso of dry time:
Unwrapped of masking tape, and how its sitting next to me right now:
Soon more
-
The wood interior decals are difficult and need lots of microsol and a hair dryer.
yeah i found out the hard way... i was busy with 1 small piece for 50 min before i almost gave up (i have no microsol or microset yet)... going to the store tomorrow to get something like the microsol/set combi, but then from tamiya themselves...
-
Great looking build so far, and YES please sand the finish before using any clear coat. First let me say I'm impressed by the neatness of your garage.
Thanks for the compliment, i must say i enjoy this build more than i would of thought i wud before getting started,the neatness iss mainly due to the large amount of cabinets in there (which are over 50% stocked with my detailing gear but ow well).
After looking at the pictures of your paint job I wonder just how warm the air temperature was when you painted ? Did you warm the paint can at all before spraying ? How far away from the model were you when spraying ? All of these things can create the paint finish in the photos.
Erm, i believe the garage itself is heated to 24 degrees celcius just like the rest of the house (its all connected floor heating), and the distance i think between 15-20cm orso?
On the sanding you might start with something in the 800 range. Just like on a 1:1 paint job it is a good idea to rinse the sand paper often and let the sand paper do the work and don't use much pressure. You want to get to the point where the paint finish starts to level and the finish becomes smooth. Since you are basically scratching the paint it will be flat looking. Then you could move onto the 1200 grit that you have and again sand until the paint starts to get a little sheen to it. For myself I usually get into the 3200 range before I start thinking about a clear coat. Not knowing the availability of sand paper to you I would suggest checking with an automotive parts store for the very fine sand paper or get some 5mm by 5mm sanding pads as the work the best. A well stocked model shop should have a collection of sanding pads. Hope this will help you with your paint job.
I'm going to the store tomorrow anyways to get some decal stuff, as the decals in this box are a absolute pain in the ass (ive started the dashboard today, not even halfway after 4 hours time orso, as it just wont work). ill check for sanding paper aswell while am at it. i got tamiya sanding paper in 800/1000/1200 grit, ill try and get some that go up to 3200 than, or some of those pads you are talking about and than finnish it all off with the tamiya clear if got laying around,
Thx for the tips, now back to work on it
-
So here's the first update on the build how its going so far....
The kit itself is good and assembles real easy without to many problems, its an old kit so the instructions are not always as clear as the instructions of new tamiya kits (it wasnt really clear how each engine part was placed where, had to search for a couple hours on google to find the right pictures online to see where what went...)
First i placed the hood on the body, held down by some tape on the inside to get it ready to get sanded ready for paint. Here are all the steps of paint ive done:
I first started with a primer (tamiya fine surface primer), and layed down a mist of Tamiya TS37 (so close to te37
), however this isnt an original factory color. Searched a while for those and found out the car was originally available in a maroon color. Searched for a close to this color tamiya can, no succes so i thought lets do it in lavender instead. Ran quickly to the local construction store to get some clear plastic to lay on the floor of our garage, and i checked the paint aisles real quick and found some paint that should work on plastic in wine red so got that aswell.The garage is heated so perfect place to paint, just had to take my moms Mini out so i would be sure as h*ll no spray would get on it, underneath are the pic's of the paint process, all comments are allowed, even when they arent that great, but thats the only way i can learn ofcorse!I think this will be enough space:
Mist coat of the before mentioned TS37:
And now directly onto the winered..
1st layer:
2nd layer:
3rd layer (pics made 10 min after spraying the 3rd and final layer):
With the can of paint next to it, for anyone thats intrigued, (still 10min after last coat was layed down):
And here it is sitting next to me now with no clearcoat on yet, but been drying for roughly 2 hours when the pics were taken:
Almost looks like a rolls royce silver cloud III body from this angle
Engine bay painted:
Engine fully assembled:
Front drivetrain:
Rear drivetrain:
Would you guys sand the paint before clearcoat? ifso with what grit? the finest ive got right now is 1200... hoping to put the clear on before i leave this weekend for a week so it can harden fully during that week so i dont "lose" time when im back..
Like i said, ill make loads of pics, so i can give a USB stick with the build pics to my mom when i hand her the car.
Soon more!
-
X2 for sure!! I have wanted that kit for
a long time now. Your mom is quite lucky,
she will love it I bet!?!
Oh yeah? . . . . . lots of pics is great also!!
David S.
well i sure hope she will love it, after all they went to buy 1 of these (1:1 scale) but we found out my dad doesnt fit nicely in the car (hes exactly 2M is length), instead they bought a Mini Roadster JCW, but thats another story (are there any kits of these made, does anyone know?)
Pix are incoming, been working almost all day today on the kit to get it ready before xmas!
-
So i got this one in the mail today, and started immediately with it as it needs to be finished this Xmas to be a gift for my mother.
Sprues:
test fit the hood on it immediately, getting it ready to be painted. I'm thinking of getting it painted bordeaux red, as its an original color for this car, and mom love's red cars as im out of the country to get another car next week, nice period of time to let the body dry and get hard
I'll keep this updated along the way with plenty (probably alot knowing me) of pictures for you all to see (and judge
)
-
i've just got these 2 come in today...
Already started on the MK2 build, need to have it finished before this Xmas as its a gift for my mom as its one of her all time favorites. It's just my dad doesnt fit in one we found out this summer so itll never be bought so this is the next best thing i figured
-
Definitely!! Would really appreciate it. The braided line coming out of rocker cover is something I want to replicate but not sure what it is and can find where it goes. Same with some of the other lines. Surprised how much I'm learning about identifying parts from this hobby. Just recently I made a turbo manifold (for a Supra) and then realised I didn't put a dumppipe/wastegate on it. Would love to avoid these issues here. Thanks for the offer.
I'm easy with whatever you would you prefer.
alright ill have a search soon of what ive got left, i dont think ive got any of the engine compartment, but ill look (i remember alot being blurred sadly so deleted alot) ill keep you updated, if you need of any other cars let me know, ive got loads of cars pics as a car nut, ive send you a pm aswell!
And yeah ive got the same, i was always into cars, absolutely love them (people around me call me the car encyclopedia
) ive always had a certain affection to the mechanical side how it works in theory etc, (like how turbos work etc) but never really how things should be placed or connected etc and starting to learn that now aswell, who knows, maybe ill start modding my cars in life myself now instead of doing only basic stuff by garages -
I'm far from a fan of anything Honda related. However, the work done sofar looks good, also the CF hood, under a black car id go for something screaming as a color for the wheels! like neon green/yellow/orange or whatever, its one of the few body colors where its possible to do bright colored wheels
-
another idea, however would probably be alot harder (i havent even tried going yellow yet, first wanna get a grip on building before doing mods etc), get some yellow tinting foil at a local shop, and cut that up real small, i can only imagine the fact that this should work...
-
Looks like a great kit, ive actually been to the mercedes factory and museum last summer taken quite a few pictures of the 300SL that was on display, ill have to do a small search for the pix but if you want those to build it even more accurately let me know and ill post or send them!
-
It would be a shame to cover up that chassis & engine!
looks great.
i was thinking exactly that! i think i wud personally finish the body and place it next to the chassis, do i dare say it, best build ive seen so far in terms of details and attention to these details.......
This build sparked the 250GTO part of my heart again, looks like ill need to buy one in the future (after ive finished all the kits ive currently got sitting on the shelf! Due to it all being "low" prices you end up buying lots everytime and when u add it all up it still becomes alot of money
)Cant wait to see this thing finished!
-
Those are both known as "Renewal Packaging". They're just freshened up box art to match the rest of the "black box" Ferrari kits that have the parts layout on the bottom, content wise they are the same. I'd go for the newer boxes just for stuff like fresher decals and whatnot.
ahh ok thats what i thought, just wanted to be sure.
Someone is offering an F50 kit for a reasonably cheap price on our local ebay, but its the older box so decals will be old then i guess...
-
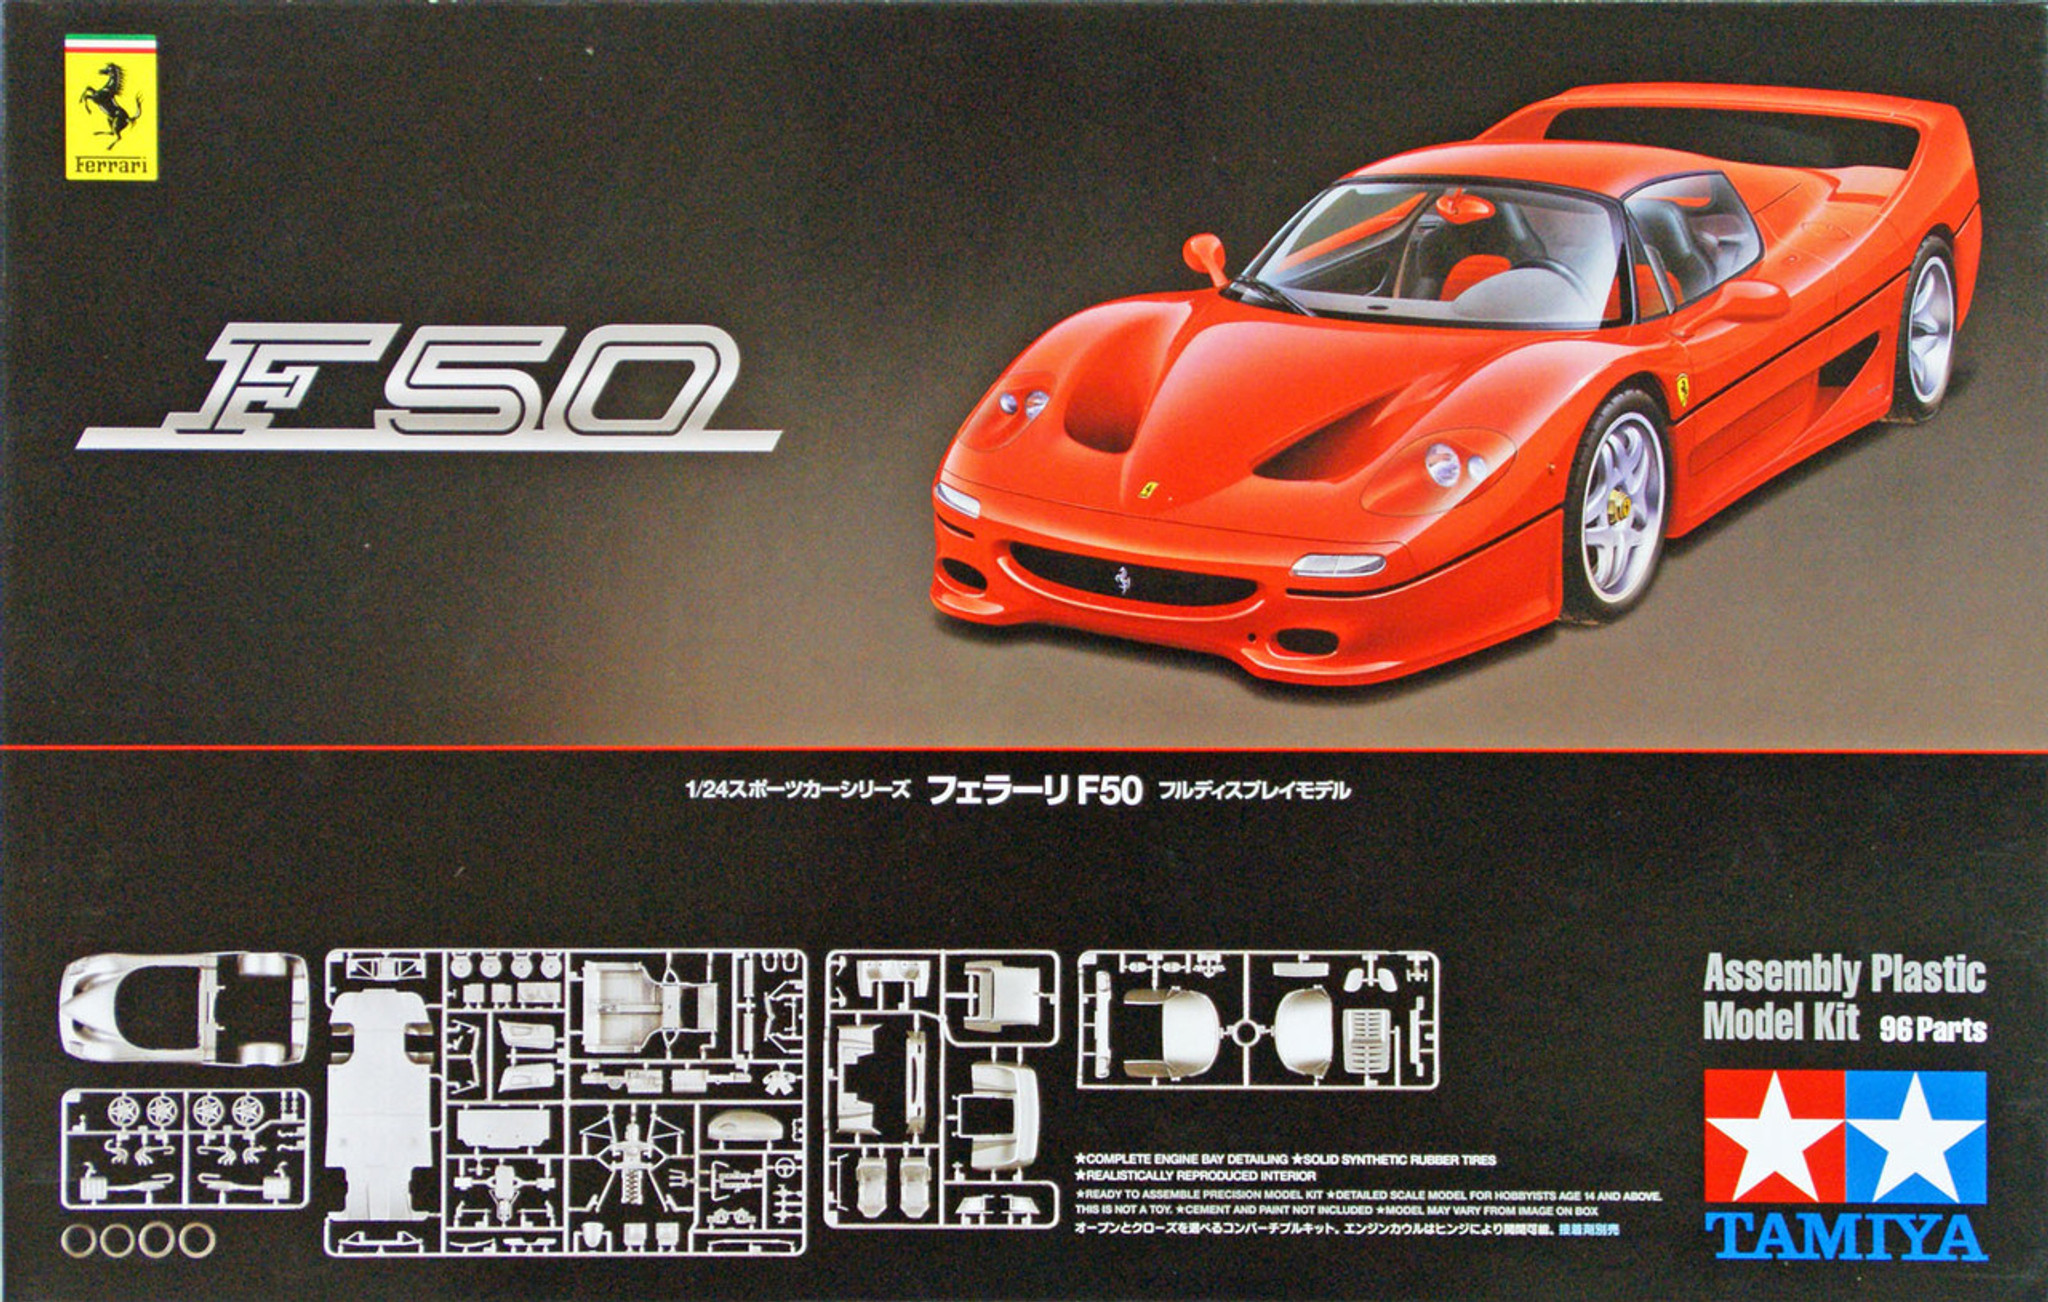
So ive been looking at getting some more Tamiya kits, and im a big time Ferrari fan, with 1 of my all time favorites being the F50!
However ive noticed that there are 2 different kits in circulation for the F50 by tamiya:
The 24296
and the 24160
Can anyone tell me what the difference between these 2 is? i tried googling it but got no answer on this sadly. Is it just a matter of reboxing? or is there a quality/detail difference? or even a parts count difference?
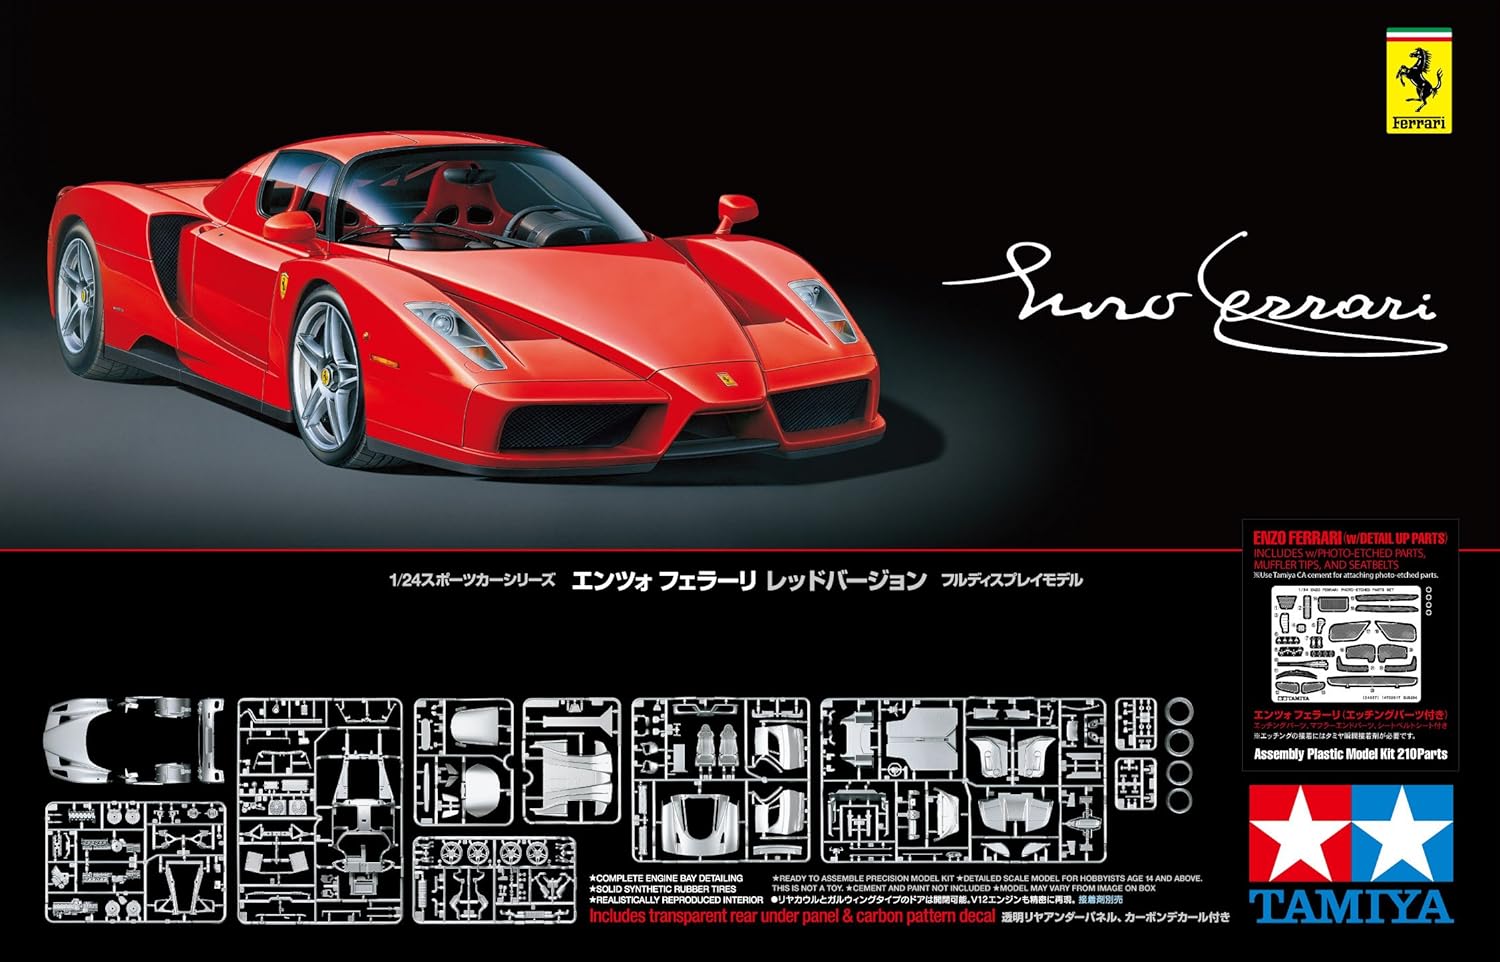
Same goes for the different versions of the Enzo models:
and this one:
-
I'm sure some guys temporarily tack parts on to paint the body parts, but I've never been a fan of that. if it were me, I would paint them individually first with the body color, then after the paint is cured, mask it off and paint your black. This is how I've always done it.......with great success.
i get that, the thing im more worried about painting parts individual (like doors, hood's and in this case air intakes) is a color difference as you lay down different thickness of color coats, just like on real cars when small parts get resprayed. hence why im lookin for other ways to do it, if there are any
thx for both your tips btw
-
Now i havent ordered one, but ive seen quite a few people "searching" for a good model of the McLaren F1 GTR short tail, Aoshima makes a long tail version, i have the box sitting in my closet already just waiting to be build.
I was just browsing the hiroboy website, and found a couple of F1 GTR short (and long) tail models for sale, yes the price is steep, but from what i can see with the pictures attached, it looks good to spectacular in build quality and details, so for those on here that really REALLY like the F1 GTR short tail, they are available.
Here is the page where theres a whole load of different variations for sale:
https://www.hiroboy.com/shop.php?p=category_products&category=176&page=11
Again i dont have one, nor on order just thought id post it here for those searching!
-
So ive done quite abit today if i may say so myself, and getting the body and body parts ready for paint, however im still trying to figure the following out:
I'm going to paint the car itself in tamiya's TS20, however the sides of the "batwings" of the murcielago i want open, and the sides should be black. Any idea's from the pro's here, how to accomplish that at its best? I was thinkin of doing 2 lil spots of glue, paint the car, pull them off and paint the side pieces black? No clue if this is the best way to do it though...
Attached the pic below as to give you guys an idea what im on about, the "Z" stand for "zwart", which is dutch for black for those who are wondering...
-
this picture shows clearer how the tires arent wide enough that come with the kit:
The wheels either show a whole lip on the face of the wheel, or the back of the wheel sadly... so far the biggest let down of the whole kit.
-
looks like we could get along fine, we both have a Ferrari Virus i see....
The only thing that looks abit odd to me, are the headlights of the 360, did you do an edge lining in white under the glass? or does it just look like it? other than that looks perfect and alot better than the stuff i produce so far
-
most revell and amt kits are also simple like that. Some are more involved. But for the most part that's their platform. No steering. Most of them don't have brakes to speak of. And a lot of them have not so great tire and wheel sets. But still I build a bunch of them lol
the thing i really noticed about revell, is the fact that they have alot of kits, in my opinion even more than tamiya has car's wise, and also alot of the ones i want to build. So ill probably make alot of more them too in the future
-
Never heard of the NUNU brand, but looks good sofar, any PE sets with it or anything? those rims look great for OOB wheels....
Looks good so far, will definately follow this!
-
So ive started on the car now, and must say everything looks good sofar kit wise, the only problem im having with my Revell Aqua Color paint, is the green im using (code 36161) doesnt show on the black sprue parts, so first covered them in the white paint (36105) to then paint over it with green, doesnt look perfect though but it'll do, maybe ill try again later, but after having tried 4 times i got annoyed and left it for what it was....
It was only after i took the following picture below, that i noticed i forgot to place the rear shock absorbers, so got the hubs and brakes of again, fitting the shocks now...
Also i noticed the rubber of the tires, arent as wide as the wheels itself are, tried to get it on the picture, but i guess its not really that clear, the rim sticks out on both sides of the tires that come with the kit, thread print is awsome and differ for the sides, so it doesnt look weird like i had on the Tamiya 360 modena kit....
-
Your windows look much better! I miss this kit. I did mine yellow. I like your color choice! Looks nice
i have to admit, the windows are easy on this kit aswell, theres just a platform that covers the whole inside of the roof so thats where the only glues at
... Nice Lambo!......I have the roadster version to do some time myself. They do build-up pretty nice.
yeah there pretty straight forward and easy compared to the likes of tamiya and aoshima kits im currently working on, however it was my first and only revell build so far, i just hope not all revell kits are as easy to do....
Let me know when the roadster is to be assembled, i was always a huge Ferrari fanboy (and still am) but lamborghini has really grown on me the last couple years (mainly due to sticking to REAL engines intead of those stupid forced induction engines like Ferrari is switching to nowadays, and they start making some real nice cars the last 10 years orso
")


") ), however this isnt an original factory color. Searched a while for those and found out the car was originally available in a maroon color. Searched for a close to this color tamiya can, no succes so i thought lets do it in lavender instead. Ran quickly to the local construction store to get some clear plastic to lay on the floor of our garage, and i checked the paint aisles real quick and found some paint that should work on plastic in wine red so got that aswell.The garage is heated so perfect place to paint, just had to take my moms Mini out so i would be sure as h*ll no spray would get on it, underneath are the pic's of the paint process, all comments are allowed, even when they arent that great, but thats the only way i can learn ofcorse!
), however this isnt an original factory color. Searched a while for those and found out the car was originally available in a maroon color. Searched for a close to this color tamiya can, no succes so i thought lets do it in lavender instead. Ran quickly to the local construction store to get some clear plastic to lay on the floor of our garage, and i checked the paint aisles real quick and found some paint that should work on plastic in wine red so got that aswell.The garage is heated so perfect place to paint, just had to take my moms Mini out so i would be sure as h*ll no spray would get on it, underneath are the pic's of the paint process, all comments are allowed, even when they arent that great, but thats the only way i can learn ofcorse!


Tamiya Porsche 911 (996) GT3, 4/12/2017 almost done! PIC HEAVY!
in WIP: Model Cars
Posted · Edited by JeroenM3
My intention is not to spam all you guys with tons and tons of builds, its just i got alot of time at the moment, and therefore spend alot of time building (beats sitting behind the TV or anything like that in my opinion, and its more productive too") ). However i do like to document my builds, for myself, but also for other people to enjoy and pickup some idea's for their own builds (hopefully).
). However i do like to document my builds, for myself, but also for other people to enjoy and pickup some idea's for their own builds (hopefully).
This Porsche GT3 im building for my dad as a Xmas gift, my mom is getting the Jag MK2, and my dad a Porsche as hes a Porsche guy") .
.
Like the title says its a 996 generation of the 911, this was the very first 911 series they build with a watercooled engine, and is still considered as the "purest" GT3 that porsche has build to date without any electronic "angels" as i call them. Making it a real "man's car".
The car is curbside kit, which is a shame for a Tamiya kit, all other ones i have so far were with a full detail (the SARD Supra being an exception to this but had a cool interior to do). So no engine to build for this except what you can see from under the car just like in real life.
Here goes:
For the real GT3's the whole undercarriage is painted in the body color says the instructions, i thought this aswell, but luckily an old class mate of mine actually has one of these (and every other gen of GT3 (rs)'s the lucky sod!) and asked him to take some pic's of the undercarriage to see if this is correct (it is) and some other details for my build.
Engine area done:
Front drivetrain in, made a little mistake with putting it in, as i glued the topmounts into the chassis, thus preventing the wheels to turn in either direction (still need to fix that):
Protective guards on:
side view of the undercarriage with the brakes in (yes the callipers seem different colors, only difference is on the back (right in the pic) its done straight onto the black plastic, on the front (left in pic) ive layed down a white layer first:
1st wetcoat on (pic taken directly after the coat went on):
2nd (and final) wetcoat on (pic taken after 30 min of dry time approx.)
Velvet carpet laid down in the back (need to make the "center" piece fit a little better, any idea's?) , with the metal GT3 badge, sadly not really able to see it on there but ow well:
Gave the seats some color, as i hate full black interiors, sadly due to the 1st layer being yellow, and the tape being yellow, i missed a small part on both seats :
:
Made some "custom" carpets for the front from the velvet sheet leftovers, turned out pretty good if you ask me:
Thats it for now, more to follow soon!