Imaeechew
-
Posts
18 -
Joined
-
Last visited
Content Type
Profiles
Forums
Events
Gallery
Everything posted by Imaeechew
-
 Just looking at those seats makes me want to shower and change be my clothes, good job
 -
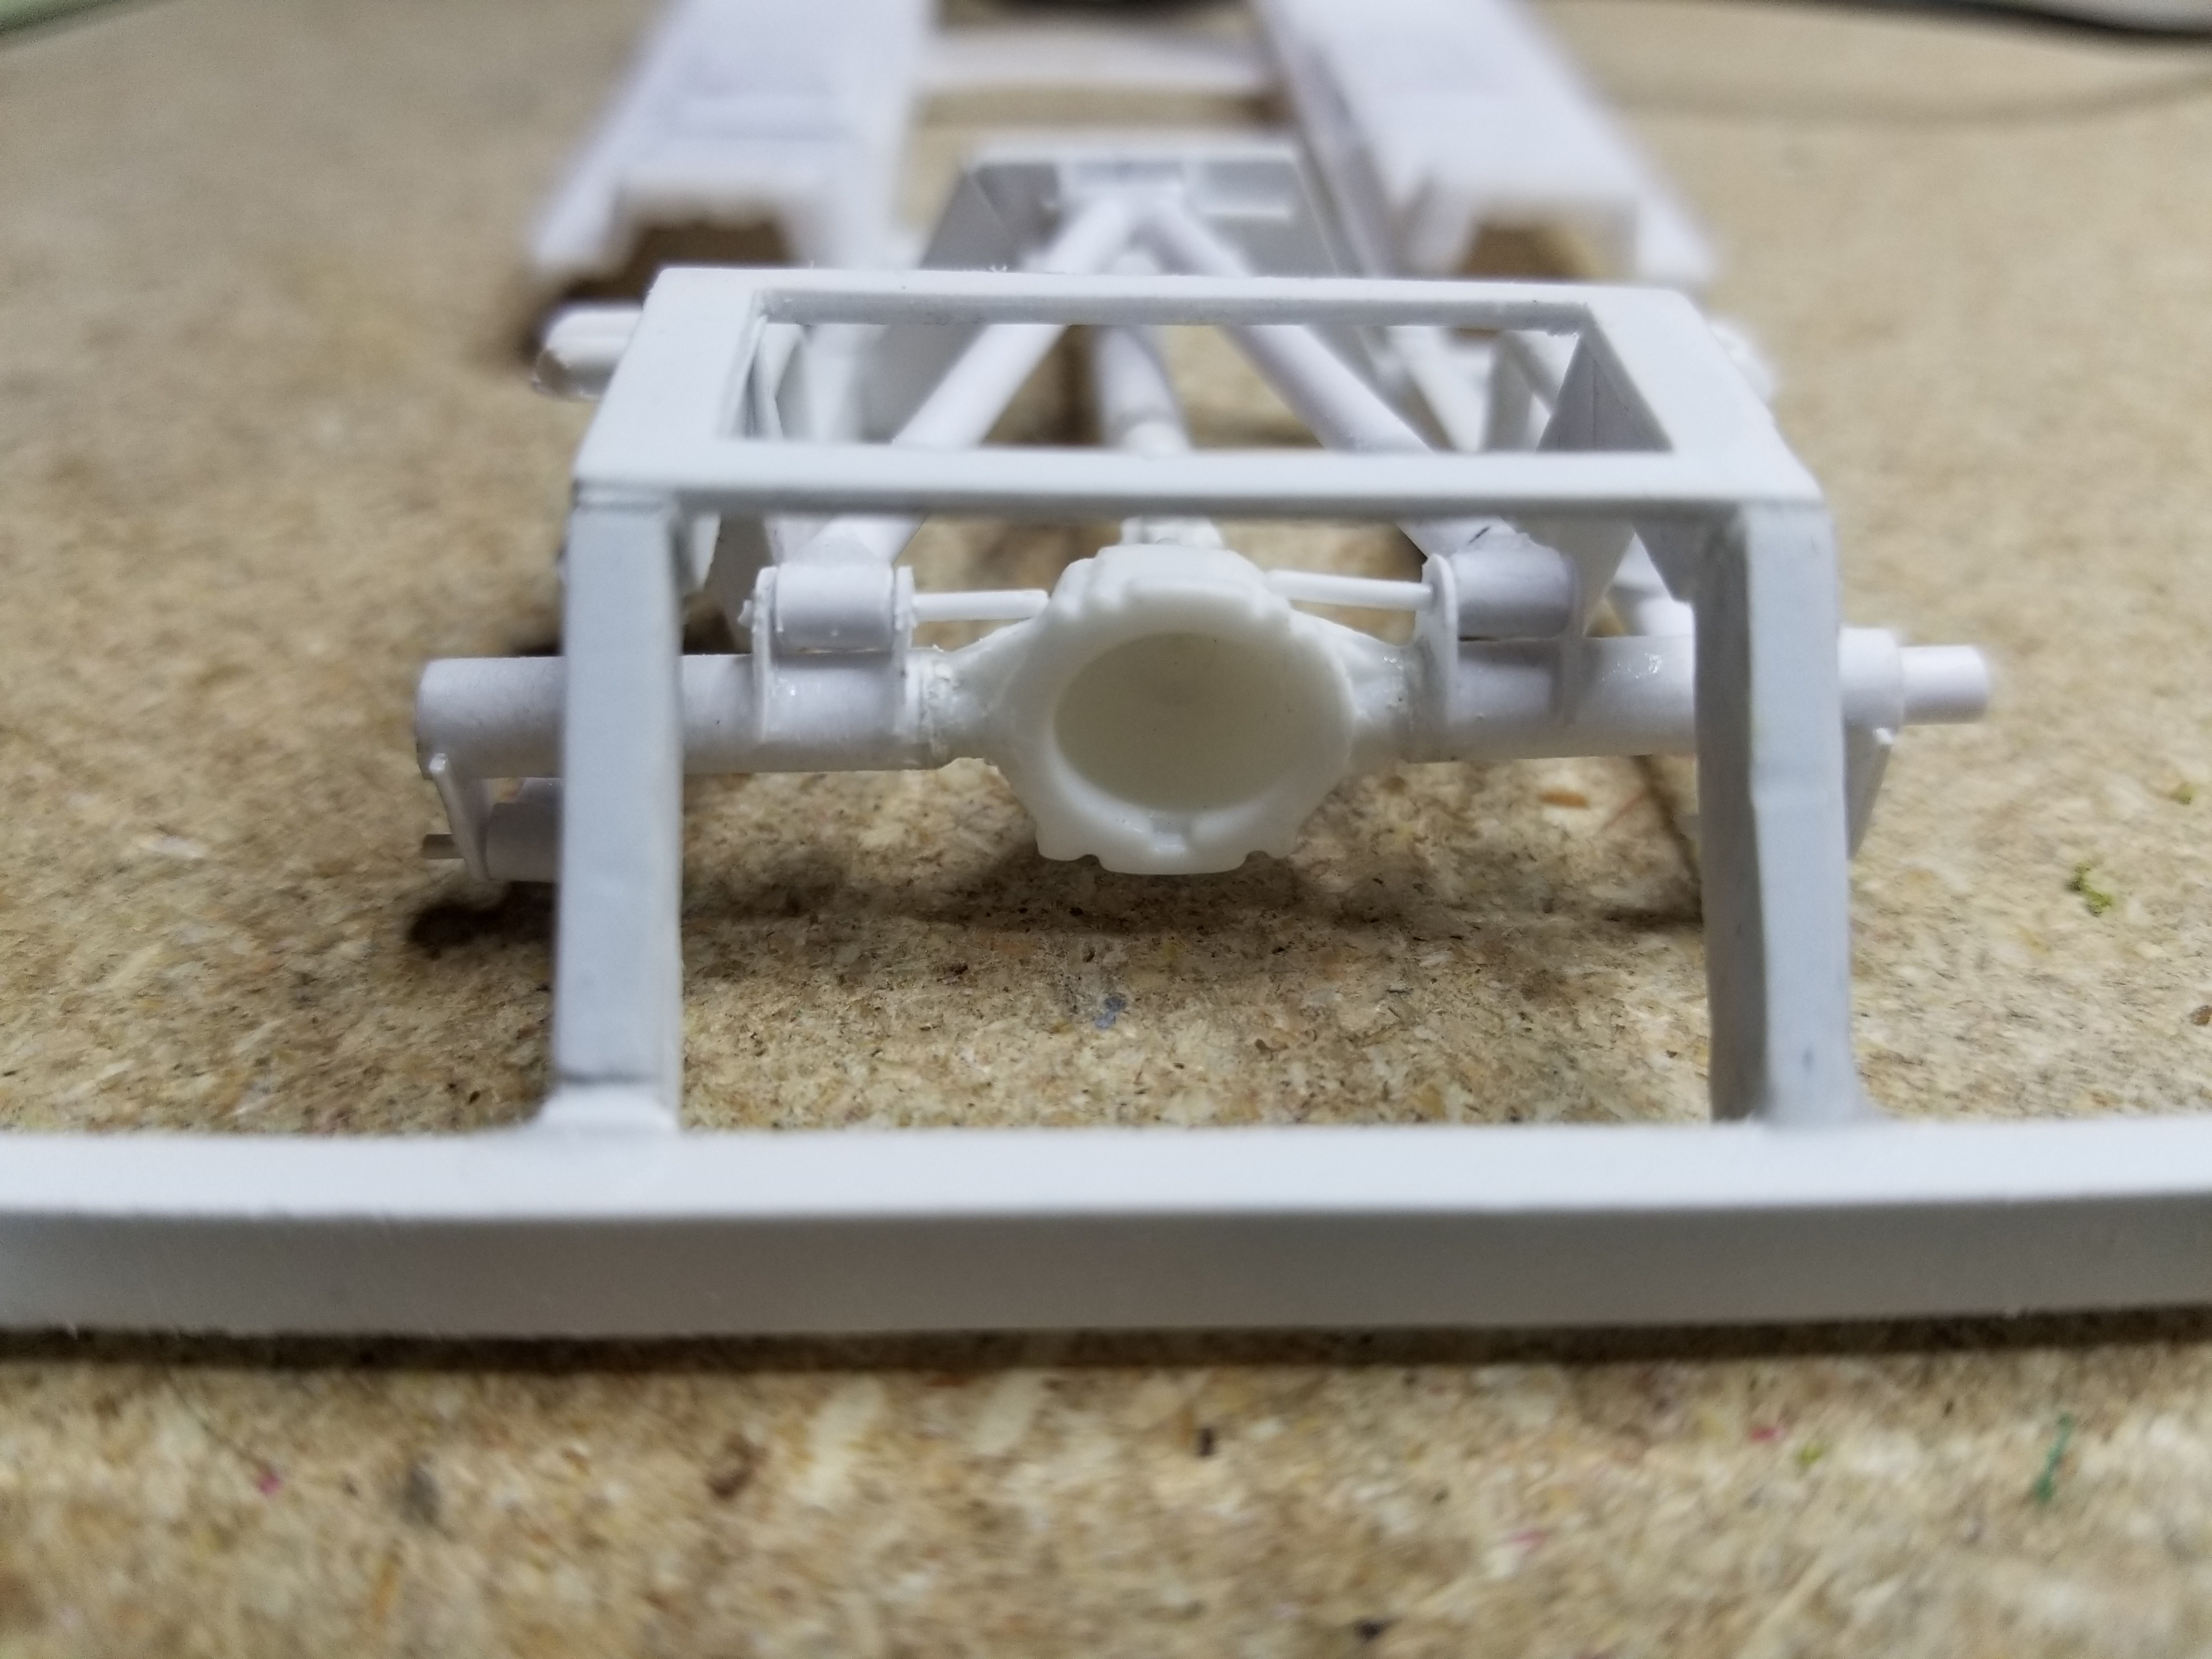
Not this exactly but I follow Dino on Instagram which is where the idea came from. Thanks for sharing Here you go. Like I said the rear end came from a 99 Silverado kit but I cut off the axle tubes and used some styrene to make it look more heavy duty. All the bars are temporarily pinned in place so I can remove it all for paint. I also just finished up the rear upper bag mounts

-
Moebius Comet... Wild Bubbletop Show Rod- Done! 3-17
Imaeechew replied to Impalow's topic in WIP: Model Cars
The Silhouette is the better choice for our usage. Cricuts rely on pre-loaded images or you have to deal with their bulky website to design your own. With a silhouette you can use Illustrator or Corel Draw(with a $40 software driver) or you can import your image directly into the Silhouette software and cut. The Cameo sries is good, I picked up a Cameo 3 about 2 months ago and love it, huge upgrade from my original Silhouette cutter which didn't even have a name it is just called a "Craft Cutter". This build is pretty cool, probably not something I would build but i am watching this project for the fabrication. Can't wait to see what the end result looks like -
Project "Every Which Way"
Imaeechew replied to bill lanfear's topic in Model Trucks: Pickups, Vans, SUVs, Light Commercial
Looks great, especially the wheels and tires, they look real. I was watching this one during the build up and it is part of what inspired me to try weathering and more realistic finishes. -
This is what I used to do for my curb side builds. Since a lot of models don't have side glass I bought some clear evergreen sheets, cut them to fit, painted them and glued them in. One thing to note, by painting the clear plastic a dark color any scratches or discoloration on the outside will show up more.
-
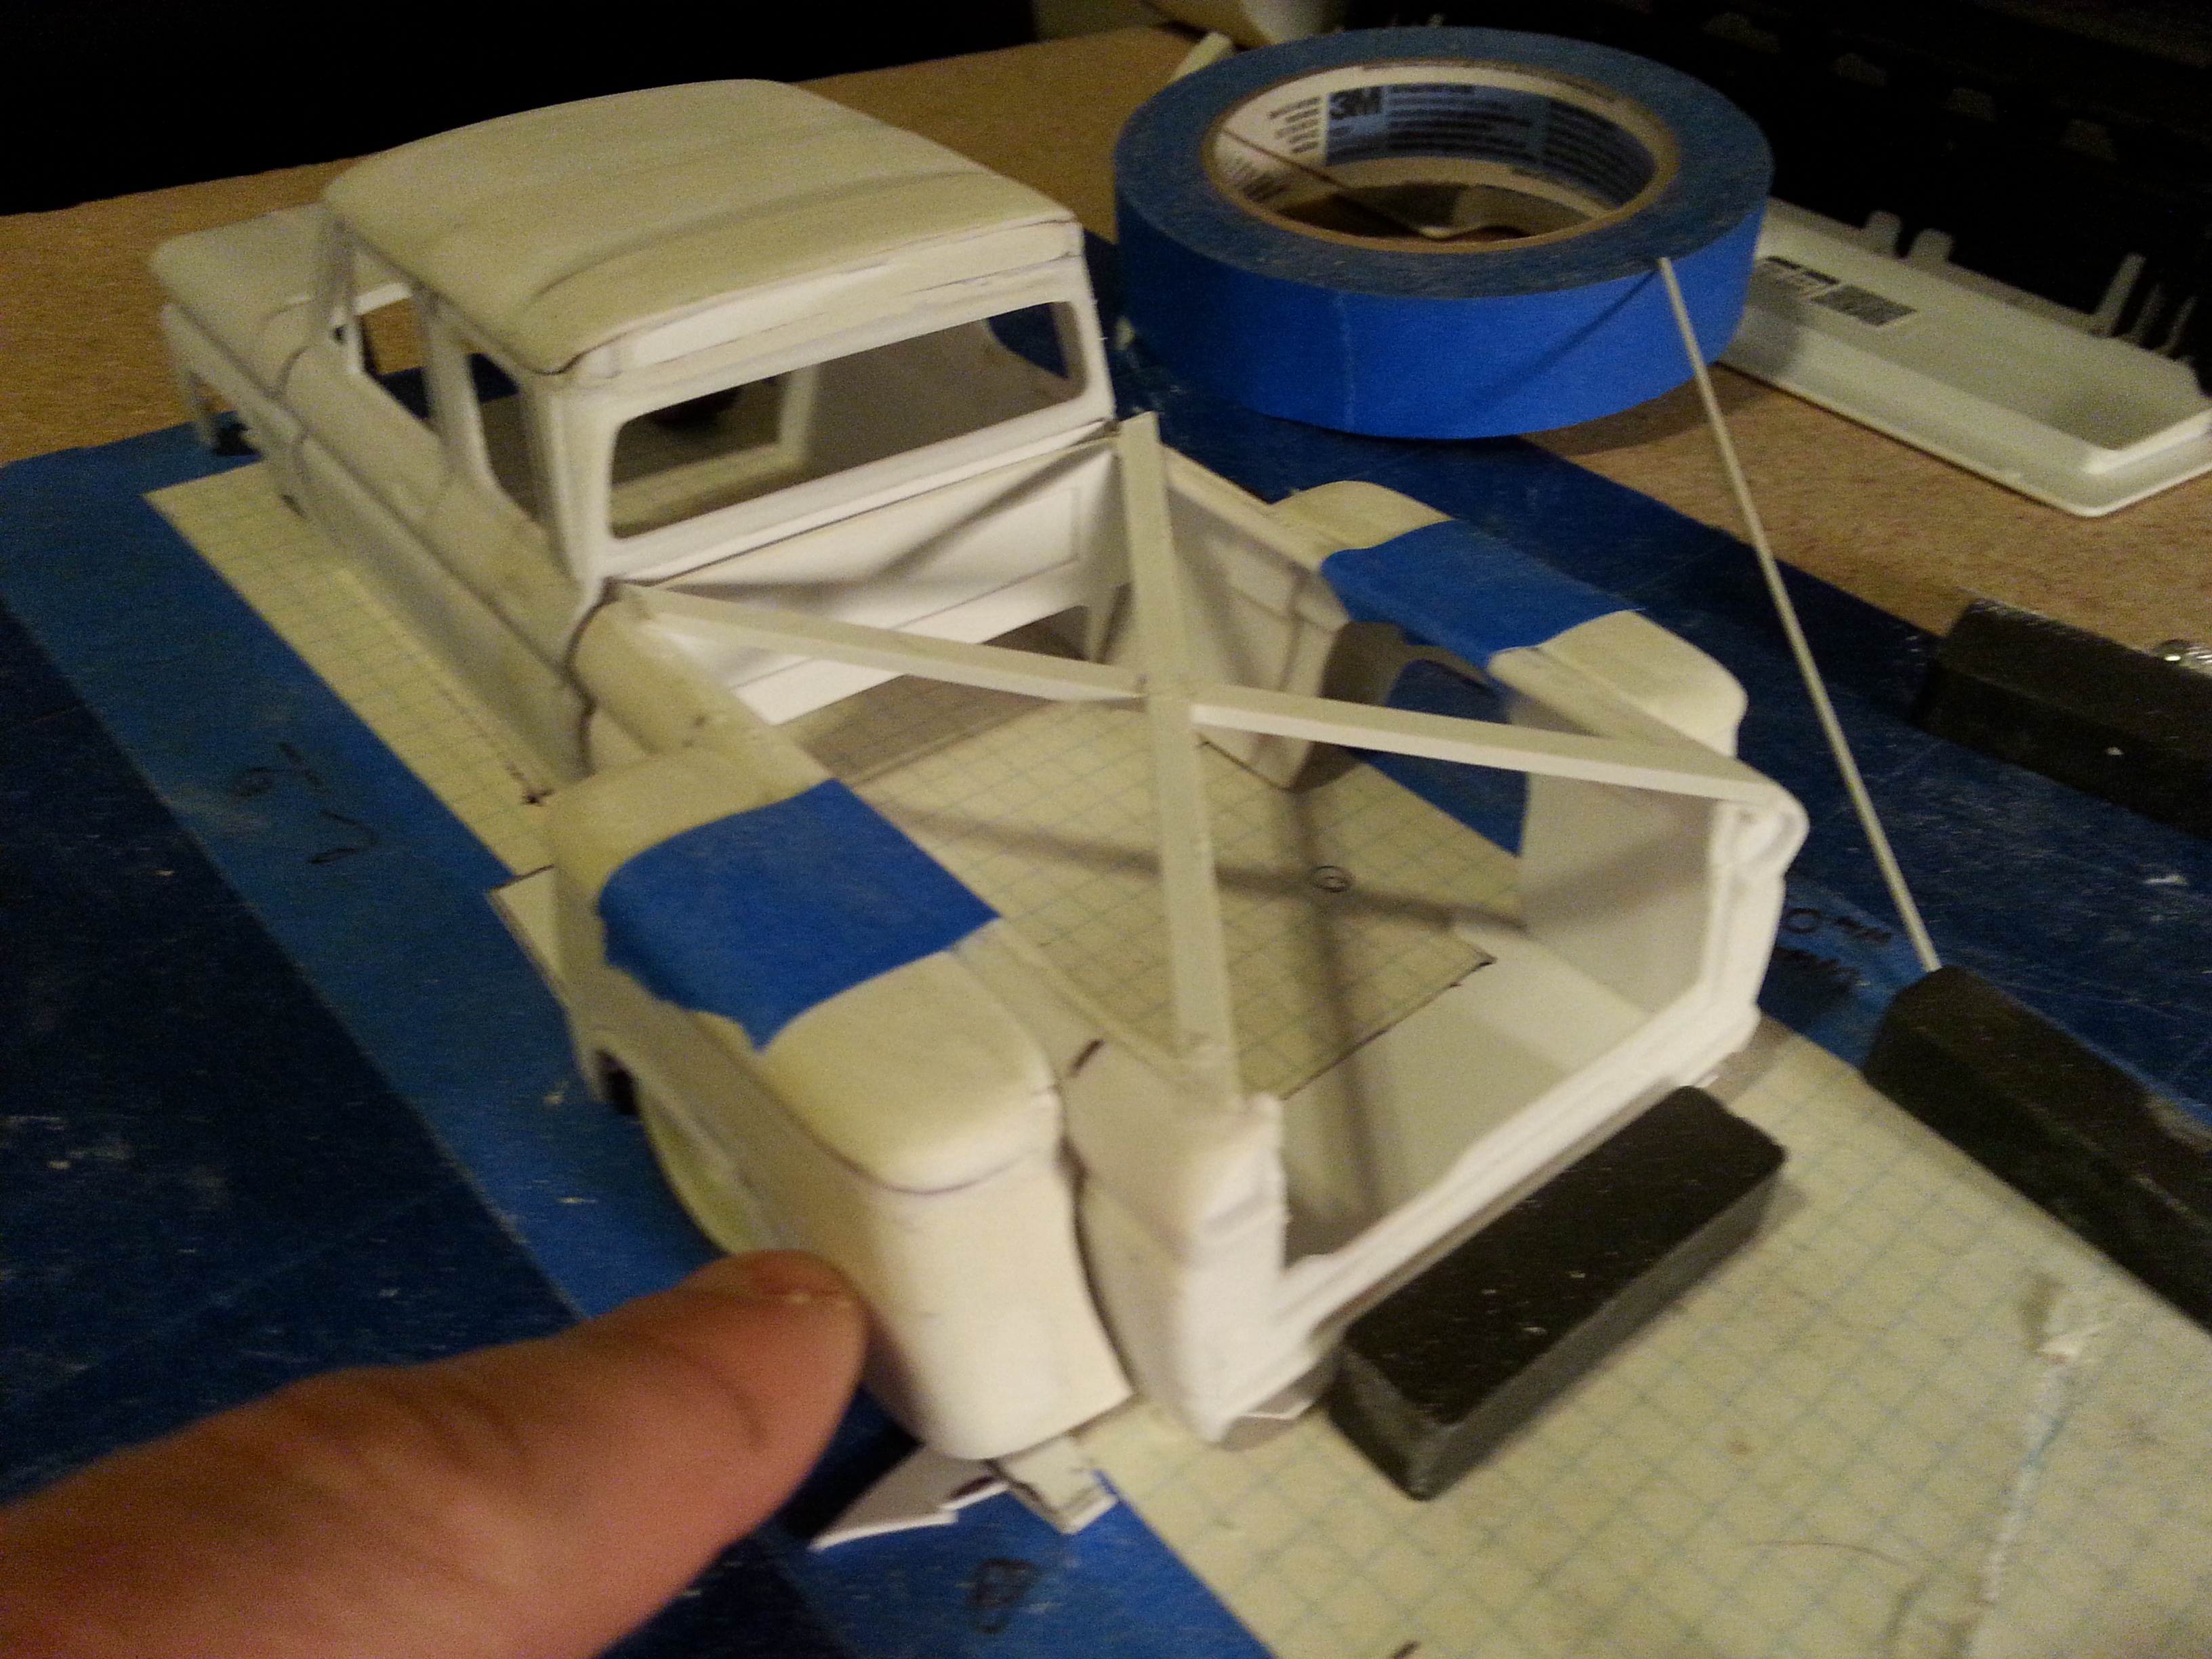
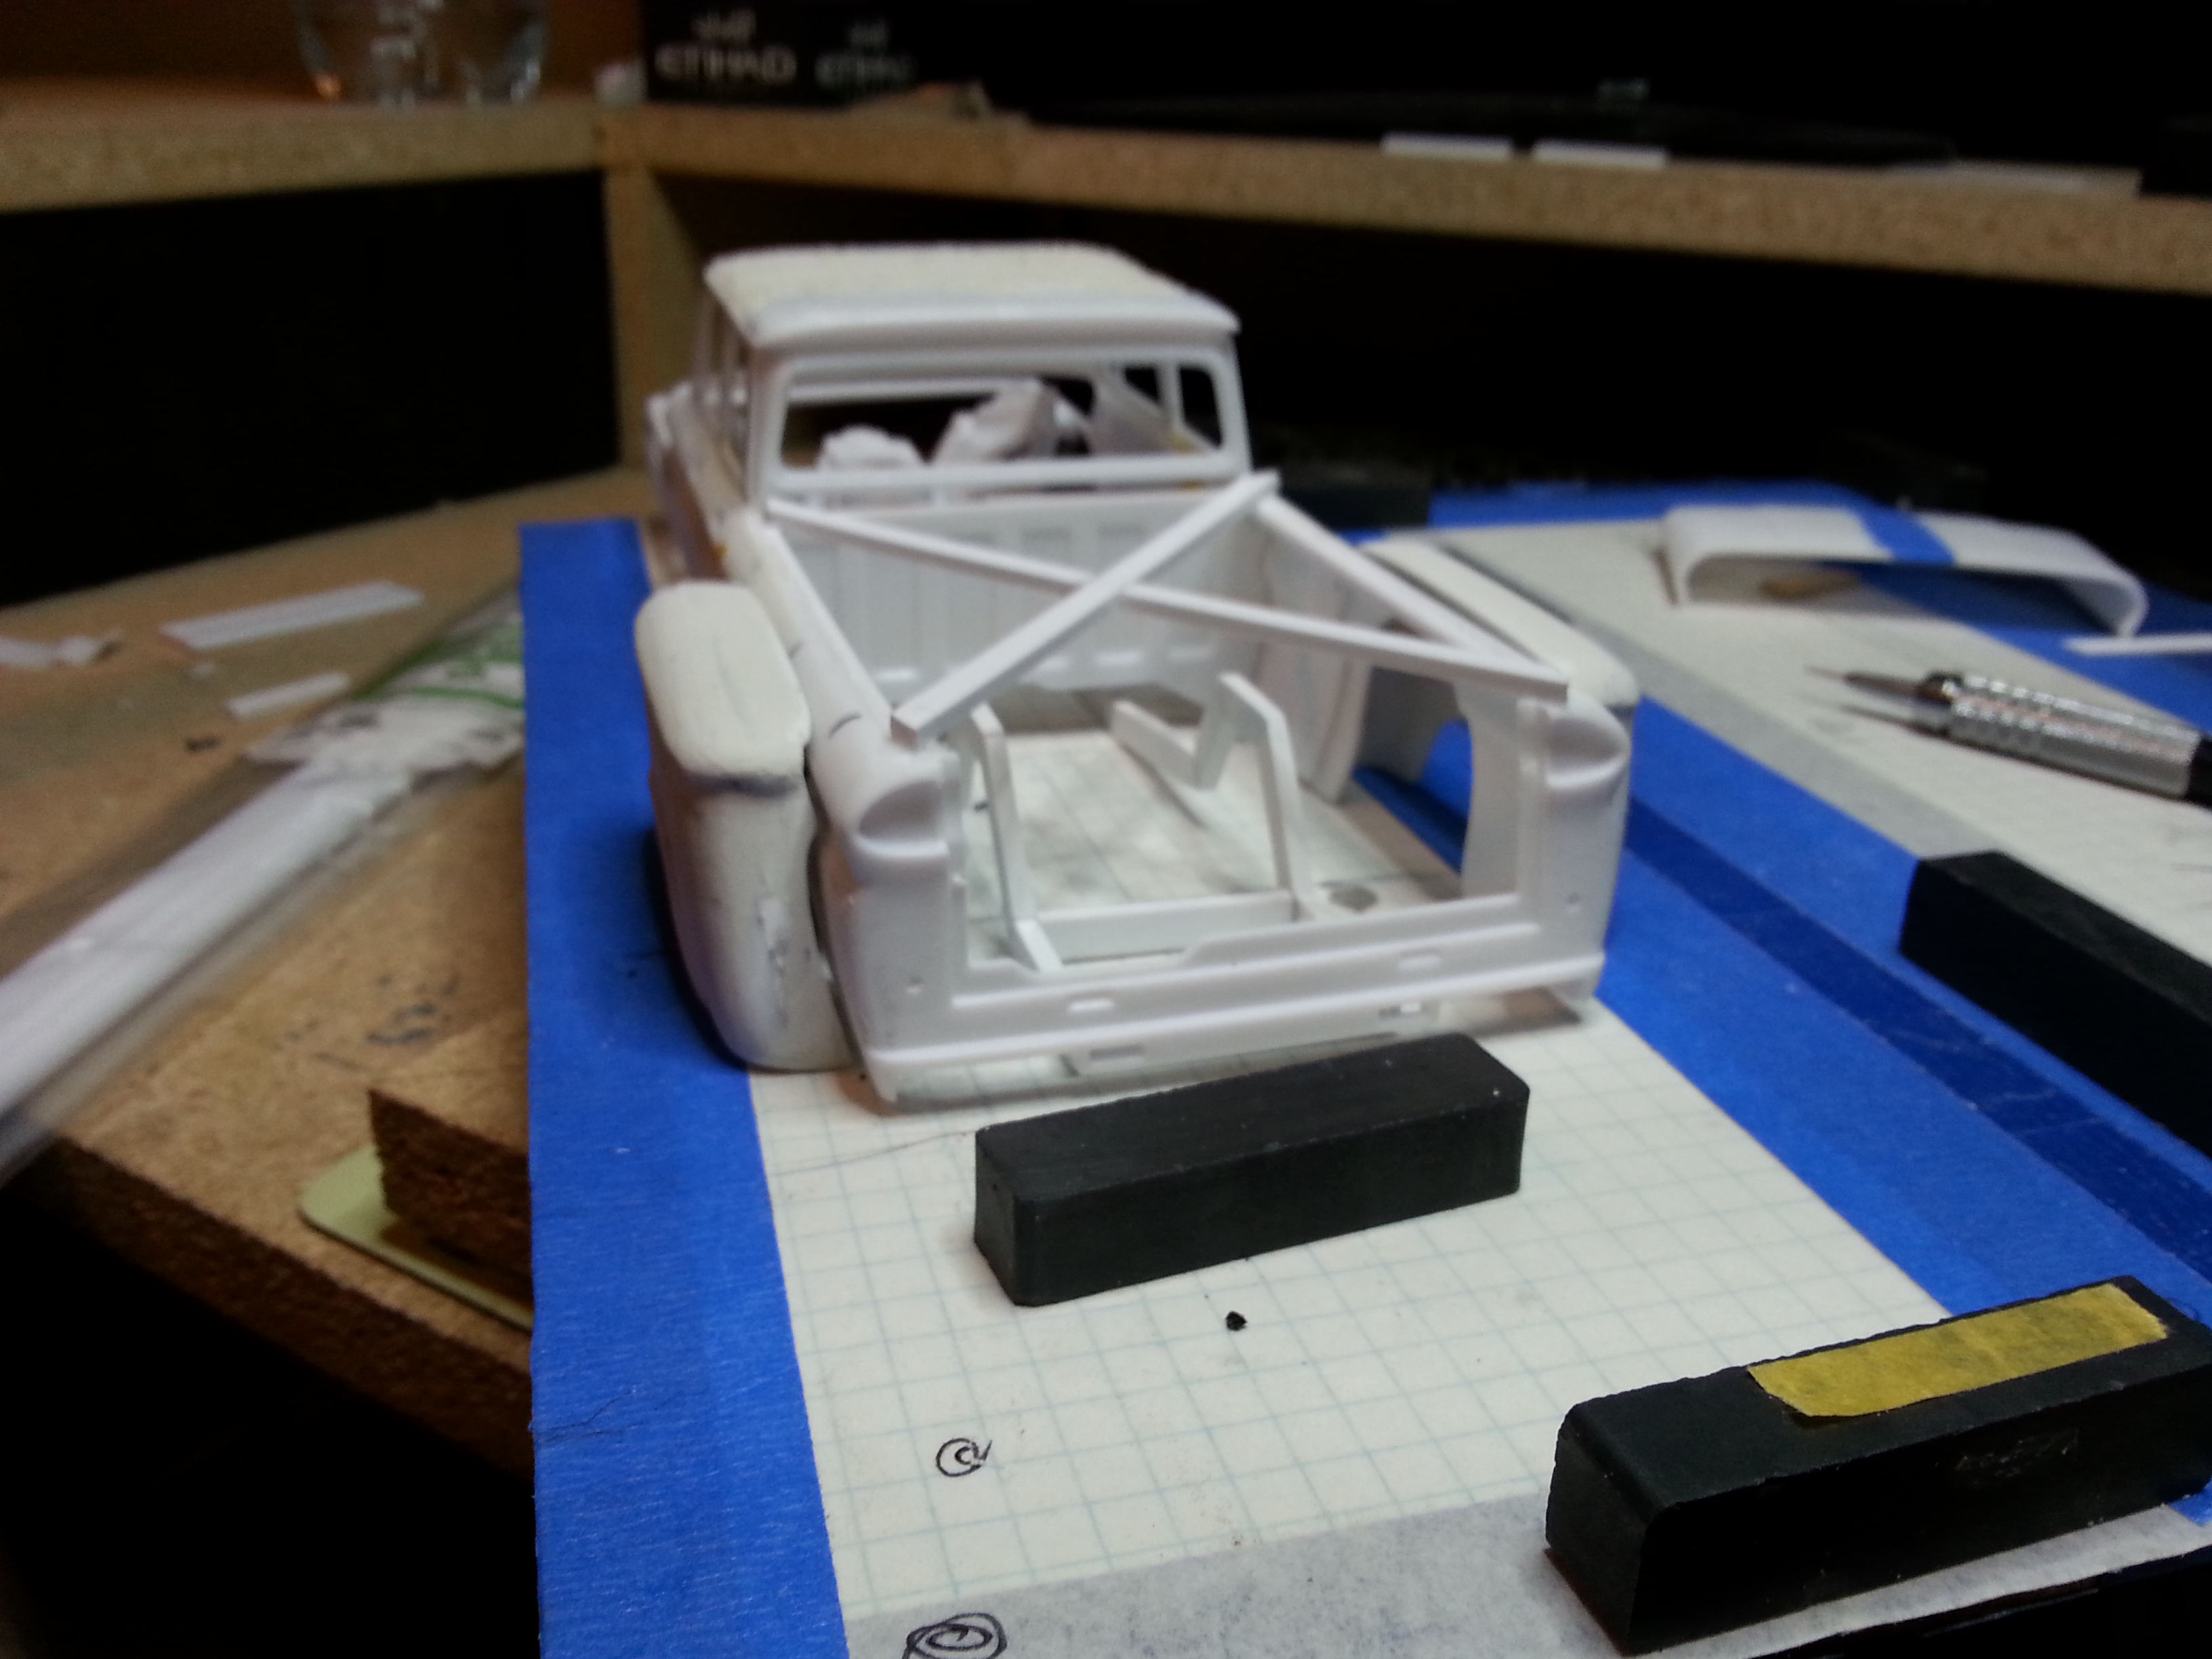
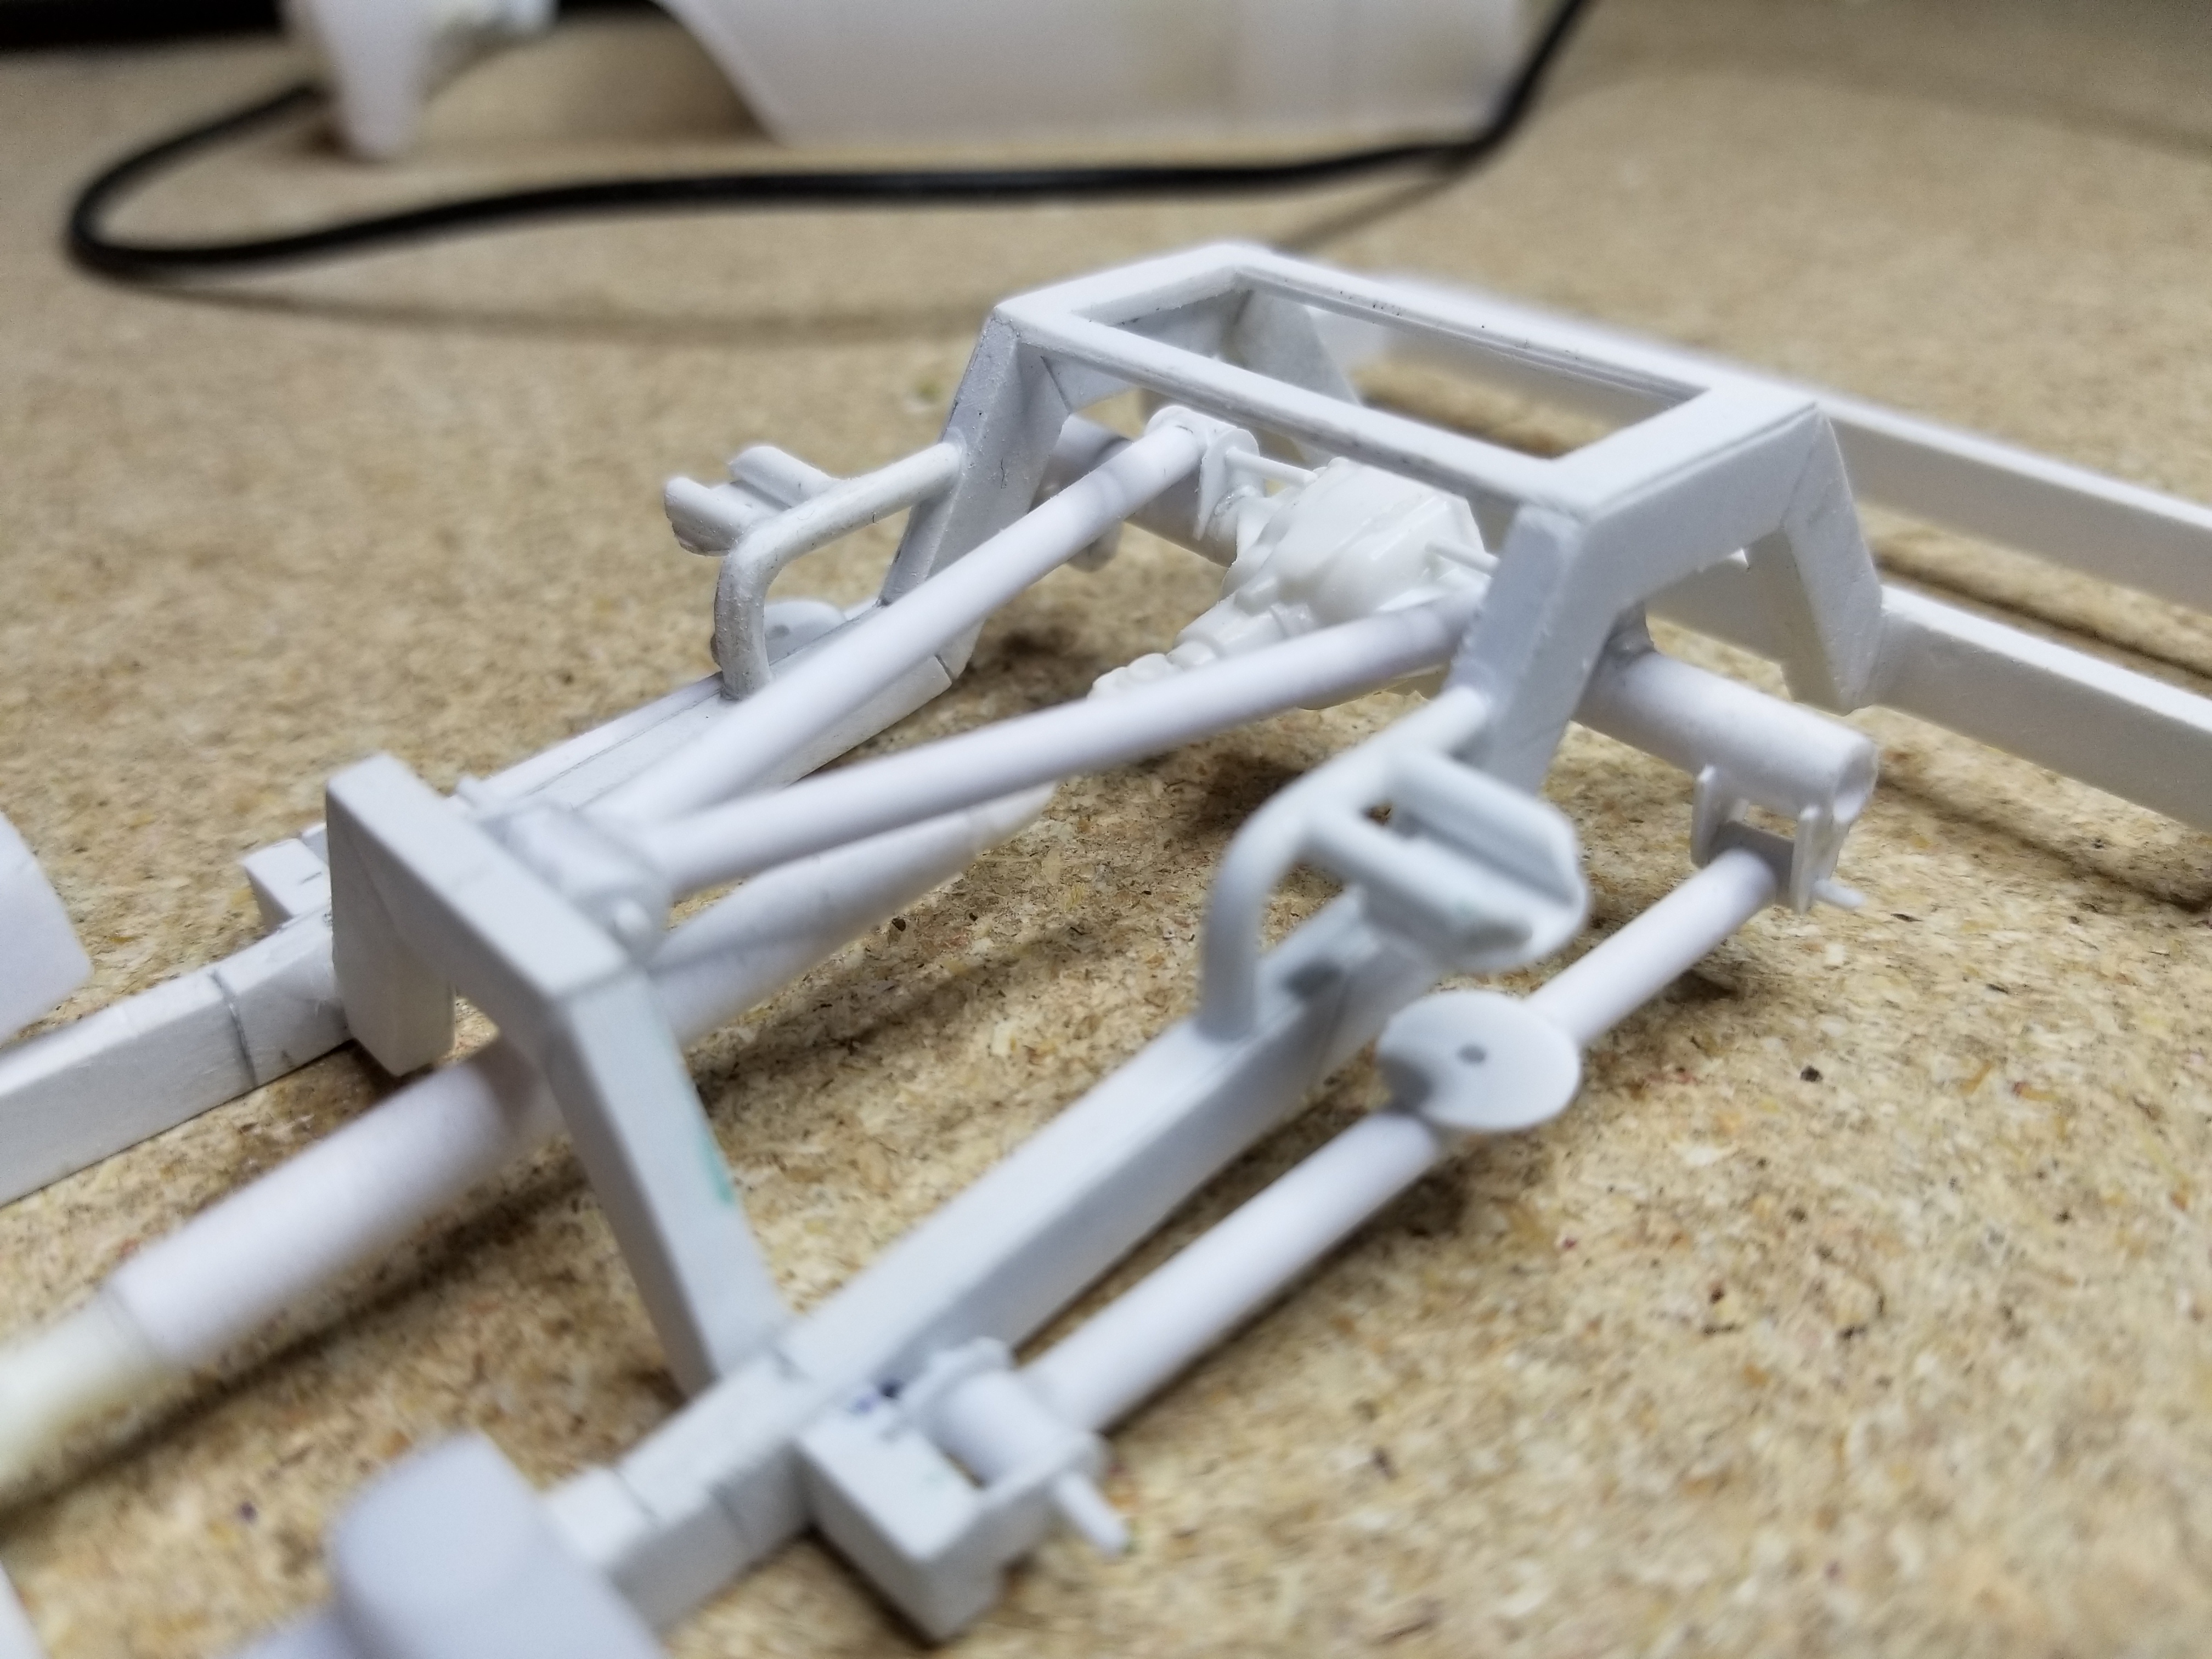
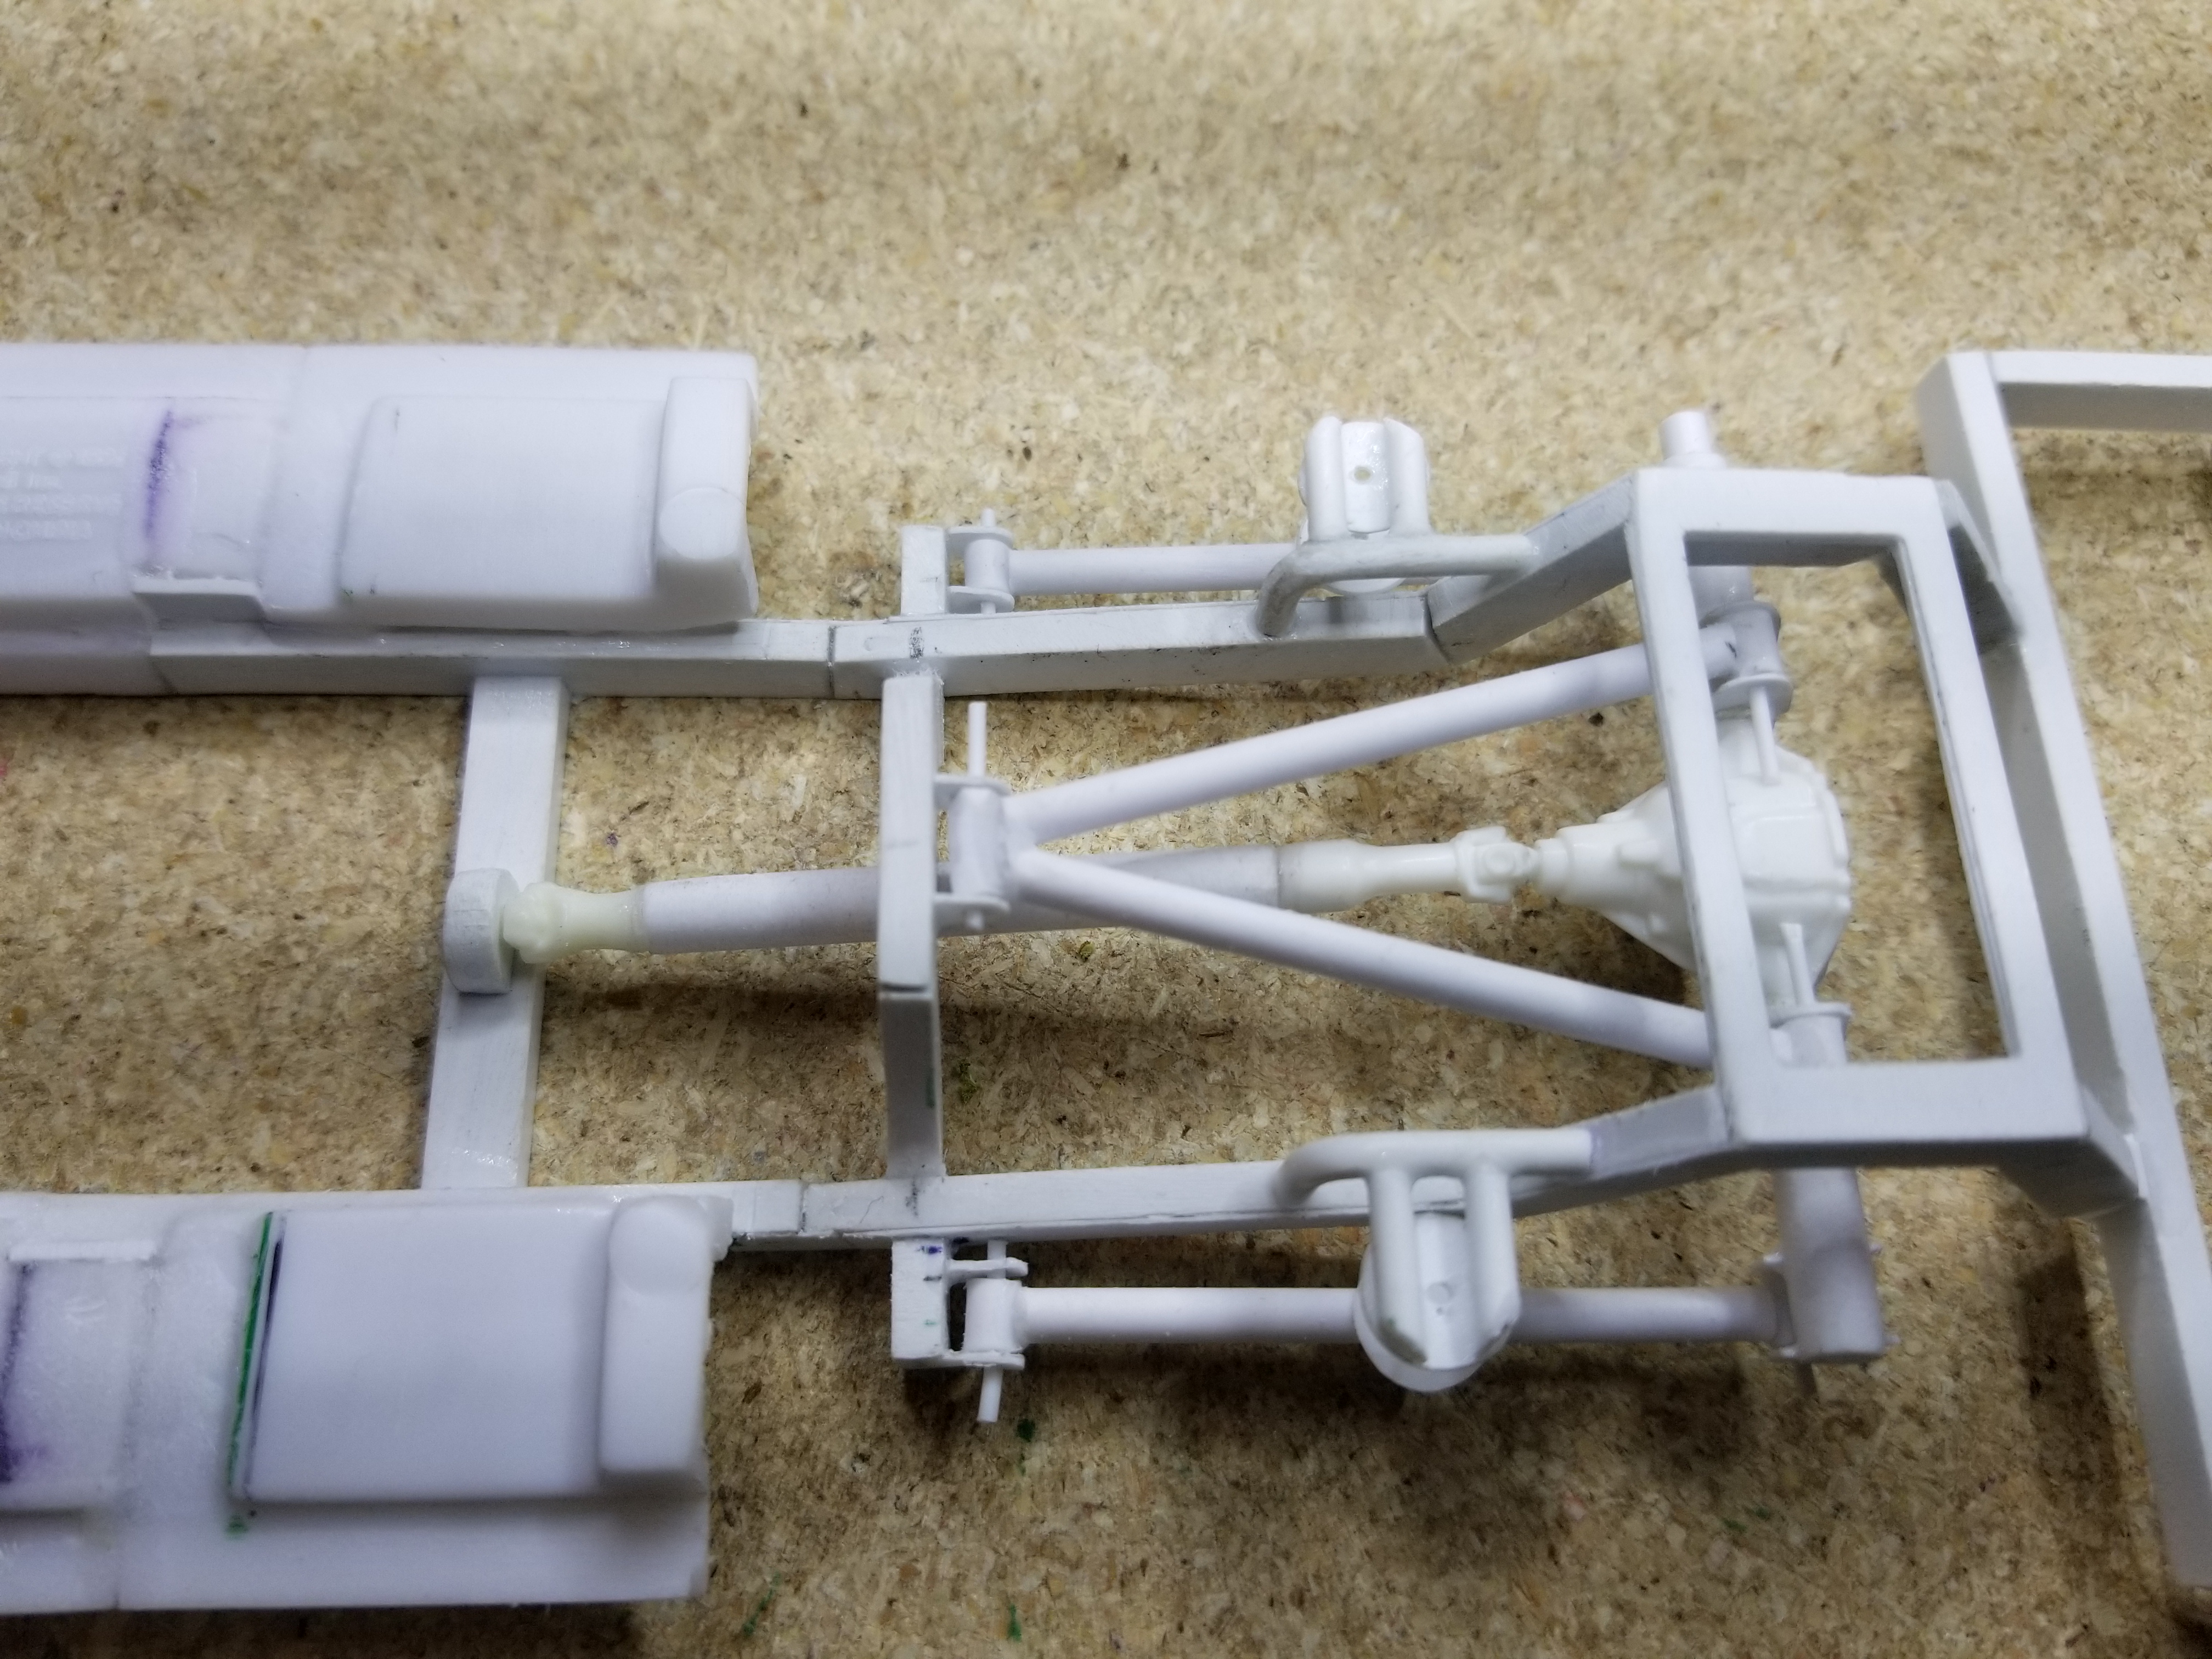
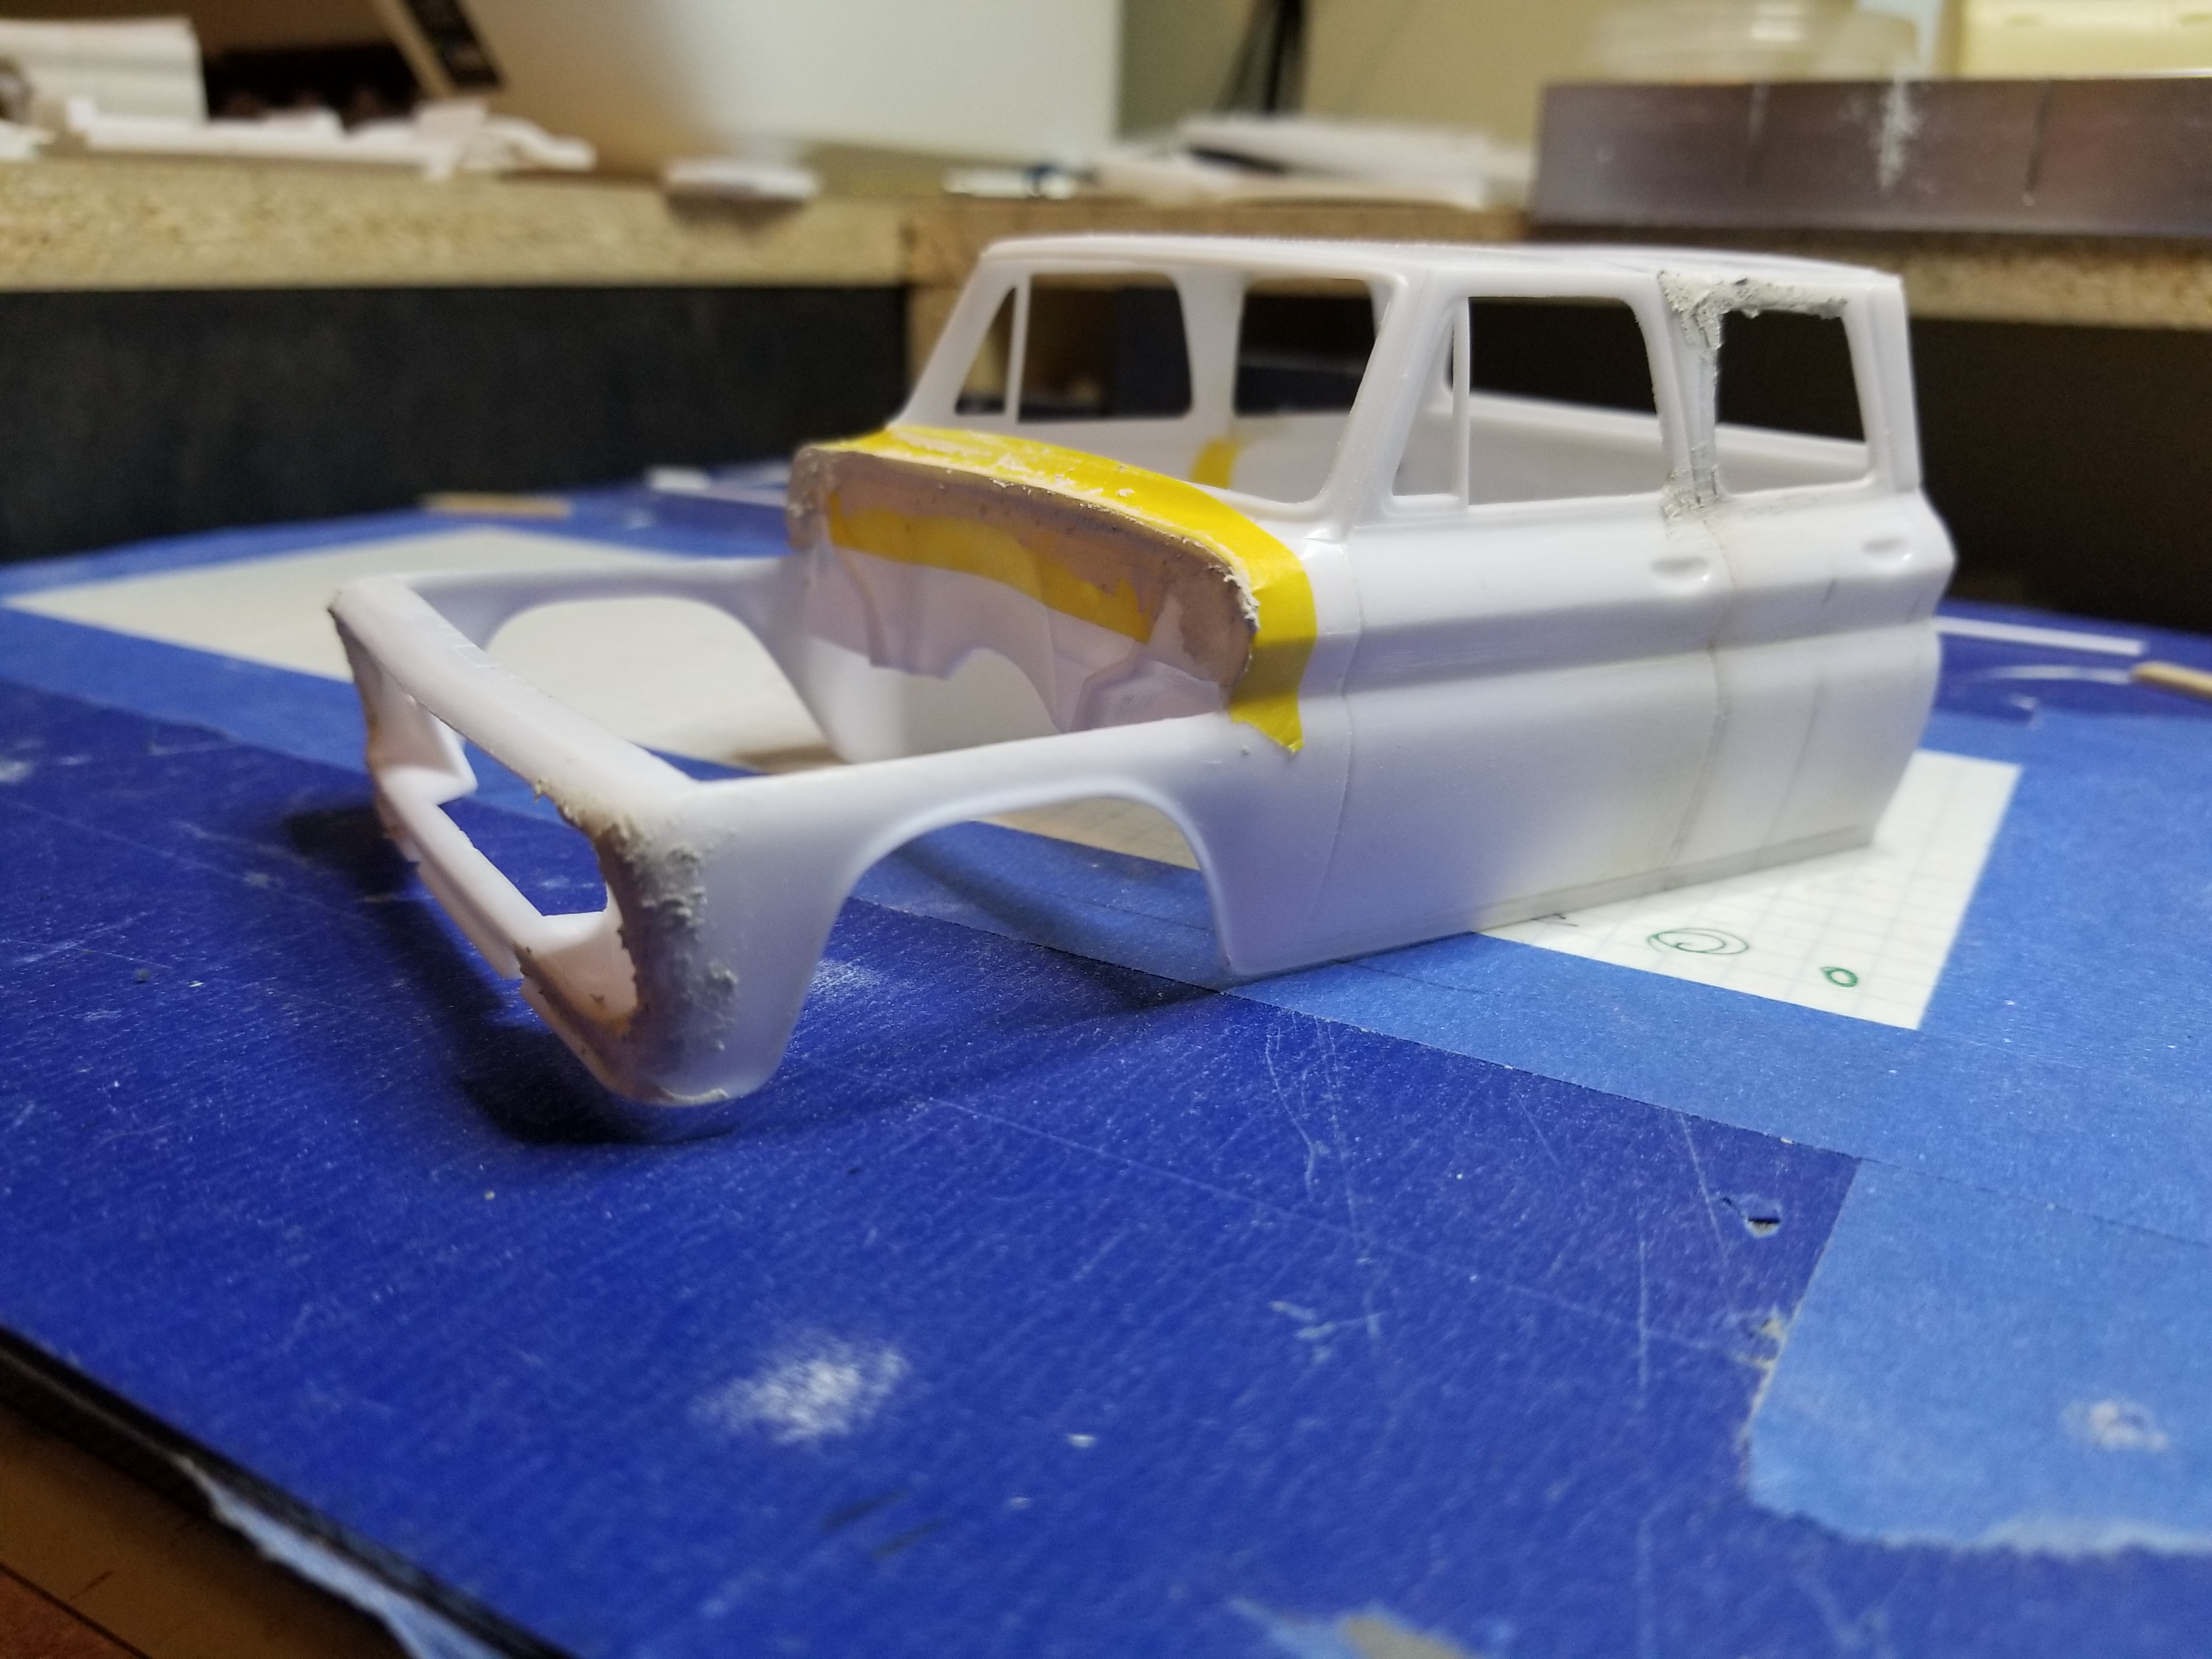
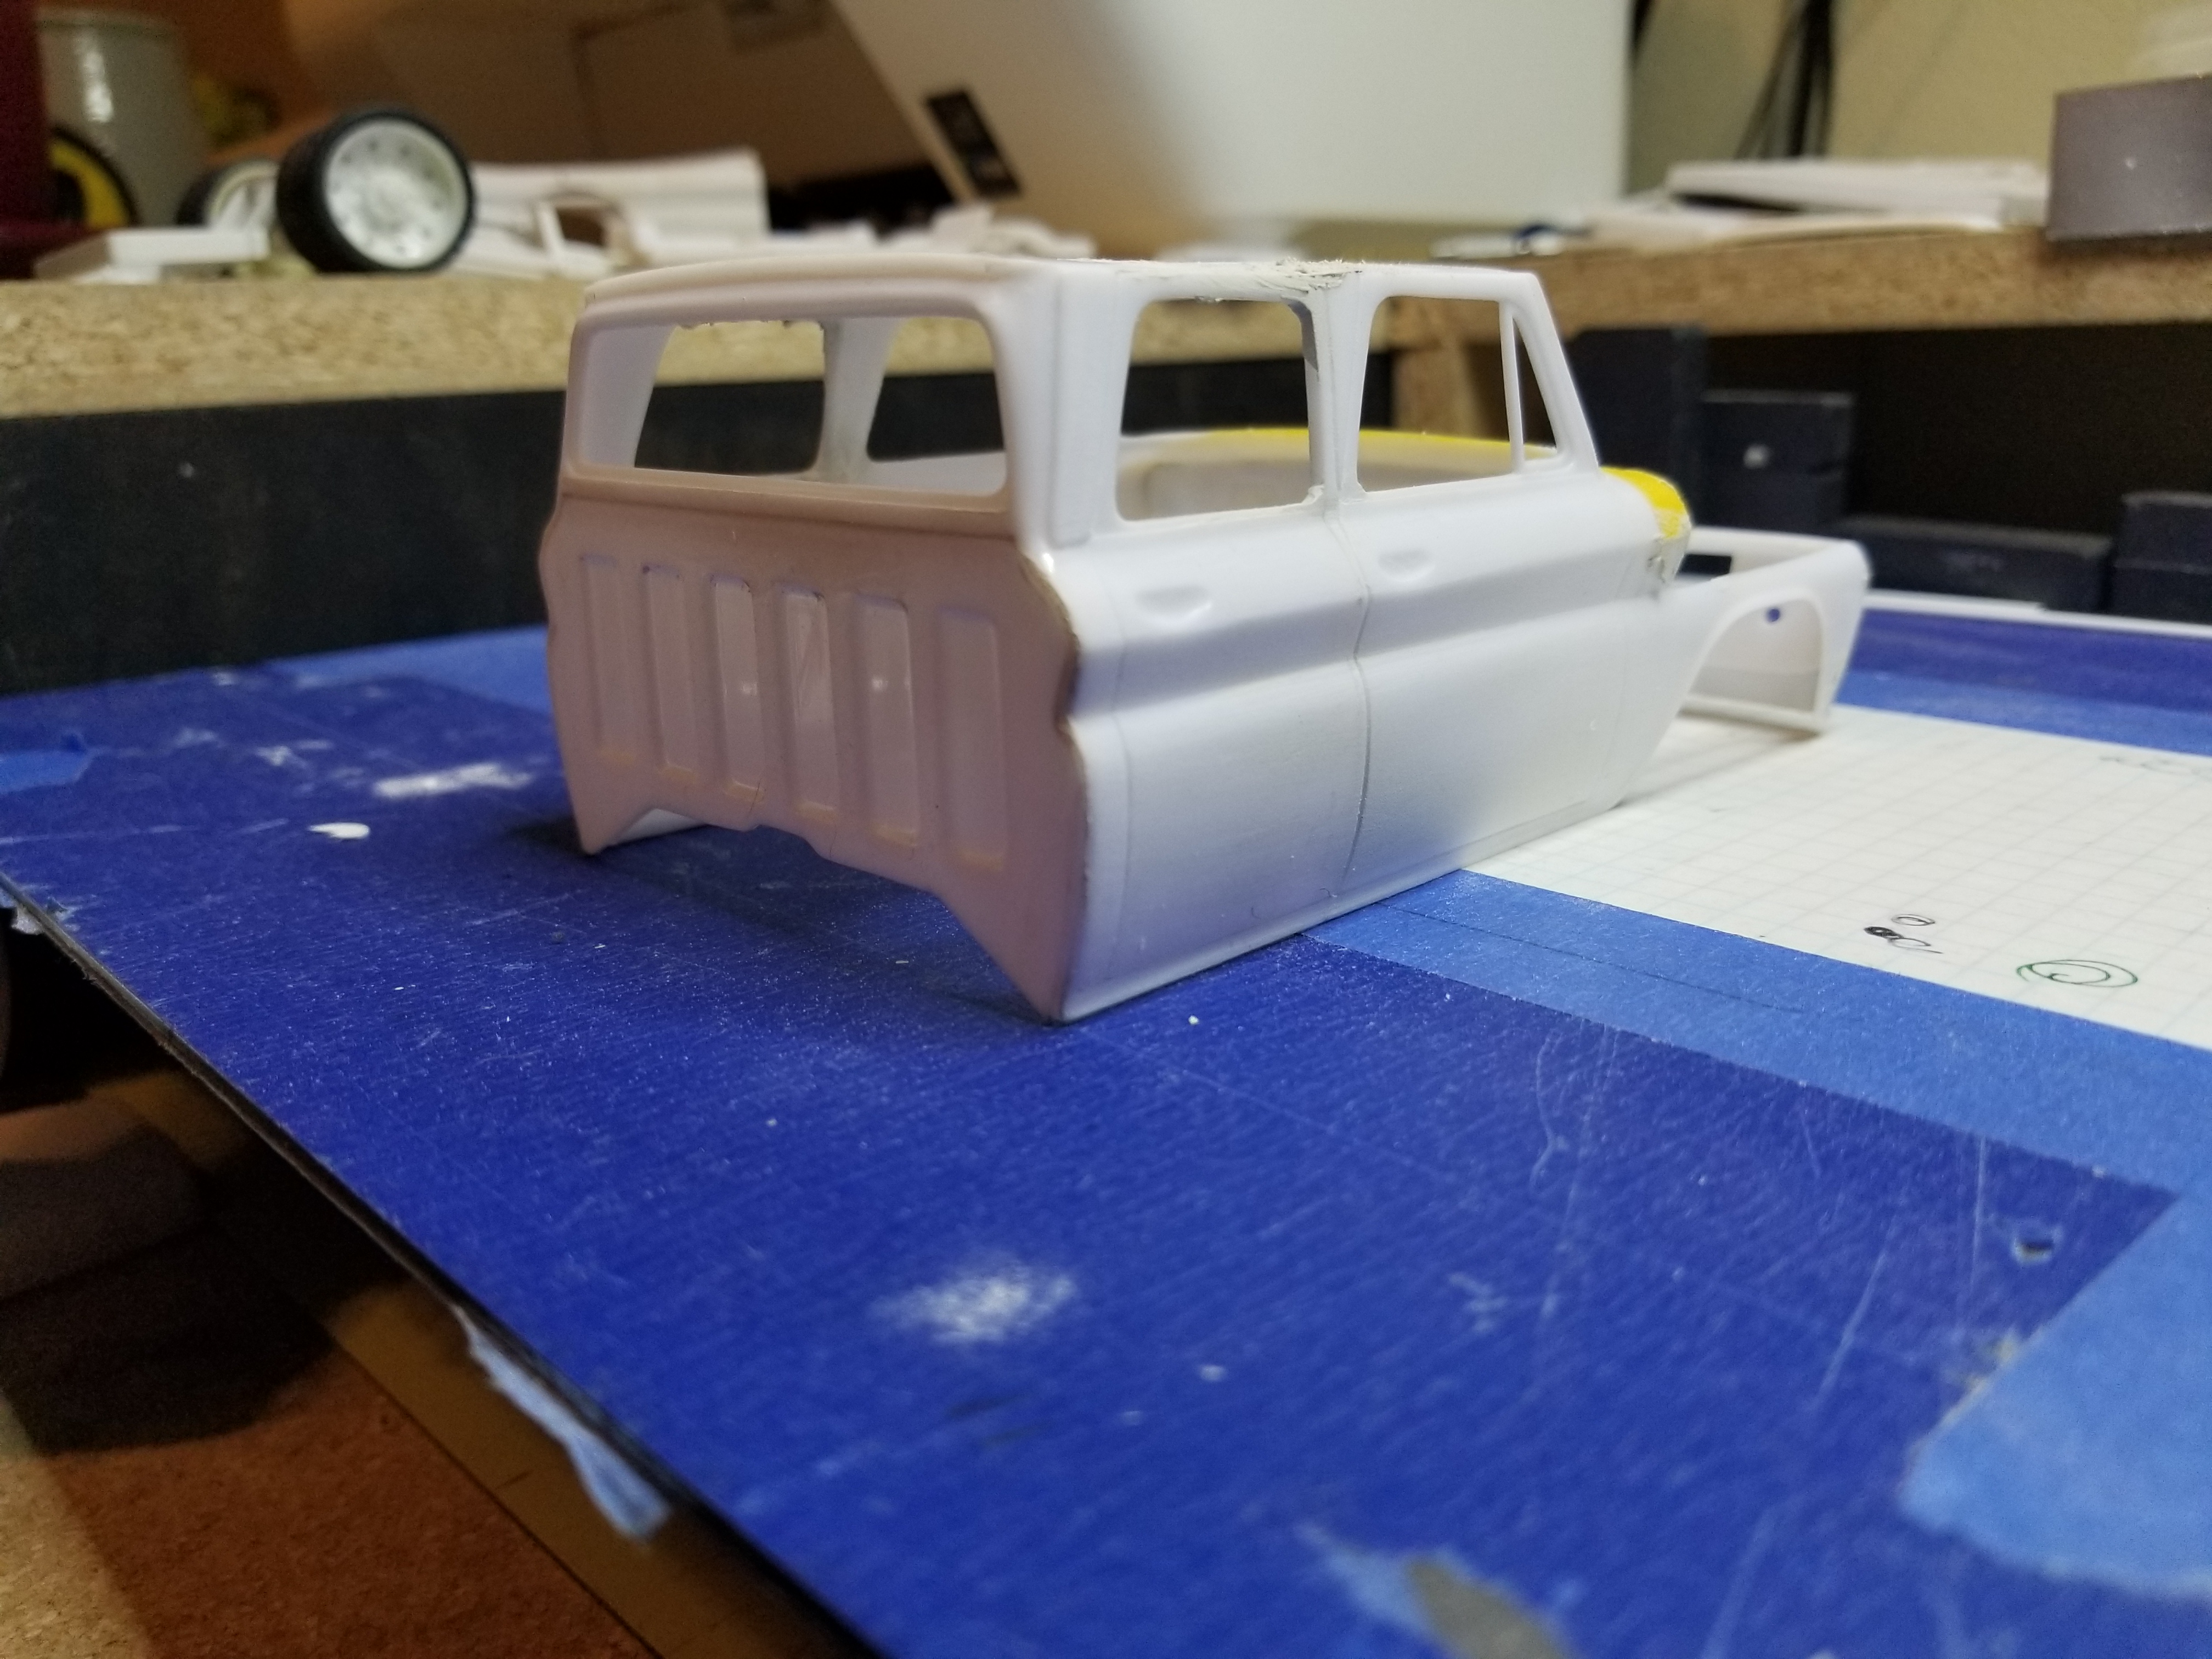
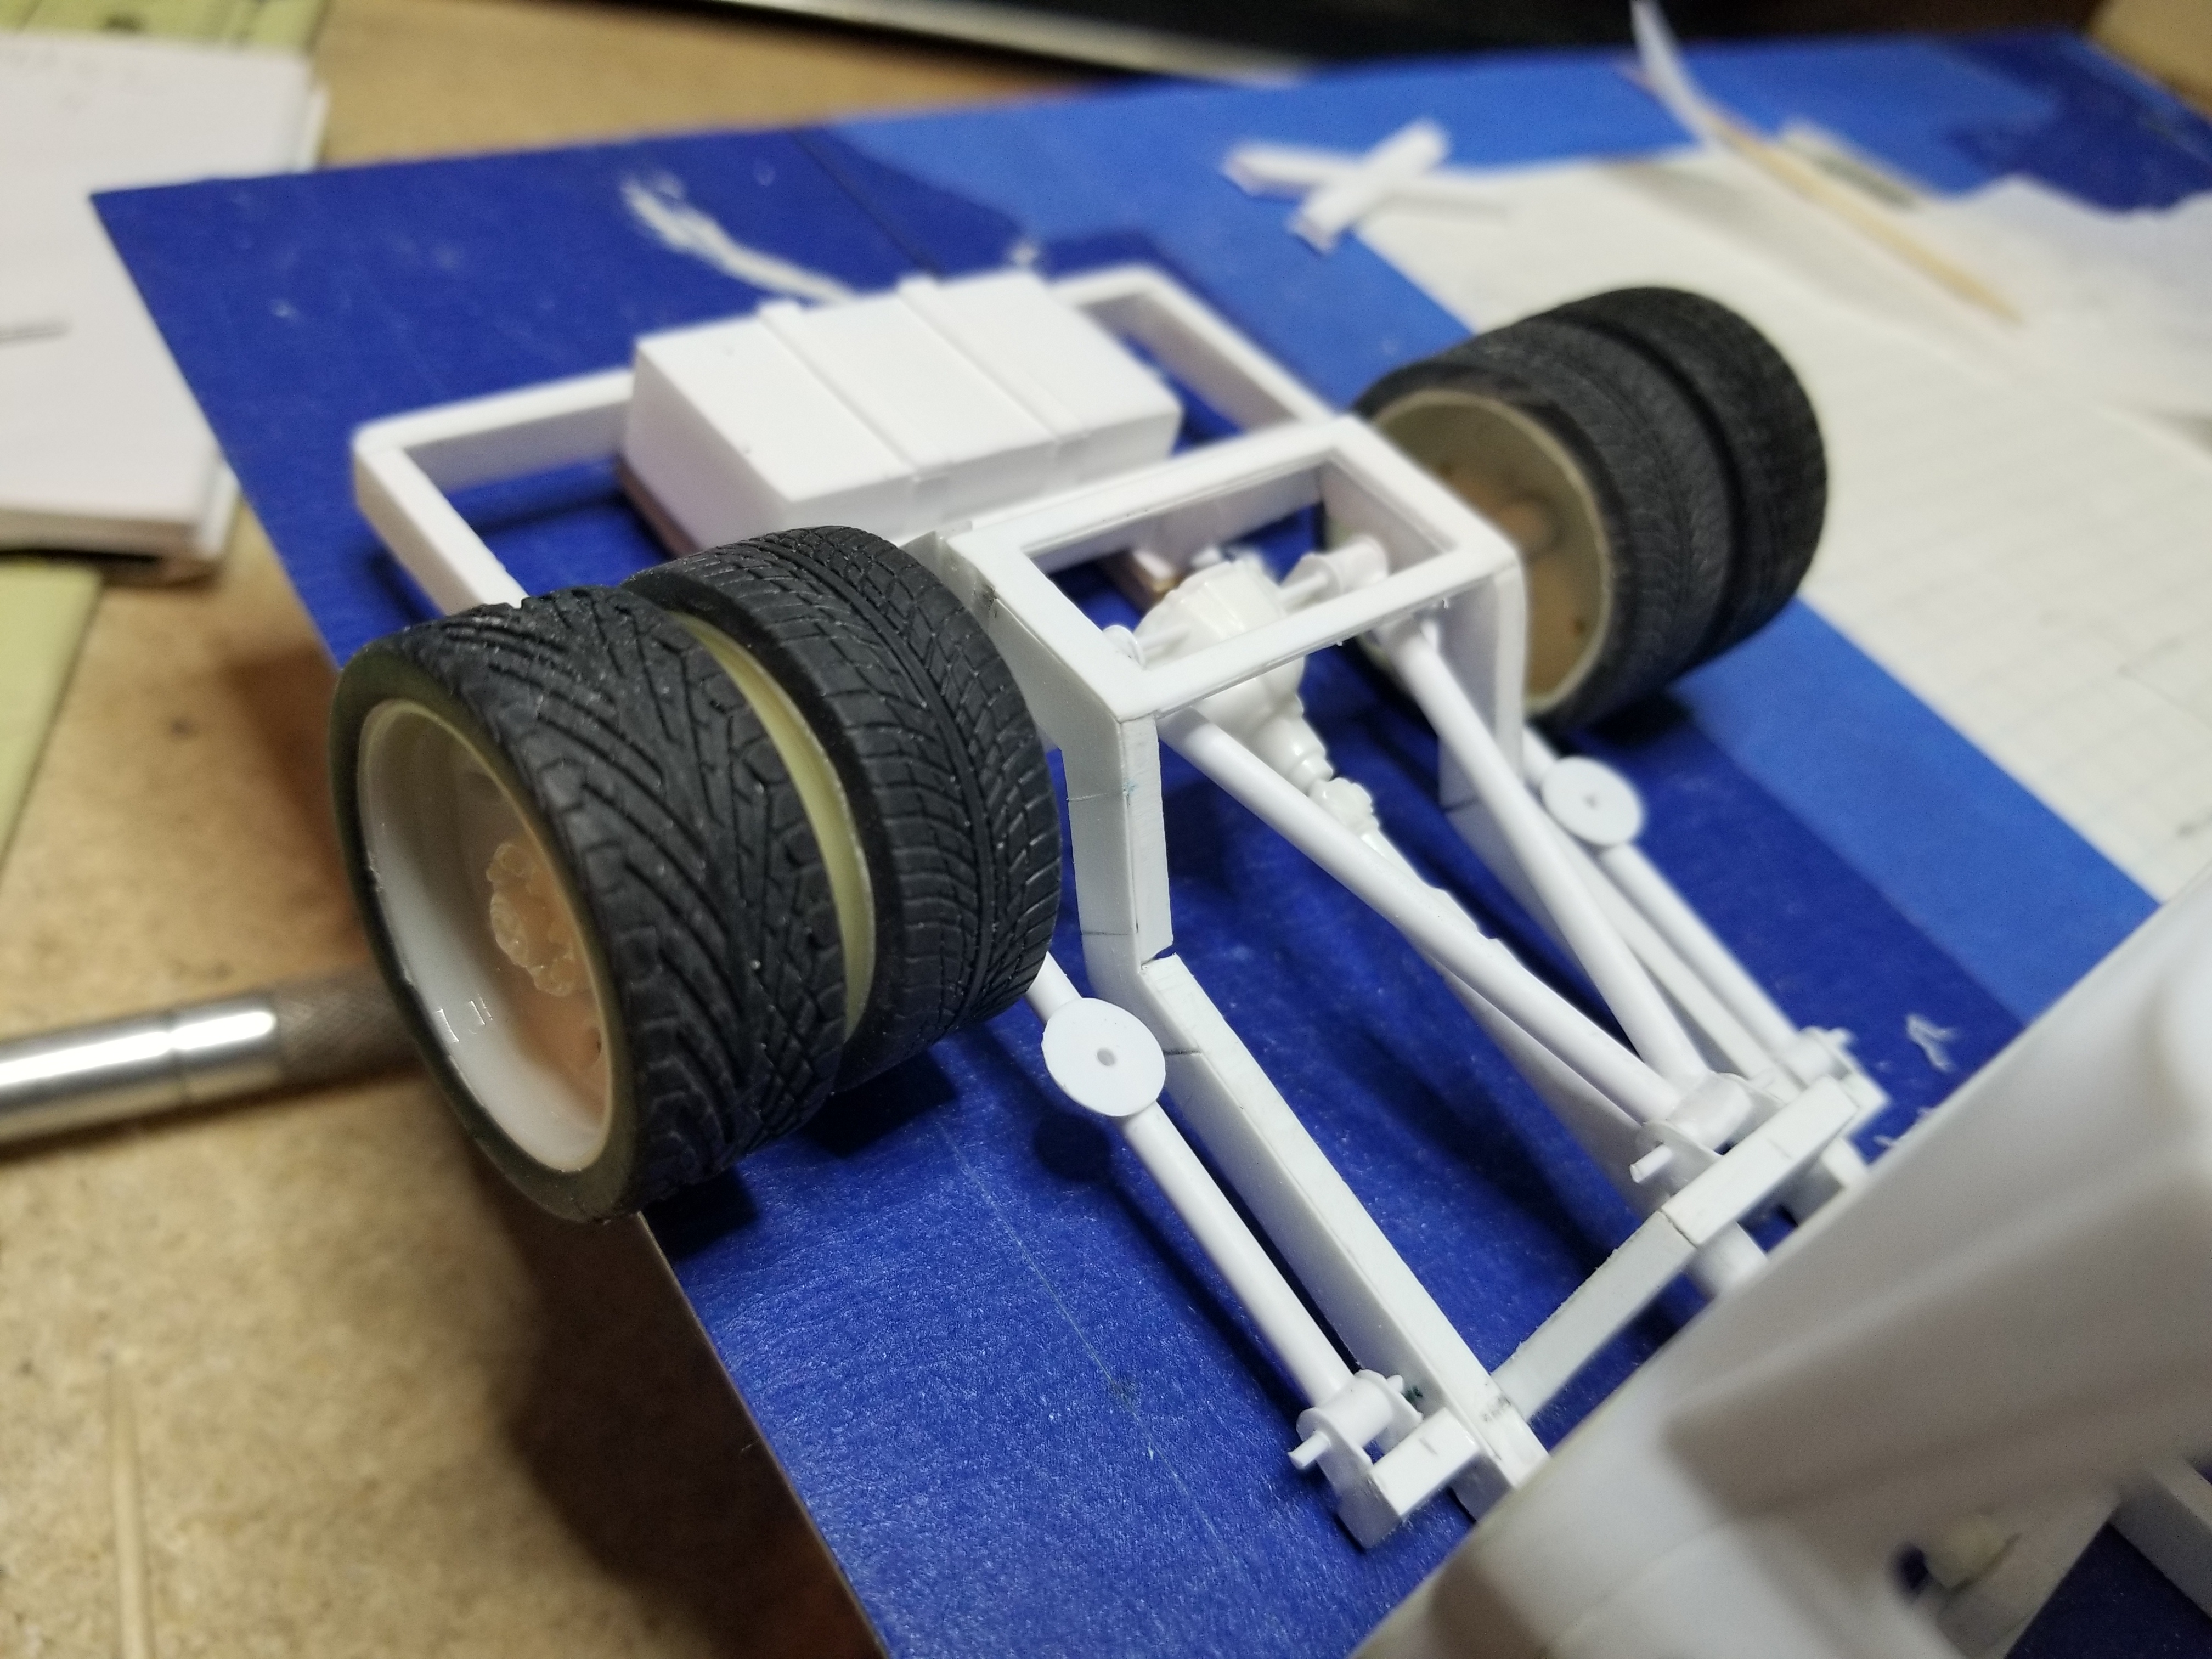
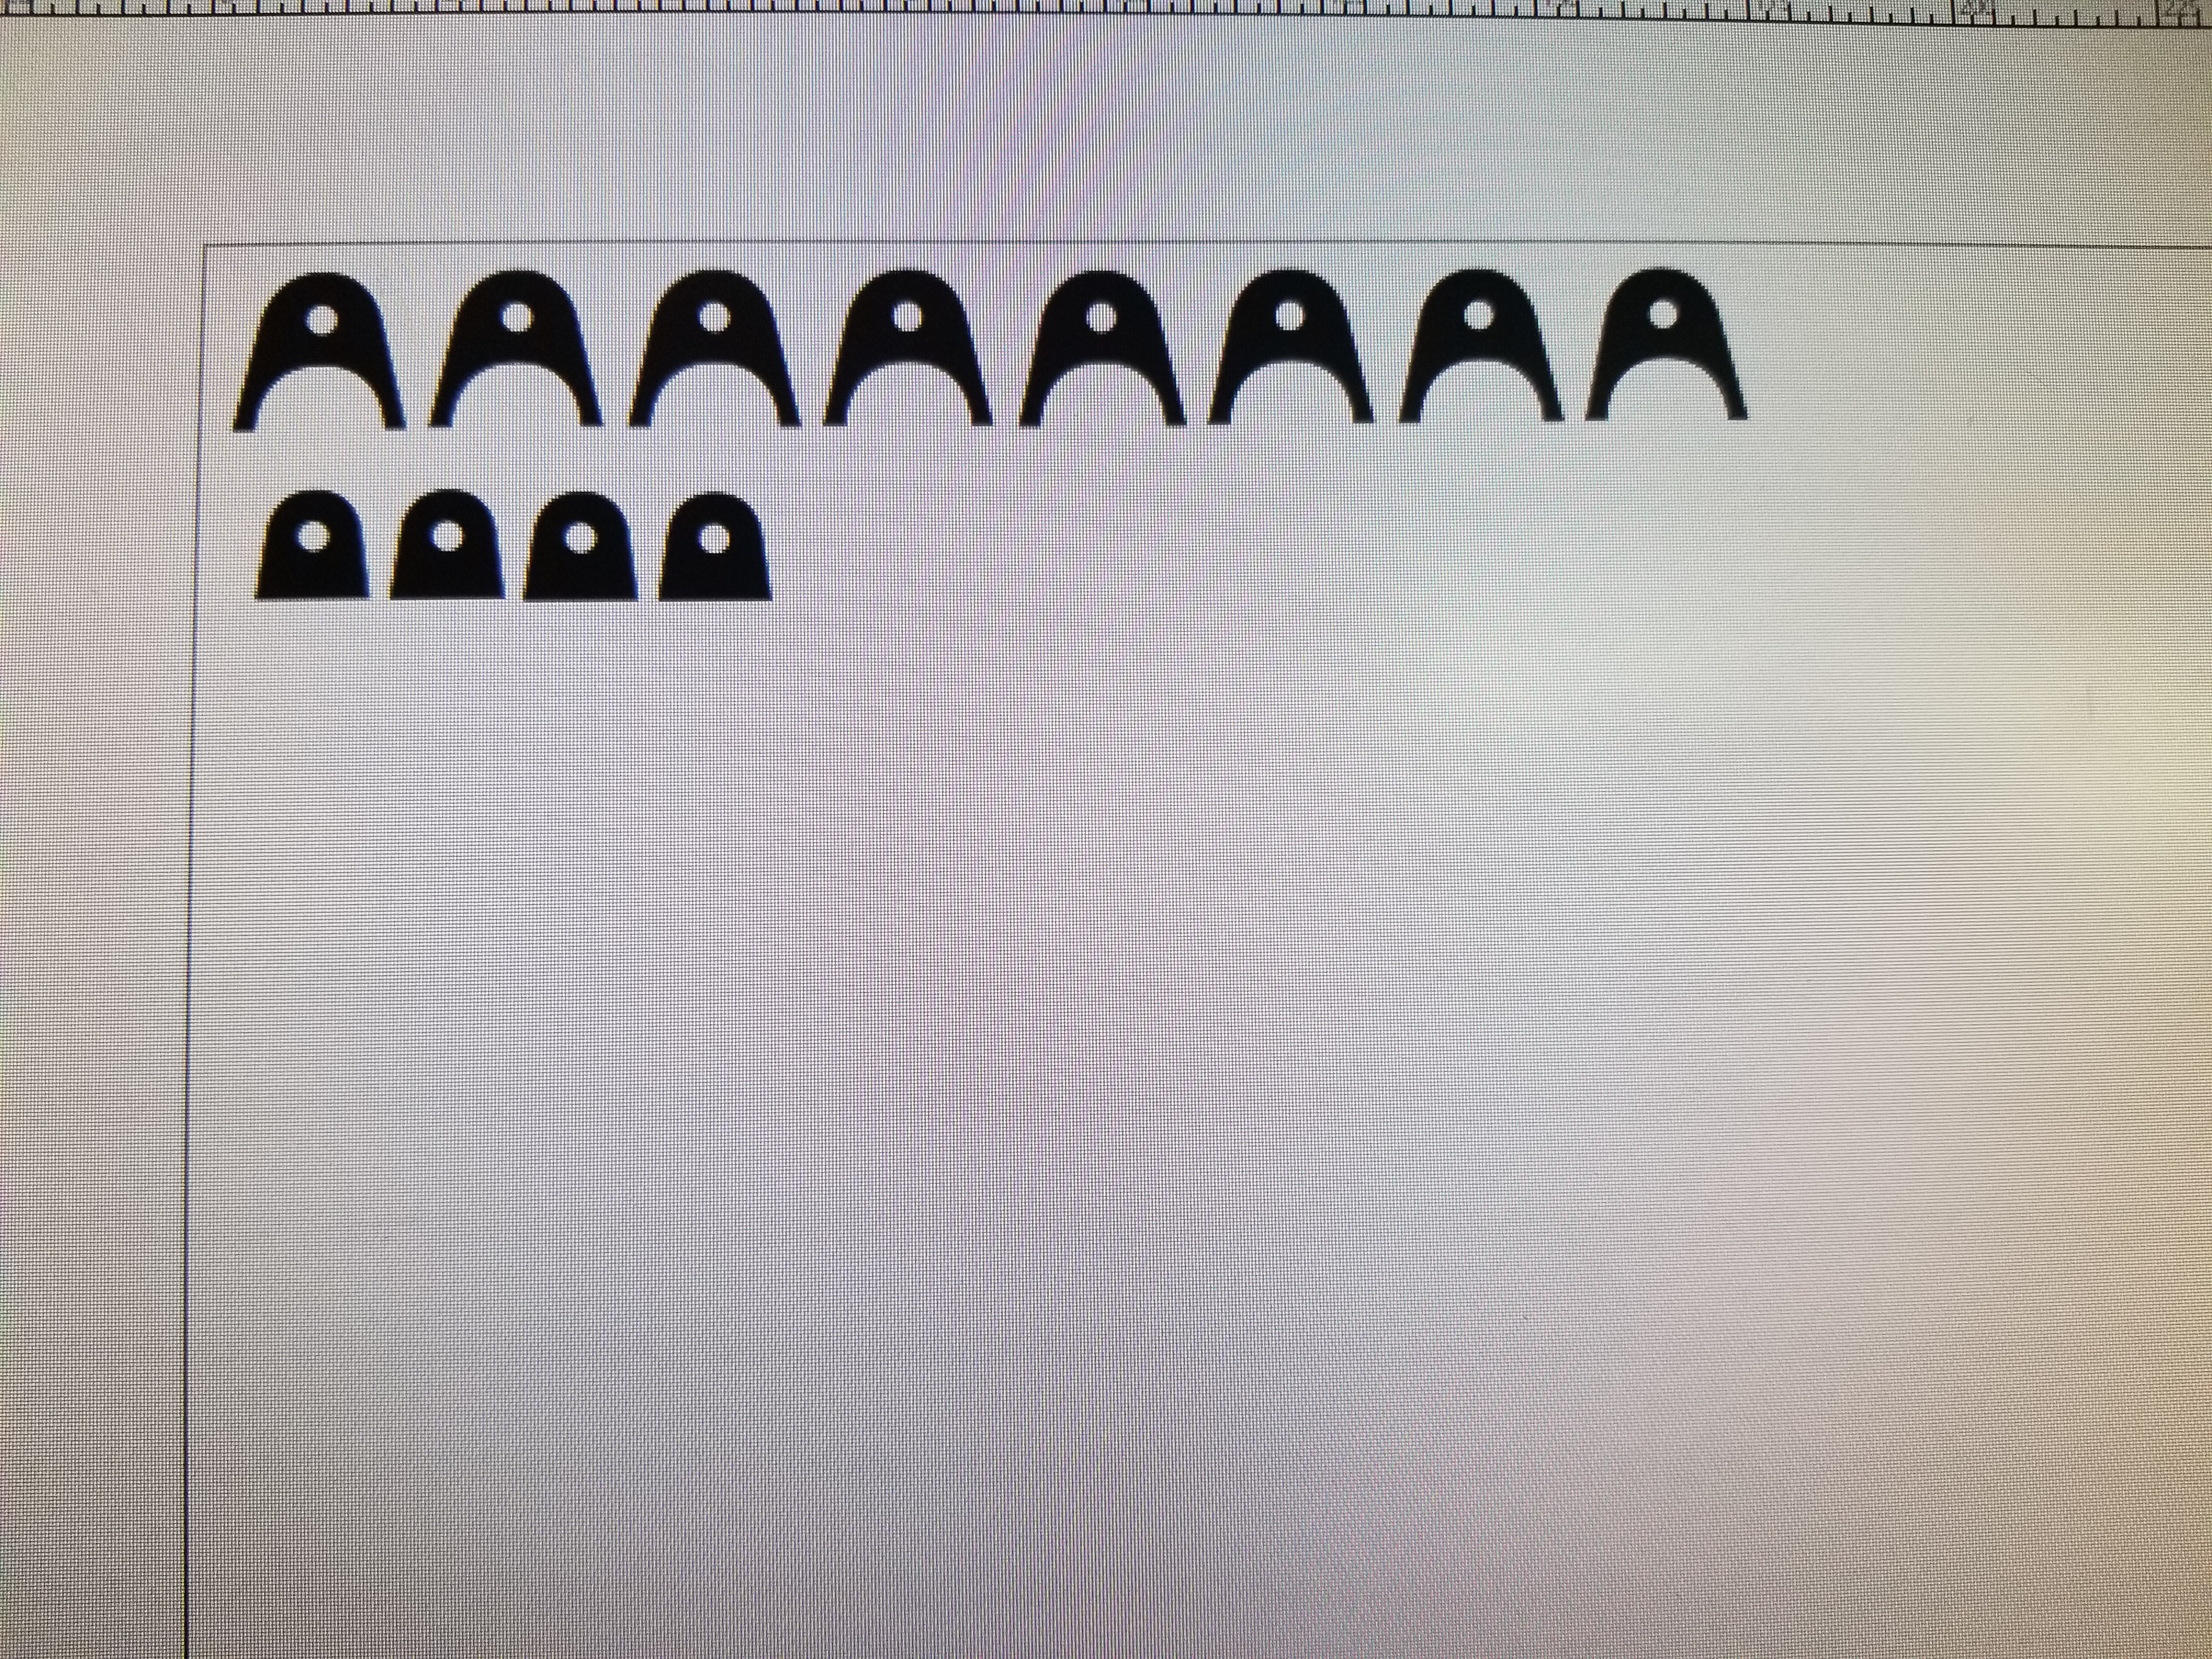
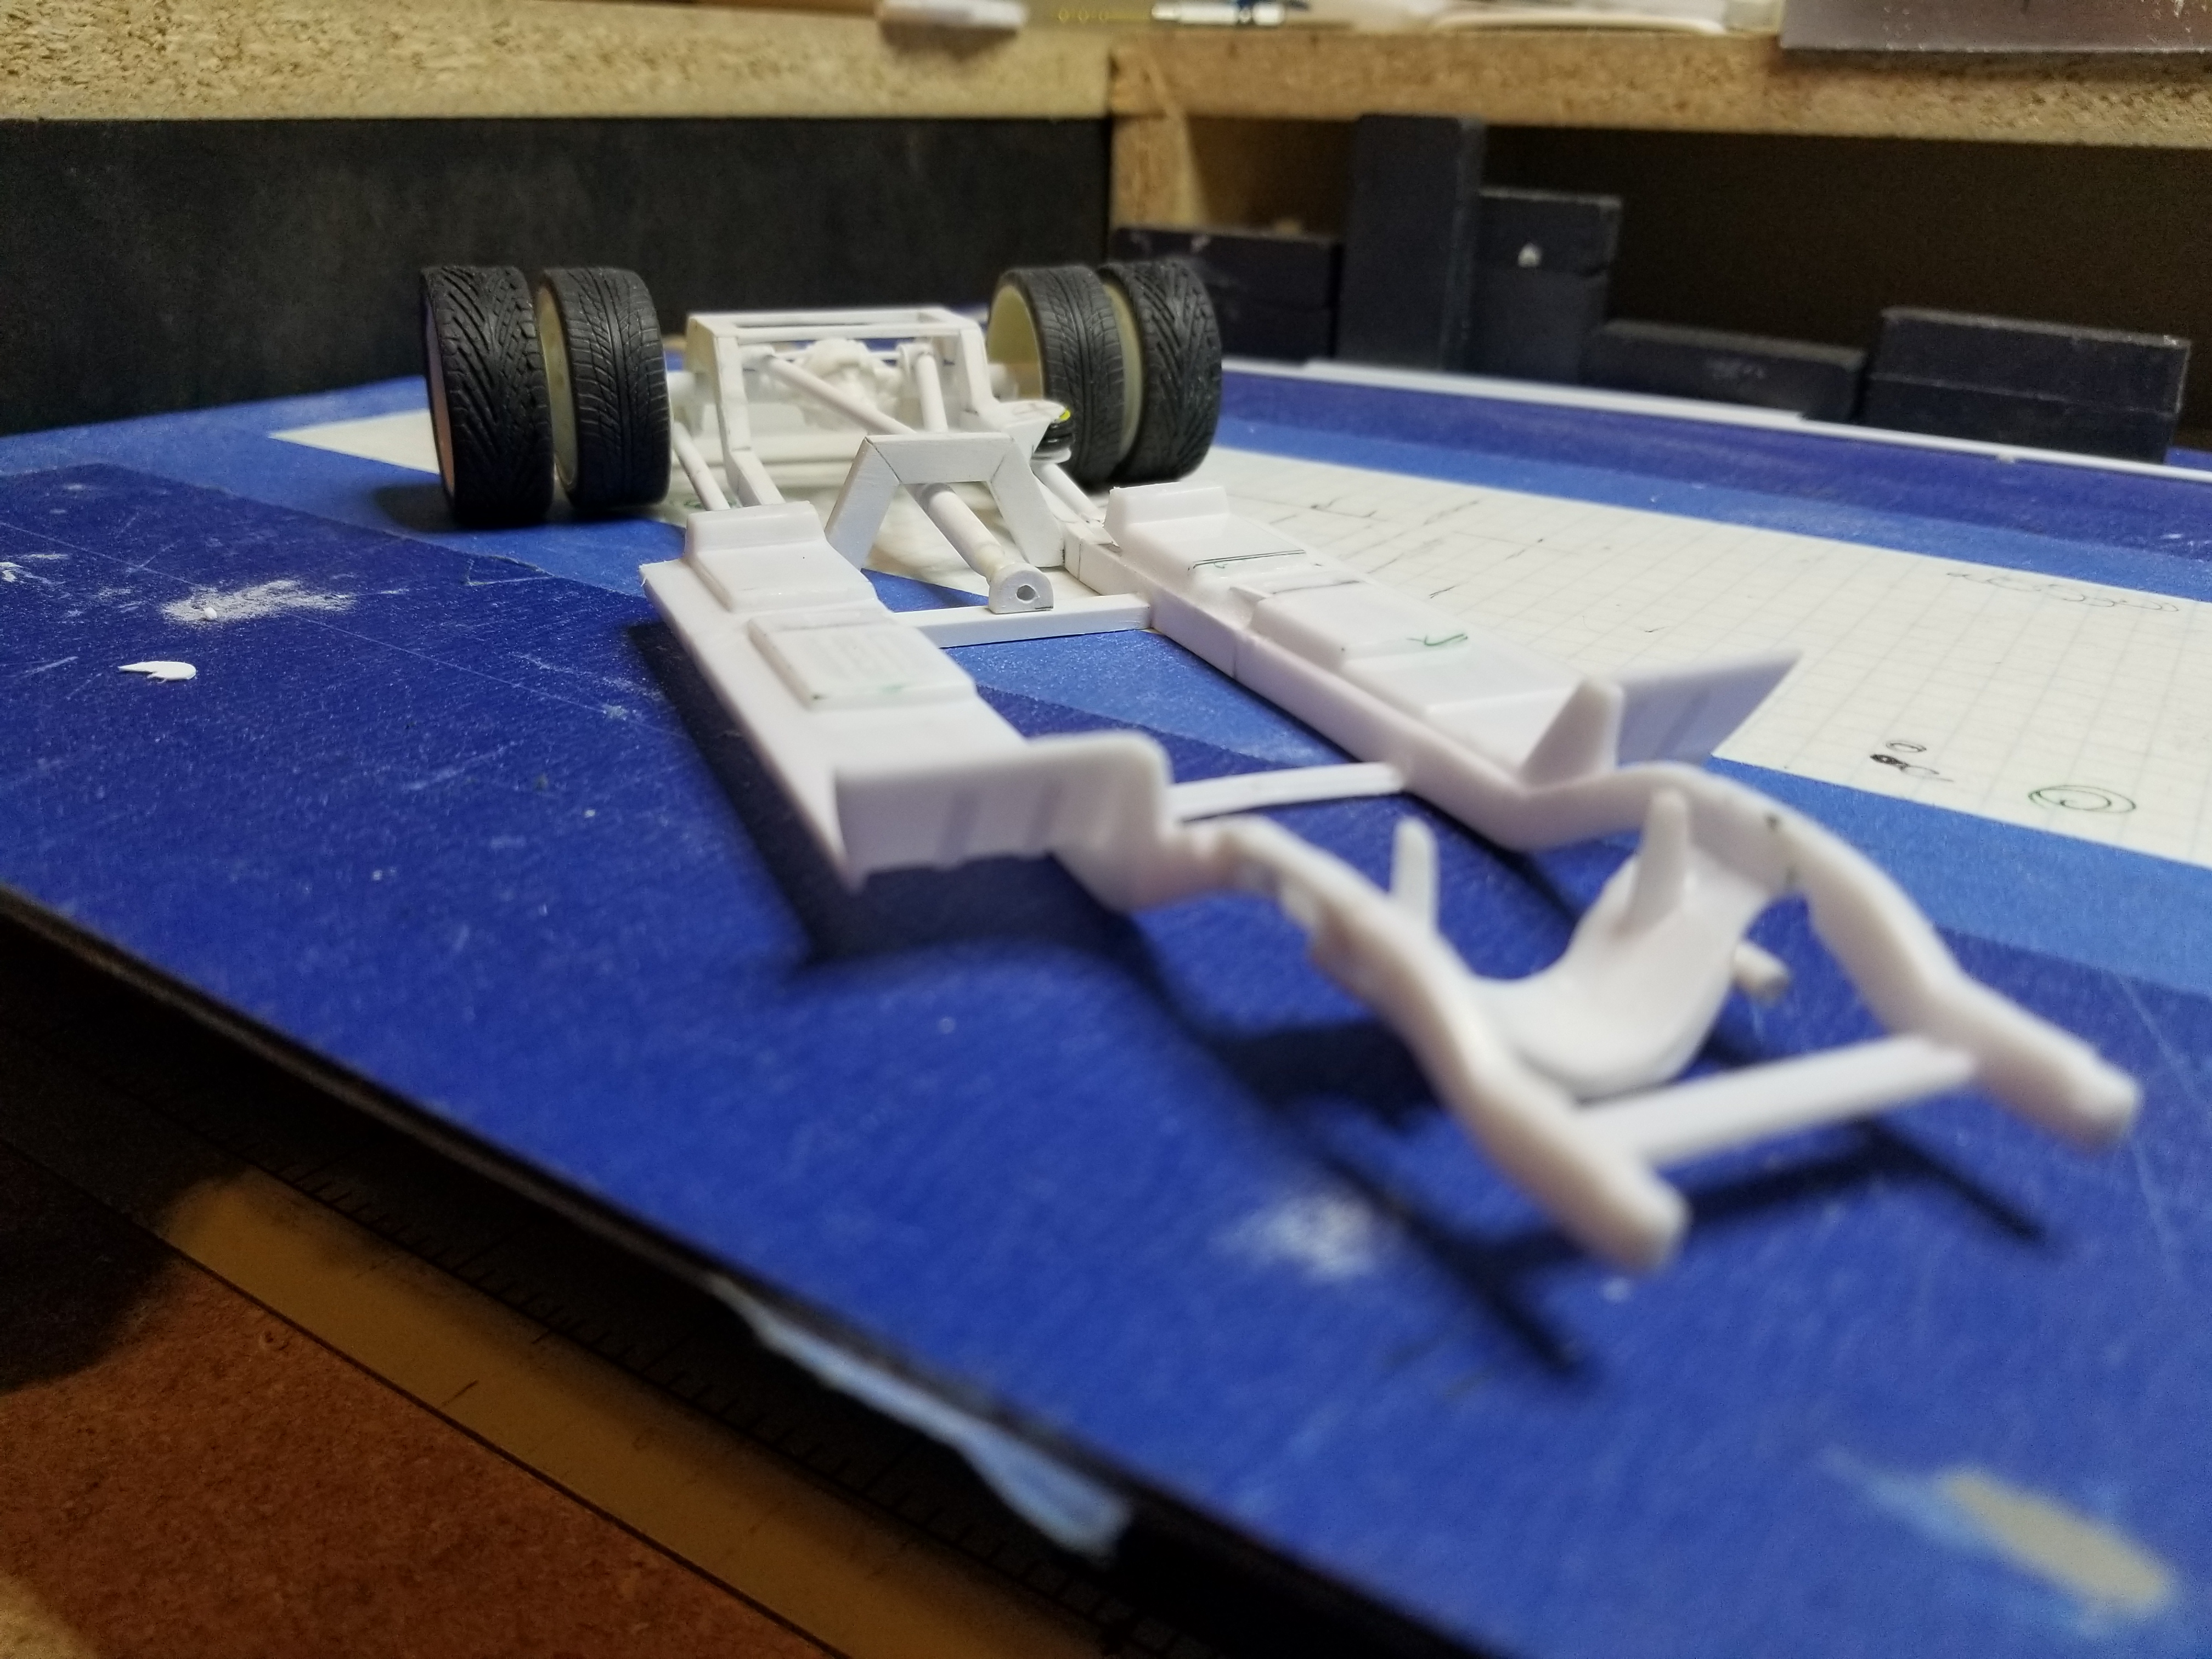
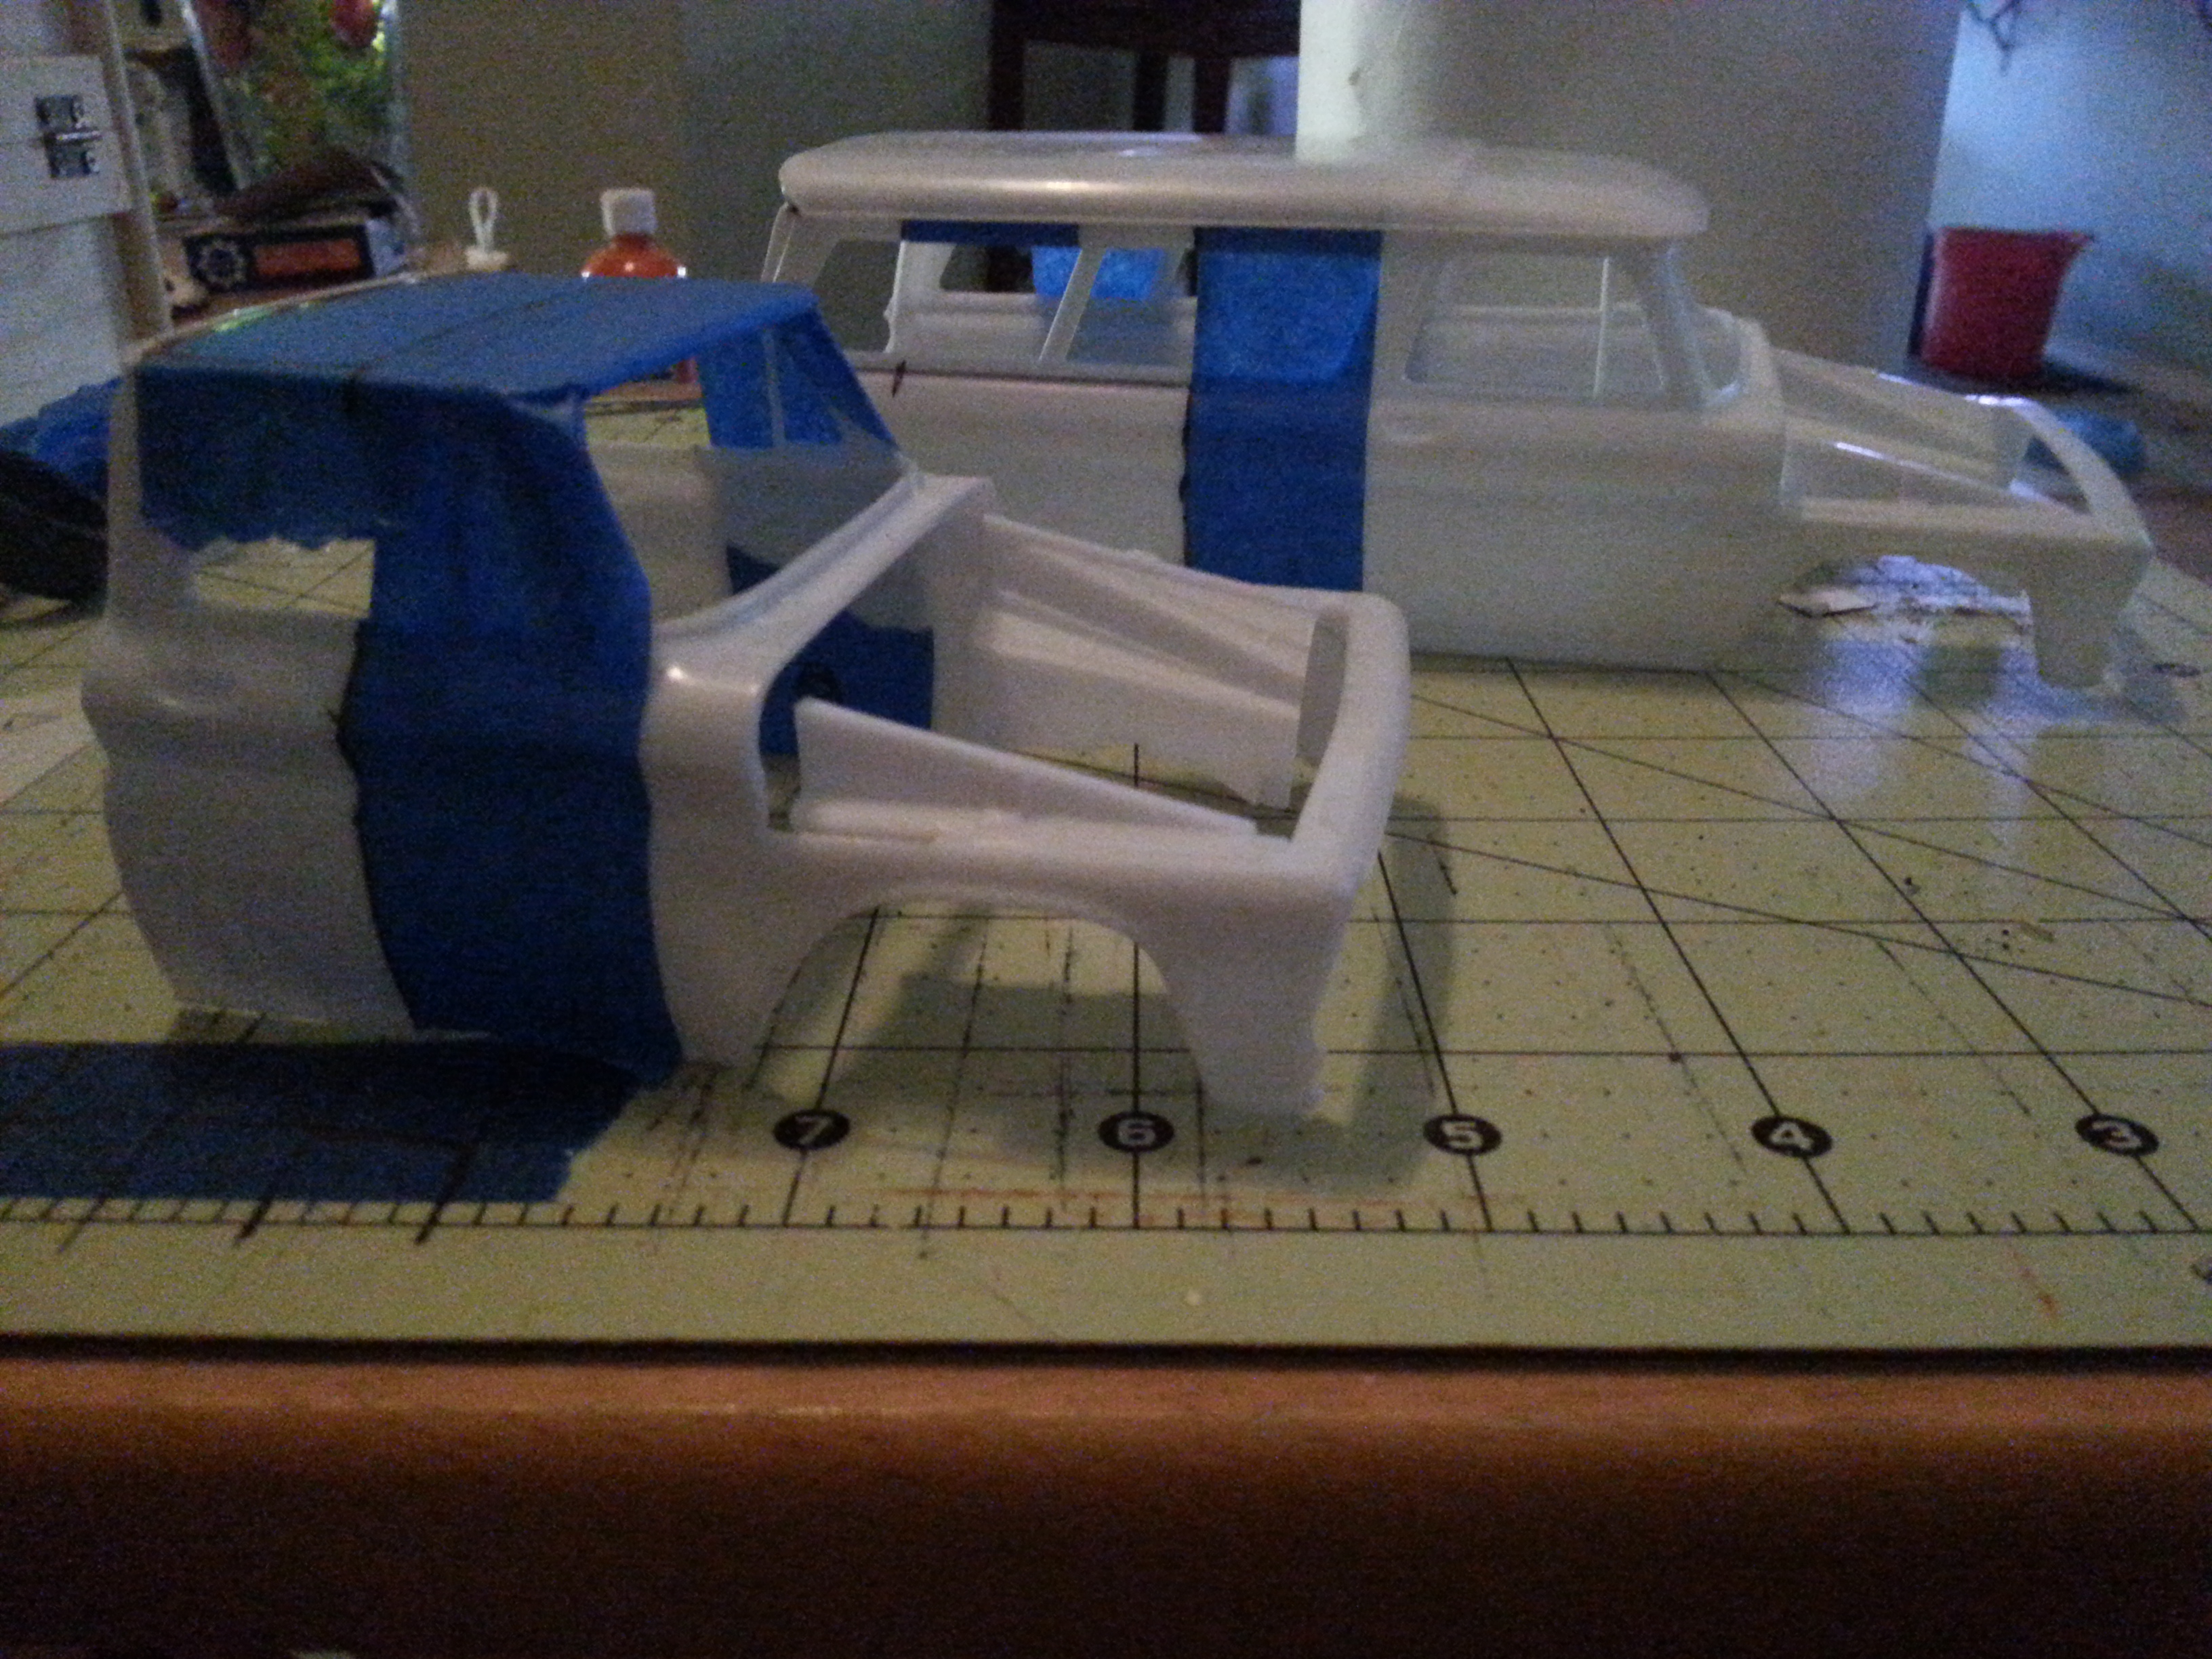
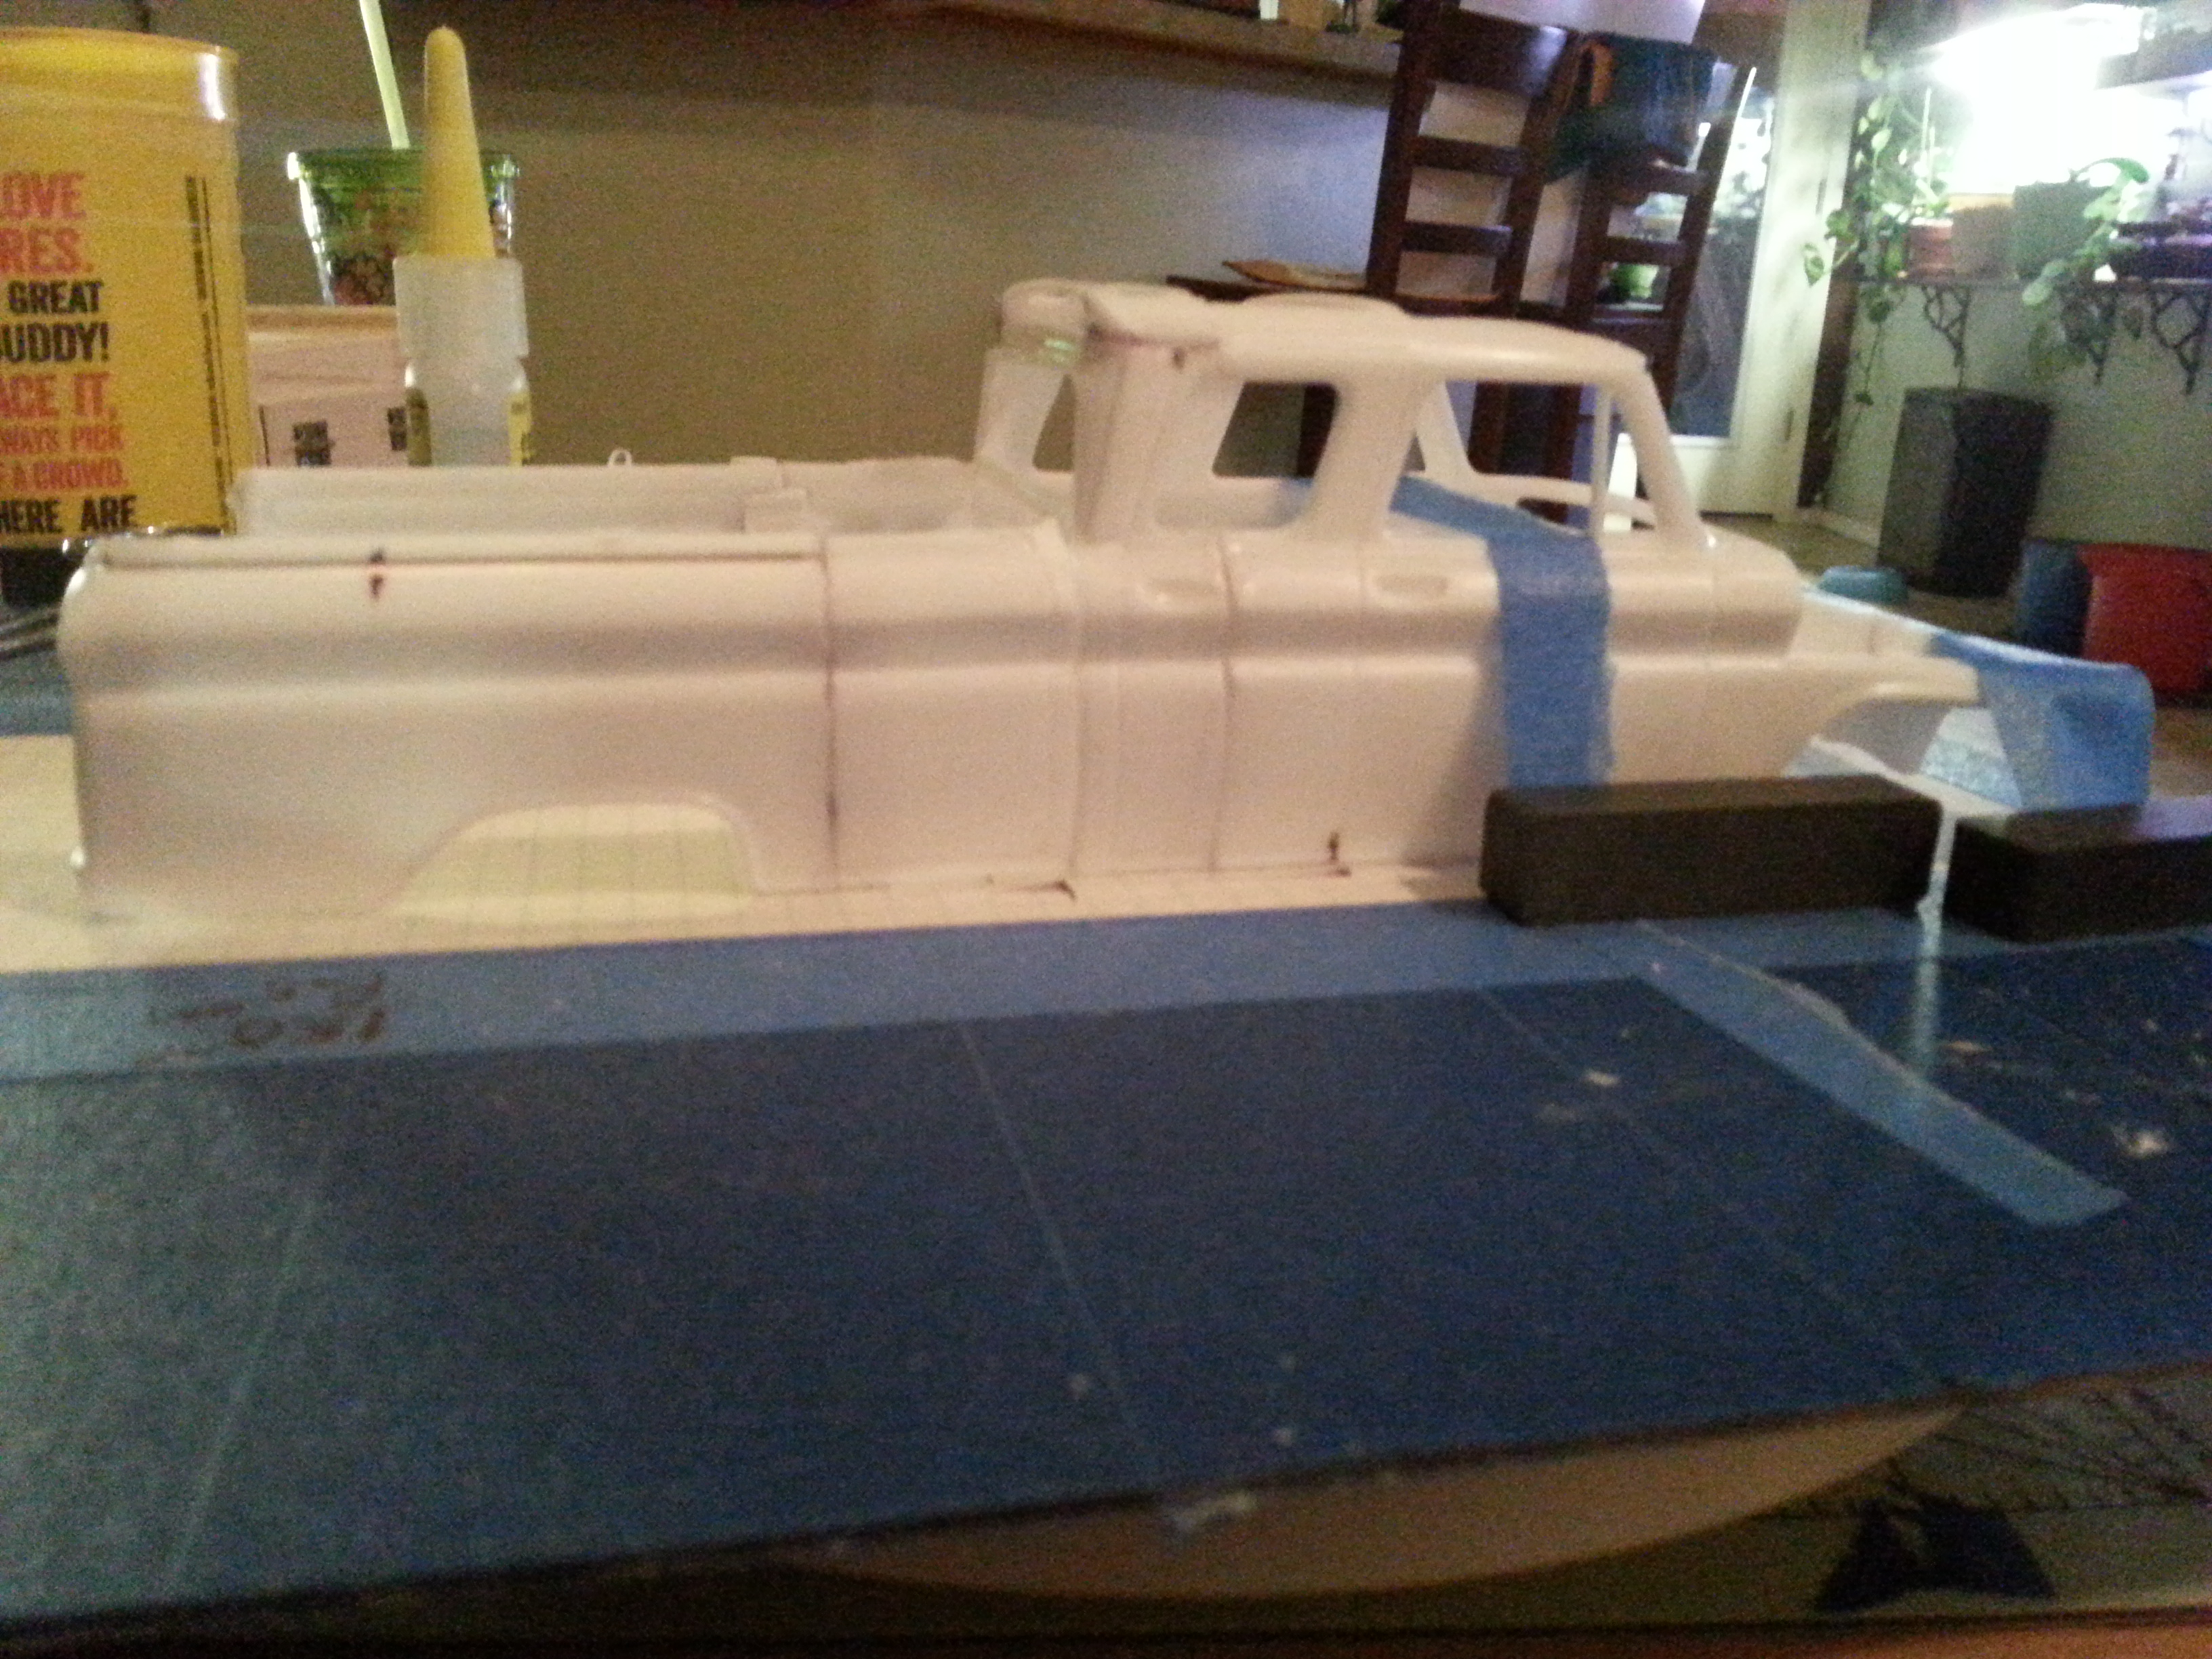
As I said in the last post, I had some tragedy hit the model. Long story short, our newest rescue dog is still very much a puppy and she got a hold of the cab somehow and thought it was a toy. This however was a blessing in disguise, I wasn't happy how the stepside cab and suburban cab mated together. I was fighting with the roof which is a separate piece and no matter what I did I could not get it to sit correct, I was also not happy with the huge gap between the roof and top of the top of the rear window. So I went to Hobby Lobby during one of their sales and picked up a Revell 66 Chevy fleetside kit. I was able to save the front part of the old cab, most of the damage happened to the cab wall and roof which were what I hated anyway. So I cut apart the fleetside cab and joined it with what I had left of the stepside front. I am much happier with this cab, the separate roof piece sits perfect, the rear window area looks right and the body lines match up a lot better. I am not happy that I had to buy another kit but I only paid $20 for the fleetside kit with the sale they were having so it wasn't too bad. Here is where the pics start again. New phone and much better quality. Cab #2. The firewall and cab wall were both shortened to accommodate the "bodydrop" Here is the scratch built "back half". Since I added more to the cab and stretched the bed I needed to stretch the chassis so I went to the local Hobby Town and bought a bunch of Evergreen stuff and went to work. I have to say I didn't enjoy this process, no matter what I did I could not get the styrene to stay square. It fought me every step of the way and I had to cut it all apart a few times, it just kept twisting and bending.. In the future I am just going to go draw one on the computer and use my Silhouette. I also used the cutter for the fuel cell as well, the areas on both sides of it will house the air tanks and the compressors will be mounted in front of the lower link points on the frame. I also didn't like the way the inside wheels looked, they were just spacers with tires and didn't look anything like the 1:1 setup. So I decided to try my hand at resin casting, I already had some Alumilite mold making stuff from a project I did earlier in the year so I picked up some of their resin and dove in. The process wasn't to bad, I made a mold of the front wheel and made a few copies, They aren't perfect but they look a lot better and being they are the inner wheels they won't really be seen. The mismatched tires are on these as well for the same reason, the outside rear and fronts all match so that is all I am worried about. I also stripped all the chrome off of them, bumpers and grille, I plan on painting them all white. I used Inkscape to draw all my tabs for the 4-link, I used .010 styrene sheet. I noticed most people use bigger but .010 is about 1/4 and in 1:1 that is still pretty big for 4 link tabs. After seeing Impalow's Bronco build and his use of Illustrator and a Silhouette cutter I knew this was the way to go. In the future I will probably use Corel Draw, I can scan directly into it, cut directly from it and I like it better, I just didn't feel like spending the money for the driver from Silhouette at the time. Full chassis shot. Floors extended and currently finishing up the front suspension. The rear axle is from a 99 Silverado kit along with the lower front control arms, spindles and drive line. They were some of what I had left from my old models, the detail in them was by far better the the lower control arms were more fitting for a large truck like this, Upper arms are custom made from round styrene. converted the drive line from a 1 piece to a 2 piece. No pics of them just yet. You can also see one of the 4 airbags, I made these using orings (i can't remember the size) a wooden dowel and some styrene for the top and bottom plates. Interior tub stretched and sectioned a little to fit with the body drop, I still have some work to do on this. I am trying to keep a stock like appearance with the entire build, using all parts from the kit. I am happy how it looks. This is pretty much where I am at right now. The engine is going to be a 454 from an AMT 70 Monte Carlo, I picked up the kit off ebay. All it came with was the body(no hood or glass) the suspension and the engine and all of it's parts. I was only wanting the engine but they wouldn't do that, so I think I am going to make the Monte Carlo body my test subject for paint. I want this truck to have a weathered, farm truck kind of look, I have never attempted this so I need to practice on something.
-
This is the first model I have built in about 15 years and I decided to hit the ground running. I am a huge lover of custom trucks, especially lowered and I had always wanted to build a scale model dually, so while walking through Hobby Lobby while my wife did her thing I came across the Revell 65 Chevy stepside and the Revell 66 Suburban and the itch to build came back in full force. I have never built anything to this level, I normally did lowered and shaved box stock models and about 75% of those were curbside with little detail. I didn't want to go that route this time, since working on and following custom vehicles is a huge hobby of mine I wanted to apply the knowledge I have from that to this. Due to my cell phone dying I lost a lot of the early build pictures and being the phone sucked they are not the best quality.. Hopefully you enjoy this and thank you for checking it out. I really liked the tail lights on the suburban so most of it got turned into the bed. Since the stepside bed had the fenders/tubs whatever they are already mounted I used an exacto knife to scribe them out, then I had to heavily modify them and a lot of work went into them. I think they had to come apart about 5 times to get them how I wanted them. One of the many mockups trying to get the rear fenders right. The wheels in this pic are one of the few things I saved from my past model building days, I saved them for just such an occasion. I don't remember what kit they came from but I am pretty sure it was a Revell Semi kit, the tires I am pretty sure came from some Pegasus wheels. Another mockup, this time trying out some resin dually wheels from Moluminum. As much as I love these wheels and the way they looked I felt they just didn't fit the look I was going for, the tires are from the Pegasus 23" aluminum sleeves. This was also round 1 of what I thought were the finished fenders, after looking at dozens of references I realized they were just too wide so I had to cut them apart and shrink them. another shot of the mega fenders, I am pretty sure this was right after I squared up the bed. This also gives a better view of the suburban tail lights, I am modifying the suburban rear doors to work for the tailgate. Chassis mockup and the cut down rear fenders. This is their final form, I just have to finish the body work and they are ready. I used a homemade "jig"/fixture. It is a piece of 12x12" steel plate that I had in the garage along with a bunch of magnets I bought at Home Depot. I cleaned the surface rust and whatnot off the sheet metal and covered it in blue painters tape, from there I used some paper transfer tape(used for vinyl stickers) and placed it over grid paper, cut it out and taped it to the metal plate. This is about the time my phone died, I lost all the pictures of the chassis build. During this time tragedy hit this model and a partial rebuild had to happen, no pics of any of that but more on that story and some more pictures in a little bit.
-
I just received a 53 Ford COE quad cab from Jimmy Flinstone. A lot of resin went into this bulky thing but it isn't bad. They offer a few other COE's as well
-
Building a camper is on my to-do list for an upcoming project, good to see the someone else building one. Looks good so far
-
This is going to be good, can't wait to see more. I like seeing the homage to Christopher McCandless
-
Just looking at the enginbe details I can't wait to see what you do with the rest of the build.
-
'93 S-10
Imaeechew replied to Slotto's topic in WIP: Model Trucks: Pickups, Vans, SUVs, Light Commercial
Thank you. That was them. -
I wish I did, at the time I was building them digital camera's were still fairly new and expensive and every pic I took with a normal camera always came out fuzzy A few are still floating around some friend's house, I will have to see about getting some pictures. I do have some pics of what I am currently working on and I am planning on getting a thread started as soon as I can commit some time to organizing it all.
-
'93 S-10
Imaeechew replied to Slotto's topic in WIP: Model Trucks: Pickups, Vans, SUVs, Light Commercial
I recently saw a first gen Blazer resin body, but the link to the seller is at work and I can't find the thread that linked me to them. I will try and remember monday. Good job on this, I have always had a soft spot for first gen S10's. Loving the lowrider style -
Lexten
Imaeechew replied to neverstopdreamin's topic in WIP: Model Trucks: Pickups, Vans, SUVs, Light Commercial
This reminds me of the mini truck days when it was all about the body mods and part swaps. Good job...Did you use the Is300 tails? Those look like the SportCross tails more than the sedan. The IS300 is on my list. My wife owns one, loves it and I know she would dig a mini version to take to work -
Good work so far, I love these cars. I have one of these still sitting in a box waiting to be built. My dad owns a 63 Convertible and I am planning on making a clone of it for him.
-
Hello! Where to start...I am 39 and an Idaho native, born and raised in the Boise area. I like just about all things car/truck related, I have always been into the custom side of it all...Custom rods, mini trucks and imports(sort of) Most of the models I have built have all revolved around that niche of the automotive community. I didn't get into building models until I was out of high school and I immediately started customizing them, I don't think I have ever built one stock. I have built and customized about a dozen but most of them were given away years ago when I stopped building models and they just started collecting dust. After an almost 15 year break I got back into model building when I found 3 kits I have always wanted during a trip to Hobby Lobby with my wife. So I dug out my tools, set up my work area and found the love of building again. I will do my best to take pictures and share what I am working on. Thank you for reading and have a great day
-
I just spent the last few days reading through this thread and didn't notice until the end you are in Nampa, I am in Caldwell. Amazing build so far. I am blown away by all of the scratch built parts, and your level of skill. I keep going back through it just to look at more details. I can't wait to see more. Thank you for sharing

.jpg.440a728809d70f9fa8c3a4dd4e9897ae.jpg)

.jpg.e12533374124fa2b0de1f108880541d8.jpg)