Harpo
-
Posts
218 -
Joined
-
Last visited
Content Type
Profiles
Forums
Events
Gallery
Everything posted by Harpo
-
Done!
-
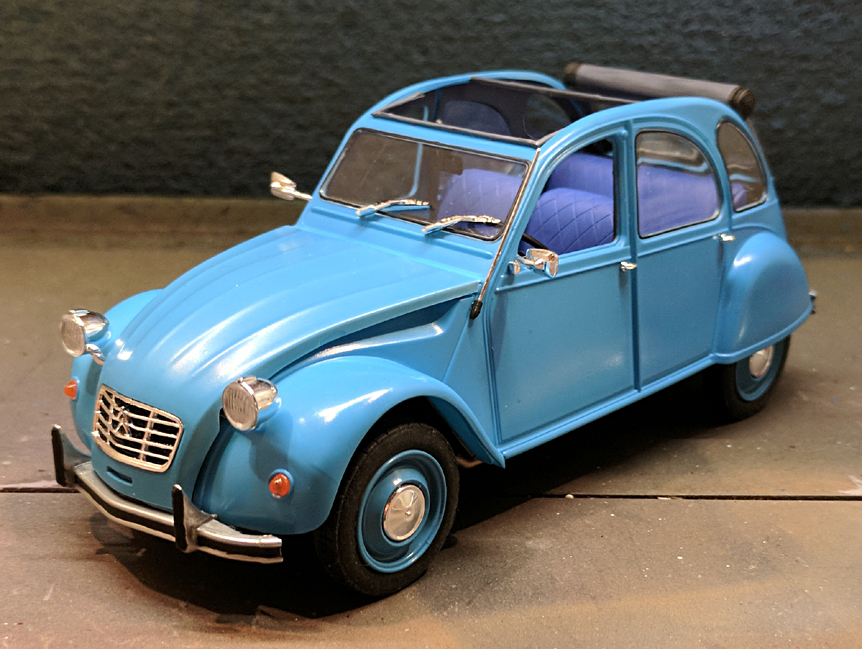
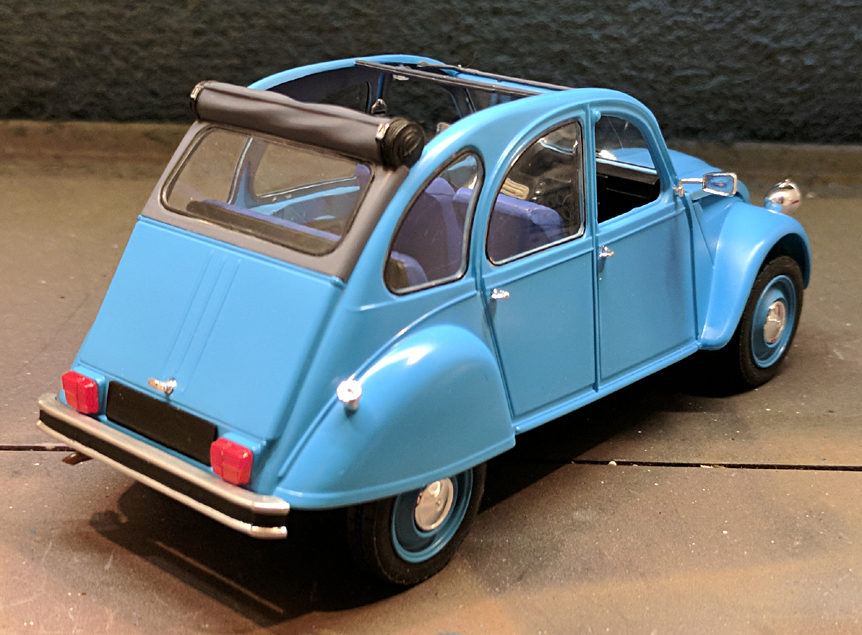
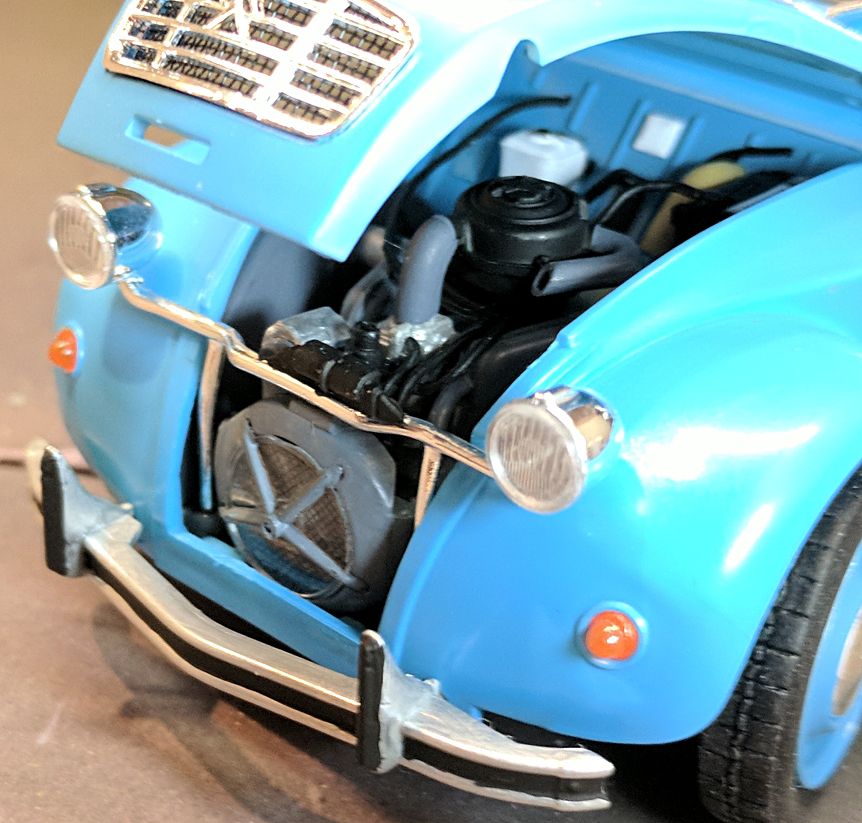
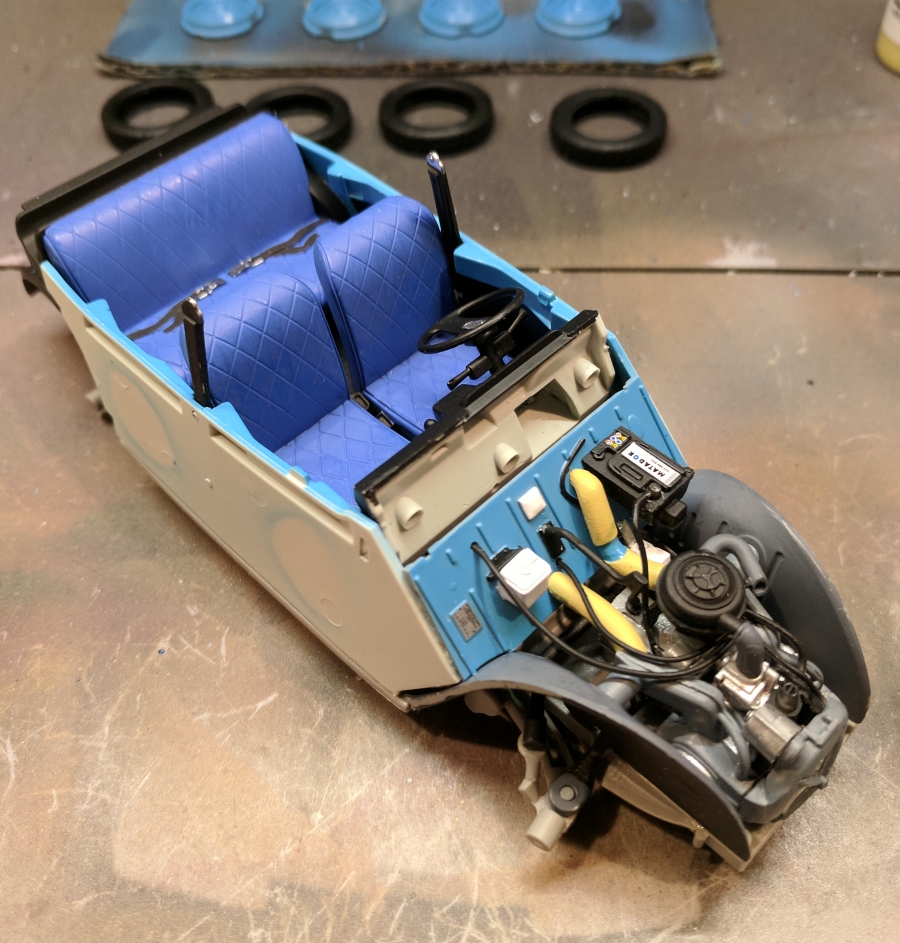
Revell Citroën 2CV. Completely stock build, this kit includes a lot of detail. Very well molded, great fit, I enjoyed building this one very much. I'm thinking about buying a 1:1 version, so this was a great exercise.

-
Revell Citroën 2CV - A somewhat challenging but very satisfying kit. Lots of detail and fit is excellent. I'm considering buying a 1:1, so this is a good exercise!
-
Unfortunately I can't take credit for the stainless. This body is supplied by Polar Lights with this finish, it is excellent.
-
Finally done, Polar Lights BTTF Delorean. More painting than I anticipated, I spent WAY too much time squinting at the wet end of a 000 brush!
-

BTTF Detail/Color Guide, Good Pictures?
Harpo posted a topic in Model Building Questions and Answers
I'm about to begin the Polar Lights Back to the Future Delorean, does anyone have a link for some high res interior/exterior pics? -
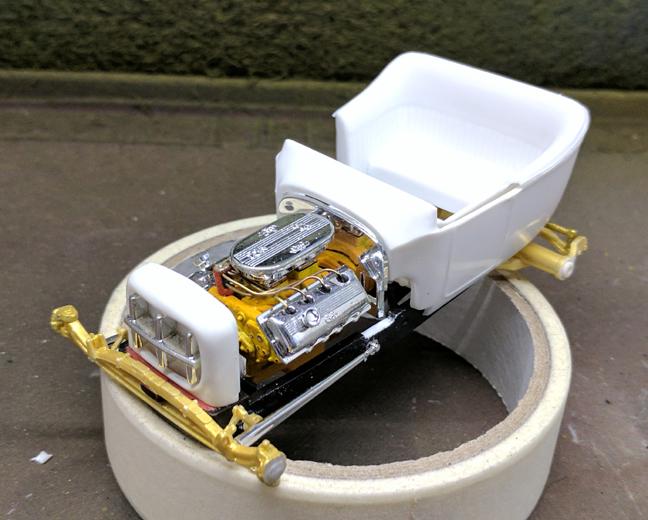
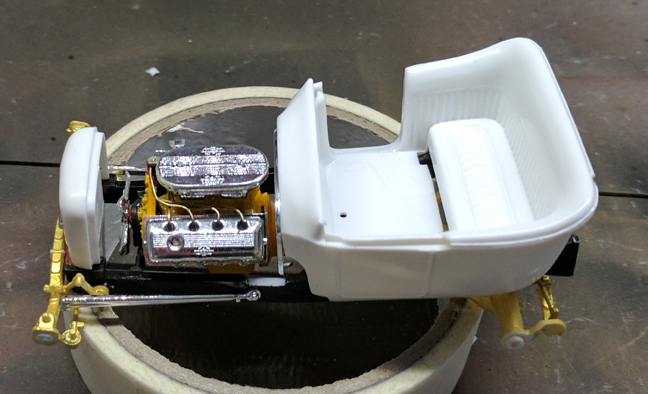
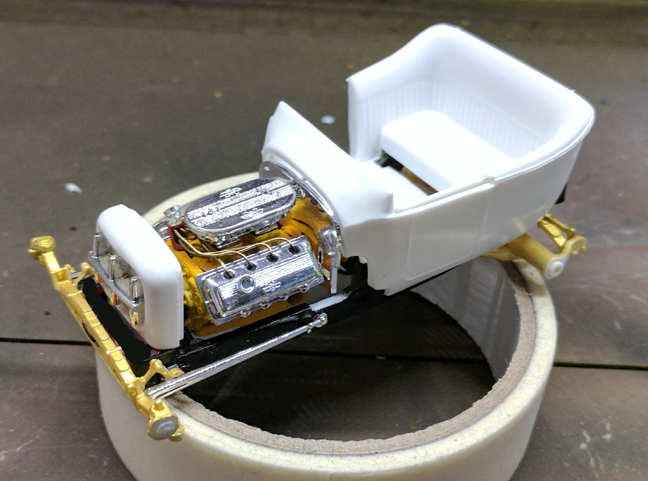
Done! Model T Hot Rod: Retro Build
-
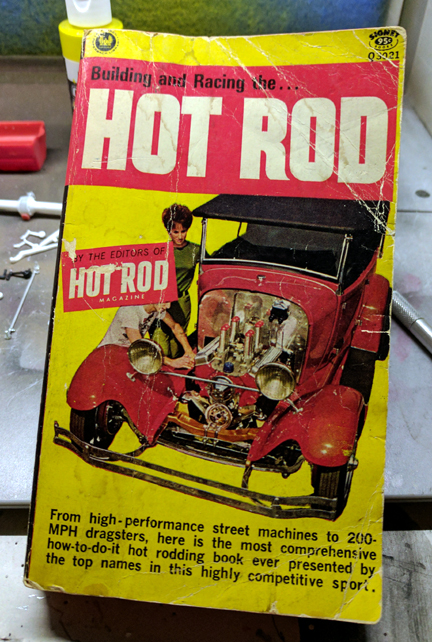
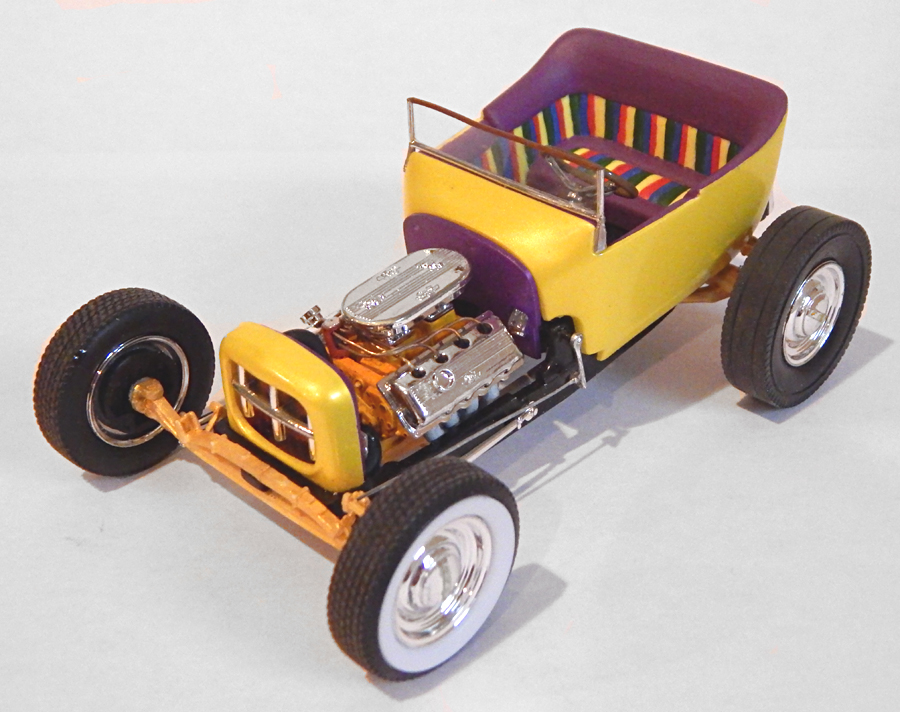
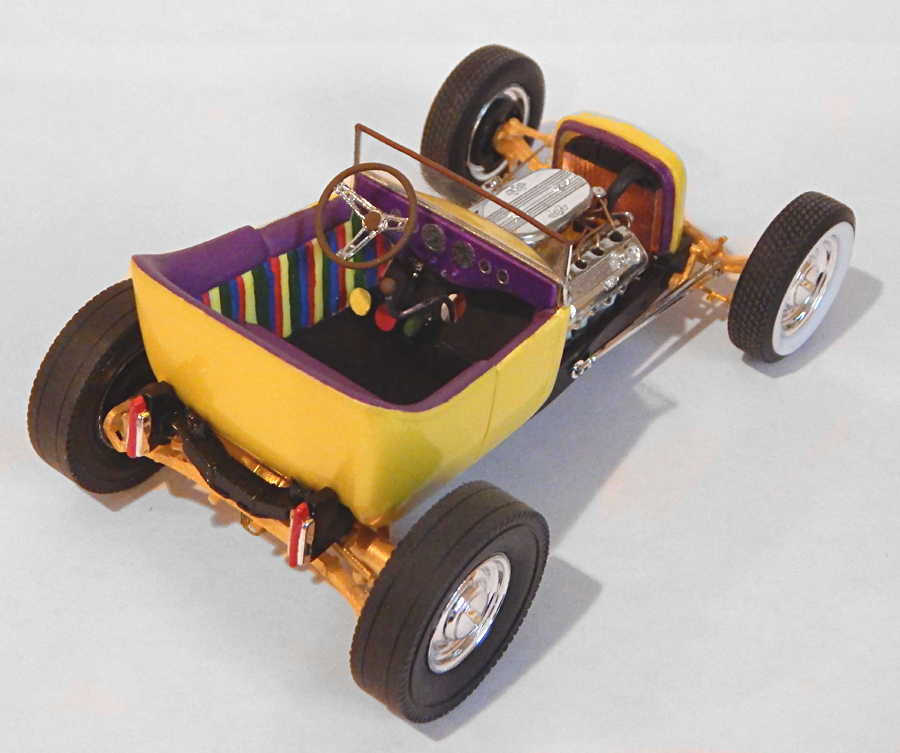
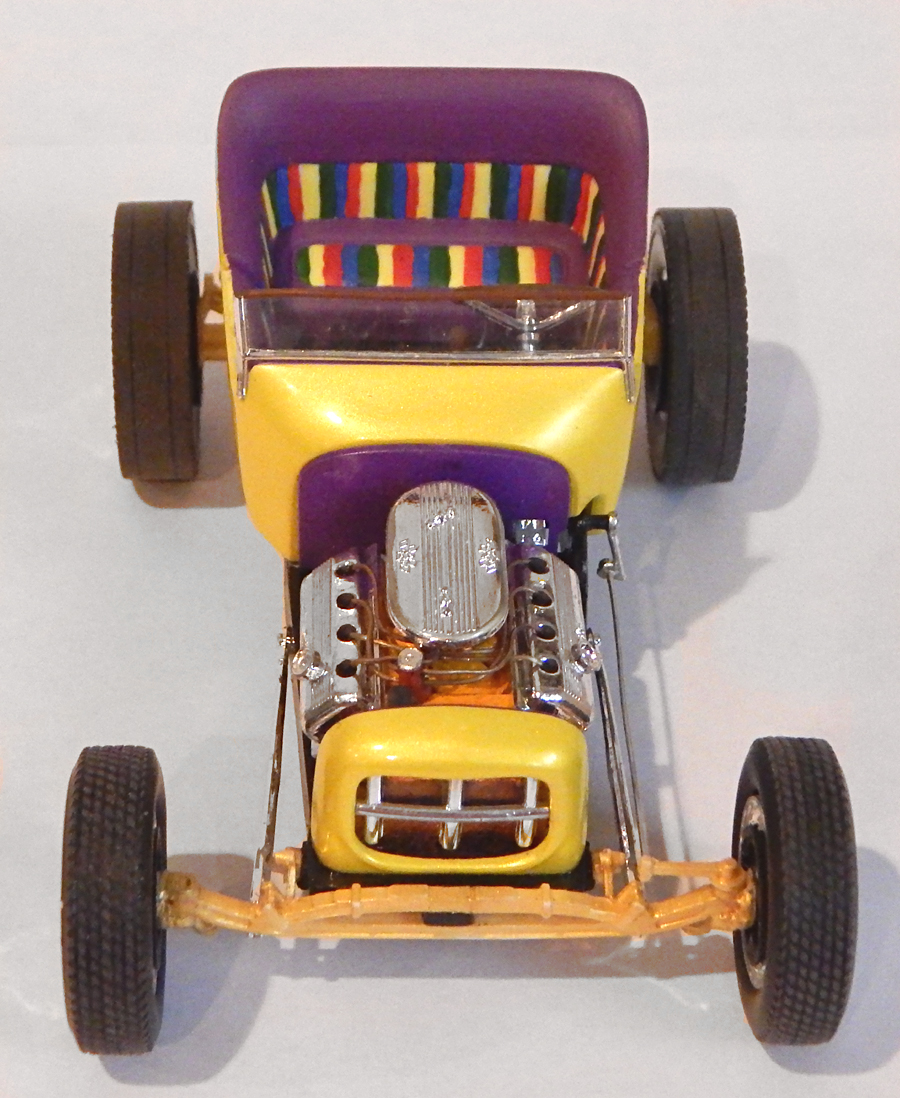
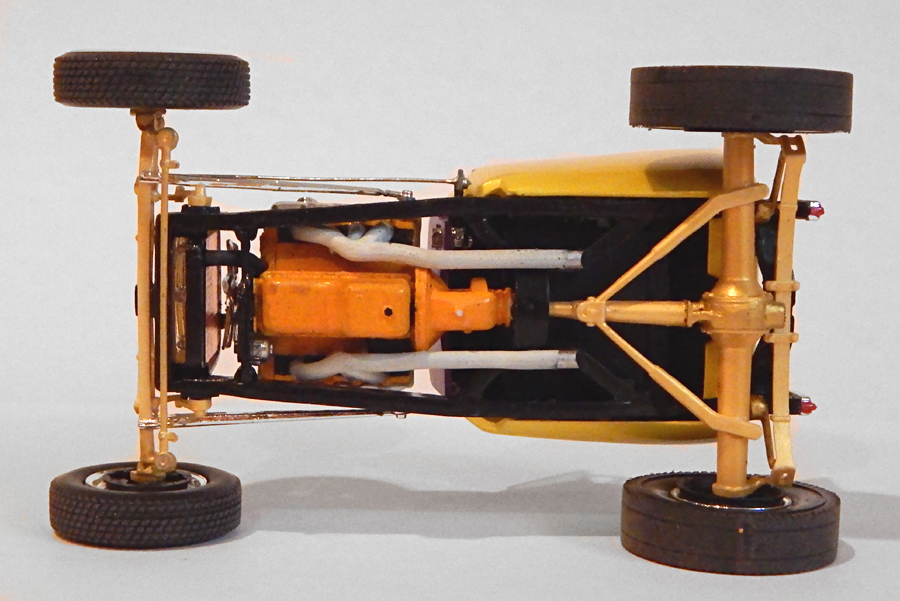
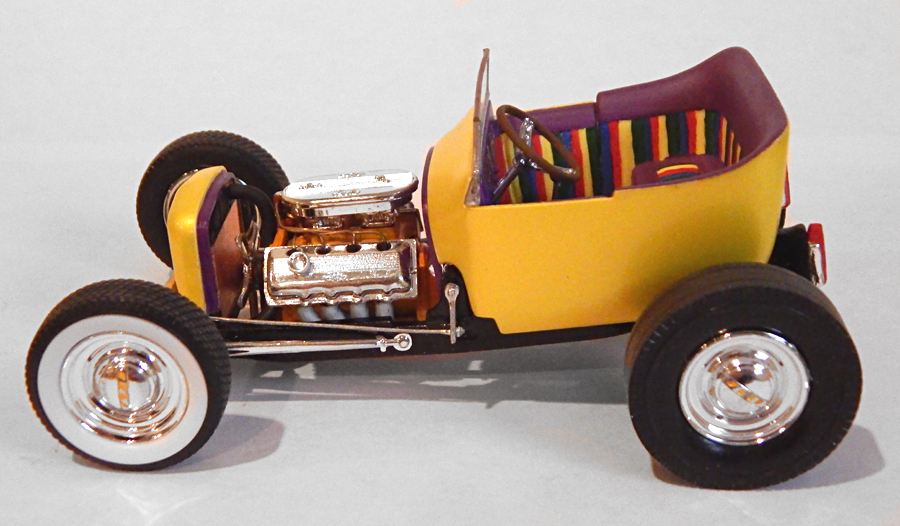
This build was inspired by a paperback book I bought in 1966, when I was 12. It's titled "Building and Racing the Hot Rod", and it's got 384 pages of up-to-the-minute (for 1966) advice and tech info on everything aspect of a DIY hot rod. I spent hours of my youth reading that book and dreaming, and I also spent more hours building model kits. I'm back in the hobby now (at 63), and finding this book among my things brought back those fond memories. I remember too that I didn't have a lot of money for kits, and certainly not for real hot rods. So I decided to build a model faithful to both the real-life parts available in 1966, and the state of my finances back then. This is a "retro build"; it incorporates only 1966 and prior components, and only modeling techniques available to me then. No photo-etched parts, no high dollar scale wires, my only concession was that I did use my airbrush for the body. The basis is a Revell Tweedy Pie and the added parts are either scratch or leftovers from my last two builds (IMC 48 Ford Coupe and Lindberg Little Red Wagon), just like the old days. So what we have here is a 1923 Ford Model T chassis and body (Tweedy) with a Ford 427SE engine (IMC kit), a Spalding Flamethrower (scratch from sprue with .022 brass wire plug leads), a Halibrand rear end (Model T with cut down and ribbed gear housing added, made from LRW pushbutton shifter), and cheater slicks (grooved IMC spares). The engine is set back for more traction, and the body is raised and moved to the rear to accommodate. Exhaust is stock cast manifolds straight into dump pipes under the car (earplugs required). Radiator and shell are raised to match body height, front suspension is lowered, rear suspension is raised. Windshield is cut-down Tweedy, with top trim made from split insulation from 25ga wire. Radiator hoses are also wire insulation. Interior is brush painted to my conception of the perfect 60's color scheme - and perhaps my ambition exceeded my ability slightly, but I like it. Exterior paint is metallic yellow with metallic violet firewall. It's a car you could actually build and drive, though I admit it would be more than a little bit hard to handle. And as much as I might want to build the 1:1 version, I'm going to resist.
-
I've been editing the same post to test pics, and it made a duplicate every time lol. Mod pls delete as needed.
-
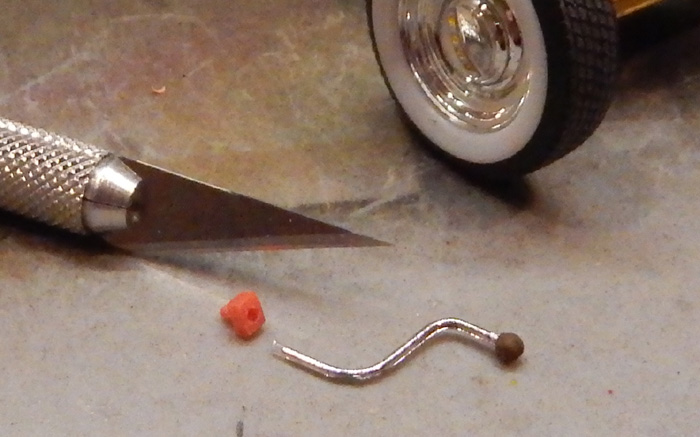
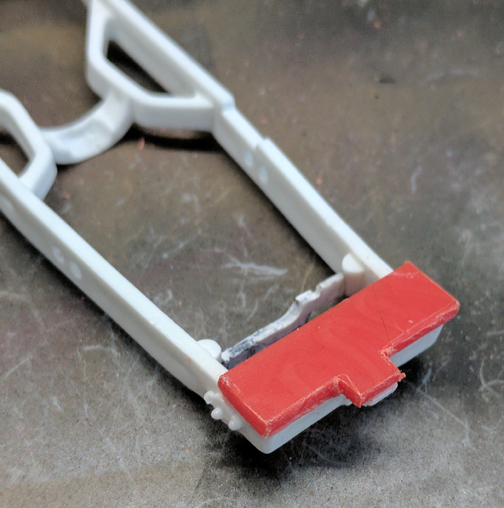
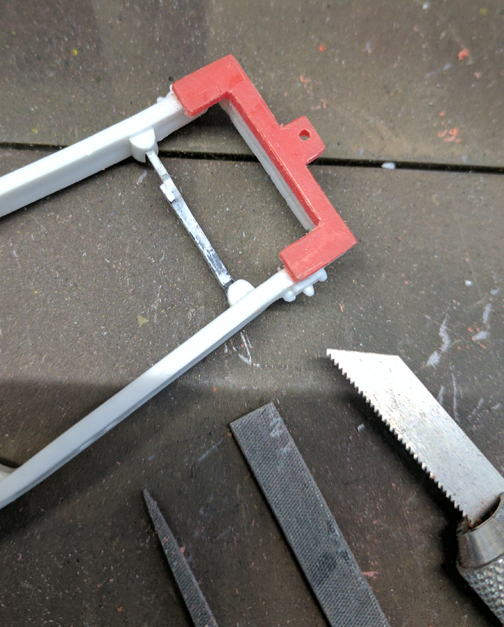
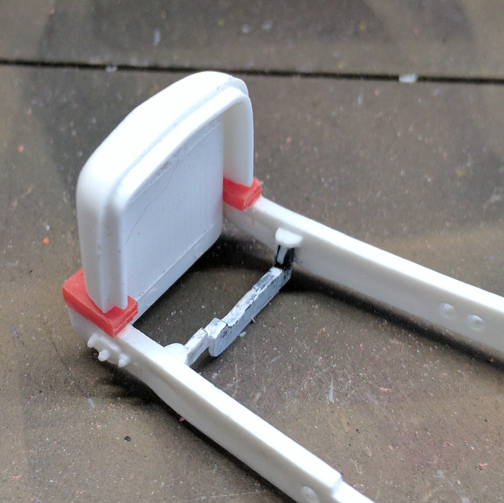
More progress, but it's amazing how long it takes to turn a Little Red Wagon suspension bit into a shift lever extension. Great therapy, though. Car is slowly coming together, workbench now cluttered with possibilities for lights & windshield. This is probably my longest build ever, but it's very satisfying using not only correct parts and workable 1:1 car design for 1966, but also limiting myself to modeling techniques available then.
-
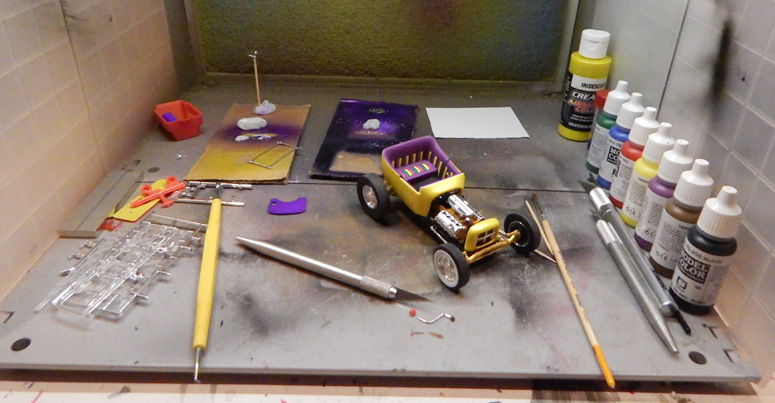
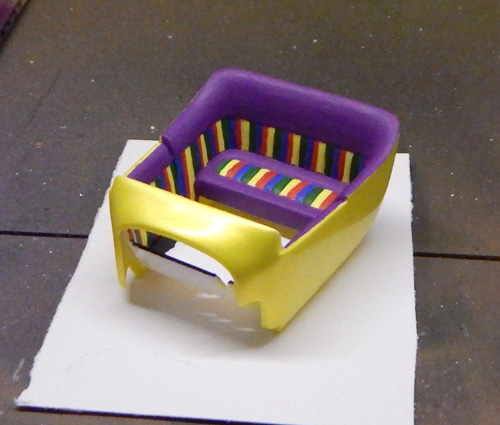
Making some progress on the interior. I think my ambition may have exceeded my ability here, lol:
-
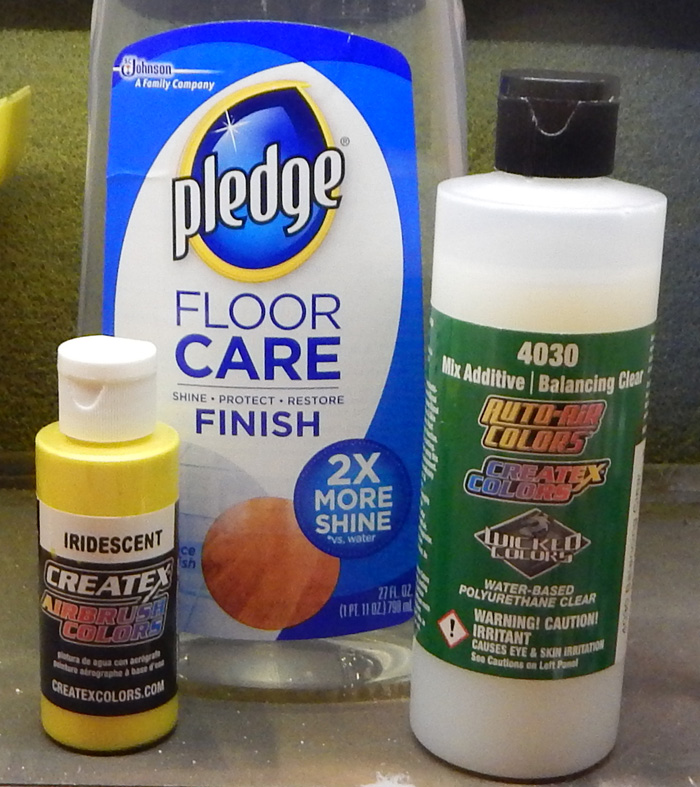
I've tried Parma Faskolor and Createx so far in water based paints, and the Createx works the best - but I'm not at all impressed with either one. I'm very familiar with airbrush/spray gun use (I grew up in a body shop), but only with lacquer & enamel. I thought my talents would transfer to these modern paints, but either they are c r a p or I have a lot to learn!
-
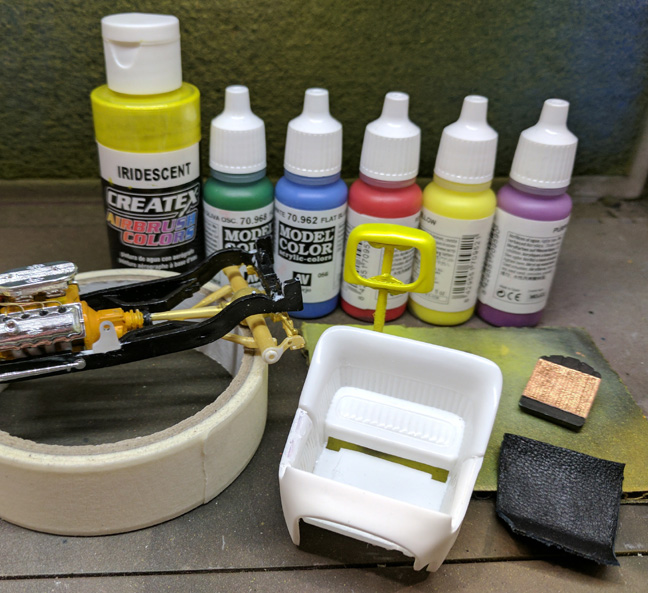
I'm using Createx Airbrush Color reduced 10% with their 4030 Mix Additive/Balancing Clear, which is what they recommend for plastic. It sprays fine with no other reduction, adding 4012 makes it too thin for my airbrush.
-
Apparently they keep changing the name, but I think this is the same product. It used to be "Future", was changed to "Floor Care Multi-Surface", and then to the stuff I have. Strangely enough, their website shows my bottle but your name: FLOOR CARE MULTI SURFACE FINISH Regardless, this stuff is just like pouring water on glass.
-
I'm trying to apply Pledge over Createx Airbrush paint, and it won't stick. The base coat is Iridescent Yellow with 10% 4030 Mix Additive, and thoroughly dry. I'm using a soft brush, and the Pledge goes on looking good but almost instantly recedes into pools, it simply will not stick. Any ideas what I'm doing wrong?
-
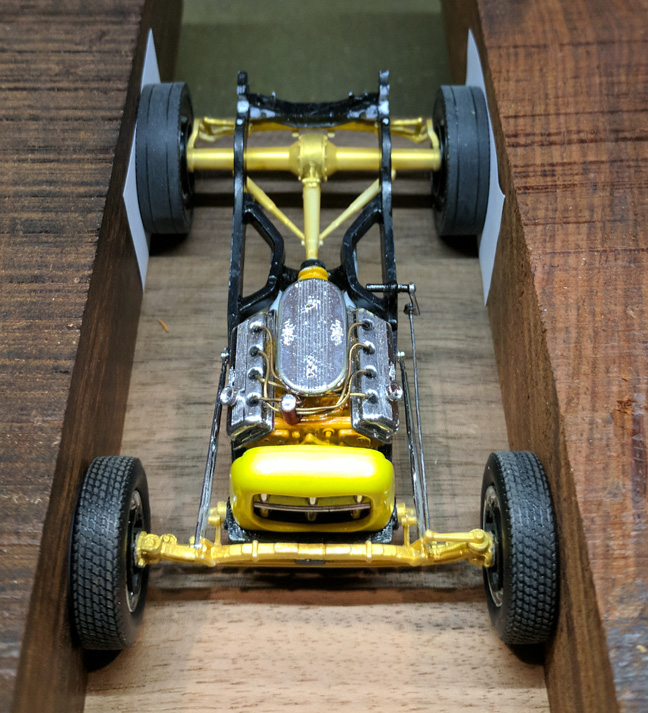
Steering completed, radiator and shell installed, tires and wheels attached and drying in jig. I'm not a fan of rolling wheels, I can get more accurate alignment gluing them up solid.
-
A bit more progress, but boring in the pics lol. Lots of sanding/puttying on the body, reshaped and relocated the steering bracket, finished the radiator, made the floormat. Also painted the radiator shell and picked out interior colors - 60's stripes!
-
Many thanks to all who have replied! I know this isn't the fanciest modeling, but building personal "dream cars" is one the most fun things about this hobby for me. This is intended to be a completely practical, period correct car with the mods I'd make if I could build it 1:1, and modeled without using any high-dollar detailing accessories. It's easy to buy distributor kits and such , but much more satisfying to twist and bend various scrap plastic bits. Got the exhaust system bent and installed today, earplugs required!
-
Time to address an aesthetics problem; the new engine placement leaves too large a space between front of engine and radiator shell. I could move the shell back to compensate (last picture), but I'm not sure that's an improvement due to the open space in front of it. Think I'll try extending the shell and see if that helps the look.
-
Good low-cost commercial spray booth
Harpo replied to foxbat426's topic in Model Building Questions and Answers
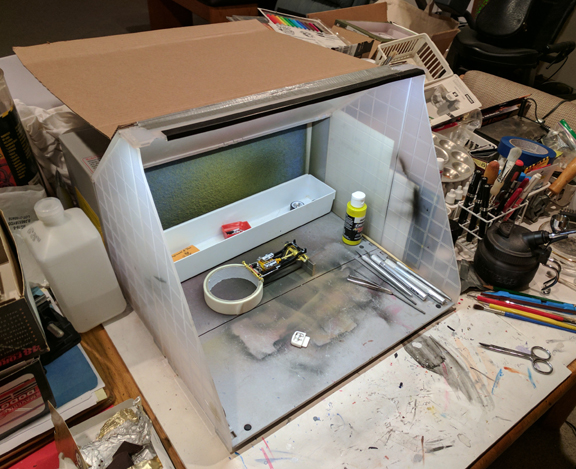
I've got the Master Airbrush Booth from Amazon, I'm very happy with it. I only shoot acrylics so it works fine indoors. I added an LED strip light to the top, and a cardboard cover you can swing down when not in use.
-
Looks great! What brand of kit is that? Next on my list is a '56 Ford pickup to duplicate the one I owned in 1975. I've got an NOS Revell "Big Ten-Ford California Pickup" kit, but I'm not sure it will have what I need.
-
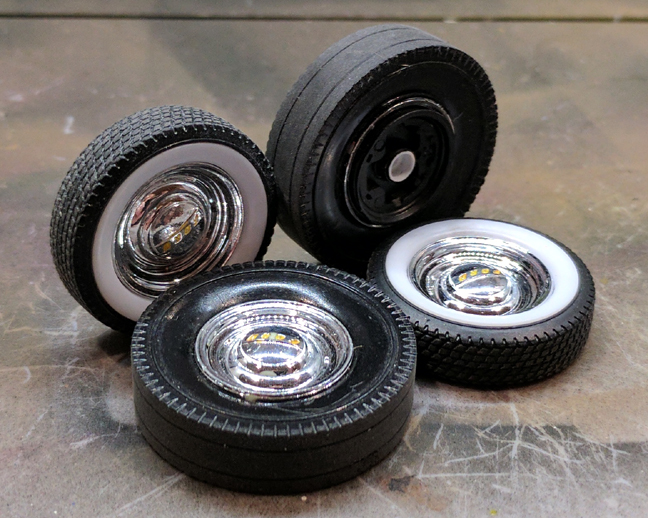
Stock Tweedy wheels with IMC 48 Ford caps, stock front tires, IMC Ford rears (with grooves cut to make cheater slicks), oversize rear brake drums using spacers from LRW.
-
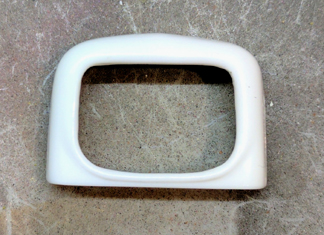
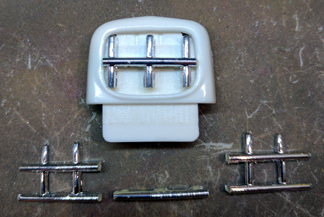
I cut the phony looking grill out of the Tweedy radiator shell... and made a new grill from the unused custom one from the IMC Ford kit:
-
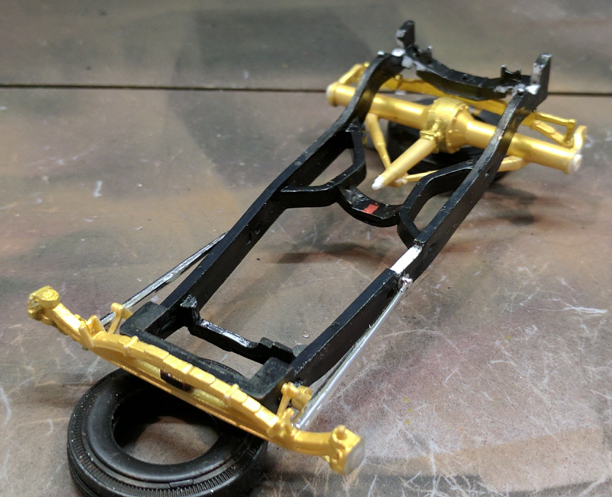
Running gear about done, springs and shocks relocated.
-
Figured I'd just as well lower the front too, so another spare bit of plastic provides a new front spring perch and grill mount. This also brings the grill up to better match the new engine: