duffy-duck21
-
Posts
83 -
Joined
-
Last visited
Content Type
Profiles
Forums
Events
Gallery
Everything posted by duffy-duck21
-
1969 Plymouth Roadrunner pro charged
duffy-duck21 replied to duffy-duck21's topic in WIP: Model Cars
The exhaust pipes were blackened inside with black edding, polished to shine and installed with 2K glue.
-
1969 Plymouth Roadrunner pro charged
duffy-duck21 replied to duffy-duck21's topic in WIP: Model Cars
Continue here with the hood. The old chunky hood pins were removed and spackled. After painting in silk matt black, new hood pins were installed from the Tremonia Racing Set.
-
1969 Plymouth Roadrunner pro charged
duffy-duck21 replied to duffy-duck21's topic in WIP: Model Cars
The polish was done with the proven Meguars 3-Step products. Several passes were applied by steps 1 and 2. Only at Step 3 one passage was enough. All in all it took about 6 hours but it was worth the effort. And if you consider that I have painted only from the tin, the result can be seen.
-
1969 Plymouth Roadrunner pro charged
duffy-duck21 replied to duffy-duck21's topic in WIP: Model Cars
This was followed by 3 layers of silver and 4 layers of clearcoat. Then everything was allowed to dry for 7 days and the actual work was done: sanding and polishing. All grinding operations were wet. Starting with 2500, then 3000 and final 5000 sandpaper. The surface now looks dull and milky but that's exactly how it should be.
-
1969 Plymouth Roadrunner pro charged
duffy-duck21 replied to duffy-duck21's topic in WIP: Model Cars
I used today's day off to complete the paint job. Two layers of primer were used, each wet sanded with 3,000 and 5,000 sandpaper.
-
1969 Plymouth Roadrunner pro charged
duffy-duck21 replied to duffy-duck21's topic in WIP: Model Cars
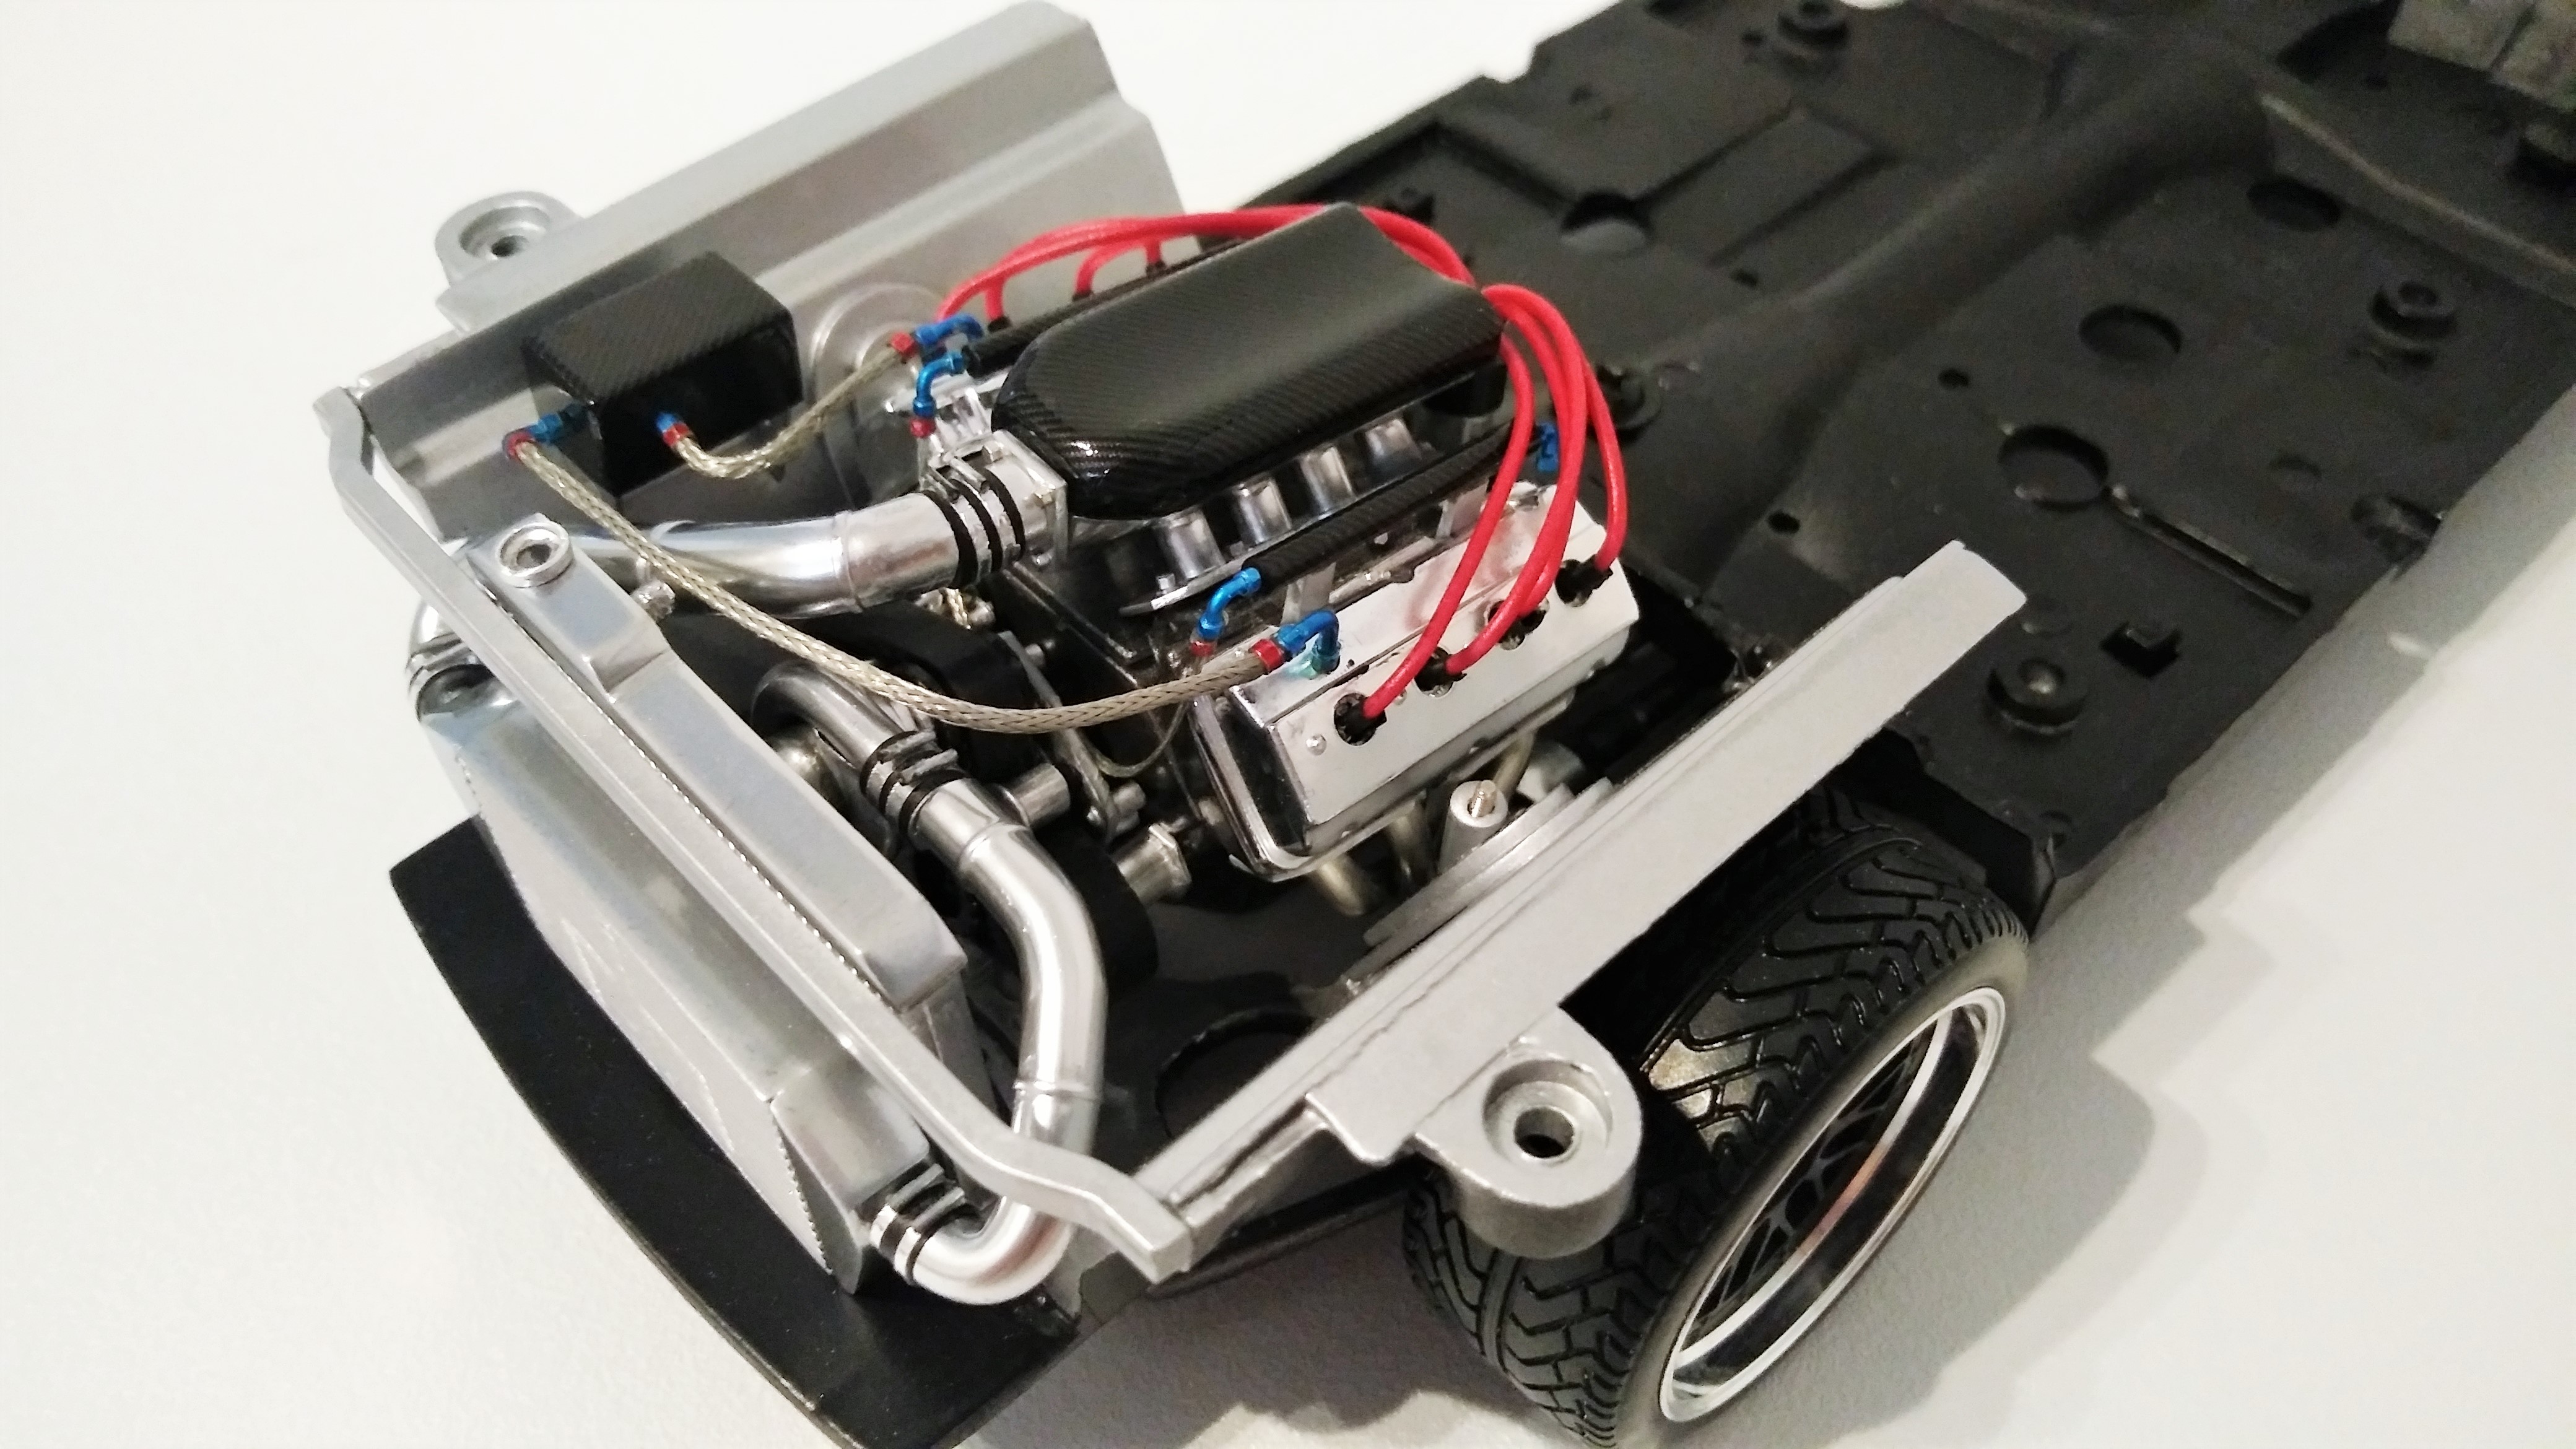
In the last few days I spent my time painting the bodywork. While the paint dries, I've finished the engine compartment in the meantime. In principle, only the breathers per valve cover and braided hose have been added. The A / N fittings are made of nuts M1,0. The normal catch cans were replaced by a carbon box. Incidentally, this constellation is in a real Pro Charged Hemi, which roughly served as a template: http://www.themotorhood.com/themotor...th-road-runner
-
1969 Plymouth Roadrunner pro charged
duffy-duck21 replied to duffy-duck21's topic in WIP: Model Cars
Small update, but it took a lot of time. Engine including the two radiators were connected to the chassis. The associated pipes to and from the intercooler took 4 days. Either my talent left me there or I underestimated that. The pipes are made of polystyrene and the welds consist of a thin strip of insulating tape. The hose clamps also made of insulating tape, bare metal foil and a few pieces of wire. Furthermore, there was the appropriate A / N fittings for the fuel lines, which consist of nuts M0,8, silver primed and then "anodized" with Tamiya Clear Red and Clear Blue. Finally, between the two fenders, the bracing between the radiators was rebuilt.
-
1969 Plymouth Roadrunner pro charged
duffy-duck21 replied to duffy-duck21's topic in WIP: Model Cars
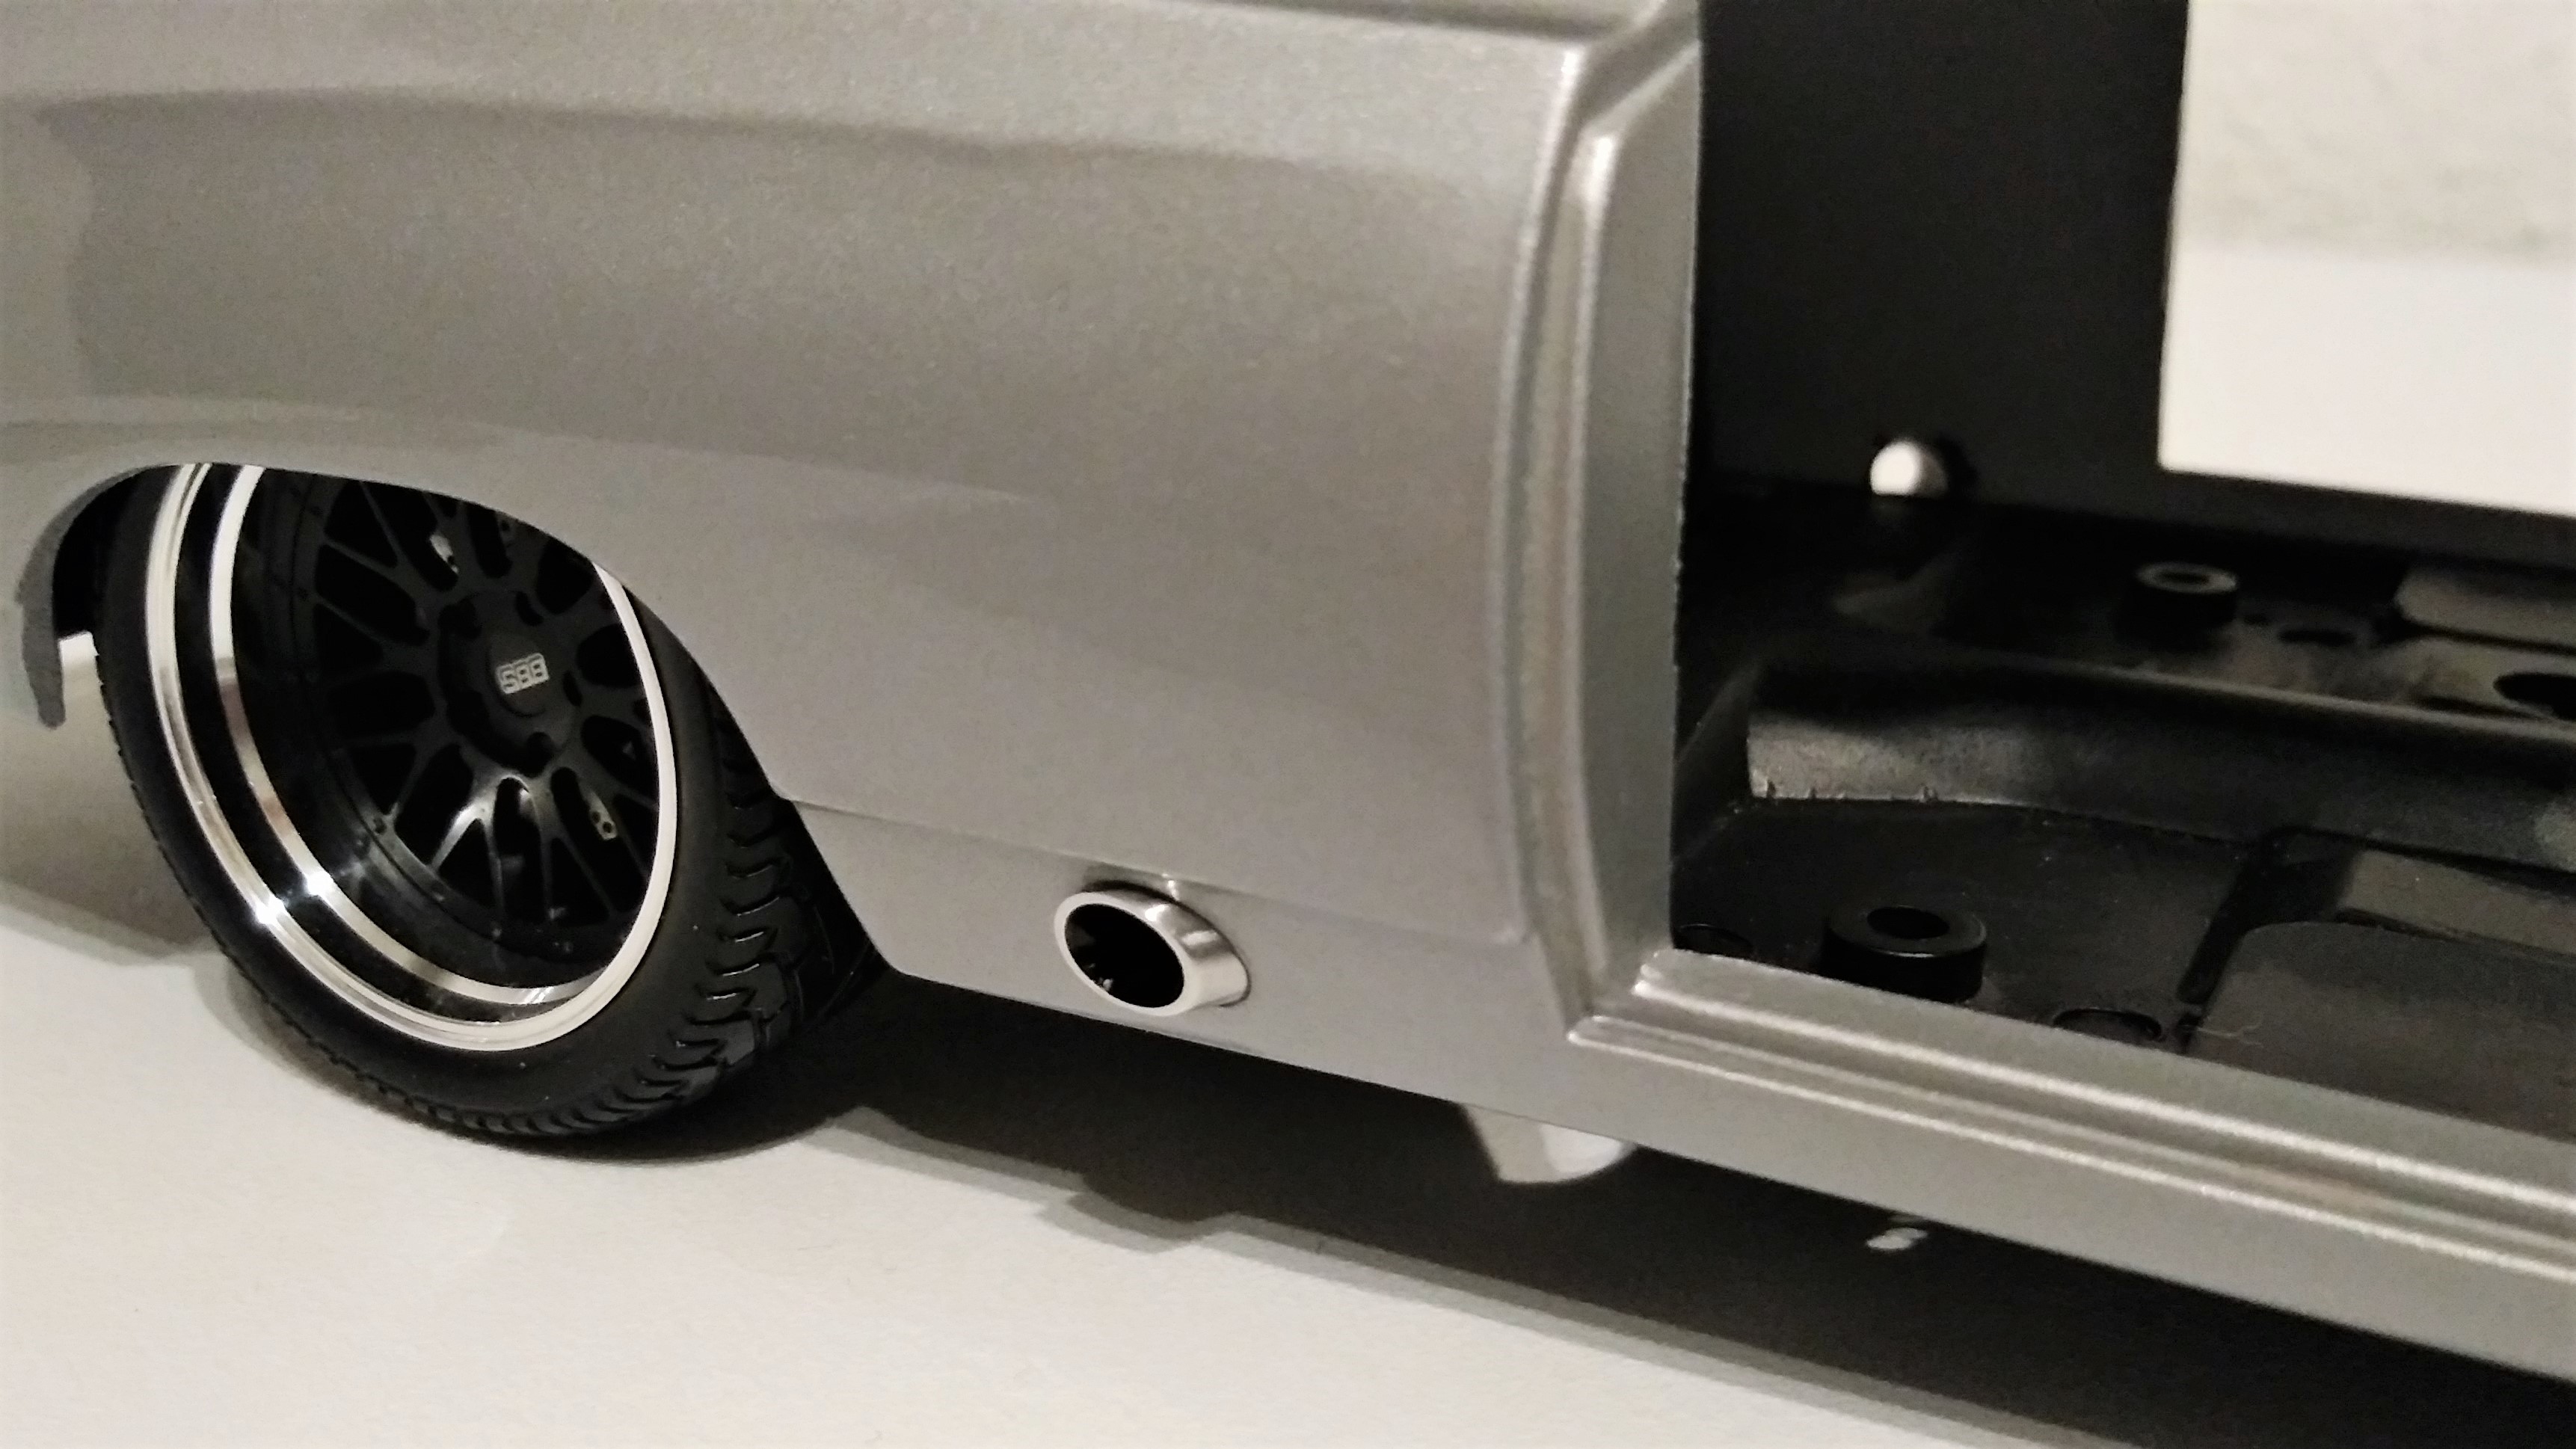
Monday, the new rims have come from Uli Nowak. Many thanks for the excellent quality and fast delivery. The Roadrunner should be very simple and discreet. So I decided to use the rims for the European look in the form of BBS LeMans. The front wheels in 18 inches and the rear 19 inches. This combination is very common in the original protouring cars. Brake discs are from Tremonia. The calipers come from the Mopar shelf and were taken from the Viper. In terms of color, I left this black. Tires also belonged to the Viper and have the appropriate flank height or enough profile. So that the rear wheels have enough air upwards the wheel house had to be cut open (you can not see them when assembled).
-
1969 Plymouth Roadrunner pro charged
duffy-duck21 replied to duffy-duck21's topic in WIP: Model Cars
During the exhaust, I have long considered which variant I will build. The decision fell on Sidepipes, which are embedded in the body. For this holes were drilled with 5mm diameter. Actually, the holes should be further in the direction of the rear wheel but on the first try the 1mm drill is broken in the middle. As exhaust pipe I use a 5mm aluminum tube with a wall thickness of 0.5mm.
-
1969 Plymouth Roadrunner pro charged
duffy-duck21 replied to duffy-duck21's topic in WIP: Model Cars
Today the paint was removed. After 2 passes of paint remover everything was processed with 2500er sandpaper to achieve the smoothest possible surface.
-
1969 Plymouth Roadrunner pro charged
duffy-duck21 replied to duffy-duck21's topic in WIP: Model Cars
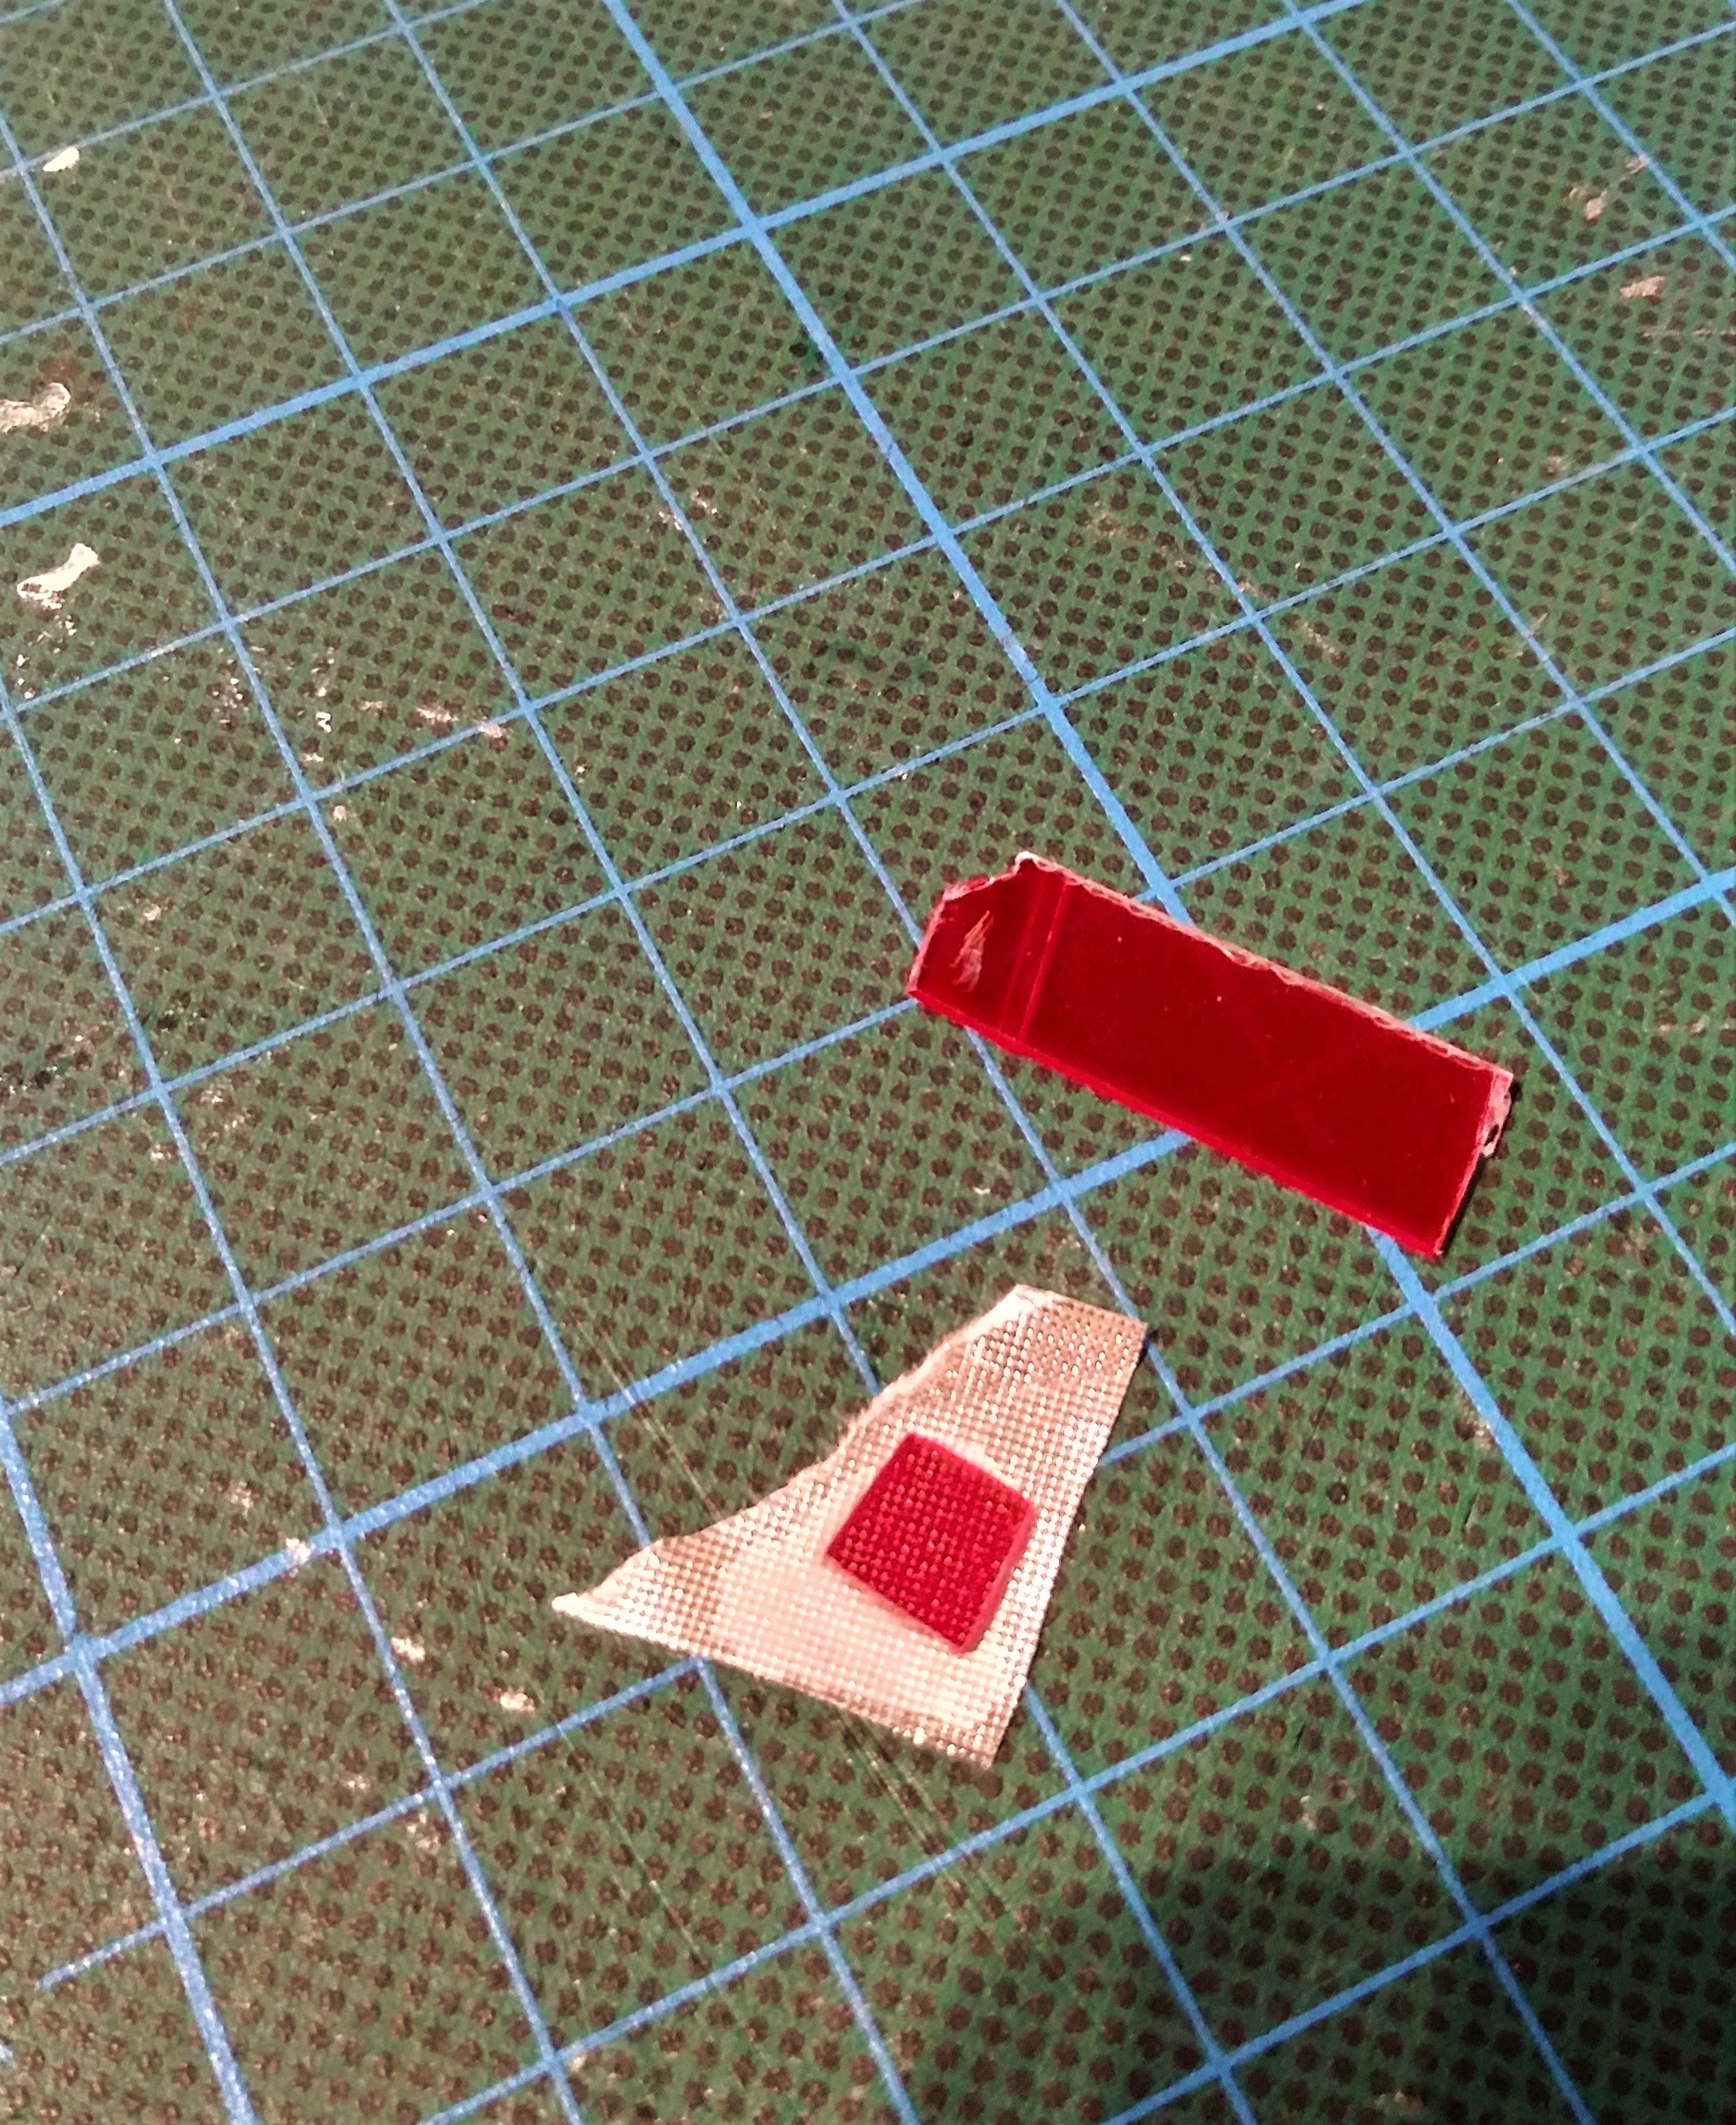
A major downside to the model are the taillights. Not only unclean processed, but only red painted glasses. Since even with the 1: 1 cars more and more modern LED lights are installed, the RR should also receive a new pair. Everything was made of polystyrene. For the glasses I sprayed a piece of clear plastic with Tamiya clear red. To make sure that the glass is not just red, perforated foil was glued to the back to show small LED spots or sublimities in the glass. The finished lights may look a bit simplistic but when installed, they look much better than the originals.
-
1969 Plymouth Roadrunner pro charged
duffy-duck21 replied to duffy-duck21's topic in WIP: Model Cars
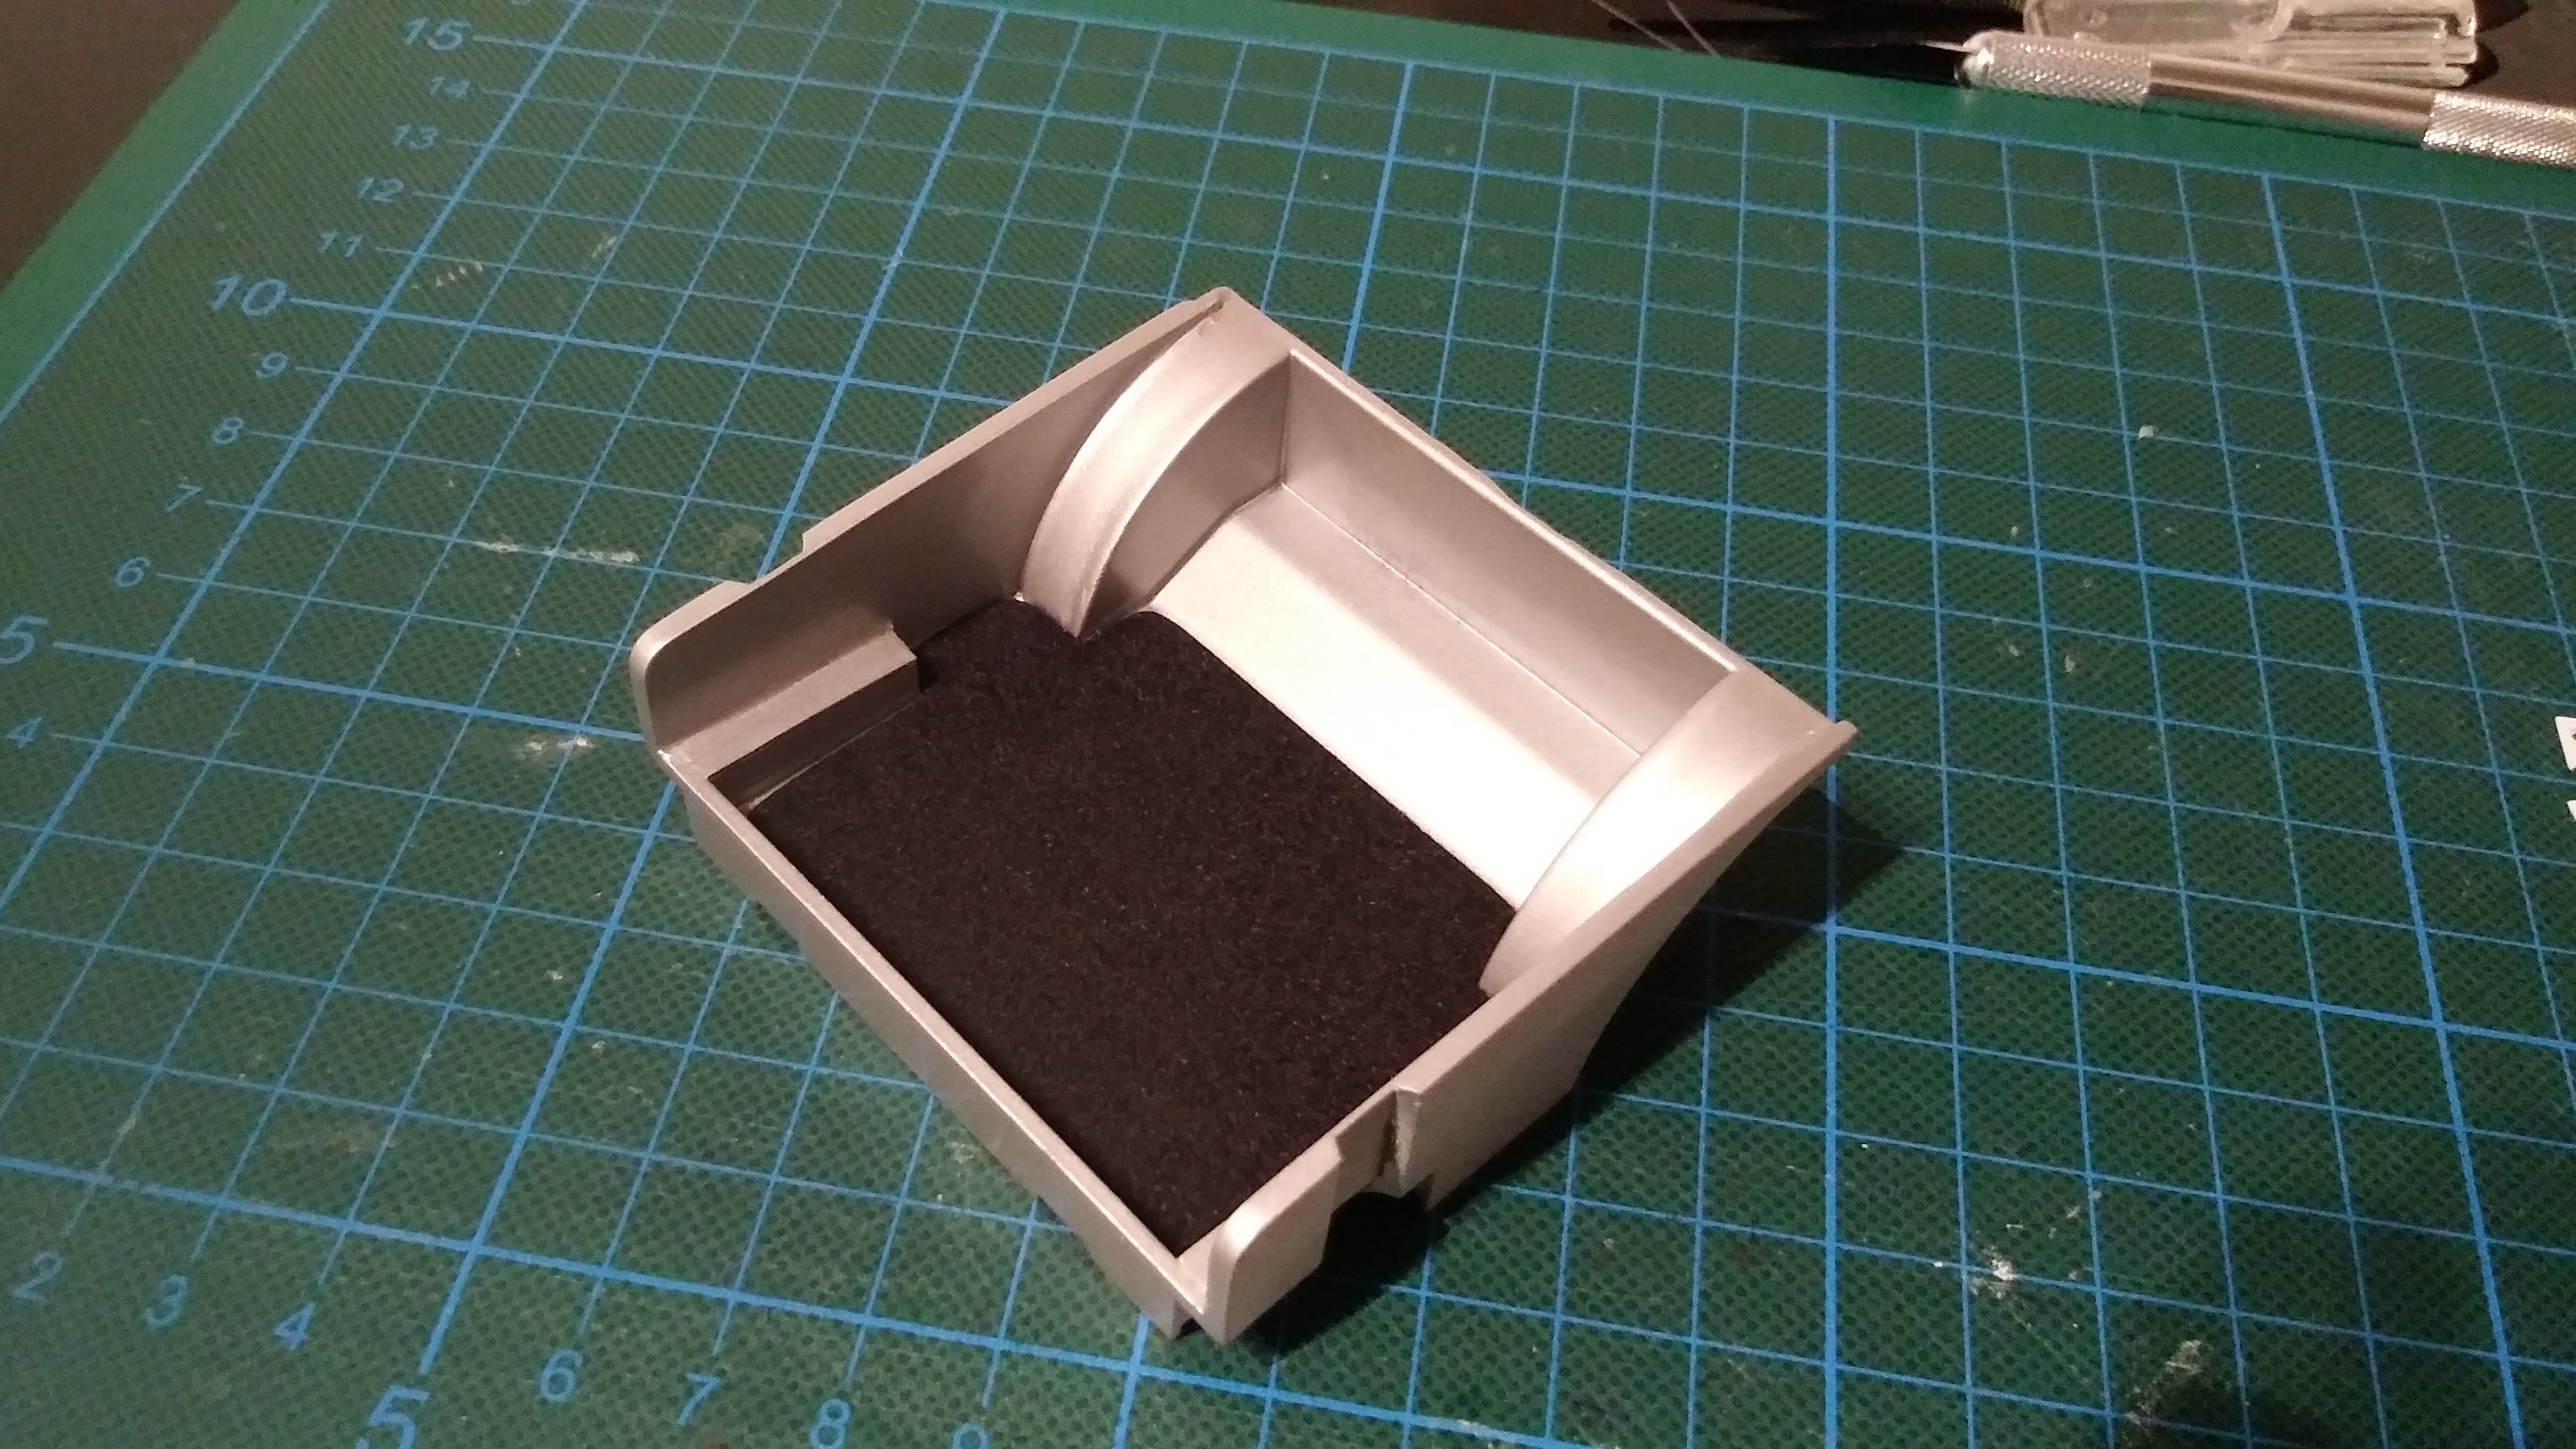
For stabilization and rigidity, a kind of strut bar was built for the rear. Again, the parts consist of 0.5mm polystyrene plates, the strut of a 2mm polystyrene rod. M0.6 screws were used to attach the bracket to the strut. The battery also finds its place in the rear. This time it is in a battery box (polystyrene). The small mounts are from the Tremonia Racing set:
-
1969 Plymouth Roadrunner pro charged
duffy-duck21 replied to duffy-duck21's topic in WIP: Model Cars
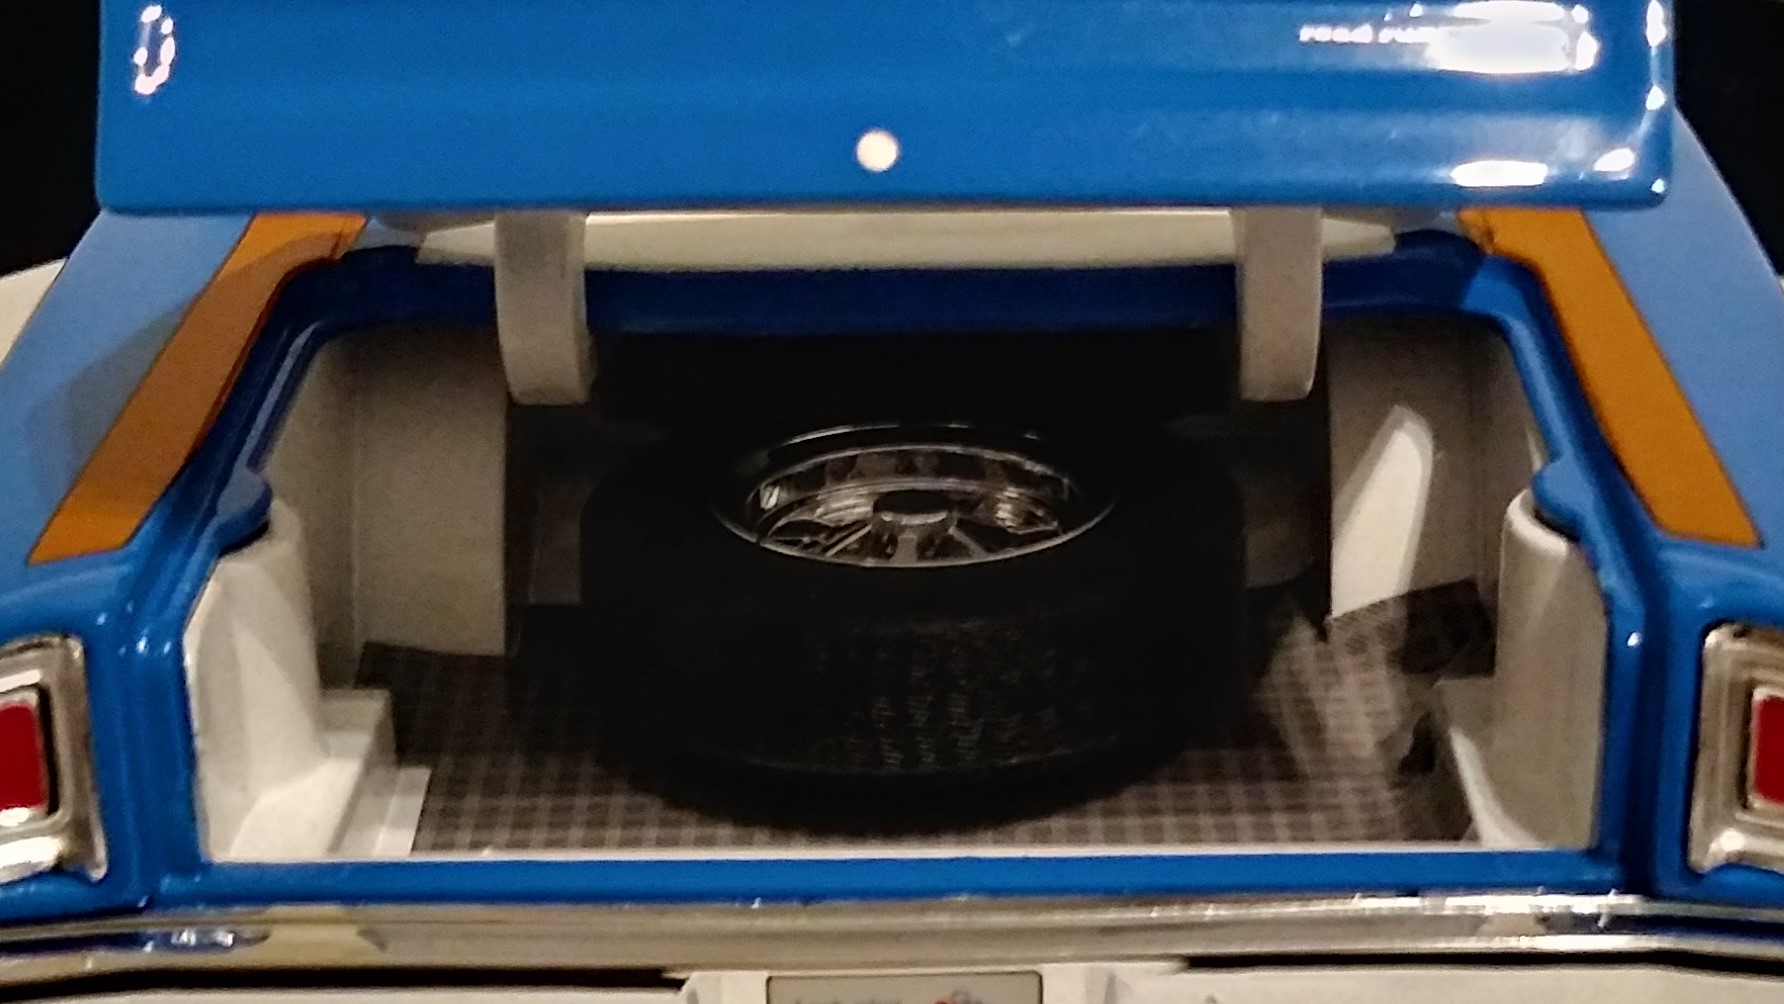
I started with the sidewalls, which were straightened. The spare wheel was flown out and the bracket was sanded off. The new side walls and bottom plate are made of 0.5mm polystyrene plates. After plenty of sanding, the floor was flocked, everything thoroughly sanded, primed and painted.
-
1969 Plymouth Roadrunner pro charged
duffy-duck21 replied to duffy-duck21's topic in WIP: Model Cars
I was busy again. The trunk was made. First, a picture of the original:
-
1969 Plymouth Roadrunner pro charged
duffy-duck21 replied to duffy-duck21's topic in WIP: Model Cars
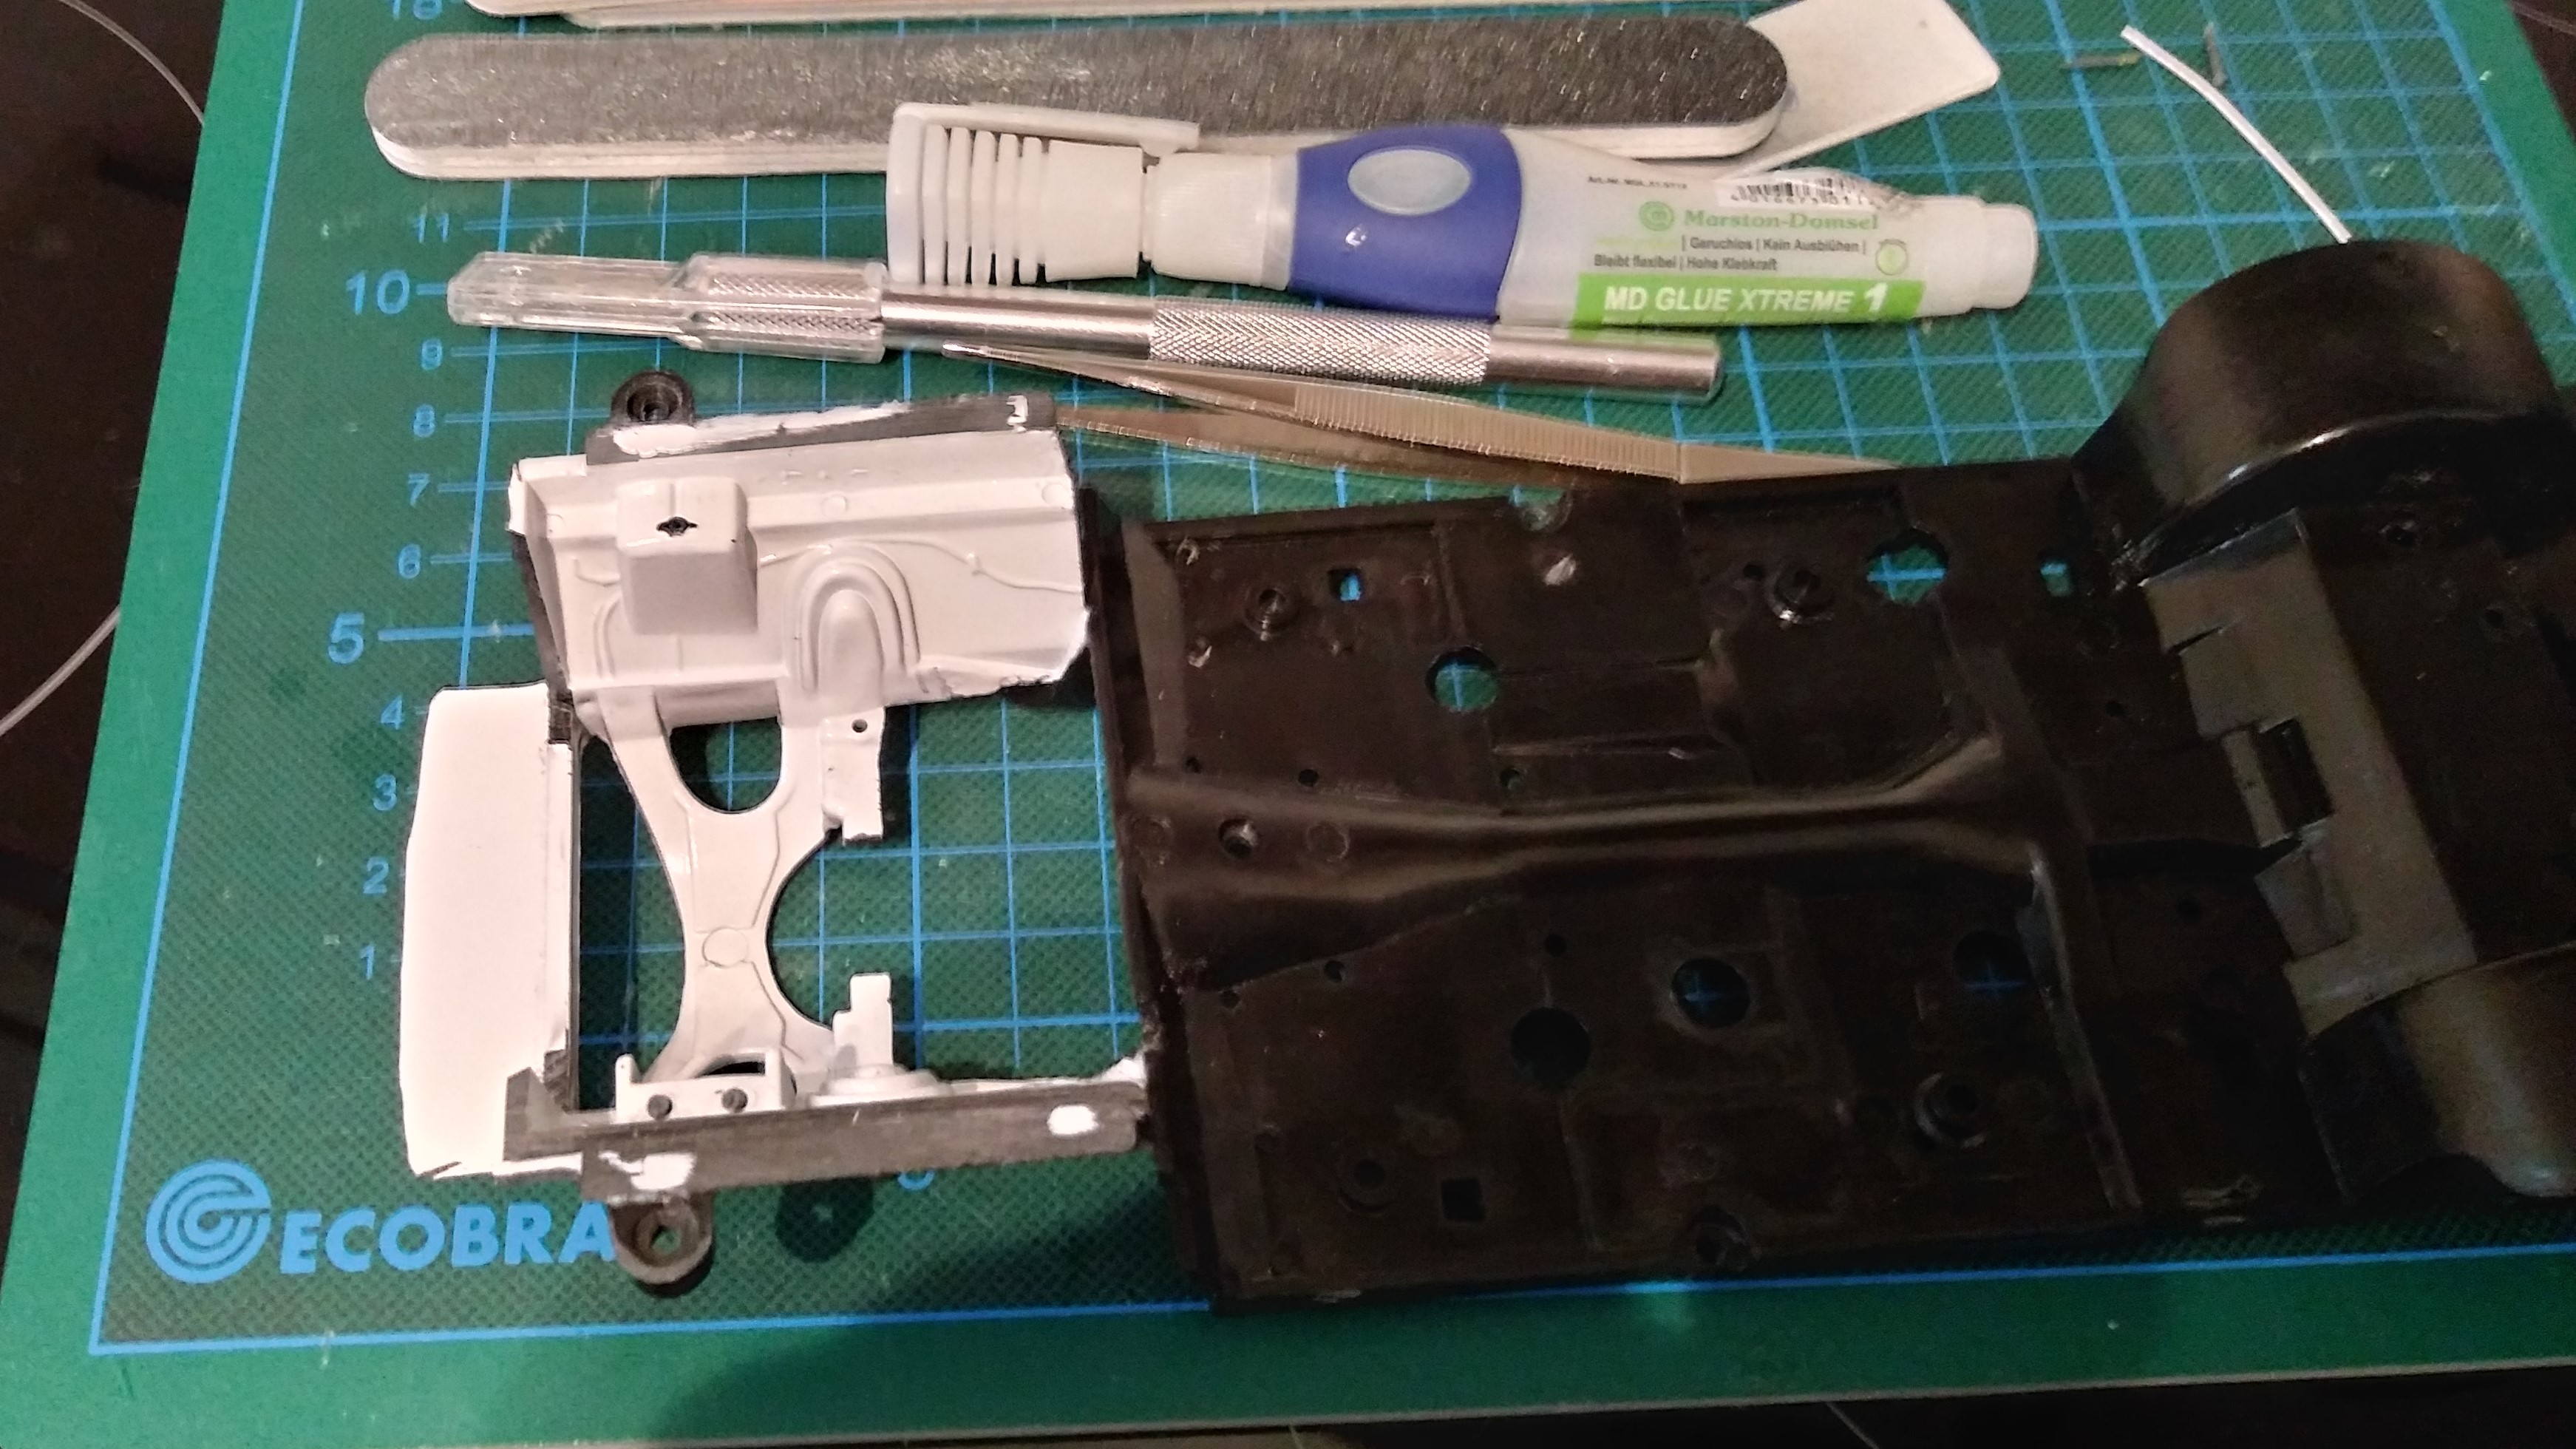
The engine bay has been completely redesigned. The original looked very modest and poorly made. The sidewalls were cleared of the battery holder and the fountain solution tank. Then everything was sanded smooth and covered with 0.5 mm polystyrene plates. Finally, the areas of the strut tower were also made from polystyrene. In the middle there was an M1.2 thread:
-
1969 Plymouth Roadrunner pro charged
duffy-duck21 replied to duffy-duck21's topic in WIP: Model Cars
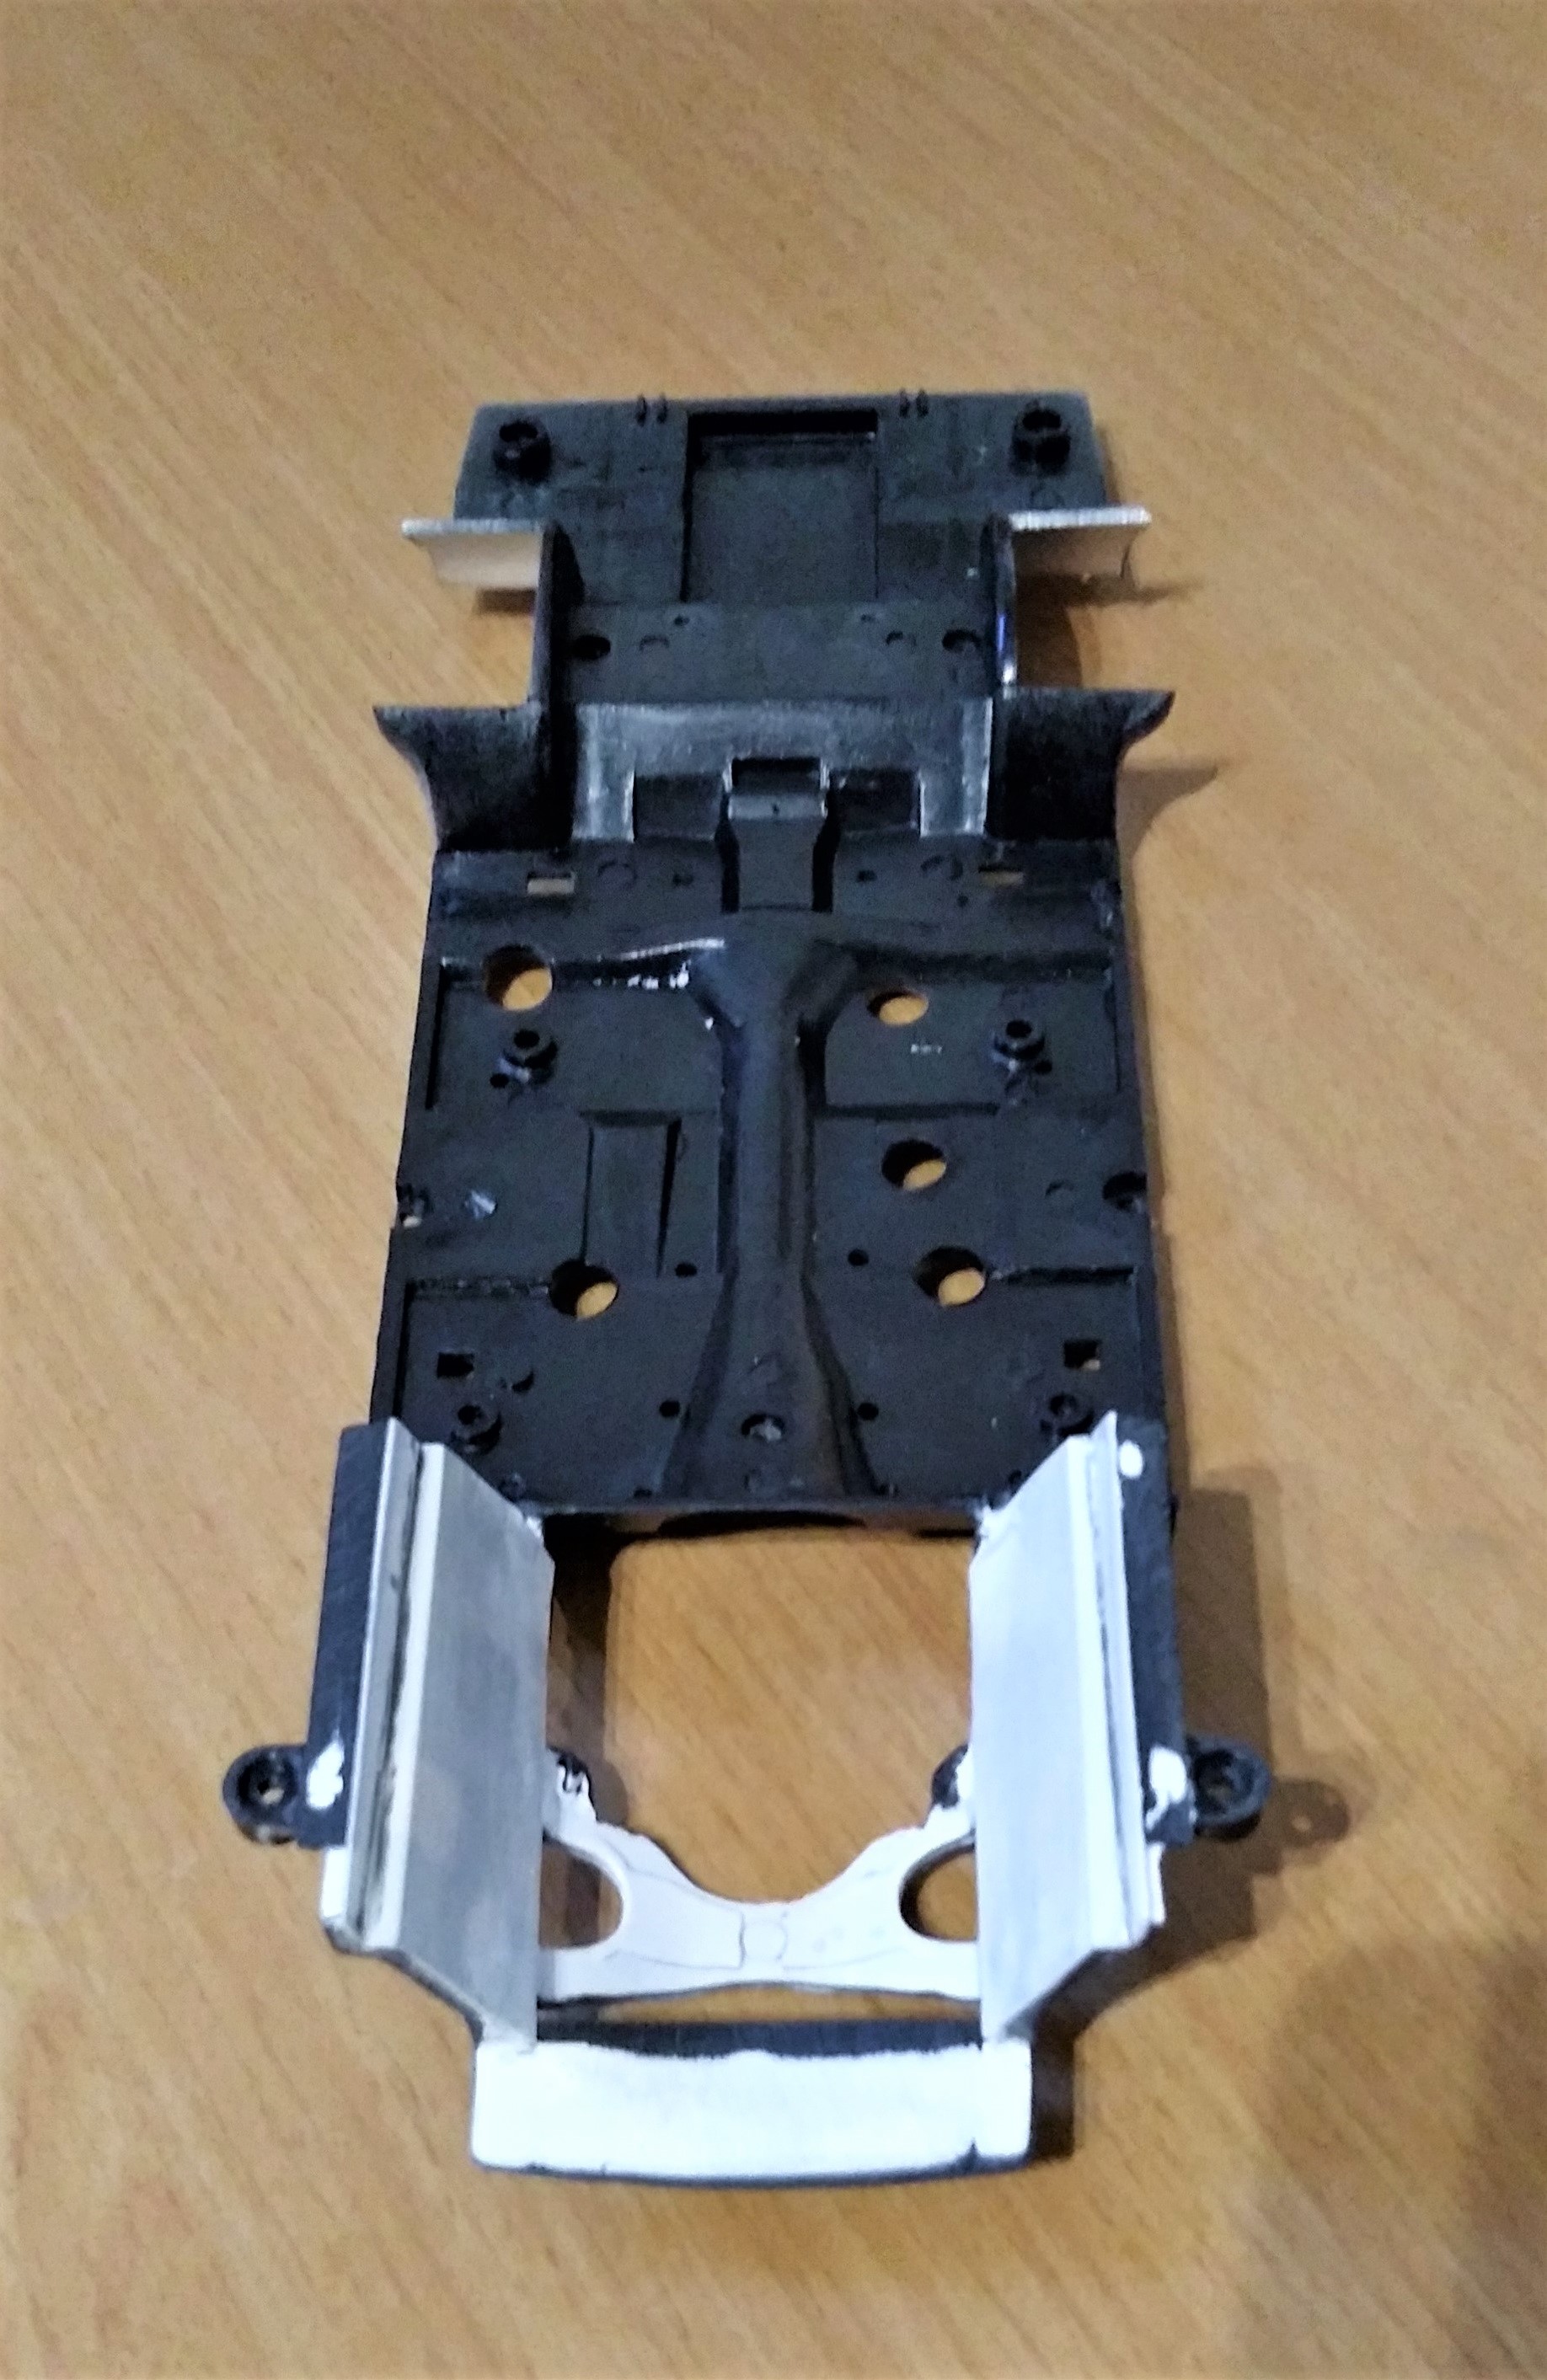
On the underbody, the gray tank was repainted in aluminum and the rest painted in black silk matt (in the original it was glossy):
-
1969 Plymouth Roadrunner pro charged
duffy-duck21 replied to duffy-duck21's topic in WIP: Model Cars
Here are also small progress again. The chassis was lowered street-legal (rims are not the final version). It is lowered by 6 mm. More was not possible because of the front suspension, otherwise they drag over the ground. The front and rear axles are still bolted to the original mounting points and thus no wild glutinous is necessary. Here's the comparison before and after:
-
1969 Plymouth Roadrunner pro charged
duffy-duck21 replied to duffy-duck21's topic in WIP: Model Cars
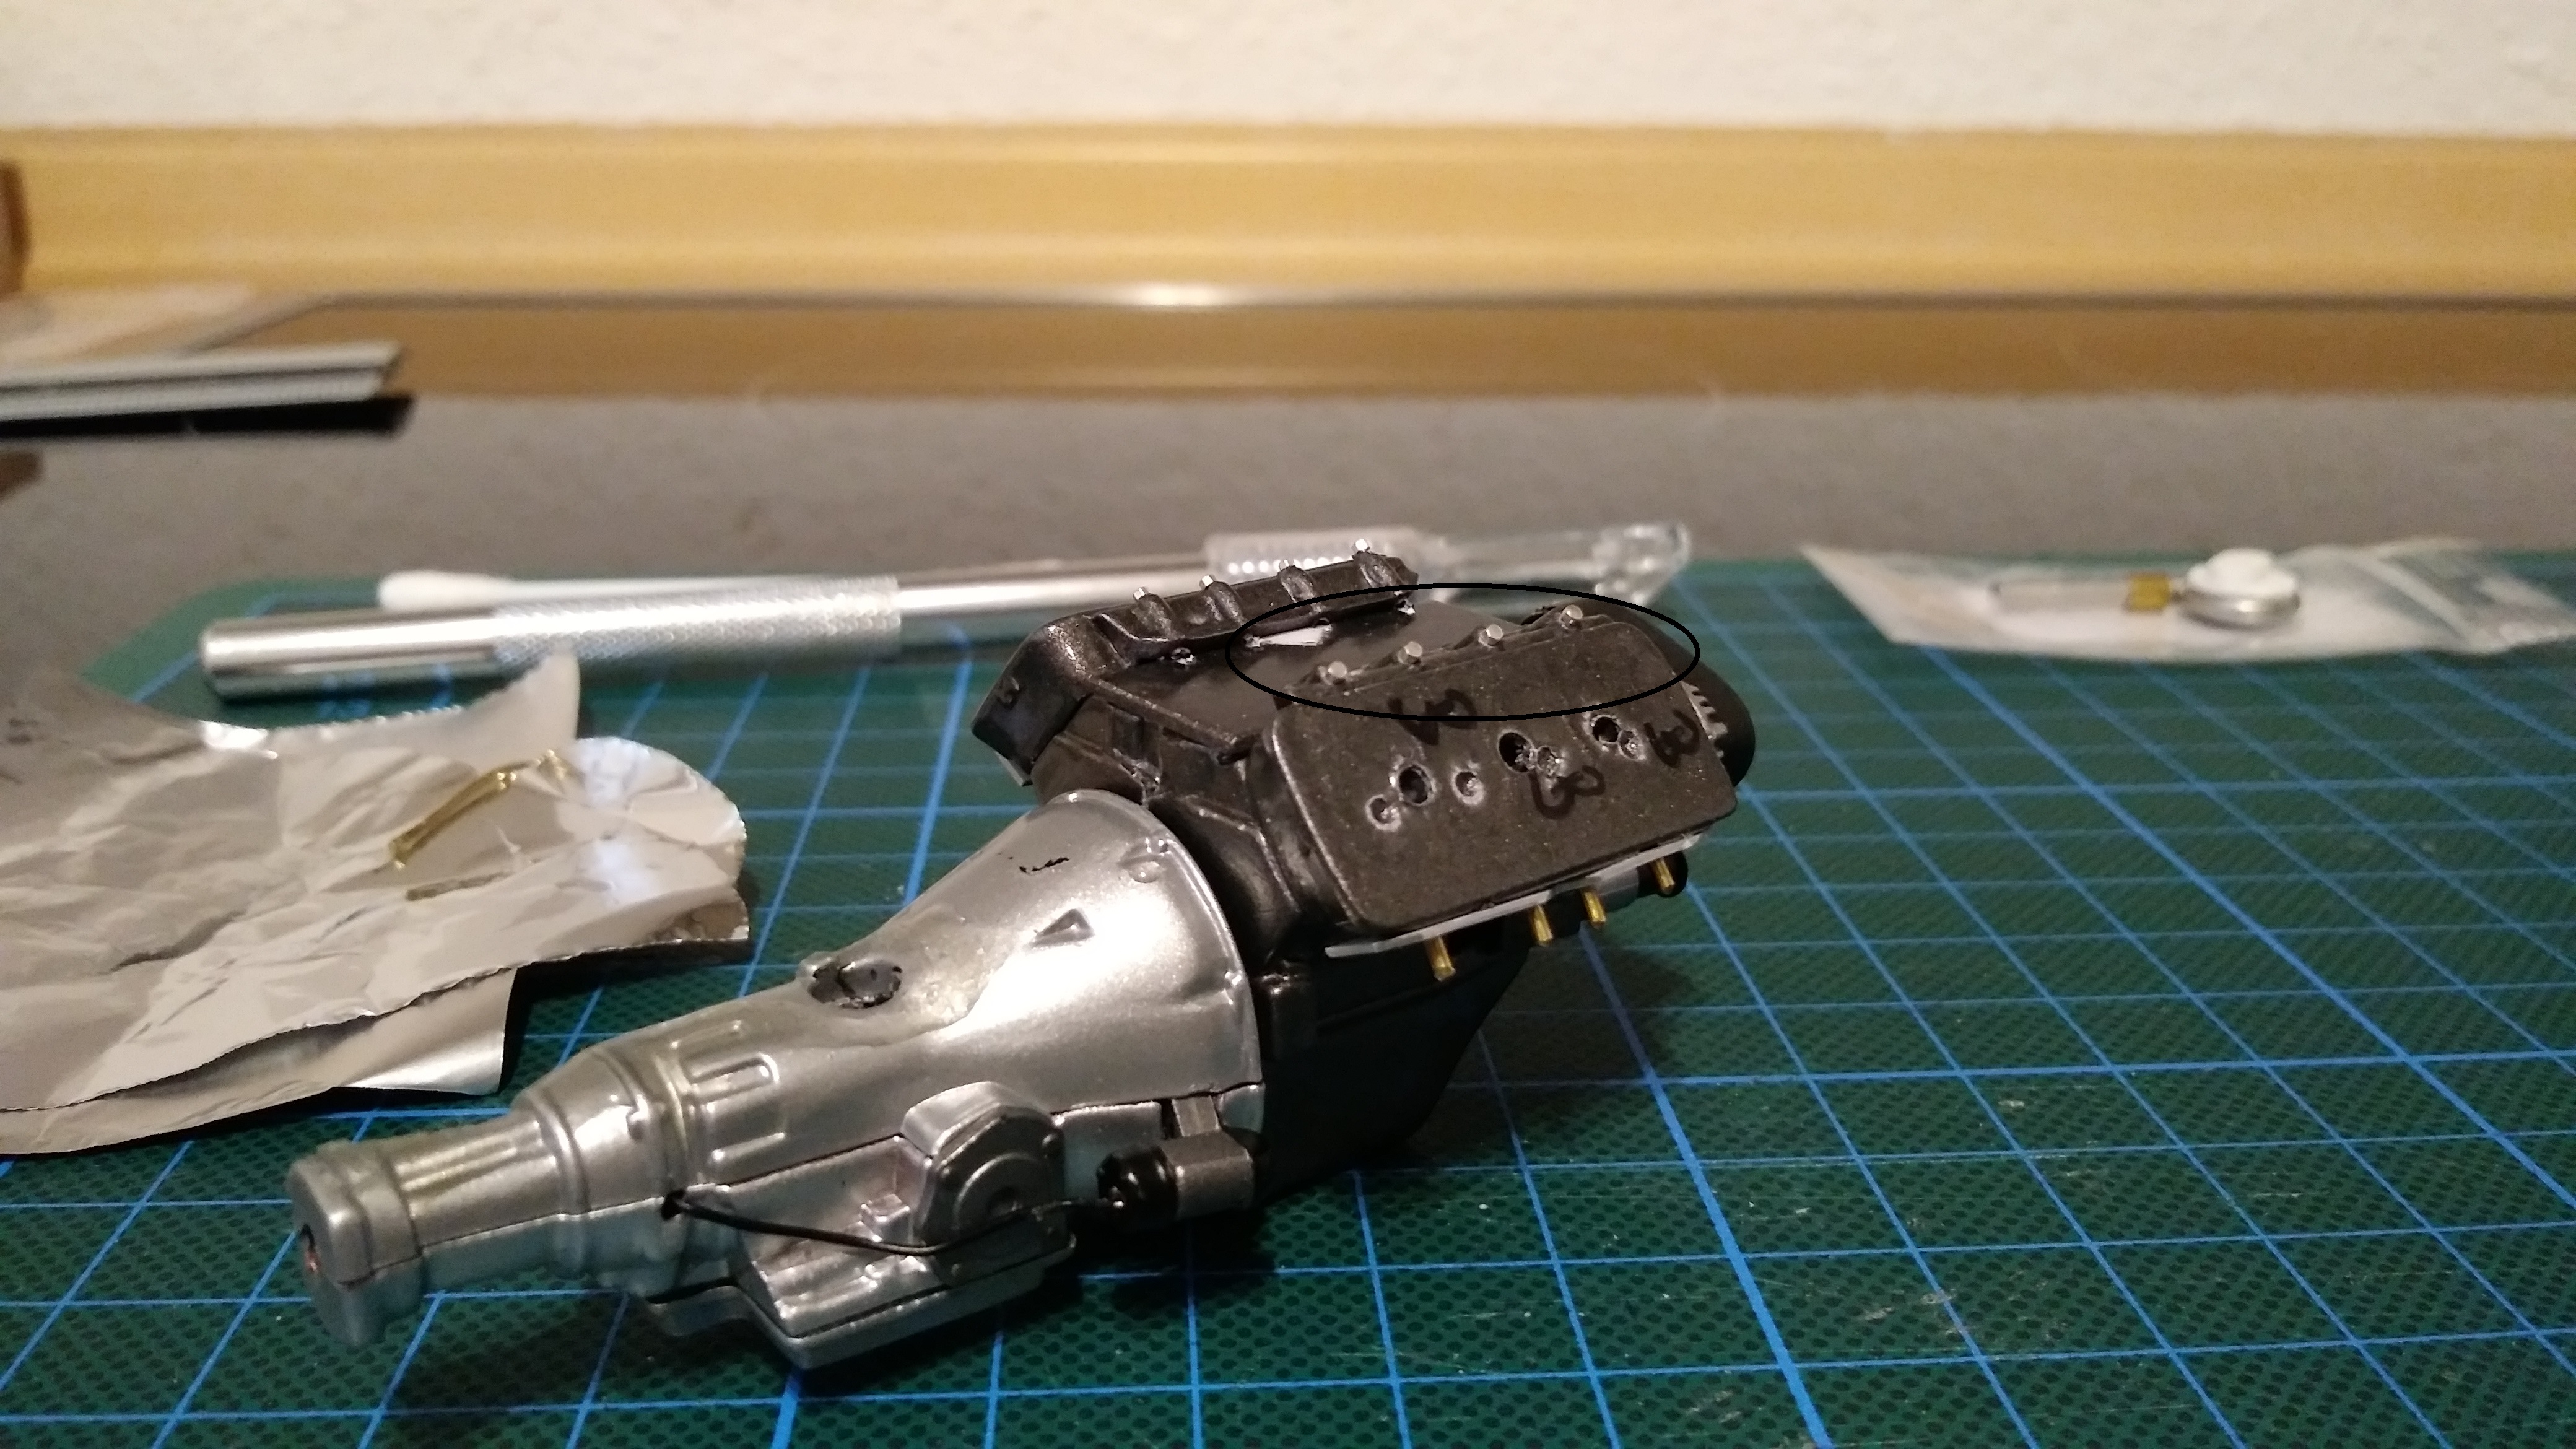
The valve covers are from the original engine. Above the valve covers, fuel rails made of carbon were mounted. The matching A / N fittings will be installed a little later.
-
1969 Plymouth Roadrunner pro charged
duffy-duck21 replied to duffy-duck21's topic in WIP: Model Cars
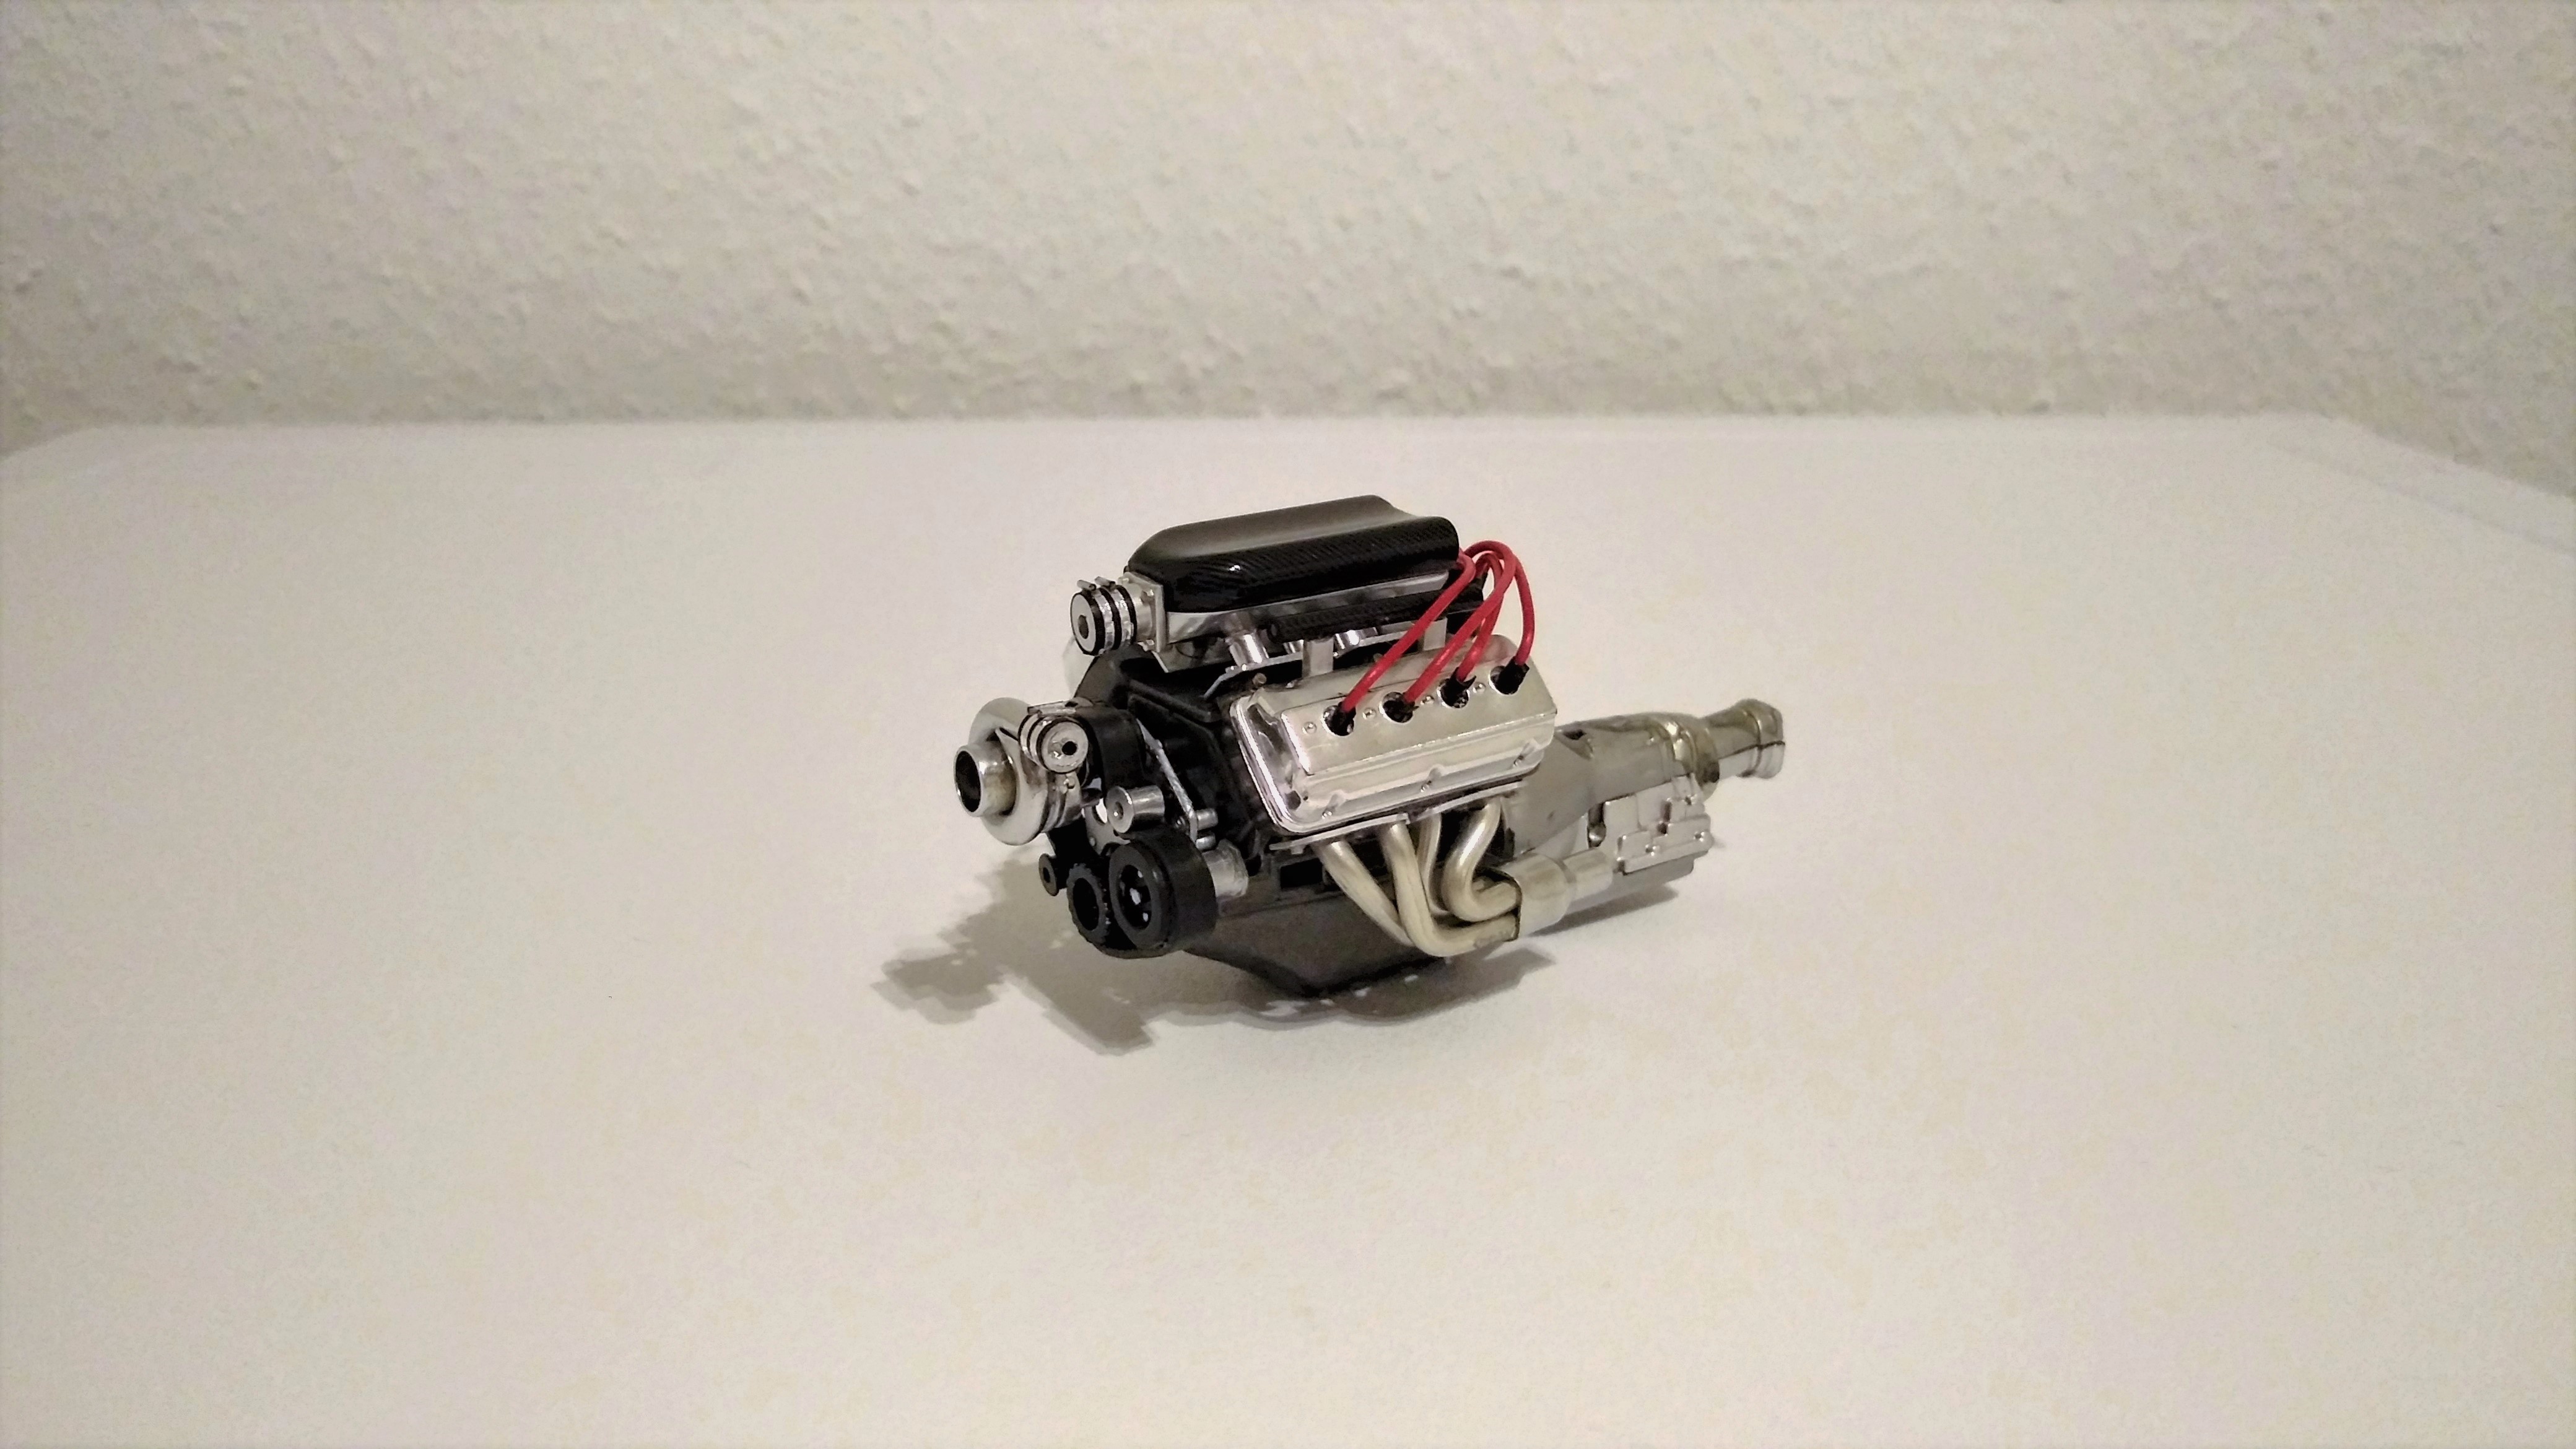
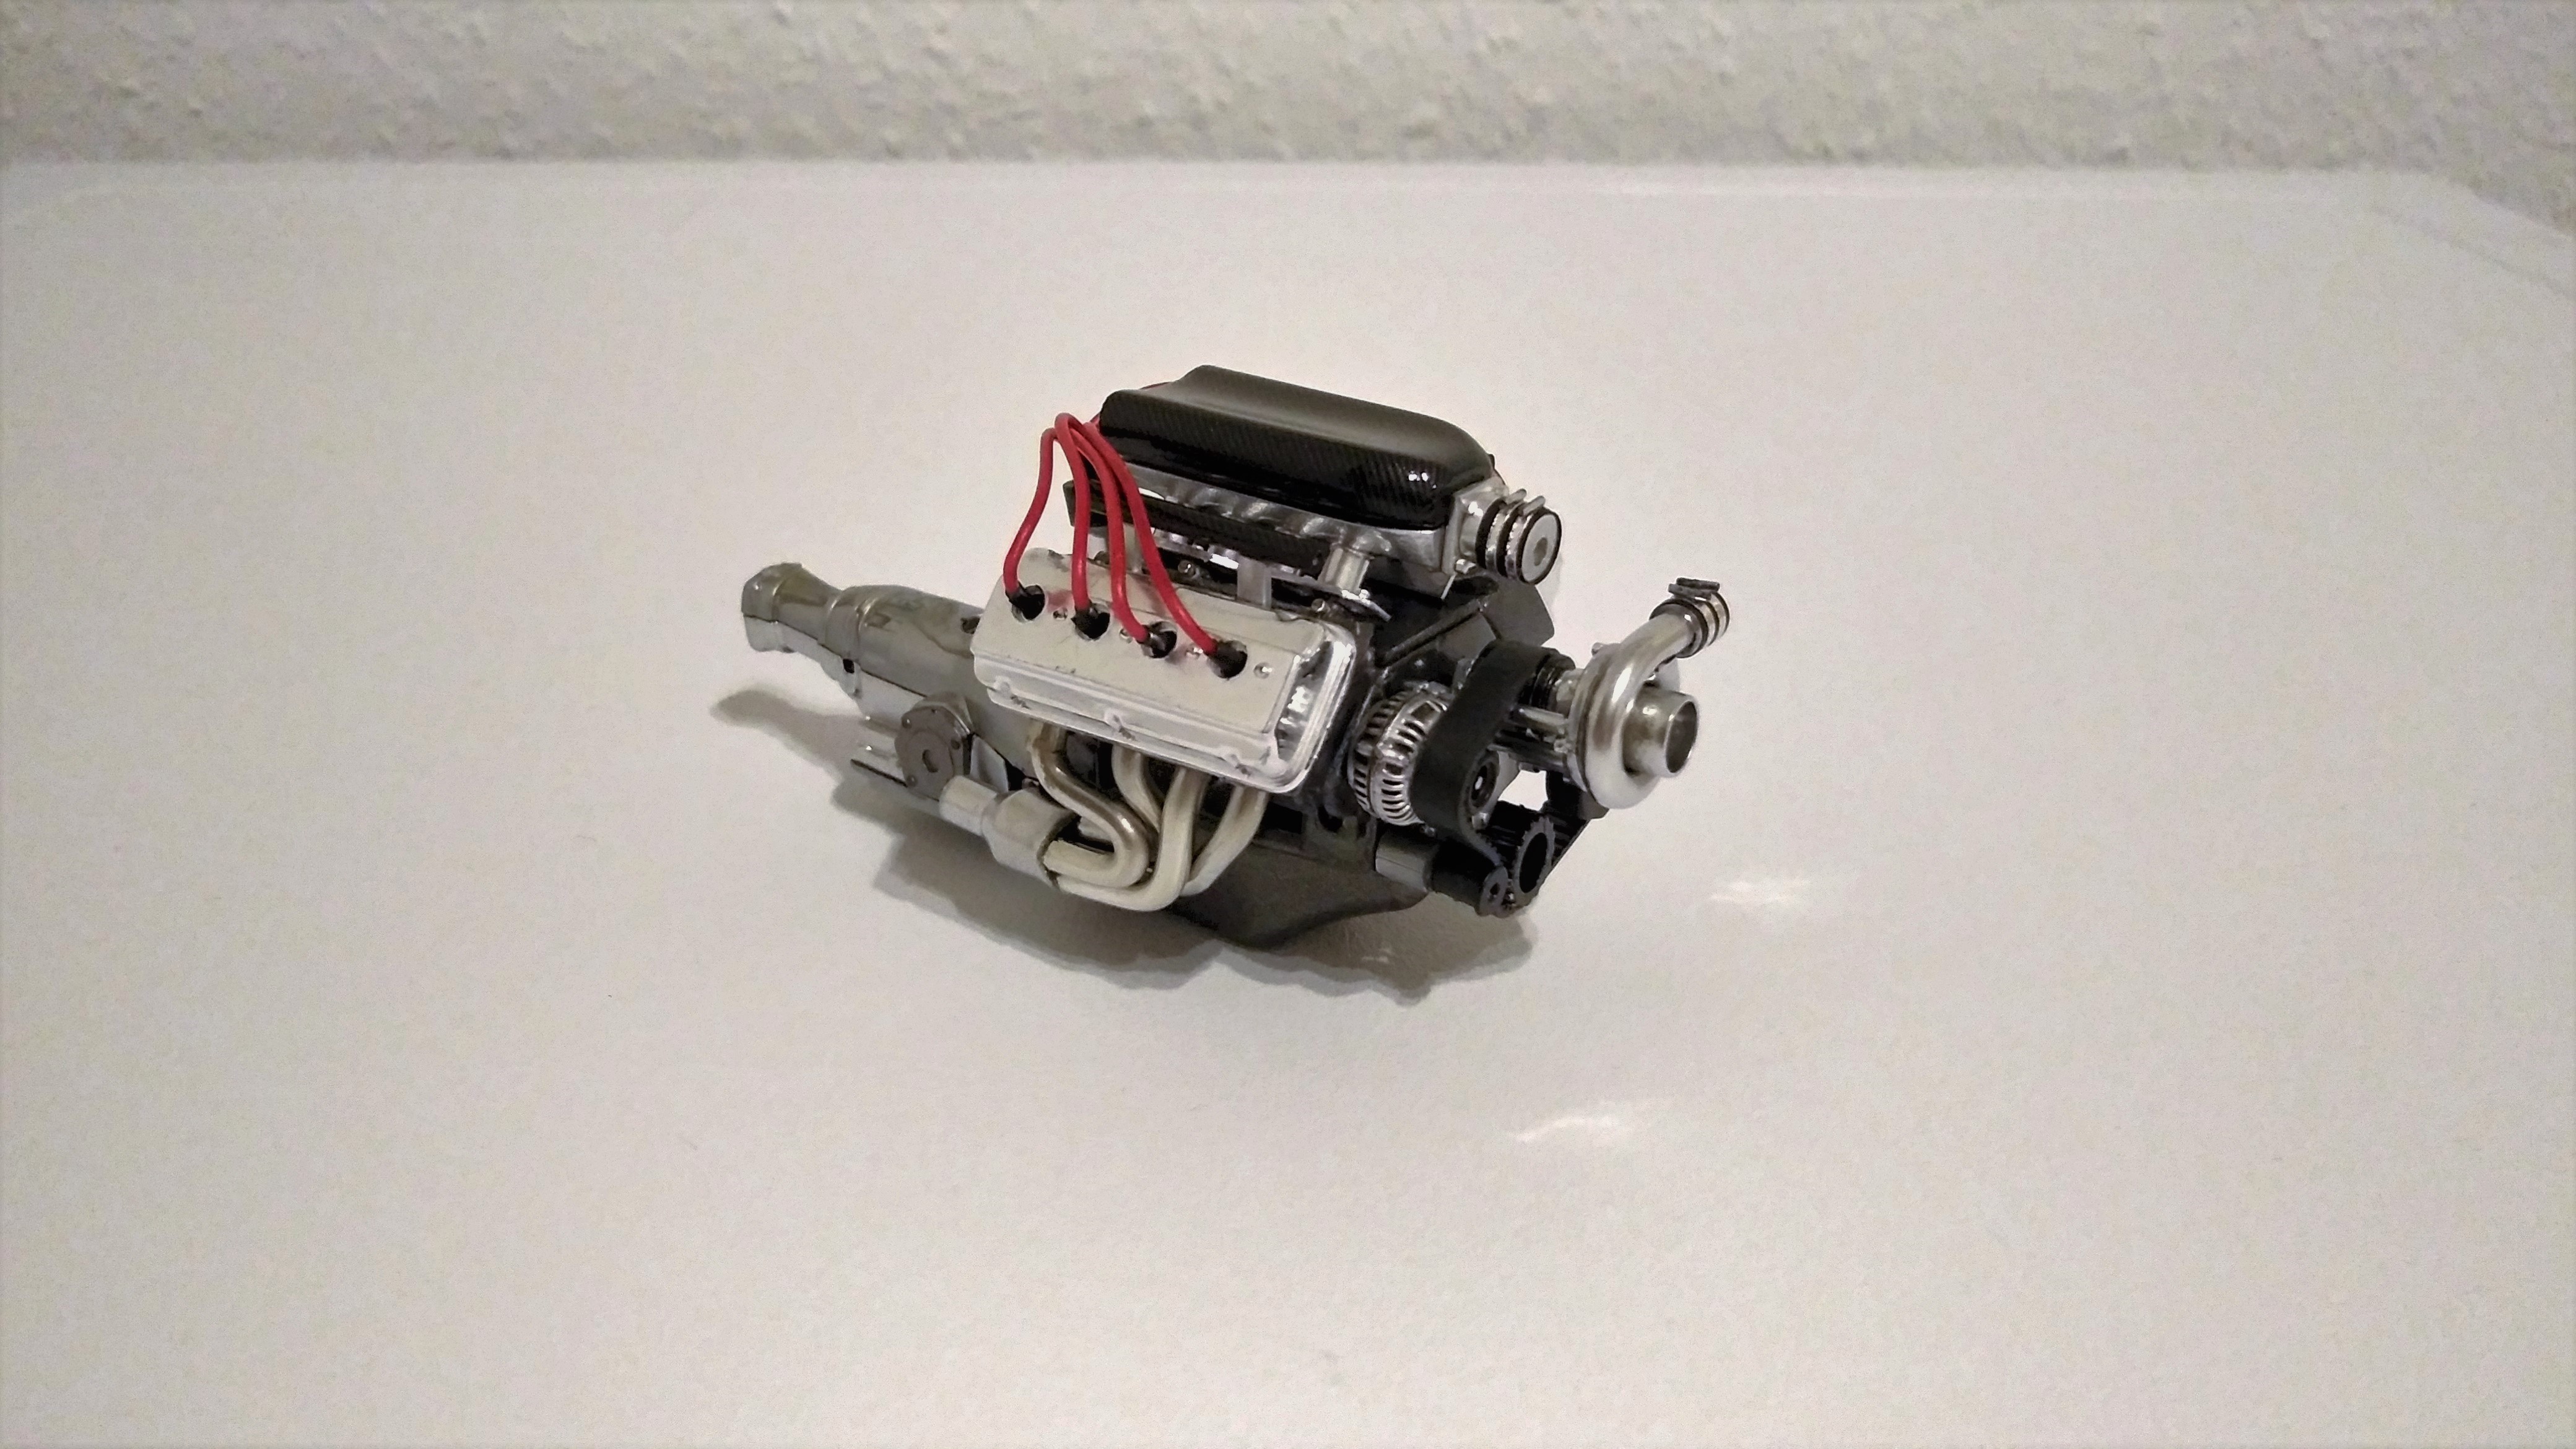
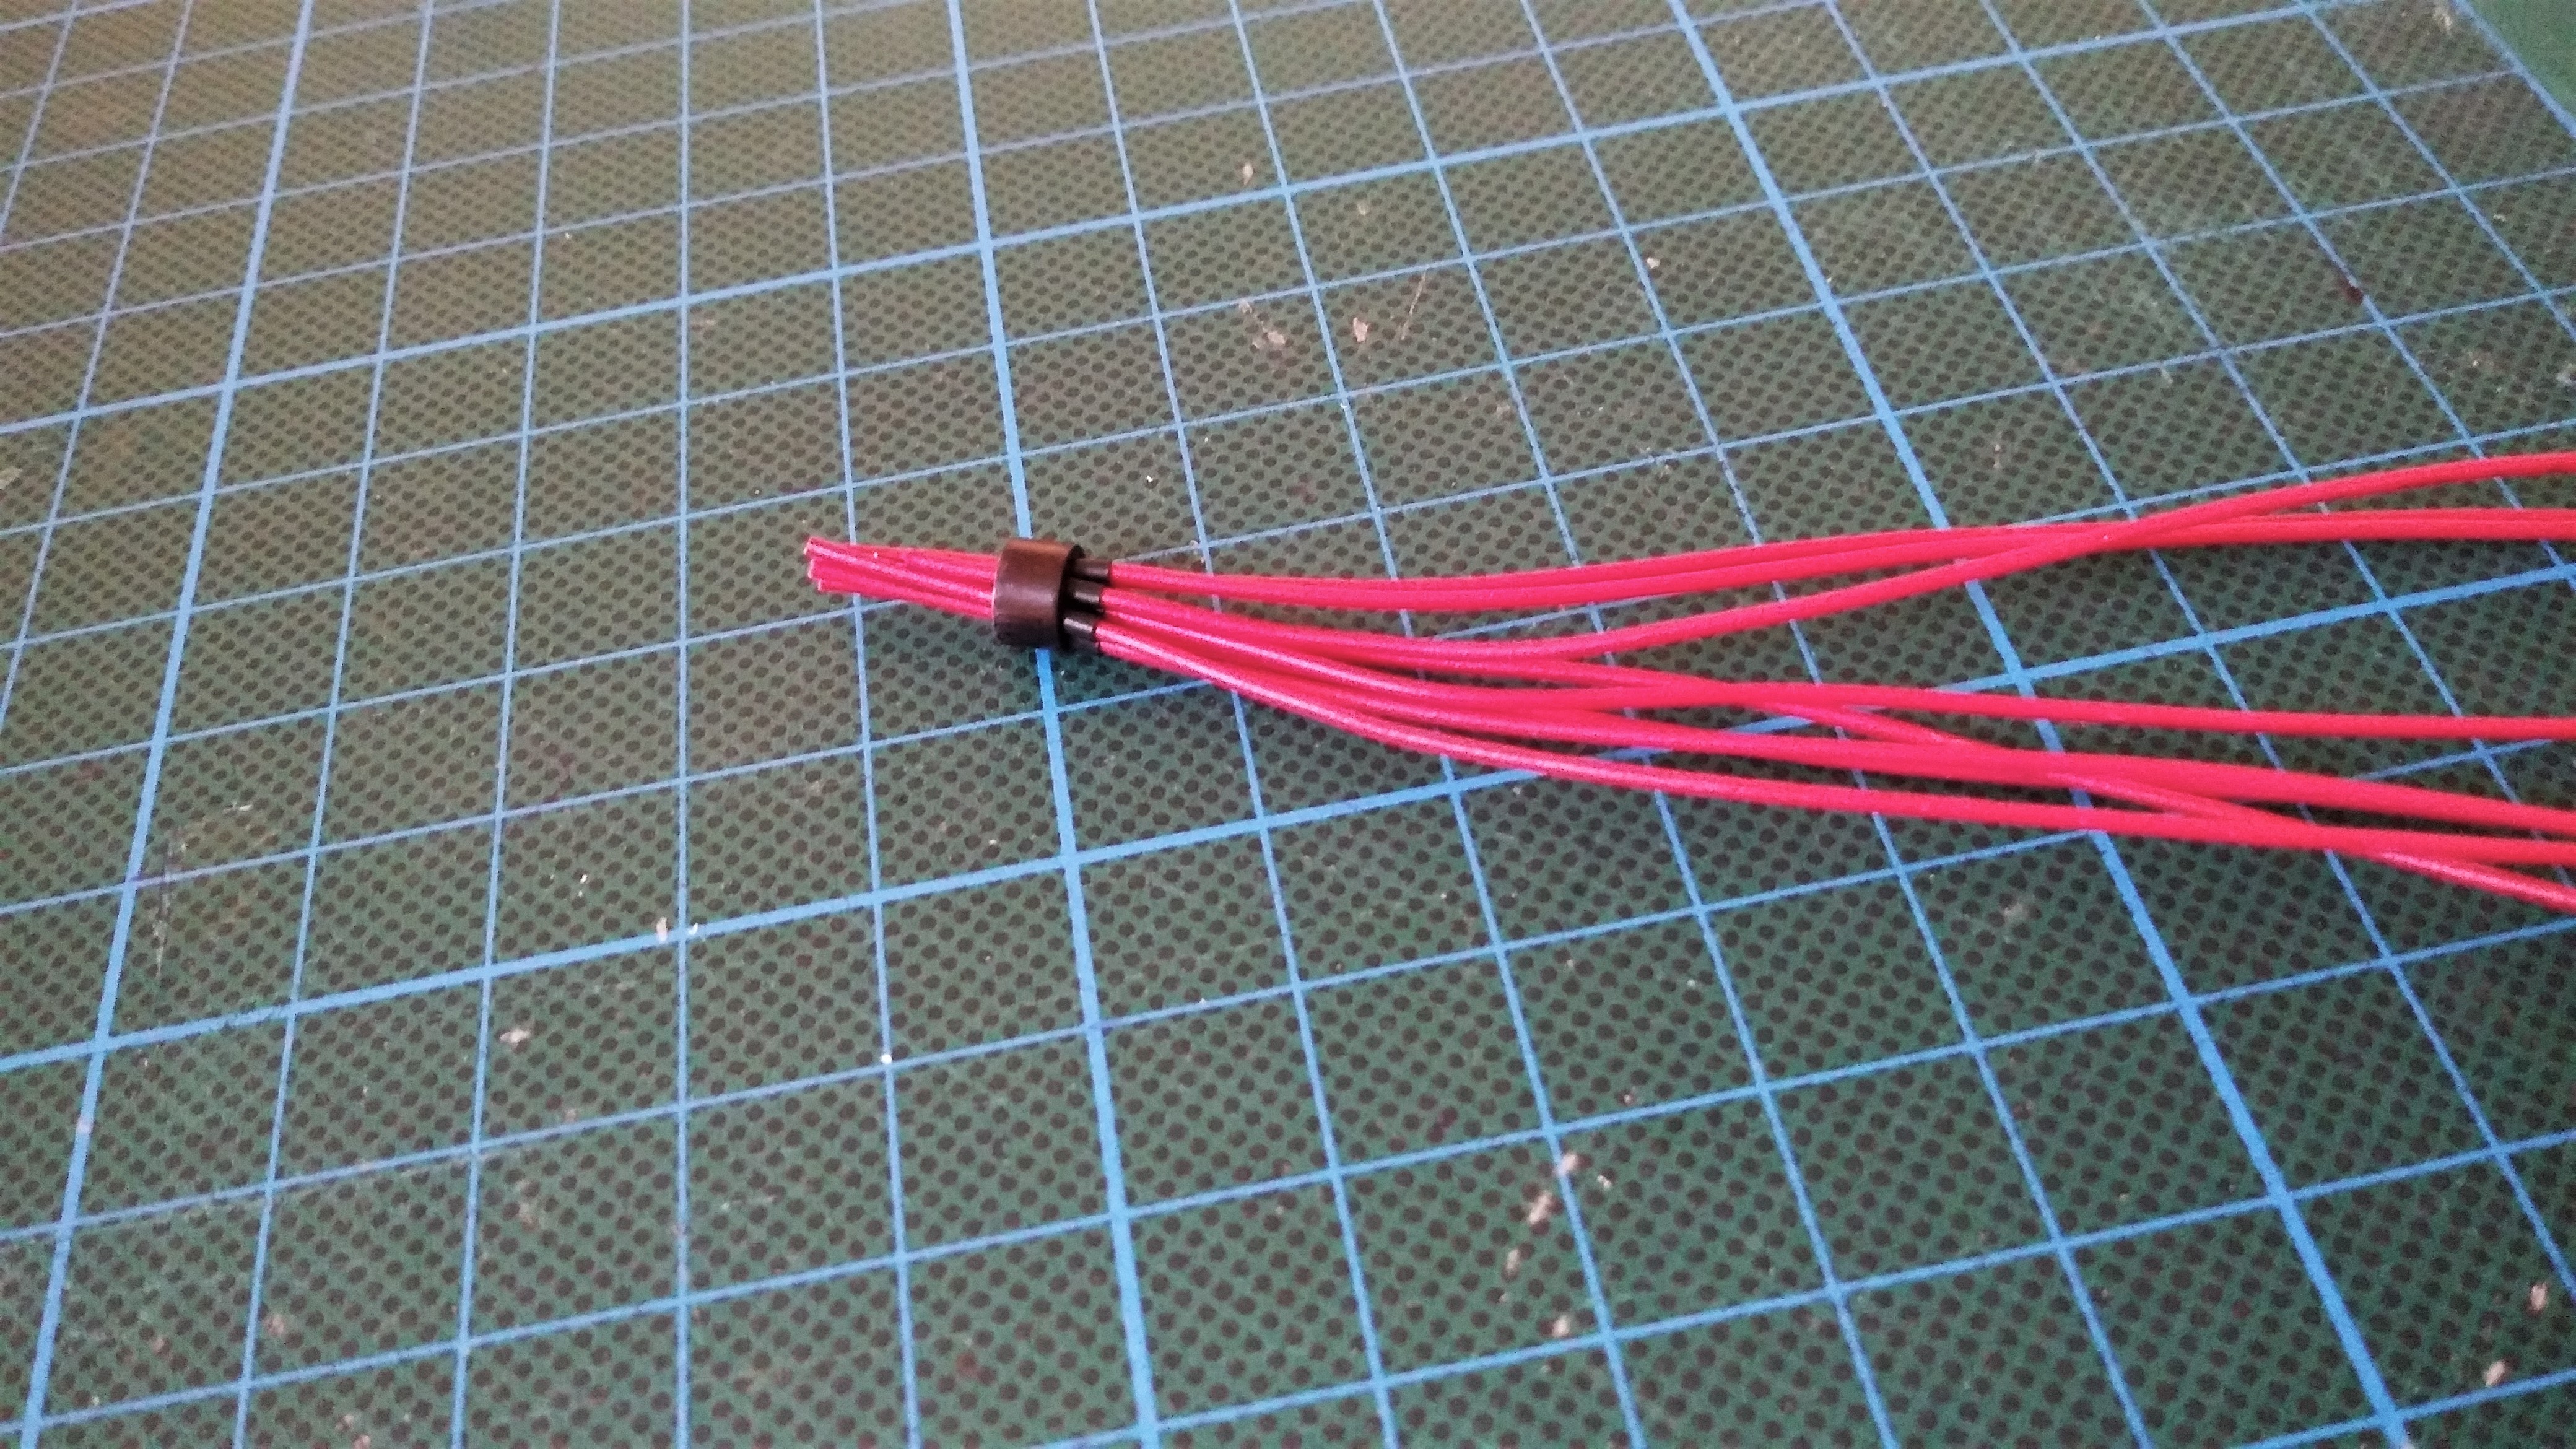
The engine has largely finished today. I have built a new ignition coil including cables. The ignition plugs are made of insulating tape (so it does not come loose: apply a small amount of superglue on the ends).
-
1969 Plymouth Roadrunner pro charged
duffy-duck21 replied to duffy-duck21's topic in WIP: Model Cars
Also made were the radiator and intercooler. The Pro-Charger can be driven with or without intercooler. But just the option to cool down makes it very interesting compared to the supercharger. Here, too, I made use of my experience of the Viper engine during construction: polystyrene plates, Evergreen ribbed plate and, as always, a lot of sanding.
-
1969 Plymouth Roadrunner pro charged
duffy-duck21 replied to duffy-duck21's topic in WIP: Model Cars
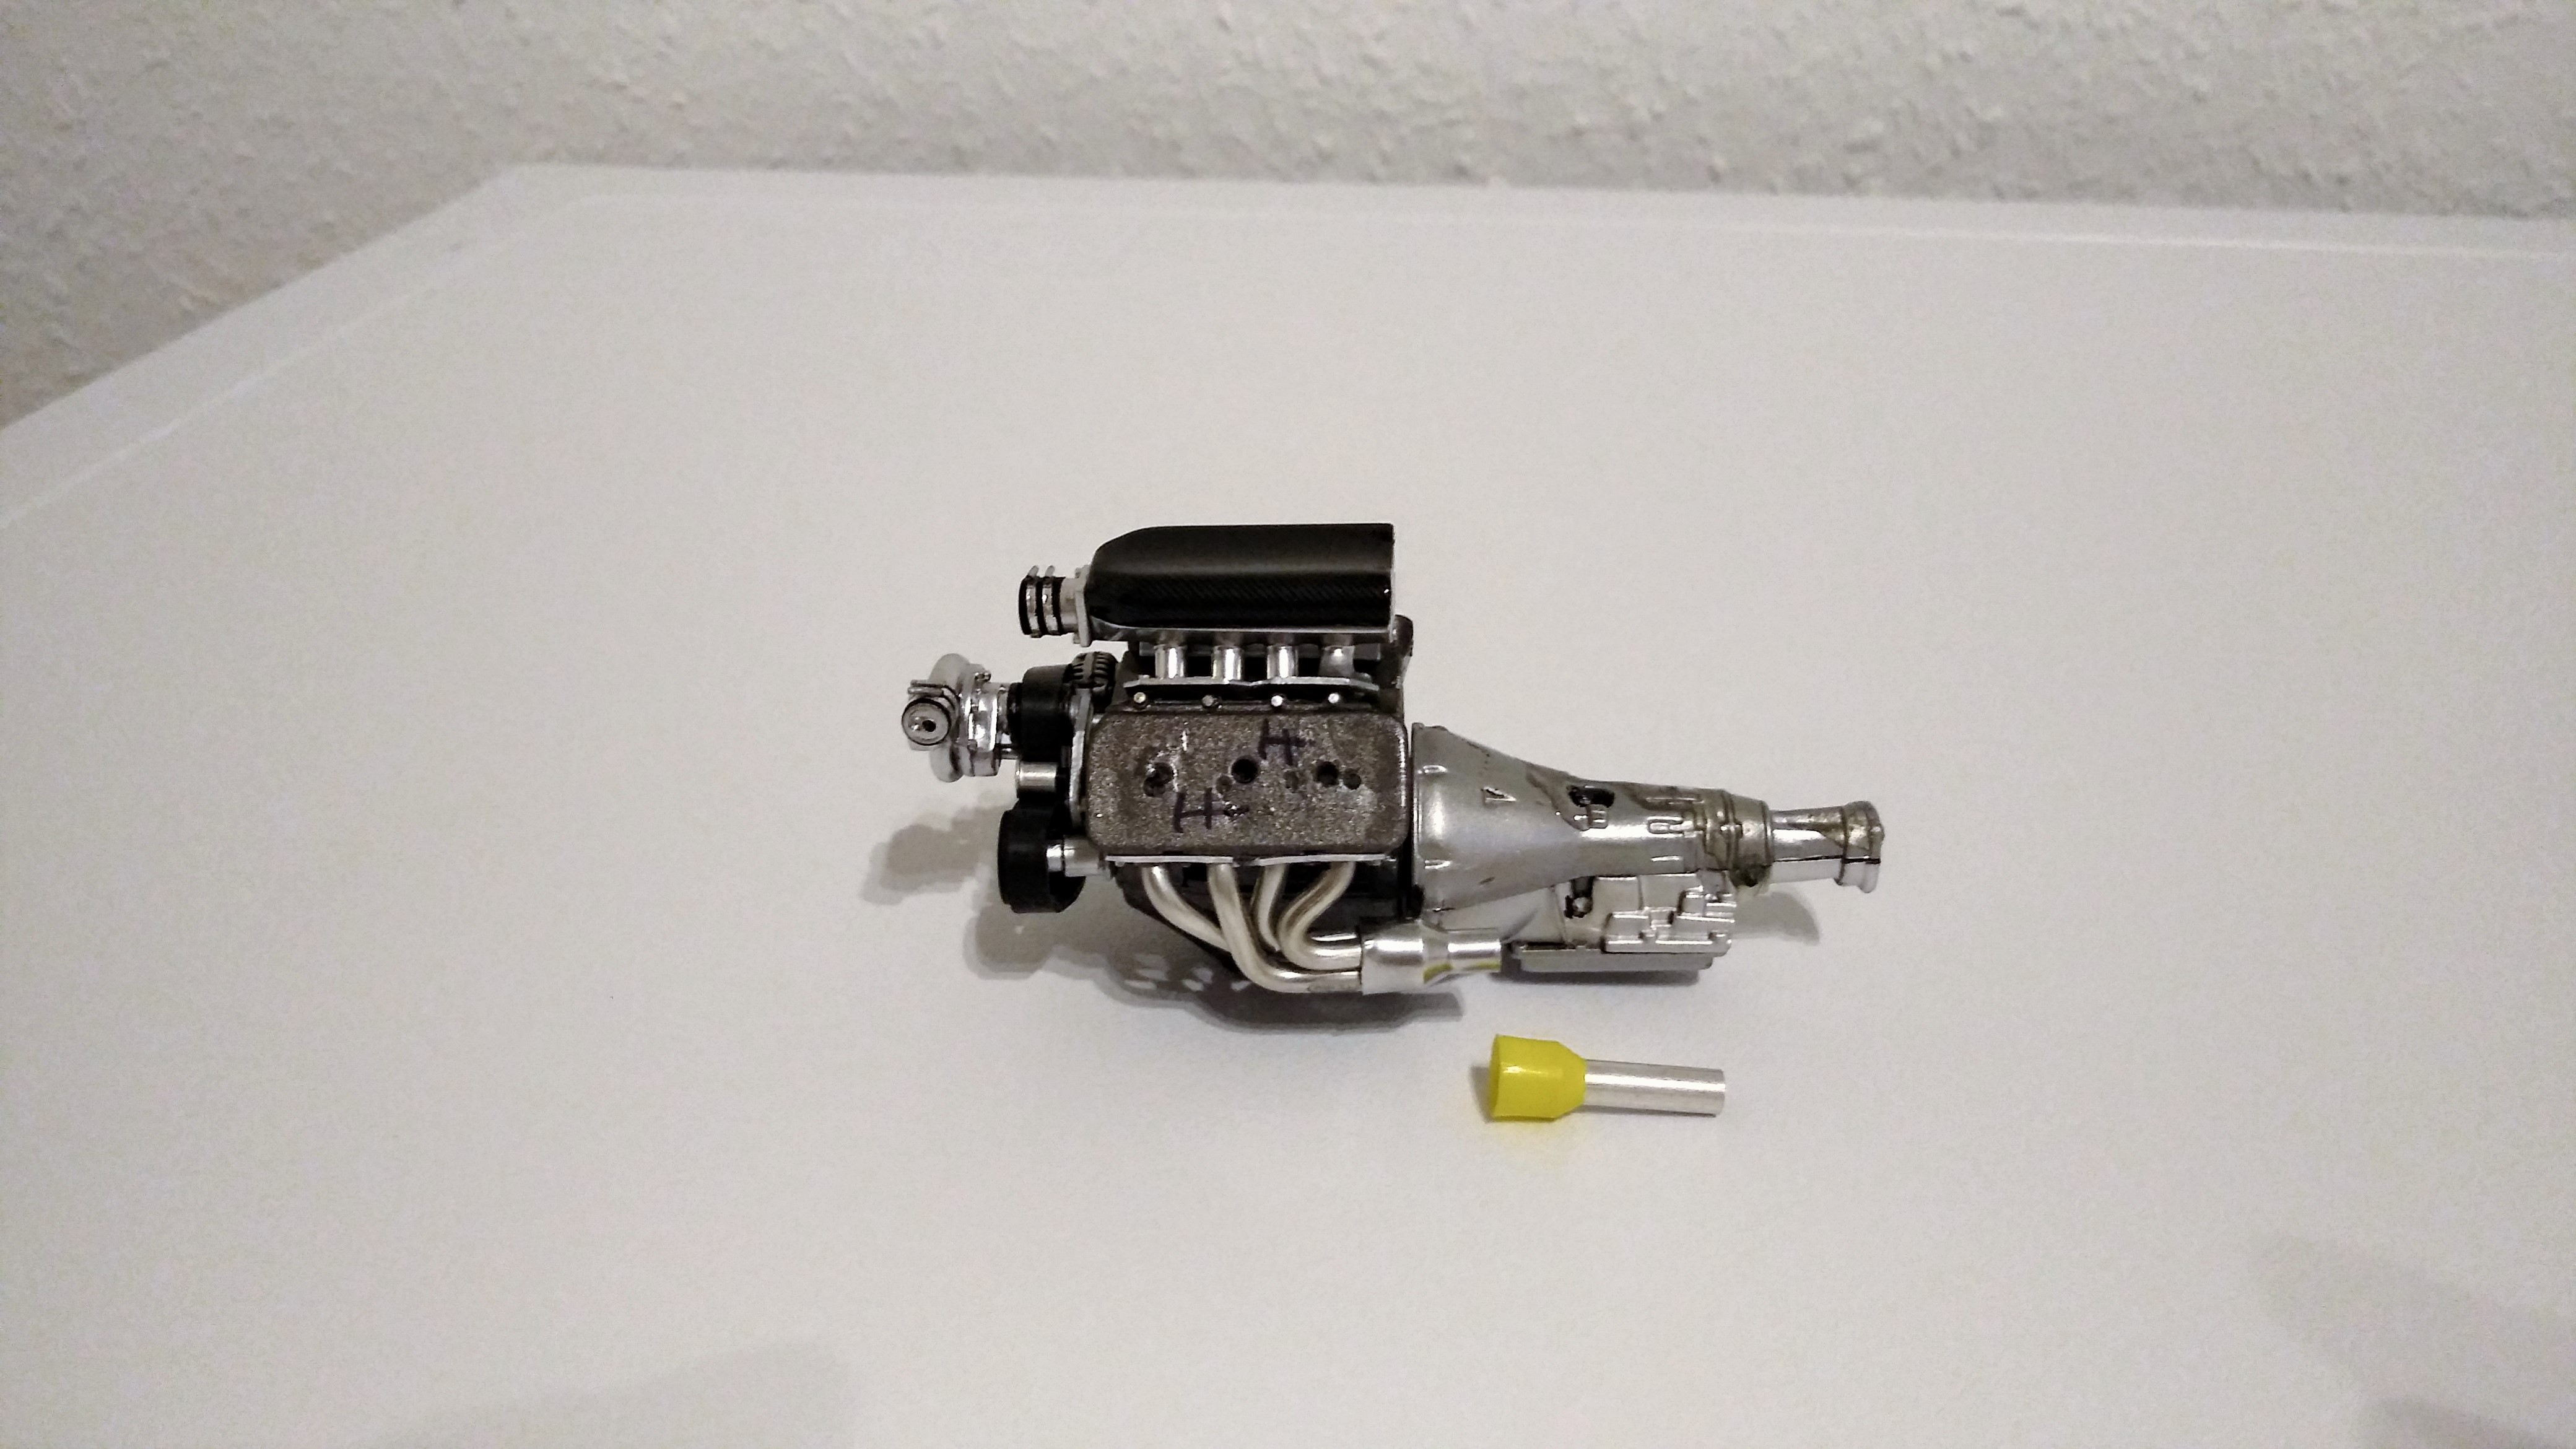
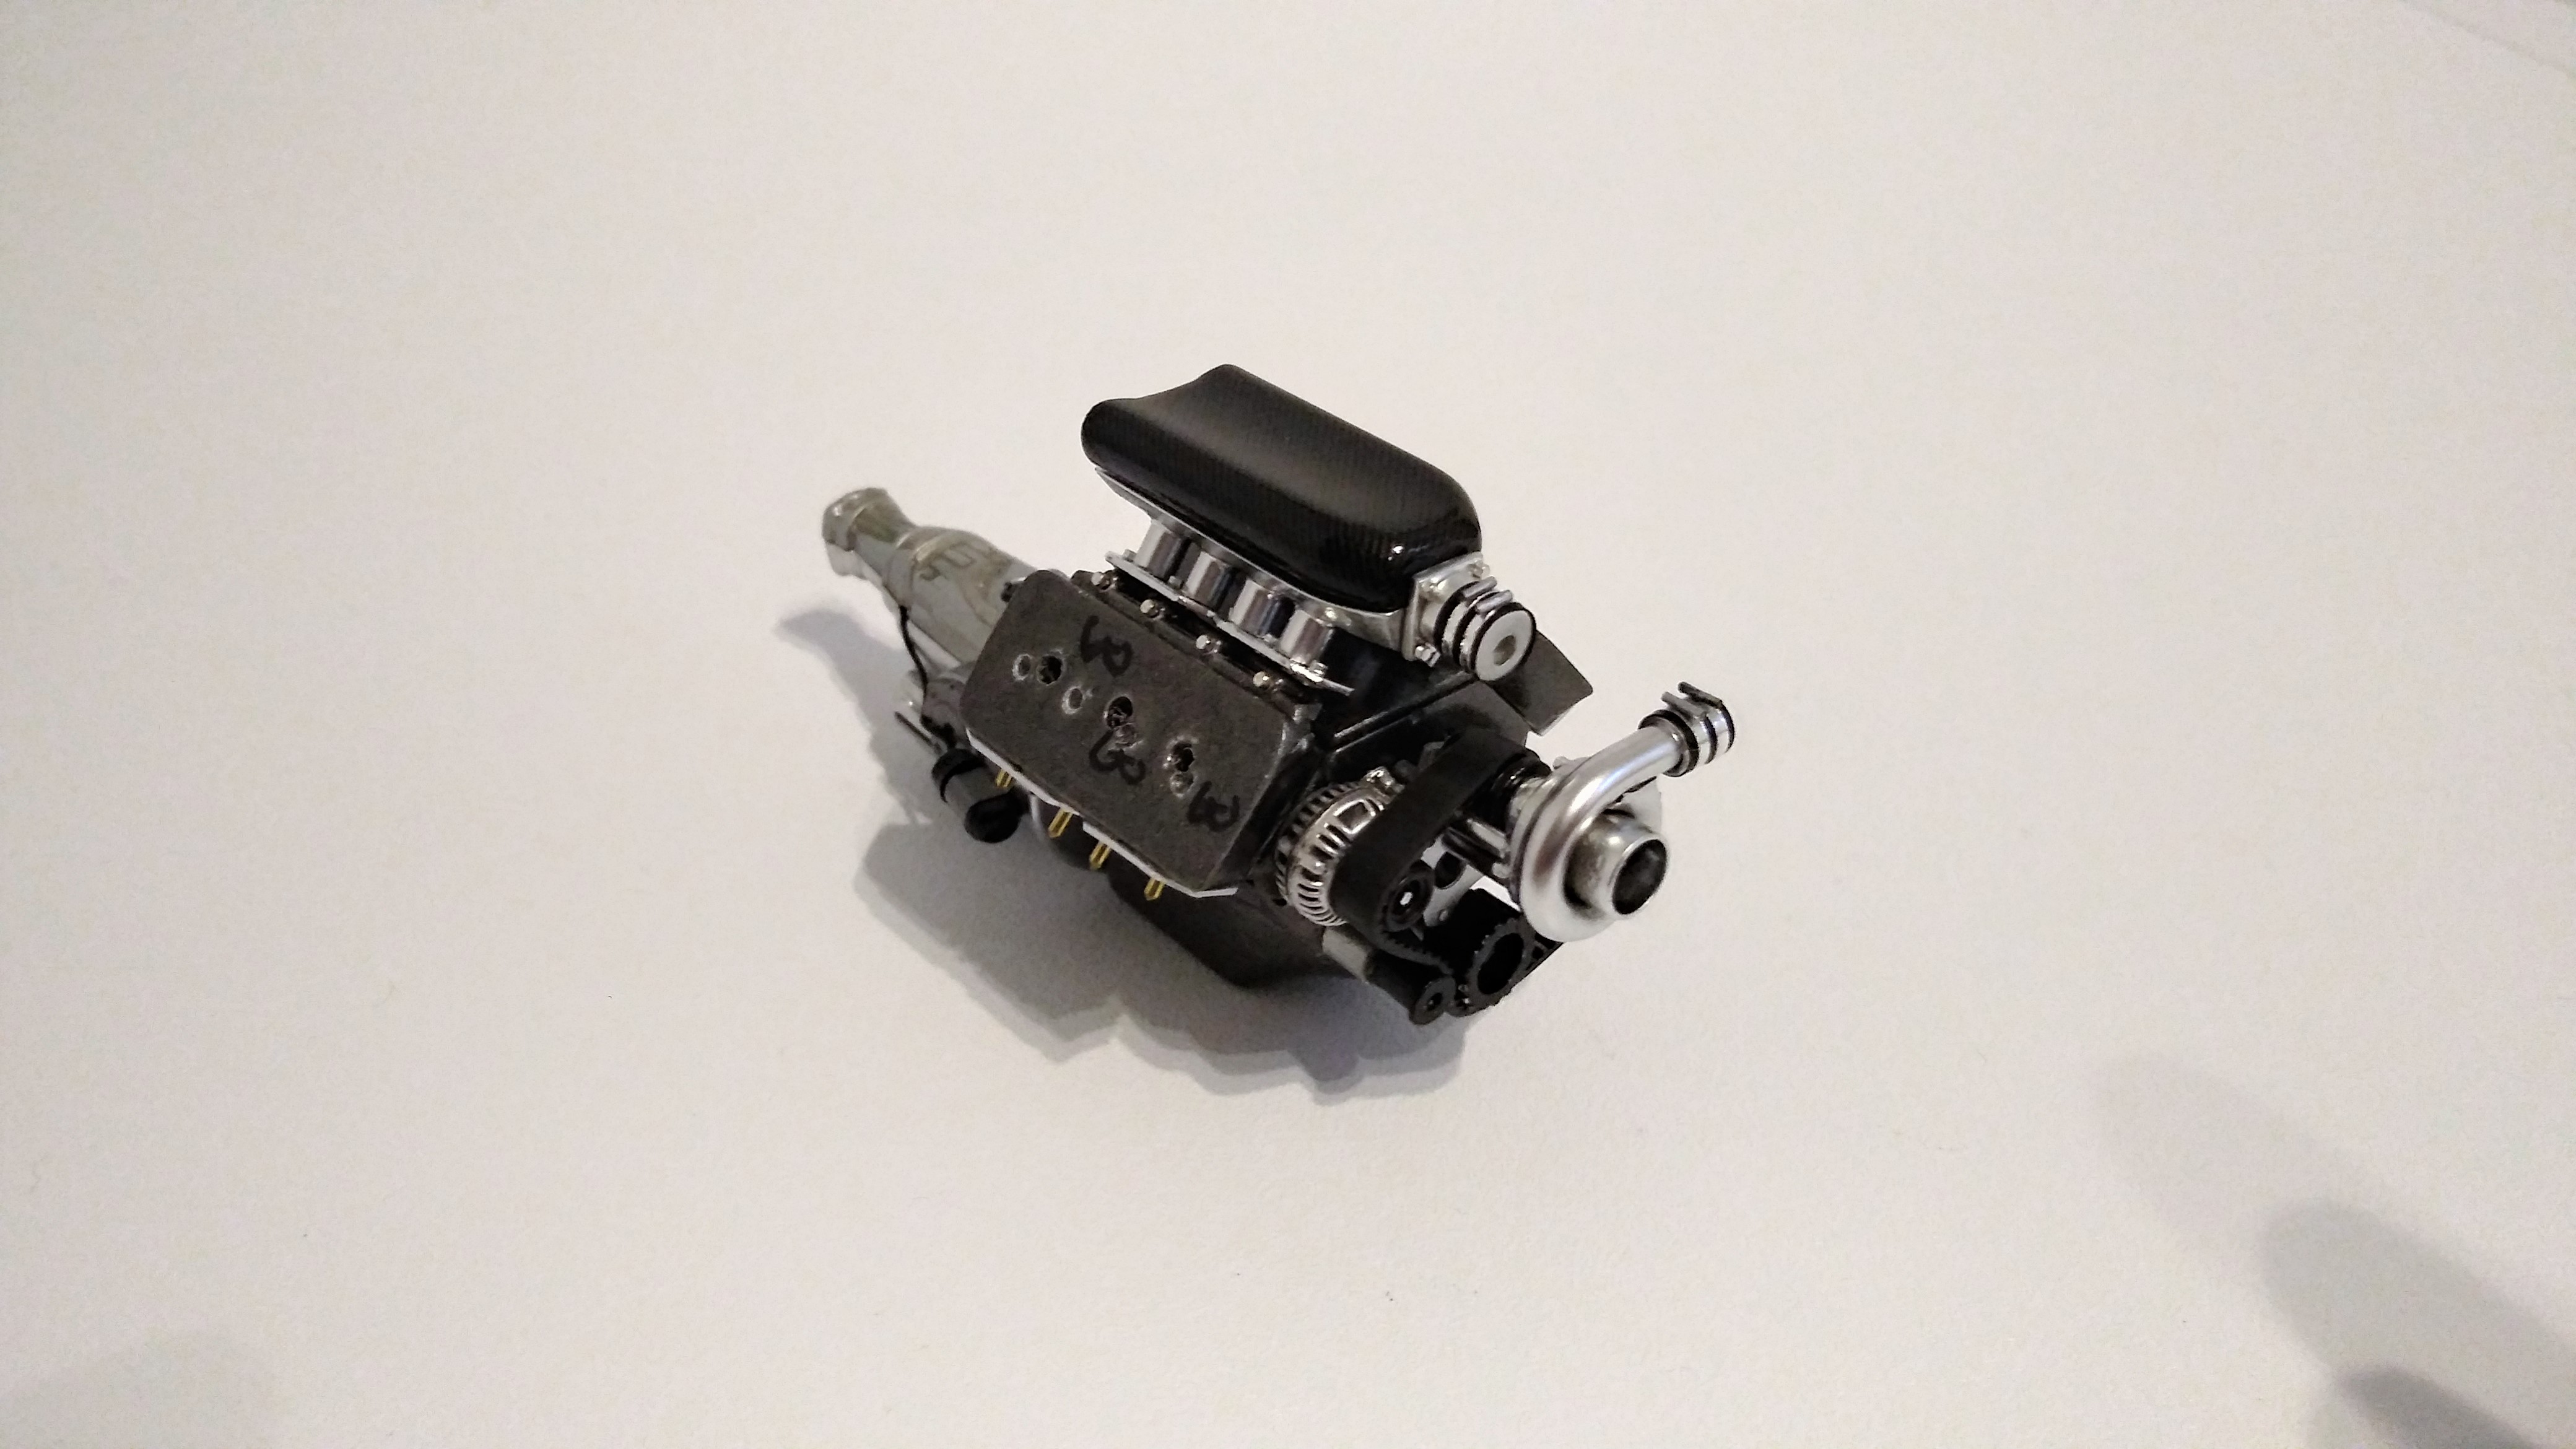
After the fourth start and 3 evenings, the manifolds are now under the cylinder heads. The procedure or materials are the same as for the Viper engine: the pipes consist of 3mm fitting solder and the collector of a wire end ferrule. I'm not completely satisfied with the result, but everything stays that way now.
-
1969 Plymouth Roadrunner pro charged
duffy-duck21 replied to duffy-duck21's topic in WIP: Model Cars
I`m using decal foil from Belkits, Softer and top coat from MrHobby. -
1969 Plymouth Roadrunner pro charged
duffy-duck21 replied to duffy-duck21's topic in WIP: Model Cars
The Pro Charger had time to dry overnight and was installed today. The throttle valve unit was also mounted to the air intake housing (again with M0.6 screws). The hose clamps consist of a strip of insulating tape, bare metal foil and wire.
-
1969 Plymouth Roadrunner pro charged
duffy-duck21 replied to duffy-duck21's topic in WIP: Model Cars
The base plates of the air intake pipes were then equipped with the 0.6mm screws. Subsequently, the air pipes were painted in polished aluminum and the air intake housing attached.
-
1969 Plymouth Roadrunner pro charged
duffy-duck21 replied to duffy-duck21's topic in WIP: Model Cars
The cylinder heads have also received on the top and bottom of the small M0.6 screws. To see how small the screws are, I put a cotton swab next to it.