PHPaul
-
Posts
346 -
Joined
-
Last visited
1 Follower

PHPaul's Achievements
MCM Avid Poster (5/6)
-
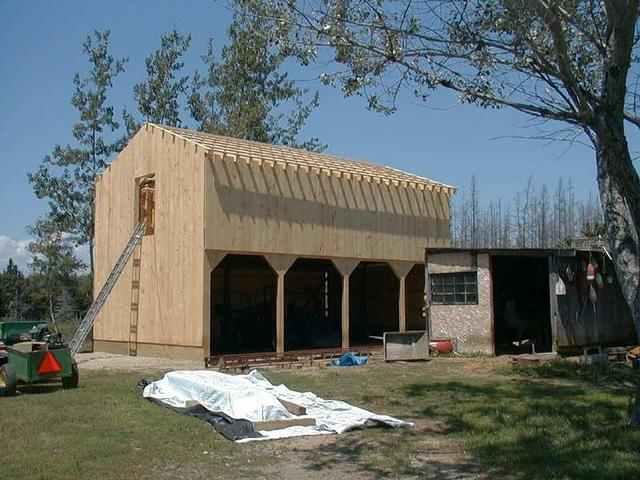
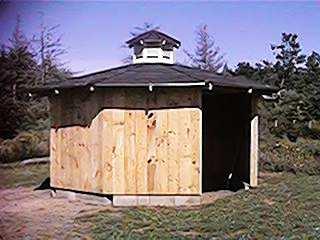
This is the 1:1 barn I built in 2001 when I was raising sheep. Needed hay and equipment storage space. This will be going on the diorama when finished. This is the sheep shelter I built to cover their hay feeder and give them a place to get out of the rain if they wanted. Just waiting on my scale sheep.

-
Exactly. One of the reasons I enjoy it so much. I like to tuck a few inside jokes here and there too.
-
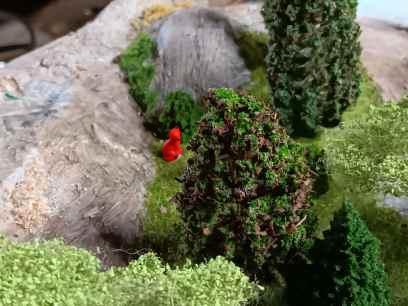
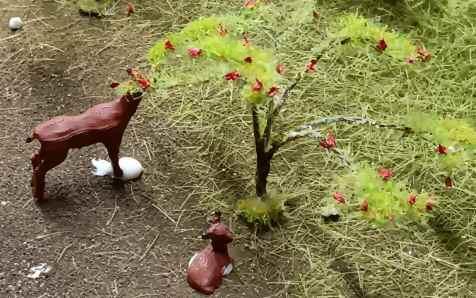
Put a new glass bed on the 3D printer and am able to print small objects again after months of struggling with adhesion issues. This is a fox sitting in the woods watching for lunch. A doe and a fawn cleaning up apples in the orchard. A buck watching from the woods.
-
Thanks. That was actually done in 4 pours/layers. The resin I used recommended no more than 200ml per pour to avoid overheating and flash curing. A previous attempt at tinting resin came out completely opaque and looked awful. This time around I used a different tinting medium and tried to sneak up on the darkness I wanted. I'd have liked to go a little darker but I was afraid of overdoing it.
-
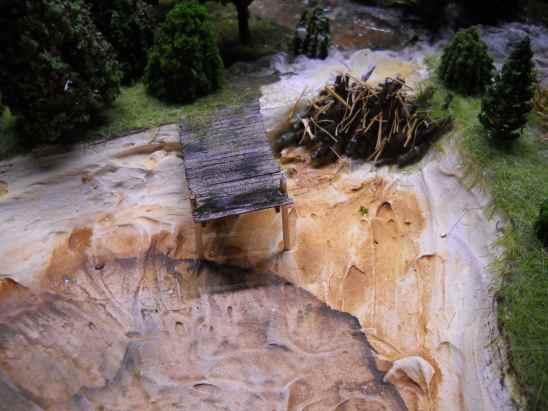
Looking at it now, I wish I'd have added some bottom debris and (if I could find any in an appropriate size) fish. I'll be adding details around the shore, I'm working on a beaver lodge and have 3D printed the beaver and a turtle. Need to find or mix appropriate colors to make the exposed bank look muddy.
-
Thanks, David. This is the part of the process I enjoy the most.
-
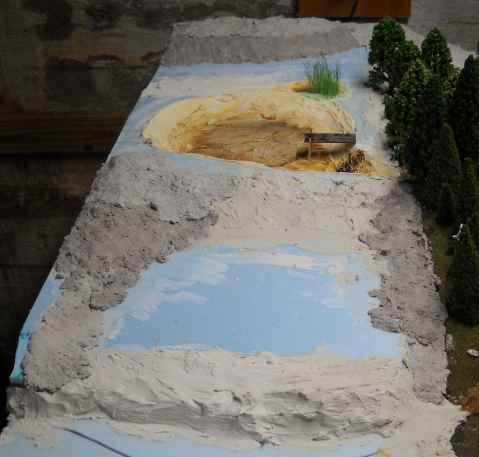
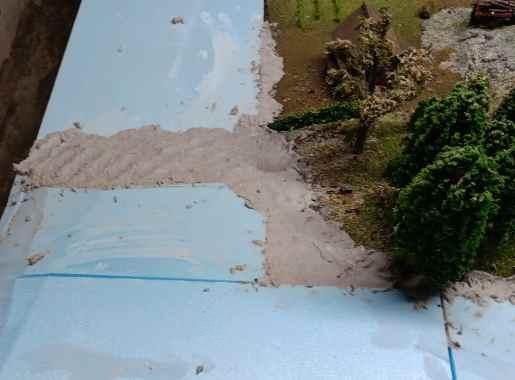
Got a good start on finishing the added acreage. The hill area in the back left corner has been expanded into the new area with a pond. Waiting on some resin tint for the water in the pond and cattail marsh. Still contemplating what to do with the flat areas. Do have one building in mind for the front to the left of the house.
-
After further testing, a couple of notes: 1. Blending the fiber goes MUCH faster and more thoroughly if you pre-soak the torn up carton in water with a drop of dish soap. I put it in to soak and went off to do other things so I don't know exactly how long but it was thoroughly soaked and I actually wrung it lightly before popping it in the blender. 2. This should have been obvious, but the more plaster you add the quicker and stronger it sets up. Of course working time is reduced but not inconveniently so.
-
NOBLING is correct, styrofoam insulation board. Great for building up thickness, light and easy to carve with a hot knife.
-
Very nice! Judging by your wall art, we could be brothers. I'm 3/4 German as well. What did you use for your roof slate?
-
Sounds amazing. Looking forward to more pictures!
-
Looks like a great start! What will you be finishing the exterior of the garage with?
-
Sculptamold is a common material for building larger terrain features. It's basically paper fiber mixed with plaster powder and works much like plaster but is lighter and goes further than plain plaster. However, it is - at least on my budget - expensive with a 3 pound bag running around $20US. For larger dioramas and model train layouts, 3 pounds doesn't go very far. There are a number of Youtube videos on how to make your own. The consensus seems to be that the best source of paper fiber is the gray paper egg cartons. The cartons are torn up into small pieces and then chopped into fine fibers with a blender. The video I watched chopped them dry, but that didn't work worth a hoot in my old cast-off single knife blender. After some experimentation, I found the following "recipe" works best for me: 1 egg carton 20oz of water 2 cups of plaster of paris. Put about half the water in the blender. Add torn up bits of carton slowly, adding more bits as they are reduced to a slurry. Add more water as needed to keep the mixture about the consistency of sloppy oatmeal. When the entire carton has been reduced to slurry, pour it into a bowl and add the plaster of paris in roughly 1/2 cup portions, mixing thoroughly as you go. Obviously, this mixture is for immediate use but one batch will cover quite a bit of area. Working time is dependent on how wet the mix is. The proportions I listed worked well for me, the mixture held it's shape and working time was more than adequate.
-
I'm in coastal Maine. This area is referred to as "Downeast Maine" as it's less than 100 miles from the Eastern border with Canada.