Rbray47
-
Posts
448 -
Joined
-
Last visited
Recent Profile Visitors
3,903 profile views


Rbray47's Achievements
MCM Avid Poster (5/6)
-
White Freightliner
Rbray47 replied to TopherMcGinnis's topic in WIP: Model Trucks: Big Rigs and Heavy Equipment
I've bought tires and wheels from him. Be aware though, some of the rubber used will stick to whatever surface the truck is parked on. I use tape where the tread meets the ground now. I learned my lesson after picking up a truck and breaking an axle lol -
No clue what's inside the first two kits. I have the Hot Wheels issue and it has 2 engines, 2 sets of wheels, and 3 hoods. Its been a little while since I had it out, but I think some of the optional parts are drag parts.
-
White Freightliner
Rbray47 replied to TopherMcGinnis's topic in WIP: Model Trucks: Big Rigs and Heavy Equipment
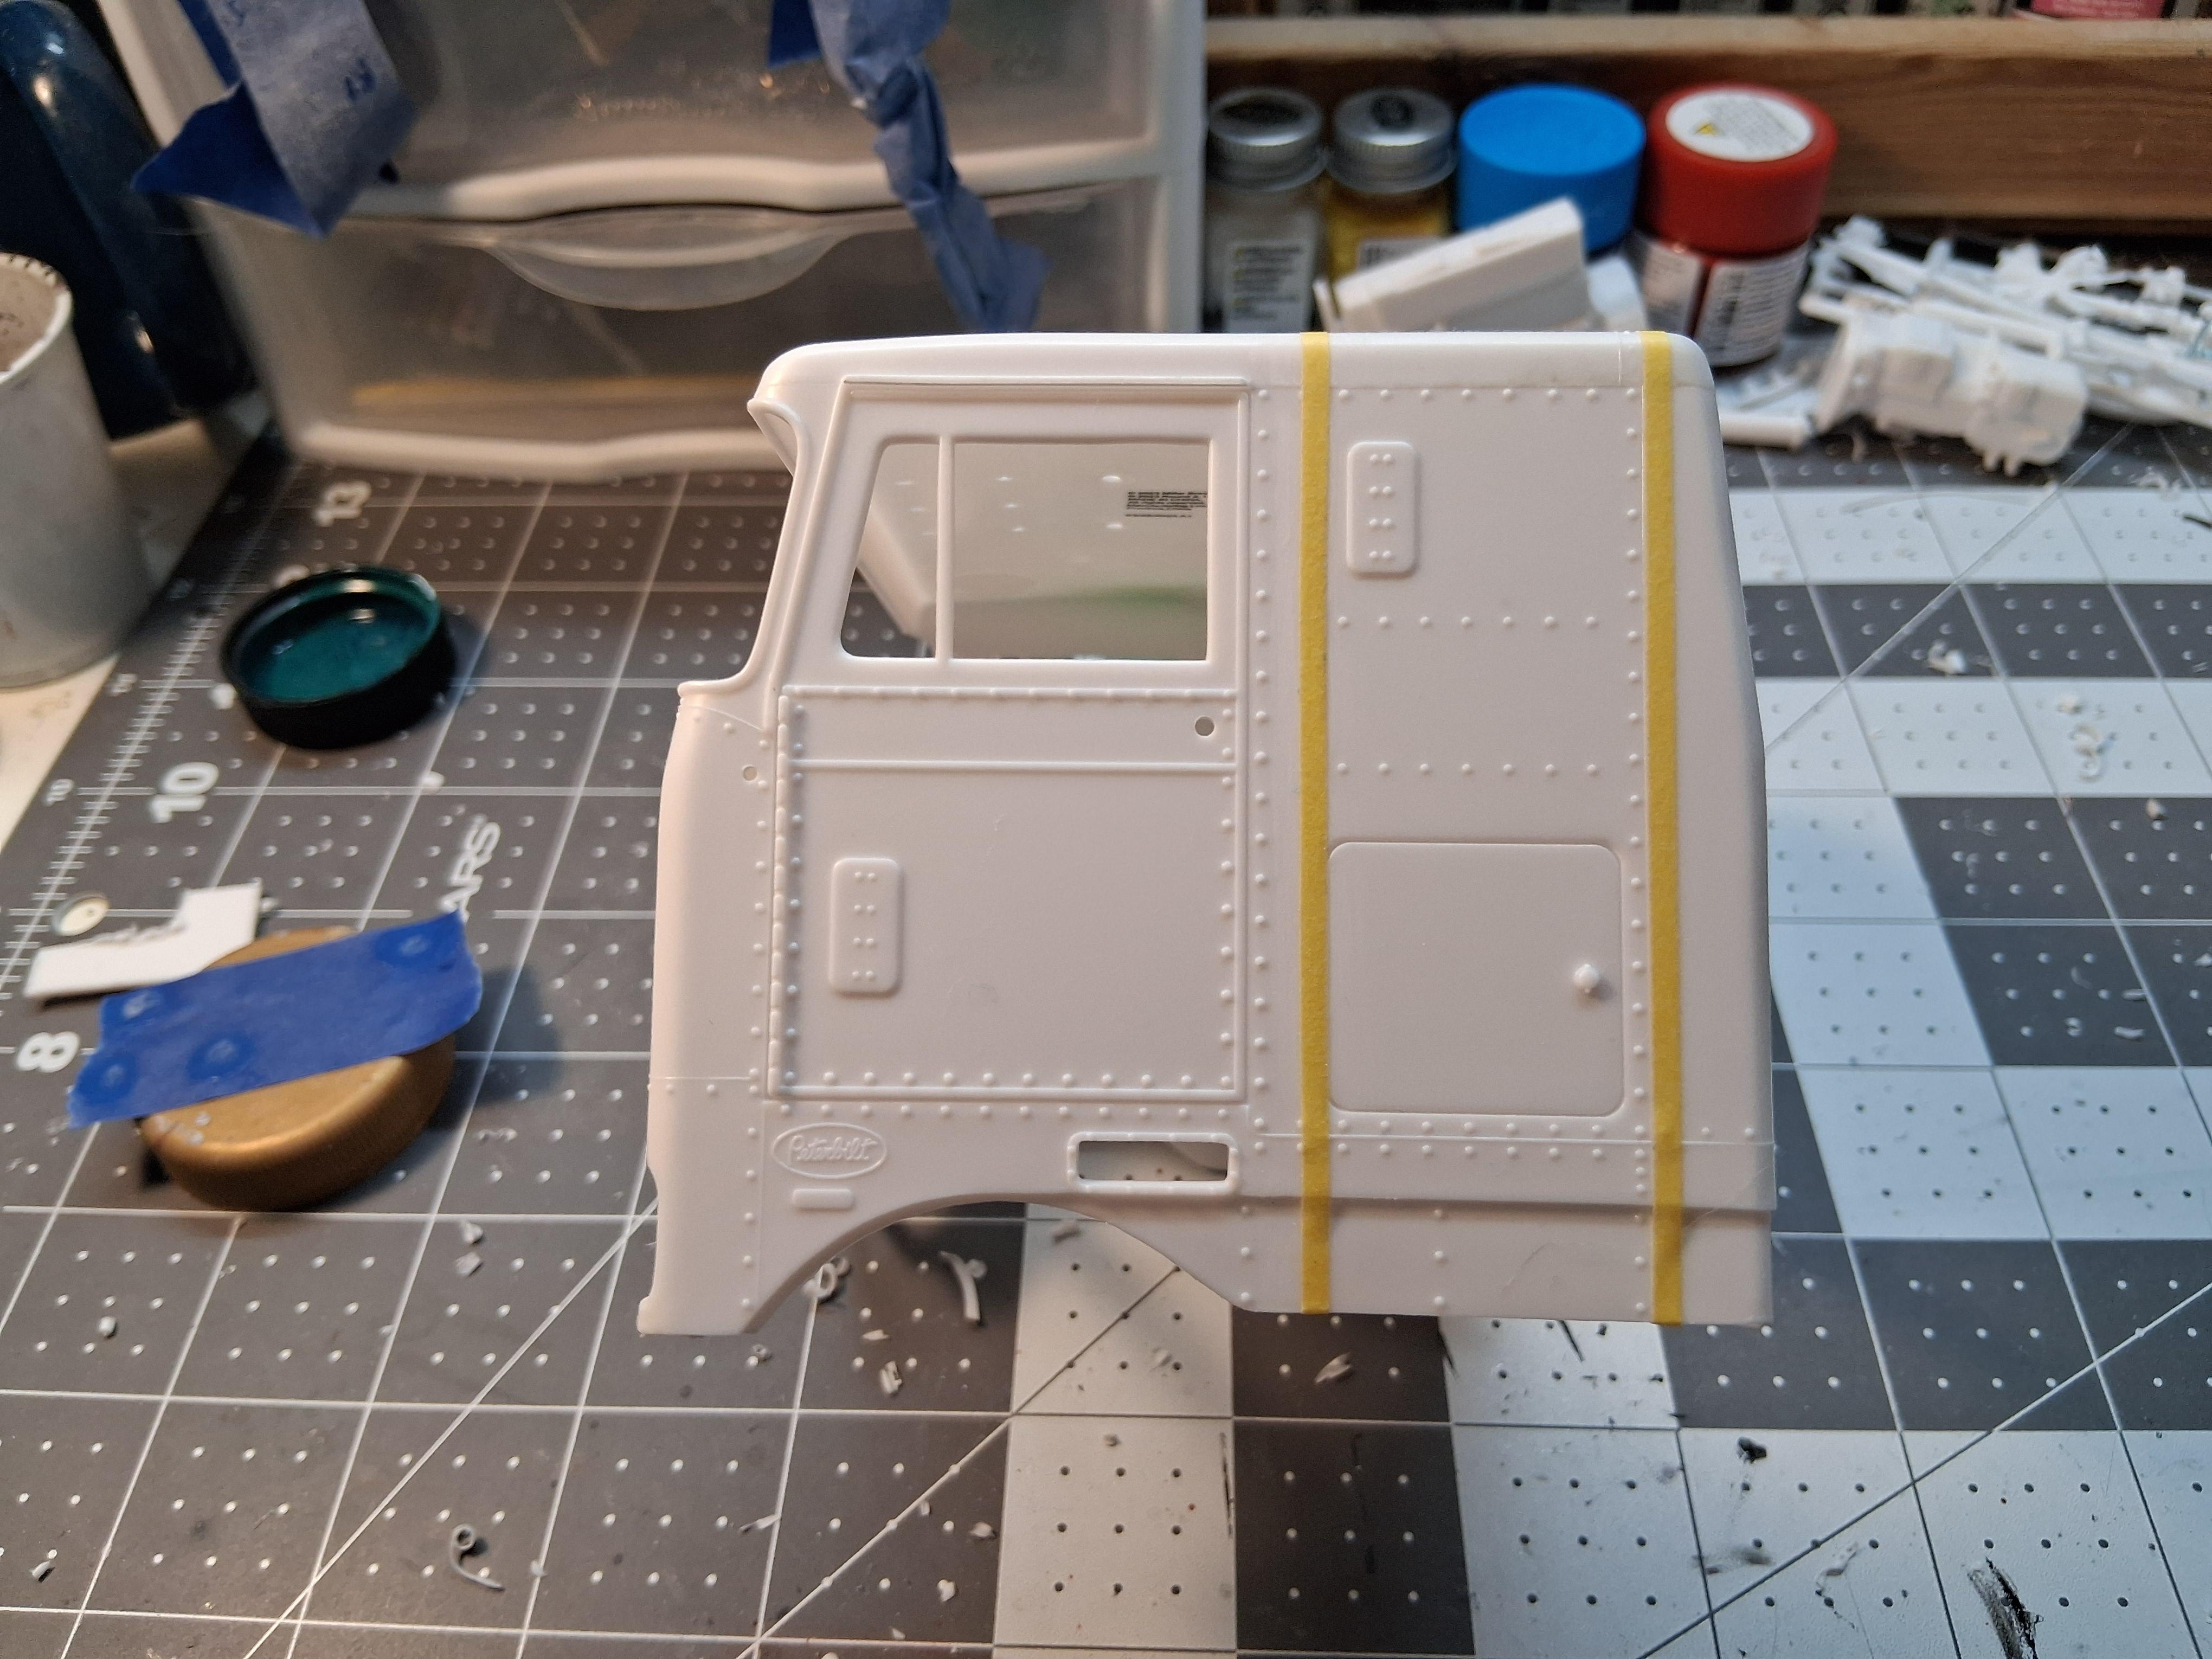
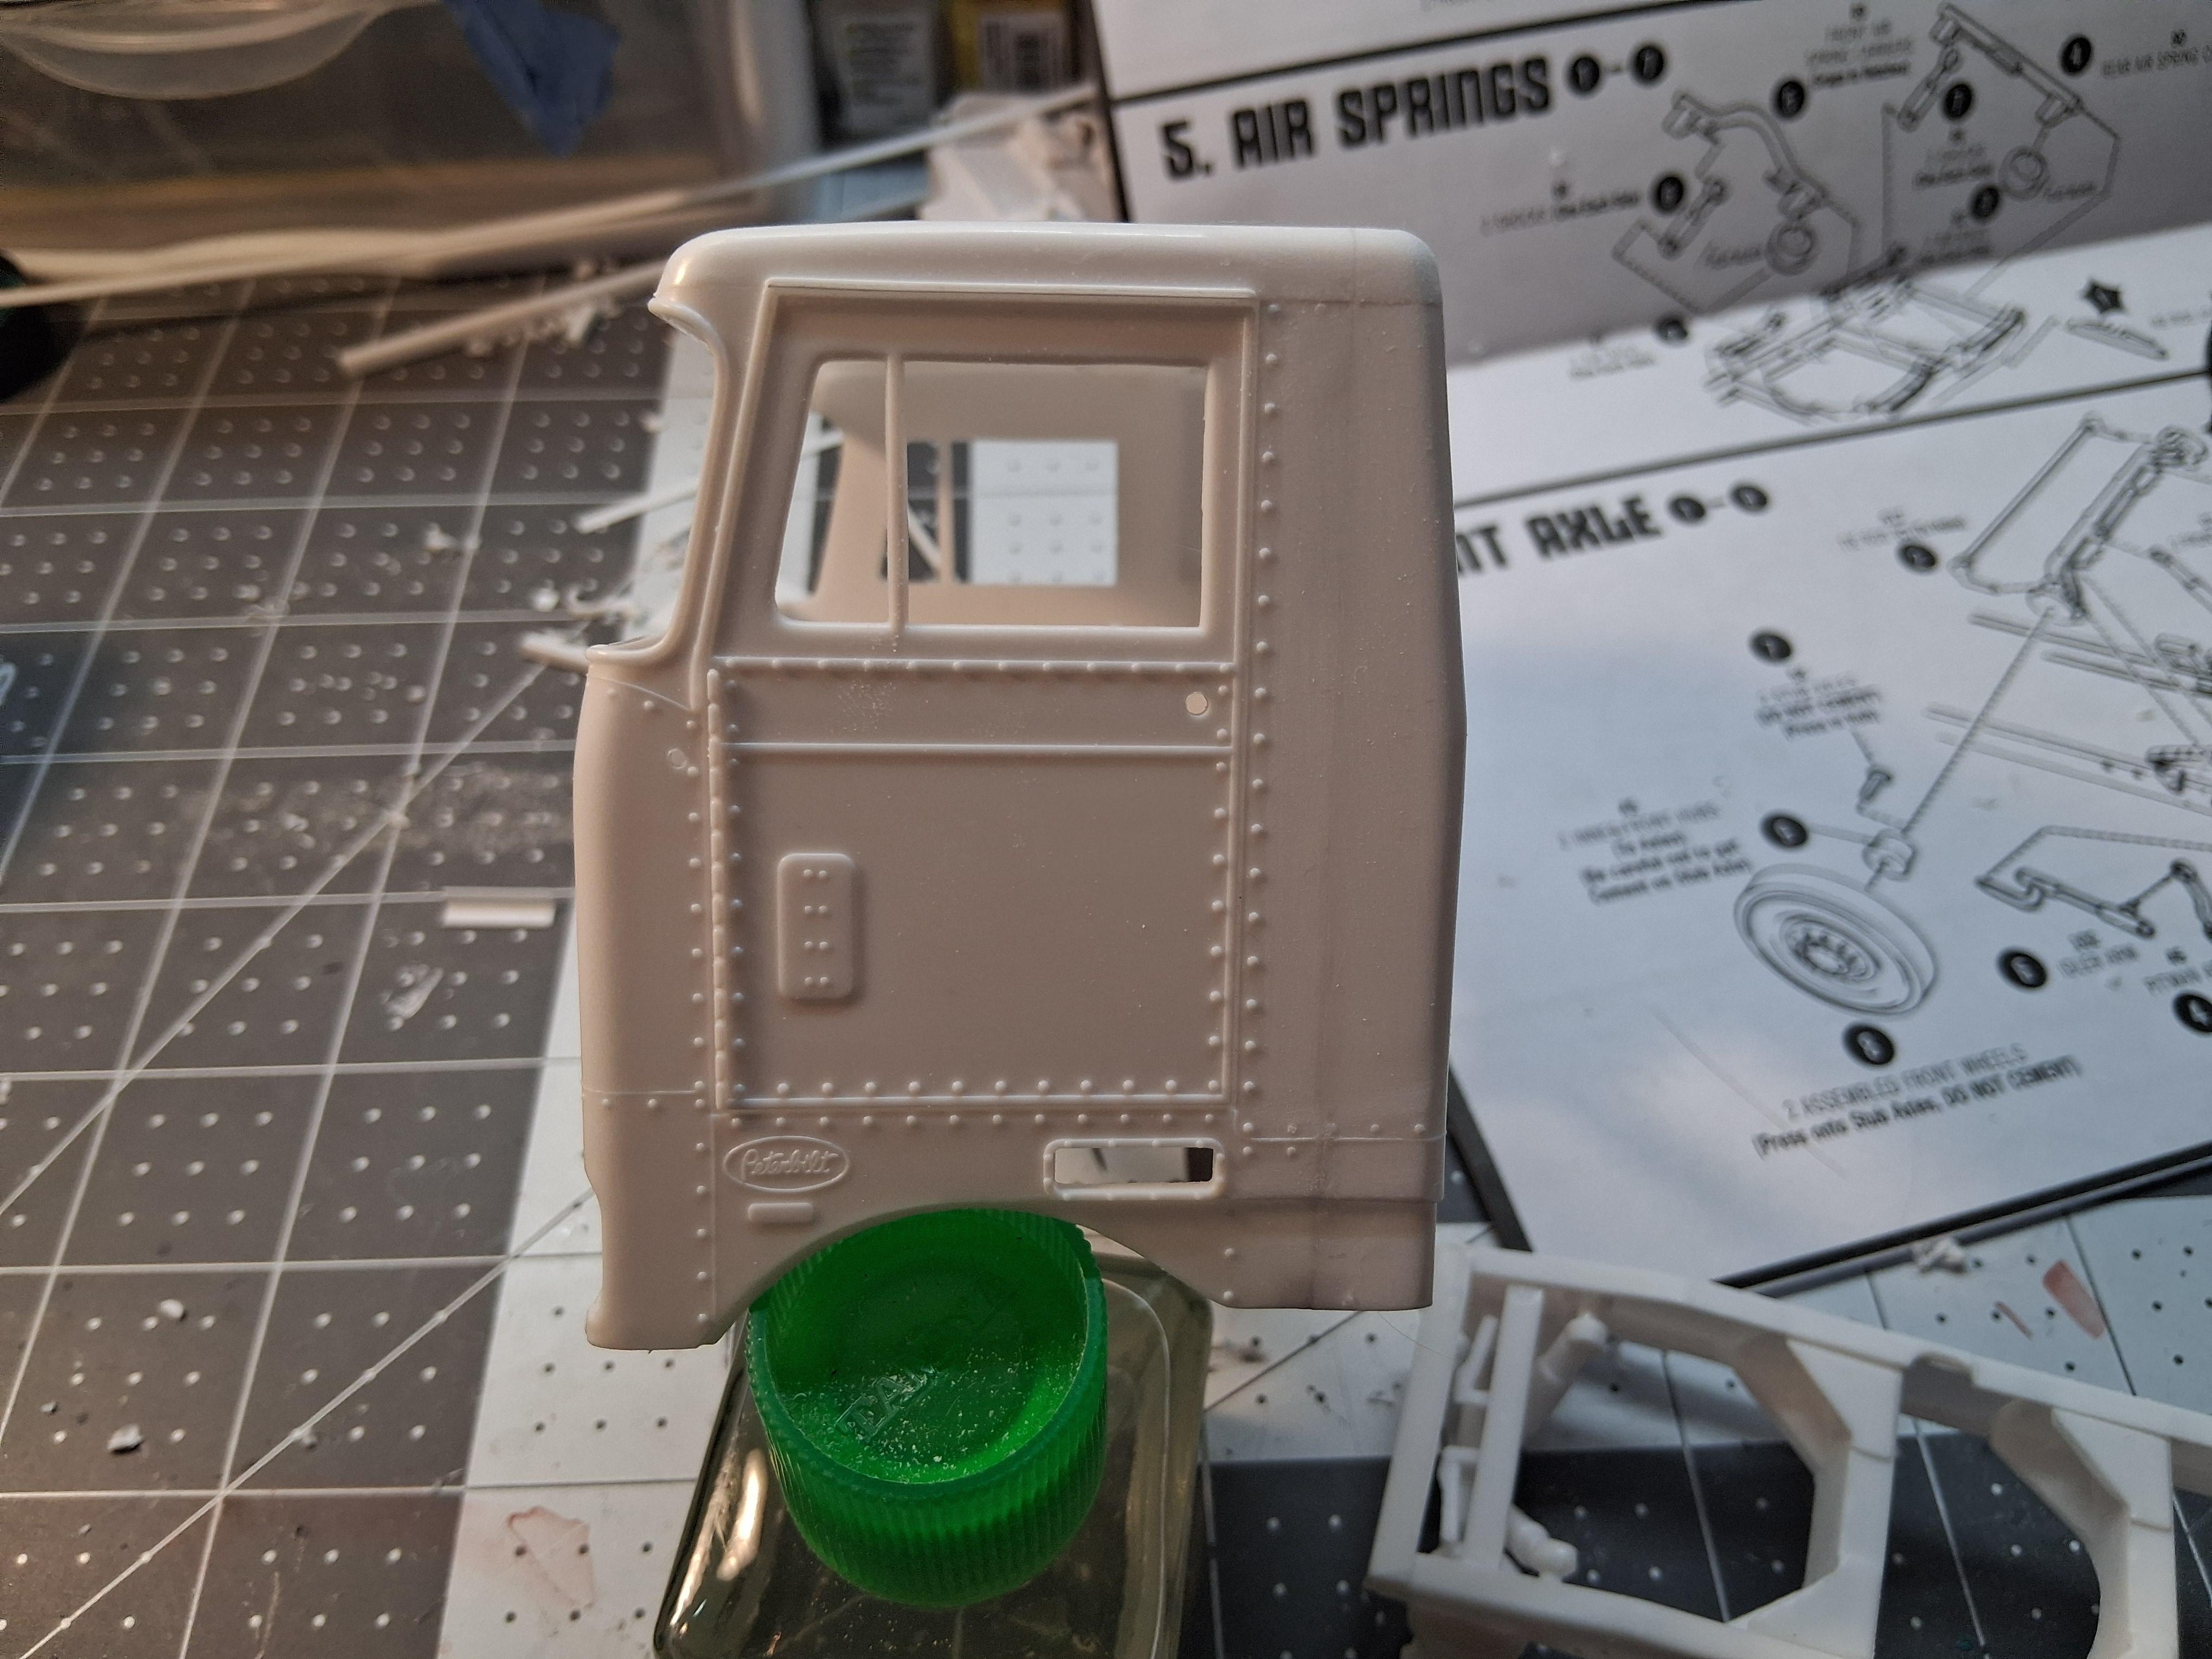
Good start. The worst part of that Freightliner cab is making sure both halves are sanded flat enough that there's no gaps. After 3 of those, I got the courage to turn a Peterbilt into a daycab. Using full sheet of sandpaper on a hard flat surface made quick work of it.
-
Amt Mack Cruiseliner and R685. I absolutely hate those Mack tandem rears. No matter what I do, I can't get them together. The Cruiseliner is the worst, since the rest of the kit is as horrible as the suspension. The R will eventually get built with a single Drive once I dig out some leaf springs that look right. But the Cruiseliner...not sure when or if it'll get finished. Plus, I have a 51 Fleetline full custom thats been going a long time. I started it shortly after buying the kit when it came out, and it's the "Millennial" boxing lol. Its finally in paint and on four wheels, but the interior hasn't even been started.
-
I was never a Focus fan, but still, the demise of any car takes just one more option away from those of us who hate the current suv trend, where most of them are shaped like a deformed computer mouse. I blame the soccer moms who think they need awd even though they stay home when it snows lol. I drove a XJ Cherokee for almost 20 years. It was great offroad but was subpar at everything else. Bad mpg, questionable reliability, and very little cargo space. And rust. Lots of rust. I figured out that if funds allow, having a car for comfort, driving enjoyment, and good gas mileage, while also having a truck for truck things is the best of both worlds. Of course, thats not doable for everyone.
-
White Freightliner
Rbray47 replied to TopherMcGinnis's topic in WIP: Model Trucks: Big Rigs and Heavy Equipment
I use Tamiya white primer under Tamiya Pure red to get the brightest red. -
White Freightliner
Rbray47 replied to TopherMcGinnis's topic in WIP: Model Trucks: Big Rigs and Heavy Equipment
-
I may get the Taurus, assuming it ends up at Hobby Lobby. If I remember right, it went together pretty good, but the chrome headlight lenses looked horrible.
-
White Freightliner
Rbray47 replied to TopherMcGinnis's topic in WIP: Model Trucks: Big Rigs and Heavy Equipment
I've built 3 of these kits. They're a little fussy. Could be something I did wrong though. On the last one, I switched the 250 for a 350 and that created a whole new set of issues running the intake out behind the cab. -
My carpet is gray. Everything seems to blend in, especially the shadowy areas under my desk. On Thursday, the carpet is getting ripped out and laminate flooring going in its place. Modern problems require modern solutions.
-
Question regarding the Revell Chevy LUV - engine
Rbray47 replied to Jonathan's topic in Model Building Questions and Answers
I used the block from the MPC Ram 50. I had to scratchbuild the head, valve cover, and intake. A sbc long tube header hooked right up.
-
Round2 to release Mack B-61 semi kit.
Rbray47 replied to maxwell48098's topic in Truck Kit News & Reviews
Finally a new (old) truck kit. -
Pretty easy. I ground down the Aoshima mounts until there was just a shallow 1mm or so hole and glued styrene rod to mimic Tamiya wheels. The rod (I don't know the size) acts the same as Tamiya, so everything lined up and went in perfectly.
-
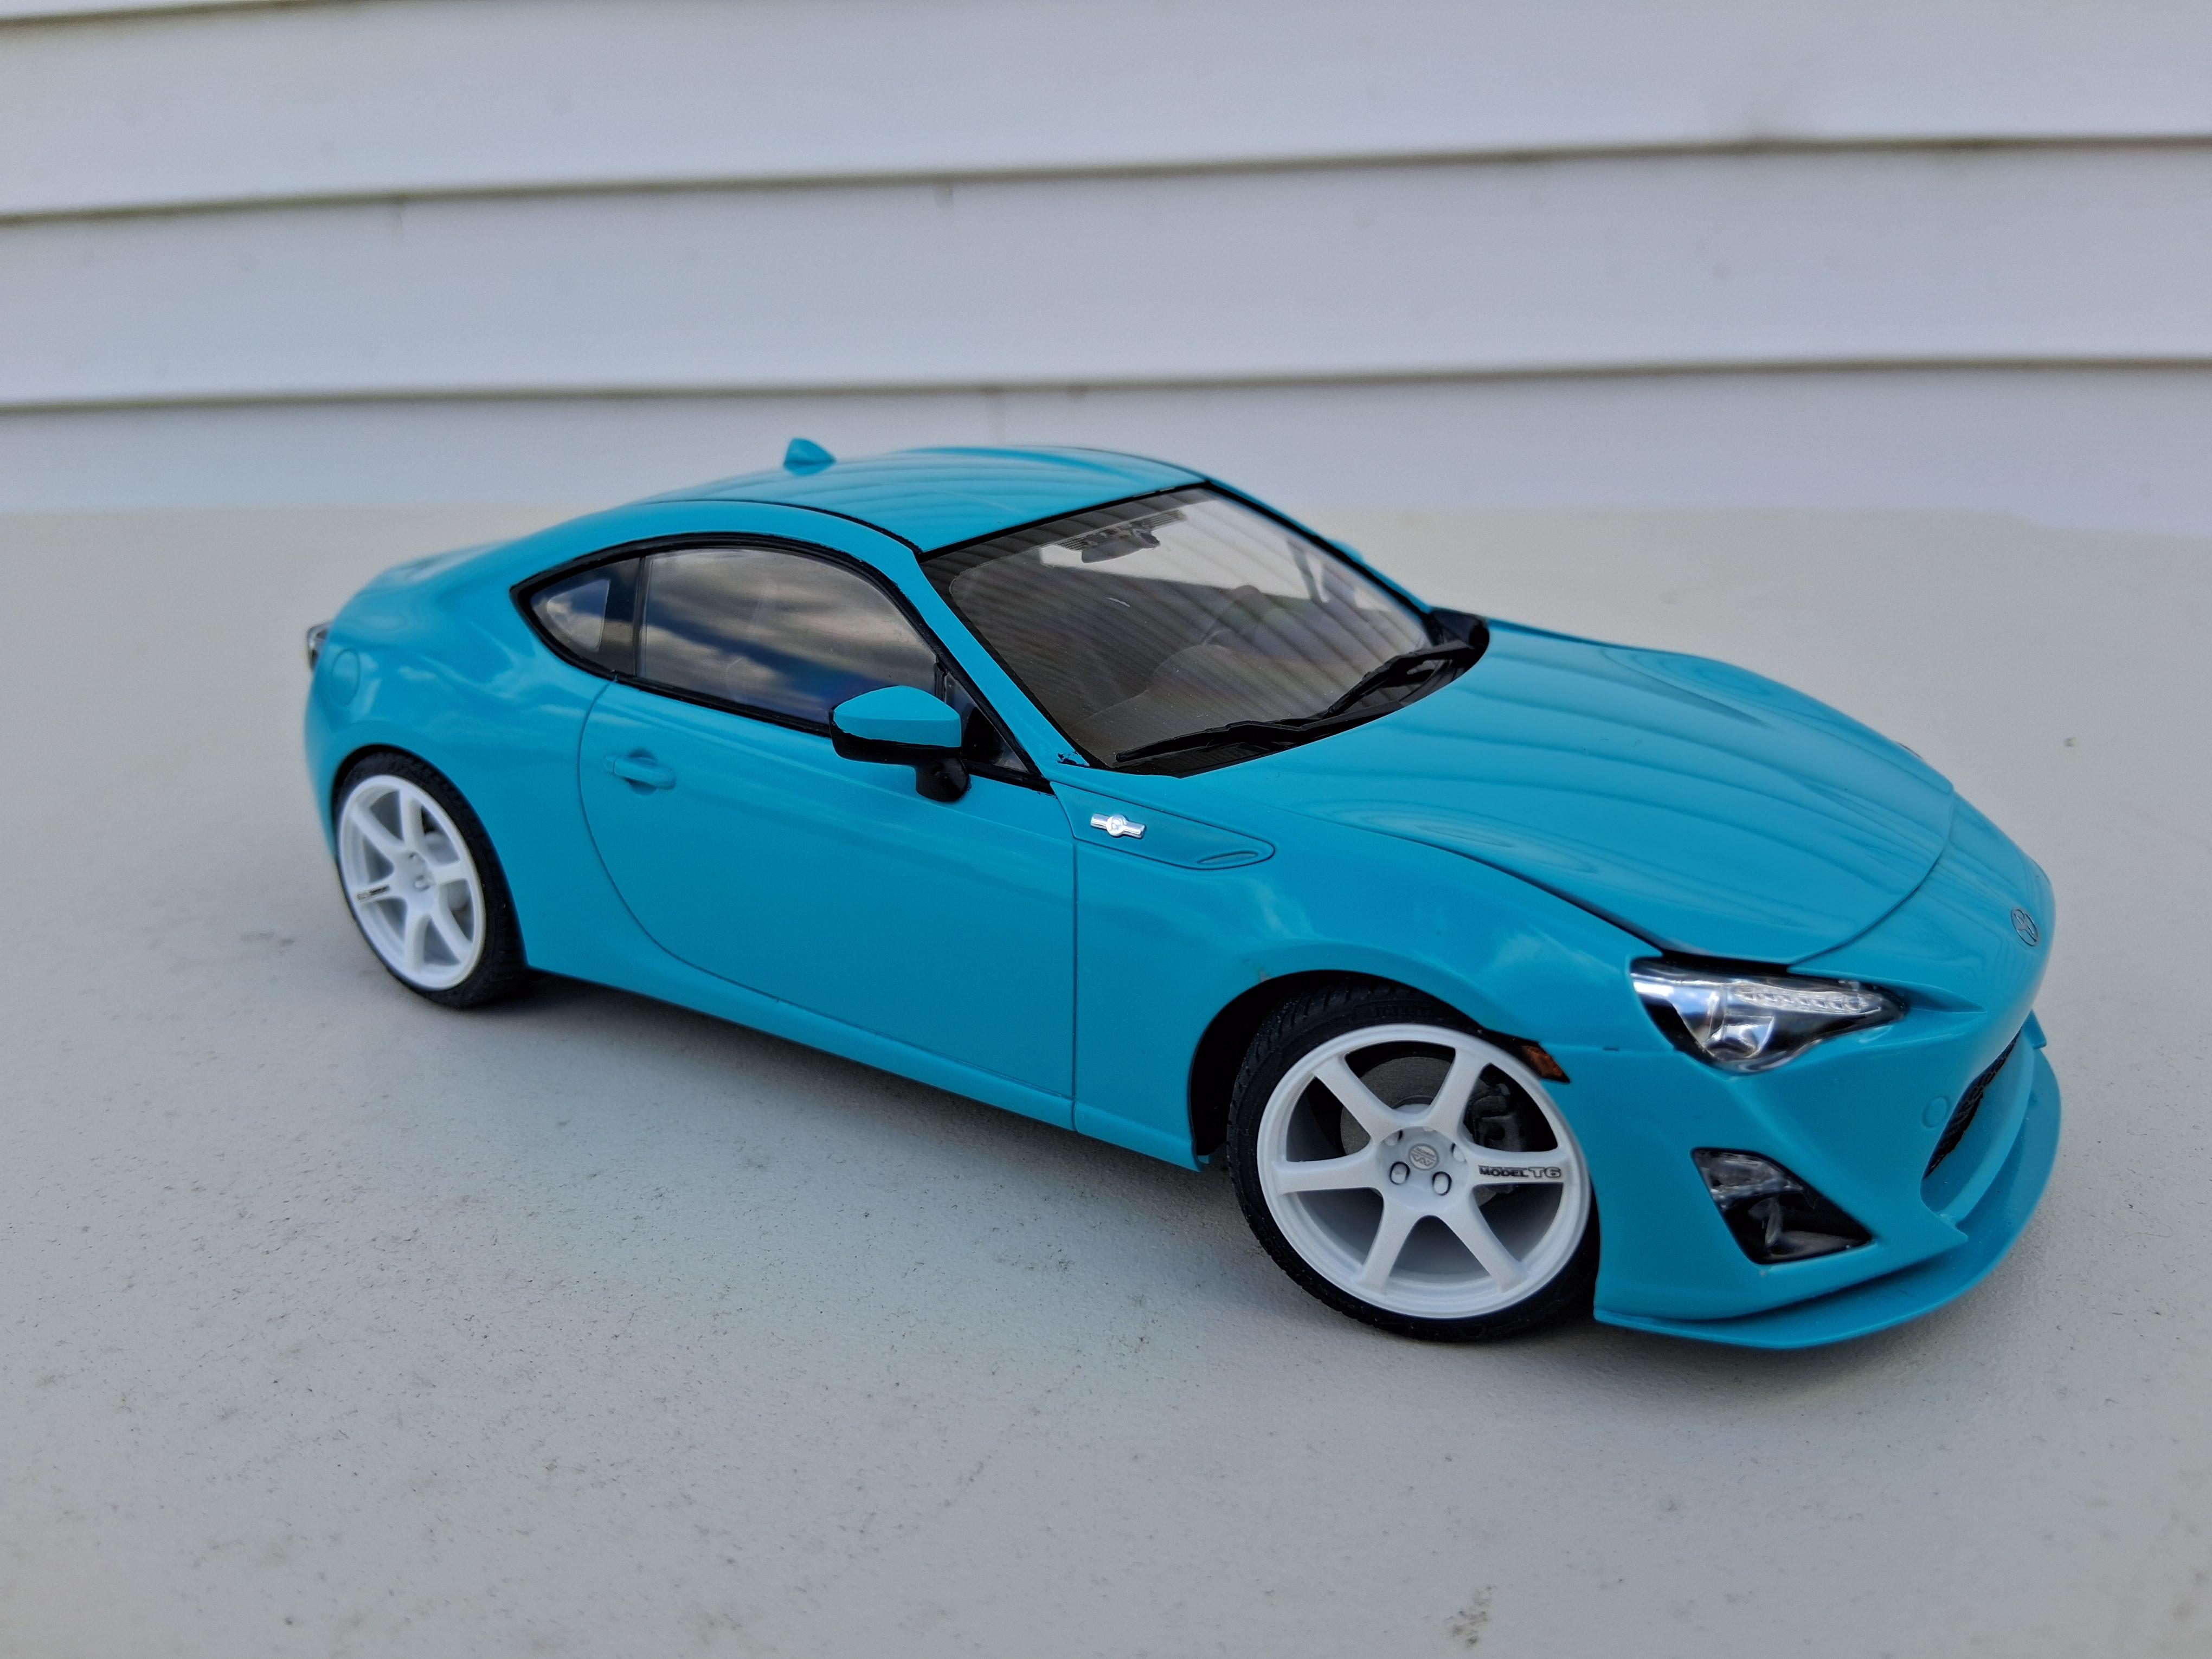
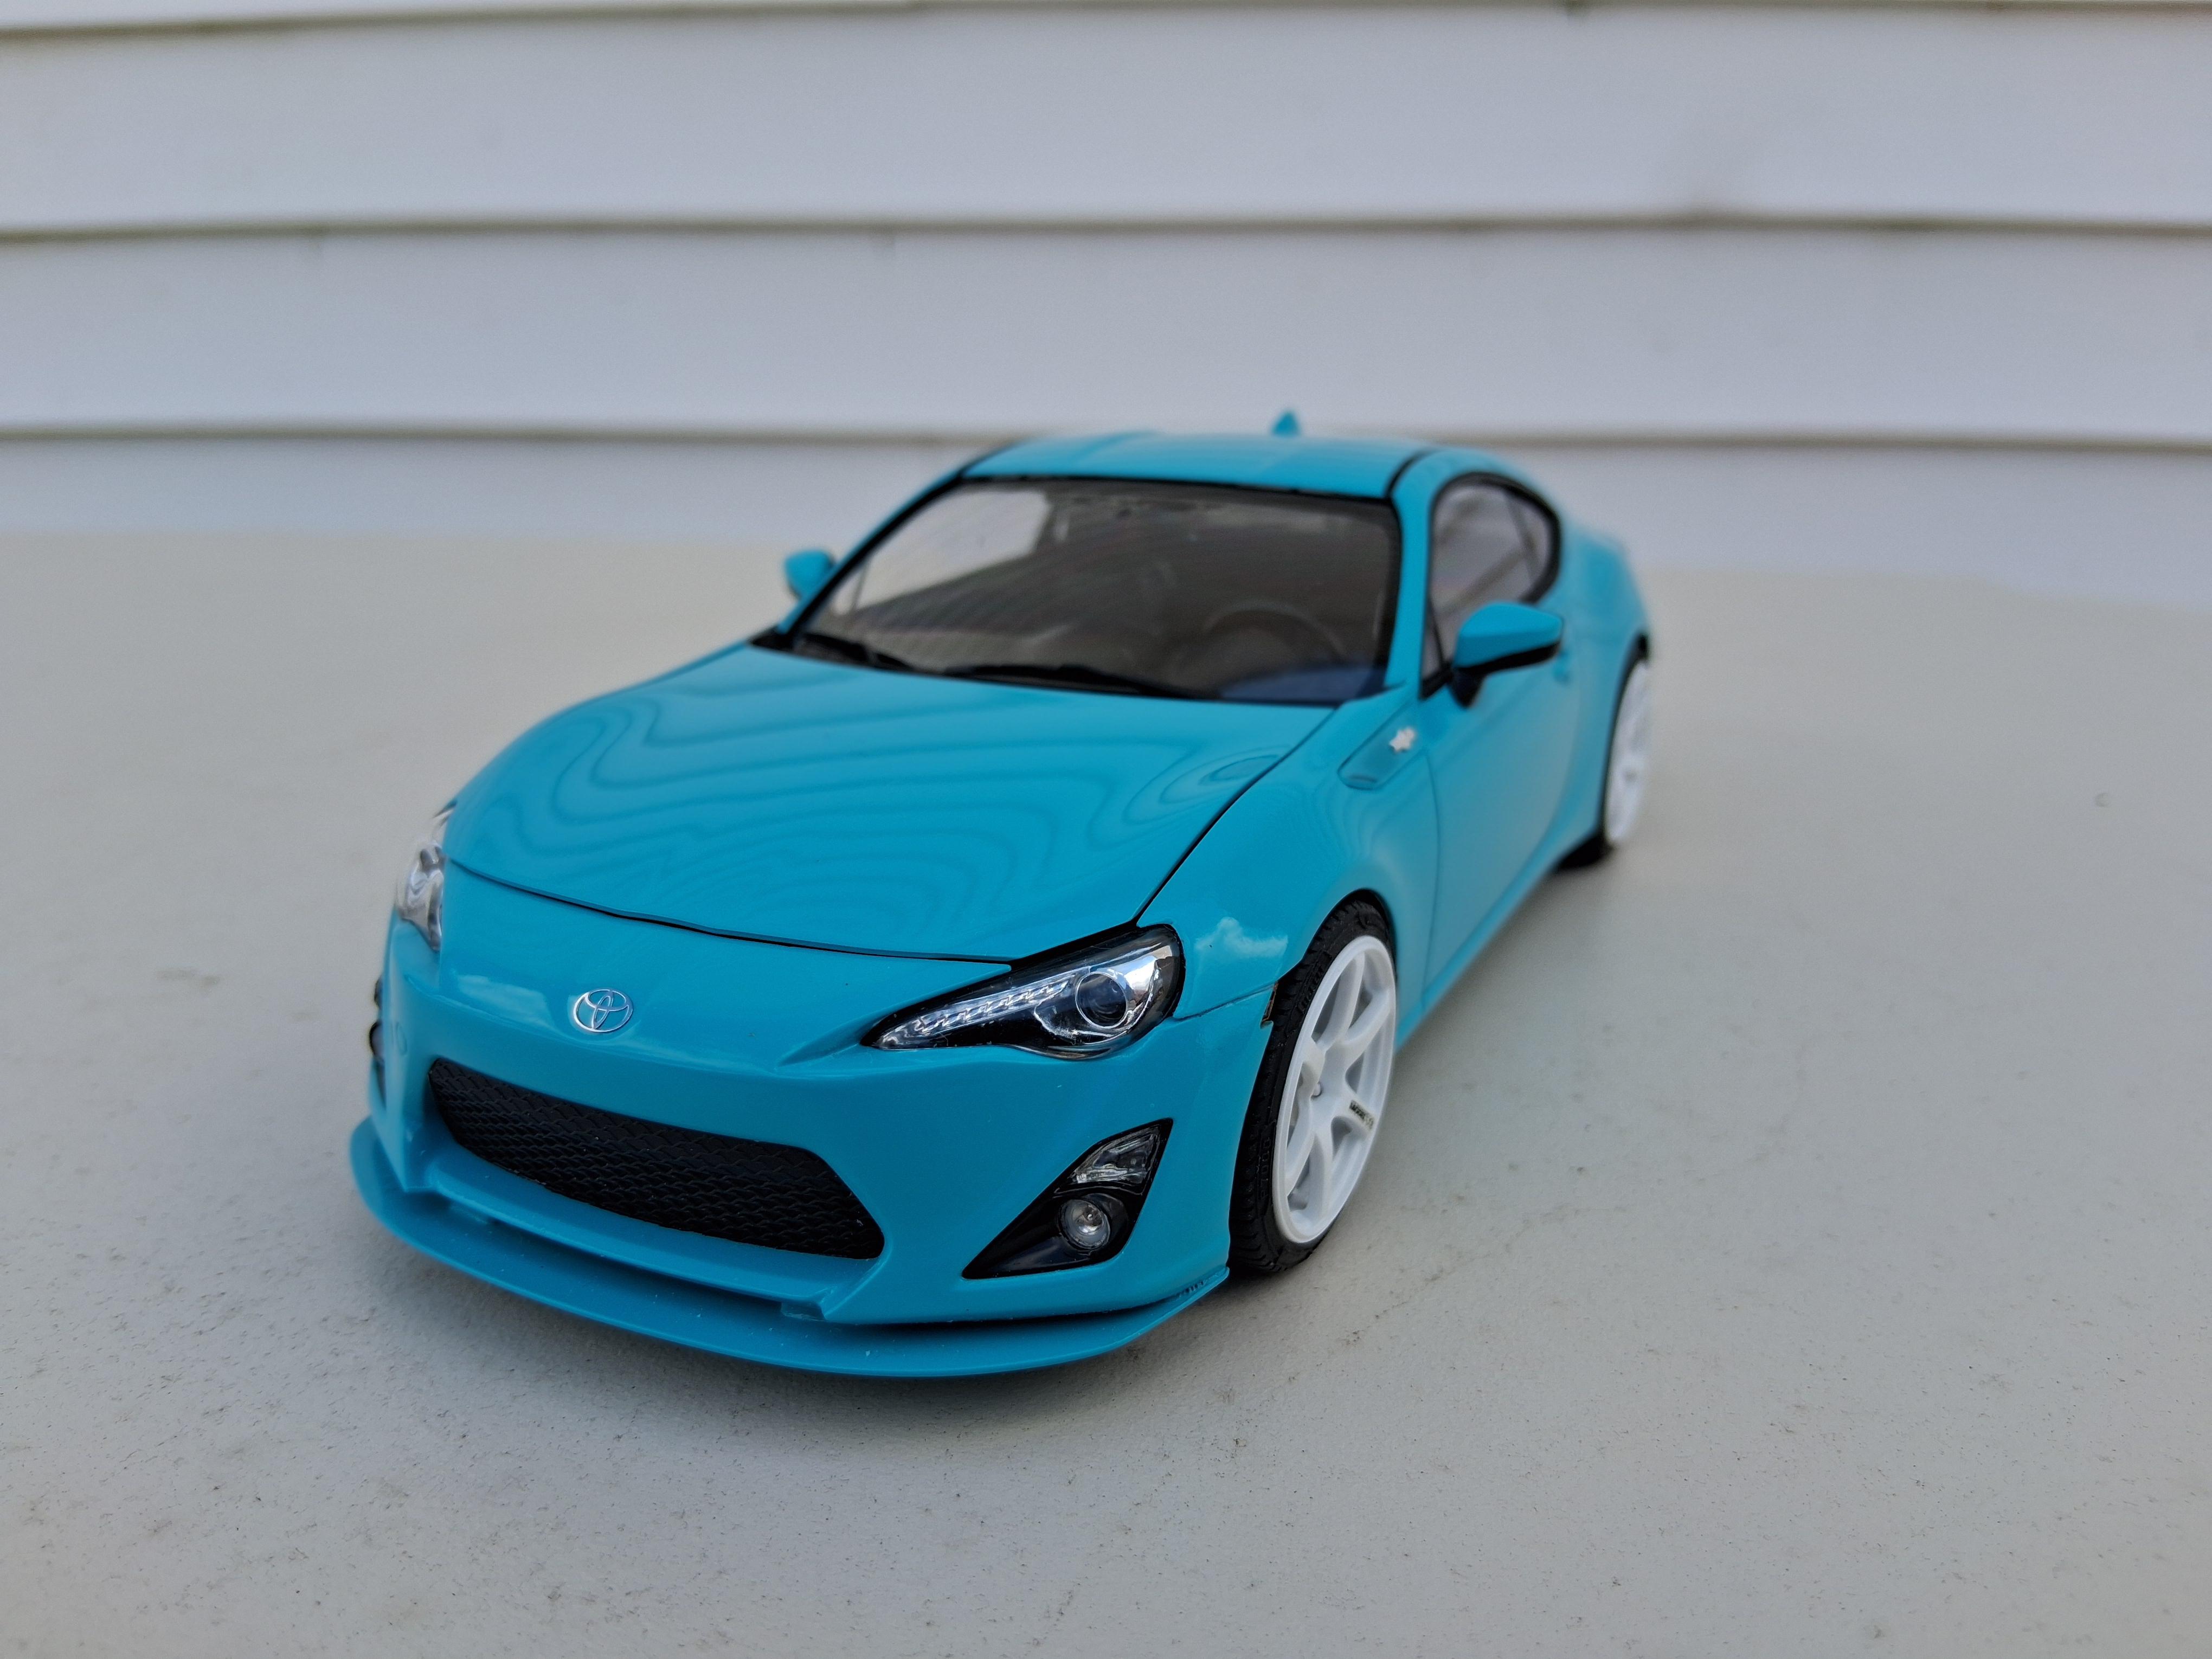
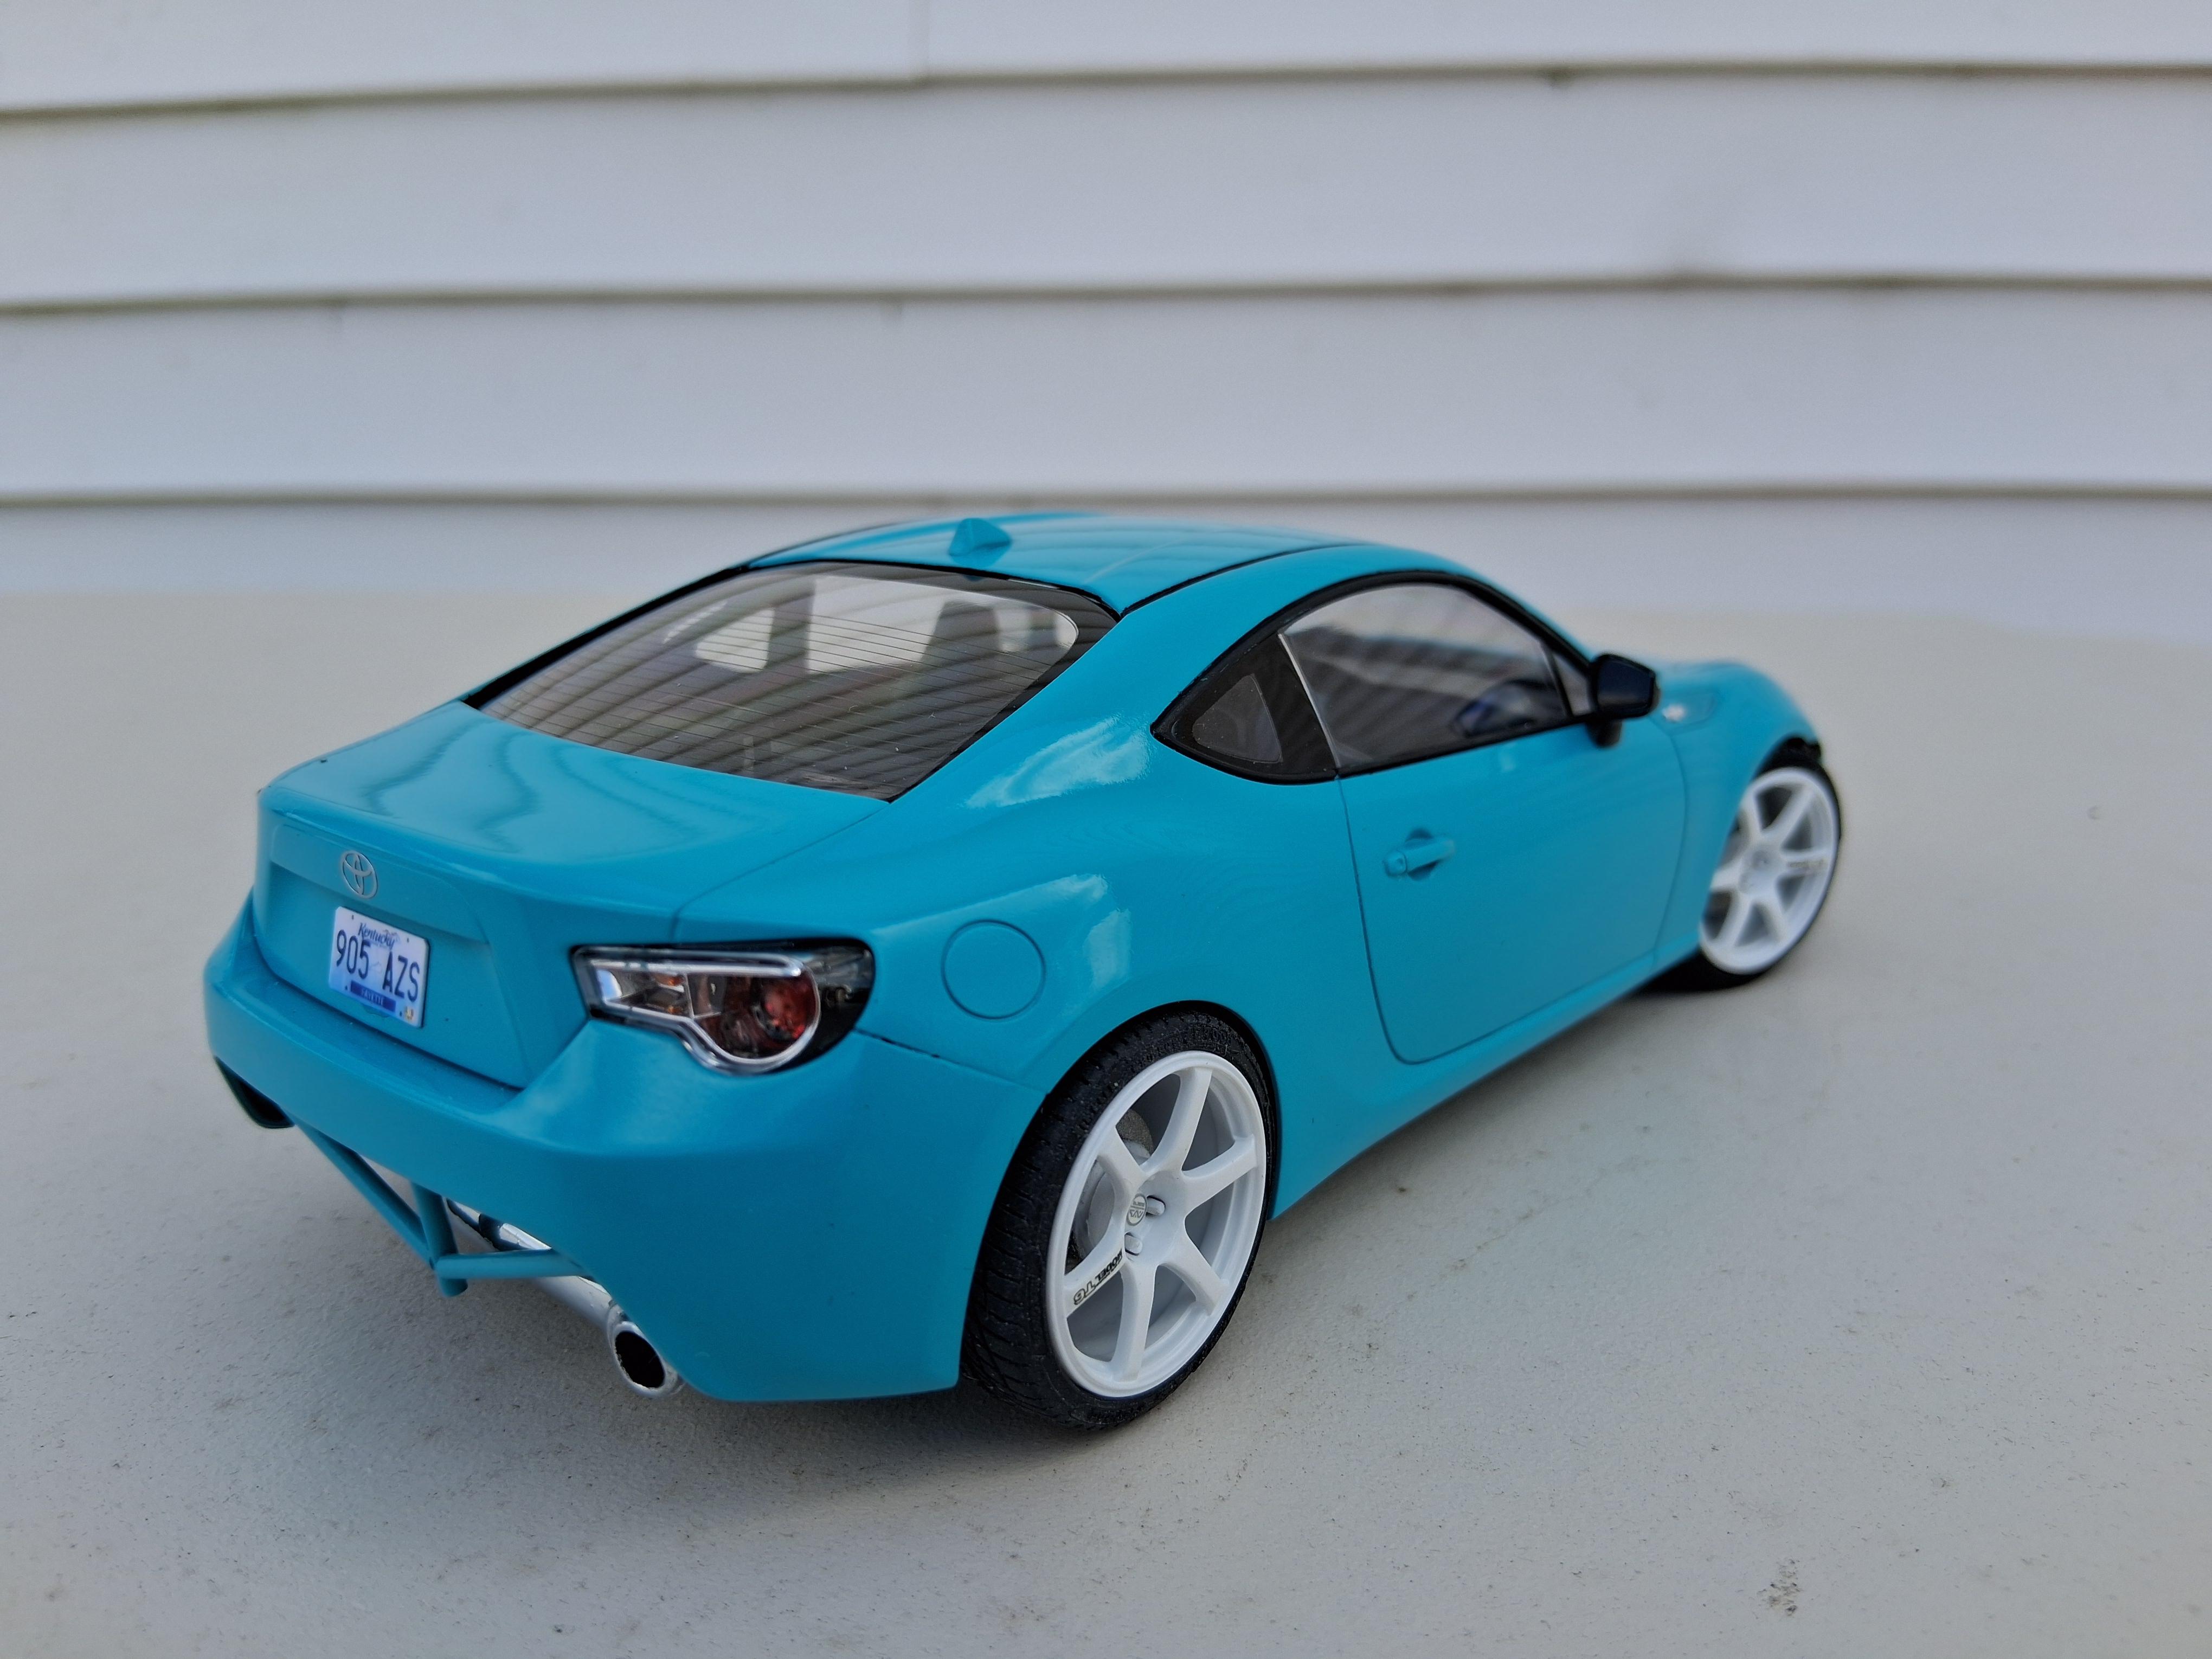
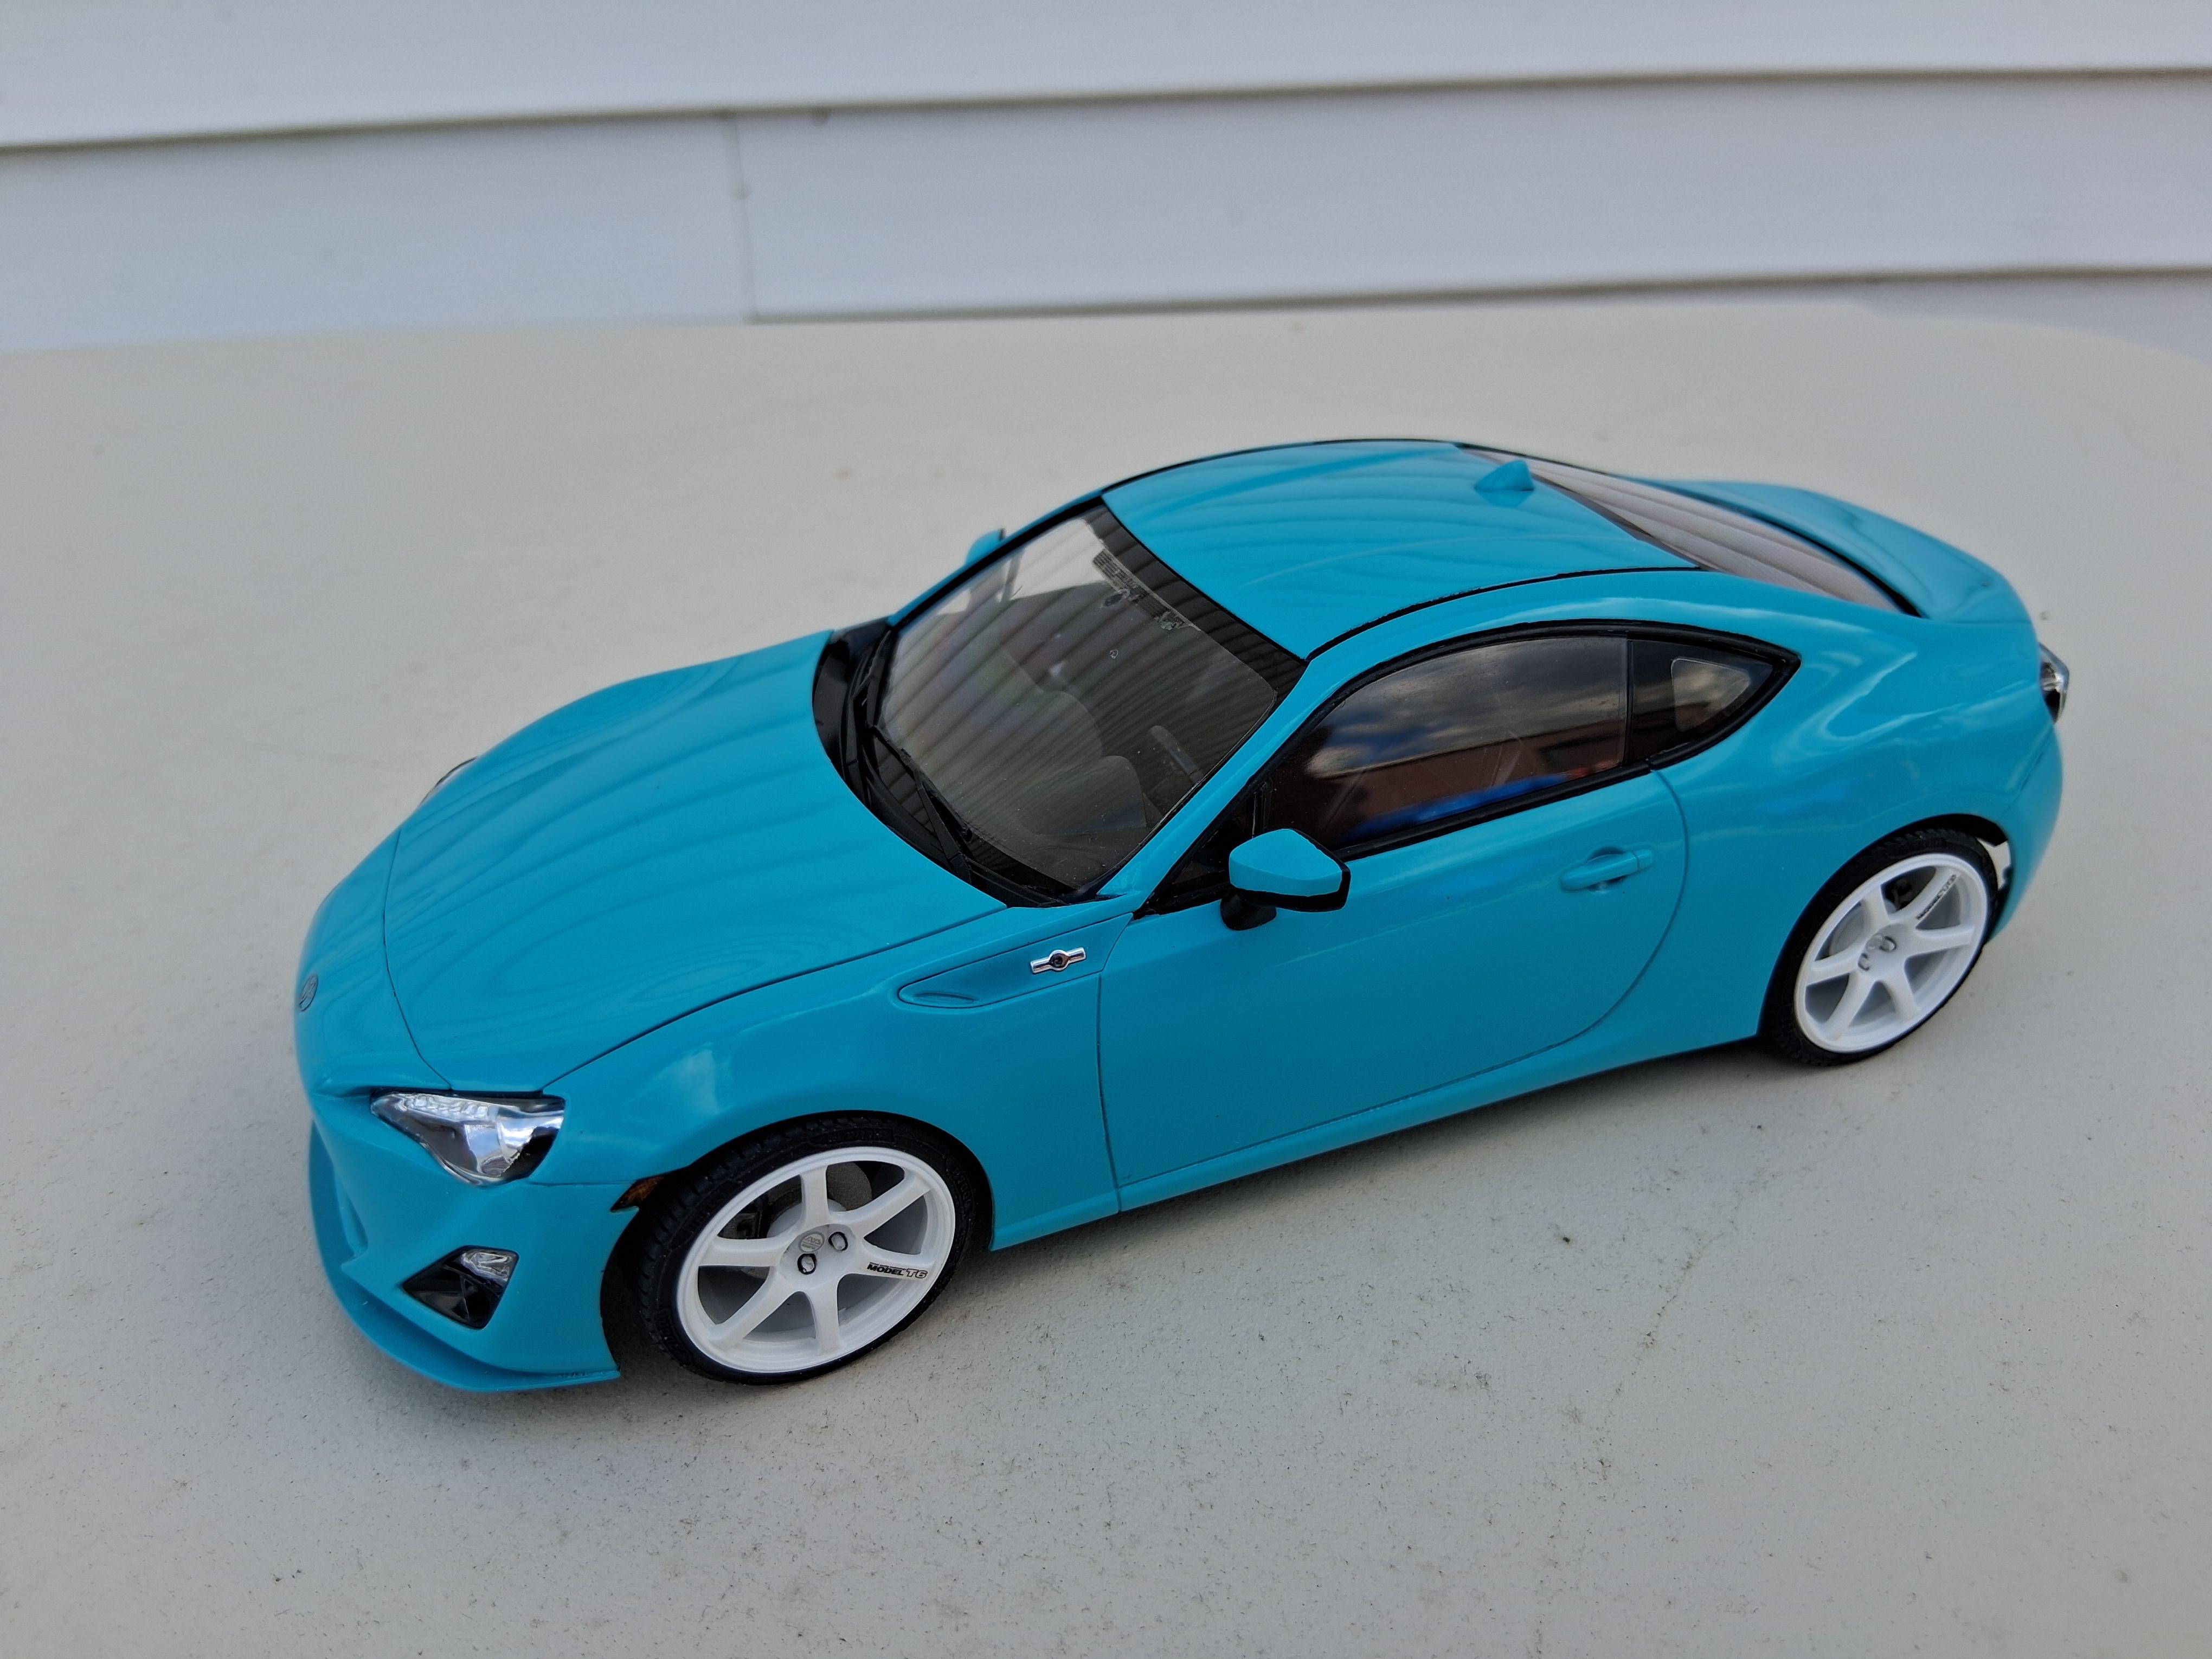
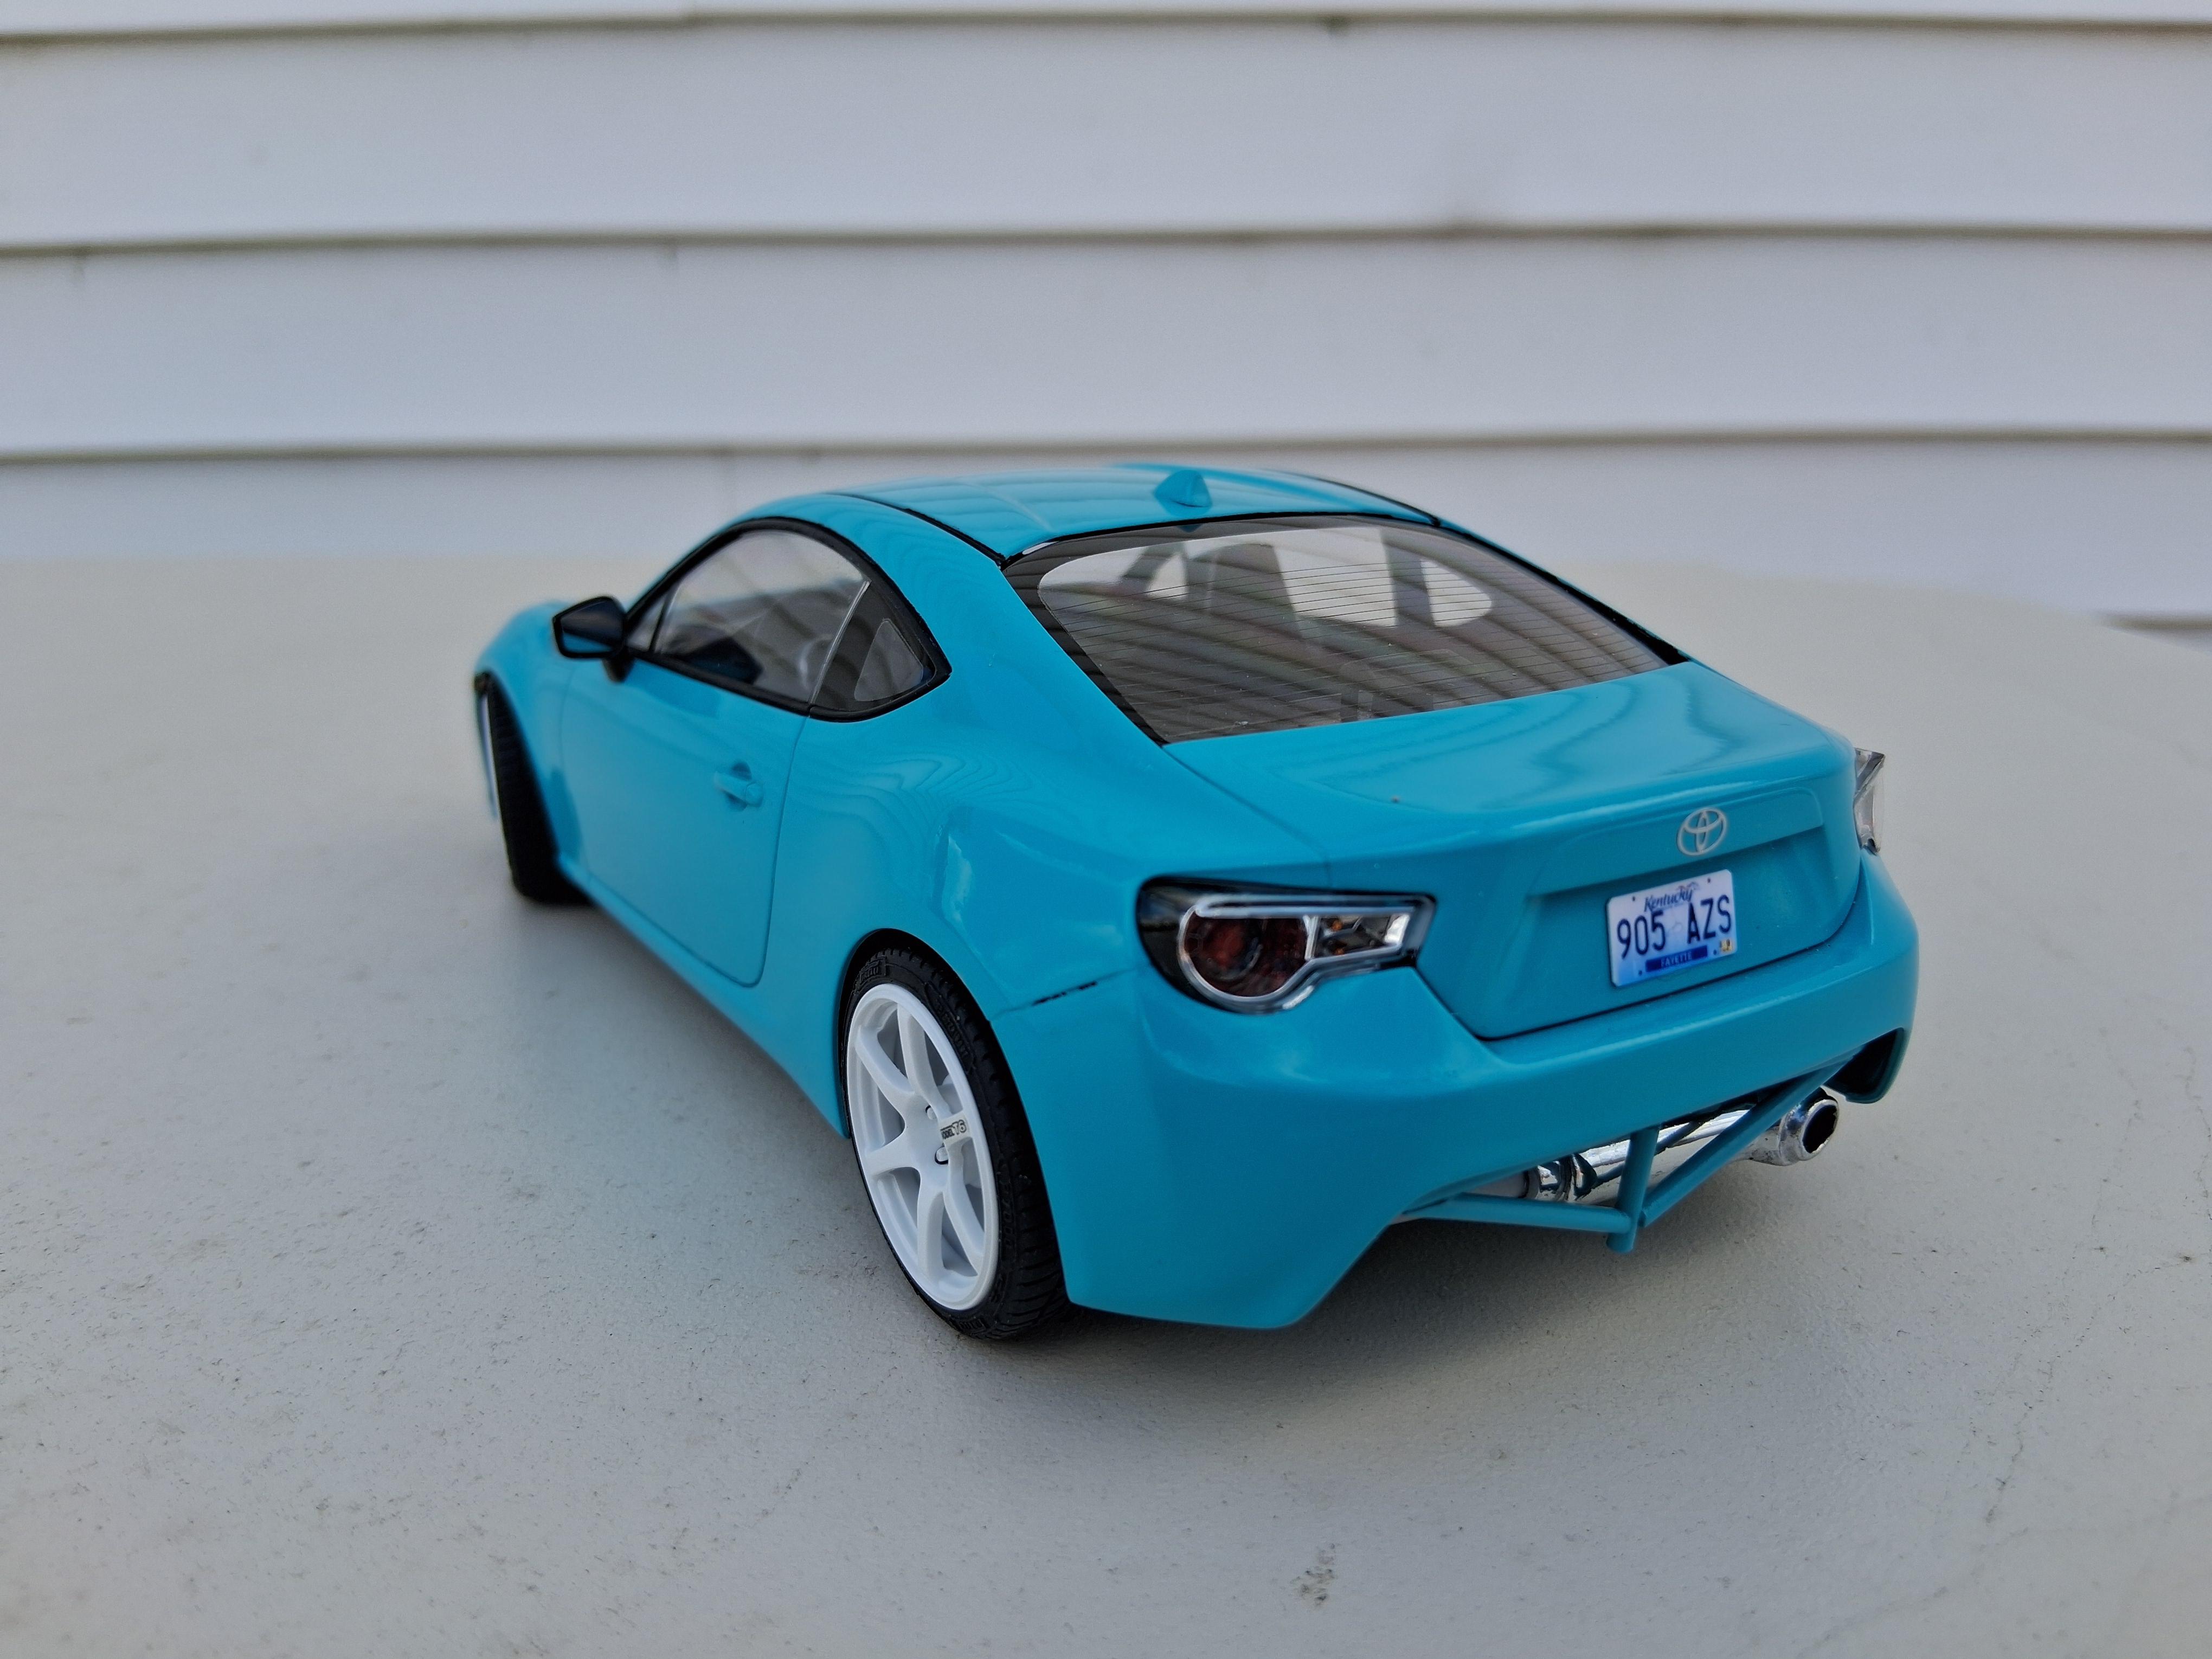
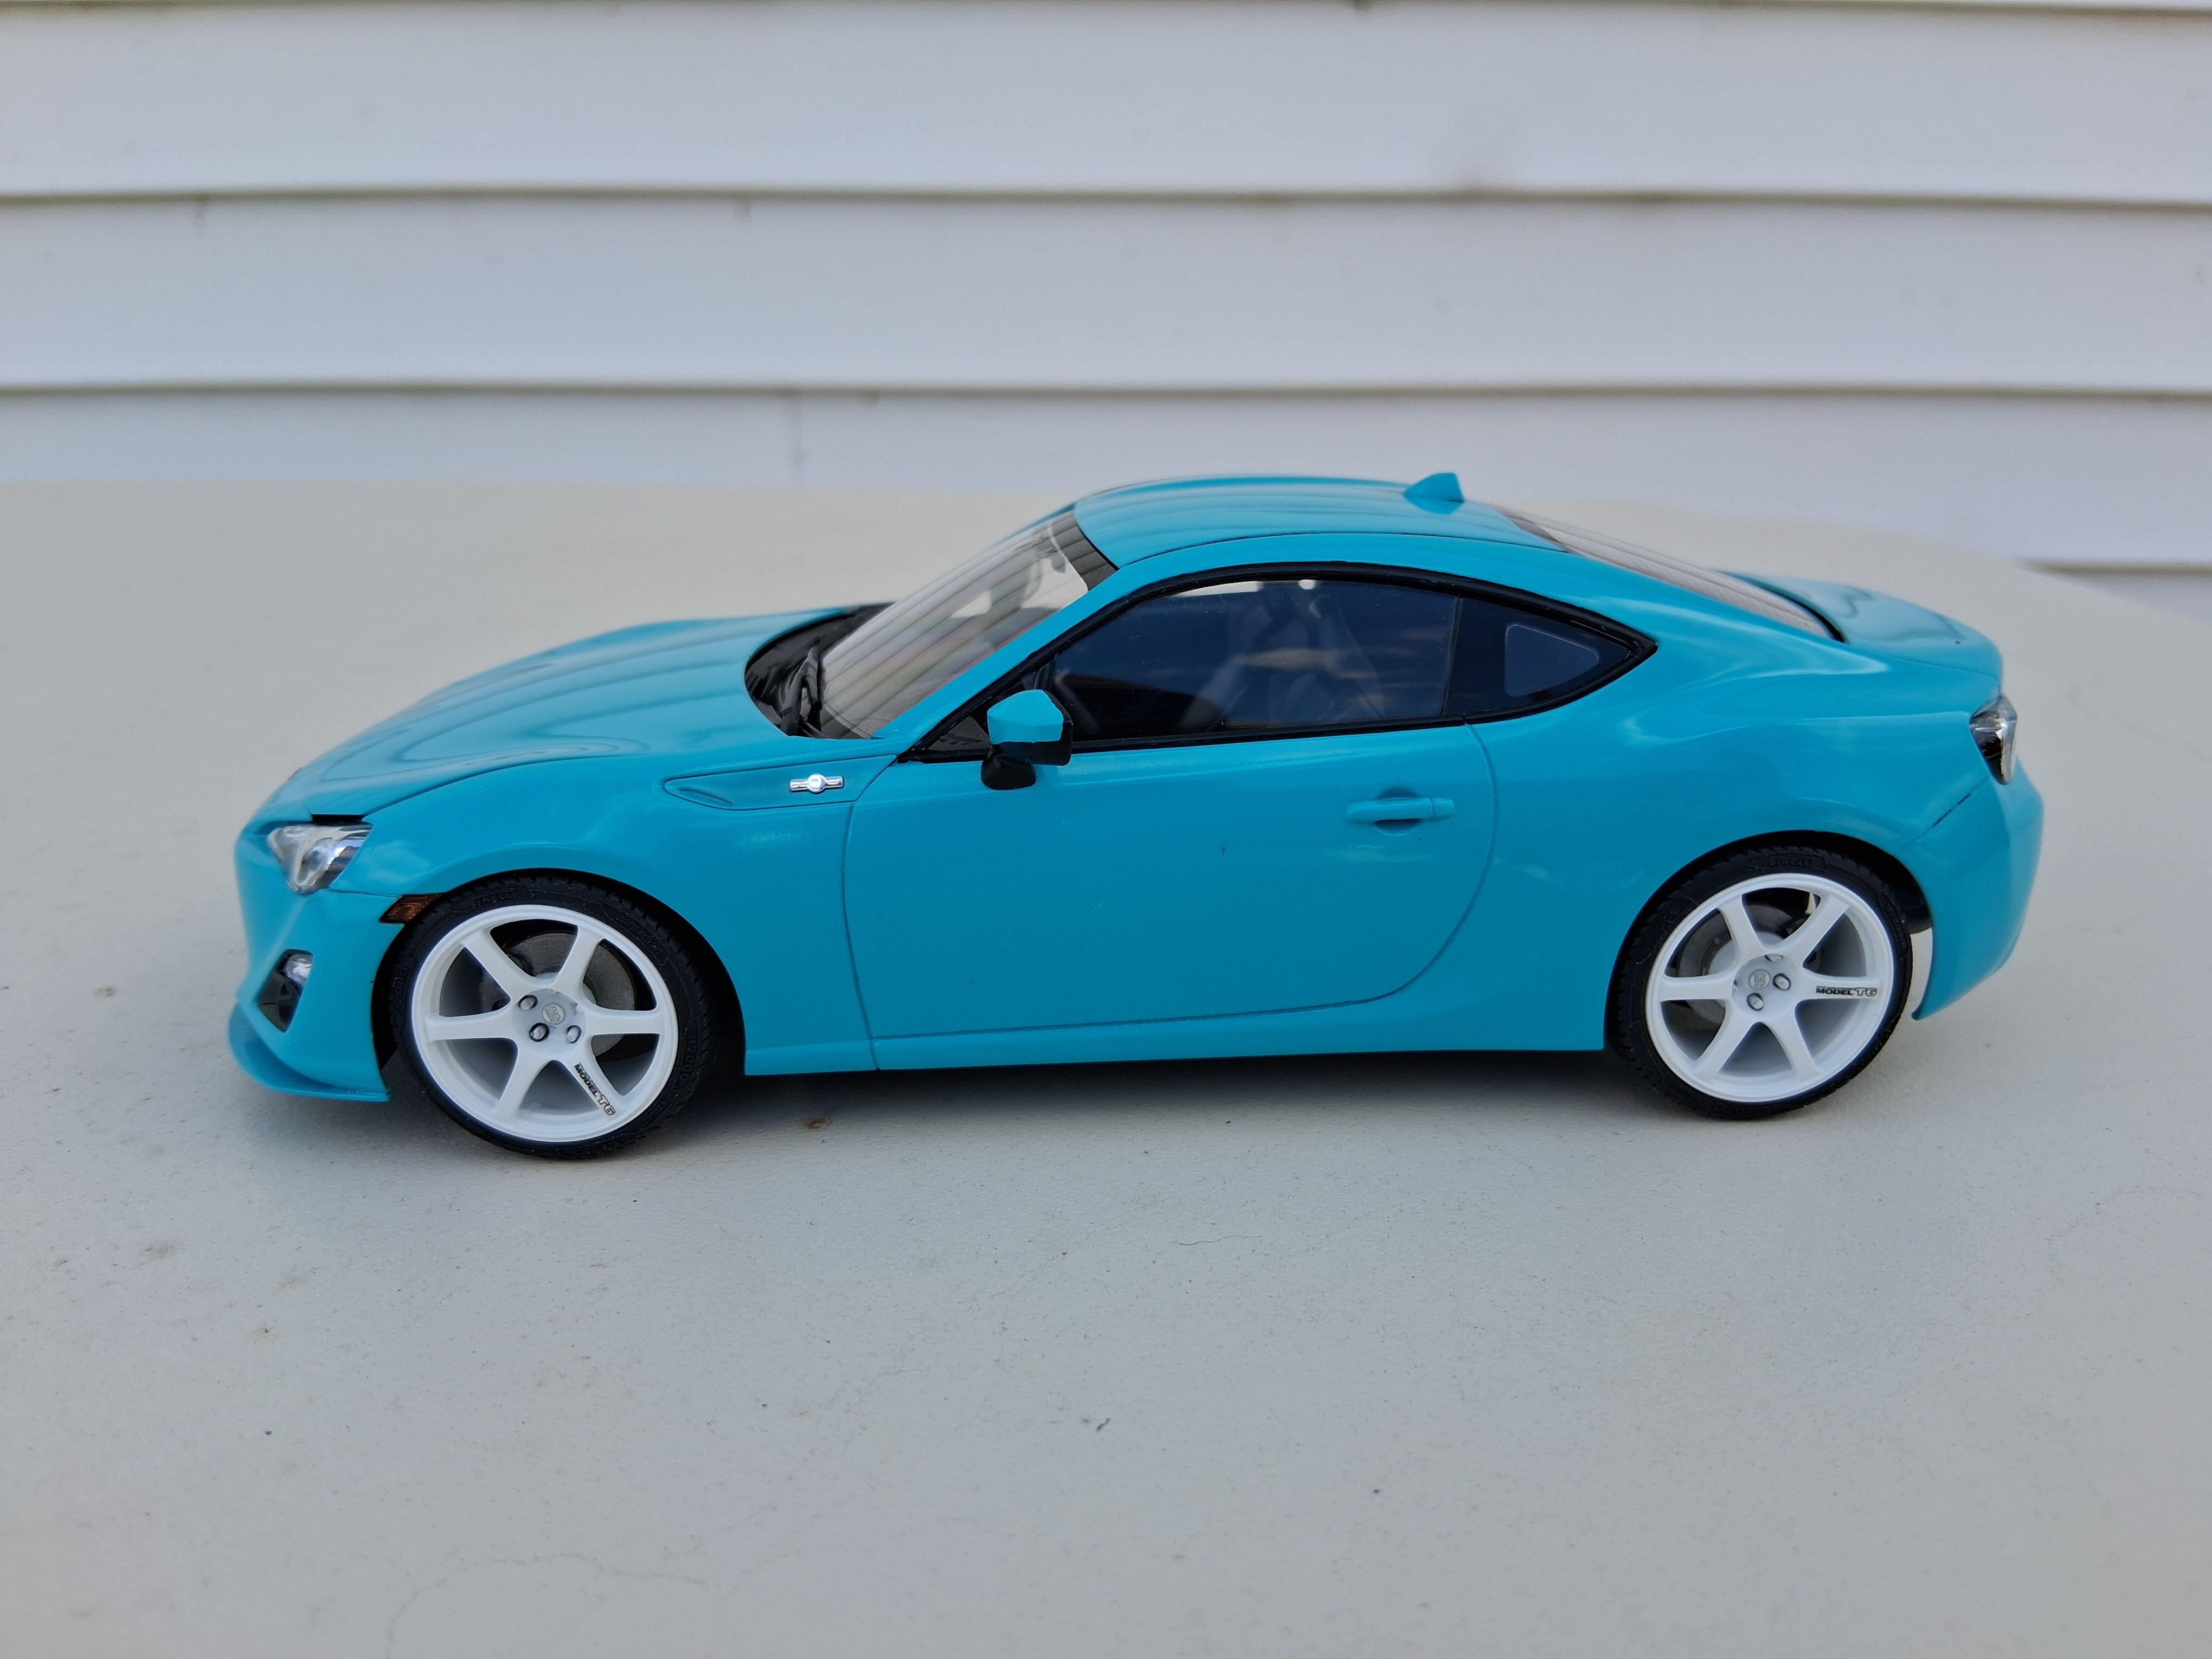
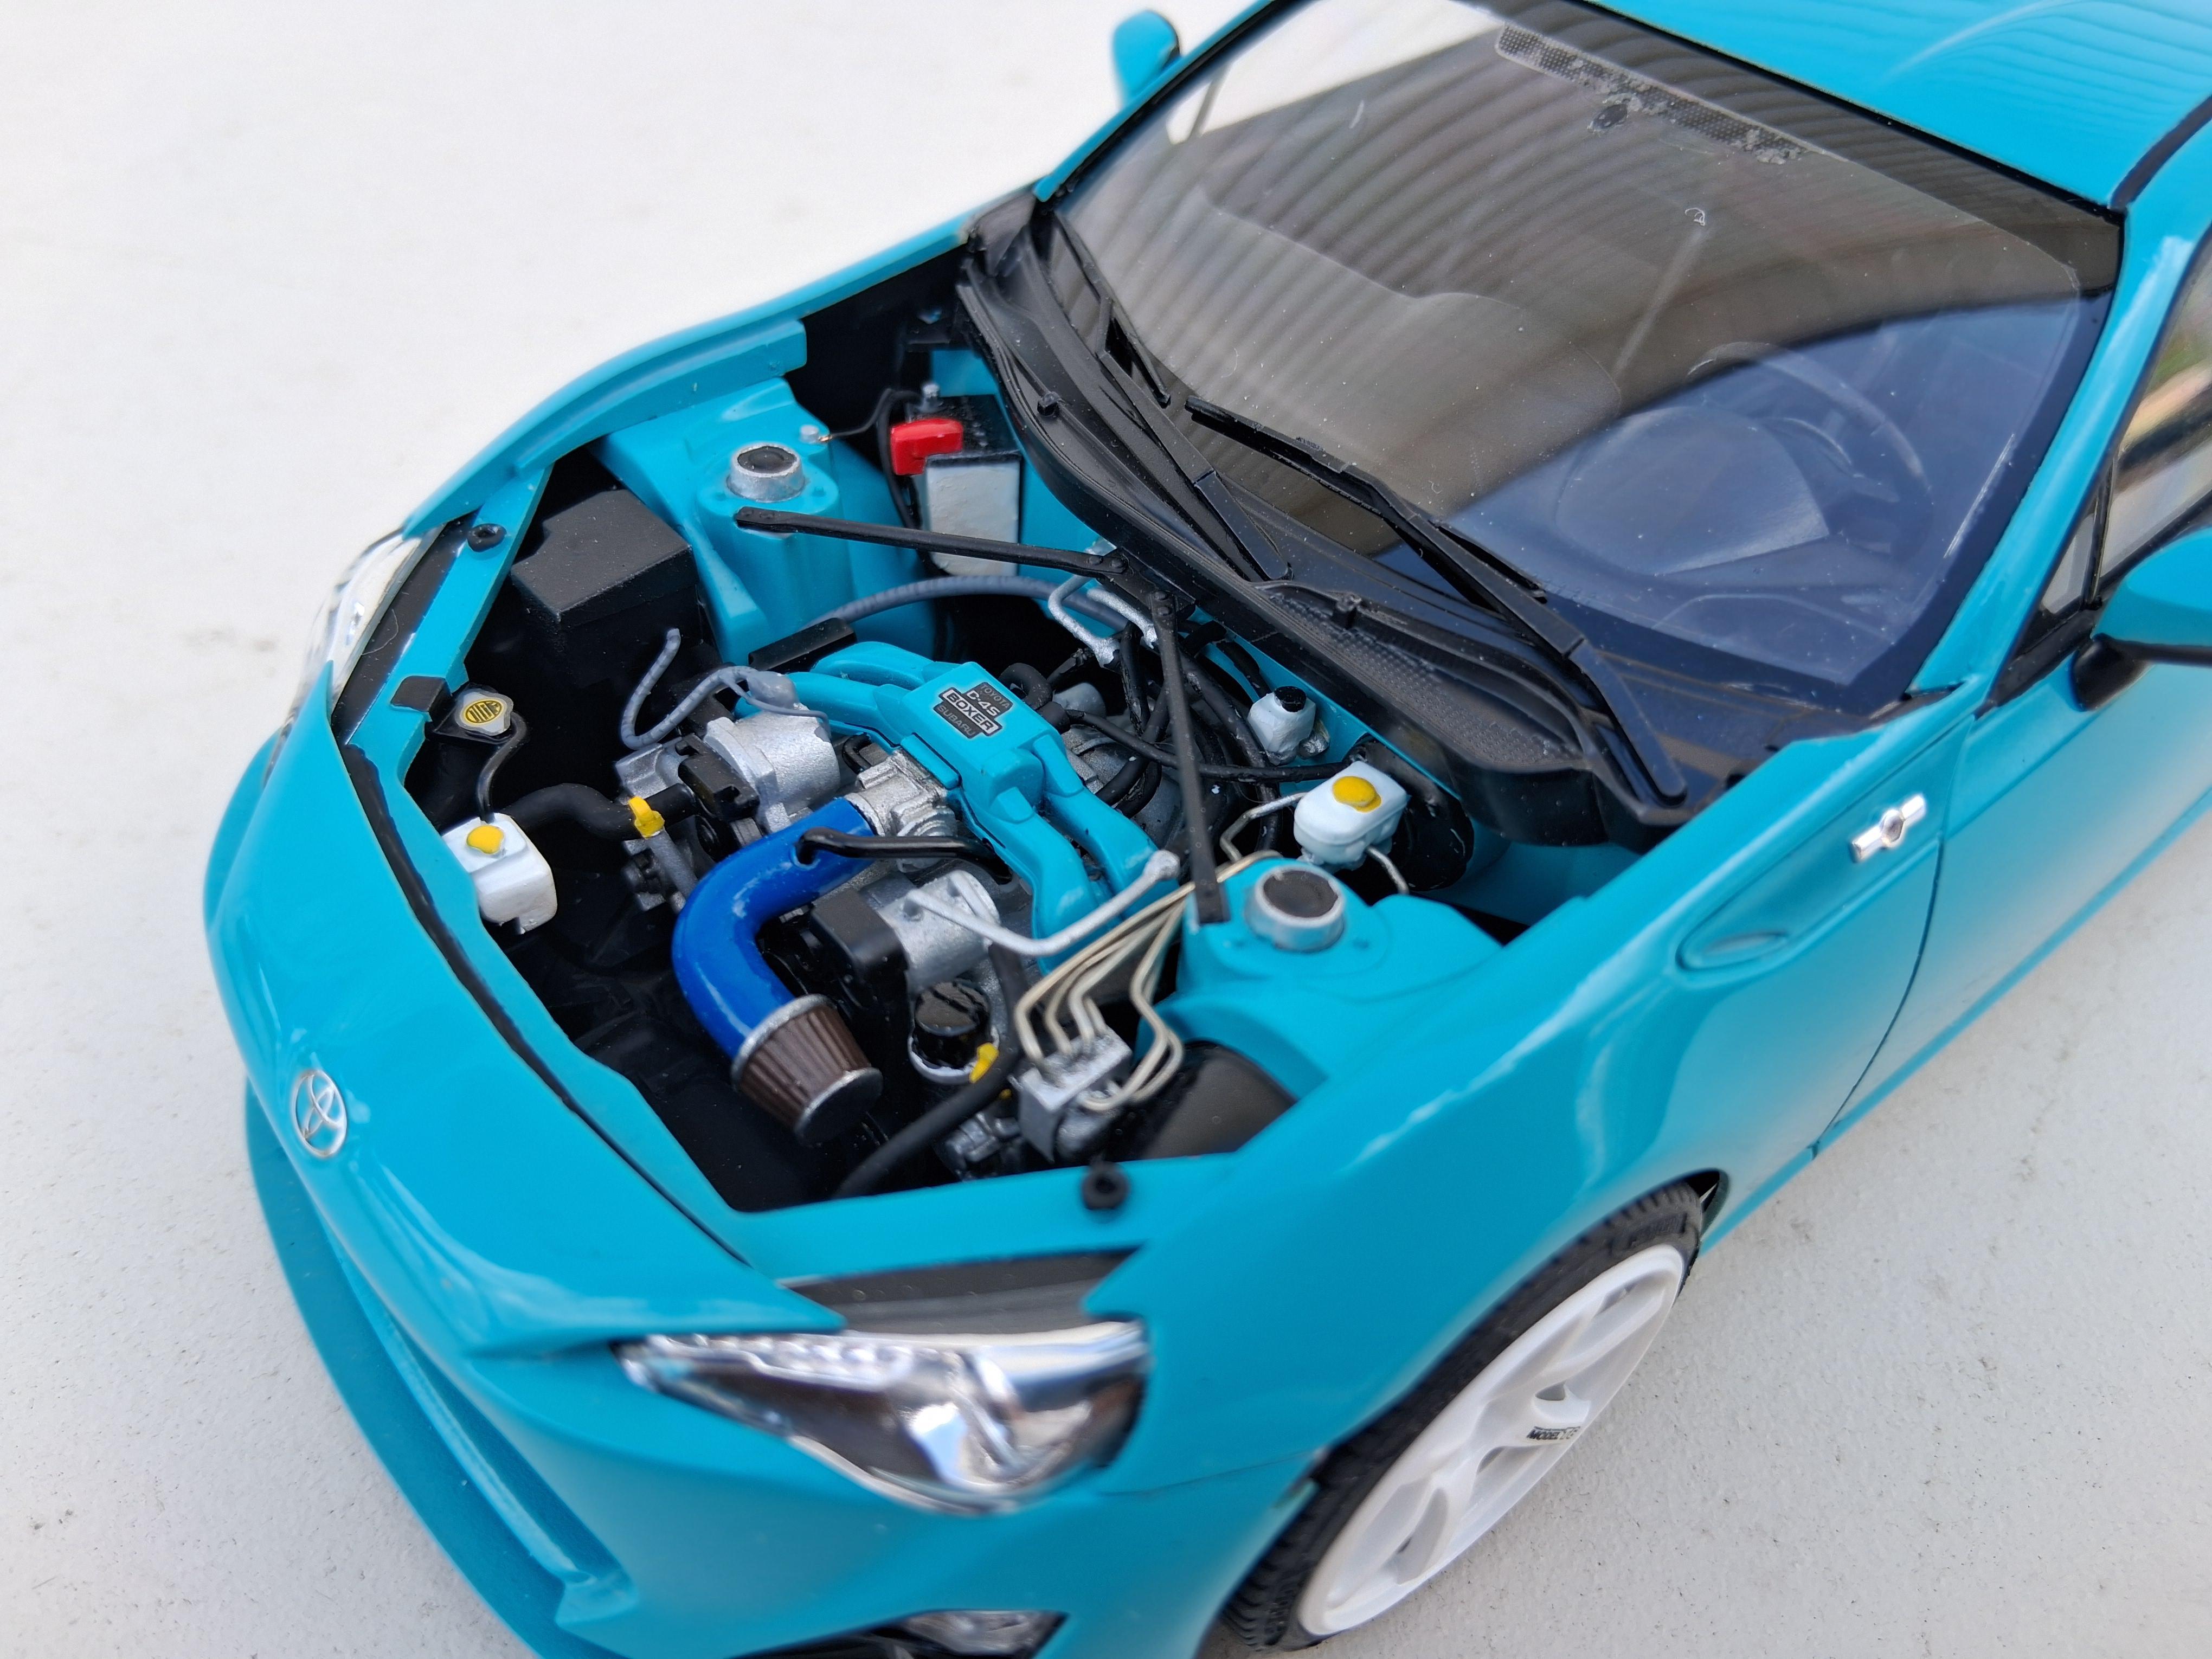
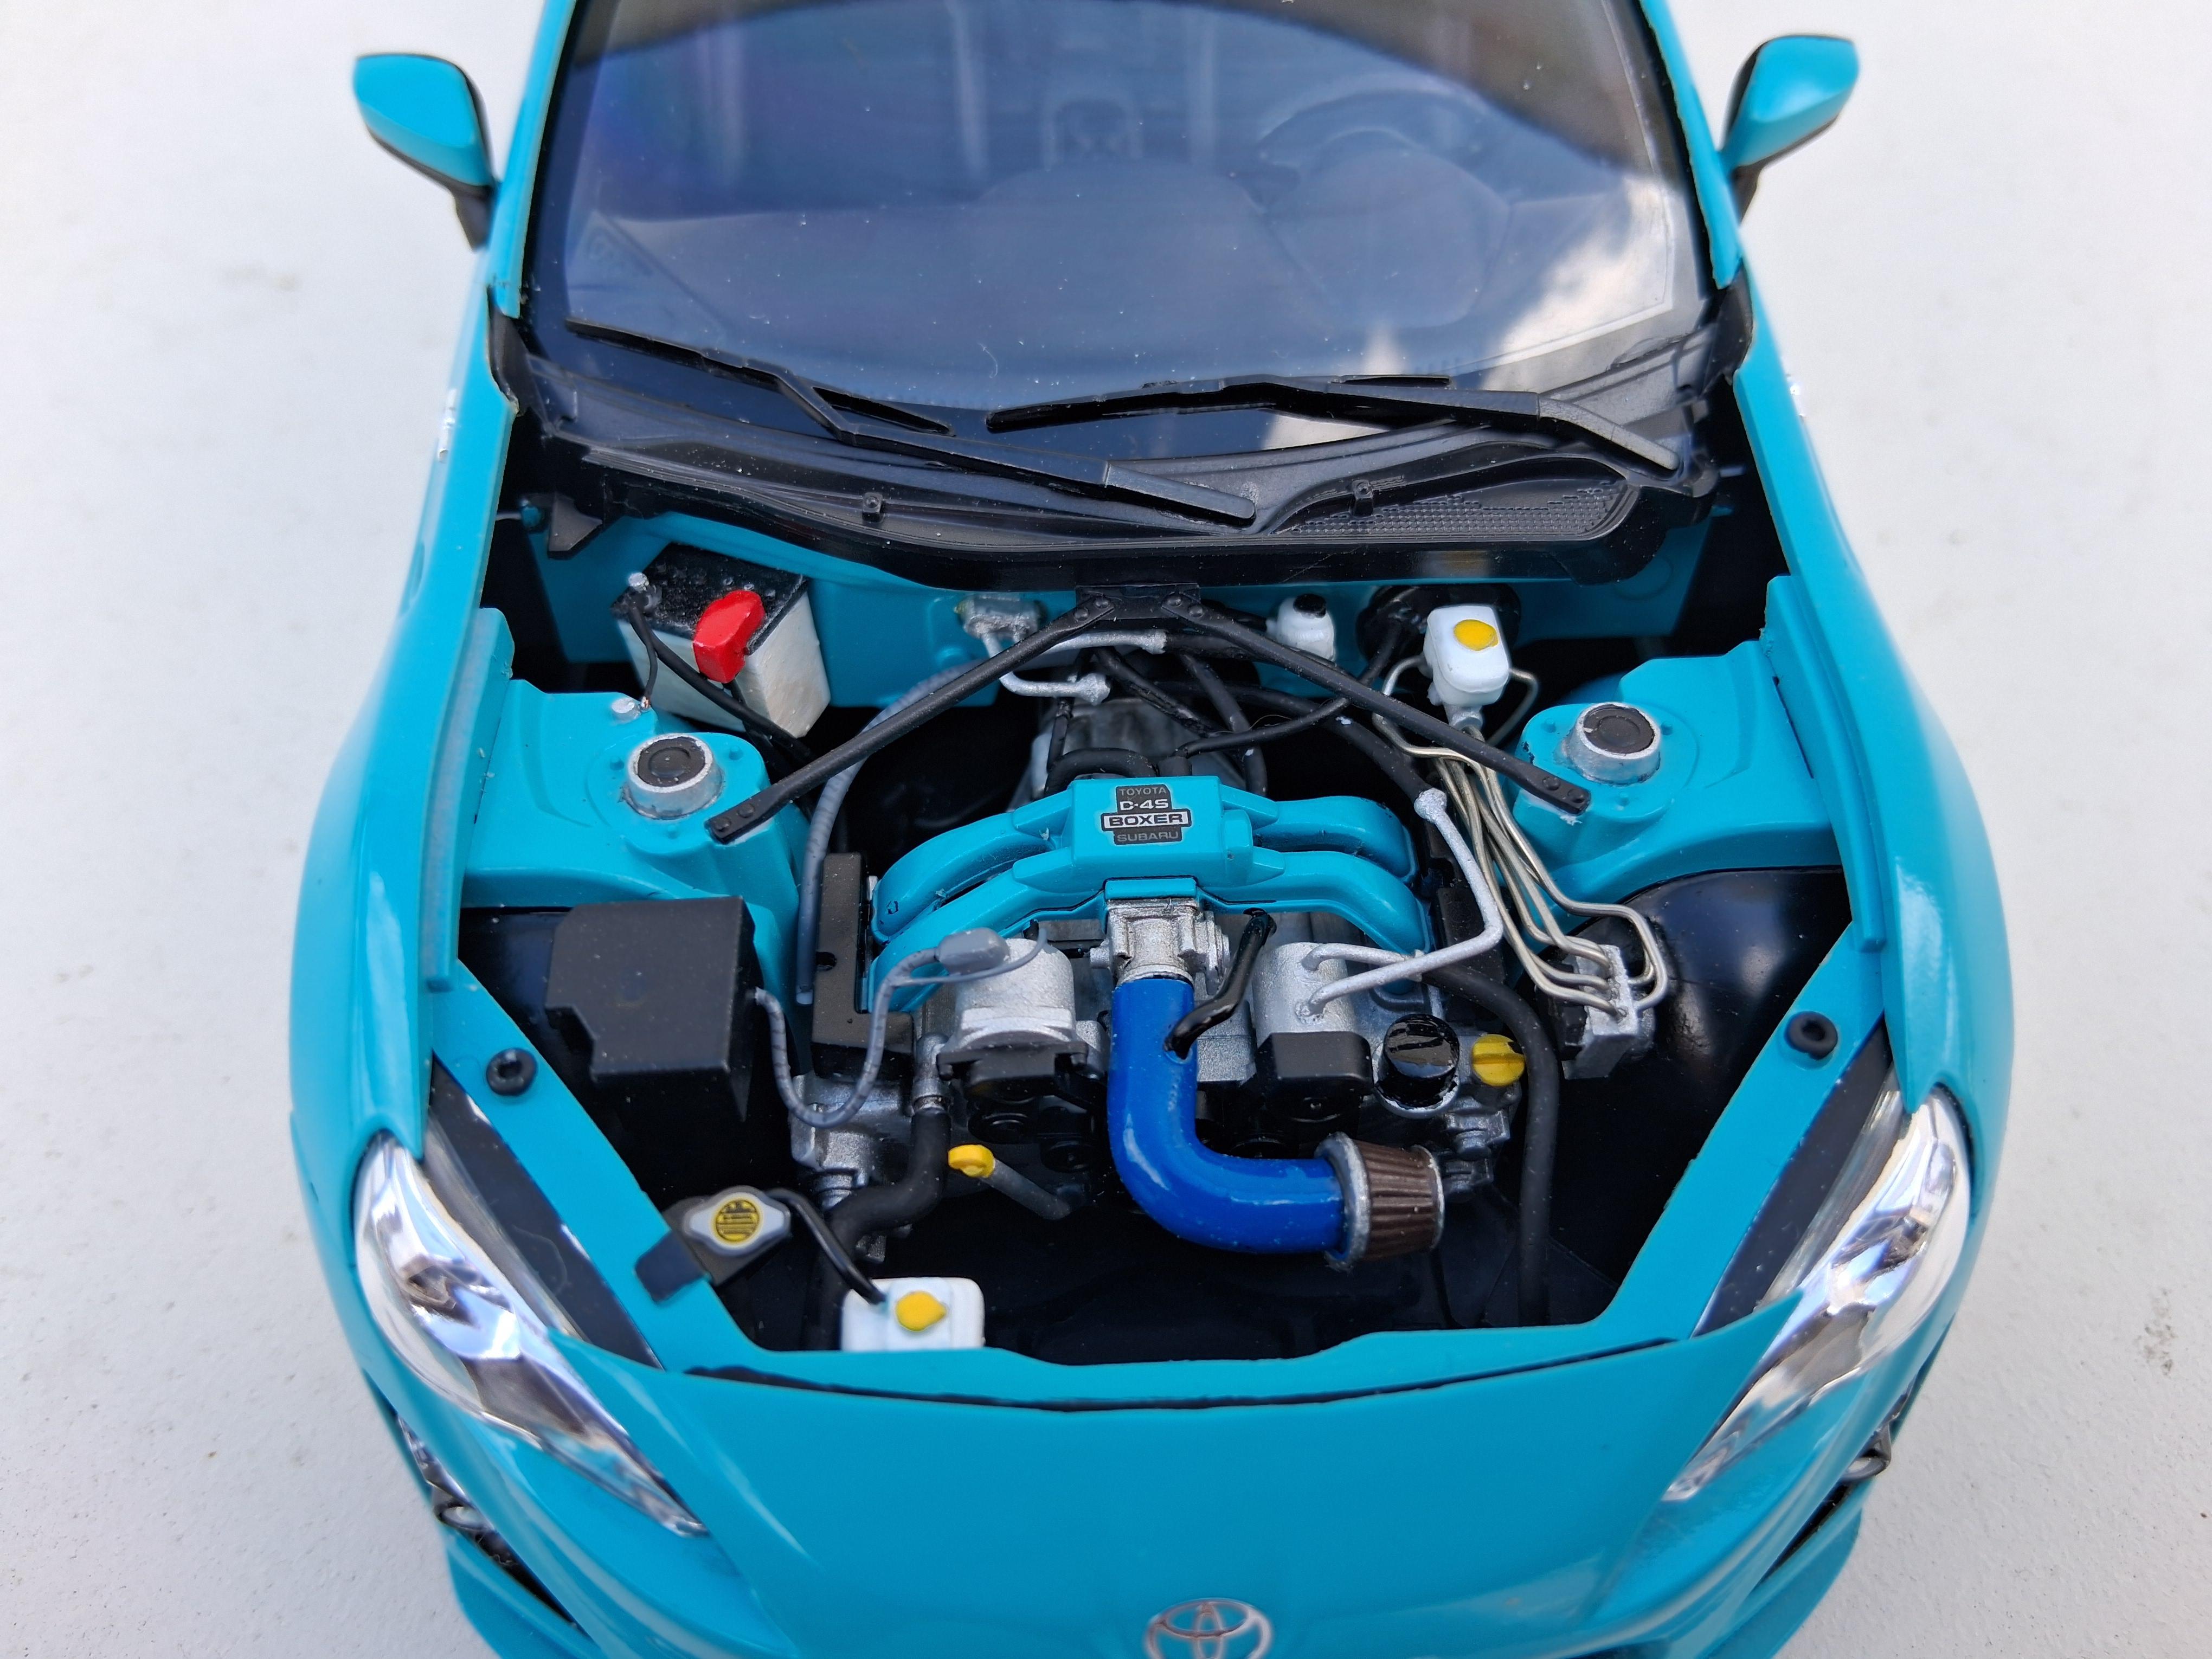
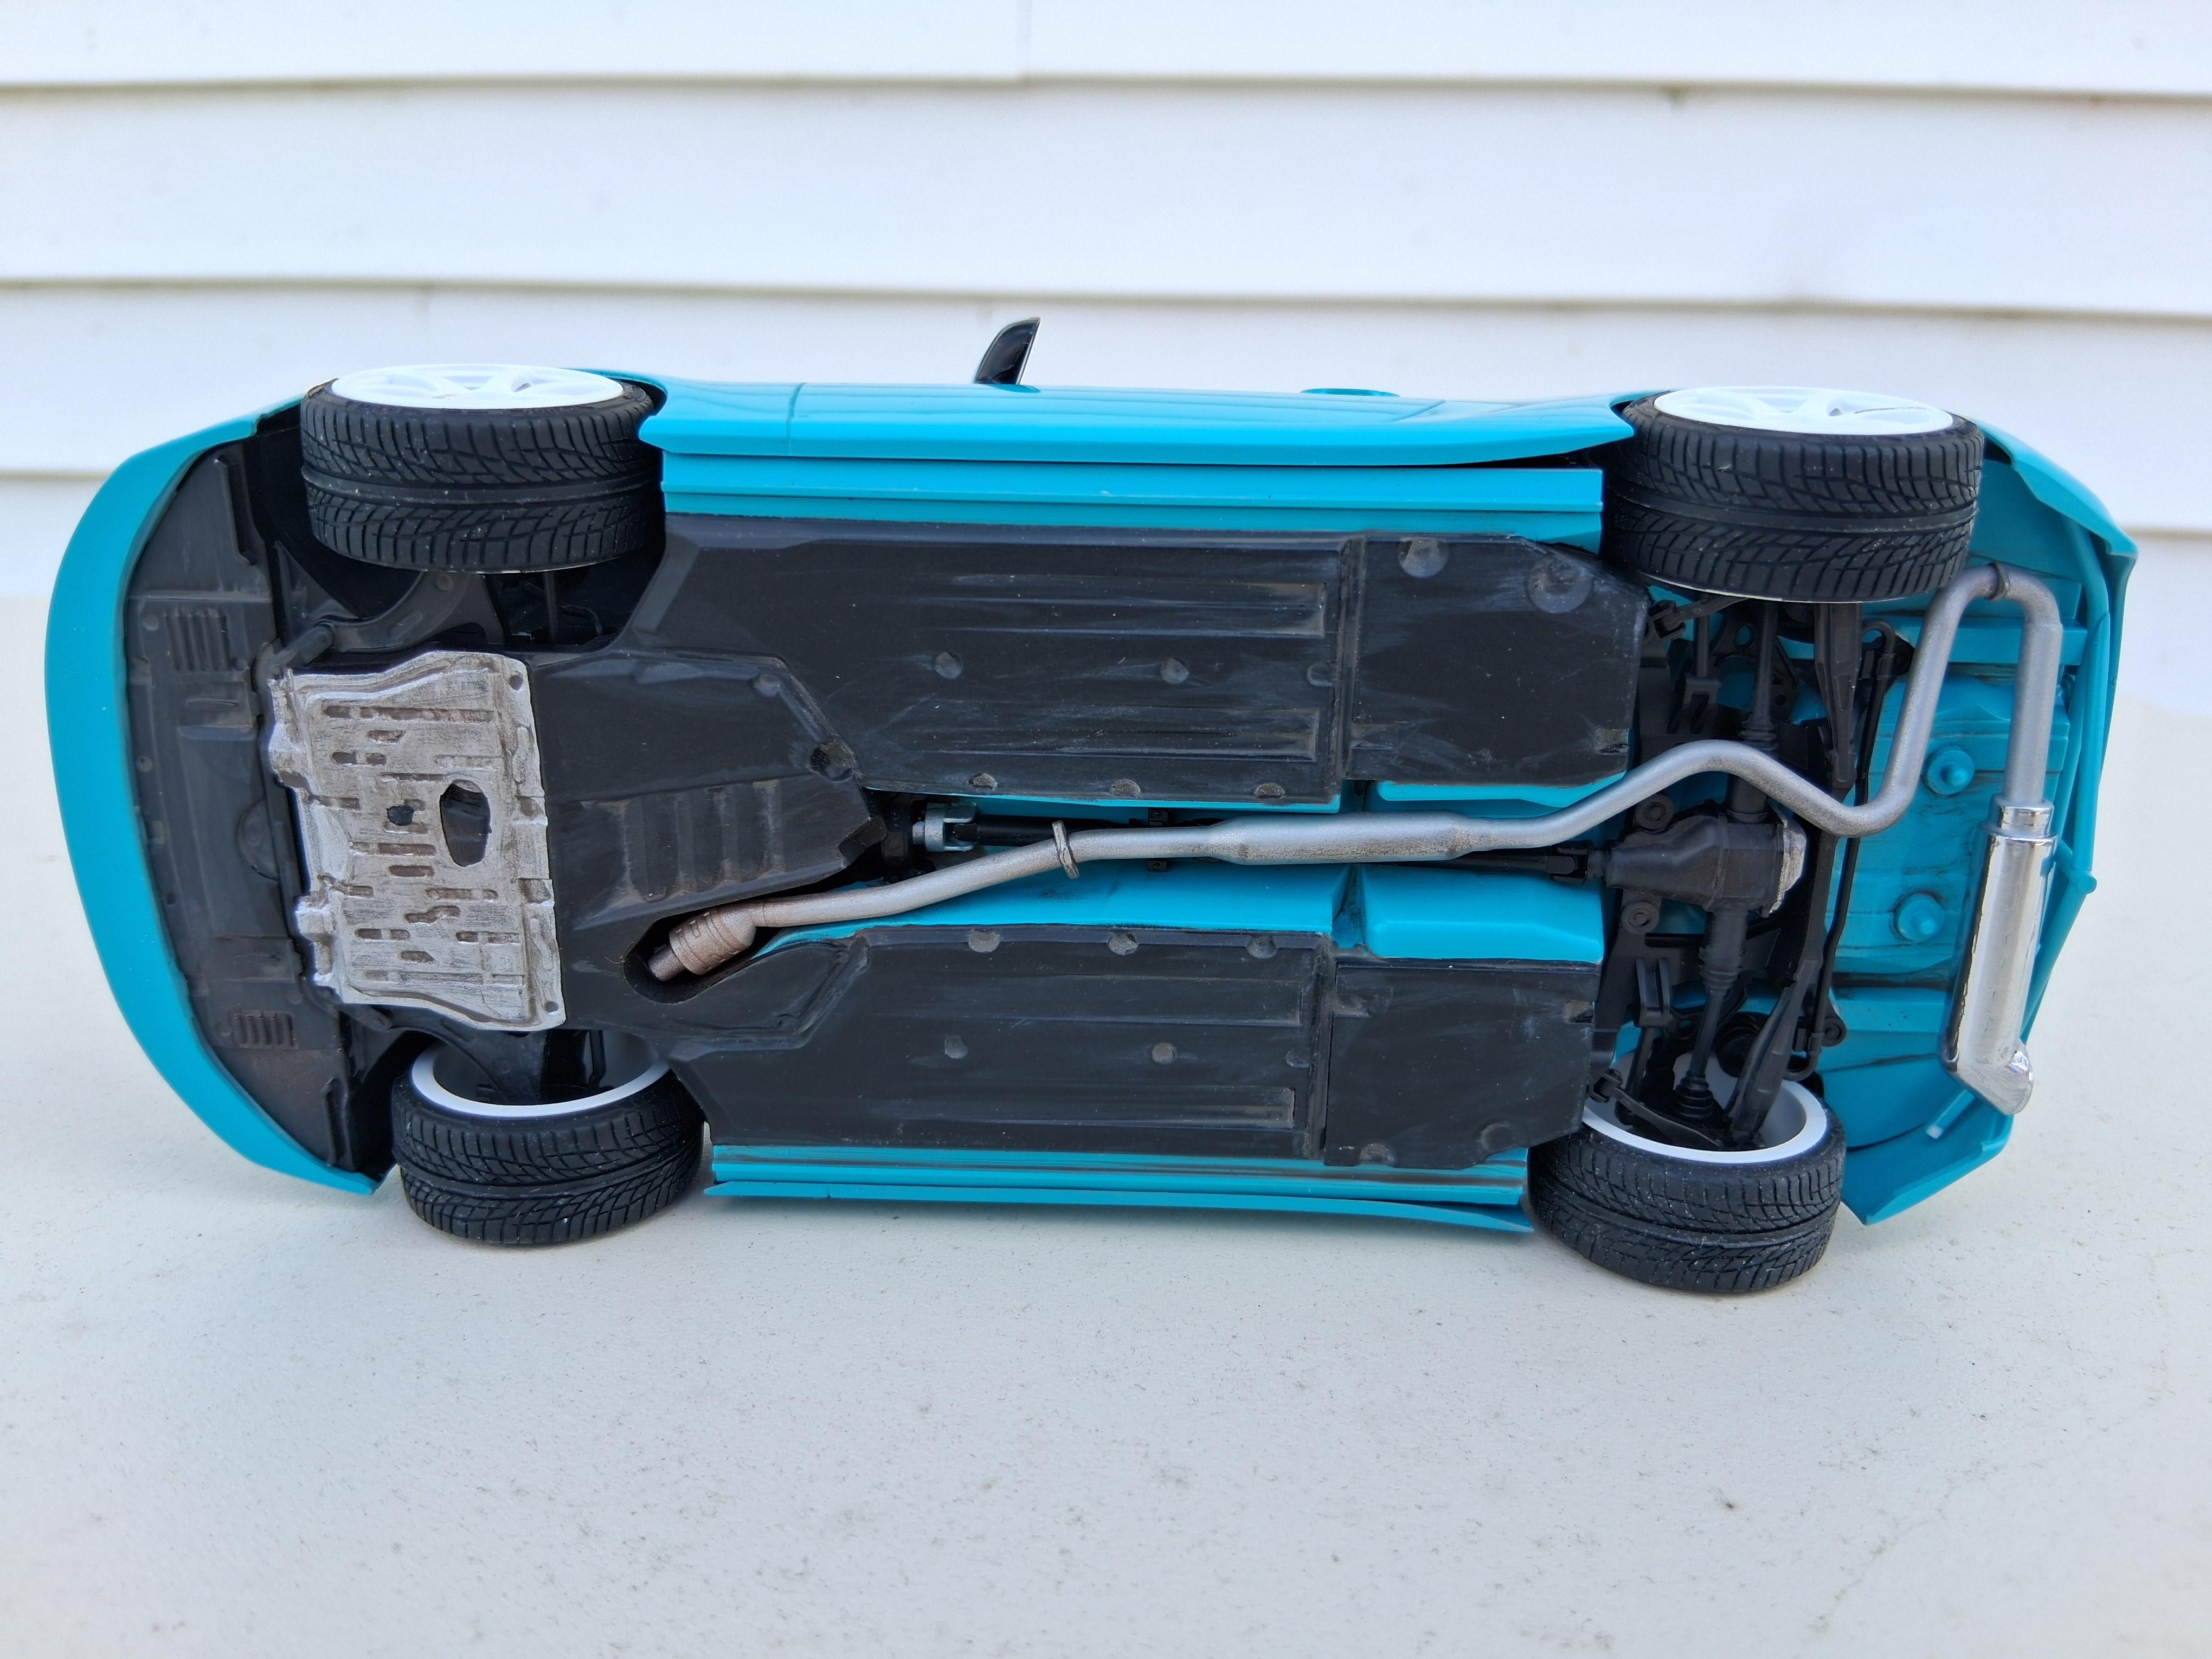
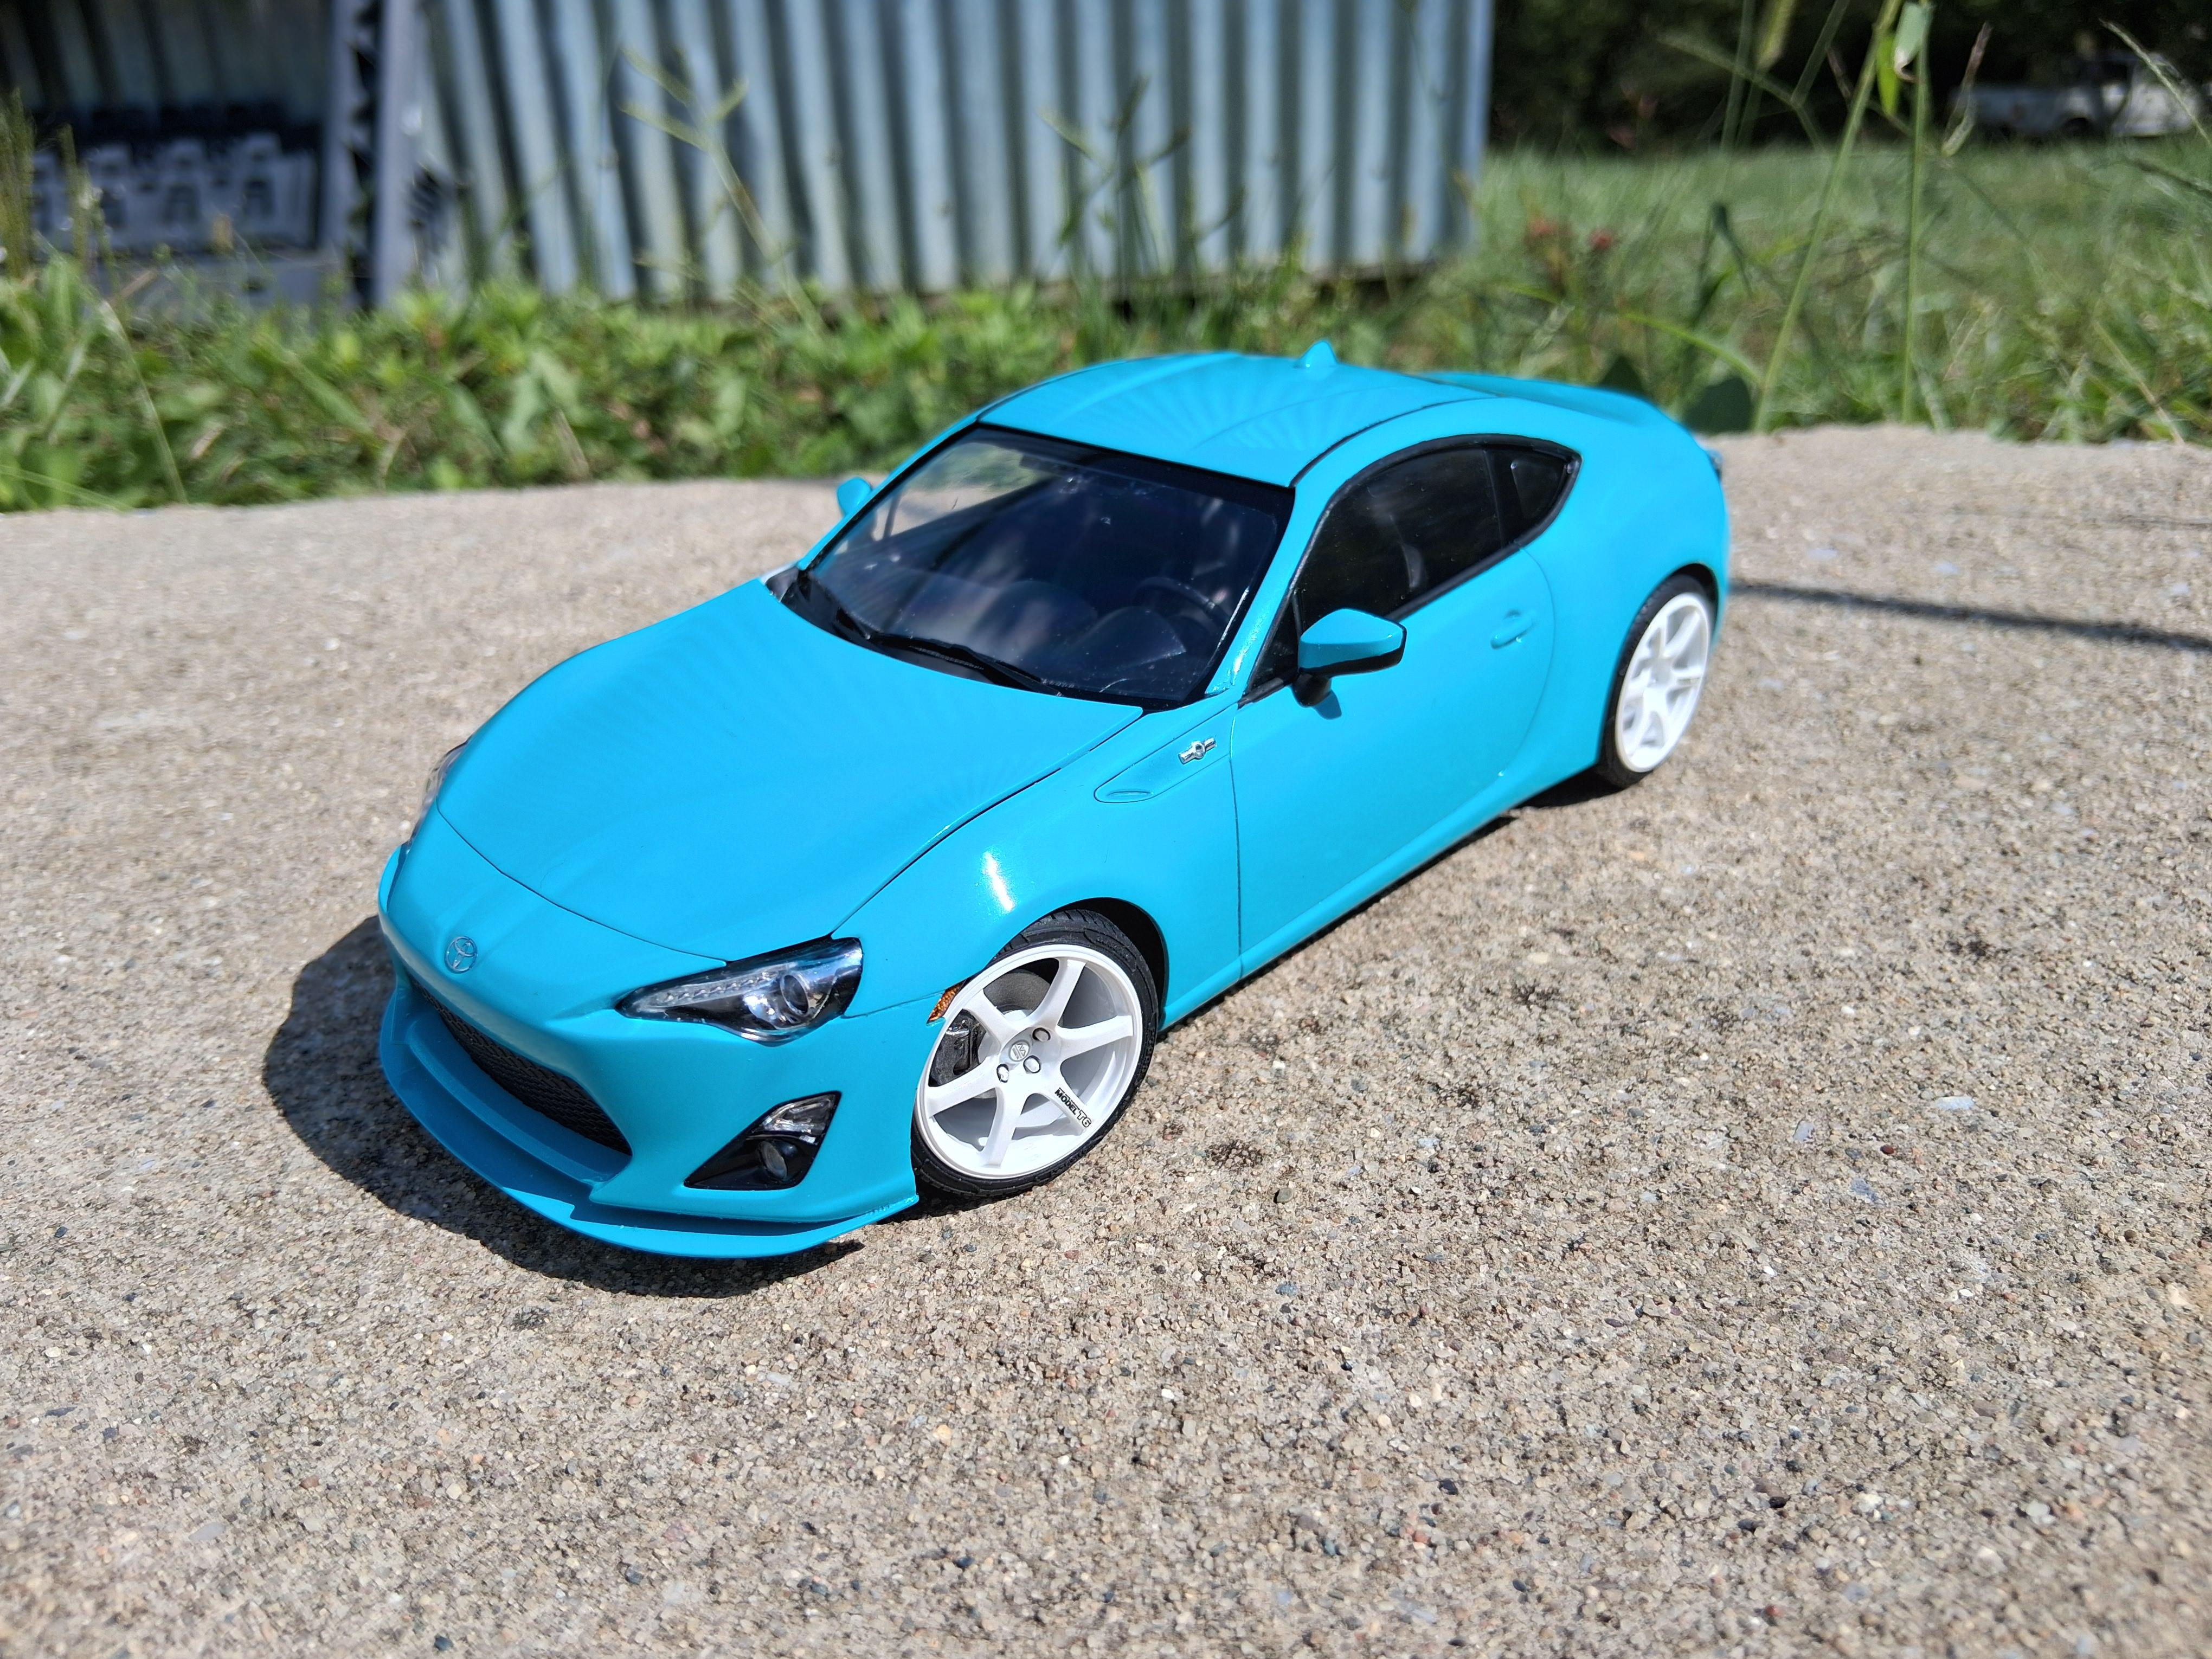
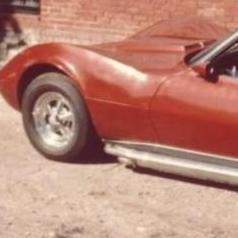
I bought this from ebay a couple weeks ago. It was listed as "new in bags". Not quite. I didnt study the pics well enough. Someone primered the body parts and sprayed a parts tree black. The bumpers were attached and a couple of glue fingerprints had been primered over. Easy fix, but a little annoying. Oh well. After realigning the bumpers and sanding everything smooth, I painted it Tamiya coral blue over Mr Hobby gray primer. I scratchbuilt several engine bay parts, like the ABS module, overflow tank, Perrin style intake pipe, AC lines, and clutch master. I converted it to left hand drive using parts from an Aoshima BRZ. The dash, firewall, and cowl fit pretty close as is, but the Aoshima console didn't. I ended up cutting both kits consoles apart and playing with pieces until it fit and covered the hole in the tub. I also made a muffler, bash bar, and used Aoshima 19" Advan T61 wheels.
- 12 replies
-
- 15
-

-
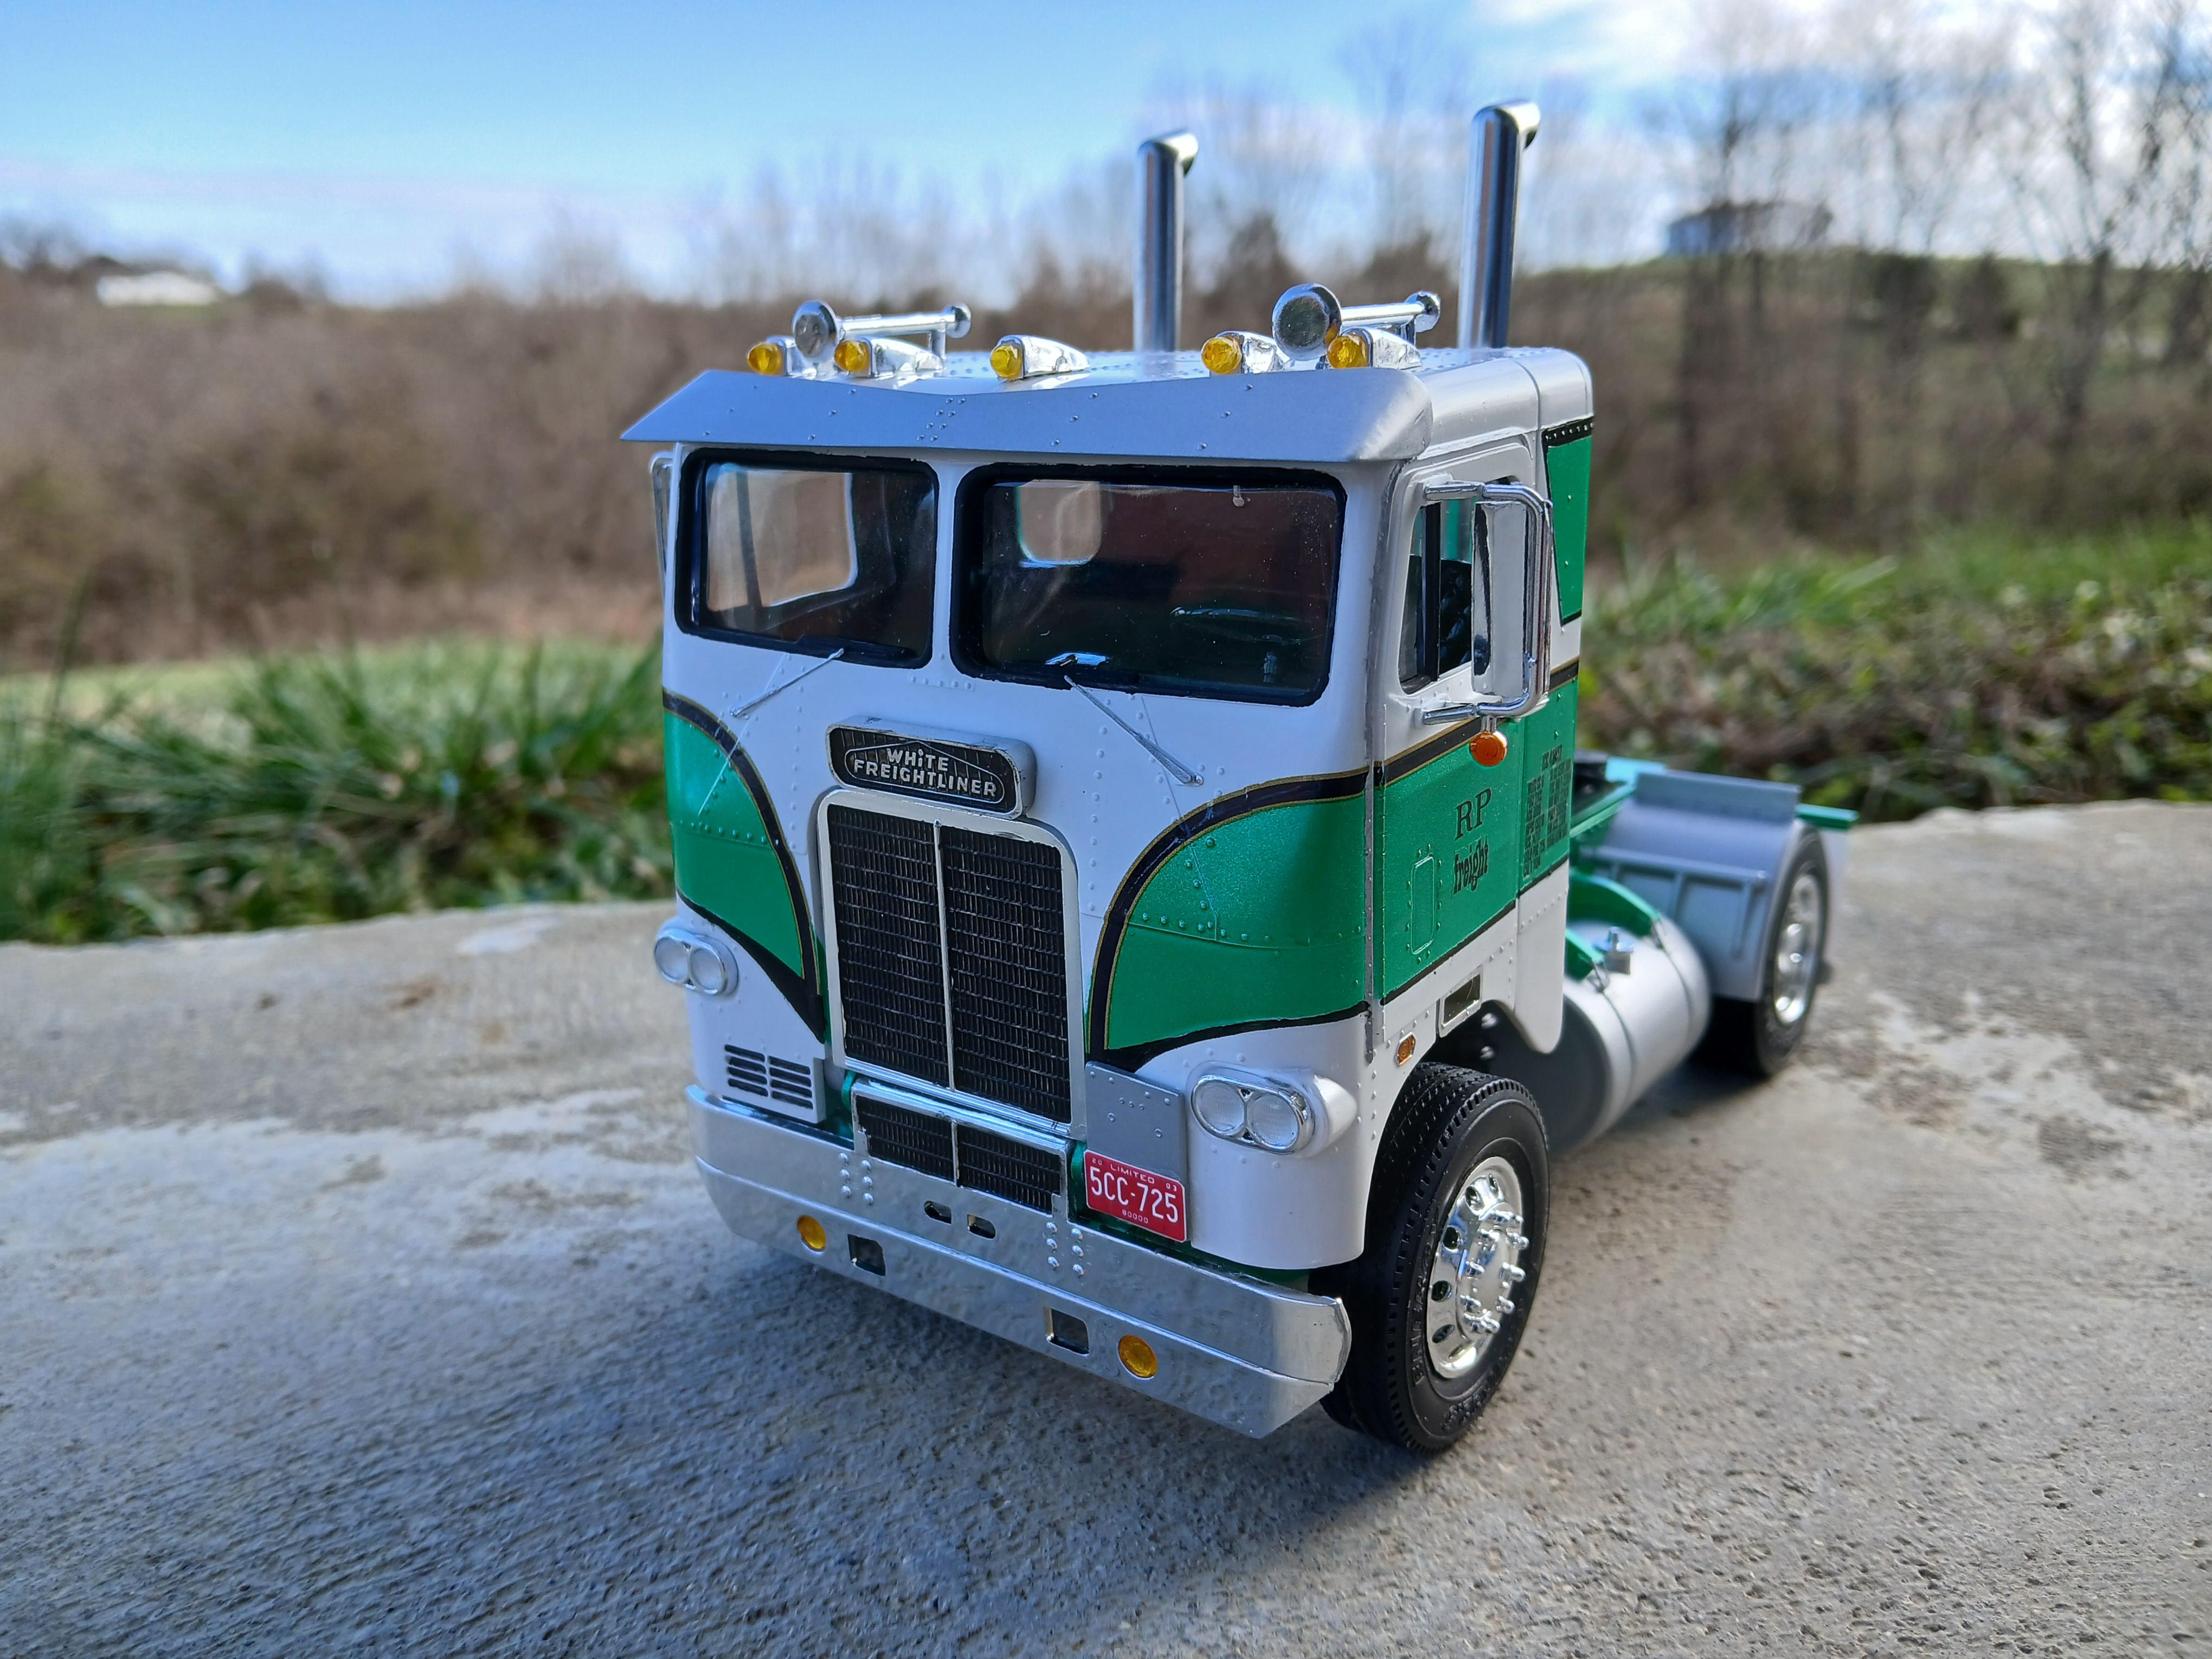
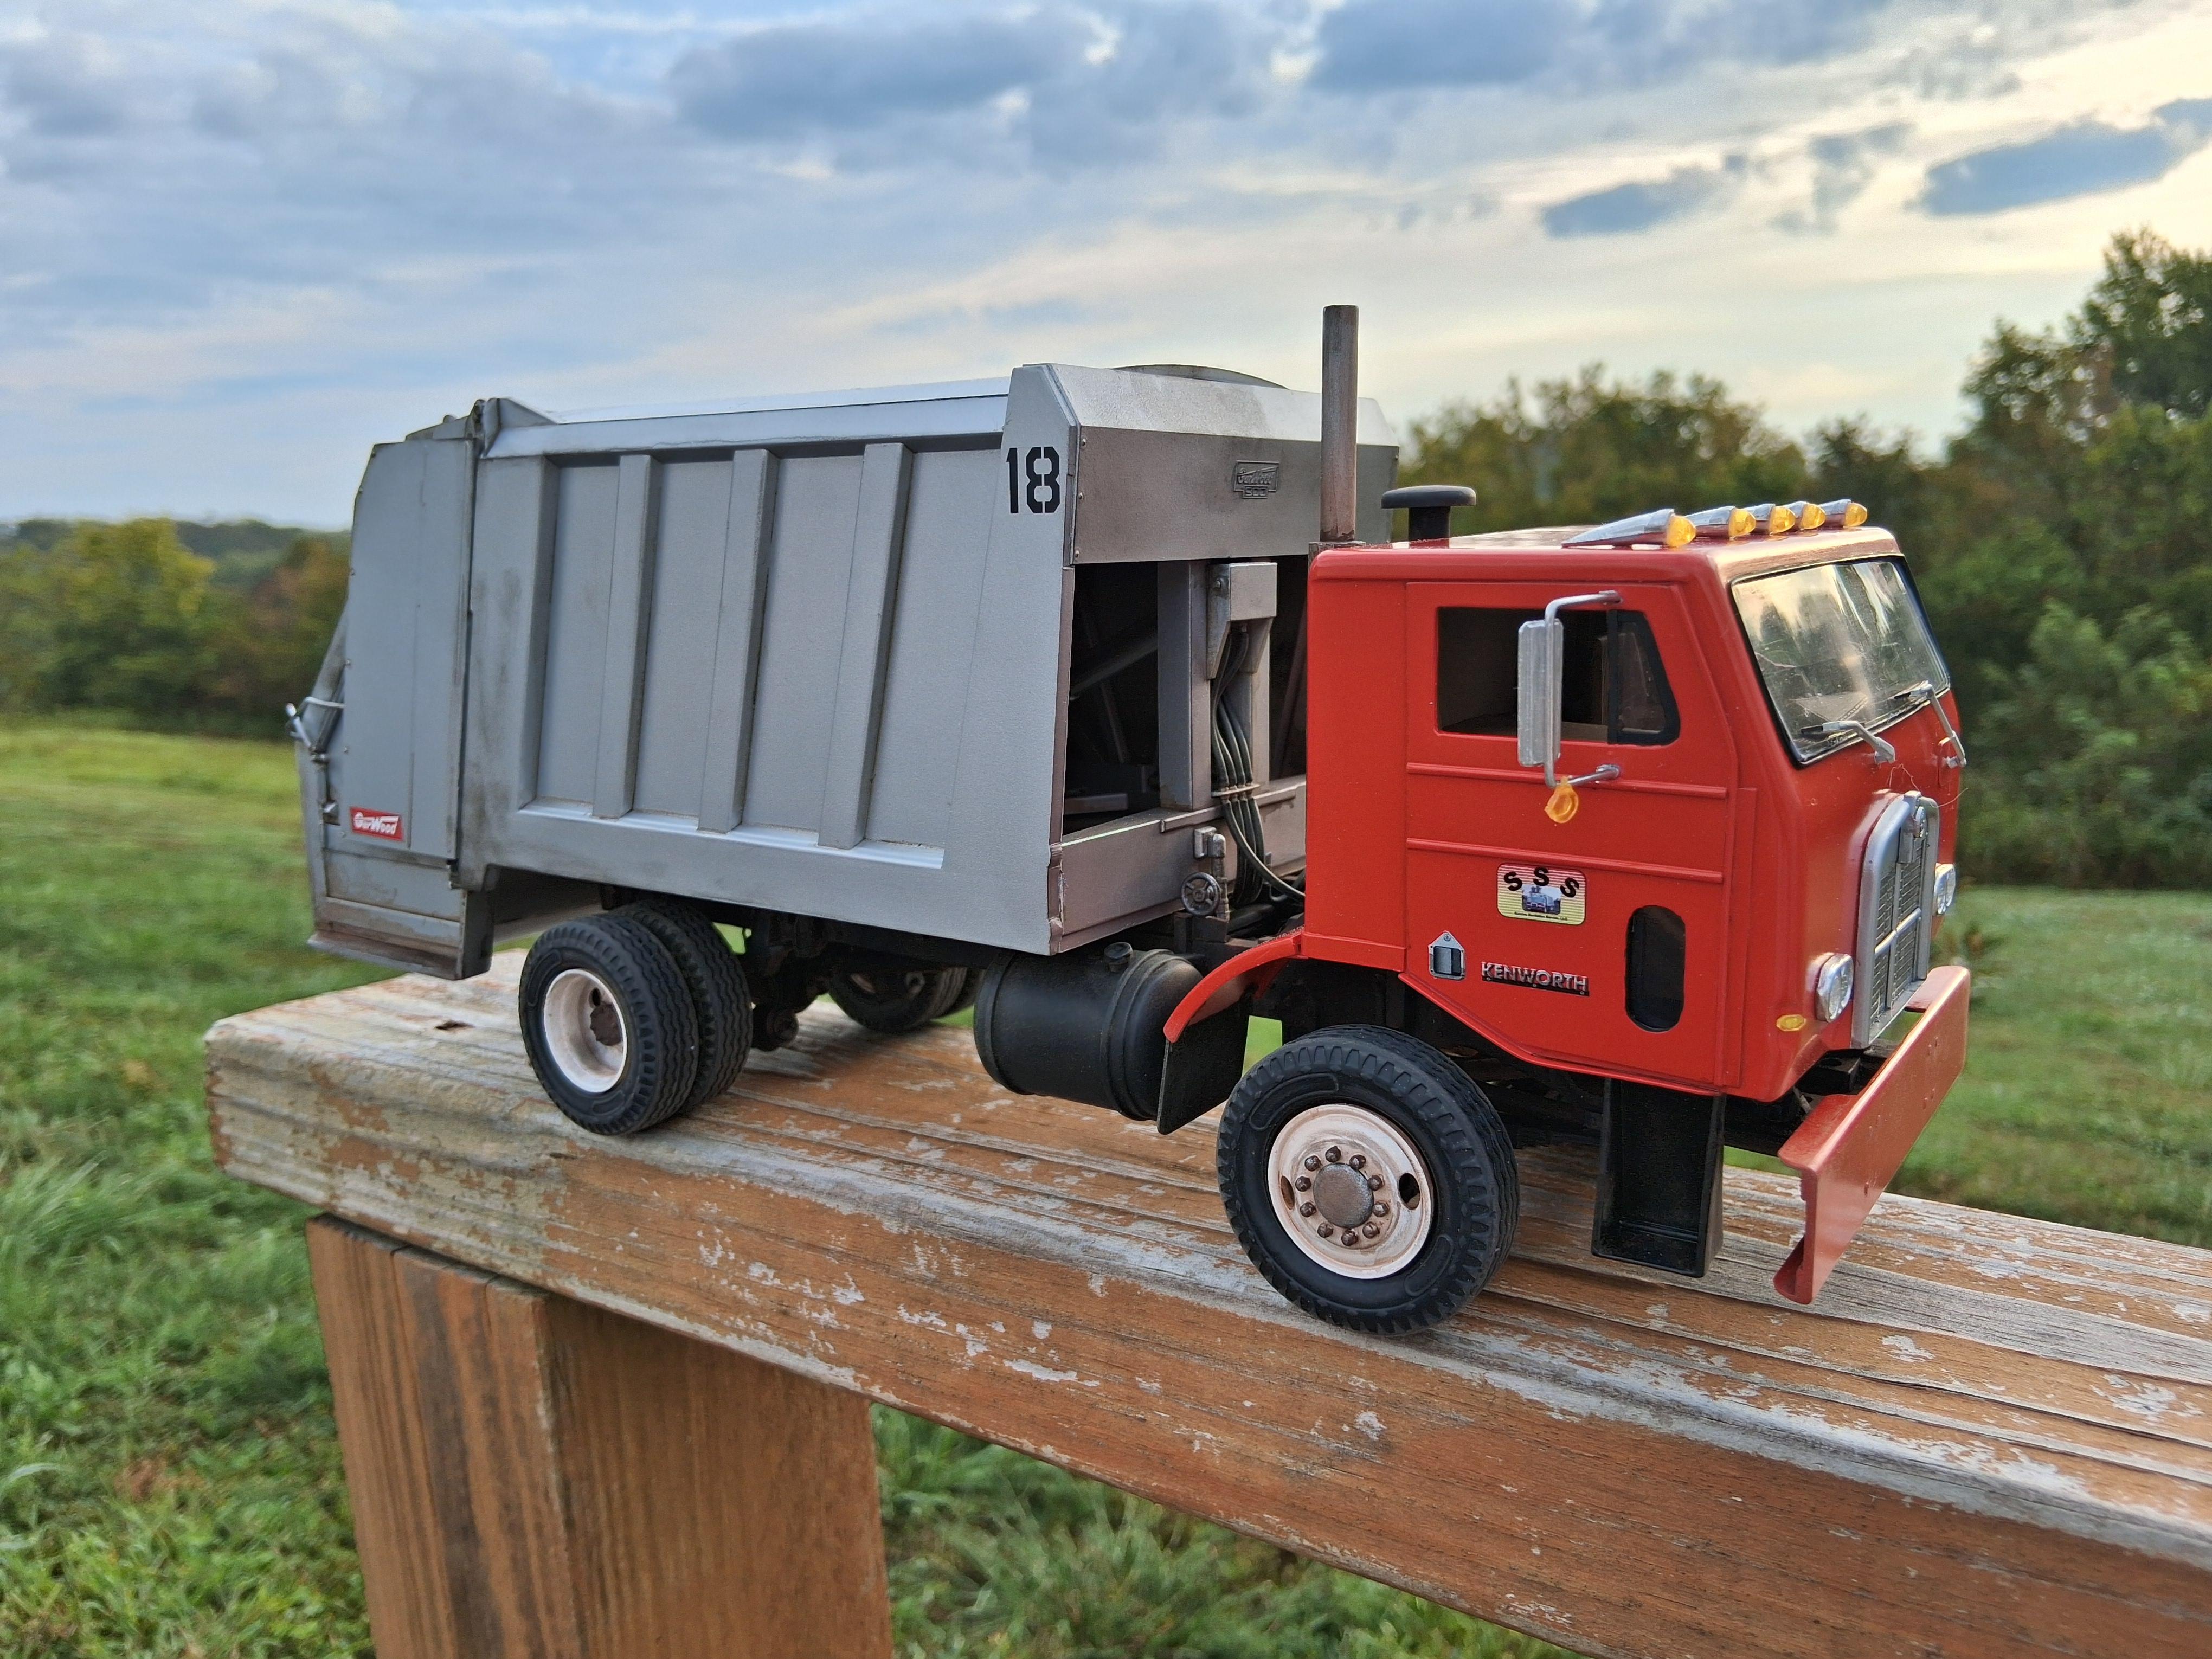
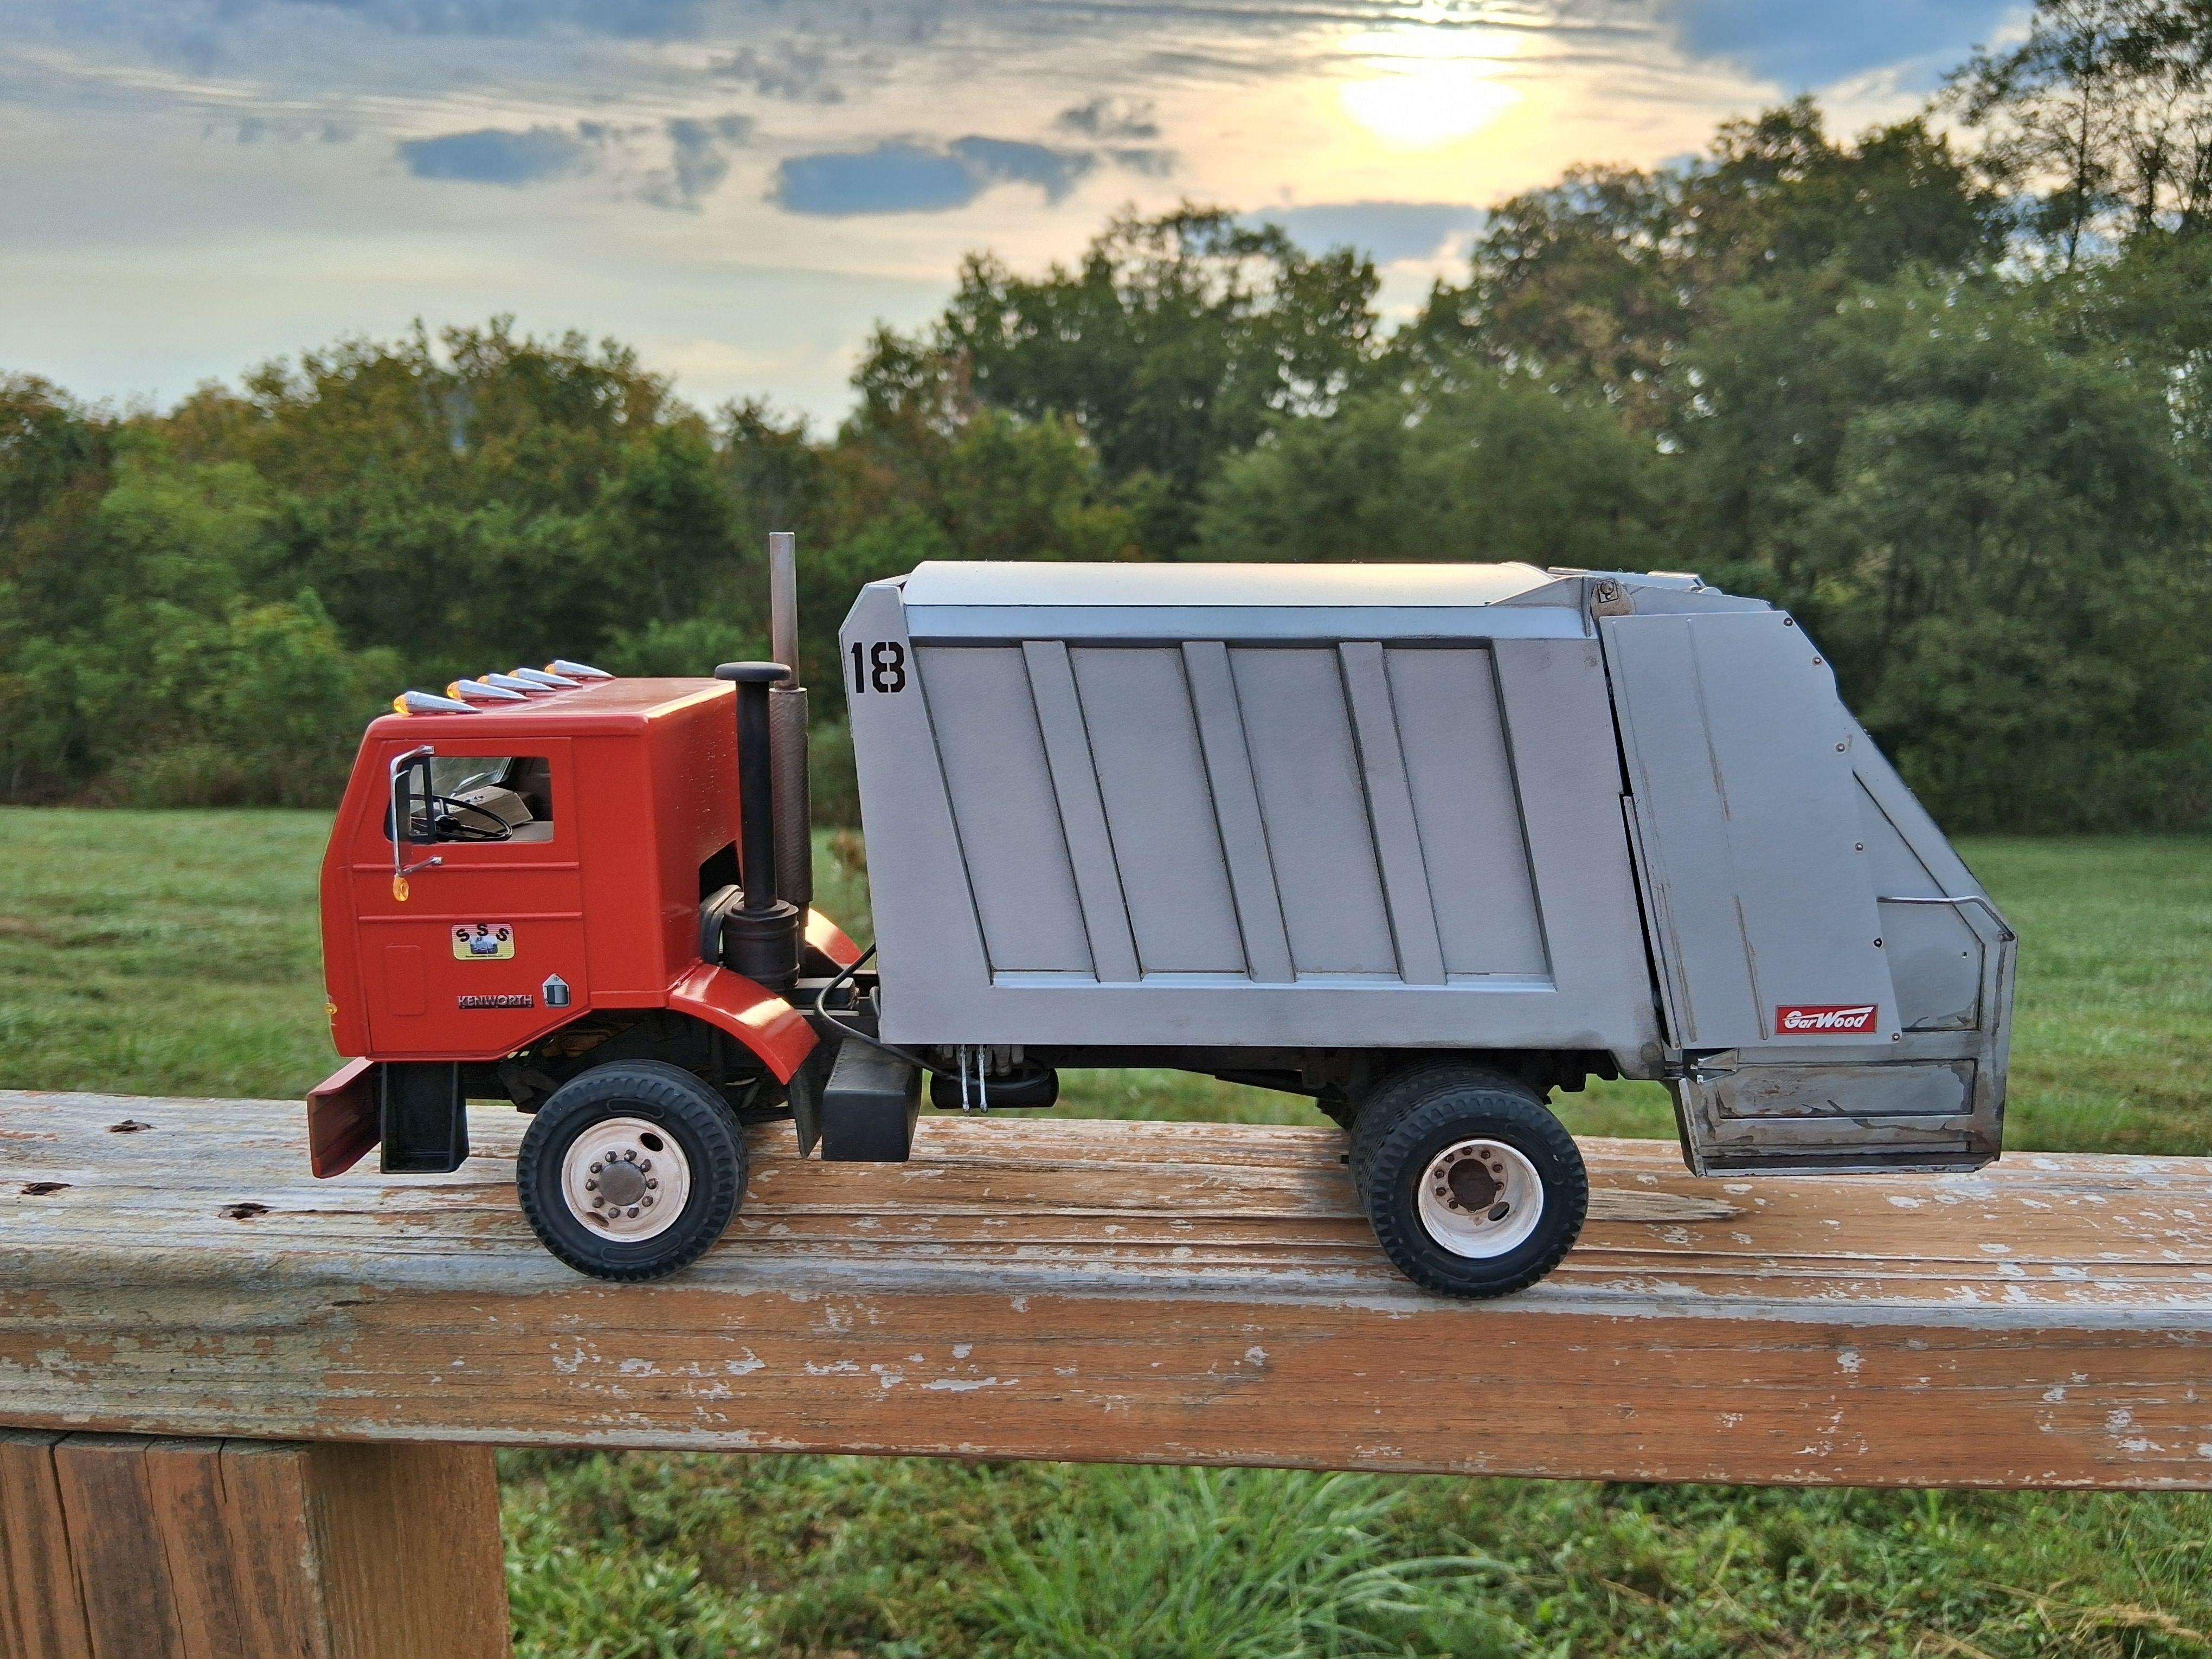
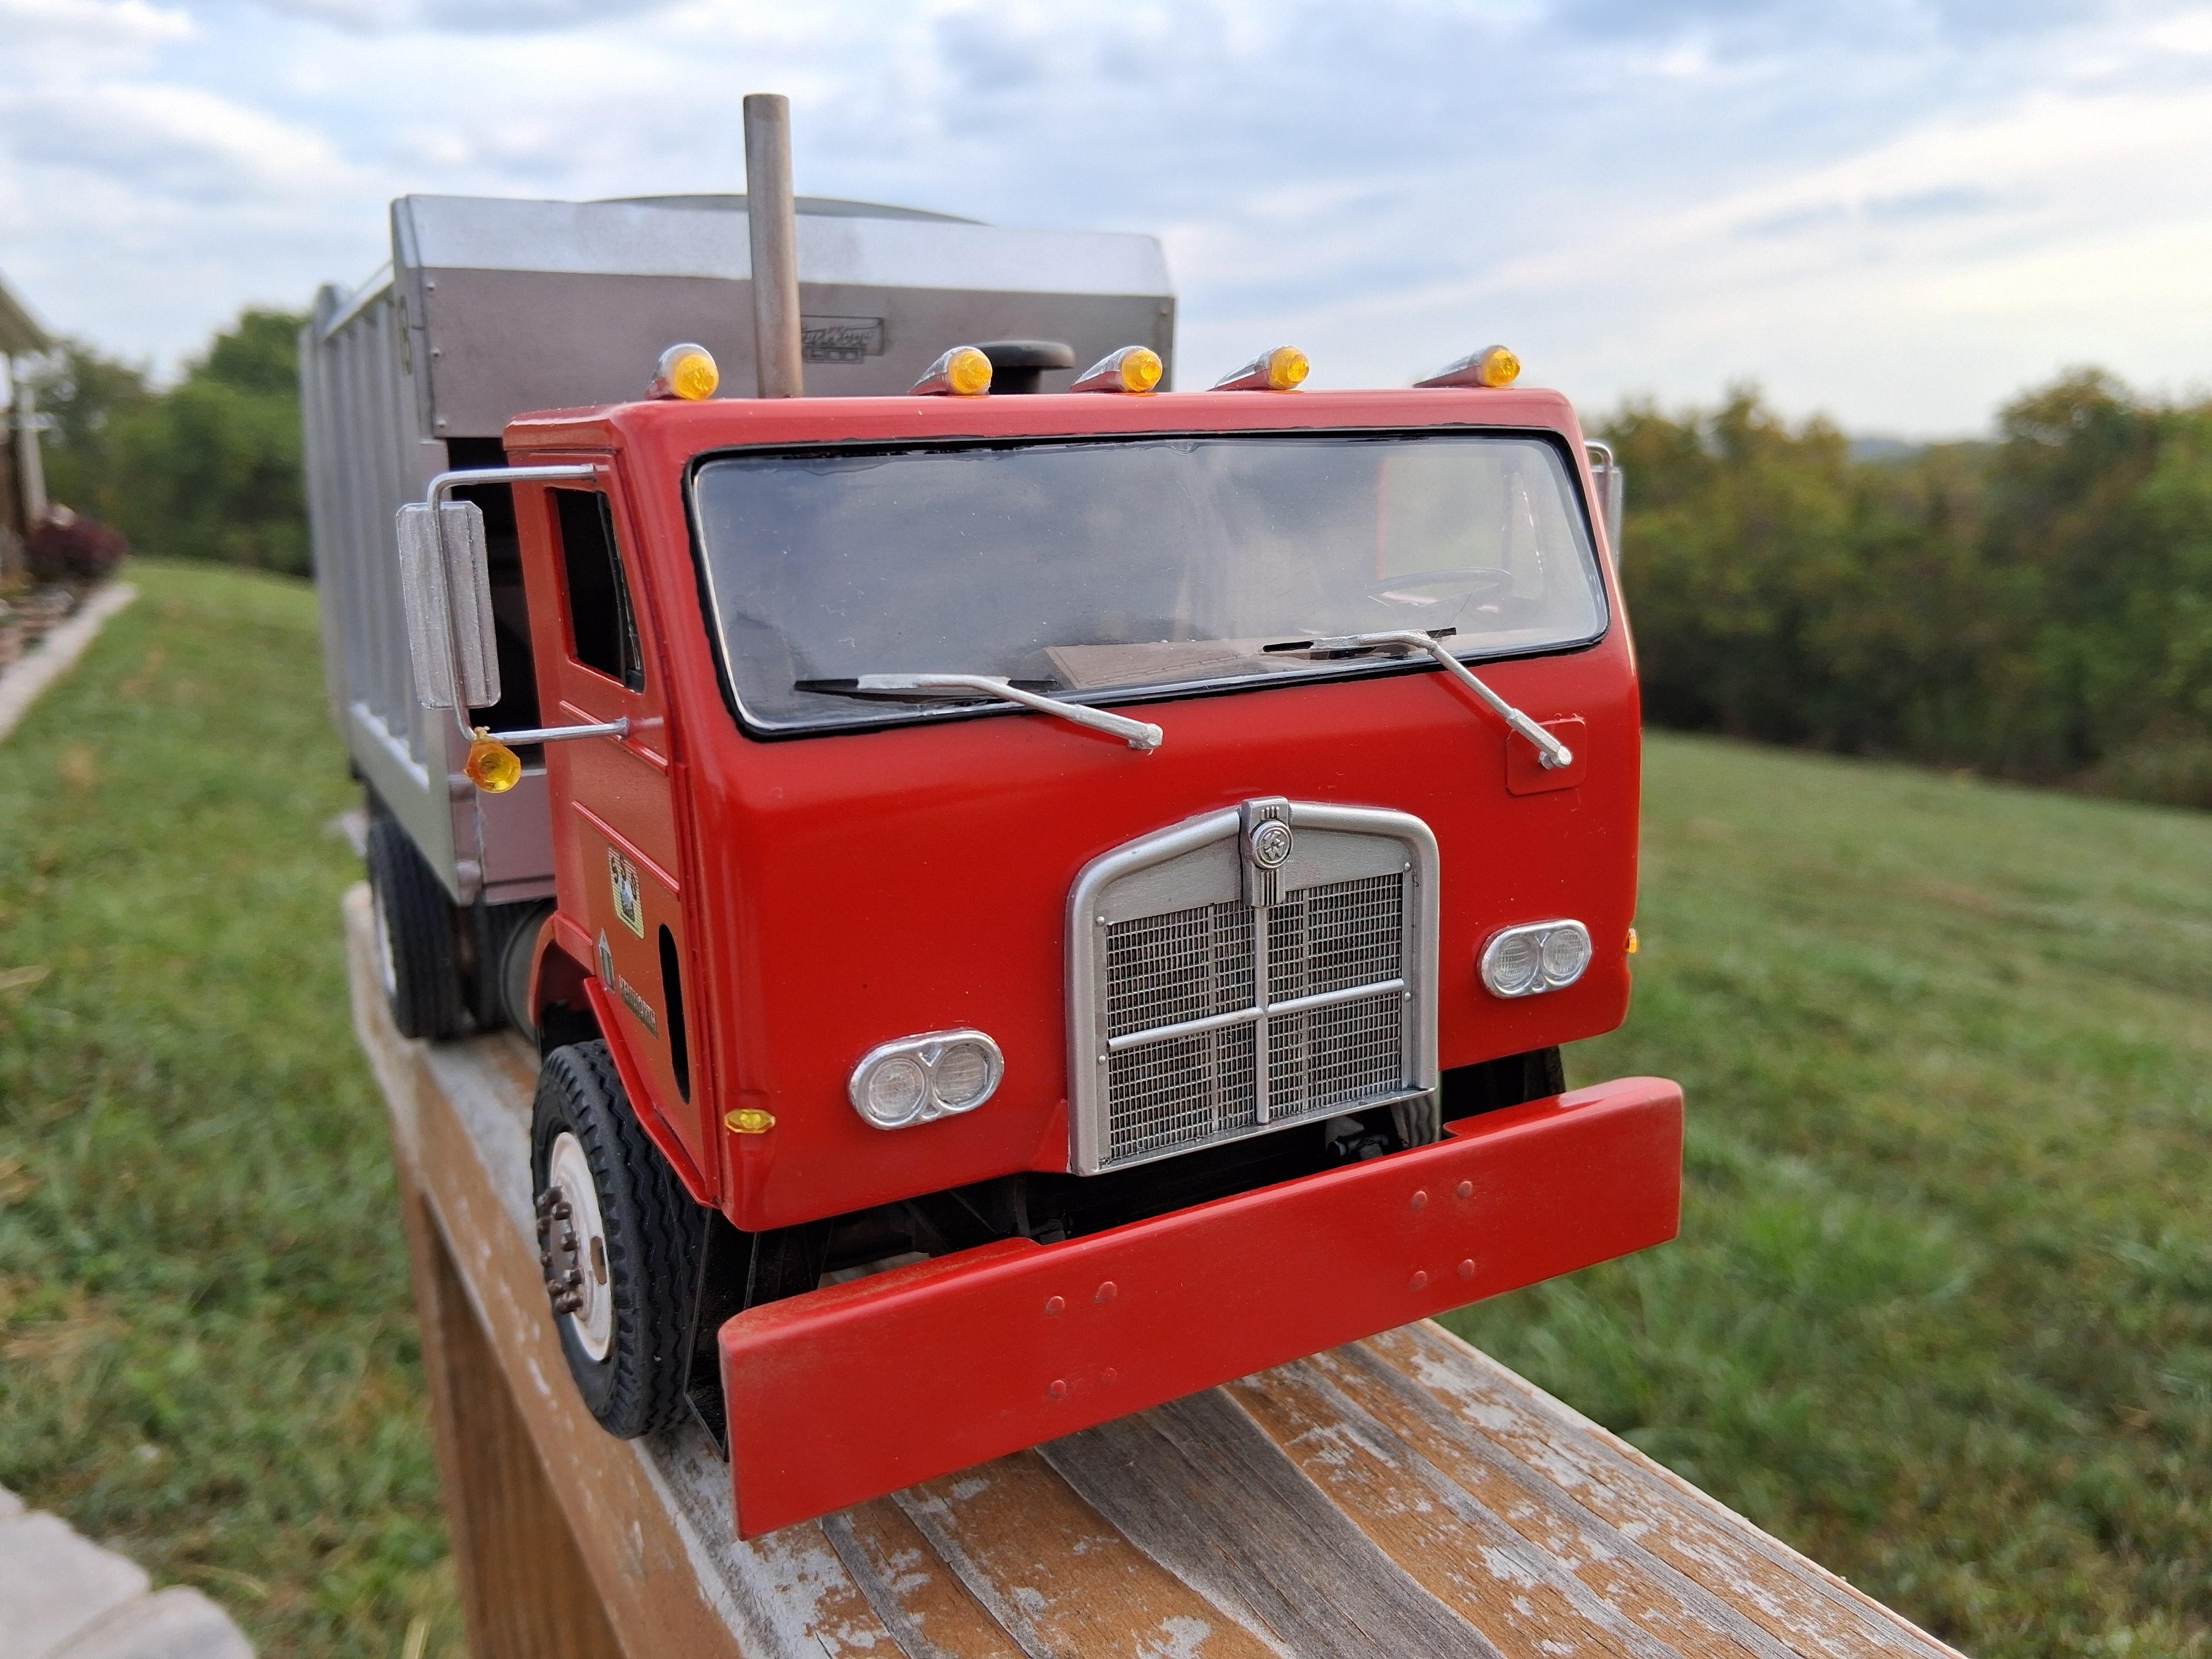
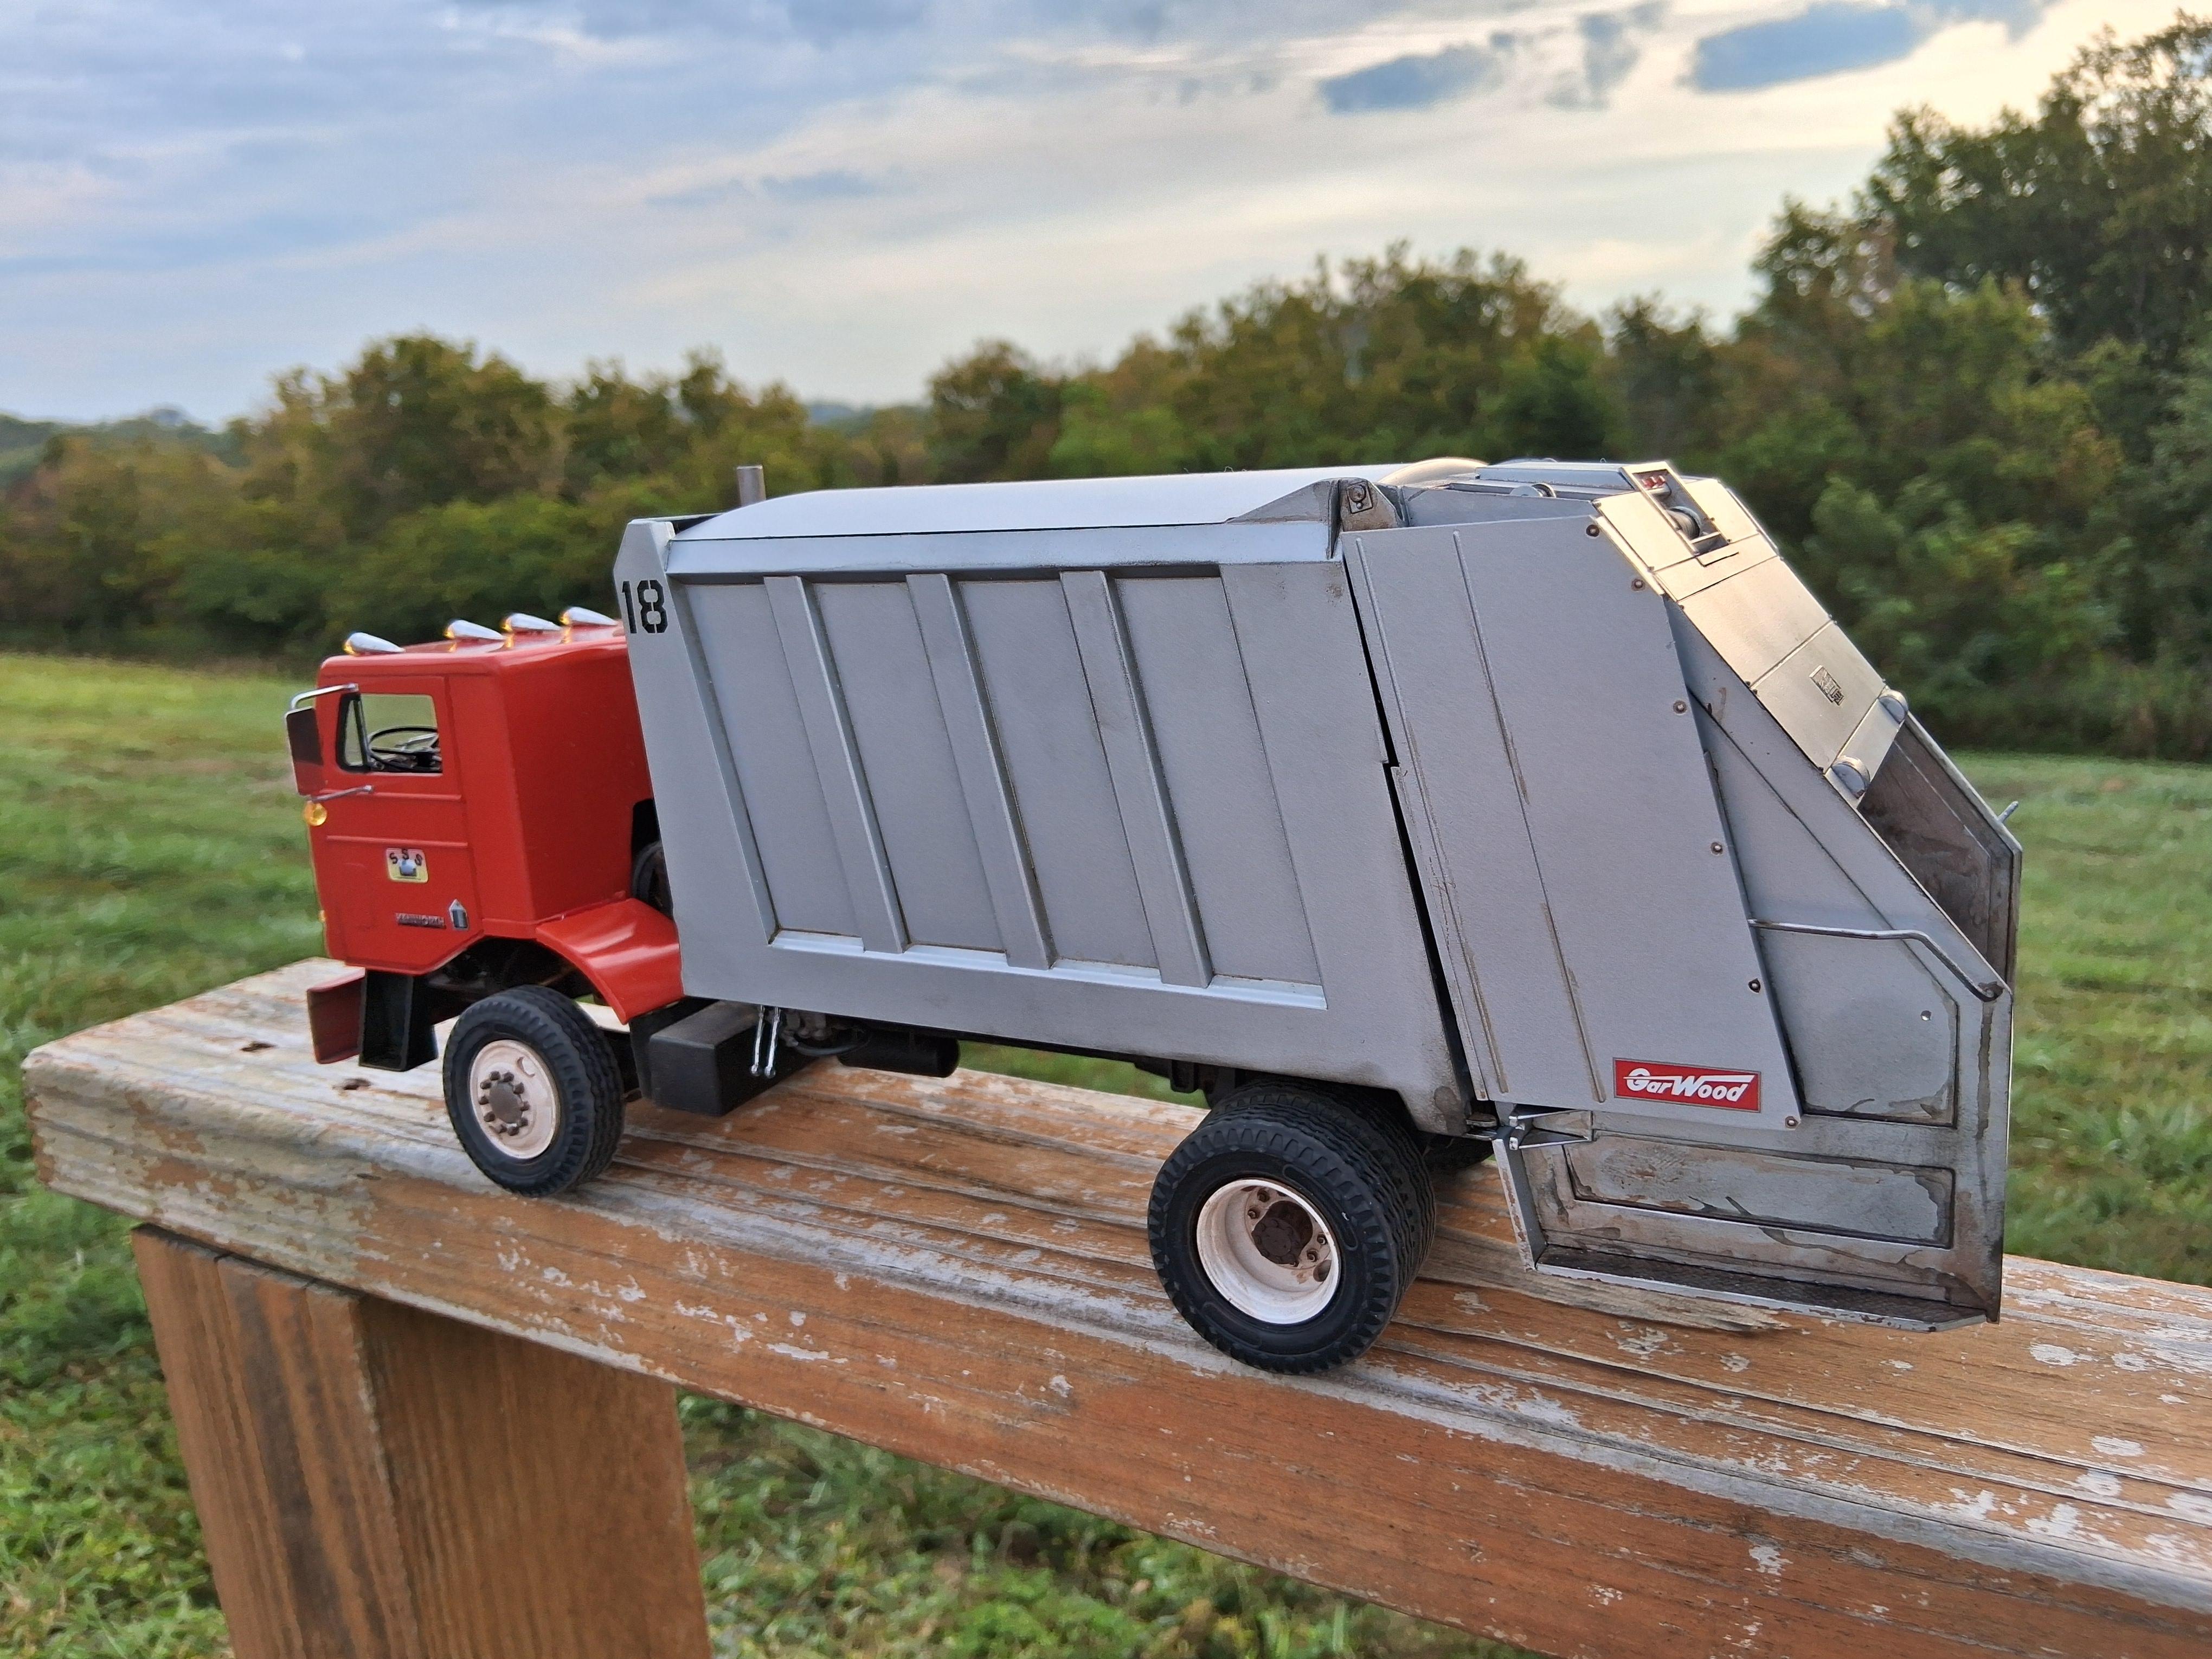
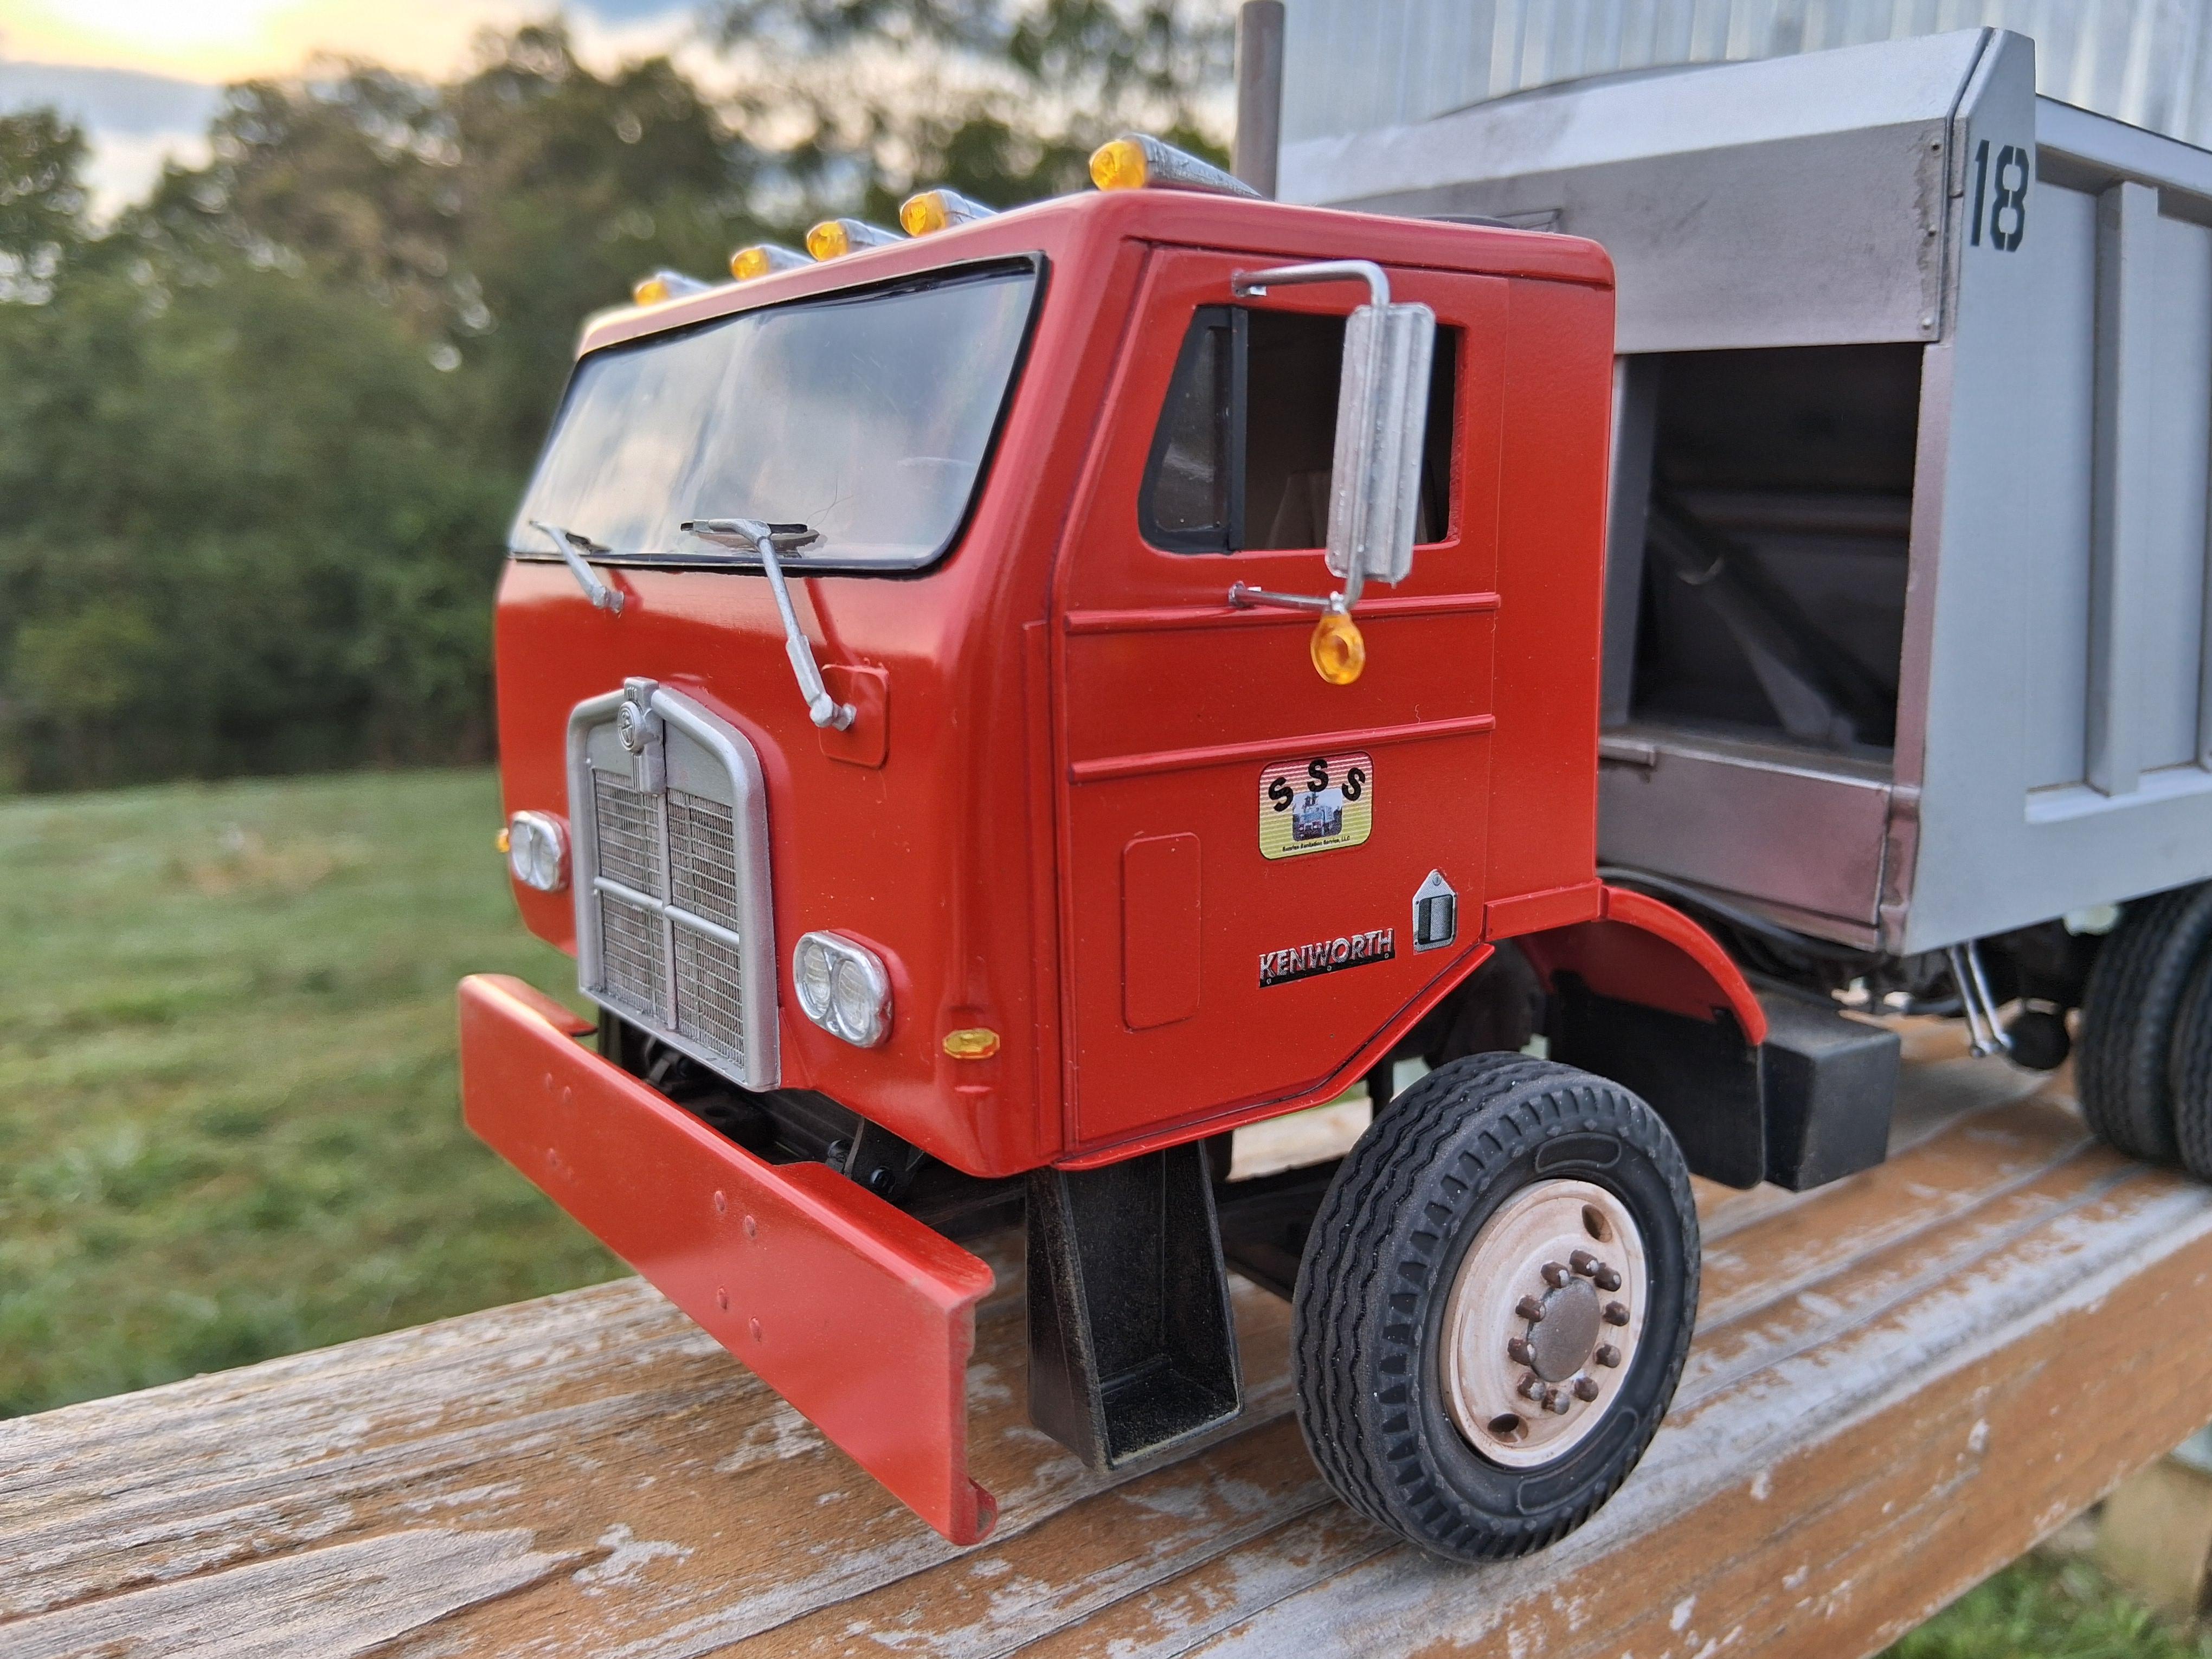
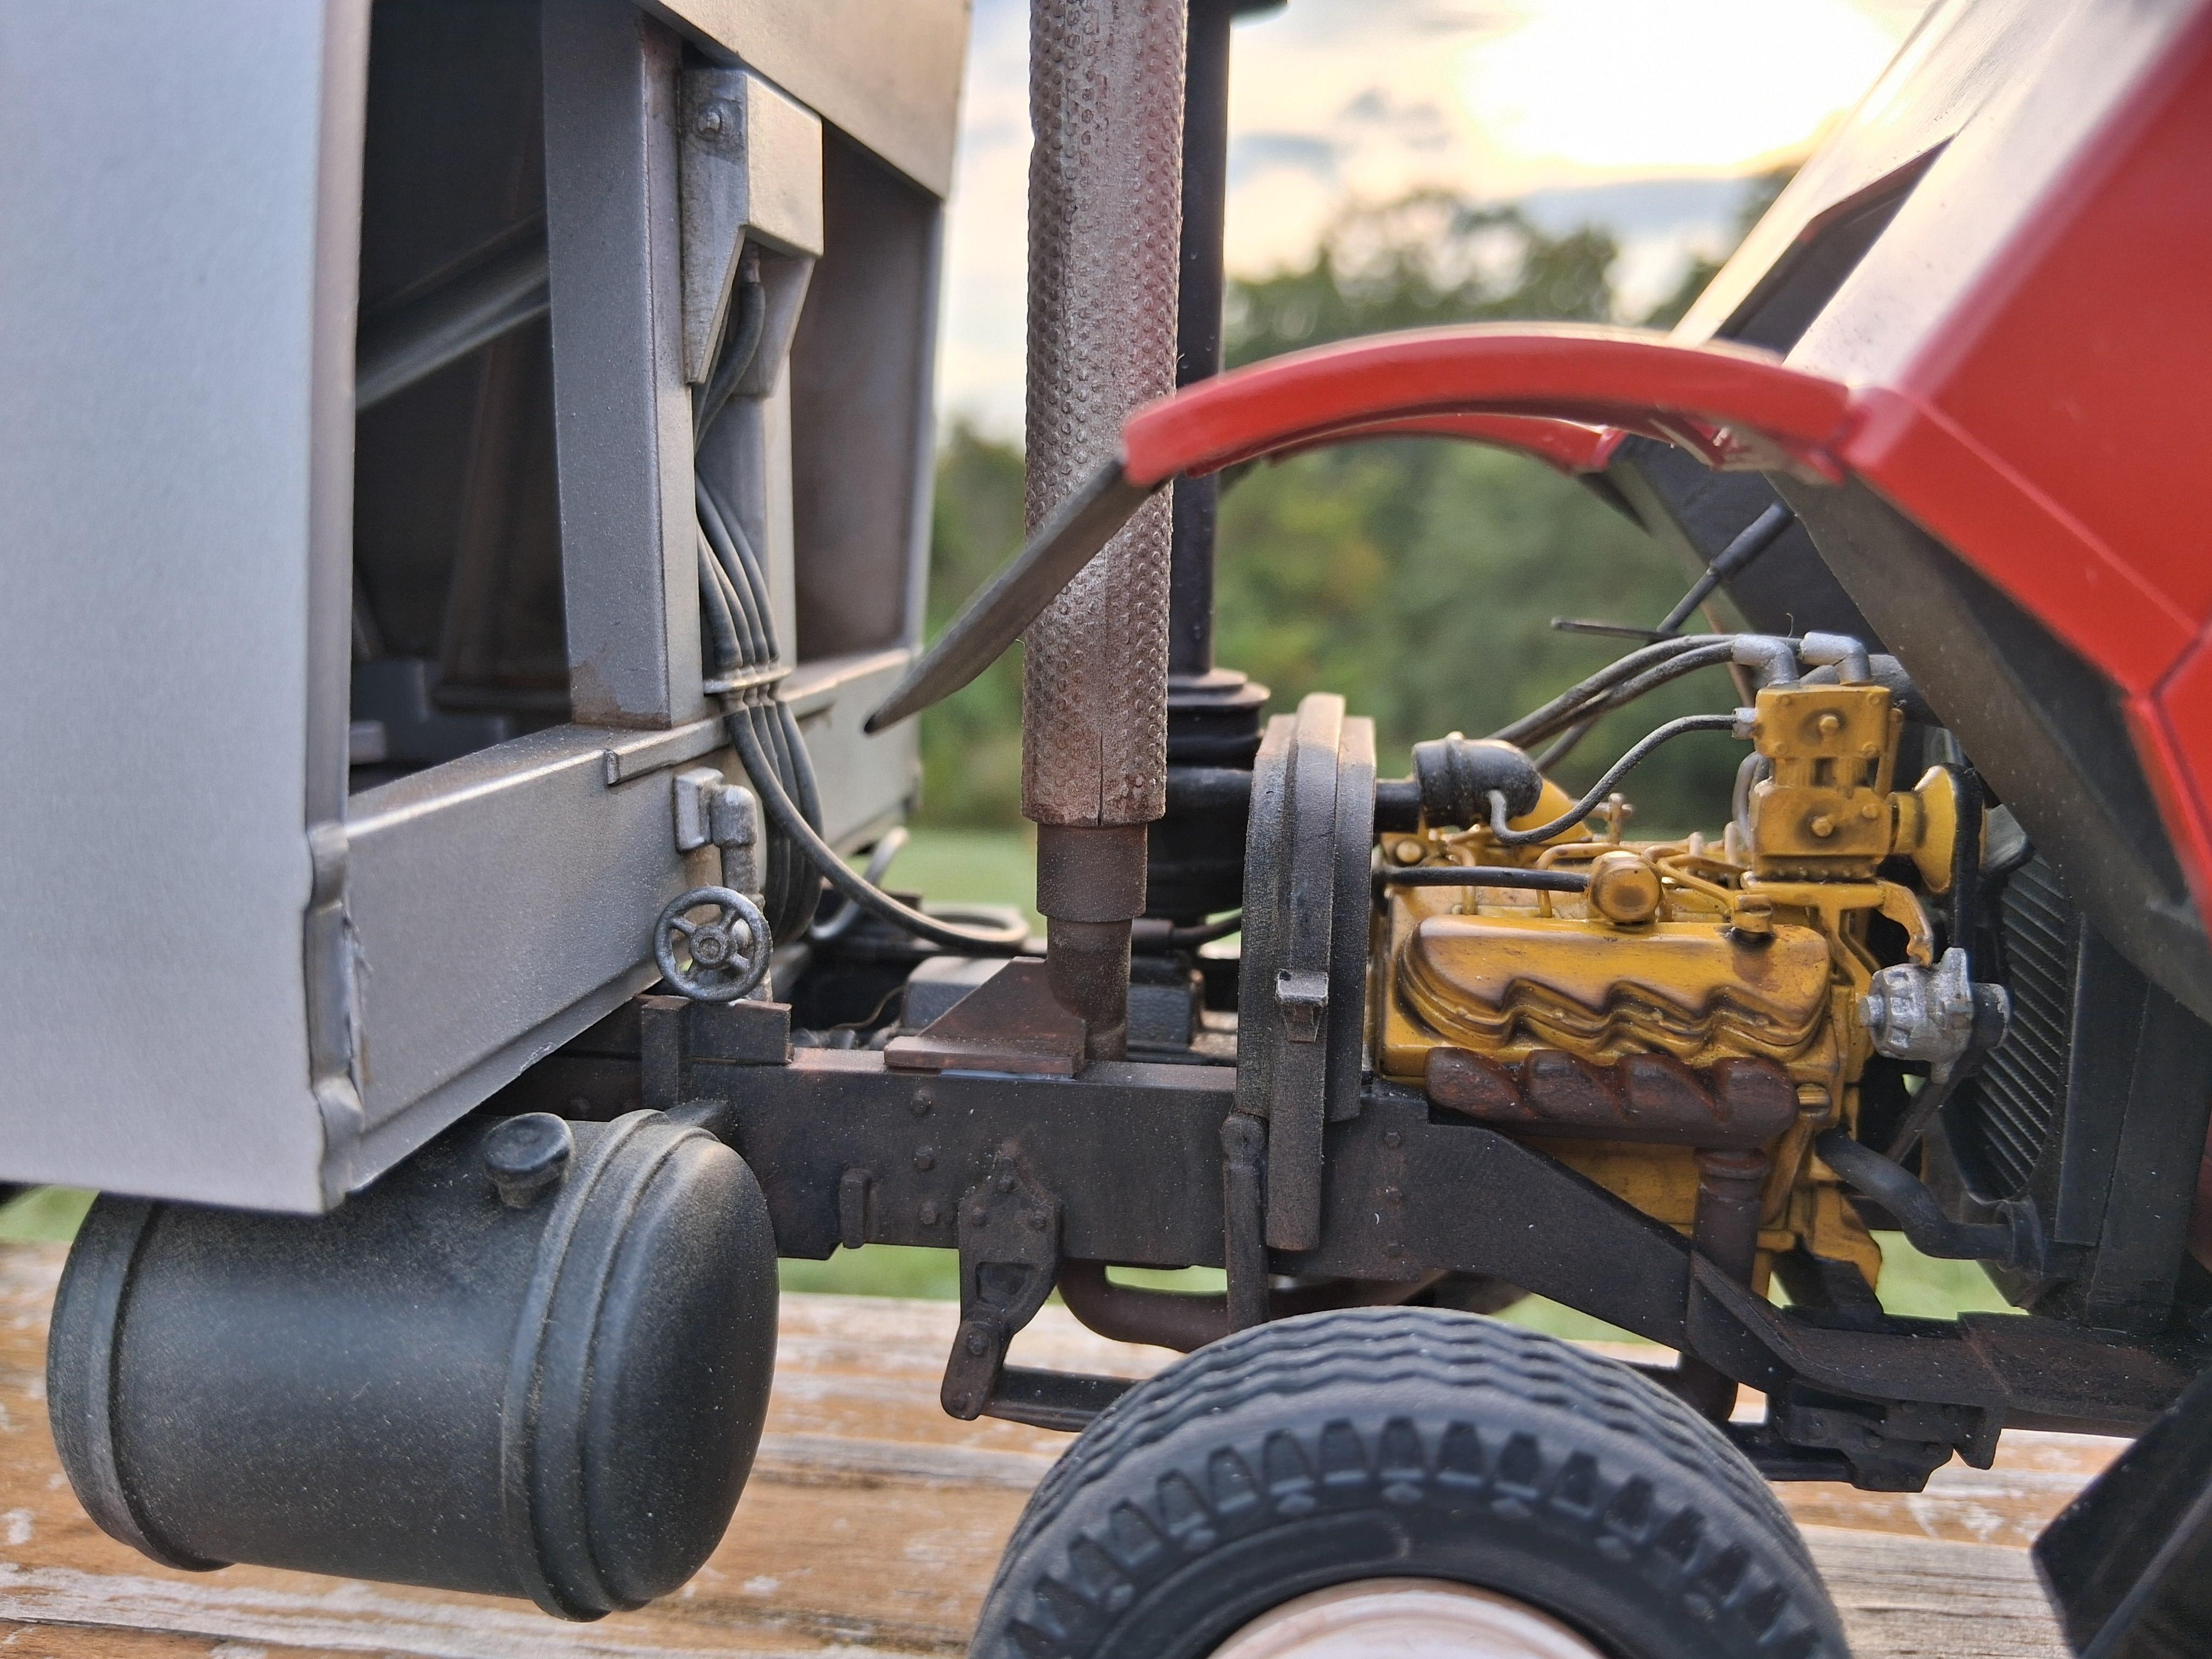
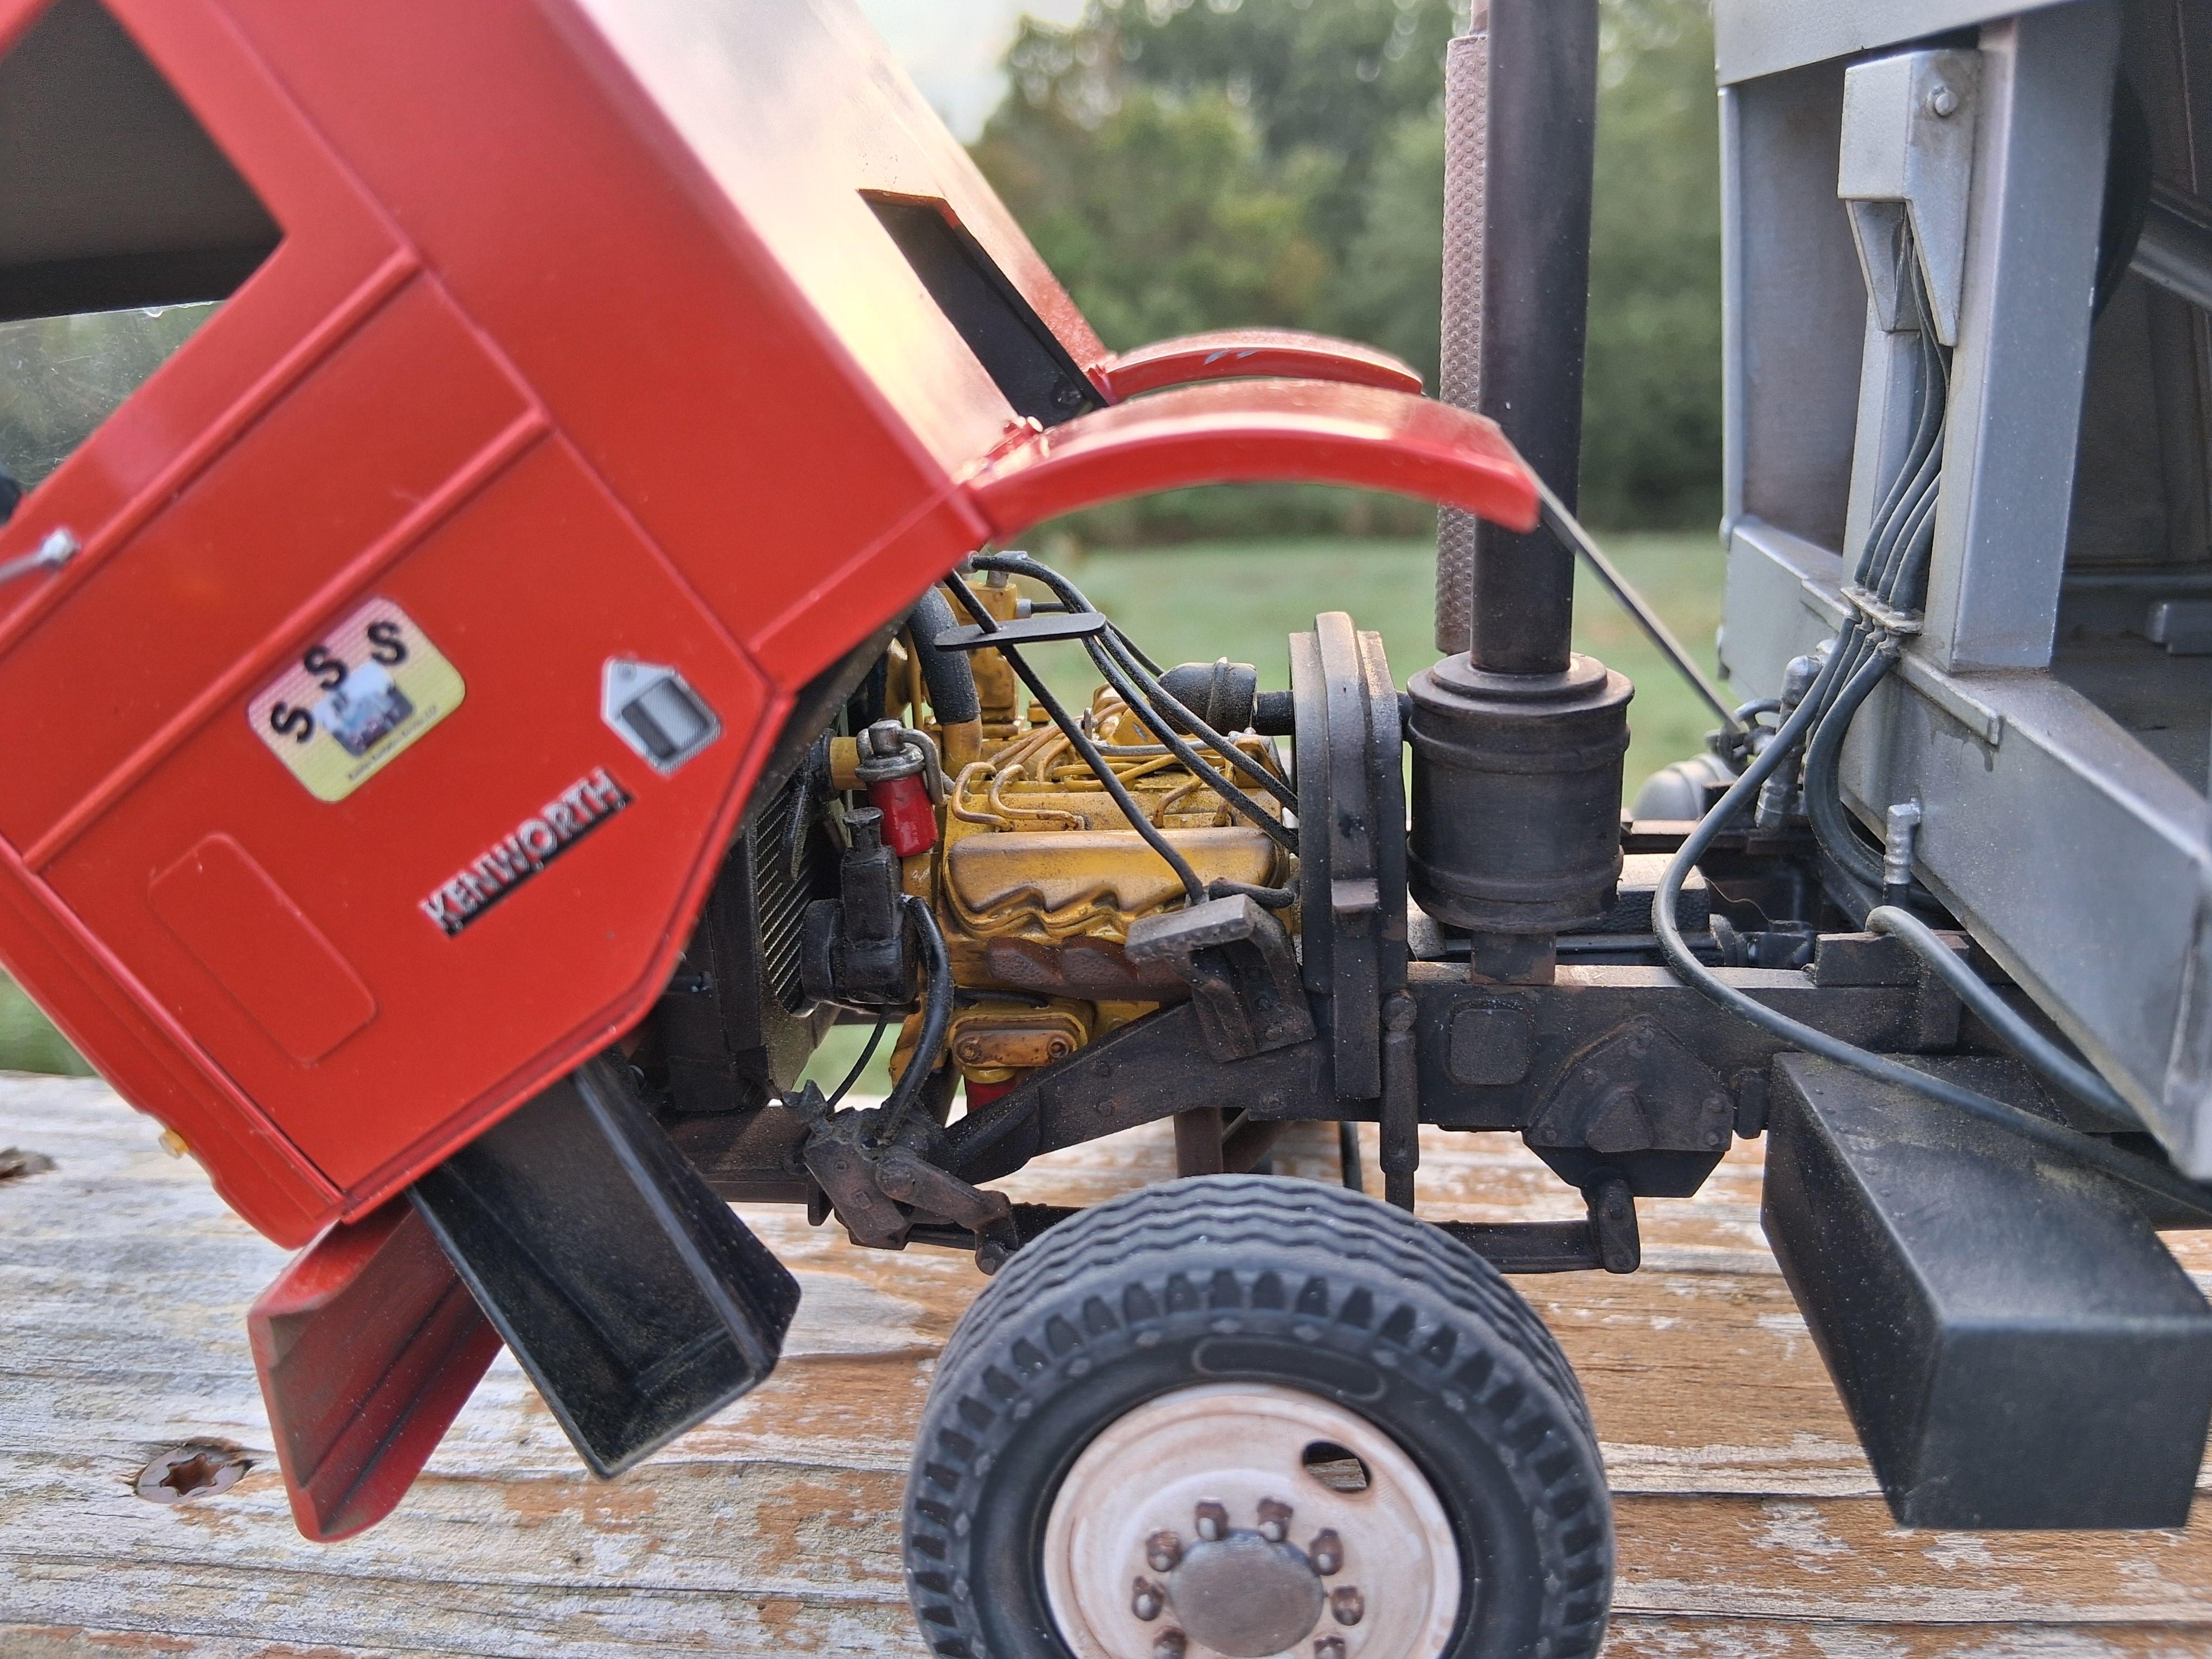
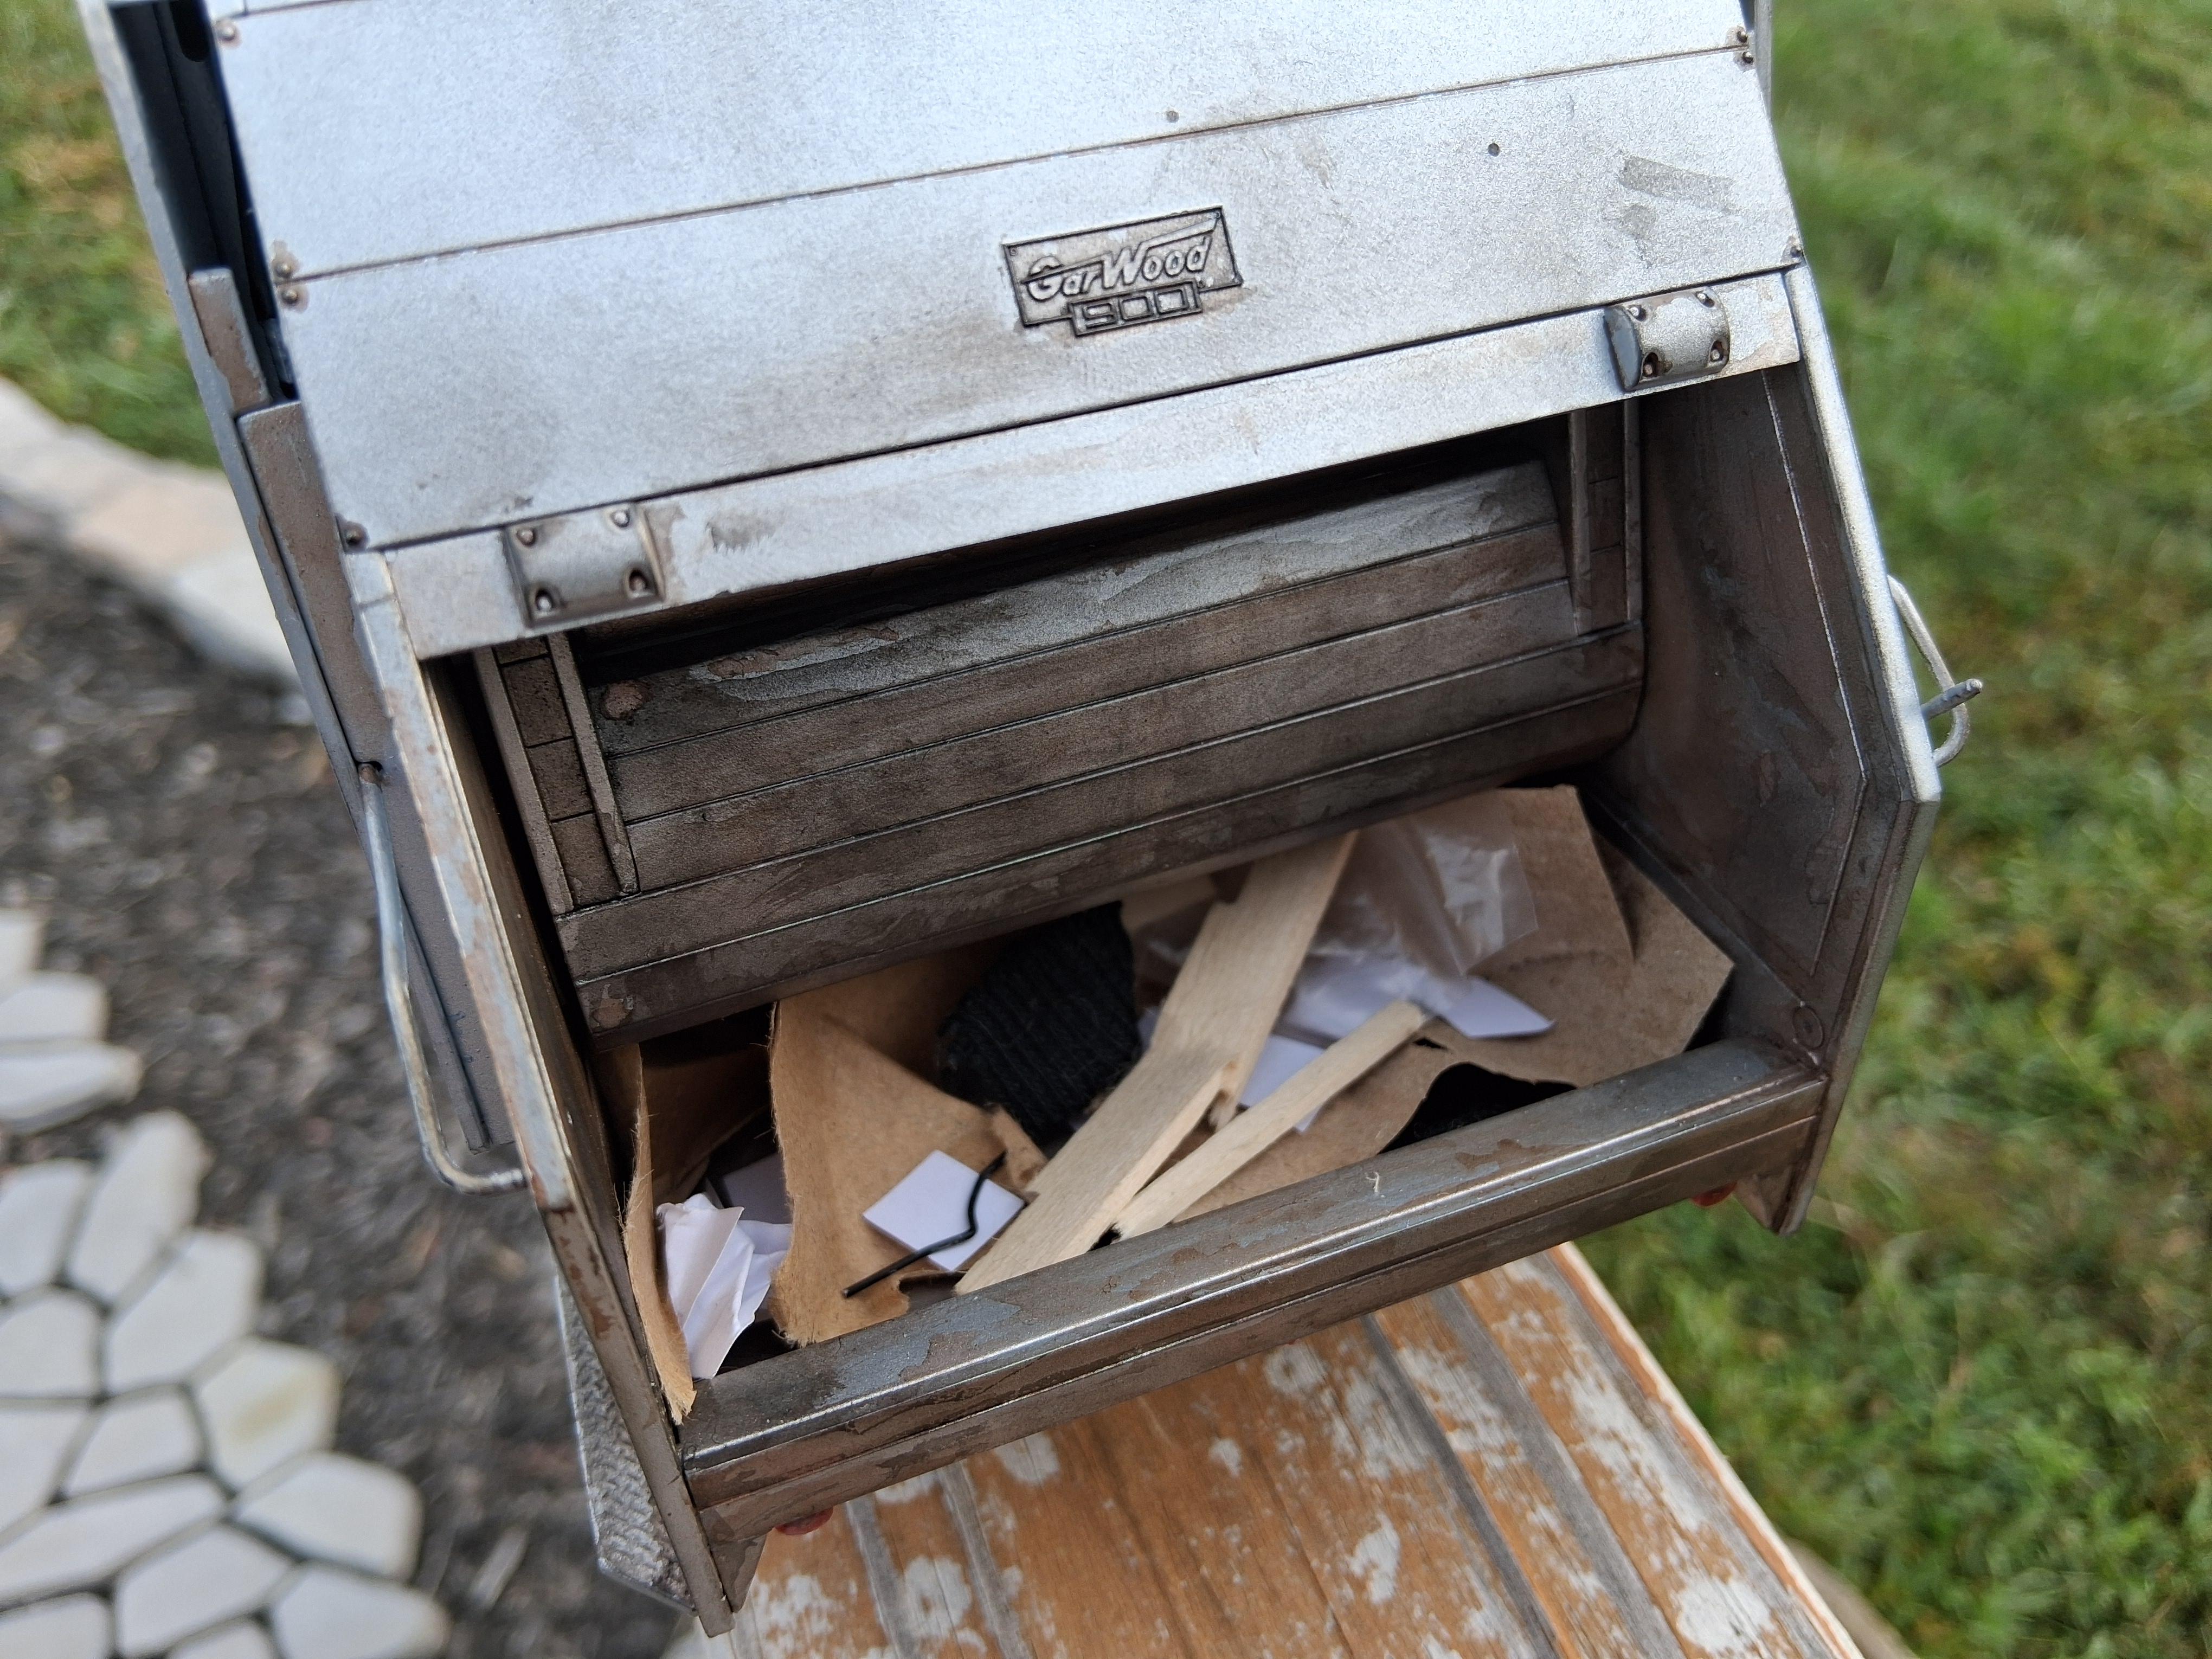
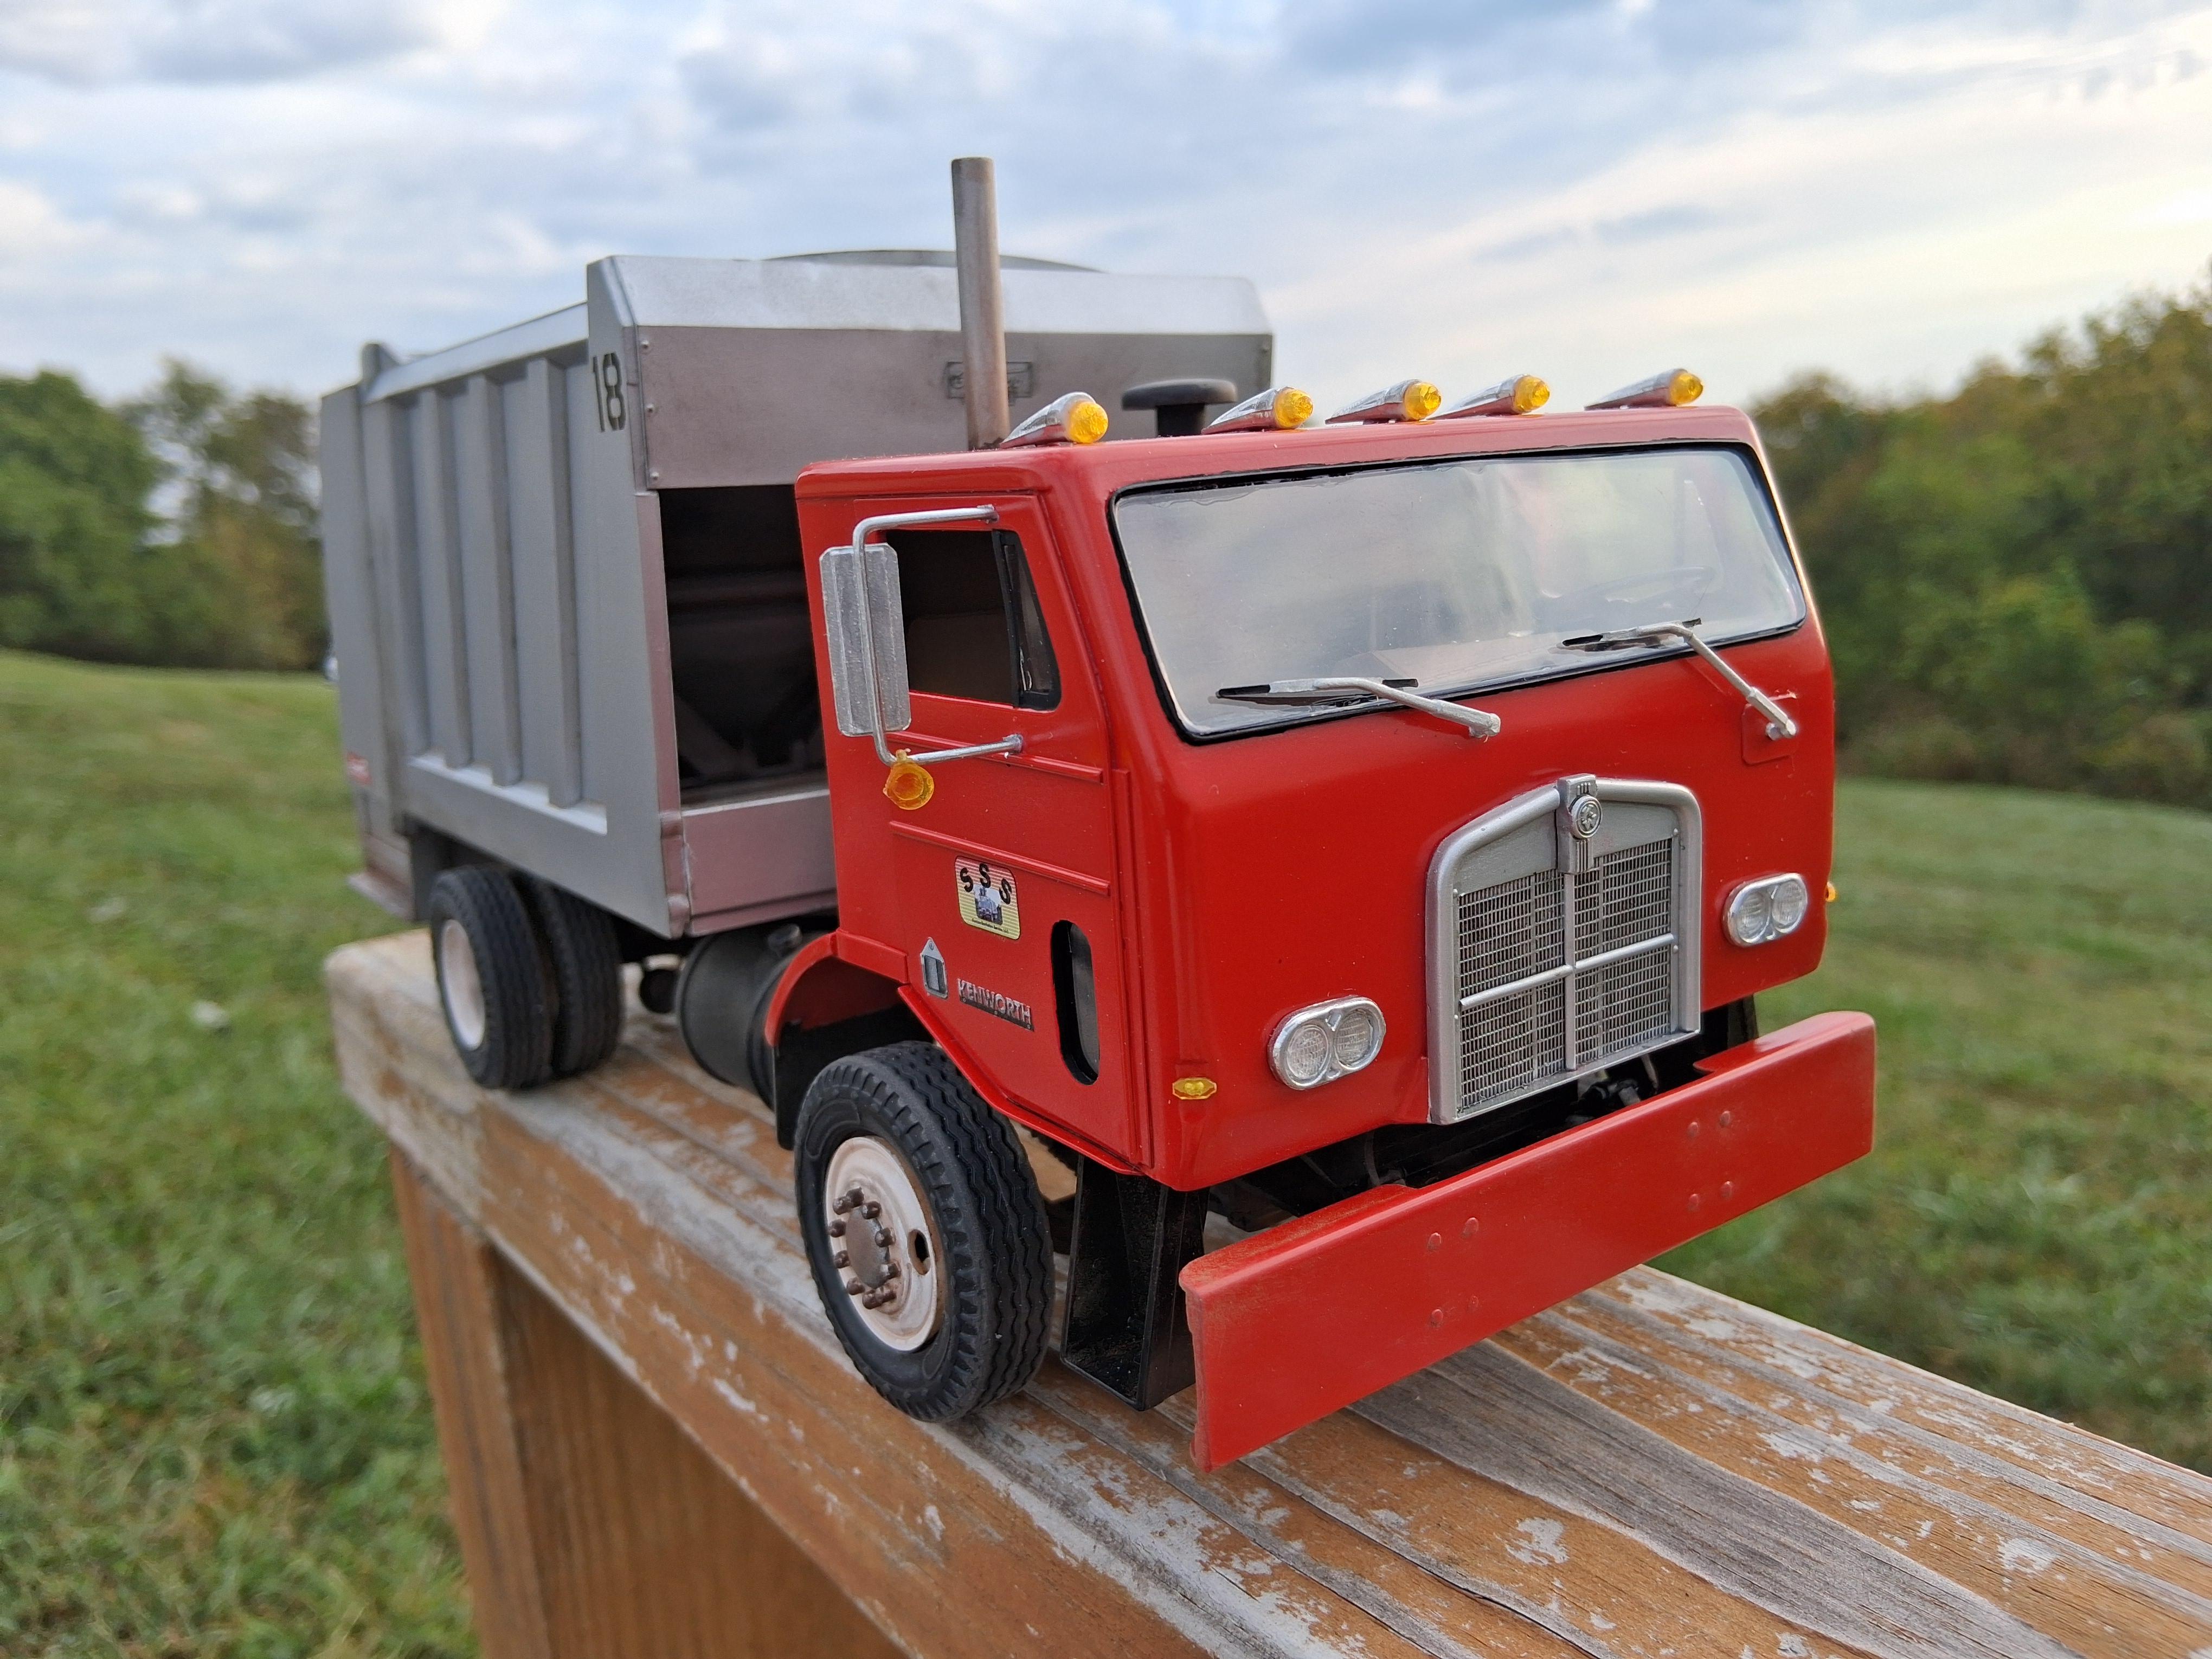
I forgot to update my build thread, but here it is all finished. Cab is completely scratchbuilt out of styrene sheet. So were the mirrors, bumper, cab steps, and various small parts. An Amt Alaskan Hauler donated it's grill, headlights, and chassis. The interior was made from Freightliner interior tub parts and styrene. The dash, seats, shift tower, and windshield were all modified from an Amt K123. Not too sure about accuracy, but the engine is a Cat 1160 with a 5 speed transmission that hopefully looks like something that should be there. I also used Vallejo washes and Tamiya weathering powders.