
.jpg.b9265433dc8c3b550370b1d0e4e4d2fc.jpg)
MarkJ
-
Posts
4,484 -
Joined
-
Last visited
Posts posted by MarkJ
-
-
Helmut, Helmut, Helmut. I guess this means you will not be posting this excellent build in the Under Glass forum. Too bad, this model should be viewed by people who have not followed the wip. Anyhoo. I love the way you posed it on the book, and you took a very lacking kit and made it into a fabulous build that you should definitely be proud of. I never knew this automobile existed till you posted this build. Thank you.
-
 1
1
-
-
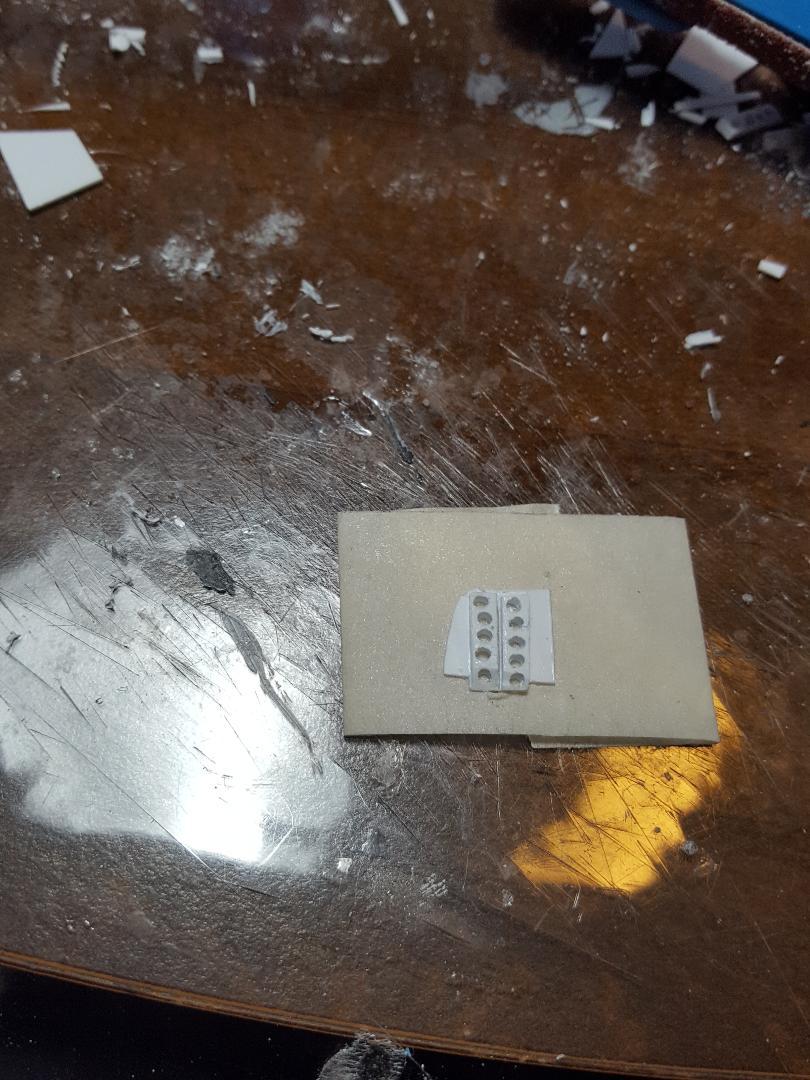
Having trouble getting the springs with just the right amount of collapse when the car is sitting on the tires. Also to get them to sit straight up and down. I drilled holes in that long box I added, to install the spring jack nuts in.

-
Andrew it would be sad to cover up those magnificent trunk springs with rubber shielding. Those babies are beautiful. The overall detail on this build is off the chart impressive. You continue to amaze. Also love the battery in its compartment with working door. Now that's modeling at a high level.
-
Rich, Simply, WOW. What a beautiful clean build . Everything looks perfect.
-
Thank you for the link, Rich. Going over there right now.
-
-
Pat, that sure is a cute little bugger. There are tons of those running around here. I never thought they might be used to race. That must be a scary proposition. Seems like if it got over it would roll like a basketball for a mile before it stopped. Excellent build on this one for sure.
-
Wow, Michael. What an impressive build and the paint is something to behold. I thought that was copper till I read your build notes. Doesn't matter what they call it, it is downright beautiful, and the build is as clean as it gets. You should be very proud of this one for sure.
-
Thanks, Anton. I appreciate the kind words.
-
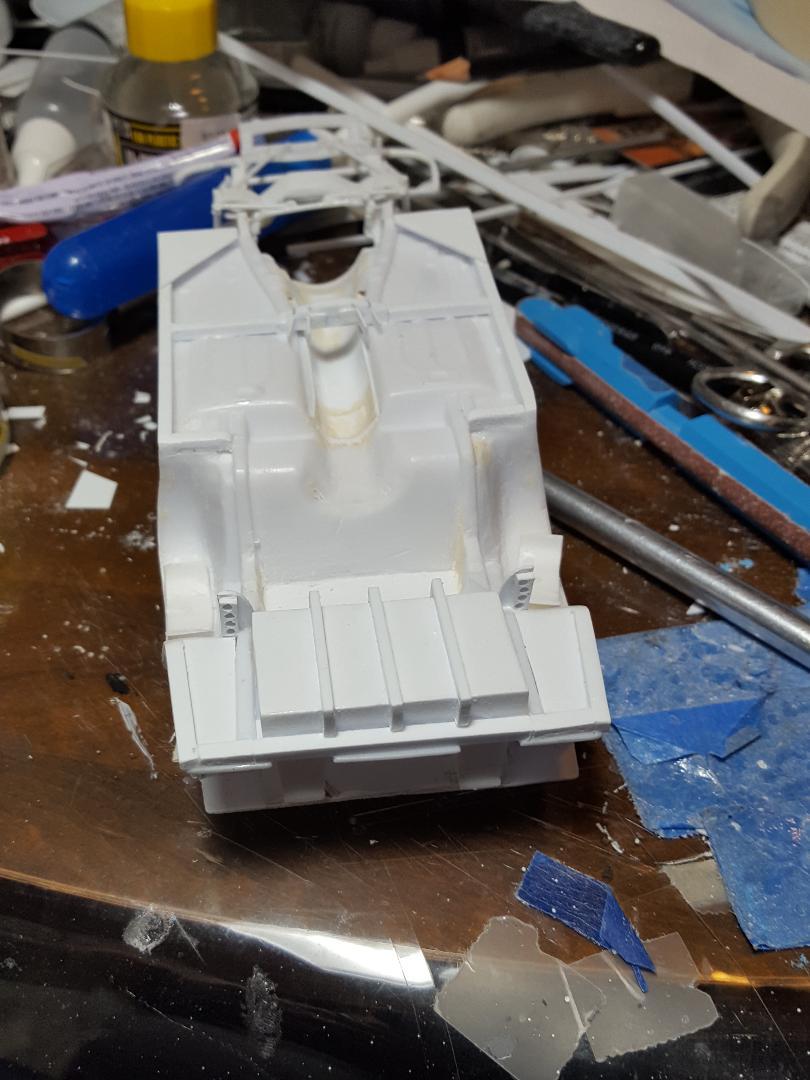
Got the springs mounted on the truck arms. They will be more compressed when the axel is installed in place, but the pedestal will still be partly showing. I guess the pedestal is actually the jack screw for adjusting the springs for too lose or too tight conditions. I will drill some holes in the floor for the jack screws to go in. locating these holes correctly might be a challenge. They have to be correct fore and aft and also left to right. If not the spring will sit crooked.
-
 1
1
-
-
Thanks, Pierre and Ken. I appreciate your input very much.
-
You have to be careful with the hot quick setting glues. If you have the plastic stressed in anyway and hit it with some of that Mr. hobby glue with the blue brush bottle it will act like a knife and the part will fall off. happened to my left side truck arm where the u-bolt goes through the truck arm. Luckily, I was able to glue it back with good old testors in the orange tube. Strong but takes overnight to cure. Always something happens to slow down the process.
-
Rich, I agree with Ian. A link here to underglass would me much appreciated. I don't want to miss out on the final photos of this fabulous build, and I probably would without a link.
-
Got the rear springs finished. Adding the U-bolts that hold the axel to the truck arms. I need to figure out exactly where to put the springs on the truck arms, there is not much room under there.
-
Pierre, I forgot. Does the hood open on this build? Decals look perfect where I'm sitting.
-
Awesome build, Matt. Loving the driver figure and that silver finish on the car. Can't wait for more.
-
1
-
-
Wow, Shawn. It's amazing that you can 3d print the parts you need for this build. Especially the wheels and tires. I want to do some trans am cars in the future but the aftermarket doesn't really have the right tires and wheels for the Bud Moore 69 Mustangs like Panelli Jones drove. Those daisies you made look perfect. Thats what has been holding me up from starting on it. I will definitely be watching this wip with great anticipation.
-
Not sure but I remember seeing some pictures of some wild looking streamliners at that high banked facility in Germany. I think it was called Avus that might have been in the early fifties. They definitely looked like aero was involved with their design.
-
Amazing you found wire that thin. I wonder if that number helped the aero on the car at all as far as keeping the car more straight on the straightaways. Kinda doubt it, being a topless car. Of course, they really didn't worry about aero back then anyway. Just wanted a pretty body to look at which they succeeded in doing.
-
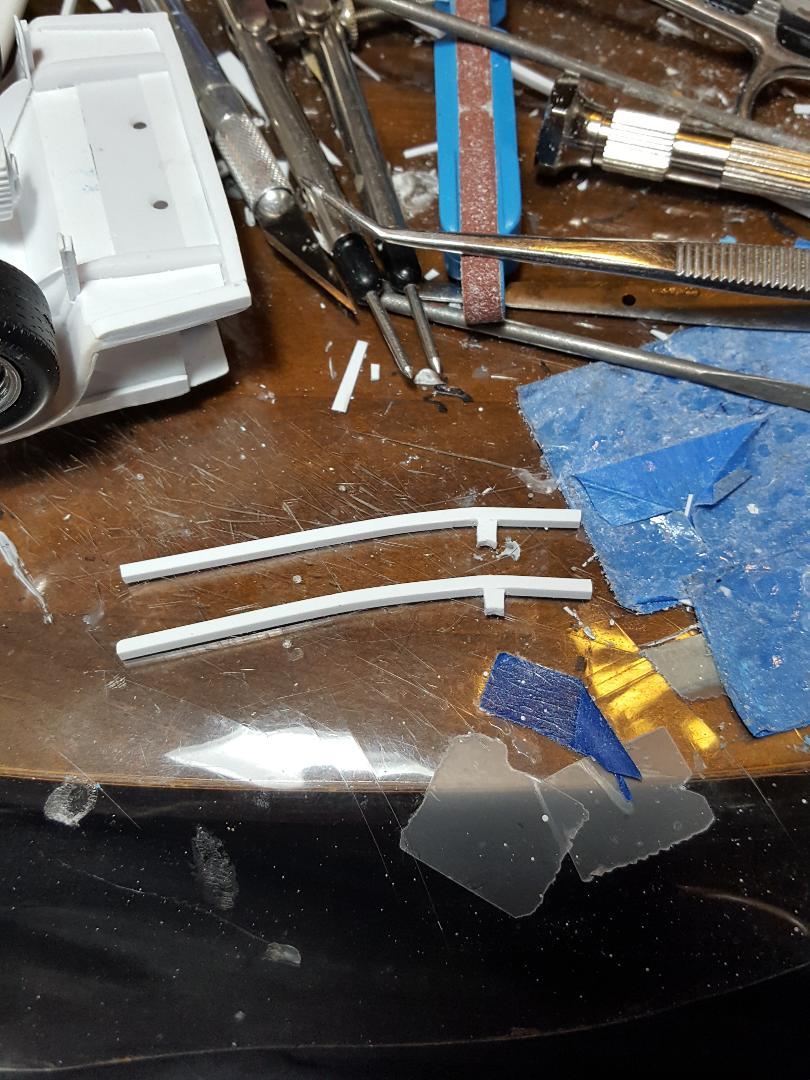
Made some truck arms and springs. Located the axle and added the truck arms. This is tricky because I want to build the whole axle assembly and paint and maybe plumb it before I install it in the chassis. It would be hard to paint if I just started building it into the chassis as I went along. The truck arms need to be cut to the right length and some mounting bushings added to the front of them. I think I can add the shocks after the axle assembly is installed. The track bar should also be able to be installed after the axle is installed.

-
Totally agree. It is more than just acceptable. It is a huge addition to the overall look of the model. So crisp and clean in application.
-
1
-
-
I got the track bar brackets finished and installed.
-
-
Andrew, nice save on the Ferrari script. You sure have some beautiful ref photos. I'm very jealous. This baby is looking seriously good. Seems like you're right around the corner from the under-glass section. Looking forward to it.


3rd gen Camaro
in WIP: Other Racing: Road Racing, Land Speed Racers
Posted
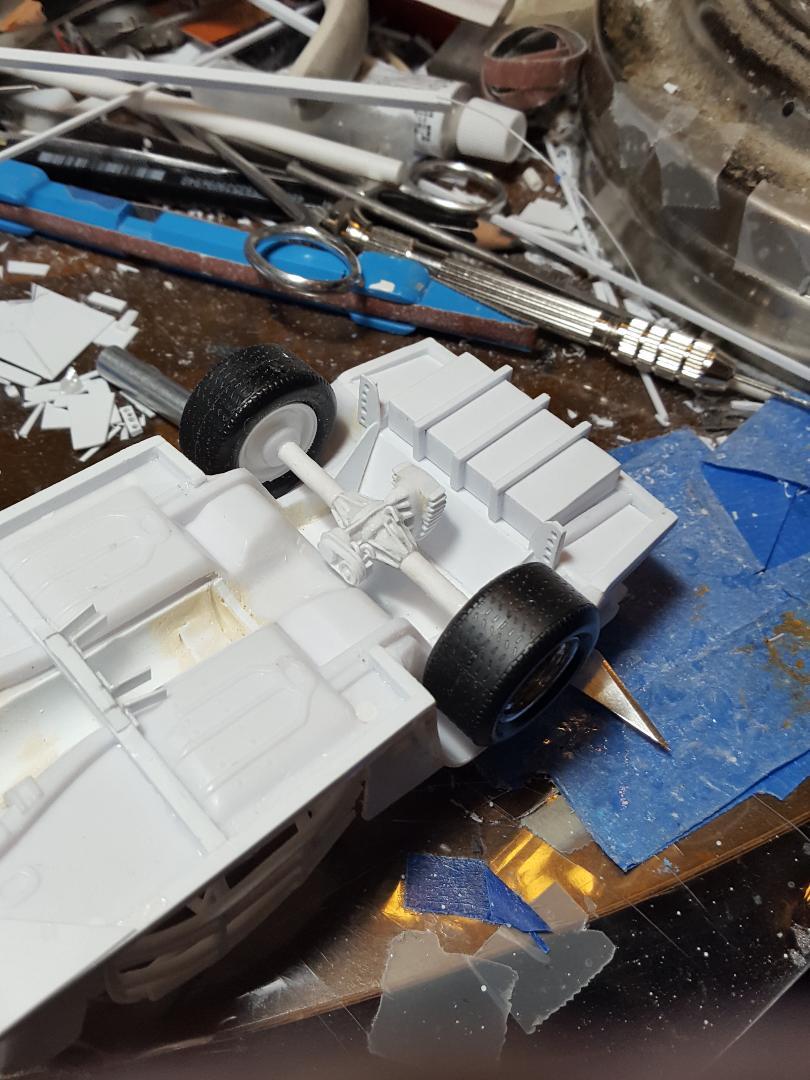
Finally got the springs where I want them. Not exactly right but close. I can still paint it as an assembly before I install it to the chassis. I still need to do a track bar and two shocks and their mounting points. I have no ref picture how the track bar actually hooks up to the truck arm so I will have to wing it on that. Of course, I have been doing a lot of winging on this build just because of the lack of good ref pictures and the kit I started out with. It's been over a year since I started on this thing and there is no end in sight, but I will finish it before I start on anything else. That is my personal rule about model building and so far, I have stuck to it except for the time I had to wait a couple of months on a Hudson Hornet I built and started out with the wrong kit and had to wait for a model show in Stafford Texas to get the correct kit to finish that build.