
.jpg.ffffd6de7ec847b0c61e2096d0ad9616.jpg)
NZanglia
-
Posts
94 -
Joined
-
Last visited
Content Type
Profiles
Forums
Events
Gallery
Posts posted by NZanglia
-
-
With Bumble Bee we are official. 1 week until re supply then I can carry on.
-
Looks like i will have to carry over Bumble Bee. Sadly I ran out of supplies and and it will be another few weeks before restock at my LHS.
-
Oh No!!! end date of this round is closing in real fast. Hope my supply of paint holds out. A few medical Expenses have bled me dry for a bit.
-
Oooops. Forgot to post my update photos of bumblebee. First time in Decades that I had to use Humbrols Maskol to masks off the metallic parts of the hands to spray the yellow for the middle sections of the fingers.

-
Hey Guys, How is everyone progressing on their builds?
I hope to have another small update tomorrow As I have detail painted all the above parts and weathered them.
Those fingers were a nice challenge .
-
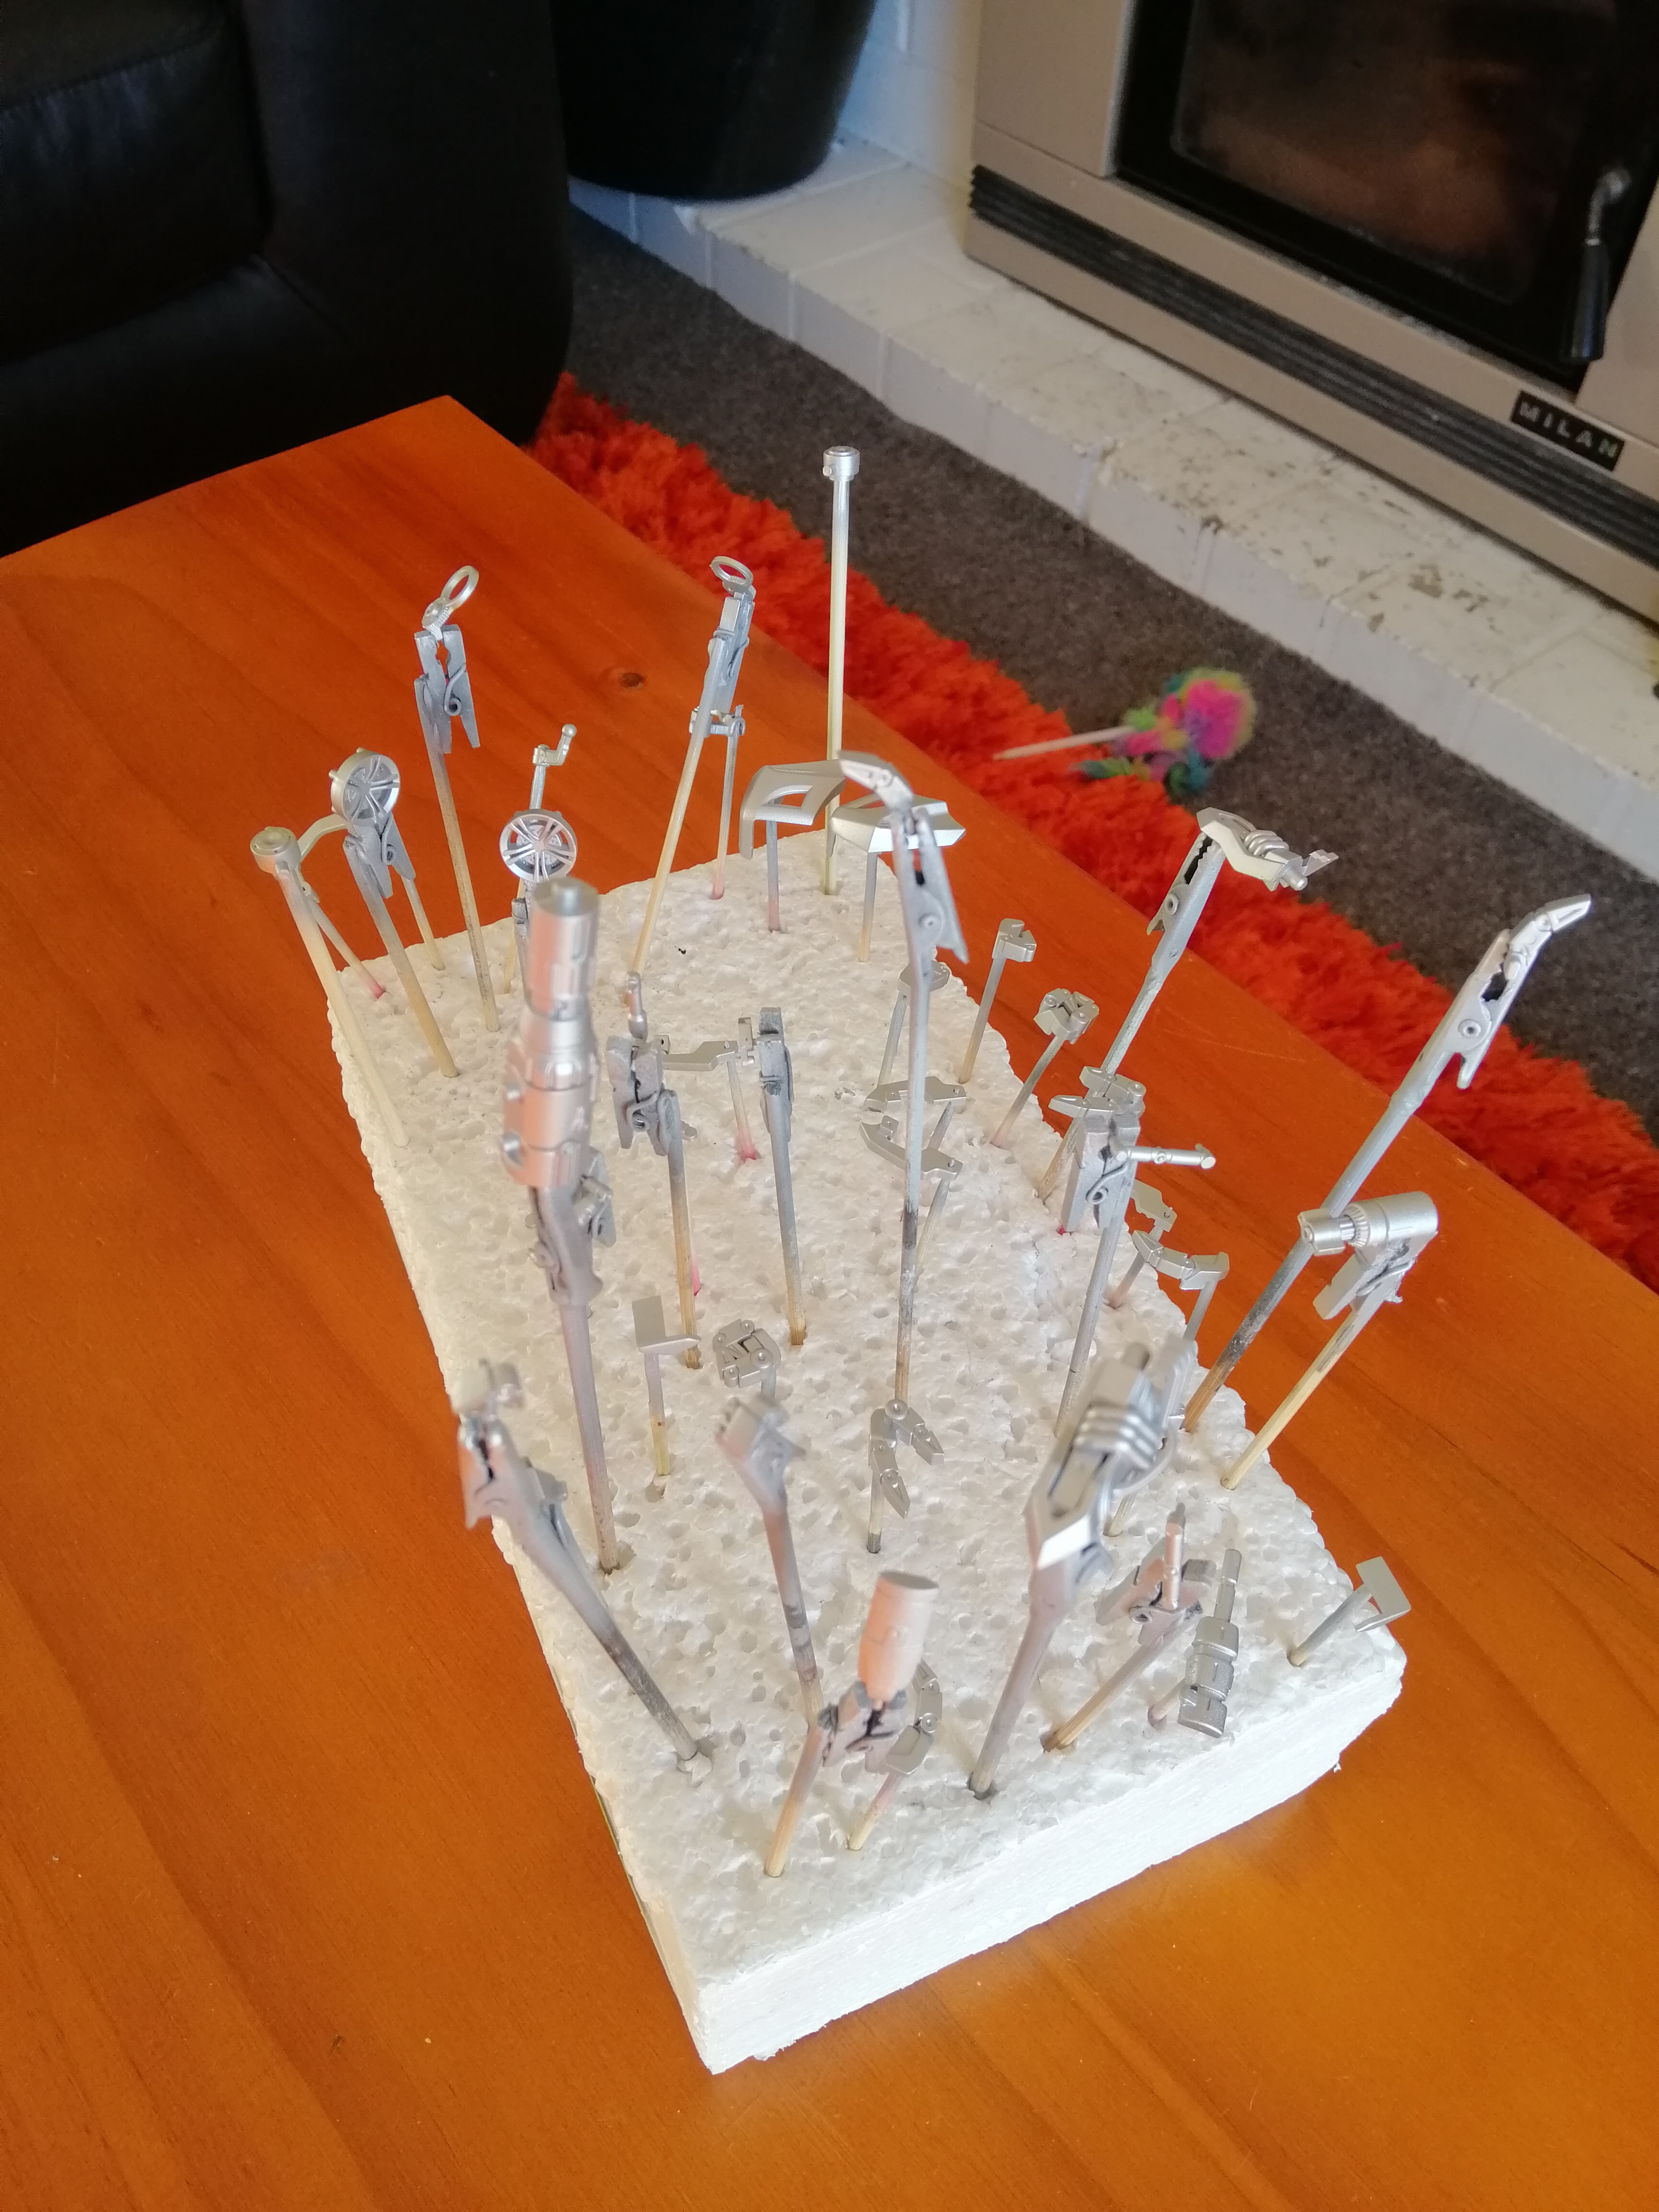
Another good weekends worth of progress. Lower suspension weathered and assembled. Rear wheels and tyre assembly fitted. Optional upper actuators, front rims and energy displacement unit painted base silver and drying in preparation with detailing and weathering. Hopefully by next weekend I will be on to the body panels.
-
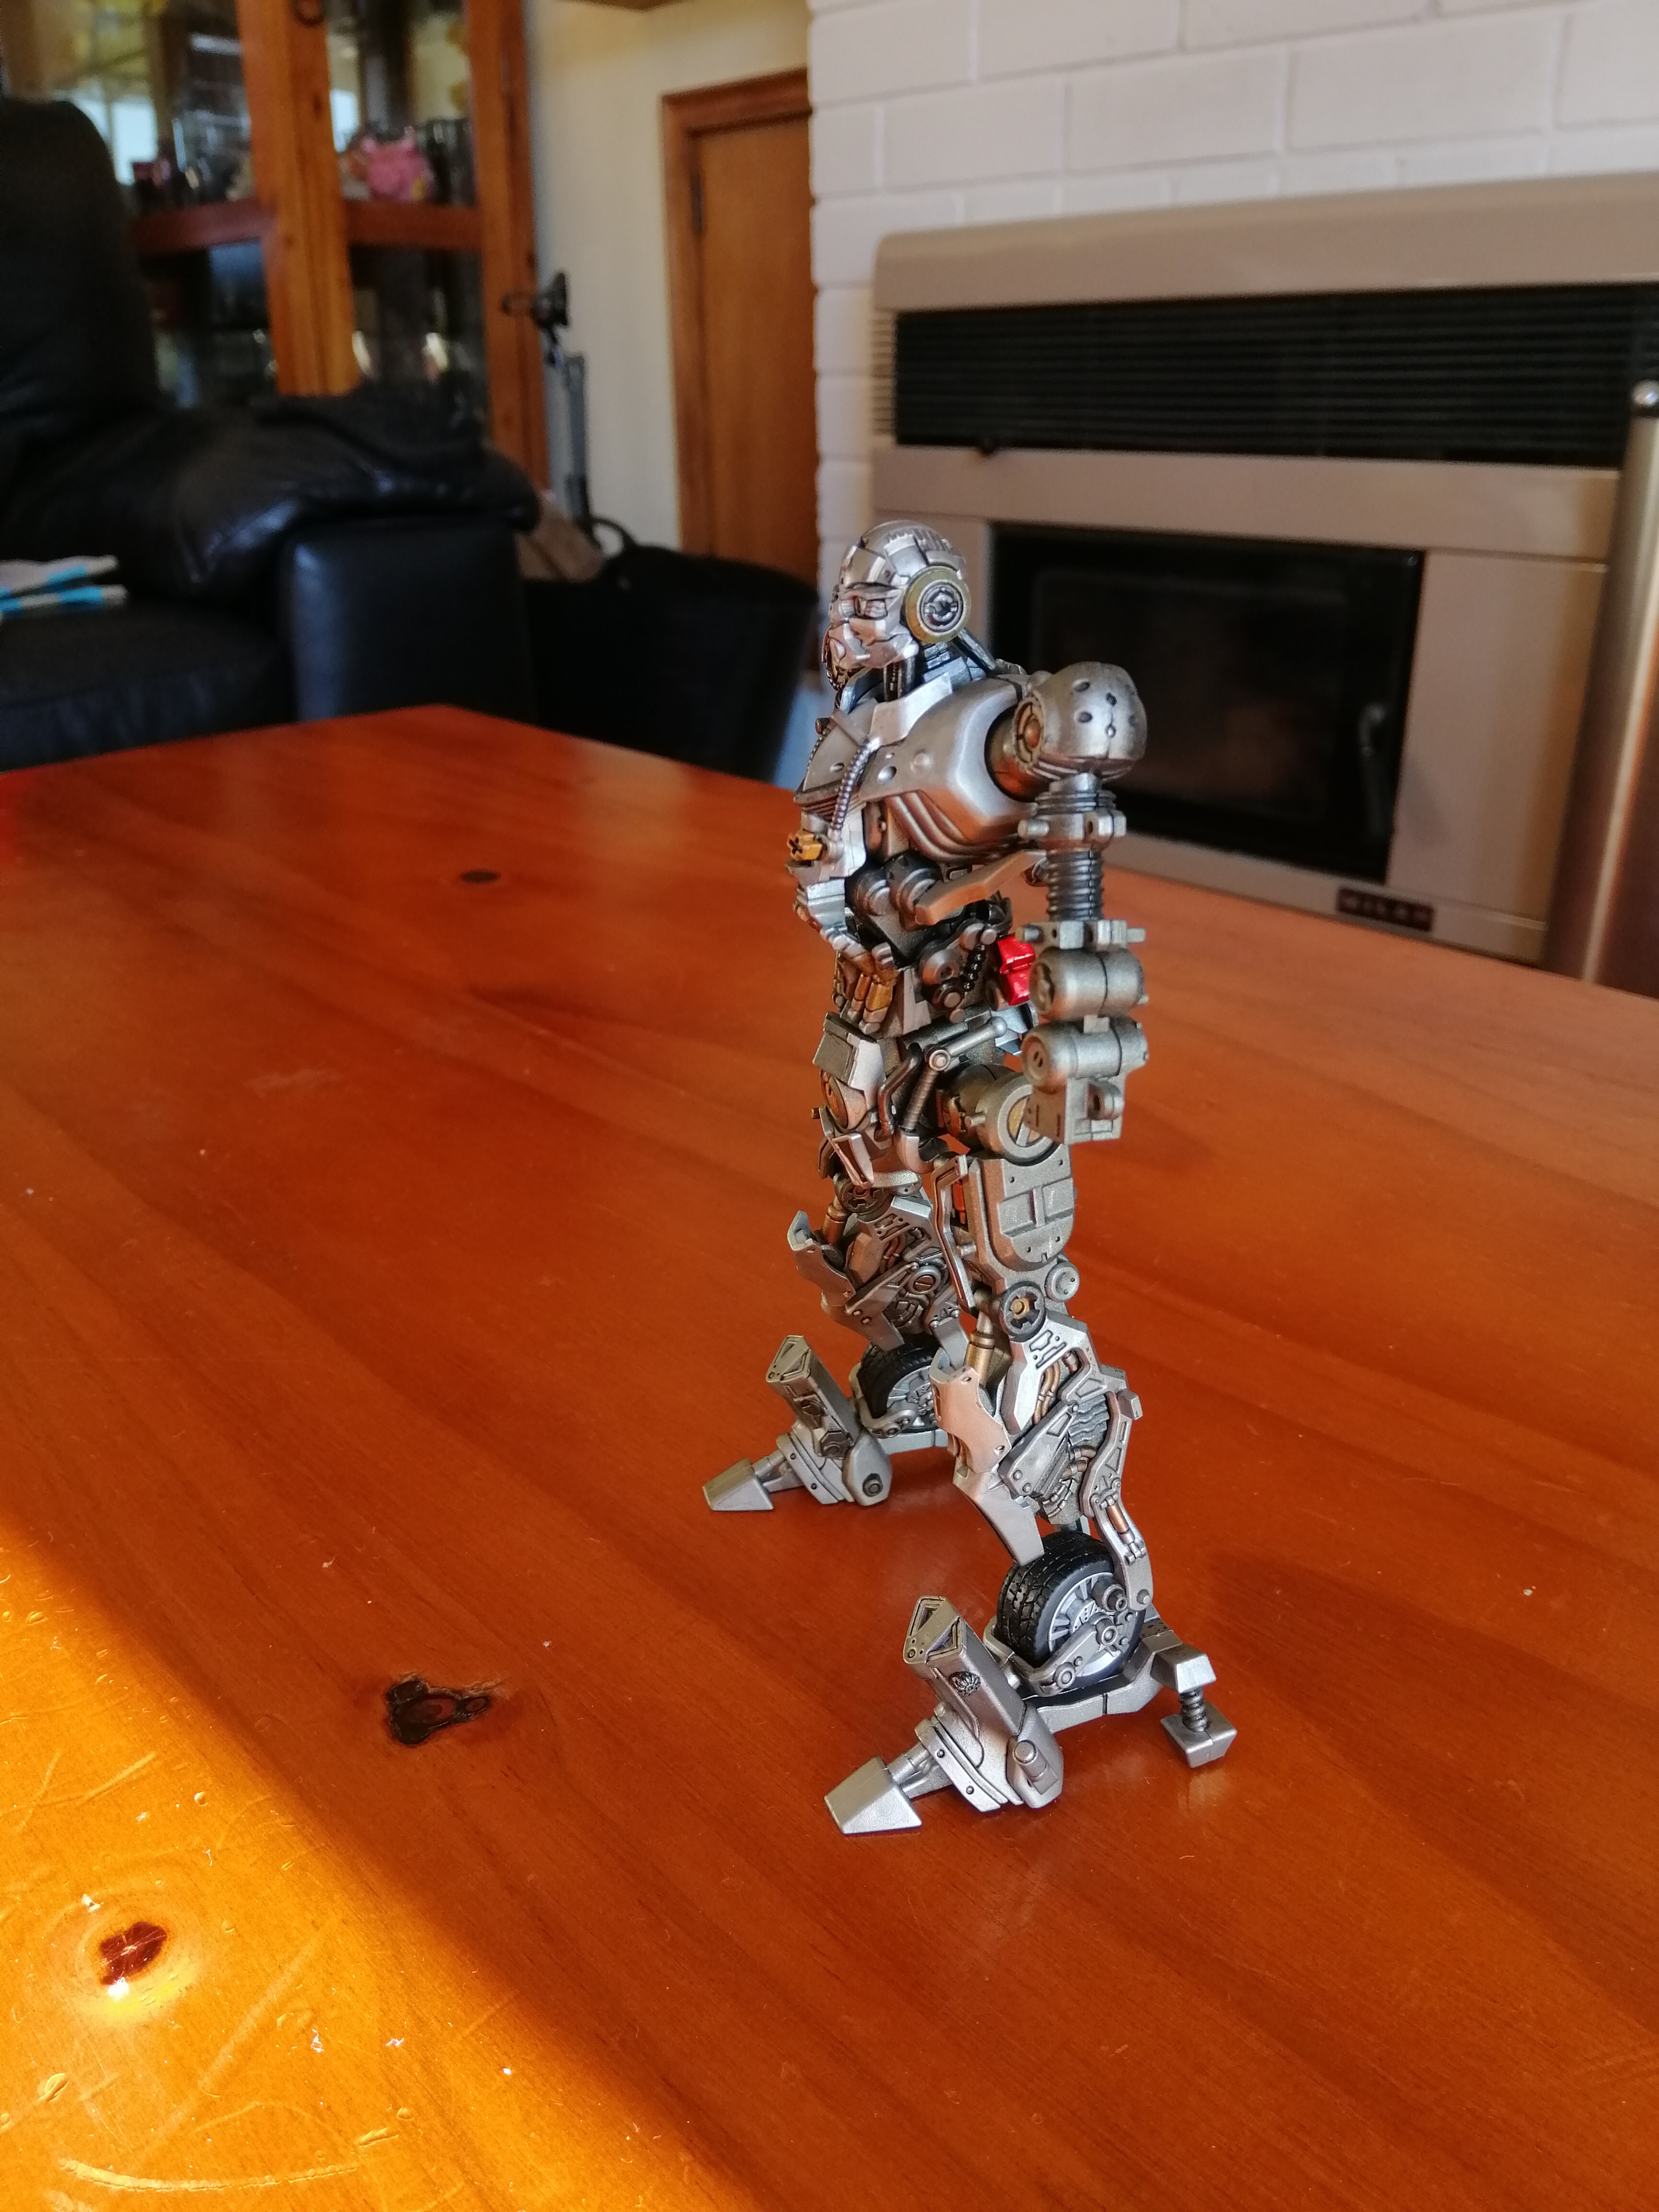
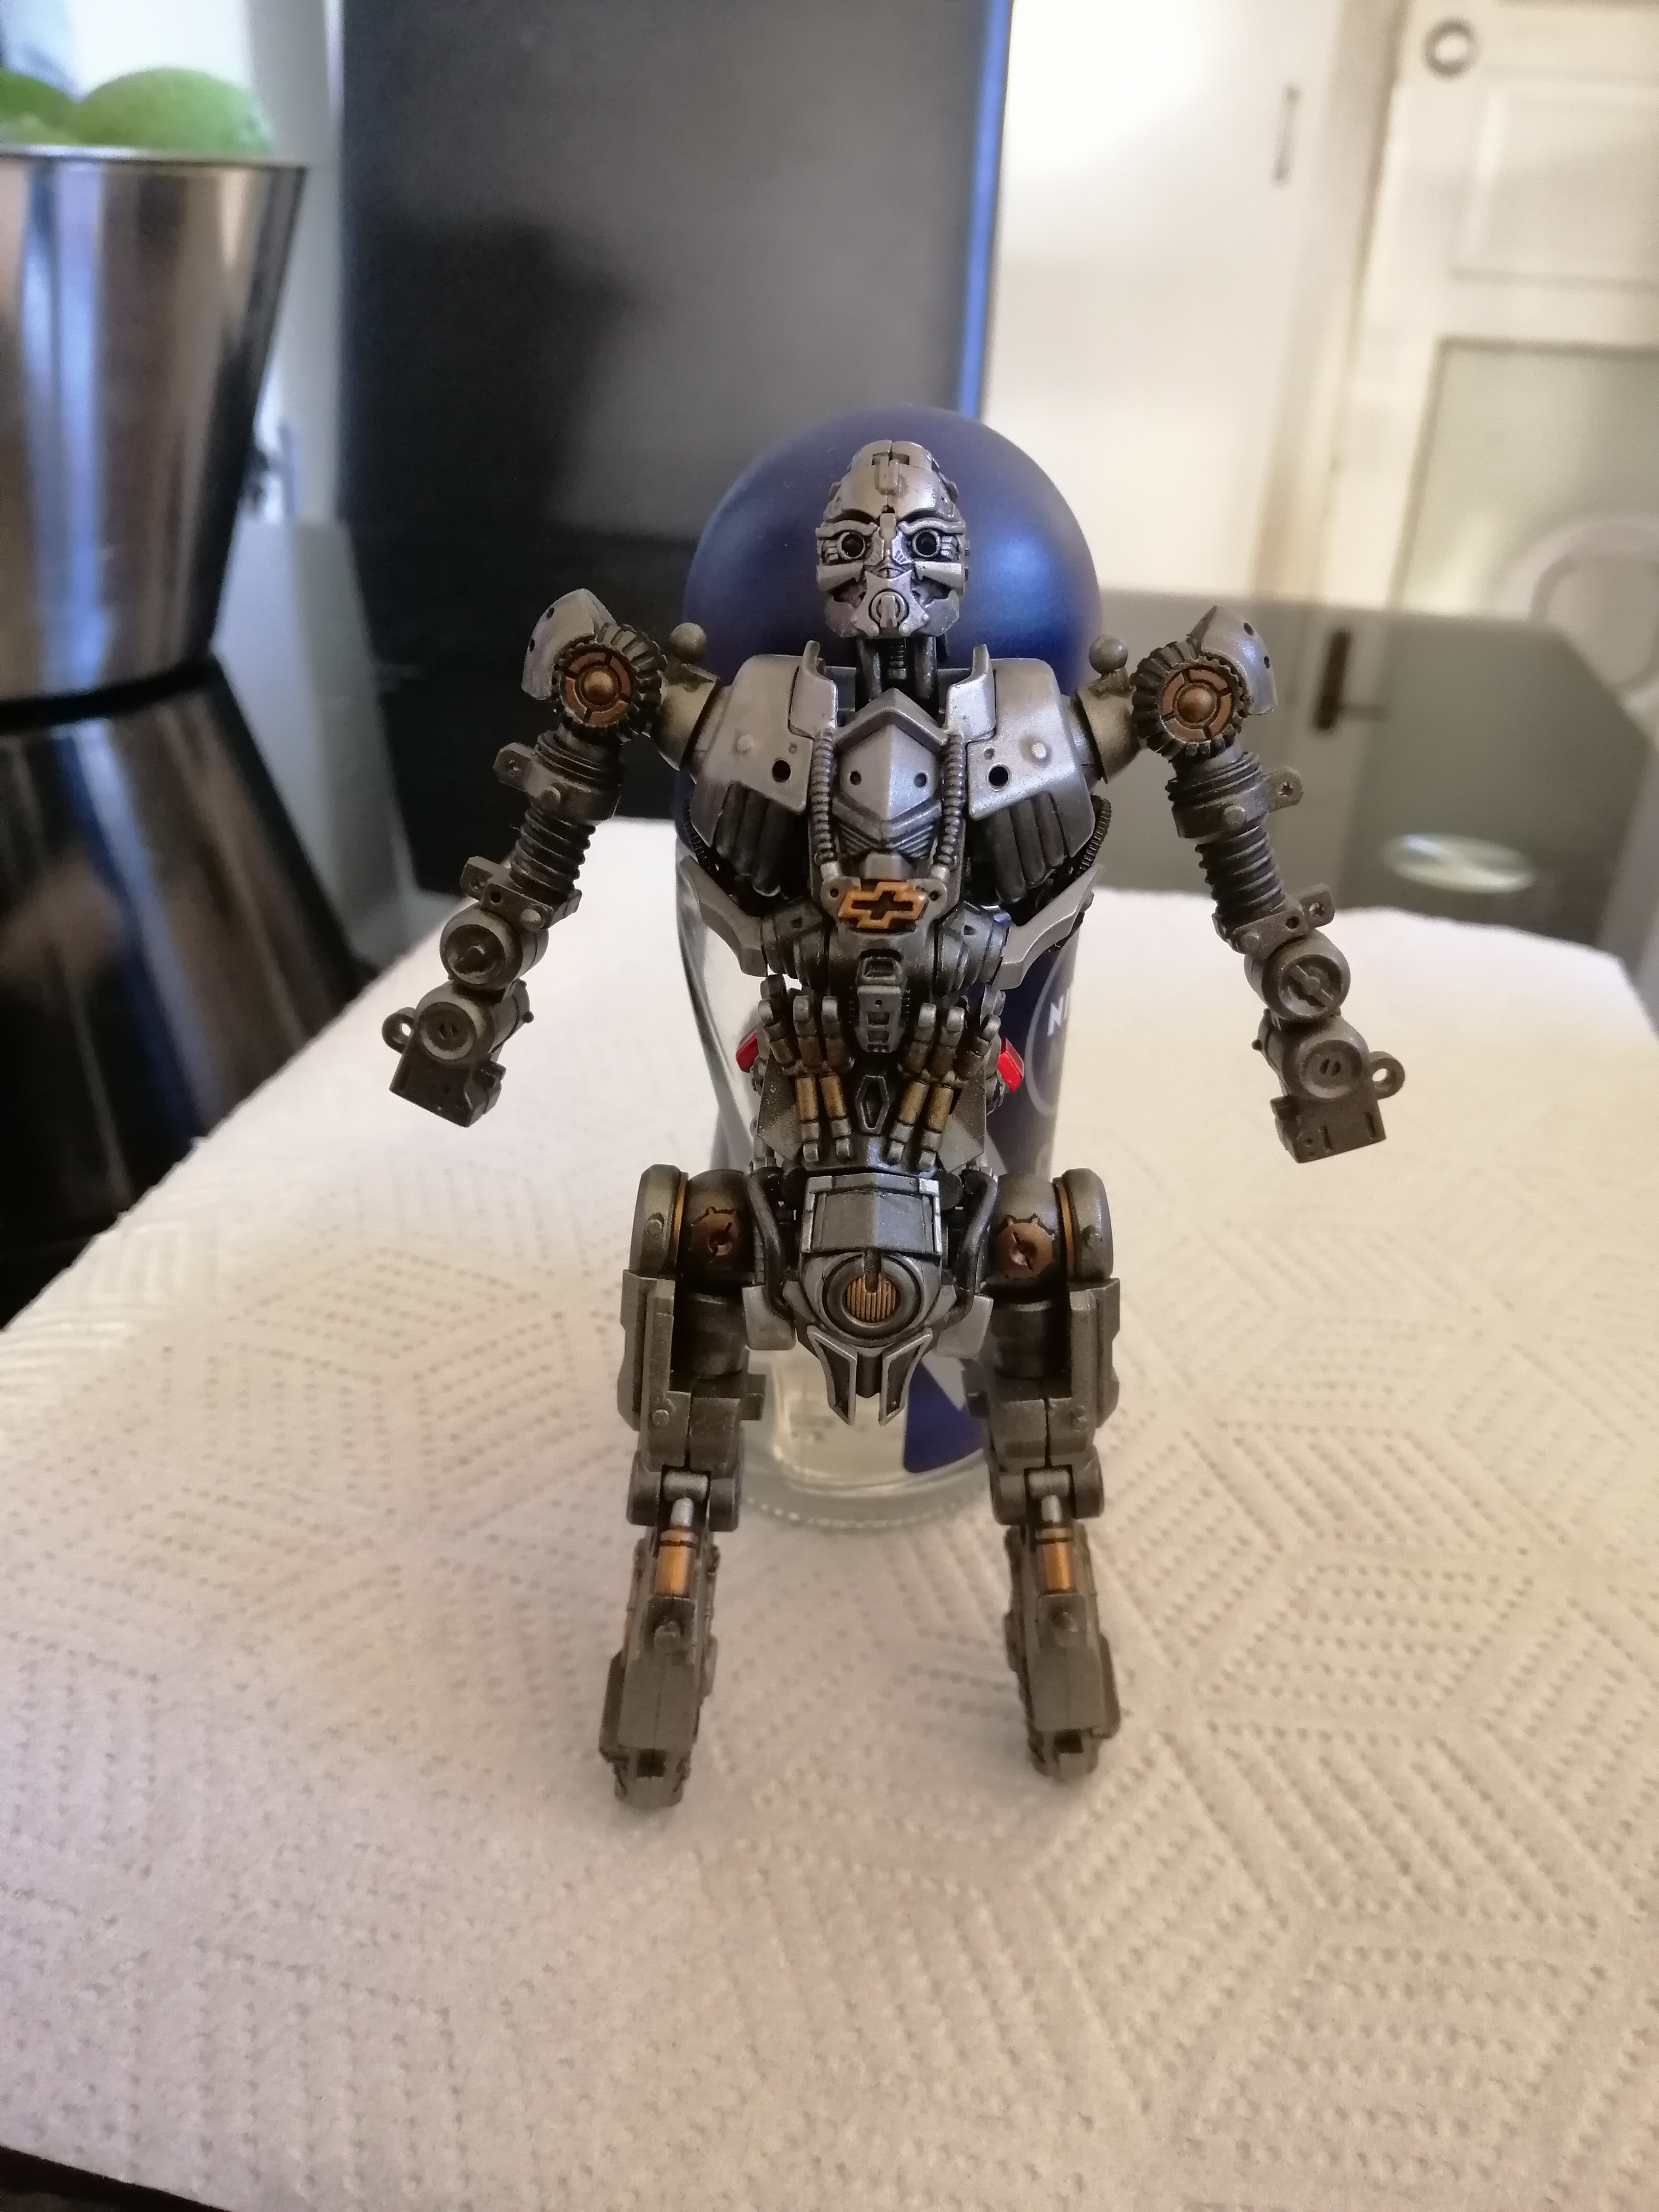
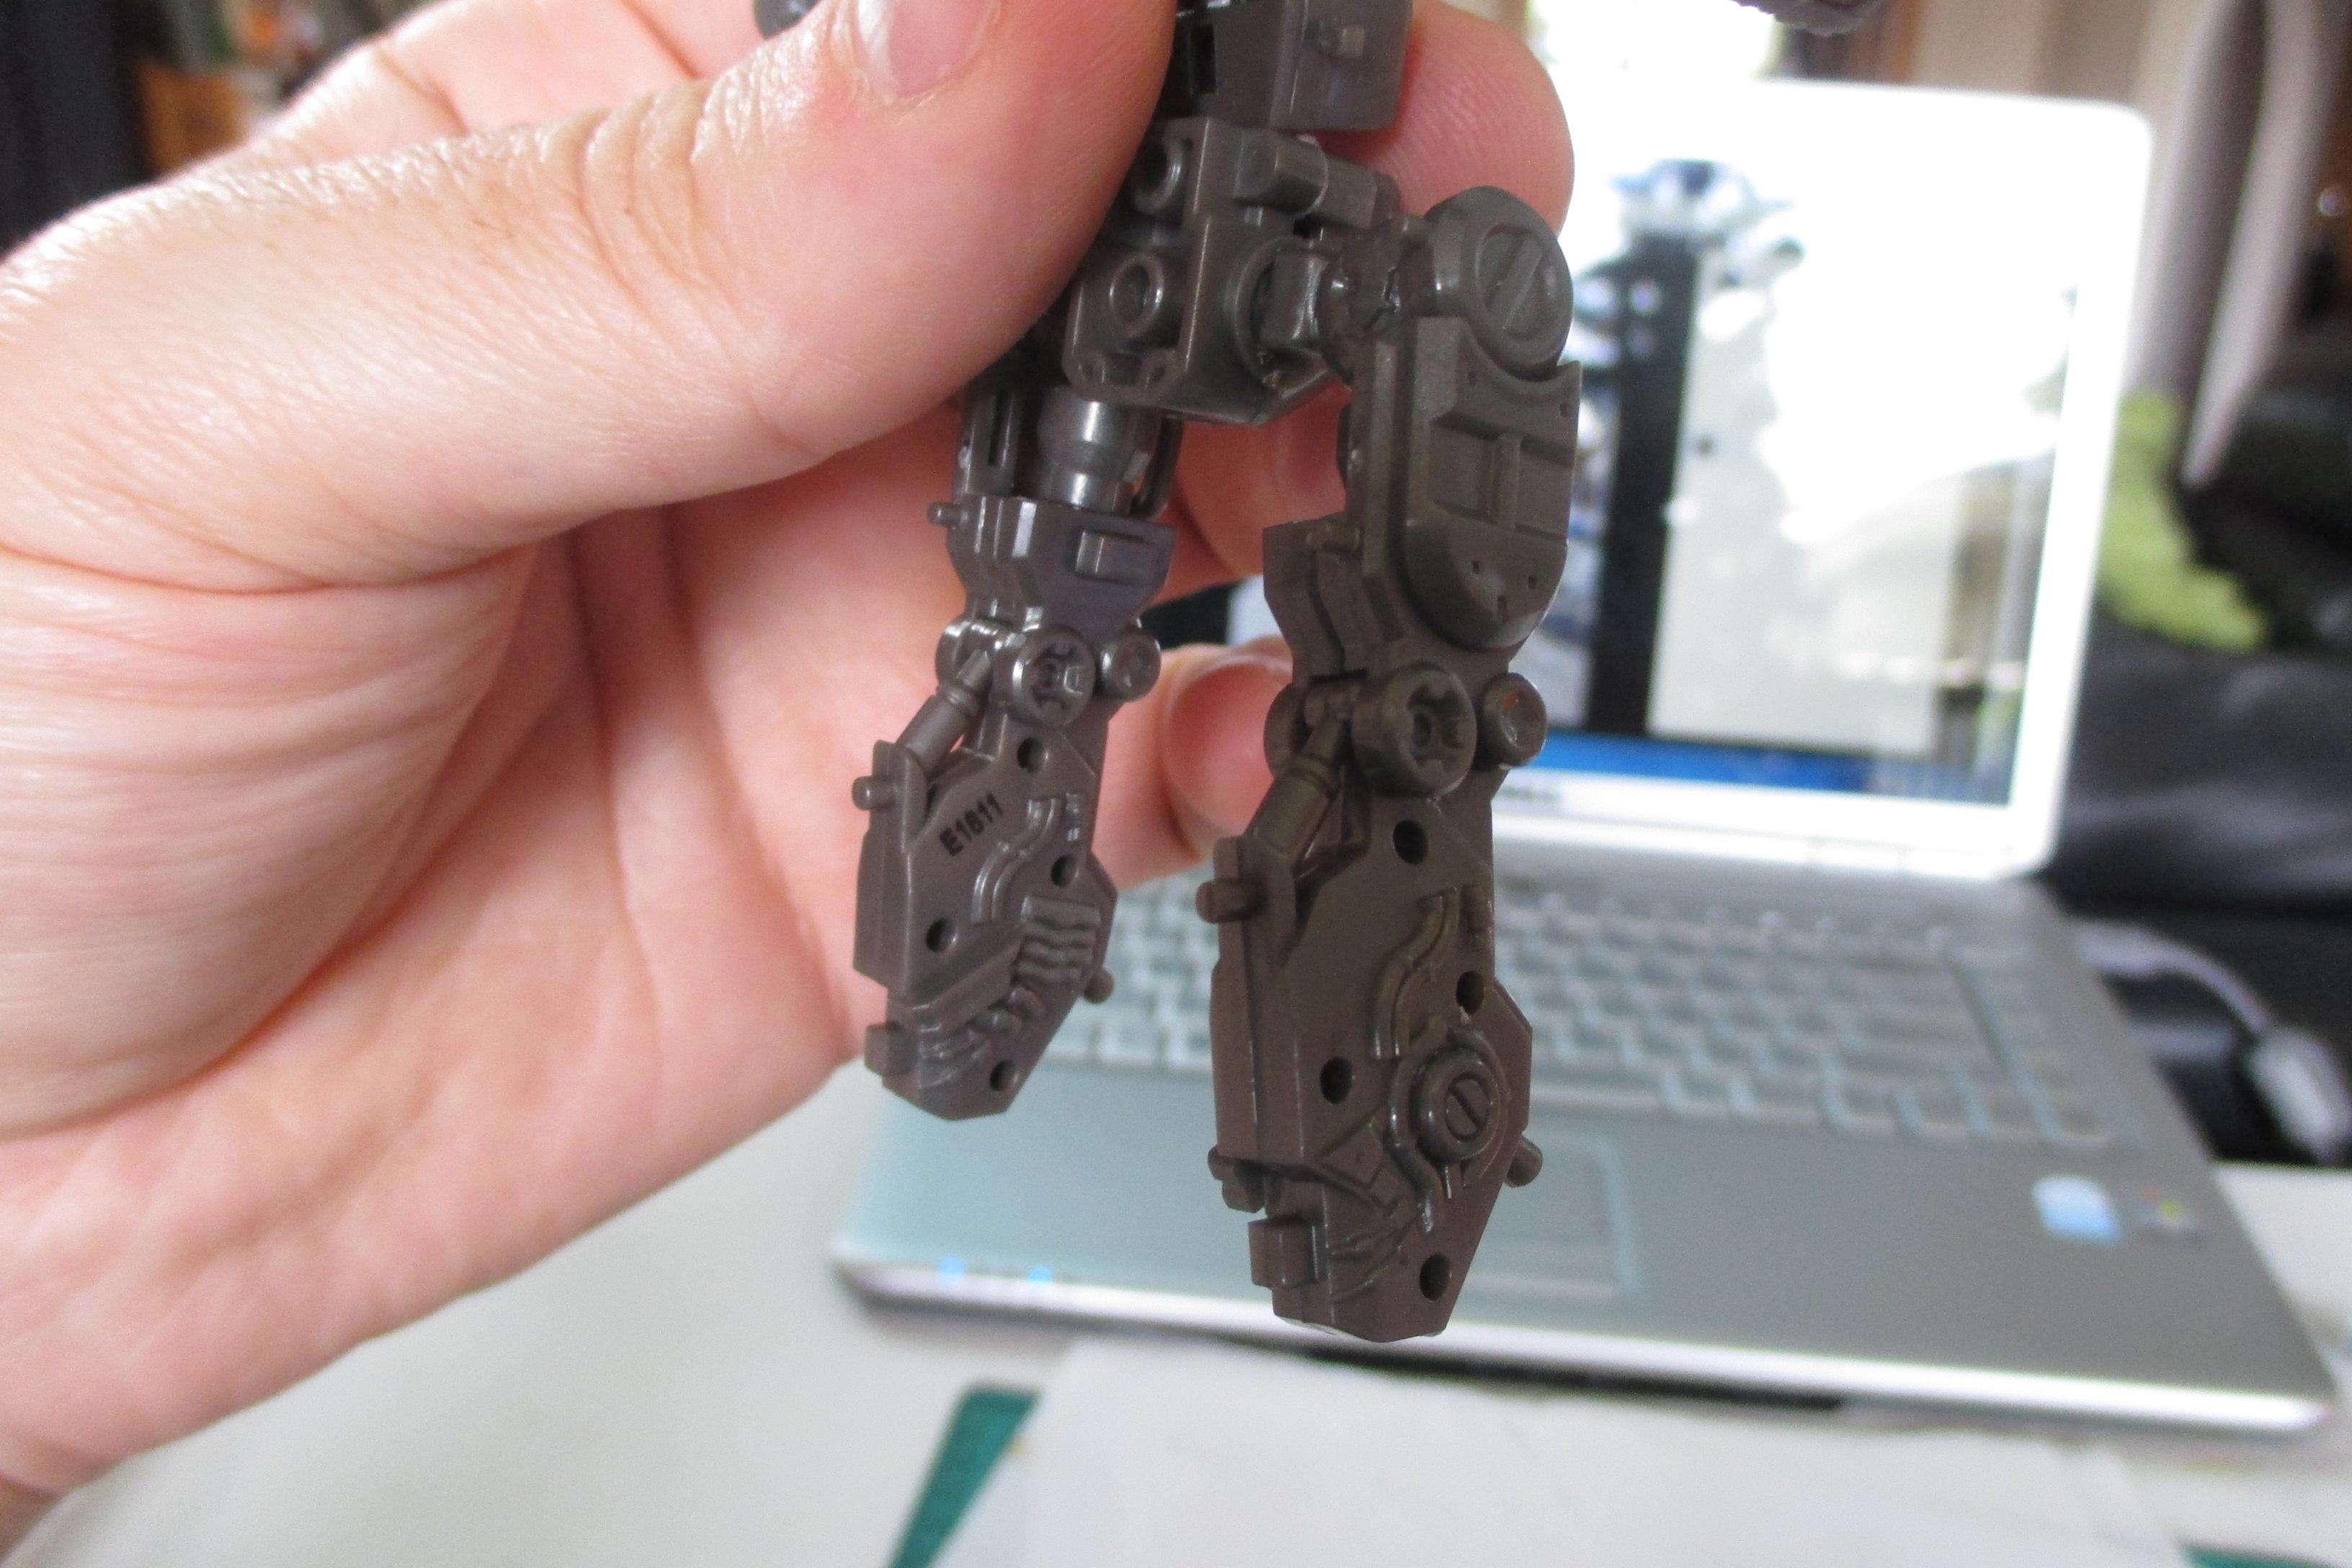
This week I have made good progress on Bumblebee. The subframe mechanicals for the head waist and torso all done. The fitting of parts is tricky as the plastic as a bit soft and the push fit plugs are tight even before you add paint into the mix. The ink washes and a bit of toning down of the various shades of metal are giving me a pleasing result. I finally found some Molotow. Very expensive over here for a low budget modeller such as myself but well worth it. With a clear red over the top the tail lights look very nice. Today I got the next batch of parts ready for detailing. These will form the structure and inner details for the lower legs and feet.
-
My only real options for paint here in NZ are Tamiya, Humbrol and GW. Tamiya Arylics sucks for hand painting so I go exclusive with GW. Though I am really starting to like Tamiya LP paints.
-
On 4/19/2021 at 6:42 AM, Pat Minarick said:
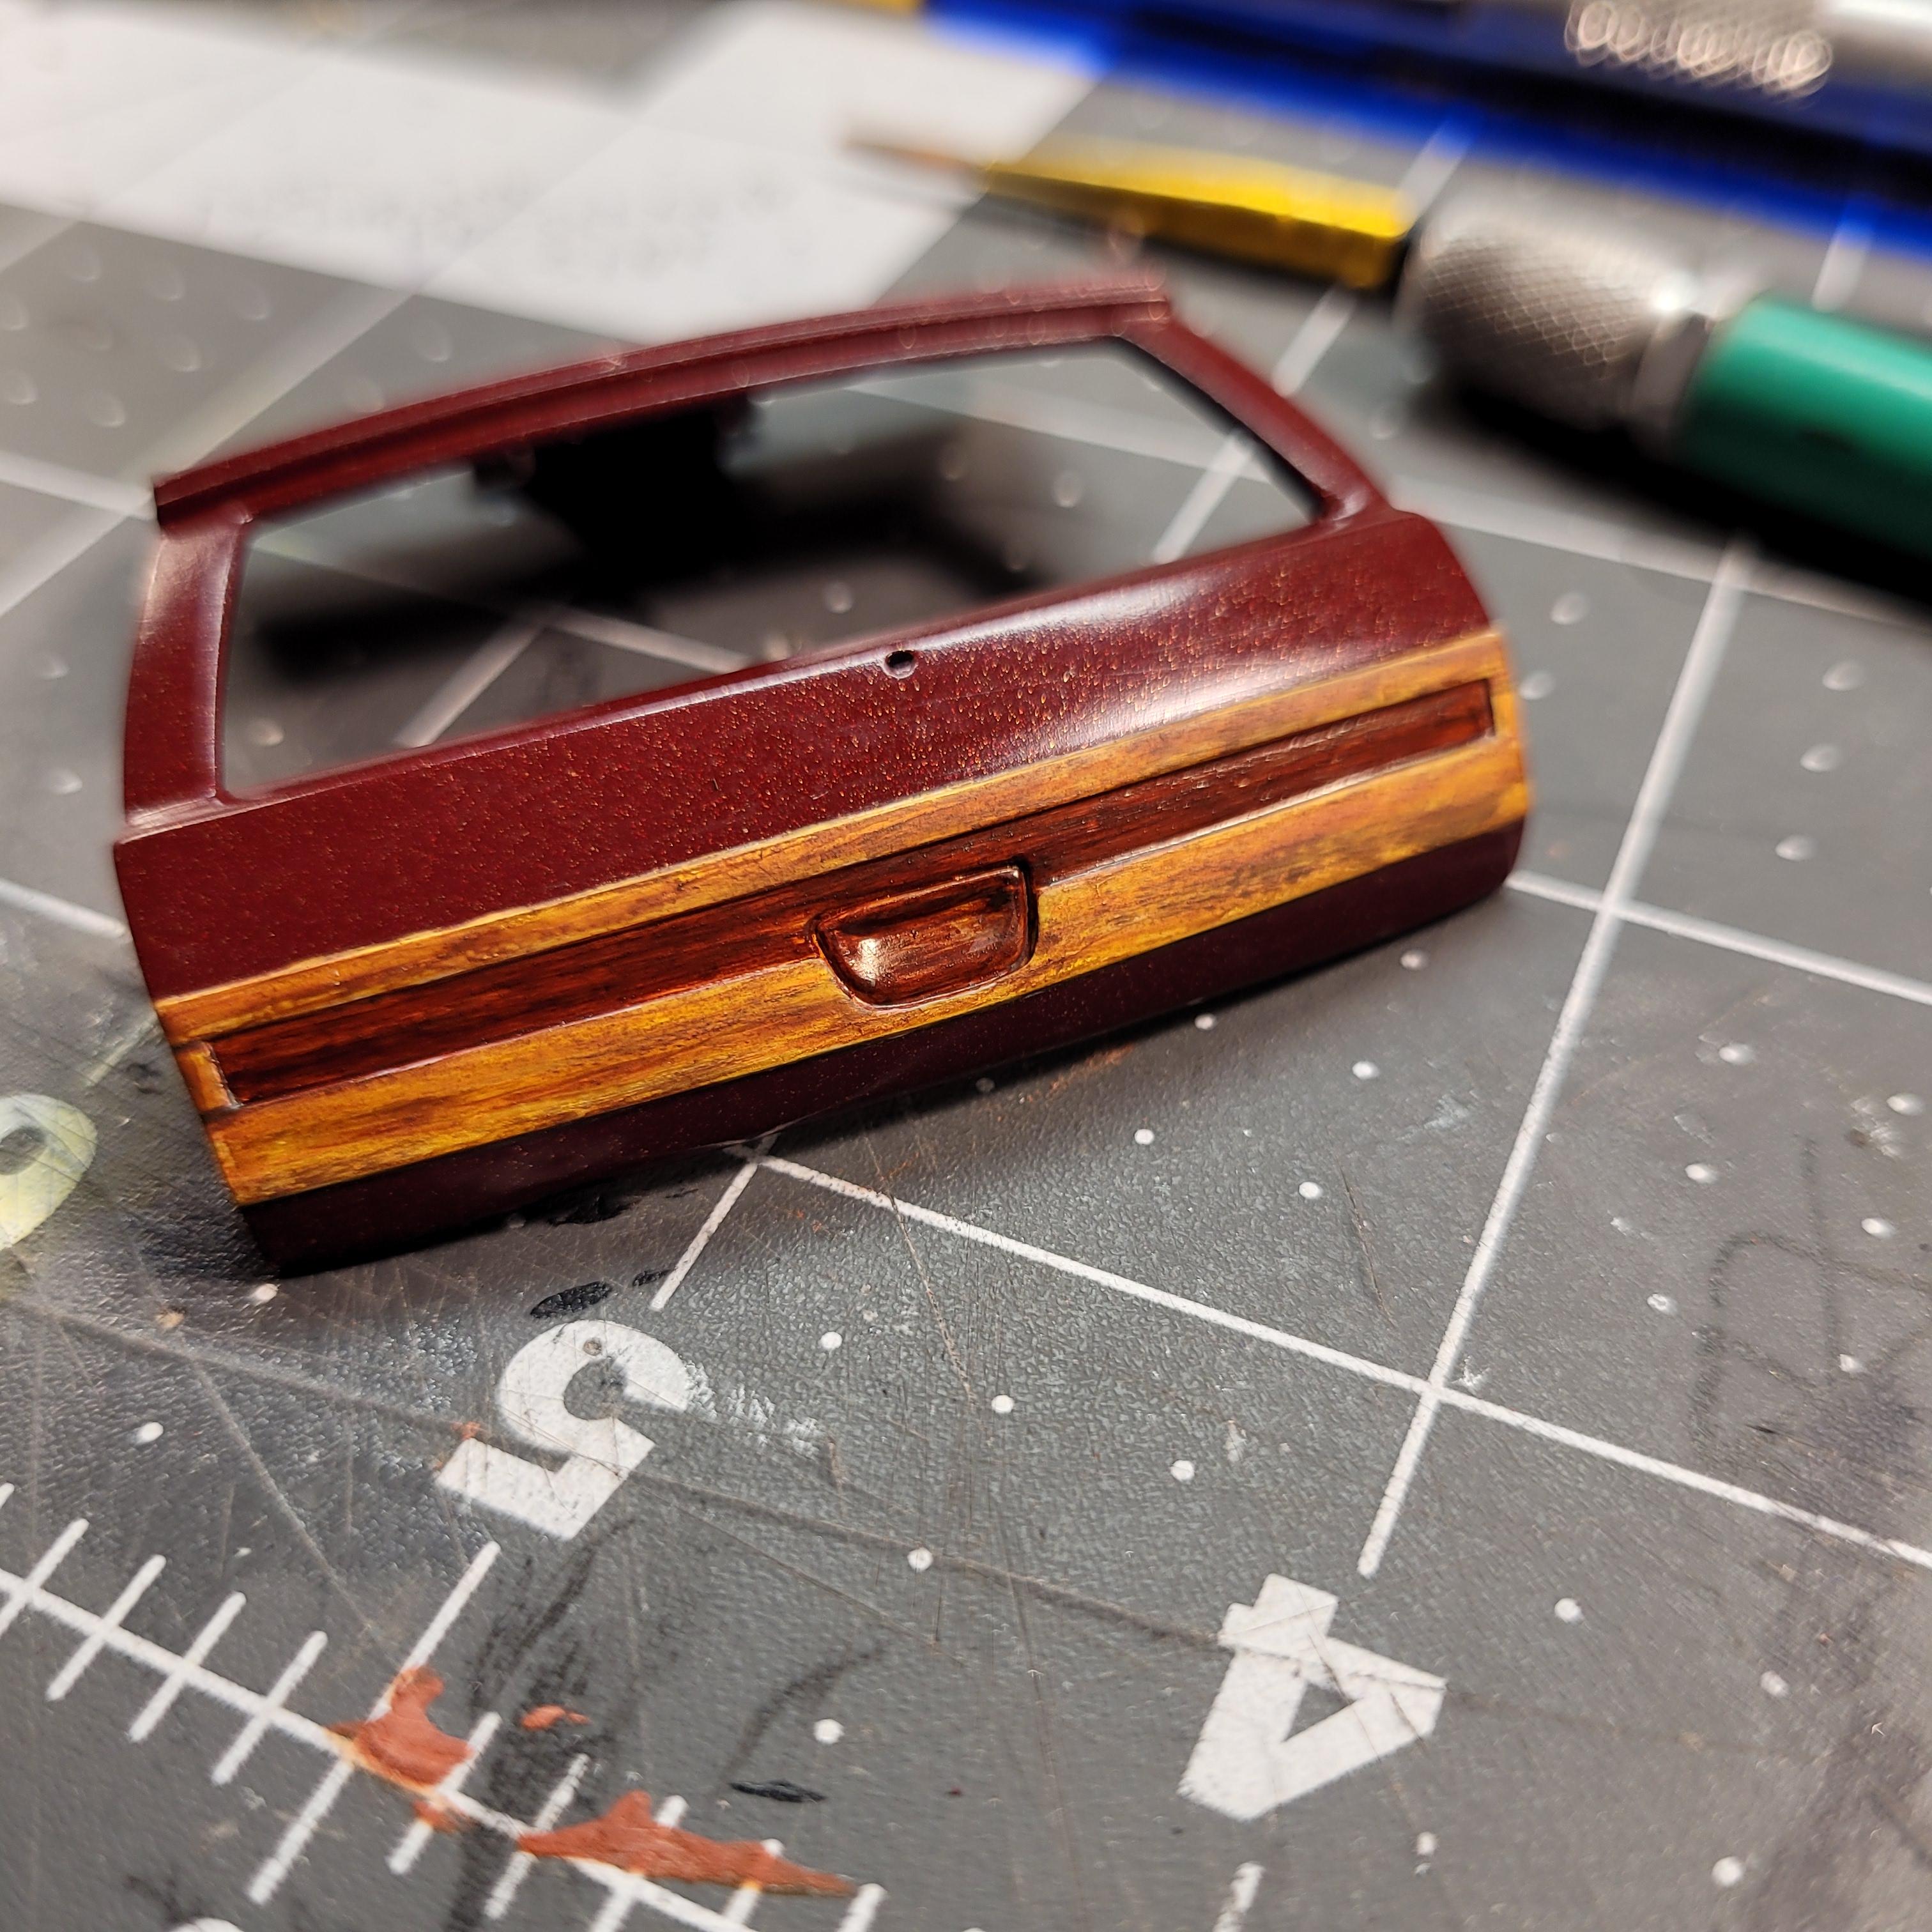
I hope the edges will clean up after this dries for awhile. I like the colors and will get some clear on it later this week.

That wood grain looks absolutely sublime. Its also nice to see someone else using Gamesworkshop outside of Wargame painting. Im making really good use of Nuln Oil and Agrax Earthshade on my current build.
-
On 4/16/2021 at 3:34 PM, Whosurdaddy209 said:
I'm struggling to see the red in the hood, But what I do see is the stunning paint finish and the Gold? shade on the hood scoop is super sweet. Loving it.
-
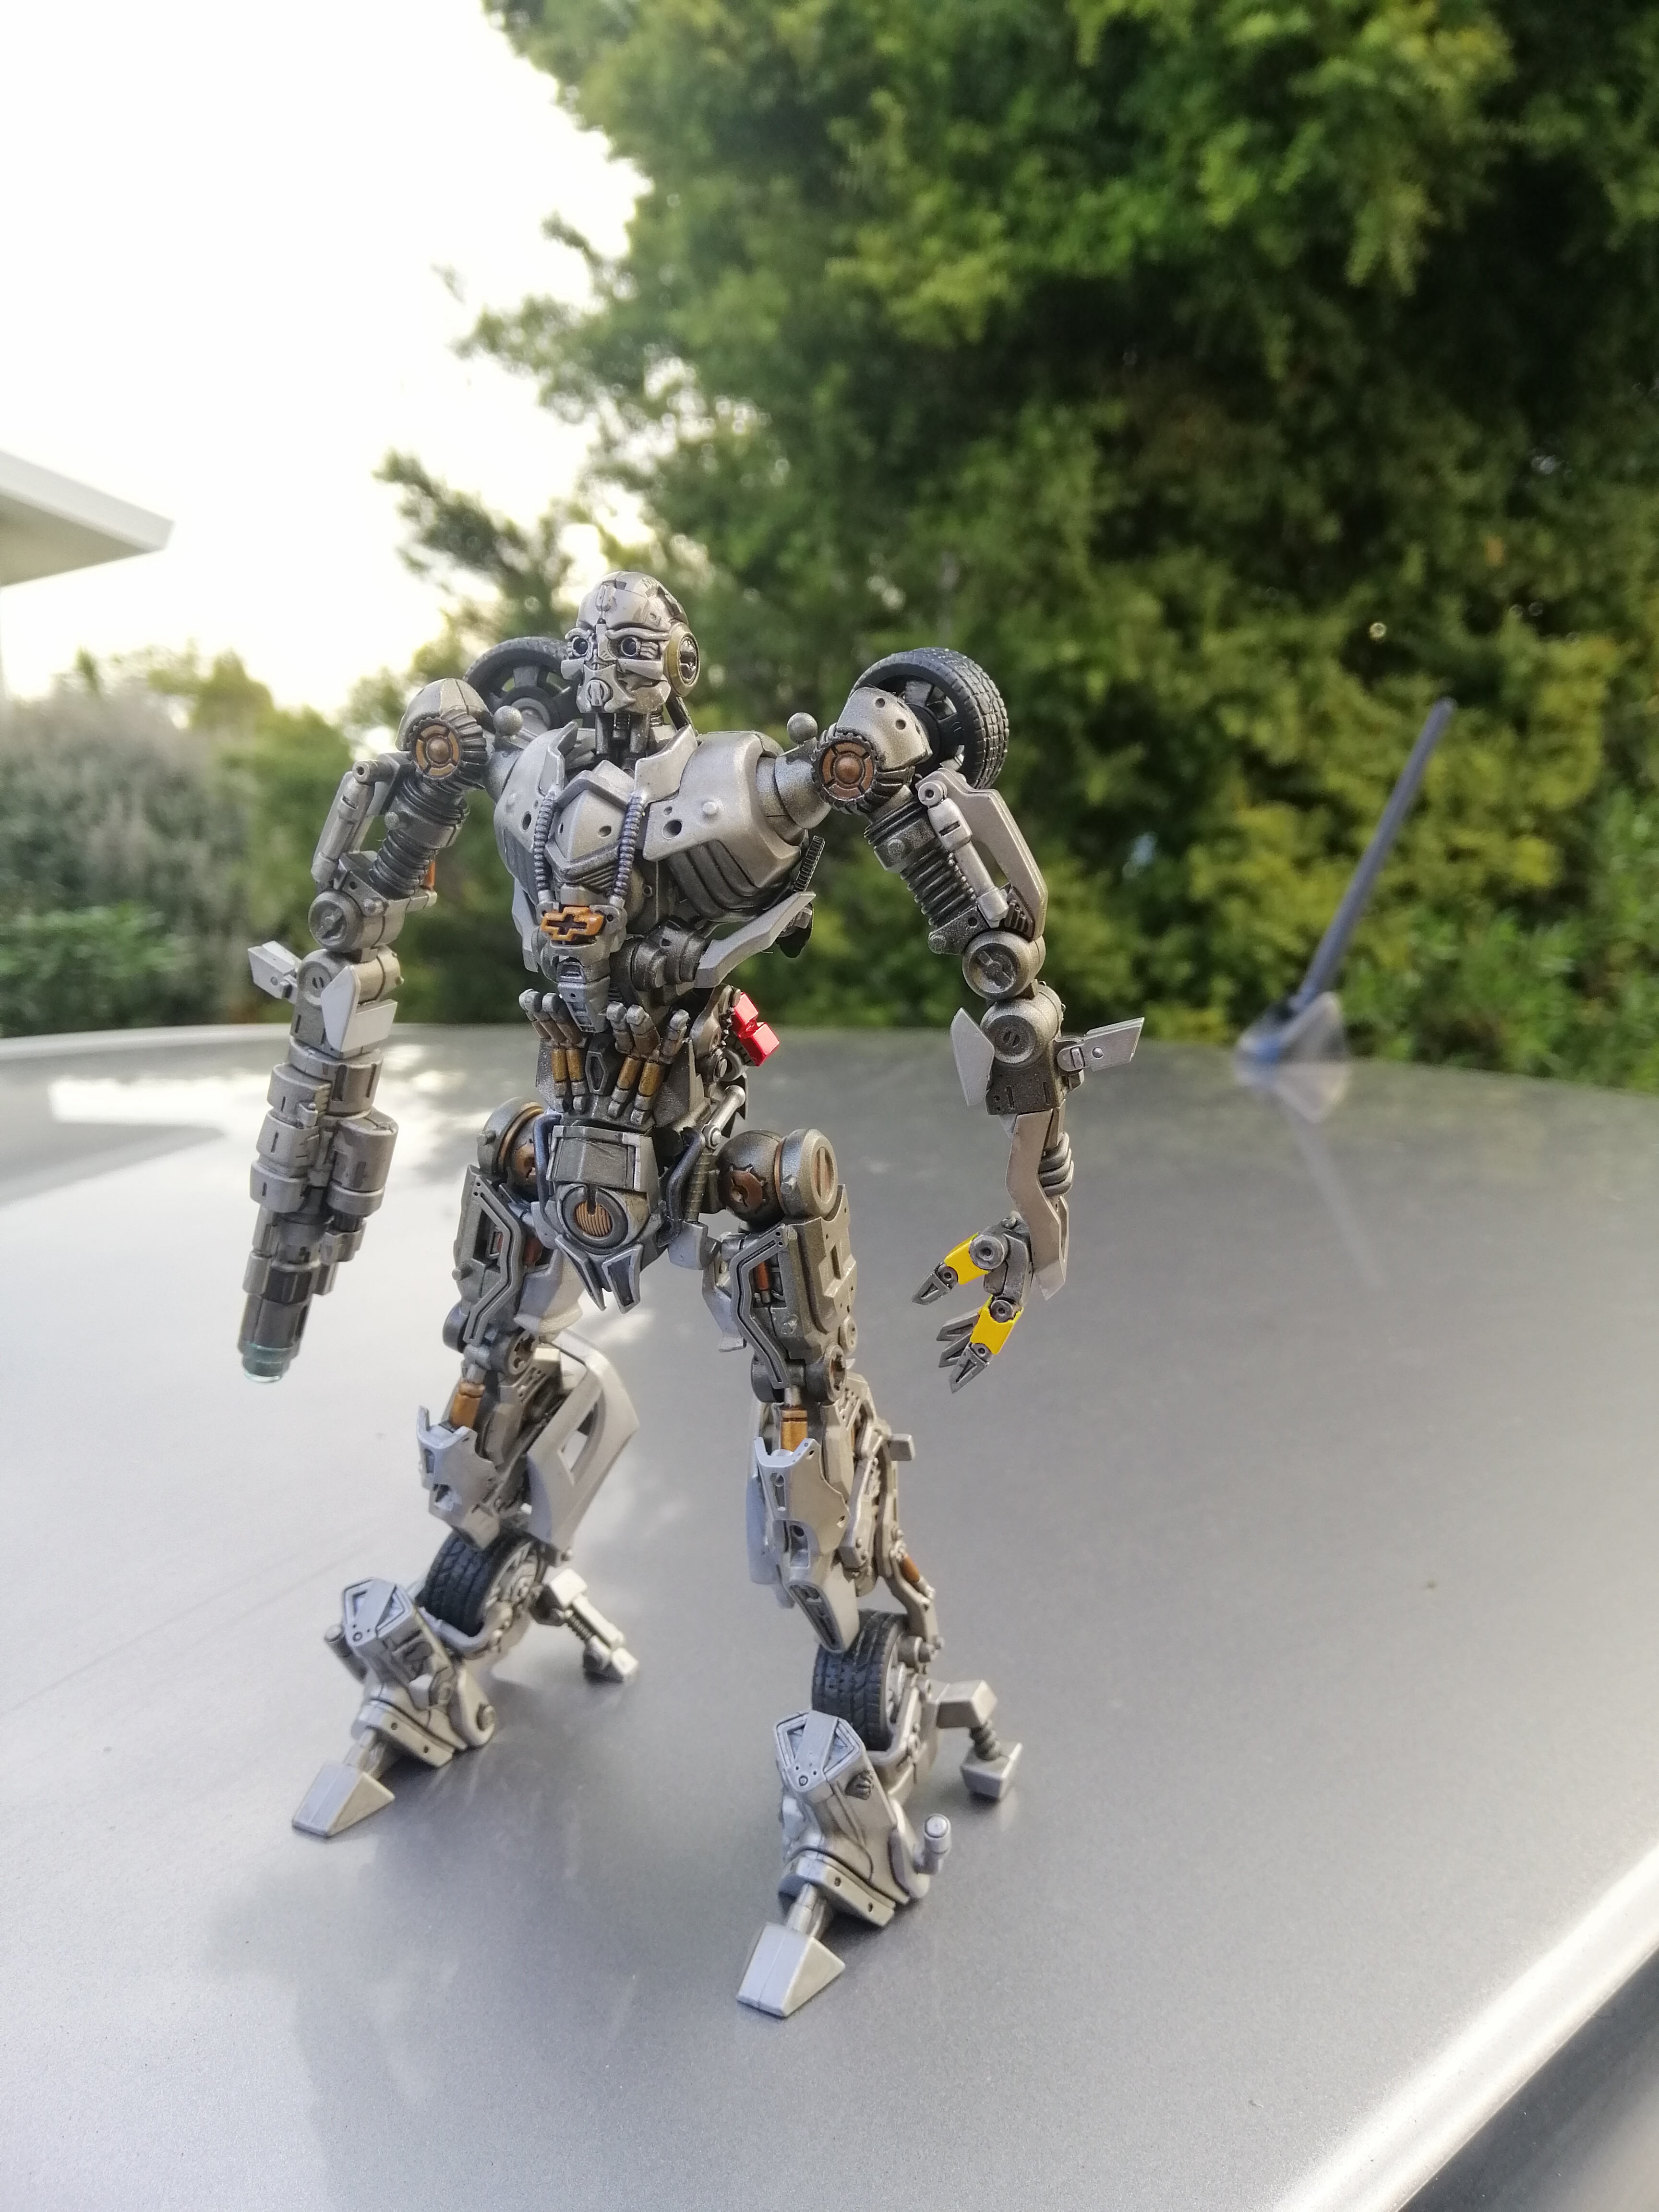
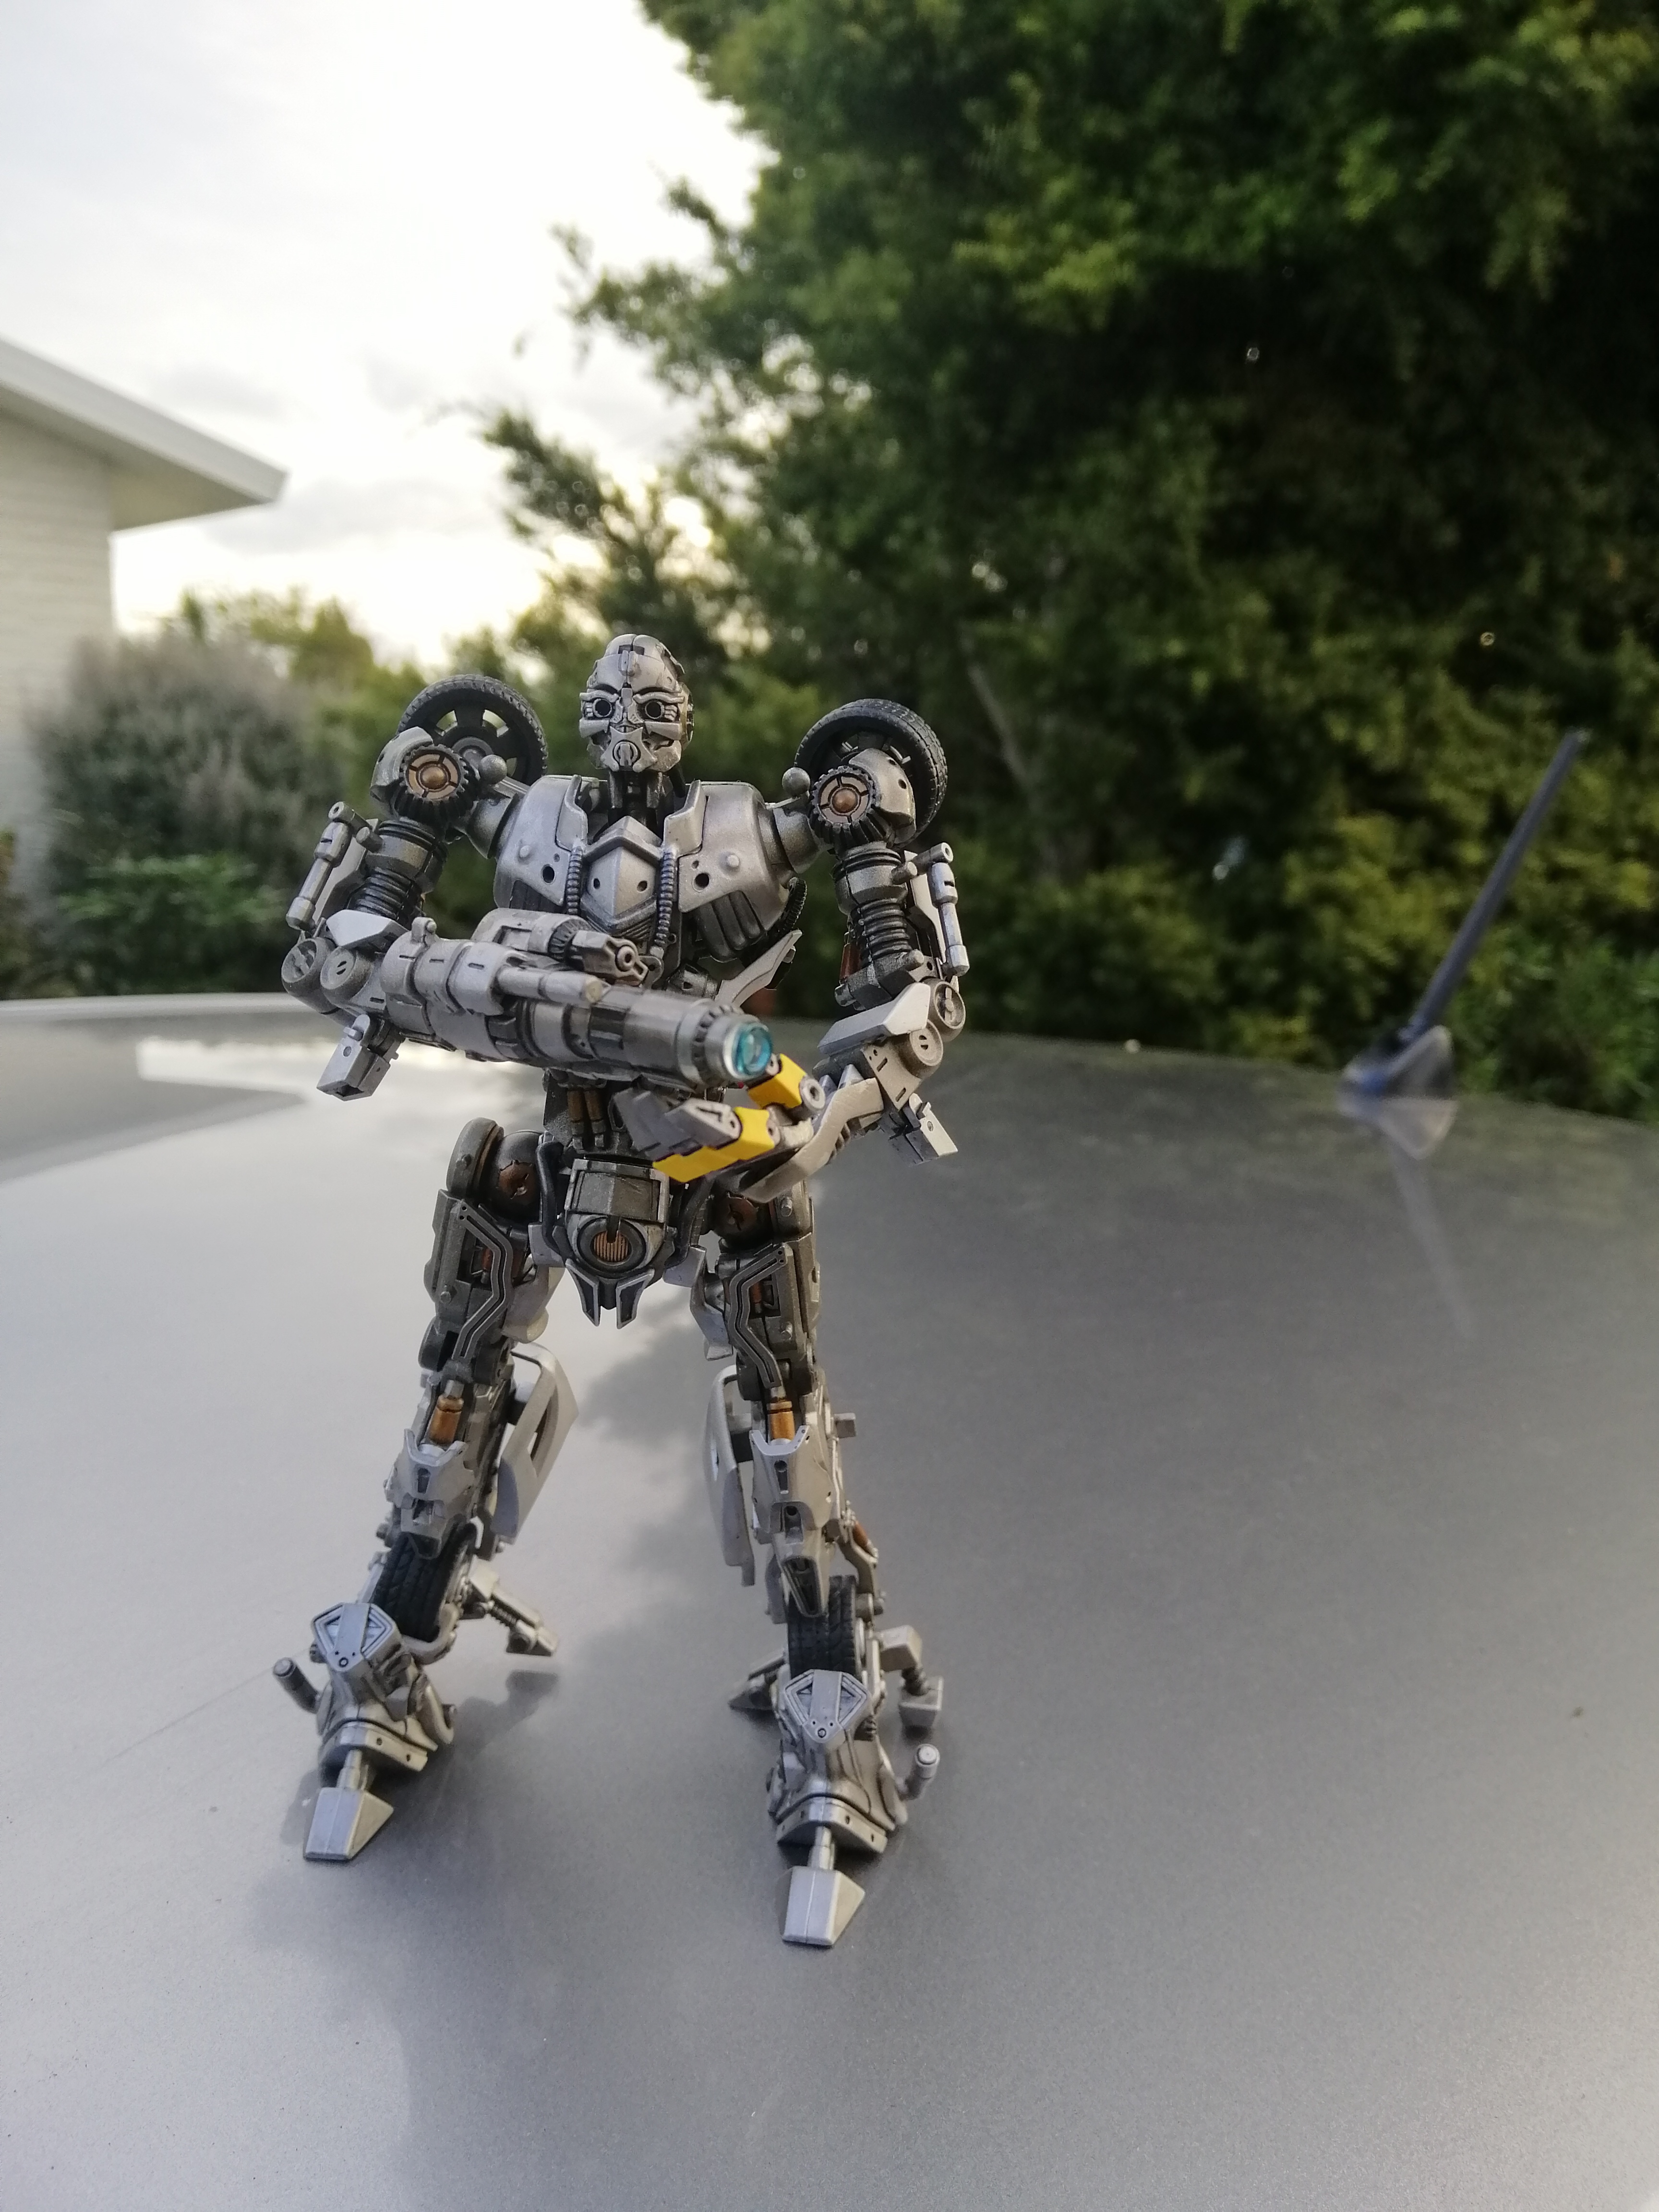
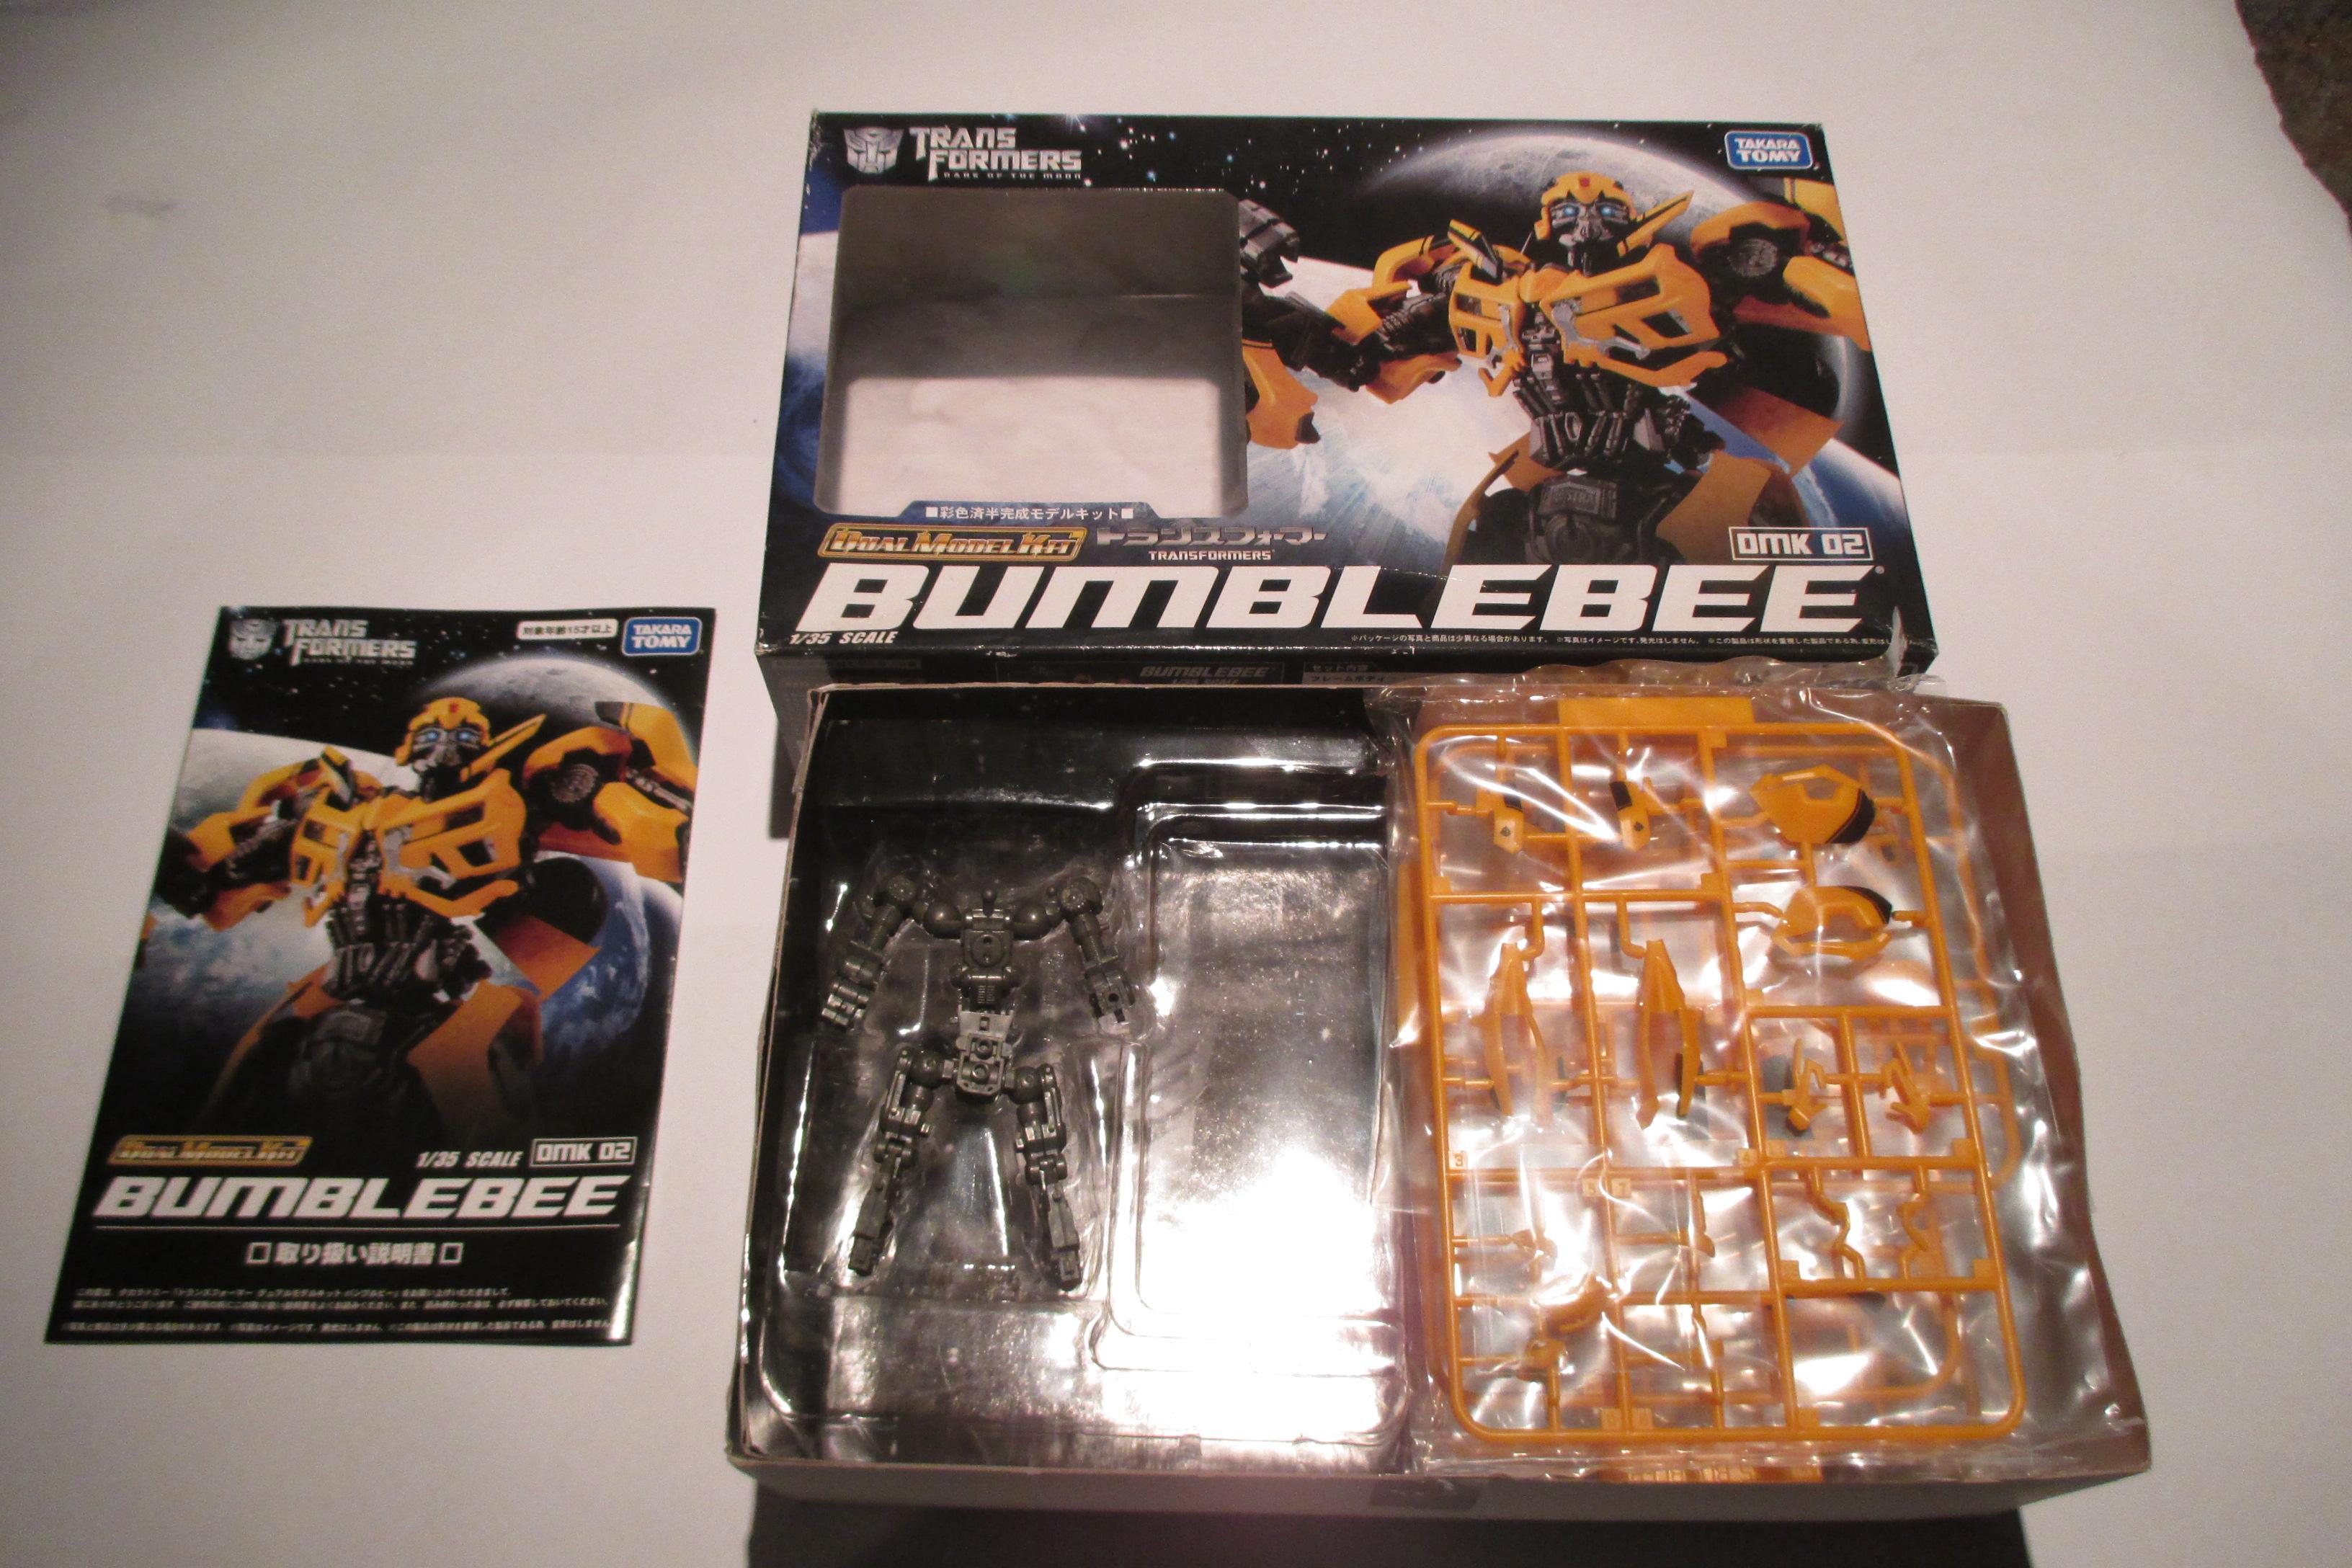
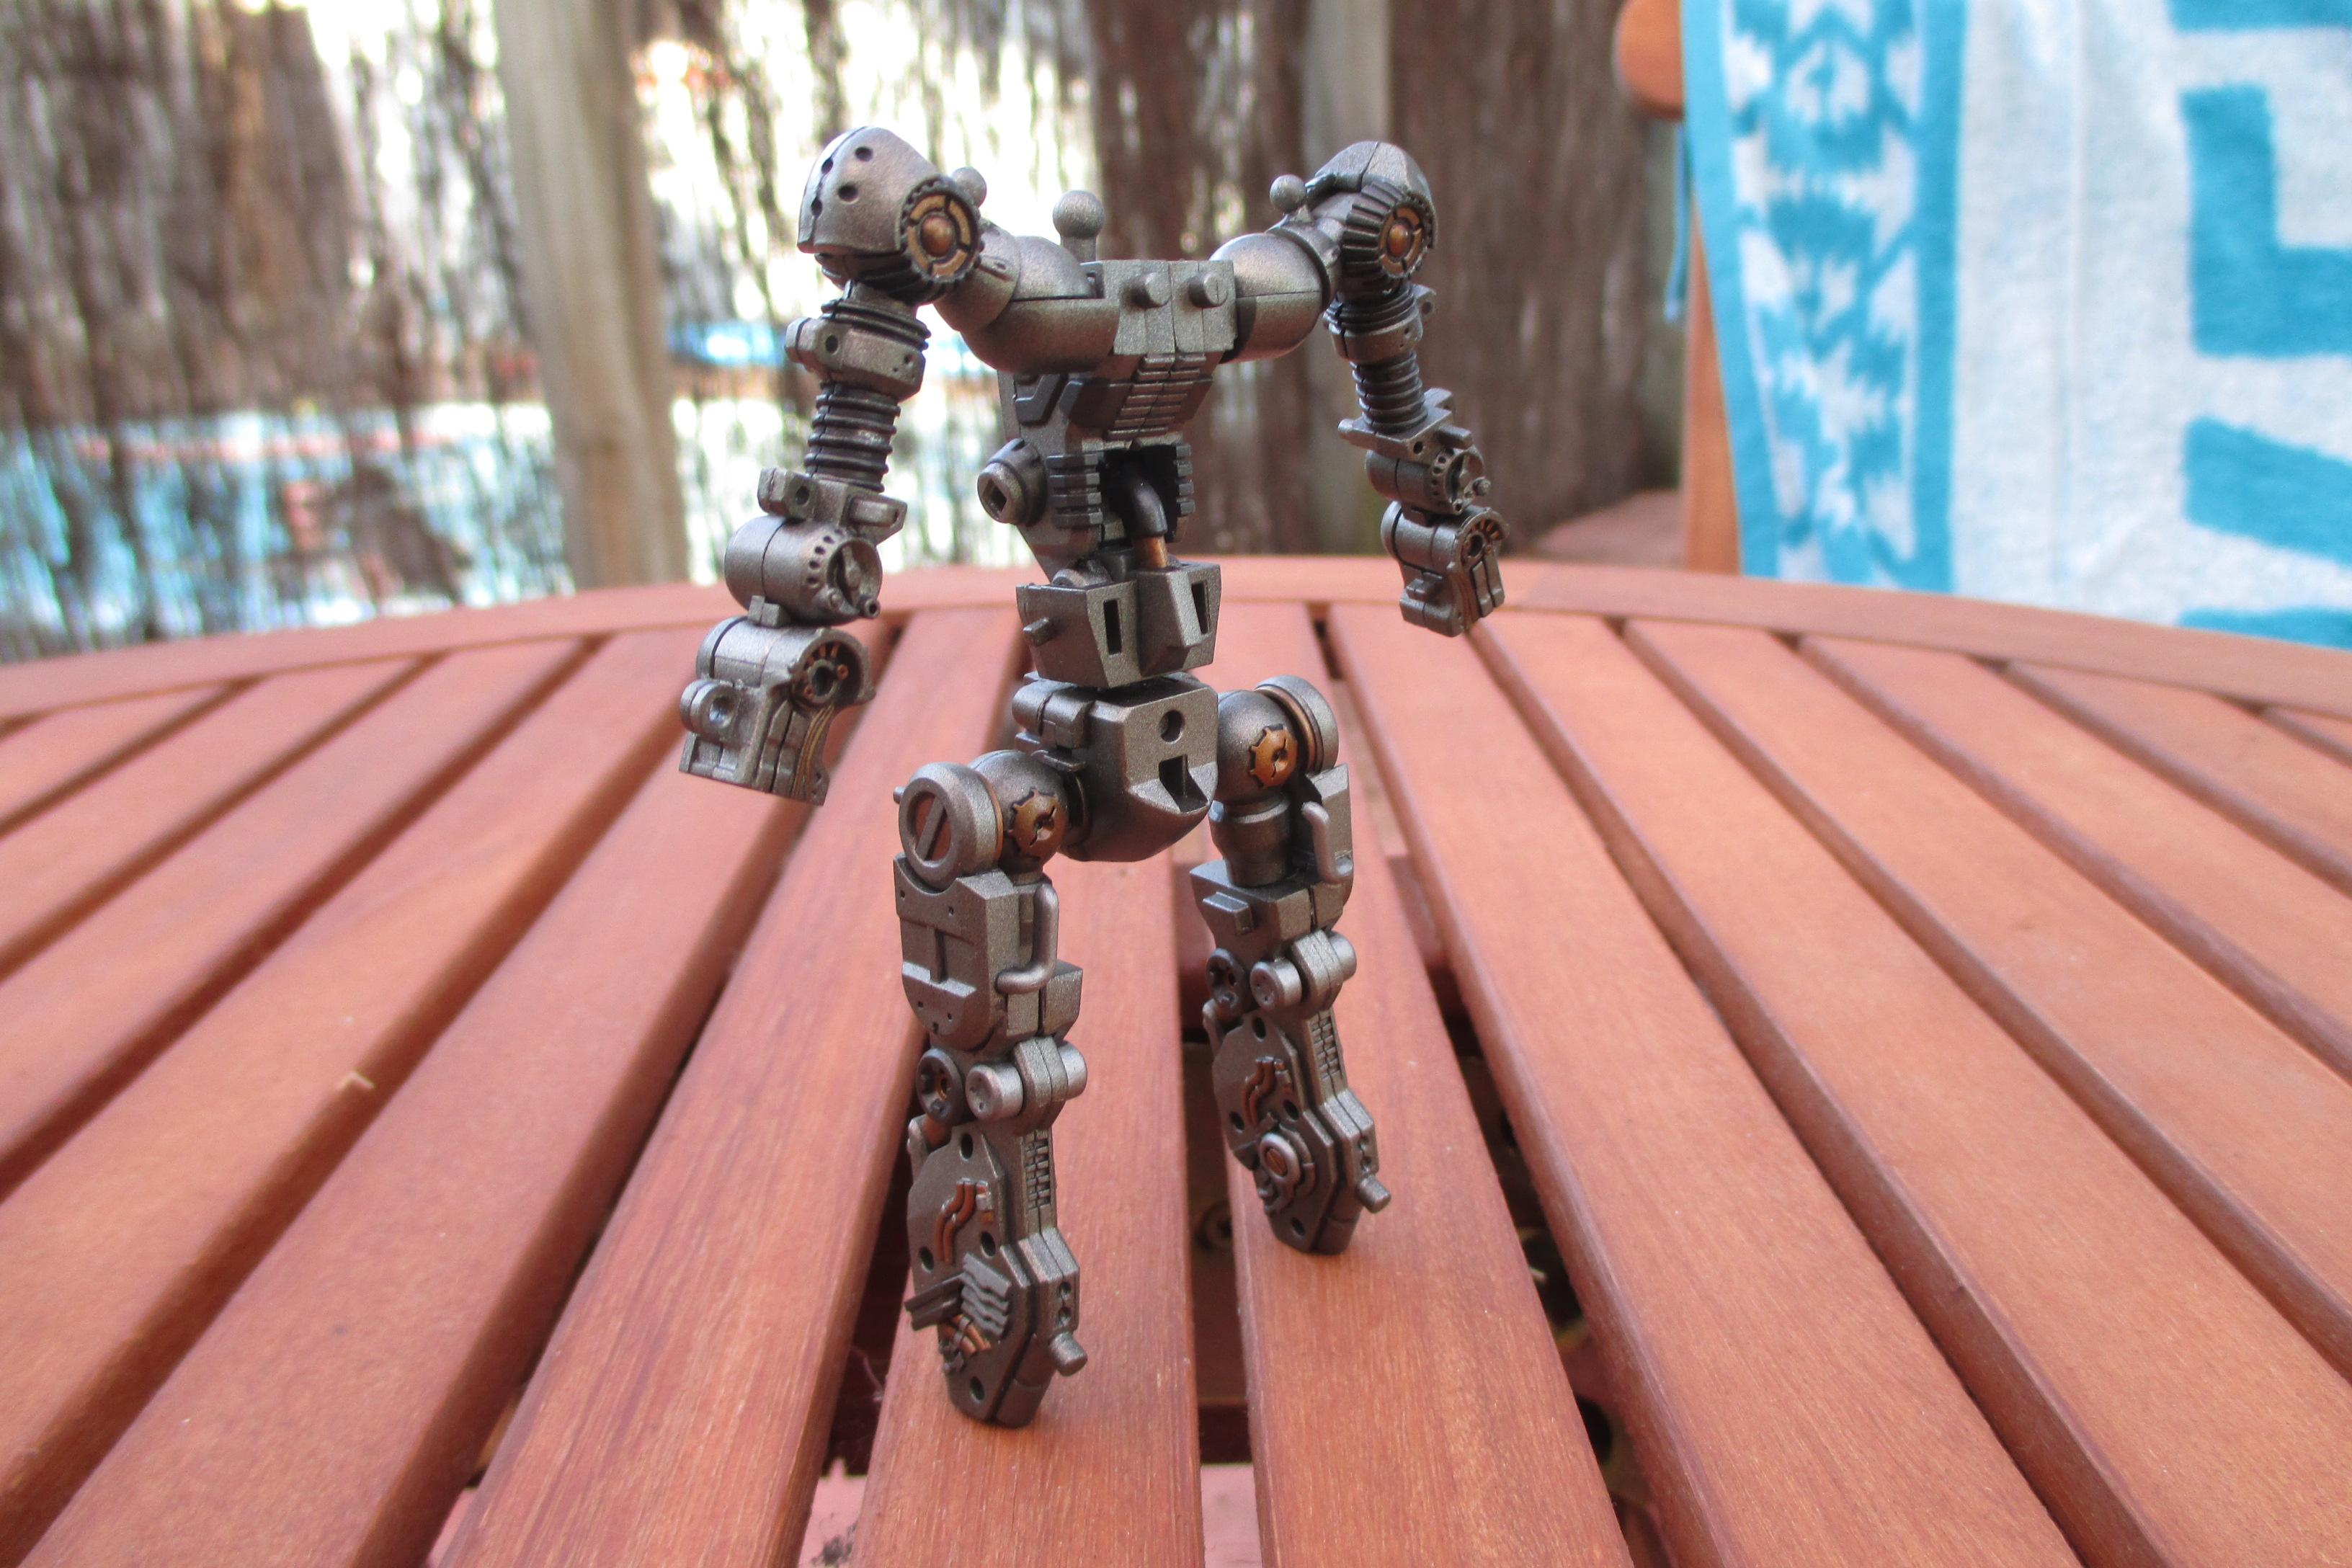
So this is the Limited release Takara Tomy DMK 02 Model Kit of BUMBLEBEE from the Michael Bay franchise of Transformers. When it first came out I had to buy it and the OP kit as well.
Like most Gunpla Type of kits it is "Moulded in Colour" with prepainted details on the Yellow parts. Badly Painted. The internal frame comes as a pre assembled unit nut the nubs marks were terrible, All the internals are the same colour. A sort of coppery metallic silver and if assembled as is just doesnt look very convincing.
So the First thing I did was to disassemble the frame and repaint and detail the a little and reassemble.
Then I took the next layer of parts and base coated them in Silver and started to detail them. It was at this point we shifted house ( around 2 years ago )
Queue forward to today and thats where Im jumping off from.
Transform and Roll Out!!!
-
@Snake45In that case I am in with a 2nd build. If there are any complaints I'll happily move it to Sci-fi area. Will recap with photos today.
-
-
57 minutes ago, #1 model citizen said:
Looks great! You have time to submit & complete another project!?!
Thanks John. It 's the first Kit I have finished in the past year. This BOYD has been a huge motivation in getting it done.
I do have the next kit on the pile ready to be finished. This kids picked it out of the pile of unfinished kits. Its not been worked in in nearly 2 years and it is a limited run kit.
BUUUUUUUT the question is, what has 4 wheels and tyres, disc brakes. 2 doors, head and tail lights and front valance of a Camaro but cant be entered here????
-
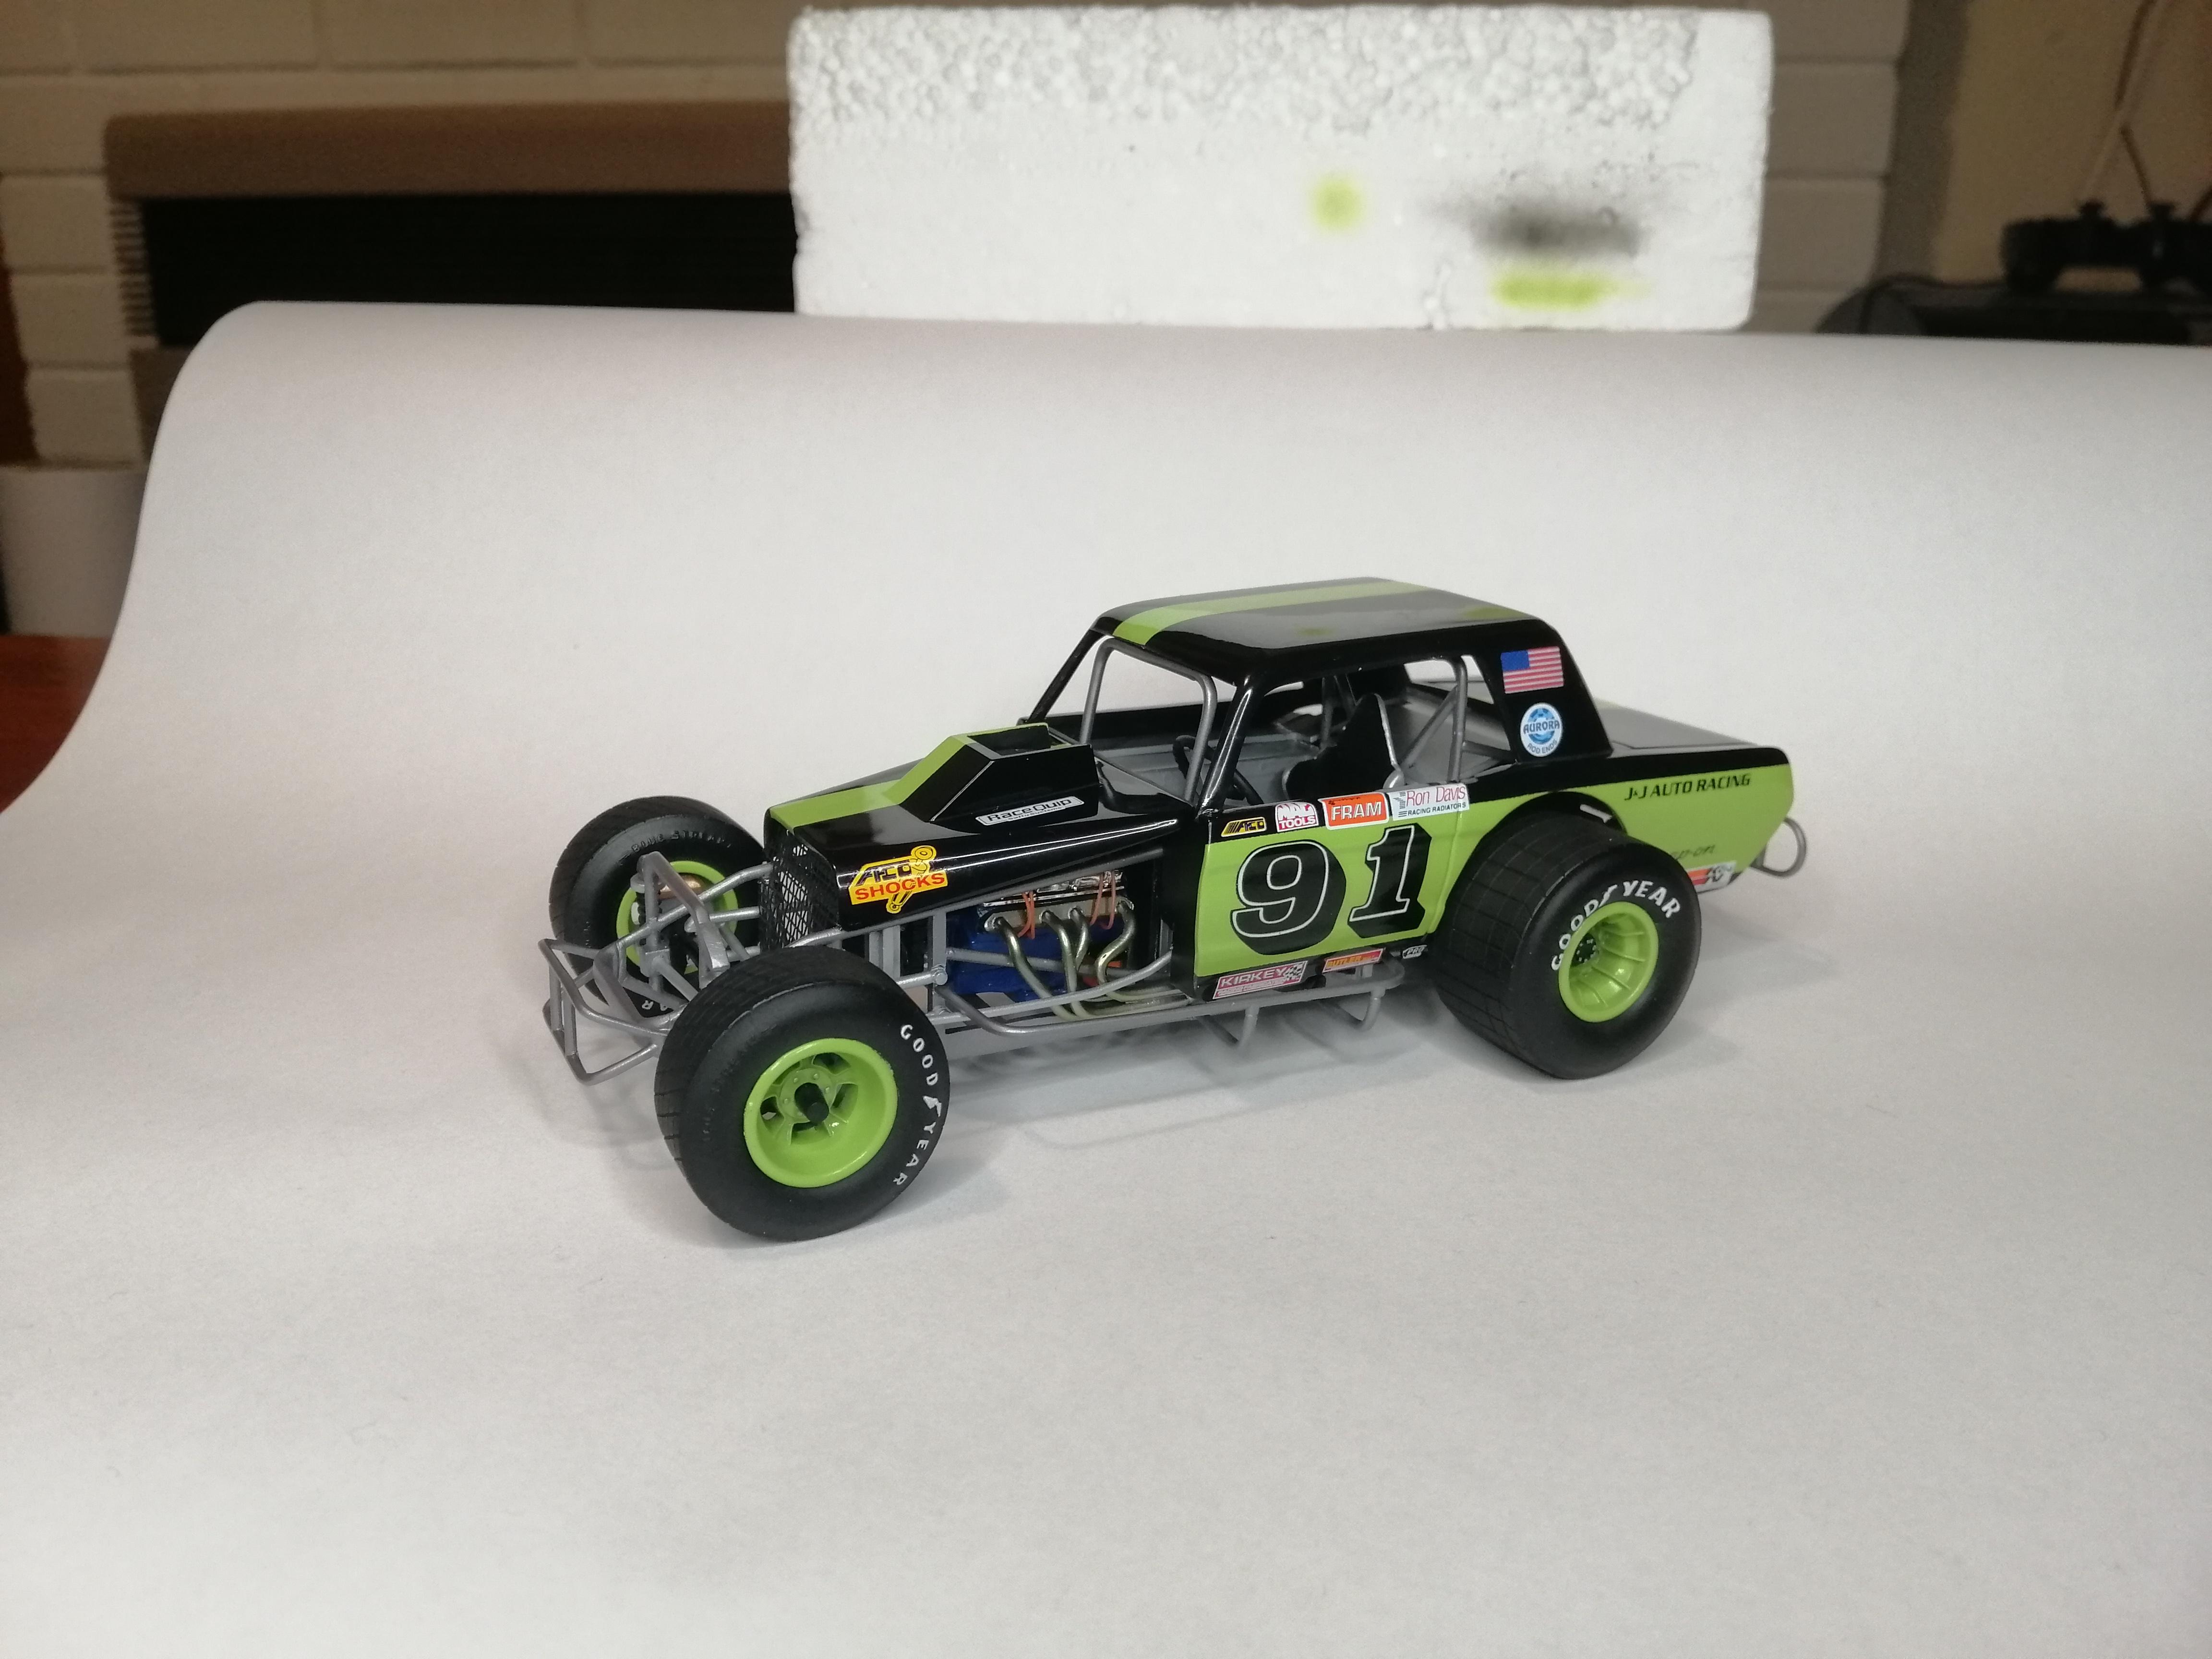
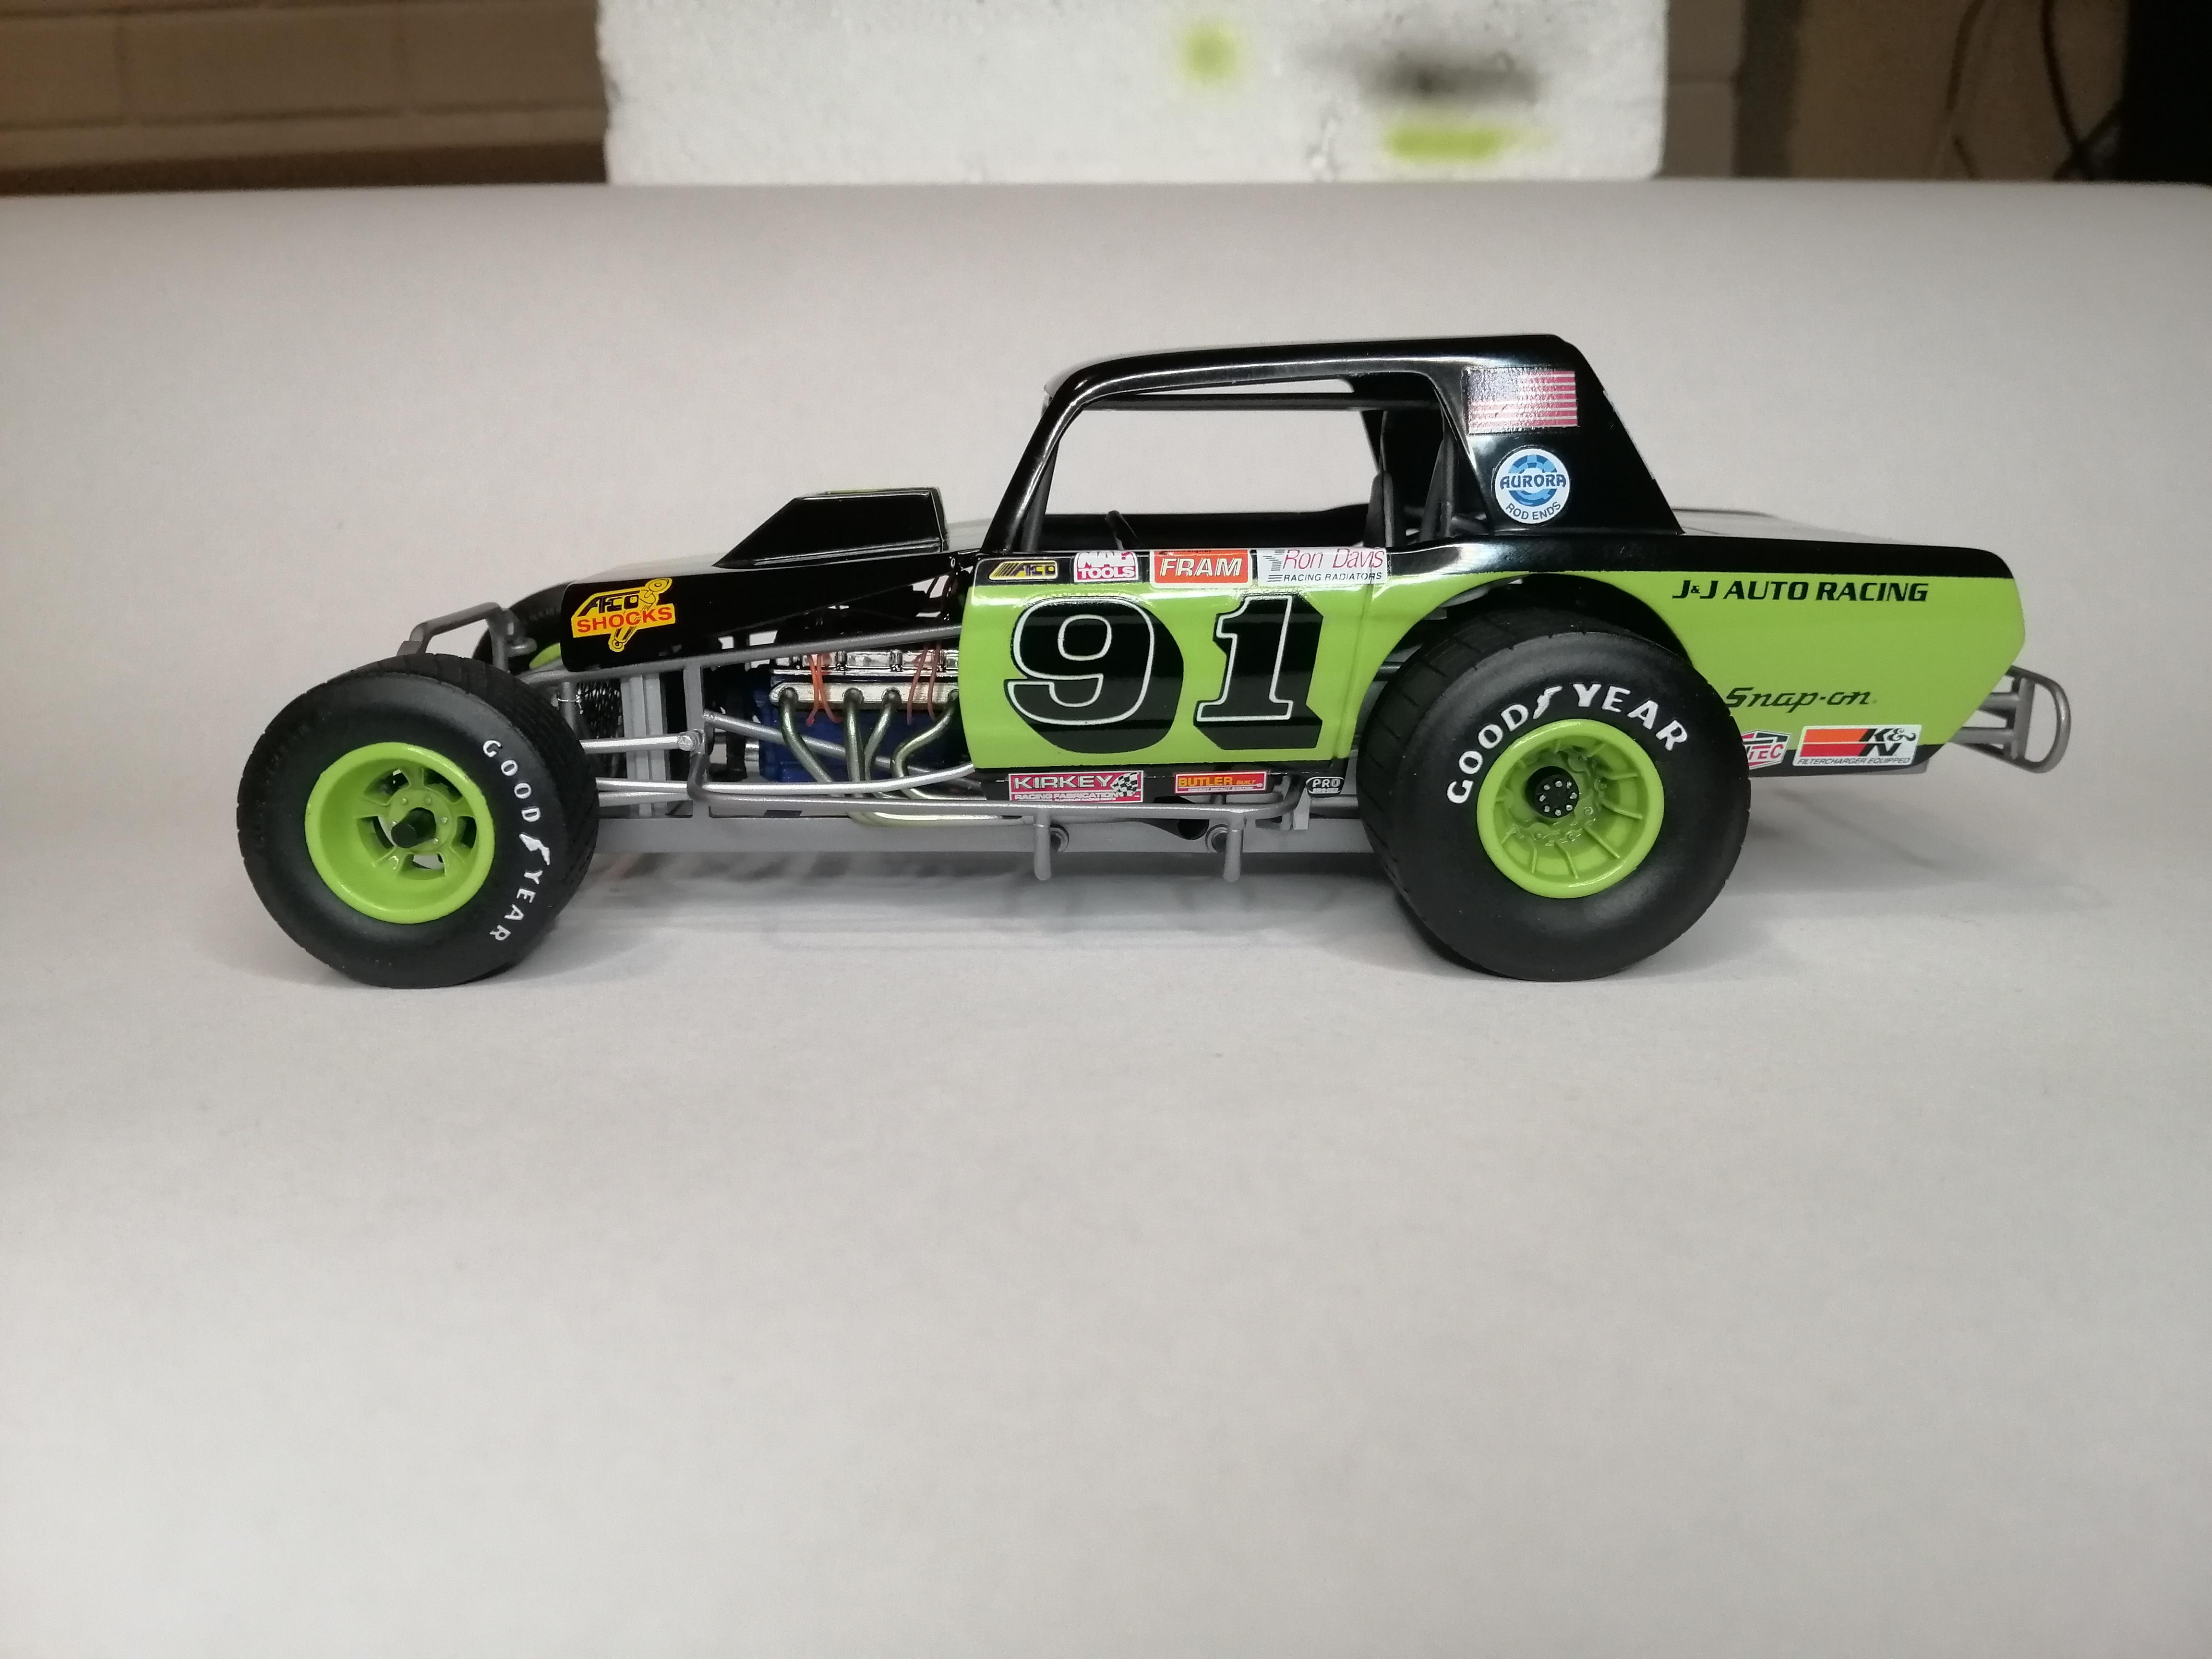
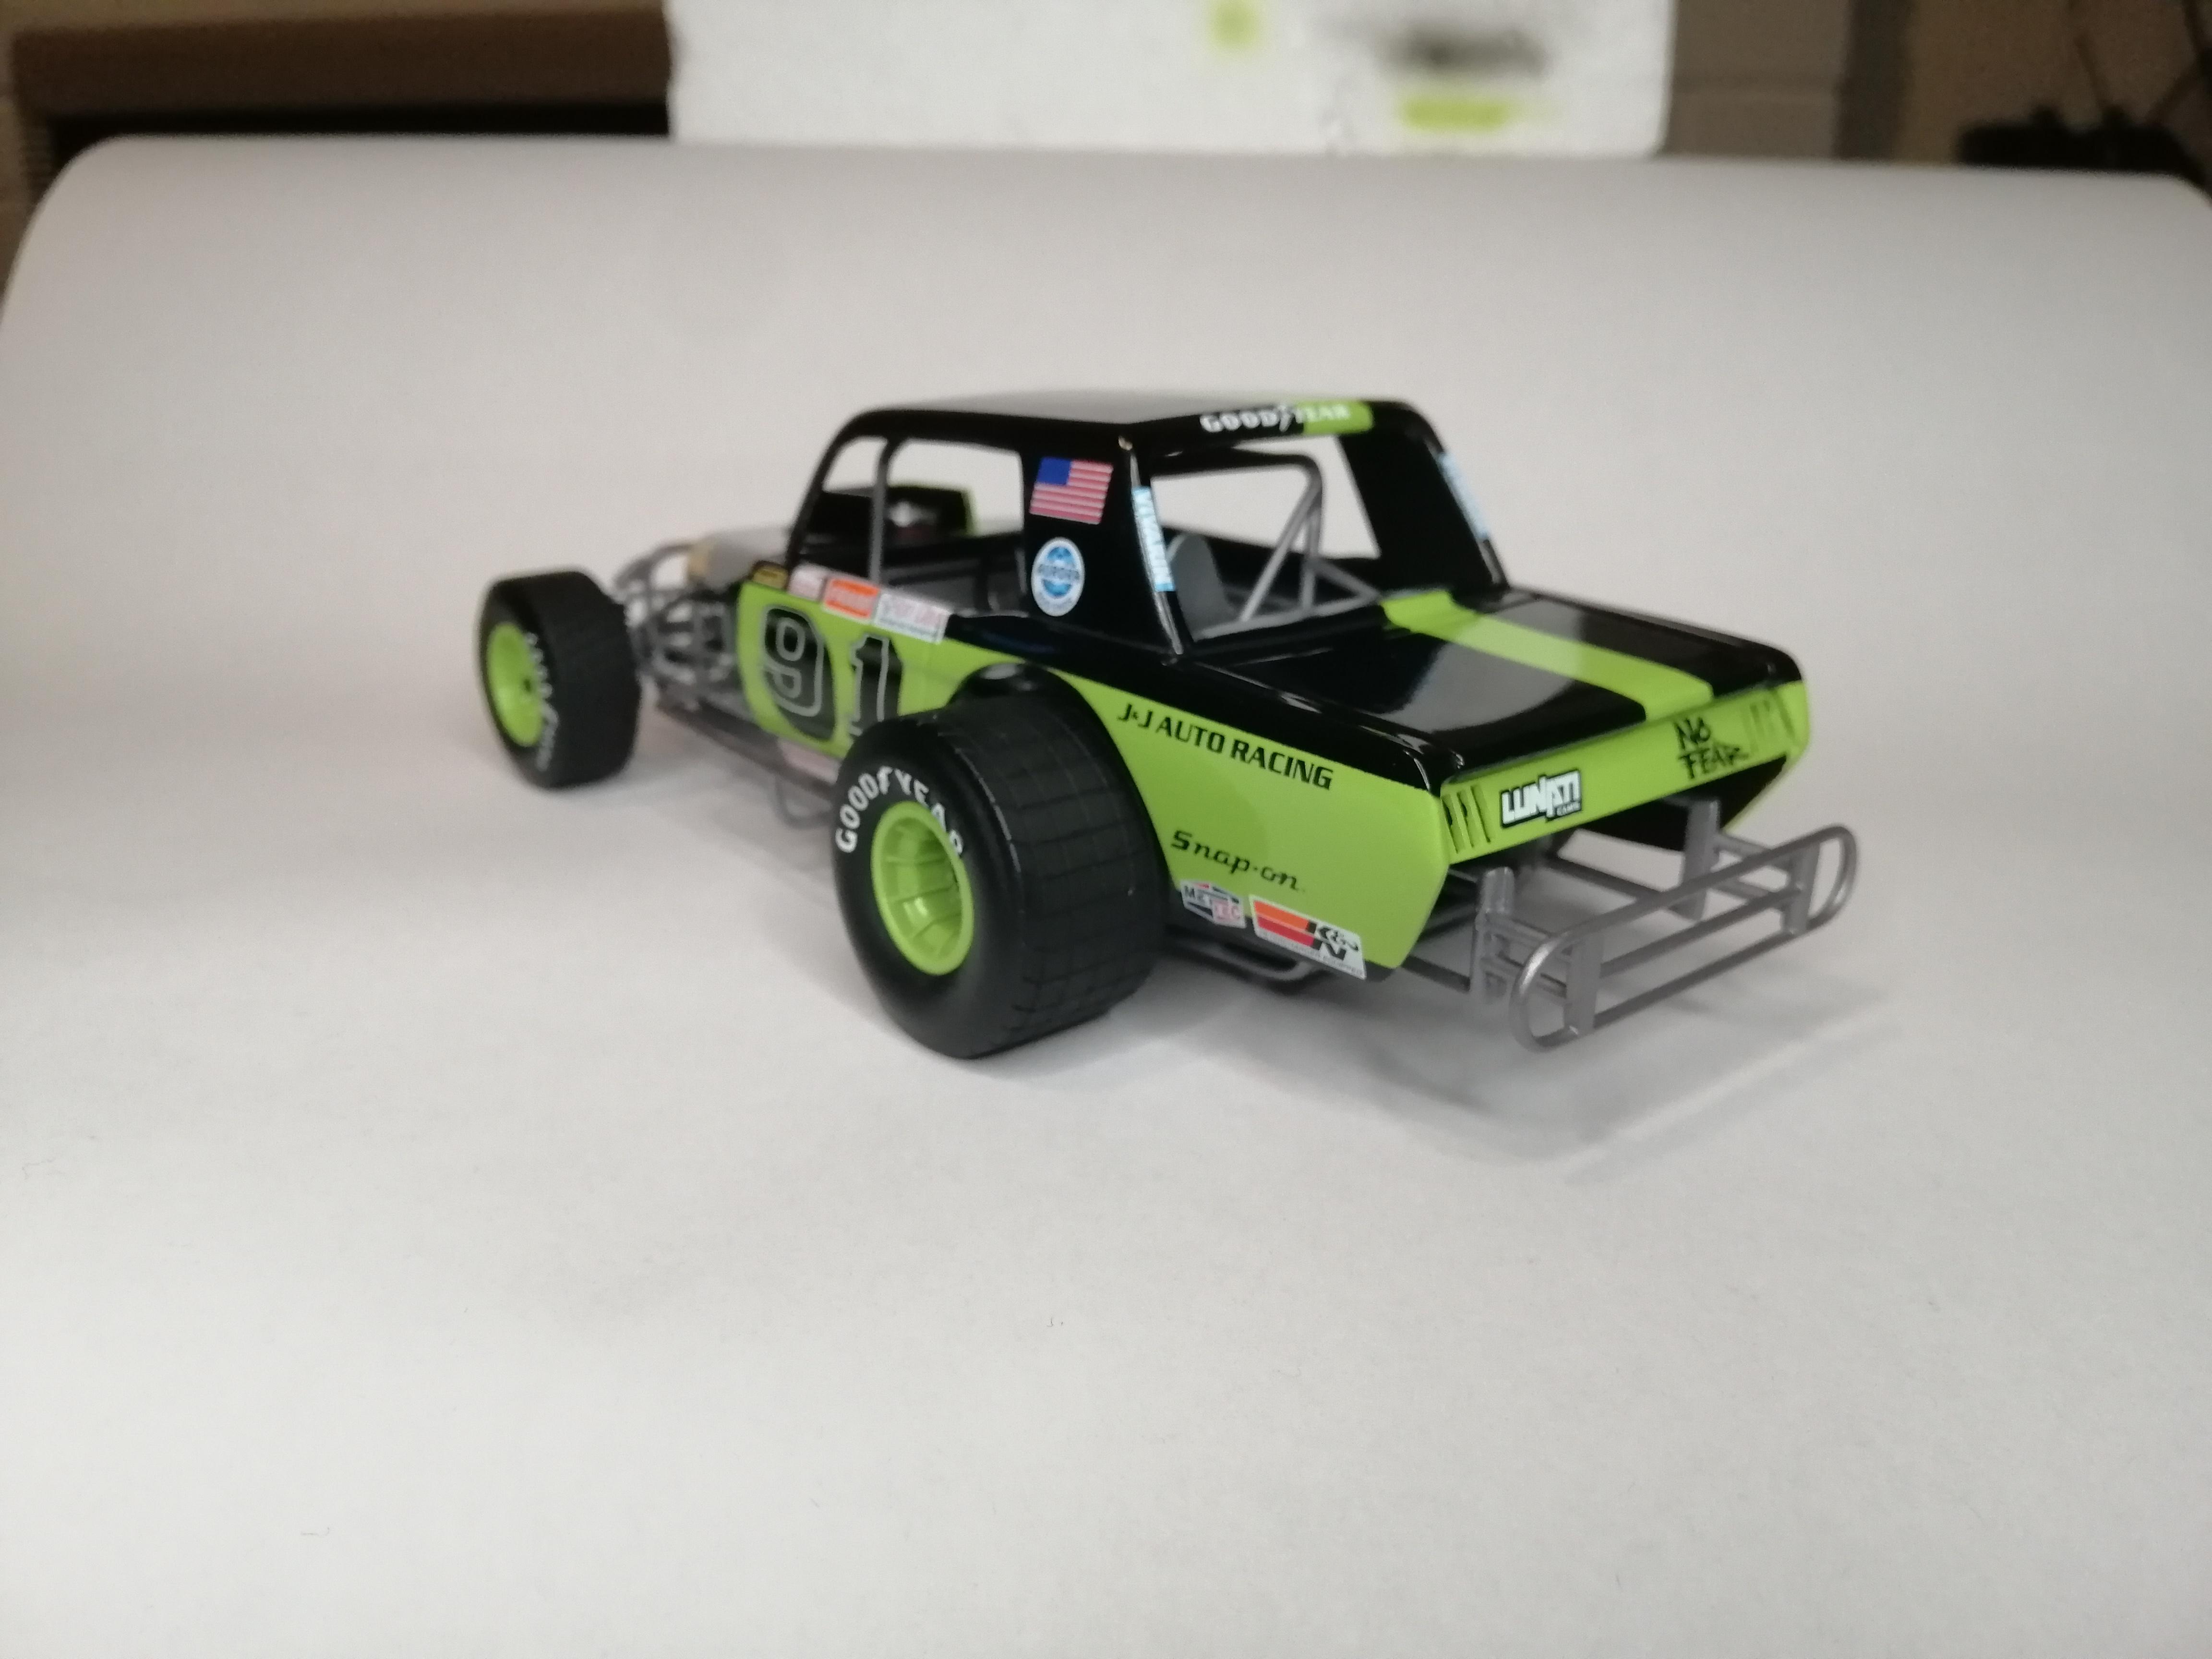
Pics of the Finished Build
-
GOTTER DUN. GOTTER DUN. GOTTER DUN.!!!!! Woo Friggen Hoo!!! ( can I say that or should I edit it out??? )
Fitting the interior sheet metal panel the trying to get it snugged down over and around the roll cage was diabolical.
Ill post final pics tomorrow.
-
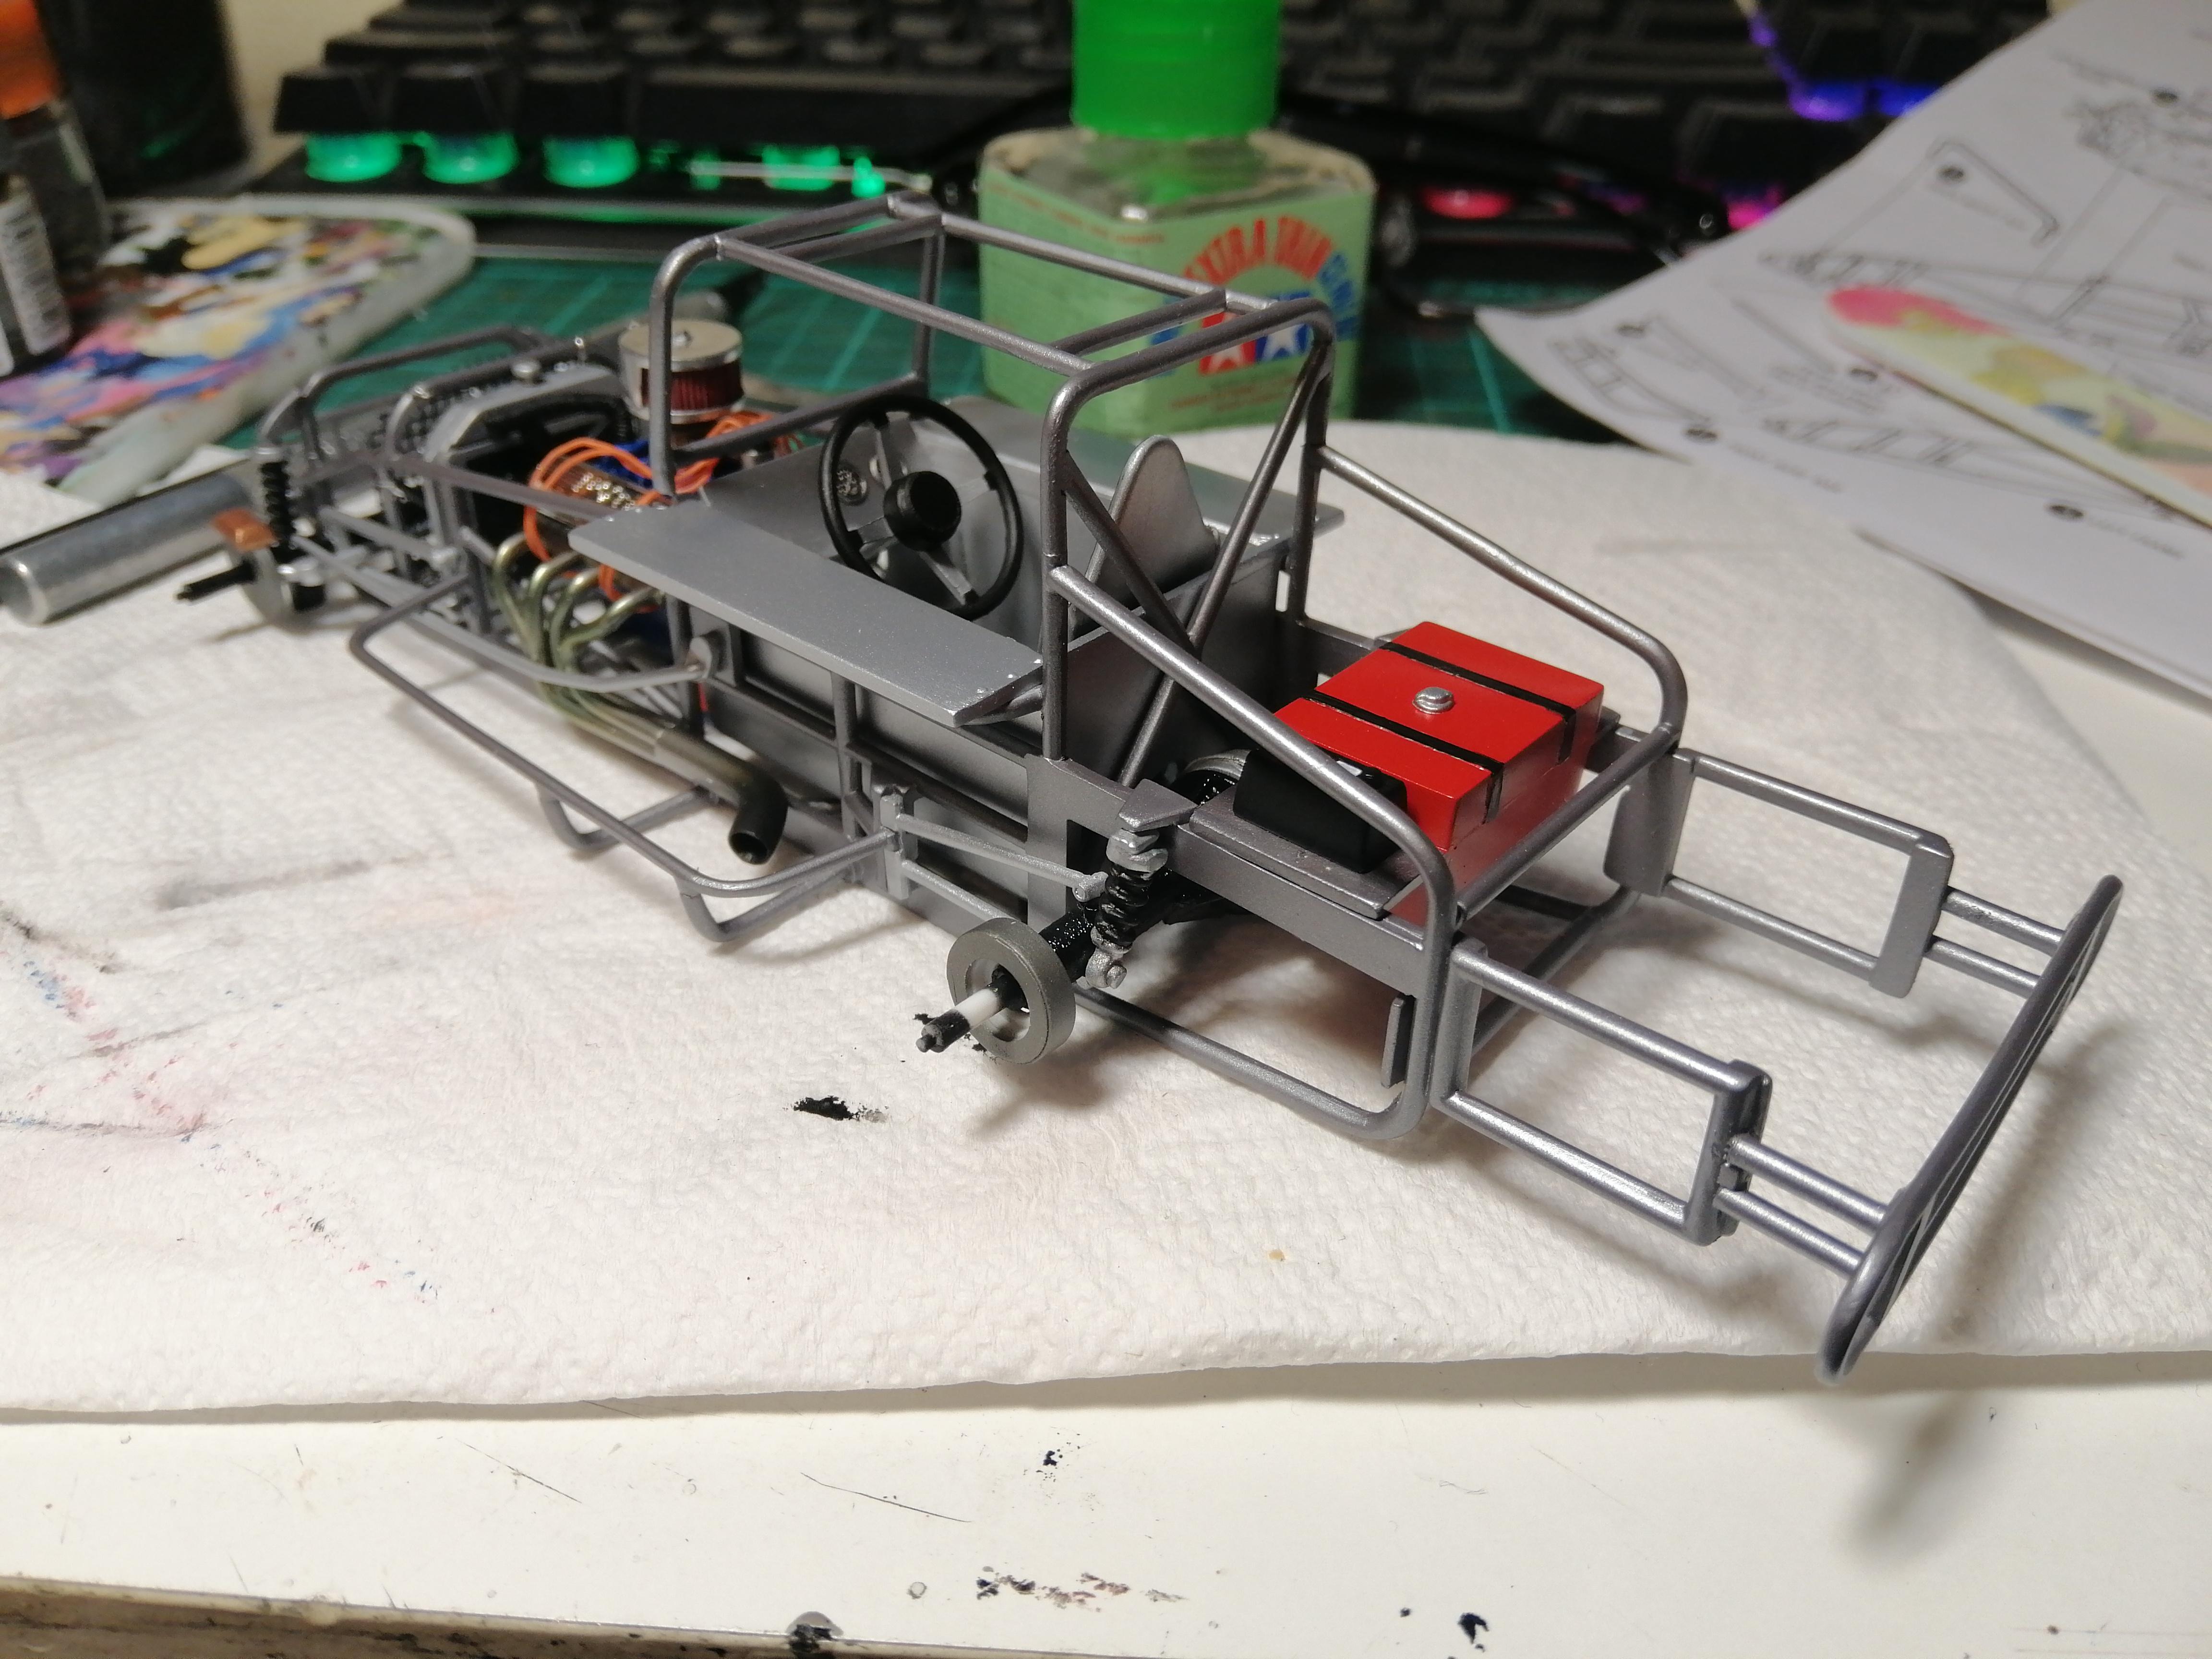
I
Pretty much got the chassis sewn up. Just need the glued joins at the top roll cage bars where it meets the back roll hoop to dry before attaching the front bars. I forgot just how fiddly the suspension was to put together. And having to run the spark plug wires once the engine and headers were in the frame was tricky but there is no other way to do it. Plan for tomorrow will be to get the wheels fitted and roll cage nailed down. That will leave the internal sheet metal to fit and the body over that which I am dreading.
-
Very cool. Yeah you gotta go with the pink.
-
Man, I wish I had seen this post 10 years ago. YUP, the tyres have turned to slush and gone through everything , sigh!!!
-
Detail painting all complete. Now to commence final assembly. Figure about another week of gittiner dun.
-
Airbrush got a small workout today. Really loving the Tamiya LP paint range. Now for some small detail painting.
-
Added screen mesh in front of where the radiator will sit.
-
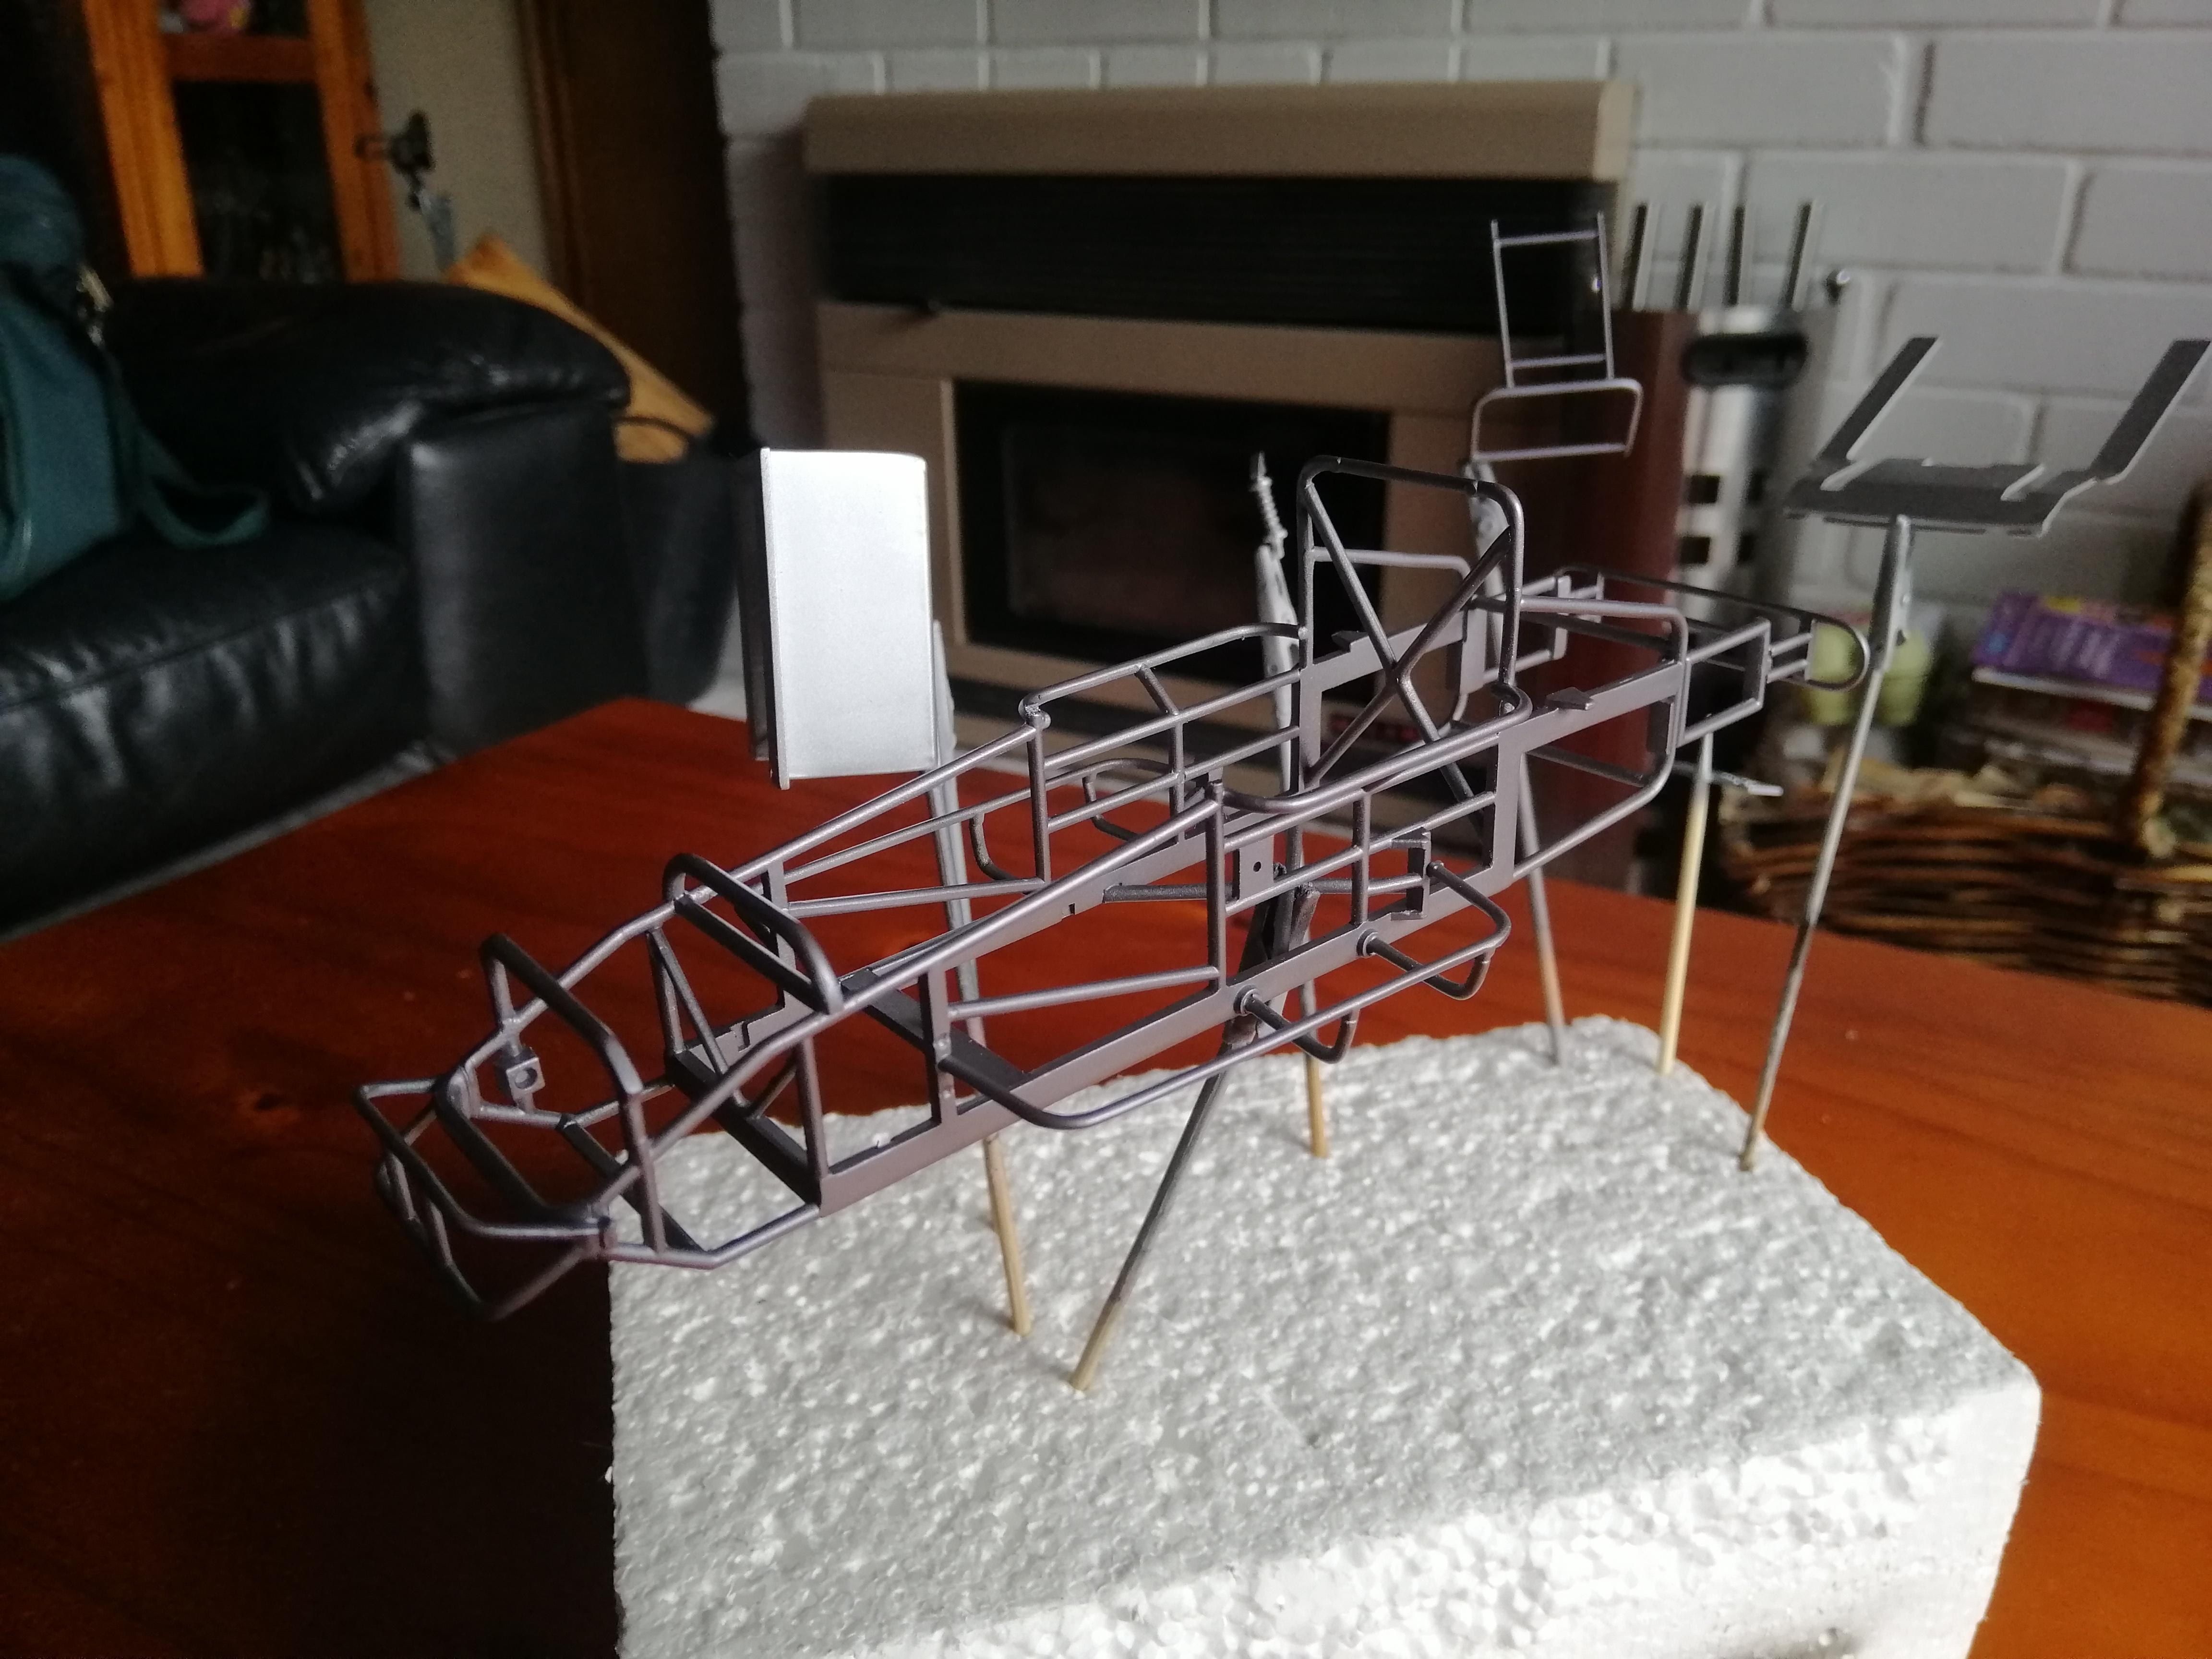
Chassis painted in a dark metallic grey and the sheet metal and tub as well. Suspension next up. Also grimed up the rims a little but still need to pick out the studs in silver
-
yeah, sometimes my build go south and i feel like covering them in kitty litter too. lol


I butchered this poor old 'Bird ...
in WIP: NASCAR
Posted
Can you recall what color paint you used for this? I have this kit also but Im stuck on finding a close color match