ProModNut
-
Posts
21 -
Joined
-
Last visited
ProModNut's Achievements
MCM Member (2/6)
-
Dodge (Color me Gone) Promod
ProModNut replied to Tortuga Kustomz's topic in WIP: Drag Racing Models
Looks AWESOME Marcos! How did you do the grille decals, I have a idea for mine when I get that far, but more ideas are better! -
Dodge (Color me Gone) Promod
ProModNut replied to Tortuga Kustomz's topic in WIP: Drag Racing Models
Welcome Marcos, it is a excellent job! -
Dodge (Color me Gone) Promod
ProModNut replied to Tortuga Kustomz's topic in WIP: Drag Racing Models
Paint looks fantastic Marcos! Like the white on the trunk, beautiful. -
Dodge (Color me Gone) Promod
ProModNut replied to Tortuga Kustomz's topic in WIP: Drag Racing Models
Lookin' good Marcos! The Beast is coming along nicely! -
Dodge (Color me Gone) Promod
ProModNut replied to Tortuga Kustomz's topic in WIP: Drag Racing Models
Marcos, do you mean how to use the styrene or how to attach the windows to the styrene? When I get that far on my 2 builds, I'm going to use a thin strip of sheet plastic across the bottom of the window at the door level, to attach the windows I'm going to use what they call canopy glue (also heard that white glue(Elmer's glue) works good), both glues go on white, but dry clear. Hope either of these work for you. -
Dodge (Color me Gone) Promod
ProModNut replied to Tortuga Kustomz's topic in WIP: Drag Racing Models
Parachute packs & brackets look excellent Marcos! Amazing work you're doing here! -
Dodge (Color me Gone) Promod
ProModNut replied to Tortuga Kustomz's topic in WIP: Drag Racing Models
WOW!! Interior looks amazing Marcos! Love your MSD box & wiring (might steal that if it's alright with you), excellent job, can't wait to see The Beast completed & your work in the 1/16th class! -
Dodge (Color me Gone) Promod
ProModNut replied to Tortuga Kustomz's topic in WIP: Drag Racing Models
Interior is looking awesome! Excellent job, can't believe it's 1/25th scale! -
Dodge (Color me Gone) Promod
ProModNut replied to Tortuga Kustomz's topic in WIP: Drag Racing Models
Nope, hate it, looking terrible. OK, all joking aside, looking FANTASTIC! Doors/panels are looking good! -
72 DODGE COLT NOSTALGIA PRO STOCK WIP.
ProModNut replied to 3men2s's topic in WIP: Drag Racing Models
Nice looking build, like that paint job! -
Here's to the Little Guys. '69 Nova F/C: Elephant Hunter
ProModNut replied to ProModNut's topic in WIP: Drag Racing Models
I then made the chassis uprights out of angle tube, I measured the inside height on one of my Revell 1/16th scale funny cars ( bottom of top rail to top of bottom rail), cut the angle tube, fishmouthed both ends and glued them to the bottom rail. I decided to make my support rods running length wise in the chassis like ones I had in my reference pics ( Kelly Chadwick's '69 Camaro, he ran a Don Hardy chassis, I took a another rod and laid it against the bottom rail/uprights and used a pencil to mark where the holes were going to go, I drilled out the holes in the uprights then ran my rod thru the holes from the middle to the front of the chassis, I then added the rods going to the back of the chassis & then glued the top rail to the uprights.
-
Here's to the Little Guys. '69 Nova F/C: Elephant Hunter
ProModNut replied to ProModNut's topic in WIP: Drag Racing Models
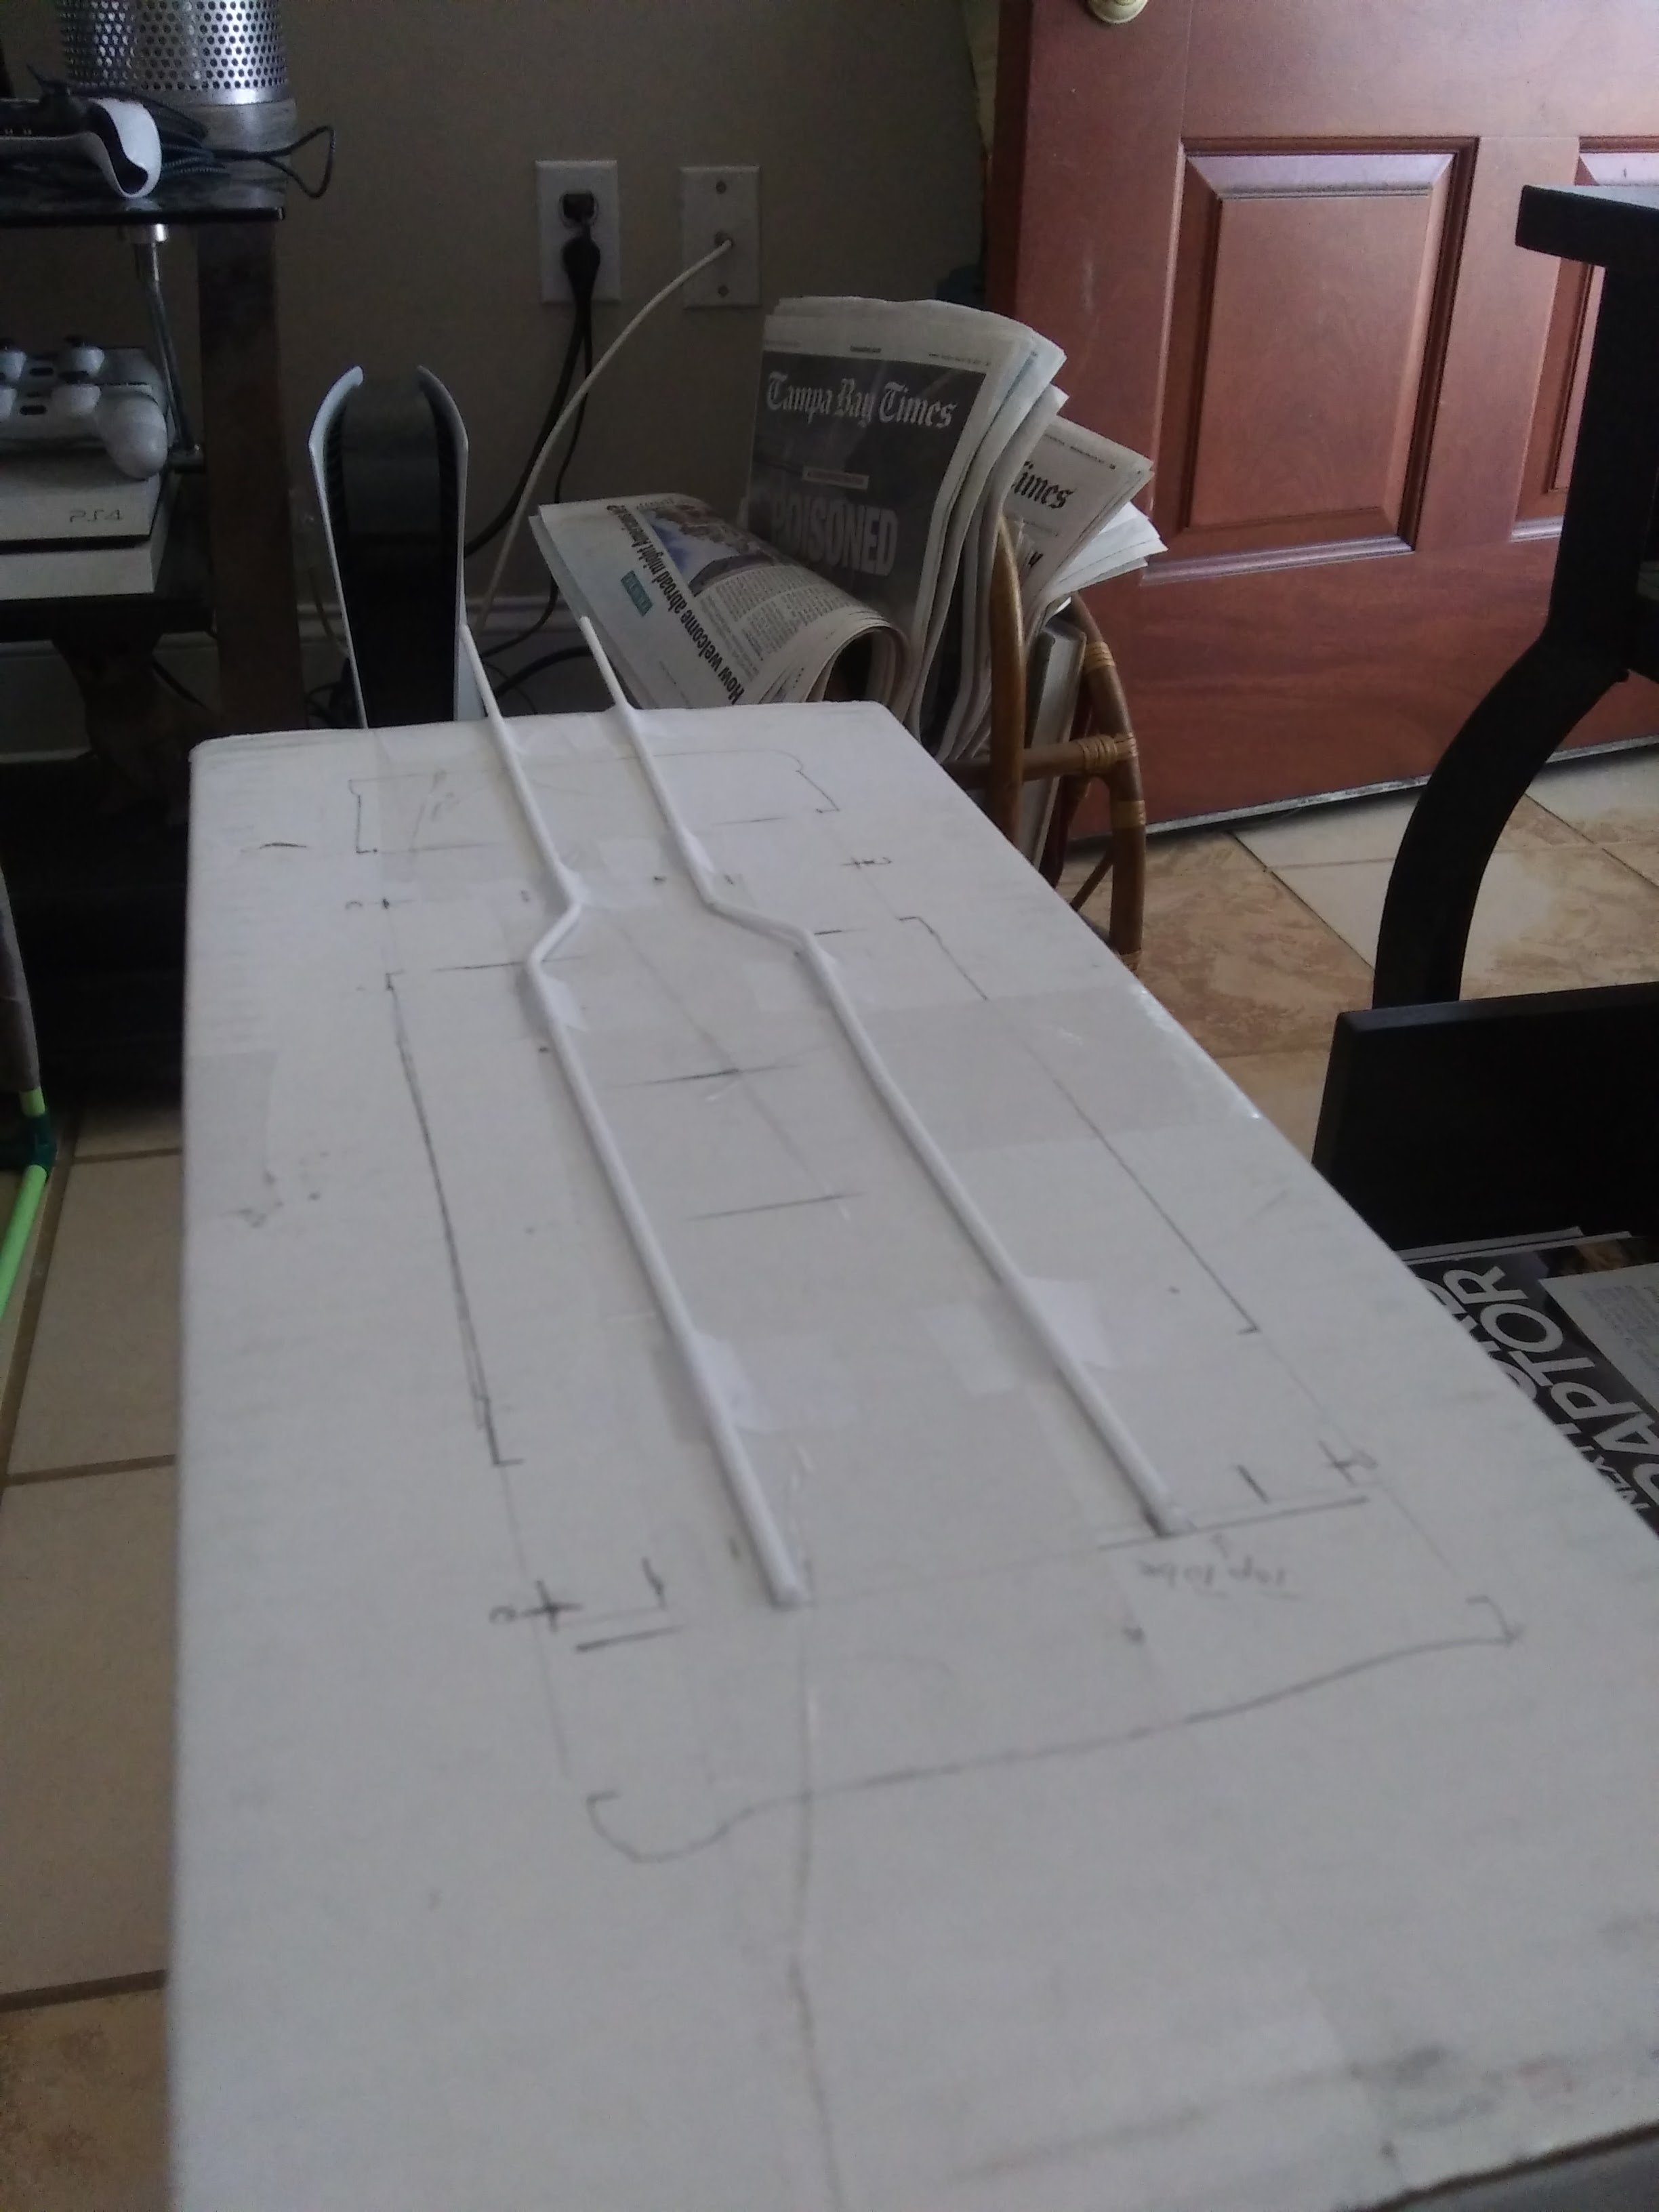
When I decided to try & build this, I wanted to try & make the chassis as accurate as possible, which meant to me making that "S" bend in the front on the bottom rails, not like the Polar Lights Funny Car chassis. To do this I once again taped two rods together, and made the first bend back a little on the rod, then did the 2nd bend leading into the rods going straight, I then trimmed the front back to leave the length I wanted. After that I made the bends in the rear individually, any adjustments to the rear bends would be made after attaching the top & bottom rails together.
-
Here's to the Little Guys. '69 Nova F/C: Elephant Hunter
ProModNut replied to ProModNut's topic in WIP: Drag Racing Models
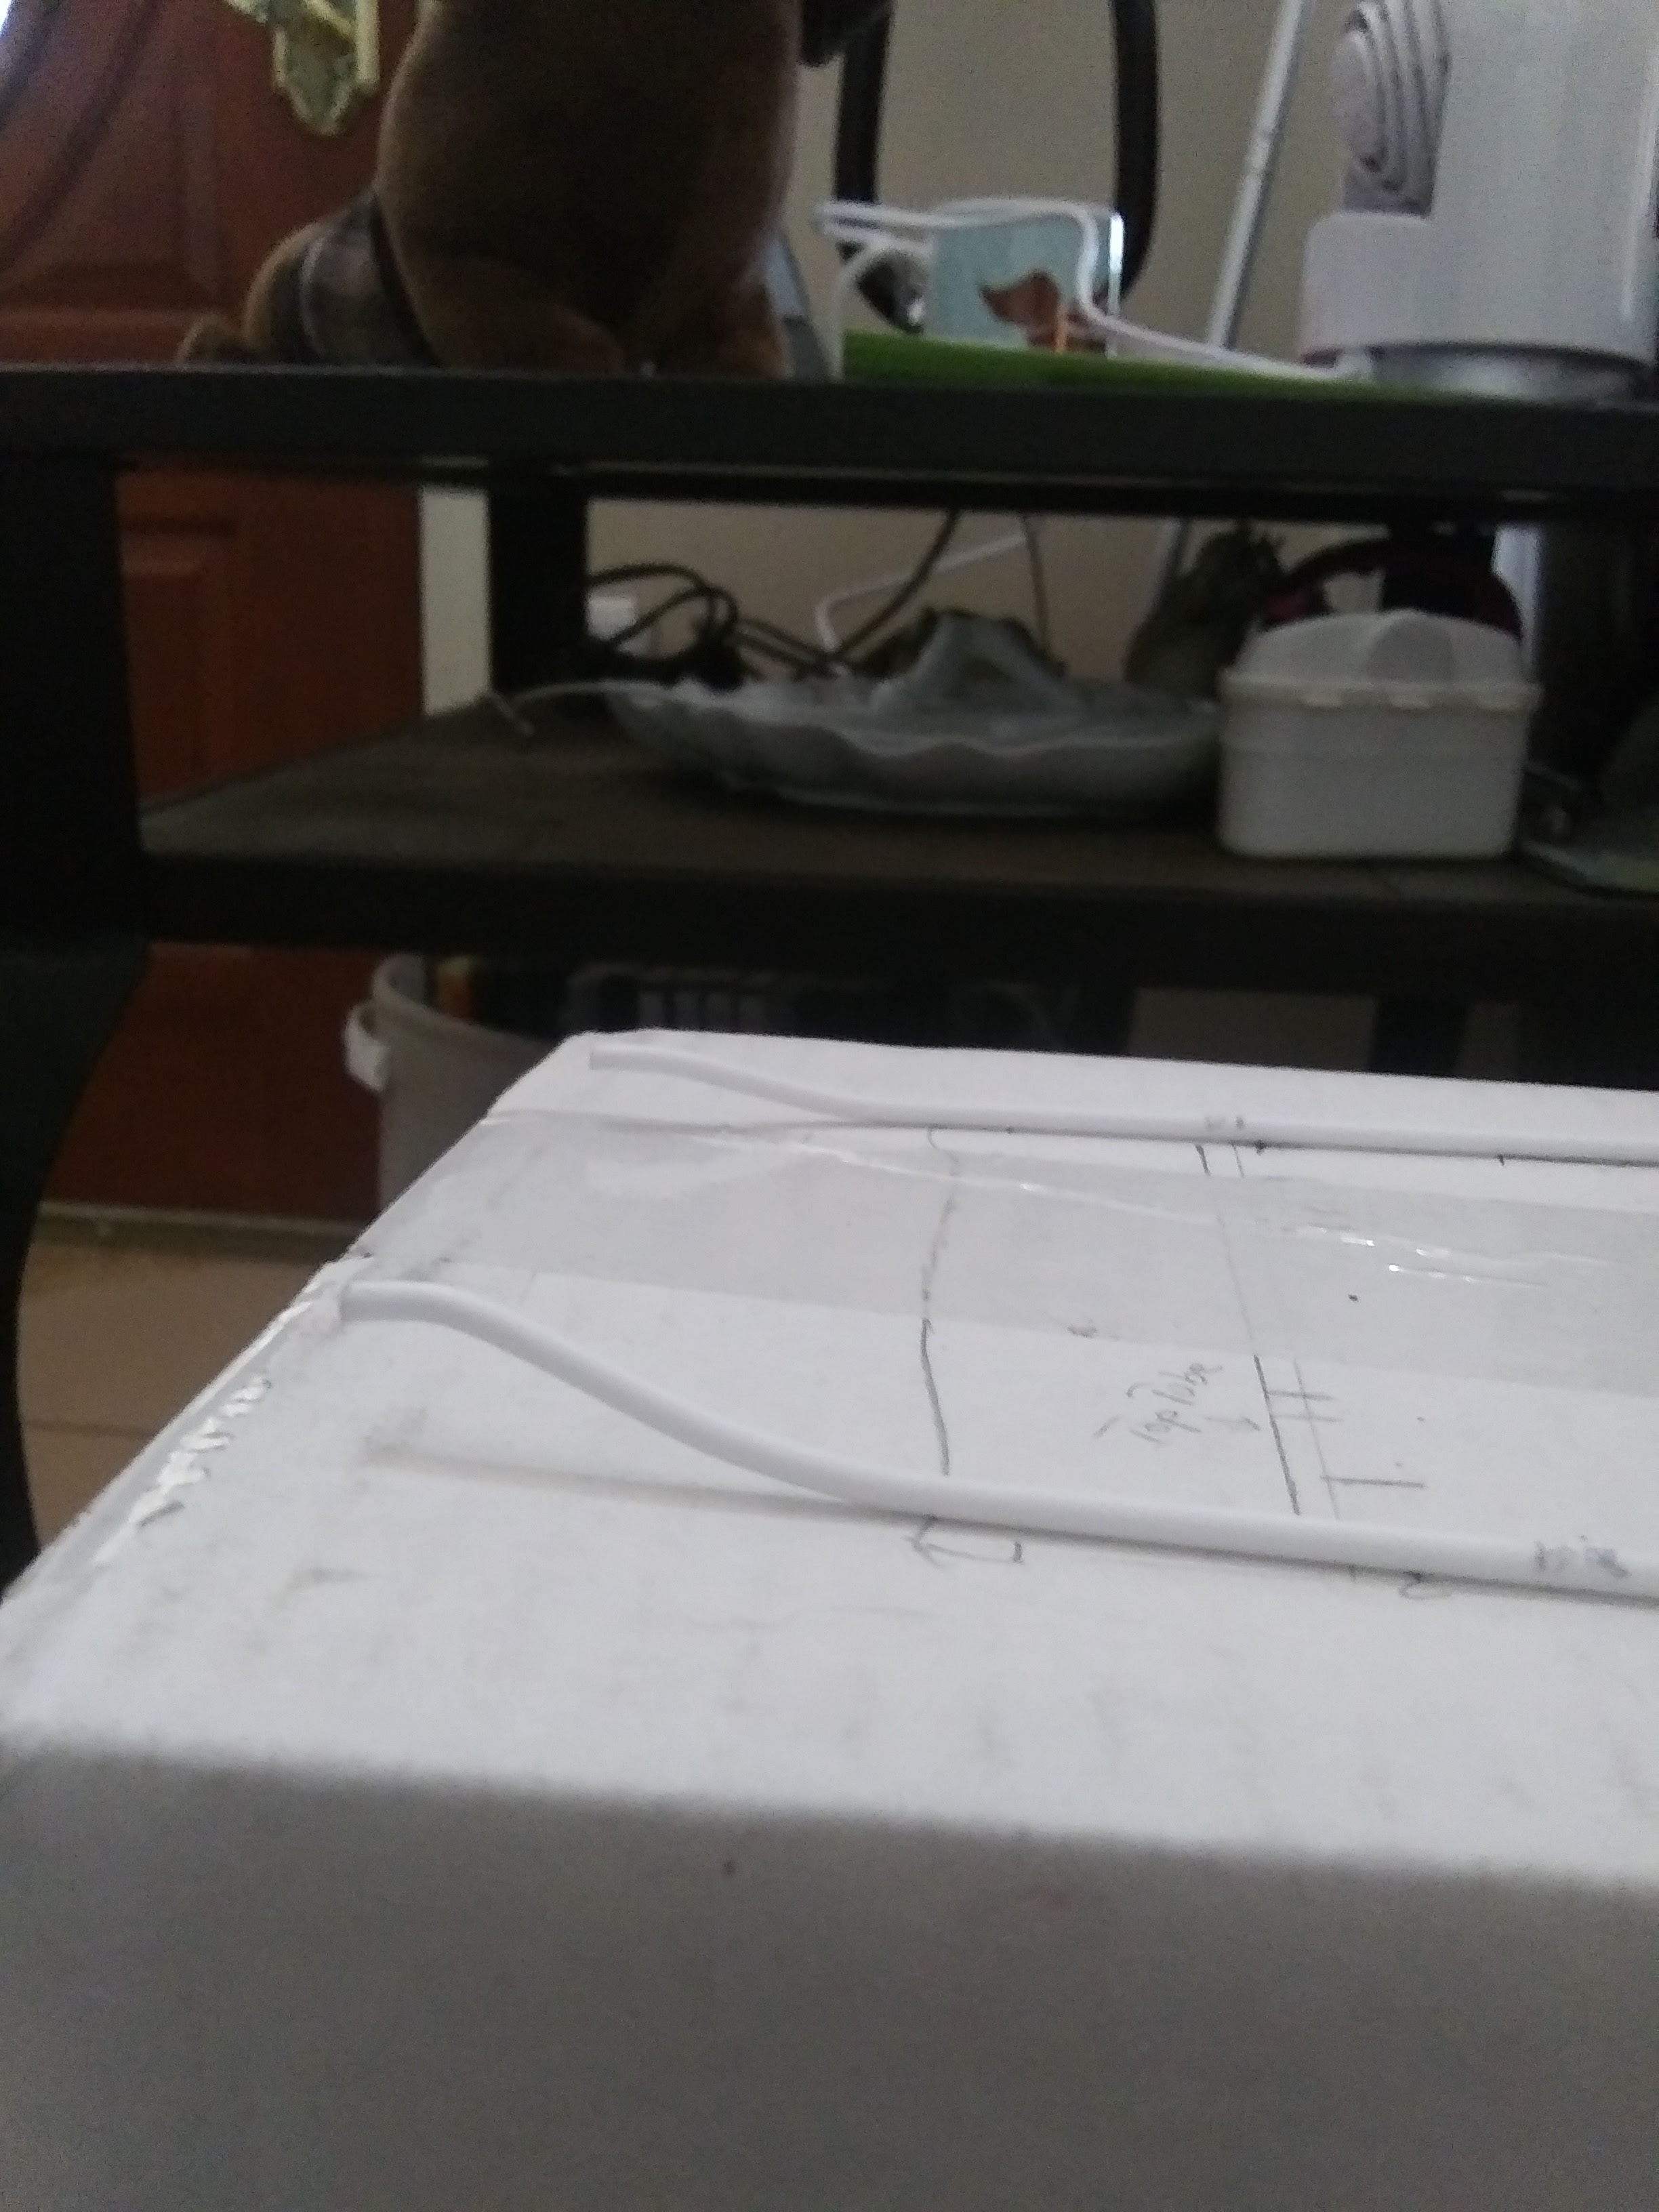
Sorry it took so long to get back & post more. To make my space frame chassis I started by taping (using scotch tape) two rods together, then made my bends for the back half of the top rails, after making my bends removed the tape & flipped one rod over, now I had my two top rails.
-
Dodge (Color me Gone) Promod
ProModNut replied to Tortuga Kustomz's topic in WIP: Drag Racing Models
I've never seen them on any Pro Stocks, when the NHRA first allowed the 40" extension ( I believe it was Kenny Bernstein/Dale Armstrong that started it with the Tempo Funny Car) some Funny Cars ran it, I remember seeing Roland Leong's Hawaiian Punch Dodge Daytona using it, I believe back then anyway it was referred to as a "cow-catcher" then the P/M's started with it. -
Dodge (Color me Gone) Promod
ProModNut replied to Tortuga Kustomz's topic in WIP: Drag Racing Models
Can't remember what they call the extension, but after the 40" nose extension was made ( 40" from center of front wheel to end of body) any cars that had a stock nose length or anything under 40" was allowed to add the extension to make it even, being as the nose of the car trips the win light.