Jürgen M.
-
Posts
1,931 -
Joined
-
Last visited


Jürgen M.'s Achievements
MCM Ohana (6/6)
-
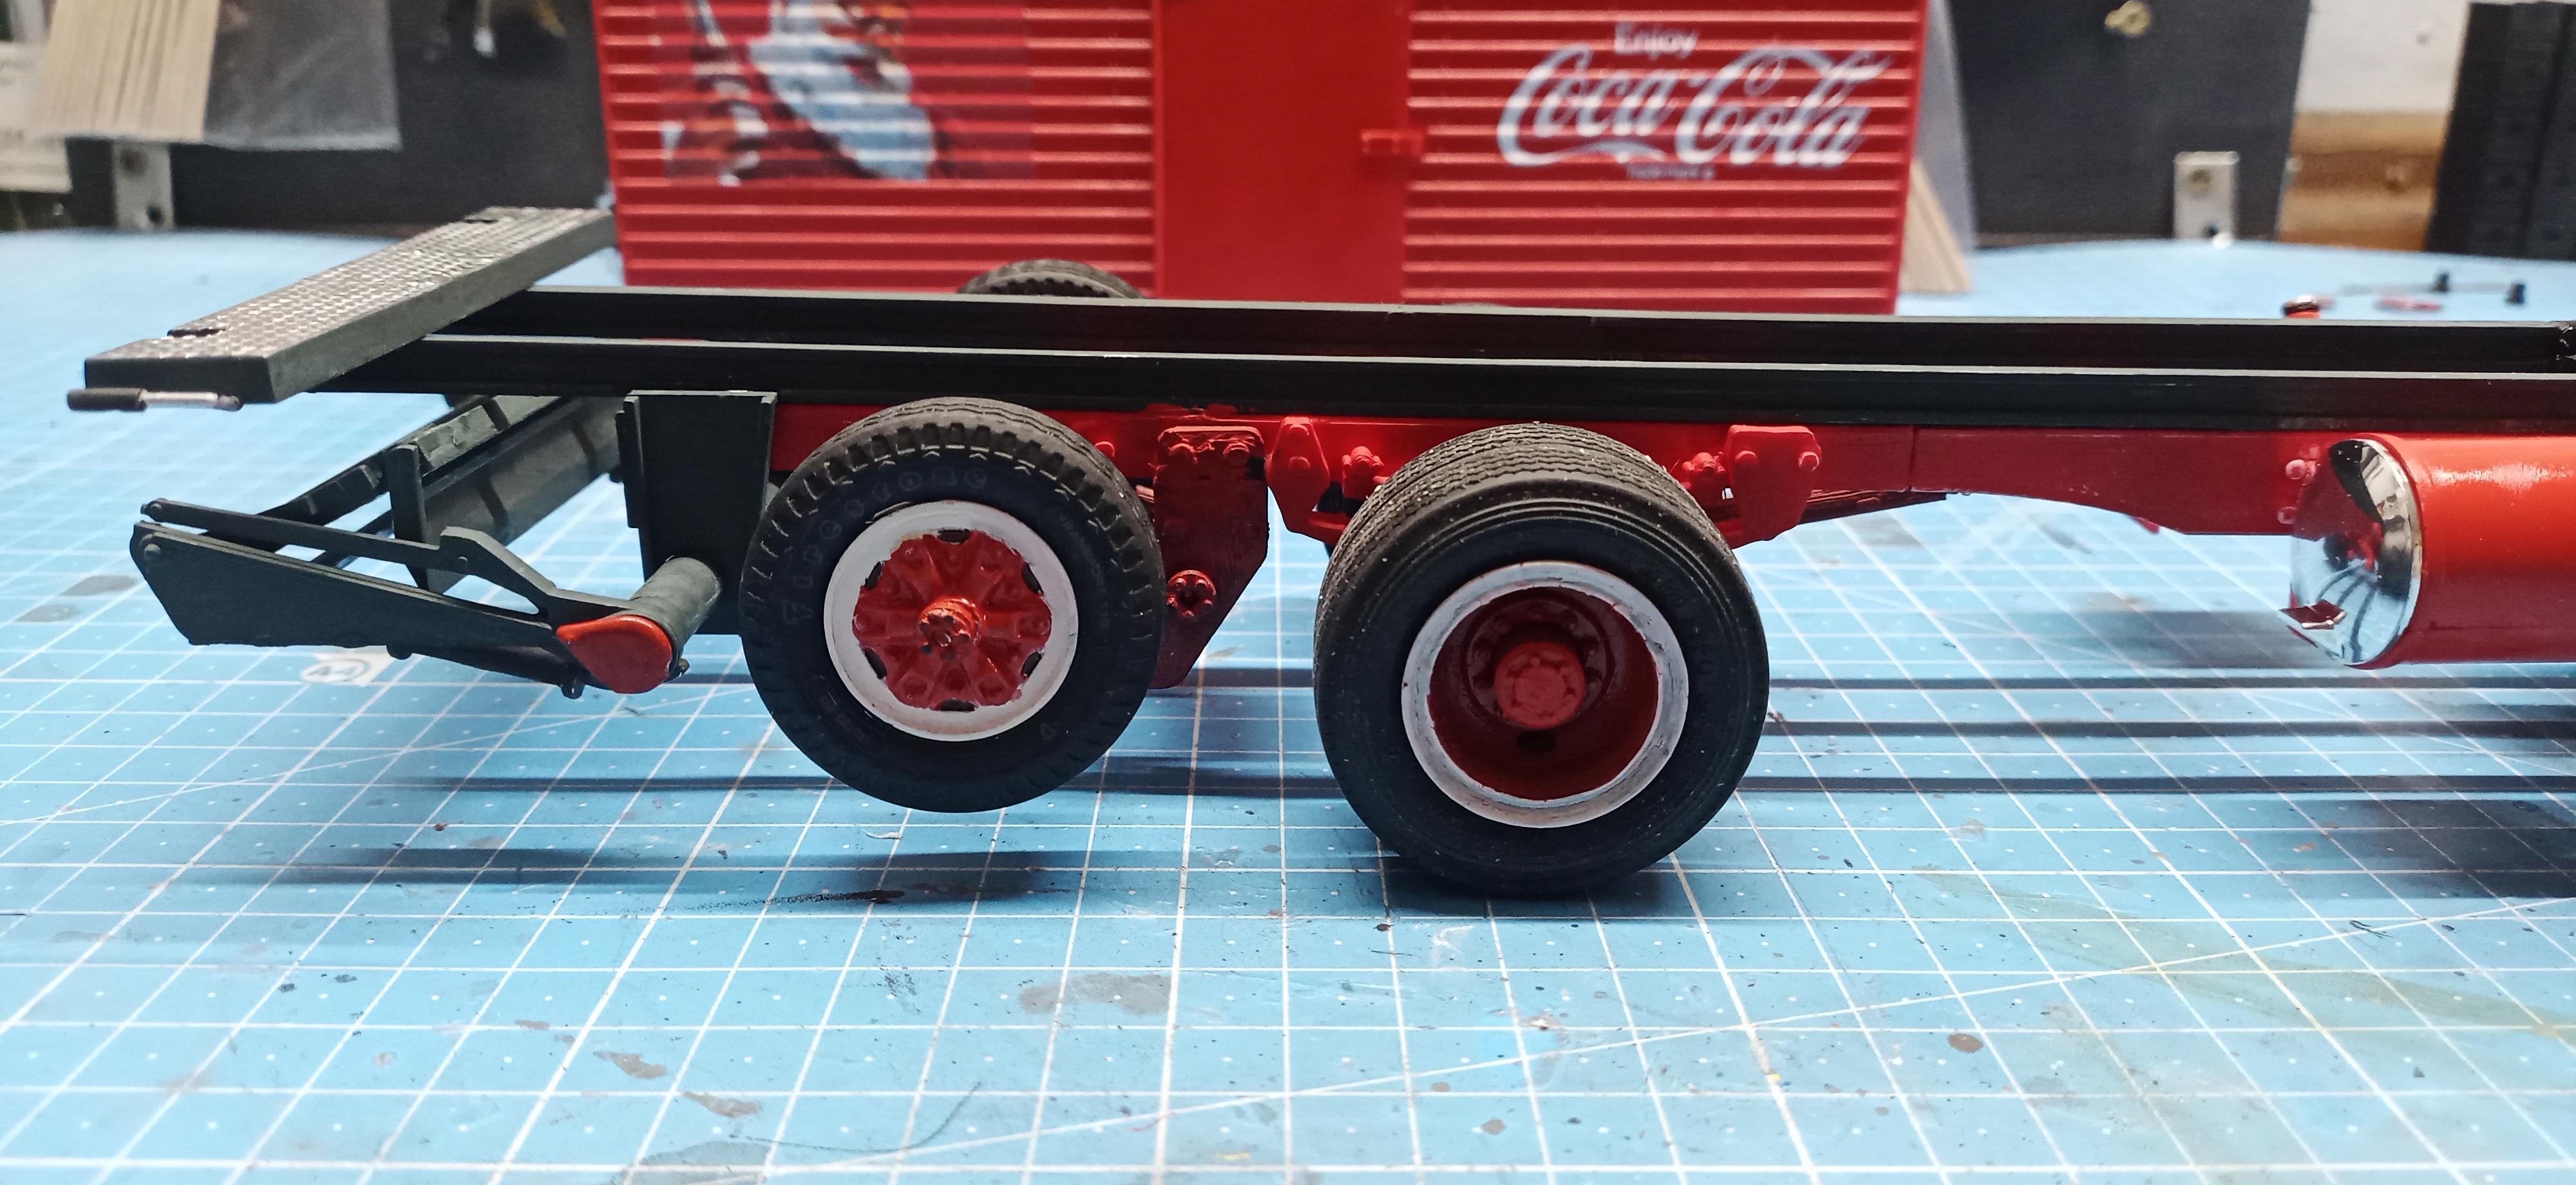
 I never really noticed that so many of these trucks had their drive axle in the center of the box. I'm sure the engine and cab are a great counter weight but it just doesn't look right to me!
 -
Thanks Steve! Didn't think it was so obviously visible. But I'm glad I did it since the view inside showing only white would be boring.
-
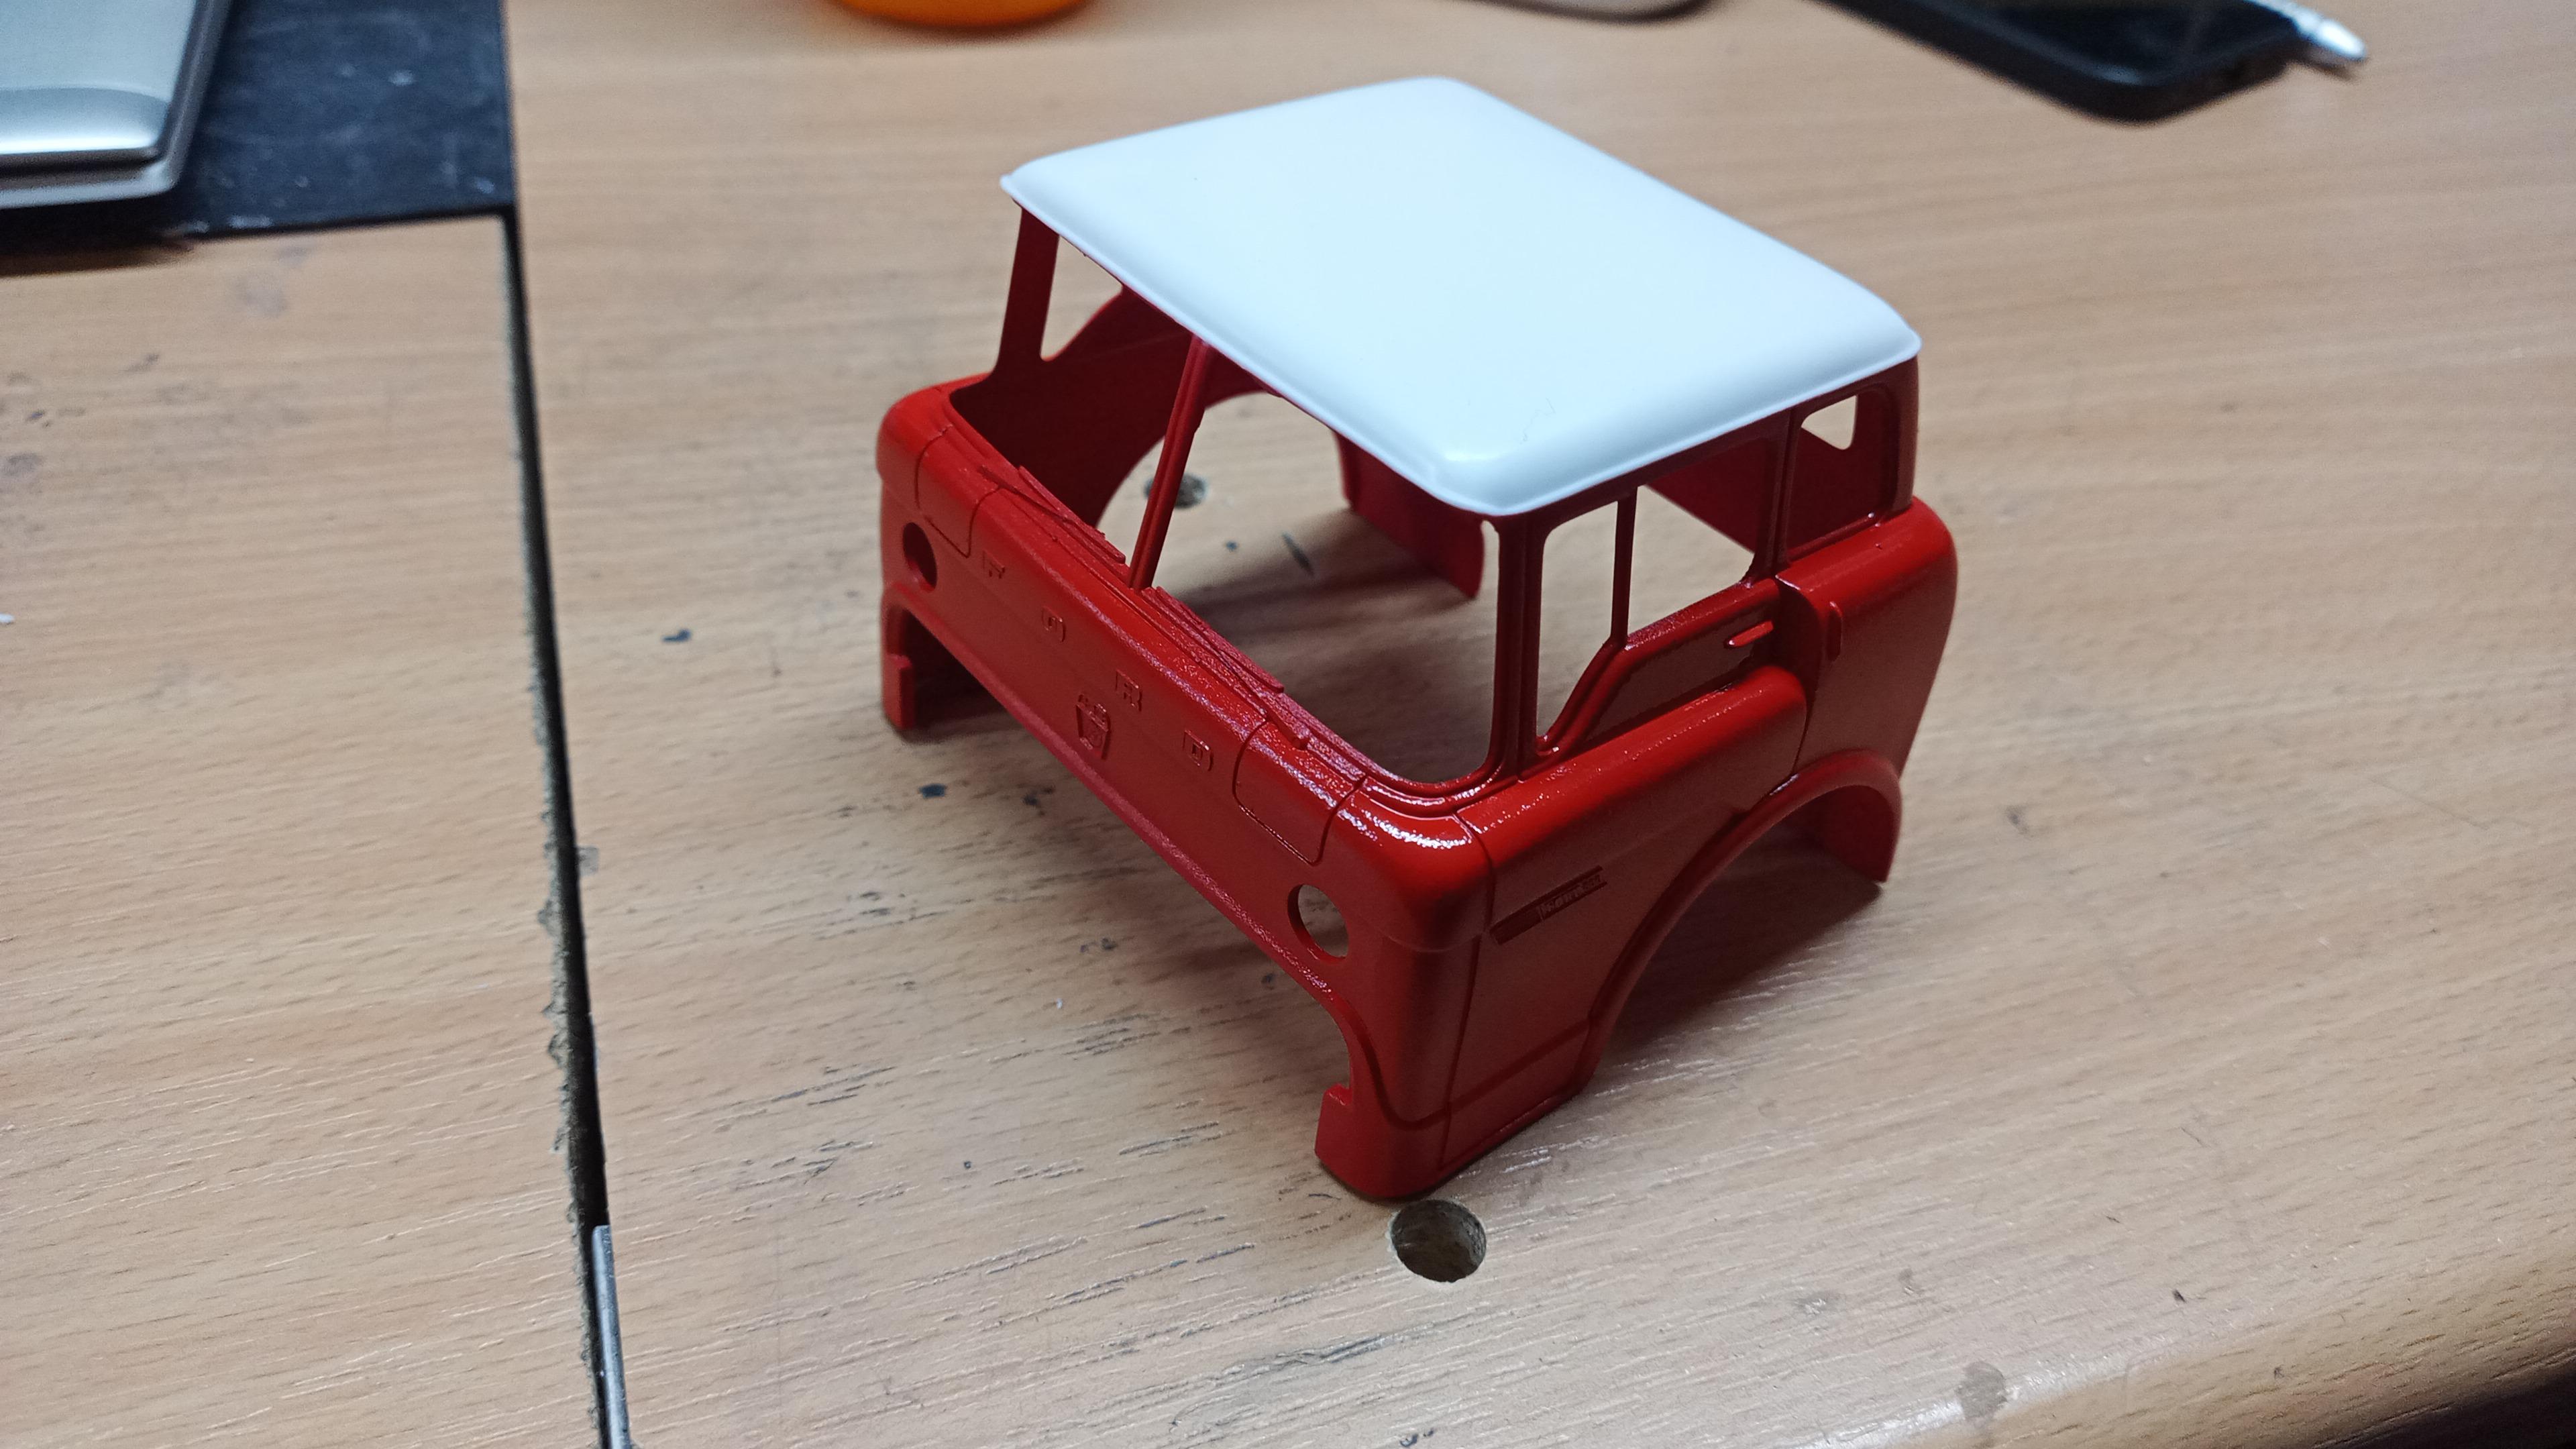
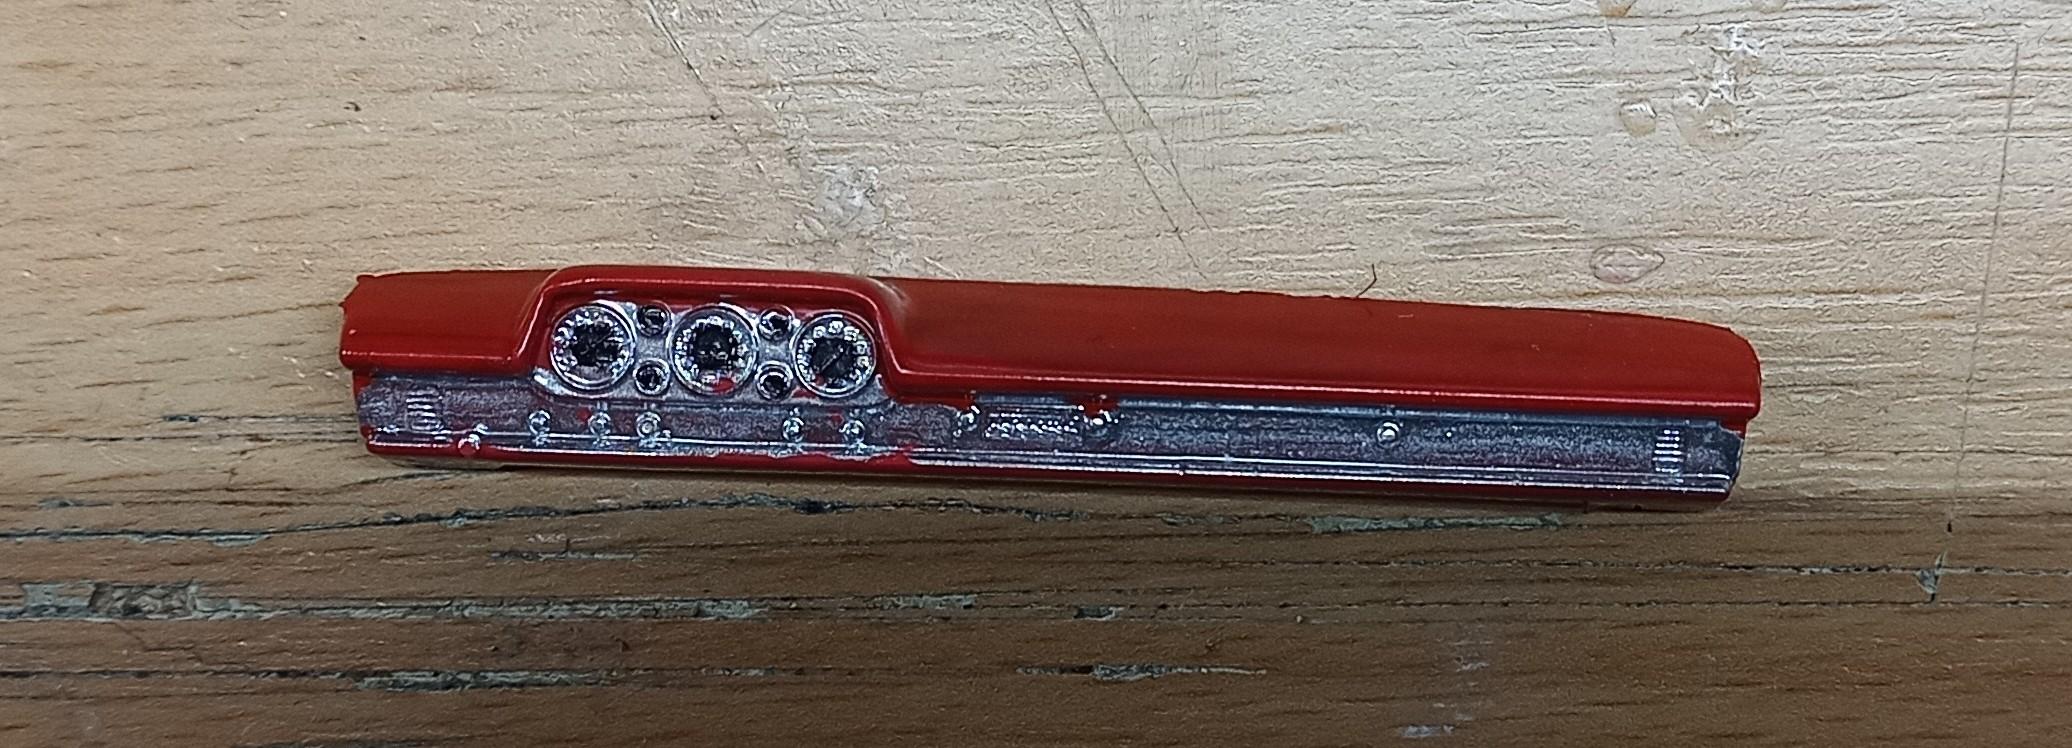
Here's the painted cab unmasked: ...and the dash: Hope to finish the interior this evening.

-
Have to make my own cab hinges. There weren't any included in the ordered cab. Cab was painted with two coats of red primer and five coats of base coat. Next are decals and then clear coat!
-
To be continued! 😉
-
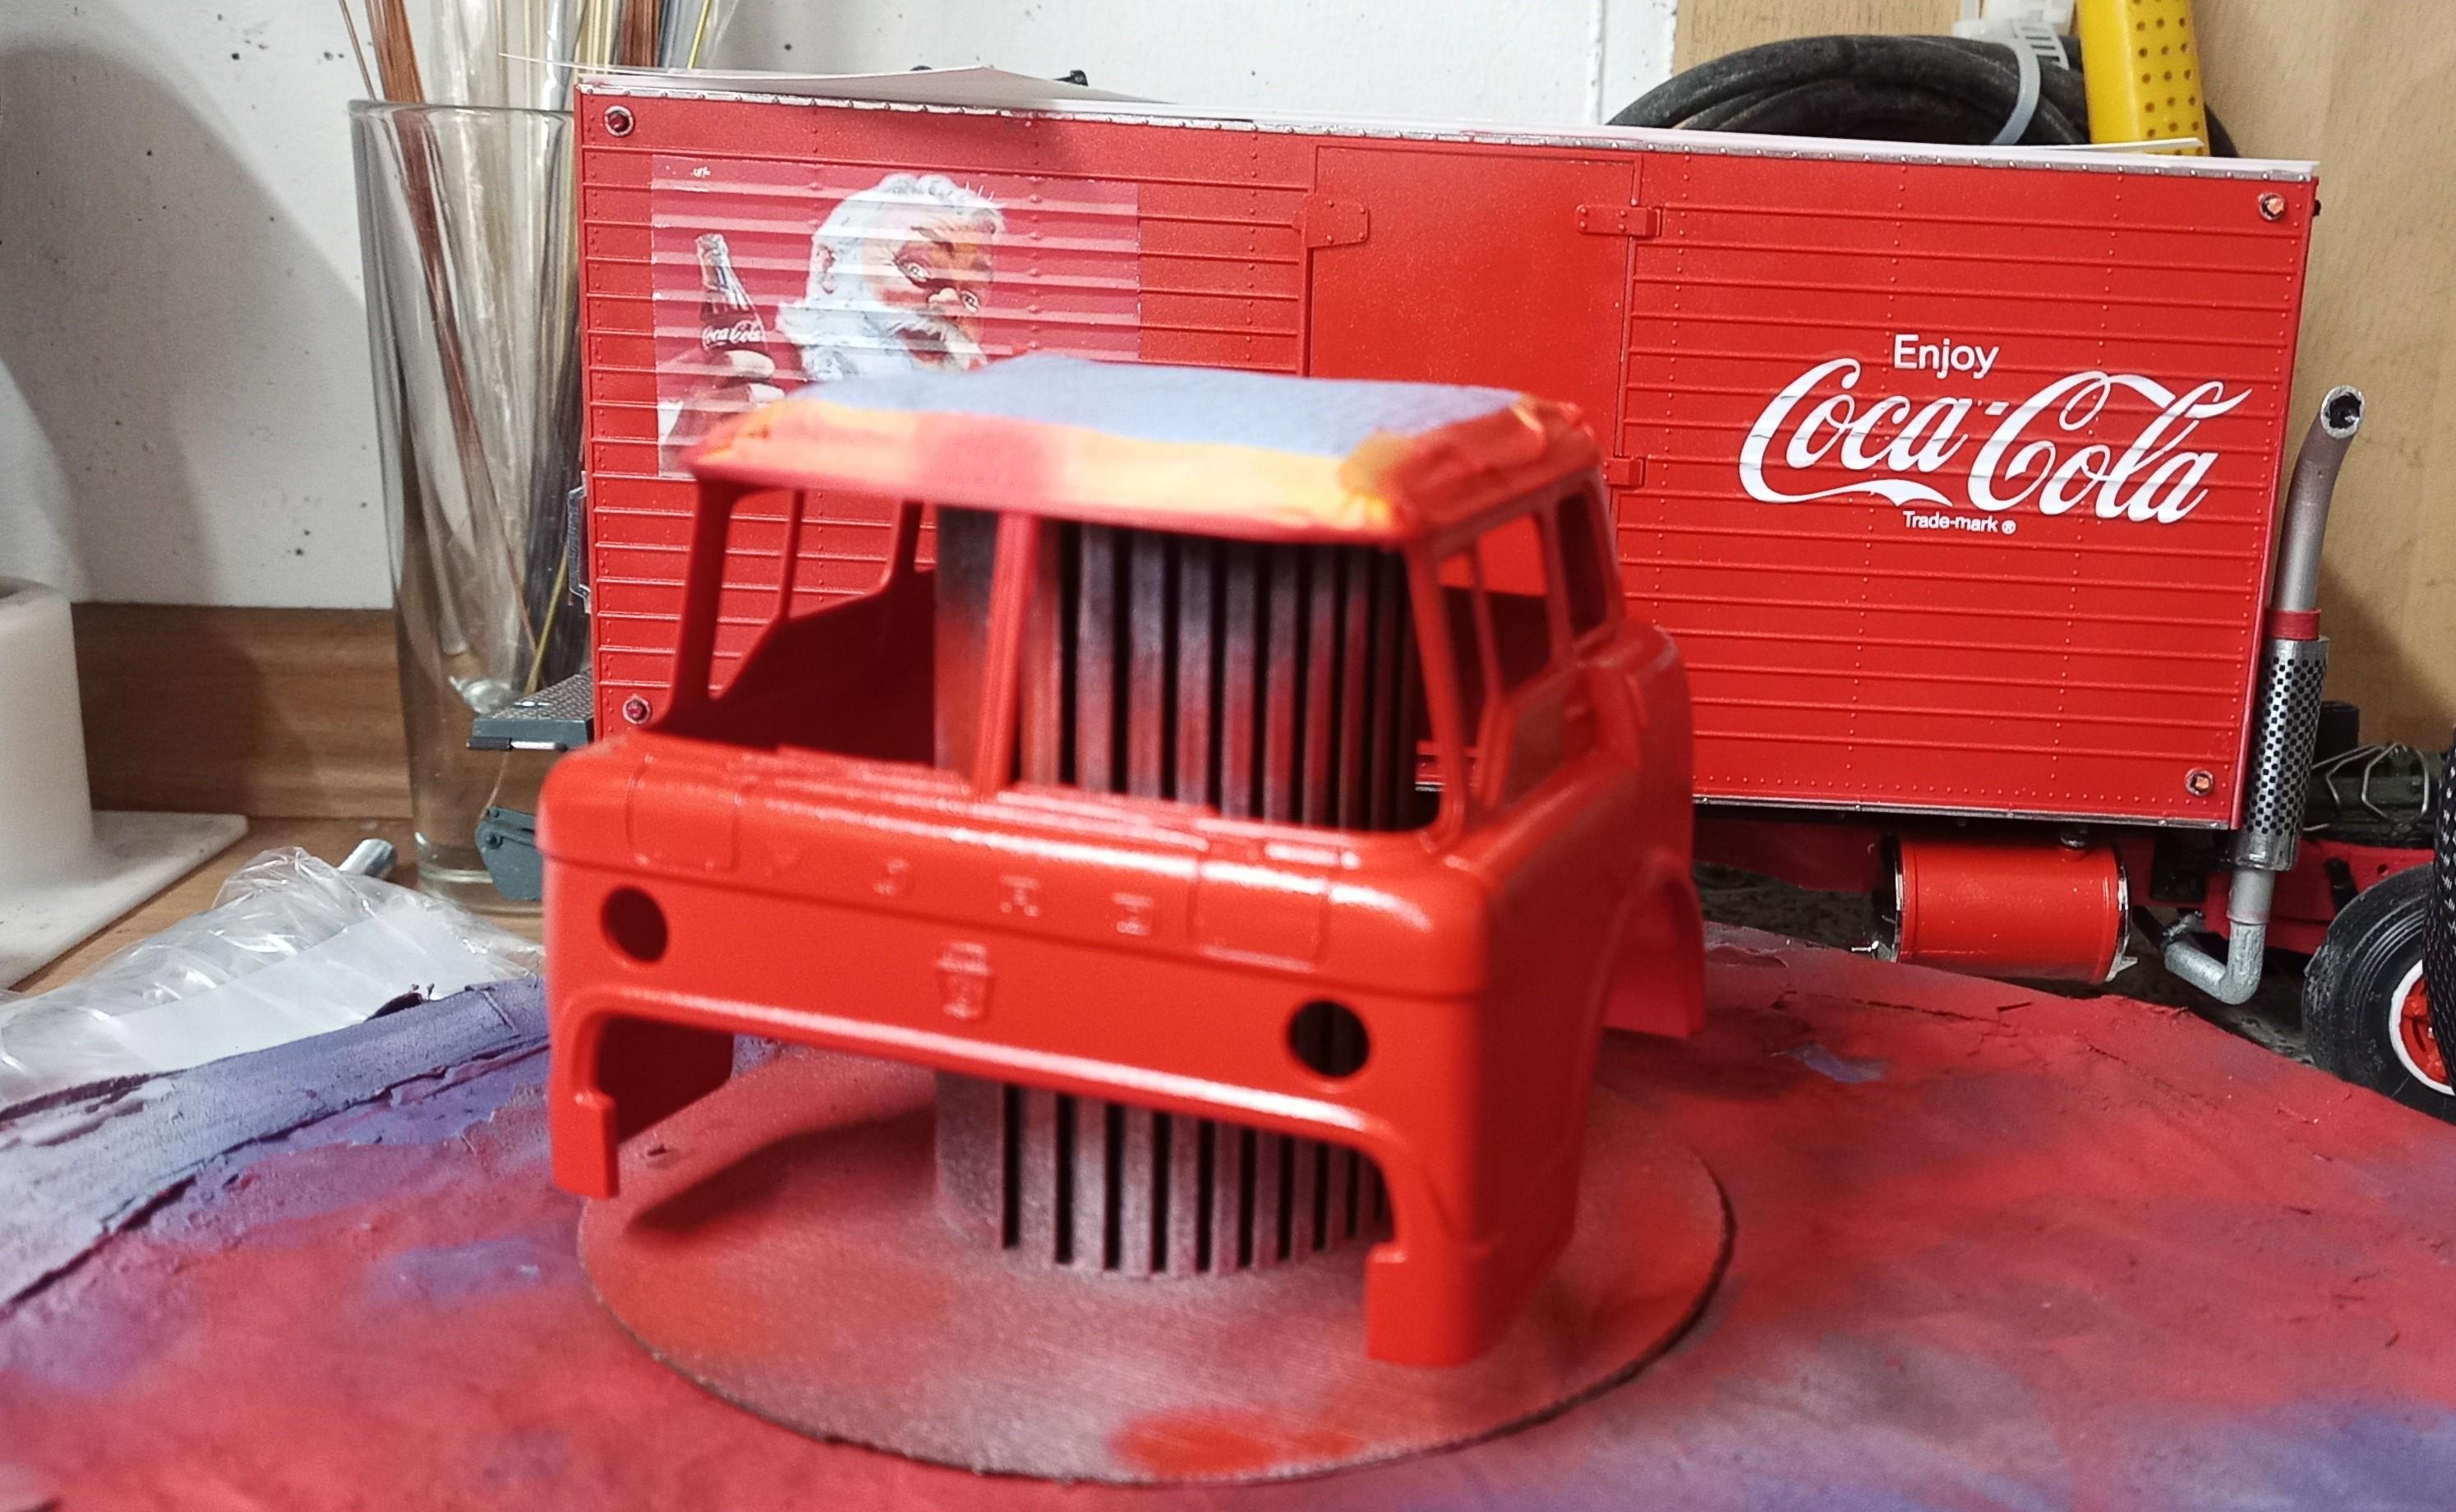
First step: Cab is painted! The roof is masked cause it stays white!
-
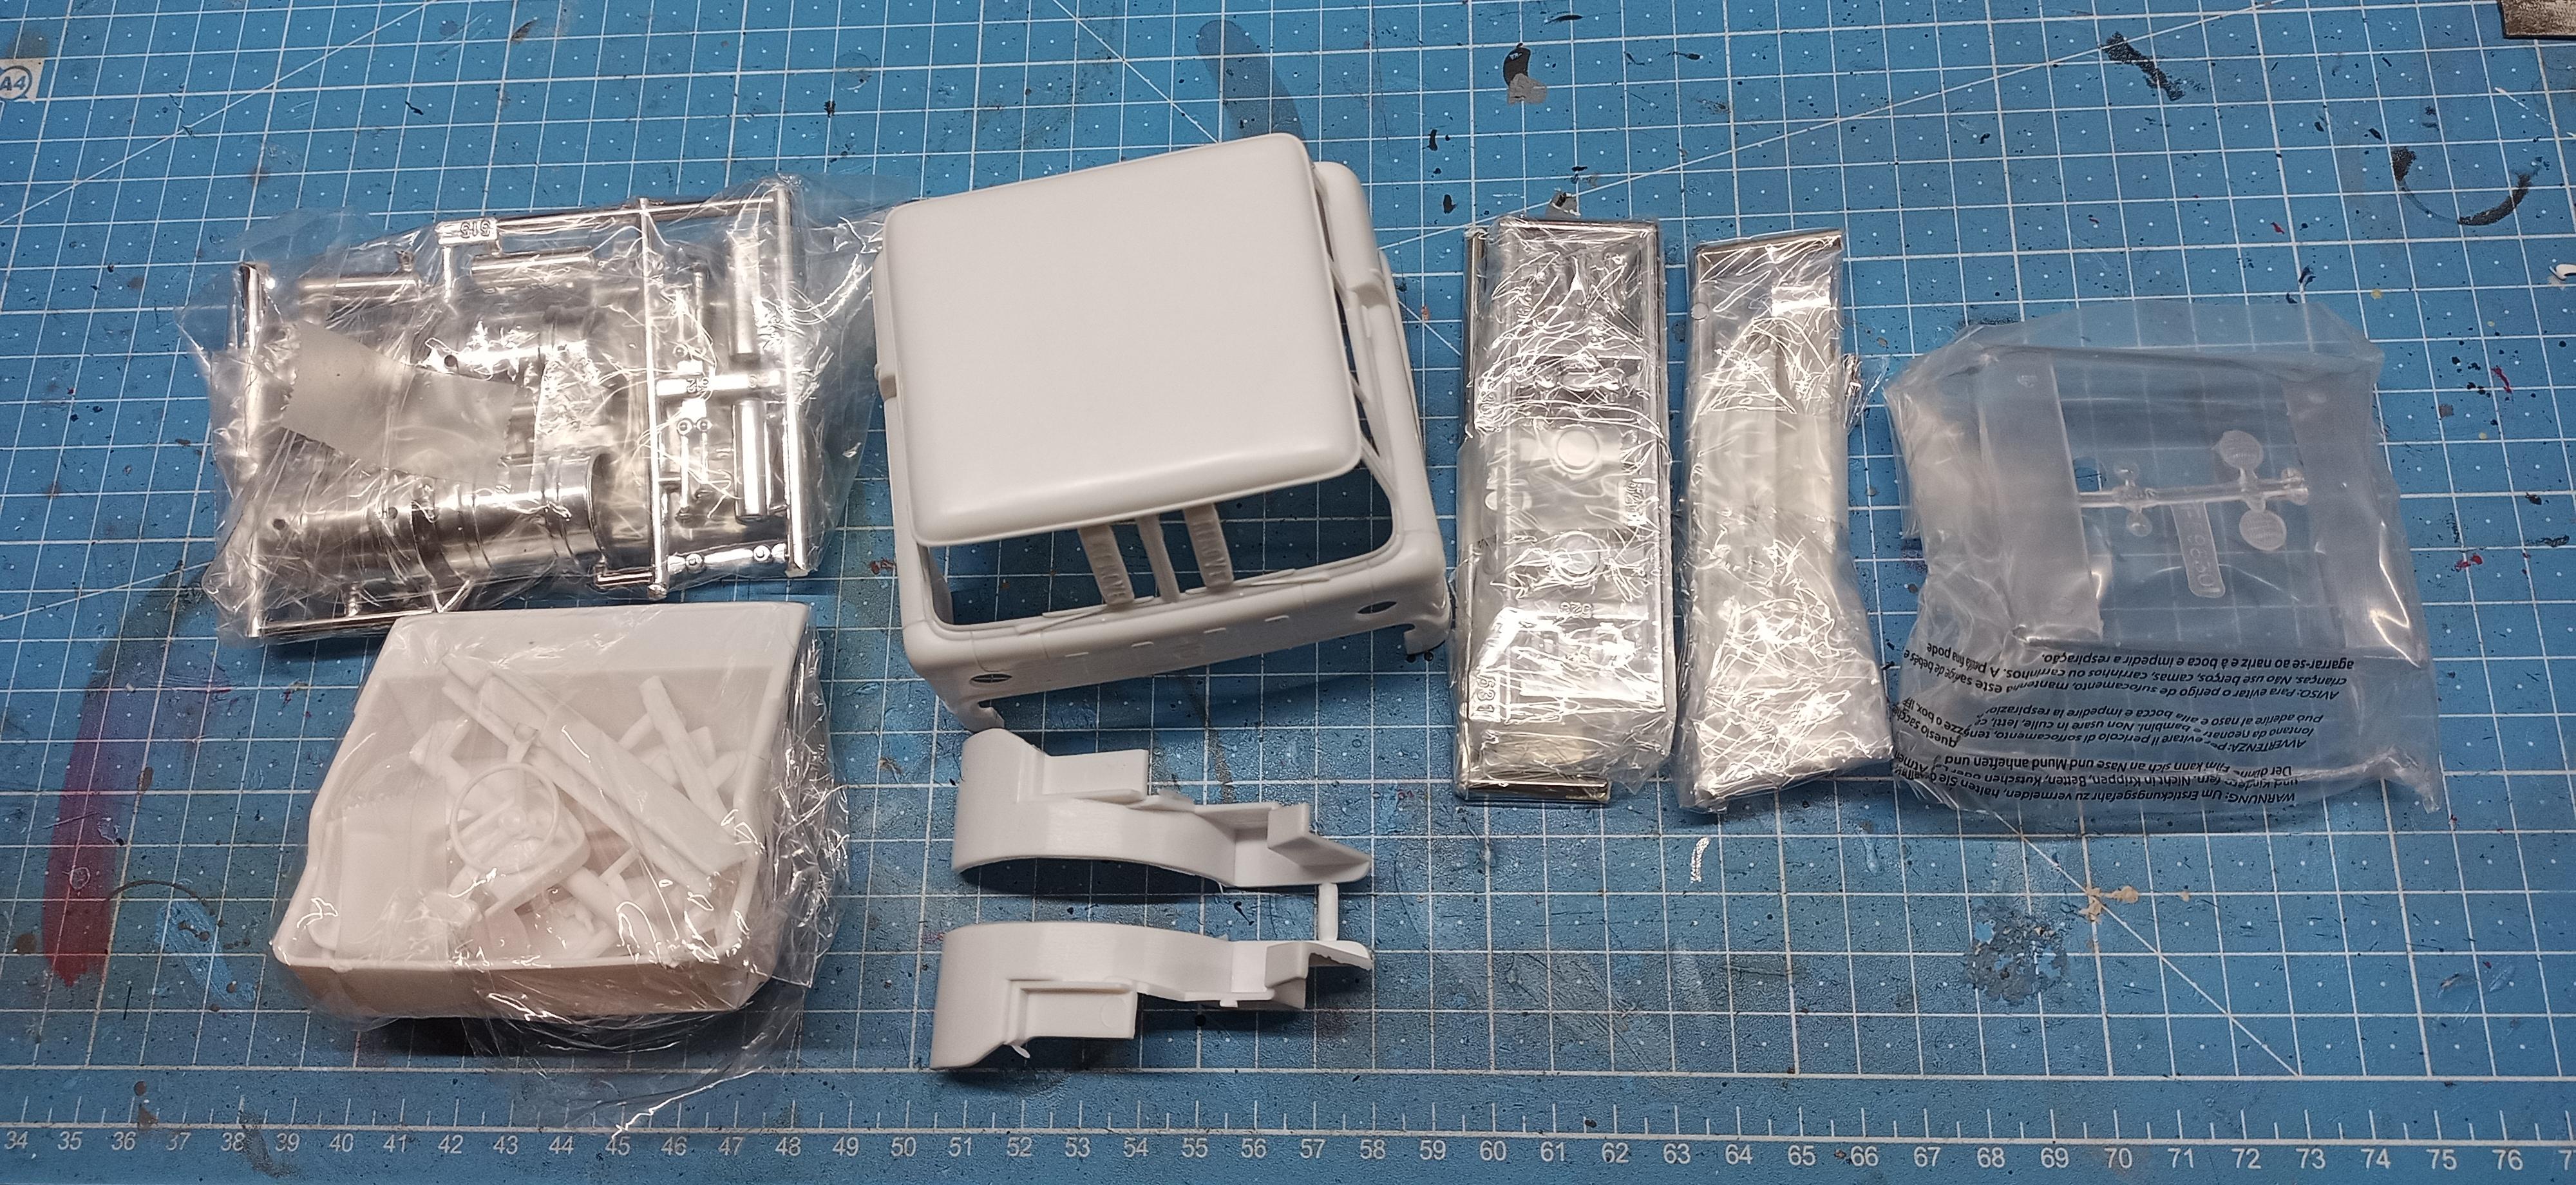
No, it's part of an AMT kit! The parts were all in the original bags, still closed and in good shape!
-
Looks what arrived today! My Ford cab! Over a week earlier than expected! 🥳🥳🥳 Now the show can go on!
-
Thanks Pal! Hope it will. I chose to use some chrome to make it look a bit more noble!
-
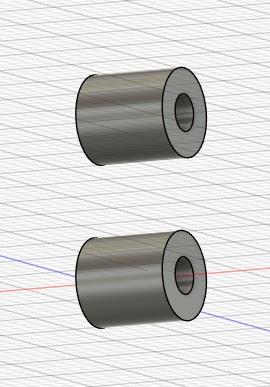
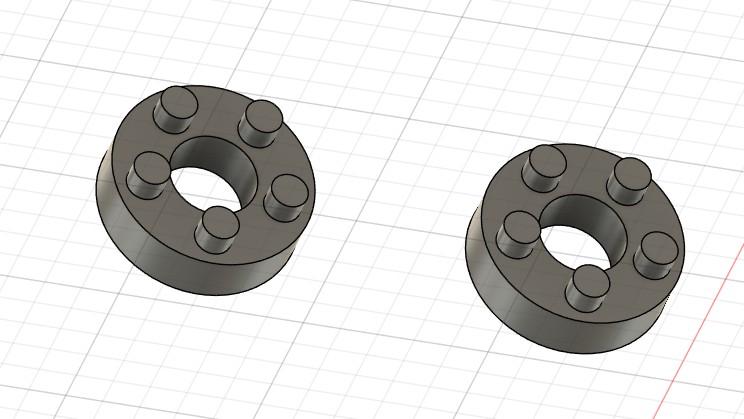
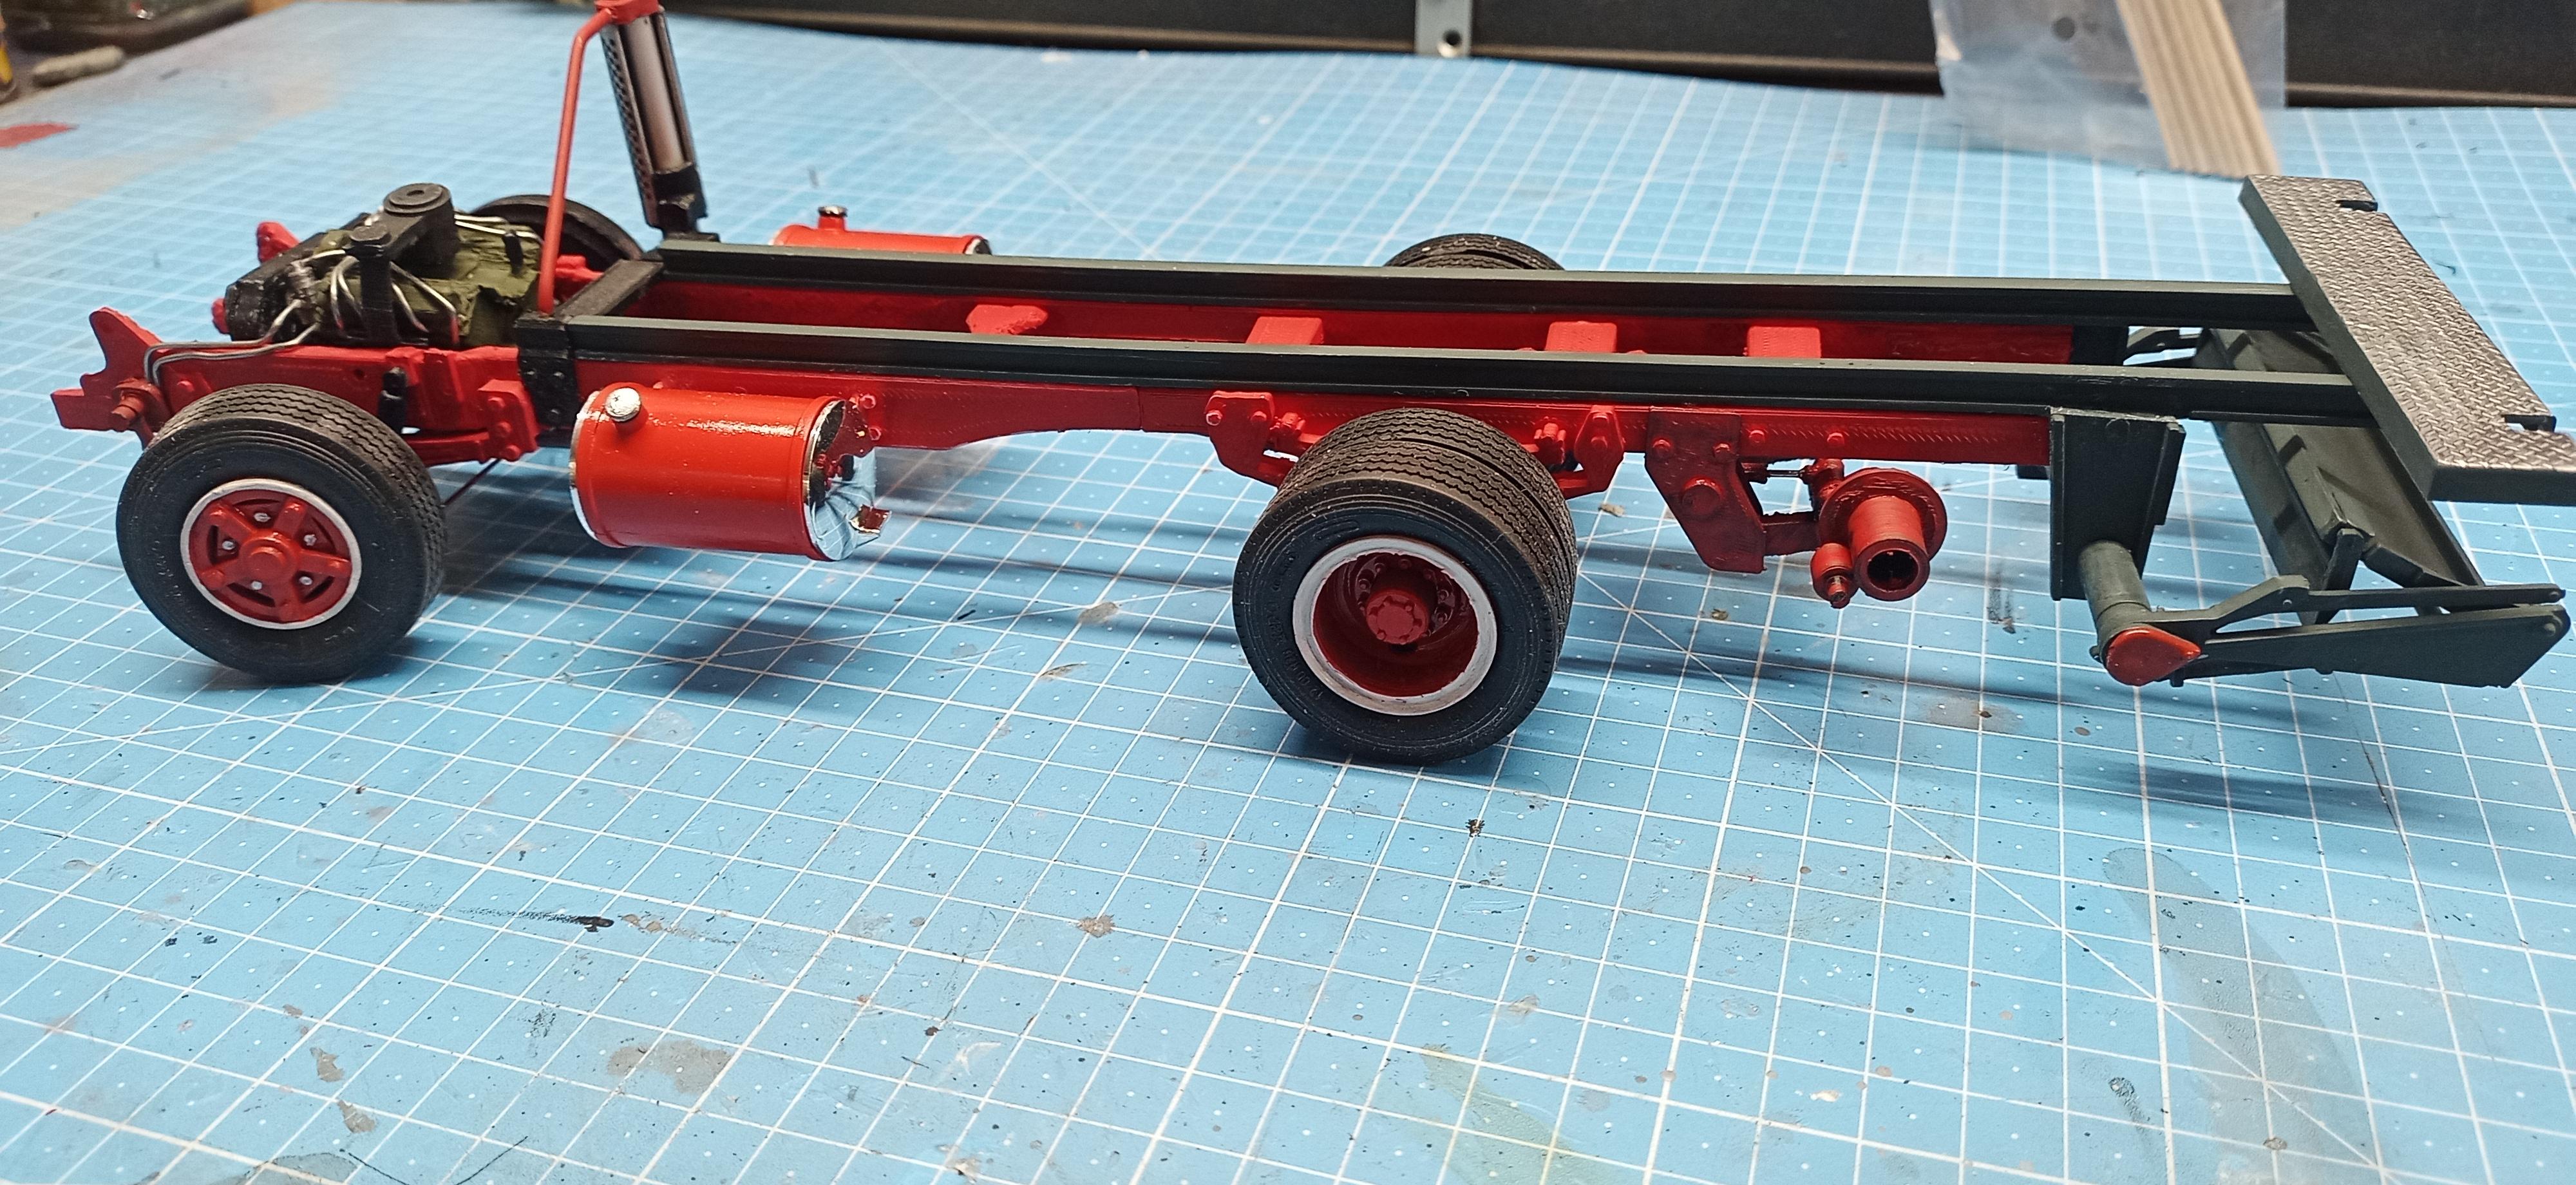
I had an idea which I immediately turned into reality and it worked: I made two sockets (printed) ... (I forgot to take pictures of the parts so I'm showing the drawings) These sockets go into the ends of the tag axle. Then I made hubs ... ...and put little brass rod pieces through them with the wheels in between! The rims are from a formerly knocked down Volvo F12 Globetrotter from Italeri. The tires are old AMT ones! Now you can see the lift function of the axle:
-
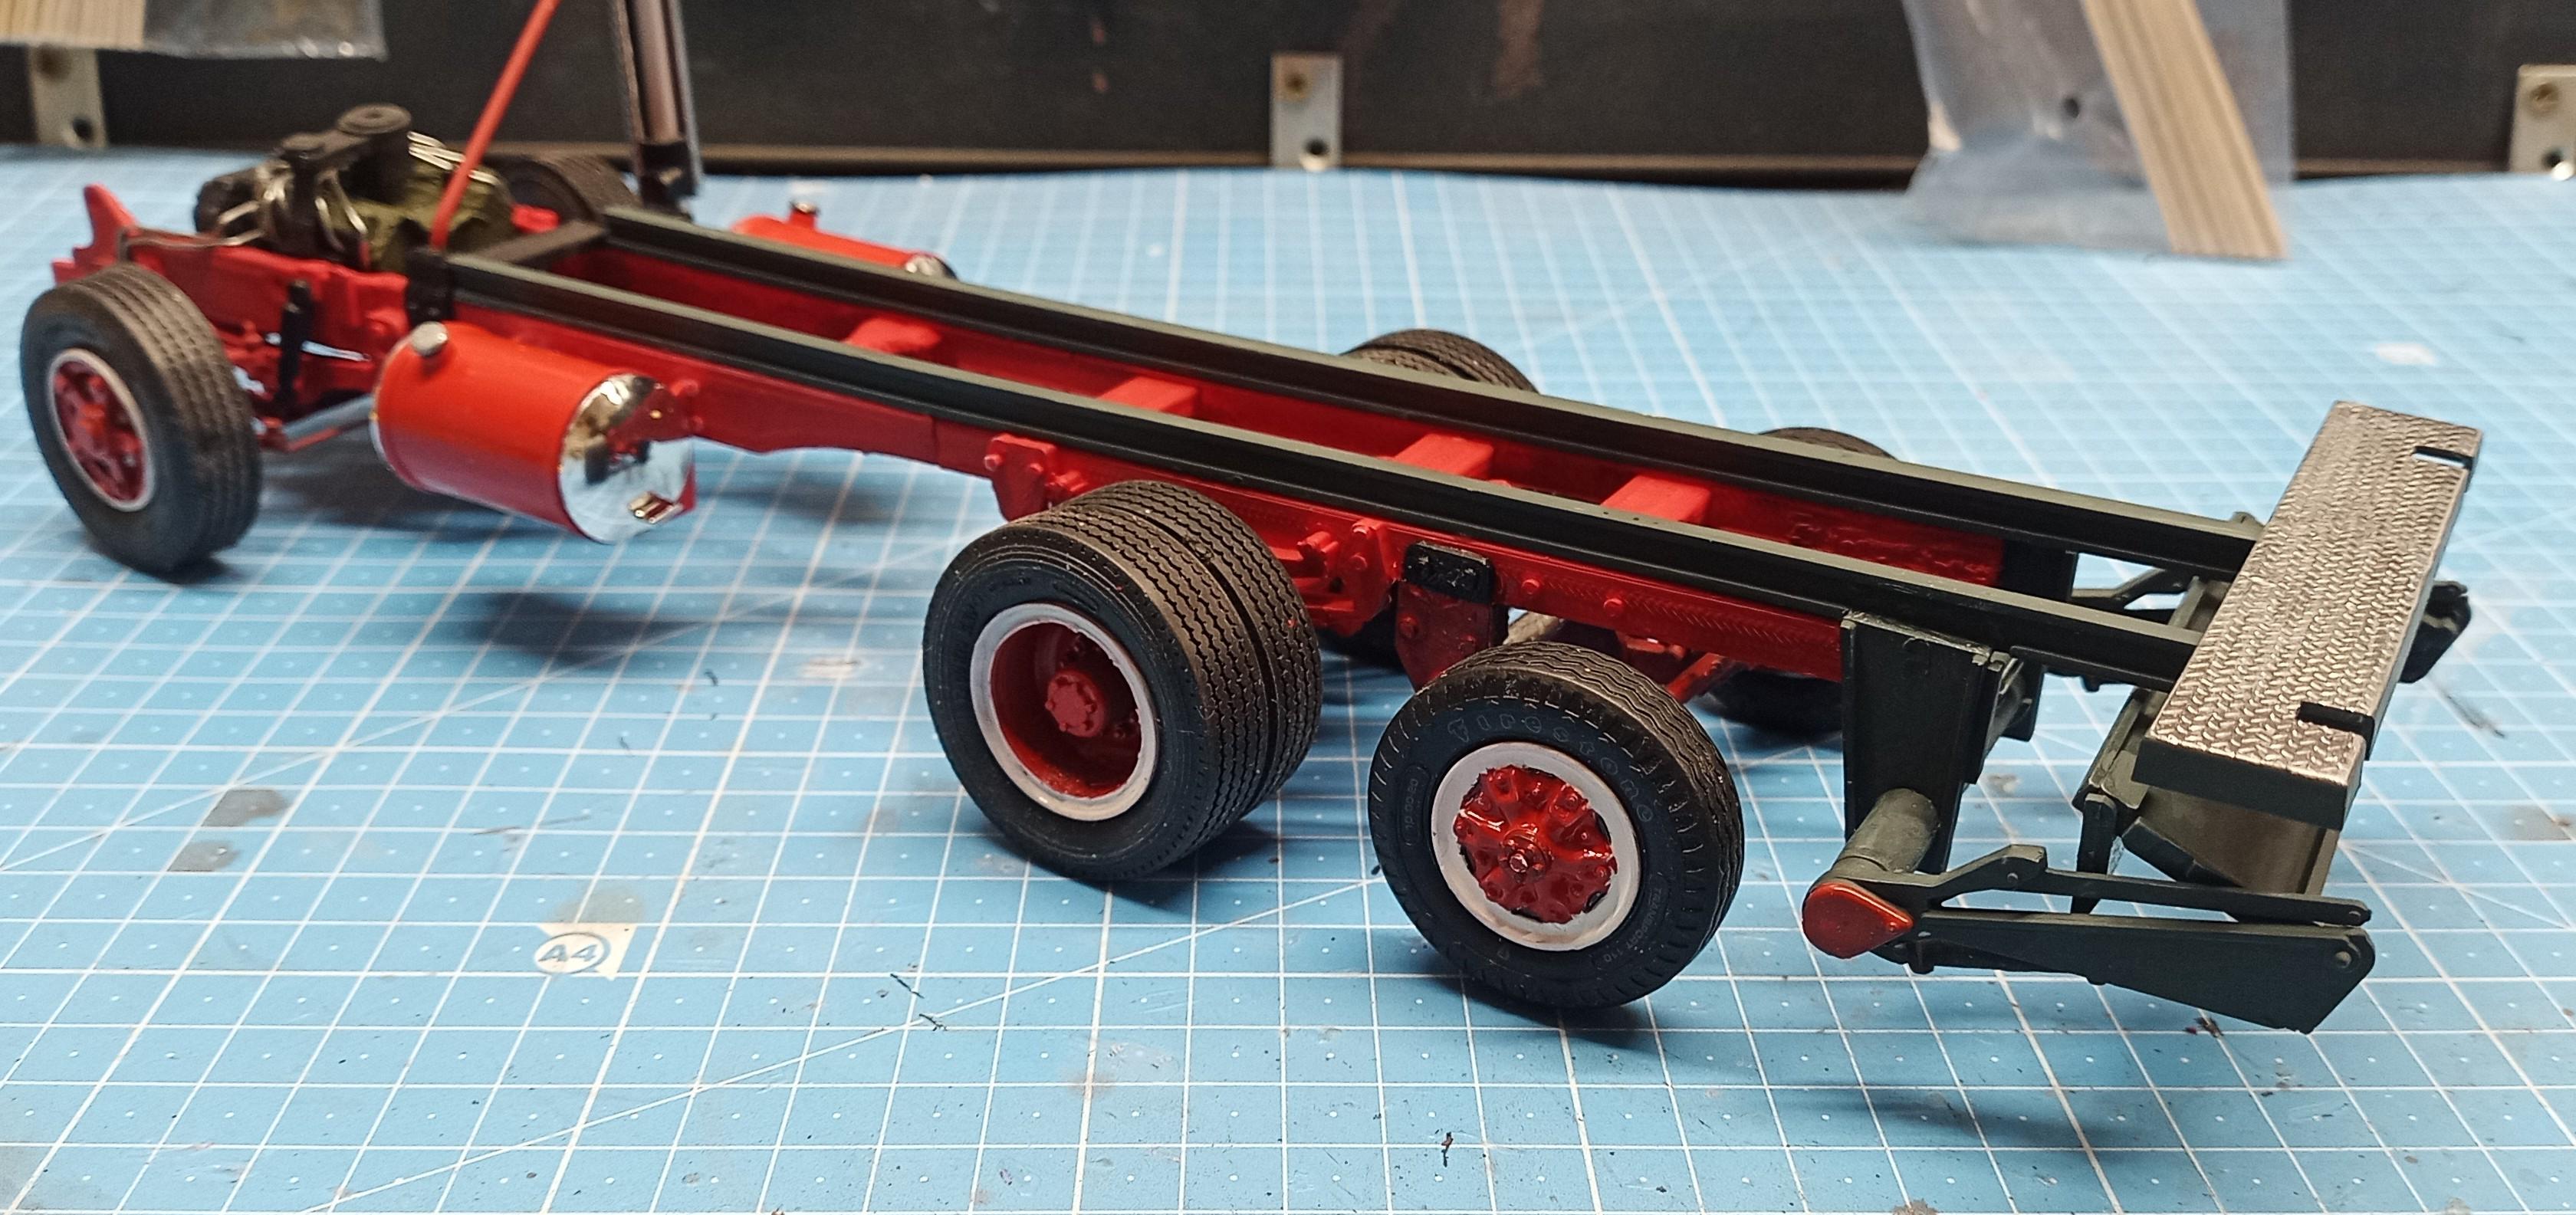
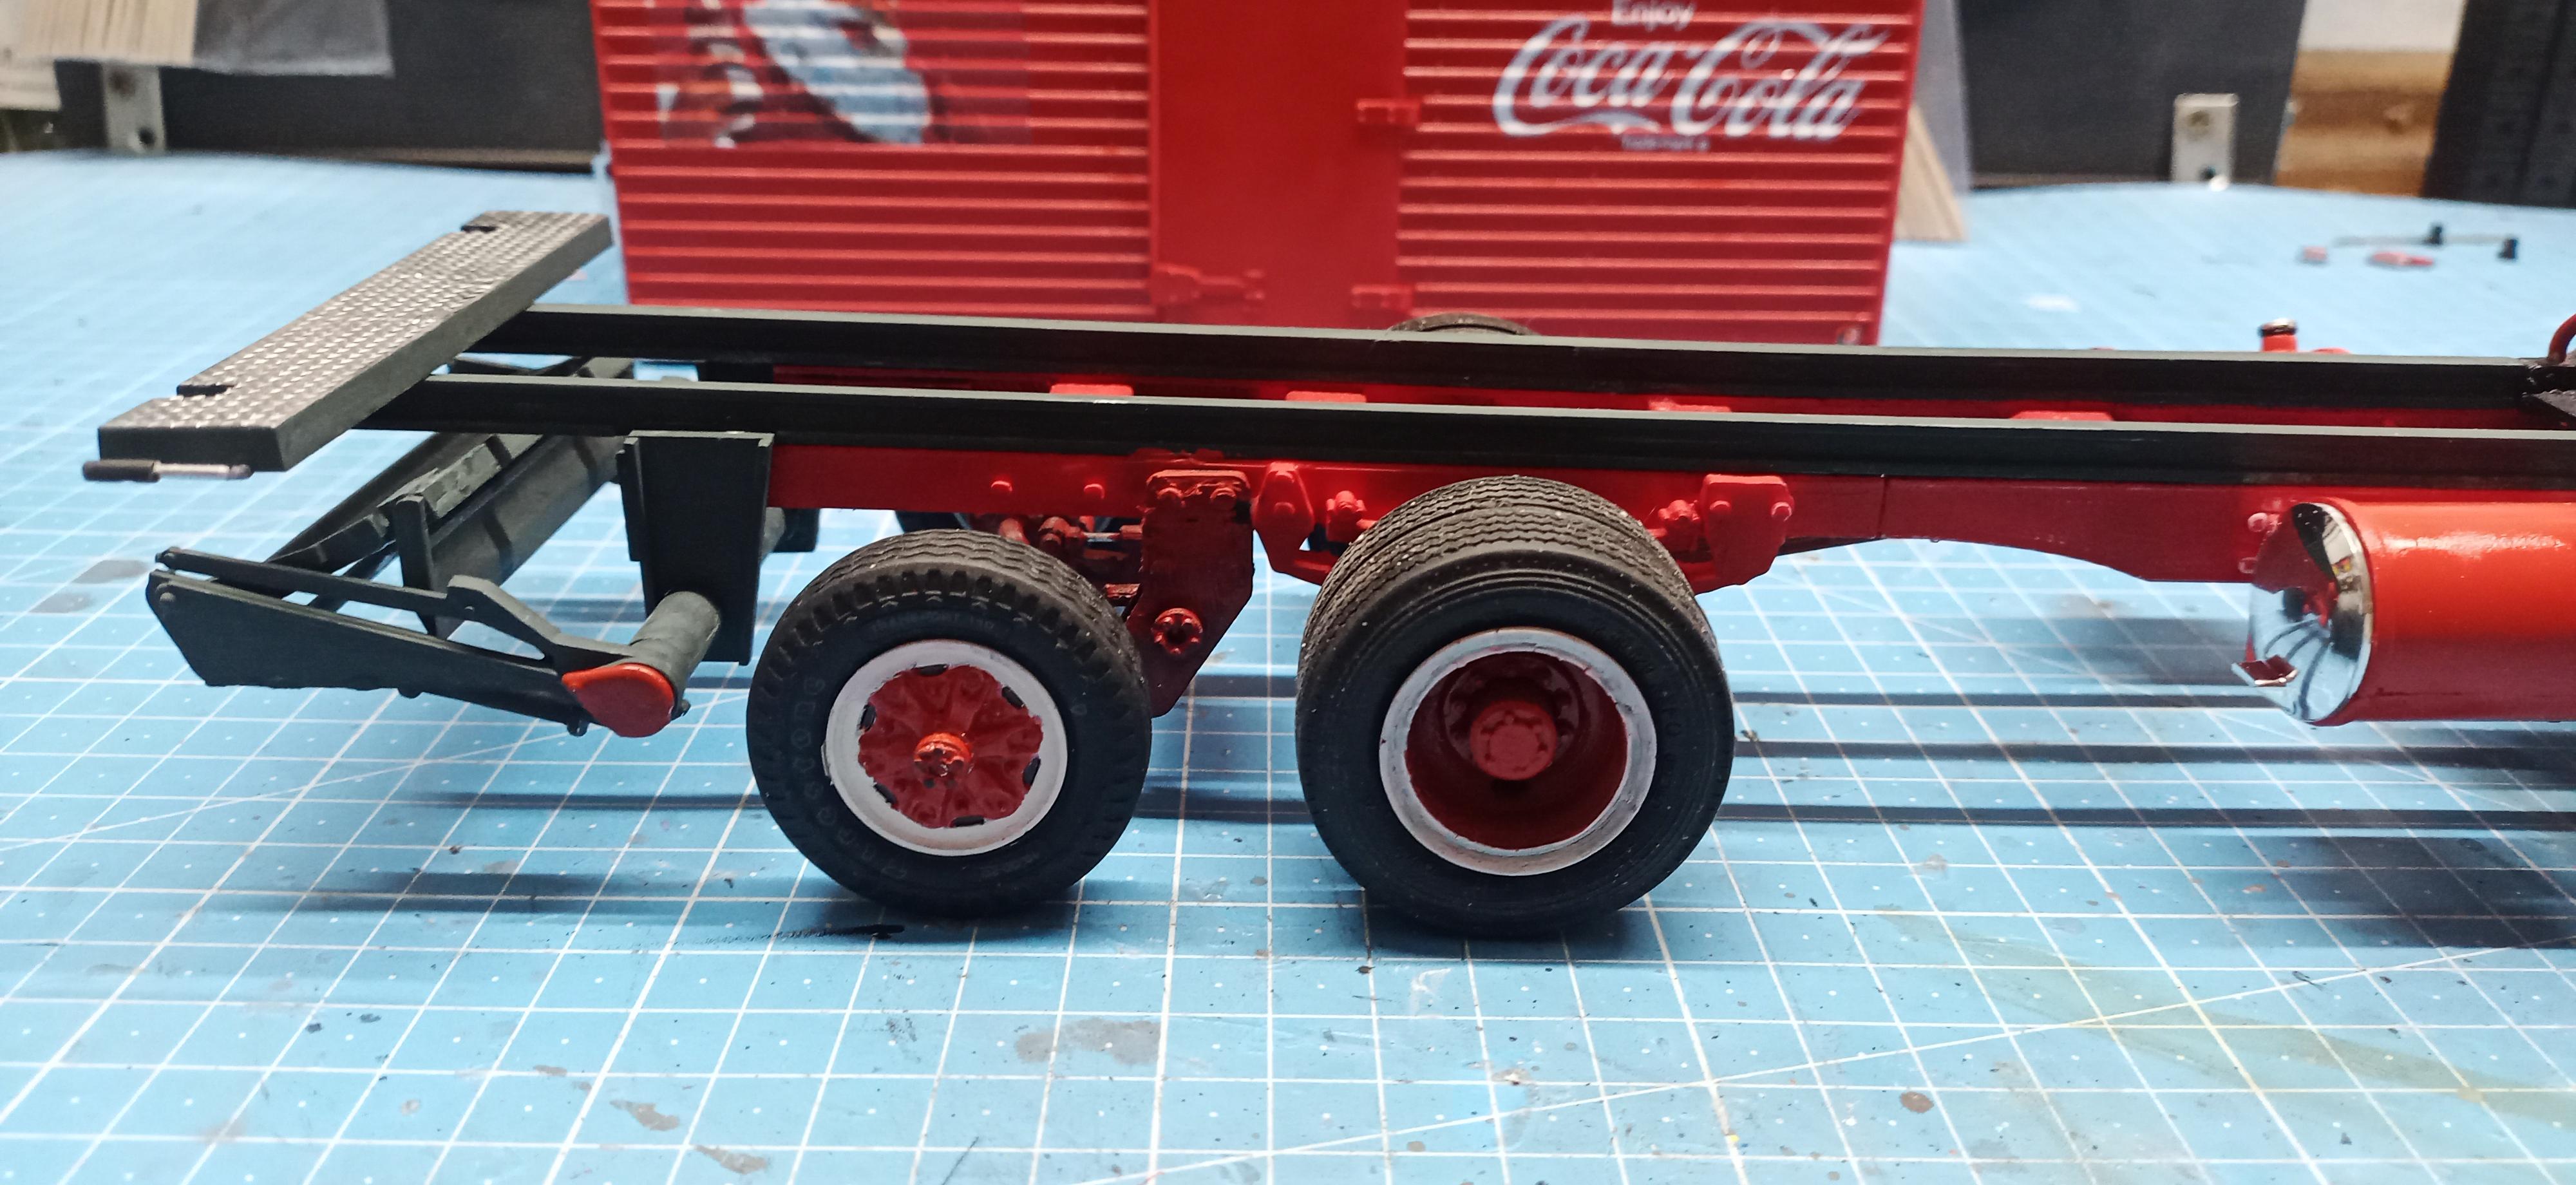
Tag axle is painted ... ...and fits in perfectly: Now the wheels have to be attached. Needs a bit of brain now to make an attachment that let's them turn too. Since the rims are different than the ones I used on the Louisville I can't take over the brake drums.
-
That's only partially so Gary! Otherwise I would have just designed and printed the C800 cab. It's quite complex though. More than I had expected. Now I'm waiting Just like you! 😊 But yes, I must admit, concerning most parts you're right. But looking at your builds I would say it's always worth waiting. You make fabulous builds in quality and detail far ahead of mine. I really enjoy watching and learning!
-
Kenworth C500
Jürgen M. replied to Gary Chastain's topic in WIP: Model Trucks: Big Rigs and Heavy Equipment
I know the feeling! I'm waiting for the Ford cab till probably Monday in a week at least. 😱 -
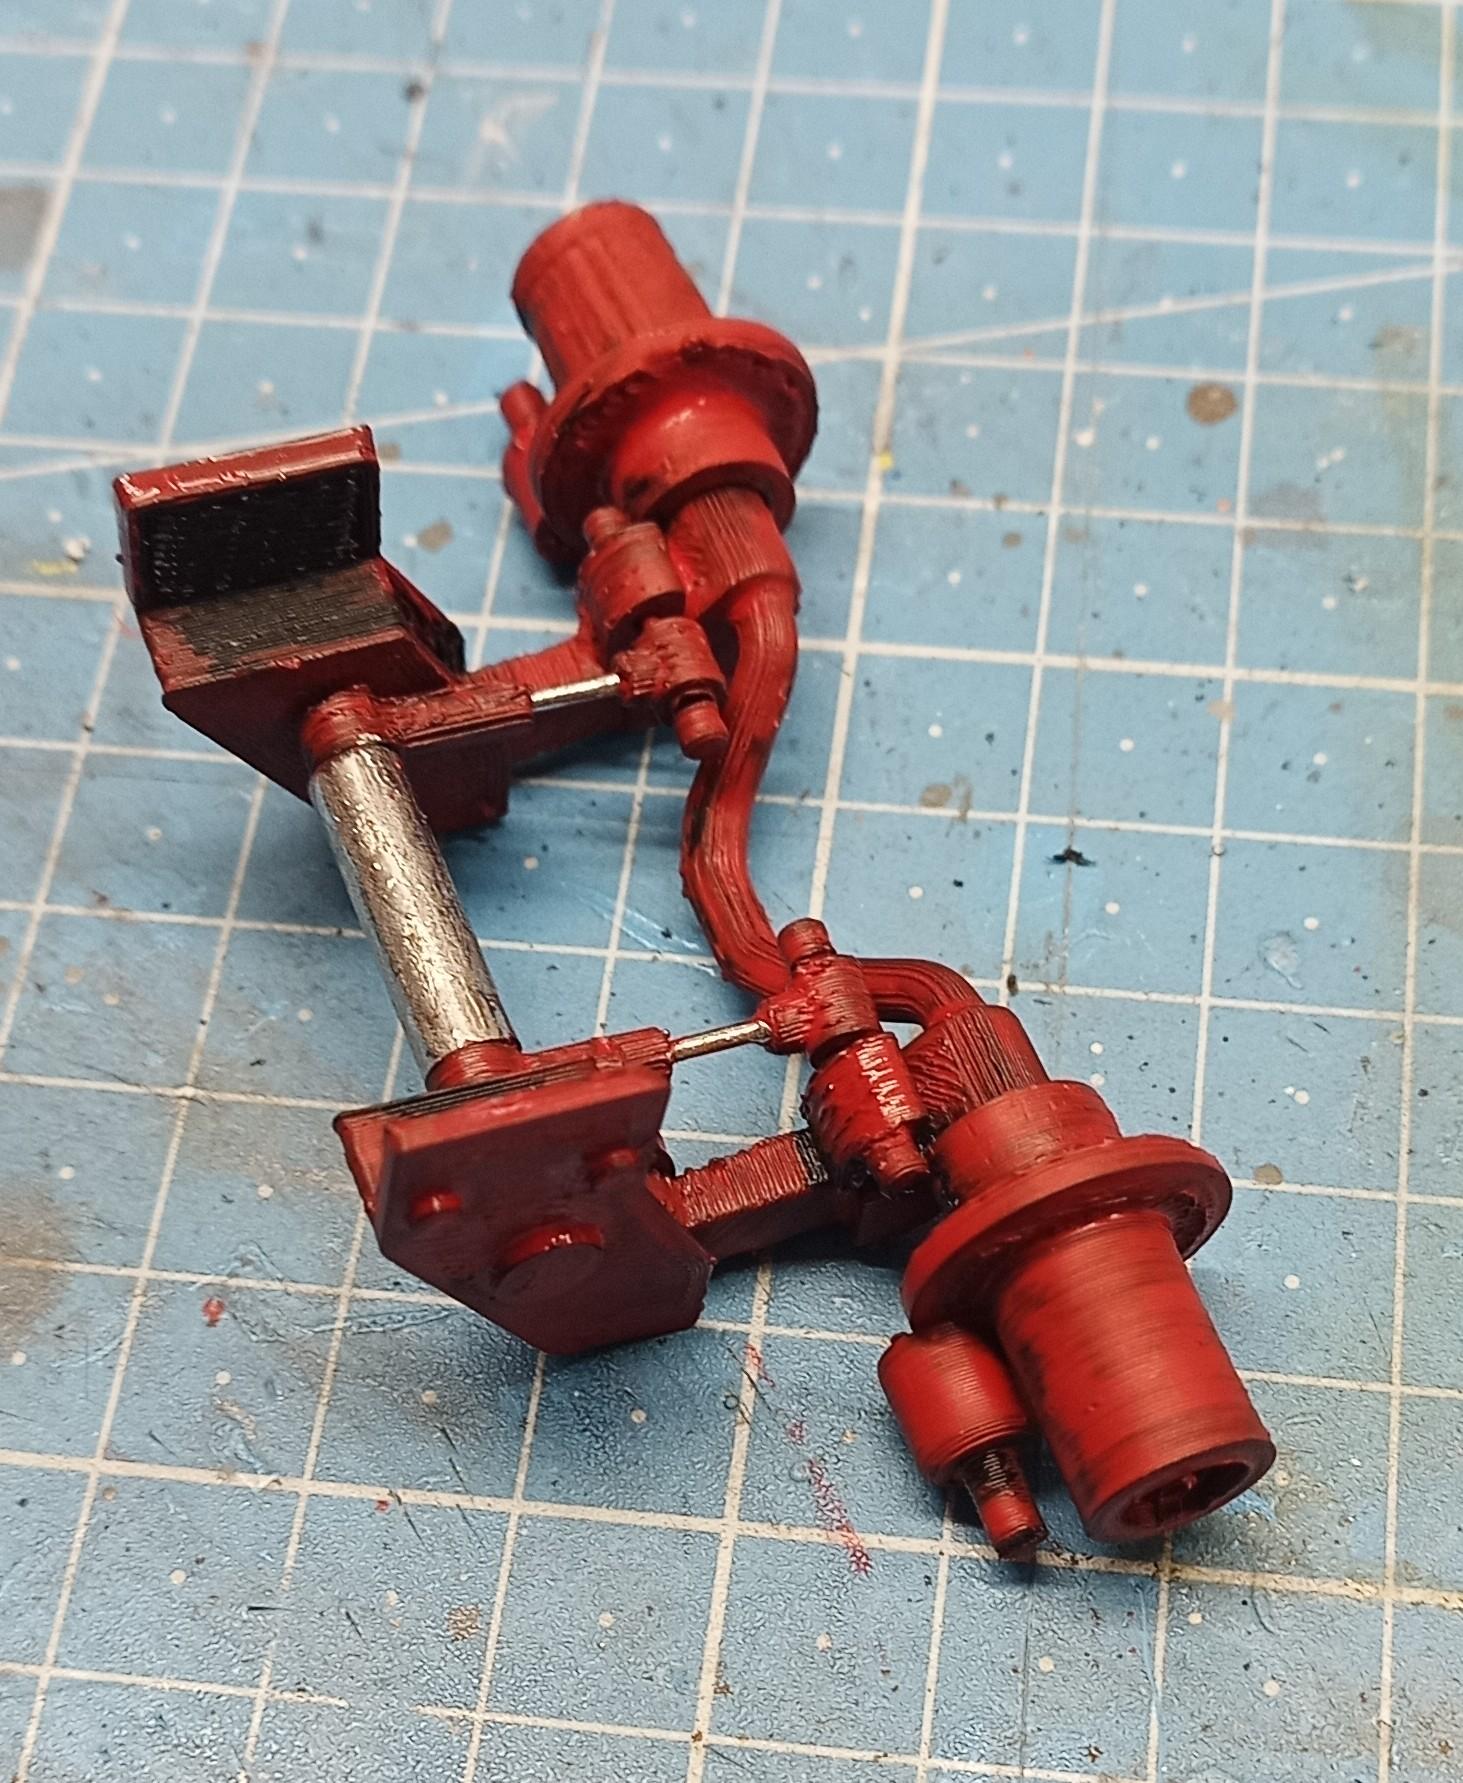
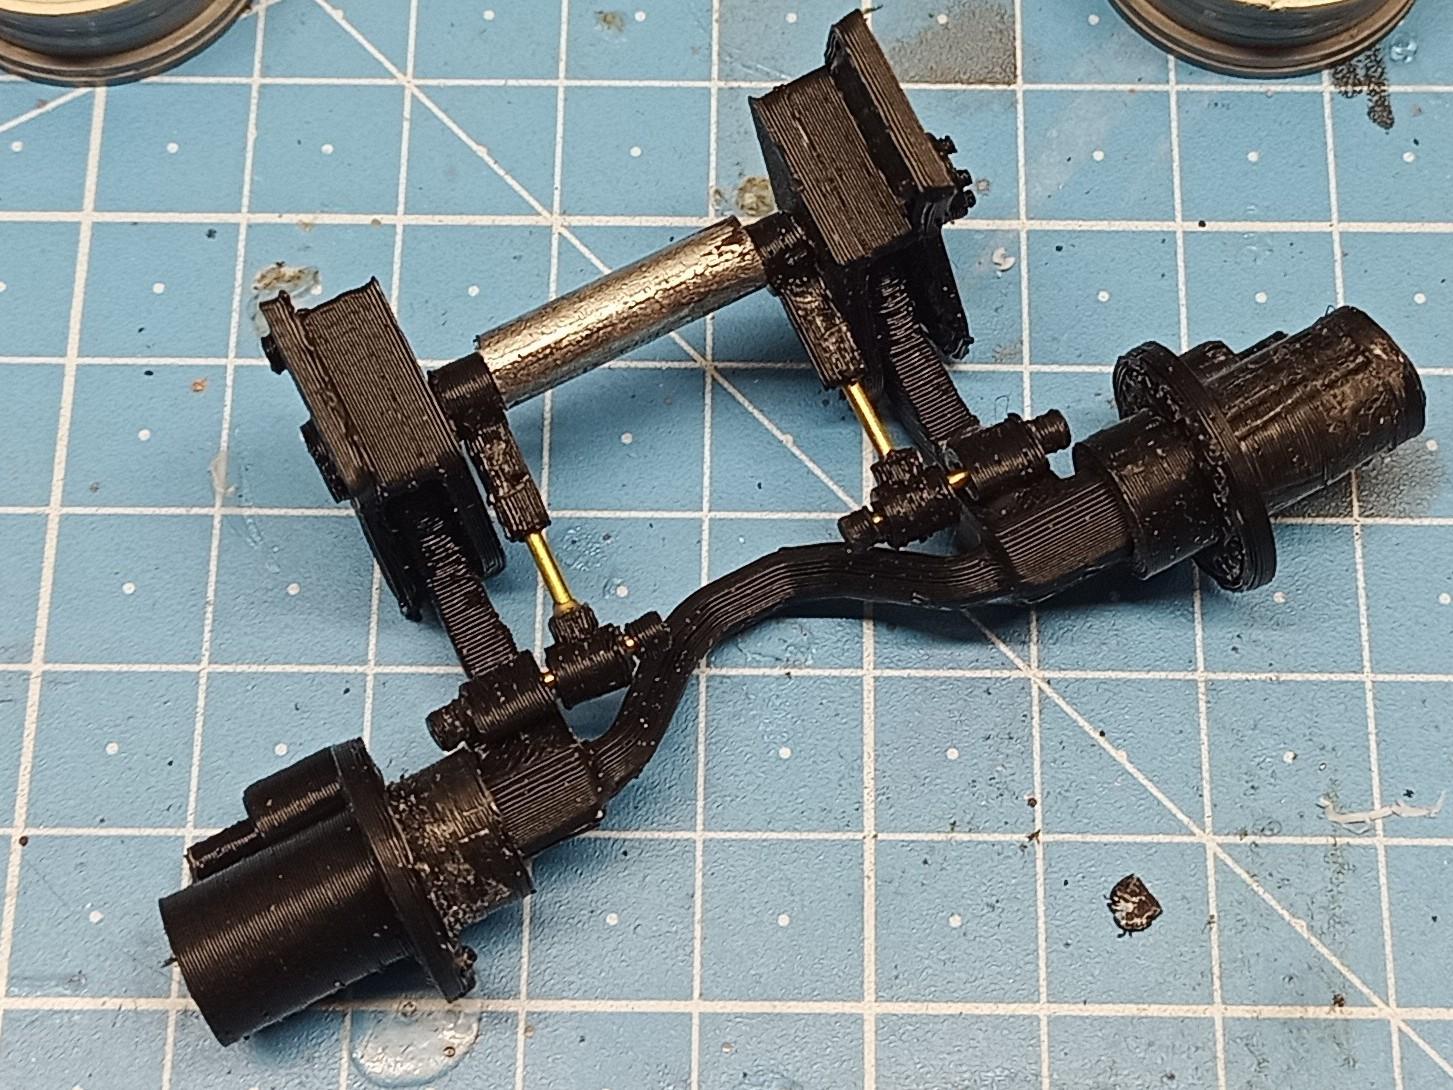
The tag axle is assembled: I printed the parts last night! Assembly was easy and quick since I have done it before, not long ago. Now it has to be painted and attached to the chassis.
-
Thanks guys for your honest opinion. I wasn't sure if trucks like this one even had tag axles! On the other hand I built a tri-drive Superliner. Never was built that way I think. And I'll have something to do till the cab arrives!