TheBEAUMONTGURU
-
Posts
277 -
Joined
-
Last visited
Content Type
Profiles
Forums
Events
Gallery
Everything posted by TheBEAUMONTGURU
-
I starting on a replica of my real car. starting to converting a very old, very poor quality AMT 65 chevelle wagon kit into a 1965 Acadian Beaumont Deluxe Station wagon. The scratch-building and kit bashing is going to get intense so stay tuned!

-
Canadian 1961 Pontiac Laurentian conversion
TheBEAUMONTGURU replied to TheBEAUMONTGURU's topic in WIP: Model Cars
yes. 55 thru 62 canadian pontiacs got the 261 when a 6cyl engine was ordered. -
What is the best glue for glass/clear surfaces?
TheBEAUMONTGURU replied to AlbertS's topic in Tips, Tricks, and Tutorials
I use Micoscale Krystal Clear. I've been using it for window glass and lenses for about 10 years with great success. i would be interested in hearing any negative comments about the stuff. So far i have not found any downside. Also how does it compare to Evergreen Canopy Glue? Ive never tried the evergreen, but interested in comments -
Thanks guys. will have to check out the 3d stuff. I totally forgot about the 59 Elcamino, yes! thats the one, just have to make a horn ring
-
excellent work! love the details.
-
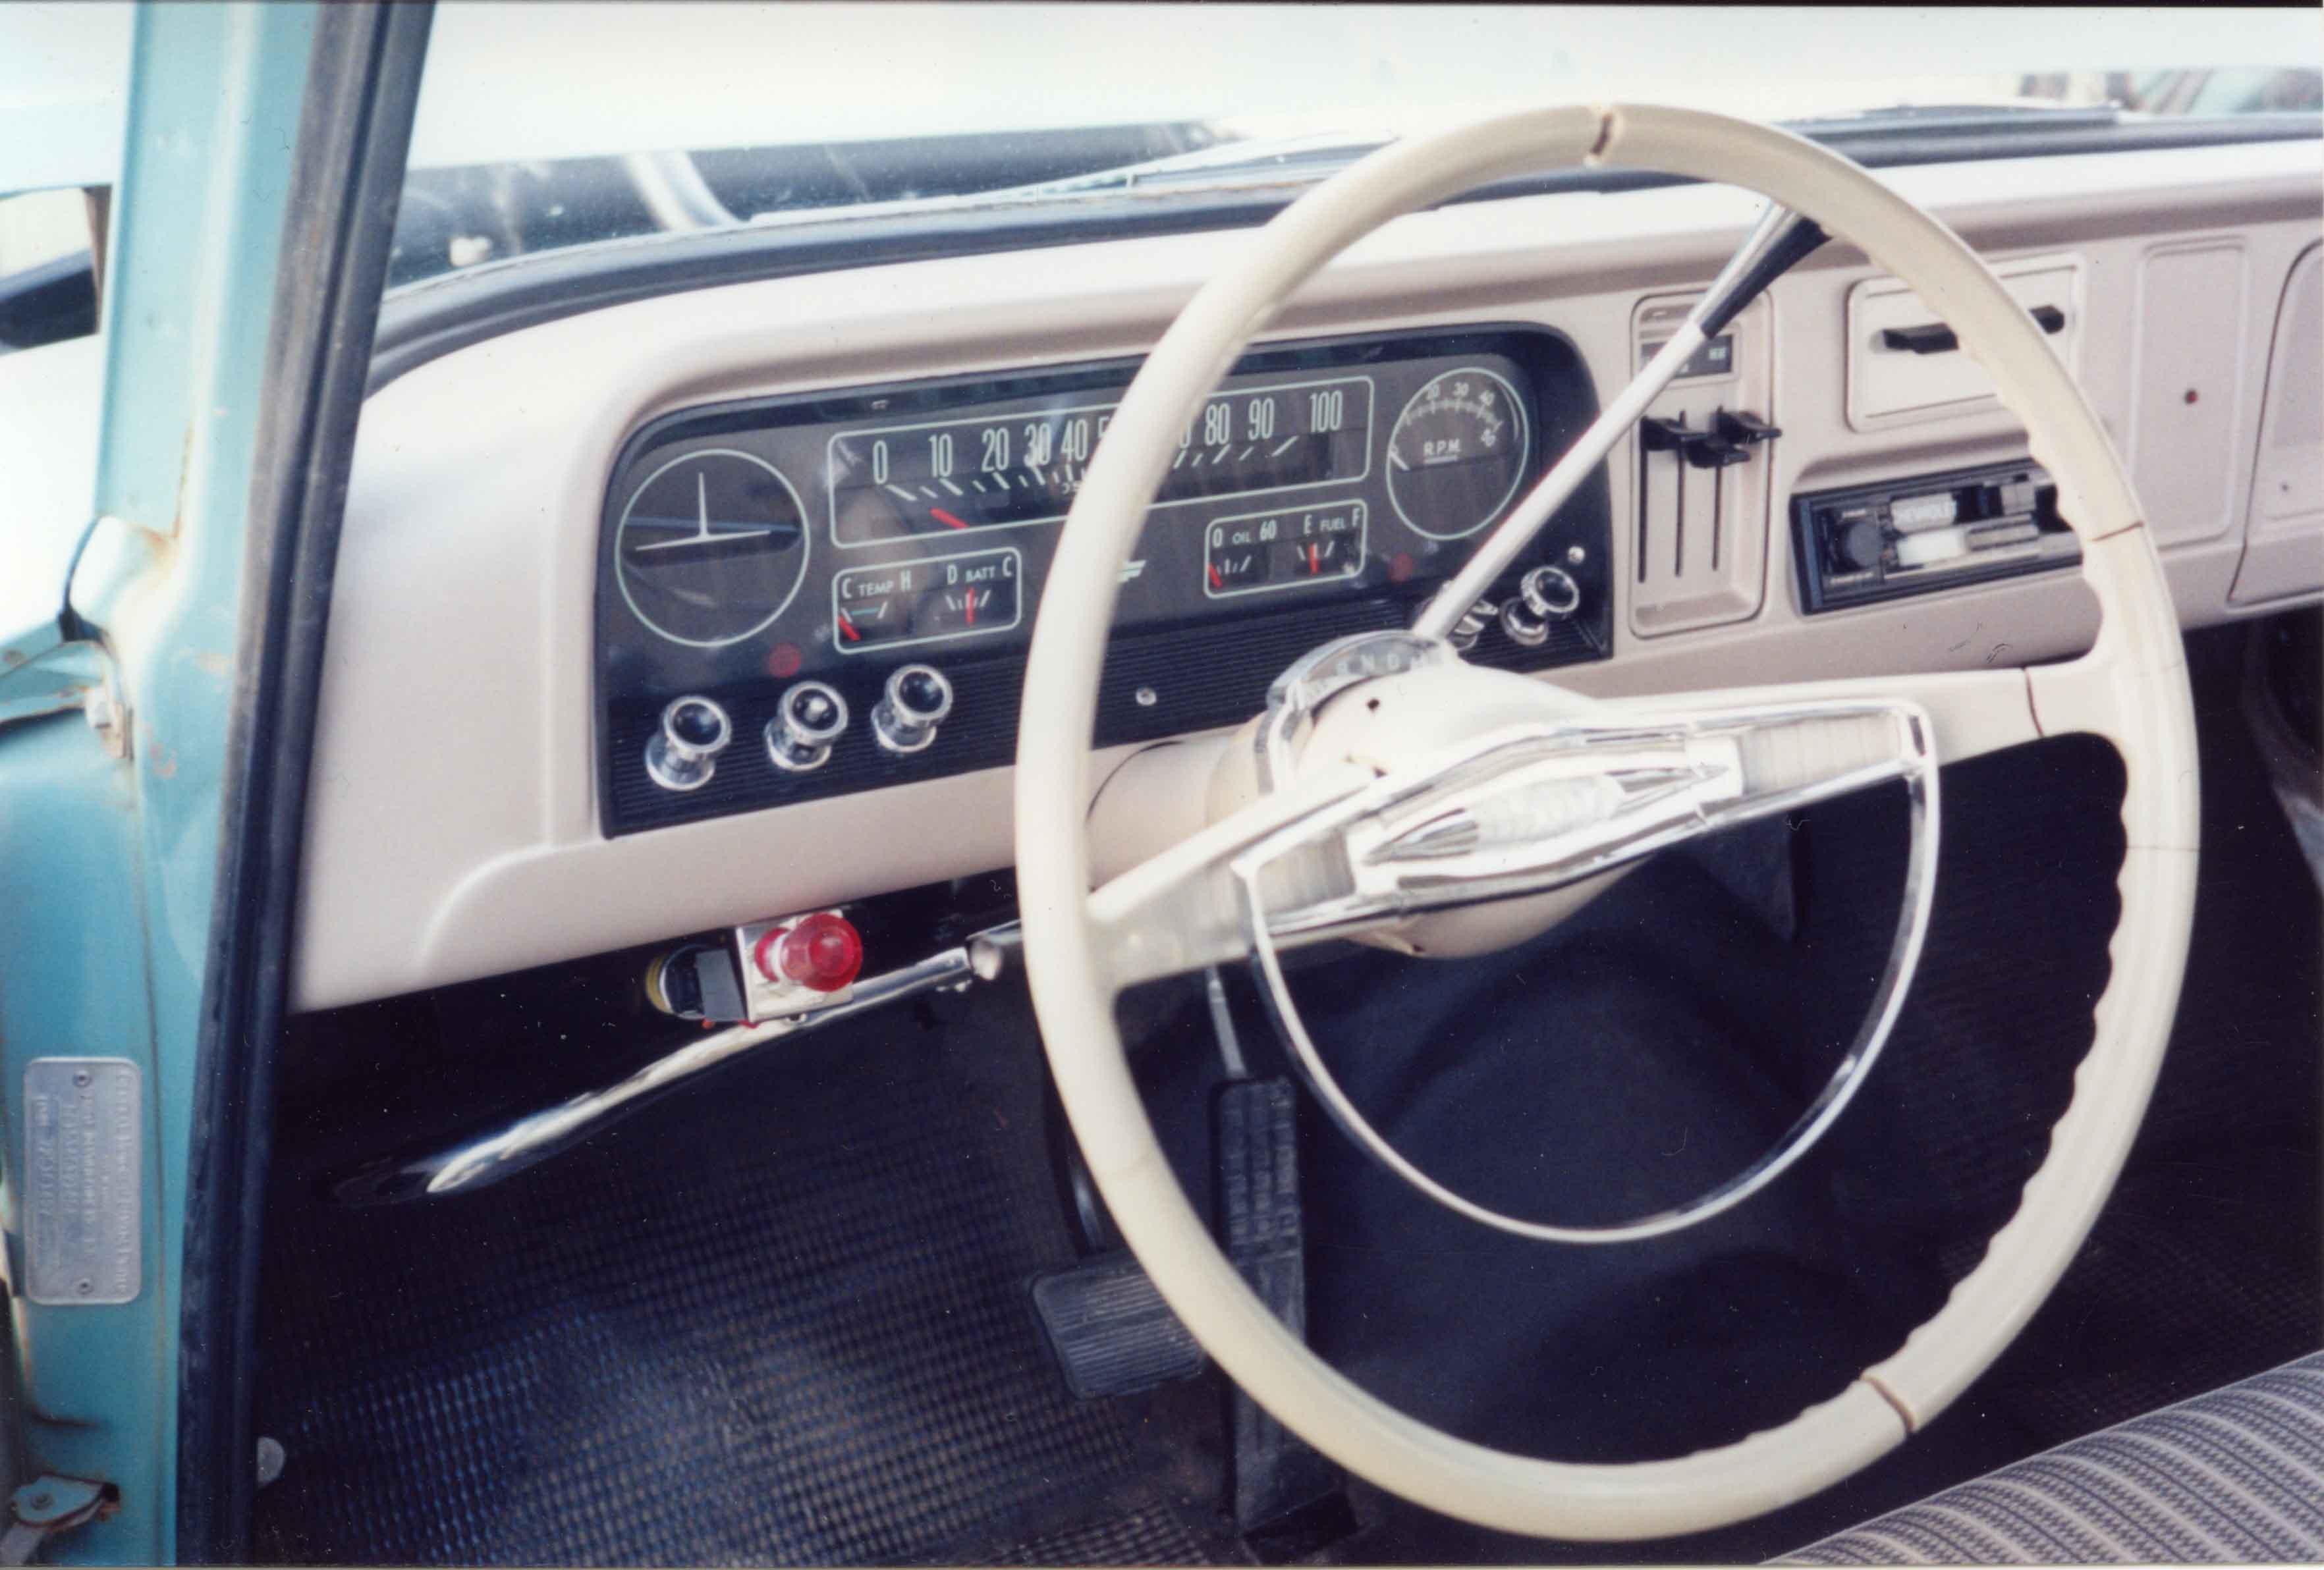
Anyone have a source for a steering wheel like this Its use on real cars 59,60,61 Chevy belair and biscayne, as well as CustomCab chevy trucks from about 60 thru 1966. 58 Belairs also have a similar one.
-
nice clean build. man, do those tires and wheels ever spruce-up this old kit!!! well done!
-
-
-
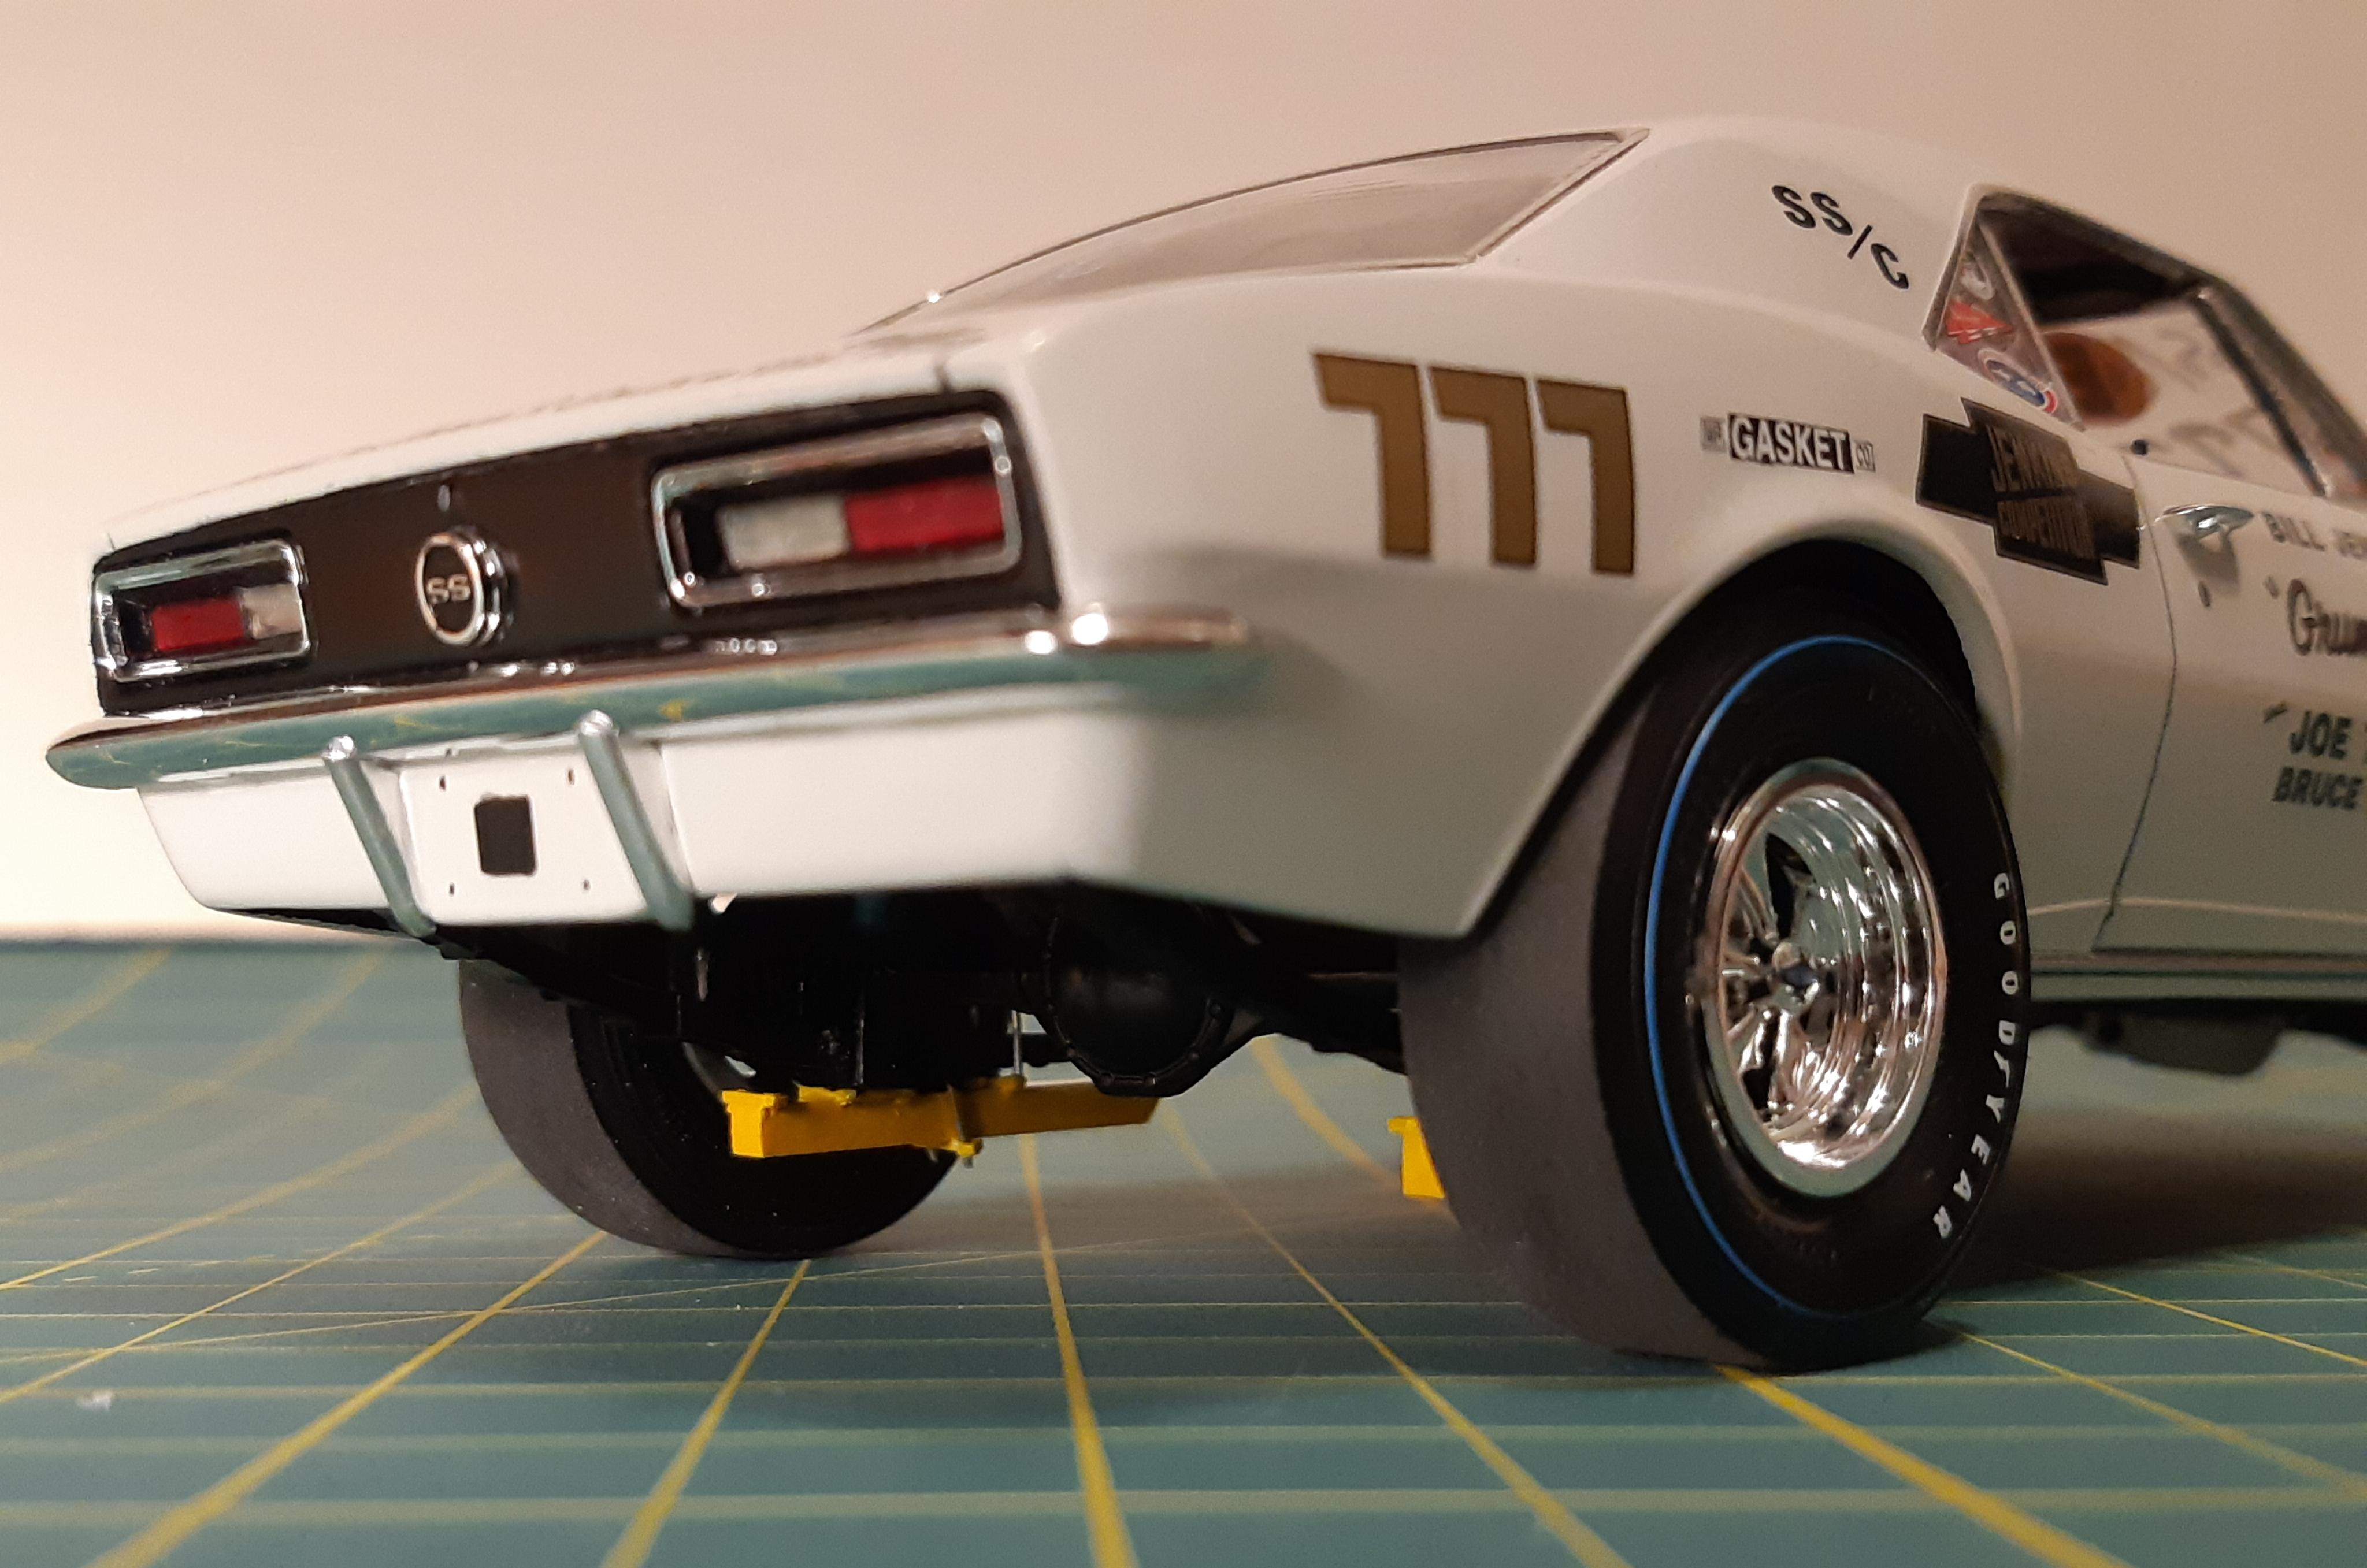
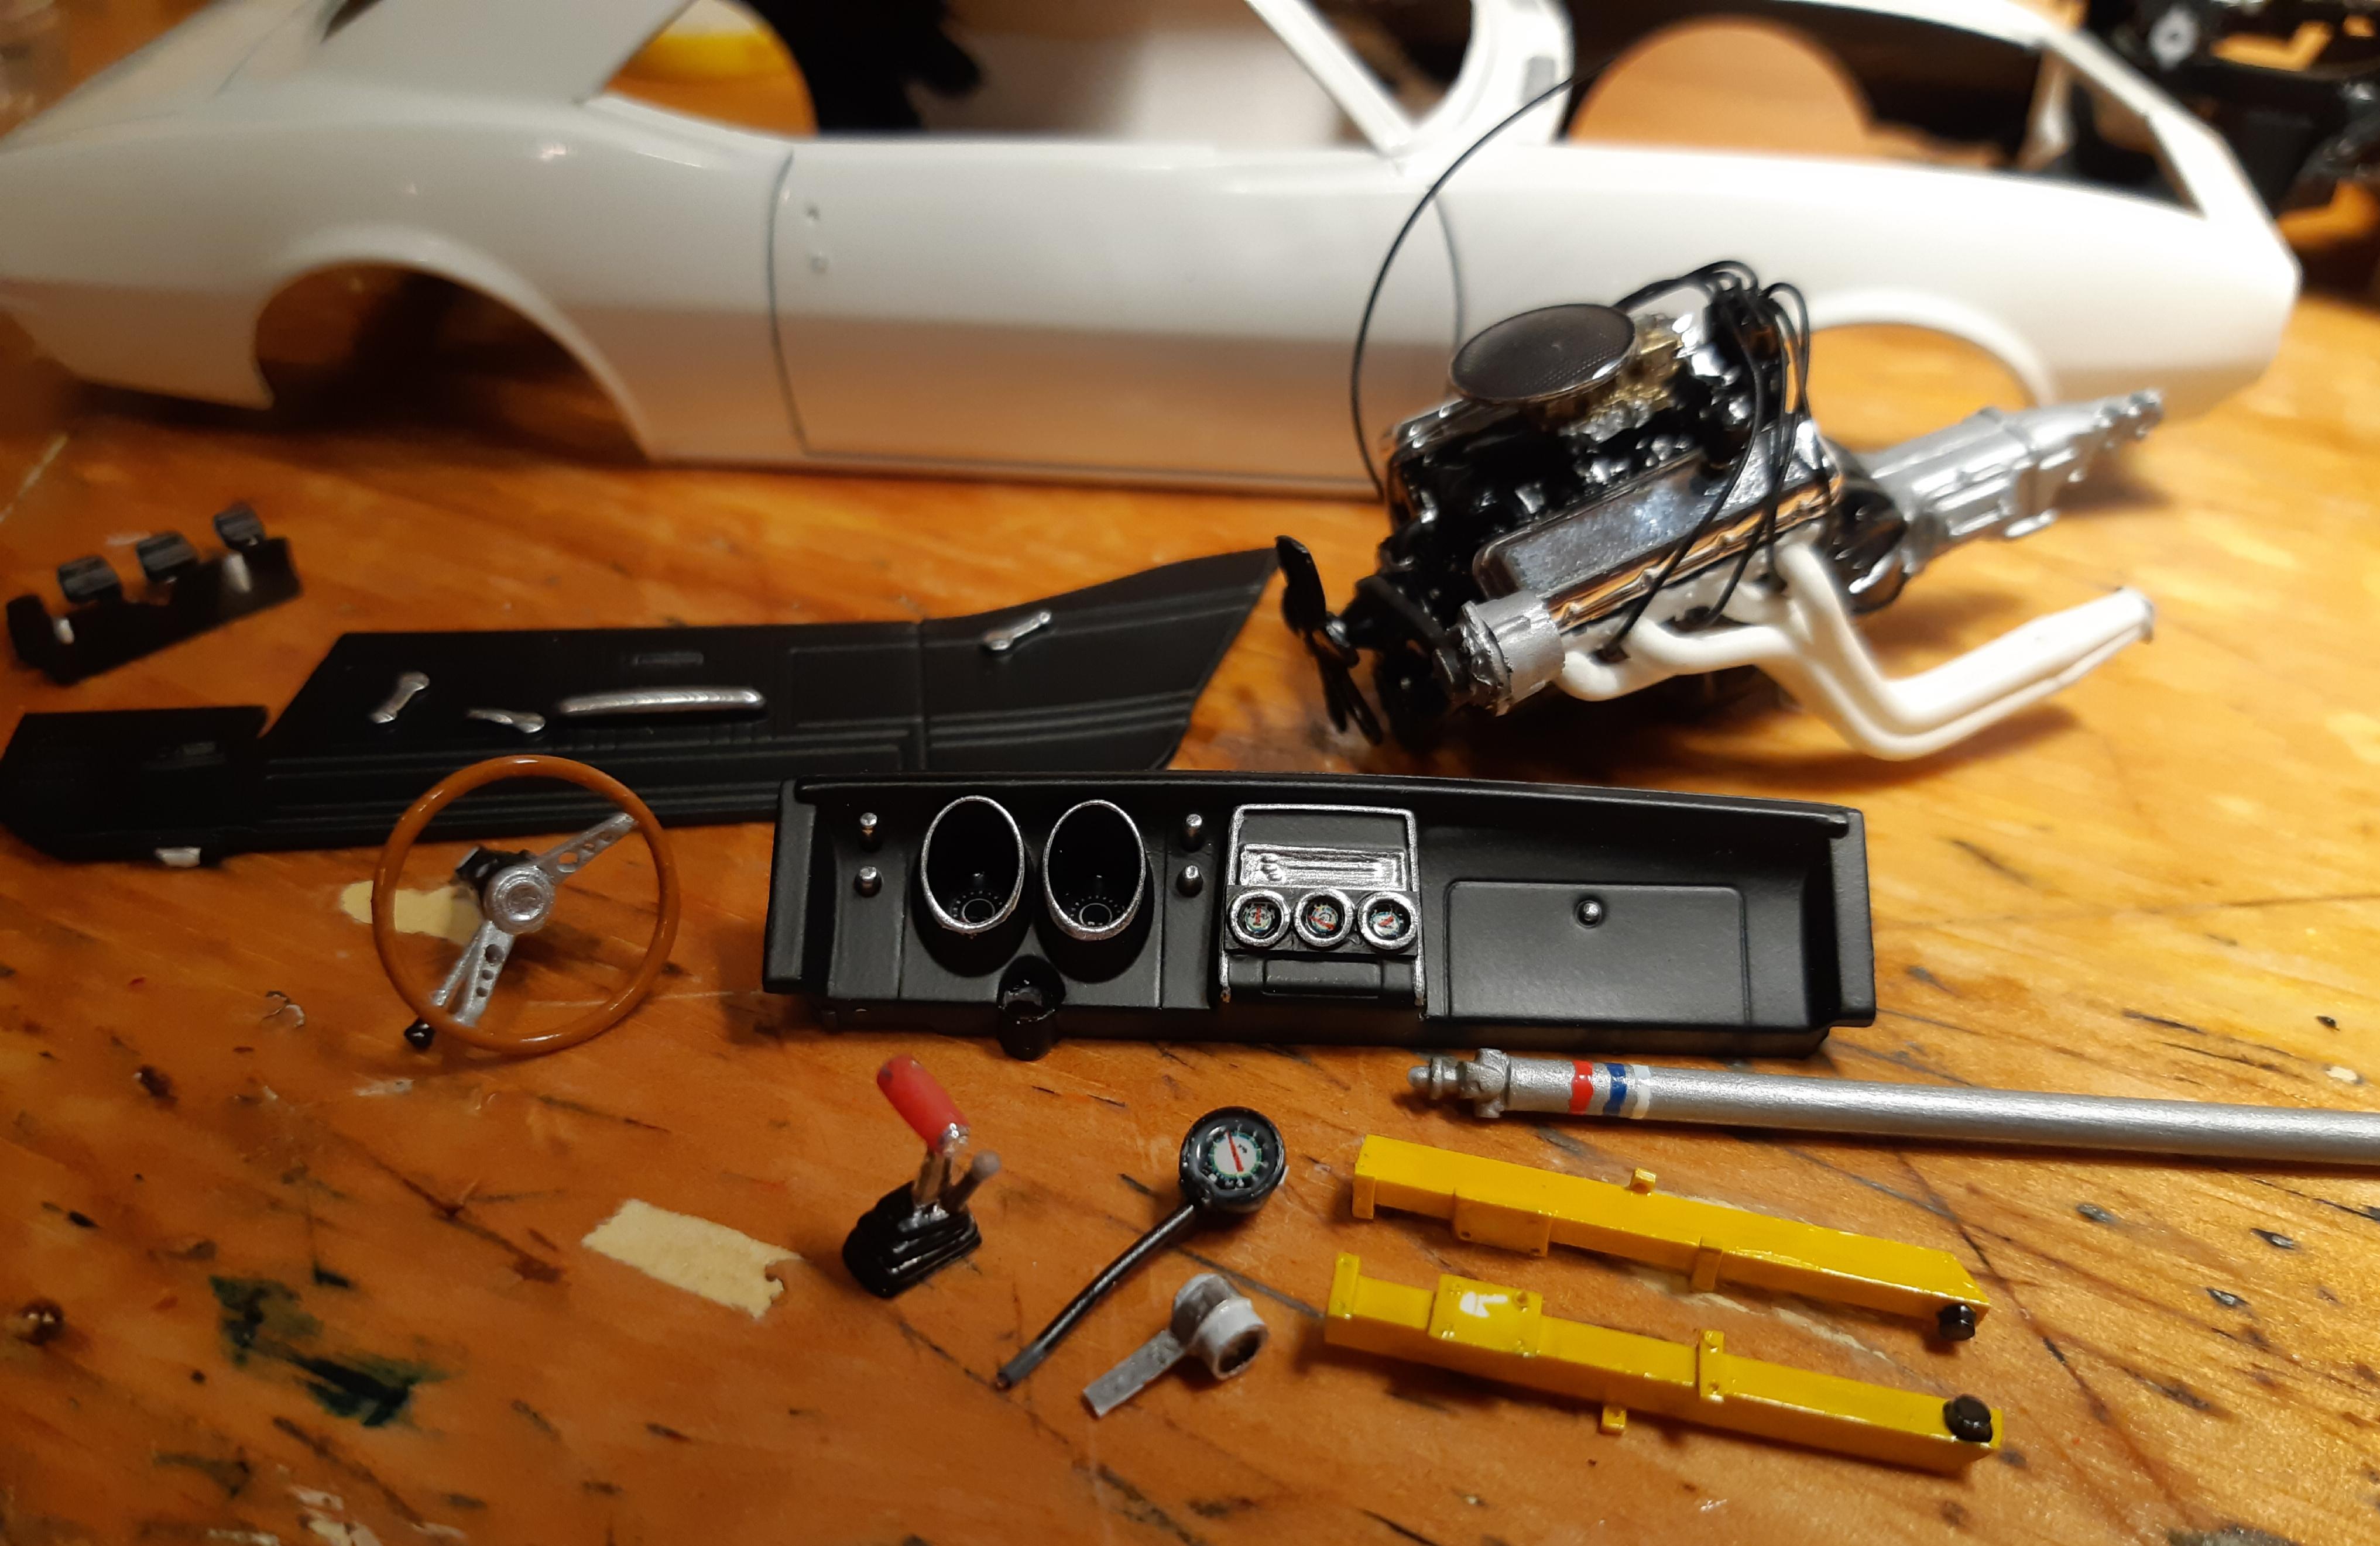
Here is my other Grumpy Jenkins model. I tried to recreate his Indy winner. Again lots of mods needed. This time i did the engine all black as he would have done. I scratch built the track bars, guages, shifter, and added a woodgrain wheel(he always seemed to use a factory woodgrain one). I used a slixx decal pack, some parts bin cragars and some blue streak tires, altered the stance quite a bit. made up some window decals, added some quarter glass. fully wired and plumbed the engine. fixed up the grill trim a bit. I left the SS emblem in the grill because it was too hard to make it invisible. I also scratch built some rear bumper pieces that were not with the kit. Paint is Duplicolor lacquer spraybomb, polished out.
-
OOOOOH. i hadnt thought of the suburban! will have to look into that, would perhaps save having to bodywork 2 box side joint seams. Thanks for the tip!
-
Has anyone converted the Revell 65 or 66 chevy FLEETSIDE from a short bed to a longbed? I interested to see how how you guys have done it?
-
Round Instrument Panel Gauges To Print
TheBEAUMONTGURU replied to Yeah Nah's topic in Tips, Tricks, and Tutorials
very cool, you did a remarkable job on these!!! i have done a bunch of decals in photoshop as well. Any chance of sending the actual PDF file to people? would be a much higher resolution. I have some decal pages saved in Microsoft Publisher, i could "trade". they would be in a .PUB format tho -
Coca Cola Machine
TheBEAUMONTGURU replied to Tom99's topic in All The Rest: Motorcycles, Aviation, Military, Sci-Fi, Figures
cool. We still have that same machine at my work. You nailed it!!! -
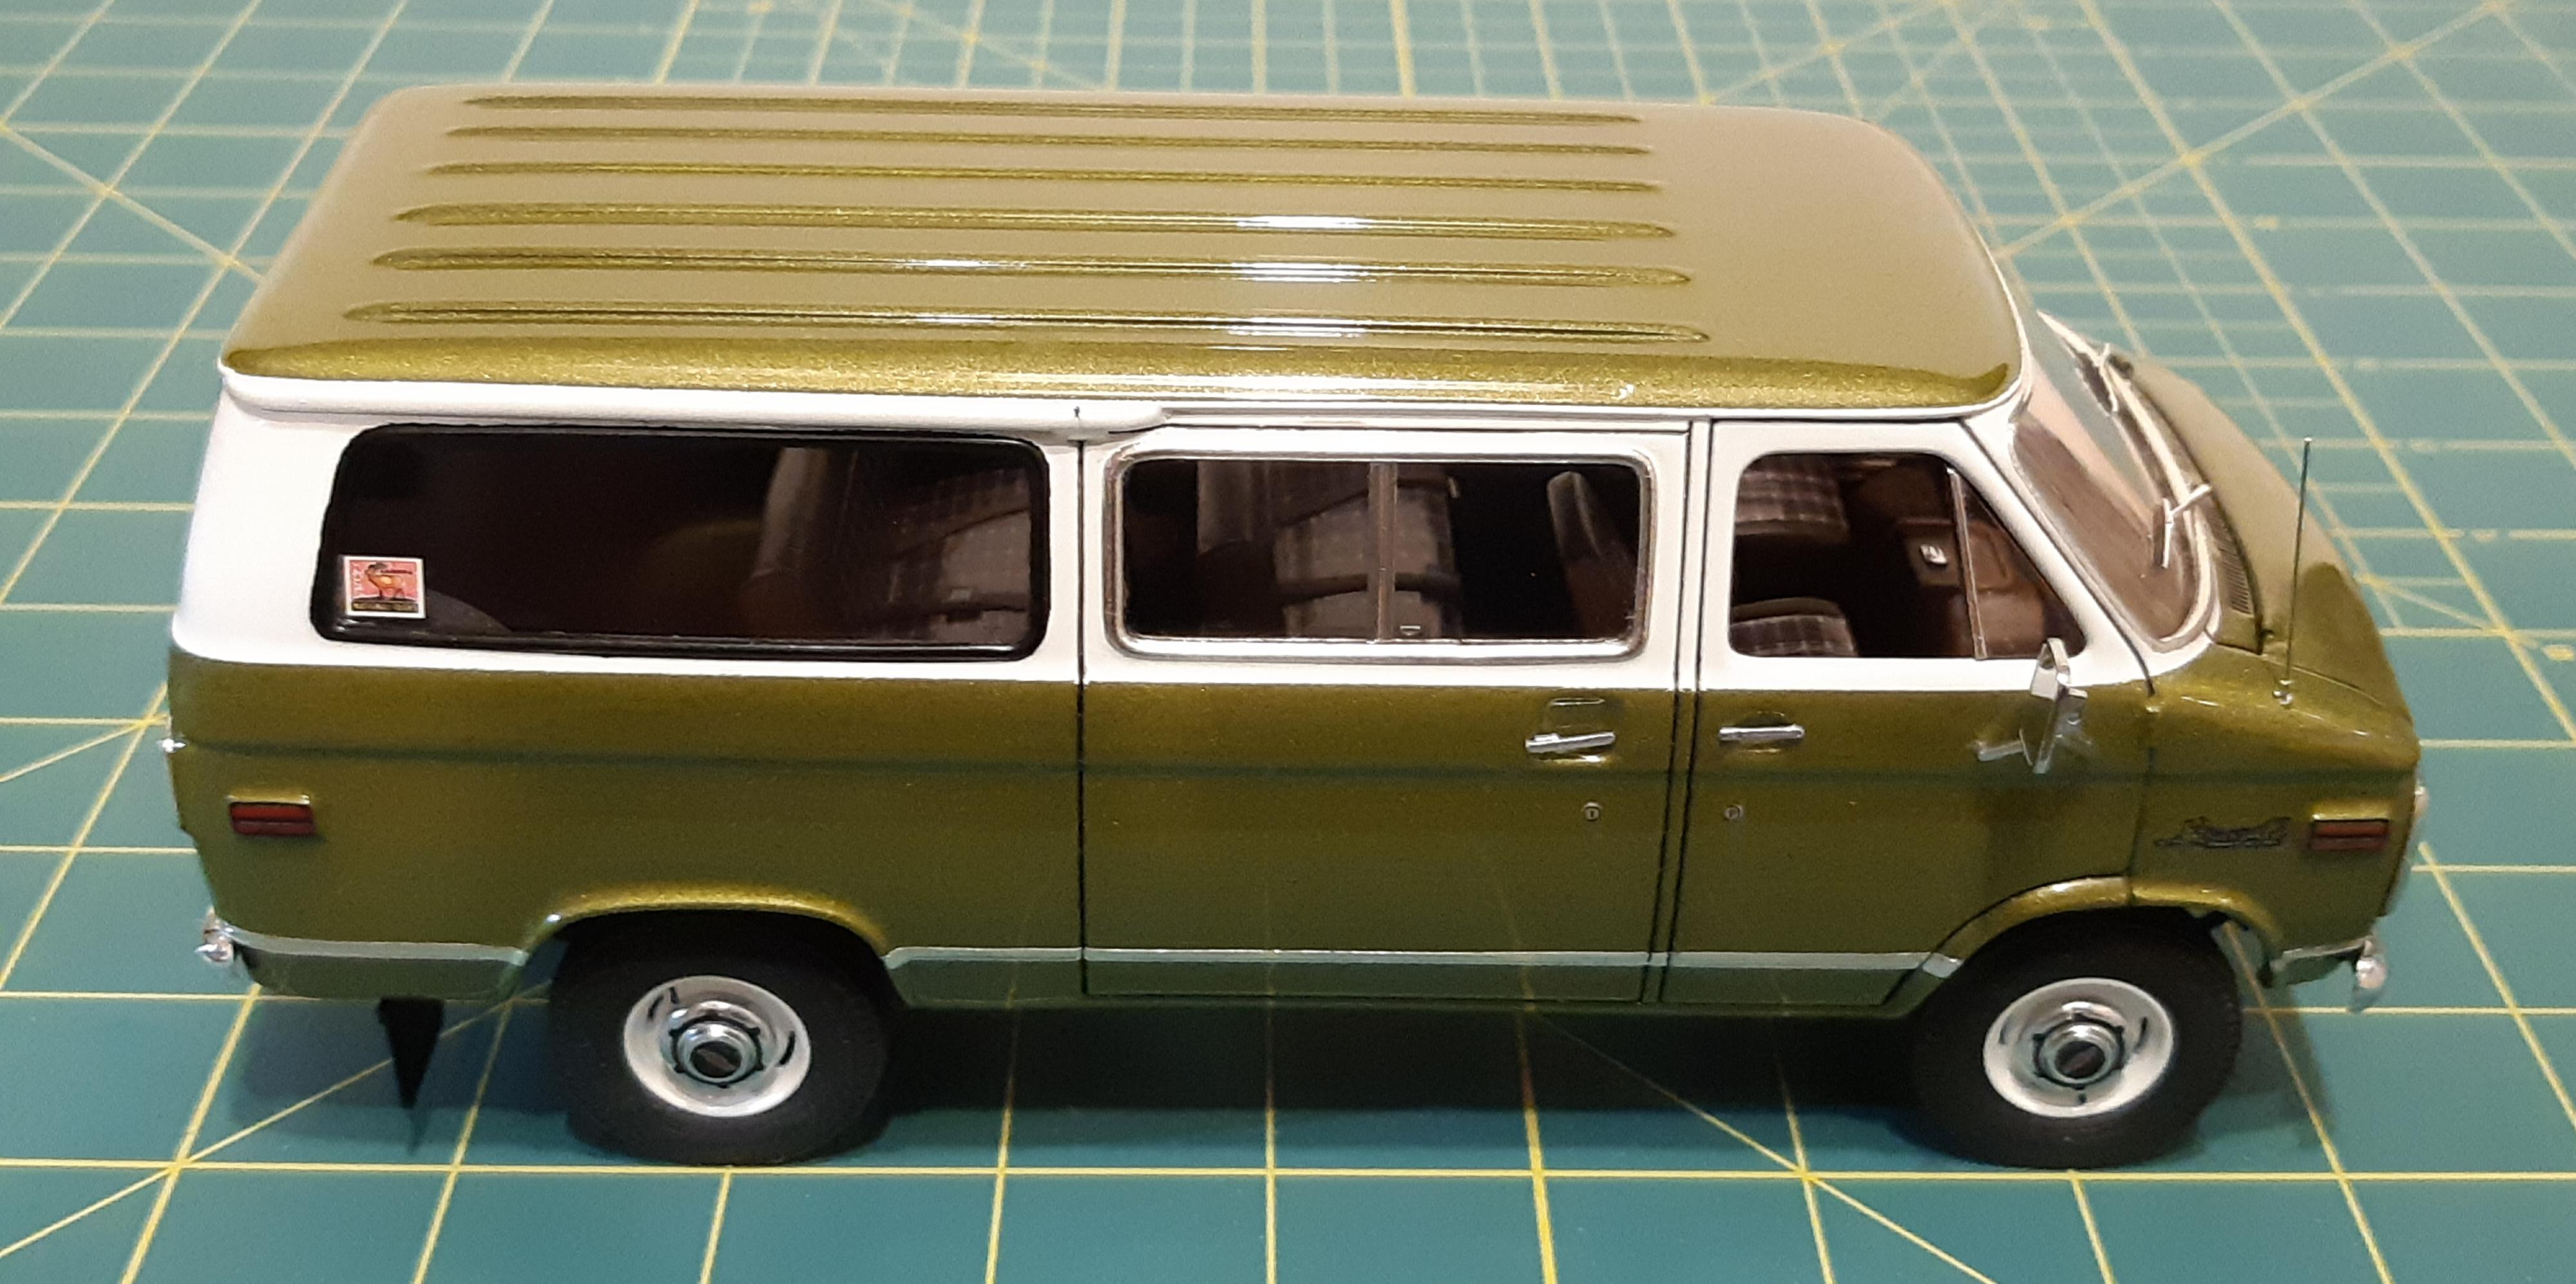
Geez these pictures come out big! its making the Metallic paint look funny and shows all my flaws! The paint looks way better in person
-
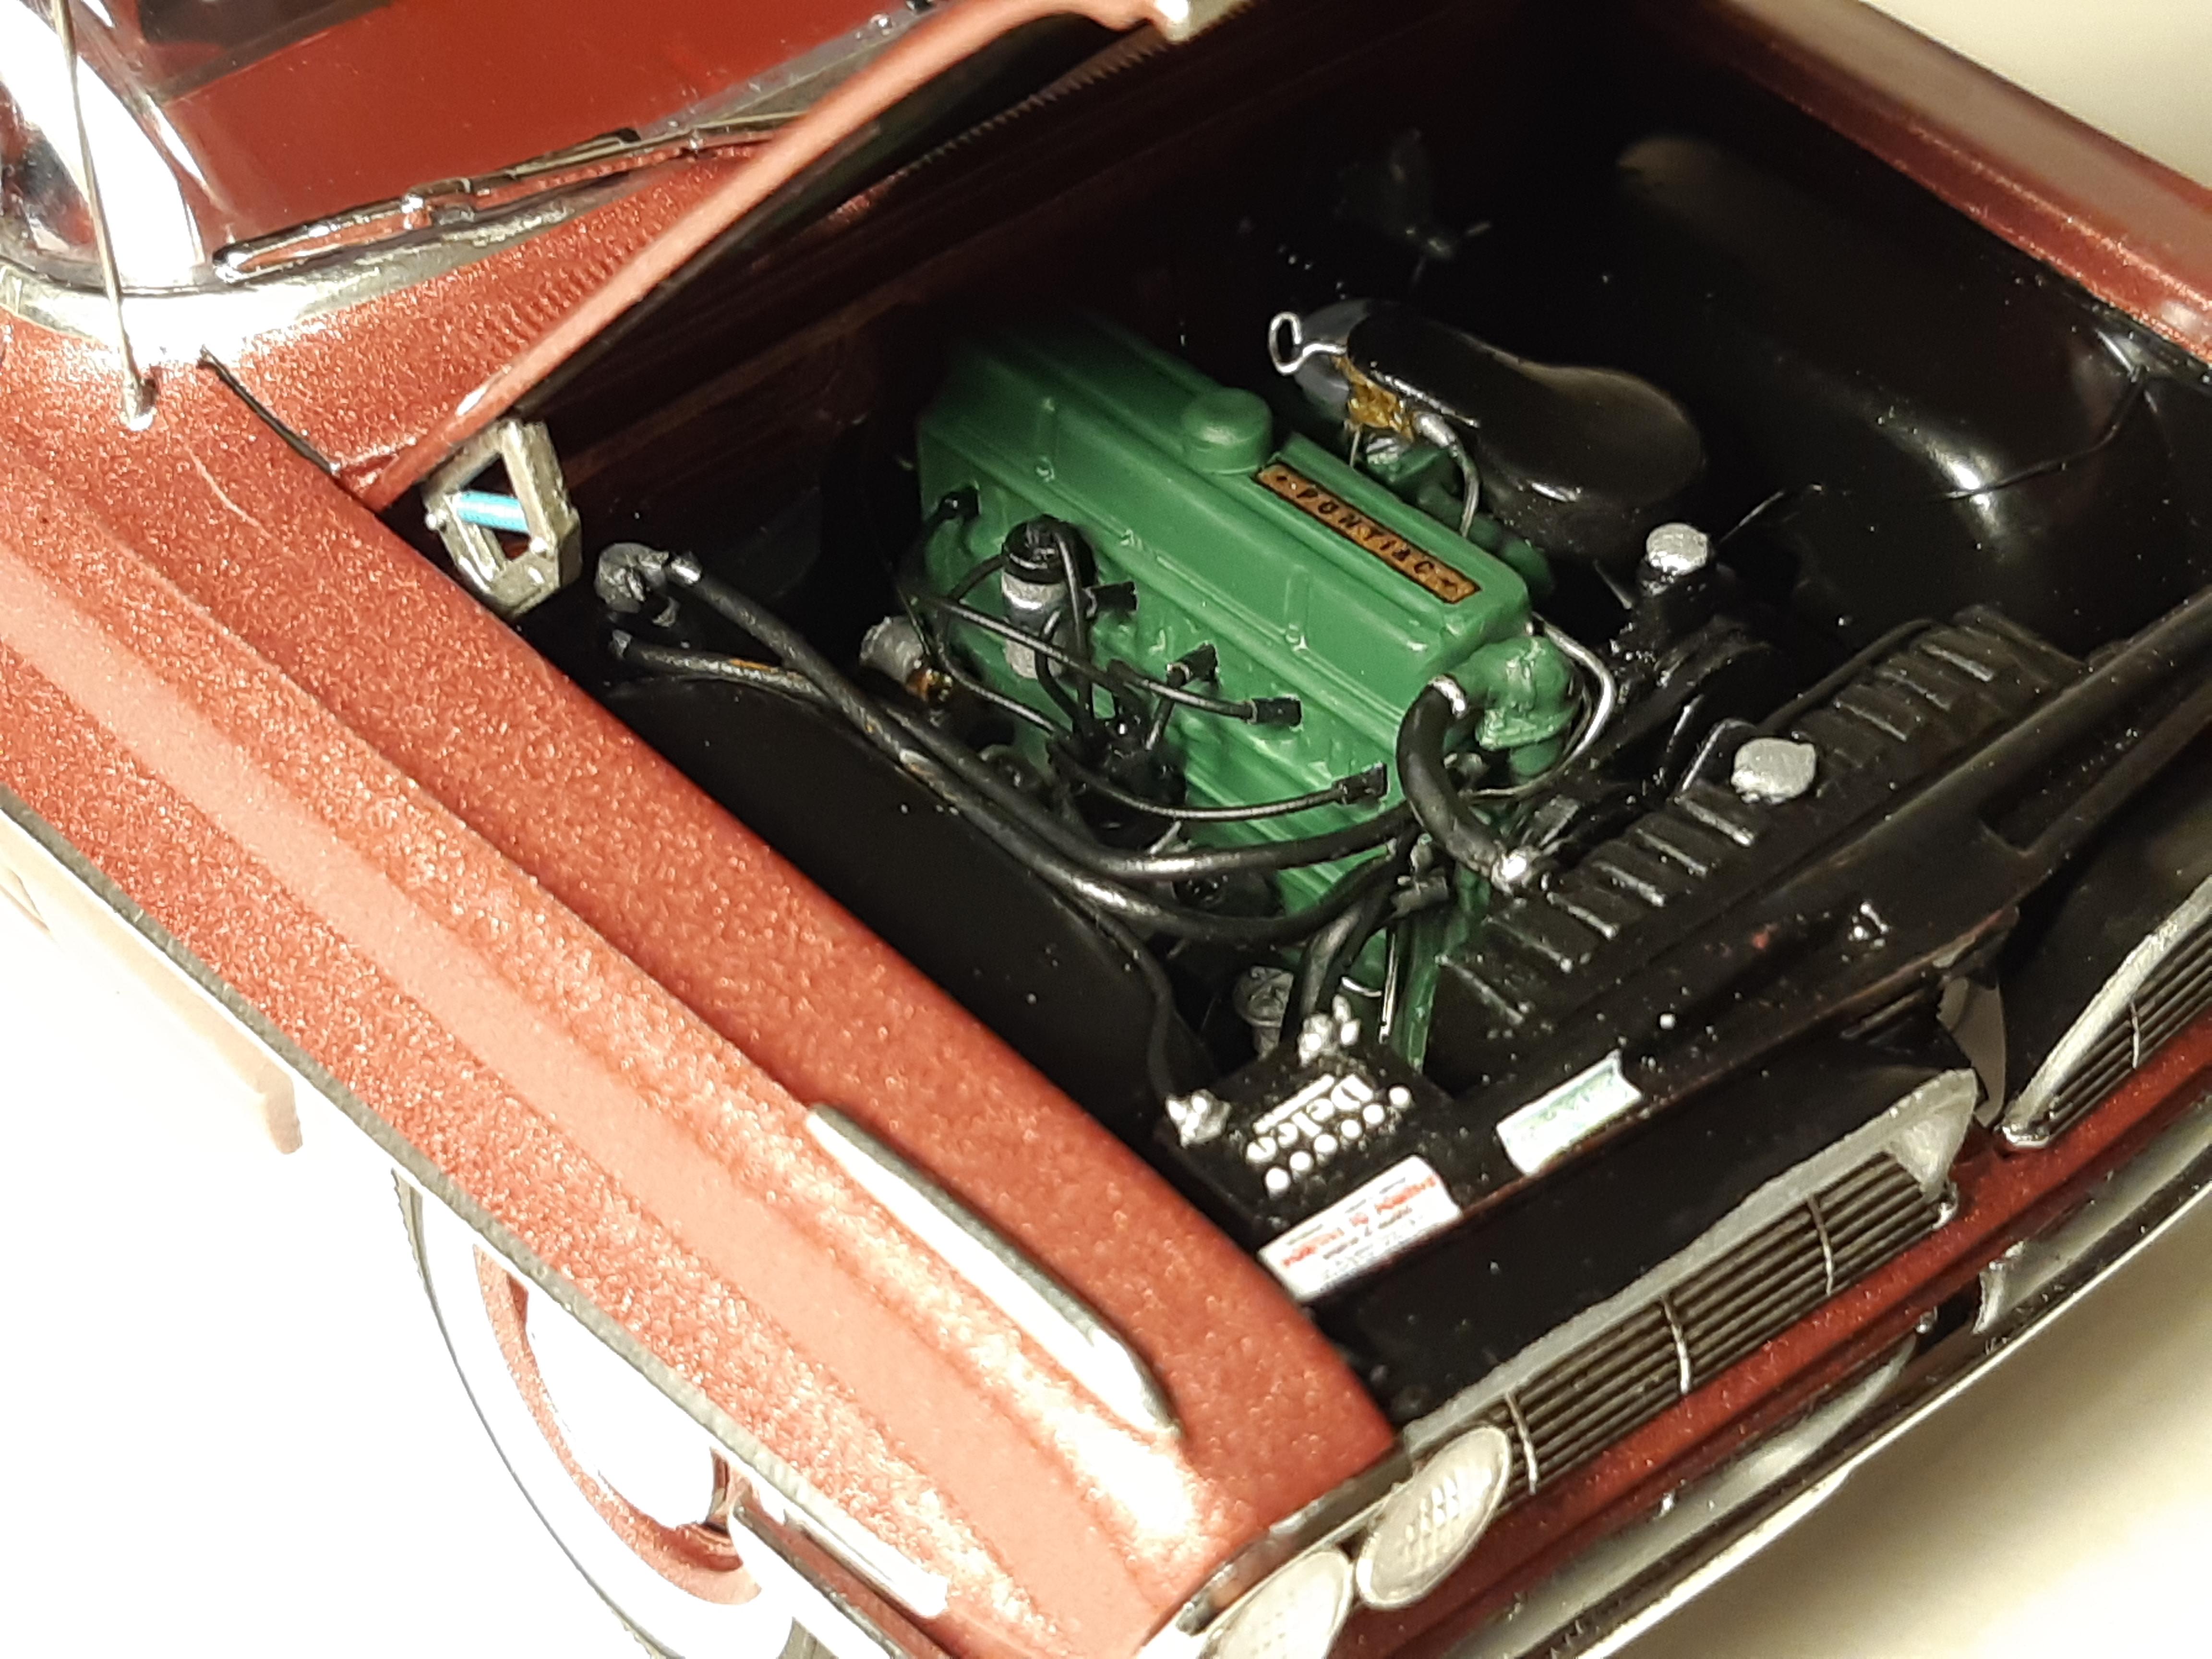
Its almost done. Remainder of the underhood details done. Made all the oil filler, transmission dipstick, rad holddowns, made all the decals and added some factory firewall markings too
-
Did some more underhood stuff like adding a brake booster and master, along with a fairly accurate washer bottle from the parts bins. Again headlights are still wet!
-
Here is the grill installed. I made an A/C condenser since i was adding a complete scratch built A/C system. The new grill with open bars really shows of the condenser nicely. Headlight glue is still drying in these photos thats why they look funny!!
-
very nice Dennis! cant wait to see it done at the next meeting.
-
Unconventional Materials - From the jewelry area
TheBEAUMONTGURU replied to Jiml0001's topic in Tips, Tricks, and Tutorials
Cool, thanks so much for the info Graham! I deal with this electronics place. Does this look like the right thing? it would be 1 Meter length for about 10 dollars canadian, seems cheap enough as long as its correct. it says .81 size https://www.mouser.ca/ProductDetail/Amphenol-RF/A-1PA-081-01KB2?qs=zZwI6SfhpKSDvKwTZRTv0g%3D%3D -
Unconventional Materials - From the jewelry area
TheBEAUMONTGURU replied to Jiml0001's topic in Tips, Tricks, and Tutorials
I havent been able to find the roll of Coax cable. Ebay has lots of short sections with ends on them tho. Has anyone bought these and cut the ends and striped them out? with the same results? -
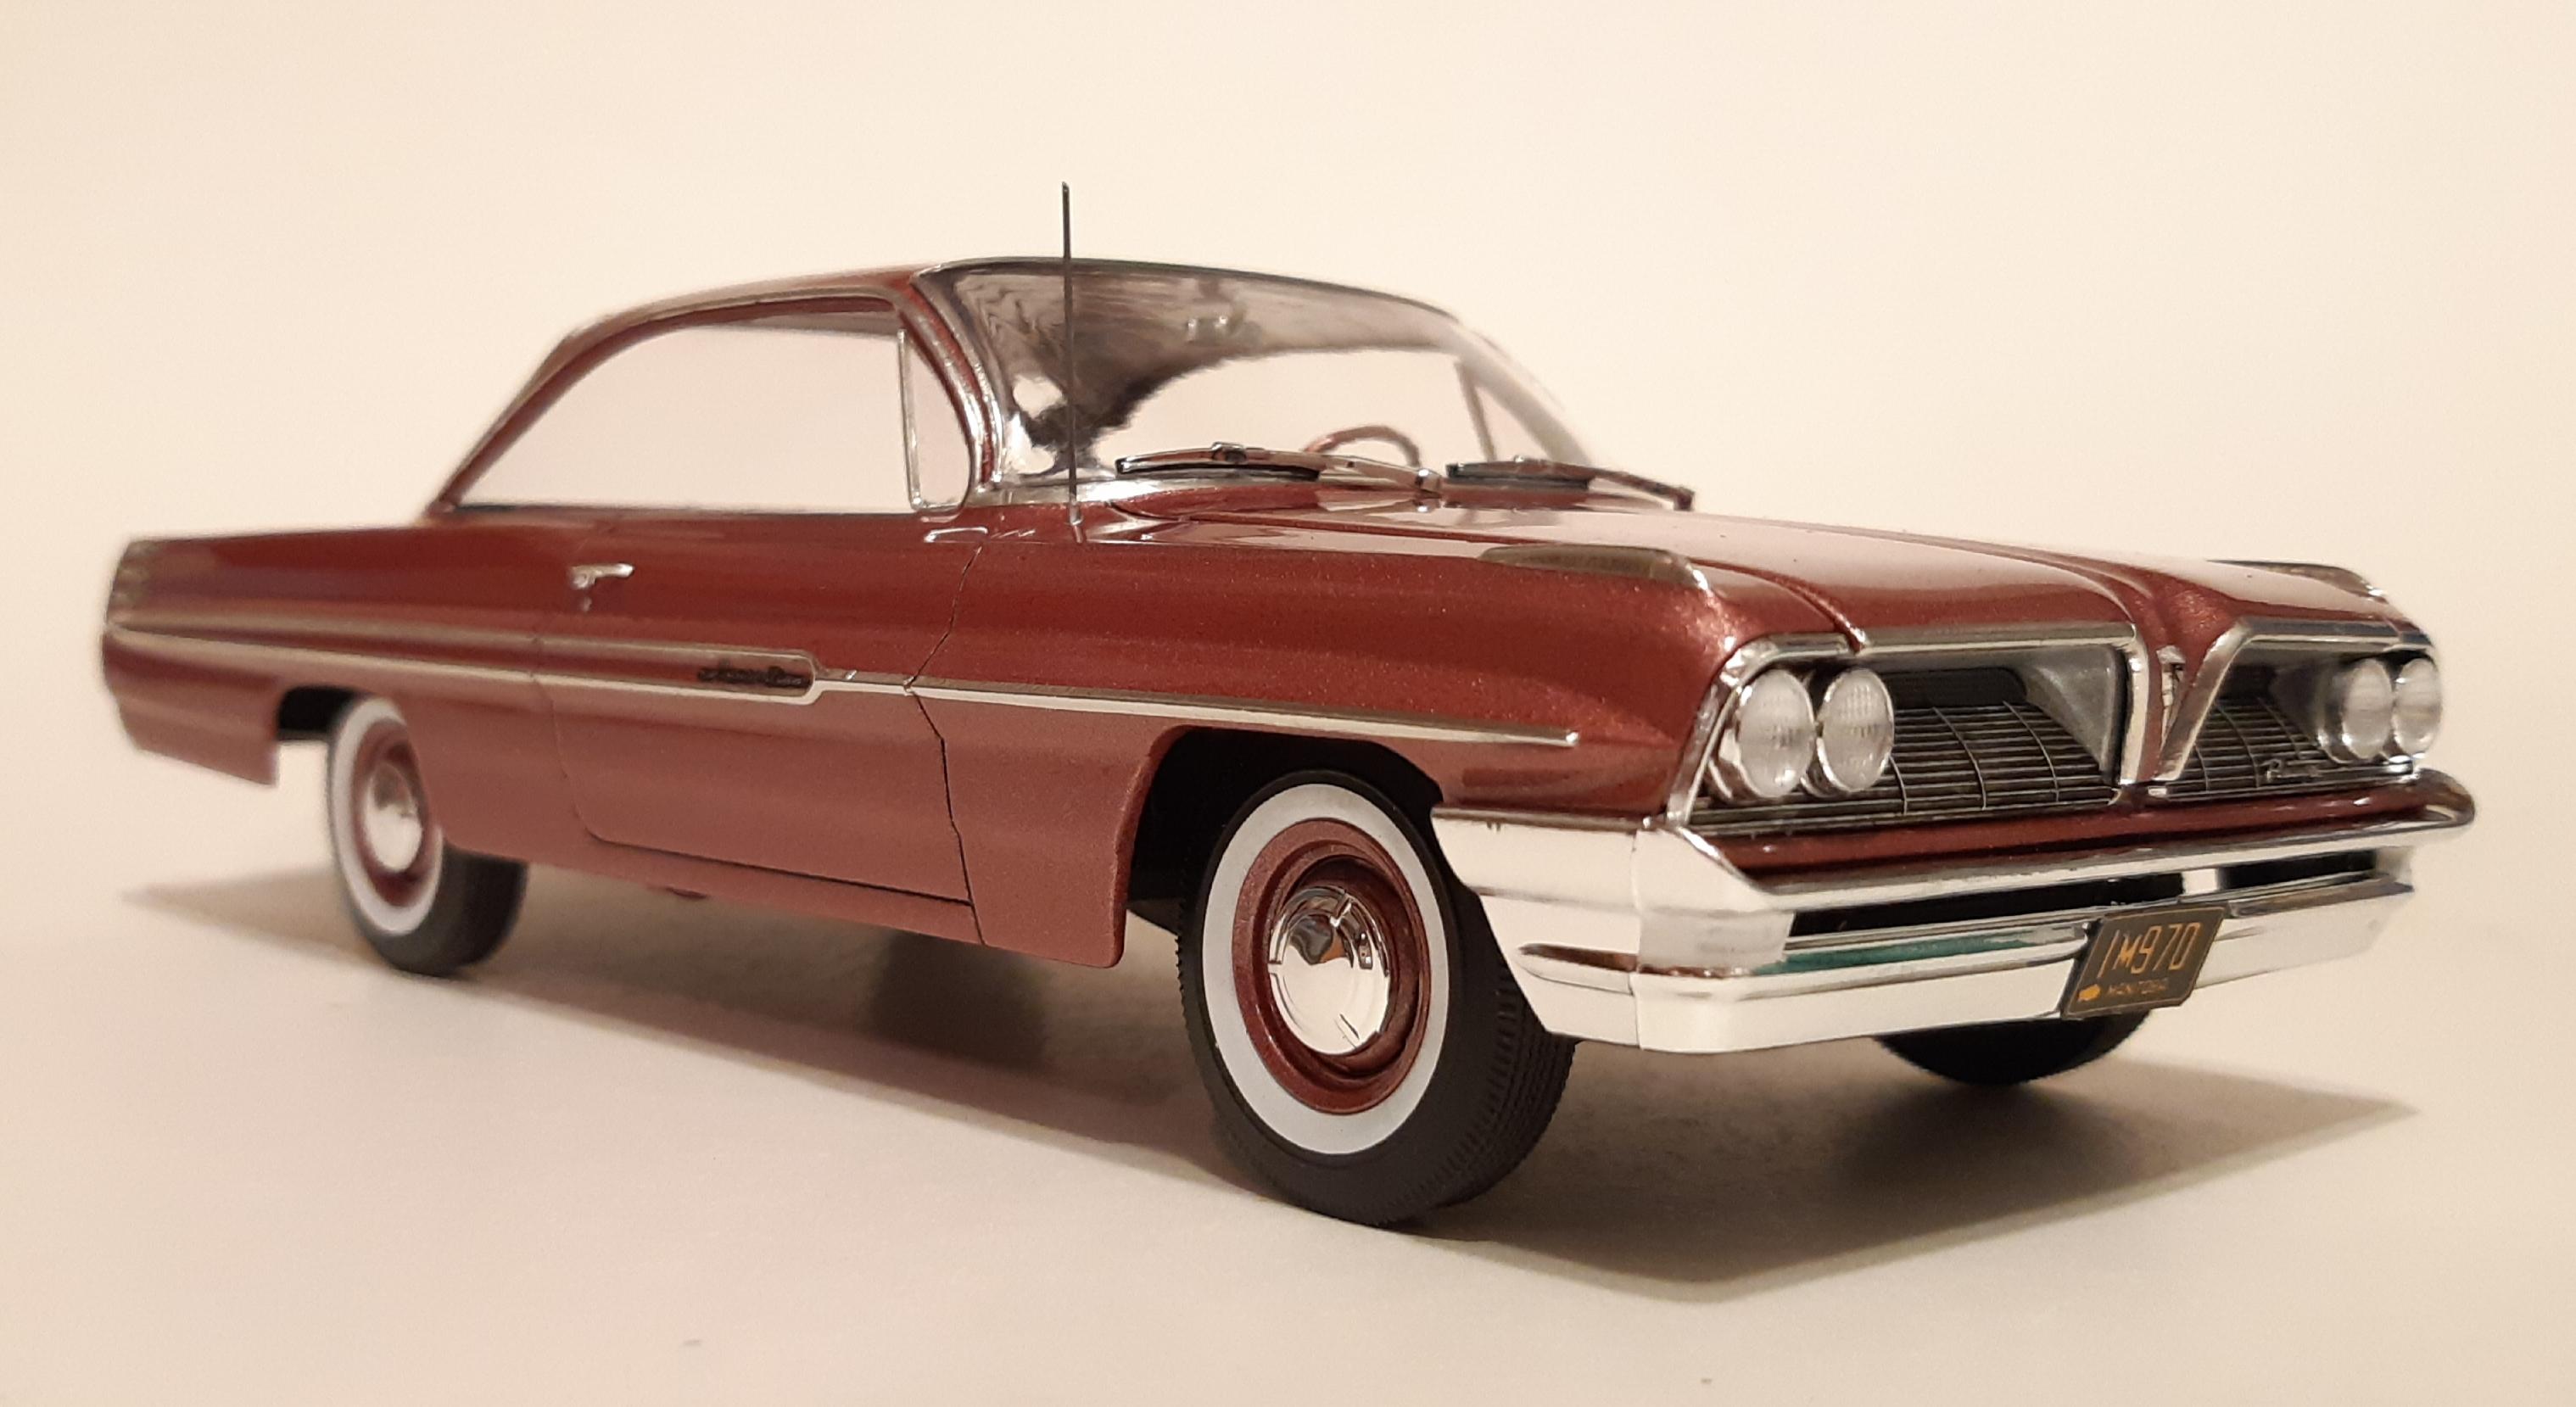
Canadian 1961 Pontiac Laurentian conversion
TheBEAUMONTGURU replied to TheBEAUMONTGURU's topic in WIP: Model Cars
-
Canadian 1961 Pontiac Laurentian conversion
TheBEAUMONTGURU replied to TheBEAUMONTGURU's topic in WIP: Model Cars
I topped it off with some photoshopped decals i printed out. Its got a Sinclair Pontiac dealer decal from Ontario, the Valve cover decal and Laurentian emblem is also one i made myself.
-
Canadian 1961 Pontiac Laurentian conversion
TheBEAUMONTGURU replied to TheBEAUMONTGURU's topic in WIP: Model Cars
The completed model! this was a fun build. Thanks for all the likes and looks!!