okazaki0511
-
Posts
27 -
Joined
-
Last visited
Content Type
Profiles
Forums
Events
Gallery
Everything posted by okazaki0511
-
1/12 Mclaren MP4/6
okazaki0511 replied to okazaki0511's topic in WIP: Other Racing: Road Racing, Land Speed Racers
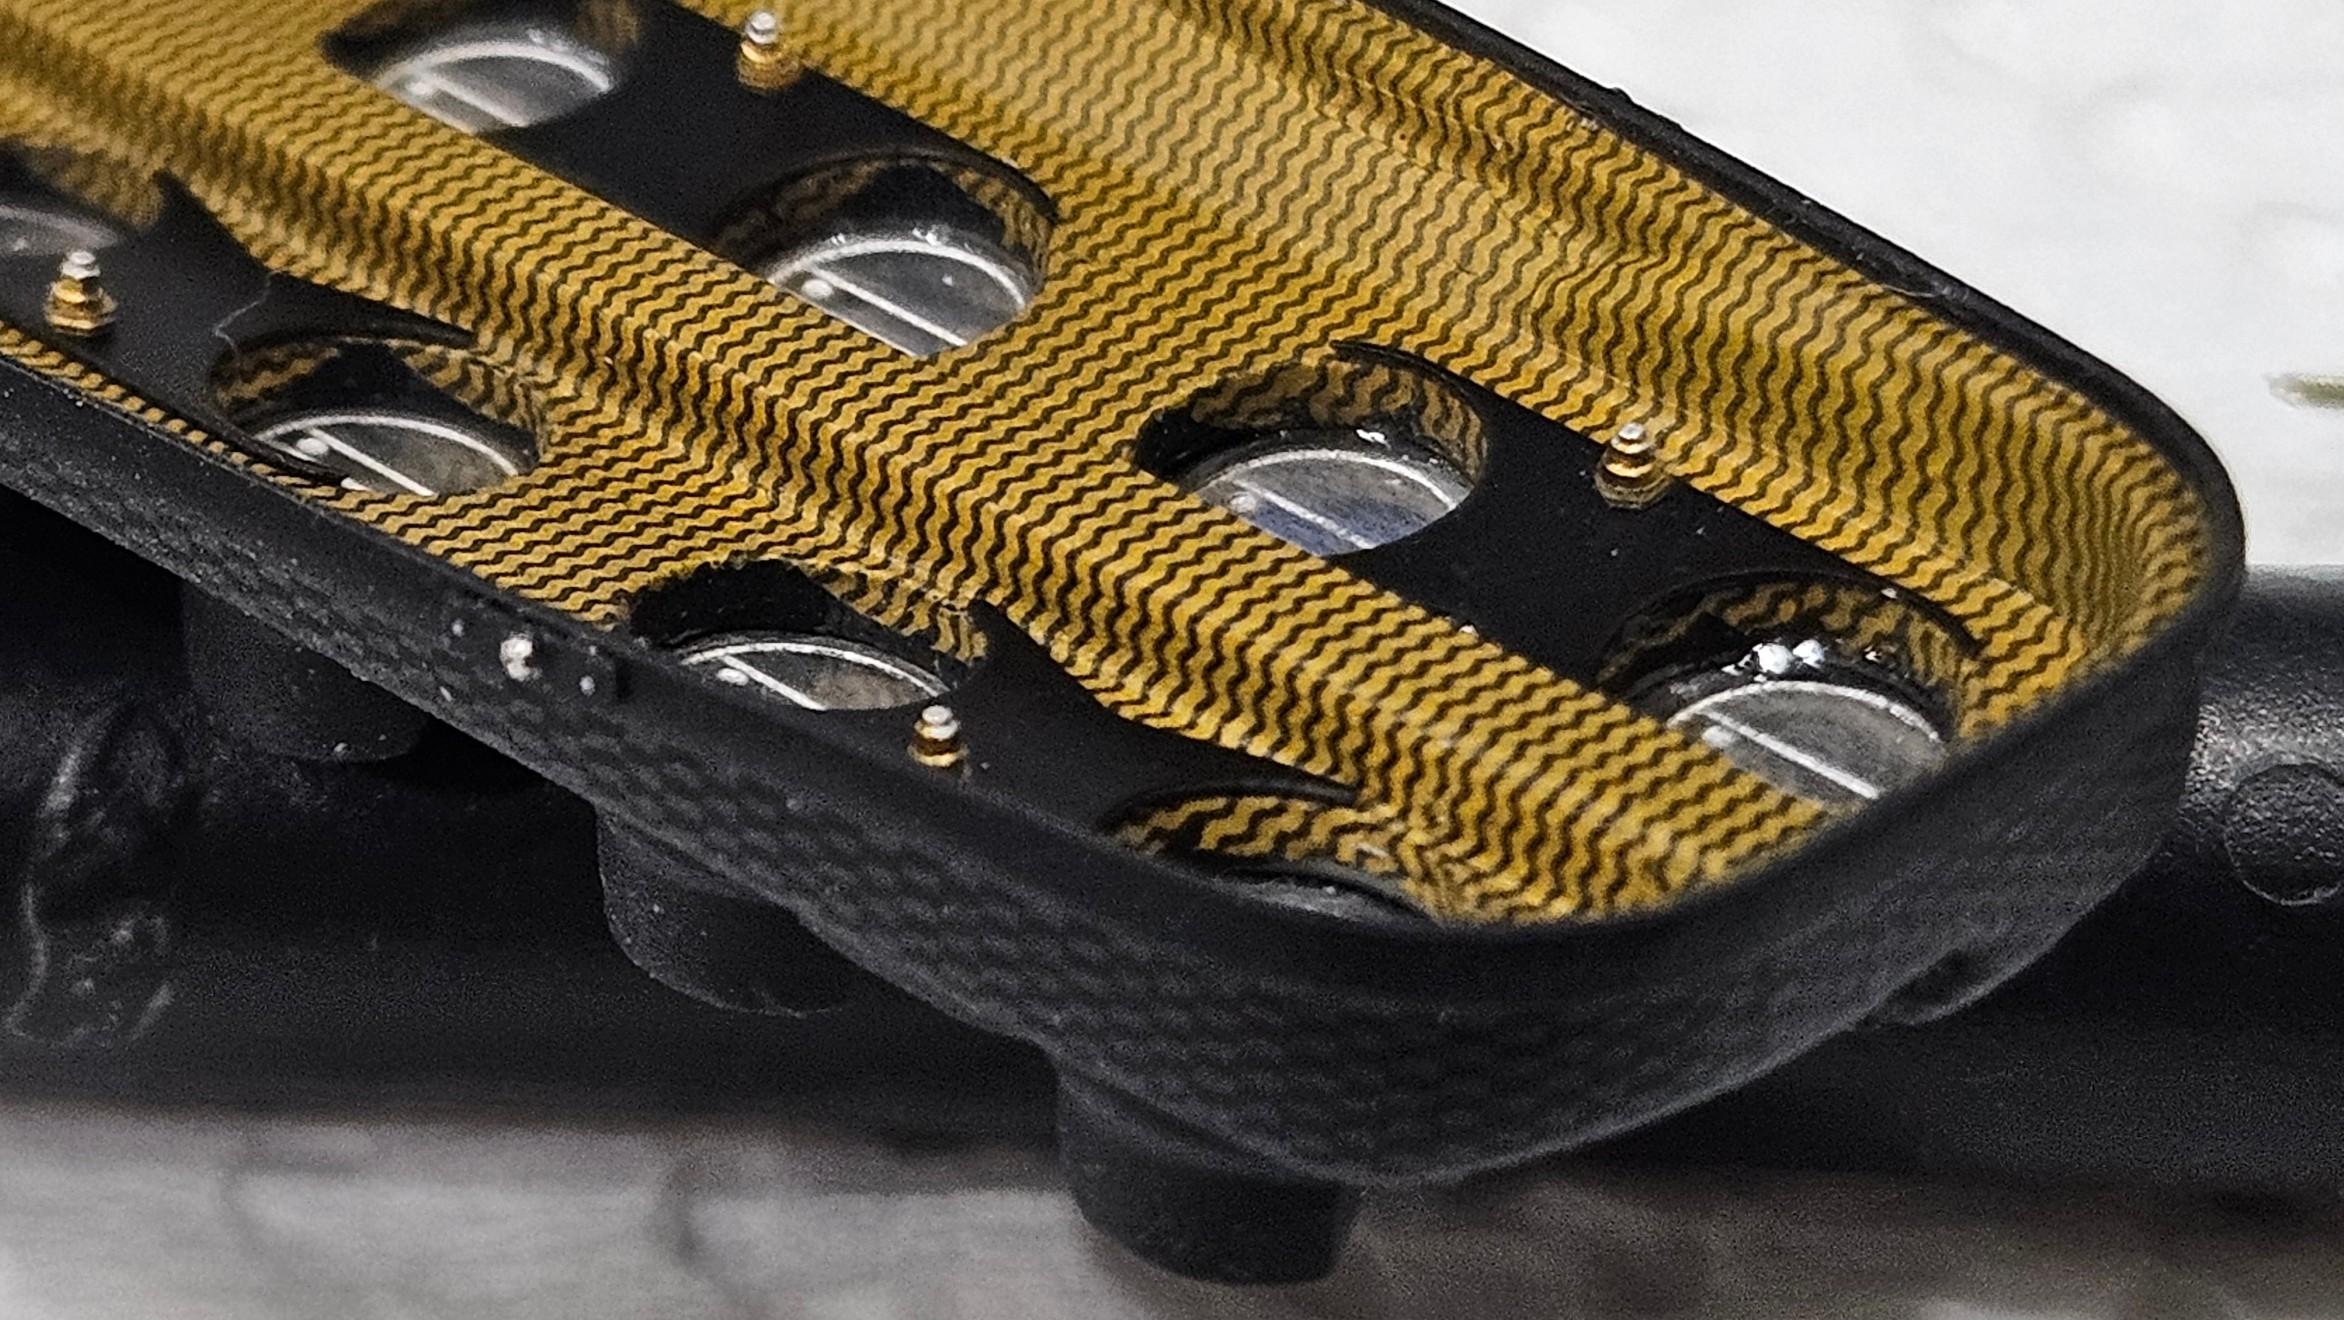
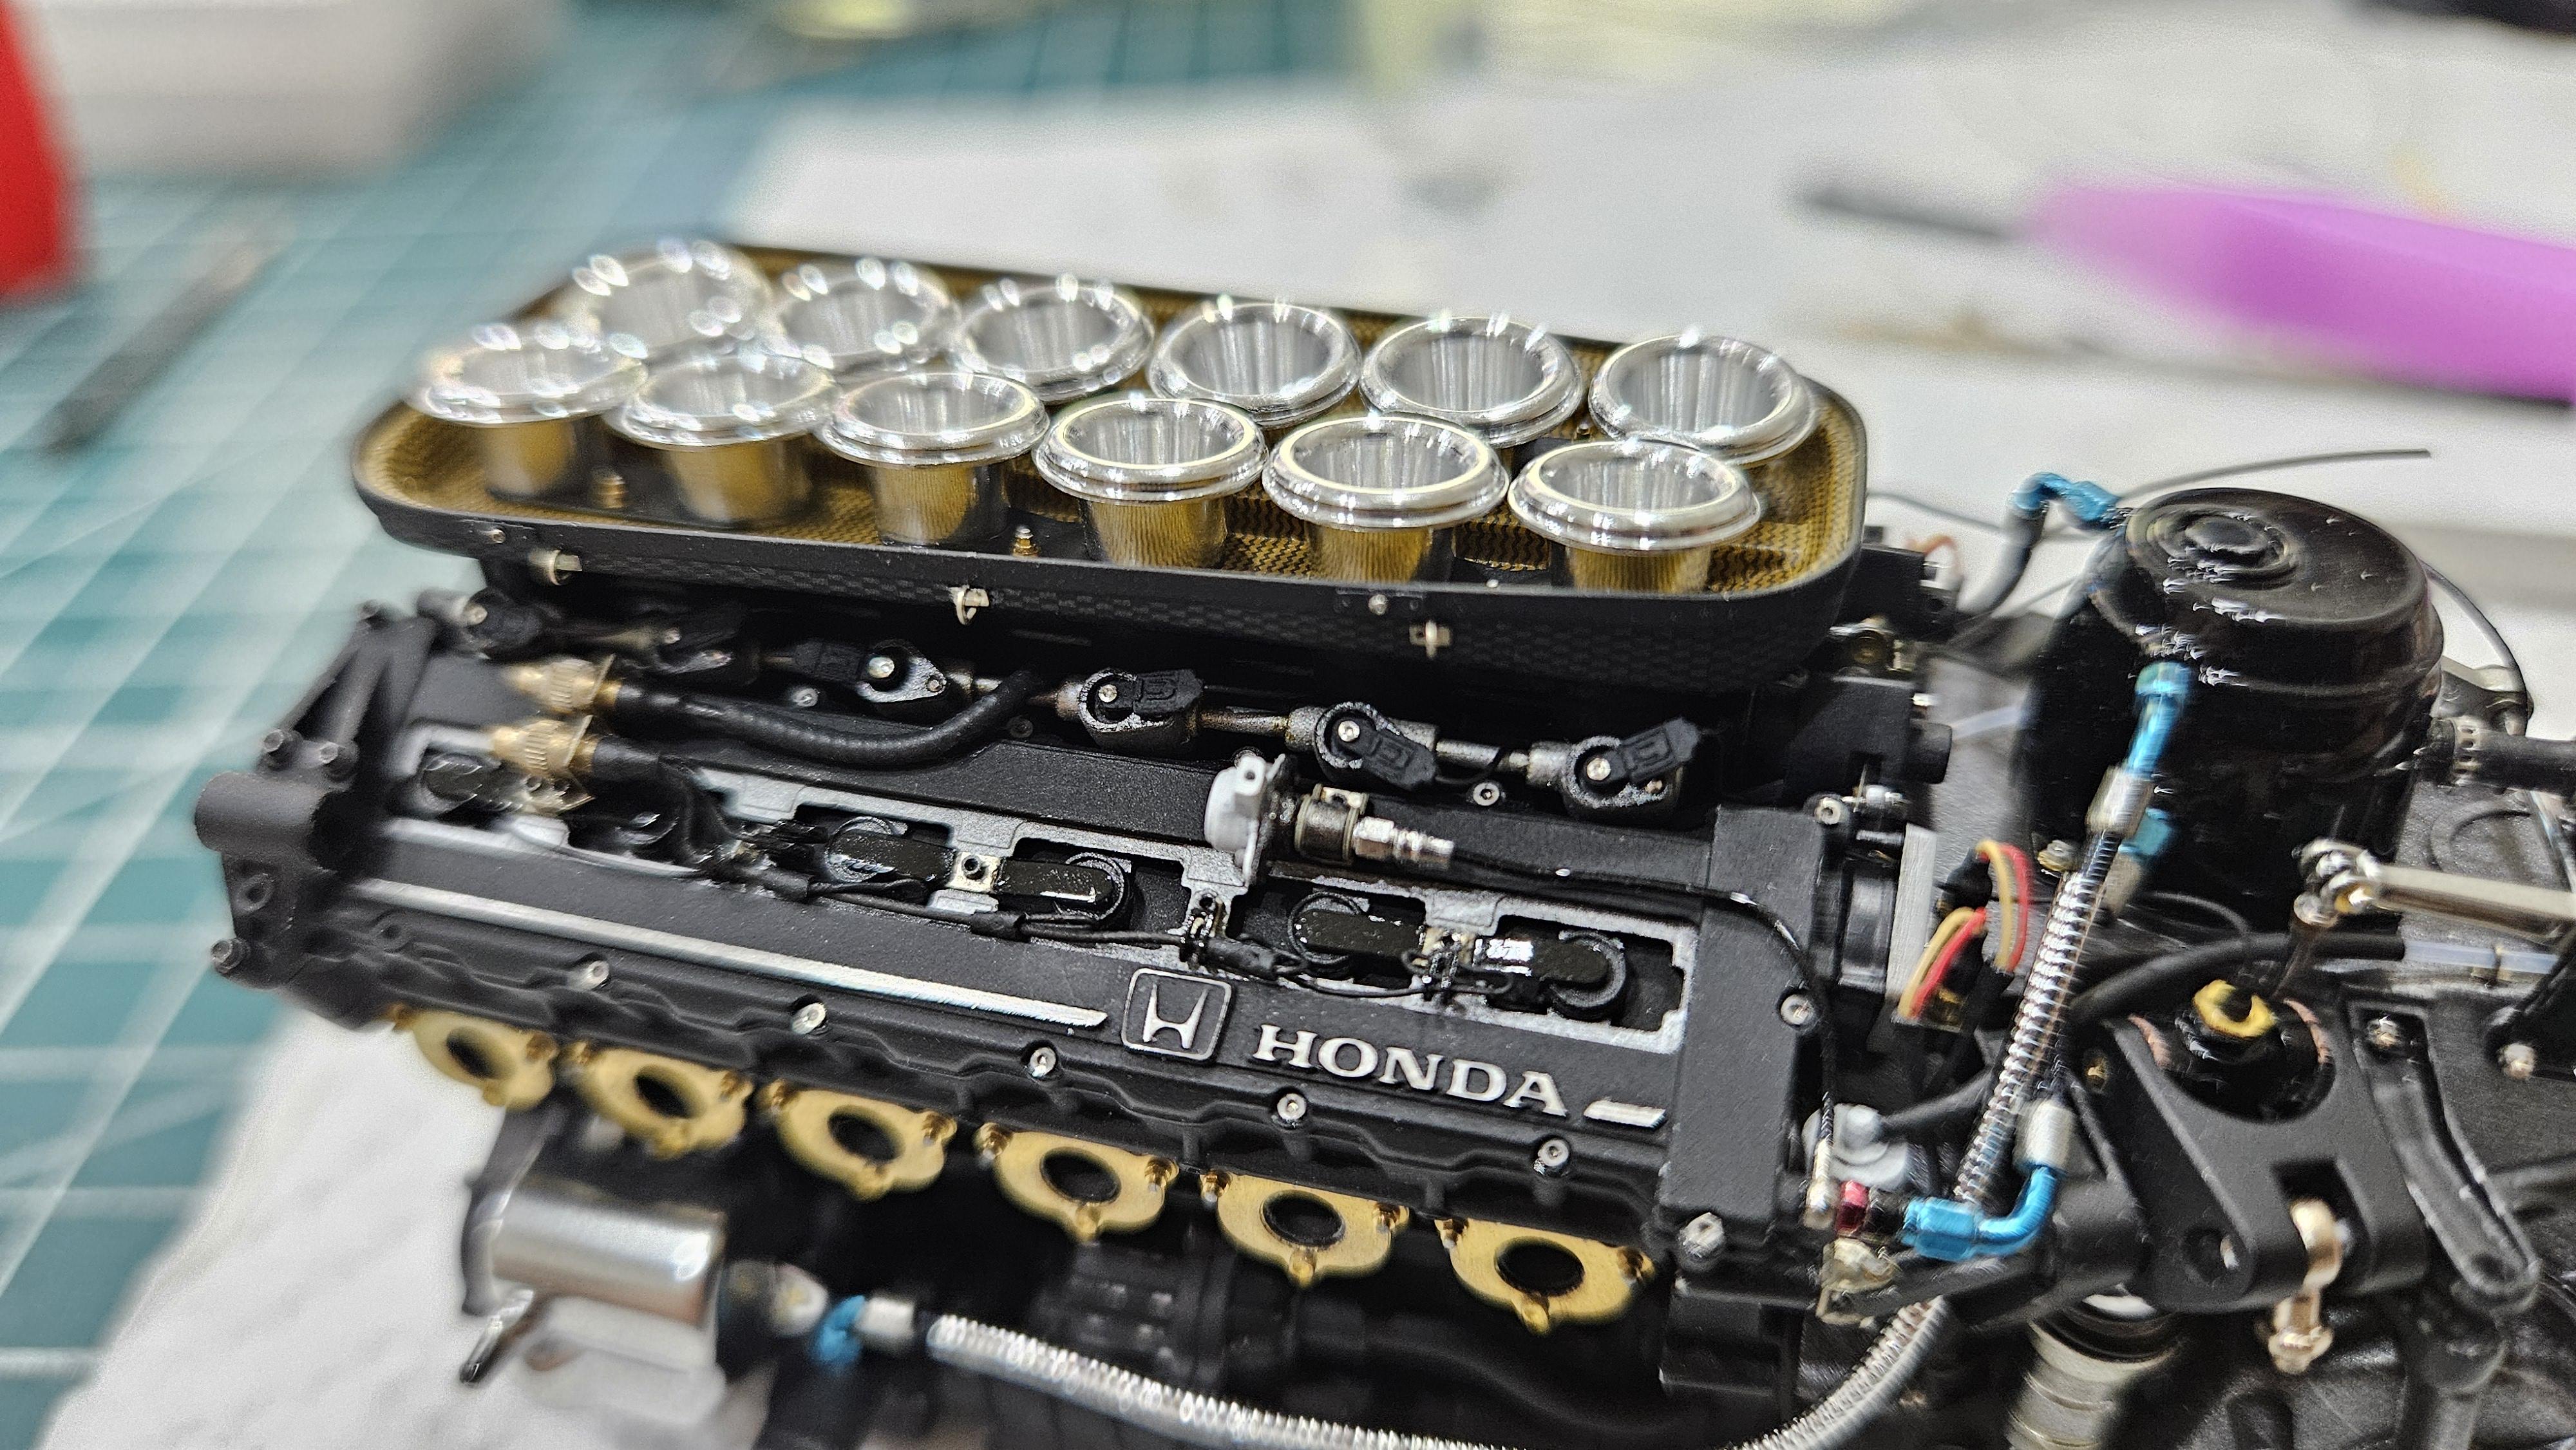
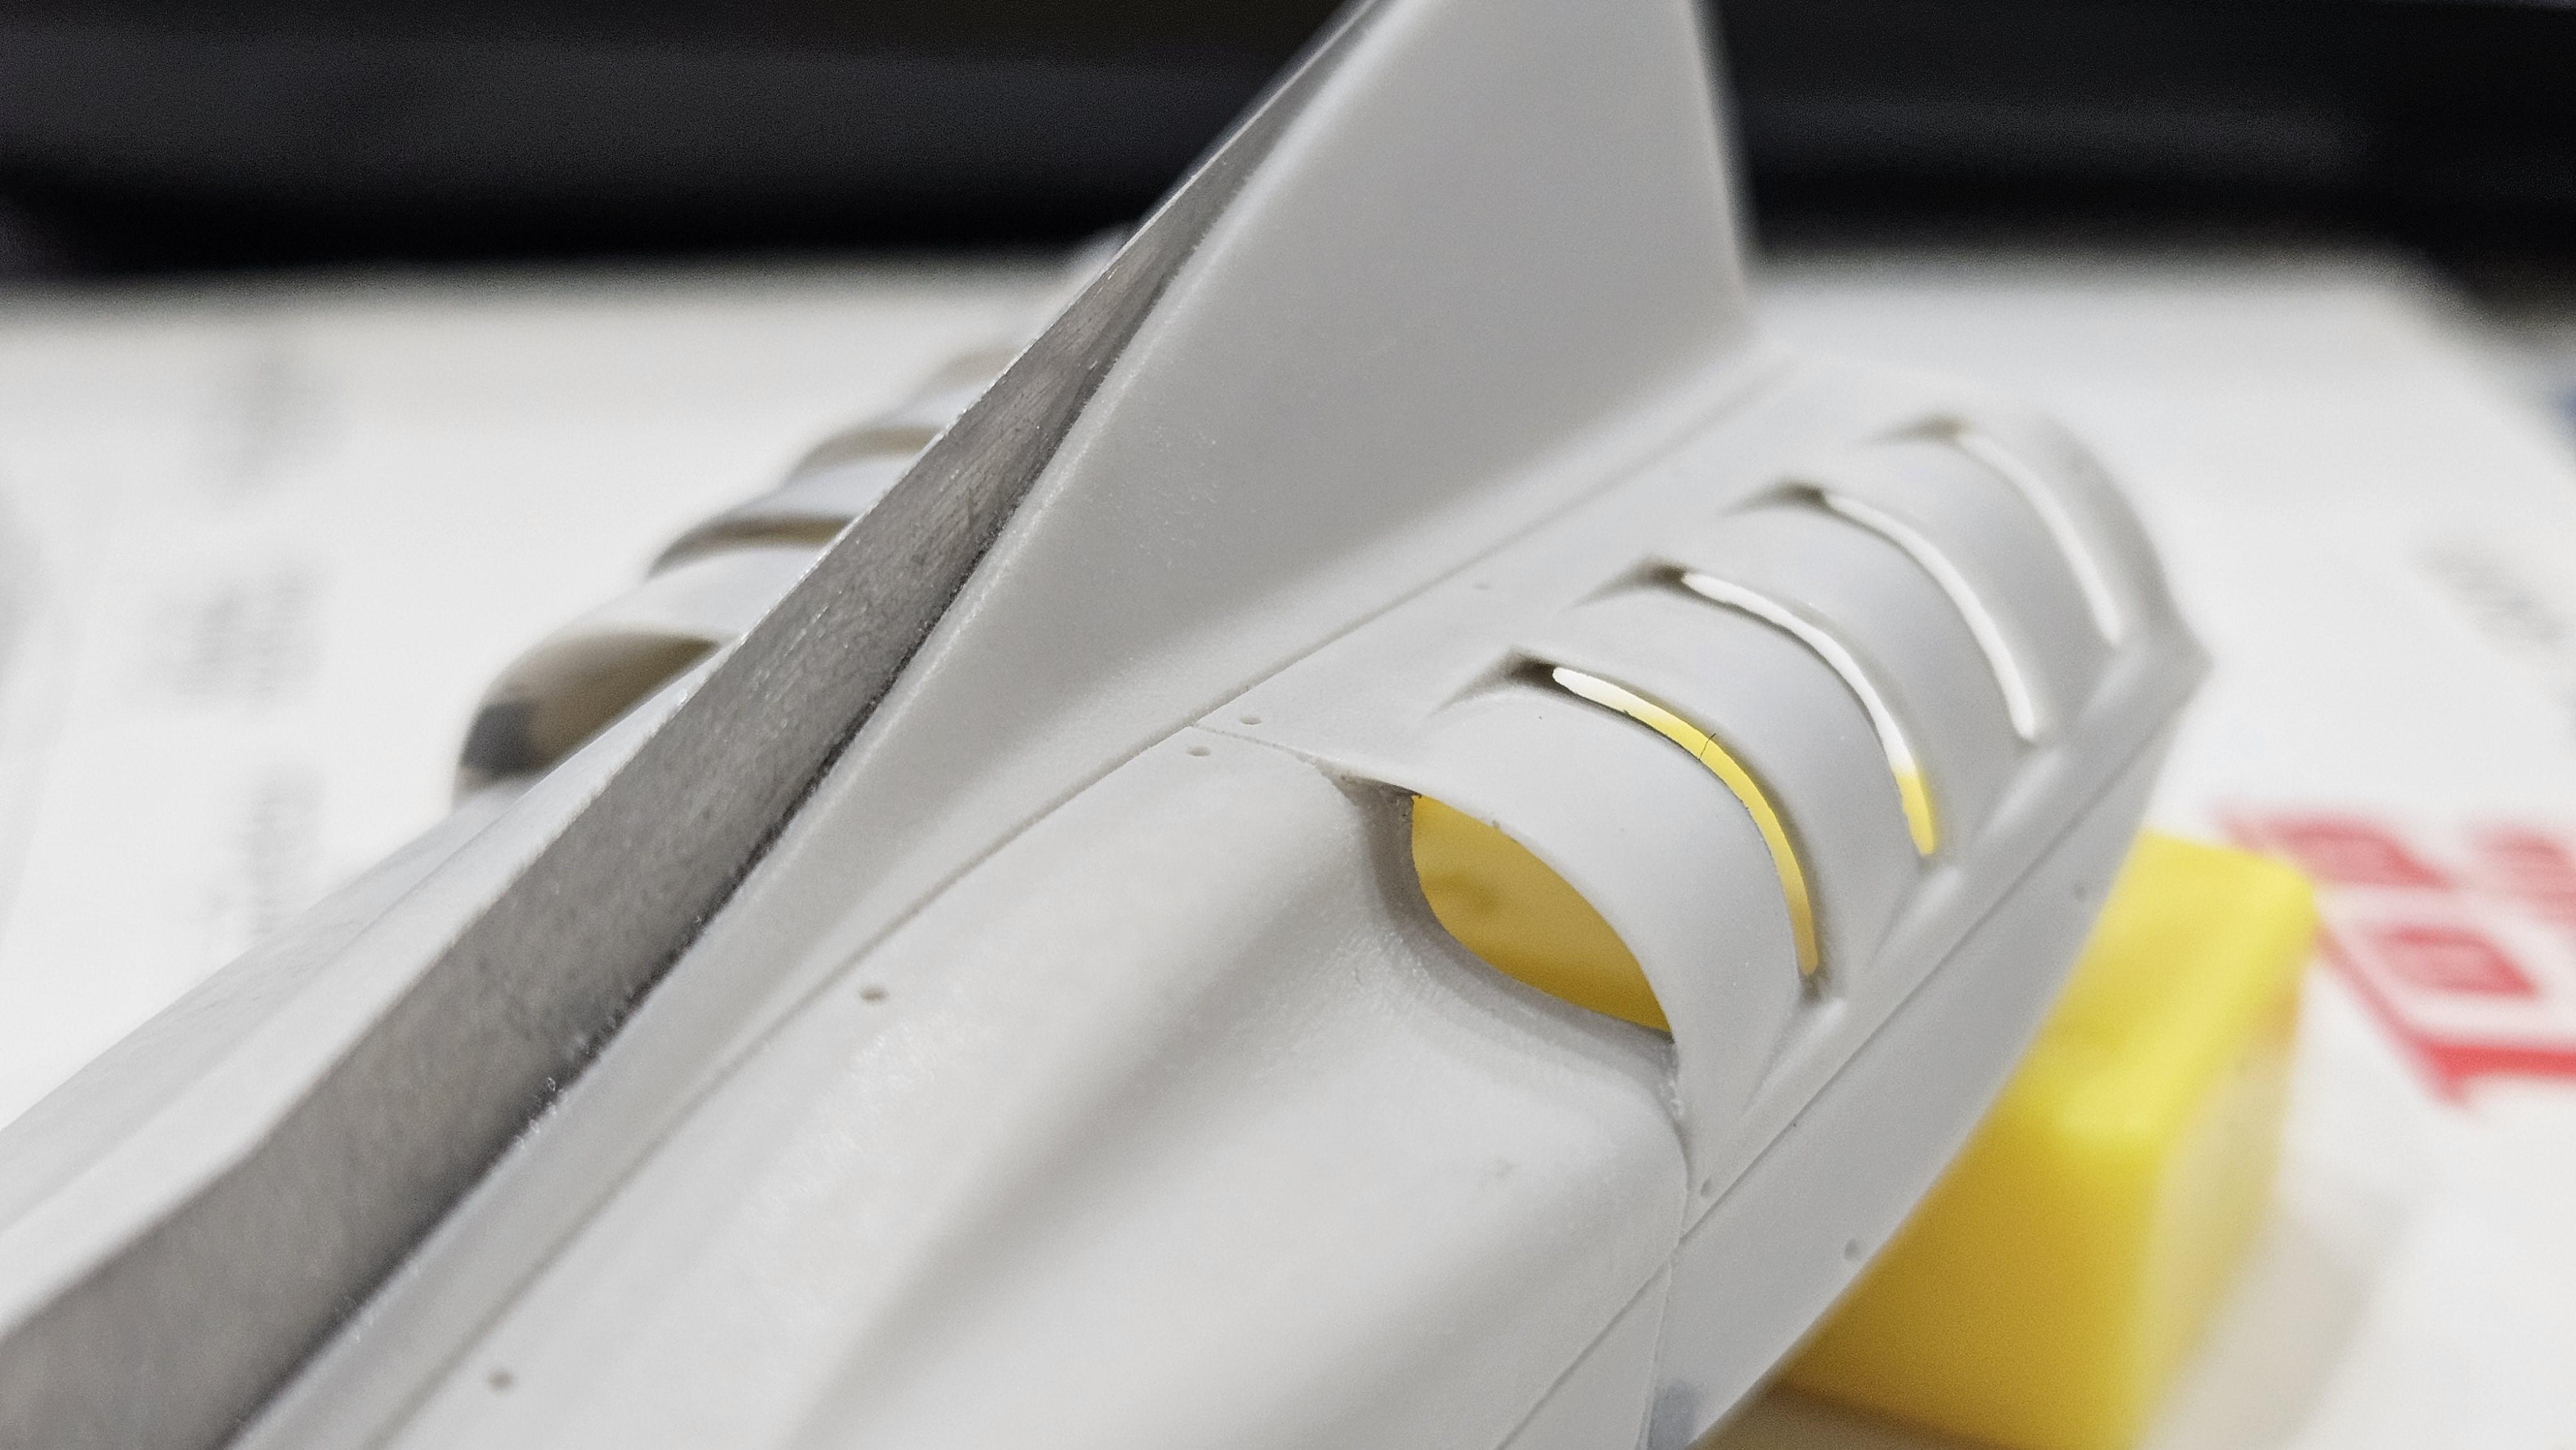
Update some progress. Finished the air funnel part.
-
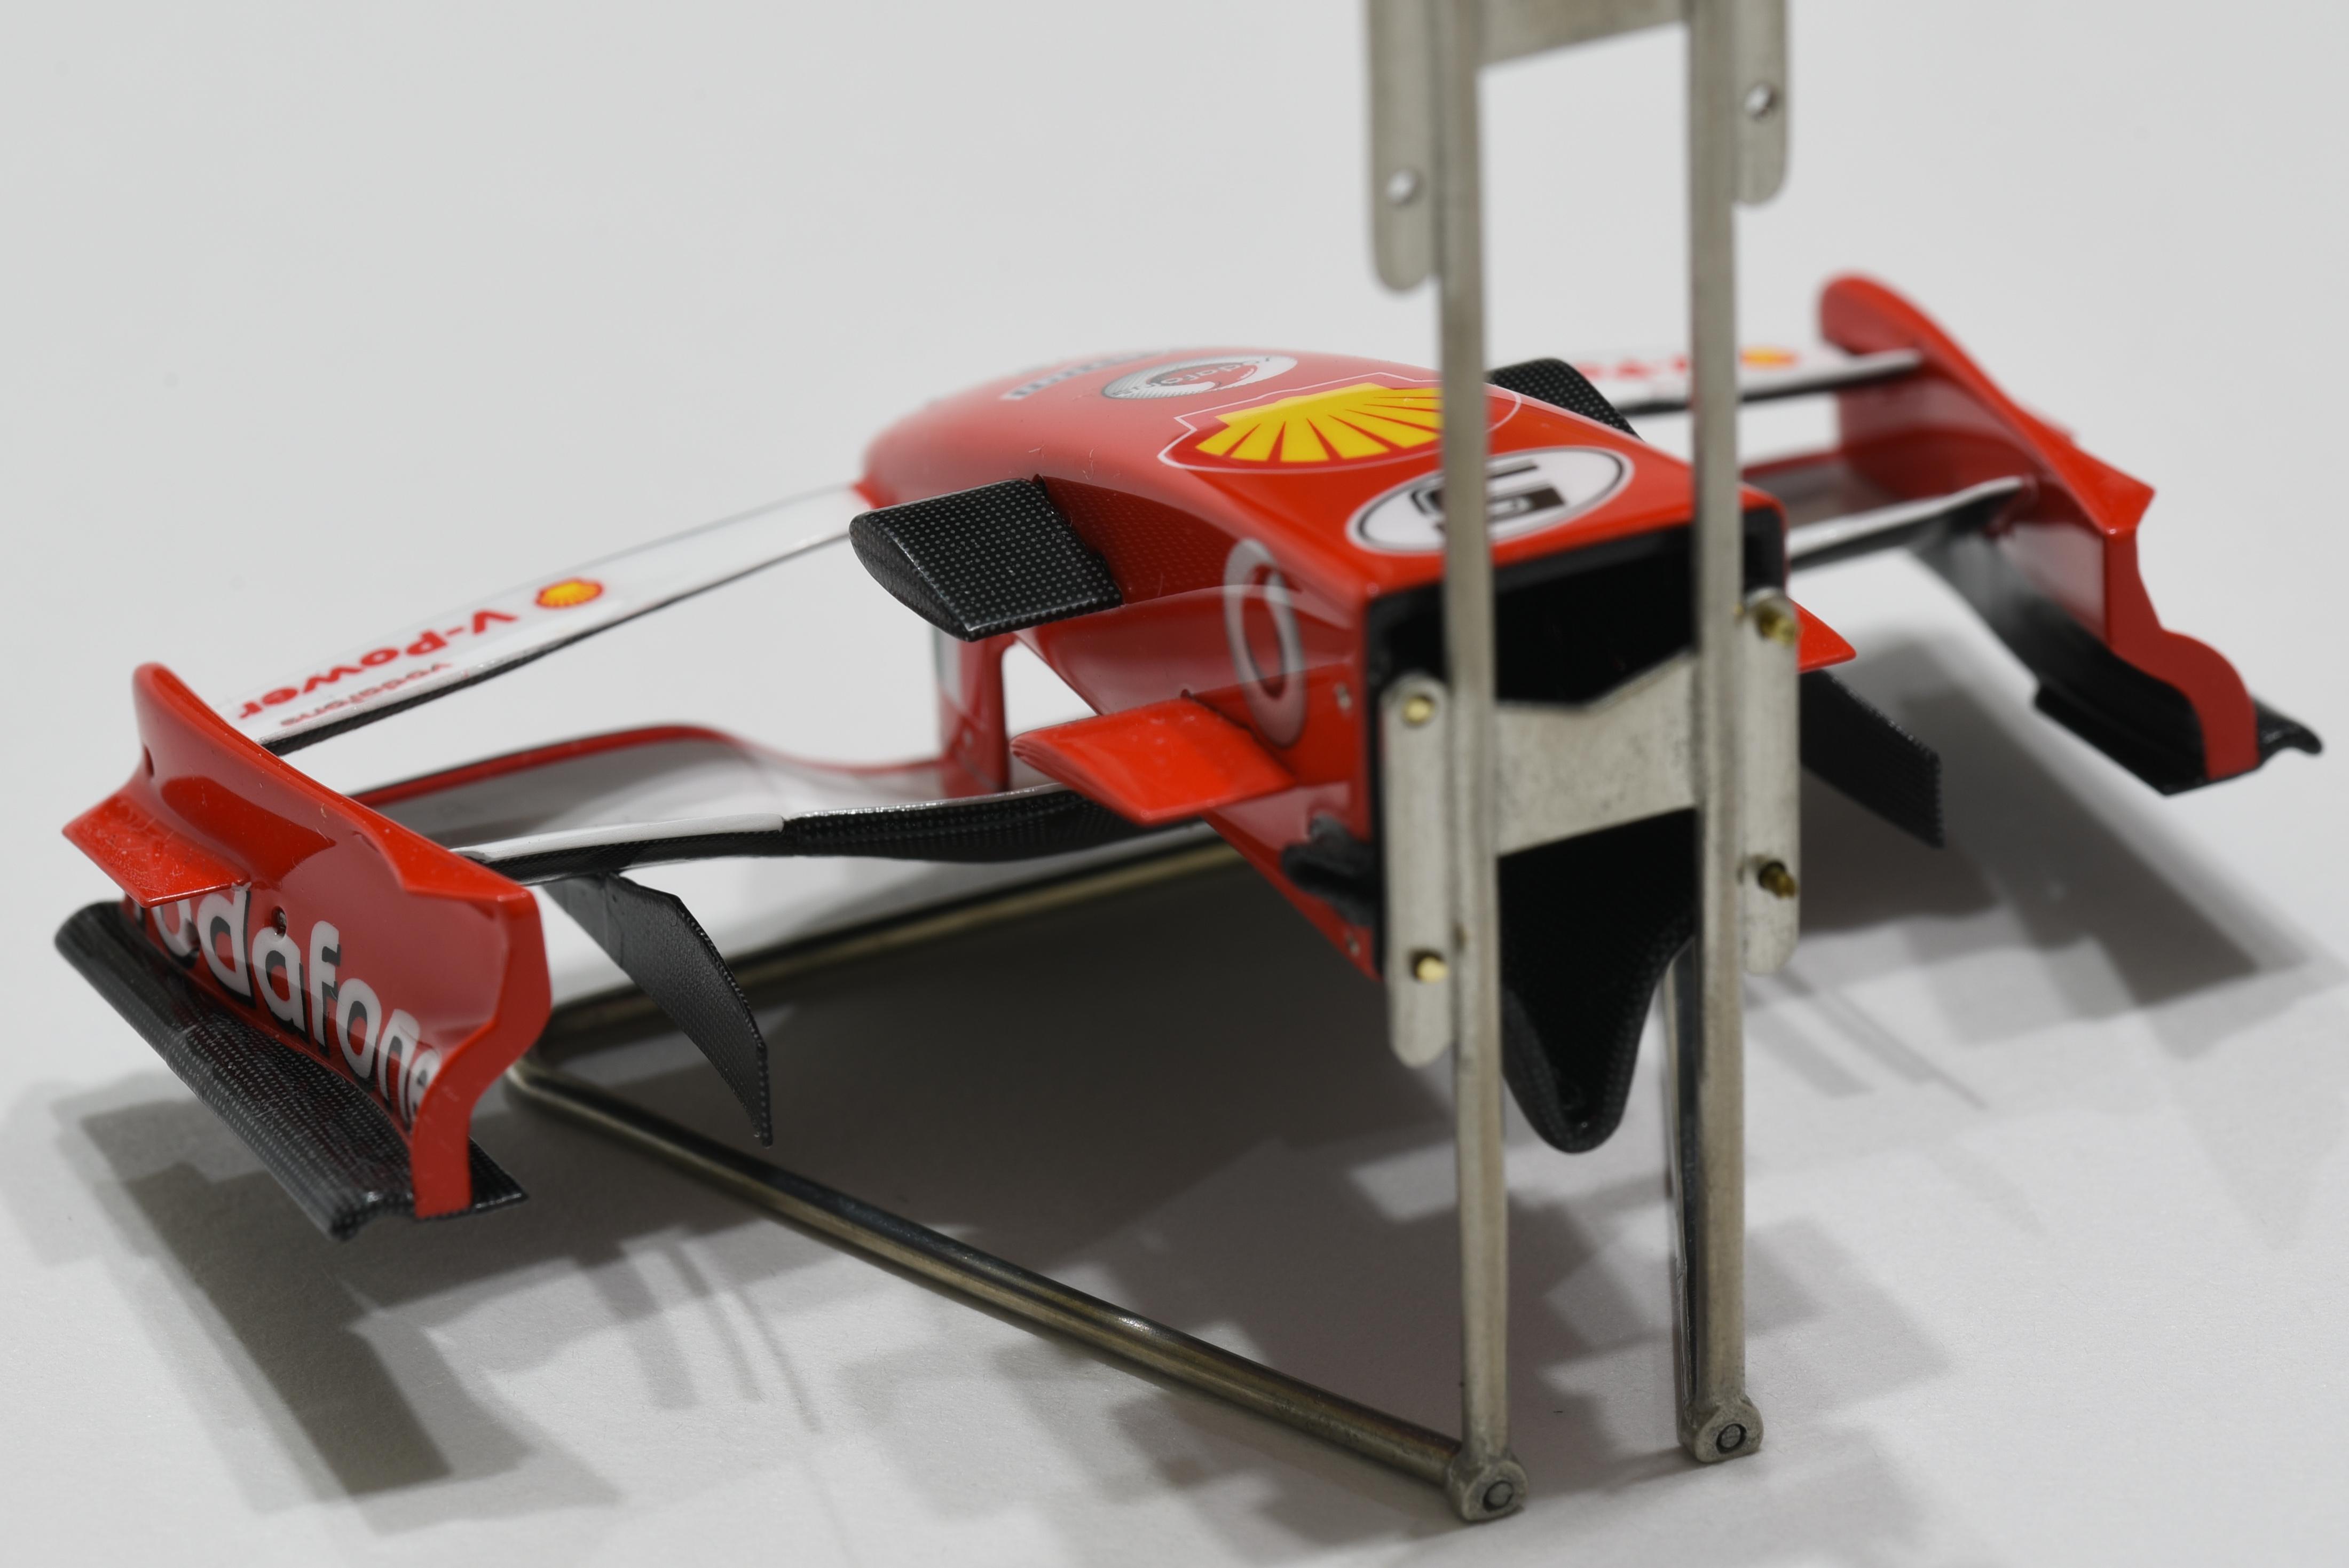
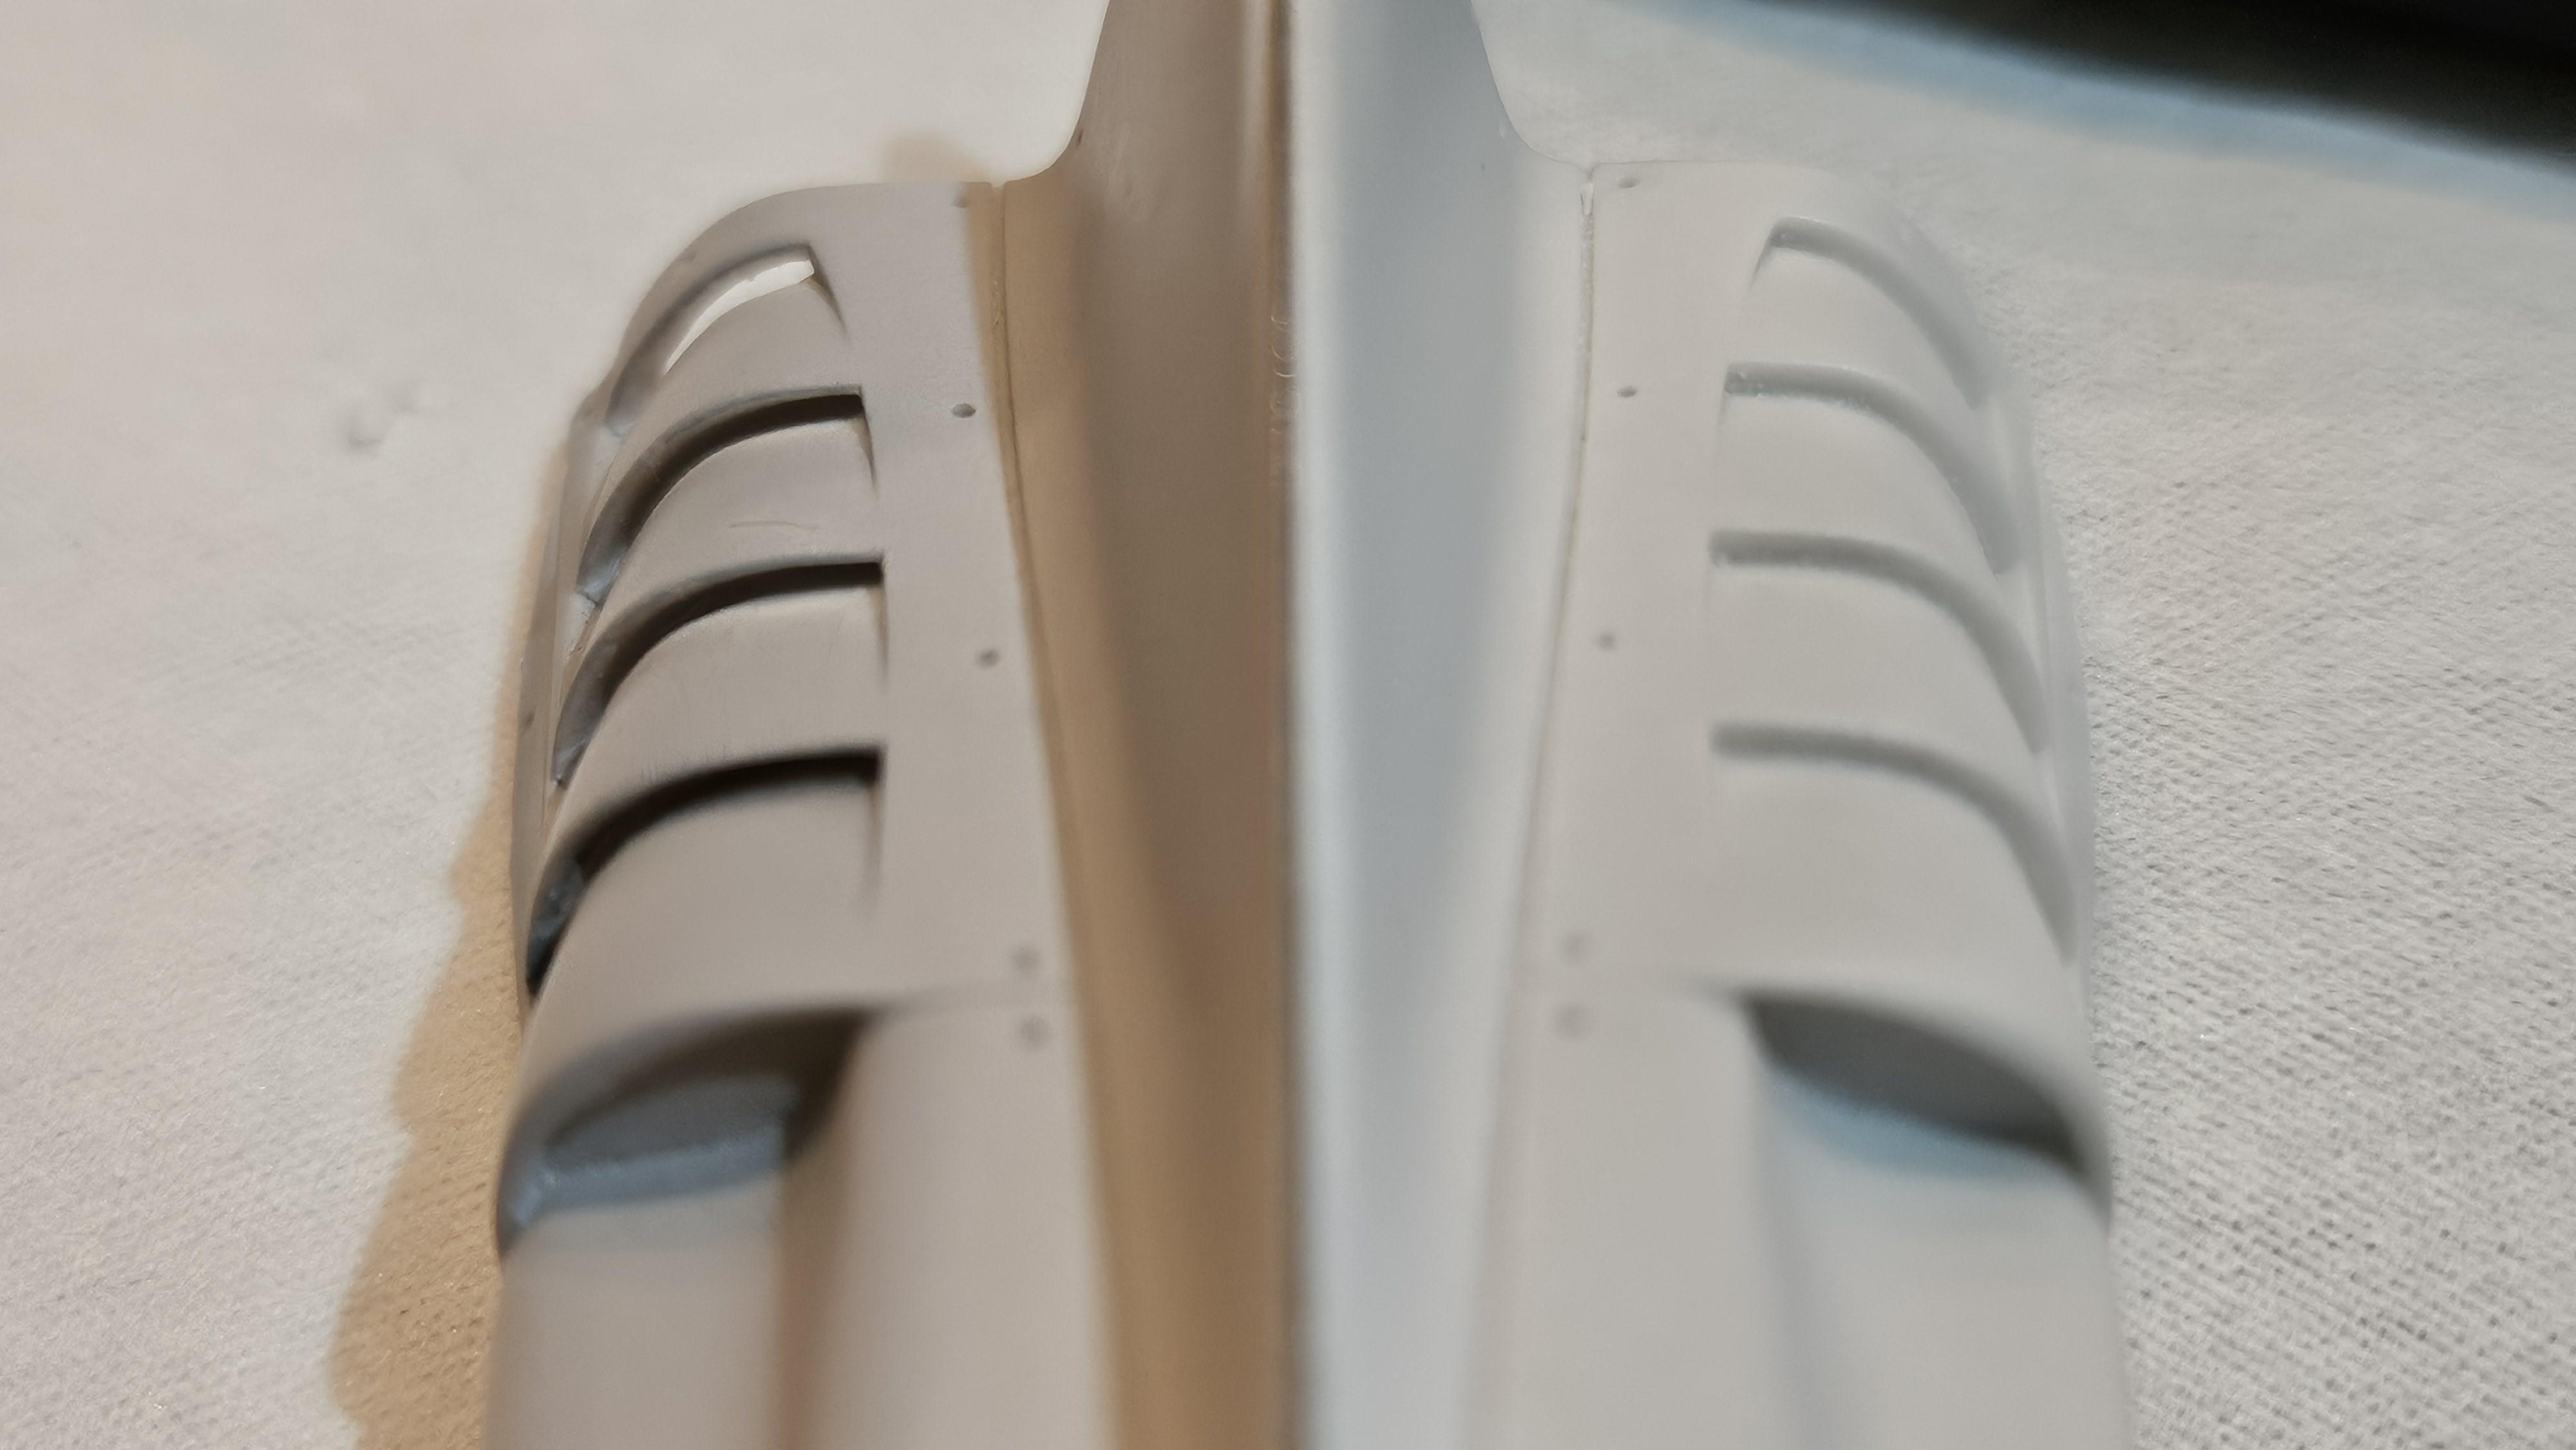
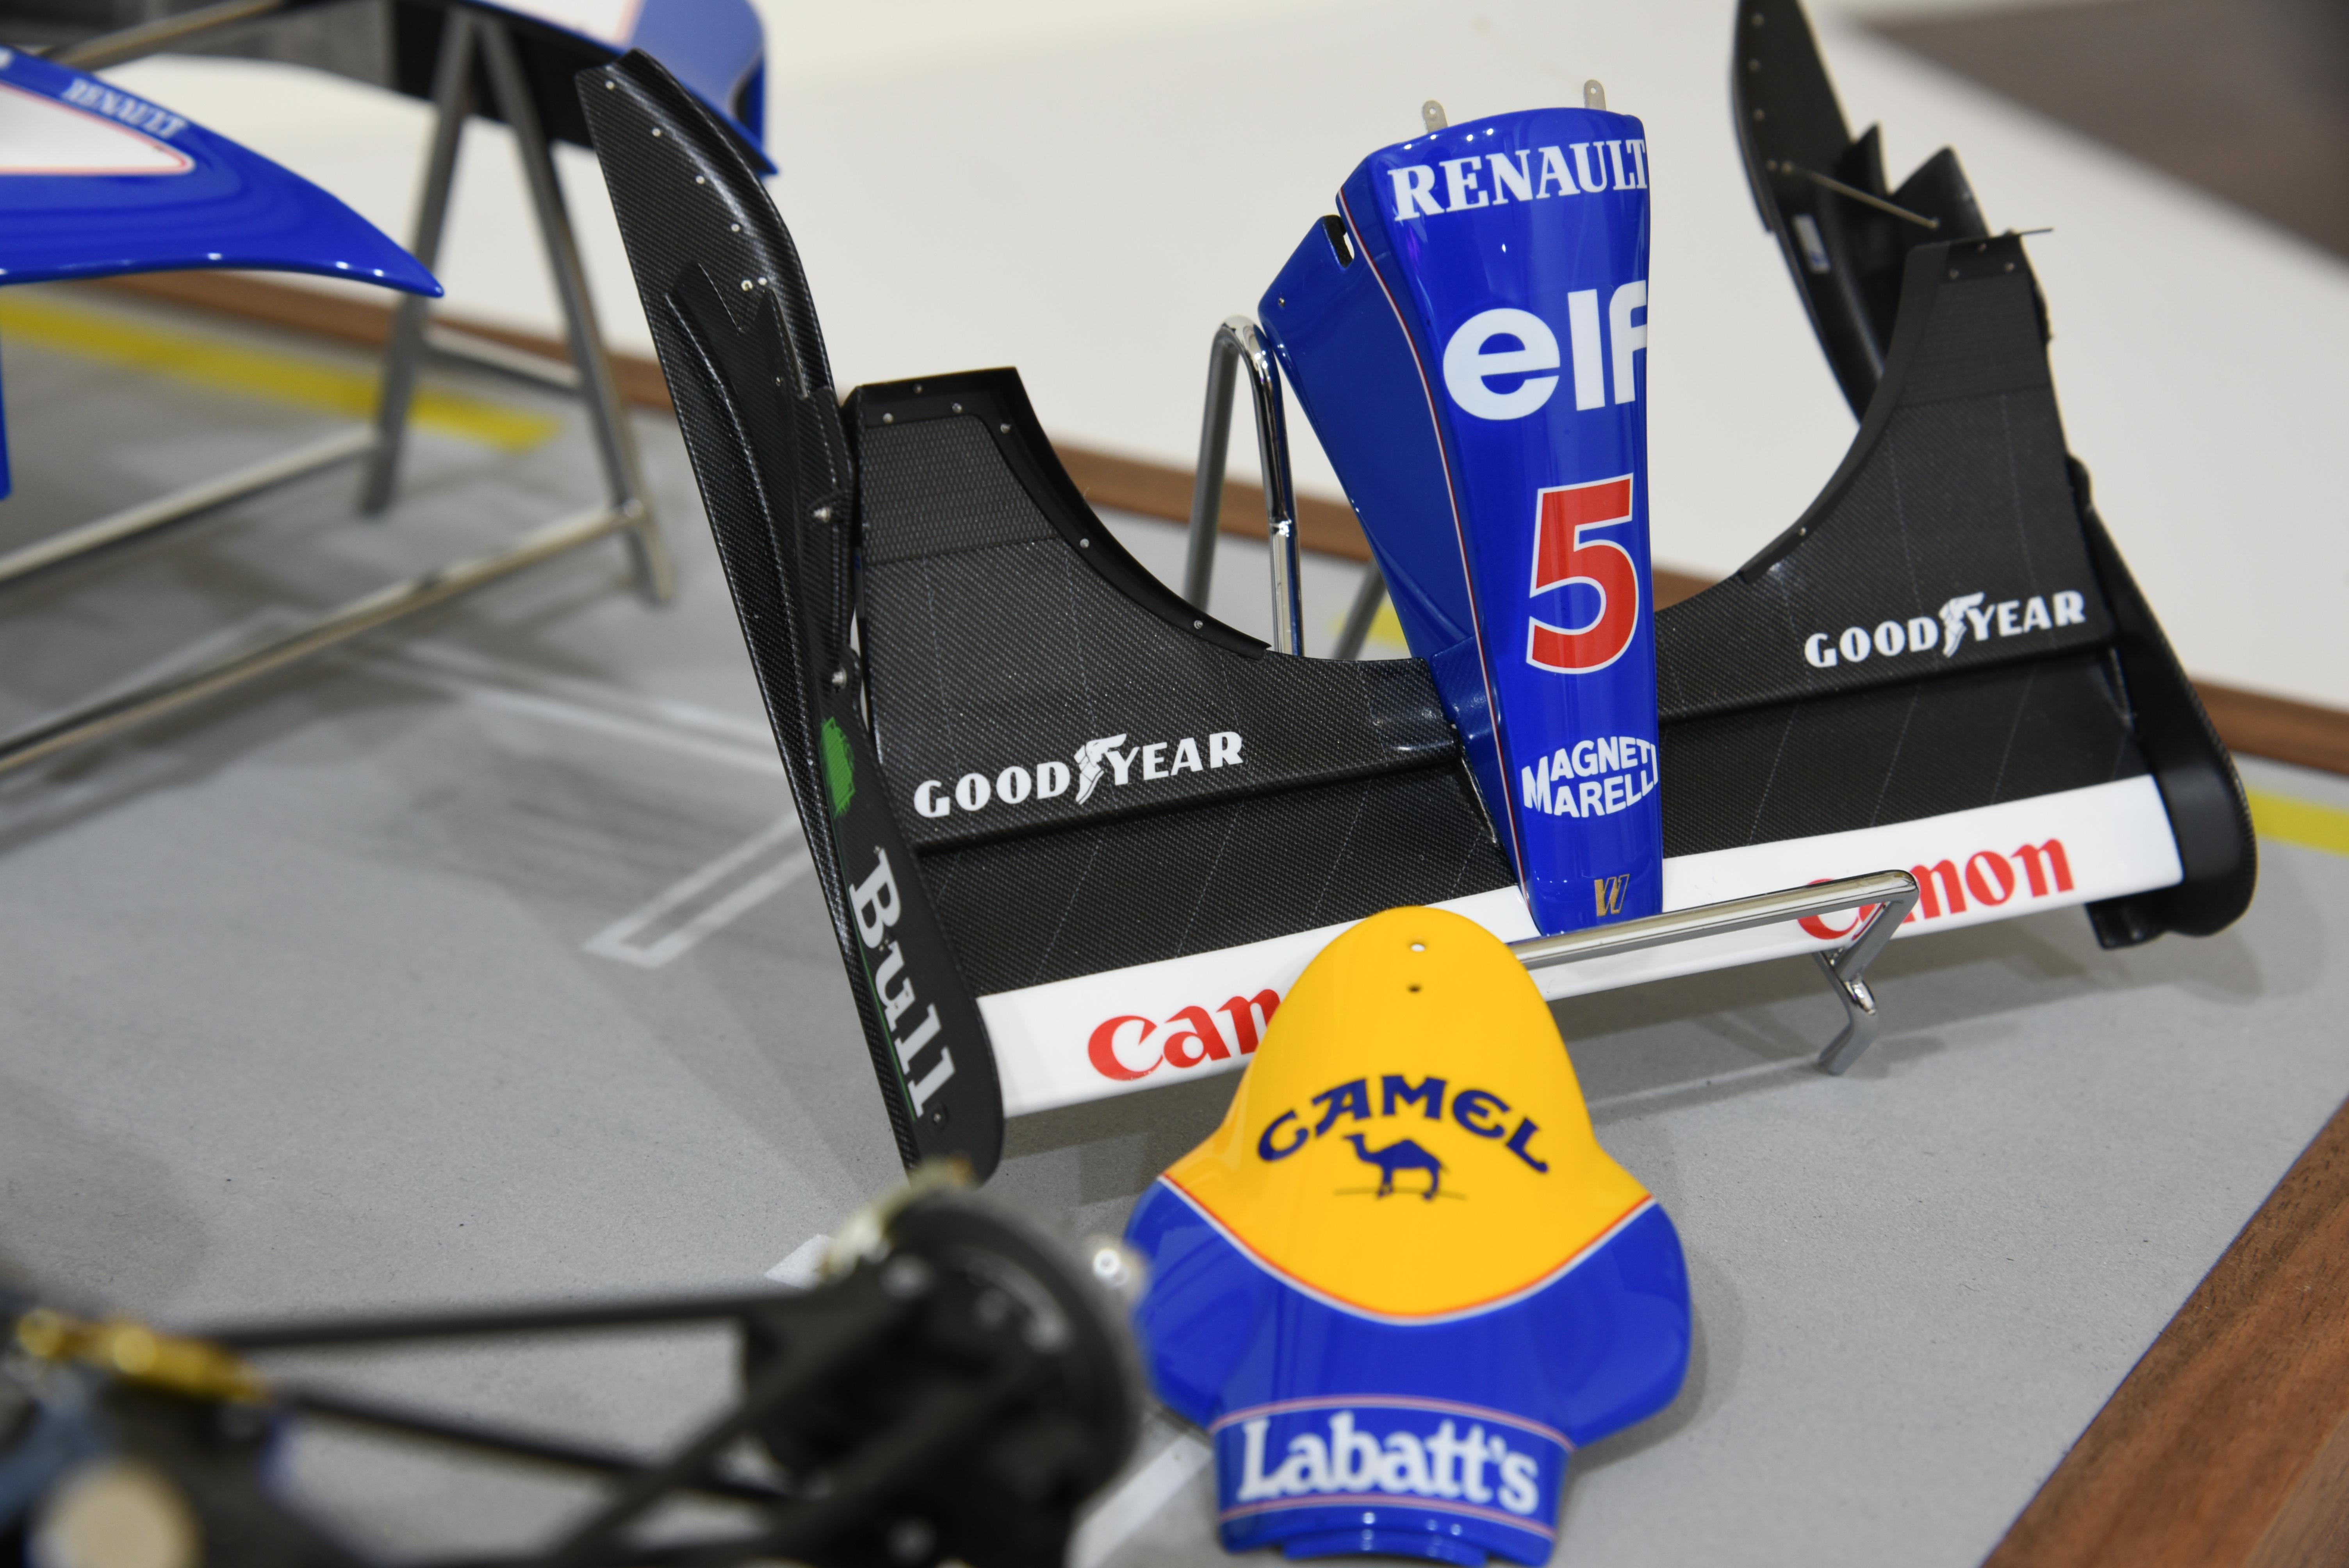
Drilled the cooling vents and thinned the connecting parts of front wing.
-
- 1
-

-
1/12 Mclaren MP4/6
okazaki0511 replied to okazaki0511's topic in WIP: Other Racing: Road Racing, Land Speed Racers
Update some progress Use 1mm spring to simulate duct hose and use checkered heat shield sticker.
-
1/12 Mclaren MP4/6
okazaki0511 replied to okazaki0511's topic in WIP: Other Racing: Road Racing, Land Speed Racers
Thanks a lot, I hope it almost perfect. Yes, I used Tamiya wih TopStudio's set. The wishbone is Tamiya's parts, they probably used metal for all 1/12 F1 car. The MFH detail book just uses for reference. I did some modifications based on it. -
1/12 Mclaren MP4/6
okazaki0511 replied to okazaki0511's topic in WIP: Other Racing: Road Racing, Land Speed Racers
Update some progress
-
1/12 Mclaren MP4/6
okazaki0511 replied to okazaki0511's topic in WIP: Other Racing: Road Racing, Land Speed Racers
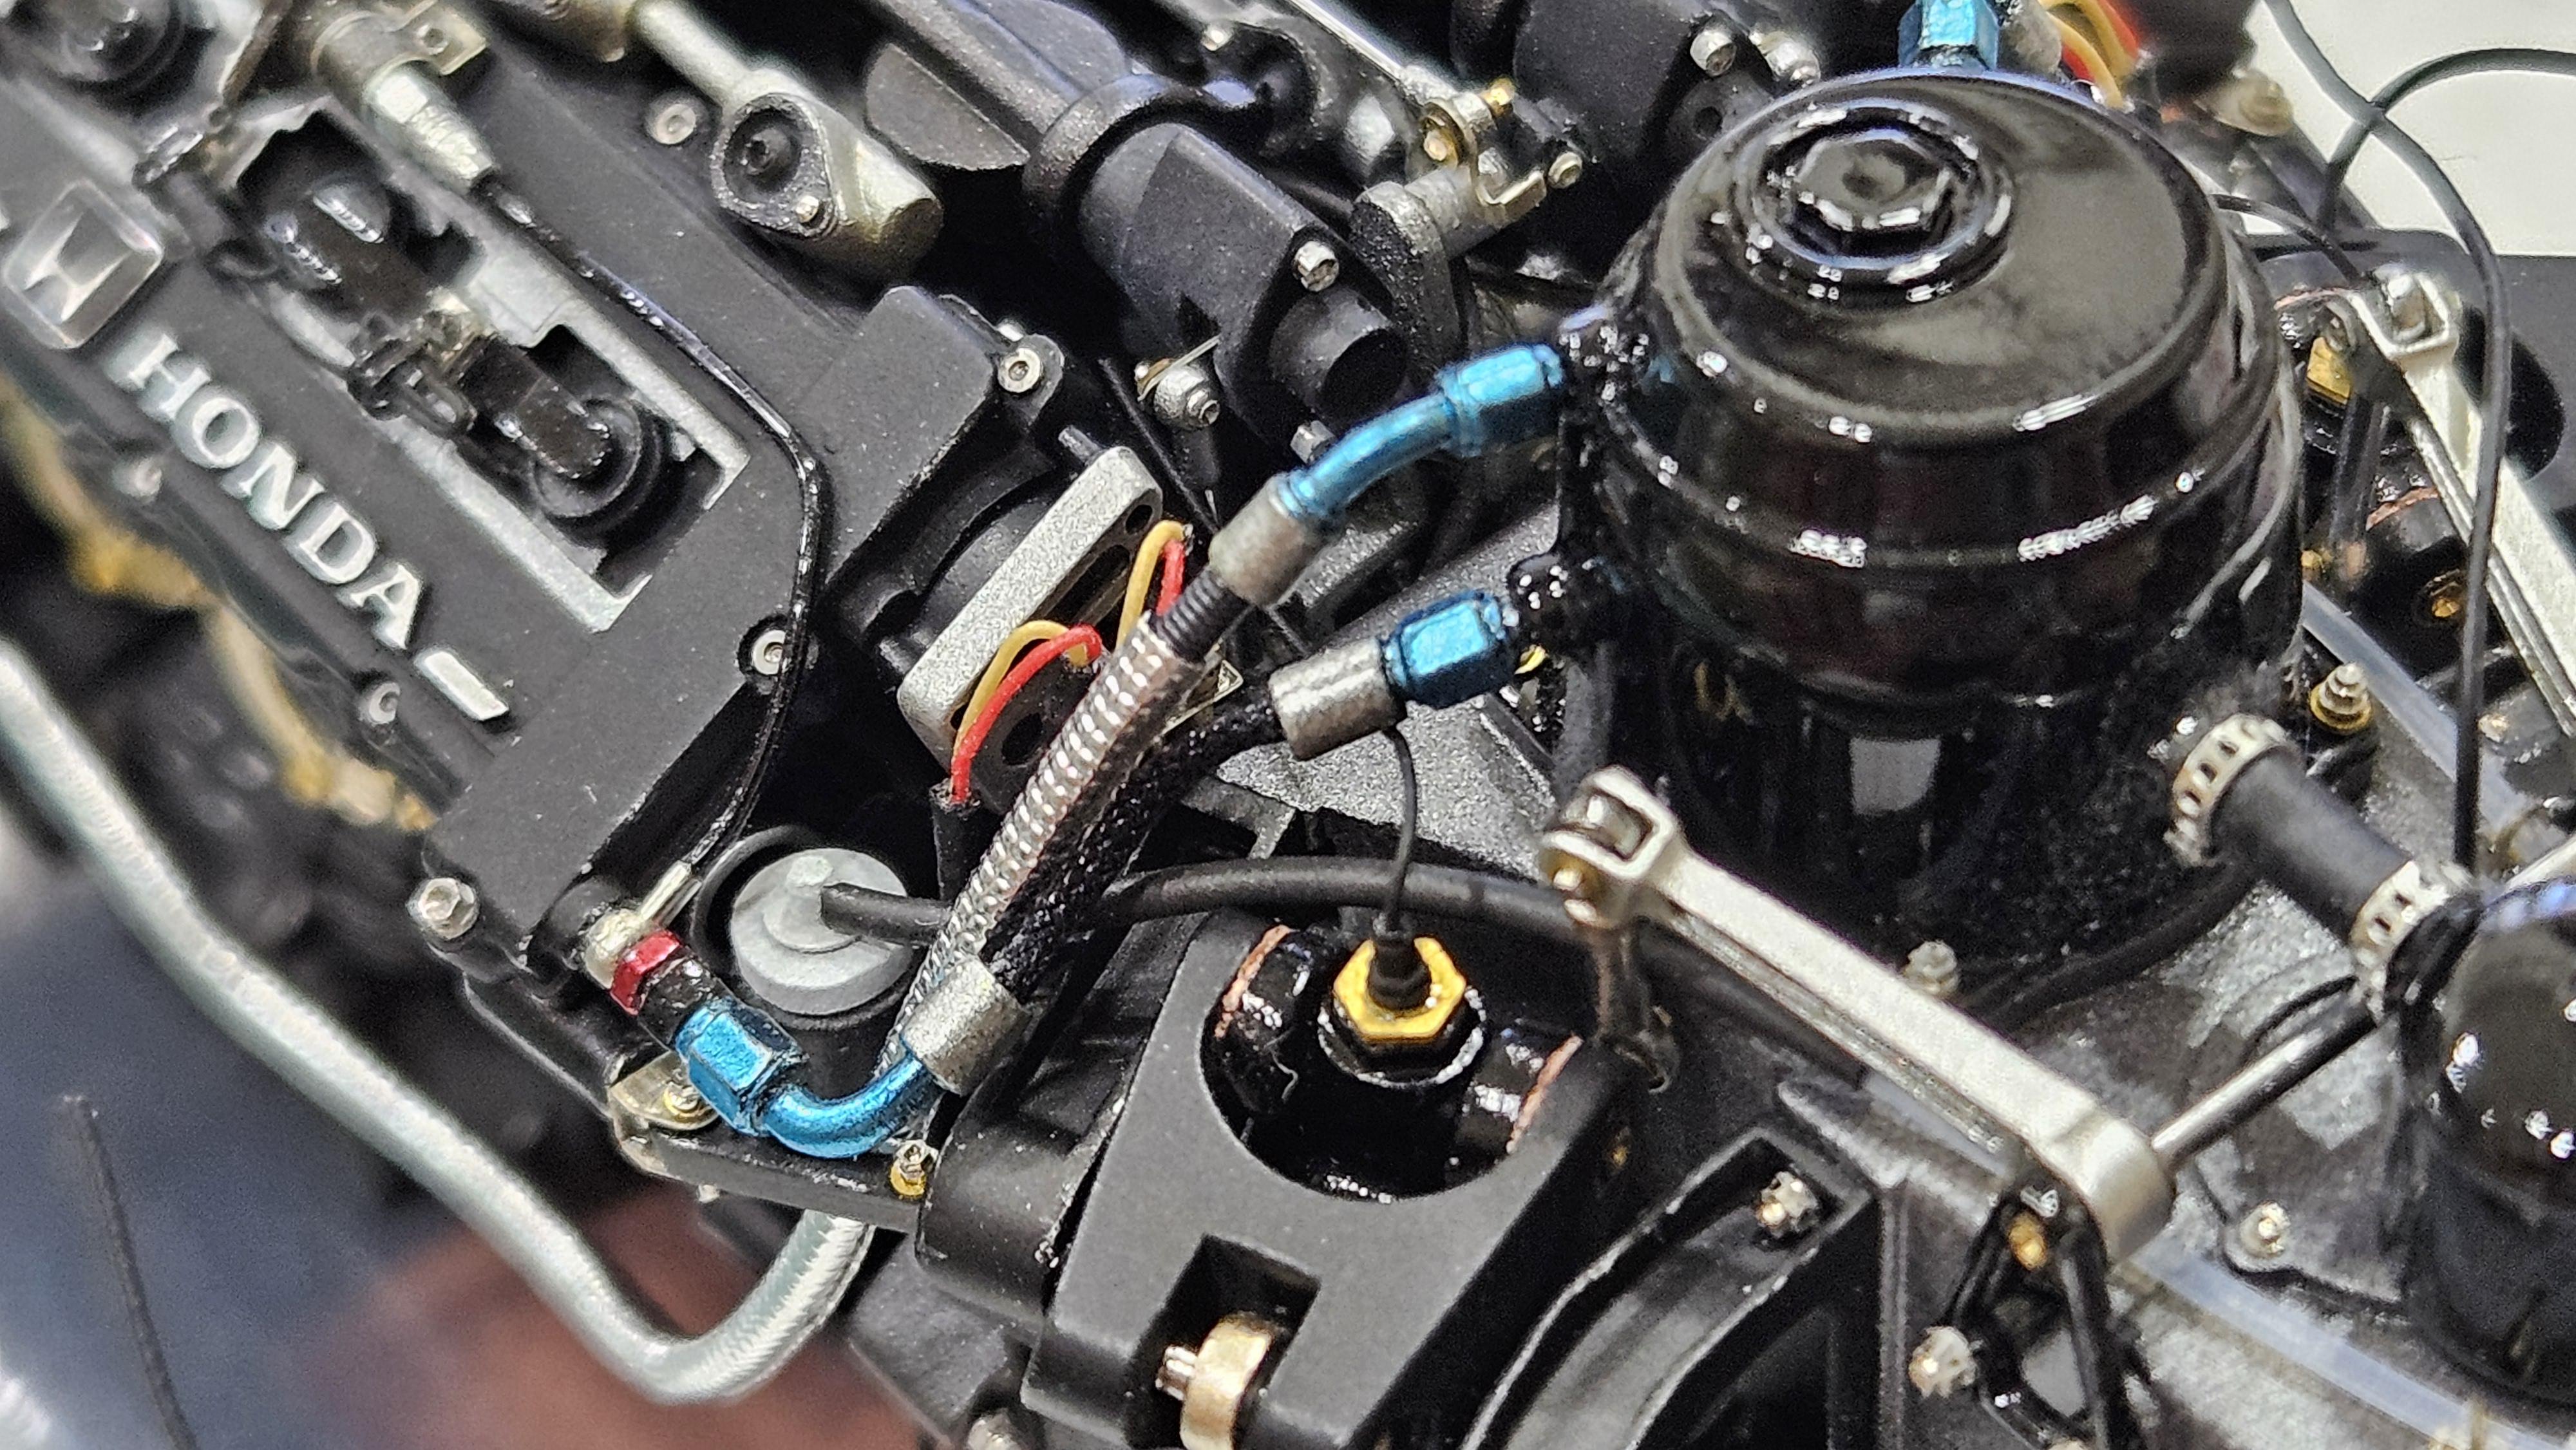
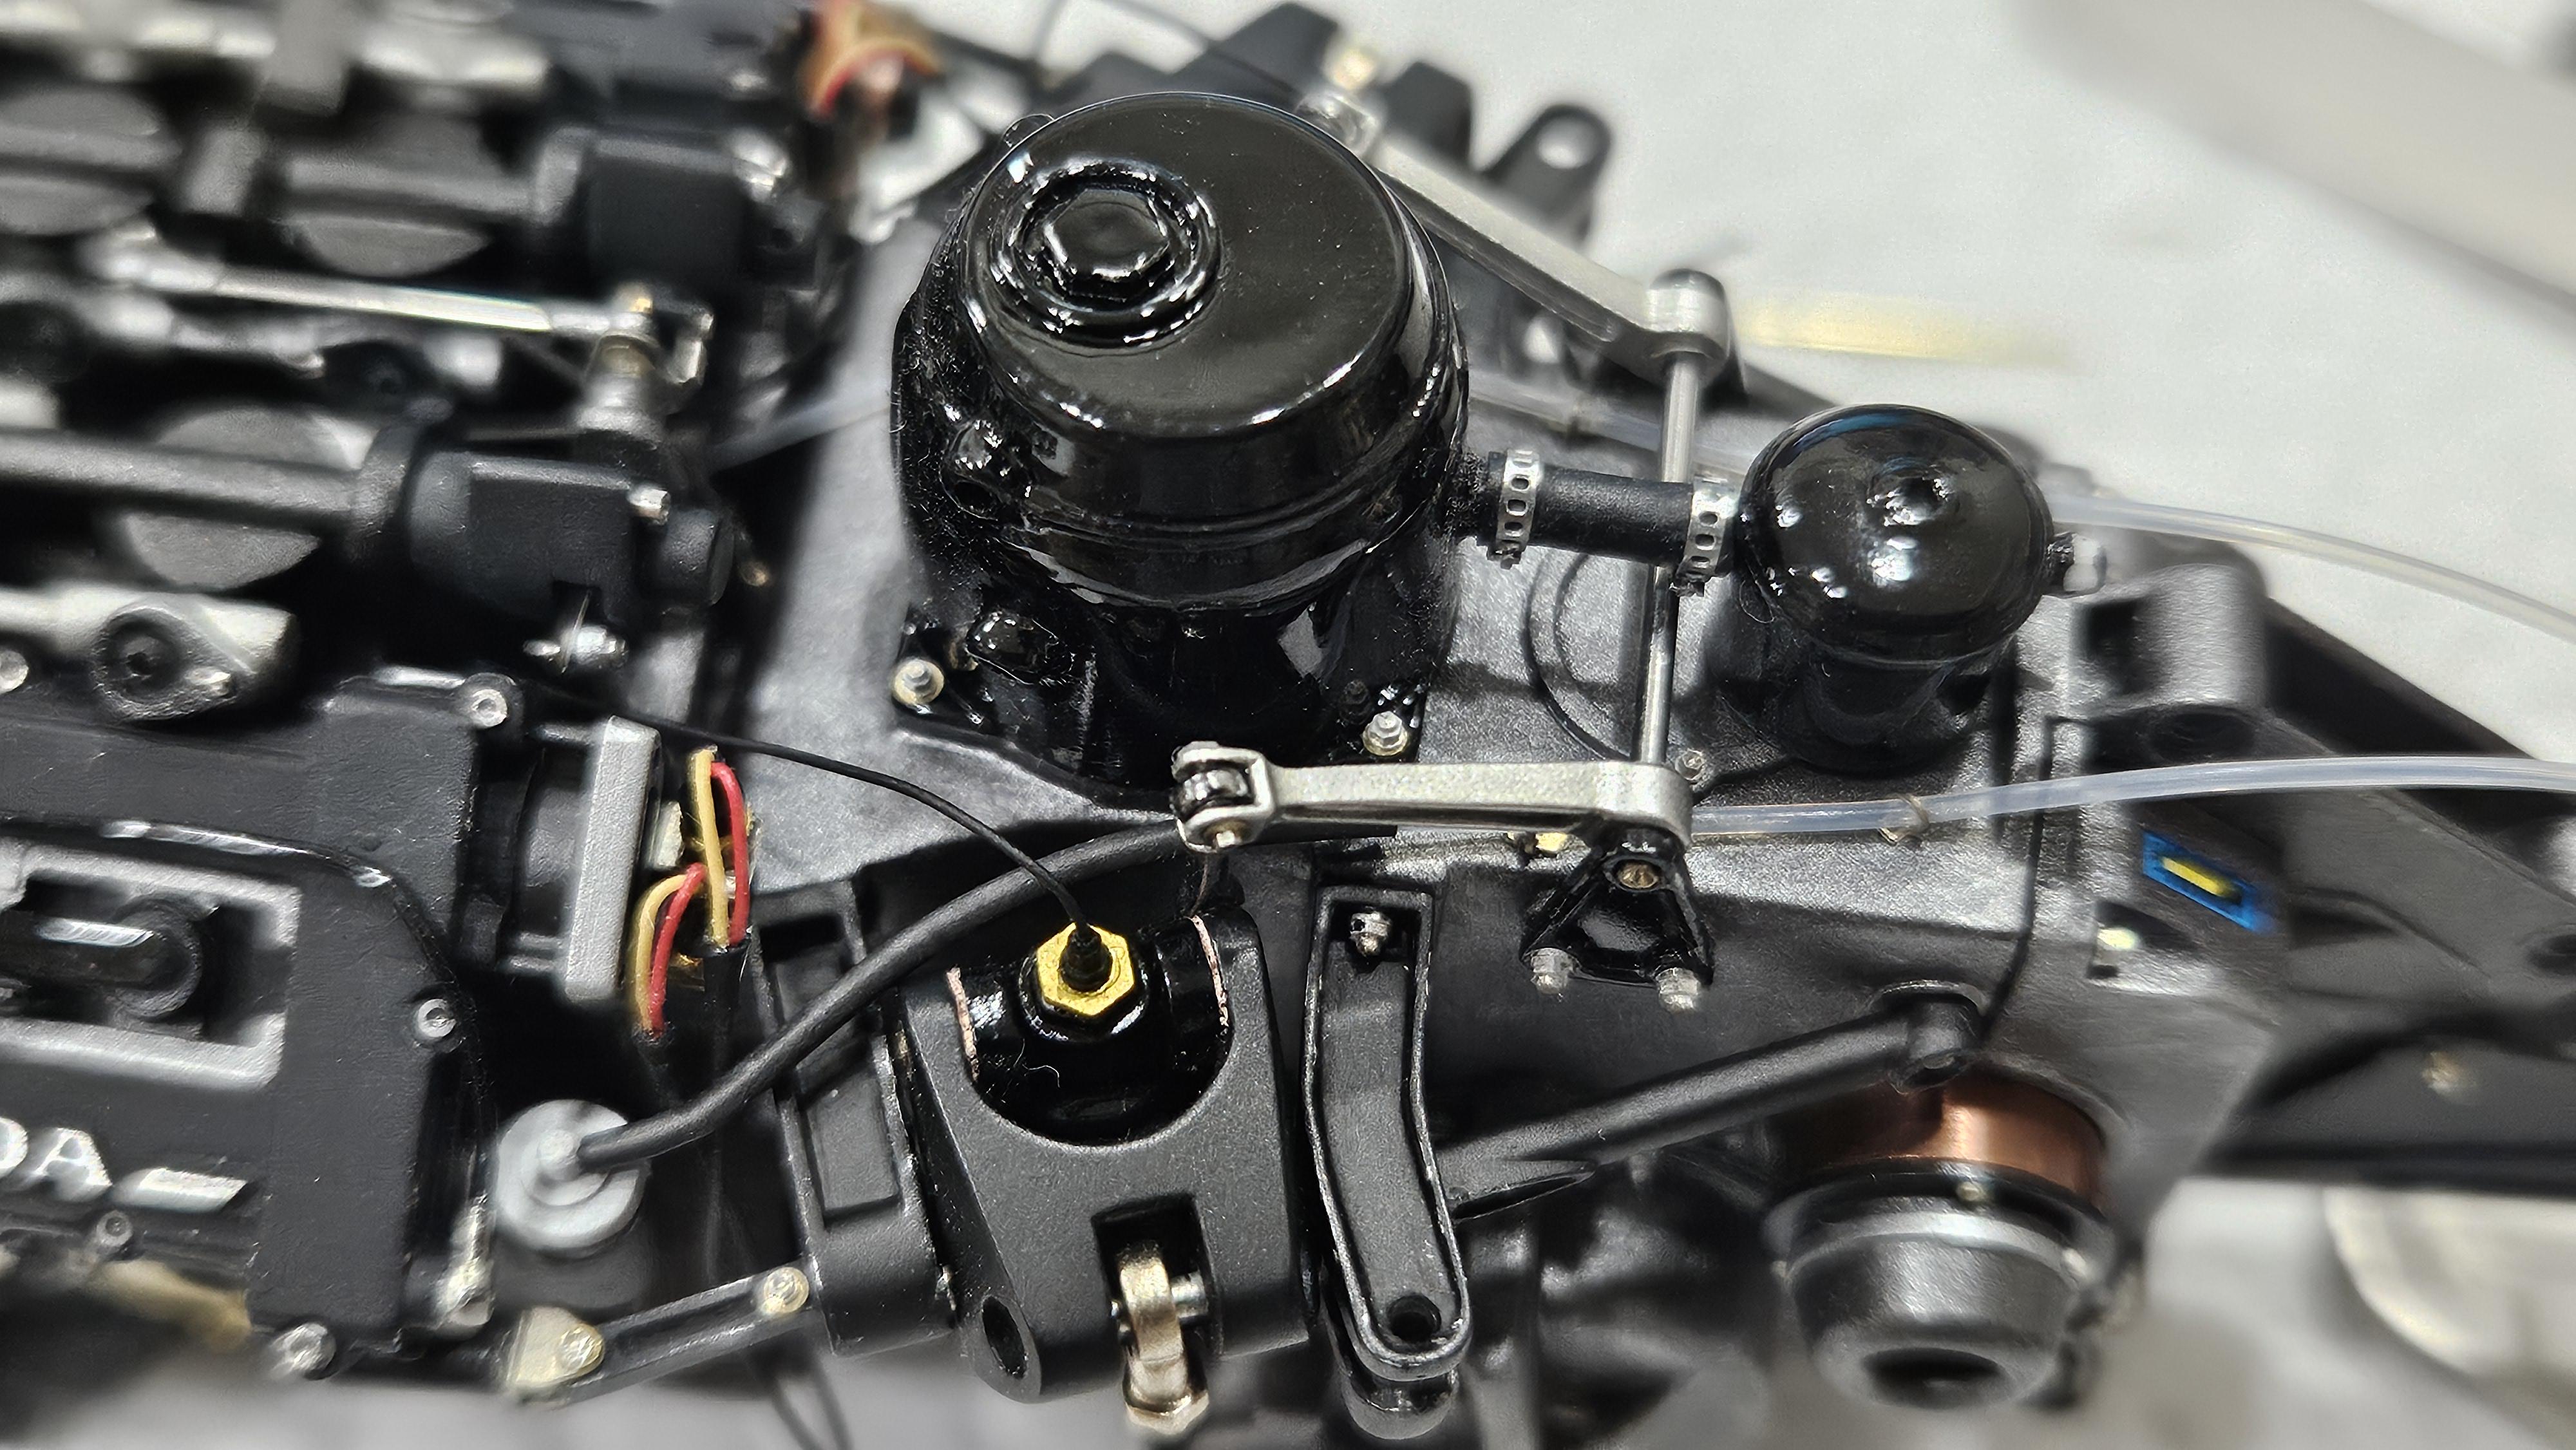
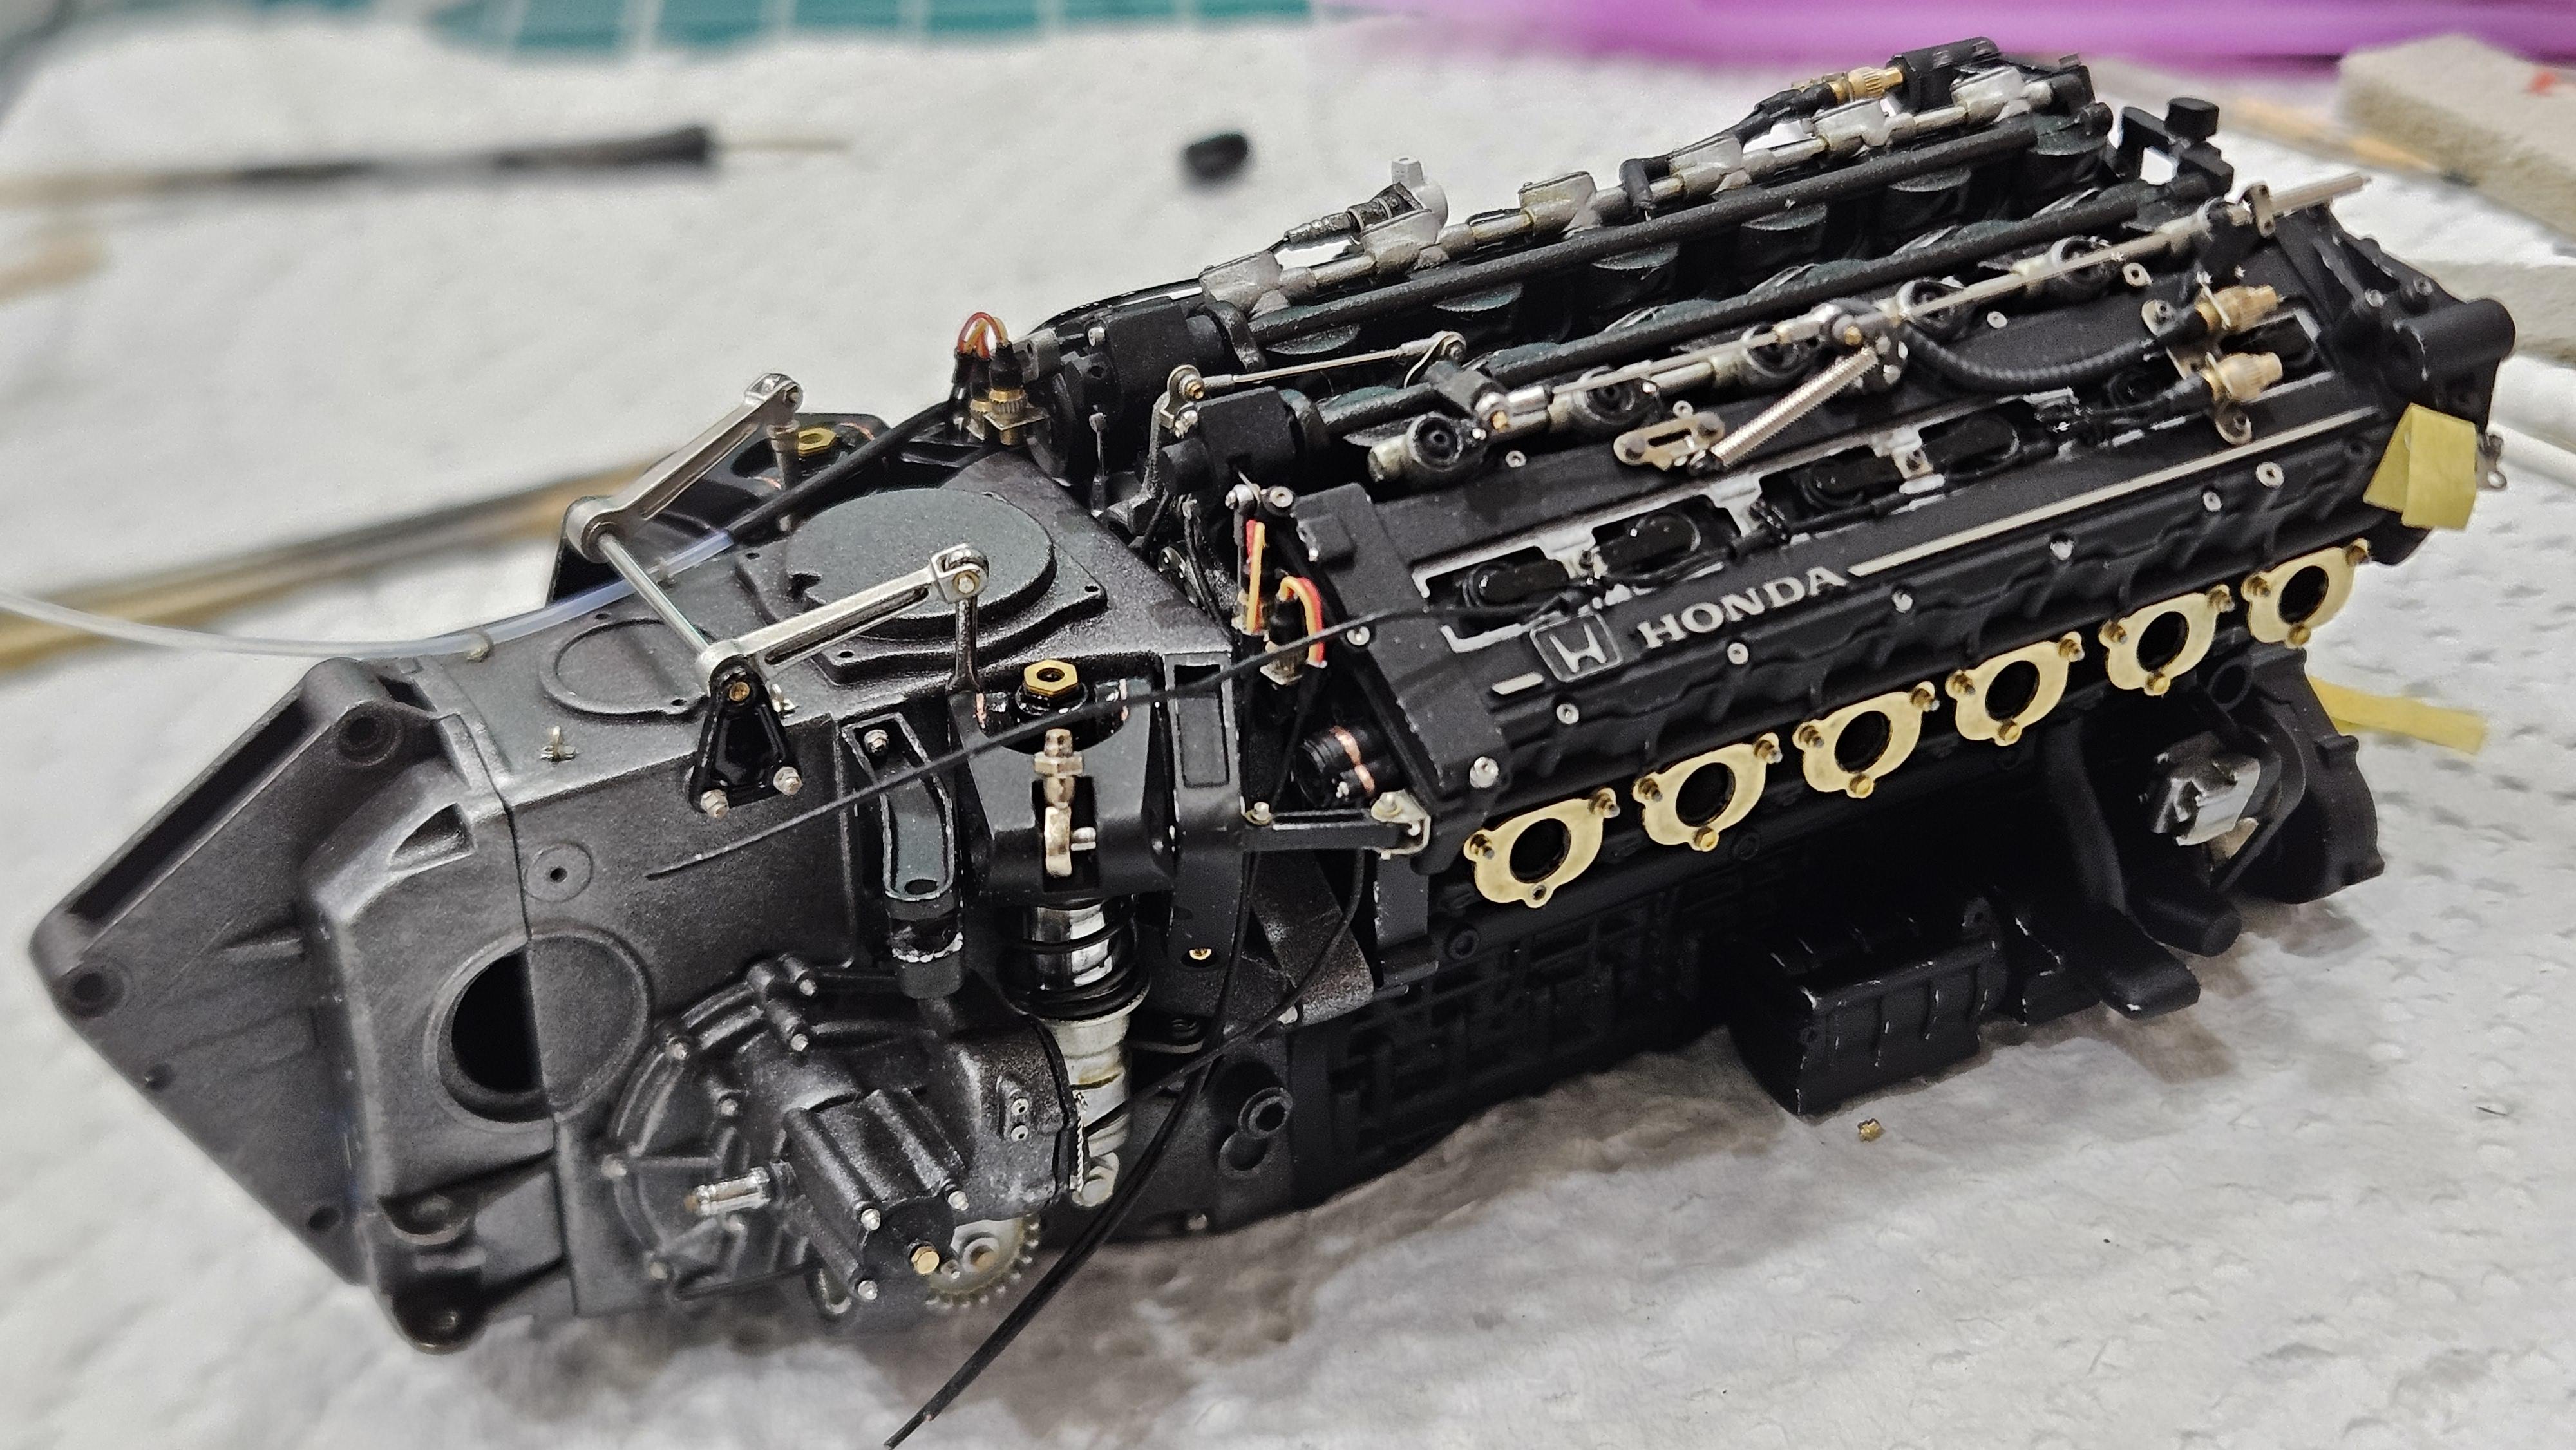
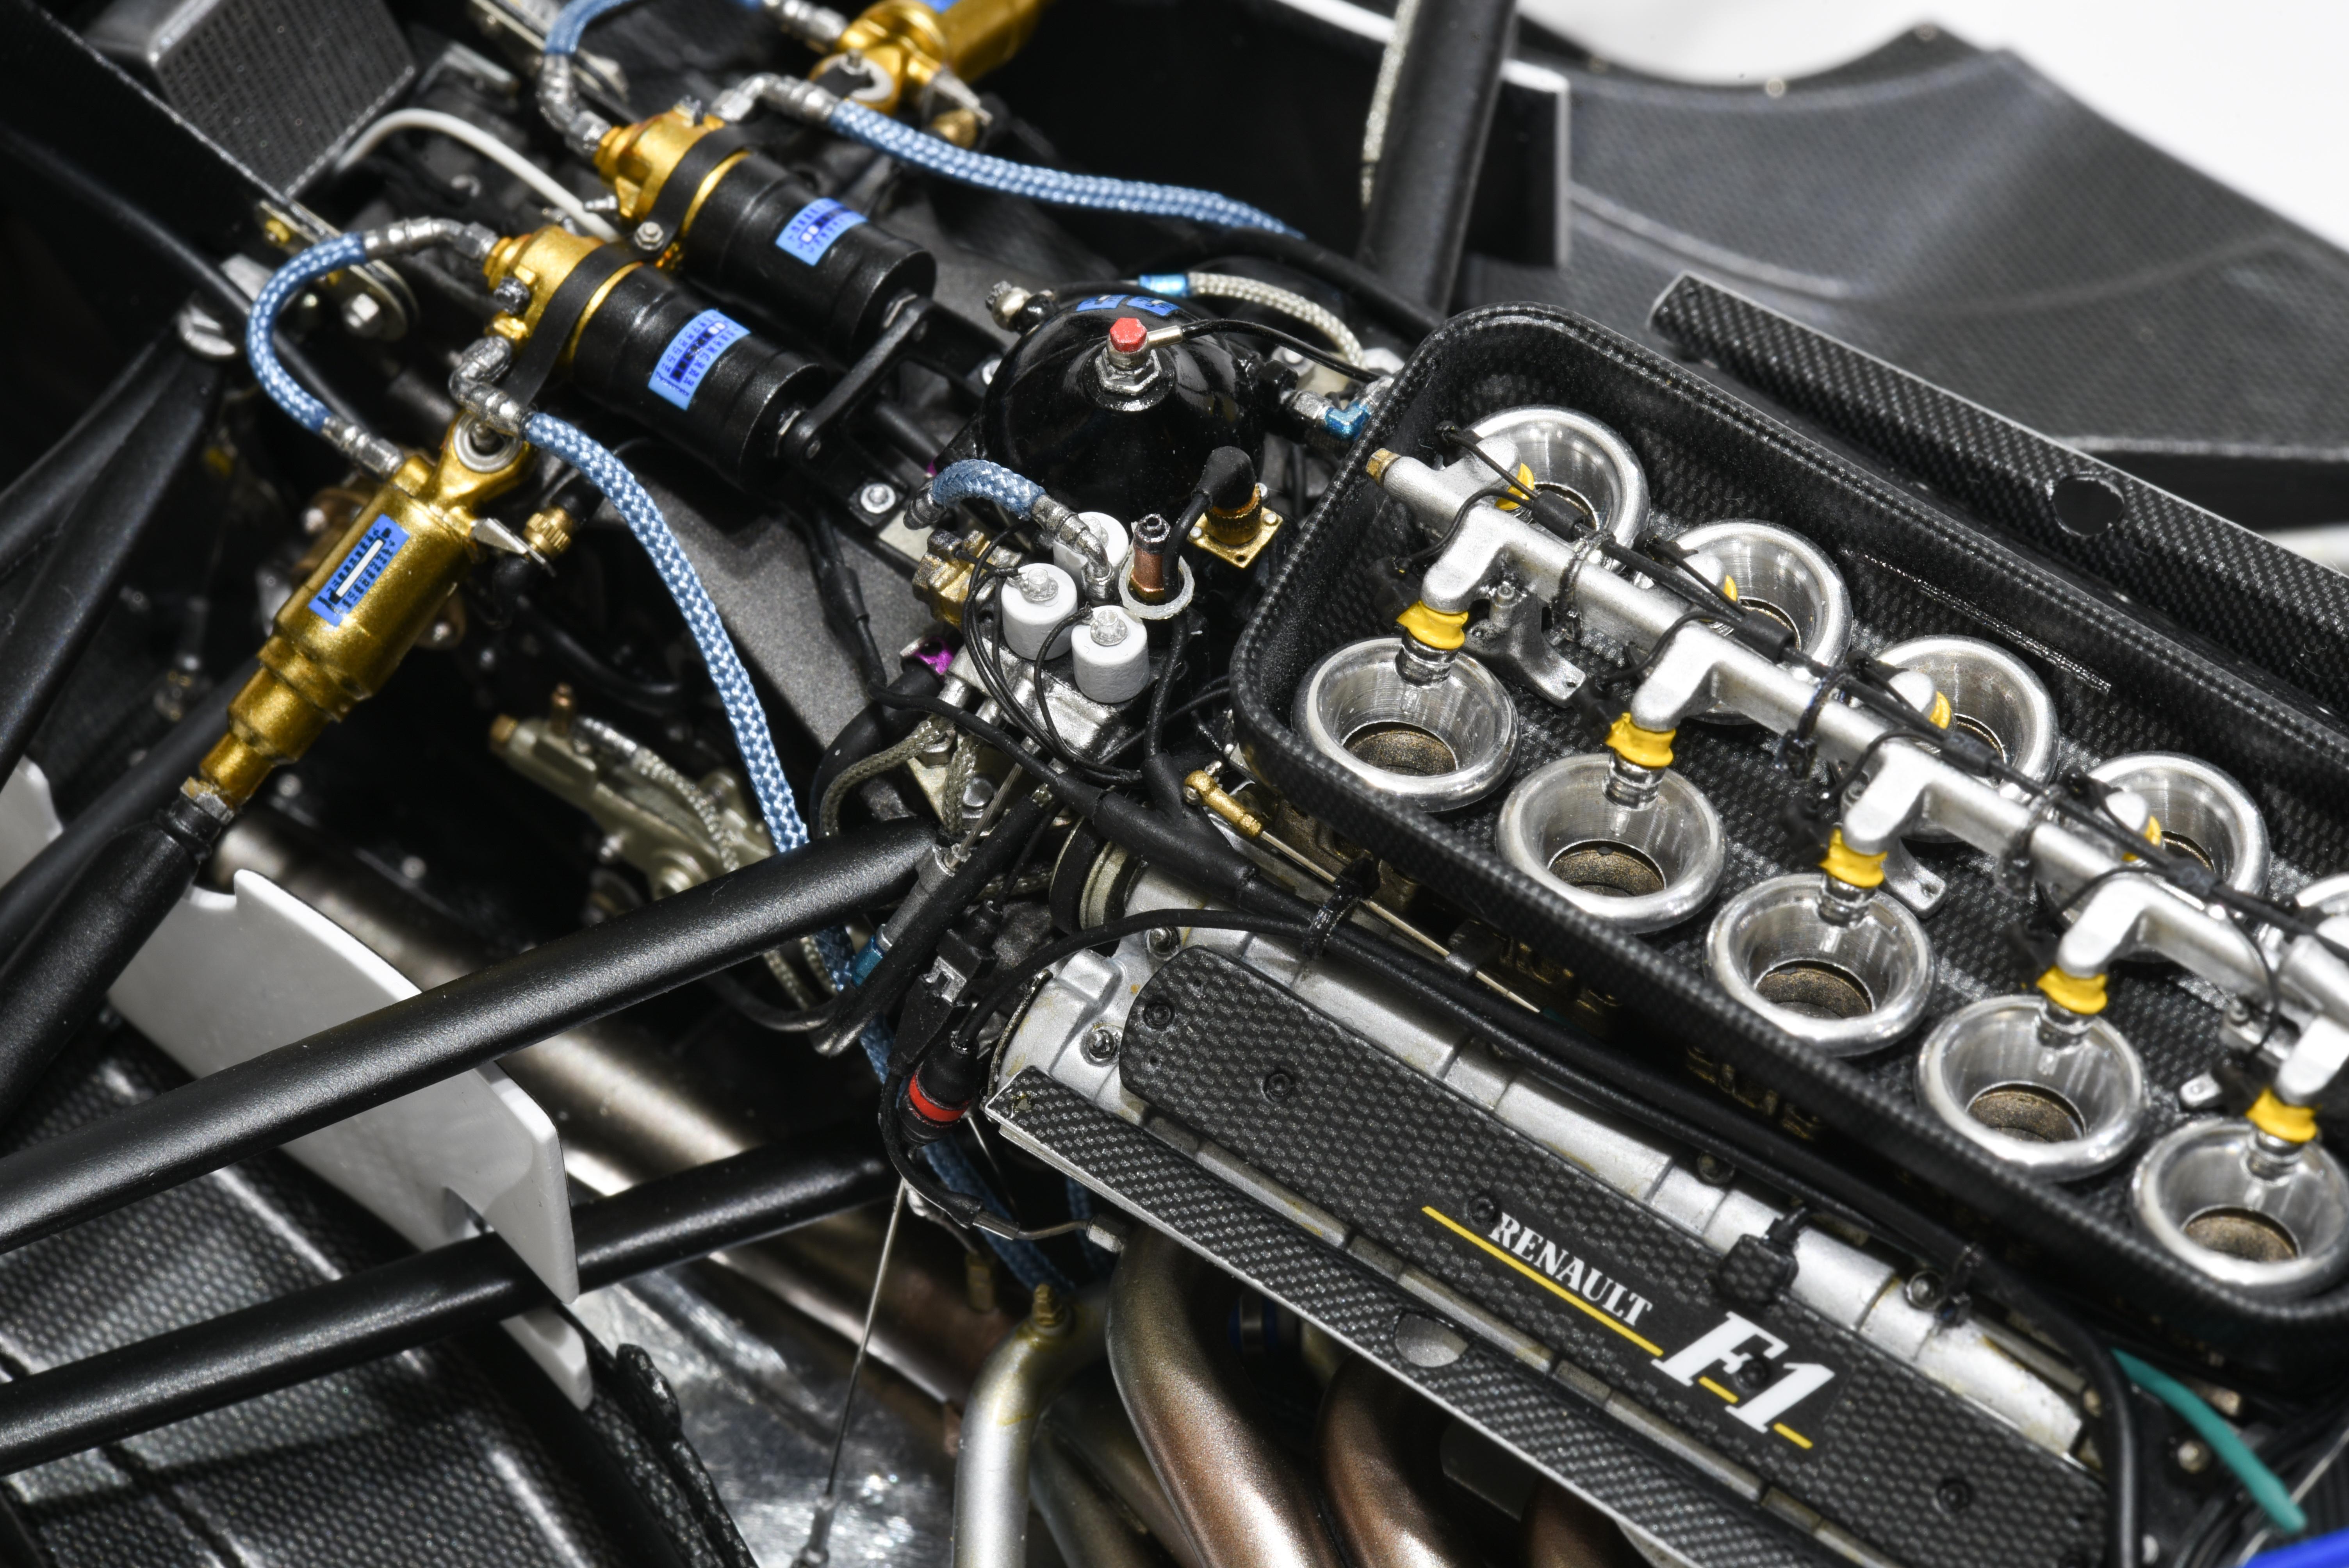
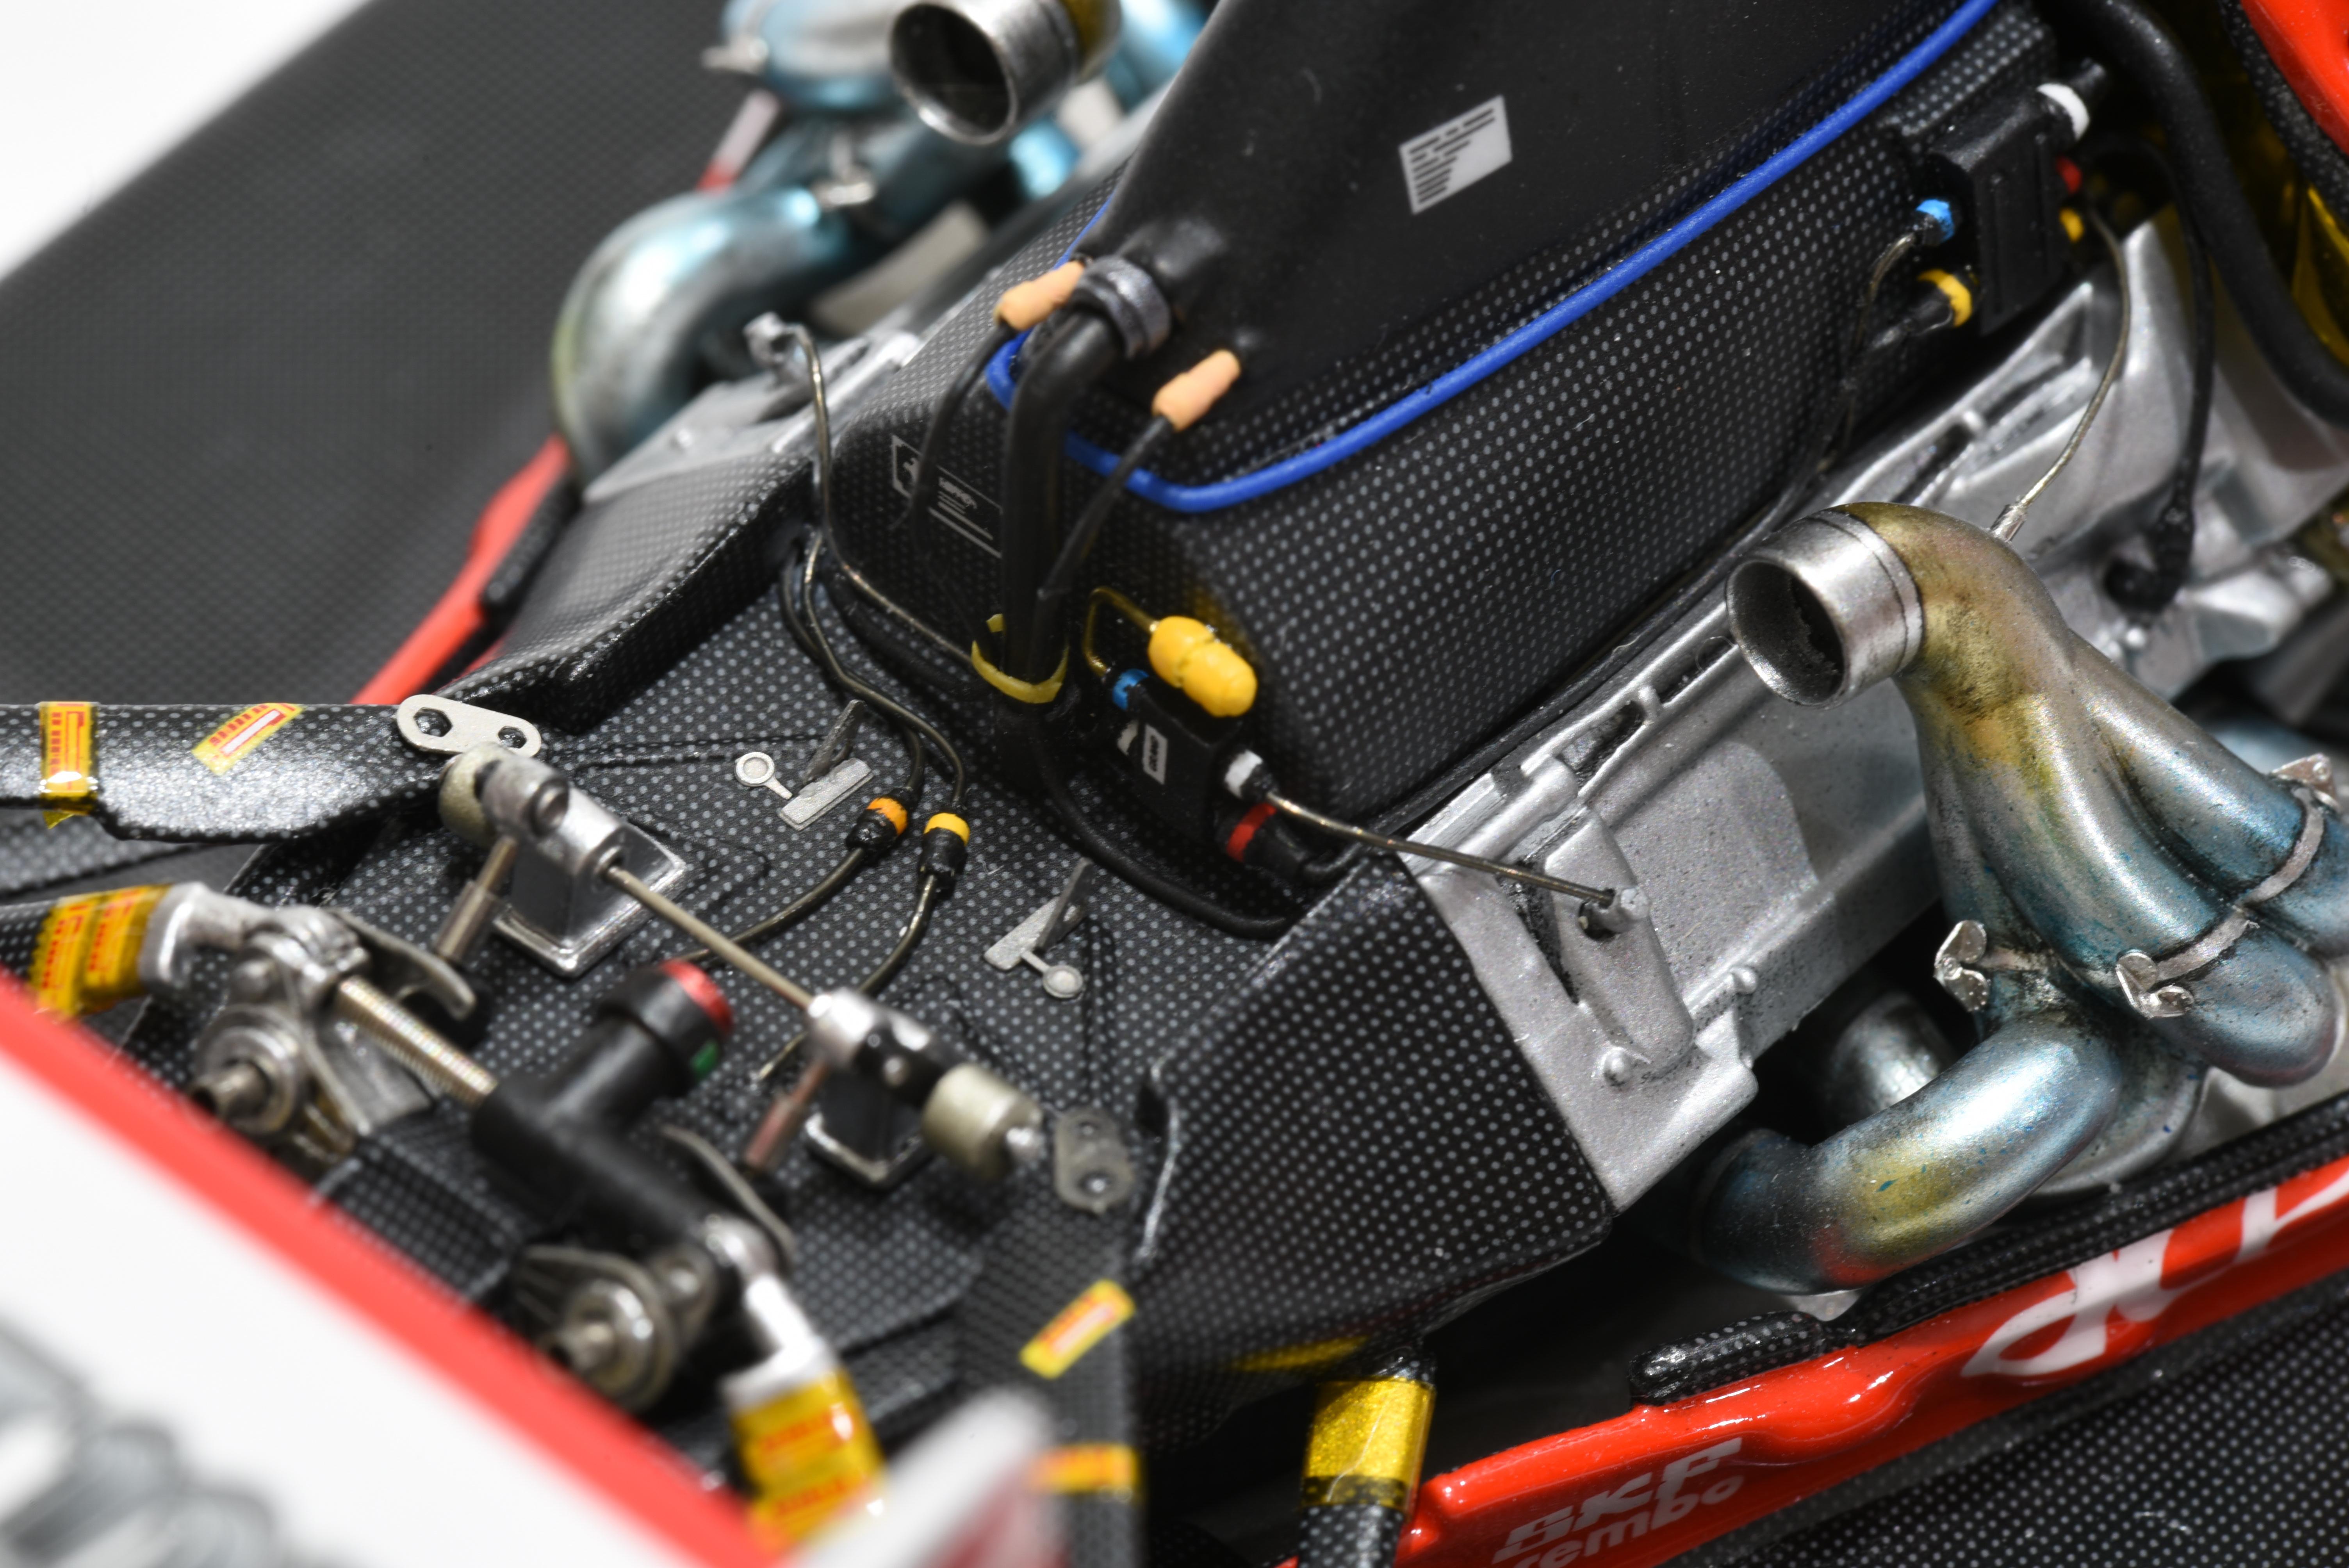
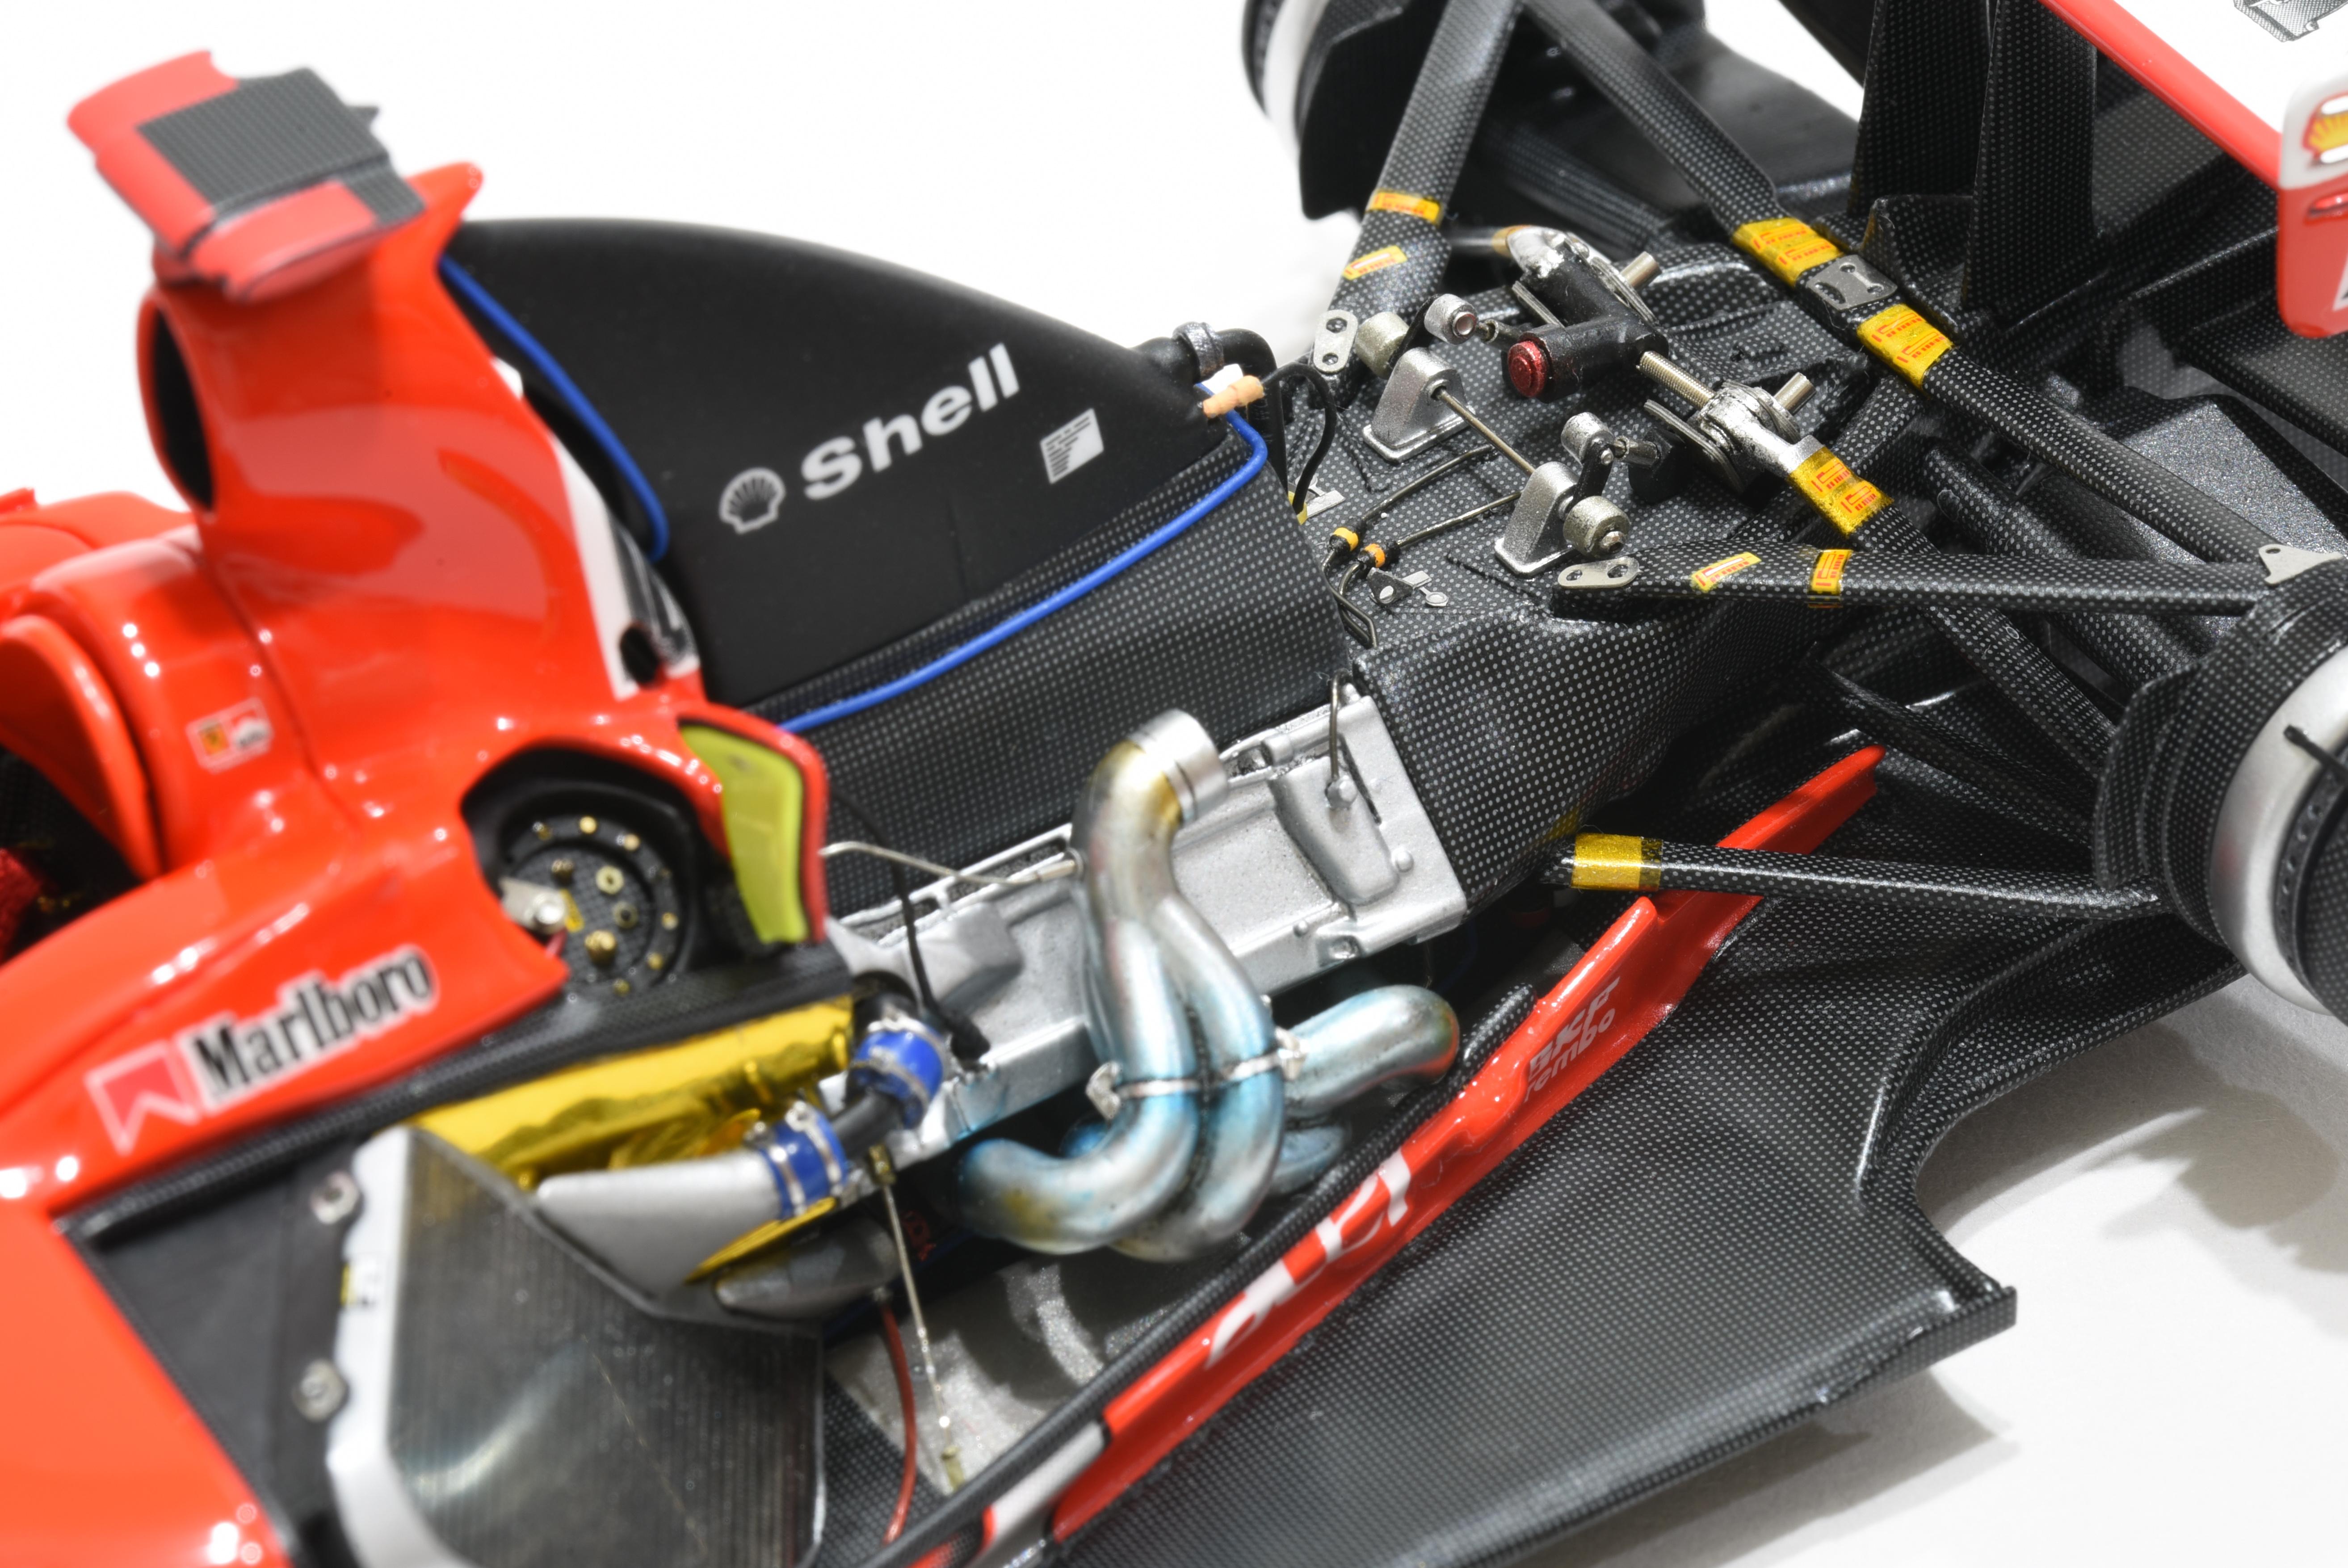
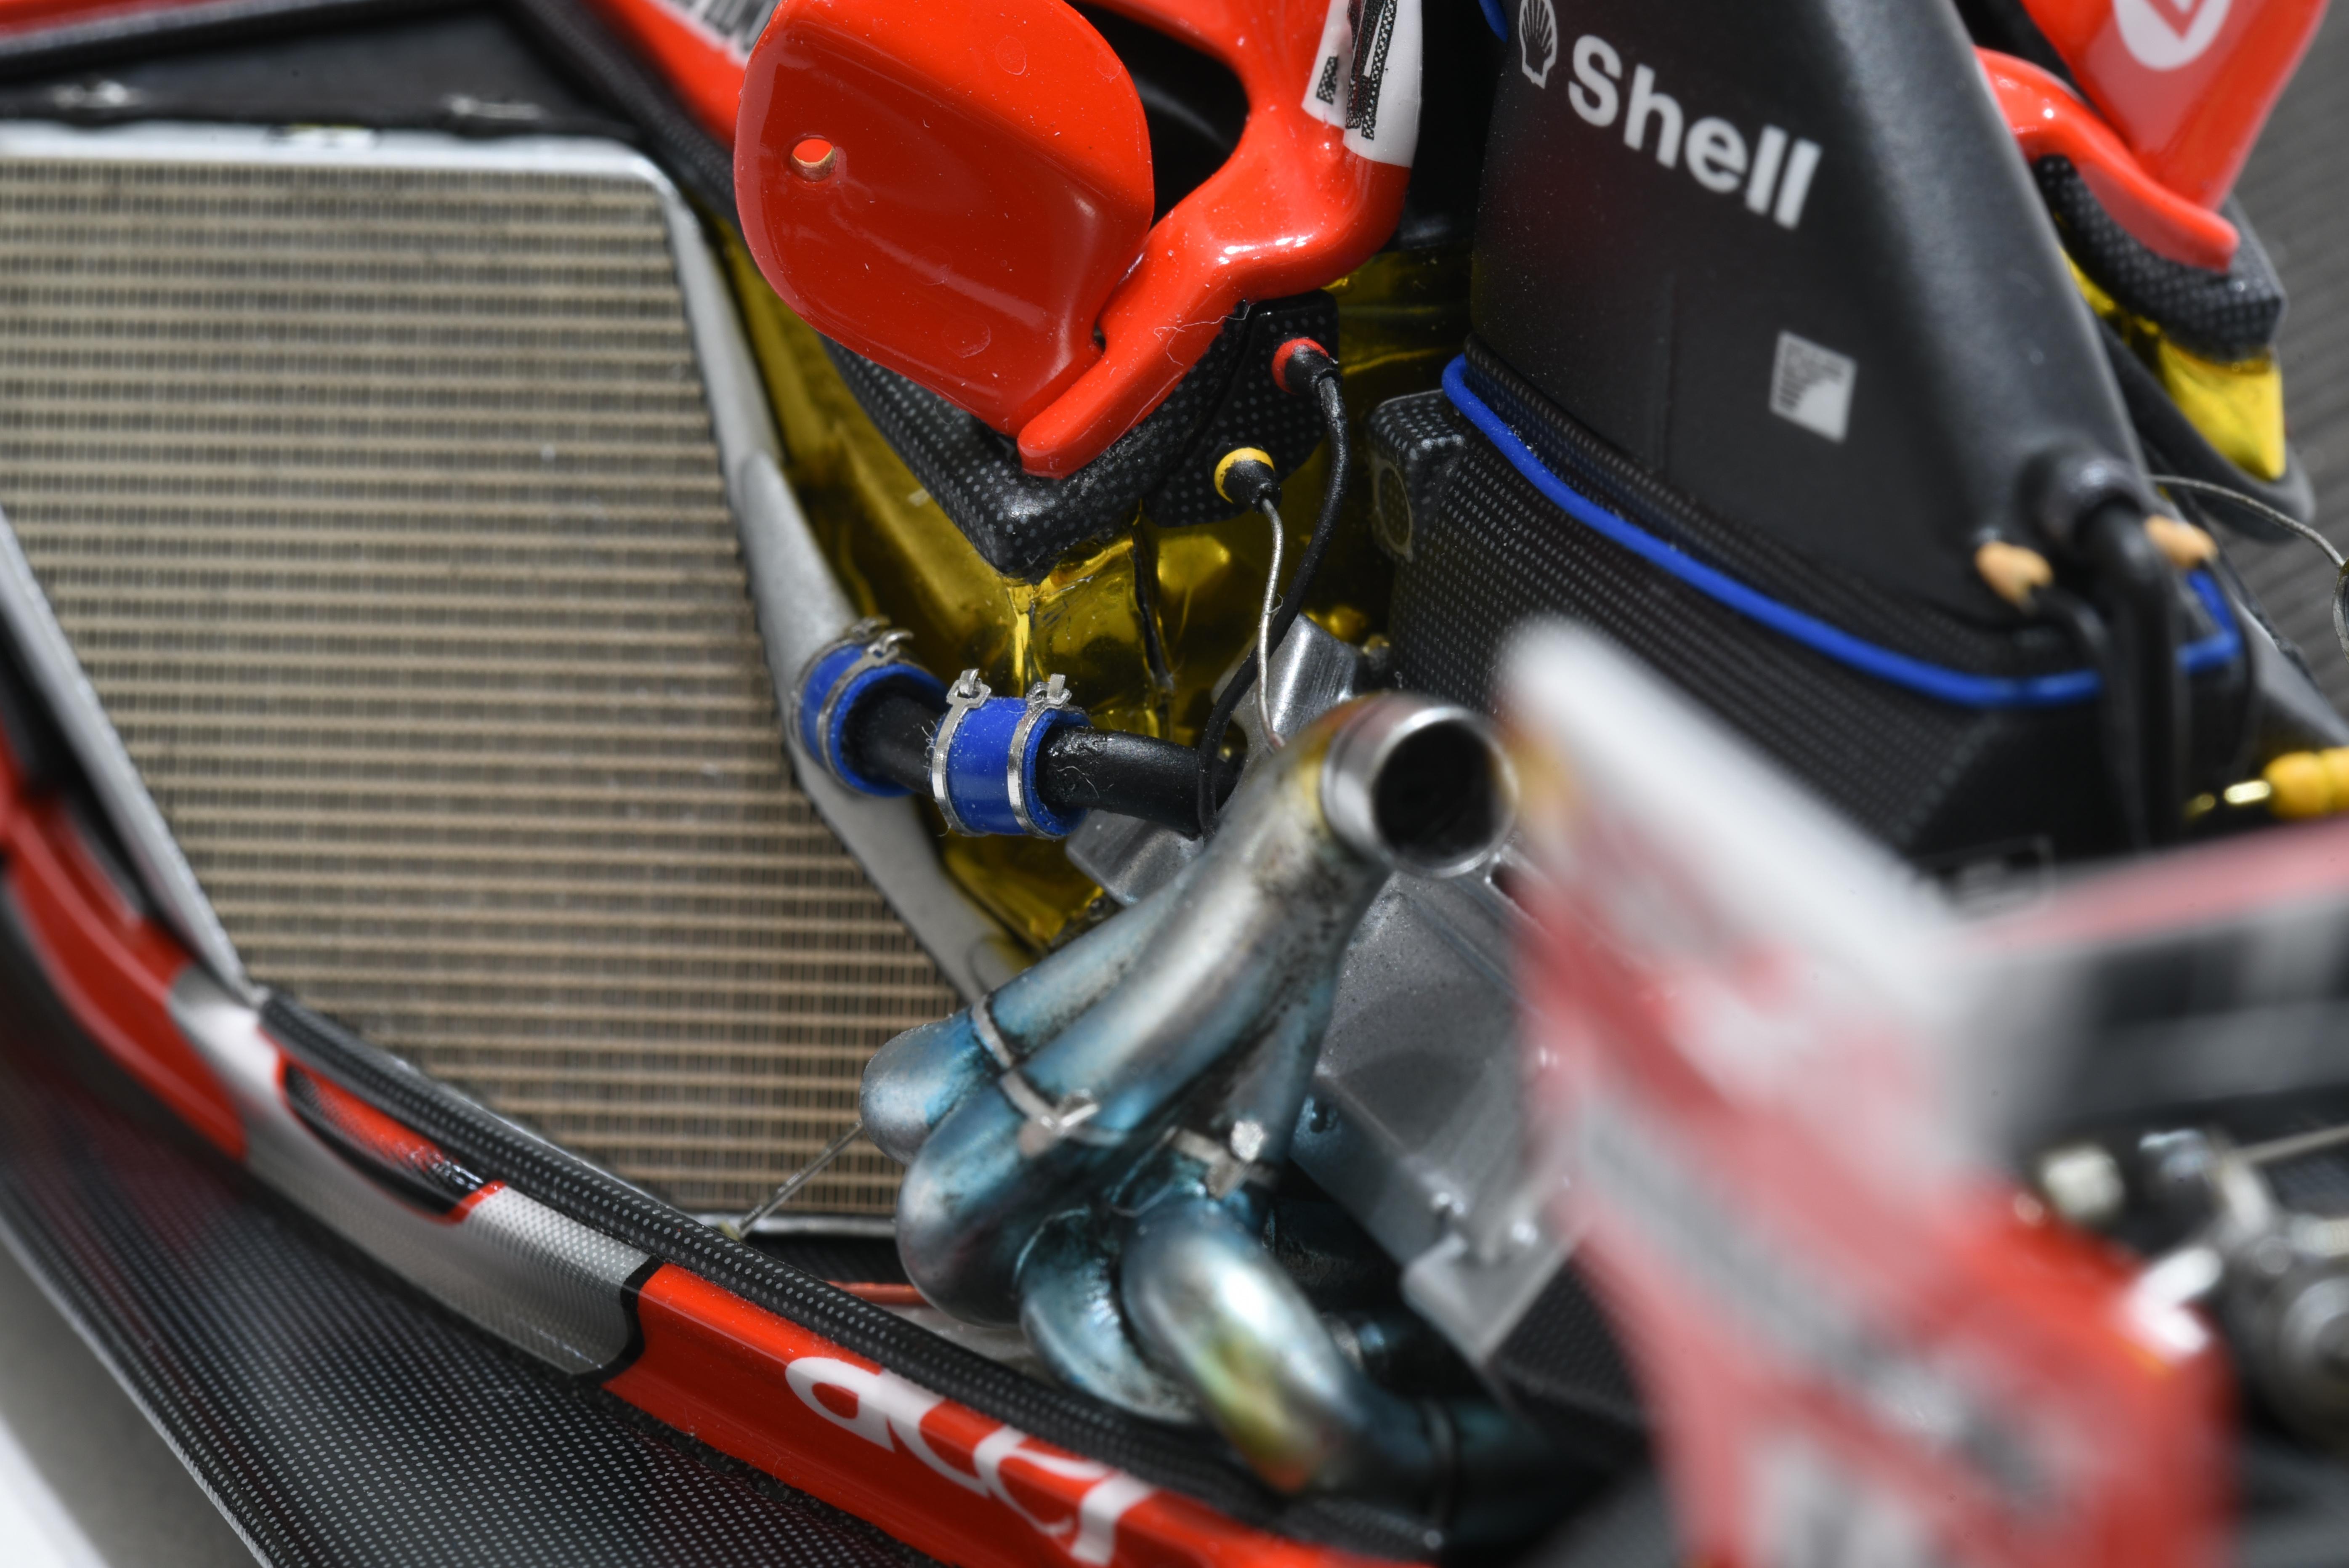
update some progress Added the addtional oil cup and changed the red and yellow cable for the exhaust O2 sensor.
-
1/12 Mclaren MP4/6
okazaki0511 replied to okazaki0511's topic in WIP: Other Racing: Road Racing, Land Speed Racers
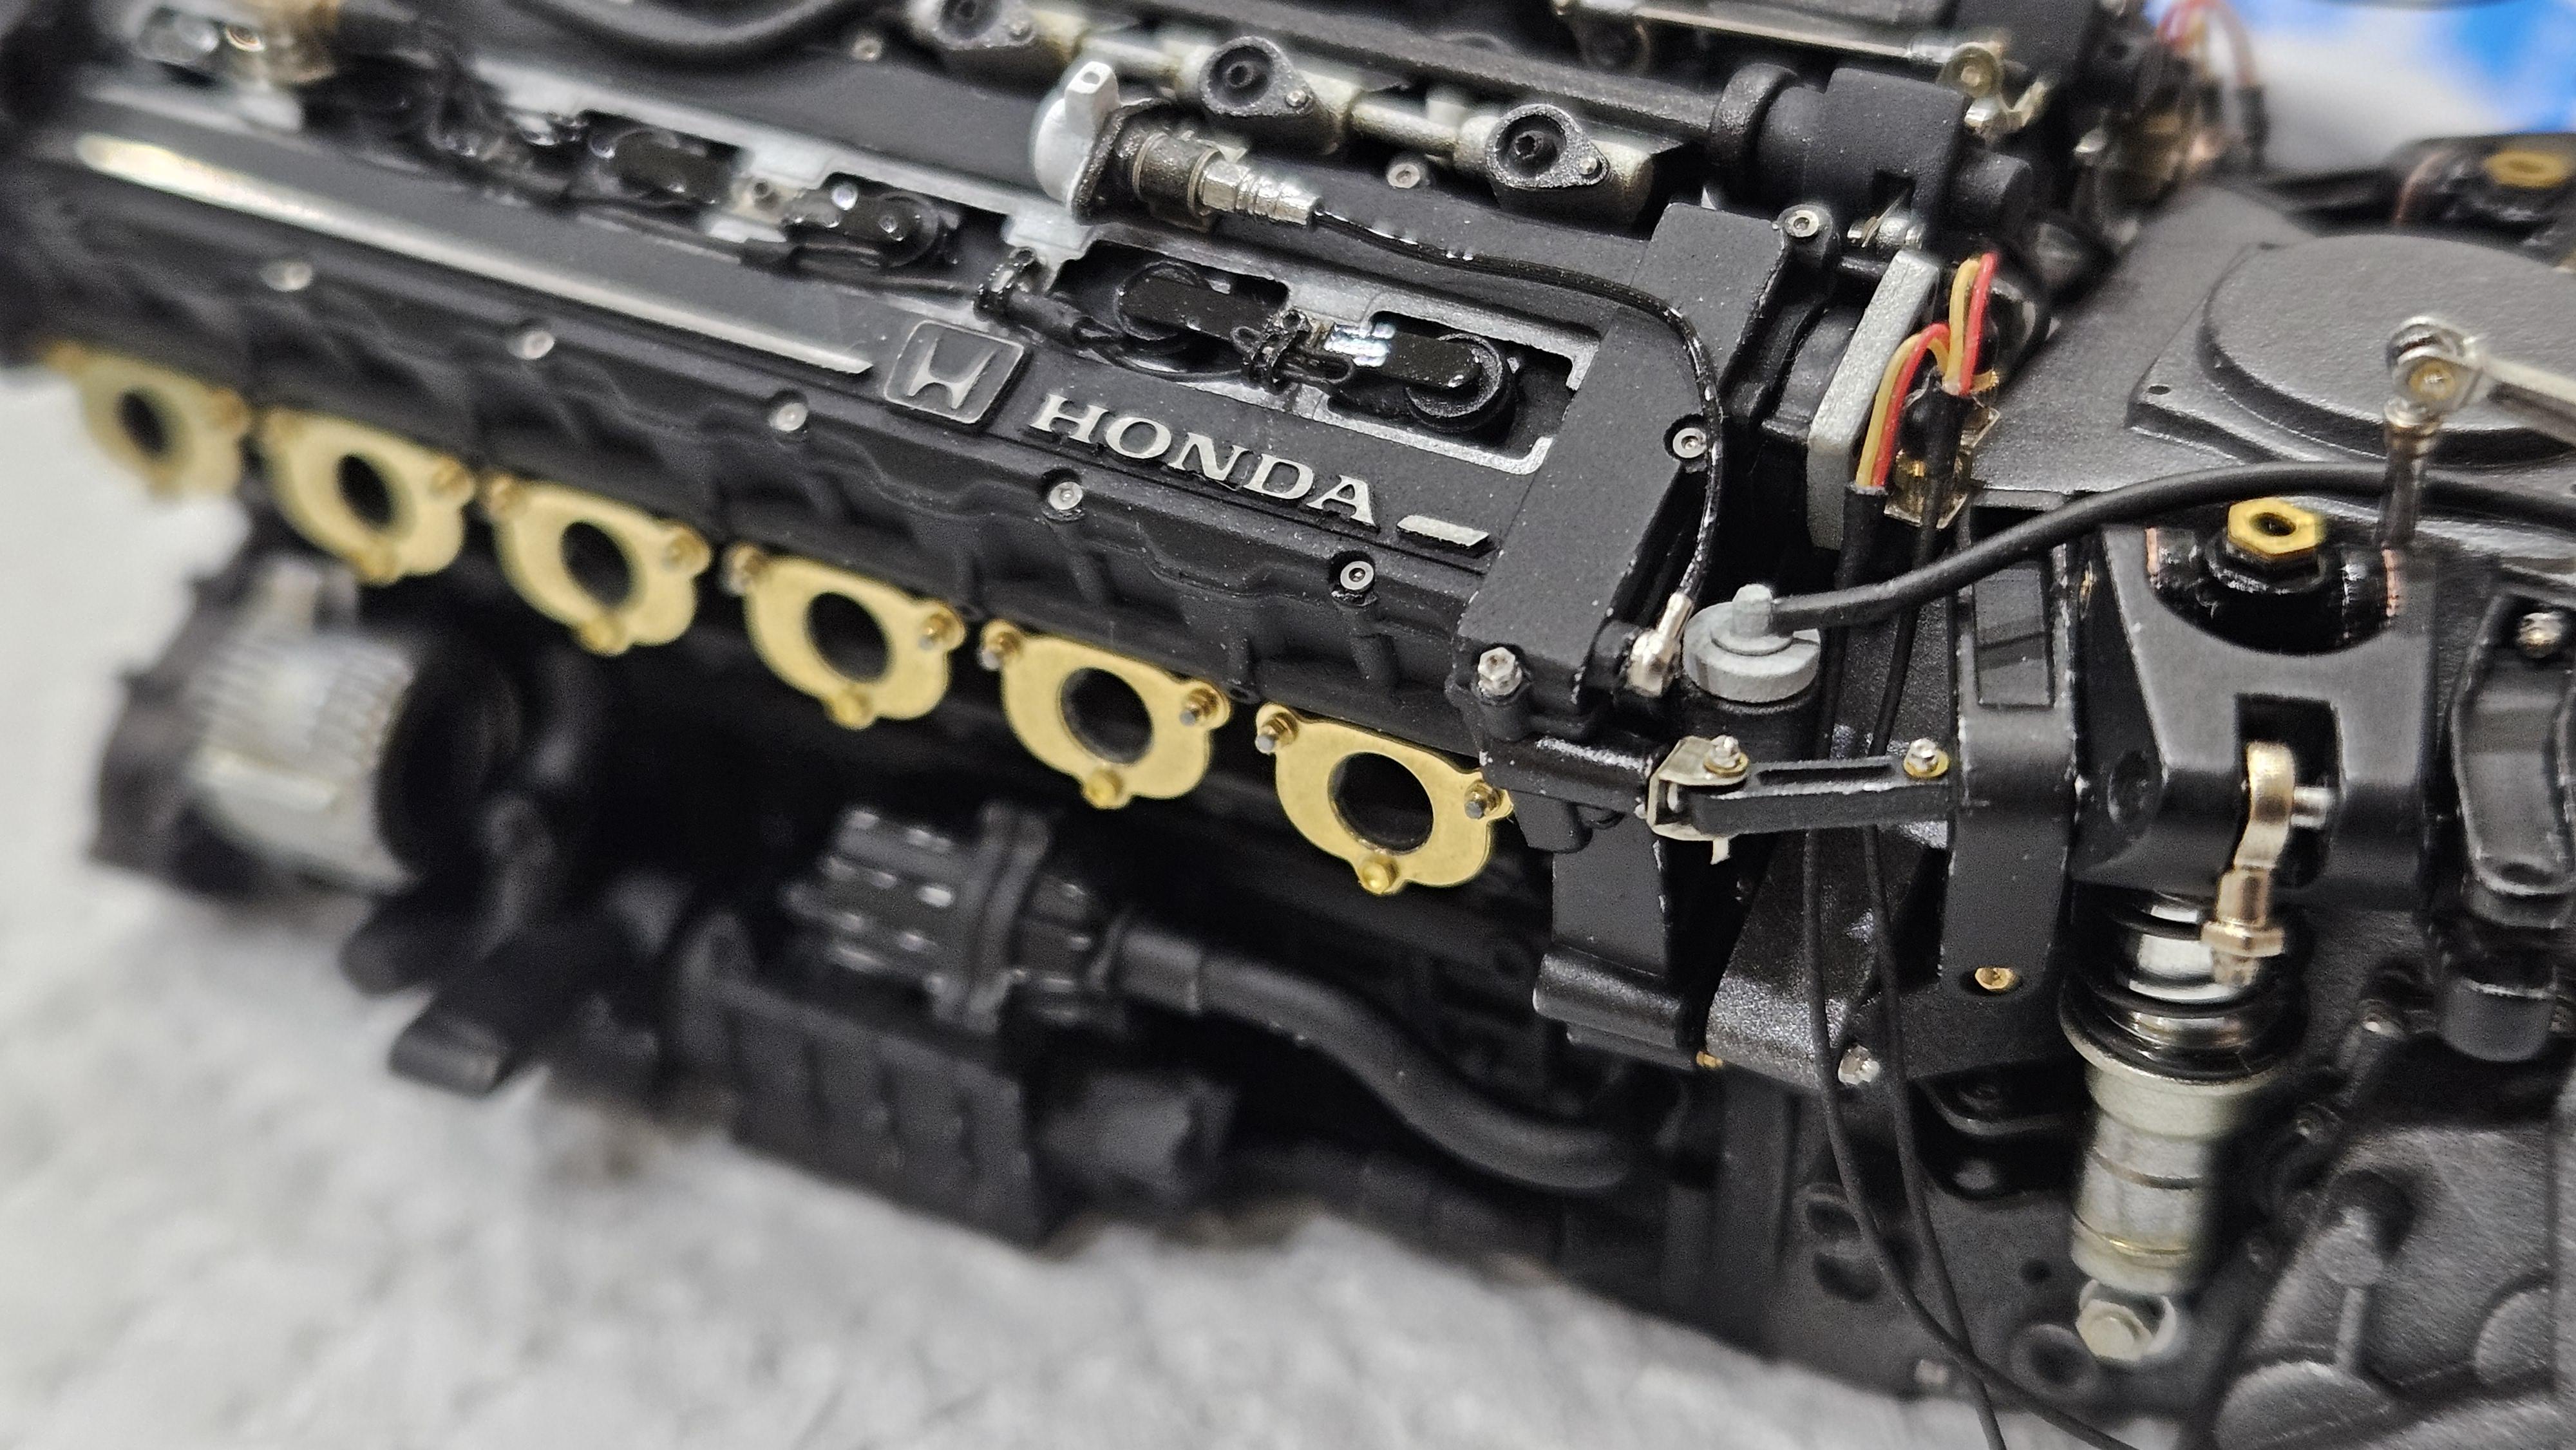
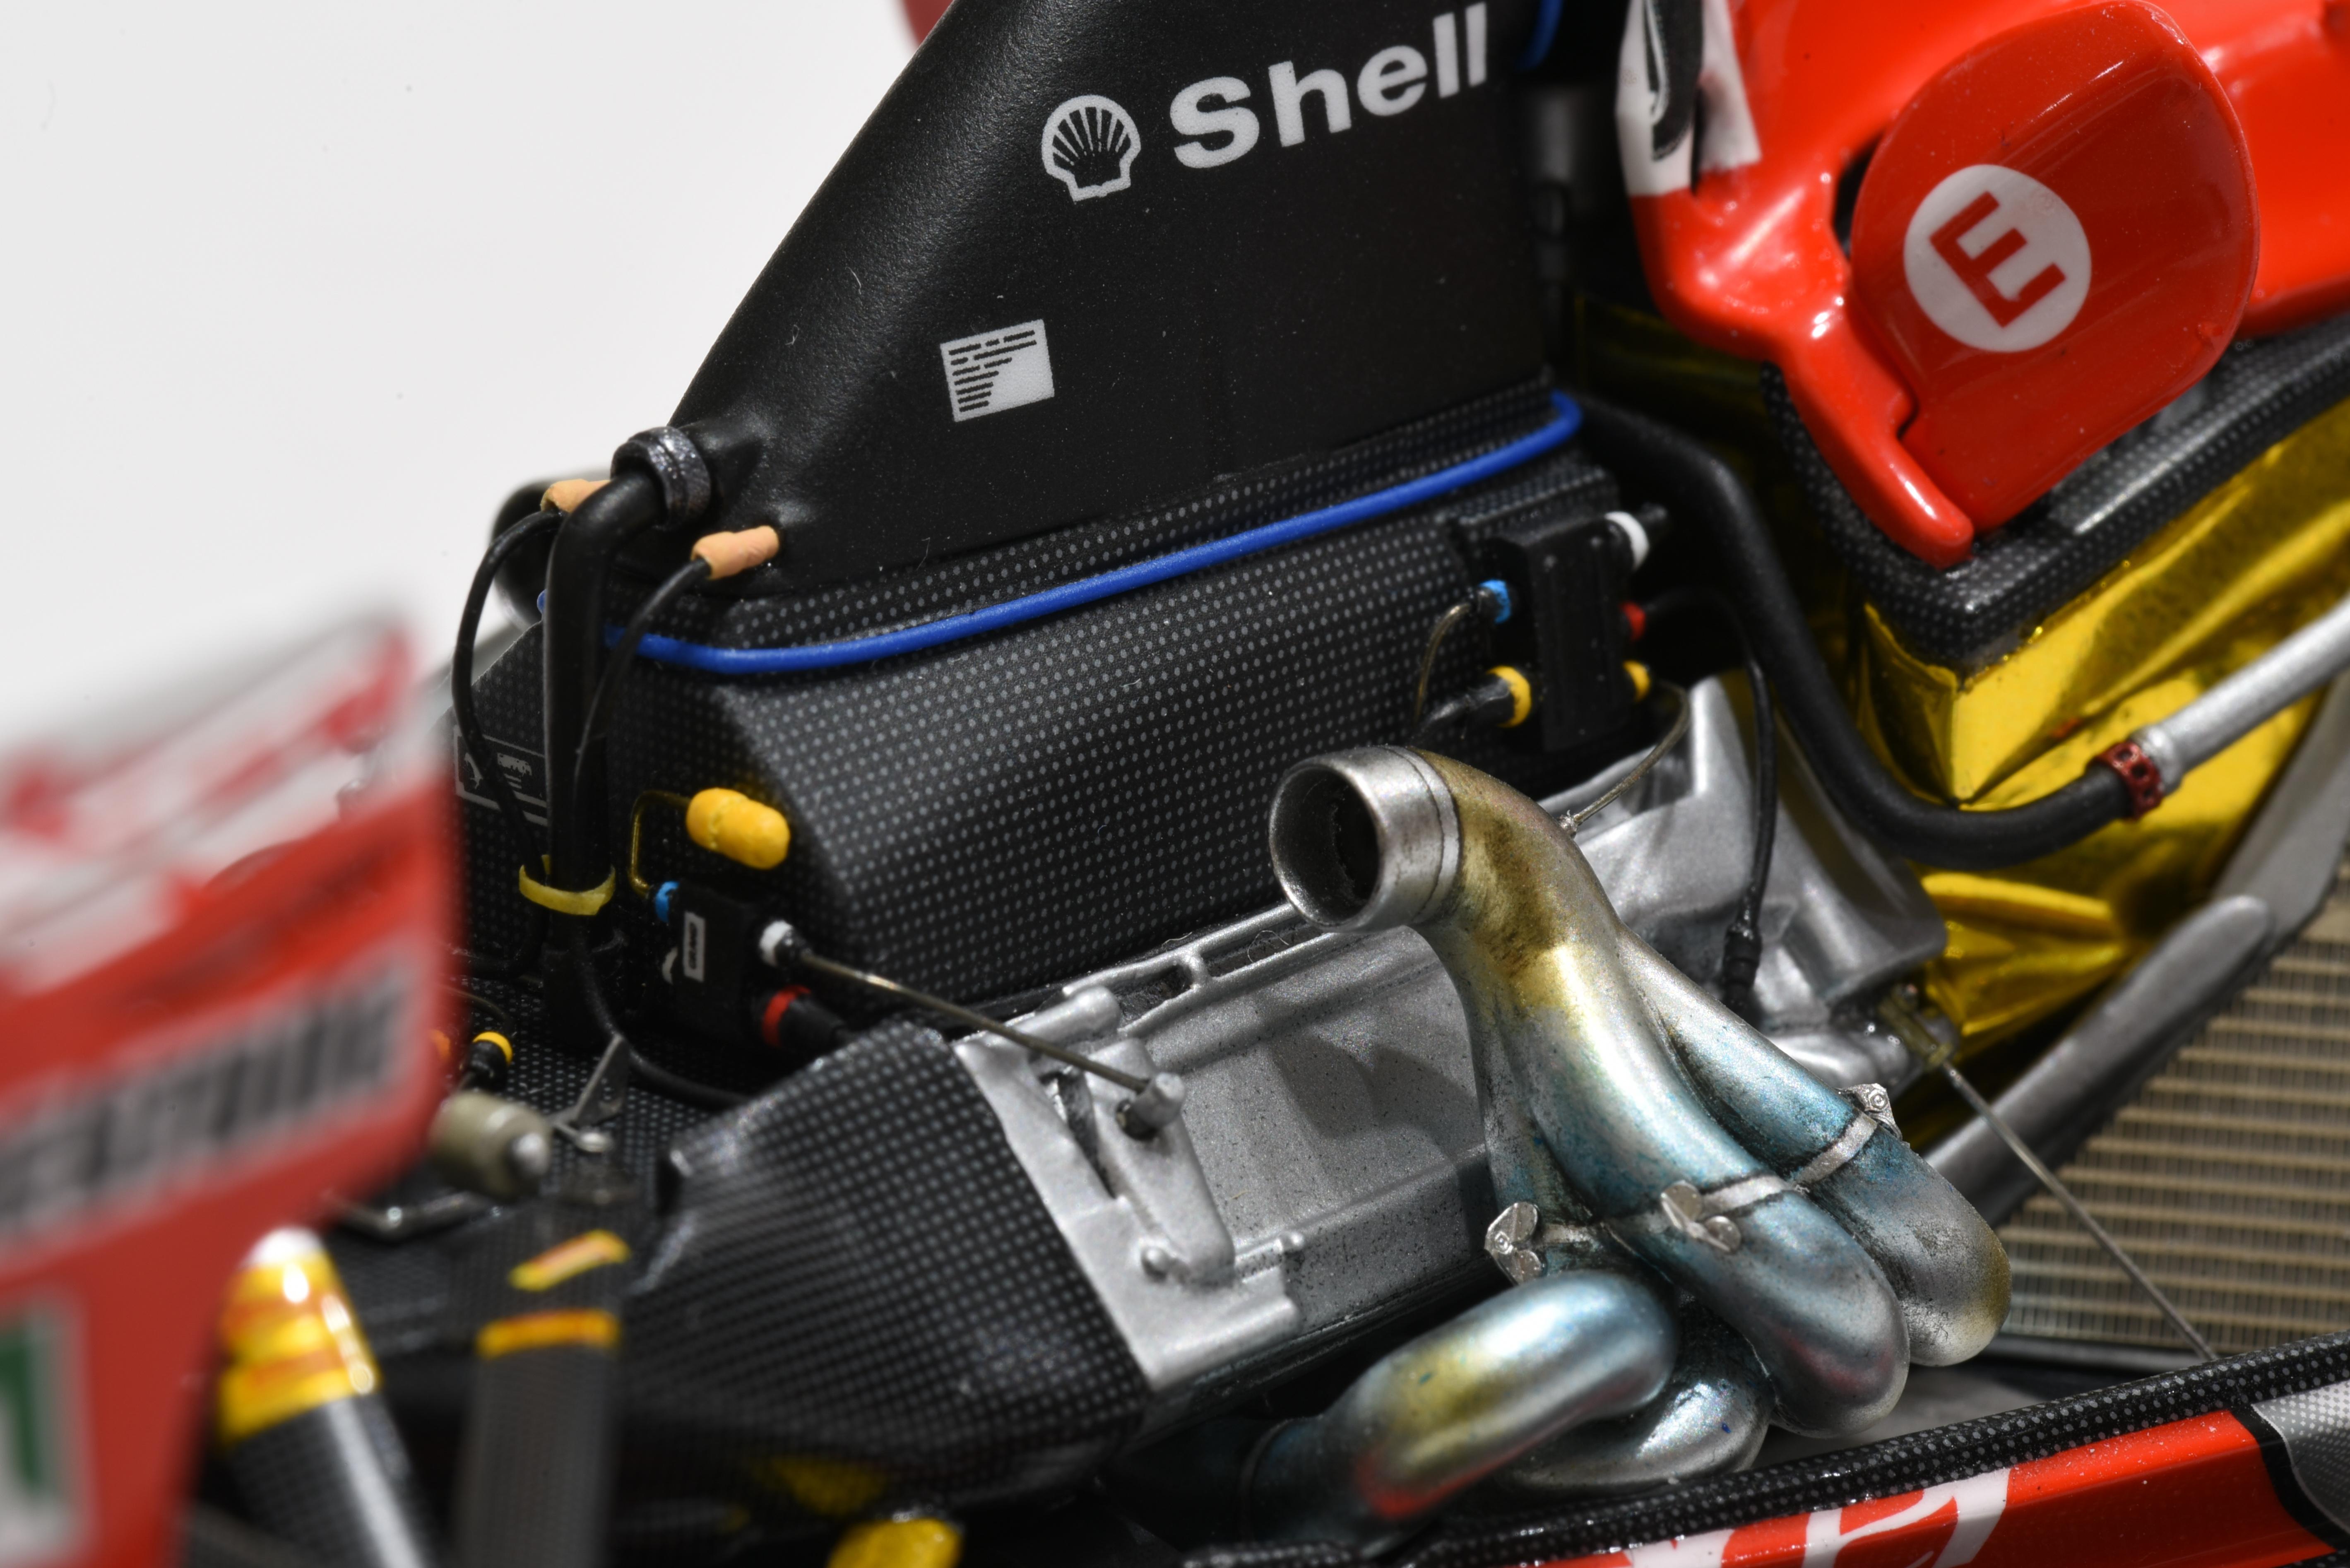
update some progress The painting and wiring just followed MFH's detail book. Also weathered the rivets.
-
Still use TopStudio's upgrade parts. Added weathering to accentuate the detail.
-
Thanks, but I didn't join the SMW last year.
-
Hope you like it.
-
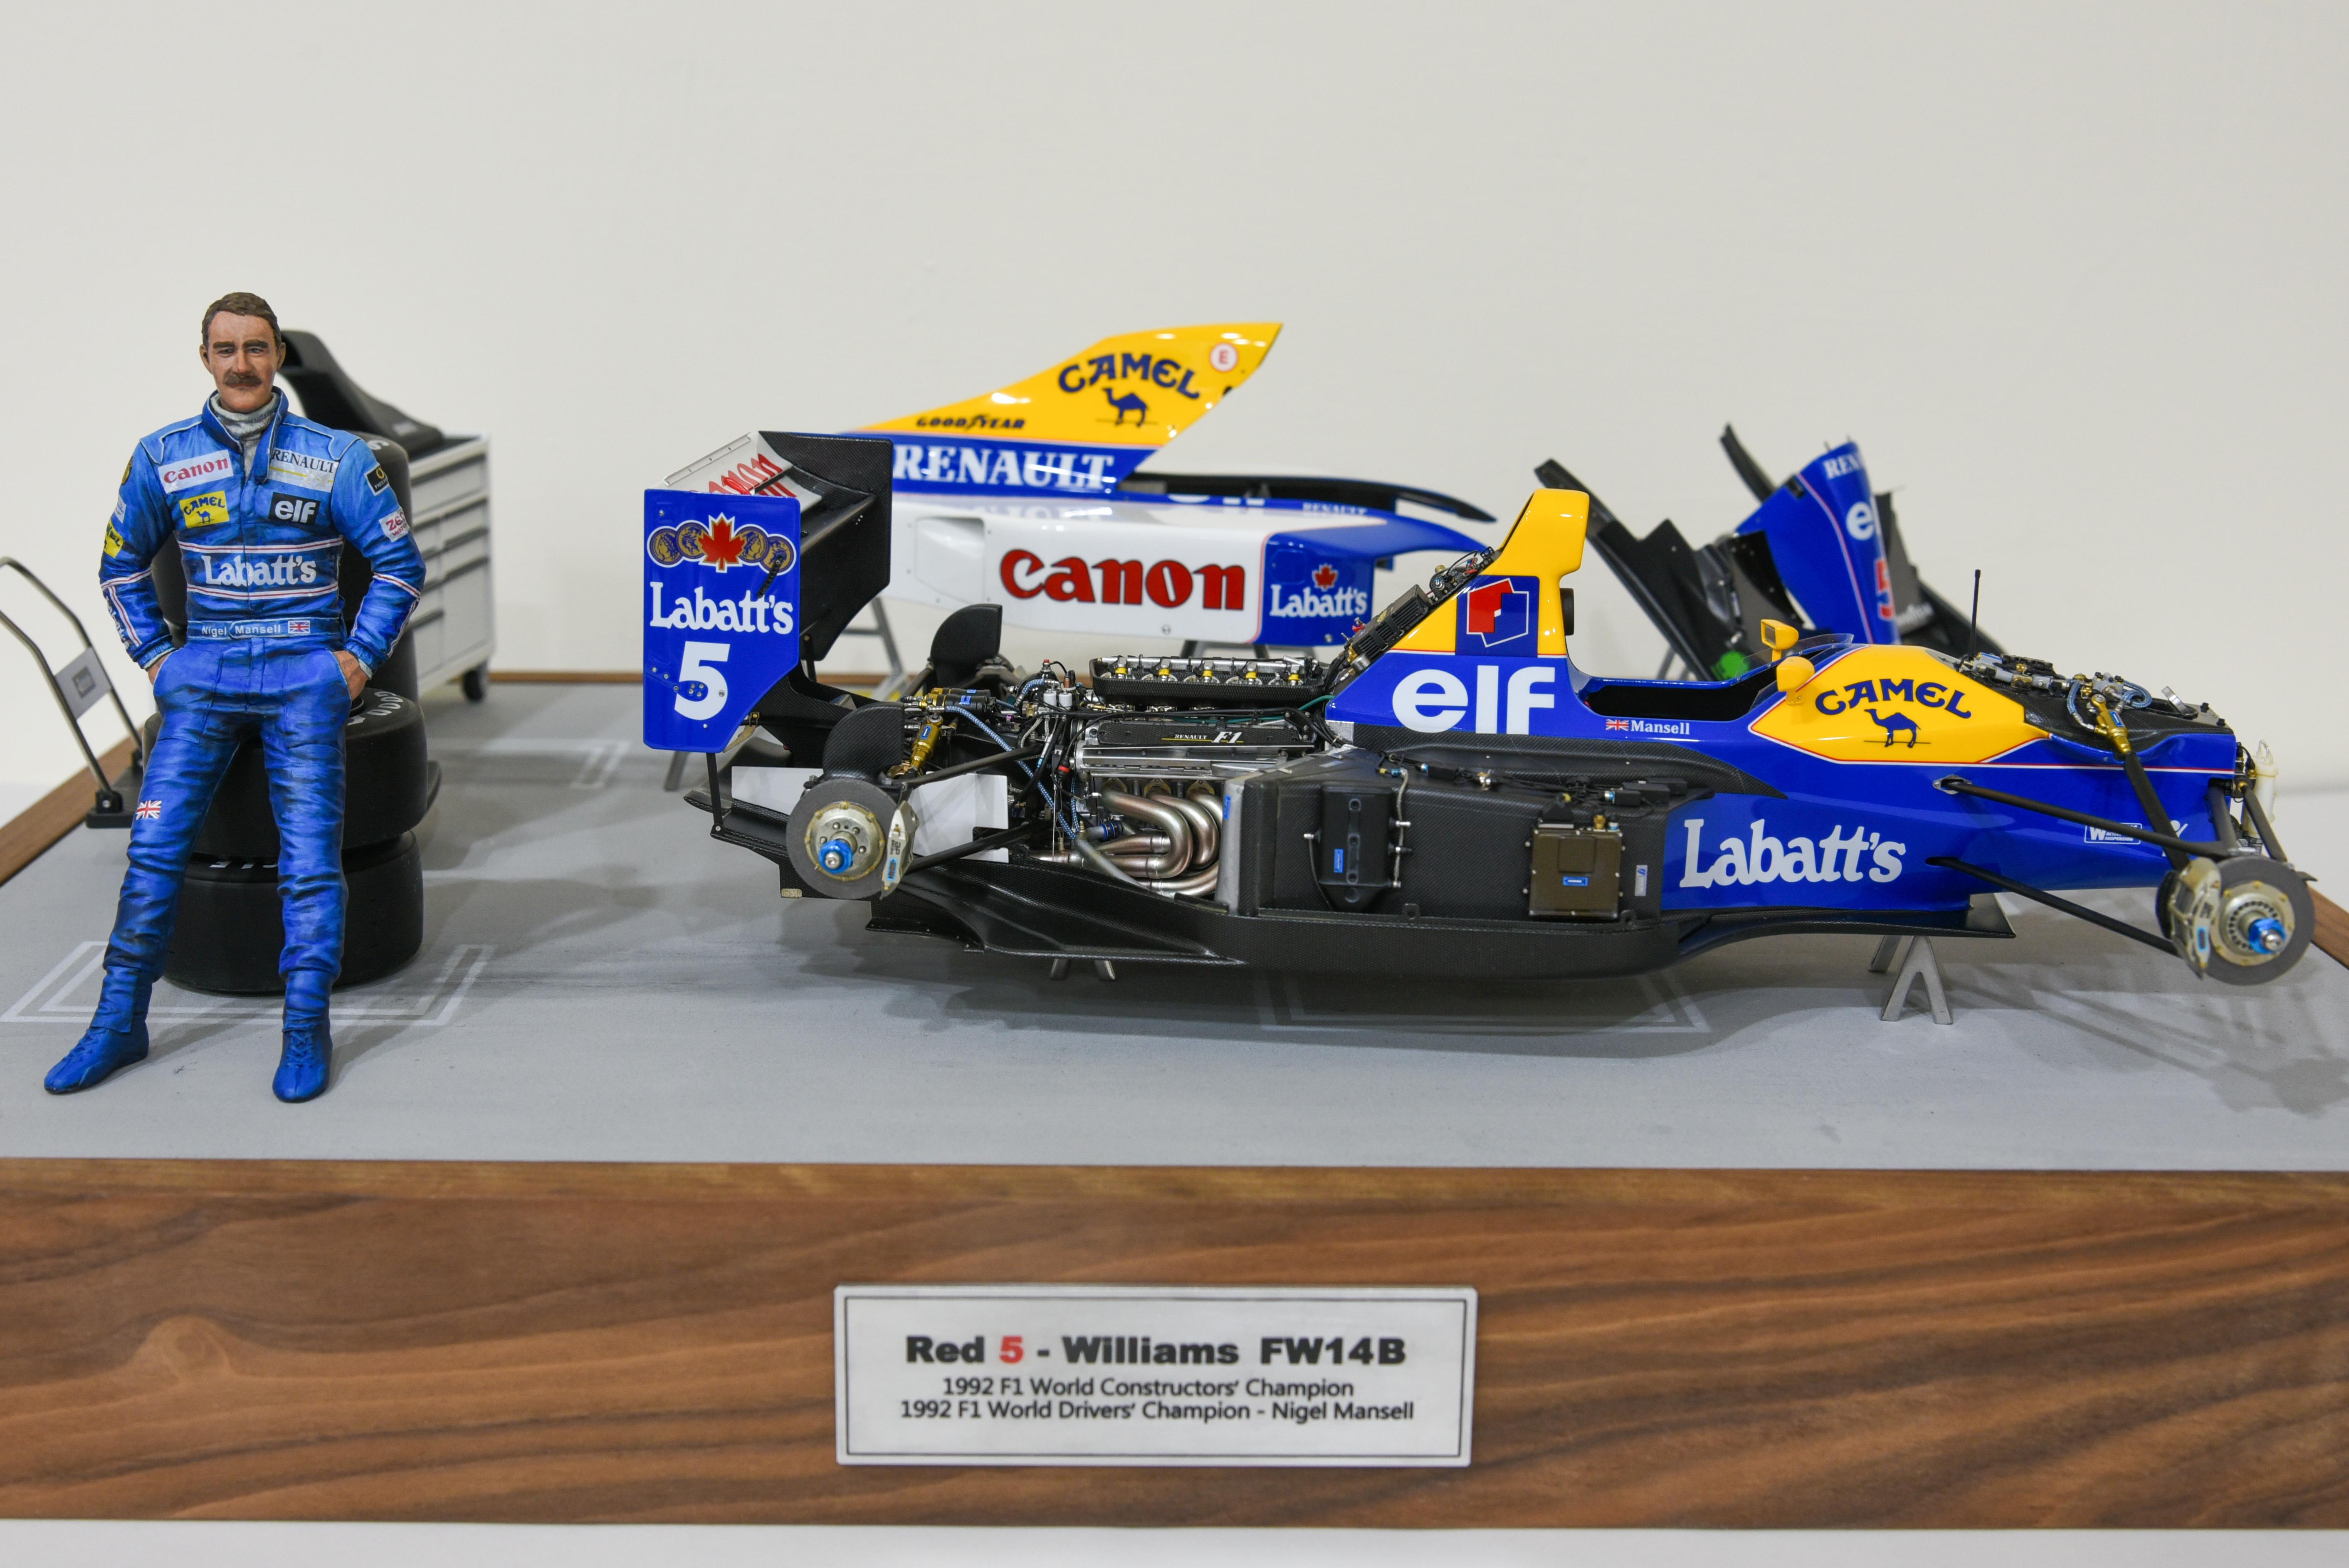
1/12 Tamiya Williams FW14B
okazaki0511 replied to okazaki0511's topic in WIP: Other Racing: Road Racing, Land Speed Racers
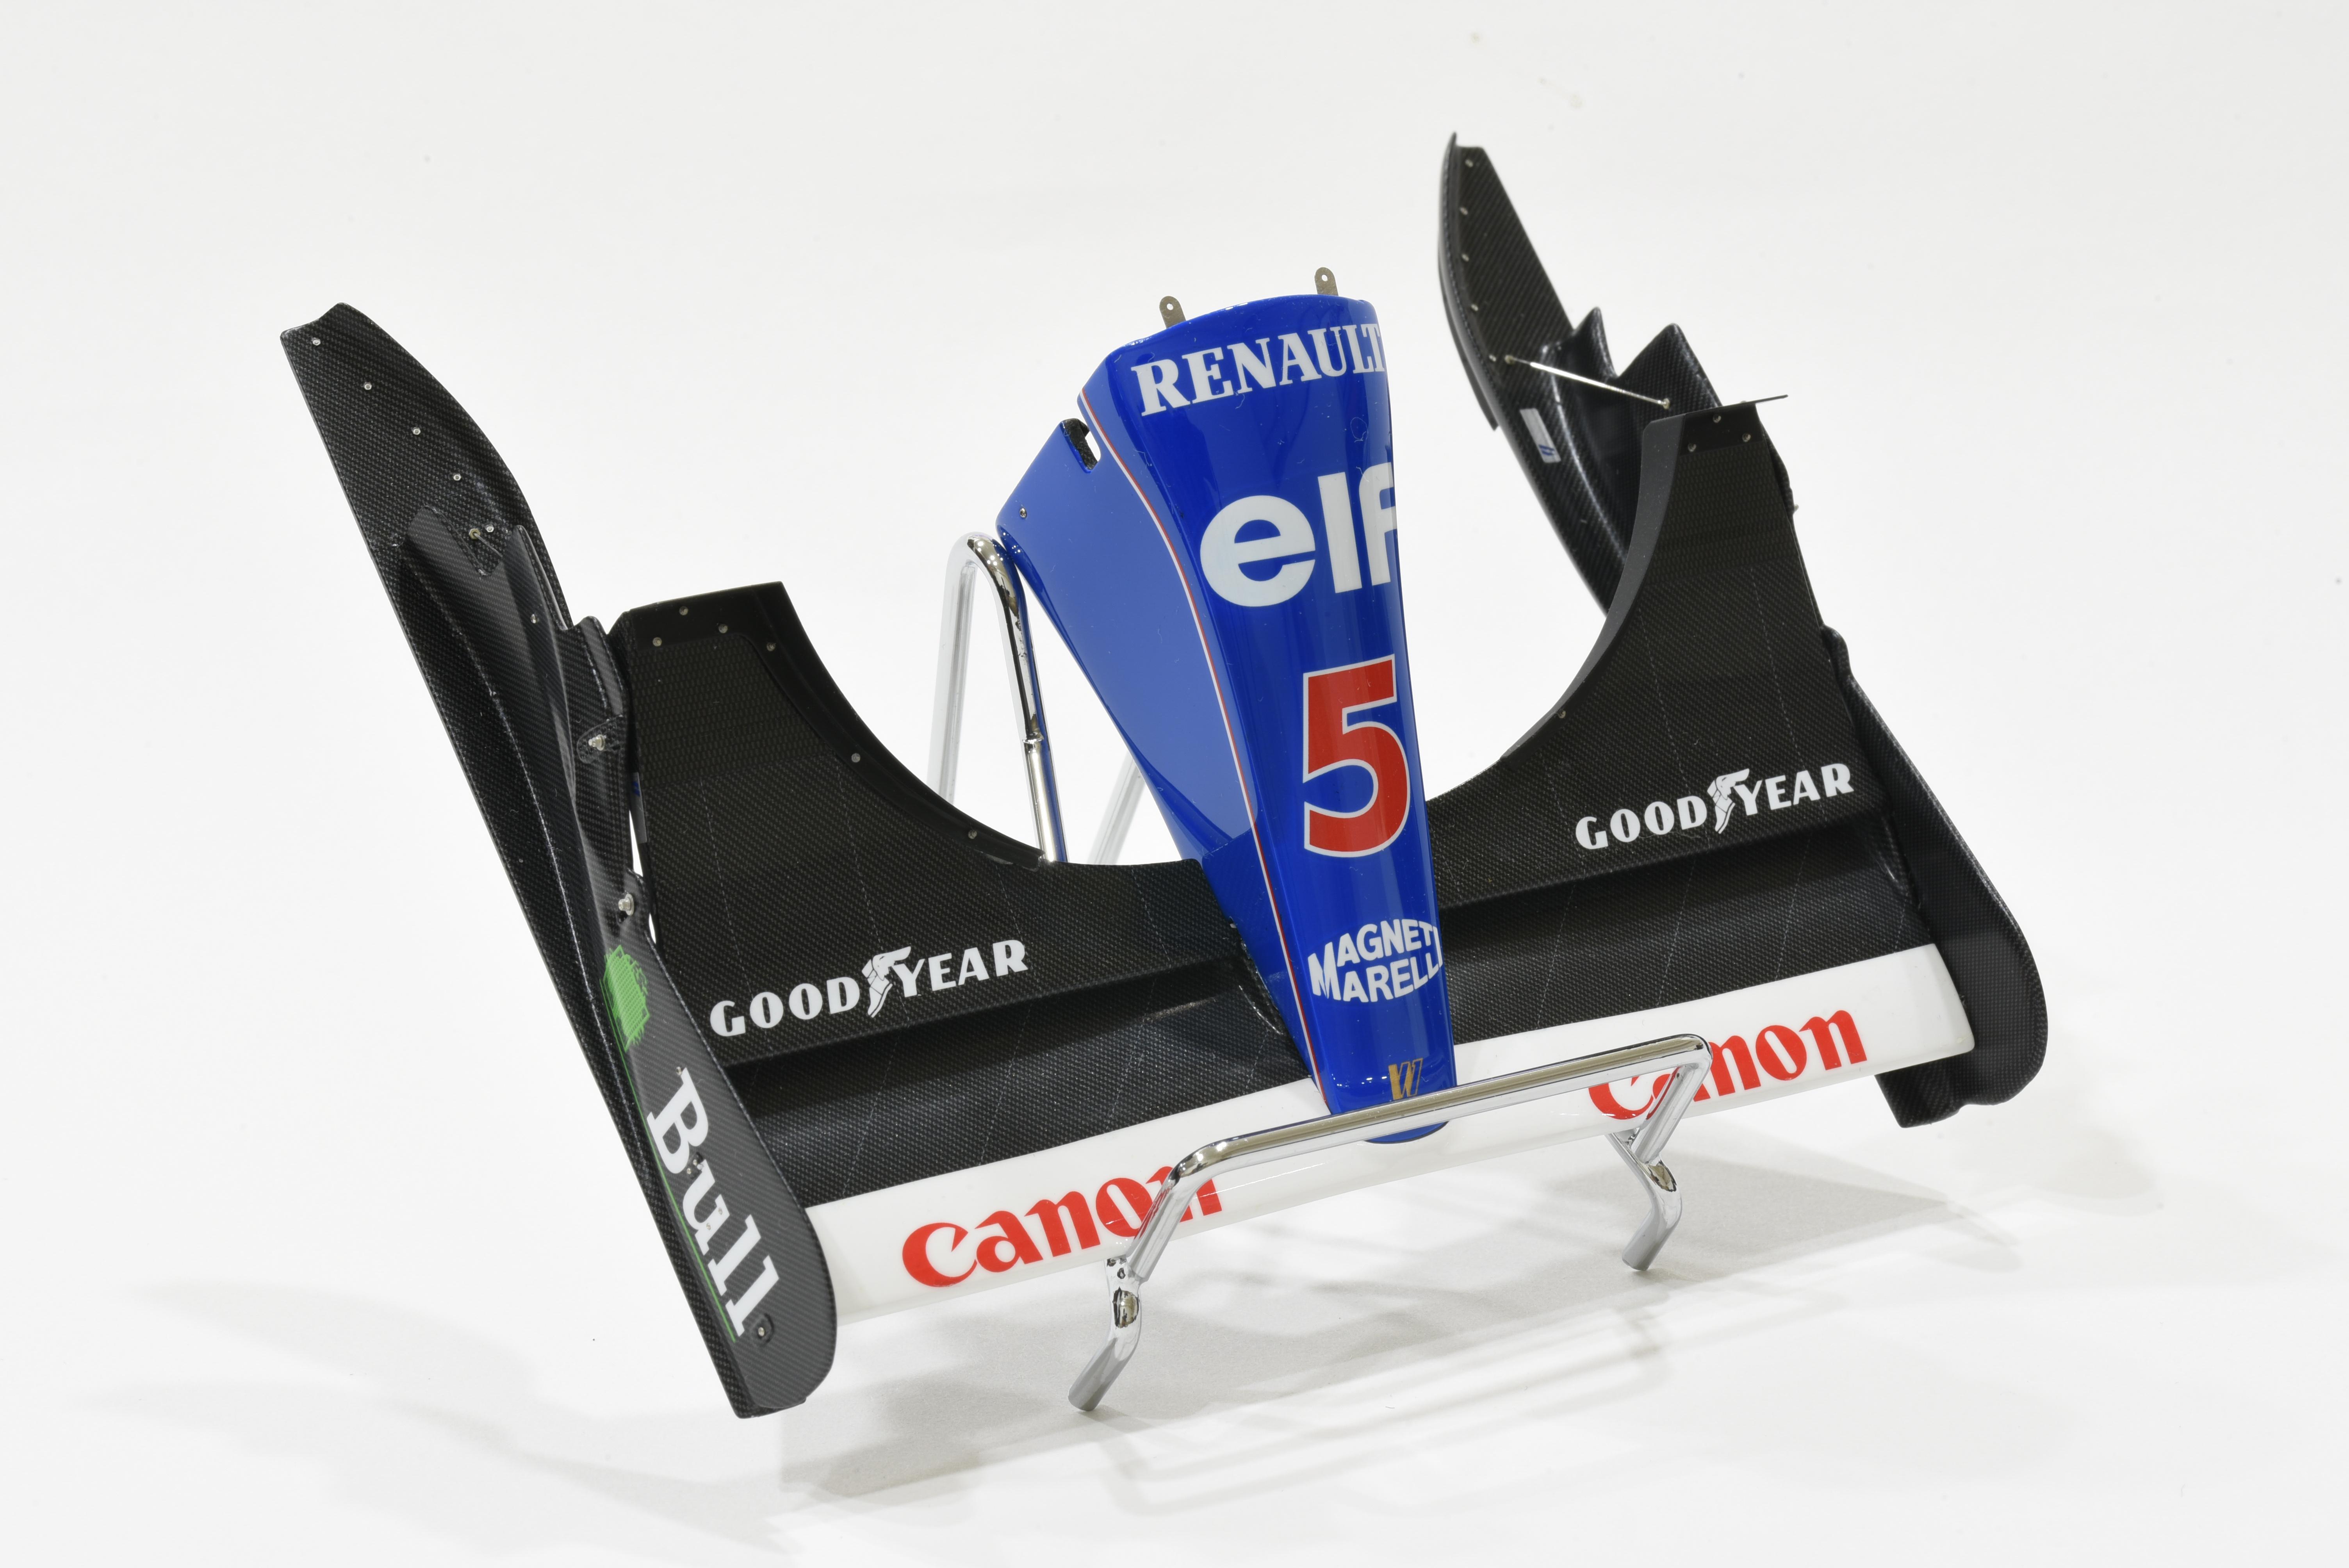
Updated some progress. Finished the rear wing. Thinned down the end-plate and adjusted the groove for the assembly.
-
1/12 Tamiya Williams FW14B
okazaki0511 replied to okazaki0511's topic in WIP: Other Racing: Road Racing, Land Speed Racers
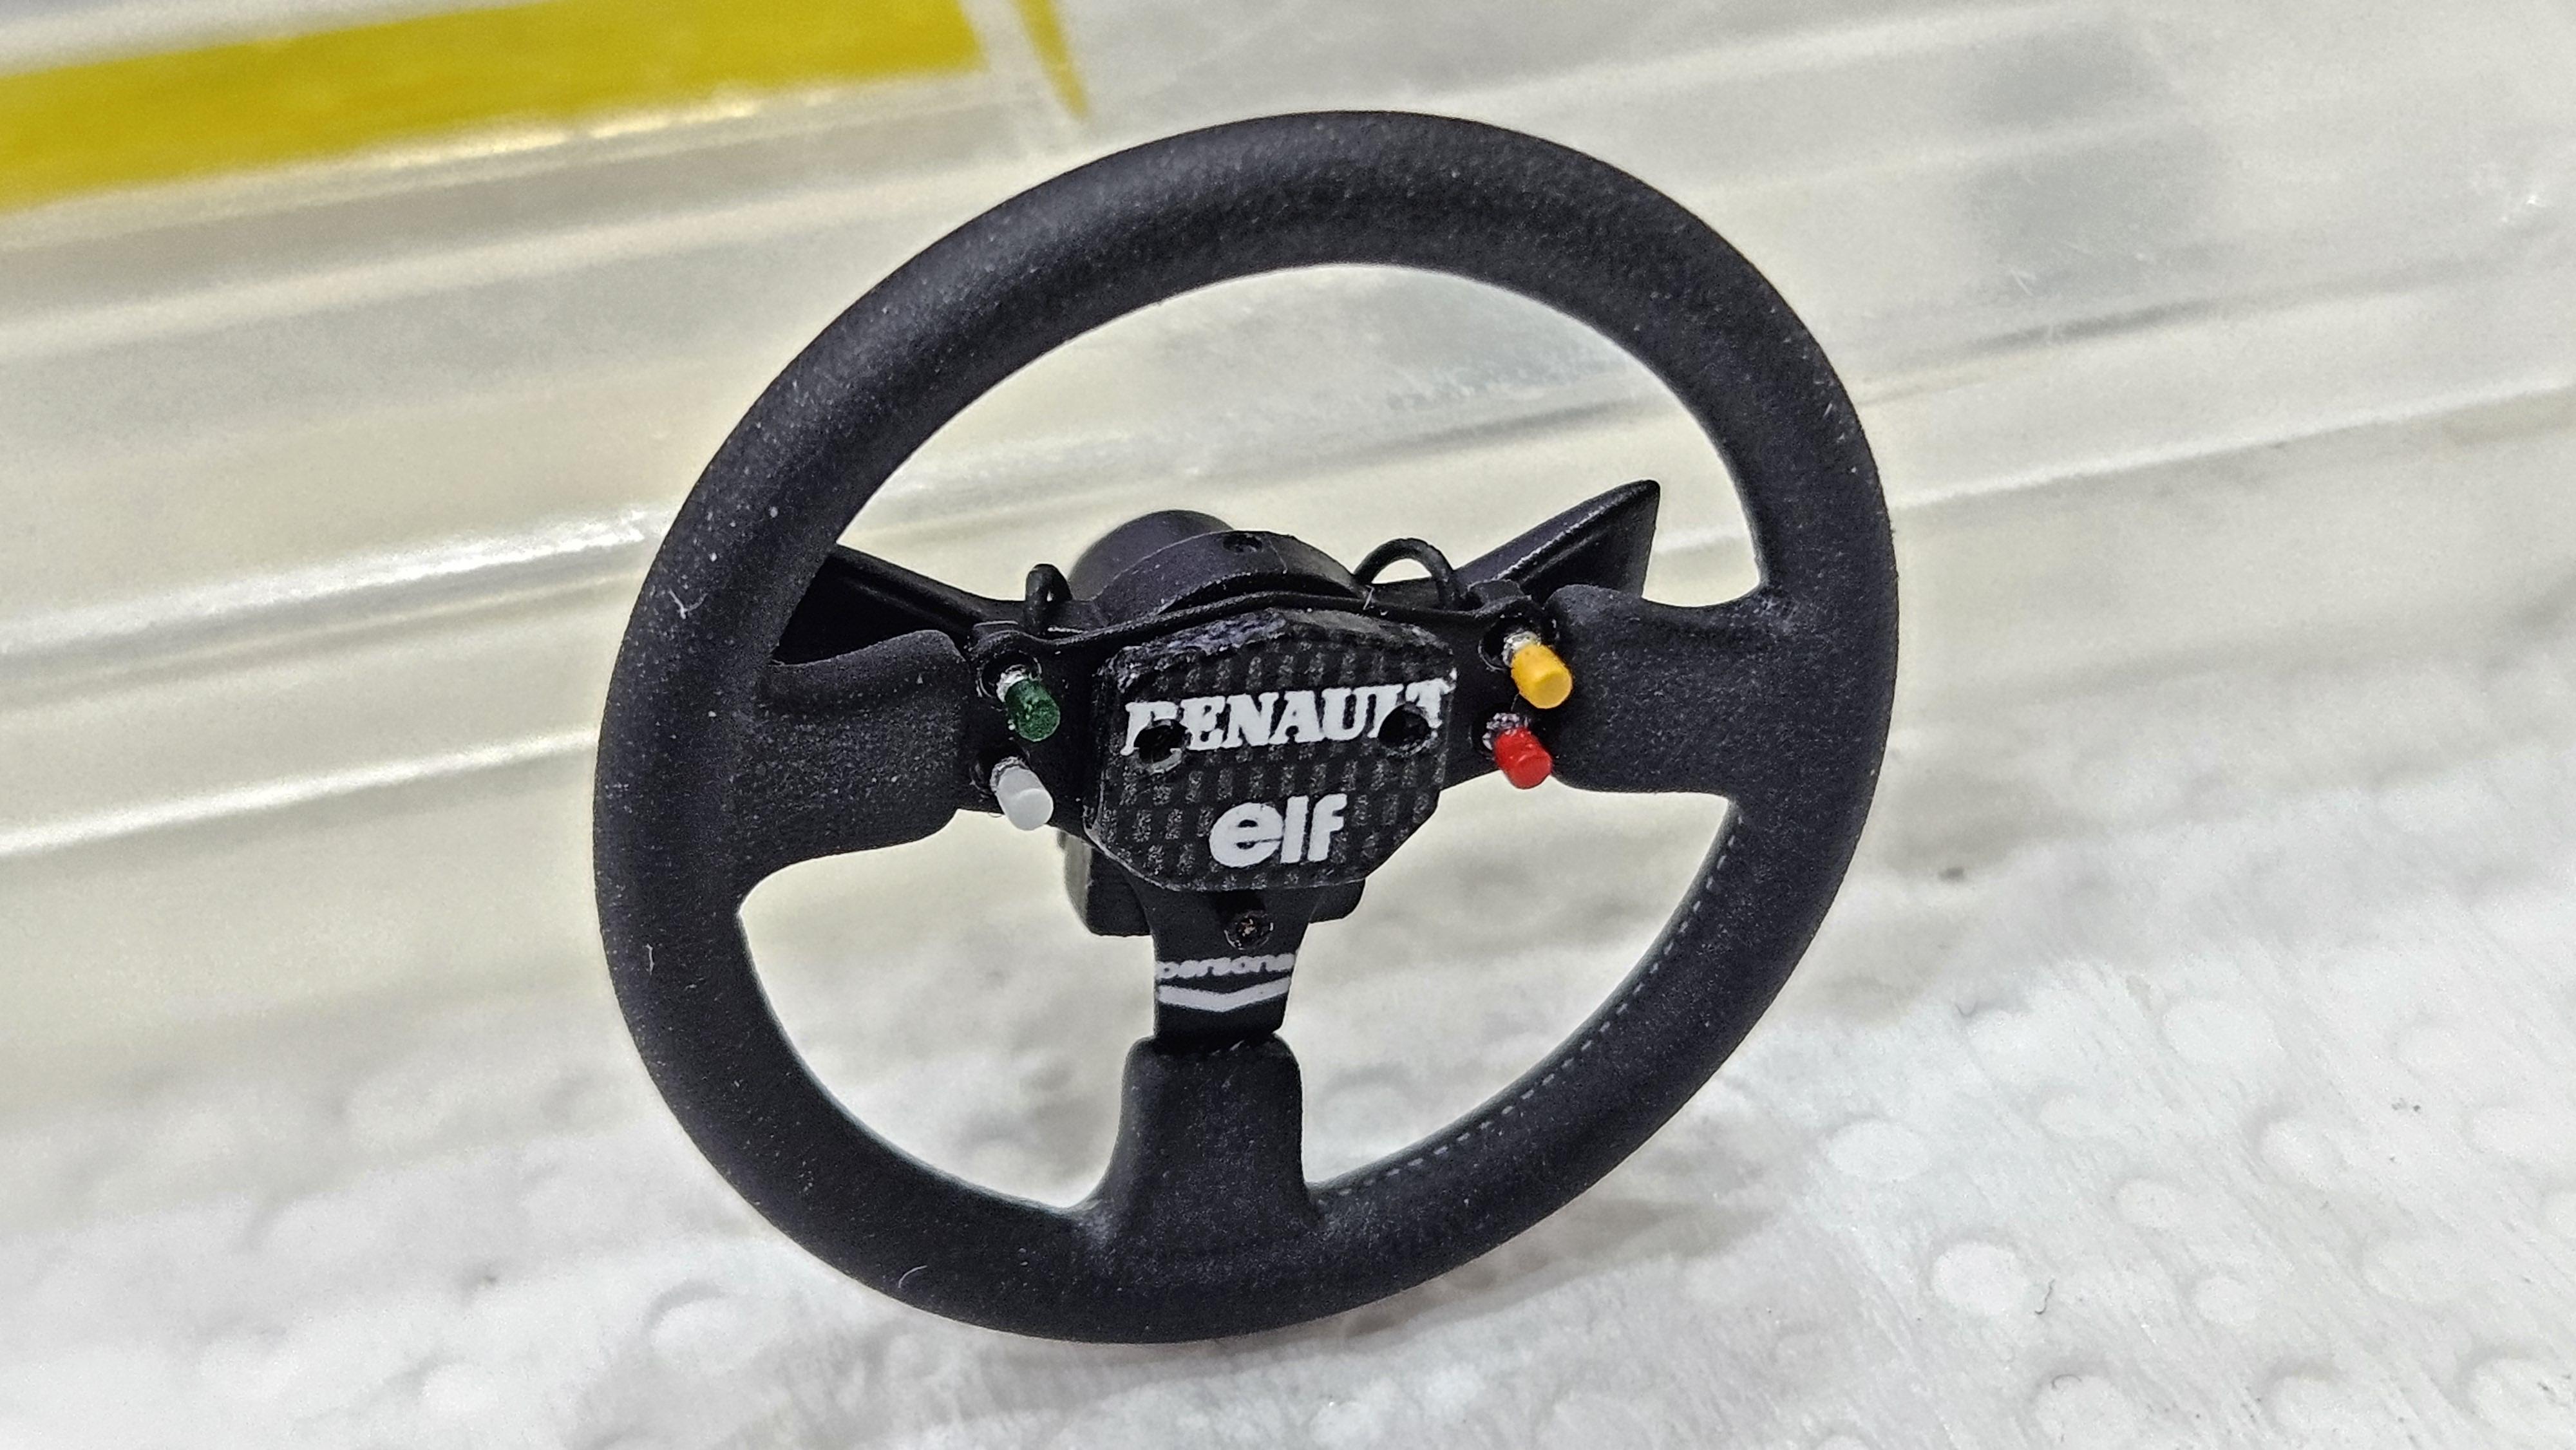
I used some clear pictures to calculate the pitch. And asked someone to help to print it. The steering wheel just uses smaller design.
-
1/12 Tamiya Williams FW14B
okazaki0511 replied to okazaki0511's topic in WIP: Other Racing: Road Racing, Land Speed Racers
Updated some progress Finished the front wing and steering wheel. Still added the dotted line to improve the realism. About the brake, added the used trace on the brake disc.
-
1/12 Tamiya Williams FW14B
okazaki0511 replied to okazaki0511's topic in WIP: Other Racing: Road Racing, Land Speed Racers
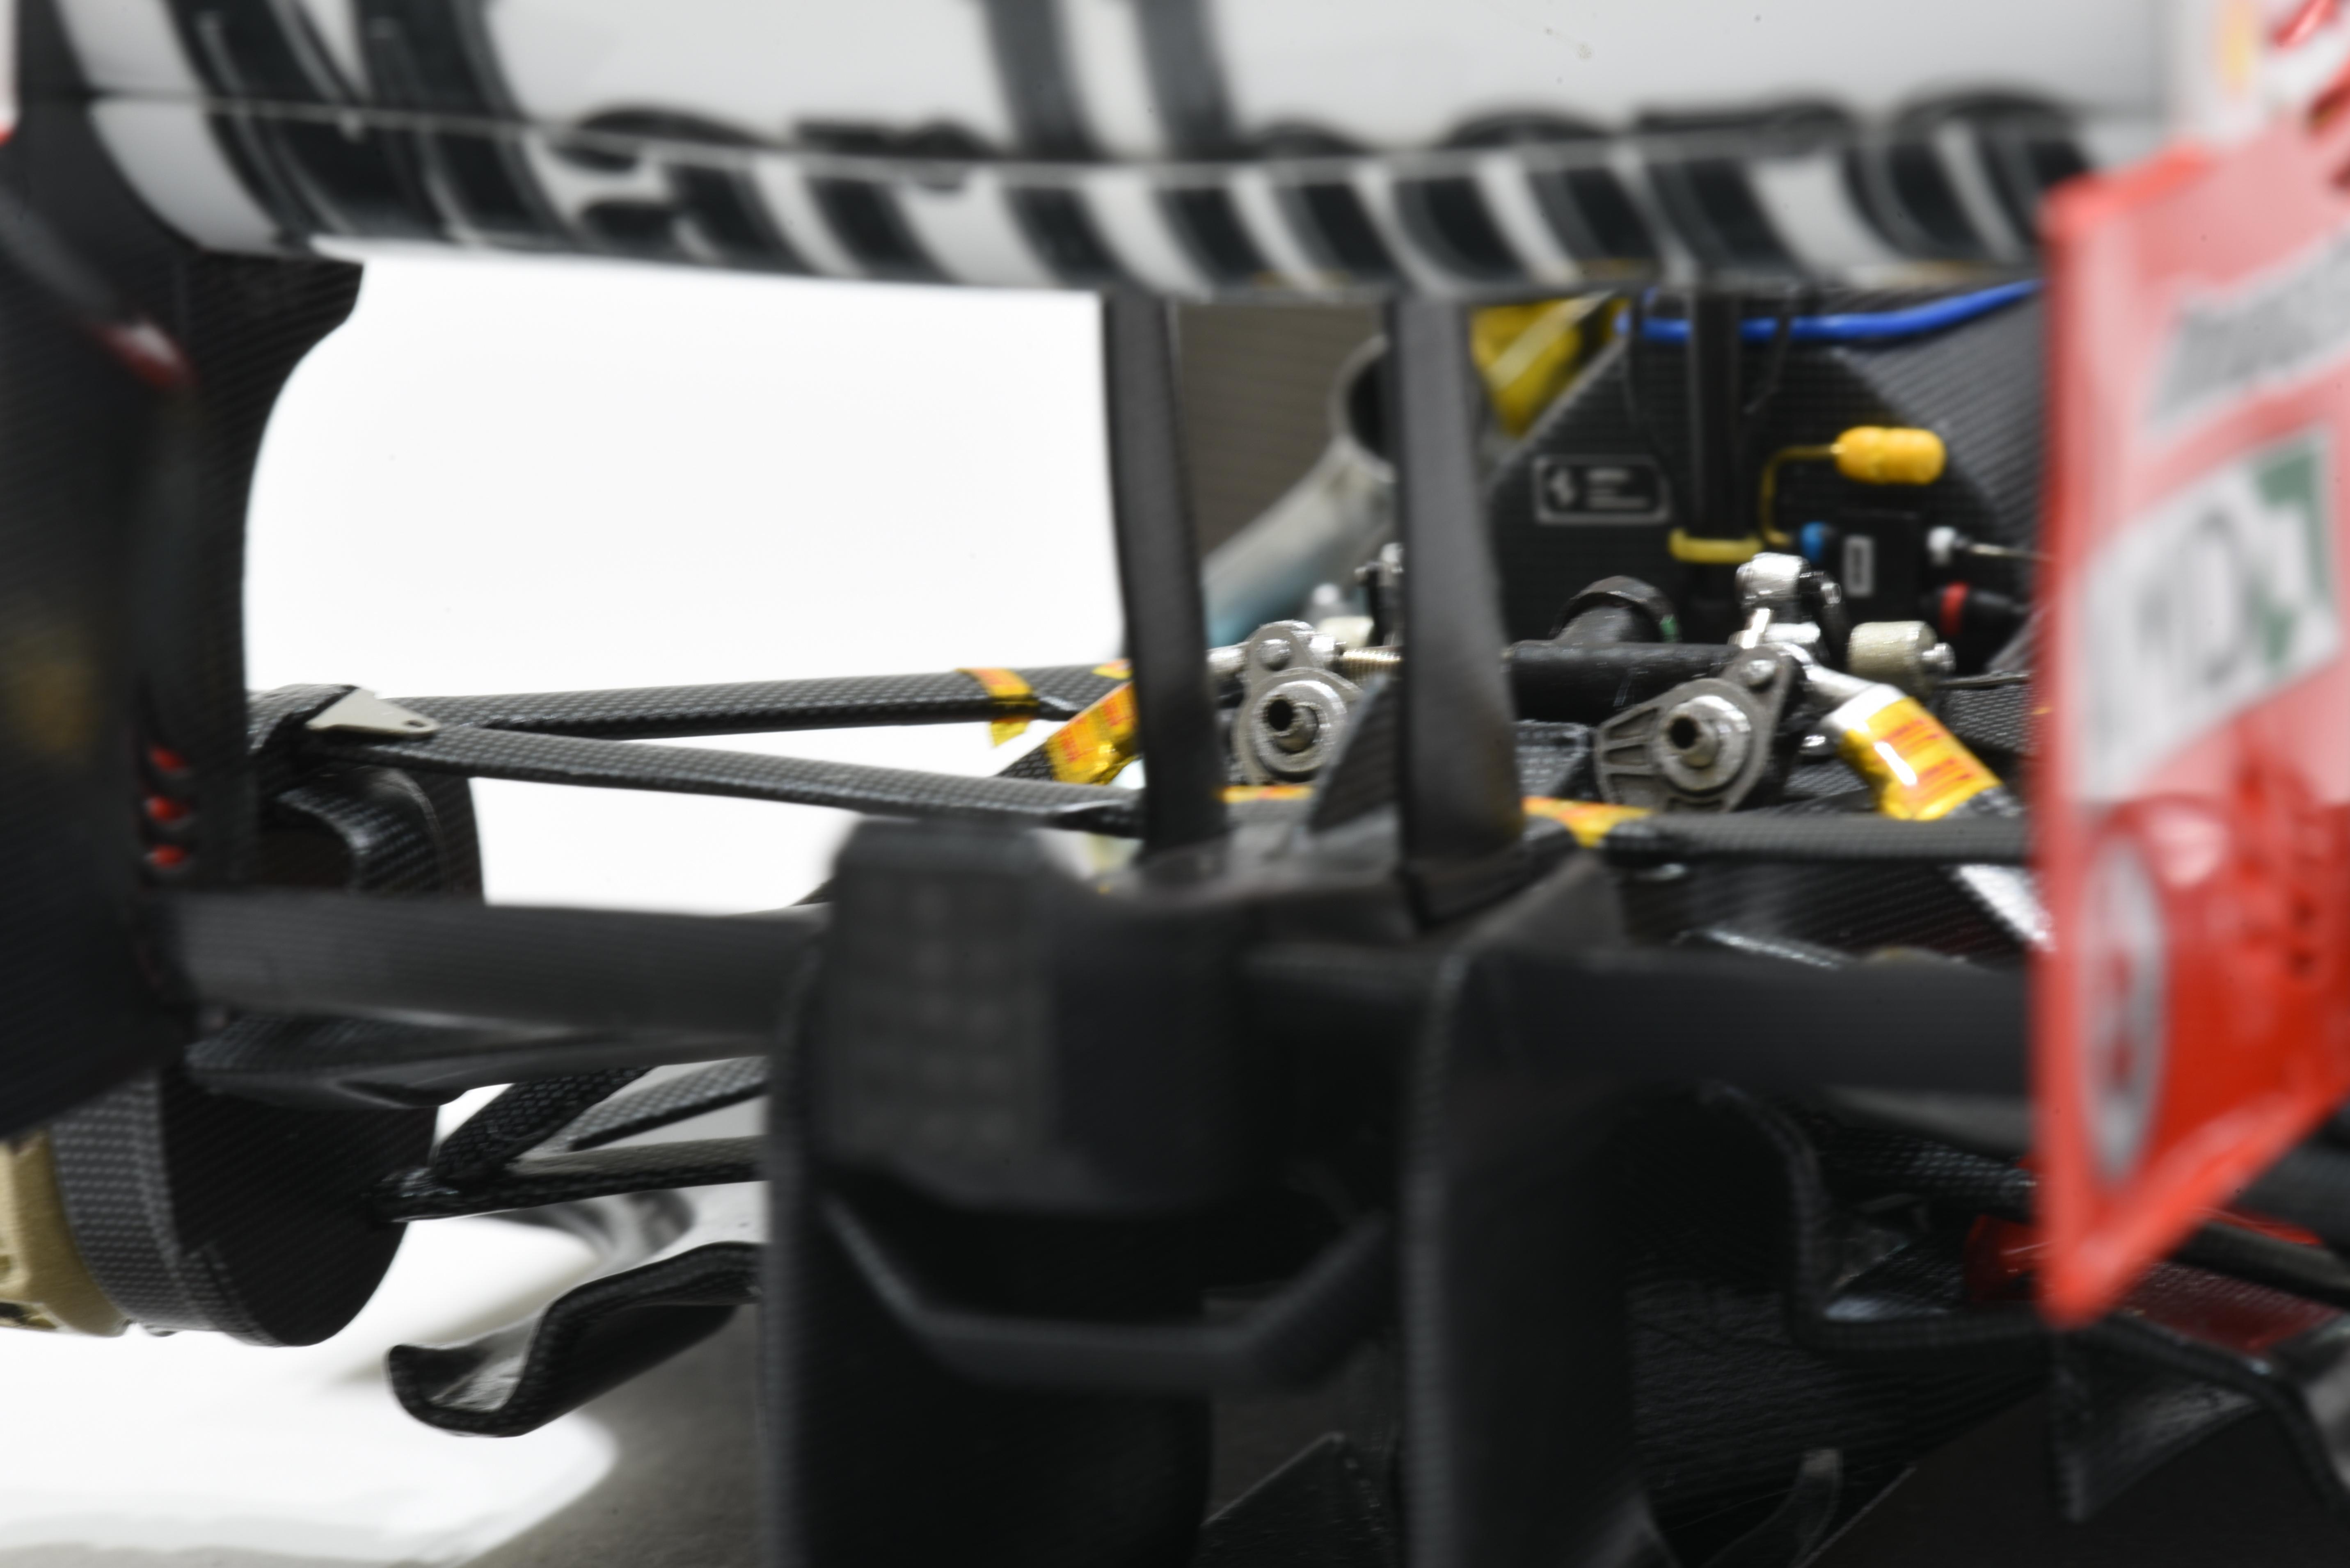
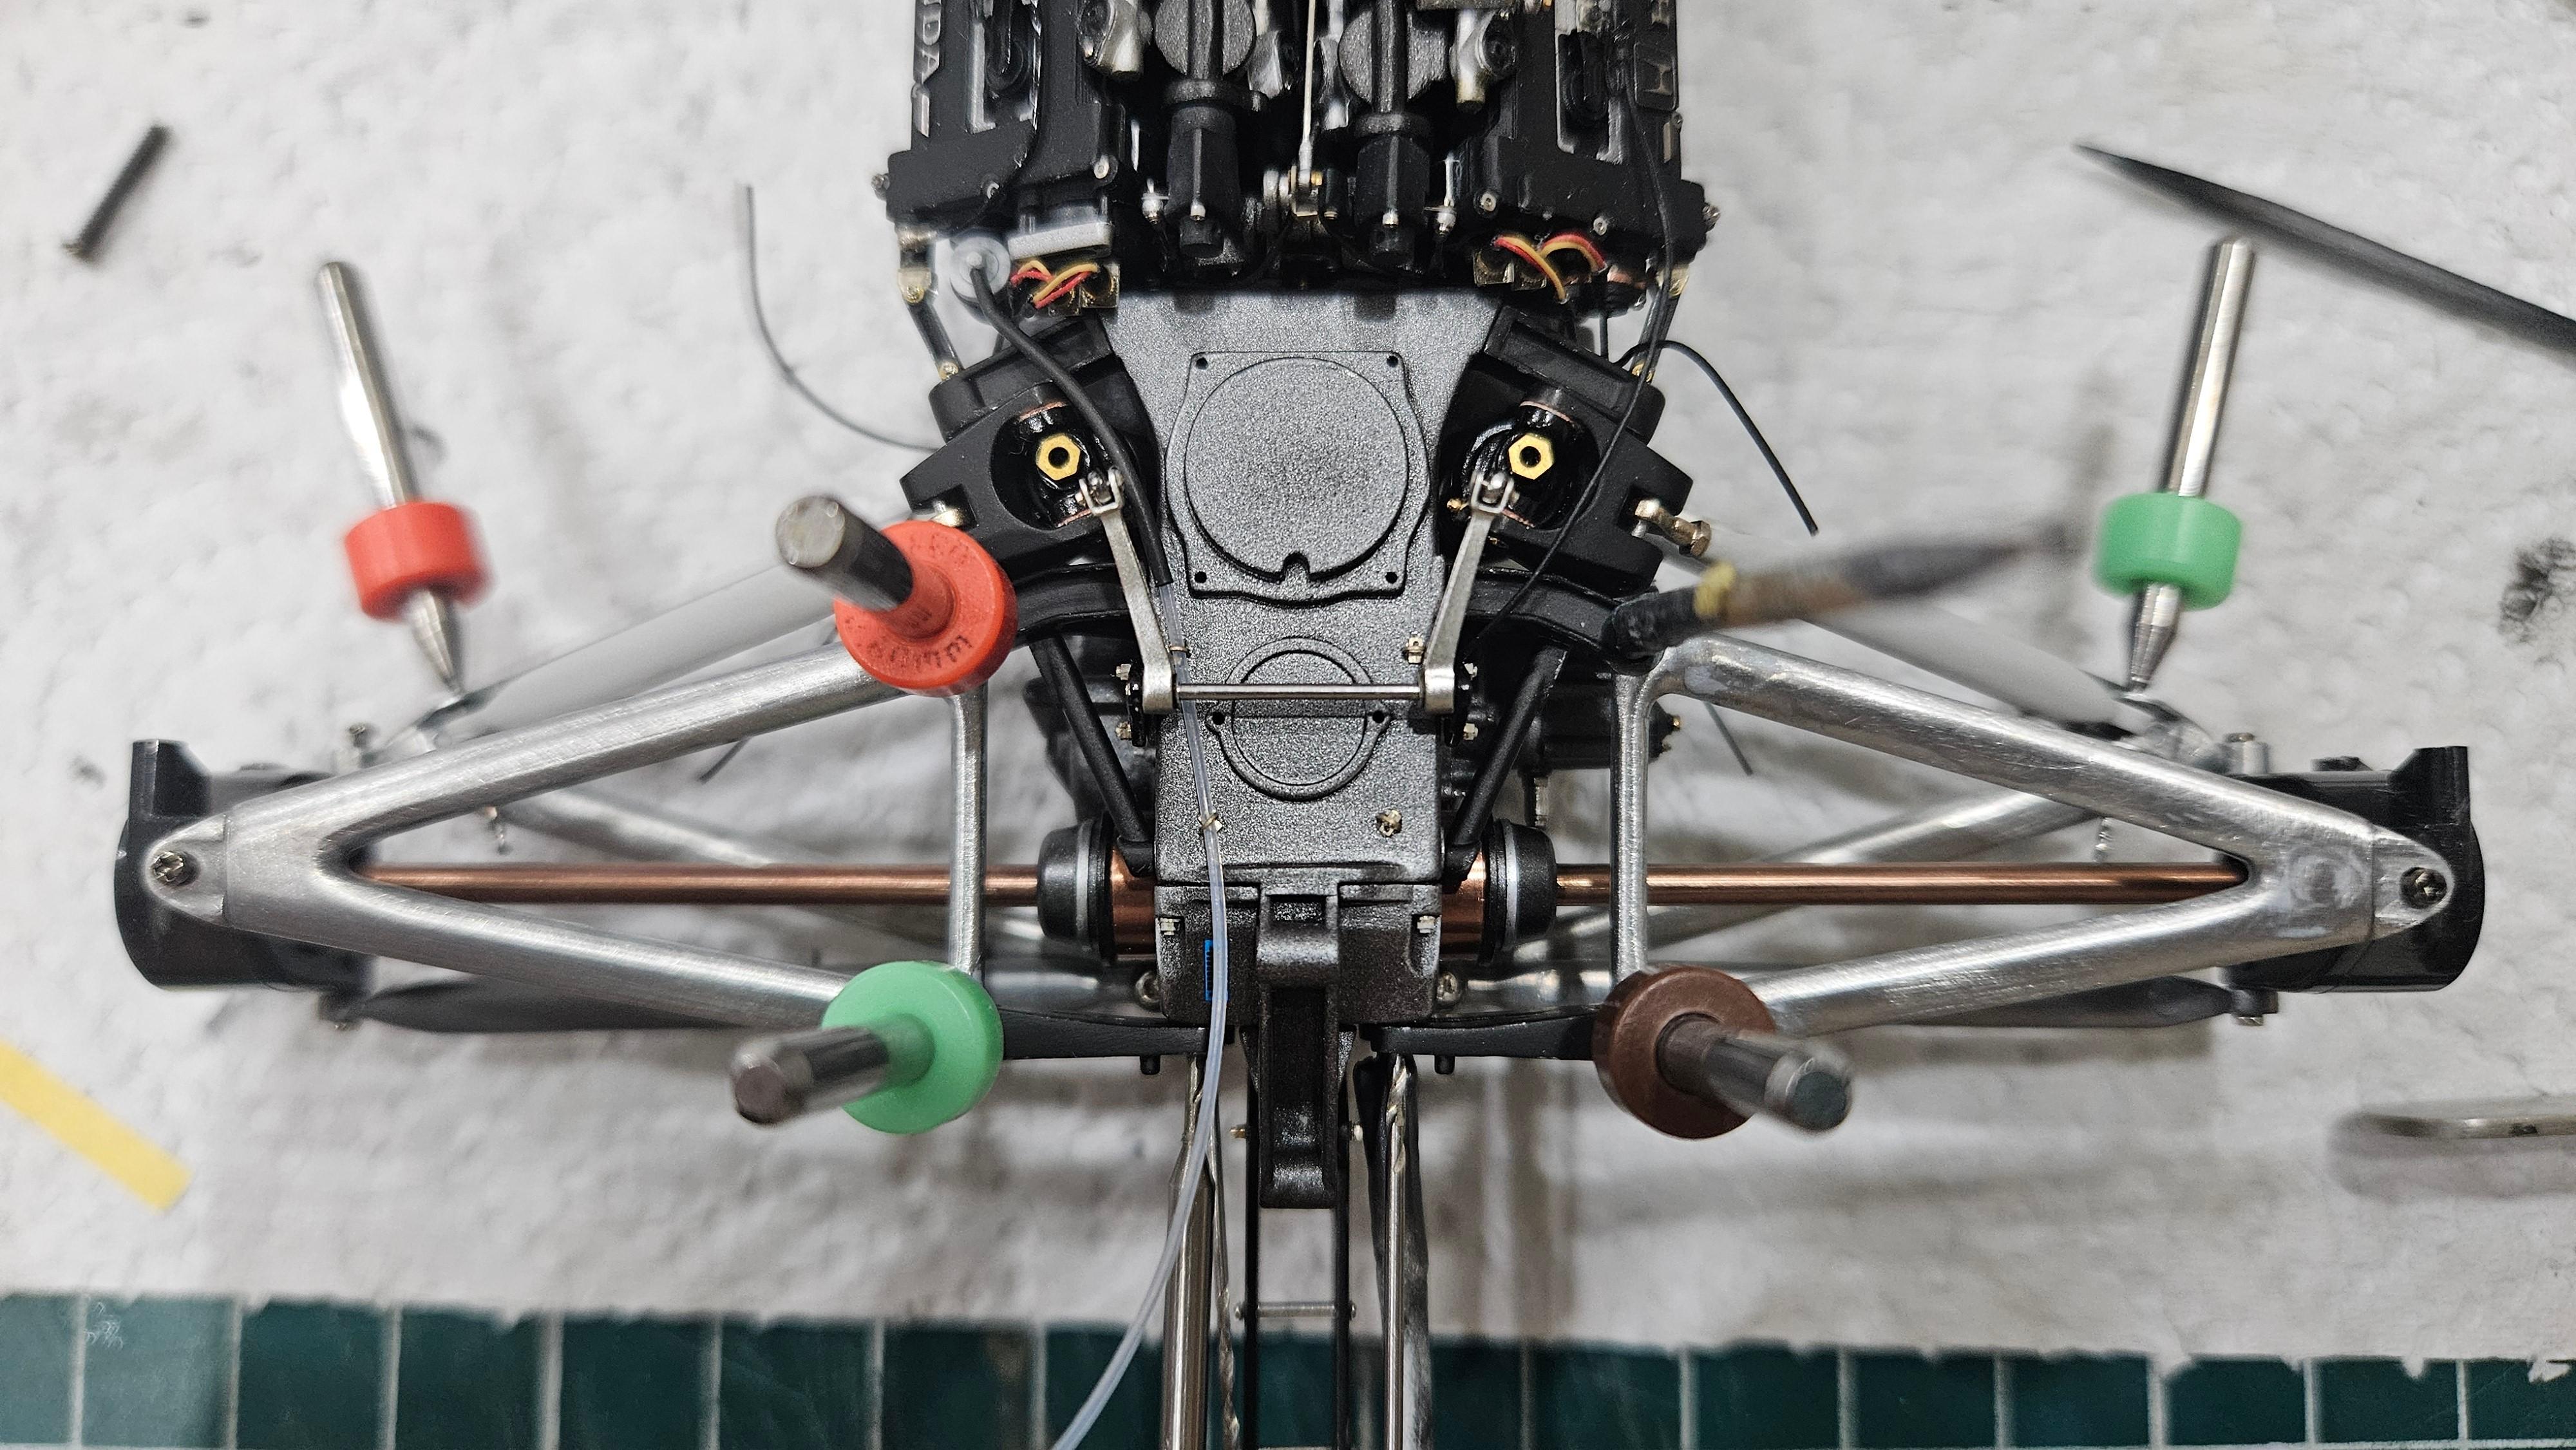
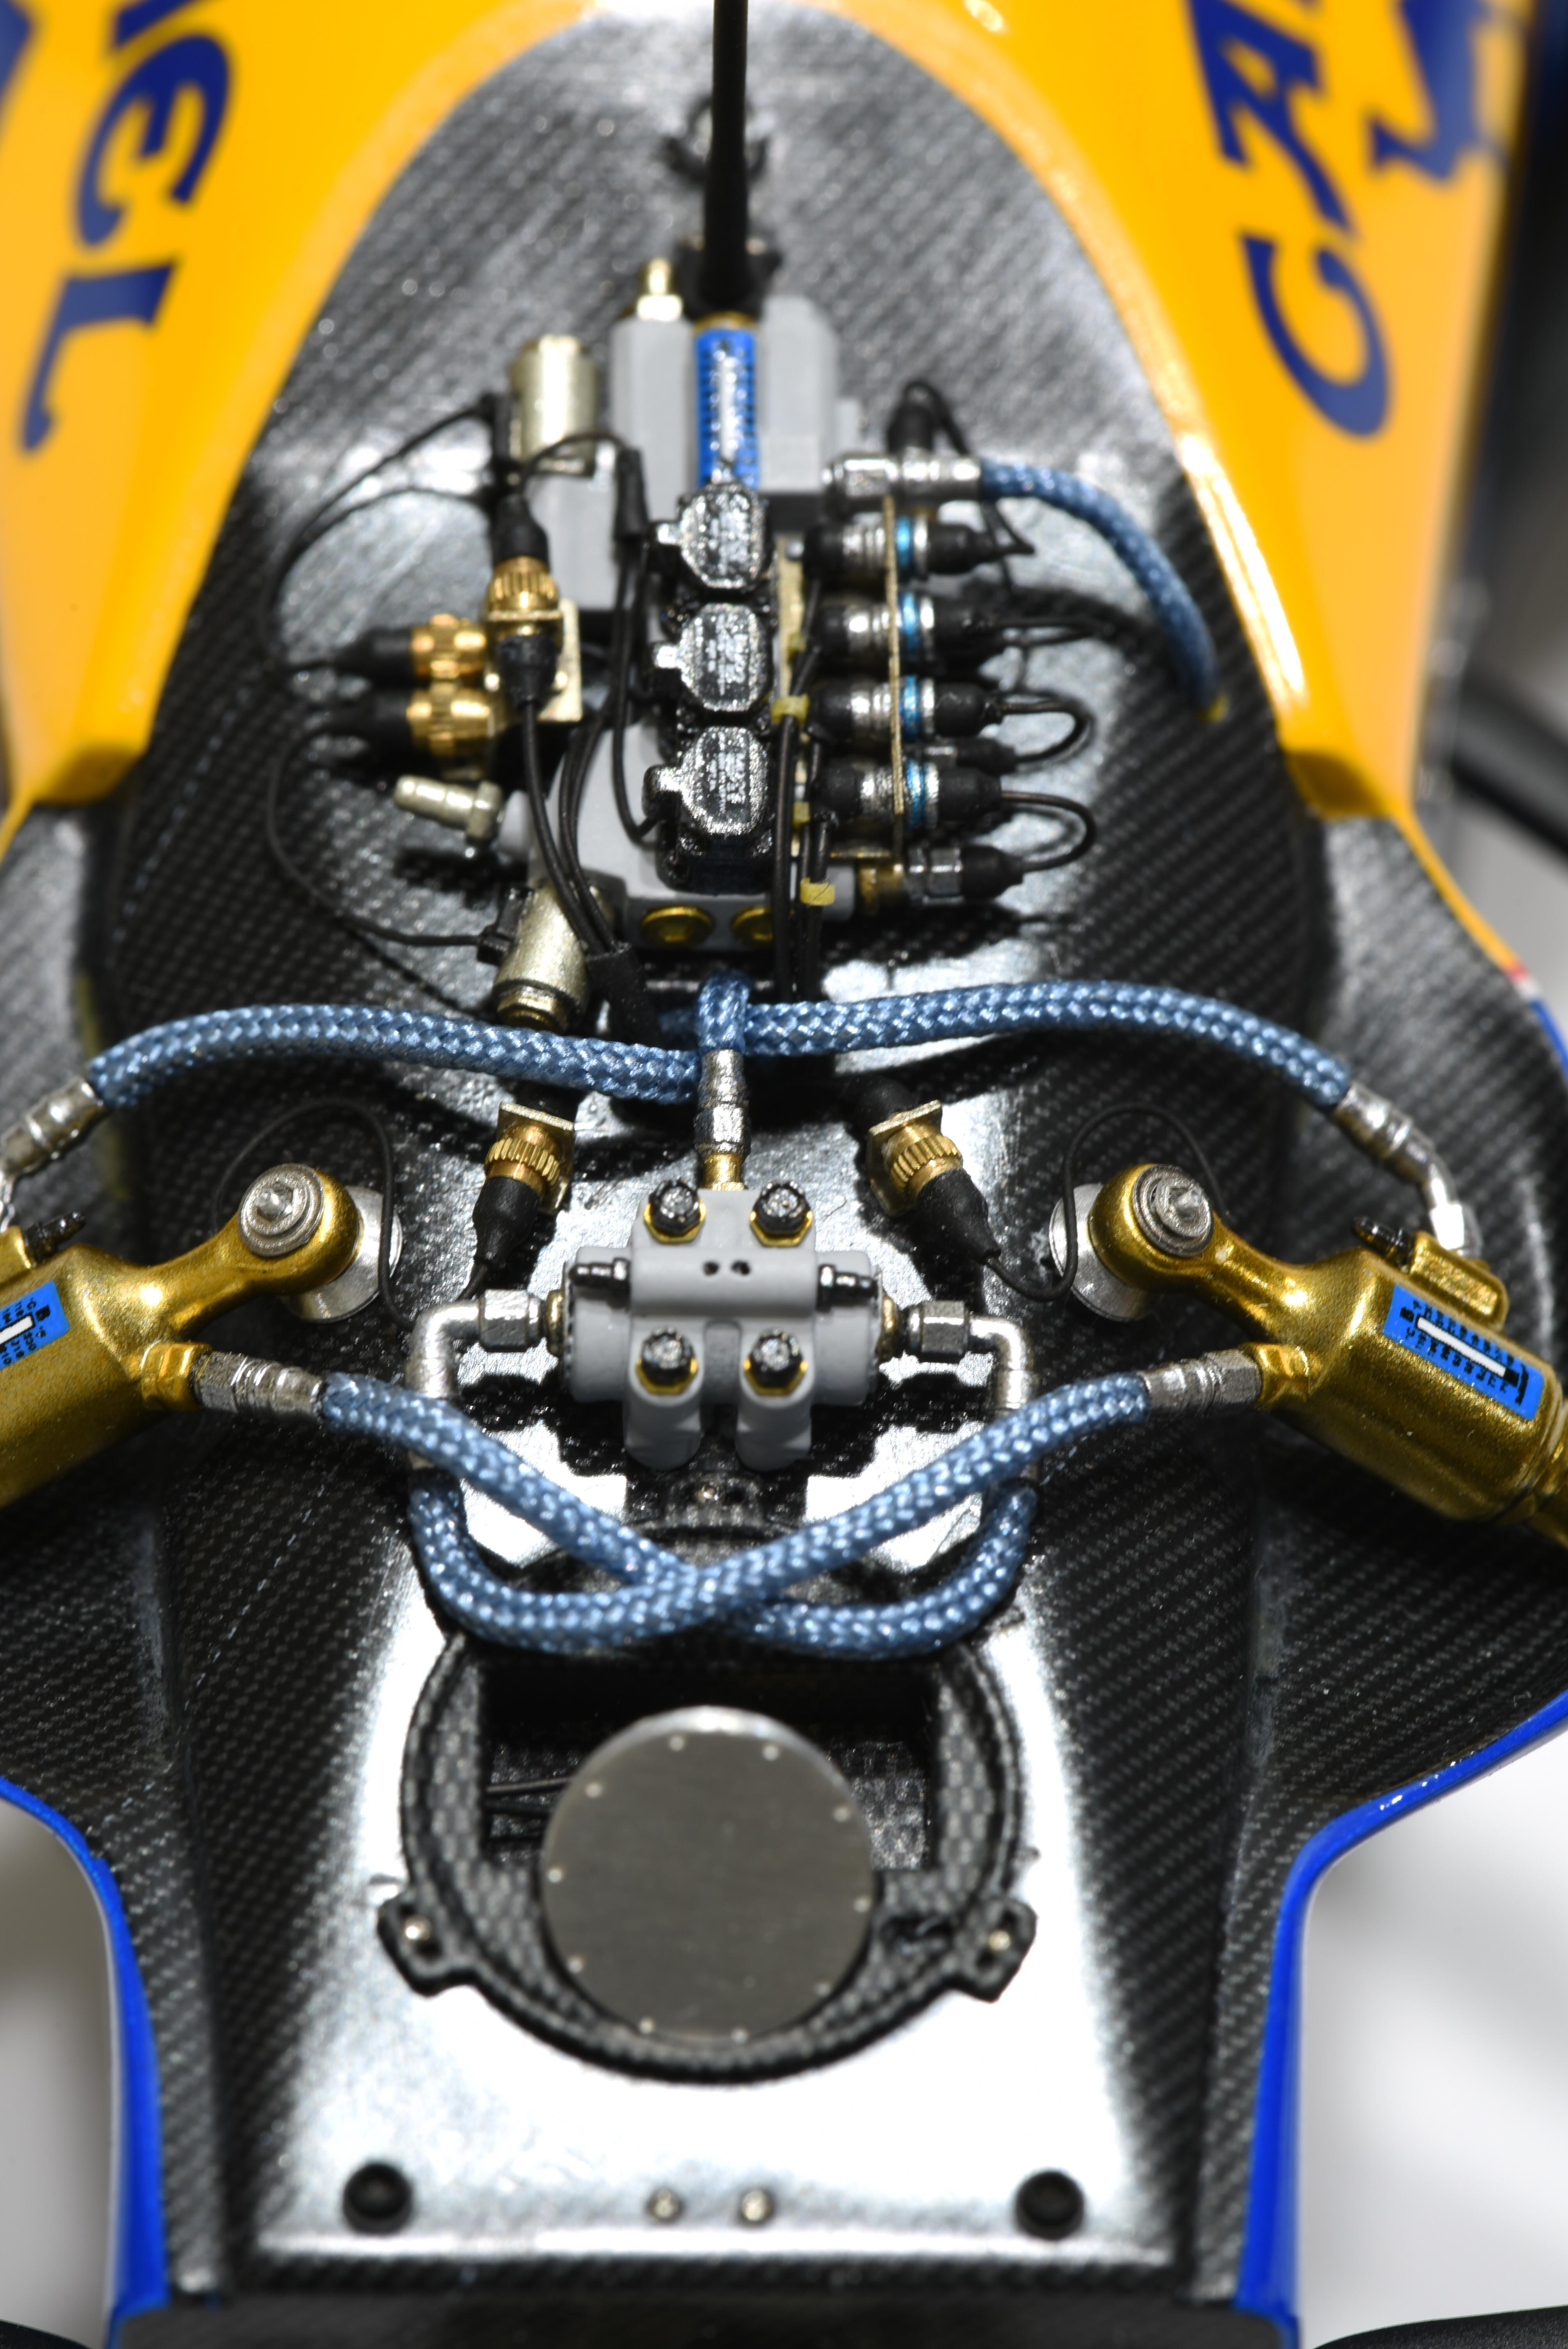
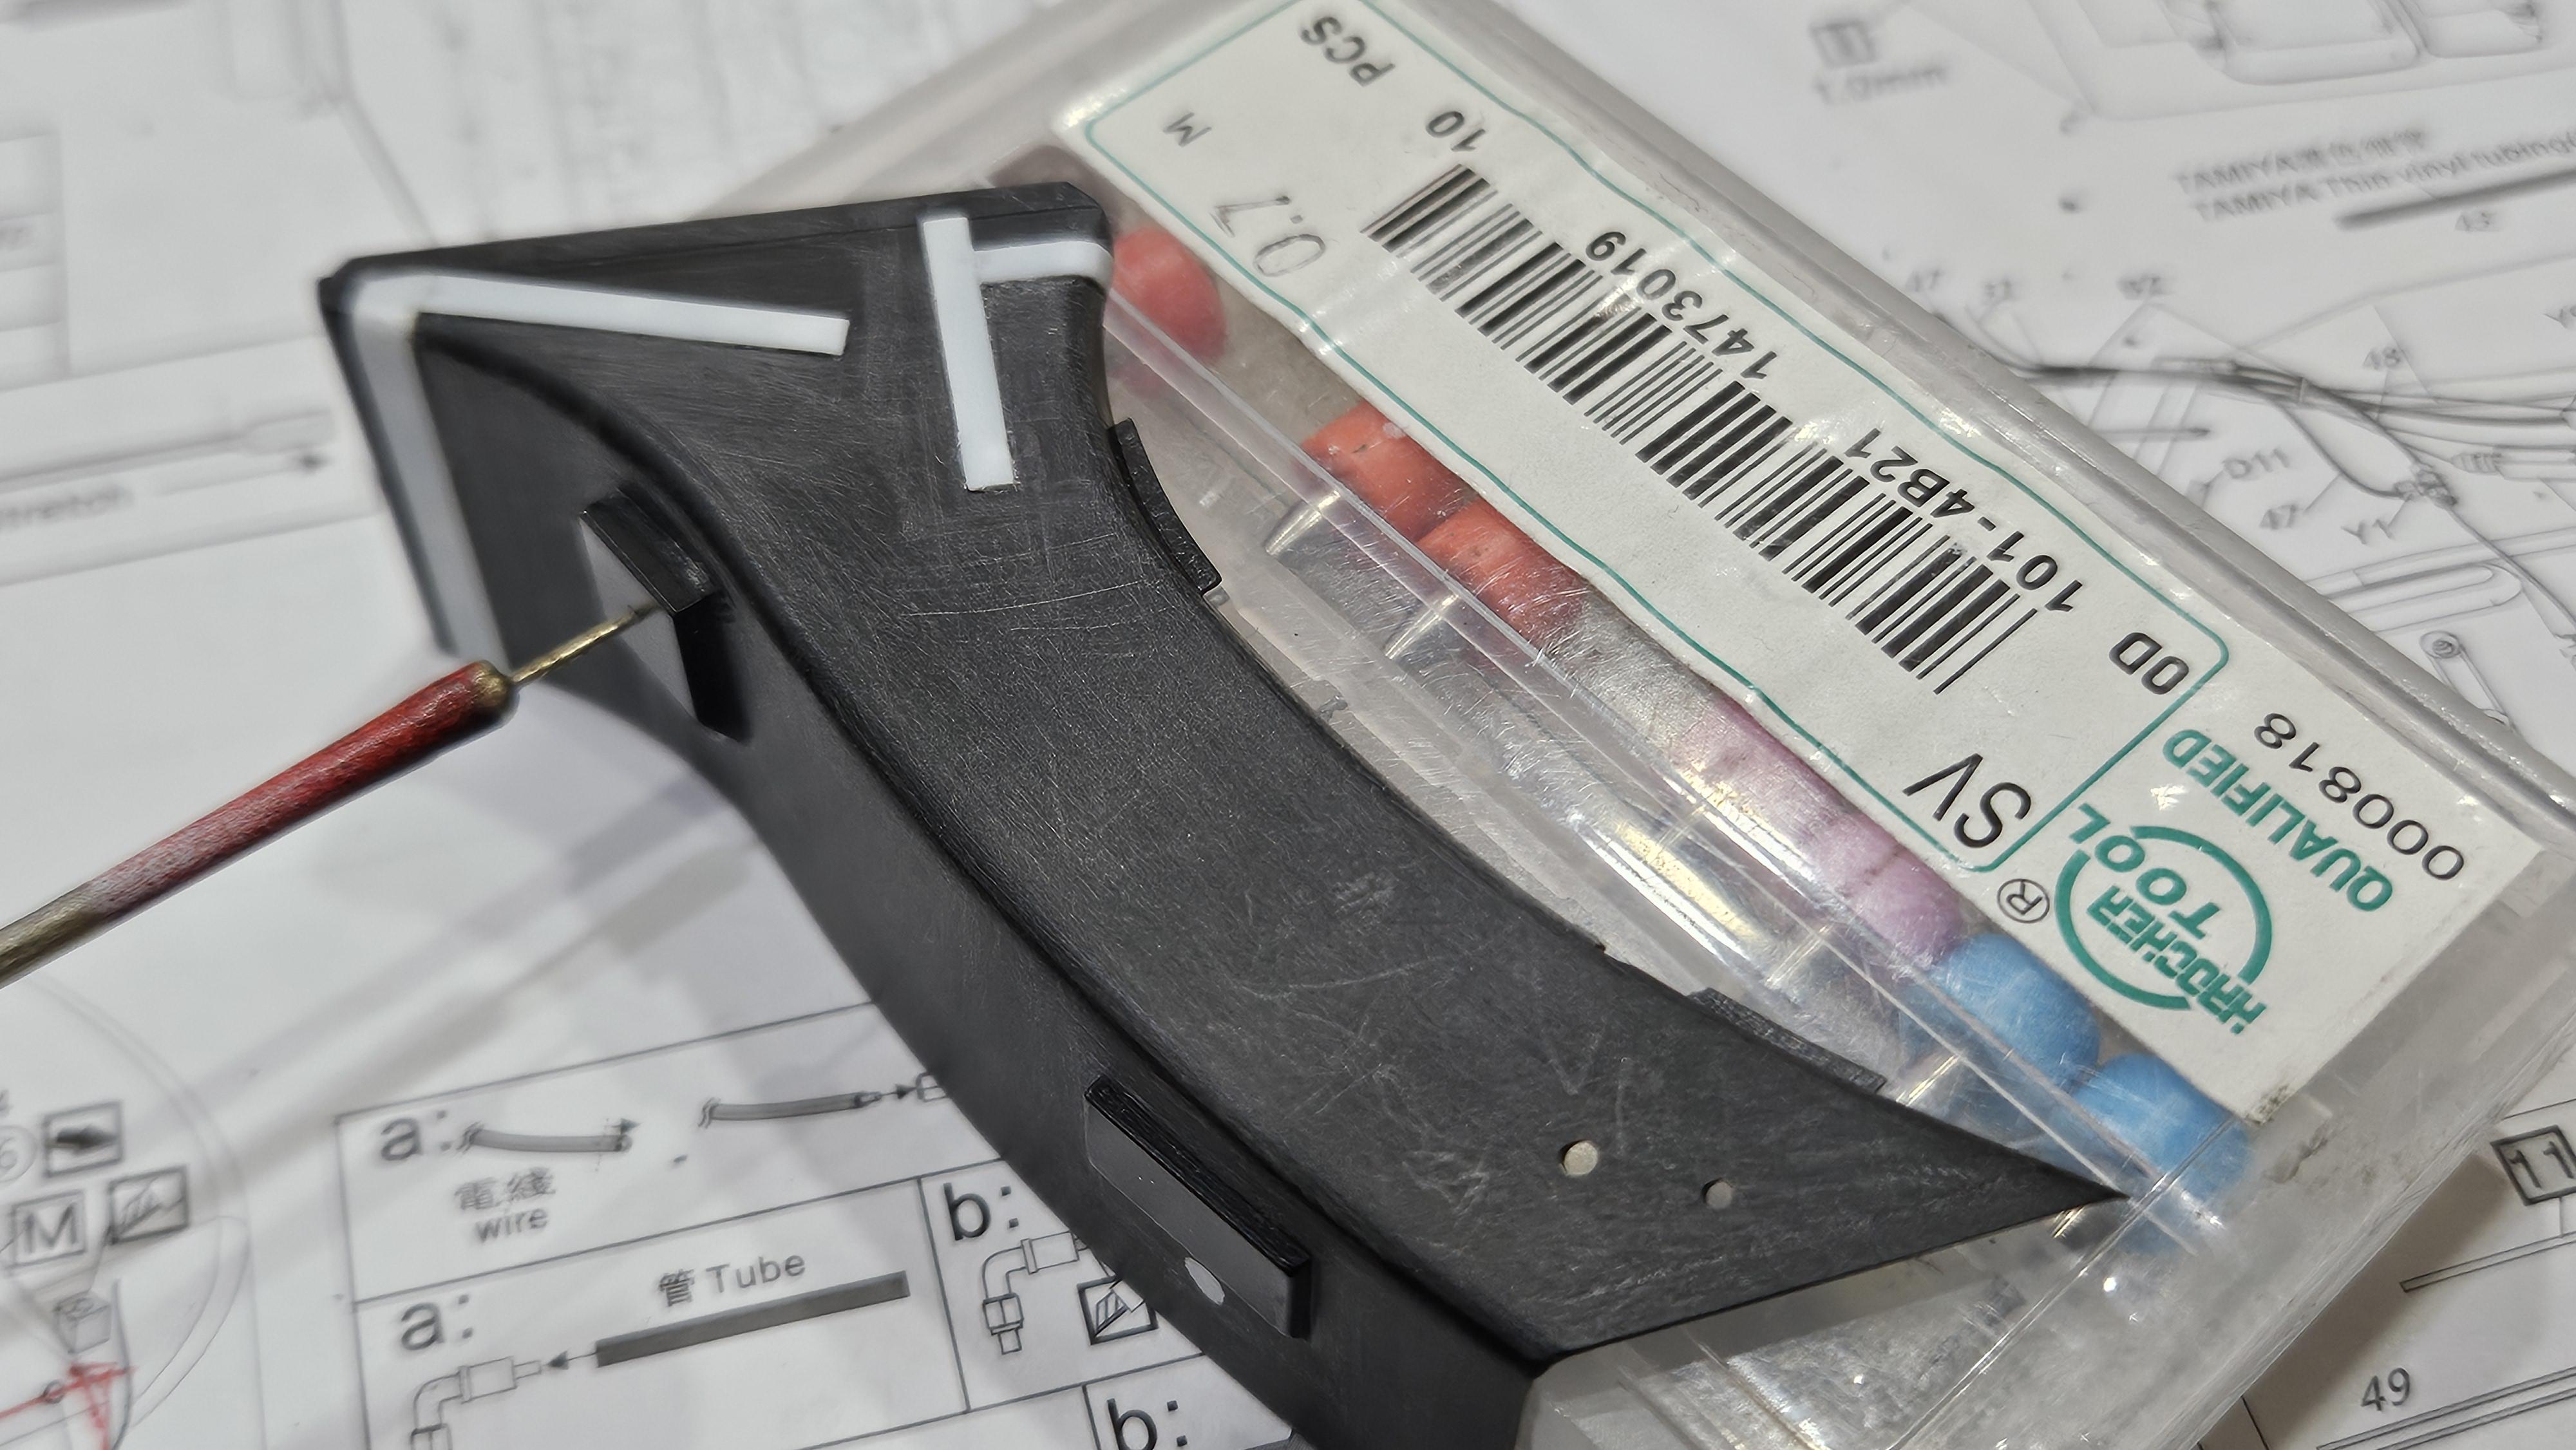
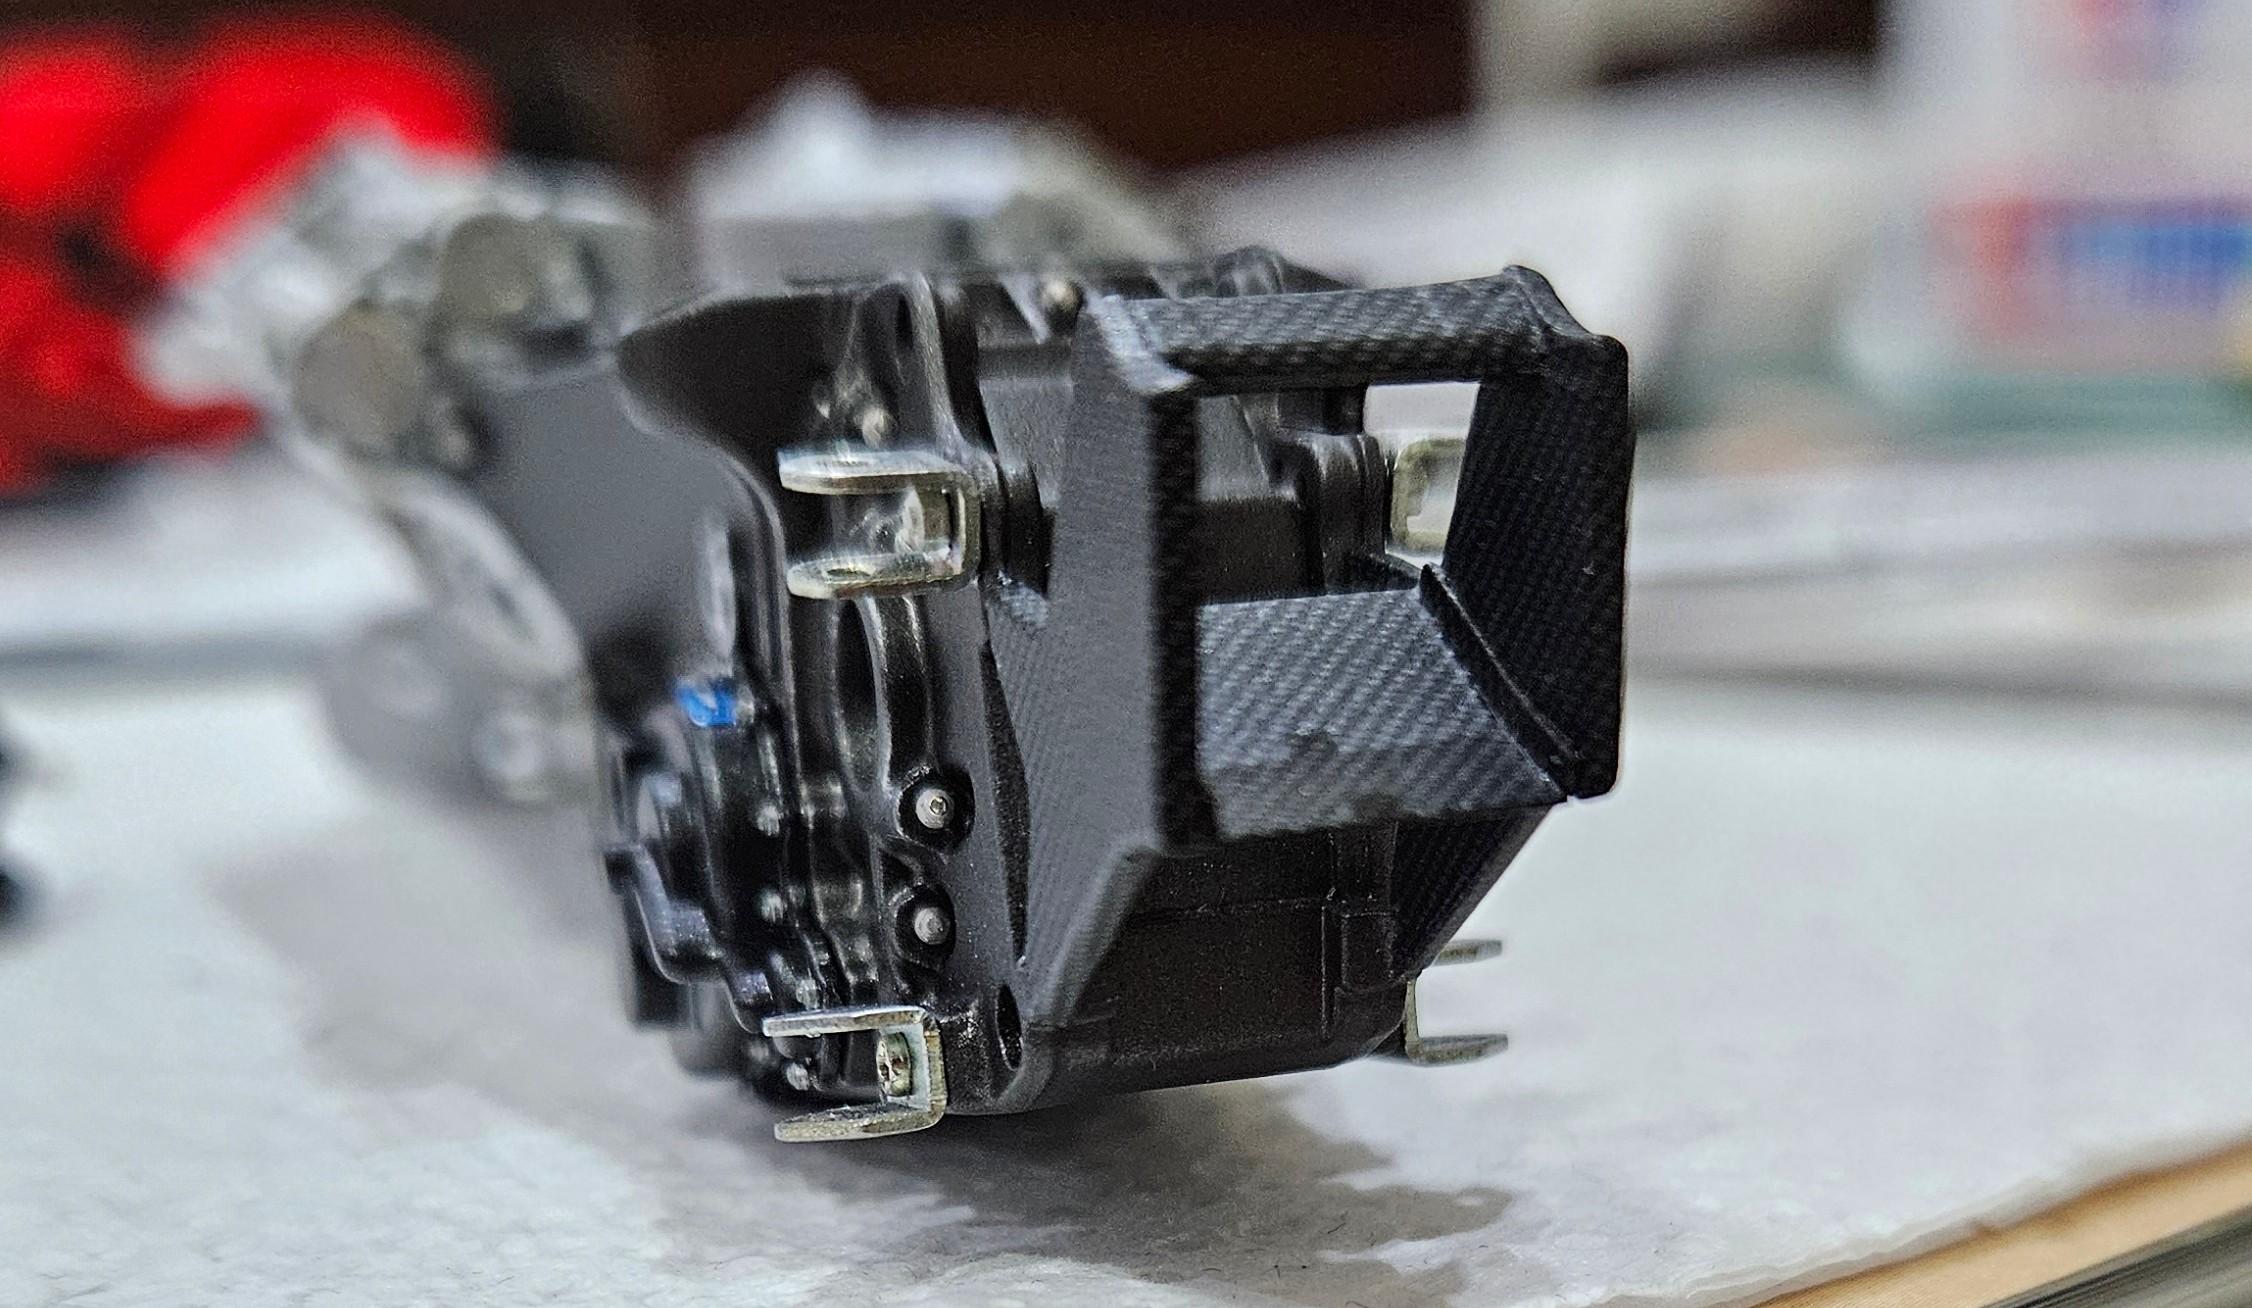
Update some progress. The front dampers and chassis front bulkhead were finished. The space of electric connector is too small, very hard to install the wires.
-
1/12 Tamiya Williams FW14B
okazaki0511 replied to okazaki0511's topic in WIP: Other Racing: Road Racing, Land Speed Racers
Update some progress. The ECU was finished. I used transplanted plastic to make the cover of header, which is satisfying for me.
-
1/12 Tamiya Williams FW14B
okazaki0511 replied to okazaki0511's topic in WIP: Other Racing: Road Racing, Land Speed Racers
Update some progress. There is dotted line on the carbon fiber in the specific area. I used some clear pictures and model to calculate the pitch. And asked someone to help to print it. The result looks good to me. The cockpit almost finished, which will wax before assembly.
-
1/12 Tamiya Williams FW14B
okazaki0511 replied to okazaki0511's topic in WIP: Other Racing: Road Racing, Land Speed Racers
The connector is including in the set, but it needs some practices to make it.
-
1/12 Tamiya Williams FW14B
okazaki0511 replied to okazaki0511's topic in WIP: Other Racing: Road Racing, Land Speed Racers
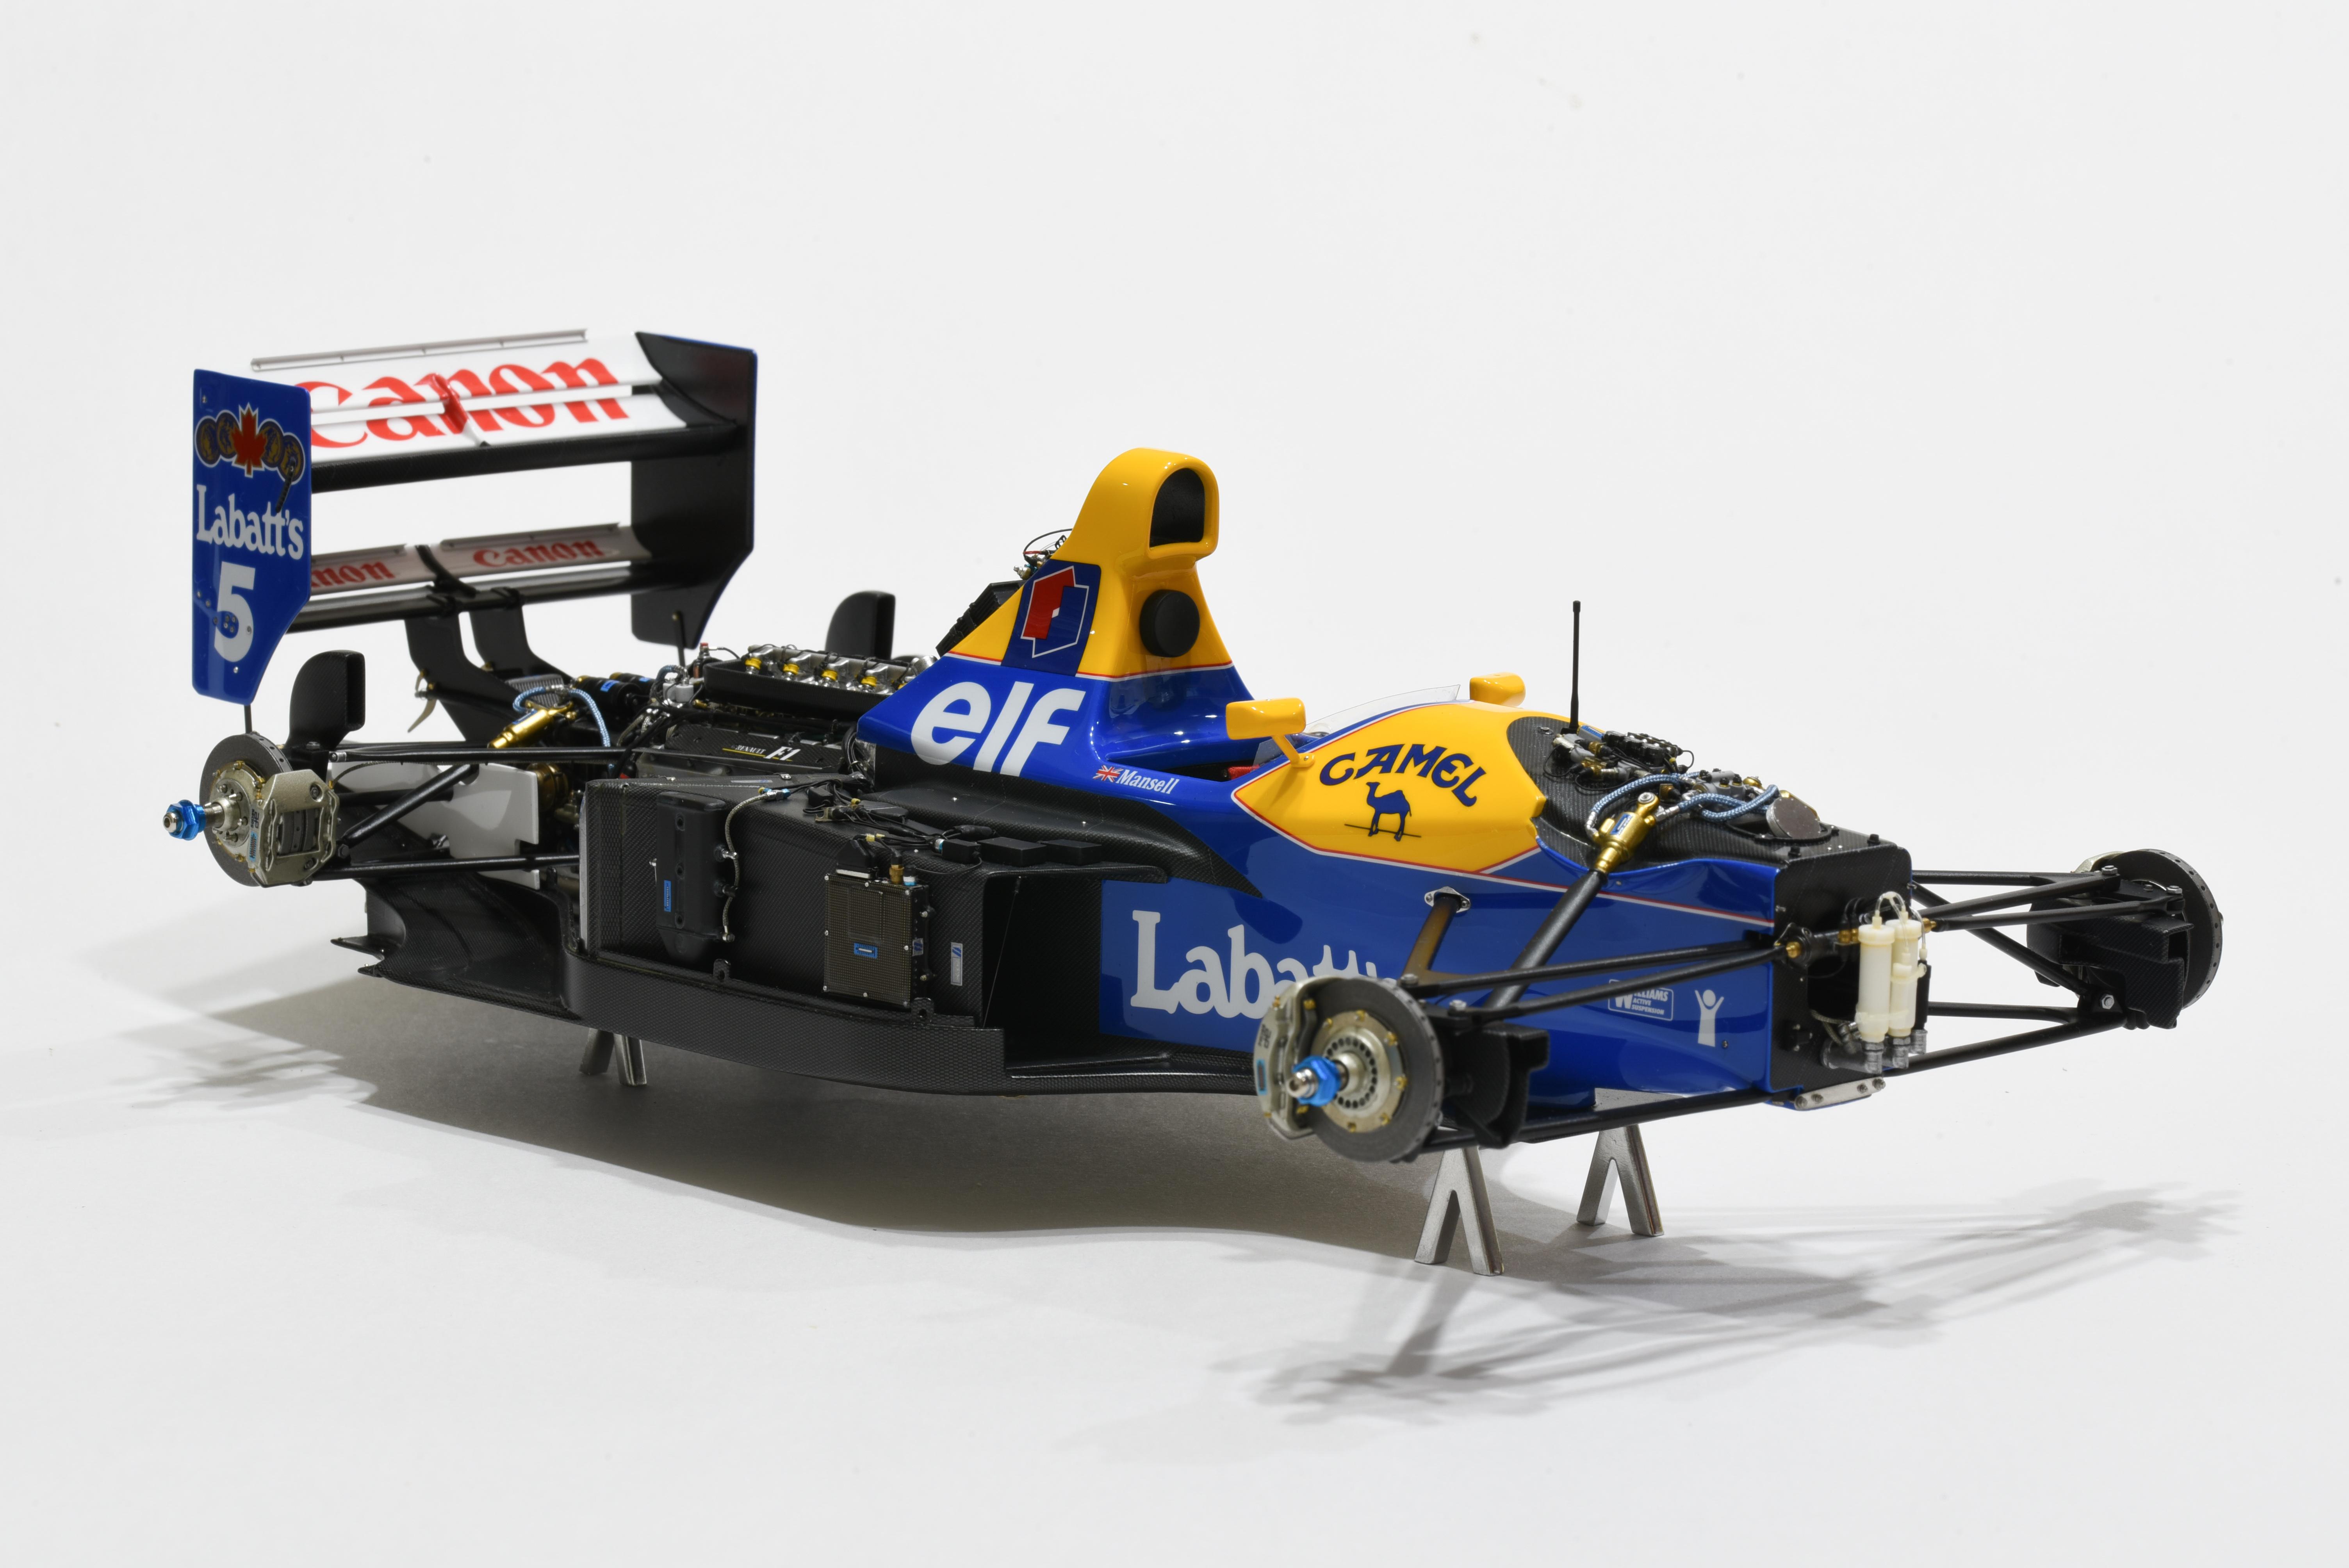
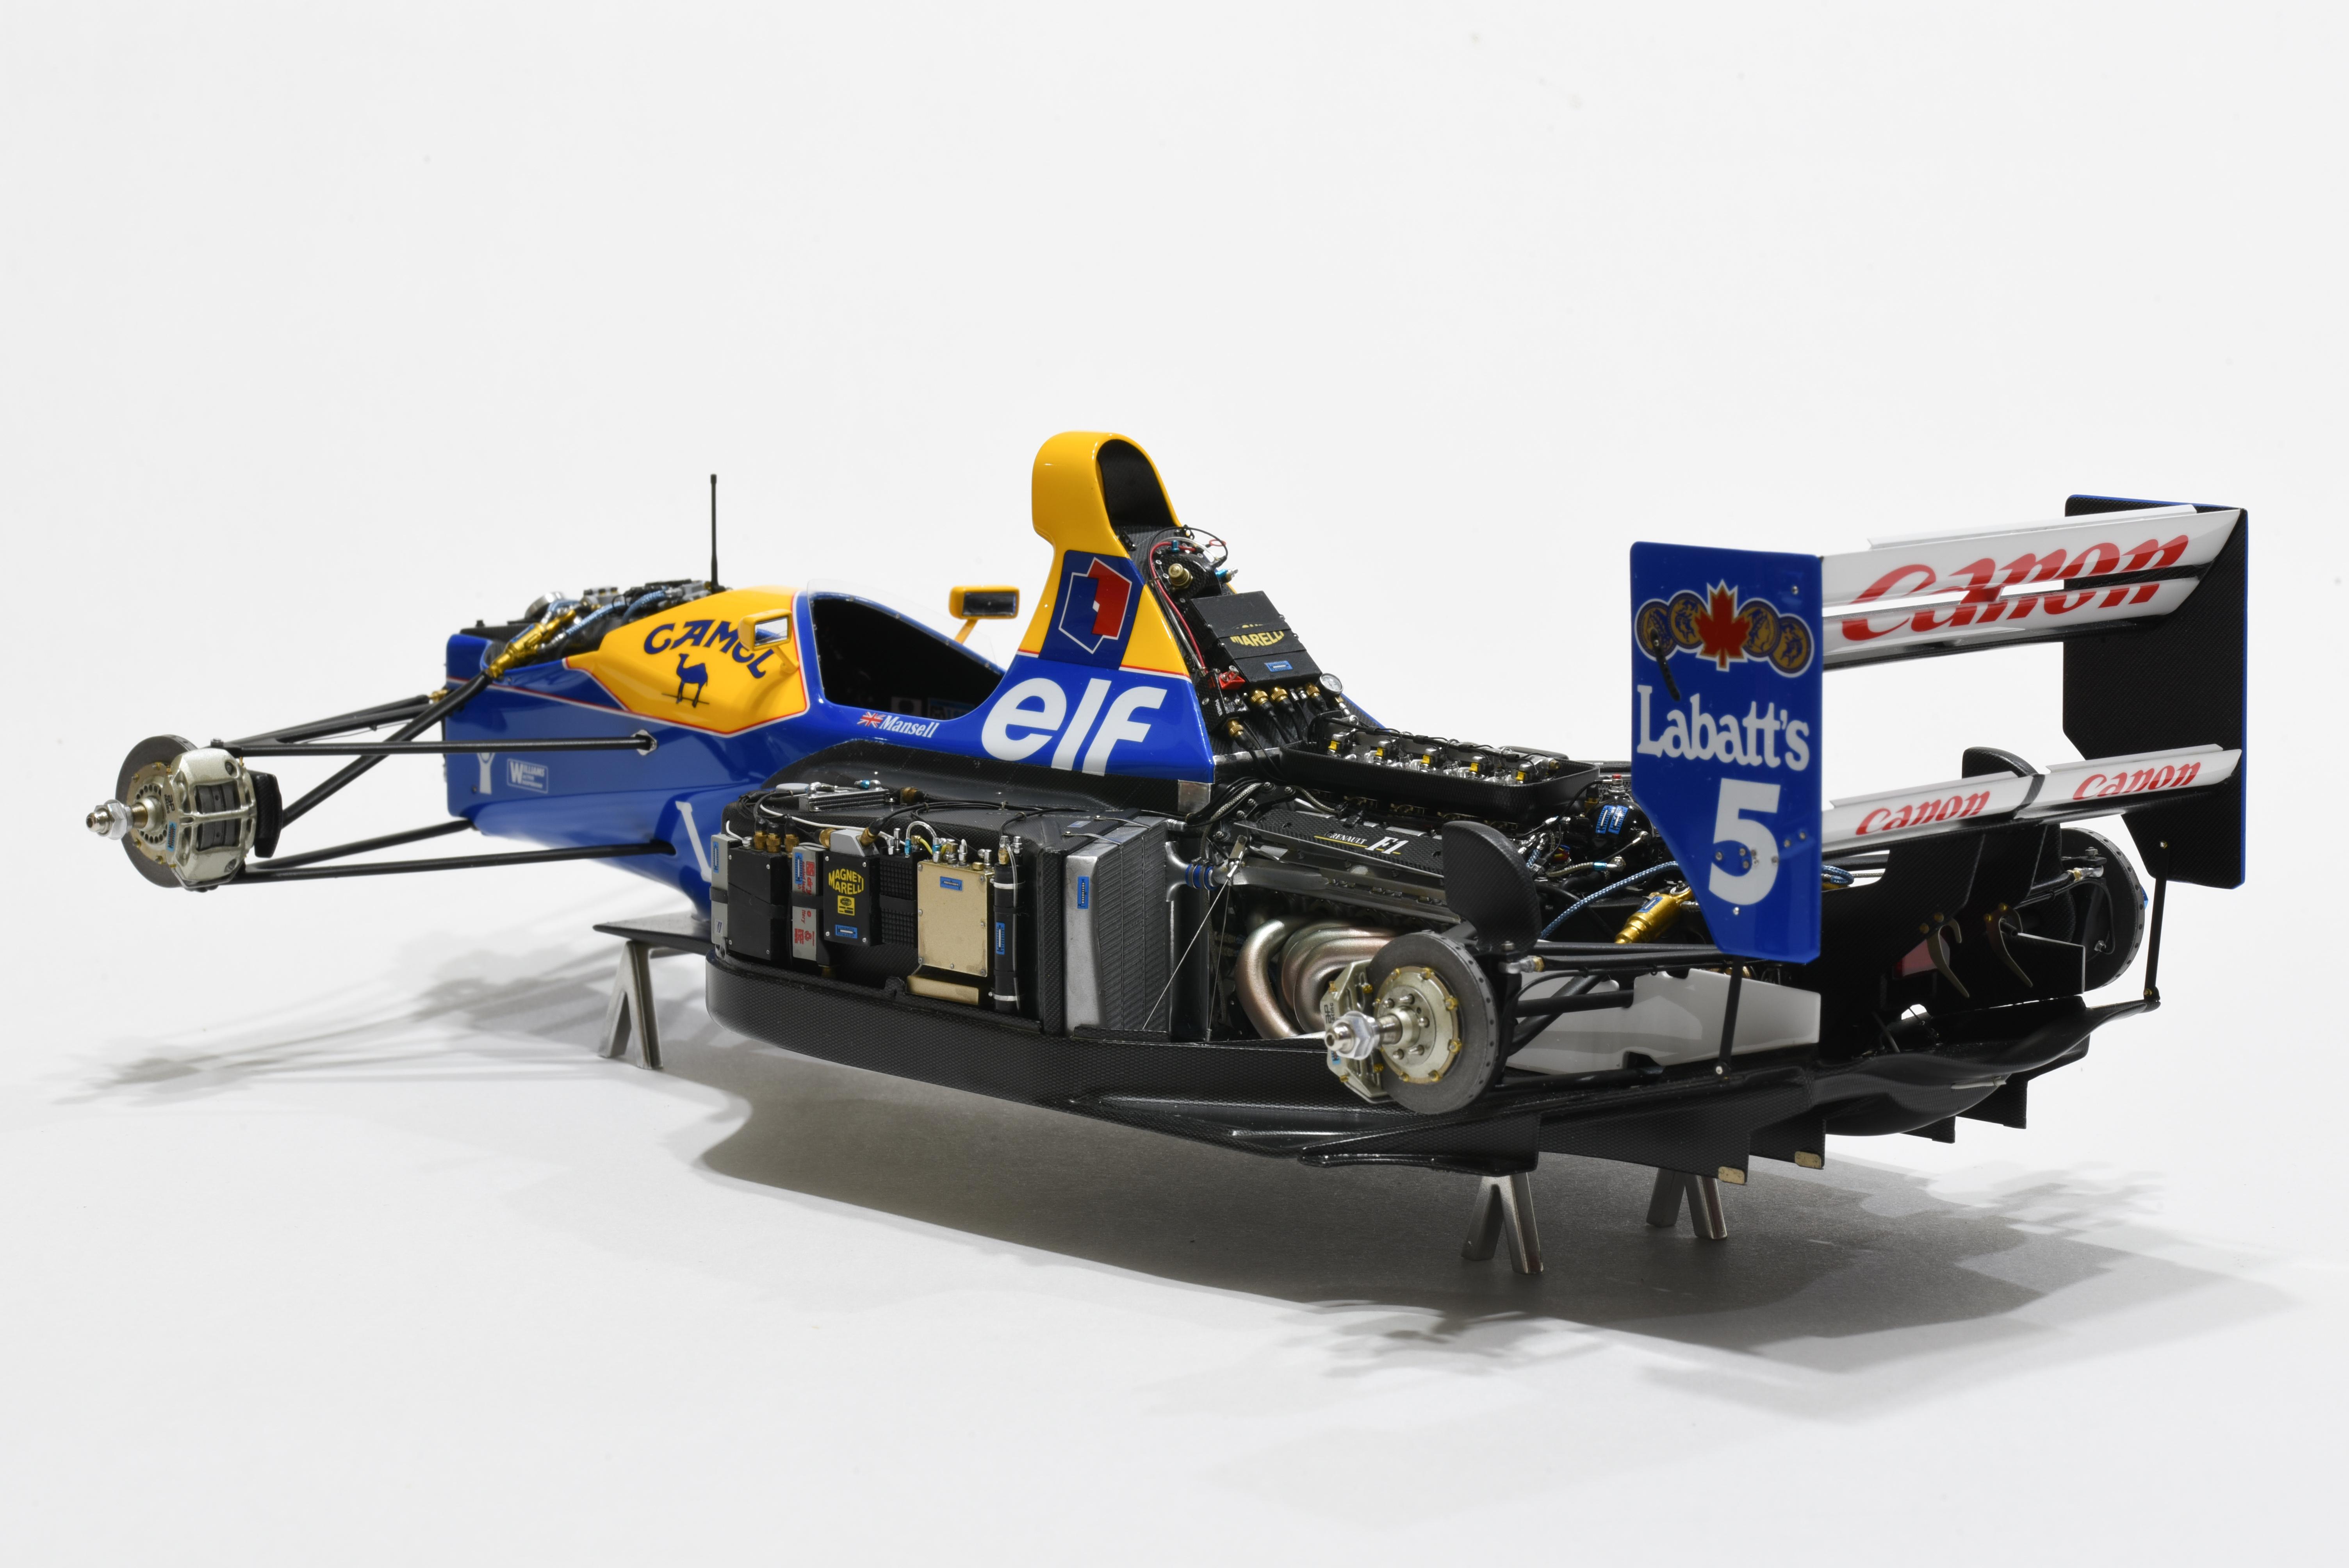
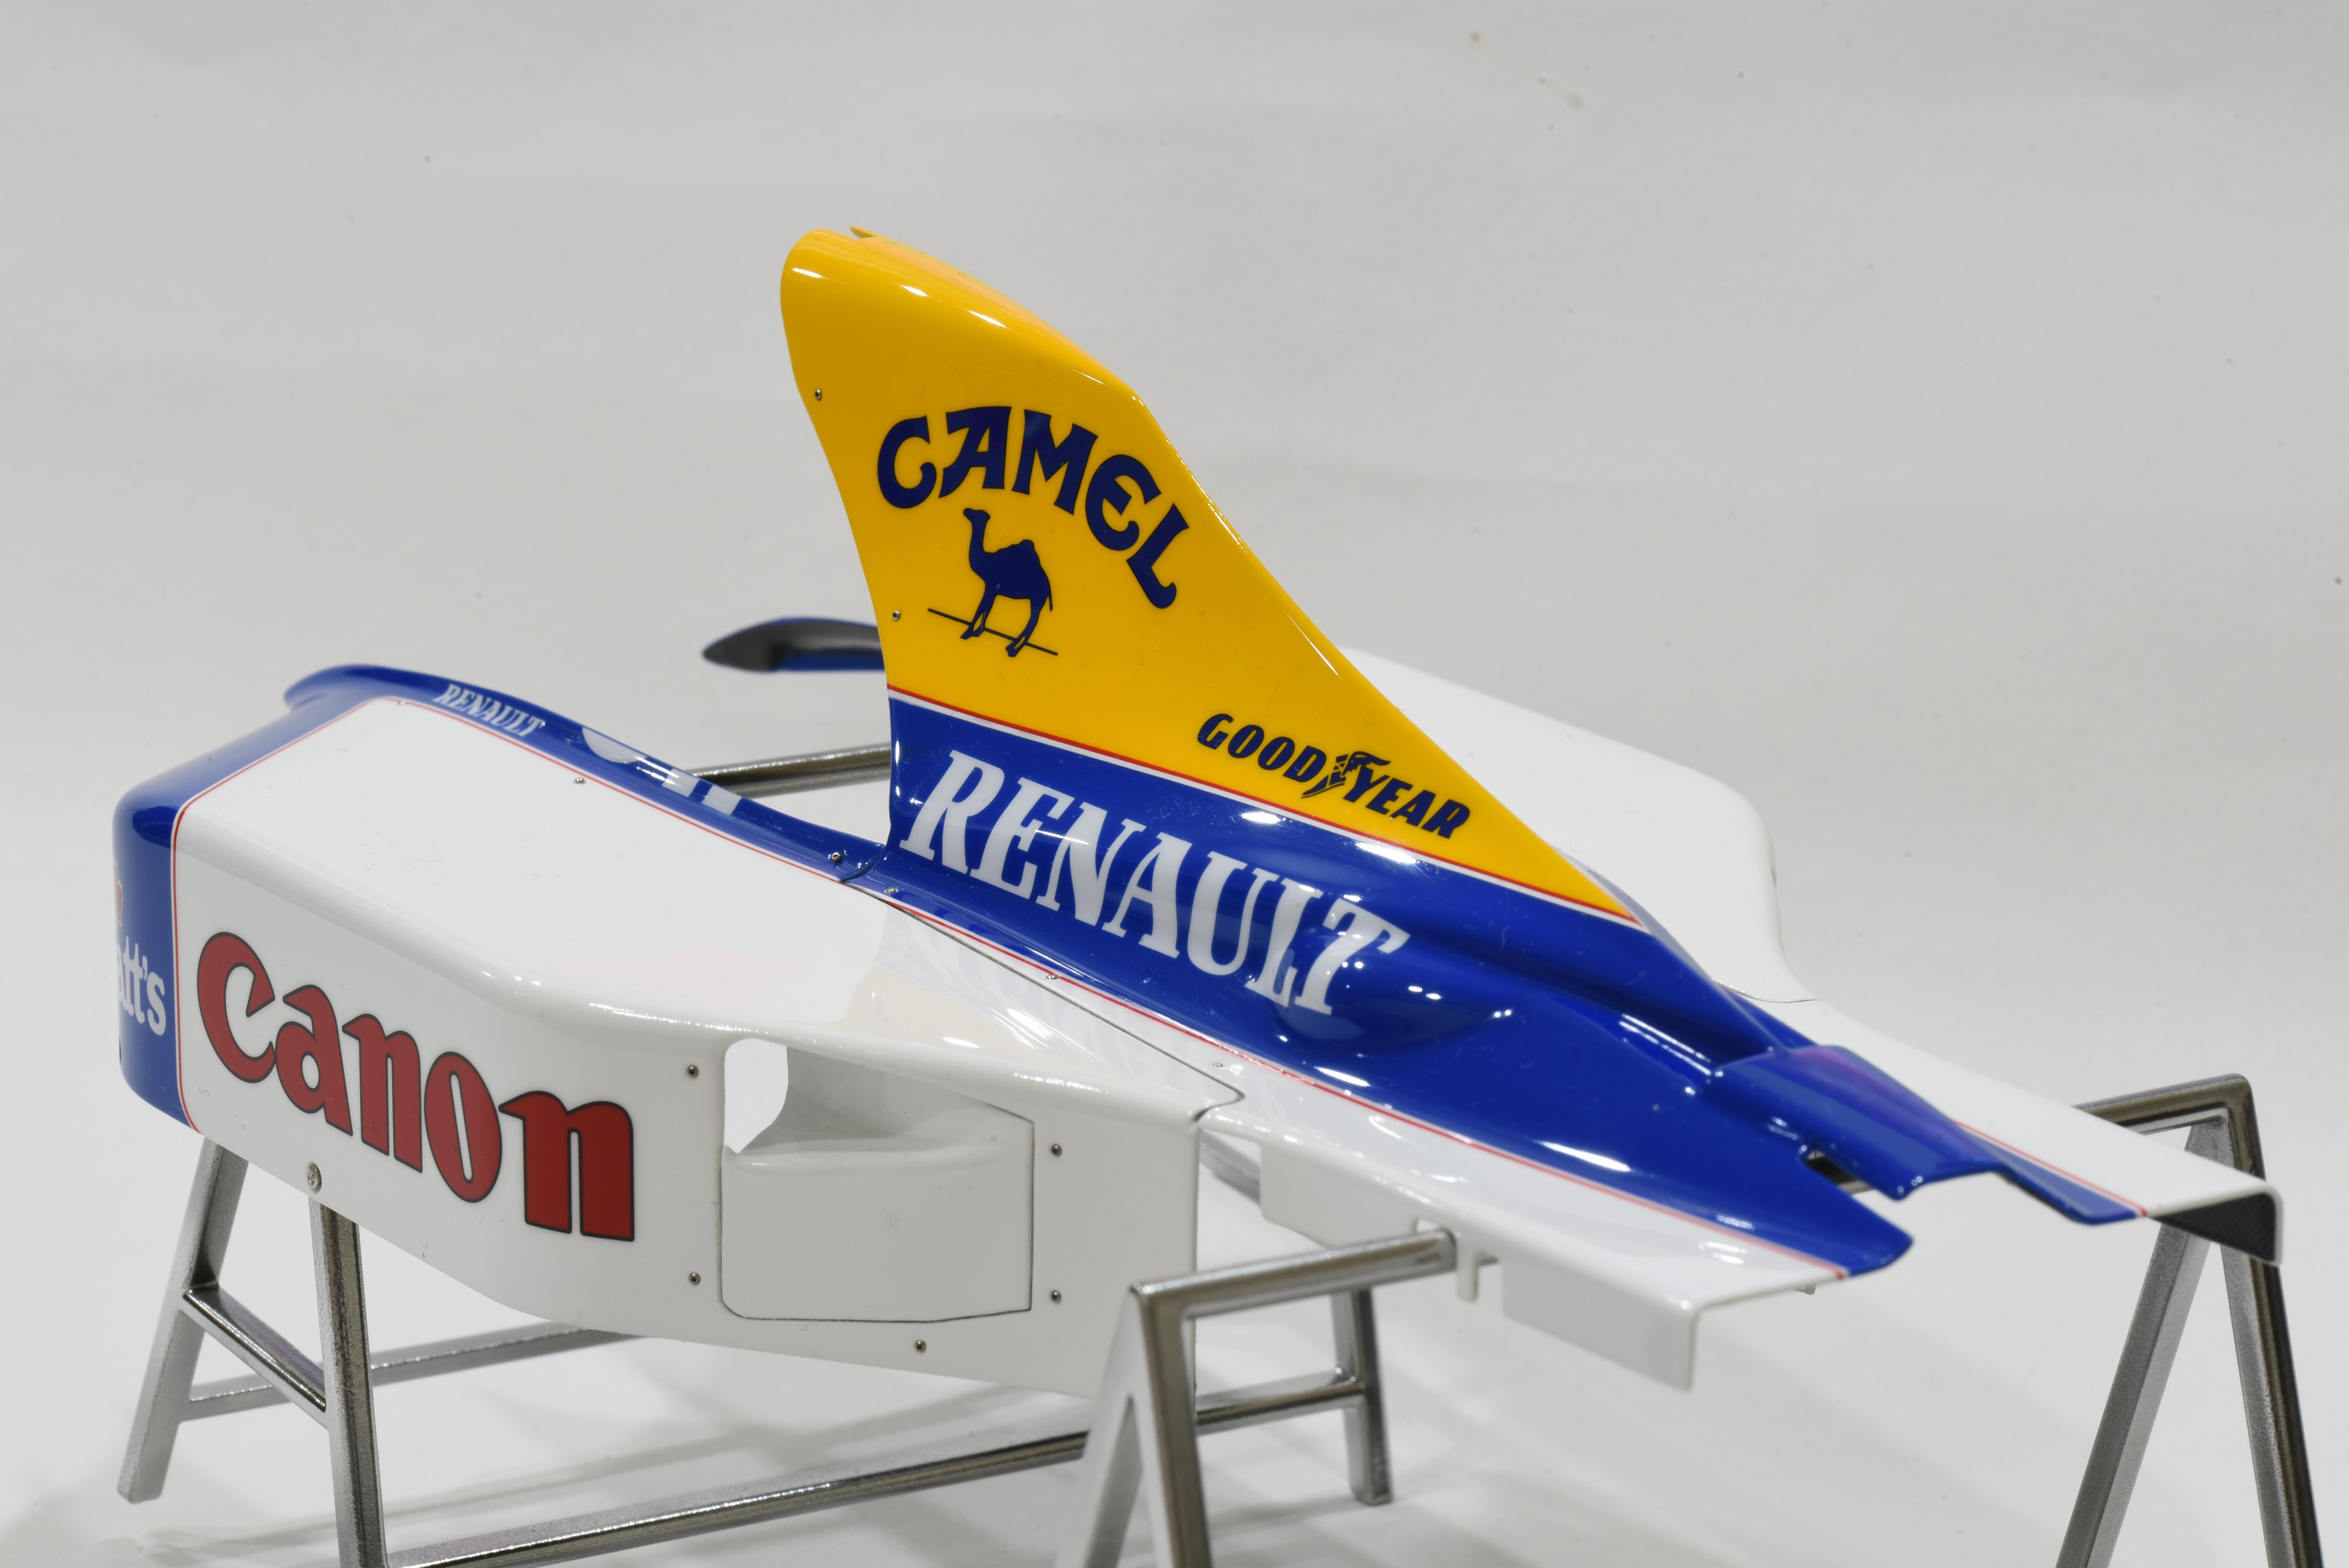
Update some progress. I made some modifications on the sidepod. I used the plastic plate to make some pattern and used paint thickness to achieve the gap of trench on the sidepod. Also polished the matt clear paint to hide the gap of carbon decals. Finally, I added a lot of parts and cables on it.
-
About the paint peeling issue, you can use sandpaper polish the metal or resin parts to increase the contact area. Before painting, please wash it. Dishwahing liquid is ok. I don't know this procedure is OK or not for Tamiya's primer, but it should be fine for the Gunze B527 grey primer. I used it several years, please try it.
-
1/12 Tamiya Williams FW14B
okazaki0511 replied to okazaki0511's topic in WIP: Other Racing: Road Racing, Land Speed Racers
My building sequence is as follows. primer -> color paint -> clear paint -> decal -> clear paint 3 or 4 times for all -> polish -> semi-gloss or matt for carbon area I think the clear paint on the carbon decal should be OK. 248F1 used the same procedure. You can check the carbon area.
-
1/12 Tamiya Williams FW14B
okazaki0511 replied to okazaki0511's topic in WIP: Other Racing: Road Racing, Land Speed Racers
Do you mean the sequence of the process? I will do the painting first. After that, use Tamiya's yellow tape to describe the shape of carbon fiber and stick on the decal to cut it. It probably needs several pieces. Then, spray the clear paint and polish it to hide the gap between the different decals. It is really exhausting. -
1/12 Tamiya Williams FW14B
okazaki0511 replied to okazaki0511's topic in WIP: Other Racing: Road Racing, Land Speed Racers
Update some progress. The cockpit painting was finished, just wait a sunny day for the clear spray. I sharpened some corner and adjusted the thickness to make sure it looks like a real car. Also used a lot of carbon decals to improve the realism.
-
1/12 Tamiya Williams FW14B
okazaki0511 replied to okazaki0511's topic in WIP: Other Racing: Road Racing, Land Speed Racers
I am glad you like it. If you are interested in the progress, you can search " Okazaki's F1 model " on Facebook, which is my personal blog to record the progress by Chinese. It has more details and pictures. You can save a lot of time to build it because the sequence is quite complicated. If still hard to understand, please send the message to me. I will try to explain it by my poor English. I use 3M's instant glue for wire bond. About the carbon, I tend to use S.K.decals square pattern for the engine part and MFH's wave pattern for others.
-
1/12 Tamiya Williams FW14B
okazaki0511 replied to okazaki0511's topic in WIP: Other Racing: Road Racing, Land Speed Racers
Thanks, I also hope I can keep this performance. About the tape, I normally stick on my hand first to reduce the adhesive. -
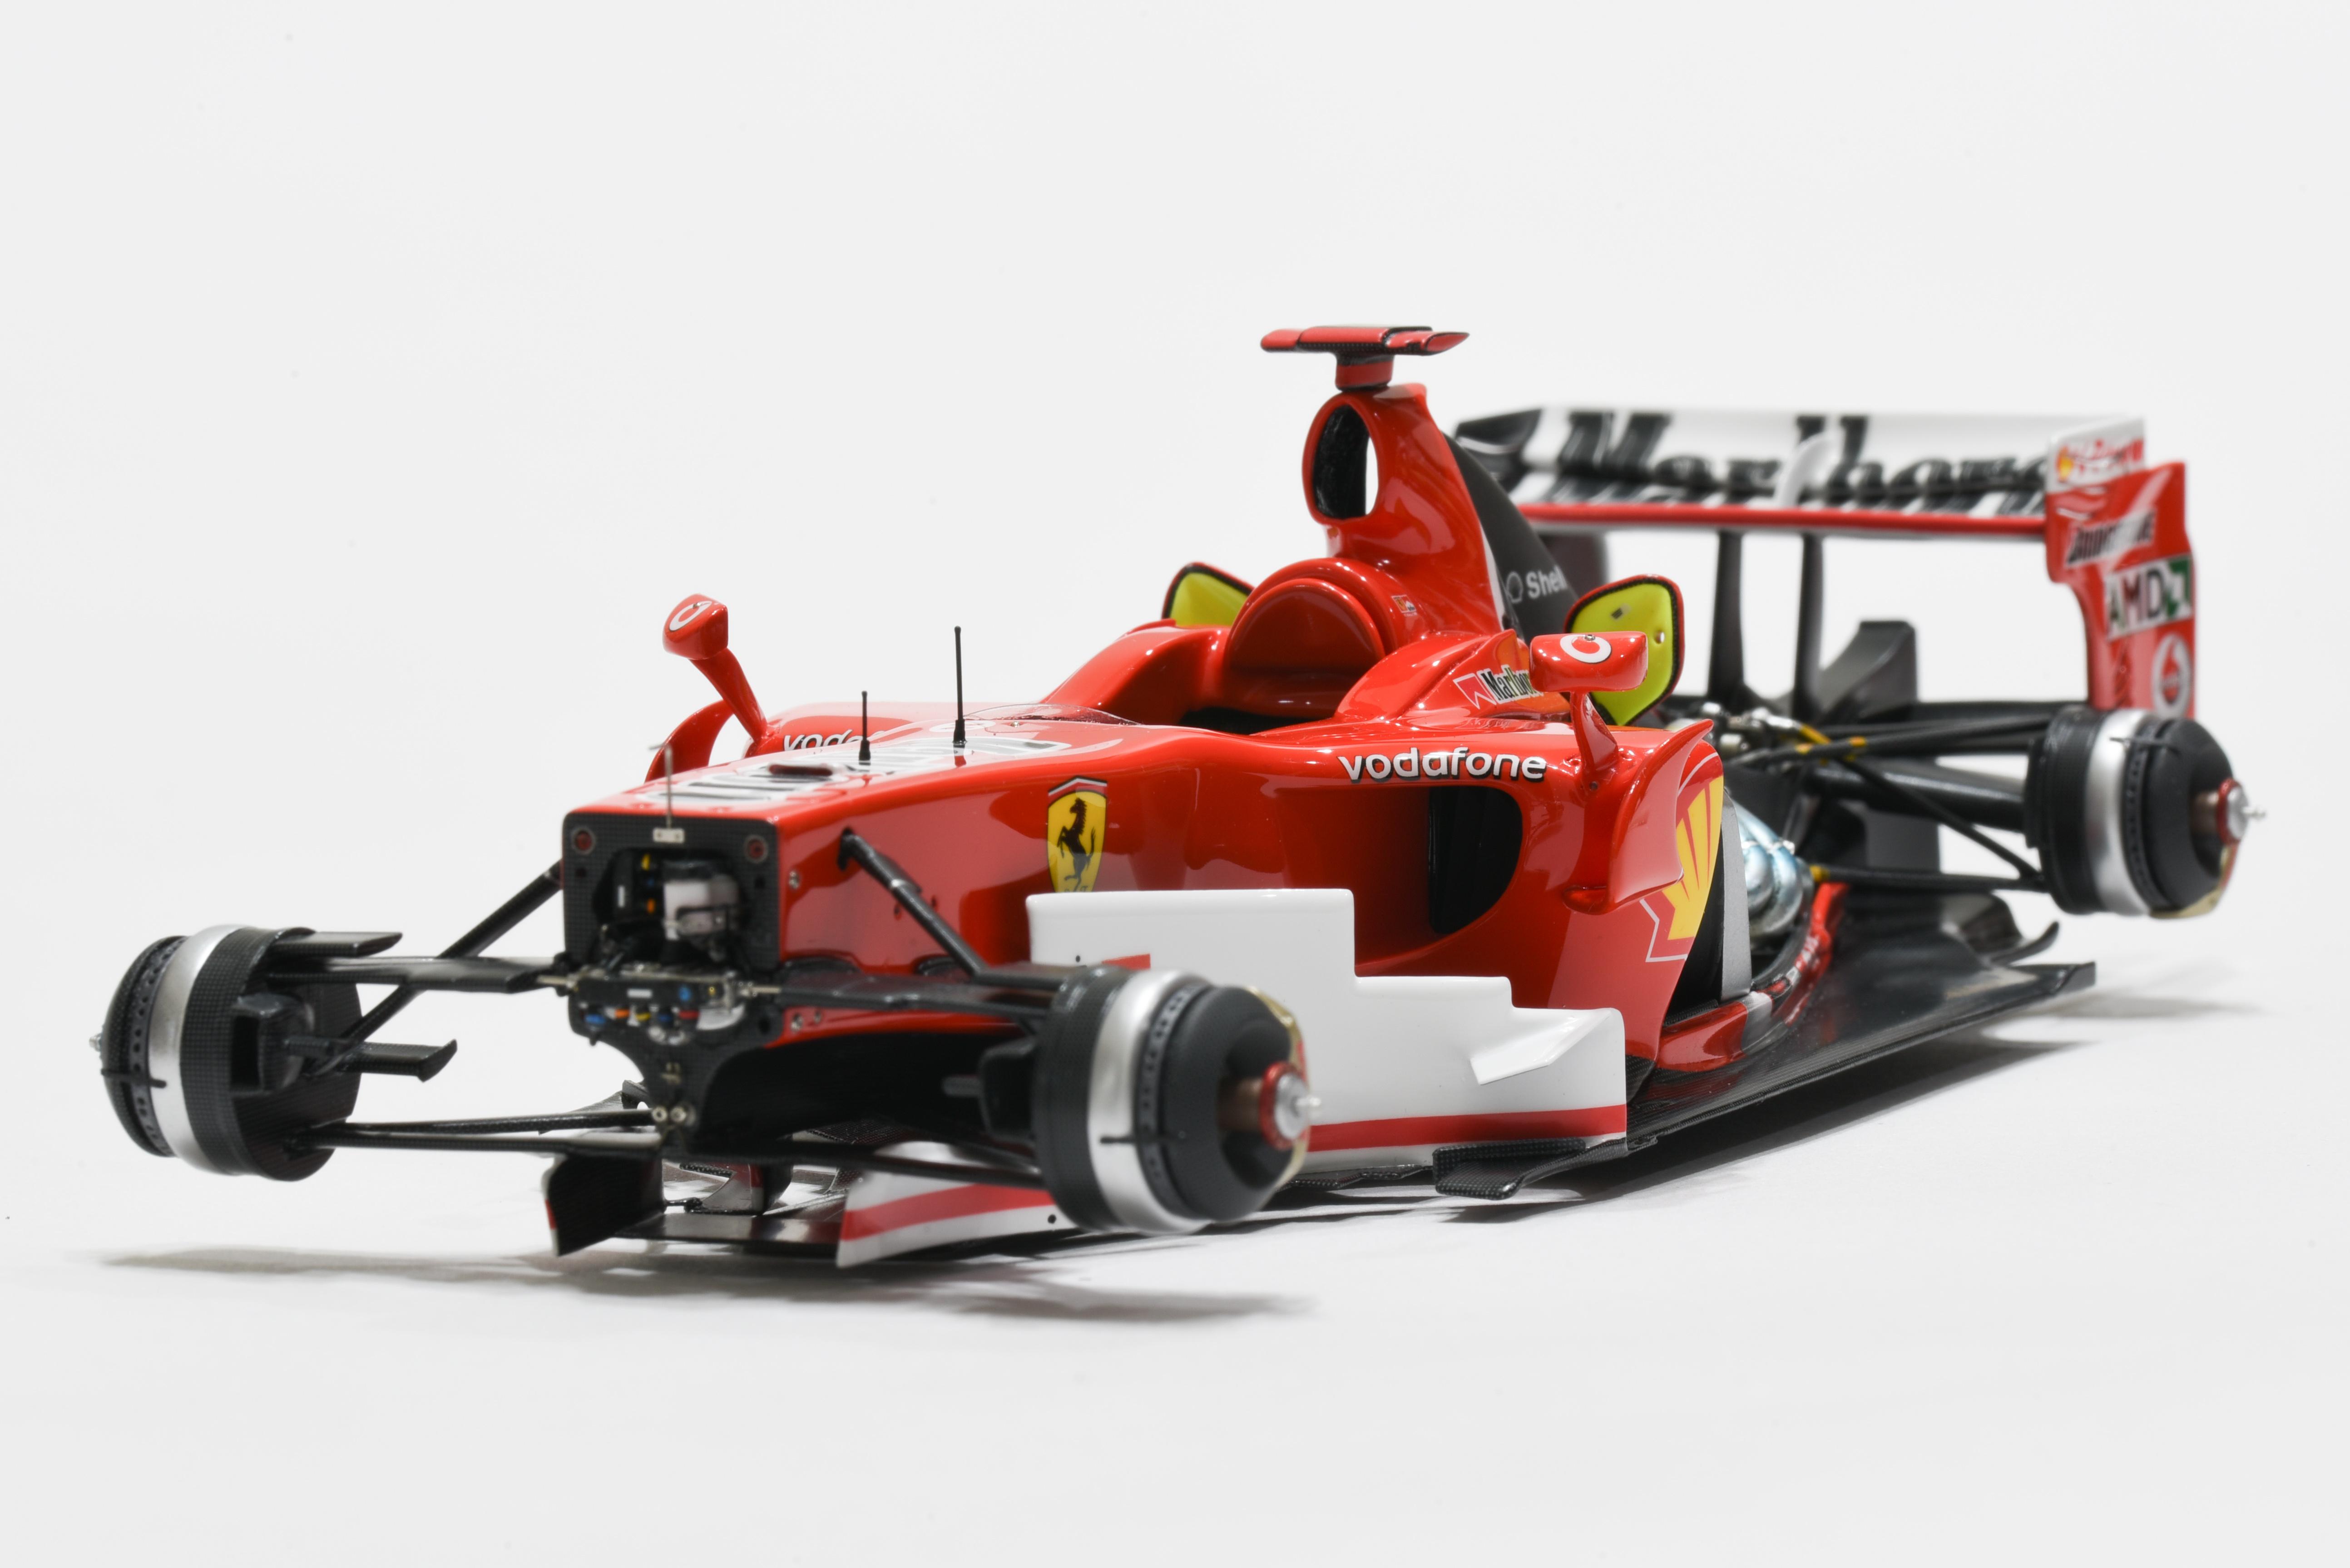
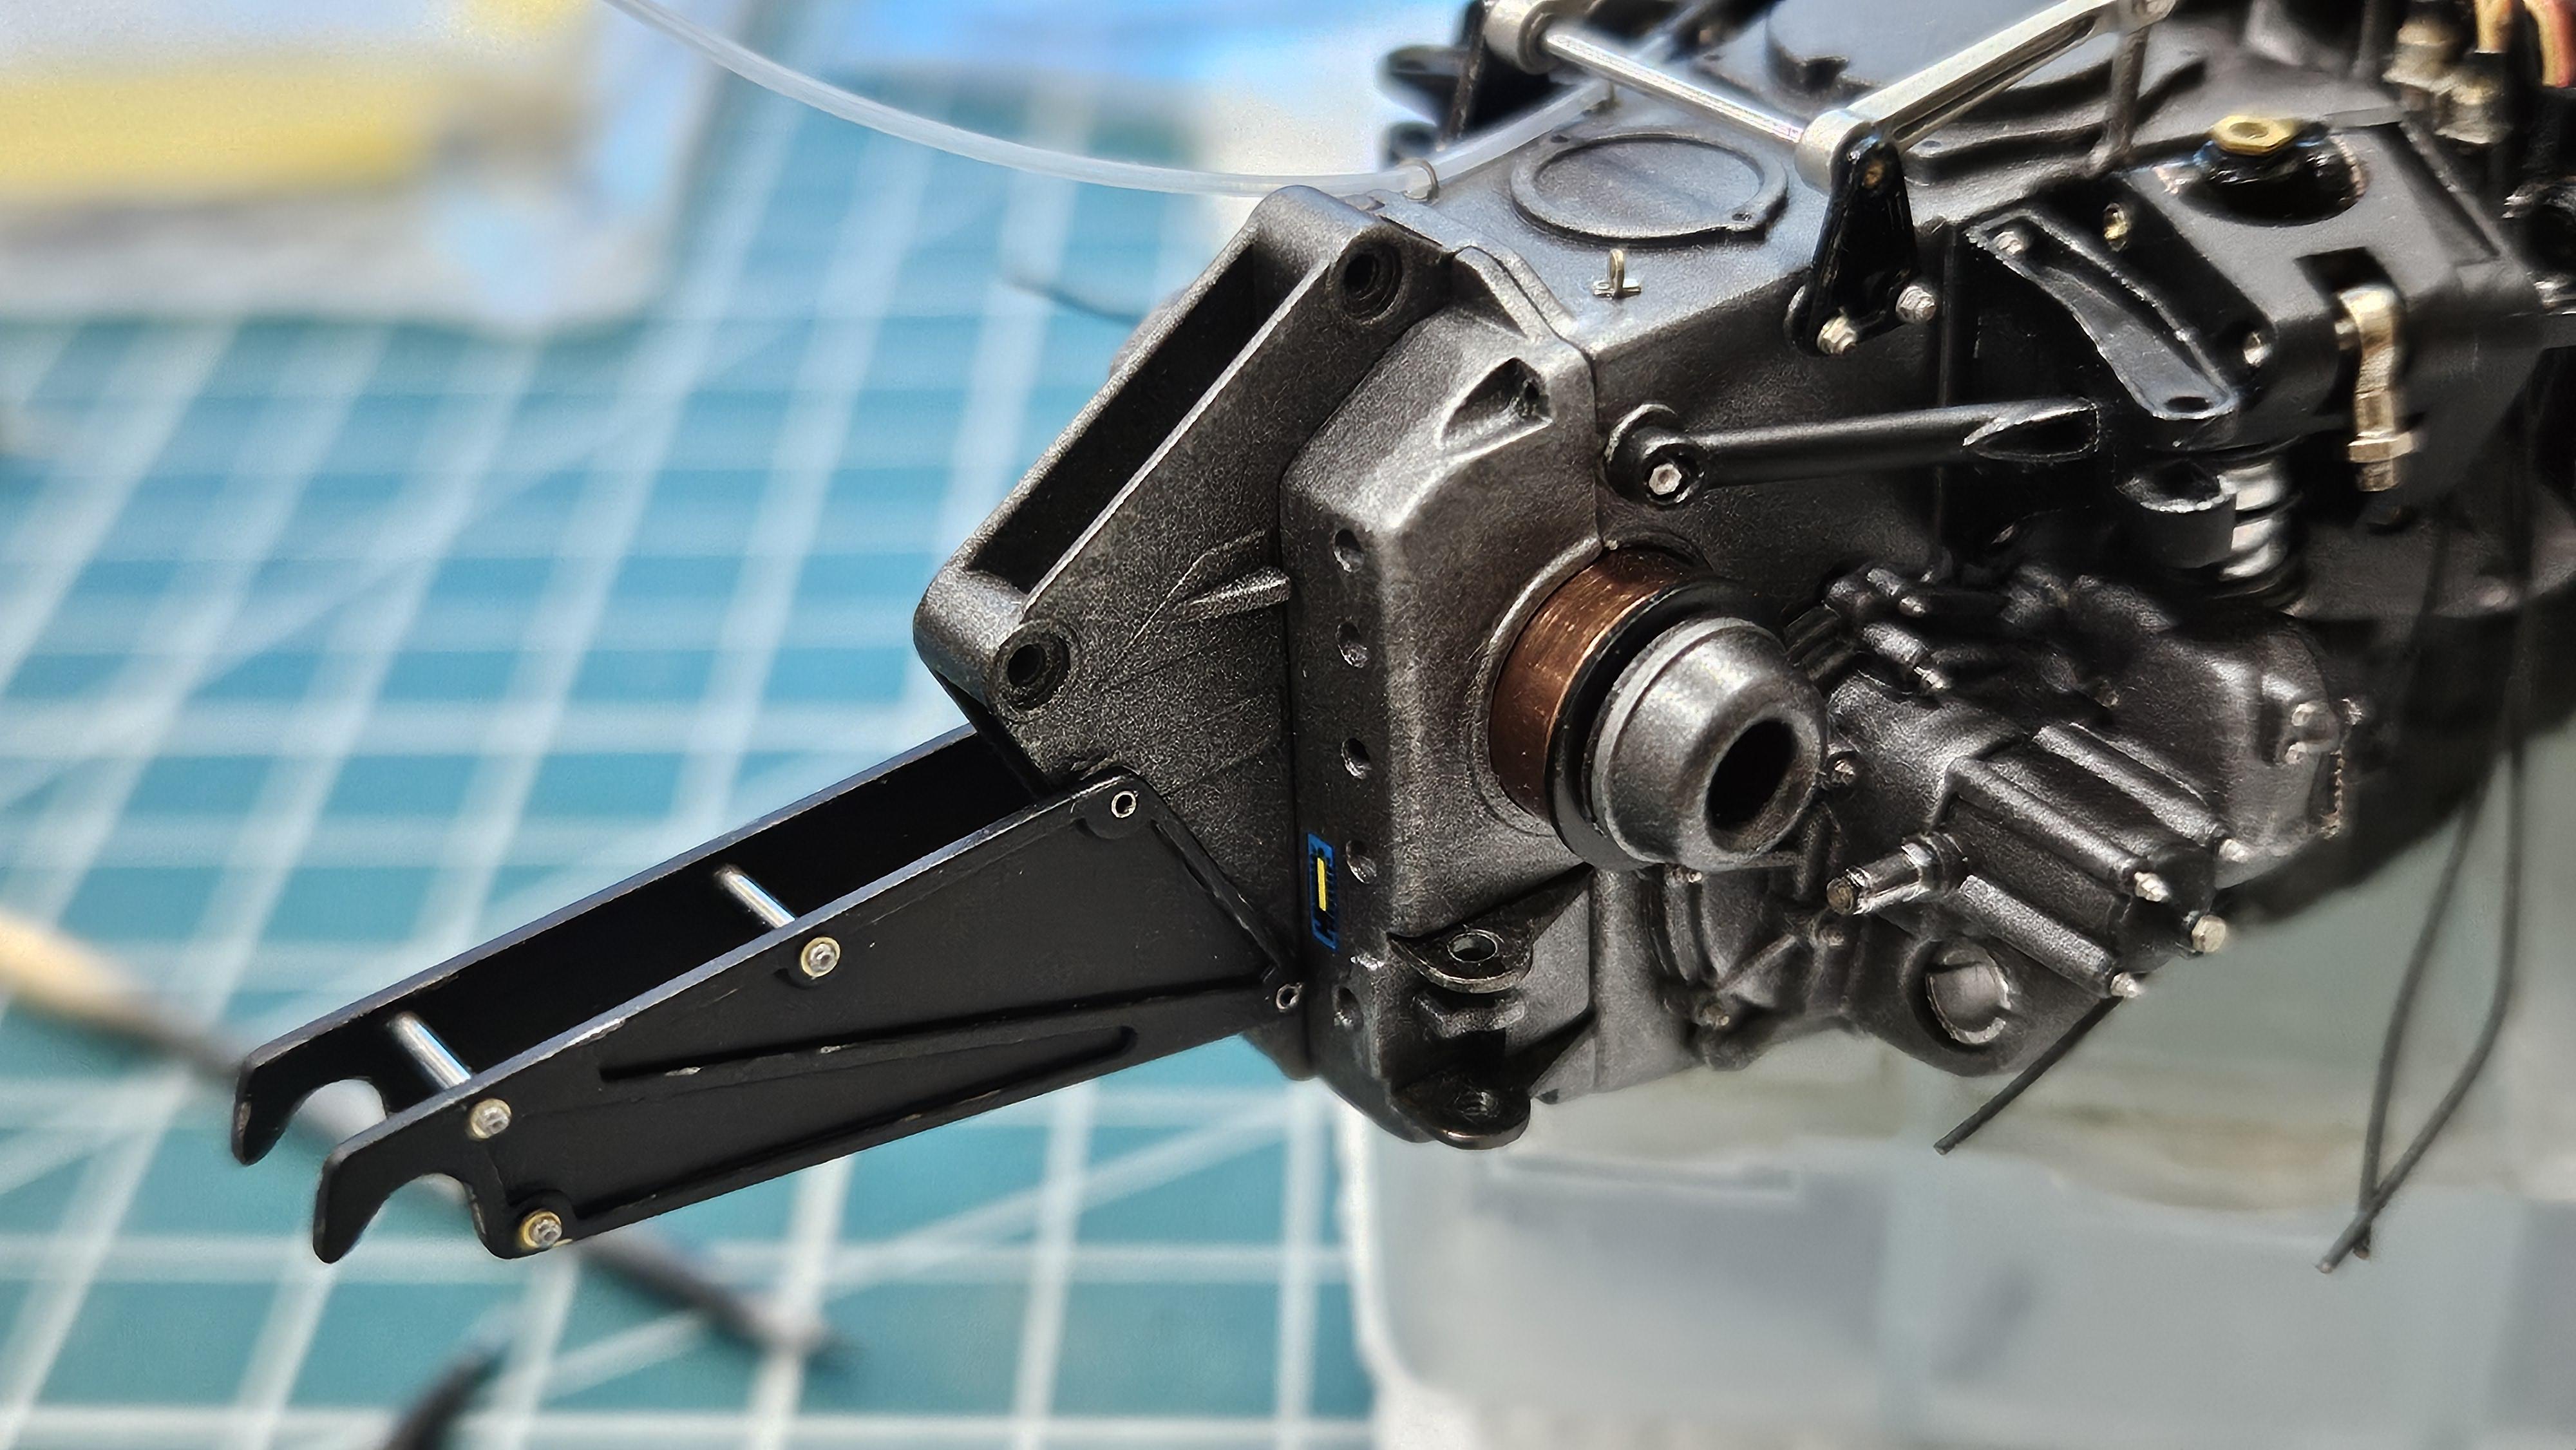
The last win of M.S. Modified the front dampers and added some detail for the engine.


.jpg.79d31bfa016e95a636c57c24f07282c3.jpg)


.jpg.395587208746623154d61c7036f219c9.jpg)