Leon Cream
-
Posts
44 -
Joined
-
Last visited
Content Type
Profiles
Forums
Events
Gallery
Everything posted by Leon Cream
-
AMT 69 Torino Cobra.
Leon Cream replied to Leon Cream's topic in WIP: Stock Cars (NASCAR, Super Stock, Late Model, etc.)
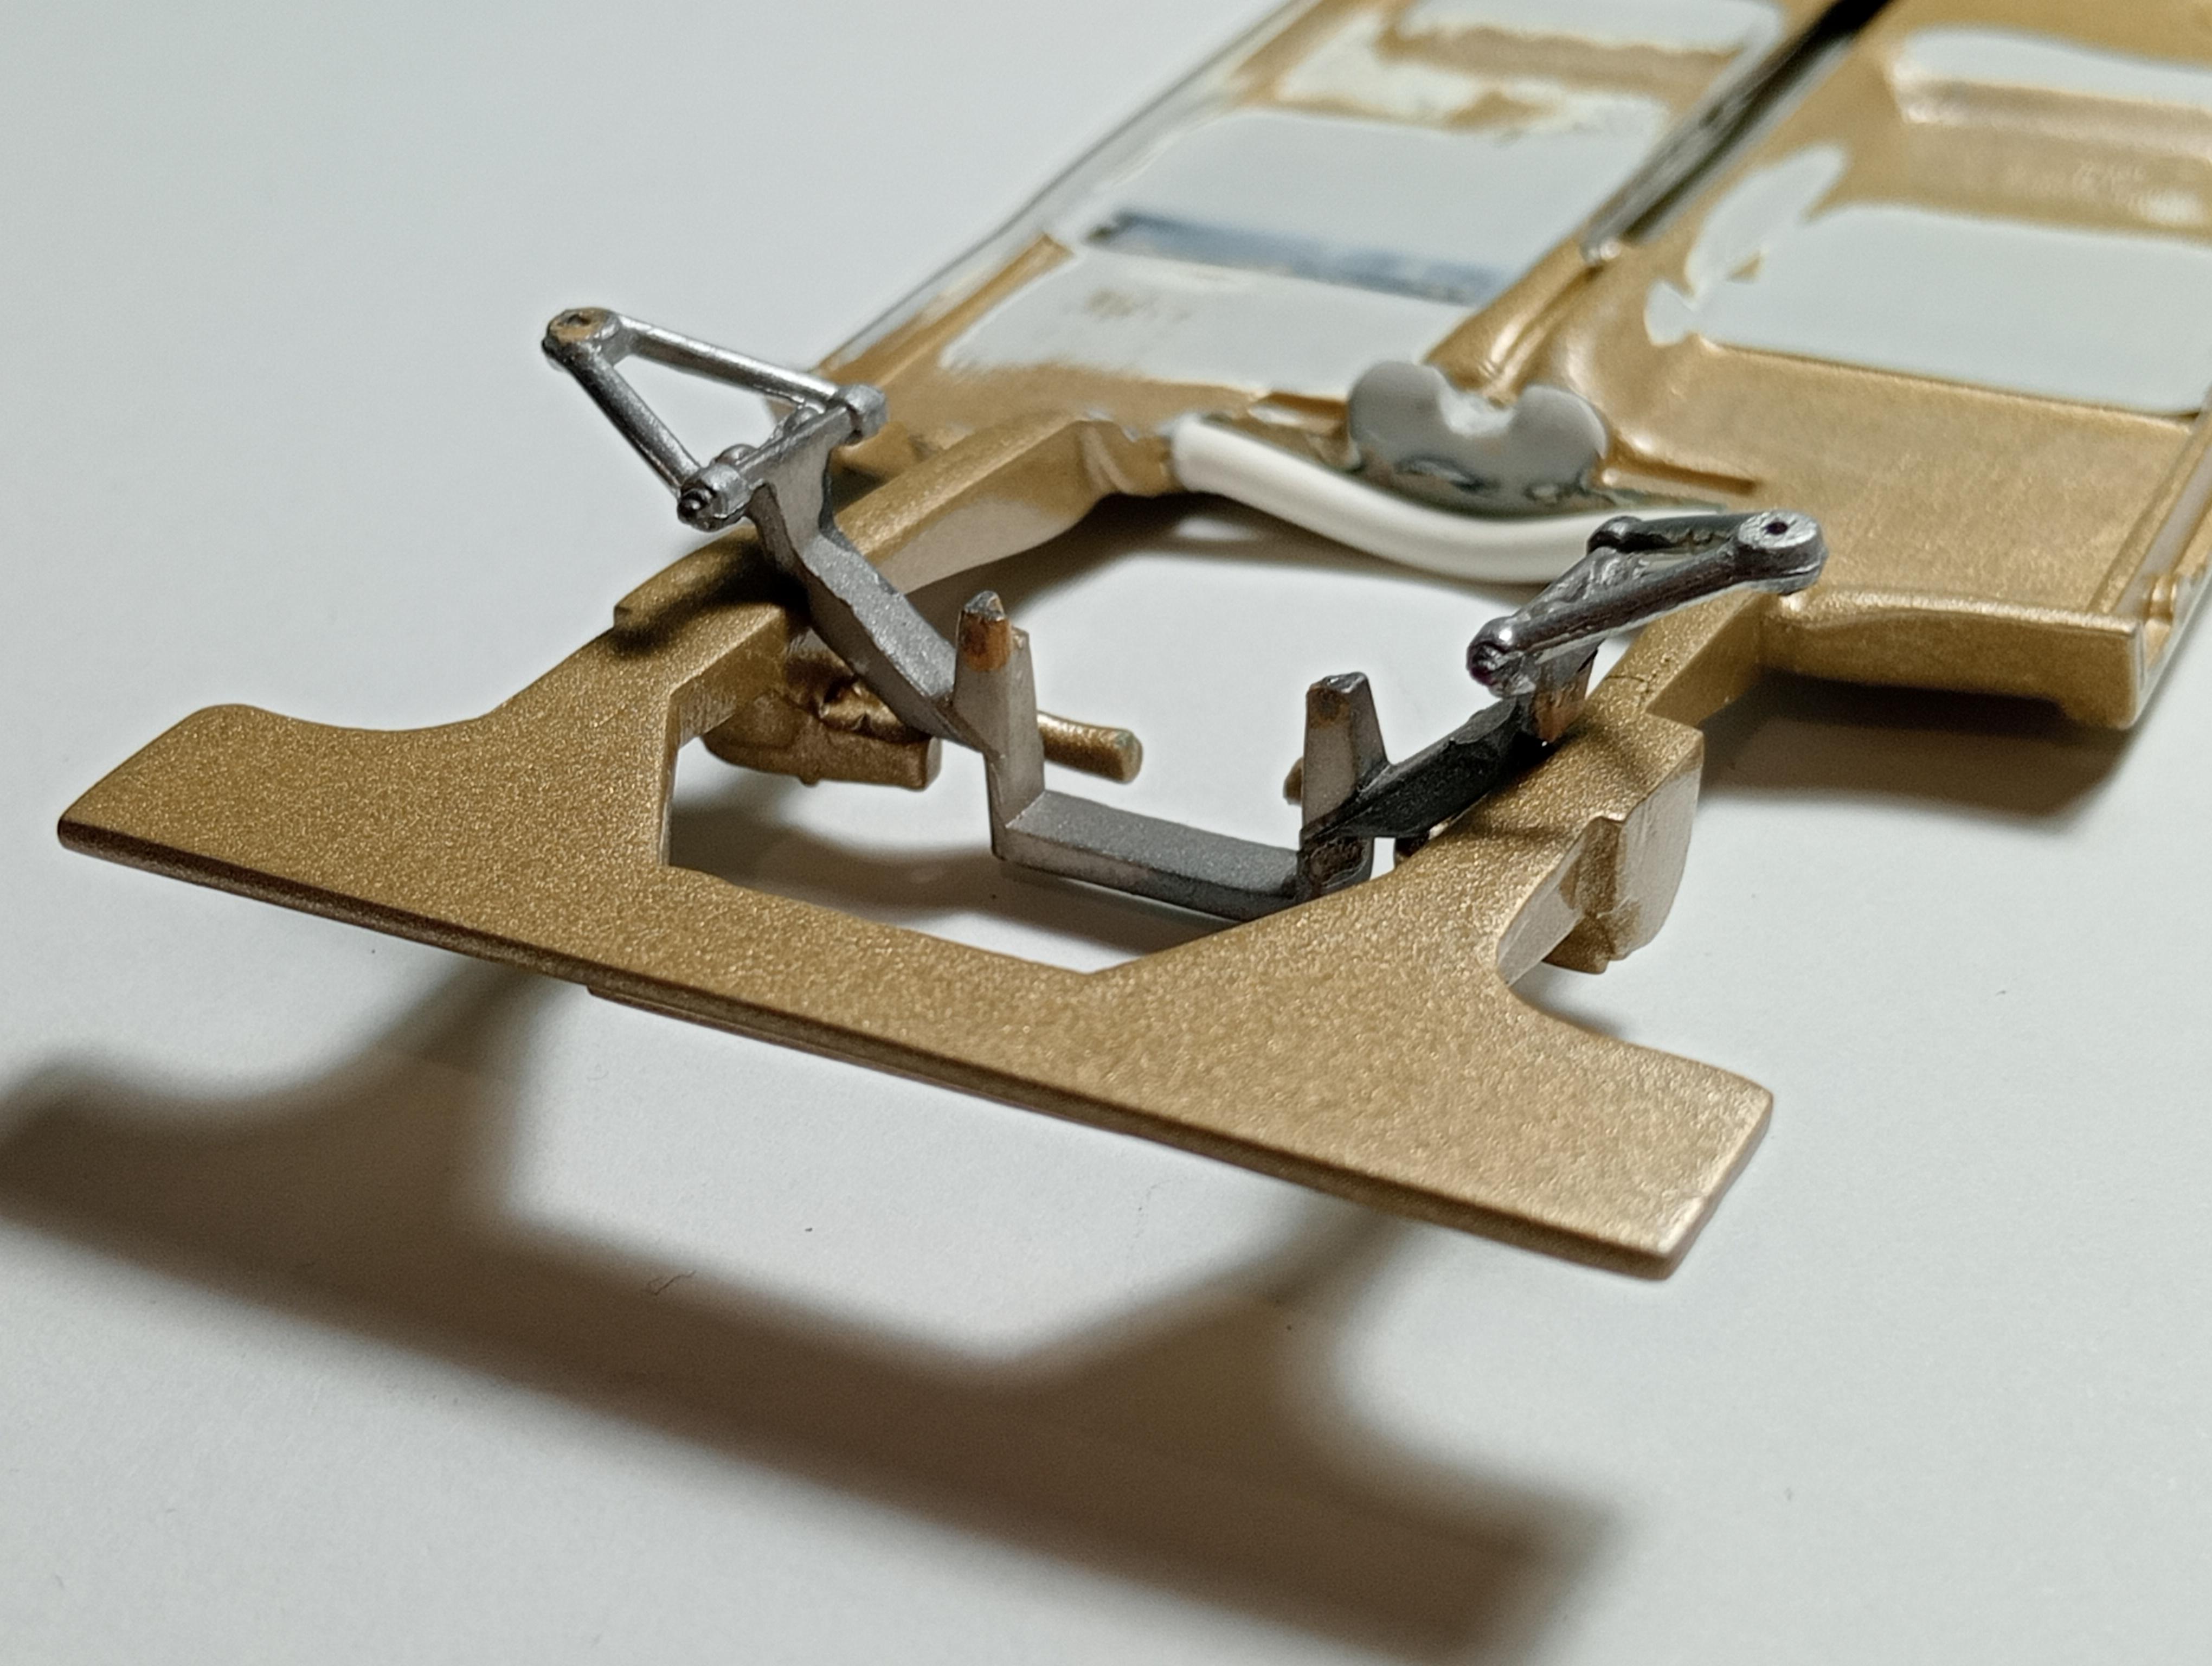
Nah, definitely not. Was more just playing around seeing what else if anything I could take from the partial donor kit. Any advice on the front end is also most welcome as I haven't decided what I'll do yet, will have a look at some photos online. As far as I can tell from instructions I found online there was no springs on the Torino kit. I cannot find any evidence of front coils on the NASCAR kit either. Thanks for commenting and always most welcome. 👍 -
AMT 69 Torino Cobra.
Leon Cream replied to Leon Cream's topic in WIP: Stock Cars (NASCAR, Super Stock, Late Model, etc.)
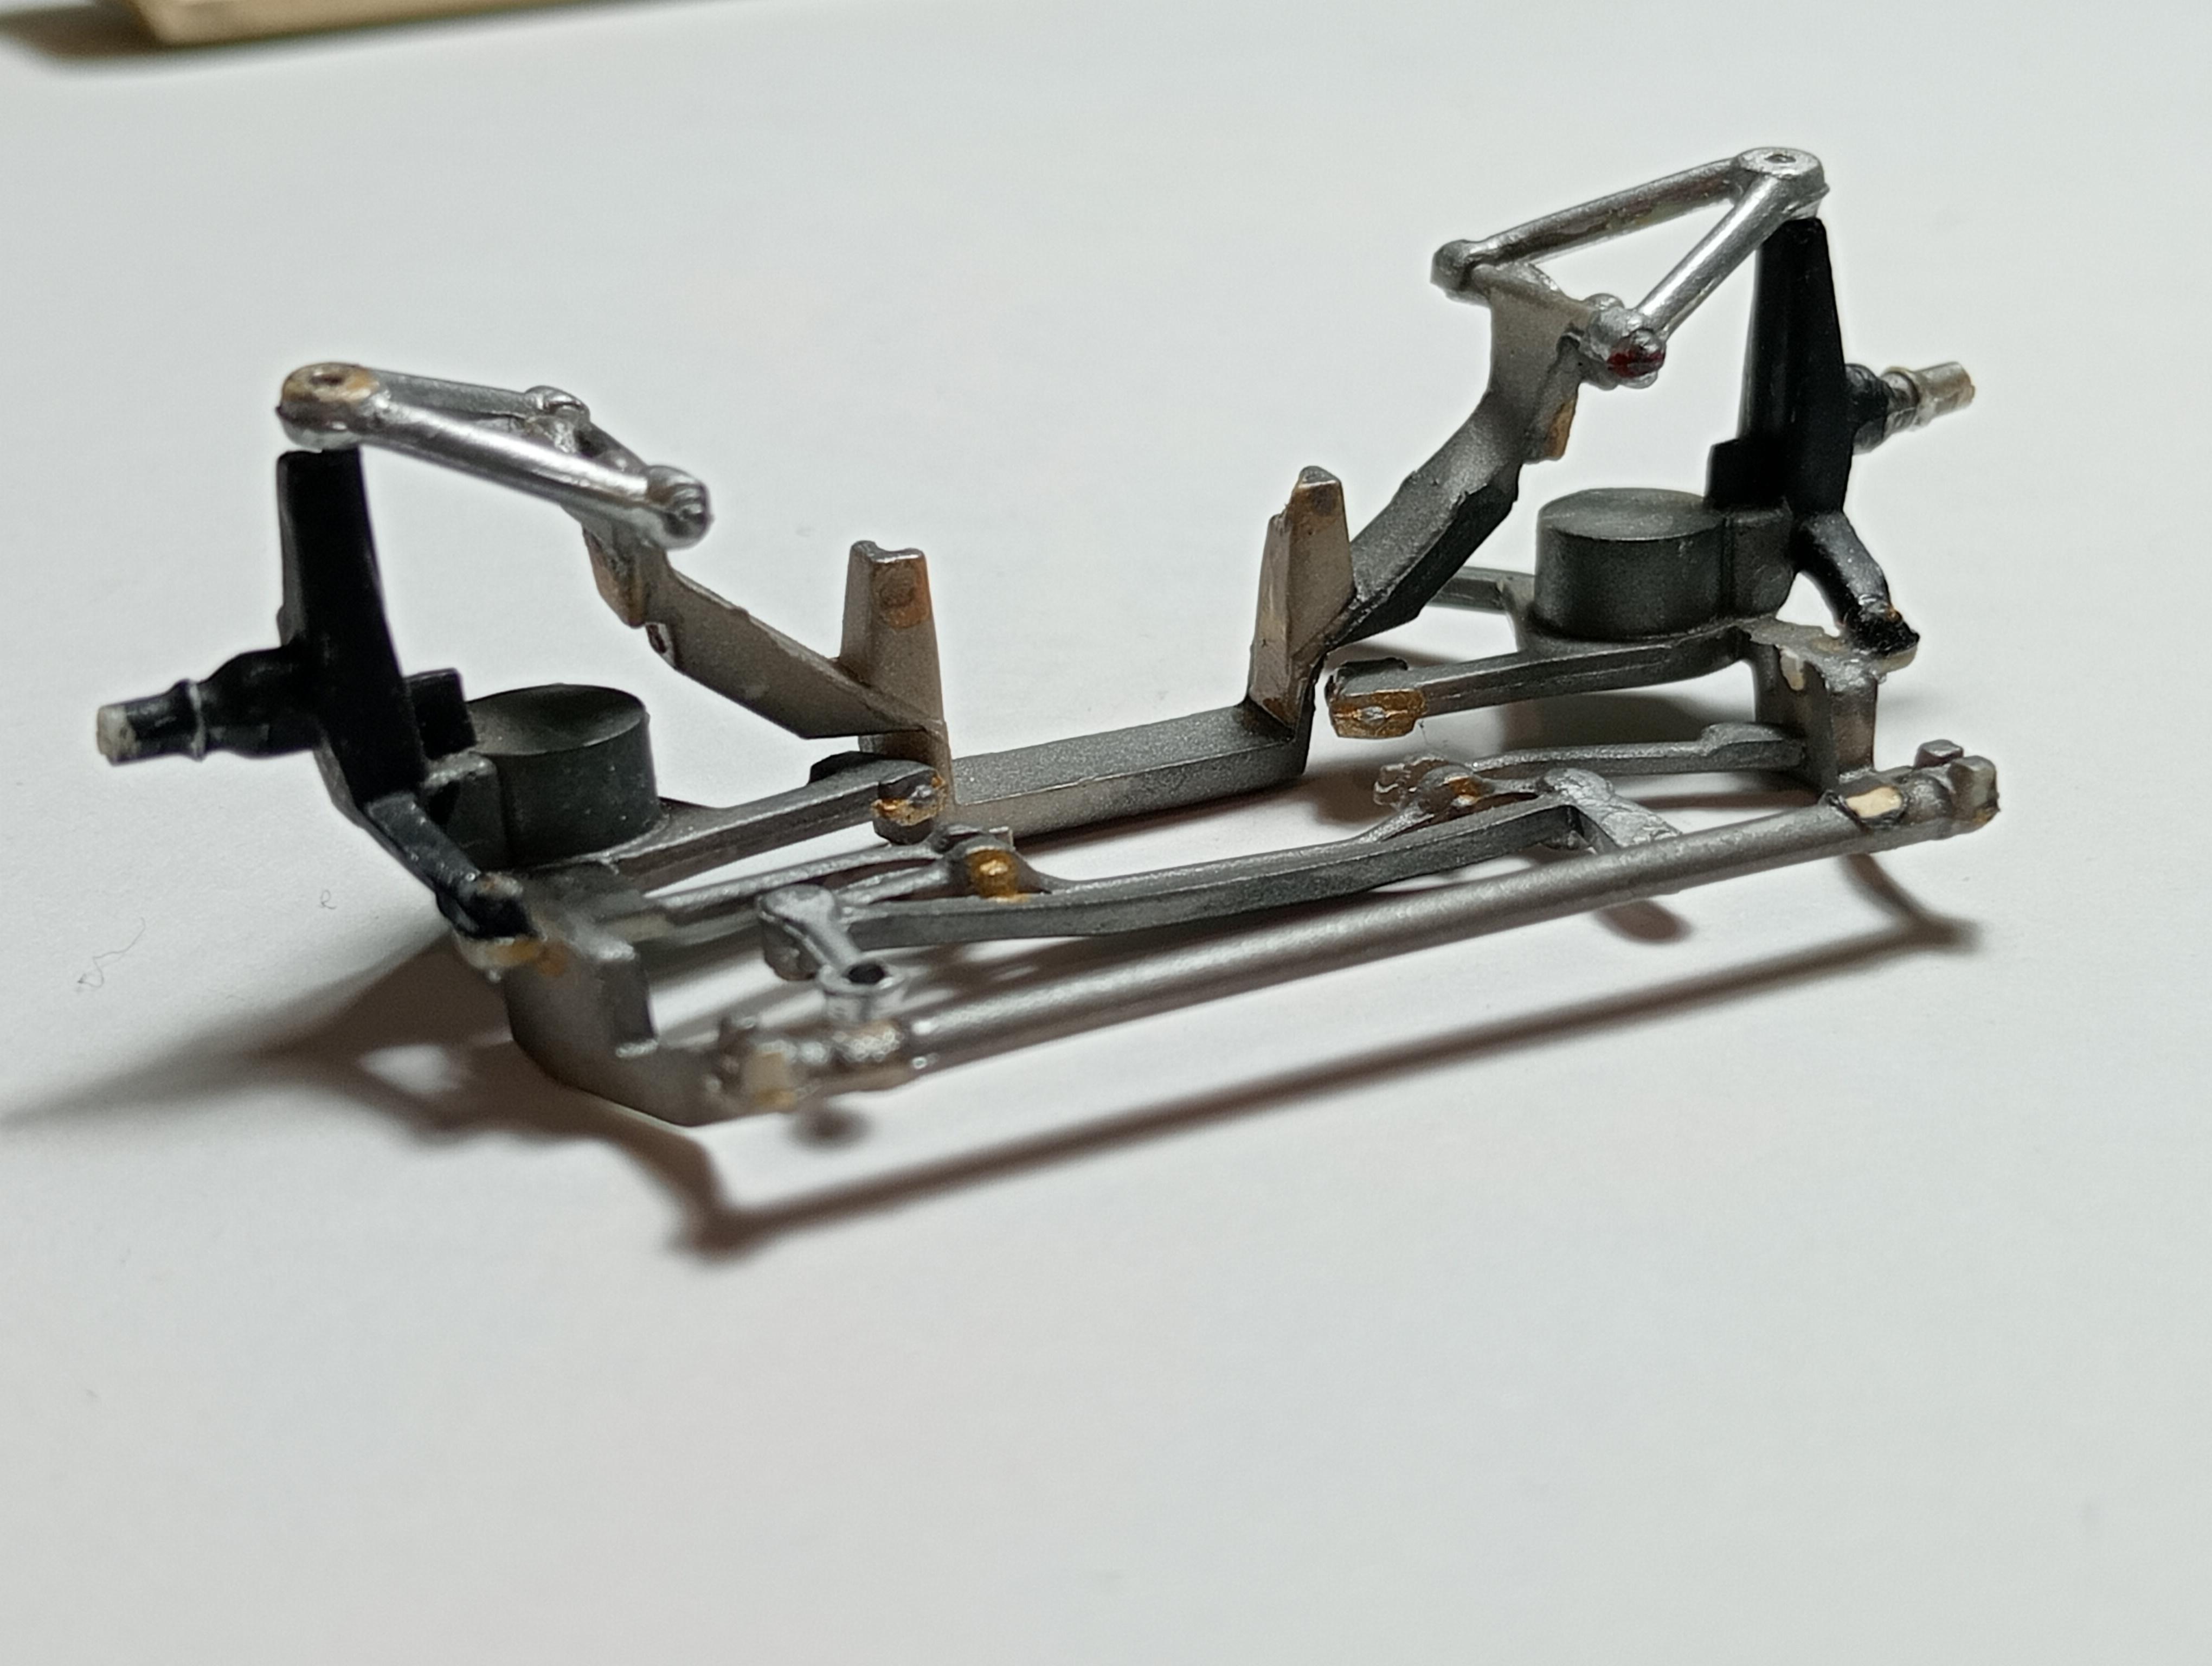
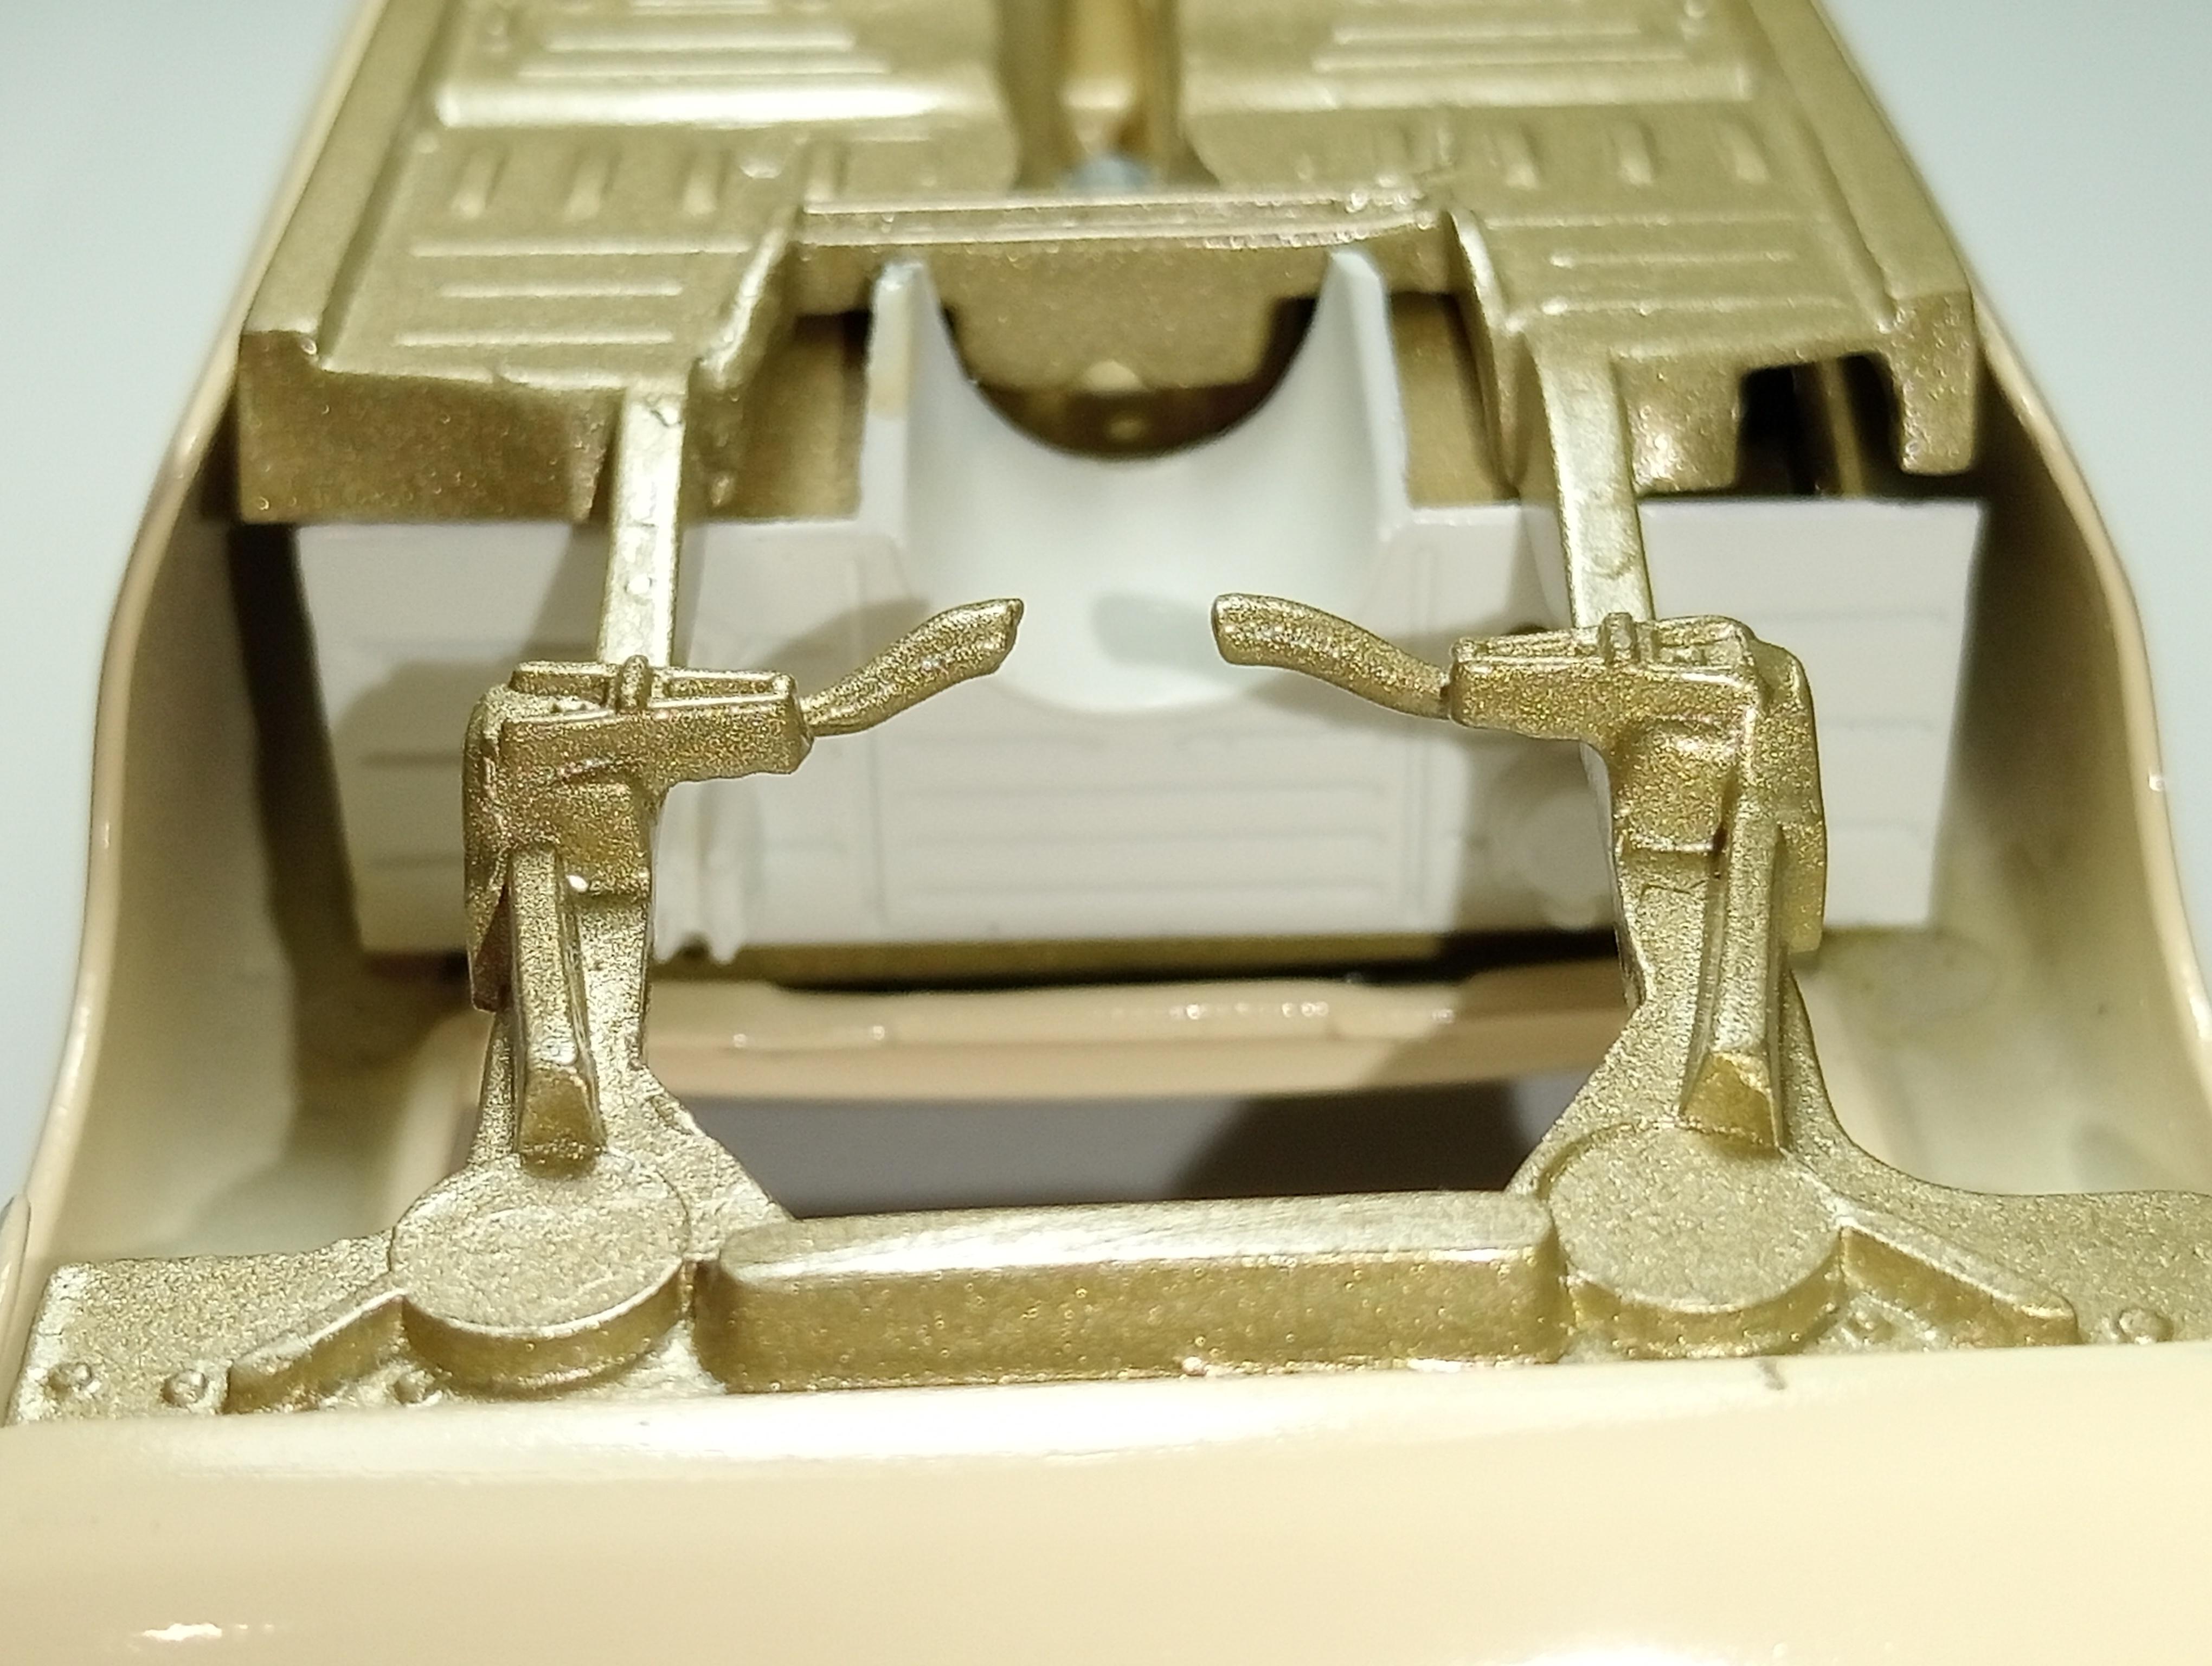
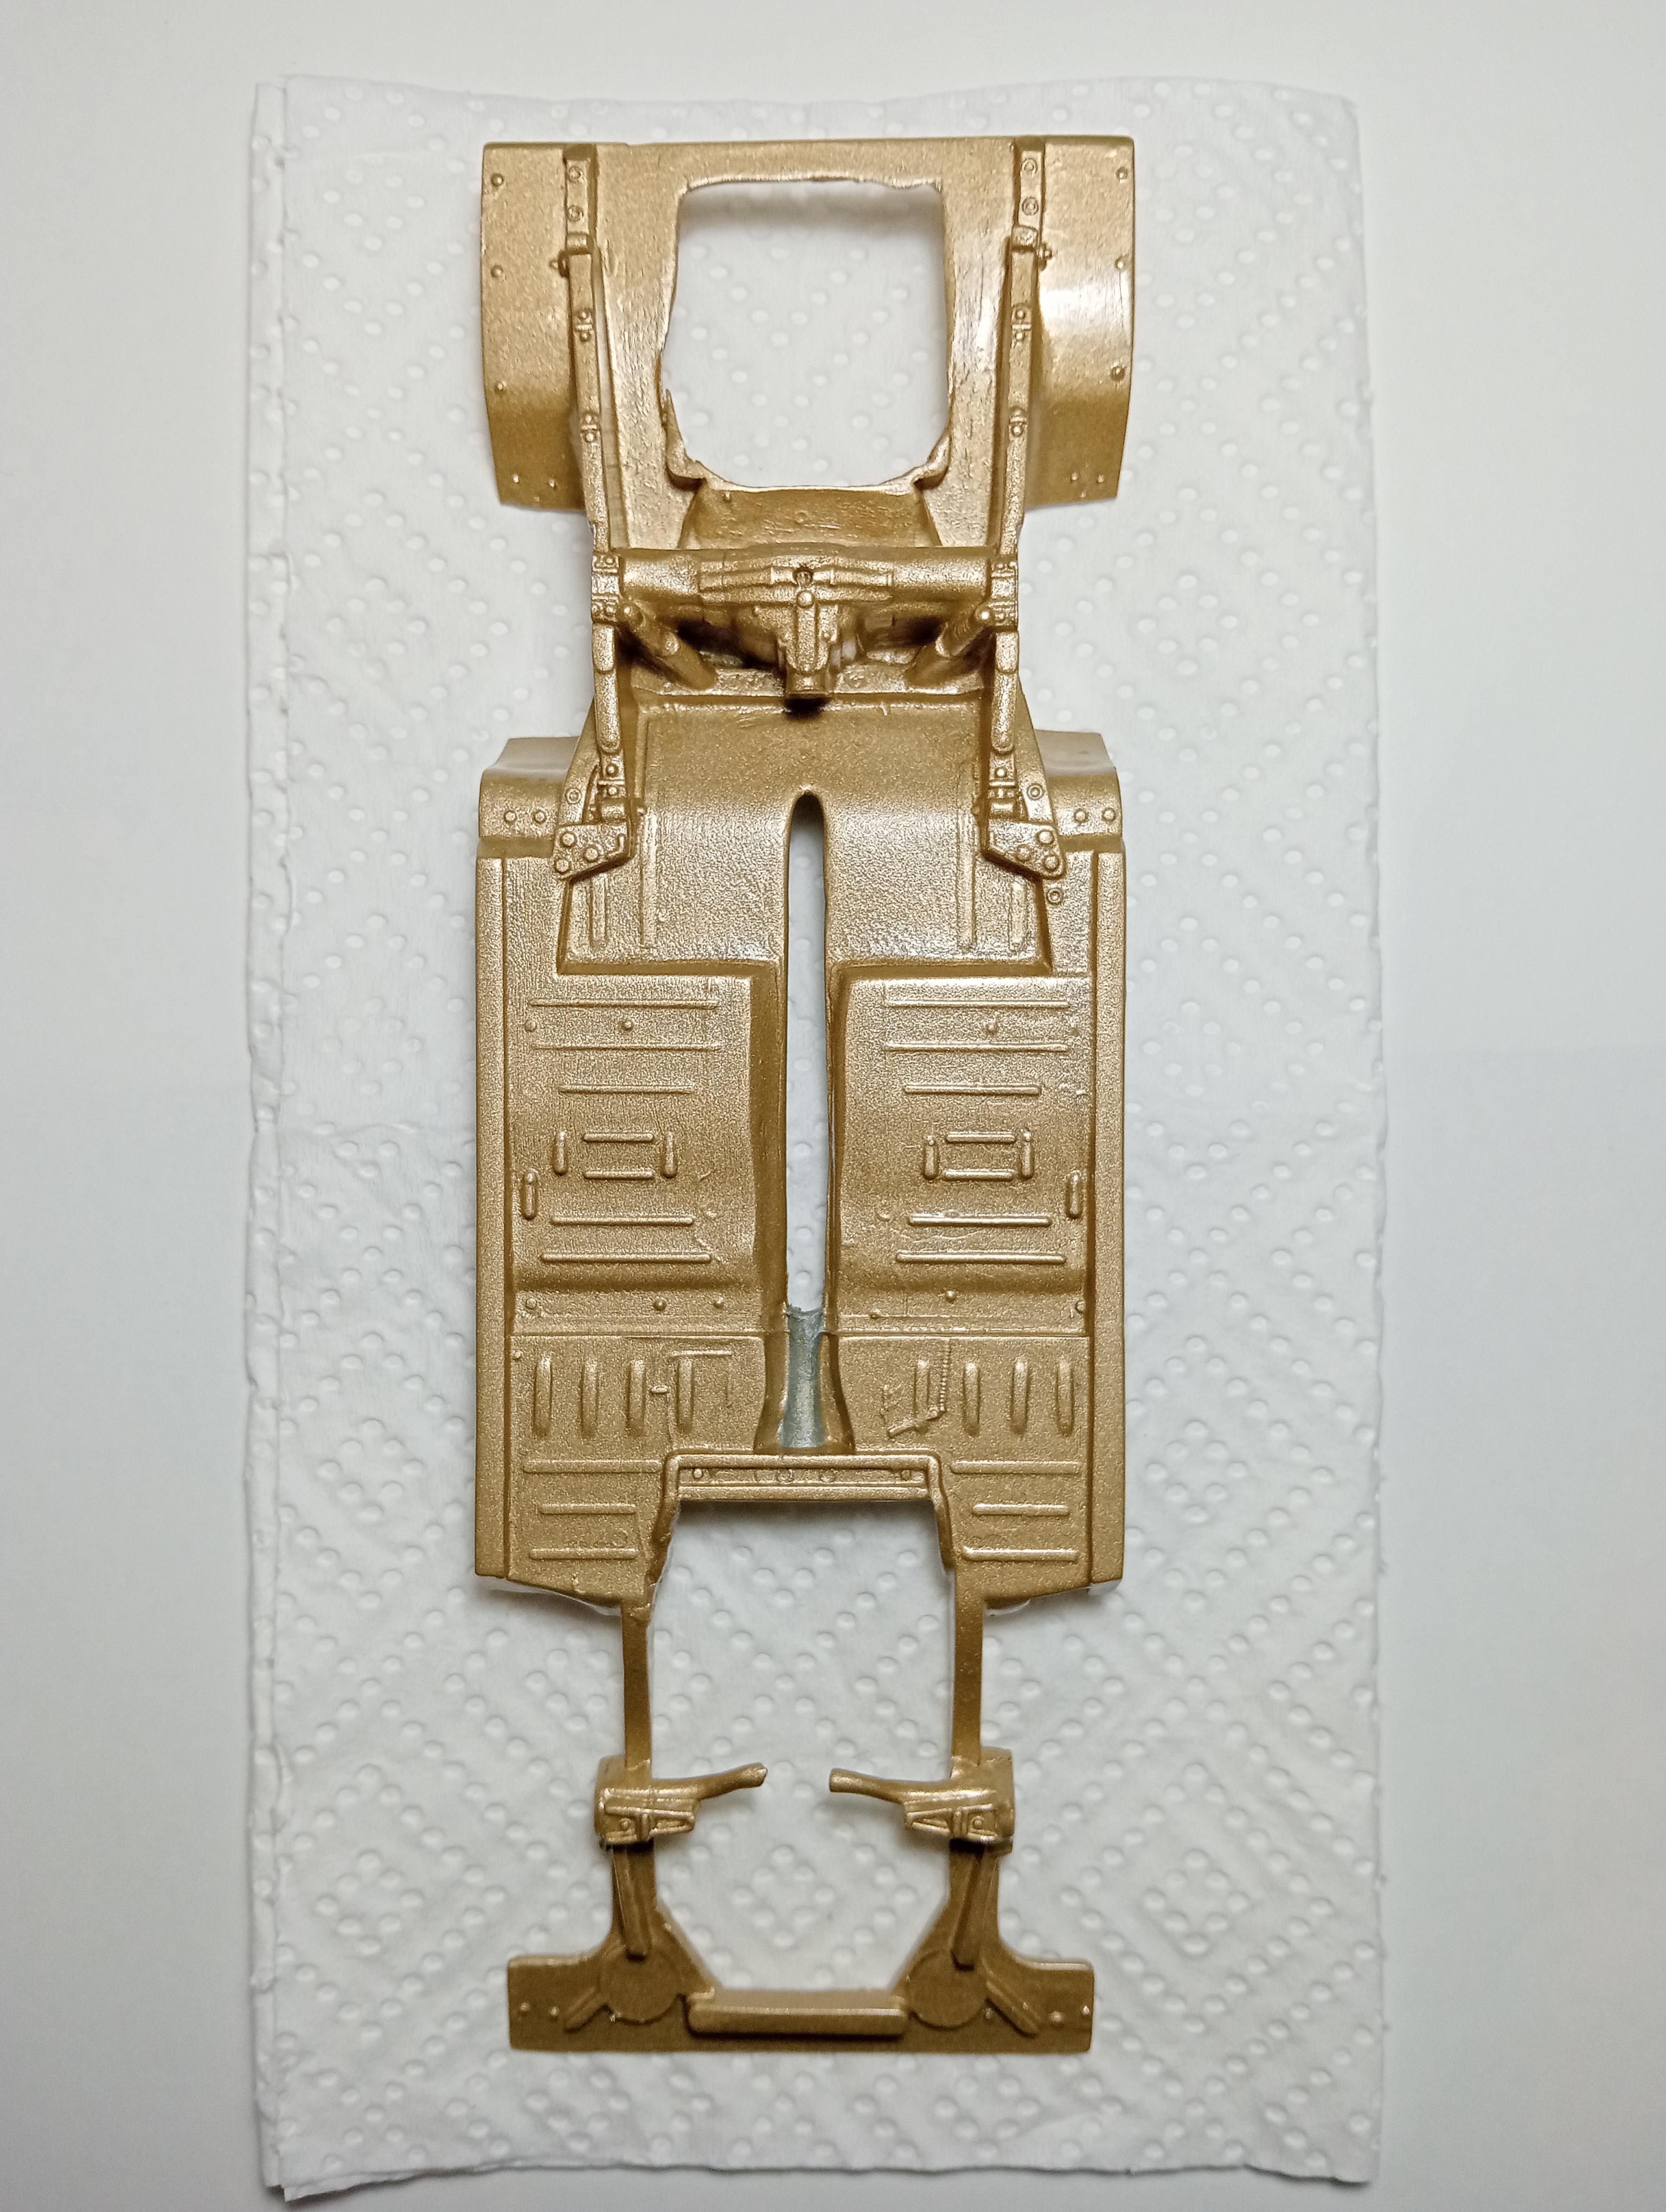
Broke down the possible donor front end. Will decide how to cut the stubs from the lower A arms after I've made adjustments to the chassis. As usual, advice, examples, comments, questions and slander all welcome. Thanks for looking 👍
-
AMT 69 Torino Cobra.
Leon Cream replied to Leon Cream's topic in WIP: Stock Cars (NASCAR, Super Stock, Late Model, etc.)
Yeah?.. Nah...
-
AMT 69 Torino Cobra.
Leon Cream replied to Leon Cream's topic in WIP: Stock Cars (NASCAR, Super Stock, Late Model, etc.)
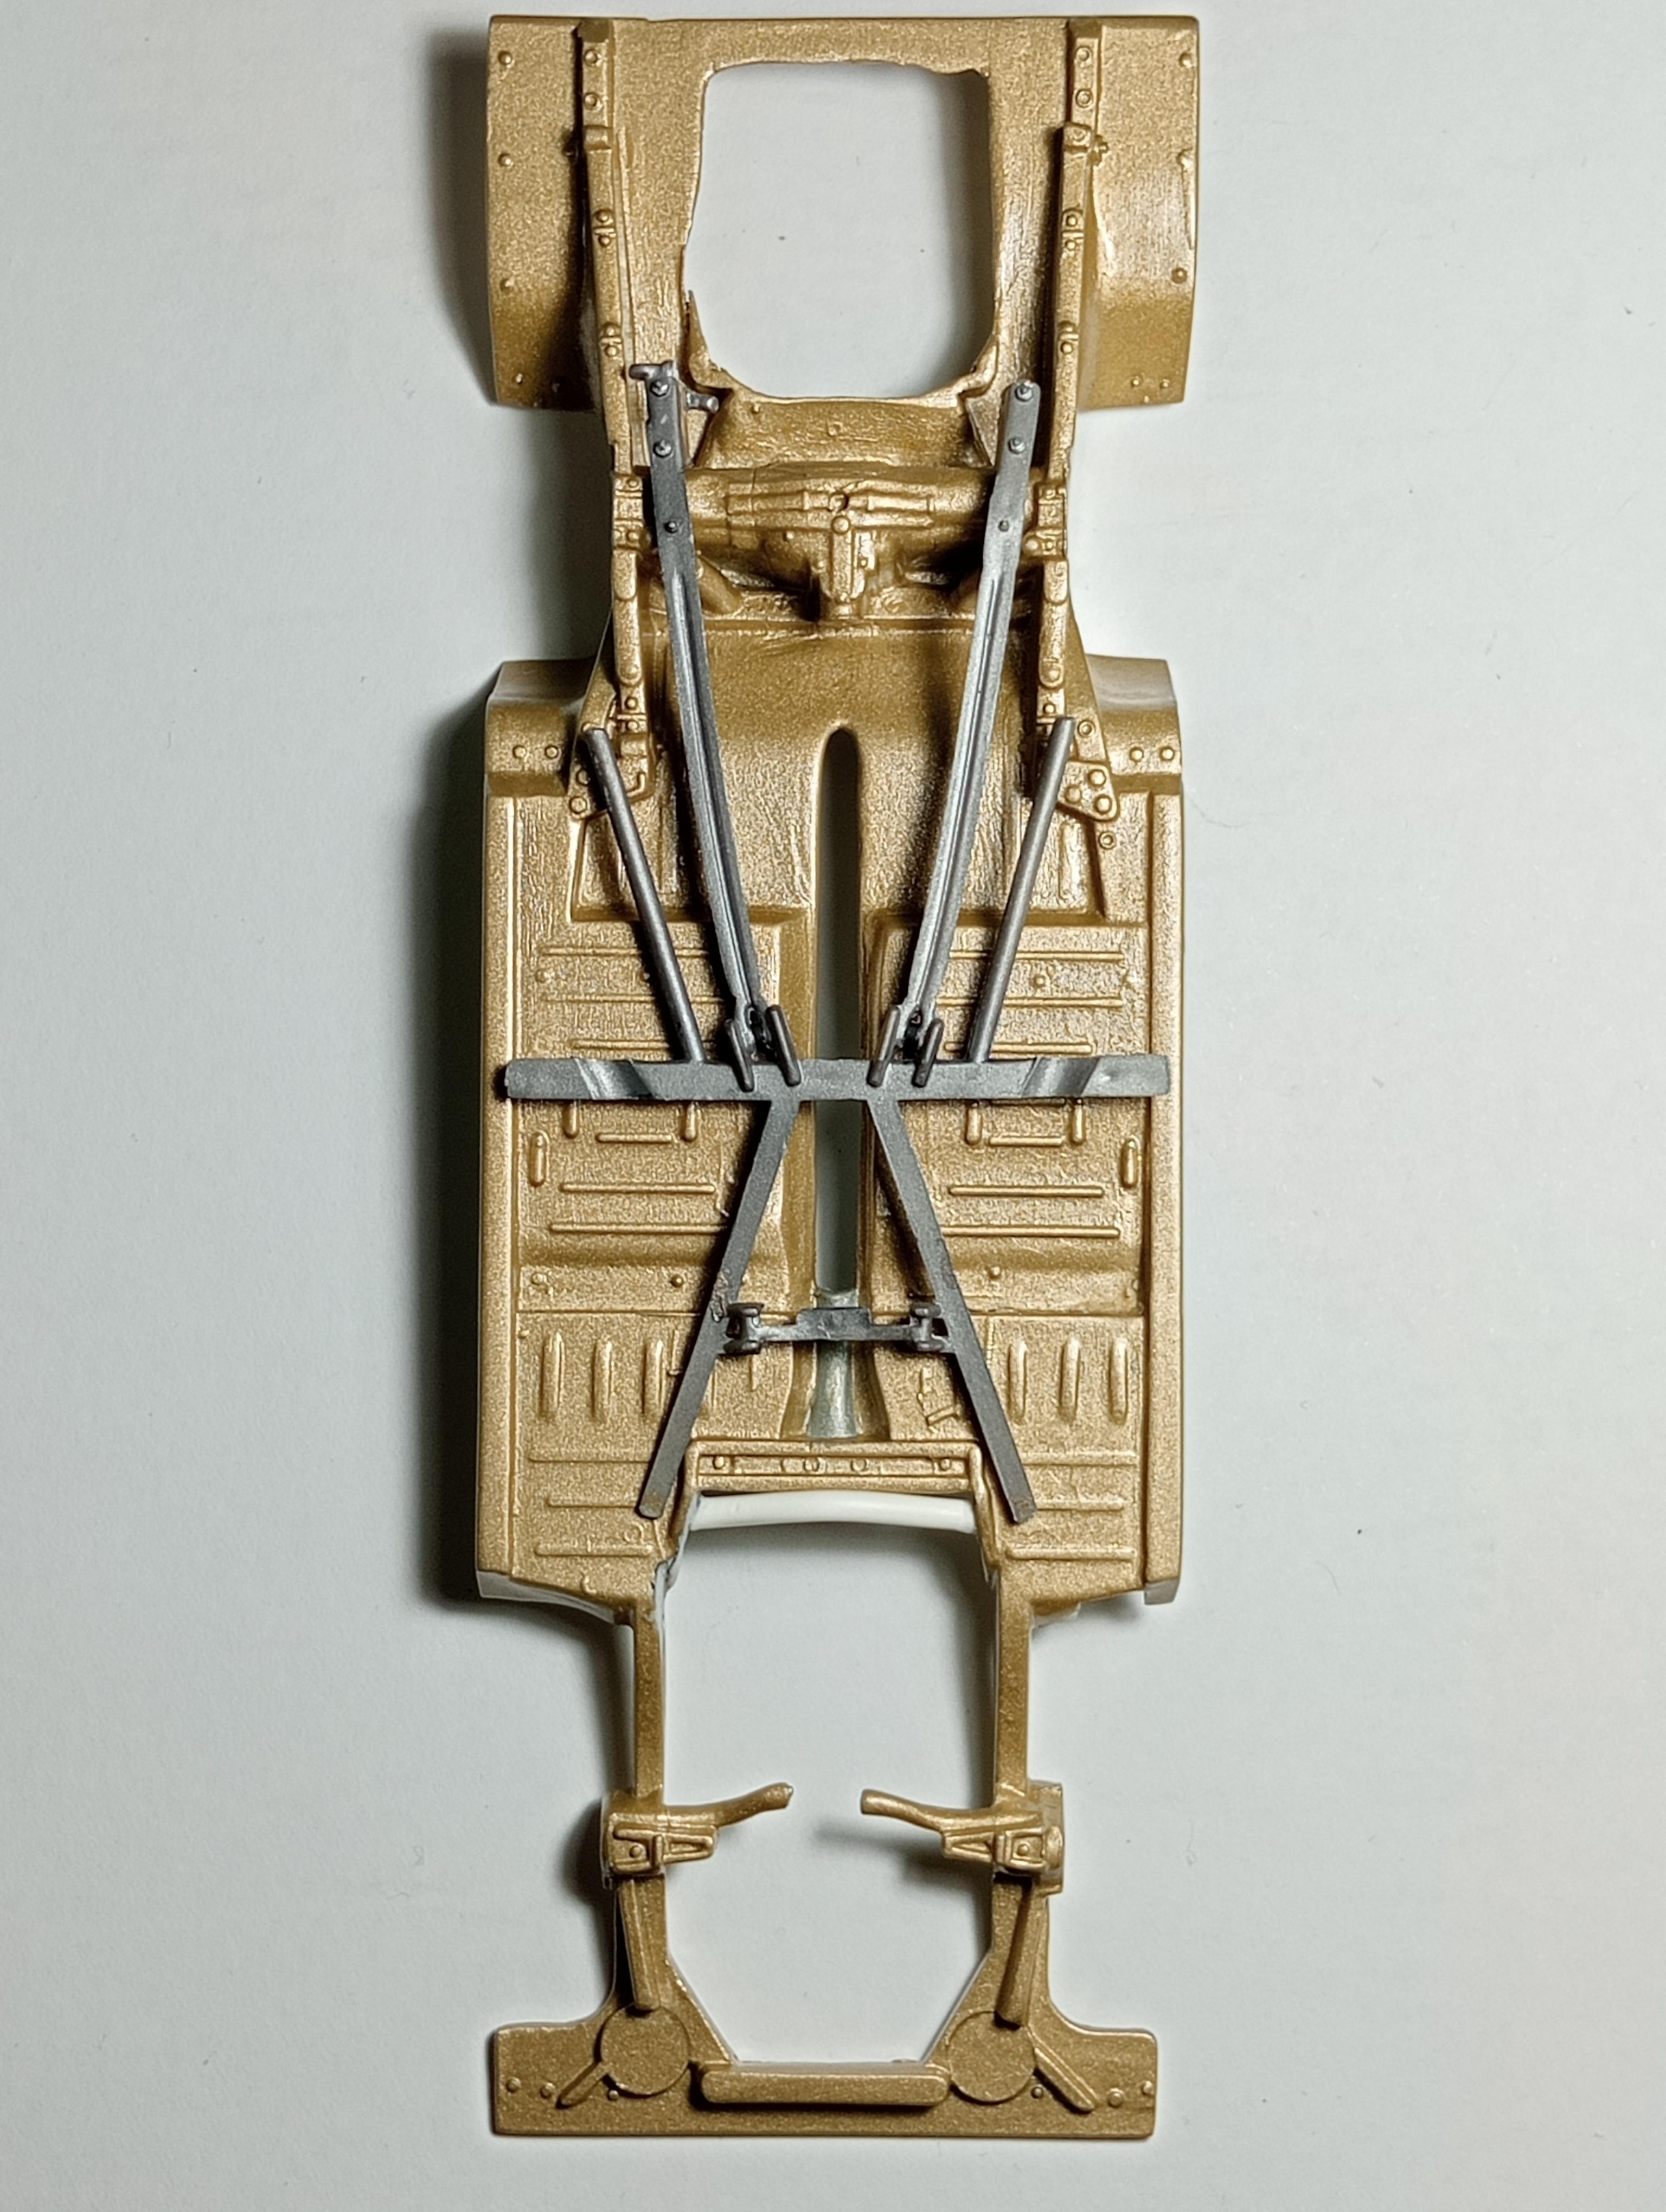
Still a bit stumped on the front end, this is what I have so far. At the moment I'm thinking maybe try and keep the moulded in lower control arms. Delete the existing tubular front cross member. Use the front cross member, stub axles and upper A arms, maybe even some of the steering gear from the donor Thunderbird. As usual any comments, advice, taunting etc all most welcome. Thankyou to everyone who's commented or offered advice so far.
-
AMT 69 Torino Cobra.
Leon Cream replied to Leon Cream's topic in WIP: Stock Cars (NASCAR, Super Stock, Late Model, etc.)
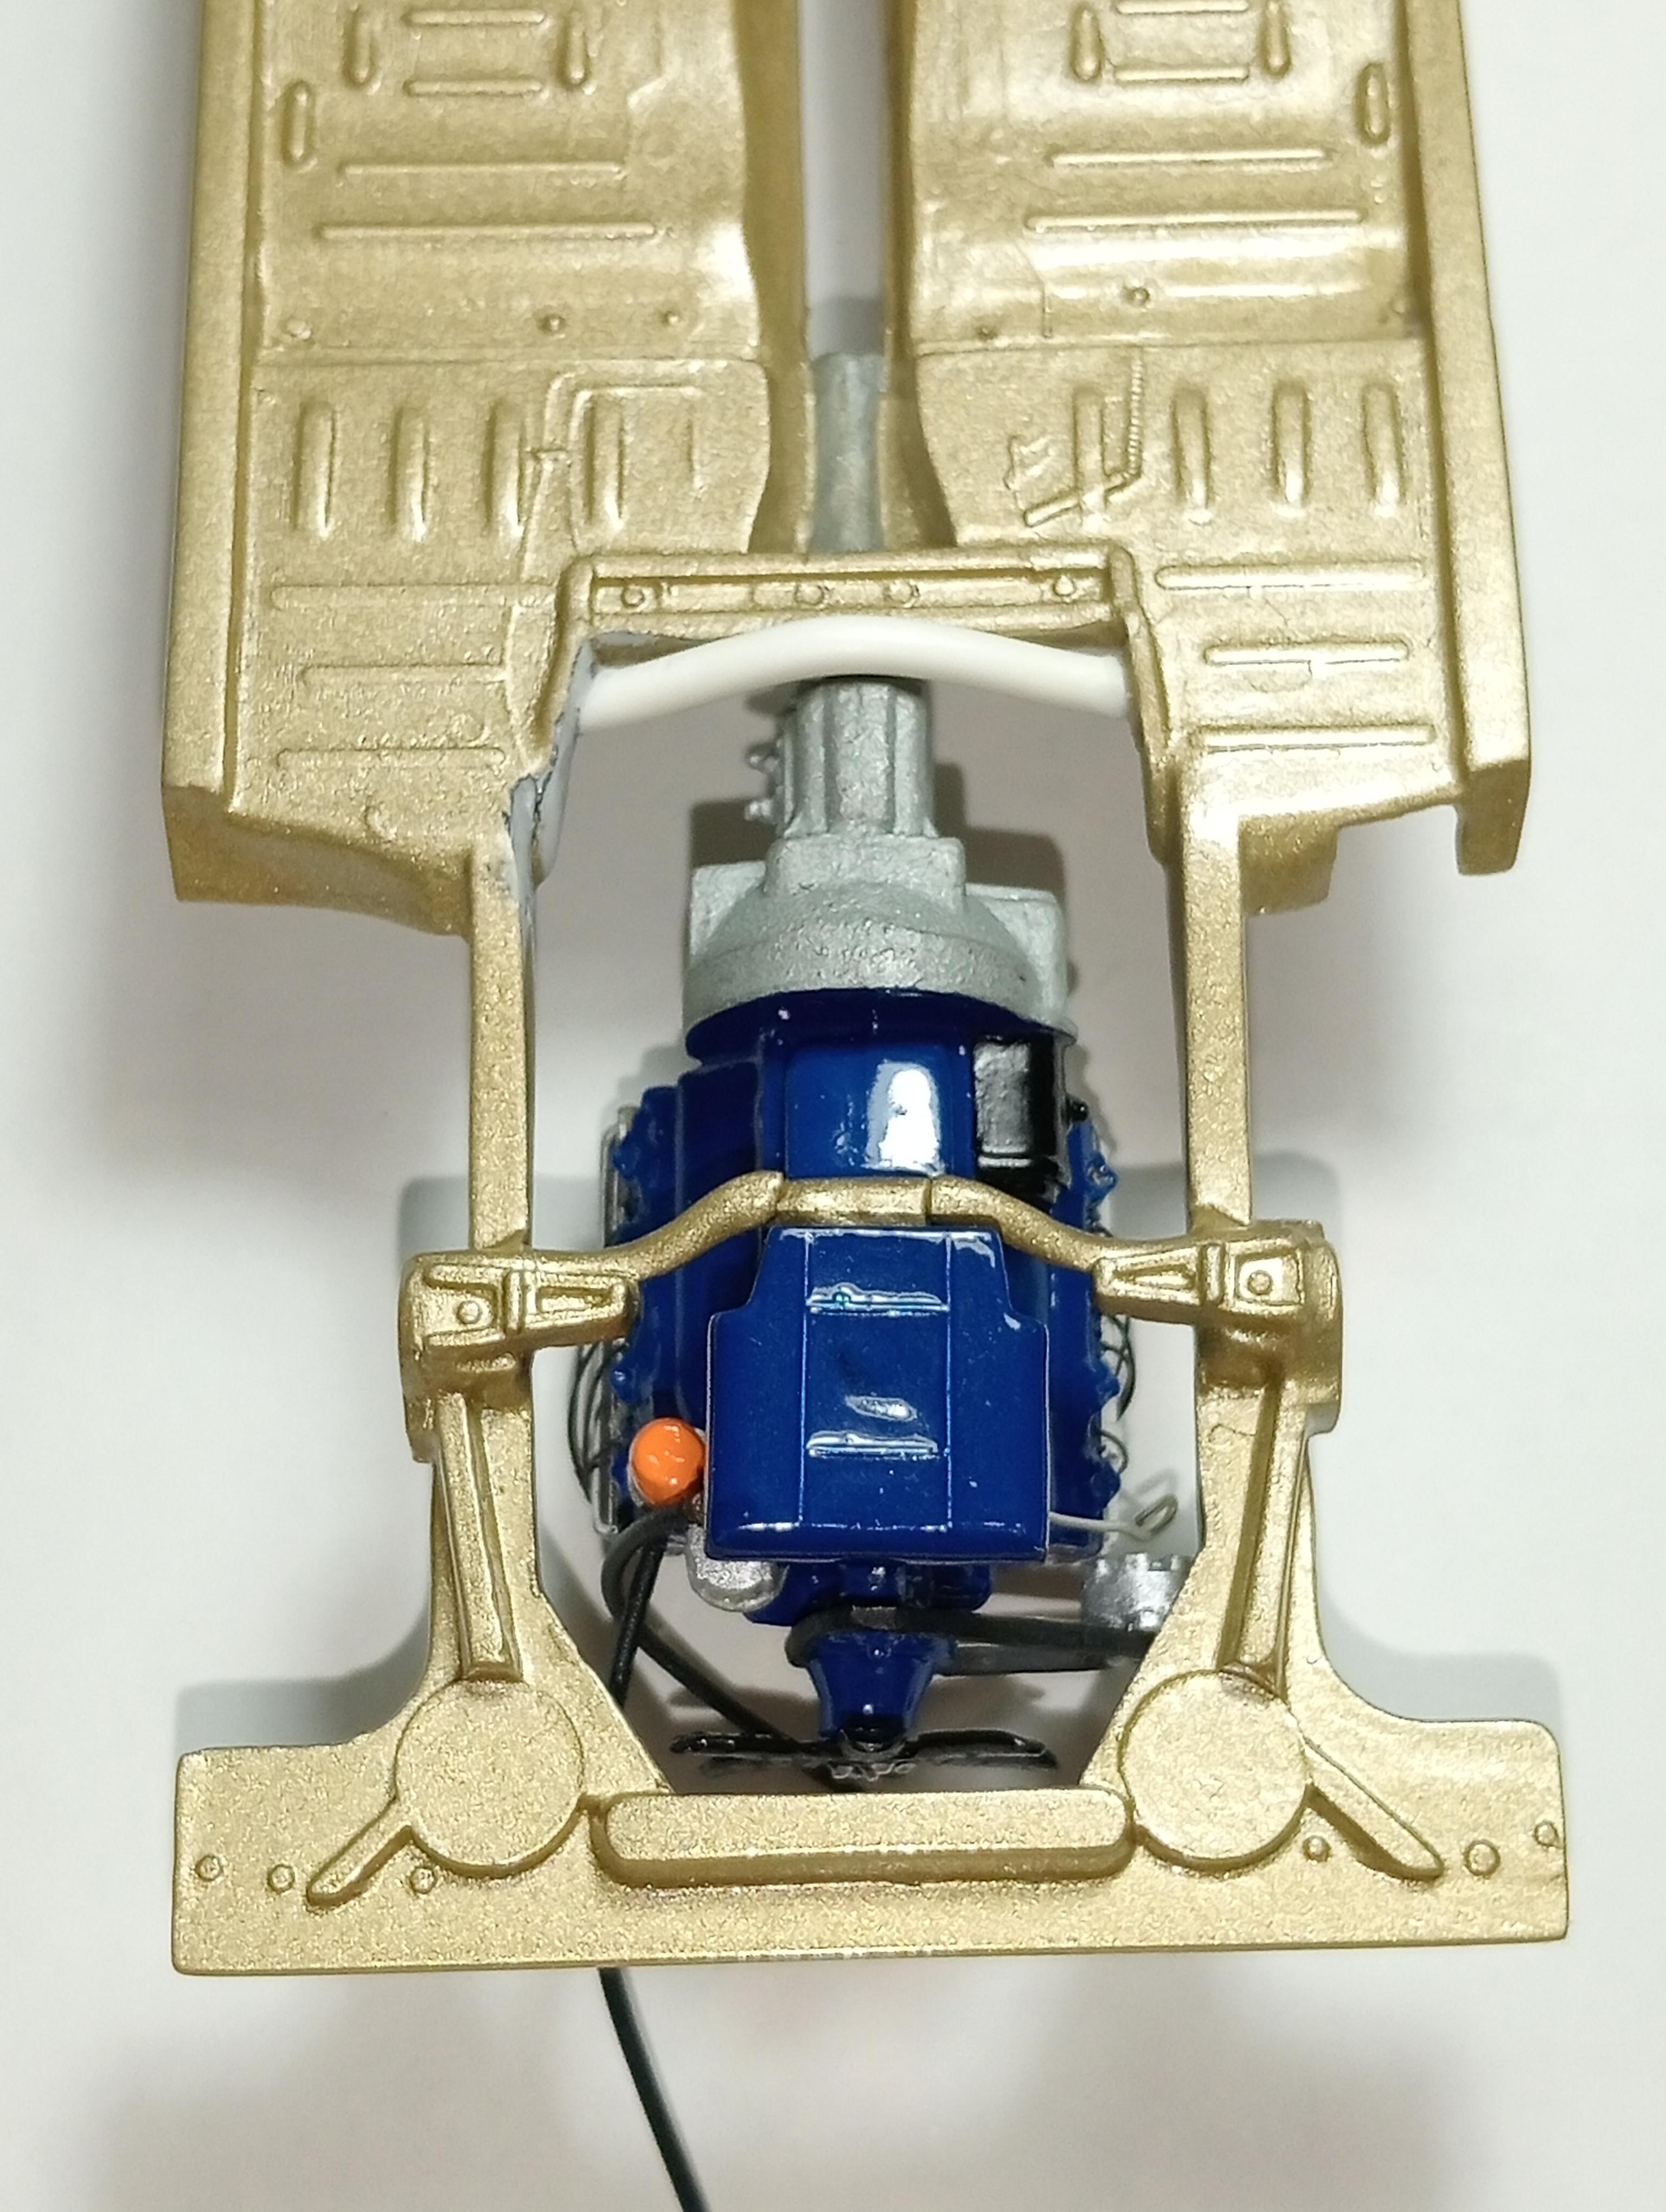
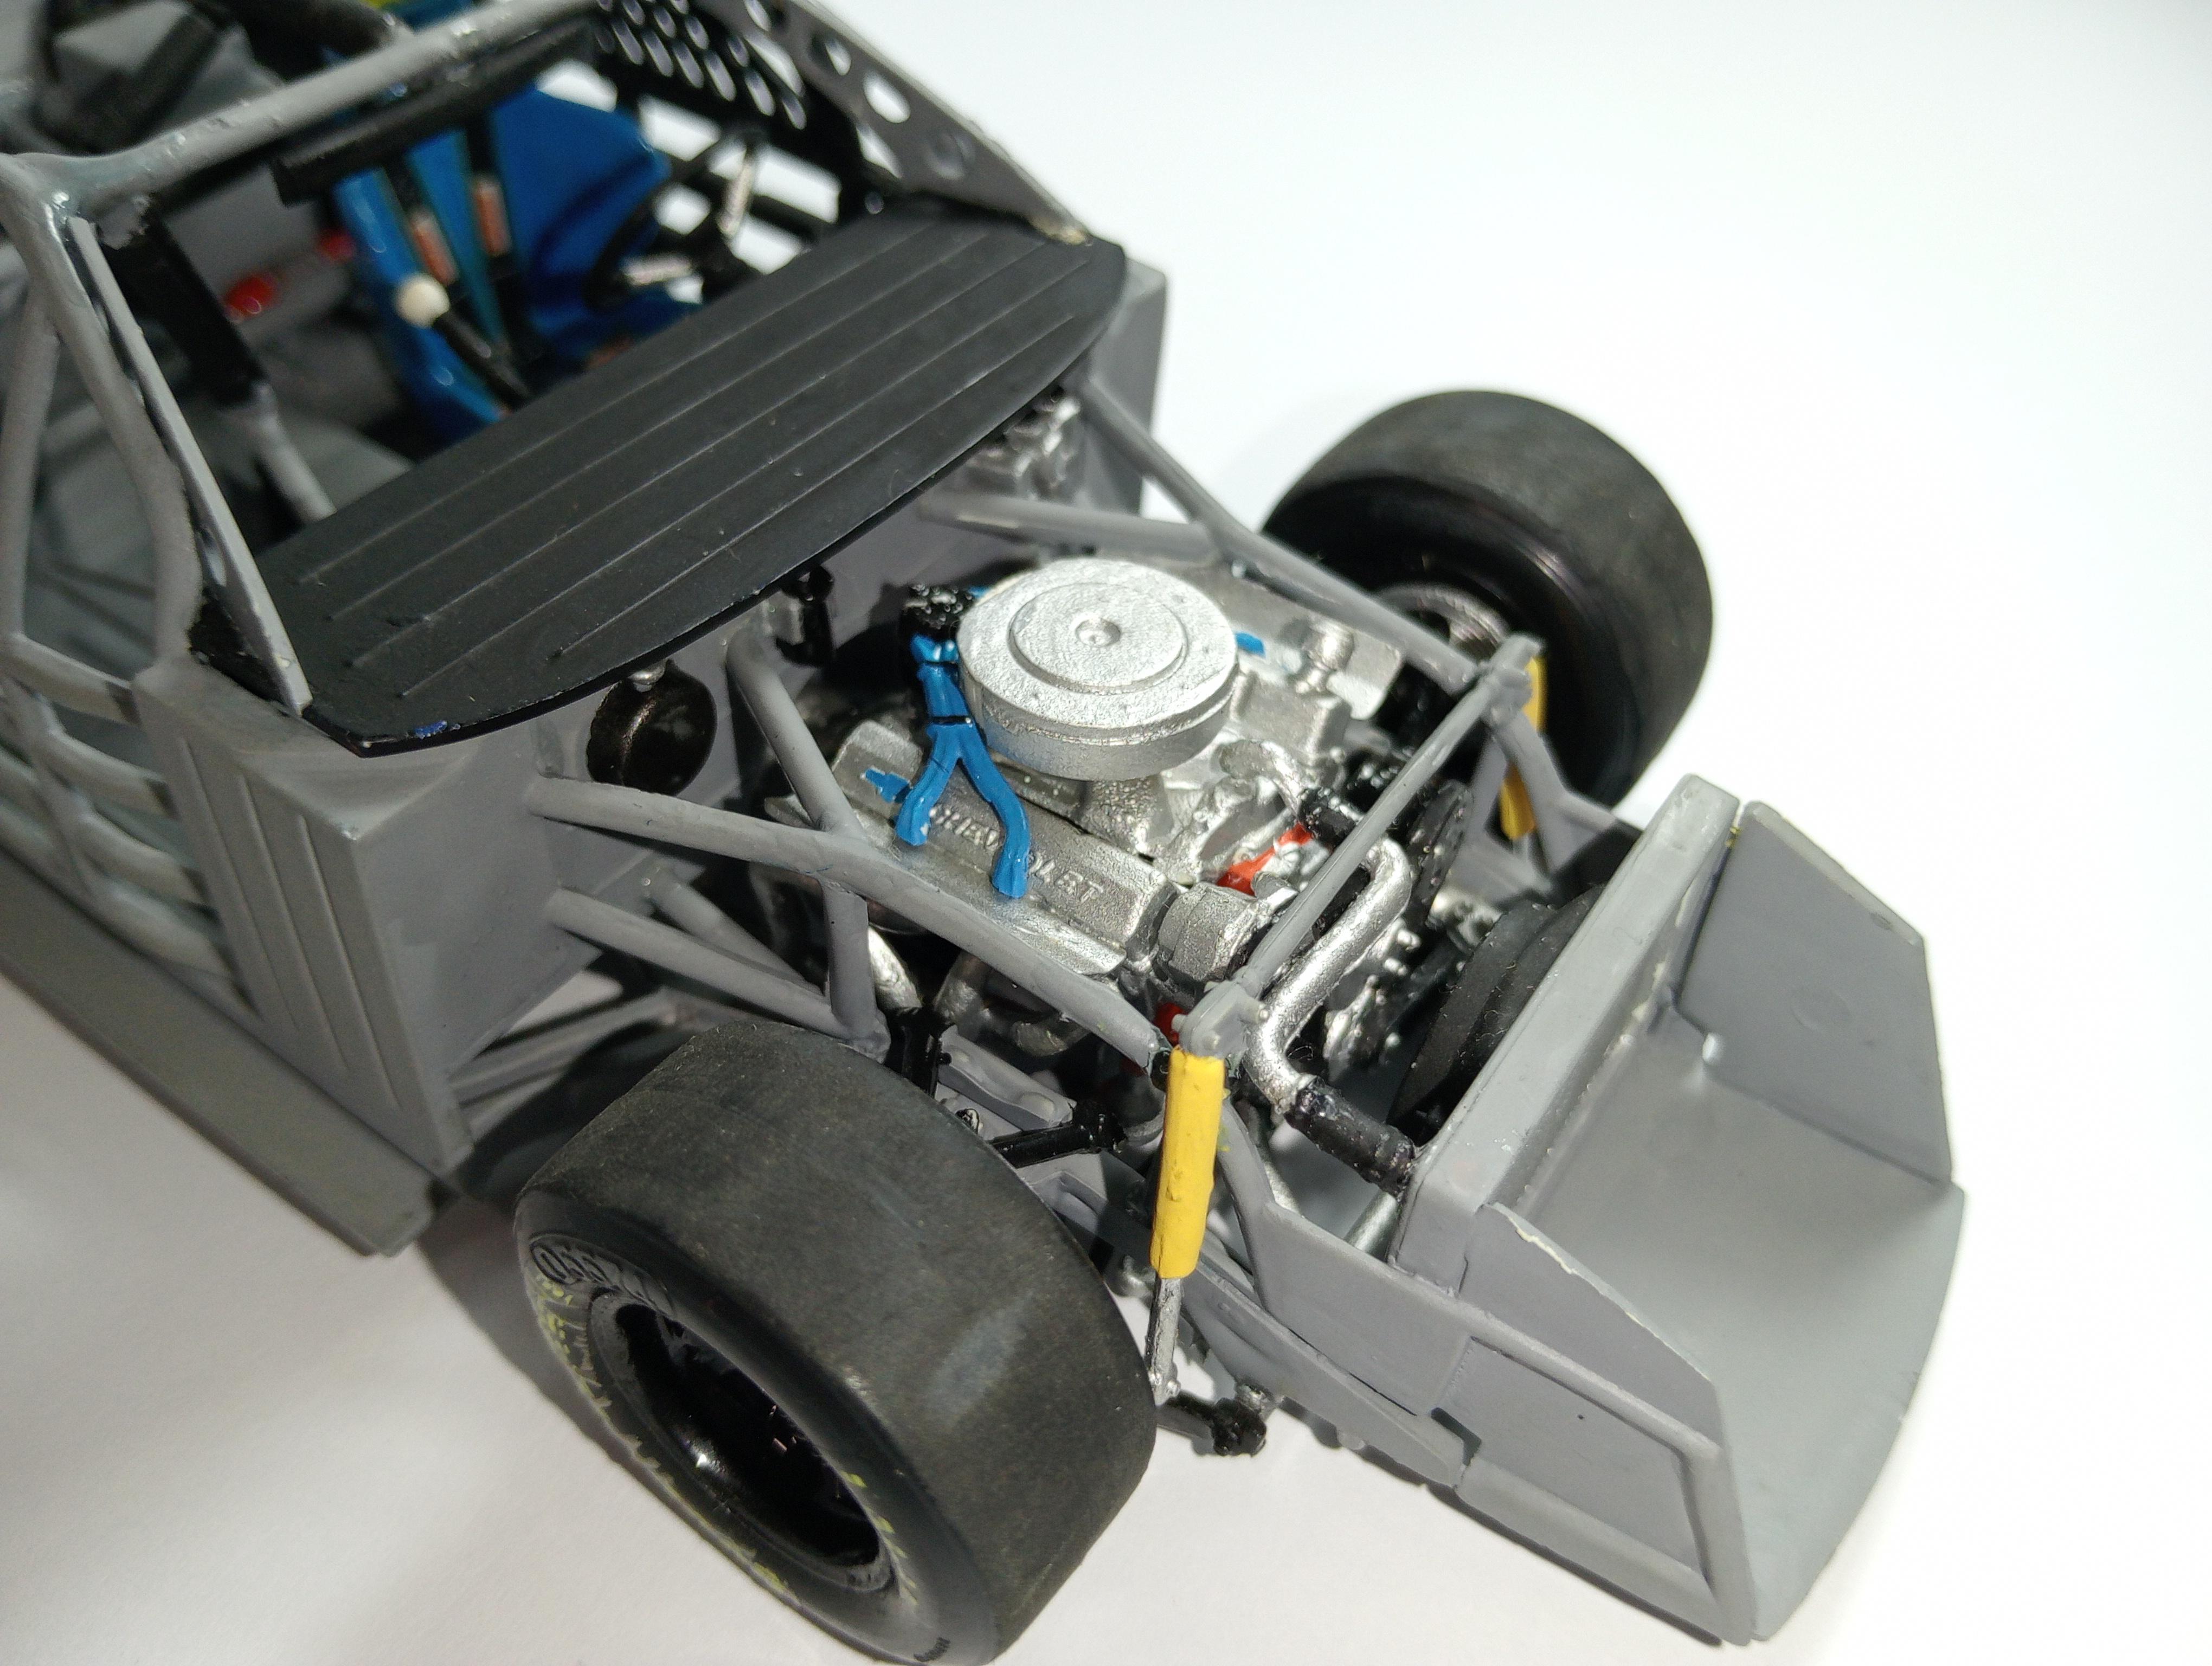
This bar is mainly to hide the gap between the gearbox and cross member, but should also roughly tie in with the bars running along the floorboards inside.
-
AMT 69 Torino Cobra.
Leon Cream replied to Leon Cream's topic in WIP: Stock Cars (NASCAR, Super Stock, Late Model, etc.)
Thanks Sledsel. After finishing the bodywork I thought the same thing, could've been a more traditional custom. It's been good practice to maybe try something more ambitious. I think we had the DuPont NASCAR kit as kids, maybe it's only surviving piece. -
Who doesn't love a mock-up? Let's see yours!
Leon Cream replied to Belairconvertable's topic in WIP: Model Cars
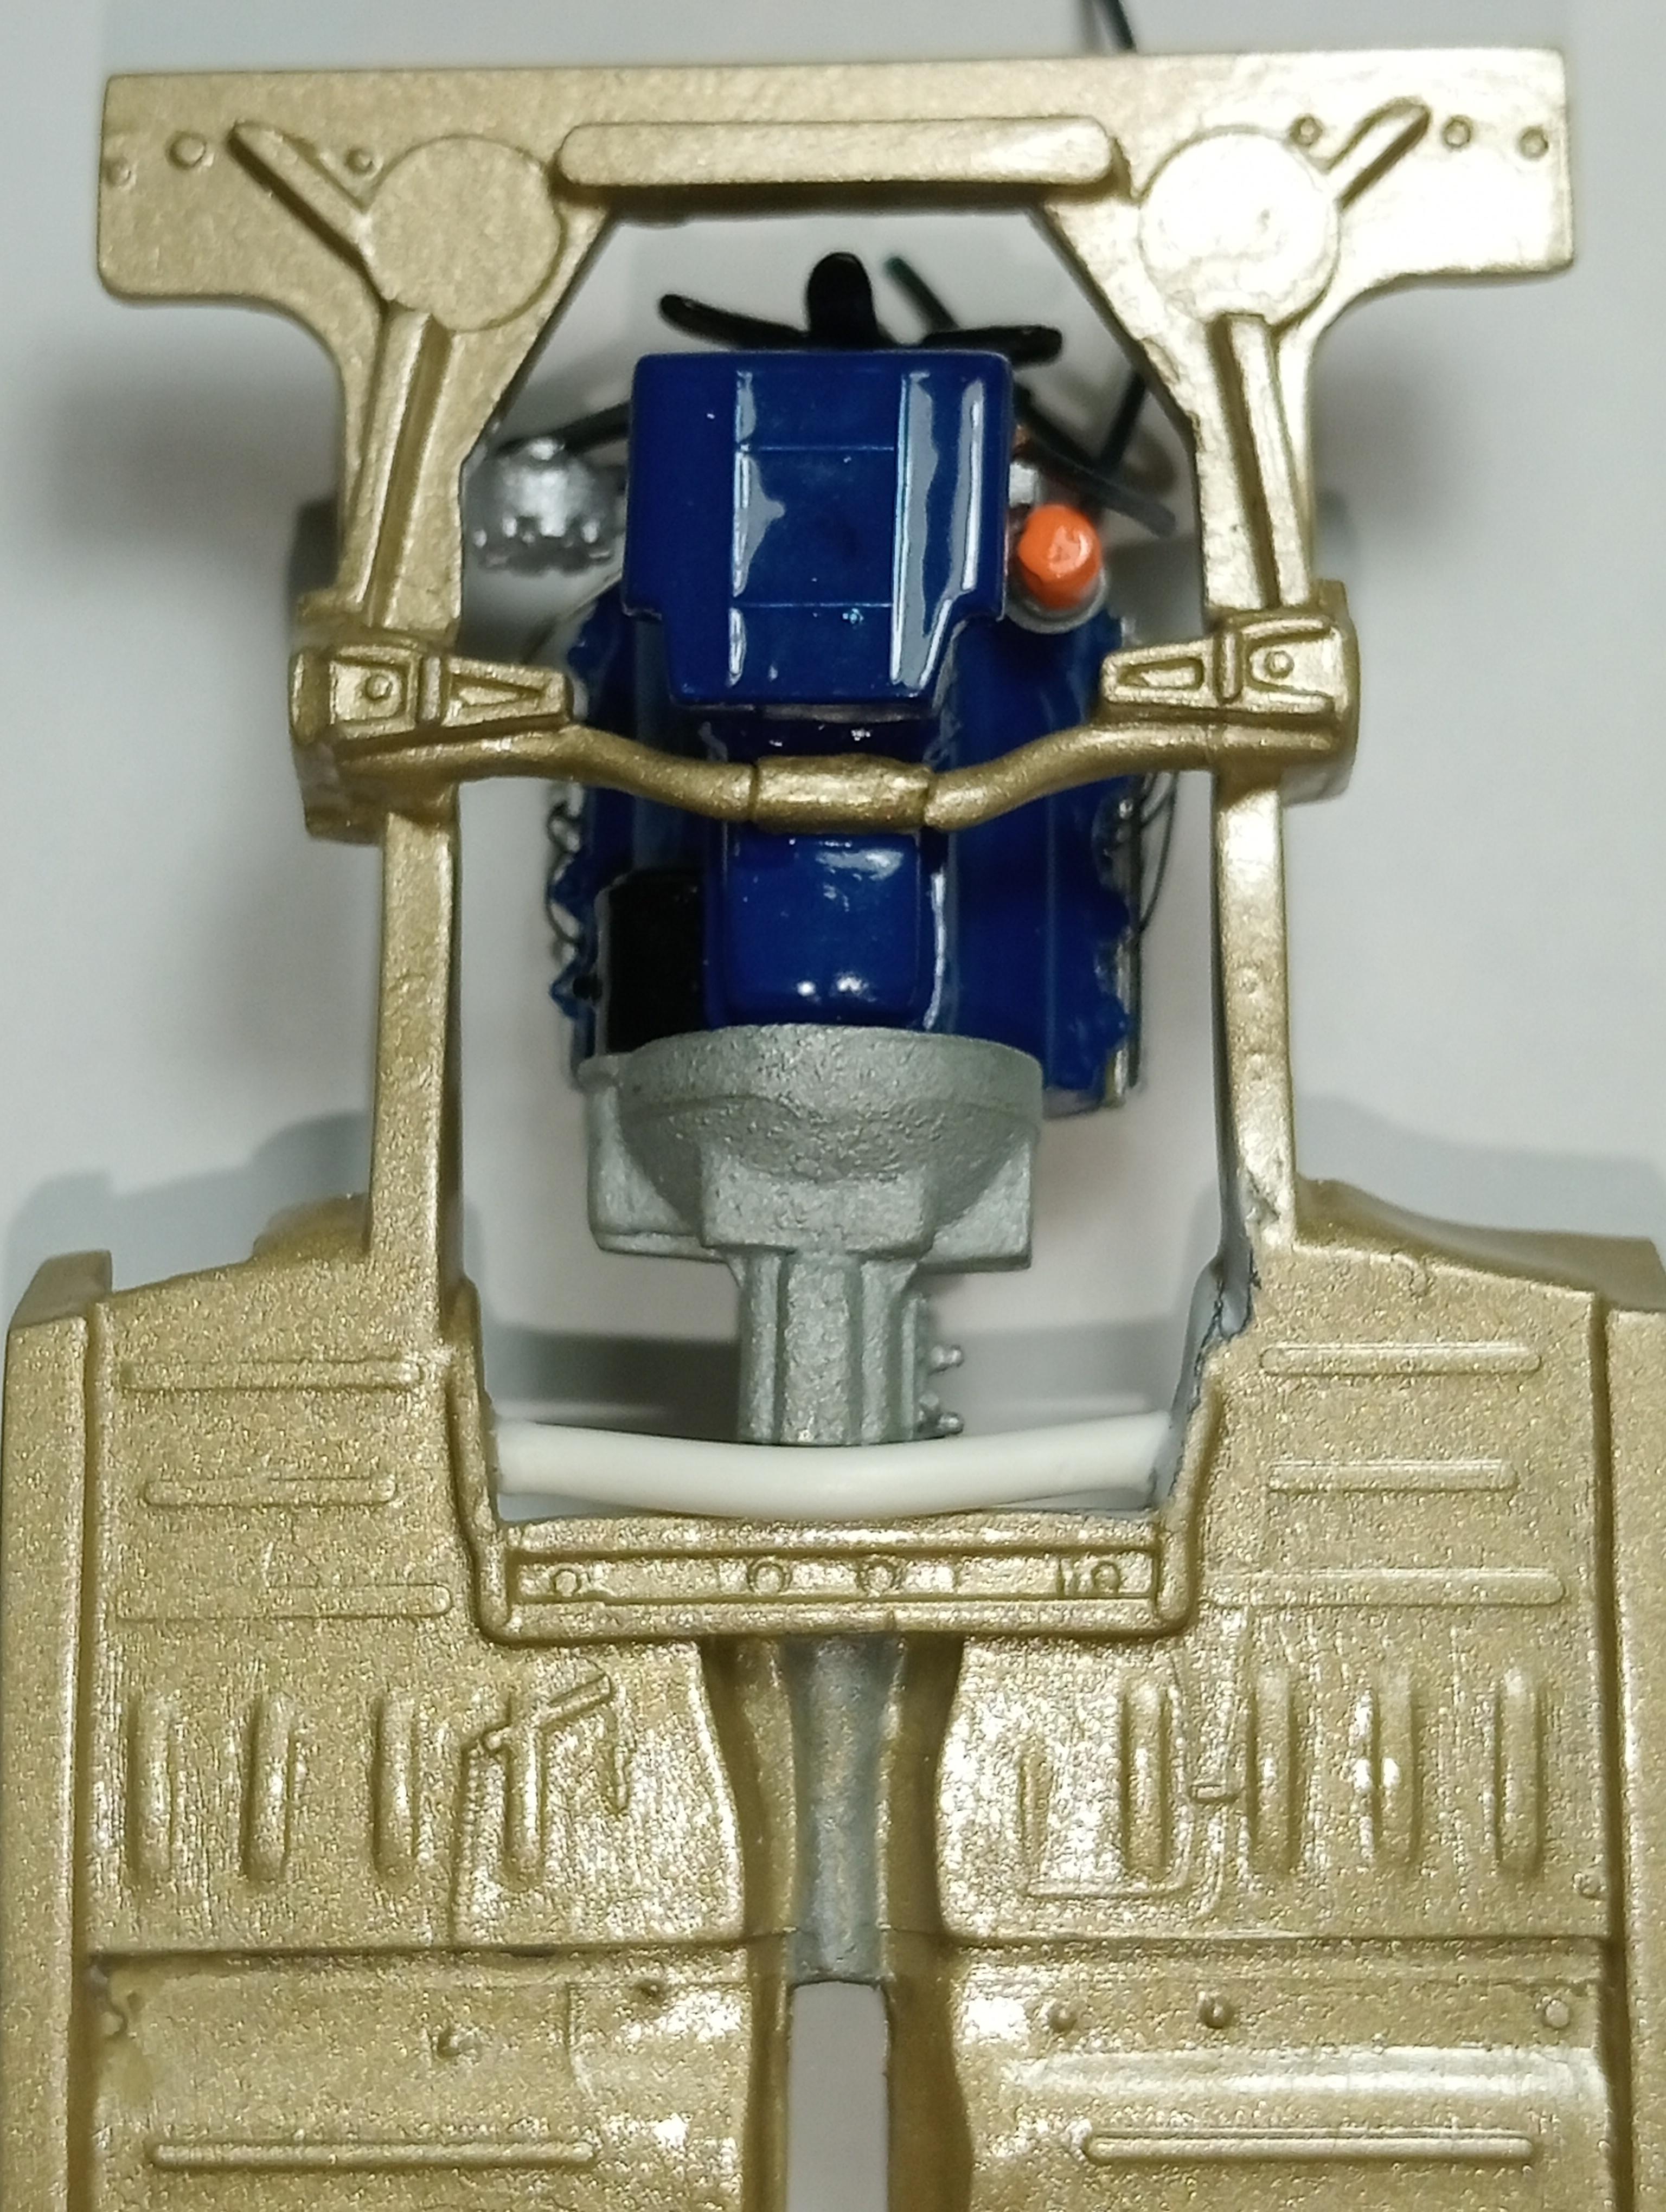
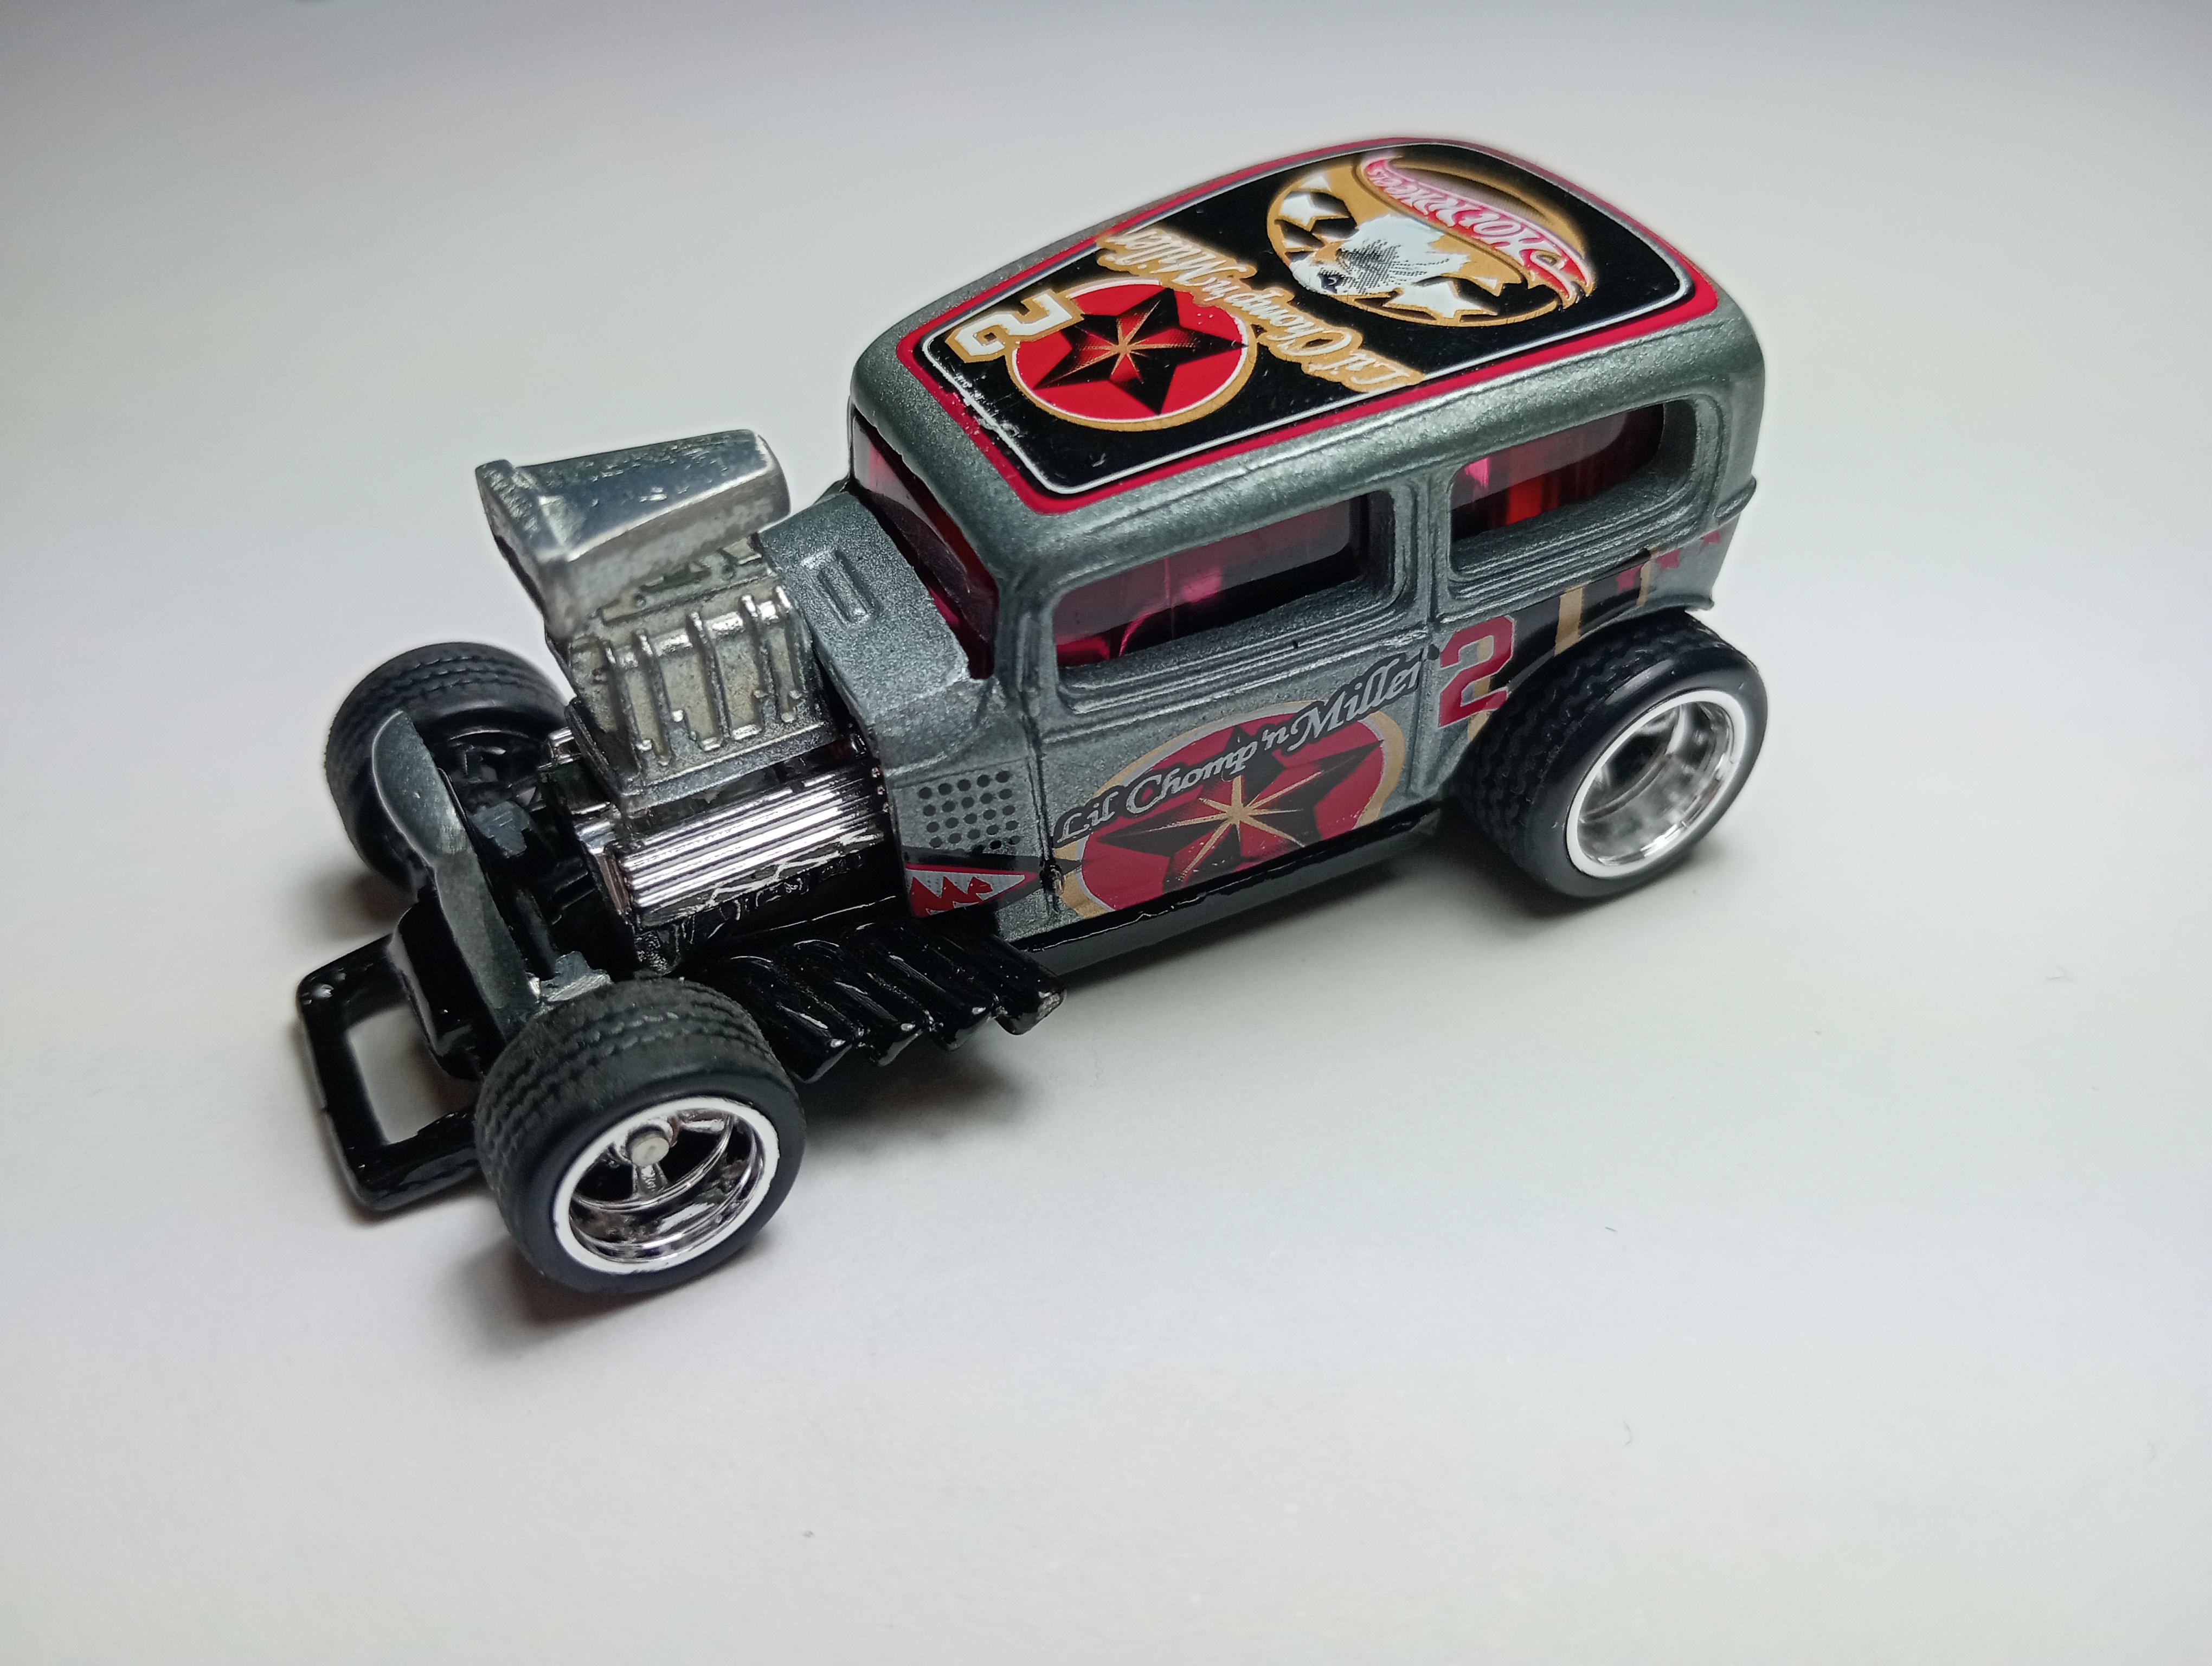
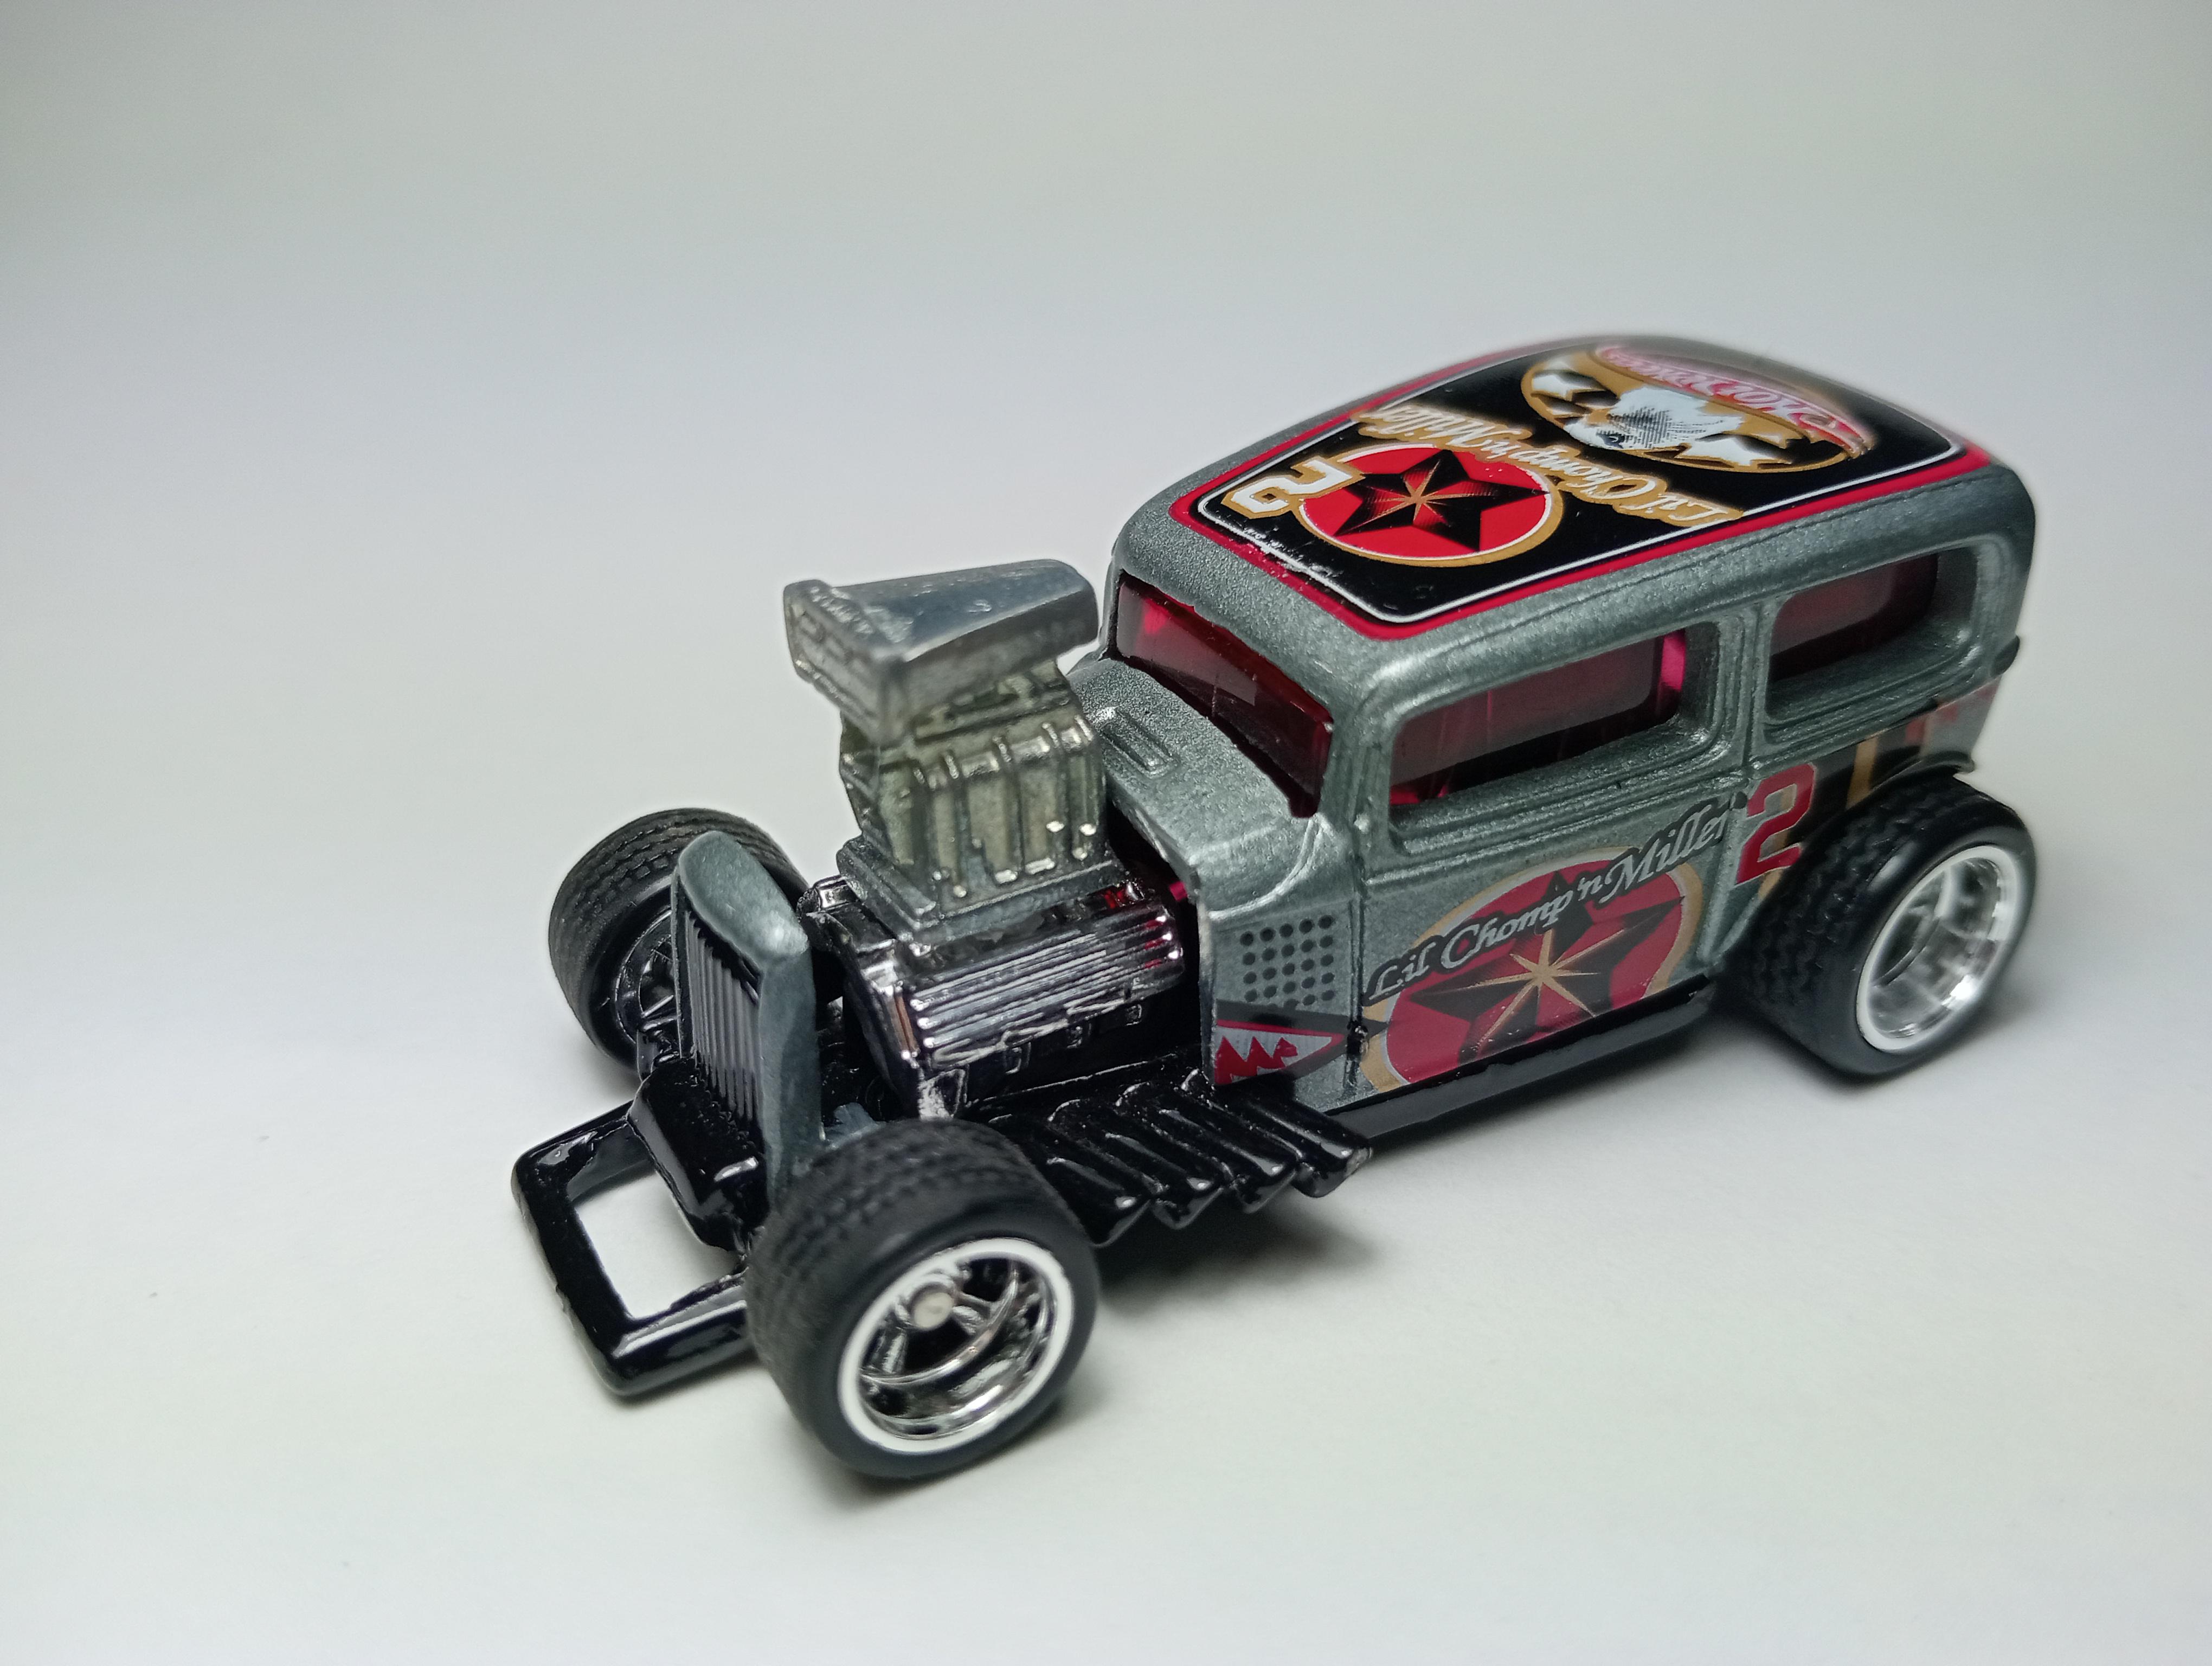
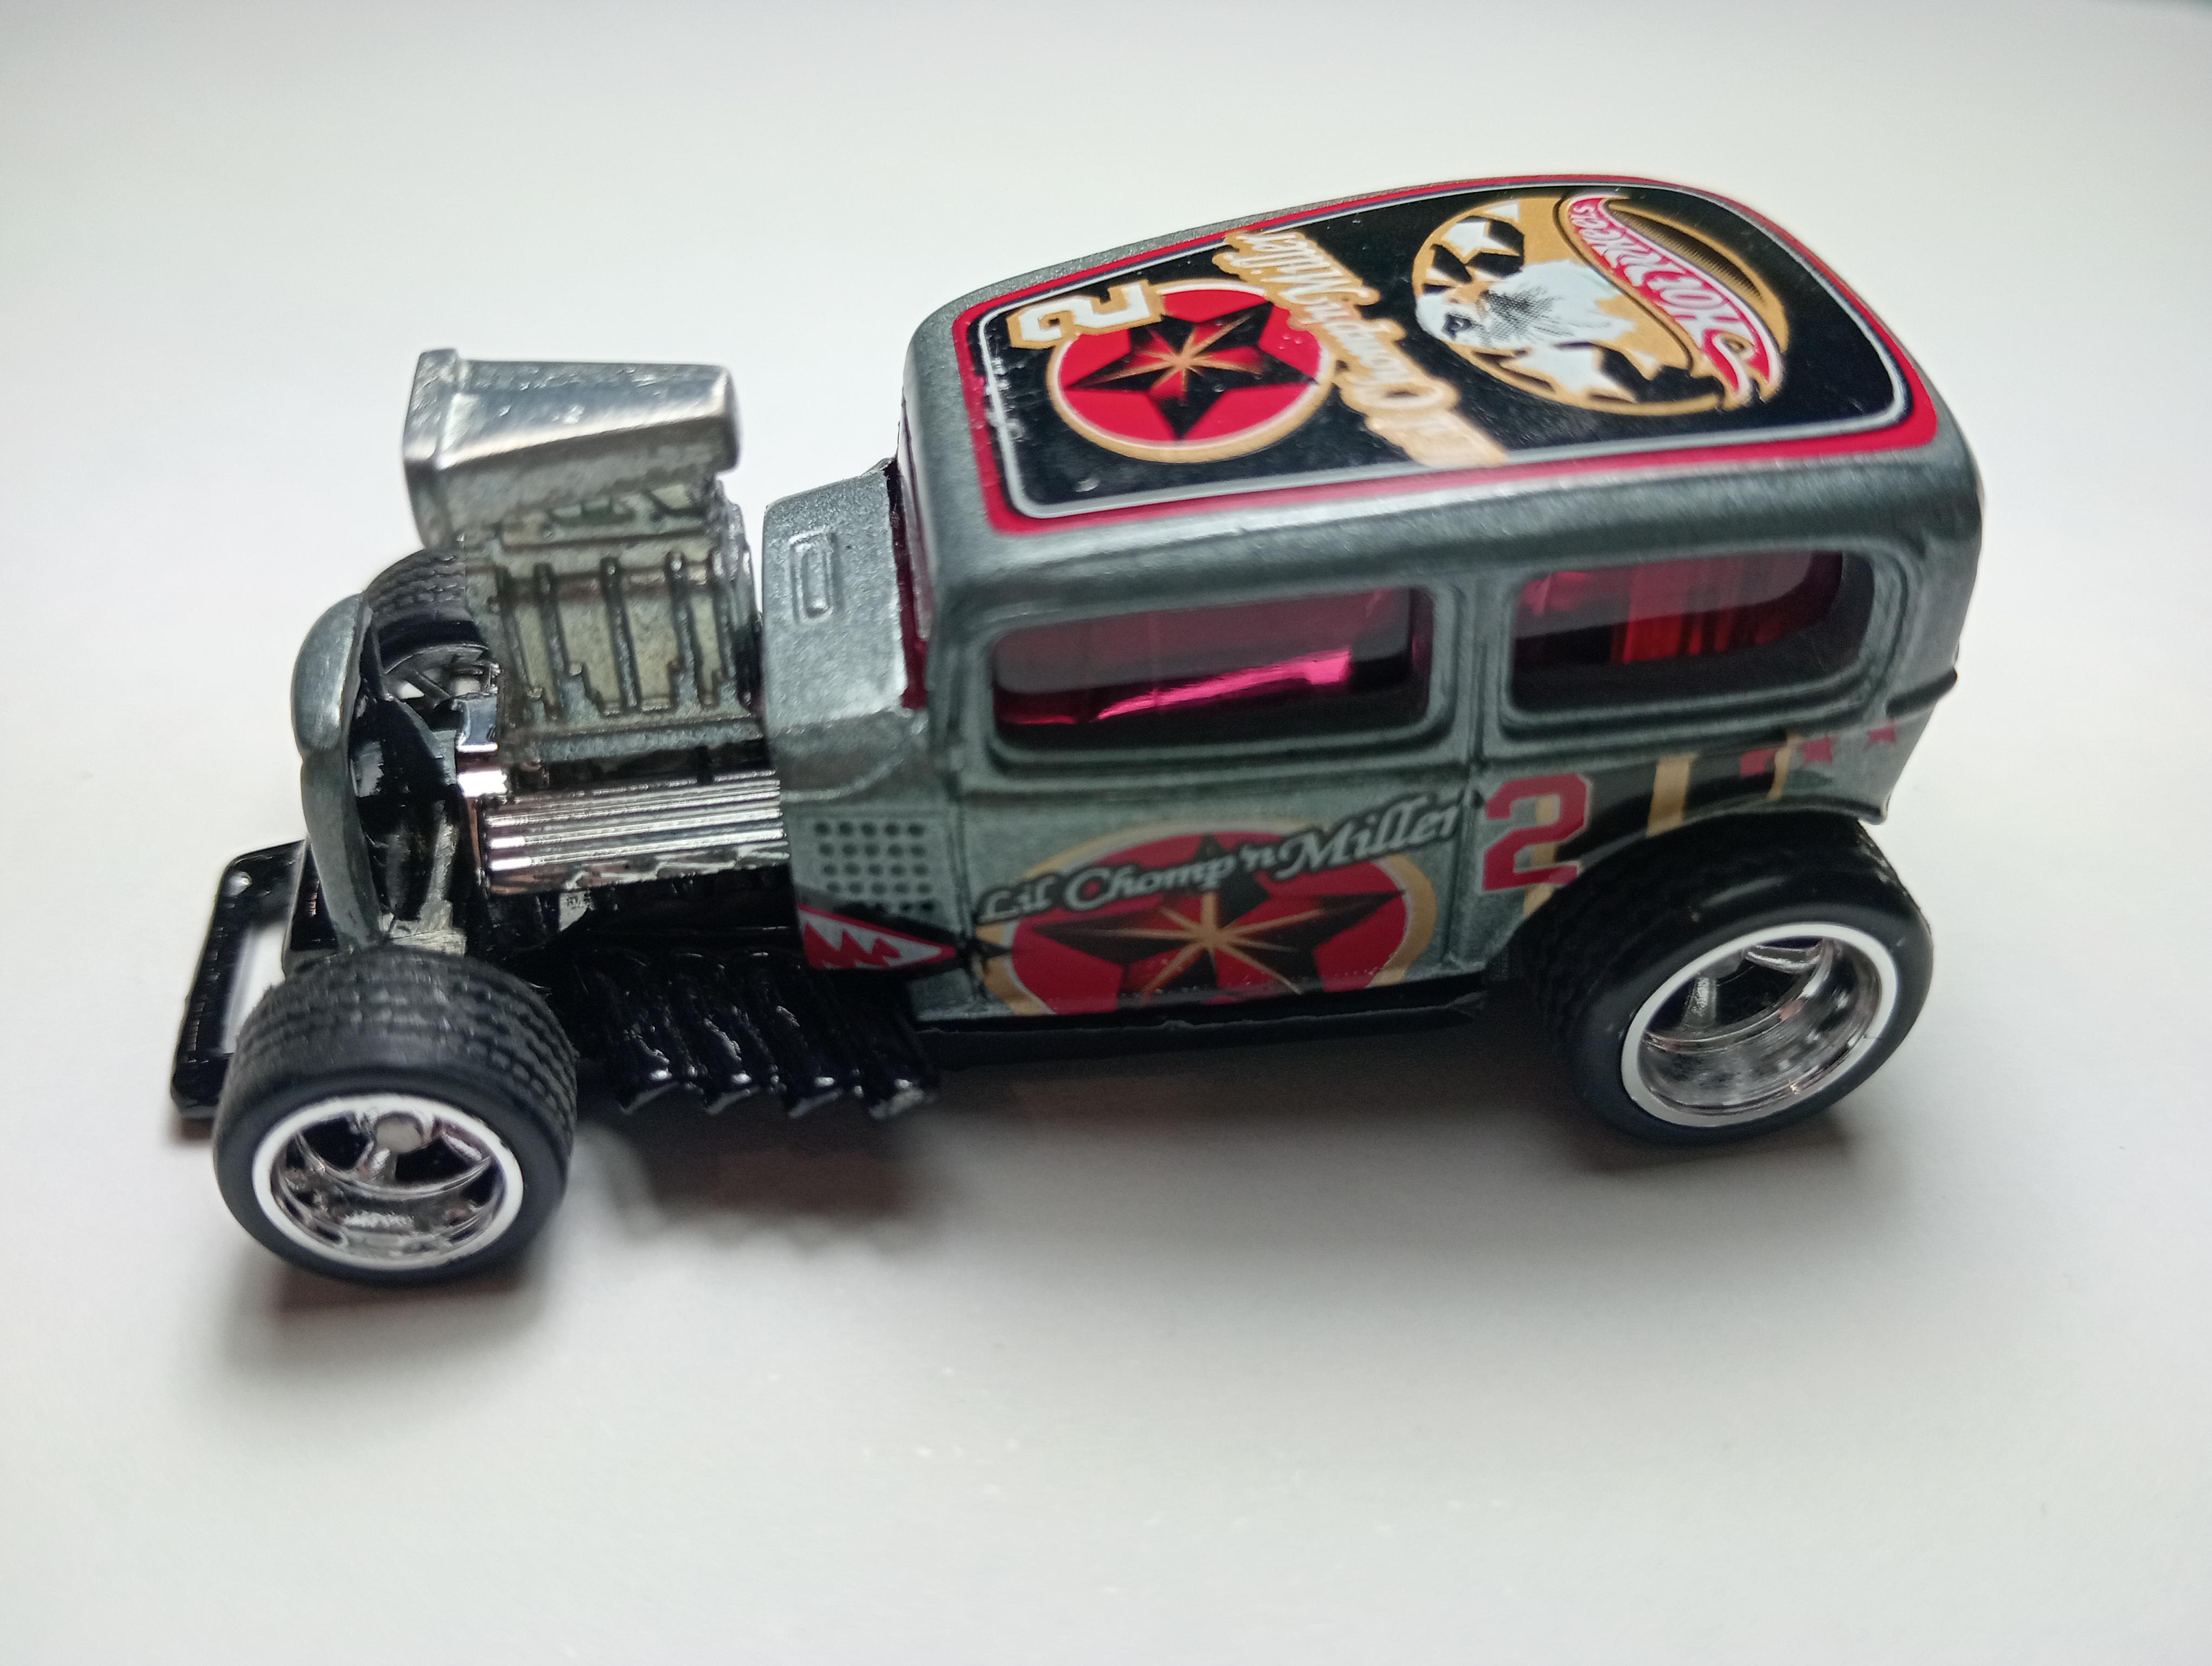
This is a "kitbash" of four different Hot Wheels diecast. Approx 1:64. Mocked up just waiting for paint and assembly, scratch build a blower drive and she'll be done.
-
AMT 69 Torino Cobra.
Leon Cream replied to Leon Cream's topic in WIP: Stock Cars (NASCAR, Super Stock, Late Model, etc.)
Currently working on the gap between the gearbox and G/B crossmember. Hopefully have some updates soon. Anybody out there who's built this kit with the racing sump, did you have problems with ground clearance? were you able to solve the gap in the gearbox assembly? Thanks to everyone who's commented and offered advice. -
Most hot wheels and Matchbox cars can be dismantled without any damage by simply drilling out the rivets on the chassis. The tipper body looks like it could be removed with a very small punch/bit of wire to drive out the pin in the hinge. Maybe practise on something with no sentimental value first. Better more detailed wheels can be found on the premium line of hot wheels etc. Good luck. Hope that helps mate.
-
AMT 69 Torino Cobra.
Leon Cream replied to Leon Cream's topic in WIP: Stock Cars (NASCAR, Super Stock, Late Model, etc.)
Thanks mate, im really enjoying this build. Hopefully have some updates soon! -
AMT 69 Torino Cobra.
Leon Cream replied to Leon Cream's topic in WIP: Stock Cars (NASCAR, Super Stock, Late Model, etc.)
Thanks mate. I'm actually learning a lot and getting more confident in cutting things up and making them into whats pictured in my mind. Glad I saved her. At this stage I think I'll leave her plain, I have already applied a coat of wax and I don't think I'll have any chance of decals sticking. Thankyou for the kind offer though mate, very much appreciated 👍 -
AMT 69 Torino Cobra.
Leon Cream replied to Leon Cream's topic in WIP: Stock Cars (NASCAR, Super Stock, Late Model, etc.)
Got the top half of the firewall fitting satisfactorily for my standards. Need to do a bit of work to the top of the transmission tunnel to allow the gearbox to fit. Not sure if I'll cut the tunnel away from the firewall, cut it flush or plate it in. It looks like the sump will be scraping the ground at this point so that Will need to be addressed next. Thanks for looking 👍
-
AMT 69 Torino Cobra.
Leon Cream replied to Leon Cream's topic in WIP: Stock Cars (NASCAR, Super Stock, Late Model, etc.)
I think its an enamel, good point about the stripper soaking into the filler. I'll probably just live with it. Thanks mate👍 -
AMT 69 Torino Cobra.
Leon Cream replied to Leon Cream's topic in WIP: Stock Cars (NASCAR, Super Stock, Late Model, etc.)
Thanks slusher. Finally got the chassis sitting where I can live with it. Does anybody know of a paint stripper that won't harm Tamiya putty? Thanks for looking 👍
-
64 Ford Galaxie
Leon Cream replied to MININORTHFORDMAN's topic in Stock Cars (NASCAR, Super Stock, Late Model, etc.)
That would never pass inspection here in Australia, you guys are so lucky, that's awesome mate. Well done 👍 -
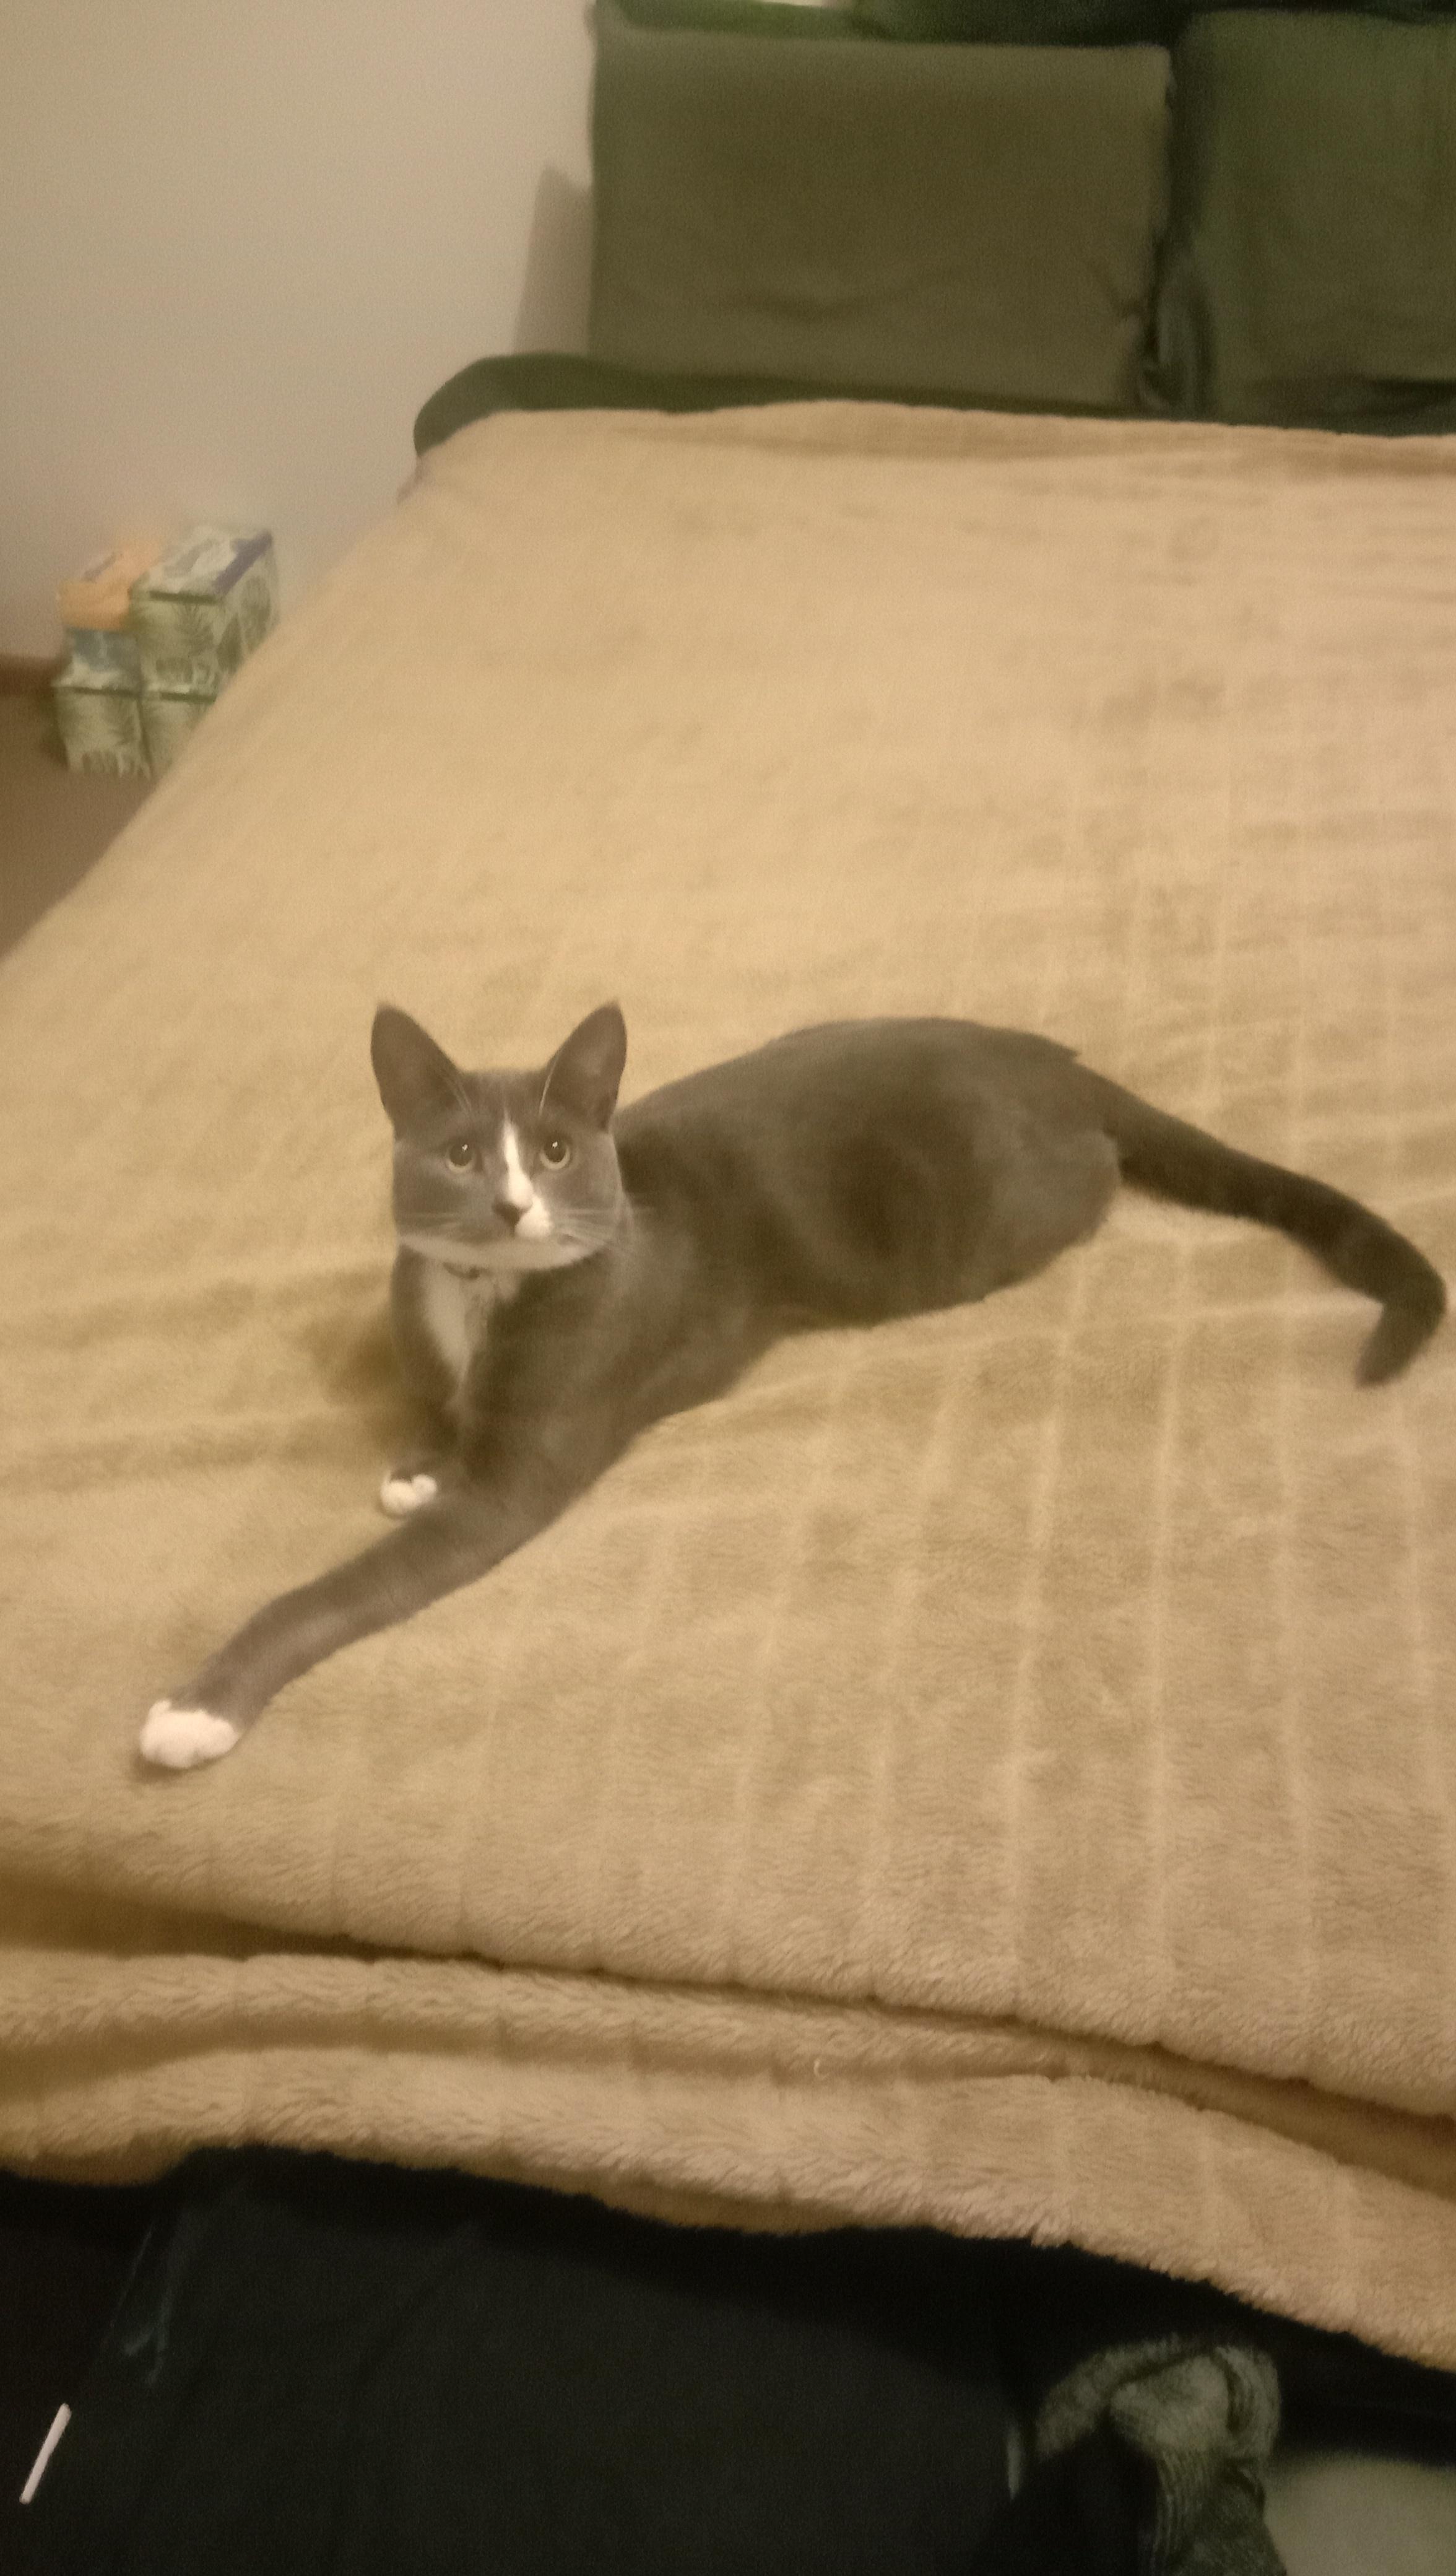
Here he's my boy doing his serious face. At least once a day he does something that makes me laugh out loud. He's an idiot but he's my mate.
-
AMT 69 Torino Cobra.
Leon Cream replied to Leon Cream's topic in WIP: Stock Cars (NASCAR, Super Stock, Late Model, etc.)
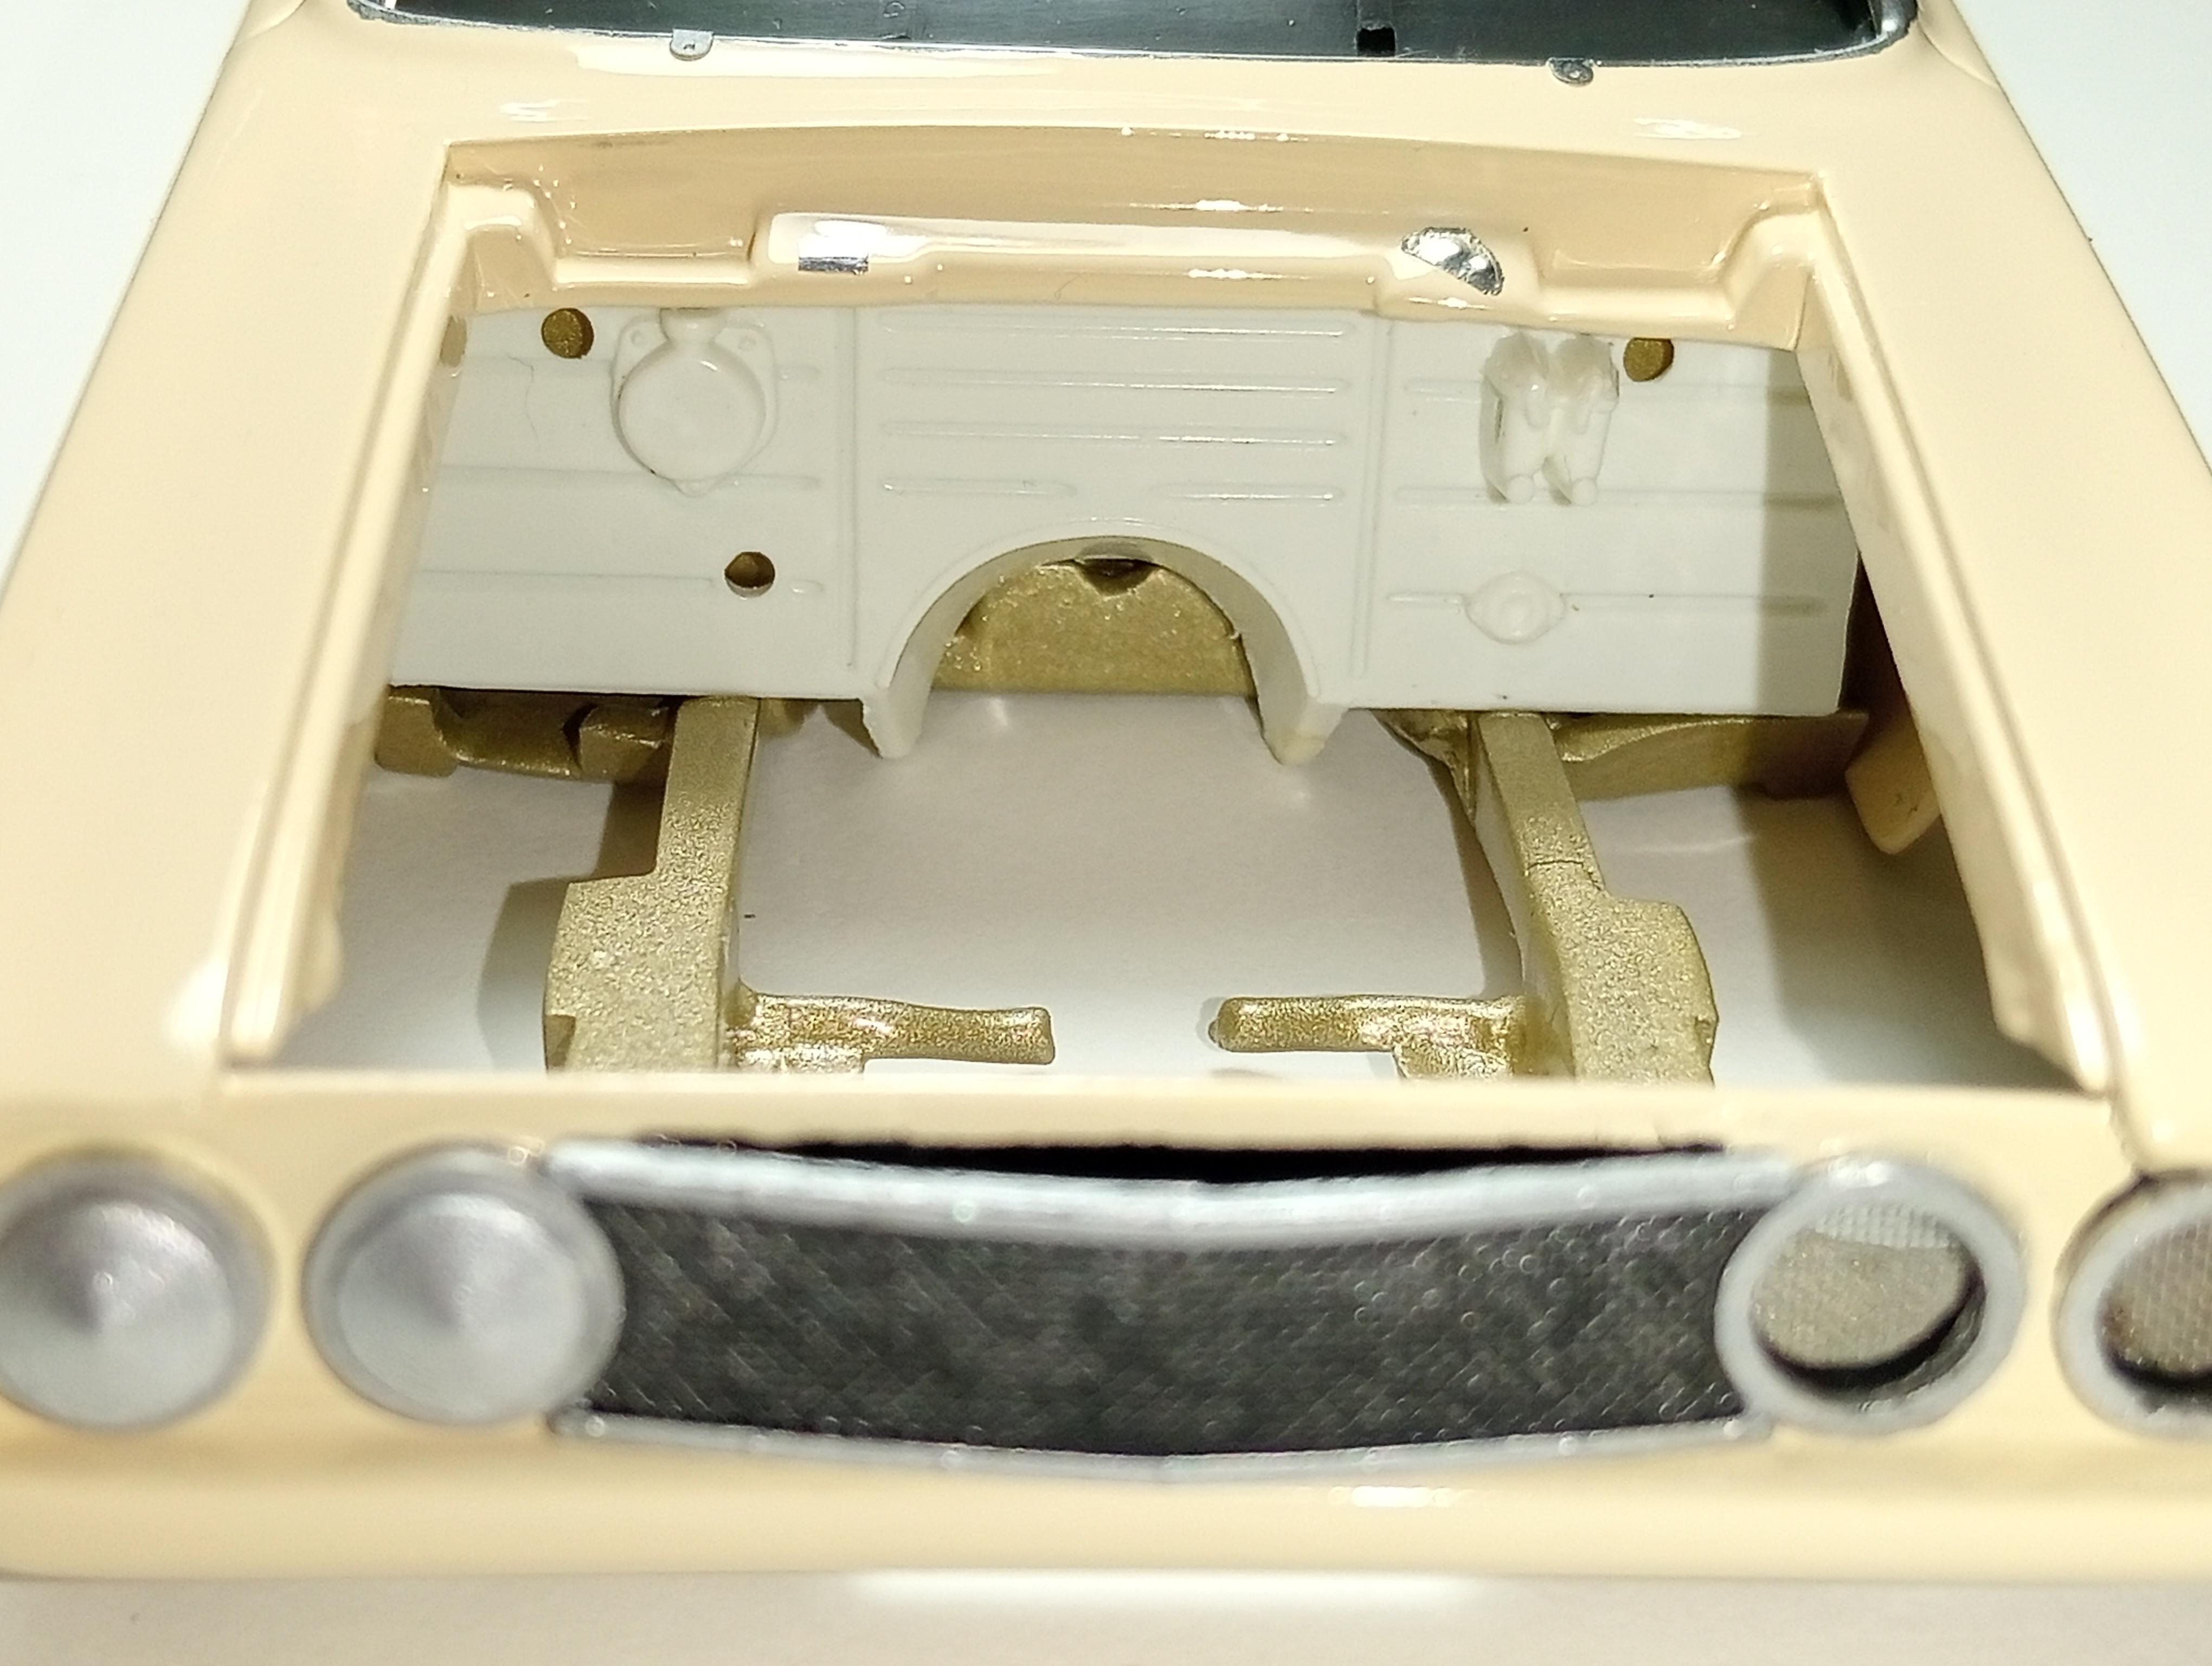
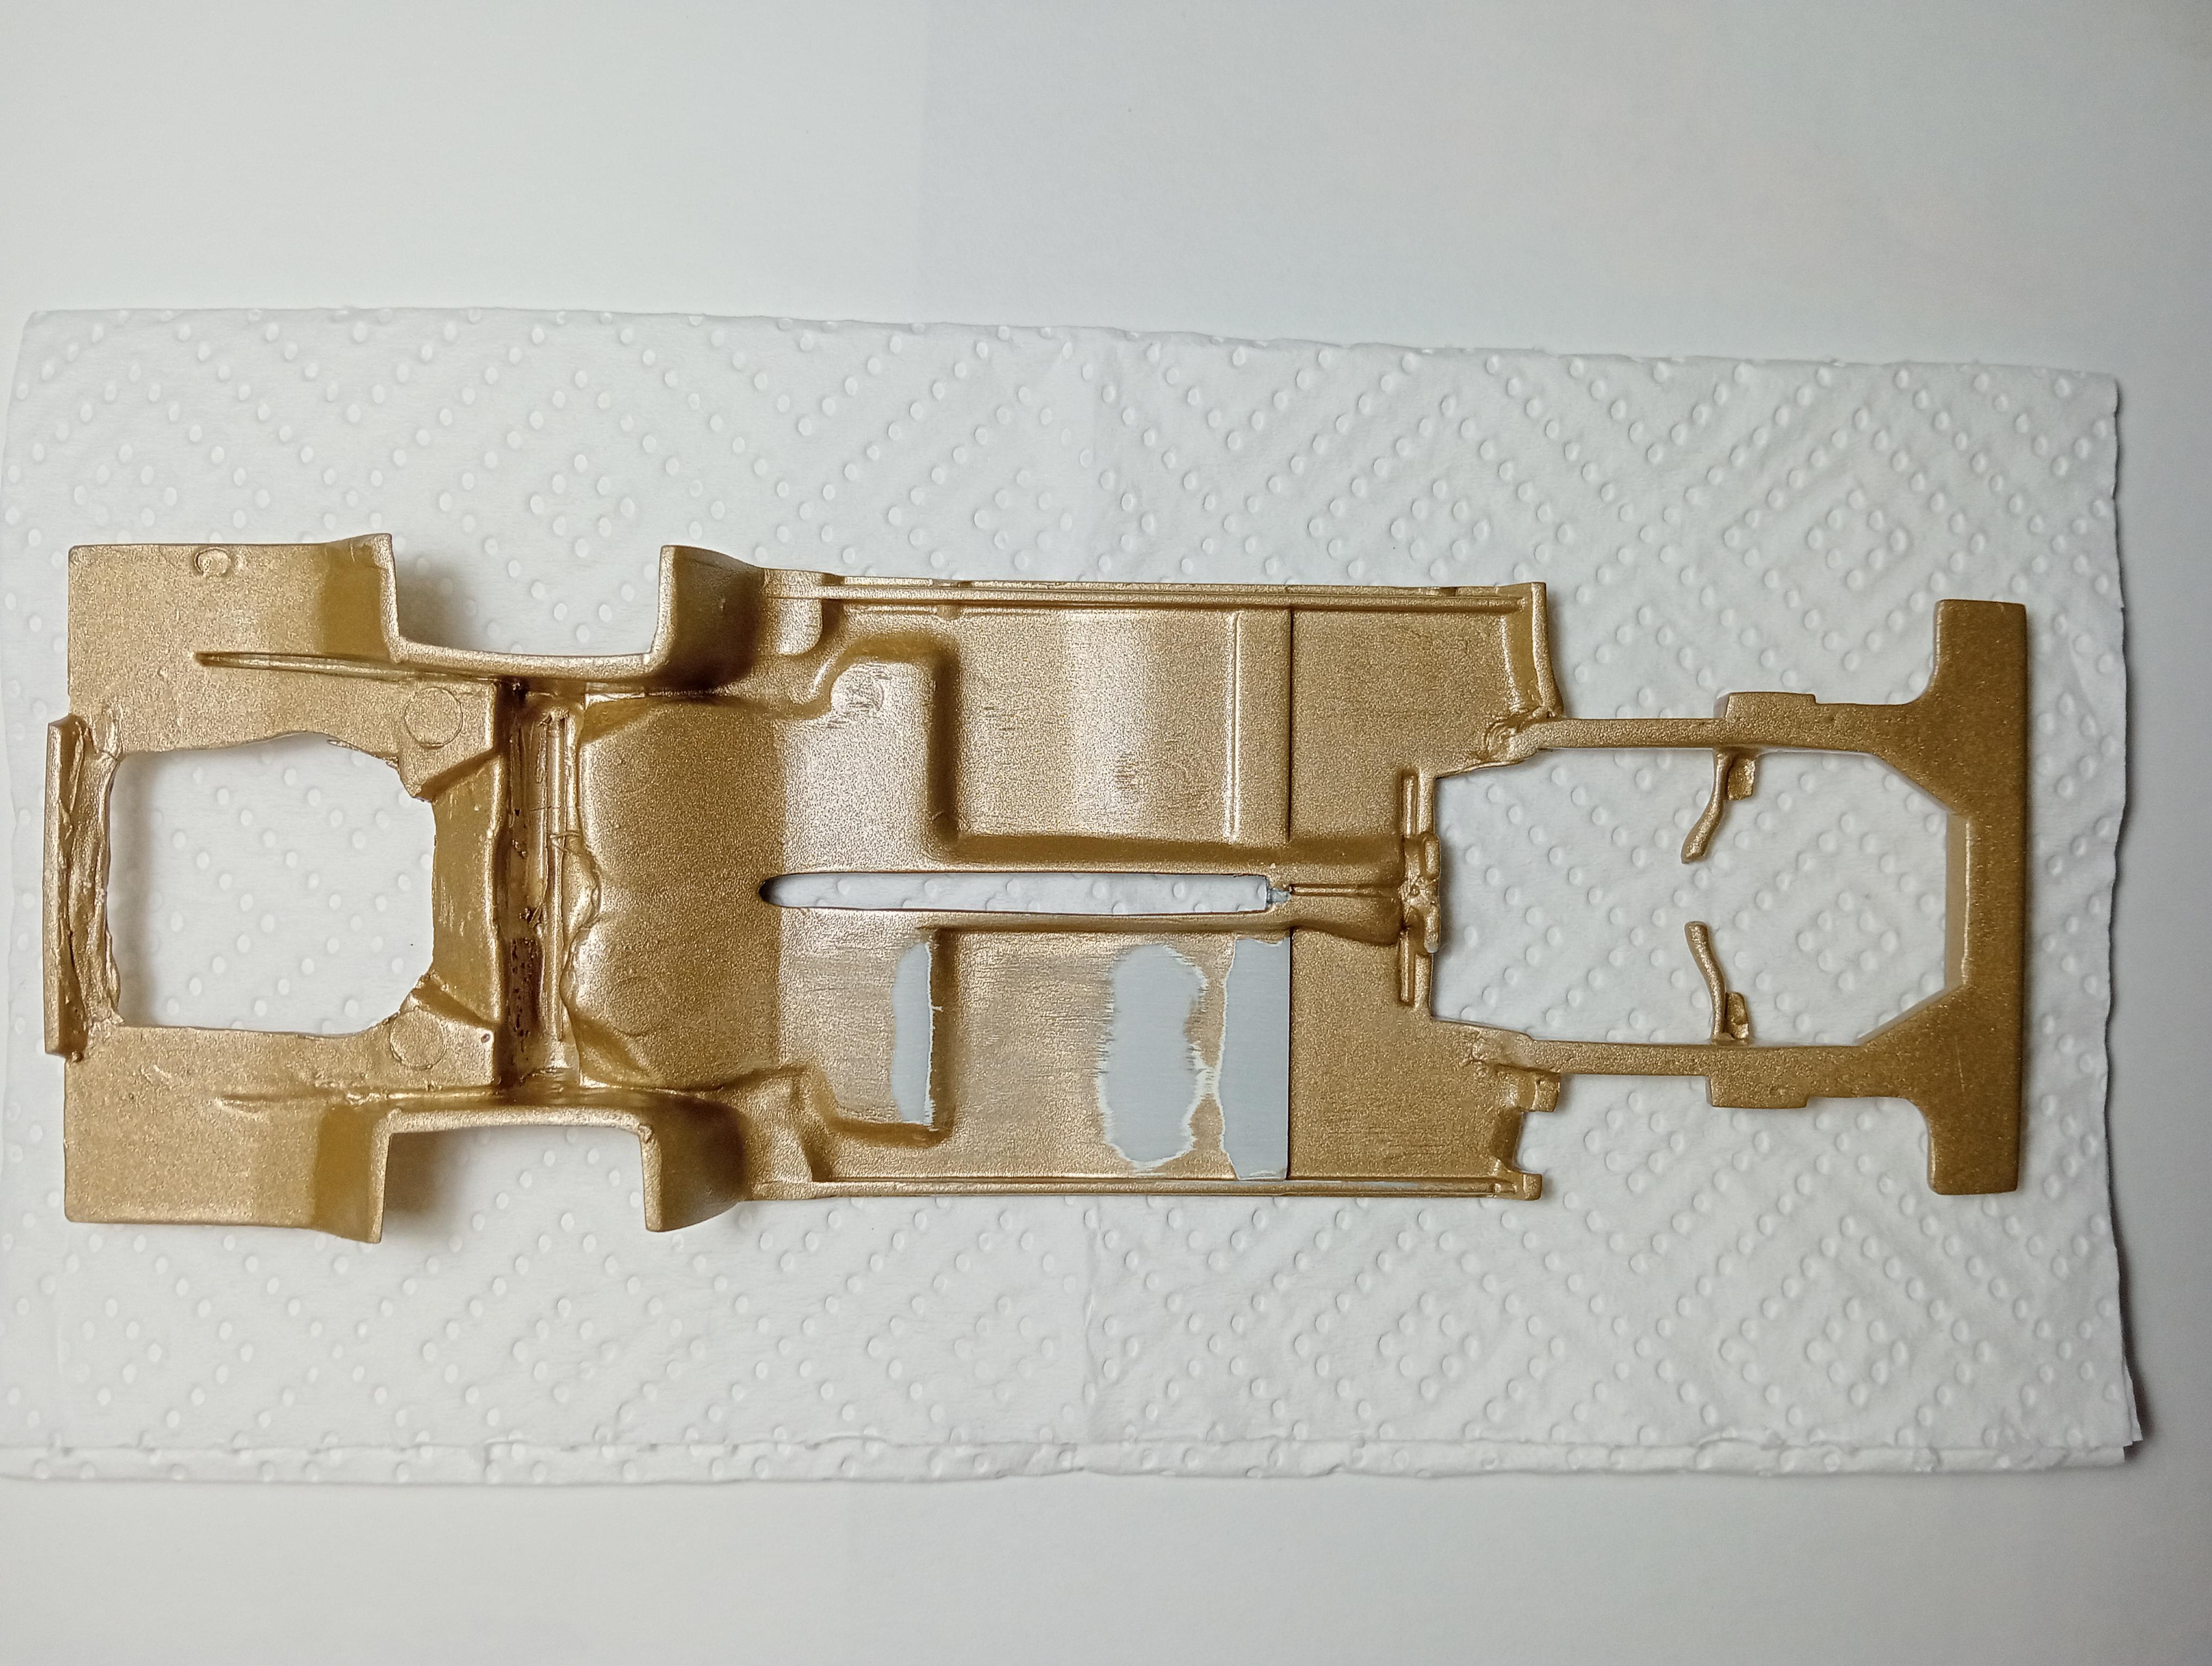
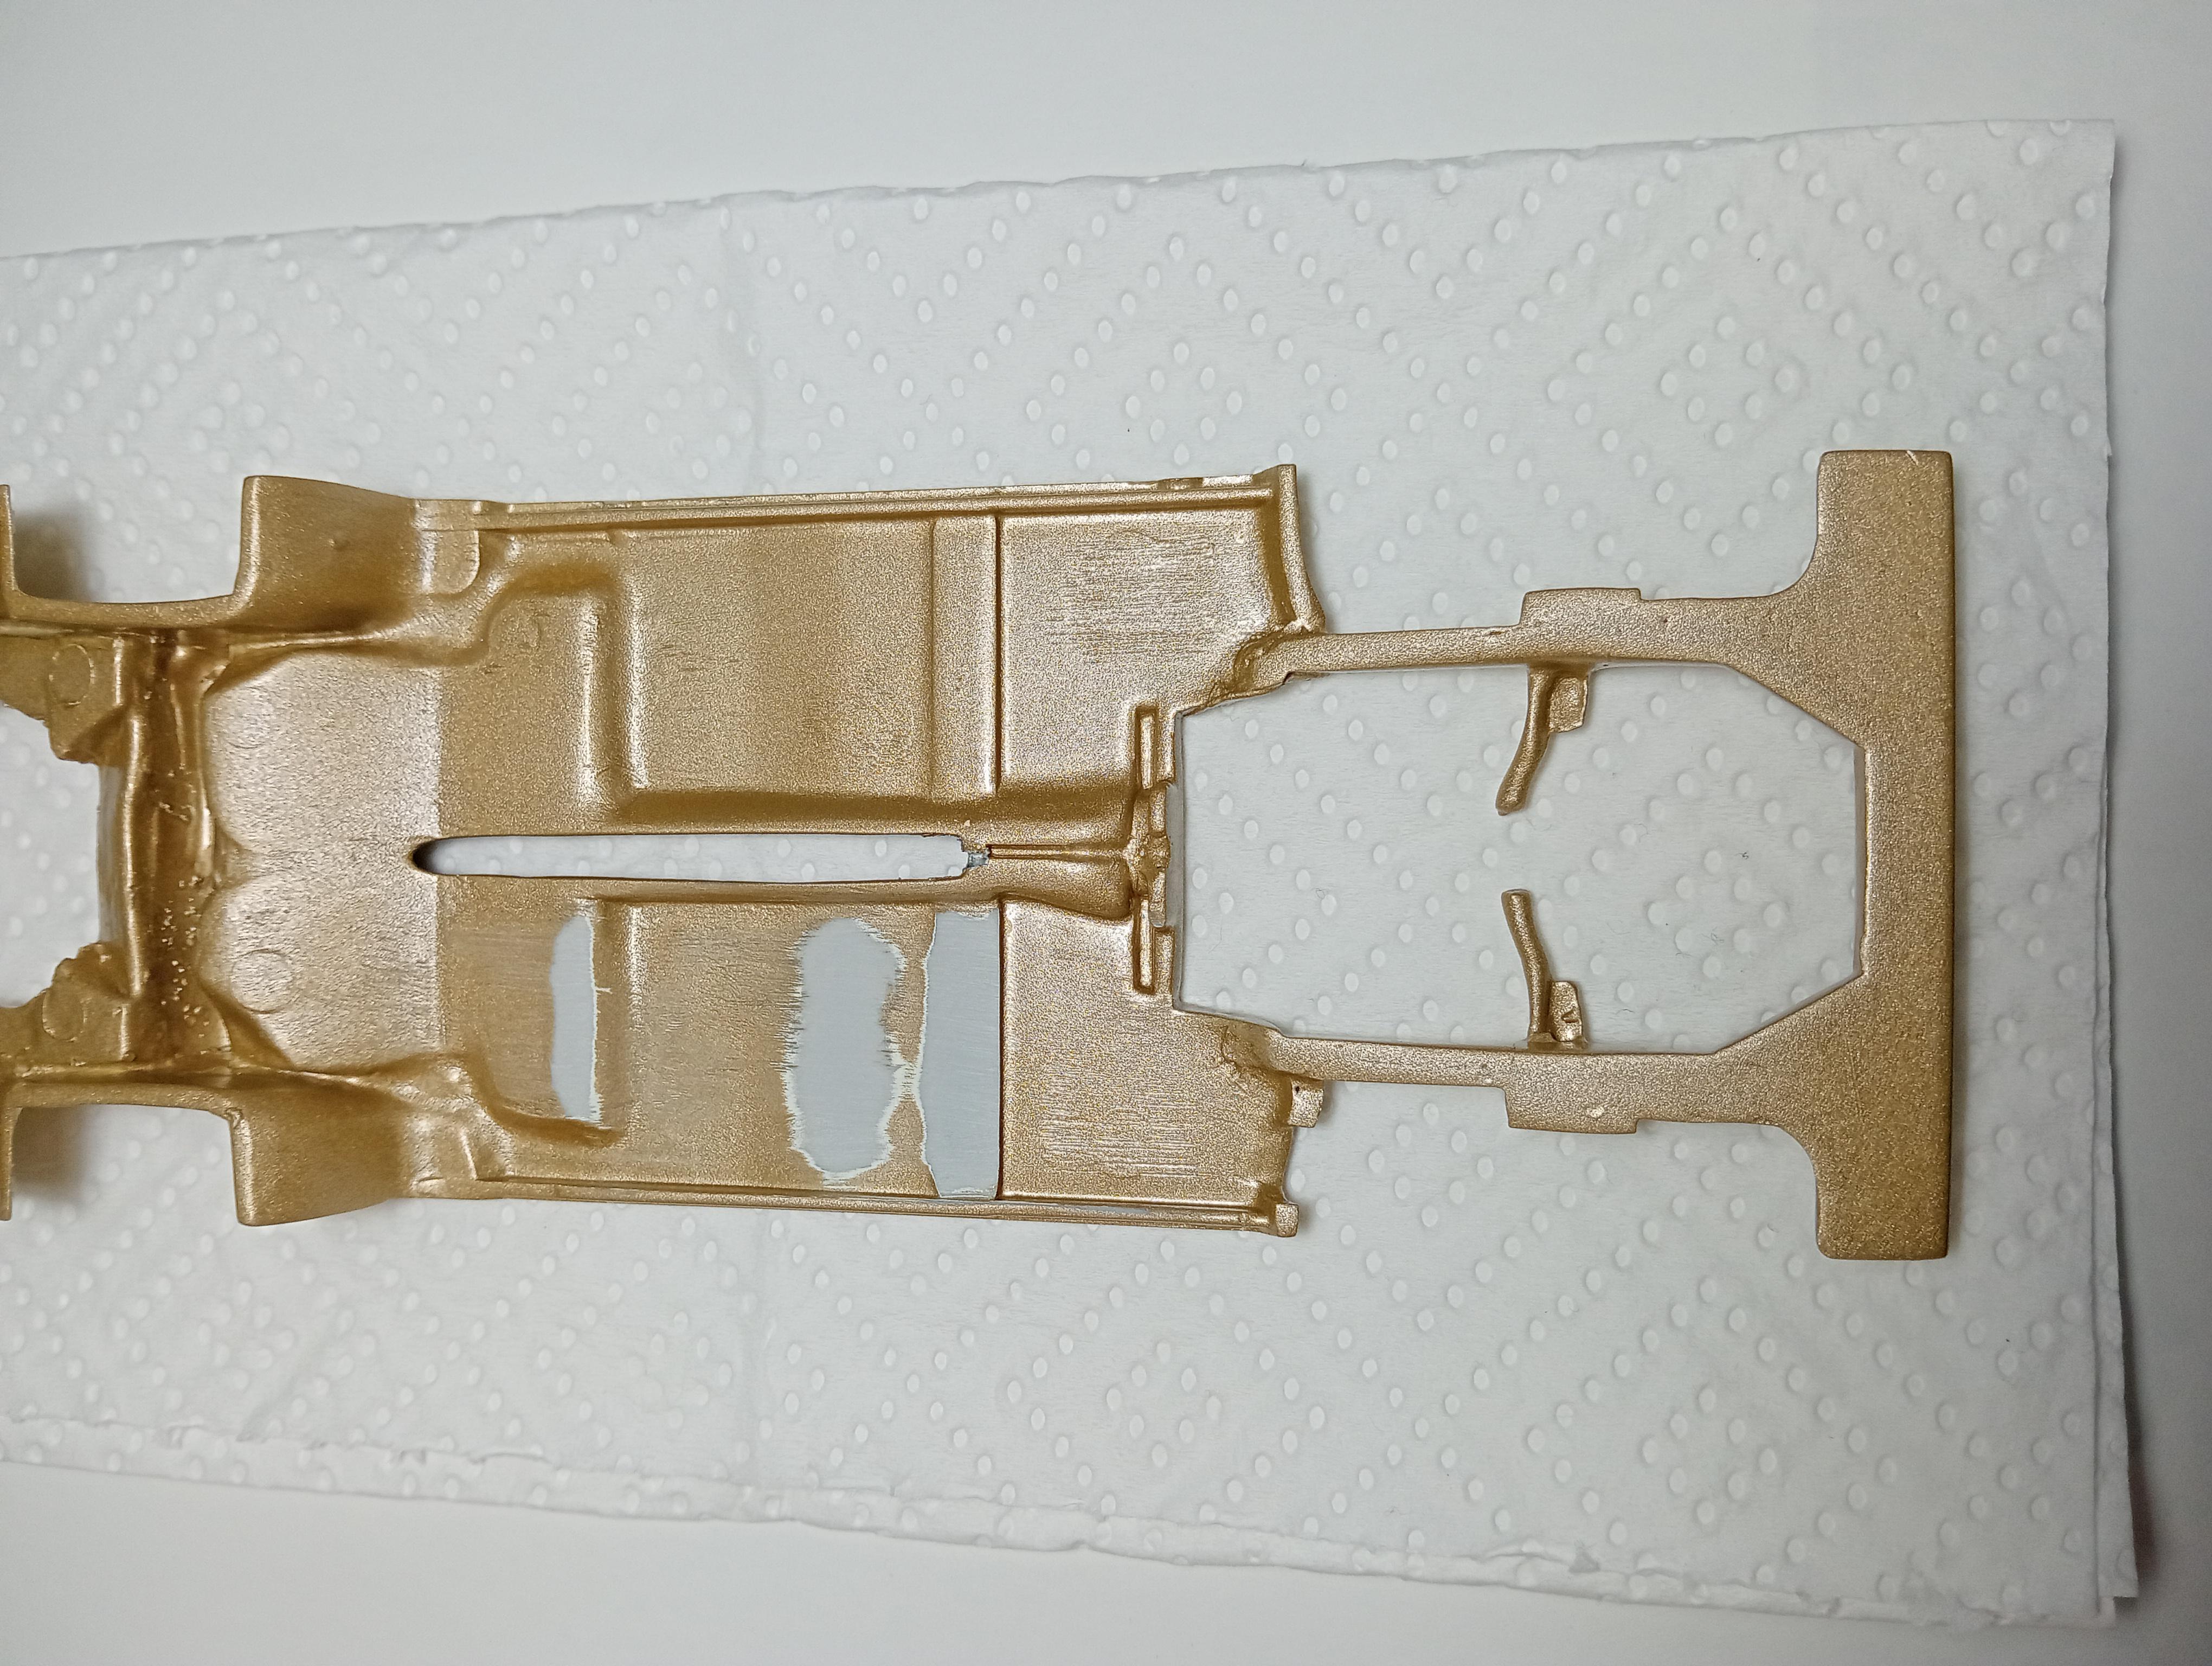
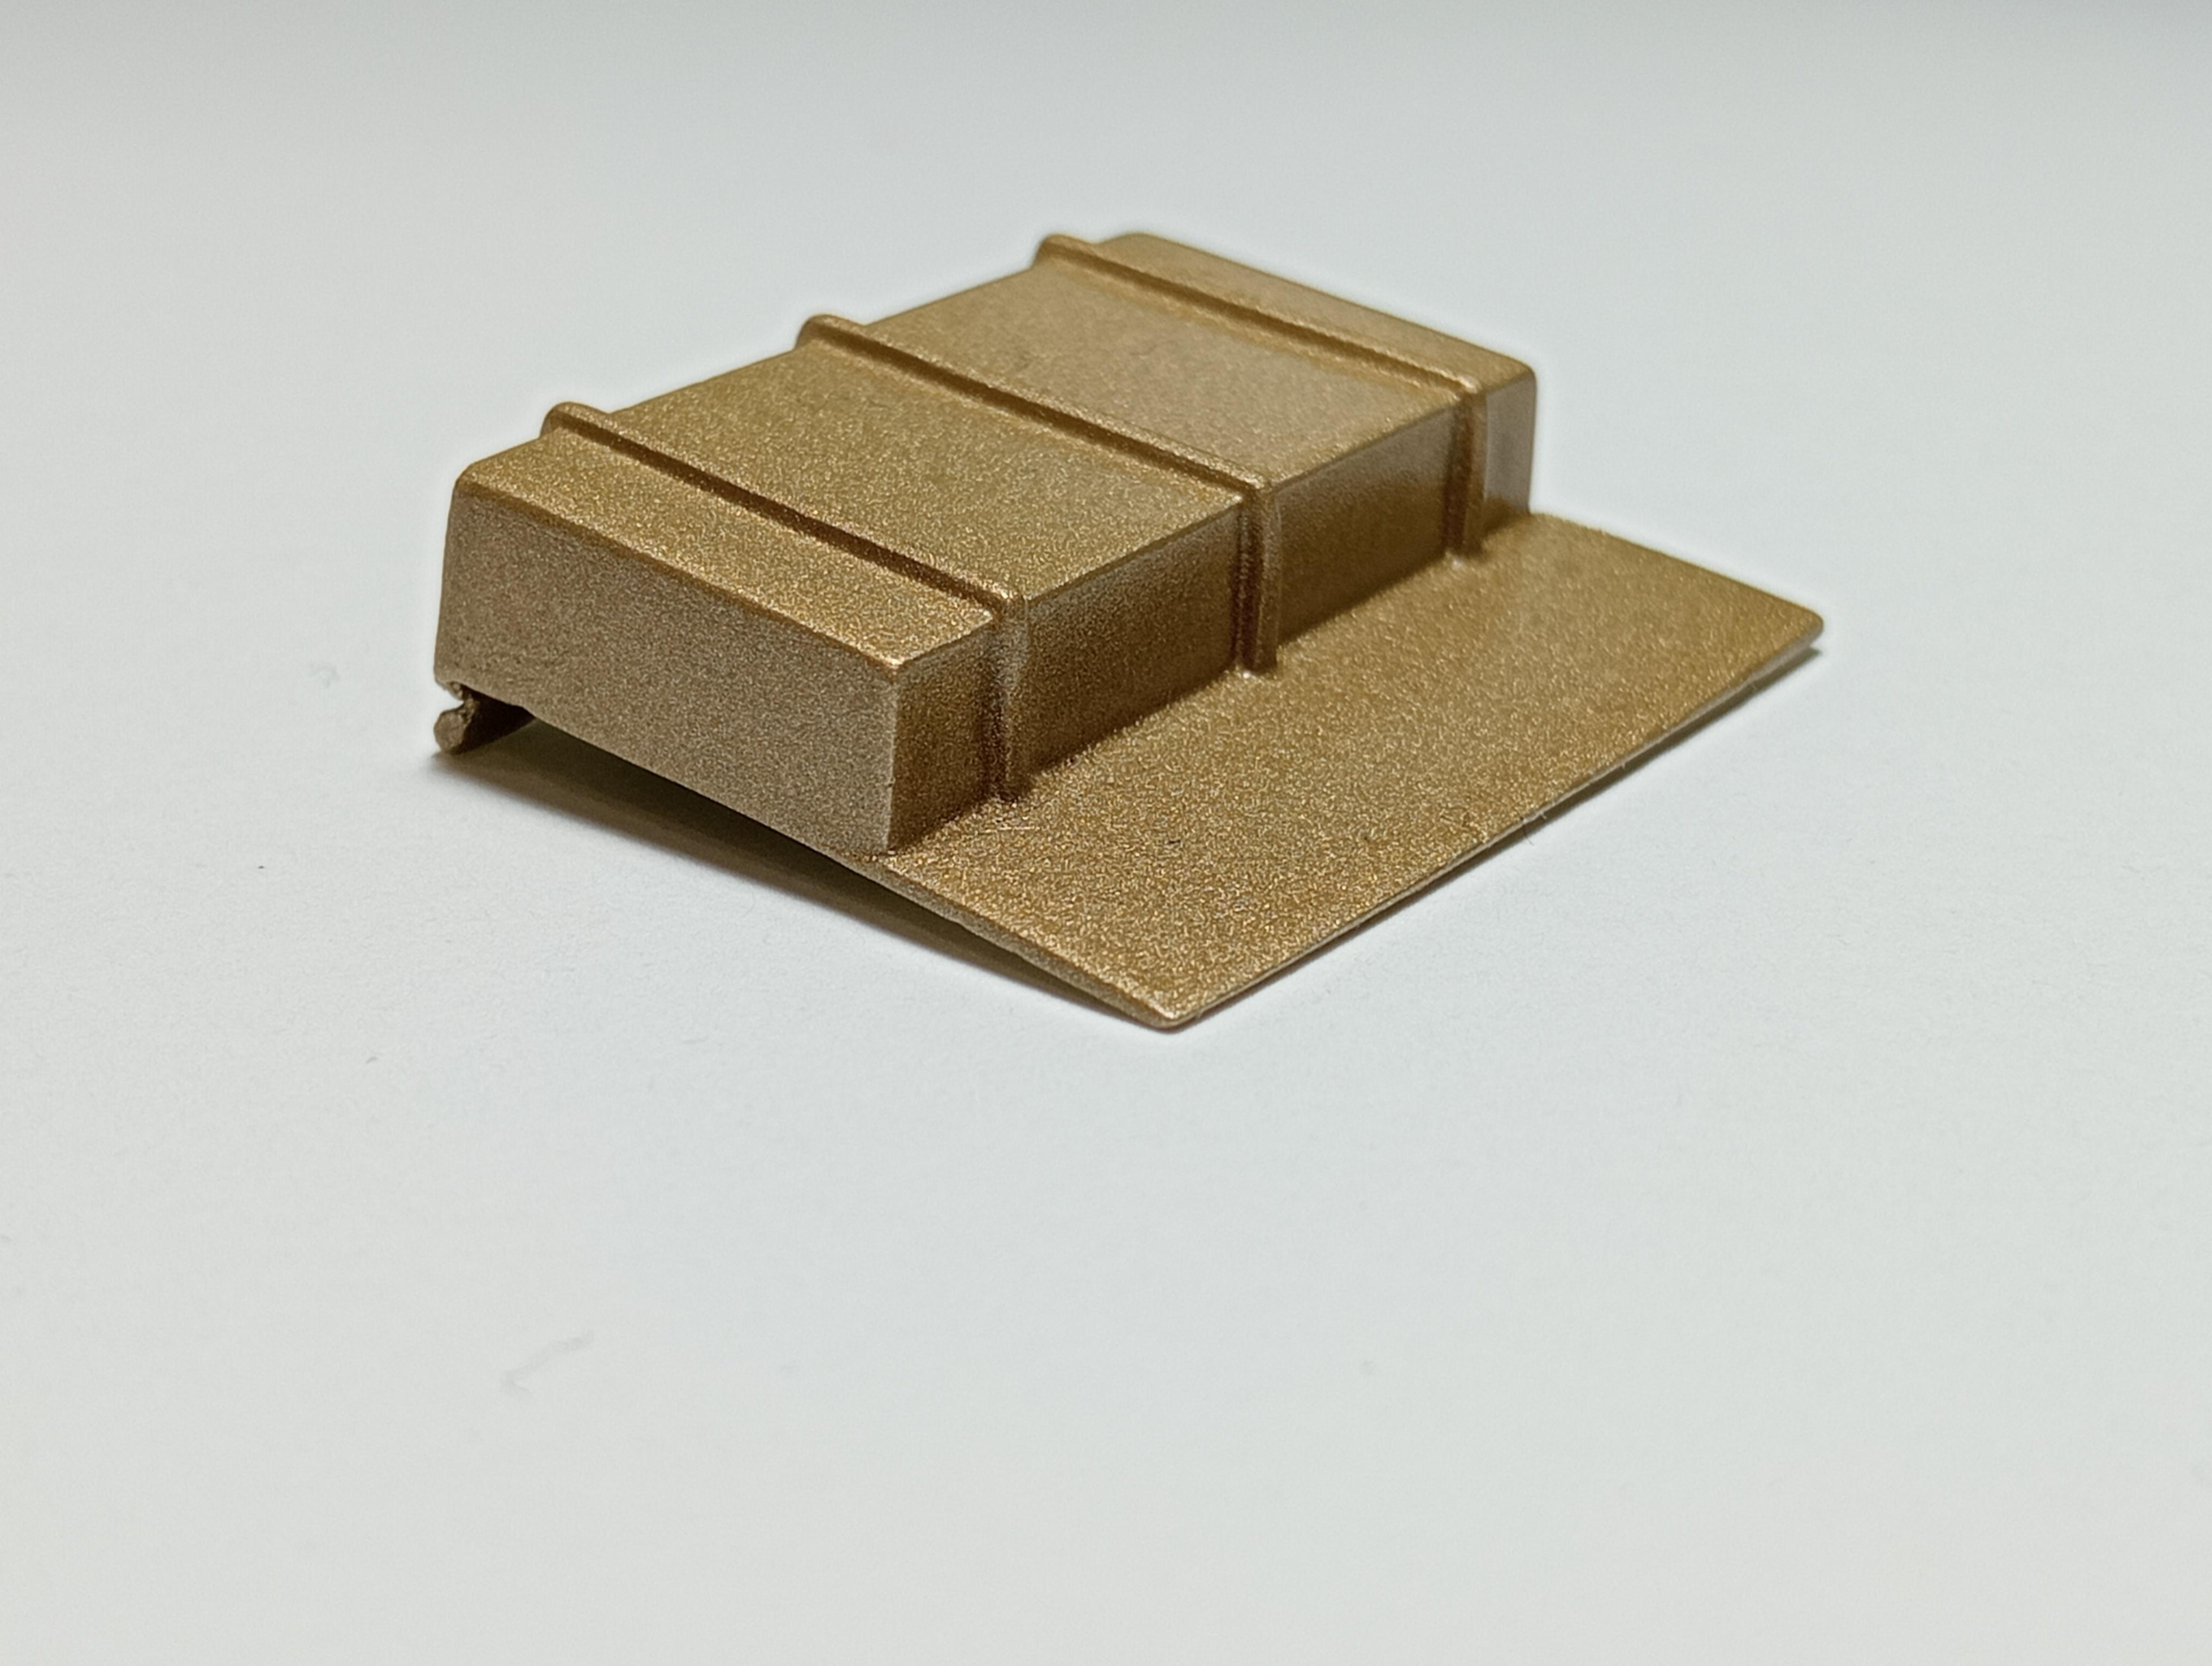
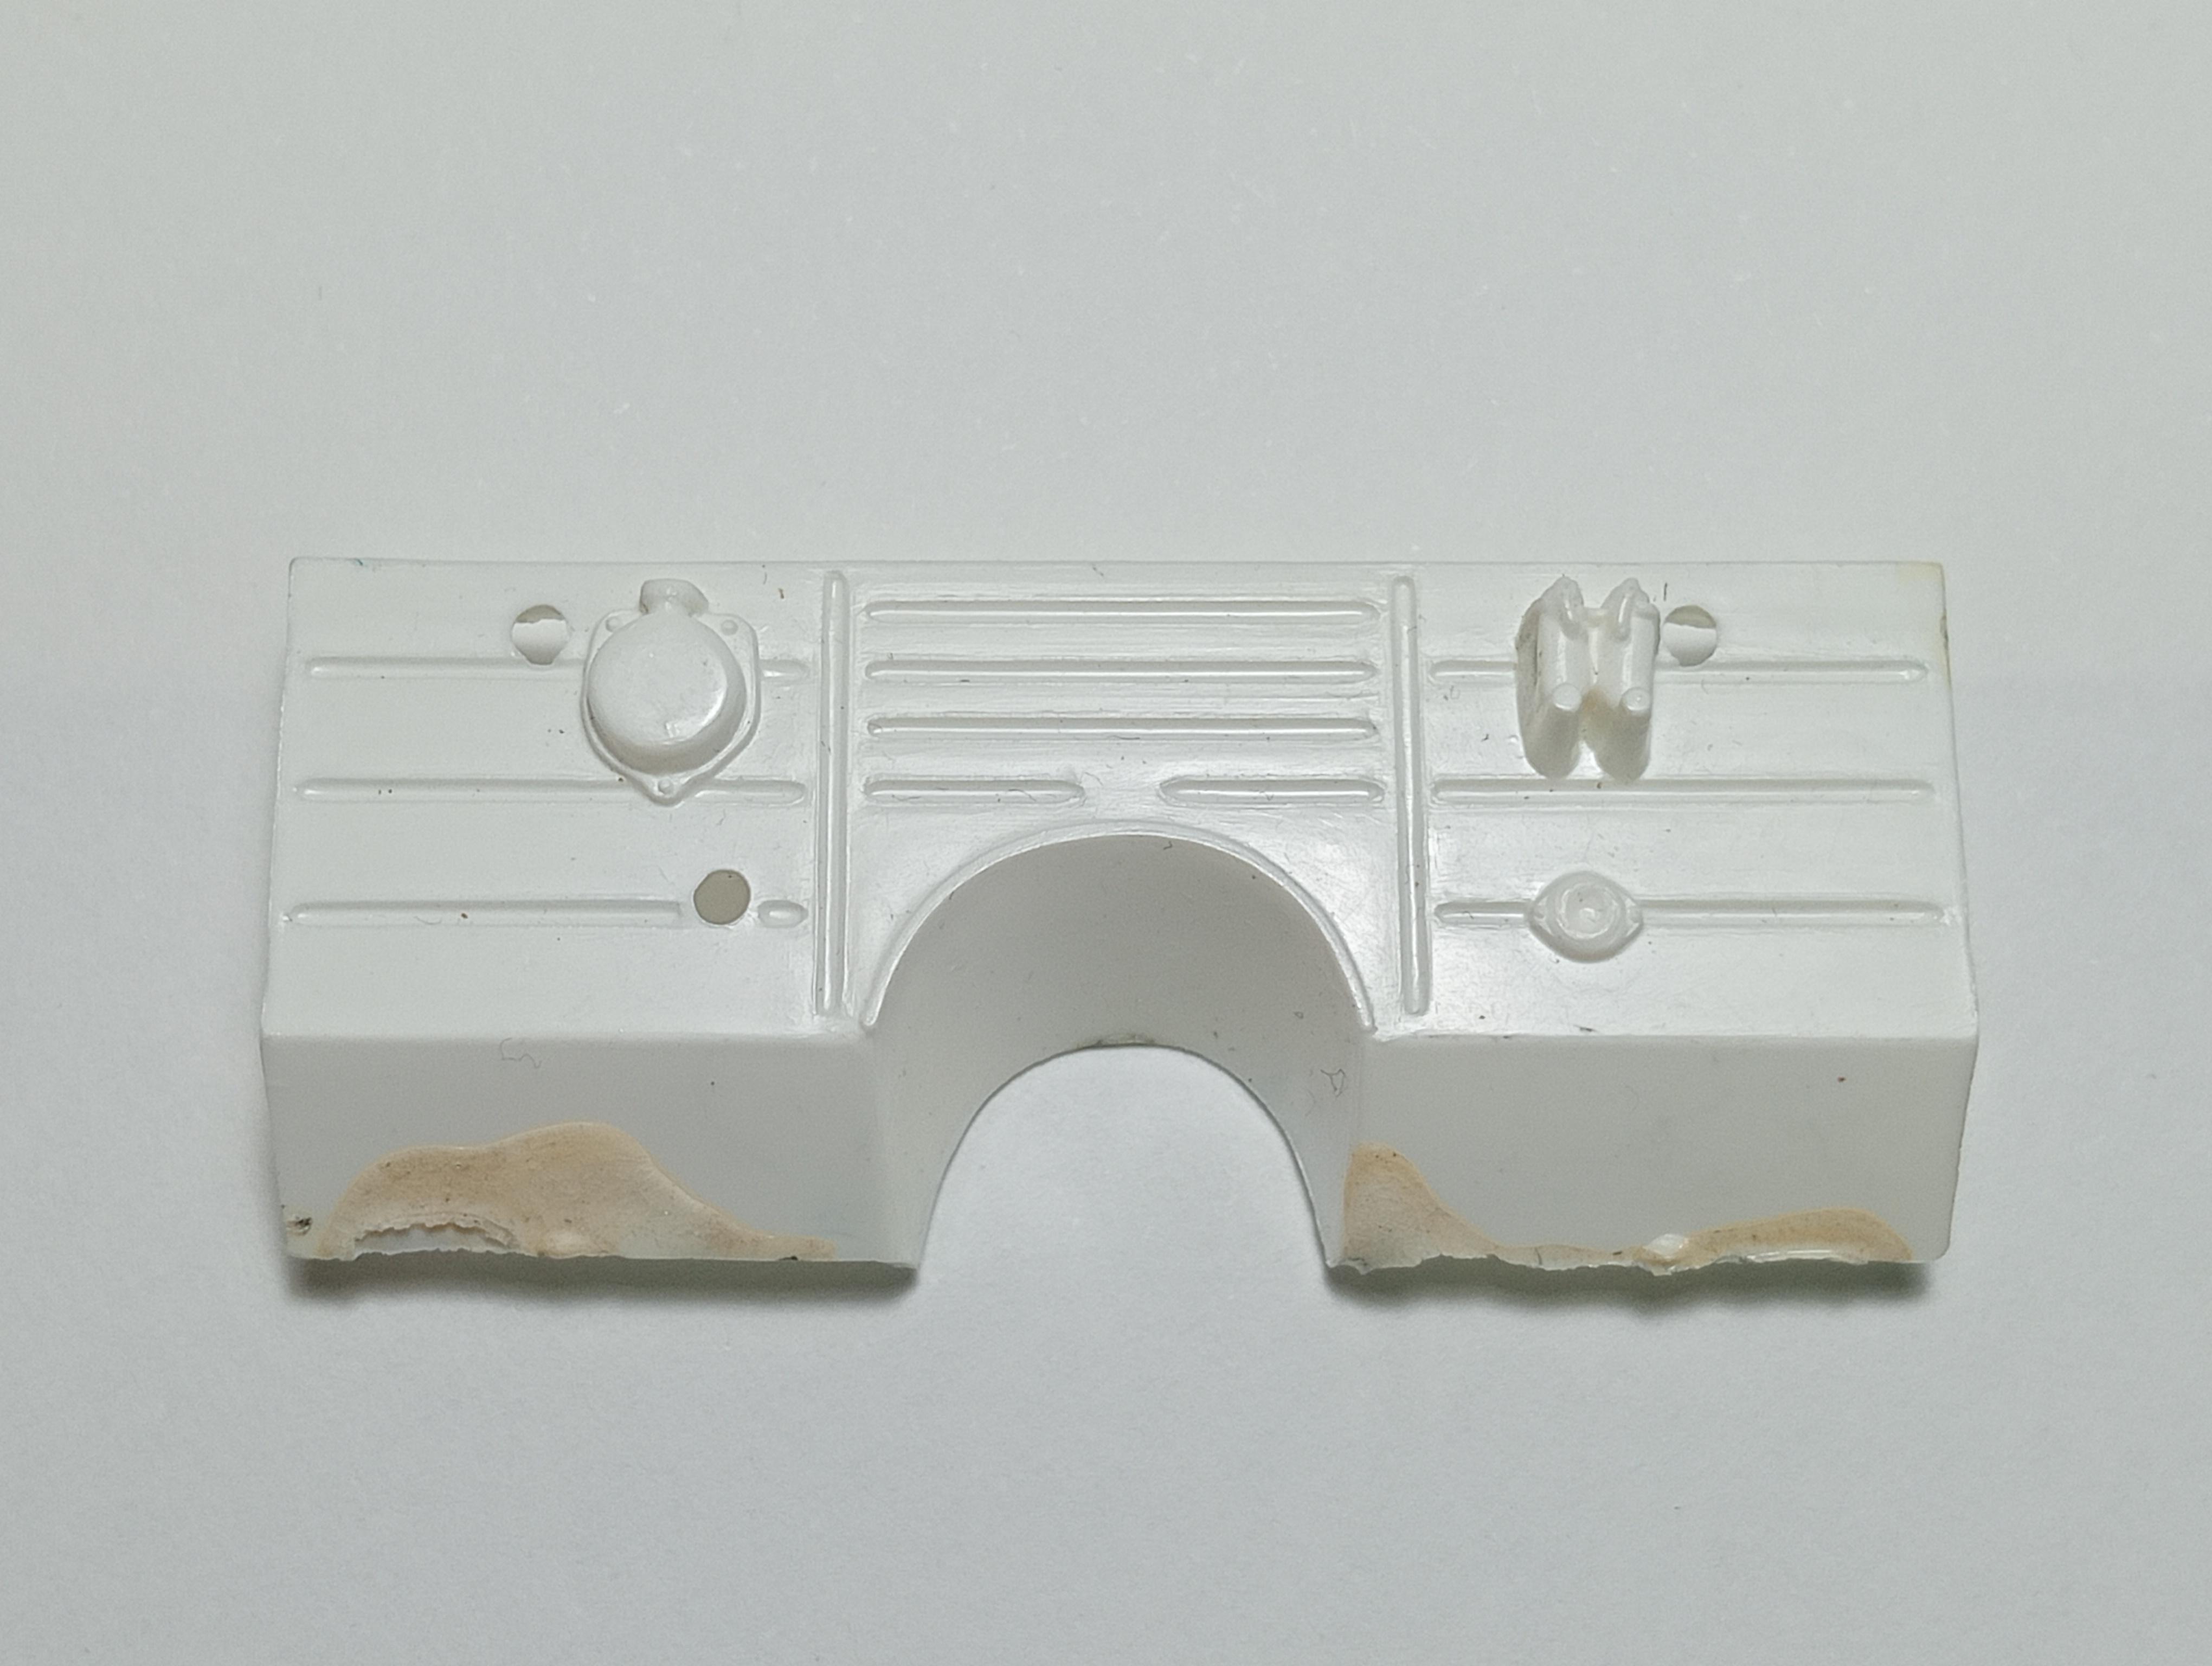
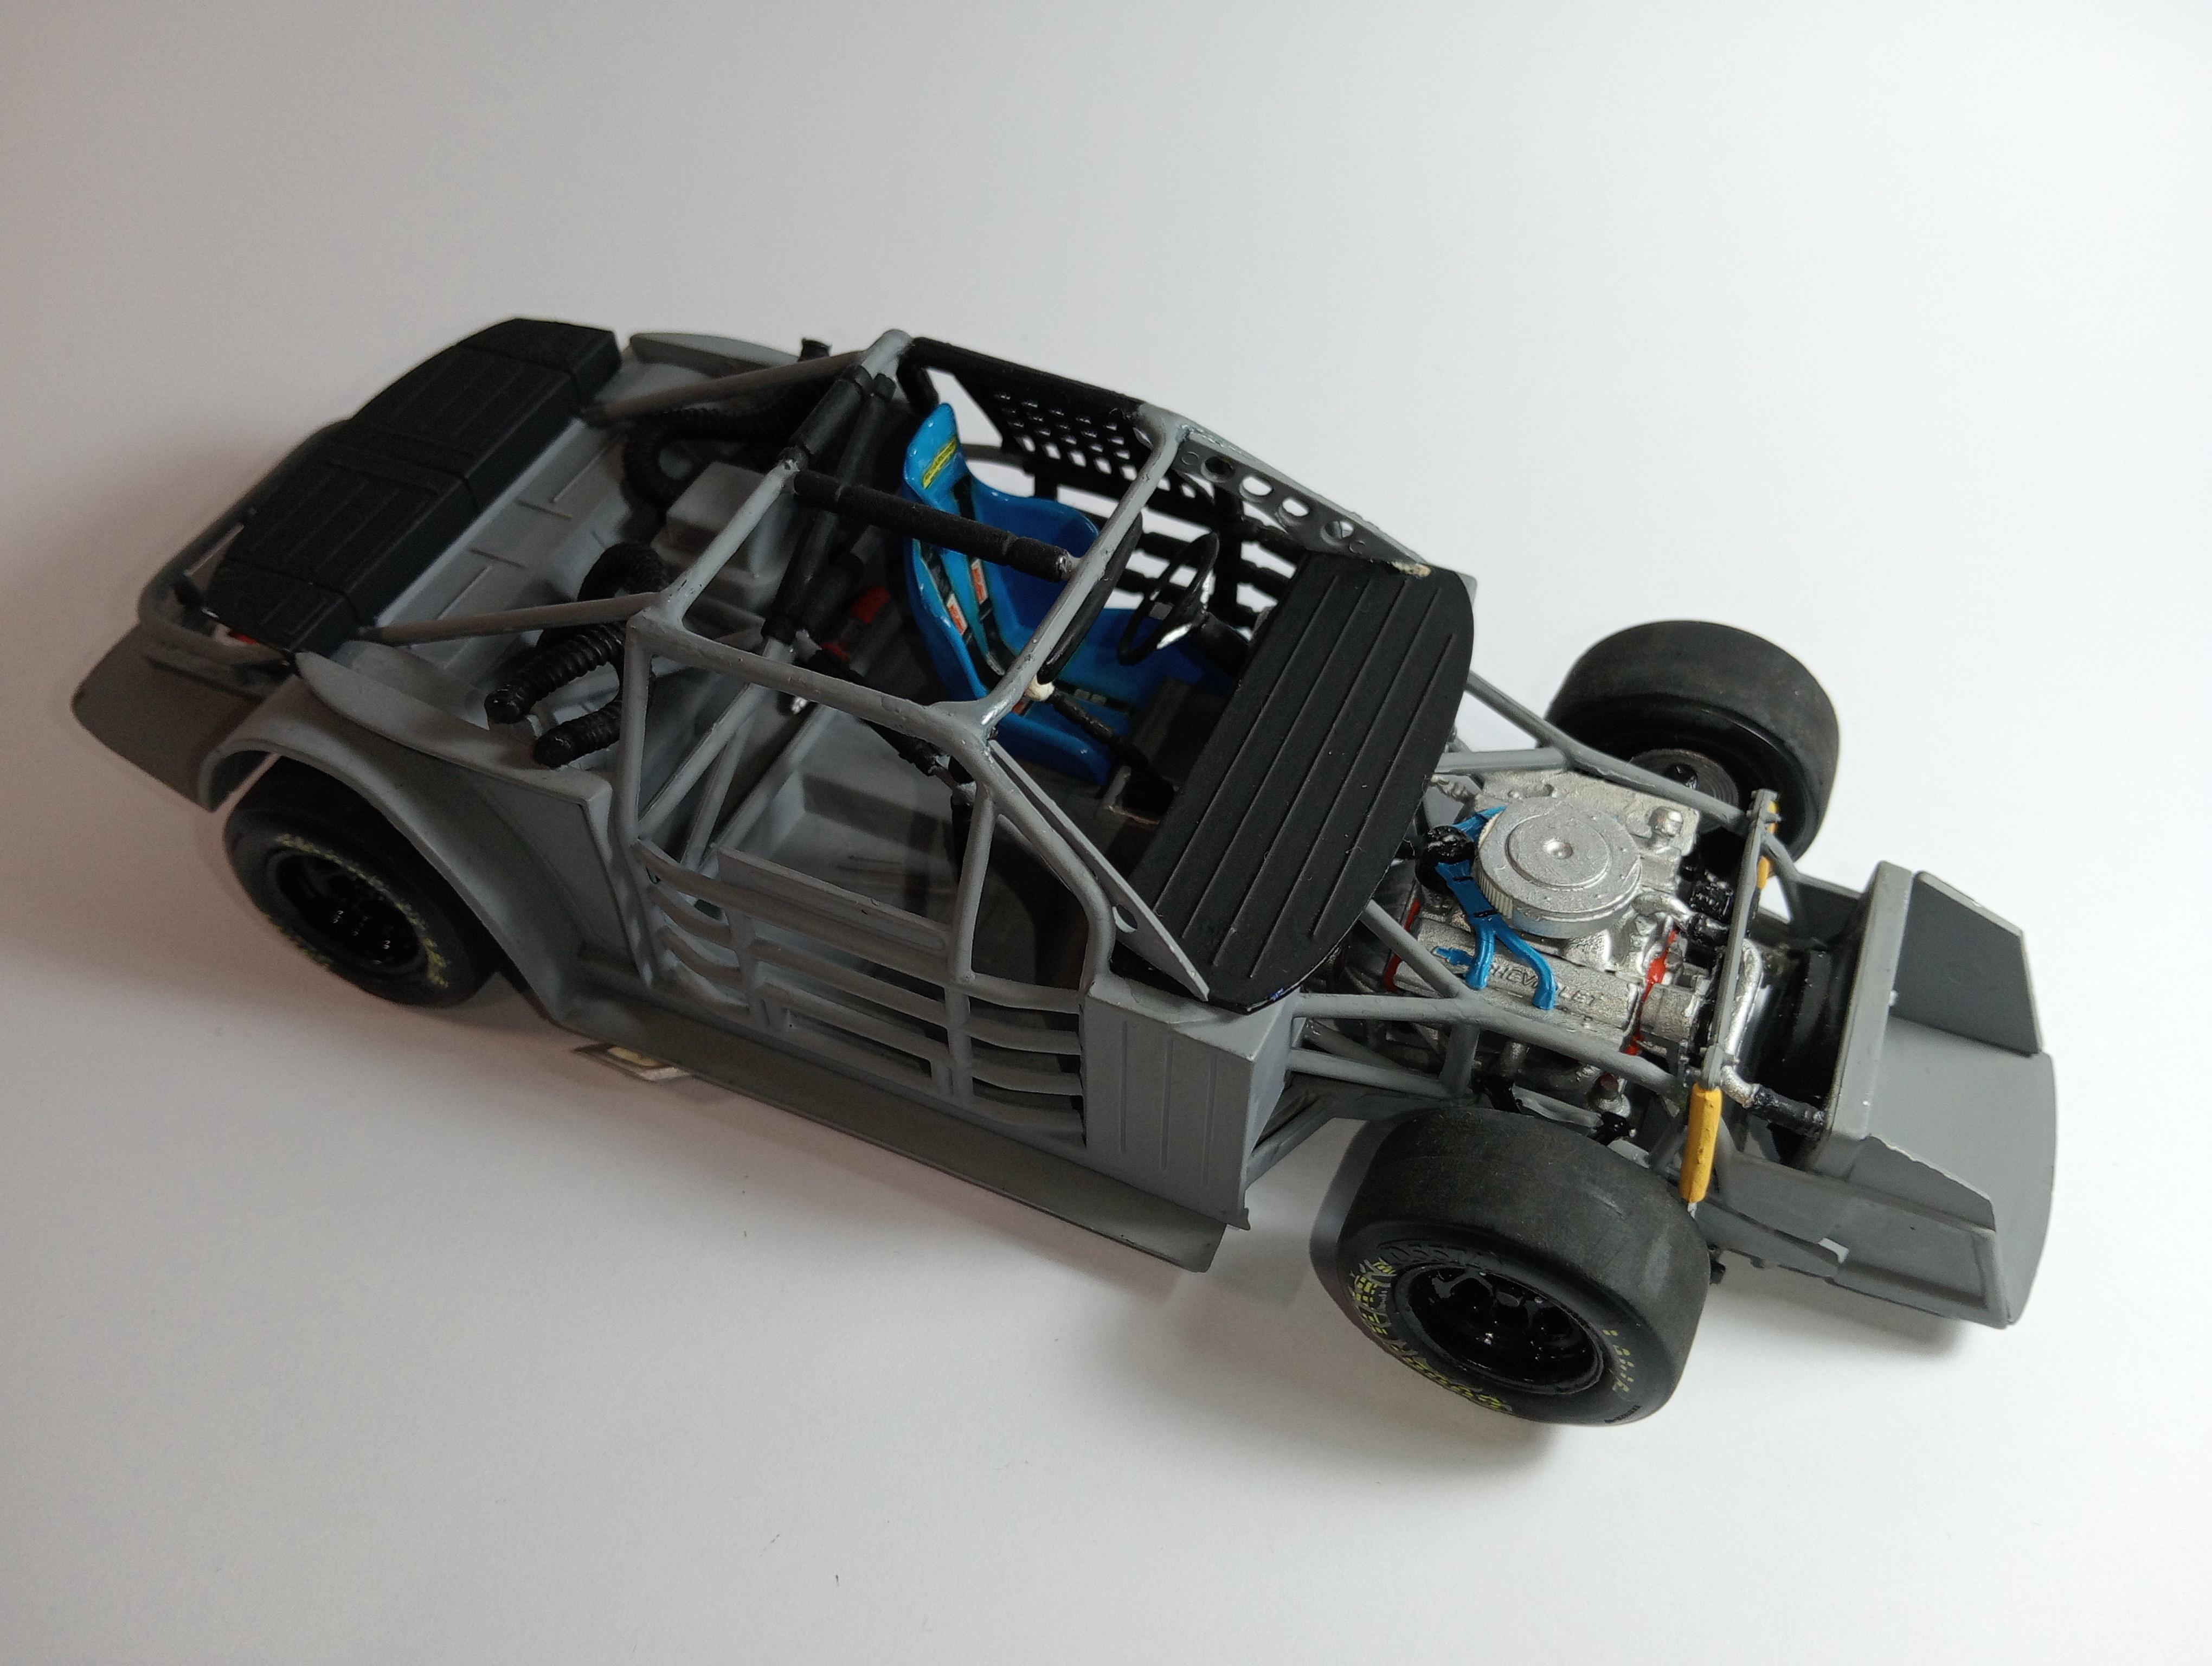
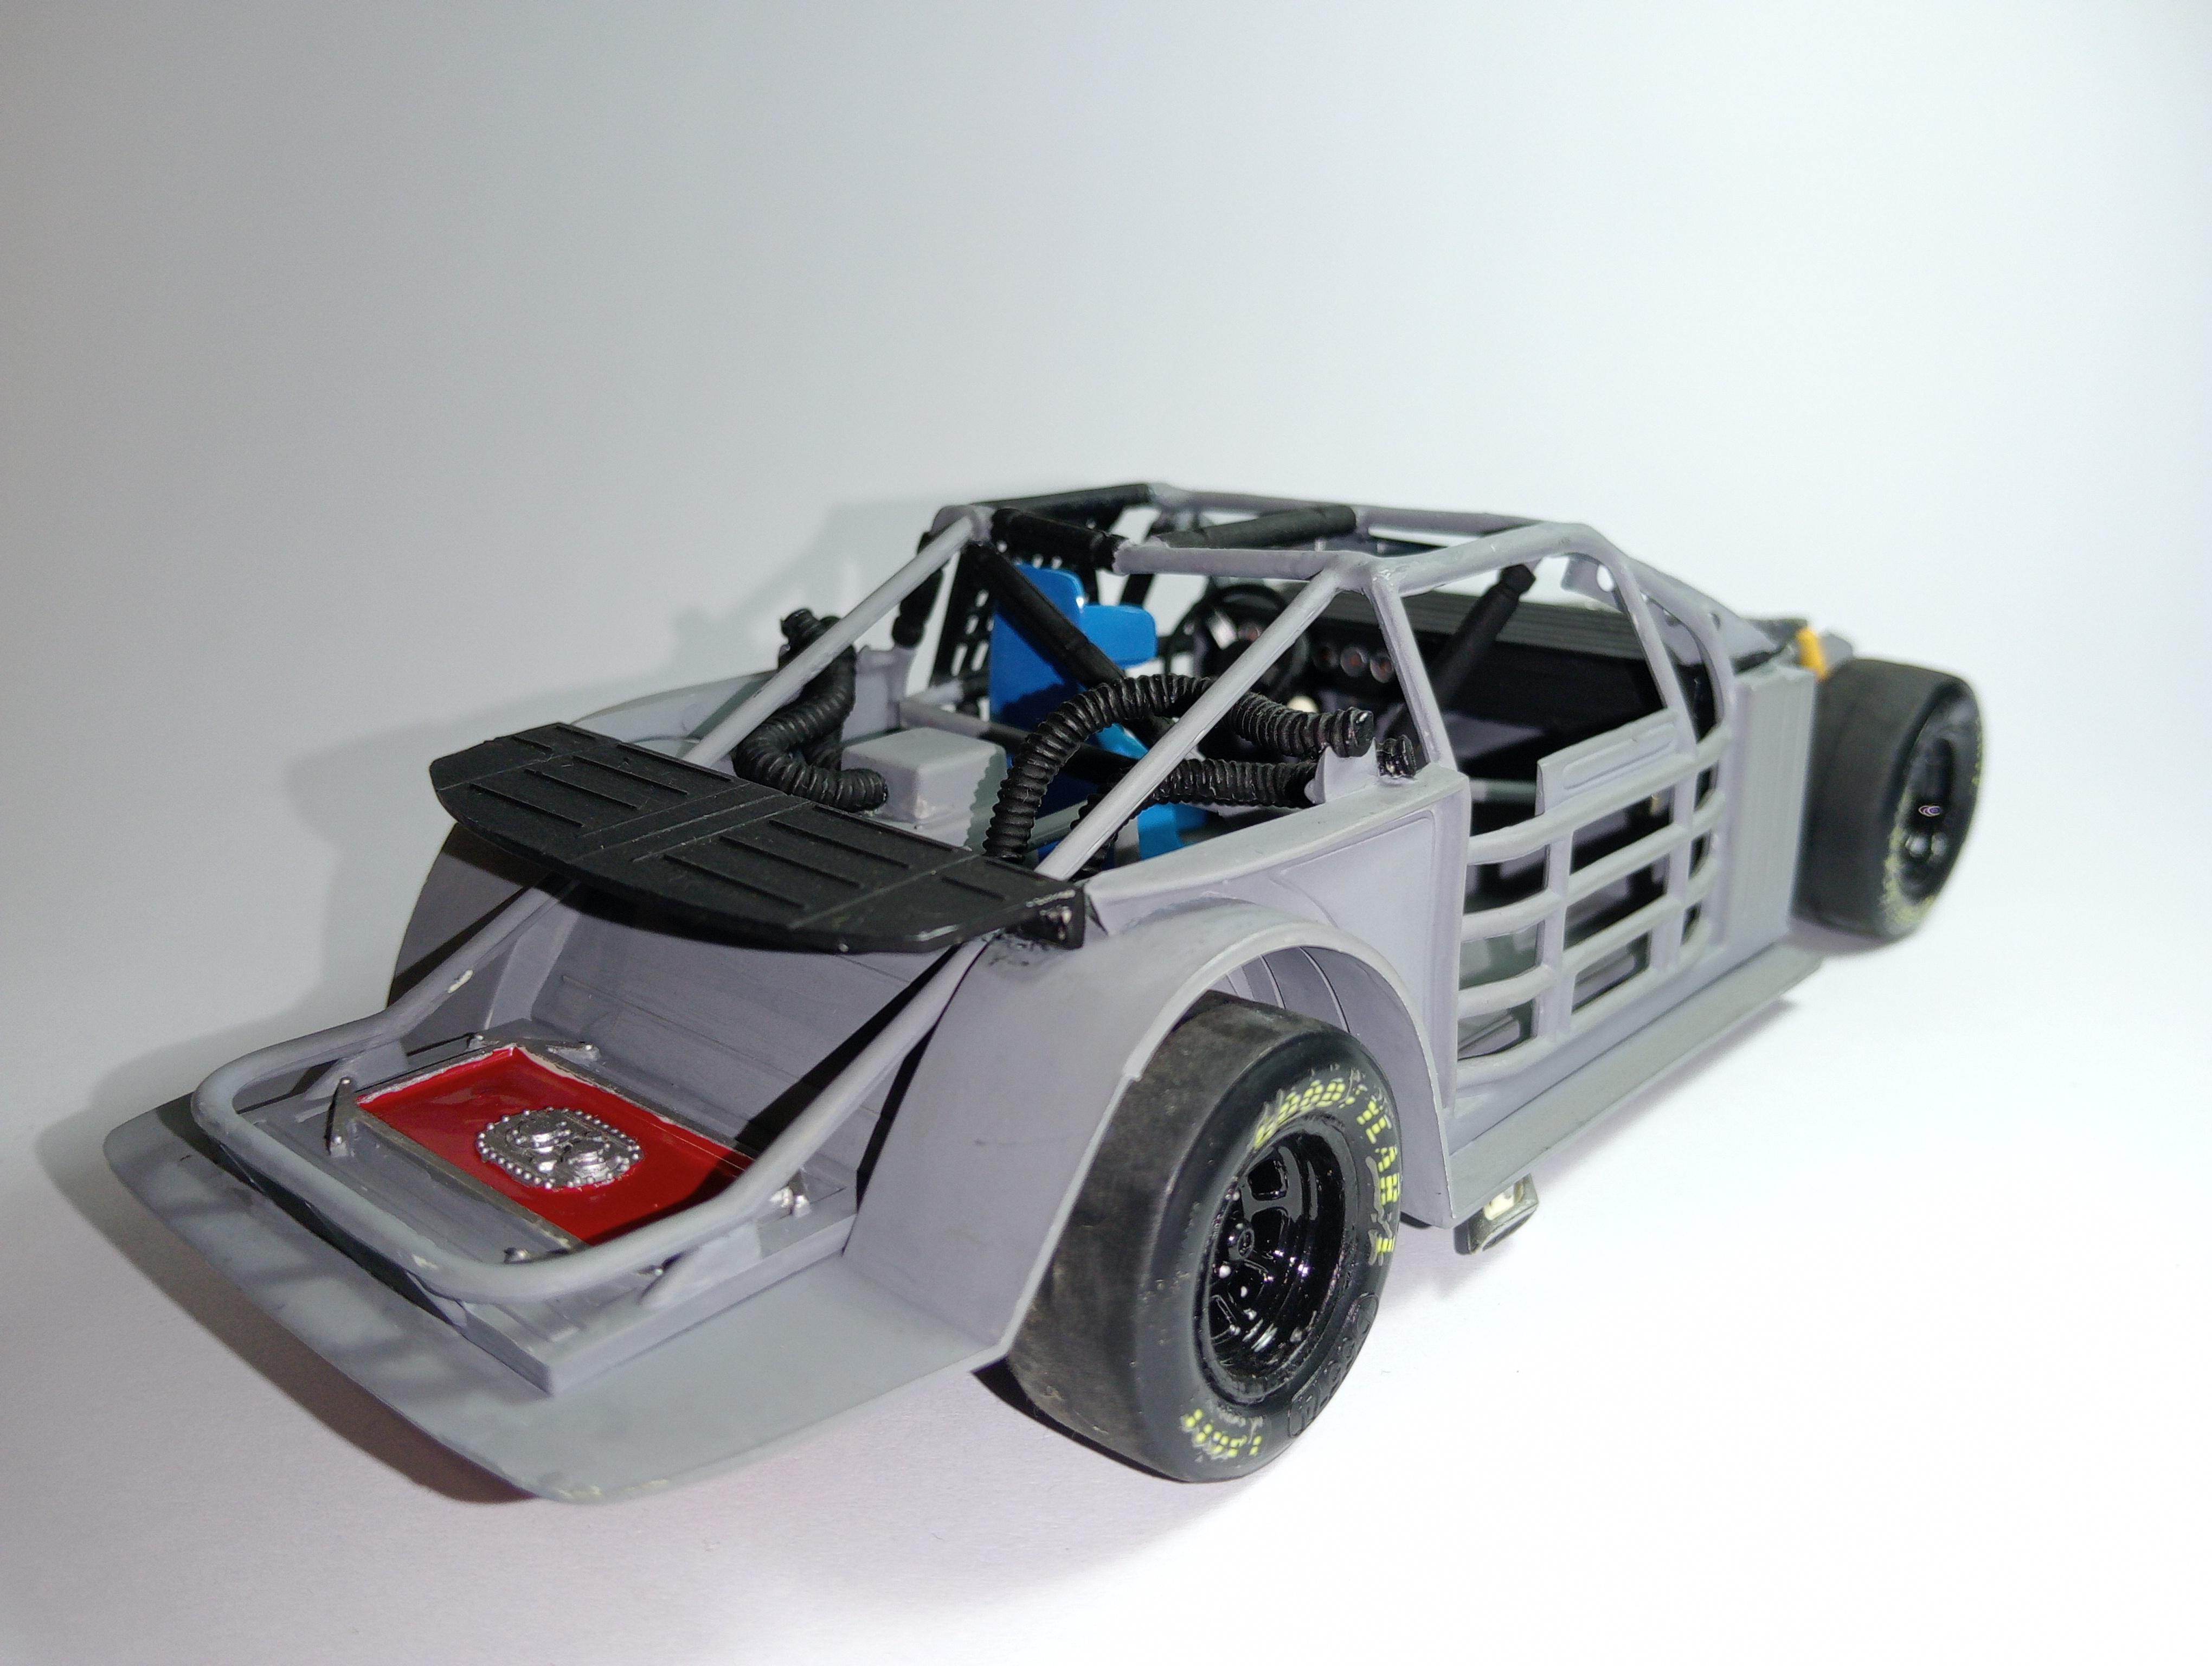
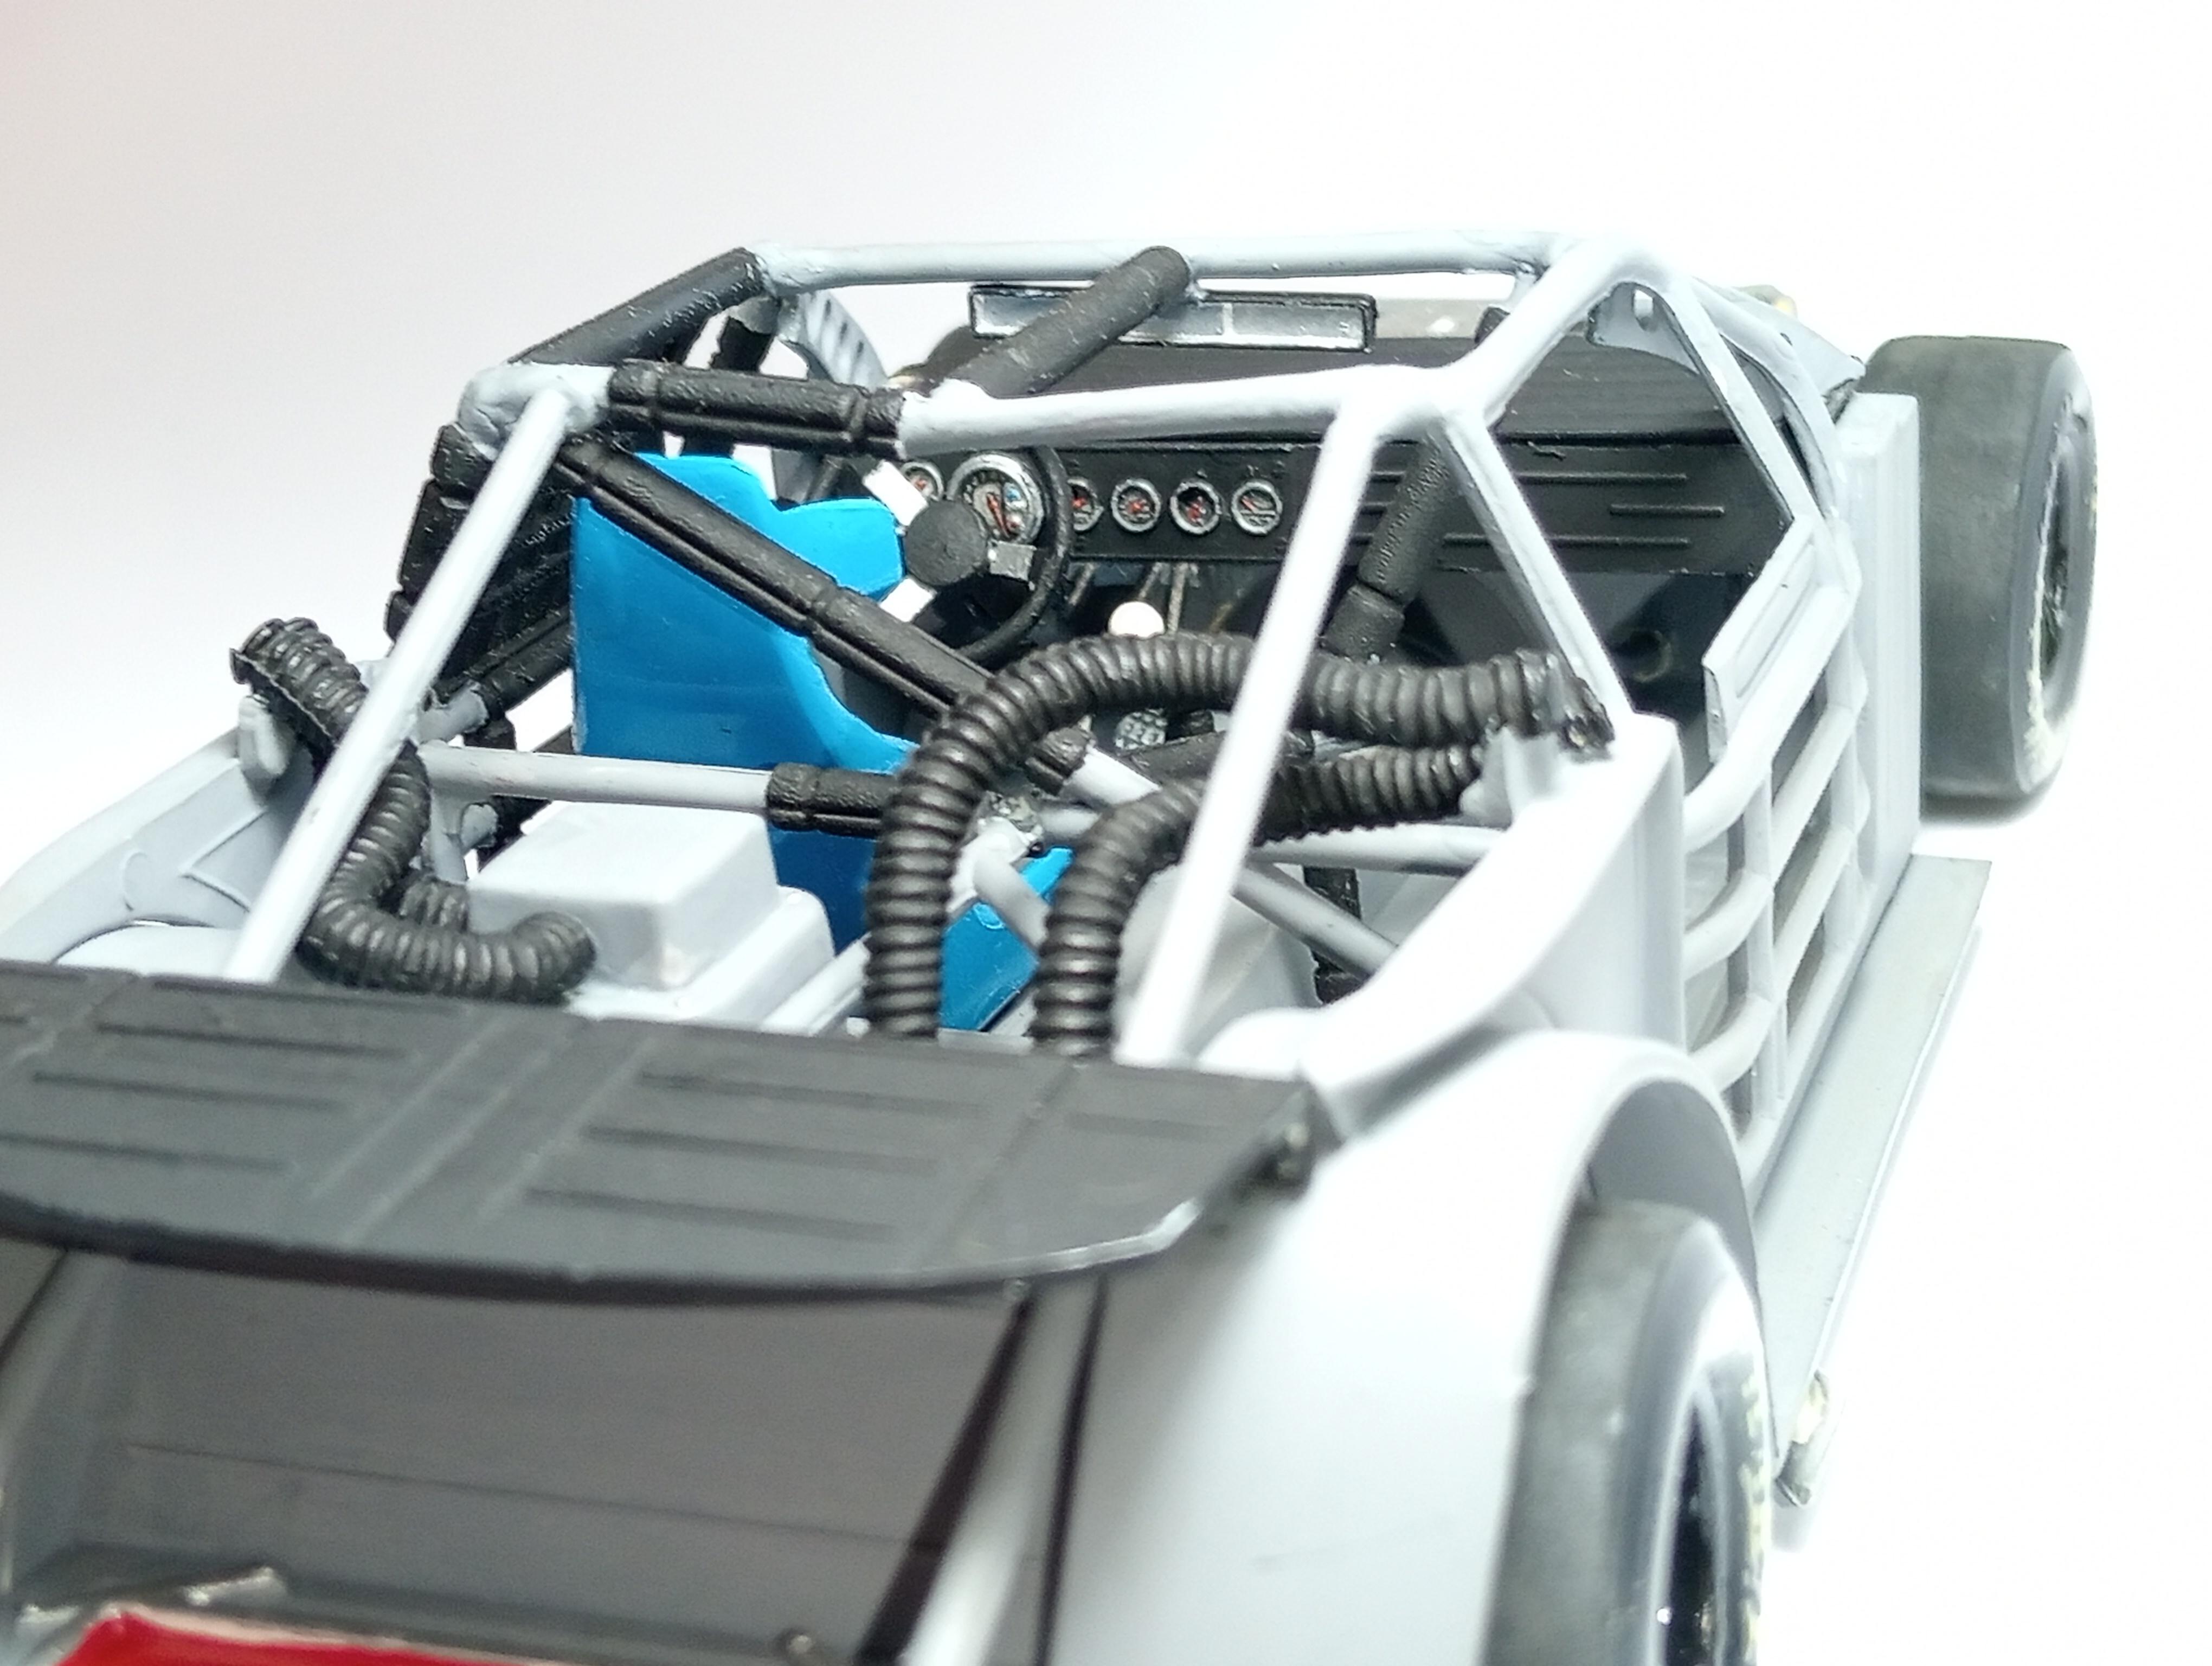
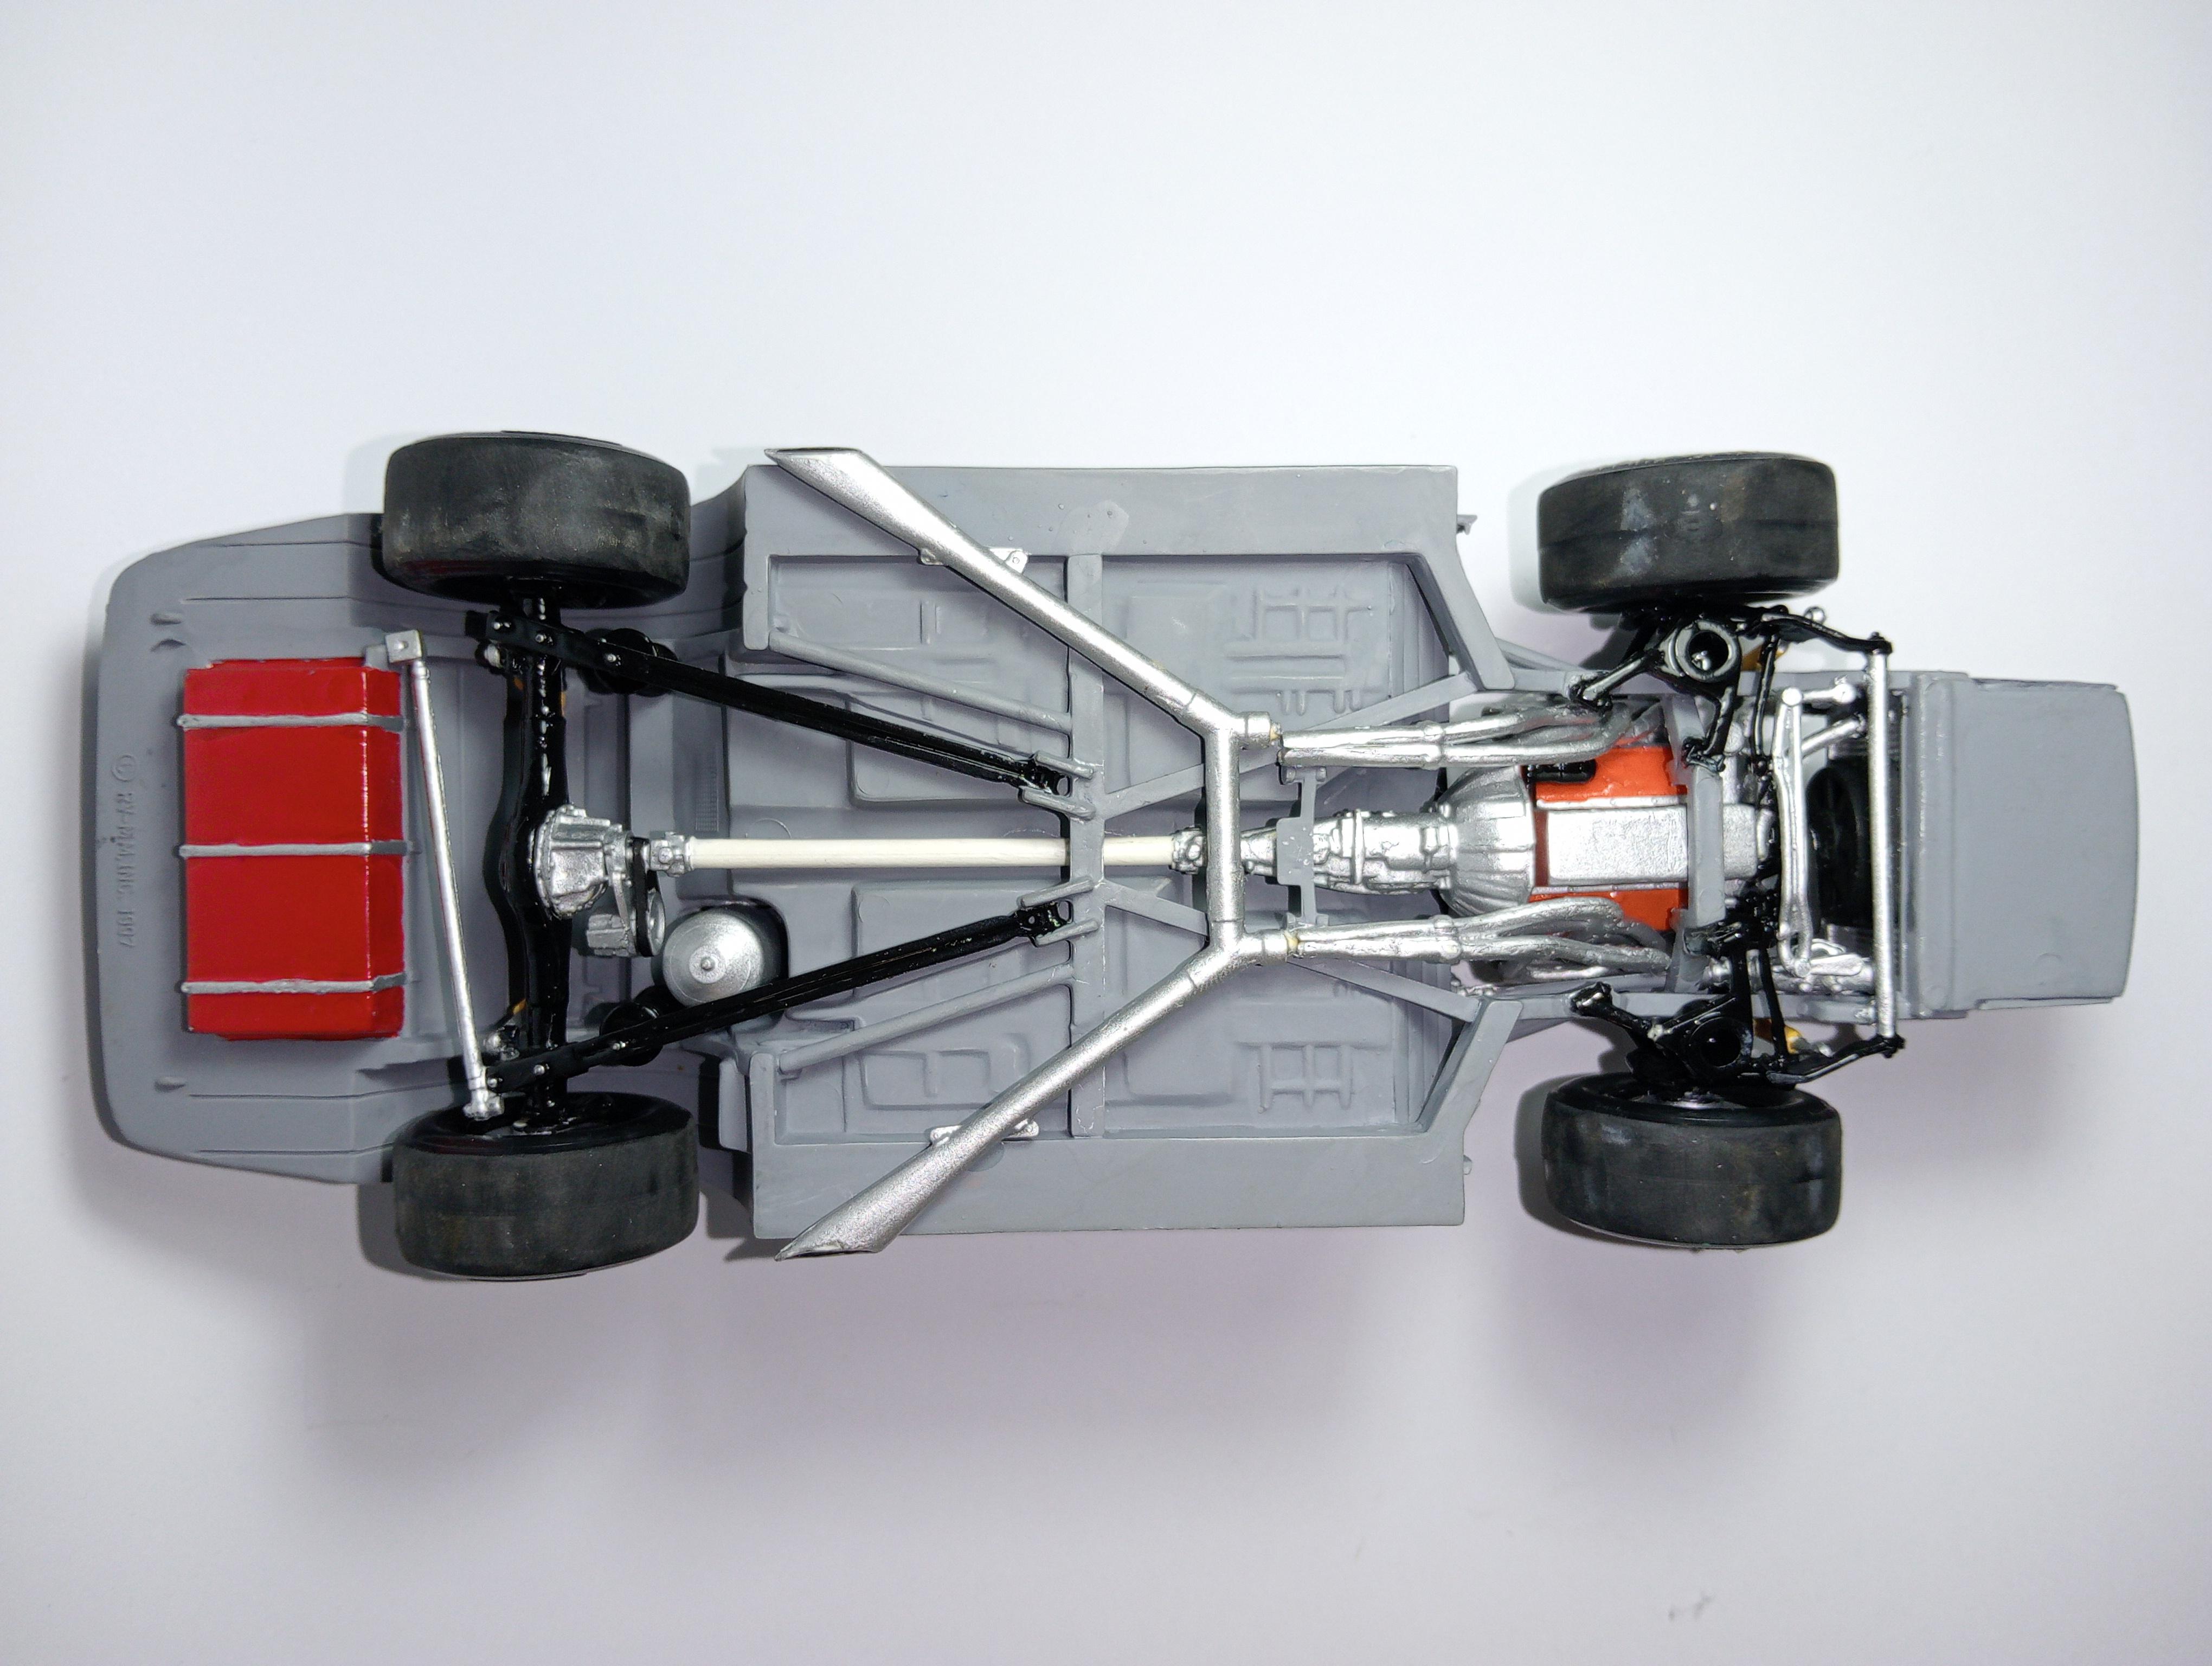
A few in progress shots of the chassis so far. The donor fuel tank from the Thunderbird and the firewall which I'm guessing maybe from the AMT USA1 Monster Truck. As always, questions, comments all most welcome. Thanks for looking 👍
-
I'm grateful I still have a few survivors left. Thanks for the comment 👍
-
Built this as a kid. Questions, comments and scathing criticisms all most welcome. Thanks for looking 👍
-
AMT 69 Torino Cobra.
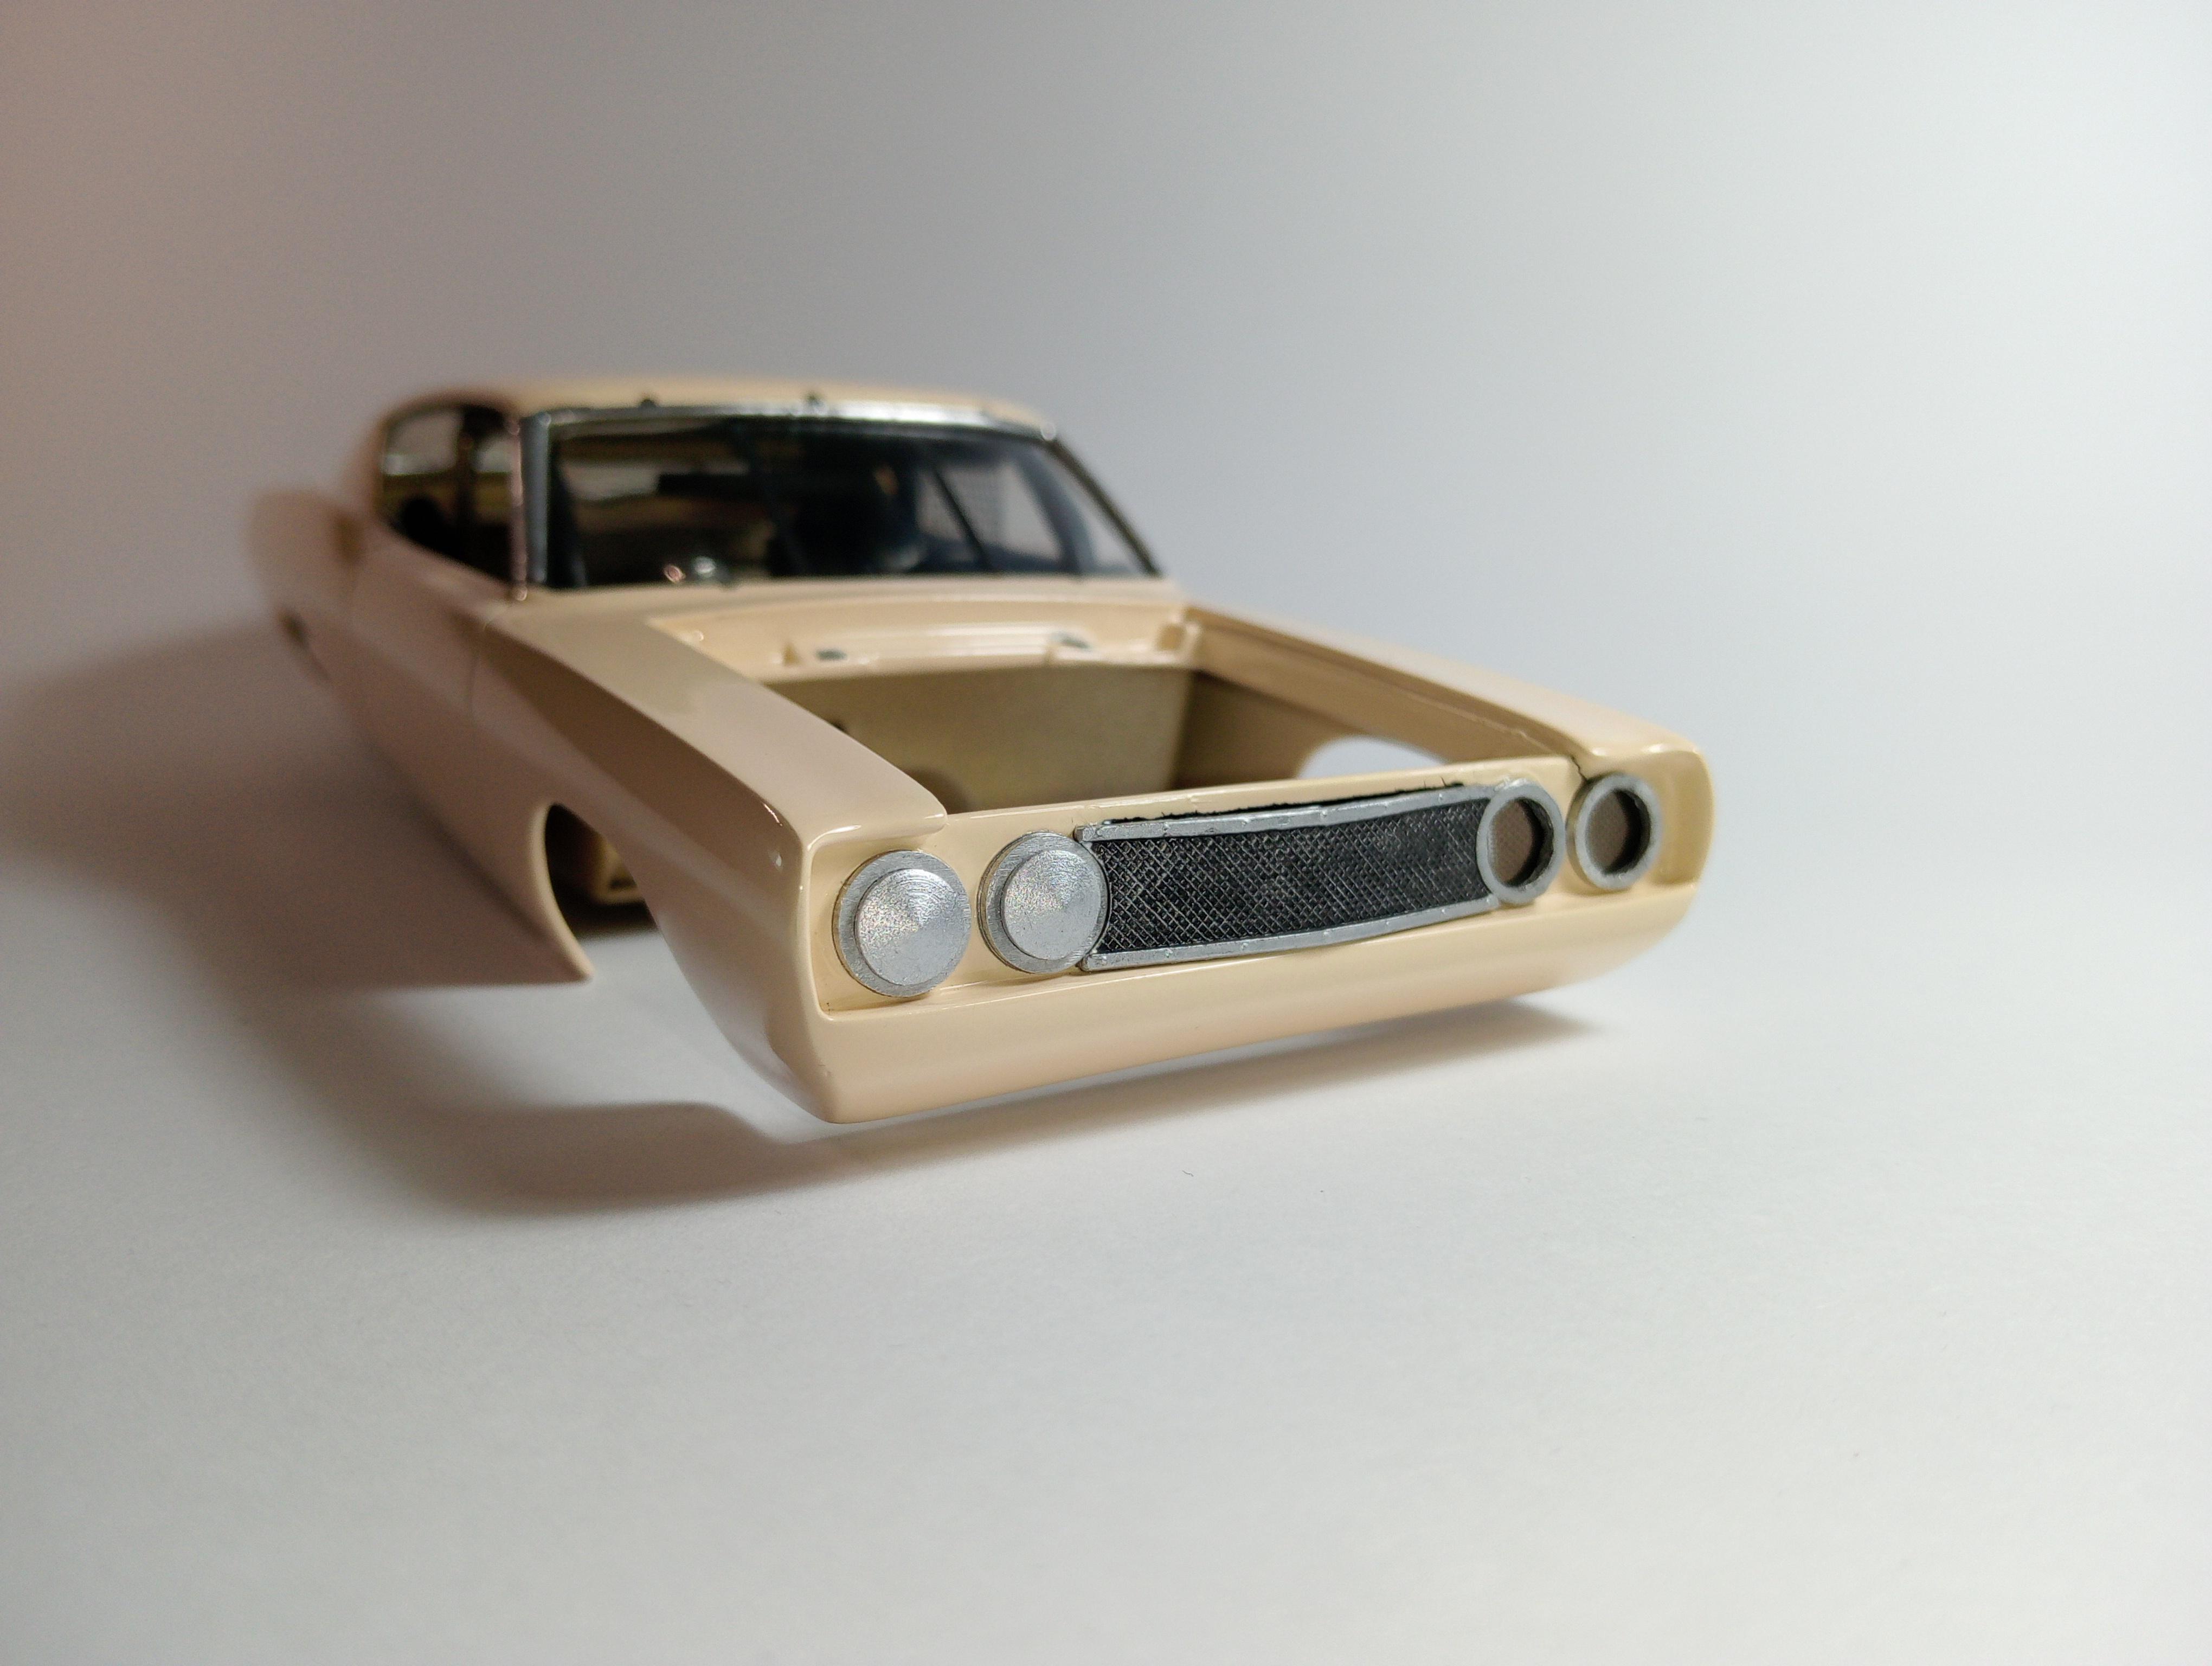
Leon Cream replied to Leon Cream's topic in WIP: Stock Cars (NASCAR, Super Stock, Late Model, etc.)
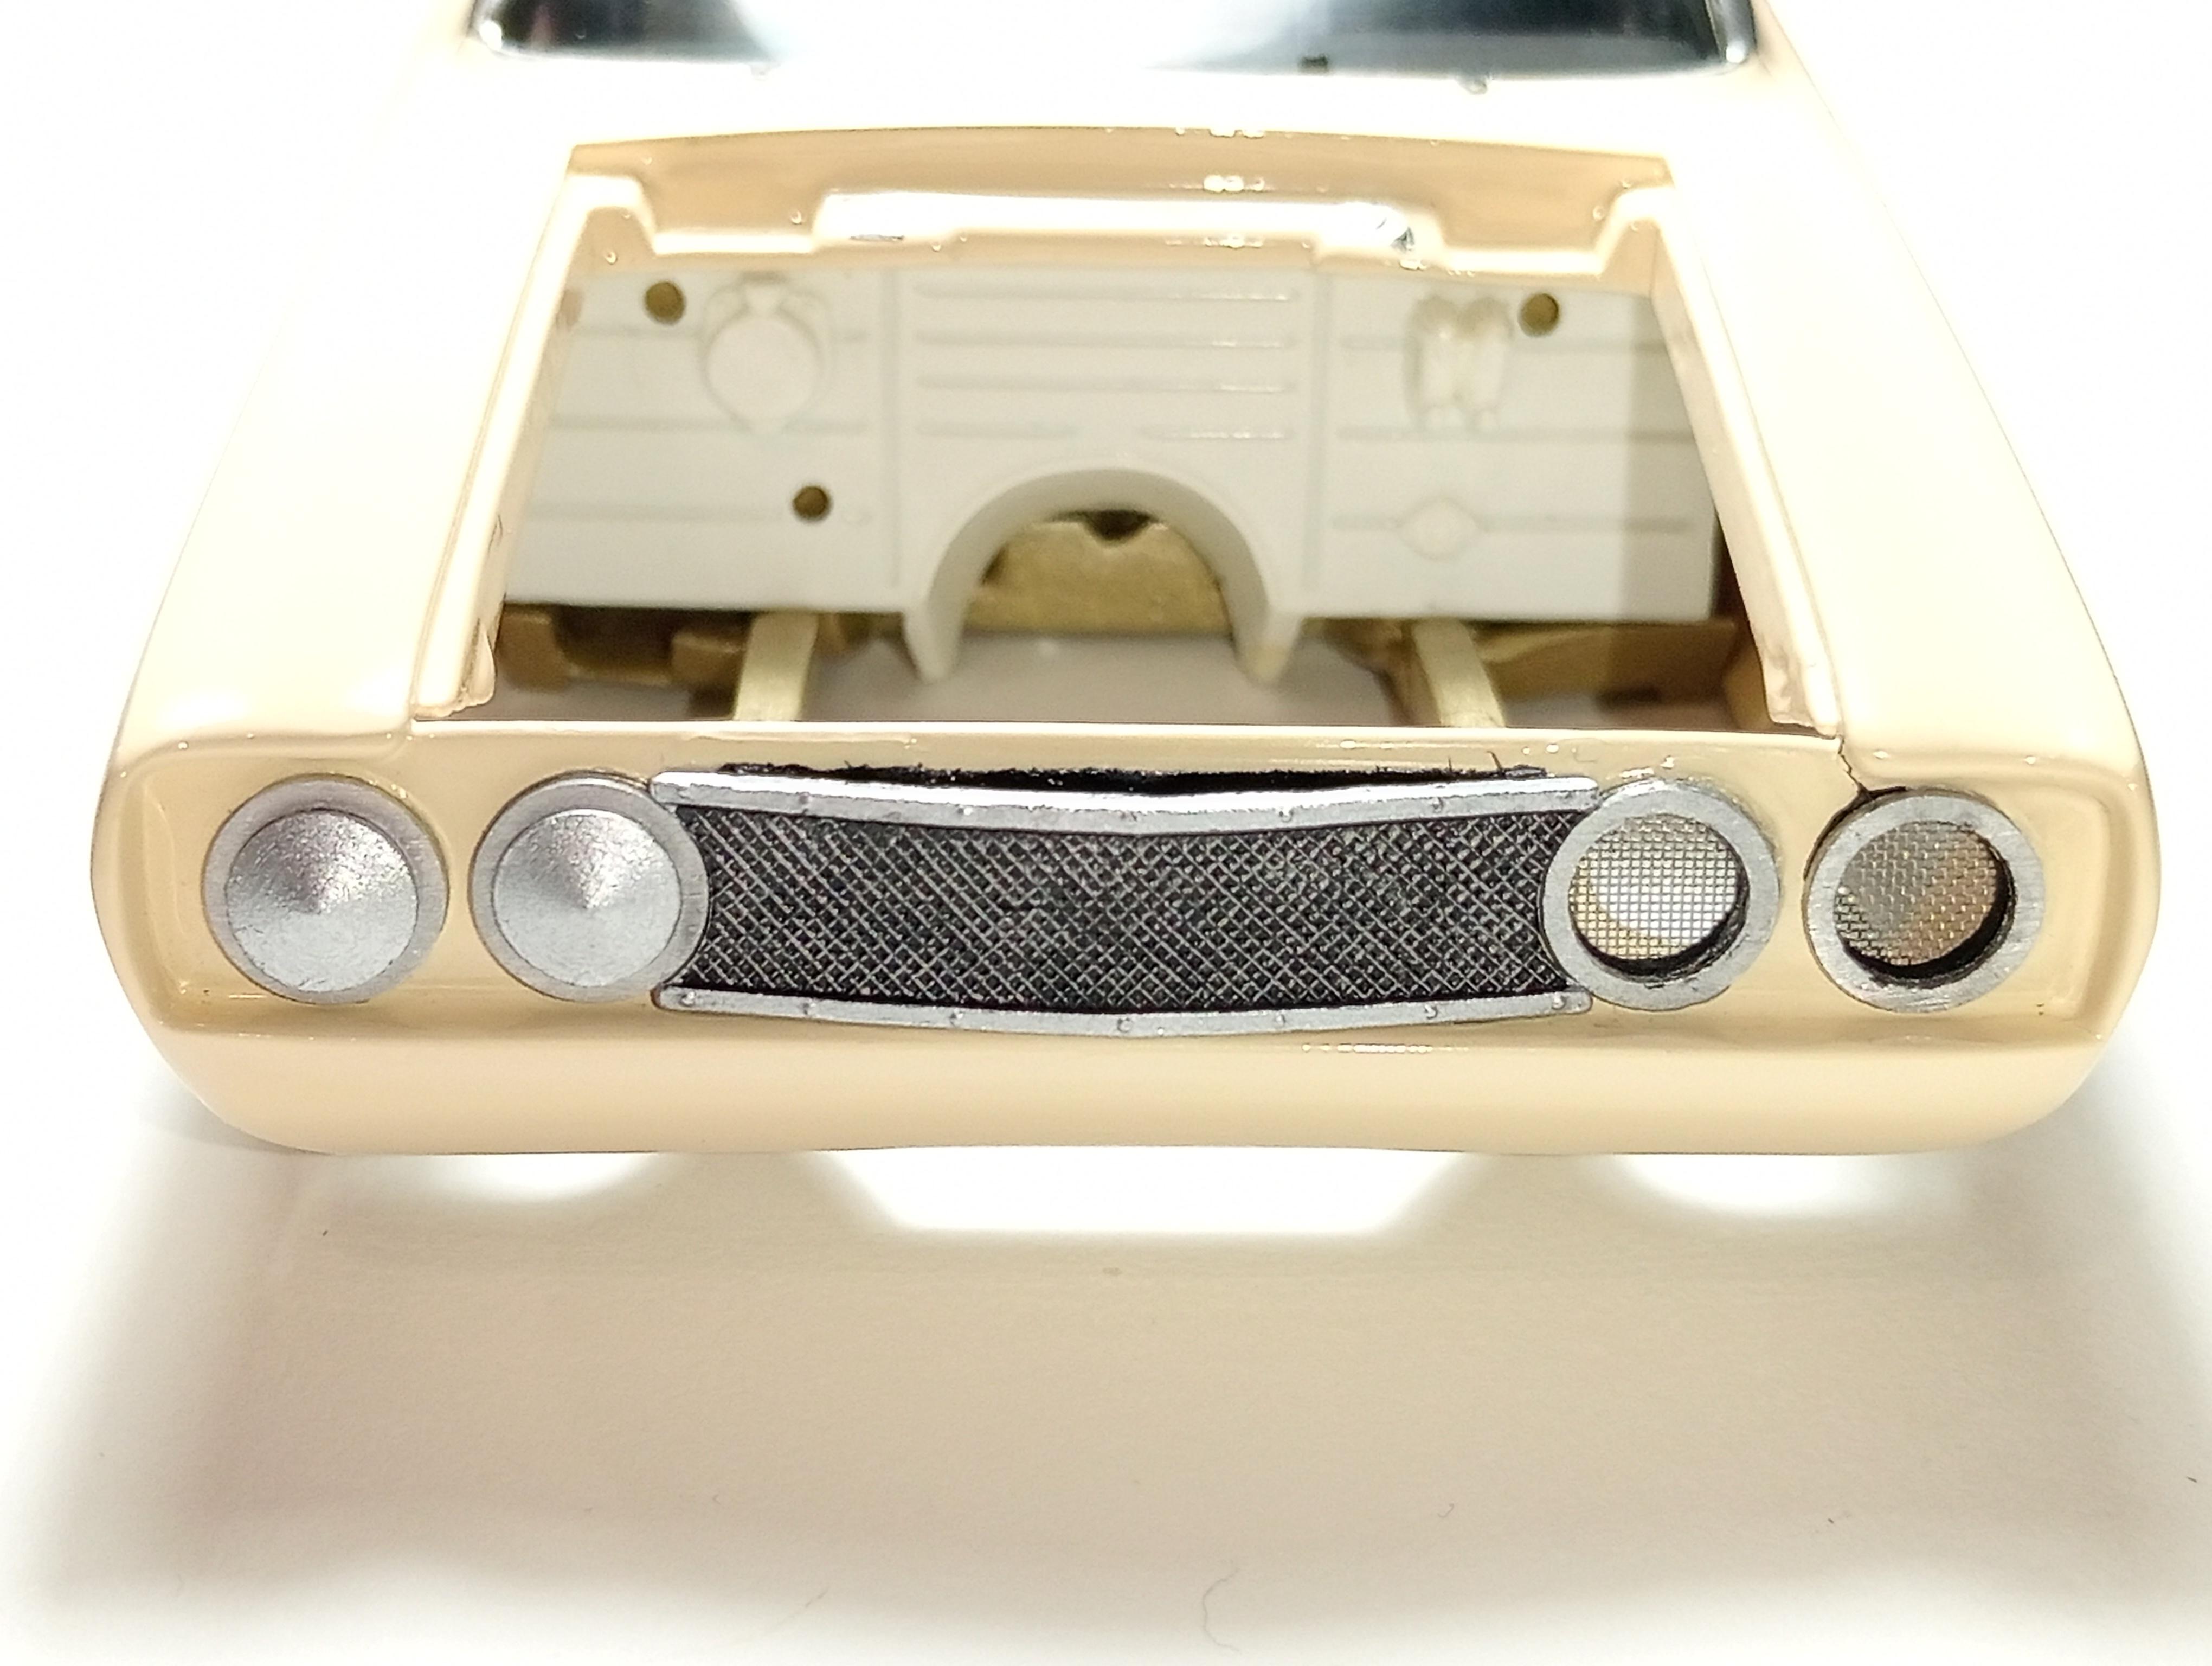
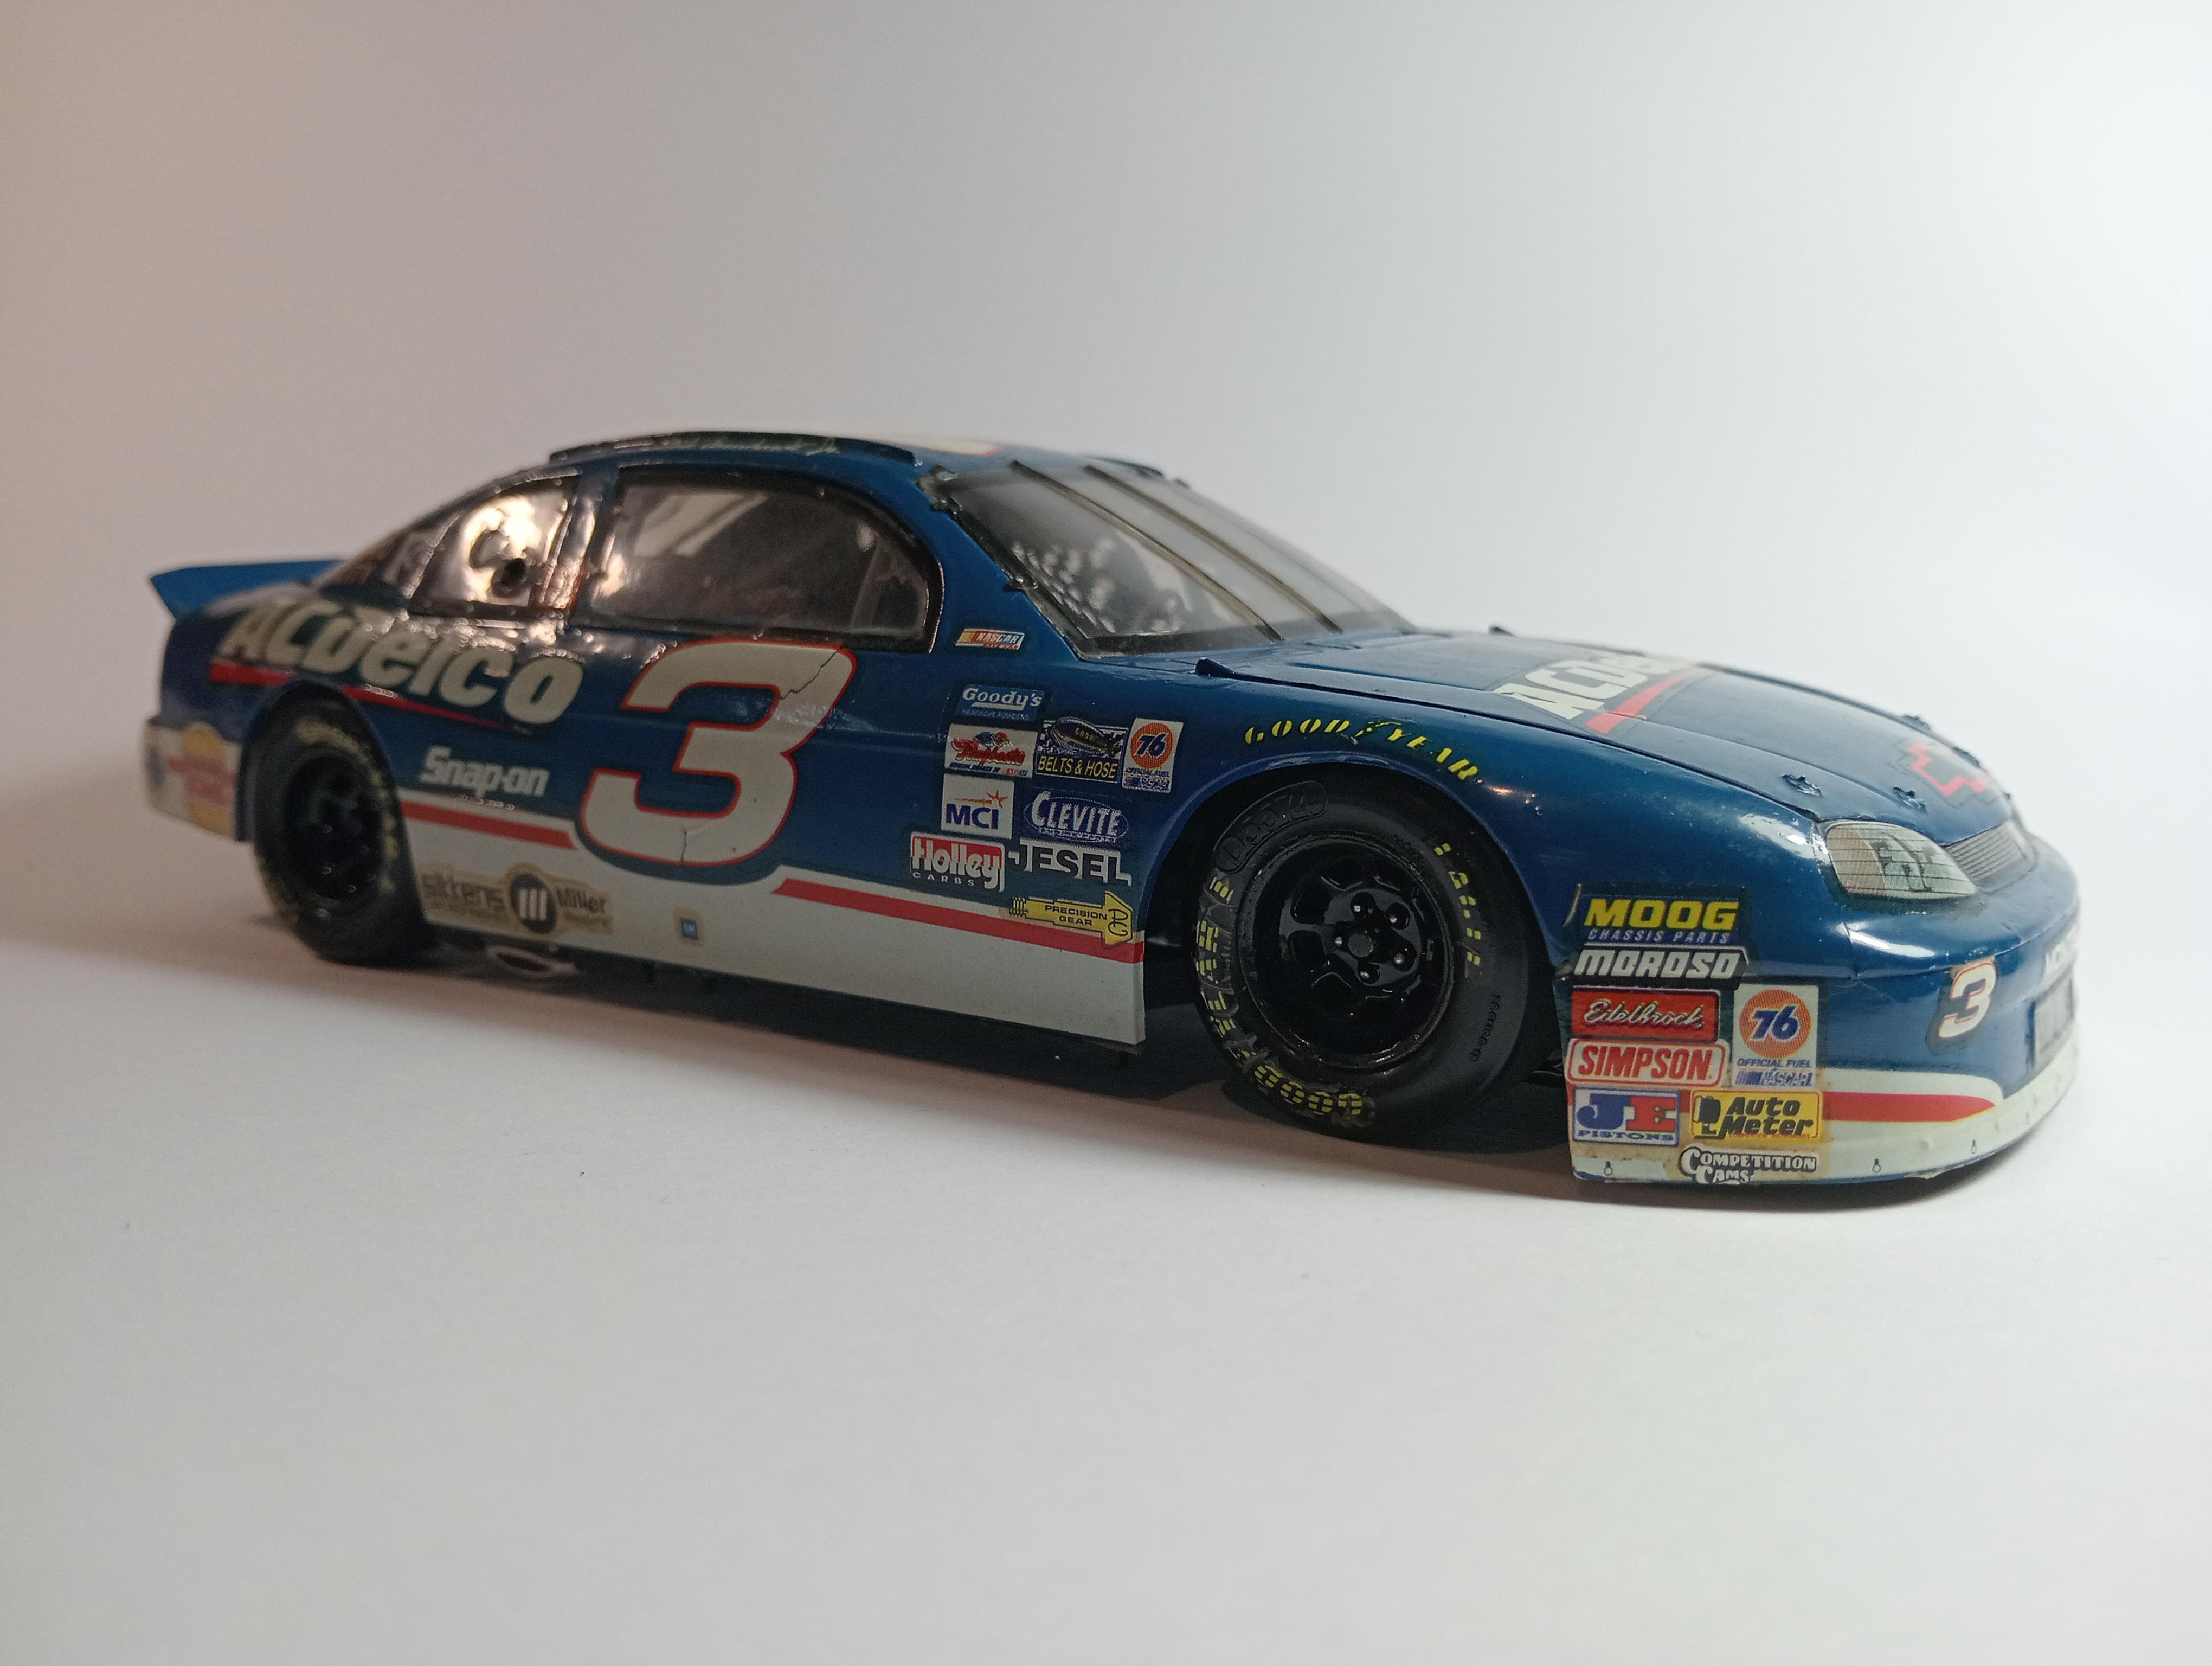
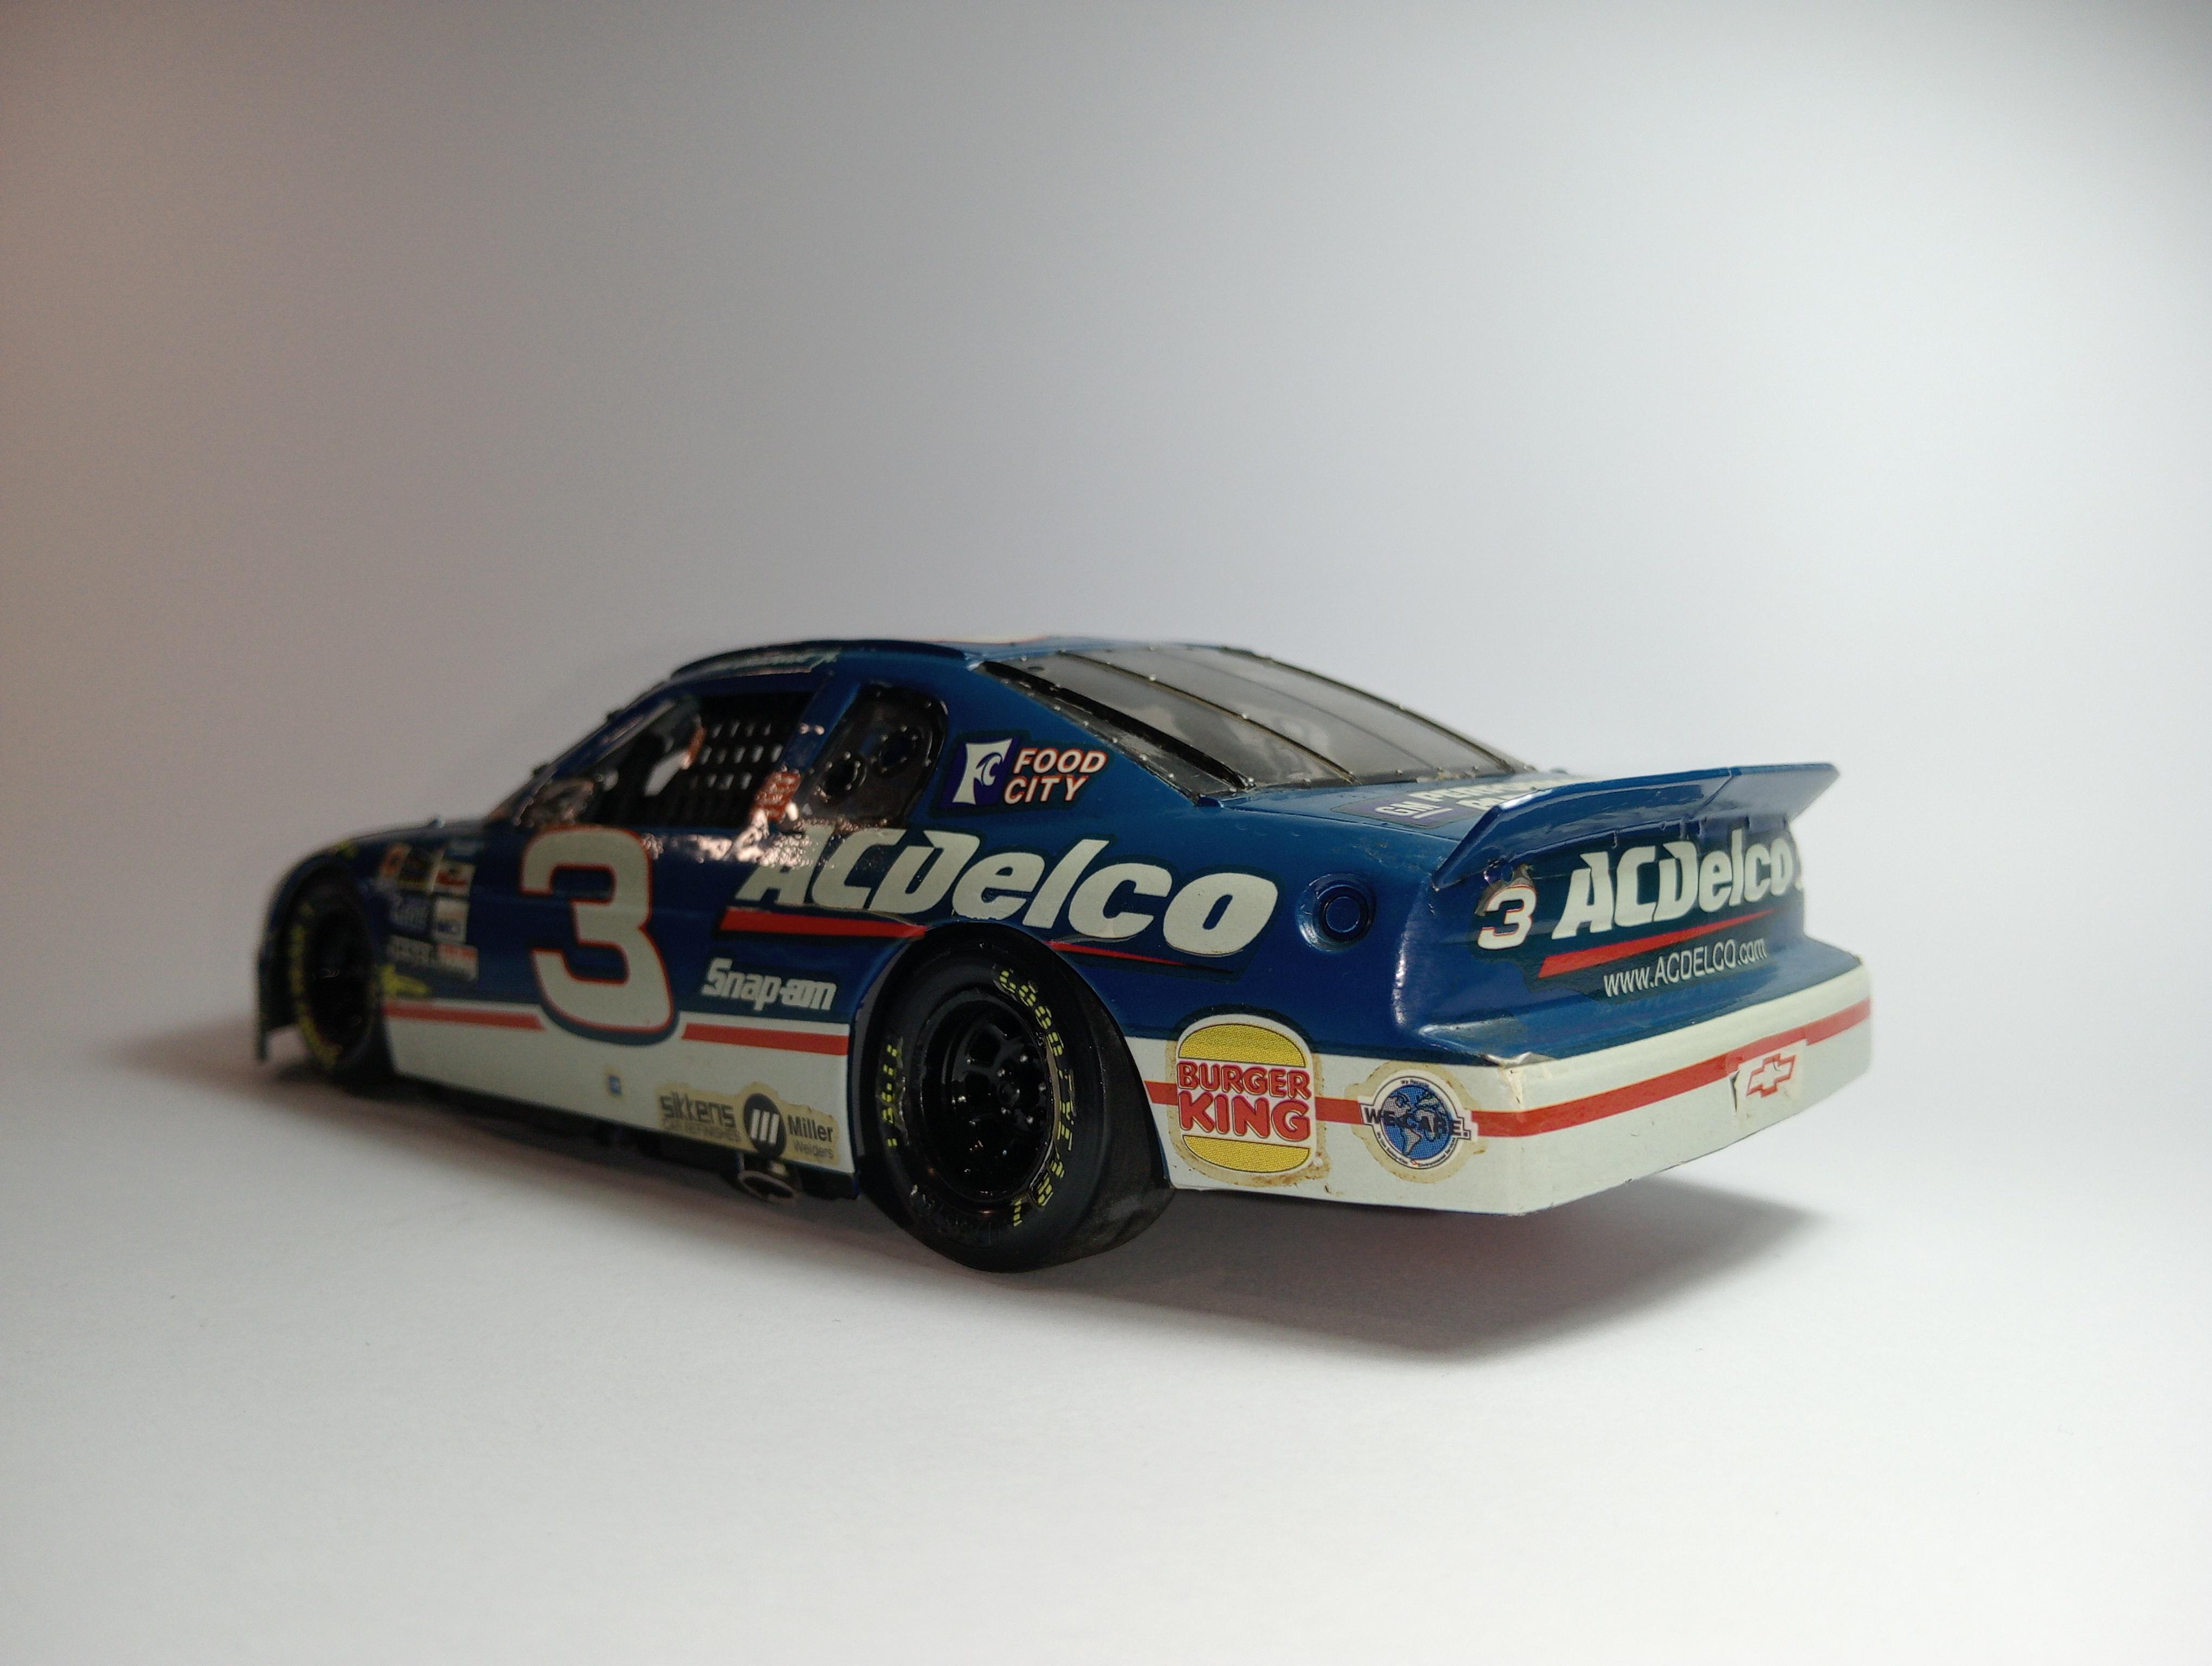
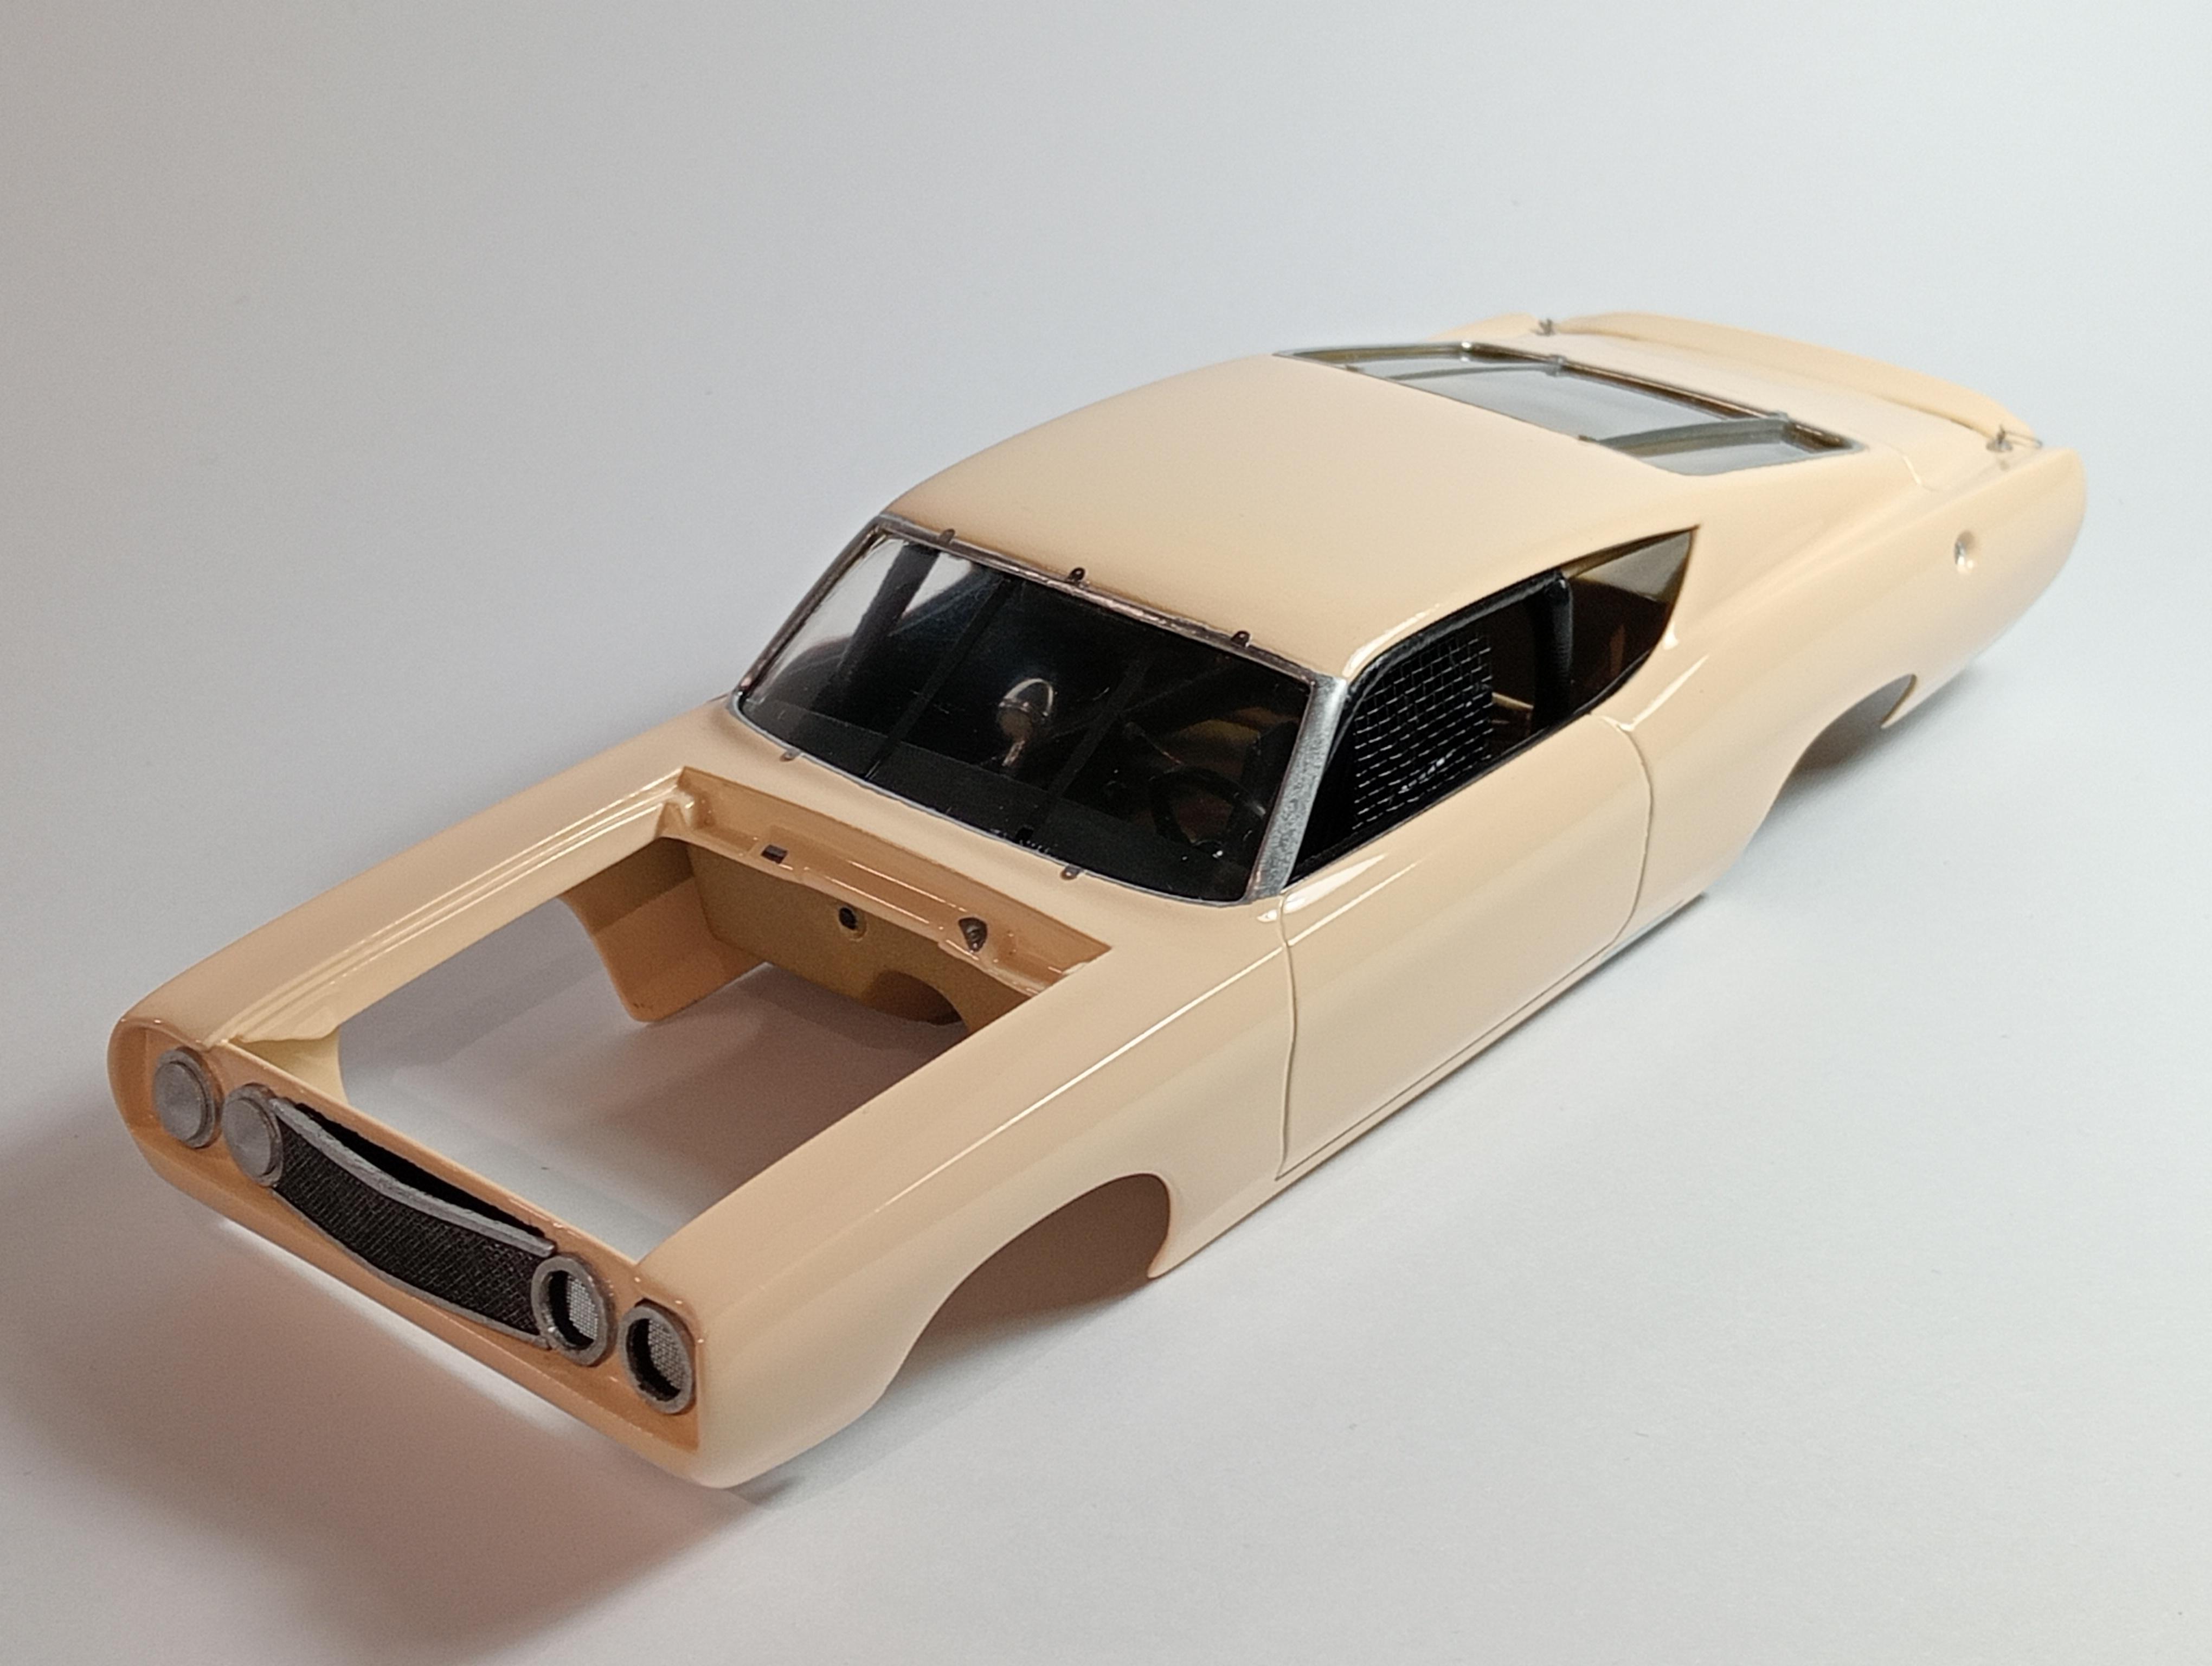
Going to call the body shell done. As before, mostly the kit pieces with some details added and attempts at minor scratch building, opened up the wheel arches, deleted door handles etc. The front and rear chrome pieces were missing so the bumpers etc are just styrene sheet and Tamiya filler. Questions and comments most welcome. Thanks for looking 👍
-
AMT 69 Torino Cobra.
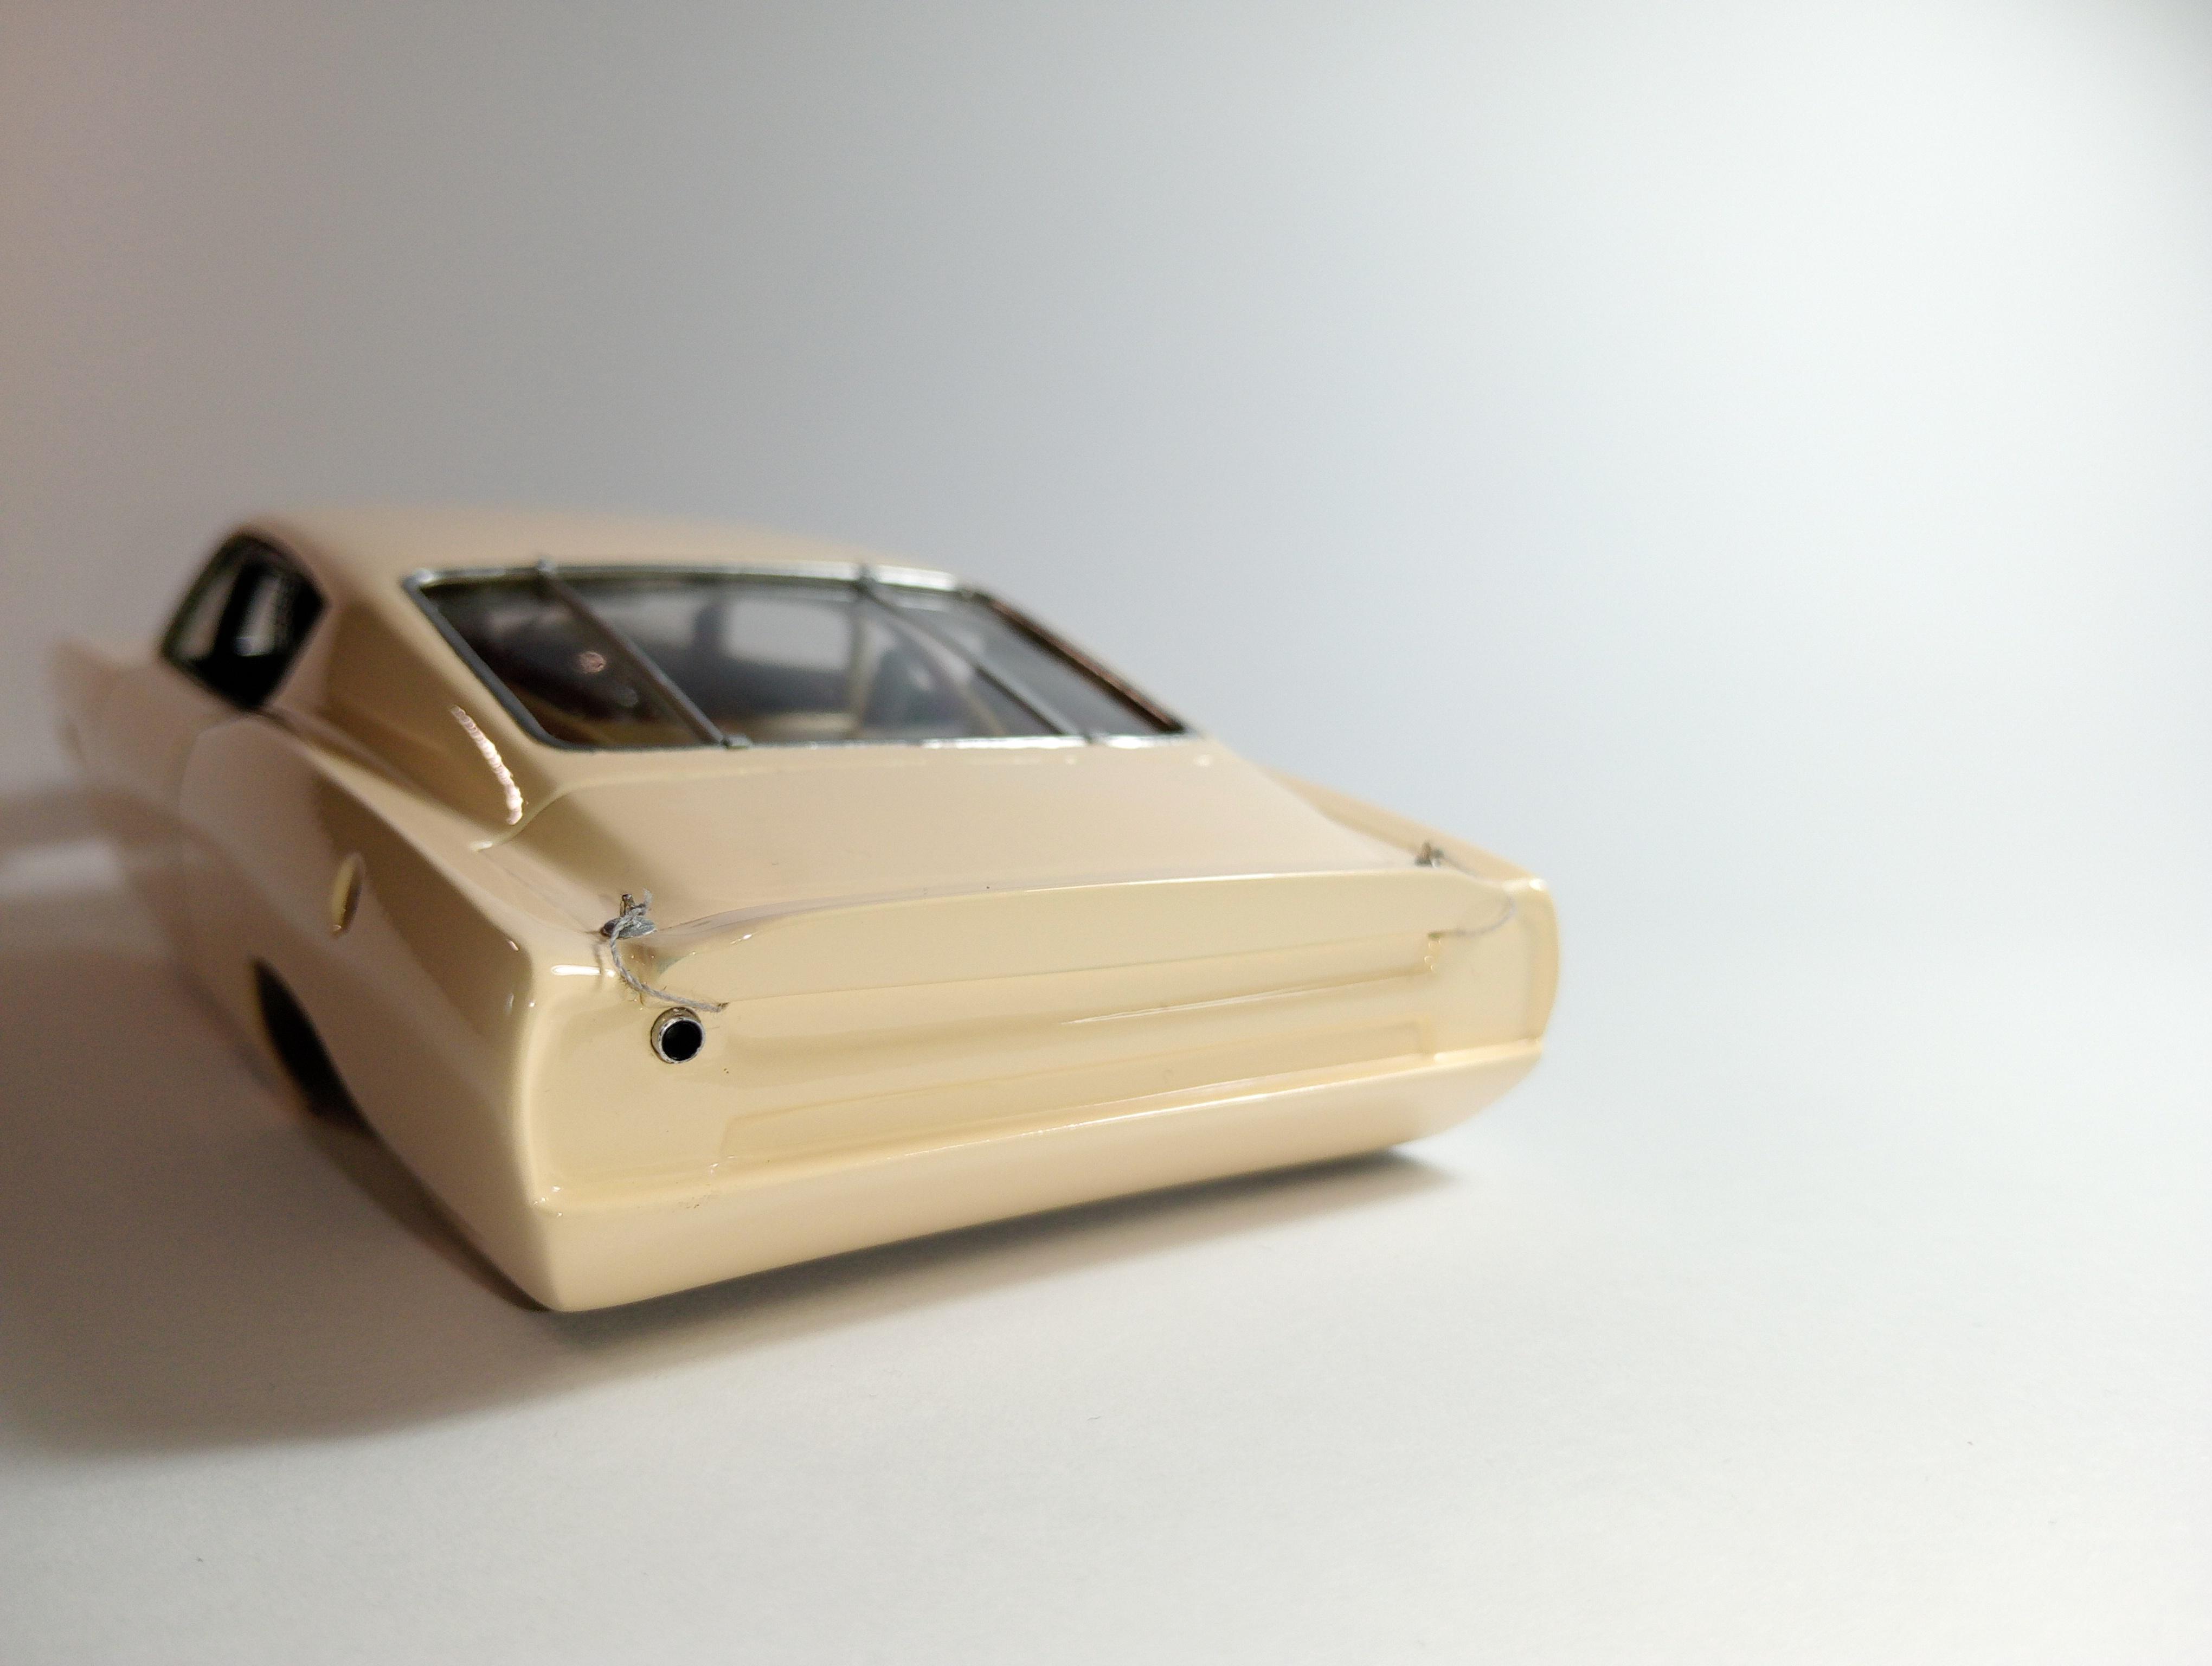
Leon Cream replied to Leon Cream's topic in WIP: Stock Cars (NASCAR, Super Stock, Late Model, etc.)
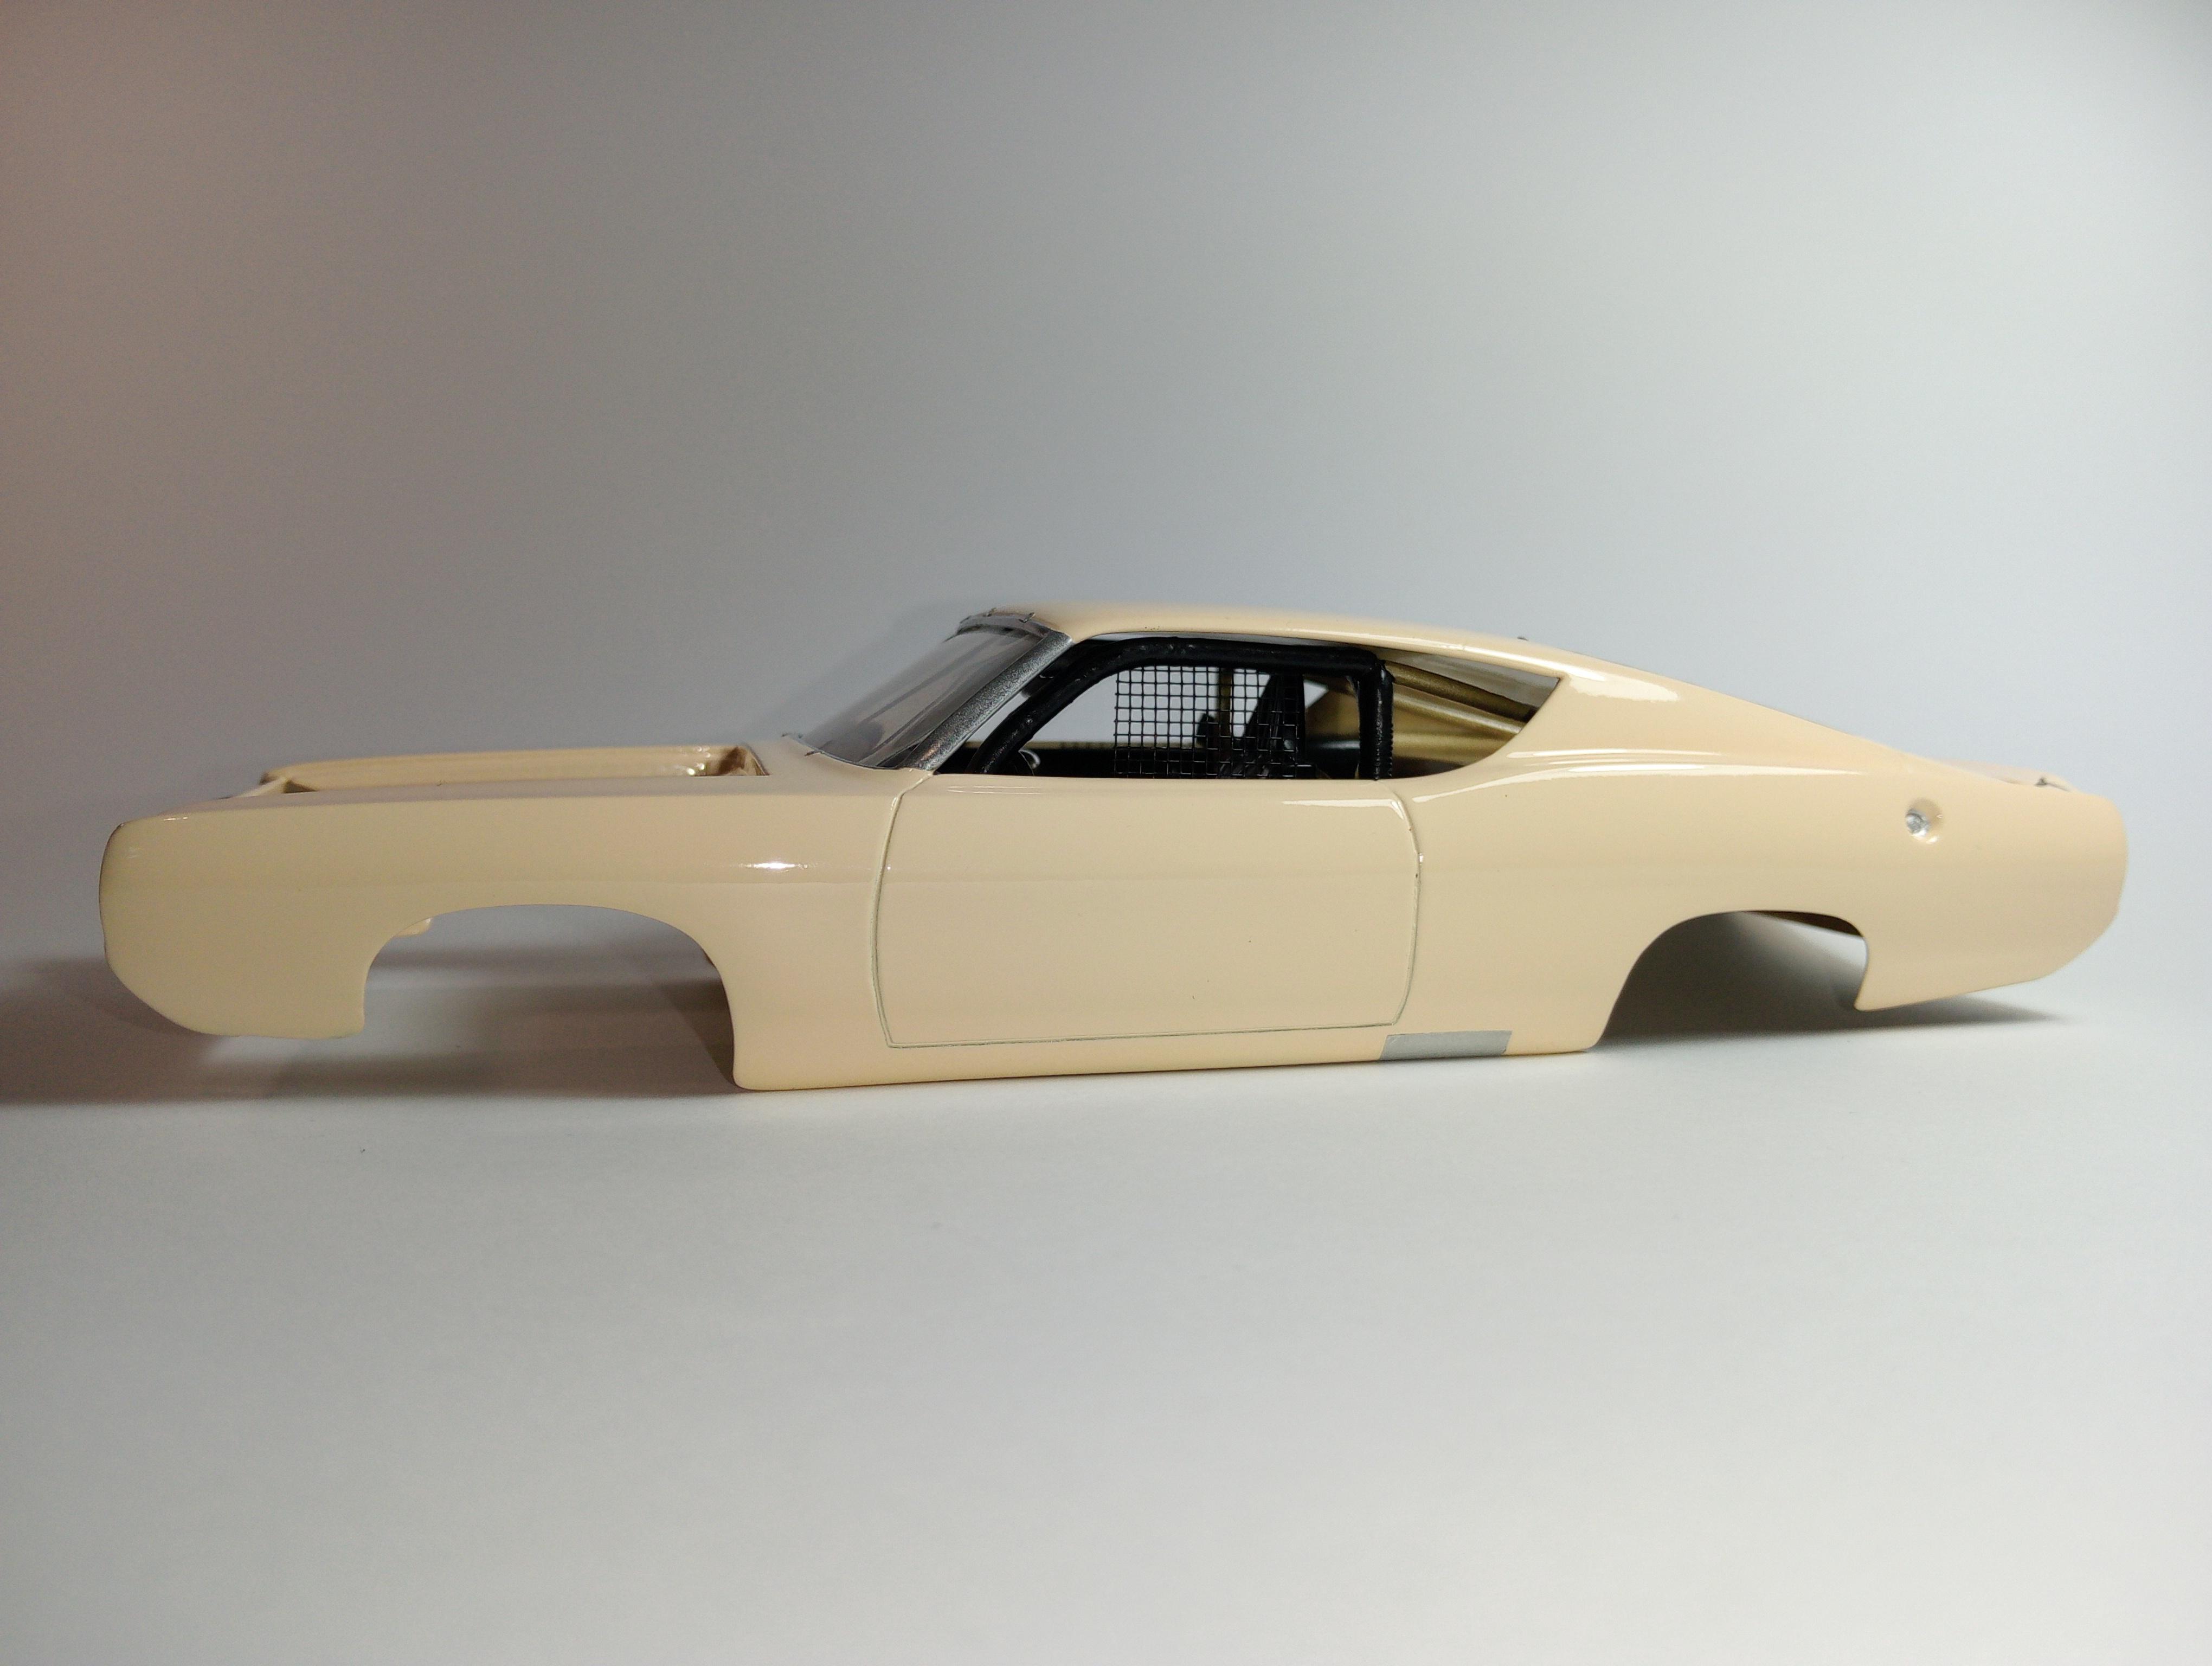
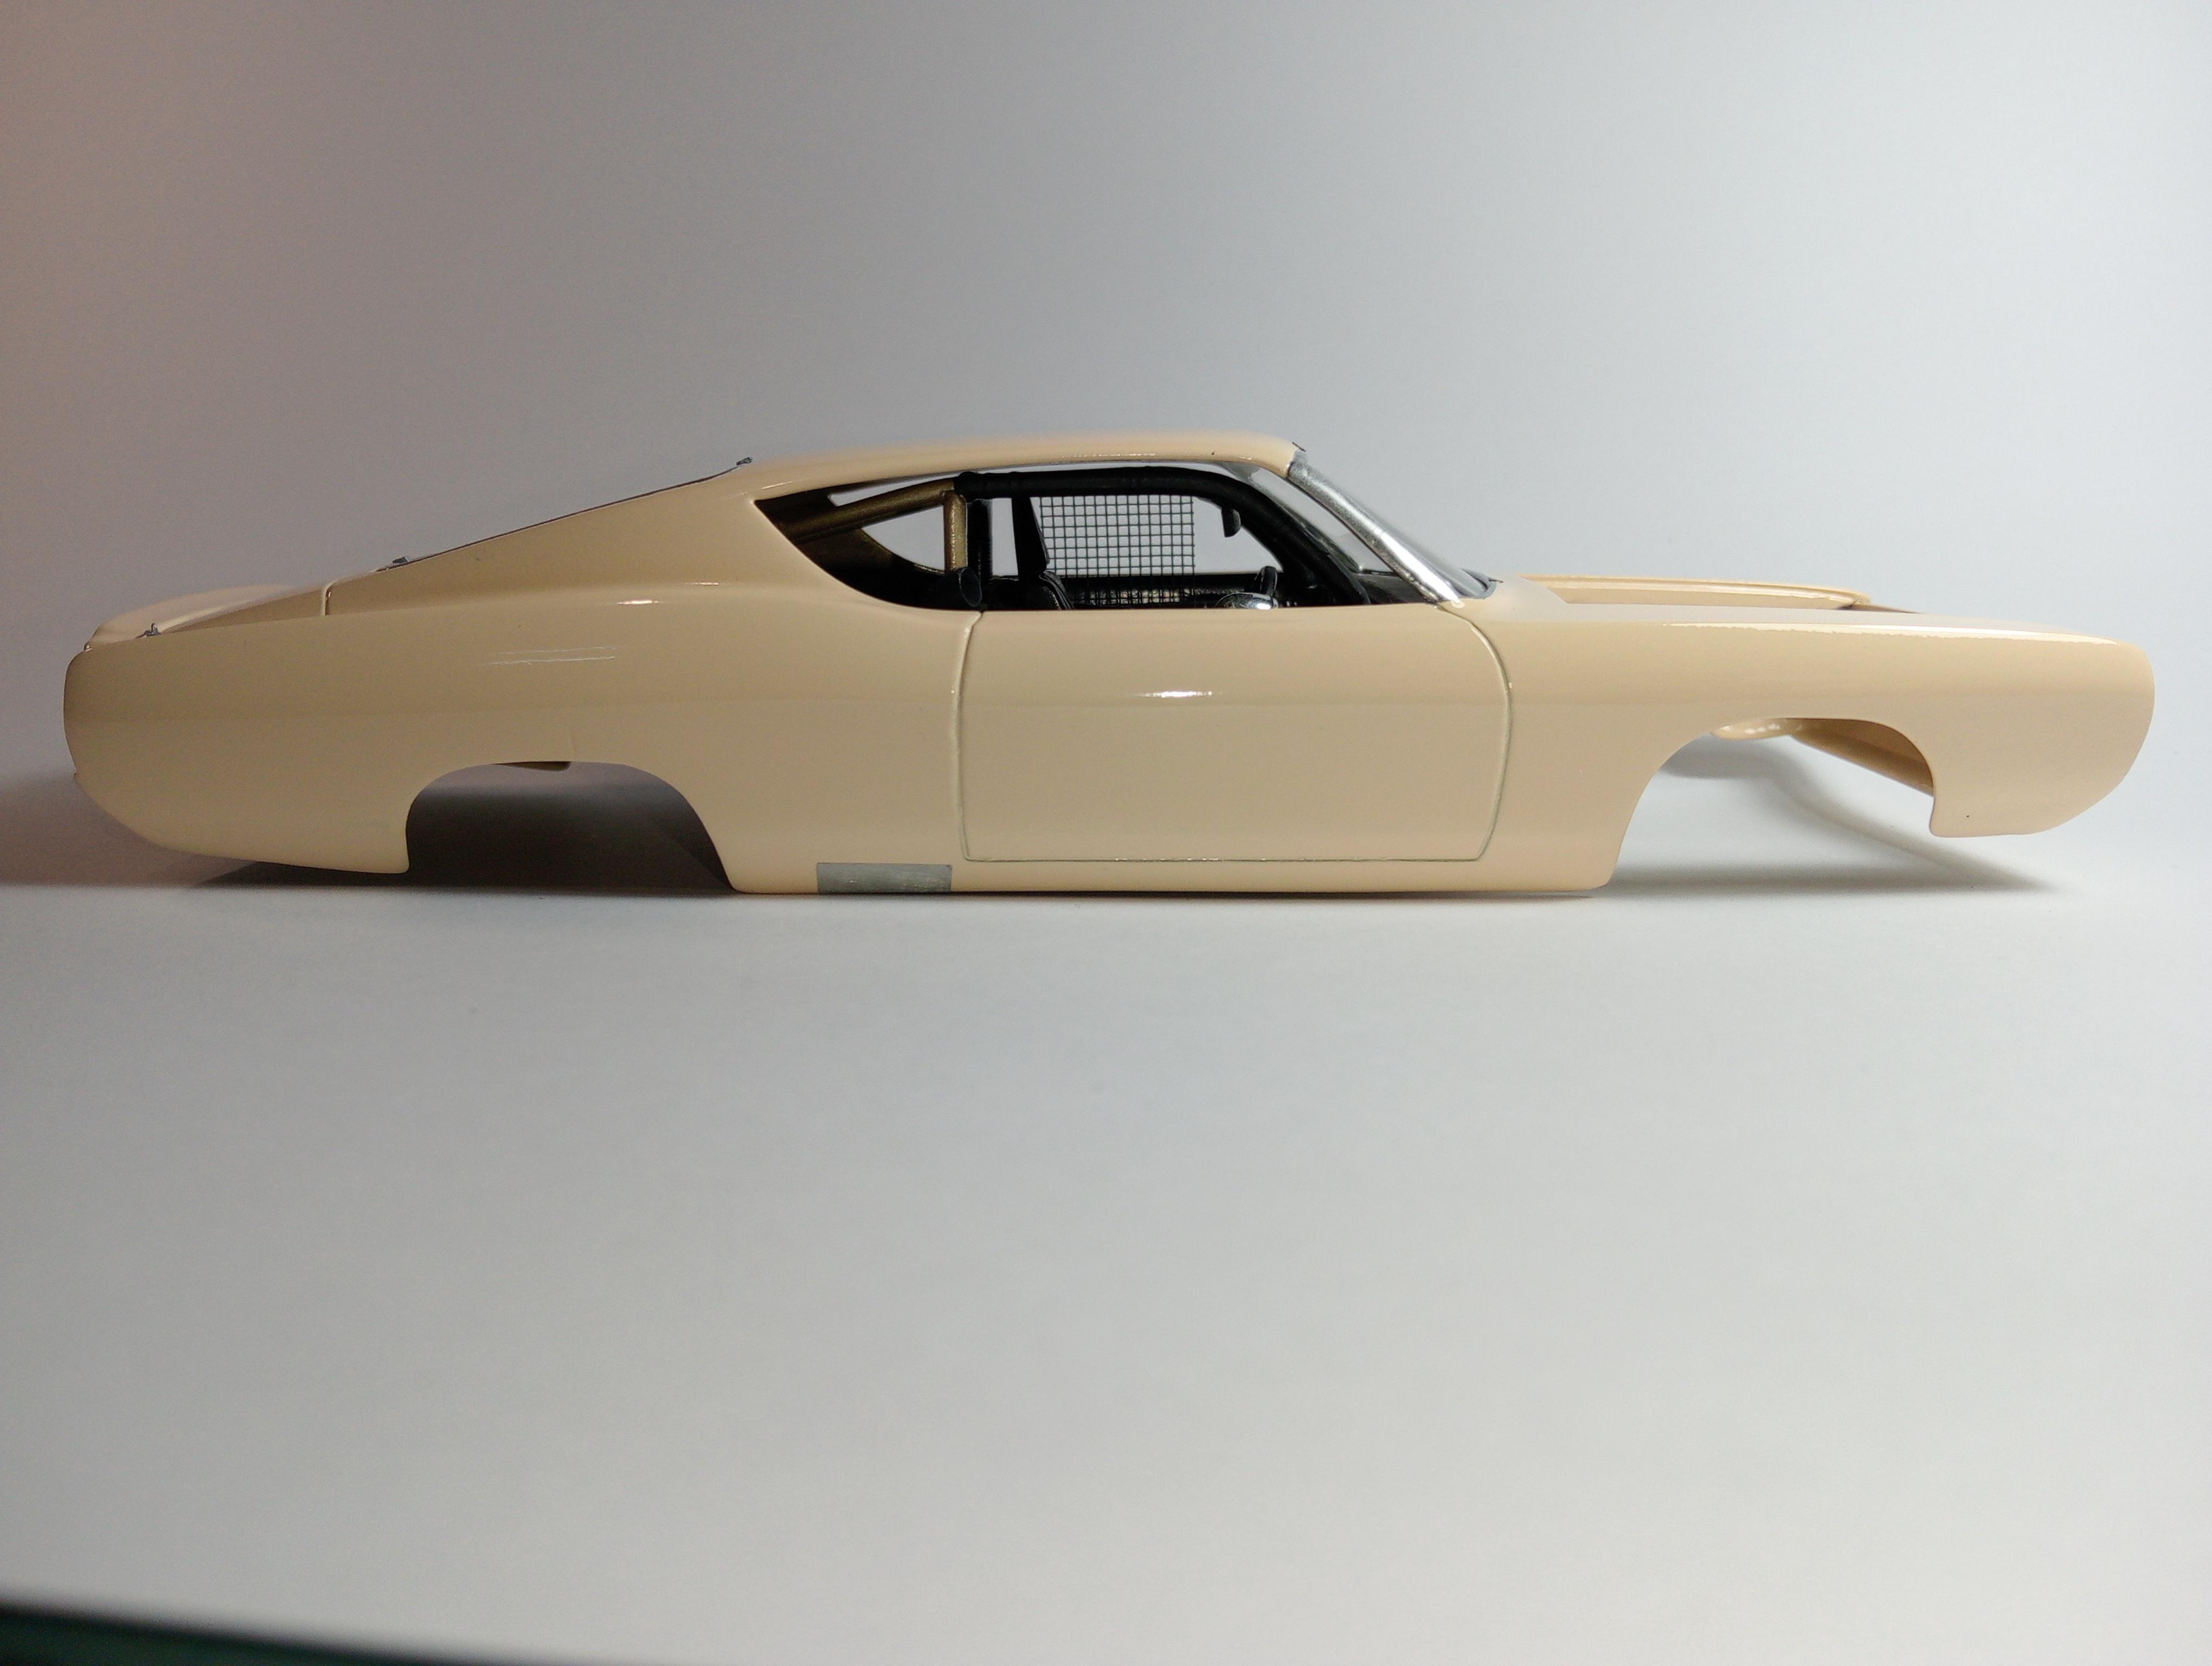
Fitted the glass, body shell is nearly done, this thing was so bad I had to fit the glass on an angle to hide the glue burn. She's a bit rough 😎
-
AMT 69 Torino Cobra.
Leon Cream replied to Leon Cream's topic in WIP: Stock Cars (NASCAR, Super Stock, Late Model, etc.)
Thanks mate👍 -
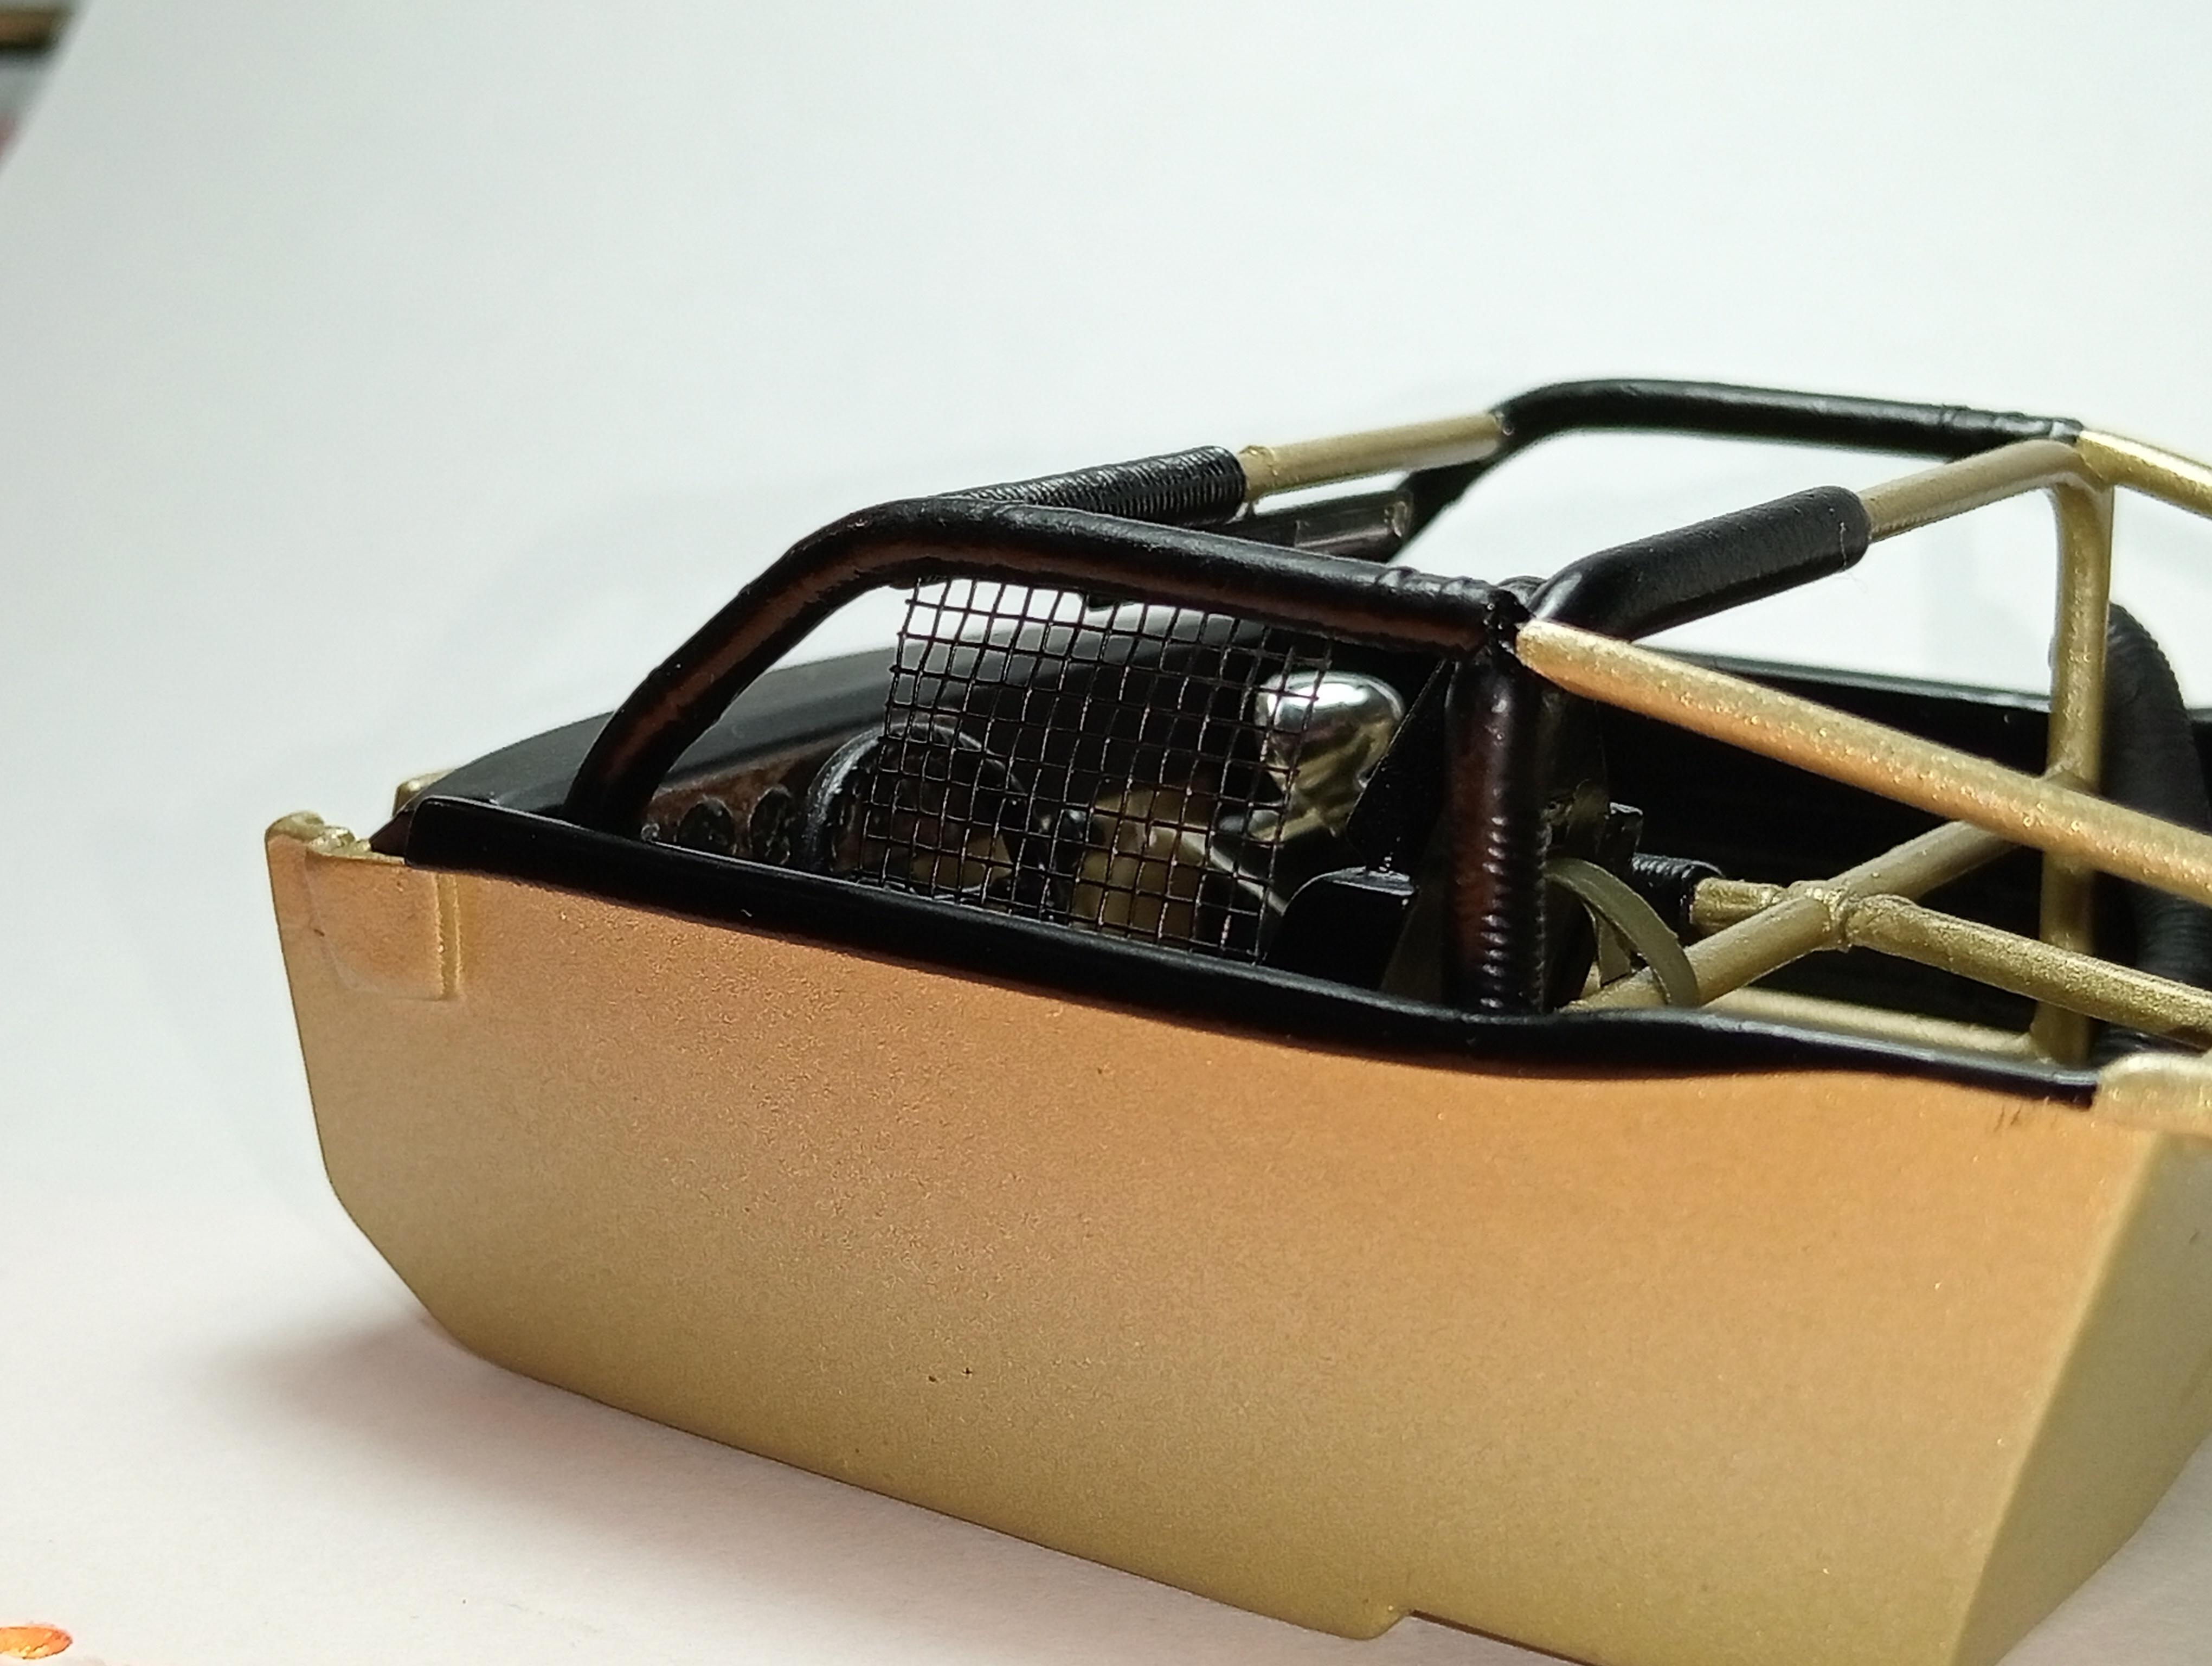
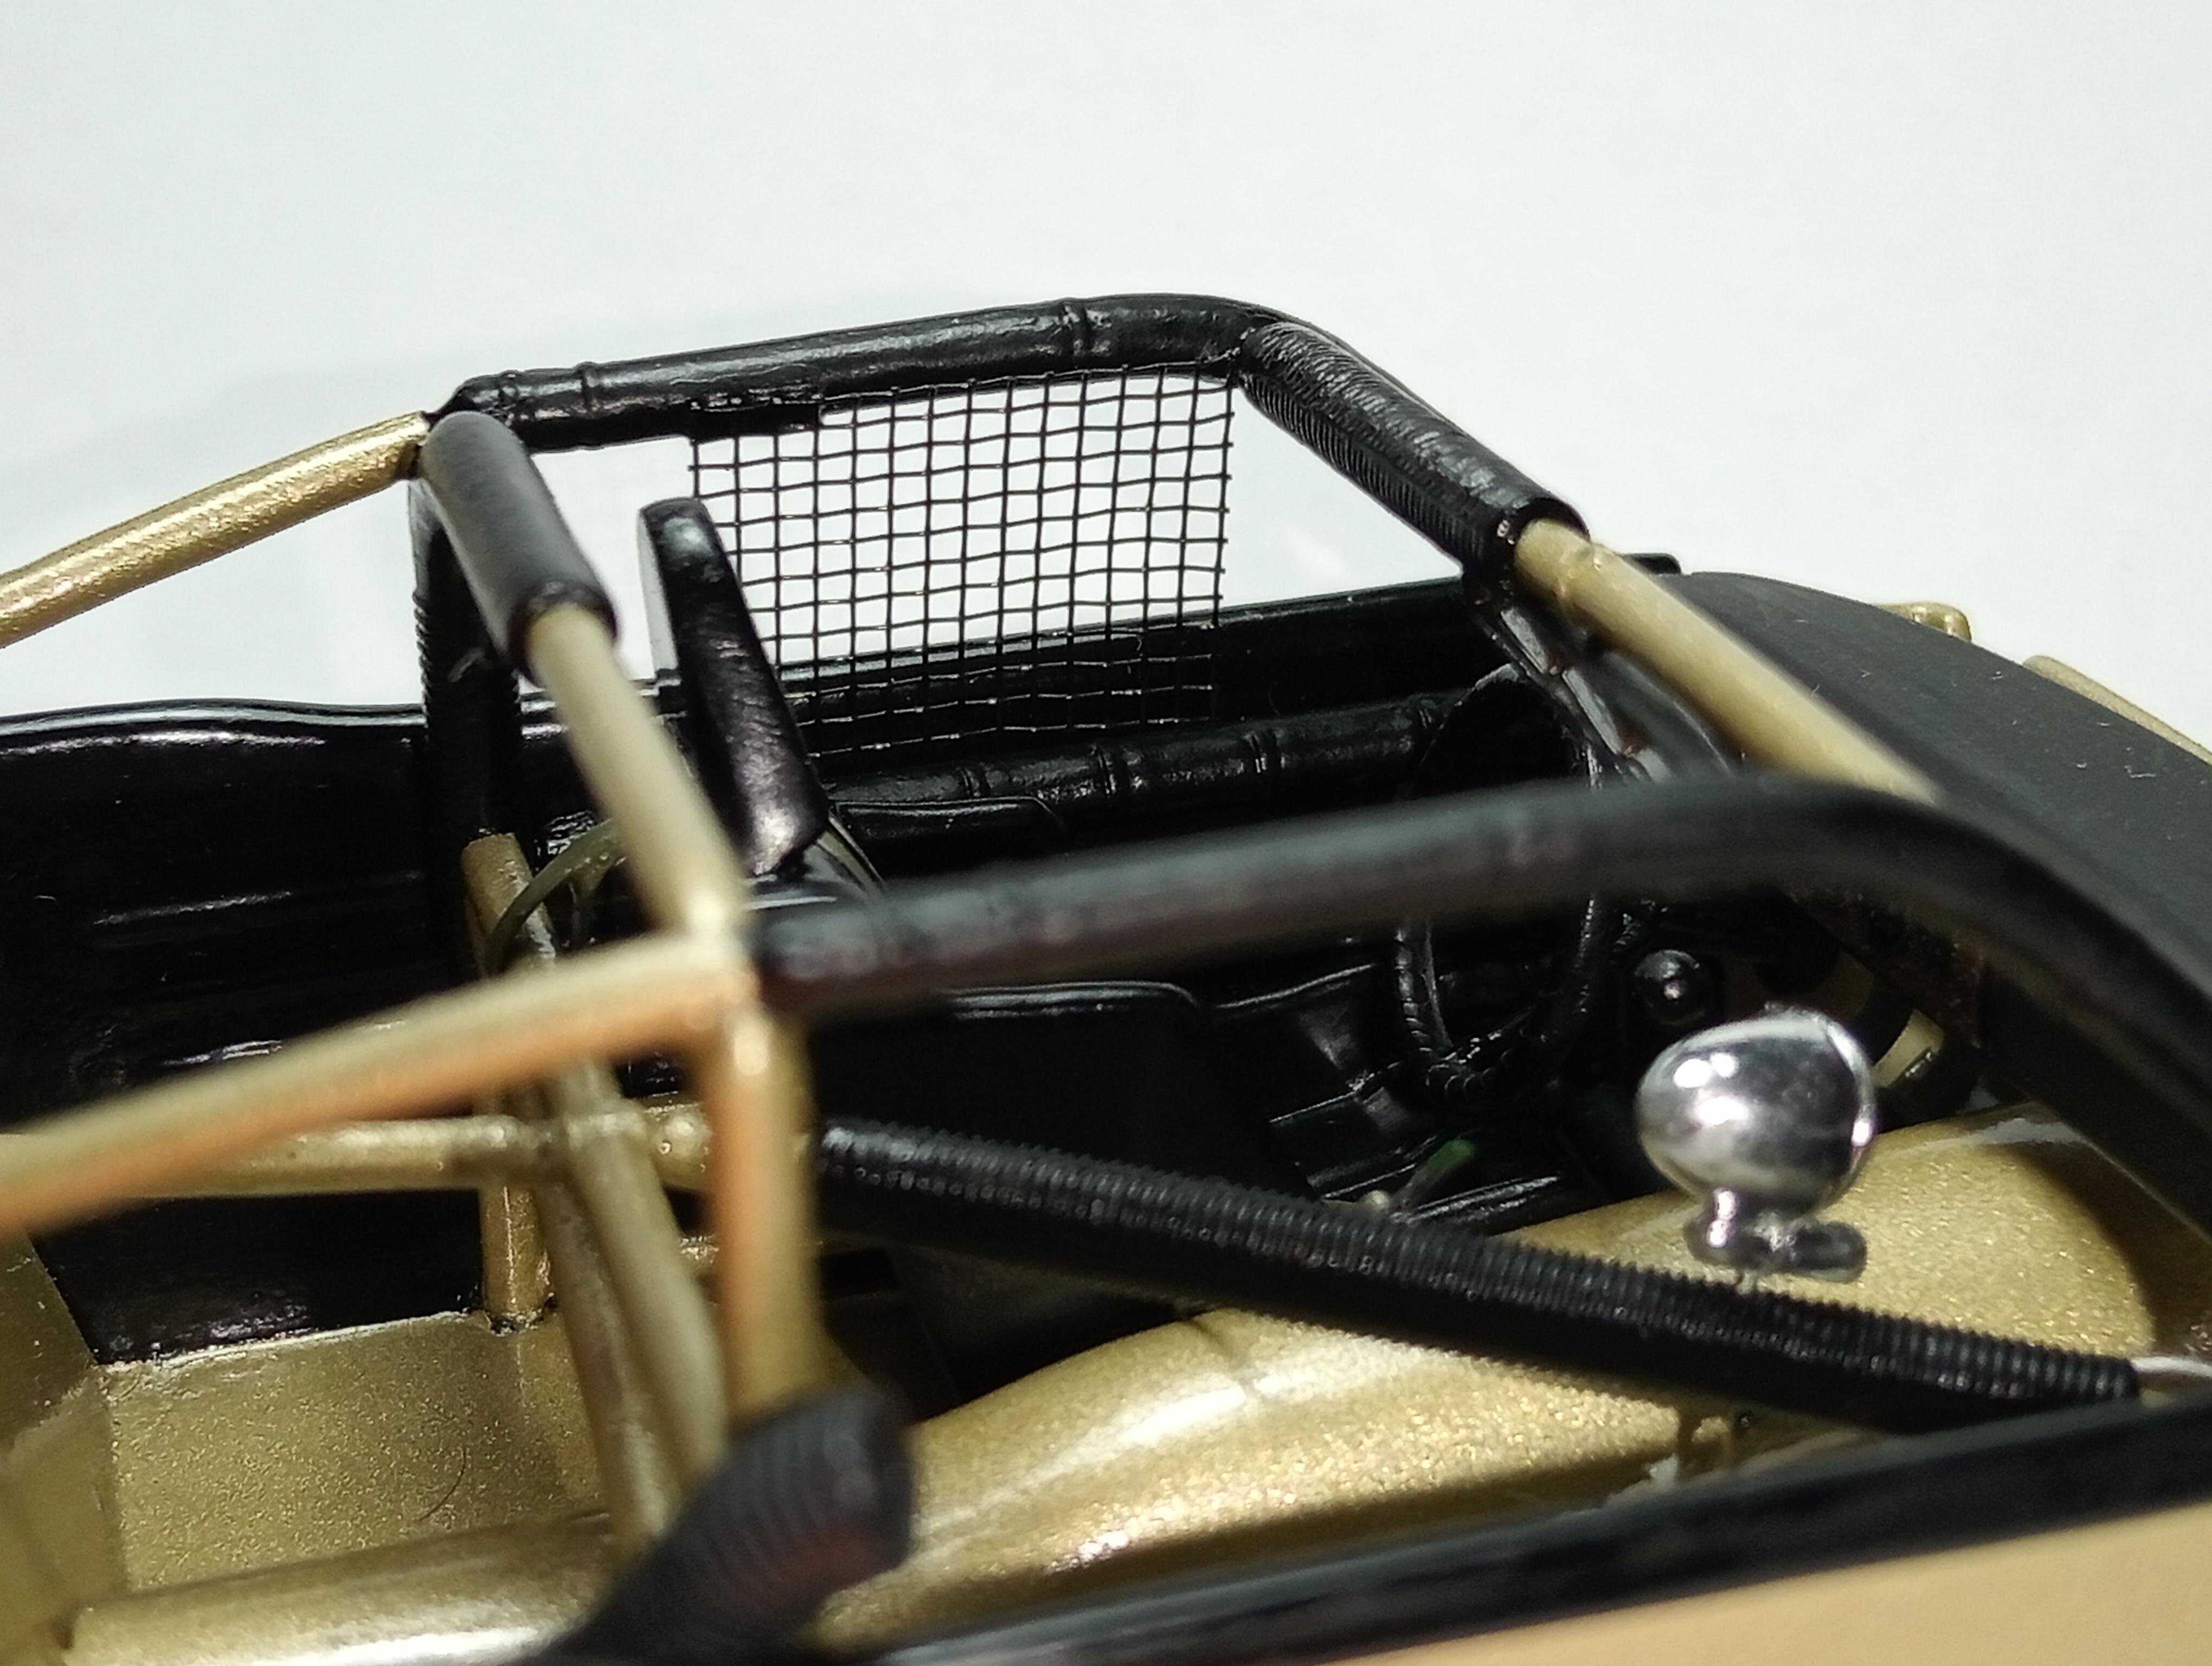
AMT 69 Torino Cobra.
Leon Cream replied to Leon Cream's topic in WIP: Stock Cars (NASCAR, Super Stock, Late Model, etc.)
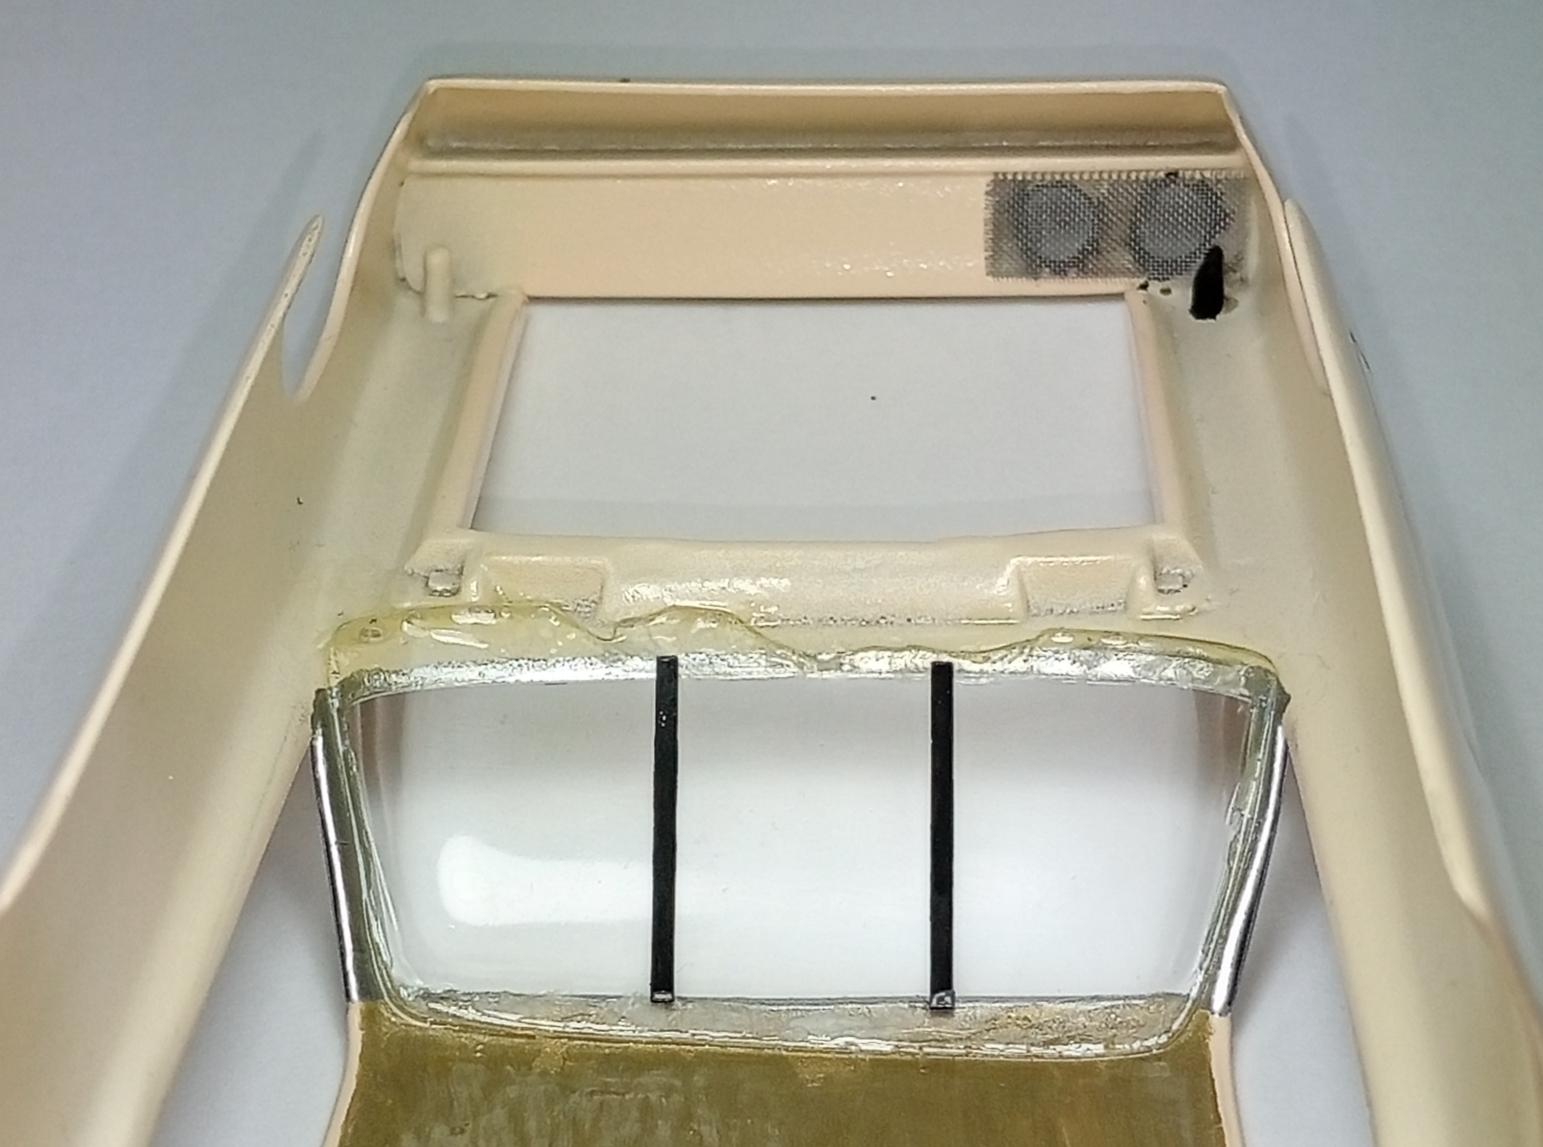
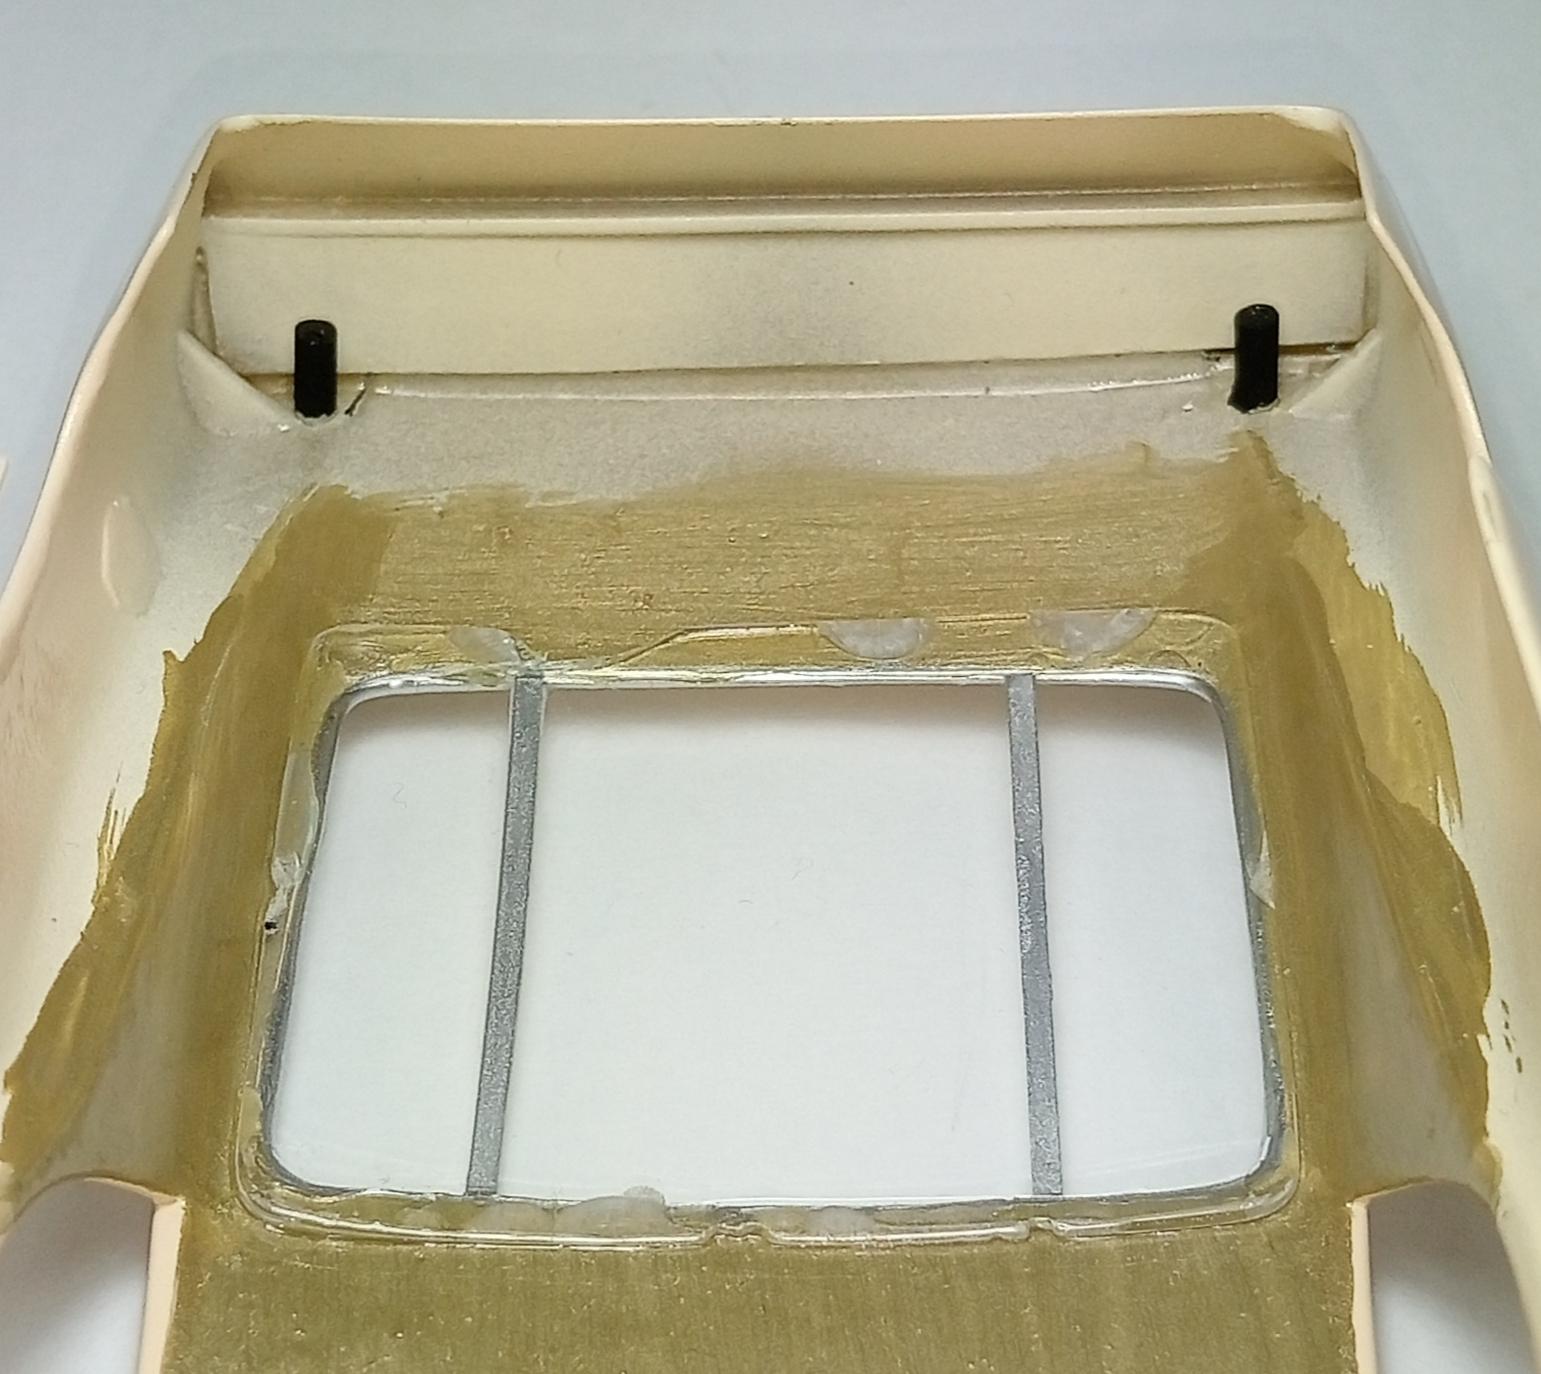
Decided to add a flyscreen window net. I build sloooooooow. Thanks for looking 👍
-
Thanks for looking mate👍
-
Favourite Rims
Leon Cream replied to Falcon Ranchero's topic in General Automotive Talk (Trucks and Cars)
Nice Monaro