eddie
-
Posts
21 -
Joined
-
Last visited
Content Type
Profiles
Forums
Events
Gallery
Everything posted by eddie
-
Hood decals set.

-
Finally making some progress. Shot it with an enamel can. Hated it. Striped it. Reshot it with acrylic in my airbrush and dollar general mop and shine for clear. The picture doesn't do it justice. It came out pretty nice but I got a little careless and ended up with some dust under the clear. Oh well. It's going on a shelf. First time I've used acrylic craft paint cut with glass cleaner. Pretty happy with the process. It will improve each time I do it. Decals next and getting closer to final assembly.
-
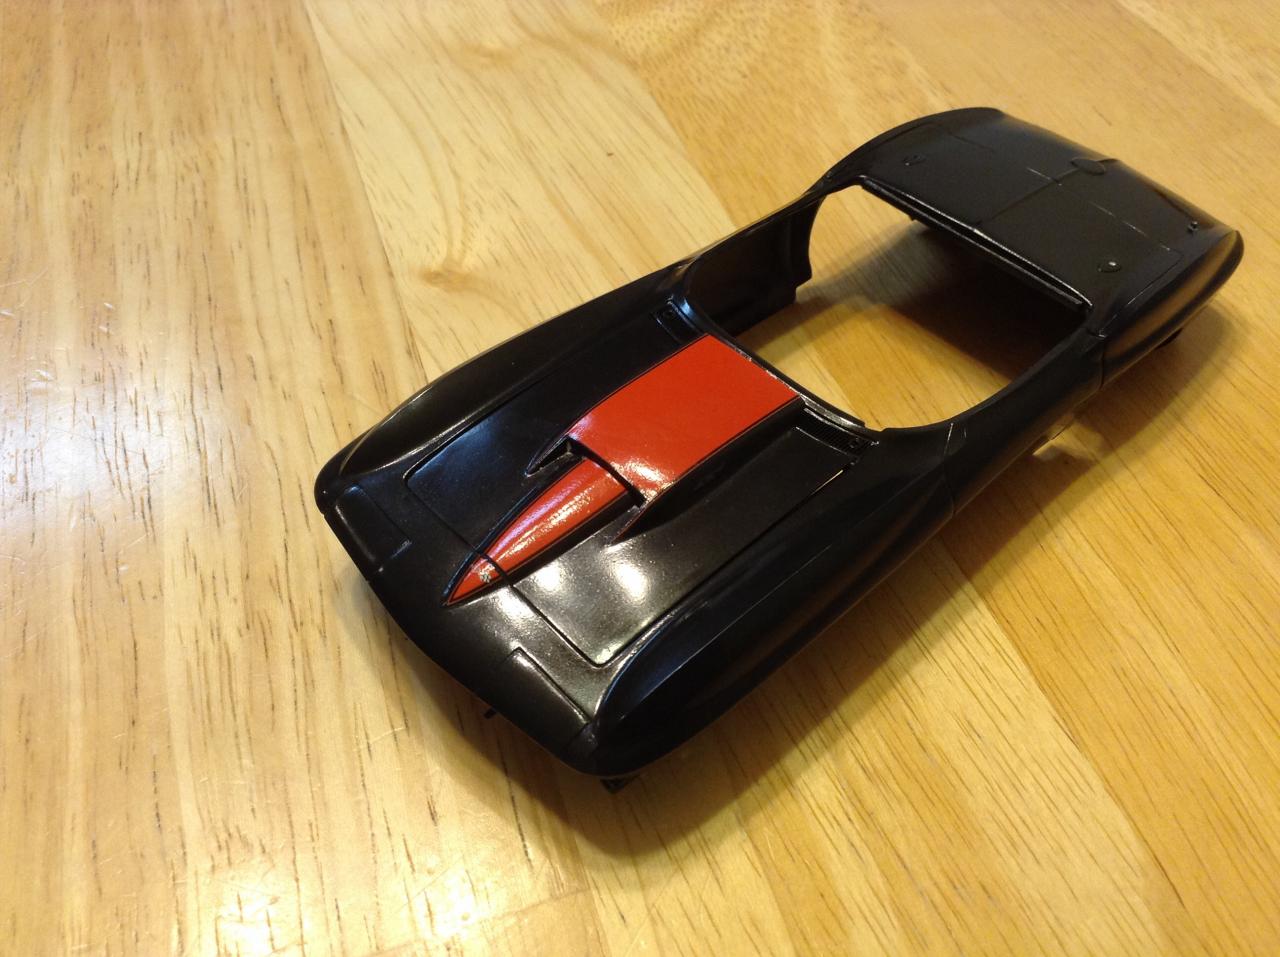
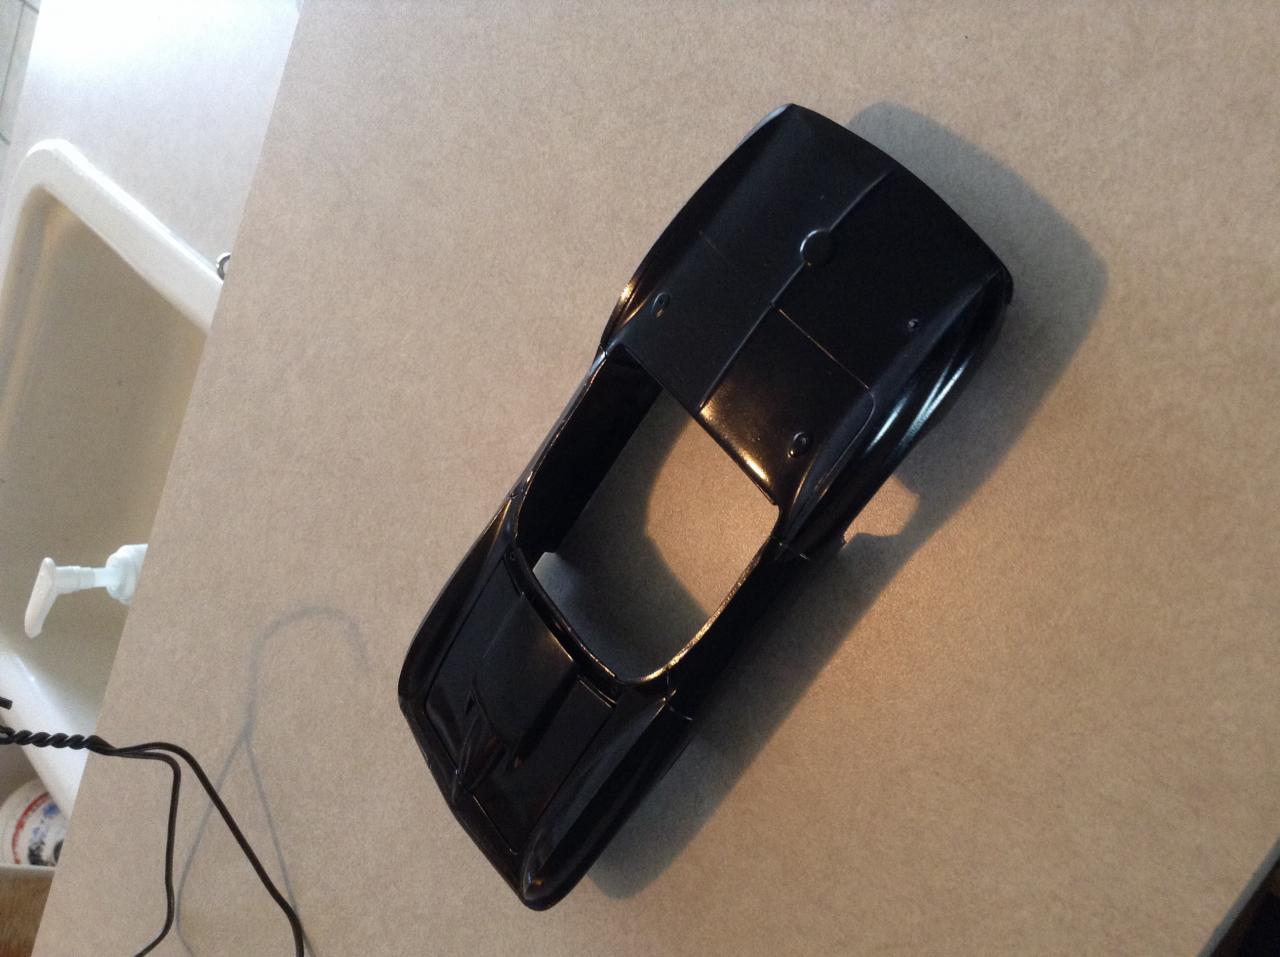
Getting there. Shot some paint on the body. I'll post that tomorrow.
-
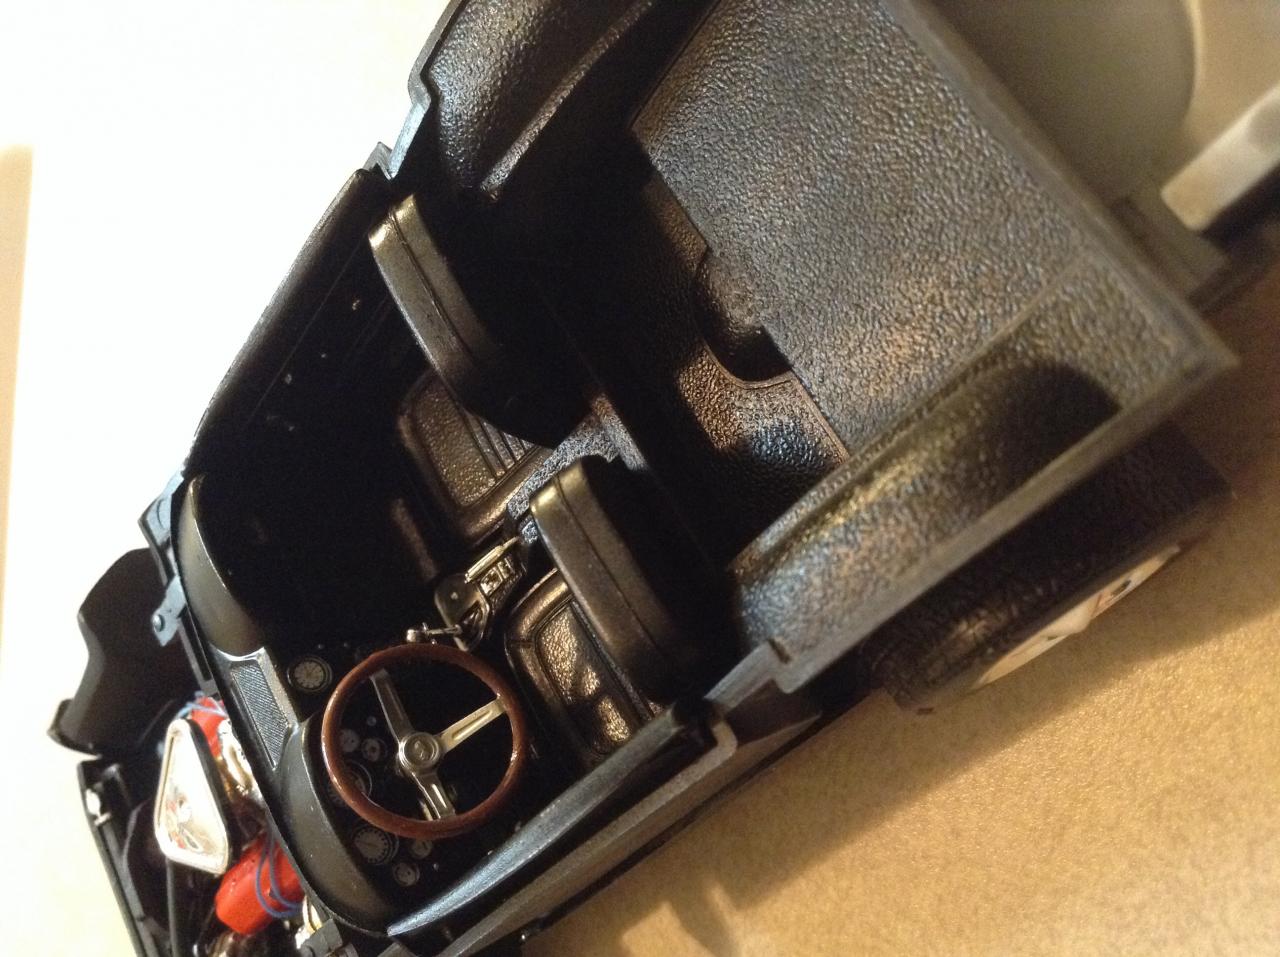
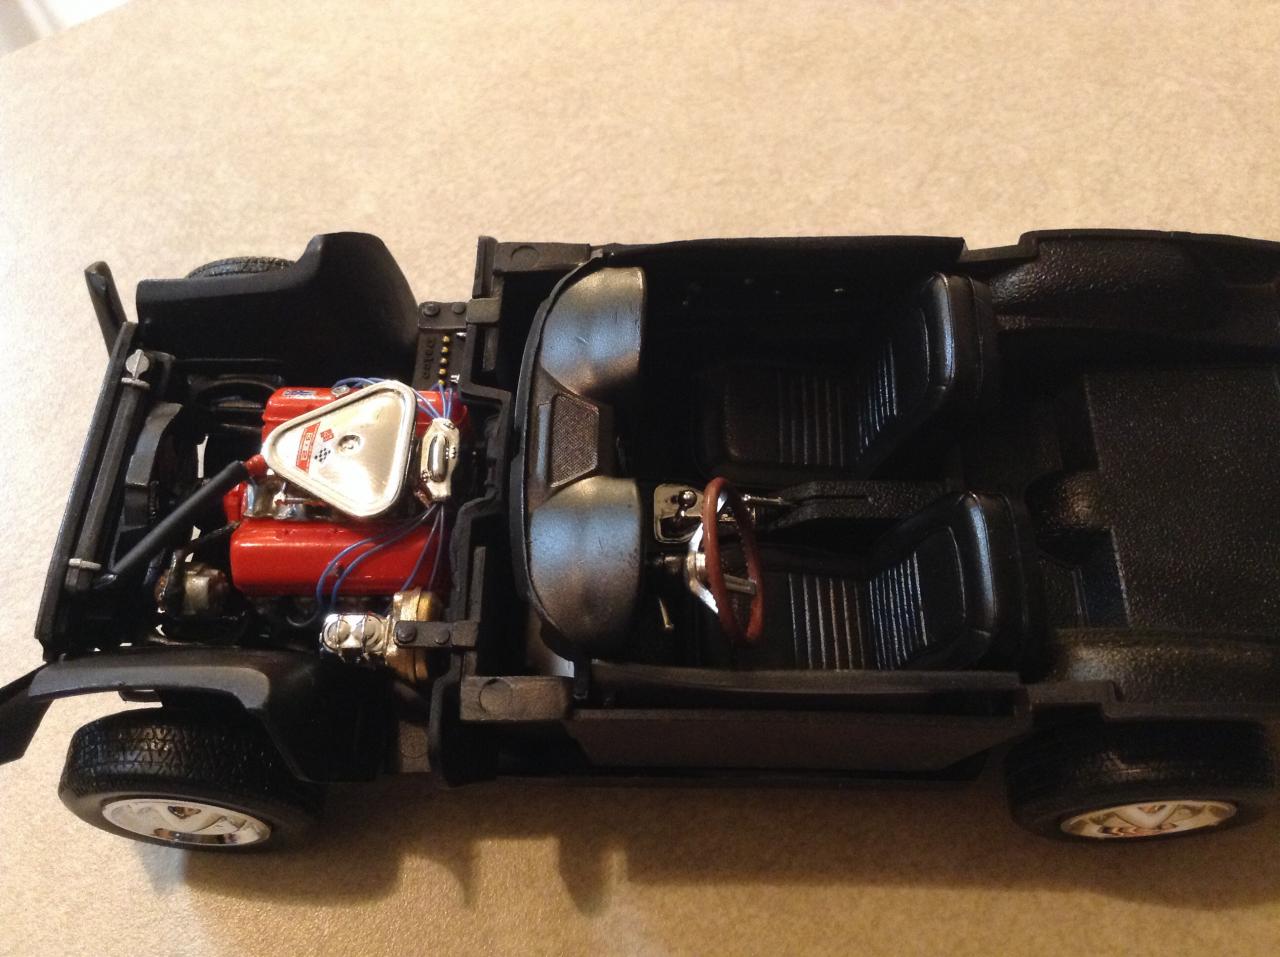
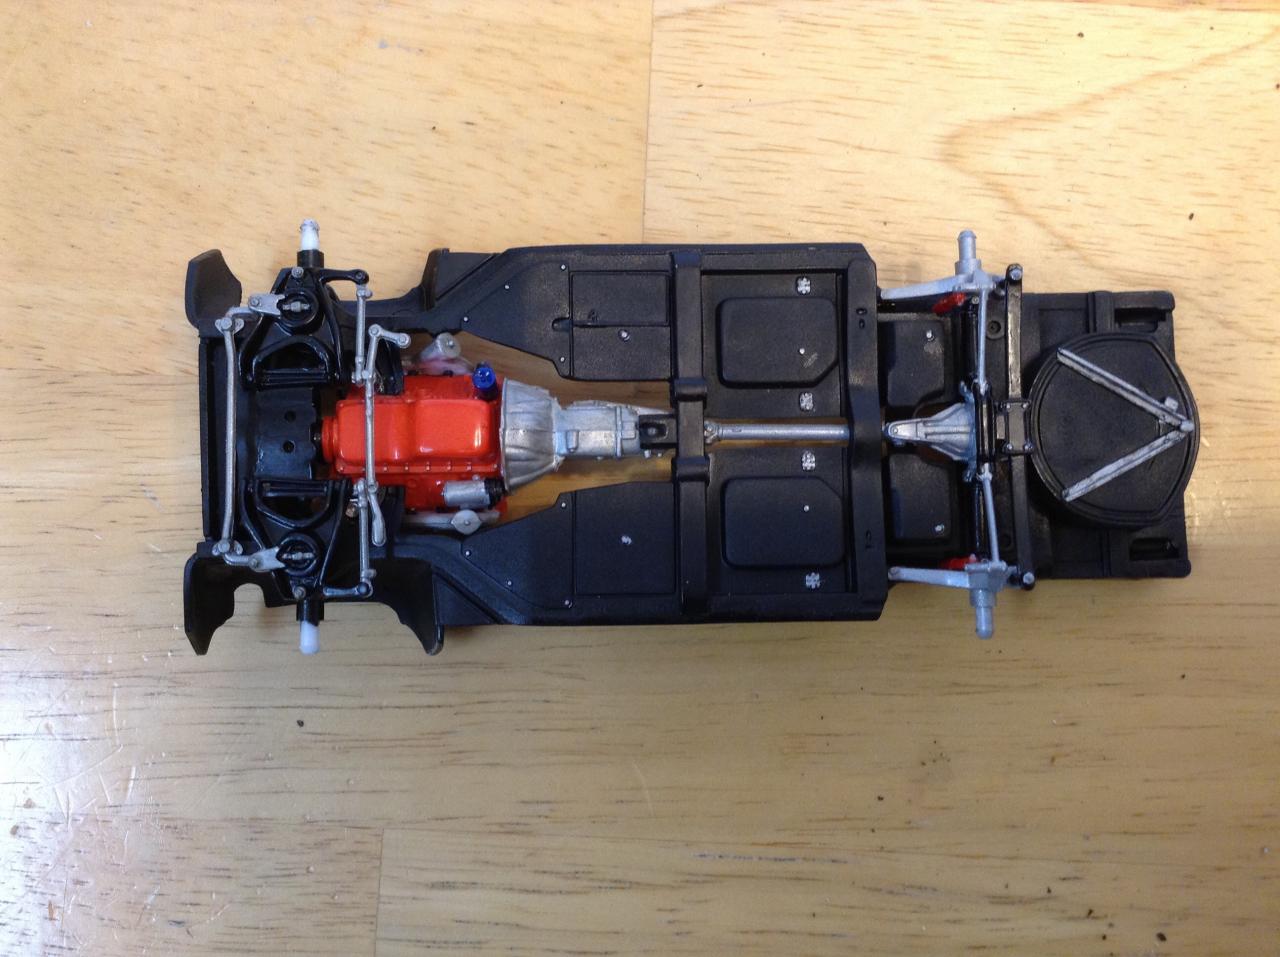
Engine attached and chassis completed.
-
How much trouble did you have fitting the body over the front fenders? I haven't gotten to that point yet but it looks like it's going to be a bit tricky.
-
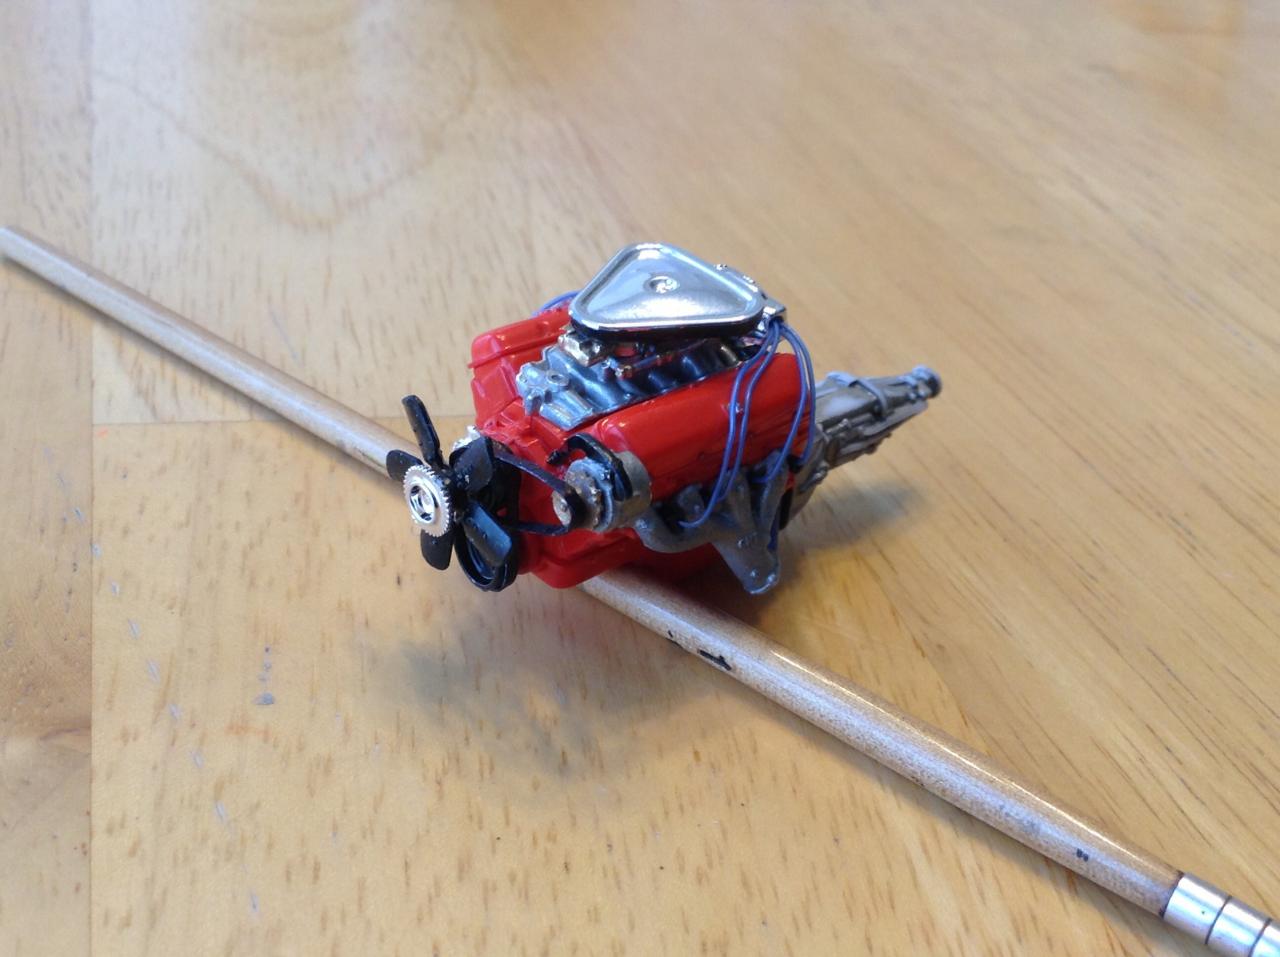
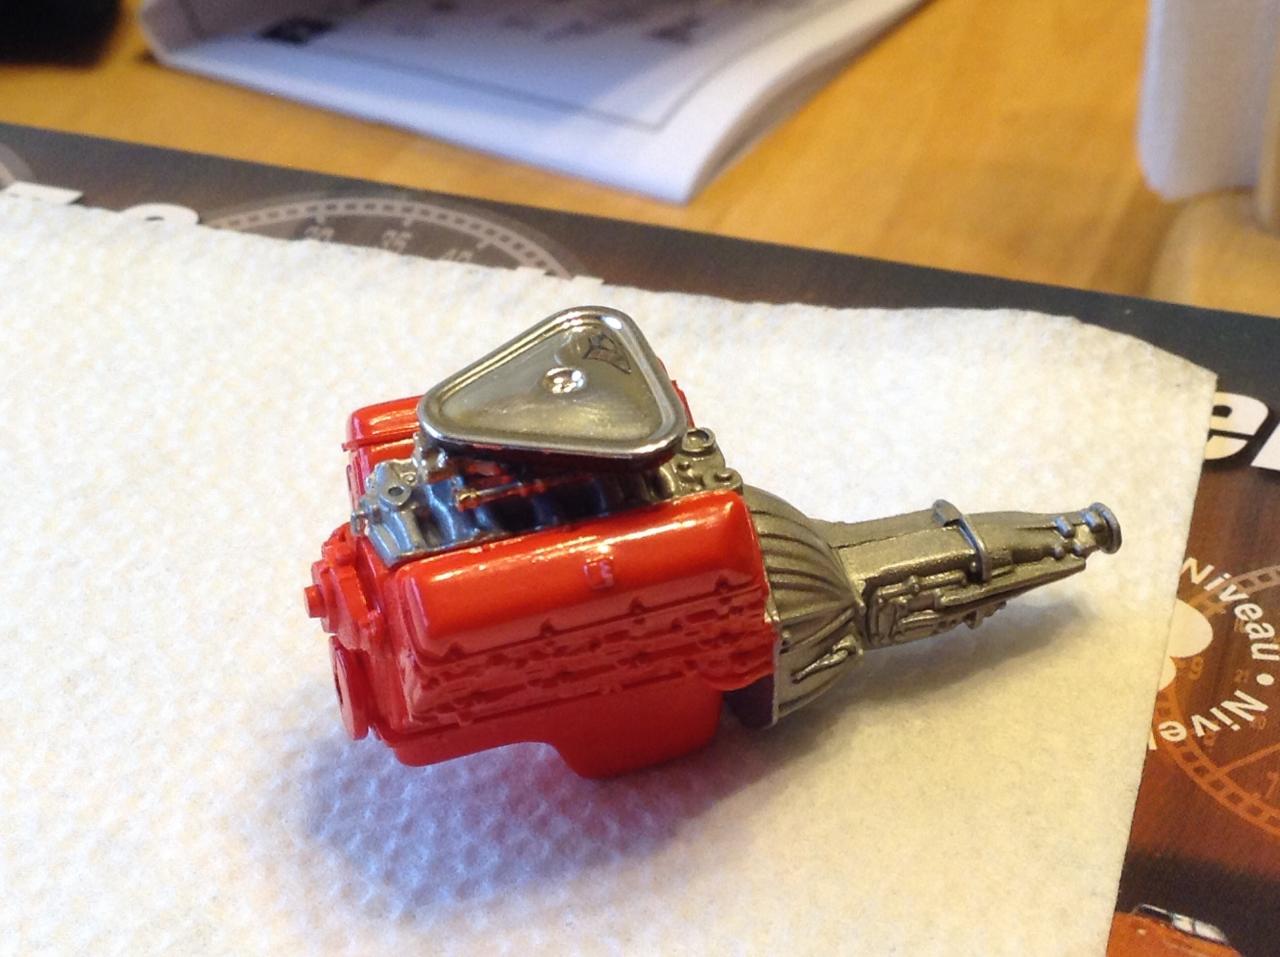
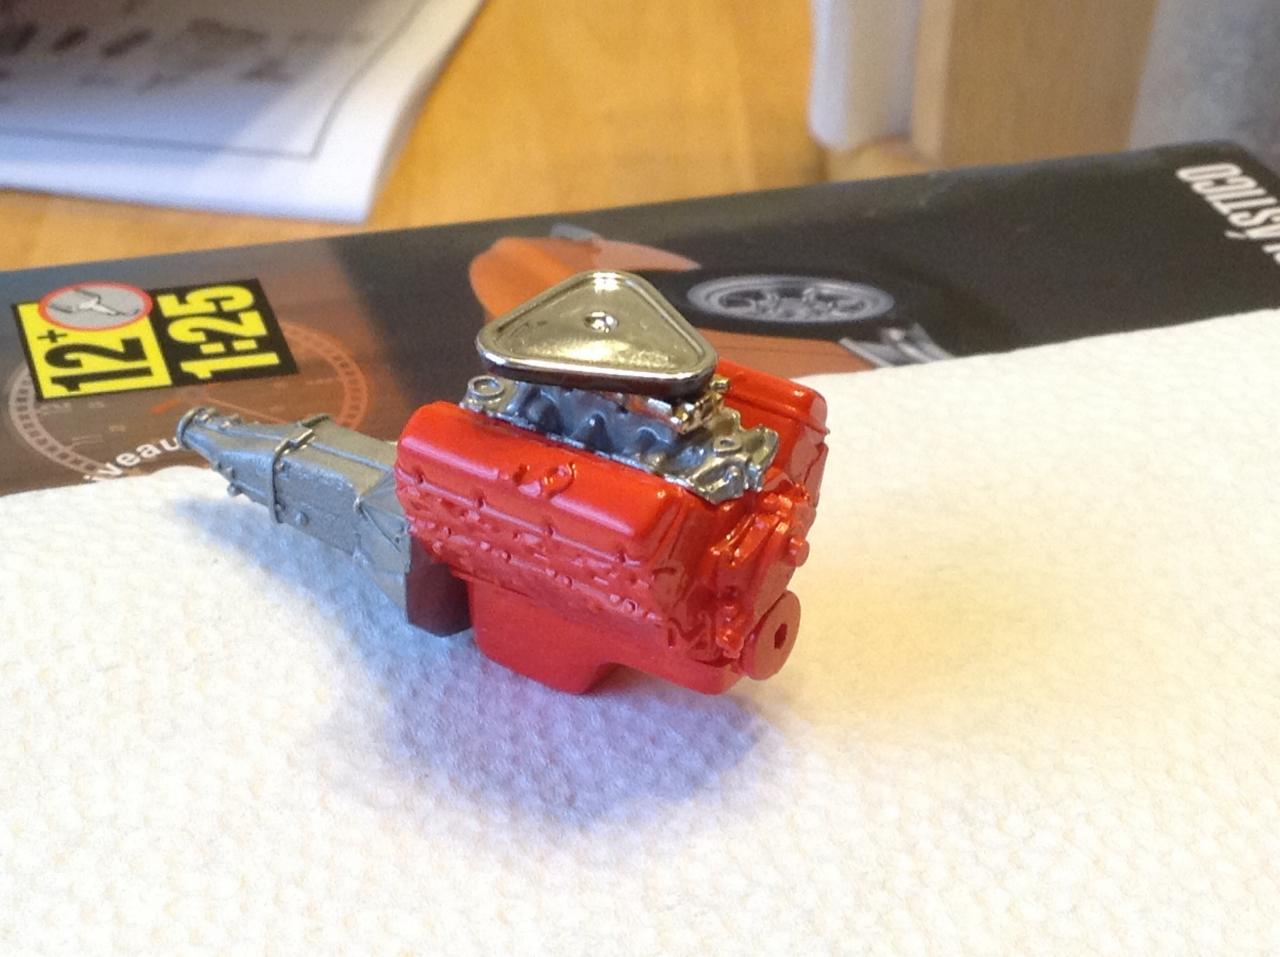
Just about done. There are a couple of small tubes I want to add as well as a fuel line. I found the fuel pump! I went ahead and went with the light blue plug wires, mostly because it's all I had. It came out nice I think. I need advice on gauge wire to use as upper and lower hoses. also for wiring the alternator and battery when I get to that. Any ideas? Thanks for taking a look. Time to get started on chassis tomorrow.
-
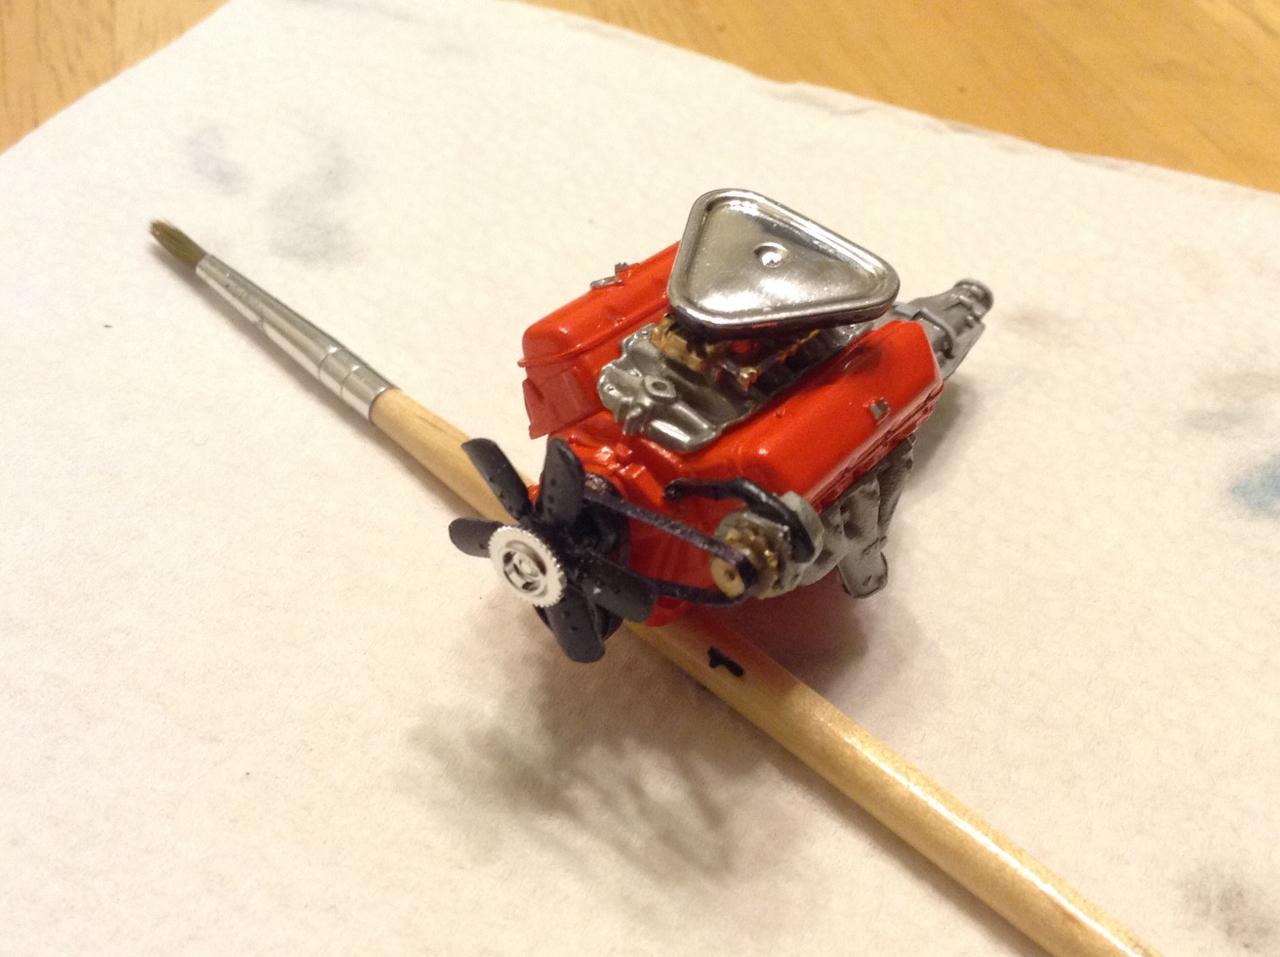
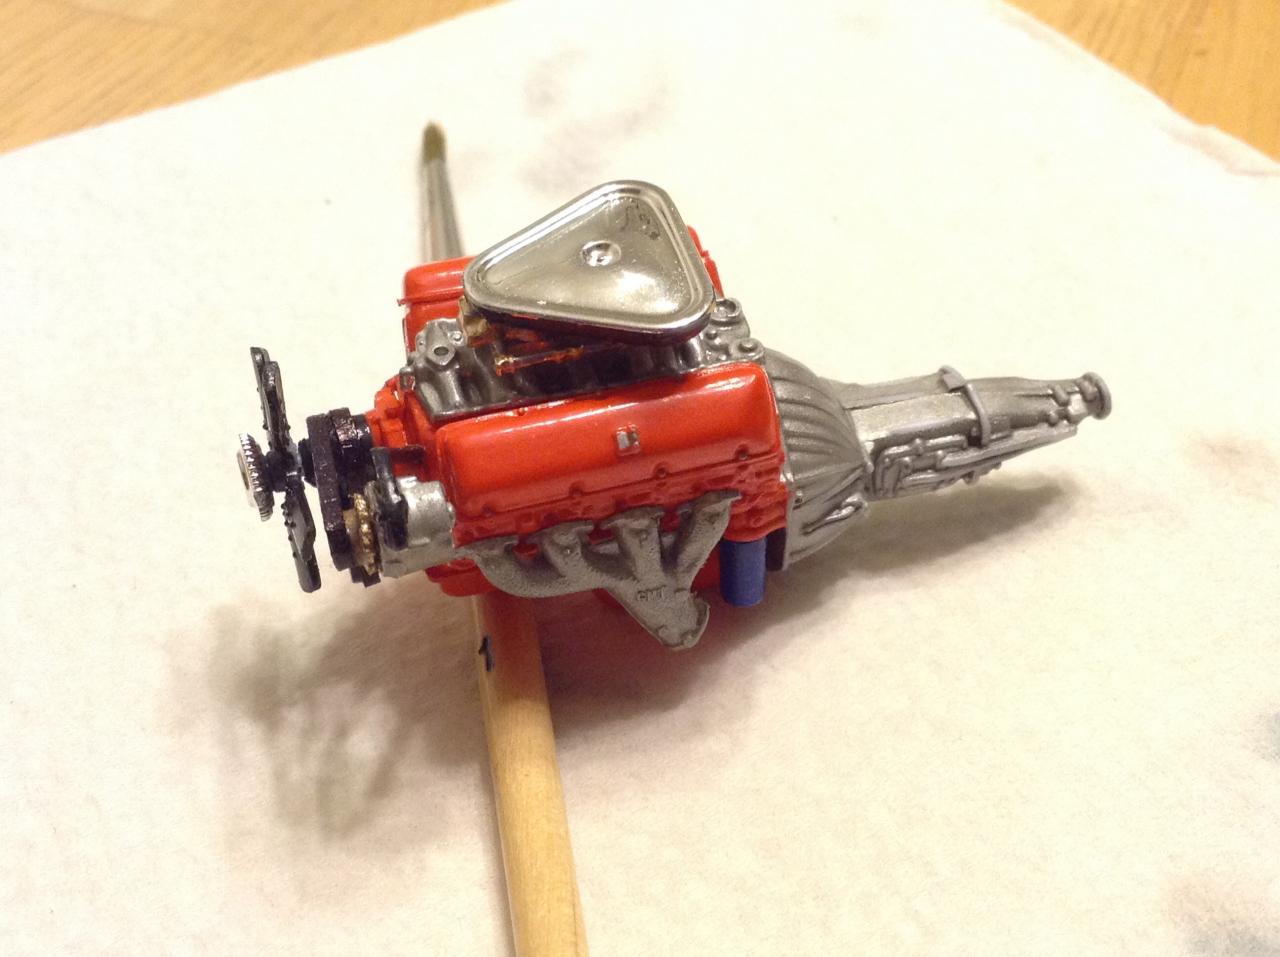
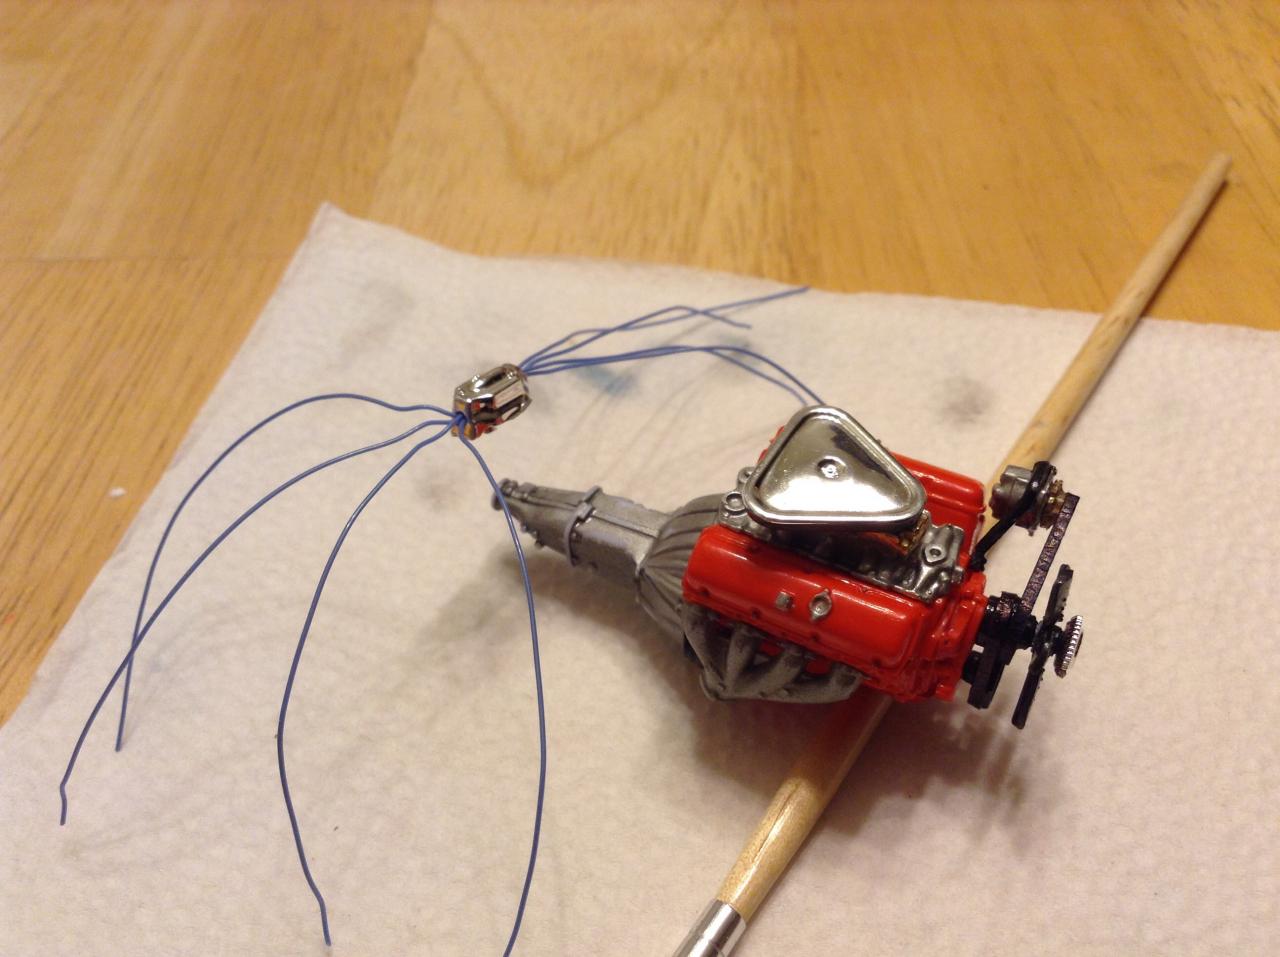
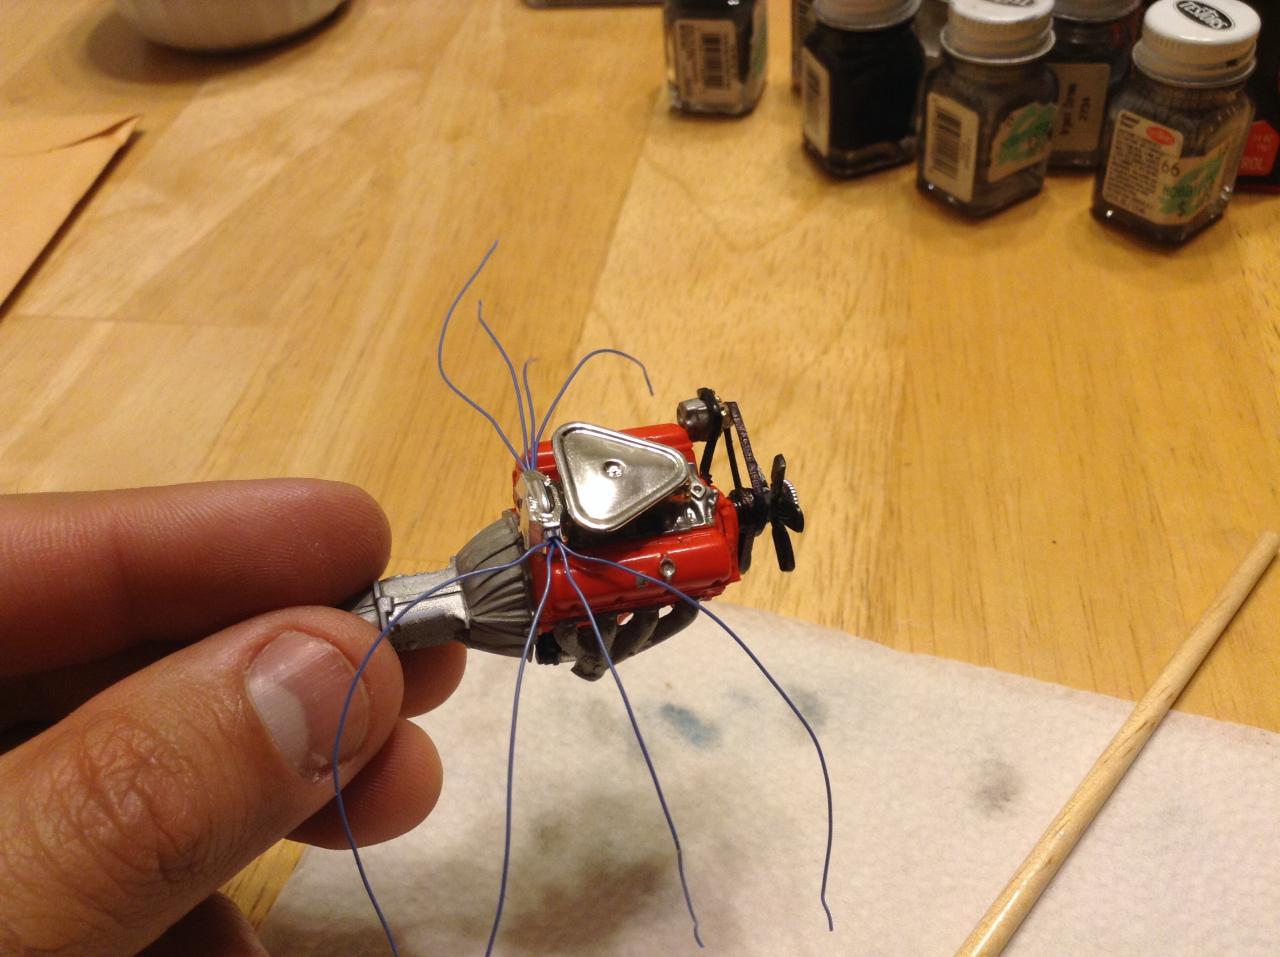
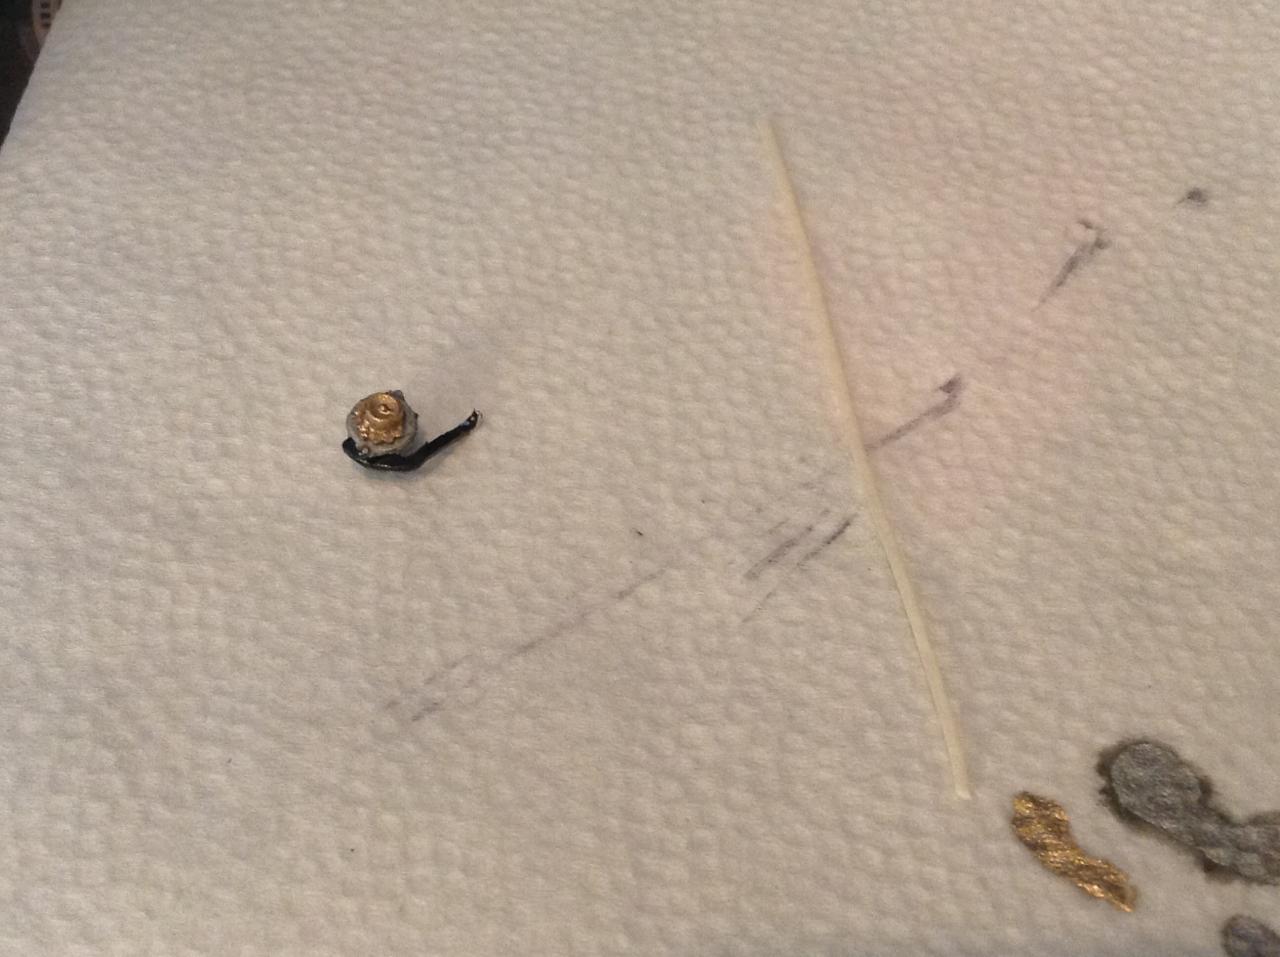
Just about done with engine. I dropped the fuel pump somewhere on my kitchen floor after I painted it. Not very happy about that. It's not that big of a deal except that I wanted to attempt a over engine fuel line on this build. Any thoughts? Also have a picture of the distributor. I am rather uninspired with my light blue plug wires. The original had braided wired from what I can tell in pictures that I can find online. Any thoughts on that? Suggestions for braided line that small?
-
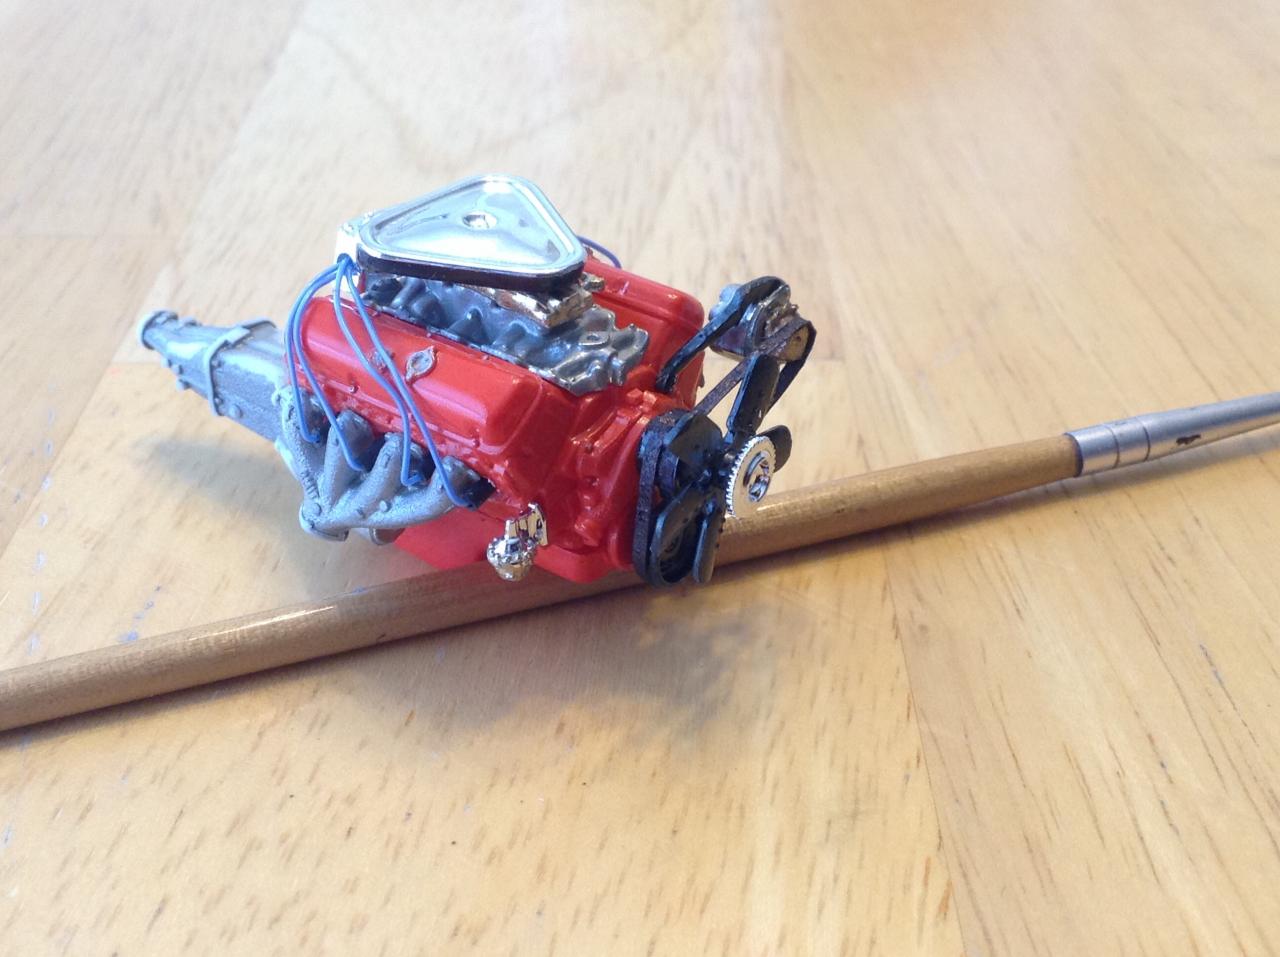
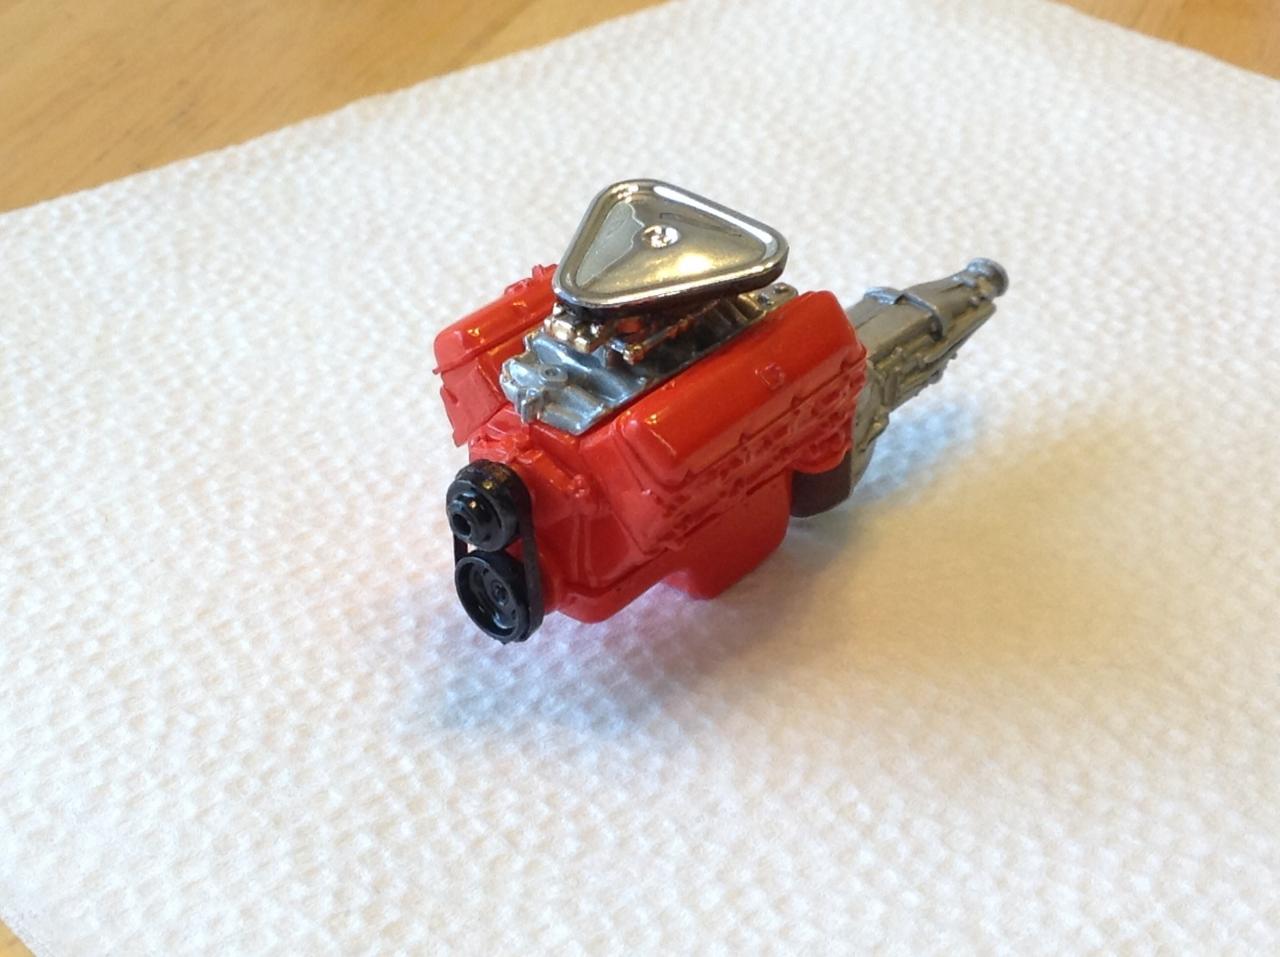
Just finished part of the pulley system. Painted the alternator as well. Will hopefully try to attach this evening along with its belt. First time. Harder than I thought.
-
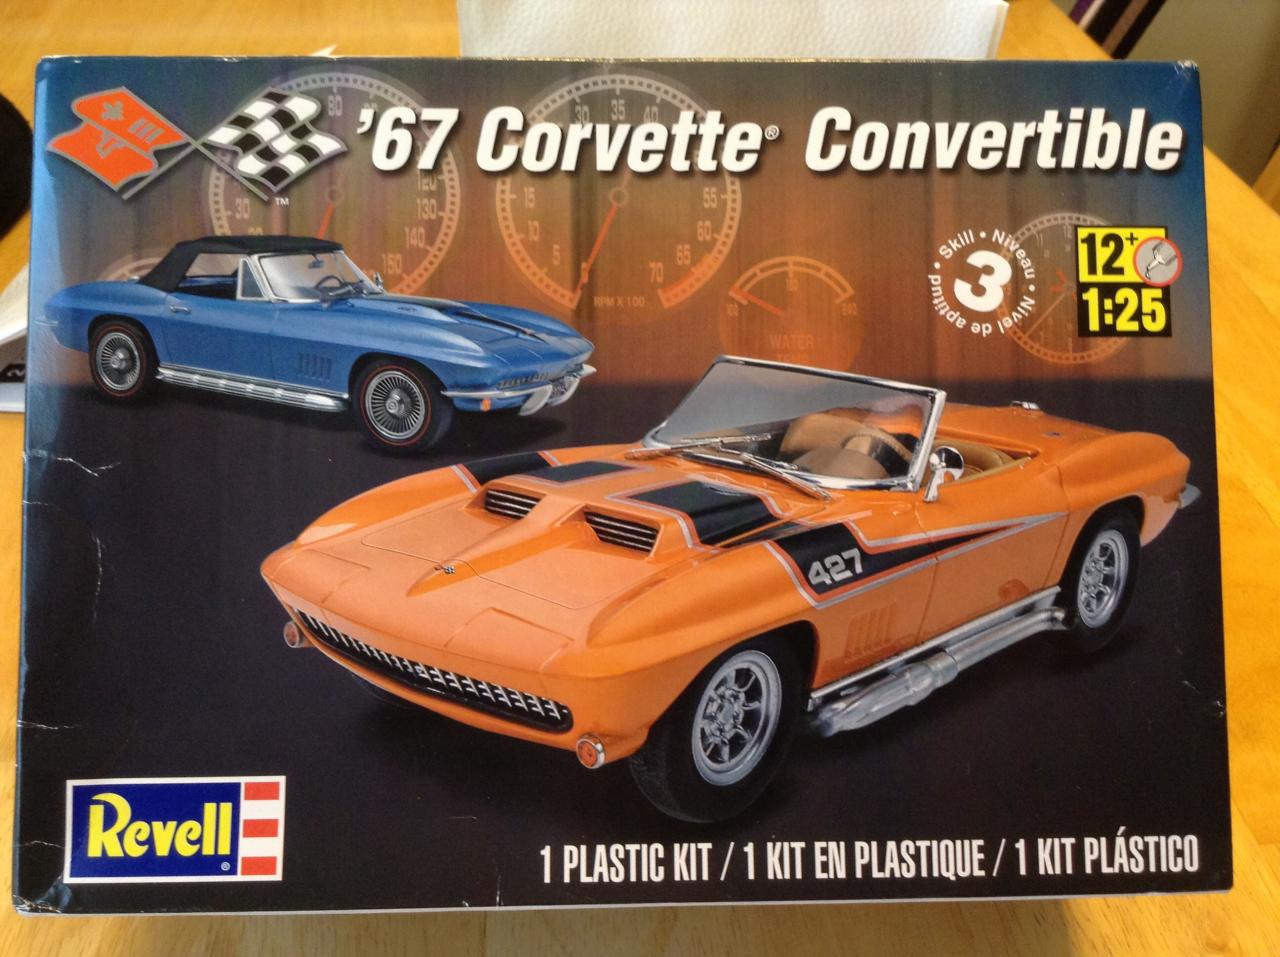
This will be my summer project. I haven't been on the forum for quite some time. I did a 55 Chevy last summer and I have yet to post pics of that in another post. This one will be a stock build as true to original as I can do with the supplies I have available. I'll update with pics as often as I can. I'm going for completion in just a couple weeks. Keep me on track!
-
all i gotta say is...dang...
-
nce man...love that engine...and the color! wow...i really want to biuld up this kit. looking forward to it after checking out yours
-
-
Check it out...I am really proud of this build. Had to strip the paint twice to get the stripes just right. Enjoy!
-
not a bad idea...i think ill try that...what kind of paint would i use to make a tint effect?
-
believe it or not, i used super glue all the way around. it still fogged up. i dont know what happened. im think maybe i my finger oils reacted with the fumes and caused the fogging. any ideas on cleaning it off, cause i think i can pry them out and reglue?
-
-
if you'll remember my first post, a 66 mustang dragster...not too impressive. well here is my second build, a Yellow Enzo Ferrari, Revell. it was a tough one, some parts were warped out of the box, had to dip in boiling water. one thing that bugs me is that the glue fogged up under the headlights. i guess the fumes were stuck under the glass. other than that, im pretty happy with it. i think im gonna try the tamiya kit sometime in the future. enjoy, let me know what you think!
-
thanks...worked like a charm...priming the pieces already...cant wait to get this one done.
-
I just bought the Revell Enzo Ferrari kit. I was doing a mock up on the bench and noticed that the bottom panel and body are pretty warped. so bad that the rear hood doesnt sit right. the bottom panel and body dont really match up too well. cant return it...is there a way to fix the warped pieces? any suggestions would be appreciated.
-
painted all the window trim and lower door trim...will NEVER do that again. i got the lines pretty straight though. youll be able to see when i get the new pics up. dry brushed the mustang logos, letters, etc. def think ill use bmf on the next build i pick up at the hobby shop.
-
so i used to build back in the day when i was in high school and in college a bit, nothing too fancy. never really took my time. i found some old kits up the closet and so that inspired me to get back into it. i built myself a little work table in the garage. got a couple of airbrushes and some other supplies. paints, etc. and got to it. my first time back...an AMT 66 Mustang with the option to go Drag style. Be gentle folks... so i updated the pics...i had some on here that were very fuzzy. so thats why the following couple of posts dont make sense. these are better.