slownlow
-
Posts
242 -
Joined
-
Last visited
Recent Profile Visitors
10,798 profile views


slownlow's Achievements
MCM Friend (4/6)
-
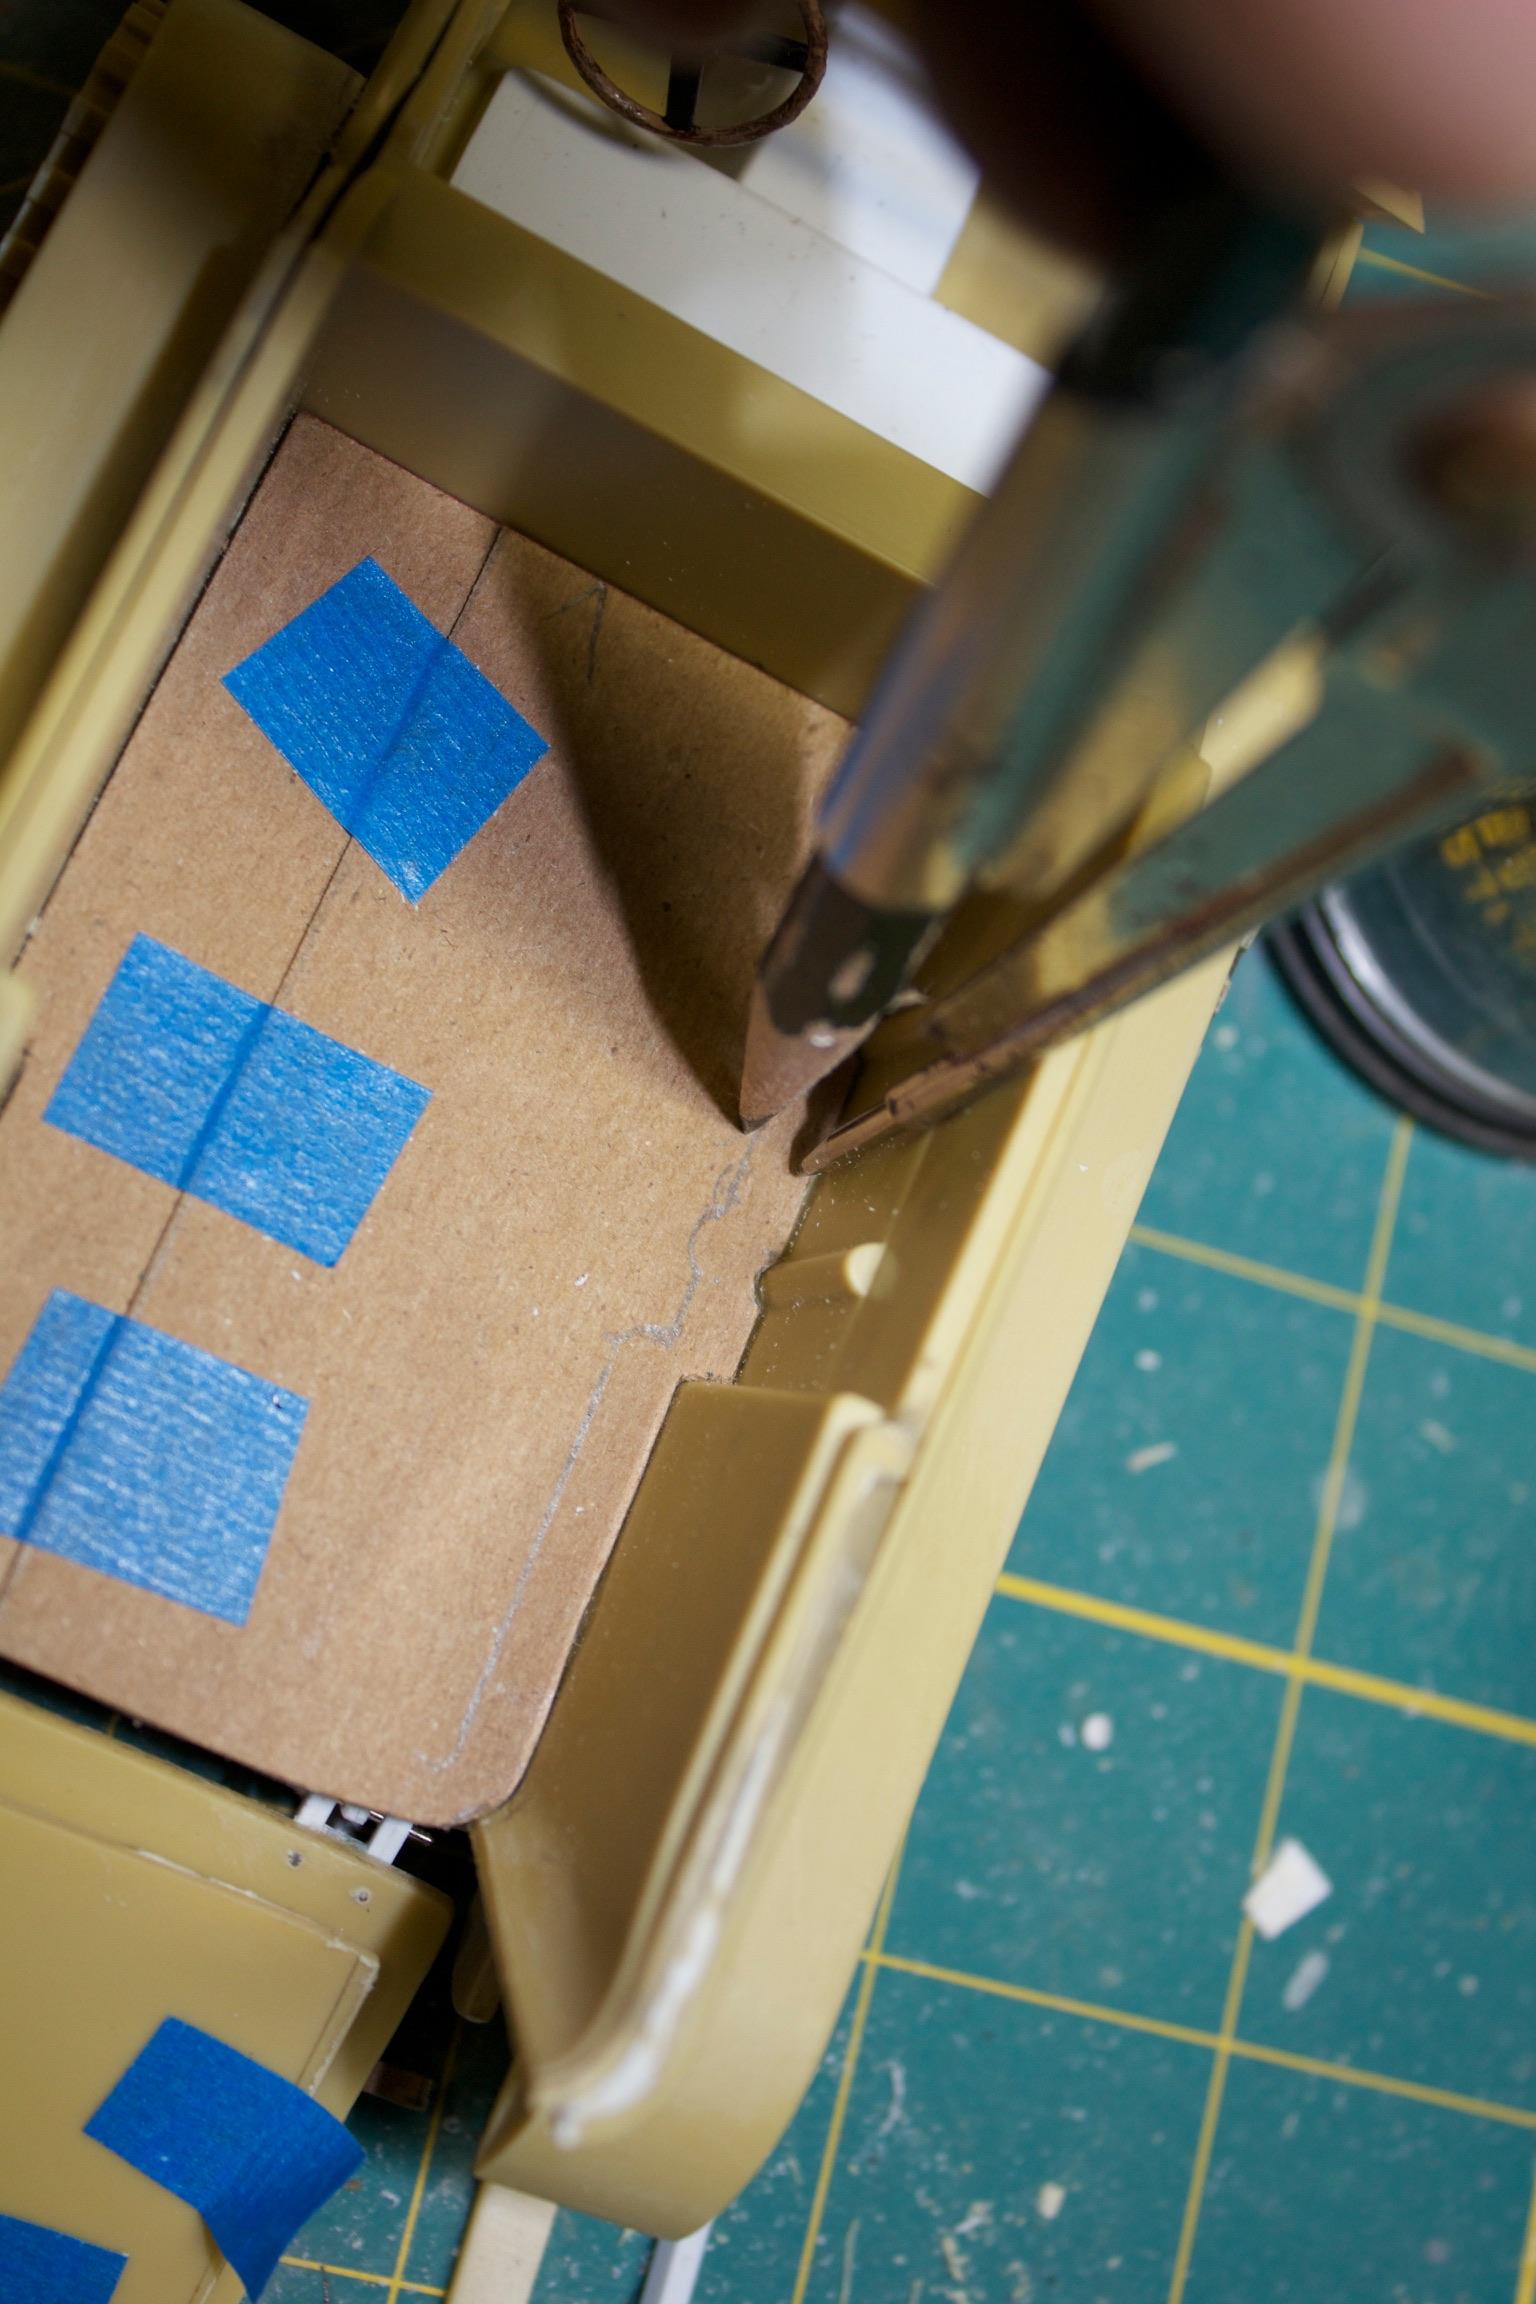
To make a pattern in an enclosed space I use 2 pieces. Lay one down trace its contours and cut. Lay the second down, do it and then tape together. Just start with the pieces wider than half the width.

-

What did you see on the road today?
slownlow replied to Harry P.'s topic in General Automotive Talk (Trucks and Cars)
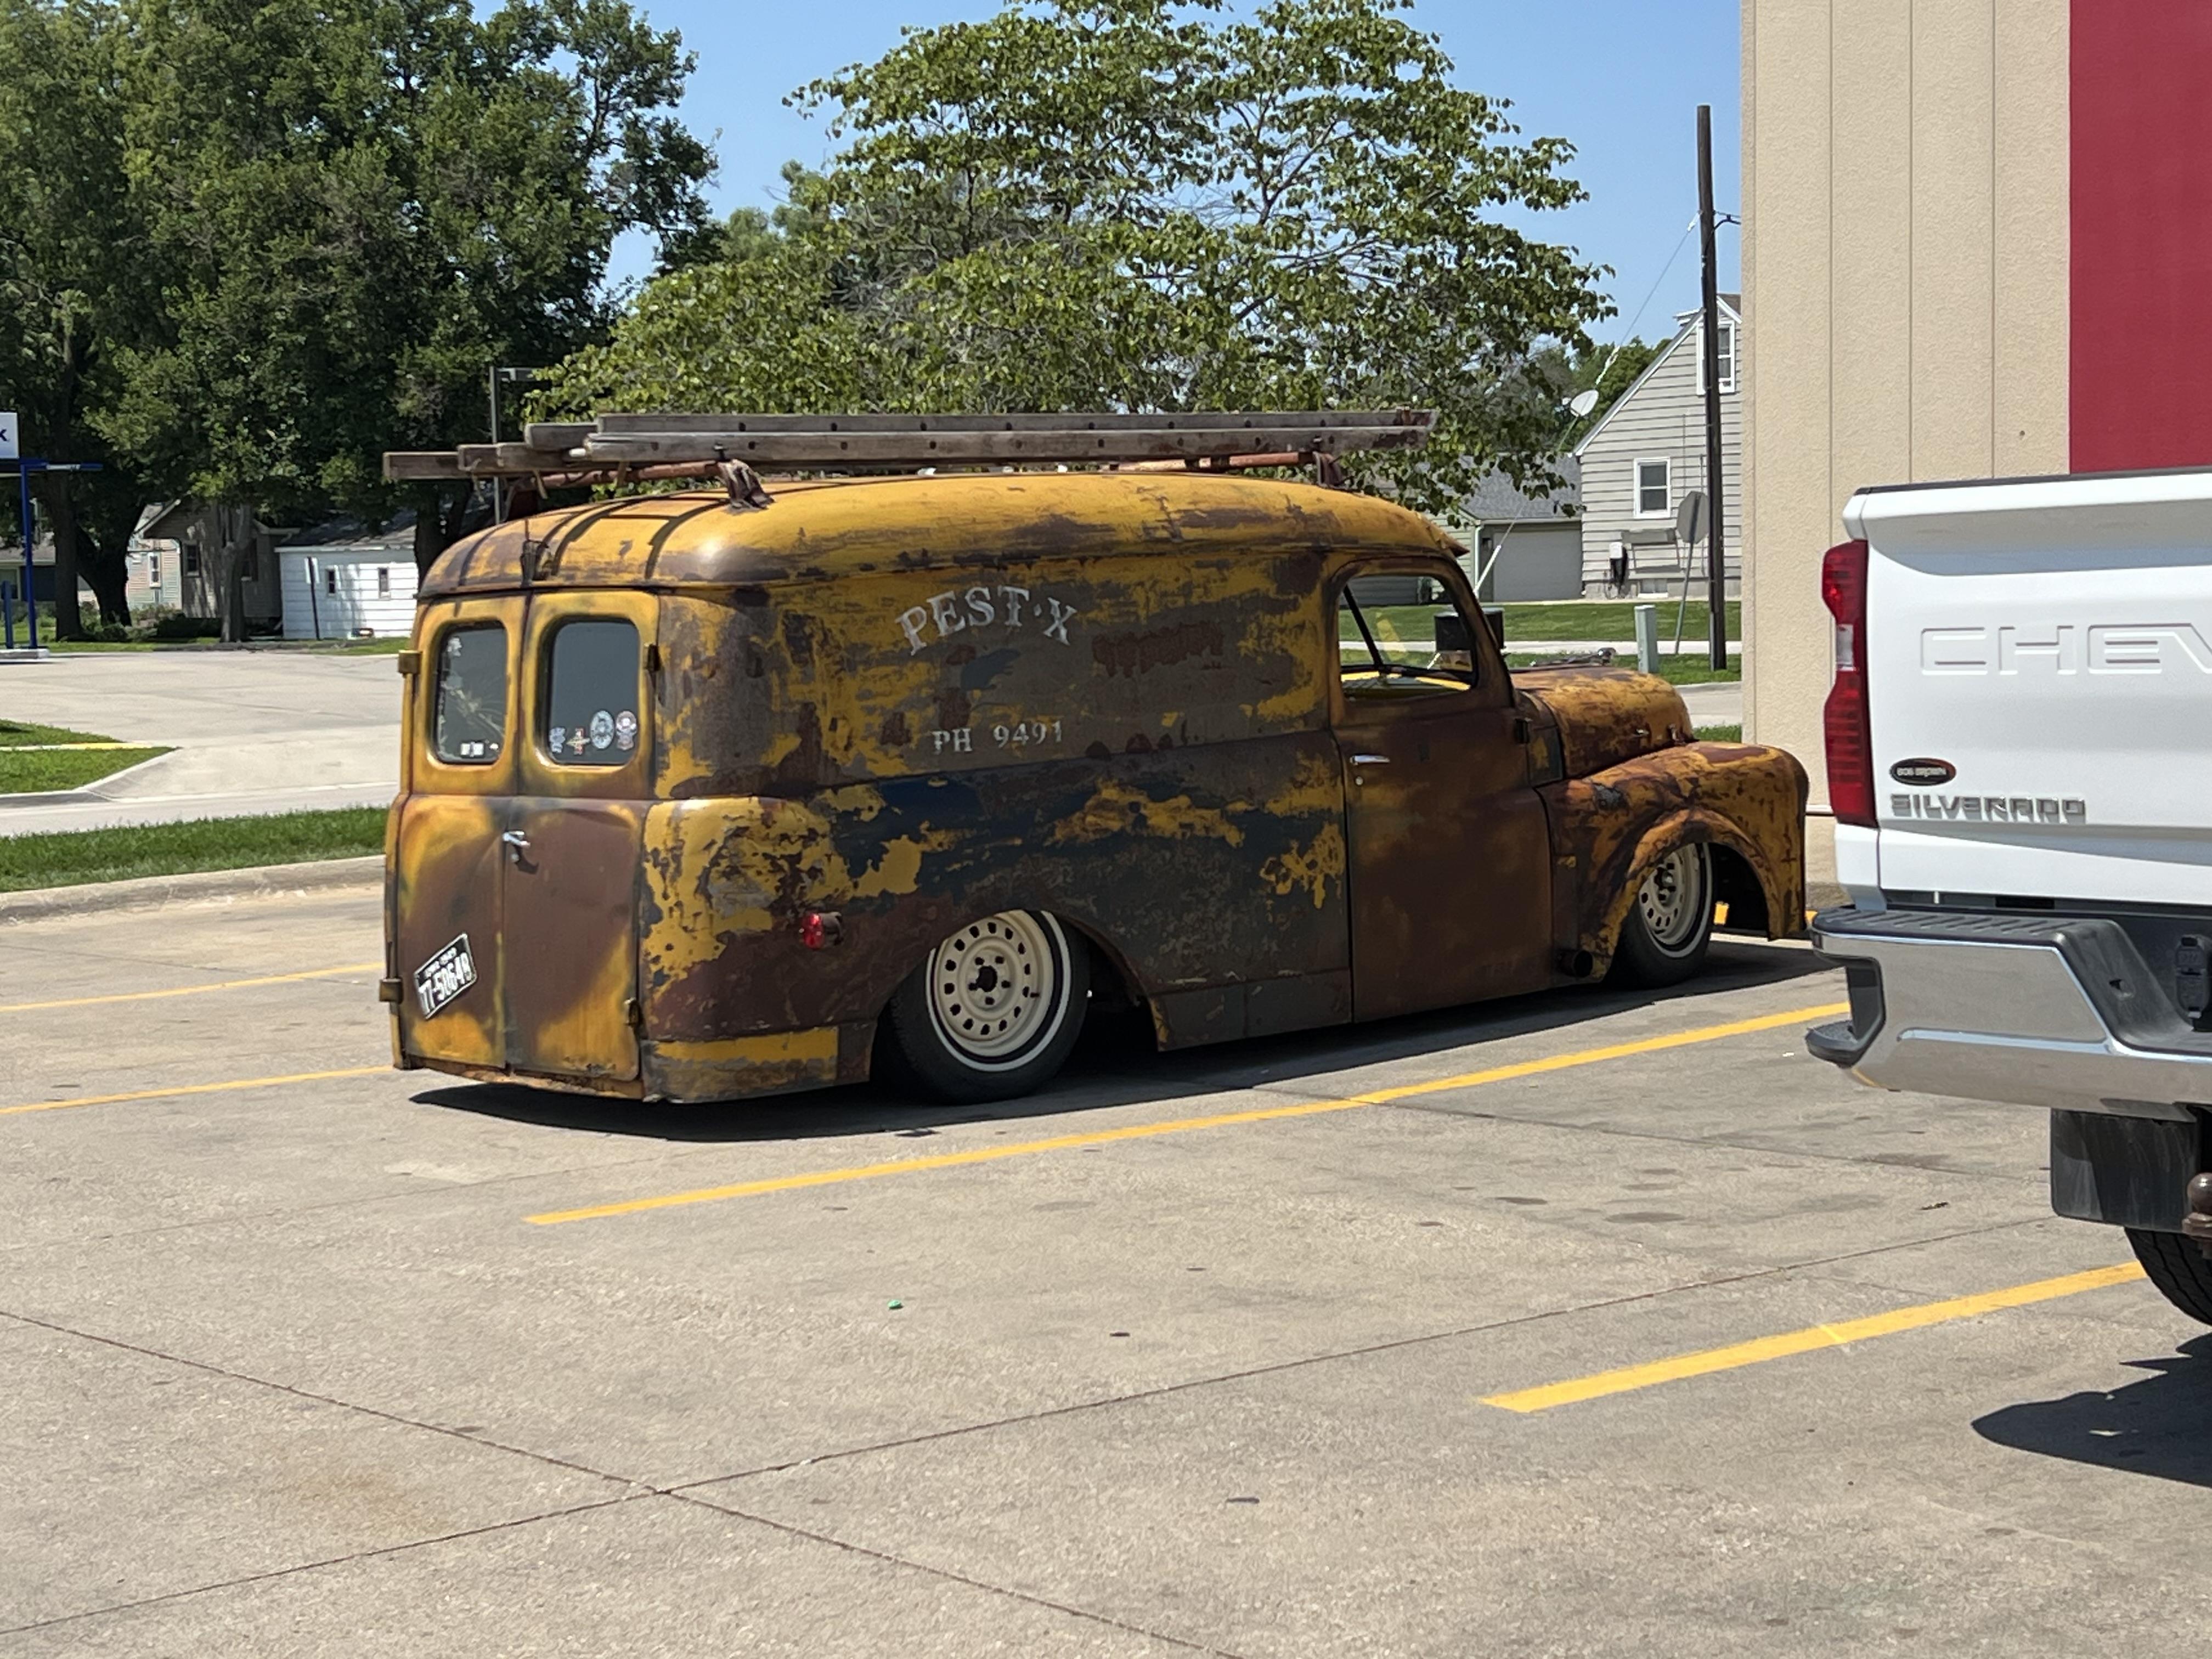
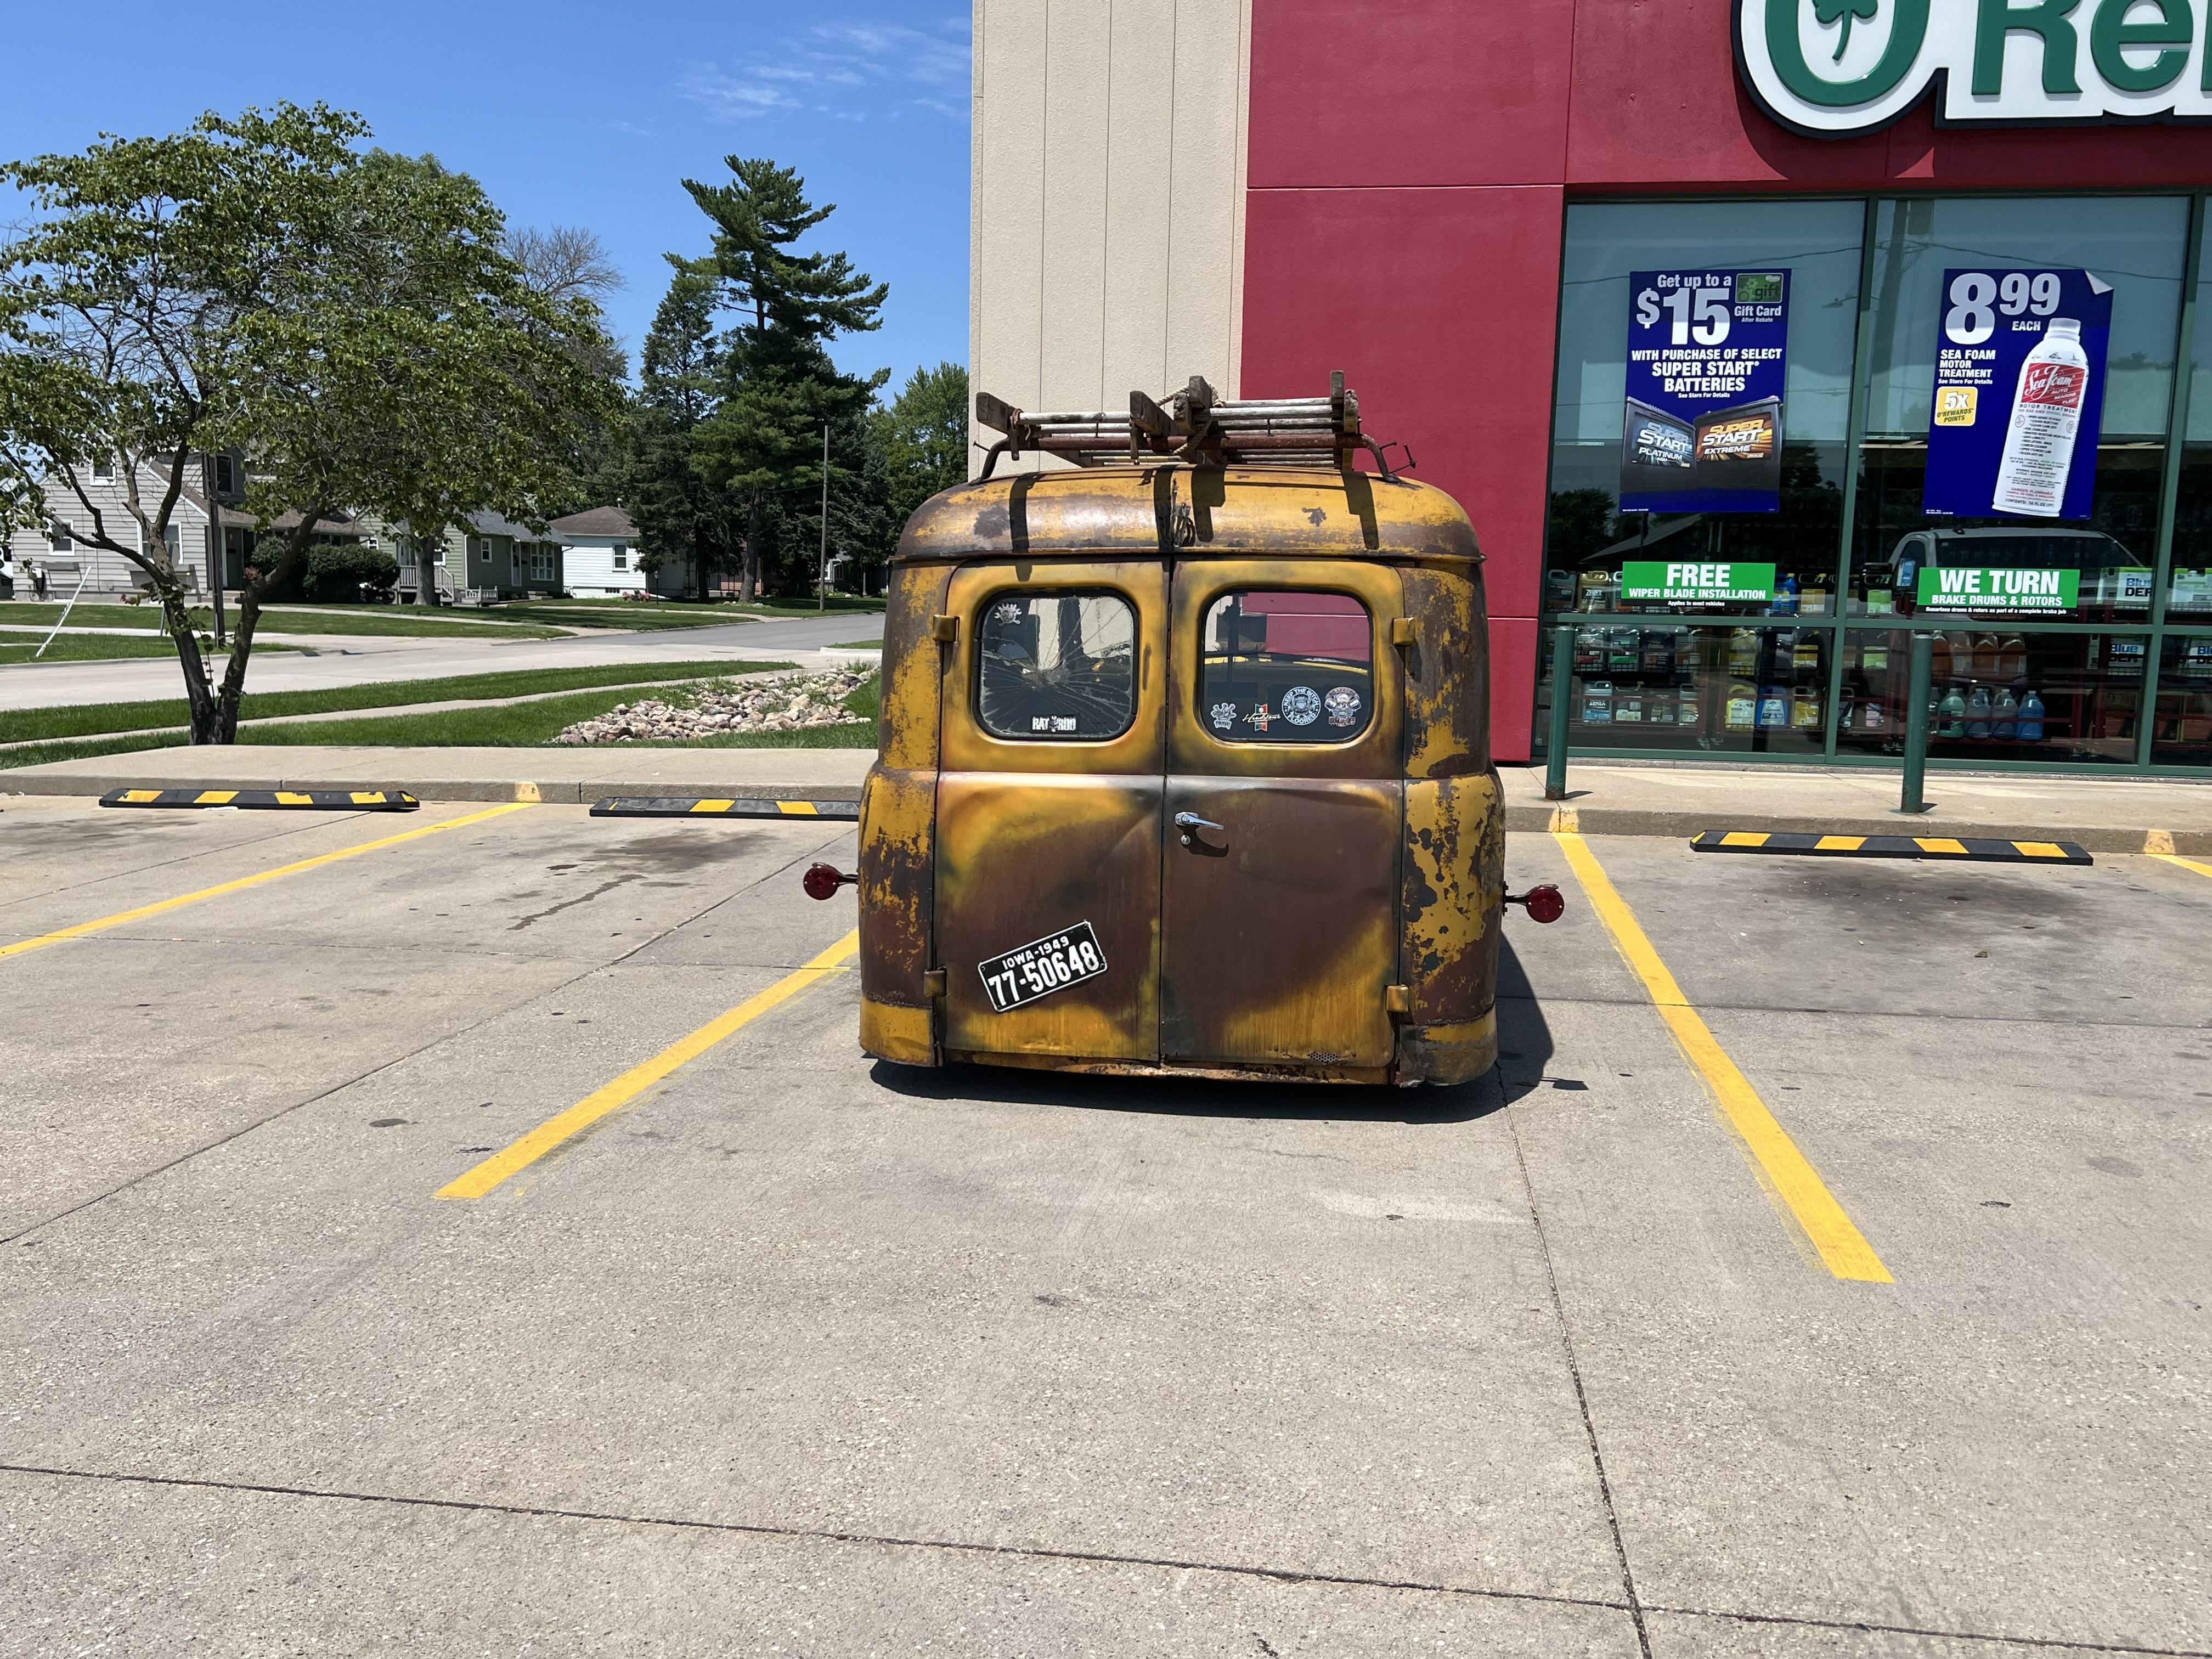
Saw this at the Altoona IA Oh Reileys. I think I heard him say he was getting some odds and ends
-
Nice!
-
Yes. After all the research I did on the net your suggestions were invaluable and the ones I followed. Many thanks.
-
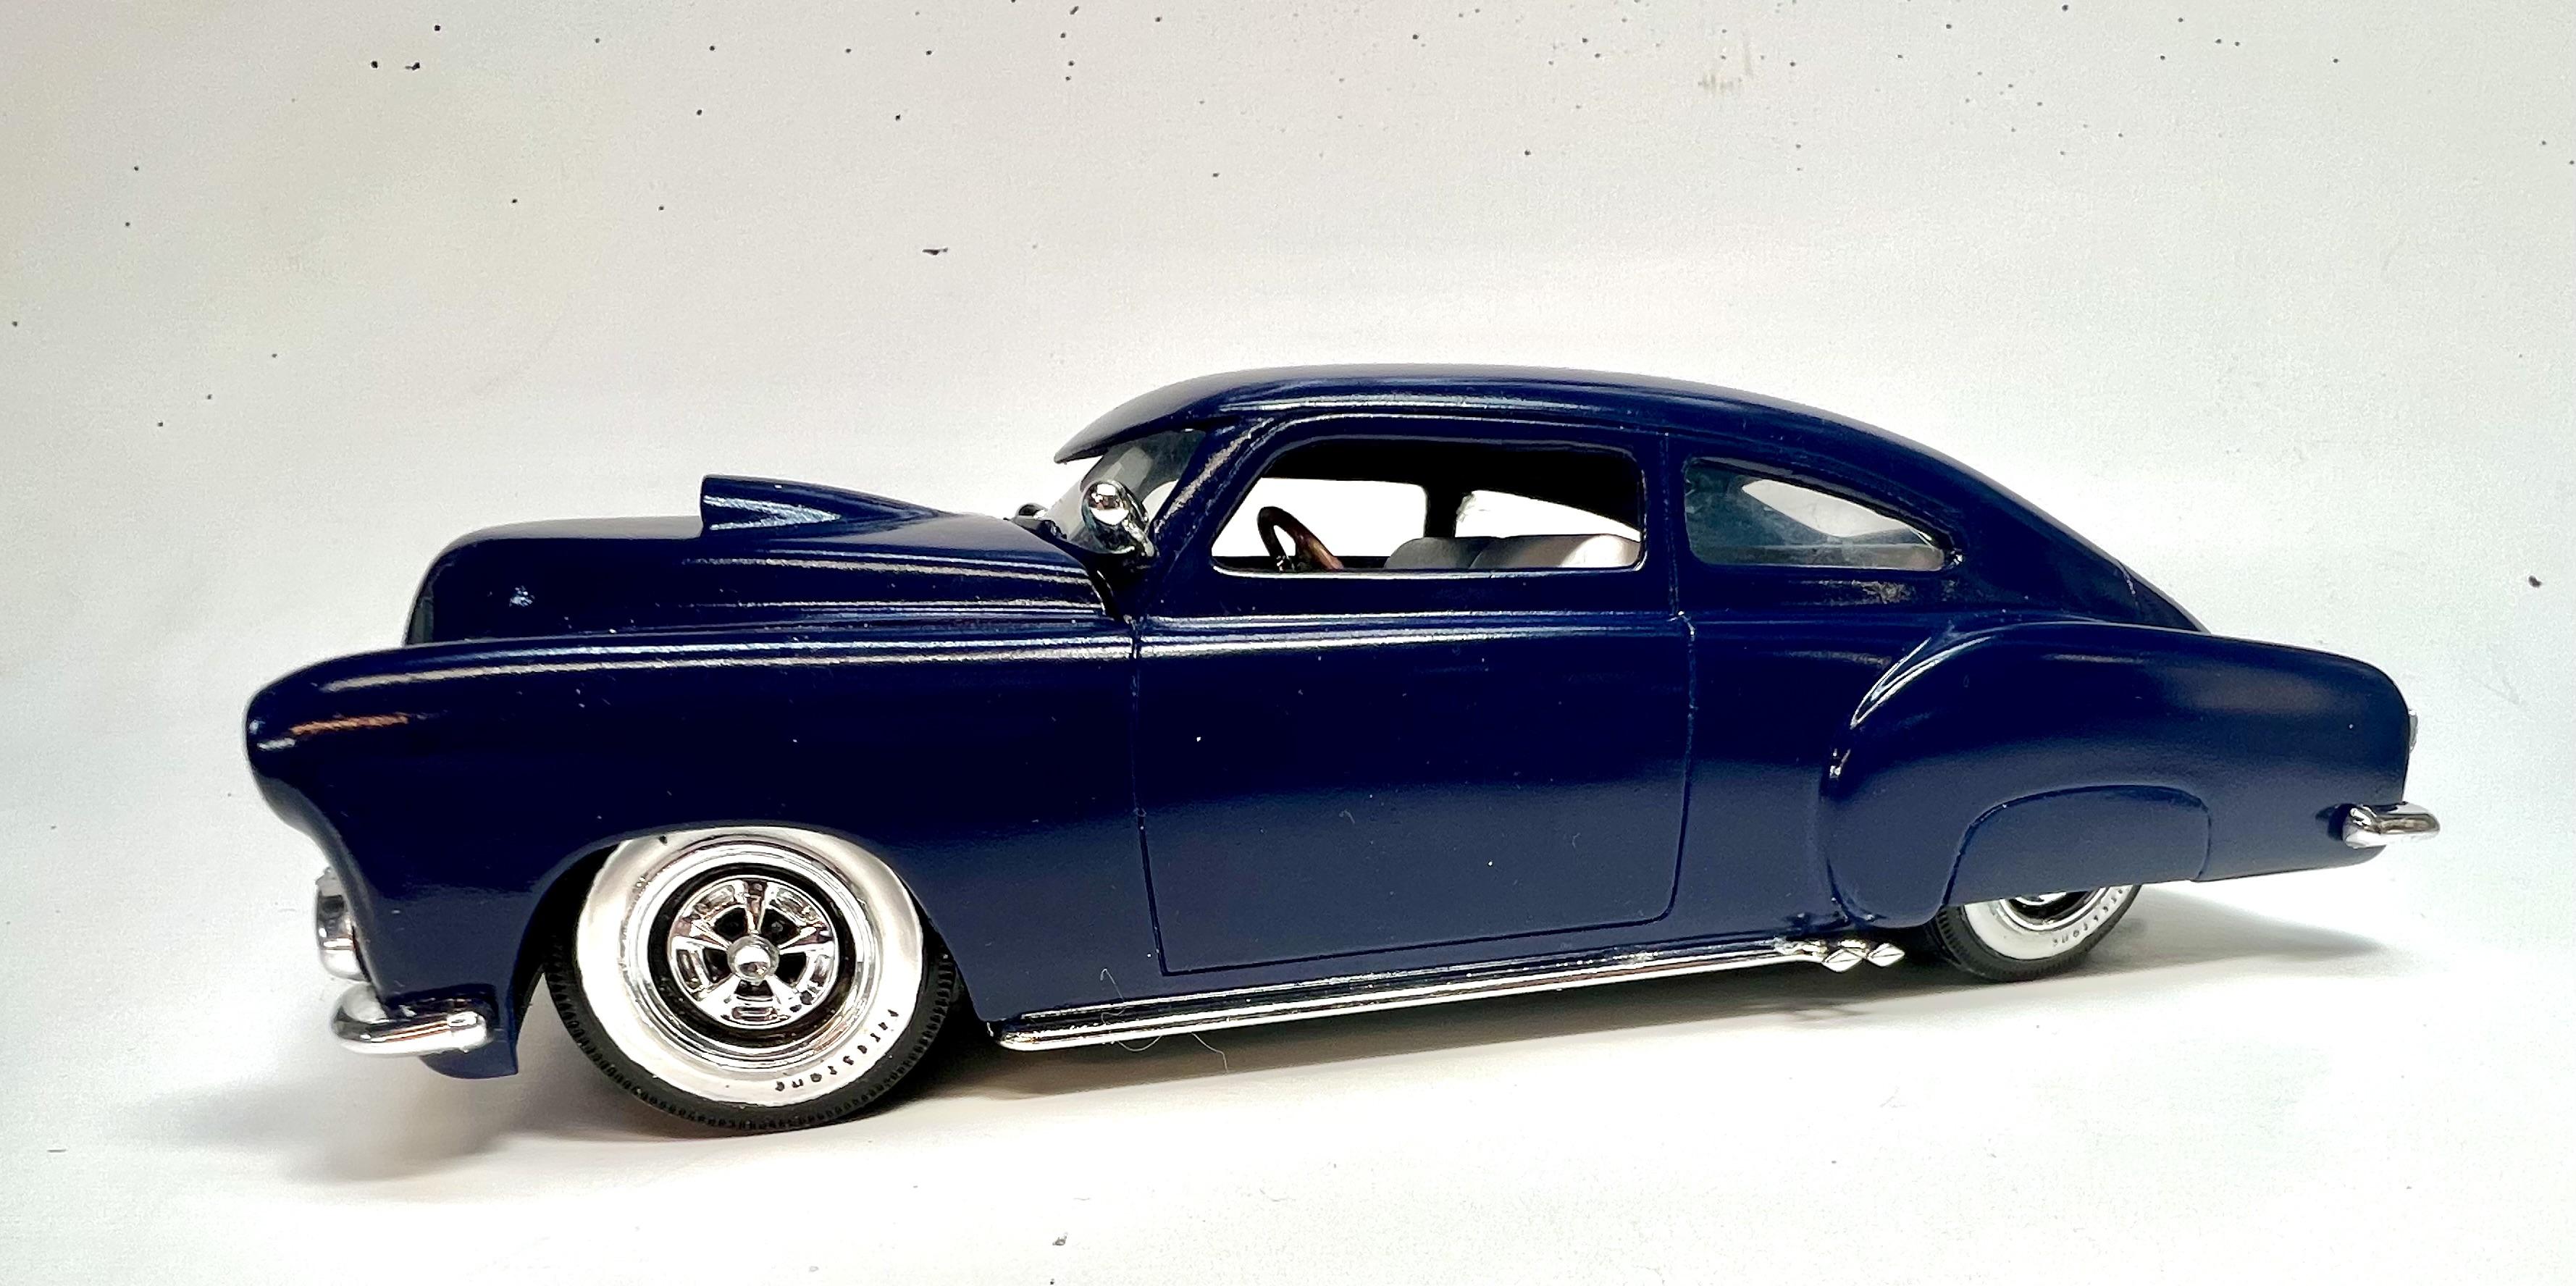
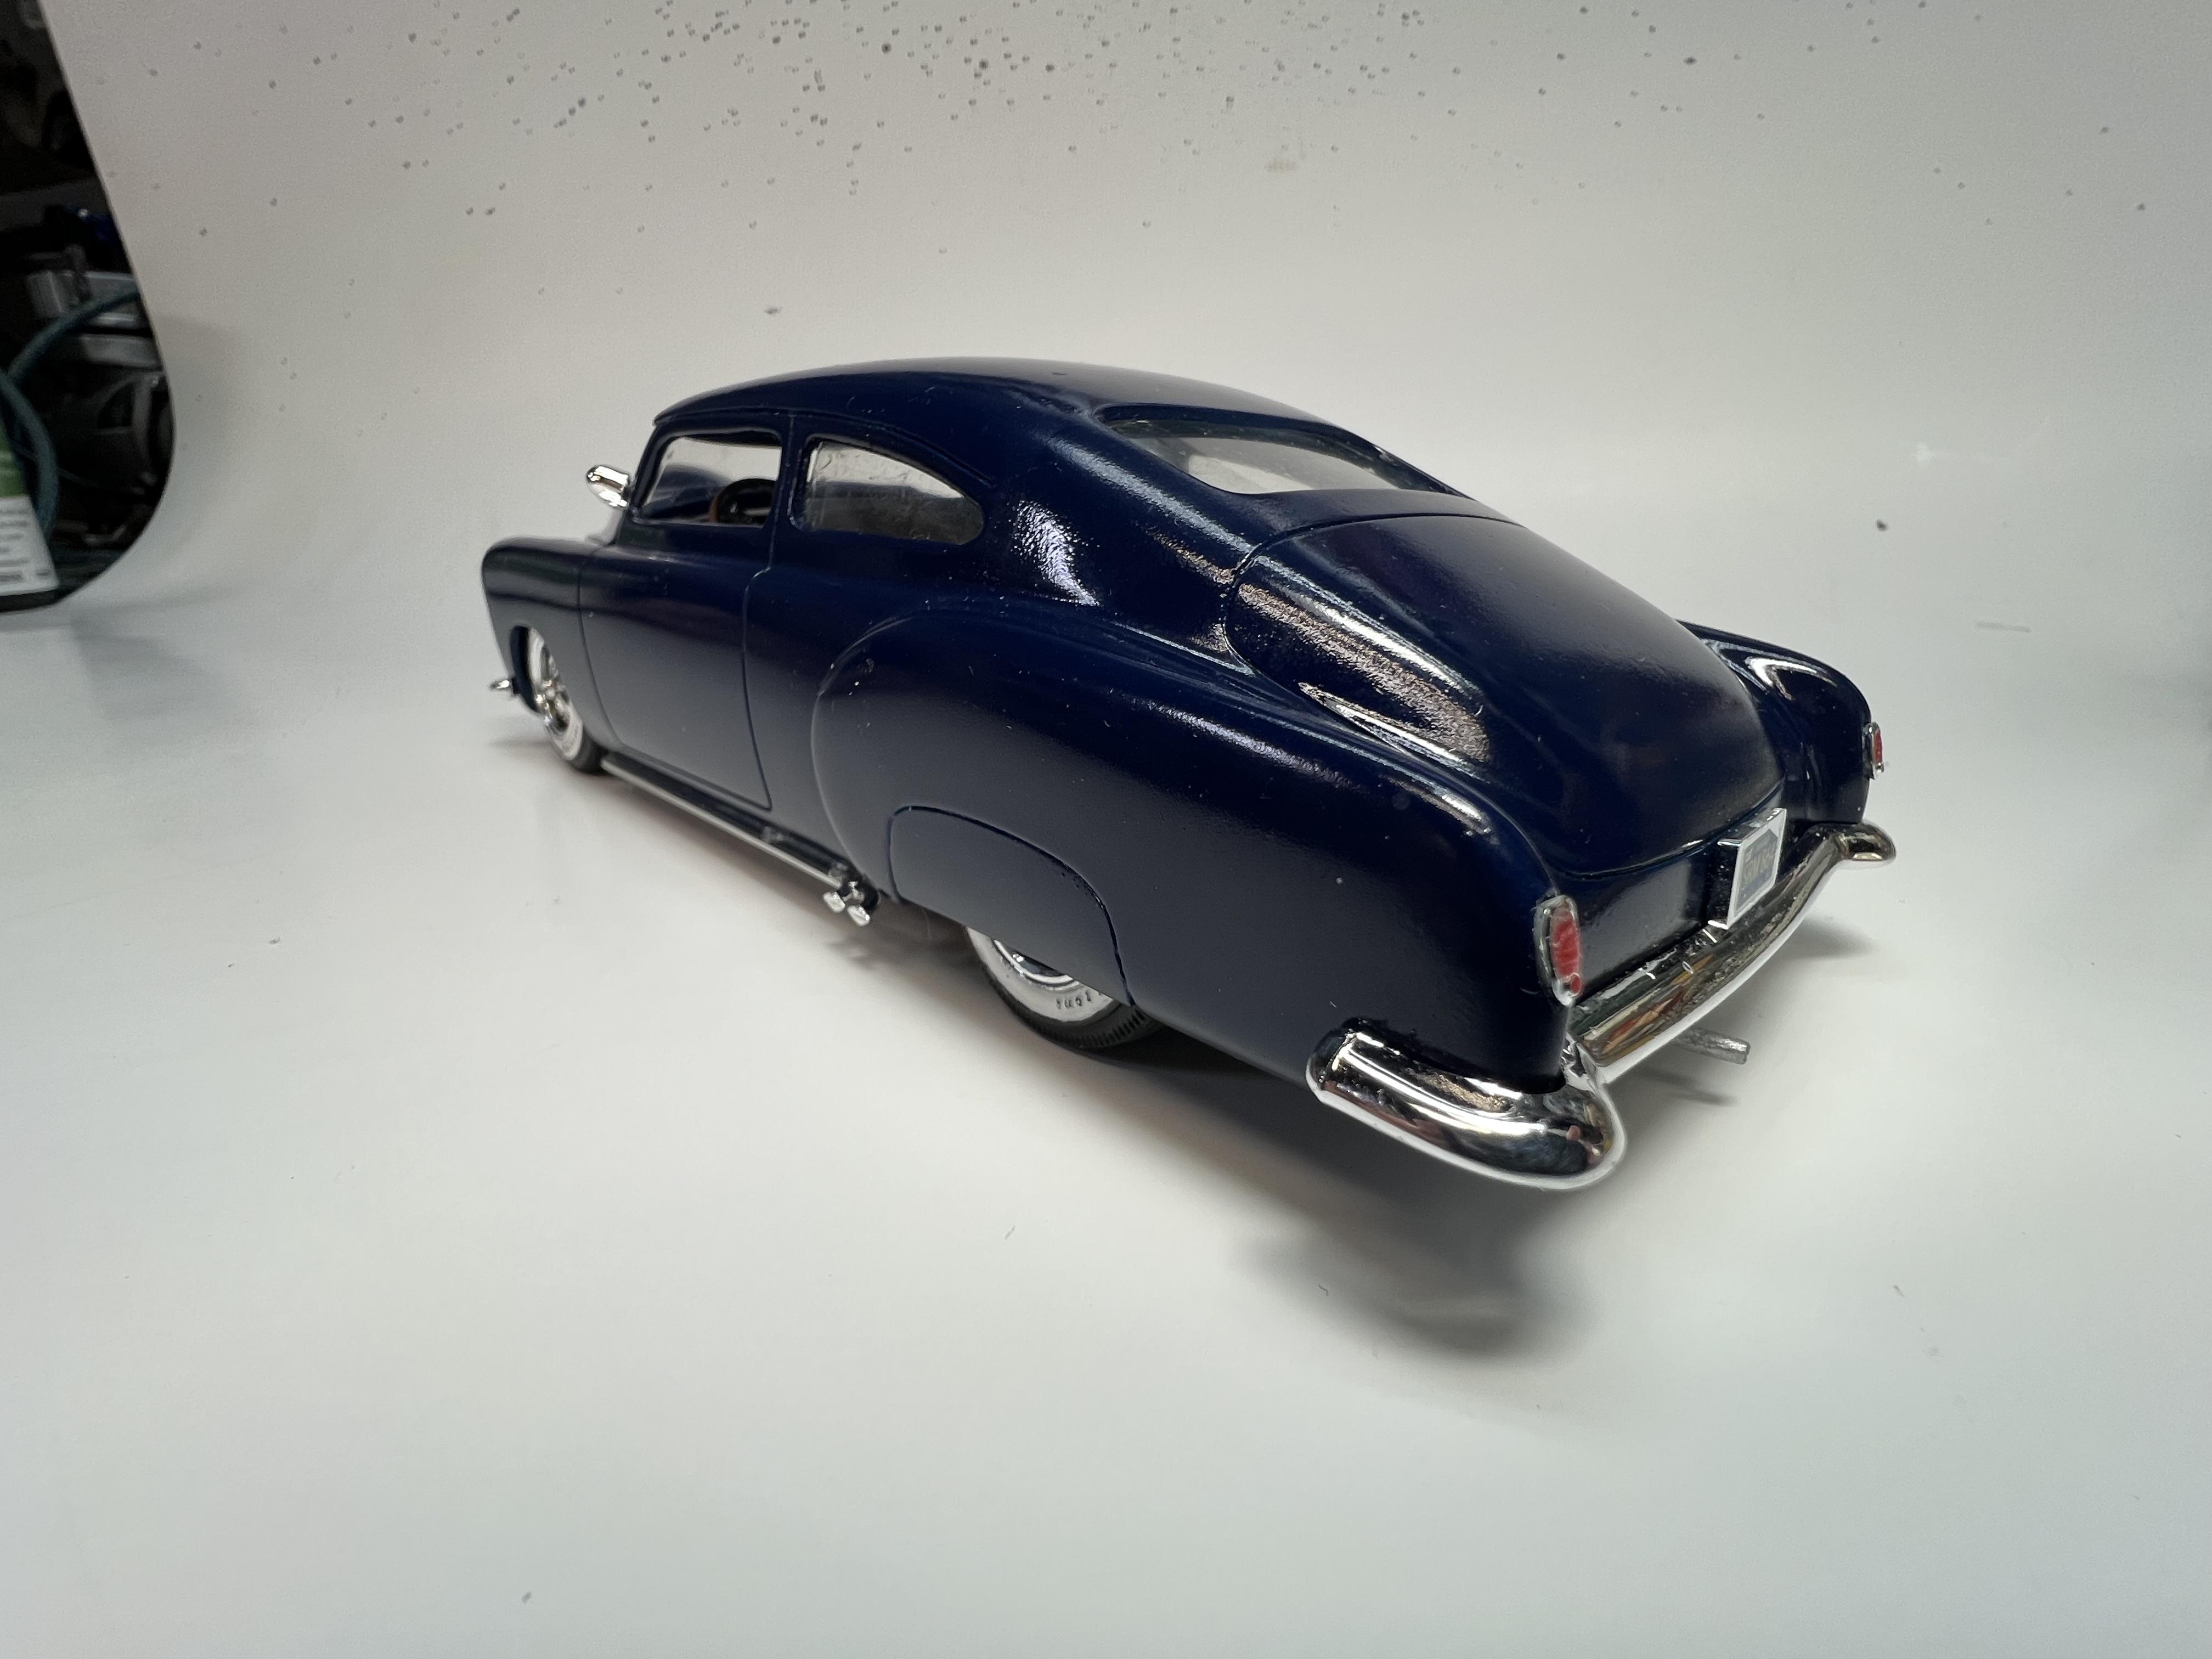
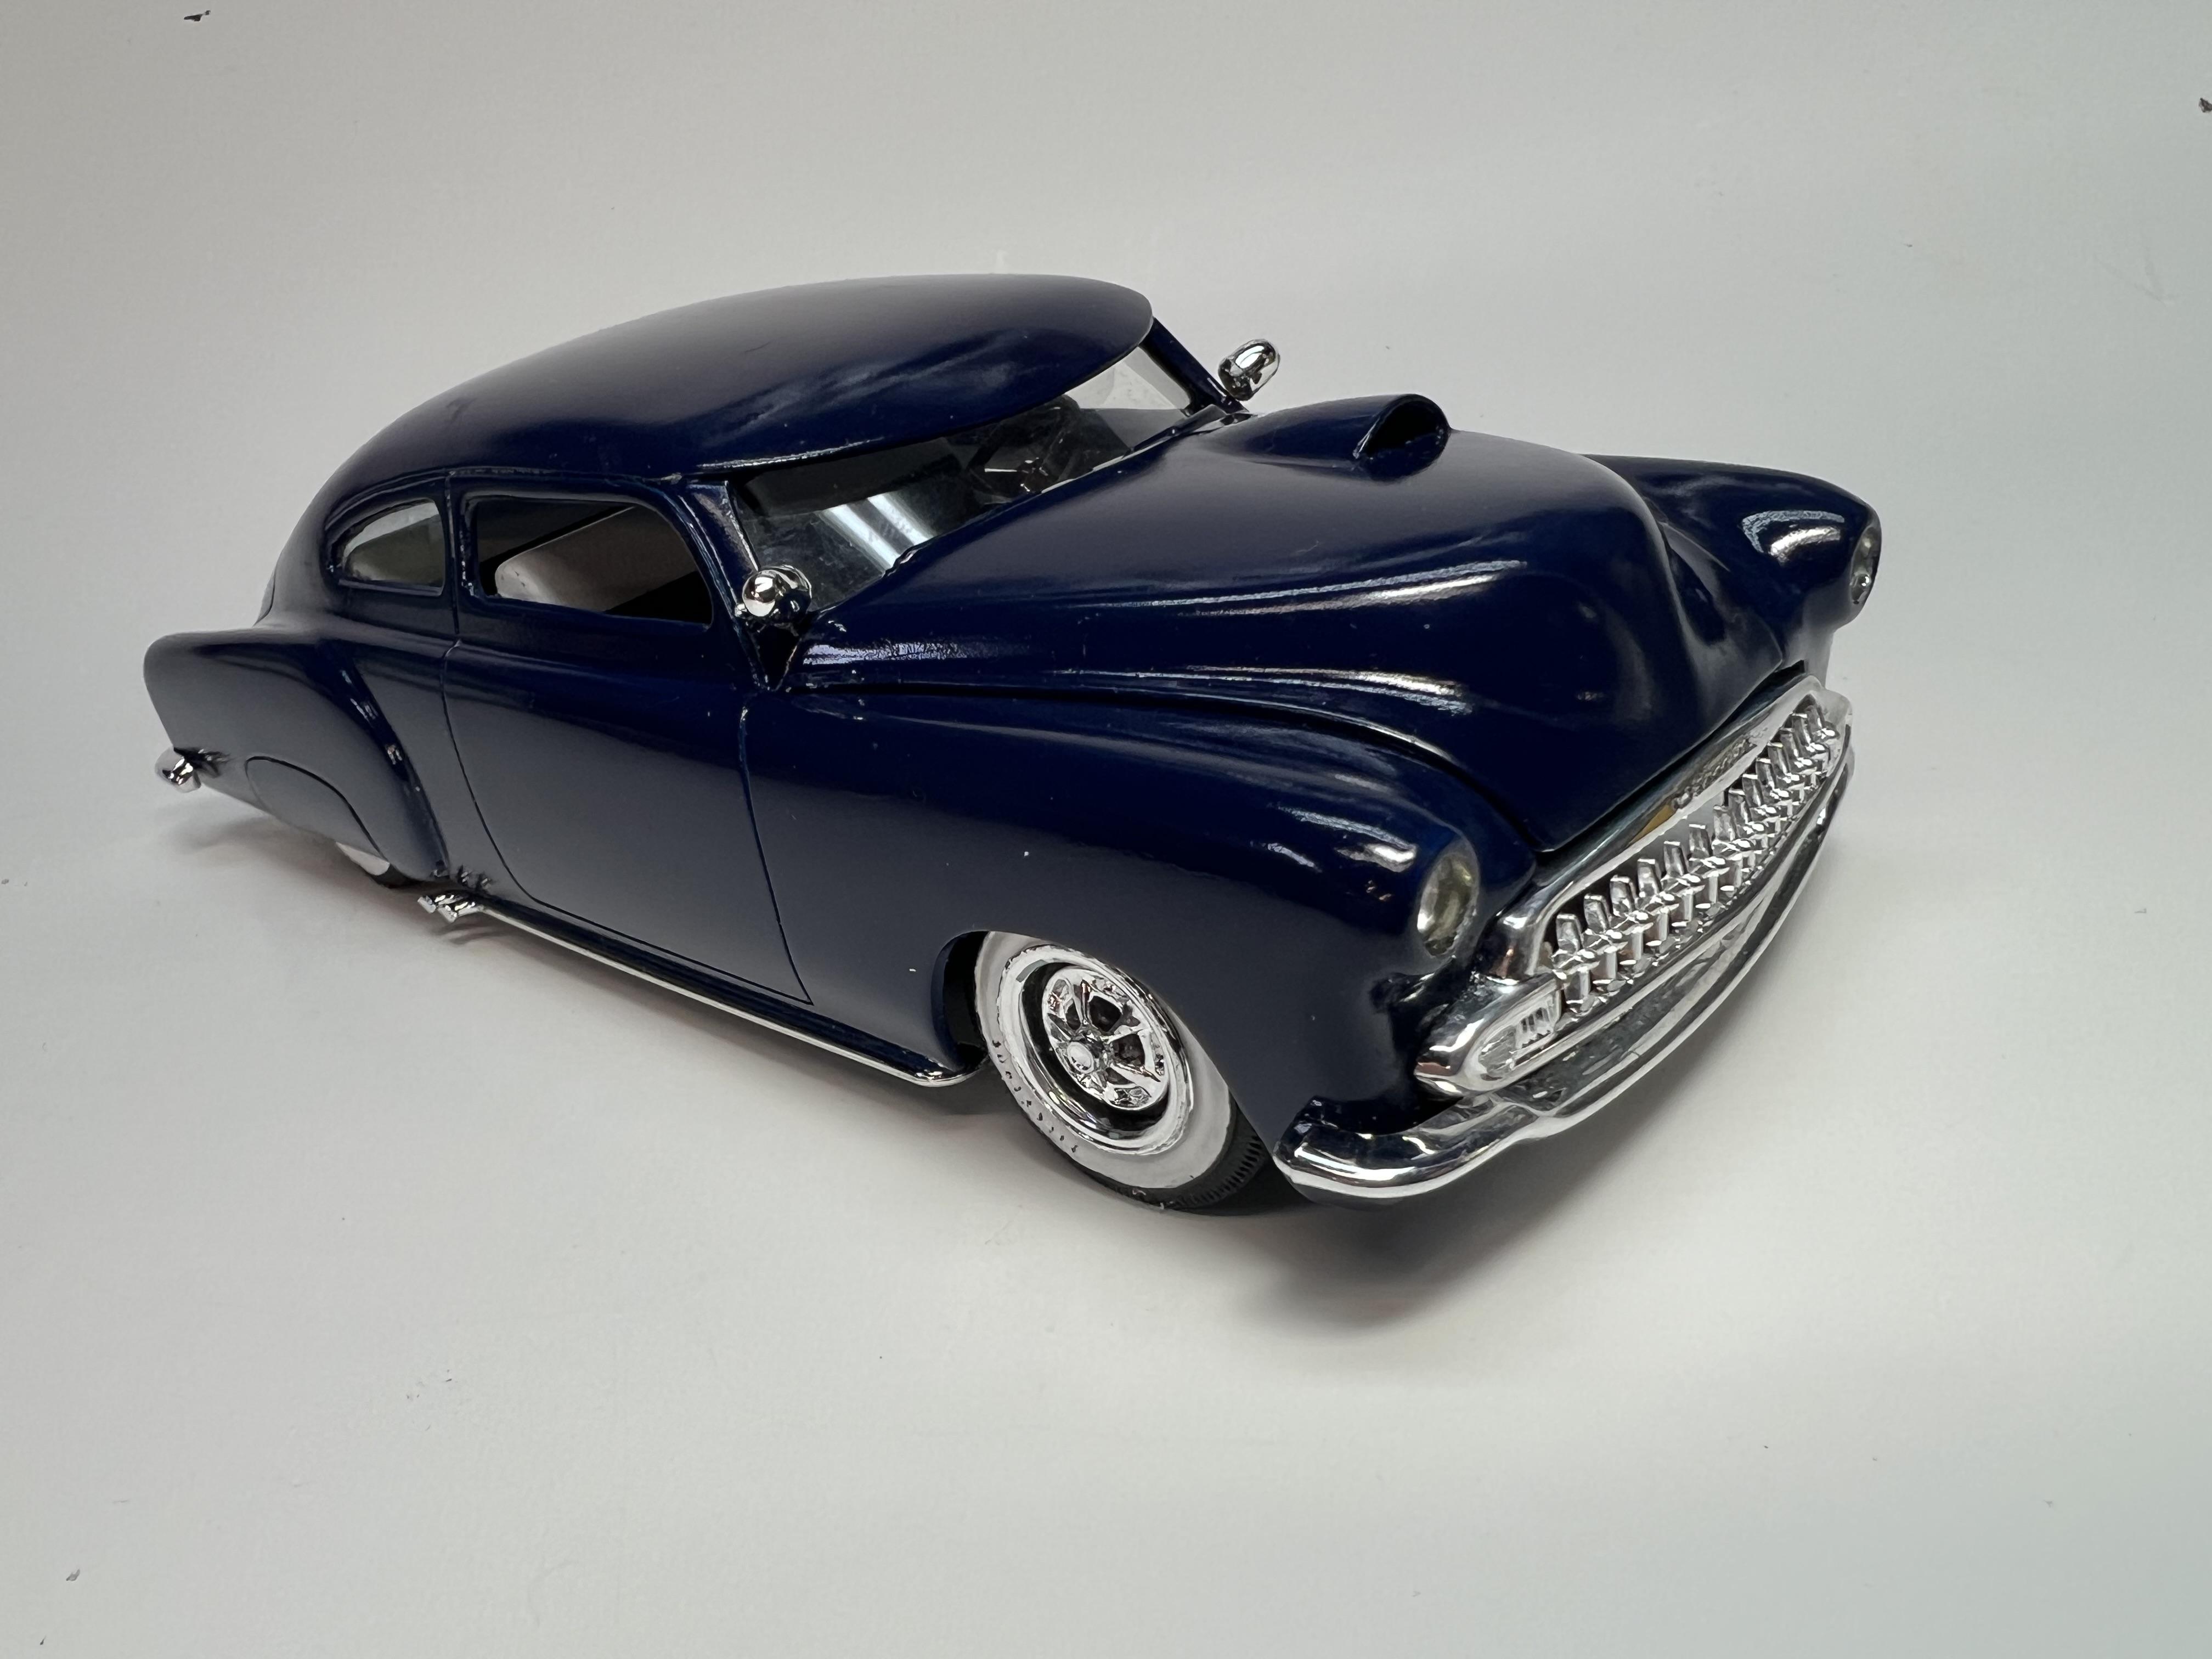
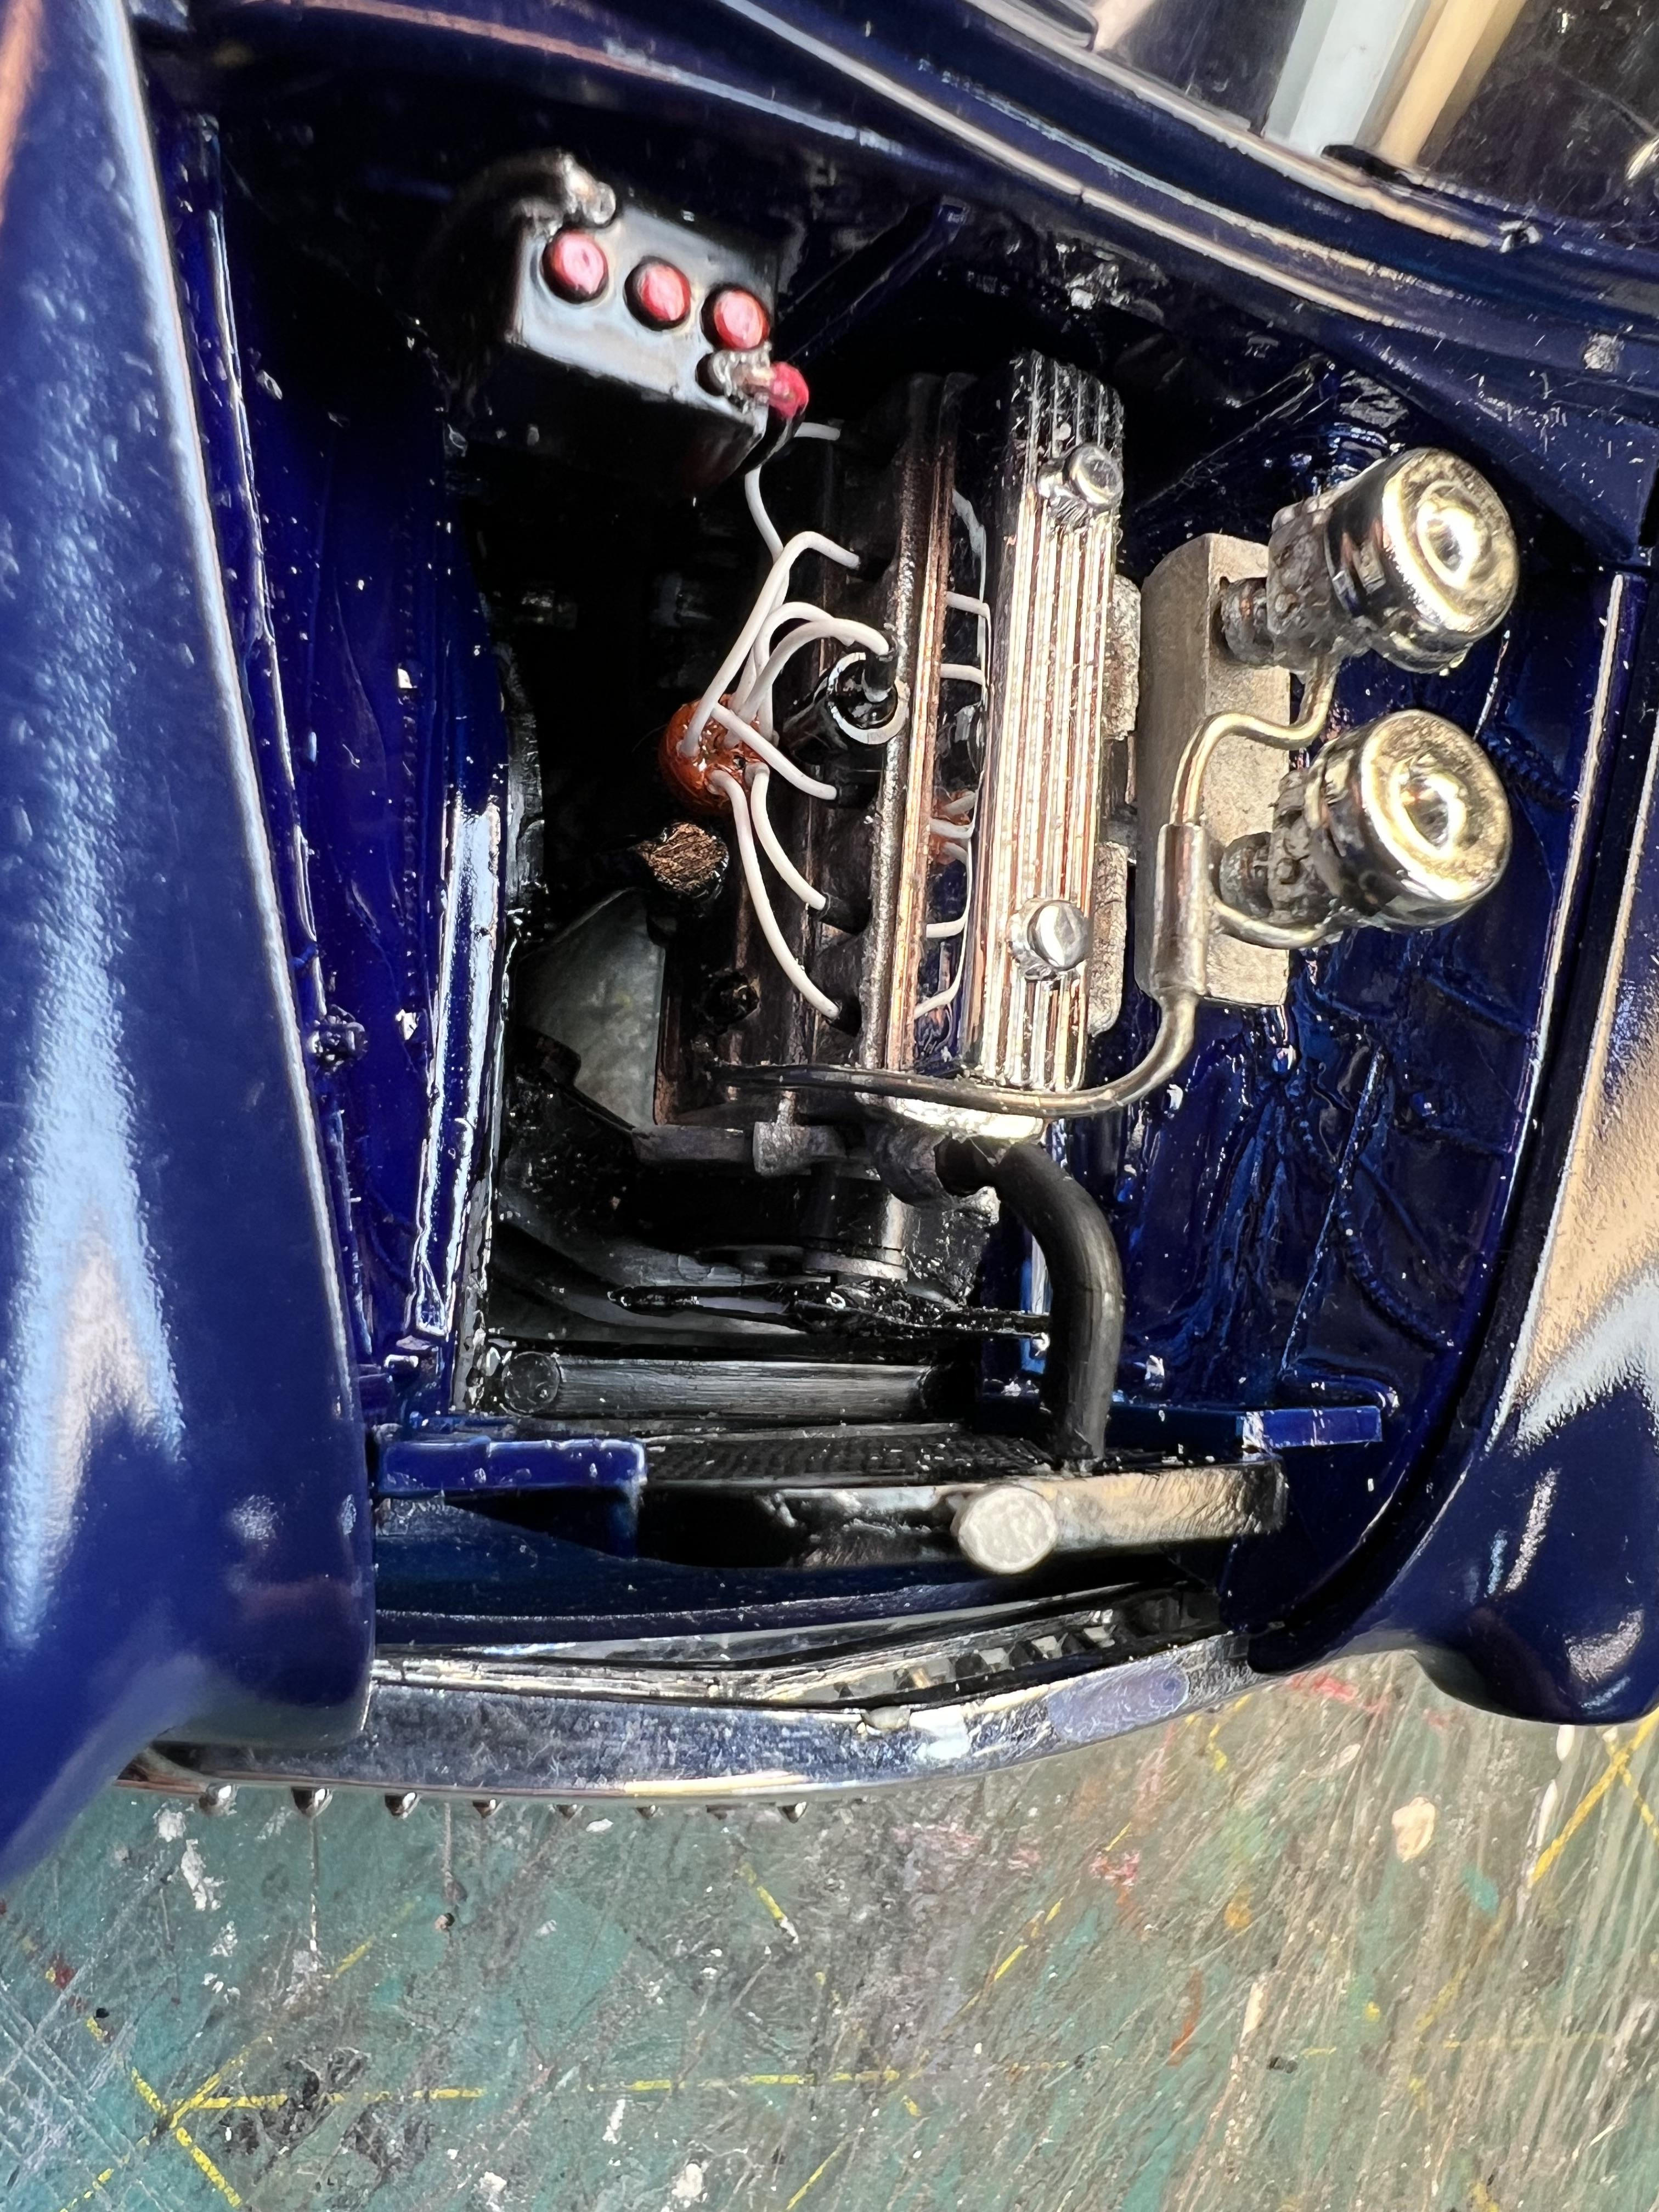
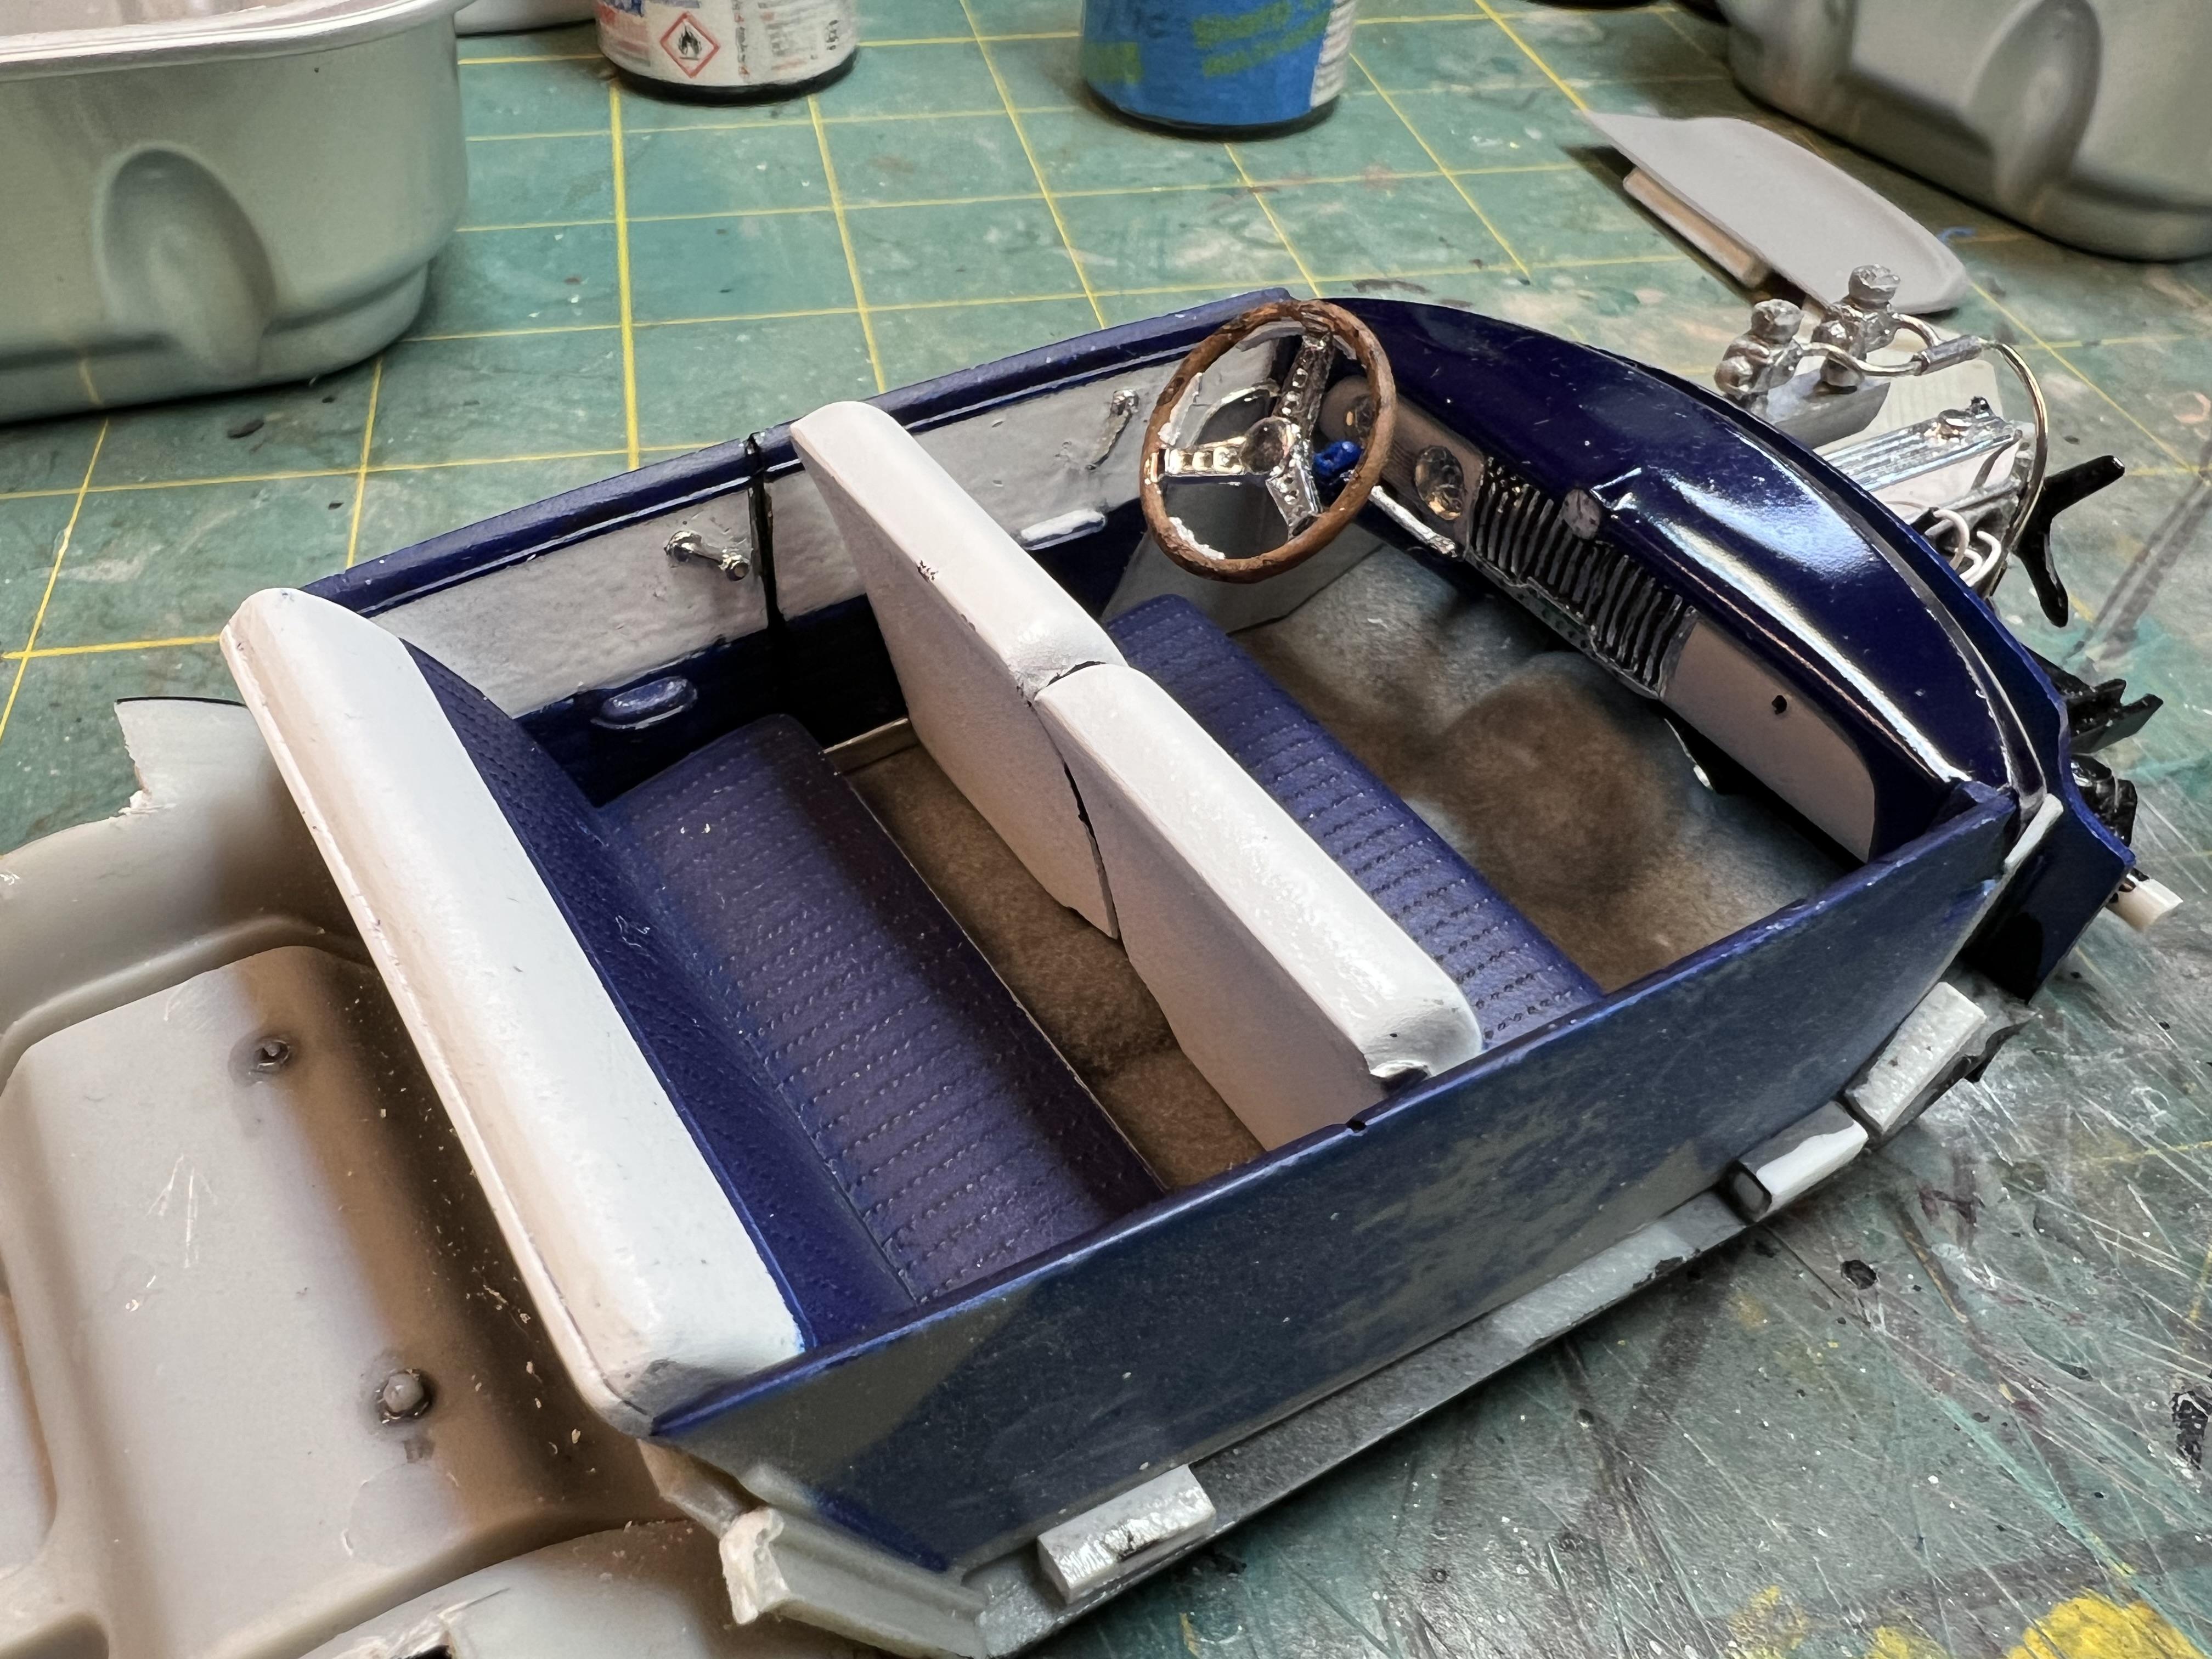
This is the end result of the post “clamping quandry” from Dec 8 the tips tricks ….. category. The grill is the stock one with the center bar removed and a Corvette type fitted in. The wheels are the stock ones from MPC 67 GTO. To get her lower I “channeled” it by taking about .125” out of the interior tub plus adding blocks to the rear springs and using the kit supplied lowered front spindles. Channeling also needed a section taken out of the front inner wheel wells. Lowering brought the carbs above the hood but with the help of a false fingernail that issue became an asset. I wanted a sun visor to add attitude and molded one into the roofline. I don’t know why I spend a lot of time on interiors as they become hard to see when the car is done. Anyway we do this for the fun, right.
-
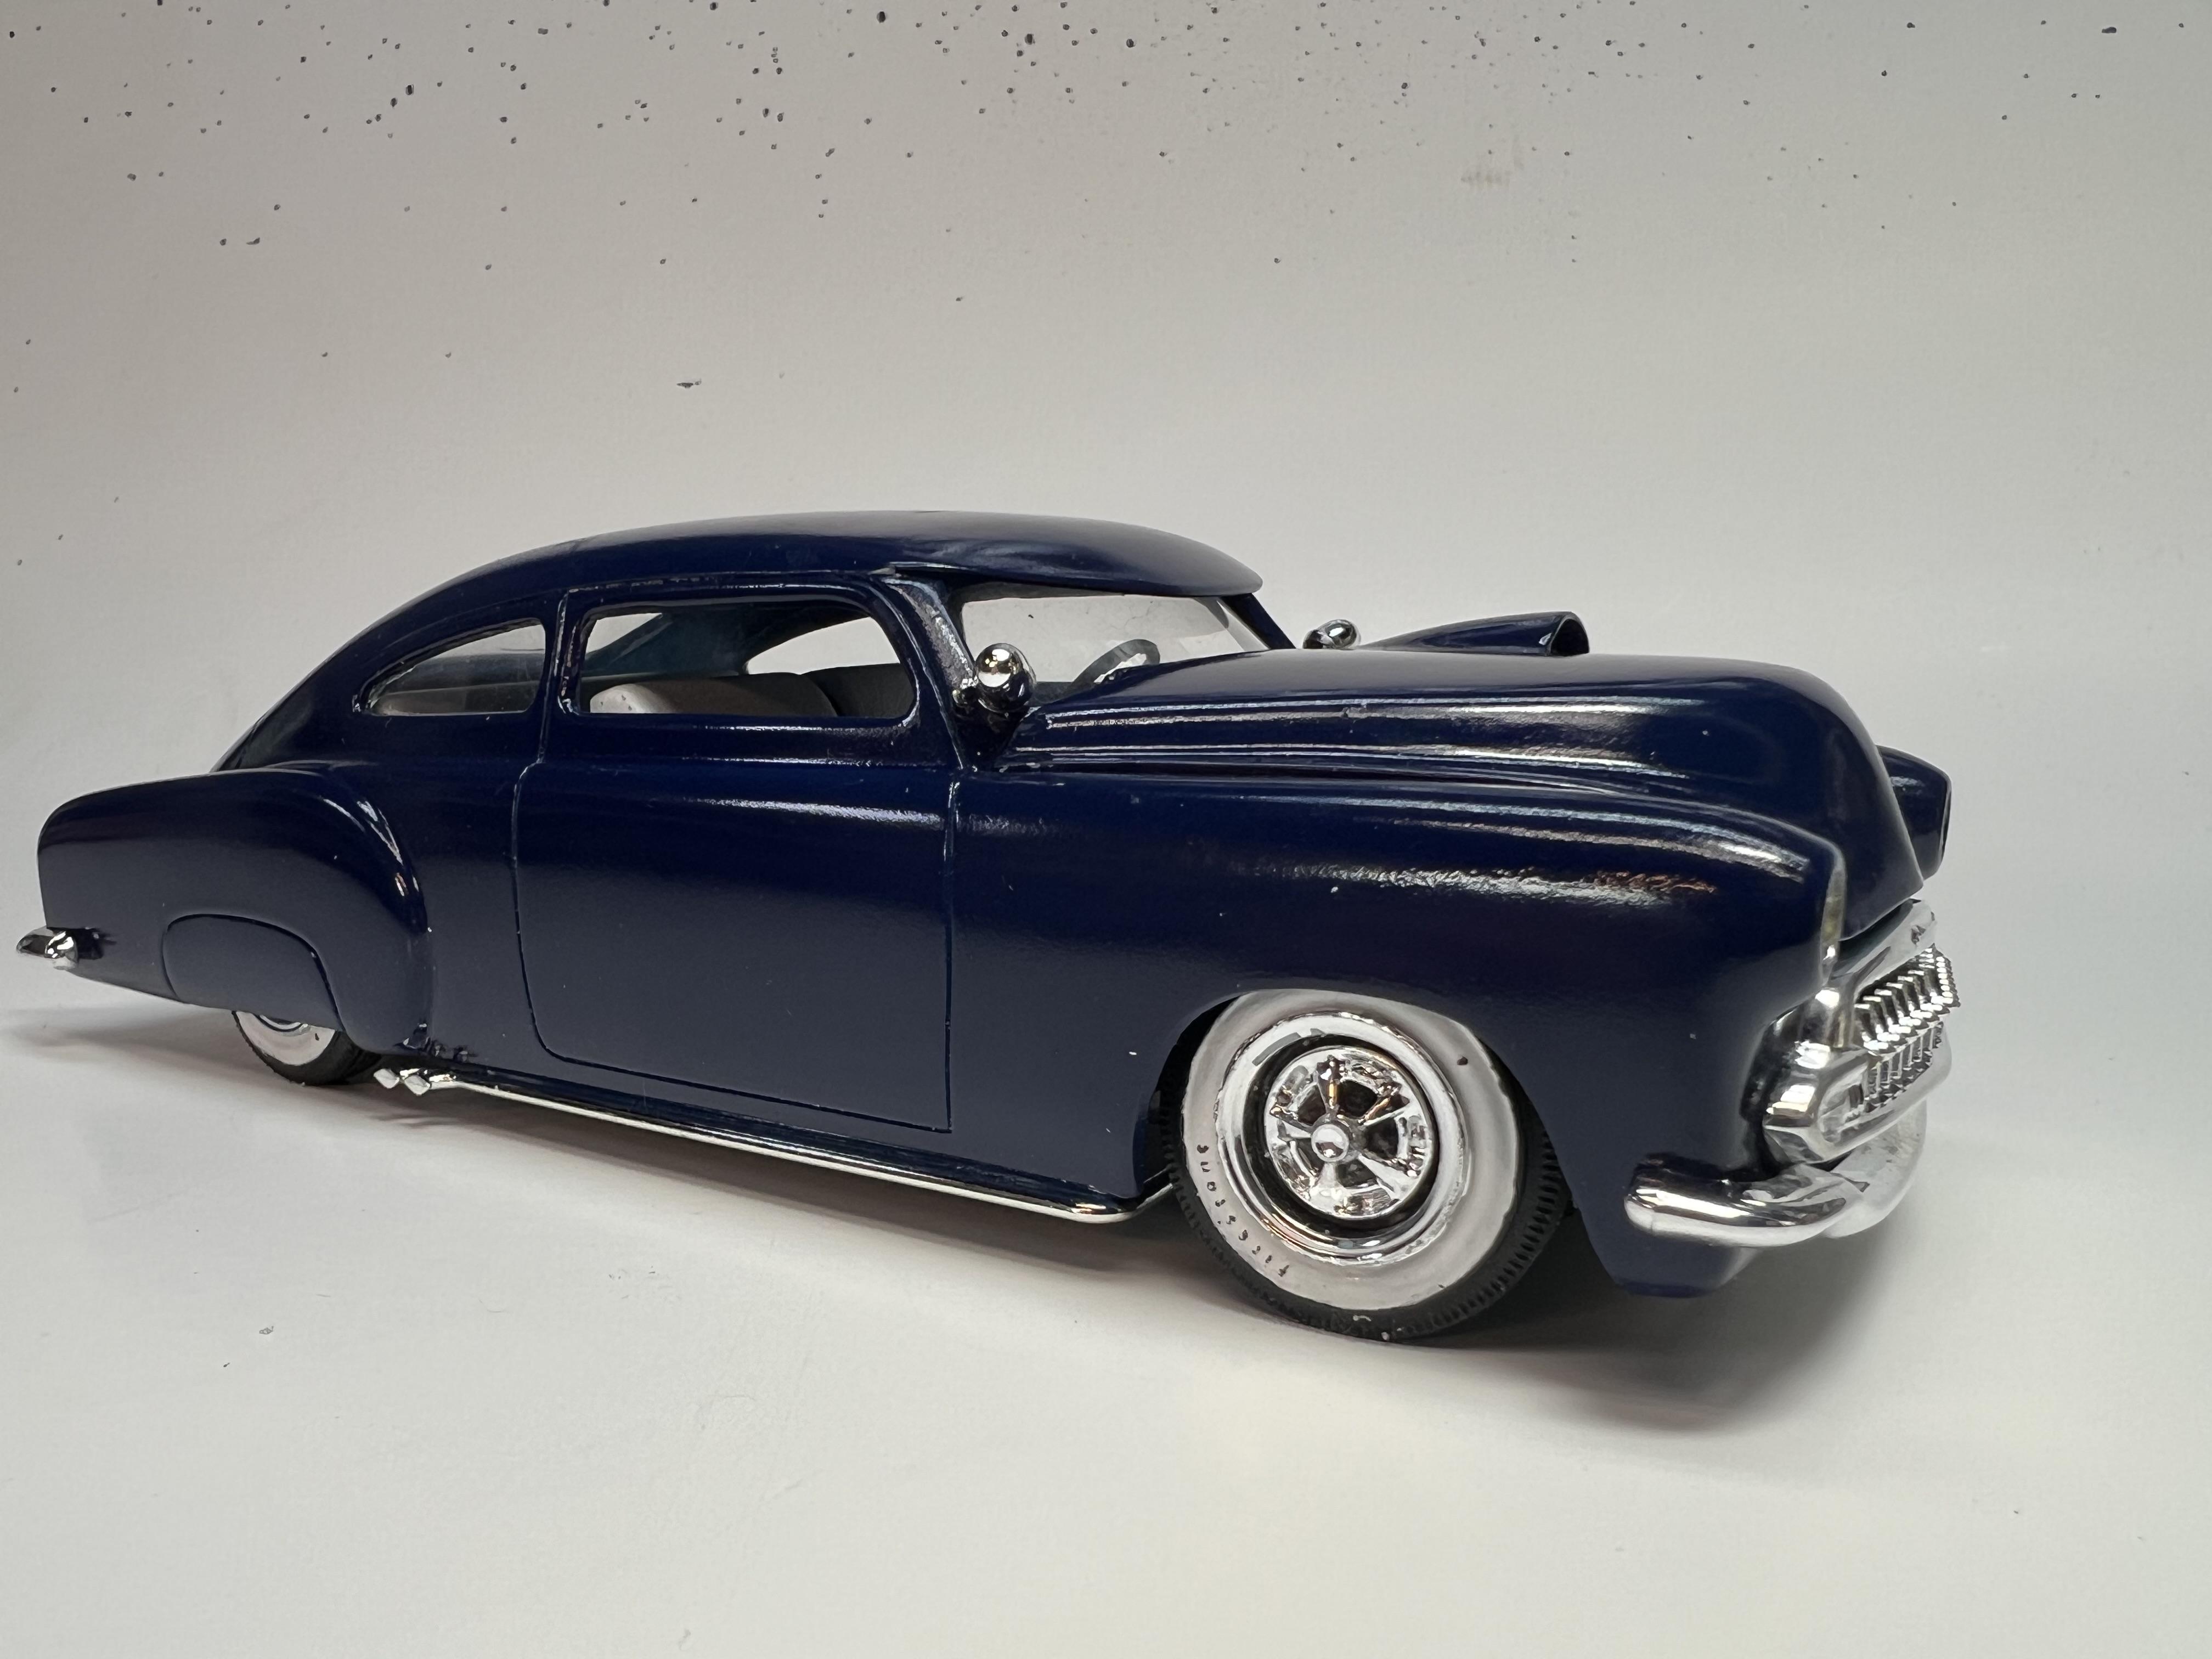
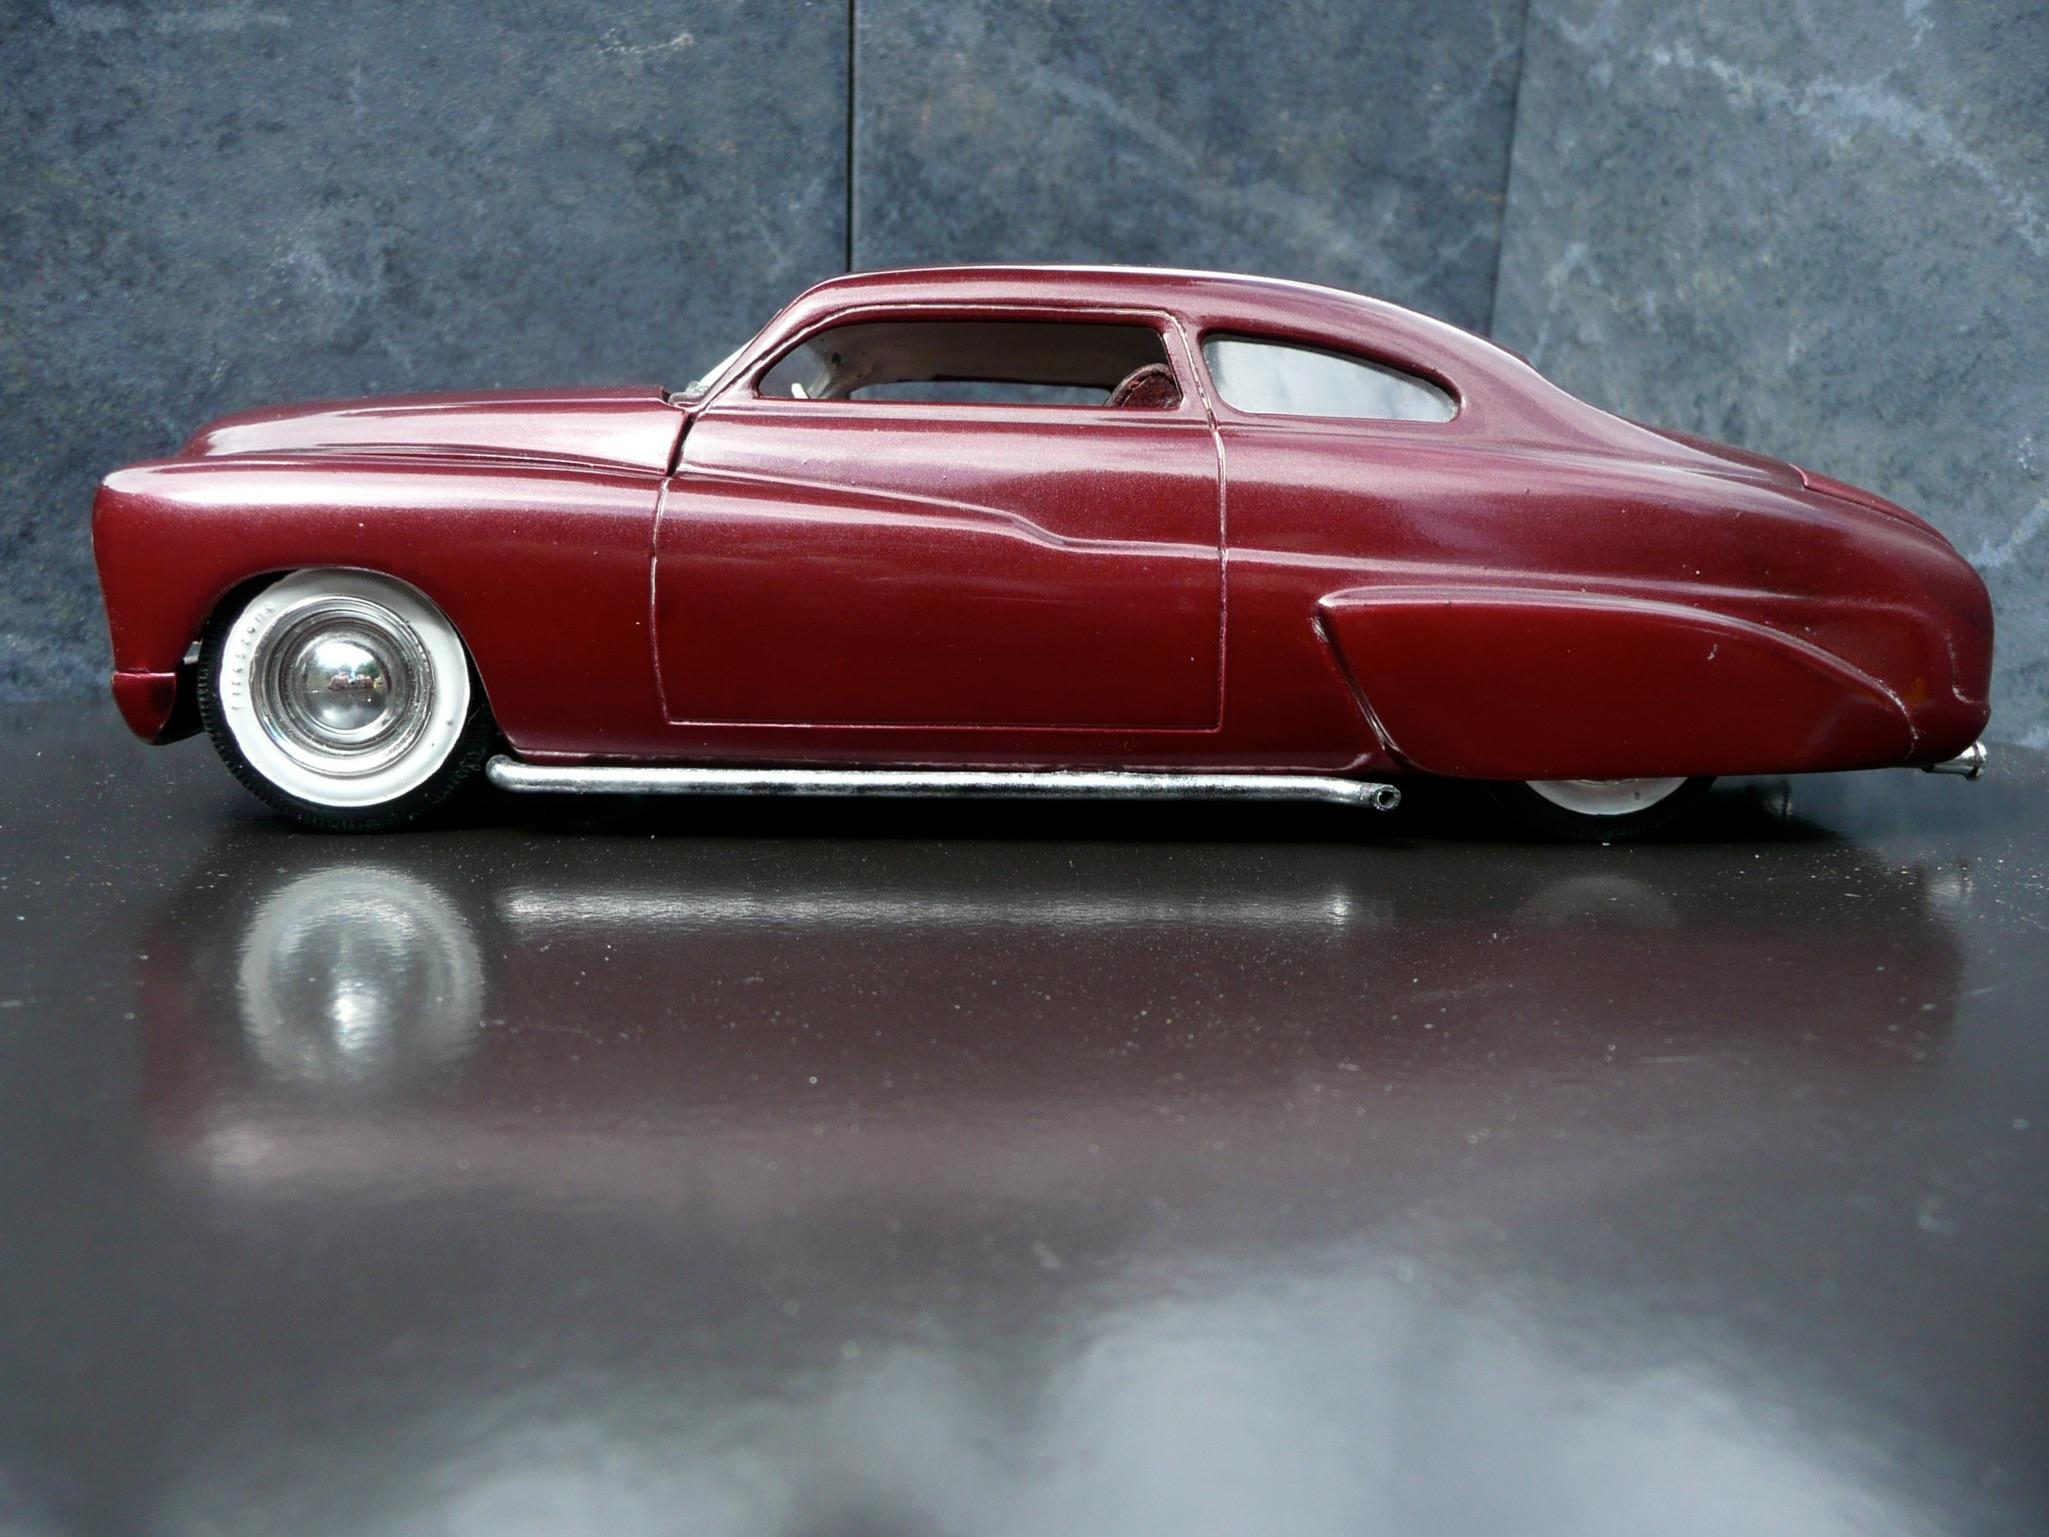
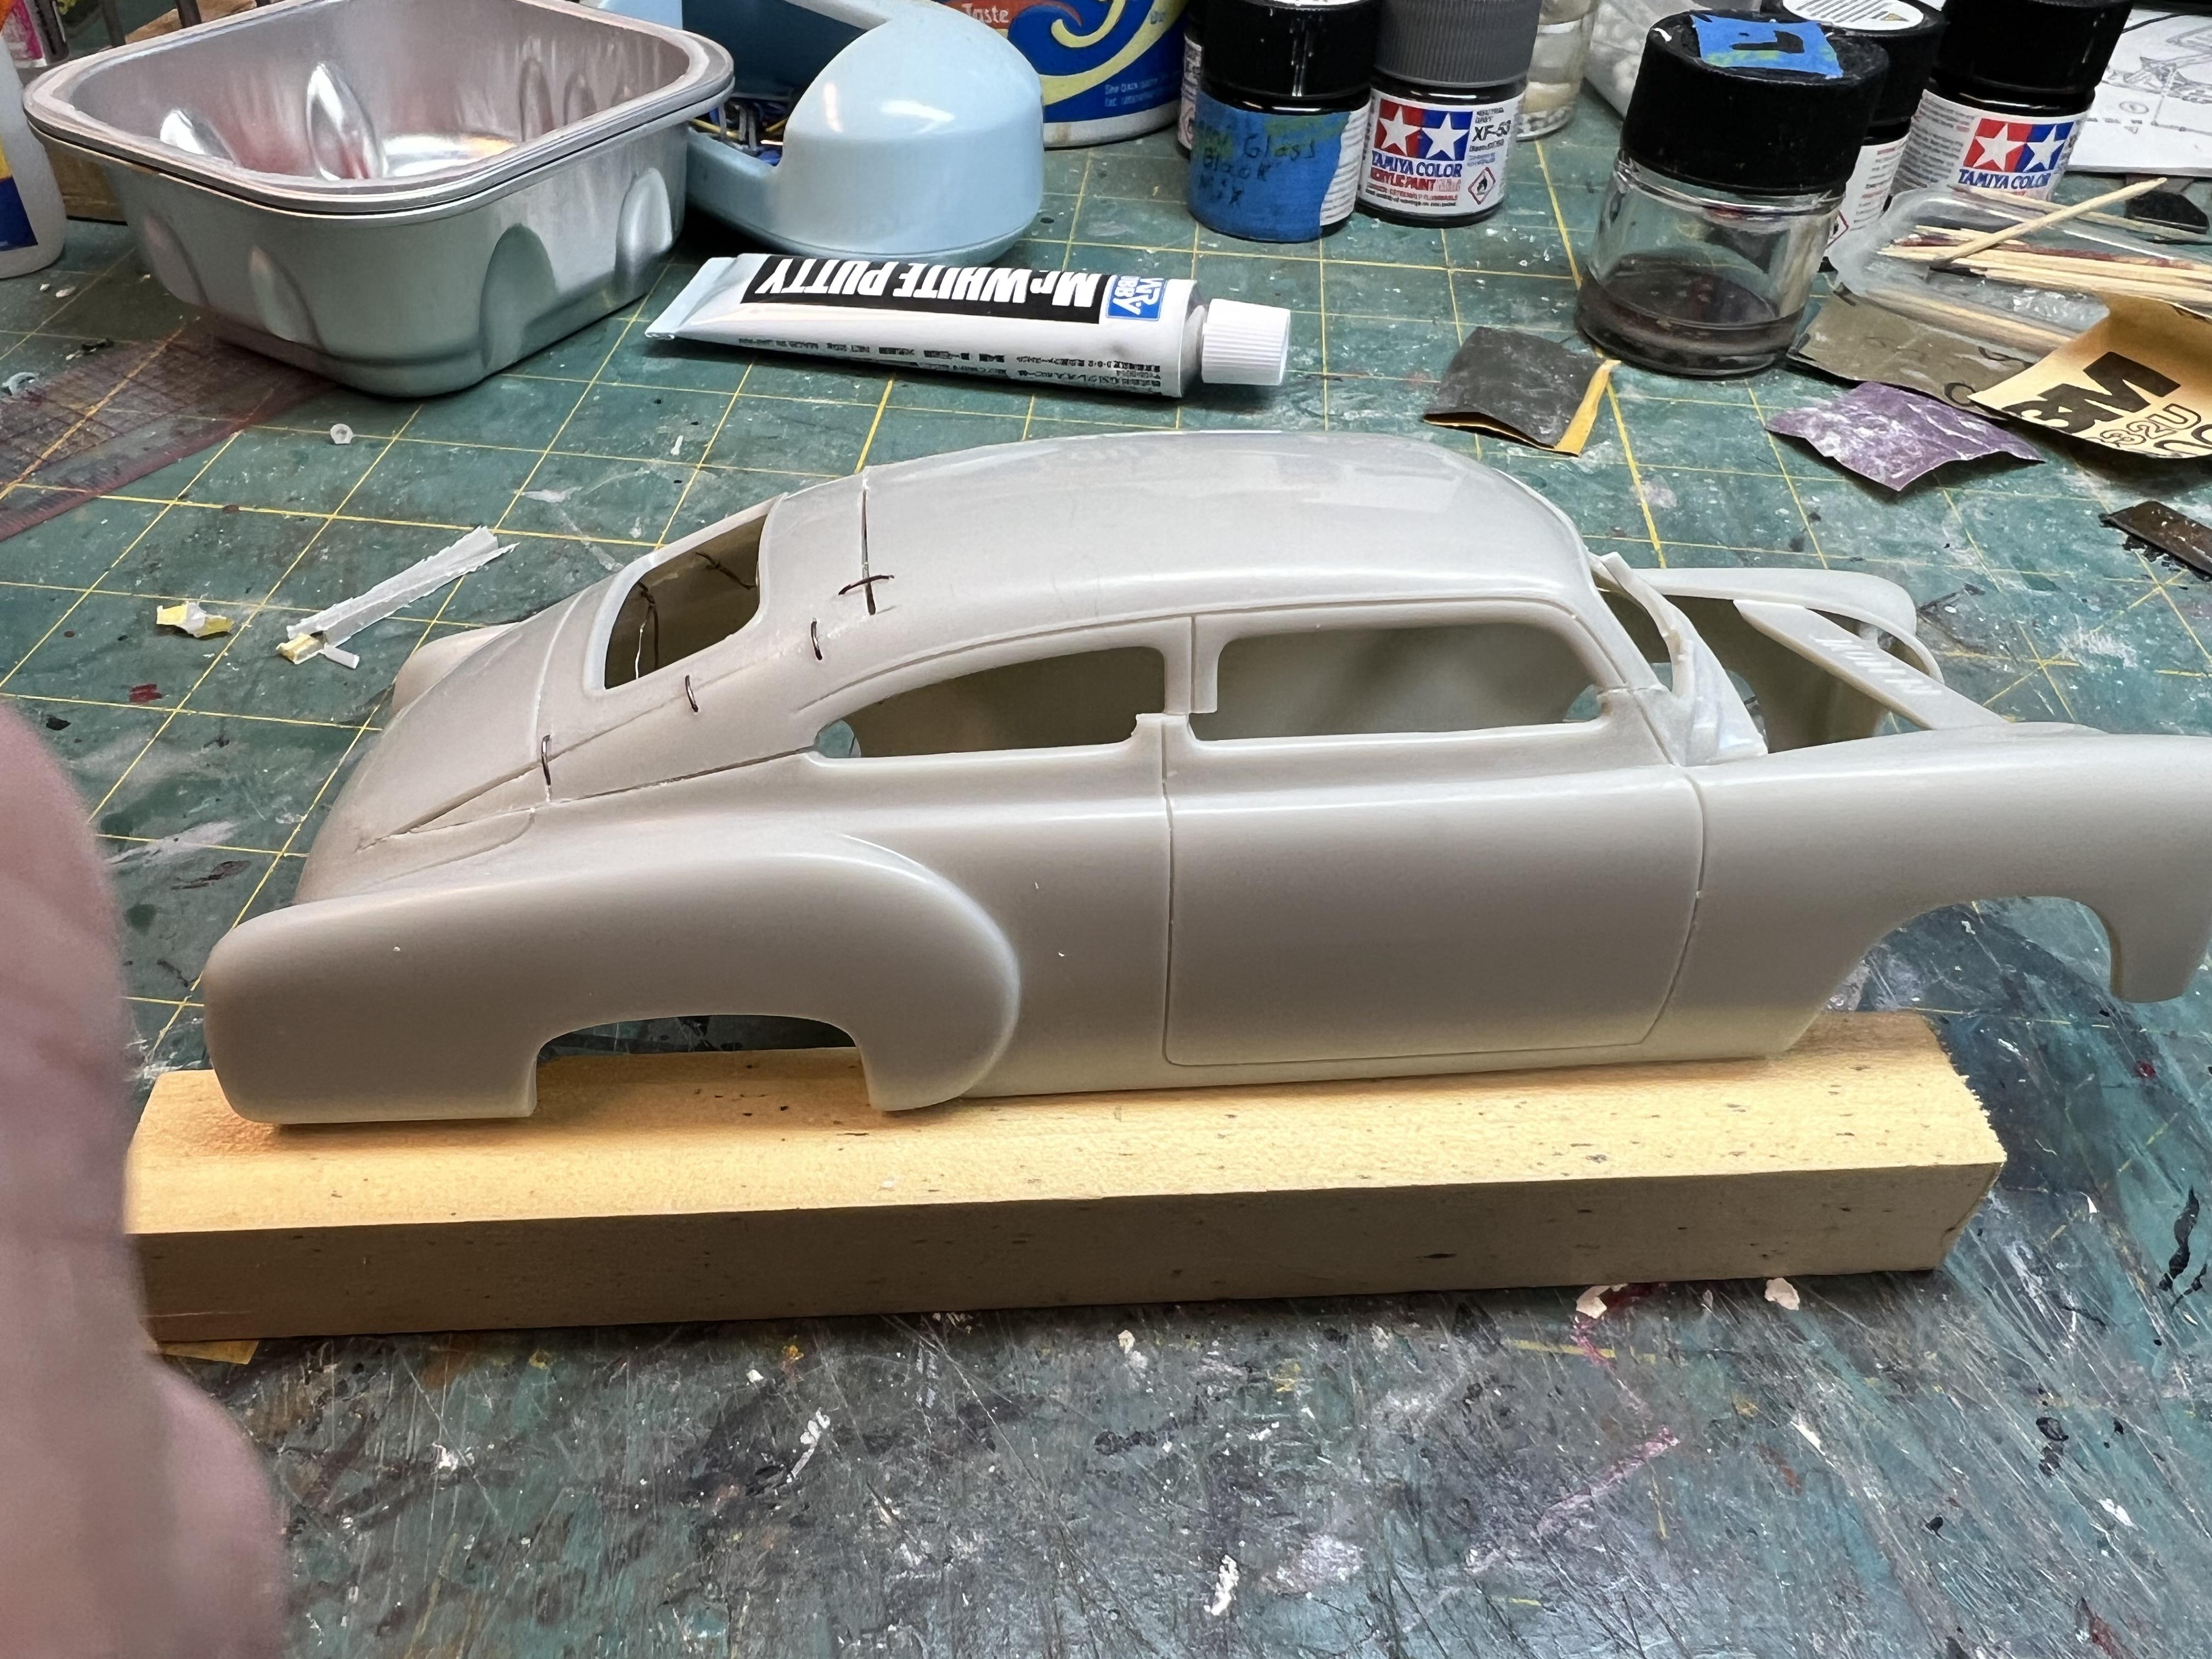
There seems to be misunderstanding about my reason for clamping. This technique is to hold seams in alignment while the glue dries. The cuts serve two purposes. One is to remove material. The second is to relieve stresses and as modeling plastic is not a rigid material it will tolerate some distortion with no ill effects. The Mercury pictured has a pie section just below the contour line starting at the front of edge of the doors and growing to 1/8” at the back. A stress point is created at the front as the two portions are brought together. The model is 20+ years old and is showing no ill effects.
-
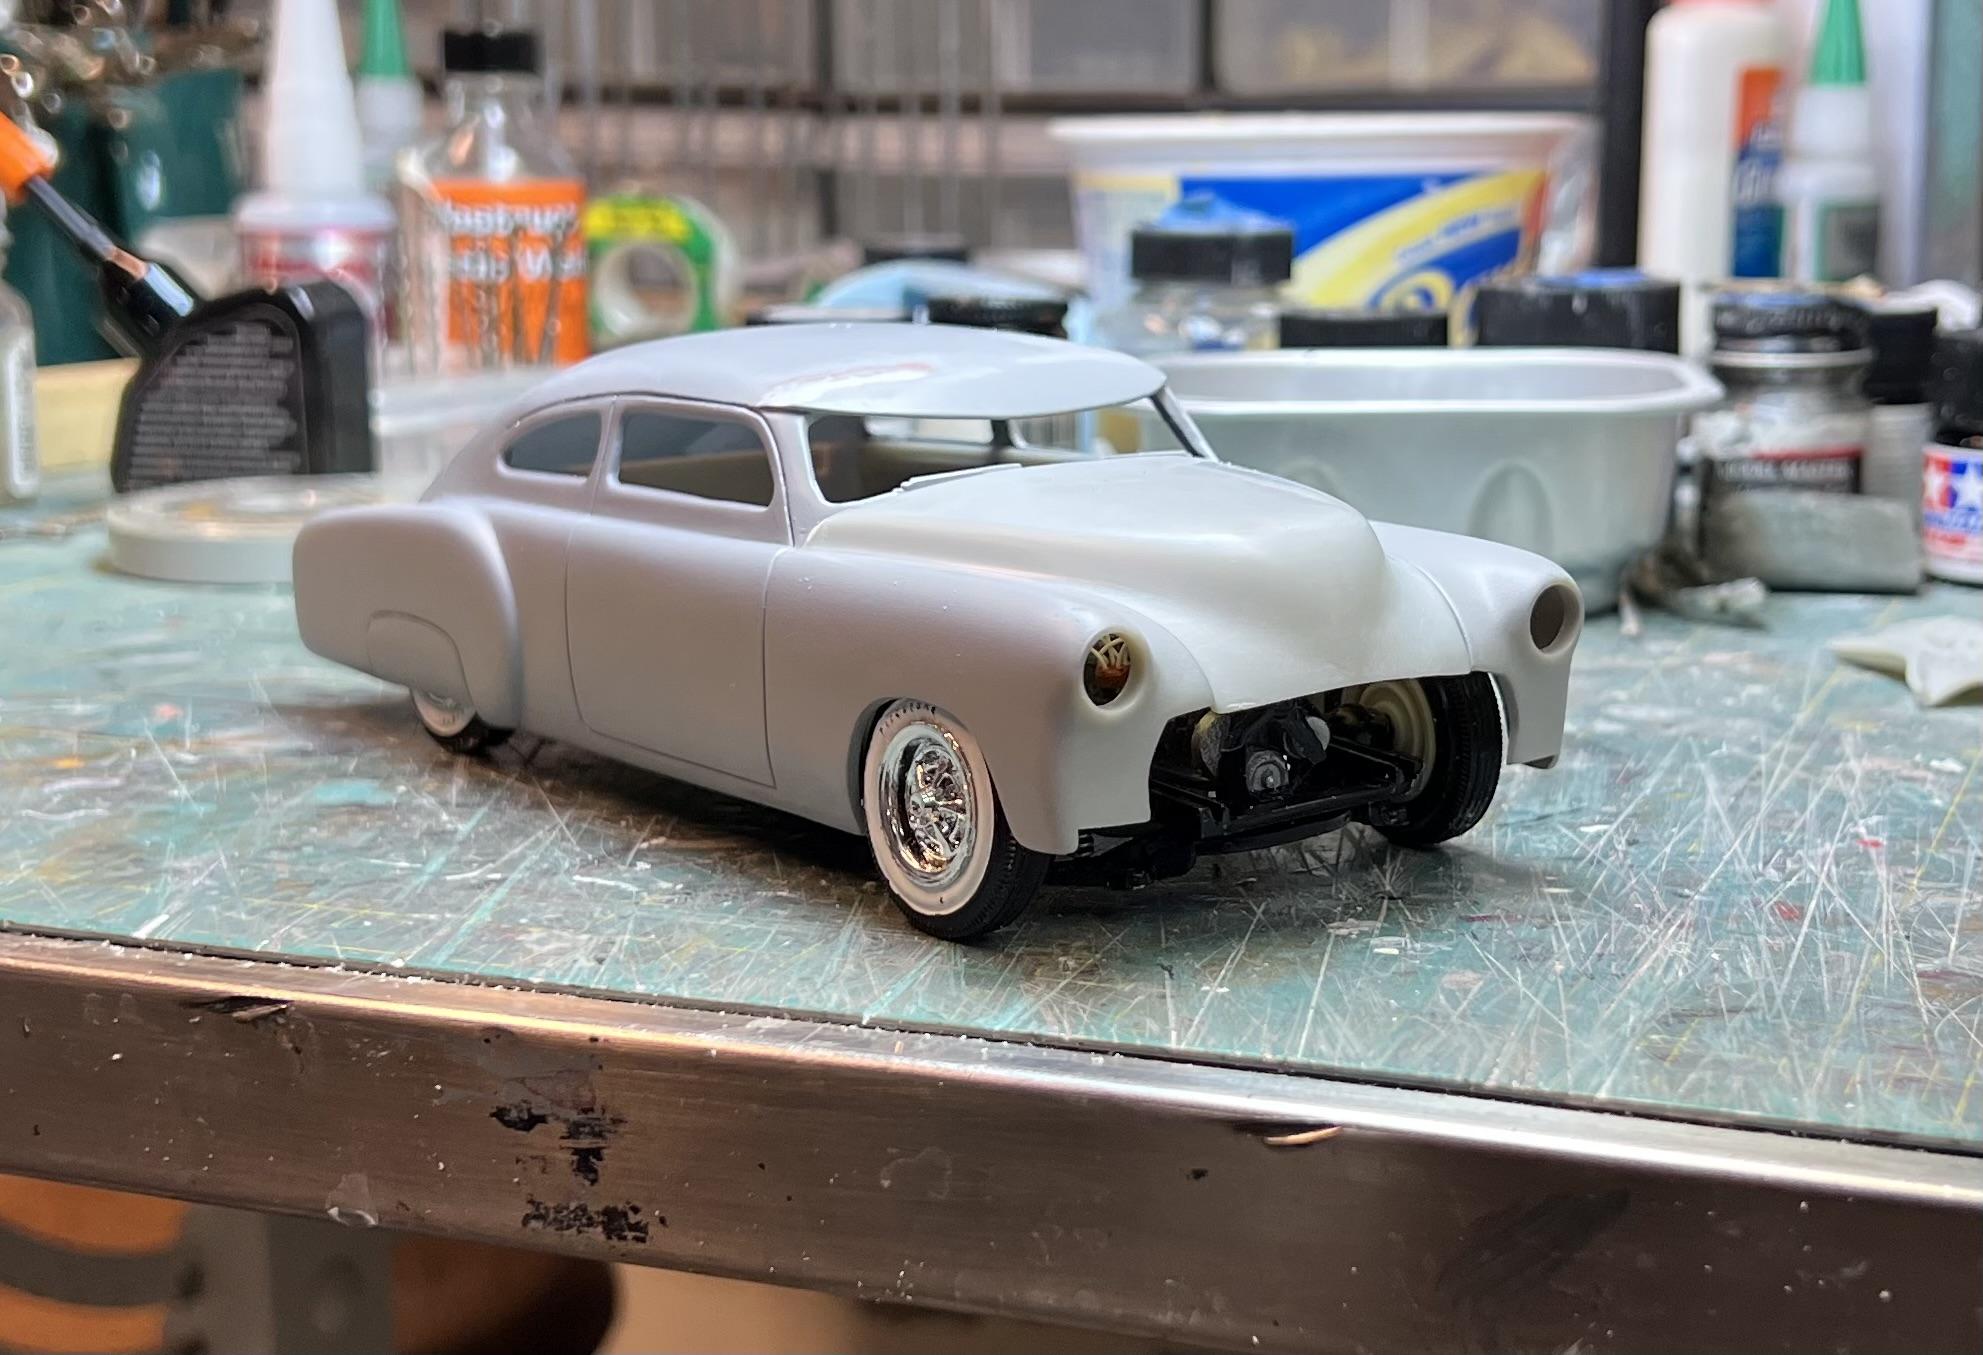
Lead sleds forever. Following the suggestions from Sledsel I’m chopping a Fleetline. Various makes and models have suffered under my knife but this is my first slope style. These are the cut lines and things worked out nicely. To add some attitude a visor is added. Rather than the store bought look I blended it into the roof line To get the stance I’m looking for the body need to be channeled. Fairly straightforward to accomplish by shaving some of the interior. The front wheel wells, however, are a different story. The easiest way to section is to remove material from the flattest or widest area but the wells needed some thinking. Now she’s beginning to look like something
-
Just when you think you’ve come up with something new.
-
Maybe I should have included a picture of the other side too. The wires are fed through pre drilled holes and then twisted together. The loop created becomes smaller as the wires are twisted and the gap between the panels closes and tends to maintain the curvature of the panels.
-
I had a situation where I needed to clamp an area where none of the clamps I had would work. Then remembered how my dad repaired a cracked canoe paddle. It worked well and the only refinement would be to create an X
-
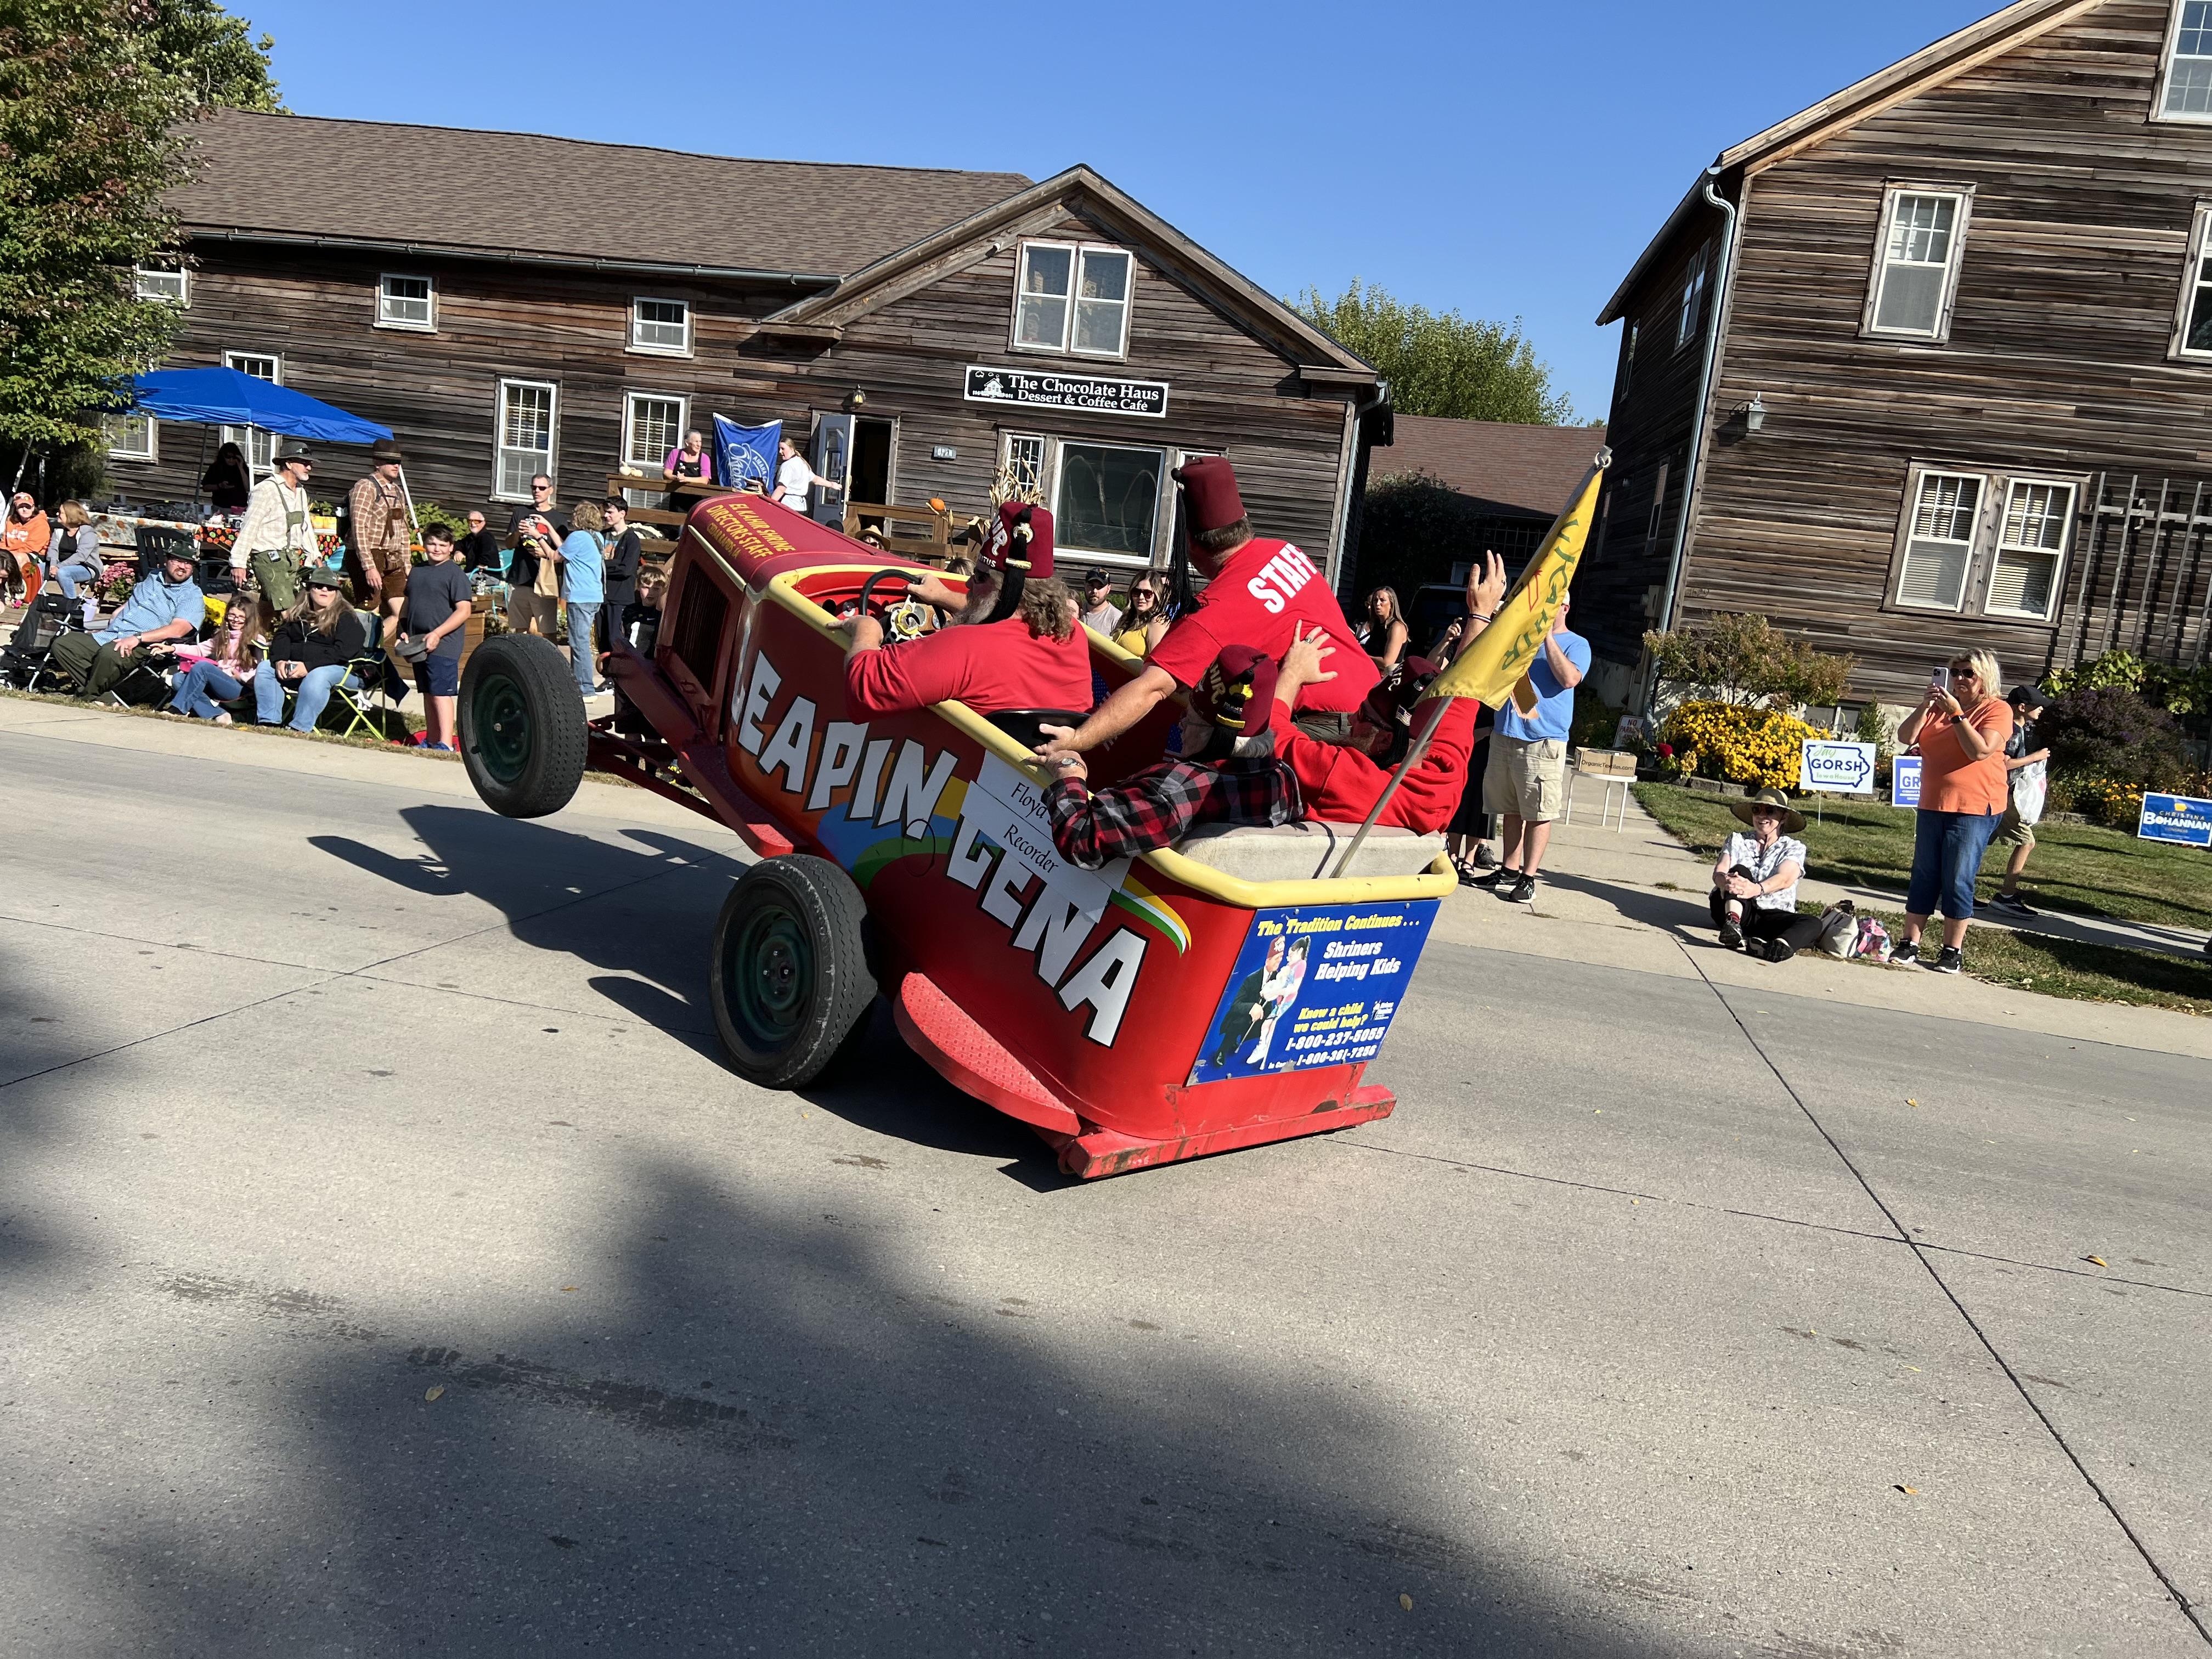
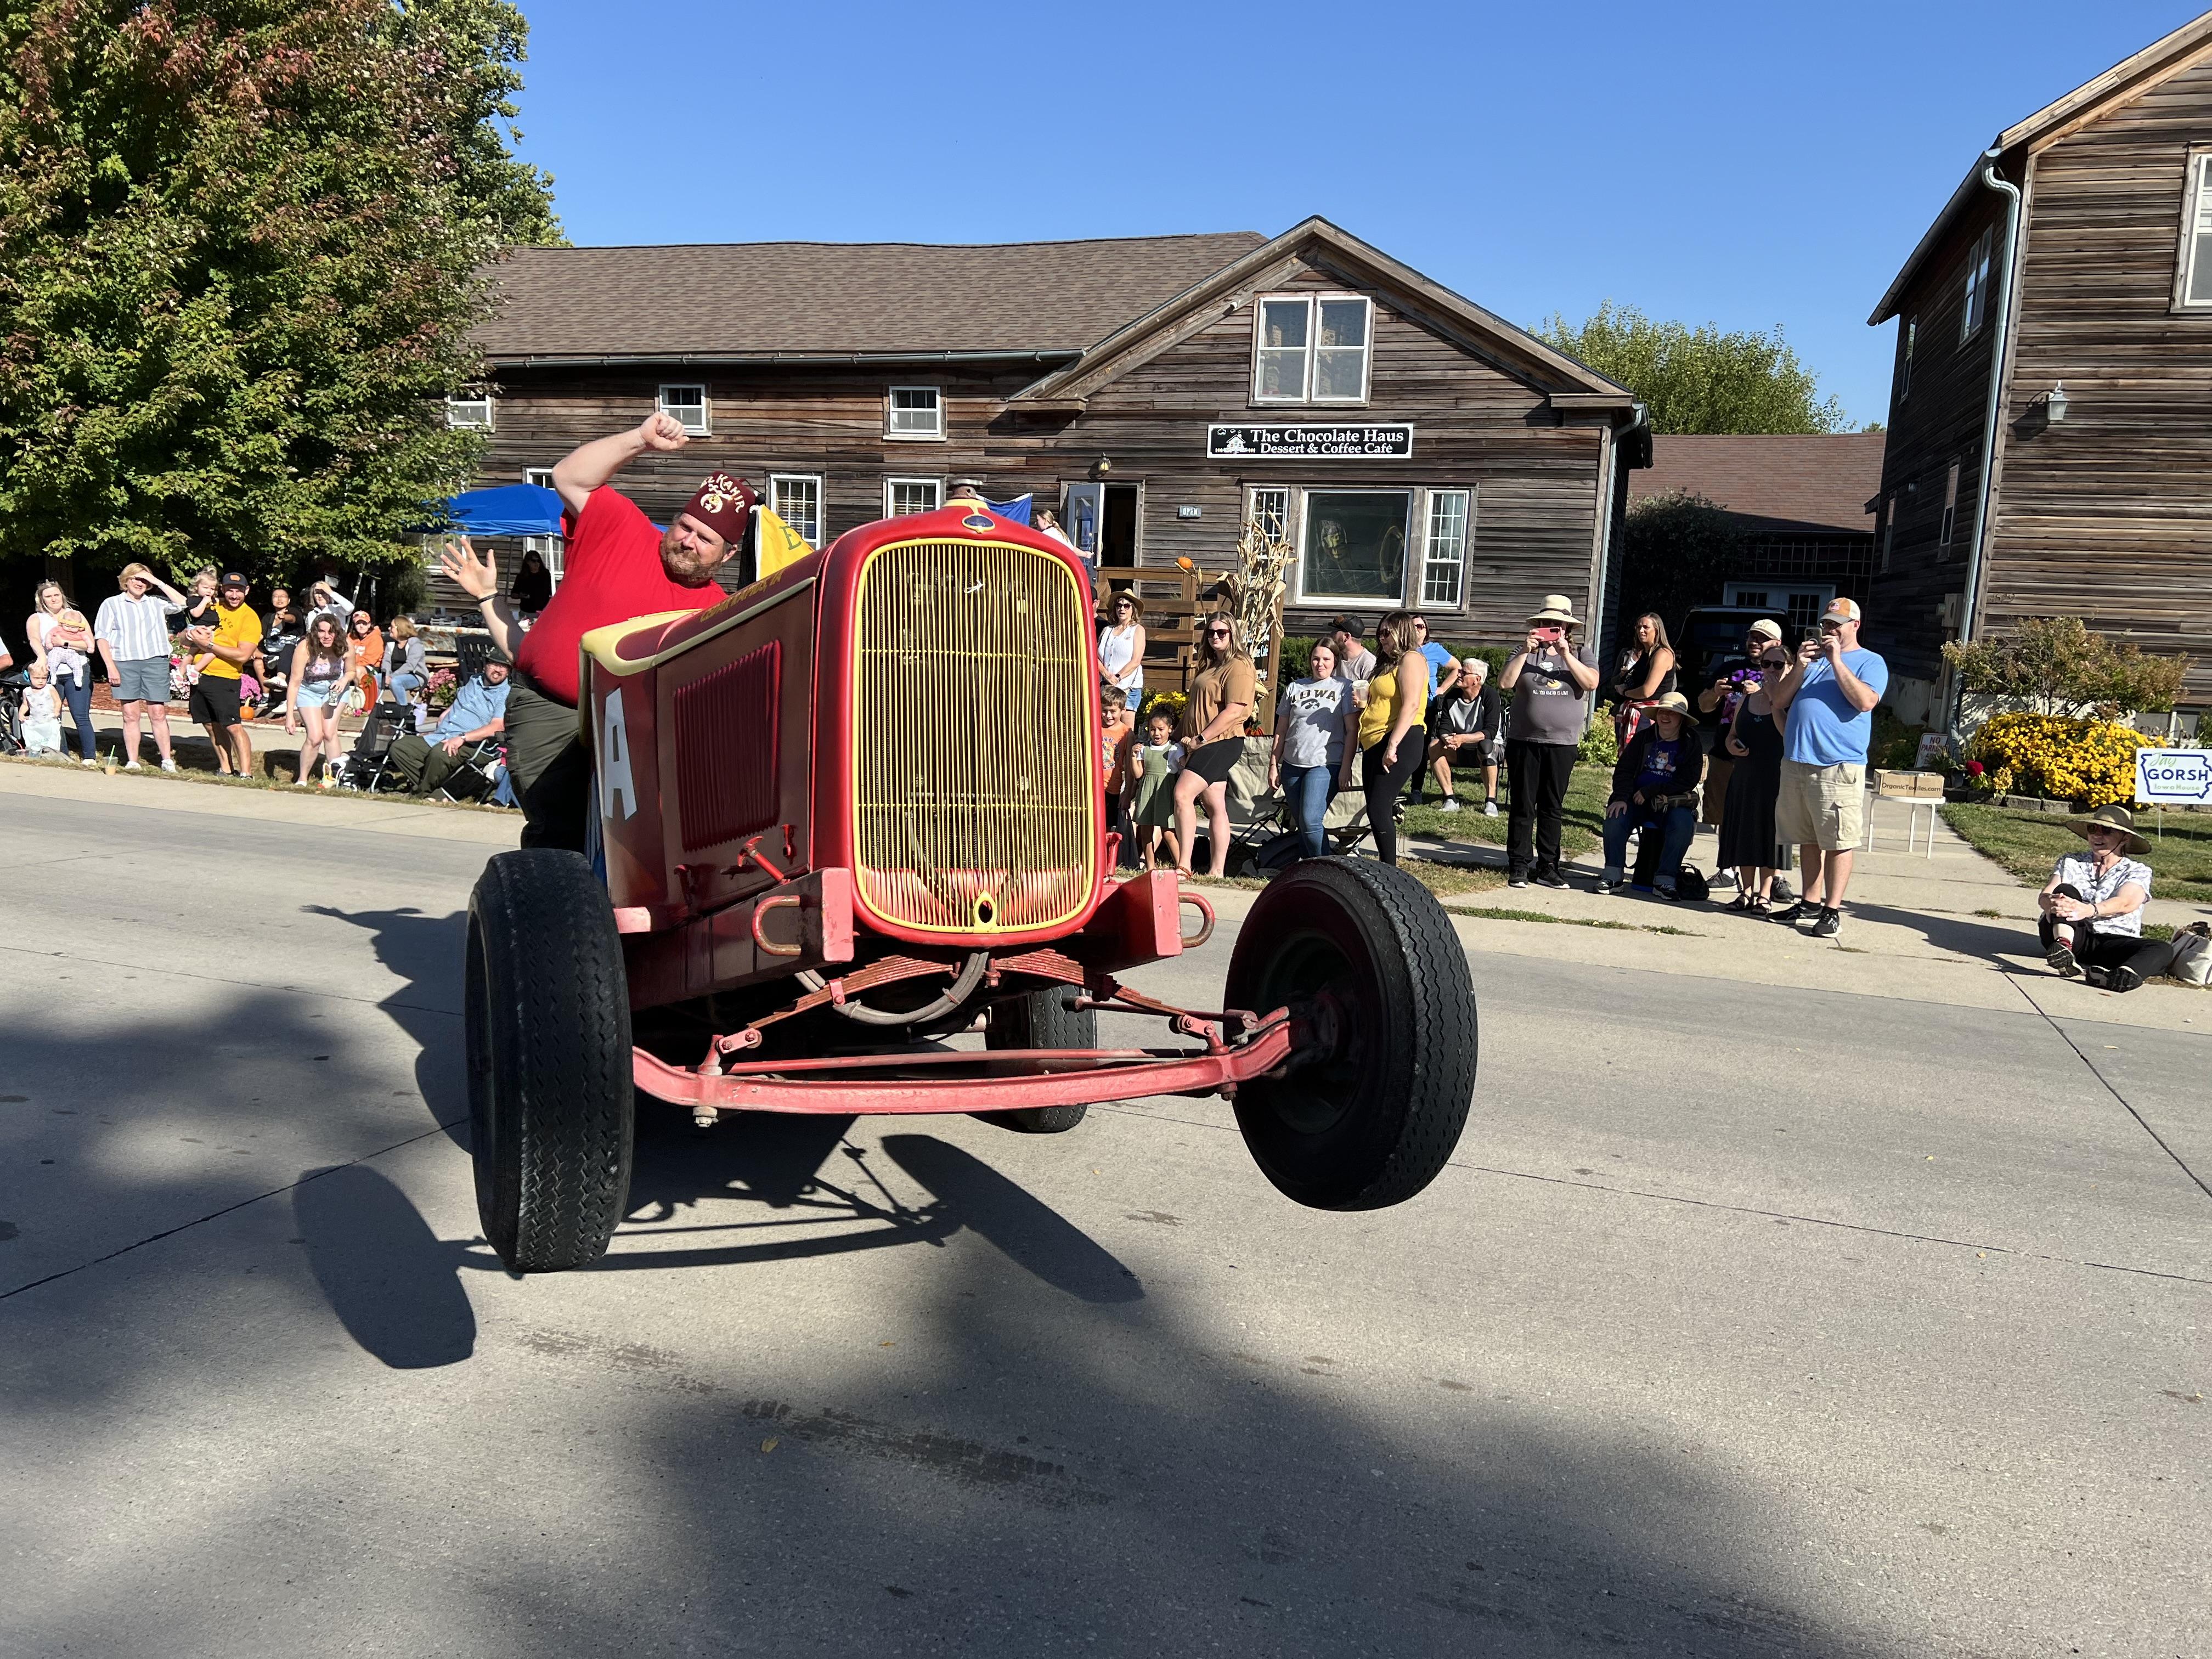
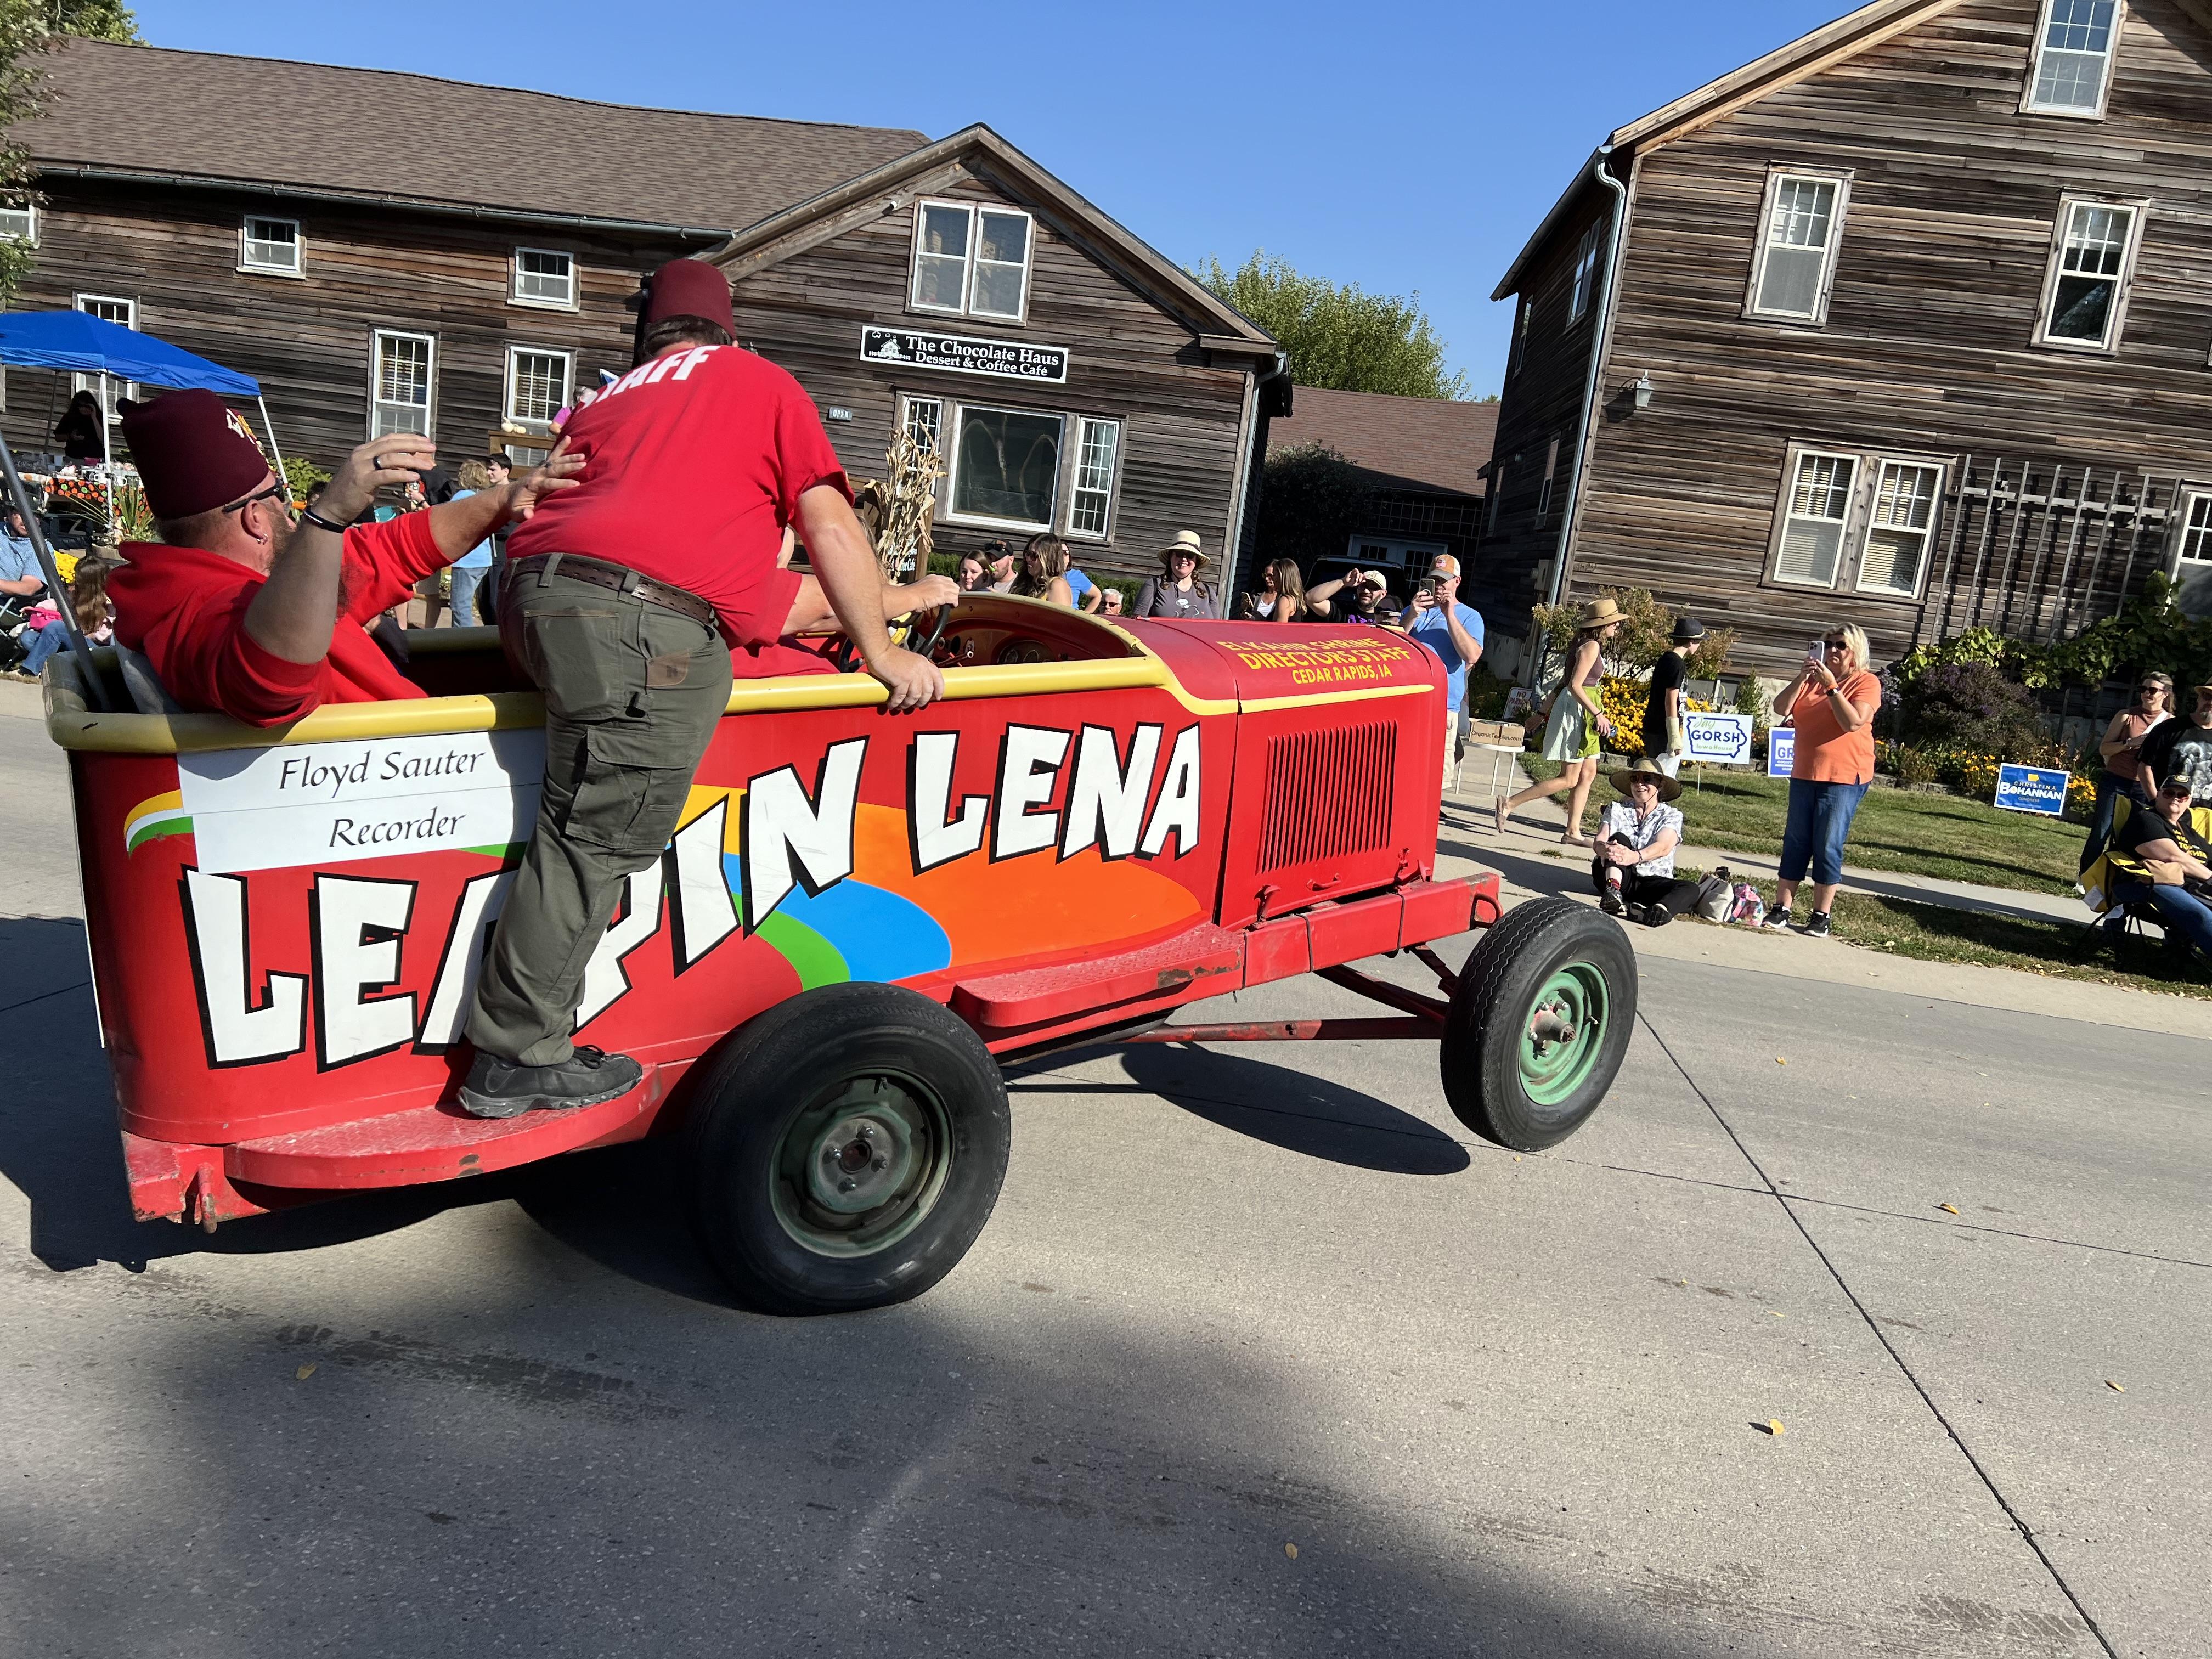
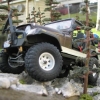
Saw this today at a parade in Amana Iowa
-
I’m building an old kit and the decals crumble in the water. I’ve heard of a product that can be applied to the sheet to prevent this. Does anyone know what it is and where it might be available?
-
What did you see on the road today?
slownlow replied to Harry P.'s topic in General Automotive Talk (Trucks and Cars)
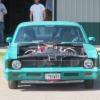
Saw this old girl parked, strangely enough, in front of the local senior center
-
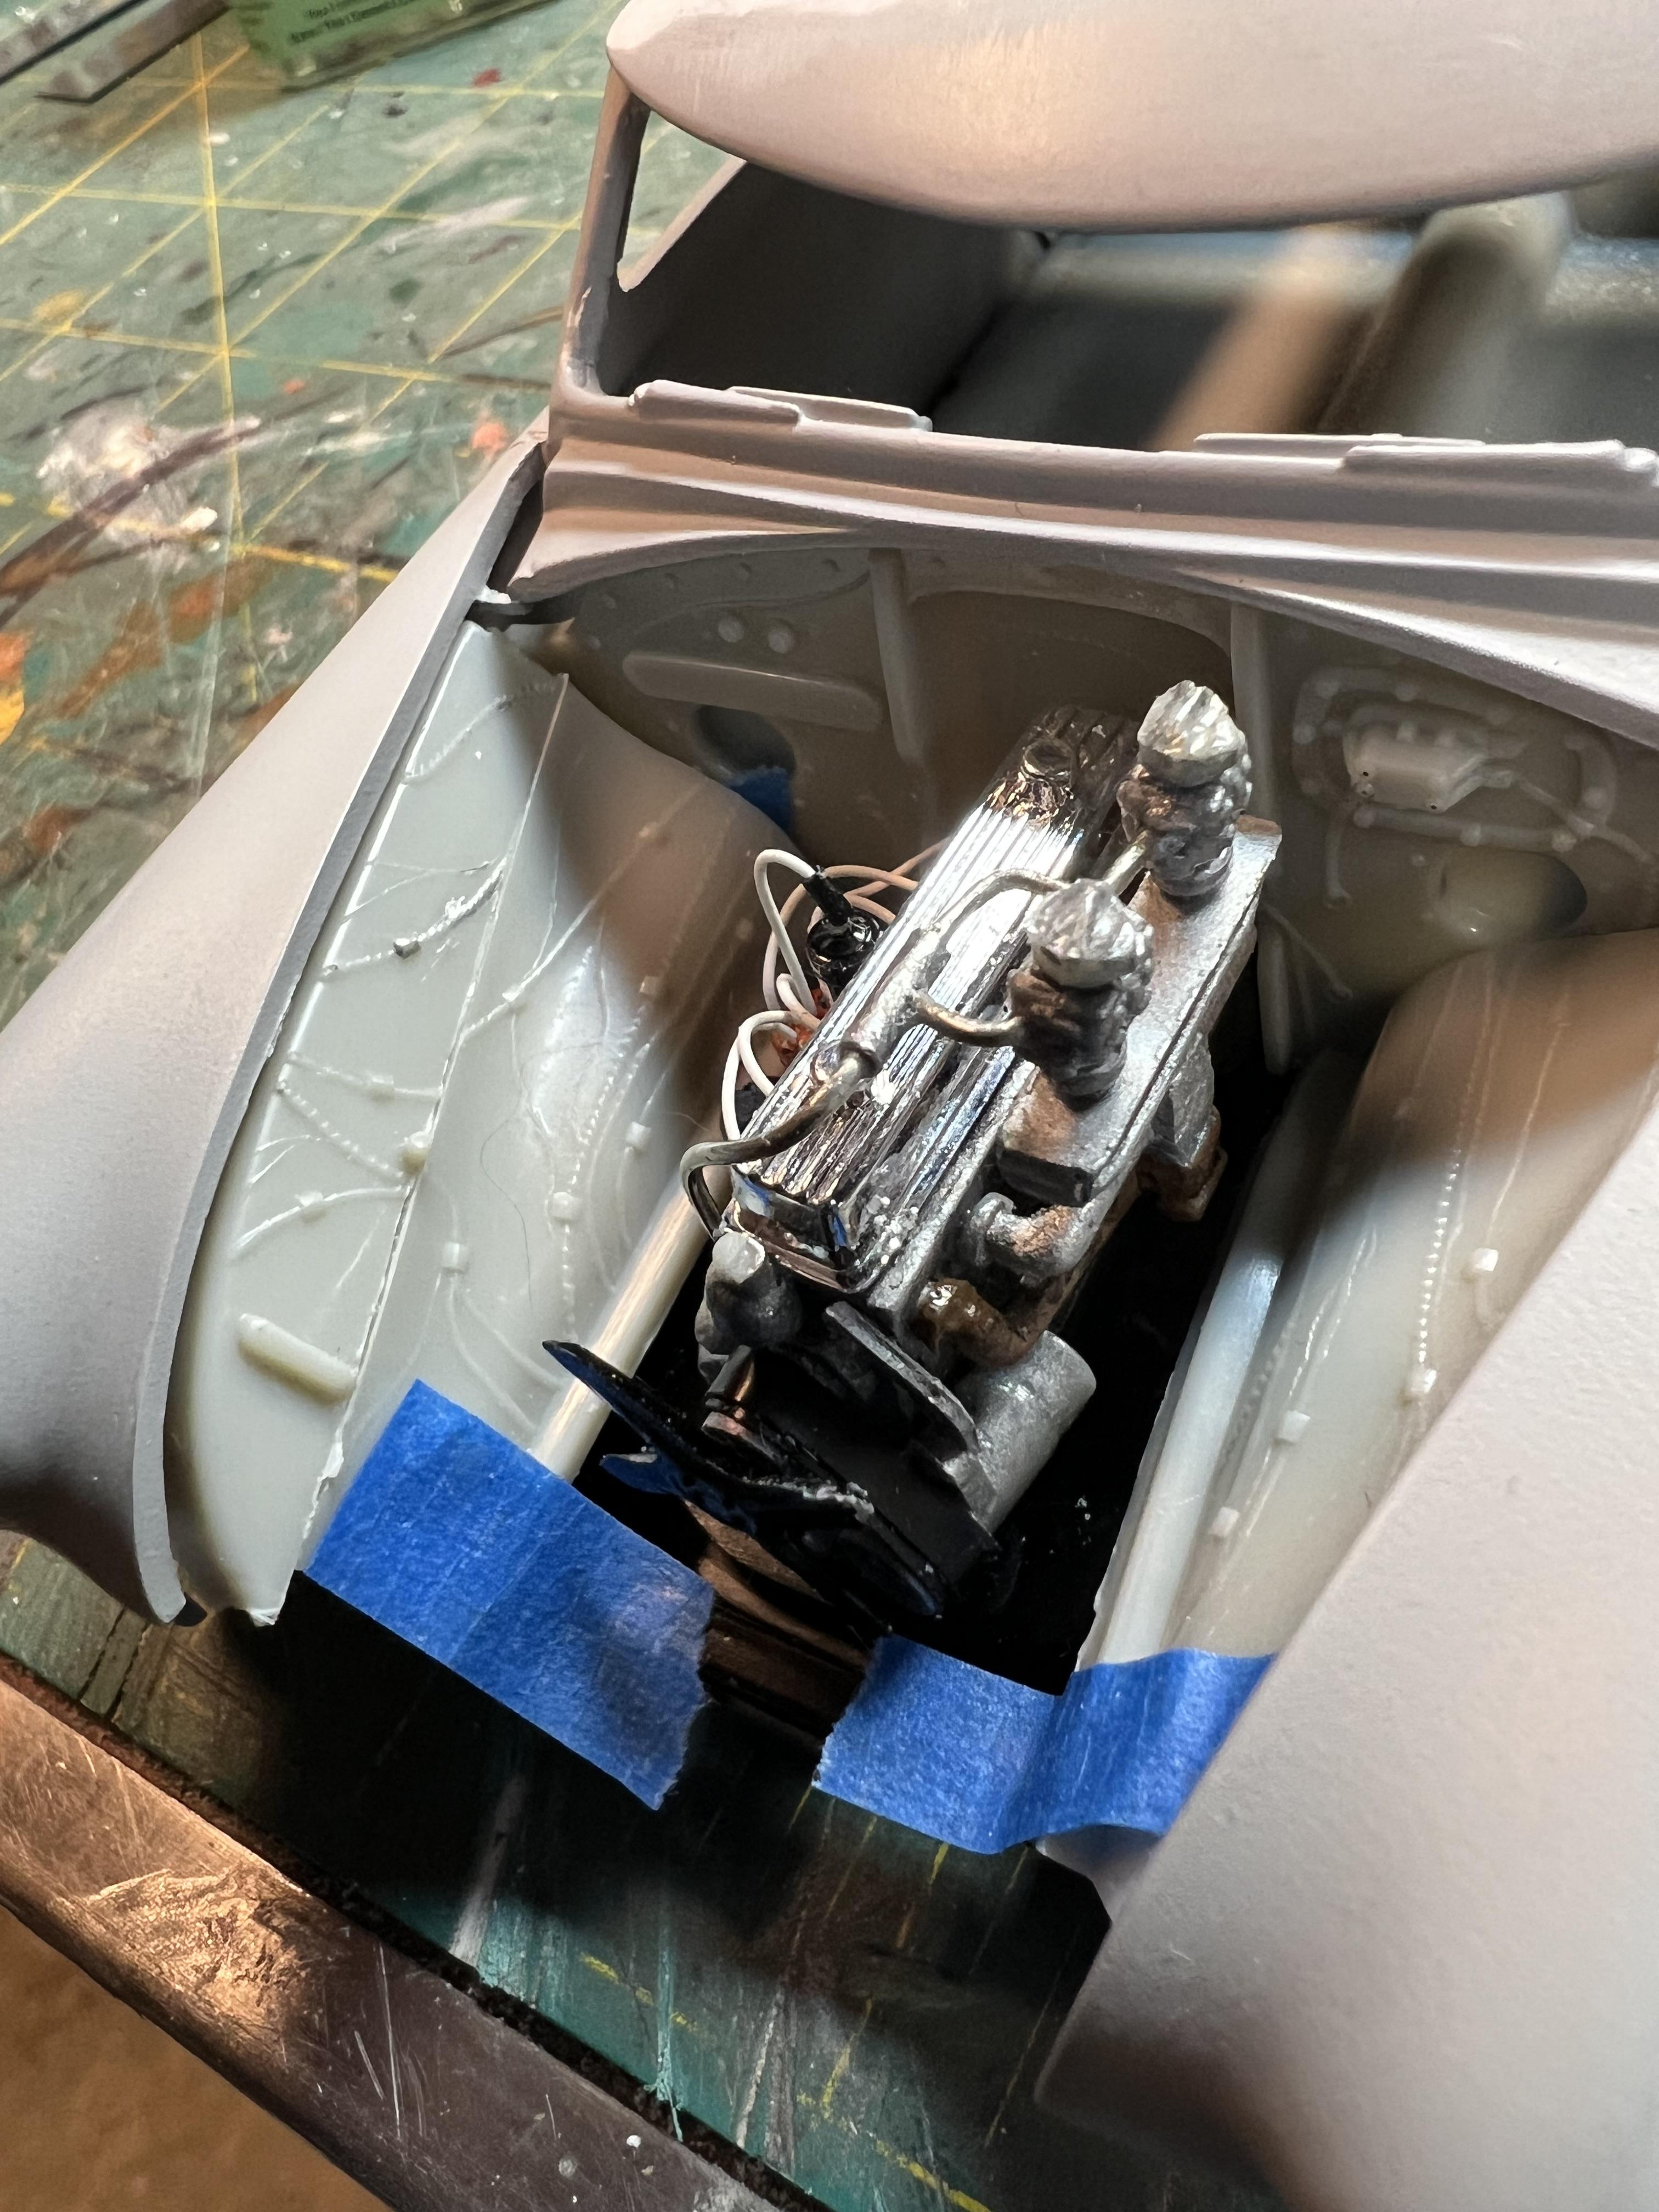
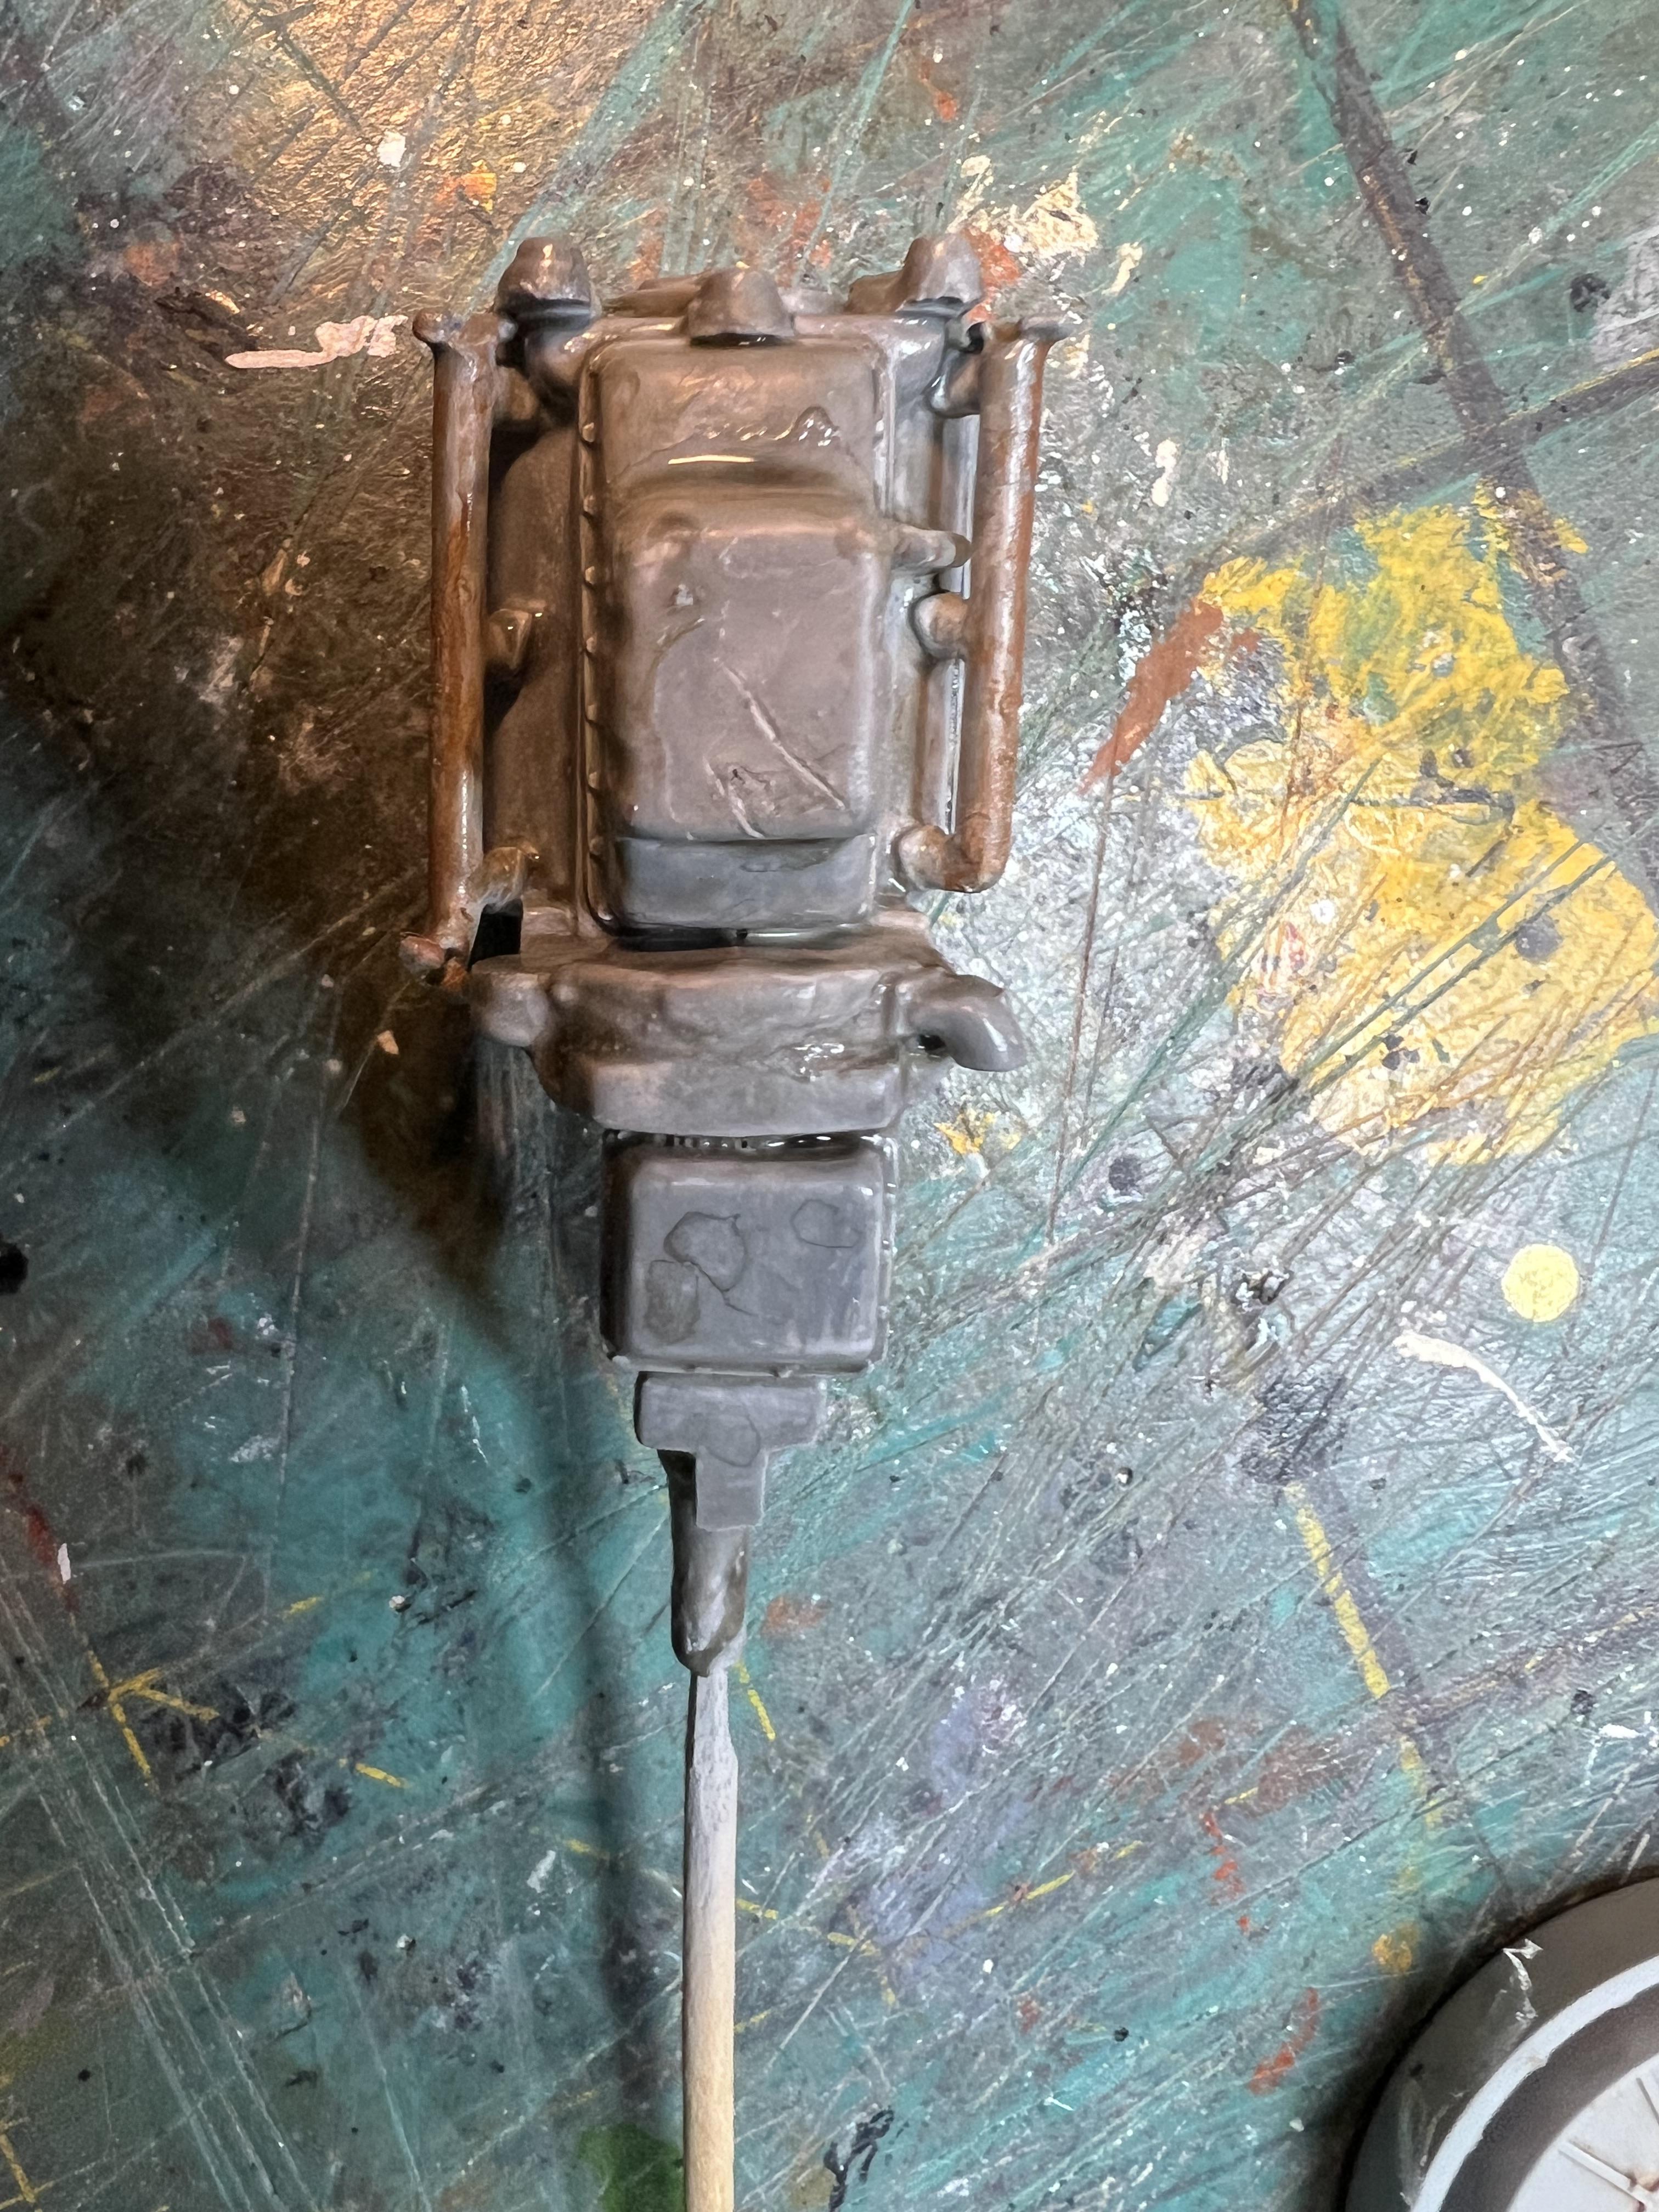
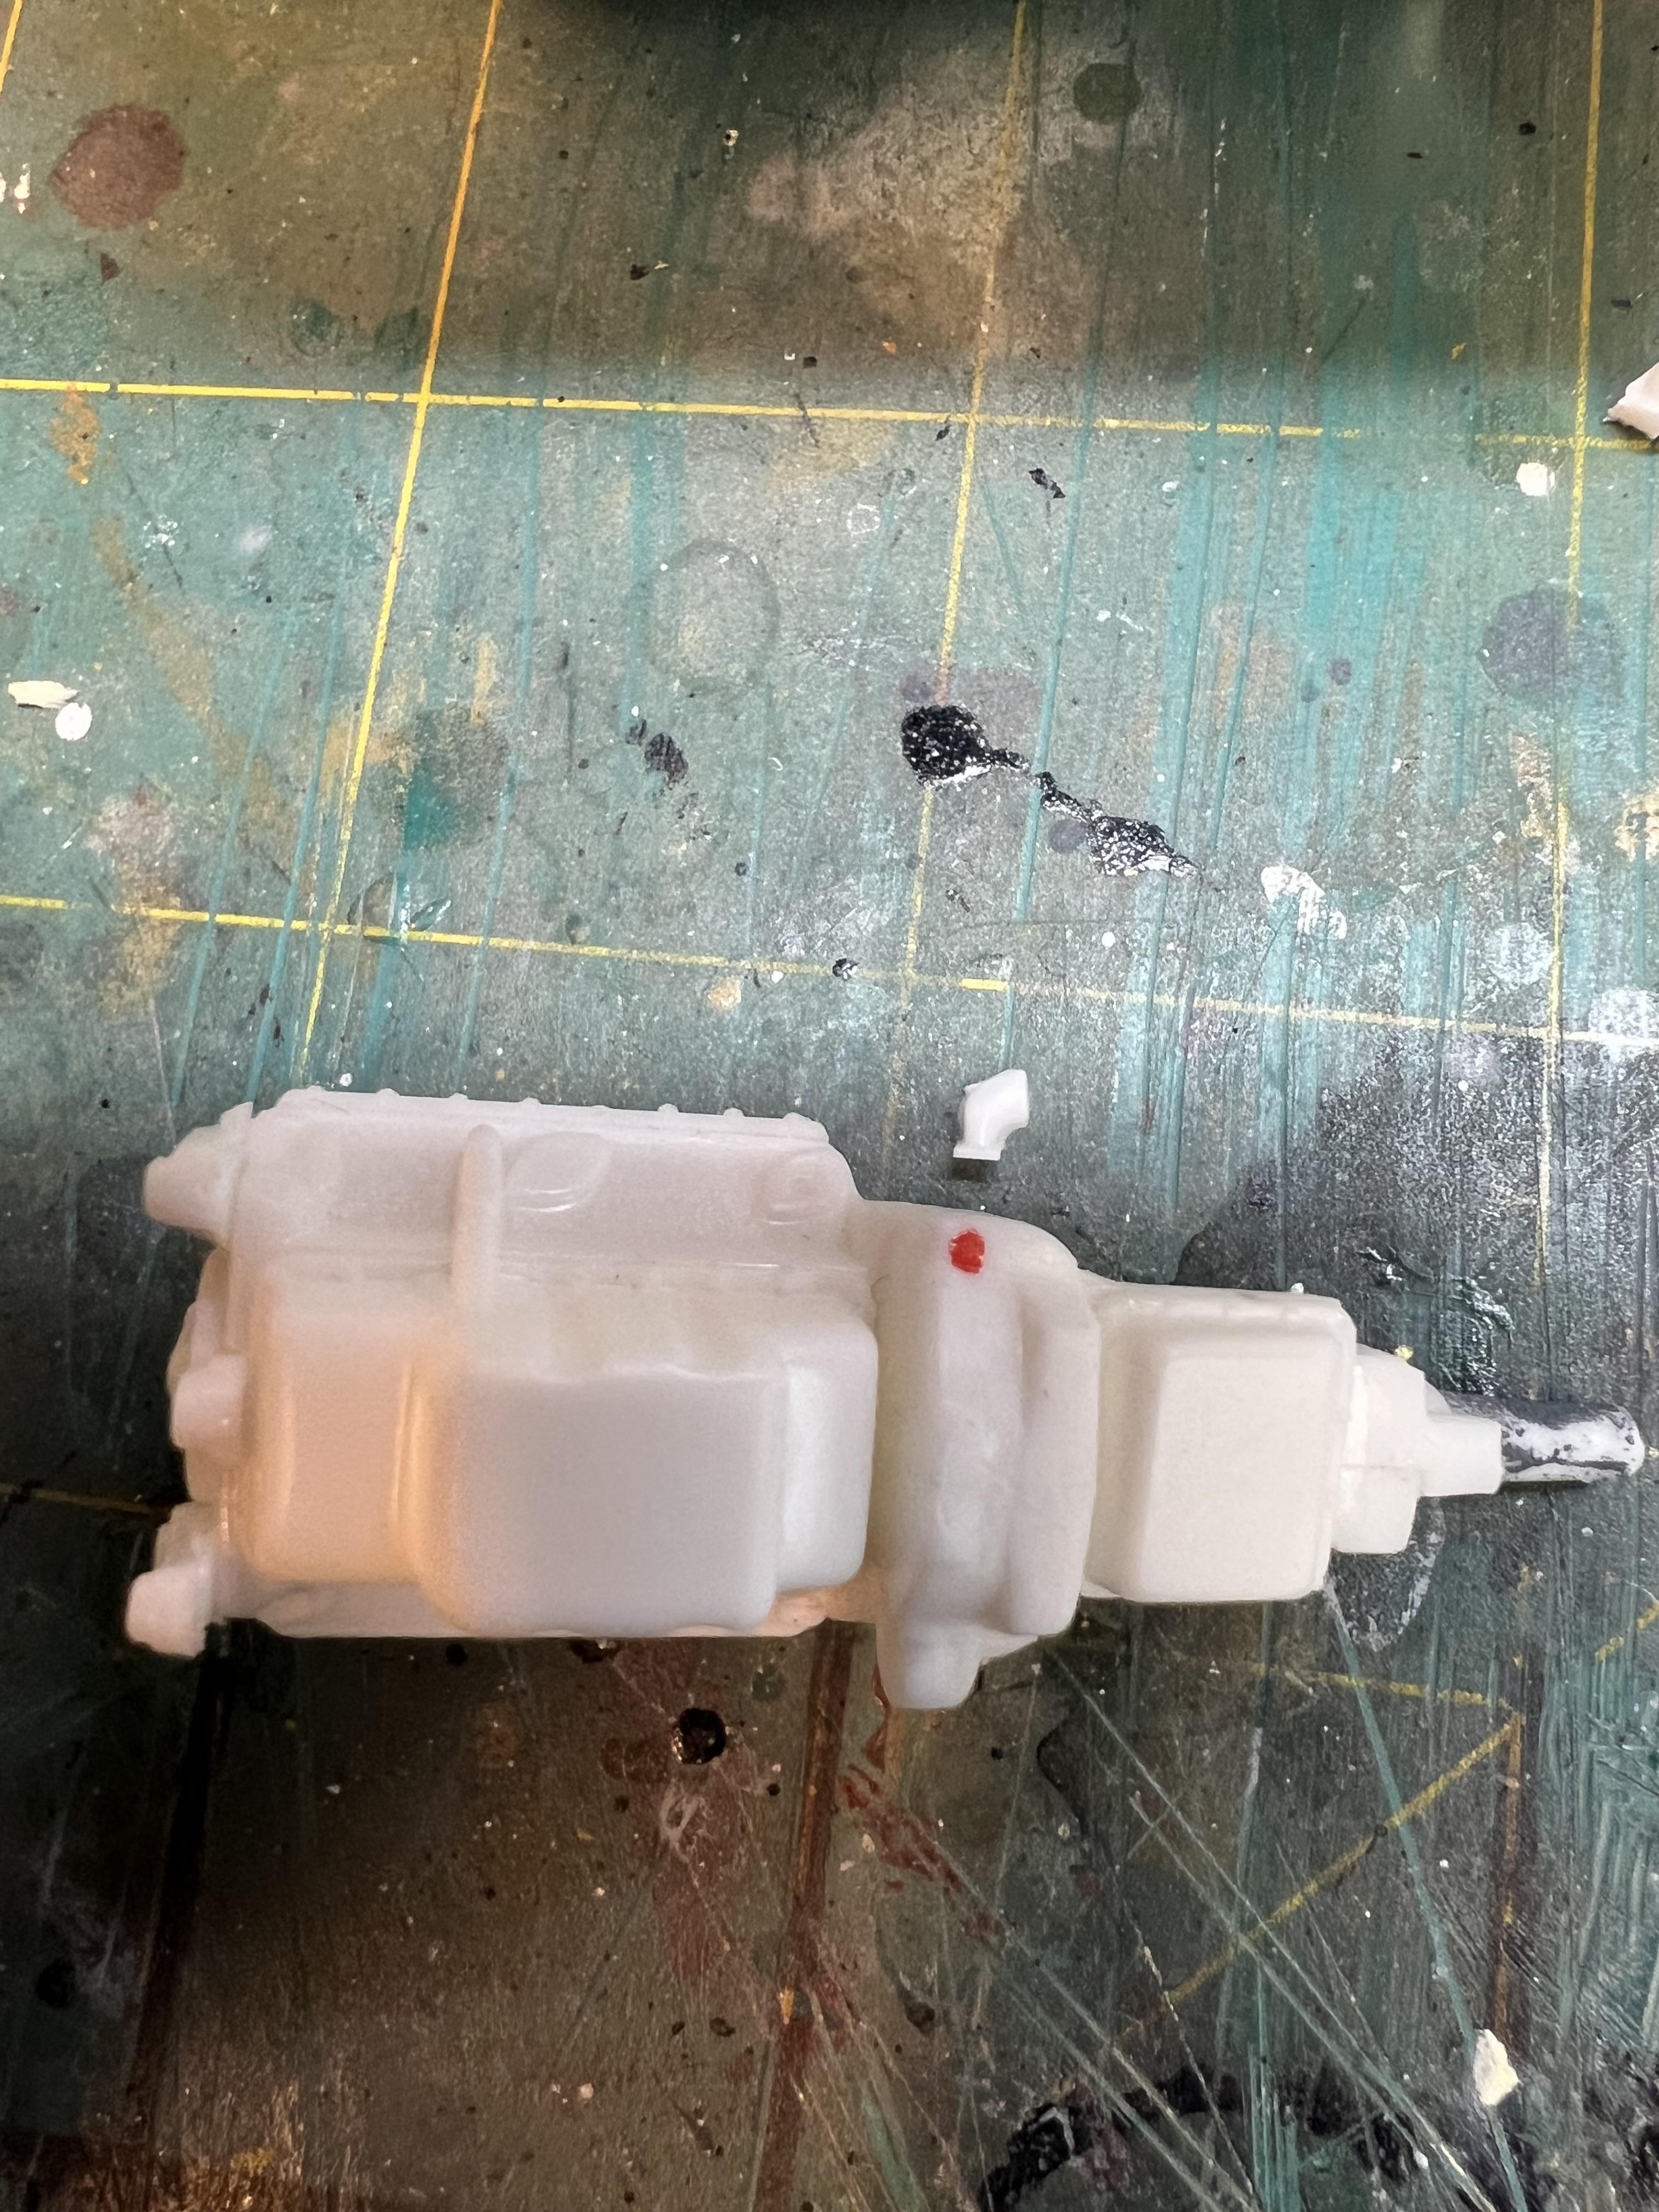
Lindberg 53 Ford Victoria transmission
slownlow replied to slownlow's topic in Model Building Questions and Answers
That’s it! And it looks like I guessed right here’s a pic of it glued on. Thanks guys
-
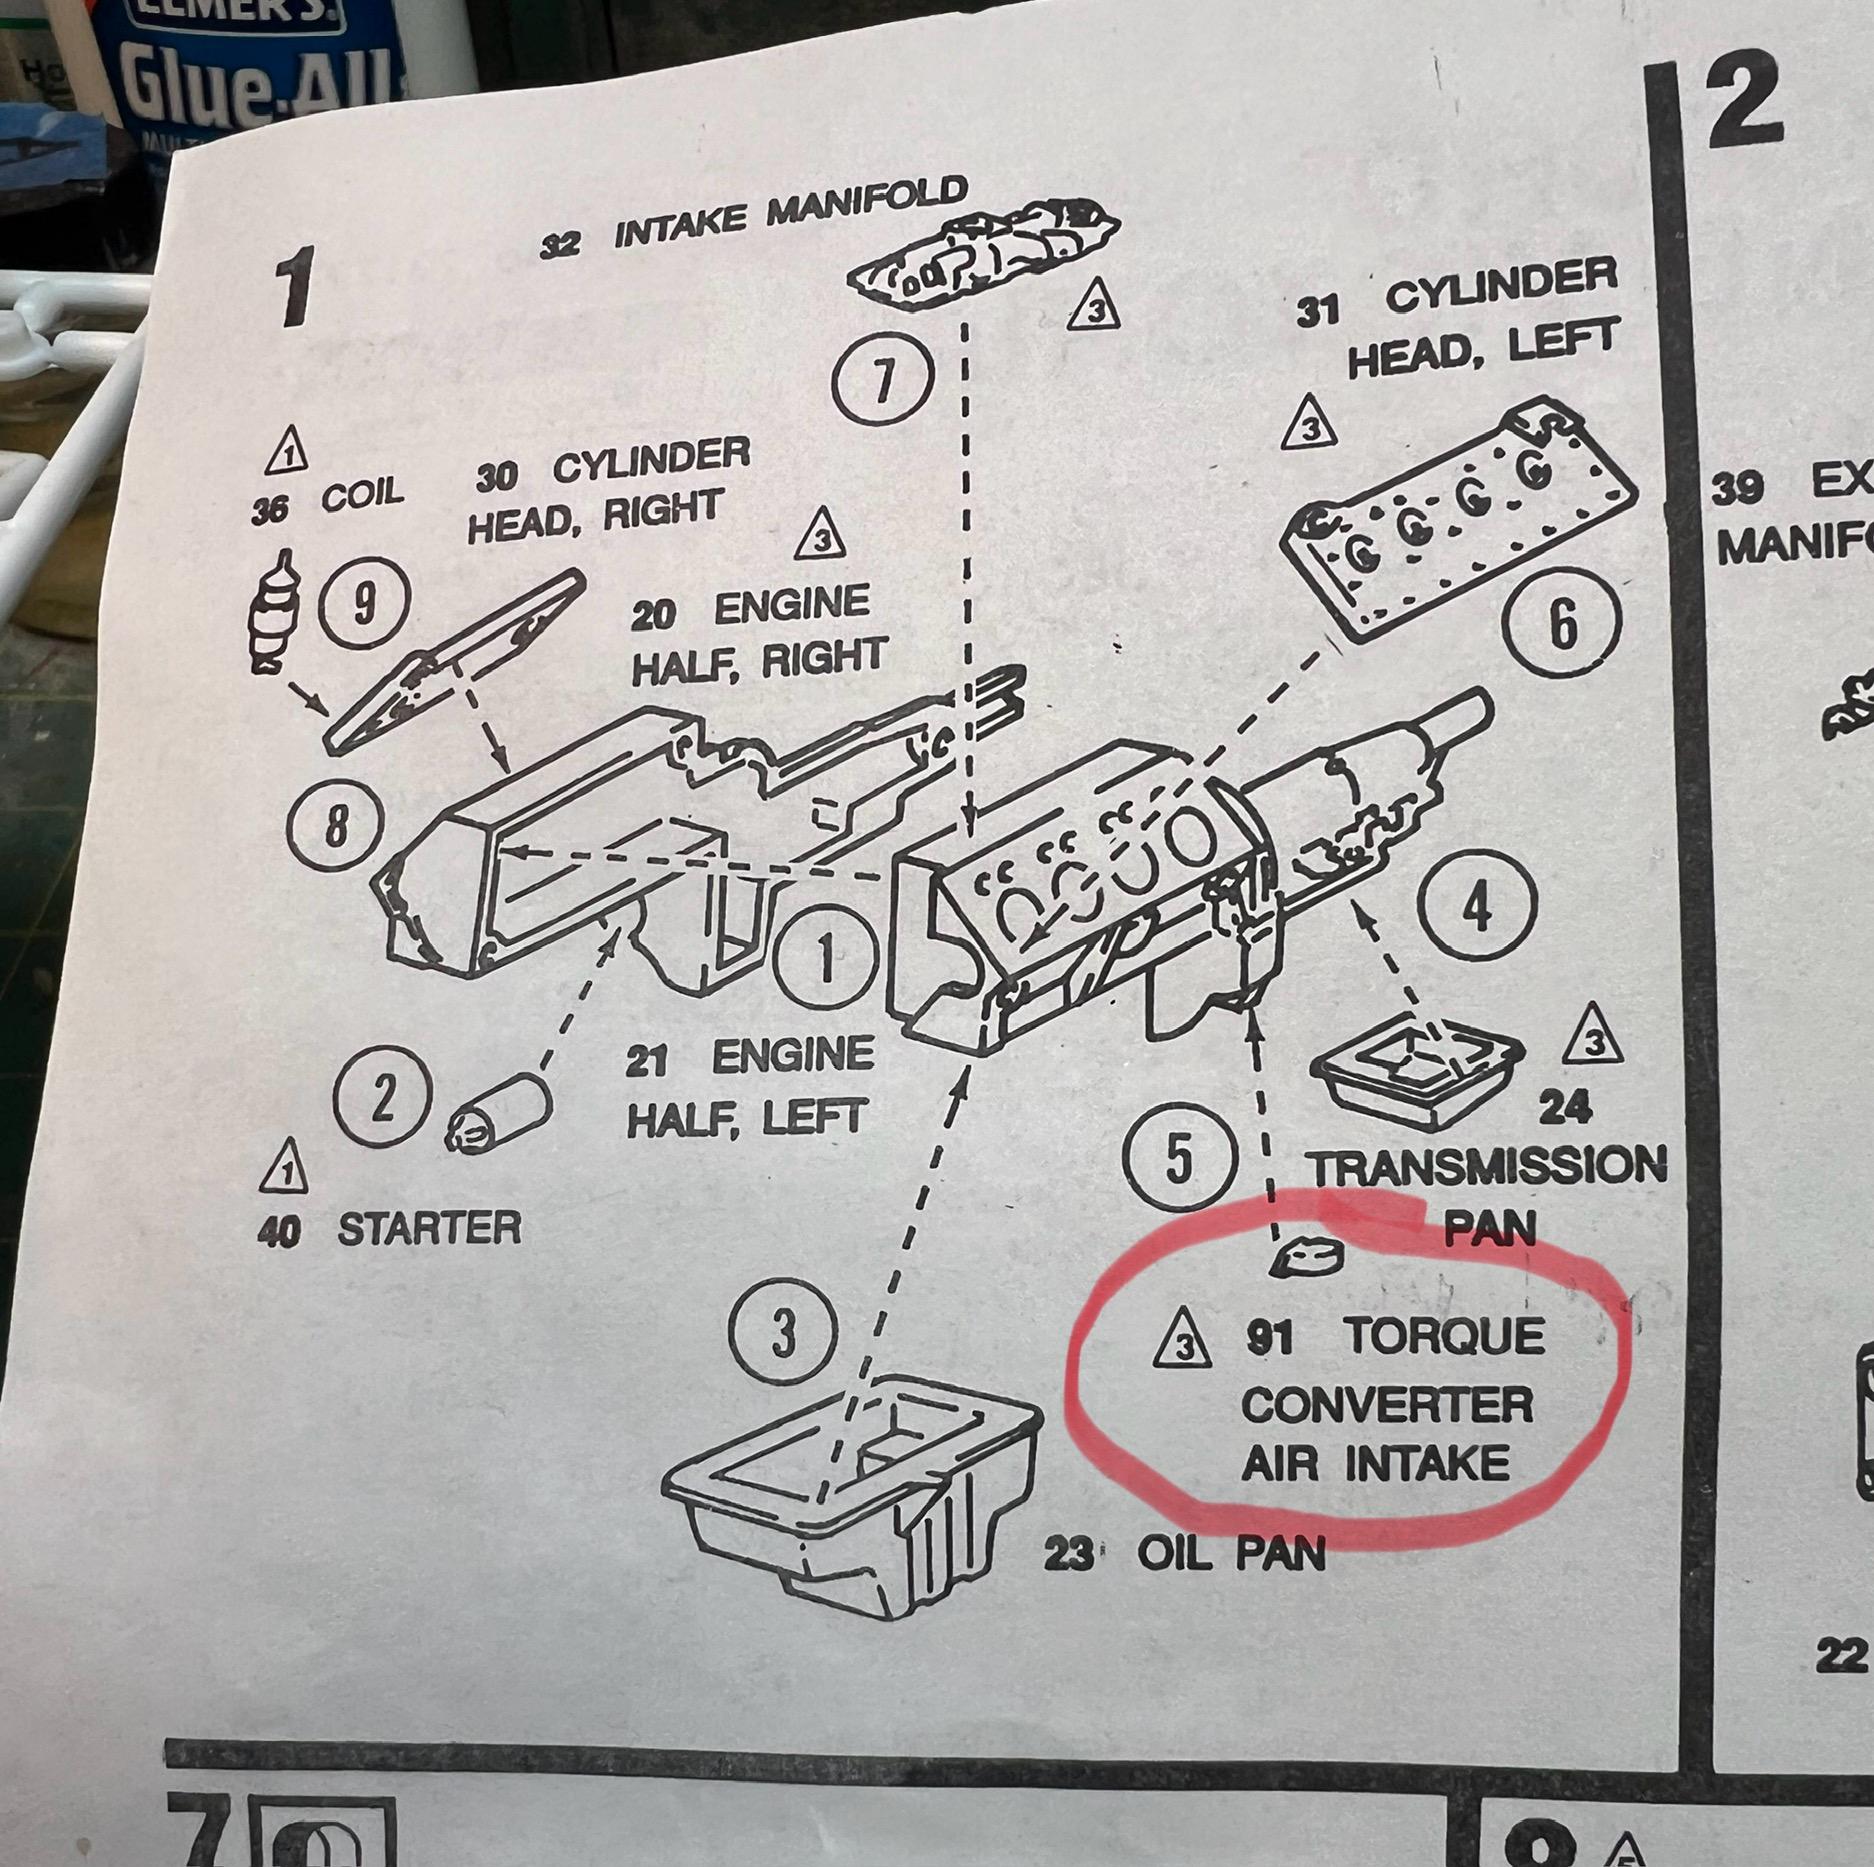
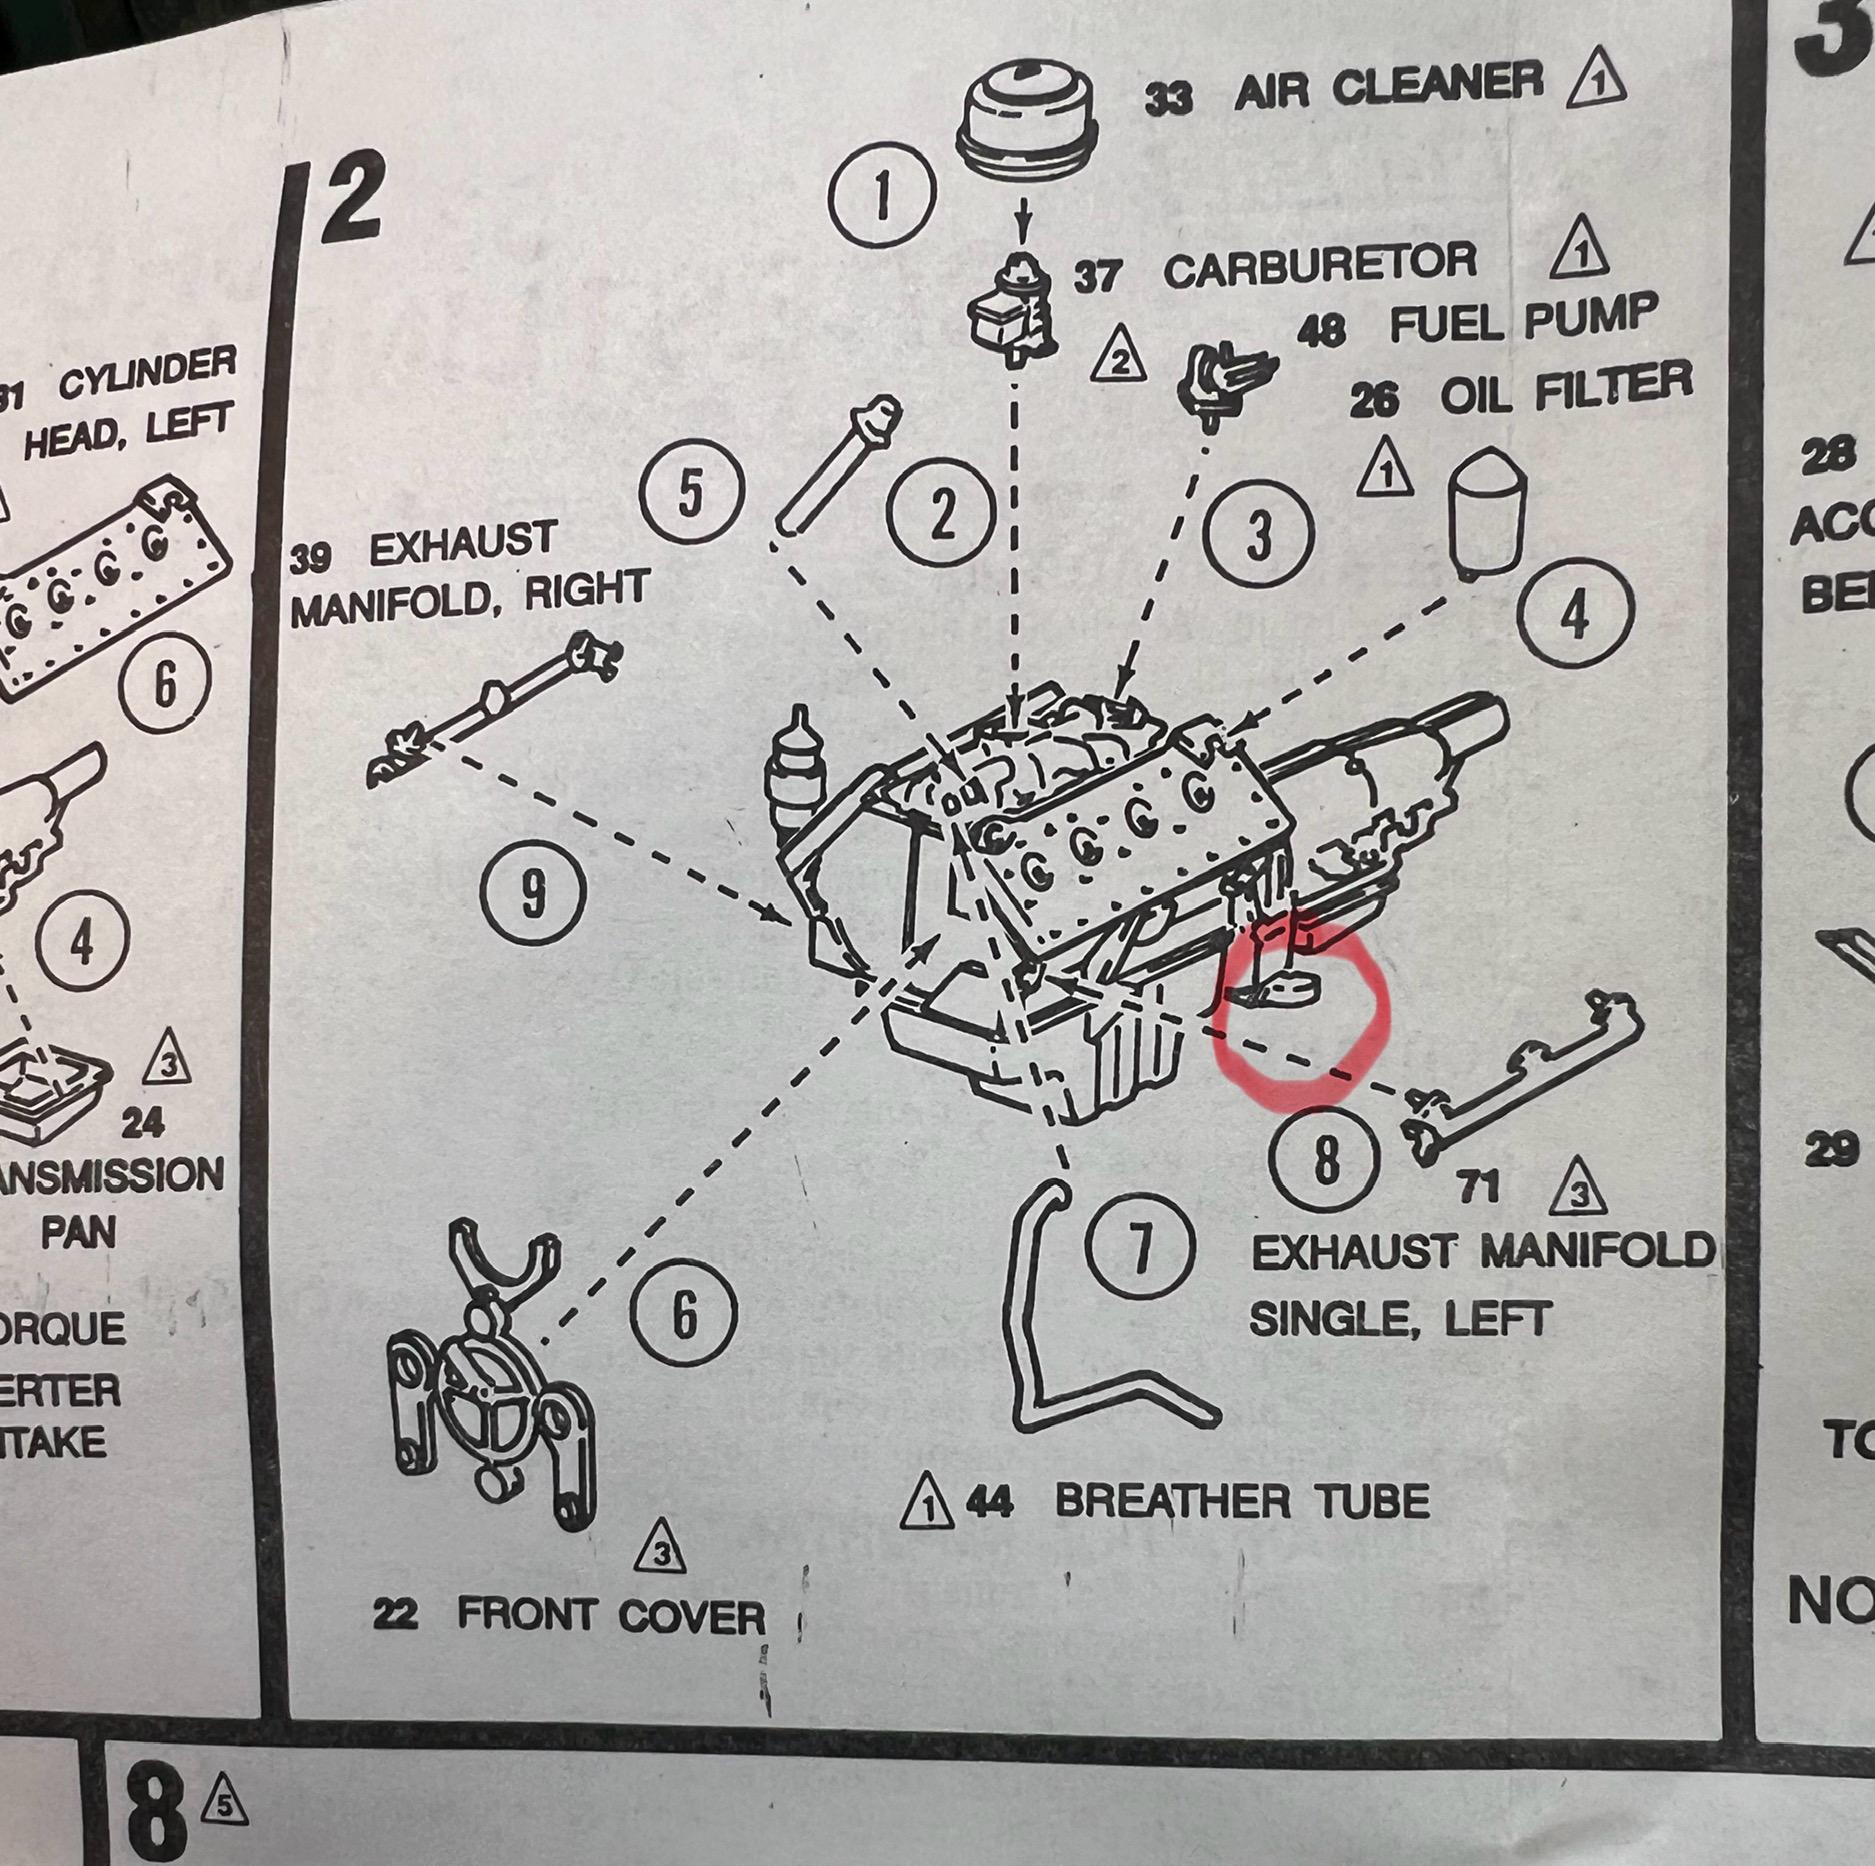
I’m questioning the orientation of the torque converter air intake, part 91, on the direction sheet. Then panel showing it in place isn’t real clear This is a pic of how I think it’s supposed to go, attached on the red dot. Is anyone familiar with this kit or have knowledge of the 1:1 trany? Thanks