Search the Community
Showing results for tags 'restoration'.
-
Jimmy worked at a Ford dealership. Every two years Jimmy bought a new Galaxie. You would think he might be a sales rep or some bigwig in the company to buy a new one every other year. No, that was not the case. Jimmy was the shop gofer. Jimmy, go pickup parts. Jimmy, go drive this customer home. He did all the odd jobs around the place. In 1966 Jimmy bought his last Galaxie. A Burnt Amber 2-door hardtop with a 390. I worked on Jimmy’s car many times with my father. Anything from brakes to tune-ups. And every time we worked on the car we were rewarded with a spaghetti and meatball dinner prepared by his wife Annie. Homemade meatballs and gravy (don’t call it sauce) and Vermicelli pasta (Ronzoni). It was a tradition up until the 80’s. And always a Saturday night and always started with a shot of Black Berry Brandy. I still use the recipe today, the pasta, not the brandy. Jimmy loved that car and Jimmy loved Annie. They went everywhere in that car with their dog Feefee in the back seat. They celebrated their 50th Wedding Anniversary with that car. There was one thing funny about Jimmy however. When he first met Annie, he was too embarrassed to tell her his real name. It wasn’t Jimmy, it was Joe. But for the rest of their time together she always called him Jimmy. So, this is really the story of Joe’s 1967 Galaxie. This is a project I first started planning for back in the 90’s when I found a rather sad AMT Galaxie Promo at the Hershey AACA fall meet. I paid $3.00 for it and purchased a number of other sad promos from the same dealer on the White field. When I recently got the idea to start on this model, I went through my stash to find it. I found I have four 67 Galaxies; guess I had the idea of building this more then once. Well, they won’t go to waste so let’s get started. This is what we are starting with. Pretty sad, huh. I think I have my work cut out for me.?
- 77 replies
-
- 6
-

-
- amt
- restoration
-
(and 1 more)
Tagged with:
-
This is a rebuild of a kit that I originally built when I was about 16 you could still buy these great johan kits at your local hobby shop. I repainted the body and topped it with slixx decals. As for the interior, chassis, and engine I left it as it was even though the orange is the wrong engine color. It definitely looks better the second time around. Until next time thanks for looking ?, Mike Happy Memorial Day everyone
-
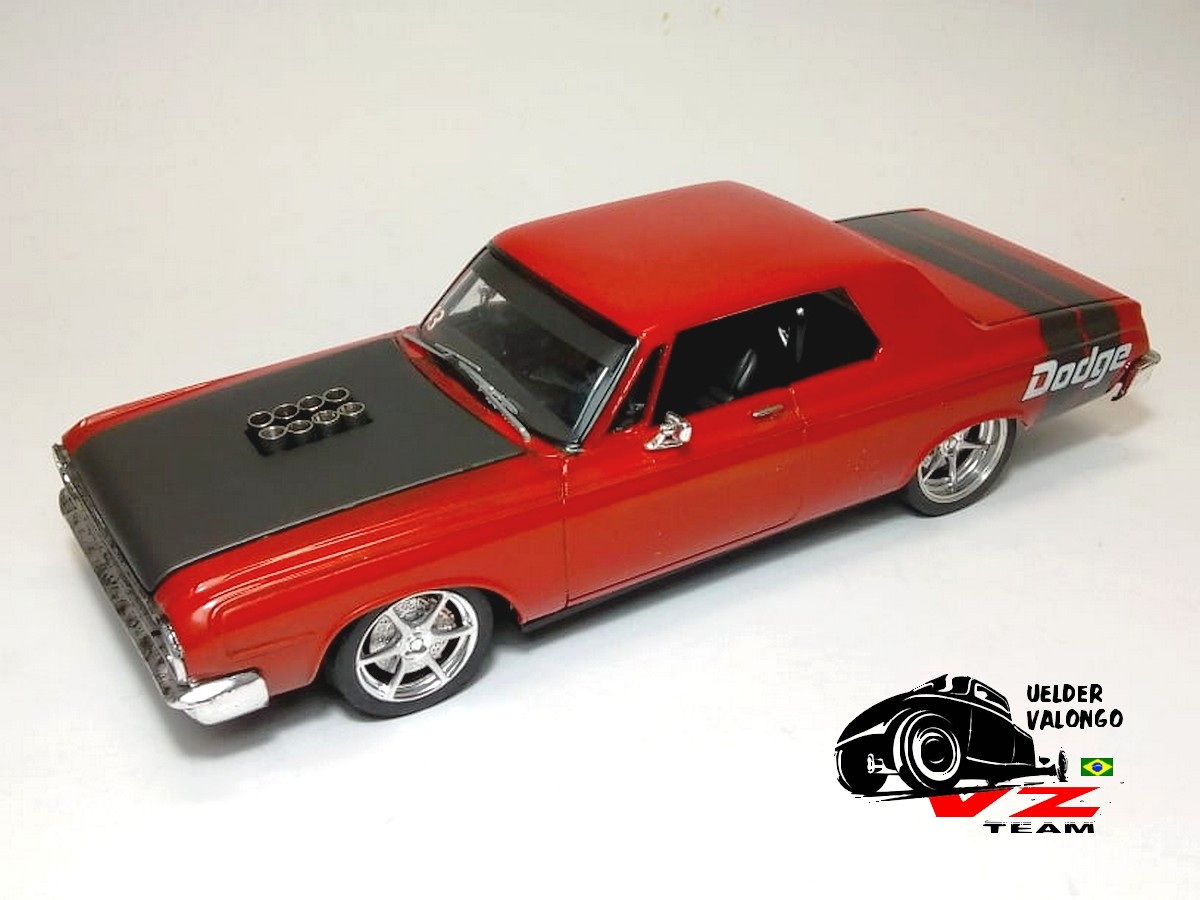
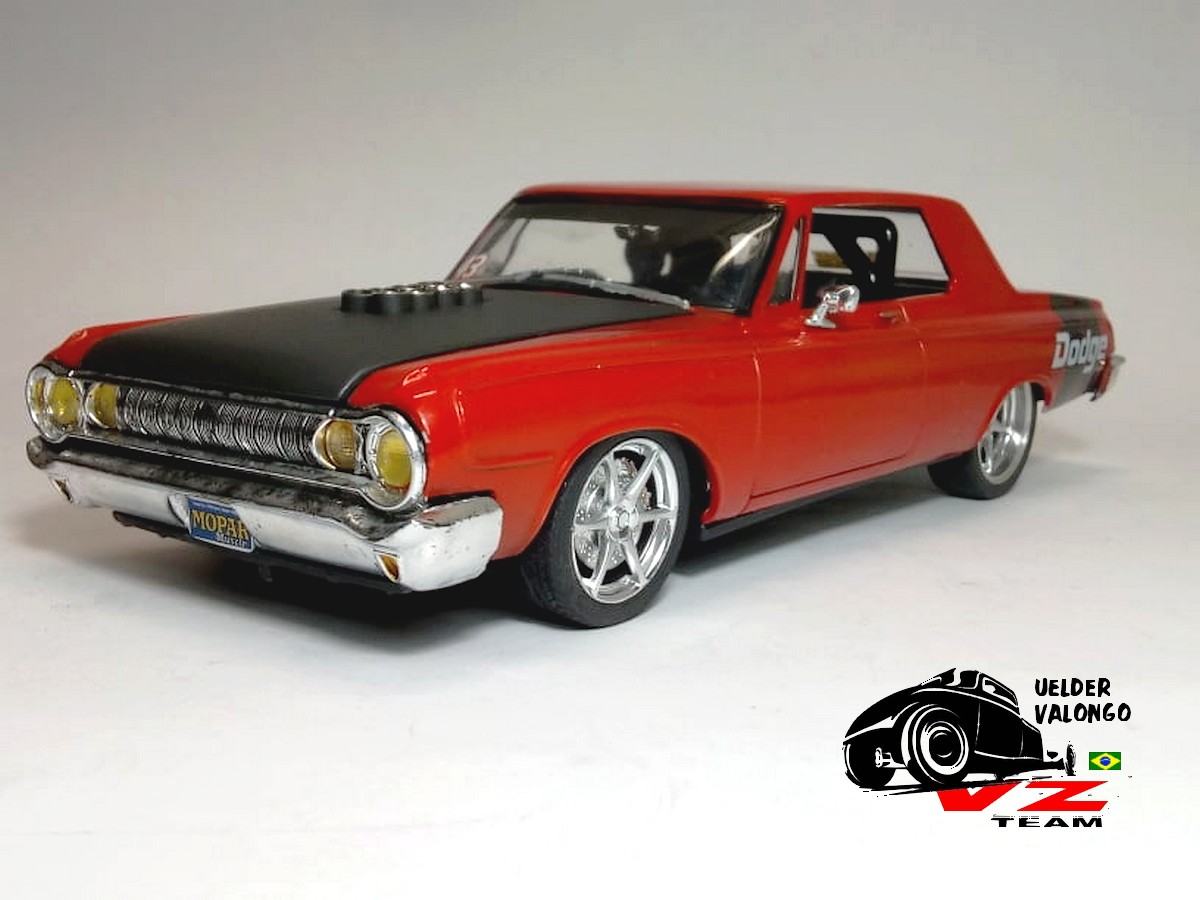
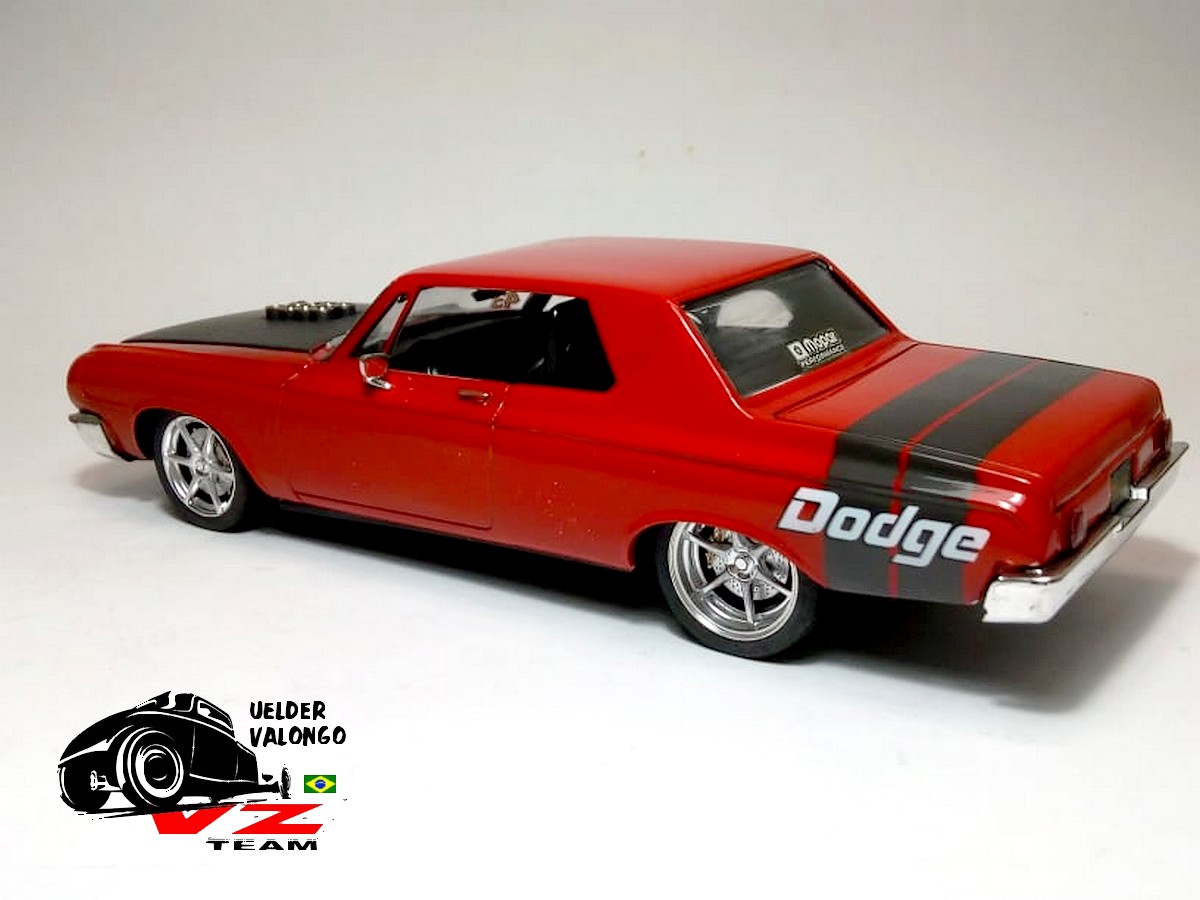
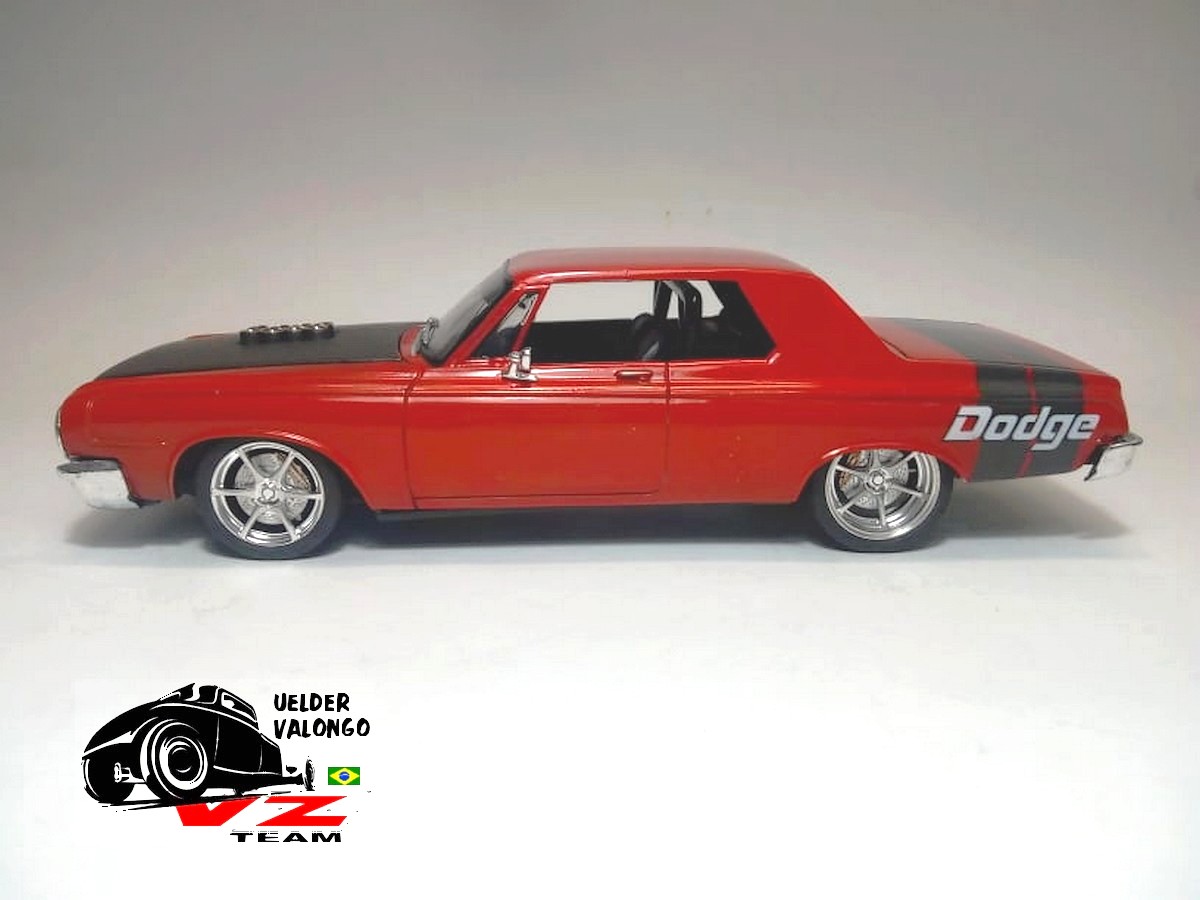
Hy Friends !! One more finished. Scrap recovered. 64 Dodge 330 Lindberg PURE FUN !!! Thanks to comments
-
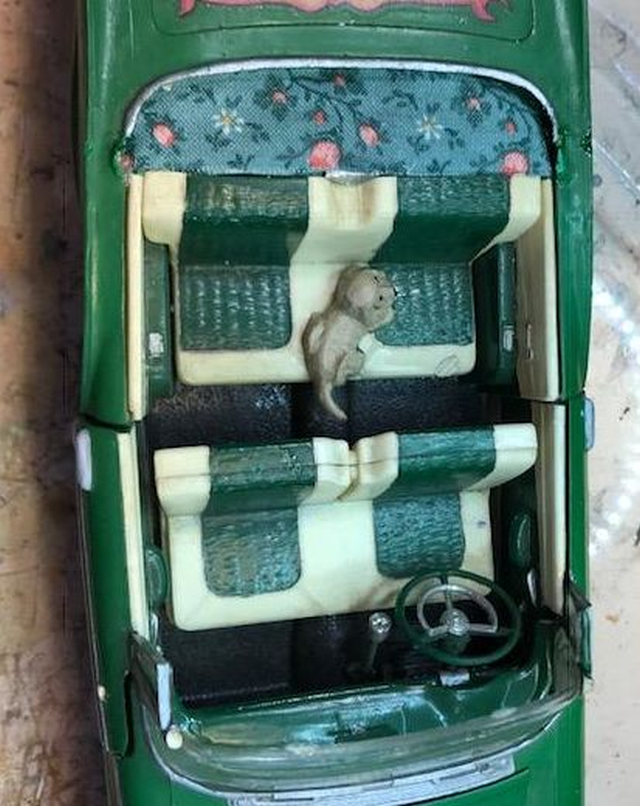
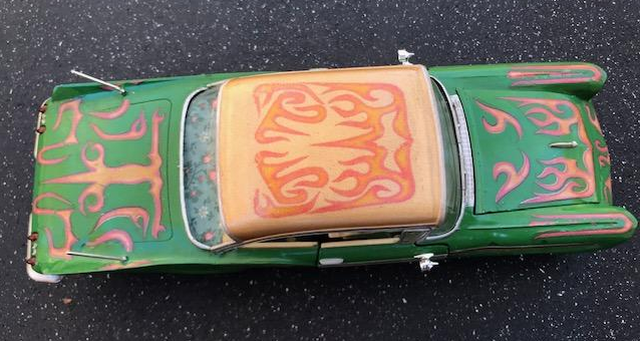
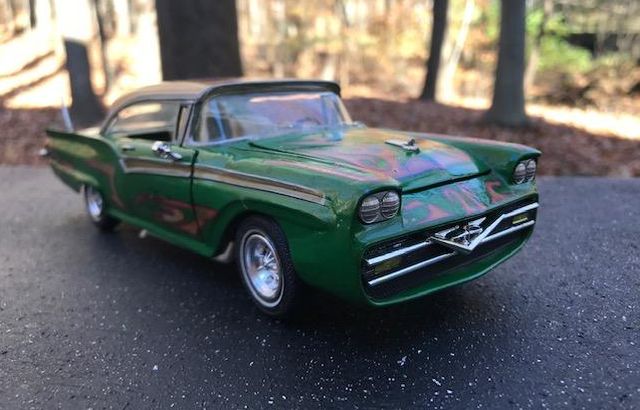
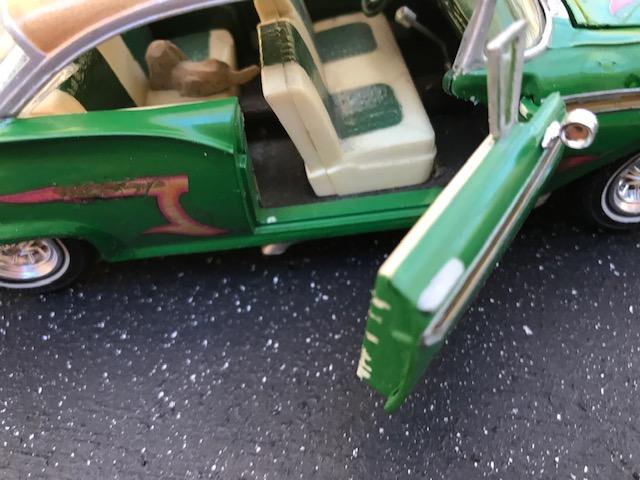
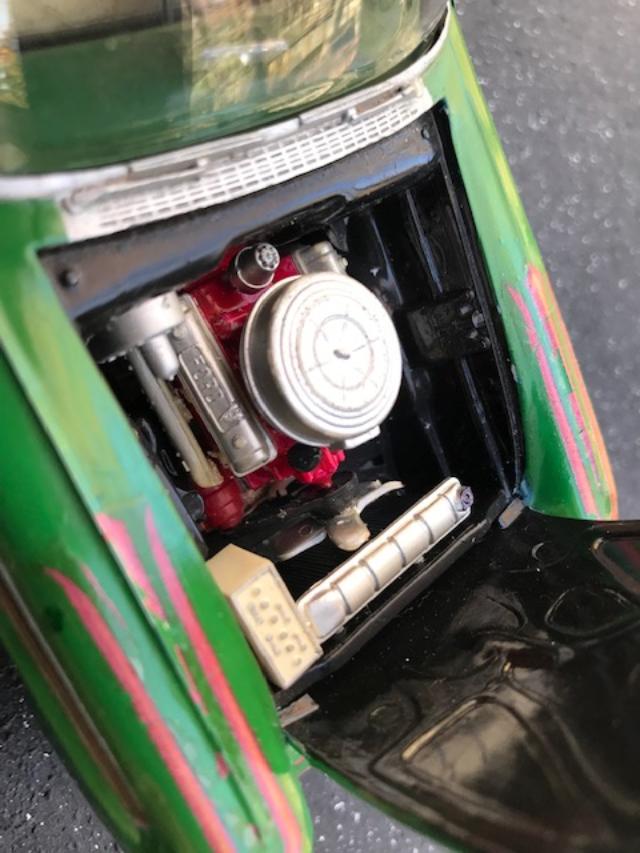
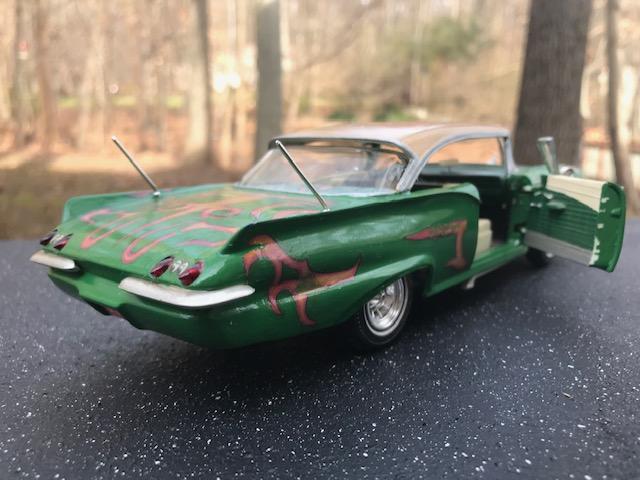
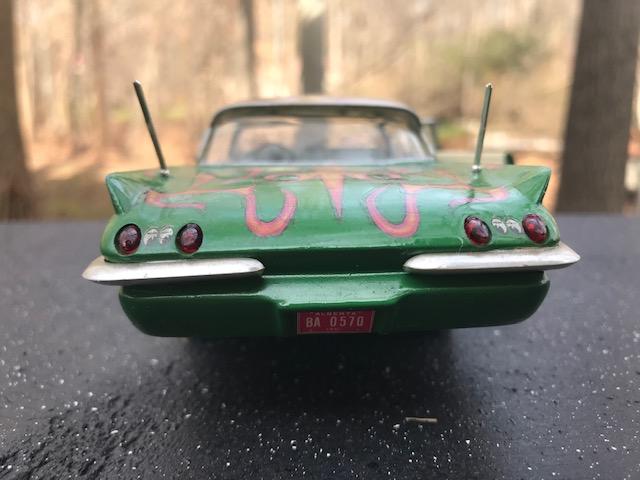
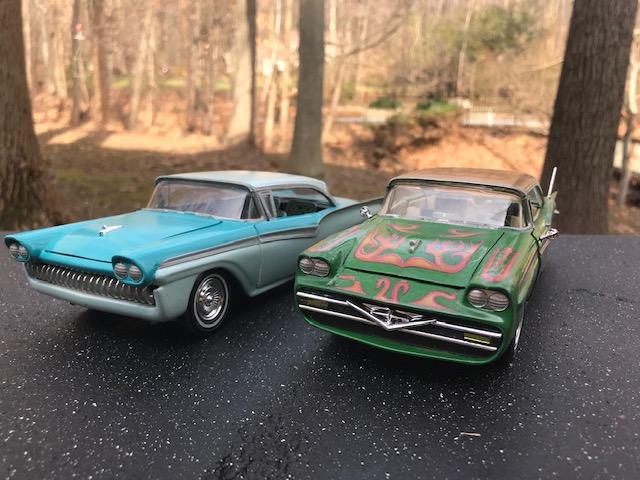
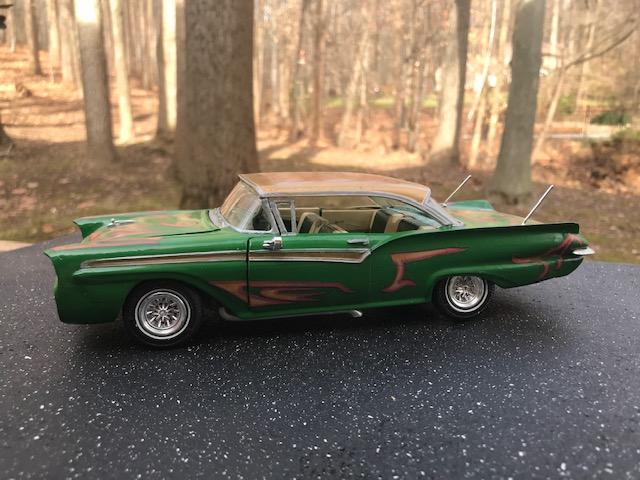
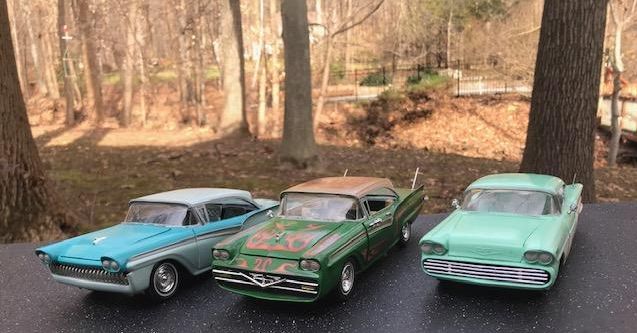
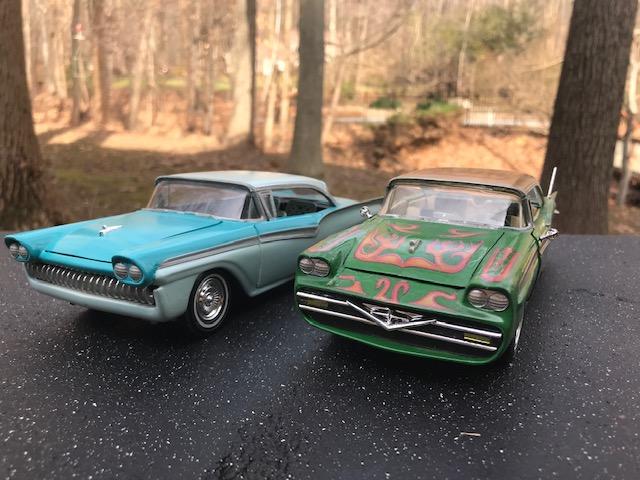
Many folks know that I collect old survivors, especially interesting customs, that people built back in the heyday of modeling. I find that these are historical time capsules of where the hobby was at the time, both in imagination and in level of skill put into these works. I cringe when I see people take one of these neat old models that has somehow survived intact 50-60 years and strip them down for a new build. Here's some work I've done recently... Once upon a time I found this beat to death 1957 Ford custom in a dealers junk box at the MidAtlantic NNL in Maryland. It had the roof smashed off, and was missing all the suspension, as those parts are pretty delicate on that kit. As I held it up to look at it, the dealer told me to either take it for free for parts, or he was going to throw it away. Of course I took it. The roof you see here is from a much used '57 Ford body. The hood went to my blue '57 custom, the wheel wells to someone on the board here to better the ones on the newer Revell body. So it was sacrificed for three projects. Nothing went to waste! I was able to date this one back to the original kit release, as a first issue. I found the original instructions and decal sheet on the Drastic Plastic site on Fotki. Now on to the restoration: Here's the original interior. Nothing needed changing here. There was a glue mark where the rear view mirror was on the dash so we replaced it. The horn trim ring was missing so we replaced it as well. The back shelf was a glue mess so I added a piece of fabric that I had in my junk box for years. I thought it fit into the intent of the build and was something someone would do back in the day. I like the pet mascots that came in these early kits so I painted up and added the doggie. He actually sits on a tire burn. I never did pull this one apart so it was an "on frame" restoration. I knew I'd never match the paint on the roof so I found I had a crusty 69 cent can of Testors gold that still sprayed.. sorta.. and gave it a squirt. That led me to thinking it looked plain and the original builder would've used a kit decal there. So I picked out the largest decal on the sheet, which also was one not already on the car, and sized it up to fit the roof in Irfanview. Then I saw the decal had a yellowish background you can see in the large image, so I cleaned it up in Word, as you see in the top photo. There is a command to eliminate background that I used to get the clean image. Once cleaned up, I set it up to print 3 images on decal paper. Always print multiple copies. I screwed up my first one so the one on the car is image two. I still have the third one. And here we are with the finished roof decal. I did a tutorial on making decals for a Facebook group that requested it, so I have more on the process if anyone is interested. Front view- I blacked in the grill area and added the Meteor one from the kit. The car had glue marks where there were mirrors and antennas, so I added period pieces. I drilled holes and pinned them in for future strength. The mirrors came from the '61 Ranchero kit, while the antennas were in the '60 Plymouth wagon. I bought a '57 Ford parts box at the Liars Show that had an unfinished project and extra parts in it. These tires and wheels were in it. They fit perfectly so I used them. The exhaust held on from the original build. The car had a flattish finish, no doubt the characteristic of the paint rather than the builders intent. The decals were all flaking off, so I masked off much of the car and painted everything green with Tamiya gloss clear. I generally leave classics as they were, but wanted to preserve those decals. Curse those old AMT doors. The right side one opens, but the left one came off in my hand. I glued it shut. Interior was brush painted to match and used the piston shifter from the kit. I didn't touch the engine compartment, it's all original from the early 1960s. Rear views, didn't change anything here at all. Note that I usually add one of the old AutoWorld 1962 license plates to the classic builds. In honor of the Meteor grill, I used the Alberta, Canada plate. And here's both my '57 Ford custom restorations. They are cool together since the each use a different set of parts. And the complete set for full effect! On the right is the '58 Chevy custom I just finished up. Hope you enjoy the old classics as much as I do. If only these cars could talk!
- 15 replies
-
- restoration
- old custom
-
(and 1 more)
Tagged with:
-
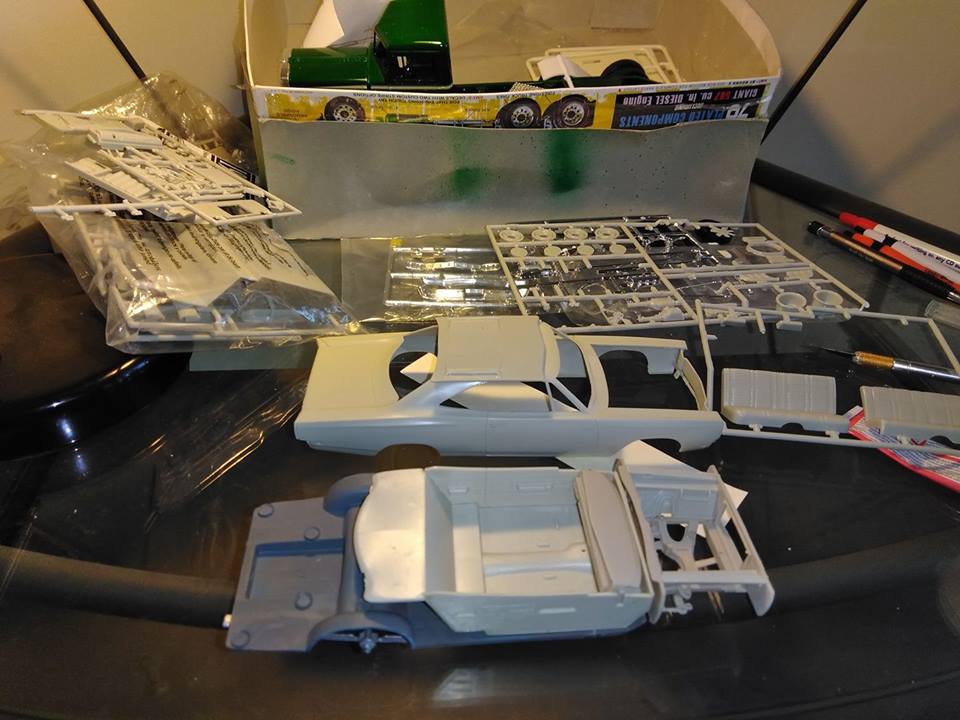
Started on another project since the California Hauler in the background is waiting for parts to be painted but it's not warm enough yet... 68 Roadrunner amt kit non 2-1... Stock, wonder what were the rarest options/version out there???
-
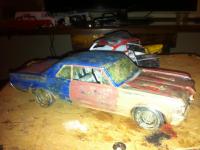
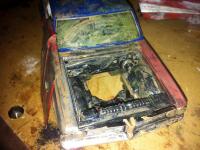
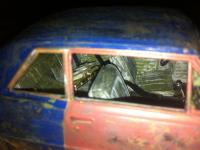
was a revel 64 gto 2 in 1 that i got with a partial brush painted body. soon came to think about making this lemon of a find resto project front tires off, Lindberg 62 impala convertible rear tires off revel 55 chev street truck rims off a 70's amt 58 impala misc motor parts in interior from different cars
- 3 replies
-
- barn cars
- restoration
-
(and 2 more)
Tagged with:
-
I gotta 72 c10 gluebomb from a buddy of mine a while back. The windshield is scratched to death and is cracked in he middle a ways ans stuck back togeher with super glue. I was wondering if there is a cheap and relatively easy way to save it.
