

bill-e-boy
-
Posts
425 -
Joined
-
Last visited
Content Type
Profiles
Forums
Events
Gallery
Posts posted by bill-e-boy
-
-
What a fantastic kit bash. The end result is amazing
-
 1
1
-
-
On 2/22/2024 at 5:23 AM, Claes Ericsson said:
Any vendor(s) out there that carries (part of) Reps product line? When Norm dropped the VISA/MC payment option, only allowing domestic MO's, it became a bit more difficult to order, living in Sweden. Any help appreciated.
Claes Ericsson
This is sad news as I was about to place an order. I live in New Zealand so getting MO's are an issue
-
The other issue as I see the kit grill compared to the 1:1 is the grille surround looks a little heavy. You could thin than down a bit and add some stock to the inner side and open that out like you already have done. The grille opening would also then need filling in to fit the reshaped grille.
I must dig one out of the stash and have a look or just rehash the built up
And yep there definitely some Fisher-Price elements to the kit such as the already mentioned rear end and also the gearbox leave a lot to be desired. The headers hang a little low too
-
Amazing
-
"I also glued a piece of white plastic to the rear corner And sanded it down with a file and sandpapers. Got it pretty good" - I had the same issue with my build - see current threadYou are doing an nice job and the paint is looking good
-
1
-
-
That looks like a nice sunburnt survivor car
-
This an excellent build of the Plymouth coupe.
Have you tried spark plug wire for the welting. It is usually 0.4mm (0.015"). Typically the real thing is about 5mm diameter so 0.5mm would be correct but may still look a little large but 0.4mm plug wire woud be sweet with paint on it.
-
Absolutely mind blowing
-
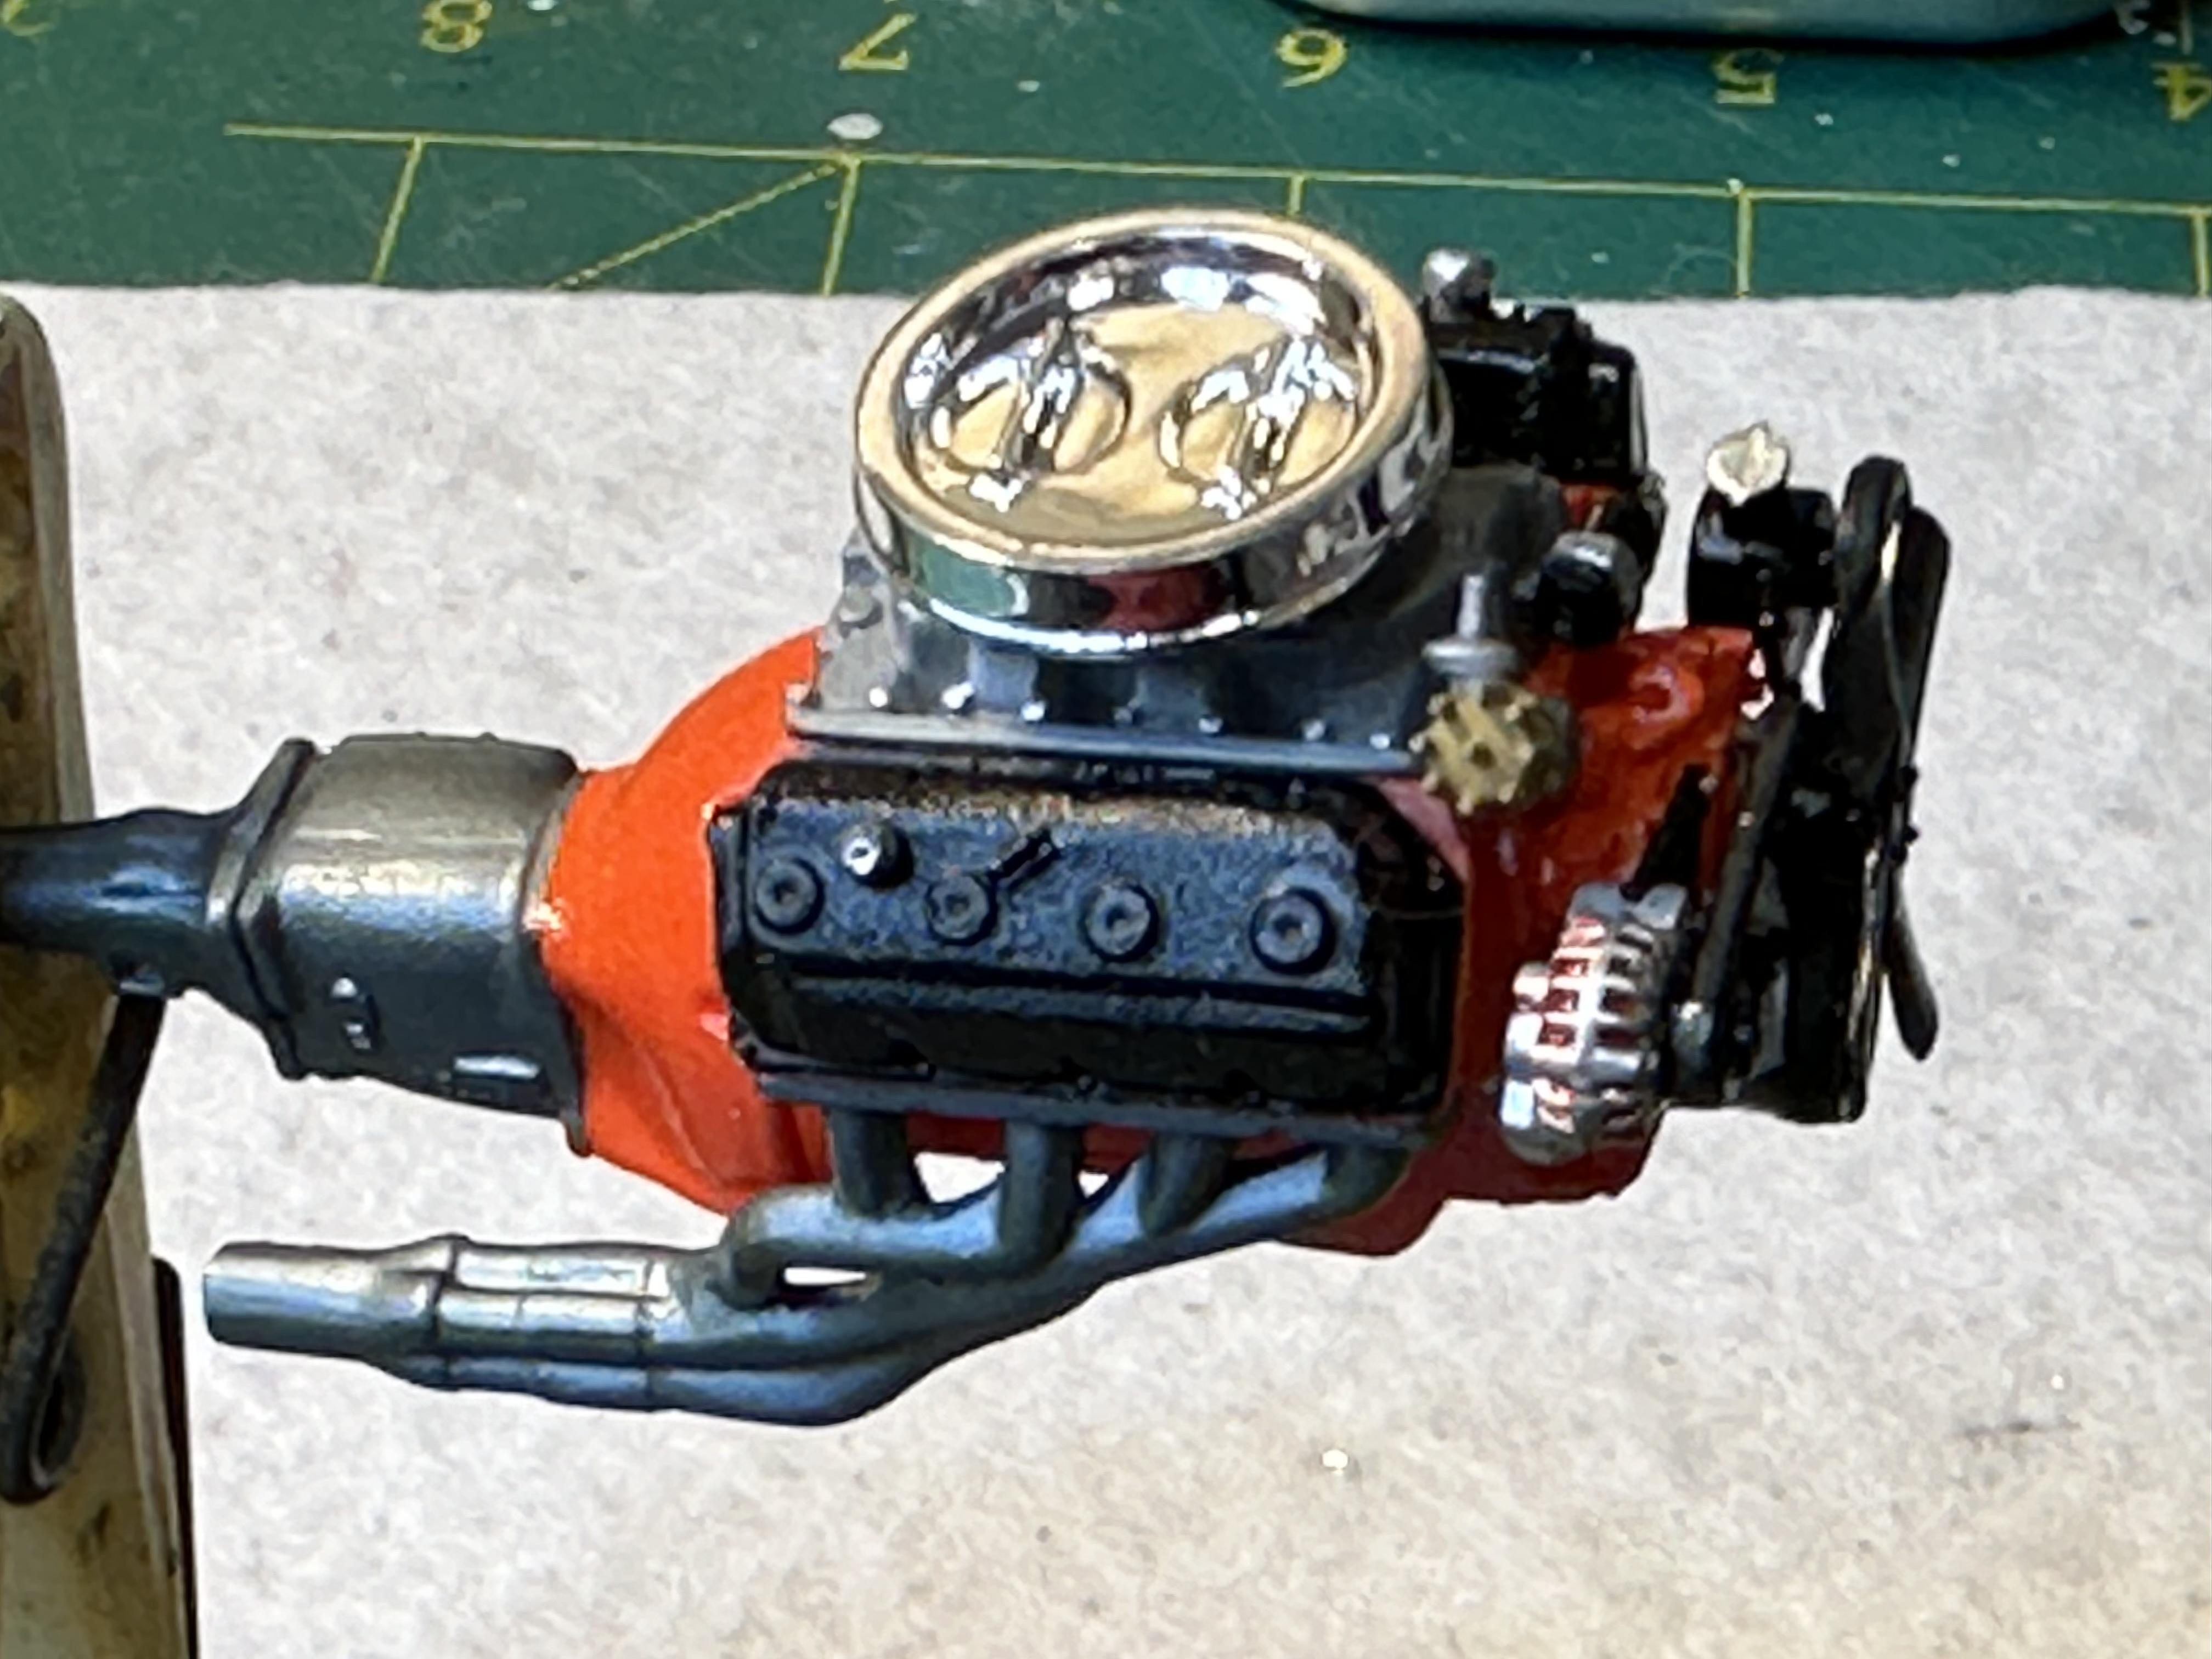
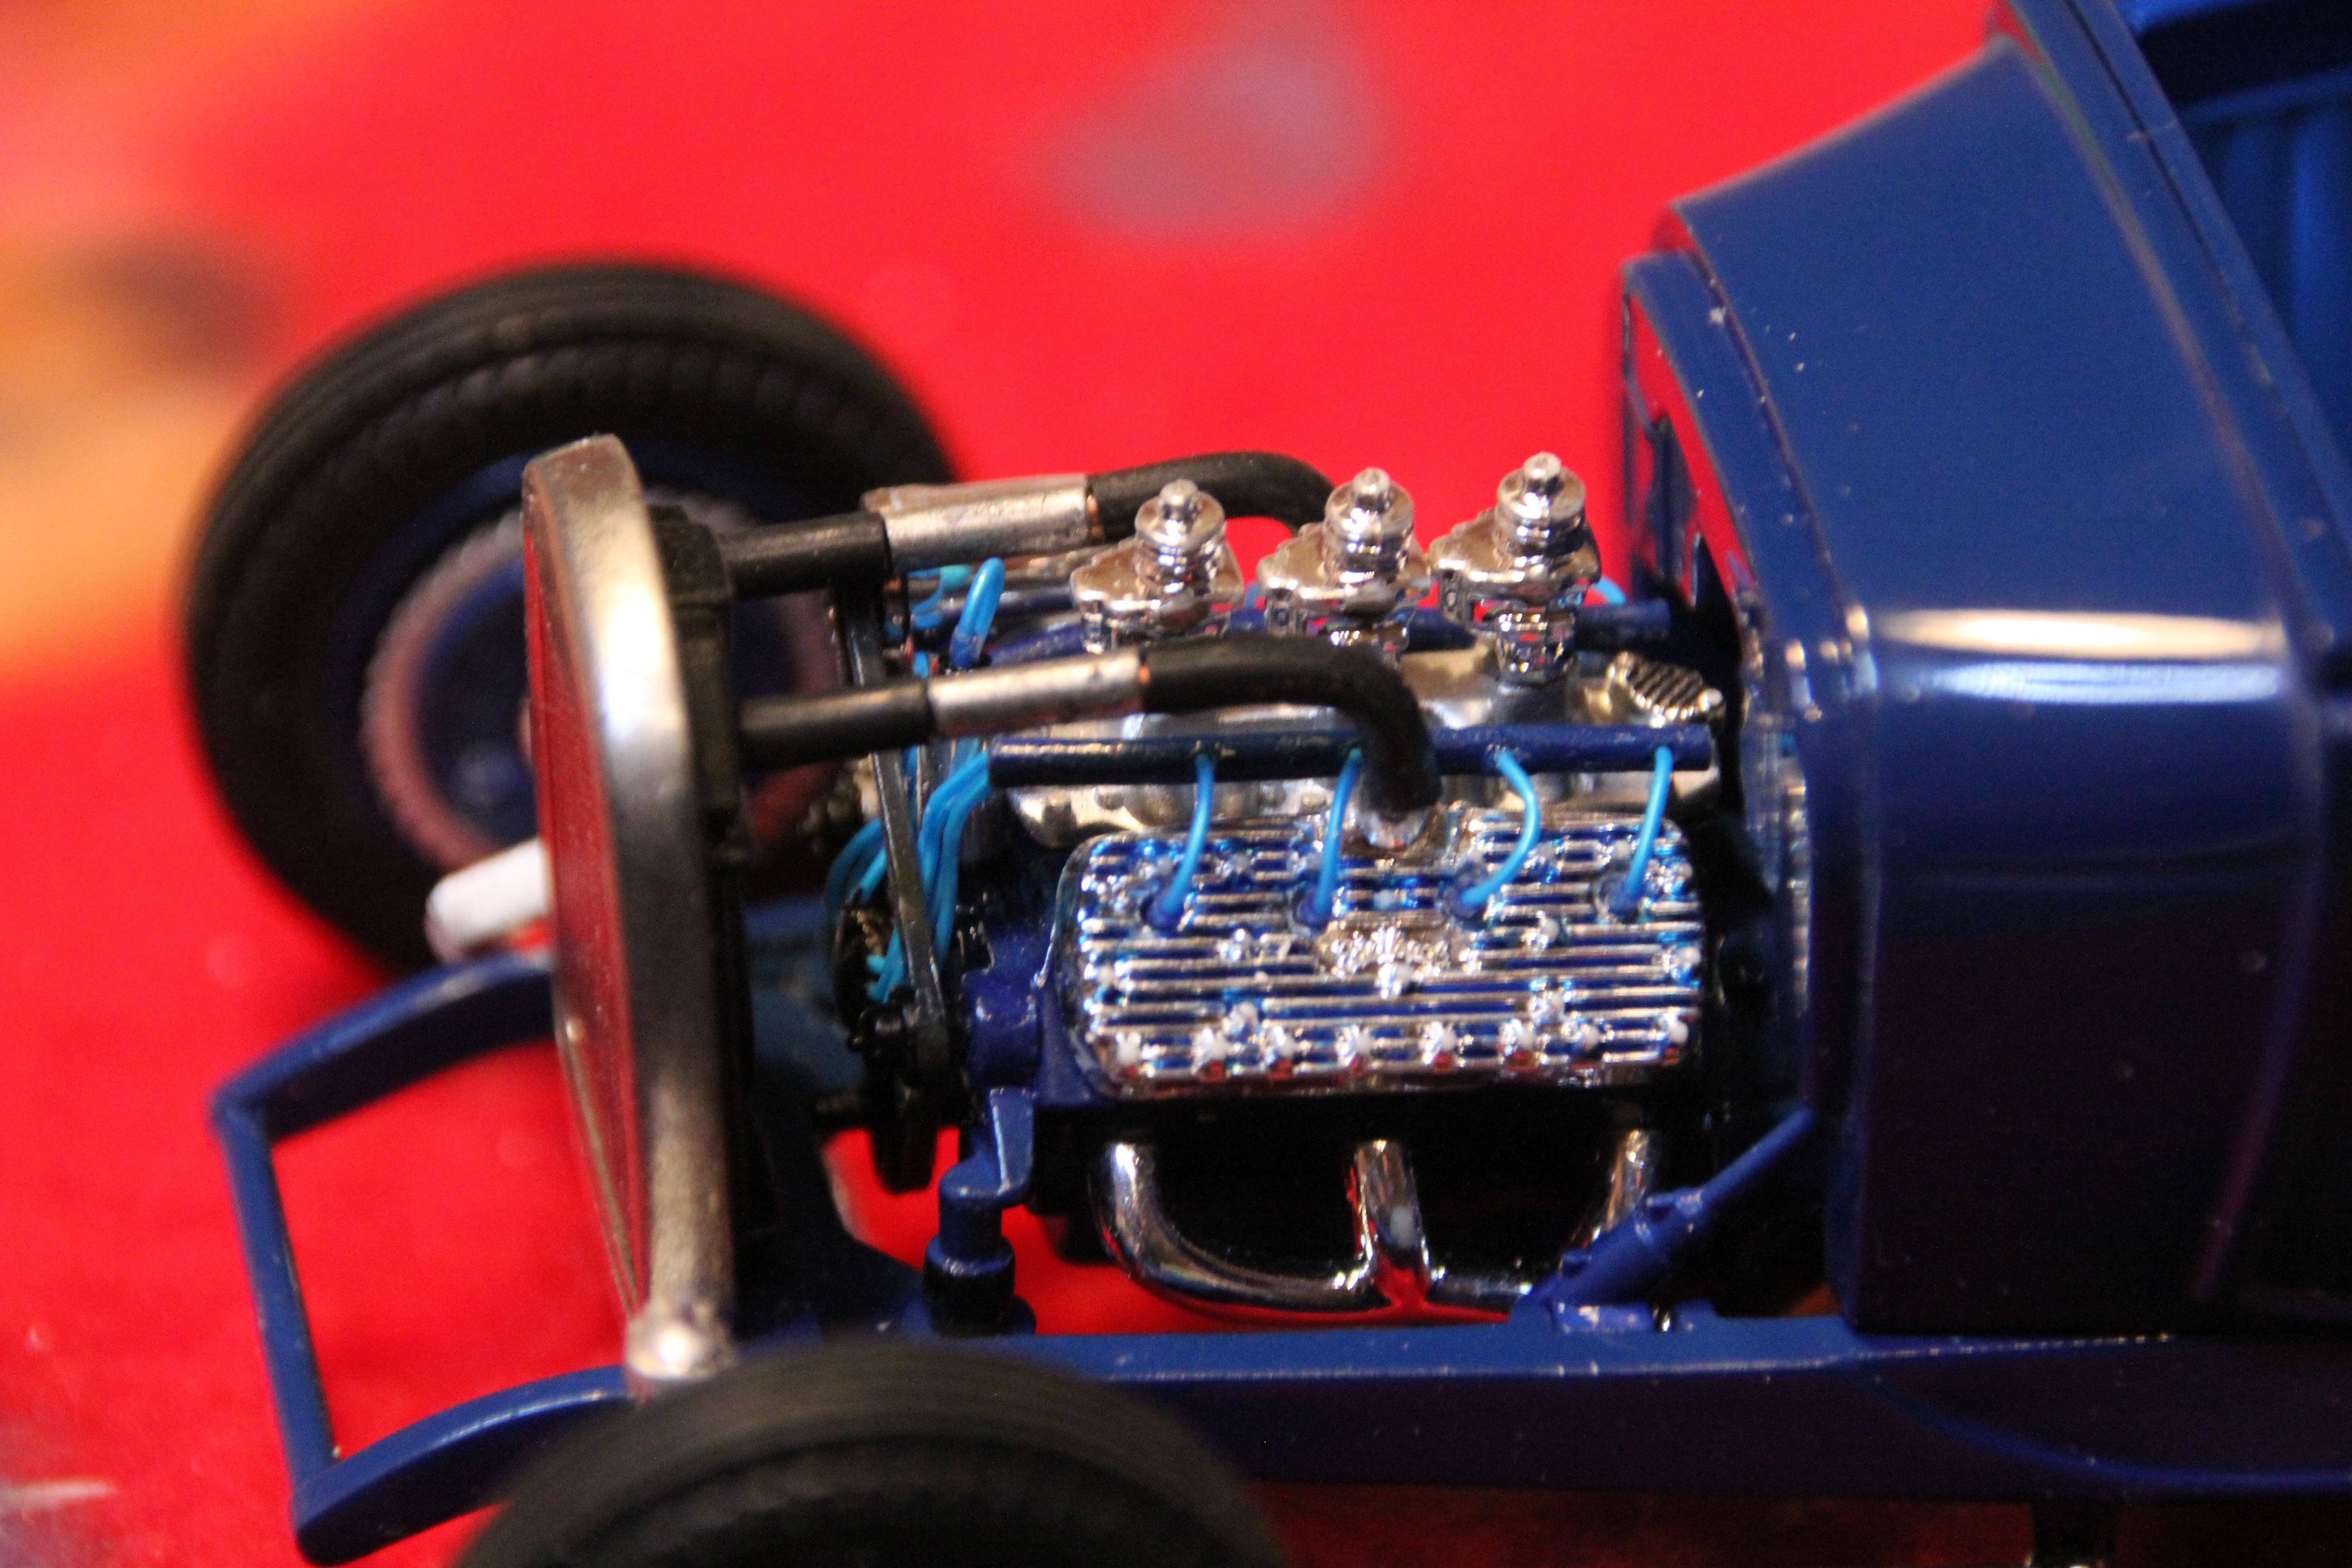
Got the motor done and am working on interior assembly and final paint detail of the chassis

Will try for a better photo and post up
-
2
-
-
Looking good. That Duster engine looks like a good representative of the LA engine. And I like the colour too
-
Catch up time. I have been away for a couple of weeks looking after the grandkids for the last two weeks of their summer holidays.
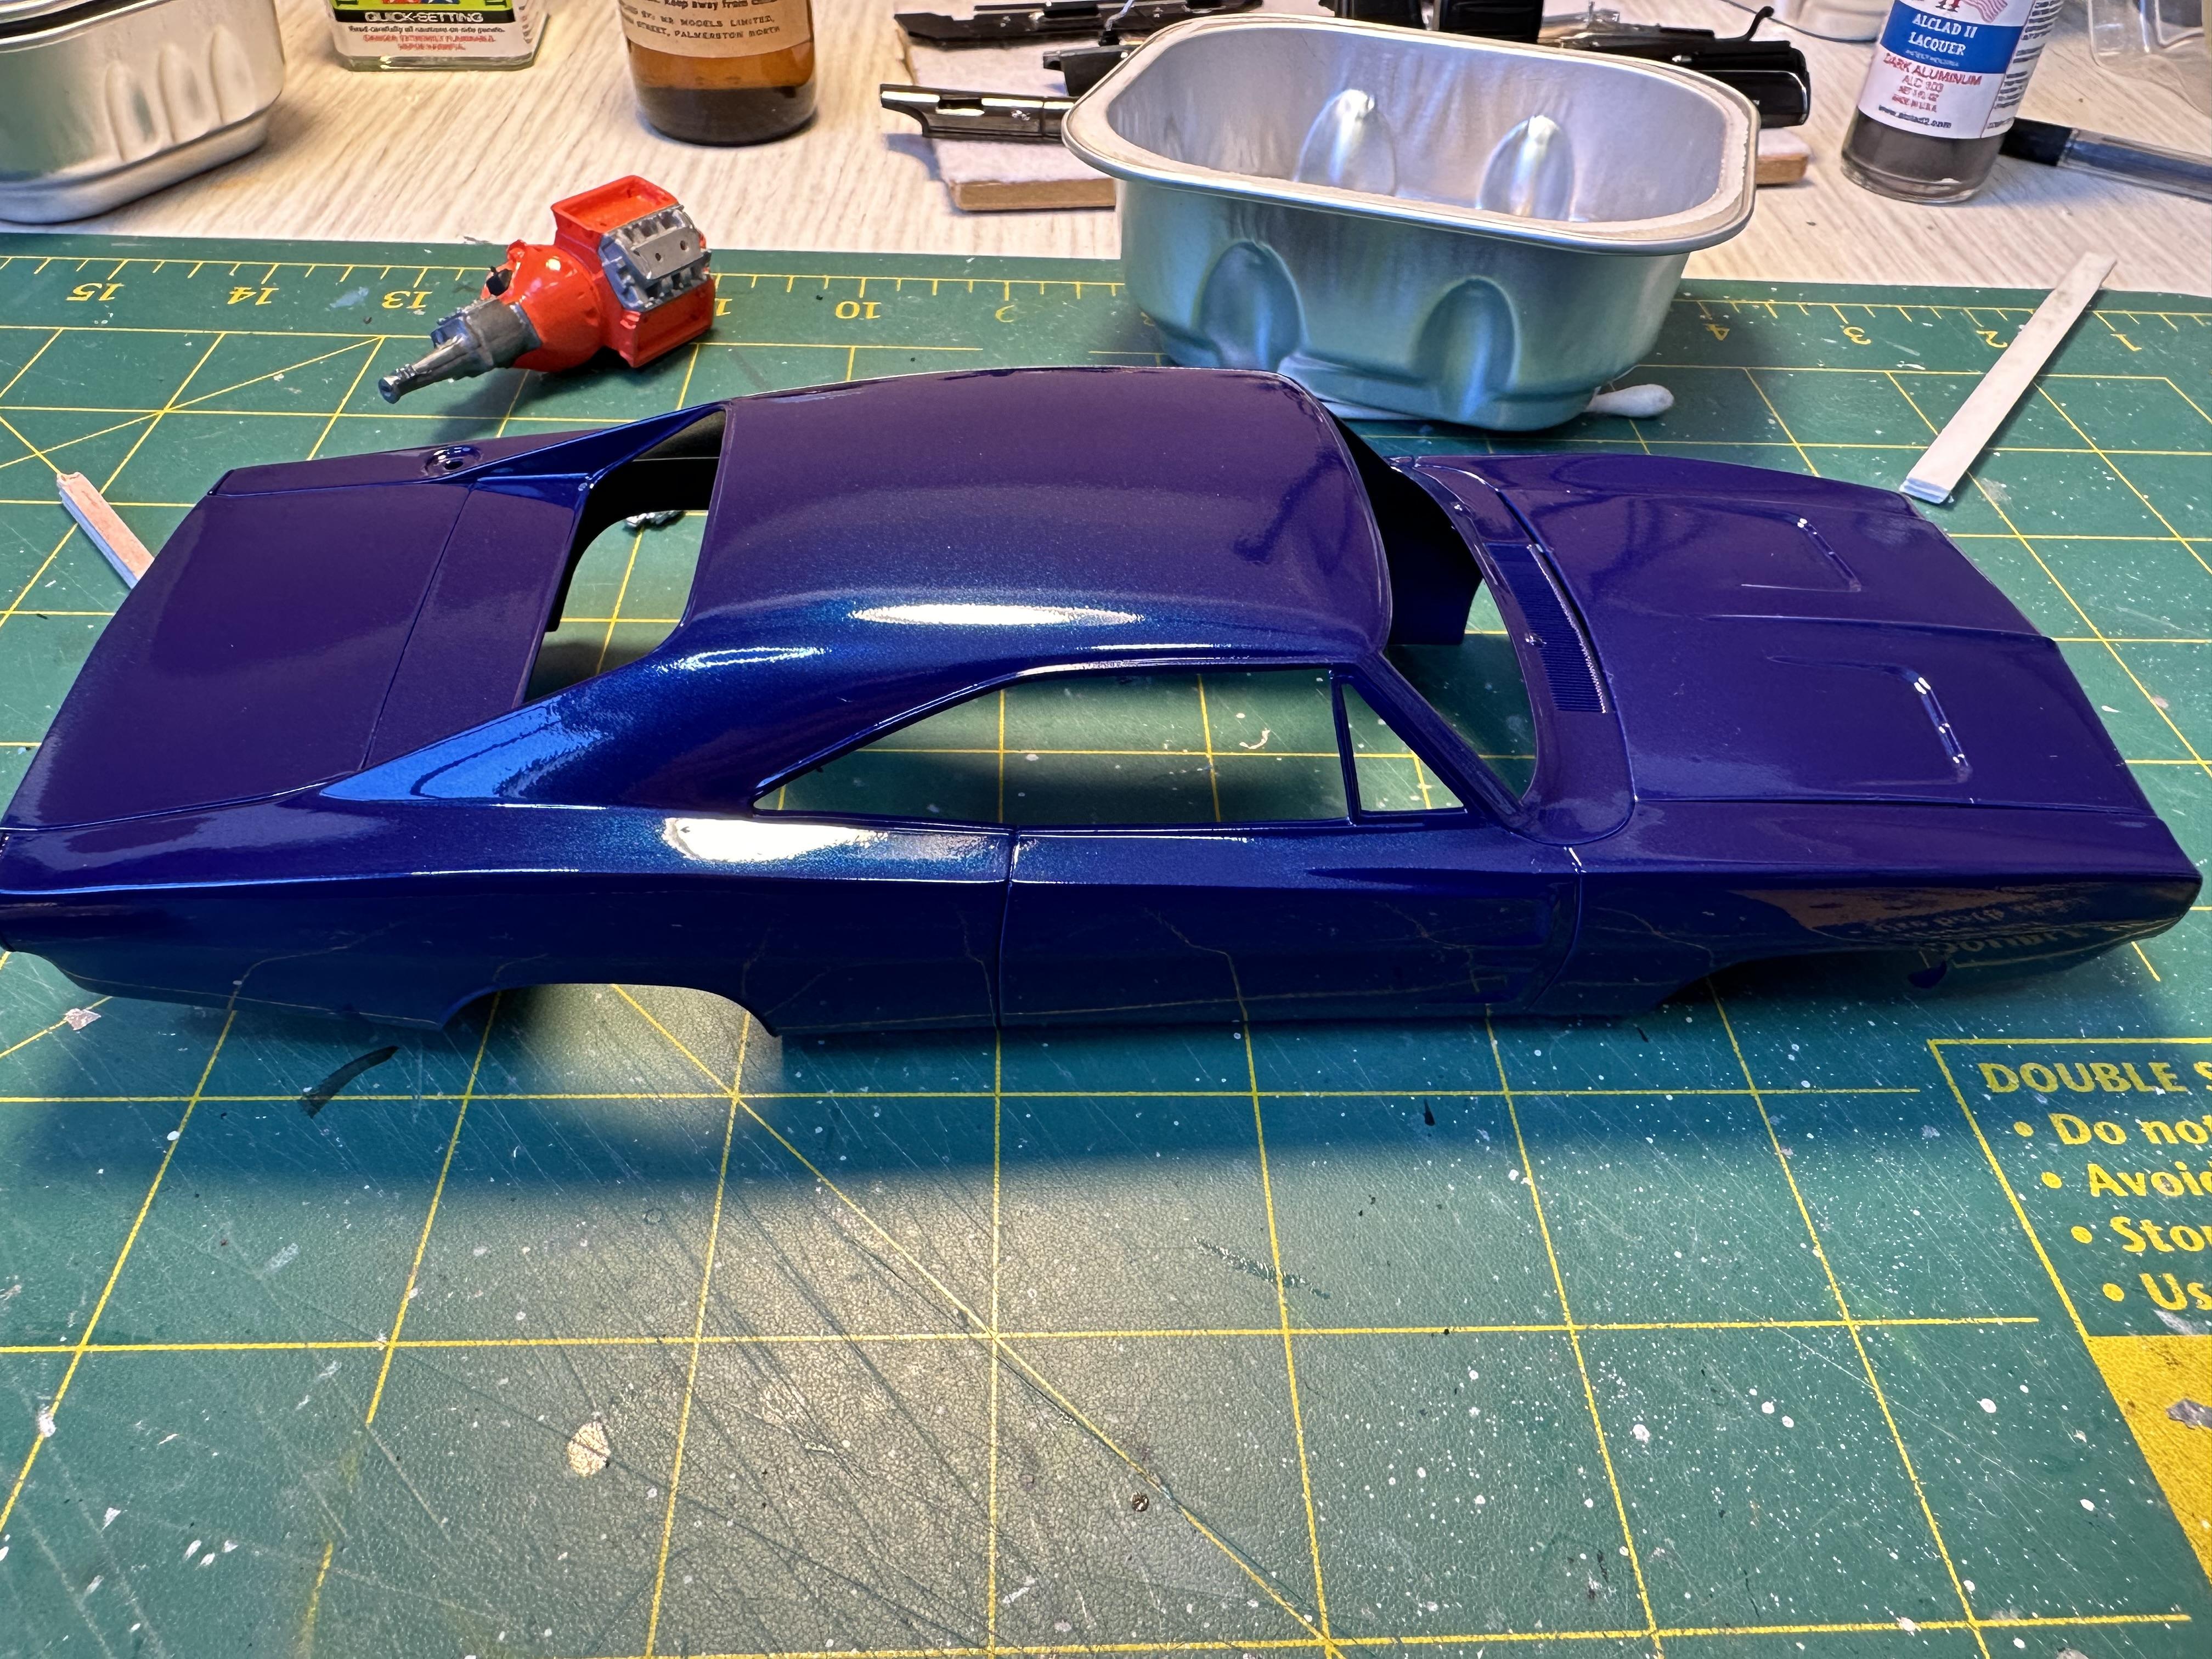
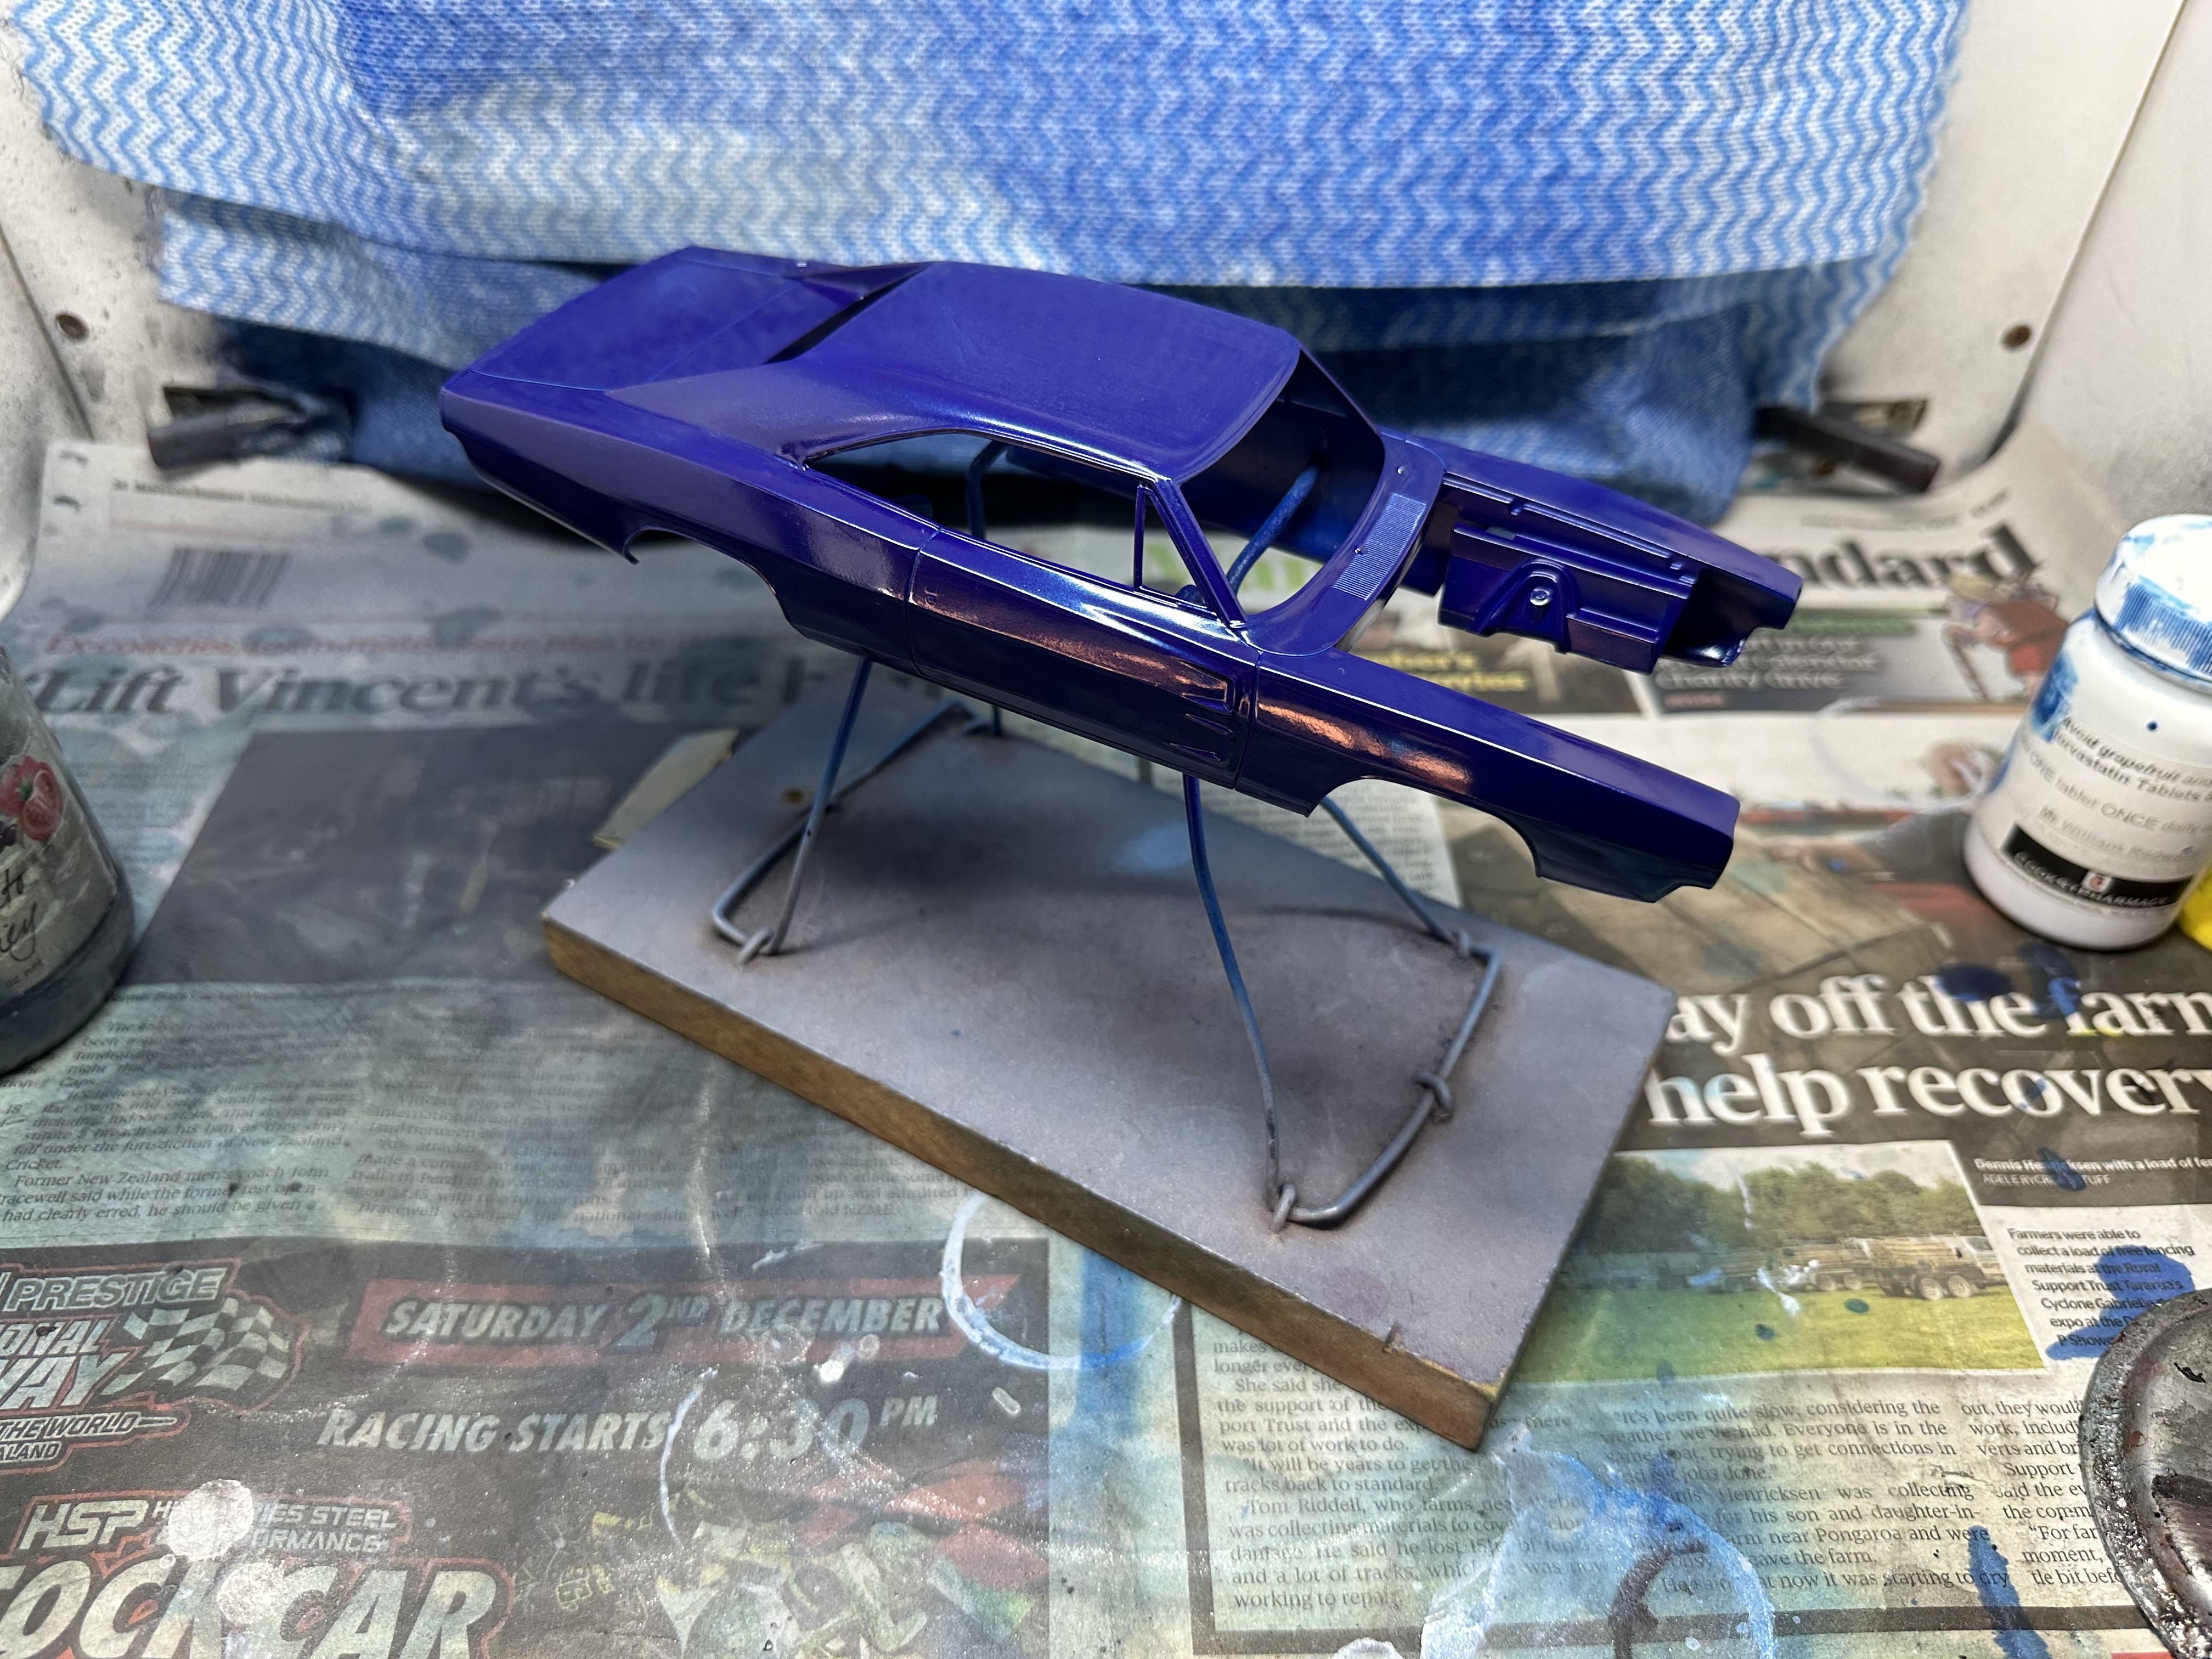
Got some clear on the body and other body parts and they are curing ready for colour sanding and polishing. This is straight off the gun
Masked up the fuel tank ready for paint.
and painted
I have also been working on interior detail and assembling the engine.
More to come, thanks for looking
-
5
-
-
Aaron - what an in depth reply. You cover just about everything there is to know about the purchase of a model makers lathe.
Be aware though - the lathe is the first step. You may find yourself spending as much and probably more than the purchase price on tooling and accessories. Add to that materials for the machining operations. If you buy second hand you and if you are astute you can often get some of these thrown in. Only issue with second hand market is that some of these machines can be abused or just plain worn out. If used only for hobby work the wear will be less but condition may be an issue.
I have a Unimat 3 with a milling head that I rarely use. I have a larger mill that I prefer to use even with small stuff. I bought this second hand and I was fortunate that it came with a lot of Unimat and other accessories.
There a number of guys on the forum using lathes and mills for scratch building stuff for their models to be more realistic.
And it is fun
-
What a fantastic build - very hard to get bare metal to look real and you have done it.
-
 1
1
-
-
This is looking great. I will be following.
I built one years ago just after the street rod version was released and was a little disappointed with the final look. Ok it was pre bare metal foil days so the front trim was brush painted. Must revisit the kit one day and use this thread as a basis for mods to make it more realistic. I have a couple in the stash.
As another point I have an original but sad looking 1:1 39 4dr Dodge sedan that is good reference for the mechanicals as they were the same - although the Plymouths usually had the smaller motor
-
Kool project - coming along nicely
-
Oops had problems loading file

-
4
-
-
Getting paint on it. Tamiya LP47 Pearl Blue
-
On 1/15/2024 at 5:01 PM, CabDriver said:
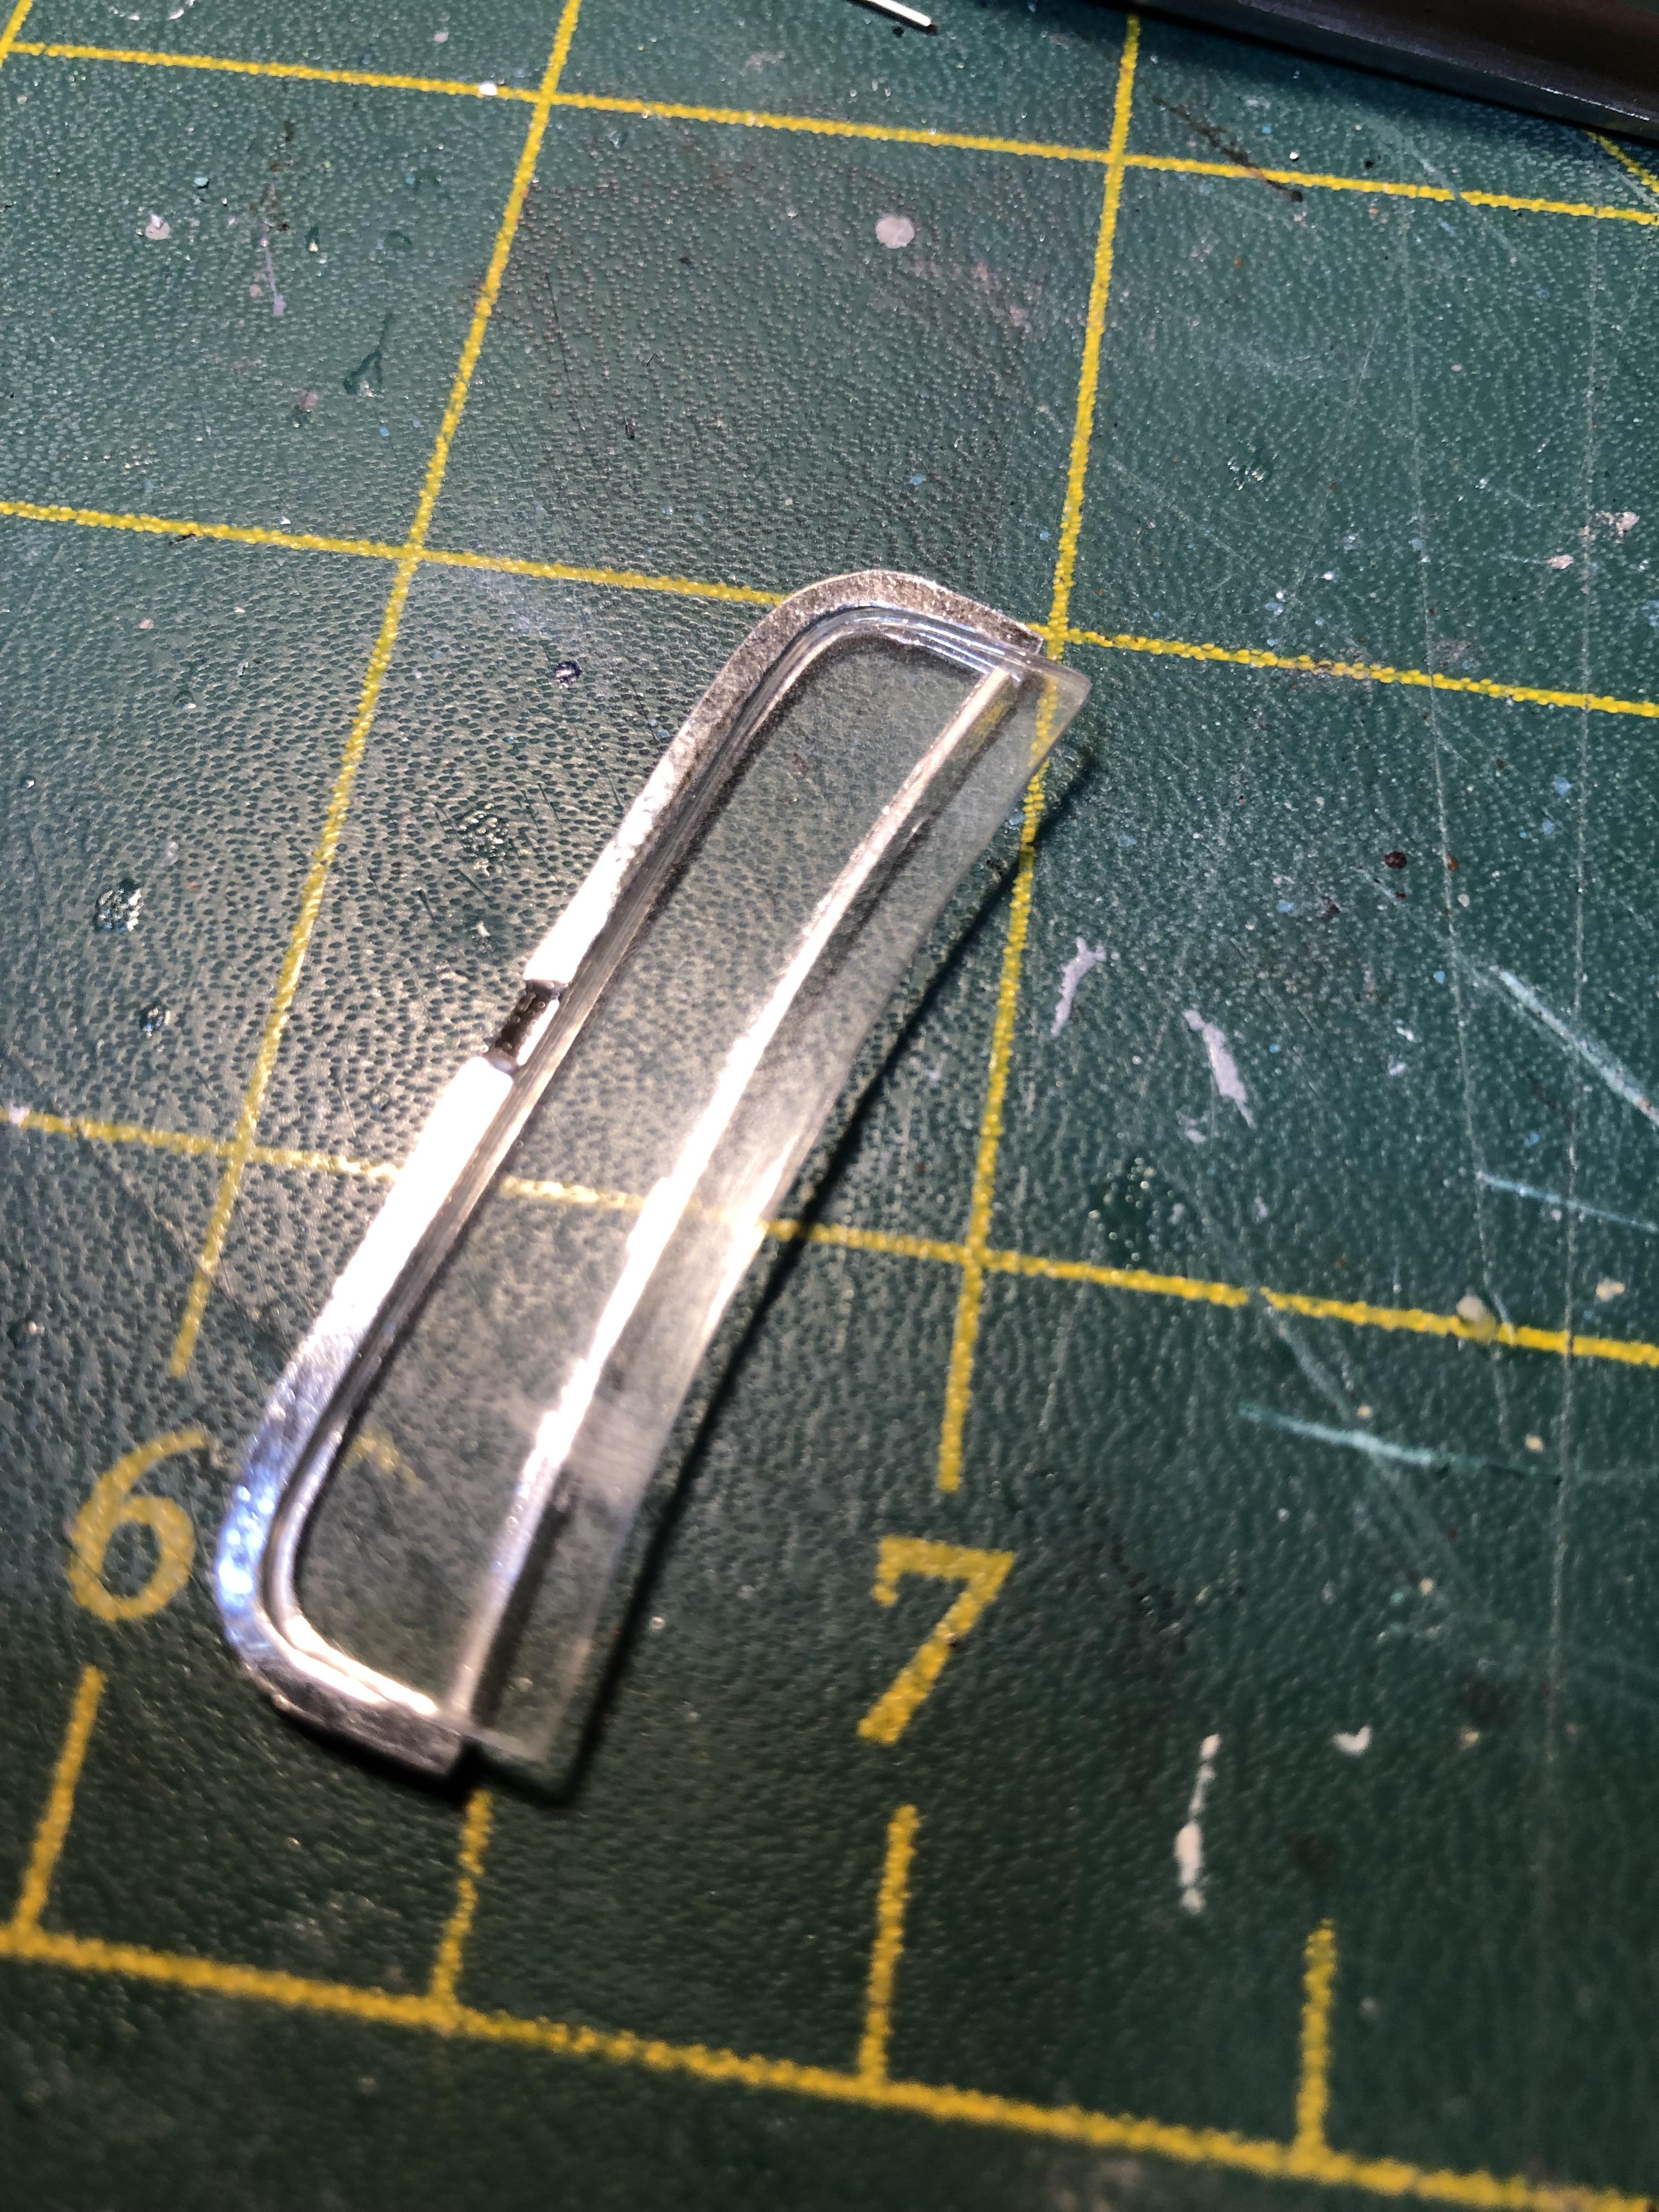
Next thing that I wasn’t super looking forward to was chopping the windshield frame
The frame is easiest to chop by cutting out the bottom rail with a knife and cutting the side rails to fit the opening. This is easier than taking a section out like you do to the top. Then glue it back together. You can save the chrome part by doing this way and just cover the corner with foil if needed. Not sure if you see it in the attached pix as it mostly shows the windsceen ready to be installed. It does show the original chrome
-
The quietest one
-
Your build id coming along nicely. I like your use of wire for the dash insert chrome strip
-
Doug Whyte has a good tutorial on his Model Car Muse Youtube channel
-
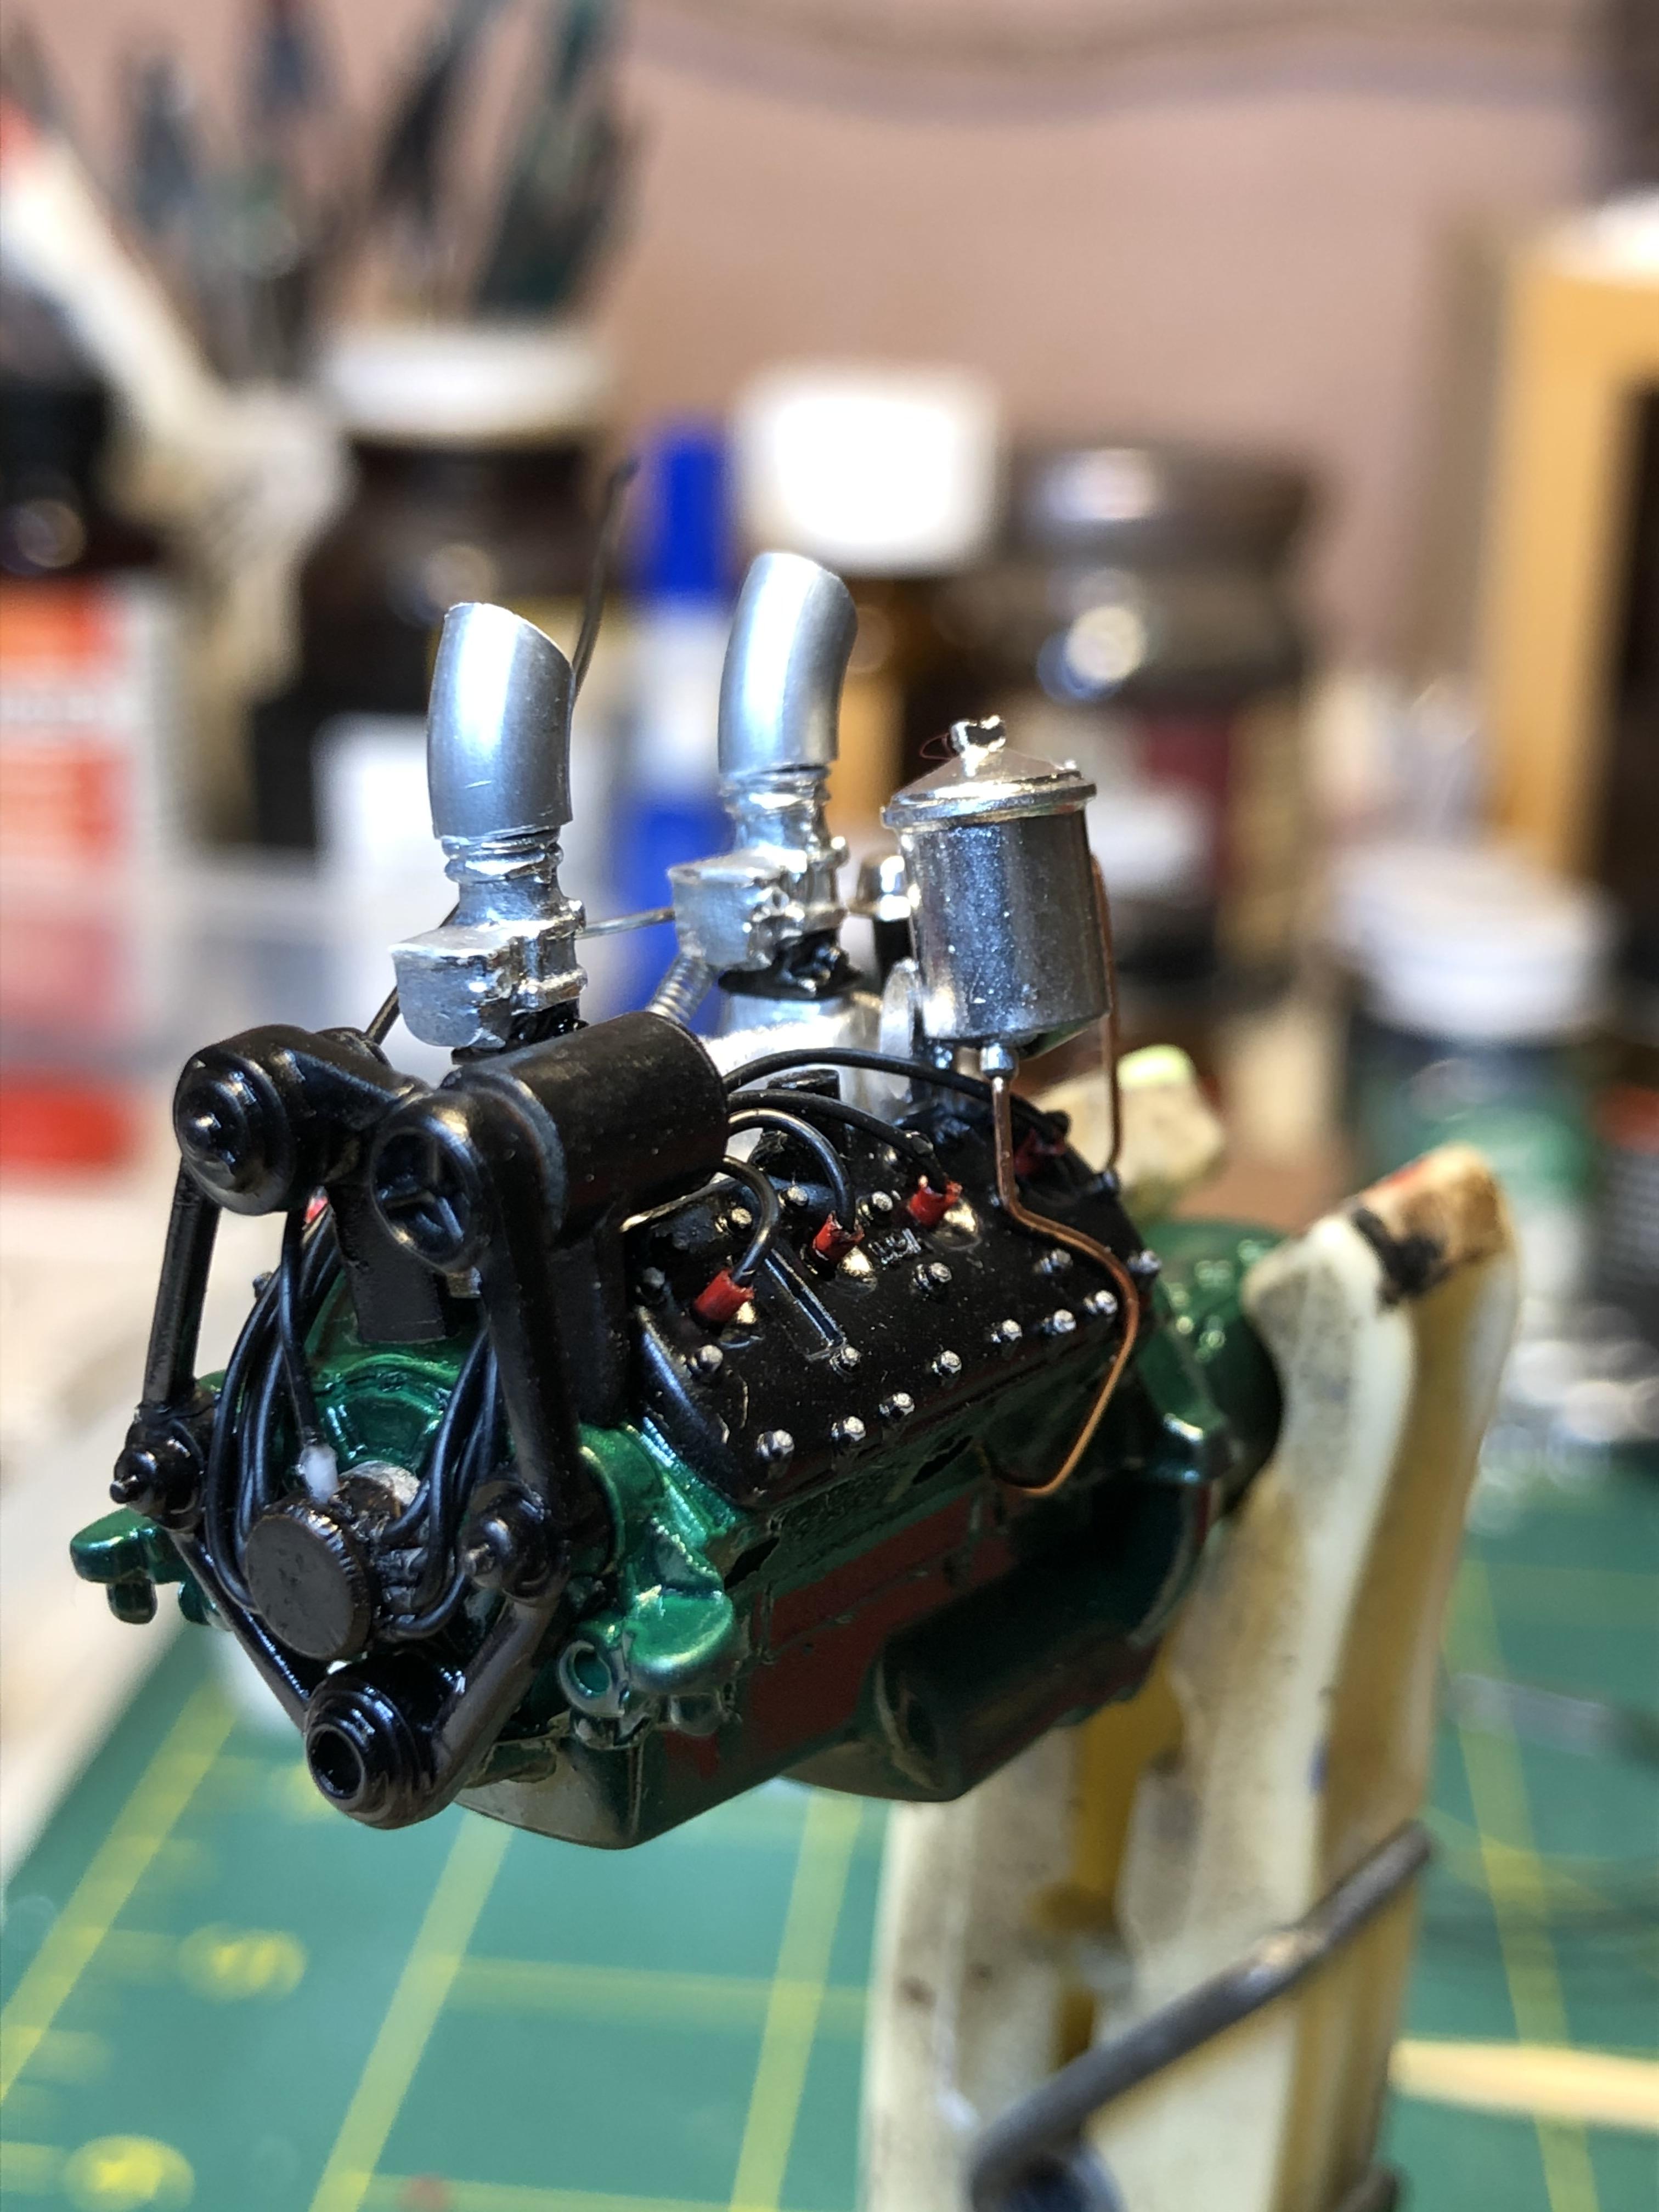
A couple of pix of flathead porn showing plug wiring
First up FH from Revell 32 Sedan in a Revell 29 A Roadster = AV8. I have used brass tube for the spark lead support
Next is FH from Revell 40 Coupe with scratch built pancake distributor
-
20 hours ago, junkyardjeff said:
I do have a couple of the 90s versions chopped tops.
Saves a lot of work. A good thing about these Monogam 34's is swapping the tops around - full height, chopped or cabrolet
But the 3 window coupes are the easiest to chop too if you want a bigger drop
-
Looking great. The hemi engine takes up a lot of engine bay space for sure.
The 32's had a roof insert and you are depicting a coupe with a filled roof. Will you be adding those weld lines in too and maybe a slightly different steel colour as well? The elephant in the room so to say.


A different approach to the AMT 41 Plymouth coupe.
in WIP: Model Cars
Posted
Kool Kustom Koupe going down here Alan