

bill-e-boy
-
Posts
422 -
Joined
-
Last visited
Content Type
Profiles
Forums
Events
Gallery
Posts posted by bill-e-boy
-
-
The Tamiya Lotus wheels and tires are nice representatives of the wheels you want. 13" and skinny with good detail
-
Yes. Was stolen and totaled by the thief.
Ouch
-
69 Roadrunner built about 2004 in a restomod style before it became restomod. I have three more unbuilt in the stash along with a few others. I have a couple more Johan kits built but no pix yet
There are some fabulous builds in the thread.

-
 3
3
-
-
Thanks Steven and Steve for pointing the way. Went looking but could not find anything definitive until Gerrys post. Many thanks Gerry - is that you and yours? Bet you wished you still had it
-
When did the white letter tires first appear. I am building a 68 Charger and want to use white letter tires and mags as a day two car.
-
It has been a pleasure and an honor to be part of this tribute build. Thank you Tim Boyd for providing kernel in the first place with your article in the full size car magazine. I still have most of the Street Rodder magazines stashed away and I used to go looking for the column when I first opened the mag. Truly inspirational.
All of the models built for the tribute build are all top notch models are a credit to all.
Here is my take on the tribute build.

-
5
-
-
When I did one a while back I jammed four short wires from each side of the distributor into the front end of the tube and ran short lengths from the tube to the spark plug - I hope this makes sense.
The 38 PU has the early dome type distributor where the crab style distributor is used on later models up to 1948. Back in the day as the spark leads were not as good as they are today a lot of early V8 owners got rid of the tube because of shorting of the spark wires to the tube.
-
Fixed the roof joint - although you cant see the gap here - is there an Under Glass topic been started yet?
-
4
-
-
Looks like I may have to revisit the roof joint - dang!!!
-
 1
1
-
-
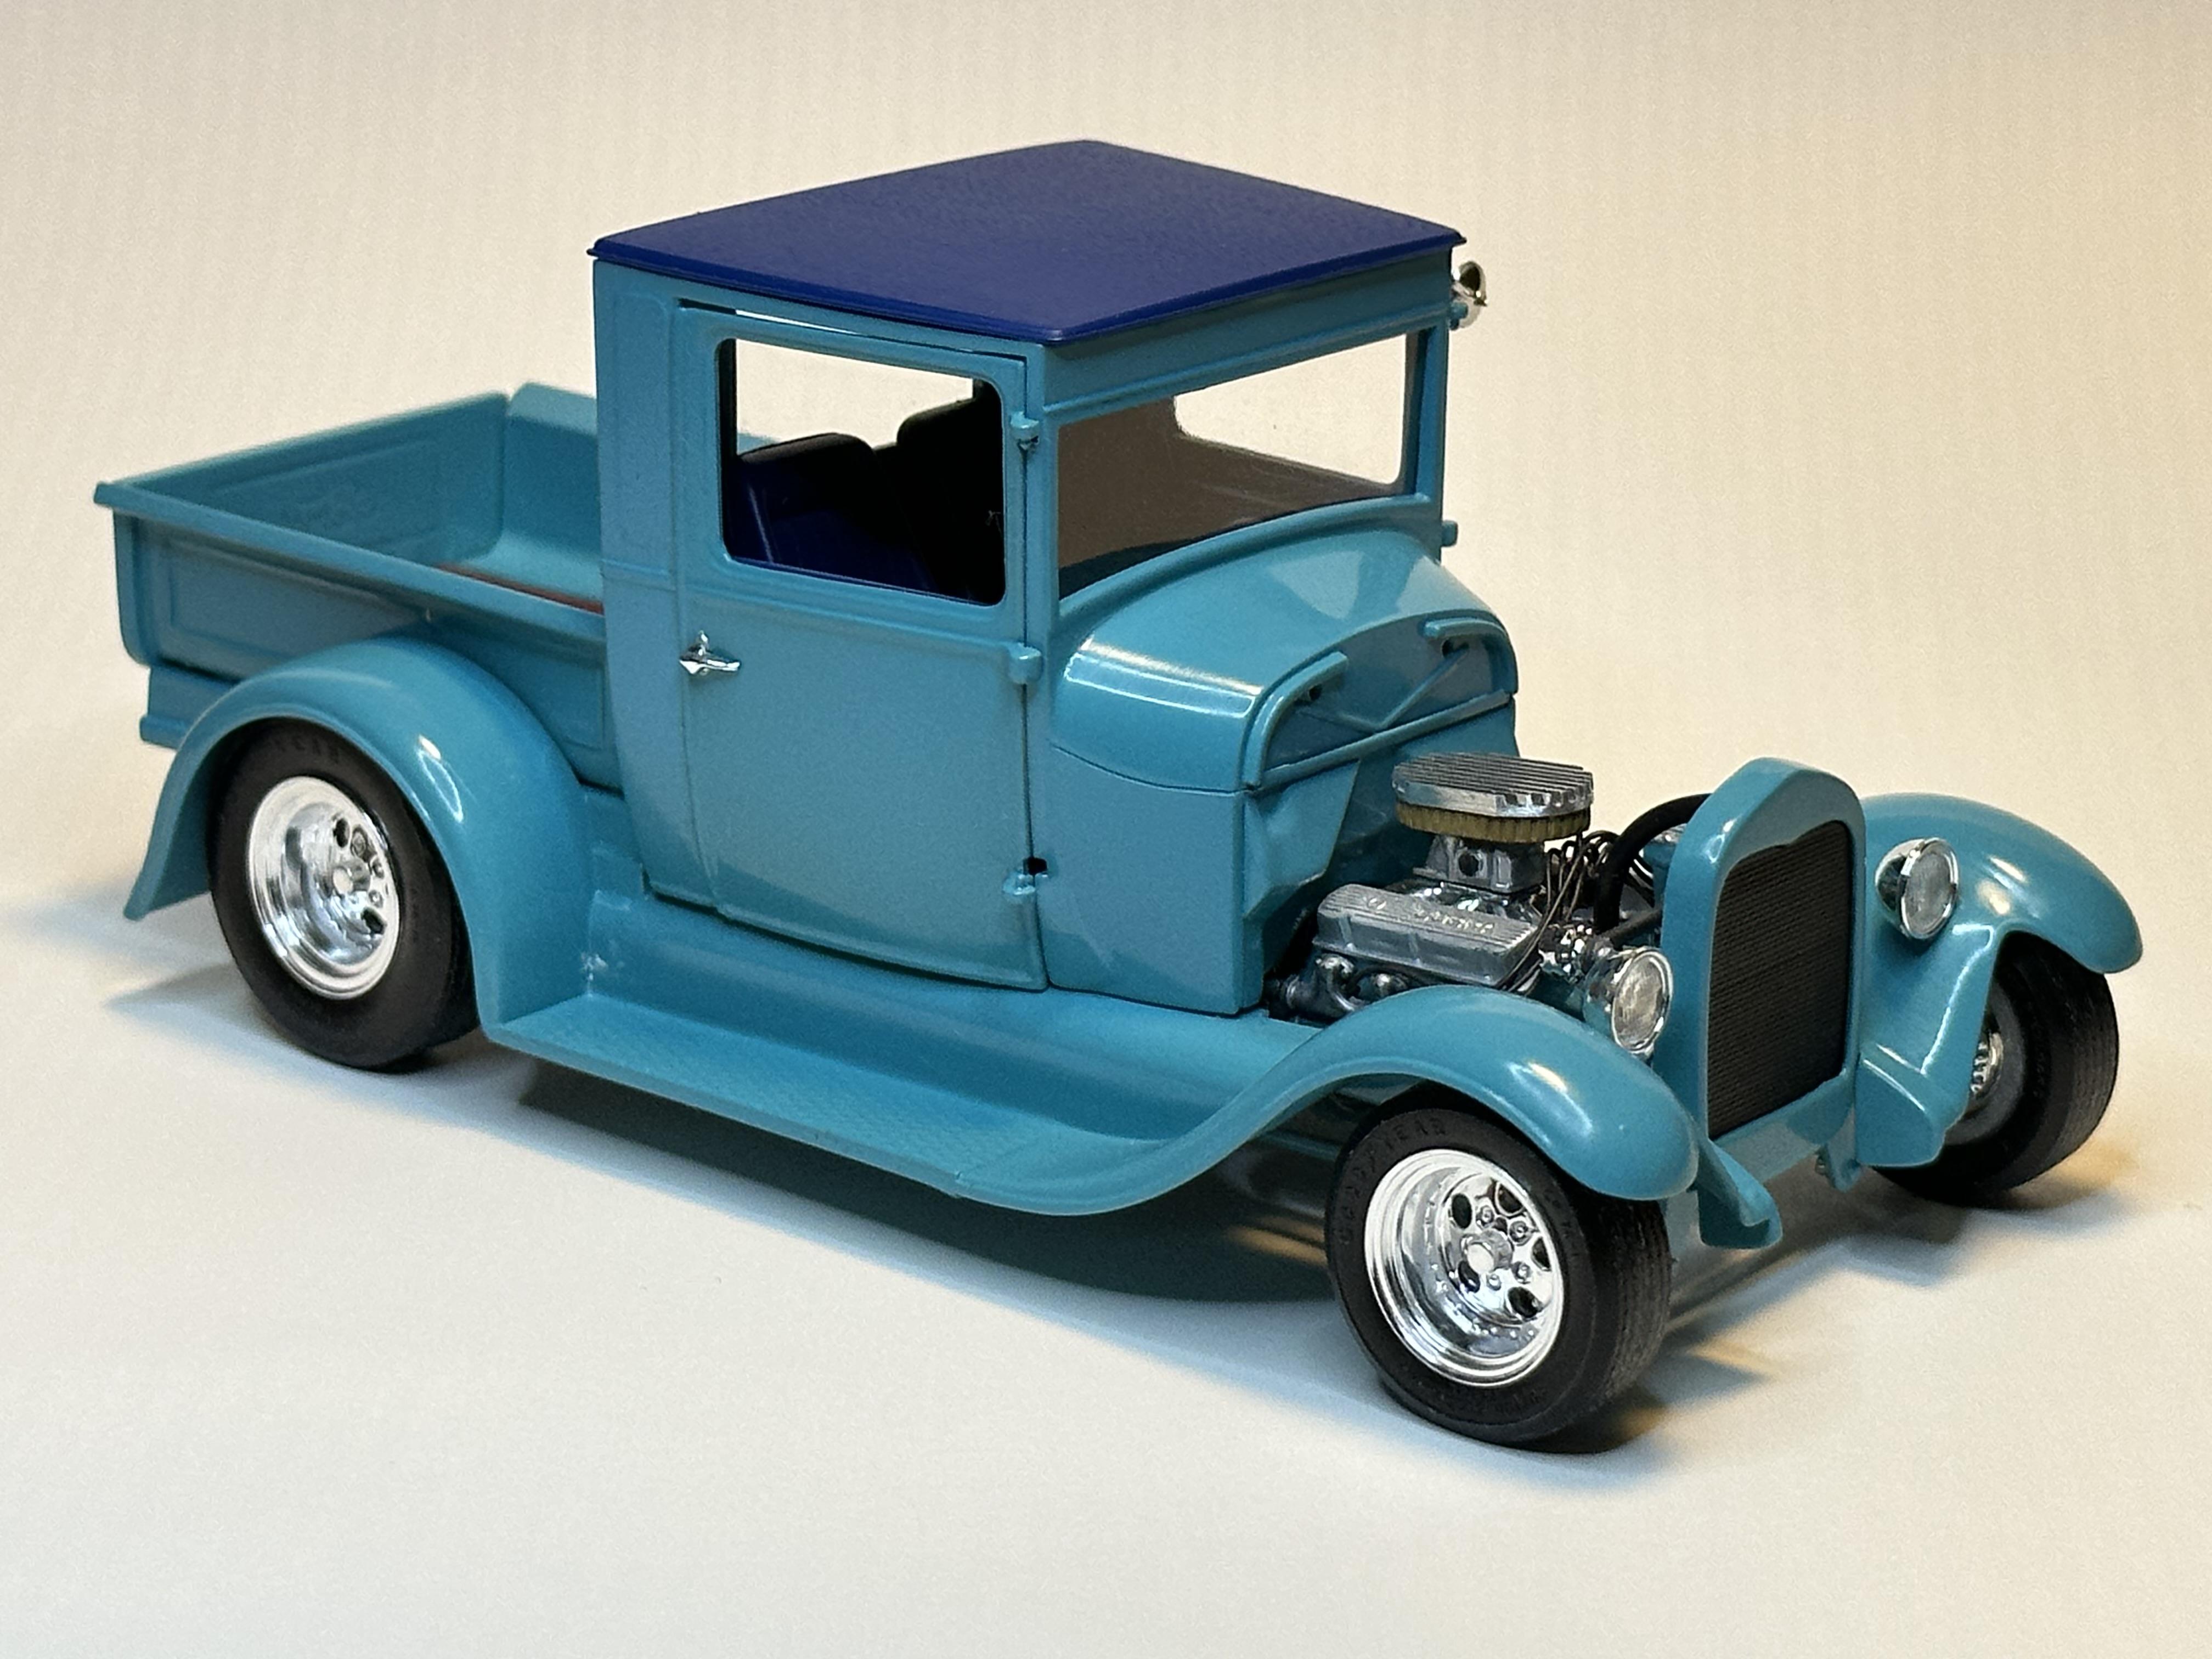
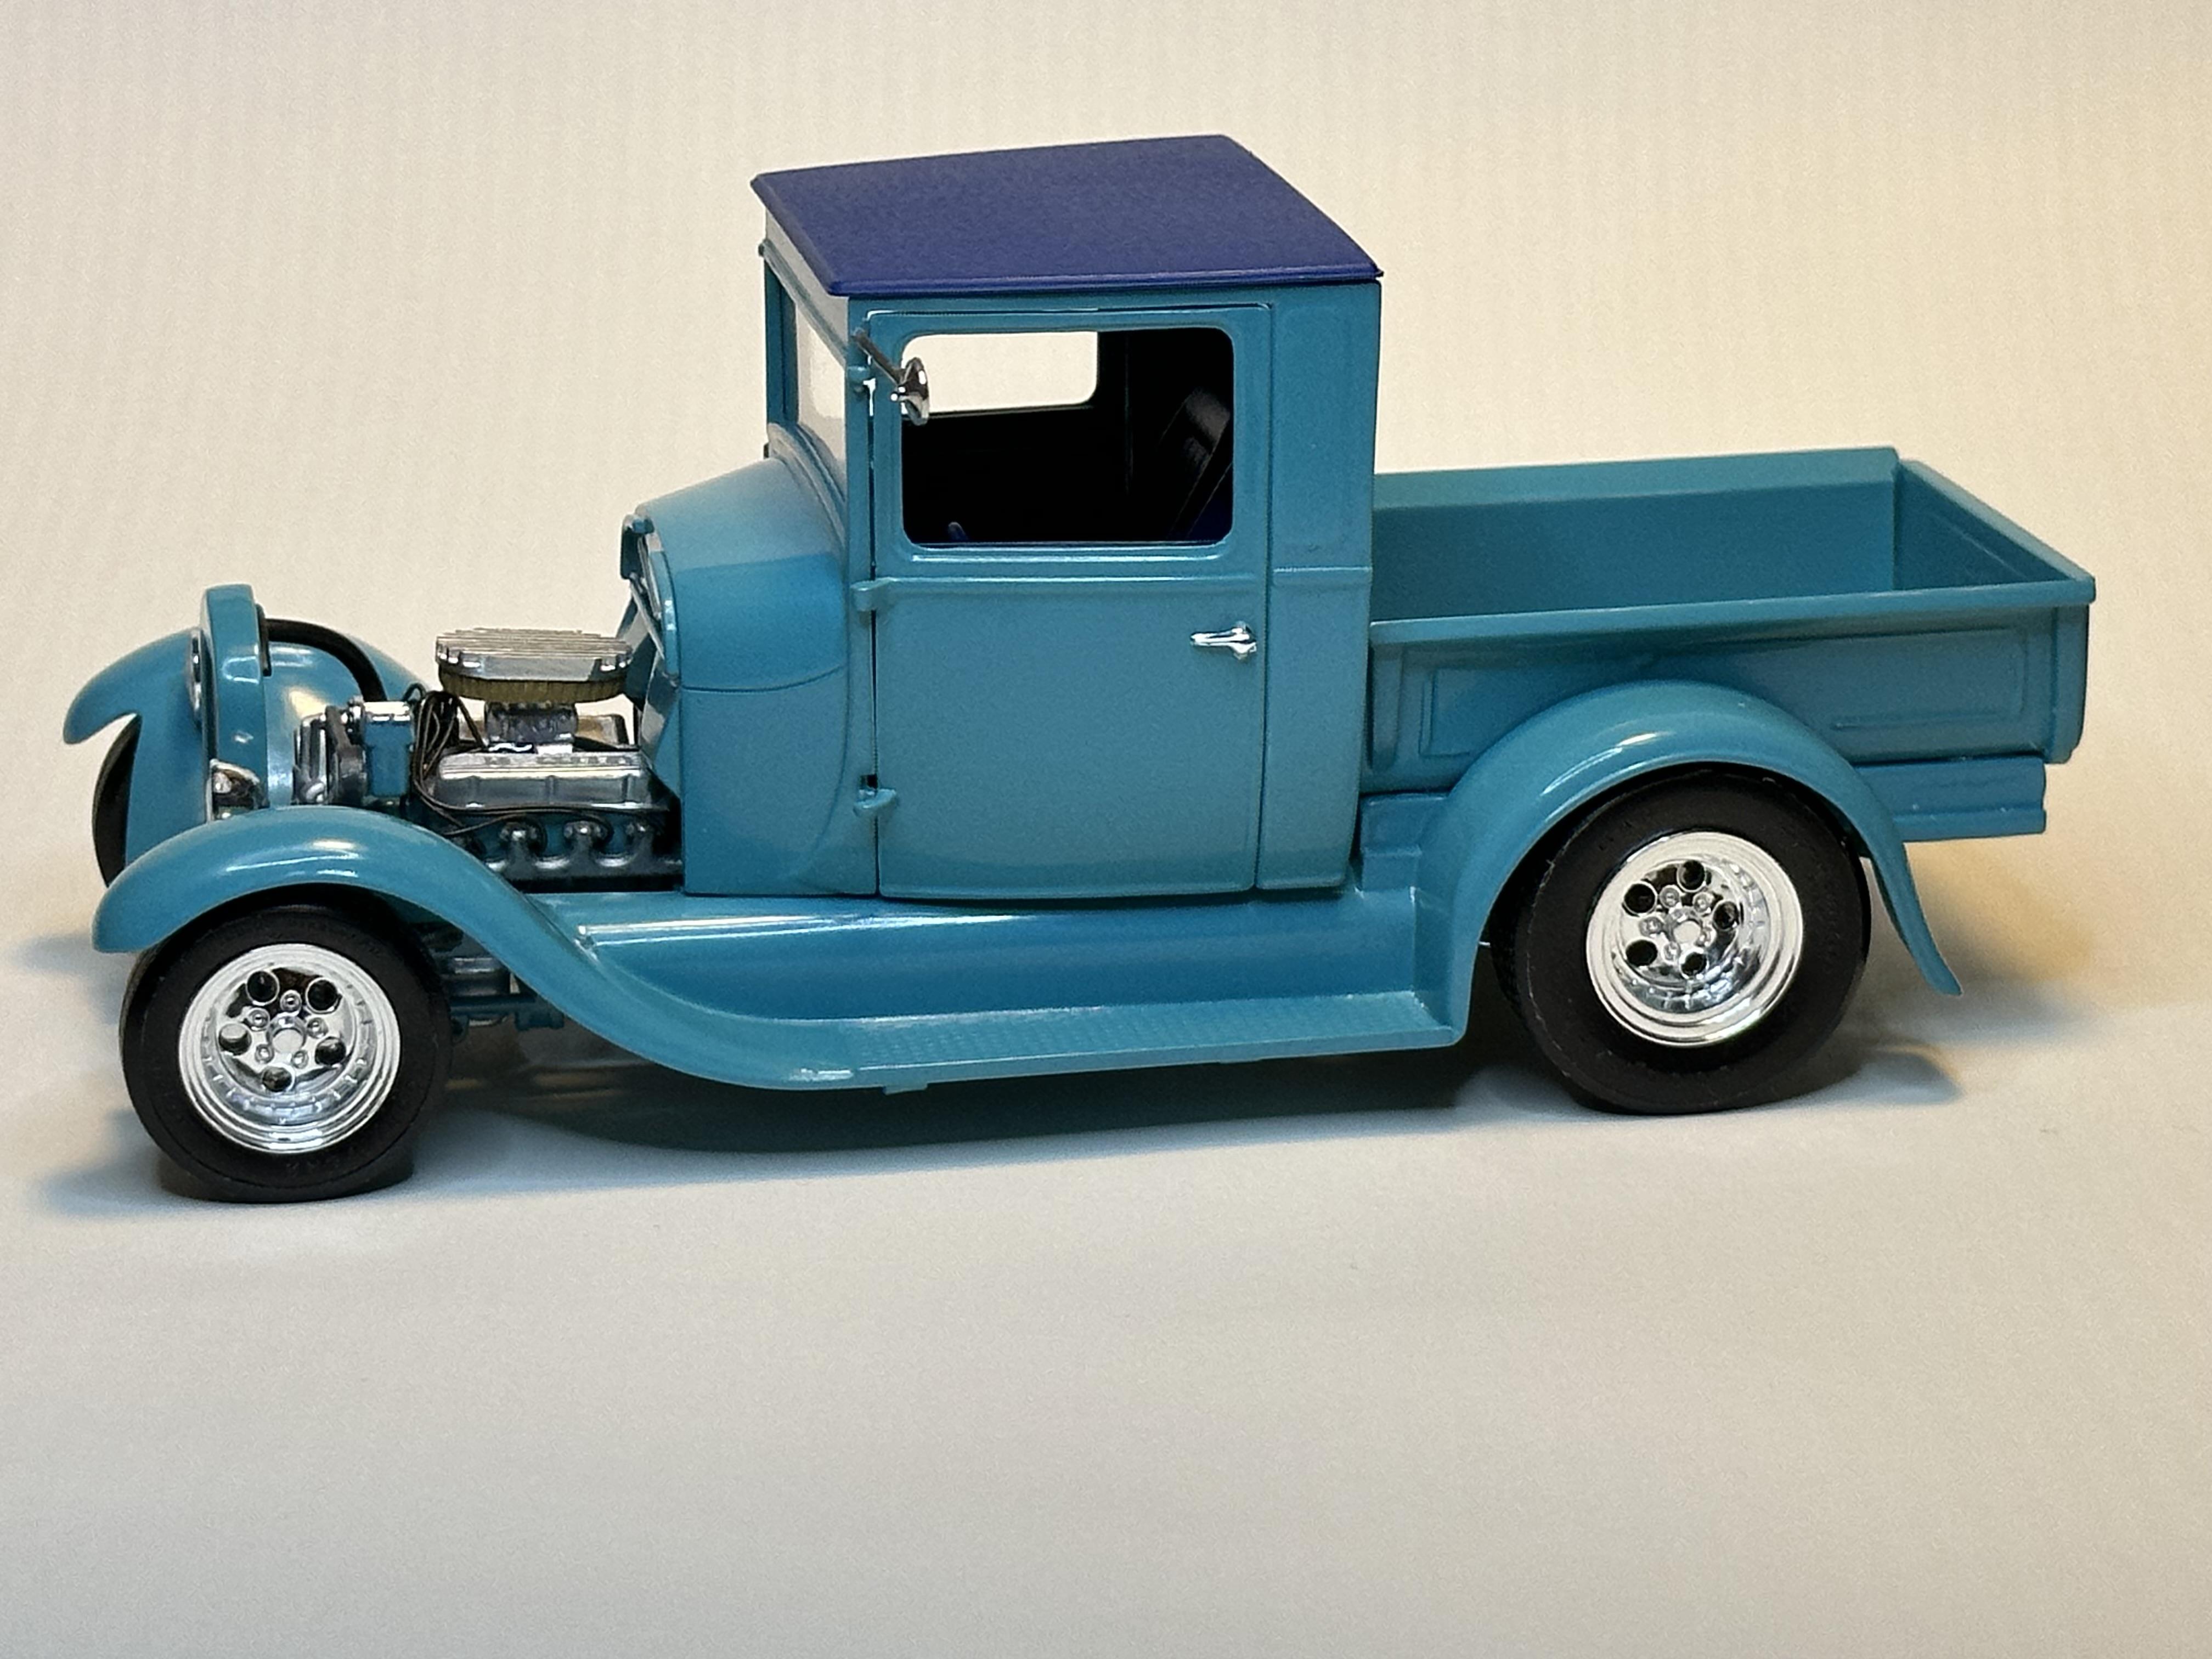
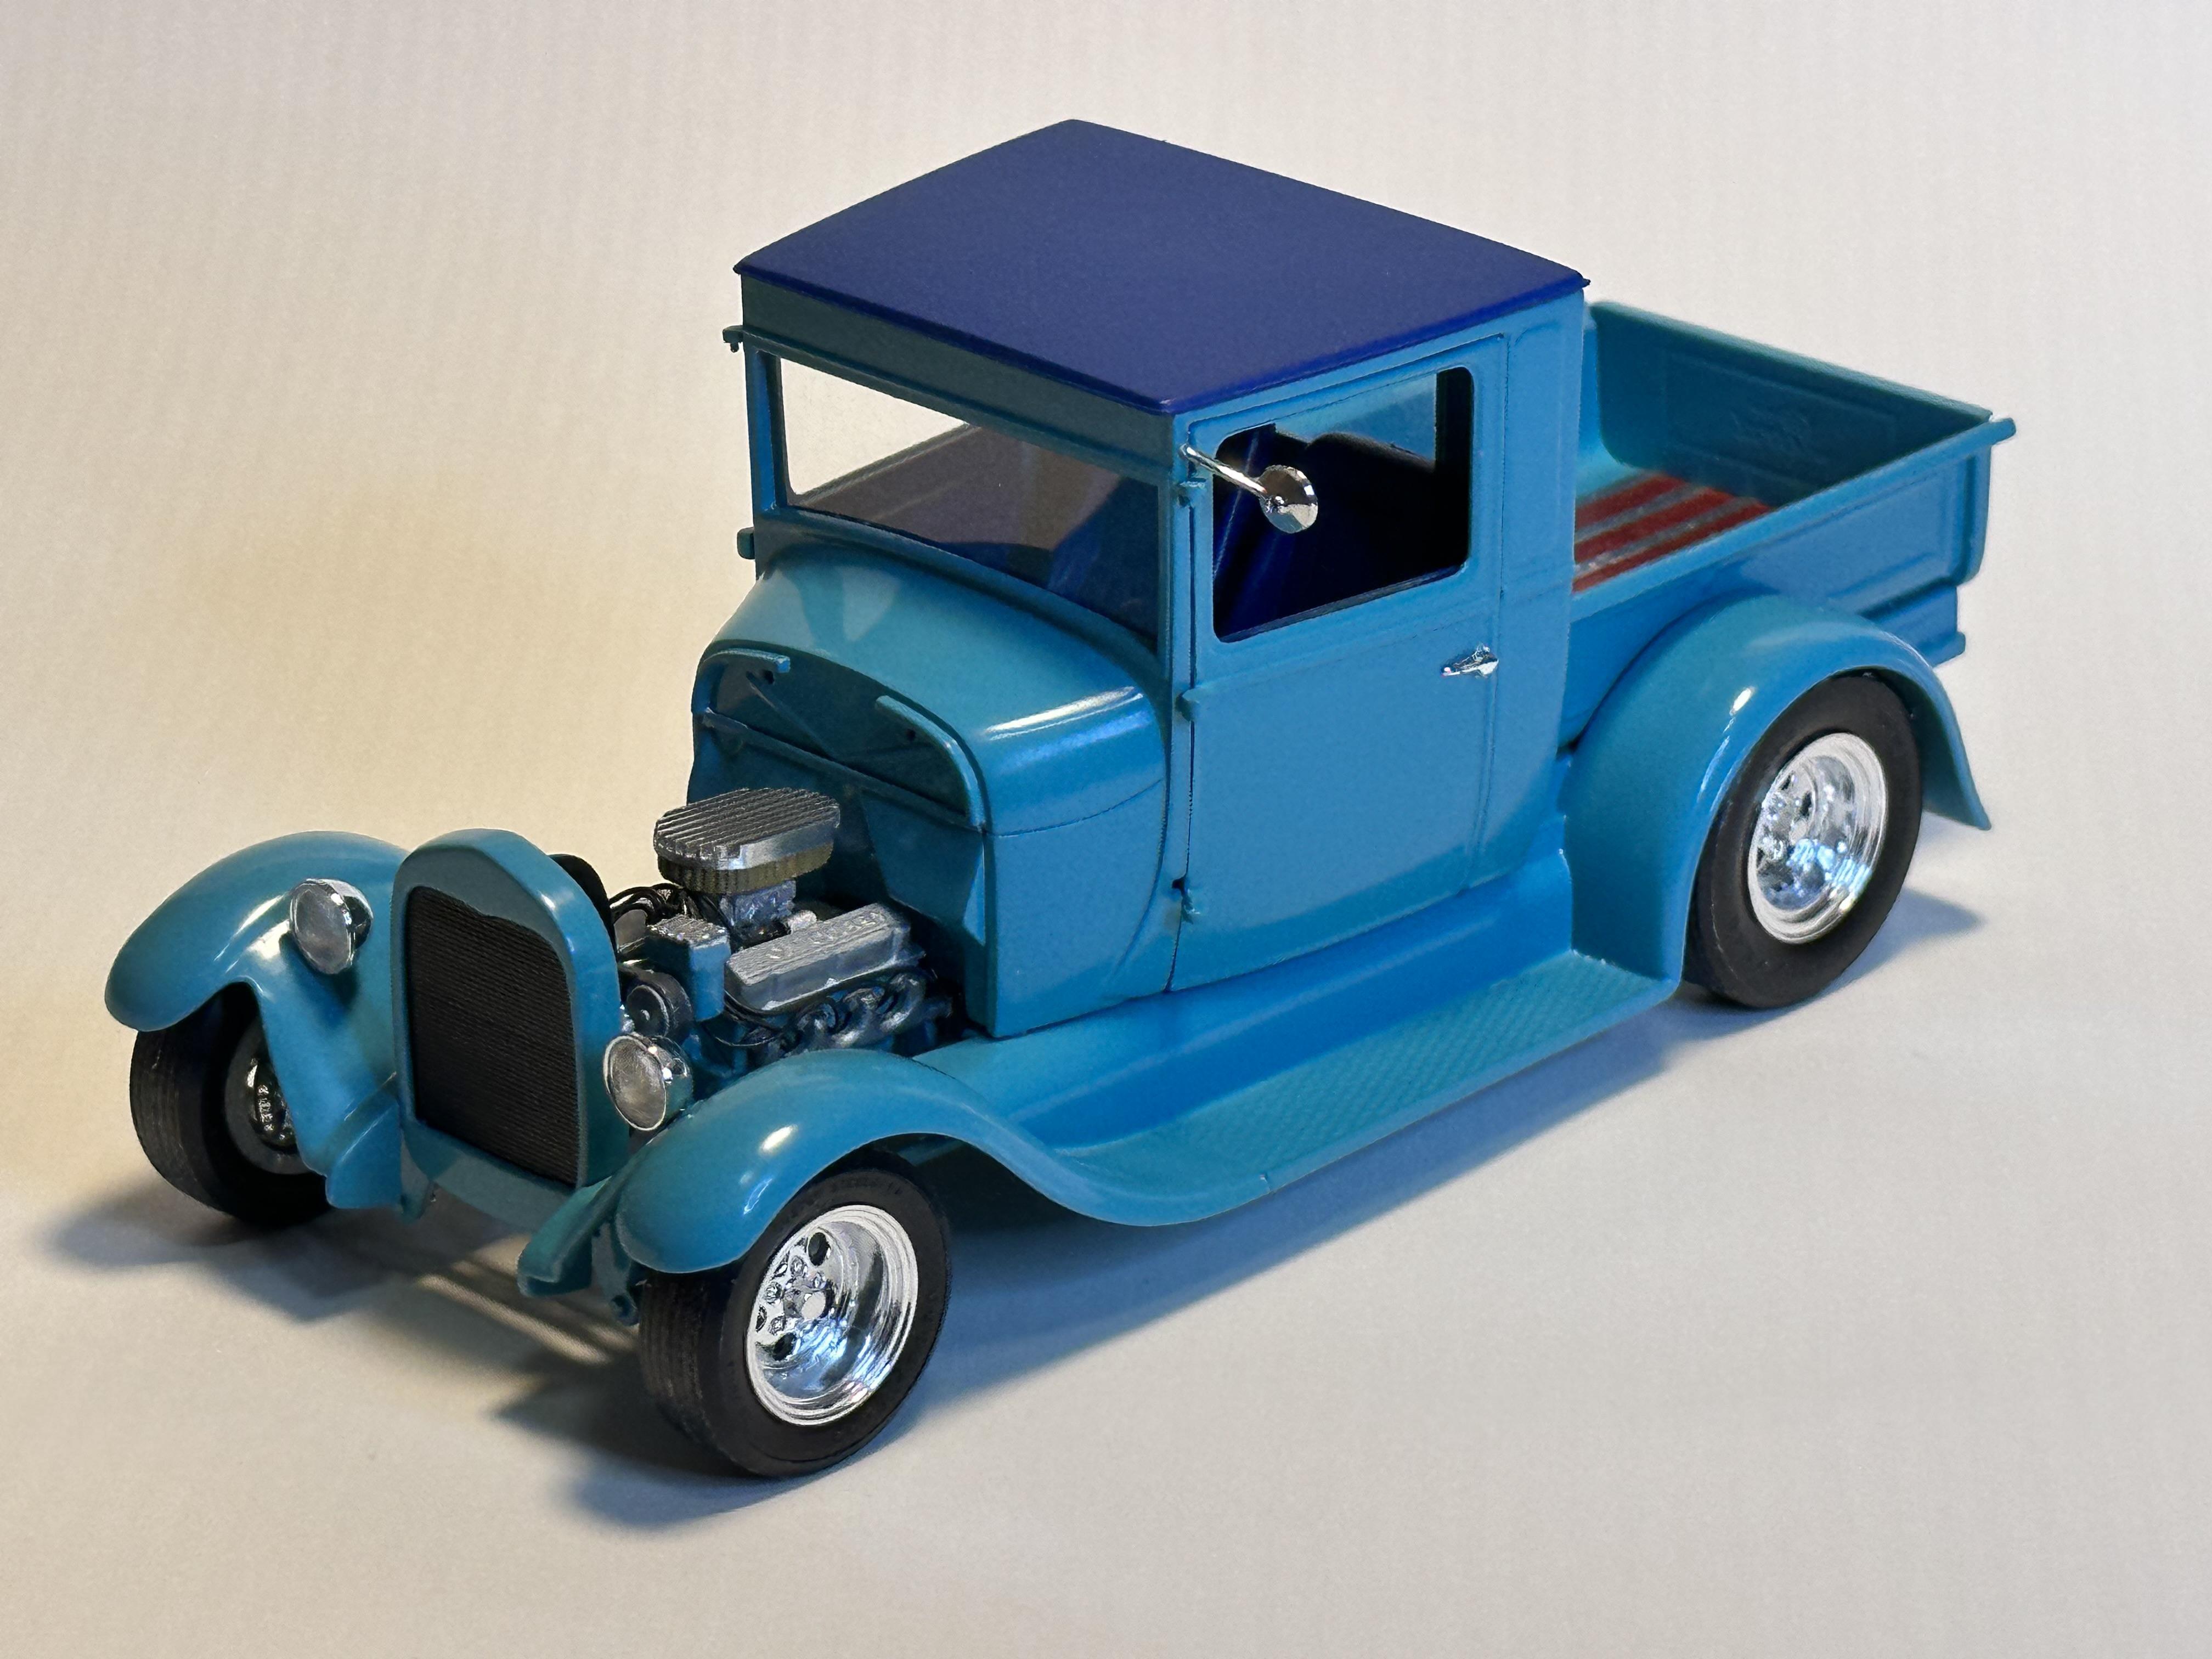
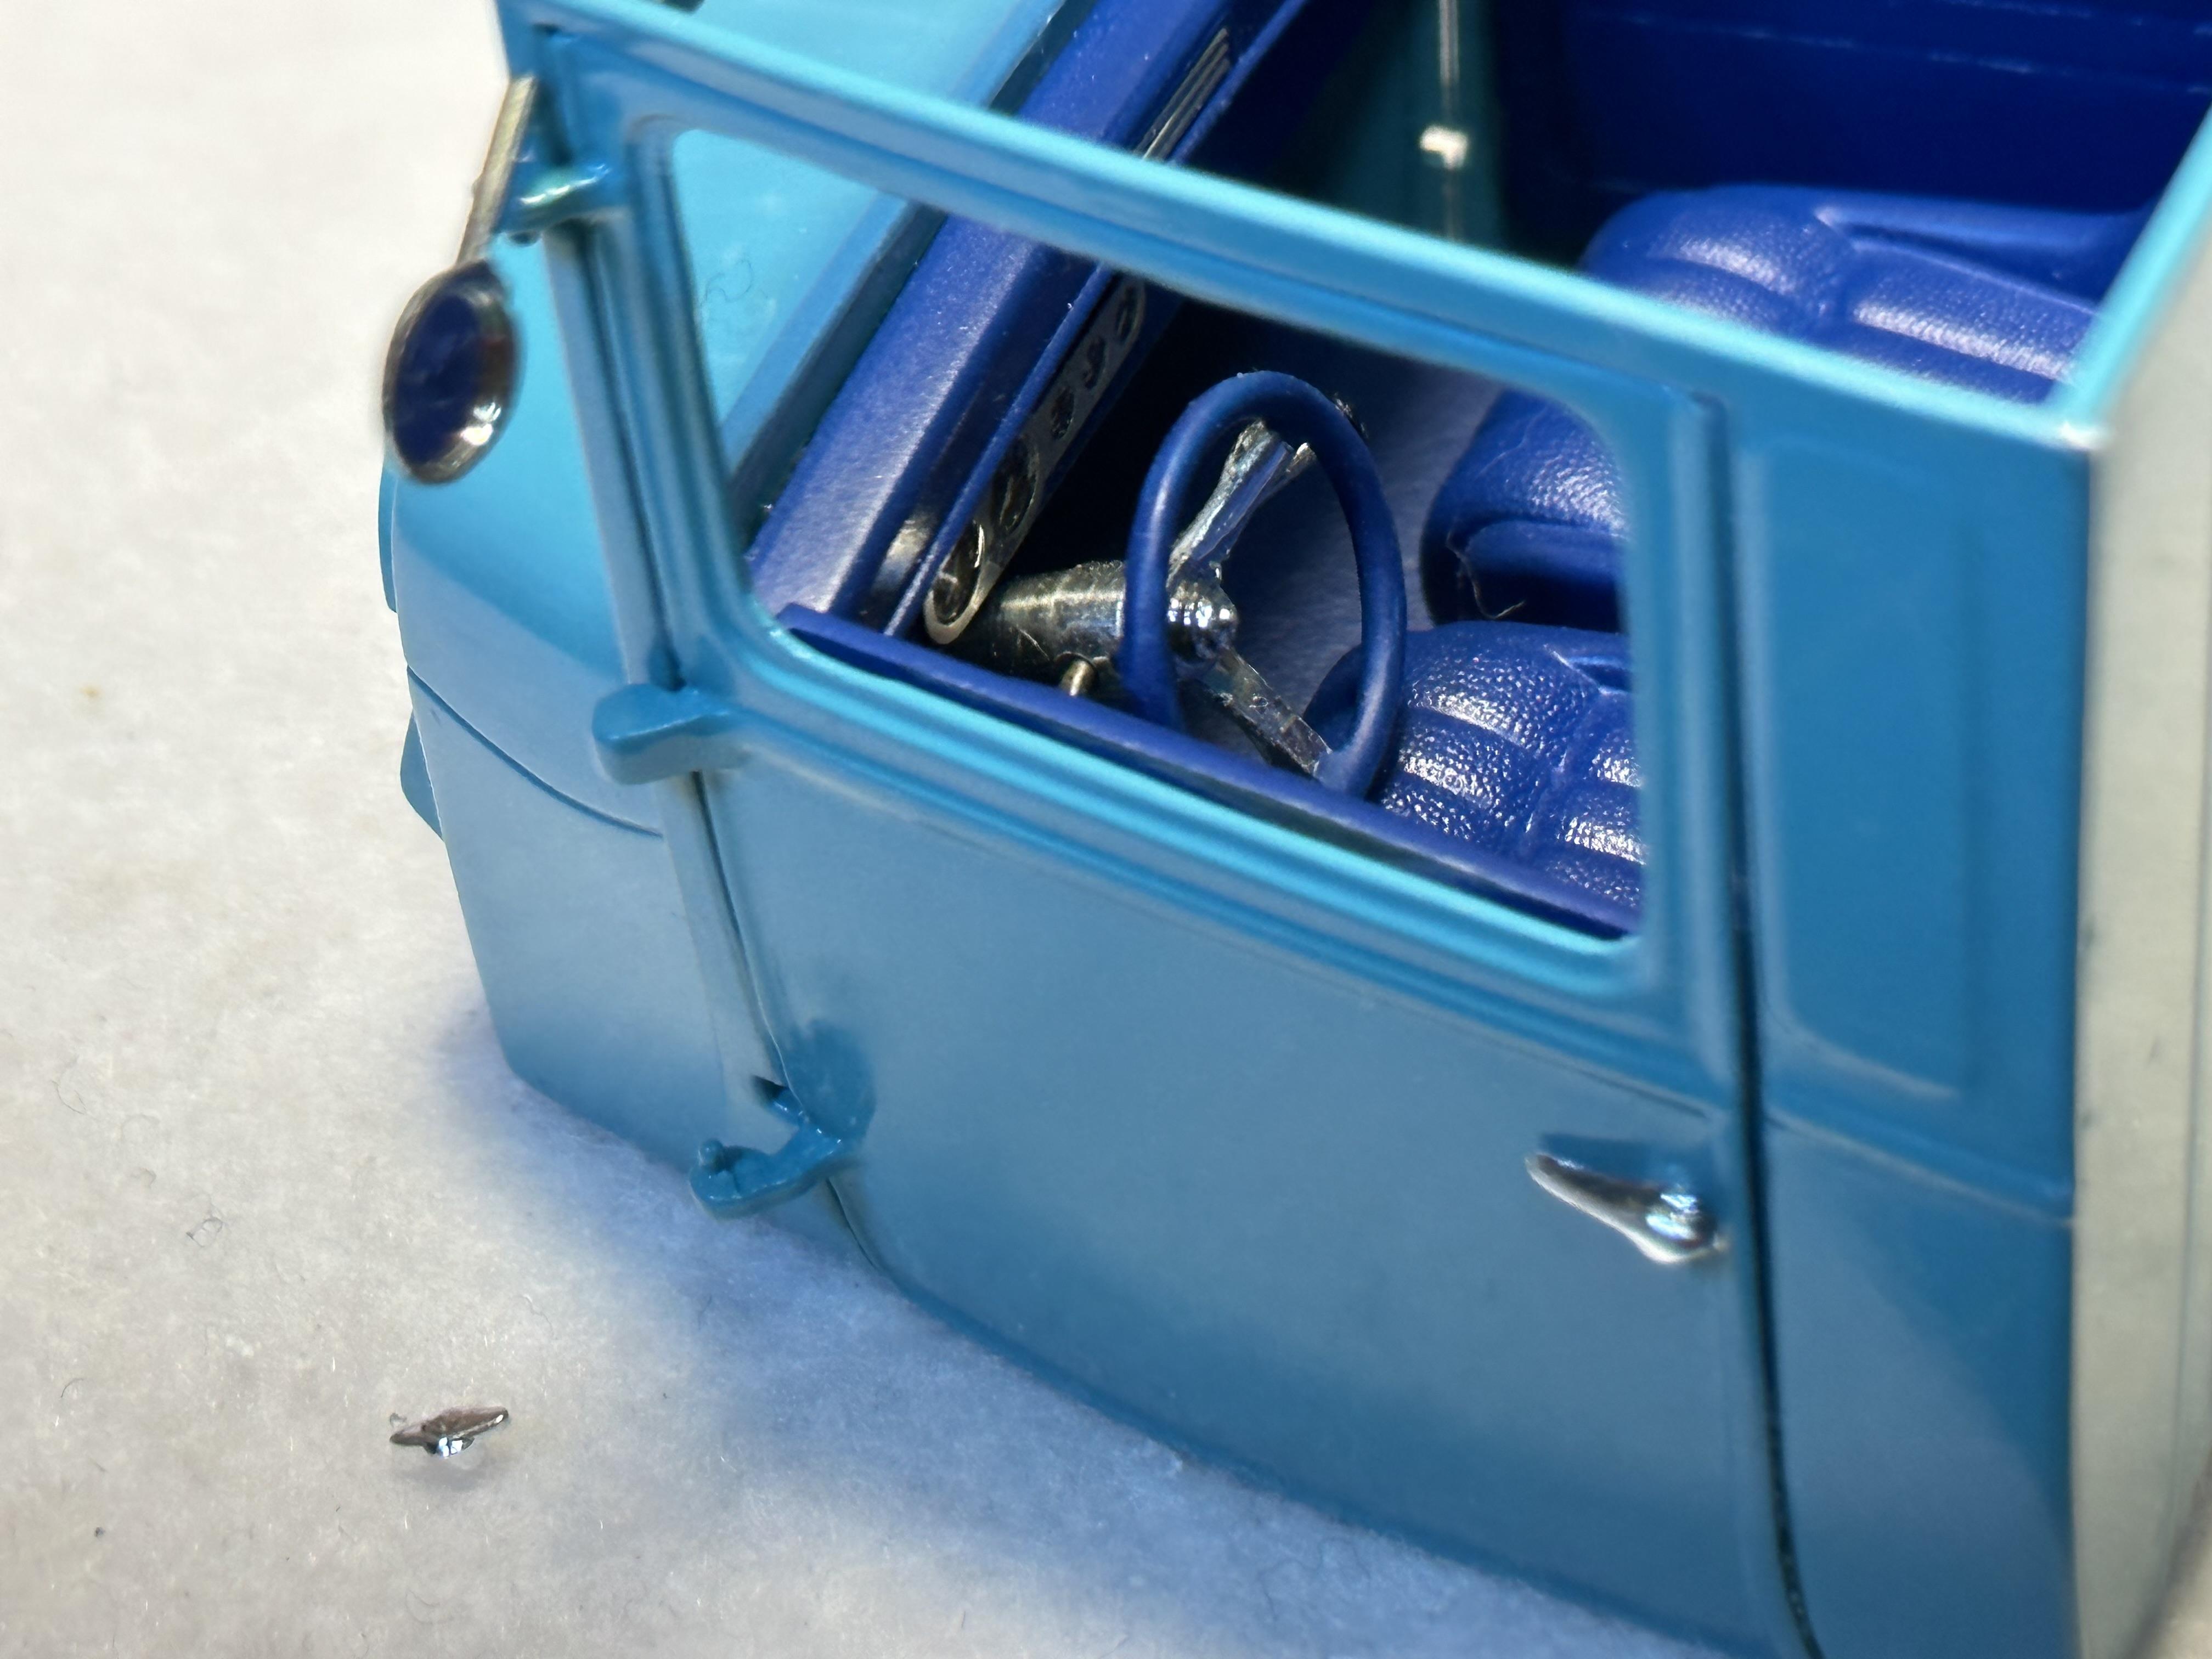
This has made get off my chuff and get it done - at last. The job made all that bit harder as we have listed our house and I have to keep the modelling space clear.
Got the last of the little suff done
Small diameter head lights from 32 Ford mounted direct to fenders with out headight bar, mirror from Lil John T on drivers side, AMT 32 Ford donated door handles. I will call it done - issues with Humbrol clear coat not drying fully and that means it is not quite as shiny as I would like.
It has been a good project with lots of good ideas coming from all participants and of course we must not forget the work from Tim Boyd in Street Rodder (and Rod Action) who provided the genesis for the build thread - I feel honoured to be a part of the build
-
2
-
-
1 hour ago, Roadrunner said:
I was somewhat vaguely aware of the reasoning, and have seen the wooden bows on other cars. I also noted that in many photos, this has been covered and painted, just as if it was always solid. My approach to building all of my car models is to make them look as I would want mine to look, or as close as I can get, assuming I was ever fortunate to actually own one. Thanks for the info.
That is my philosophy as well. Also to make any changes that look like that is how they come in the kit - fooled a few punters along the way
And yup you cannot have too may 32 Fords
Nice colour by the way
-
1
-
-
A good looking build
BMF can be protected by a fine shine up with carnuba wax
-
1
-
-
Are the tires in the Cragars set big and little?
-
Superb. What a nice clean build
-
Nice build of the Torino. I built one recently and in a Restomod style with little additional chassis detail other than paint detailing and I had the same chassis fit issues you have. I ended up having to relocate the wheels backwards by the same amount you moved the chassis back. The main thing is you got there in the end with a good result
-
I hate to say it, but these are torrid looking models. Bad proportions and all the parts quite heavy handed. I have a few but but I cant convince myself to build one
-
2
-
-
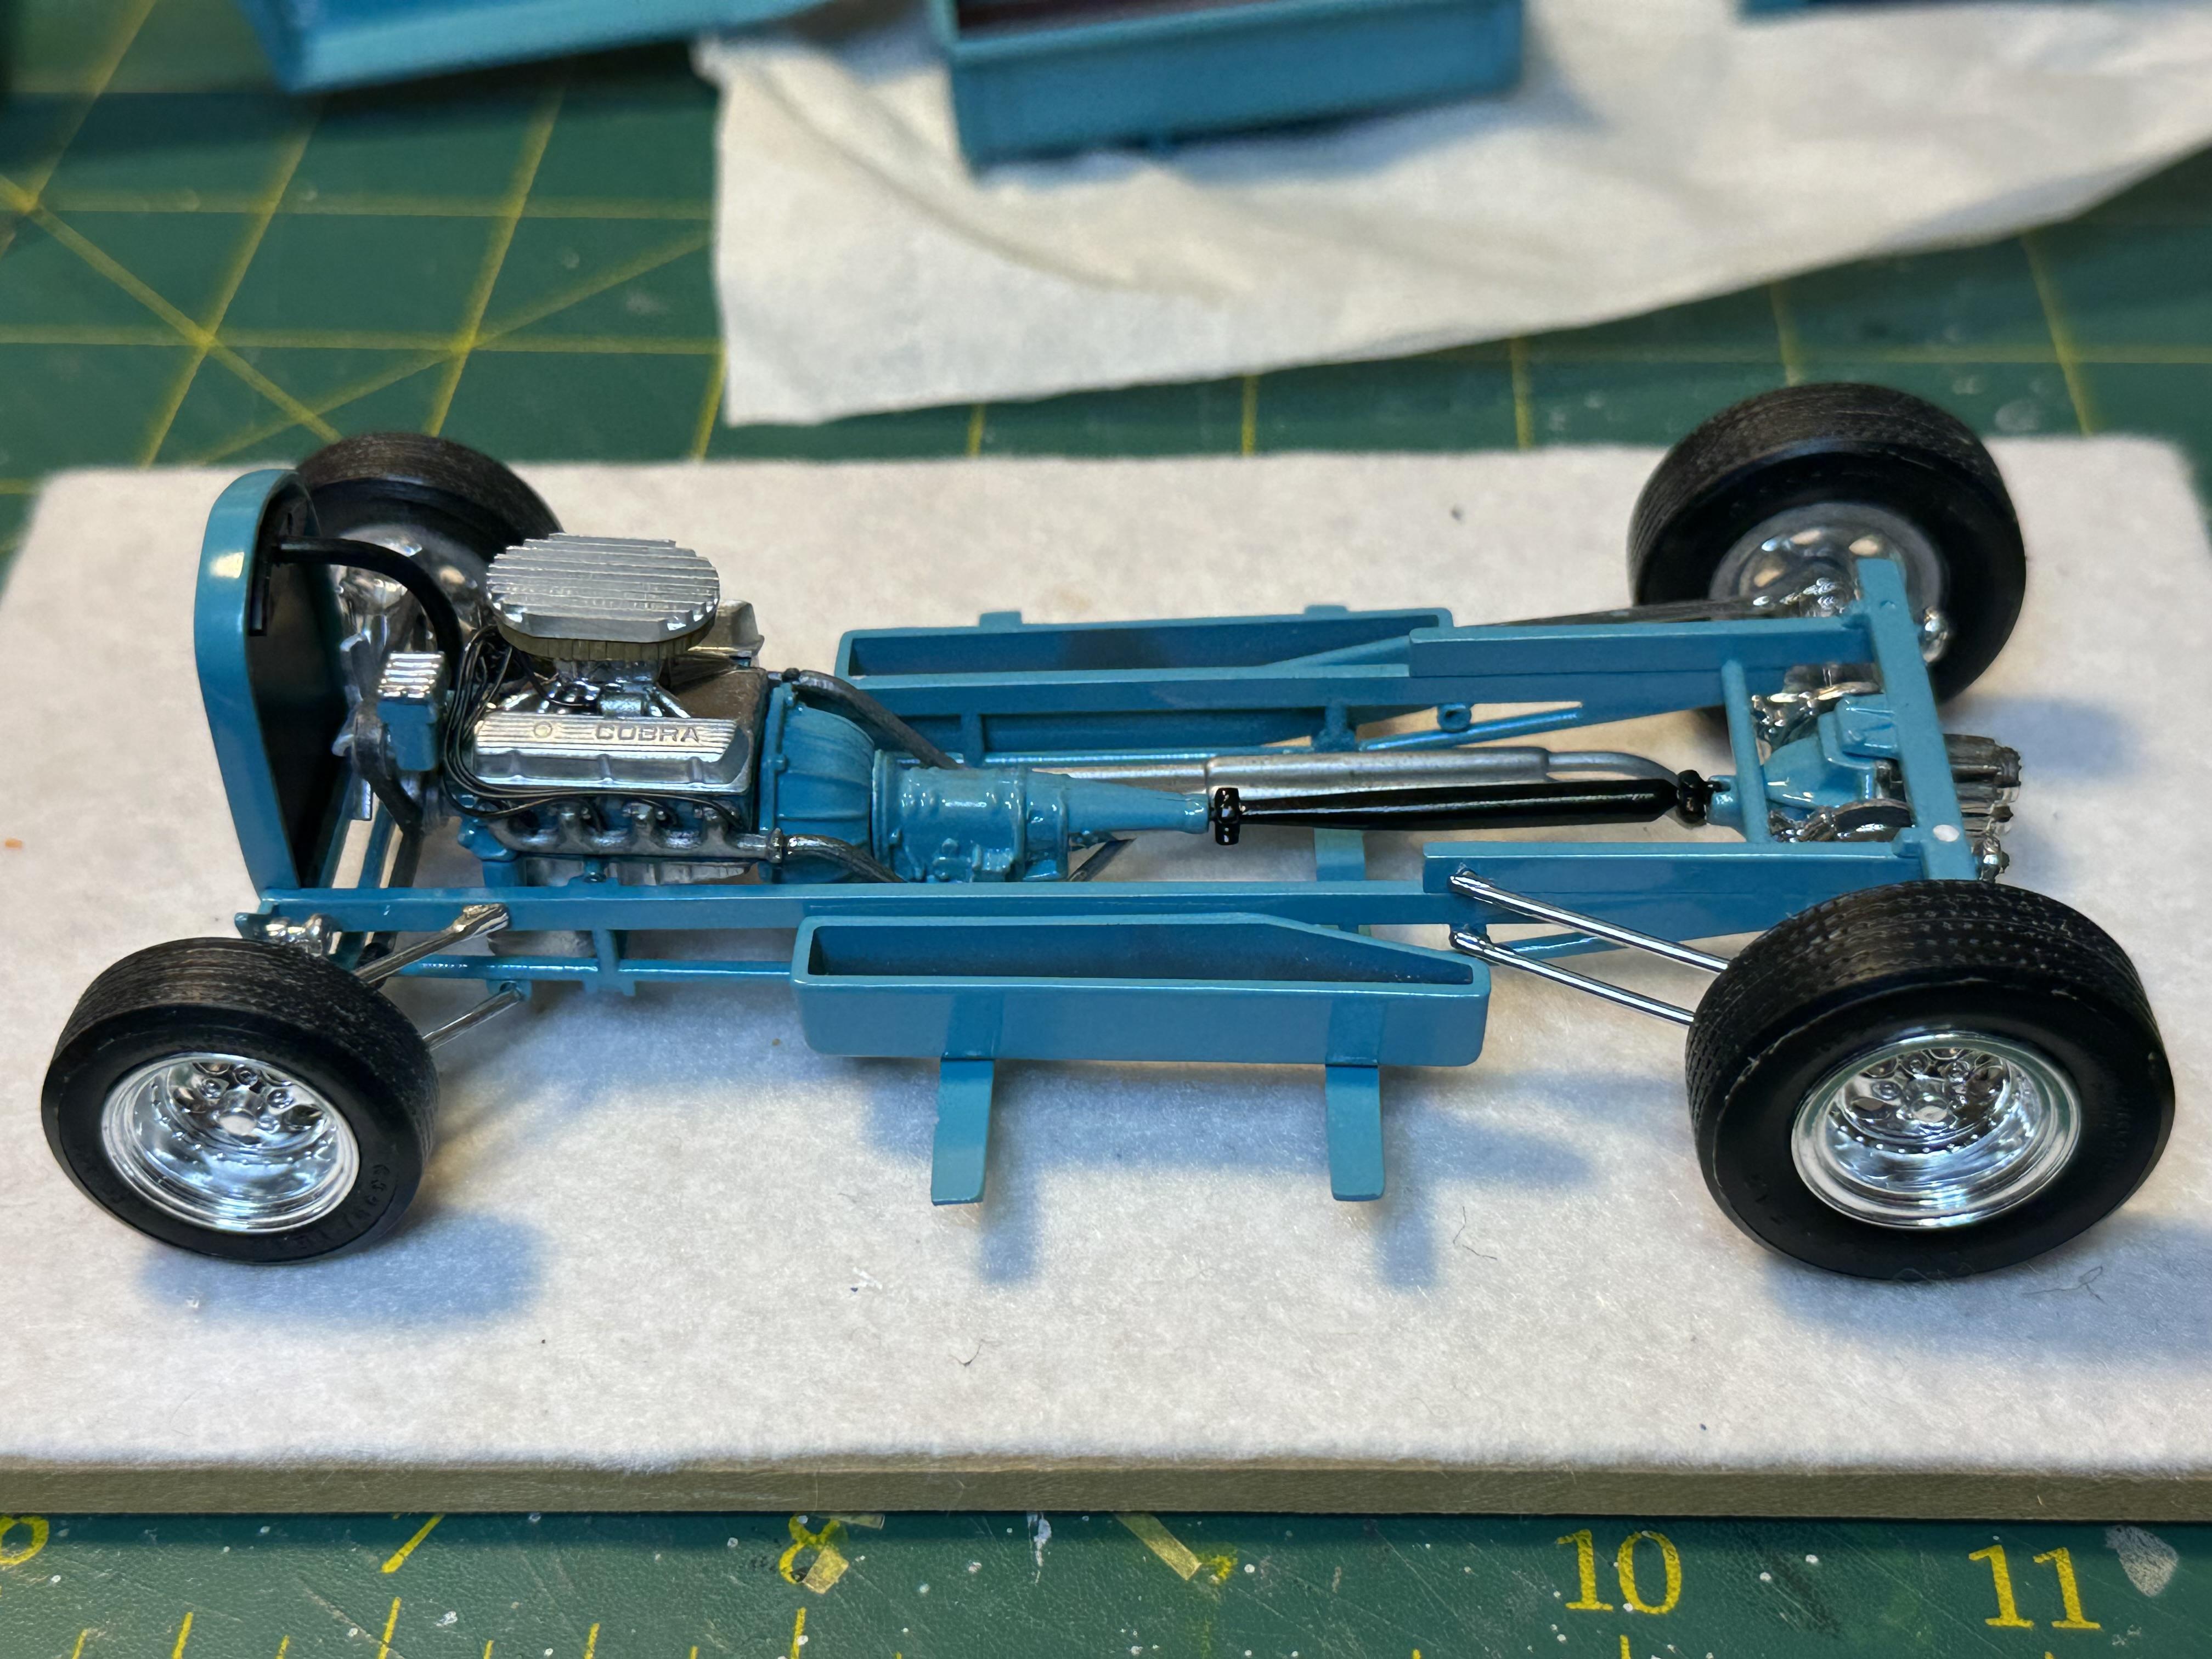
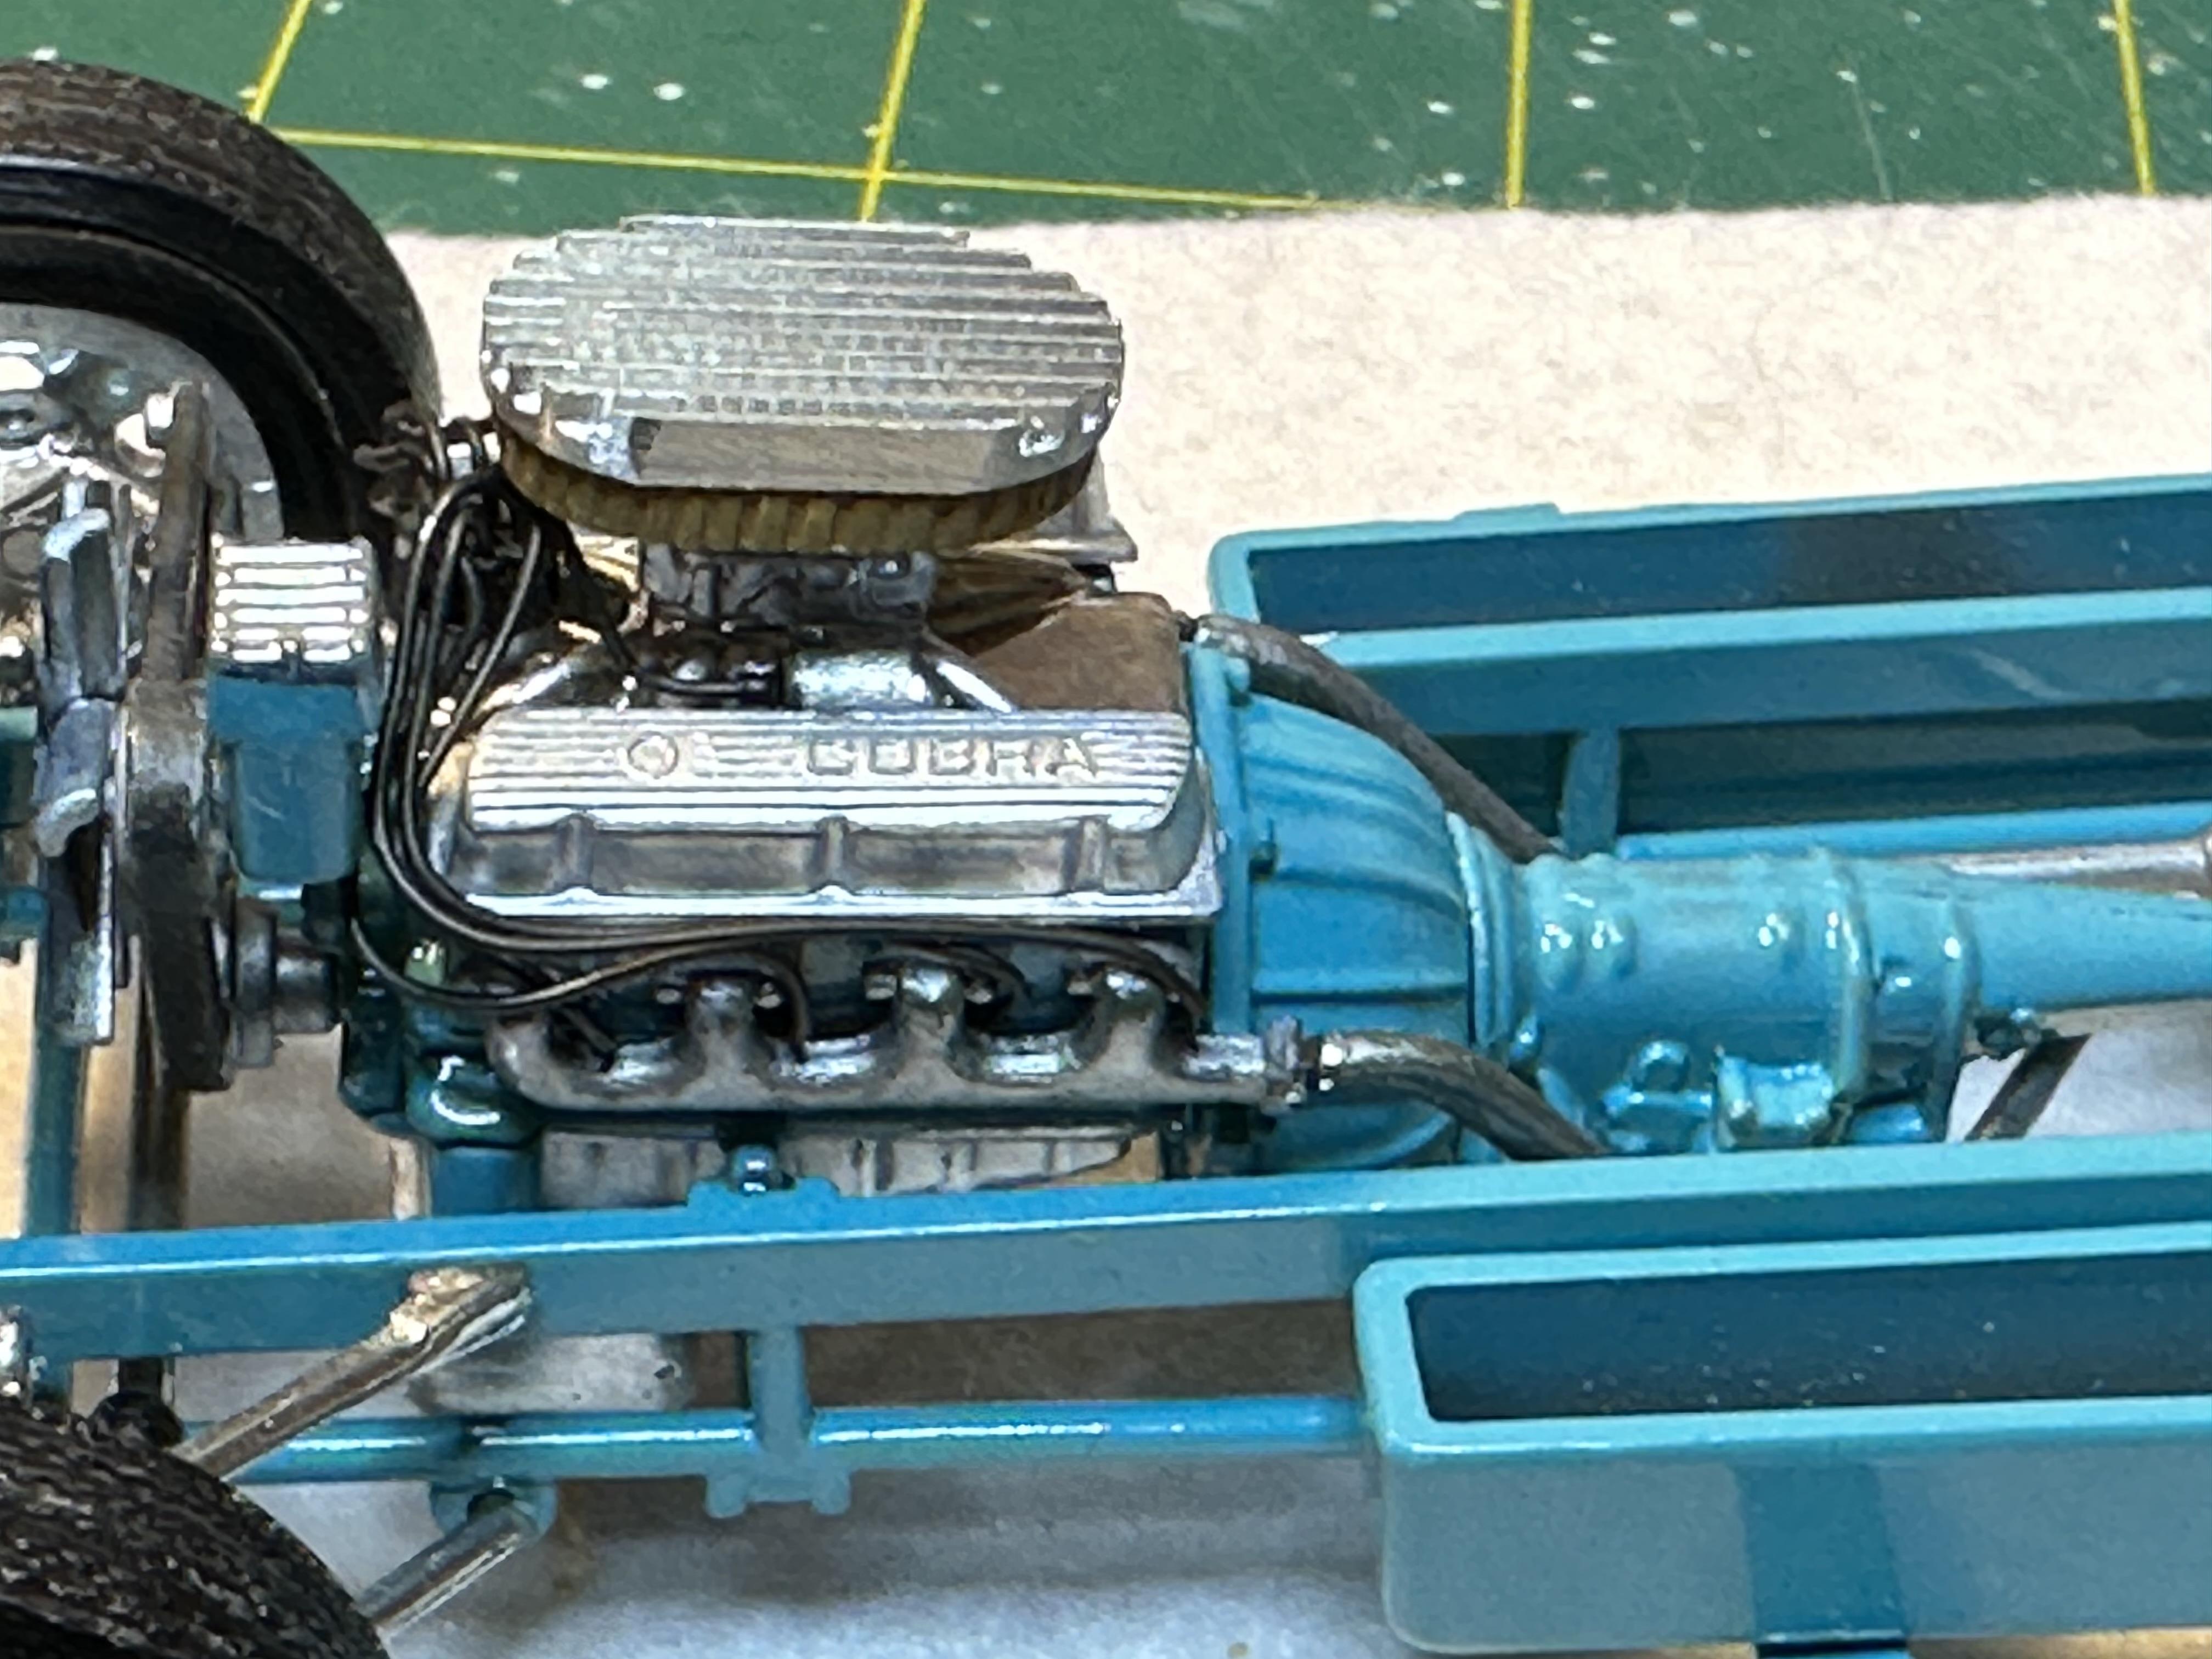
I have been away with work (again). I have an interesting job where I travel up and down our little country doing steam boiler installations. I do the electrical installation part and often assist with the commissioning of them. We have been working with new technology with electric fueled boilers of two types - resistive heated and higher powered immersed electrode boilers. These along with LPG/Natural Gas/Diesel fueled boilers.
Anyway this forum is about model cars and trucks
I got back to the bench and took a wee amount of time coming back up to speed with the build
Below are pix of the chassis before it get all covered up
-
3
-
-
Tim - the green pickup is cutting edge stuff with the full length hood and doors. Thanks for sharing the link to your pickup builds. I was on my way to post an update and got way laid drooling instead. LOL
-
1
-
-
What are you talking about, what lower radiator hose? Must be some sort of rare breed
-
Pre-assembly is a must do when you start modifiying kits. The main reason is to check that the parts go together well and that it looks OK especially the stance of the model. I have not used white glue for this but may give it a try. Check out the the Mock Up posts in the WIP to see what I mean.
I have yet to check out the vids but will when i get a chance.
See pix below - this kit has a frame and engine from a Revell 29A and a body from AMT 34 pickup and front and rear ends from the parts boxalong with a lot of scratch built and after market parts
-
Another beaudy from you Alan. It is sad sad to see the magazines falling by the wayside. I for one prefer holding a magazine in my hand but if I have no alternative I will go online. There is something about the tactile feeling of holding the piece of paper as you read - a bit like putting a record on a turntable and enjoying the whole experience (another hobby of mine)
-
And don't be afraid to use hot thinners like lacquer thinners. The 2-3 lighter coats and one wet coat spaced about 30mins apart work best easpecially when using hot thinners. More or less the Don Yost method and I have been doing it this way forever
I years past I used lighter fluid as a thinner for Humbrol enamels and that worked great
I even use lacquer thinners with Tamiya acrylics but you need to watch out that some thinners are hotter than others
Good luck
-
Lookin good Bob. I had similar issues with a 56 Nomad but got there in the end - just gotta keep at it. Patience, I think it is called.
-
Lookin good - we had them right hook down this end of the world (NZ) as we are a RH drive country. Ours came from Canada which is part of the British Commonwealth. I can remember seeing two T chassis being tipped into a small gully when I was growing up on the family farm and then being back filled as a crossing for said gully. Apparently my grandfather was into Model T's but my dad liked more modern stuff - Model A's LOL


Revell '32 Ford Sedan
in WIP: Model Cars
Posted
Good save on the body. Test fitting is one of the most important tasks to do when building a model especially when you change things around