

bill-e-boy
-
Posts
436 -
Joined
-
Last visited
Content Type
Profiles
Forums
Events
Gallery
Posts posted by bill-e-boy
-
-
Excellent job of representing an iconic model car. I remember seeing a big Deuce for the first time. What a revelation and it was not even painted. I wanted one but still haven't got round to getting one yet and that was in the late 70's👍
-
 1
1
-
-
Kool Koops! Well done
-
Paint is looking good Bob
With the BB Chev and the boat anchor (Y-Block) you would need to cut the firewall to get them in - OOPS! you have very nicely painted the coupe
-
Nice looking 48 fat fender
Must be a real ex cop car complete with a bullet hole in the drivers side windscreen
-
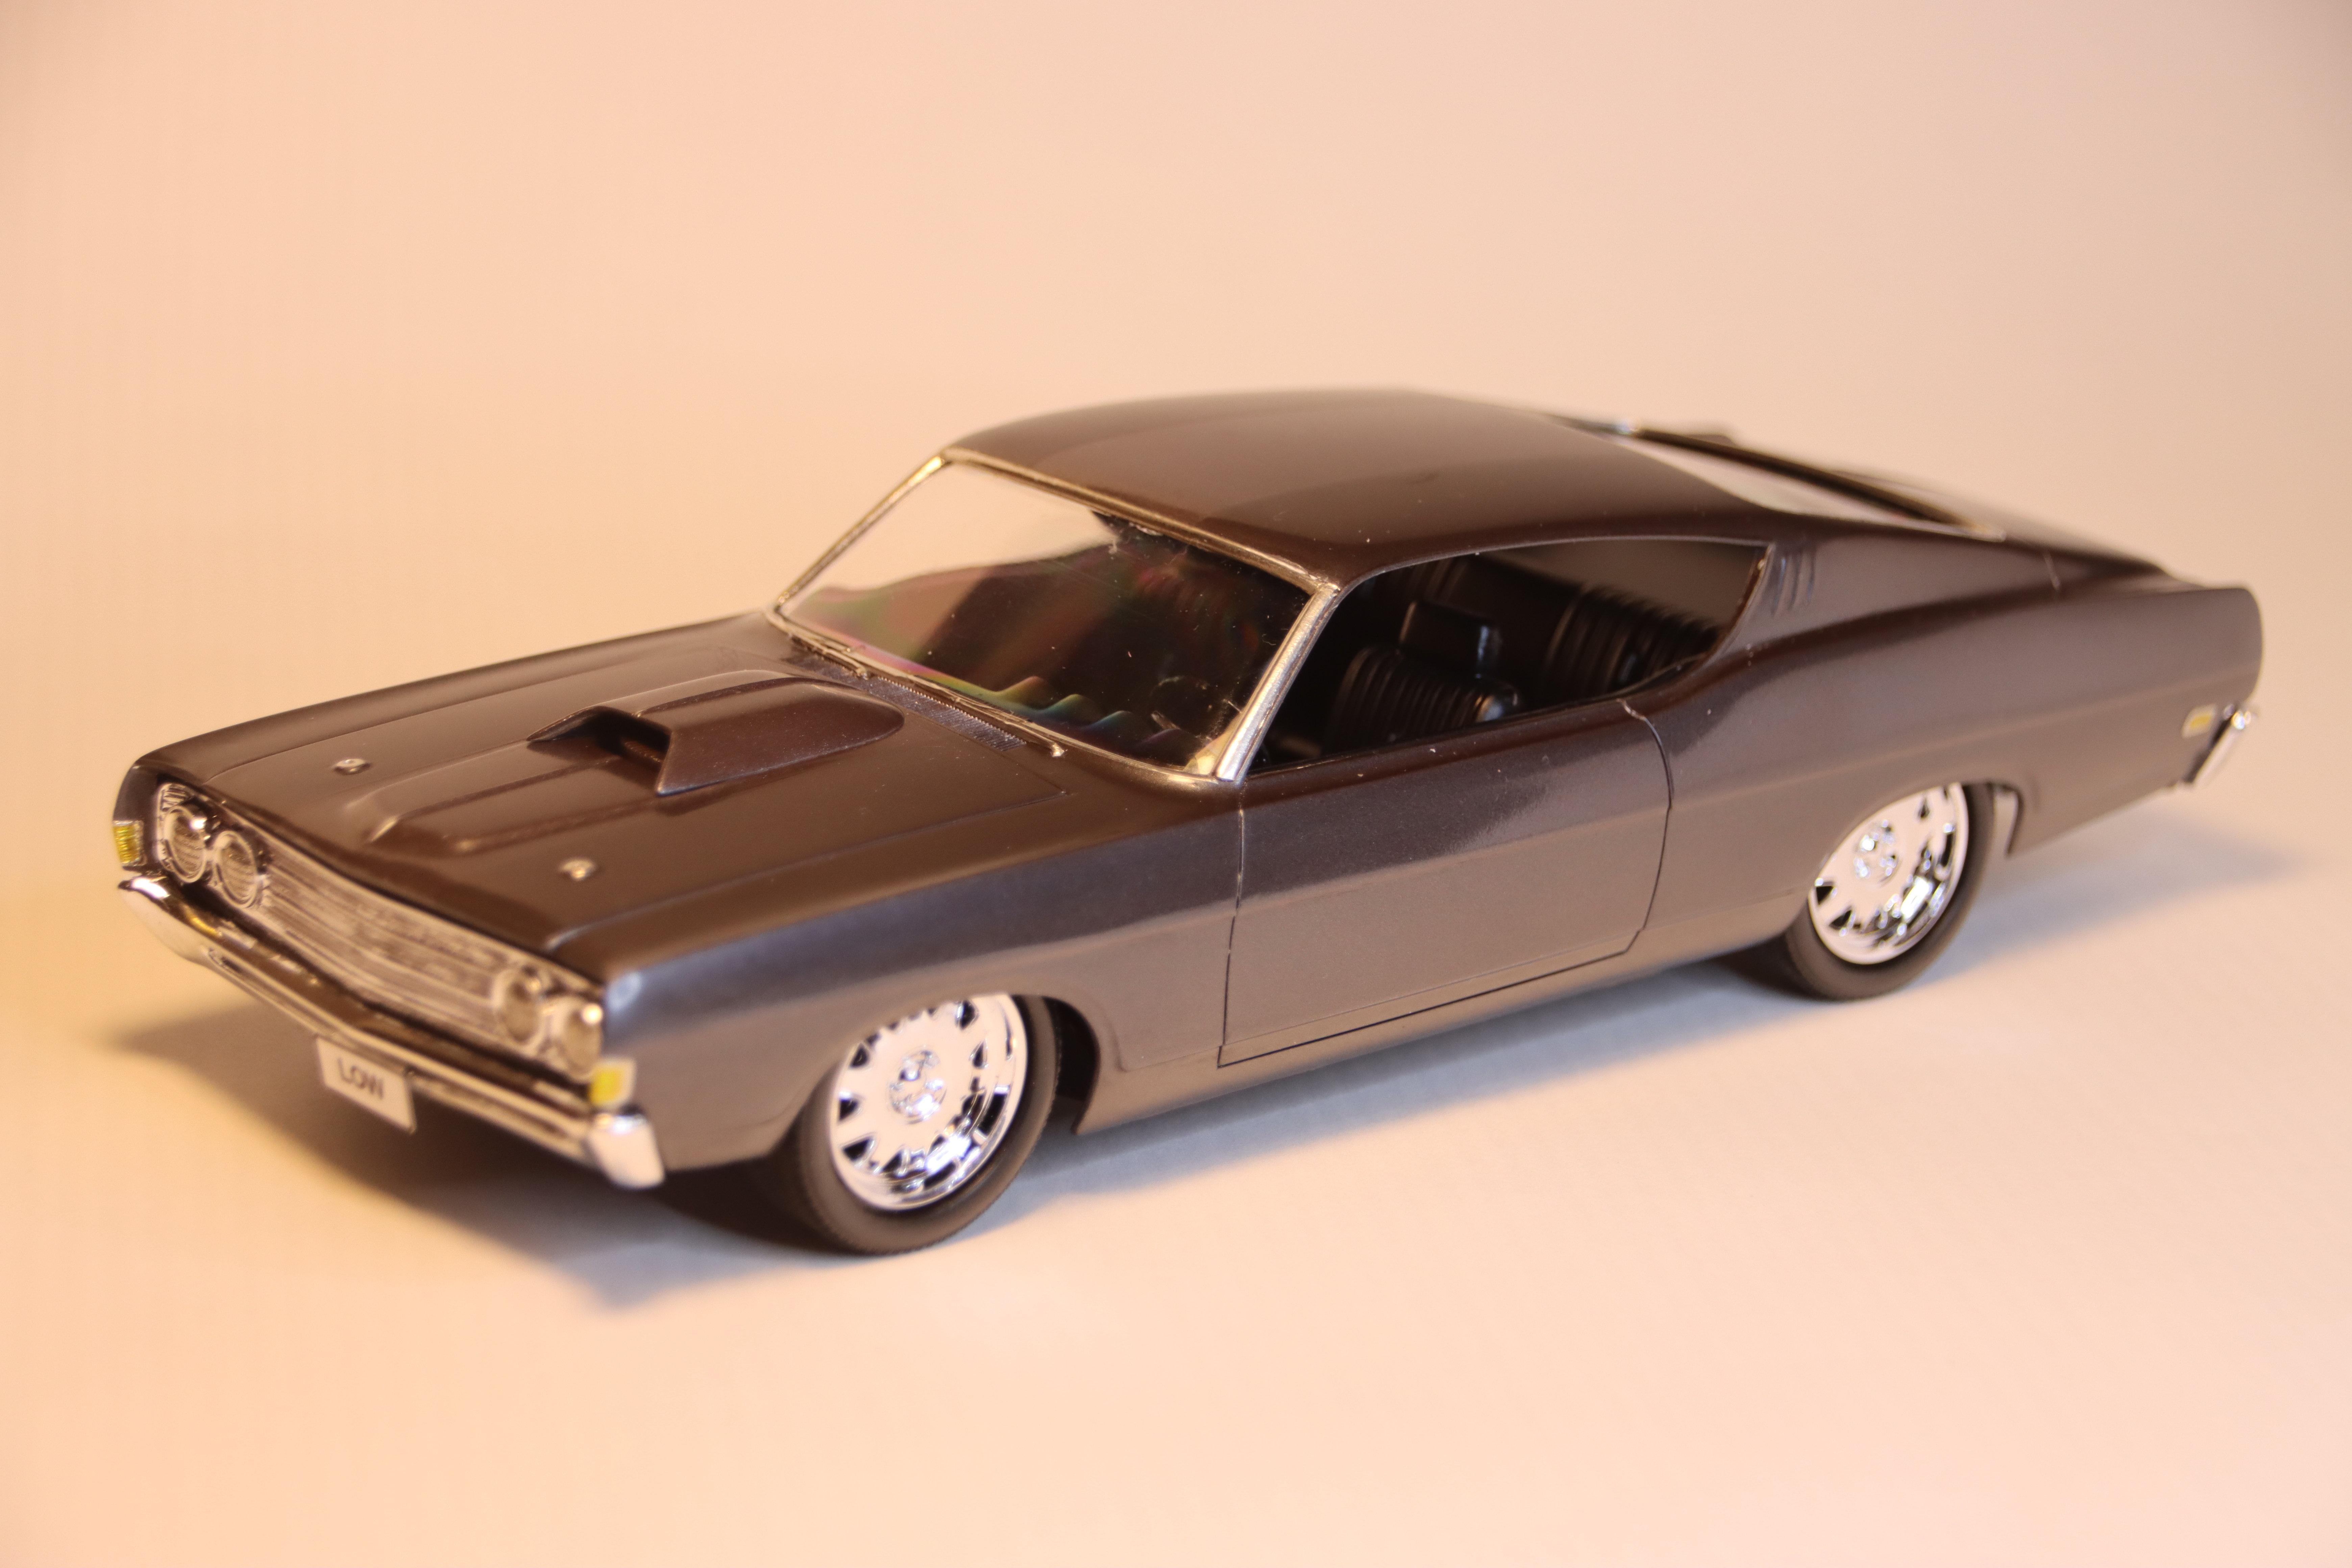
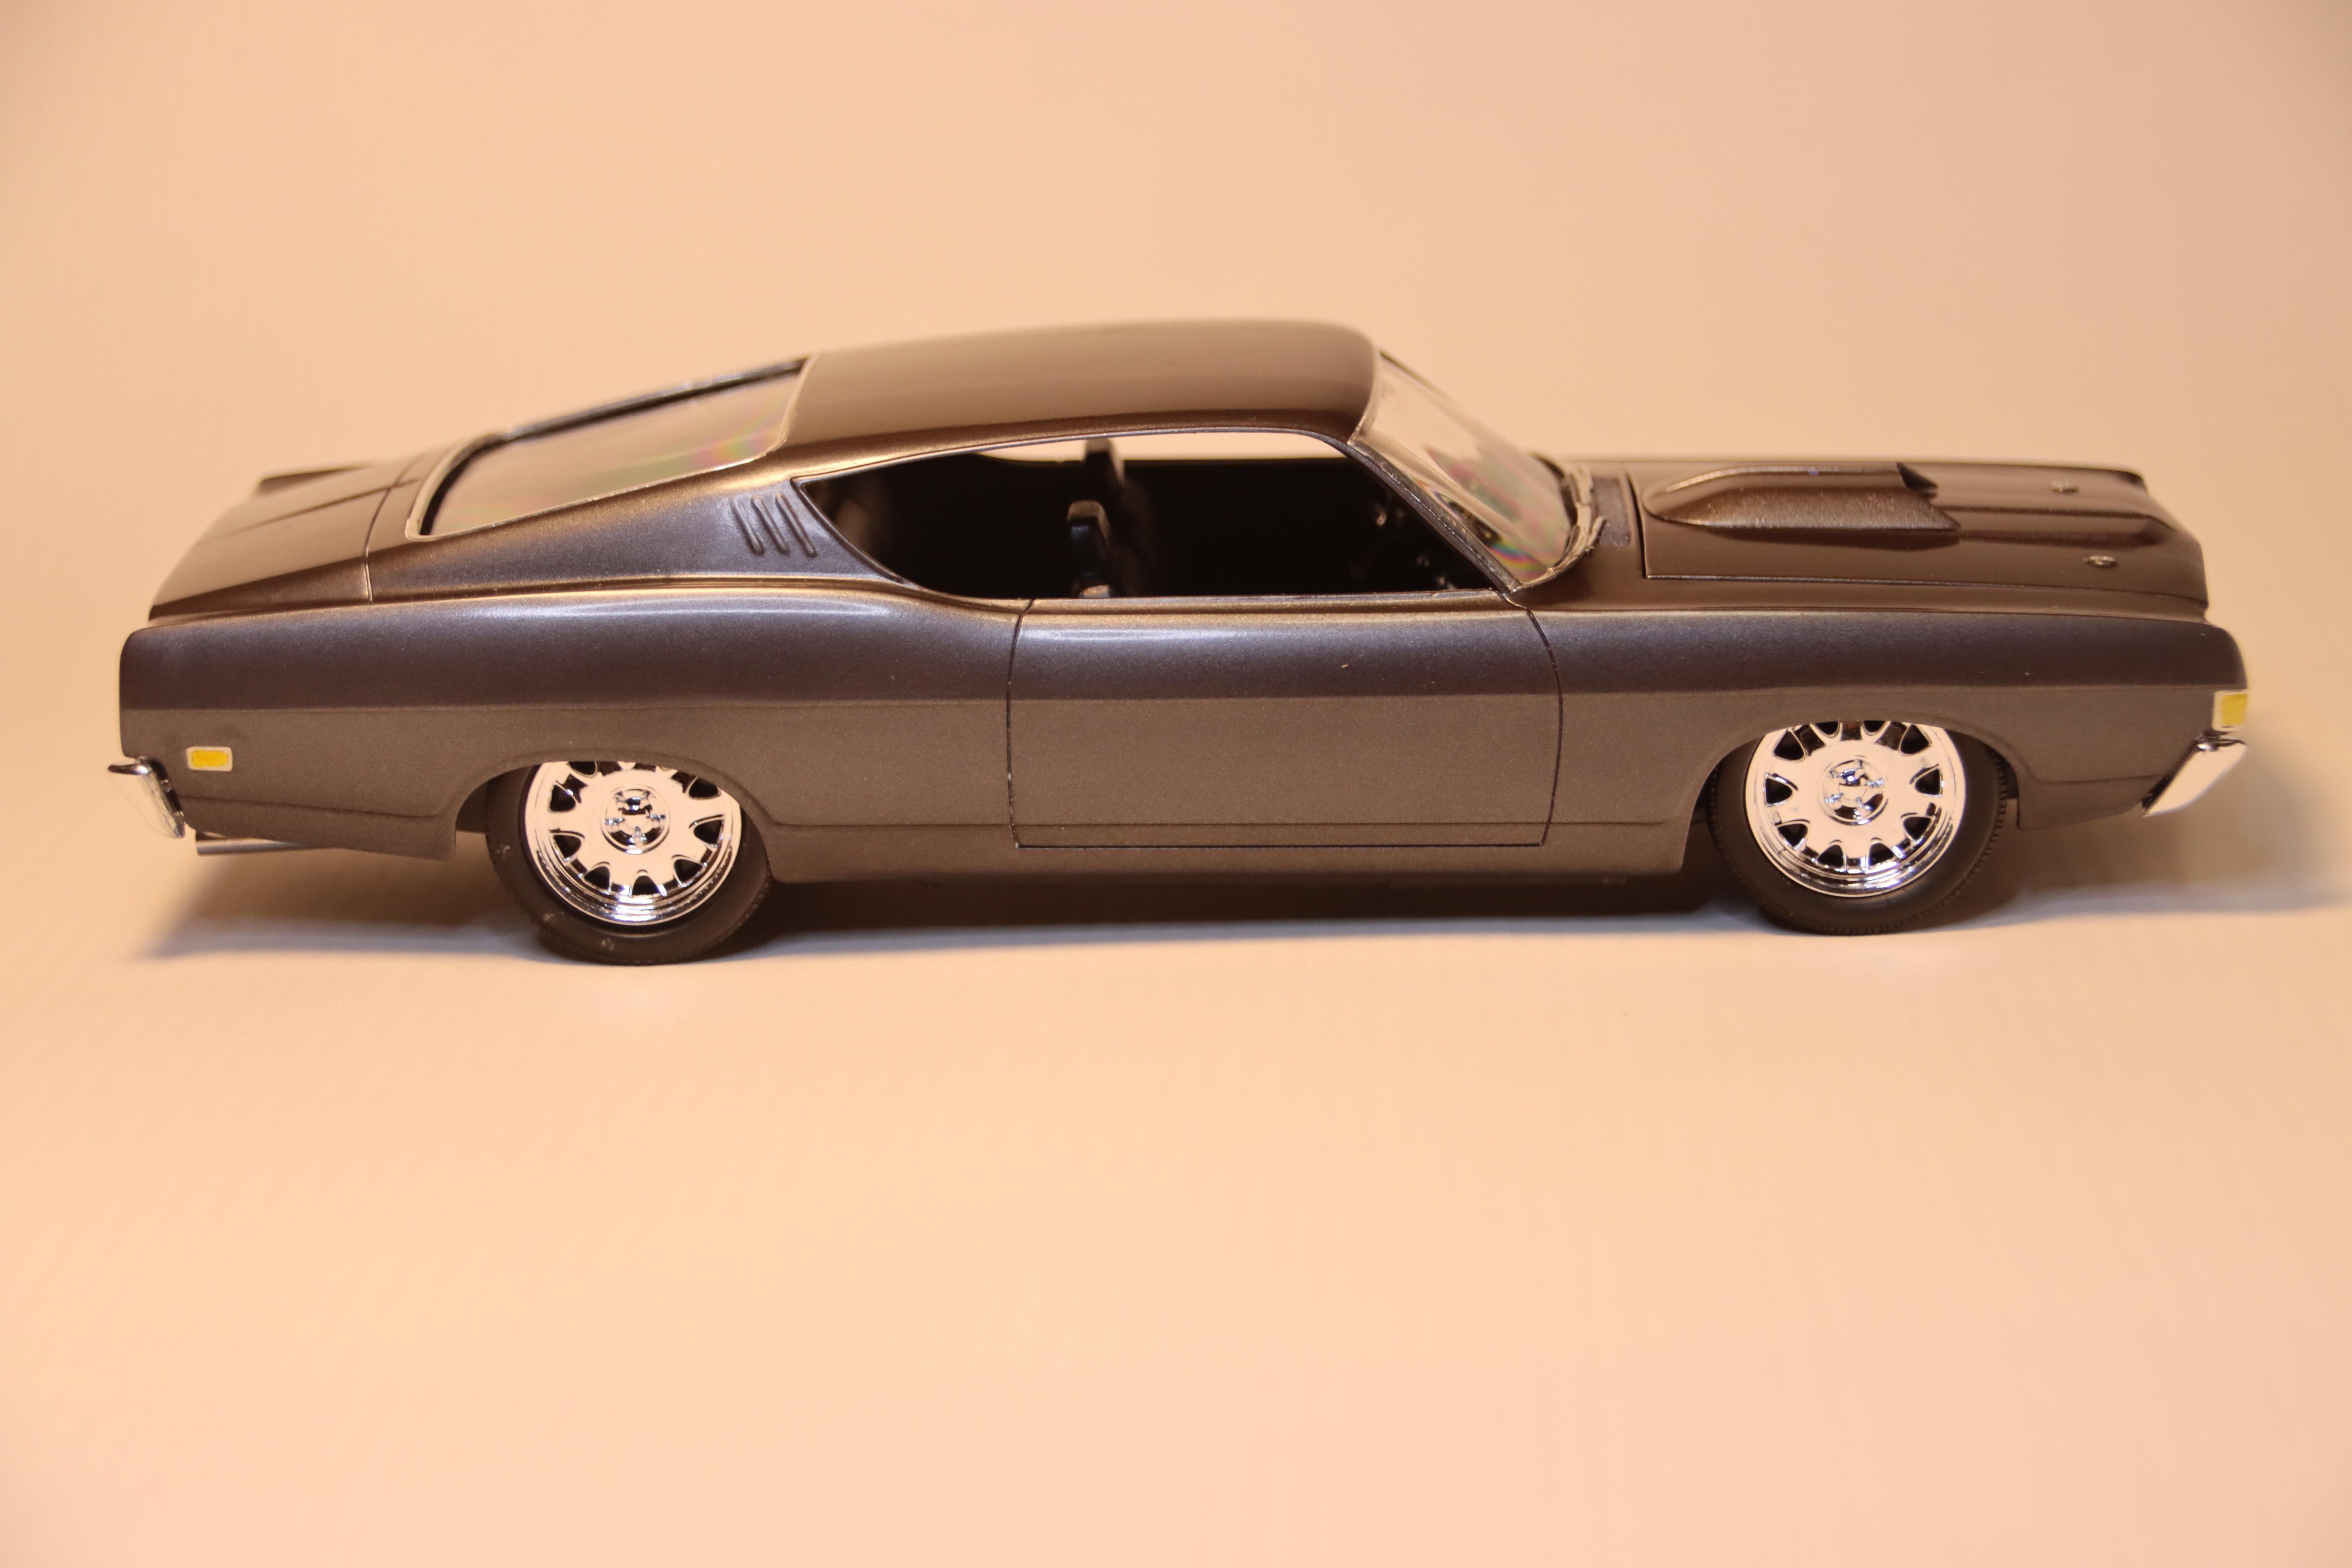
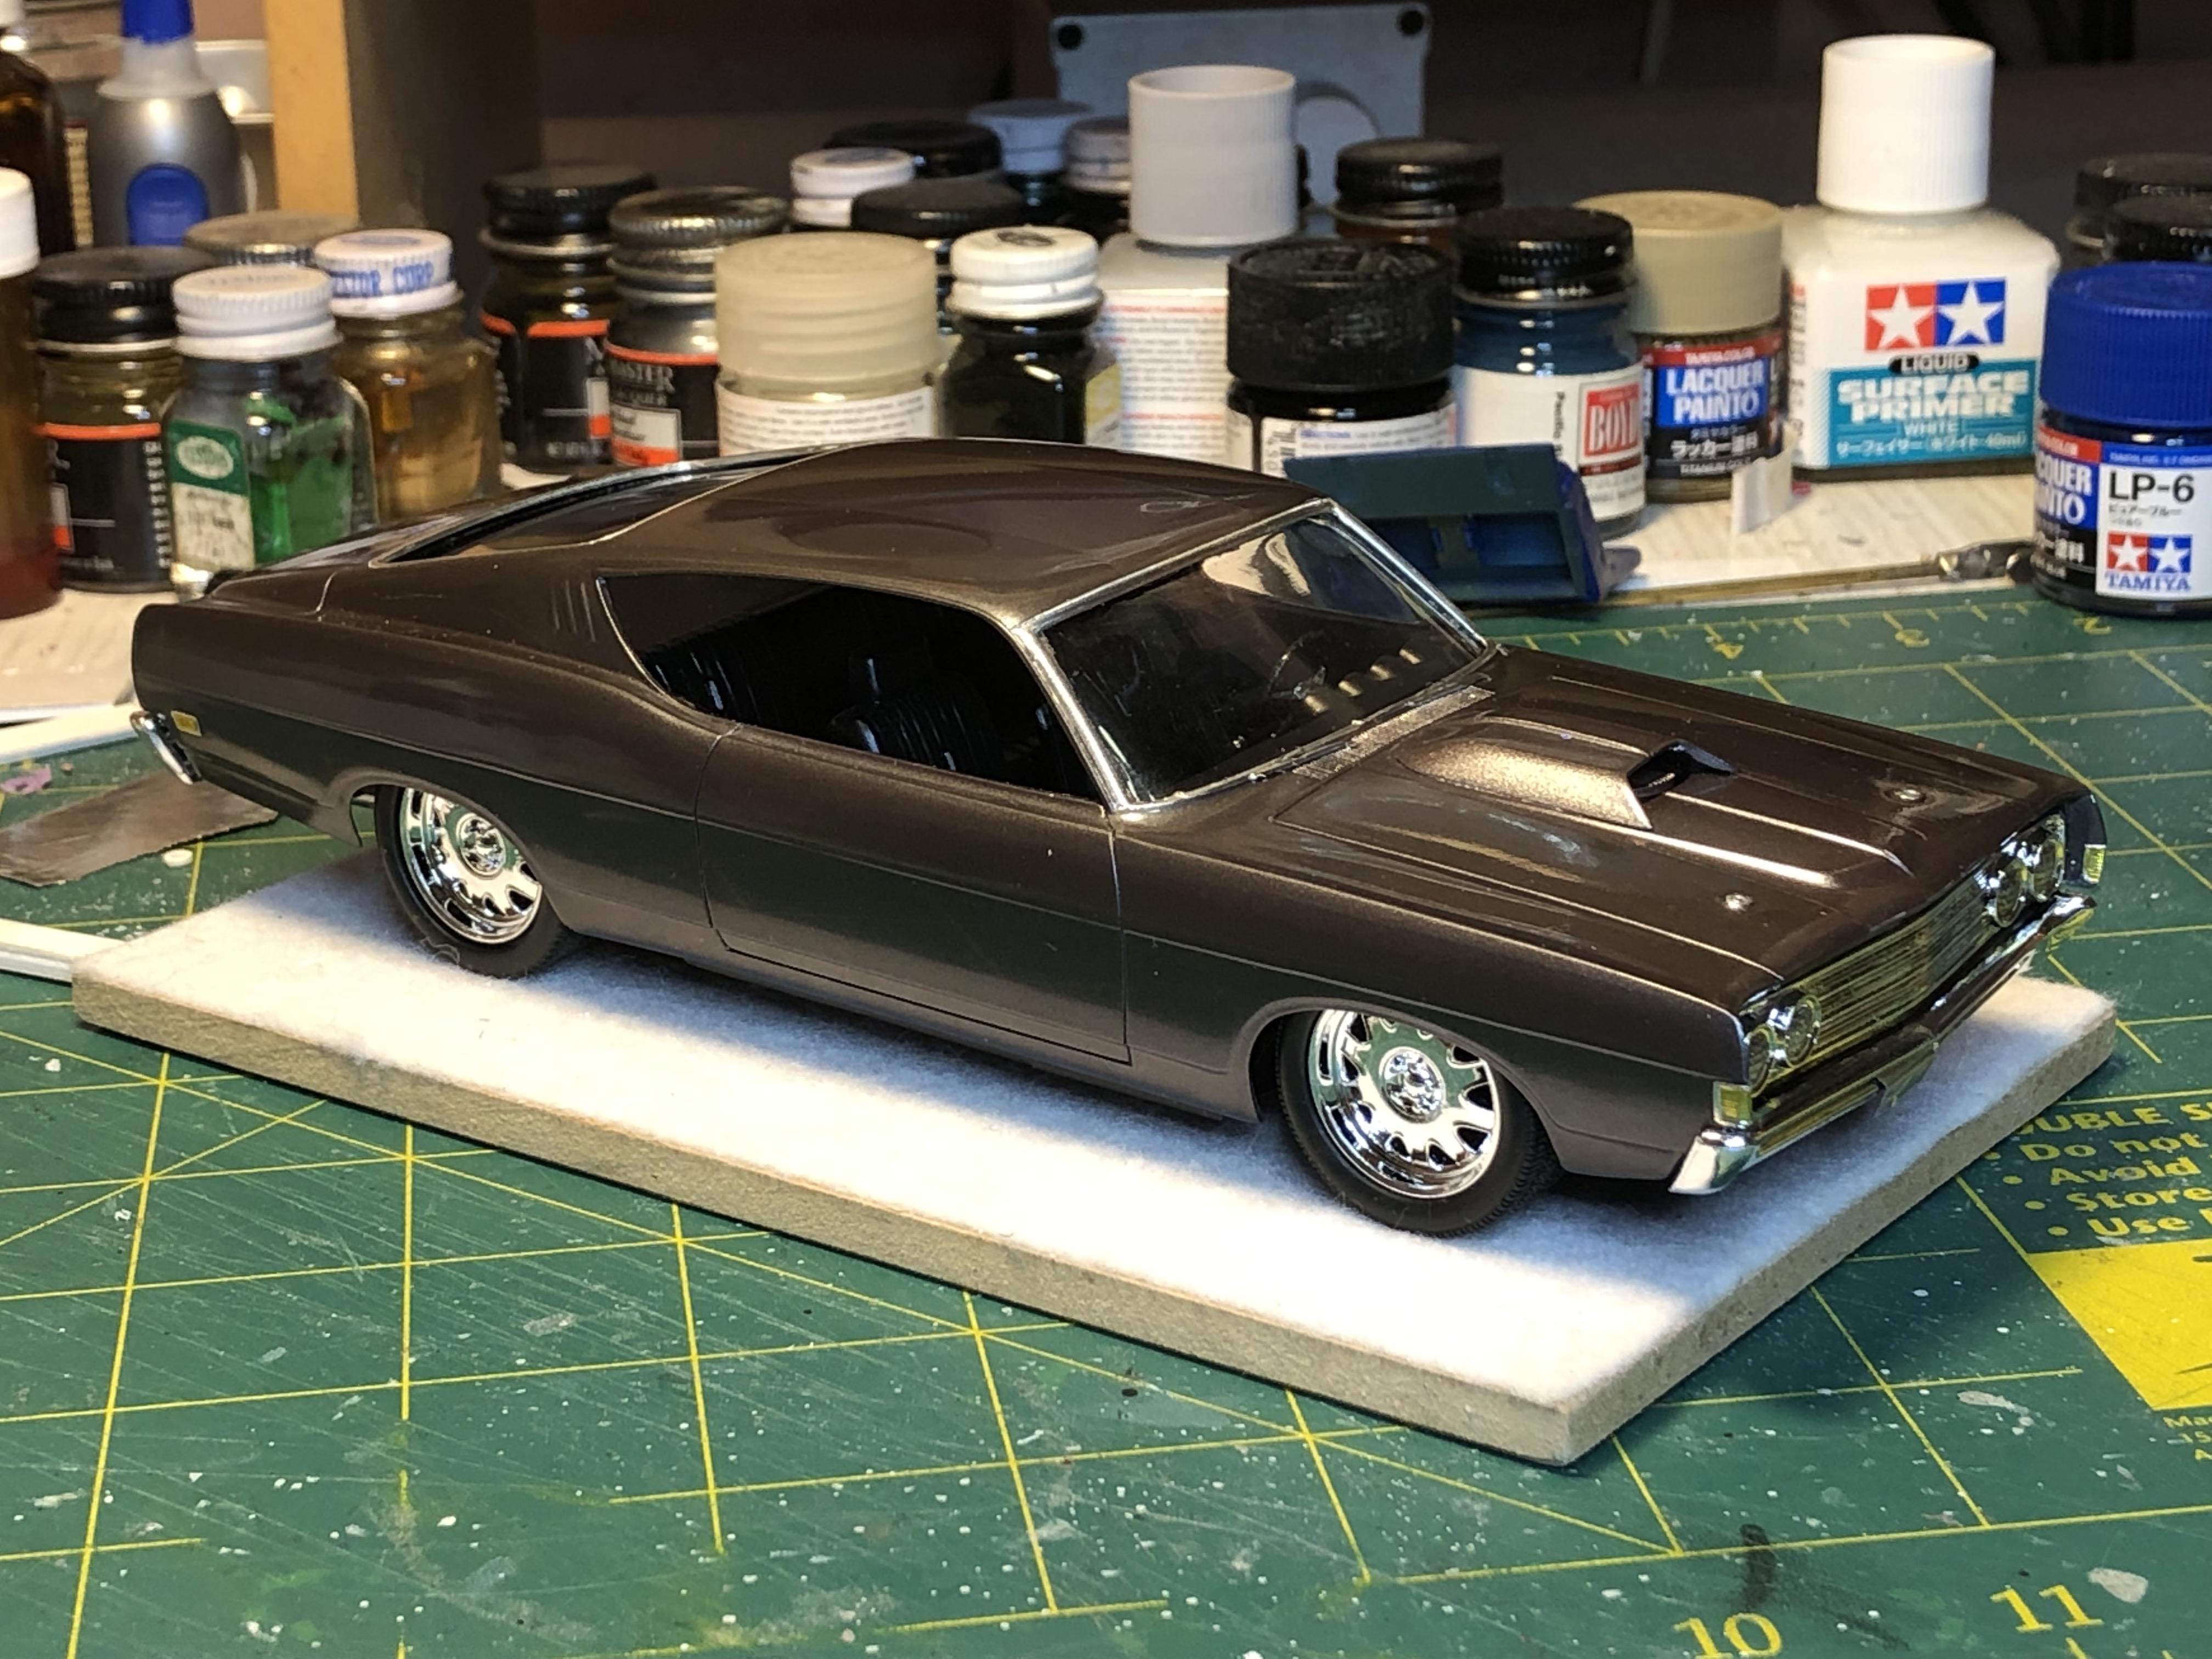
This is my take on the re-issue of an old annual kit
- Colour is Tamiya Gun Metal with a Light Gun Metal stripe
- Slammed to the ground with big inch wheels
- The bonnet scoop was changed as I wanted a scoop and after opening the hood up to fit the air cleaner the kit scoop was too small. Found a section of the belly of another kit that i tweaked to look like what I have now
- No additional detailing added except for paint detail and BMF
The original kit has separated exhausts bit all other chassis detail is very basic.

-
4
-
-
Kool - nailed it on all accounts
-
Great job on both kits Tim
I have only recently got my hands on a sample so this and Zippi's built will give me some incentive to get one built - then I will need to fork out for some more but they are $80 NZ over here in the stores
-
Looks good Bob. I like the colour a lot too
Gives me the incentive to build up the one I have
-
Looking good
-
I am back on deck.
I just read Tim's comment above and feel chuffed that we as a group are leaders in the auto design field.
I have just finished a fuzz buster quick-build so that I can say I have completed at least one model this year - damn we are half way through the year already.
The paint job of the Pacific blue turned out OK I clear coated with Humbol super clear and had an oops that I sorted. Learn me for using an untried new airbrush which ended up having too big a nozzle. Well the Humbrol clear was taking it's time to set up and still is a little soft so I will need to be careful.
I got the pickup bed wood done. Base coat of light brown with dark brown and black dry brushed to bring out the grain. This was all covered in Tamiya clear red and the wear strips foiled. Not a big fan of this batch of foil I have. I seem to remember when it was first on the market it was easier to apply and buffed up super shiny and stayed stuck down.
-
2
-
-
Got the body cleared and polished
And the bare metal foil done and engine bay completed
Next up is final assembly. I had a few issues as I expected there would be with an old kit such as this. The windscreen needed to be shortened about 4mm to fit, the chrome front and rear sheet metal fitment is a bit vague too
But here it is all done
Get some nice pix and then off to under glass
Thanks for looking
-
An excellent job Roger.
I like how the sweep of the headers matches the sweep of the cowl. Your eyes are just drawn to this feature. Top chop is spot on.
-
 1
1
-
-
What a great bunch of Mopars - but then I am partial being a Mopar owner of long standing
-
Tip 1 should be adequate to spray large ares, such as a car's body. If this does not deliver sufficient paint, go up to Tip 3. Tip 5 would be overkill. LOL
- Yup I found tip 3 too big for bodies -
I found the 0.5 nozzle on my Paasche H put too much paint on. Have changed it to 0.3 nozzle but tried it since
It is depenedant on paint thickness too - I tend to thin most of my paints at 1:1.5~2 (paint thinner ratio) and build up paint thickness with mist coats with a last wet coat
-
I got some a while back and broke a couple just opening the container
Also got some 50x sets for back up
These work a treat in my Unimat 3 mini lathe where normal small drill bits don't
-
I requested a replacement part #50 and got the clear parts tree instead. I had to wait about 3 months for mine to arrive
Time request again
-
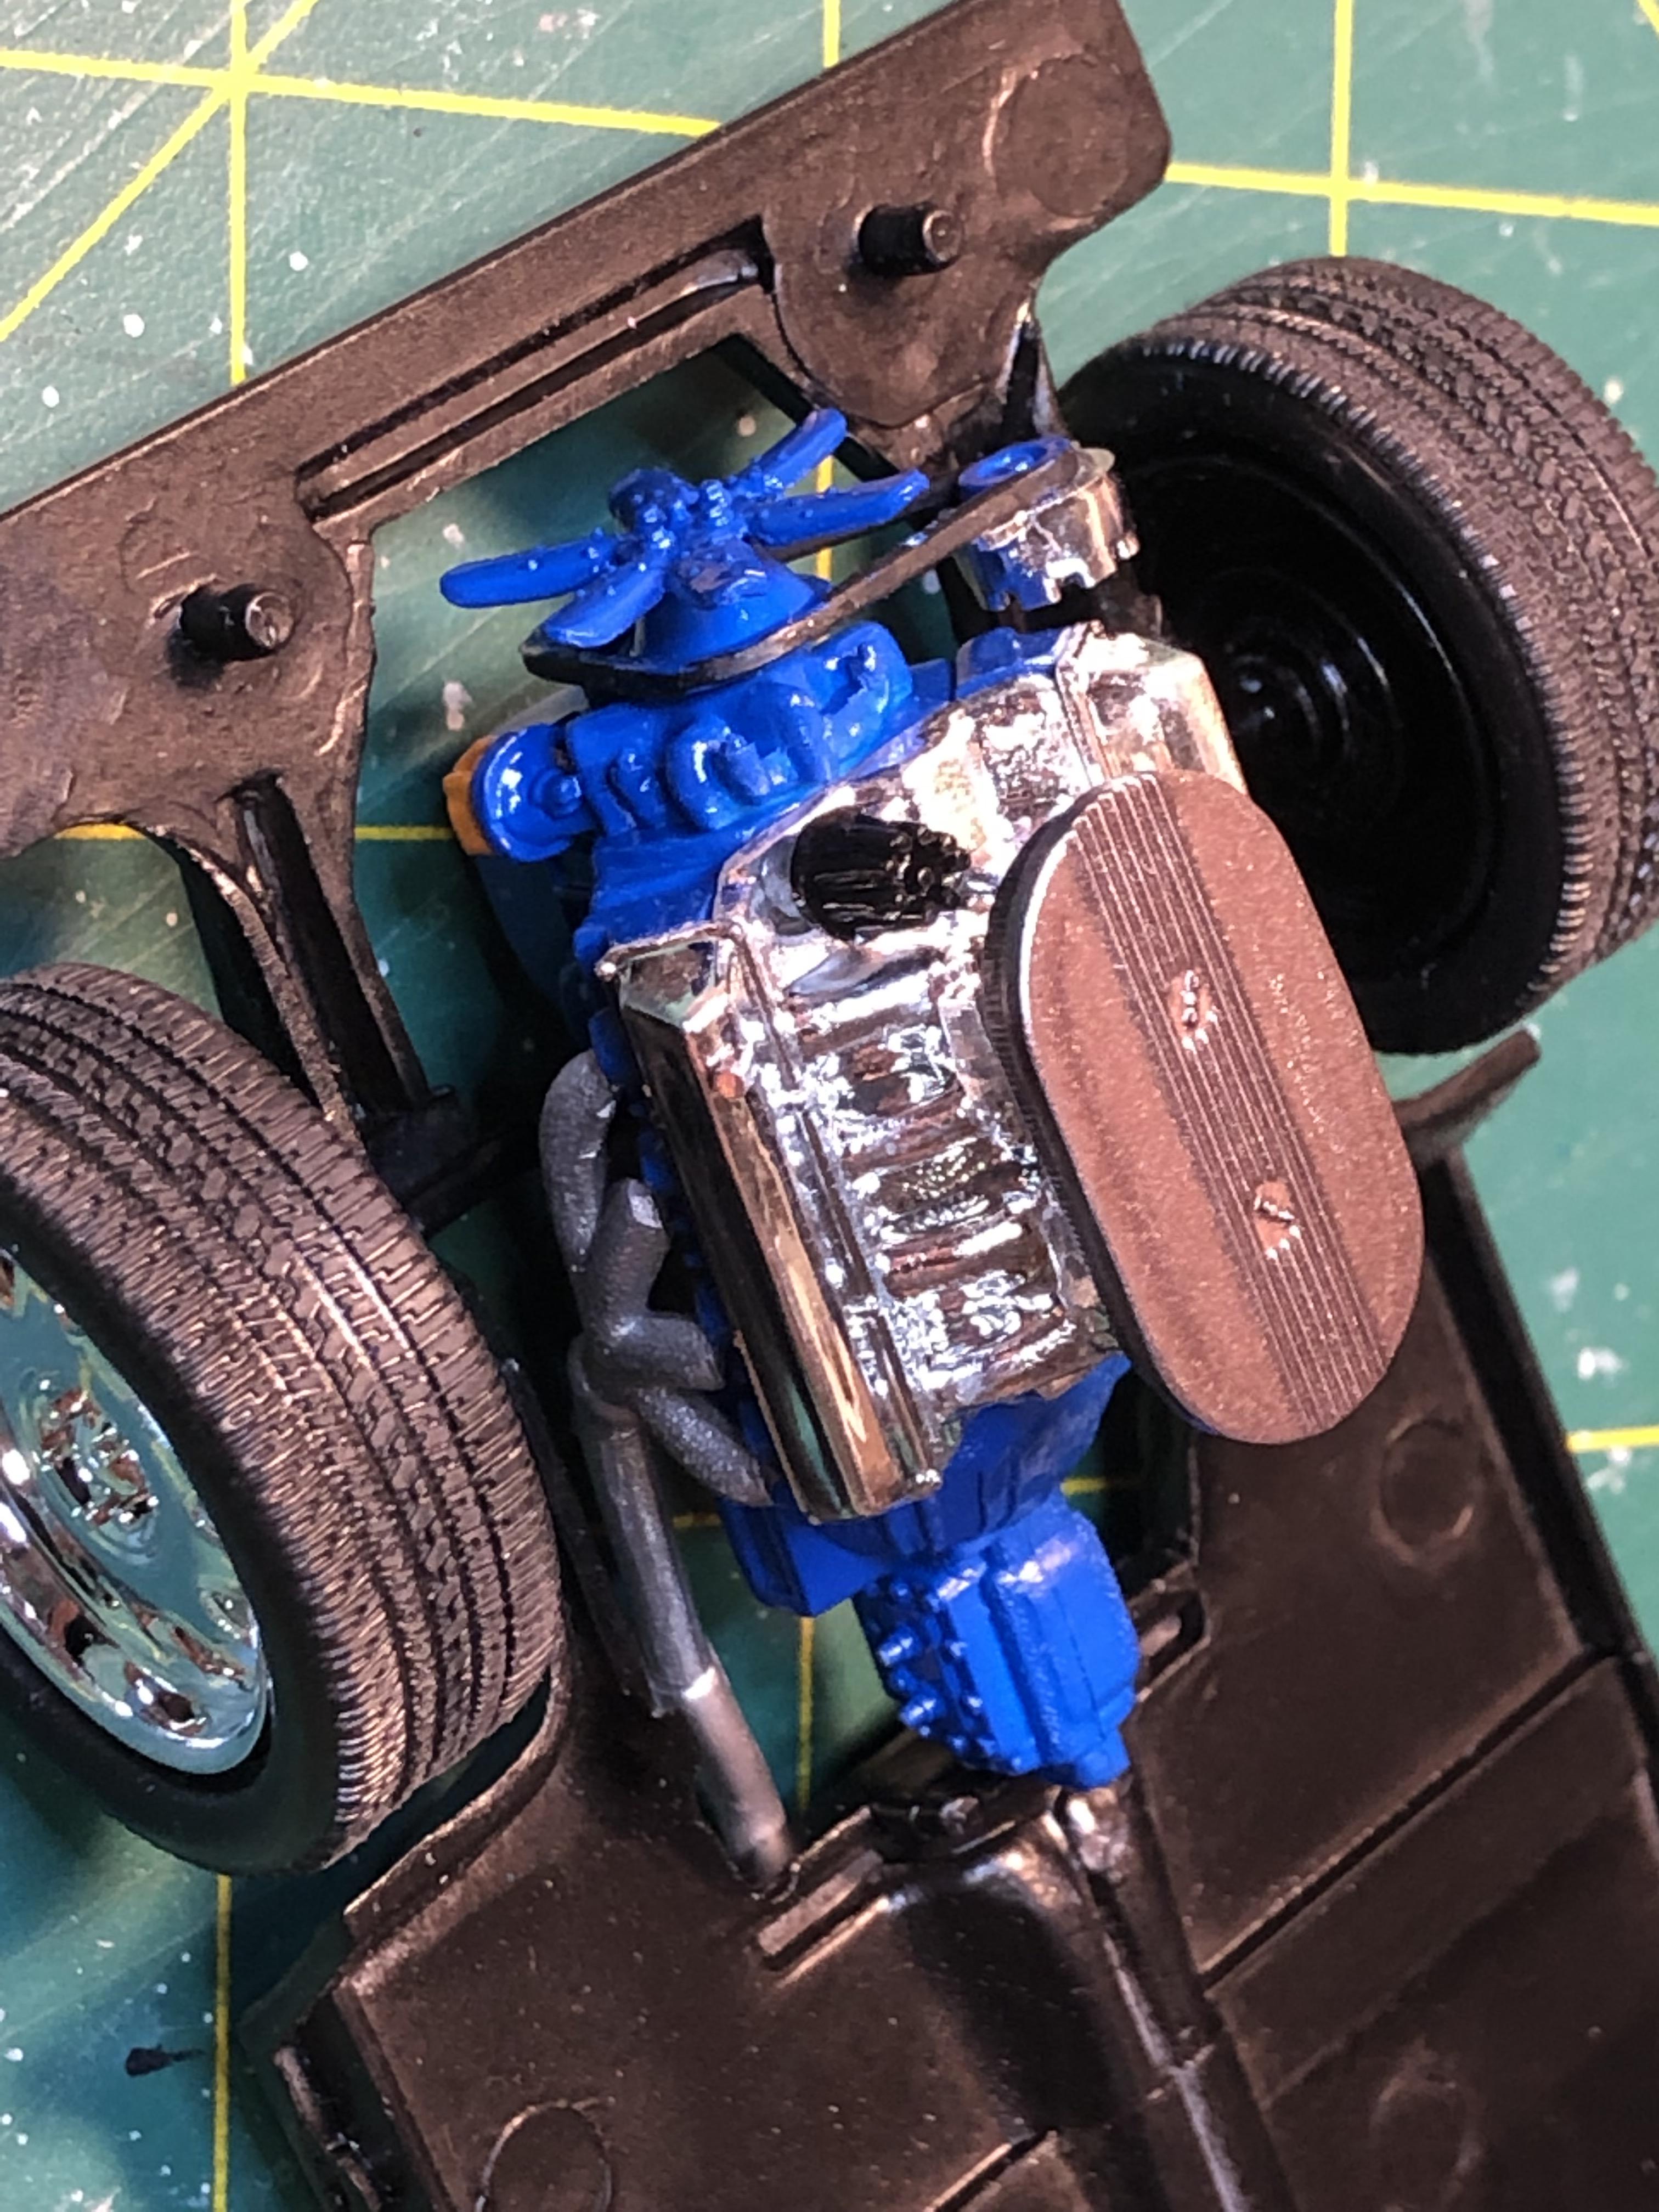
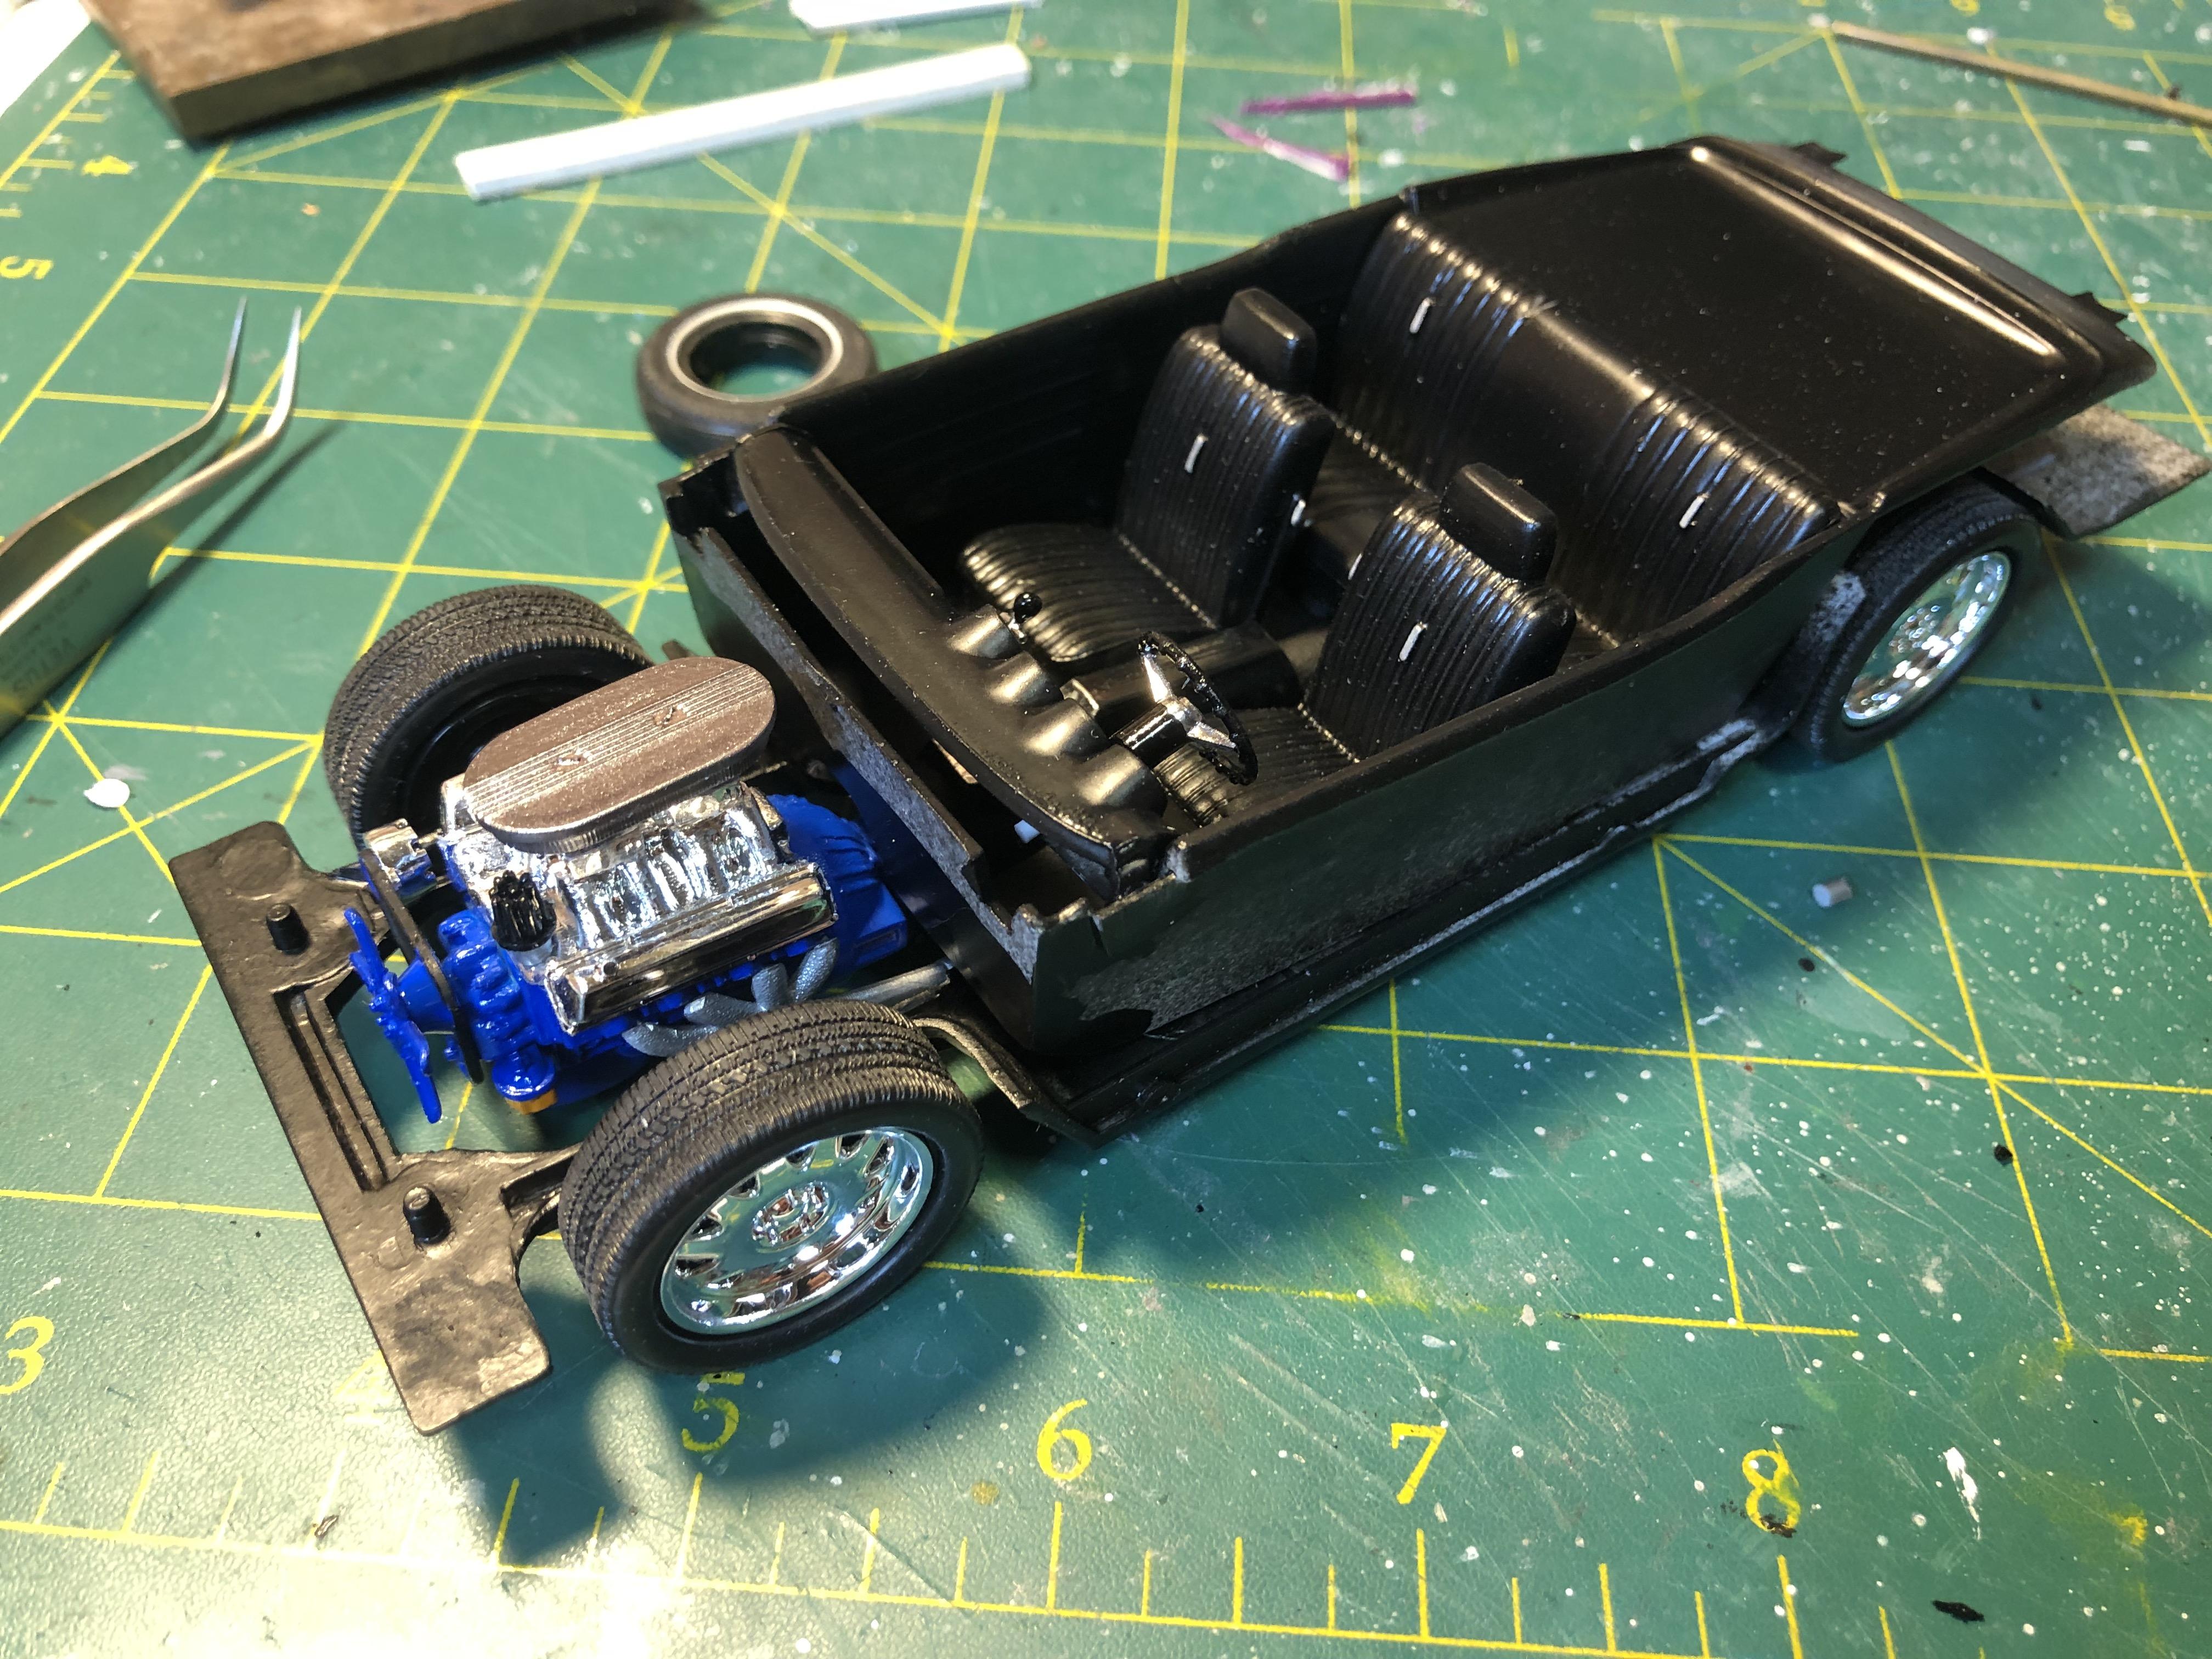
"I managed to get the two 4bbls under the hood." I was just following the instructions - which were bit vague. Anyway I ended up with something a bit different from stock
While paint setting up I assembled the interior - nothing fancy as this is supposed to be a quick build
And I installed the engine and exhausts and got it up on its wheels. The wheels took two attempts to get it right. The wheel base is a bit off and I moved the rear axle attachment point up a bit. I also moved the connection holes up as I want it slammed to the ground as much as I can
Thanks for looking
-
The engine paint job looks nice
This is a good kit. I built one years ago and seem to remember it gets a little tricky around final assembly time
-
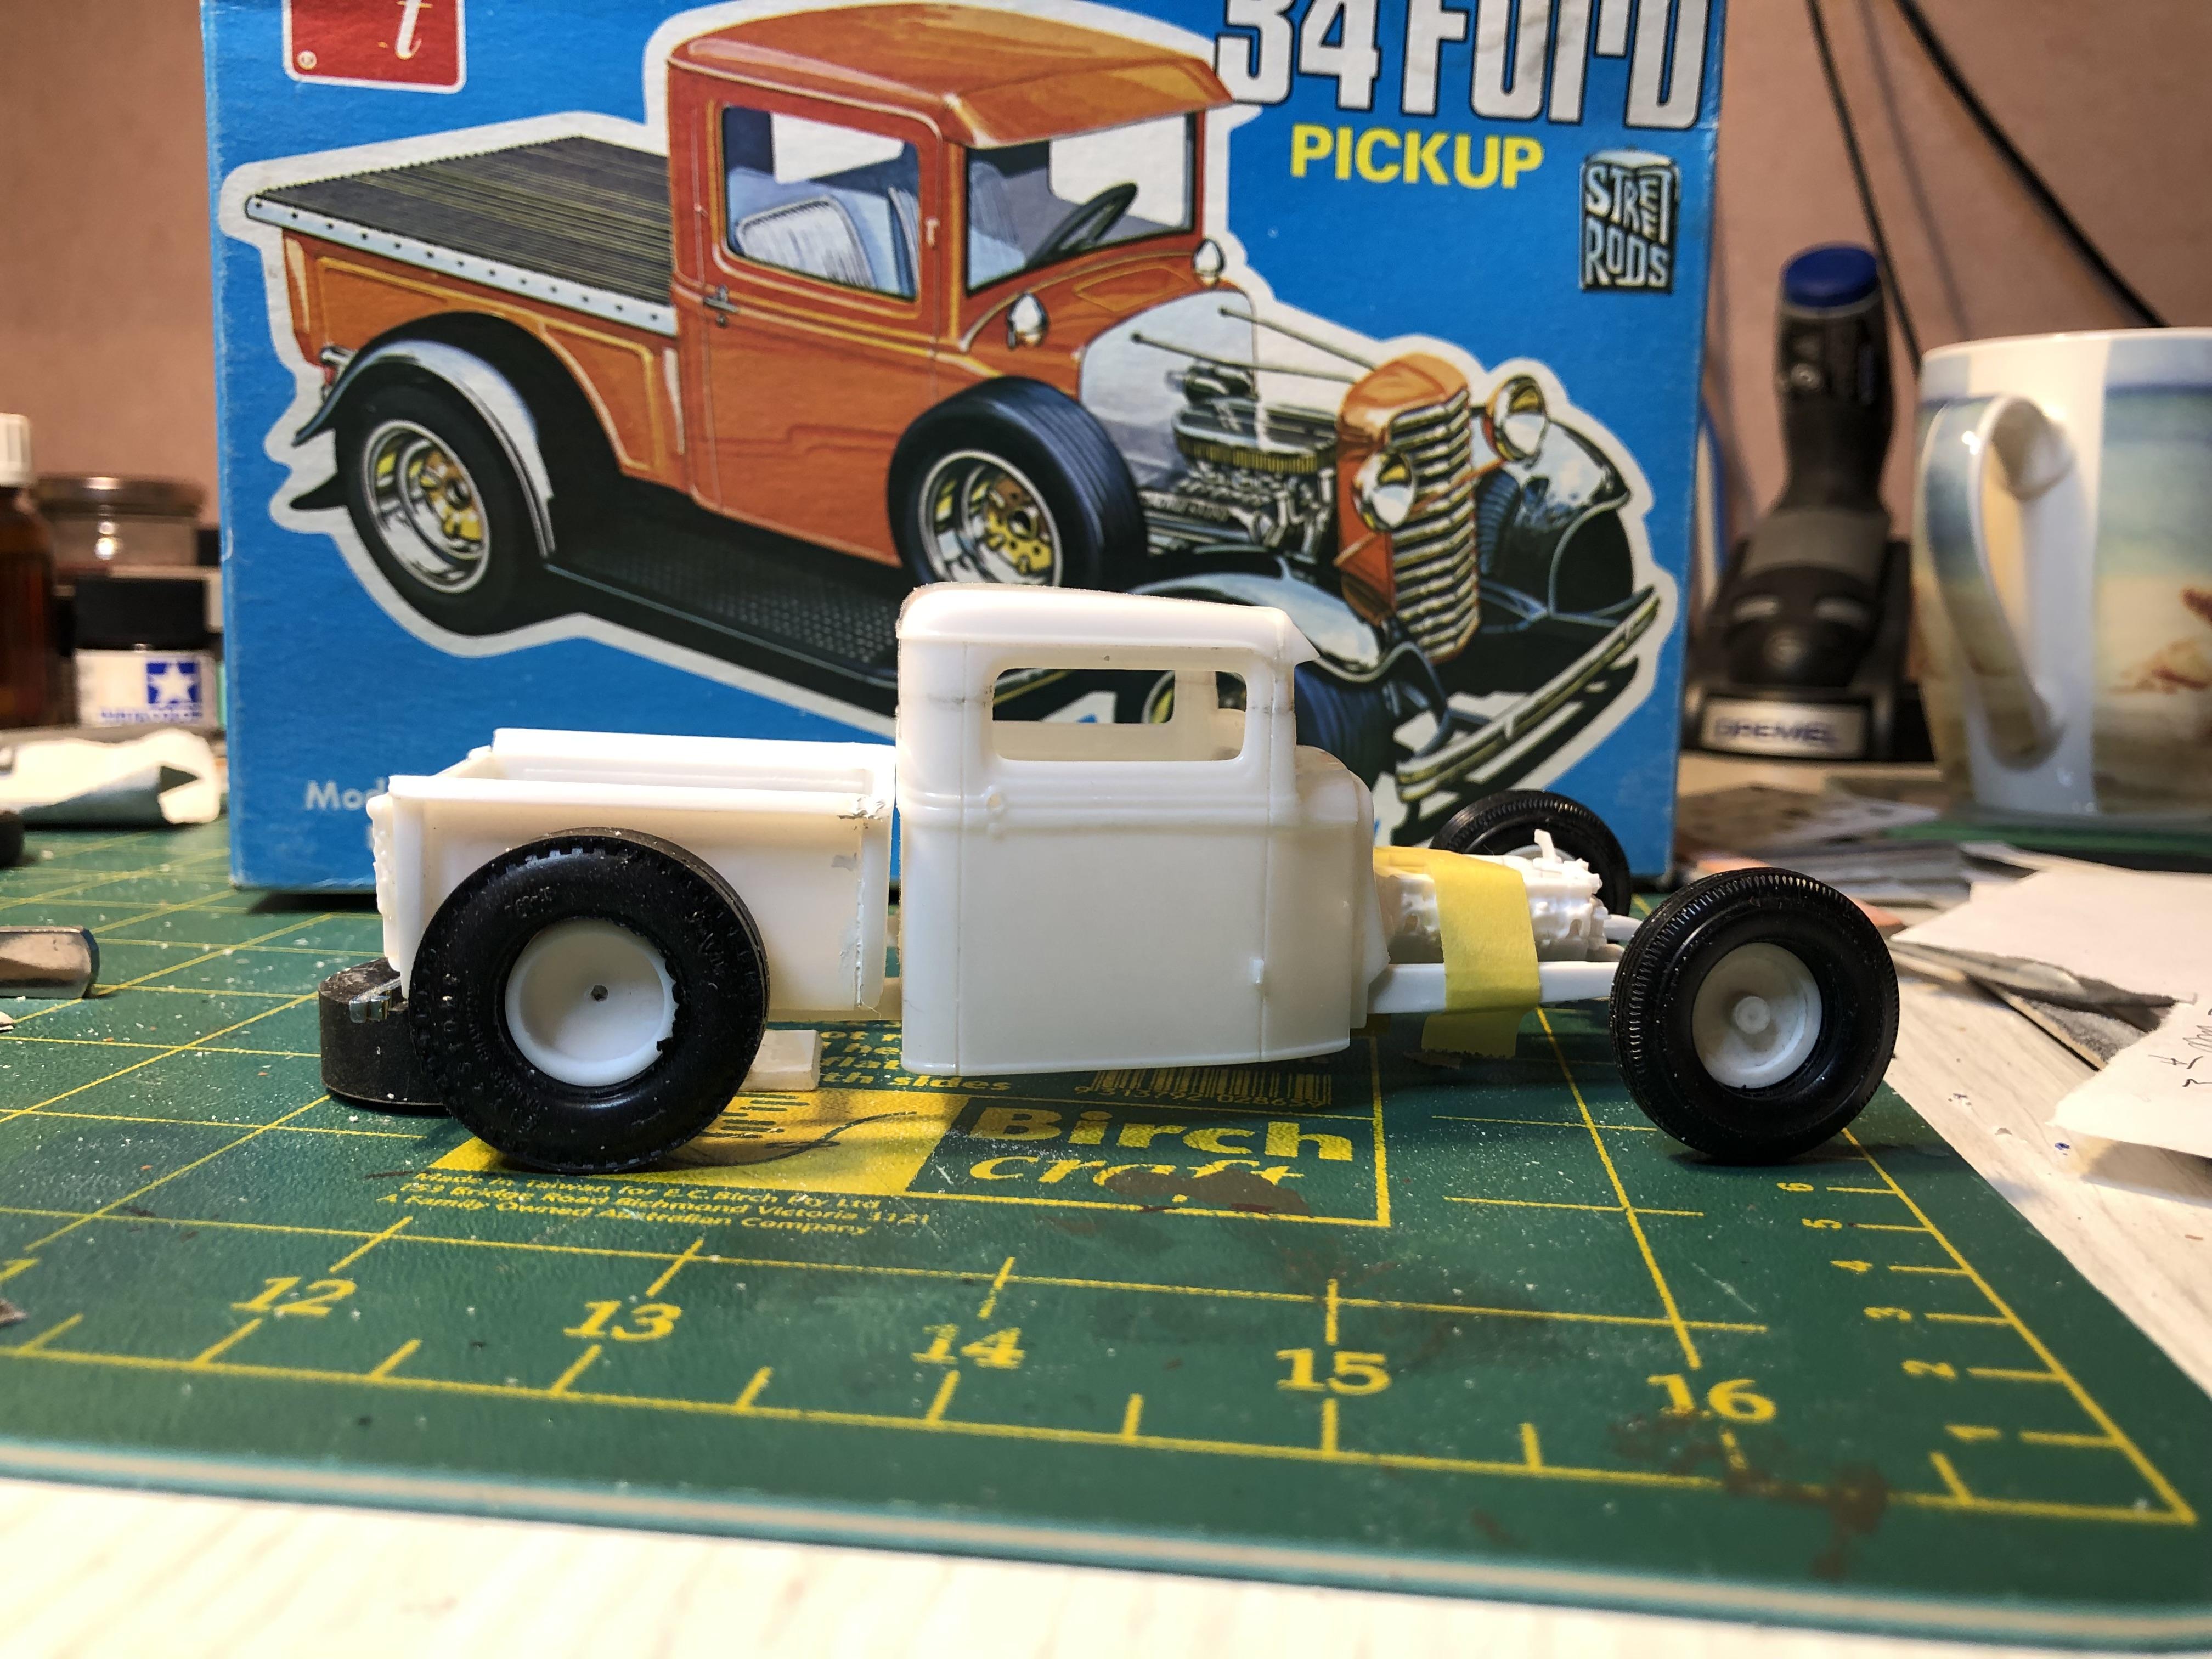
Couldn't resist - started out life a a partly assembled glue bomb before I dealt to it
-
5
-
-
To help with filter life I stretch a double layer of those horrible cotton wipe down cloths that come on a roll. When it gets a bit grungy and looking like being blocked just replace it. You will get a lot longer life out of your filter.
Also rattle cans clog the filters faster than airbrushing as there is a lot of paint coming out of rattle cans
-
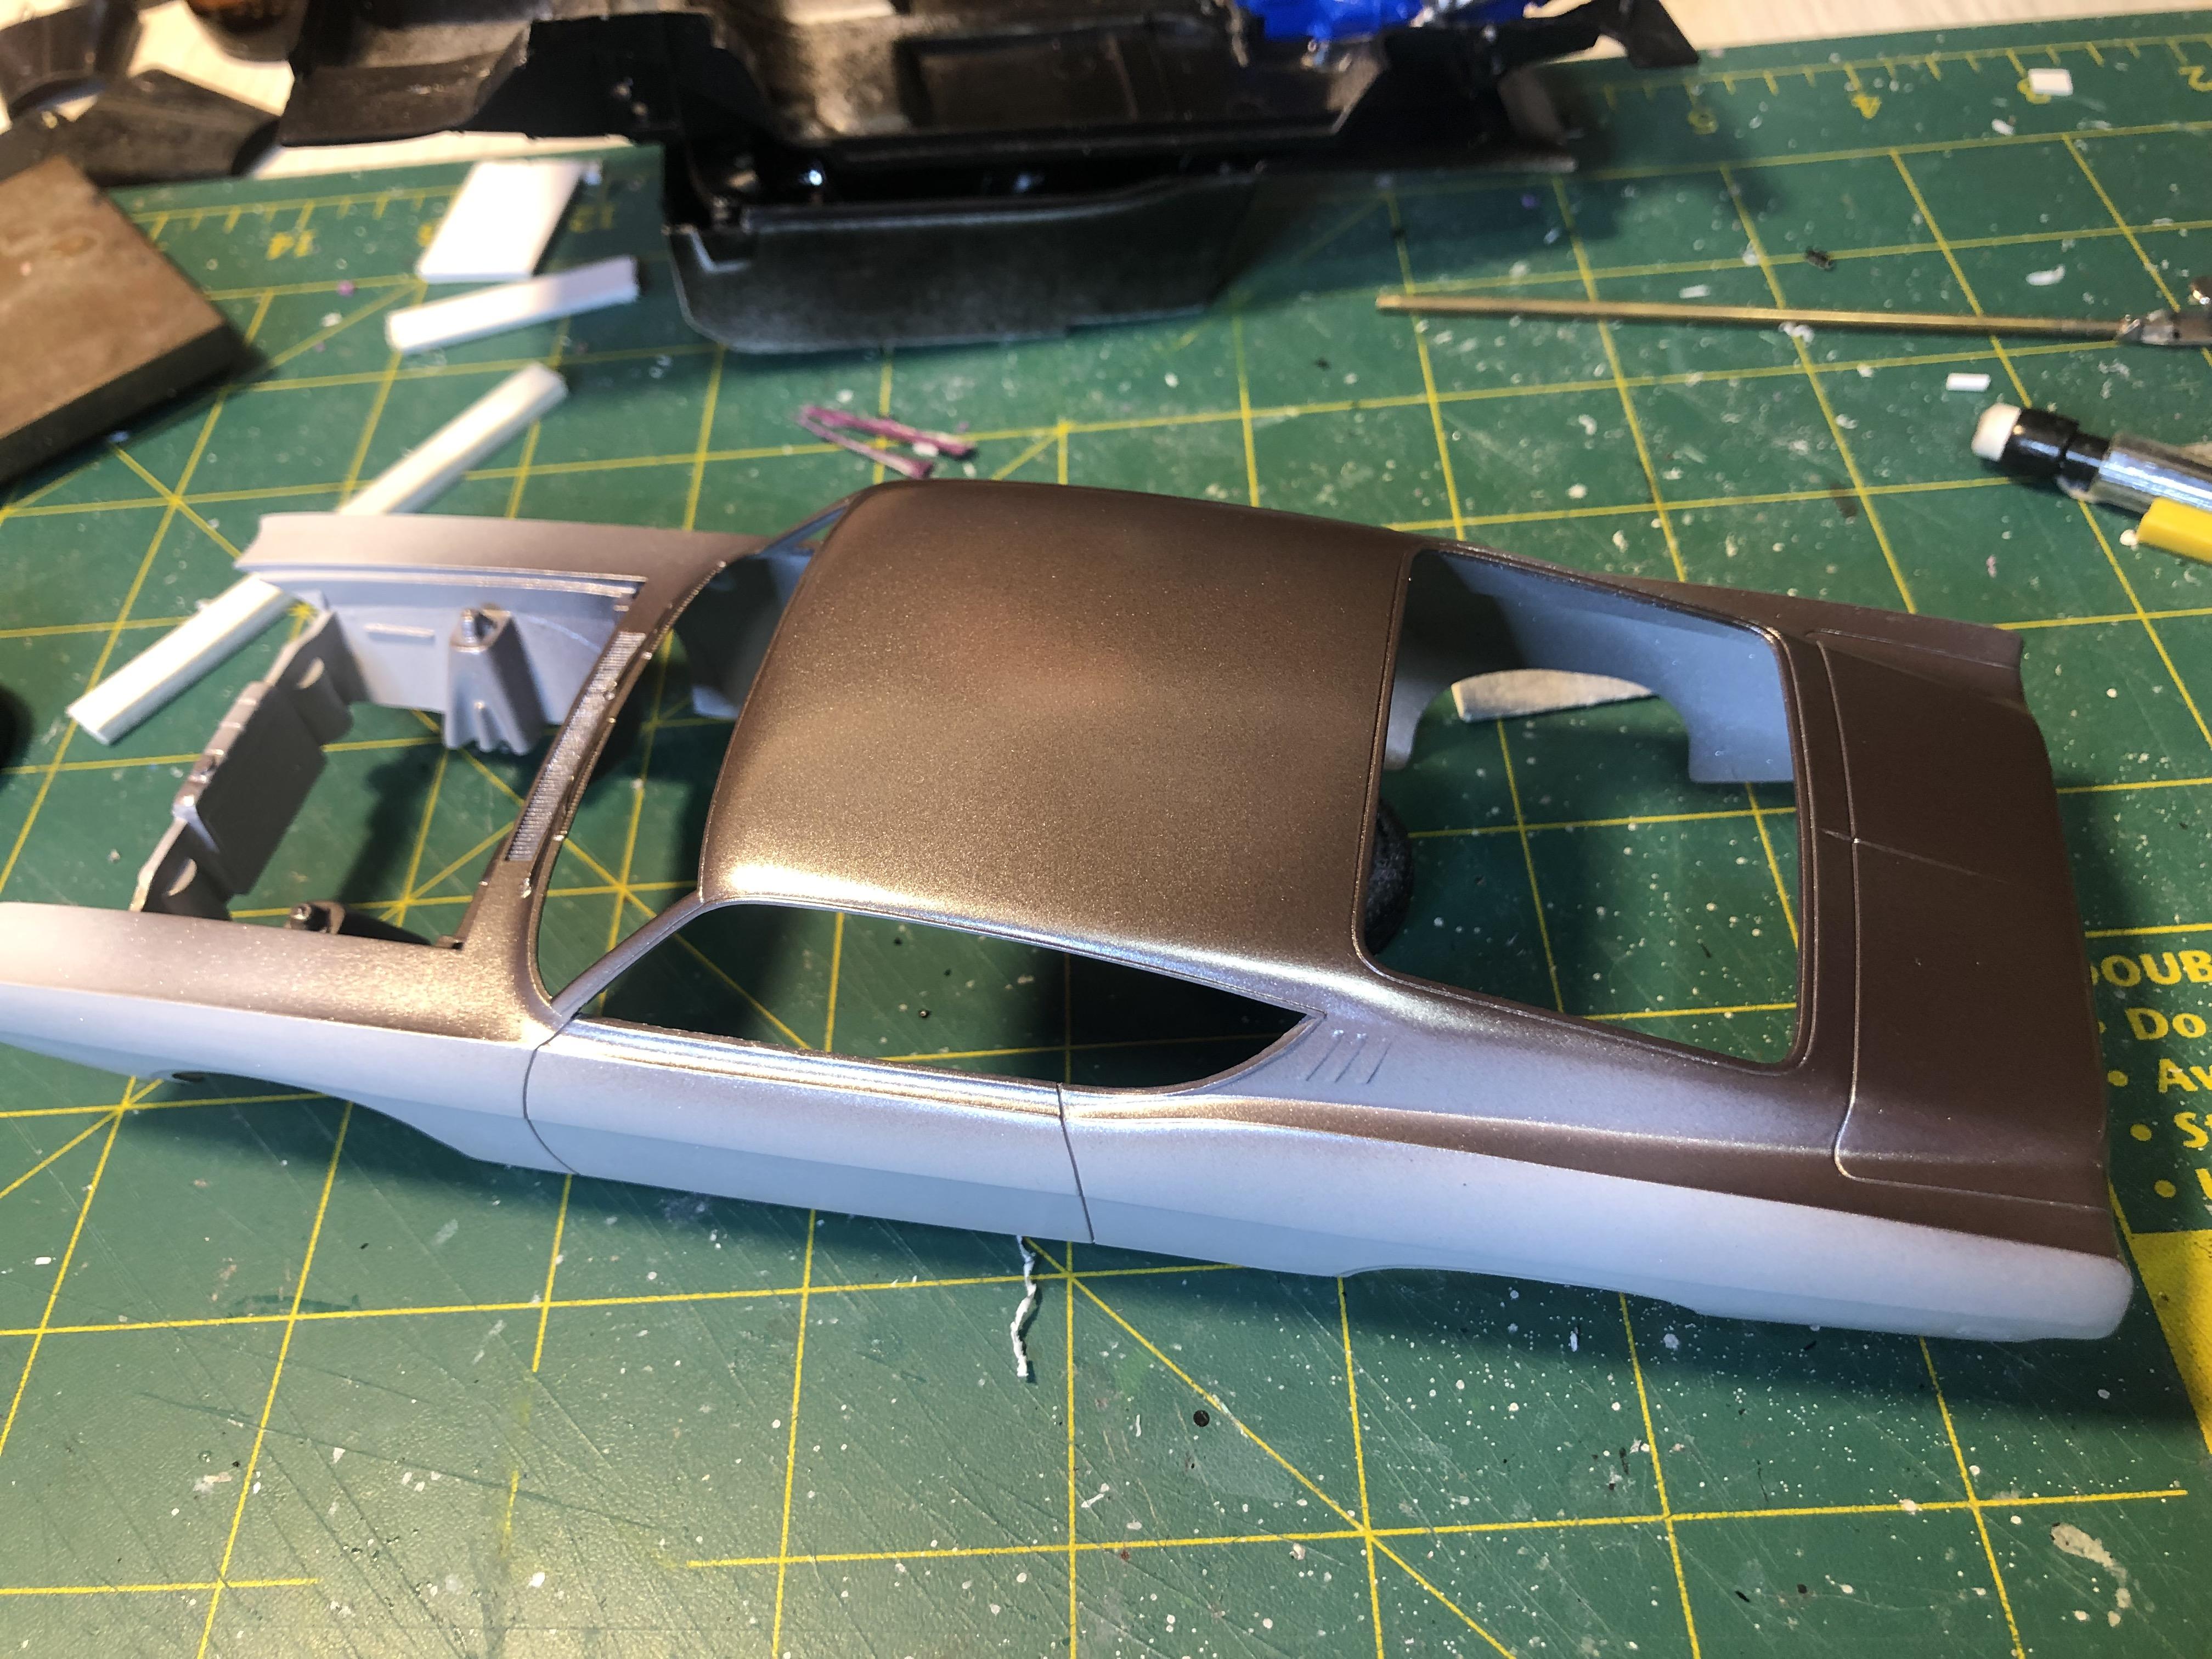
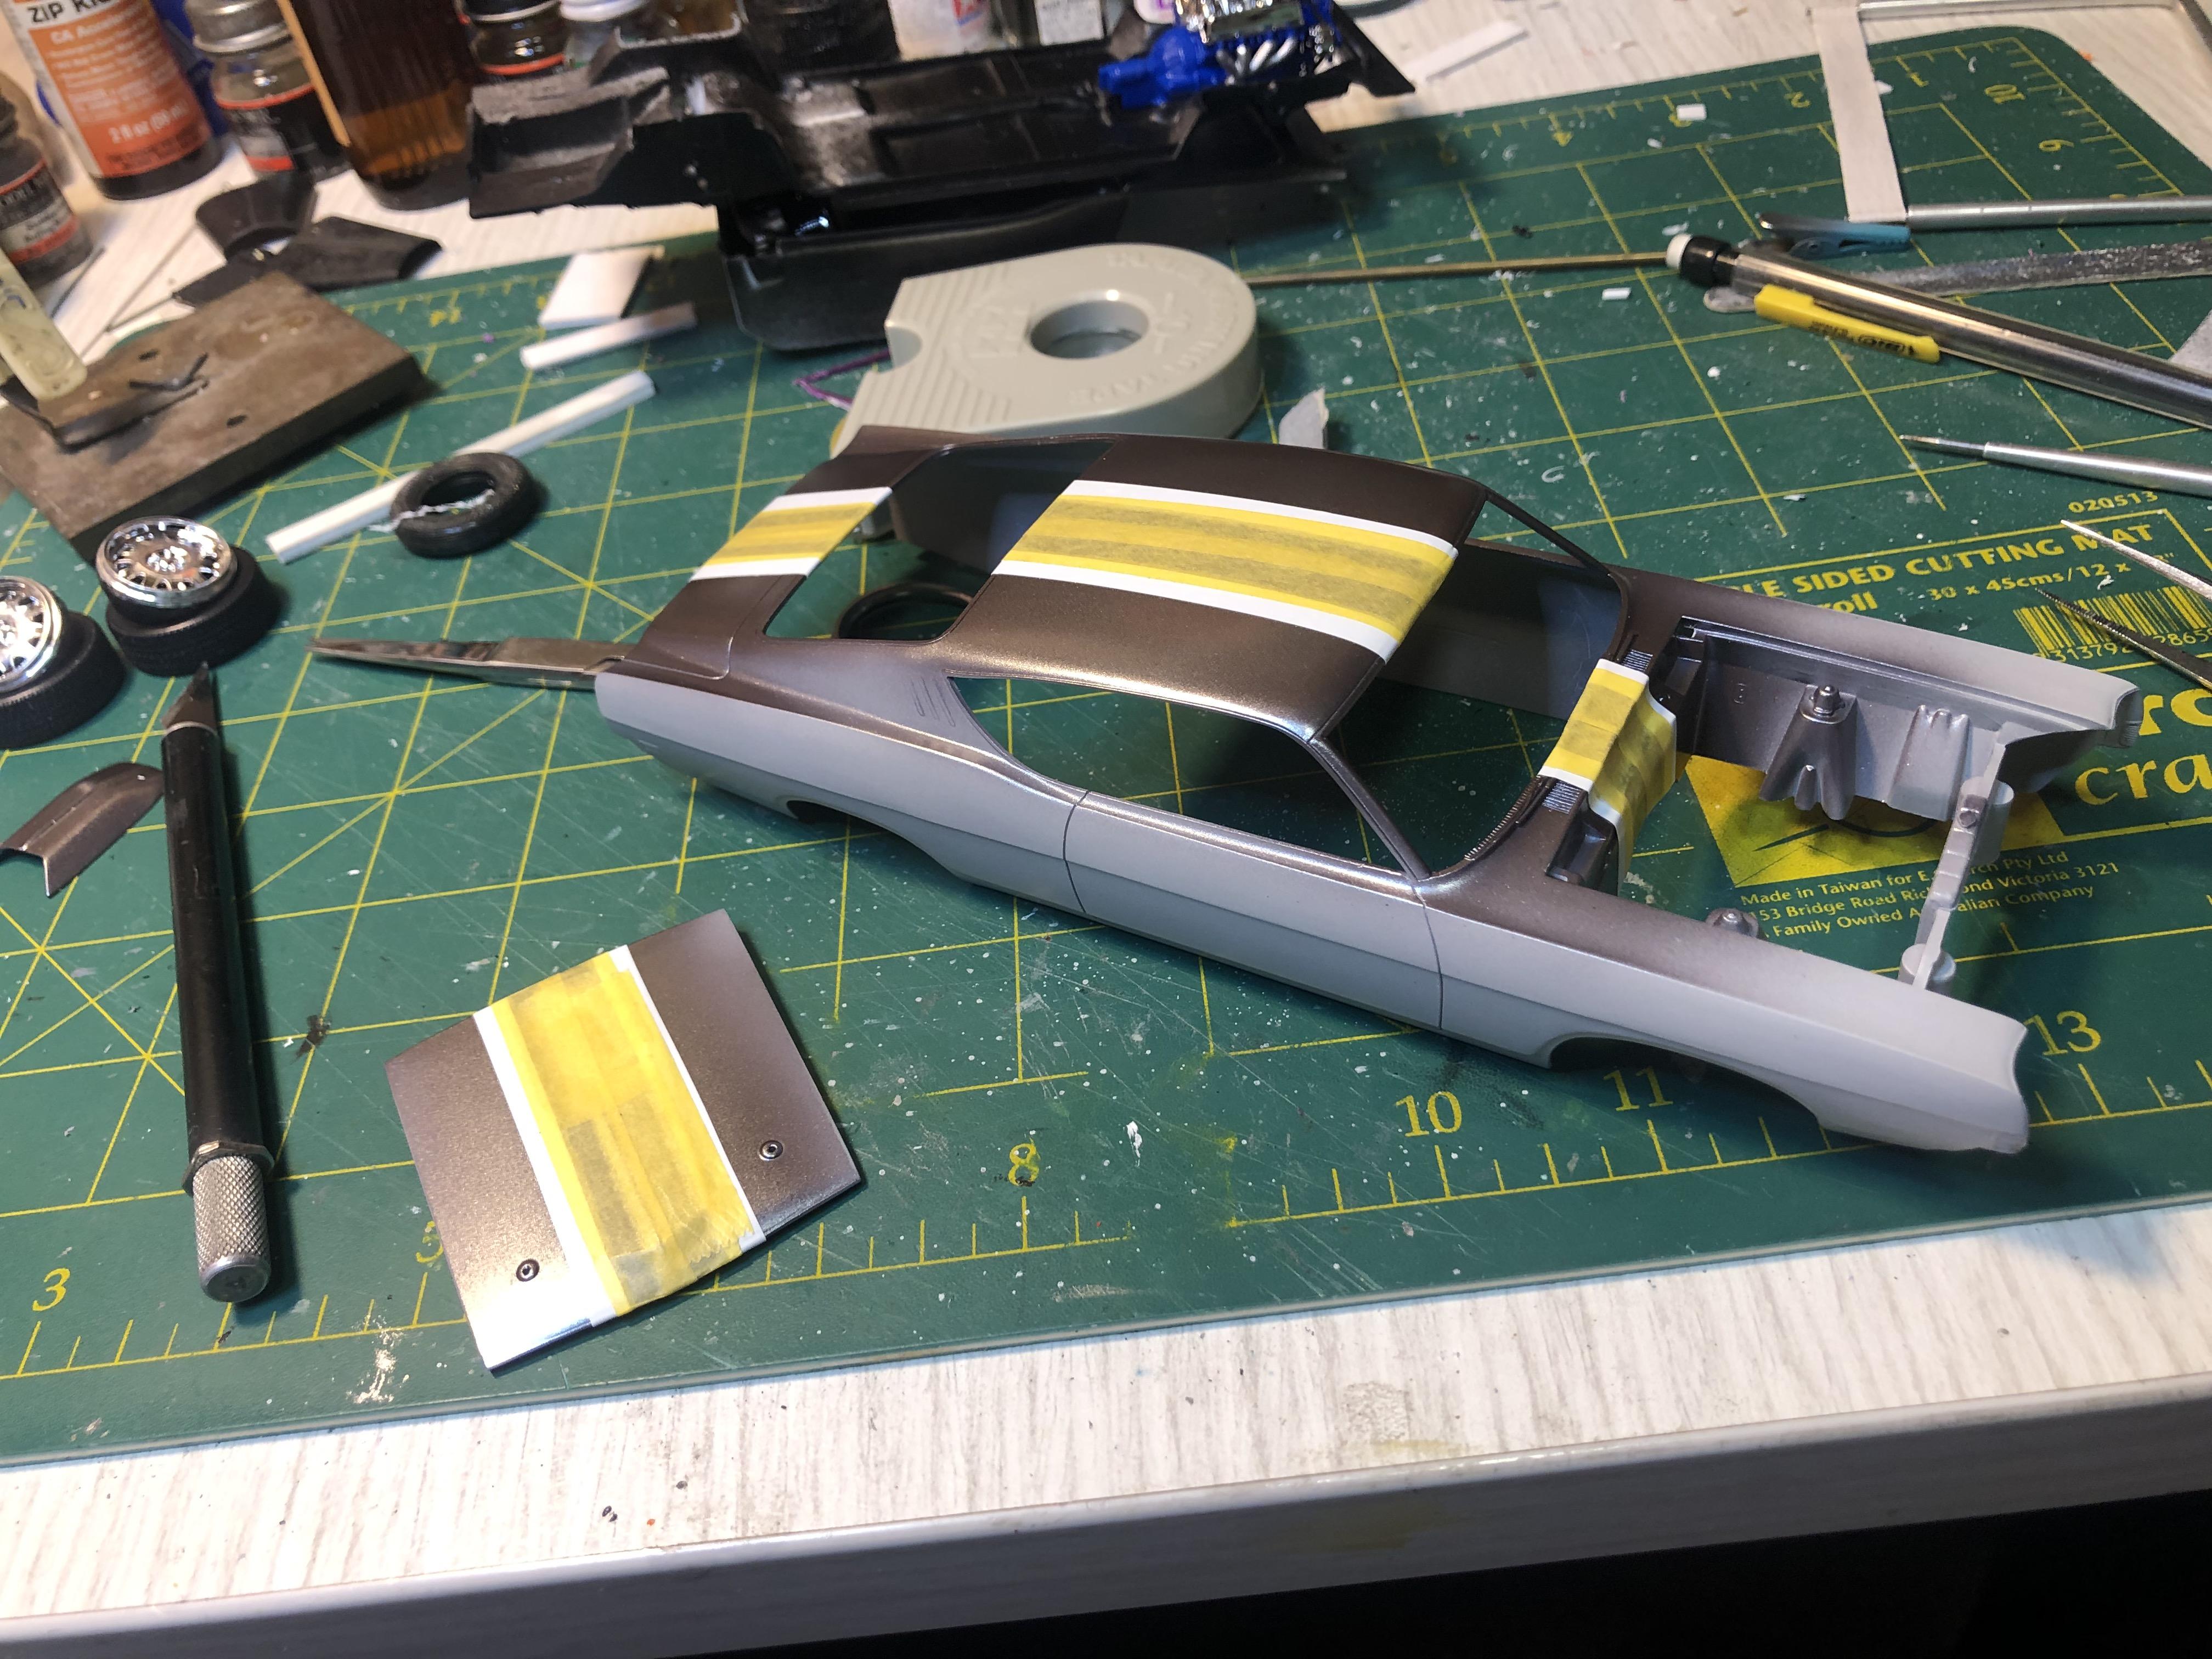
Been slowly working on this but life has a habit of slowing things down
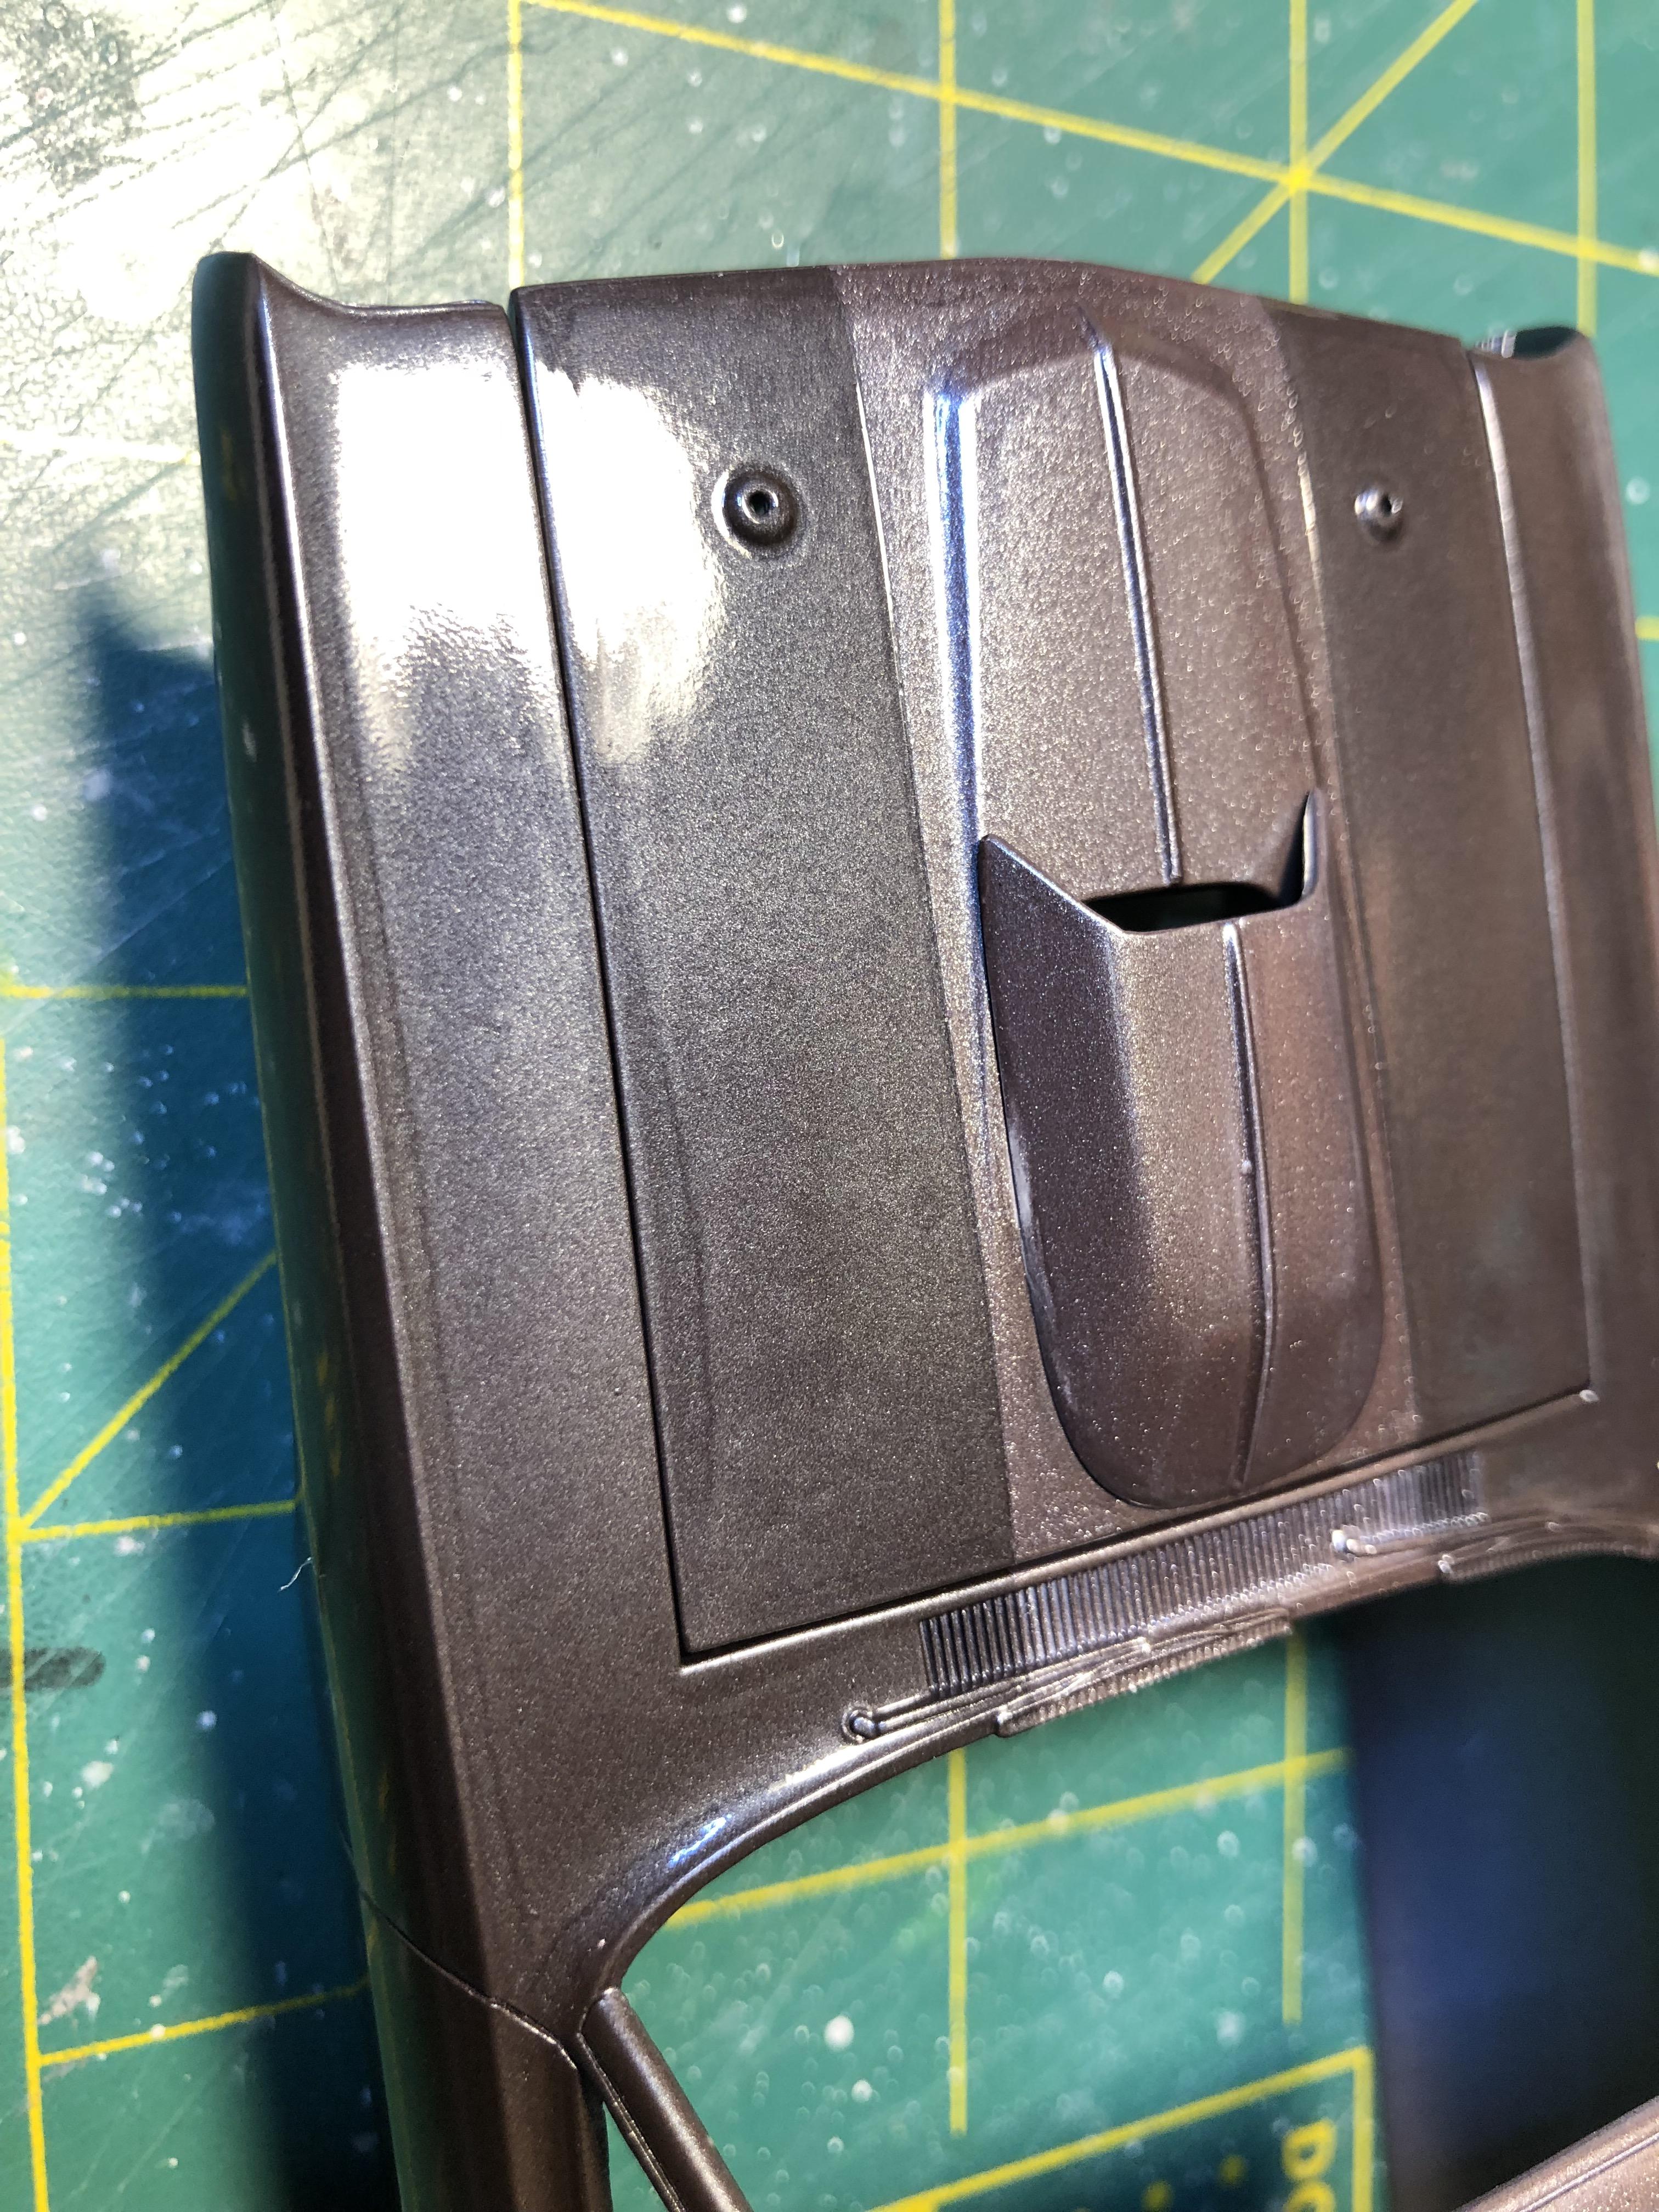
Got the first part of the pant on - Tamiya Light Gunmetal lacquer
Next step is to mask up for second colour. The mask is on both sides of the hood and runs into the engine bay. I used Tamiya 3mm fine line tape for the primary separation line to get a sharp edge and Tamiya masking tape for the fill in
And after painting with Tamiya Gun Metal lacquer
I am quite happy with the result - now to ready it for clear
Thanks for looking
-
2
-
-
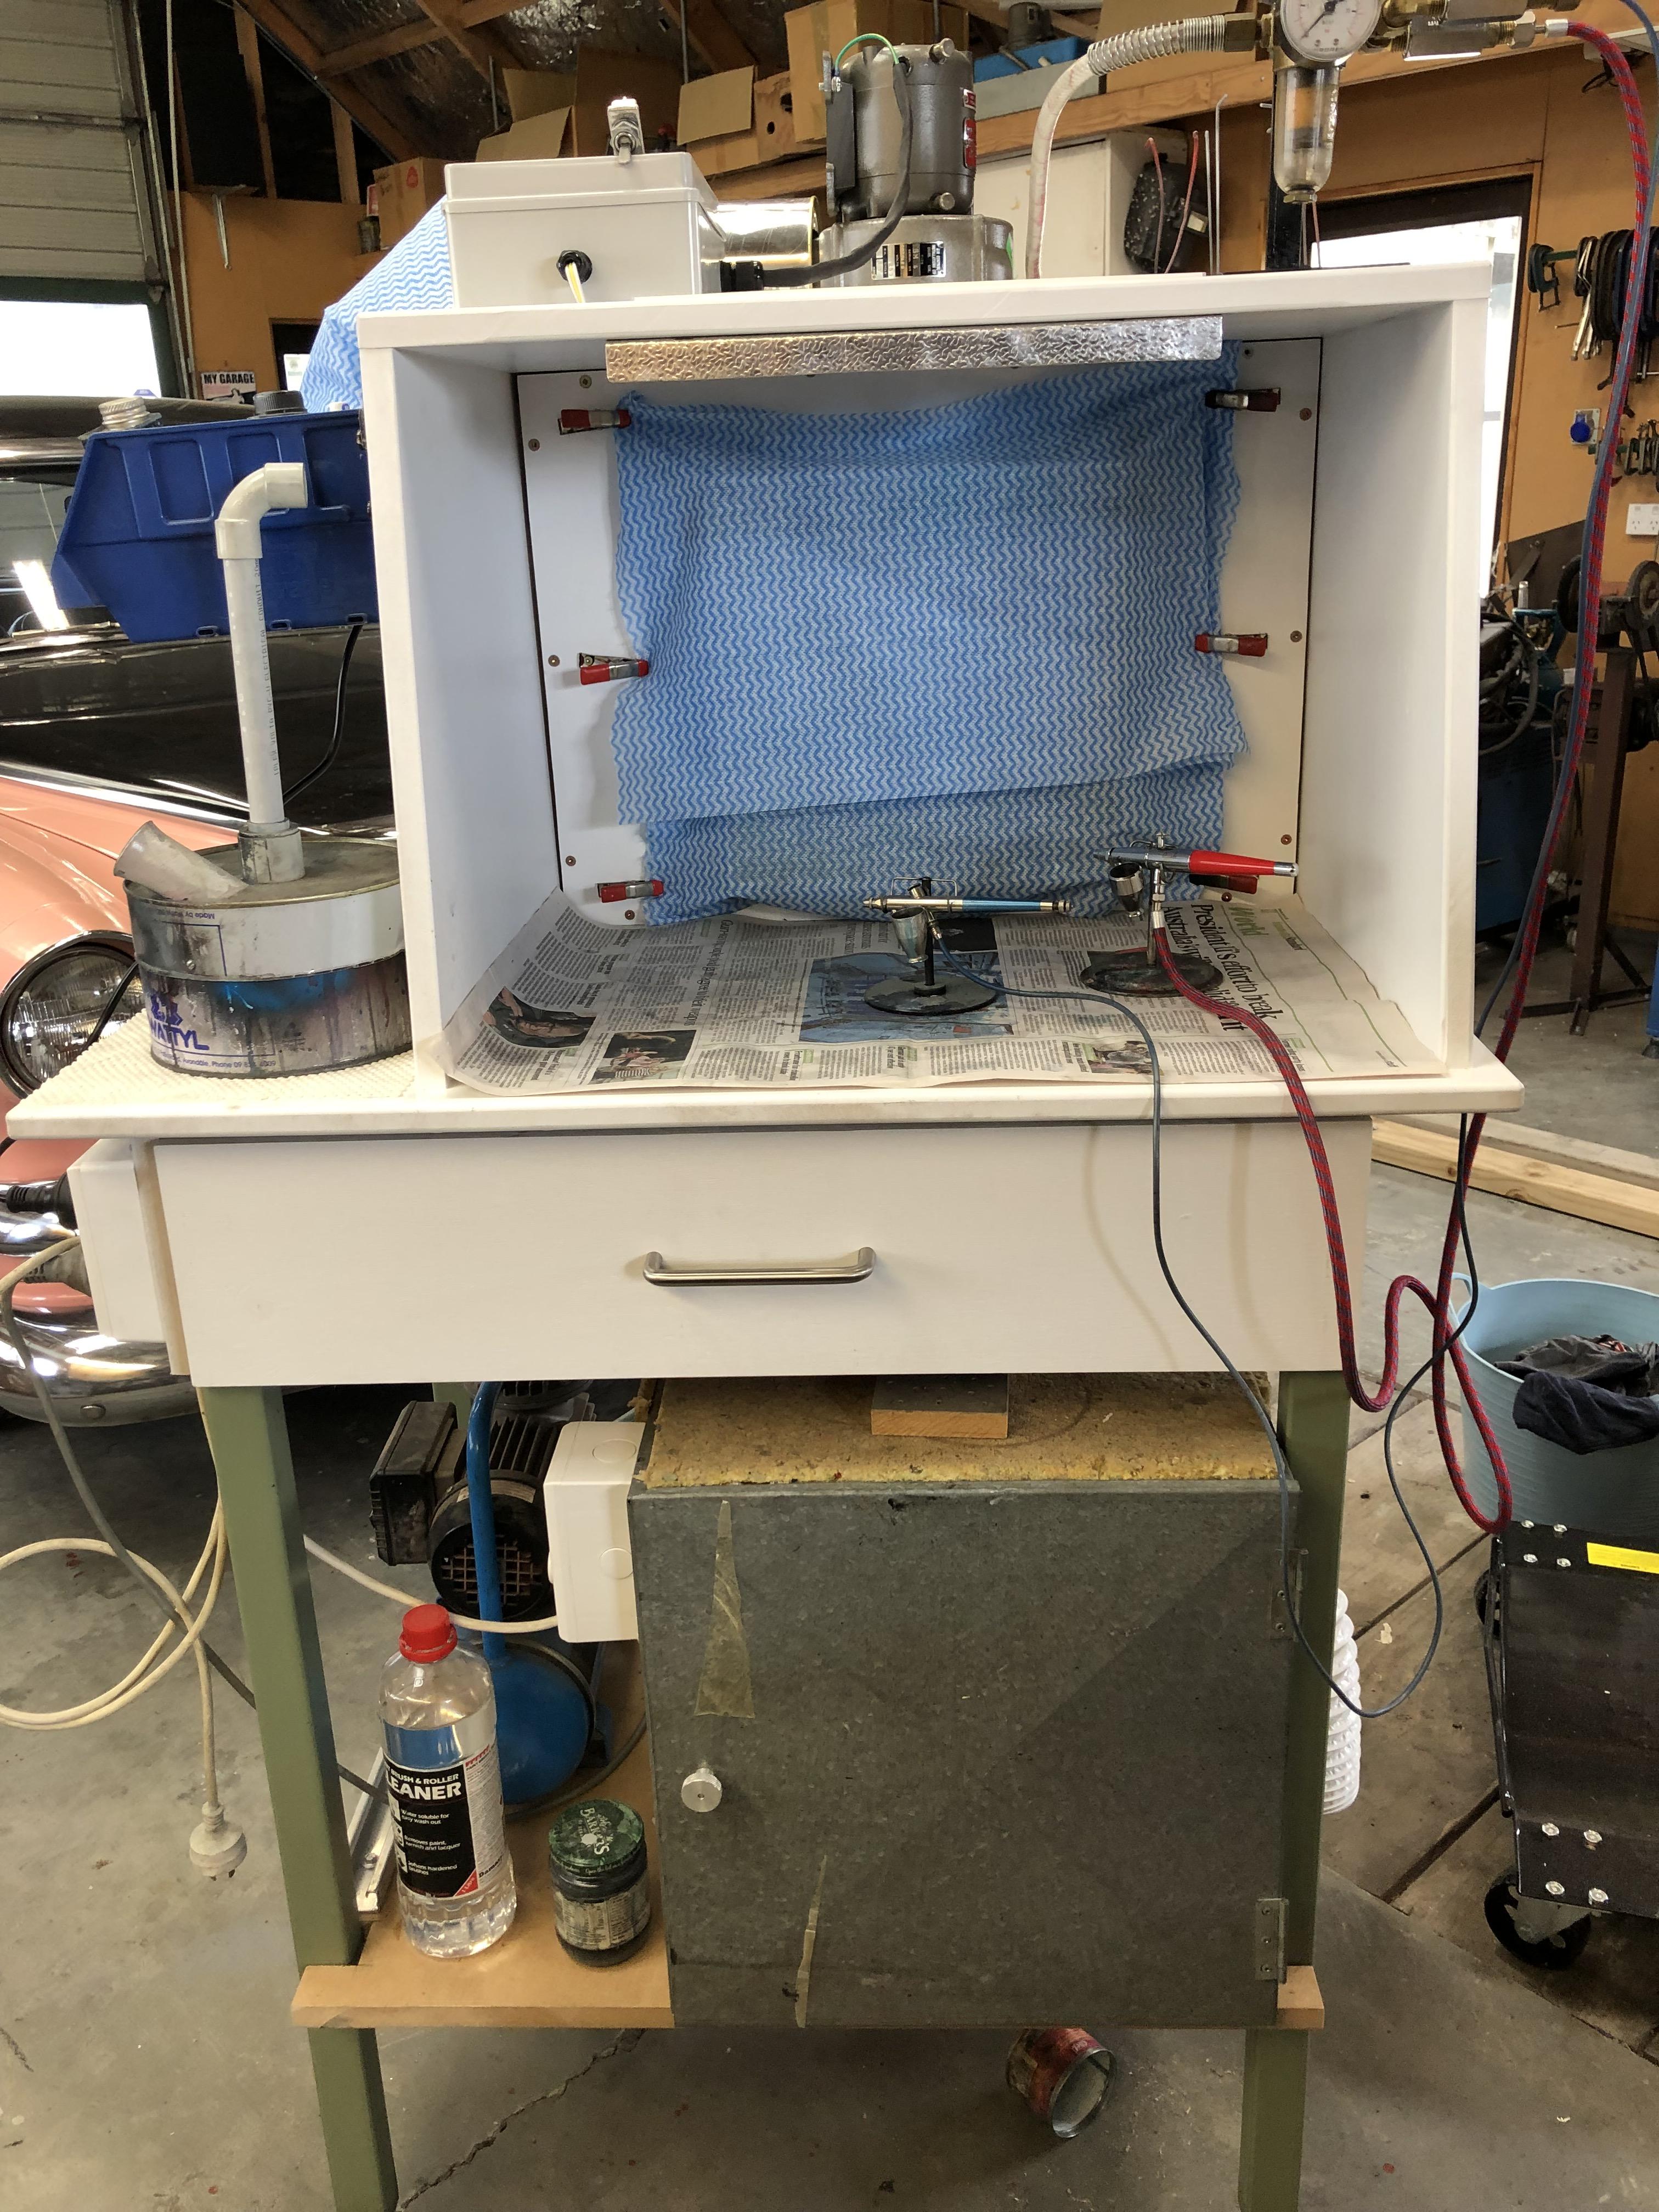
Looks good Bob. Your booth is a smidgeon wider than the one I made up a little while ago. The secret to keeping BLAH_BLAH_BLAH_BLAH out of the paint is to move the painted items to a covered container to cure the paint. I use an insulated metal box with a light bulb on a dimmer but a dehydrator is supposedly good too. The deal is to move the painted object straight from the booth to the curing chamber to minimise any dust settling onto the wet paint. I also made a front cover to go over the open side of the booth to minimise dust and BLAH_BLAH_BLAH_BLAH getting into the booth. My workshop is general purpose with work stuff happening (self employed industrial electrician), metal working and worst of all woodworking - I try try to do the dustiest stuff outside
I see you have a Paasche H air brush - good choice. I have one of these amongst the others I have collected over the years and my general go to is a Badger 200 that I picked up about 20yrs ago
Pix of my set up below shows booth on top with the hot box curing chamber below
-
Kool AV8 Koop - Nice build
I wonder if Revel will offer either the coupe or roadster with a flatty
I built a roadster flatty a couple of years back with a motor from the 32 Tudor


'32 Chevrolet Cabriolet....Traditional-ish...Update 7/23/22
in WIP: Model Cars
Posted
Looking good Roger. Keep up the good work
"But, it's annoying to think you're almost there and then realize you have to start over." - ain't this the truth. Its seems to to be every time you start kitbashing you come up against some wall that needs to be scaled or knocked down.