2whl
-
Posts
247 -
Joined
-
Last visited
1 Follower
Recent Profile Visitors


2whl's Achievements
MCM Friend (4/6)
-

Shelby Cobra Daytona
2whl replied to 2whl's topic in WIP: Other Racing: Road Racing, Land Speed Racers
Thank you Trevor It's been awhile , so time for another update. With the clearcote done, I started adding details to the rear end and front bonnet. With that done, it was time to mate the chassis and the body. -
Shelby Cobra Daytona
2whl replied to 2whl's topic in WIP: Other Racing: Road Racing, Land Speed Racers
Thank you Pierre Thank you. I'm really enjoying the LP line also. The next time I use the clear it will be with Gunze MLT. Benn working on sub-assemblies in preparation of joining the body and chassis. Doors are finished. Firewall is also ready to go. And I have a working gas cap. -
Shelby Cobra Daytona
2whl replied to 2whl's topic in WIP: Other Racing: Road Racing, Land Speed Racers
Thanks Mark. I haven't done any polishing. I just cleared it today and I have a slight sag/run to fix. -
Shelby Cobra Daytona
2whl replied to 2whl's topic in WIP: Other Racing: Road Racing, Land Speed Racers
Thanks Mark. I went out of my comfort zone and decided to clear this build. I shot it with a 50:50 mix of Tamiya LP-9 clear and LP-10 thinner.
-
Shelby Cobra Daytona
2whl replied to 2whl's topic in WIP: Other Racing: Road Racing, Land Speed Racers
Thanks Mark Thank you Pierre I got one door window done. Hopefully the second will go faster. Most of you know that Tamiya TS-13 spray is very hot and has killed many decals in the past. But I was wondering if the LP clear was the same. So I took a spoon I had done a color test on and added a spare decal. I mixed up a bottle of LP clear and LP thinner. I sprayed on a medium first coat, followed almost immediately by two more heavier coats. I laid it on thick on purpose trying to get a decal disaster. I think the second picture speaks for itself. Just about done adding decals. -
Shelby Cobra Daytona
2whl replied to 2whl's topic in WIP: Other Racing: Road Racing, Land Speed Racers
Got some color on the bodywork. Tamiya TS-19 Metallic Blue
-
Shelby Cobra Daytona
2whl replied to 2whl's topic in WIP: Other Racing: Road Racing, Land Speed Racers
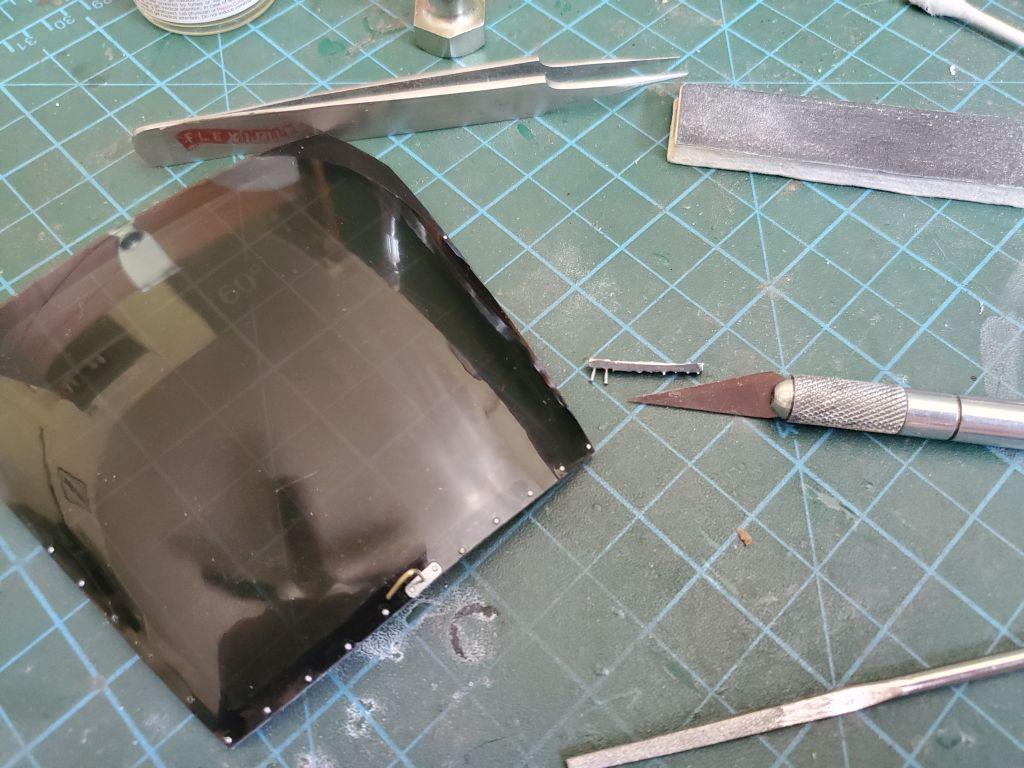
Great to hear from you DJ. And thanks for the compliments on the build. Here are the belts for the build. The buckles are white metal and the other bits are p/e. I've also been chipping away at completing the doors. The window have a sliding panel in them. I used a steel straight edge and an industrial razor to cut out the pieces. -
Shelby Cobra Daytona
2whl replied to 2whl's topic in WIP: Other Racing: Road Racing, Land Speed Racers
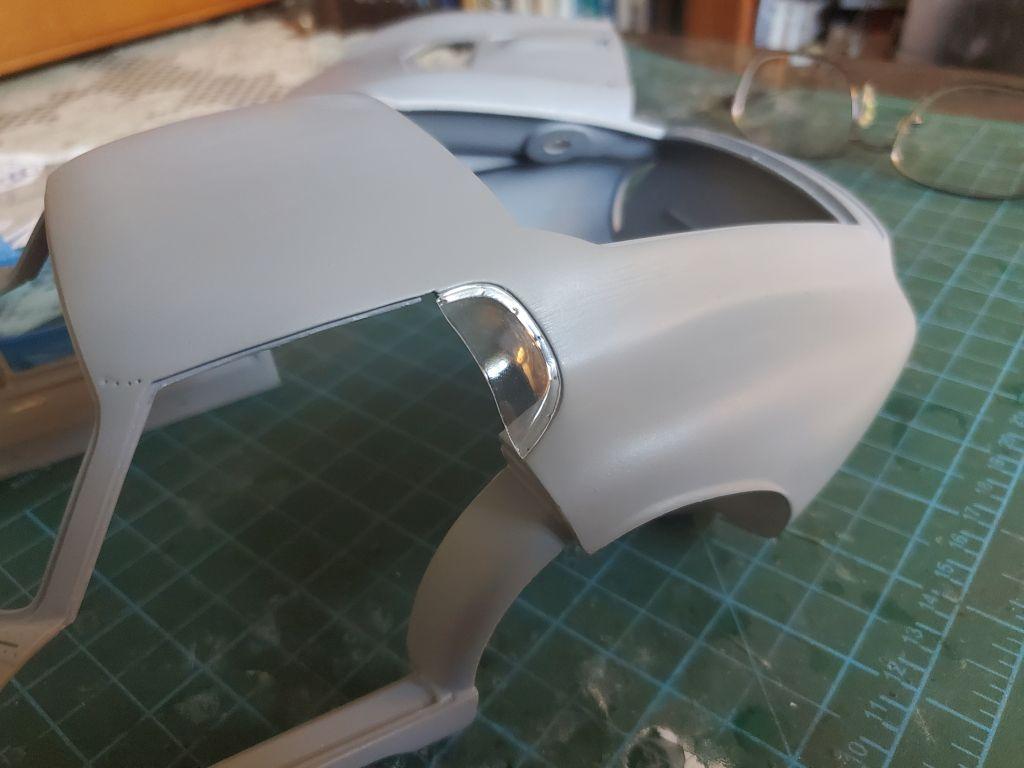
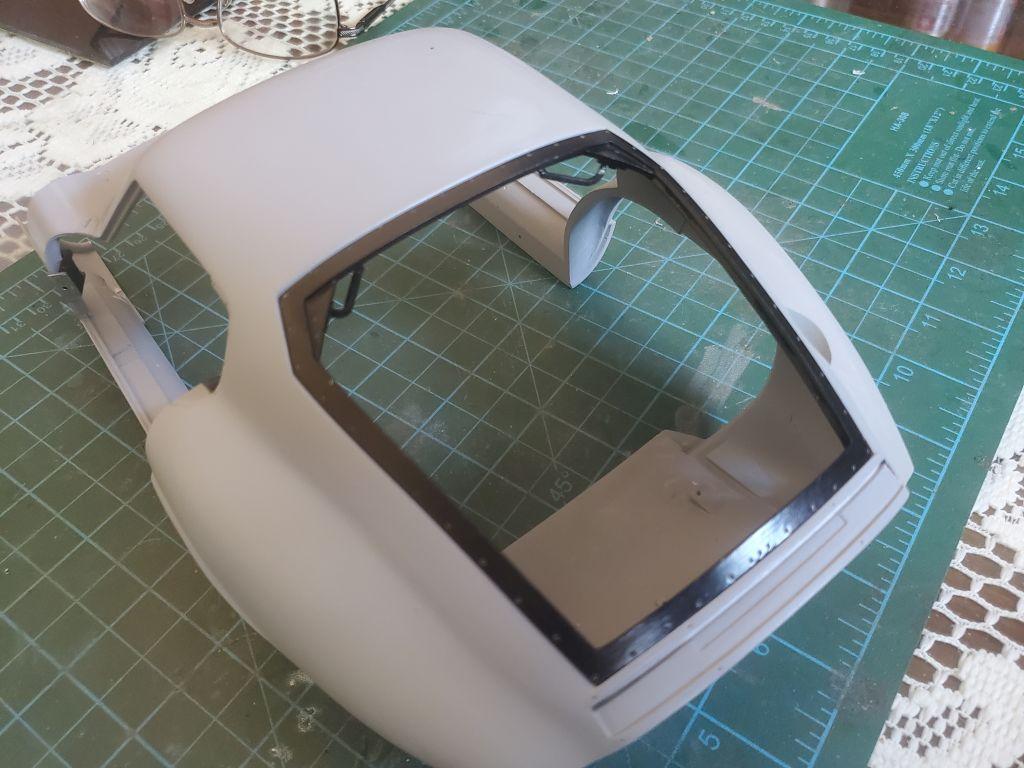
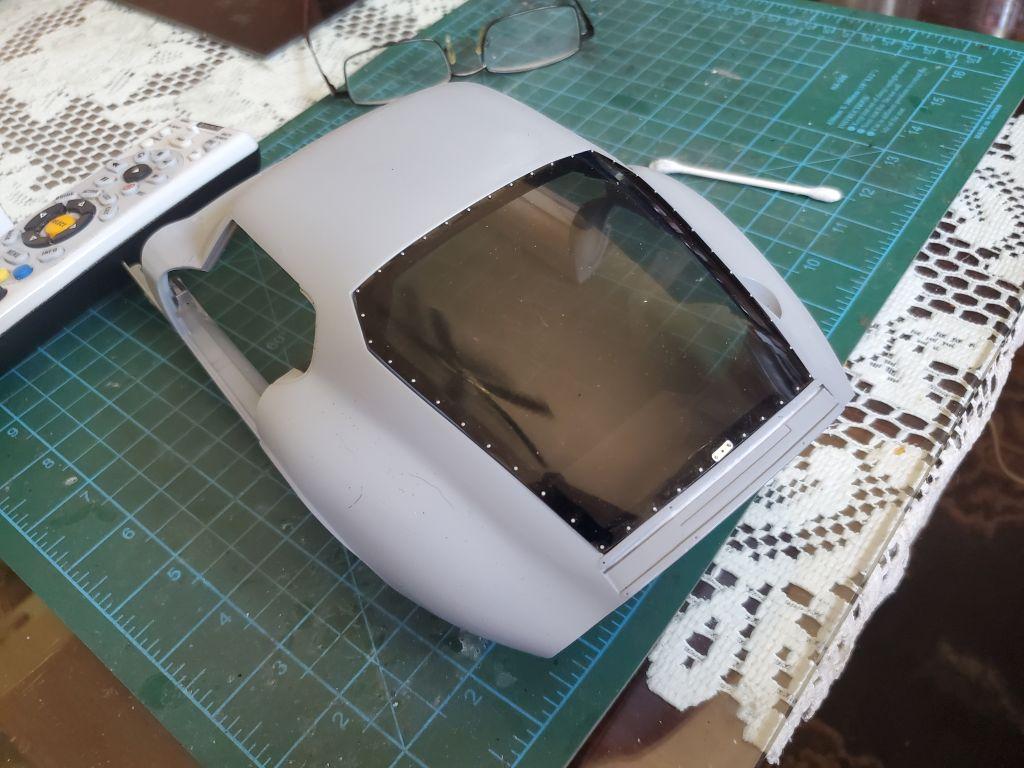
It's been awhile since I did anything on this build. I got distracted by a bunch of previously started builds and finished them off. So now it's time to (hopefully) finish this off. Before I put color on the bodywork, I wanted to fit up the vacu-form pieces that go on it. Windshield, side windows and air deflectors are first up.
-
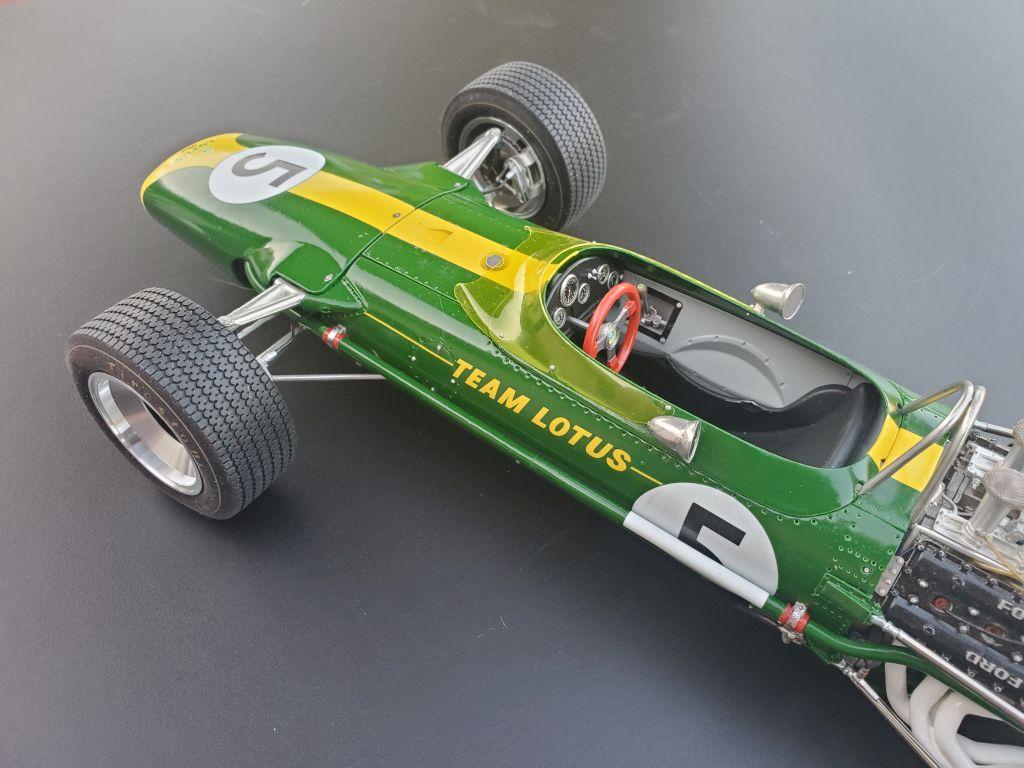
I just finished this MFH 1/12 Lotus 49. It is the Dutch GP version which was the initial outing for the car. It was also a win for Jimmy Clark. Painted in Tamiya TS-43 Racing Green.
- 23 replies
-
- 12
-

-
-
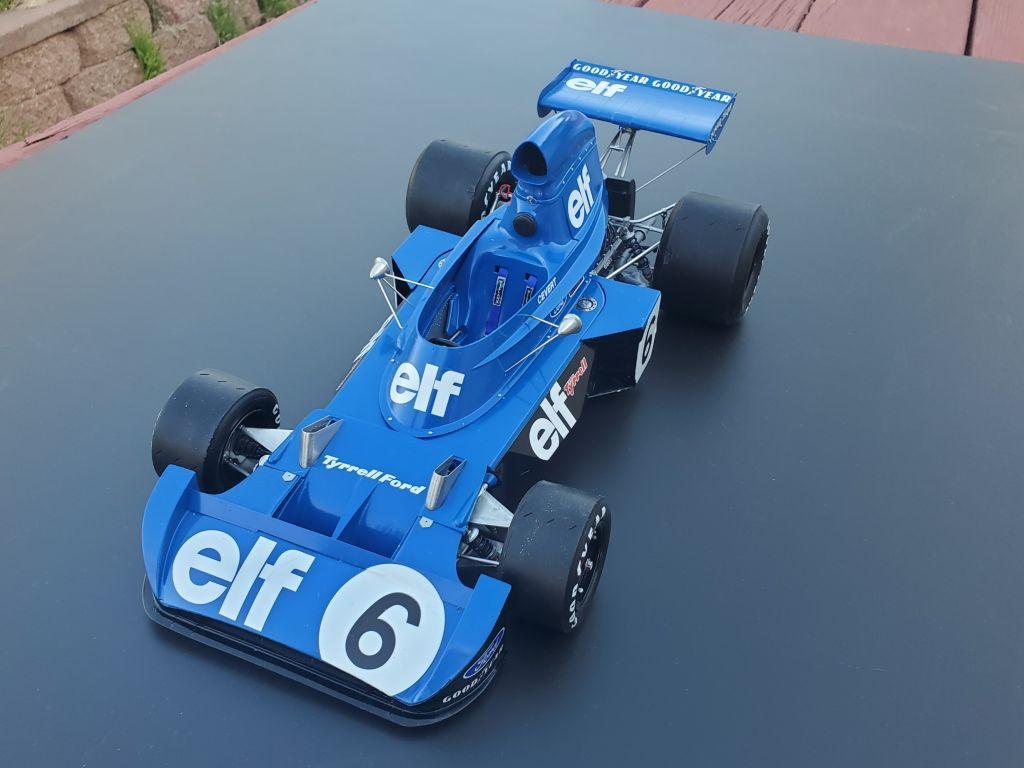
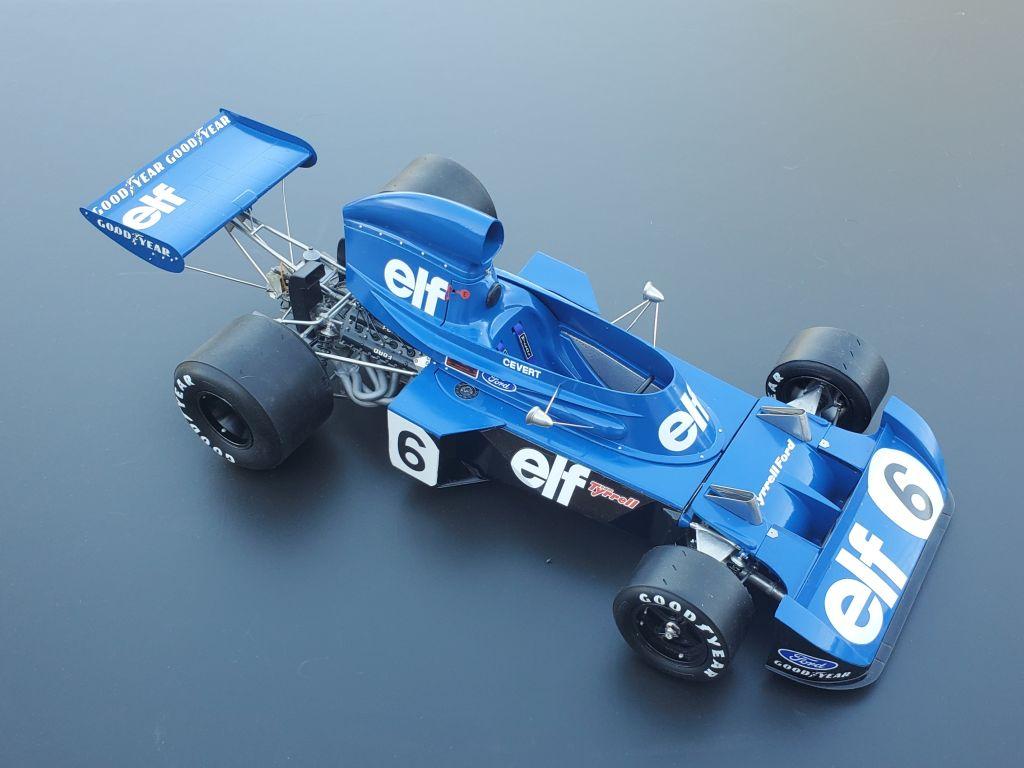
Just crossed the finish line. MFH 1/12 Tyrrell 006. Modified to the German GP version. I wanted this version because I attended the race while stationed in Germany
-
Shelby Cobra Daytona
2whl replied to 2whl's topic in WIP: Other Racing: Road Racing, Land Speed Racers
Thanks Ian Thanks Art. Unfortunately other builds have jumped in front of it in the building queue -
Shelby Cobra Daytona
2whl replied to 2whl's topic in WIP: Other Racing: Road Racing, Land Speed Racers
I bought it straight from MFH. When they announced the kit, I immediately put in my pre-order. -
Shelby Cobra Daytona
2whl replied to 2whl's topic in WIP: Other Racing: Road Racing, Land Speed Racers
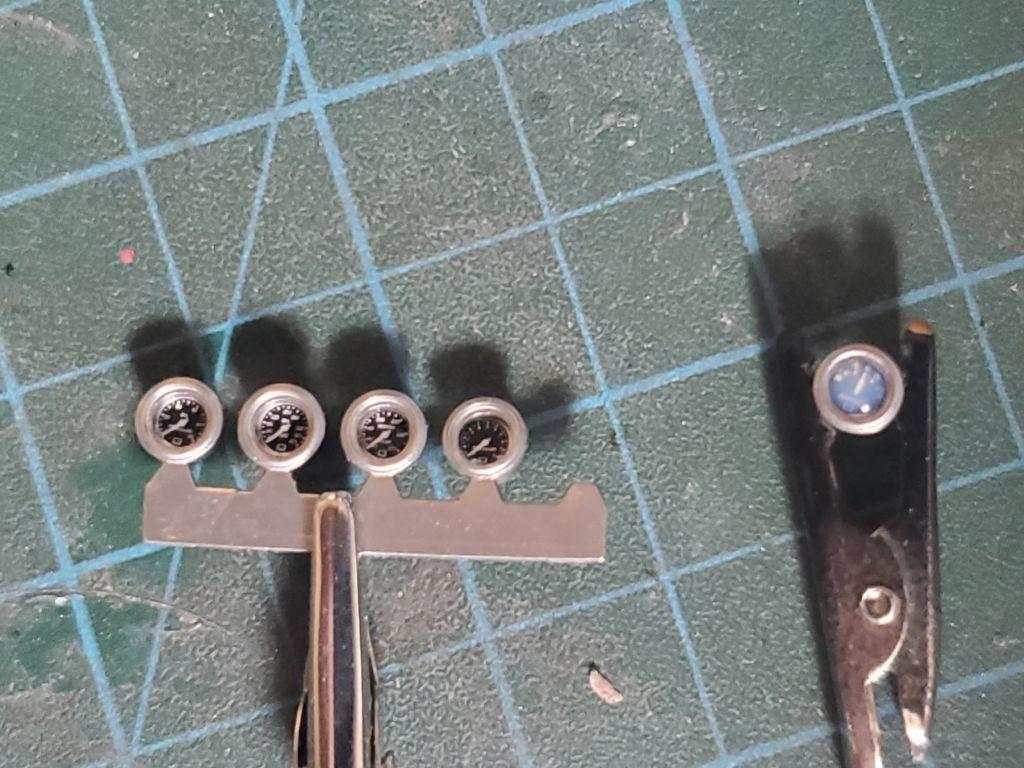
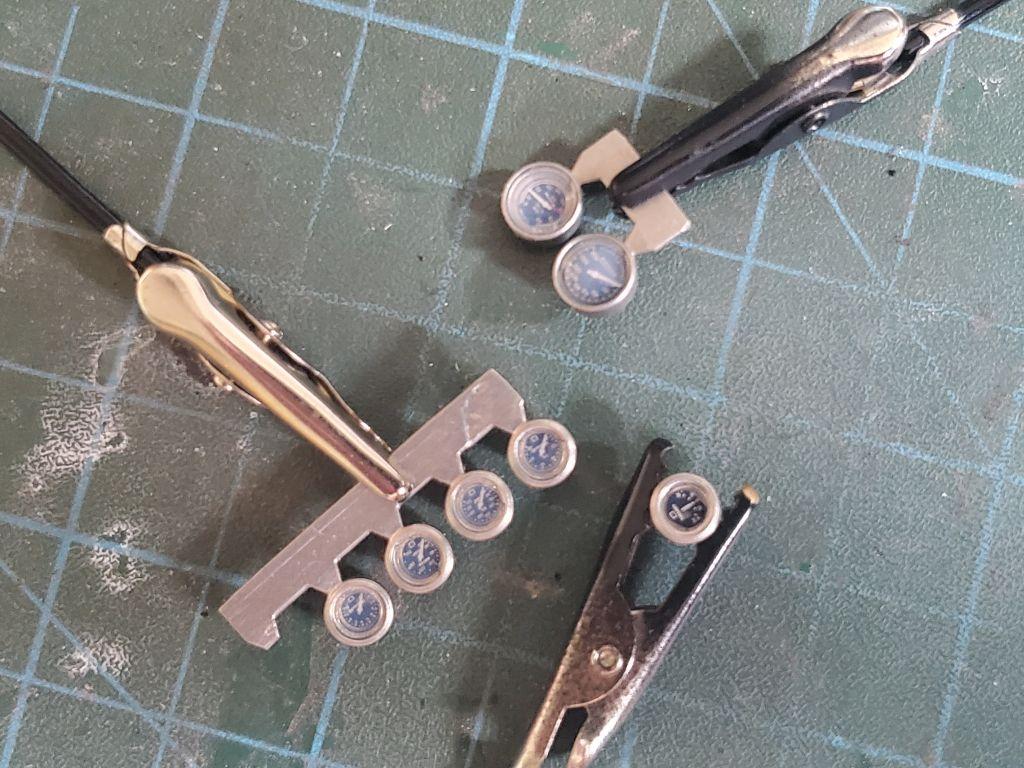
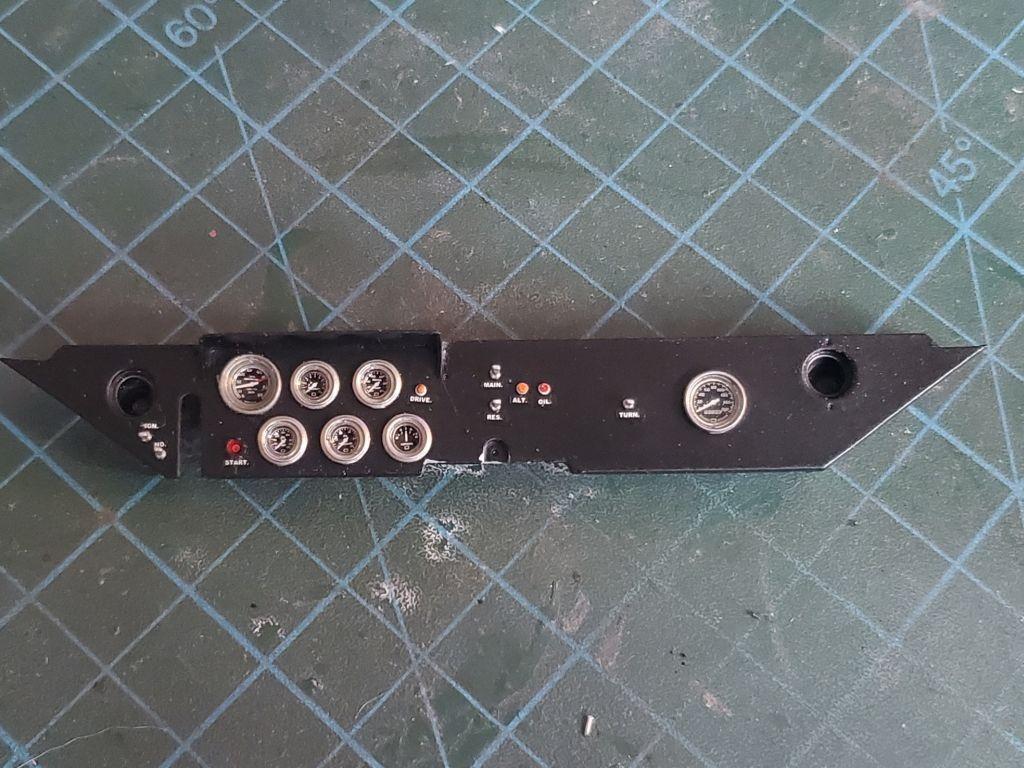
I don't know if there was a Cobra cast into the bellhousing. But it doesn't matter because it will be buried under bodywork and no one will see it. After I decaled the gauges, I tried the glue I used on the rear window to make the lenses. The time difference between the first and third pictures is only about an hour. Then the dash was assembled.
-
Shelby Cobra Daytona
2whl replied to 2whl's topic in WIP: Other Racing: Road Racing, Land Speed Racers
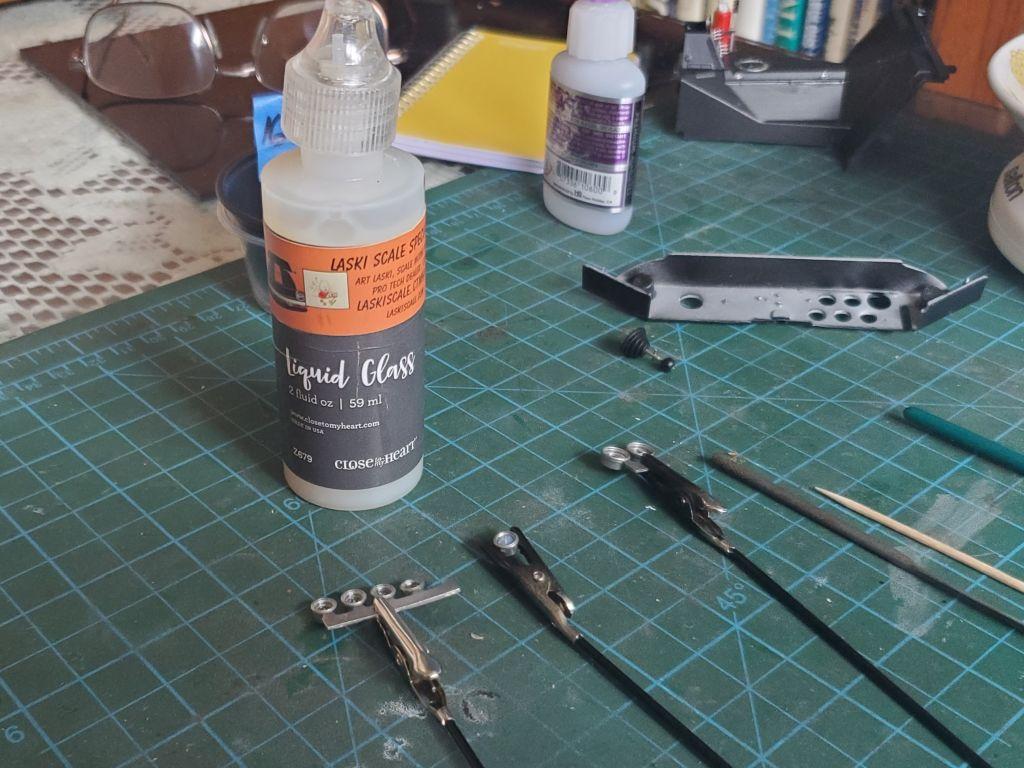
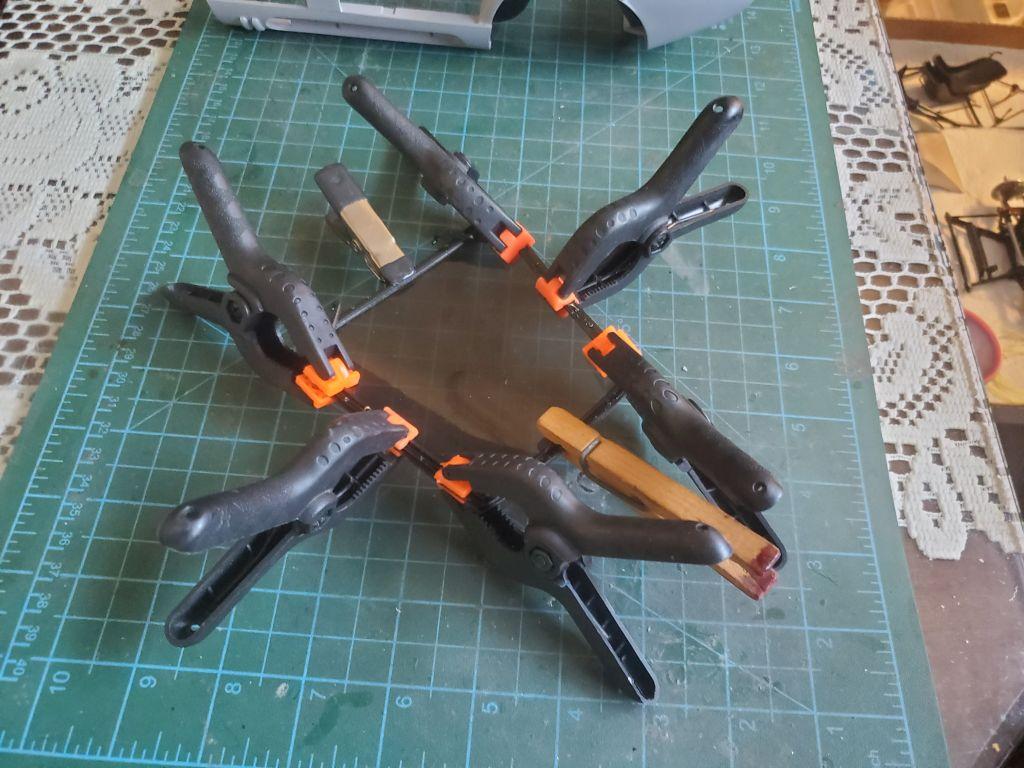
I got the rear hatch sorted. I used a product called Liquid Glass that I got from Art Laski to glue the hatch and glass together.