-
Posts
784 -
Joined
-
Last visited
Content Type
Profiles
Forums
Events
Gallery
Everything posted by Ognib
-
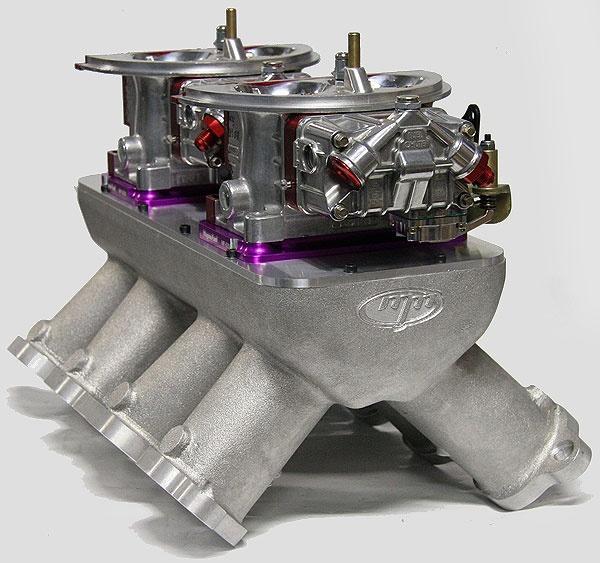
Word play is one of my favorite things. Top plates in place for the carburetors. Still needs float bowls & throttle shafts. Scale seems ok relative to the manifold plenum. Still need to final shape the base plates.
-
...name his was ognib and. yes, there is a deeper mental significance to all this....but only on a subconscious level...an asymmetrically symmetrical pallindrome of sorts, if you will... How astute of you to notice certain things...I like the way you think. Thanks for stopping in & looking. Appreciate your comments.
-
Thanks Scott. Always good to see you. Especially if you're sctatching your frames, the platform & jig...in conjunction with the religious use of the centerline for doing your layout...really simplifies the construction of accurate, well bananced pieces. All of the pro 1:1 scratch builders, that I'm aware of, build in jigs. Right up to the point where the car is ready to be set on the tires. Thanks Rob. Really like your sig line...kinda like, "don't hold back, tell me how you really feel". Tim, thanks. The single manifold has a sweeping grace about it that I really like. However, the double style just screams "NASTAY" & I've always had a real big thing for nastay motors...rough idling, chattering solid valve train...ah, memories. humm, decisions...decisions
-
-

Henry J Twin Turbo - Didn't see that coming..........
Ognib replied to Codi's topic in WIP: Drag Racing Models
Nice!!!...good mock ups are one of the main things that keep me inspired...seeing the progression of the entire assembly. -
I cut the sump off the pontiac oil pan, packed it with a plug of bondo & whittled out a dry sump pan. Will have 3 scavage hoses with pressure delivery to the tank & one feed line from the tank, through the pump, filters & cooler for high pressure feed into the engine. Interestingly seems I read, some, maby all dry sump pumps are roots type pumps & they also pull air thus acting as the positive crankcase ventilation system. Any of you guys know for sure on the roots thing...speak up here...correct me if I'm wrong on this. Built the pump itself by stacking tubing inside itself until I reached the proper size for the drive shaft. Located it on the engine side & marked the spot to drill for it to pass through to be belted to the crankshaft. Drilled a pin into the side of the pump for mounting to the engine. I've been packing the inside of the block with an epoxy putty I found at the hardware store, at strategic locations, thus providing a solid bulkhead for all of my pin mounts to seat into. The pin inserts into the engine with a slight press fit & is snug against the back of the motor plate. The shaft is then inserted from the front. I put a slight bushing inside the shaft hole & it also installs with a press fit. So this item is solidly on the engine. Block with the end packed with epoxy & the original bellhousing cut off in preparation for a scattershield/clutch can. Fabbed the can out of a pvc pipe cap & a ring of plastic cut from a light switch cover. Still needs a pod for the starter.
-
Then I saw this... ...and realized that I'm still undecided as to what I want for the motor. So I'm currently building 2 intakes...see which one I like the best. Base plates for a pair of hollys with tubes for the throttle bores. Everything soldered & semi cleaned up. Using hi temp silver solder on this...later I'll use lower temp tin & lead so I can add float bowls & top plates without un soldering what's already done.
-

Henry J Twin Turbo - Didn't see that coming..........
Ognib replied to Codi's topic in WIP: Drag Racing Models
What he said! BTW, ever weigh that motor? -
There are certain things that need to be in place before I proceed with the frame & cage. The car definitely needs an engine & transmission in the frame at this point & that was my next move. I checked the prices on some aftermarket resin engine kits & I'm like, naaaaaaaaa, I ain't gonna spend that kind of money on an engine for this build. After all this one is all about the creative process...how innovative can I be at this...achieving a satisfactory result with what I have on hand. So, this was with the red deuce kit when I bought it A cool motor in it's day, but very dated looking & definitely not what I want for this build. It's definitely a pontiac engine...the shape & configuration of the exhaust ports gives it away. So, I trimmed them off, leaving a blank canvas with which to work for exhaust ports. Something more up to date looking with a strong performance vibe. Also updating the look of the old finned aluminum rocker covers. I was in the process of carving an intake manifold out of a block of epoxy & thought, naa, this needs to be in metal, so began bending some tubing to see how to approach it. Bent a cover for the lifter valley Also in this pic is the motor plate & drive shaft for the dry sump pump, which I'll get to later.
-
Hey Tim, thanks for stopping in. Glad you like my work. This one is the "front burner" project right now & I'm really enjoying working on it. My mind is full of ideas for it & that's good...it keeps me in mental attraction to it. The roadster is requiring so much prep & learning curve that it has become a rather long term WIP. I don't mind that though, I like a project that I can become deeply involved with & it gets some thought & attention on a daily basis...just most of it mental energy, right now.. So I've got a good mix going...one that I see daily progress on & another that's requiring some planning & education to accomplish. When I laid back the grill shell, it created some alignment problems with the hood... Laid some more mat to extend the sides of the hood & build up the top of the grill shell. Took a couple of applications of glass but it's now got a good tight line all the way across.
-
-
With that accomplished, I began hanging parts to see how it's all going to fit. Wanted the grill laid back & the front wheels somewhat out in front of the grill. Stretched the wheelbase 8" @ 1:1 to get everything fitted with the perspective desired. The front mount for the upper control arms will also be the locating point for the headlights. The doors will be suicide & I laid out the front door line, below the beltline to match the angle chosen for the grill shell layback. Also laid some more glass mat, extending the cowl & shaping it to match this angle as well.
-
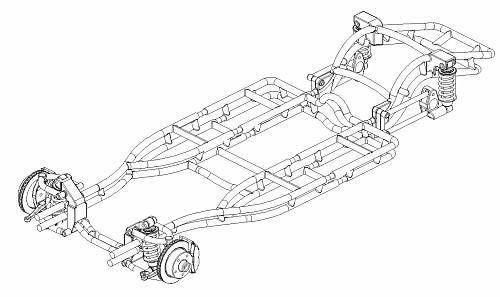
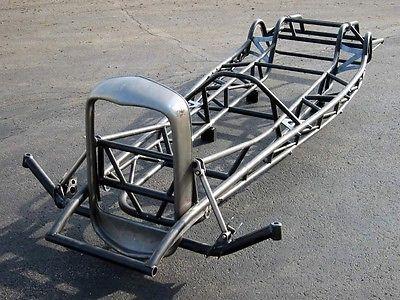
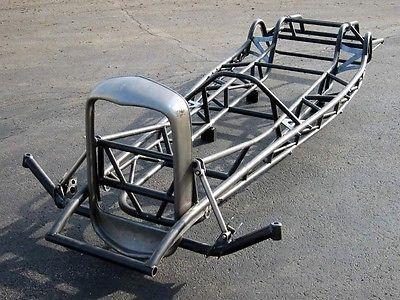
Thanks guys. Wanted a tube frame with a cage for it...something along these lines. The frame will have two sets of rails similar to these. Using the frame jigs I built for the roadster as templates, I bent some brass rod to shape & soldered in a couple of uprights to hold everything together for now. Set up a build platform, laid down a center line & began jigging everything up. This holds everything in constant correct position & the build is performed in the jig. Two rear uprights locate the body in it's correct position.
-
I began with the mandatory mock ups... Yep, the tops gotta come down...darn, wish it was a 3 window...like then much better. Tacked everything in place with some super glue & added fiberglass mat & resin. Cut the quarter window out of the body & moved it forward to become the back of the door window opening. More mat & resin. And a topcoat of body filler. There, that's better.
-
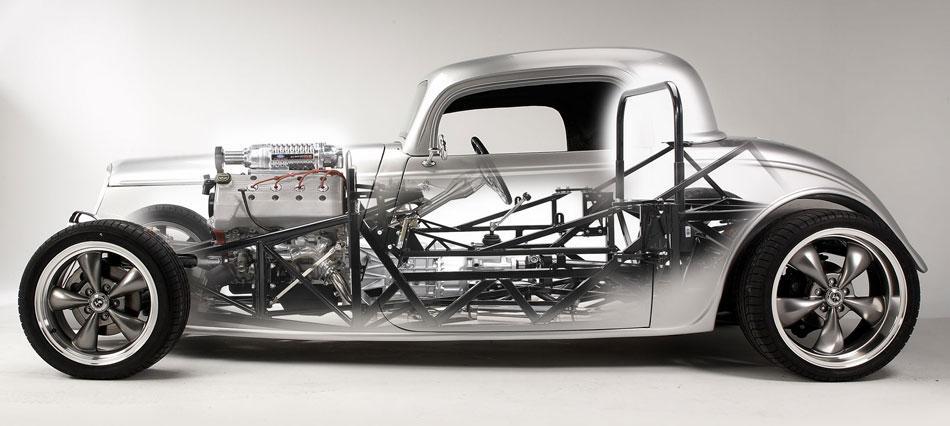
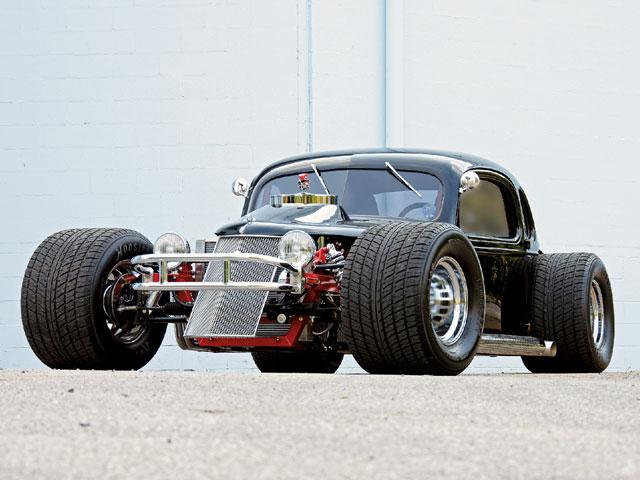
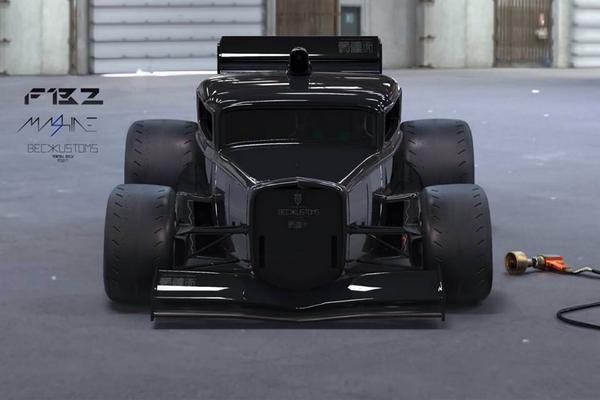
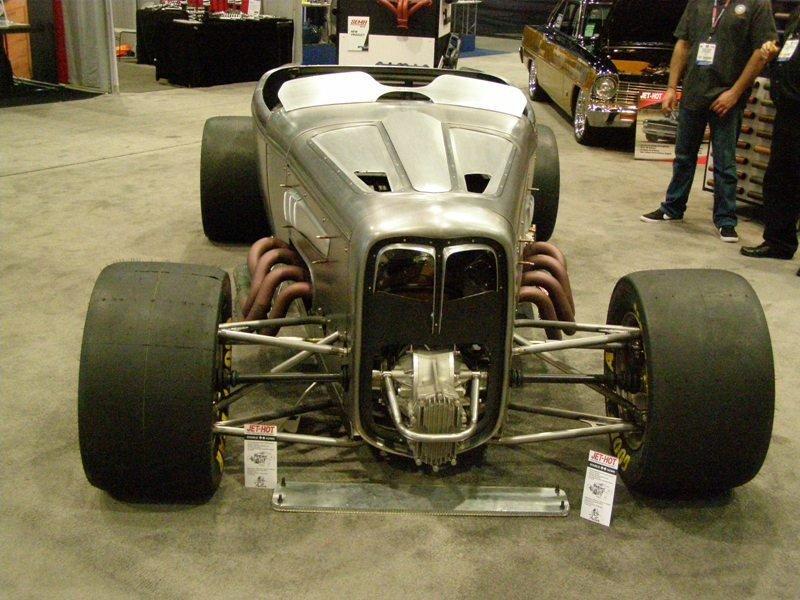
It all began innocently enough...Saw some pictures of a 1:8 60/70's dirt track coupe with massive rubber at all 4 corners. I've always like that look...quick & nimble looking, like a sprint car or a big overgrown go cart. Then I saw this... And then this... and this. I've had this on the shelf for a couple of years & never had a spark of inspiration to do anything with it until now. I was needing something creative to do so took it down & started looking it over & the hook was set. Something along the lines of a hot street coupe that's set up for going to the autocross track vs. the drag strip. Handling in the corners just as important as acceleration. Laid out a few parameters for the project...I'm spending money on equipment & supplies for the roadster...this one will be a lo buck special, focusing entirely on the creative process & buying only minimal materials & parts for it.
-
Since I'm not doing much actual building on the roadster right now & needing something to do to give a creative outlet, I've been puttering around with this one. This is kinda where it's at, at this point & if you all are interested, I'll regress to the beginning & tell it's story. Please bear with me, the new software seems to require a different technique for loading pictures...I'll get it figured out. Also noticed can't preview new posts. hummm Thanks for your patienc
-
Hey Bob, good to "see" you ...not a lot of visible progress...other than I'm just a week or so away from having the cash for the welder. I refuse to use plastic for buying for my hobby. I've located a local source for all of the mold making supplies as well as the investment plaster I'll need for the aluminum parts. A new friend, as it turns out, is aircraft/aerospace cert on tig in exotic metals...is a small parts specialist, actually & has agreed to coach me in the finer points of doing a good solid "stack of dimes" bead on my parts. Now what's the odds on making that connection at such an appropriate time?! So, although nothing really to shoot & post for pics, good progress is being made. Should be realizing aluminum parts to assemble sometime in the winter. Work on the bucks is ongoing & very tedious & slow...short spurts on that as my focus seems to fry after 30 min or so. Best
-

Henry J Twin Turbo - Didn't see that coming..........
Ognib replied to Codi's topic in WIP: Drag Racing Models
Very nice! T -
Thanks for the review on the machine...good to know. I've bought from them before & their product was always first rate. The fact that aluminum is such a fickle beast is much of what makes this project such a worthy challenge.
-

Henry J Twin Turbo - Didn't see that coming..........
Ognib replied to Codi's topic in WIP: Drag Racing Models
Have you weighed the engine, trans as a unit? -

Henry J Twin Turbo - Didn't see that coming..........
Ognib replied to Codi's topic in WIP: Drag Racing Models
Nice! The close up shots tell the true story. -

Fairmont drag car build - Hanging/hinging DS door 8/10/16
Ognib replied to futurattraction's topic in WIP: Drag Racing Models
This is really taking shape, Scott. Fit, proportion, stance...it's all spot on, sir! Well done.


