Doug Bowen
-
Posts
77 -
Joined
-
Last visited
Content Type
Profiles
Forums
Events
Gallery
Everything posted by Doug Bowen
-
Cutting Chrome strips...
Doug Bowen replied to Doug Bowen's topic in Model Building Questions and Answers
Harry...I tried using semi-gloss acrylic clear to adhere the Reynolds... worked real well. Thanks
-
Cutting Chrome strips...
Doug Bowen replied to Doug Bowen's topic in Model Building Questions and Answers
Roger...another great suggestion I never would have thought of. Next trip to the hardware store... Thanks -
Cutting Chrome strips...
Doug Bowen replied to Doug Bowen's topic in Model Building Questions and Answers
Harry...thanks, that seems like the easiest for me to handle. I think I have some lying about... -
Cutting Chrome strips...
Doug Bowen replied to Doug Bowen's topic in Model Building Questions and Answers
Skip...thanks, I will check out Line-O-Tape...As a kid I remember this being pretty thick, scale-wise, but I am going to check it out. Maybe they have a lot more things to offer since 1967 !! (ya think, Doug?!) Psychographic...this is a pretty nice site. Thanks. (see you are local to me...Used to live in Bethlehem myself a few years back) Thanks guys, D -
Cutting Chrome strips...
Doug Bowen replied to Doug Bowen's topic in Model Building Questions and Answers
I'm still kinda new to this whole thing... Will superglue (I just bought some Extreme Power -medium) stay "wet" long enough for me to pick up the strip and position it? Also, is micro metal adhesive a specific product name? Where can you buy it? Thanks, D -
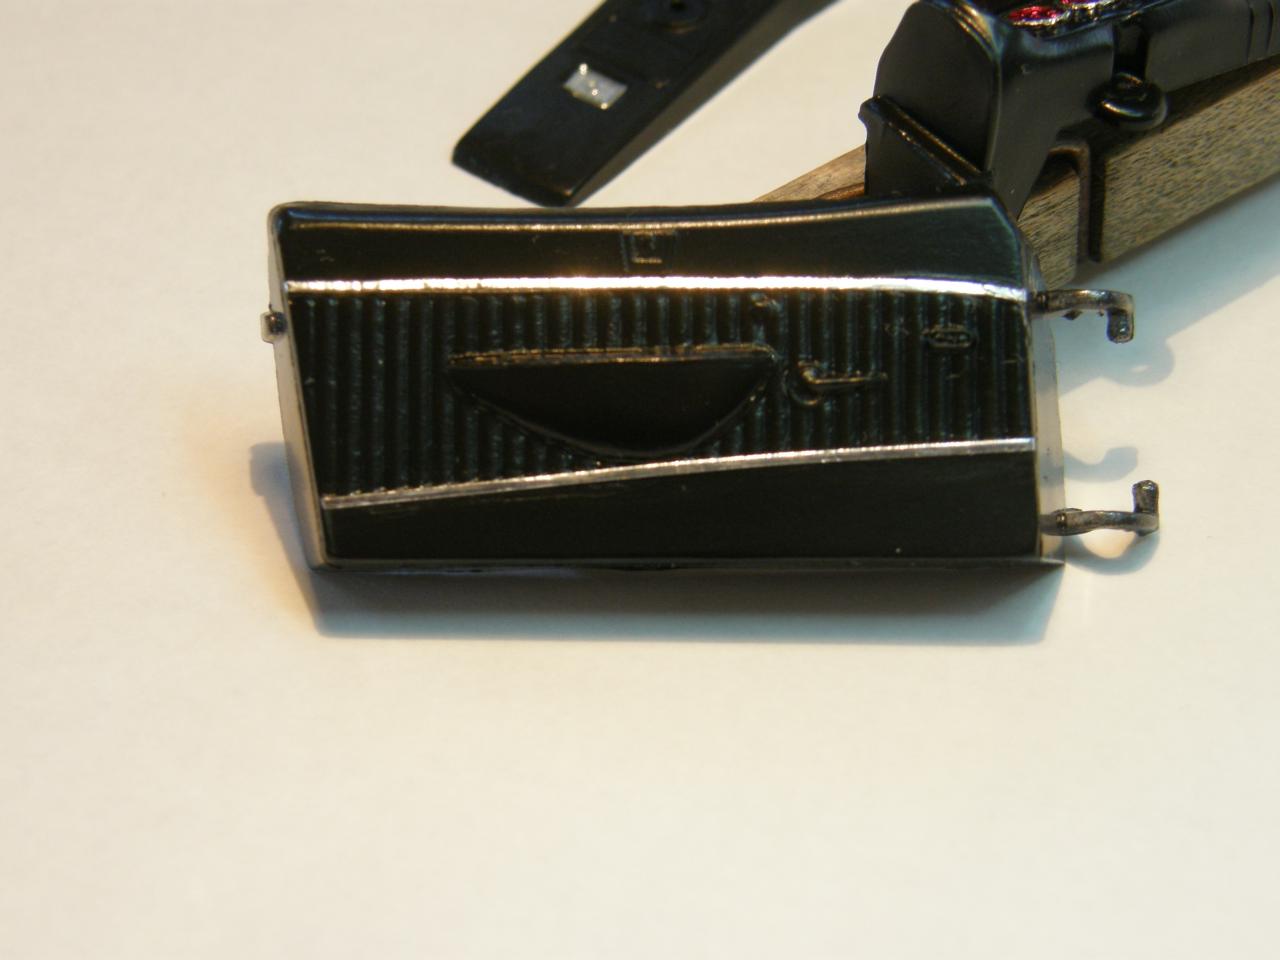
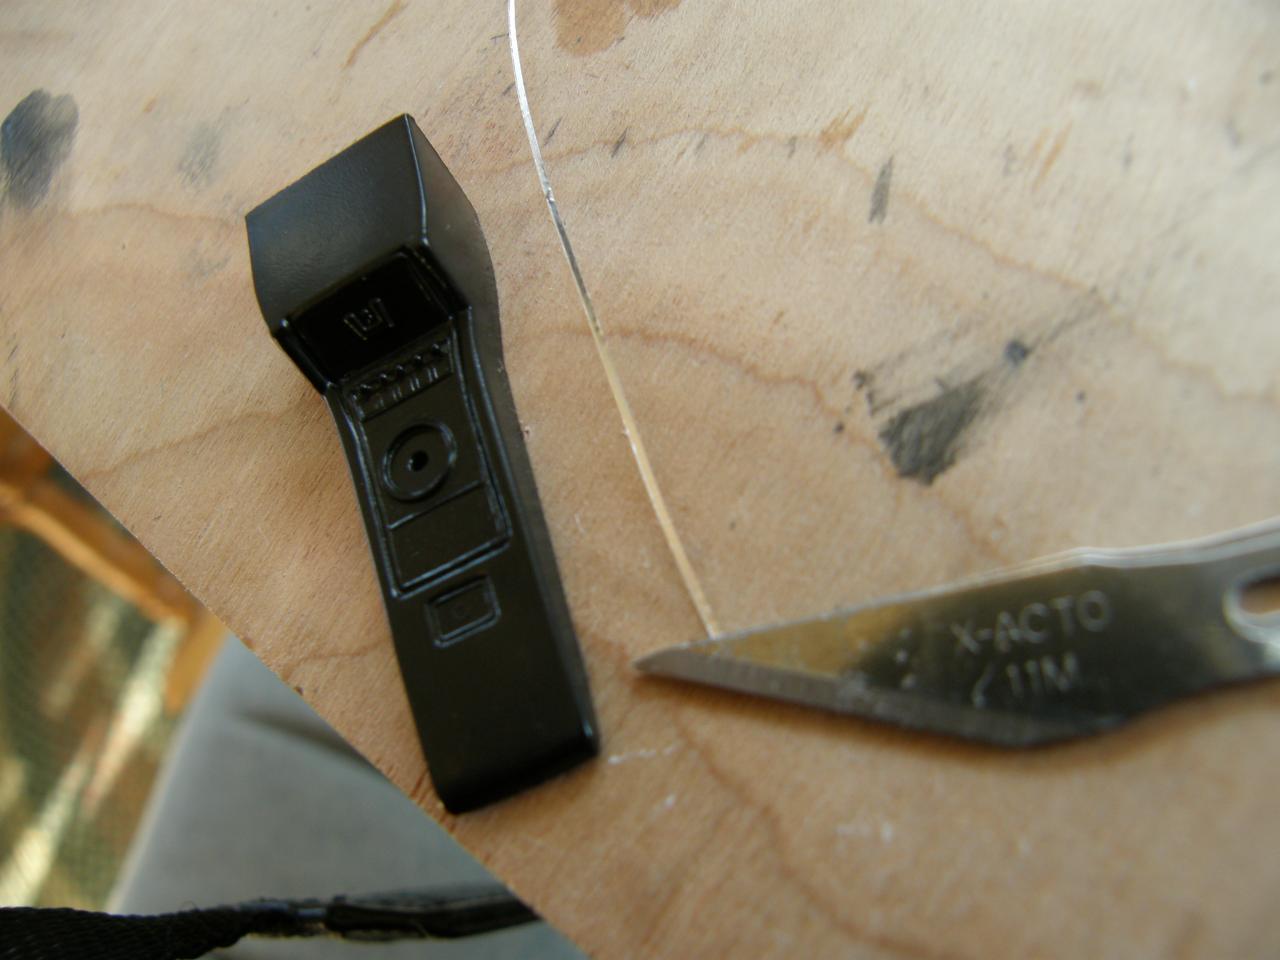
After commenting on how neat the idea was "gluing two Xacto blades together was...(Billy's '62 Chevy paint under "on the workbench") I wanted to try to make real thin (to scale) "stainless interior trim". Tried it, it worked, but now...HOW THE HECK WOULD I GO ABOUT GLUING THIS STUFF DOWN? I tried to use bare metal foil, but it simply ripped up trying to remove it so I ended up using Reynolds aluminum foil. Any ideas???
-
Billy...the layout part of this speaks to your artistic "eye". Without the "eye" part of this, all the masking/airbrushing skills in the world wouldn't yield the results you have seen. This is spectacular. As for me...the part that has me doing backflips is the simple tip about "taping two exacto blades together" to get consistent masking tape width. I am going to try that TONIGHT to see if I can cut some bare metal foil to use on those pesky interior door panel trim strips !! Great work...thanks, D
-
Clear coat sanding...'63 Avanti
Doug Bowen replied to Doug Bowen's topic in Model Building Questions and Answers
TJ...thanks for the response. The back of the can says that it is "acrylic lacquer". Lacquer should flash off quicker than enamel, but now you have me scared! Maybe I will let this gas off for about a week or so now. I need to get a second coat on it to make sure I don't rub through it while final sanding. Just got done looking at an old Donn Yost video on you-tube where he says you should go through all the stages, i.e.- 3200, 4000, 6000, 8000, then 12,000 grit followed by wax. Never took the process that far before. But...think I'll give it a try. D -
I just looked it up on my favorites list...also check out PaintScratch.com for actual color names, etc.
-
Johnathan...check out ScaleFinishes.com for your paints. Click on Chevrolet, then 1957 and it will list all the correct (I assume!) colors for the car for that particular year. I just got '56 Ford pink and white colors from them. (somewhere around $12 for 2 oz. bottle.) Worked great. D
-
Is Airbrushing Really This Much of a Pain?
Doug Bowen replied to bigbluesd's topic in Model Building Questions and Answers
I just bought a Binks Model B unit used on e-bay or Amazon (don't remember) for $37. Got it in 3 days, and it works great. Simple, single action gun. I decant DupliColor and it works fine right out of the can. It was a gamble, but it was only $37. Might be worth a chance before you drop a lot of money. Just my 2 cents, D -
Just put down my first coat of DupliColor Clear on top of 2 coats of their Gunmetal Grey...each wet-sanded with 2000 grit. Clear looks pretty good, but I am going to wet sand again (2000) and lay down a 2nd coat of clear probably in 2 days. My question is: What grit do you guys use to sand and finish the clear coat prior to polishing? Your thoughts please. Thanks...D
-
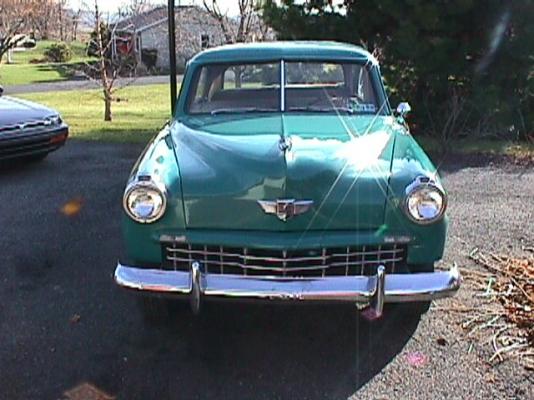
Wow. What the heck did we do before computers and forums? This was great. I found somebody to trade parts with; found sites to buy from in the future; and, got a whole bunch of info on specifics on the real deals. I have been in love with Studebakers all my adult life (owned 11 life-sized ones over my time span) and really appreciate the club and forum that I now belong to for that part of my world. The devil is truly in the details with this stuff. You guys give me the same input for the model part of my life. ...just incredible that this kind of thing is available on line. Thanks... D
-
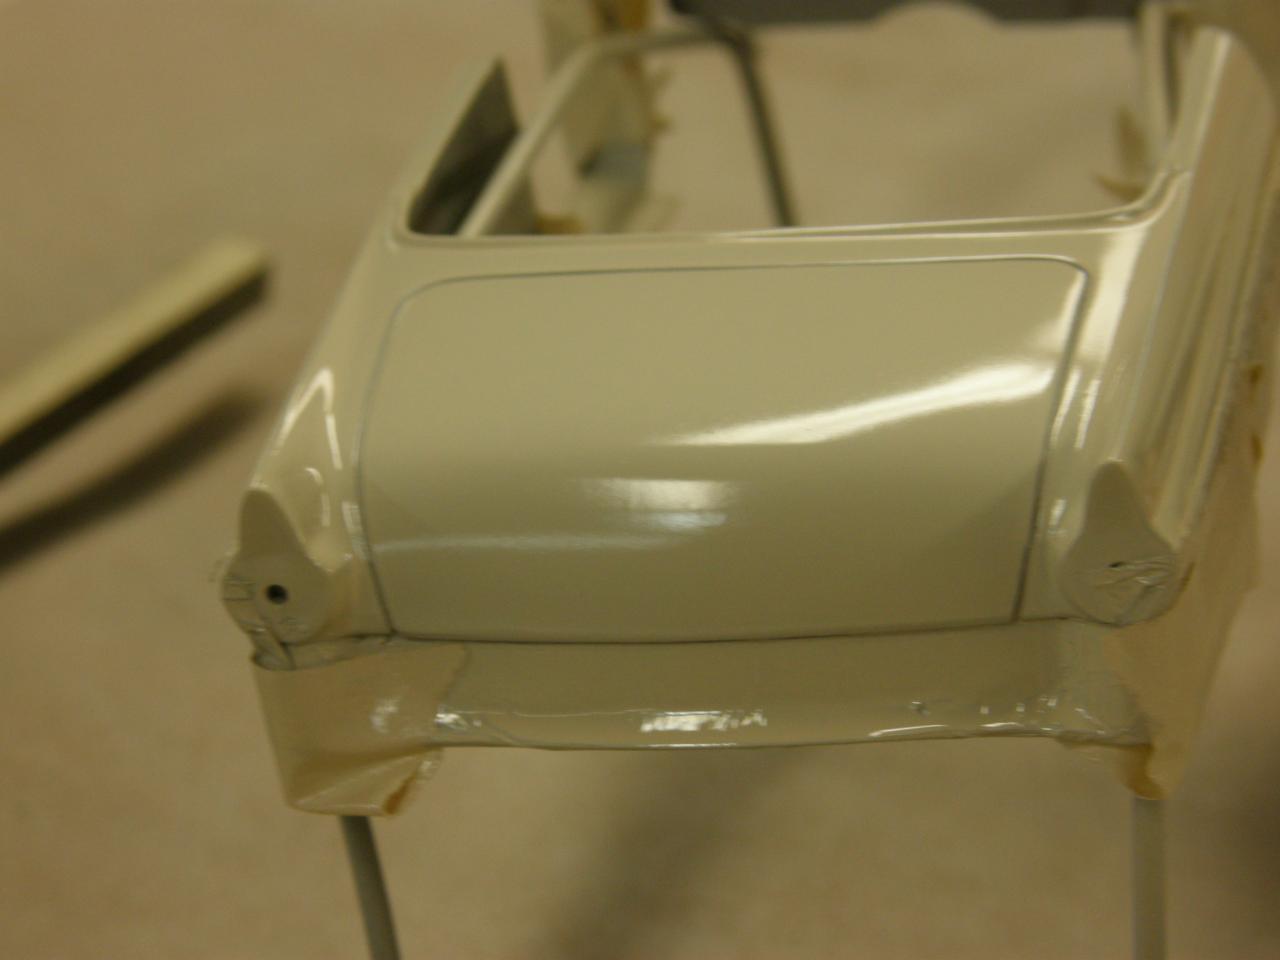
Thanks Guys, I painted the doors and hood at the same time, same way, but not on the car. I was concerned about not doing that during the process...but had a greater fear of "gluing" the doors and hood in position with paint. I gambled that the metallic variation would be the lesser of the two evils. Dupli-color is acrylic lacquer, I guess, so hopefully I will be able to rub it out with 2000 by the weekend and polish/wax. We'll see! wish me luck. D
-
Looking to start a '50s period 32 Ford highboy... I found AMT Firestones / slicks tire packs. Does someone offer stock steel wheels, baby moons and trim rings as aftermarket items? All I found was dubs, and the like. Any help greatly appreciated. D
-
Rich...don't give up totally on the opening of the doors and trunk. Evergreen makes real small square stock that can be glued/welded to the door/trunk edges... then file them down to where you are happy with the fit. It takes a bunch of "yutzin' around" to get them where you want them. But it will work. Give it a try... D
-
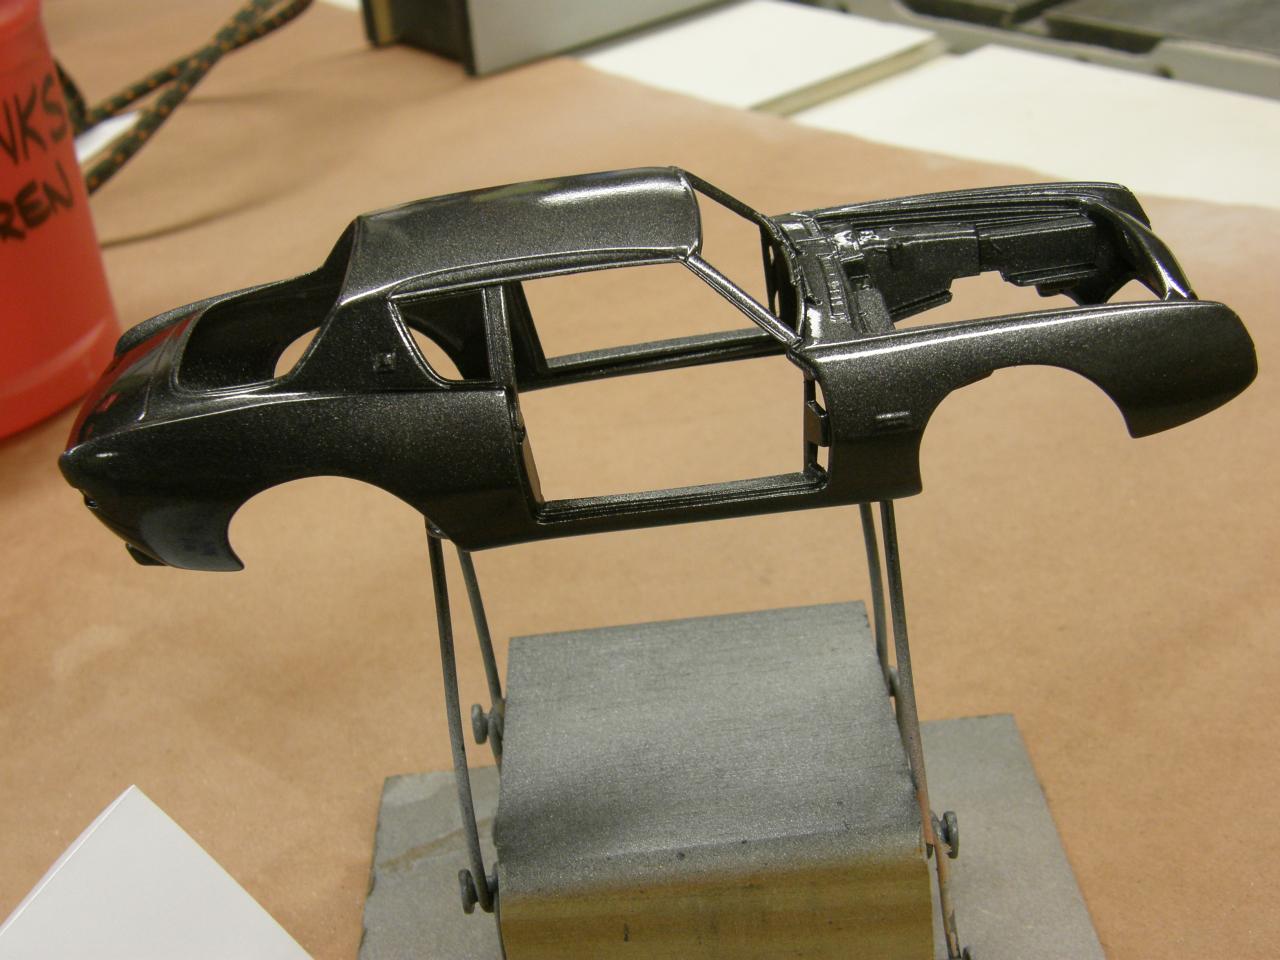
Just started body work on a '63 Avanti for my younger son. I primed with Dupli-Color, then wet-sanded with 600 grit. Decanted Dupli-color Gunmetal Metallic (Toyota) and shot two coats with my model "A" Binks. (gift from my parents when I was 13!!). Wet sanded in between coats with 1500. These shots are from the first coat of Dupli-color clear. Not sanded yet...still drying. Feel good about it so far. I'll keep progress shots coming. D (once a Studebaker freak...ALWAYS a Studebaker freak)
-
Thanks Charlie. At the end of the project all I can think about is the next one and how to do it better. I learned a lot with this one. That's all I was hoping for! Avanti...here we come. D
-
Thanks Mike. It was a fun build. And, yes, he got a real kick out of it last night! Grinned like a little kid at Christmas!. (My next project is a gunmetal grey '63 Avanti for my younger son.) D
-
That's correct. "it's a model". Build it with the wheels you like! ( I like them too!) I also like the burnt orange with the white top. Great contrast! D
-
Well, I'm gonna call this one done! I learned (re-learned!) a whole lot during this first build...from you folks, as well as "the doing" part. My wife said that I had to stop all the "fancy stuff" and remember that the friend I am making this for is in his late 70's. "He probably doesn't have another 15 years to wait for this to be done." She is 100% correct...so I stuck to basics and tonight we are giving it to him as a surprise. Thanks for all your help along the way.
-
I just came home with my first bottle of the "new" Pledge floor care ( the new Kleer/Future)...the stuff with the kids boots on it. Having never used it before, I have read a lot of posts regarding its application. I missed it, however, if somebody mentioned about sanding paint prior to coating with the stuff. Should/can I sand with 2000 grit or so before airbrushing this on? I guess I really need to scrub the body down to get all the oil off too. What are your thoughts, please. Thanks in advance, Doug
-
1957 Ford Custom Tudor (yes, another one)
Doug Bowen replied to Lovefordgalaxie's topic in WIP: Model Cars
What a spectacular look! Wow. When I was growing up my Dad had a battleship grey '57 custom. Looked like a state trooper vehicle. After seeing this, I just don't think I could ever build one in GREY! Nice job. D -
anxious to see the wood. I have shied away from these because I have no idea how to deal with the wood! Keep us posted please! Looks great so far. D
-
My favorite interior!...black with wooden wheel topped off with at white Hurst ball! Doesn't get any better. D