carro
-
Posts
383 -
Joined
-
Last visited
Content Type
Profiles
Forums
Events
Gallery
Everything posted by carro
-
I got most suspension components painted and the rear suspension done.the wewbers are painted and also drilled. Also drilled out some details on the steering wheel bfore painting.
-
Thank you! I will see if i can sand the inner wheels so they can go in some more. Also have to figure out how to lower it a bit. Thank you! I already painted and glued the rear suspension together, have to see how to tackle it without undoing too much of what I have done. Thanks! Will do!
-
New year, new project. This one I picked up a Couple of years ago And finally decided to dig it out and get started on it. Im building it box stock, I dont know how acurate it is to the actual 1/1 but I'll give it my best shot. The body seems to need a lot of cleaning up and rescribing of most panel lines and also removing Emblems ect.. First I will start with cleaning up the chassis and the Firewall Everything I marked with the Black marker. I also Stripped all the chrome parts ecxept for the wheels. And glued the engine block together. IM also drilling the Weber carburetors before starting the painting process, and also thinking of adding ignition wires. I dont intend to finish this kit soon, just hope I can finish it before this year is over. If anybody built this kit or has some tips or criticism please post. Thank you.
-
AMT 89 Batmobile
carro replied to carro's topic in WIP: All The Rest: Motorcycles, Aviation, Military, Sci-Fi, Figures
Thank you! 90% of the time I strip the chrome on my builds in my opinion it looks less toy like. Thanks a lot! -
This one was a quick build for me (only one month from start to finish) The kit went together fairly easy, the only bit of a headache was half the rear inner wings having to be glued on and then hiding the seam with putty but other than that straight forward.The kit brought no decals whatsoever so just a lot of detail painting on the dashboard gauges and buttons. Fun kit to build! Thanks for looking.
-
Thank you all for the comments!
-
Nice!! Was not aware that kit existed.
-
Started this one around 2 years ago and finally got around finishing it.Its built completely box stock, the paint is duplicolor toyota pearl white. The interior was done with createx wicked paint and cheap craft paints. And now for the pics!
-
First time seeing a model of that car. It looks just like I remember seeing them in the island. The only thing missing is the wood long rear view visor mirror everybody used to use back in the day. Great build!
-
Looks very real.
-
Thank you all for the tips and kind words!
-
What a clean beautiful build .love the color!
-
Very nice!
-
My first finished build of the year. Is far from perfect but i can live with it. It's completely box stock, except for the decals I applied in the engine bay from other kits just so it wouldnt look so plain. The fit and finish on the kit wasn't too bad, ofcourse the suspension is too high and the tires look like truck tires and after gluing the winshield in place the hood doesn't sit flush on one side like it did beforethe chassis and body were together. Here is the link for the w.i.p Thanks for looking.
-
Next step to get started on the little details on the body, paint the windshield and hopefully finish it soon.
-
Thank you for the tips, The Primer and paint were smooth It was on the clear stage where it got rough, I dont know if it was the weather or air pressure or a combination when I sprayed the clear on, but it got rough. I was able to wet sand the first coat of clear with 1200 grit.I sprayed another coat of clear and after it dried I was able to polish it and save it.
-
I had time this weekend to tackle the body. I sprayed the base color plus the clear coat and as you can see in the pics the clear came out rough, so i will be wet sanding it with some 1200 grit trying to save it and respray it next weekend.
-
Thank you!
-
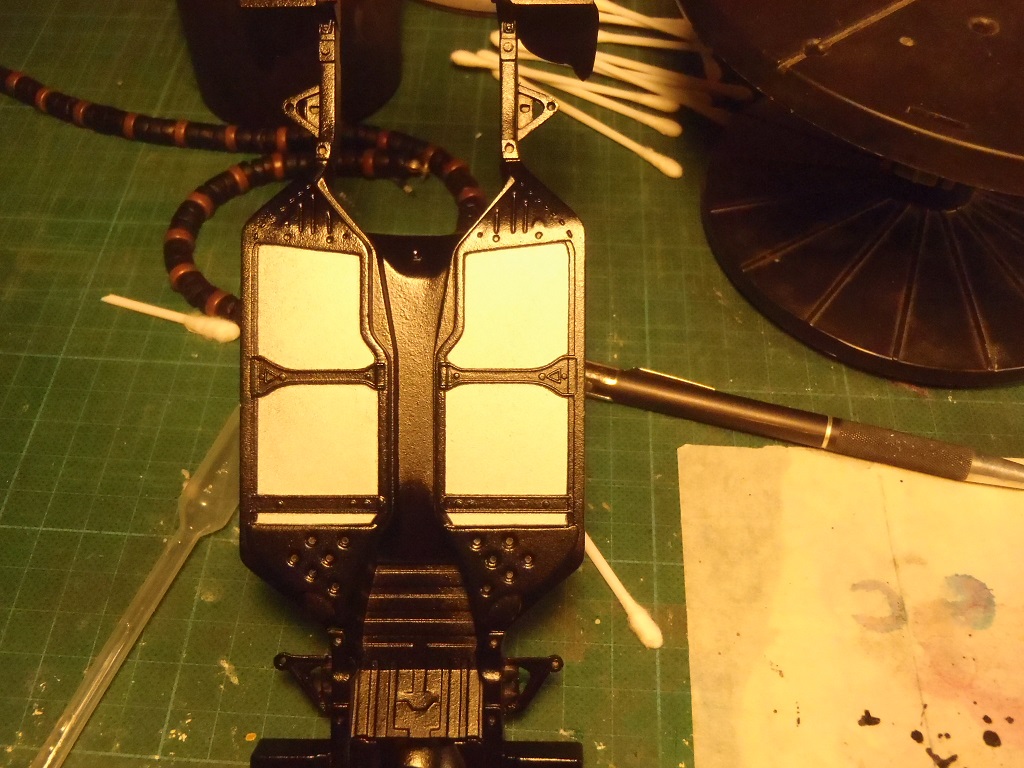
Next step on the instructions is putting the wheels together. The chrome wheels look to chrome so to tone them down I just gave it a black wash around the wheel nuts followed by some matte clear. Here is the before and after for comparison. Here is a finished set all together and I also sanded the tire threads down a bit. Thank you for looking, all comments welcome.
-
Im really thakful and apreciate the offer but Im ok with the results. Thank you!
-
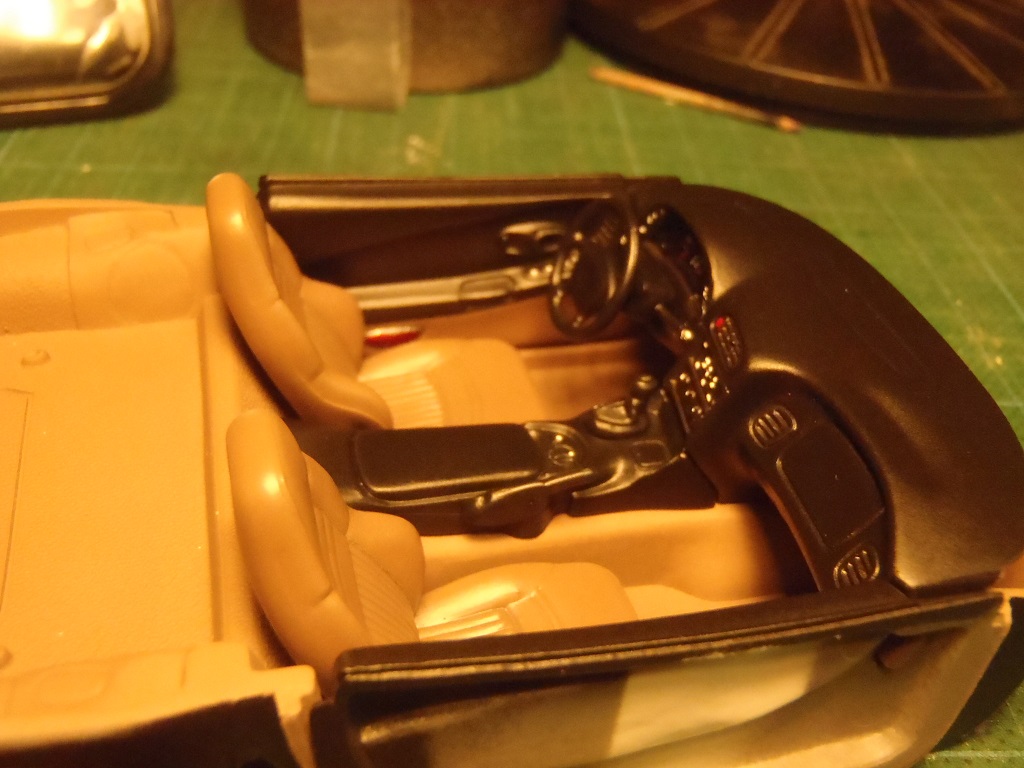
Well I finally finished the interior. I was wrong thinking the Dashboard had a decal for the instrument panel, so i had to paint everything the best I could with a good old toothpick. After letting the paint dry i applied some micro krystal klear to simulate the plastic cover. Also applied some B.M.F on the door panels followed by some Tamiya clear red, and some flat clear on the floor area.

-
So far it has been a good kit to build, it looks like the hood may need some sanding to make it sit level and the body is very thick plastic compared to other kits and I'm still not to thrilled about the windshield/A pillar being one piece but the chassis and interior really didn't give me any issues. For the body color I decided on a burgundy color I mixed myself with mostly red and a couple of drops of black. Thank you.
-
Thank you .
-
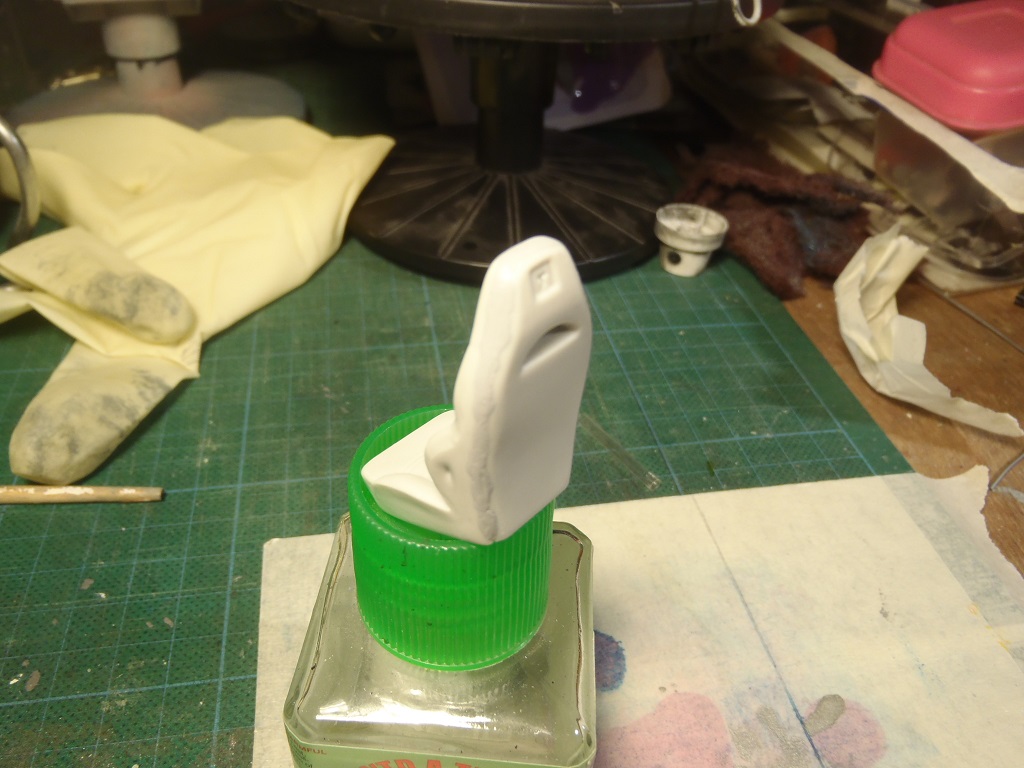
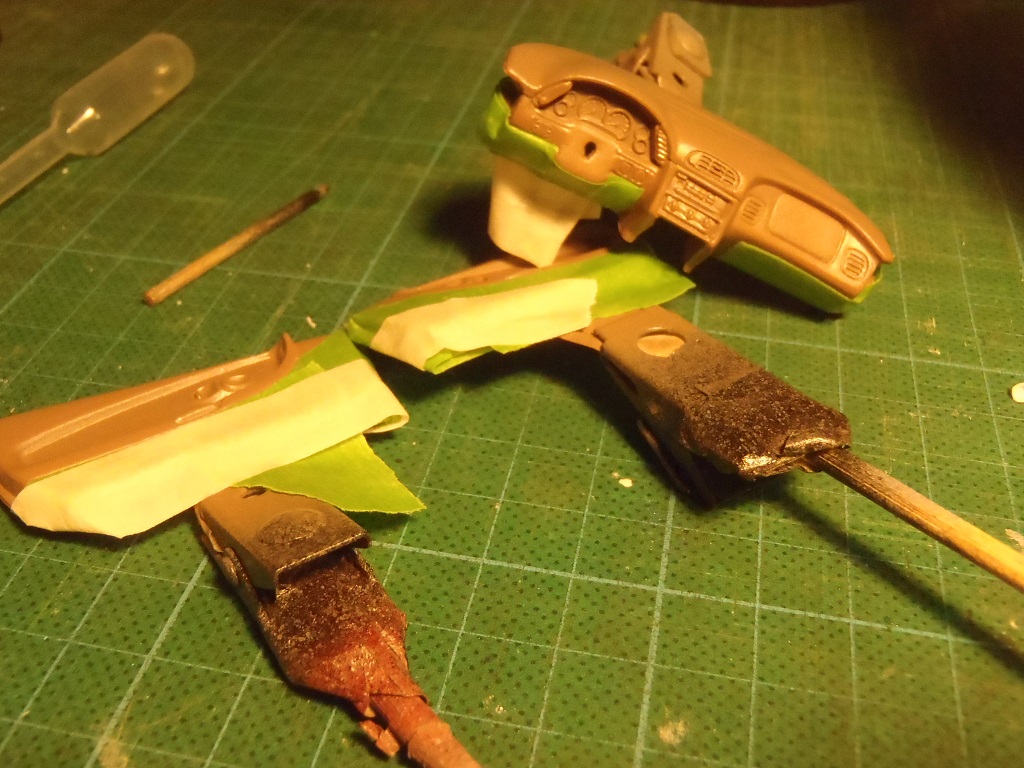
Well I started with the seat backs, and then got the base coat on the interior parts. Masked the interior parts for the second color. Next to apply the decals on the dash and do some detail painting on all the interior parts where needed.
-
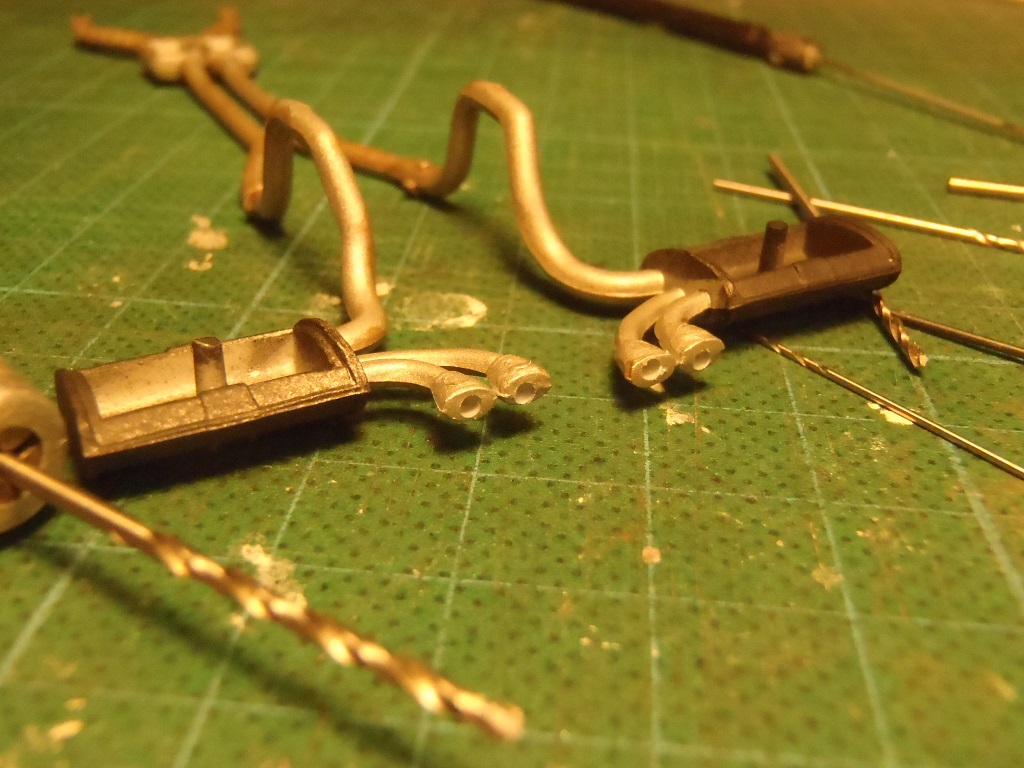
Had more time on this one and im done with engine and chassis. Mask the chassis for the second color. And here is the result. Also decided on drilling the exhaust pipes, not perfect but better than just leaving it as it was. A small amount of brown wash to give it depth and all parts ready to get glued on. Finished engine in its home. Next step the interior. Till next update, Thanks for looking .