wisco8
-
Posts
395 -
Joined
-
Last visited
Content Type
Profiles
Forums
Events
Gallery
Everything posted by wisco8
-
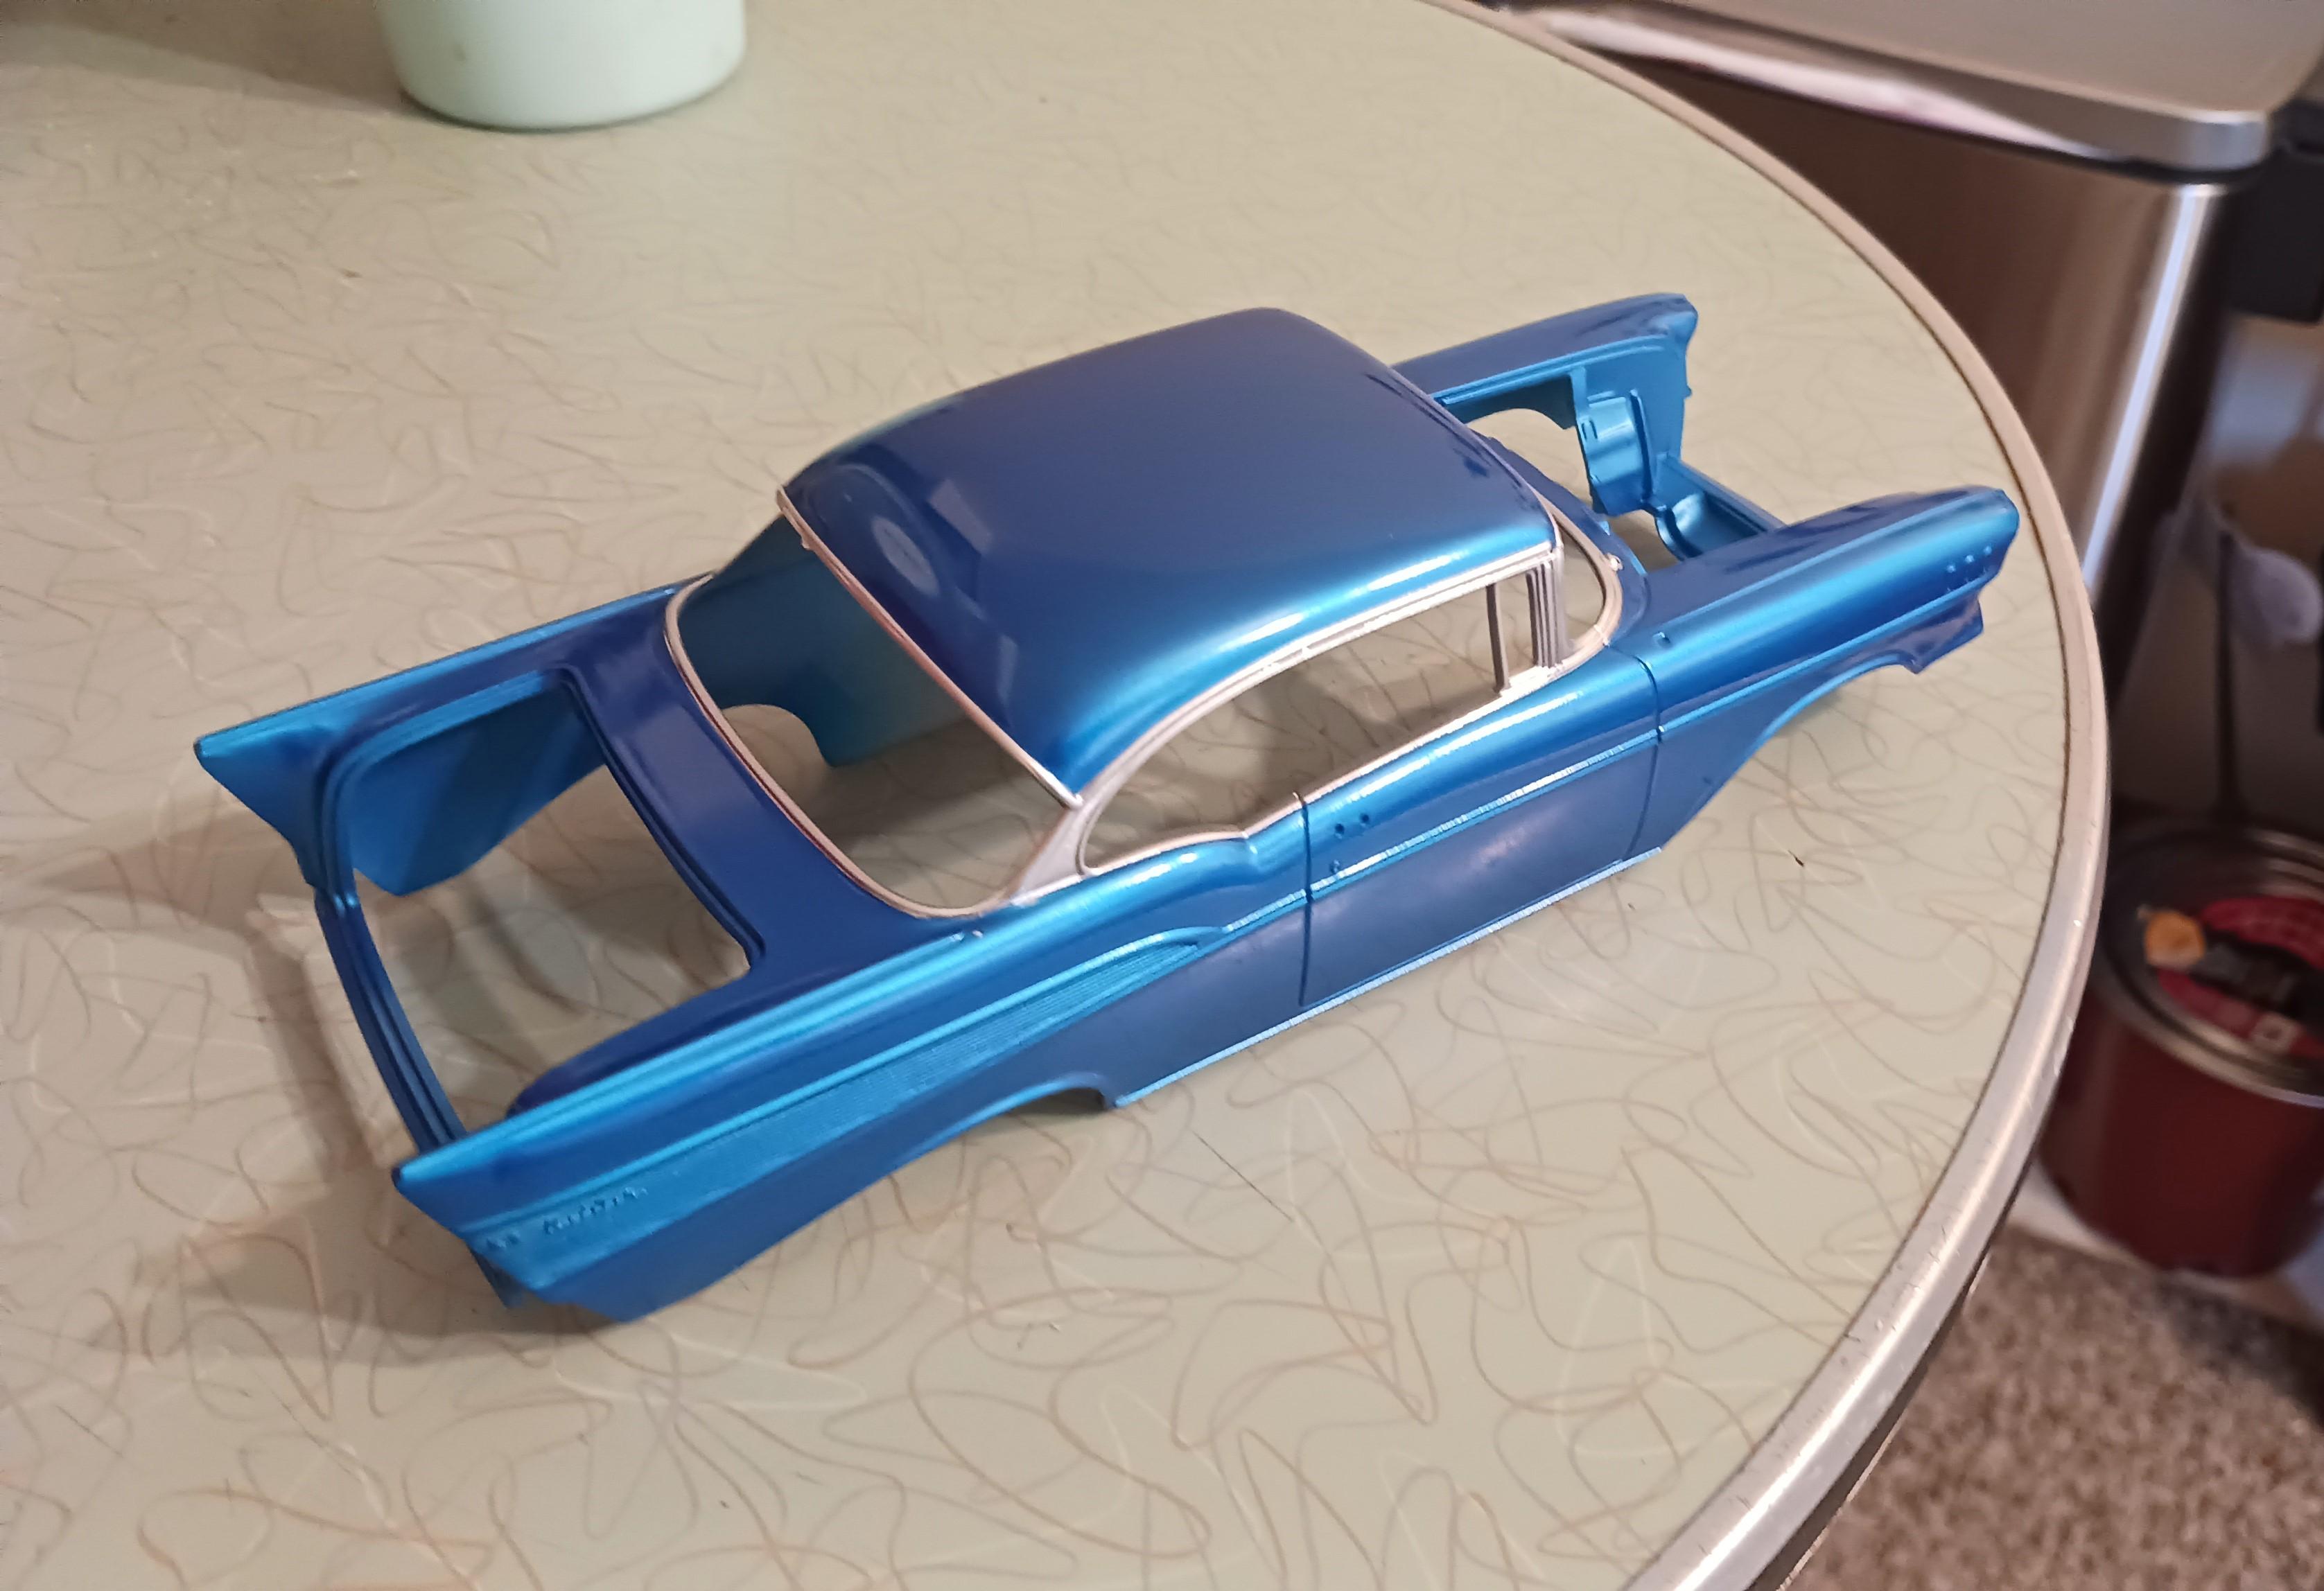
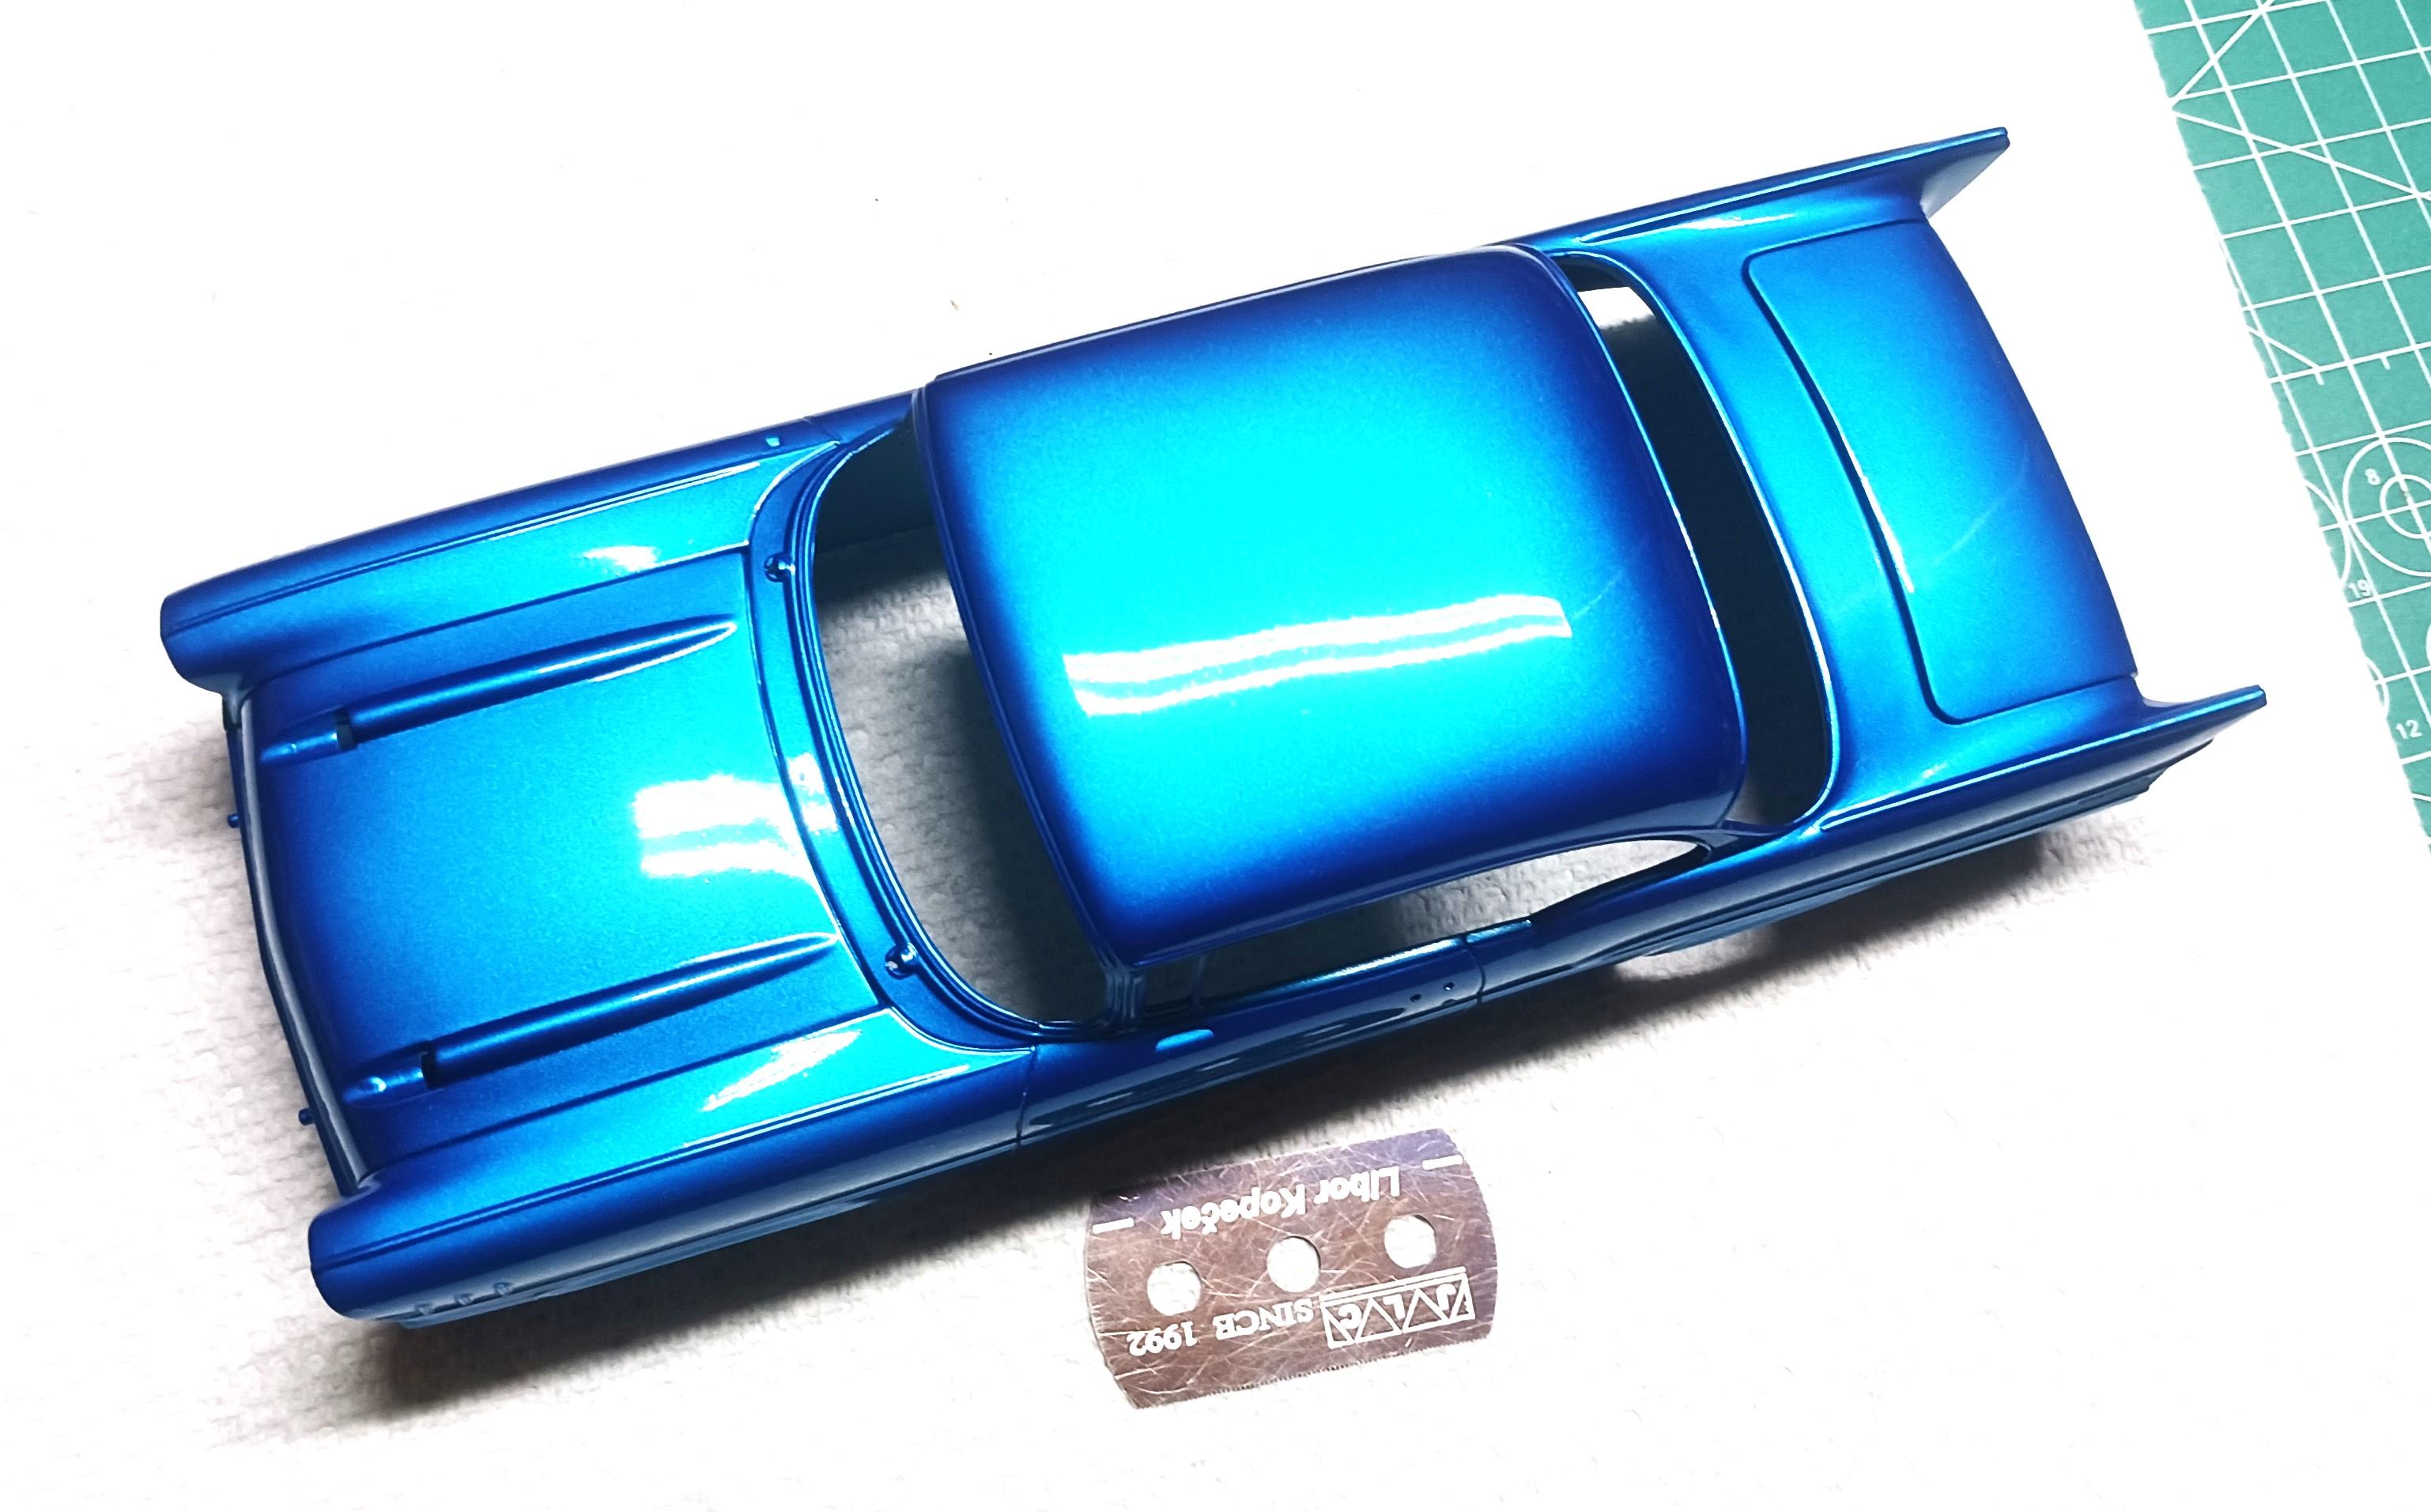
A few more little things to do before I can re-gloss. I think it turned out okay.

-
That looks beautiful !! The very first car I played in when I was about 5 years old. It was abandoned and starting to rust, poised next to the Mississippi River in Missouri. We found out that afternoon there was about an 8 foot water moccasin living in it. It could have swallowed me whole. Will never forget that day or the car I loved to make believe in.
-
Thank you David. Ill learn.
-
Thank you Sir. Pretty much everything.
-
Hi Mike. Ill do the sides and trim under the doors the same way. Except those little front holes will be gold alclad 2. What is the spear, cause I don't do many cars?
-
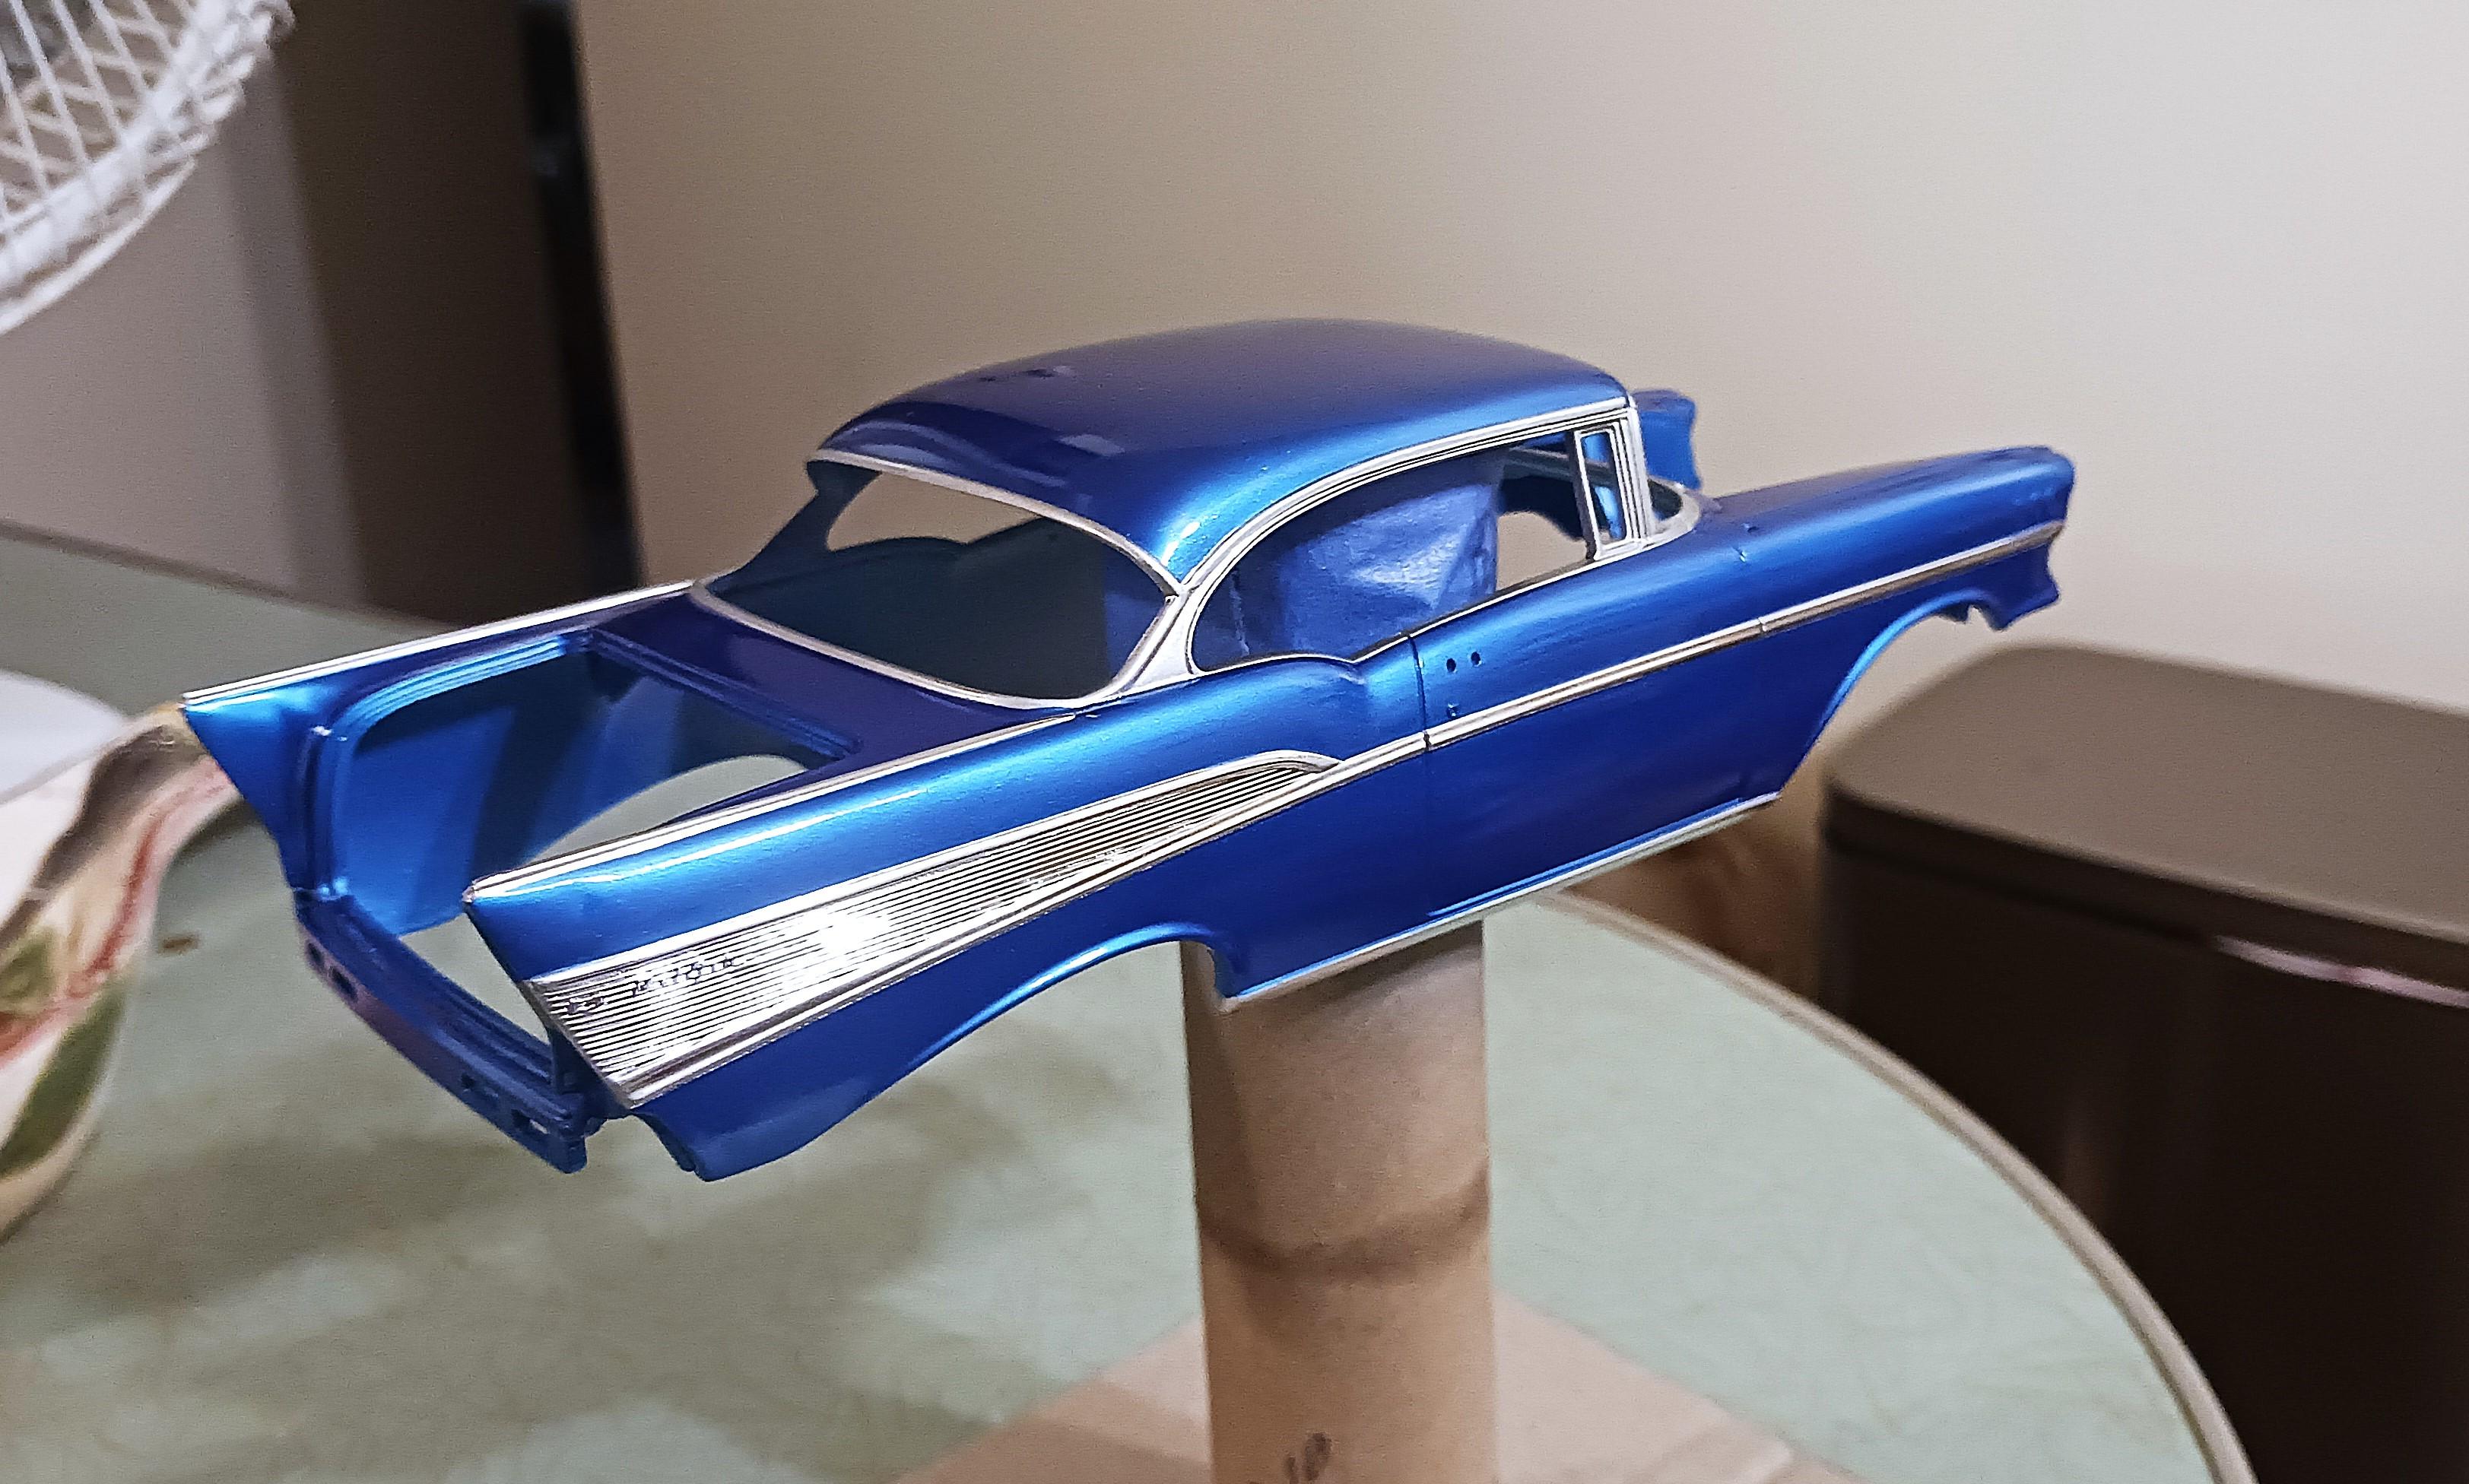
Started the chrome trim work. I used Molowtow chrome, the trick with using this stuff is to let it dry for 3 plus days and it becomes rock solid.
-
Yes sir. I think it worked out pretty good.
-
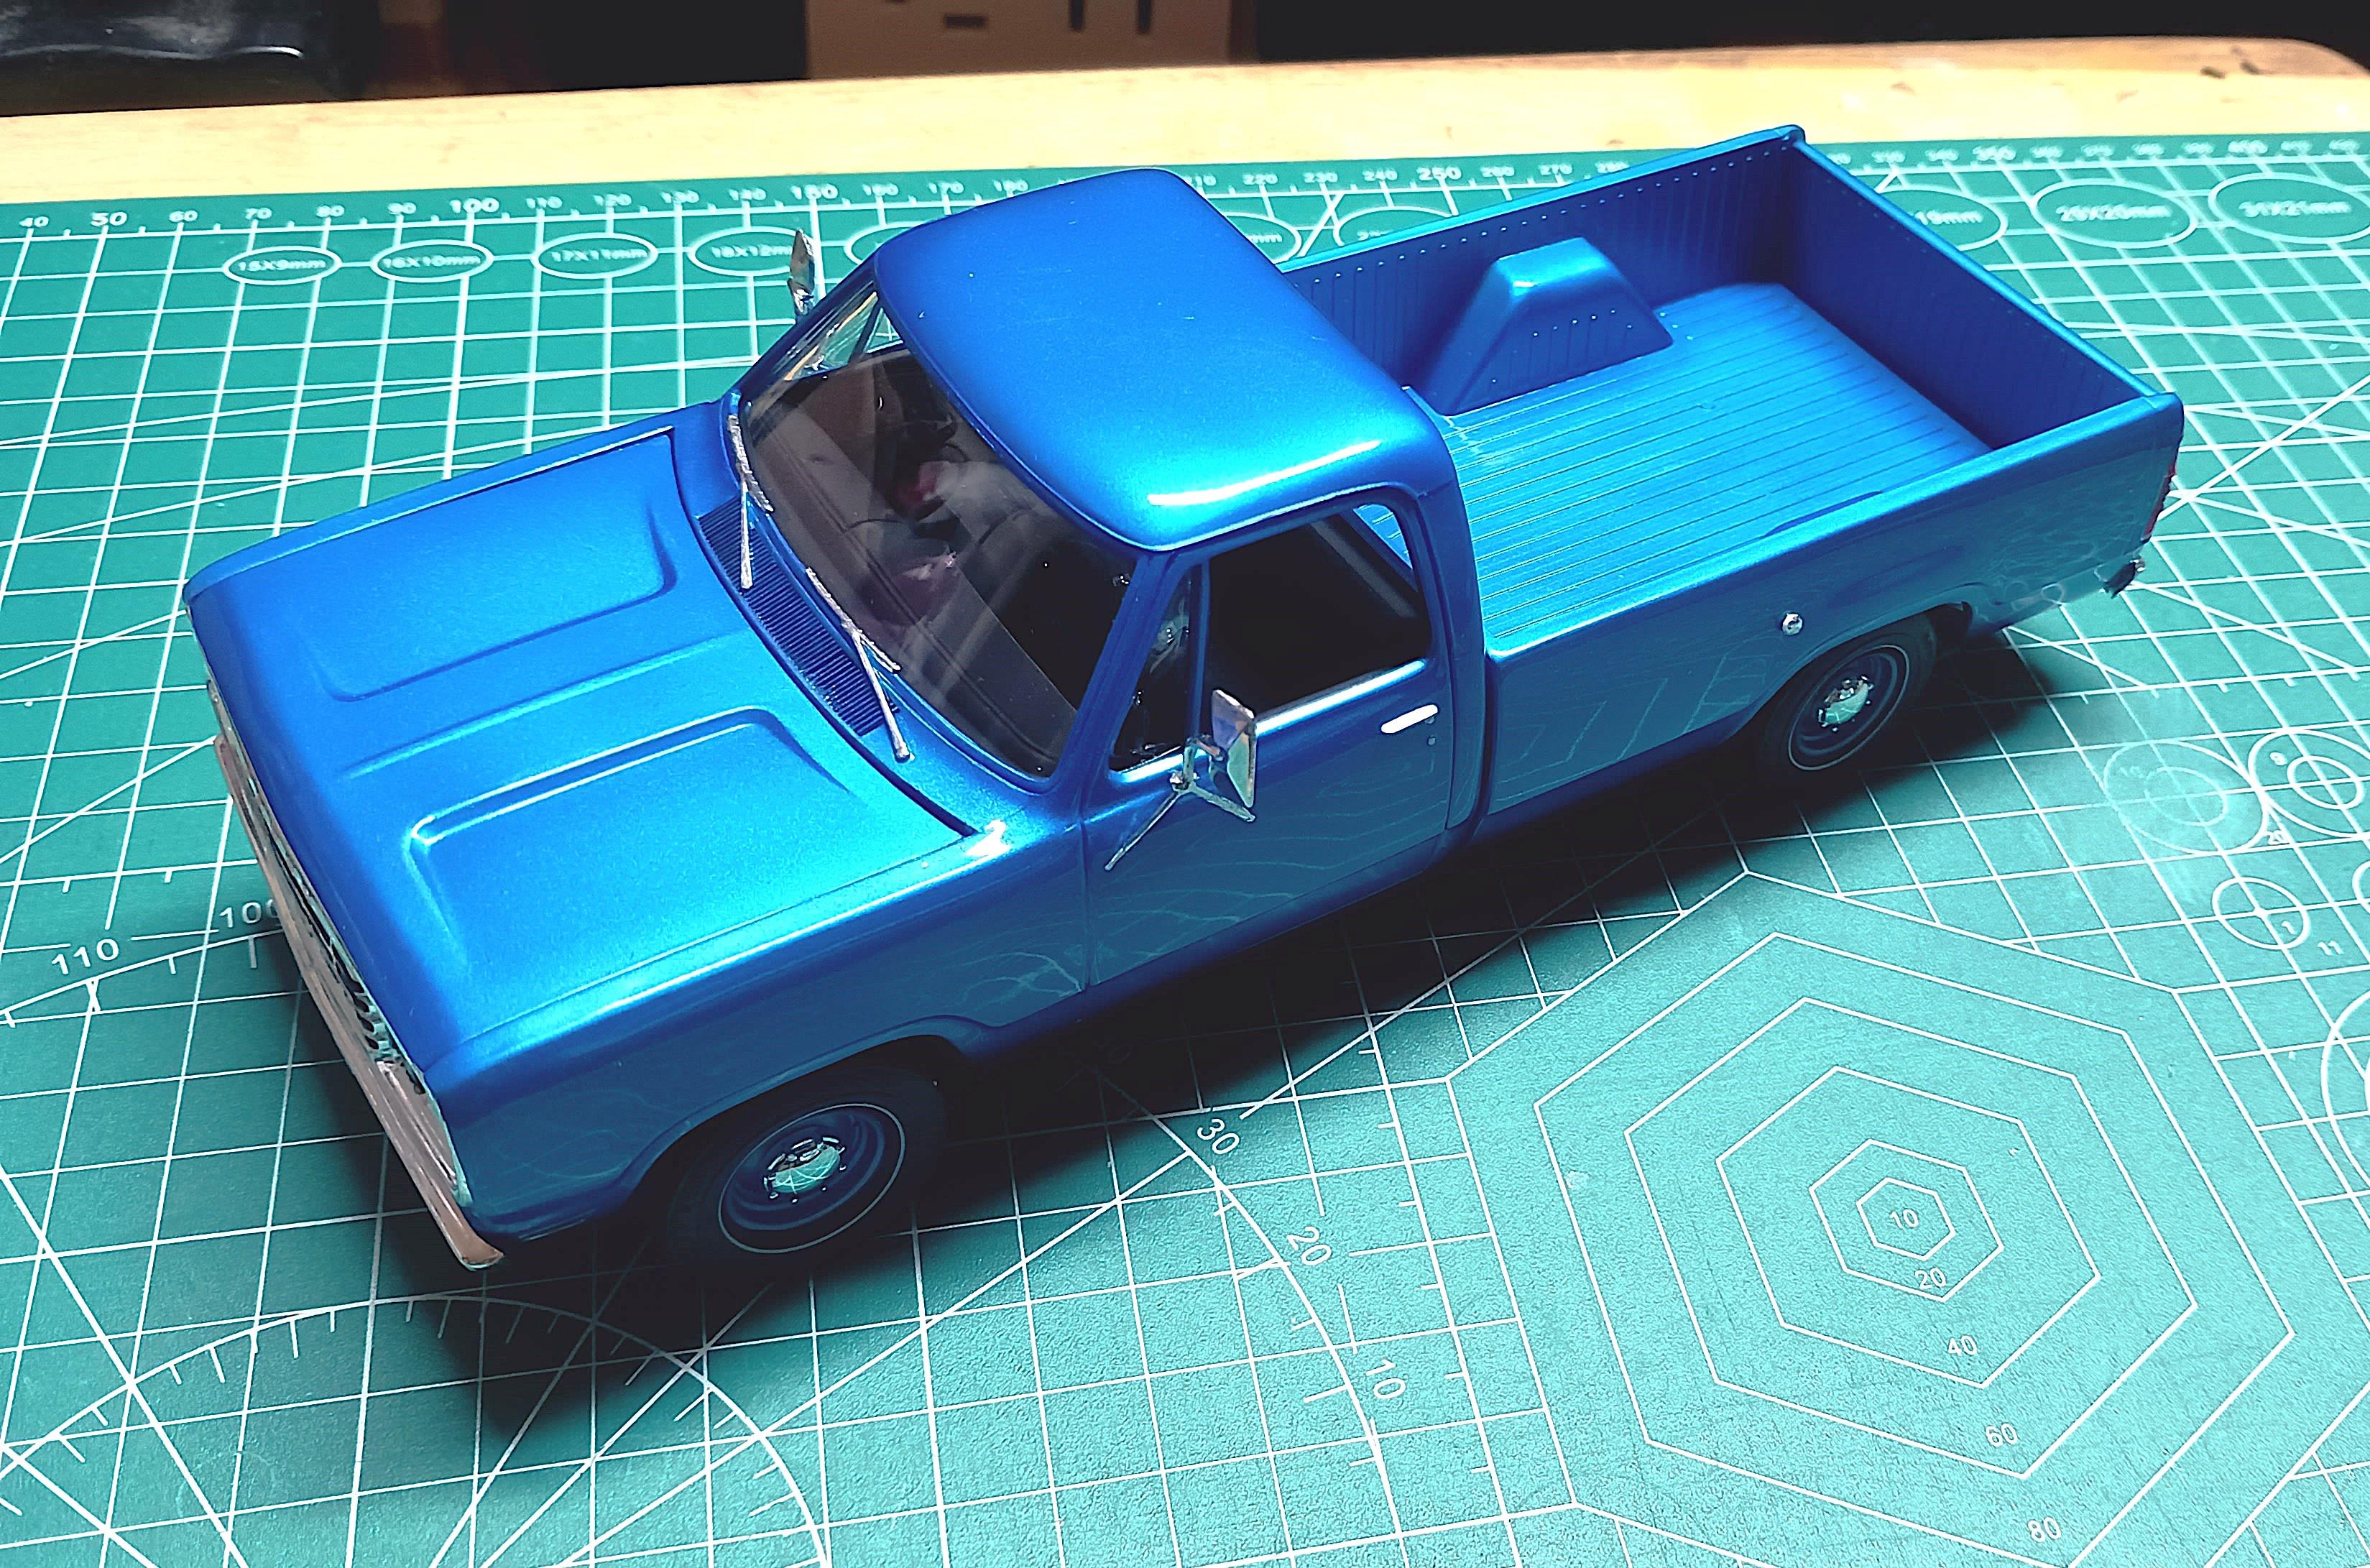
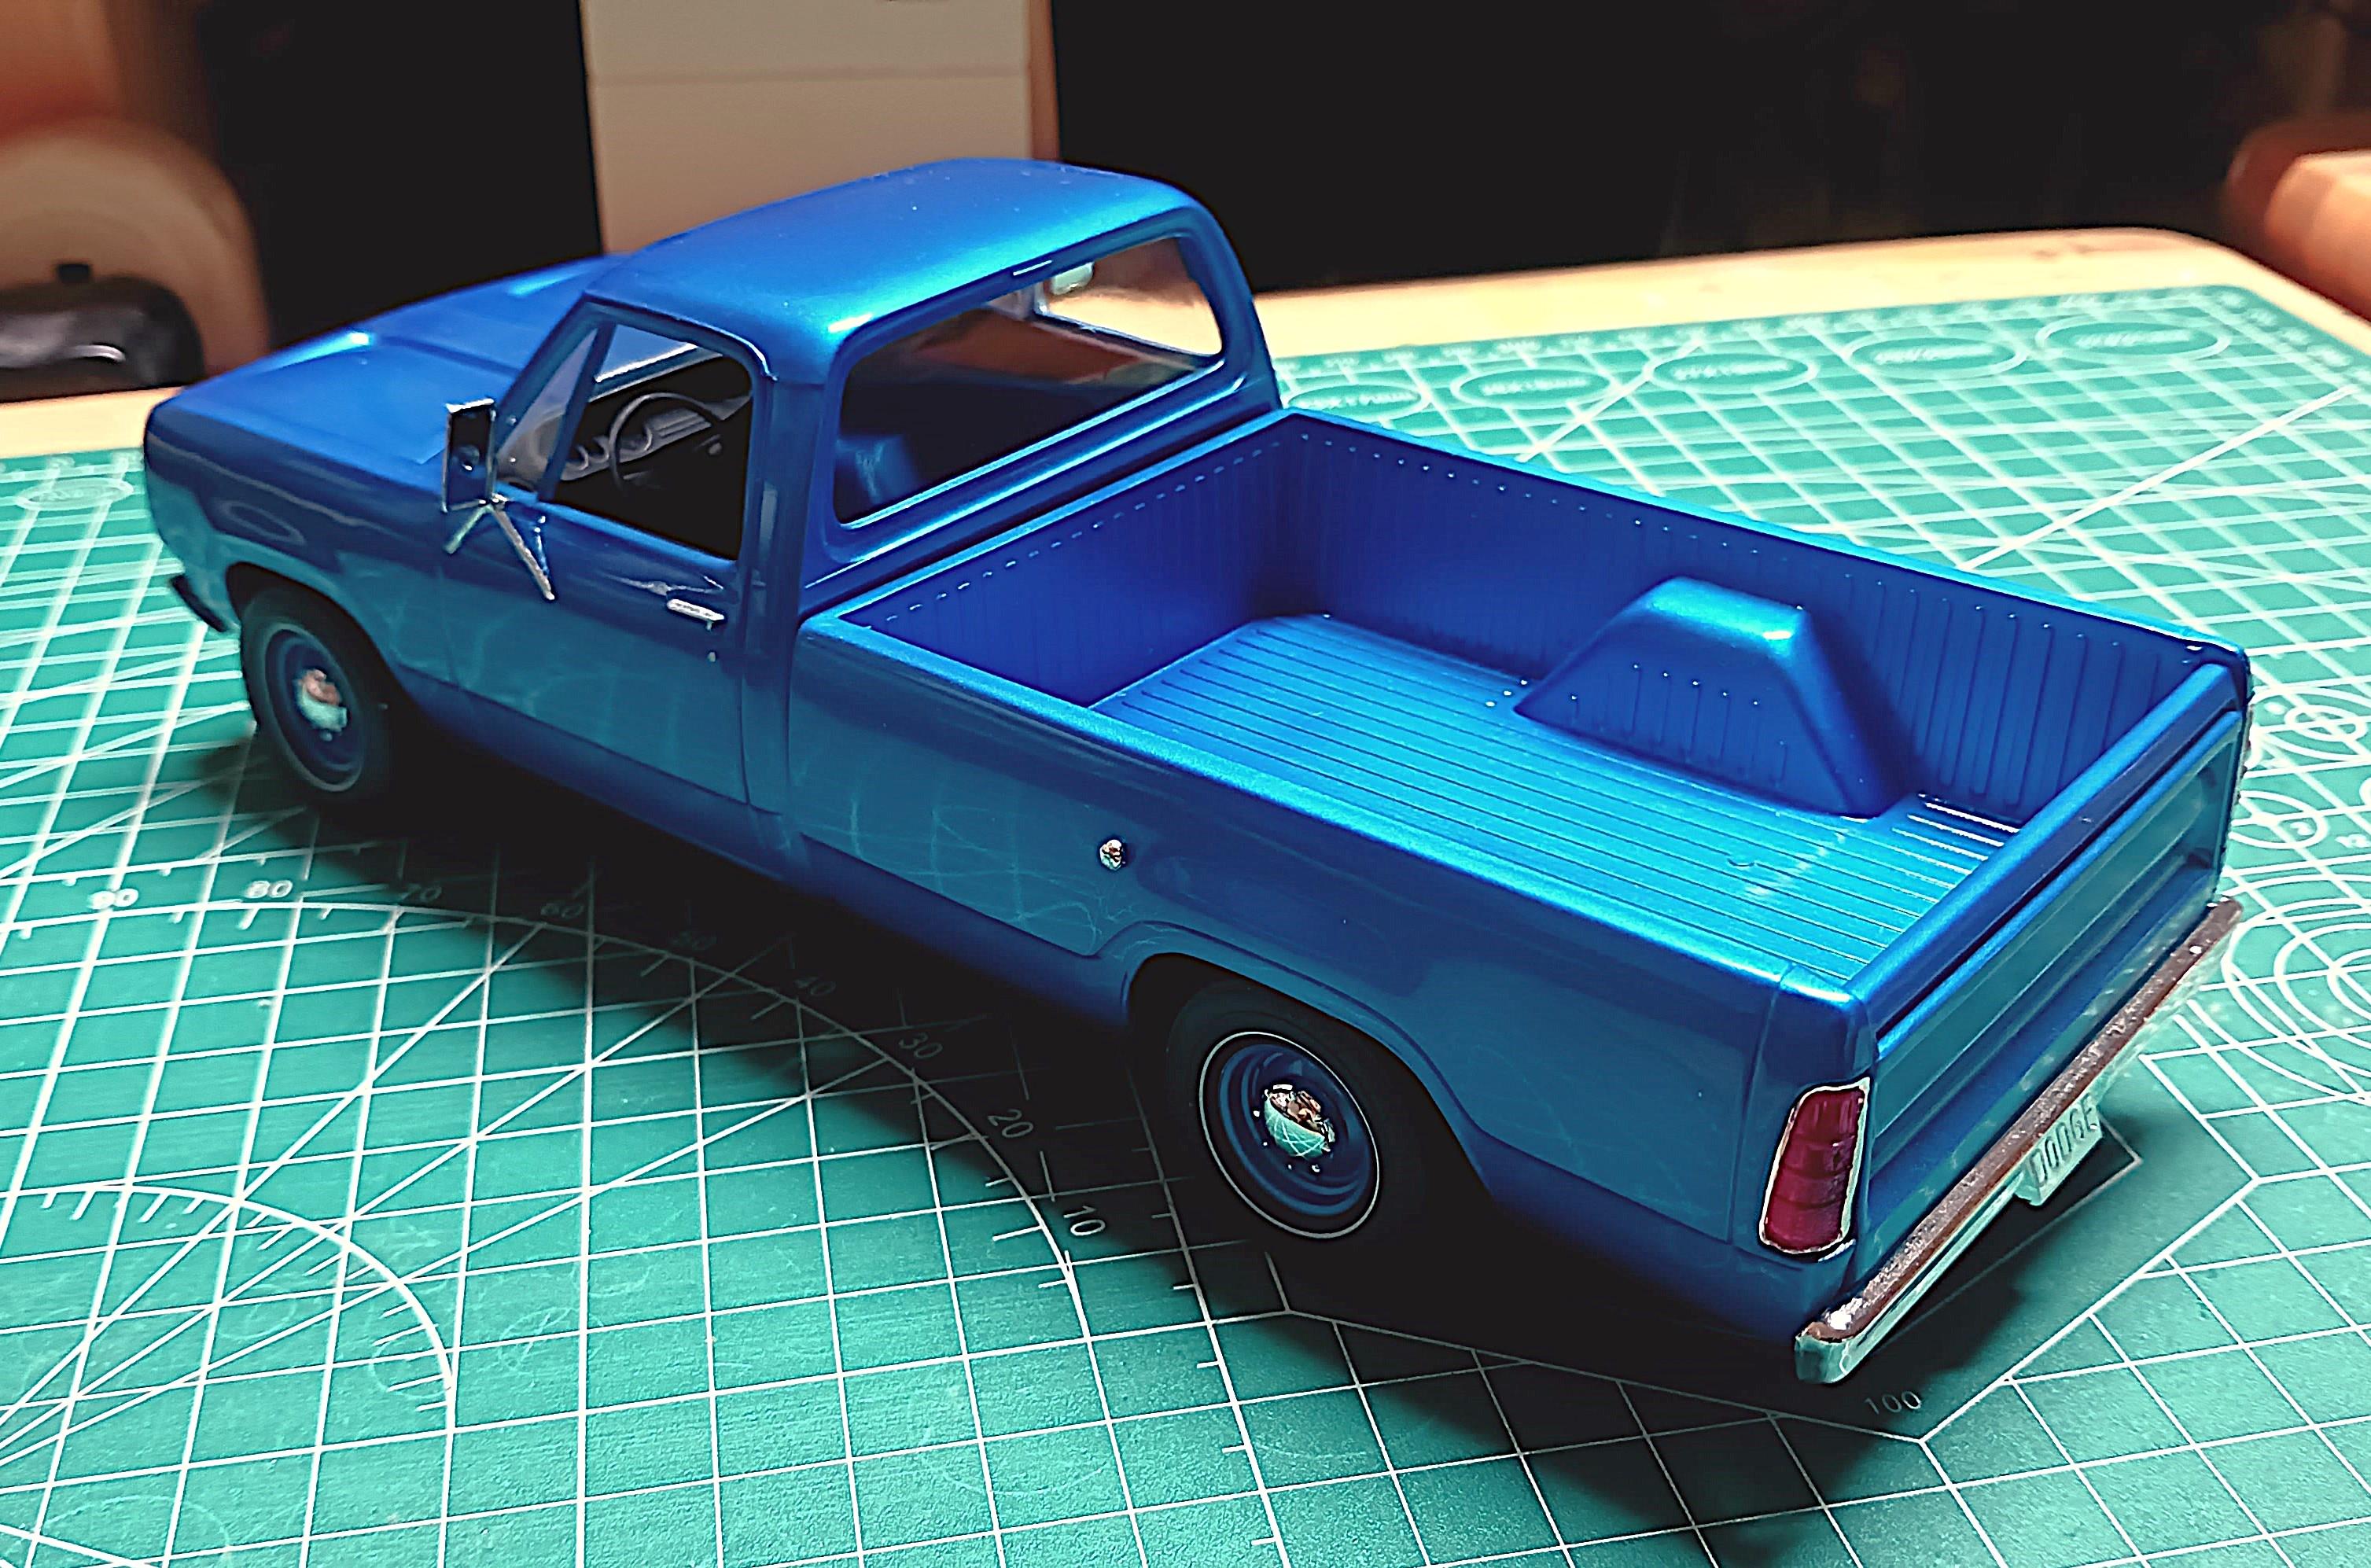
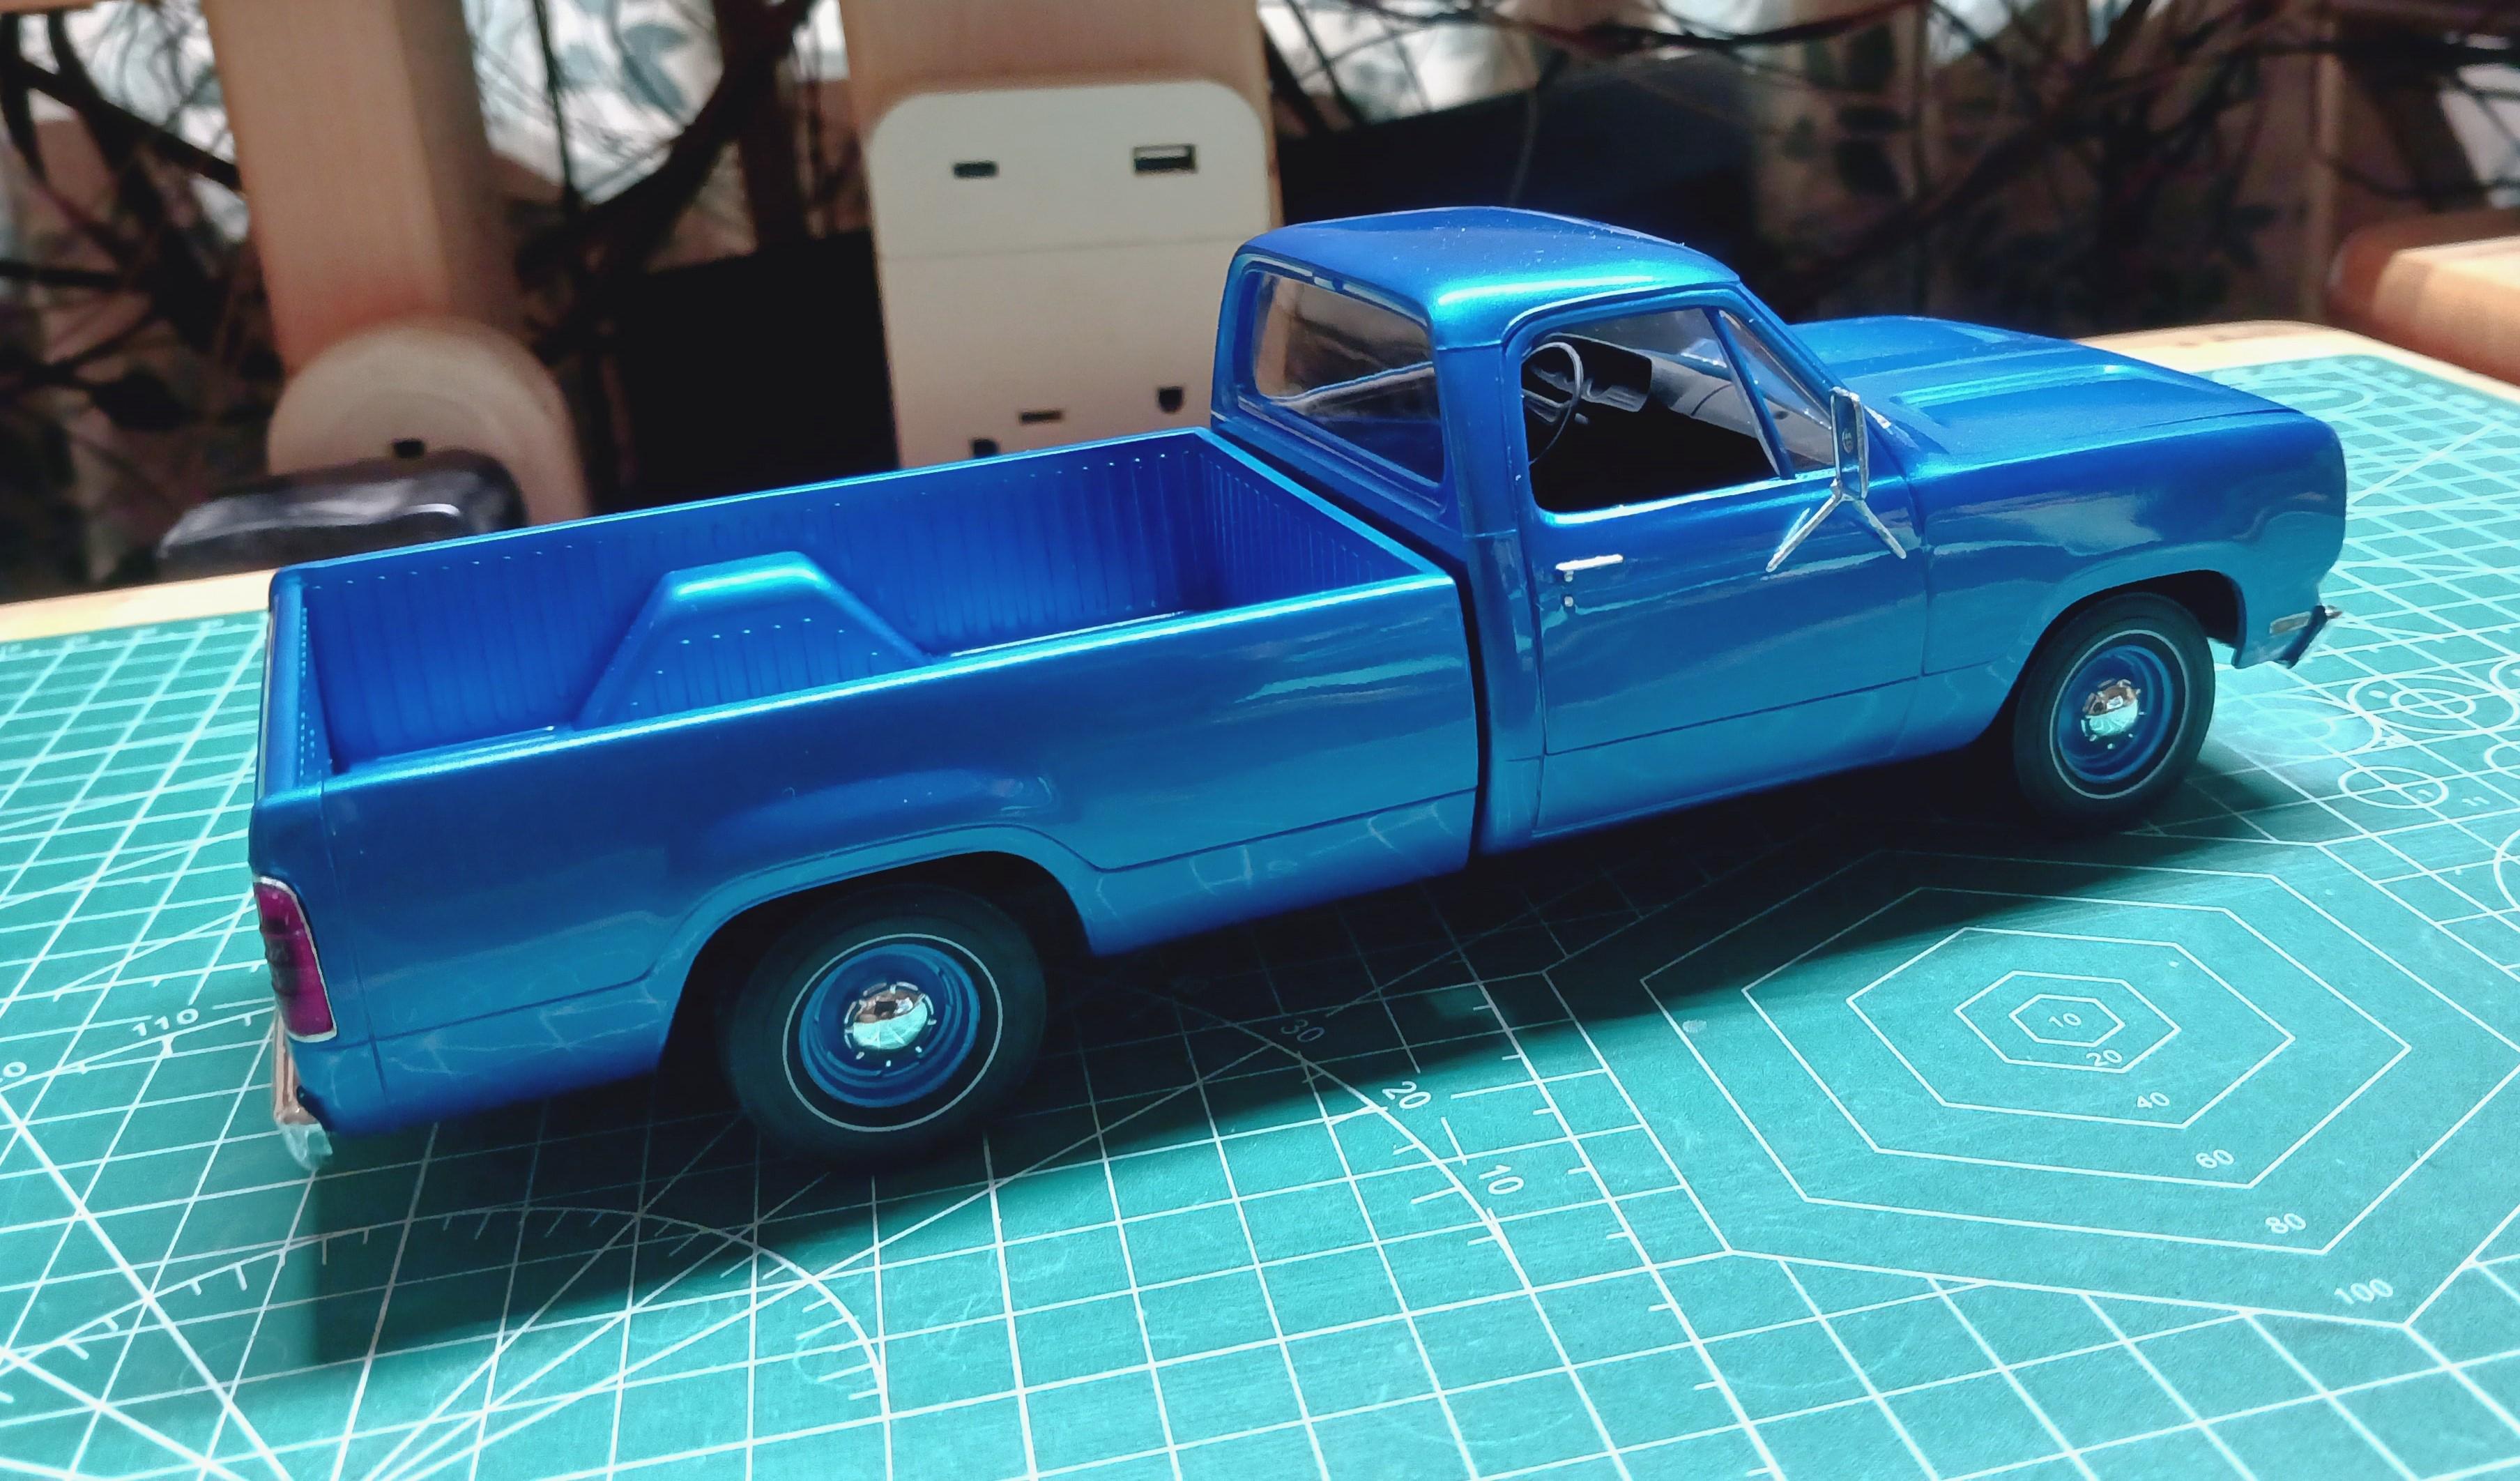
I haven't built many car models lately so this is another practice build to learn more about this model. 1st coat is Tamiya primer and then lightly sanded, followed by a rinse of tap water with a medium soft brush to whisk away any left over sanding residue. Then I applied 3-4 coats of Mr color metallic blue did not sand any of the paint, it would have been a big mistake. I then sprayed 3 coats of Mr color clear gloss followed by a very light wet sanding with 4000-6000 micro-mesh sanding sheets. Then I applied 3 more coats of clear Mr color gloss and wet sanded again with 6000-8000 wet micro-mesh sanding sheets. Finished up with Tamiya med, to fine polishing compound. I know you all have much better methods, so for me this is kind of an experiment.Hope you like it so far. Steve
- 77 replies
-
- 10
-

-
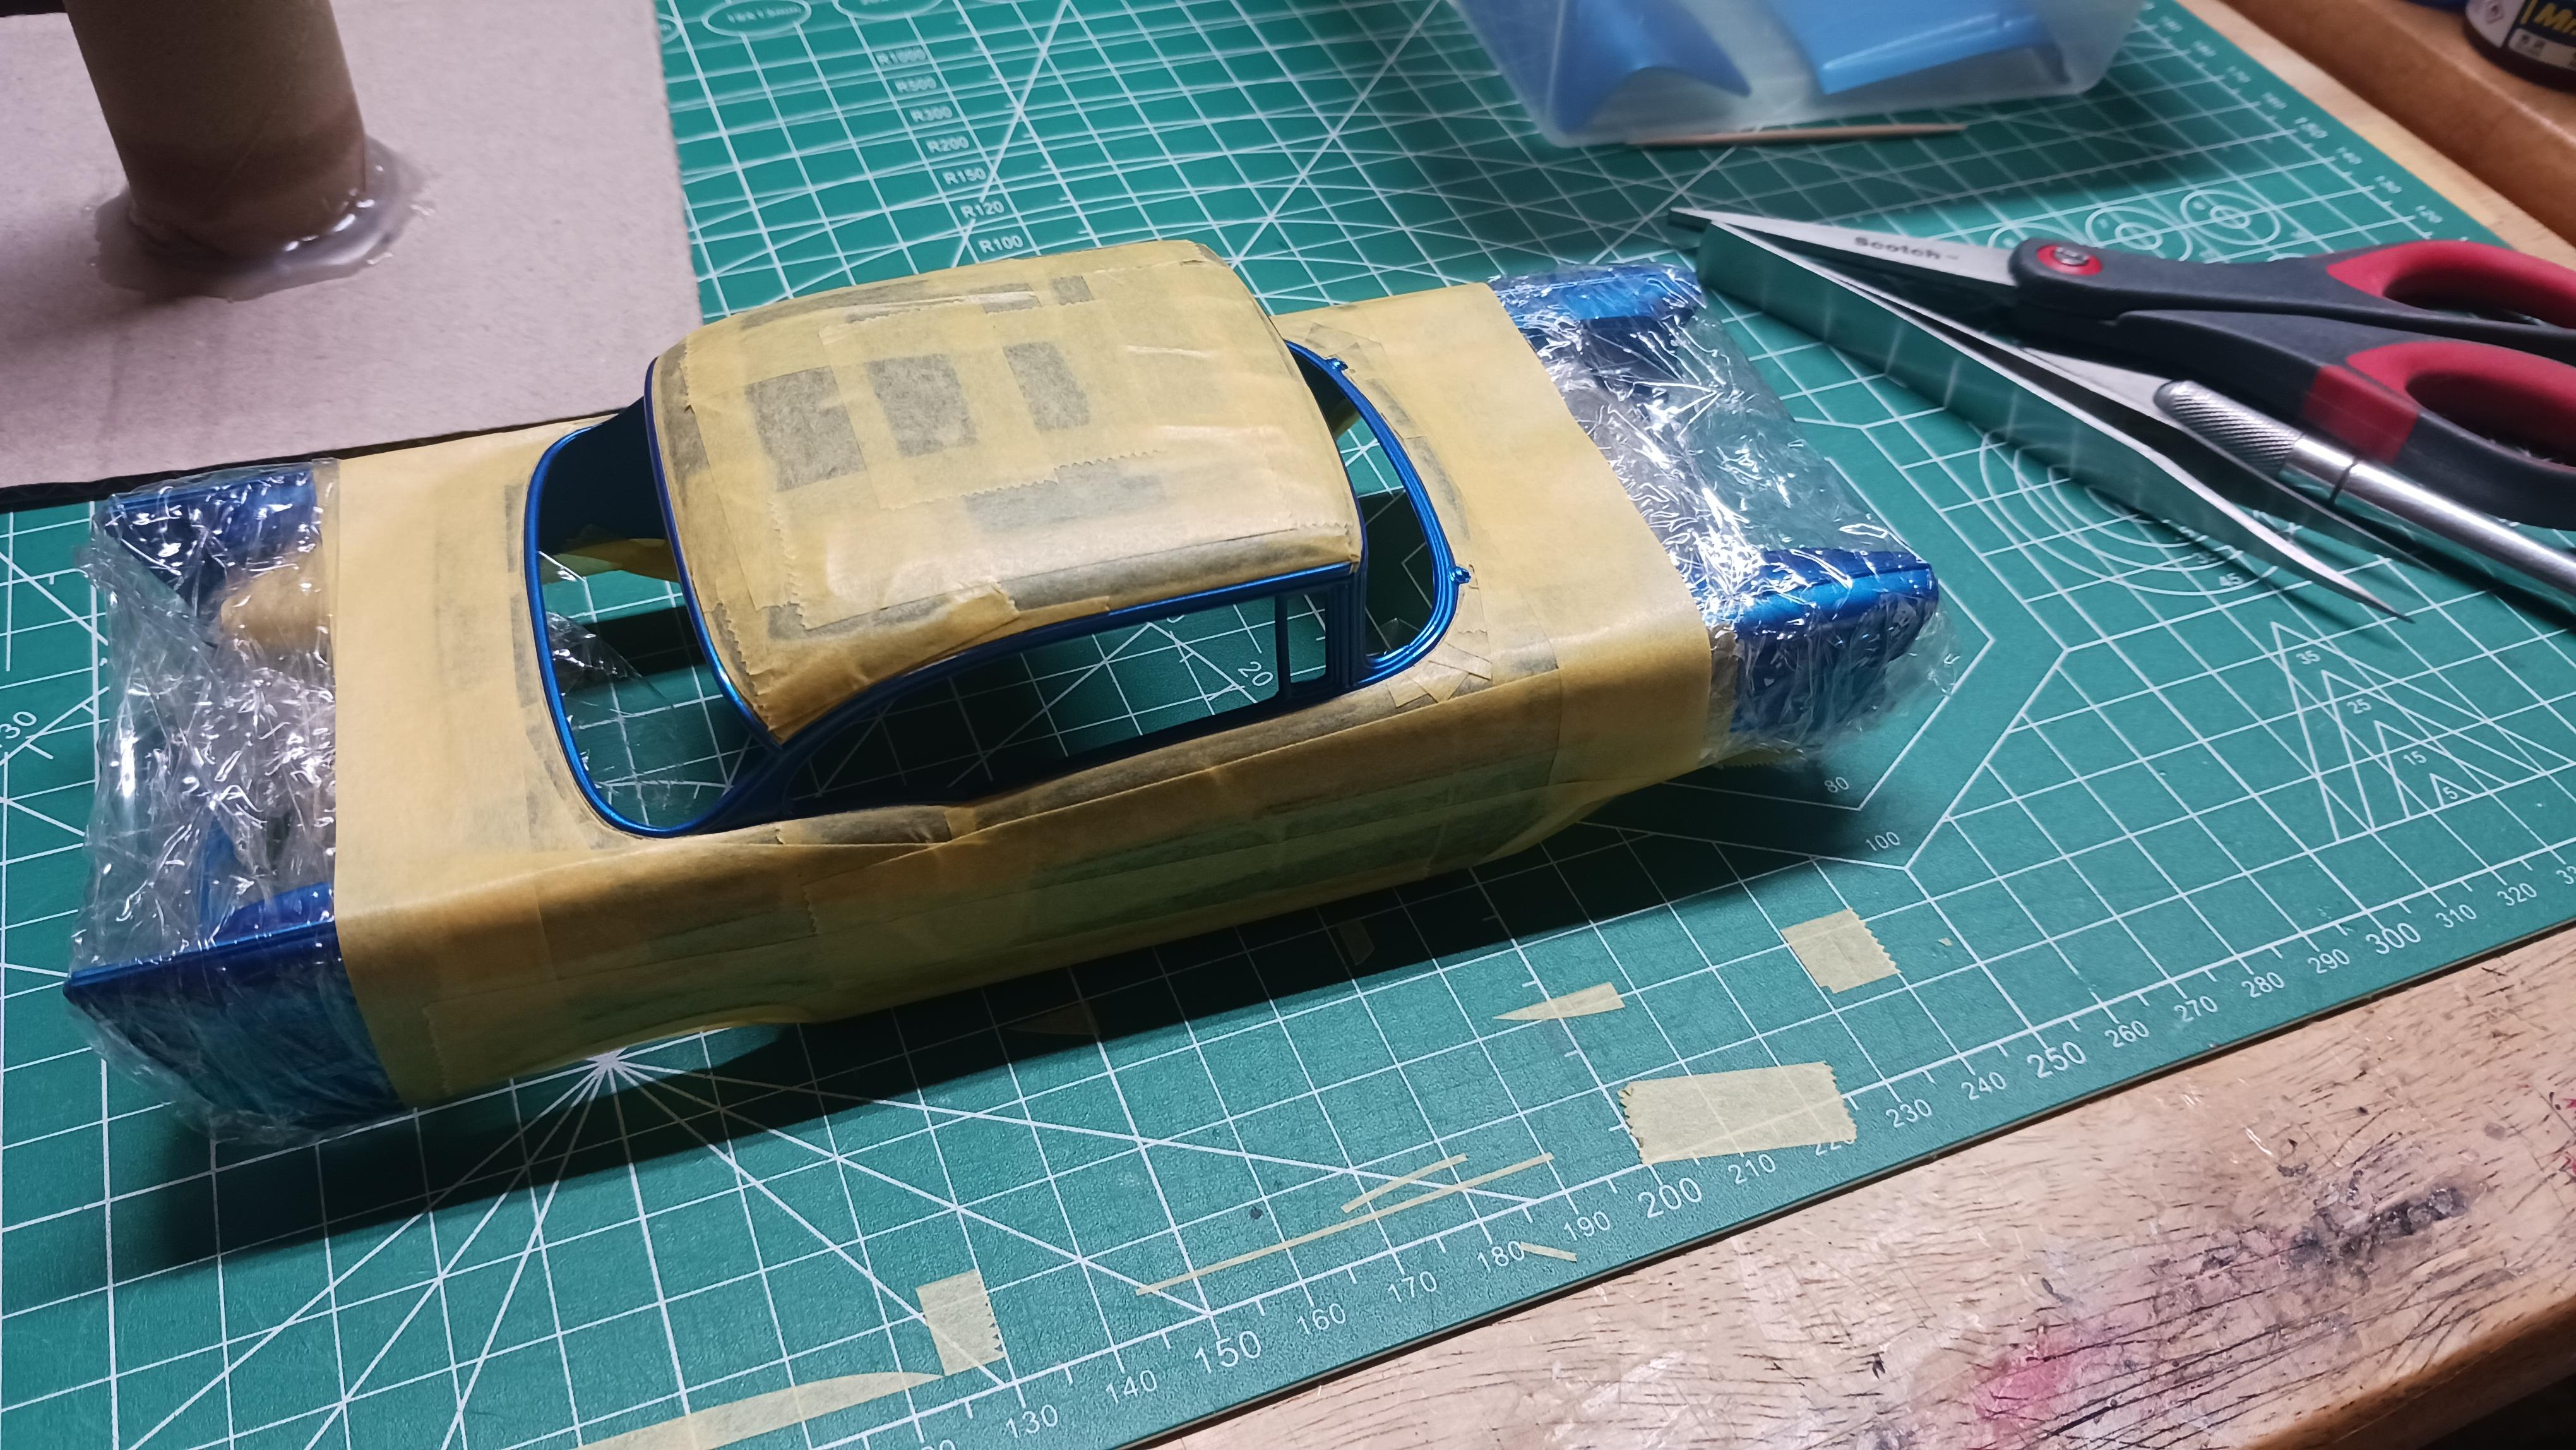
That is a beautiful 57 Chevy Sir!! Wow!! That has got to be one of the cleanest garages Ive ever seen. I can appreciate your dedication to cleanliness it shows on the car as well. Here are a few pics of the paint I had to settle with. Ill just build another one with the correct year color next time. I think it will look okay. next step is to use the Hasegawa foil and figure out how the trim will lay out.
-
1/25 MPC Dodge D-100
wisco8 replied to wisco8's topic in Model Trucks: Pickups, Vans, SUVs, Light Commercial
Sorry about that vague answer. Yes I do sand between primer coats, yes definitely. The sanding should be with a 4000 to 6000 grit and smooth. 3 coats of primer will not hurt anything. Just try to keep each layer on the mild side, not to lose details. I really do believe the primer coat is critical to a great looking finish. -
1/25 MPC Dodge D-100
wisco8 replied to wisco8's topic in Model Trucks: Pickups, Vans, SUVs, Light Commercial
Only after the 3rd then after the fifth and the polishing. Im always afraid of burning through the gloss when doing a metallic. -
Thank you Bill. I think I'm going with the Mr color 76 which is a metallic blue and also use their GX 100 super clear III both can be thinned with Mr color leveling thinner. I have had great success with this paint. Kind regards, Steve
-
1/25 MPC Dodge D-100
wisco8 replied to wisco8's topic in Model Trucks: Pickups, Vans, SUVs, Light Commercial
Thank you Jeff. I just started a 1/25 AMT 1957 Chevy Bel Air. I lightly sanded all the ejector pin marks I could find and then checked all the body parts for any parting lines and seam marks. Then washed it all in dish soap and let it dry out. I'm going to use Mr. surfacer primer and apply 3 coats and then sand that all with a 3000 grit to make sure it has a fairly smooth surface before adding the base coat. This process is the same way I did this truck. The thing is though when your using a metallic as a base, be very careful to add enough clear coats so you can bring it to a nice mirror finish. You don't want to burn through into the base coat while wet sanding, especially when using metallic's. Steve -
1/25 MPC Dodge D-100
wisco8 replied to wisco8's topic in Model Trucks: Pickups, Vans, SUVs, Light Commercial
Thank you David ? -
1/25 MPC Dodge D-100
wisco8 replied to wisco8's topic in Model Trucks: Pickups, Vans, SUVs, Light Commercial
Thank you Chris. -
Trying to hone the paint finishing skills on this one. I used Mr color silver over a white primer followed by Mr color metallic blue , then applied 5 coats of Mr color clear gloss and finally polished out with Tamiya polishing compounds... course, medium, and fine with a Proxxon variable speed controlled buffing wheel. Any tips would be greatly appreciated. Kind regards, Steve
-
Looking for either a Mr color or Tamiya equivalent to 1957 Chevy Bel air Harbor Blue.
-
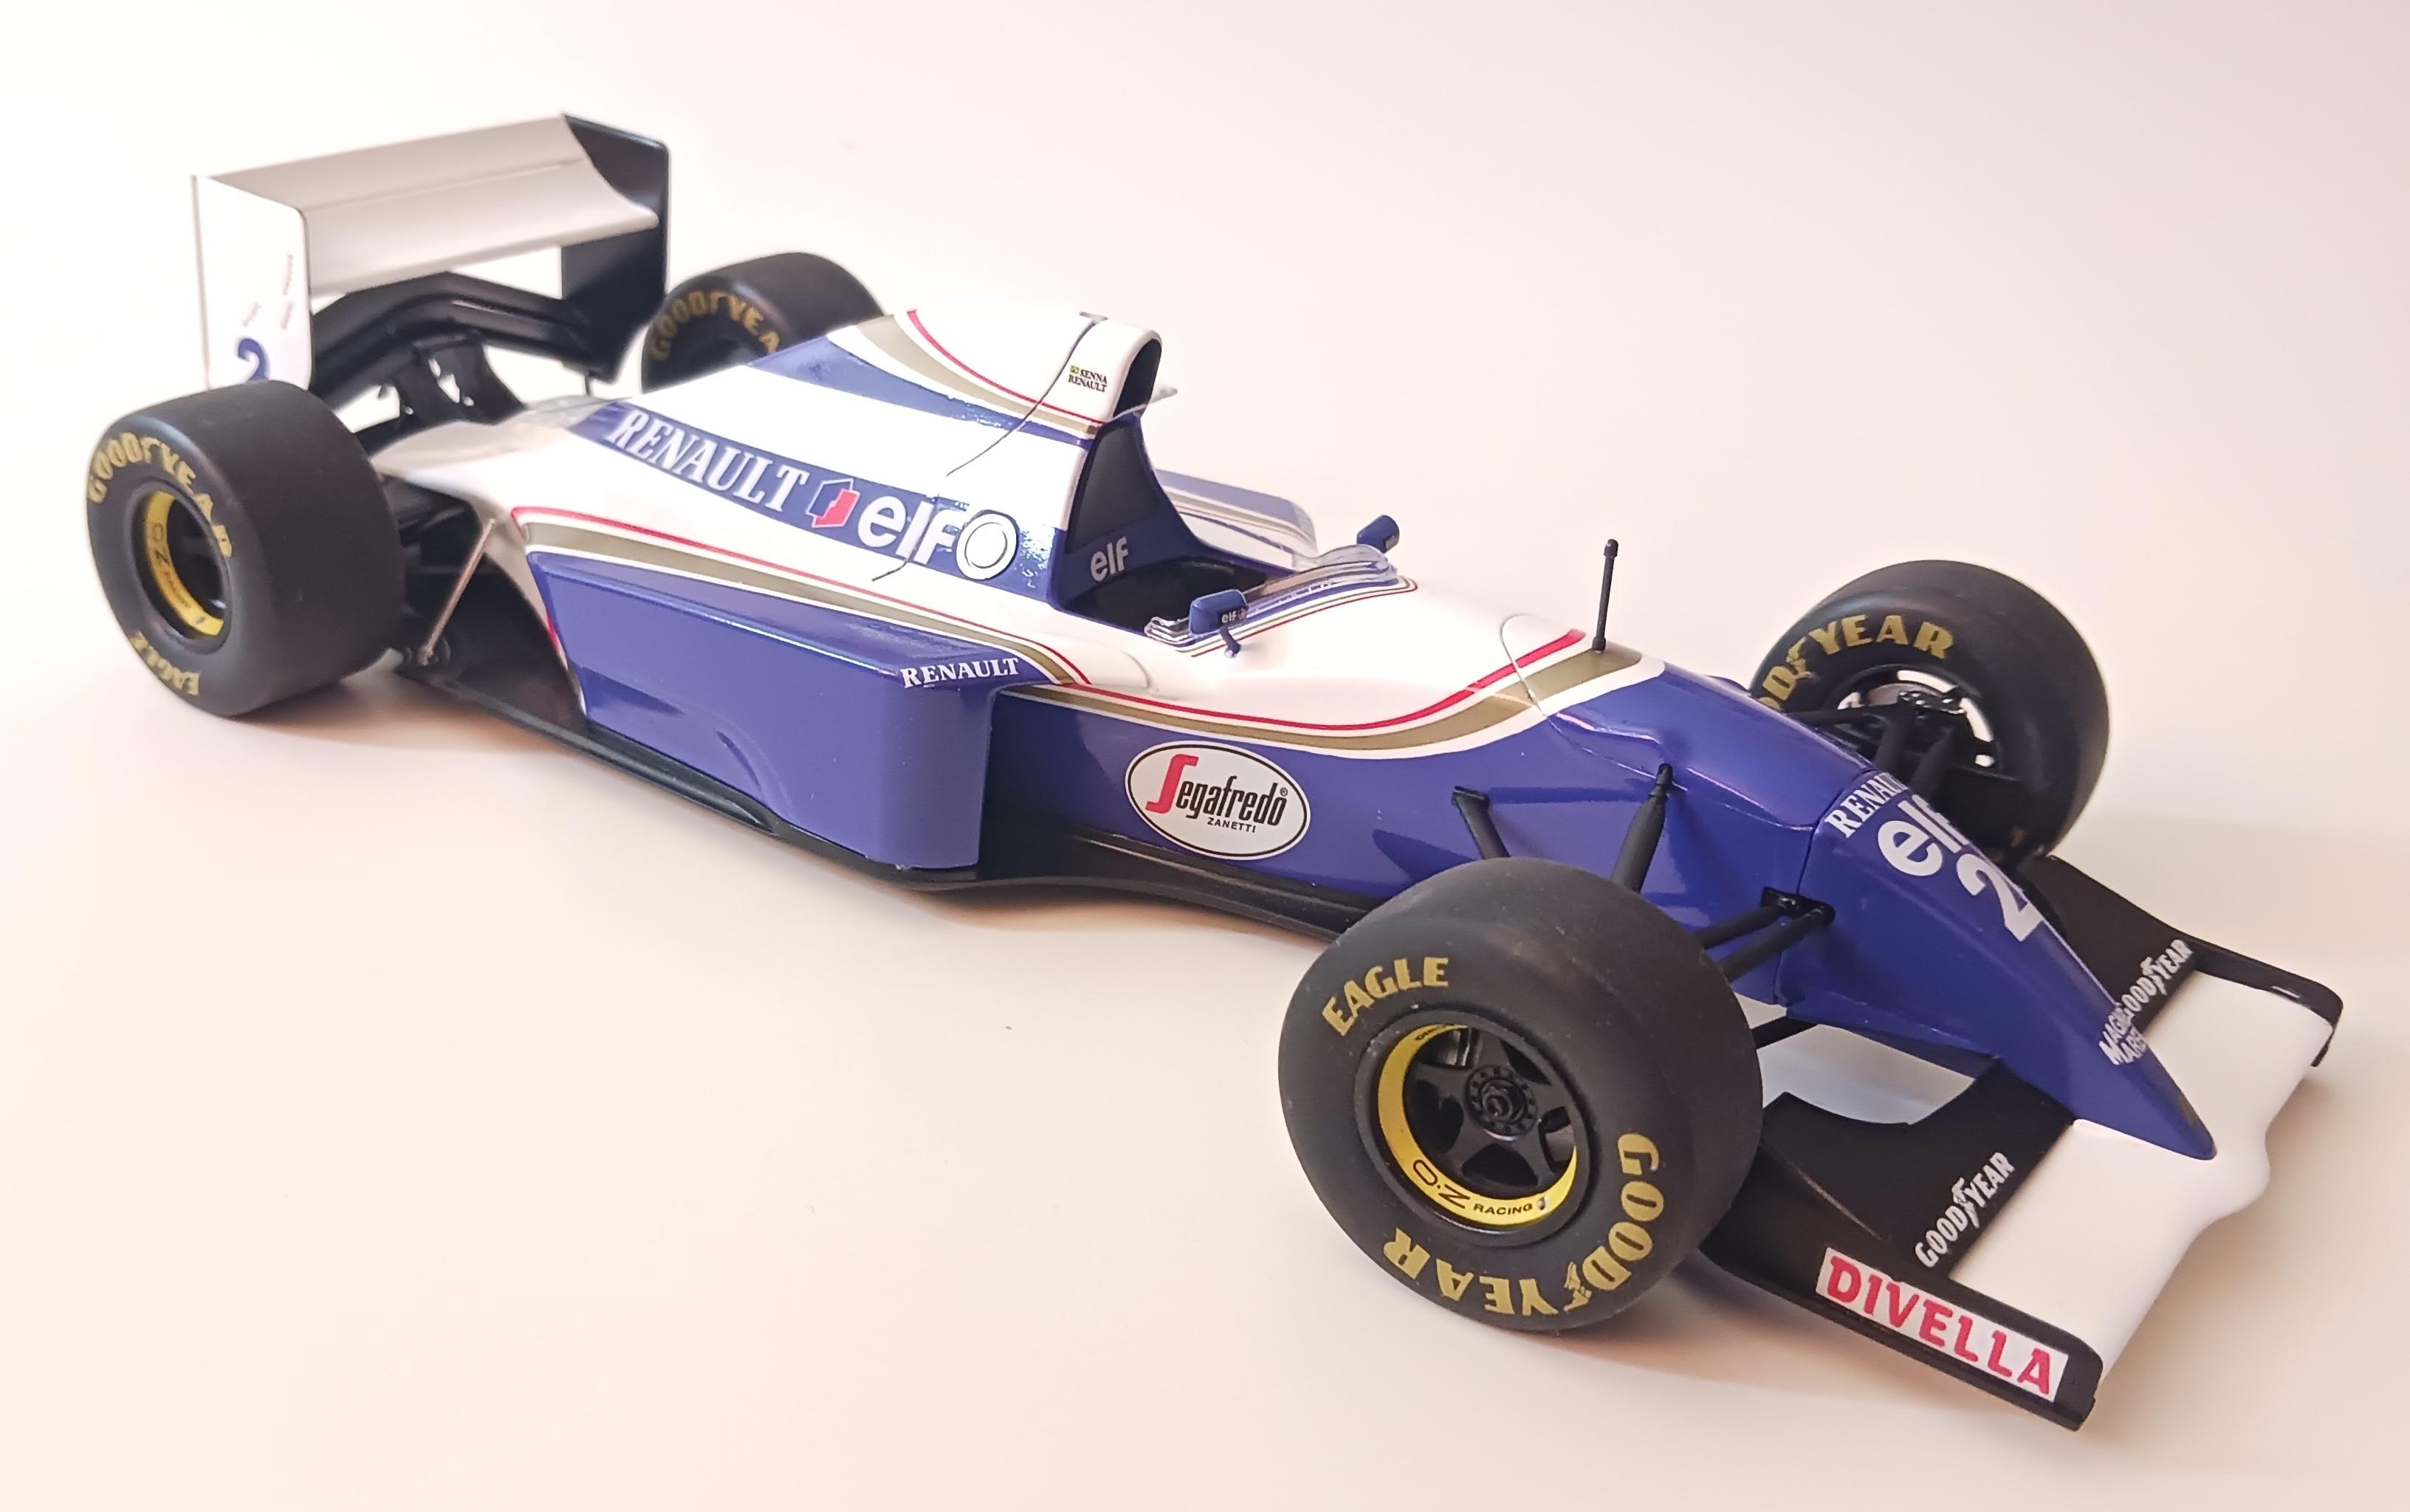
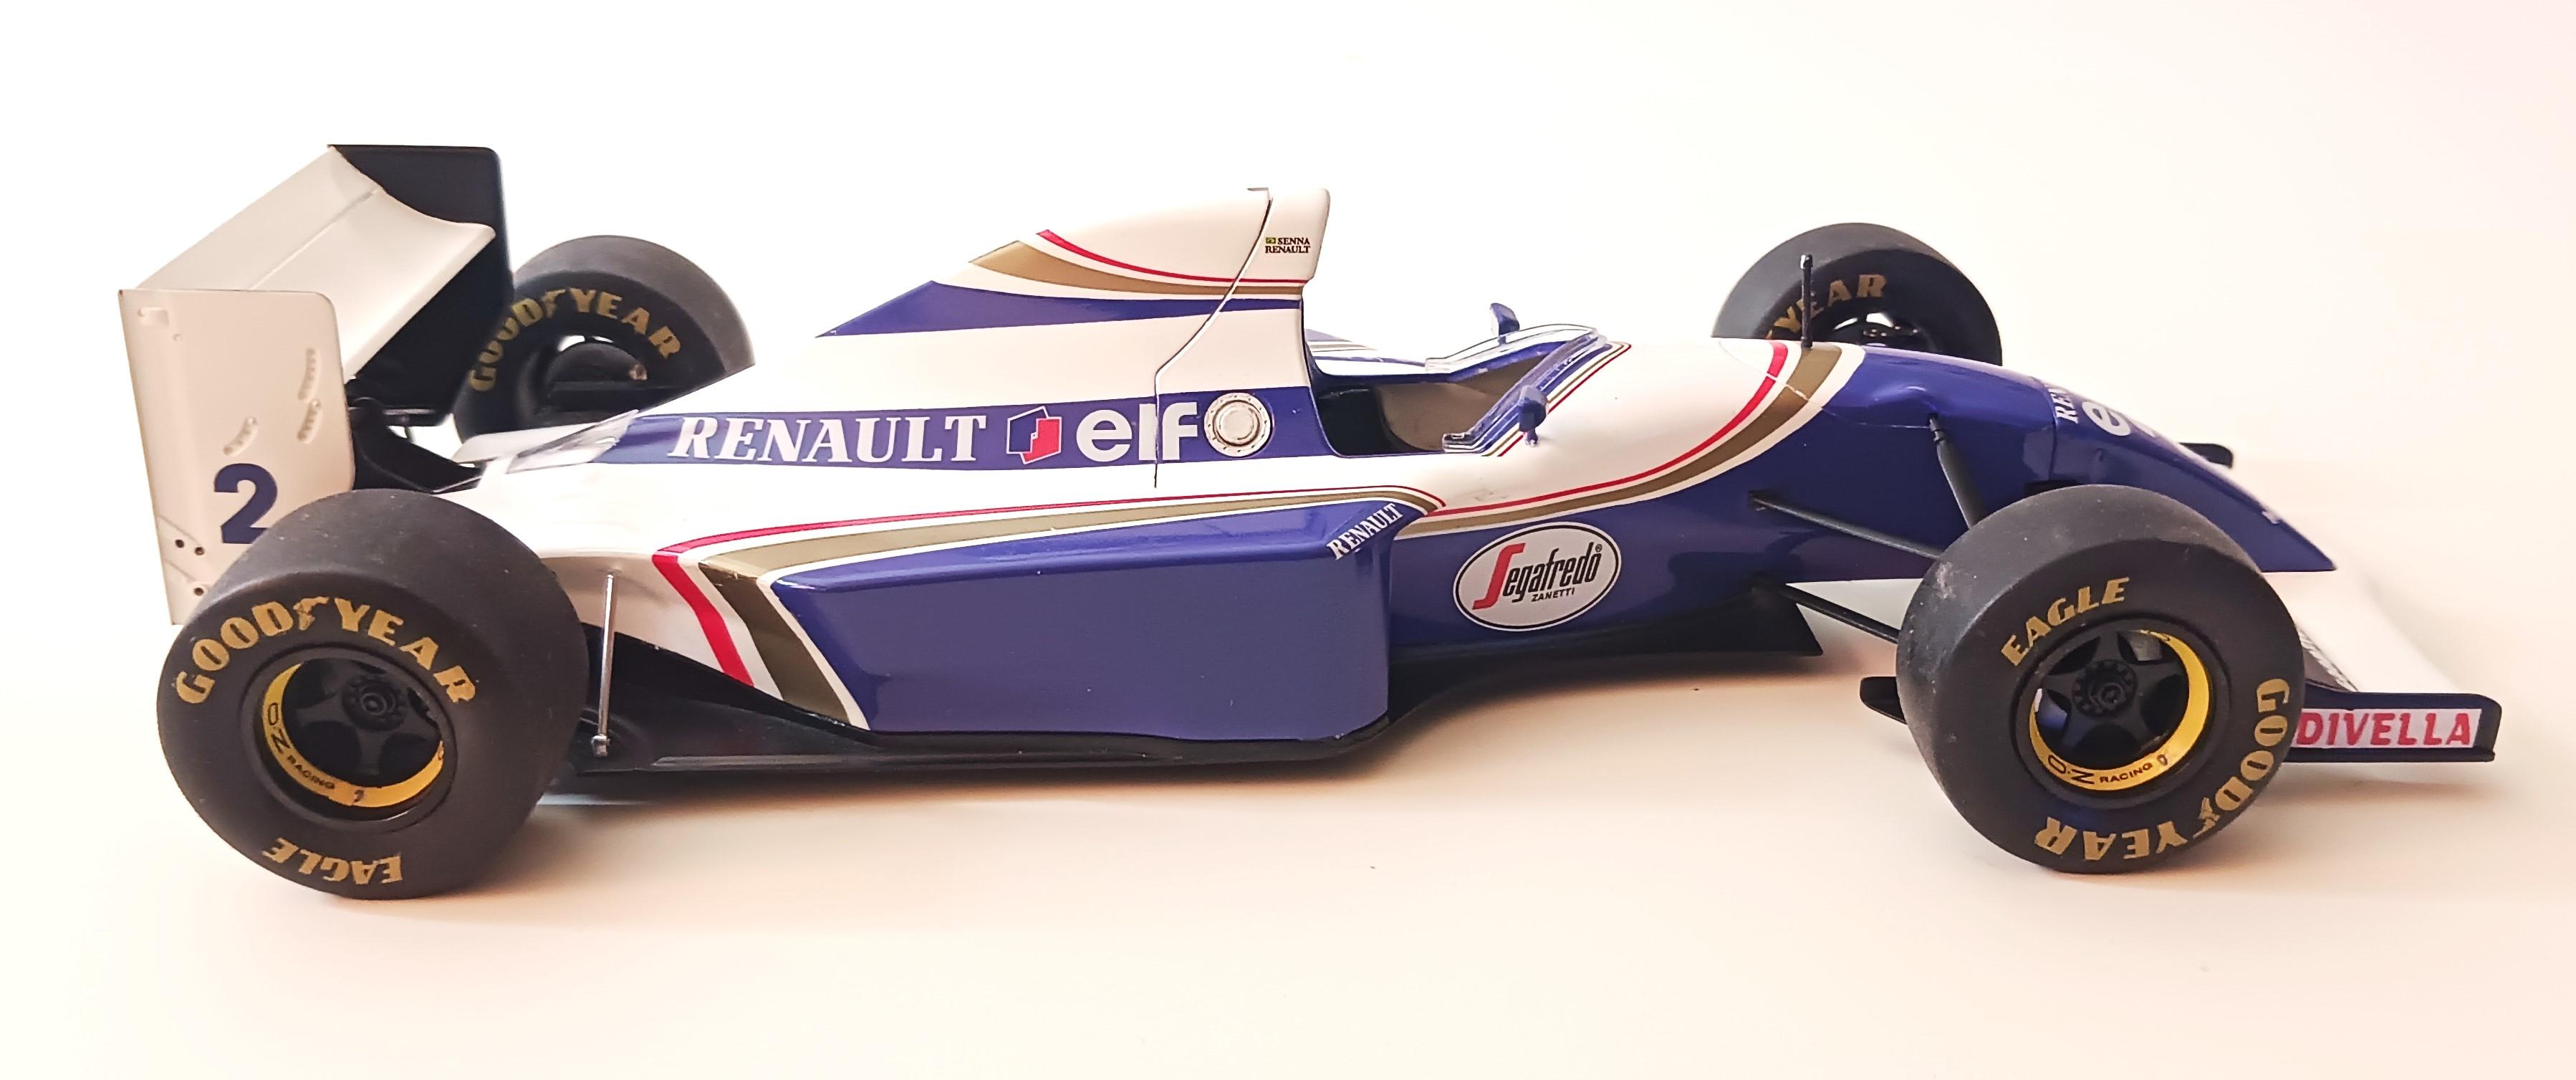
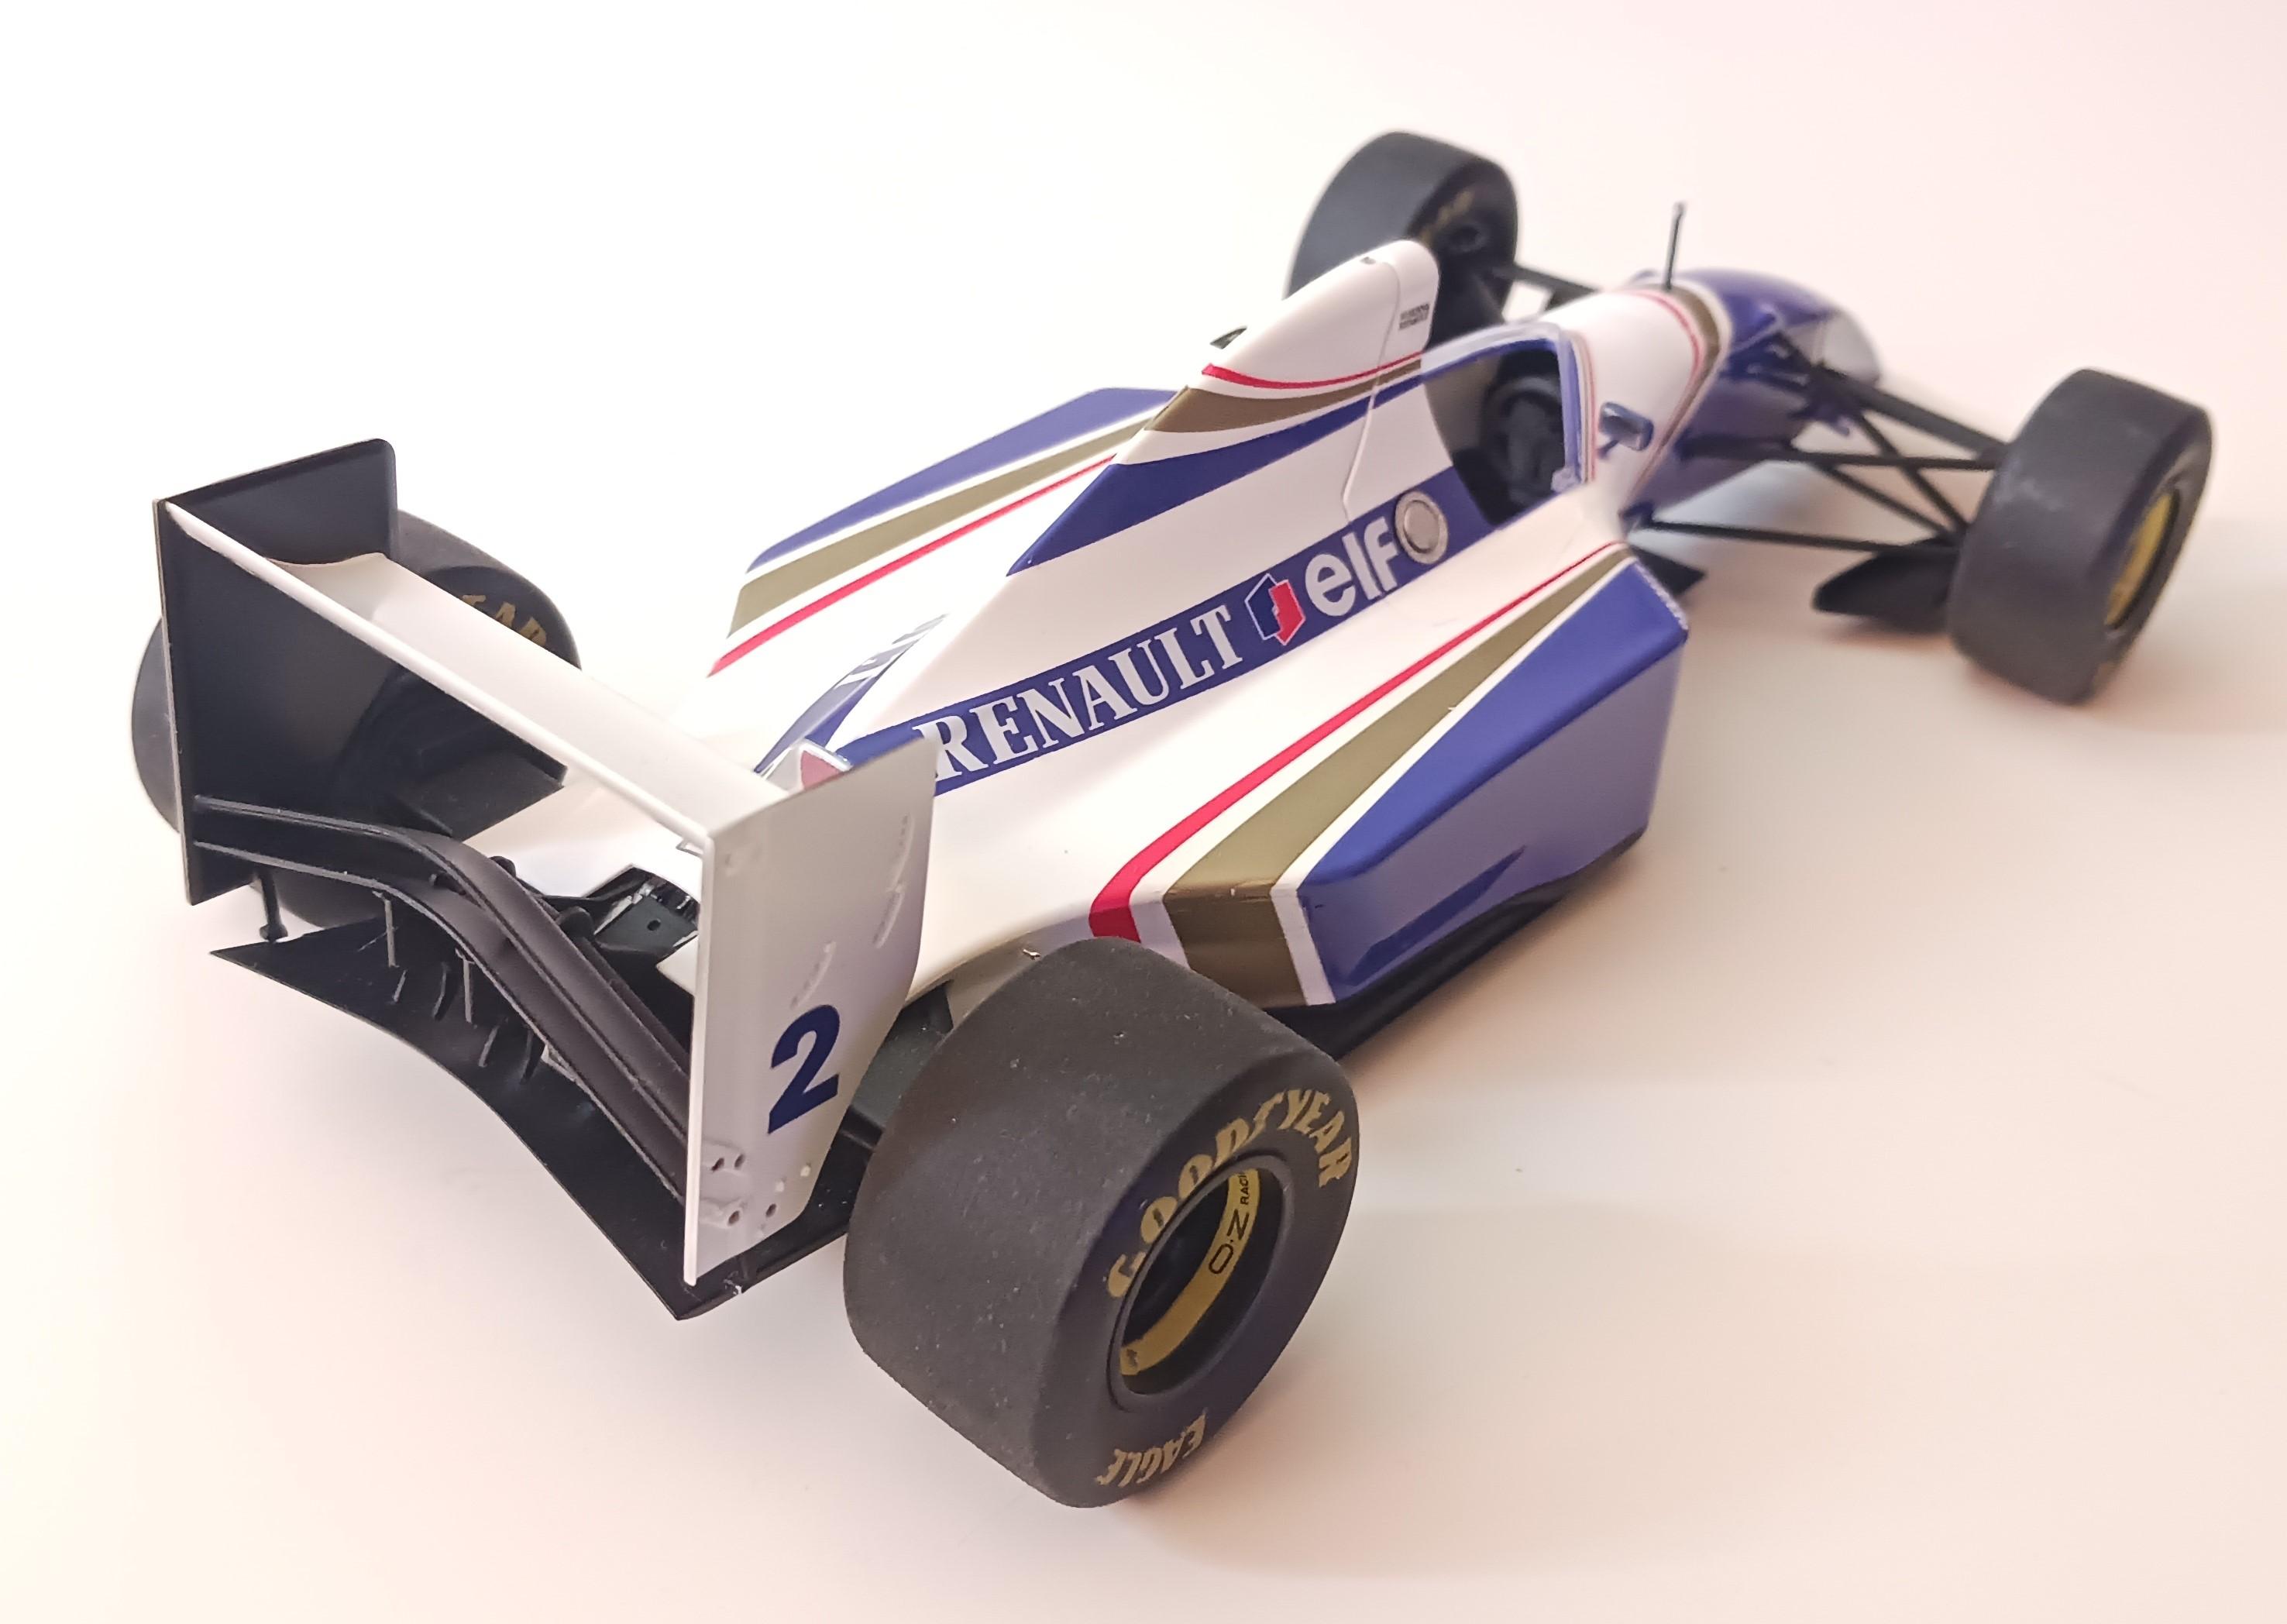
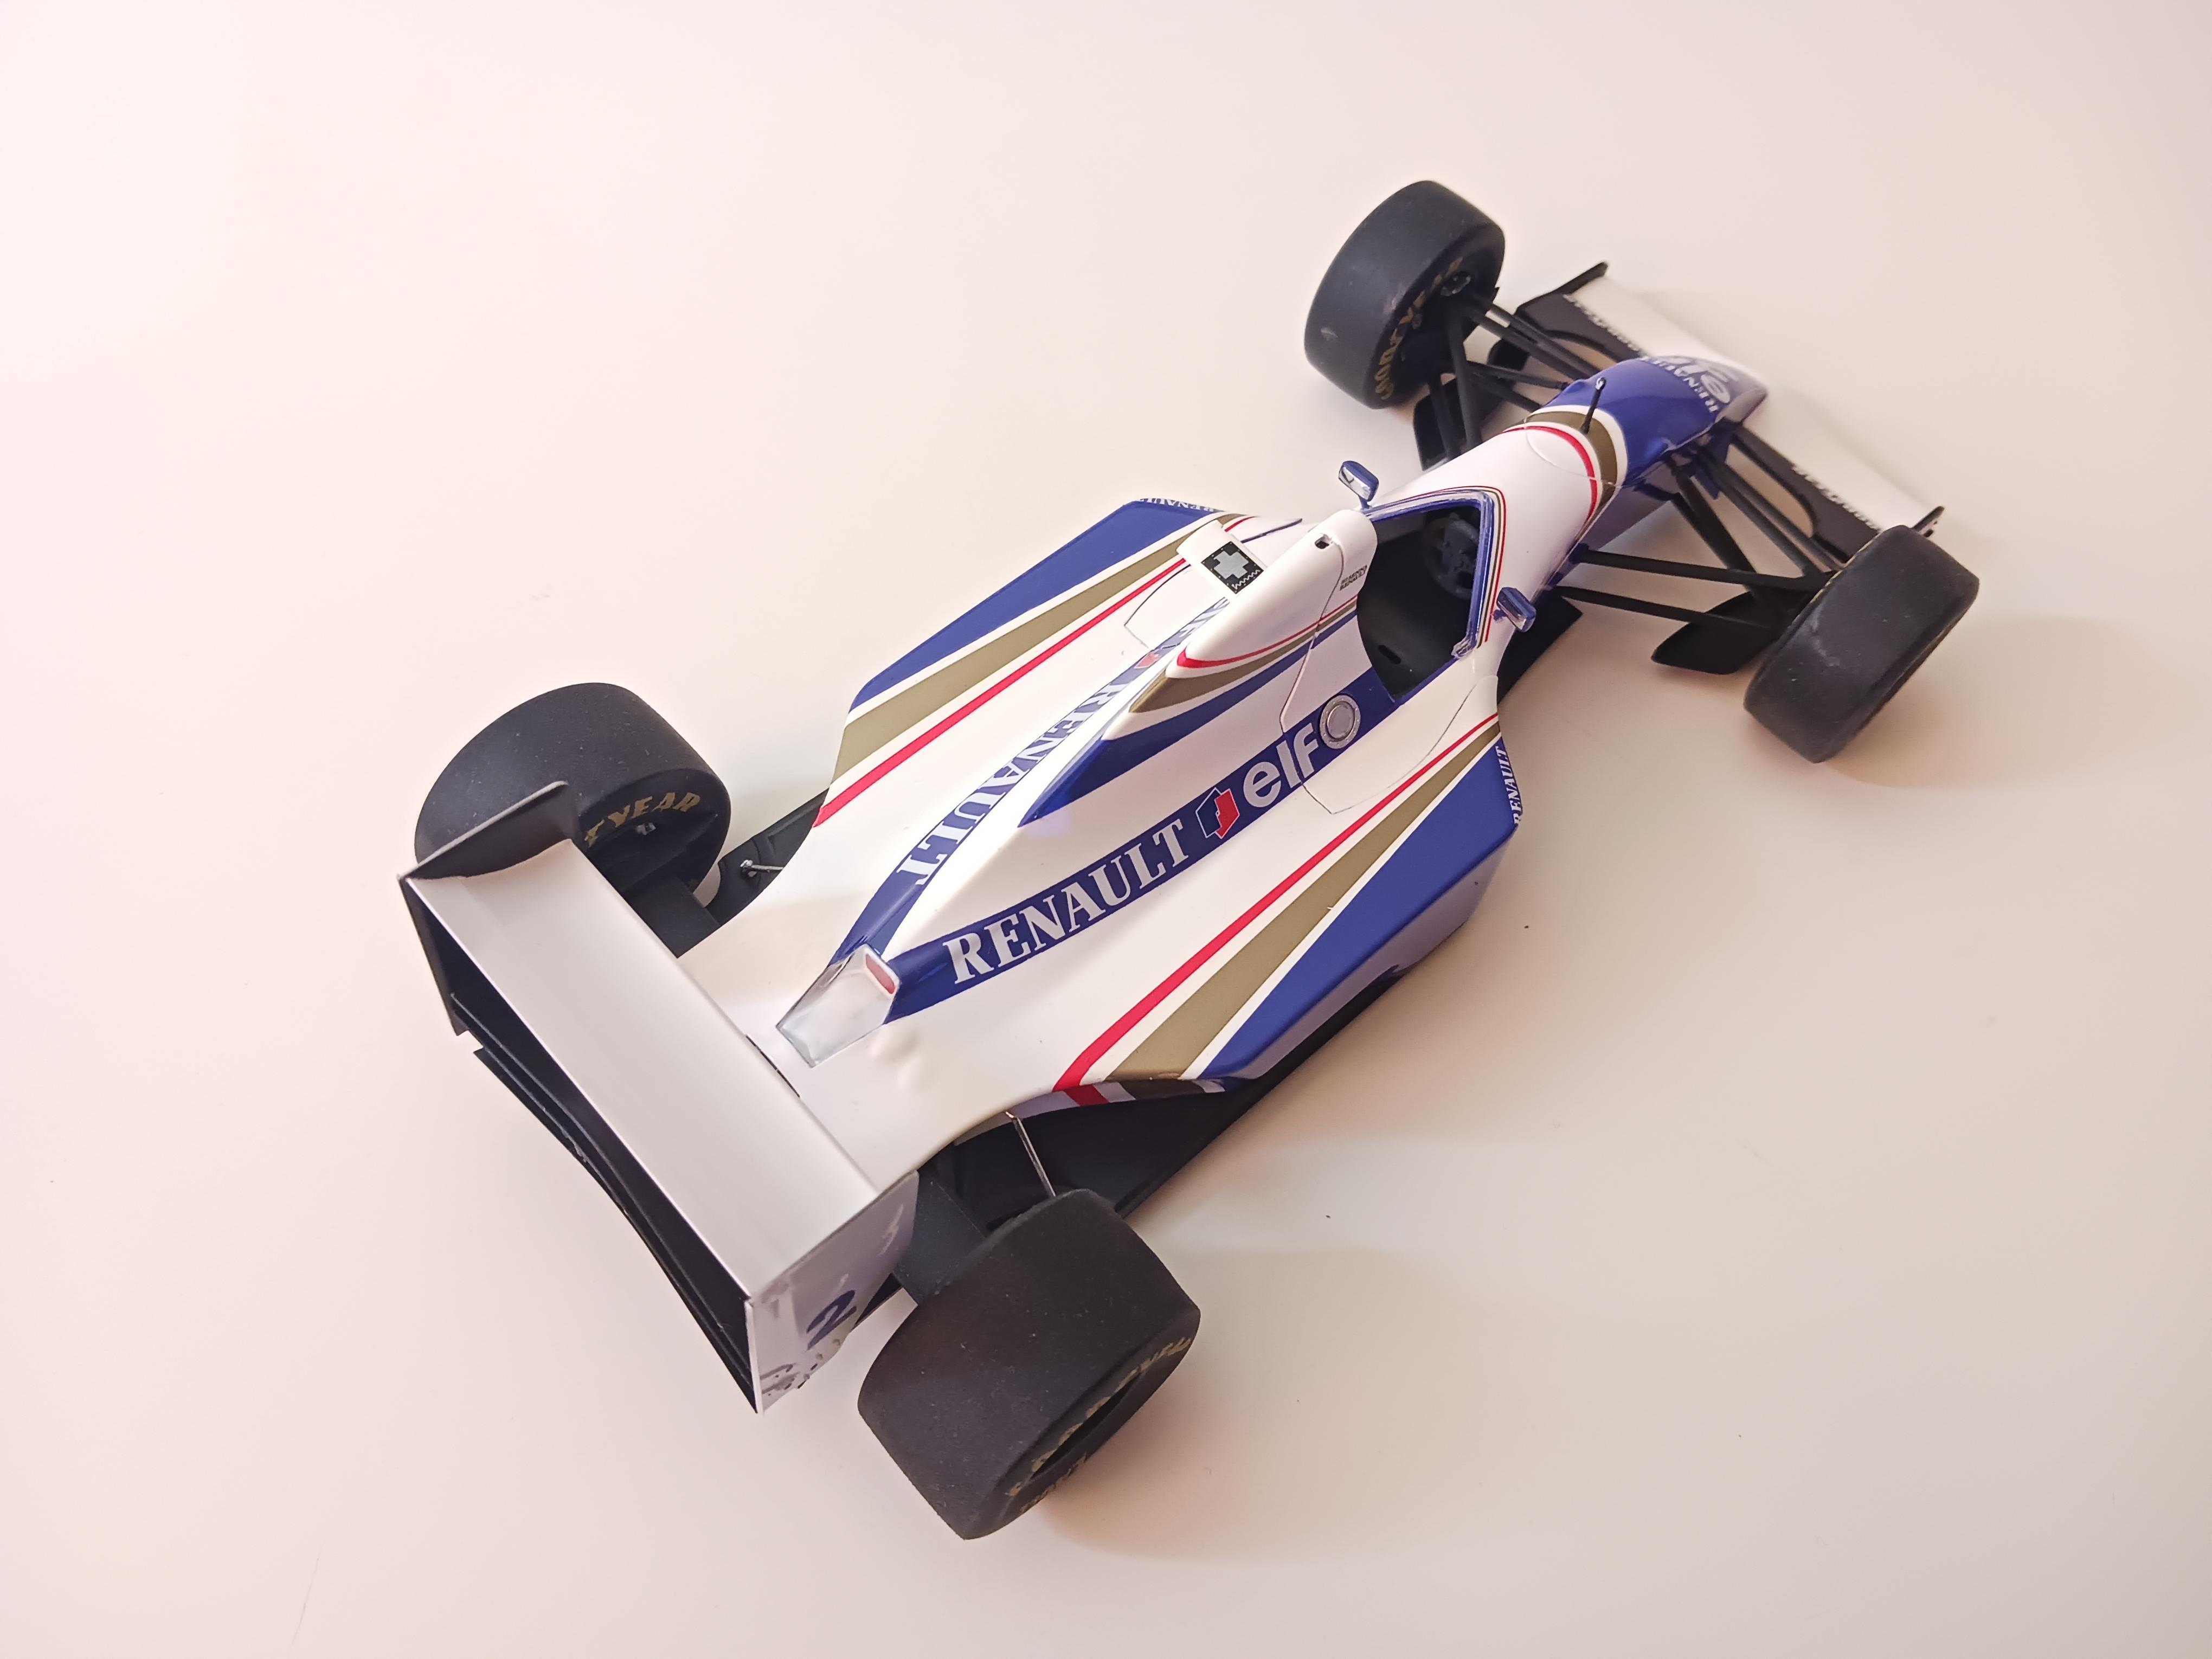
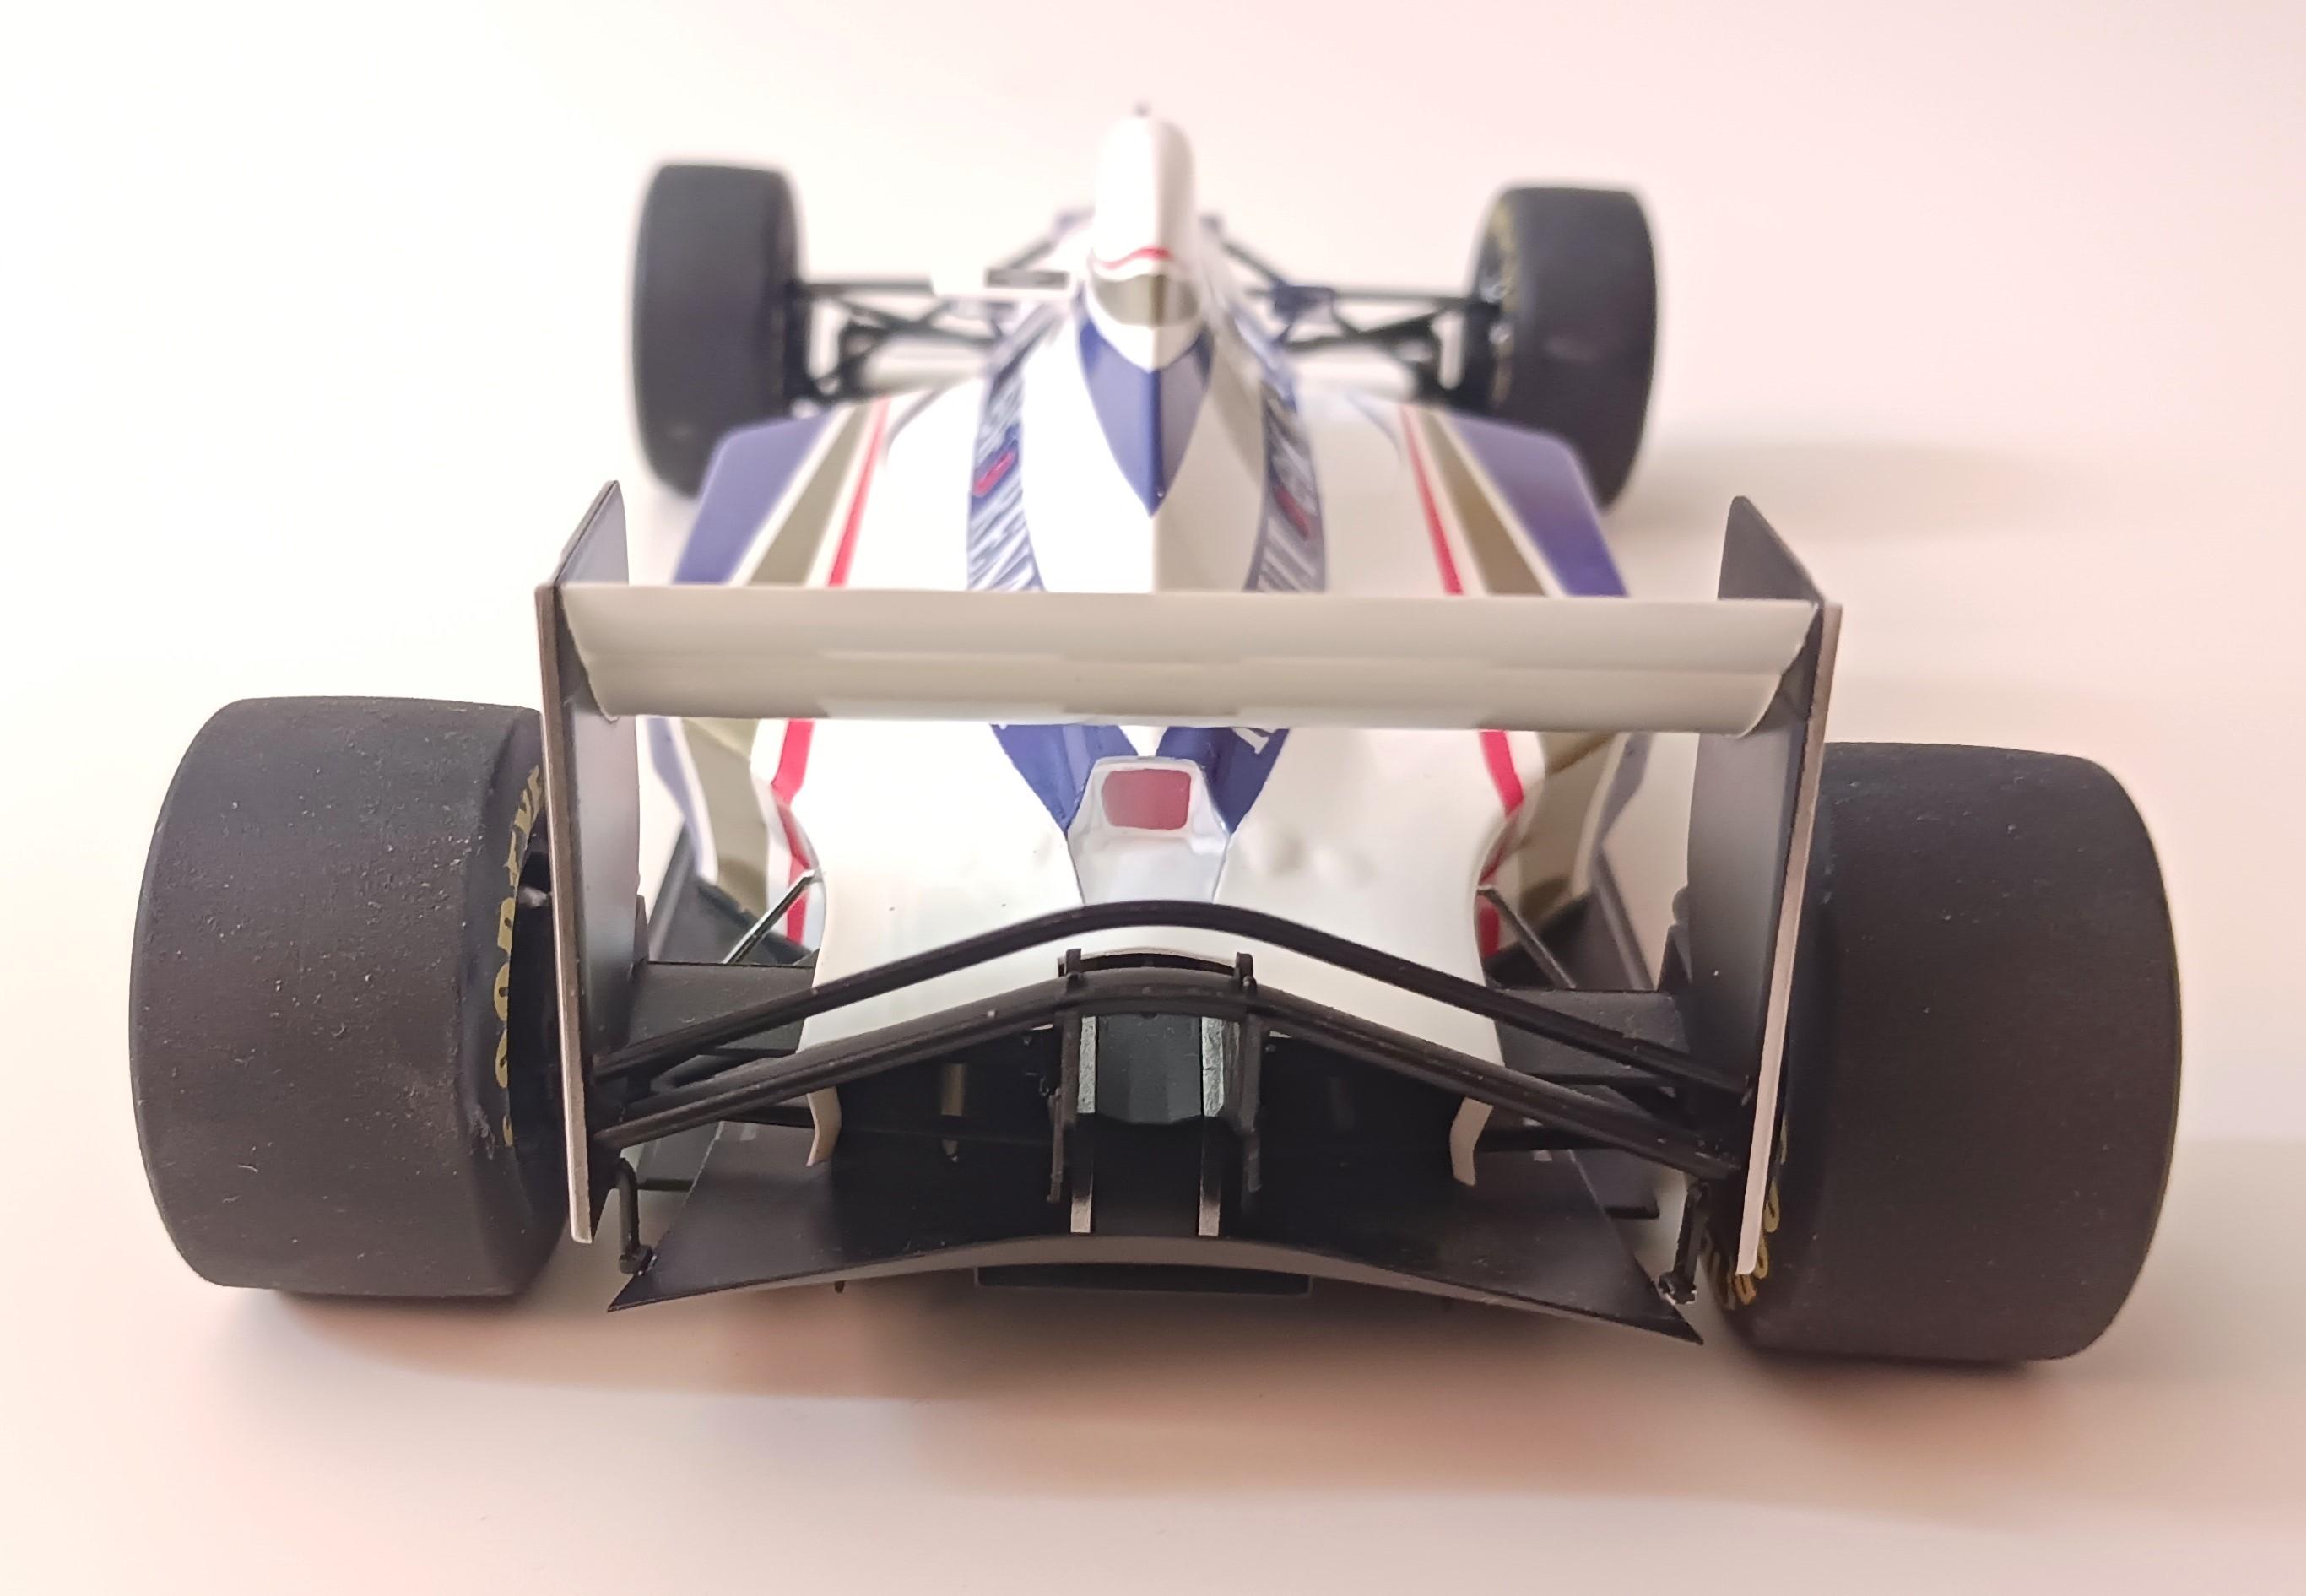
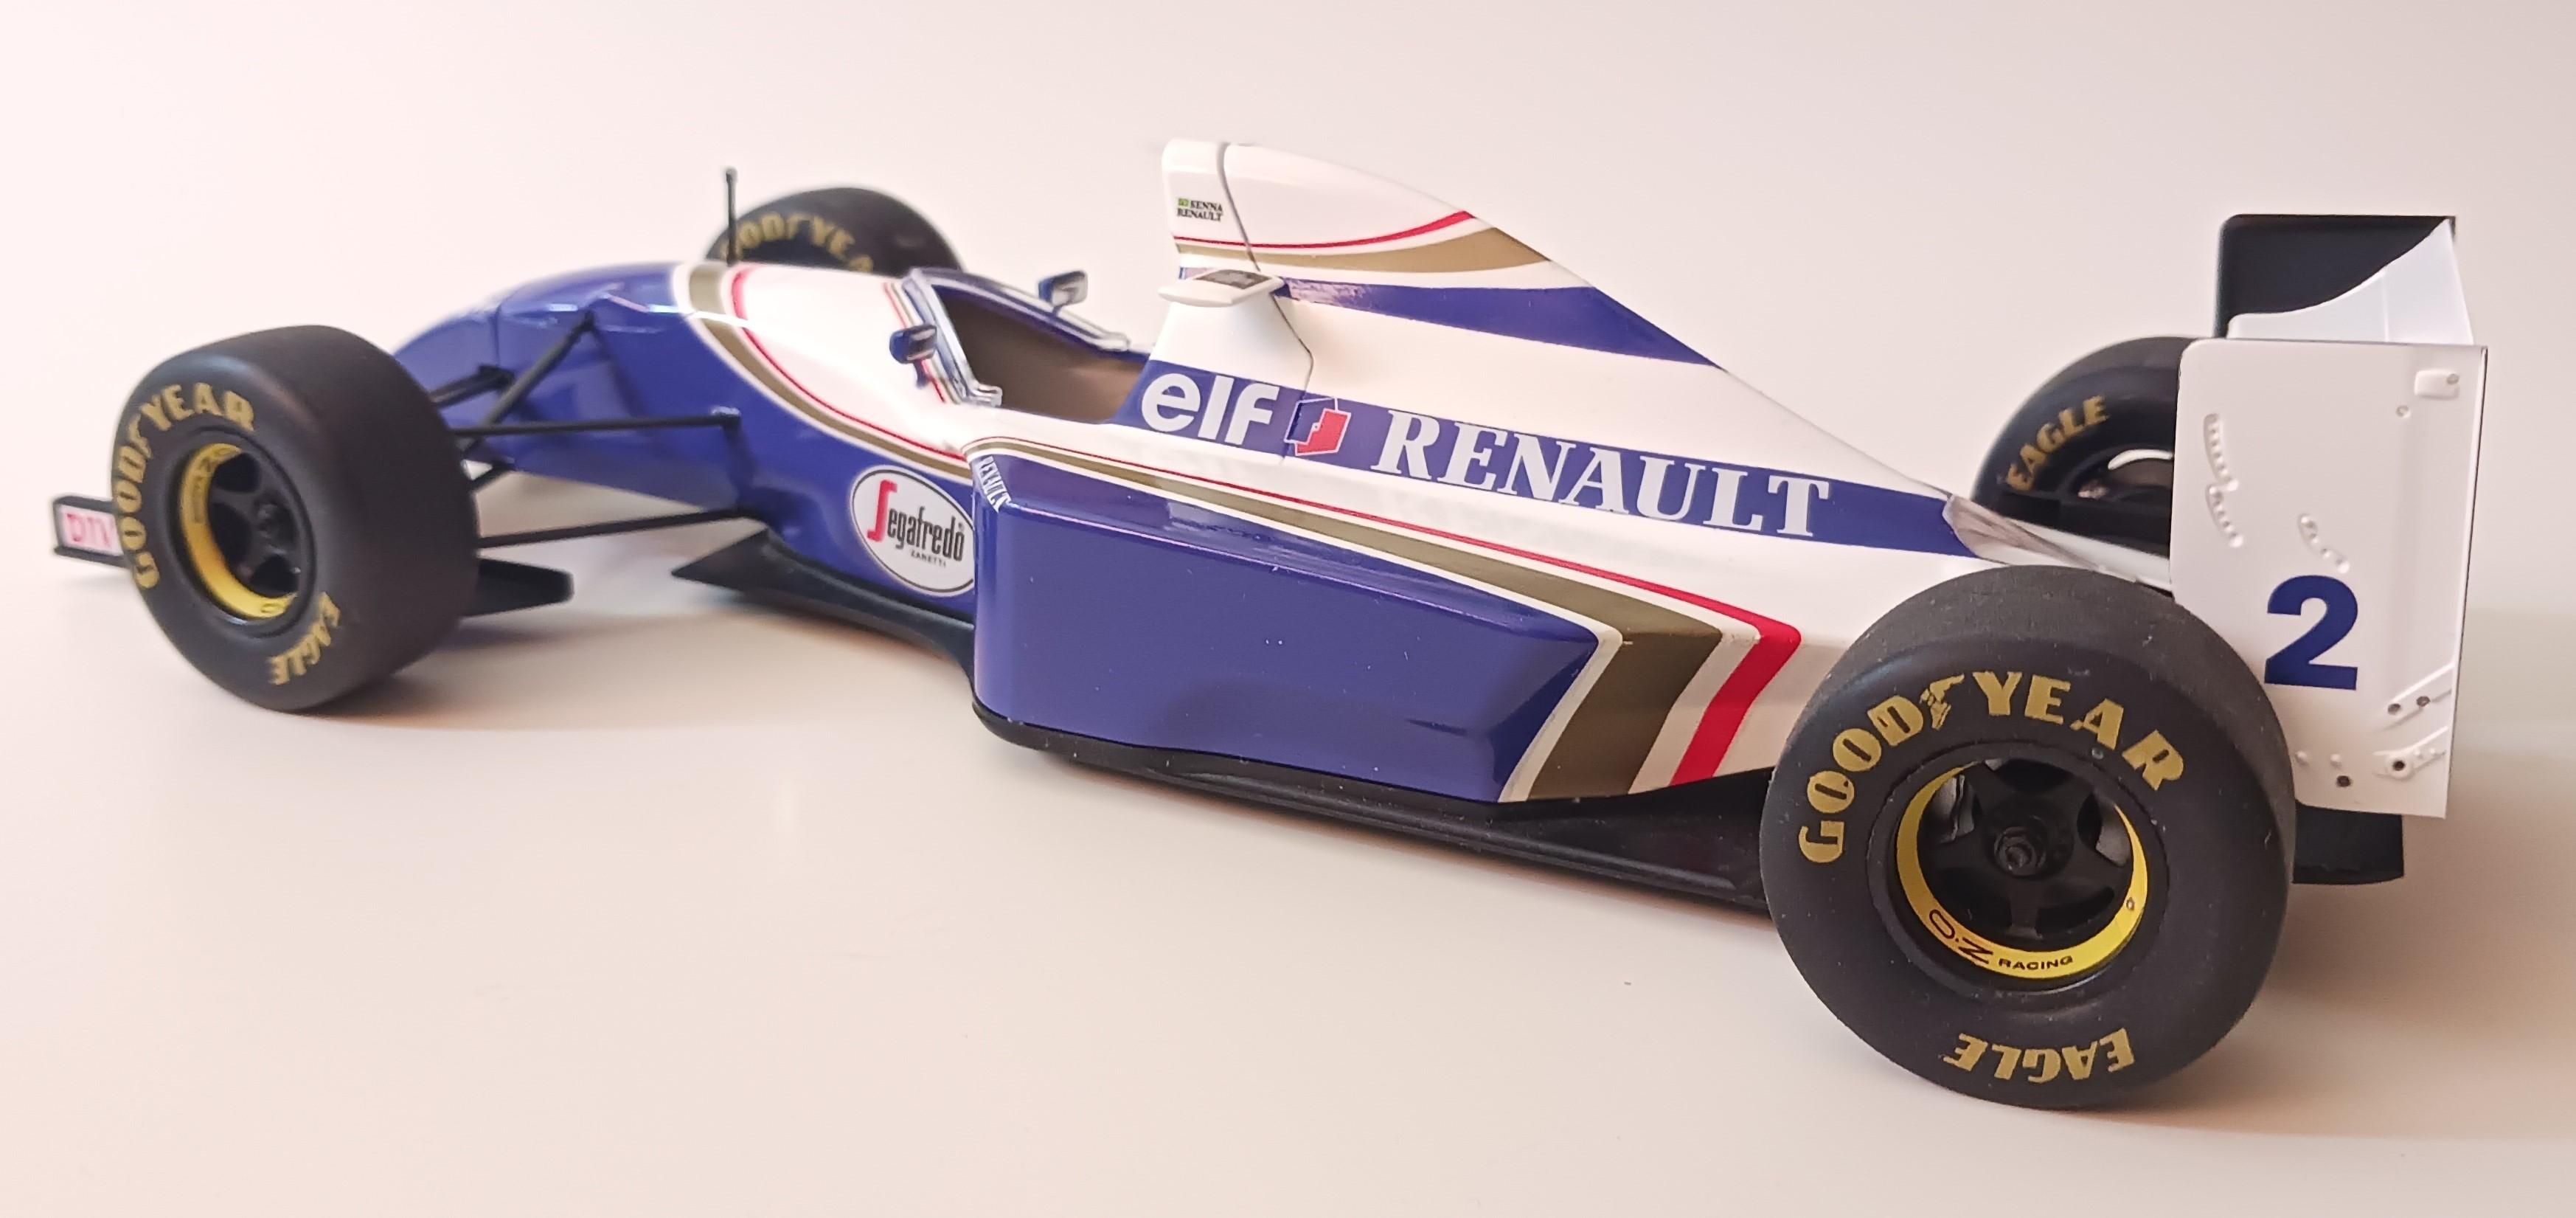
1/20 Fujimi Williams FW16 1994
wisco8 replied to wisco8's topic in Other Racing: Road Racing, Salt Flat Racers
Wheels in the correct positions now ? -
1/20 Fujimi Williams FW16 1994
wisco8 replied to wisco8's topic in Other Racing: Road Racing, Salt Flat Racers
Ill just move them to the other side? no-one will notice!! Ha ha ha!! Thank you for pointing that out Belugawrx I totally missed it. -
This was a nice kit to build. The decals were perfect and all the parts fit great. I didn't have any seat belts, but thinking about getting a good set. I suffered a severe model breakdown and wasn't able to build anything for three months. I finally just snapped out of it and now back to what I love doing the most, building models. Hope you like the way it turned out. Kind regards, Steve
-
1/20 Tamiya McLaren Honda MP4/4
wisco8 replied to wisco8's topic in Other Racing: Road Racing, Salt Flat Racers
Thank you Steve. It has already been shipped down to Florida from here in Wisconsin, but I'm sure my friend will be able to place the decals with no problem at all. Thank you for the help Steve. Kind regards, Steve -
1/20 Tamiya Jordan 191
wisco8 replied to wisco8's topic in Other Racing: Road Racing, Salt Flat Racers
Hi Tony. The formula for the paint is at the lower part of the paint key in the directions it will give you the ratio mix there also. Kind regards, Steve Cook -
1/20 Tamiya McLaren Honda MP4/4
wisco8 replied to wisco8's topic in Other Racing: Road Racing, Salt Flat Racers
Hi Rich. I just used what I thought looked like the Marlboro red. -
1/20 Tamiya Jordan 191
wisco8 replied to wisco8's topic in Other Racing: Road Racing, Salt Flat Racers
Hi Tony. The color mix ratio is Tamiya is X-28 :2 + X-5 :1 or 80 drops of Tamiya x-28 and 40 drops of x-5. The decals were acquired from eBay. You will have to look to see if any are available. Steve -
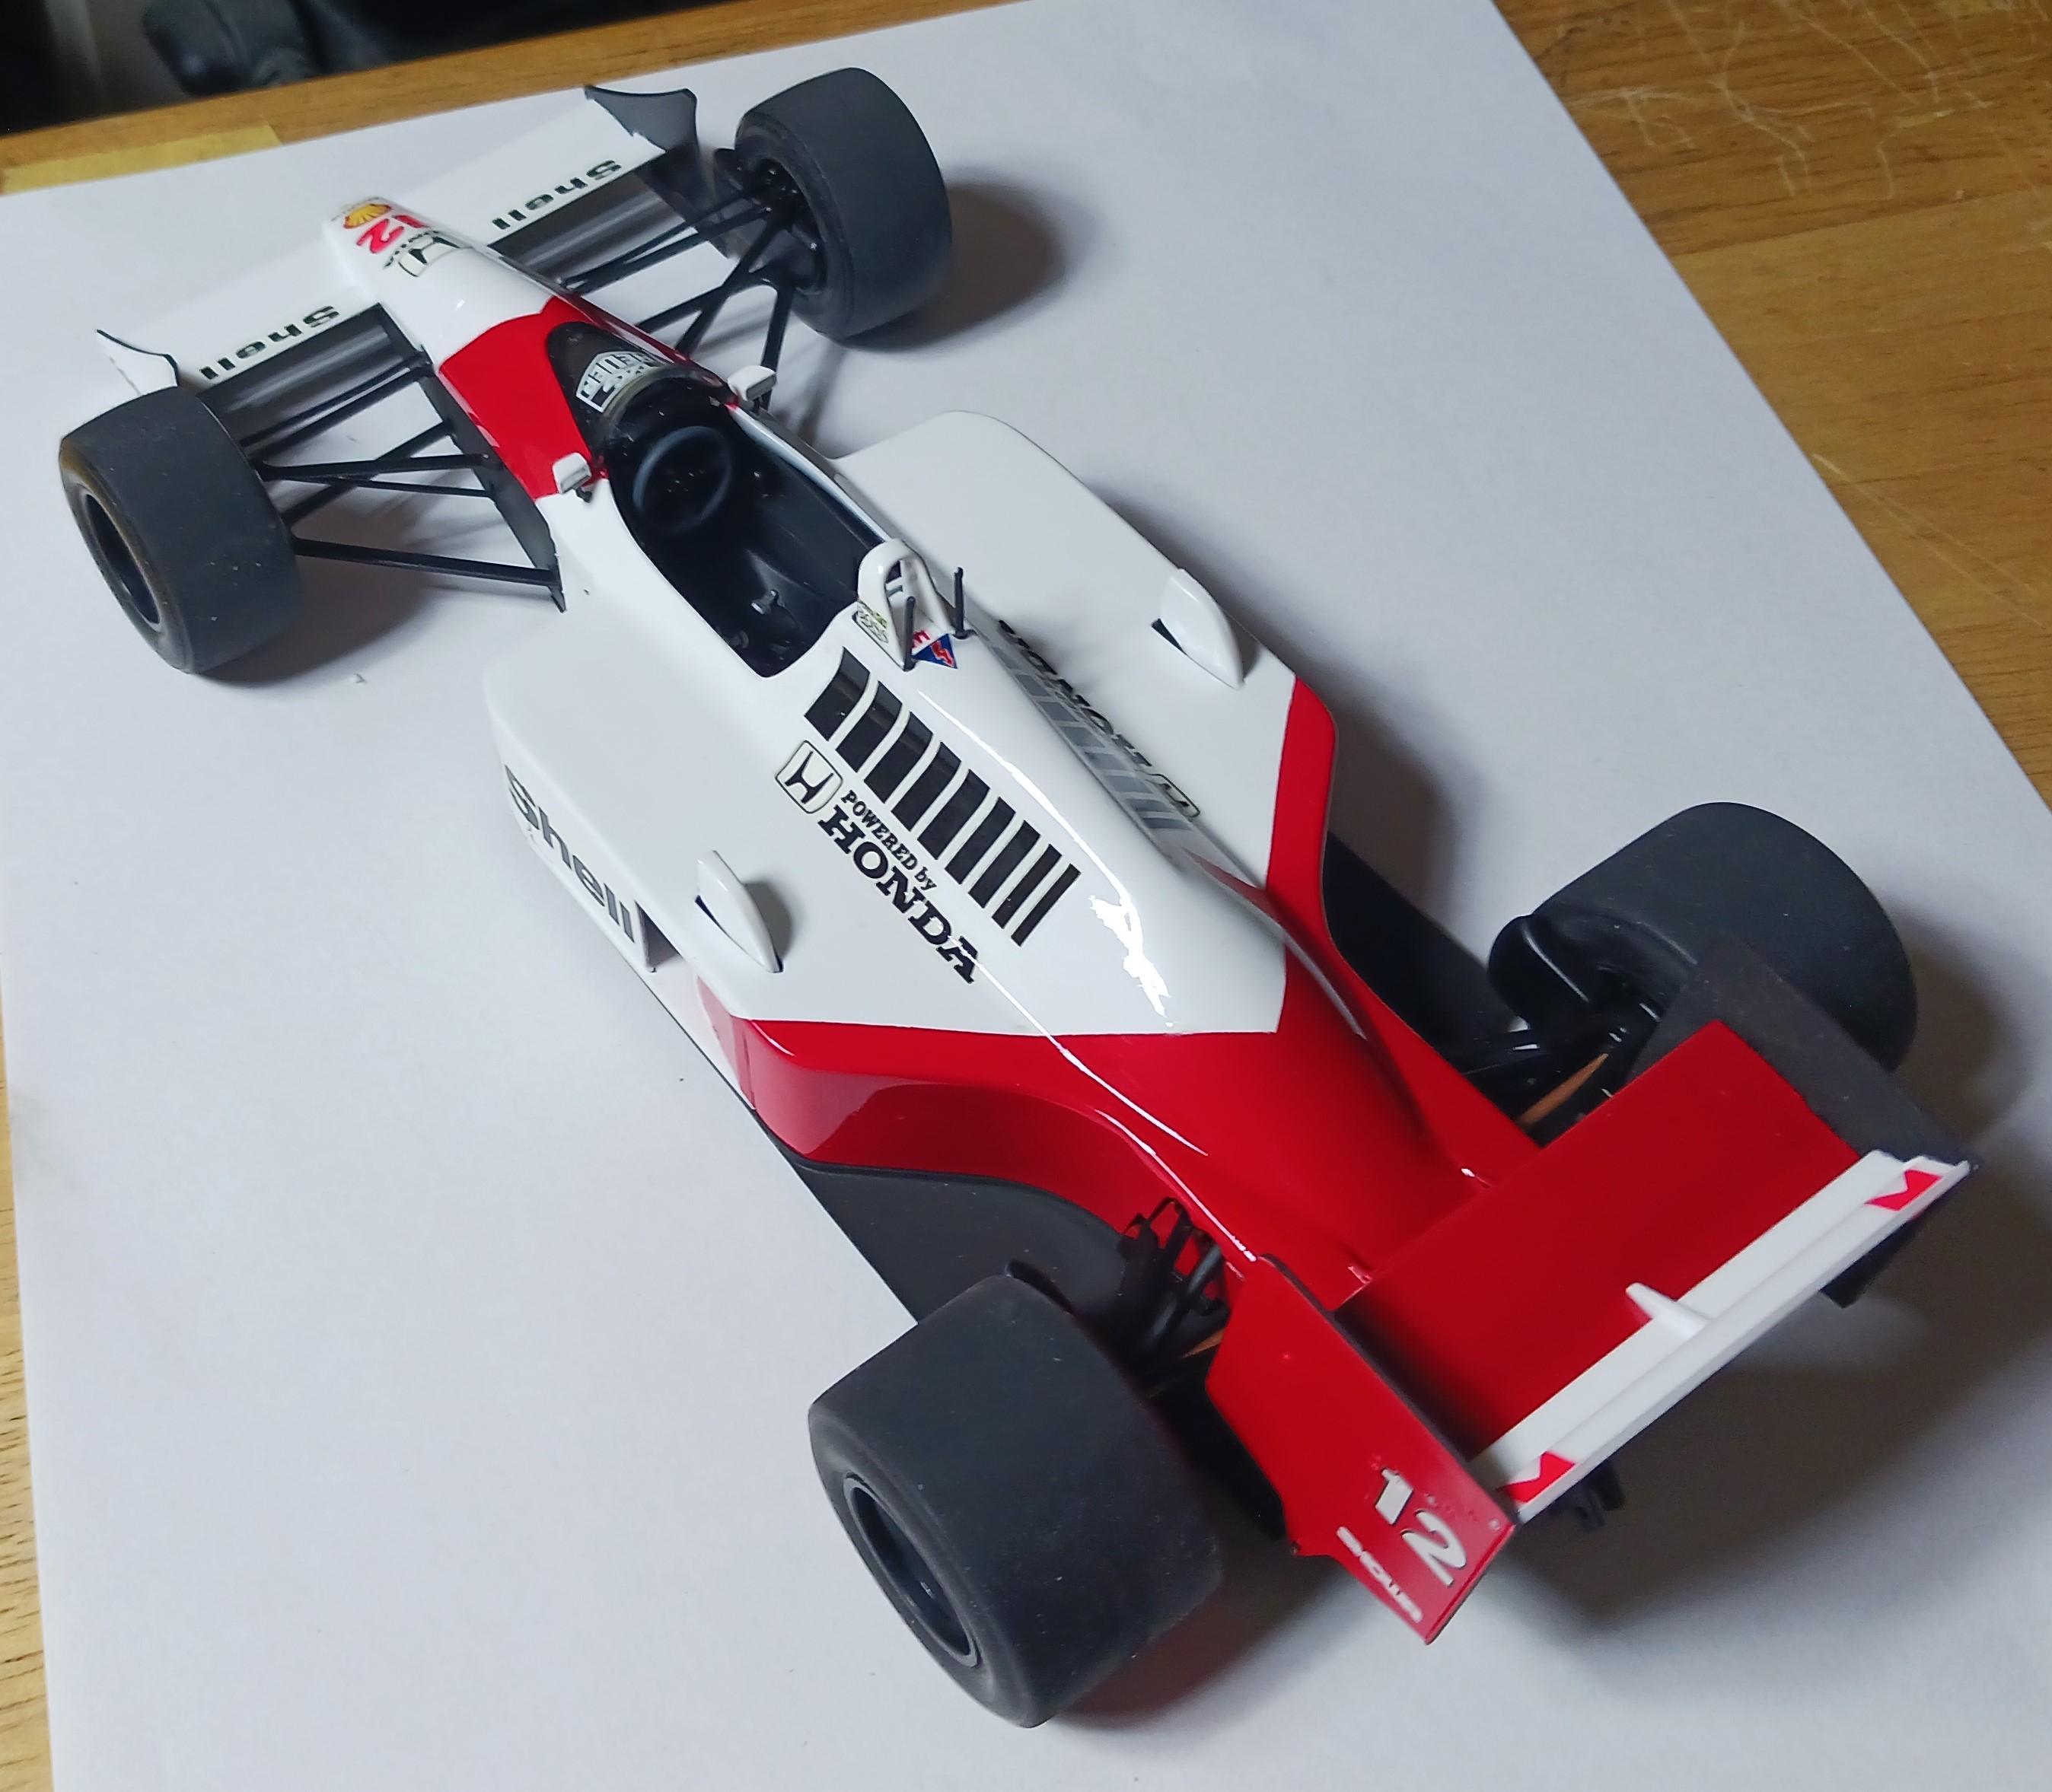
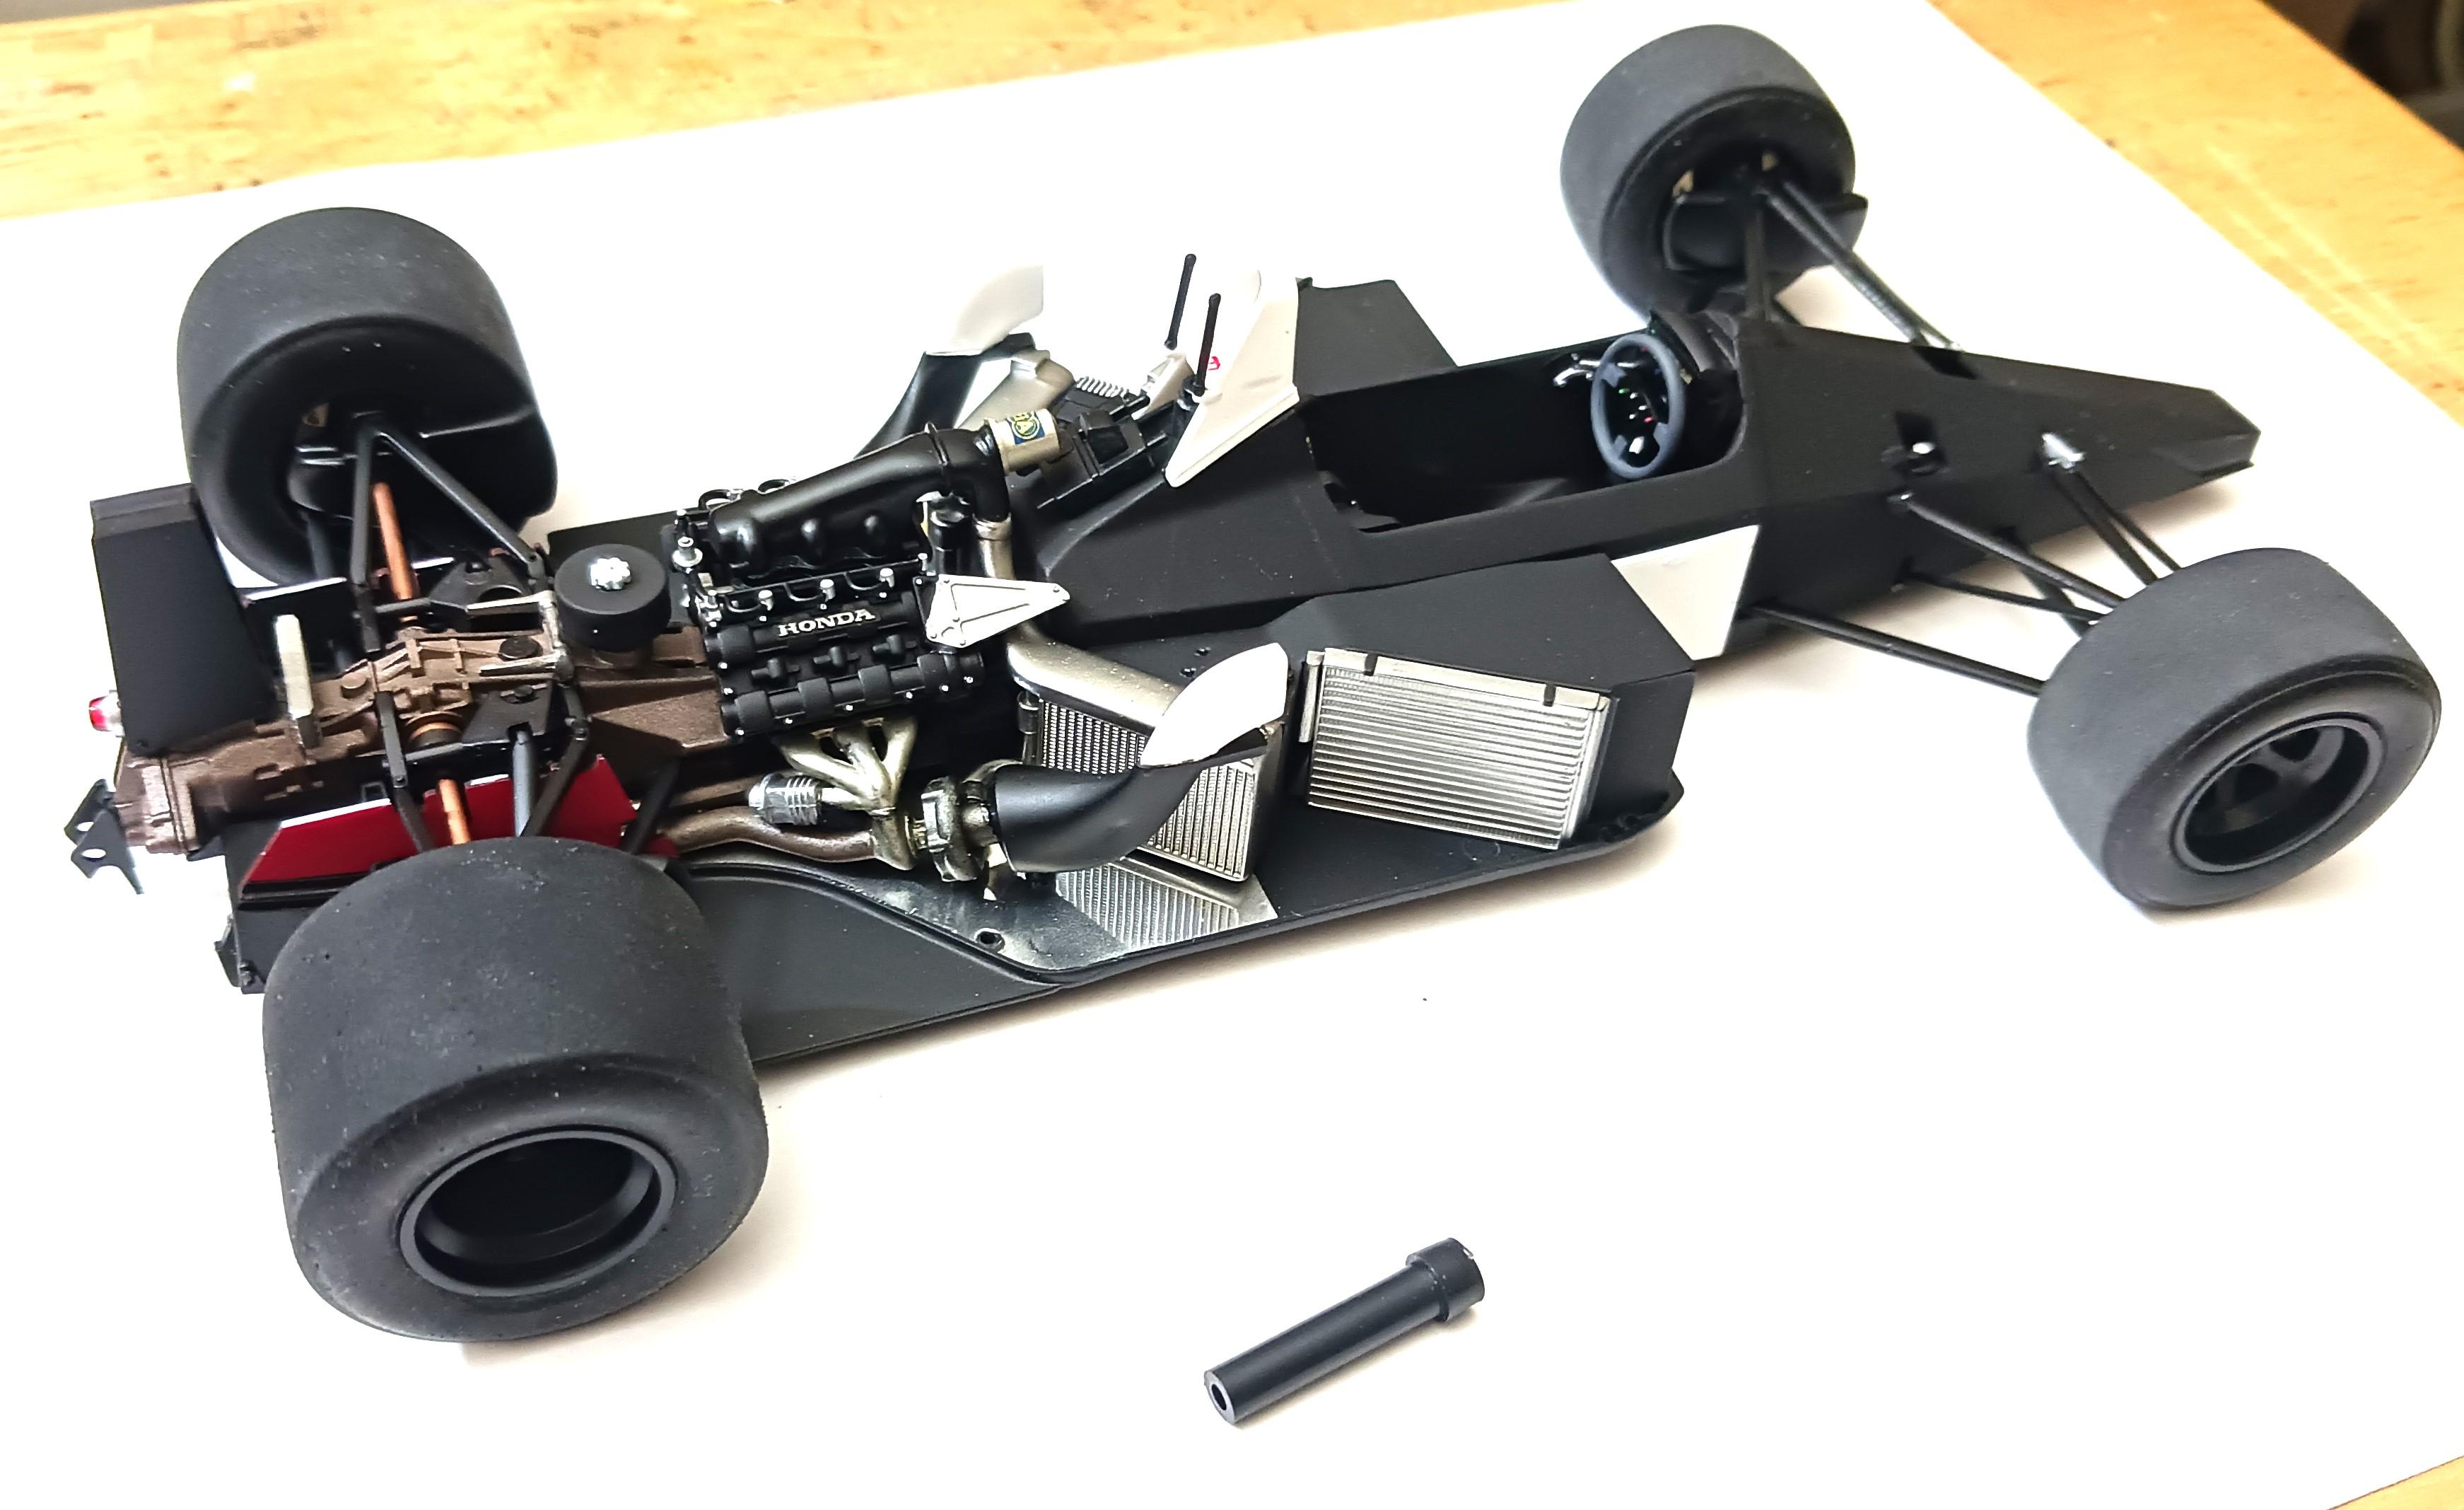
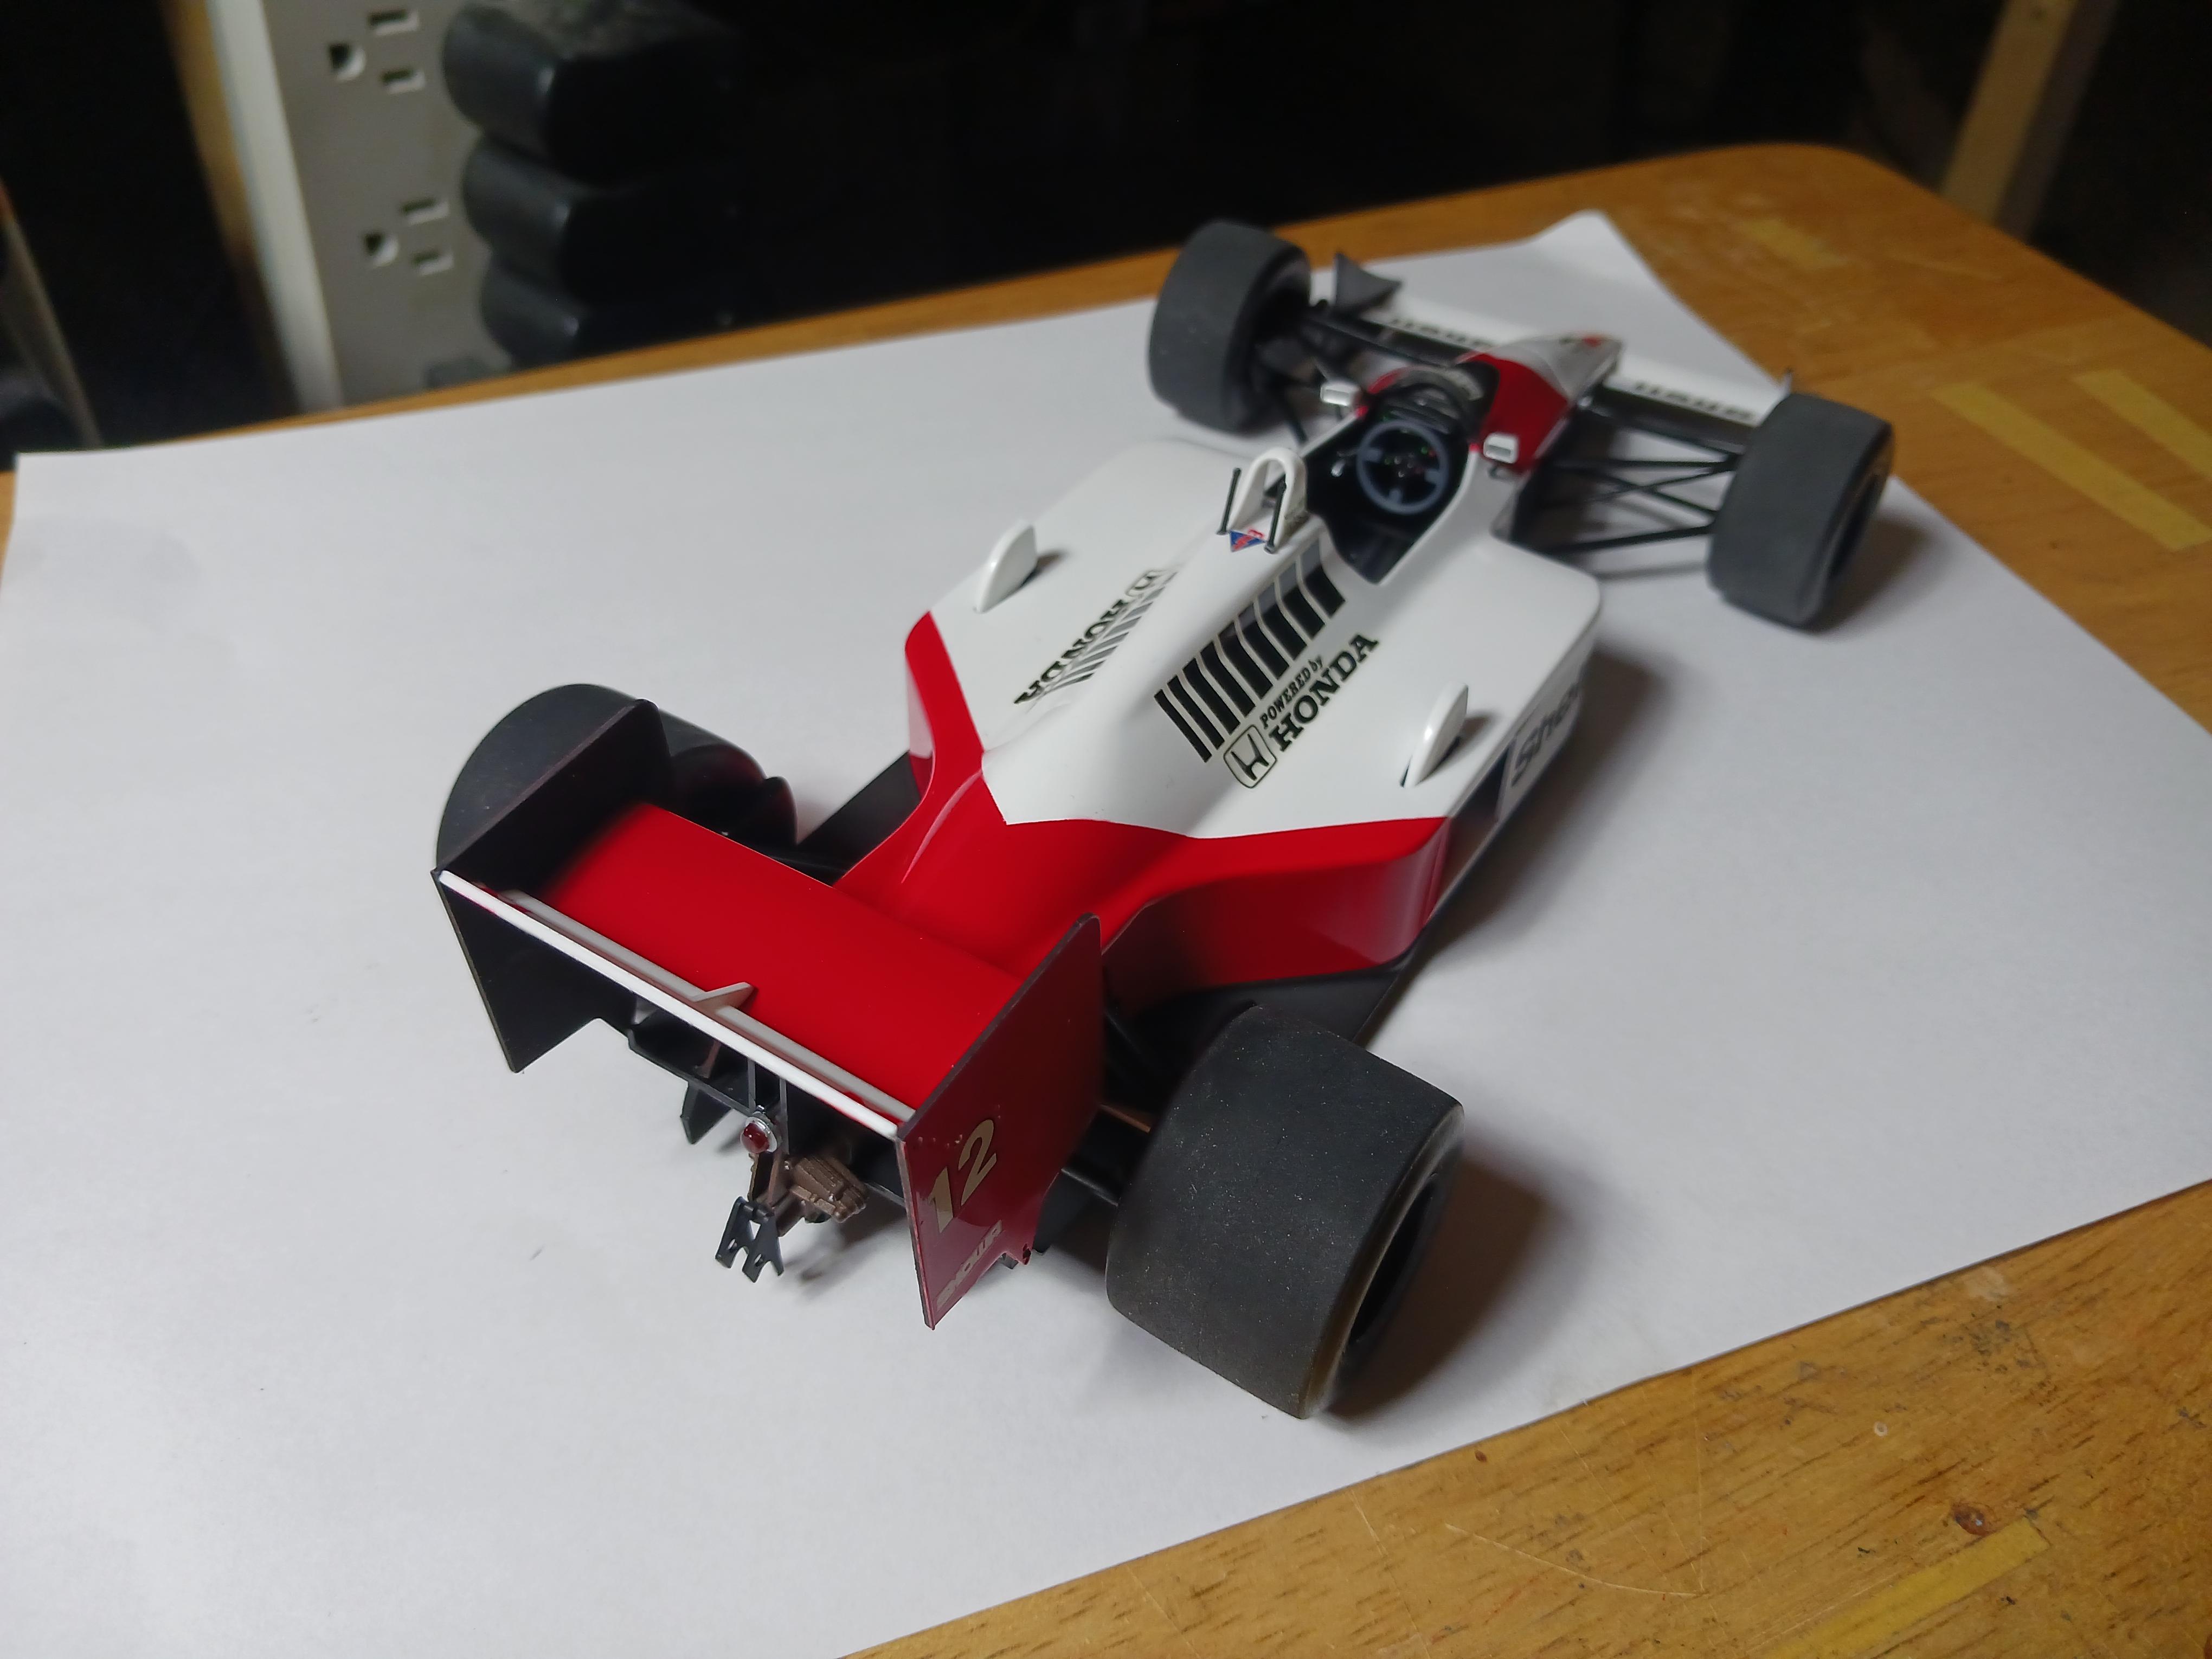
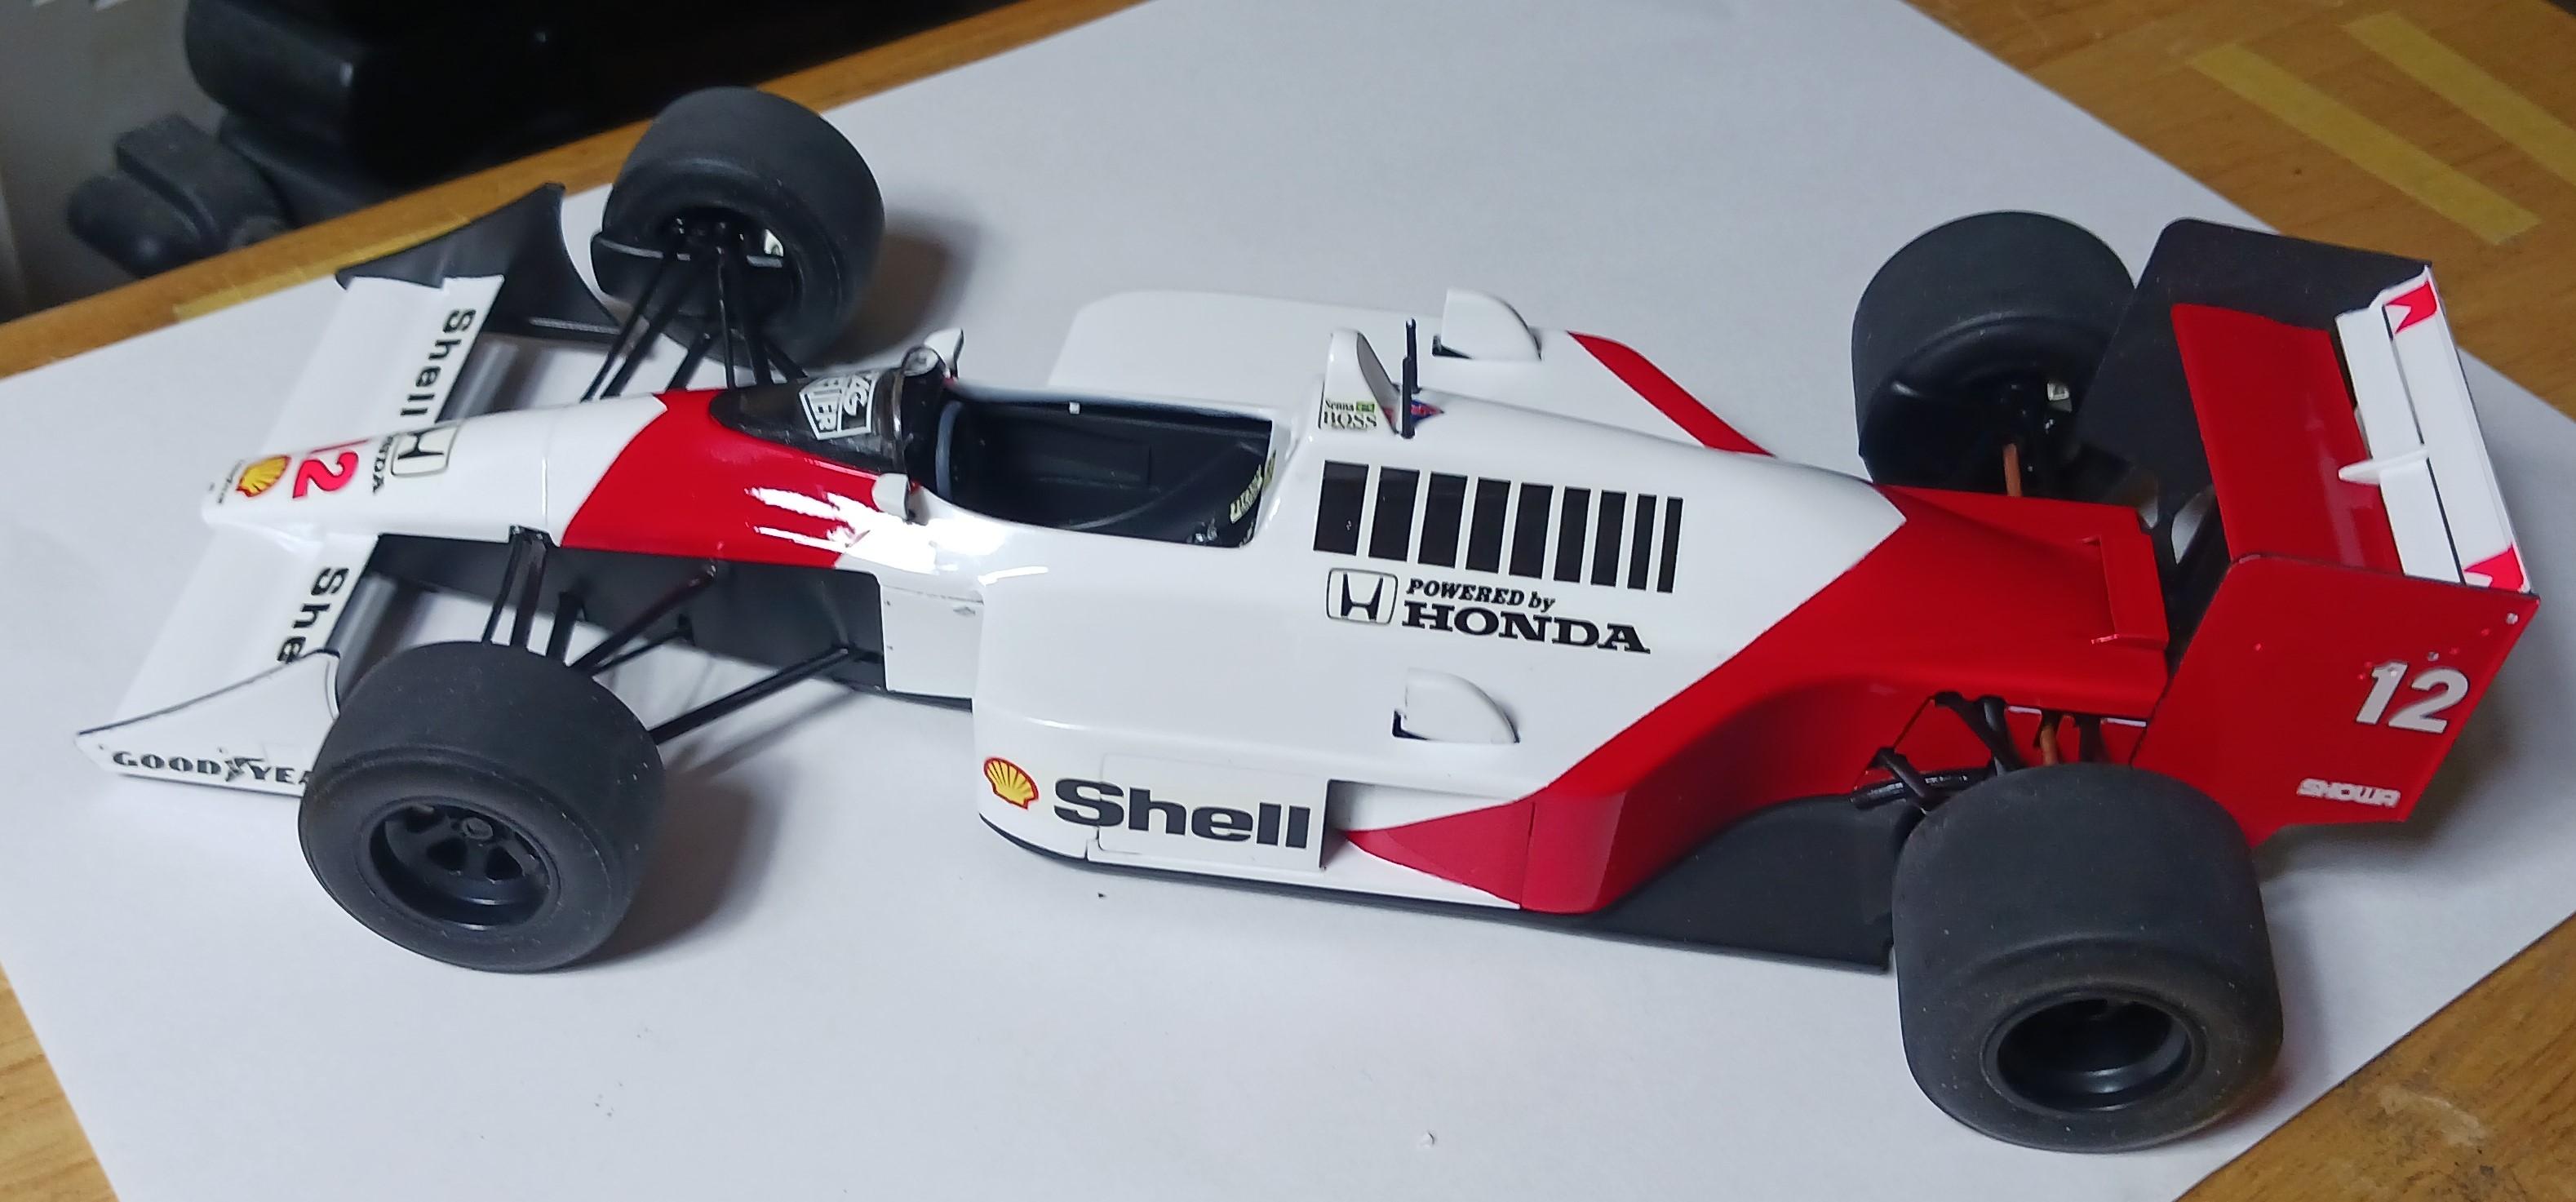
1/20 Tamiya McLaren Honda MP4/4
wisco8 posted a topic in Other Racing: Road Racing, Salt Flat Racers
This was another really fun build. I did not get the tire decals when I bought the kit and still trying to find some. My apologies for no tire decals. Hope you like the way it turned out. Kind regards, Steve Cook