keviiin86
-
Posts
238 -
Joined
-
Last visited
Content Type
Profiles
Forums
Events
Gallery
Everything posted by keviiin86
-
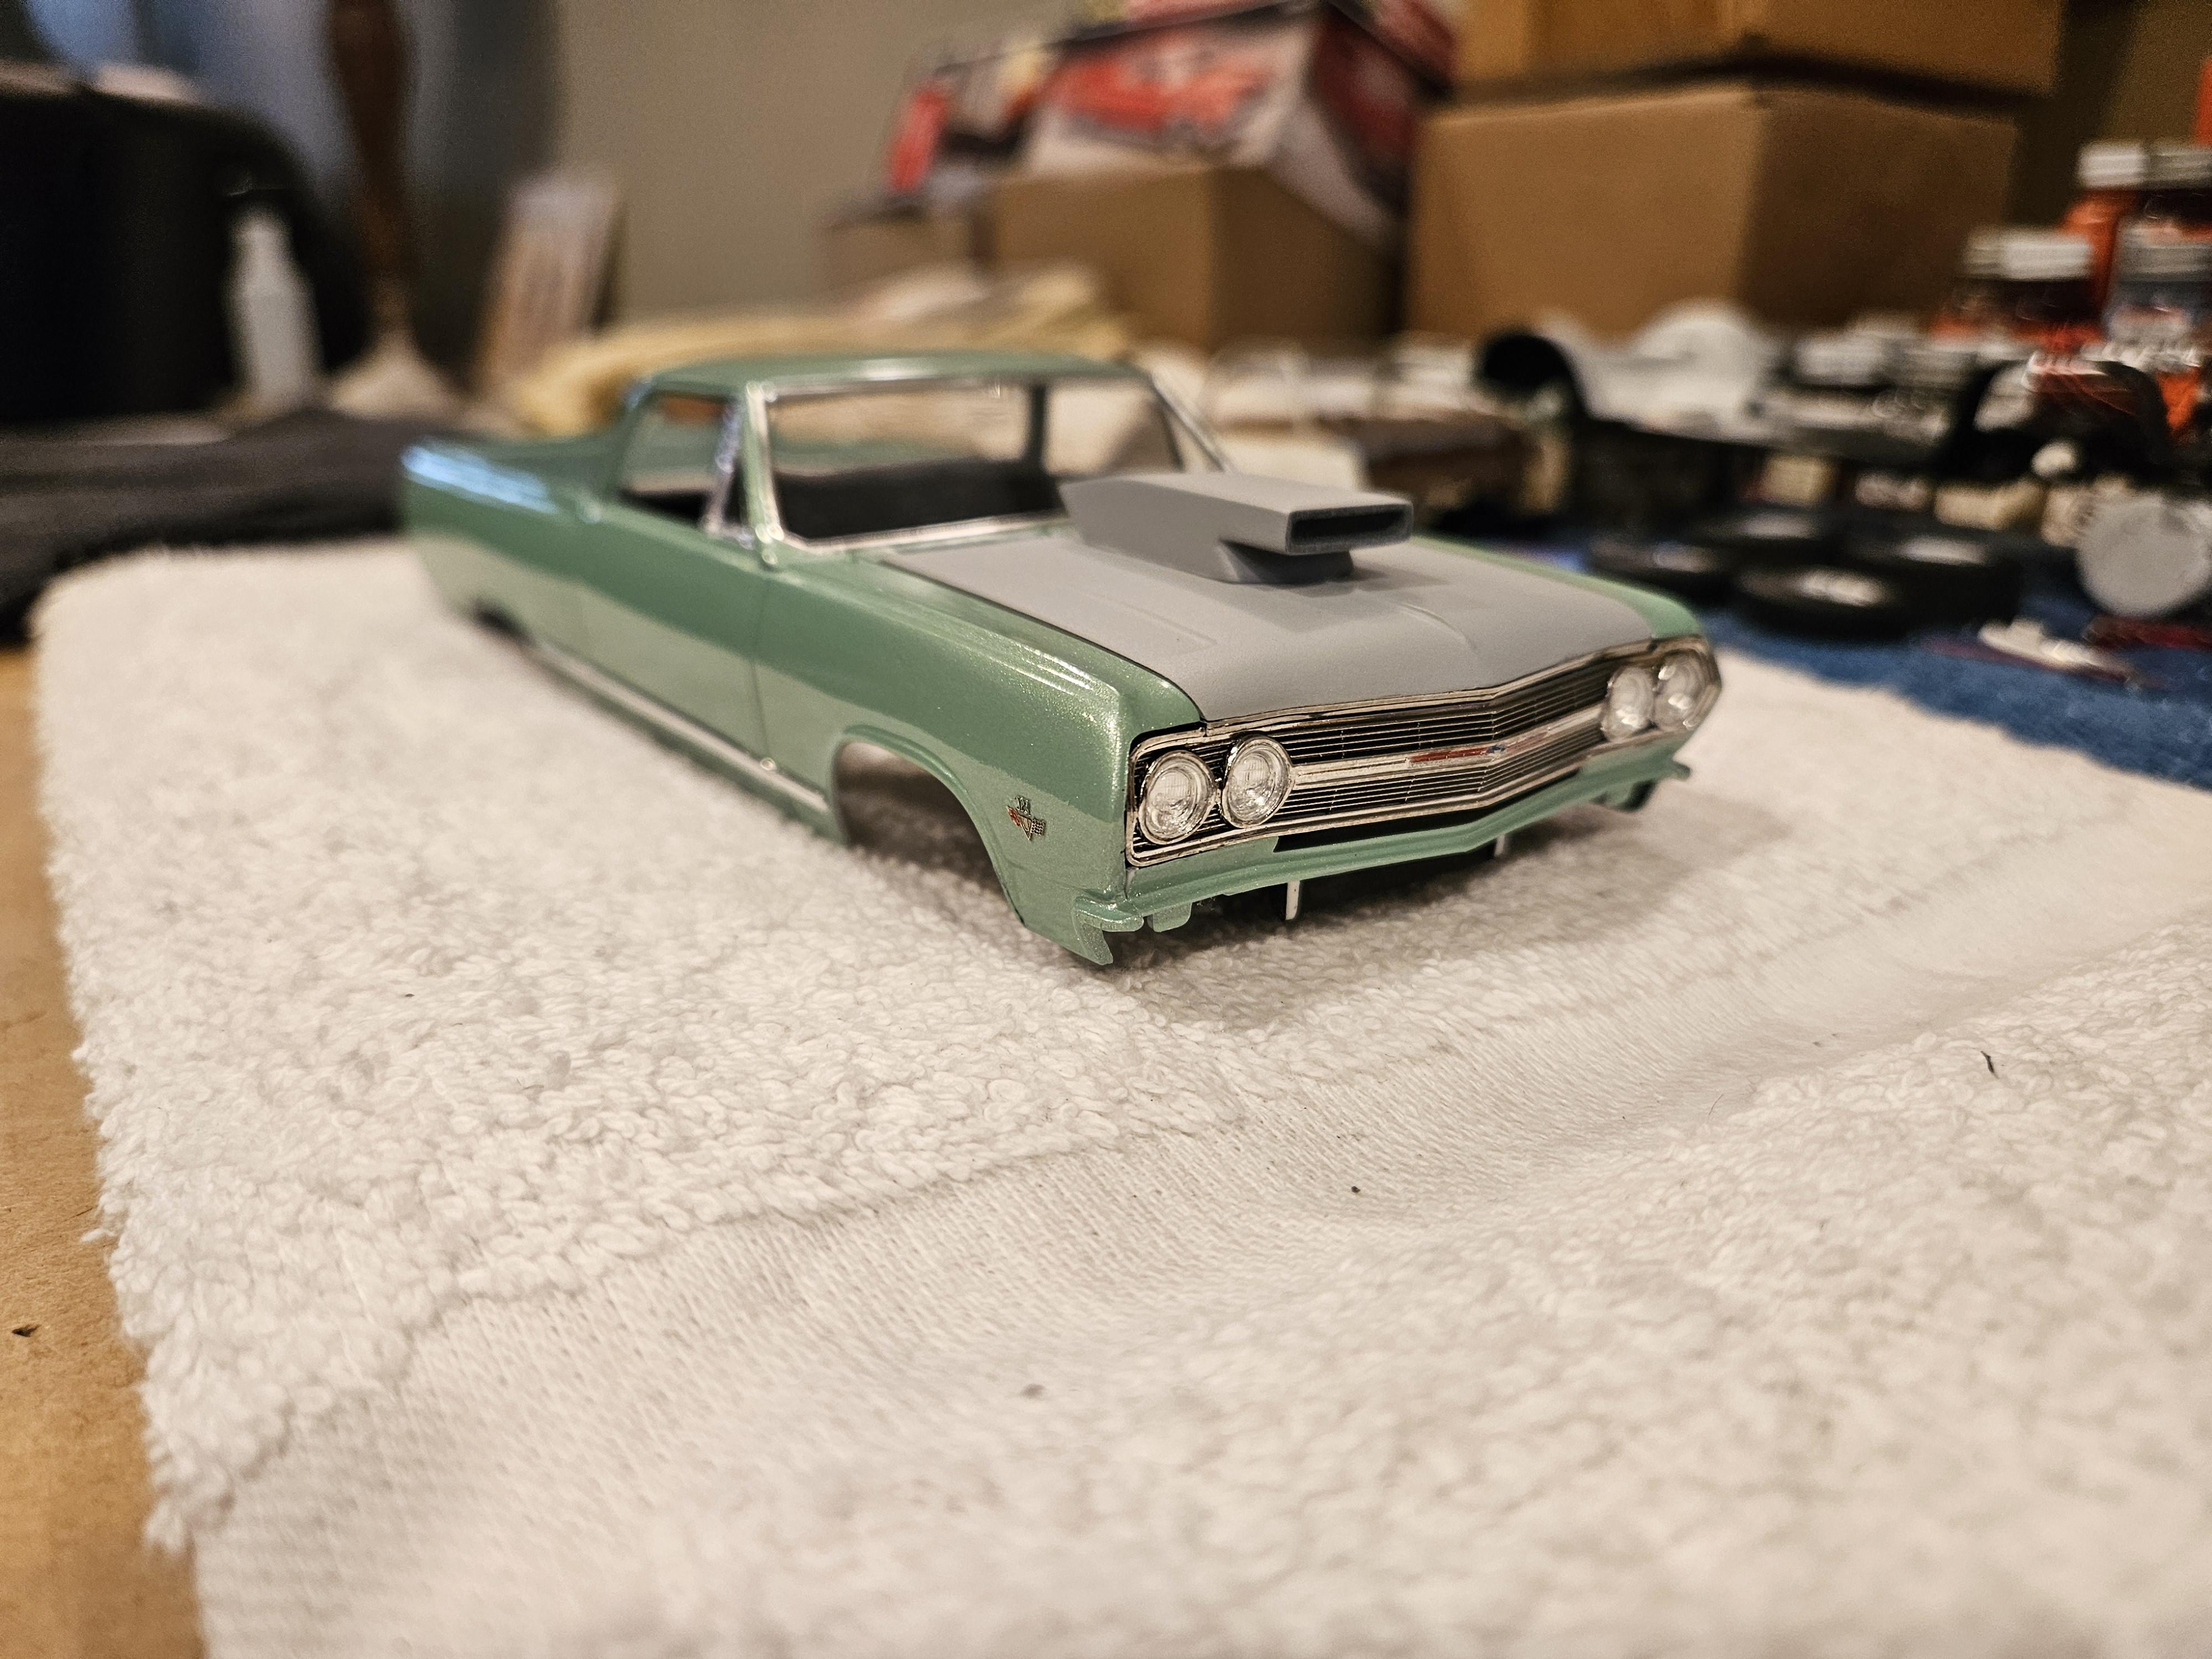
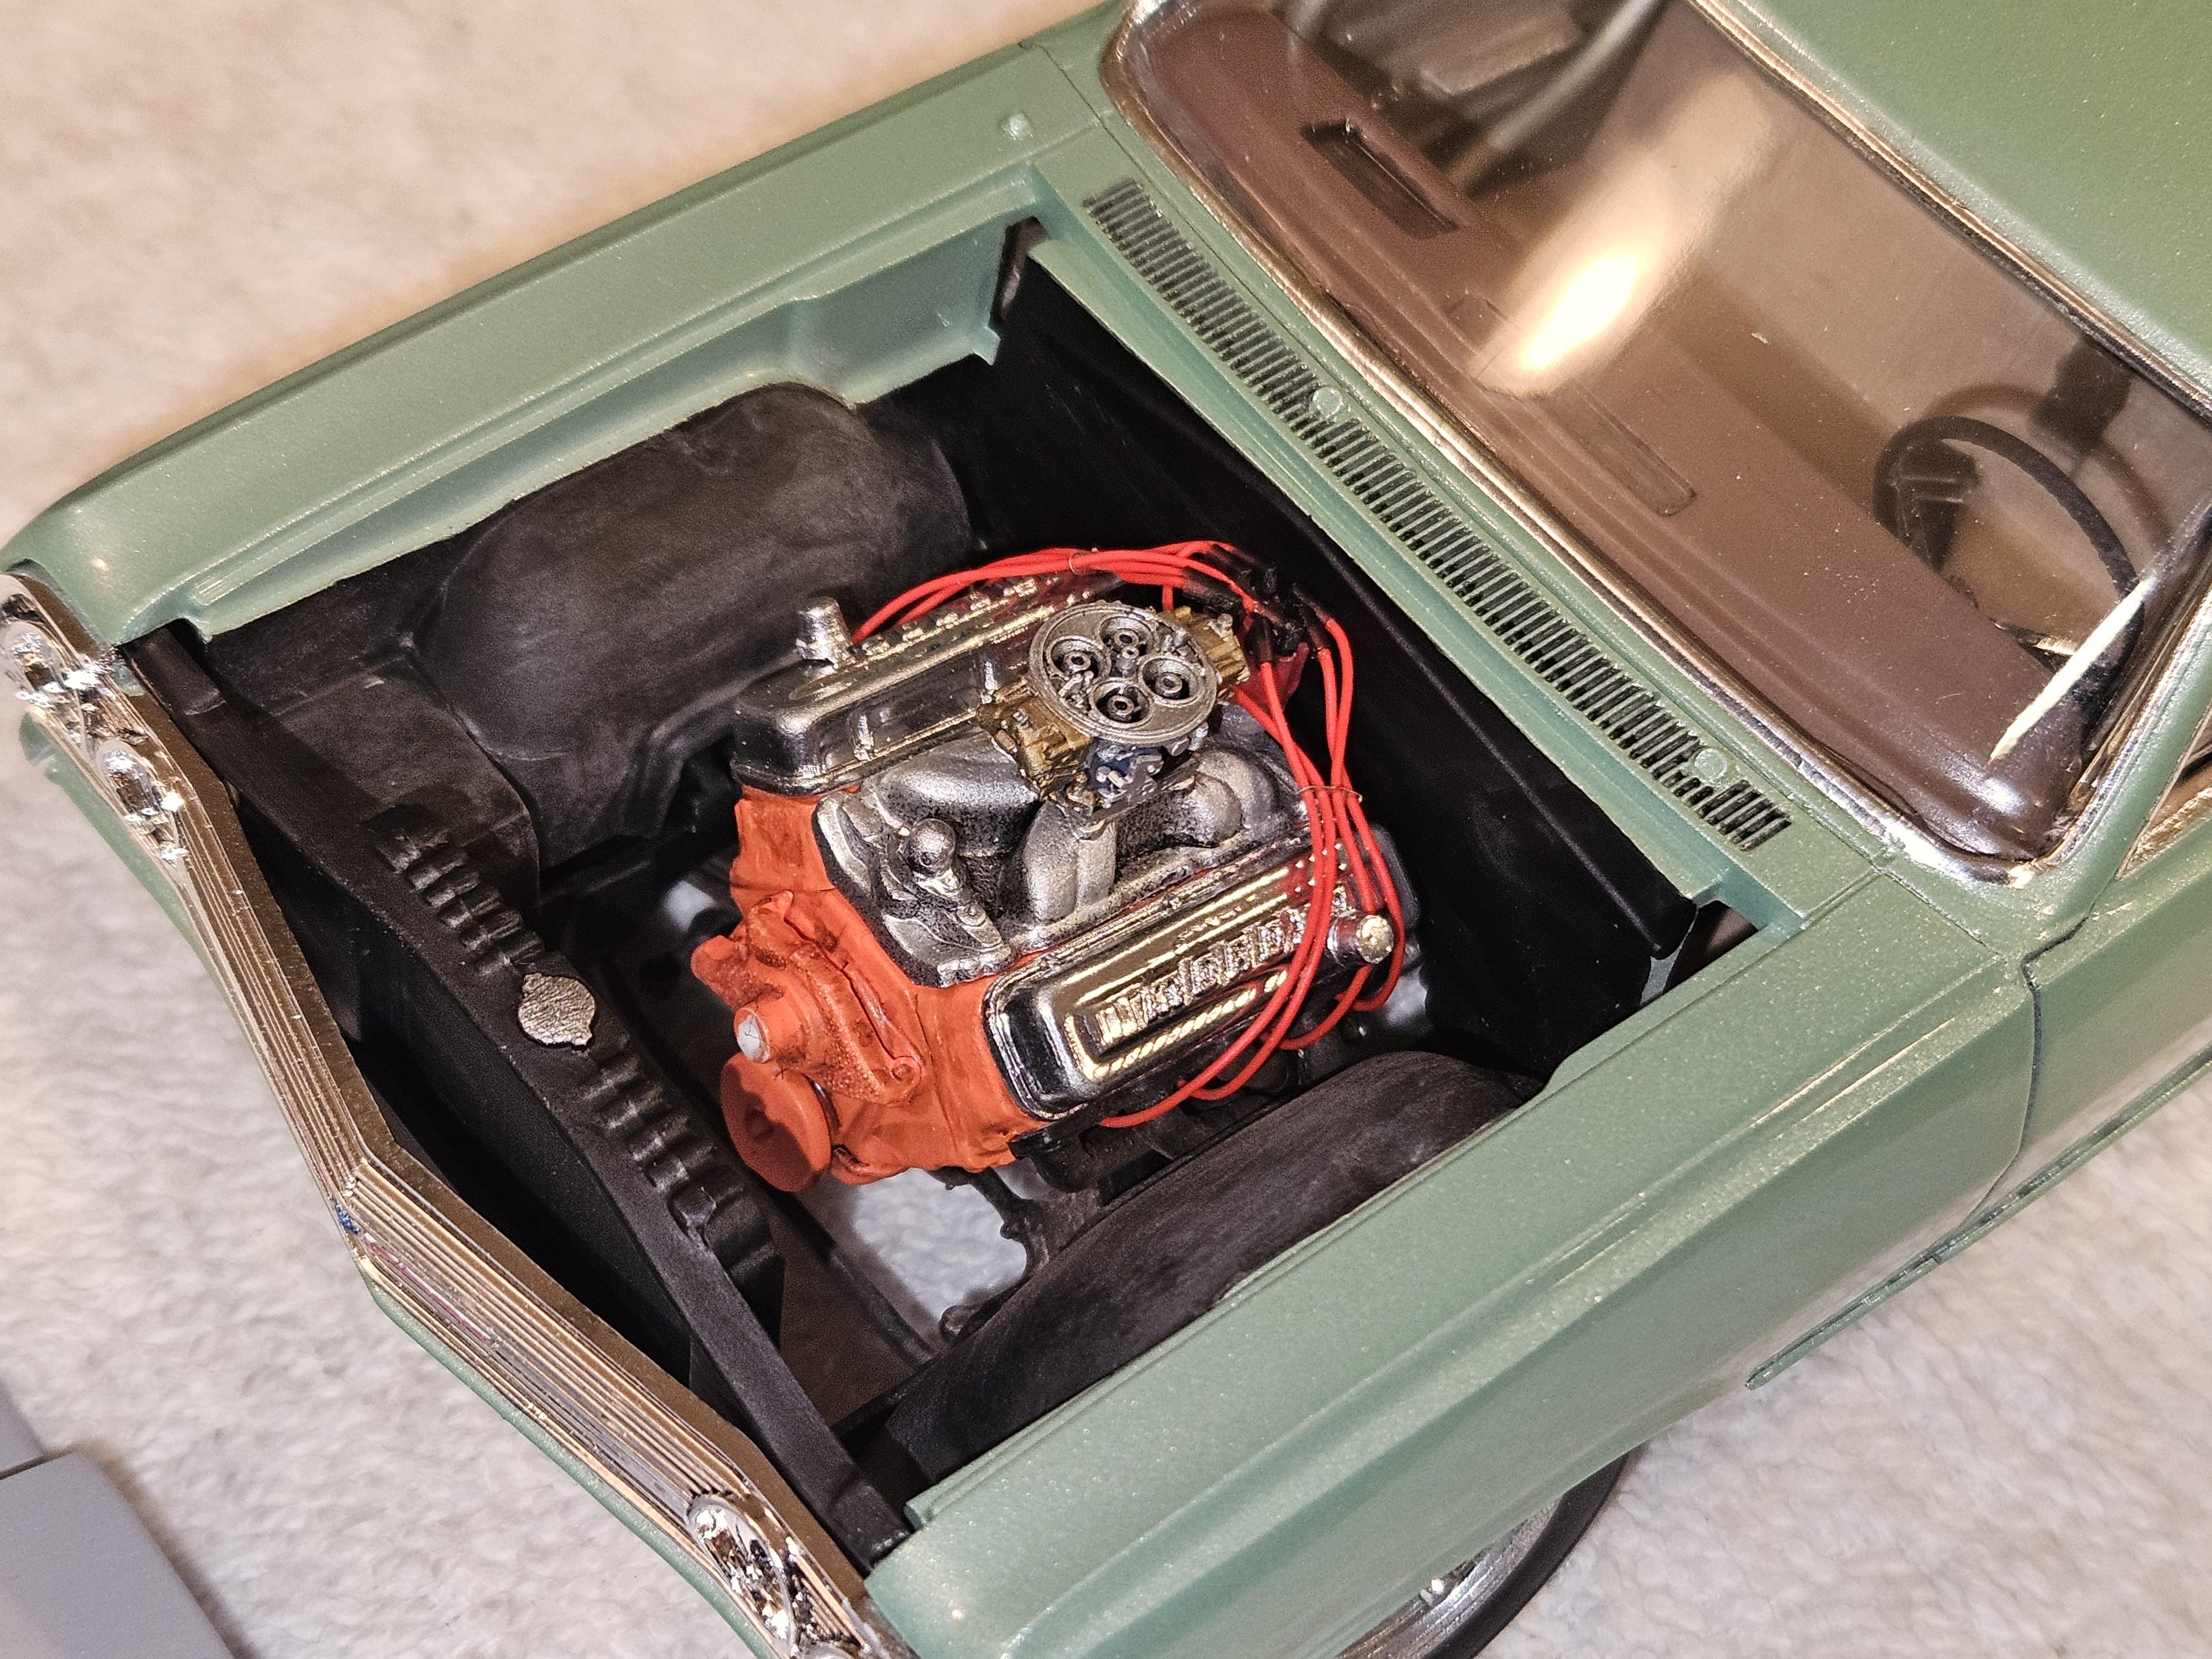
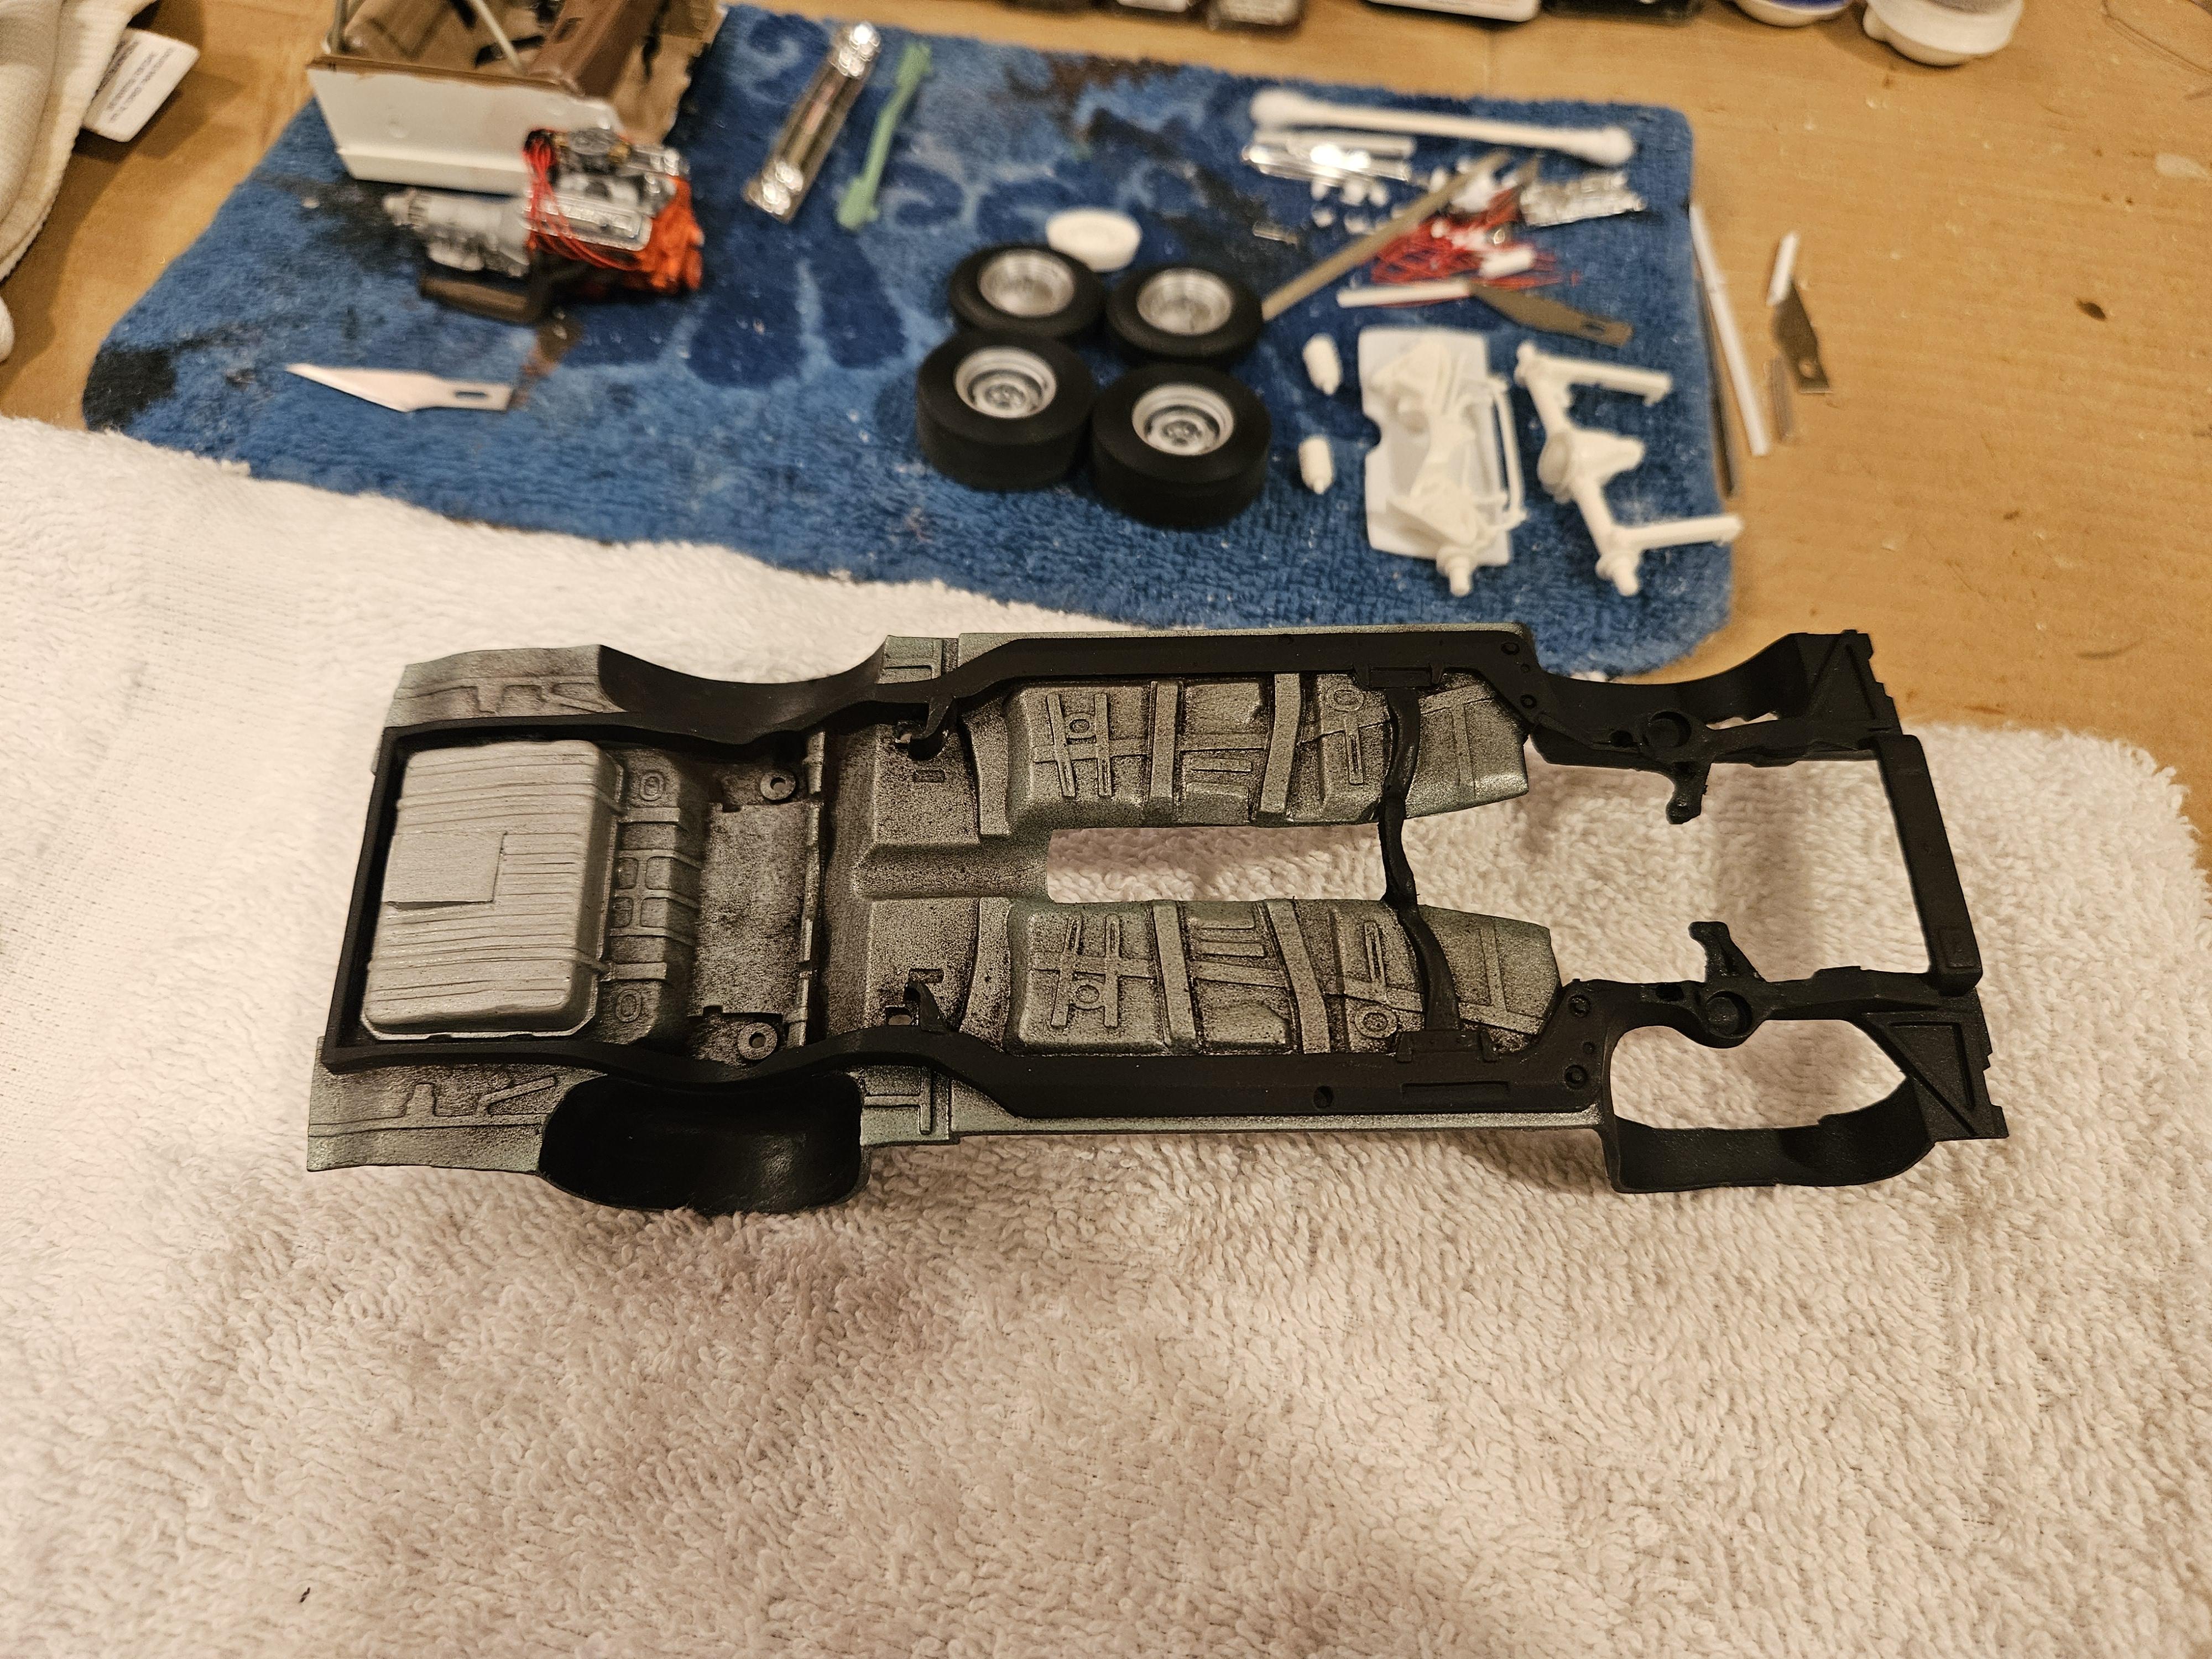
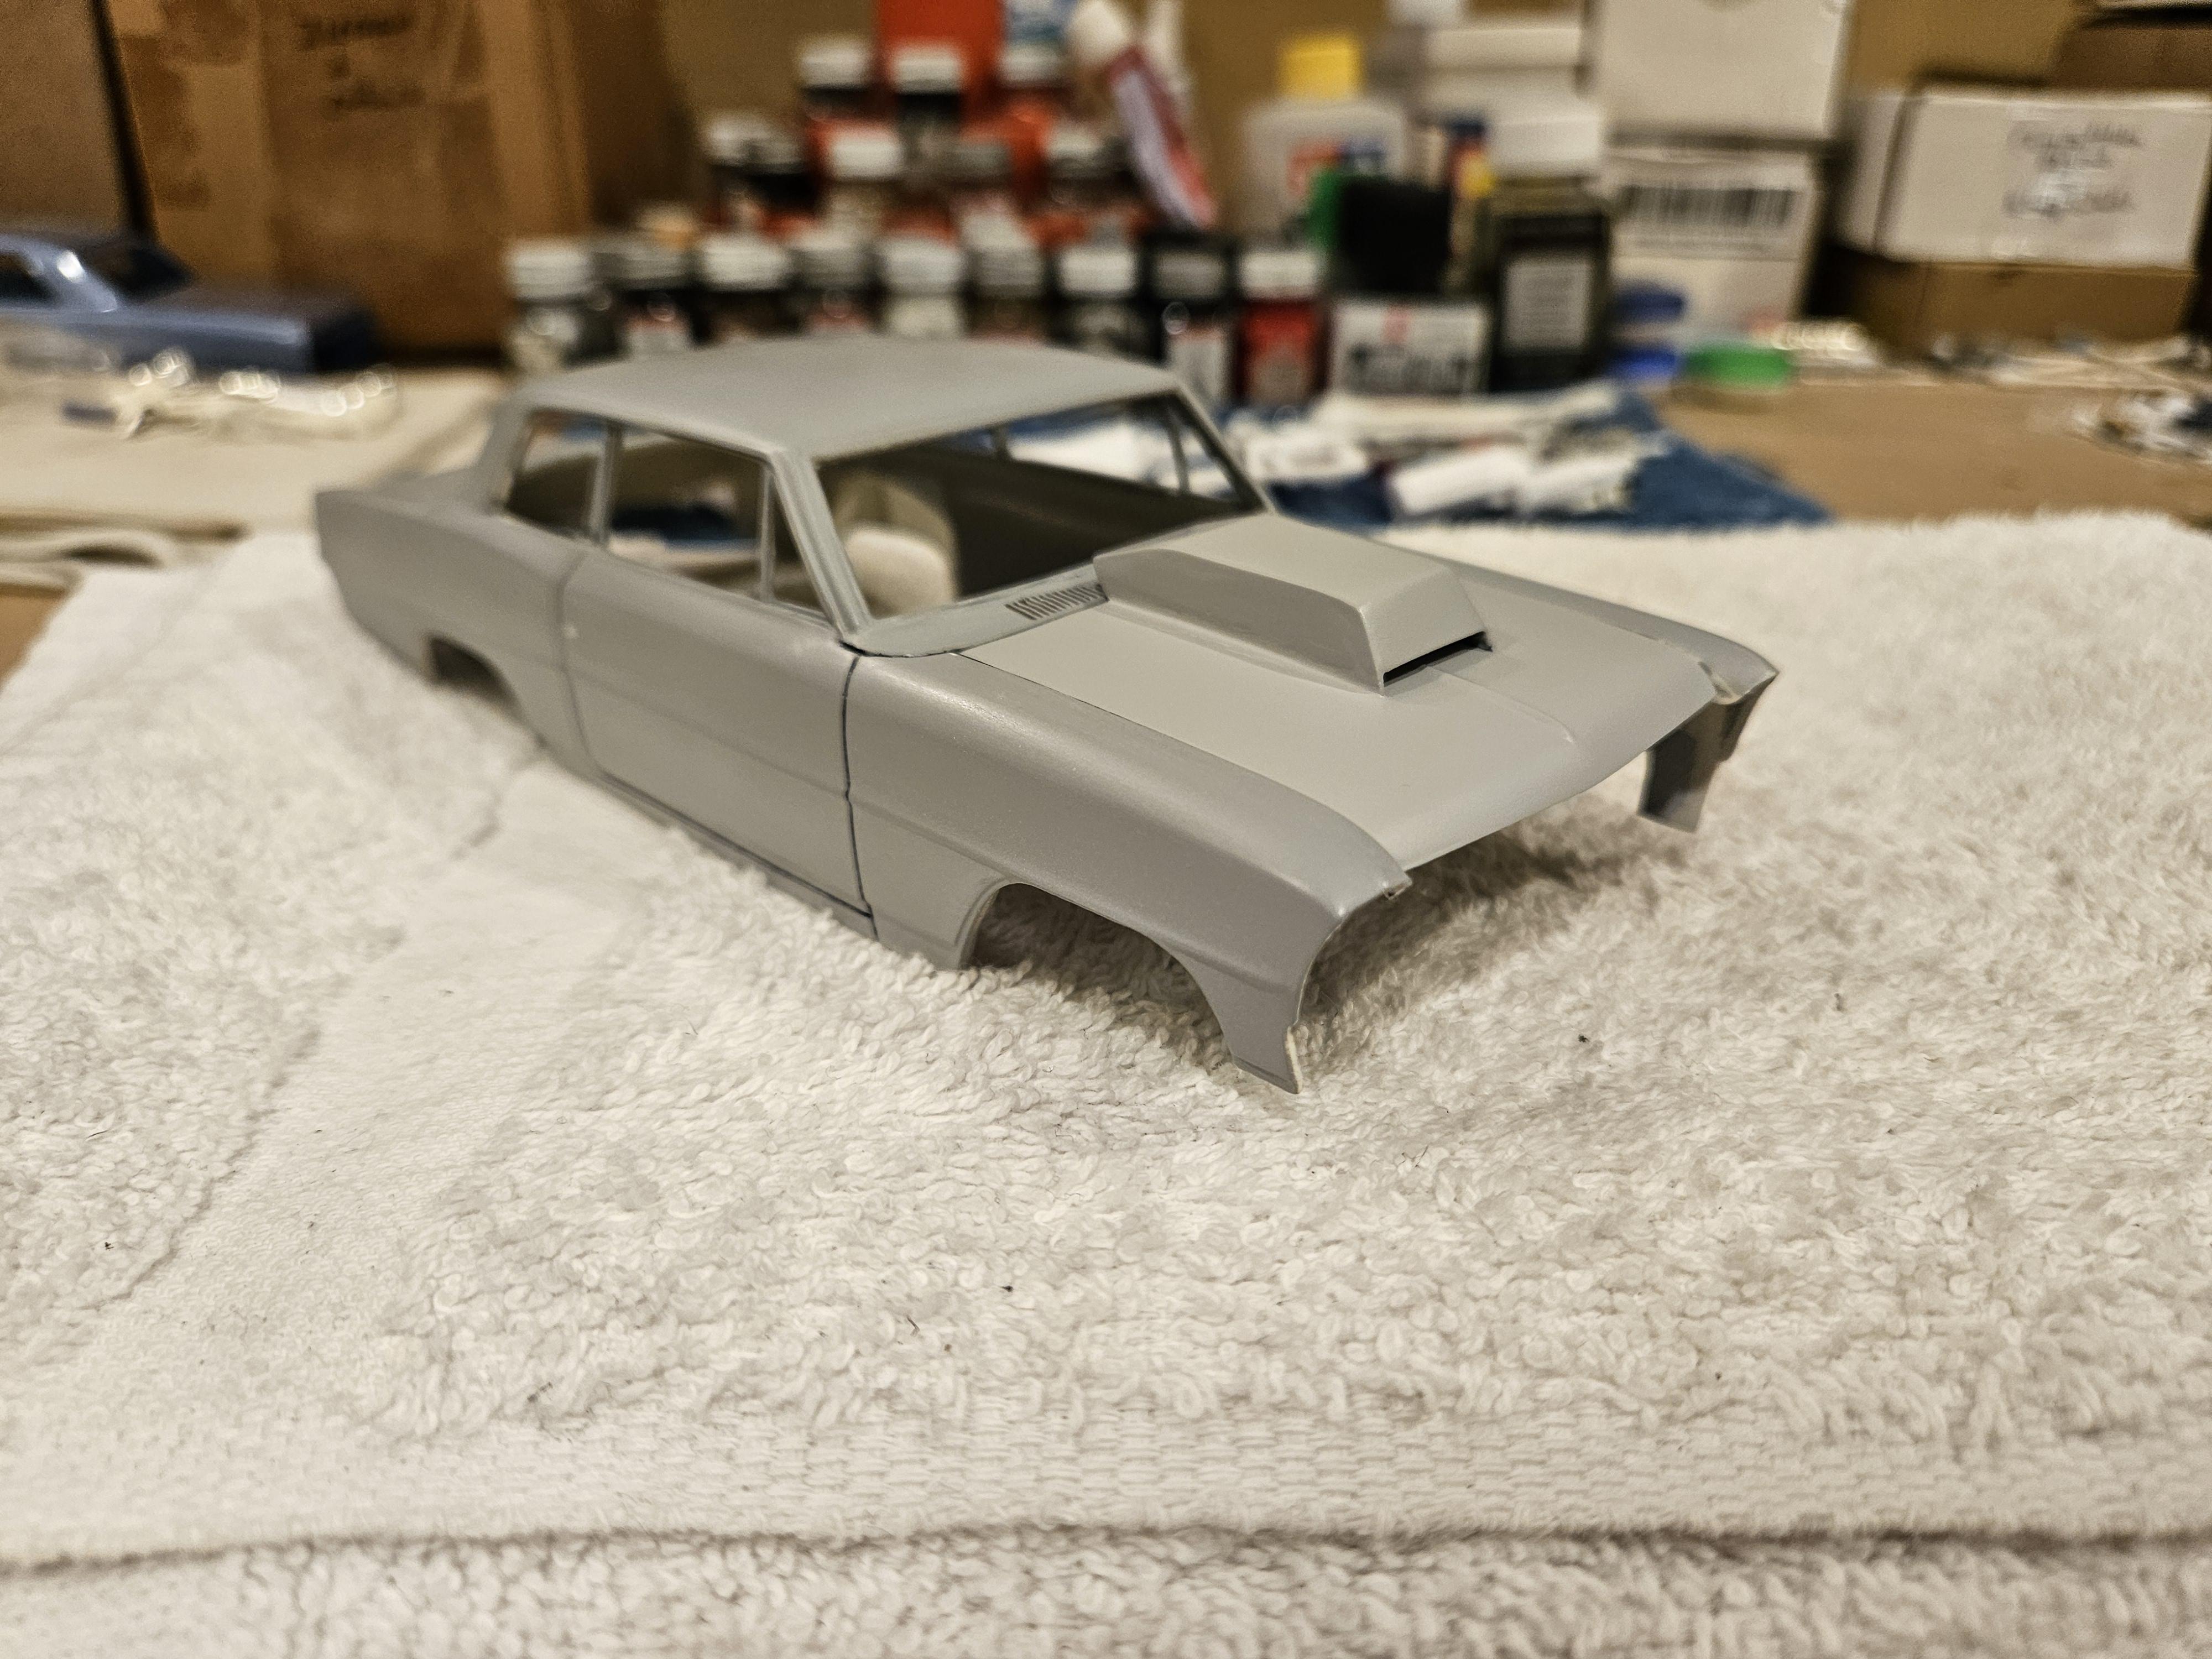
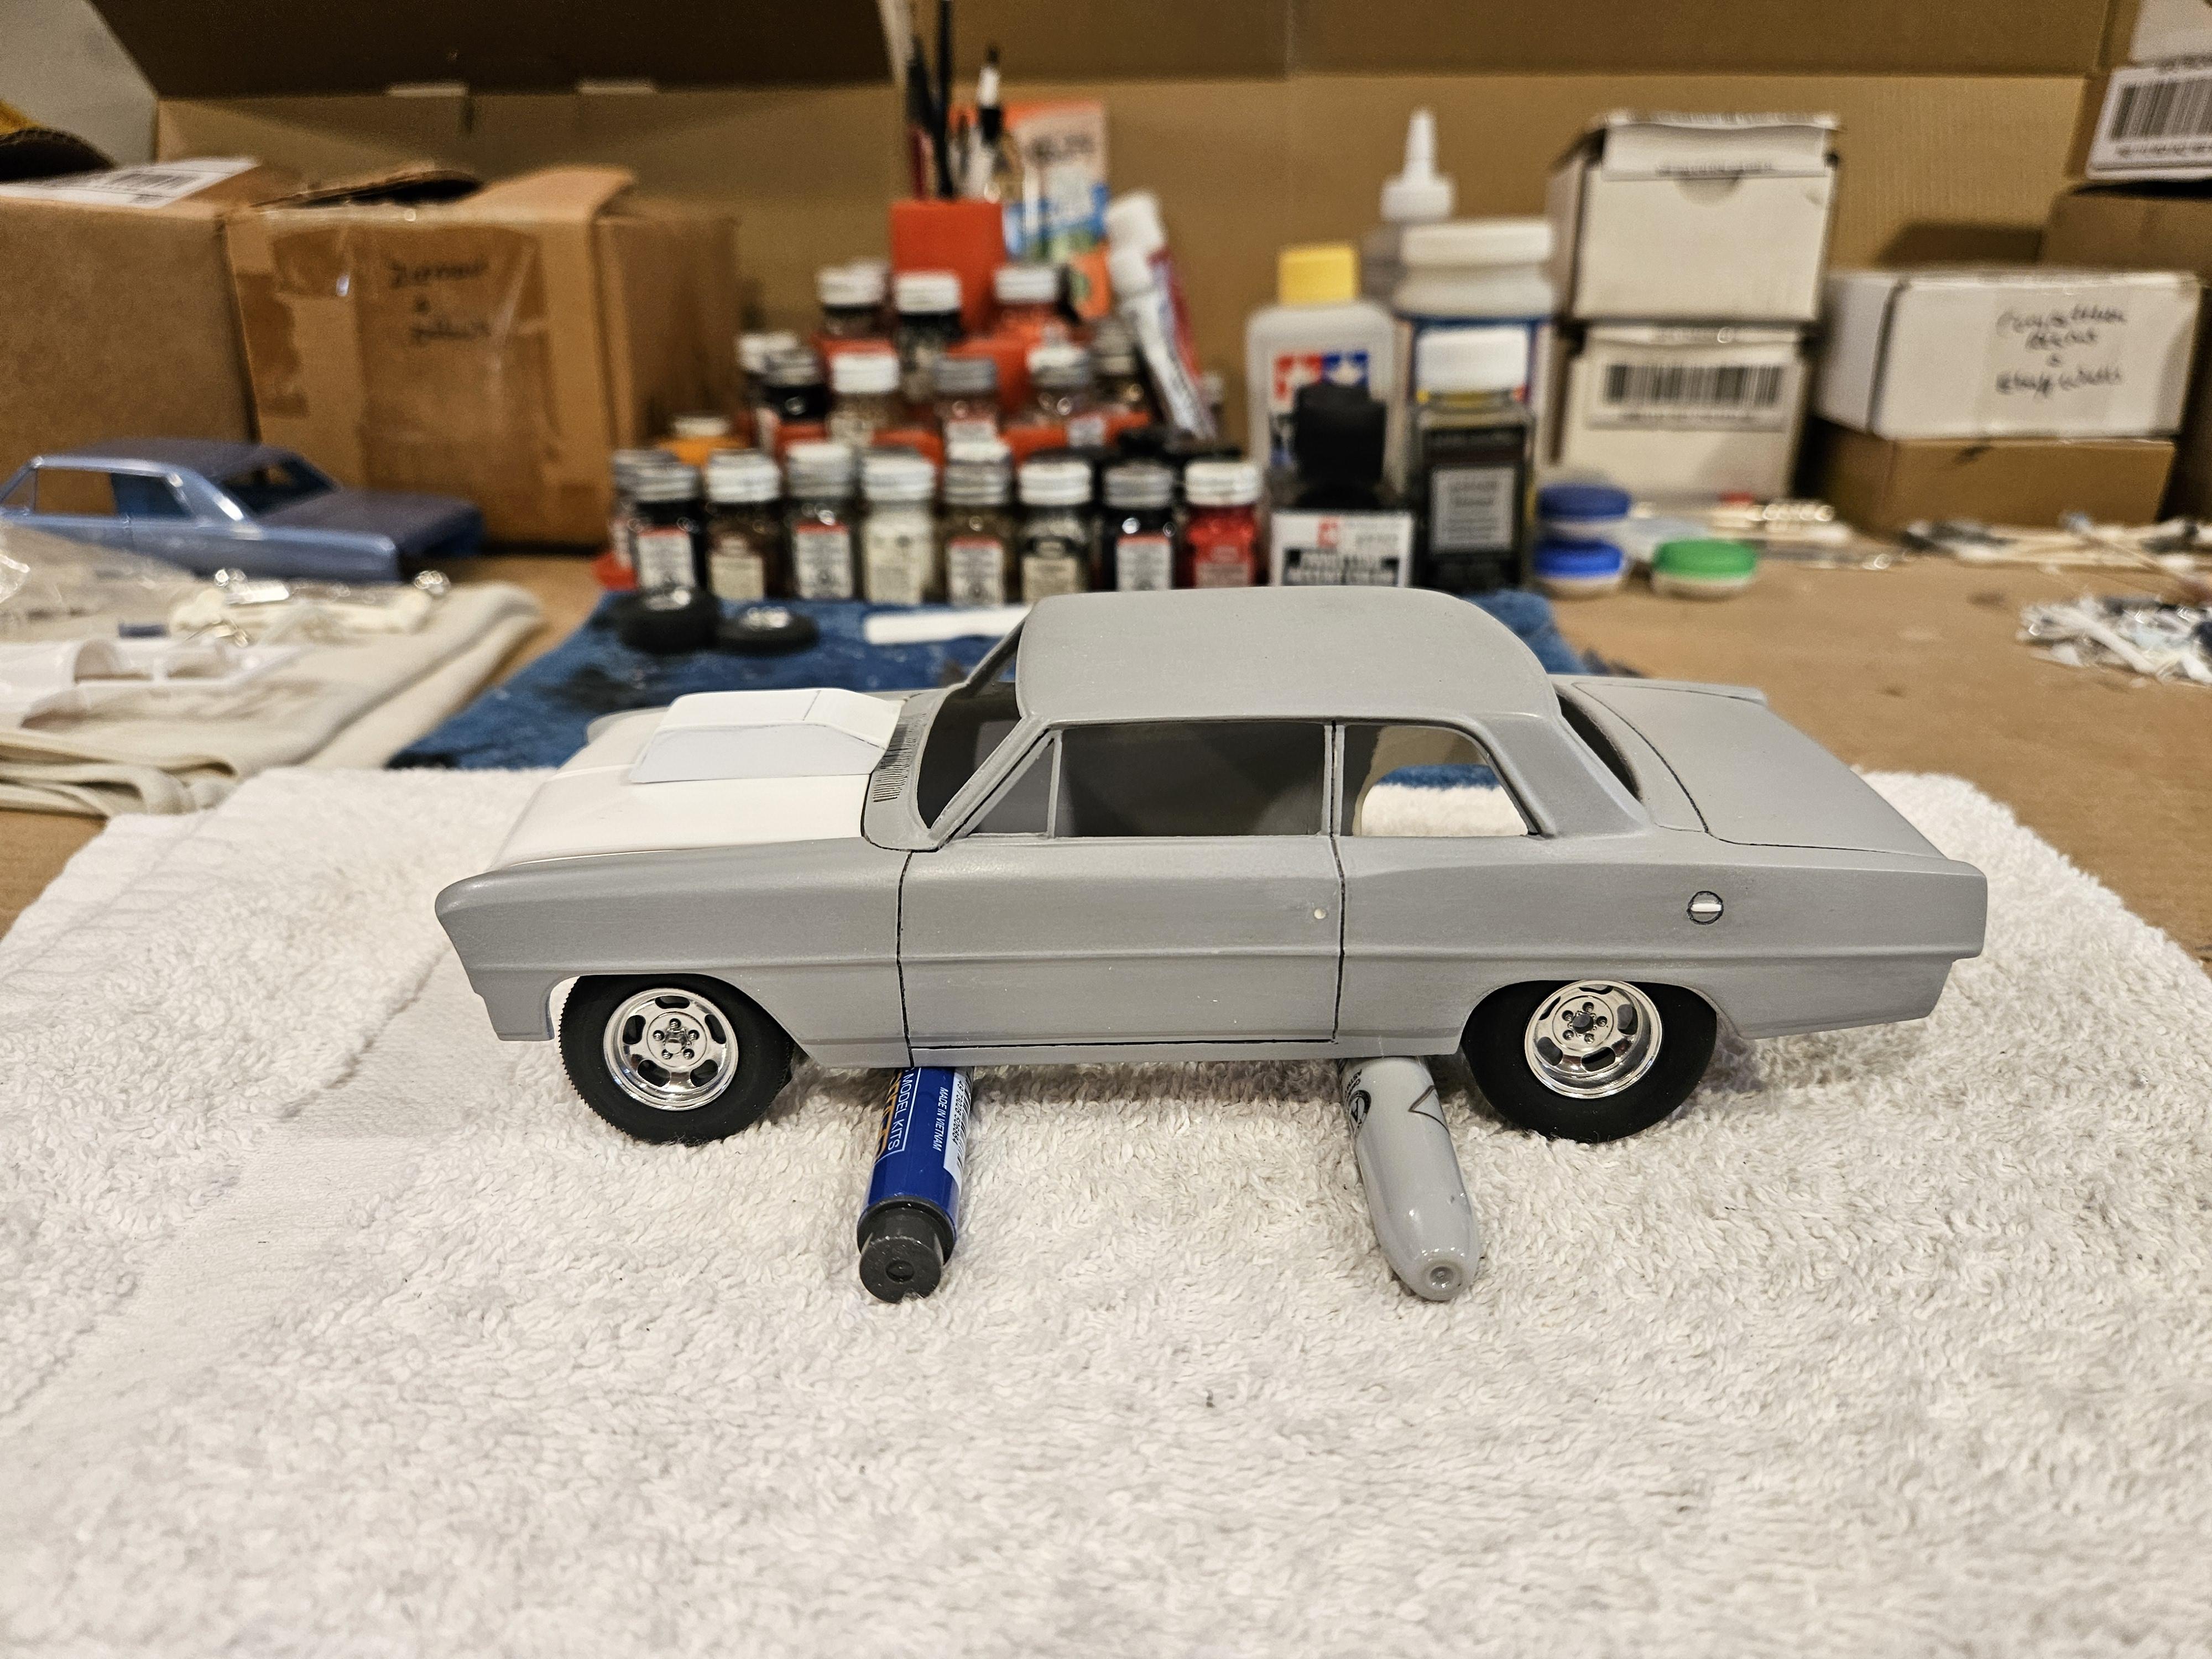
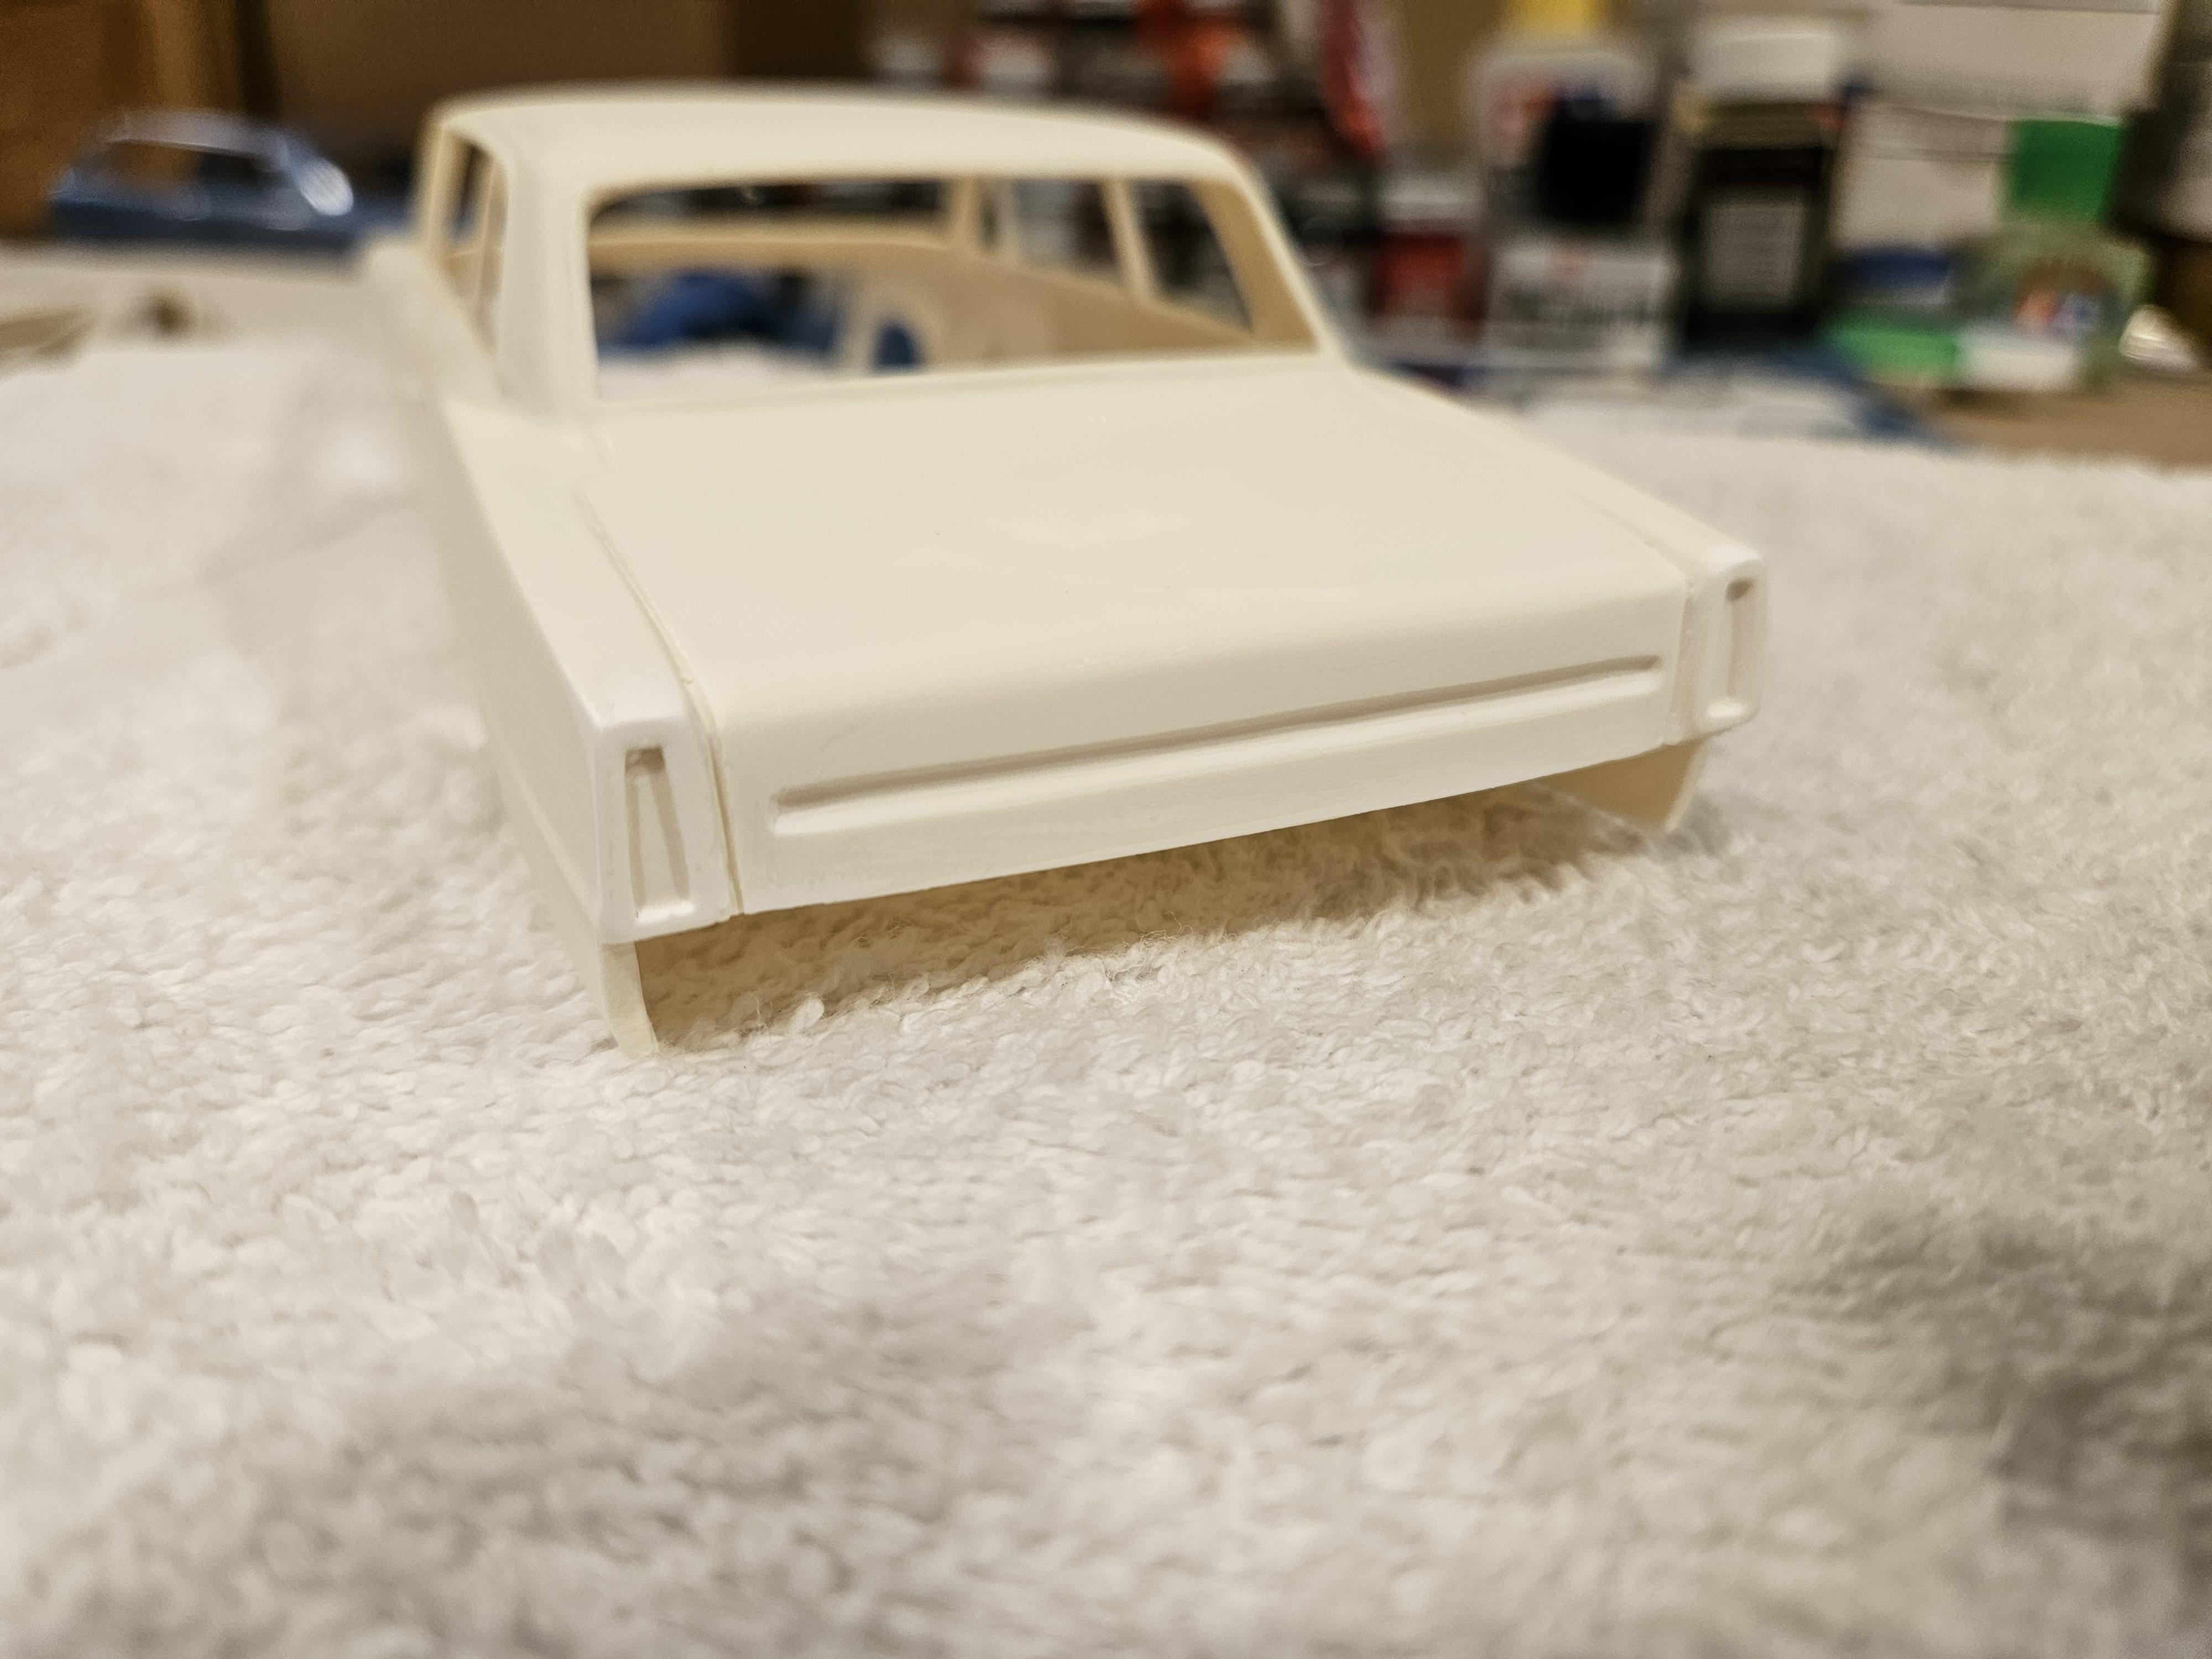
Progress is a little slow, still have to figure out the order of what to paint/assemble first in terms of the chassis/interior/engine. Have to cut out the shock towers for fenderwell headers to pass through but have to put engine together first to see where they will sit. Need to buy a resin scatter shield/lakewood style bell housing since I plan on leaving it as a 4 speed. I do have a couple 1:24th scatter shields from a few monogram kits, but they are just way too big. In the mean time I finished up the hood for the most part. Just a tad more sanding around the edges of the scoop and it'll all be ready for paint.

-
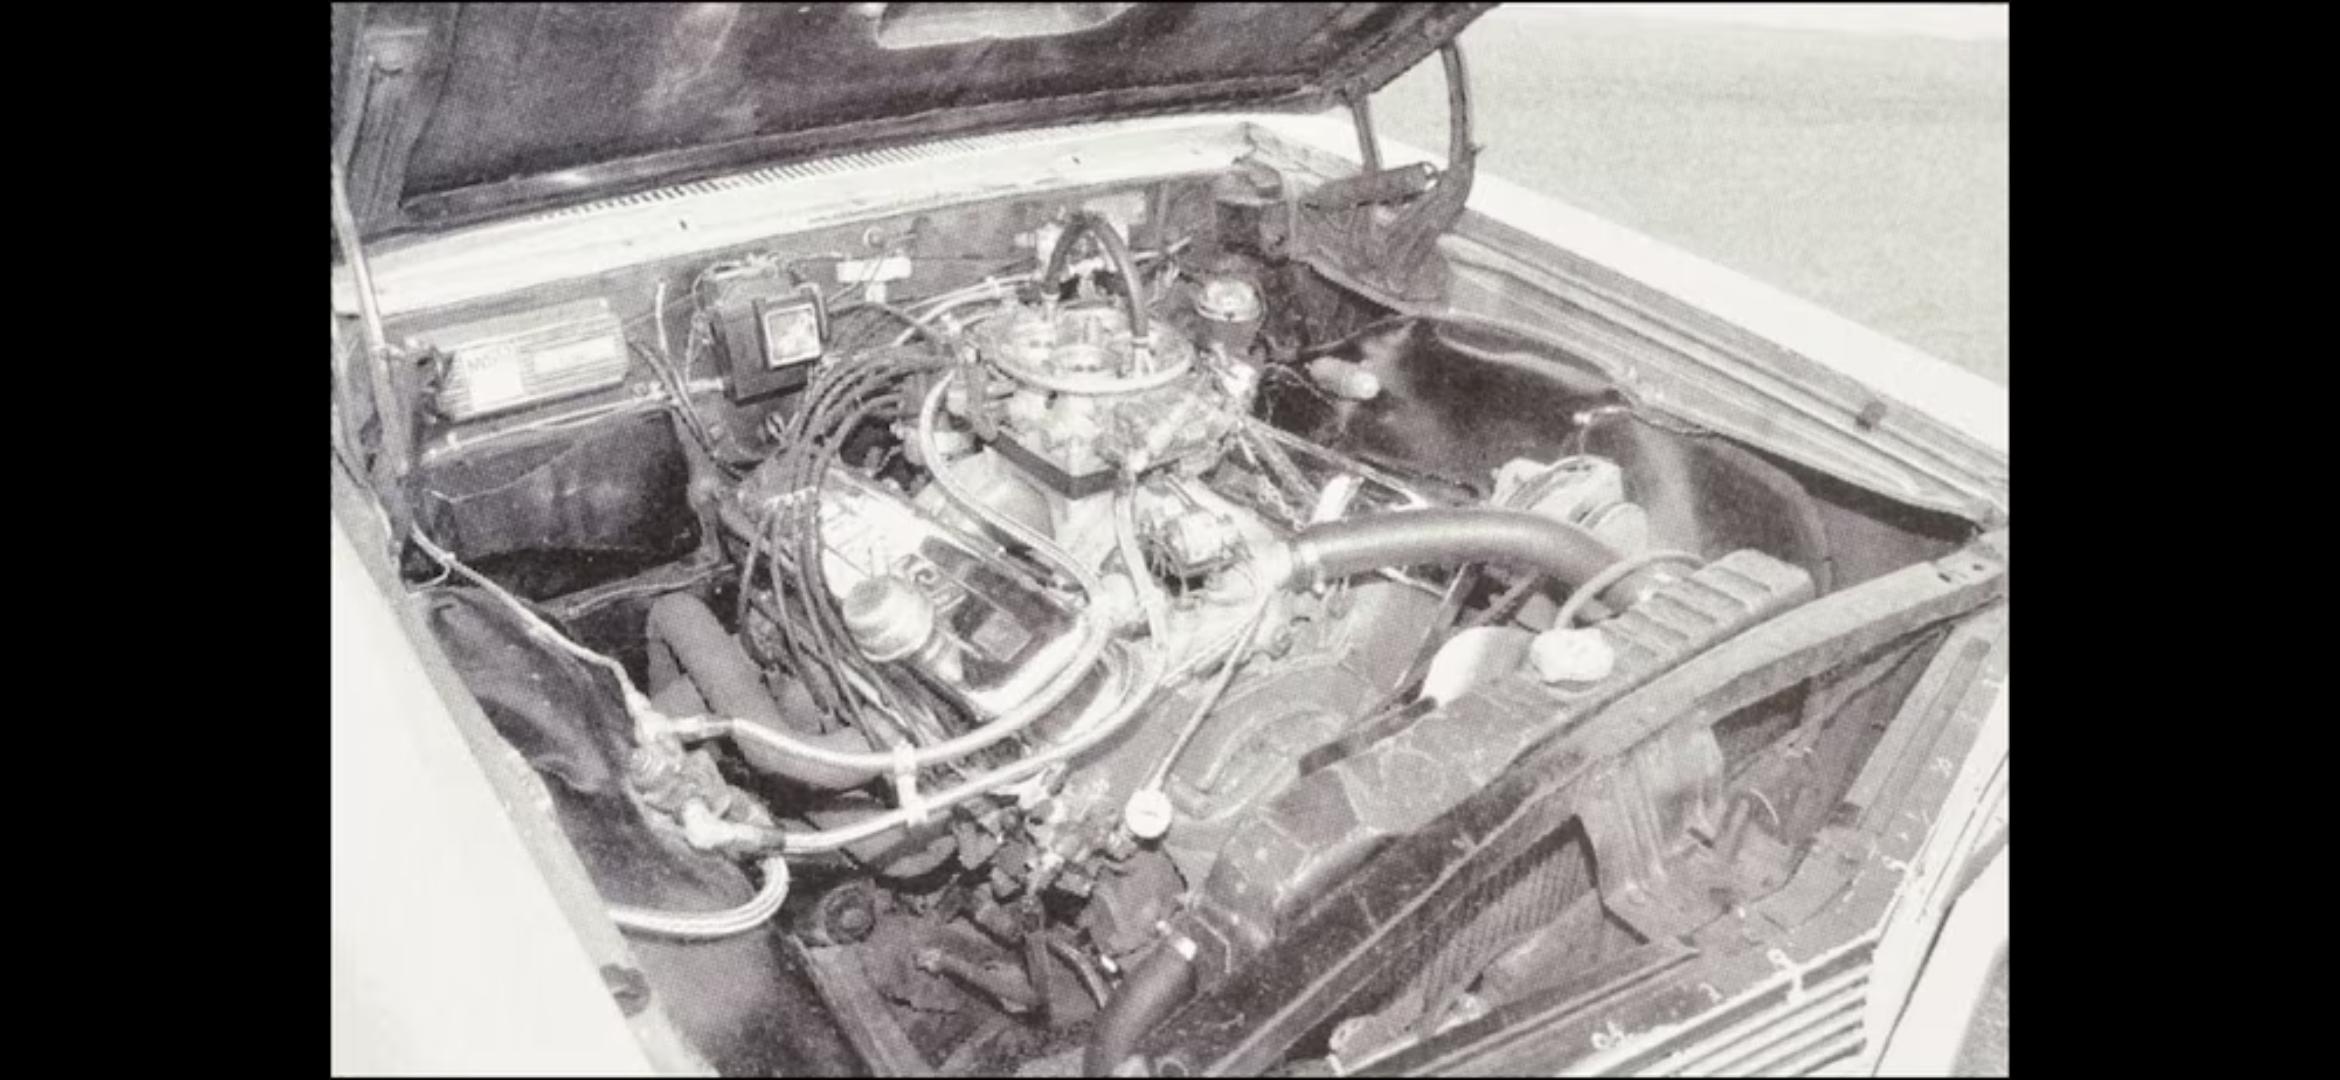
Great looking engine in the previous post! Its too bad that stock eliminator cars are forced to use stock intakes and carbs..cause a painted iron intake and quadrajet usually isnt what you think of when you think "performance" lol. Where did you get those caltrac bars with leaf springs? I bought some a few years ago from Ron Olsen when shapeways was still a thing..unfortunately I havent seen anyone else offer these from the aftermarket 3D printing world.
-
'64 - '65 Malibu FX question - shared tooling?
keviiin86 replied to Ragtop Man's topic in Car Kit News & Reviews
You could do what I did and swap a front clip from a Revell 65 malibu on..lines up pretty well, and looks way more accurate, and has a better engine compartment.
-
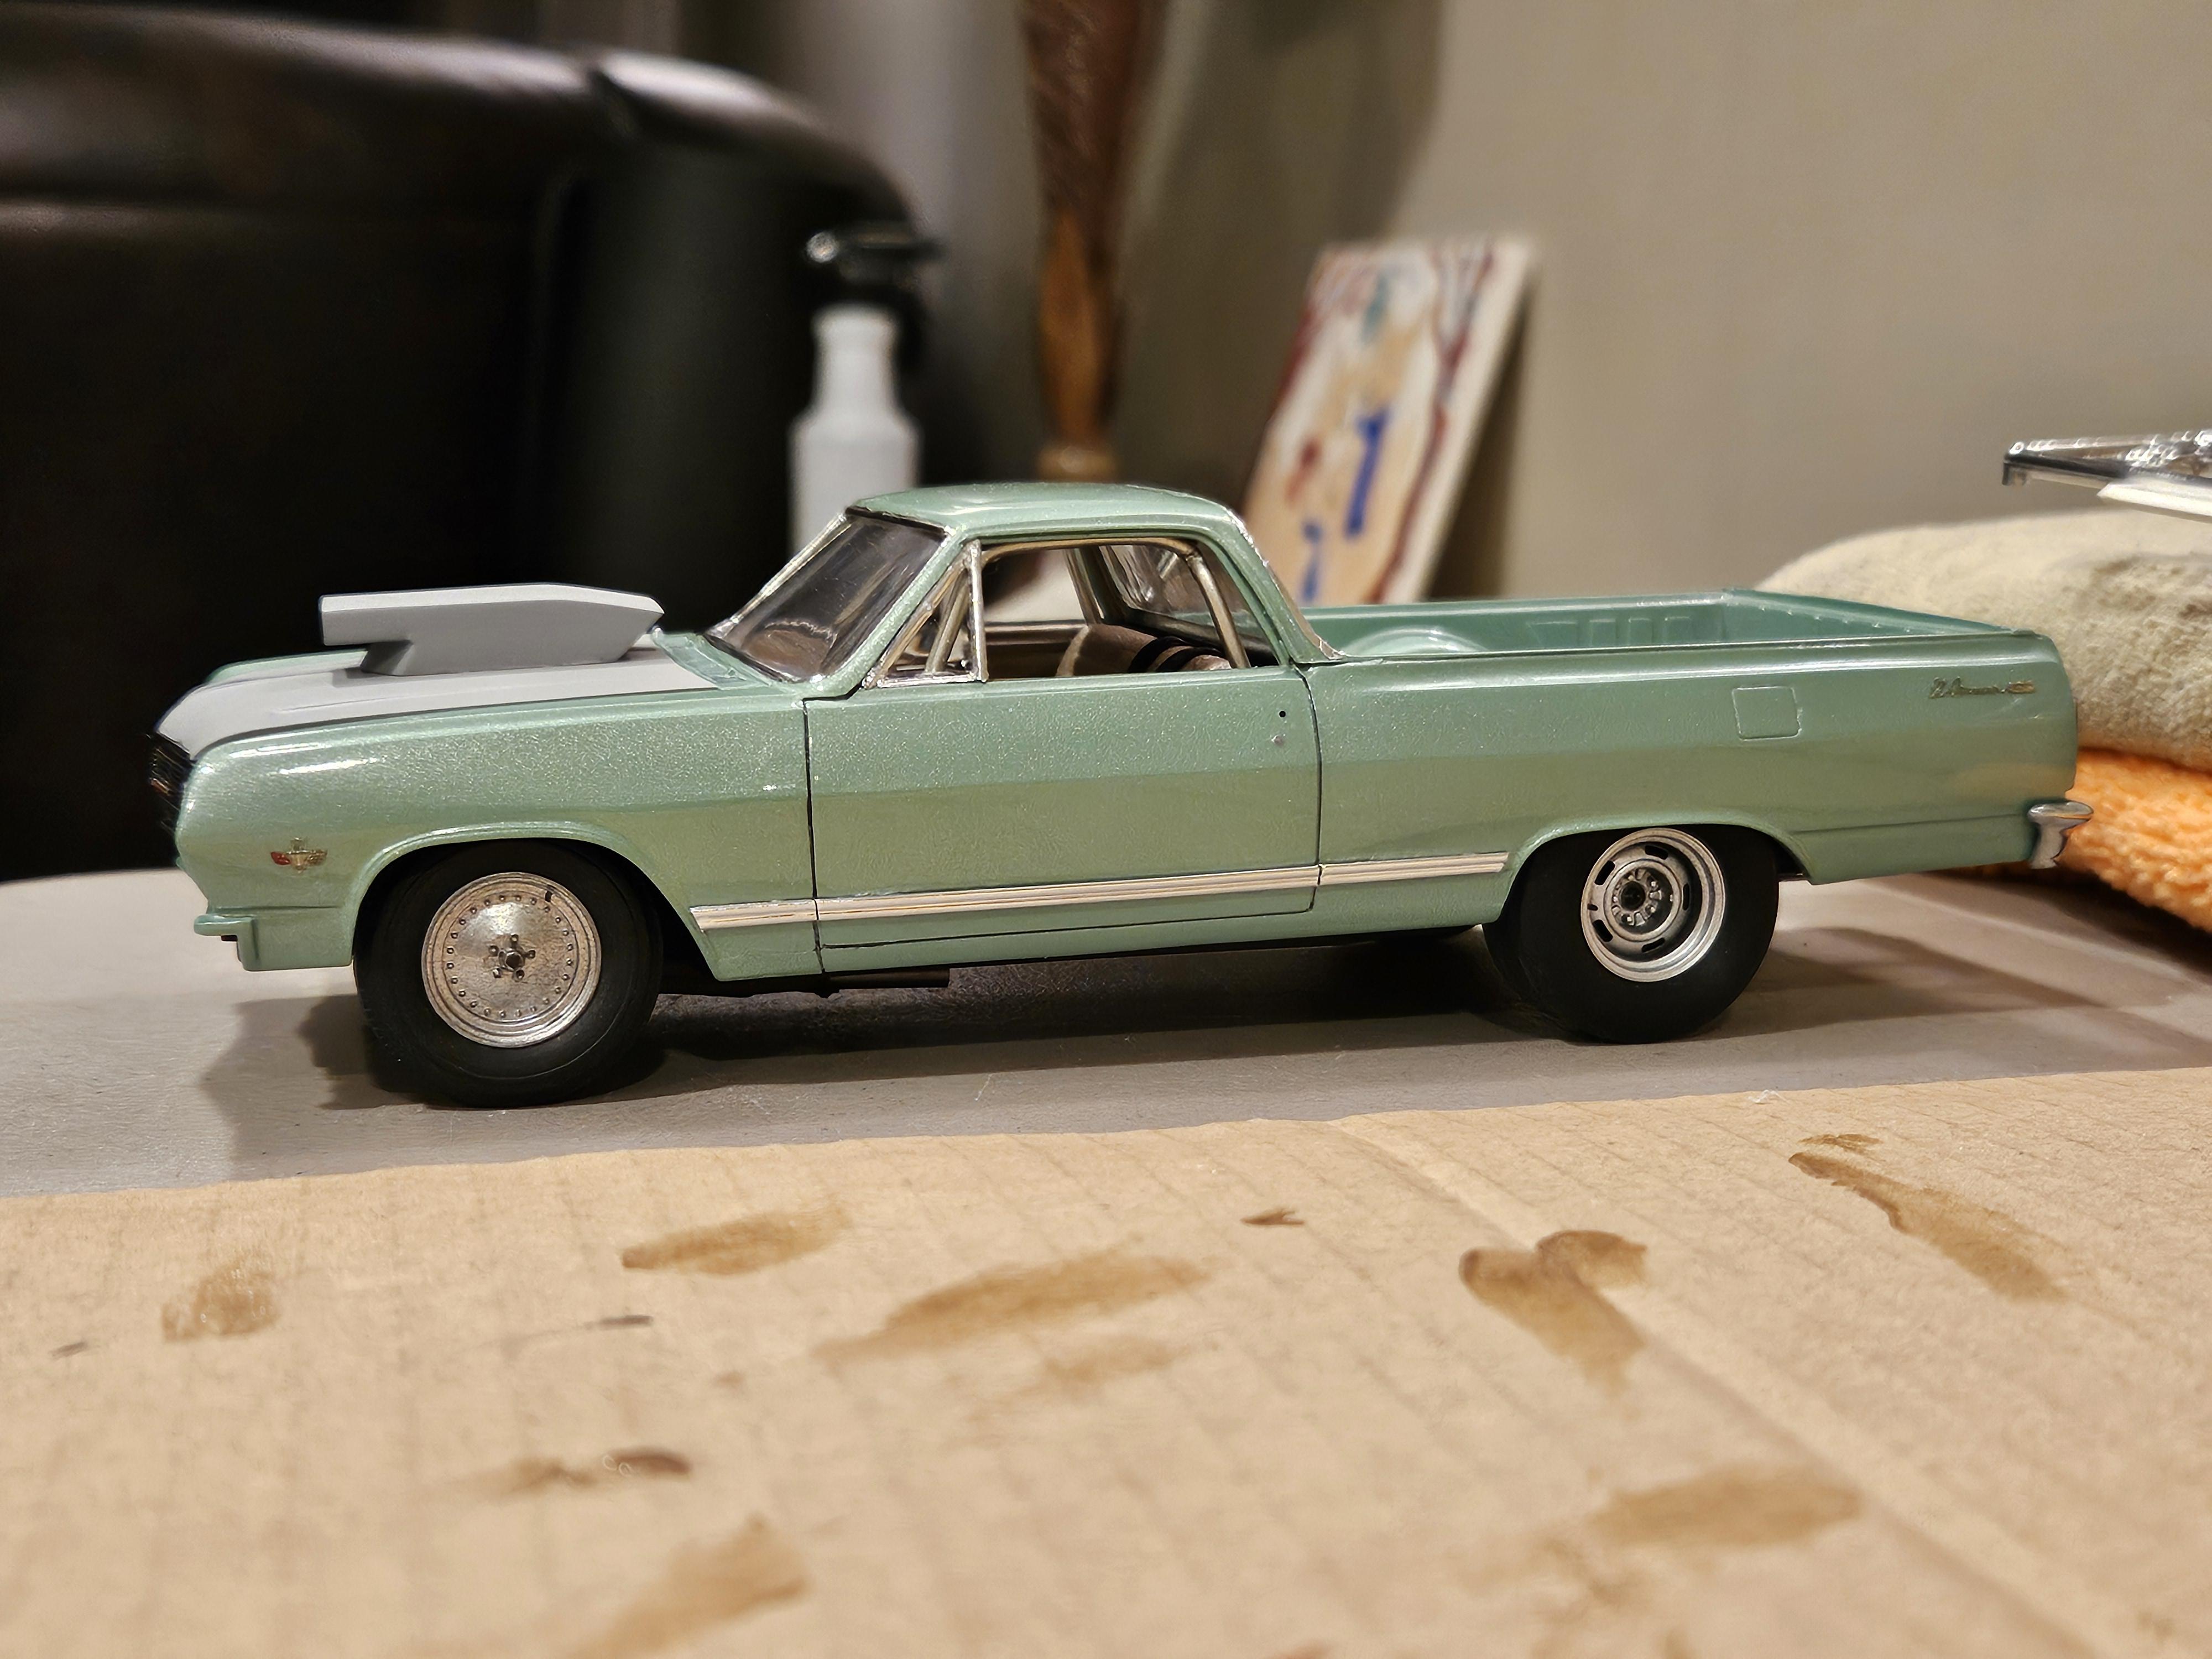
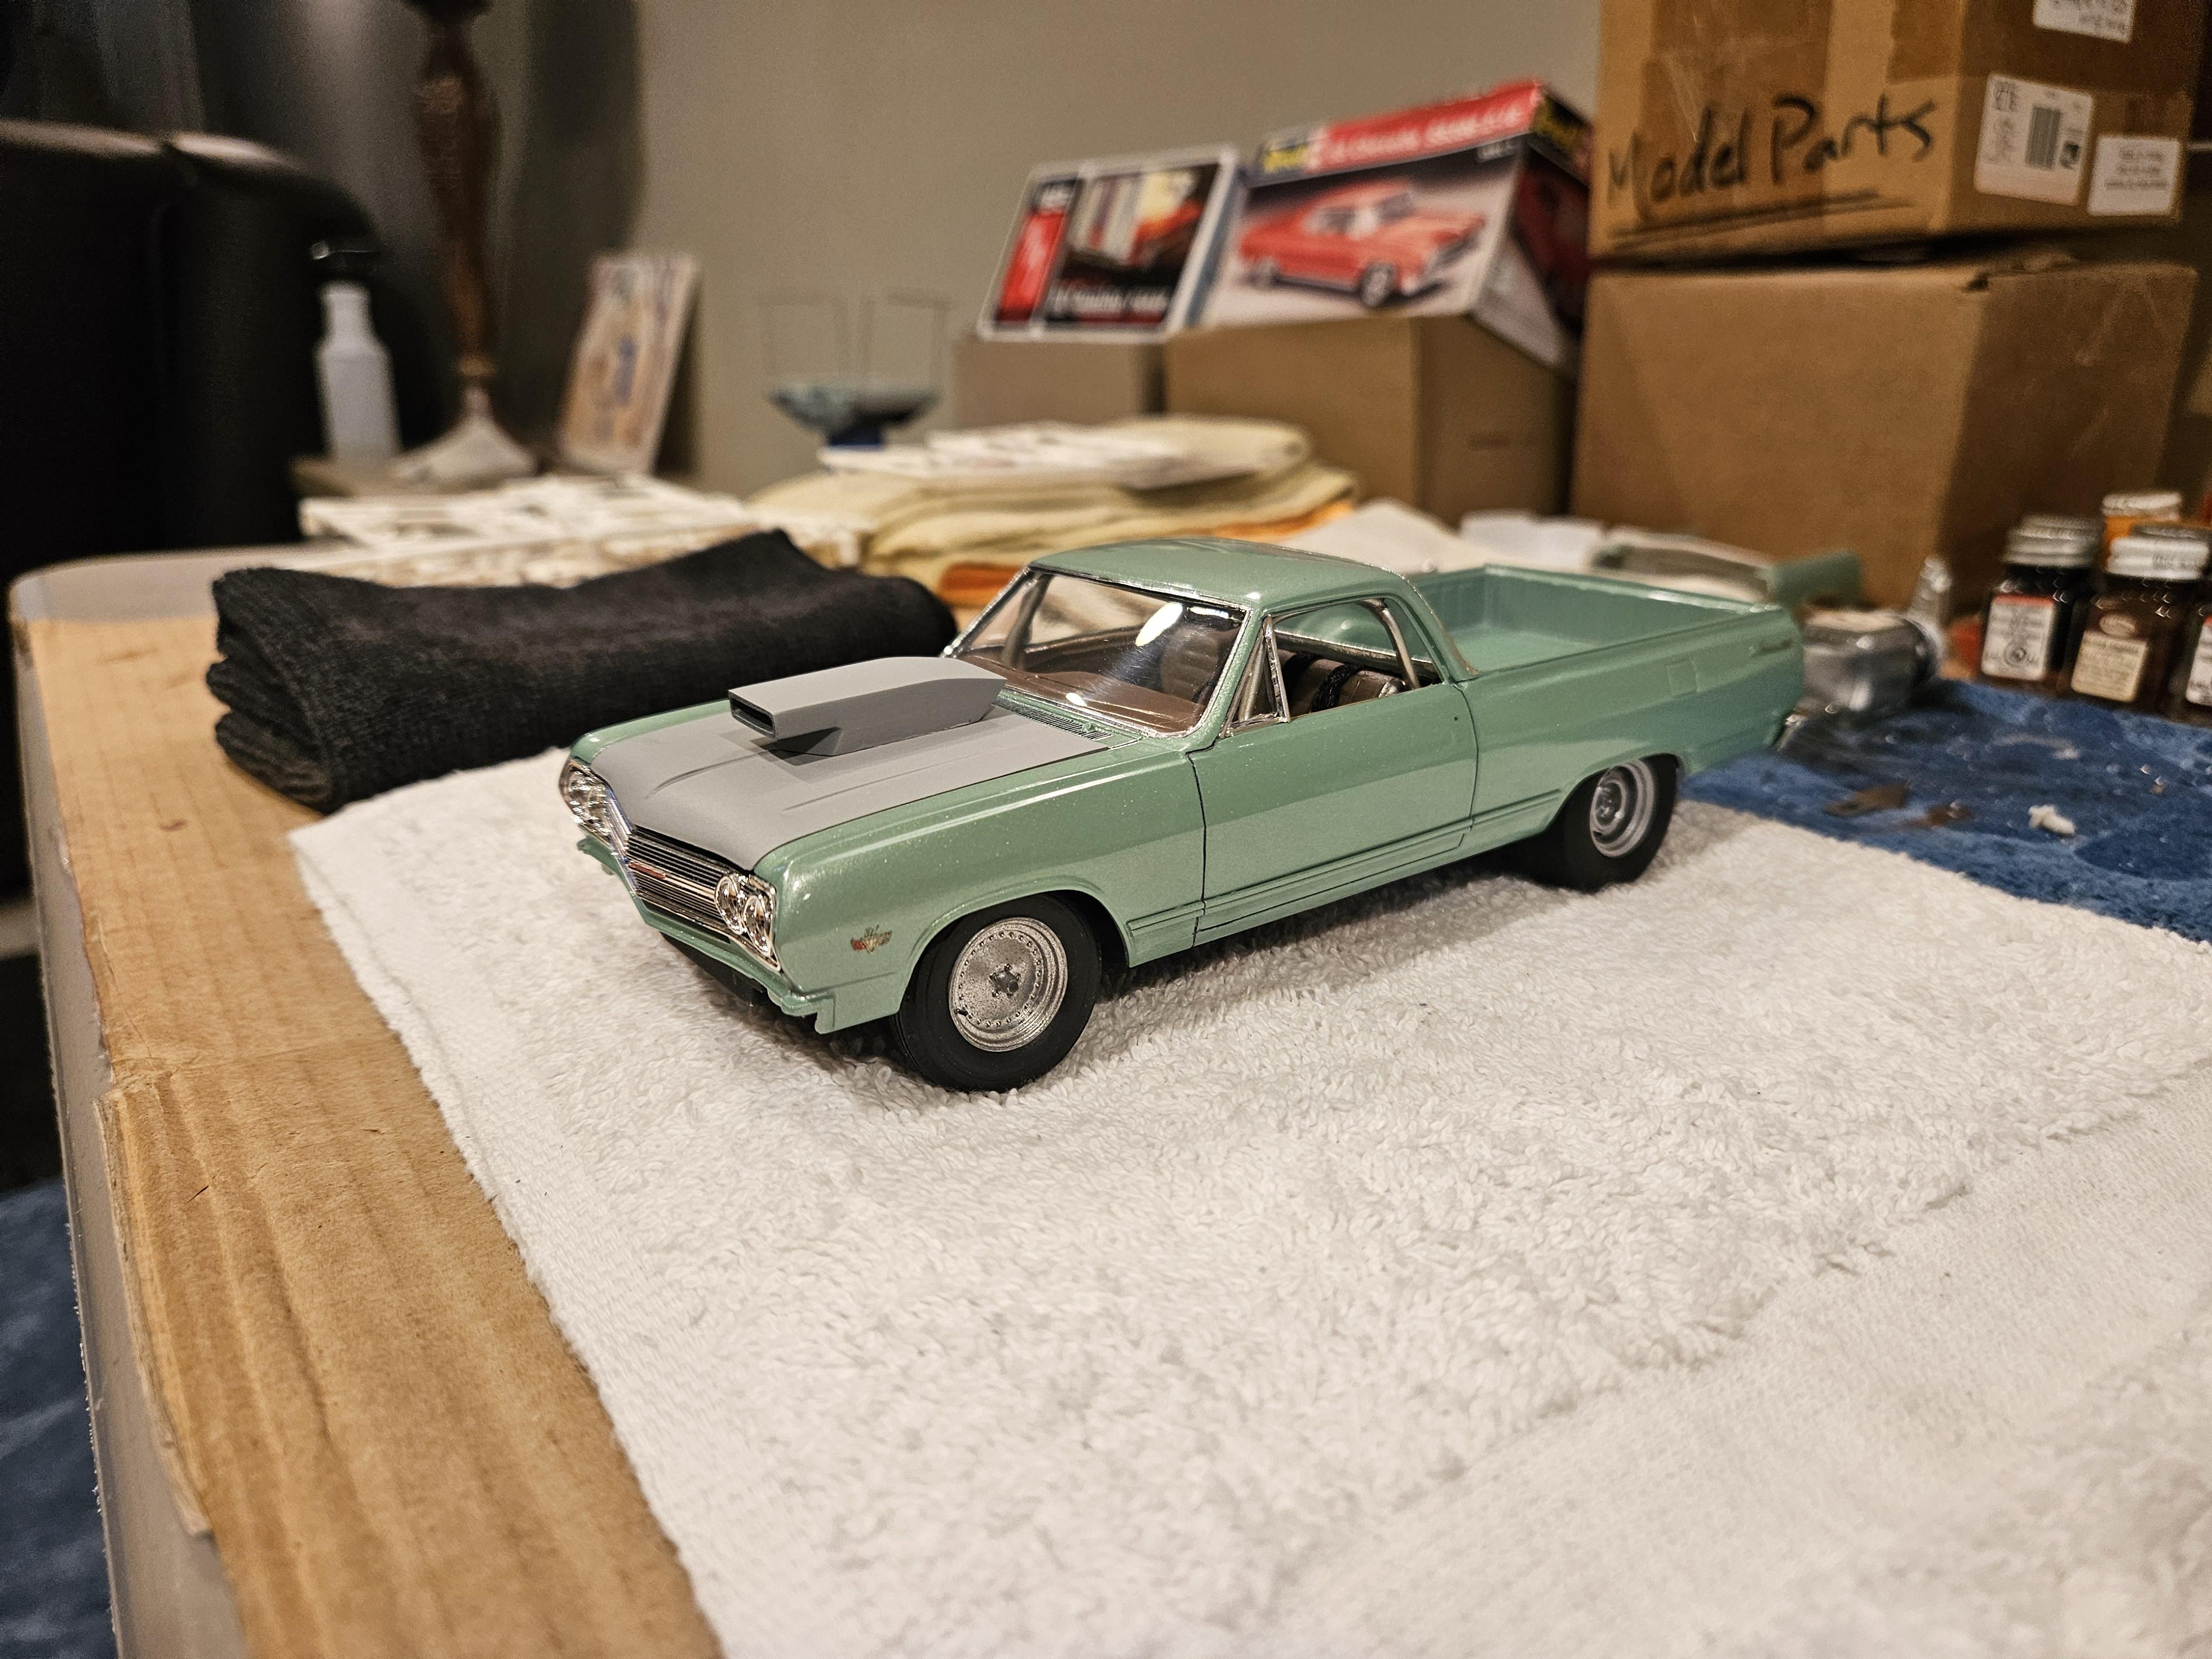
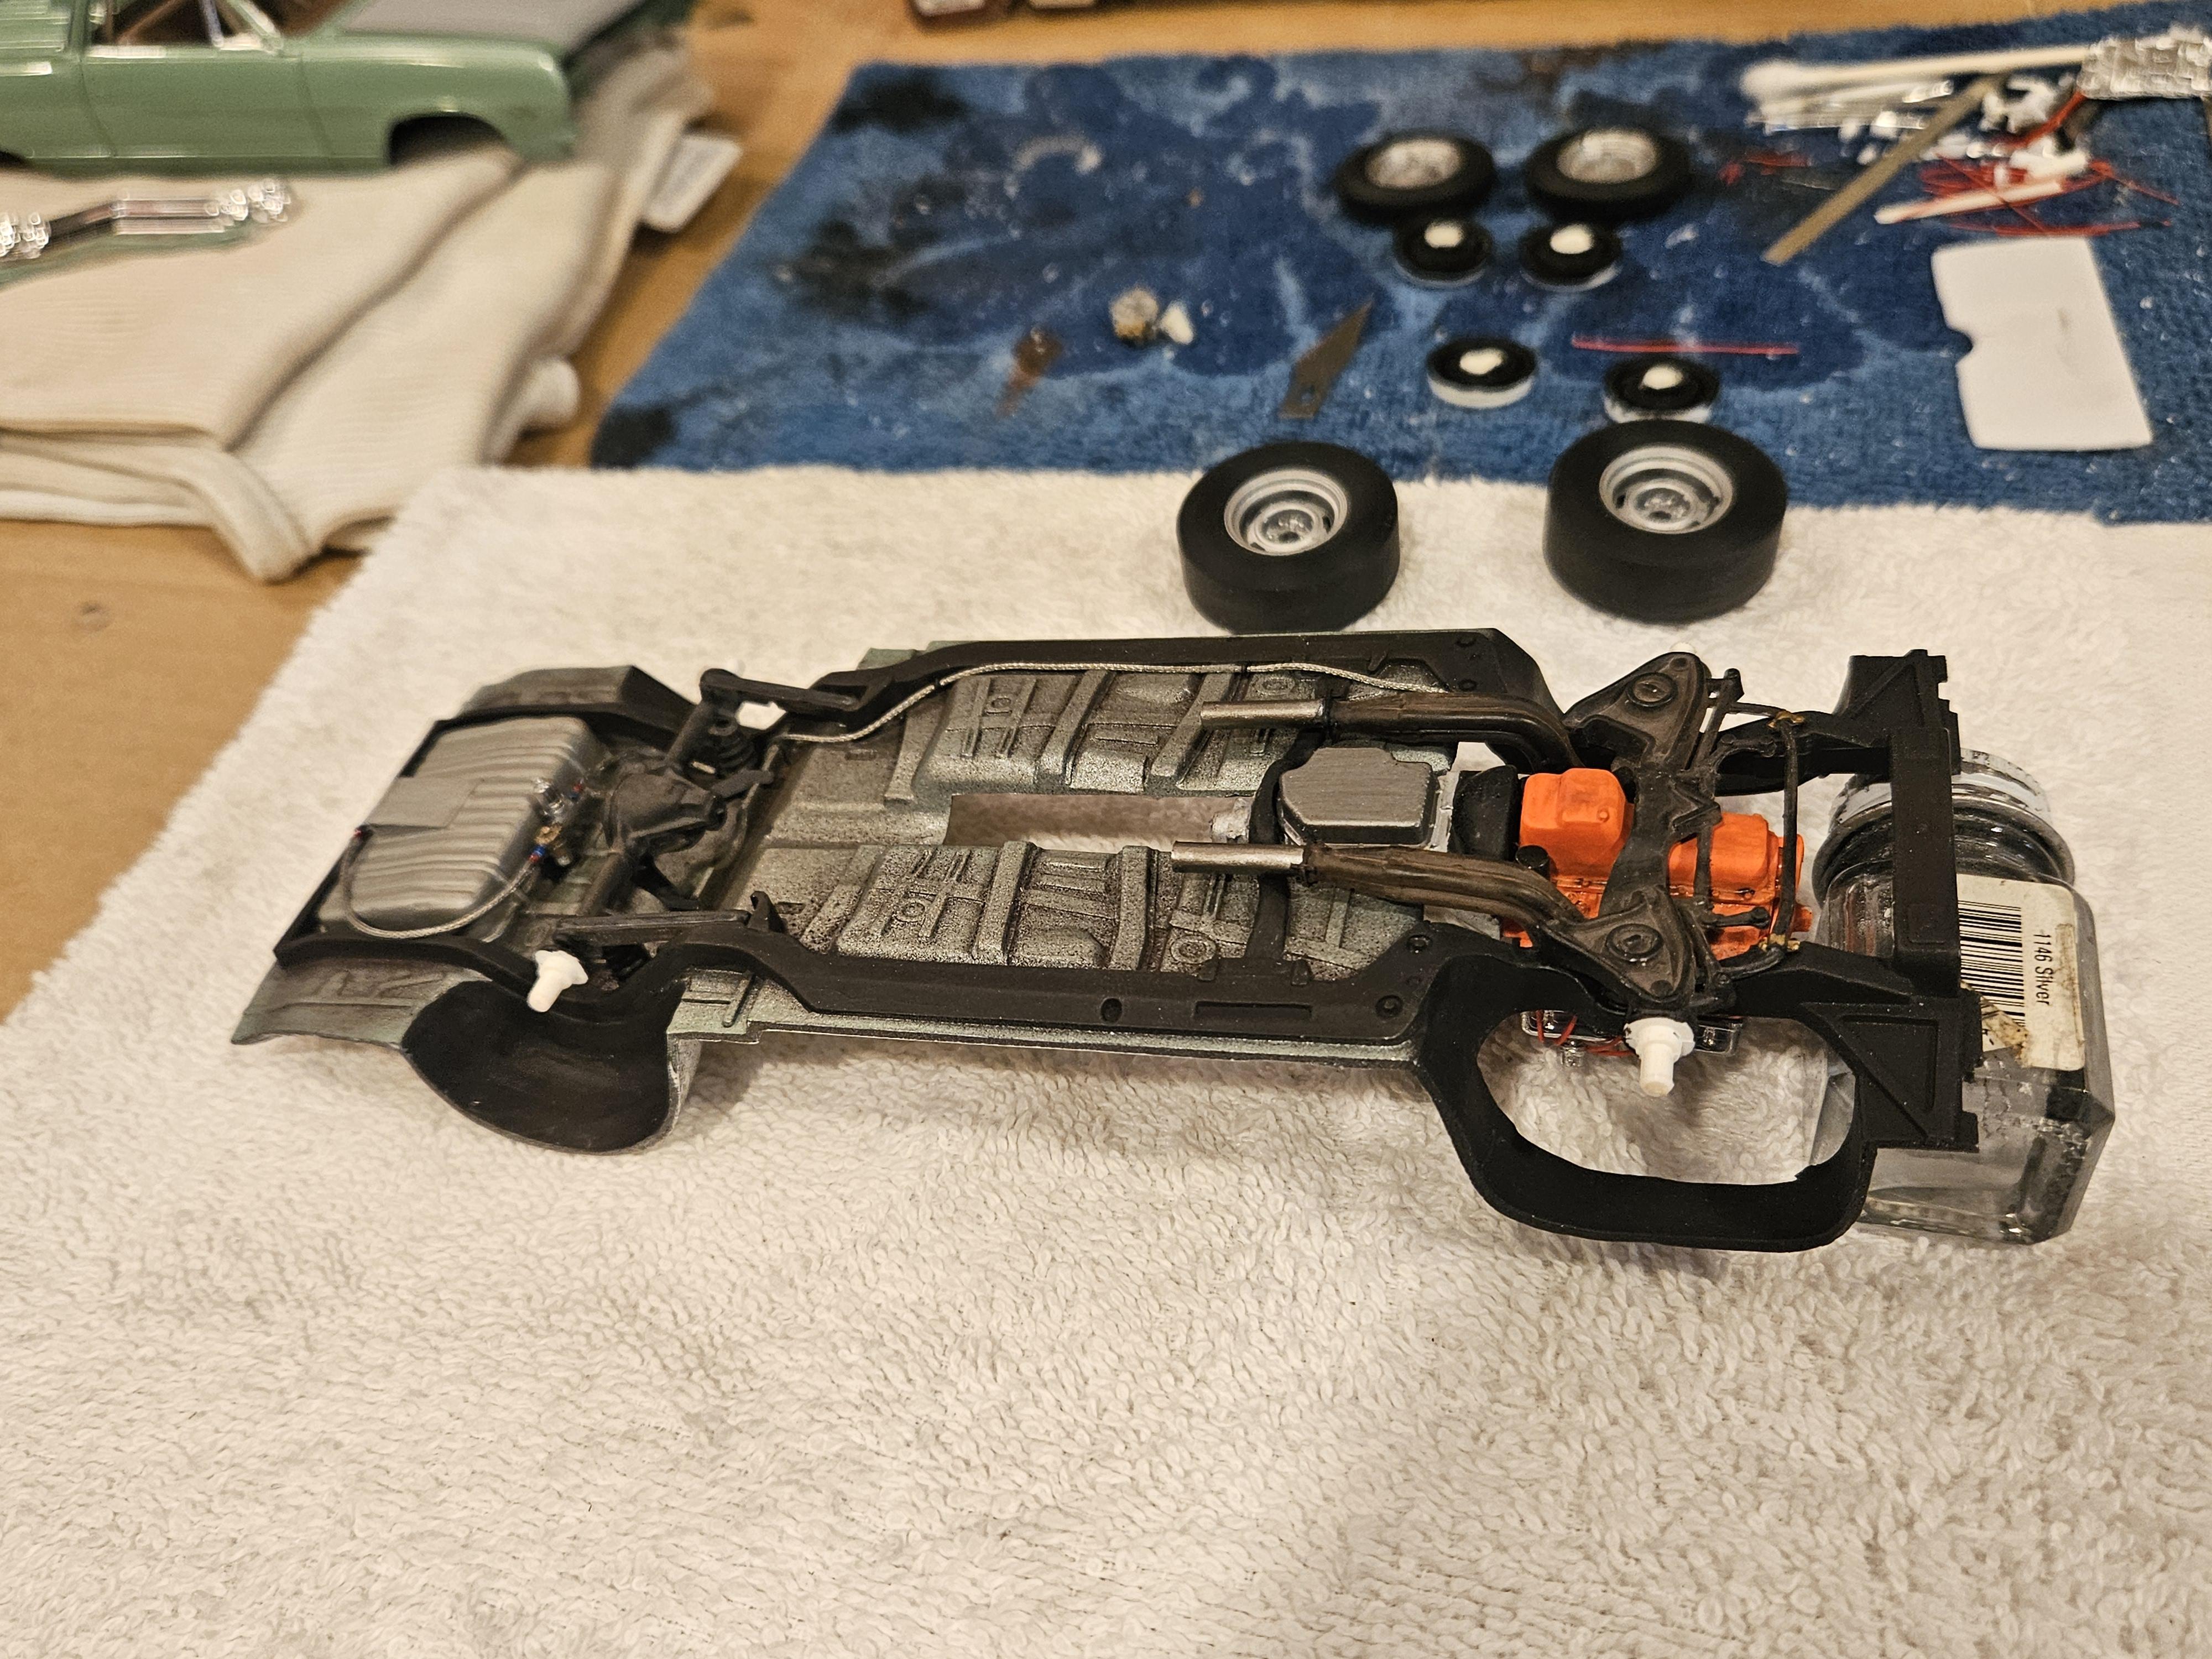
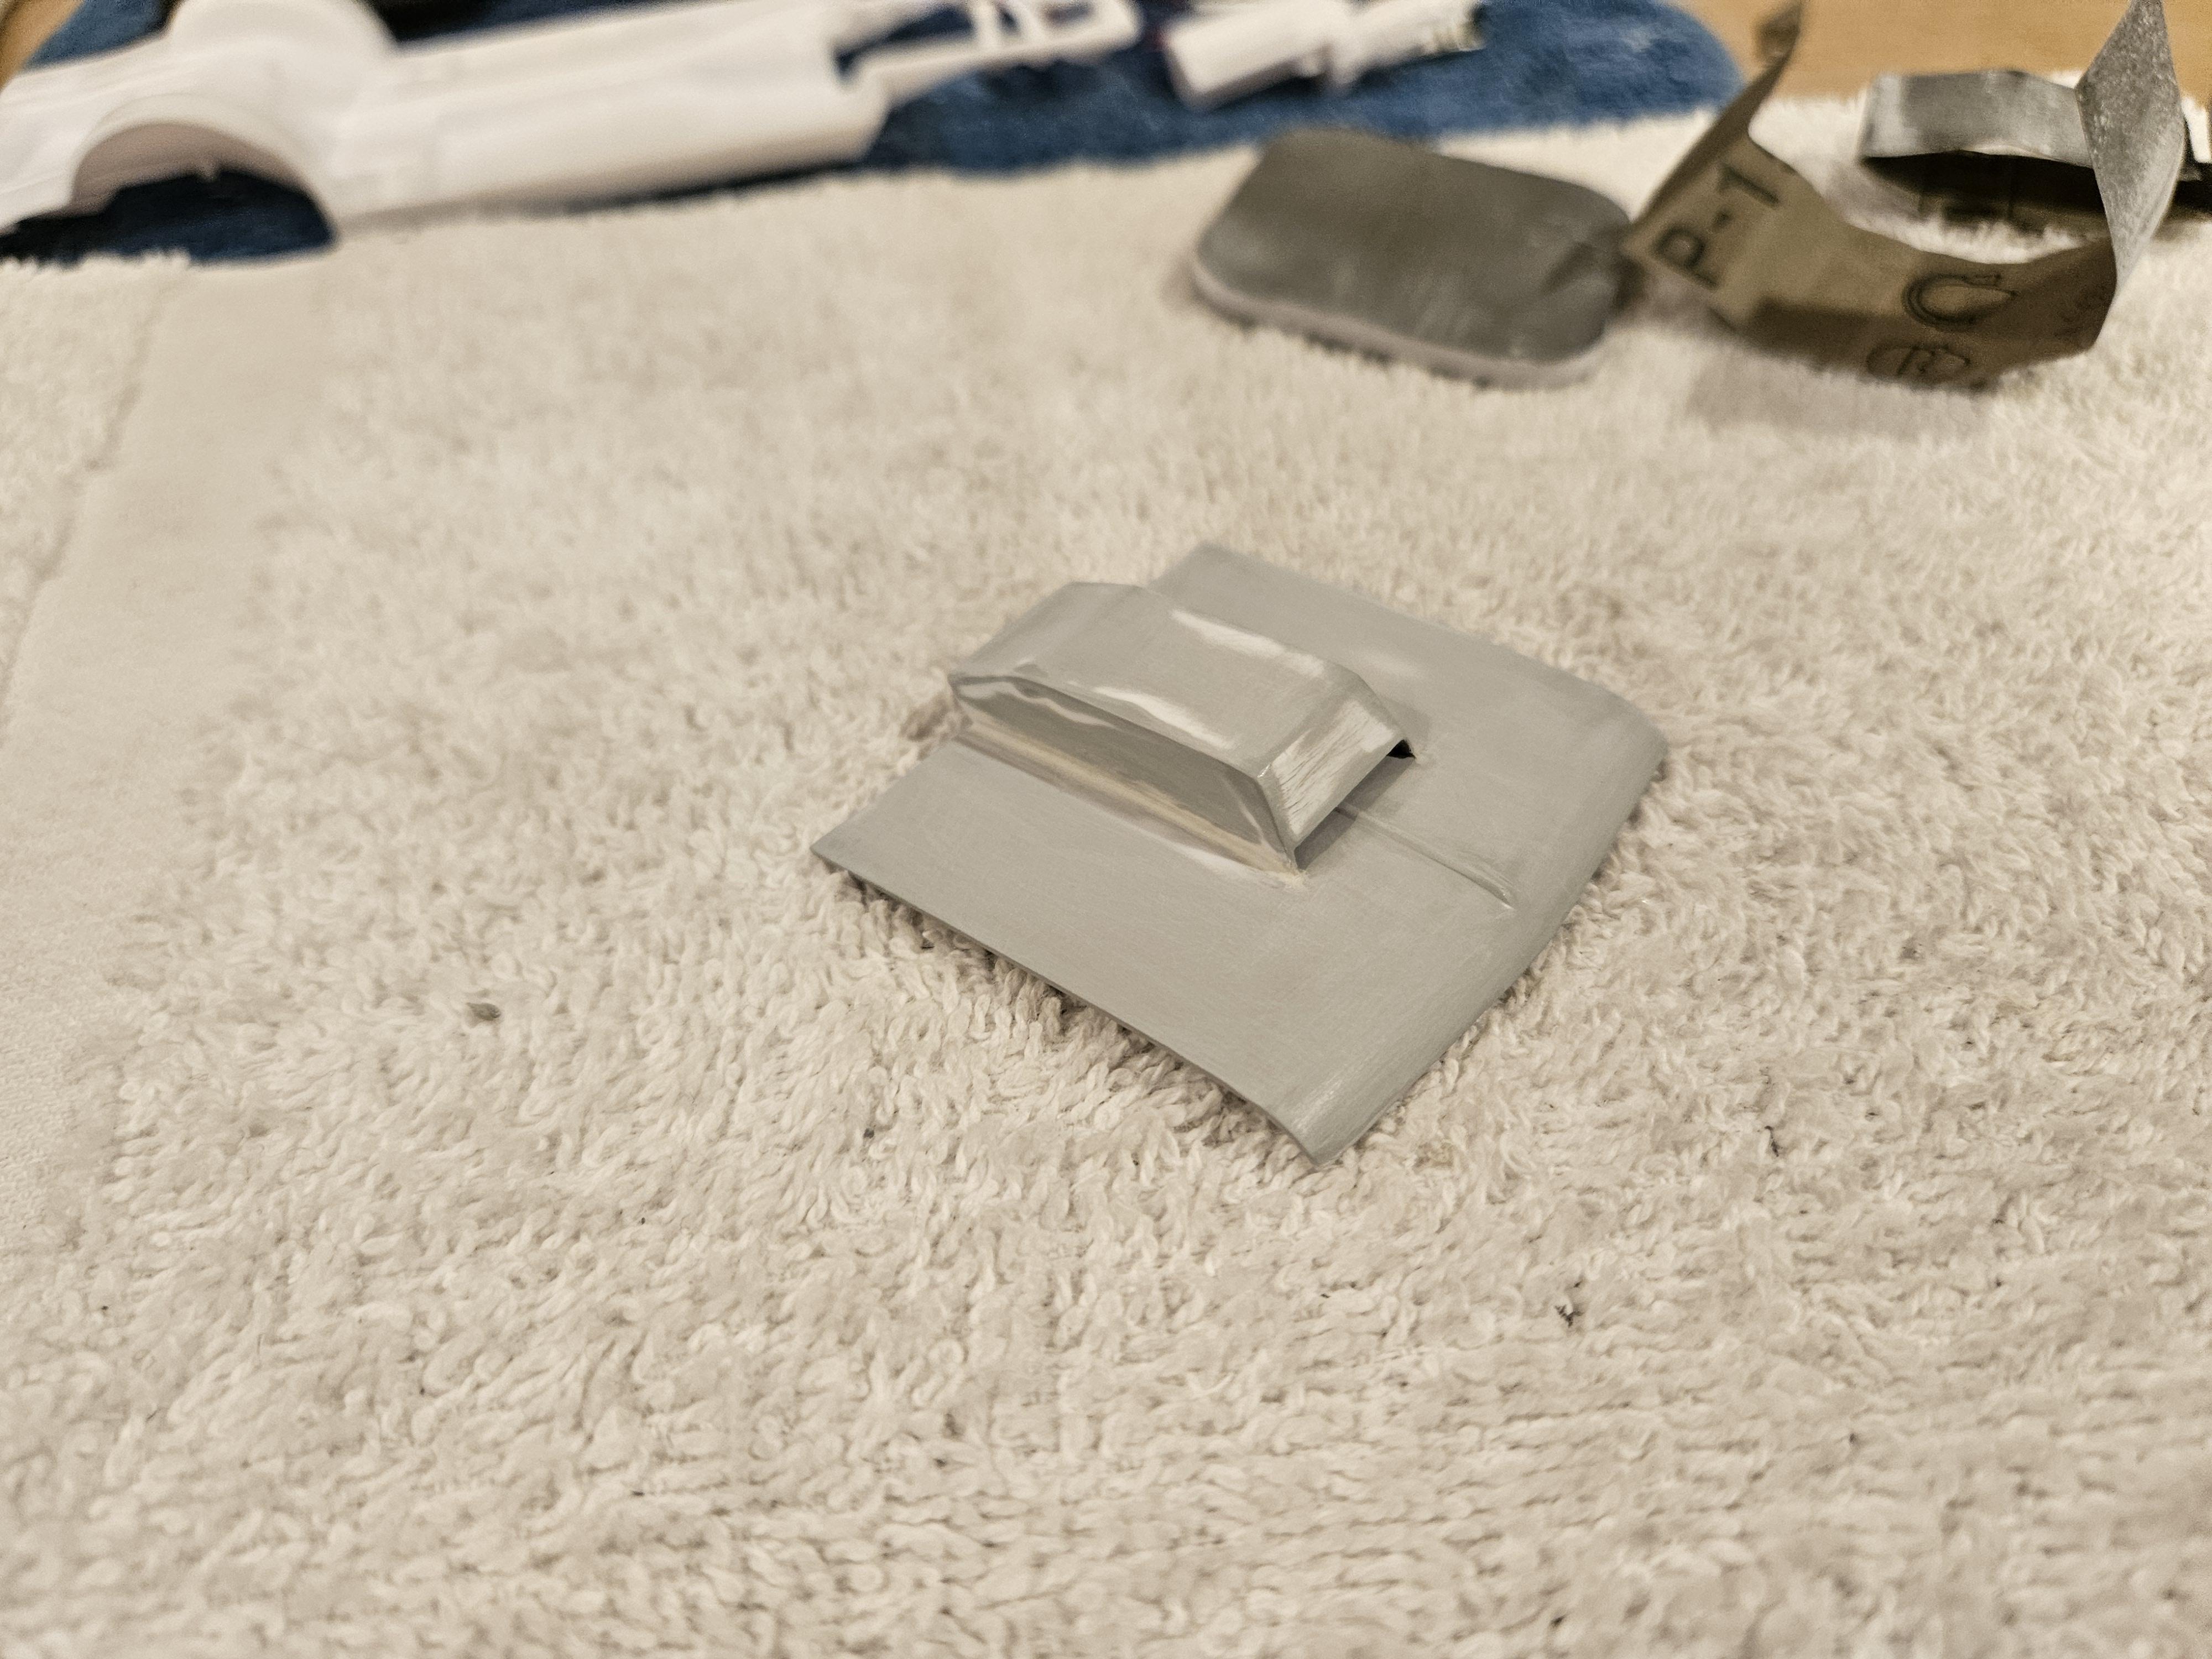
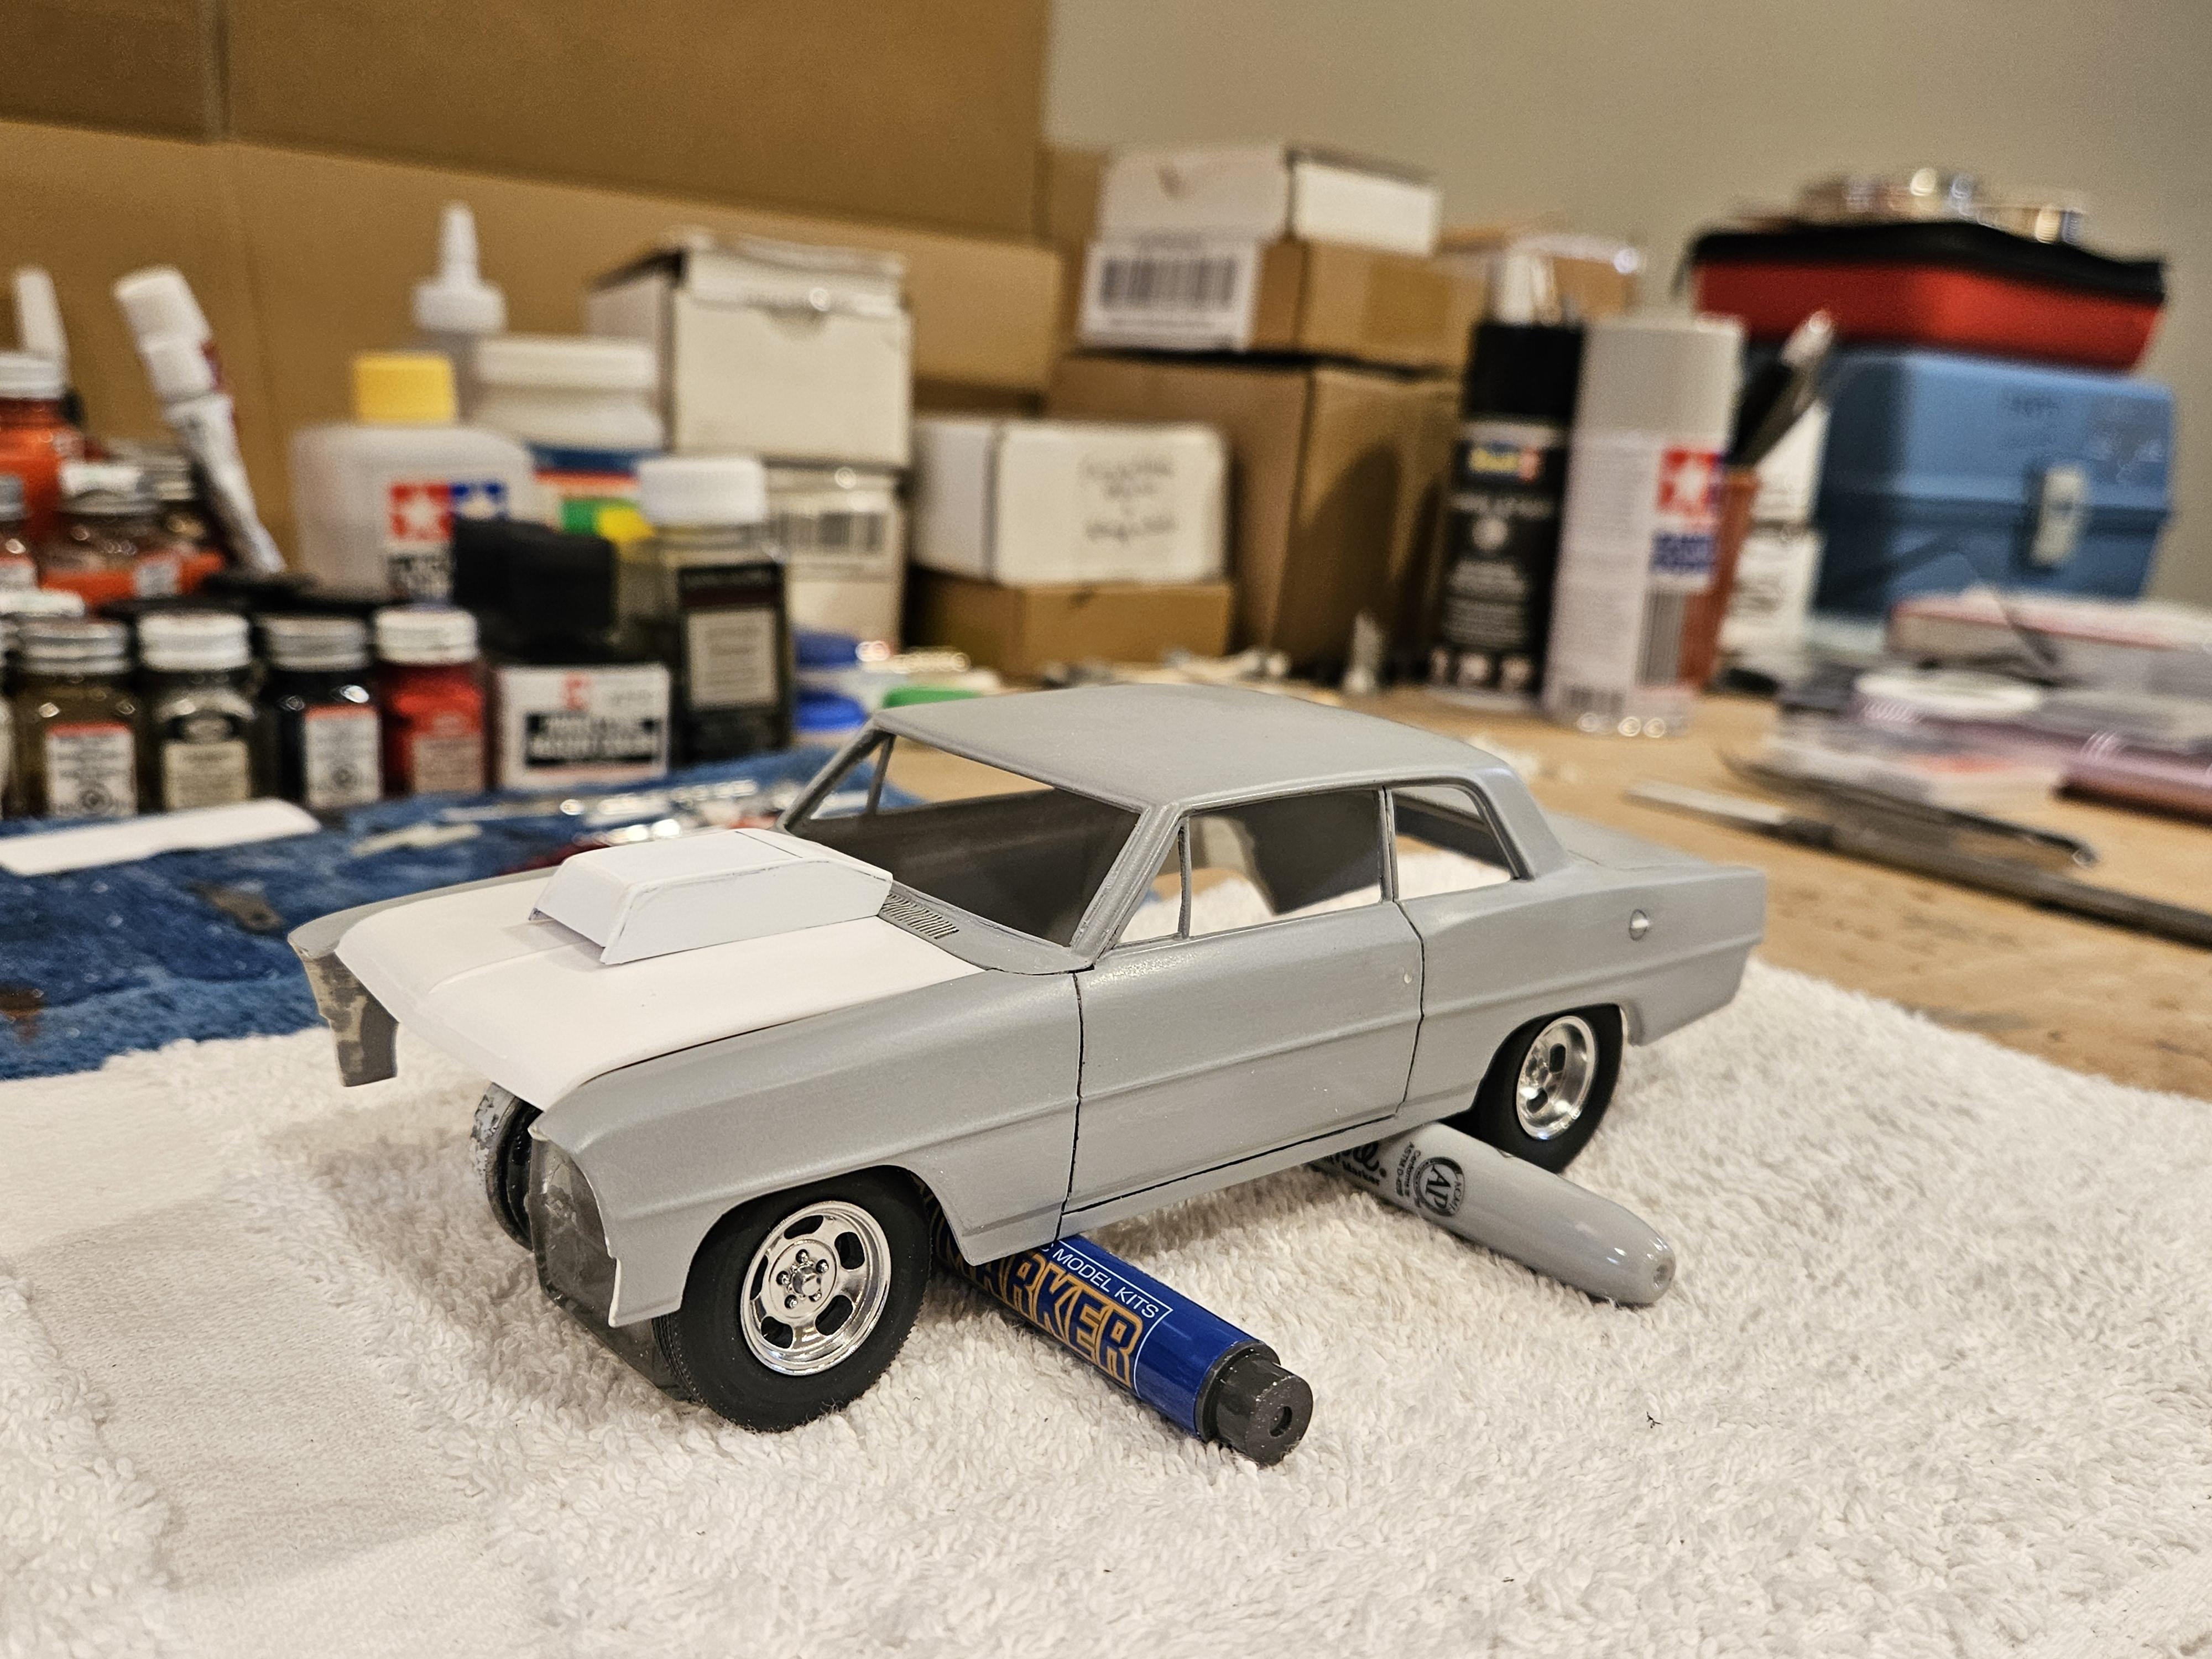
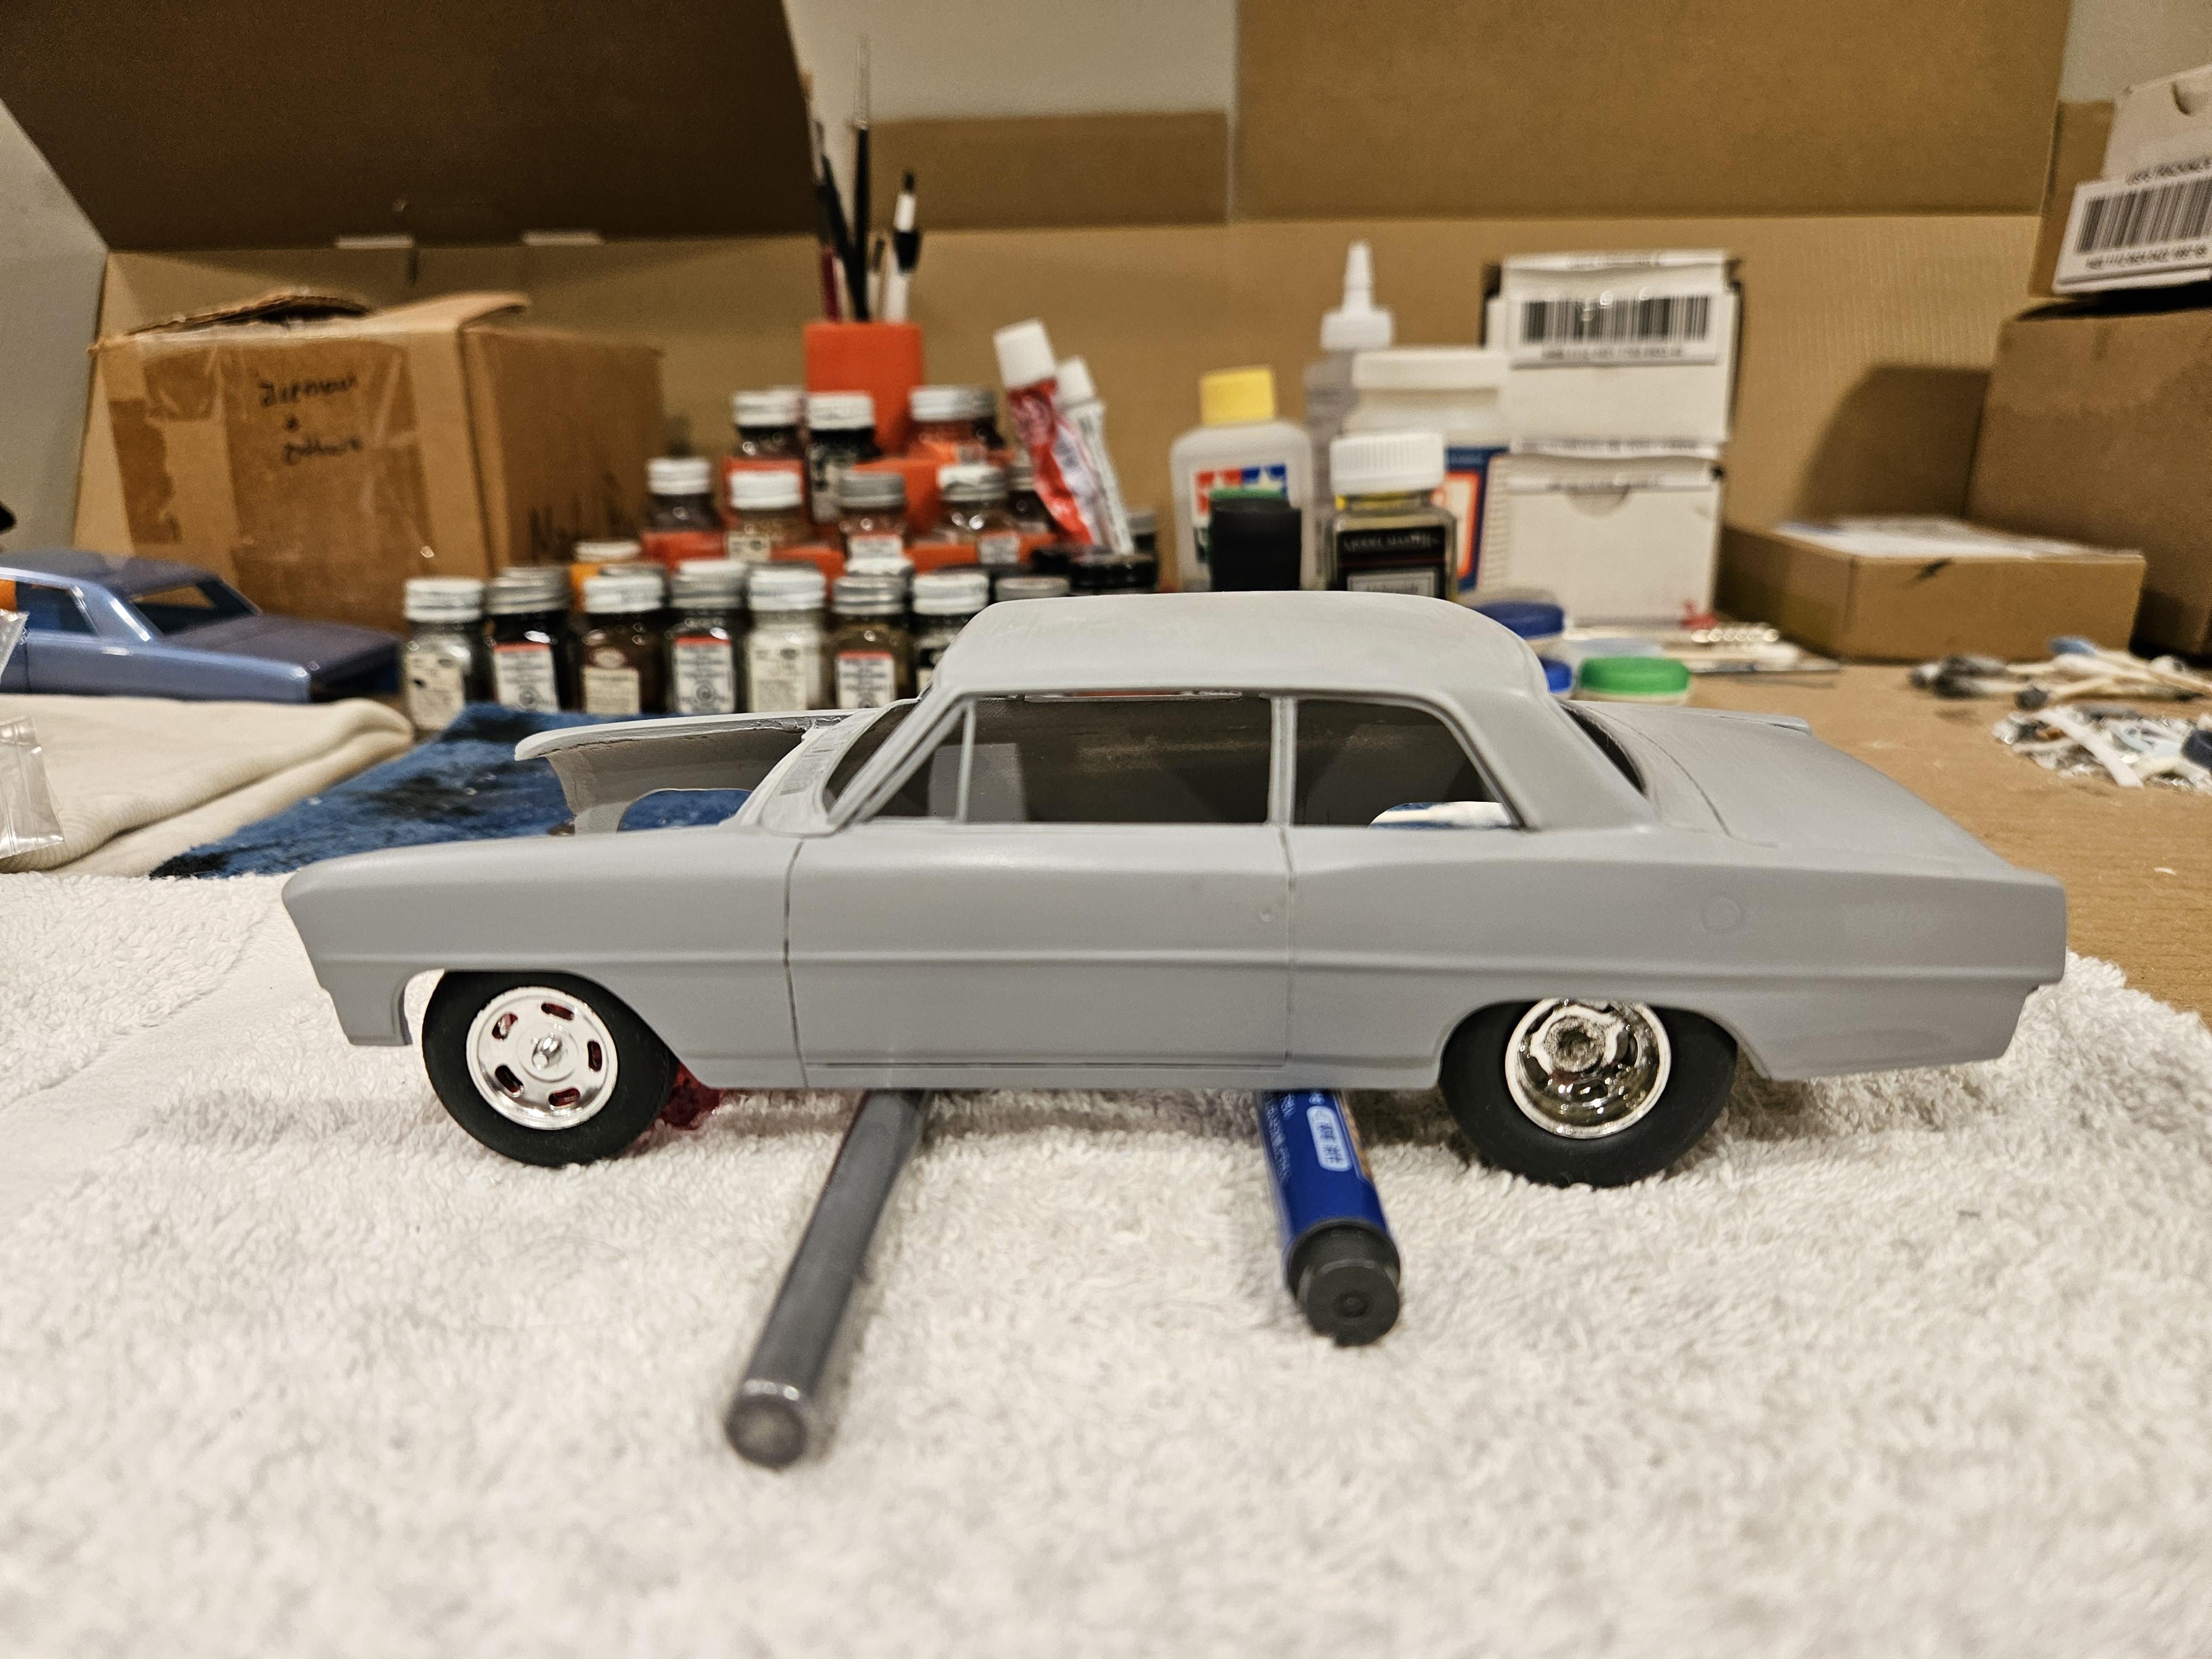
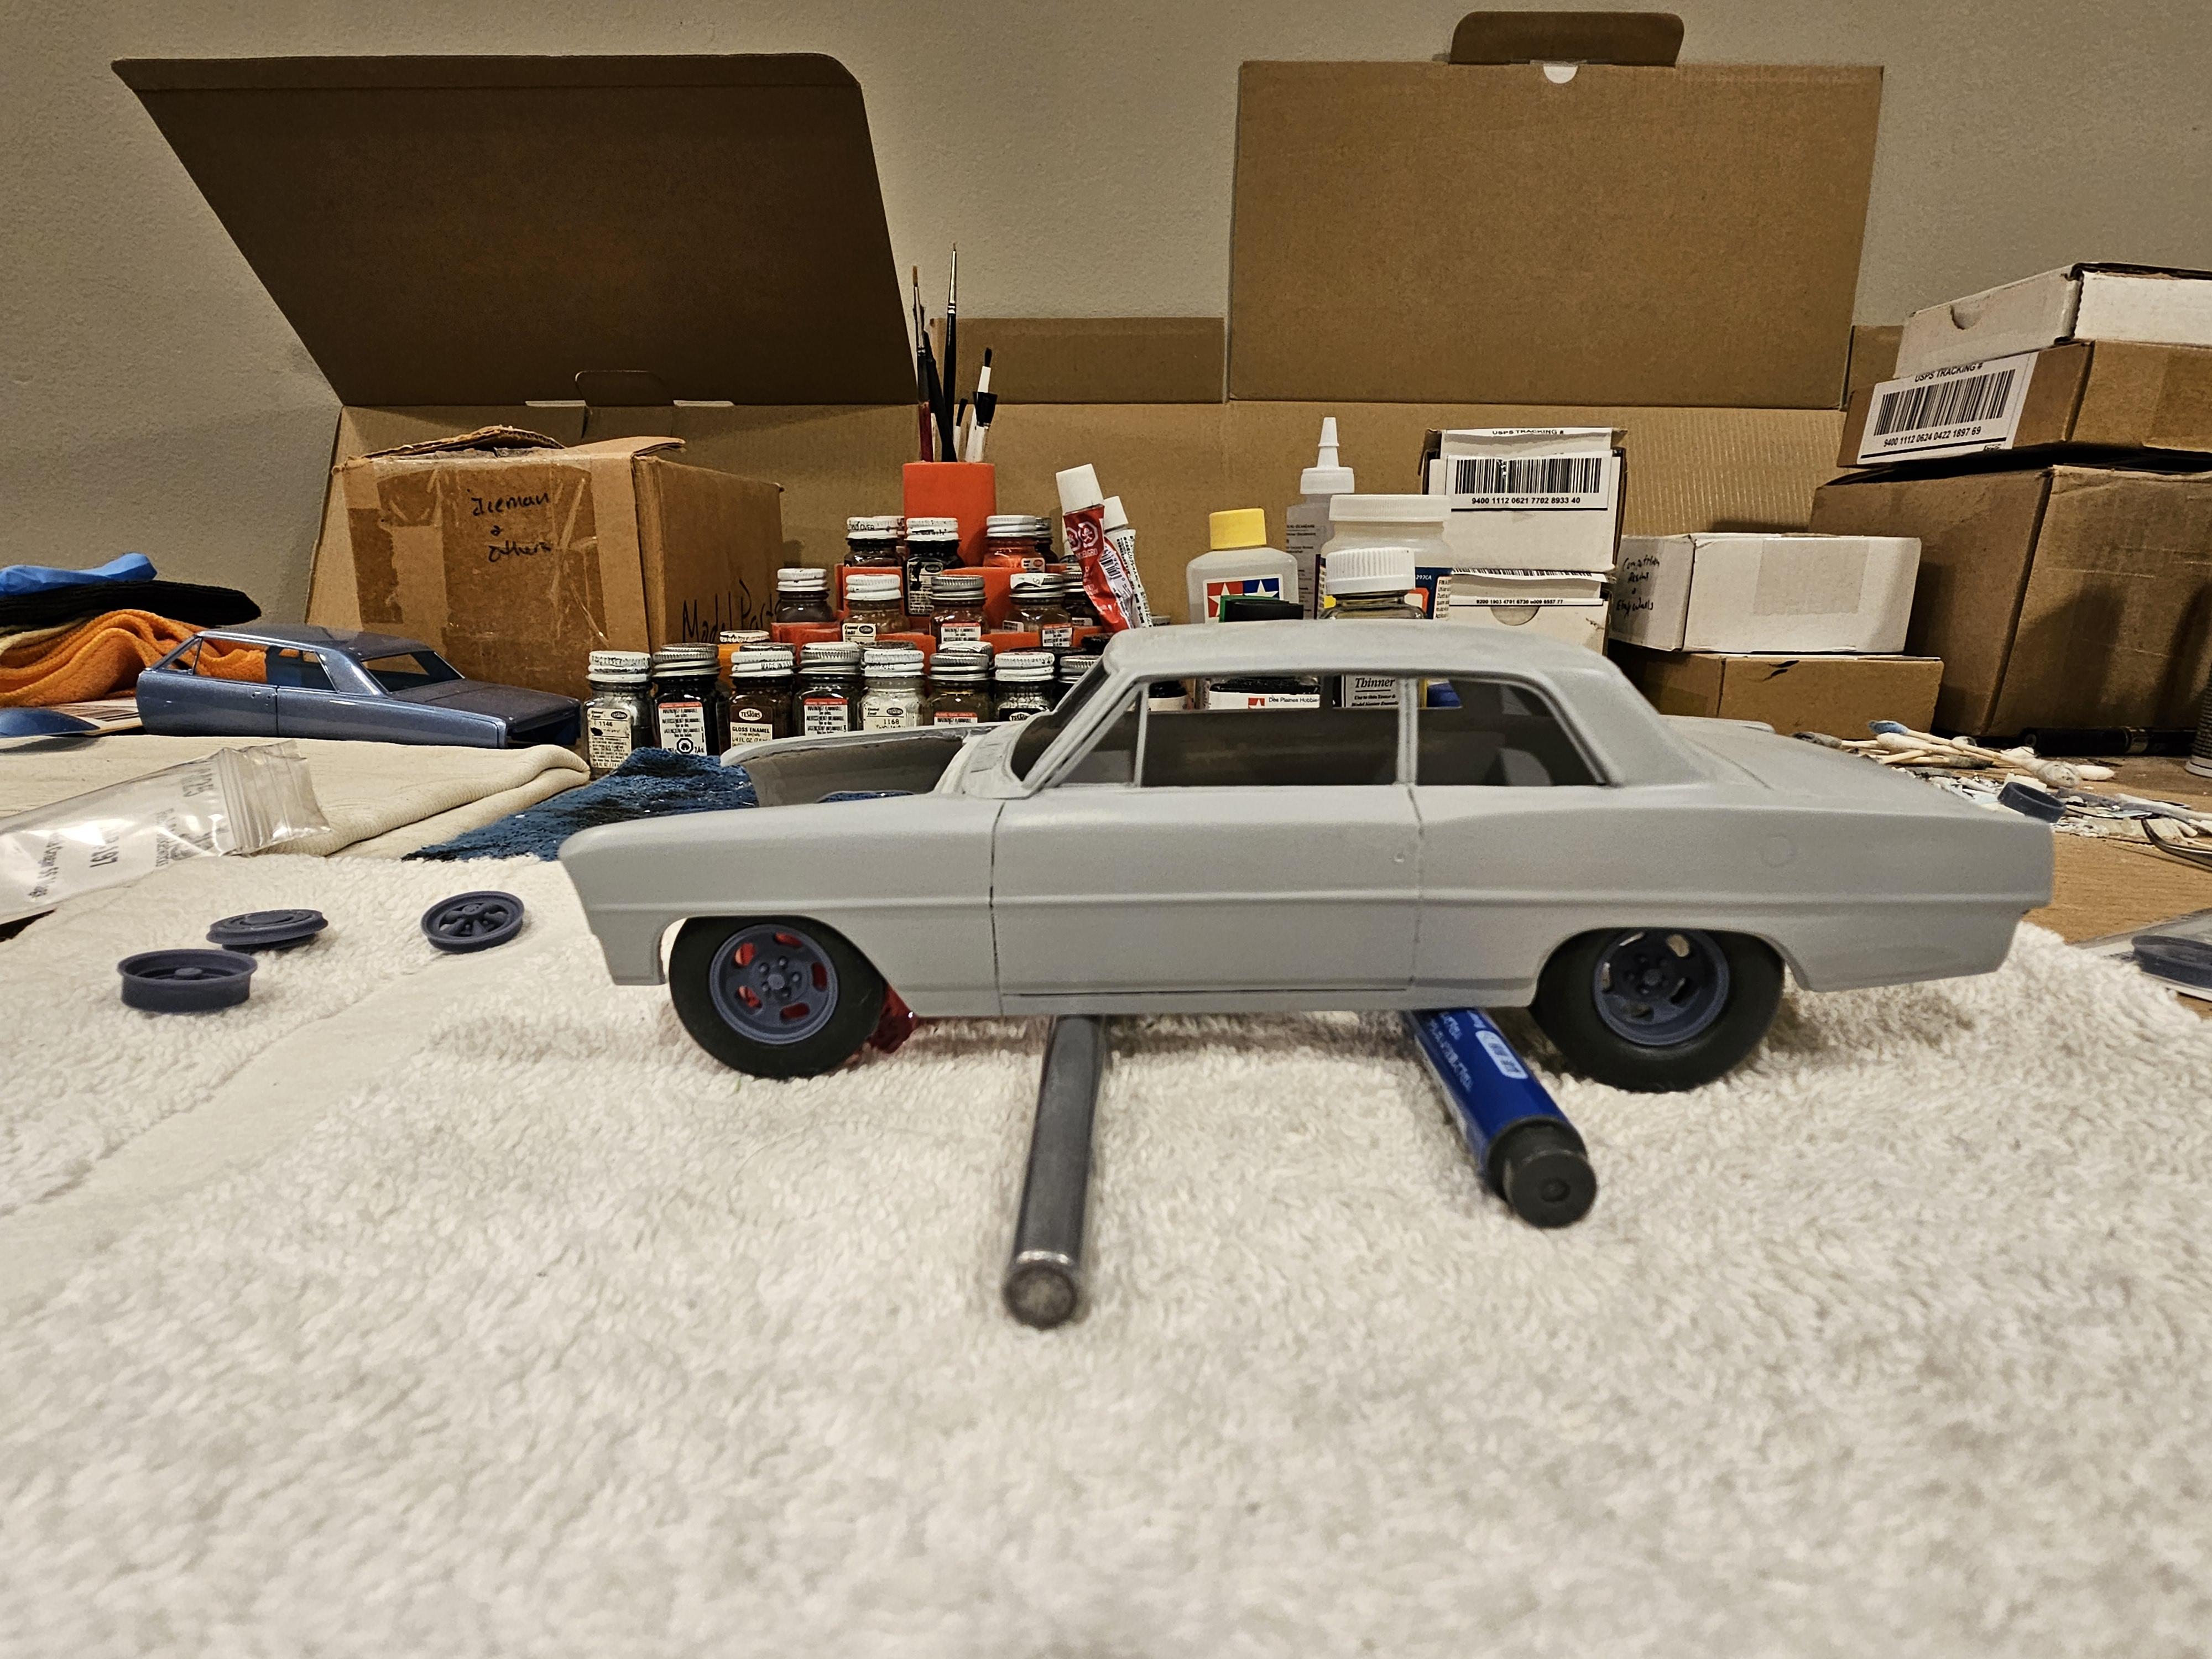
I think I figured out which wheels to use. Got these from fireball, painted them with revell chrome and drilled out the center caps in the rear. Smoothed out some front skinny bias ply kit tires to get rid of the firestone script and texture. Also scratch built a grump lump scoop out of styrene for a hood scoop.
-
Thanks! Took a bit of work to get it to this point. Now on to the chassis and engine.
-
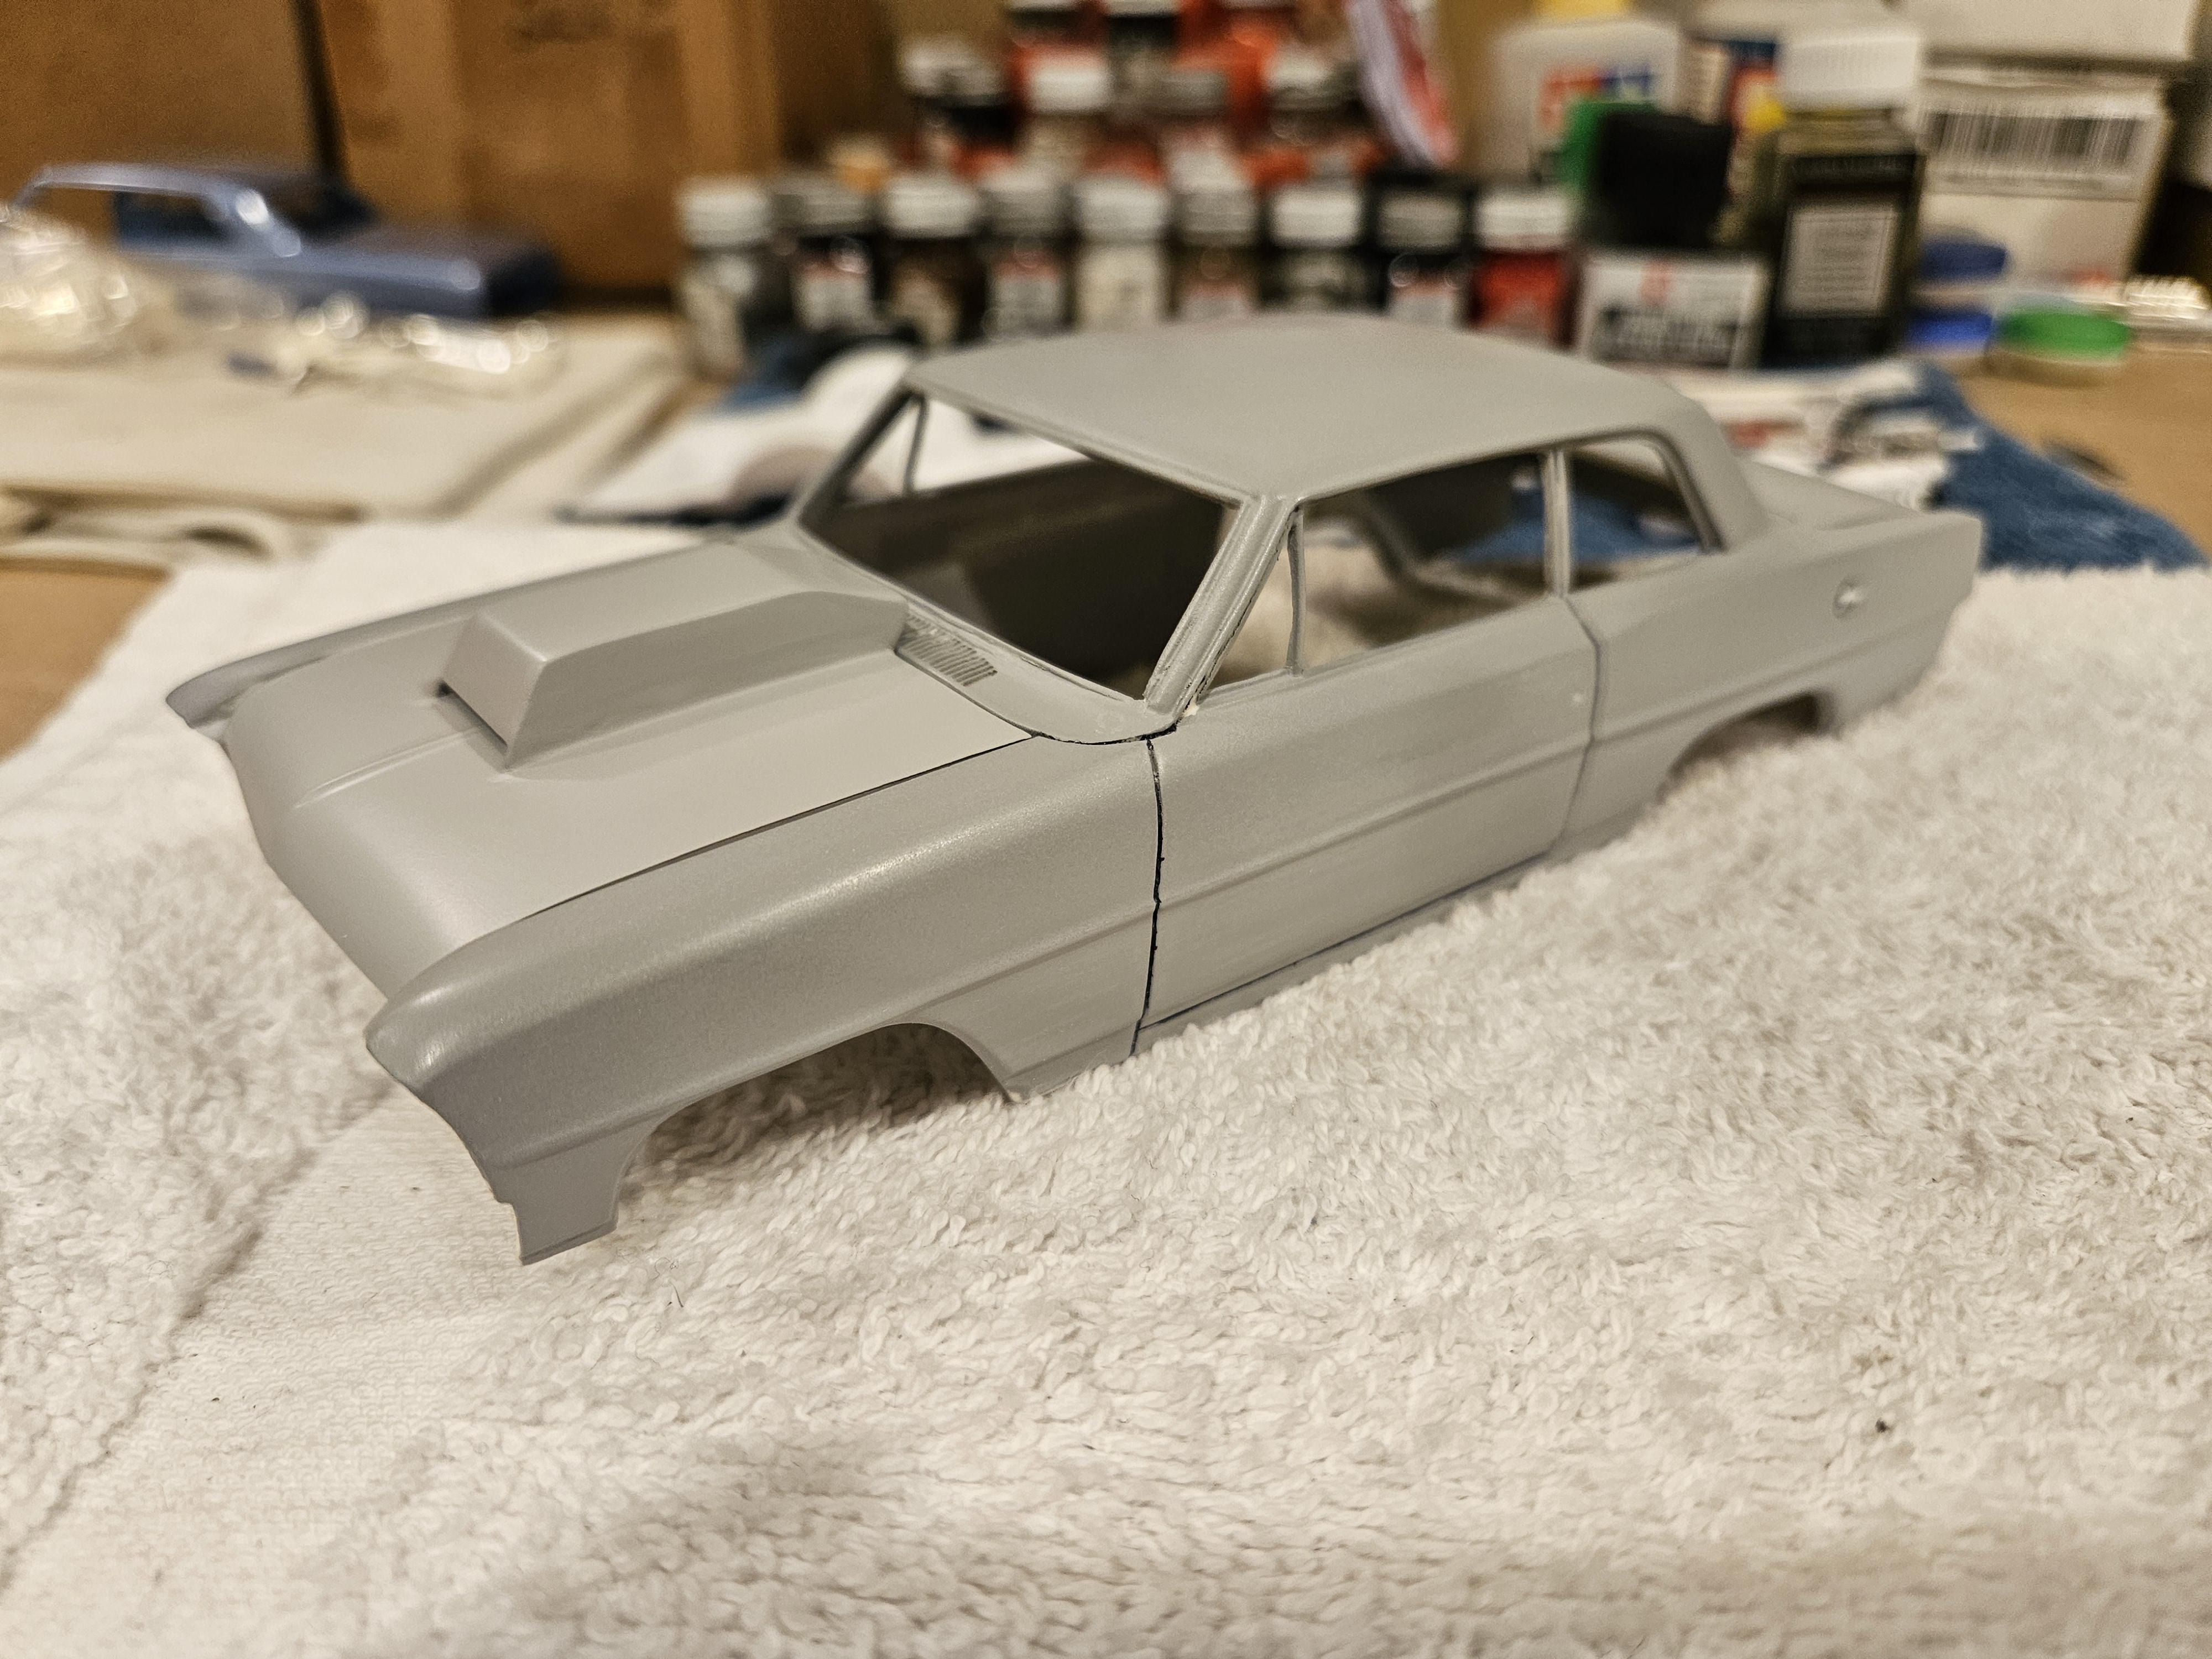
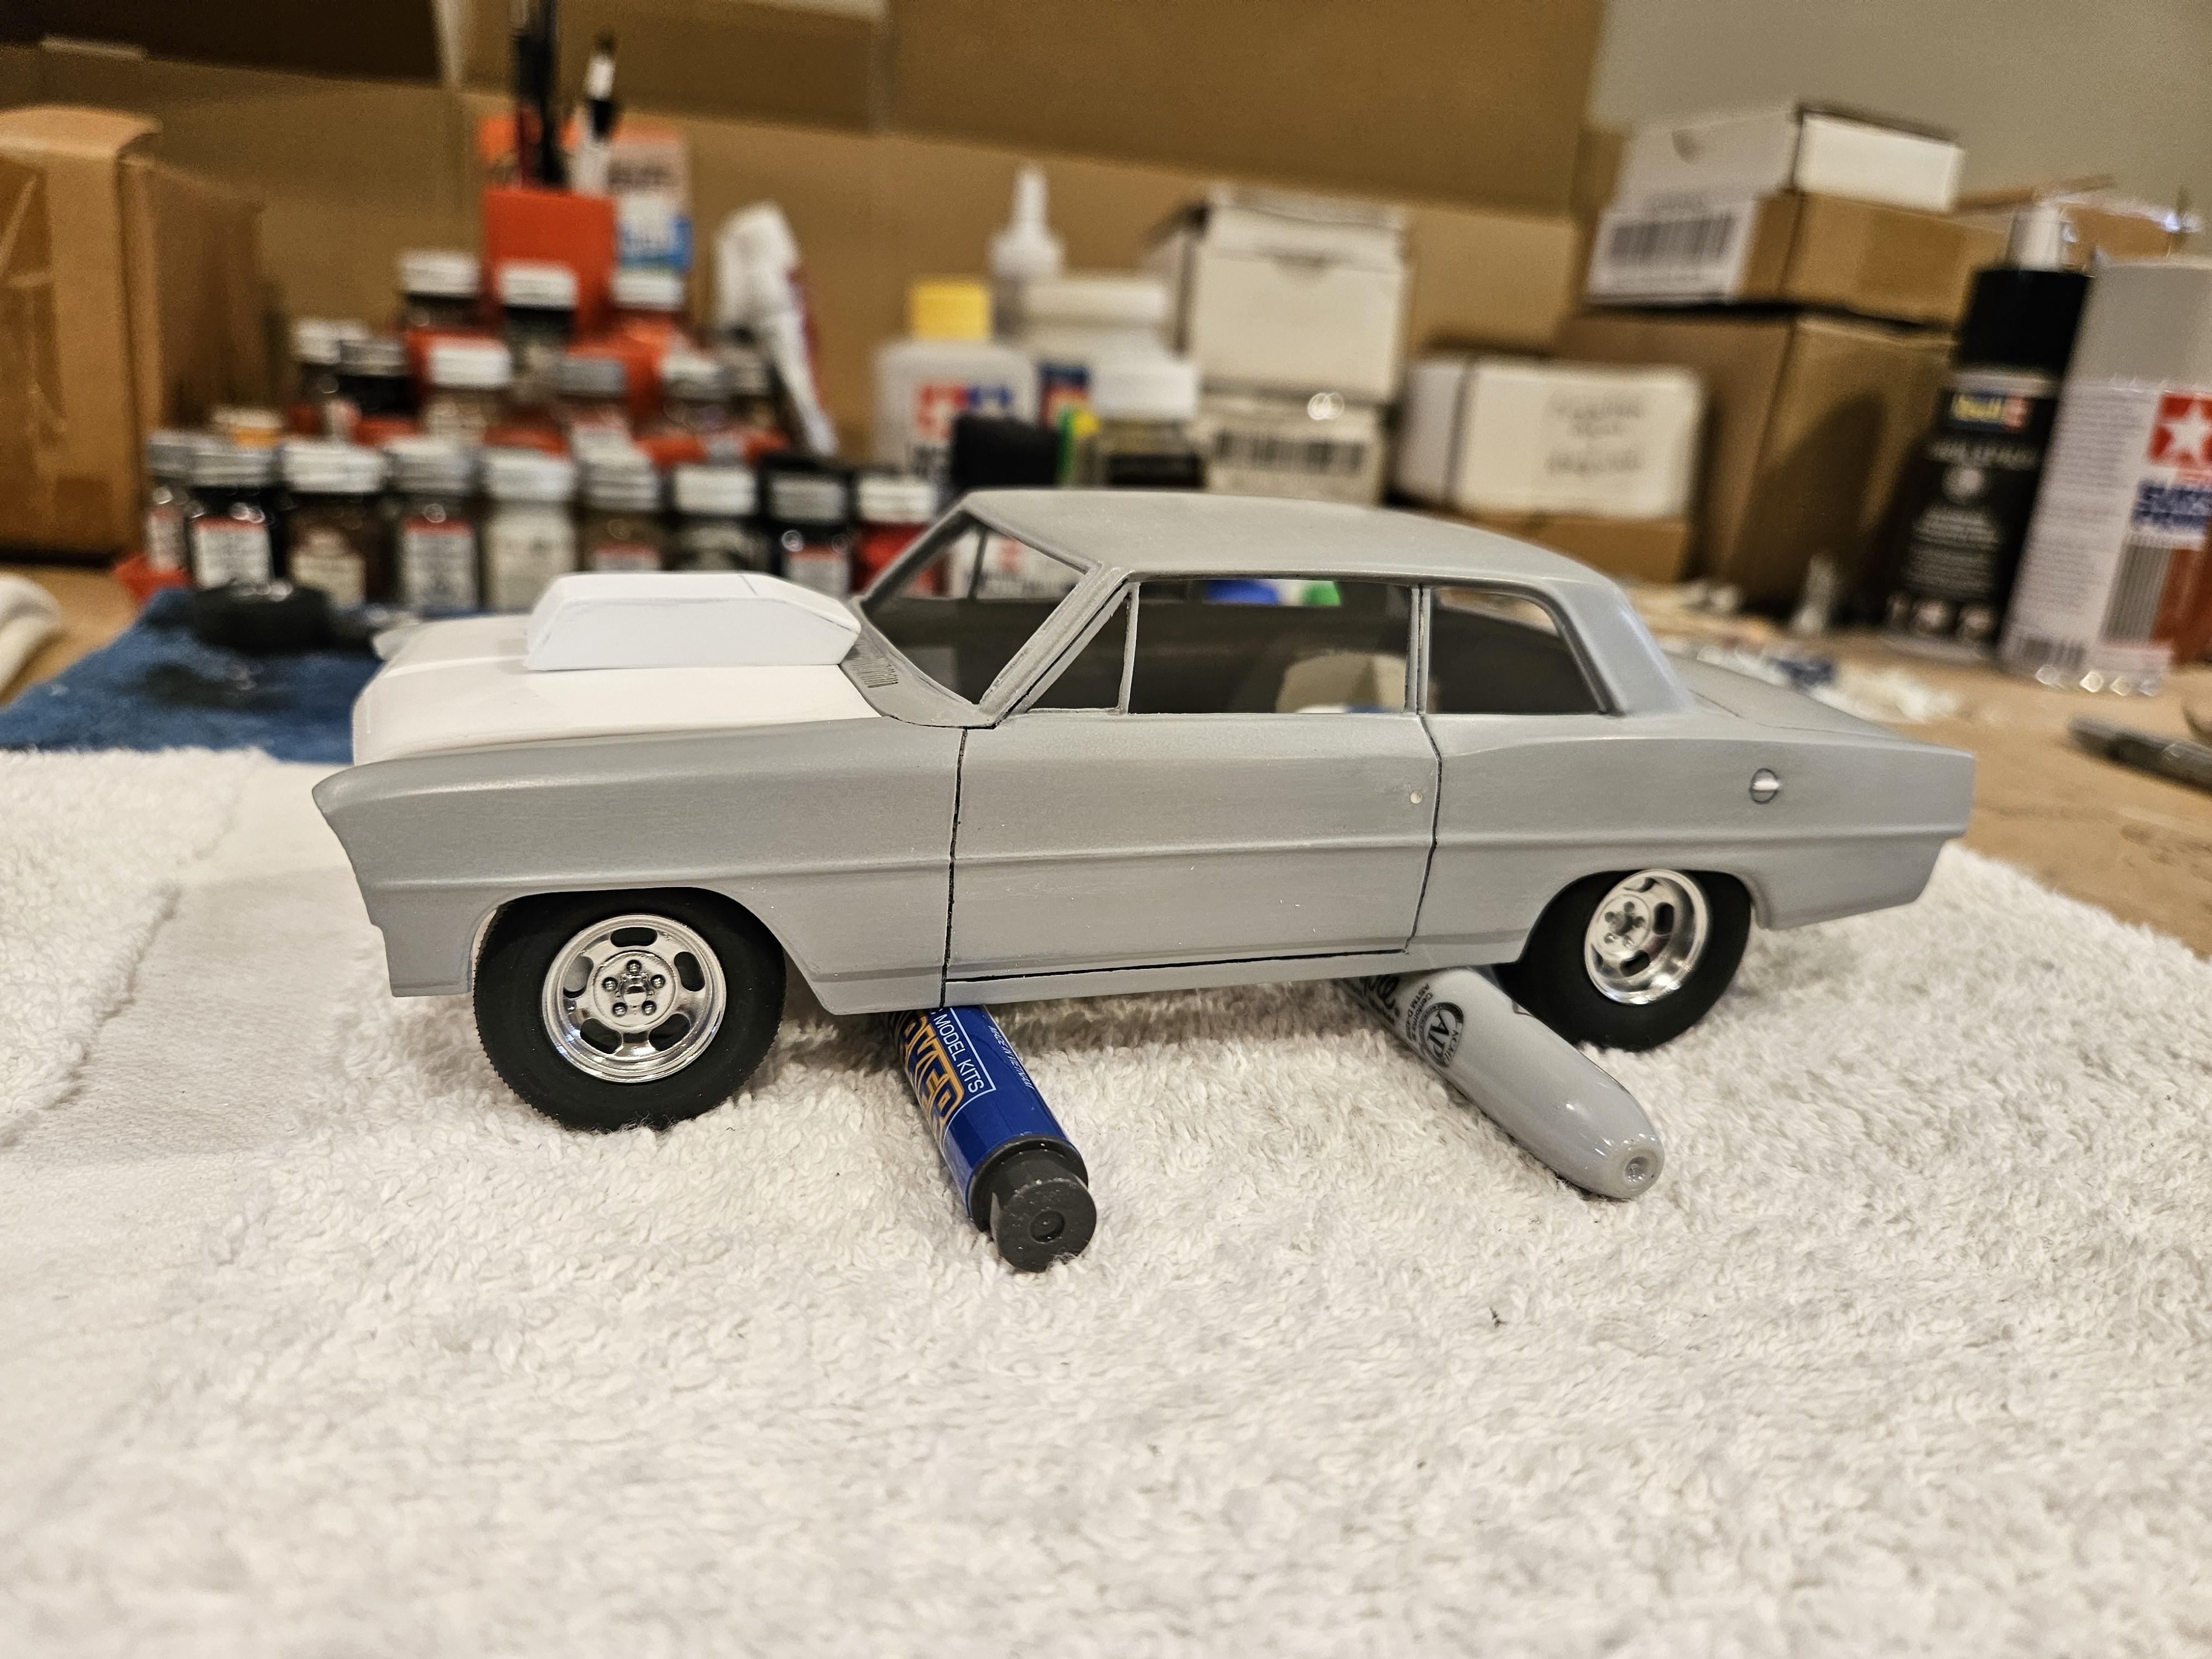
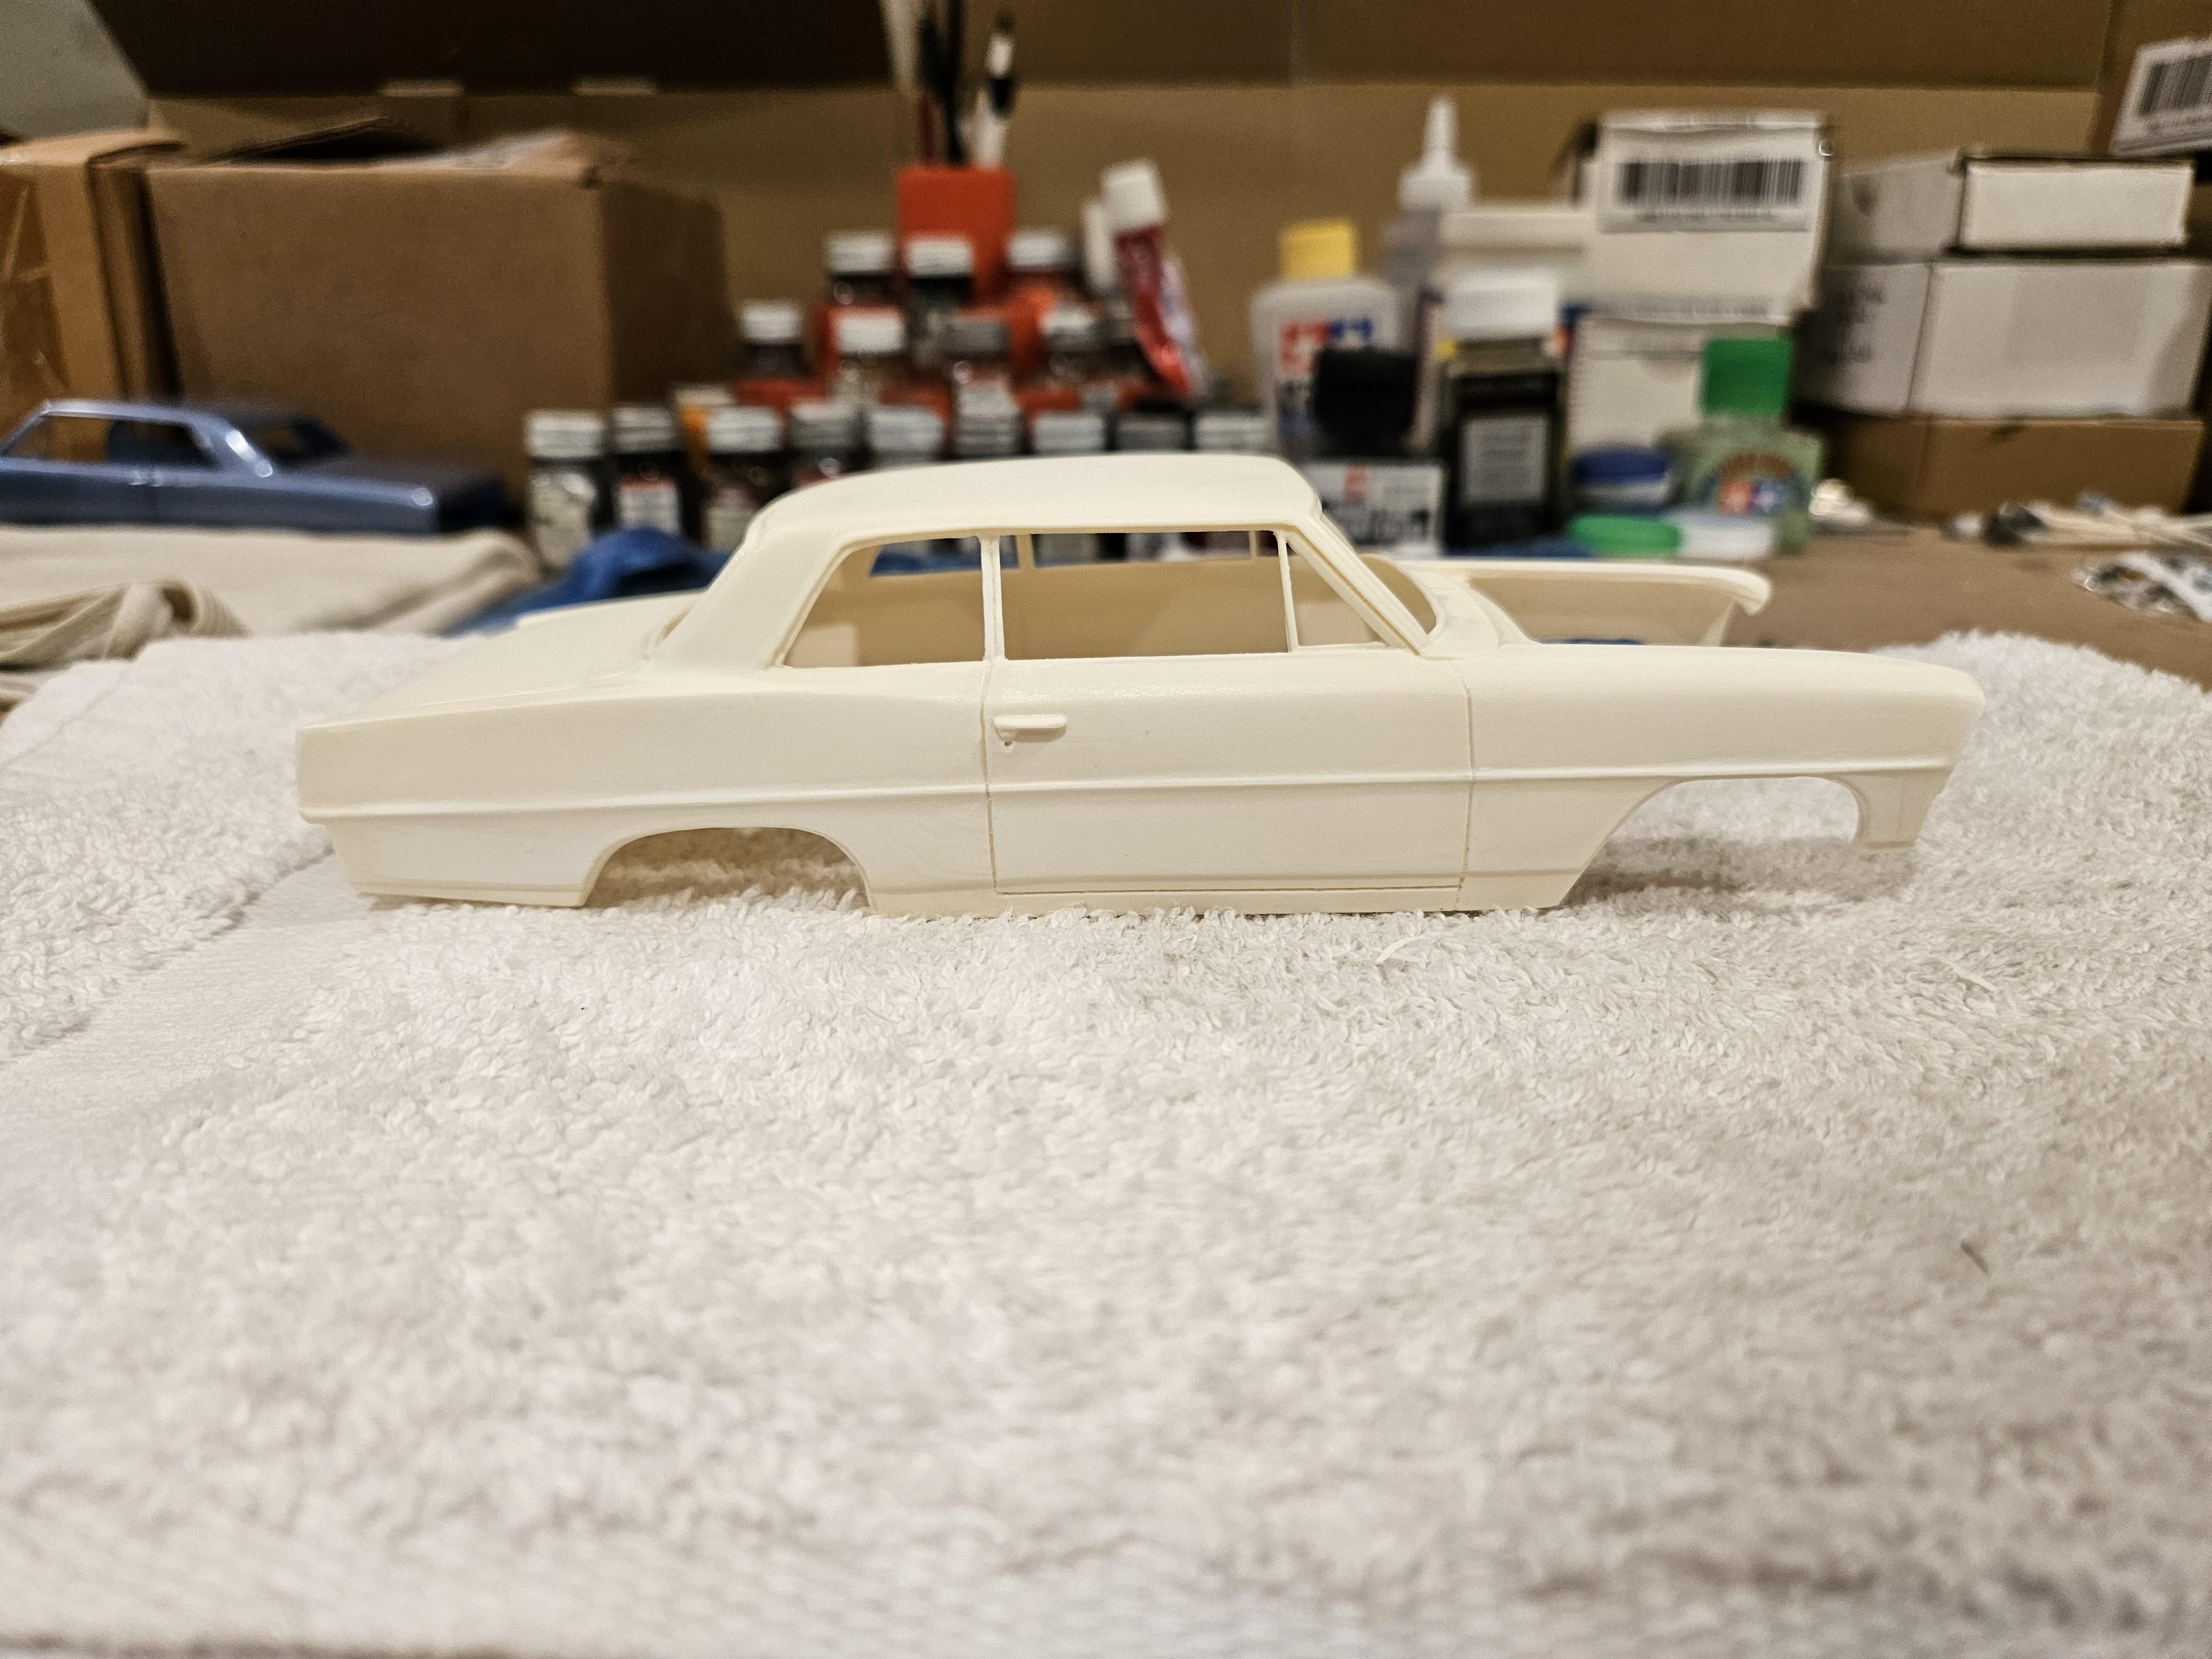
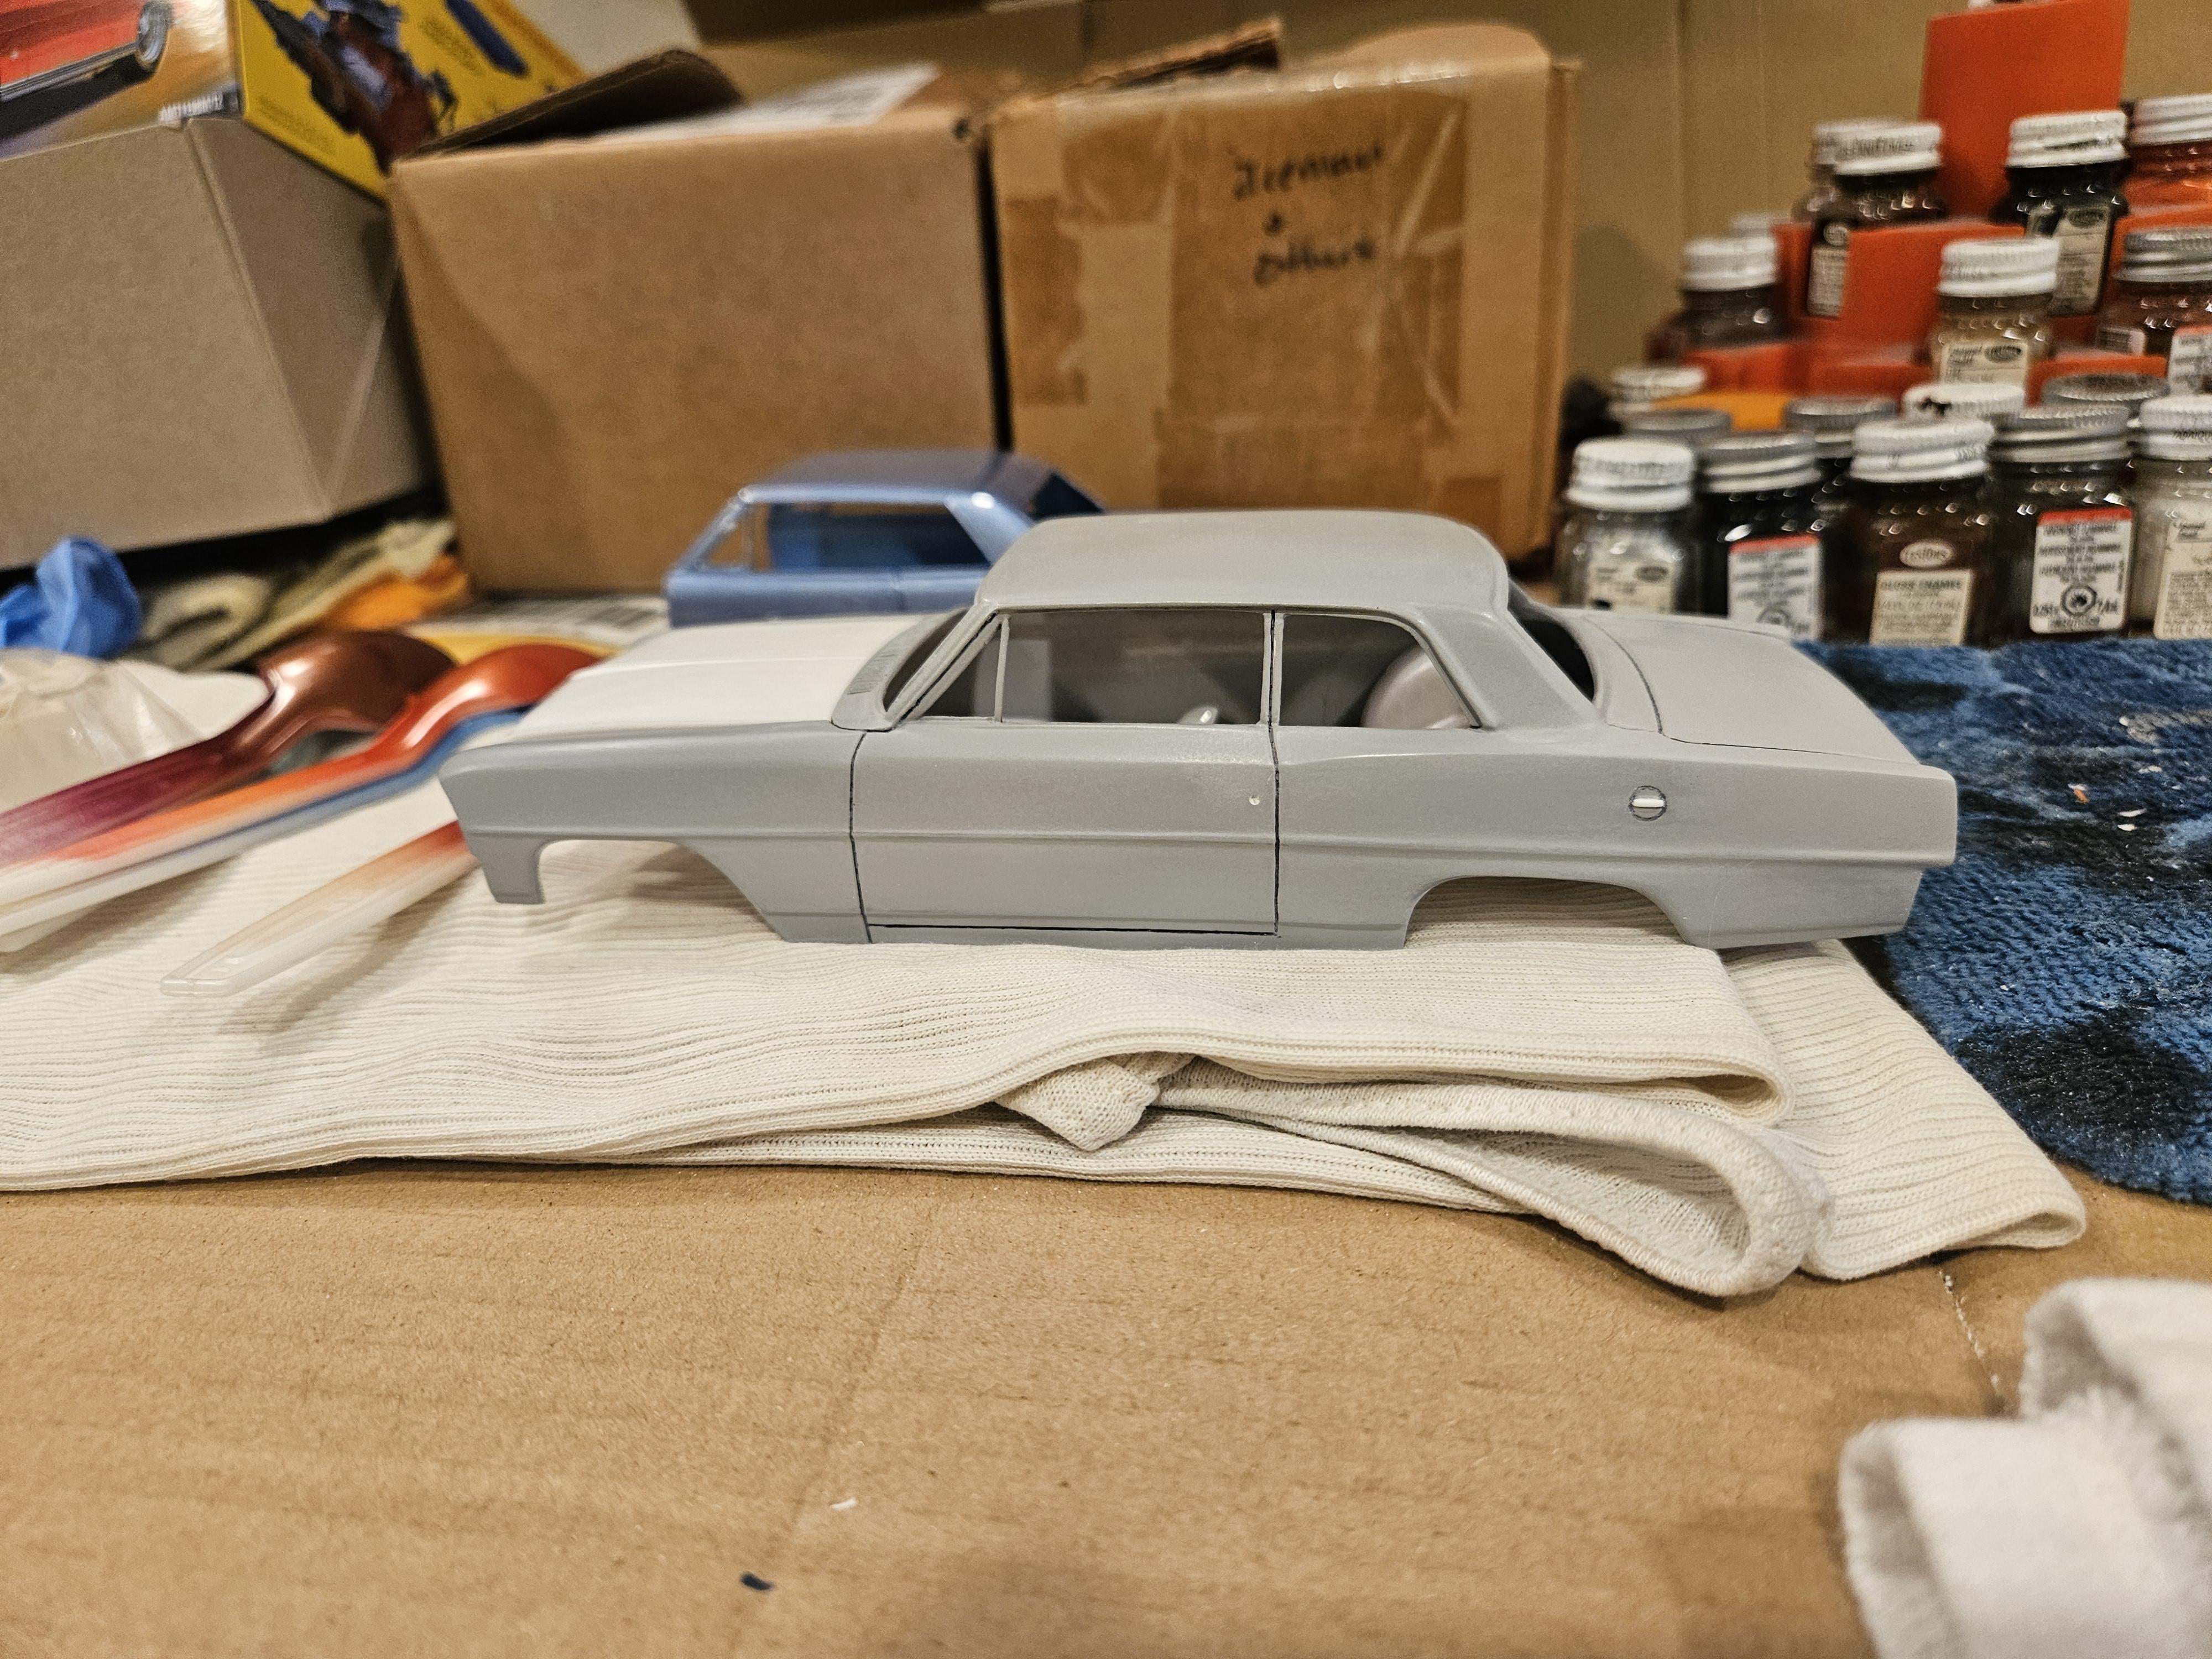
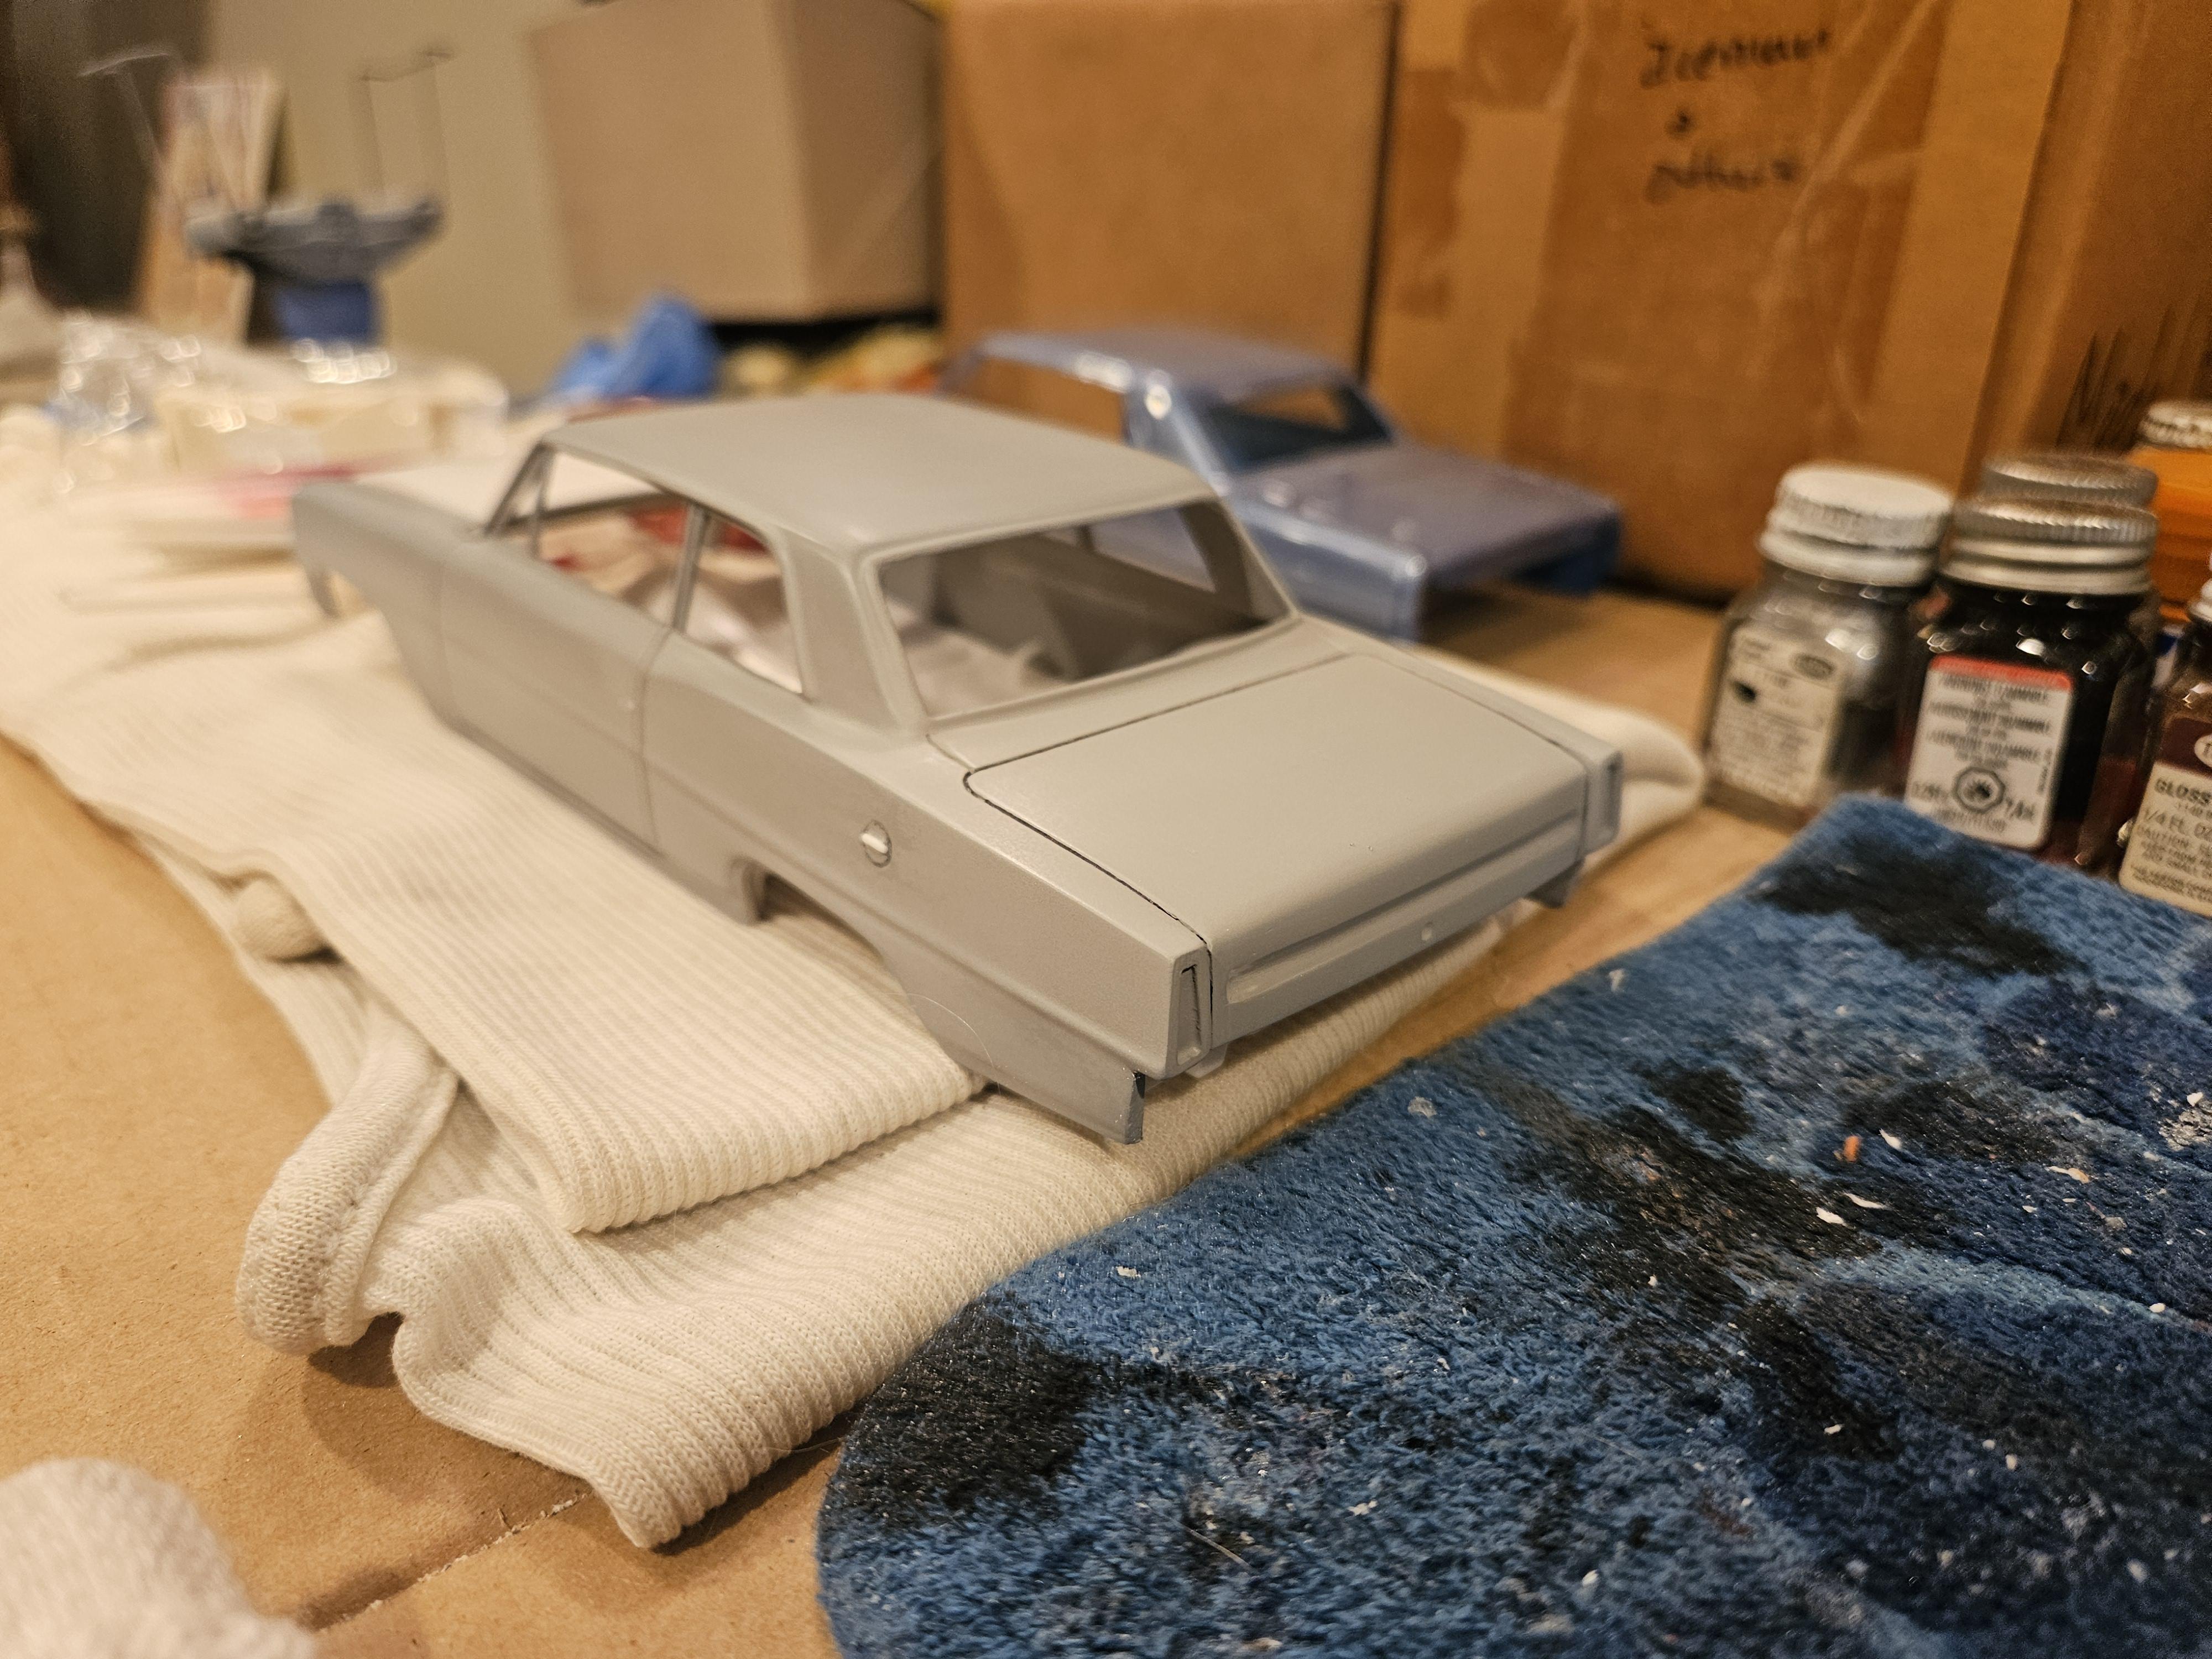
I've been wanting to build a 2 door post car for some time now and stumbled on a couple resin bodies in the aftermarket. One is from MCW which I ordered..its a really nice casting but just isnt quite right. The shape of the 1/4 windows are off and overall the roof line isnt tall enough to match the 1:1..looks like they used the meobius 65 nova sedan roof for the conversion..which is not the same as the 66/67. So I then stumbled on another 2 door post body on ebay from southern motorsports hobbies which looks much more accurate. When that showed up in the mail I was a little disappointed in how rough the casting was along with being warped pretty badly. I've spent quite a bit of time cleaning it up and sanding, grinding, filling and priming to get it to where its at now. At this point I'm pretty satisfied with how it looks to continue on with building it. Along with all the cleanup and un-warping it, I had to grind out the rear of the trunk lid for the recess area which is normally hidden by trim on the SS and hard top cars. Also drilled a small recess for the trunk lock that was absent. Plans are to build just a generic 70s small tire, stock suspension drag car, tunnel ram, fenderwell headers etc. Been playing around with wheels and tires to get a vision of what I want, sort of leaning toward the fenton gyro slot mags from the old Johan maverick kit. As far as paint goes I wanted something factory looking, was between a light blue, champagne or the factory Aztec bronze. I think I can replicate the Aztec bronze pretty close with a combination of paints. Here's what I have so far.
-
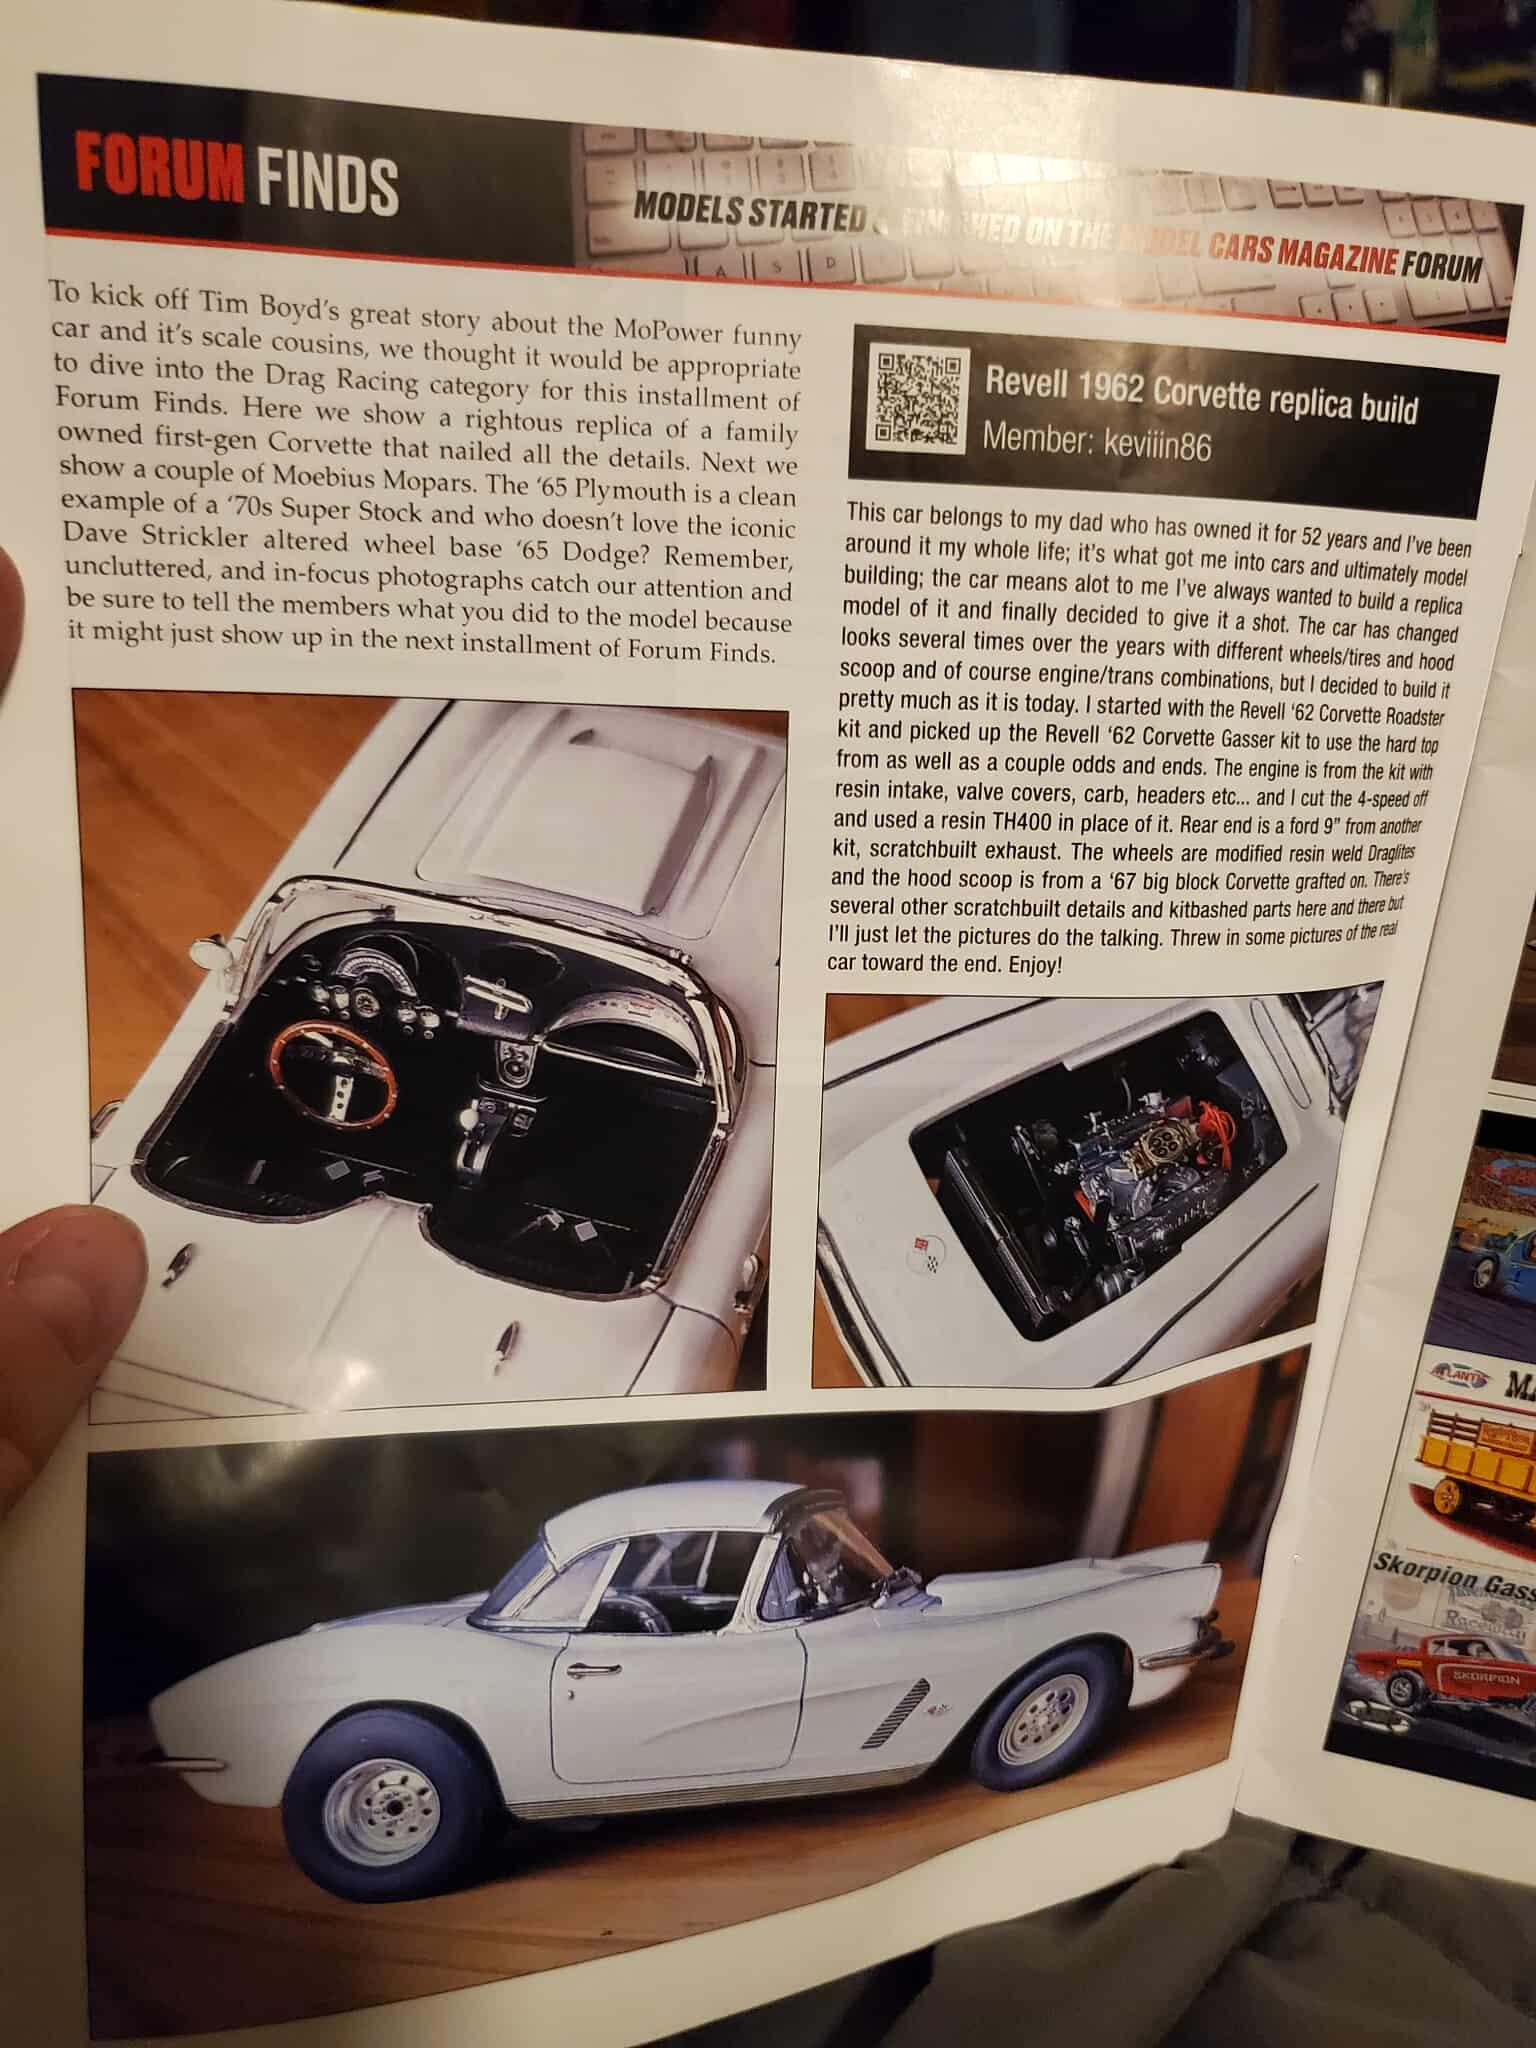
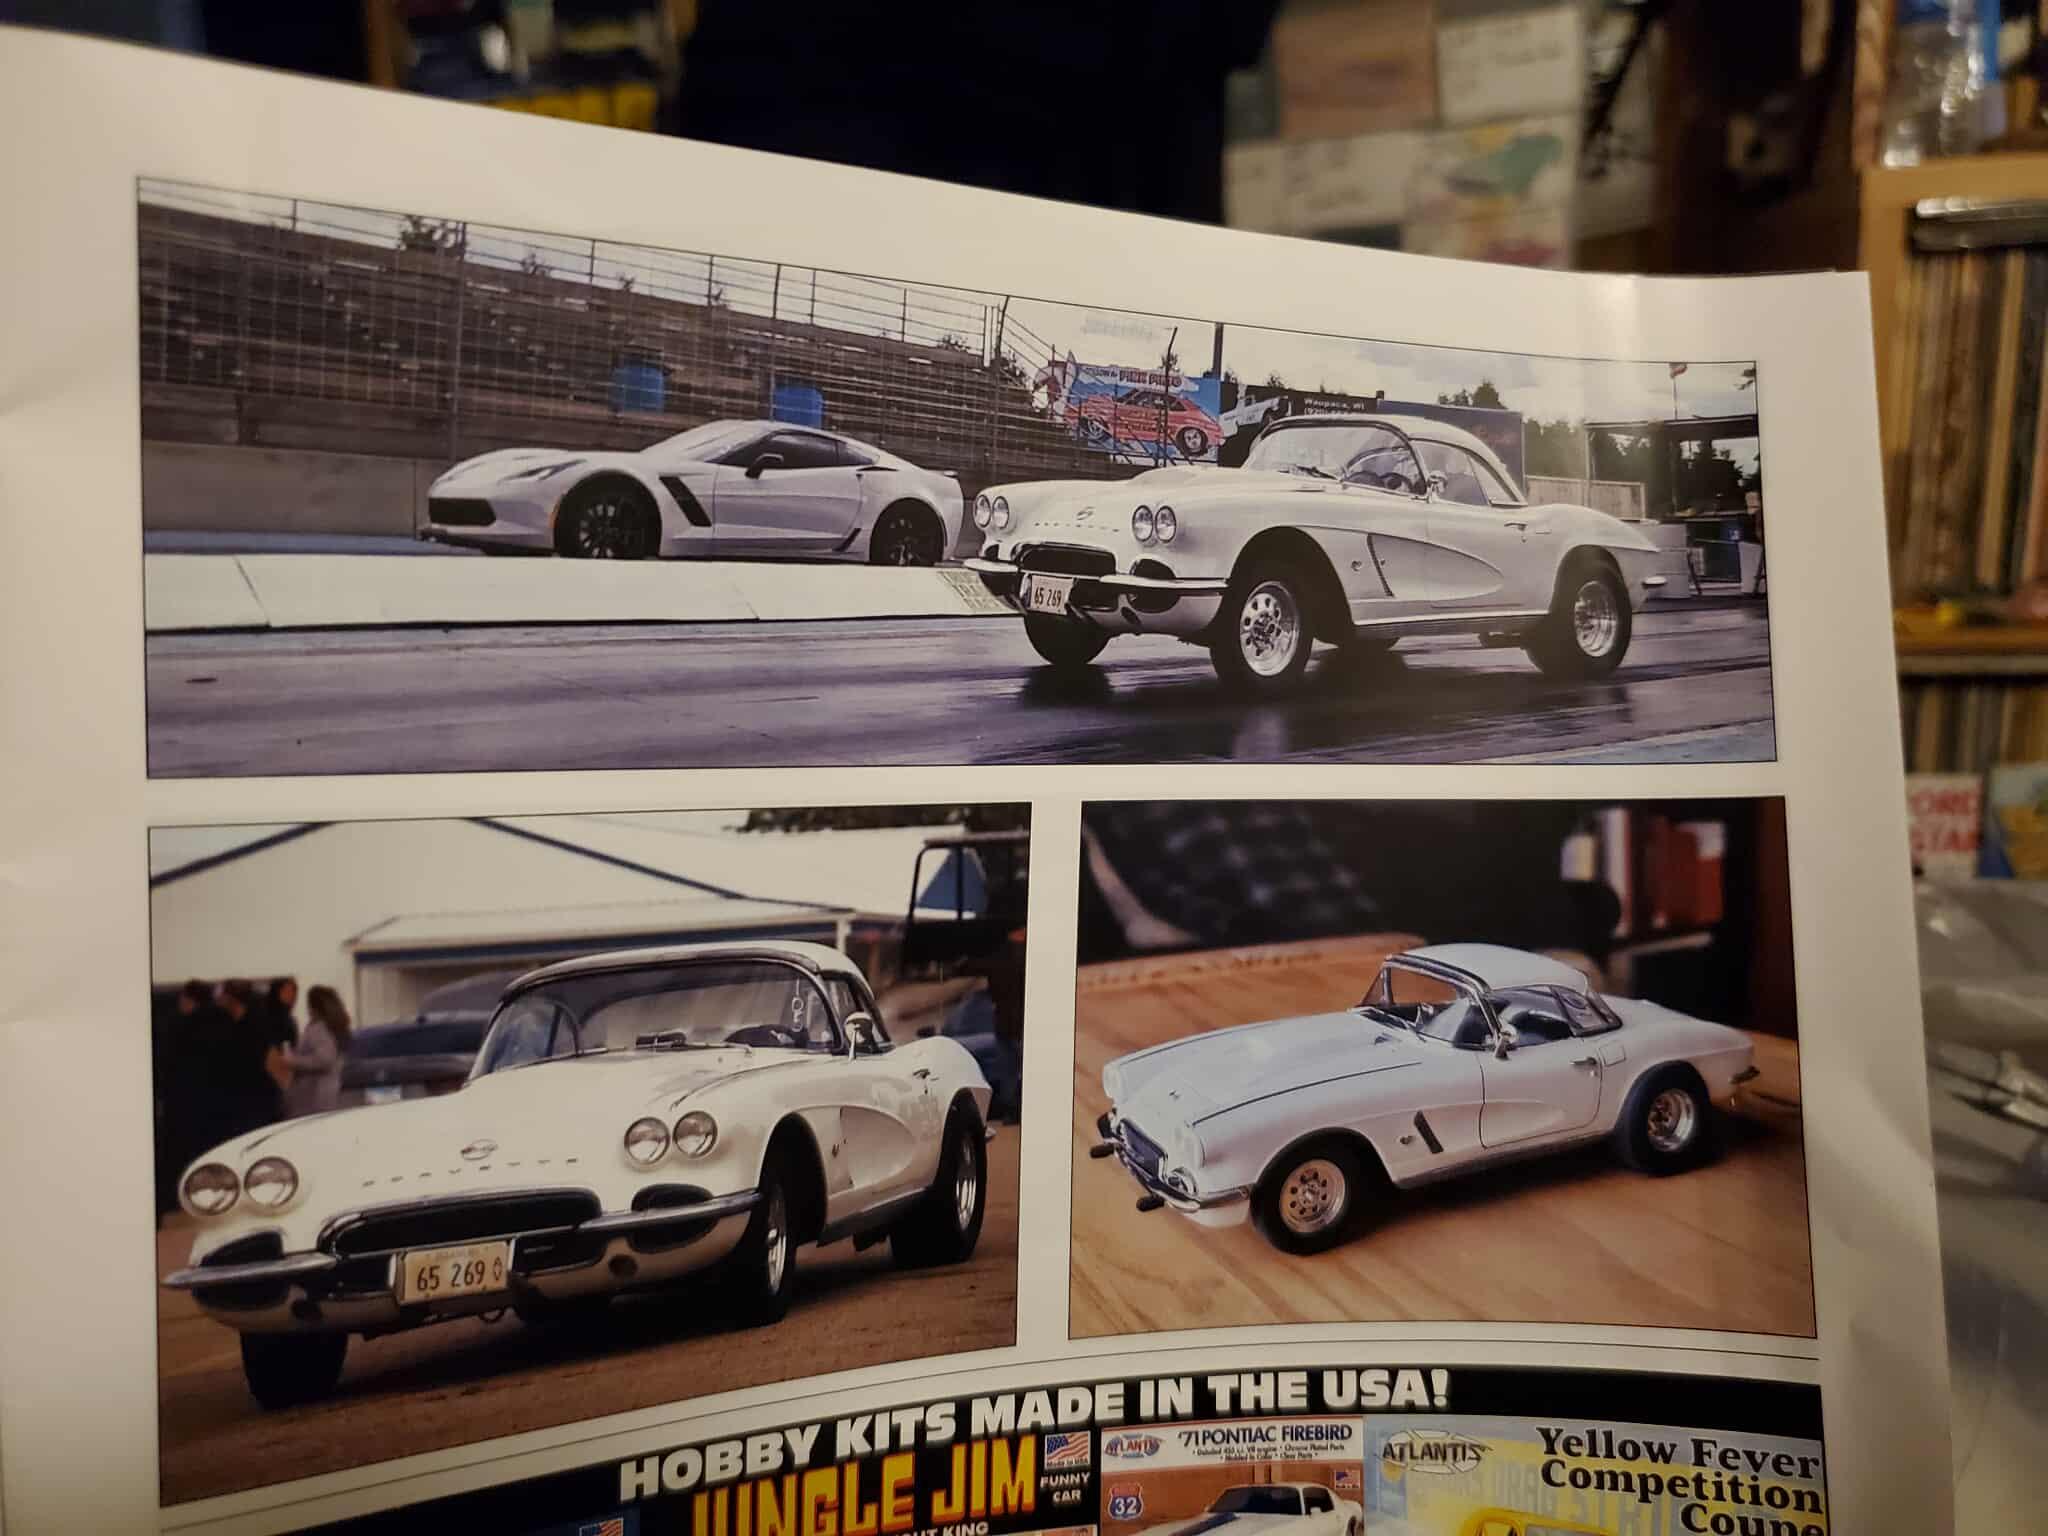
Made it in the mag! Just want to thank whoever decided to feature my build, a friend sent me these pics. Going to have to get a copy of this issue for myself!
-
'64 Elky kitbash
keviiin86 replied to Can-Con's topic in WIP: Model Trucks: Pickups, Vans, SUVs, Light Commercial
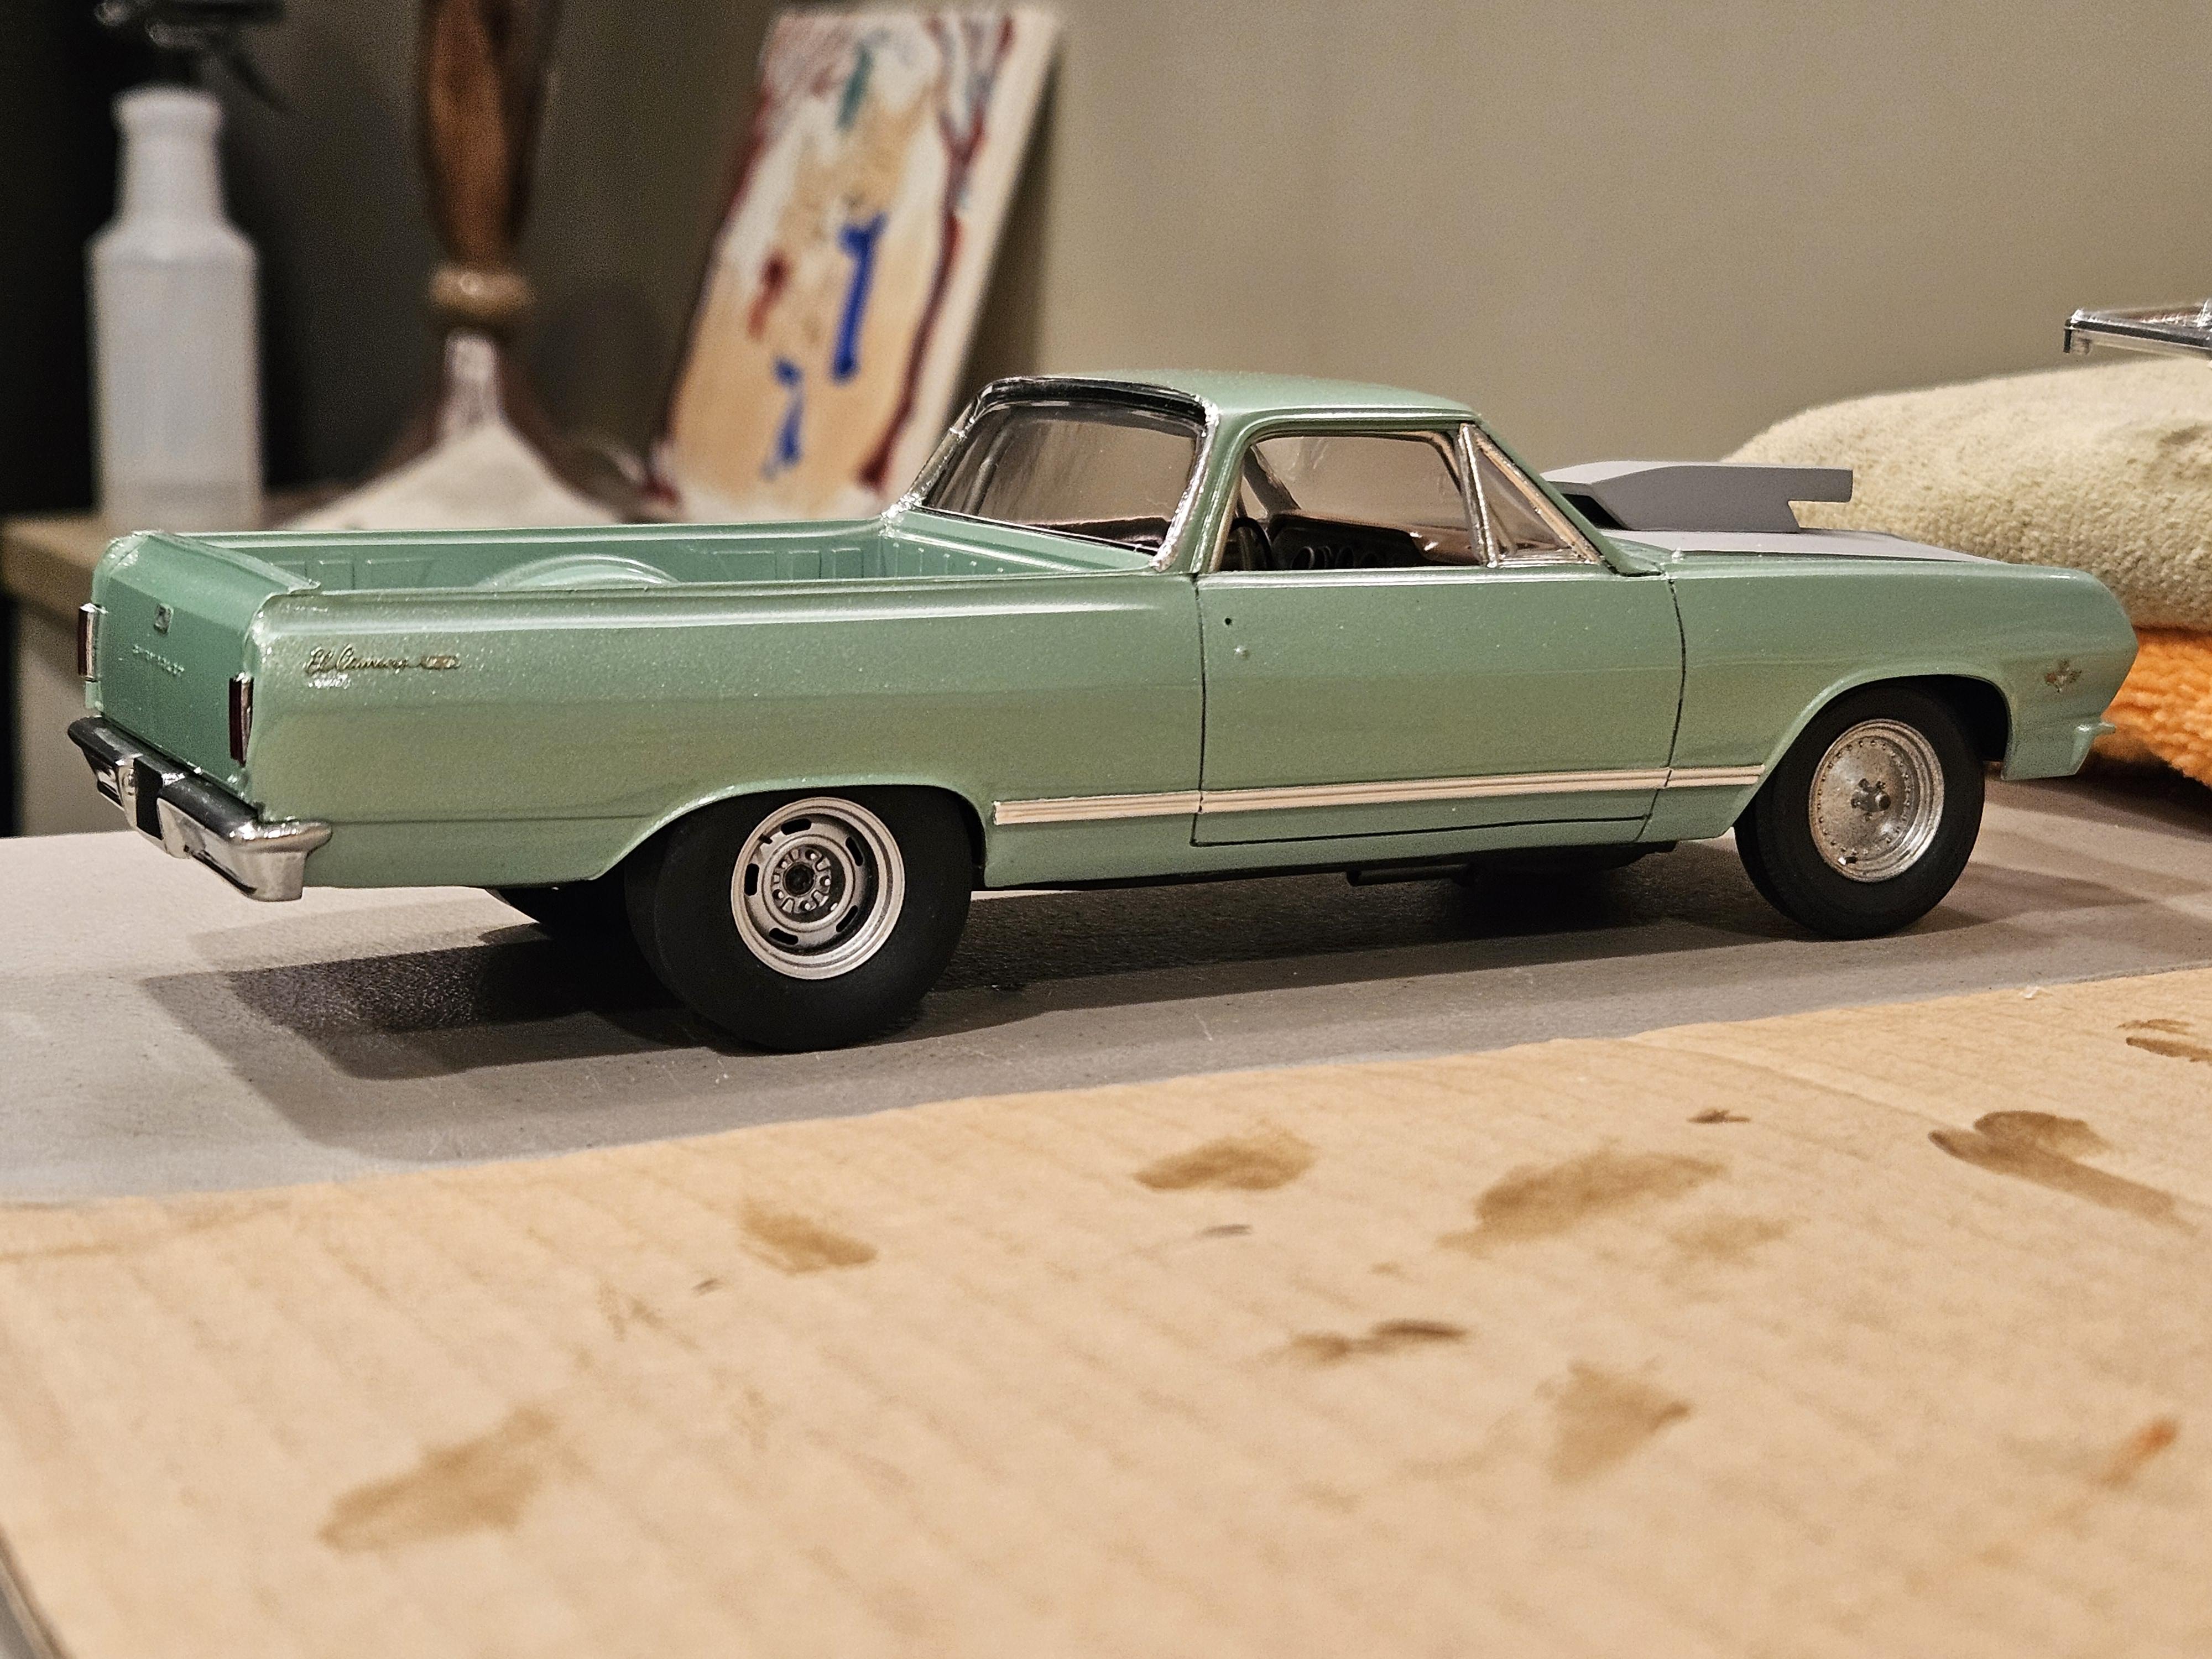
just built the 65 el camino, but I combined the revell 65 chevelle chassis and swapped the whole front clip of the revell body to the amt el camino (looks better to me) -
Yeah I considered opening up the tailgate for more realism but would have been alot of work to make it look right. And thank you!..based on all the pics I have of it and the magazine articles, I tried to use the parts it said the car had.
-
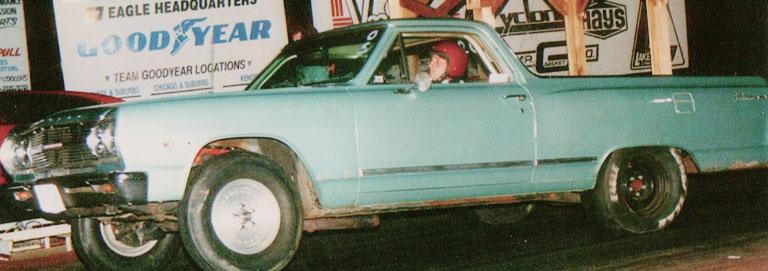
Thanks man! I did my homework with all the available pictures of this car to try to get it just right.
-
Done. Posted in Drag Racing under glass section.
-
Thanks!
-
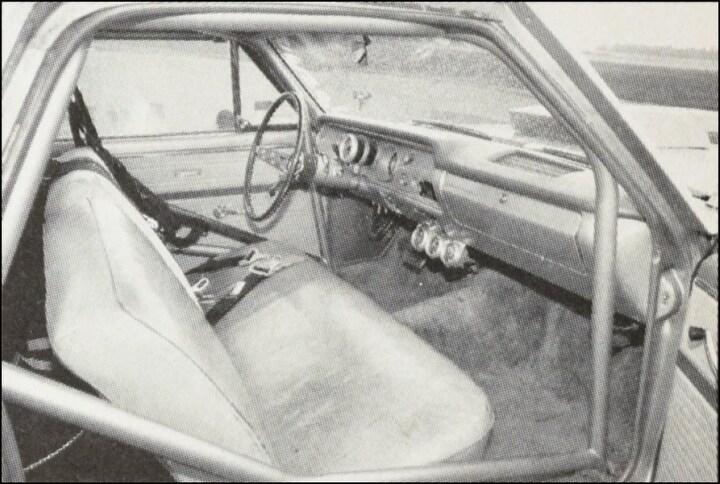
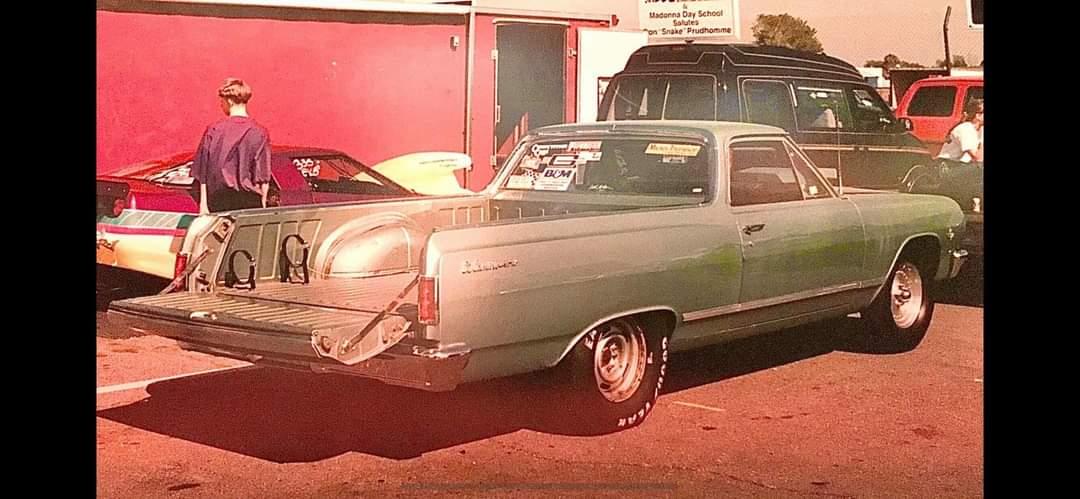
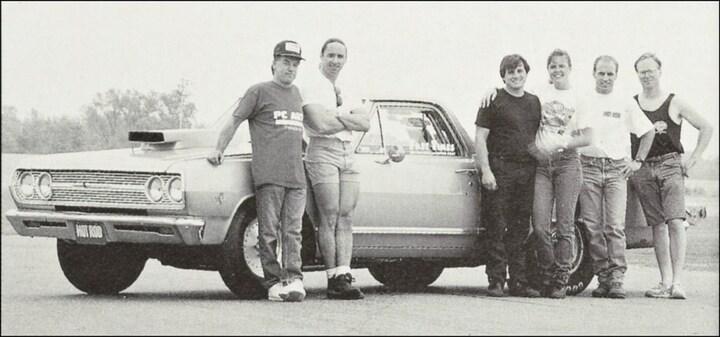
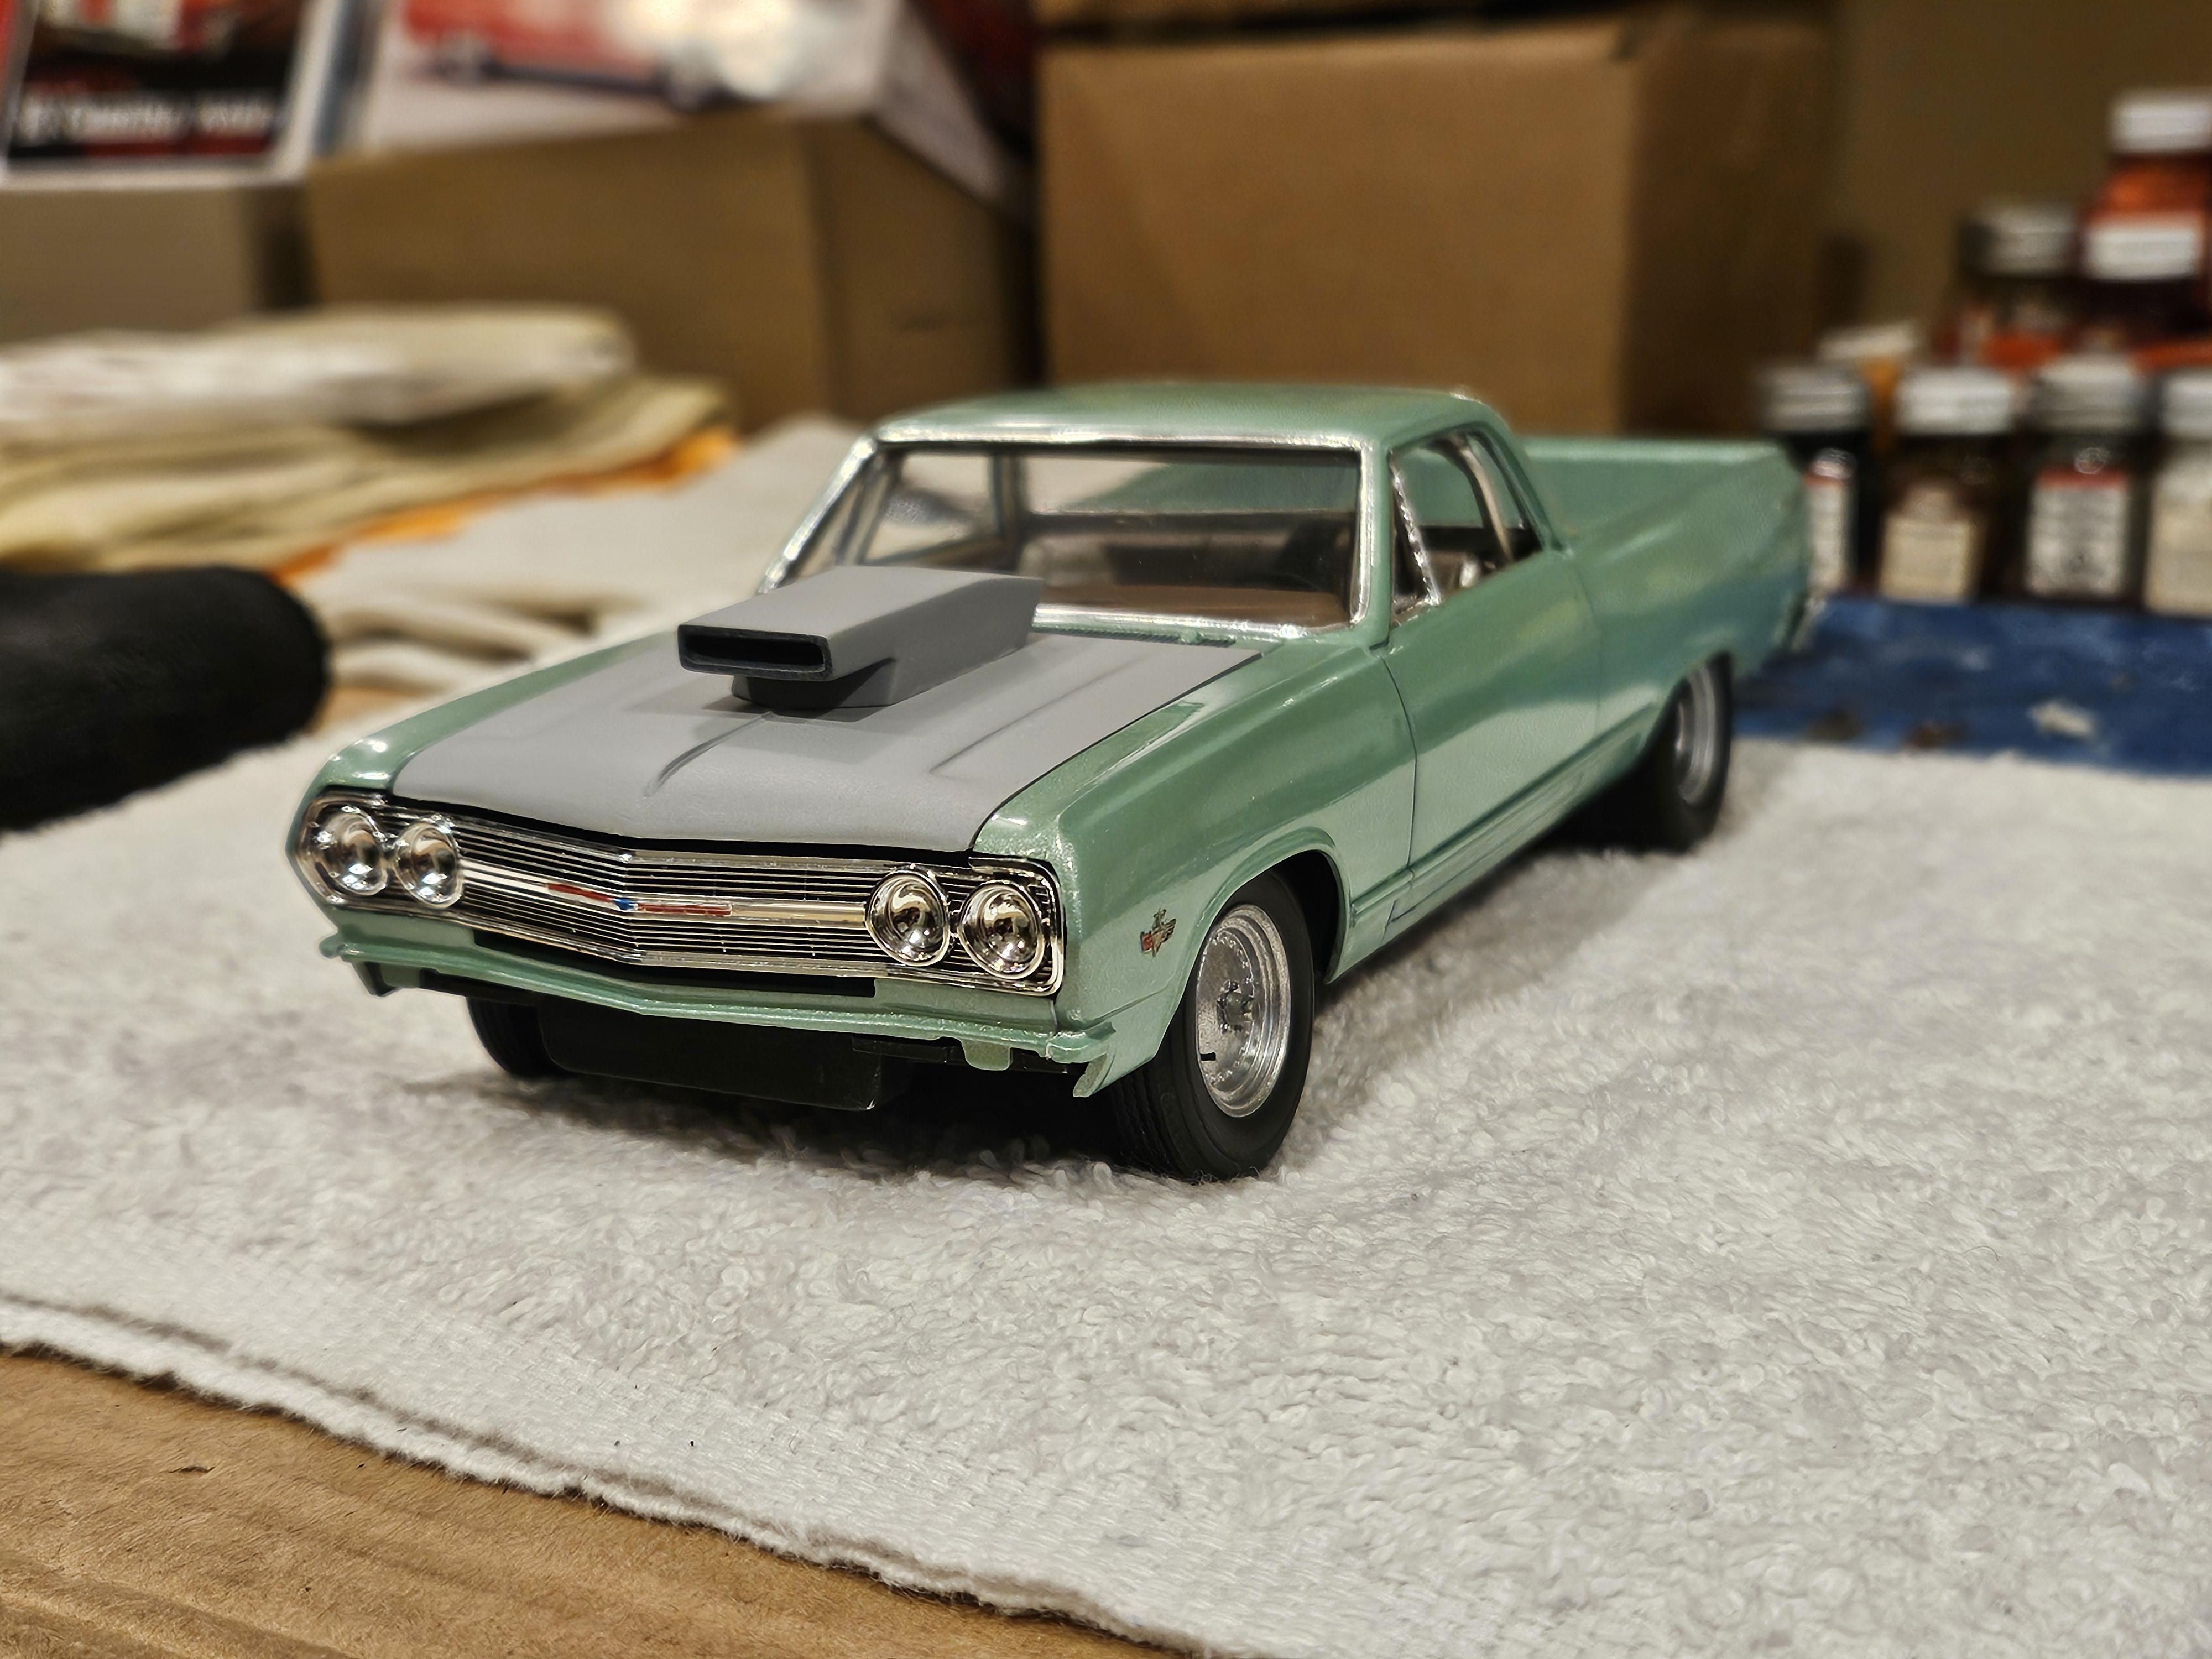
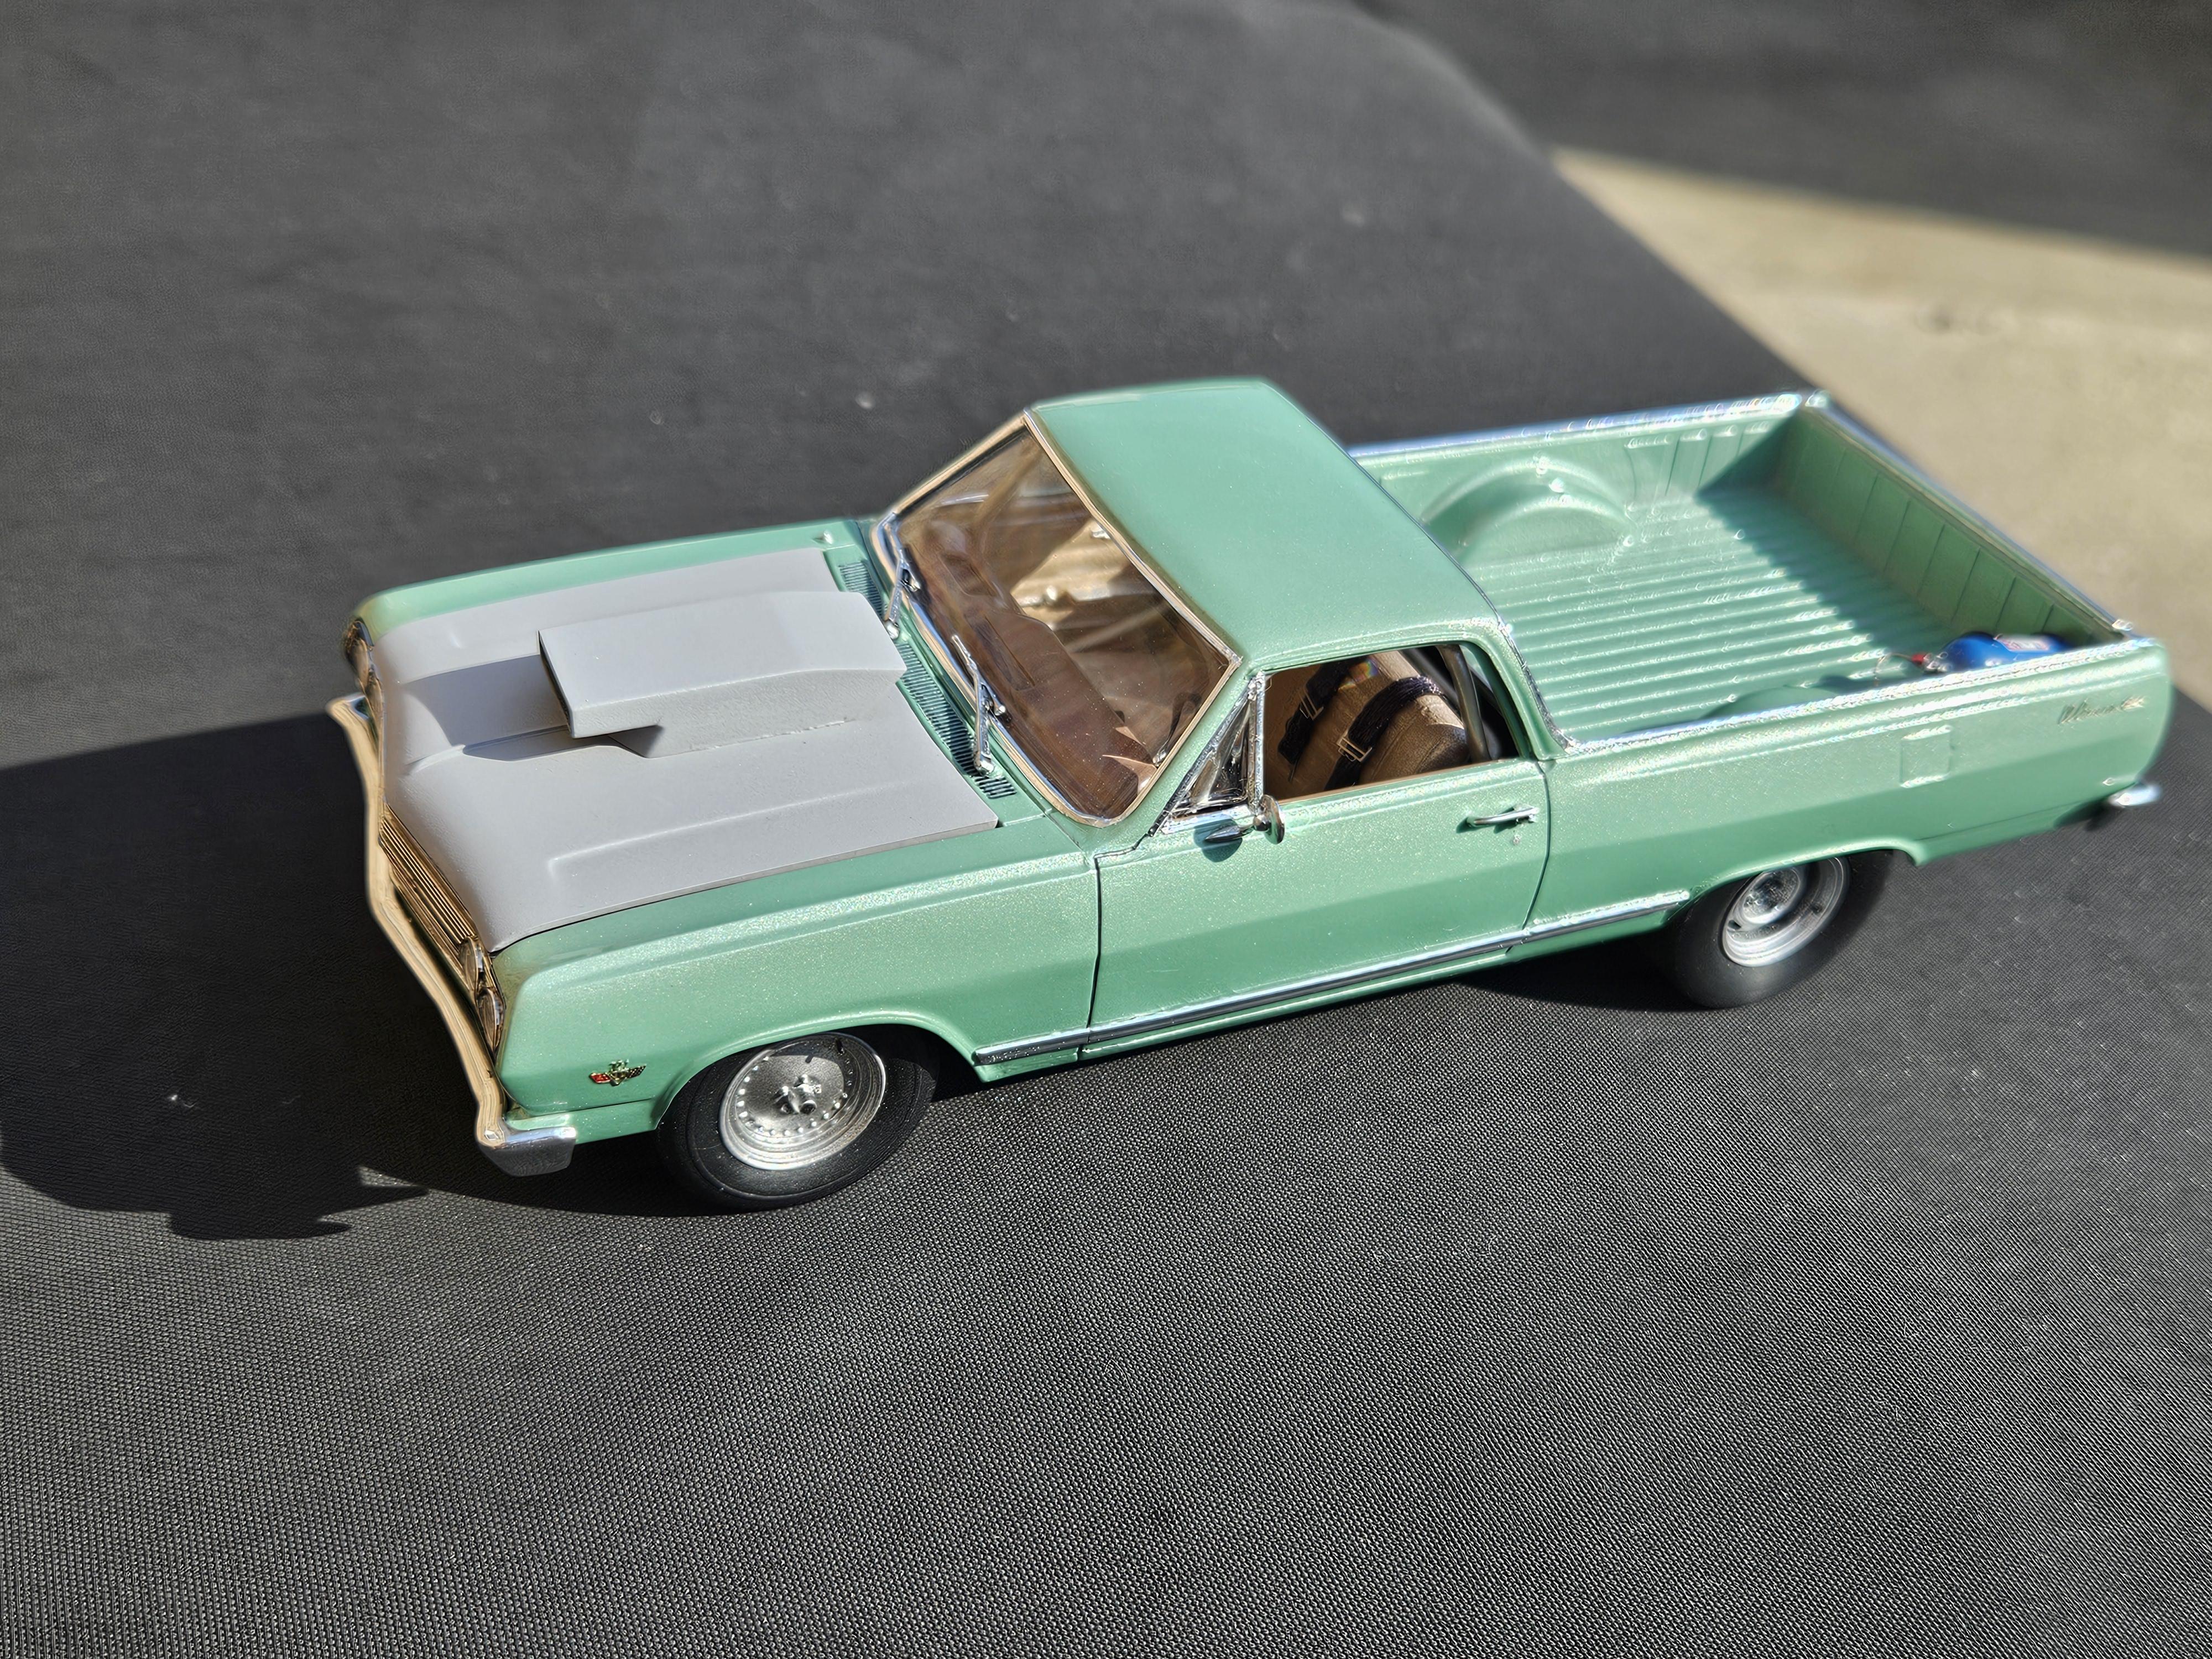
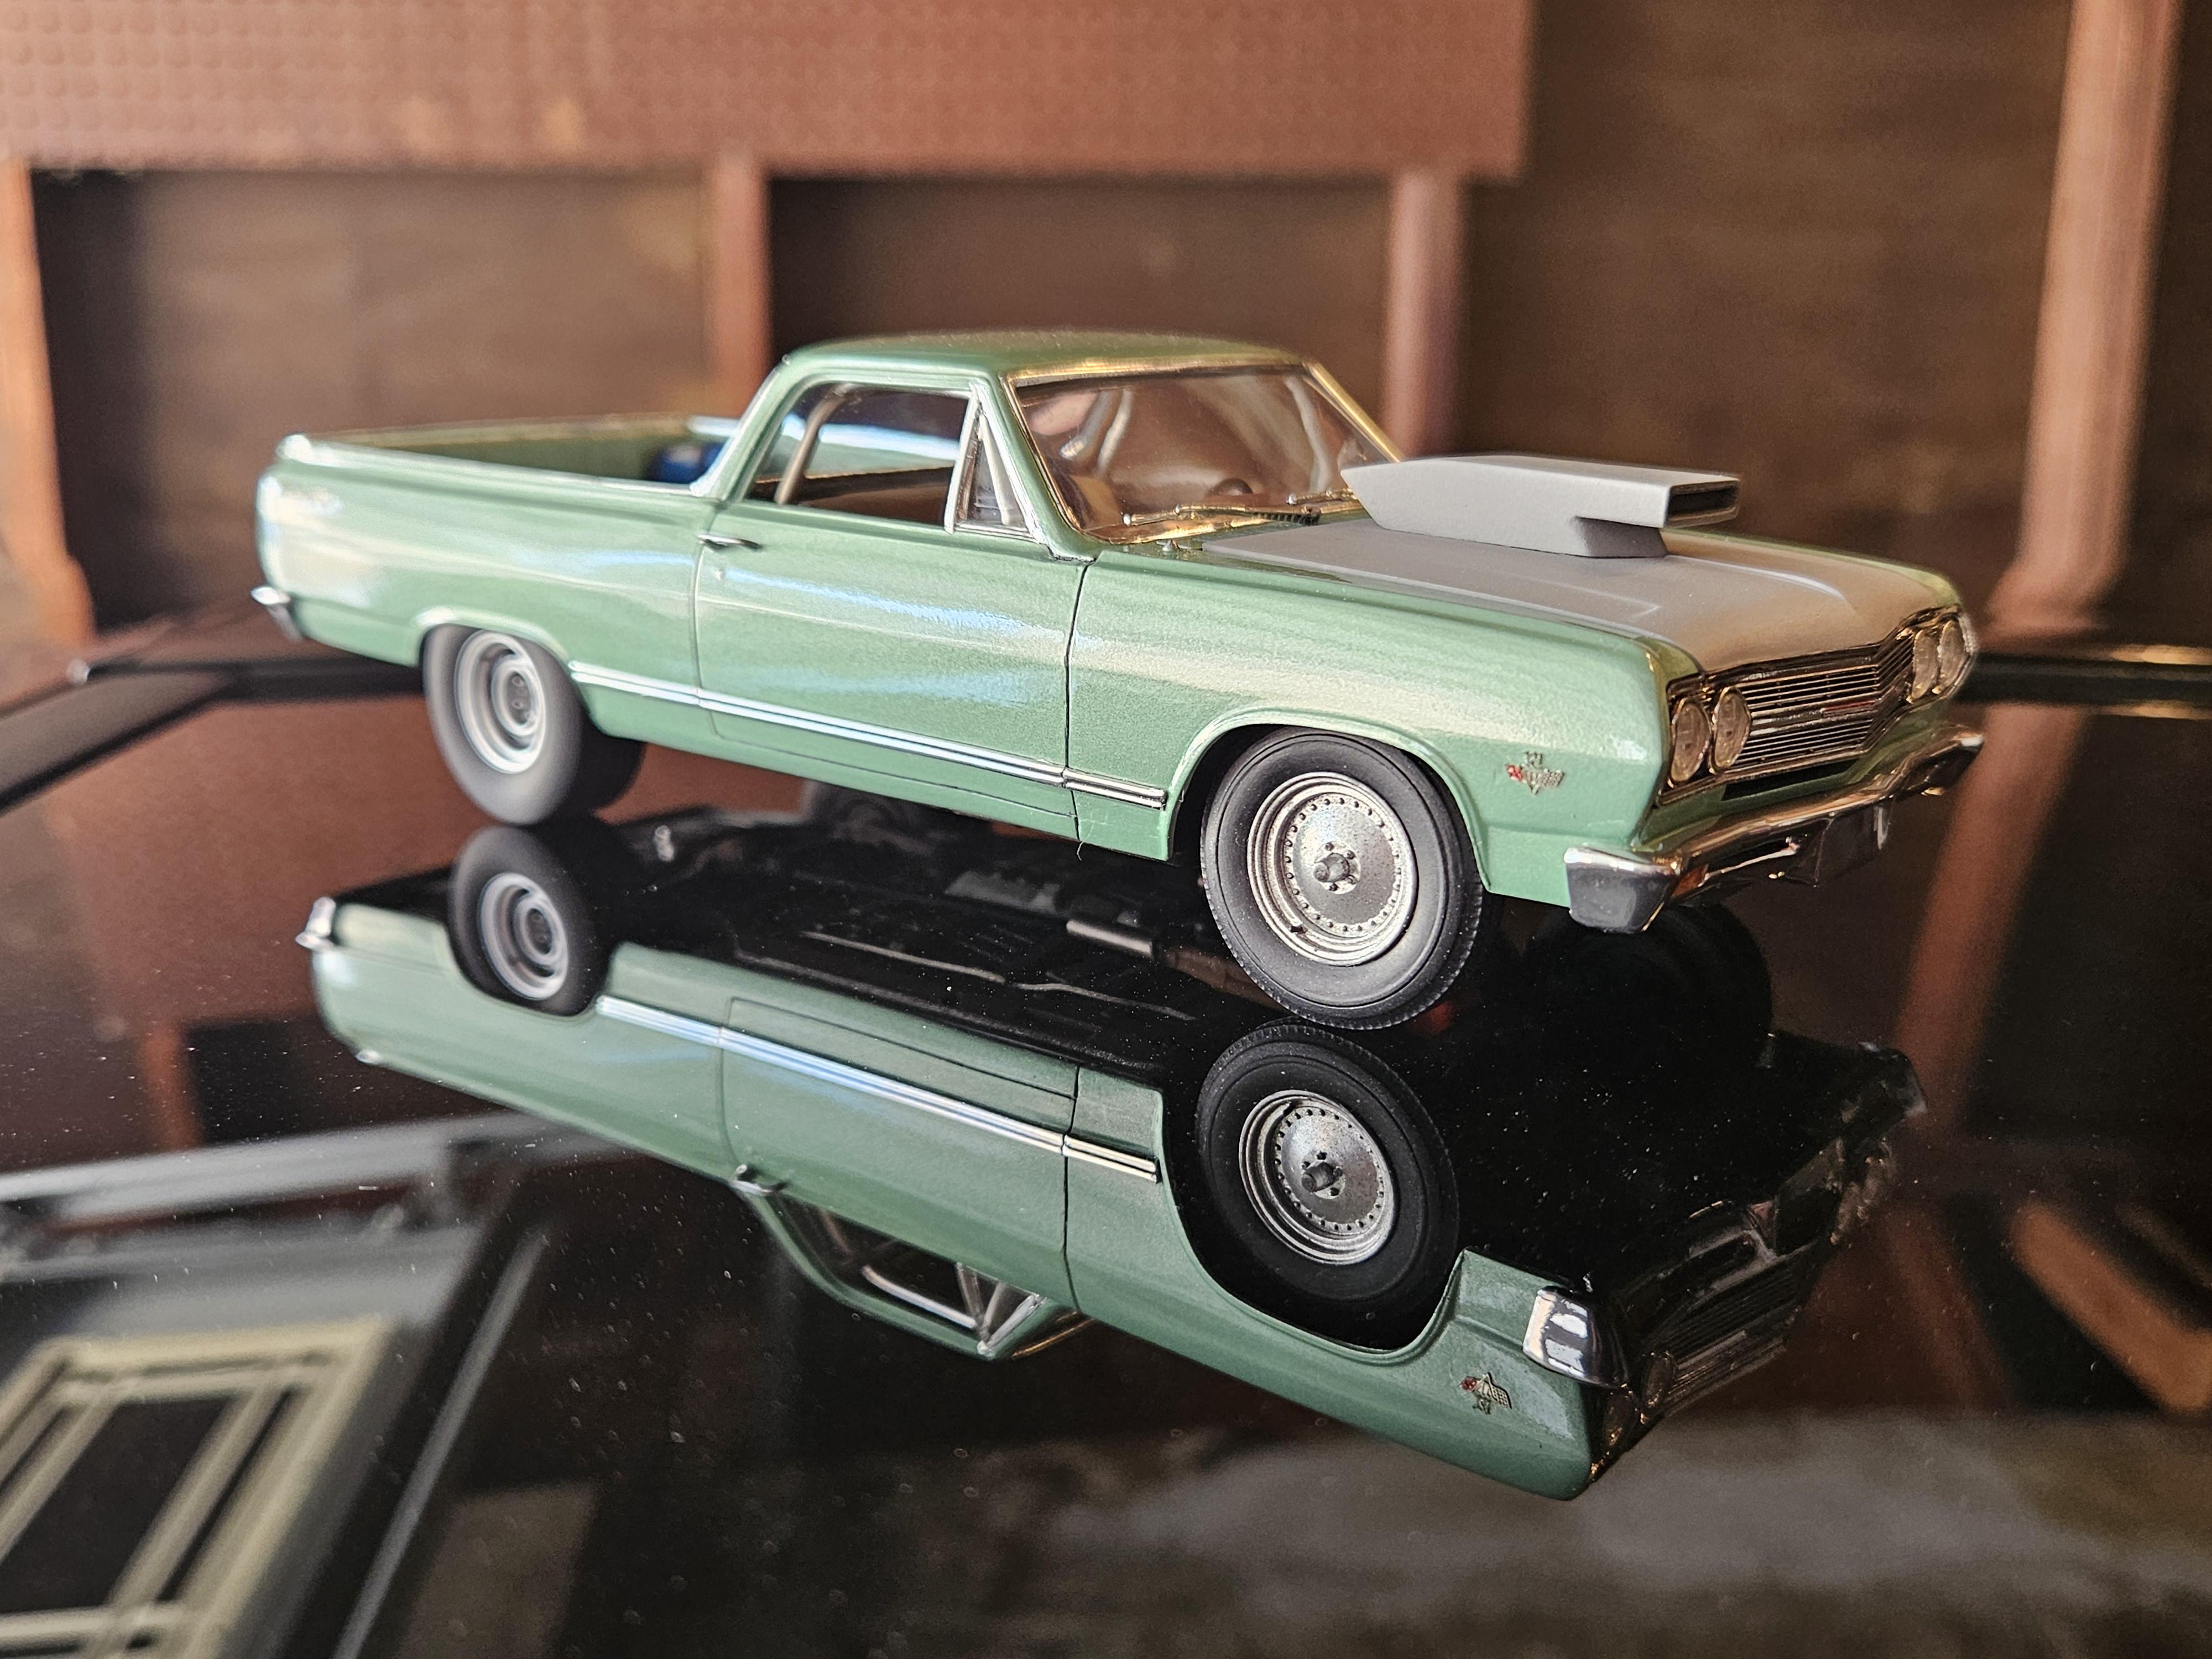
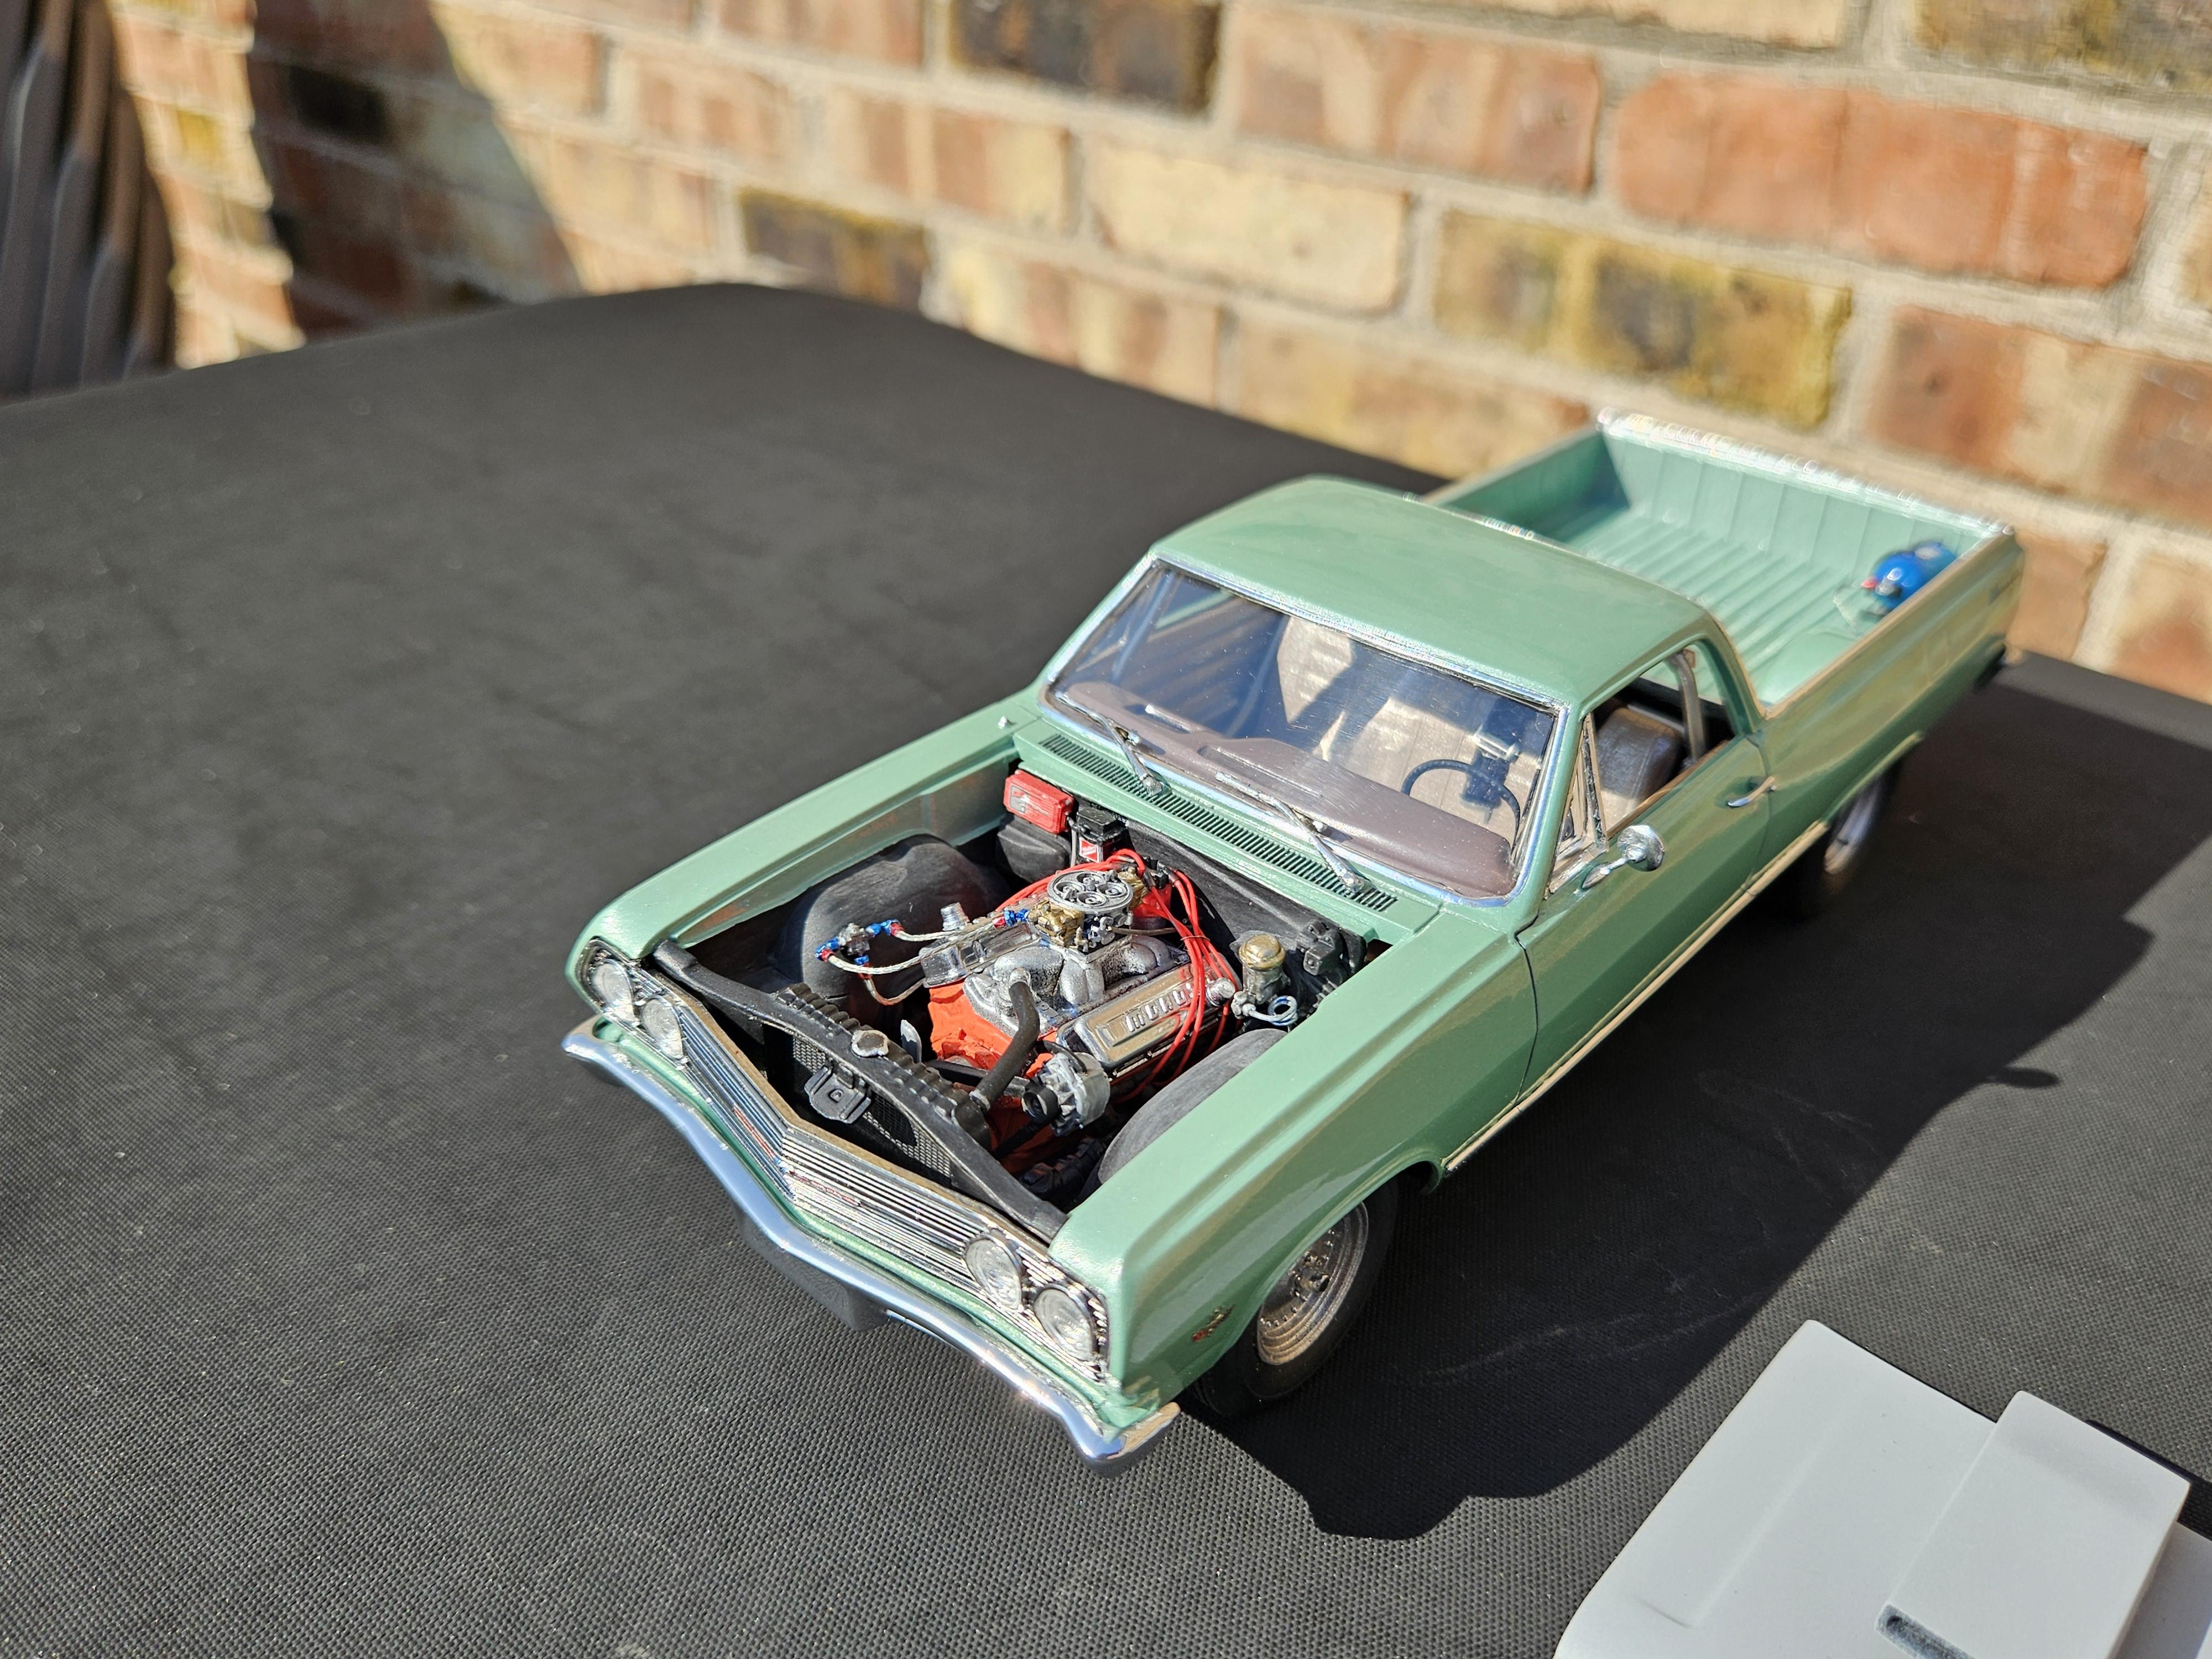
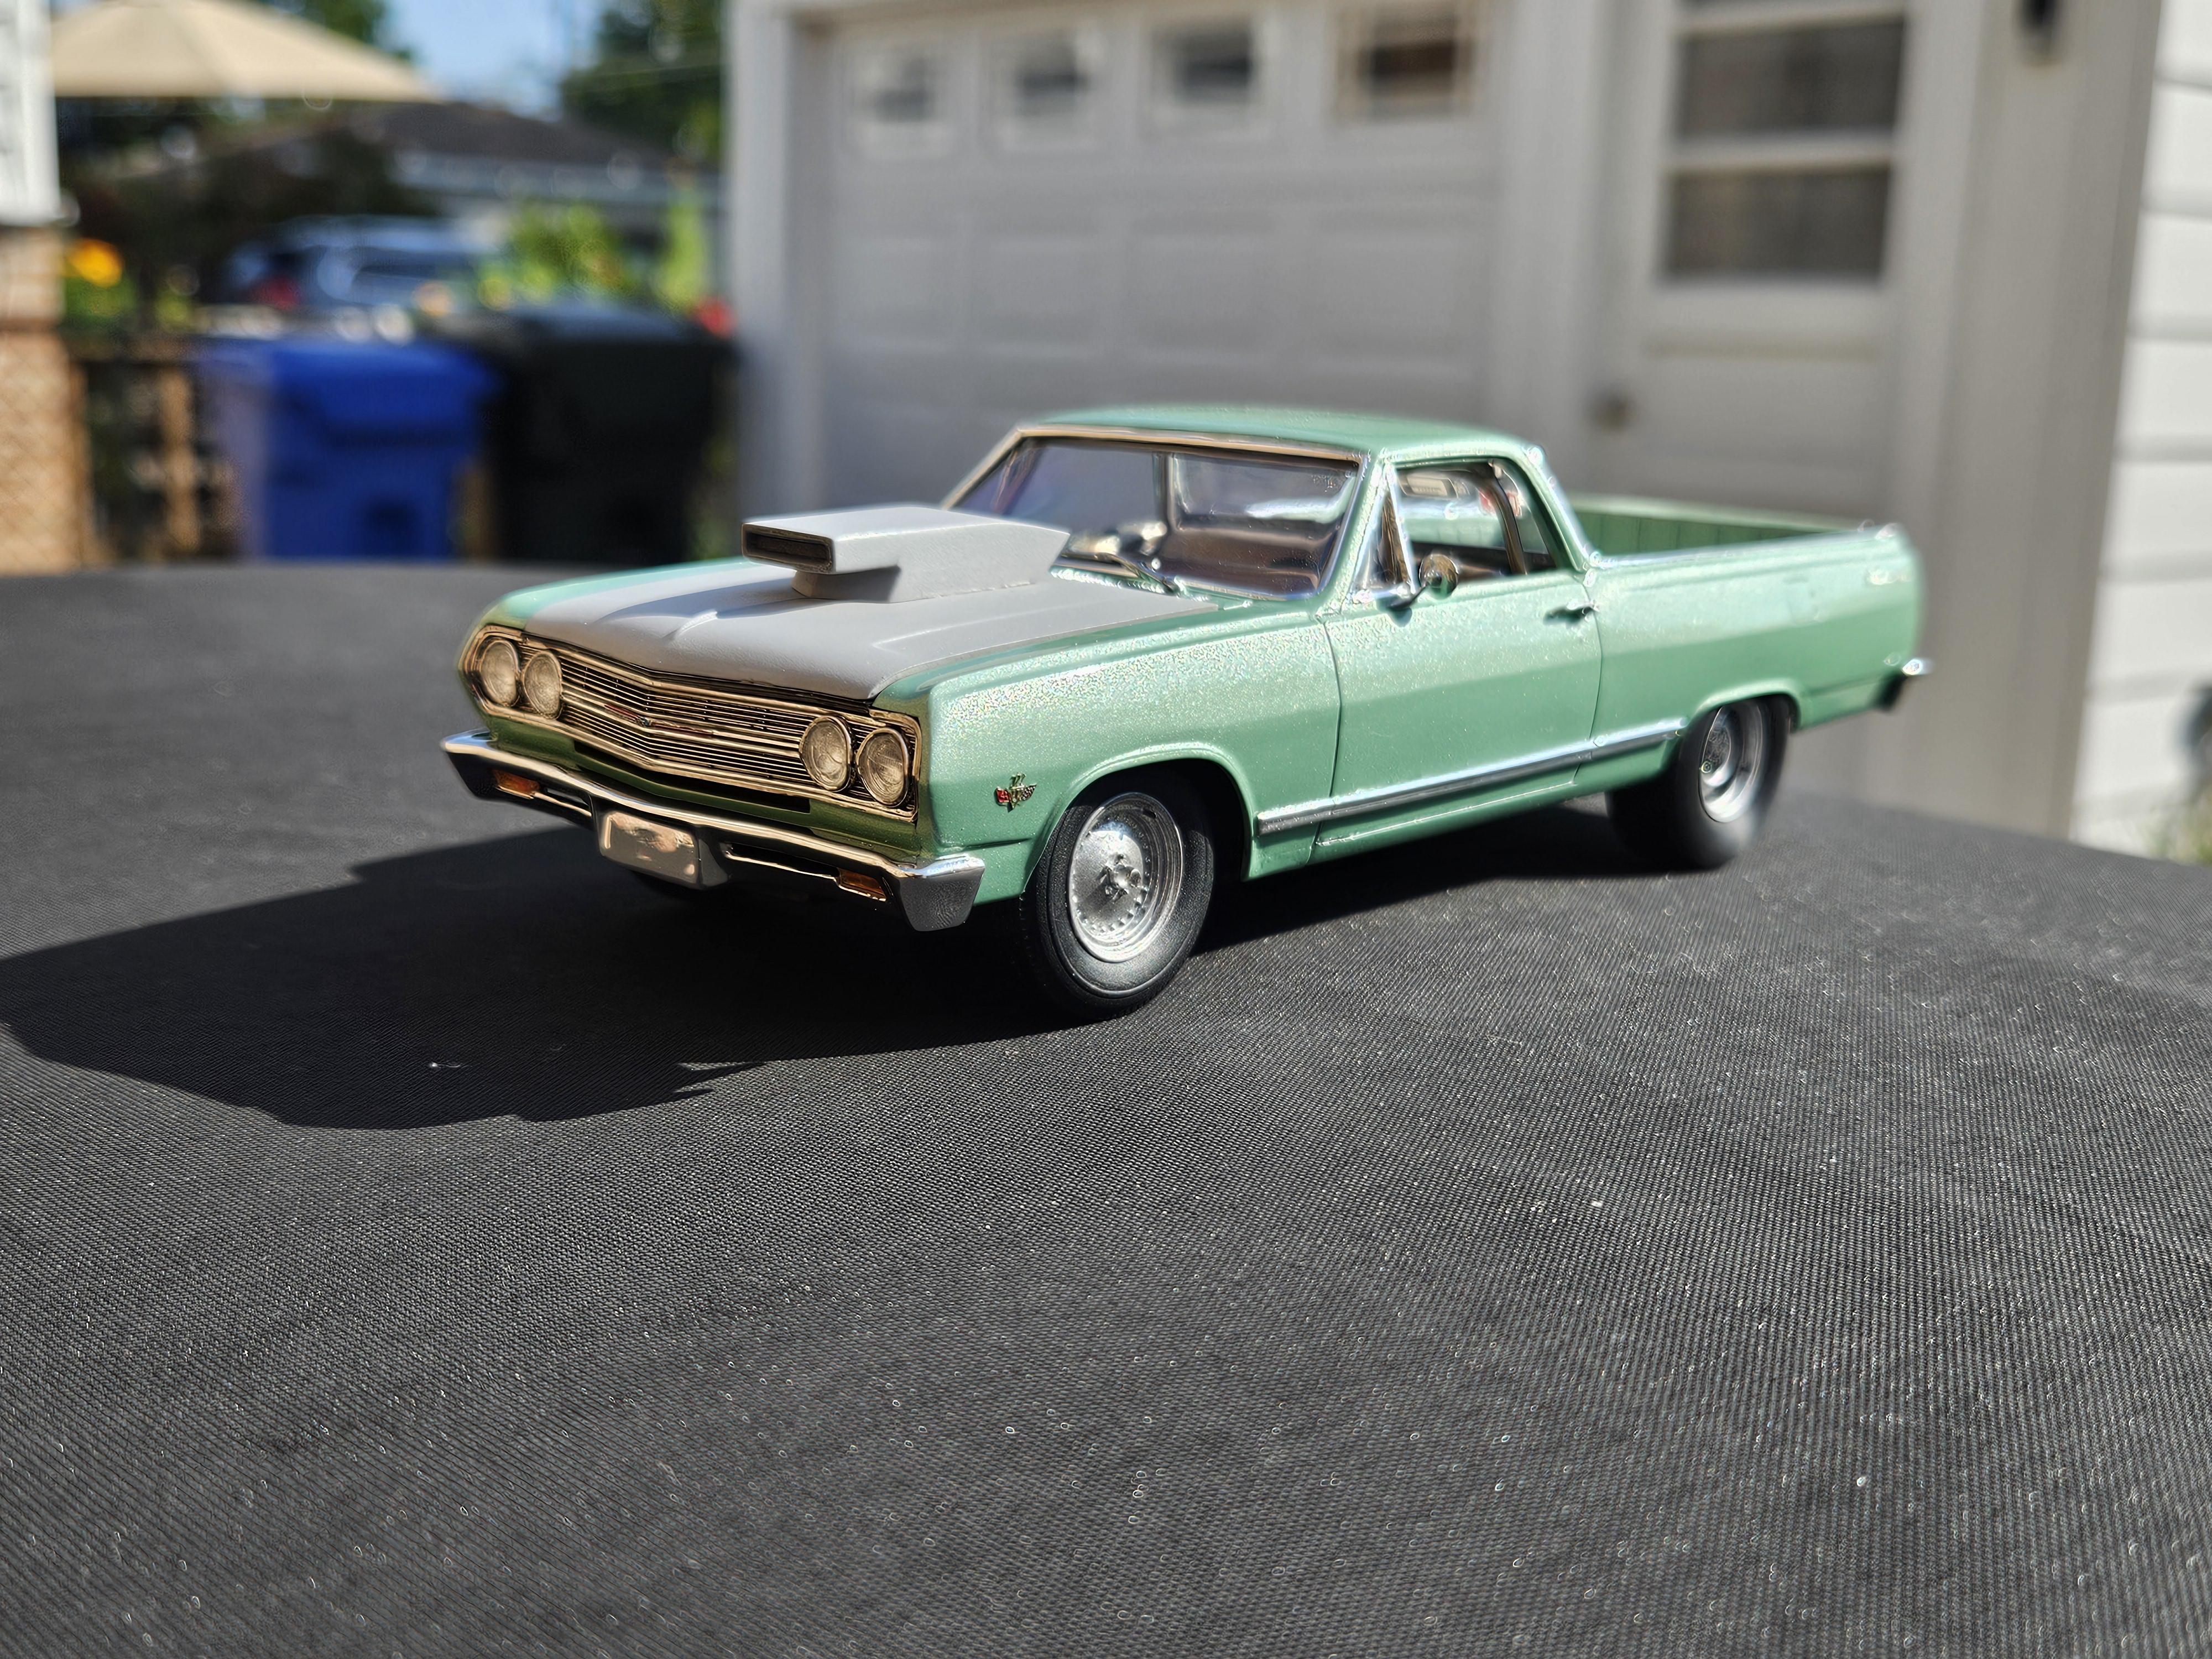
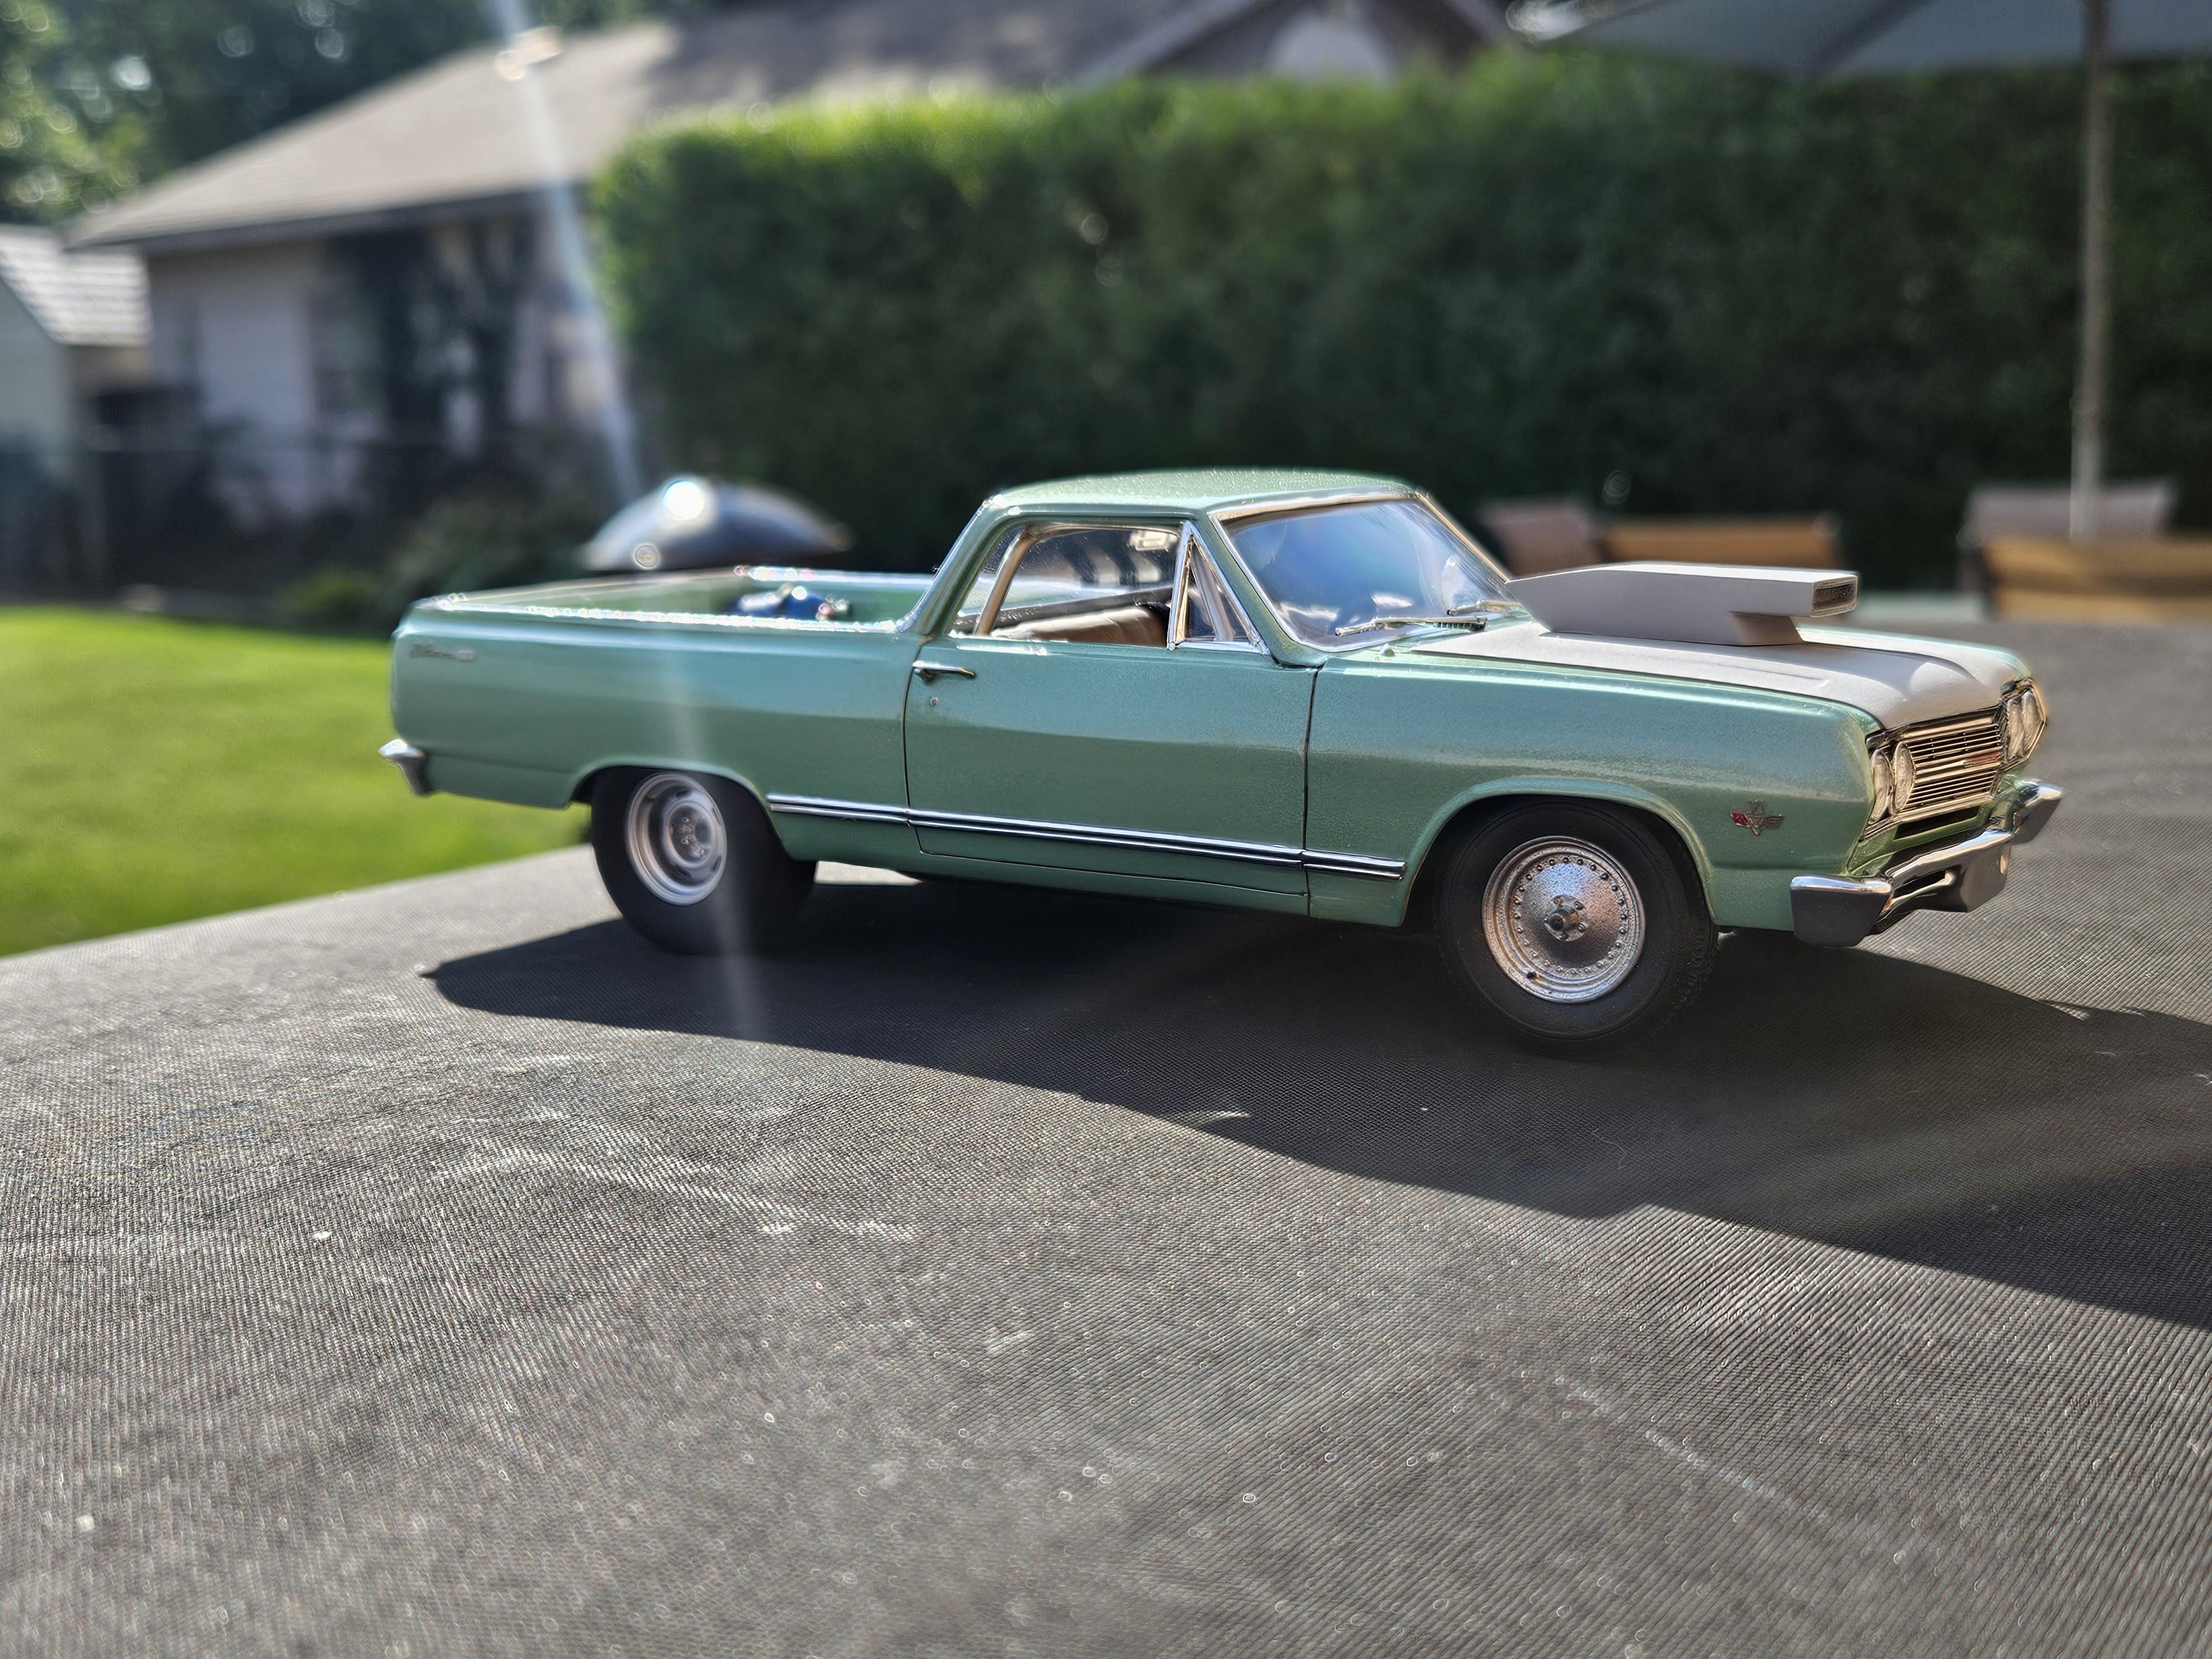
I took a 30 year old memory and a handful of old grainy photos and decided to build a replica of Chuck Samuel's 65 El Camino. This car was legendary in the Chicagoland area in the early to mid 90s and is still talked about to this day. He street raced it and also ran in the NMCA fastest streetcar shootout in the 90s which made its way into popular hot rodding and hot rod magazine. I saw it a few times around the local cruise nights and it left a lasting impression on me. Take a look at my build thread under the WIP drag racing section if you want to see all that I did to build this, but as a quick recap it's an AMT 65 El Camino body with the front clip swapped from the Revell 65 Chevelle. I used the interior tub, chassis and big block from the Revell kit as well. Also a bunch of resin, kit bashed and scratch built parts here and there.
-
Saw this over on the luka cee FB page the other day..but awesome lookin camaro!
-
Very nice!
-
Thanks!
-
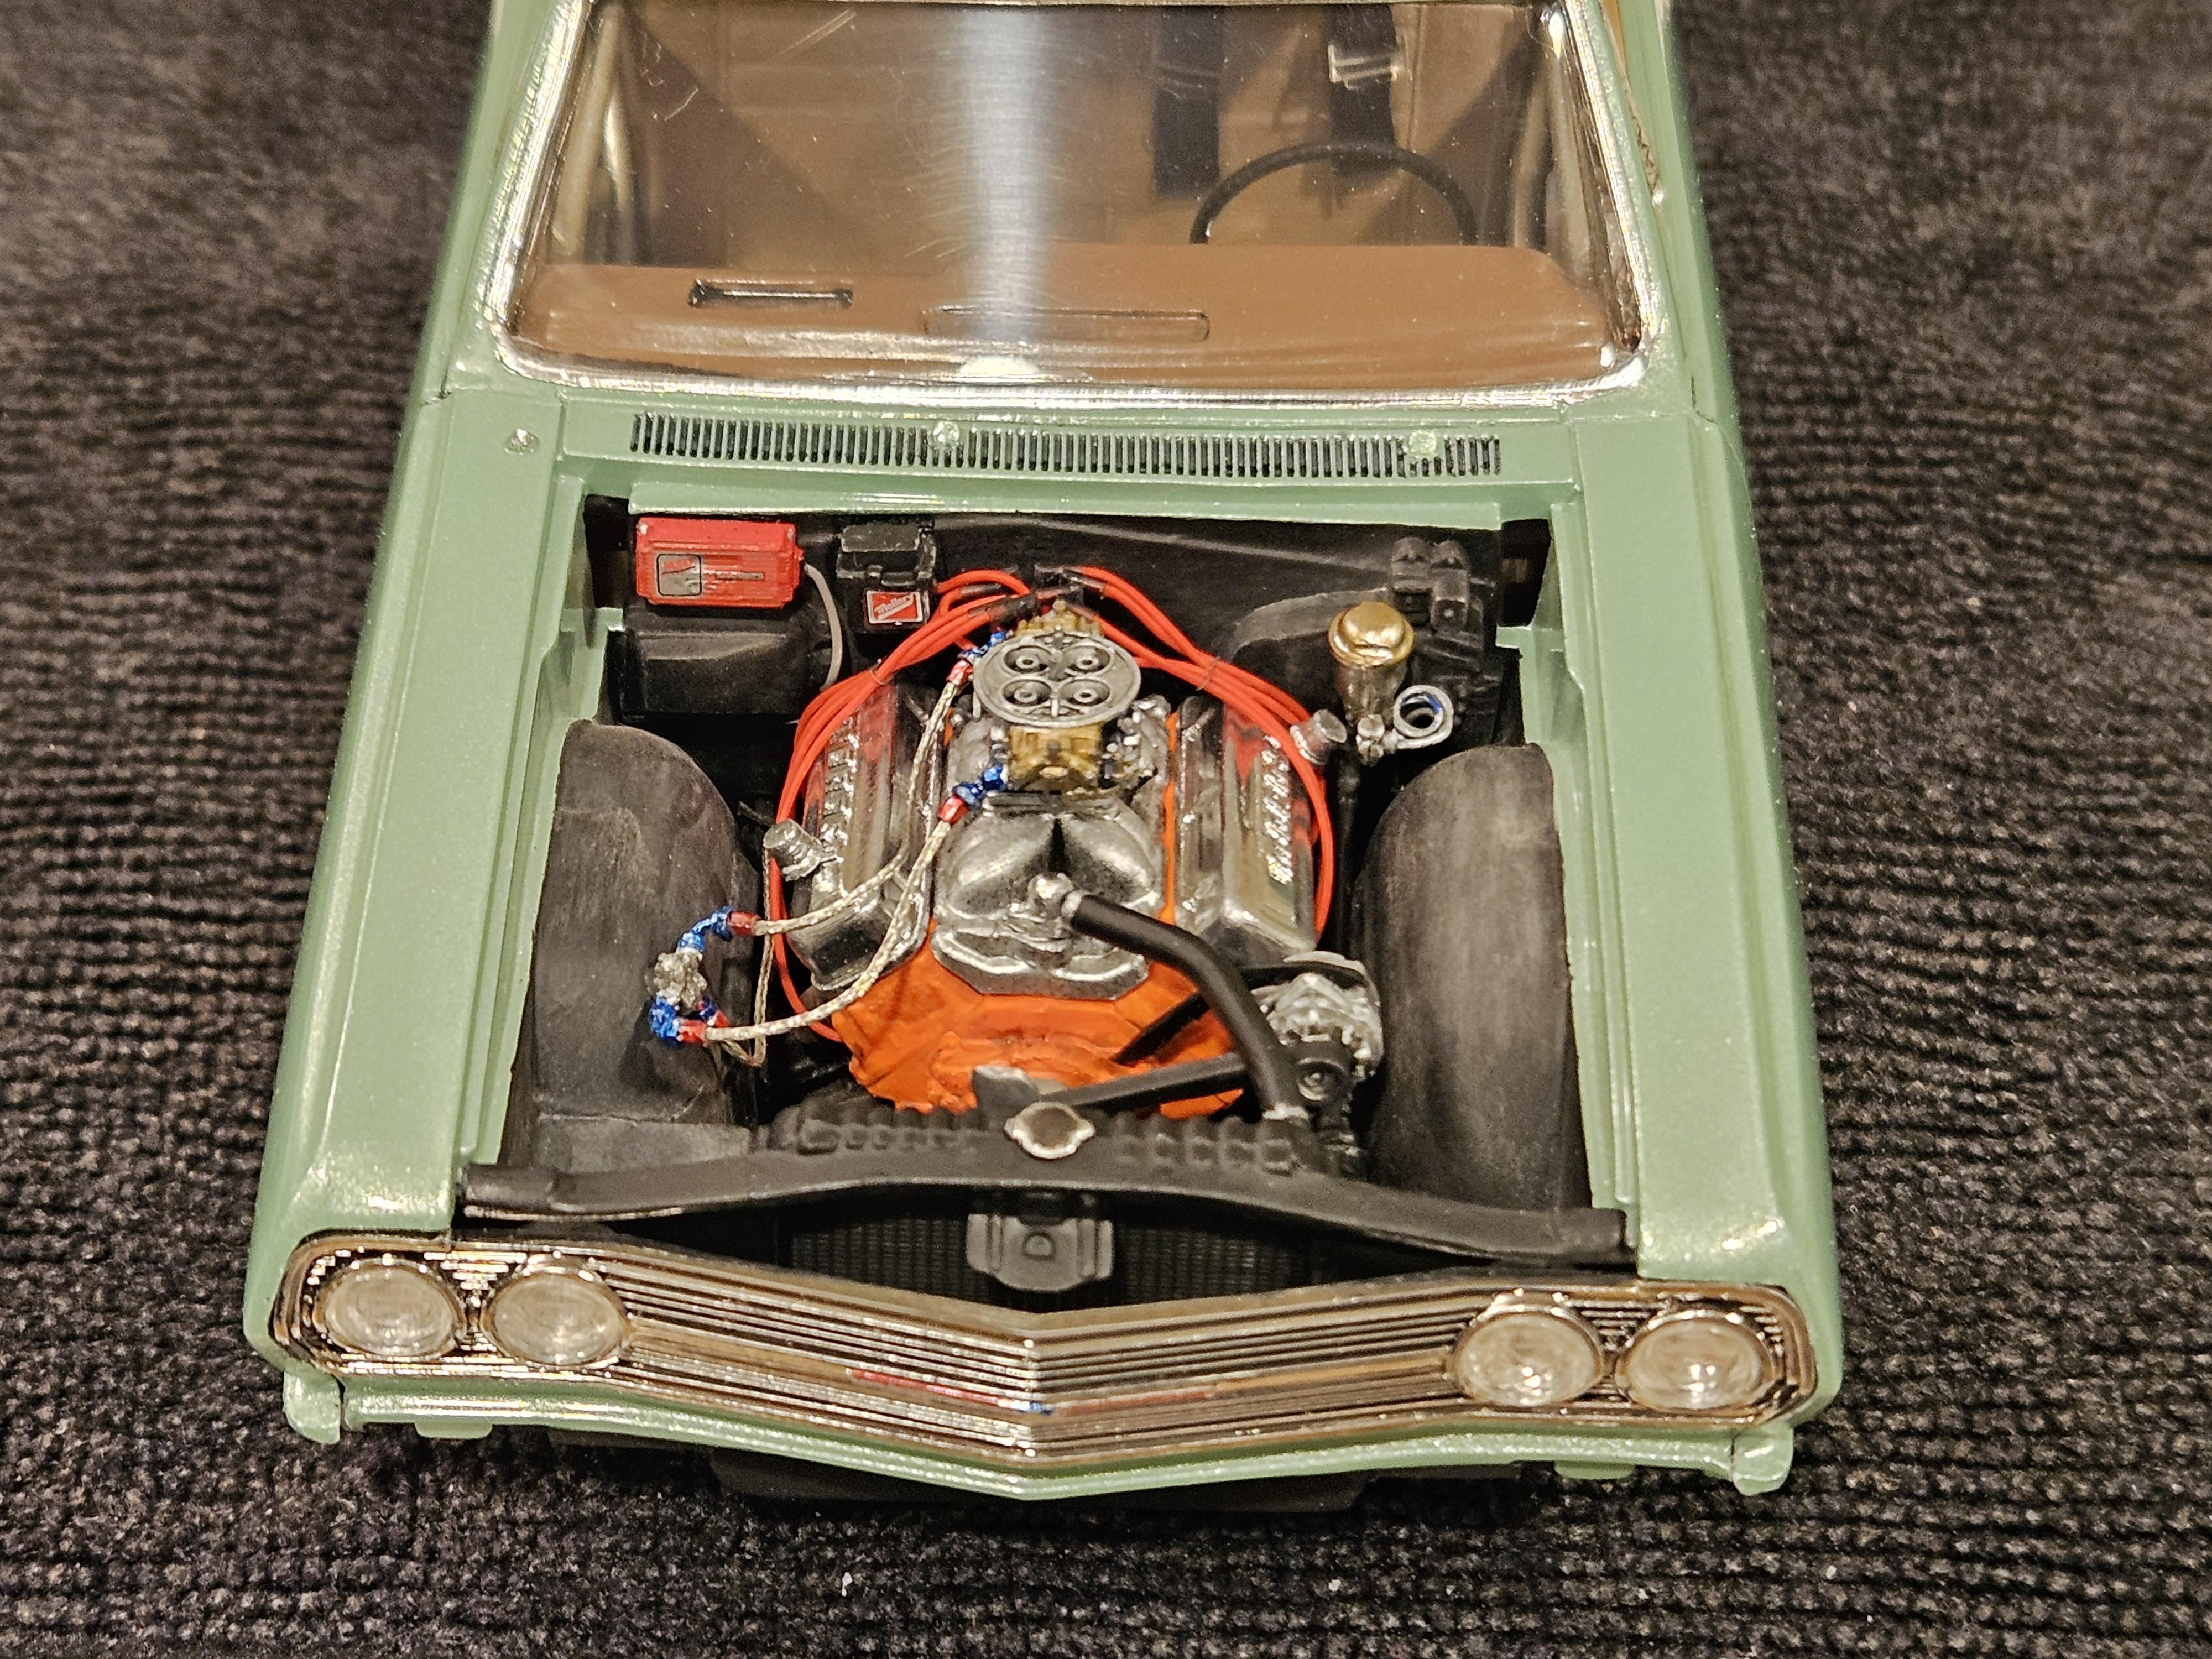
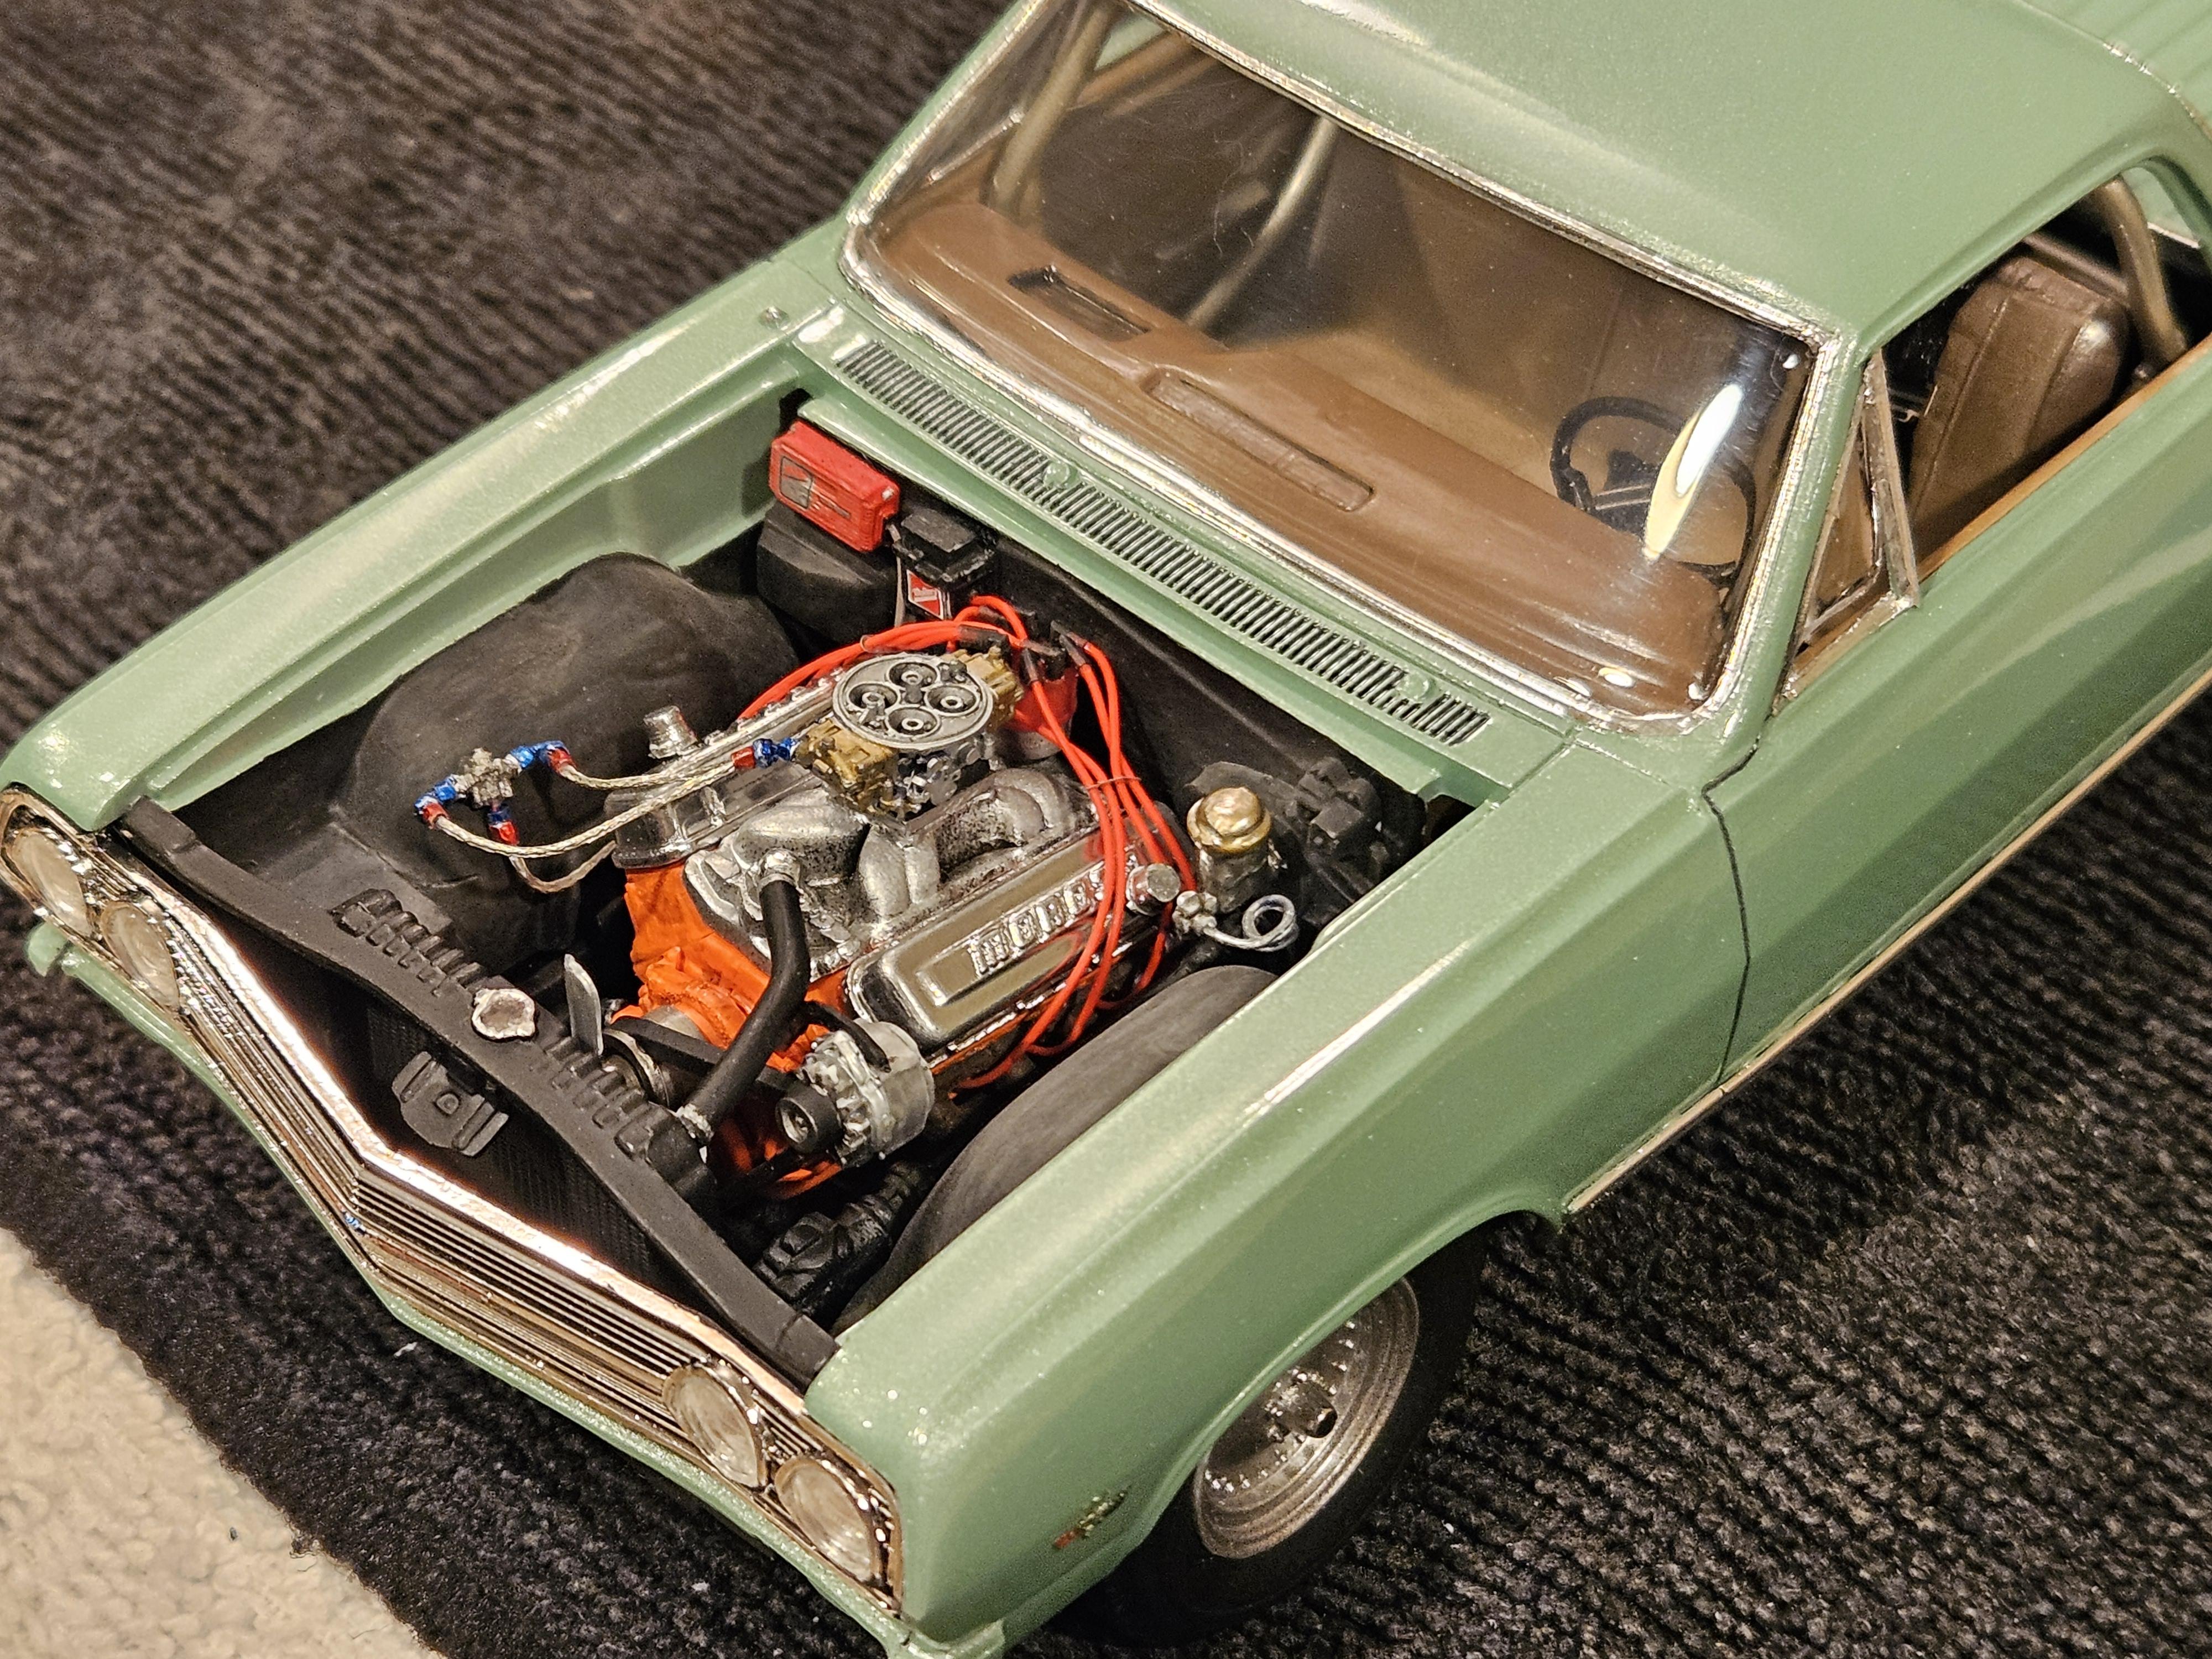
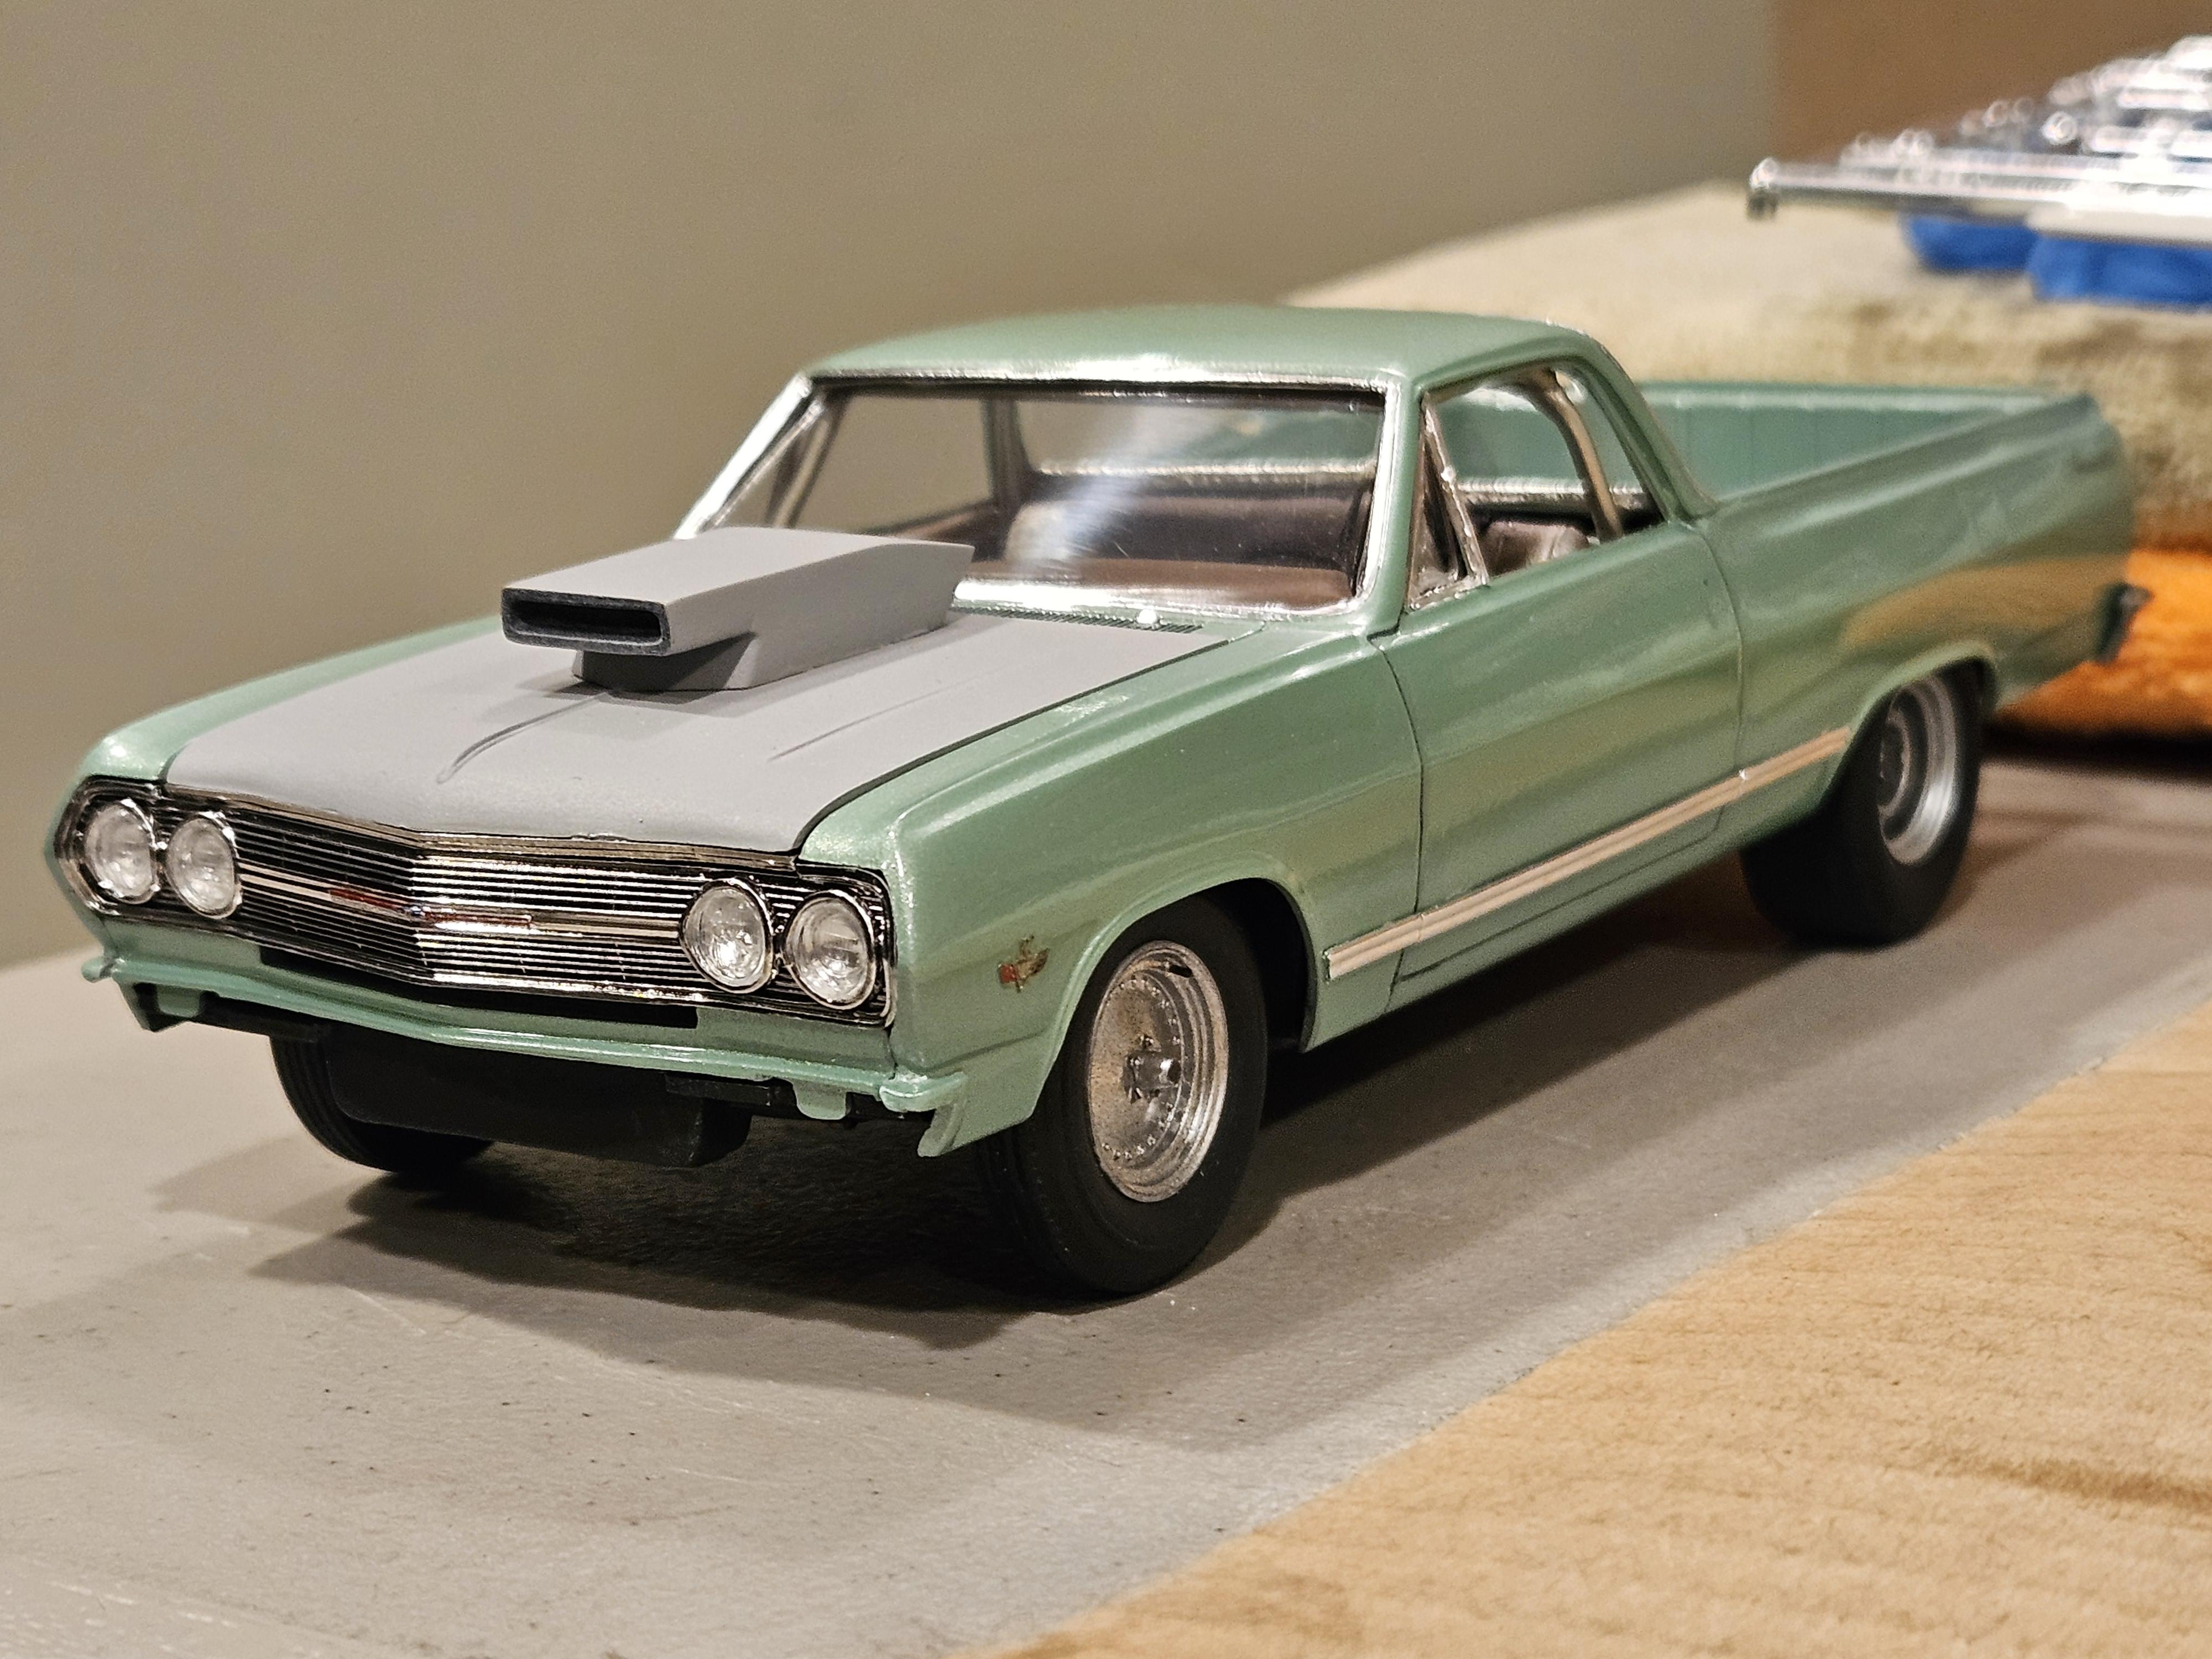
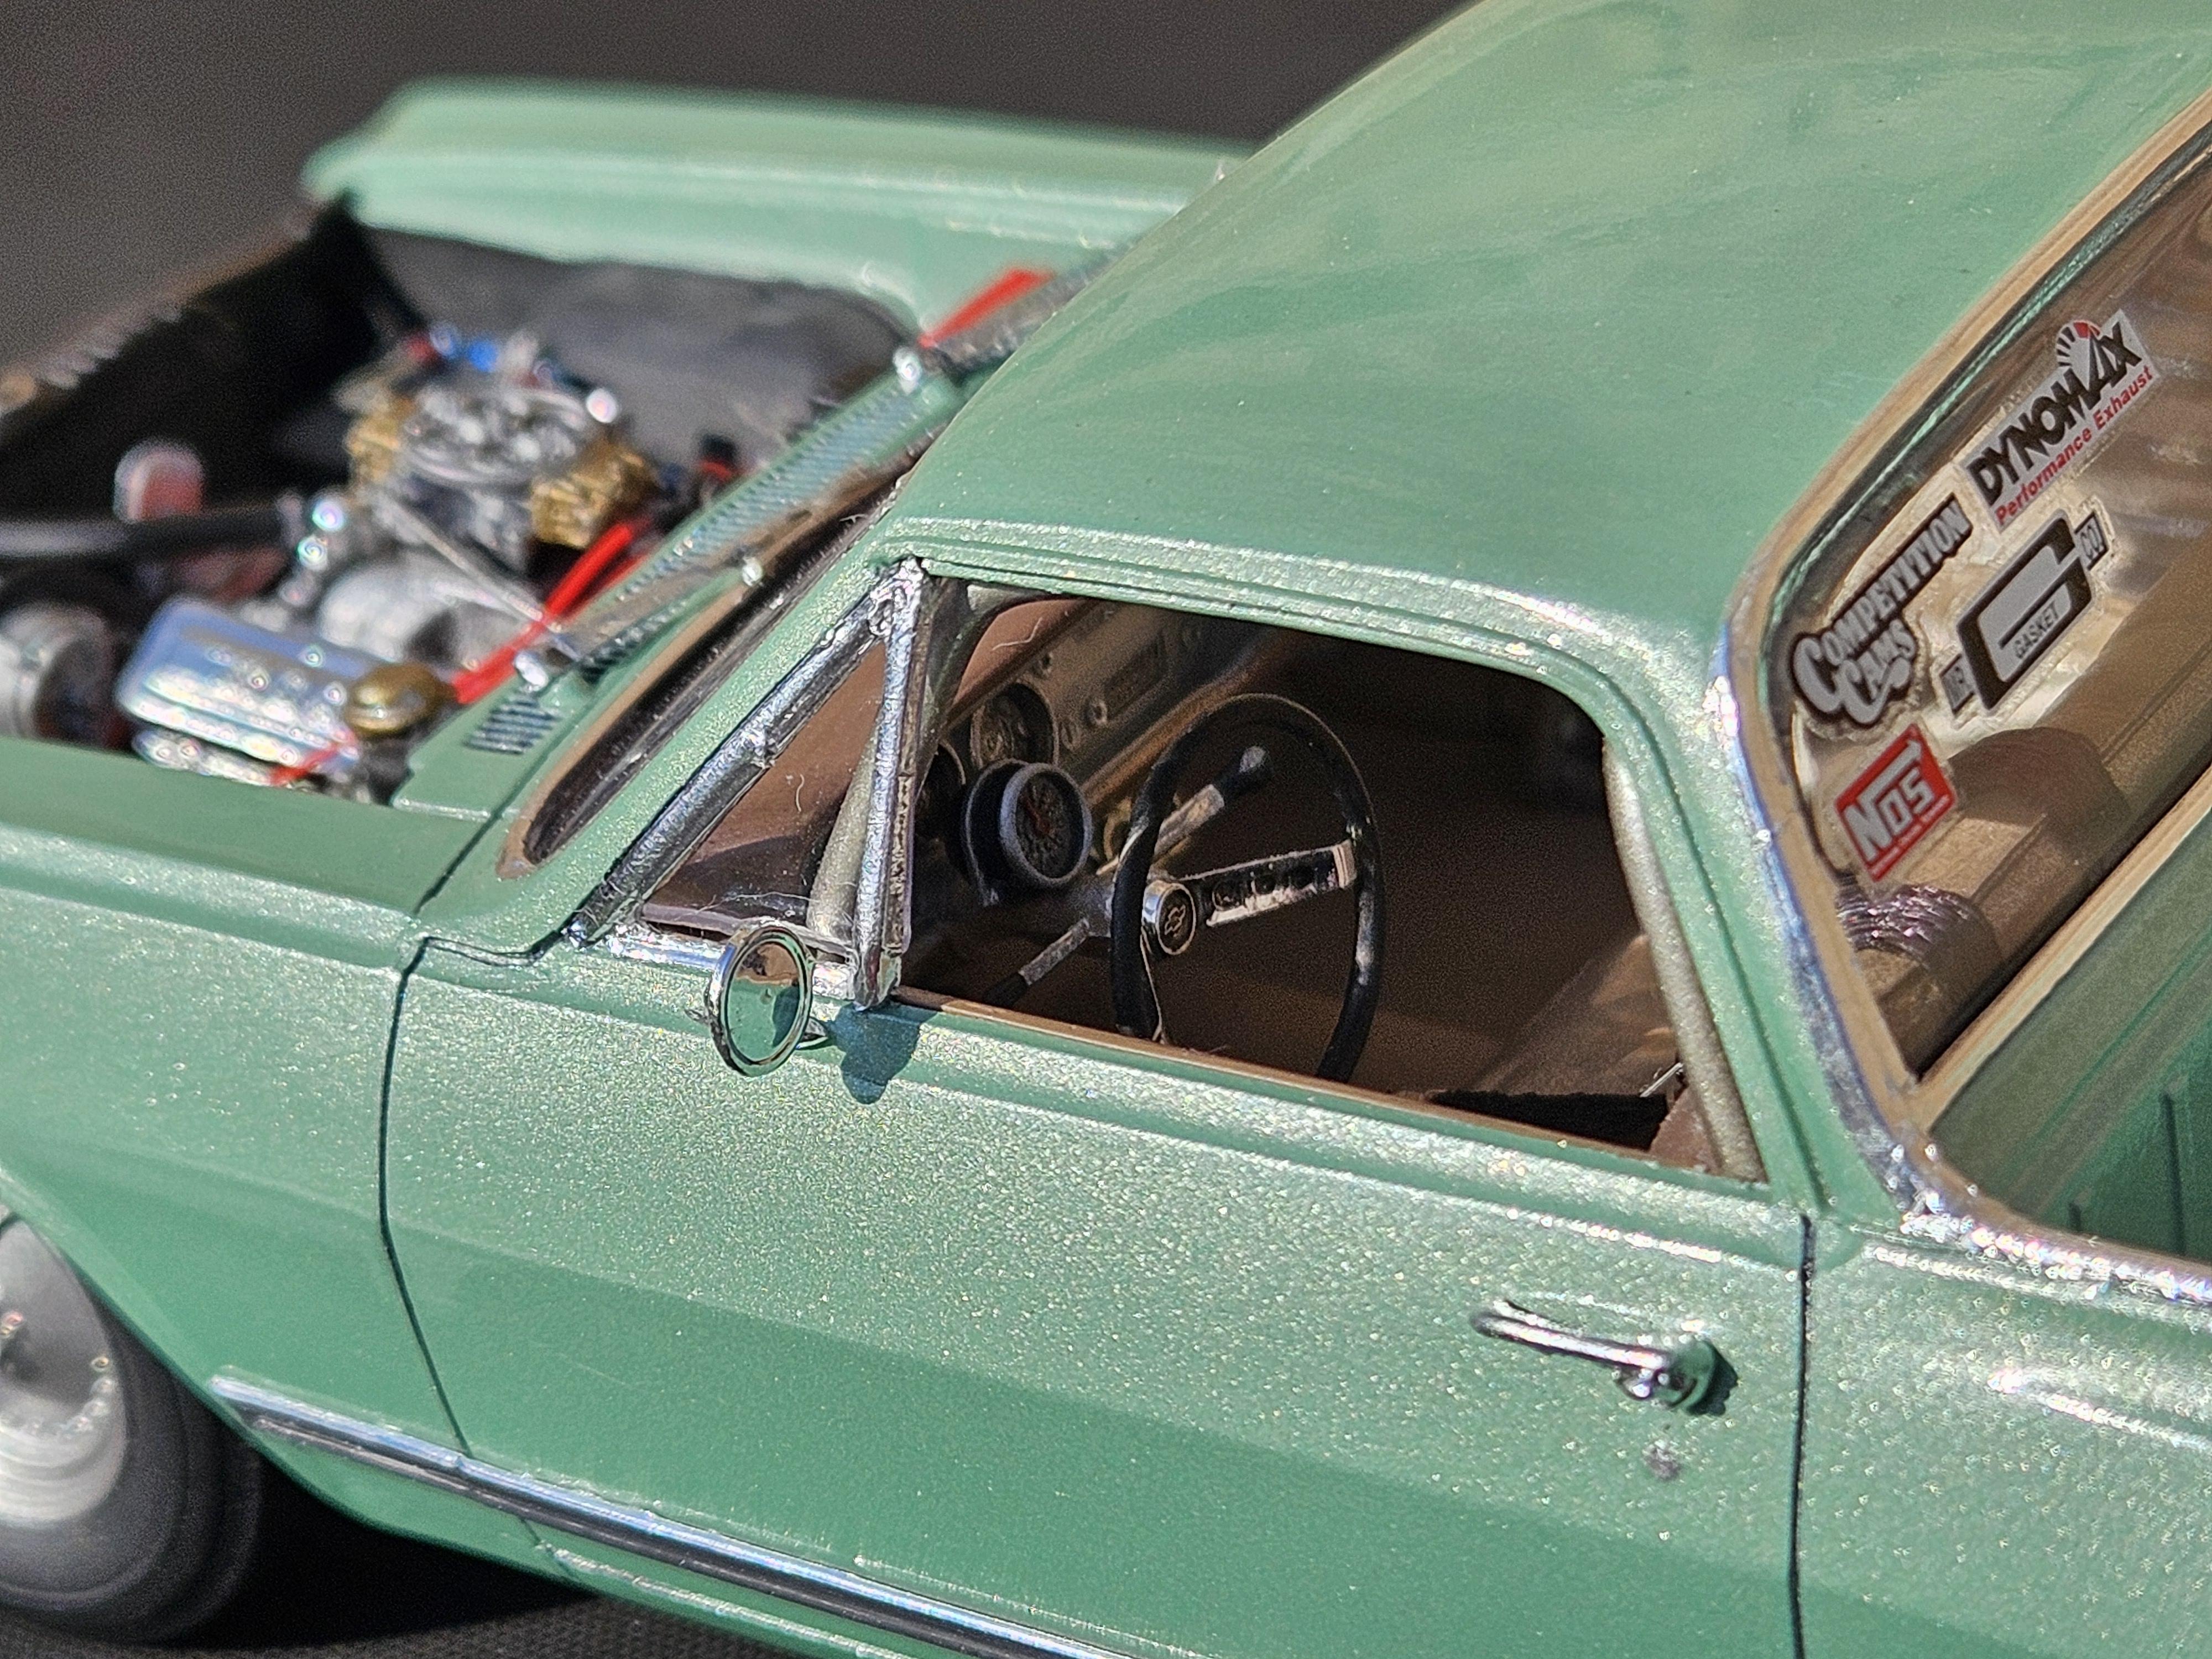
Close to finishing this one. Engine compartment is almost done, just have to put on the throttle linkage, then foil the last remaining bits on the bed rails and attach door handles, mirror and bumper. Should be done in the next few days when I get some more time to work on it.
-
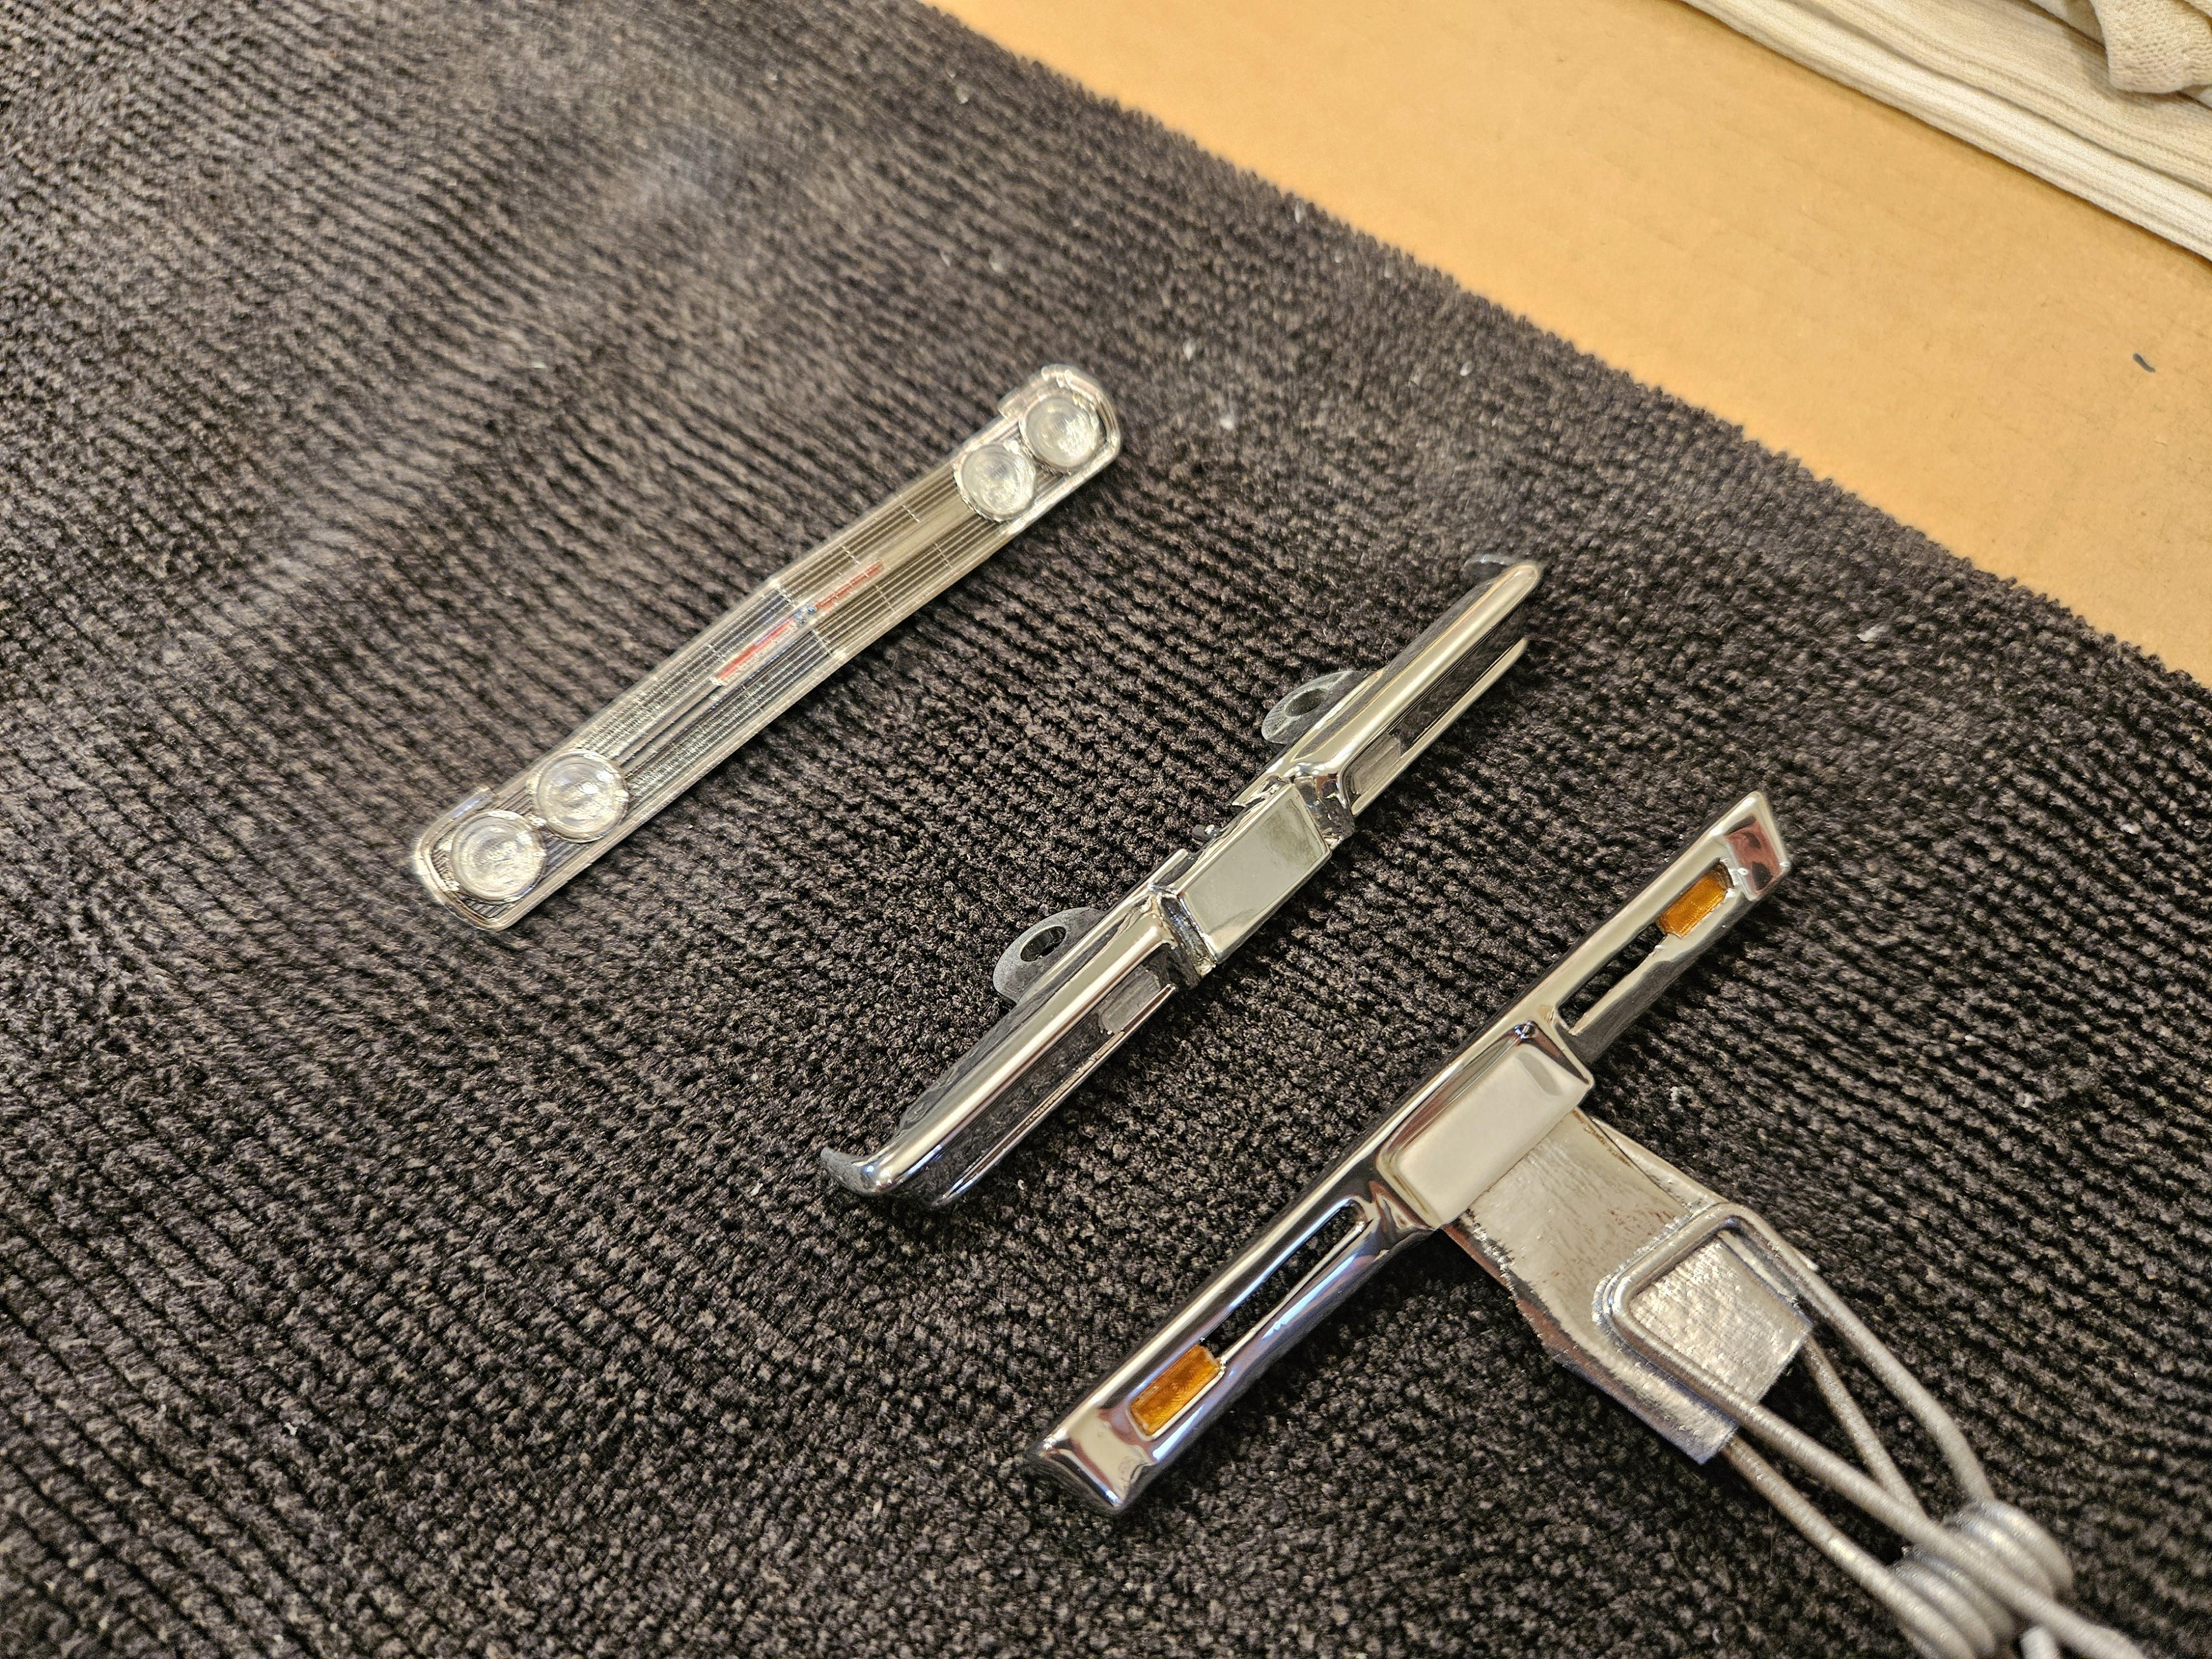
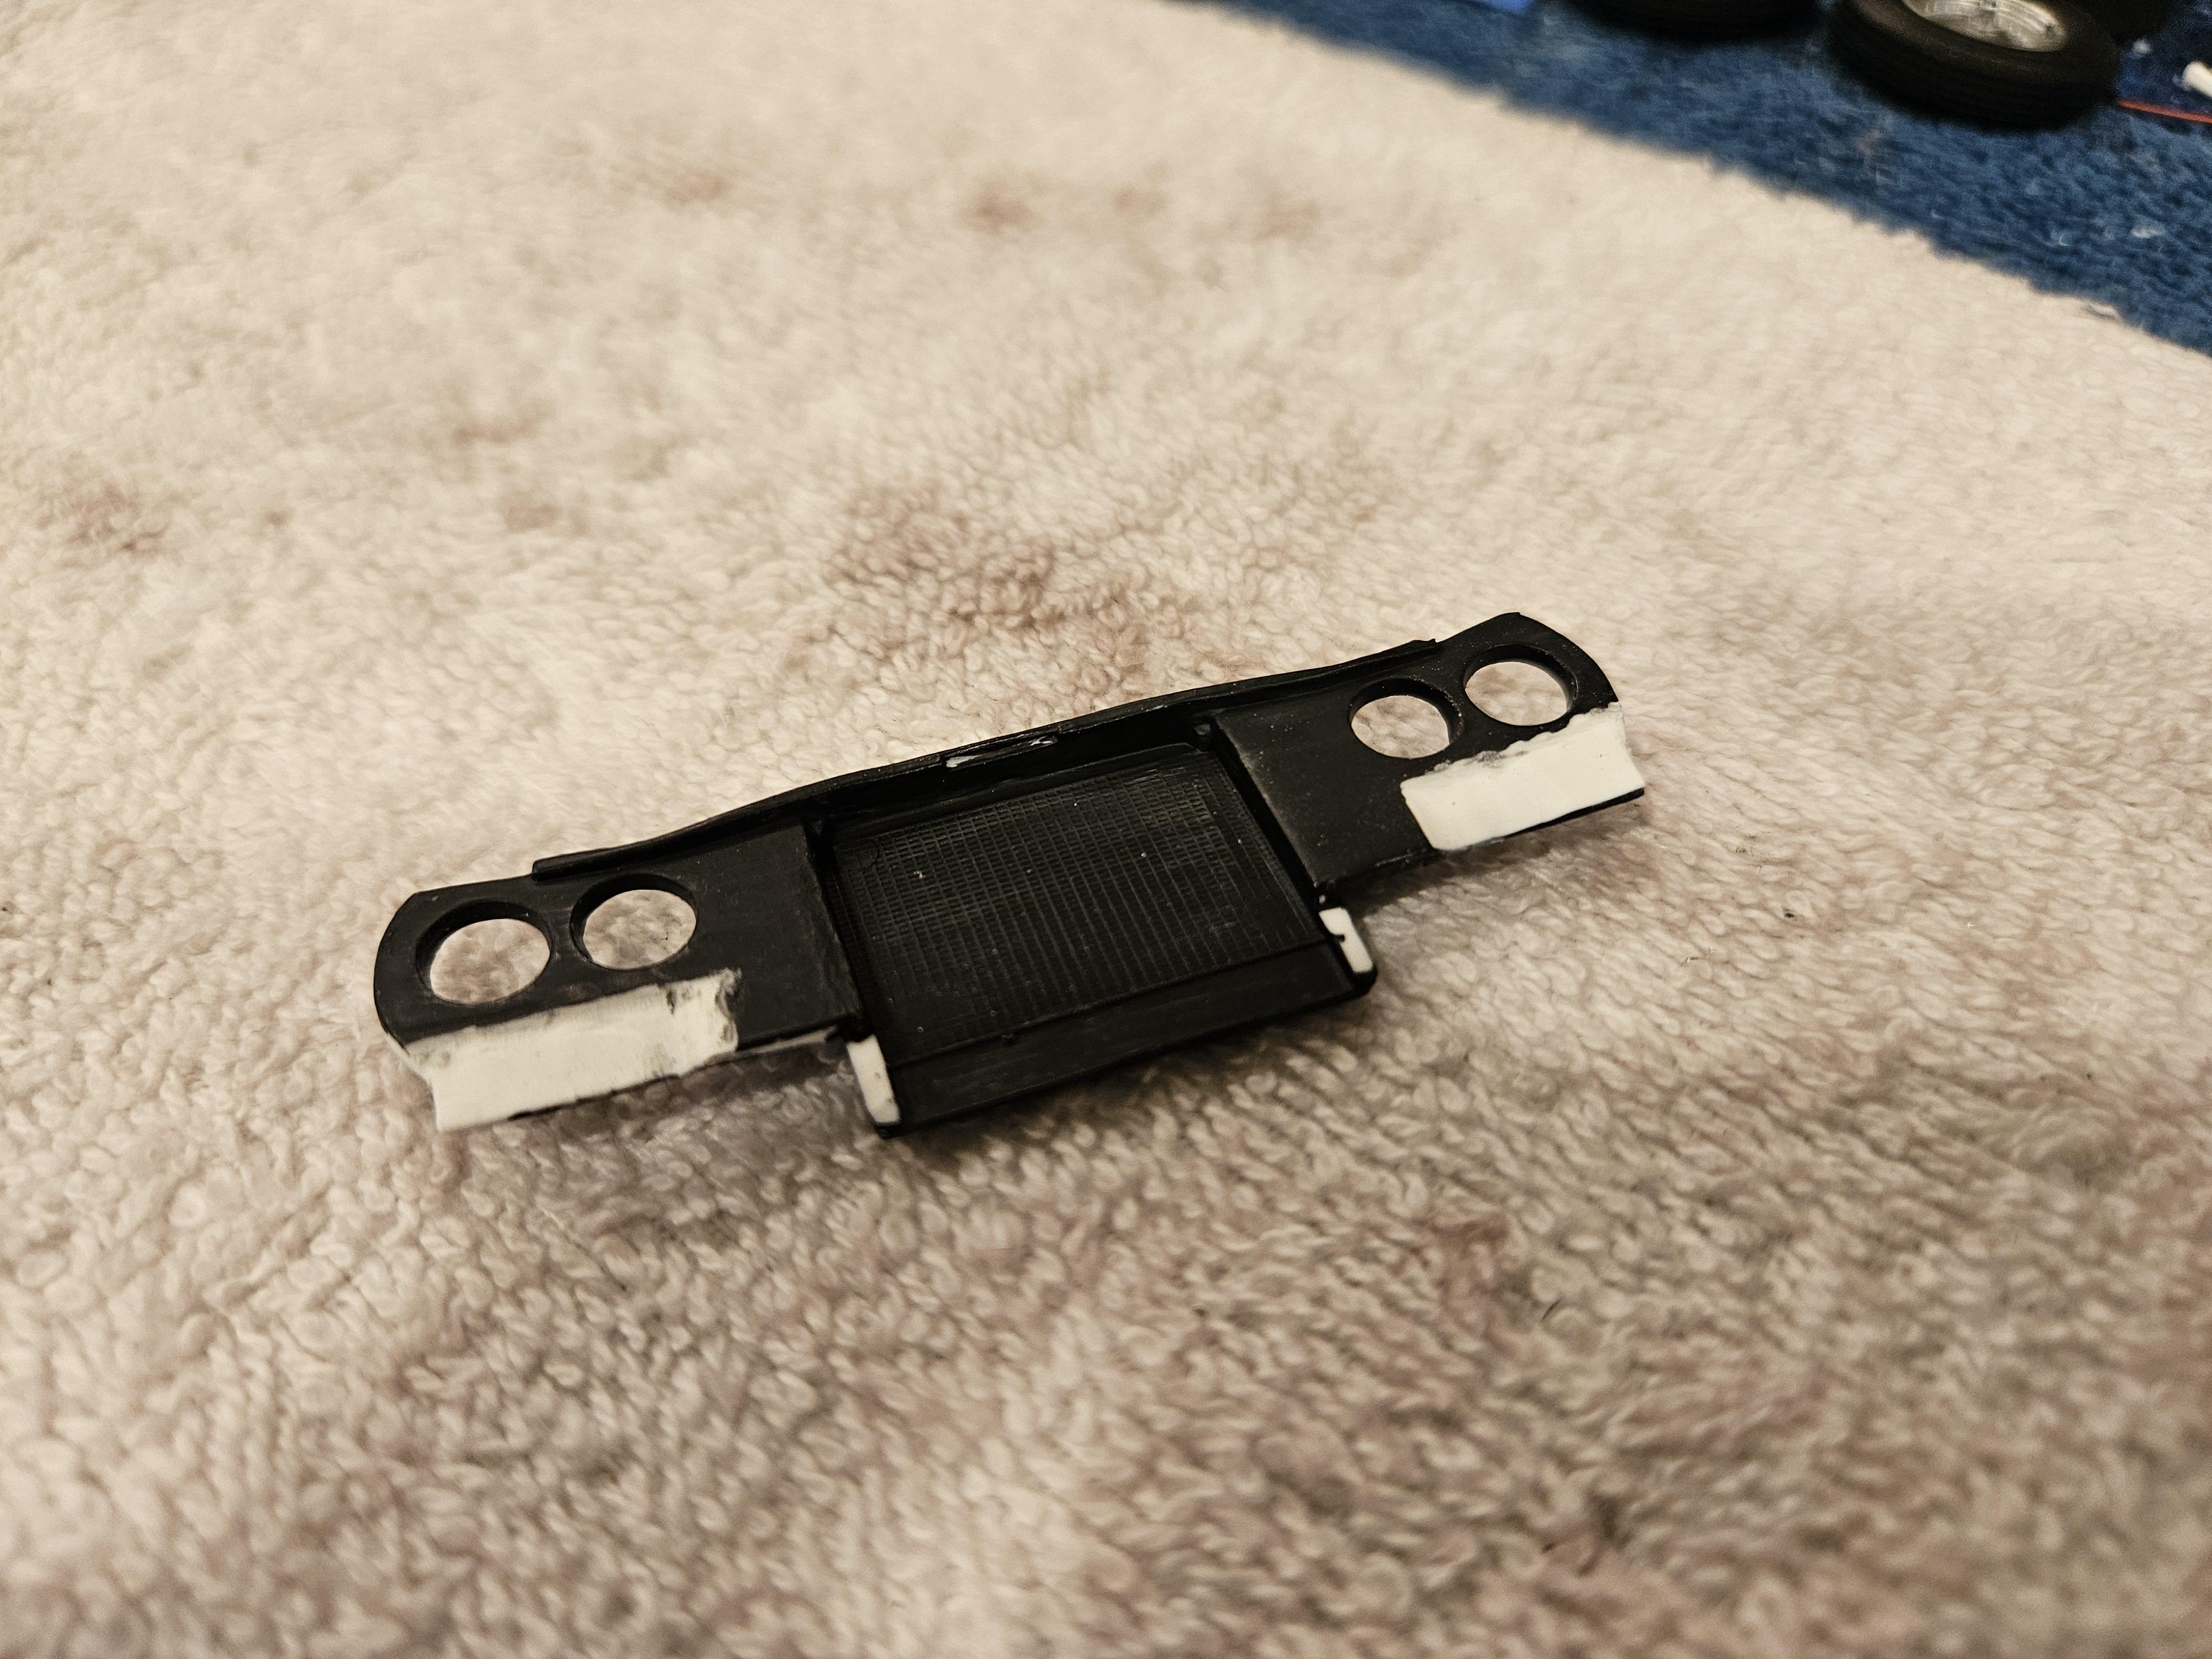
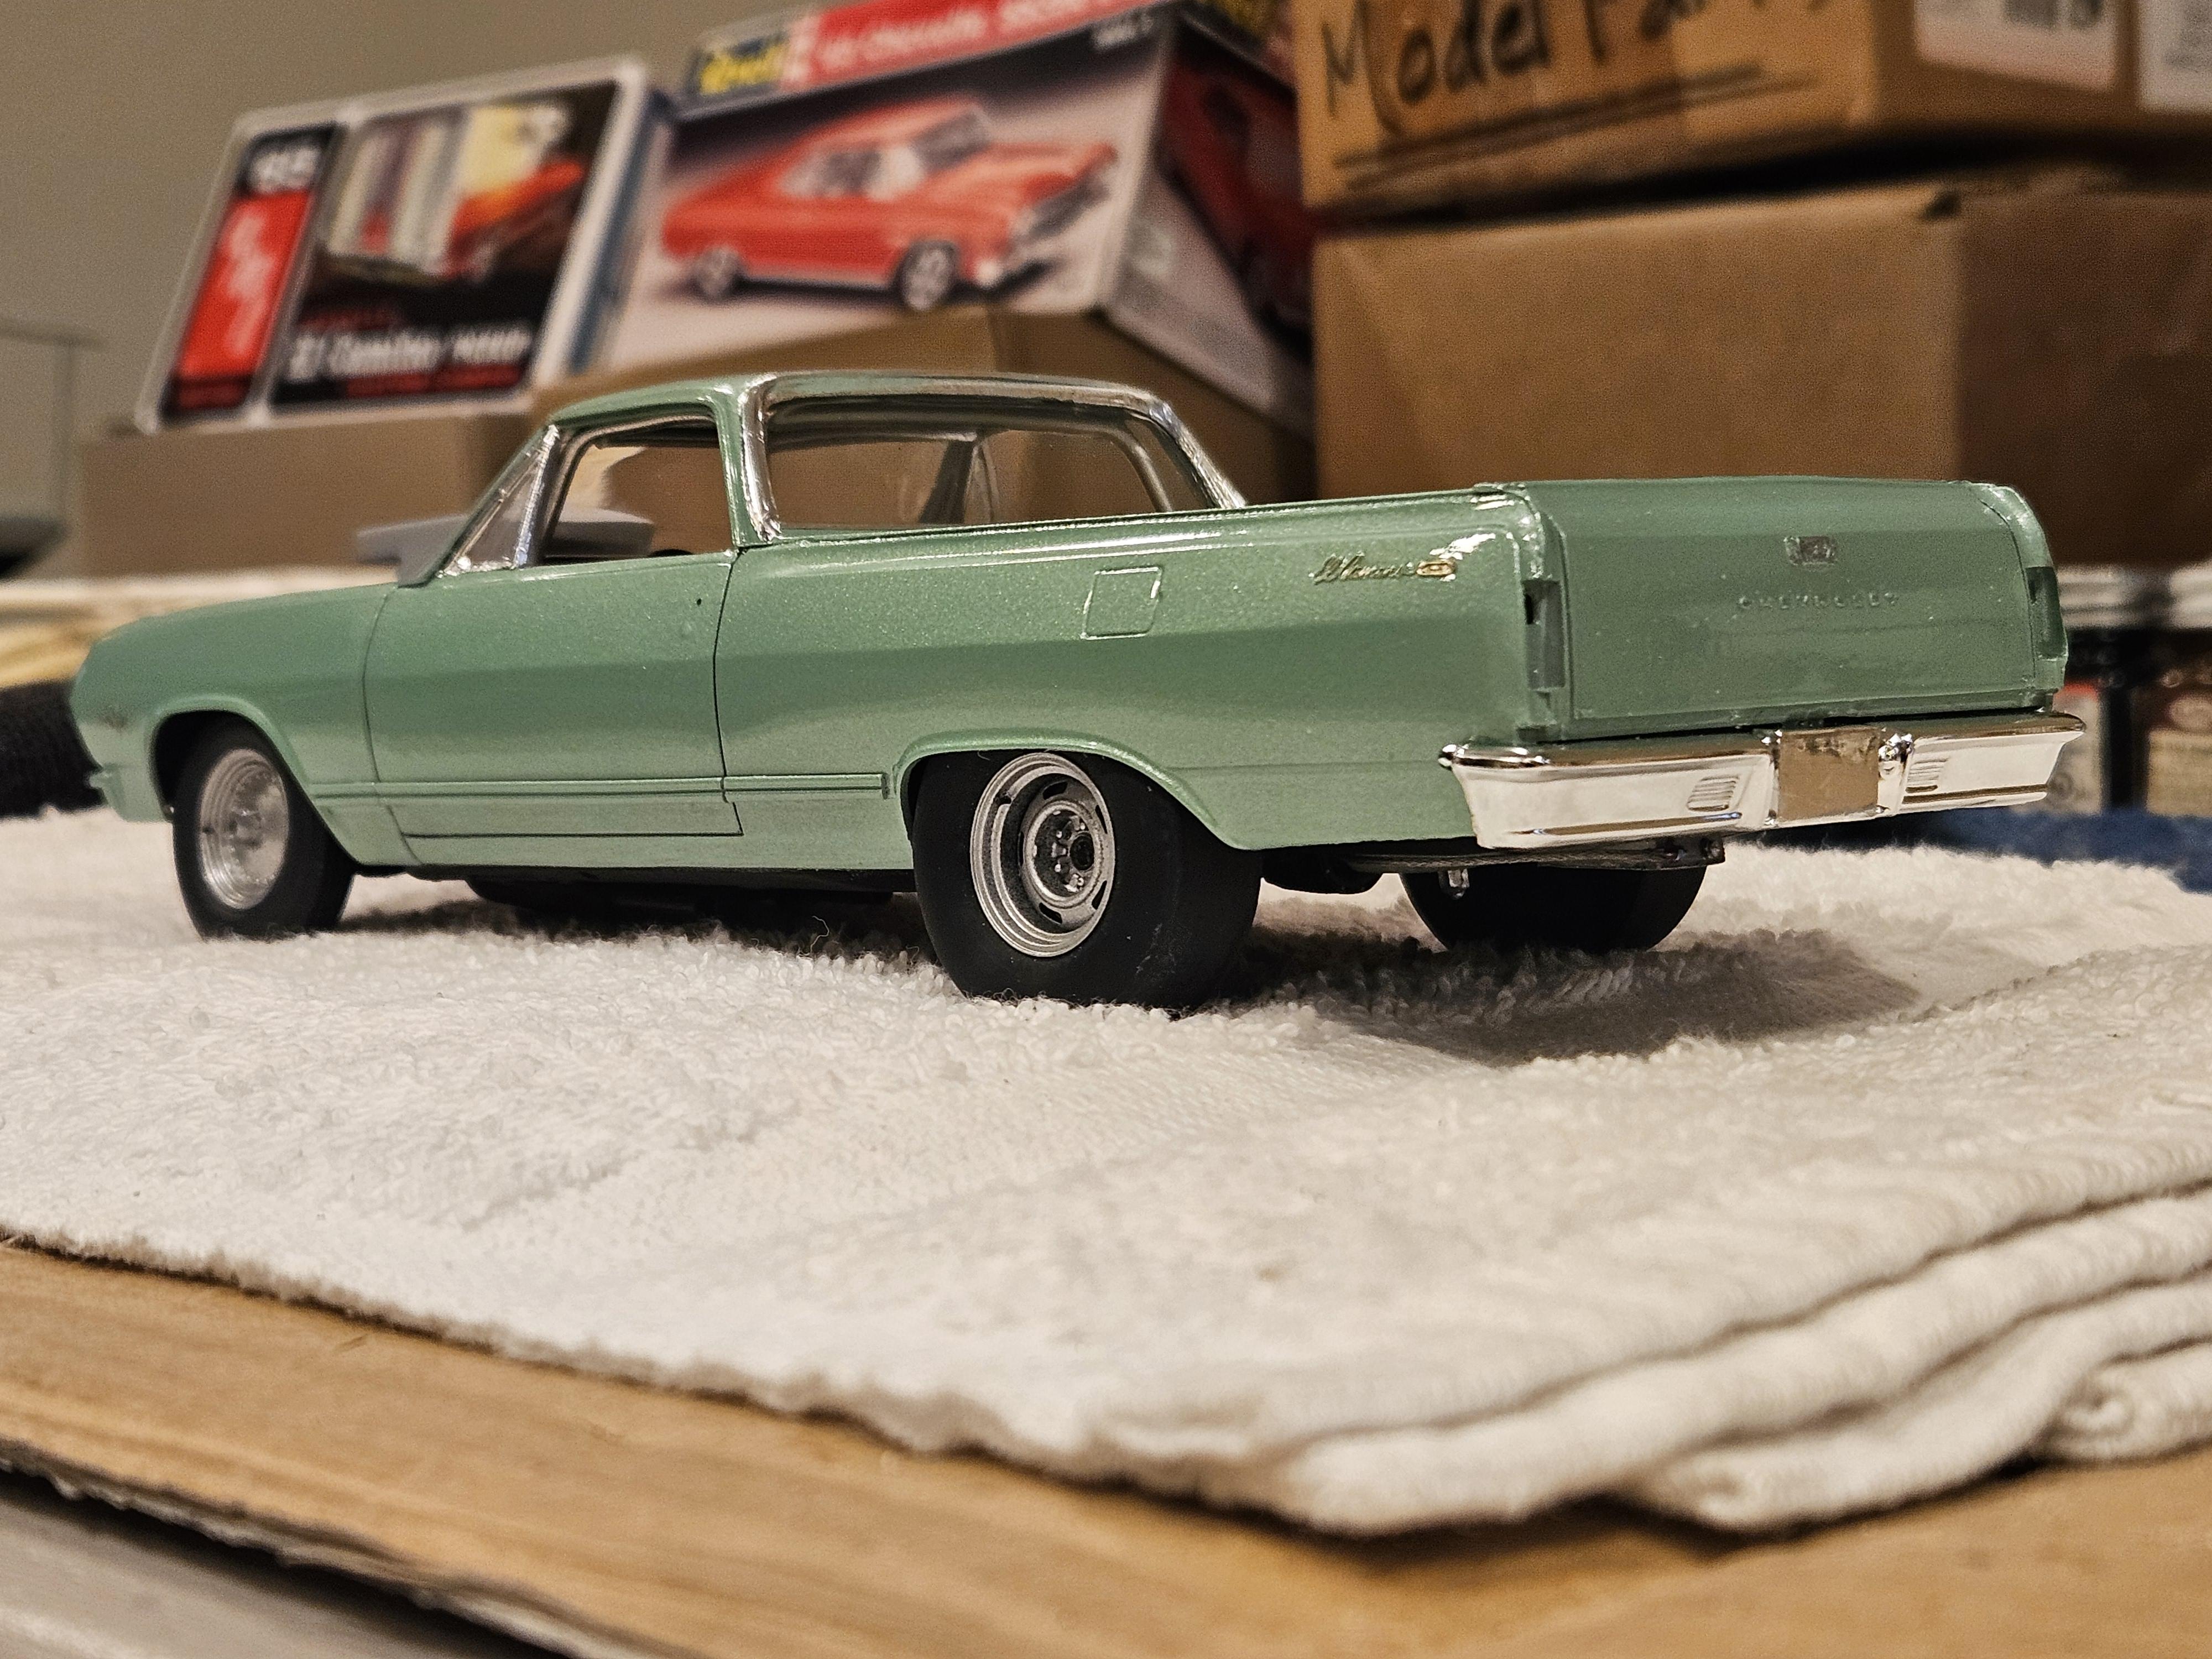
Stripped the chrome on the rear bumper, shot with revell chrome and installed the turn signal and back up lenses in both bumpers as well as giving the grille a coat of tamiya smoke and gluing in headlights. Had to grind the core support a little to get the lower grille valance to sit flush. Also foiled the belt line trim. Last bit left to foil is around the top sides of the bed but ill wait till the body is on the chassis to avoid having the foil ripped off with the body upside down on the towel.
-
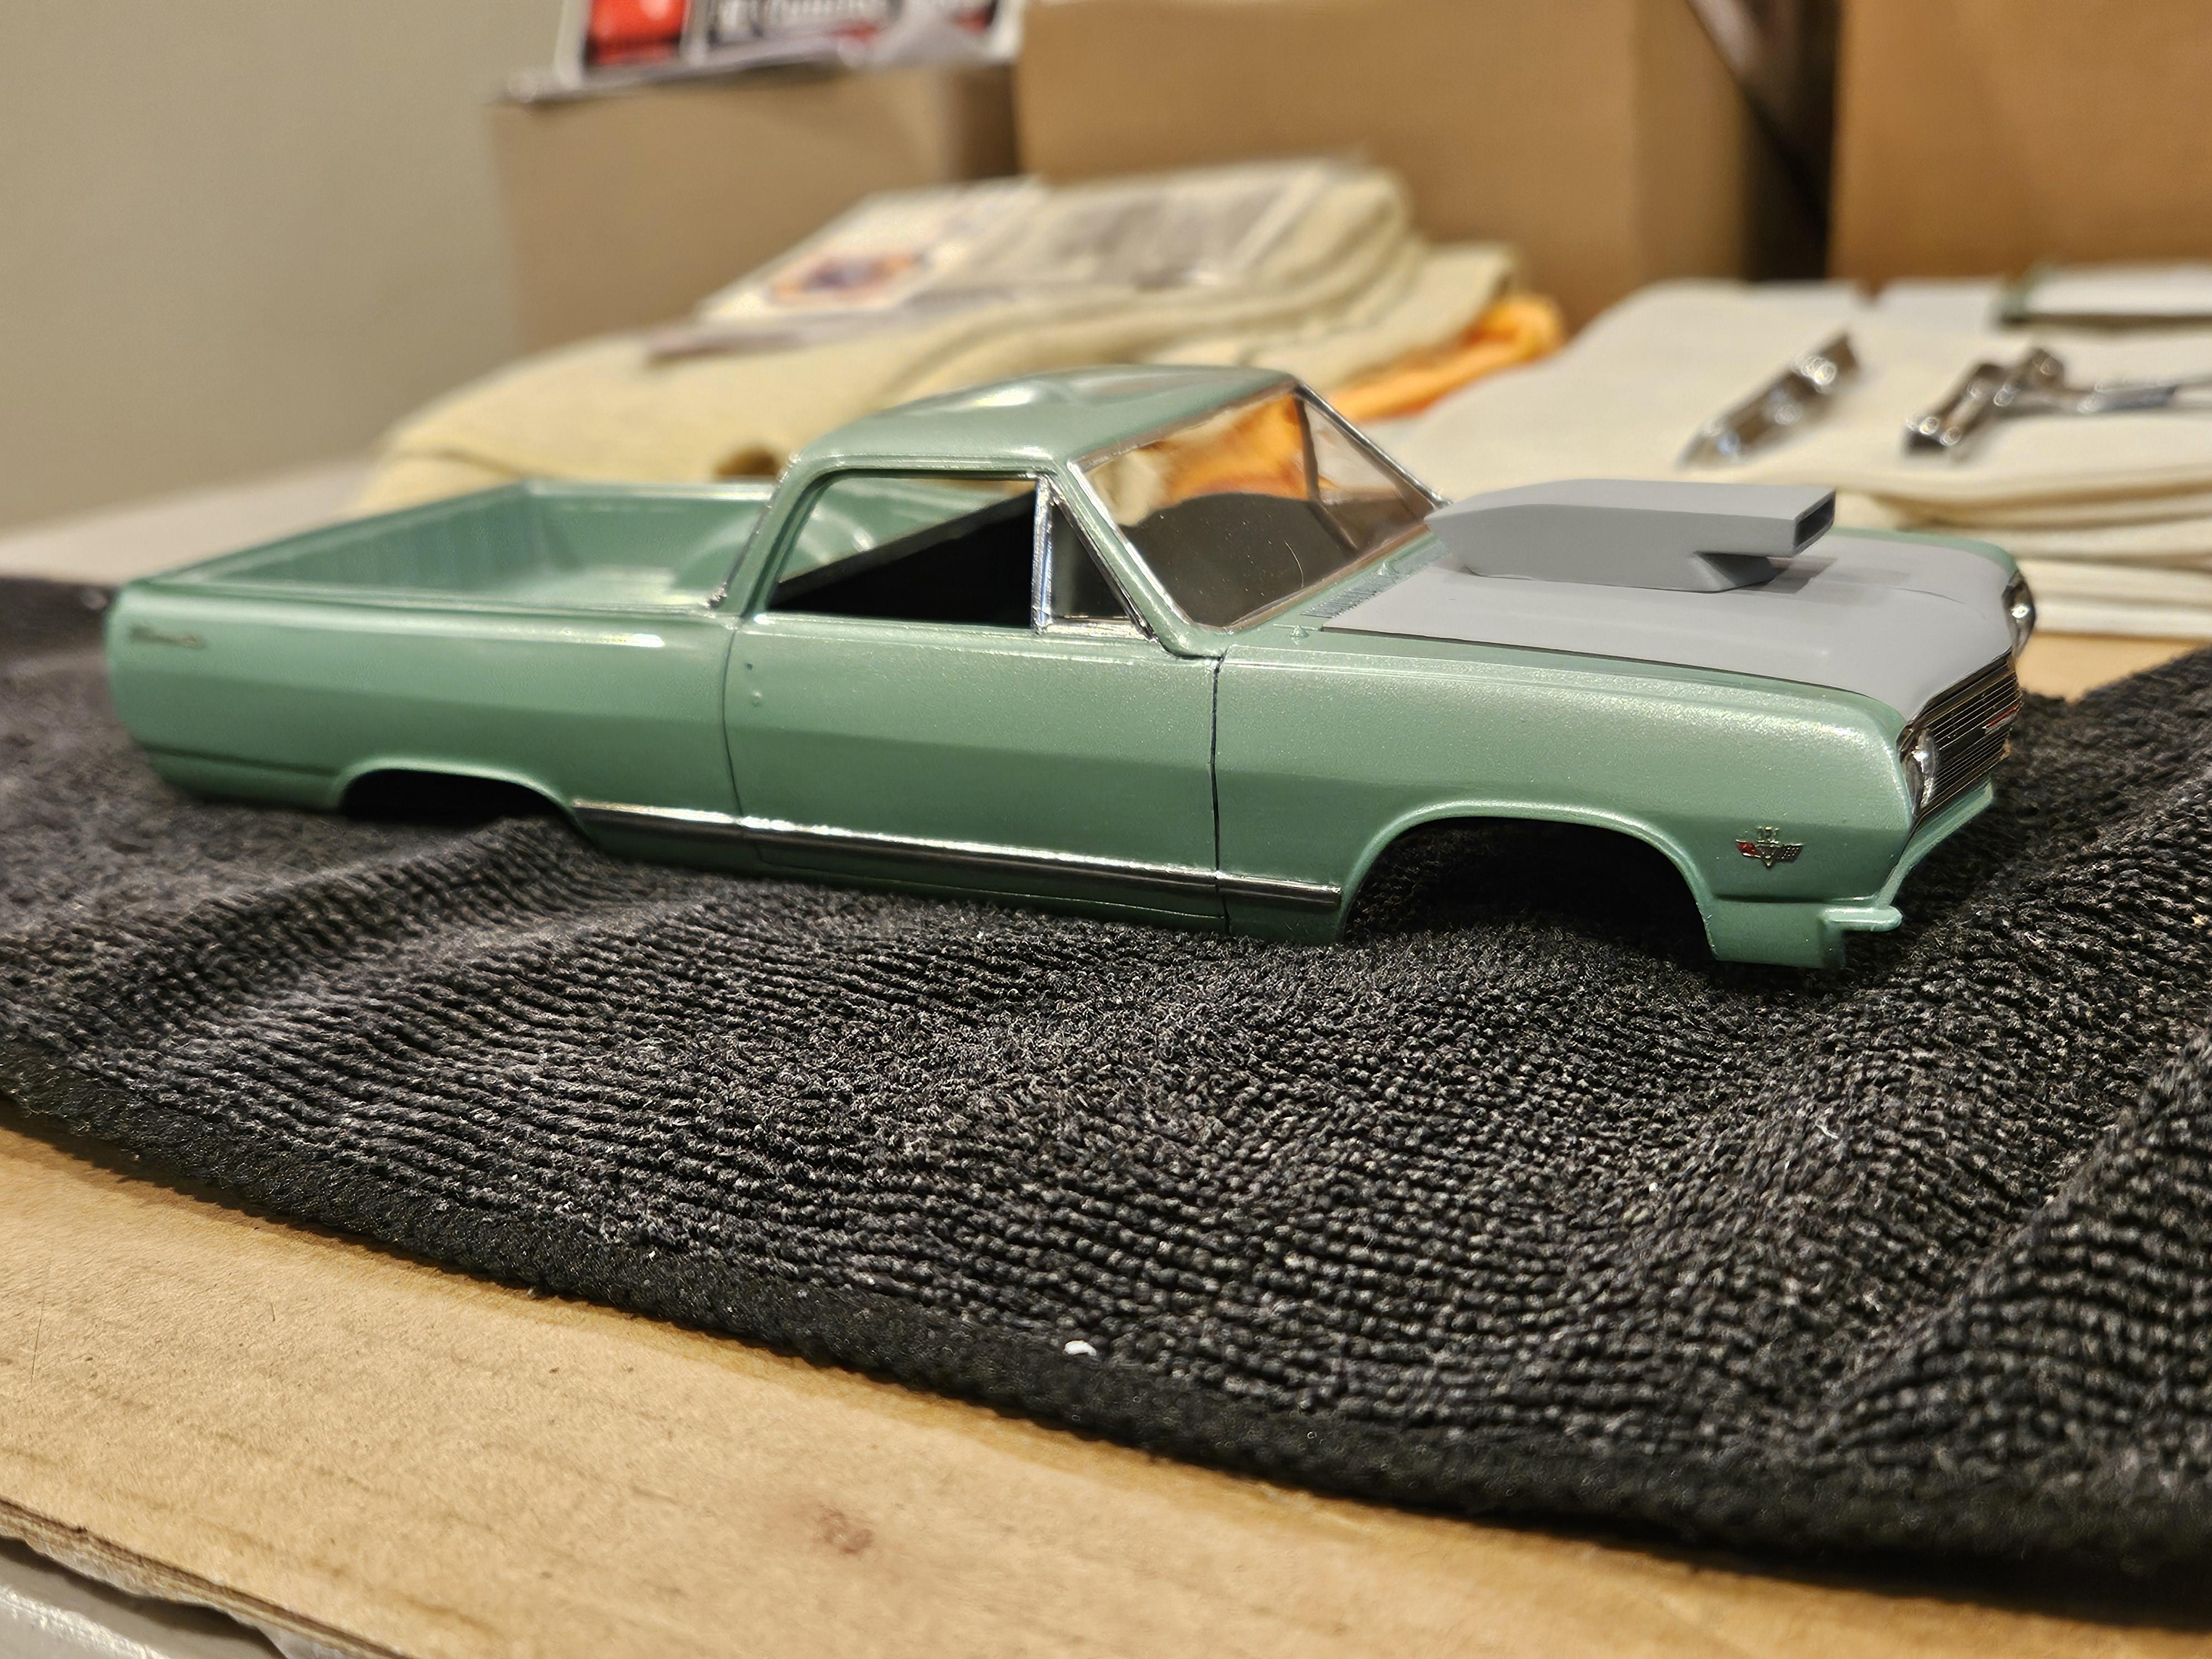
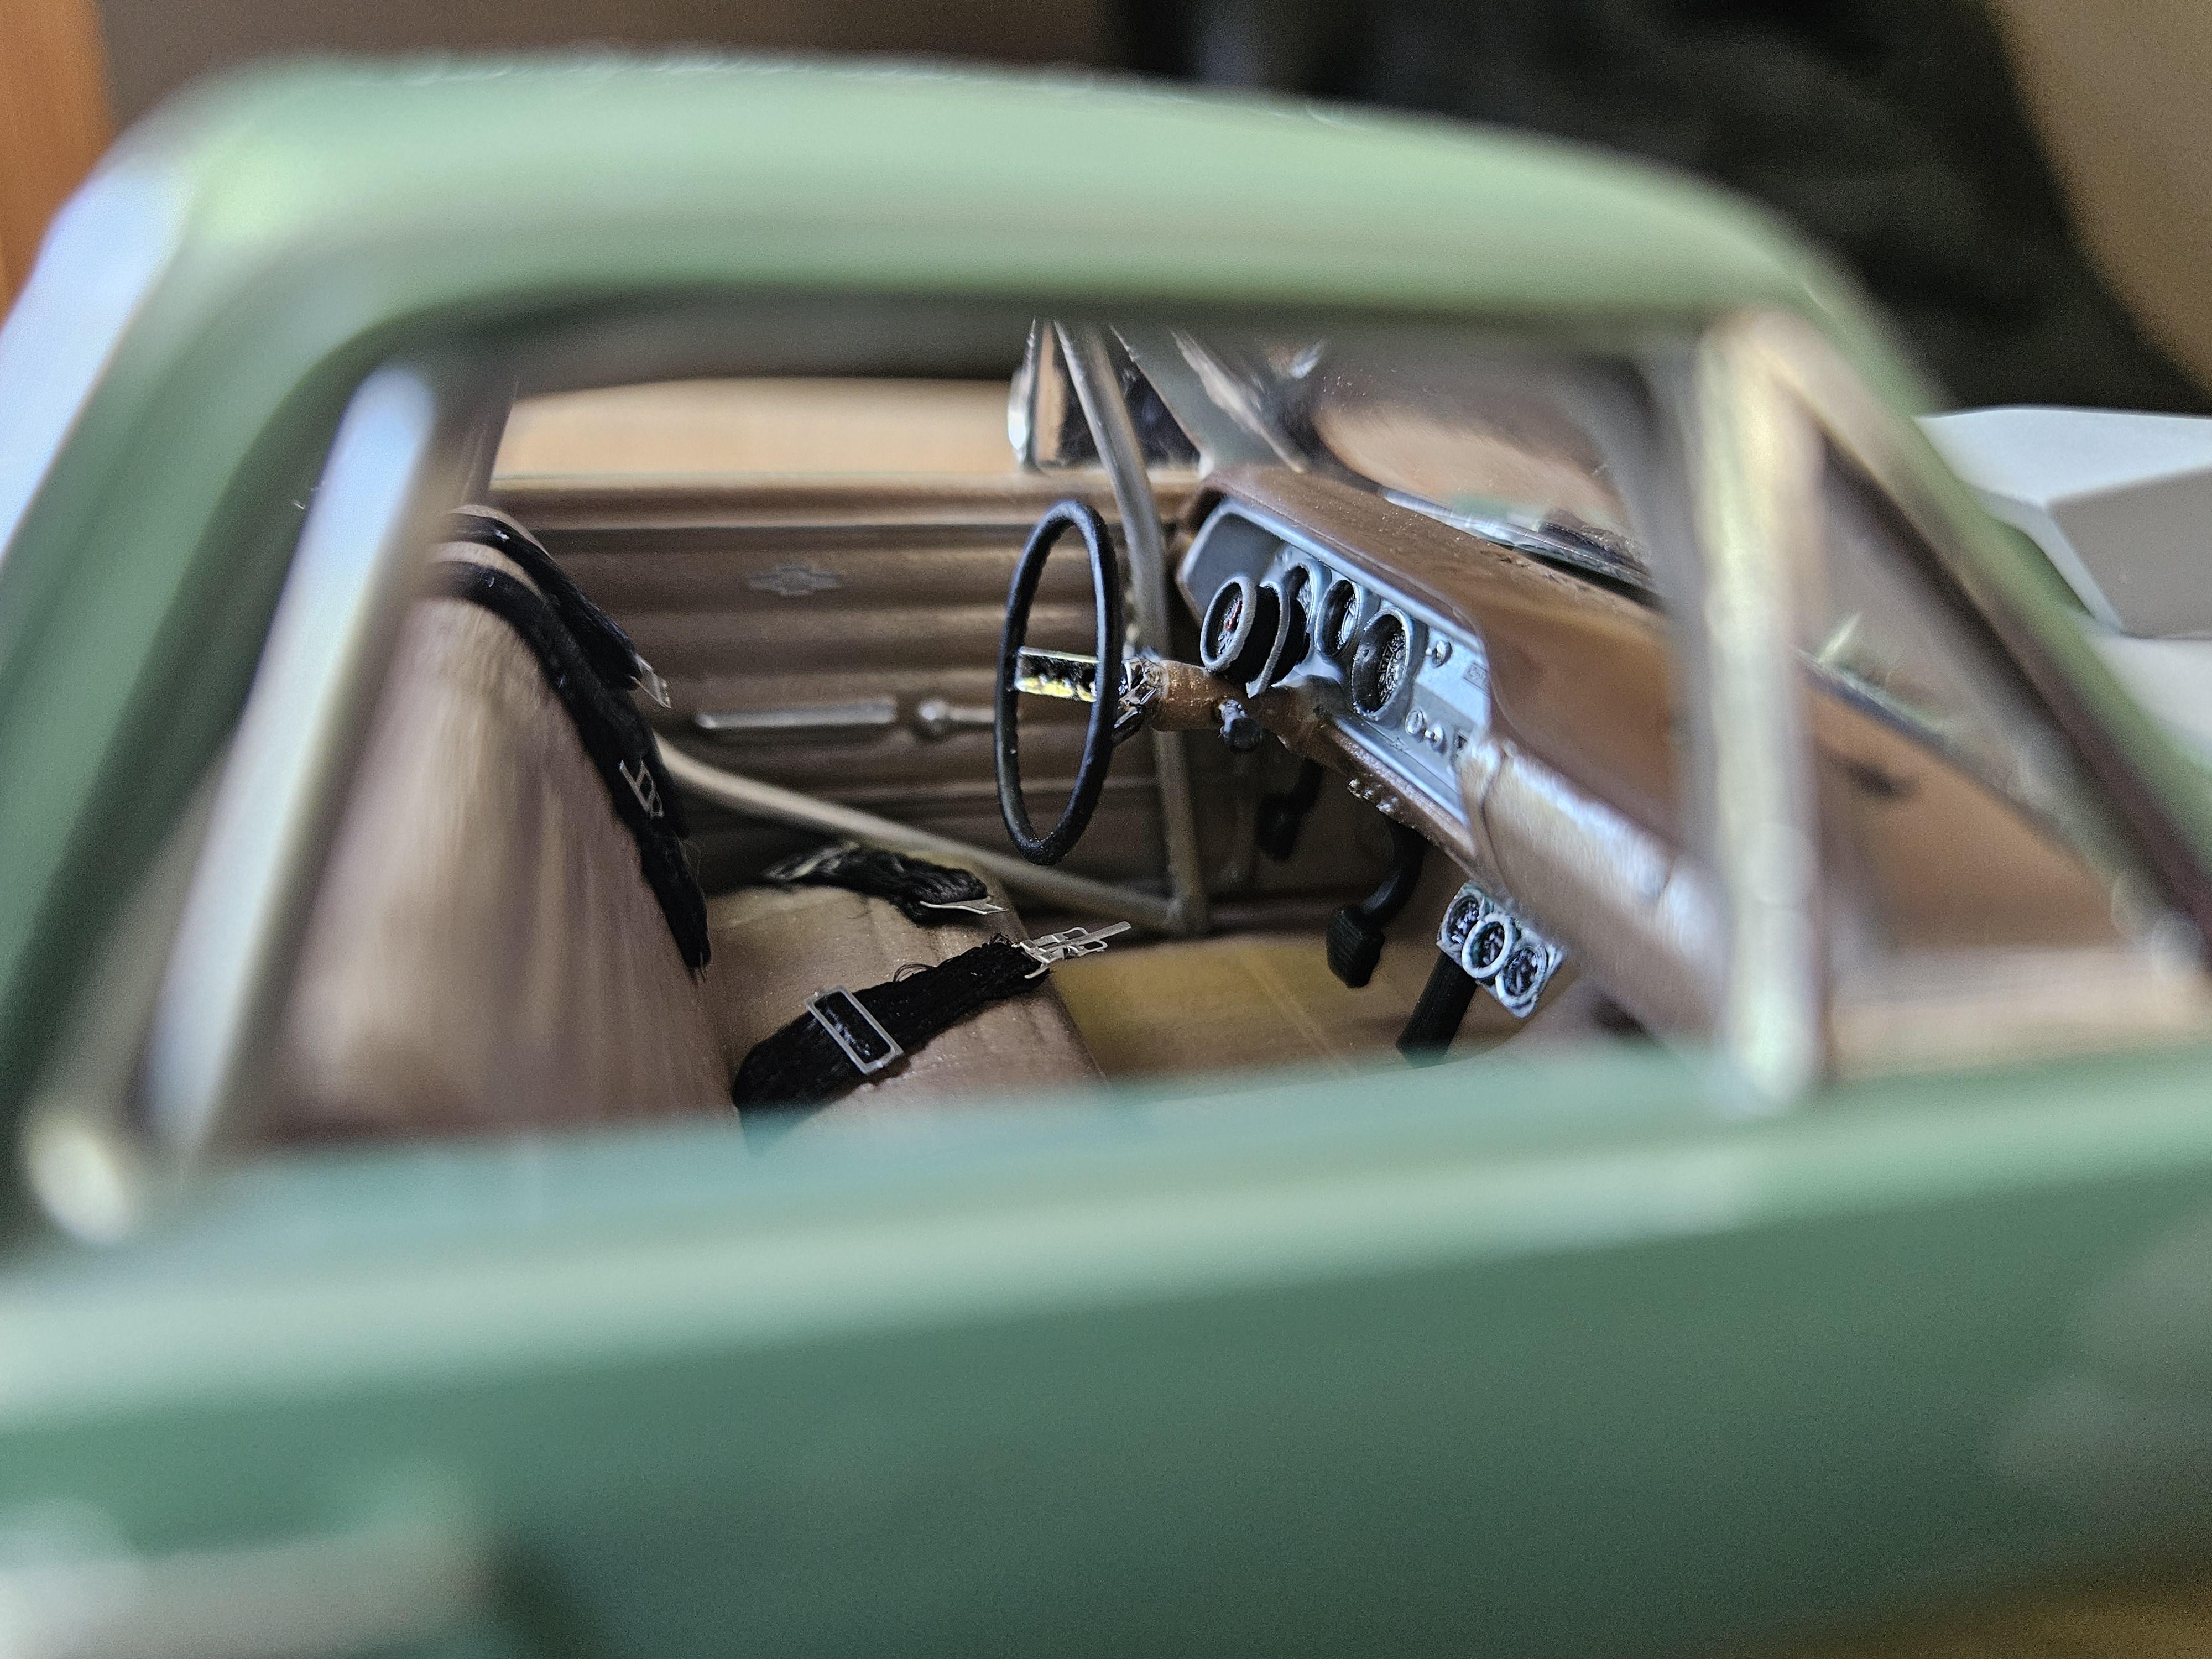
One last test fit of the body, interior and chassis before it goes together for good. Still need to add some firewall parts and fuel lines, strip the chrome on rear bumper and spray with revell chrome and a few other odds and ends and it should be done.
-
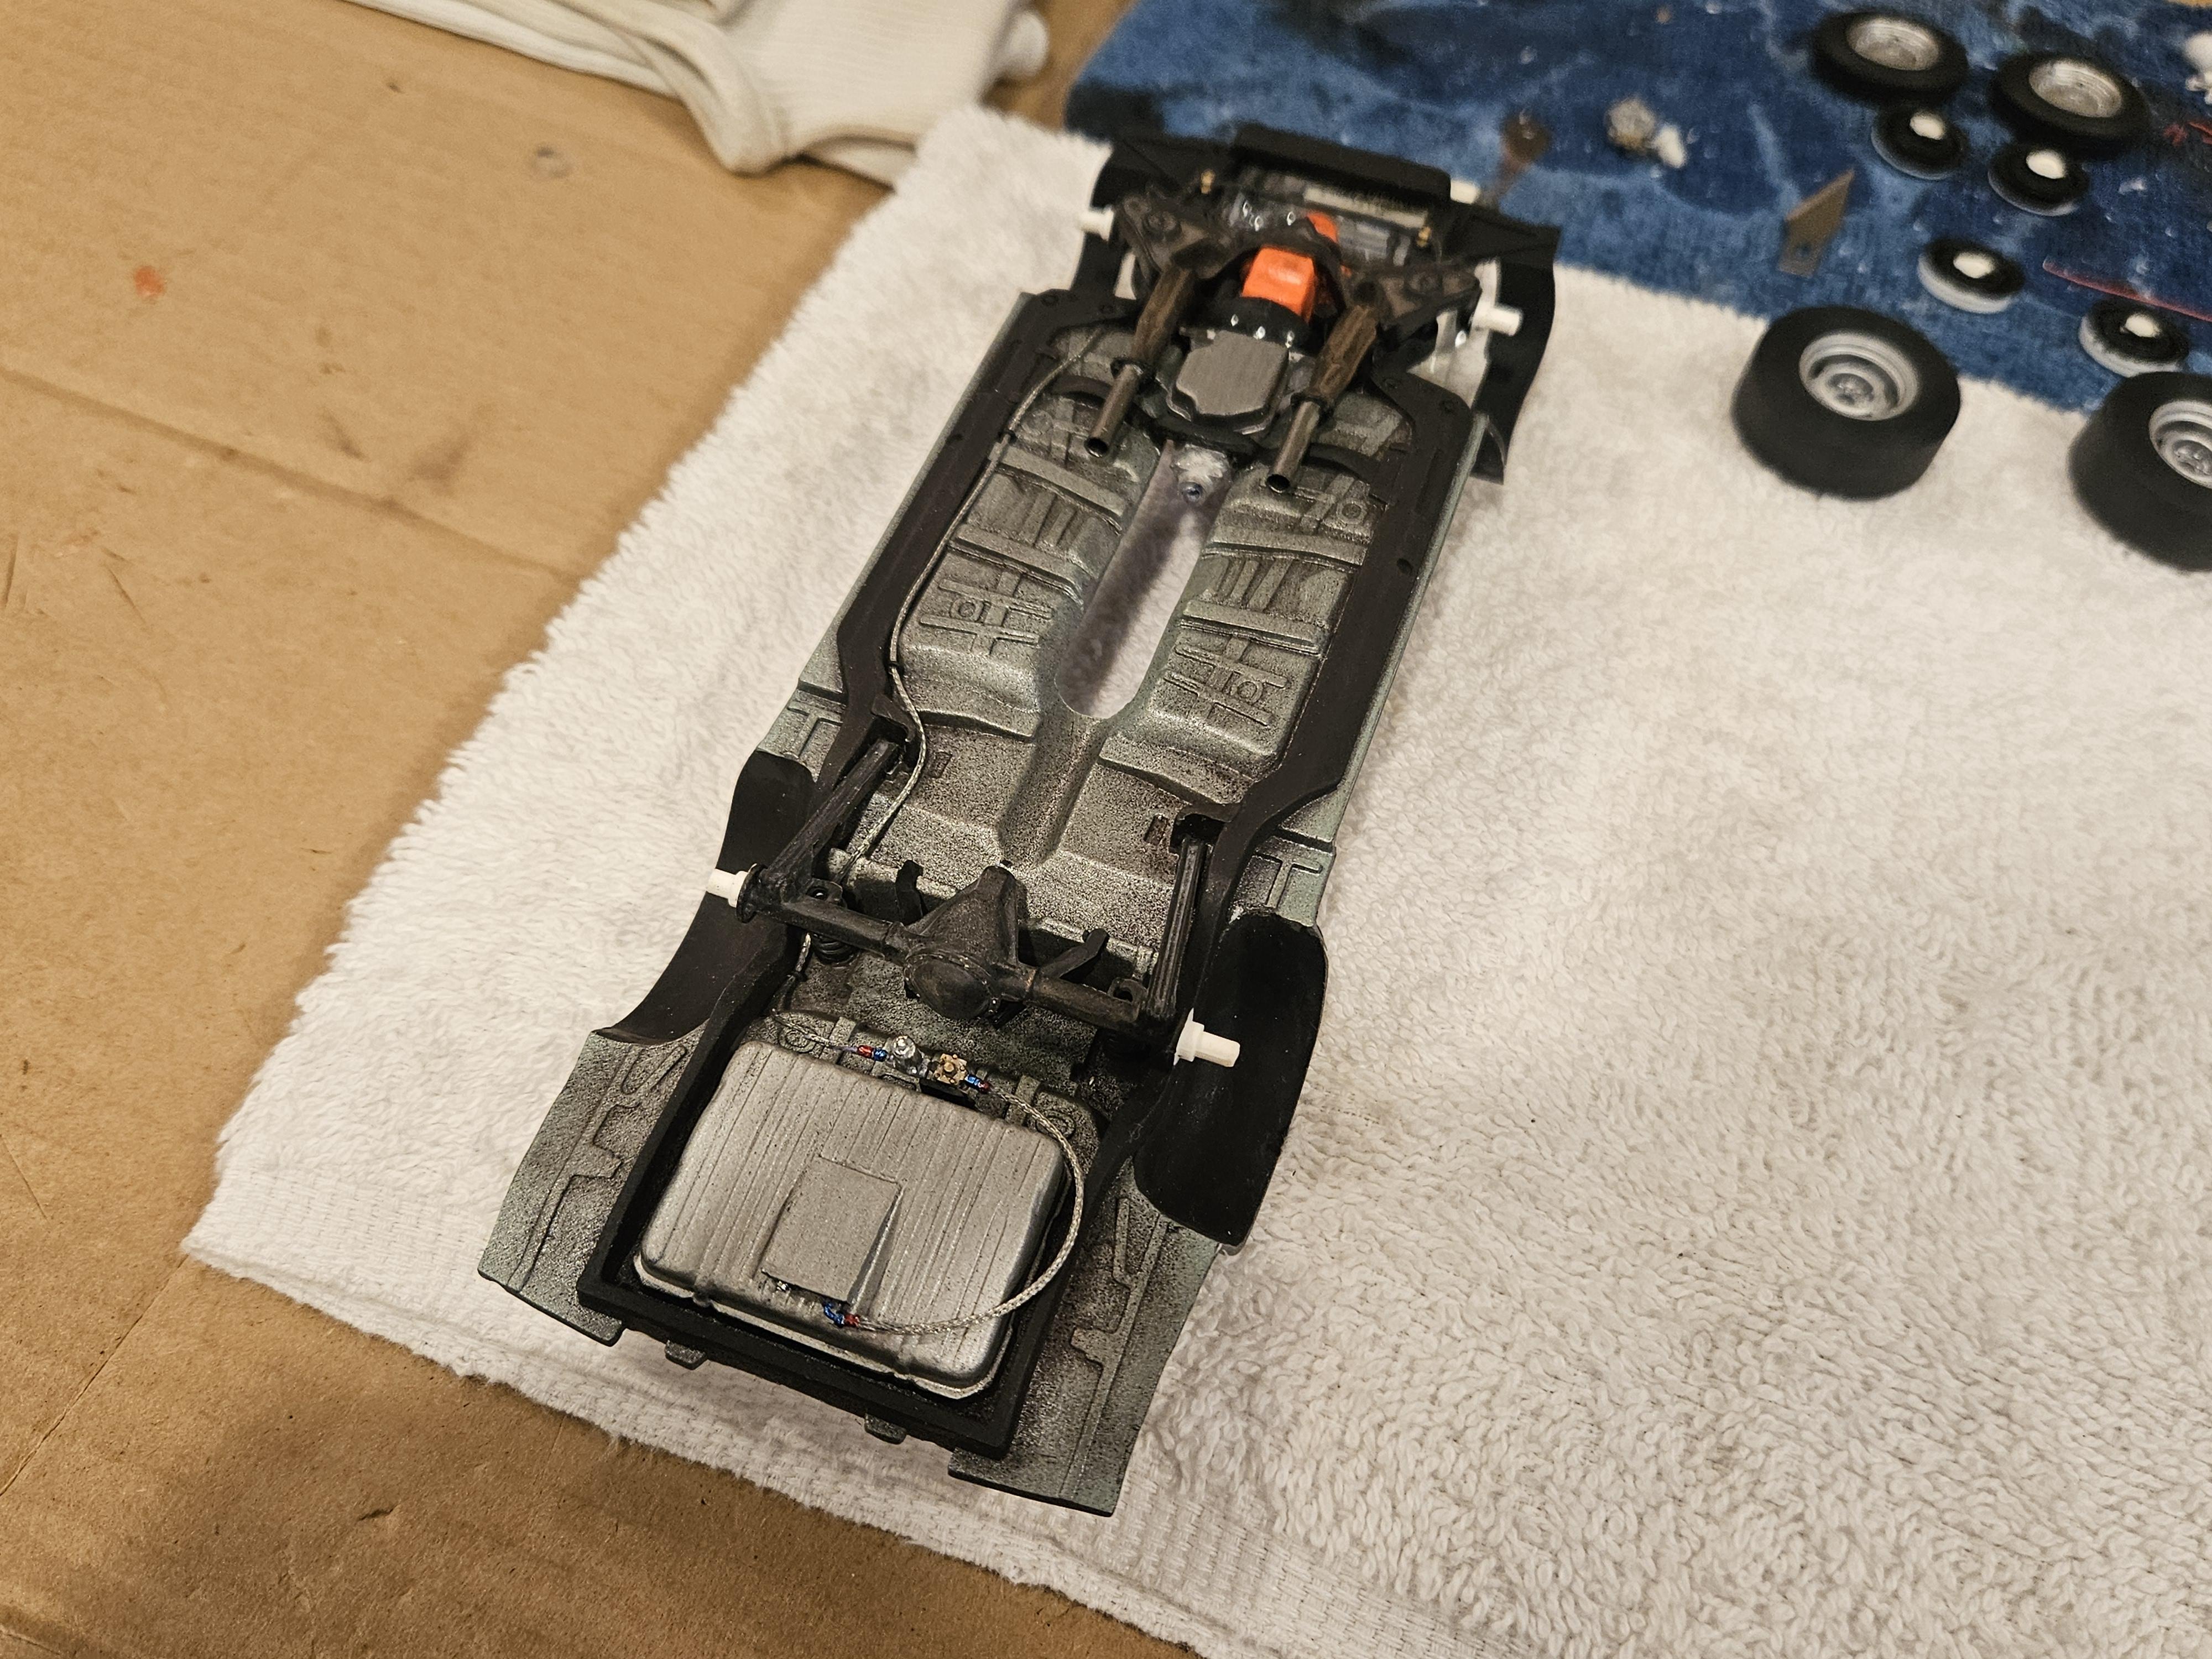
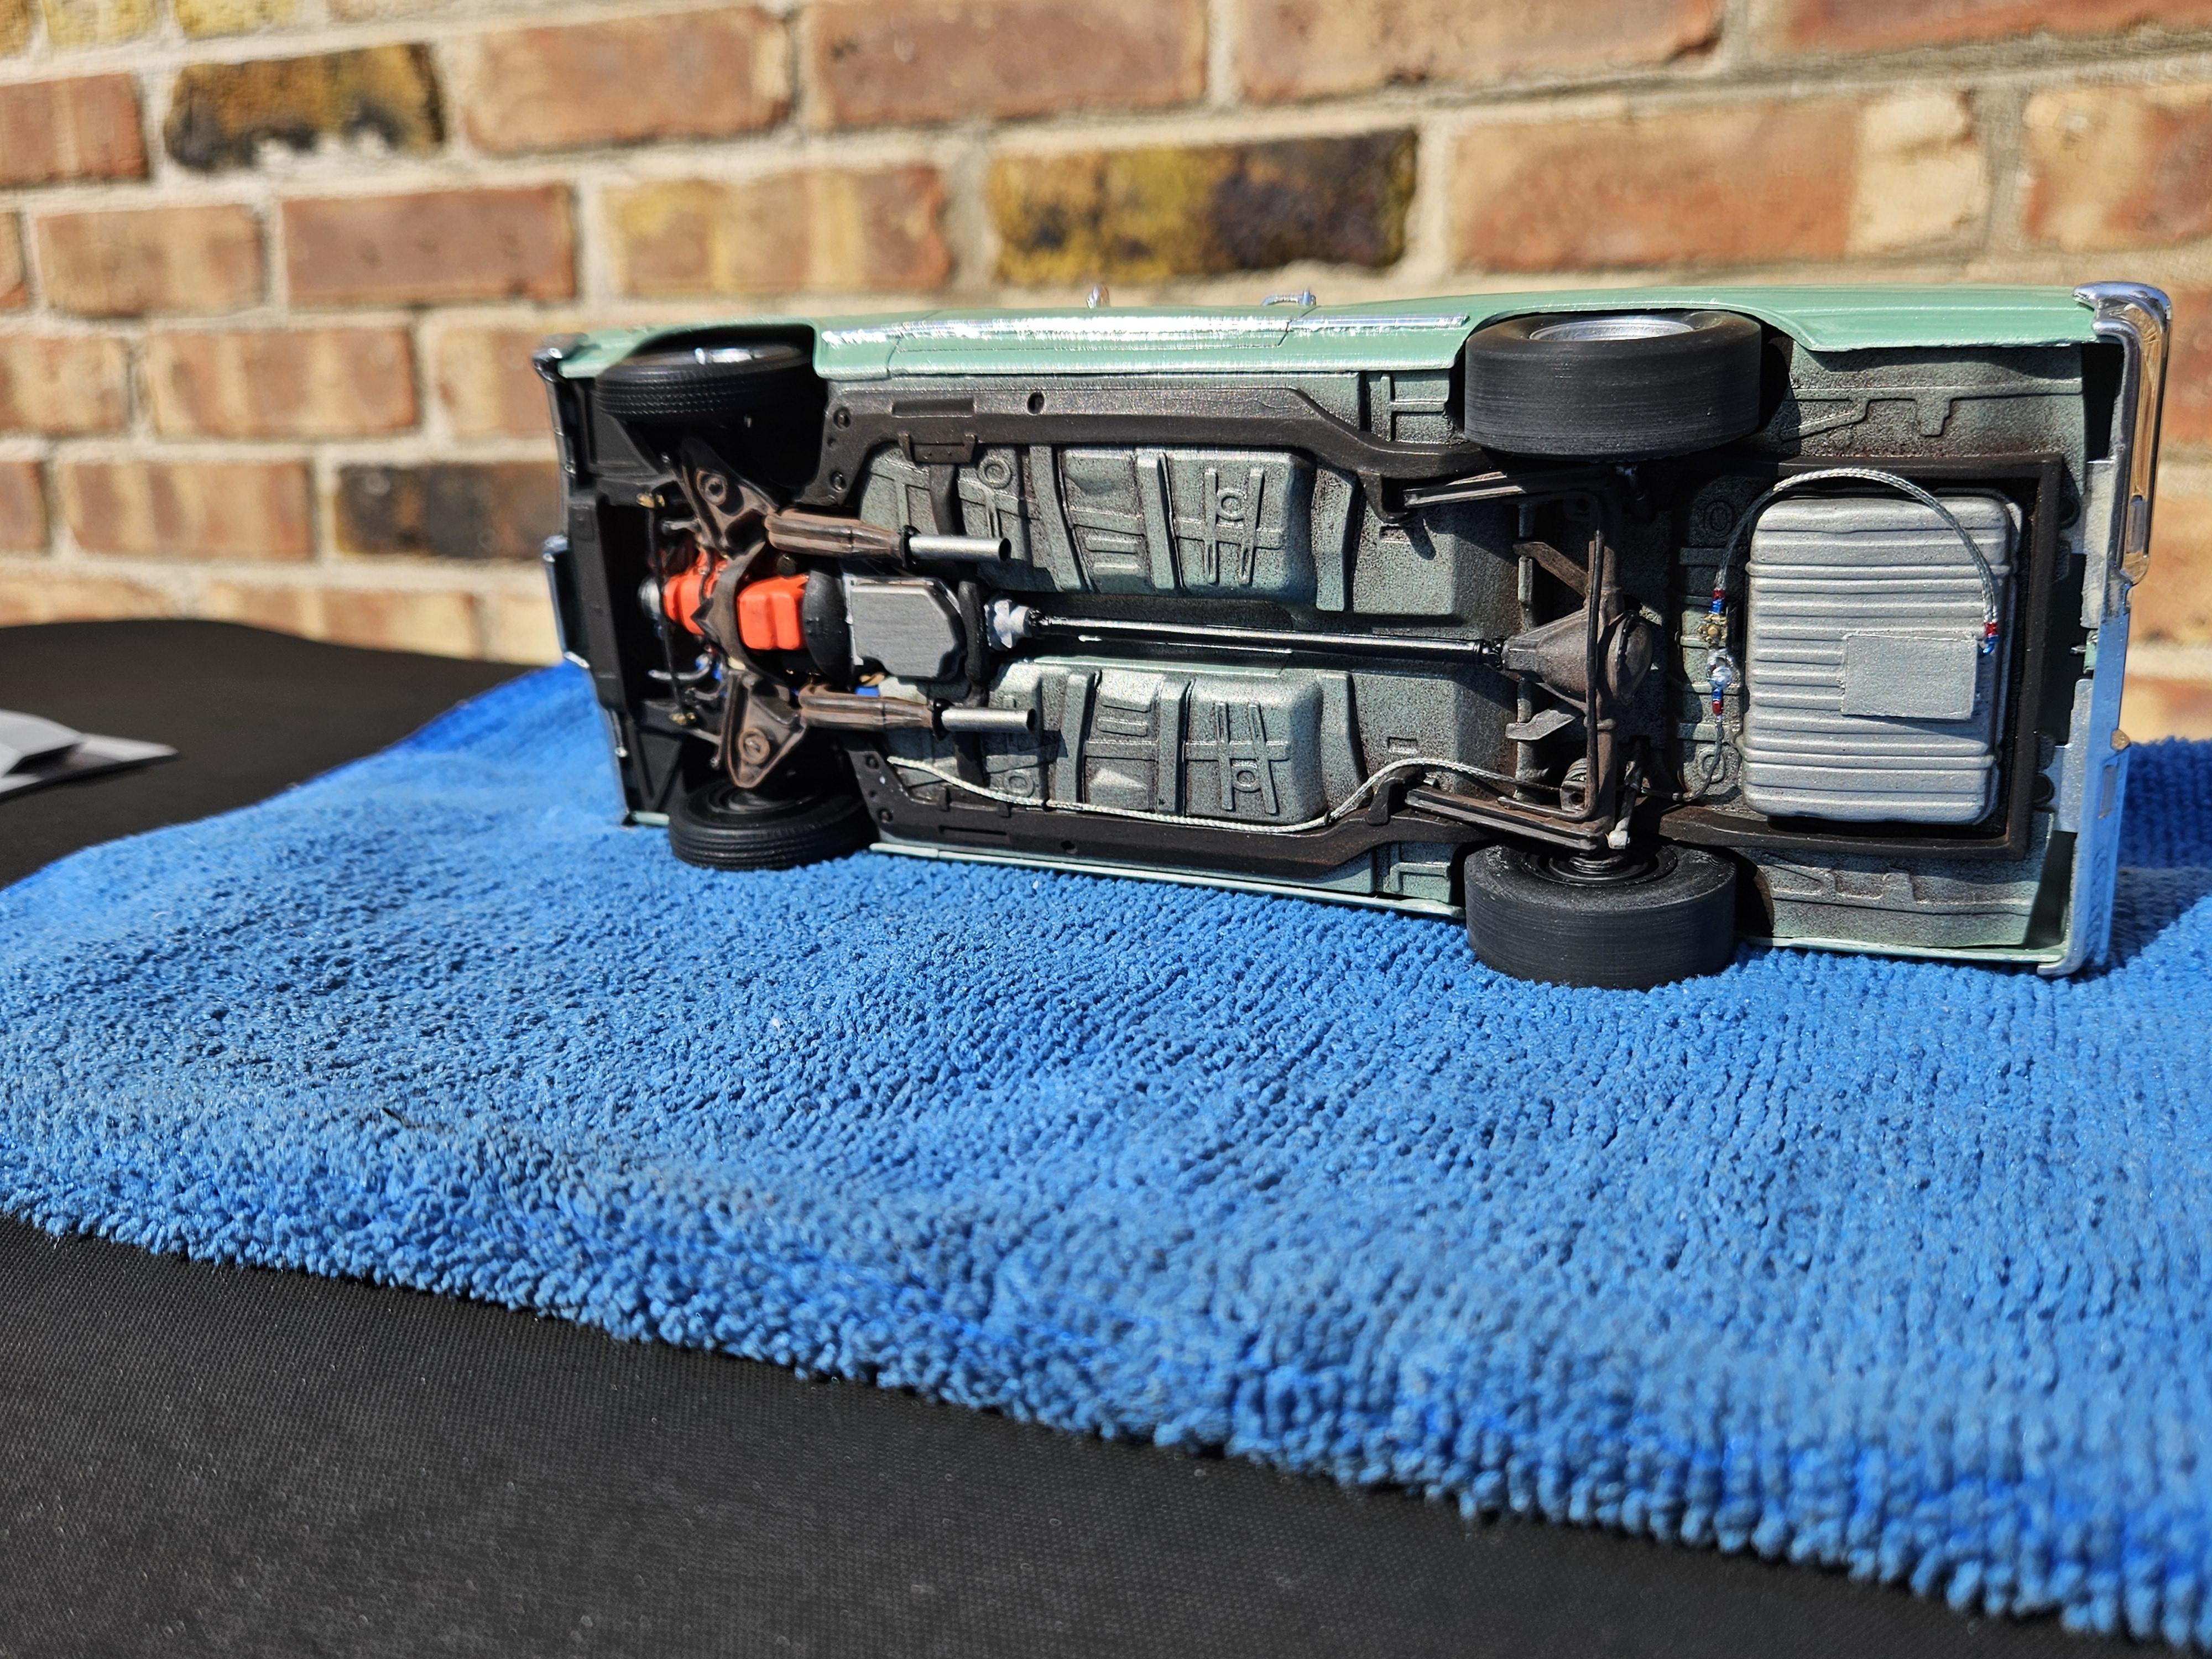
Still have to mount the shocks and drive shaft but otherwise the chassis is mostly done.
-
Thanks!
-
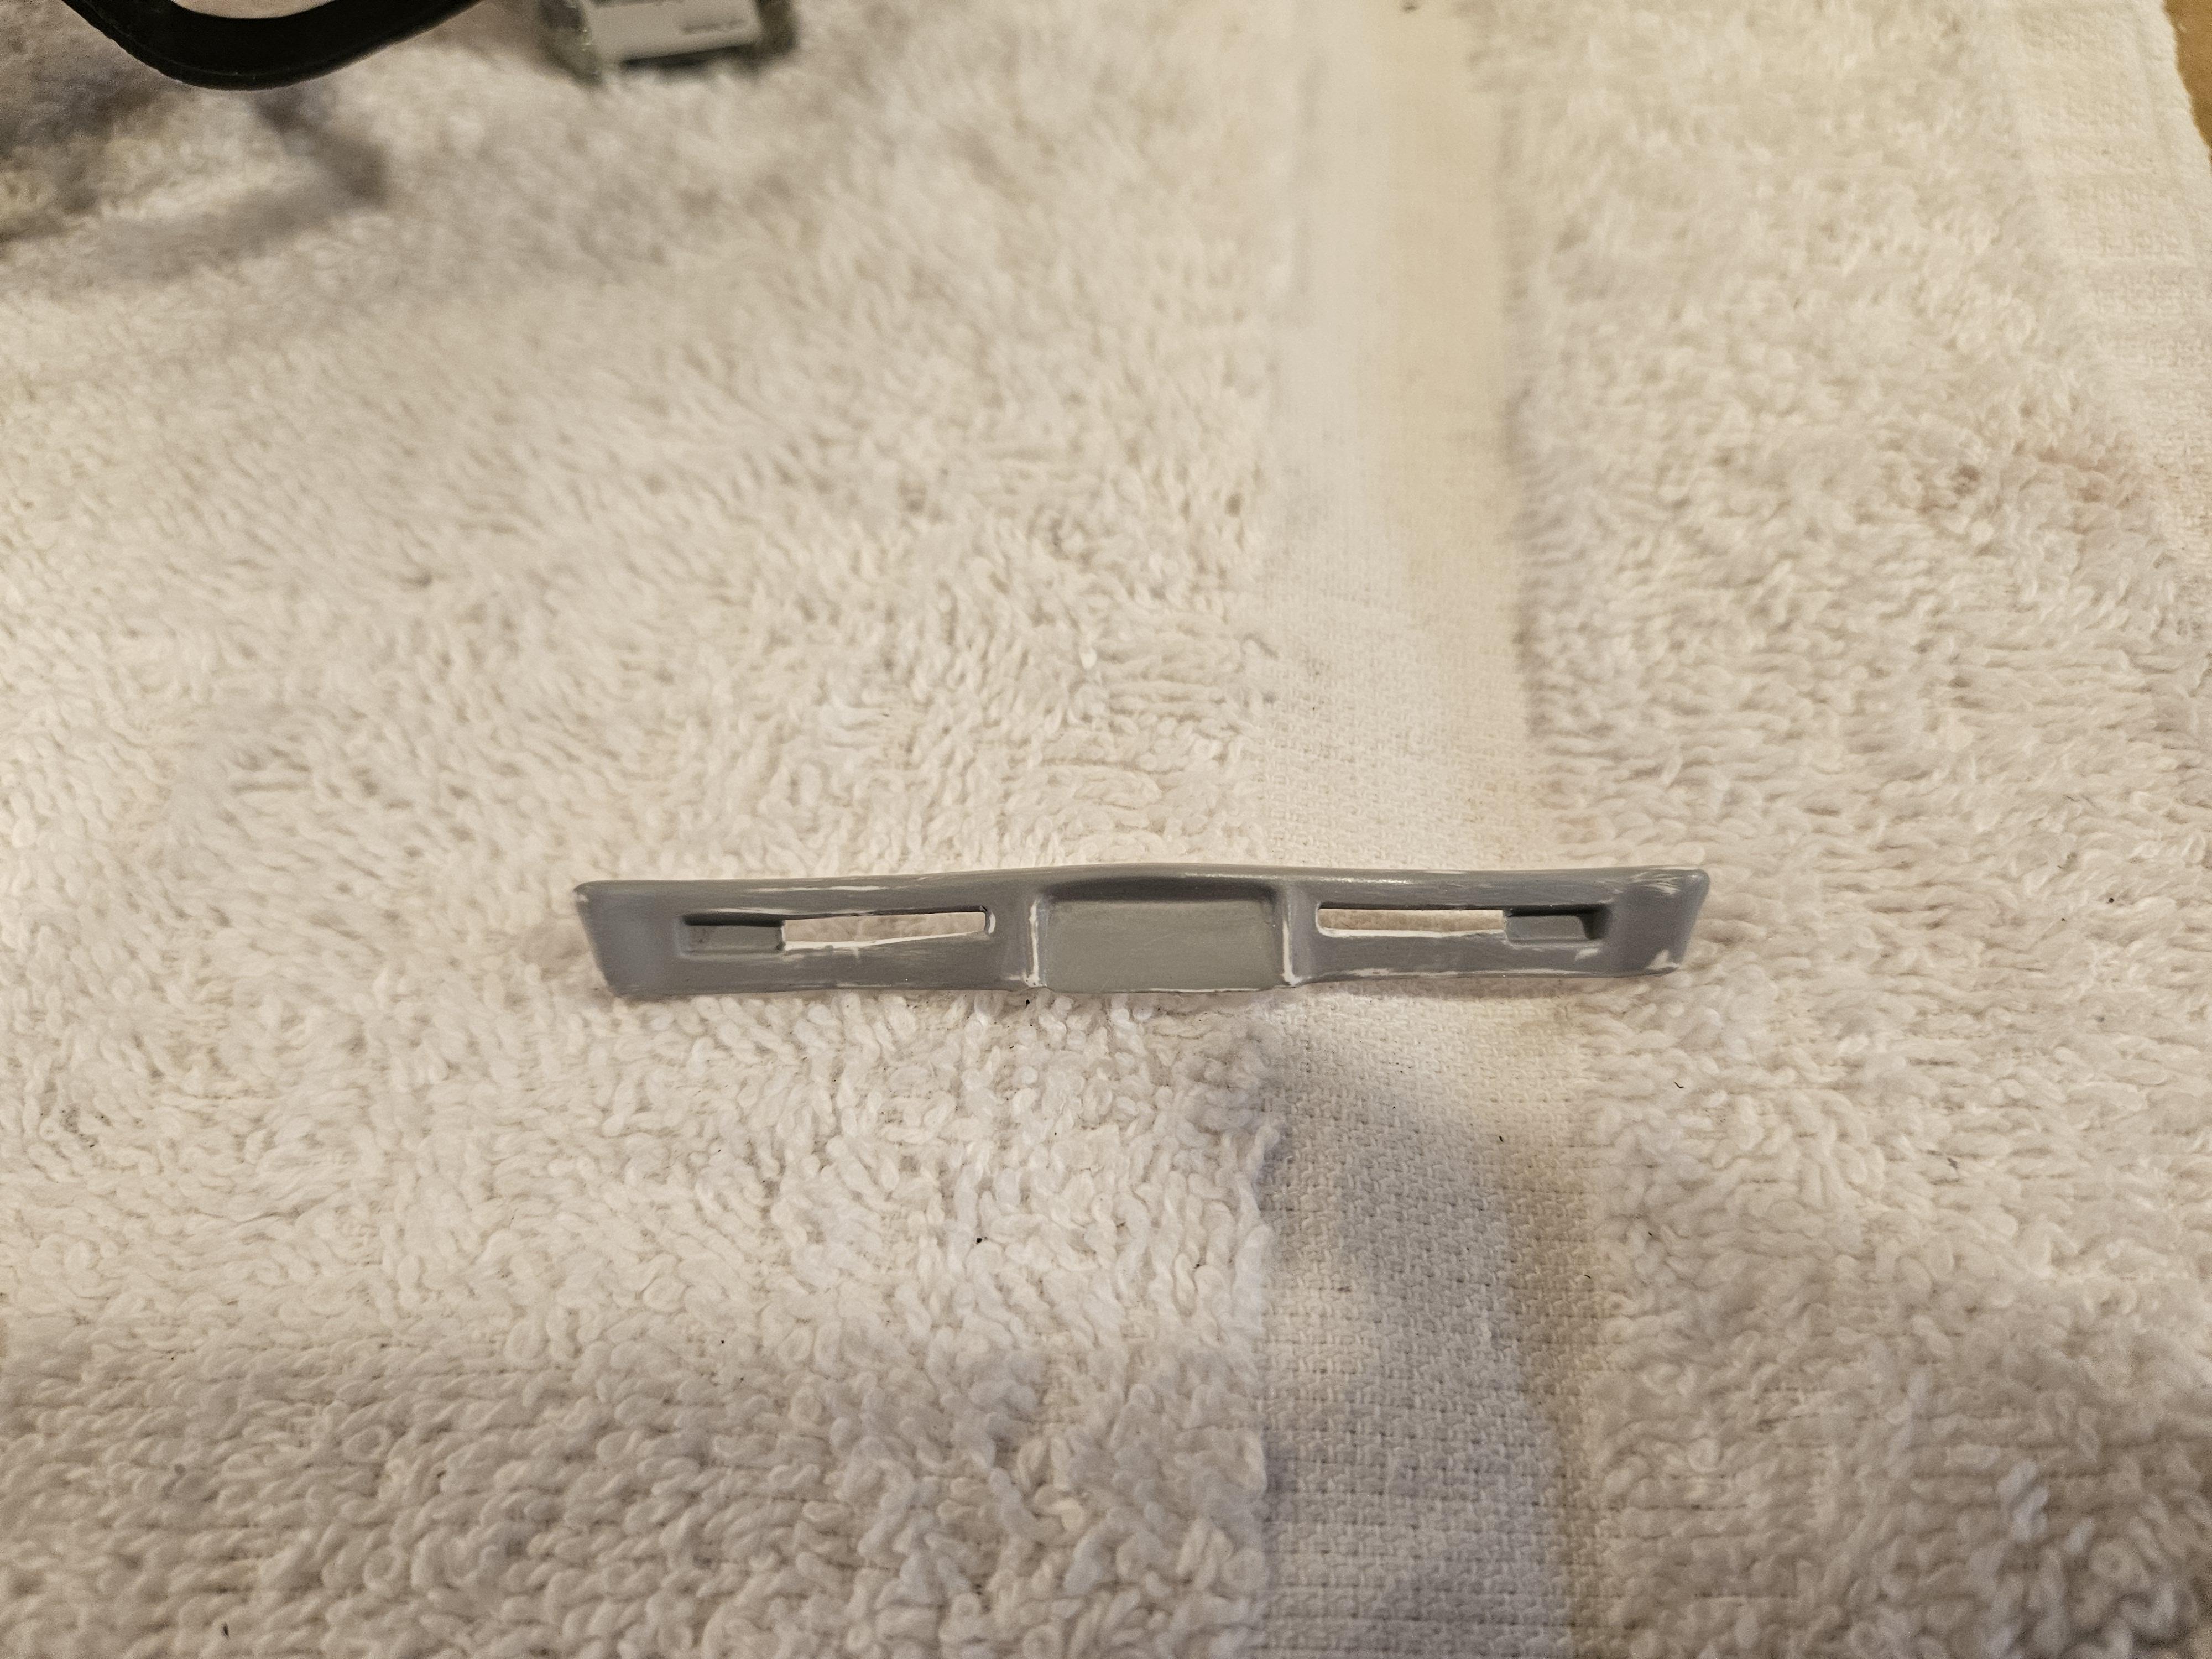
Tried to use the AMT front bumper from the el camino kit but it's too narrow for the revell front clip so I took the revell bumper and chopped off the bumperettes, sanded smooth and filled with a little putty, shot with primer and then Revell chrome.
-
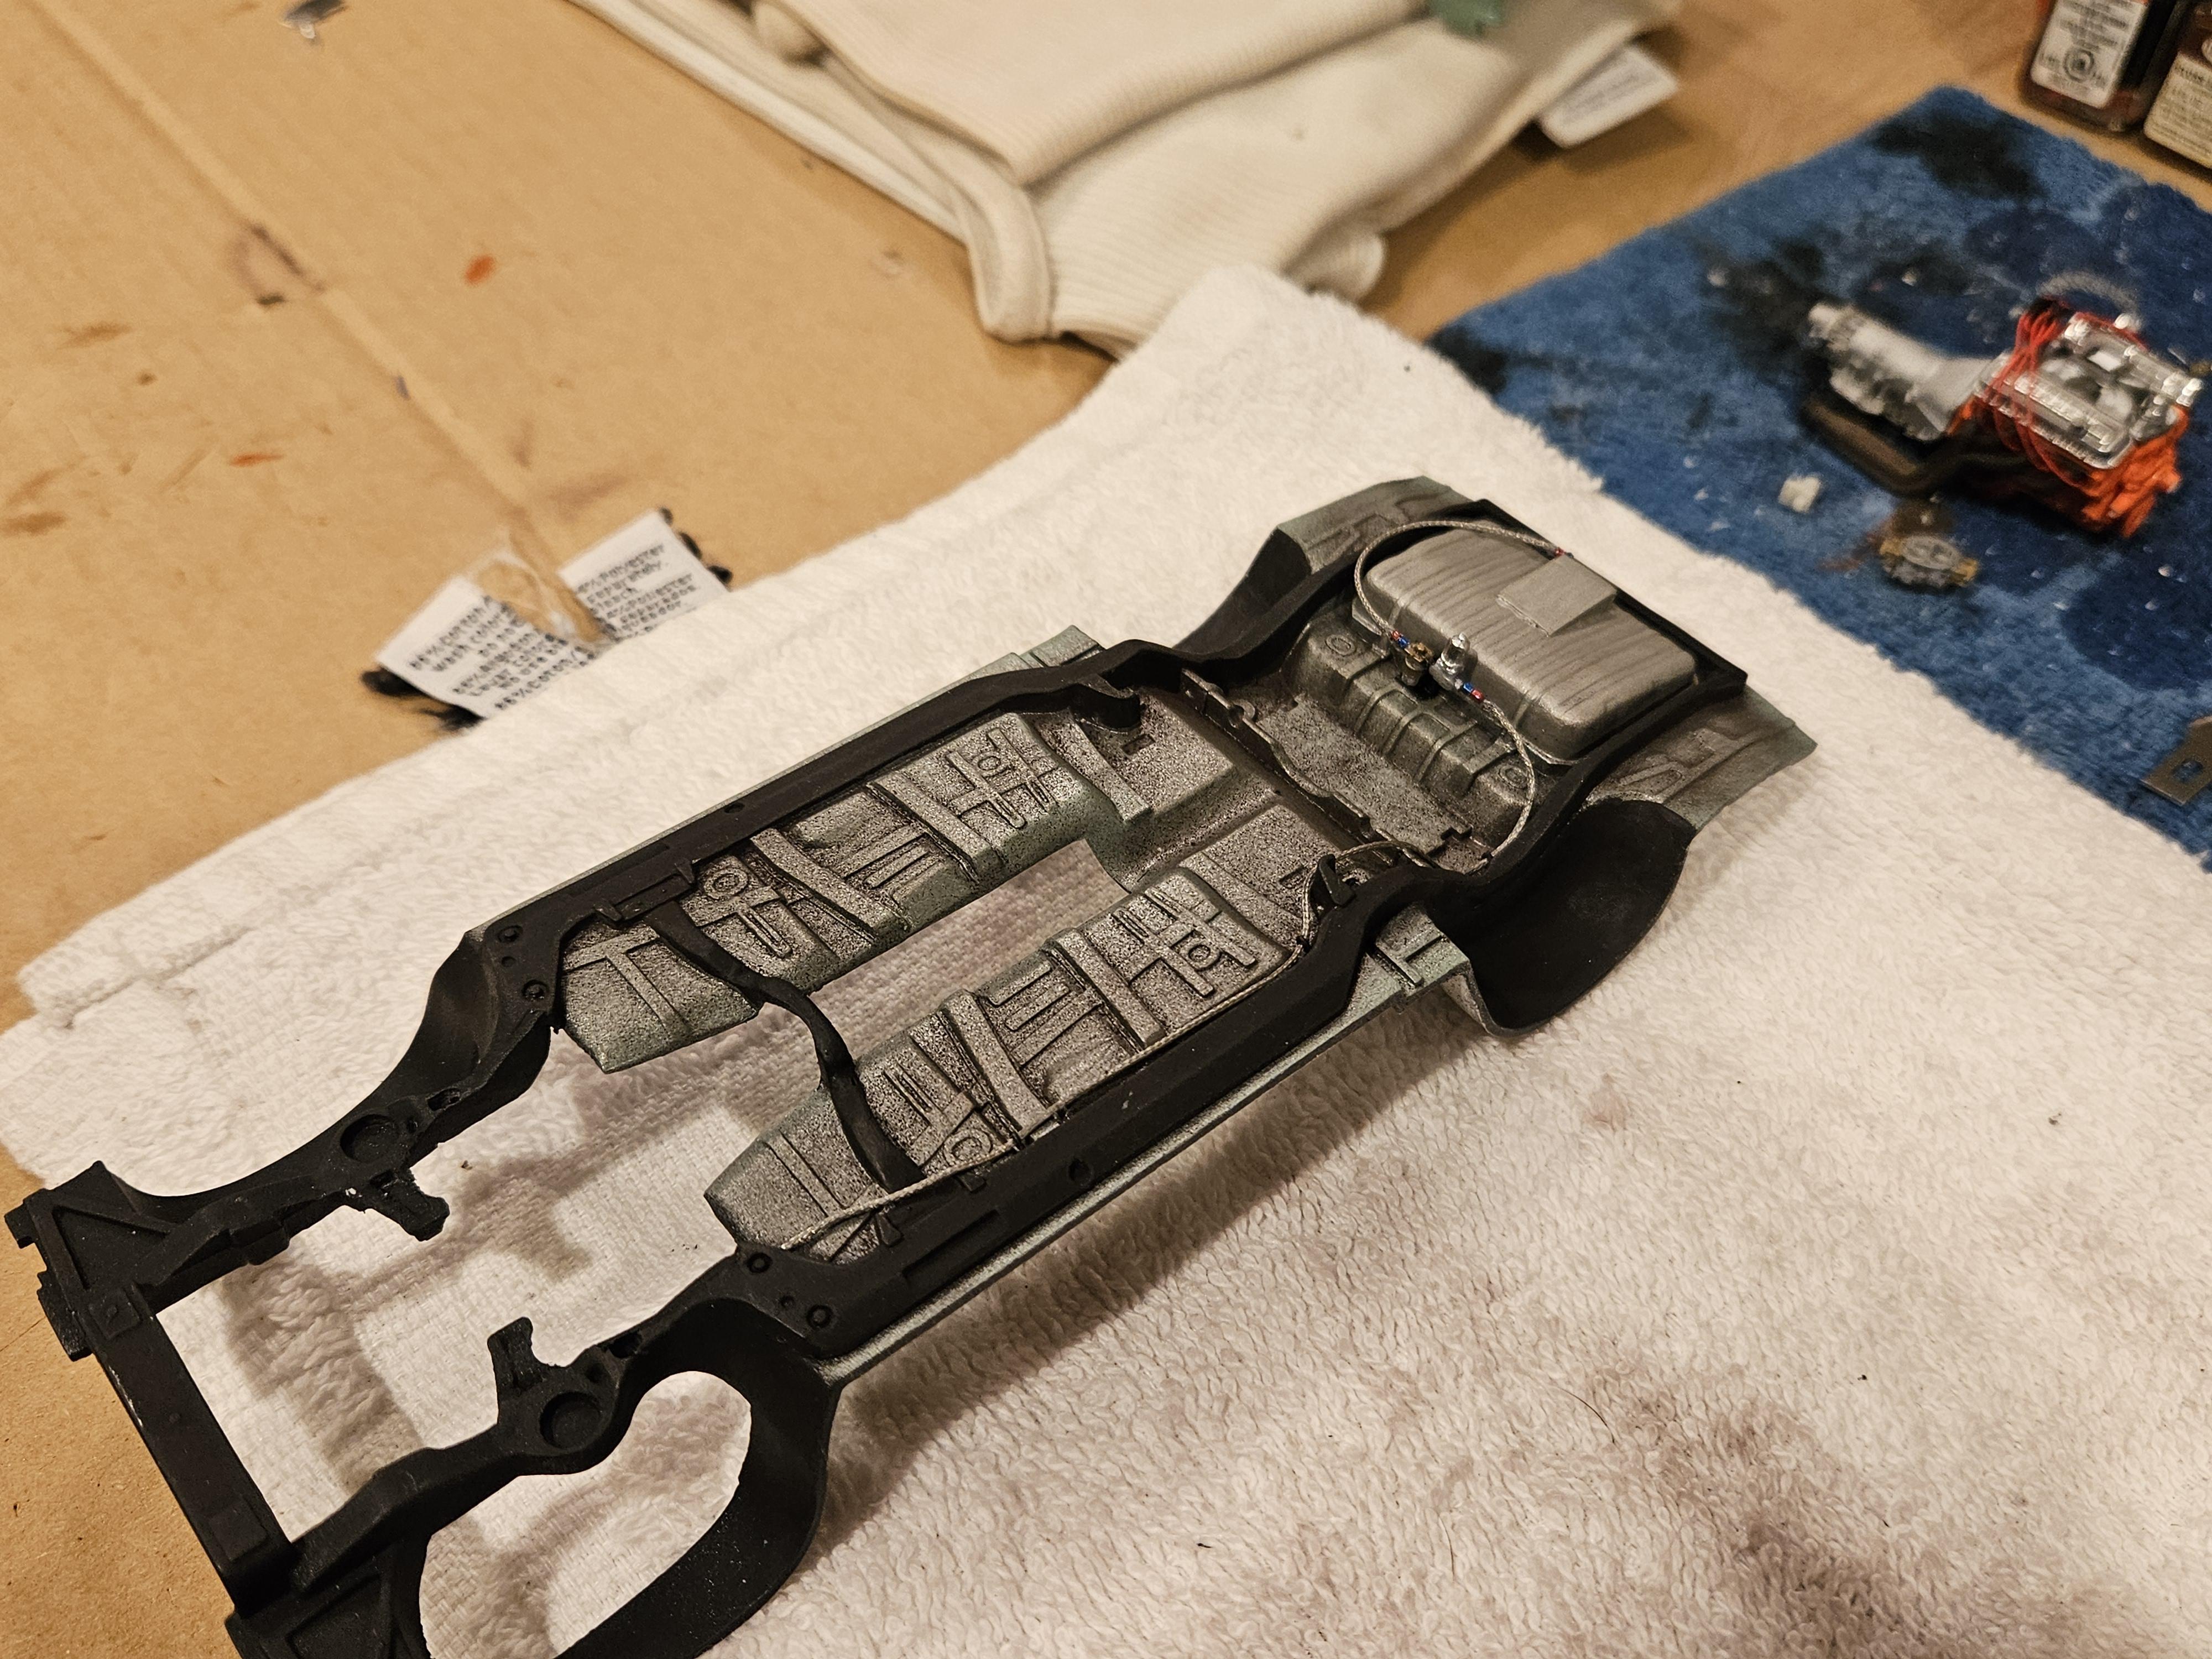
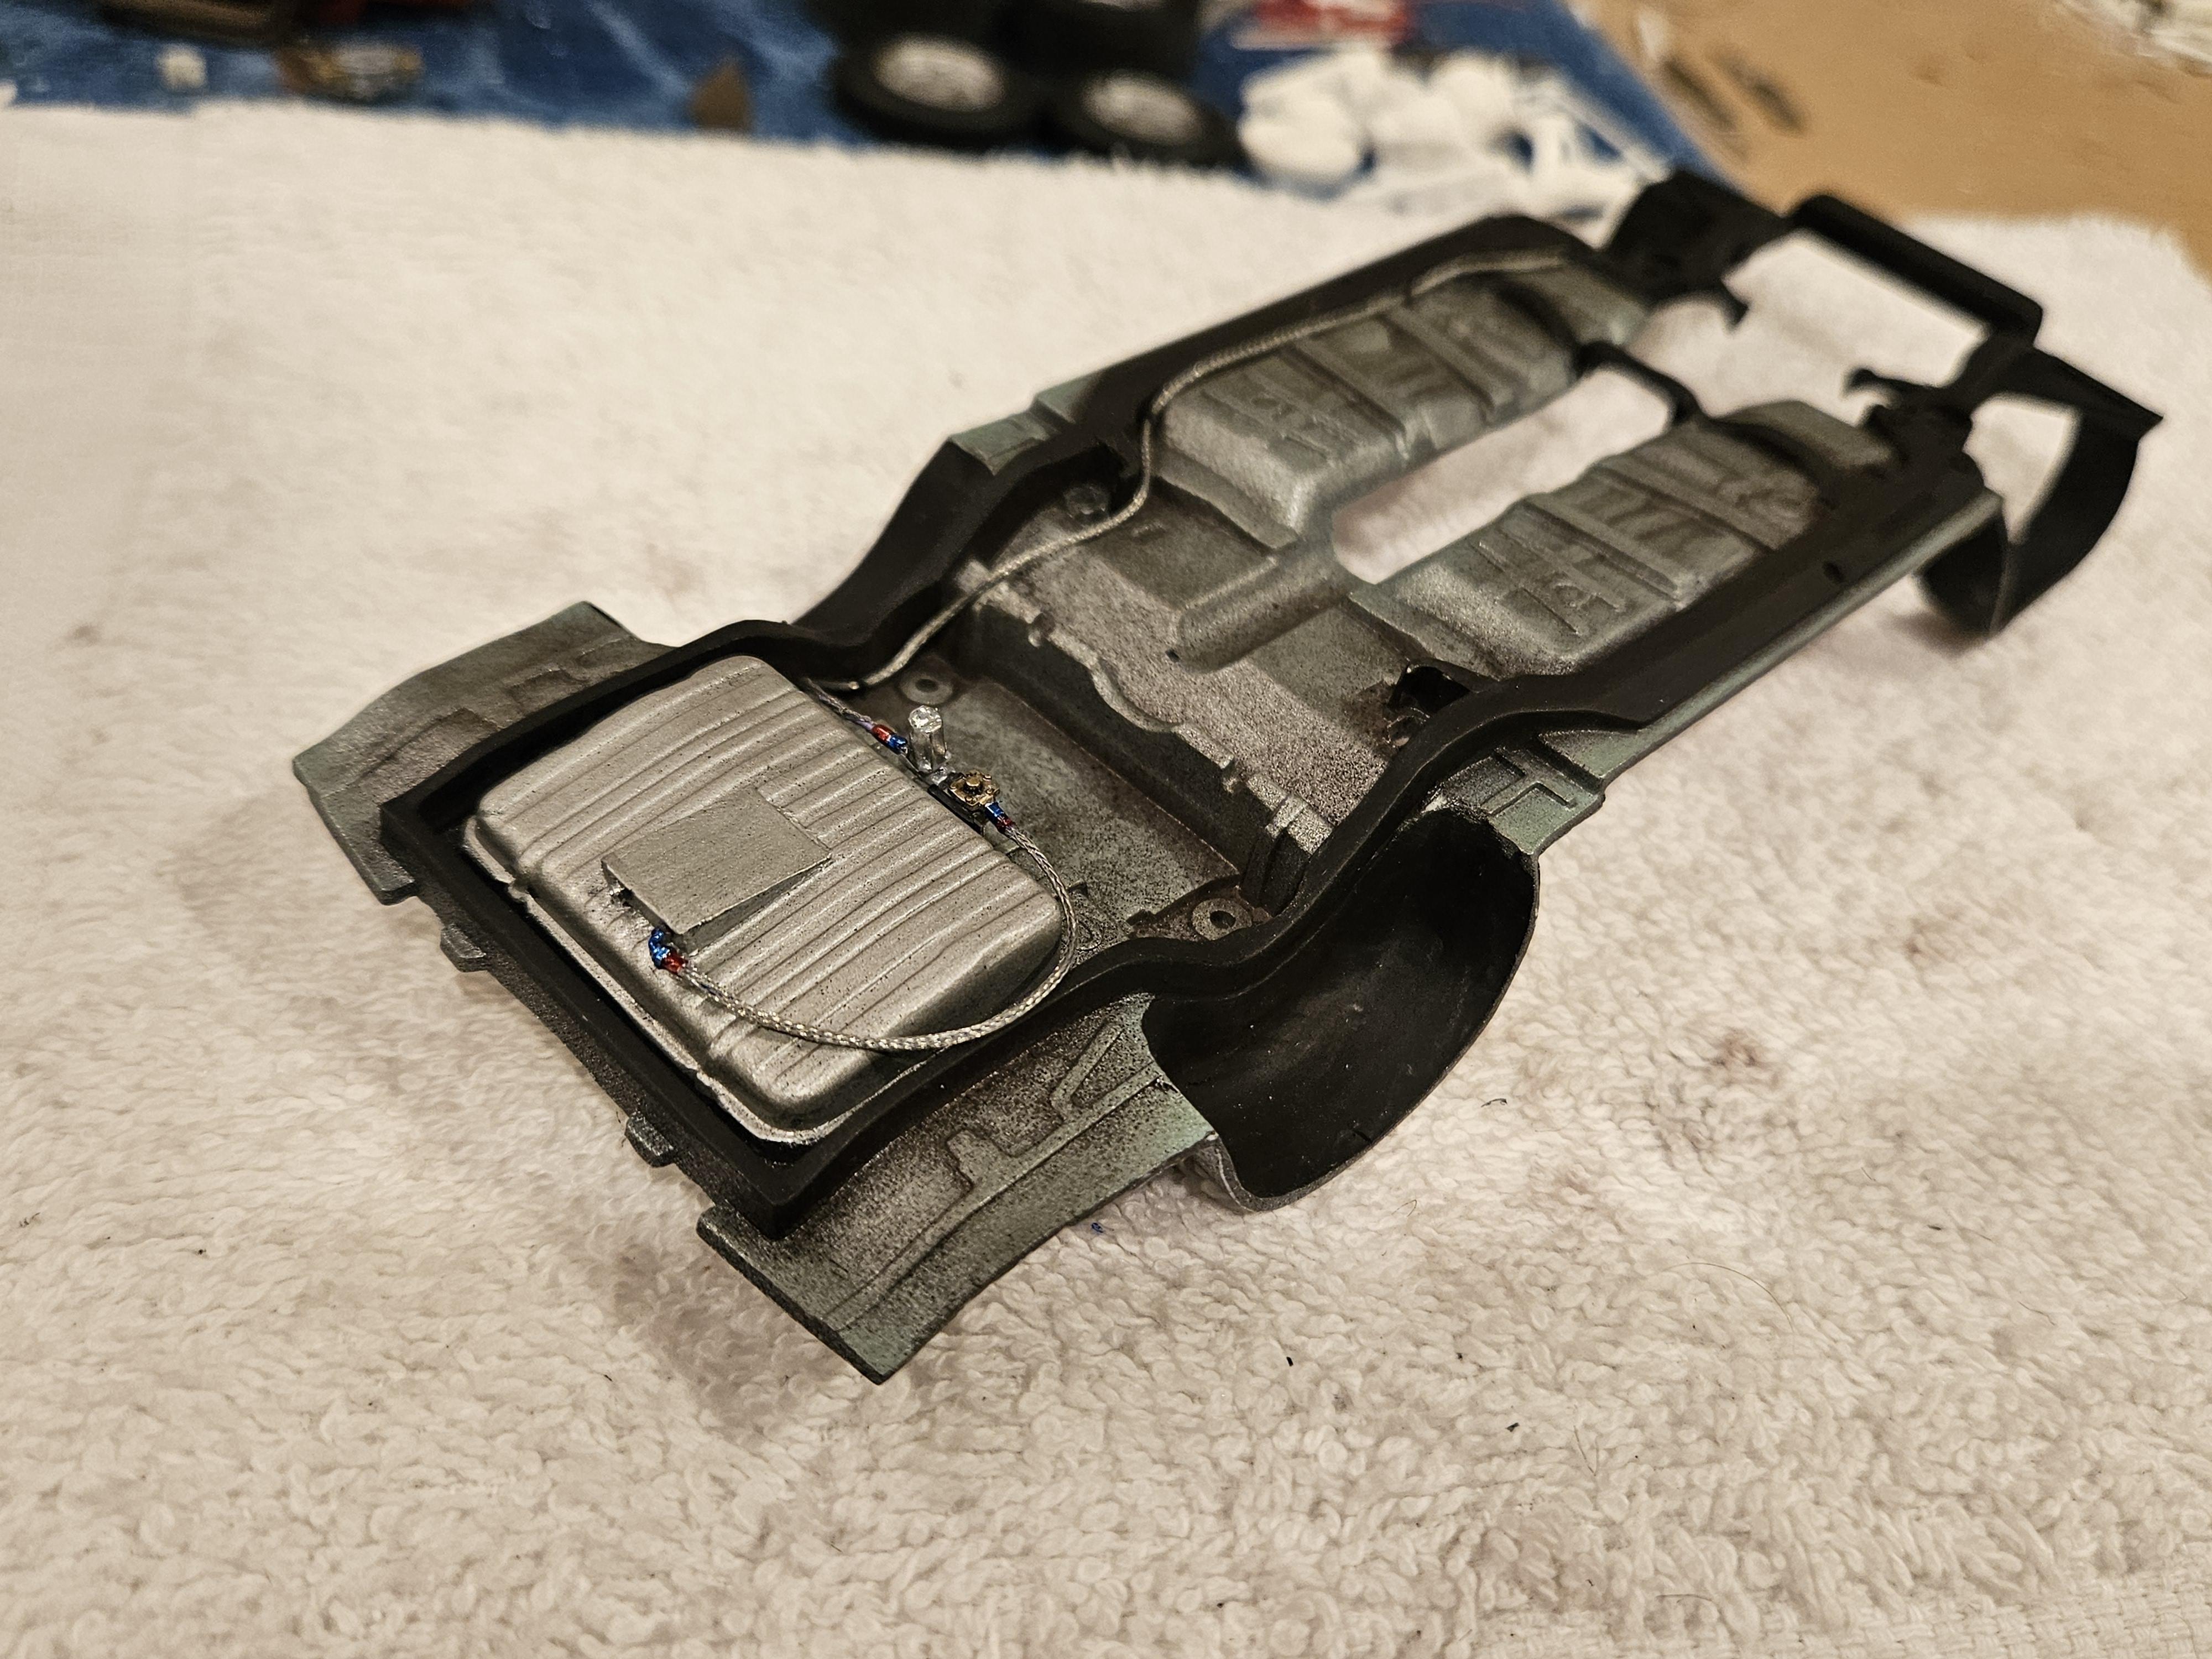
Added a braided fuel line with electric pump and filter to the chassis.
-
Yeah man I agree..I think Matt Conte (Luka Cee) used to resin cast them..wish someone else would so I don't have to buy a whole kit or a parts tree off ebay for way too much just for headers lol. But thanks, its coming along, should hopefully start falling together soon.
-
Added a sump to the gas tank and painted and dirtied up the chassis to make it look like a driver.


.jpg.4003360291db1a7a14b94623bb2c5fbe.jpg)
.jpg.60229a033aedac94f8342086316e5a1c.jpg)