TC
-
Posts
112 -
Joined
-
Last visited
Content Type
Profiles
Forums
Events
Gallery
Everything posted by TC
-
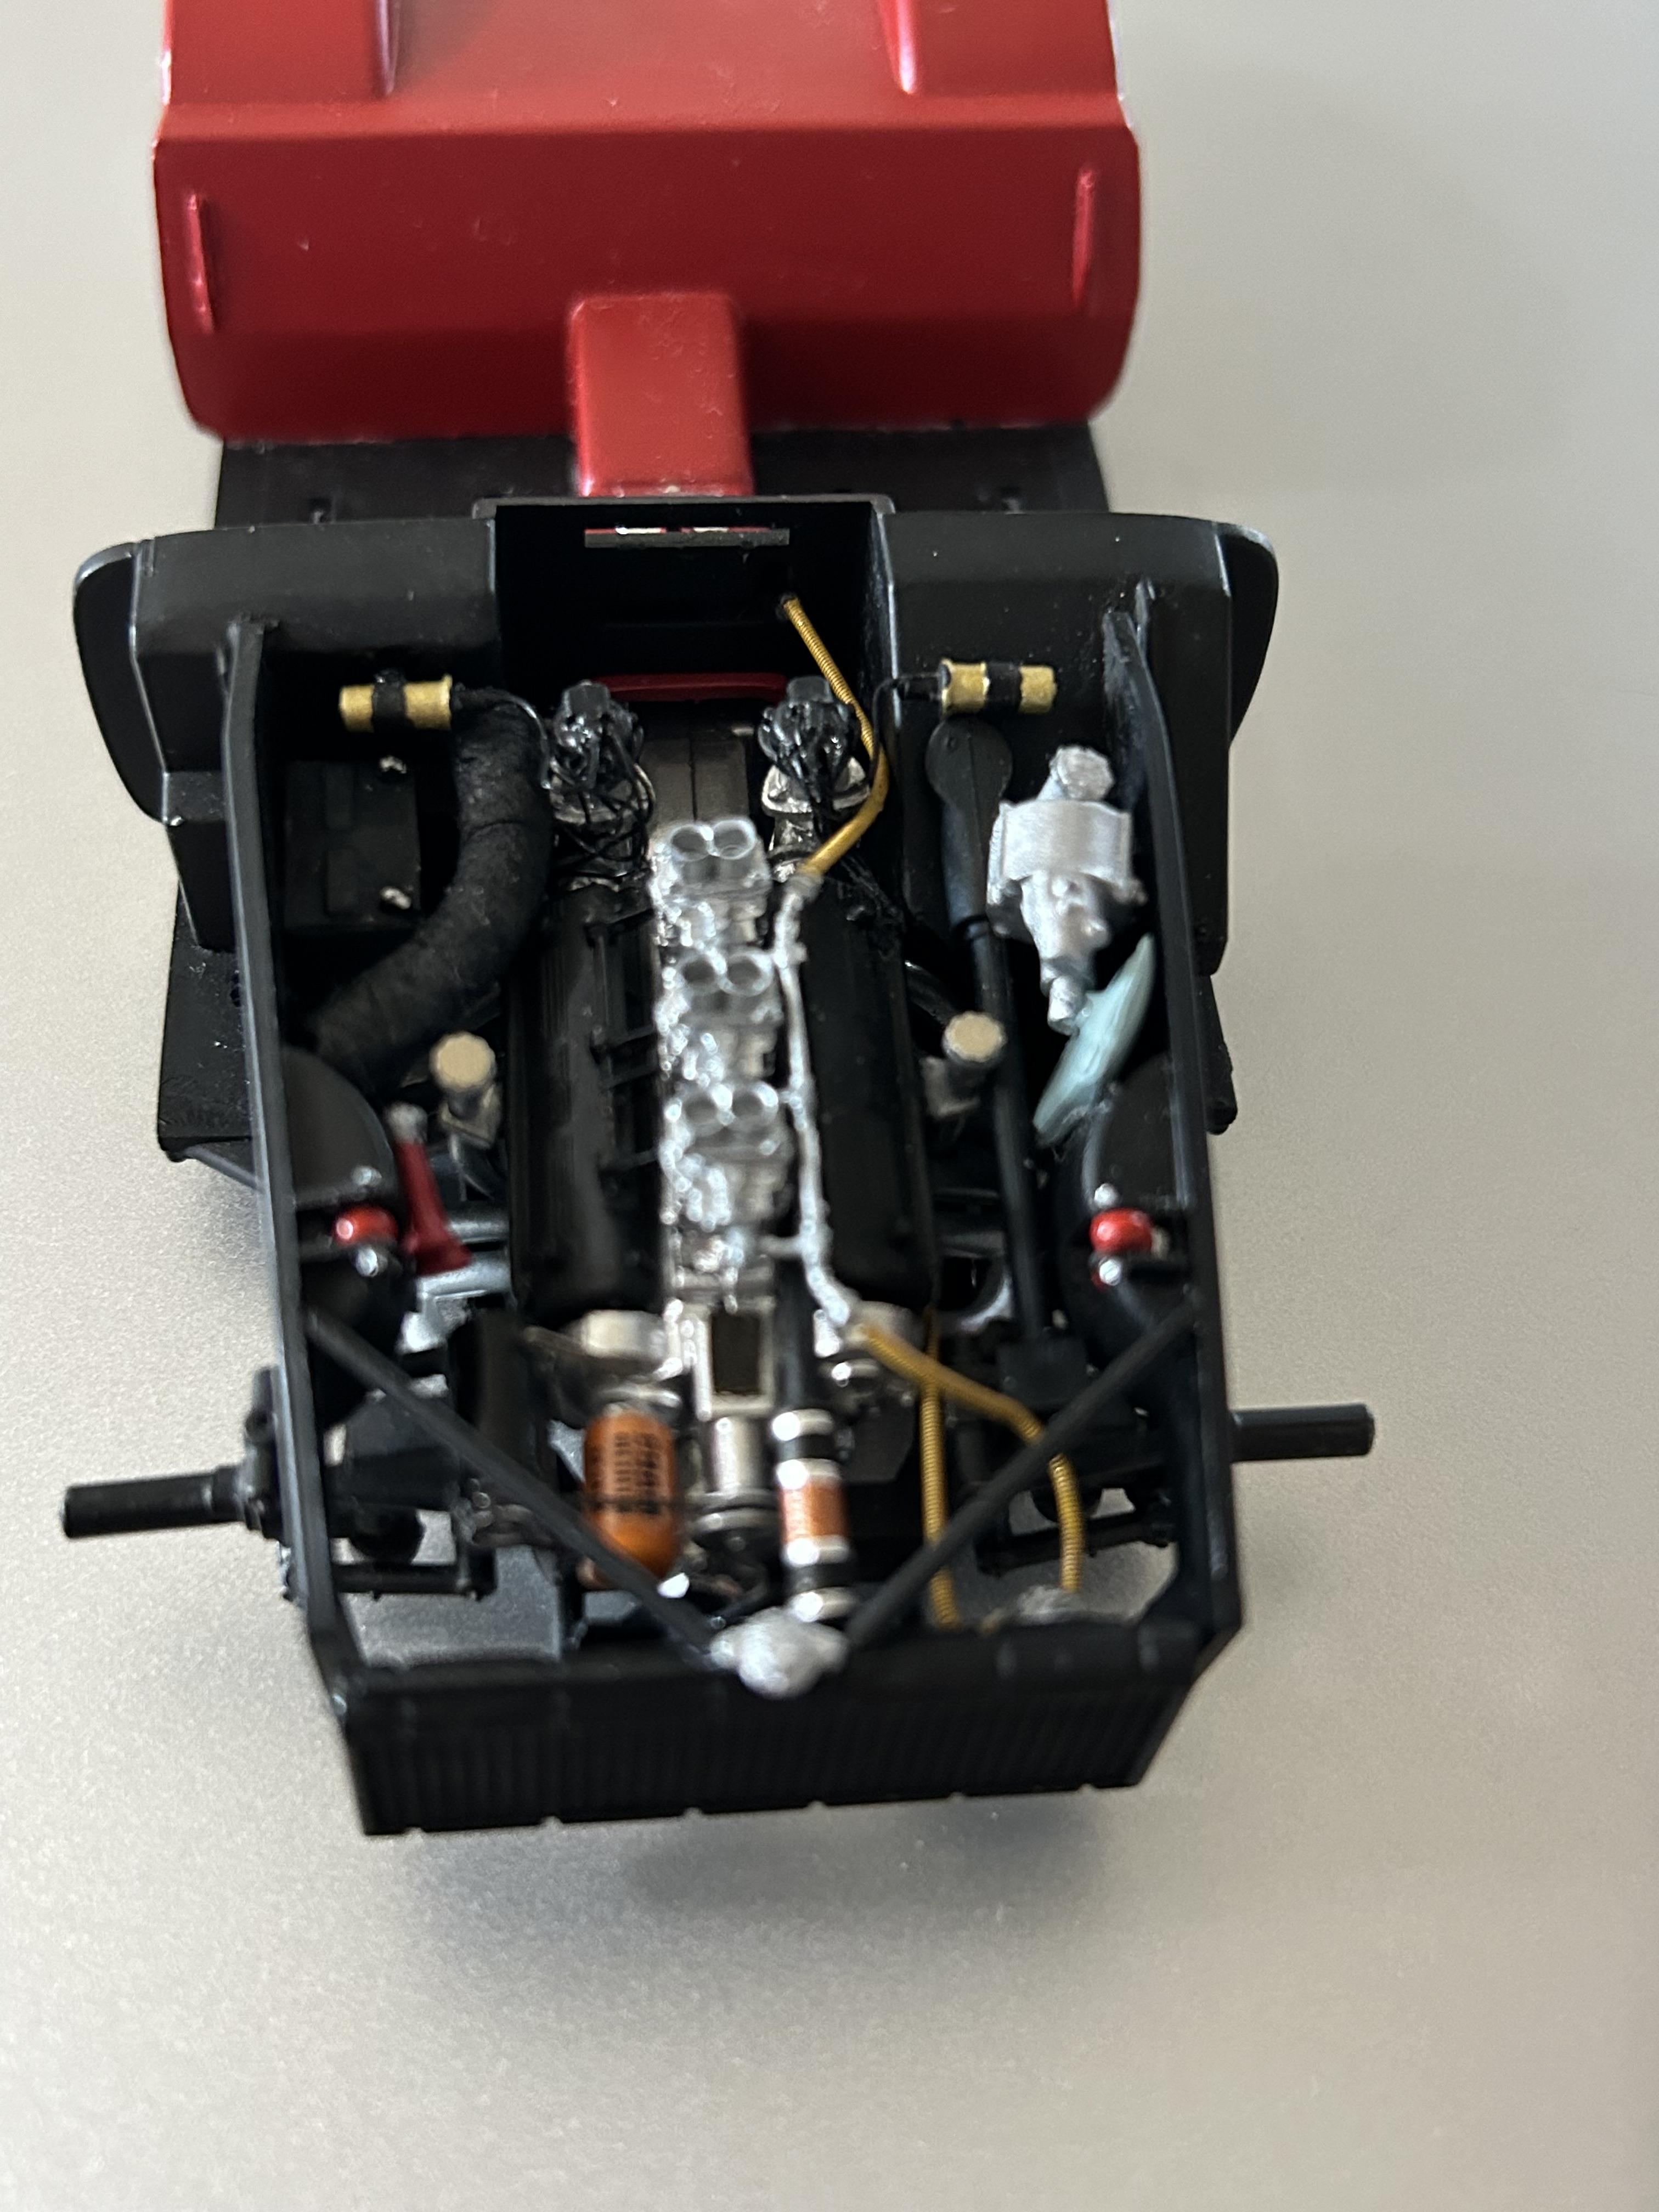
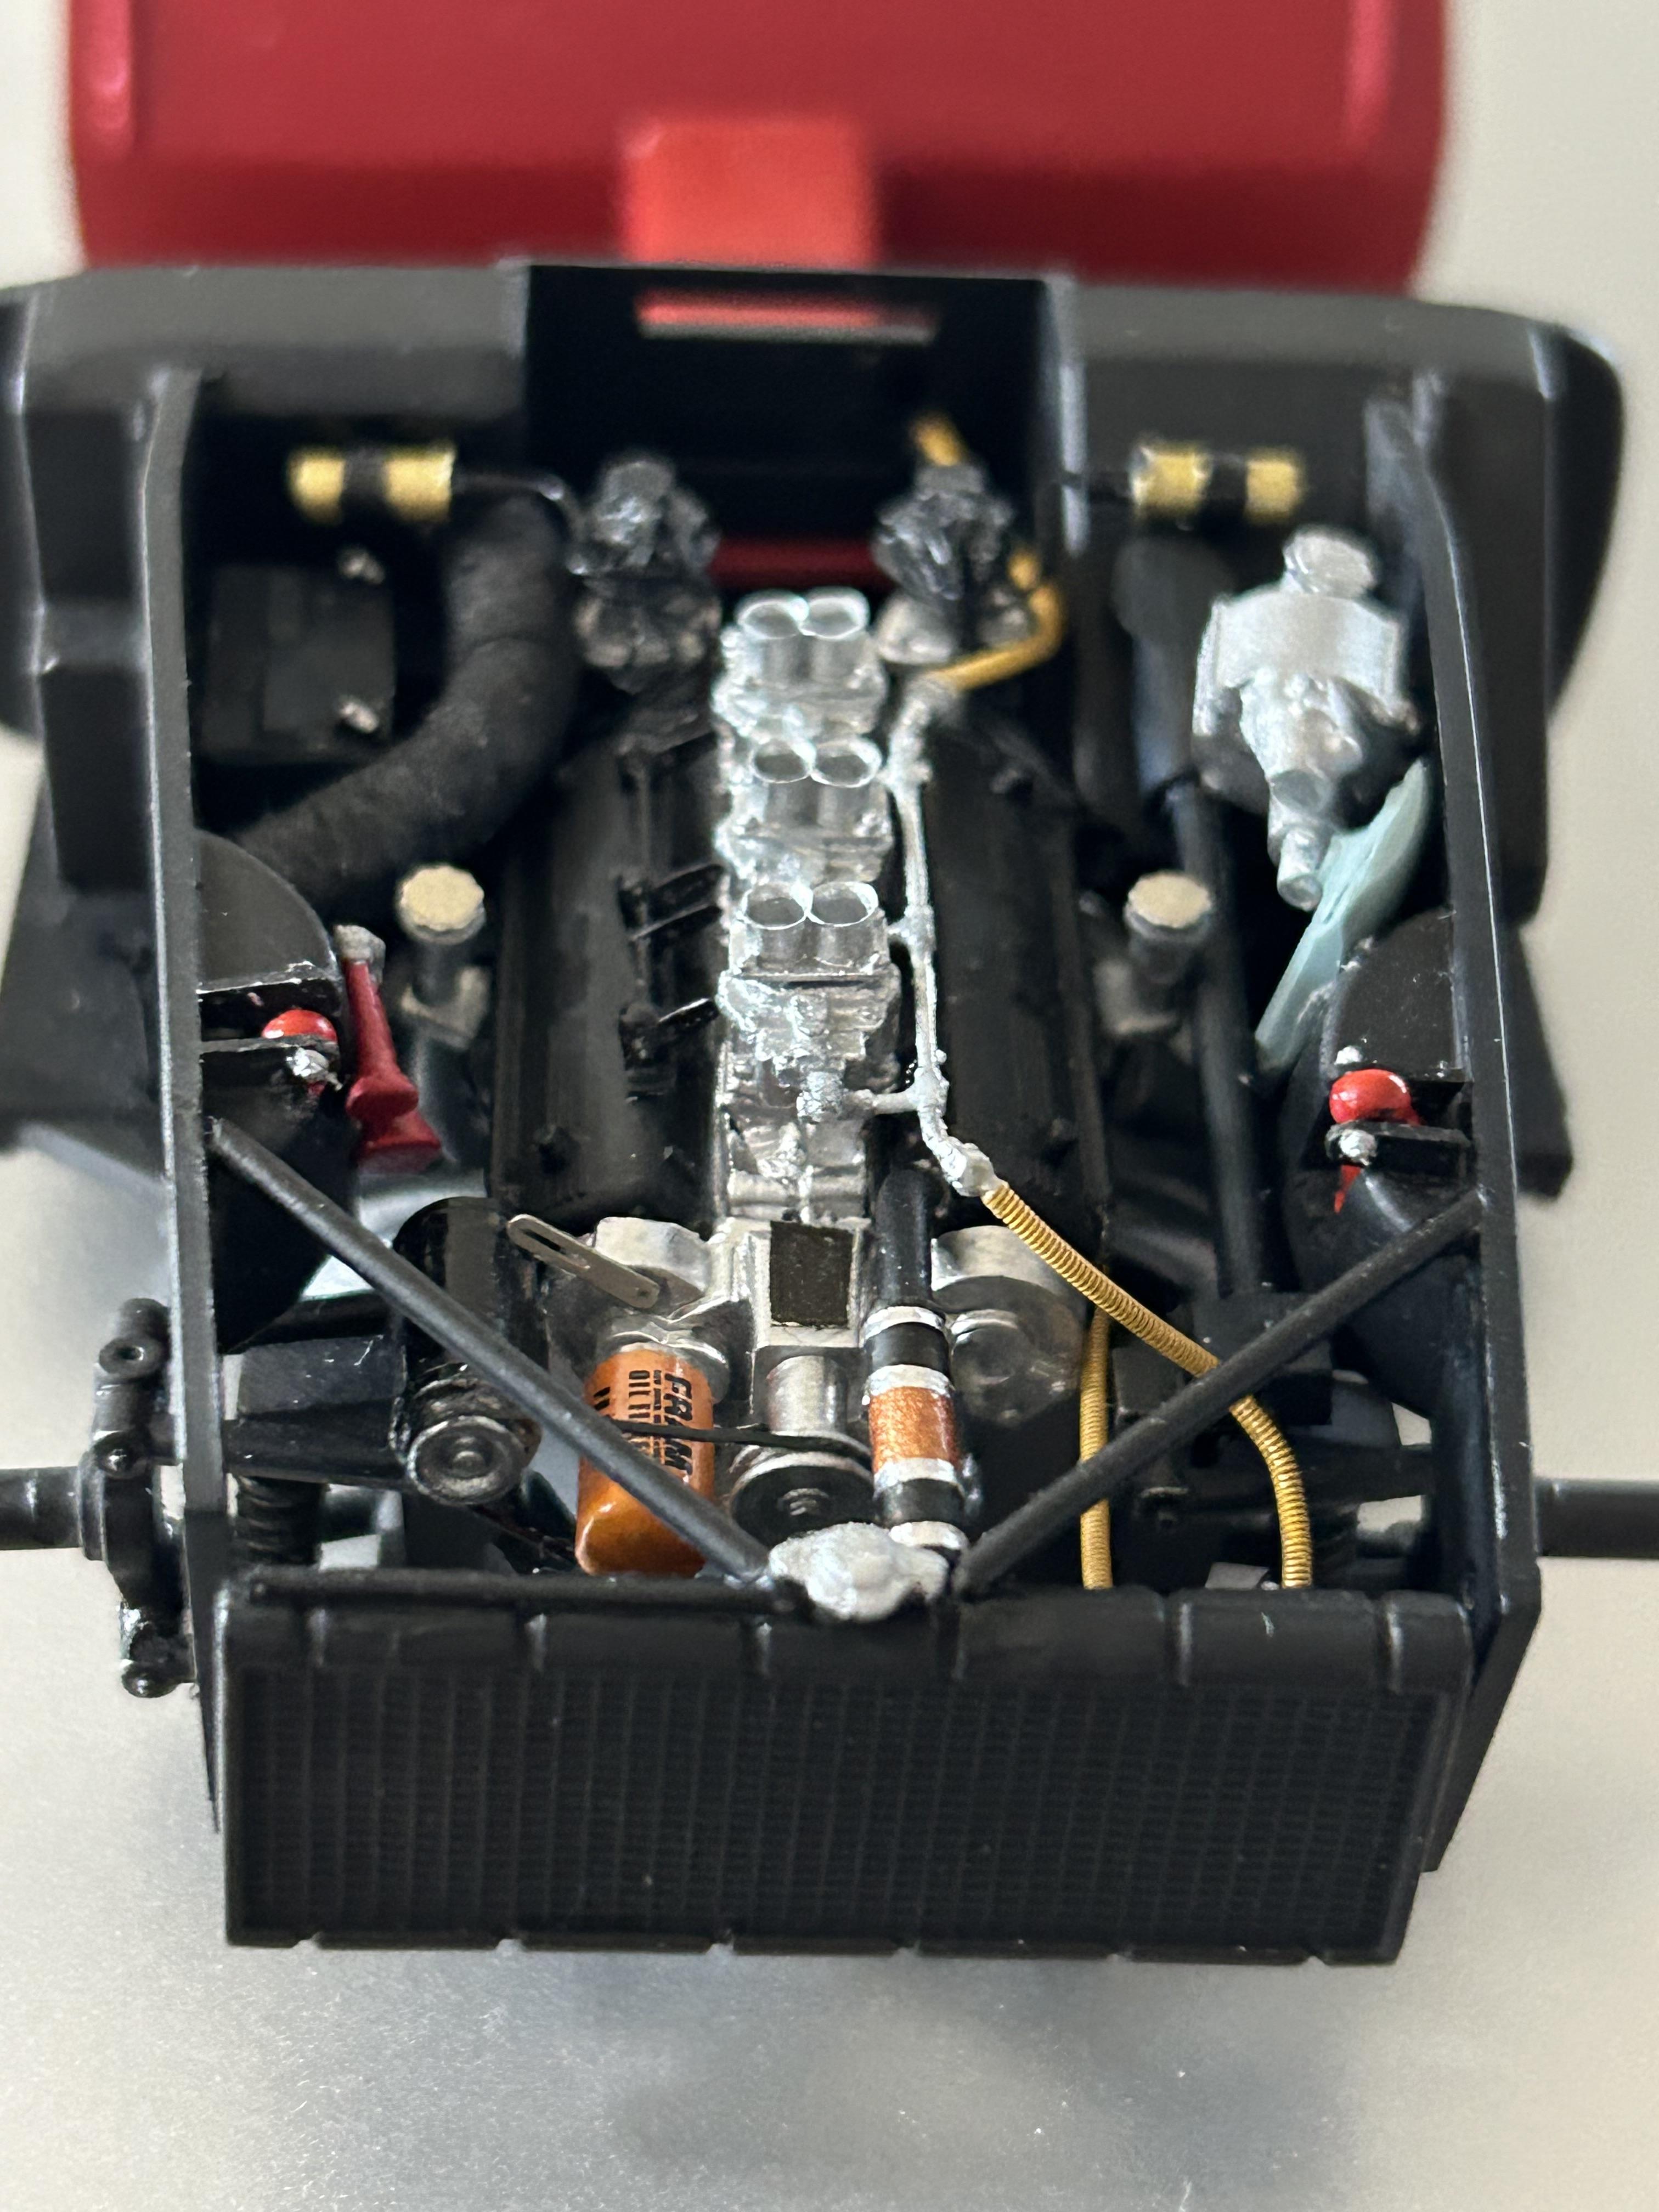
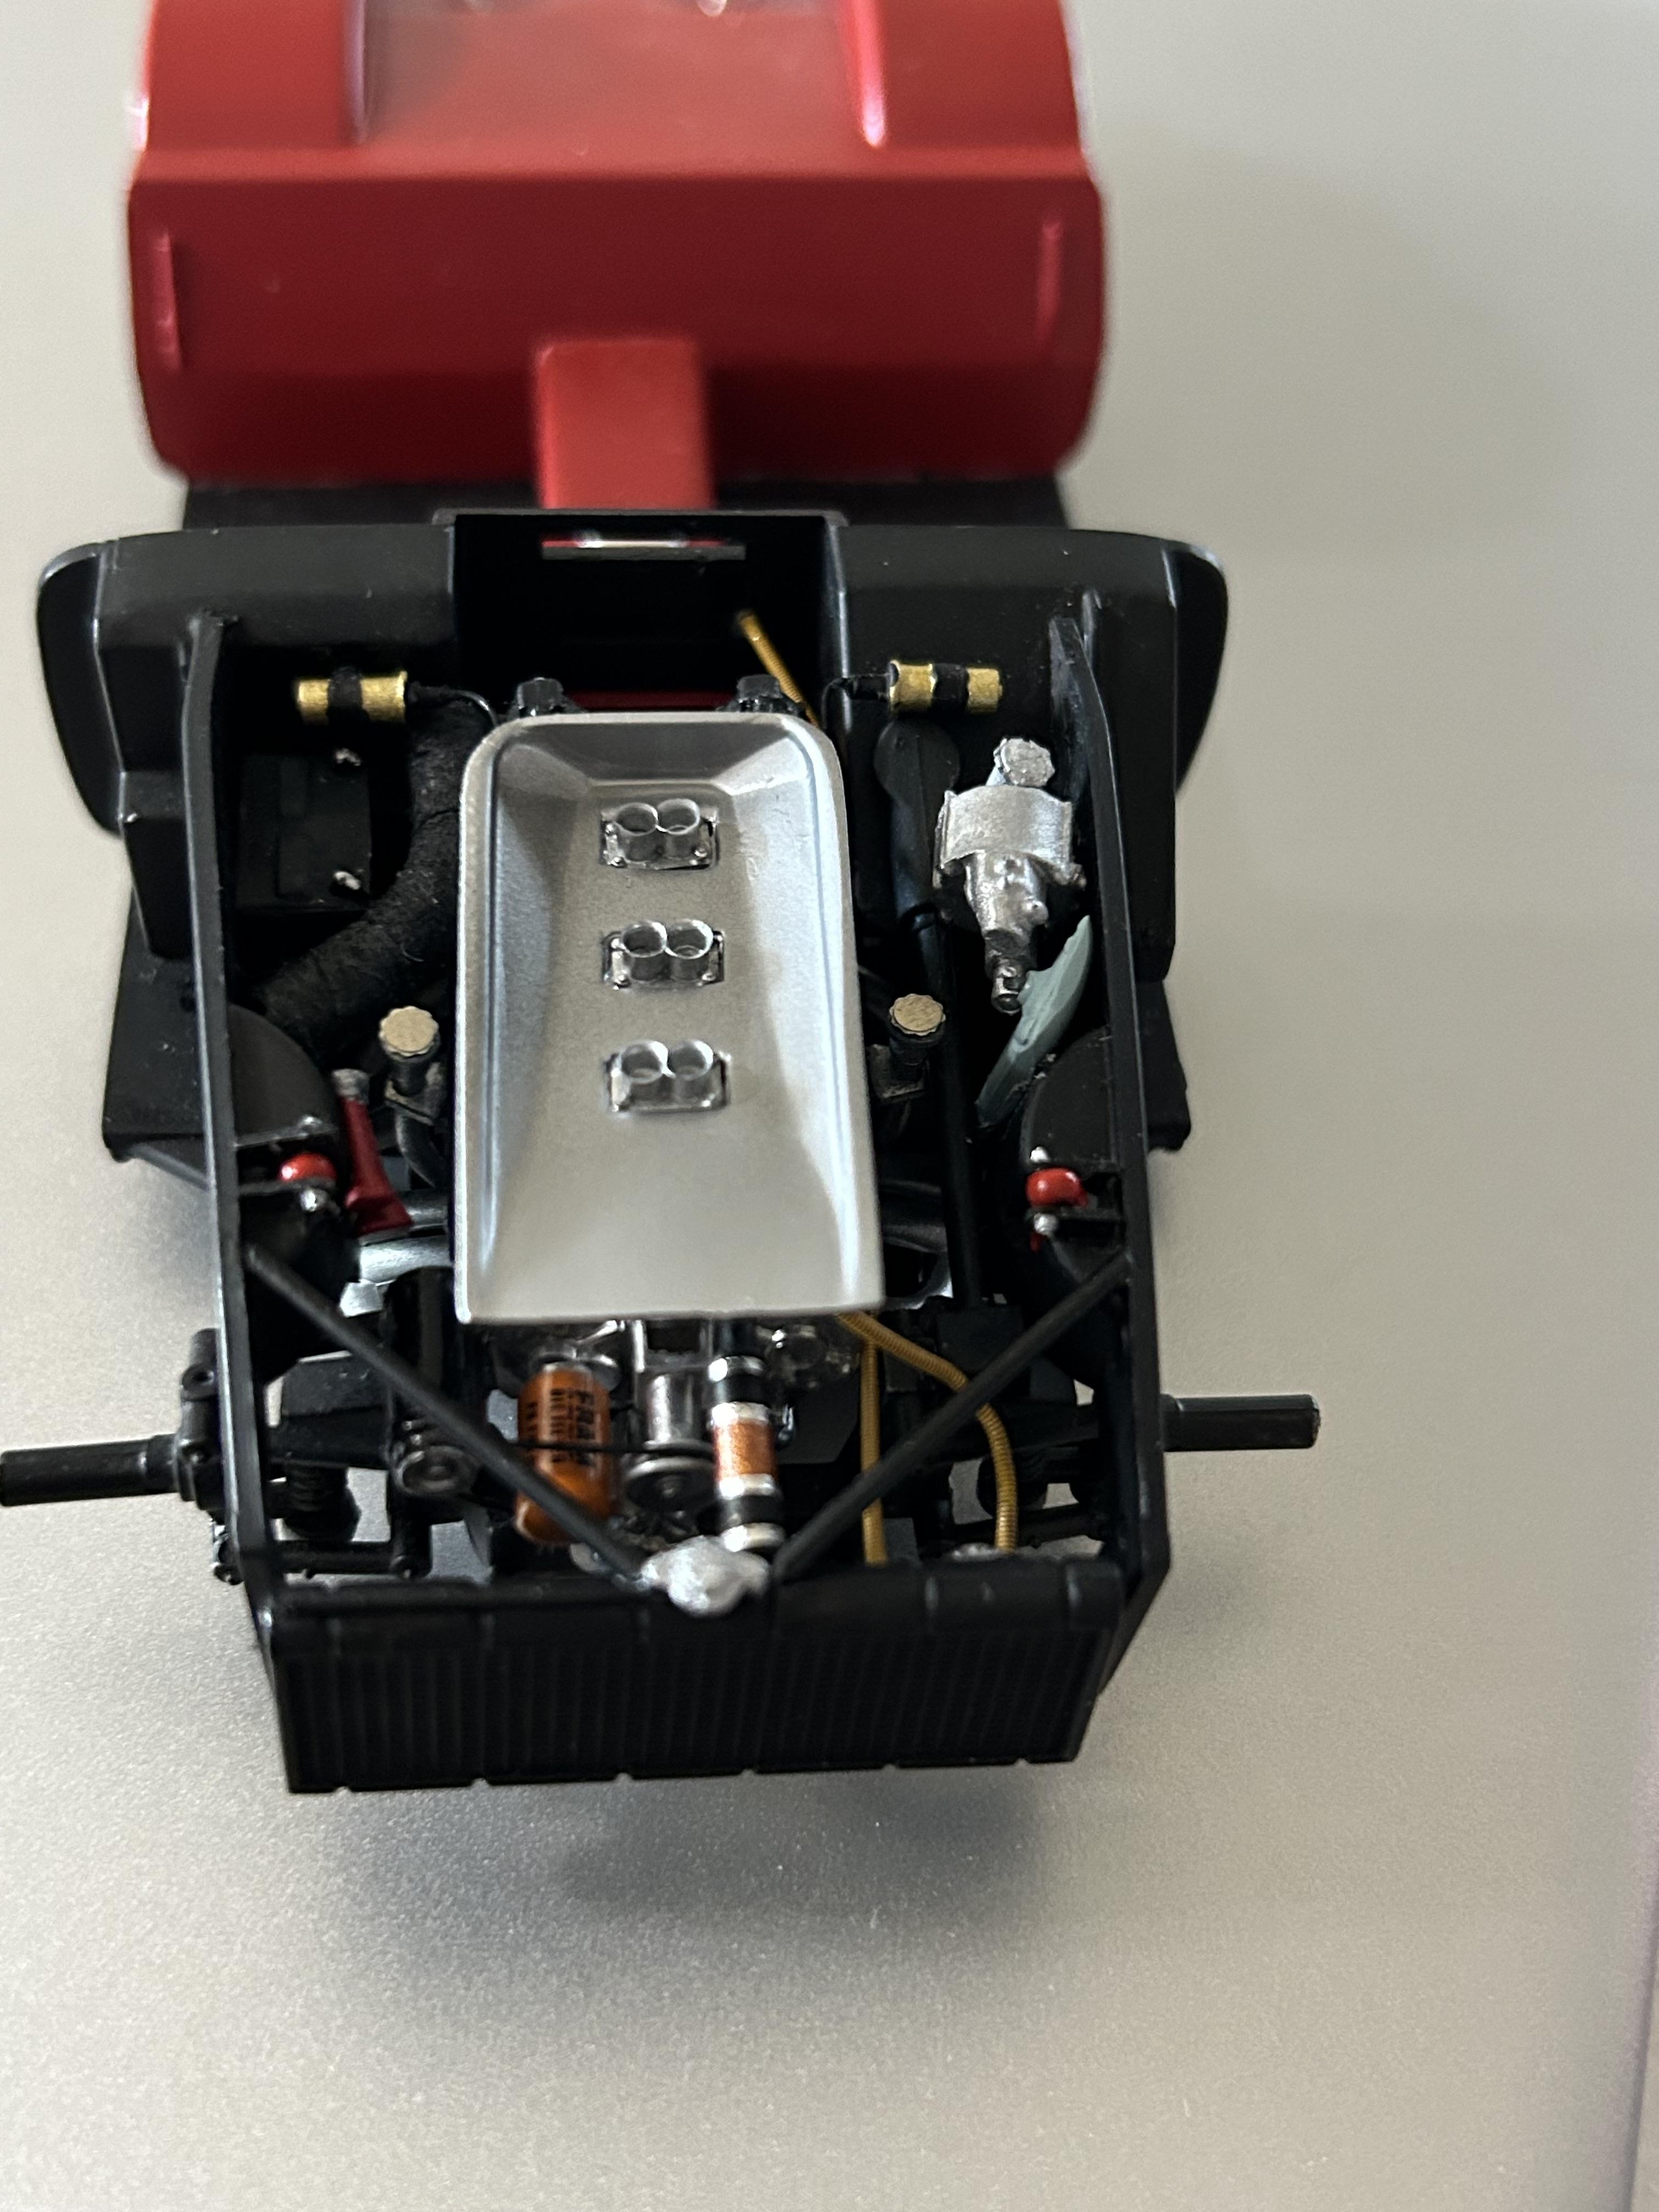
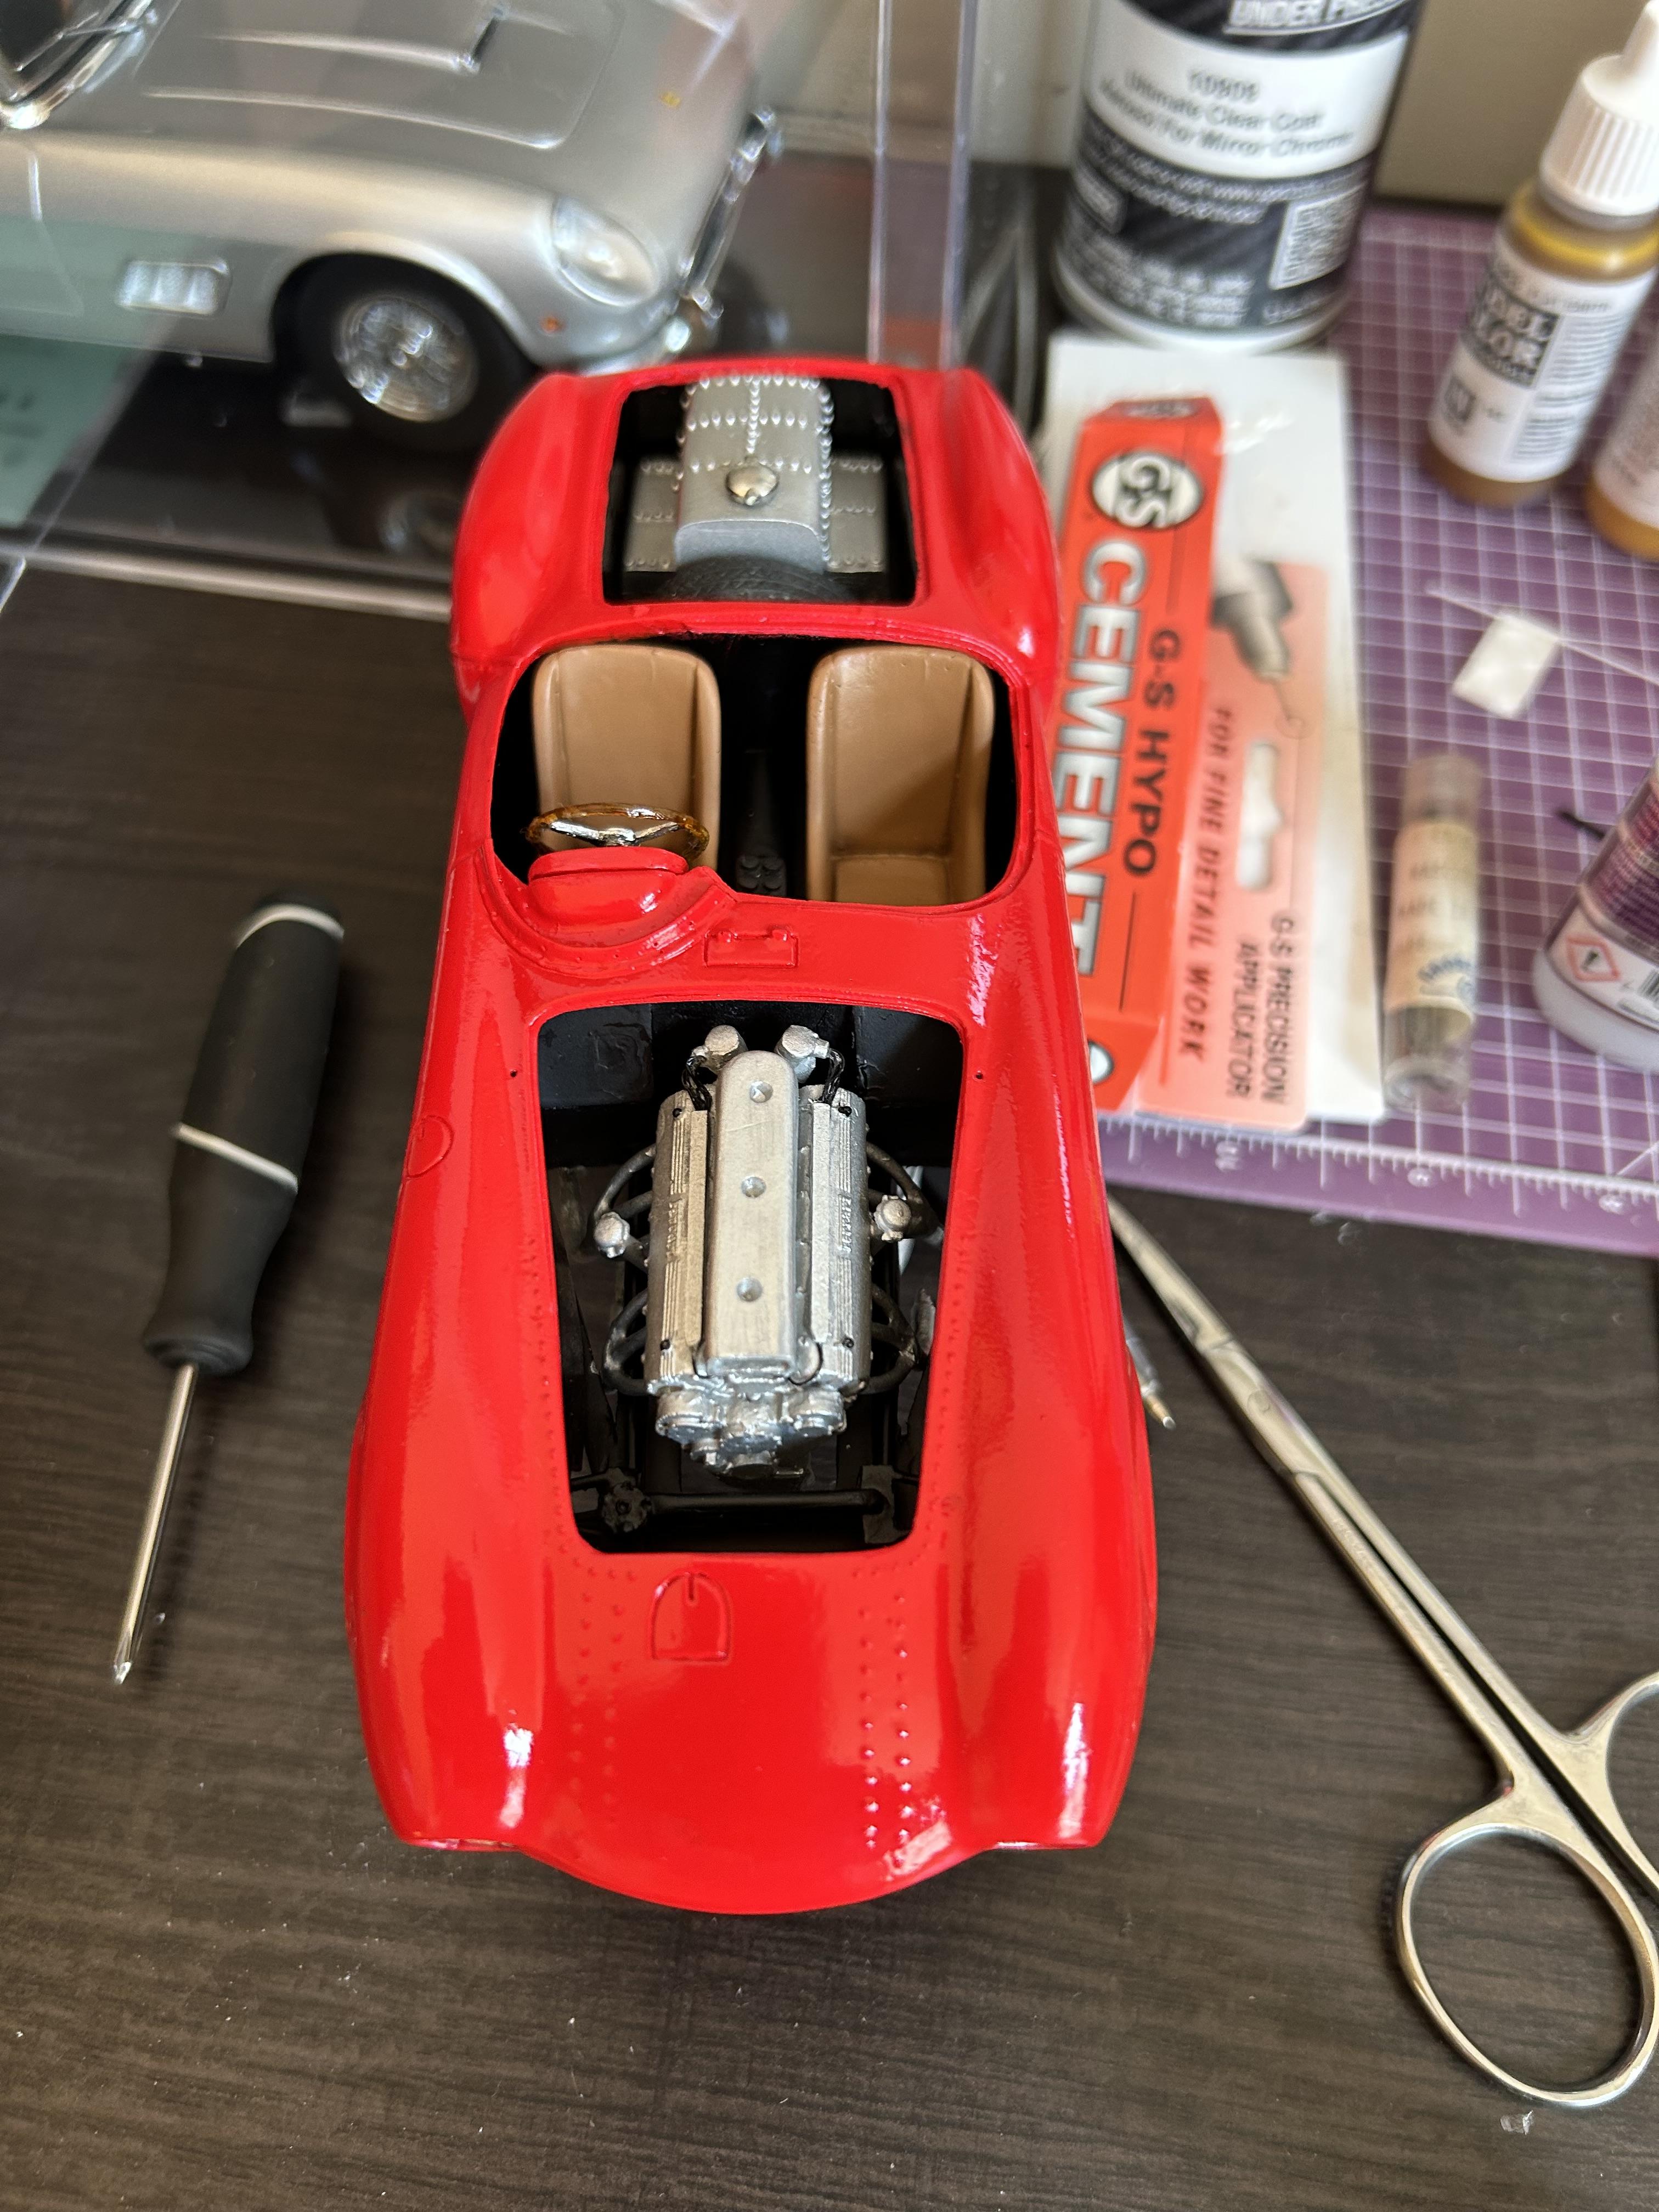
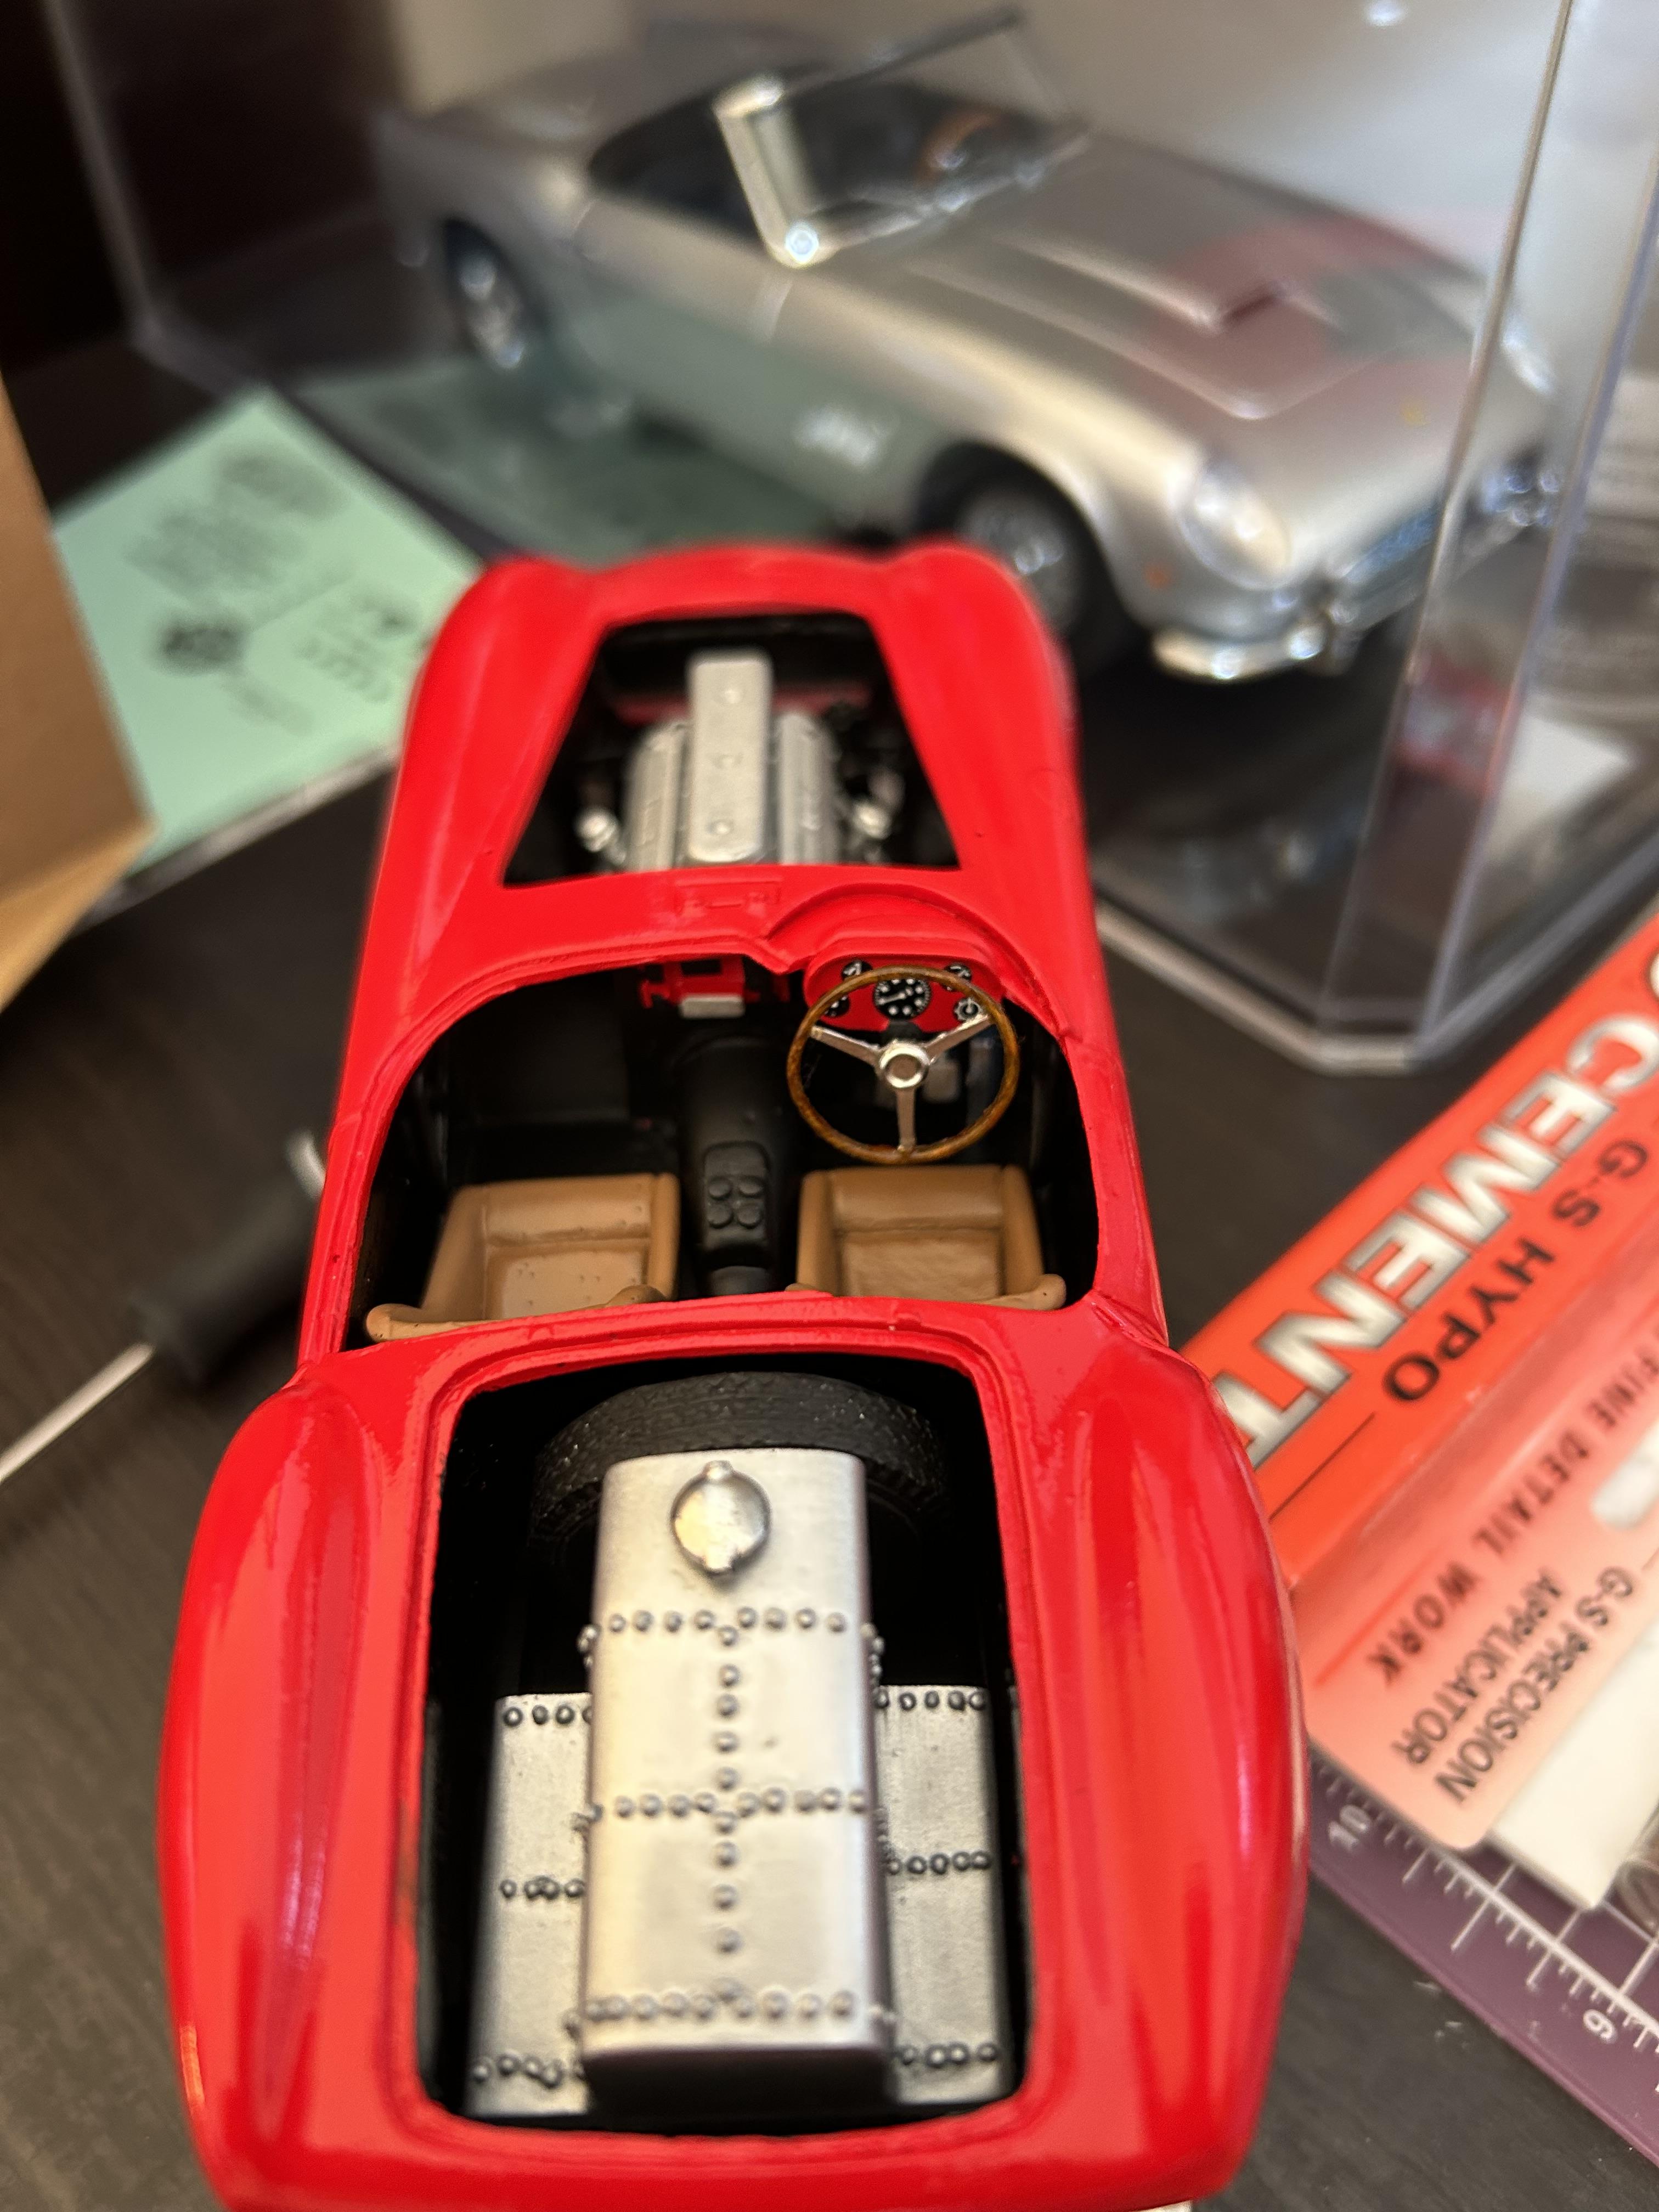
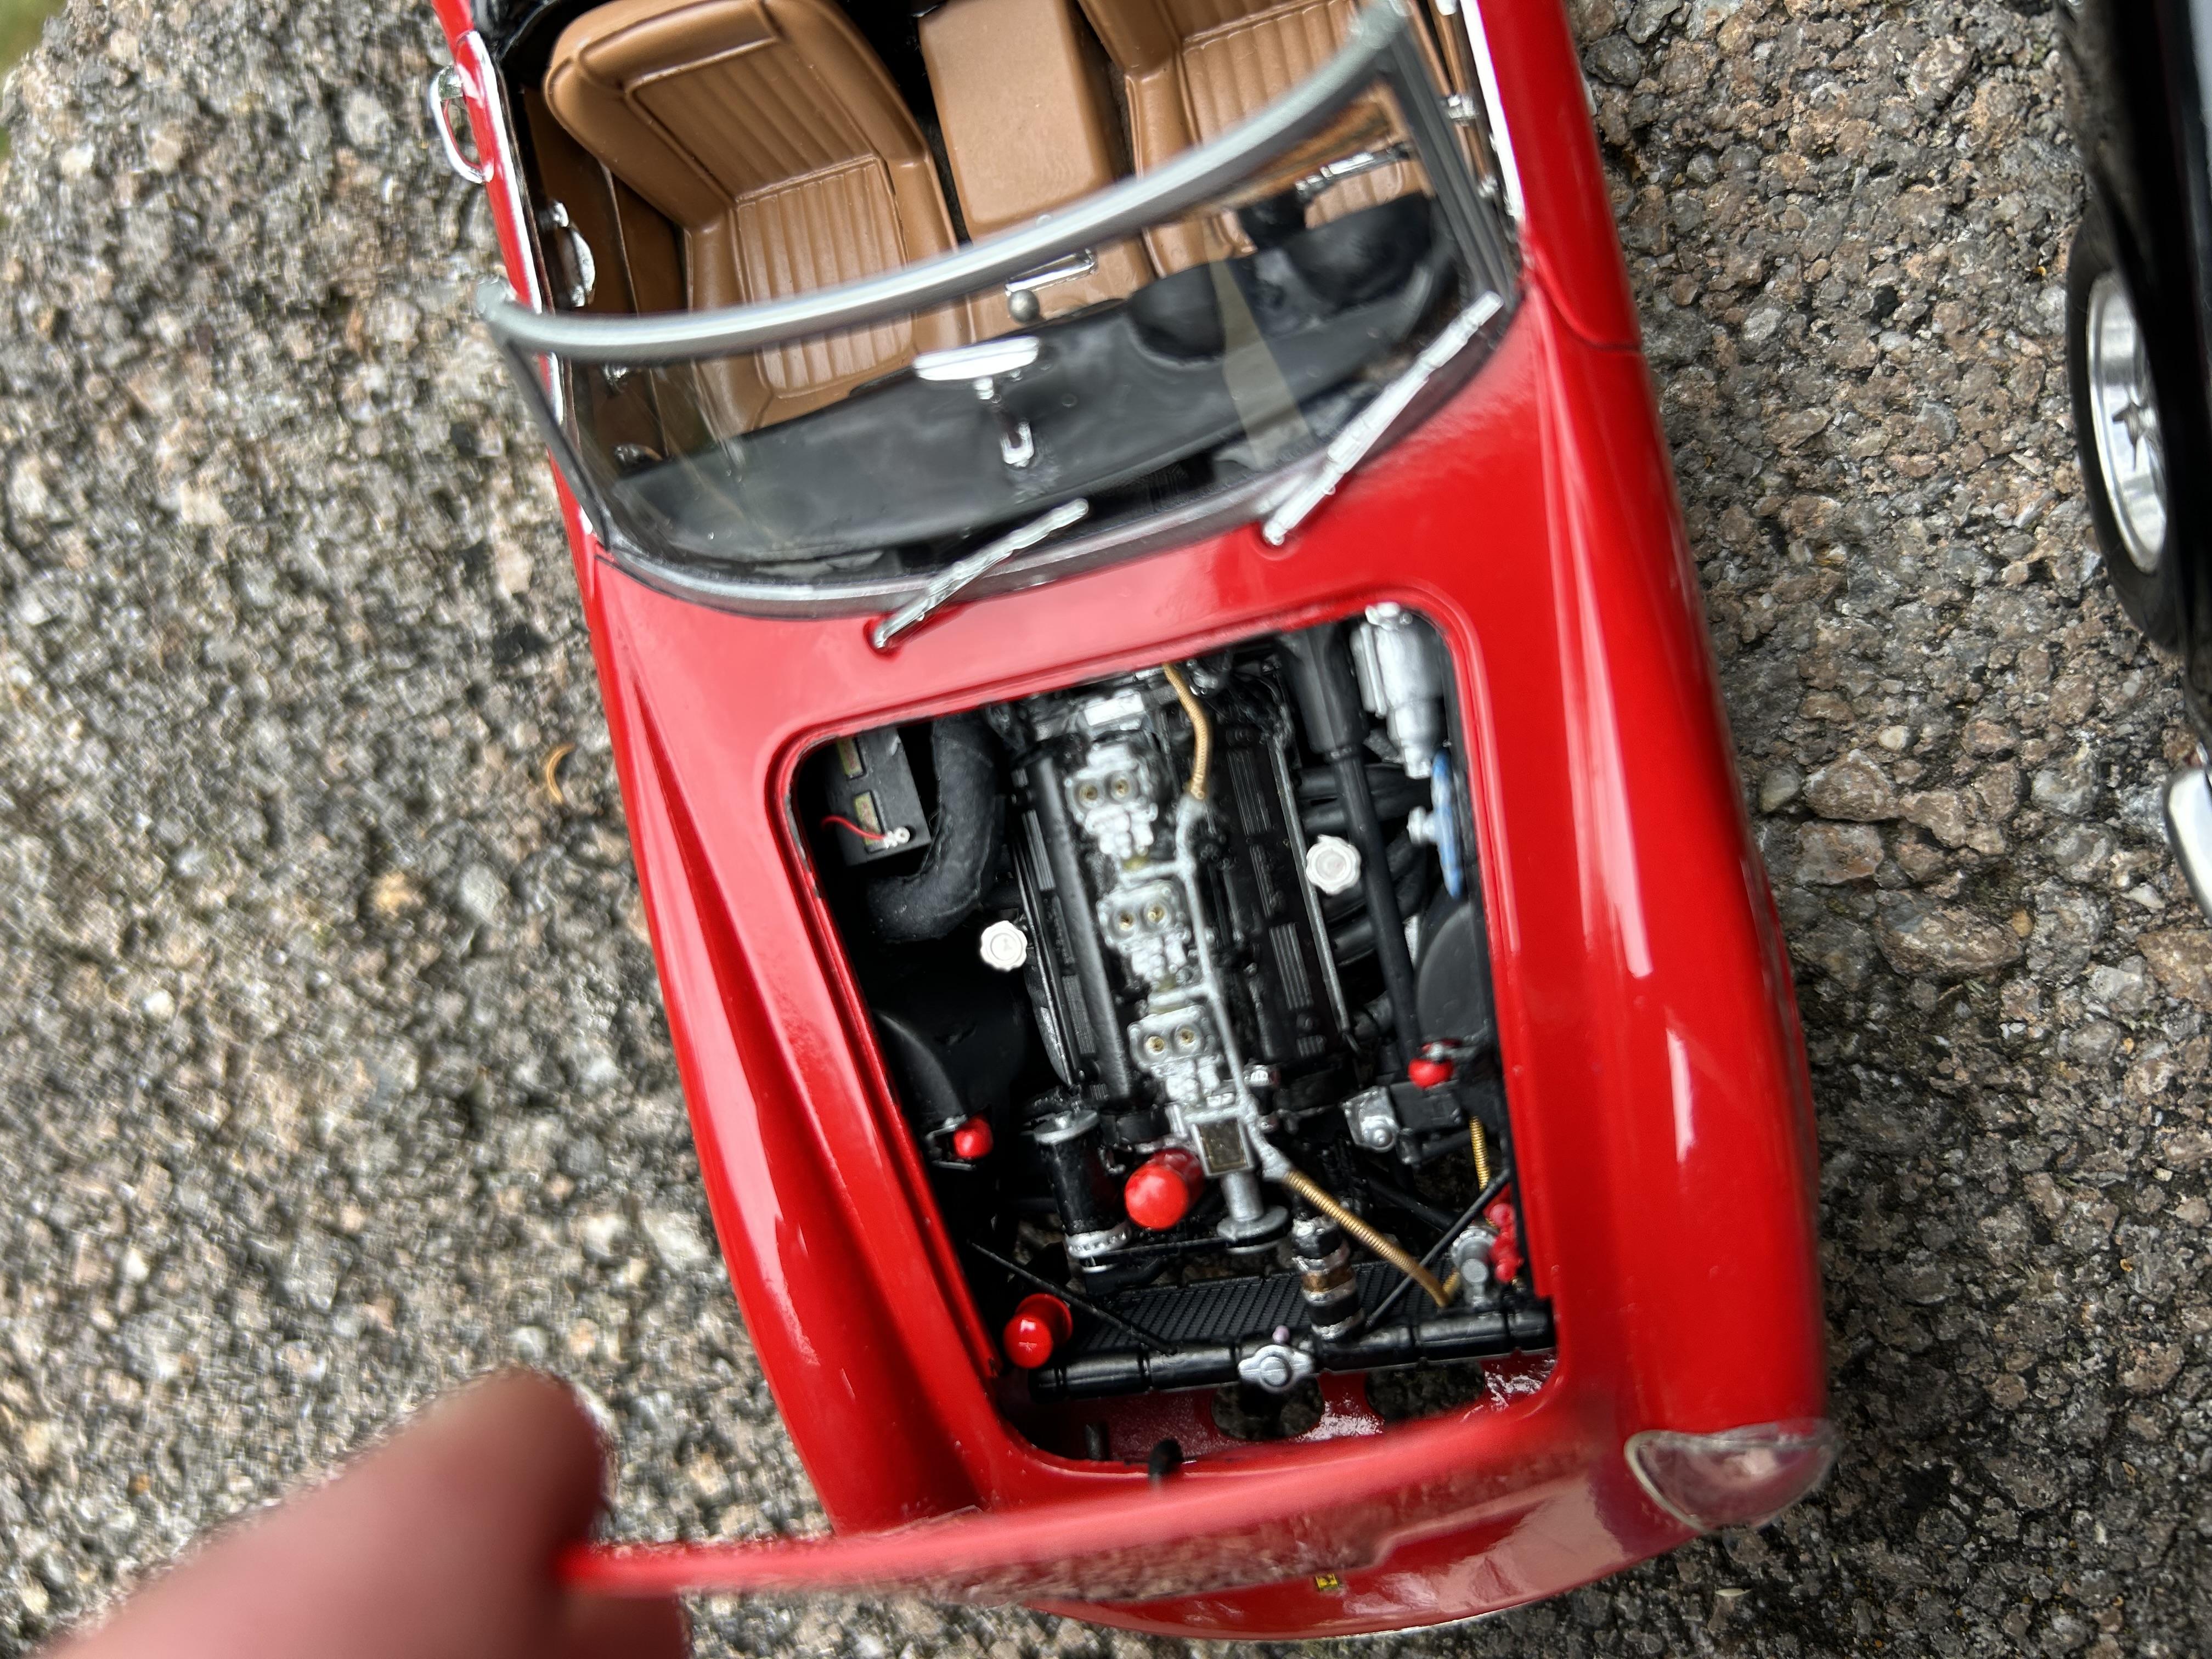
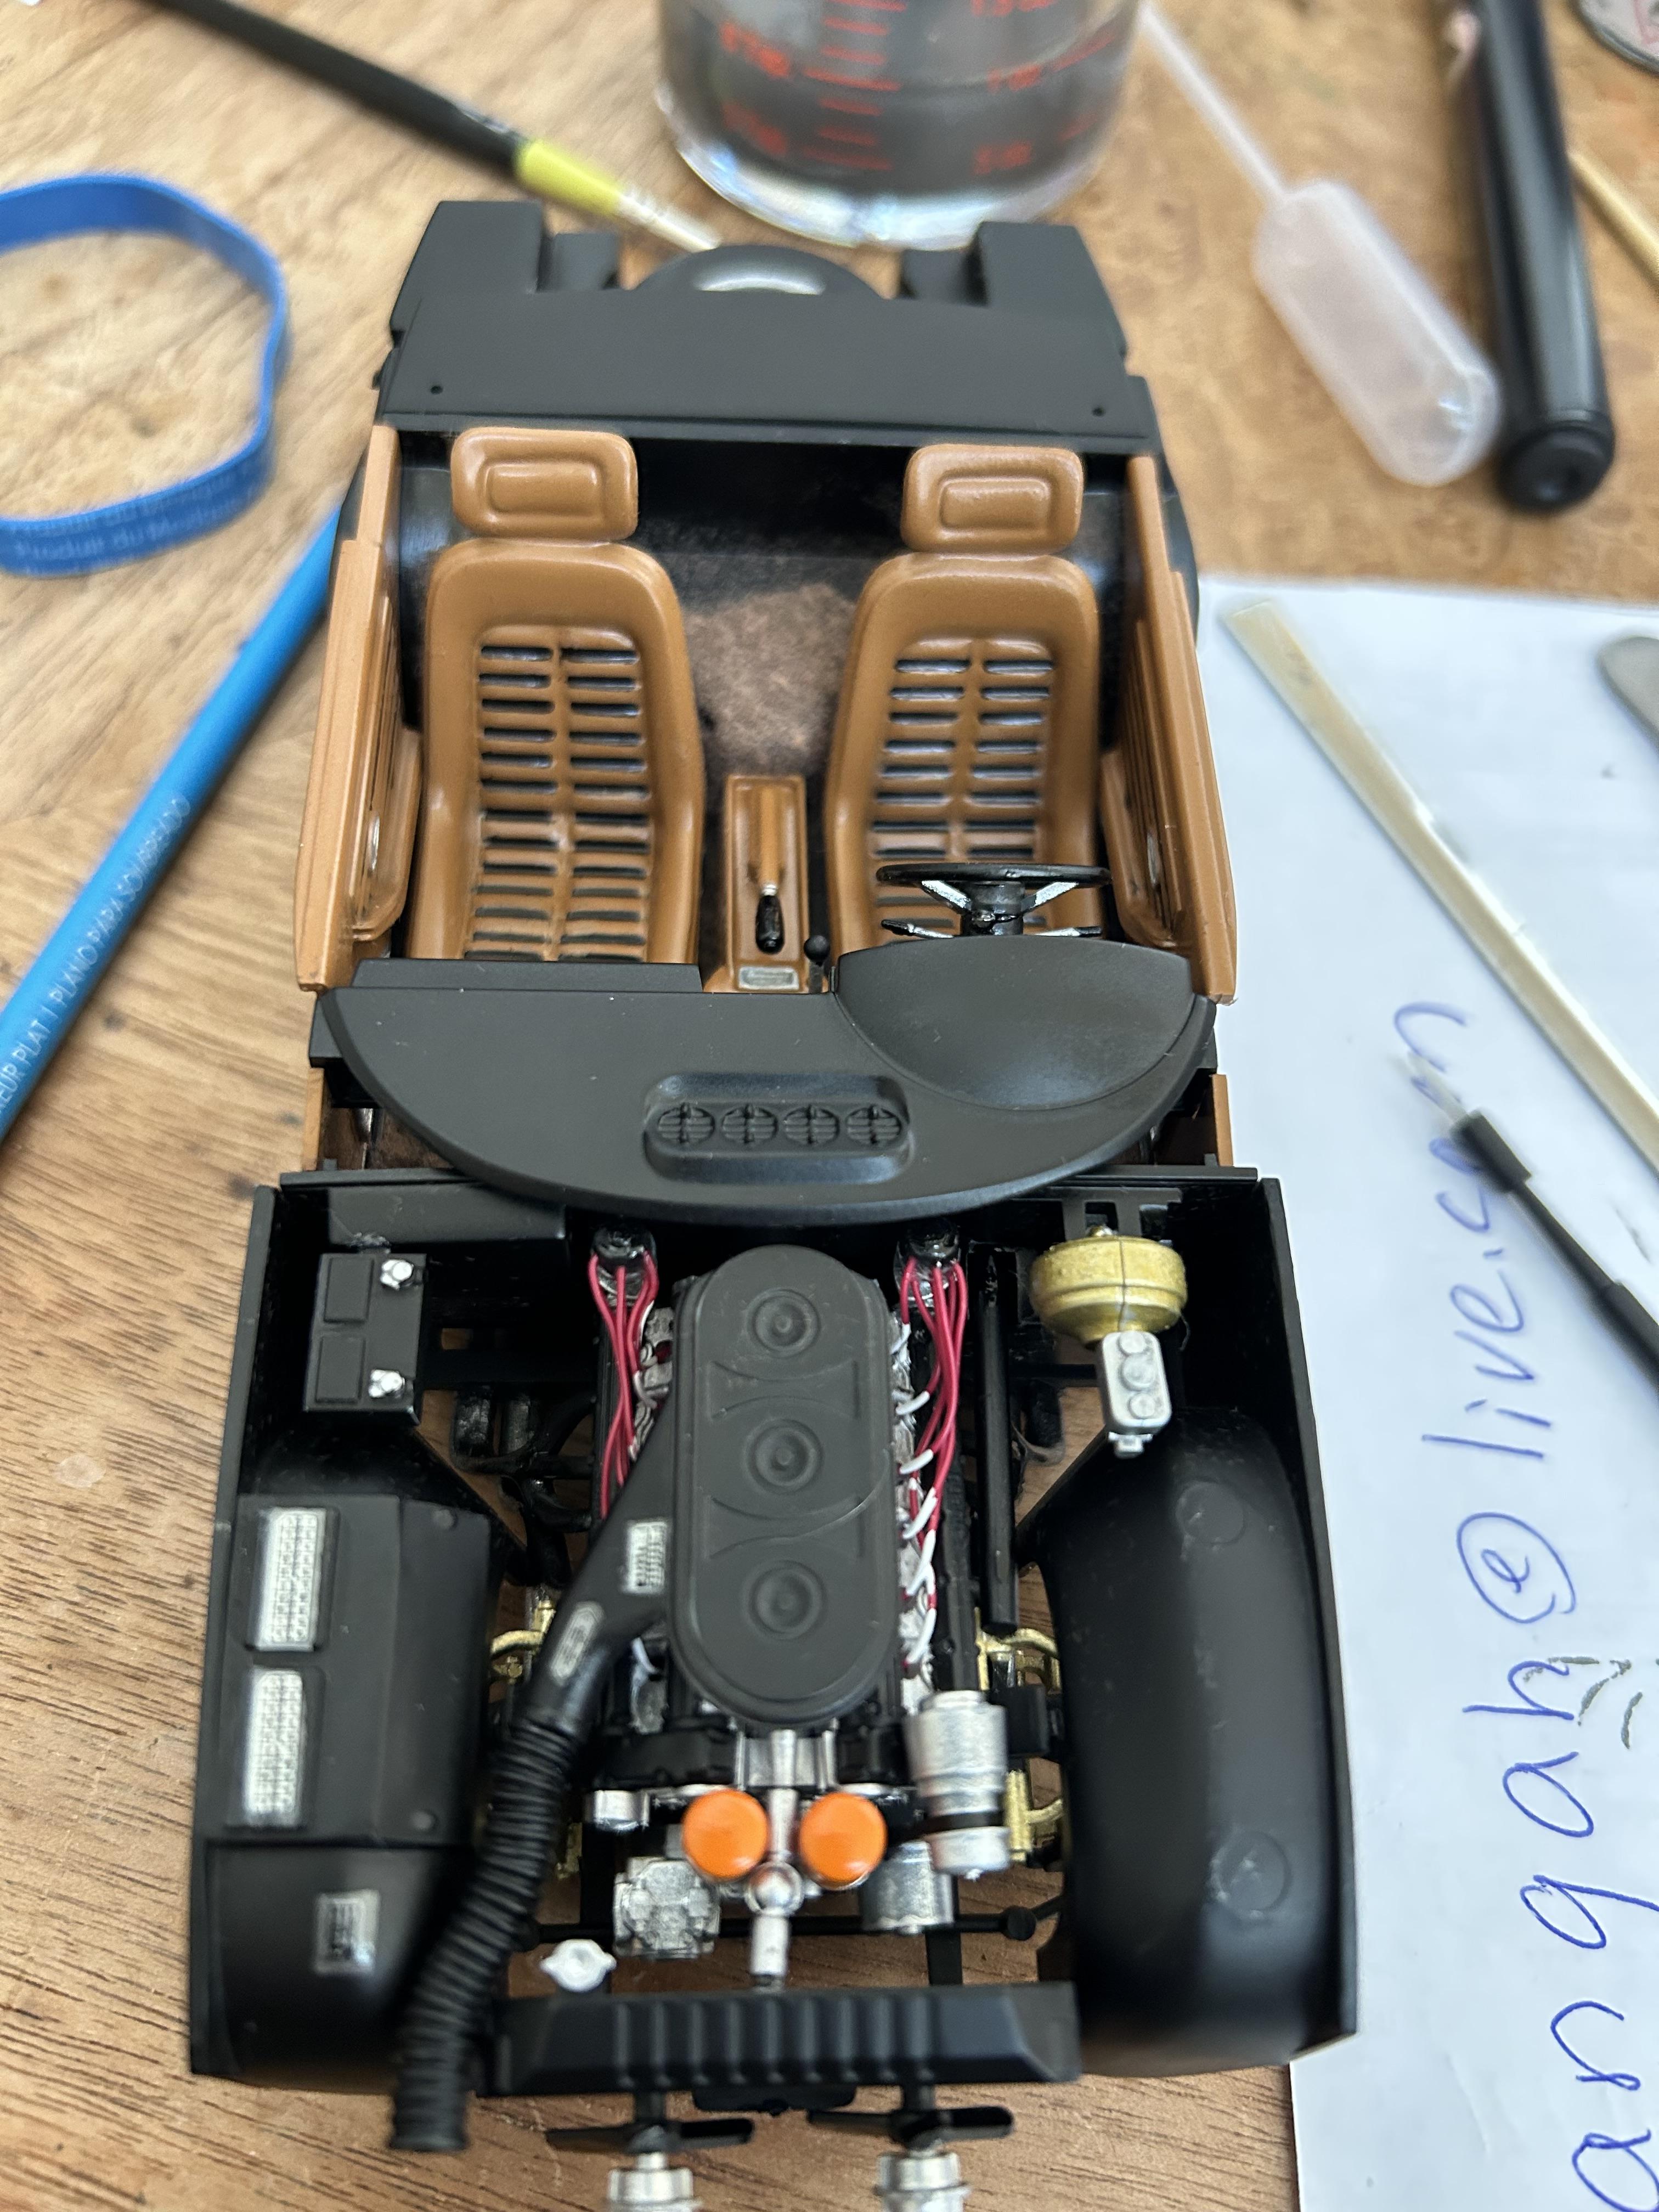
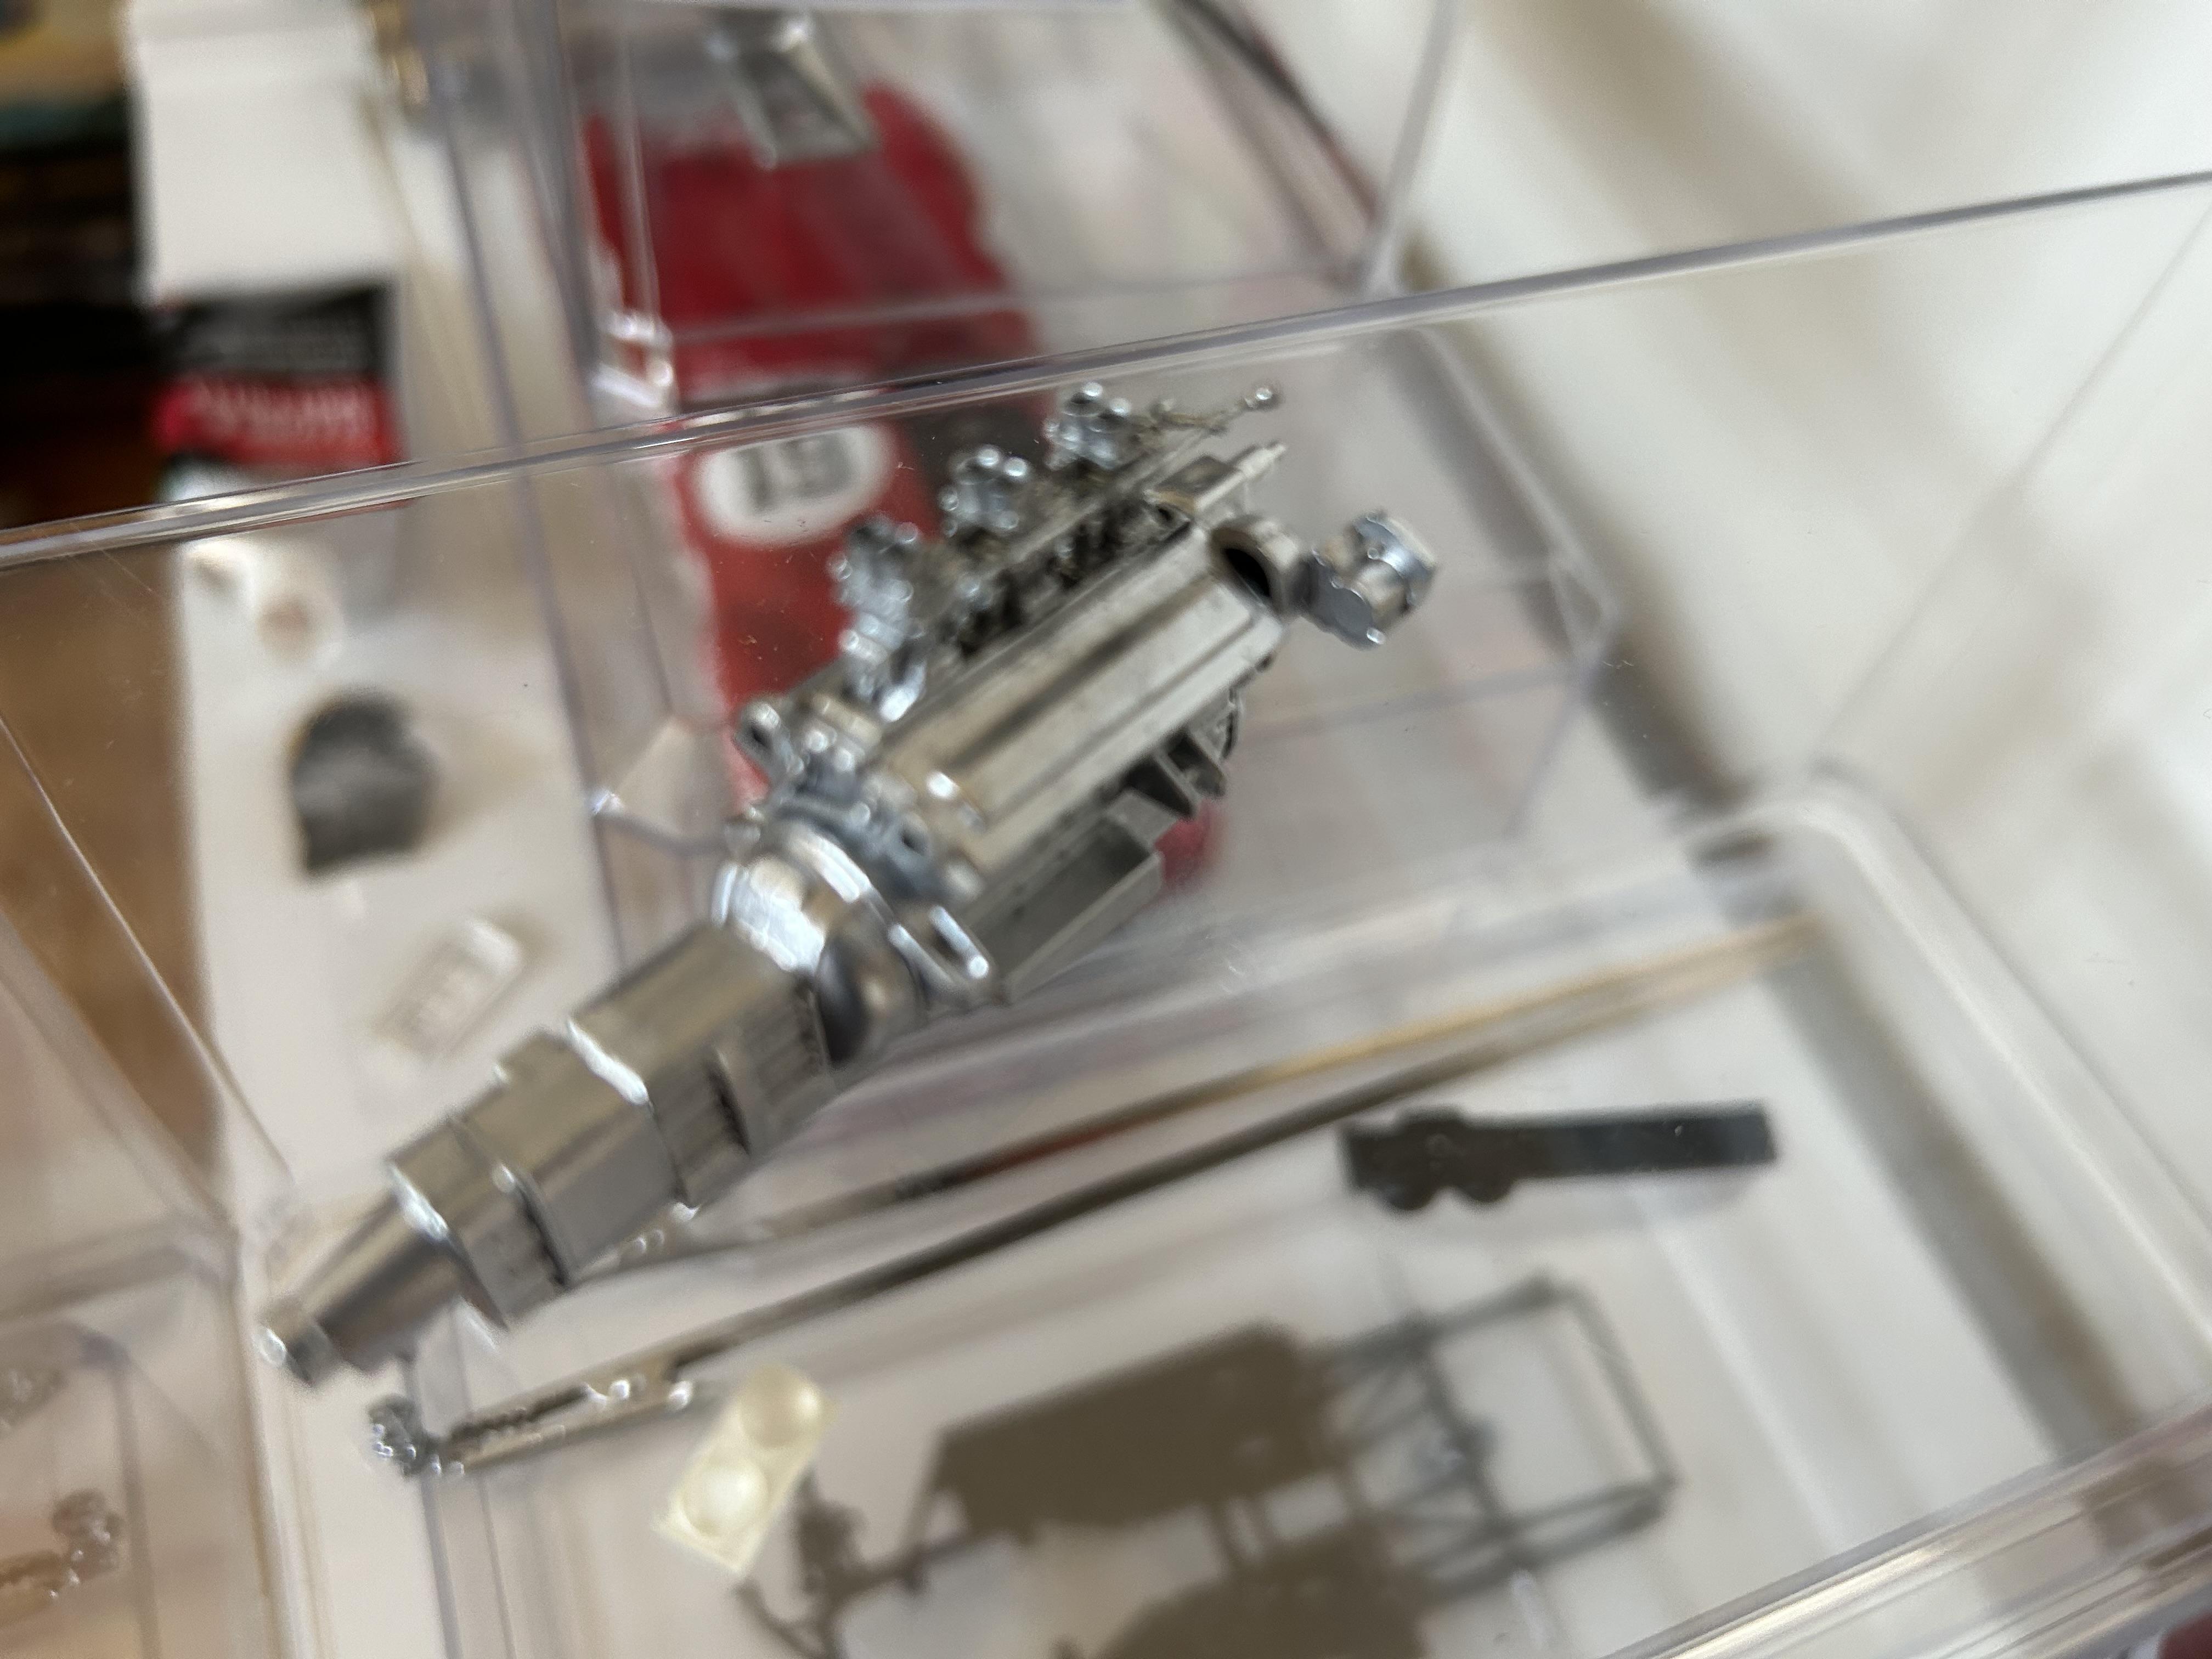
Progress on engine bay. Just need to add mesh for intakes. Modified italeri kit with replicas and miniatures of maryland carbs and alternator. Cast parts from Mfh kits…

-
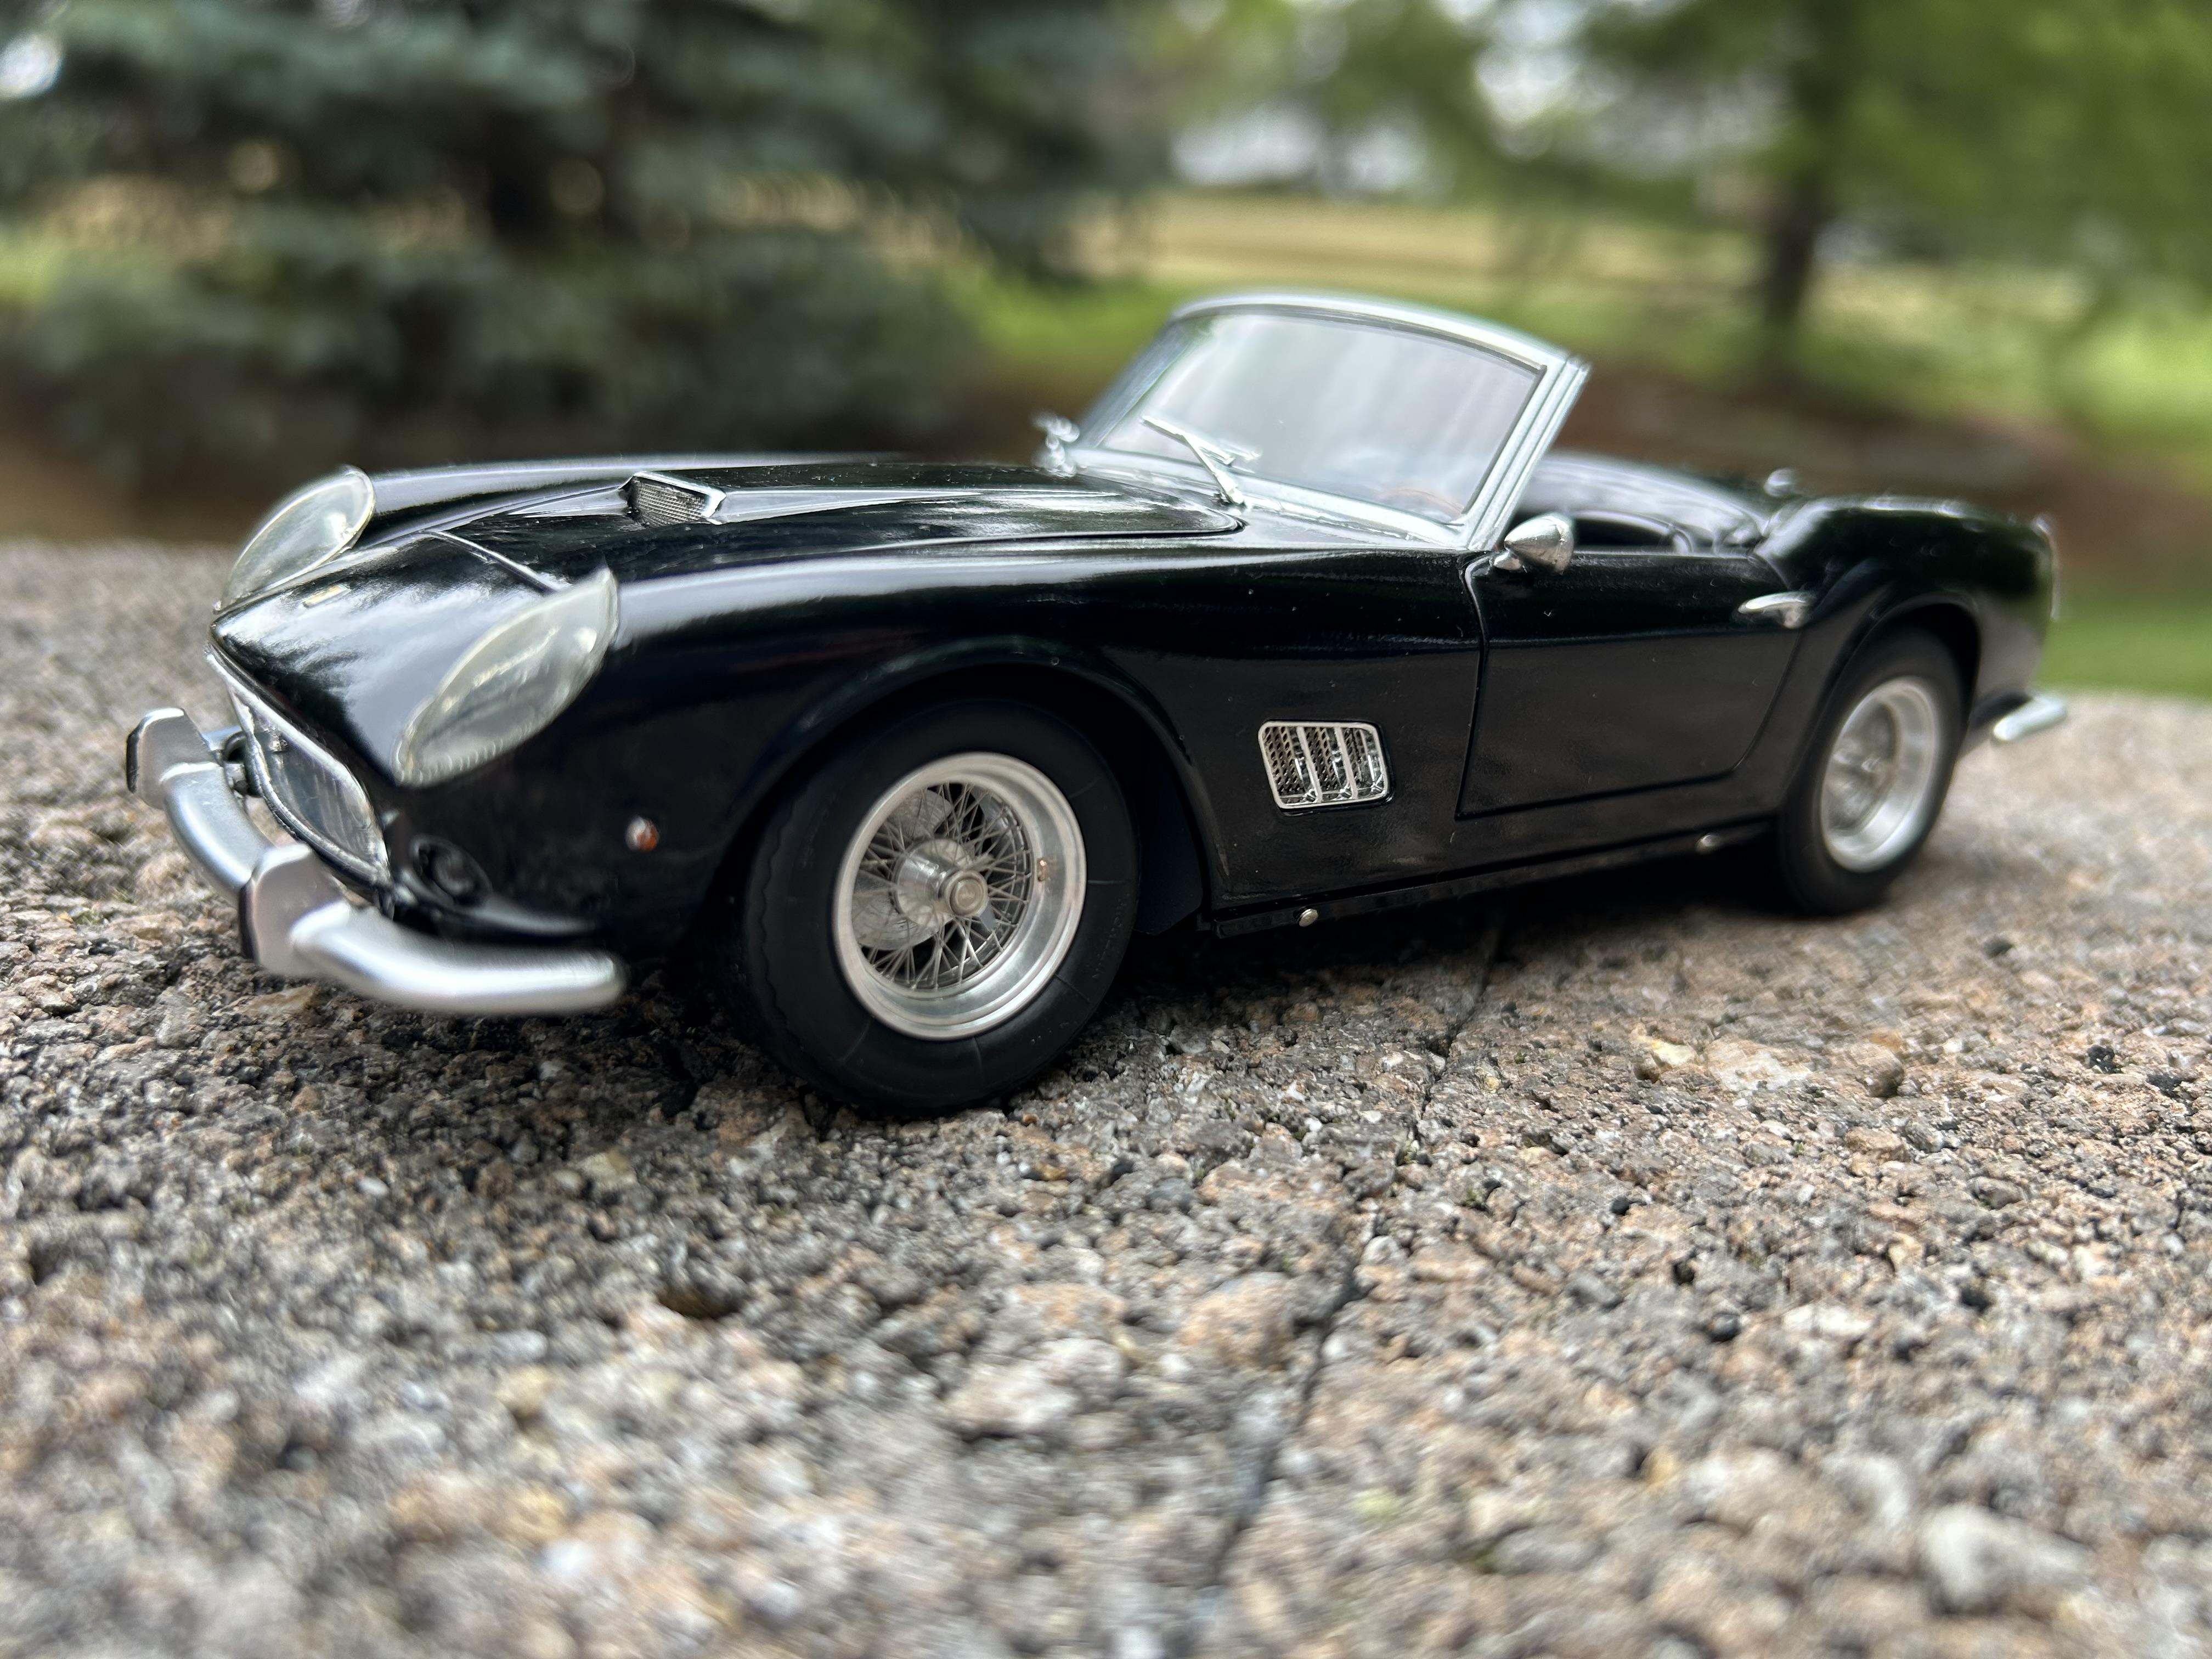
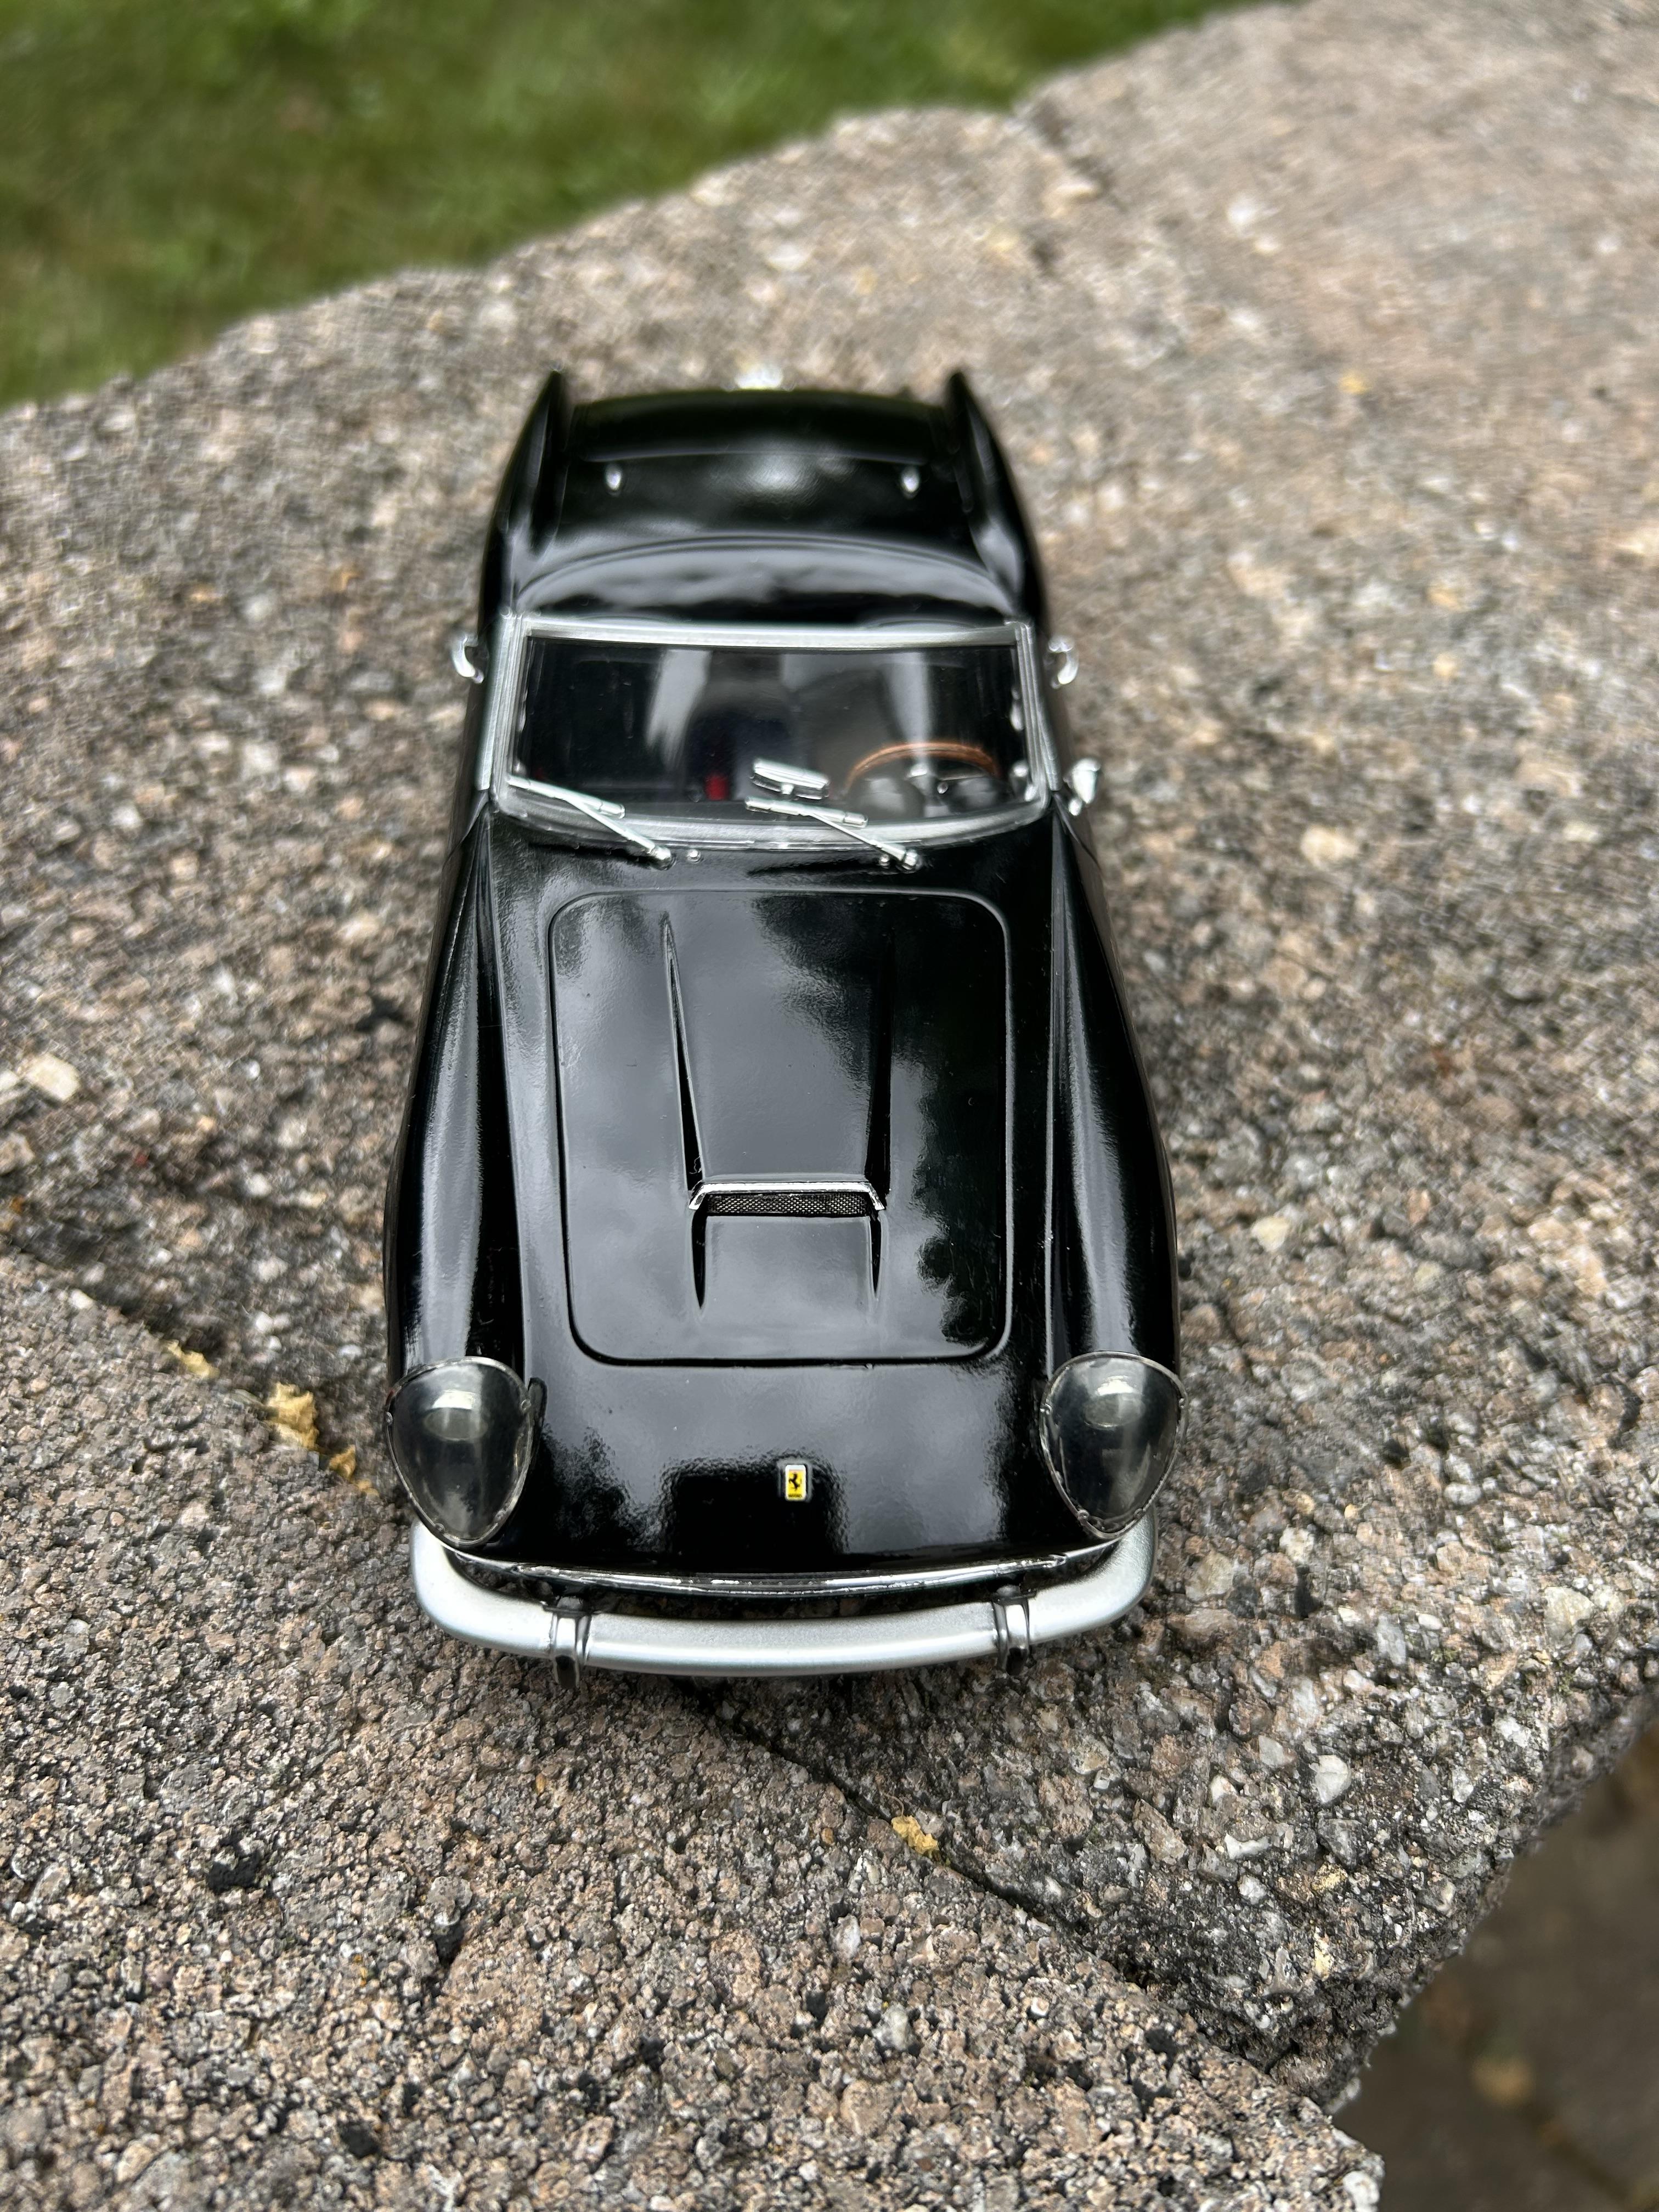
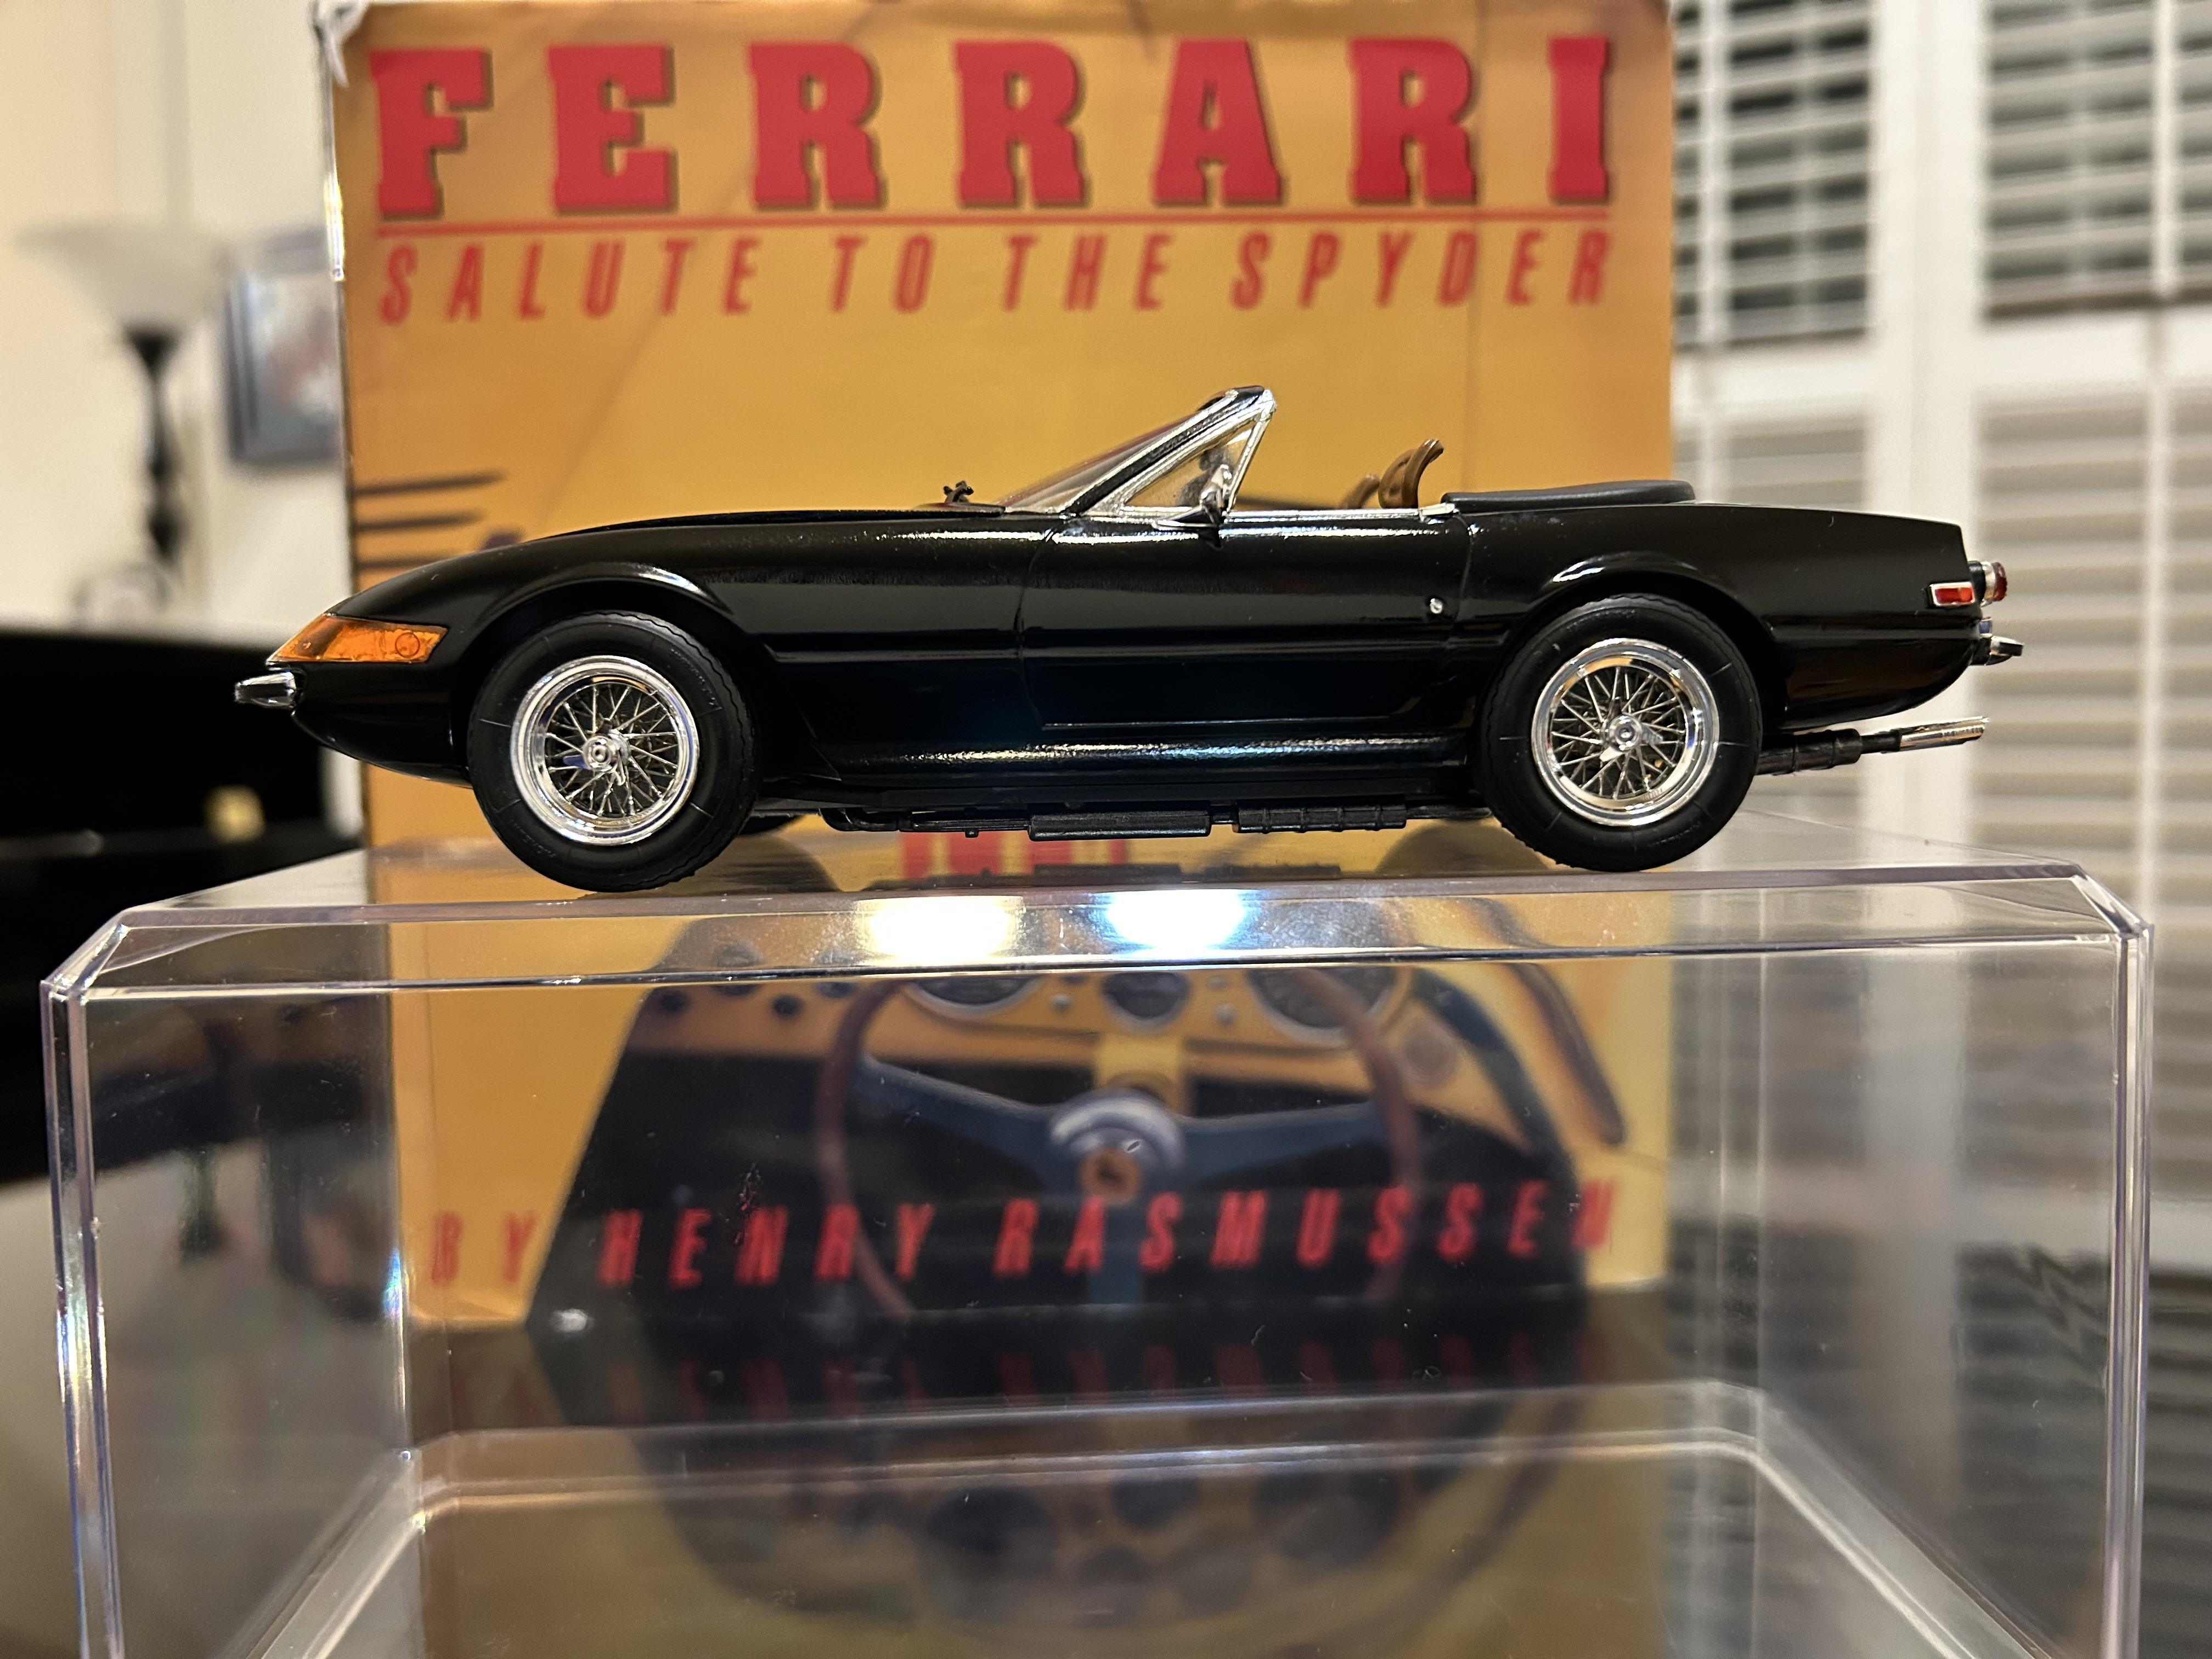
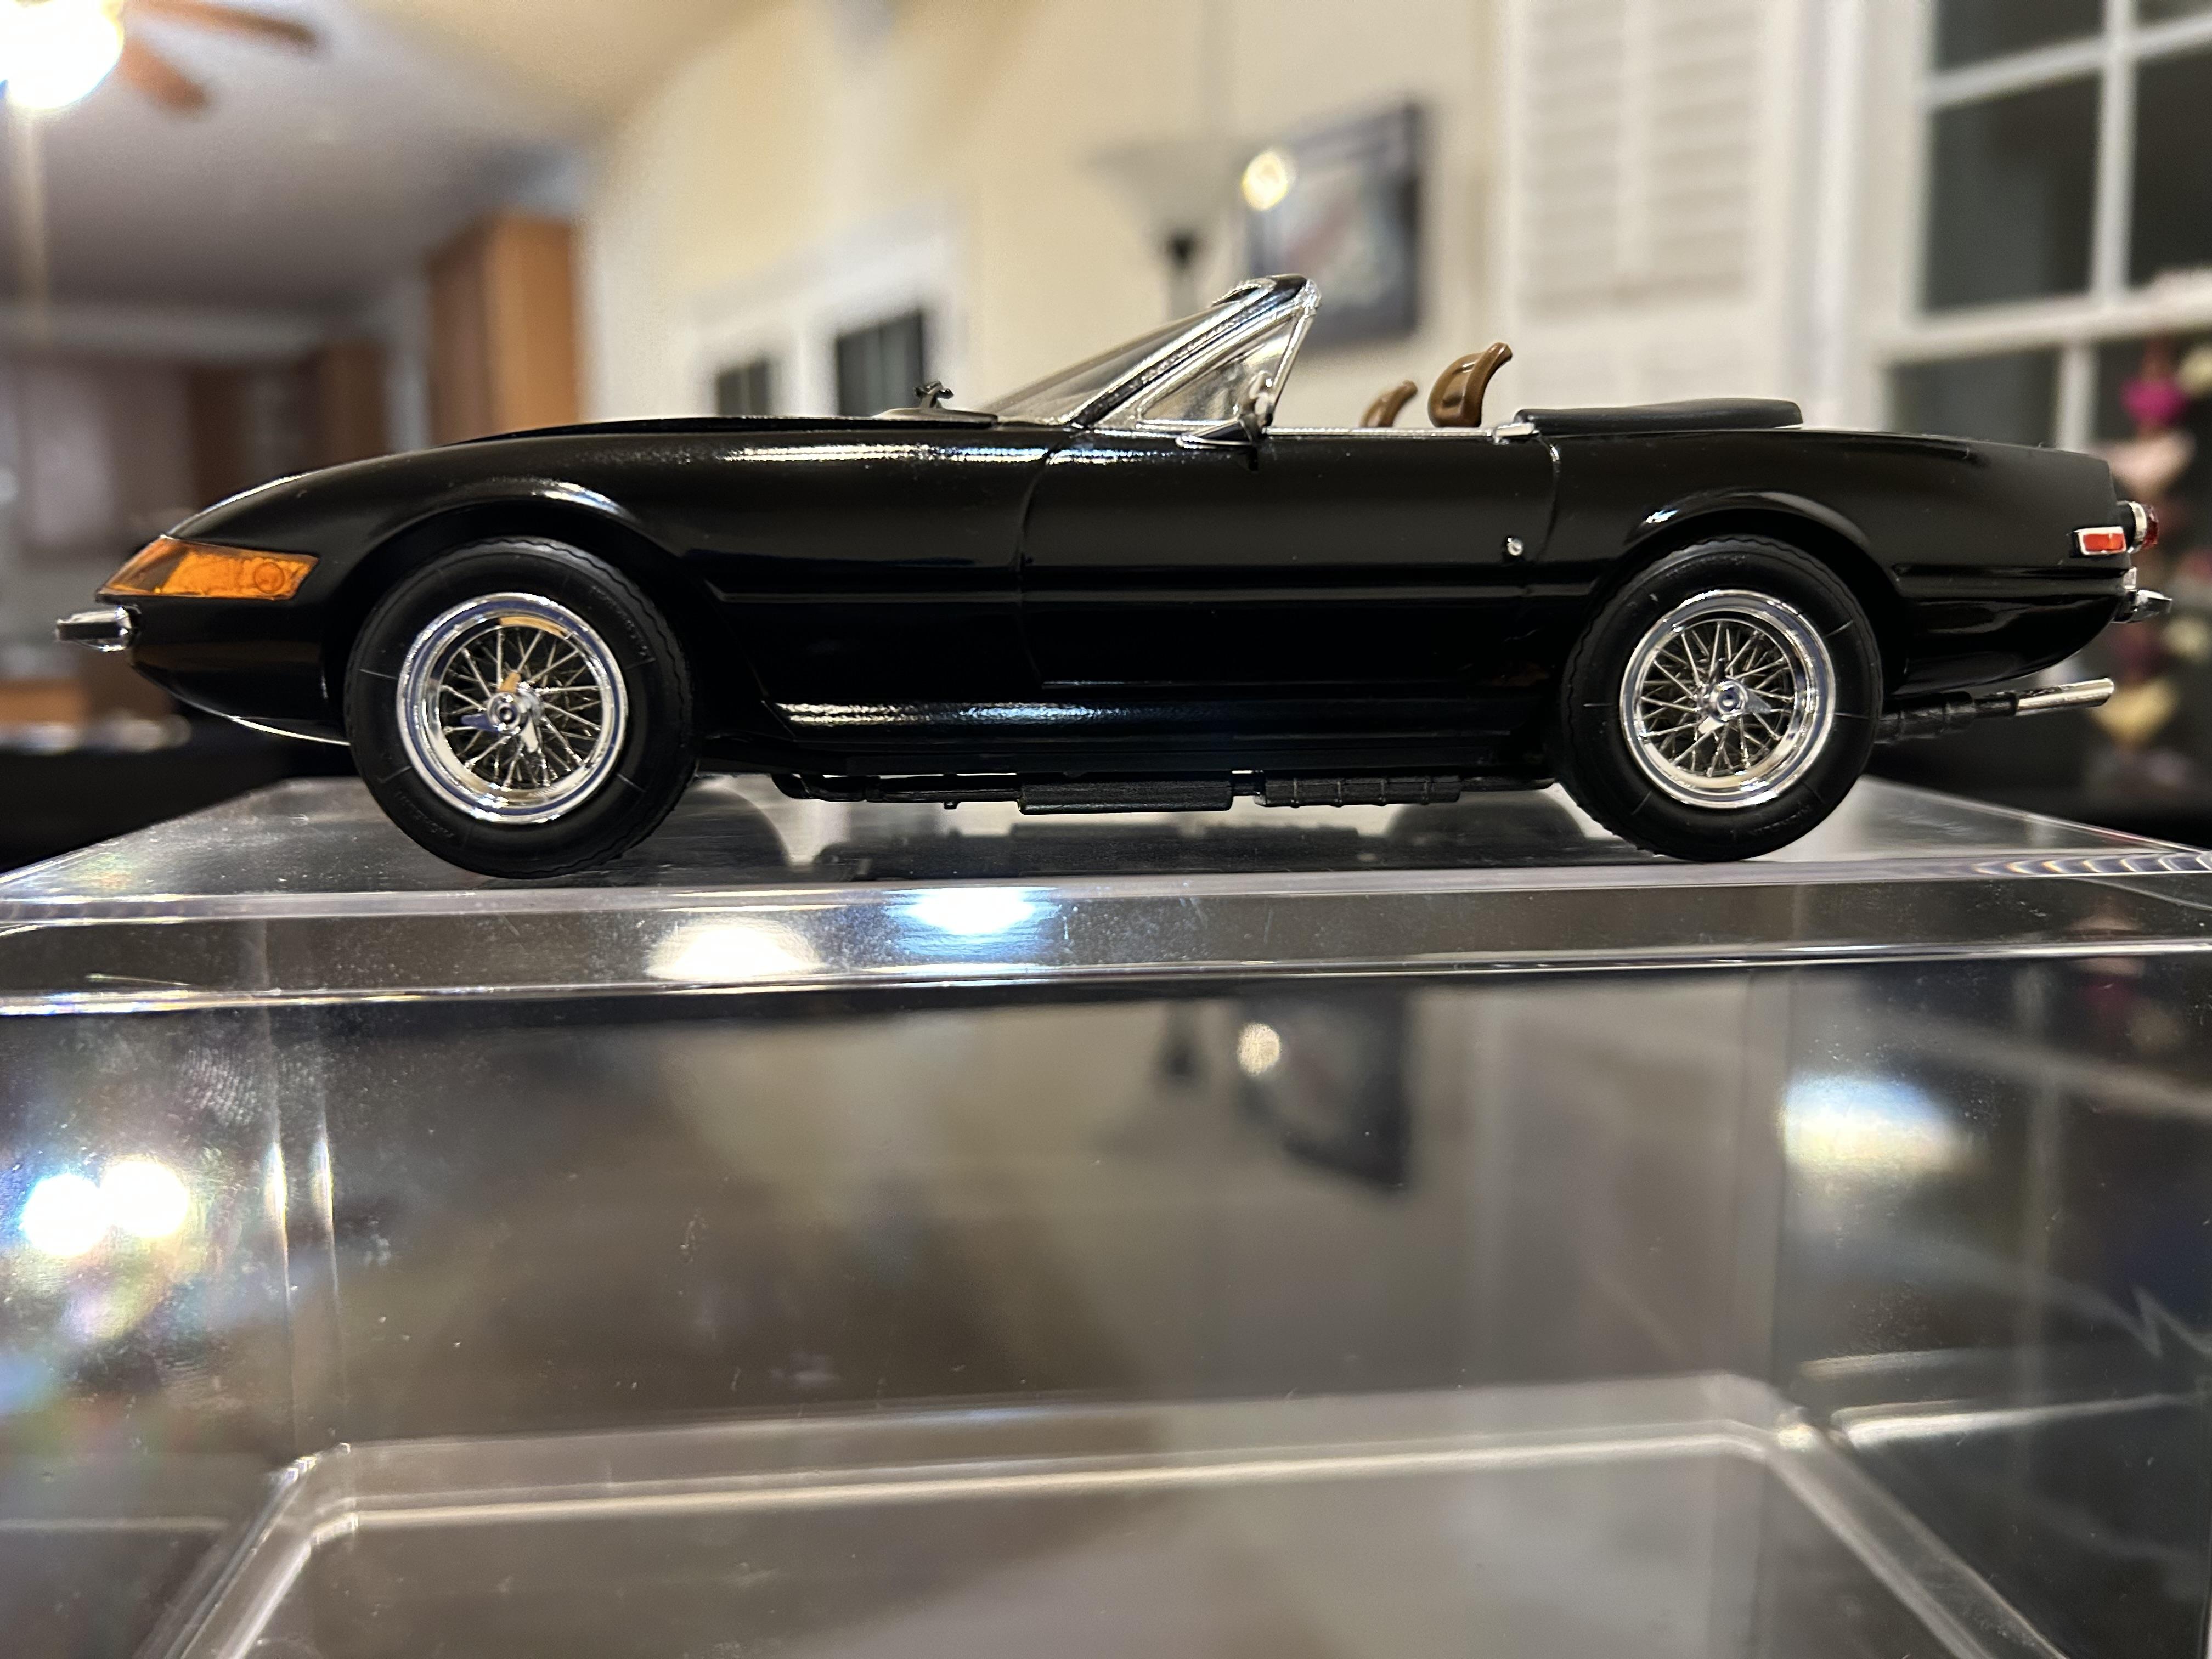
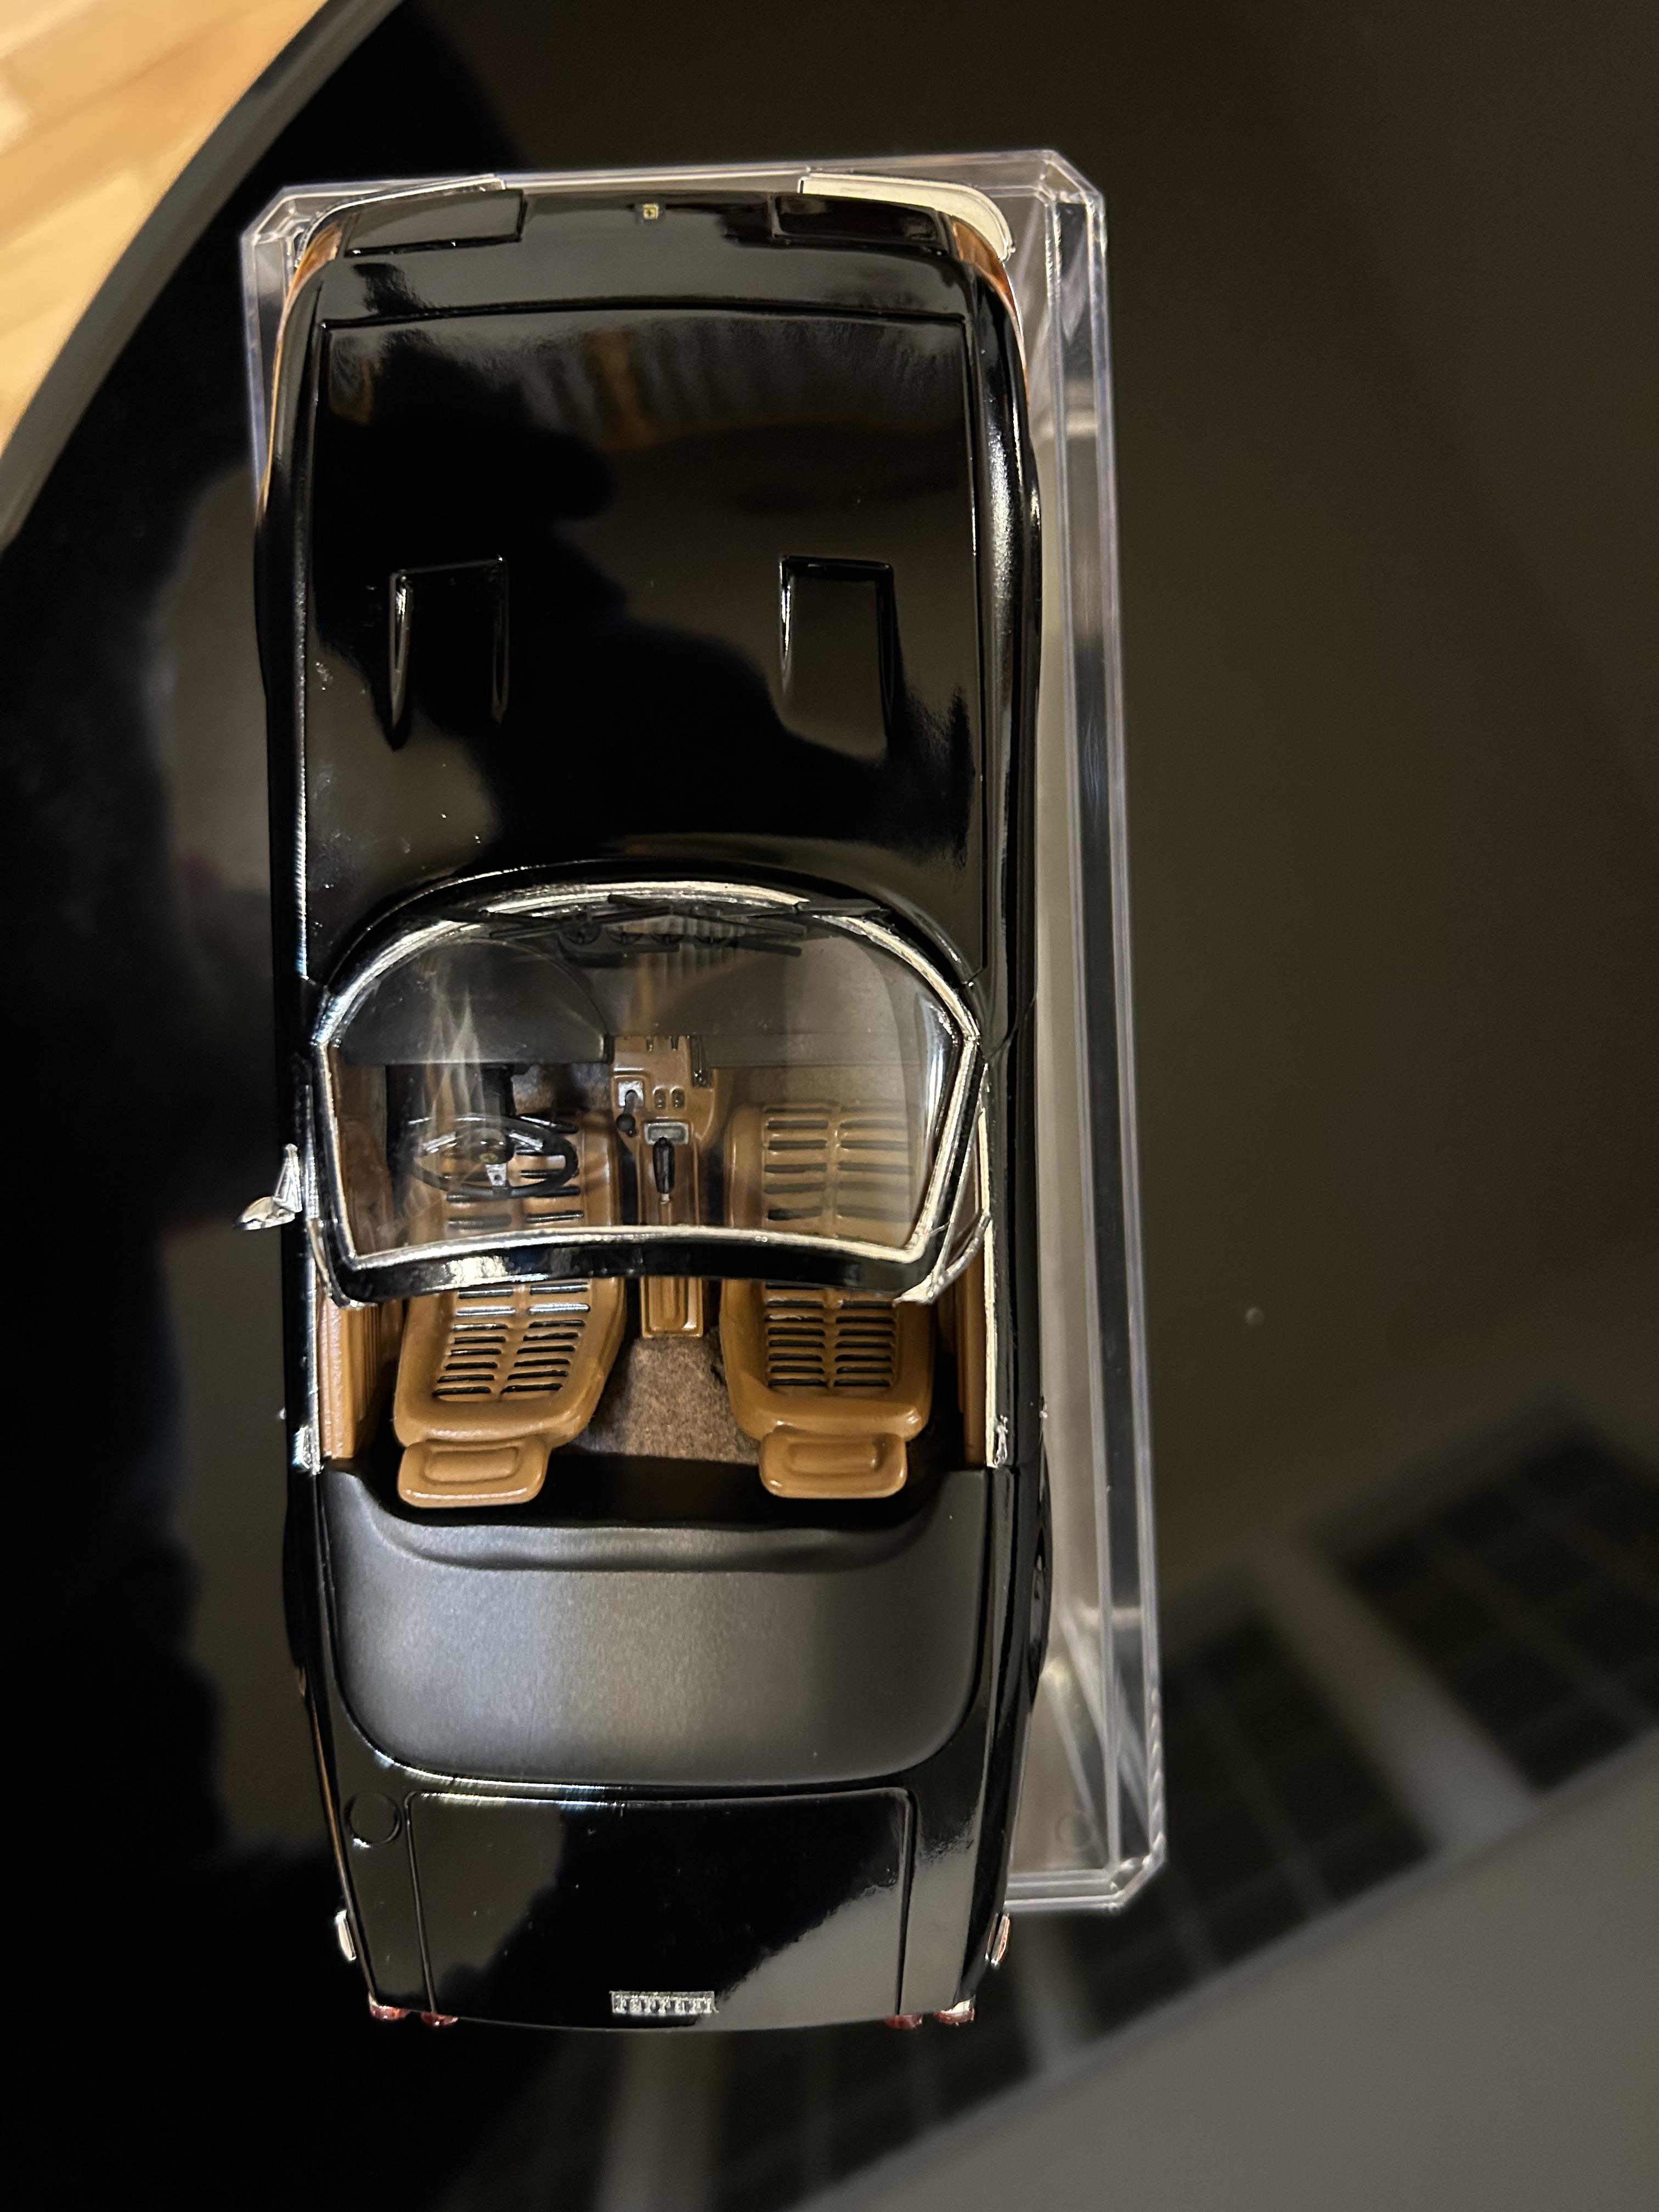
Purchased on eBay missing the resin side grills. Had to cast from another model many hours of sanding, priming, resanding and filling pin holes was going to do a racing white color but thought black would be easier very rough kit but unique
-
- 2
-

-
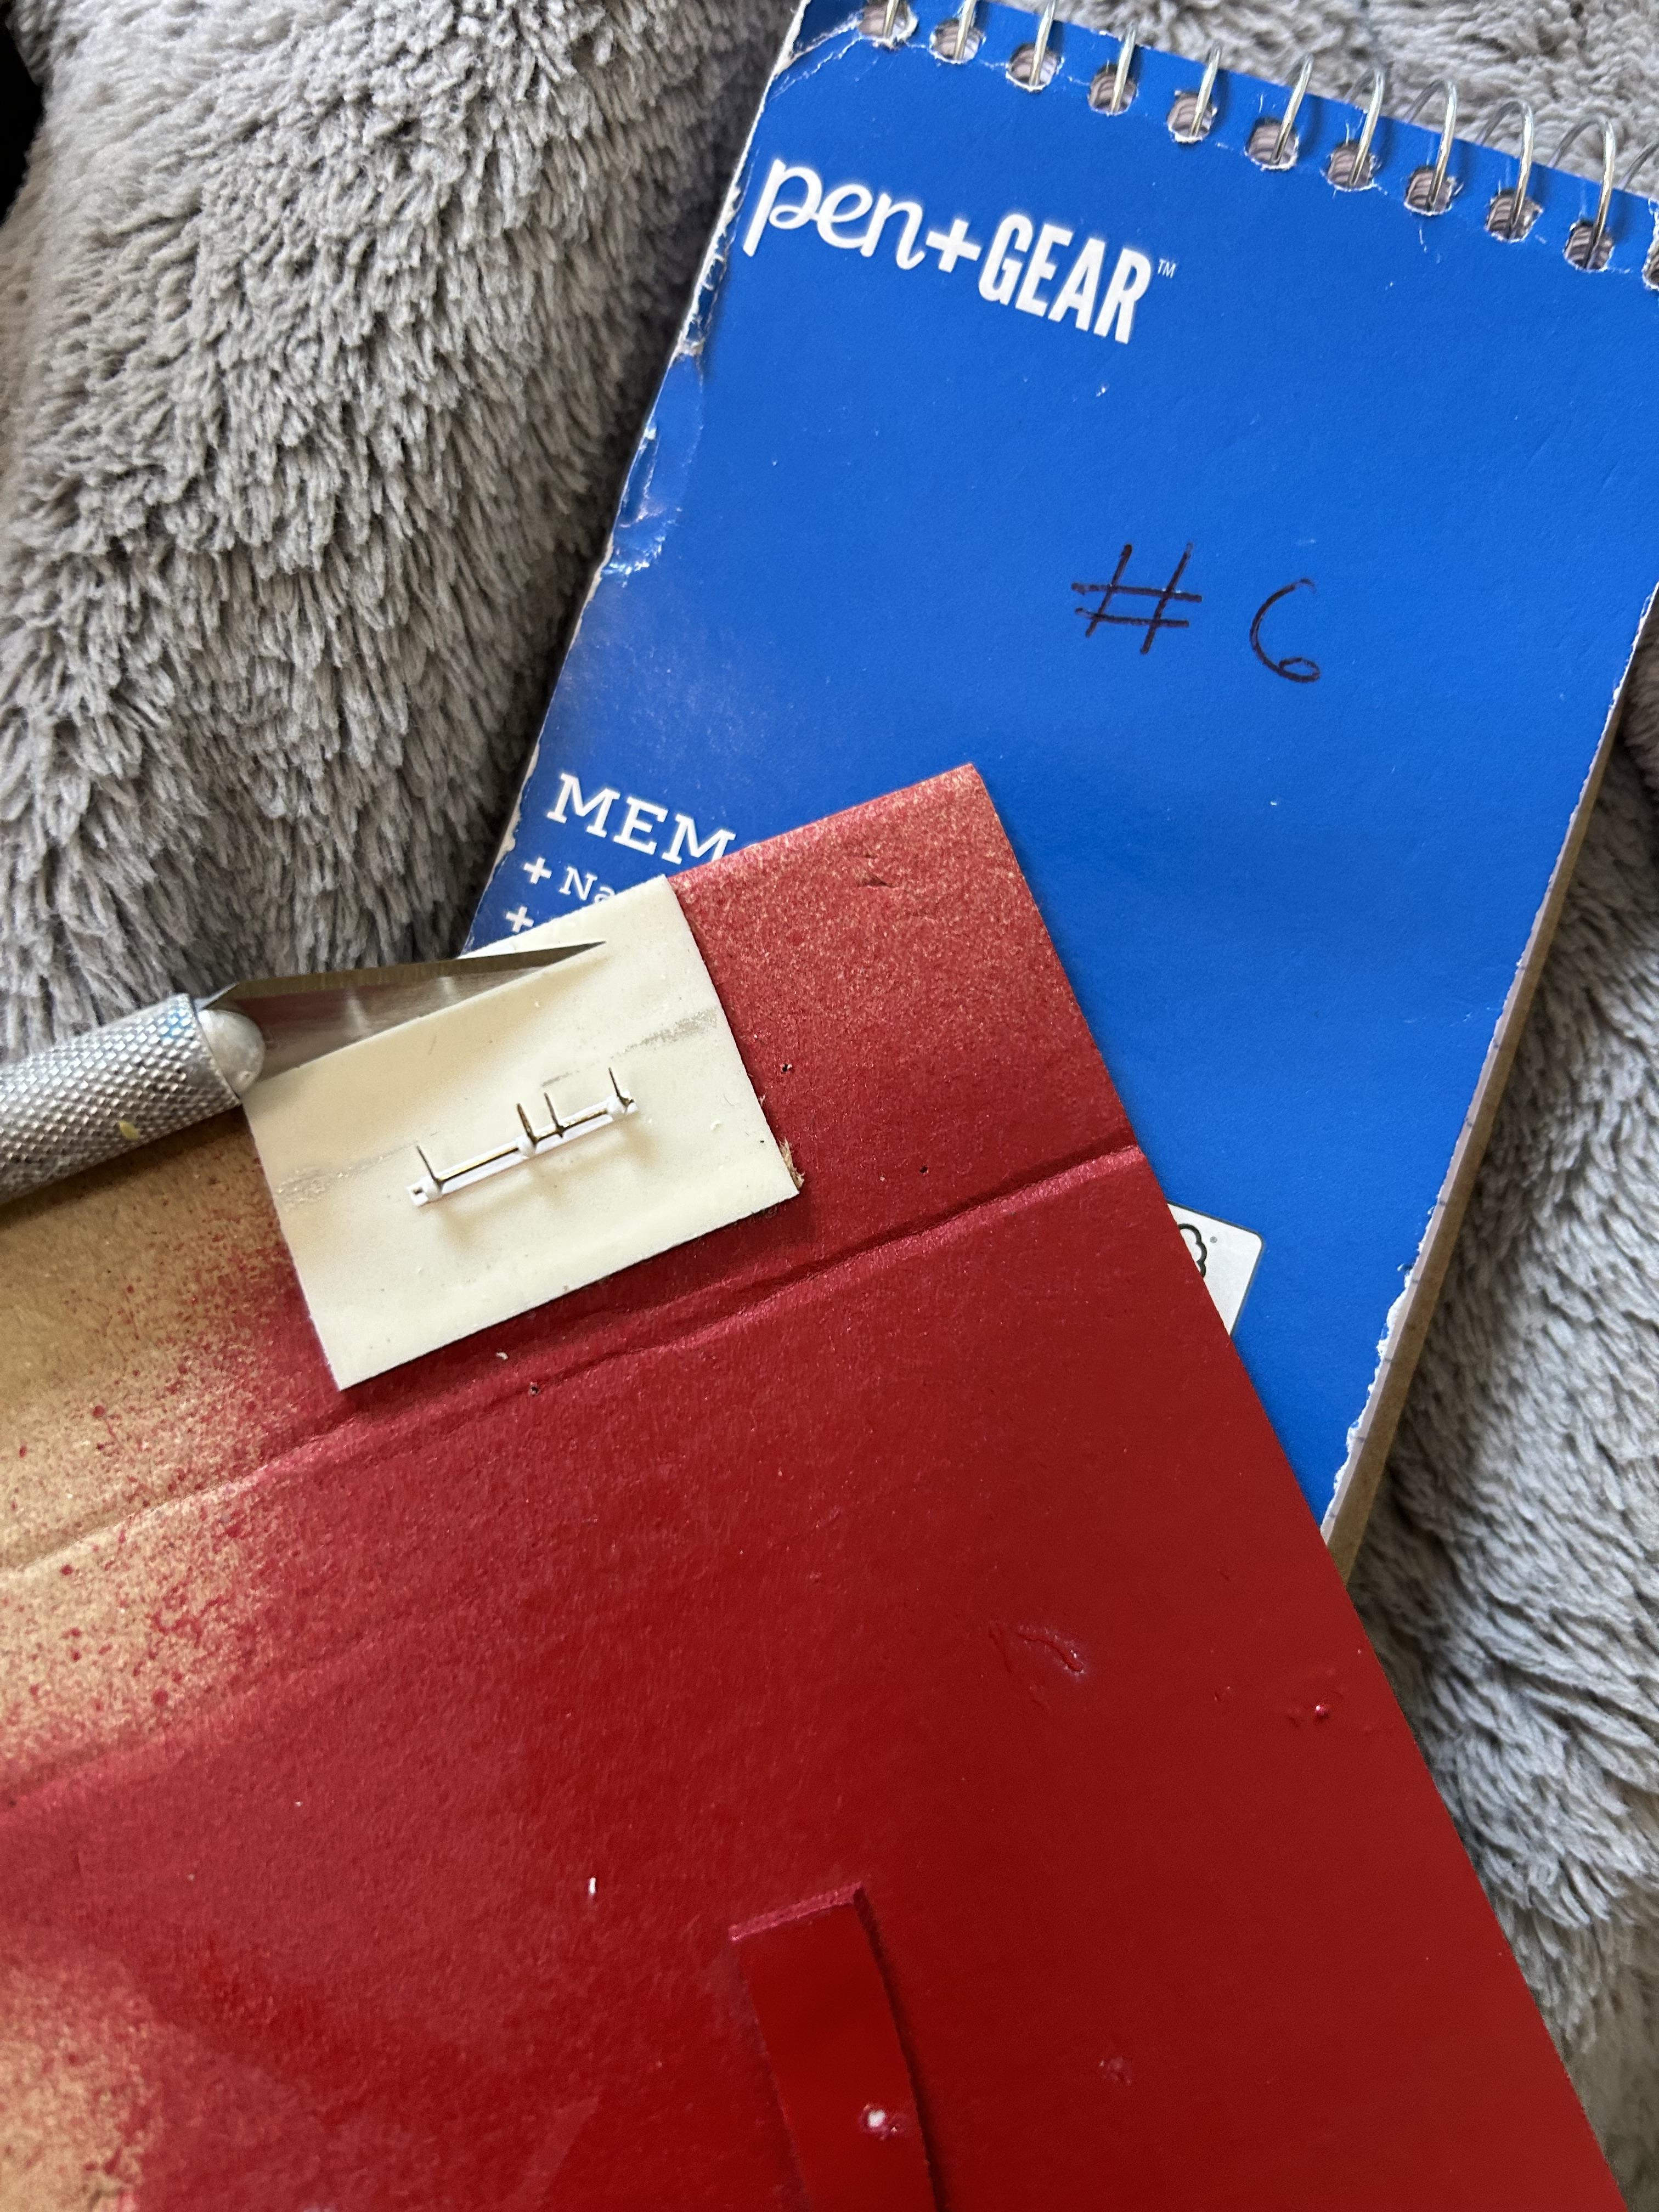
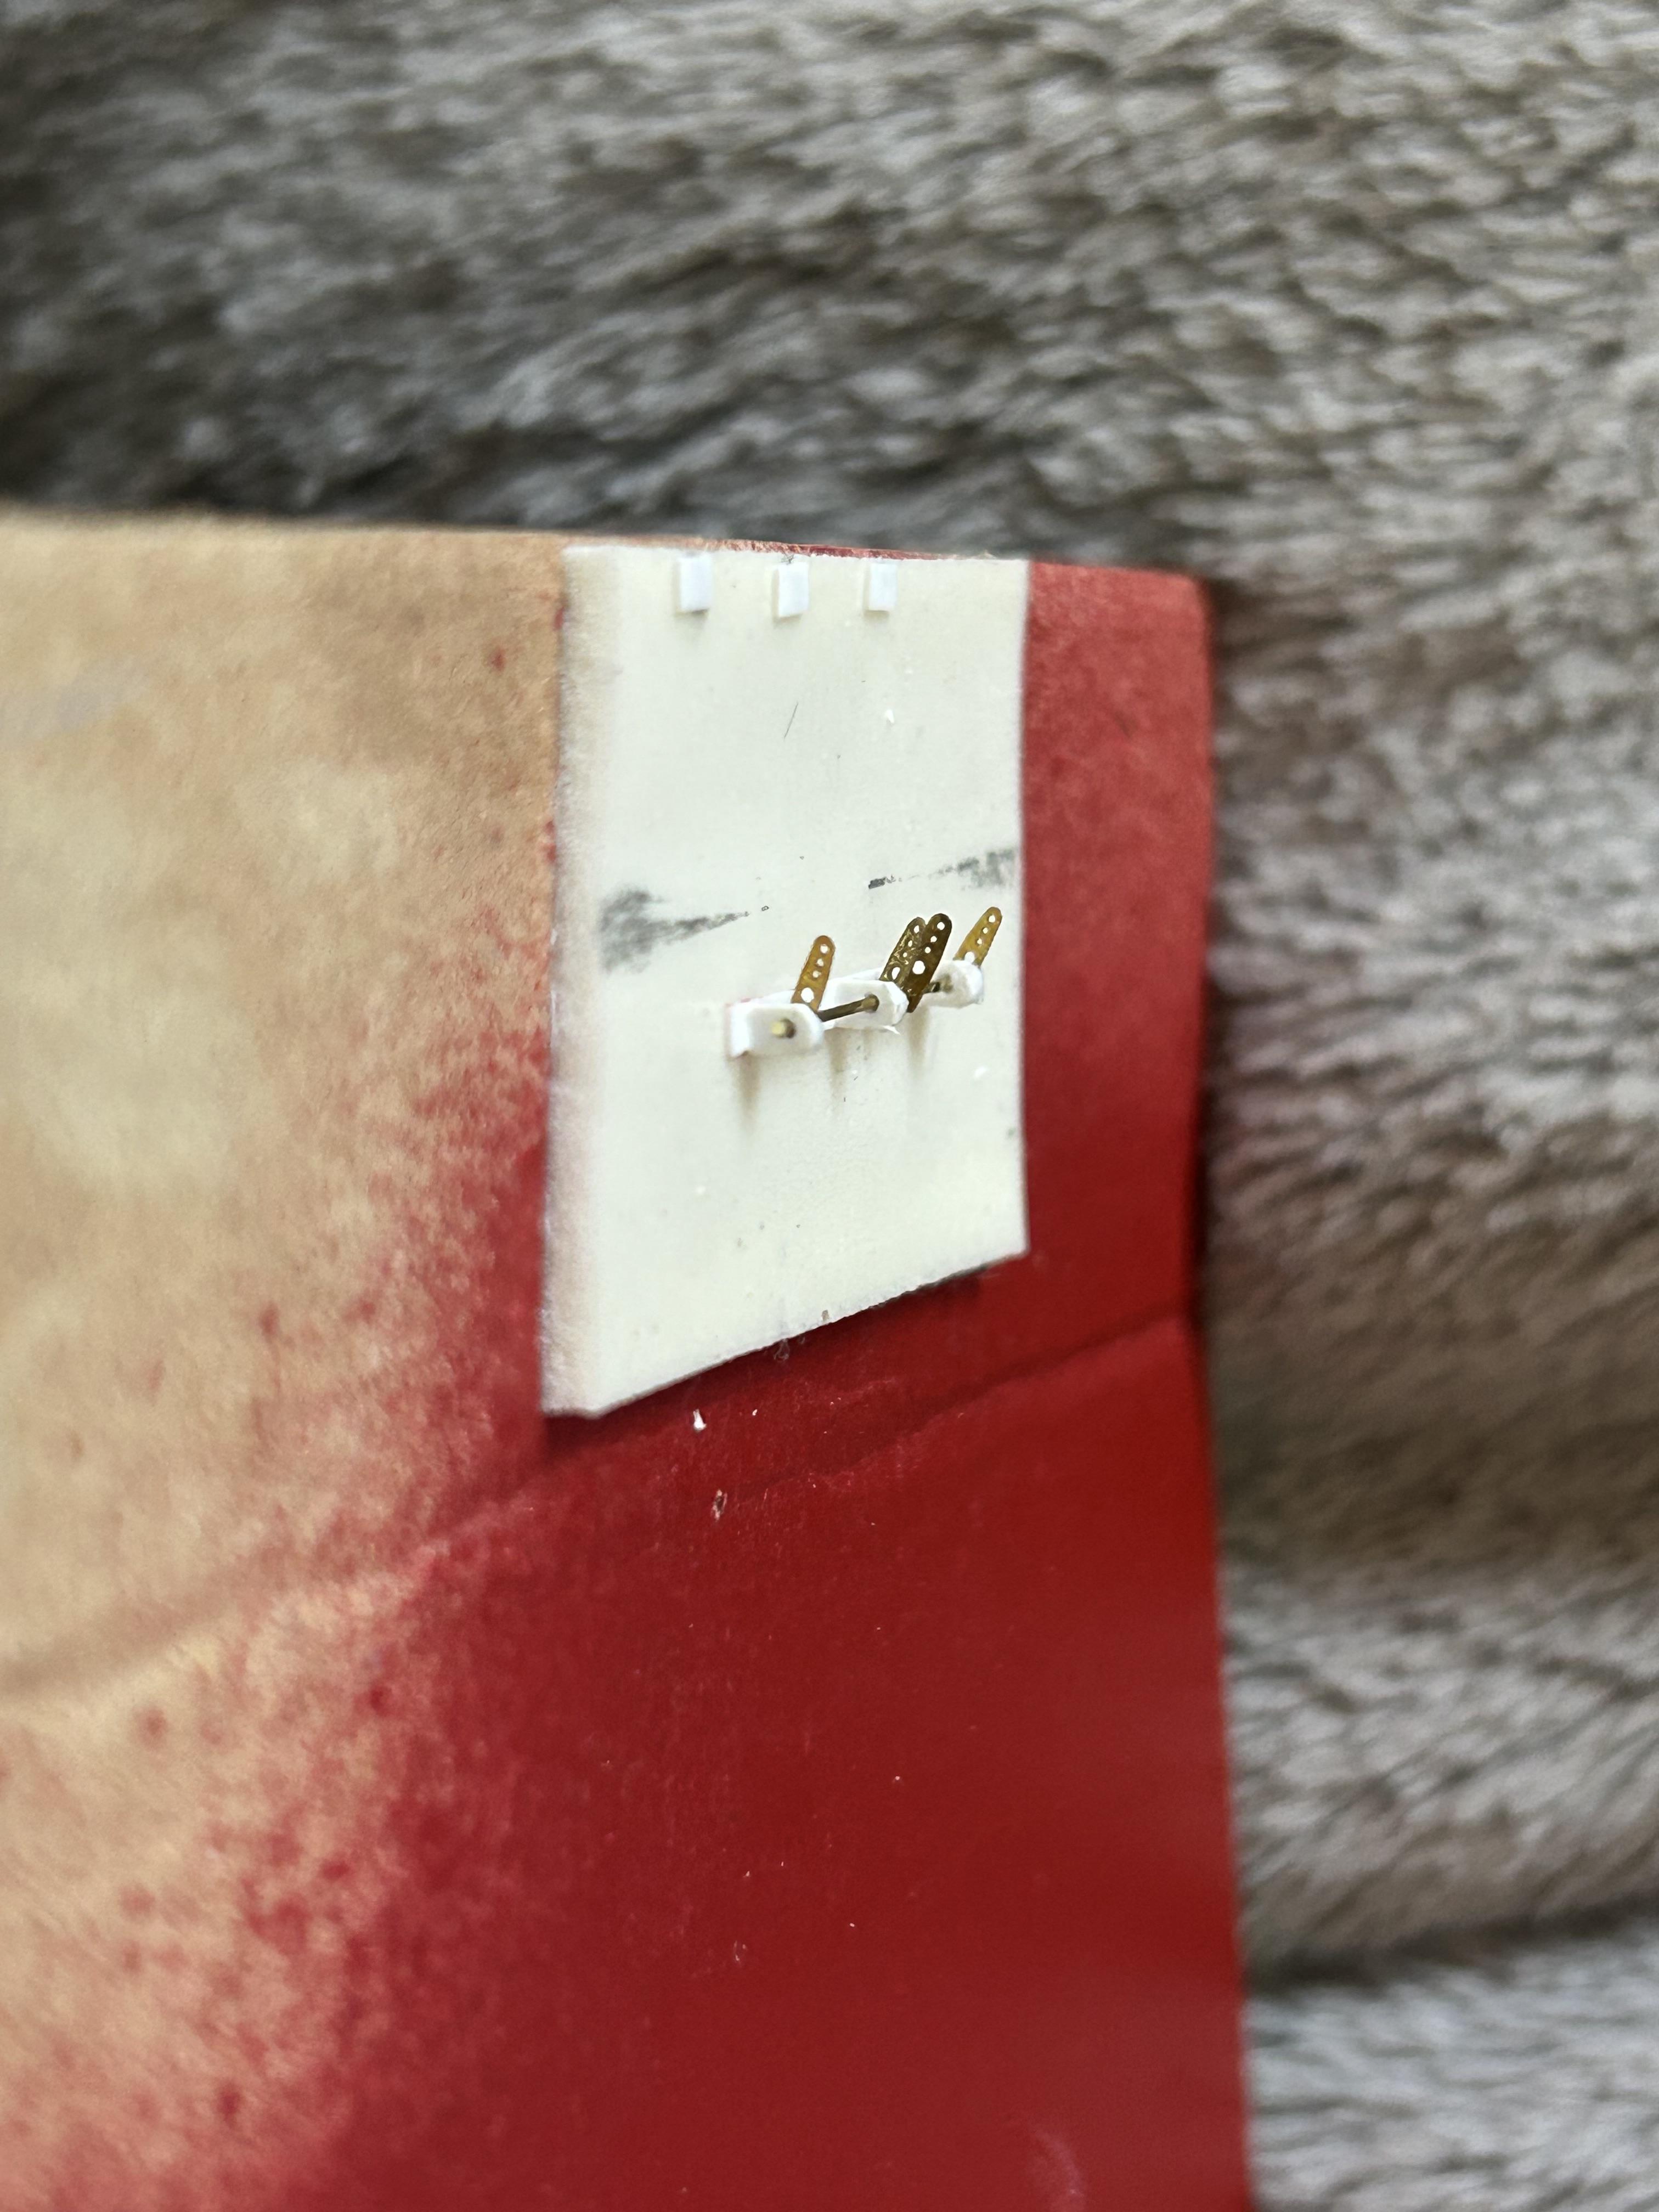
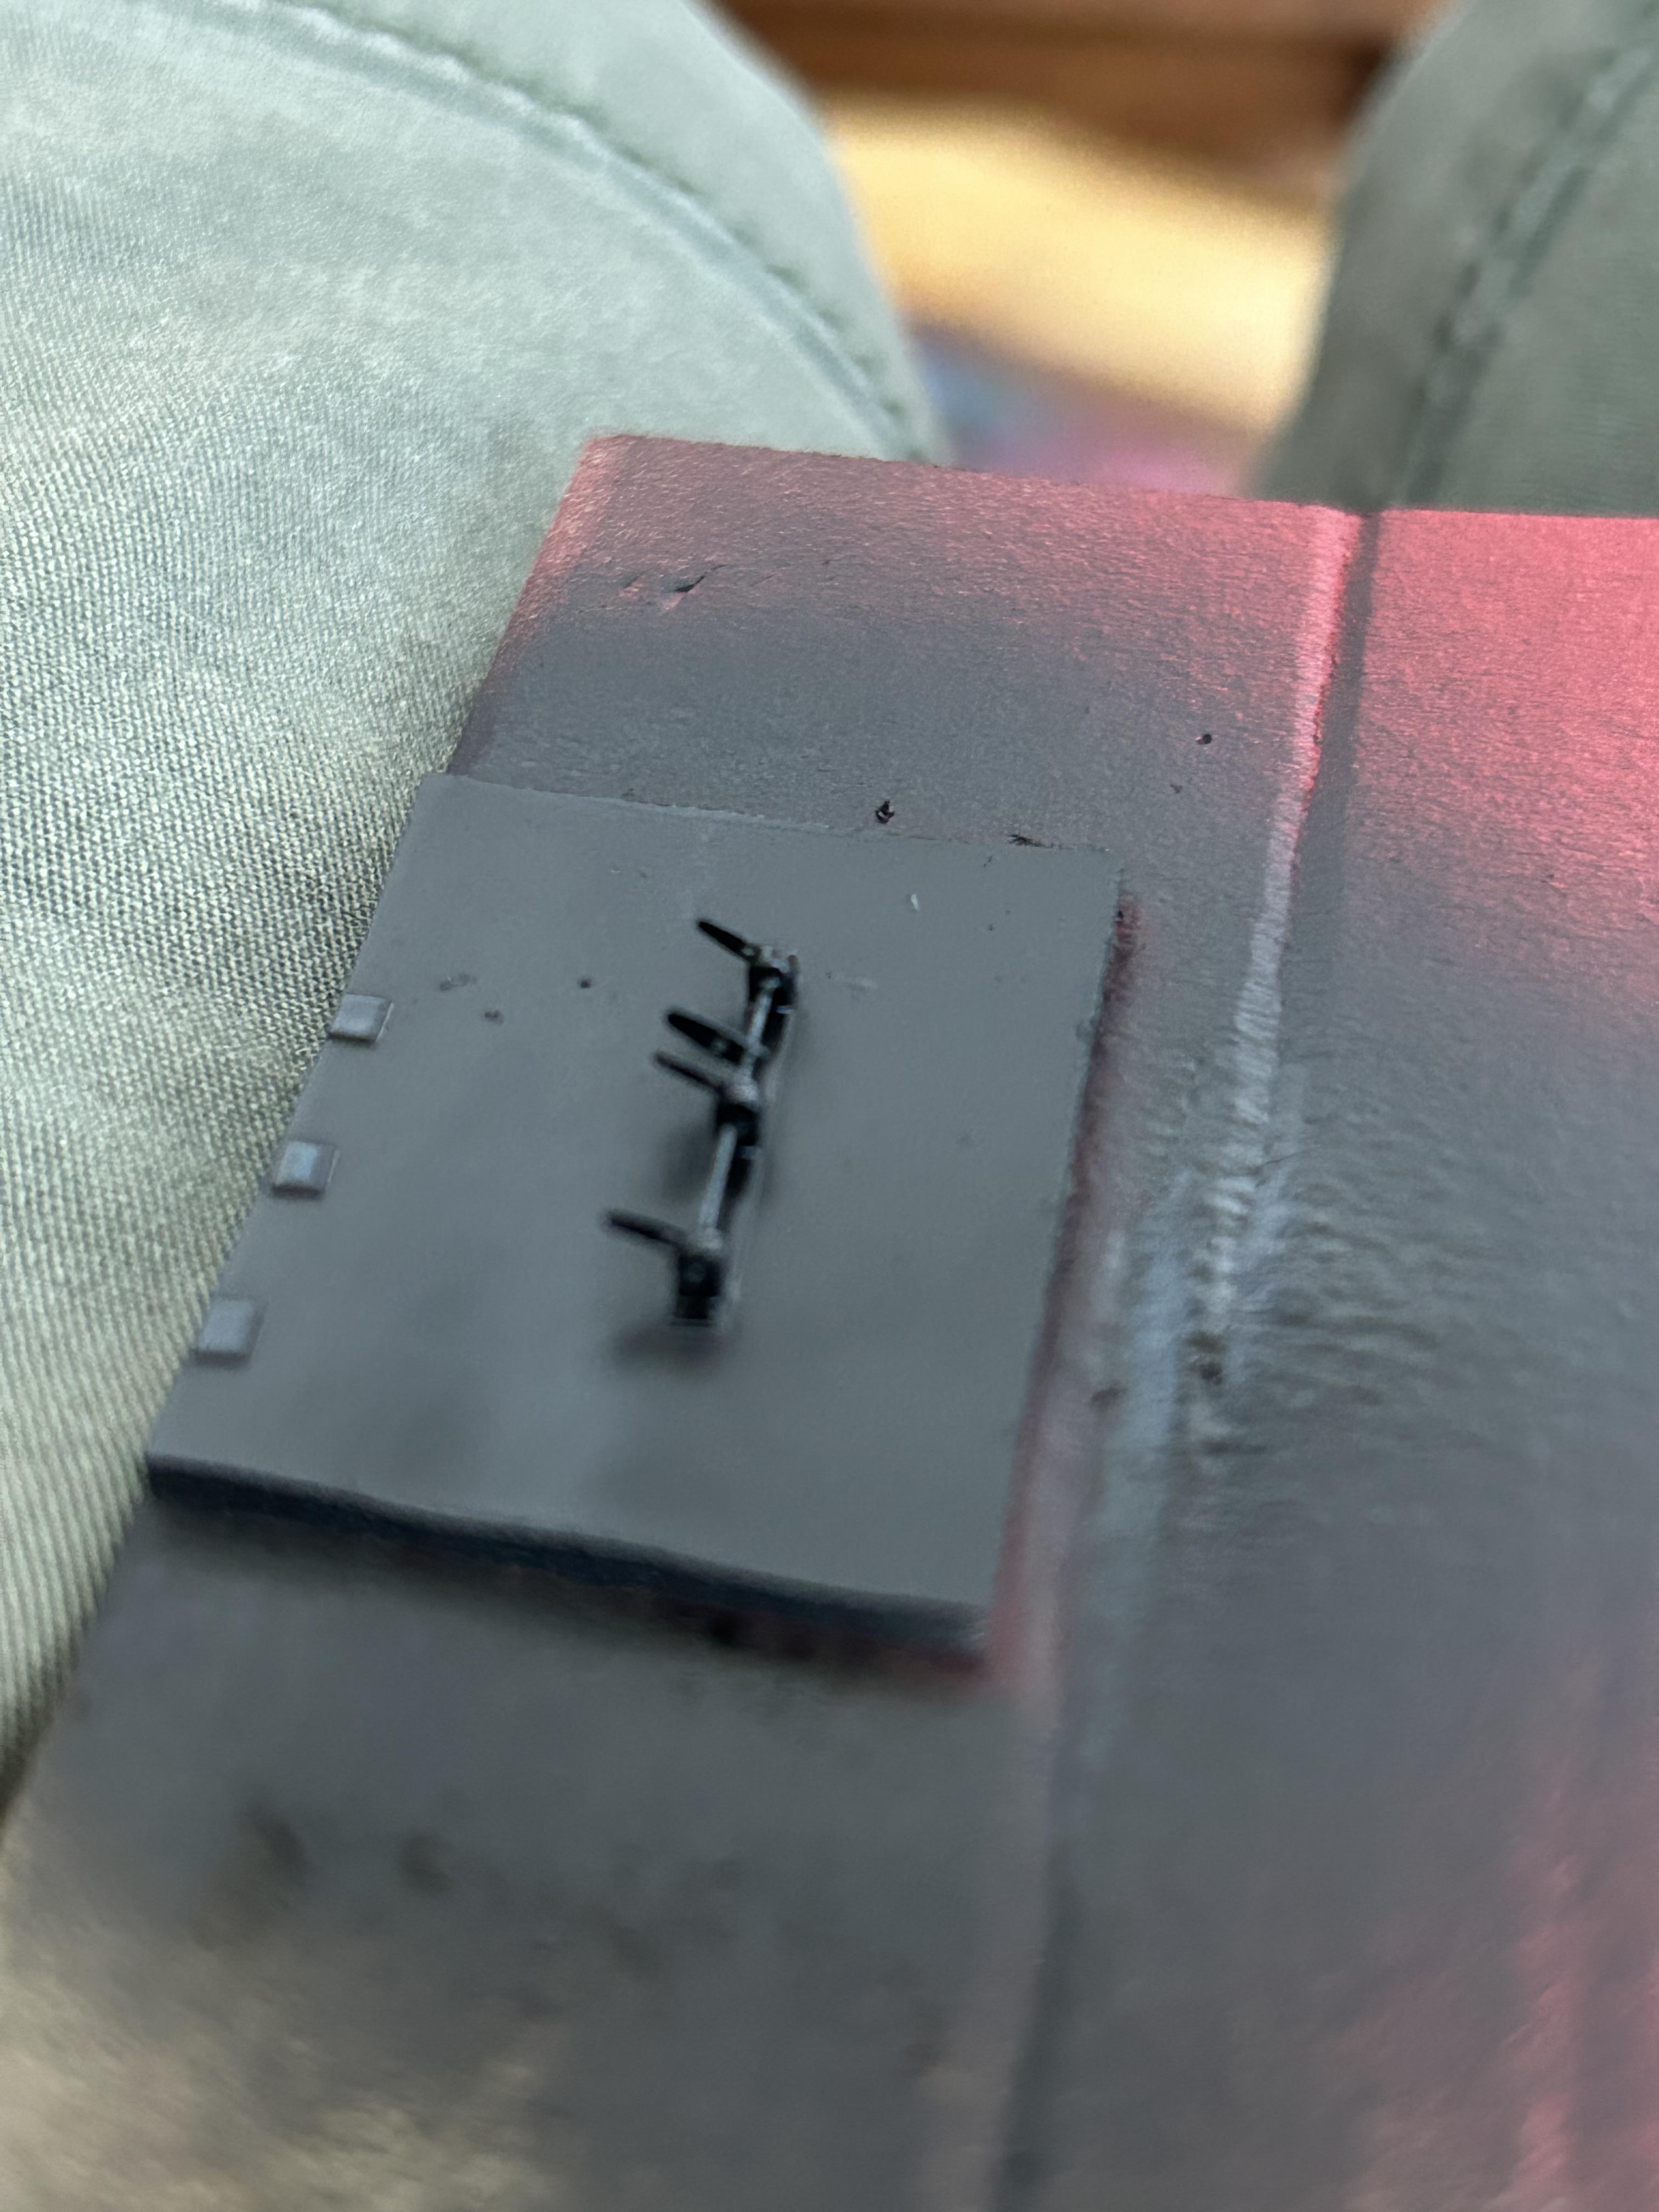
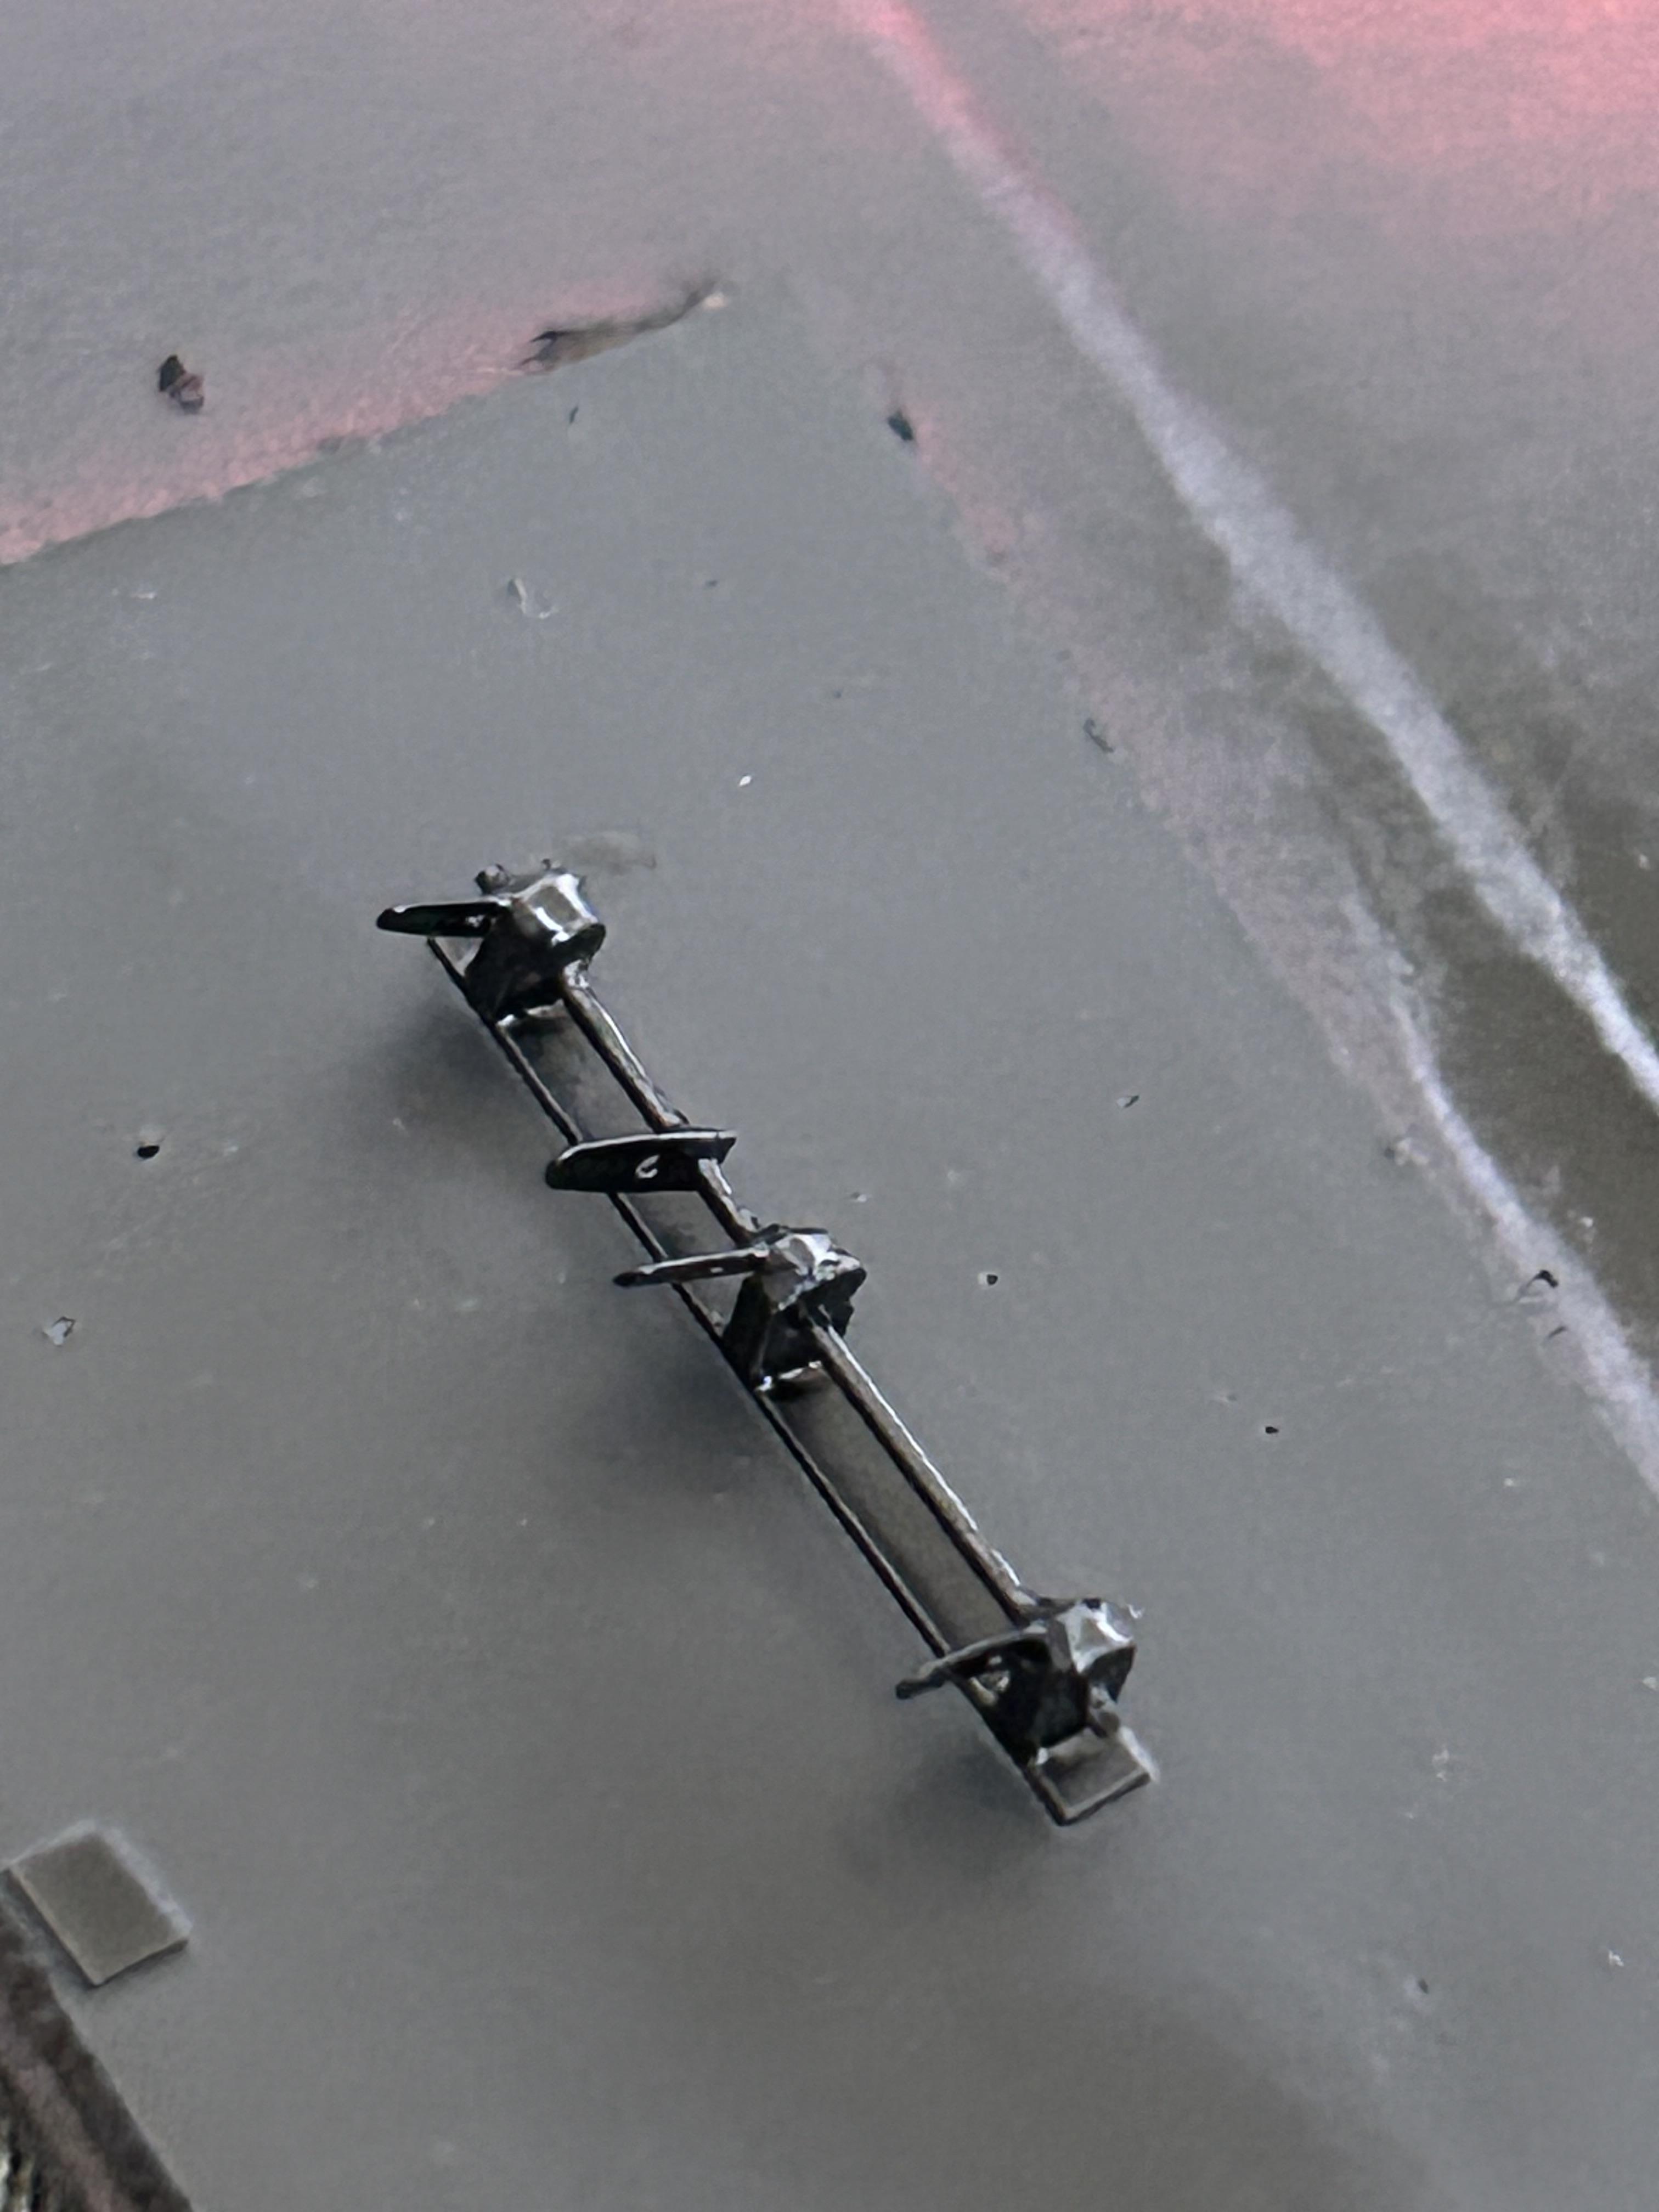
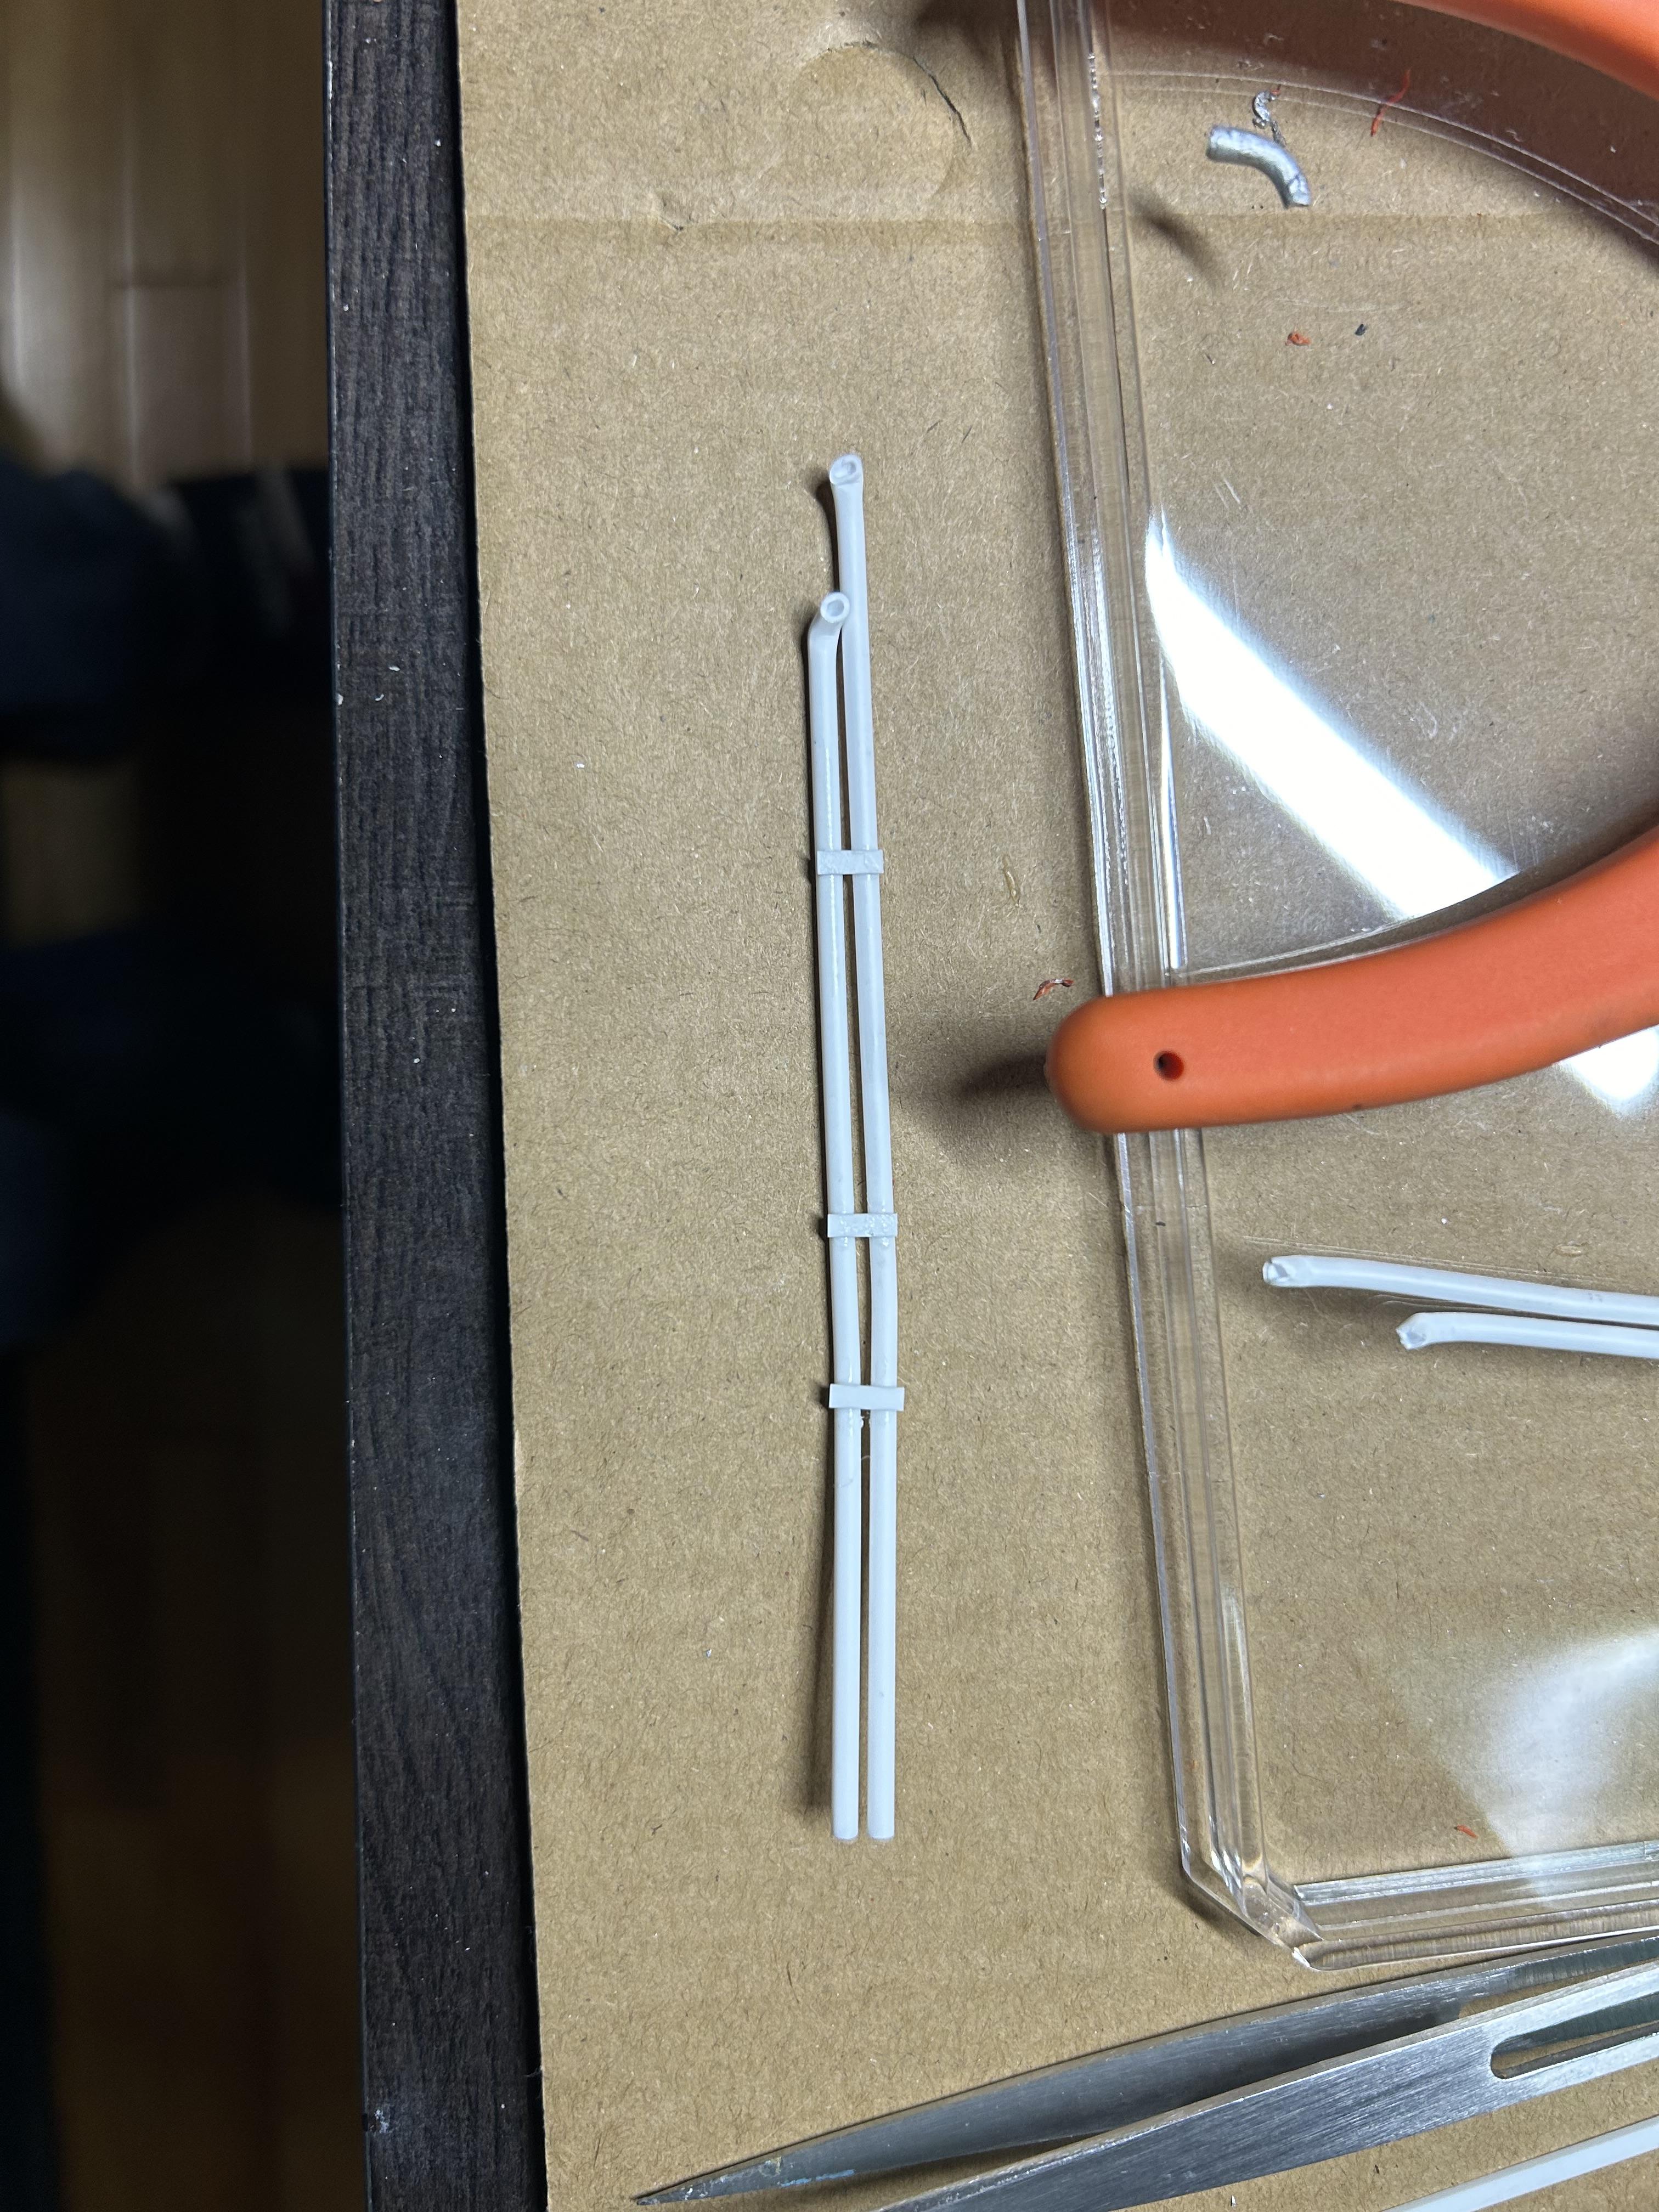
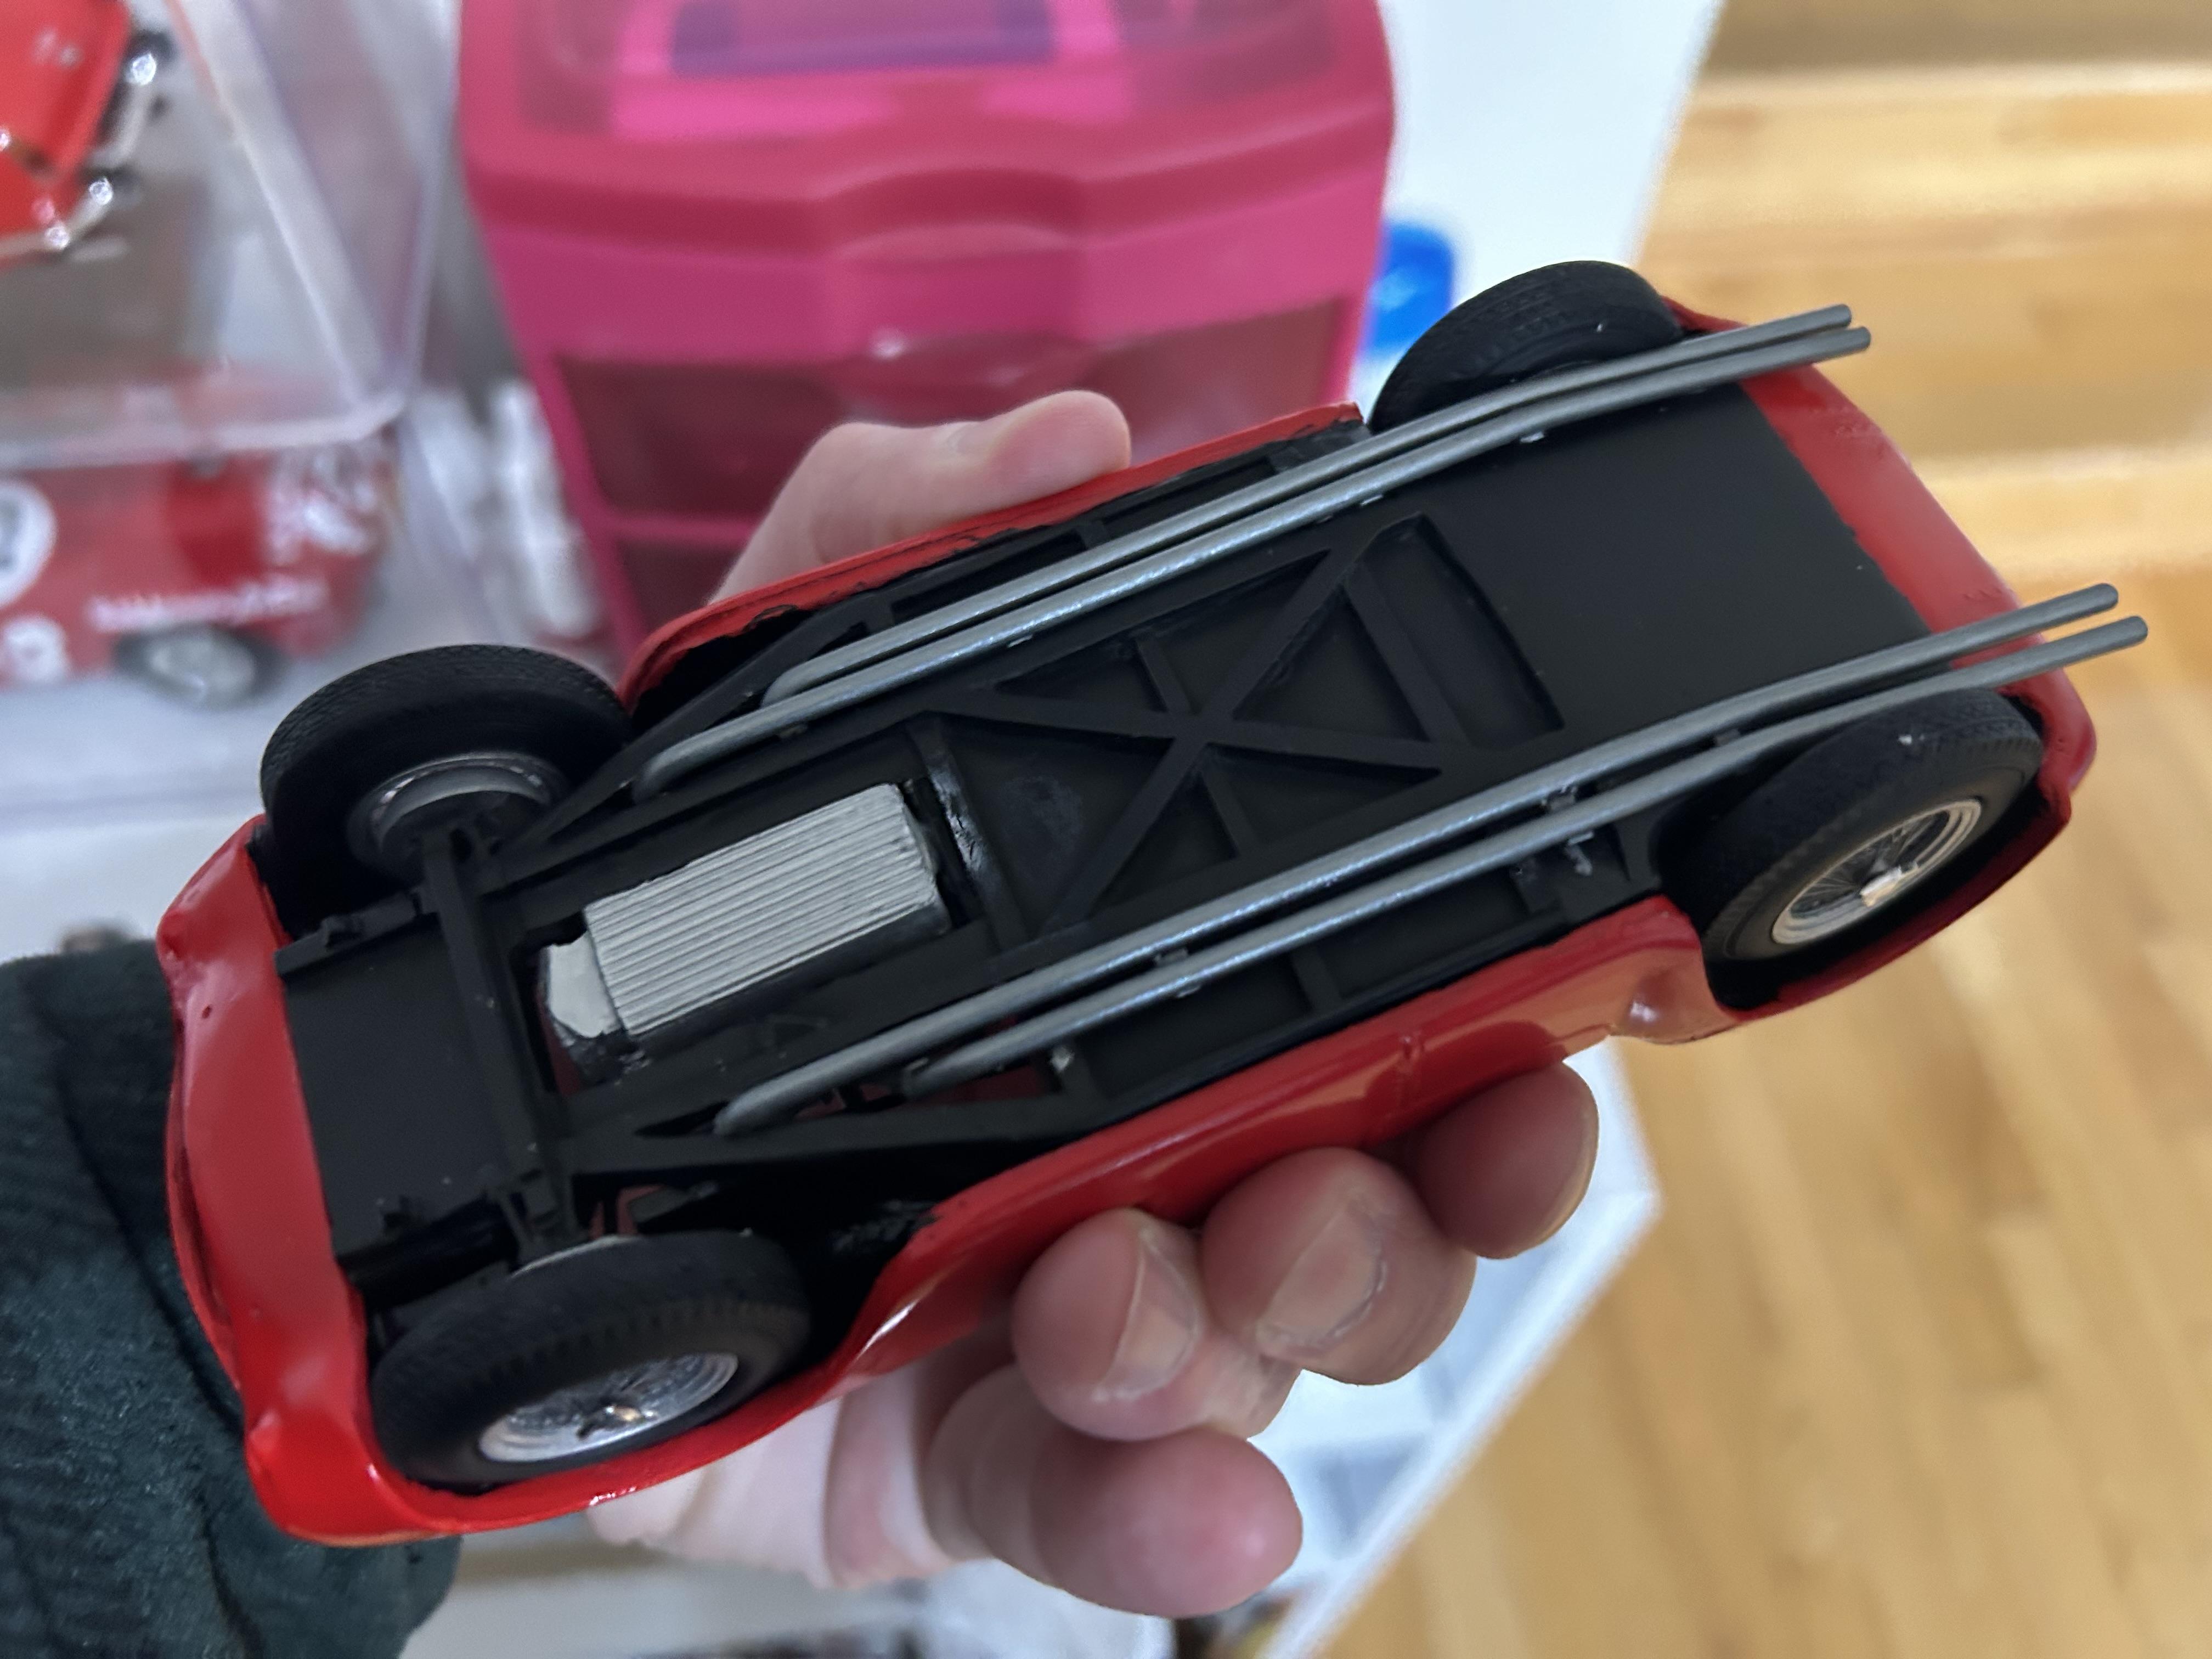
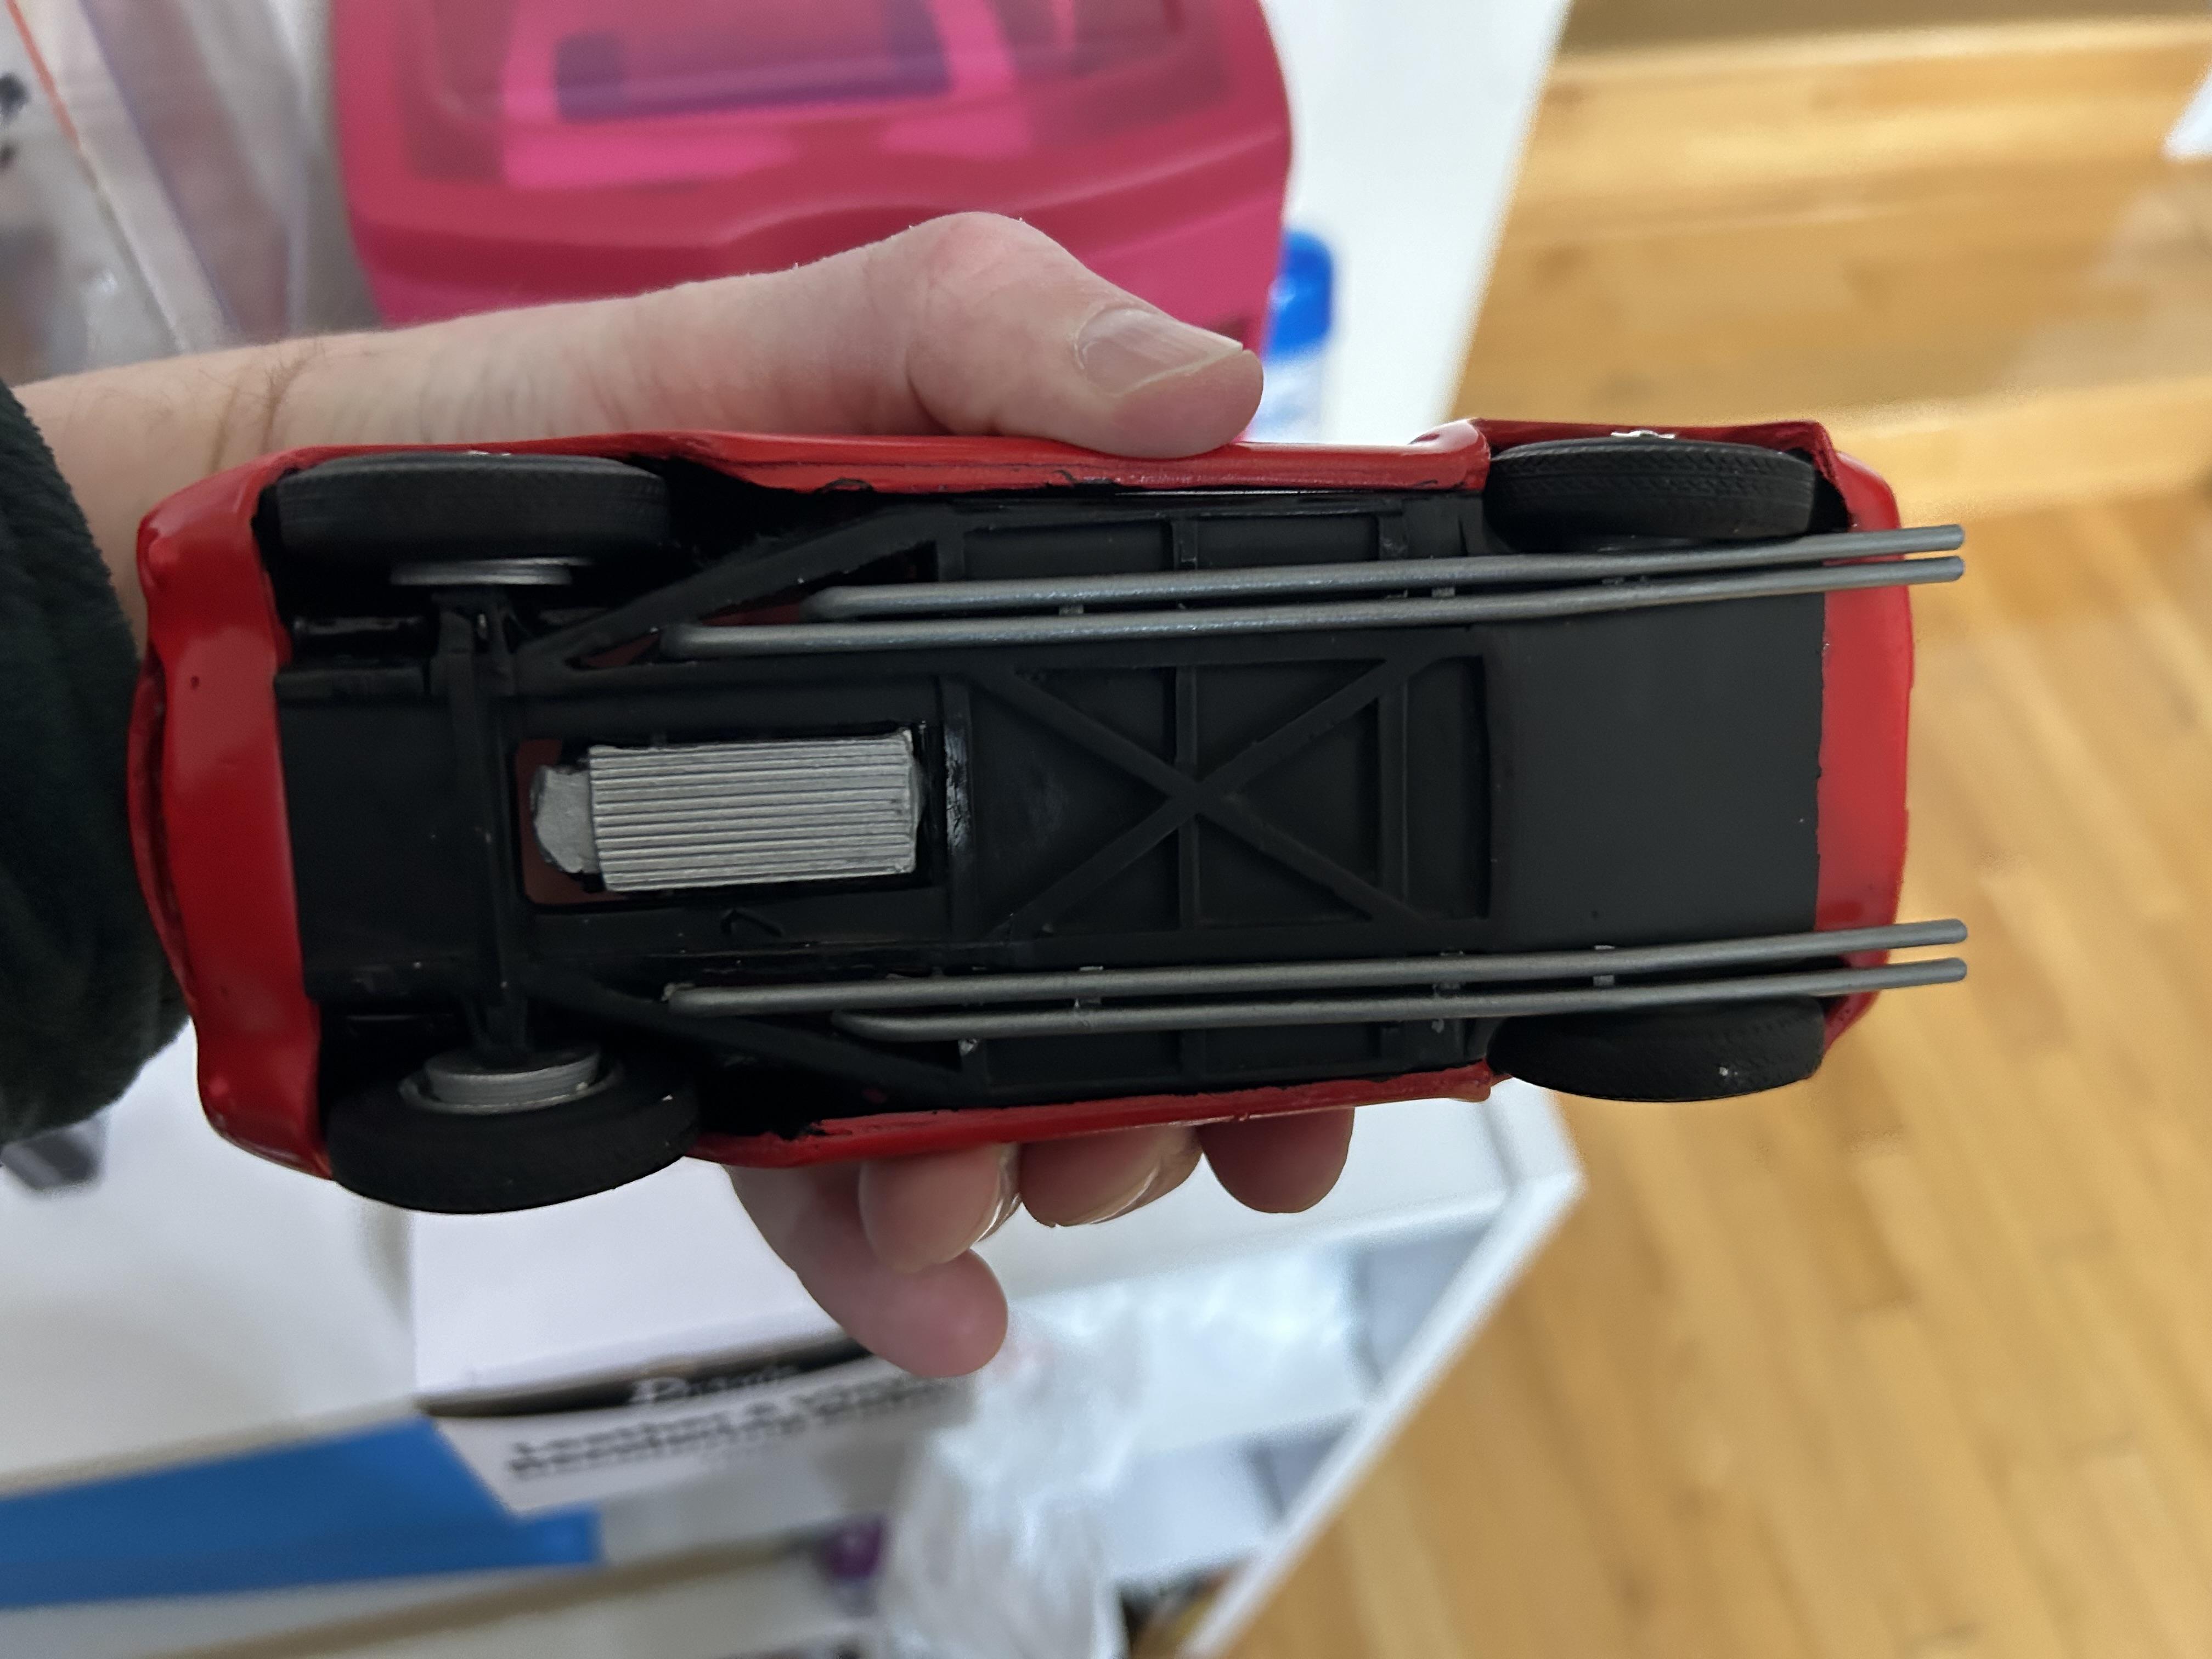
Making up exhaust pipes from scratch
-
-
-
-
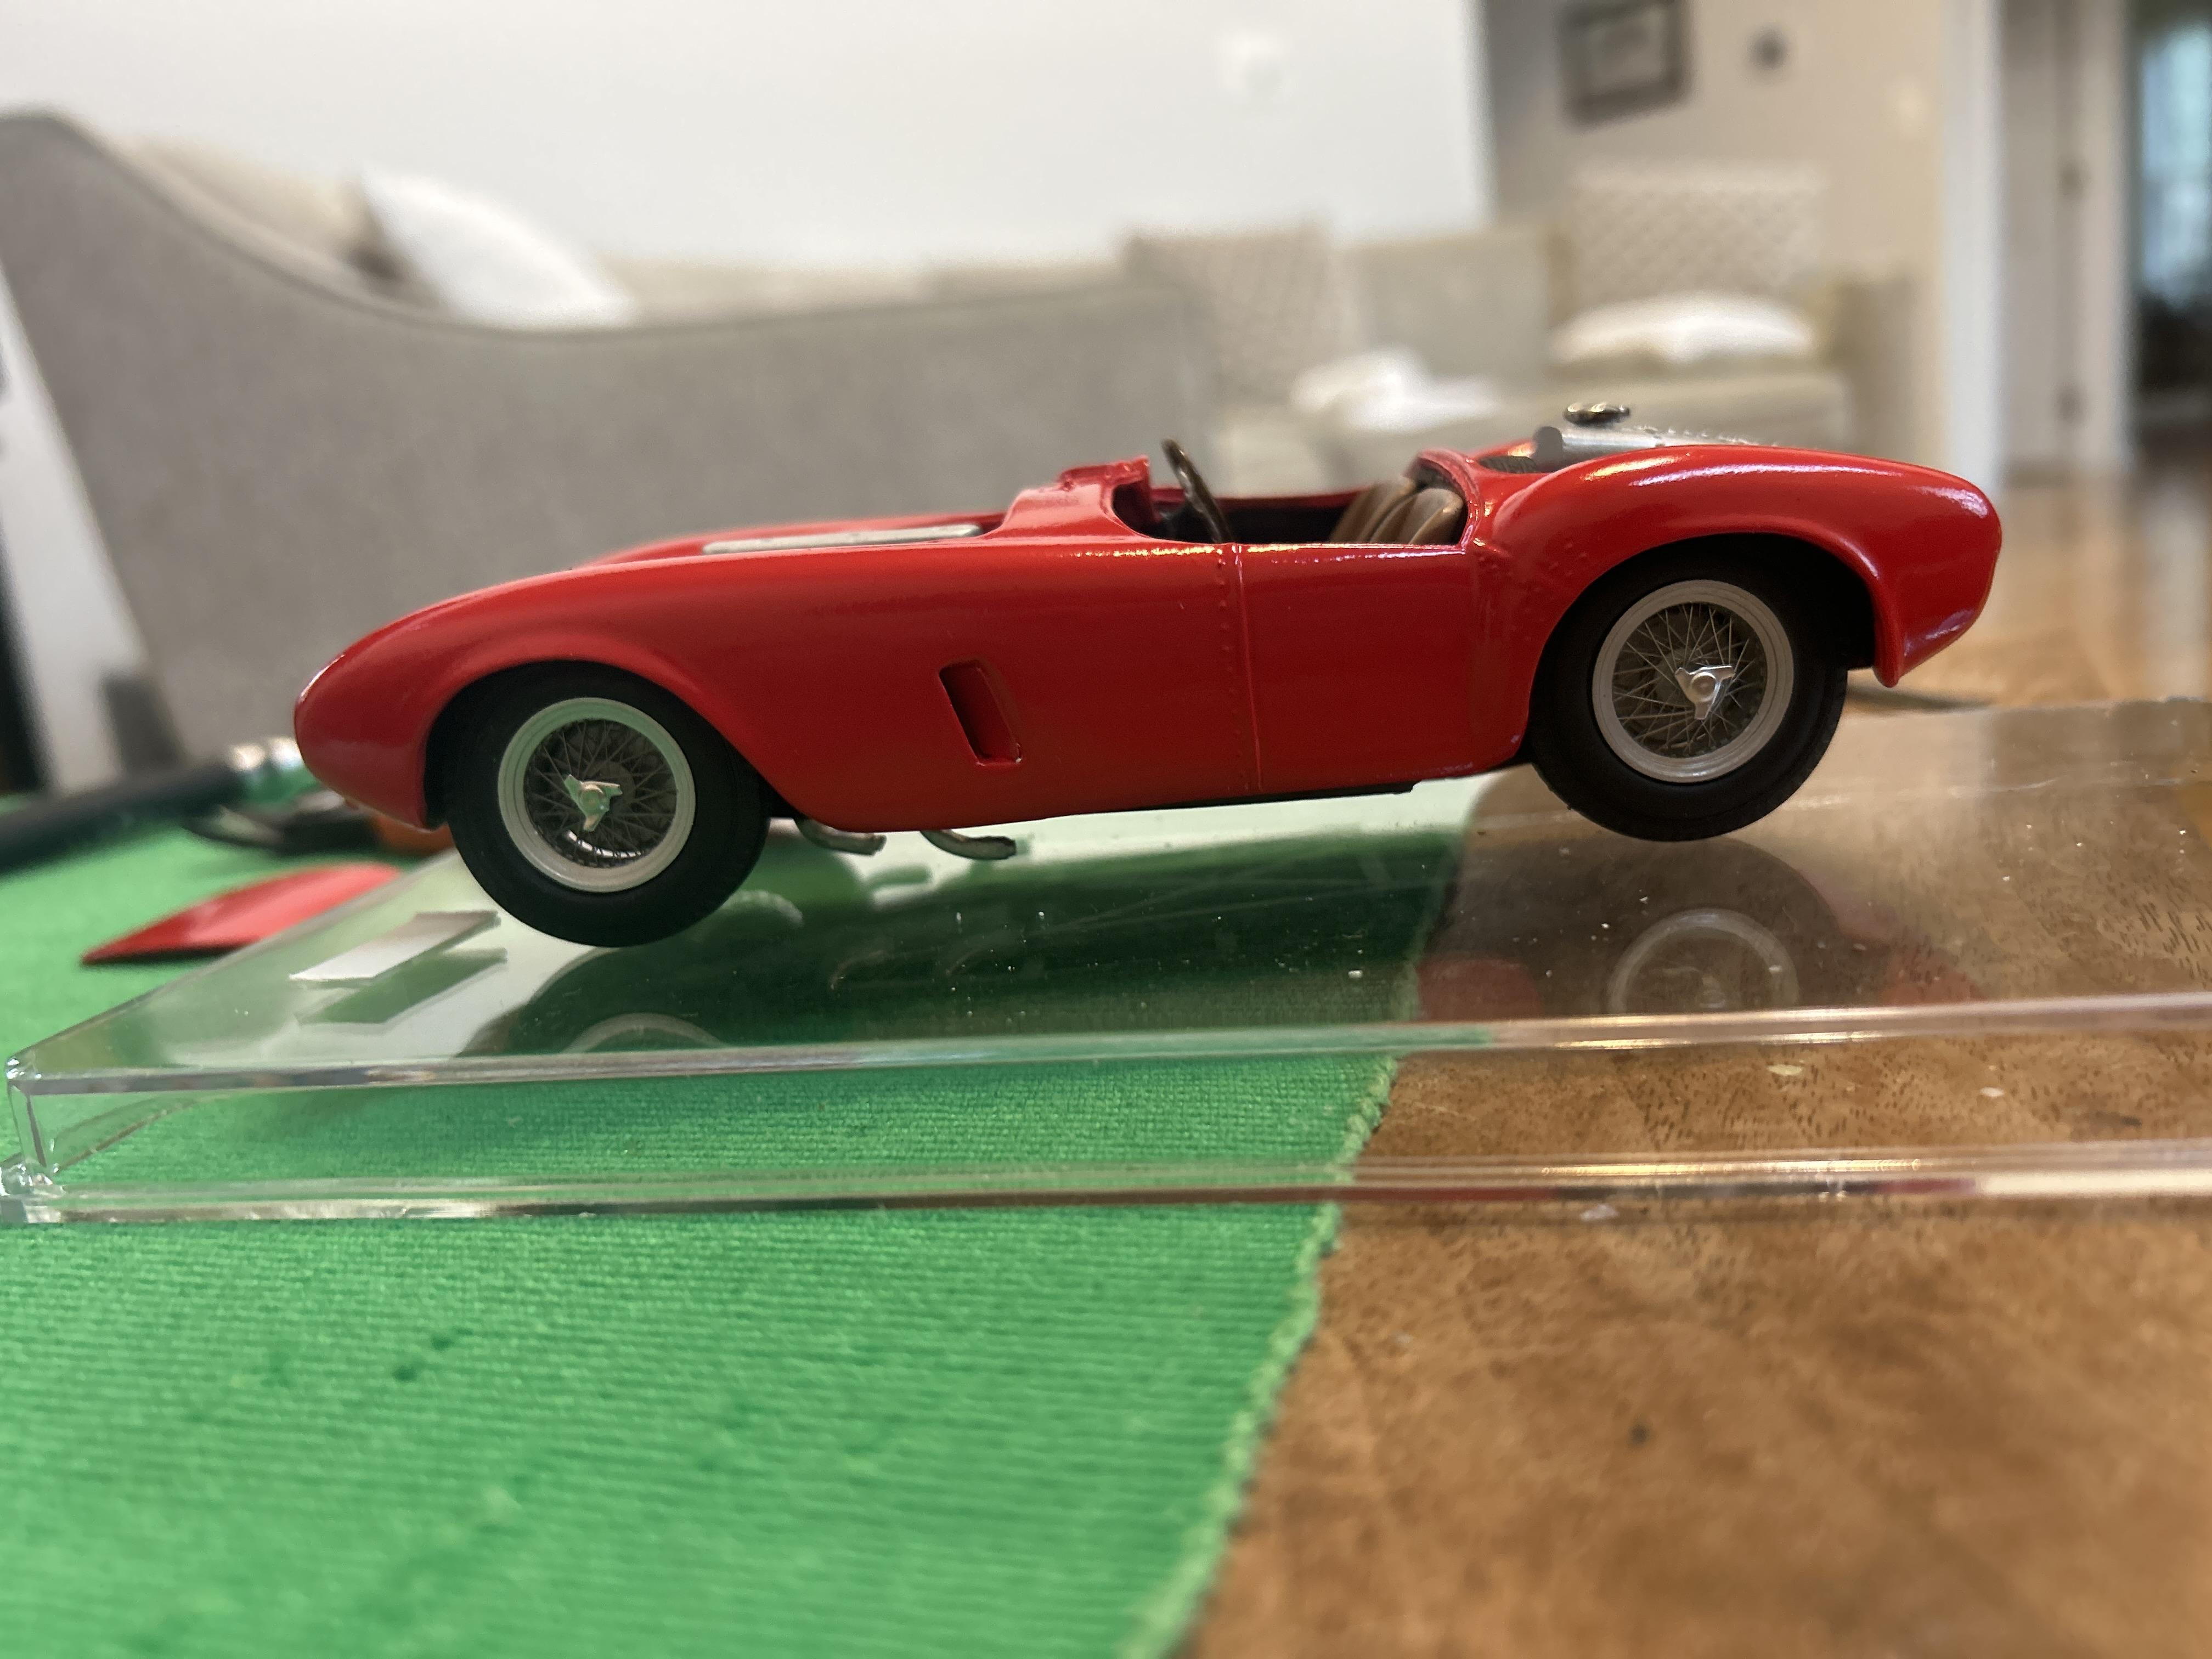
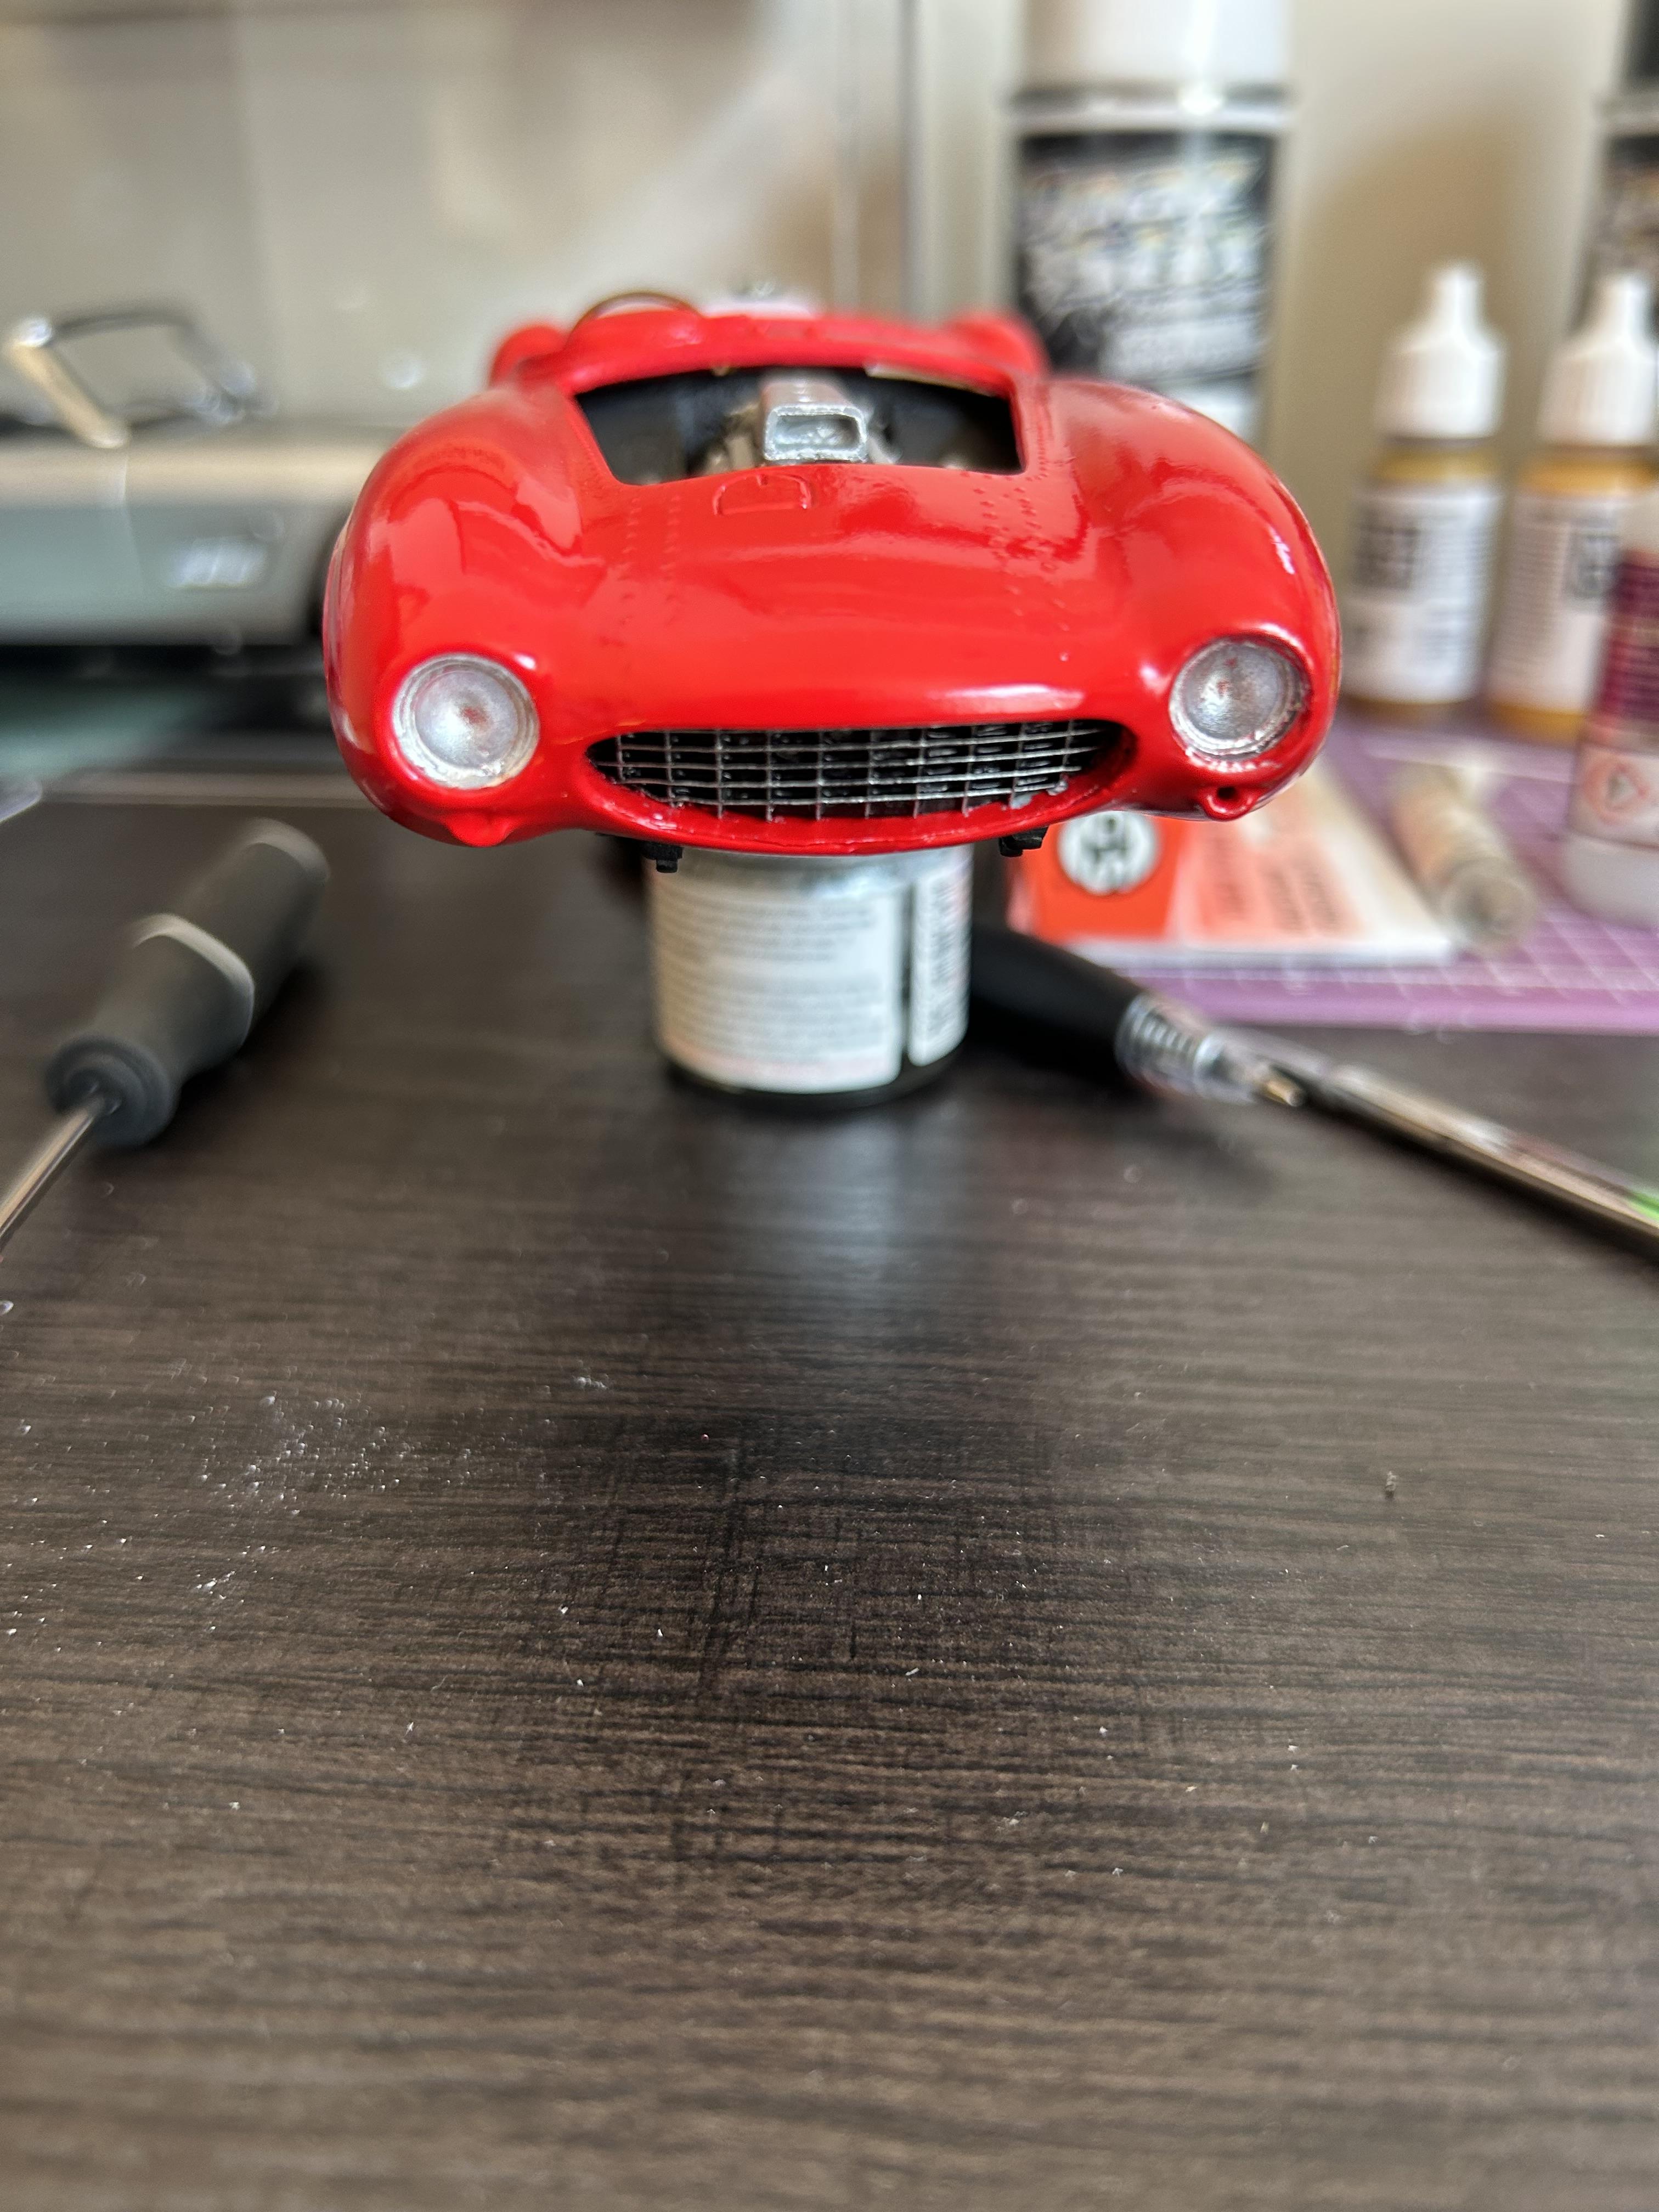
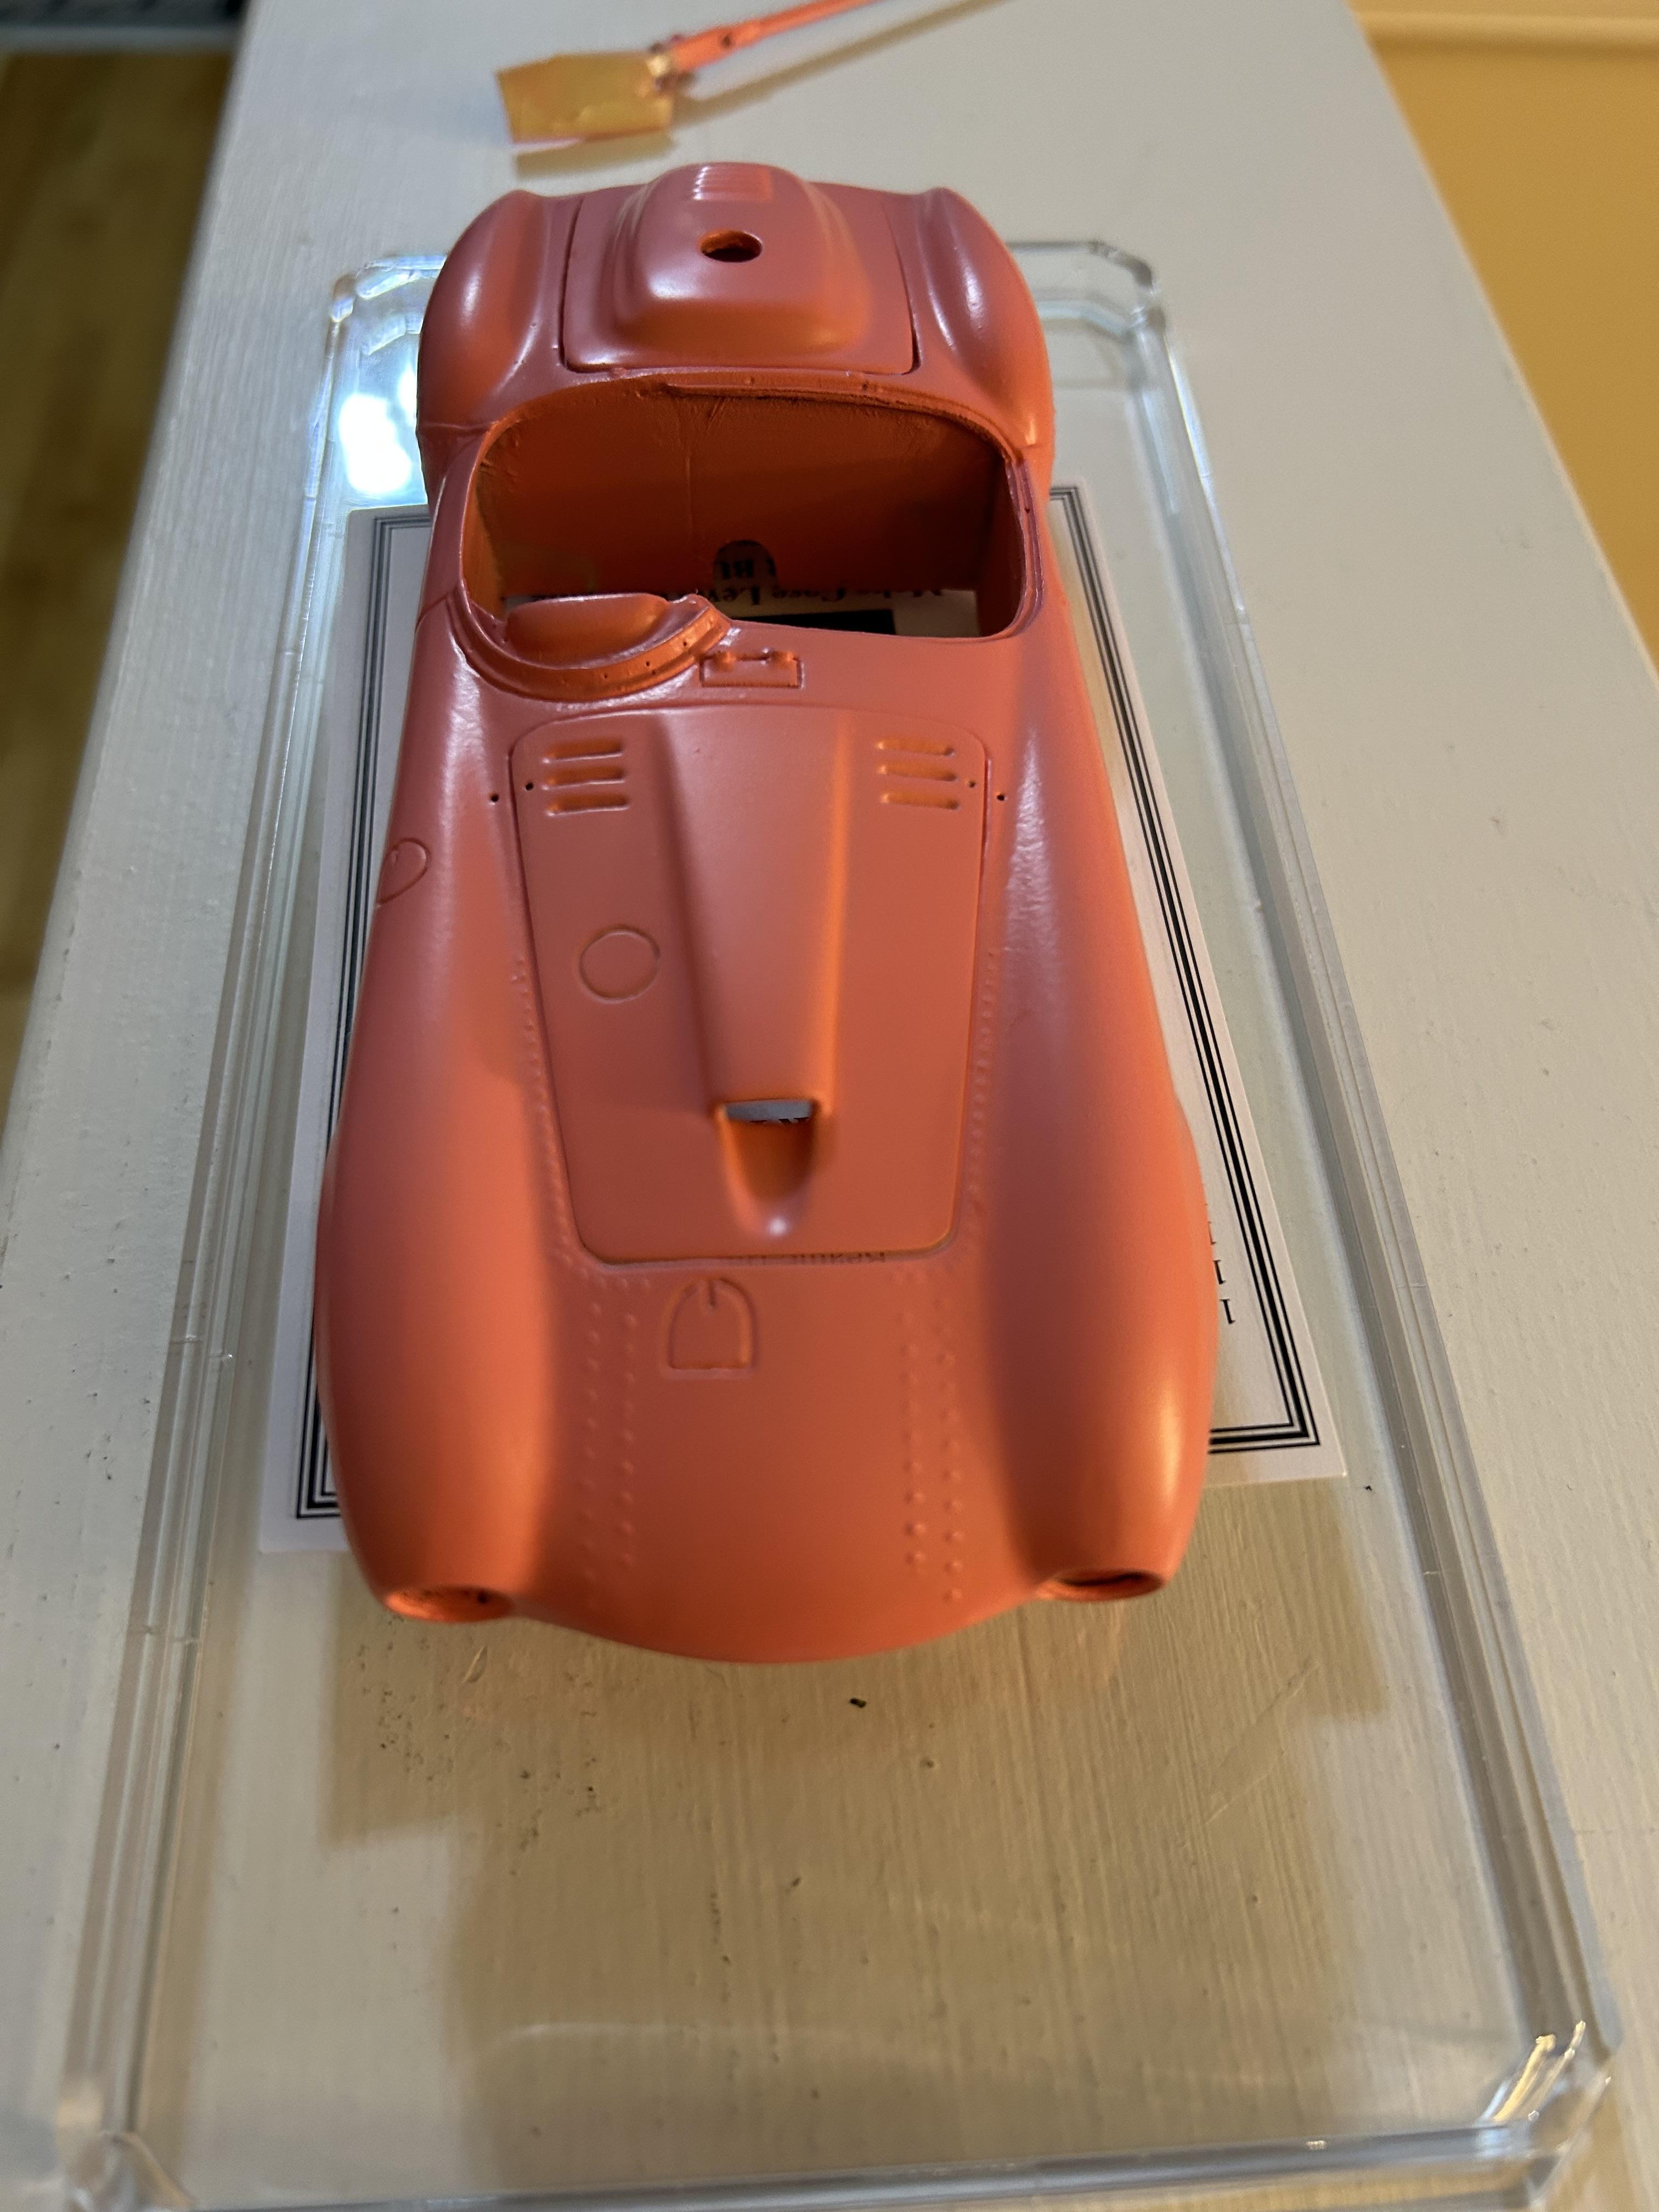
Slow progress on a Fernando Pinto Ferrari 375 plus
-
Yes. Working on building both with the italeri kit and Renaissance kits. Will build both restored version as well as as raced versions…
-
They are KA model wire wheels. Sometimes you can find them on eBay I purchased a bunch of sets years ago
-
Next one to finish
-
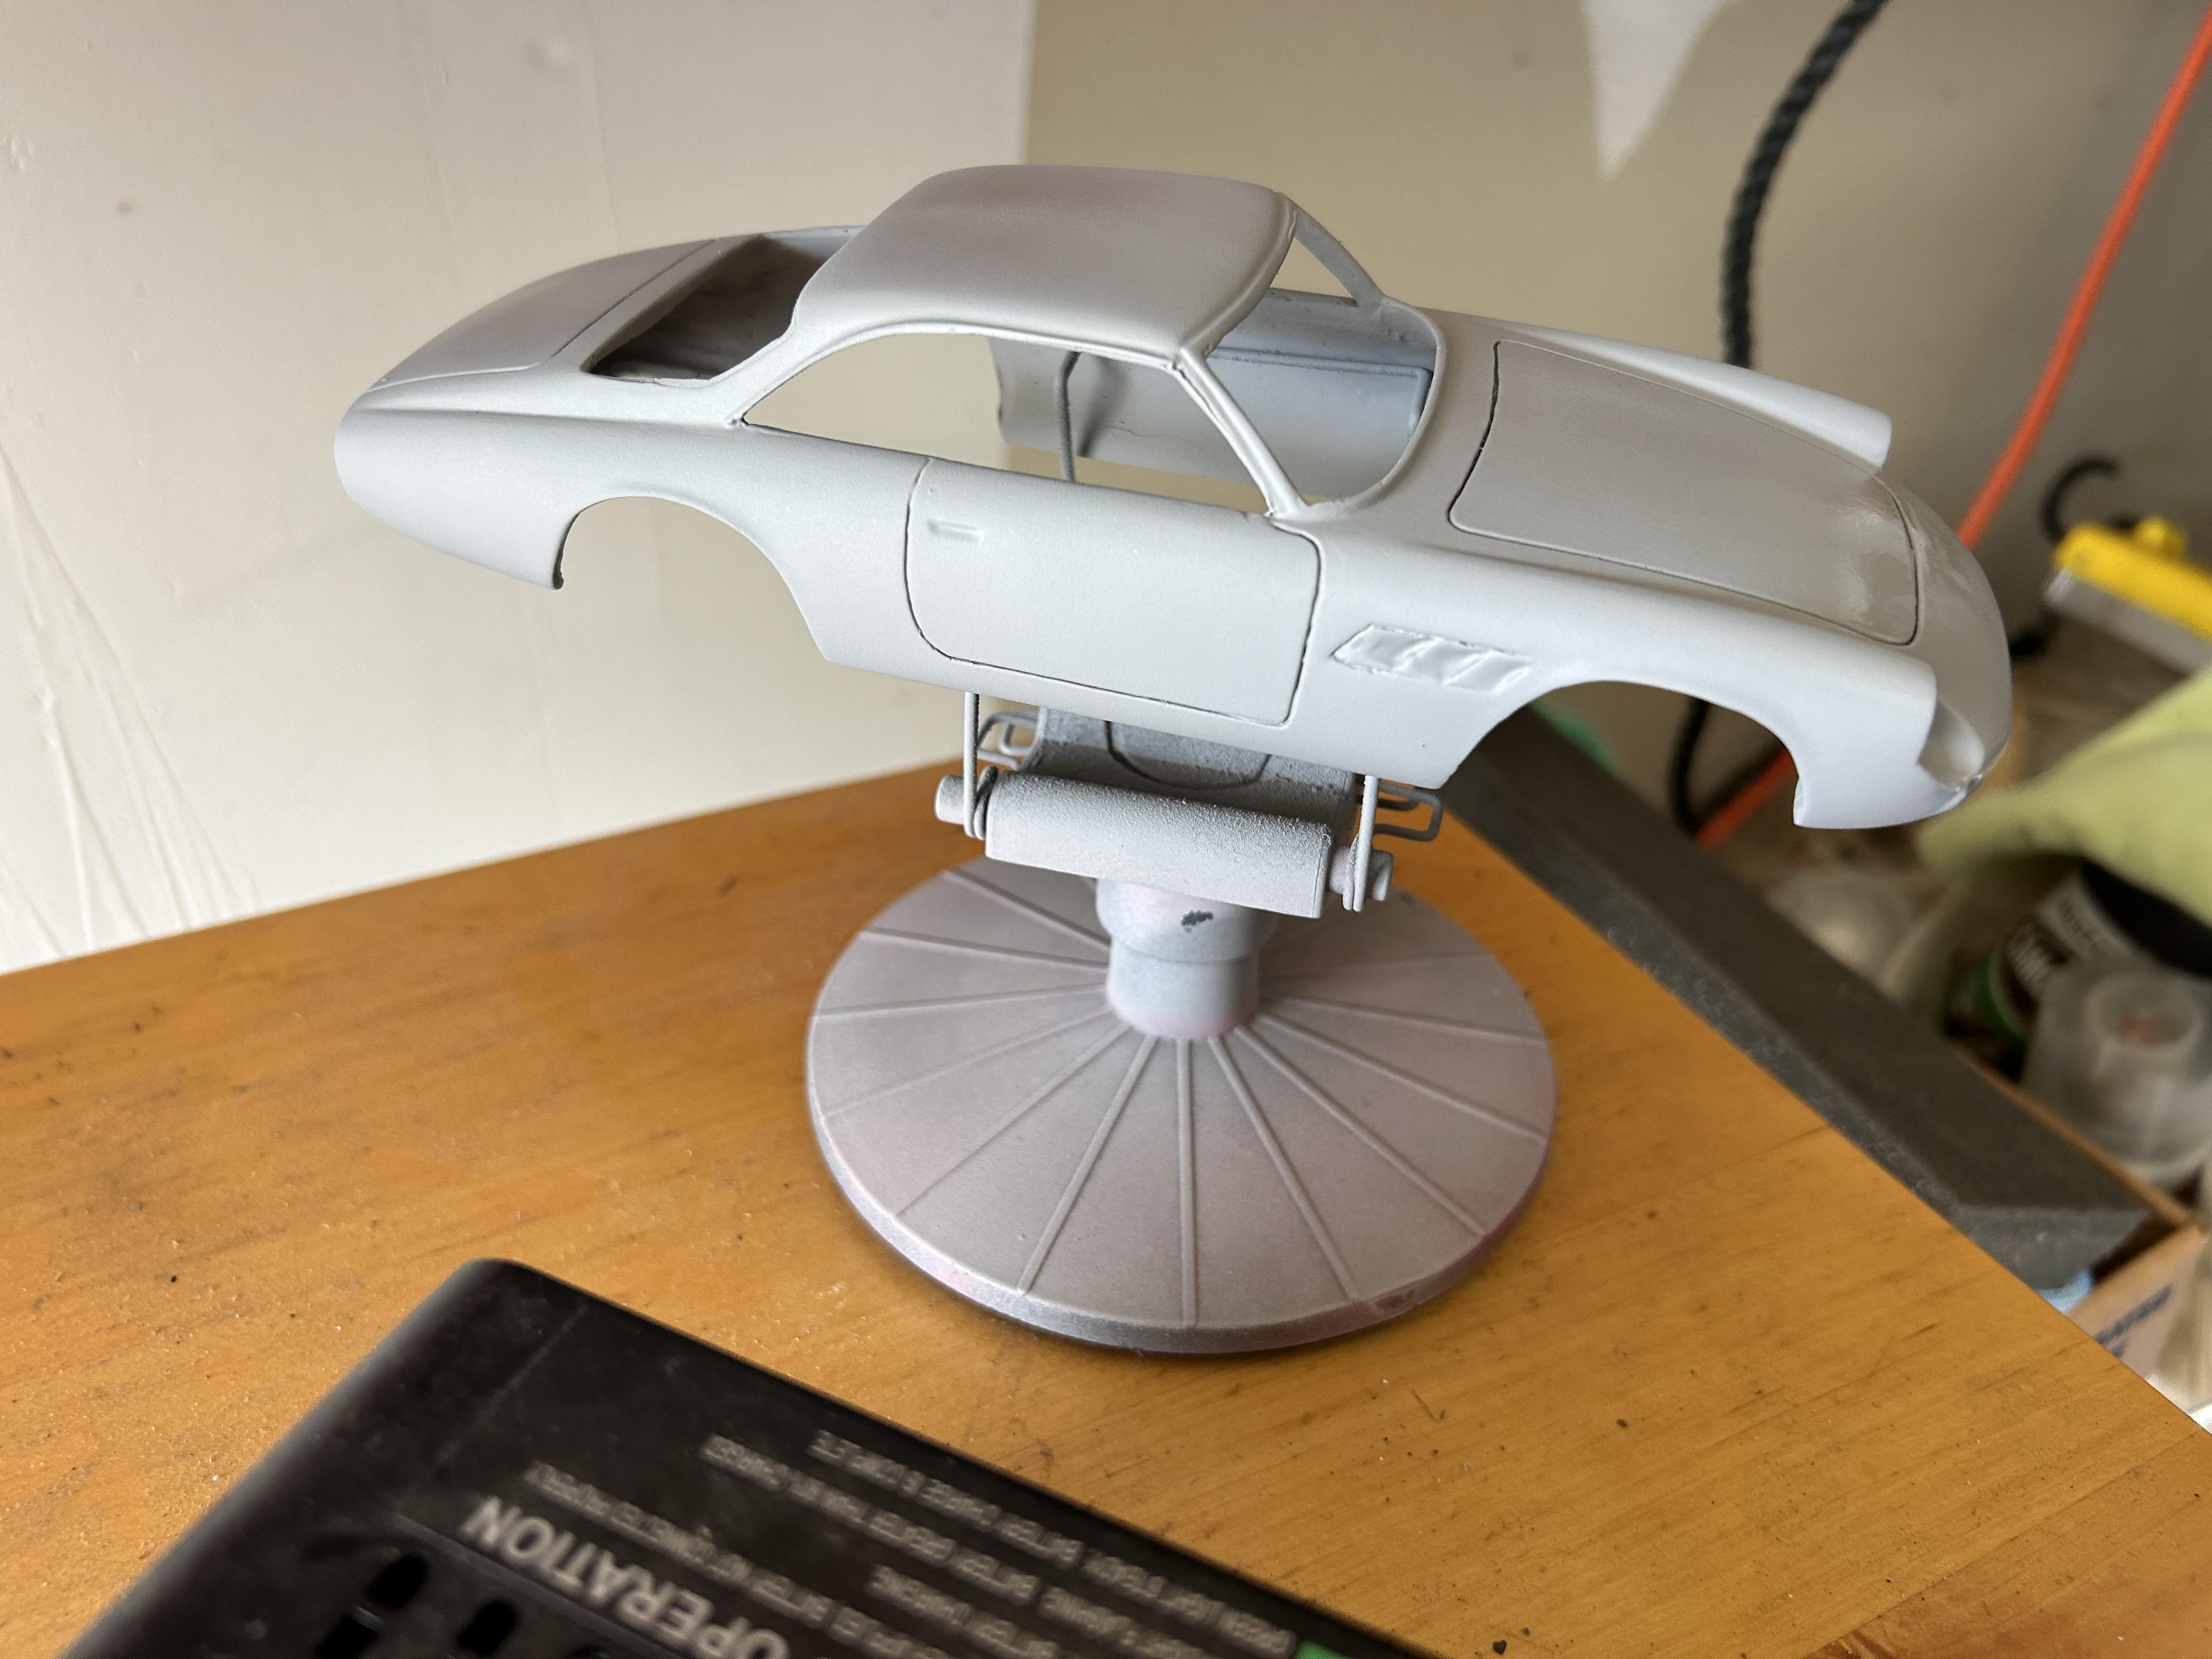
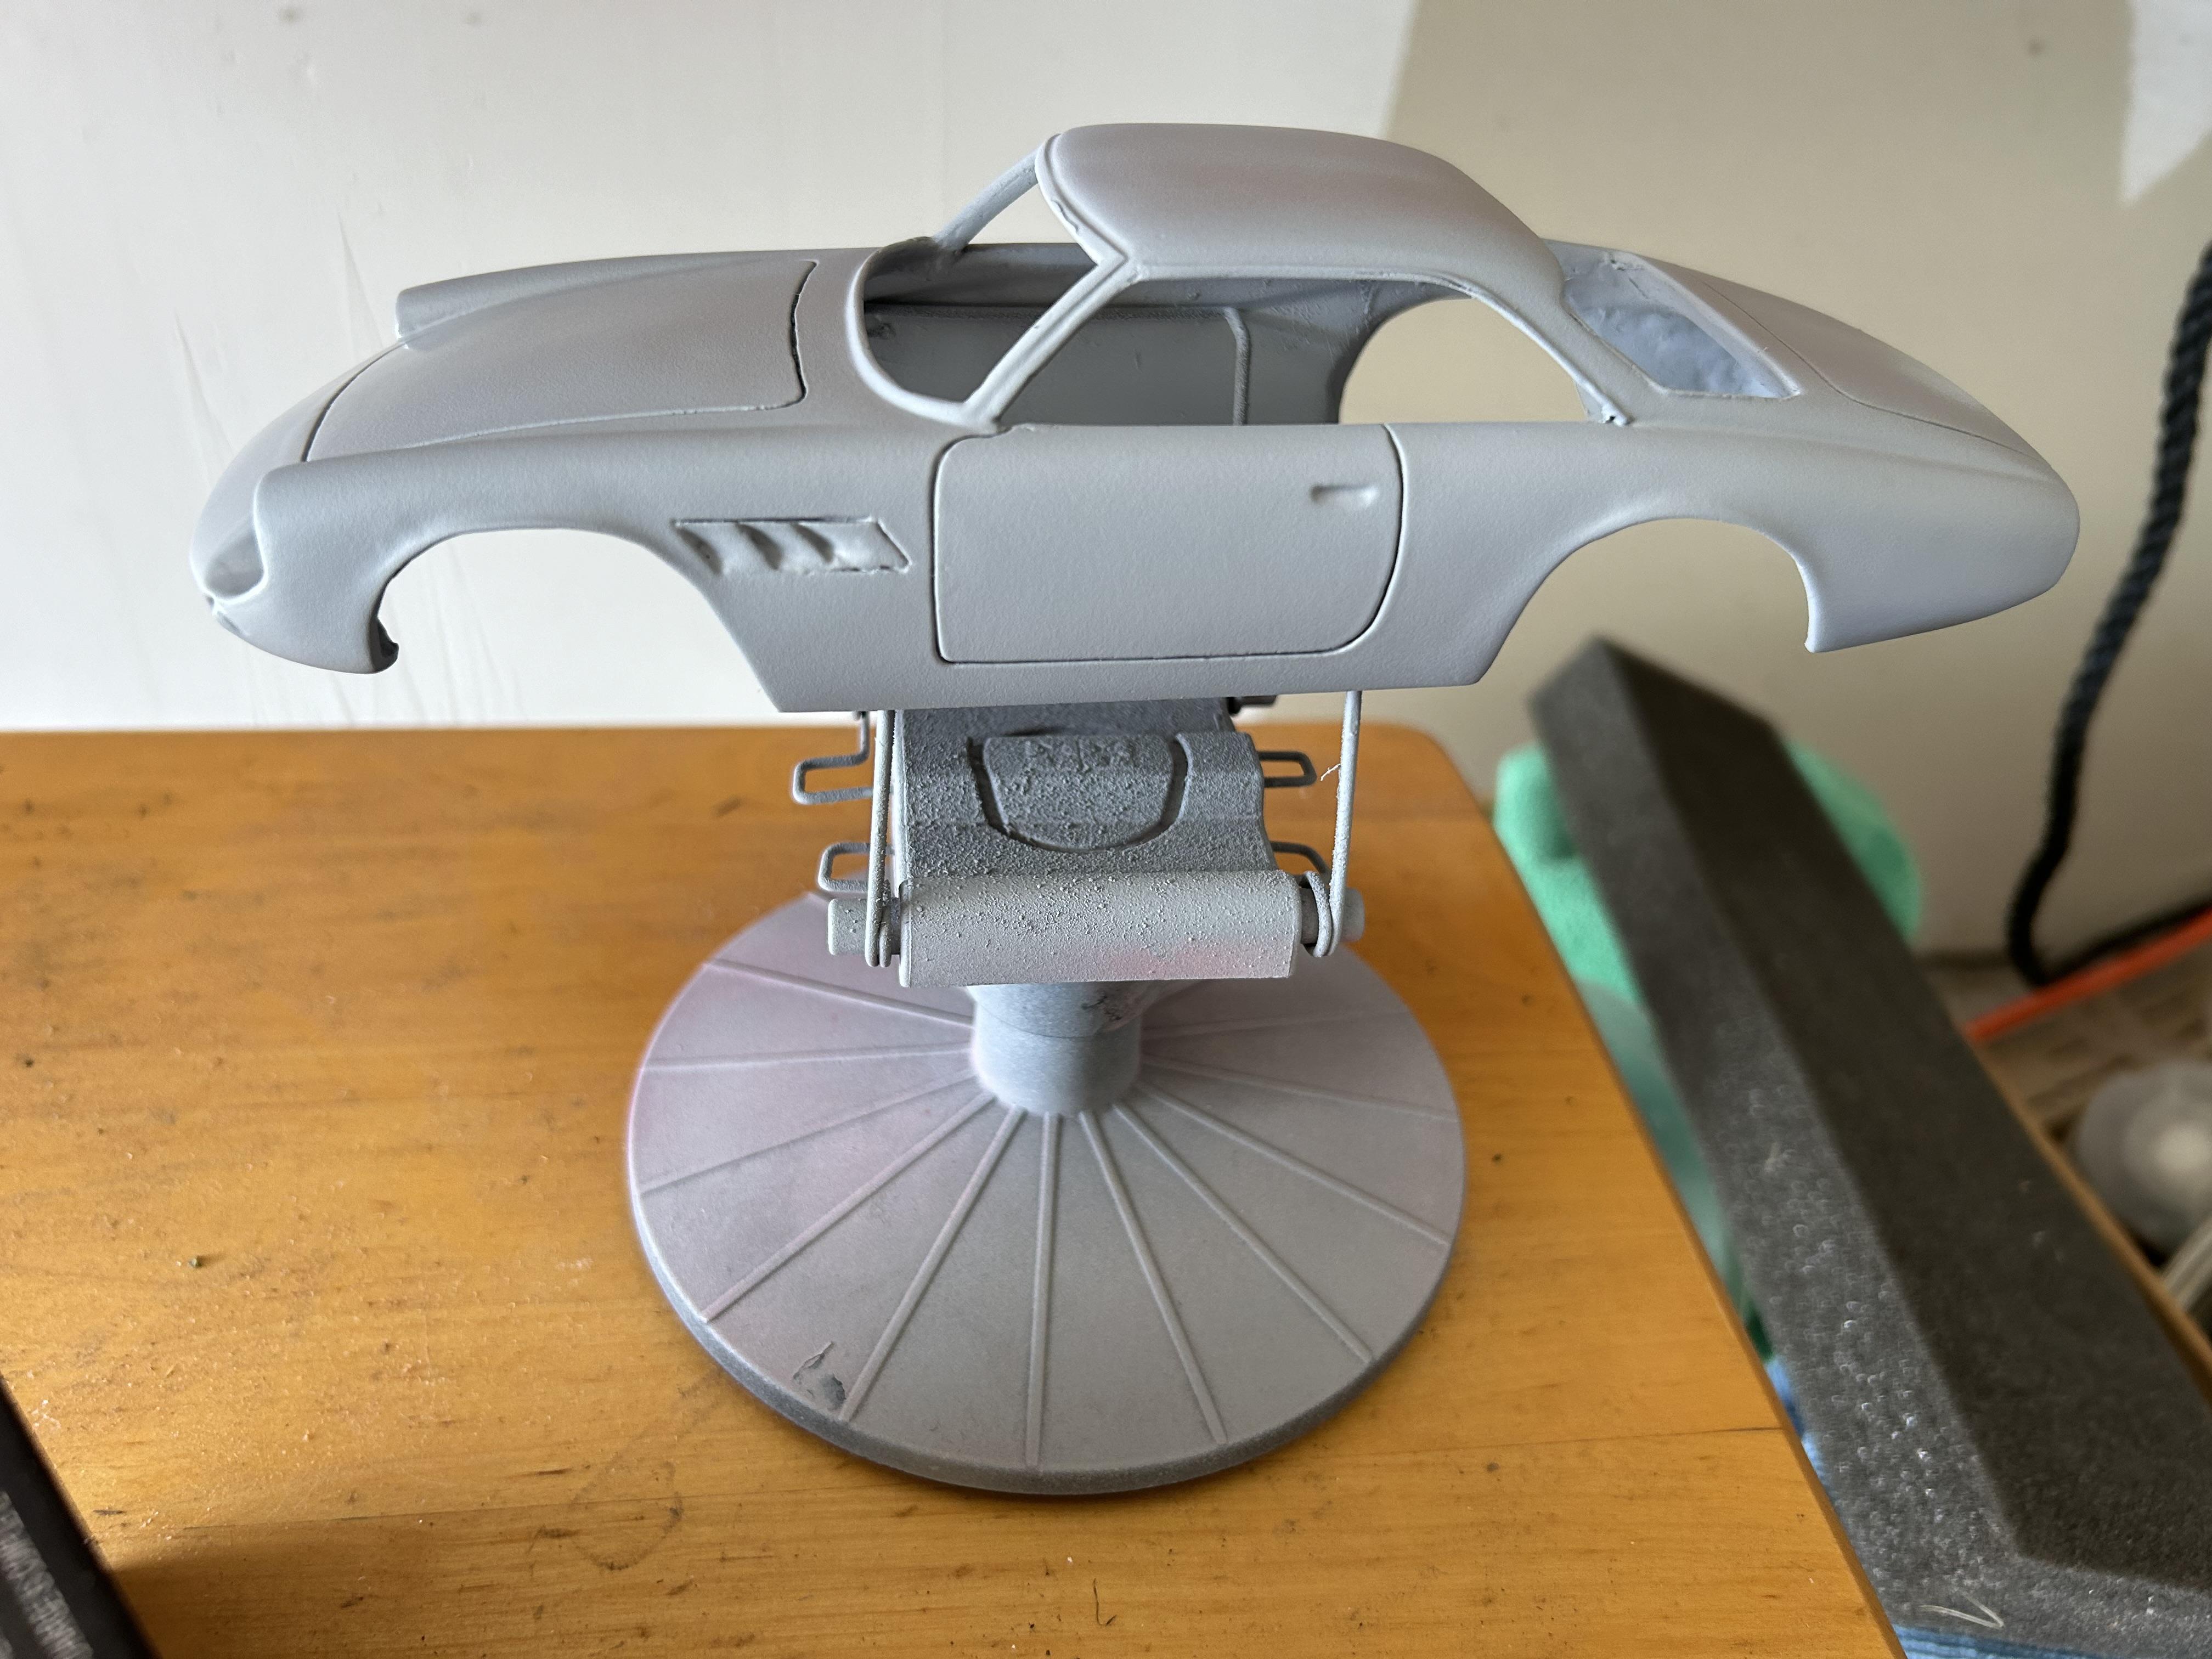
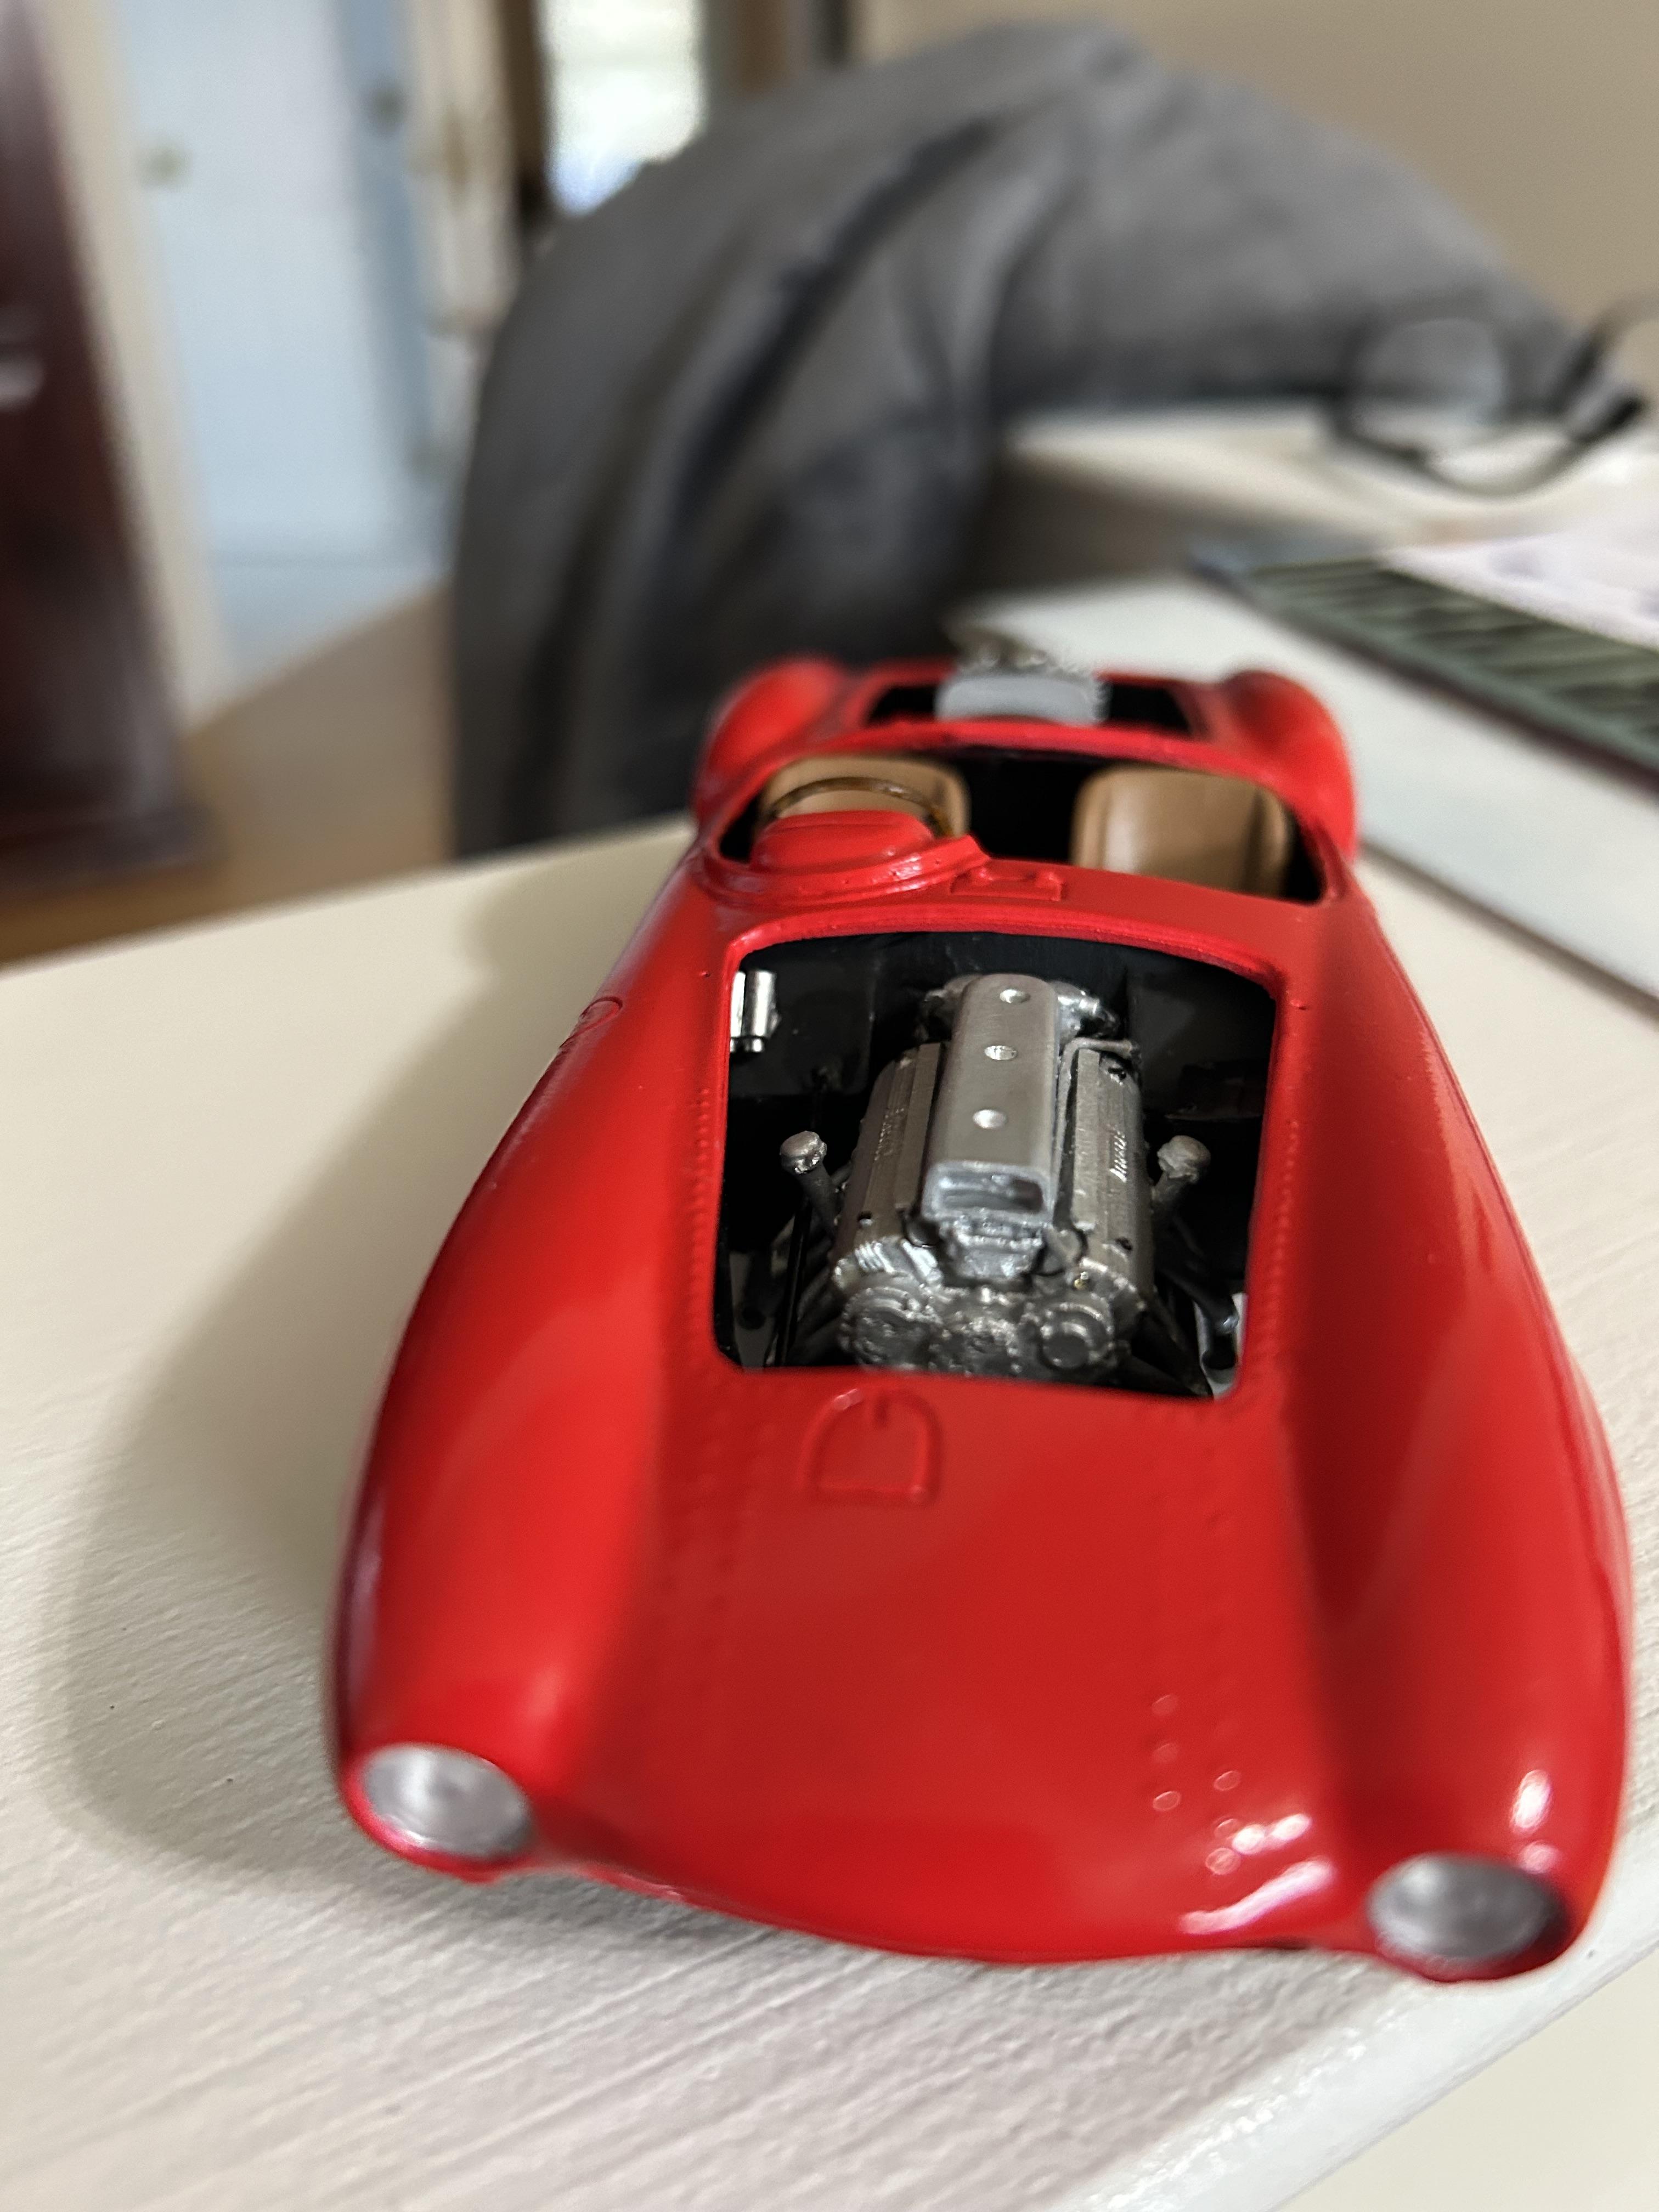
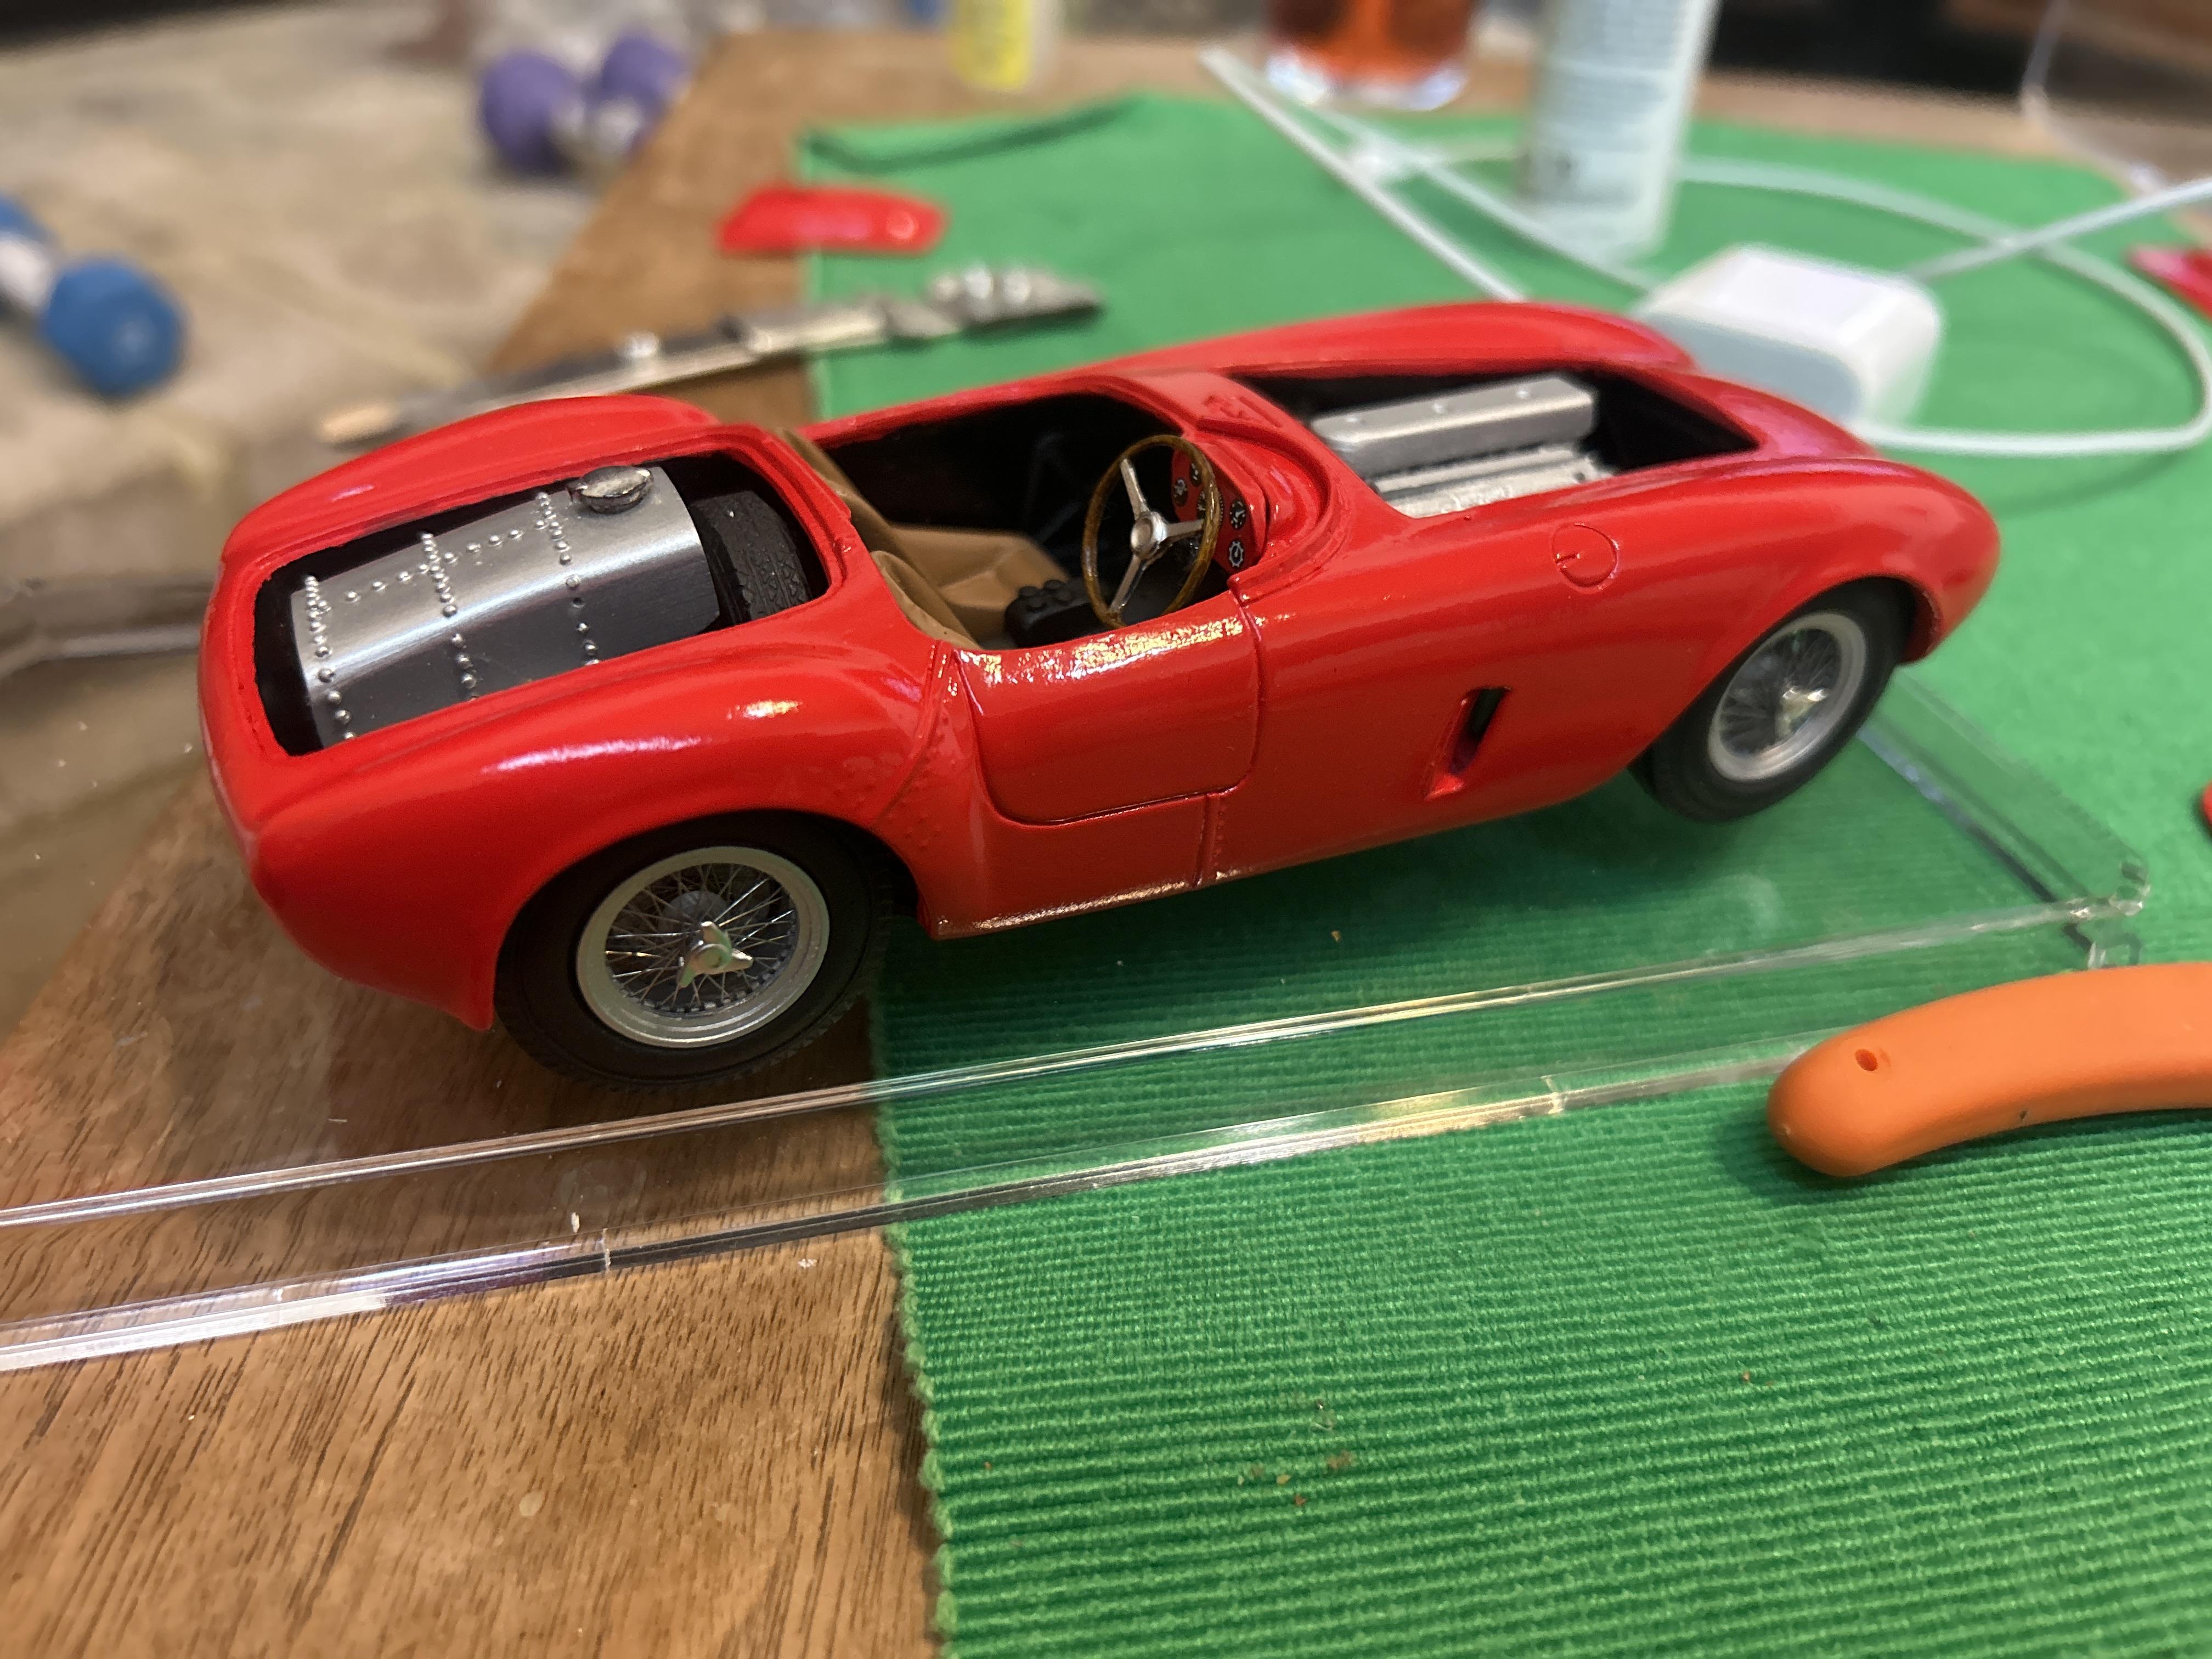
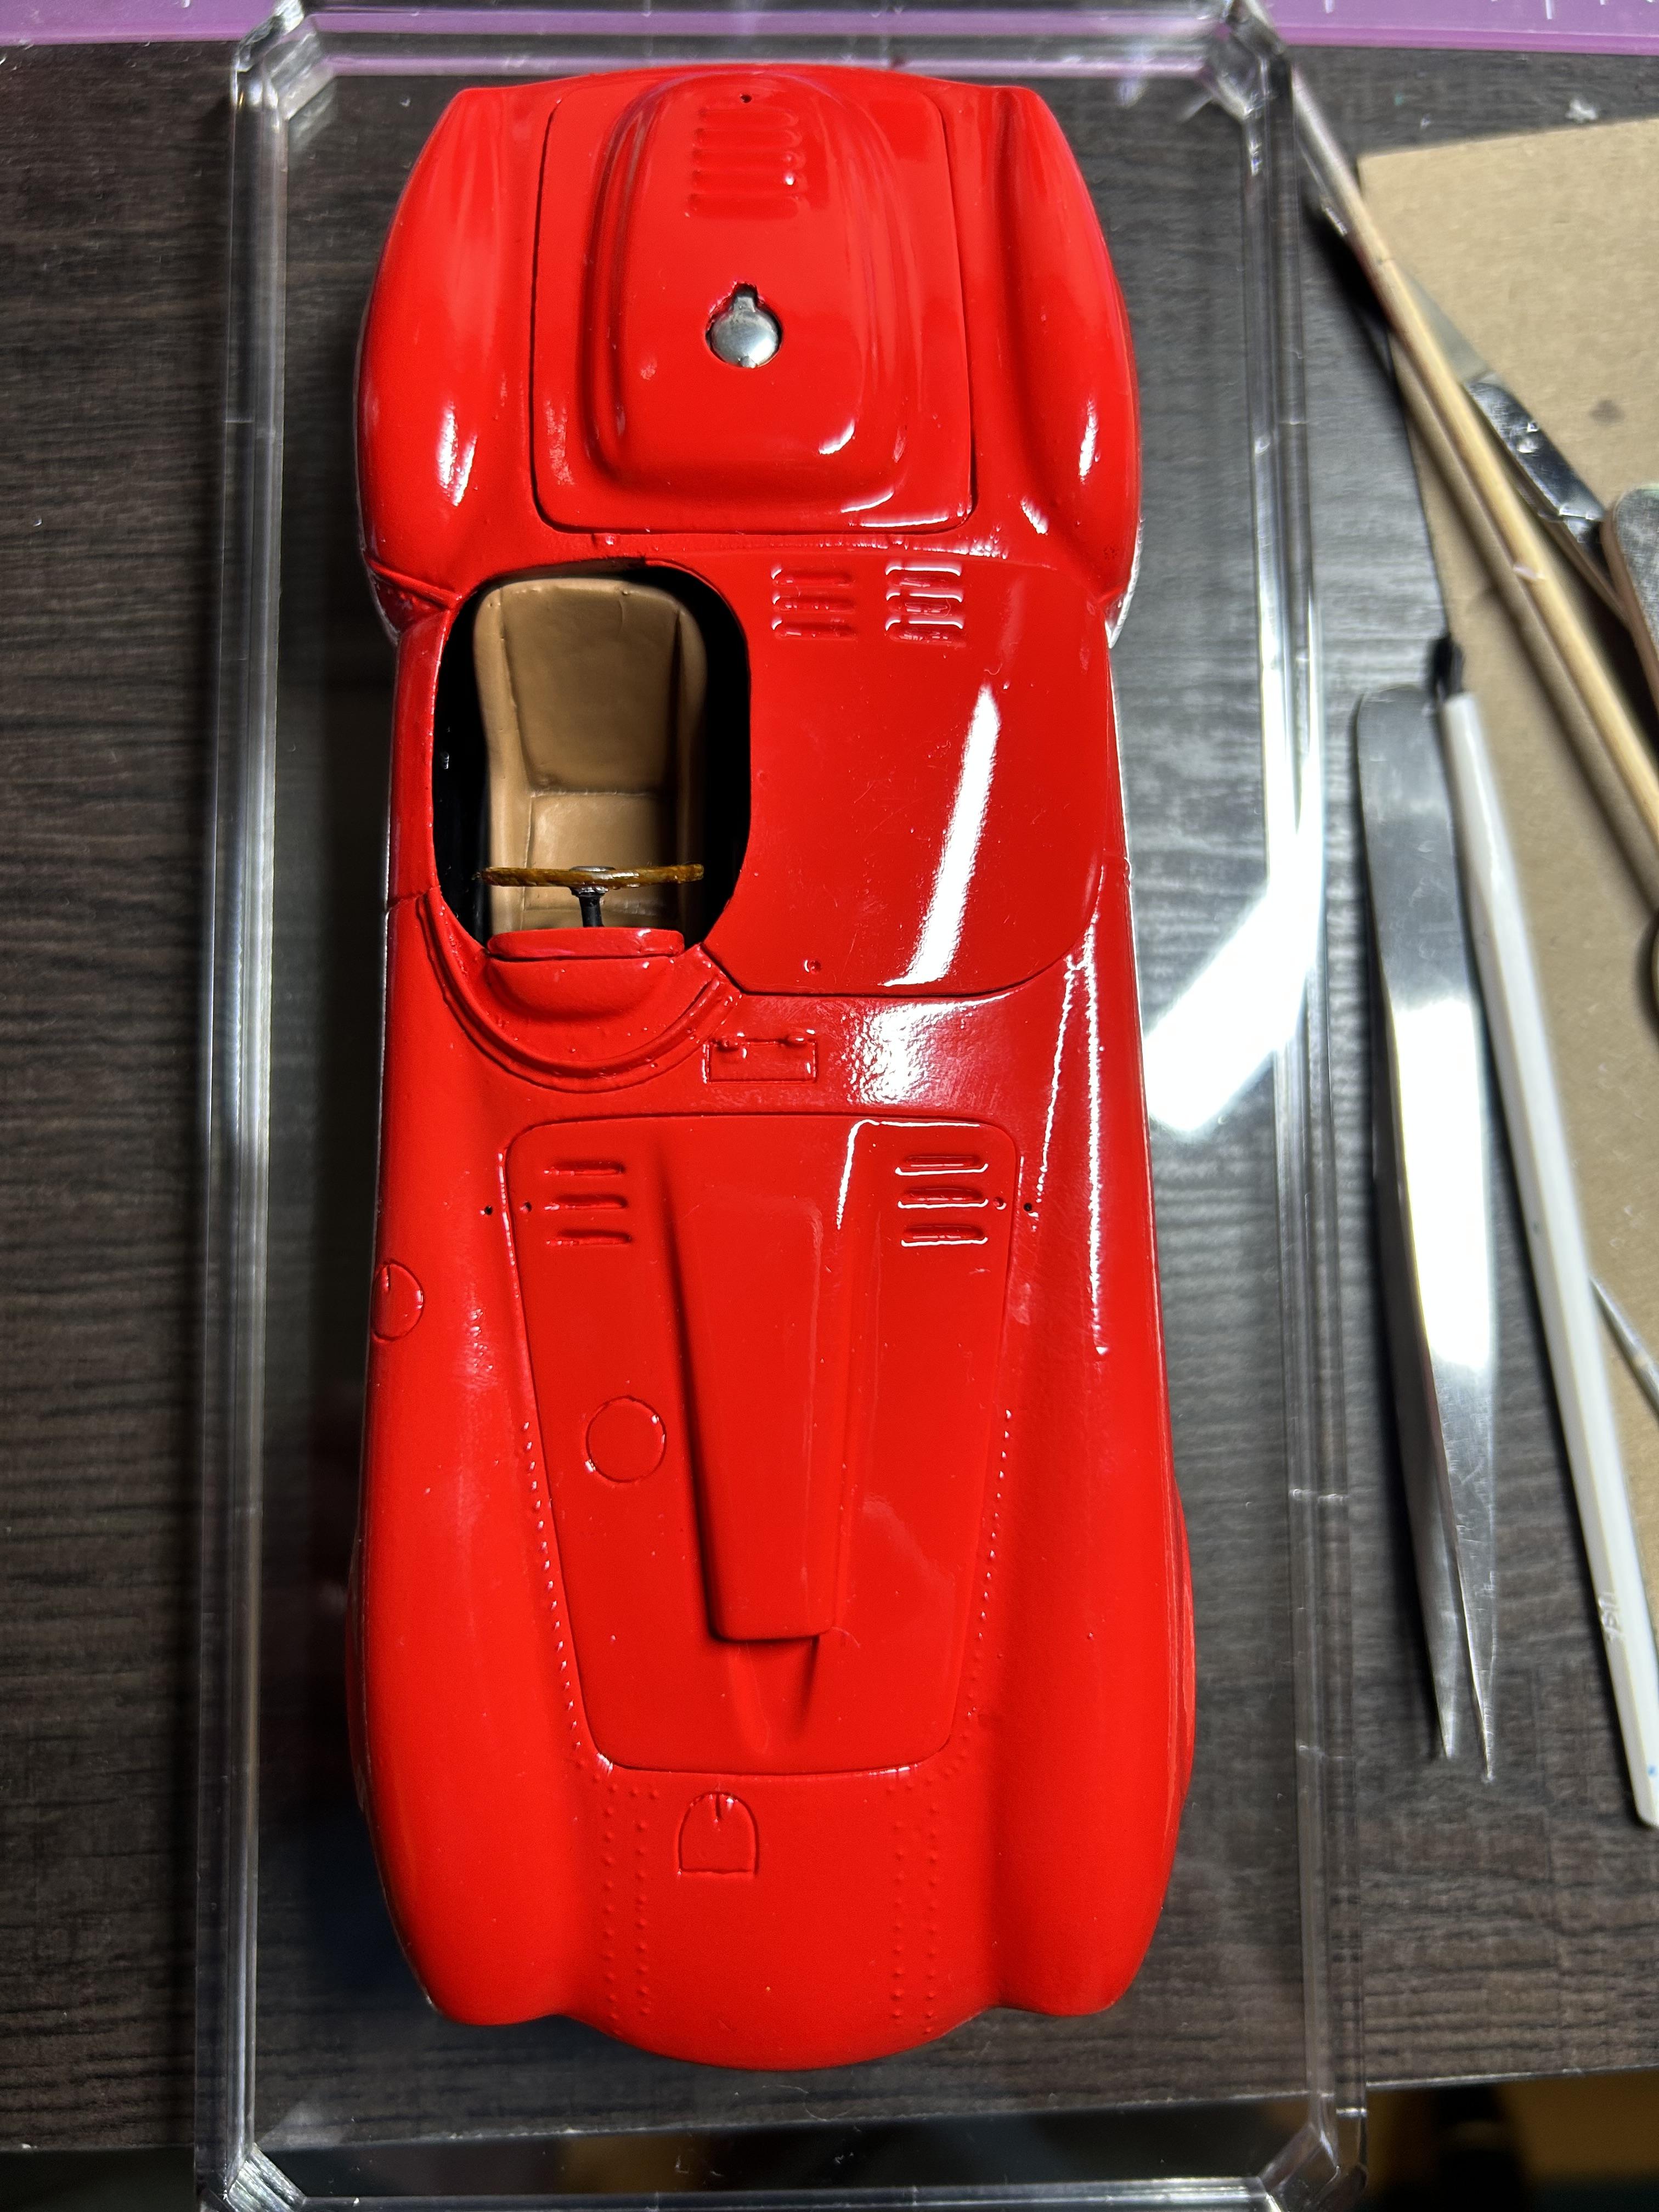
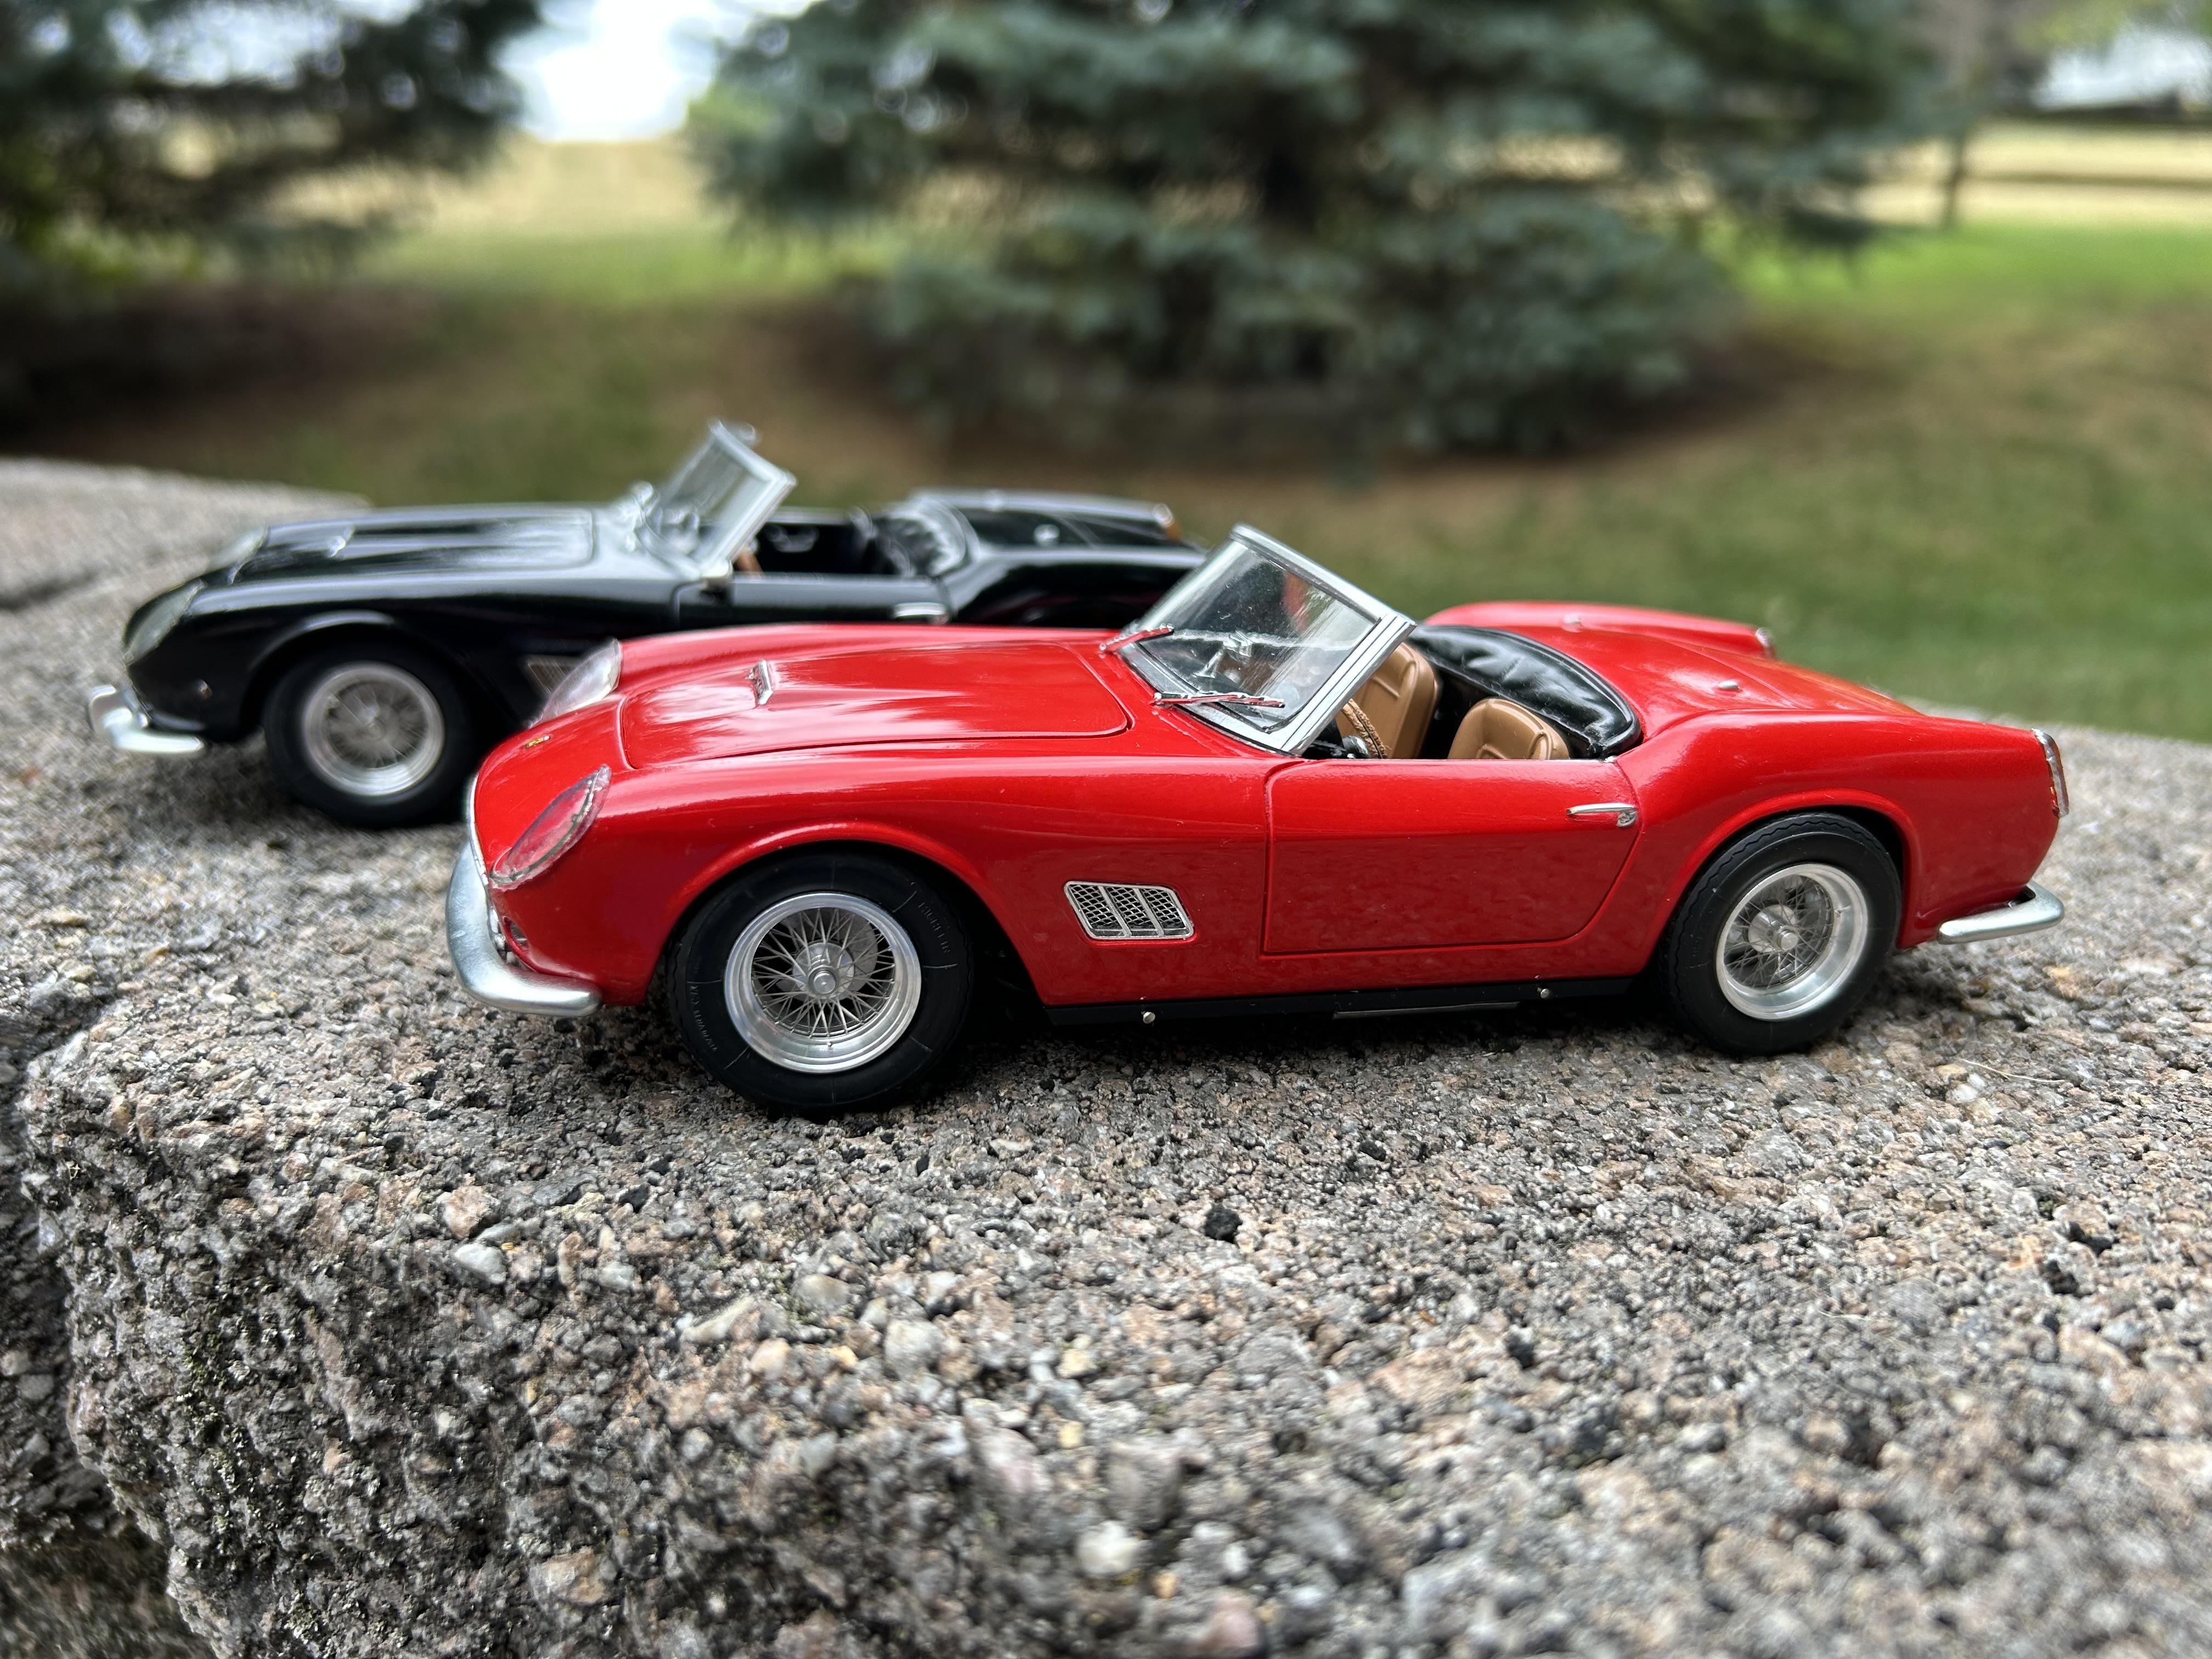
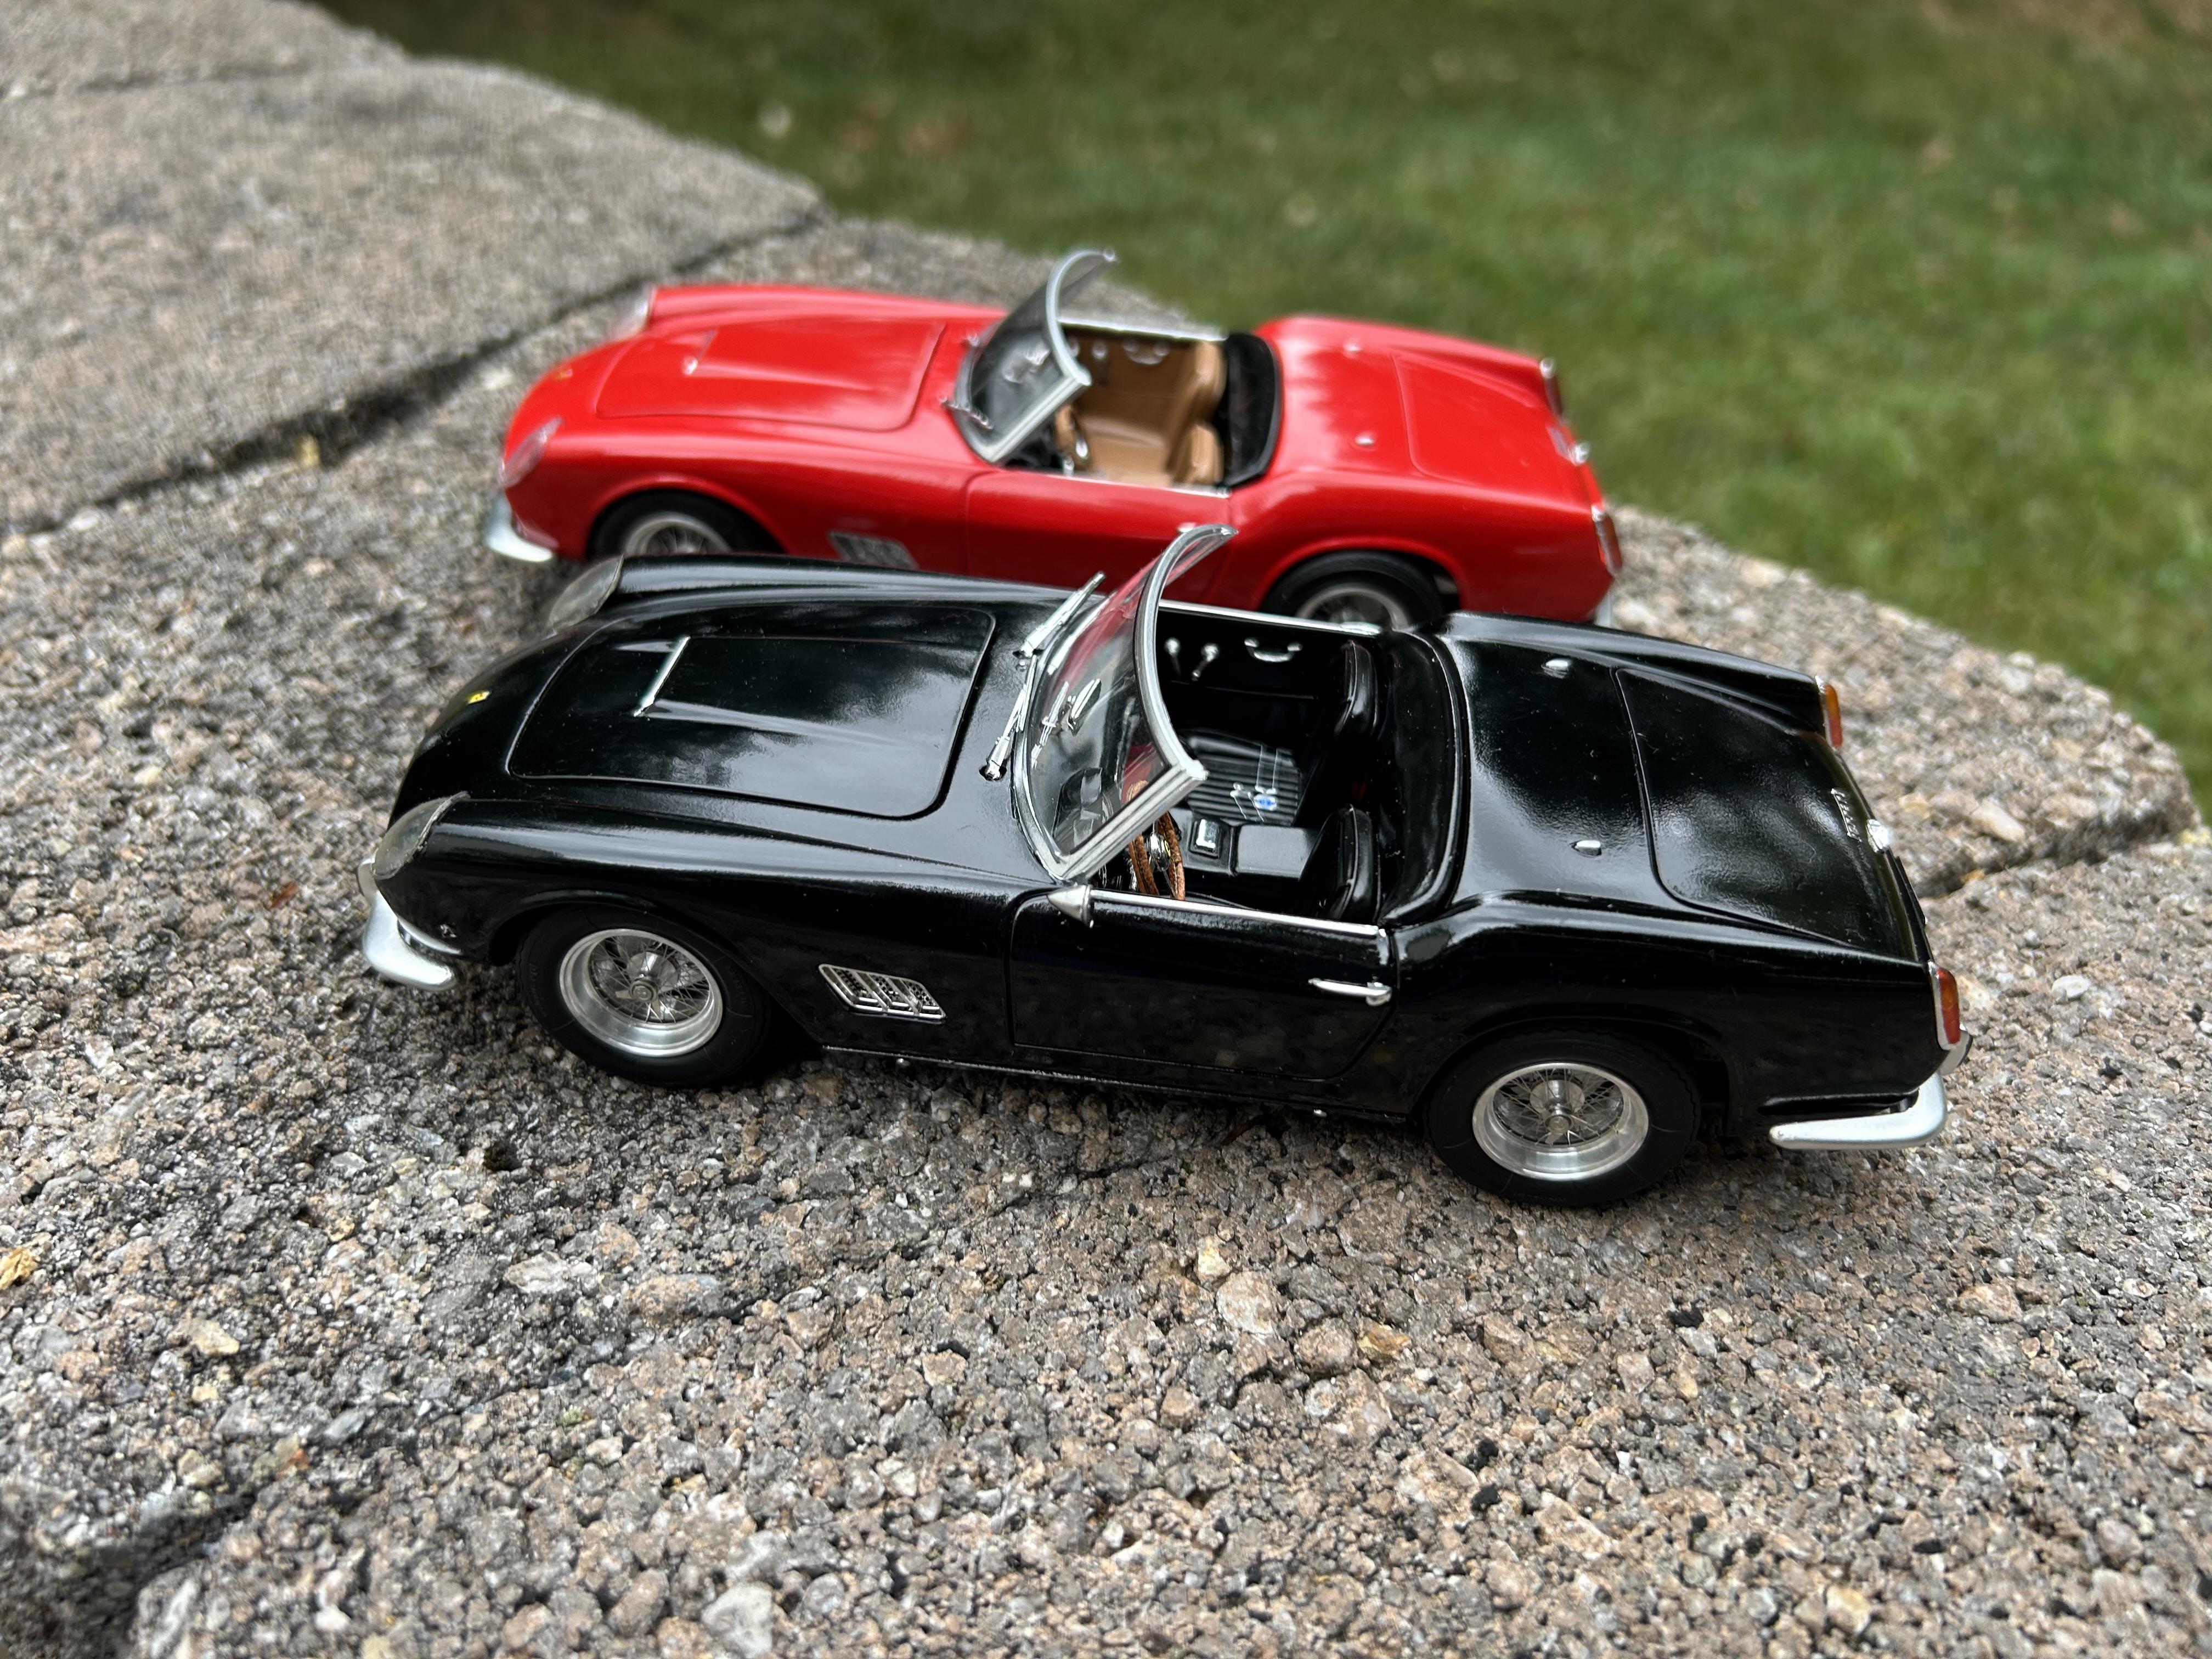
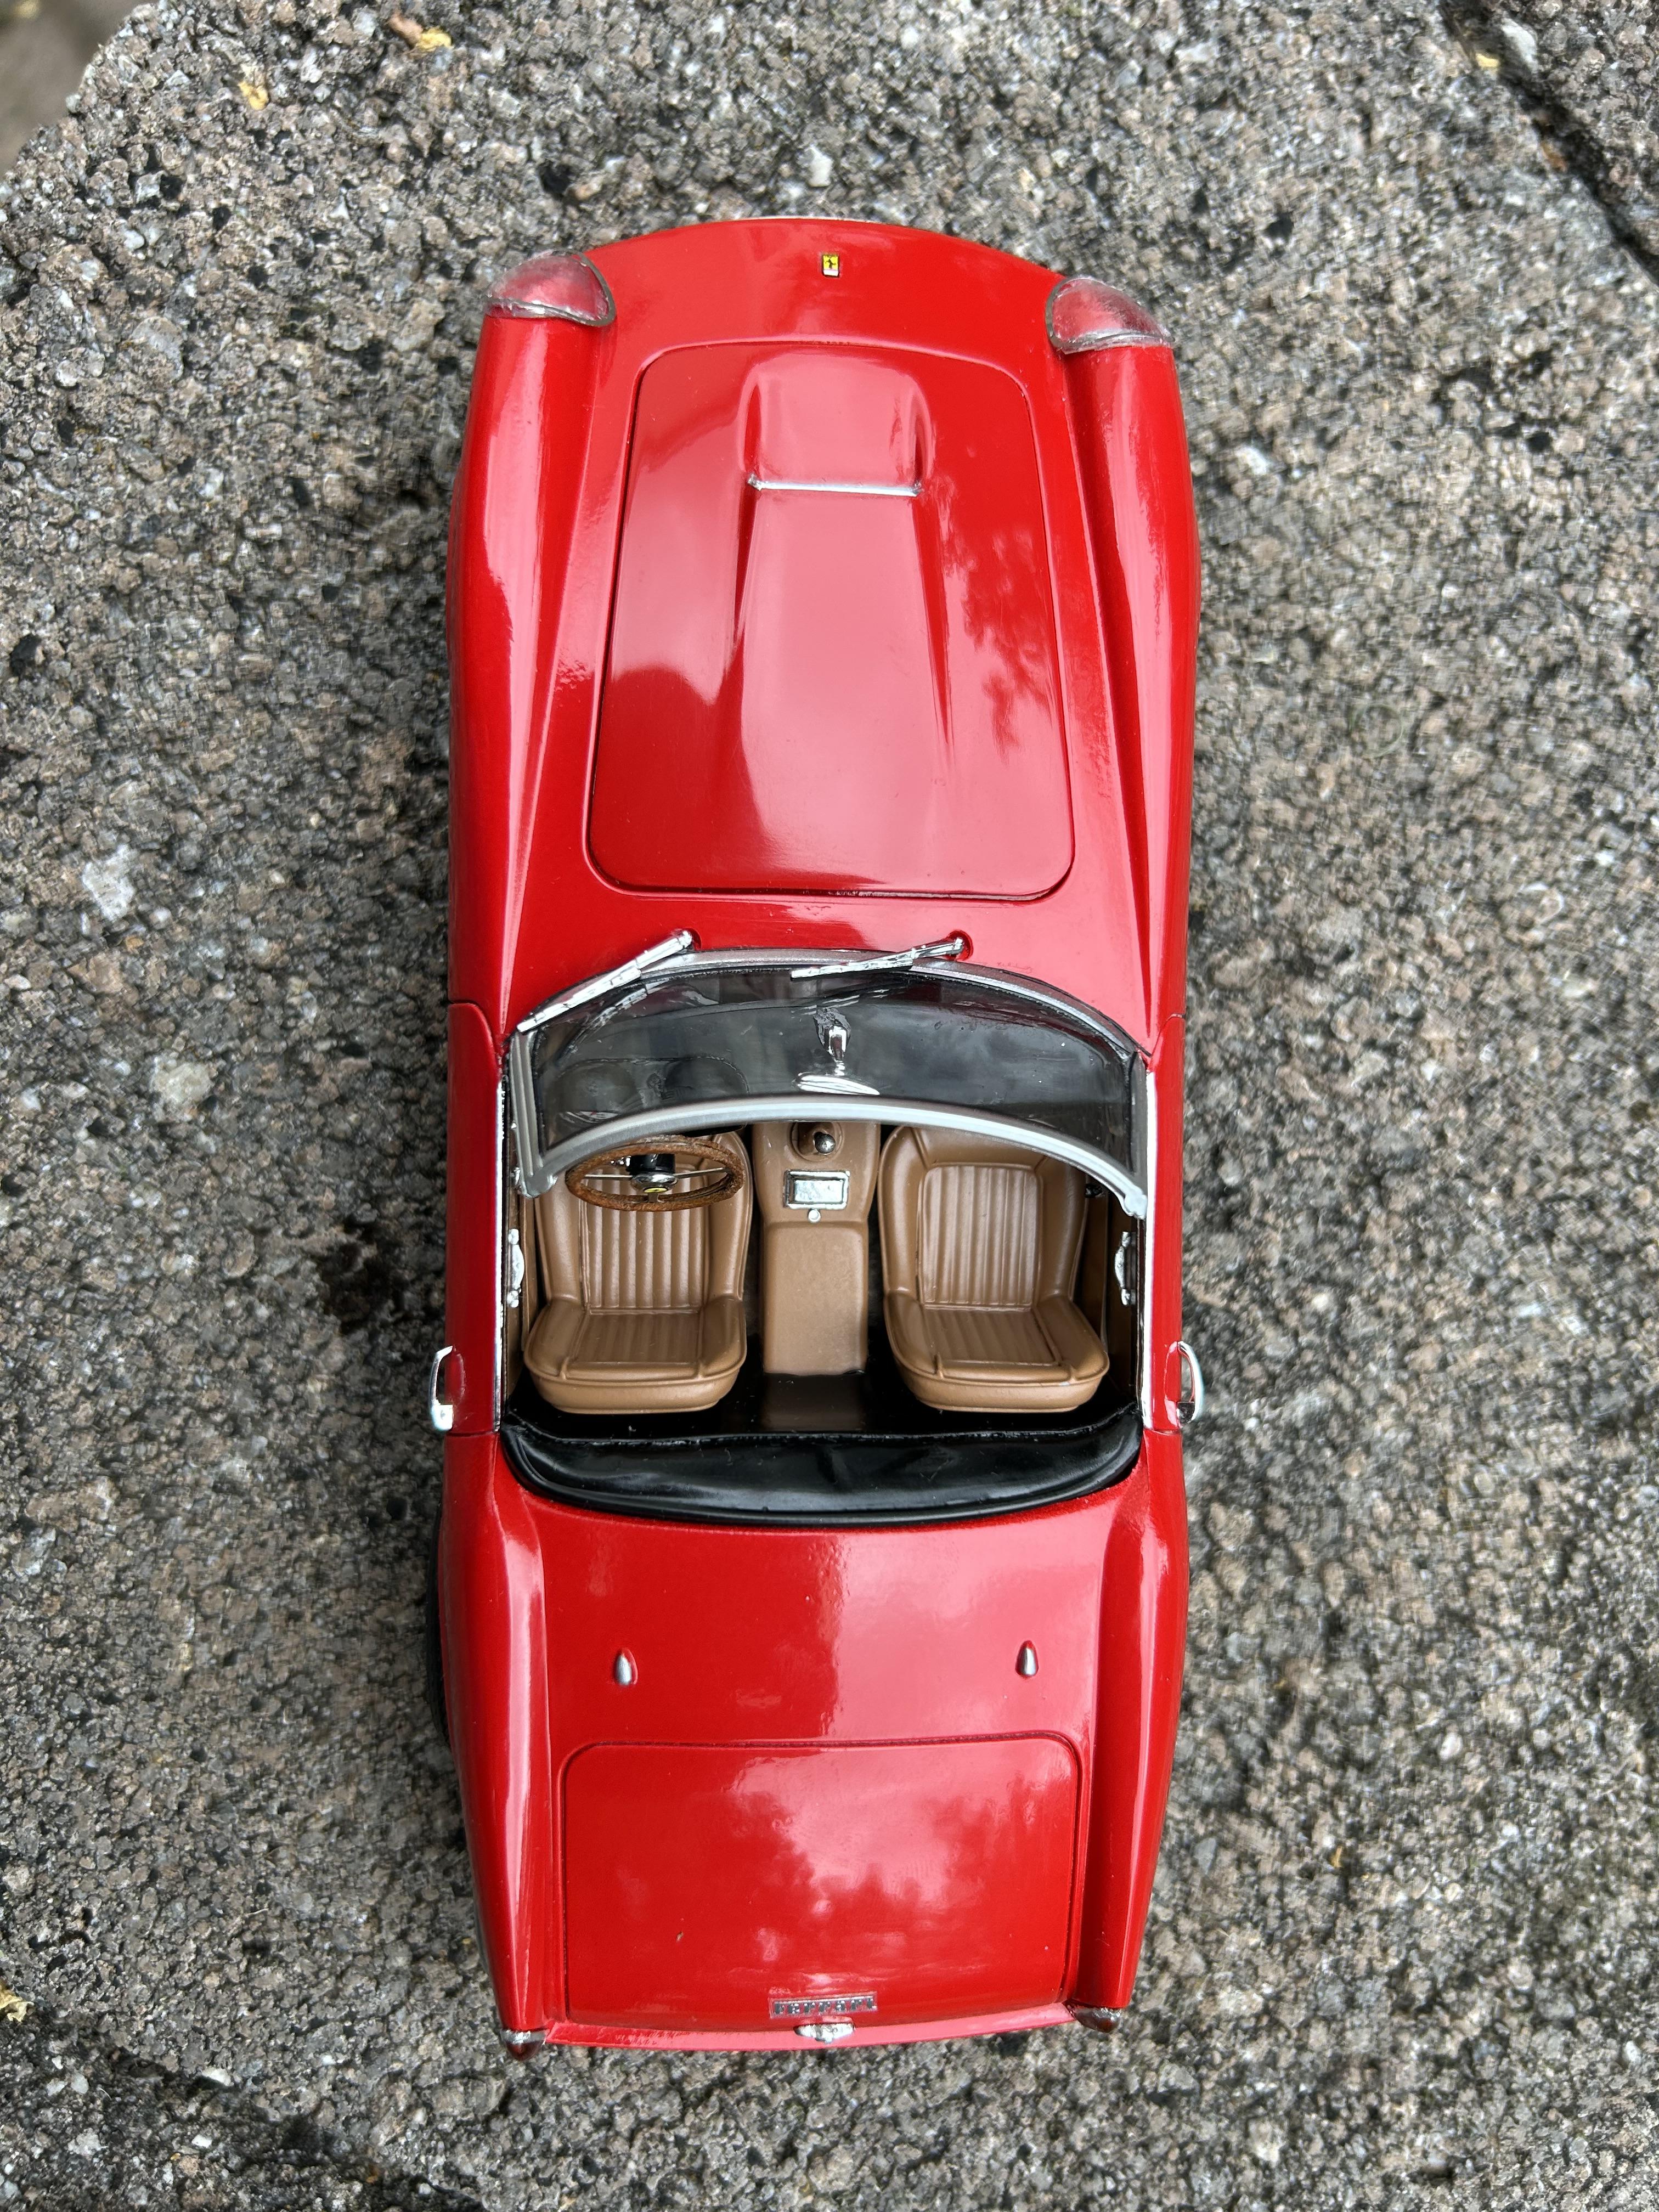
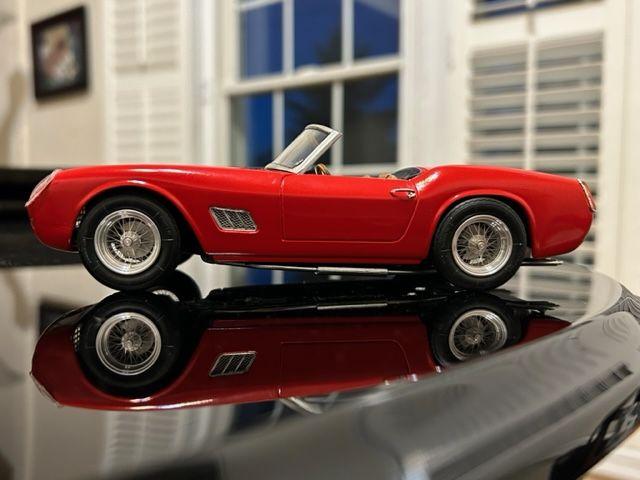
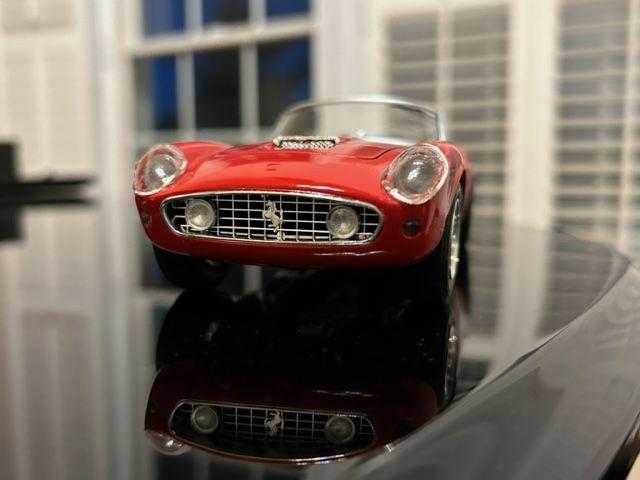
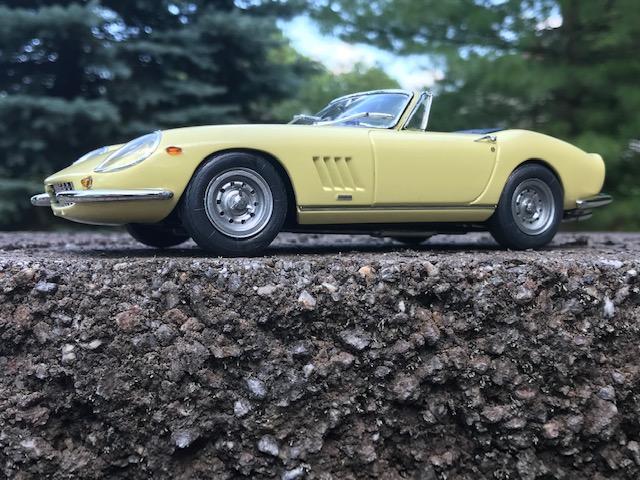
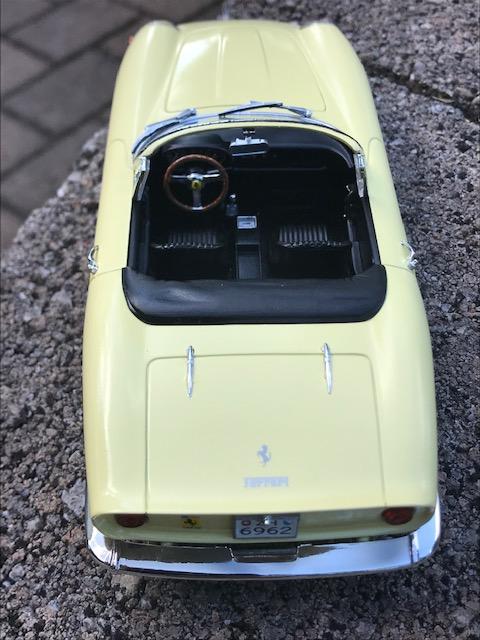
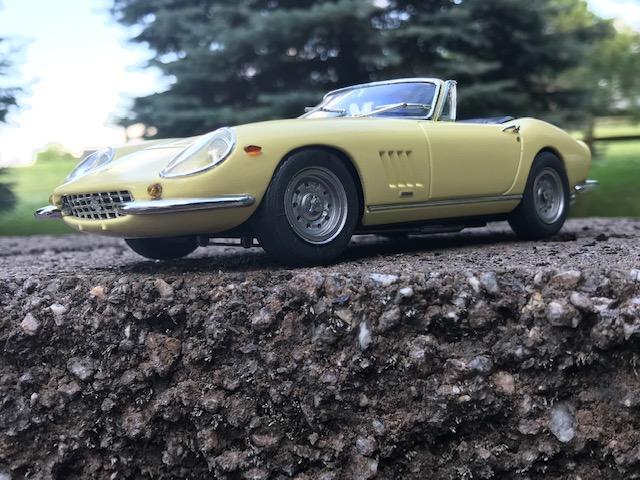
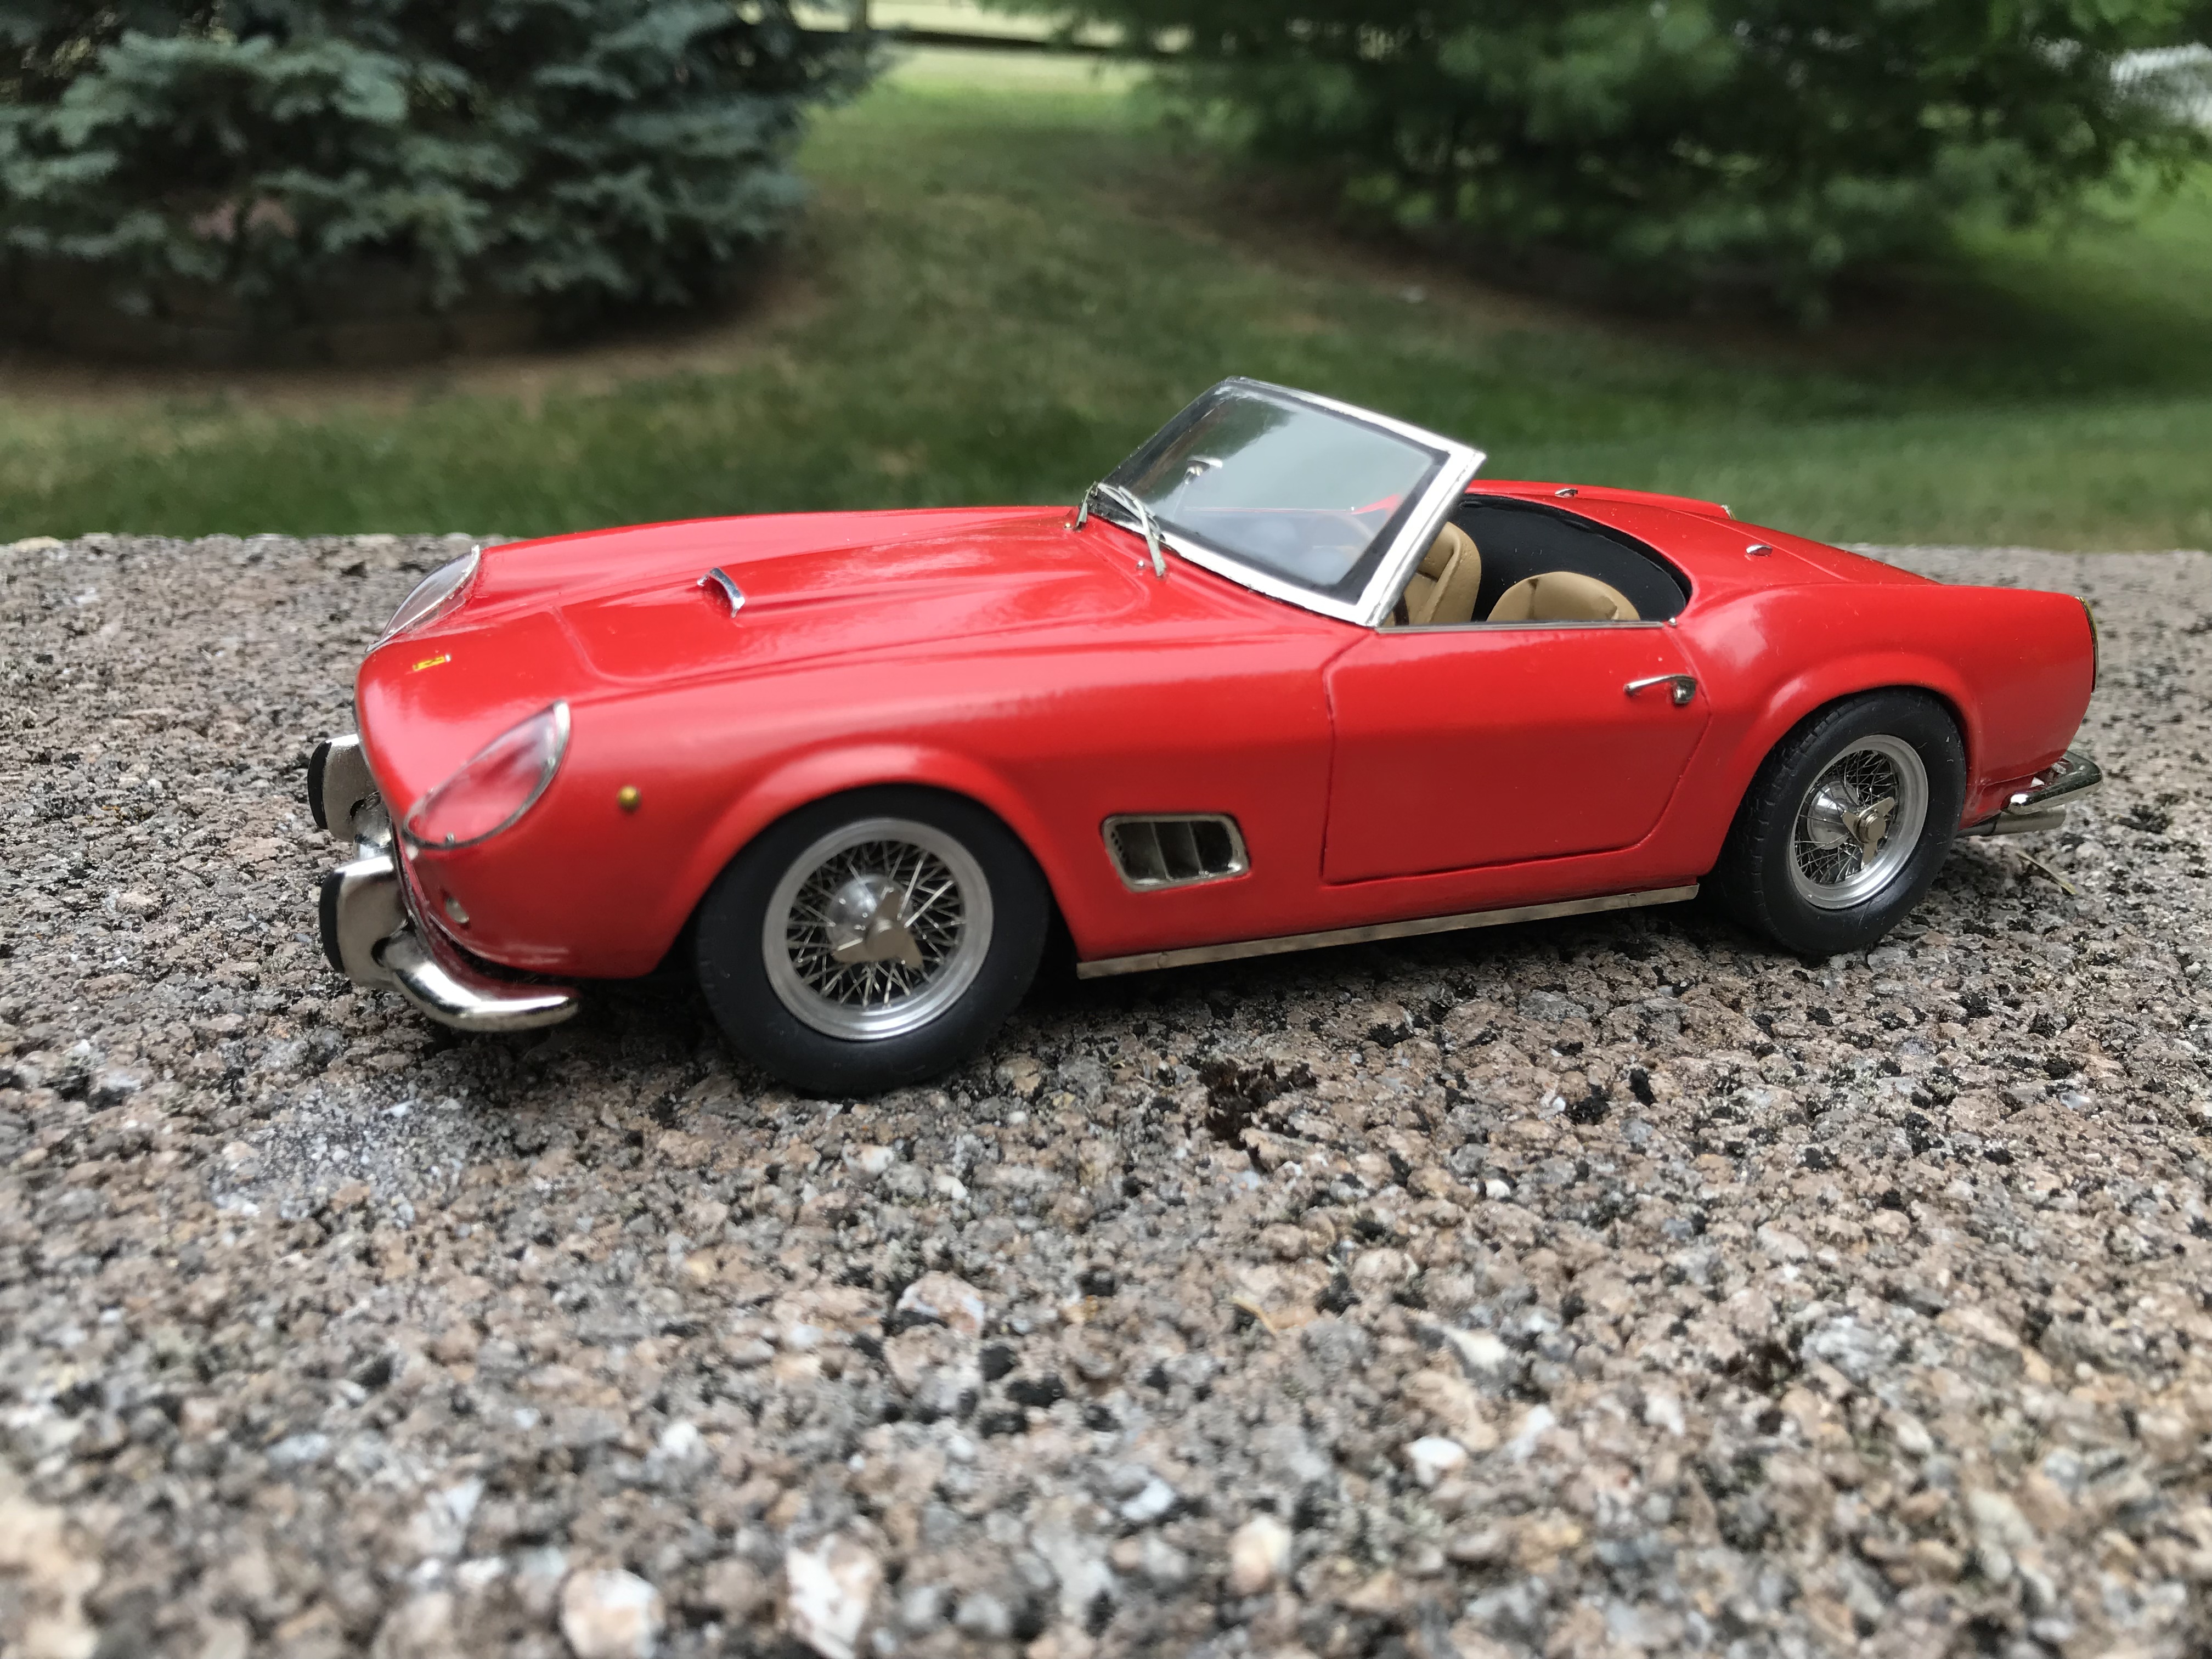
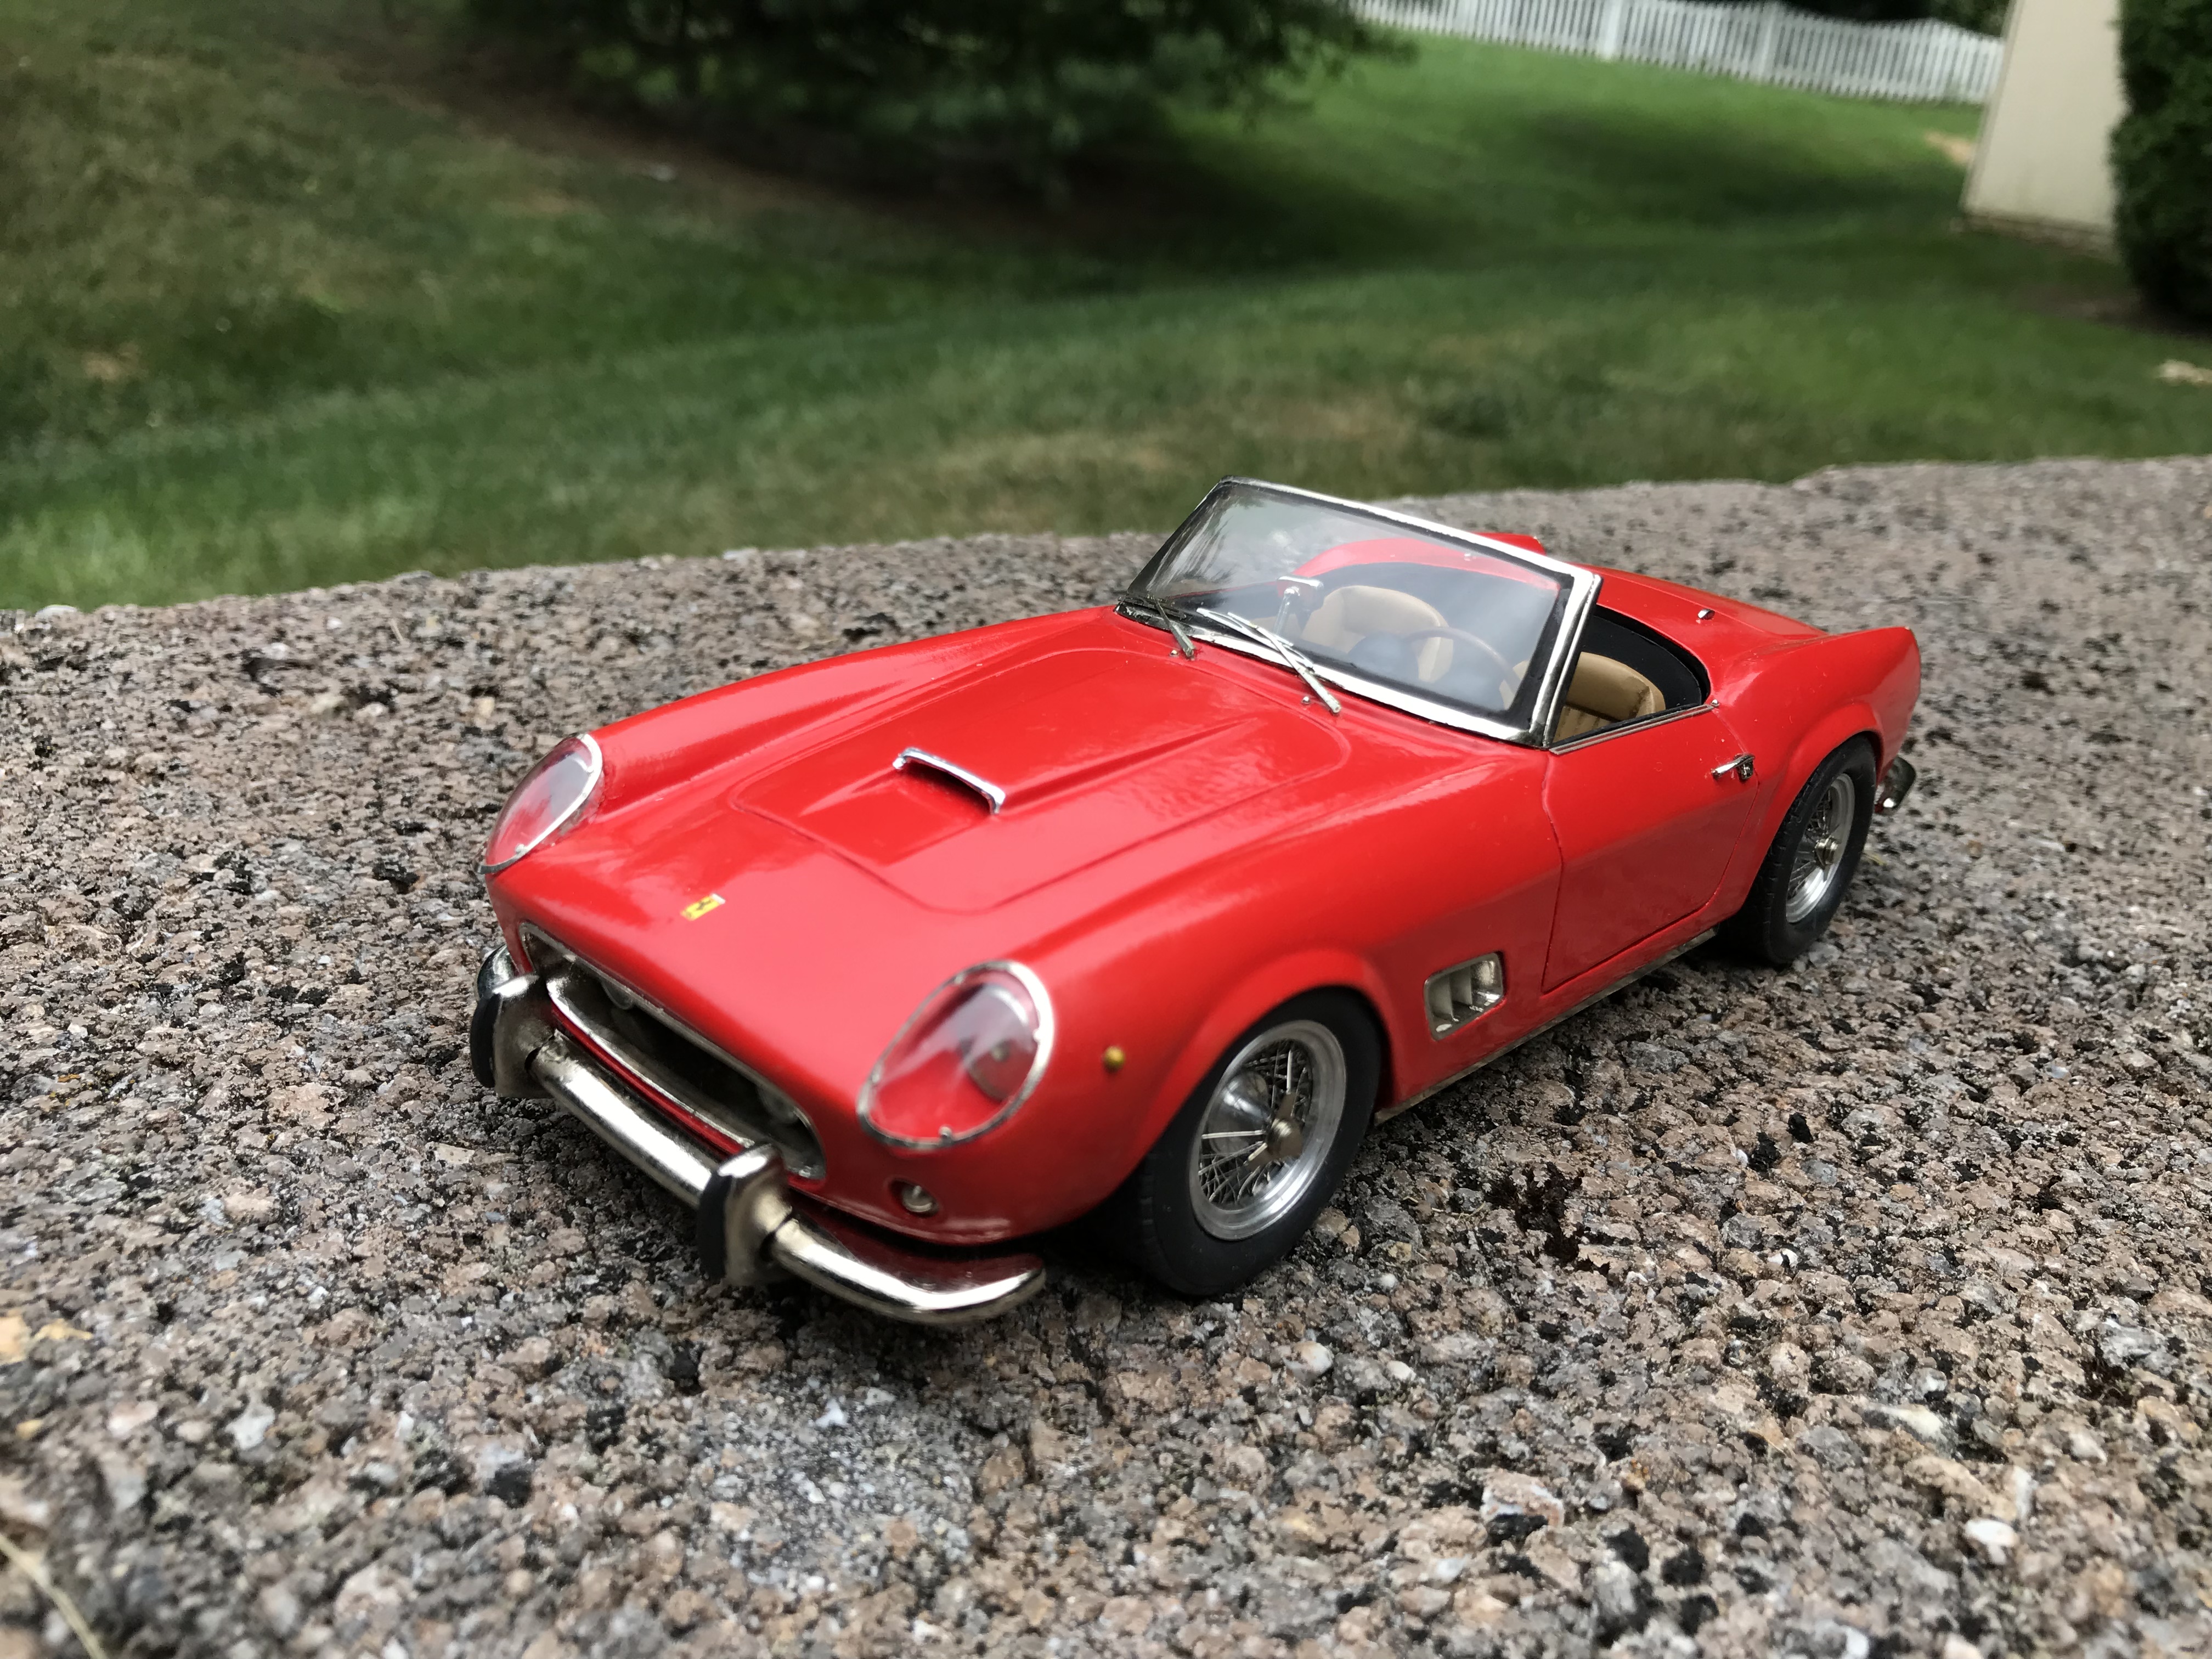
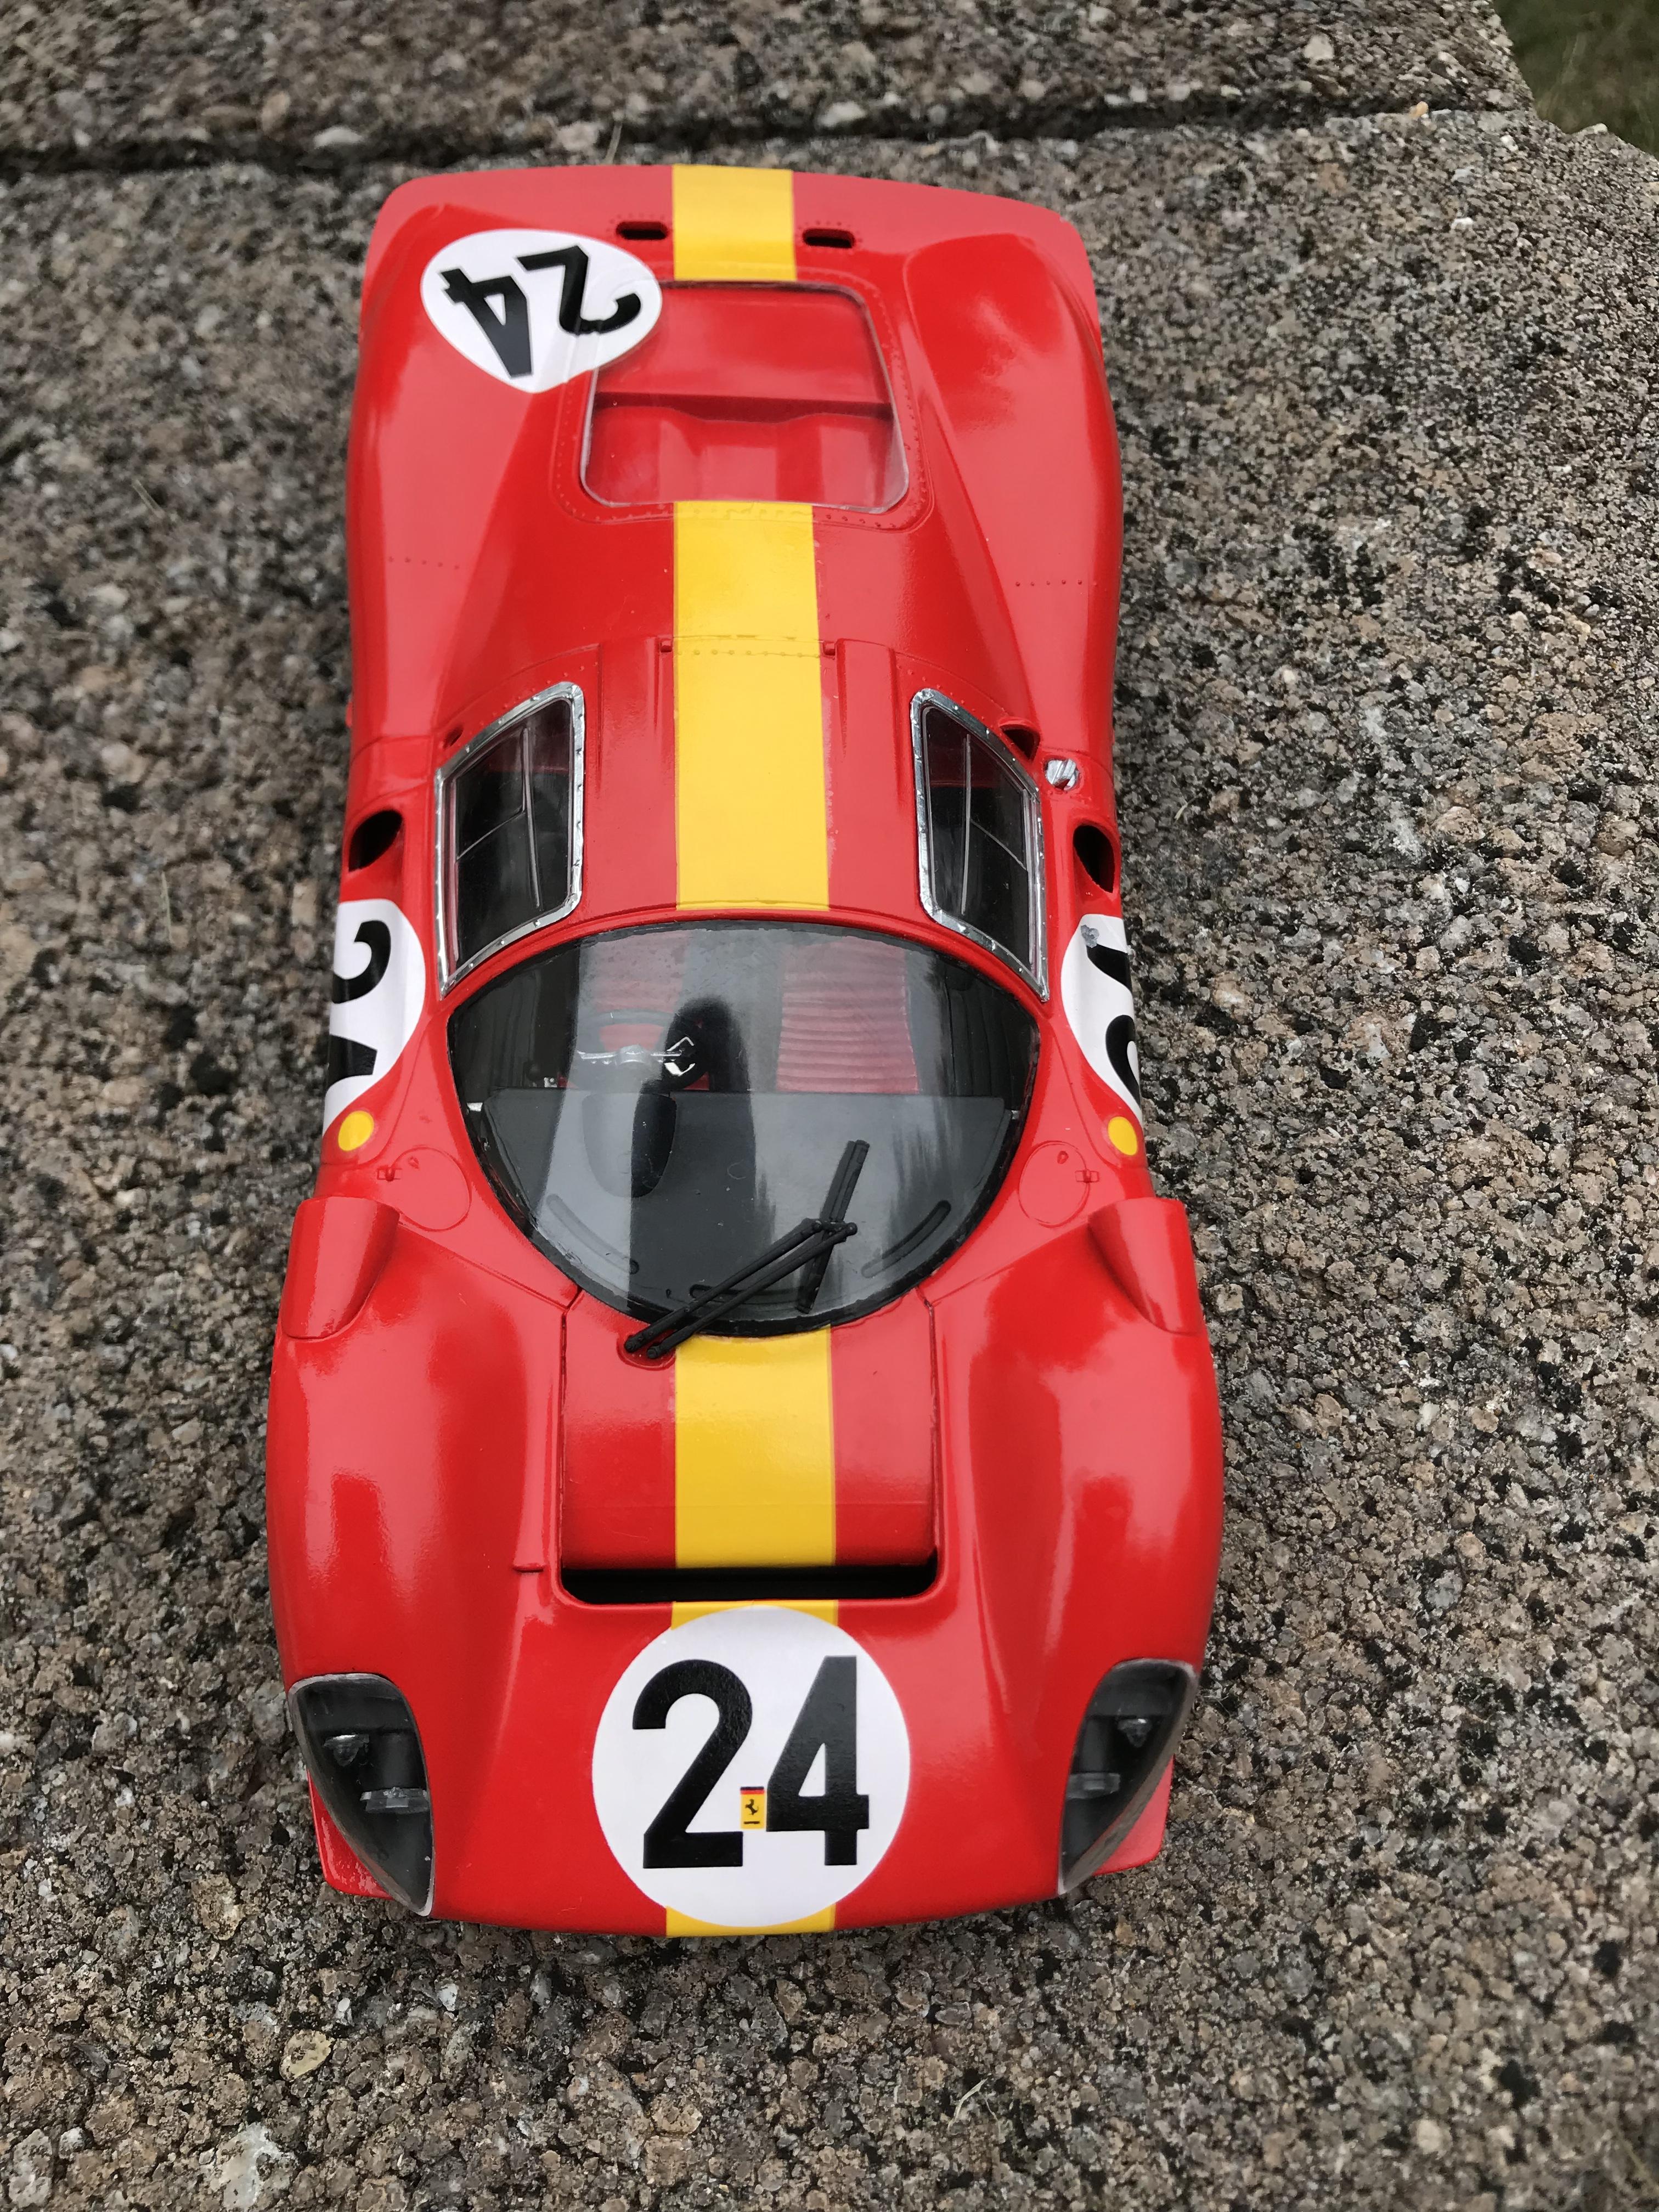
Italeri ferrari 250 Californias reshaped fenders, vacuum formed headlight covers. Aftermarket photoetch headlight cover surrounds for 250 gto, replicas and miniatures of maryland interiors, engines, and wood steering wheels. Windshields from 1/24 diecast Californias, photoetch wire wheels, various made parts
-
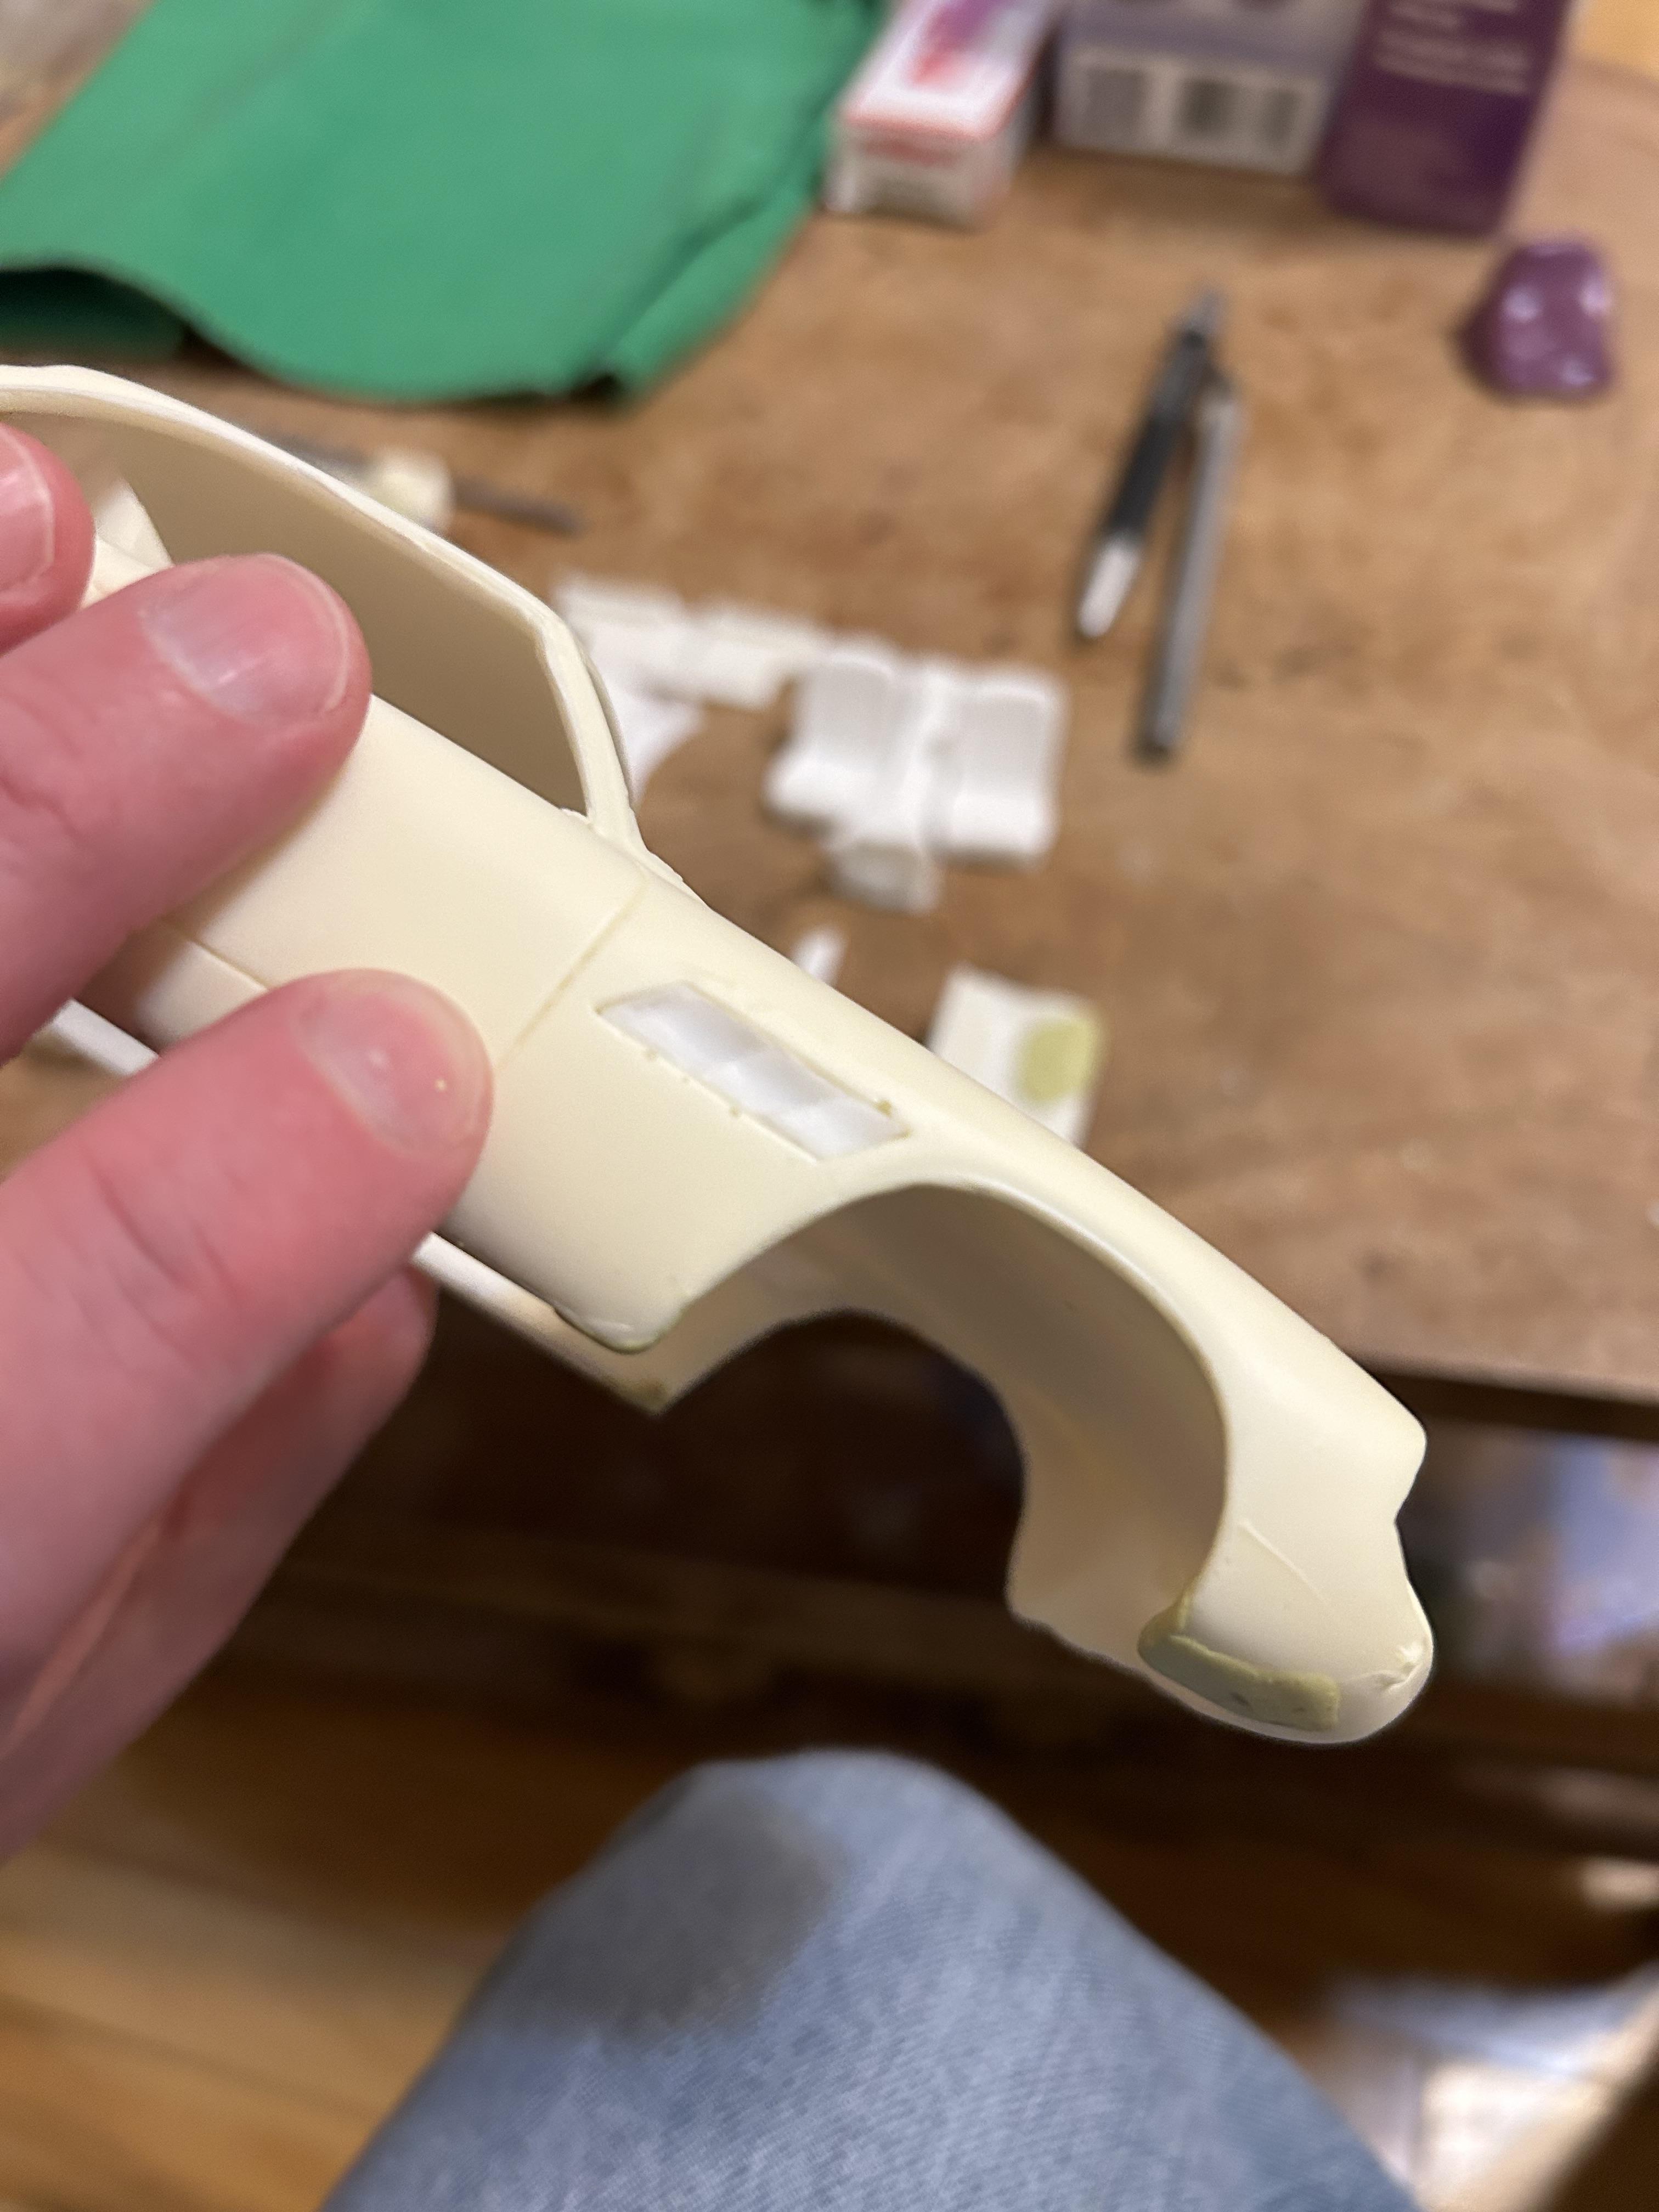
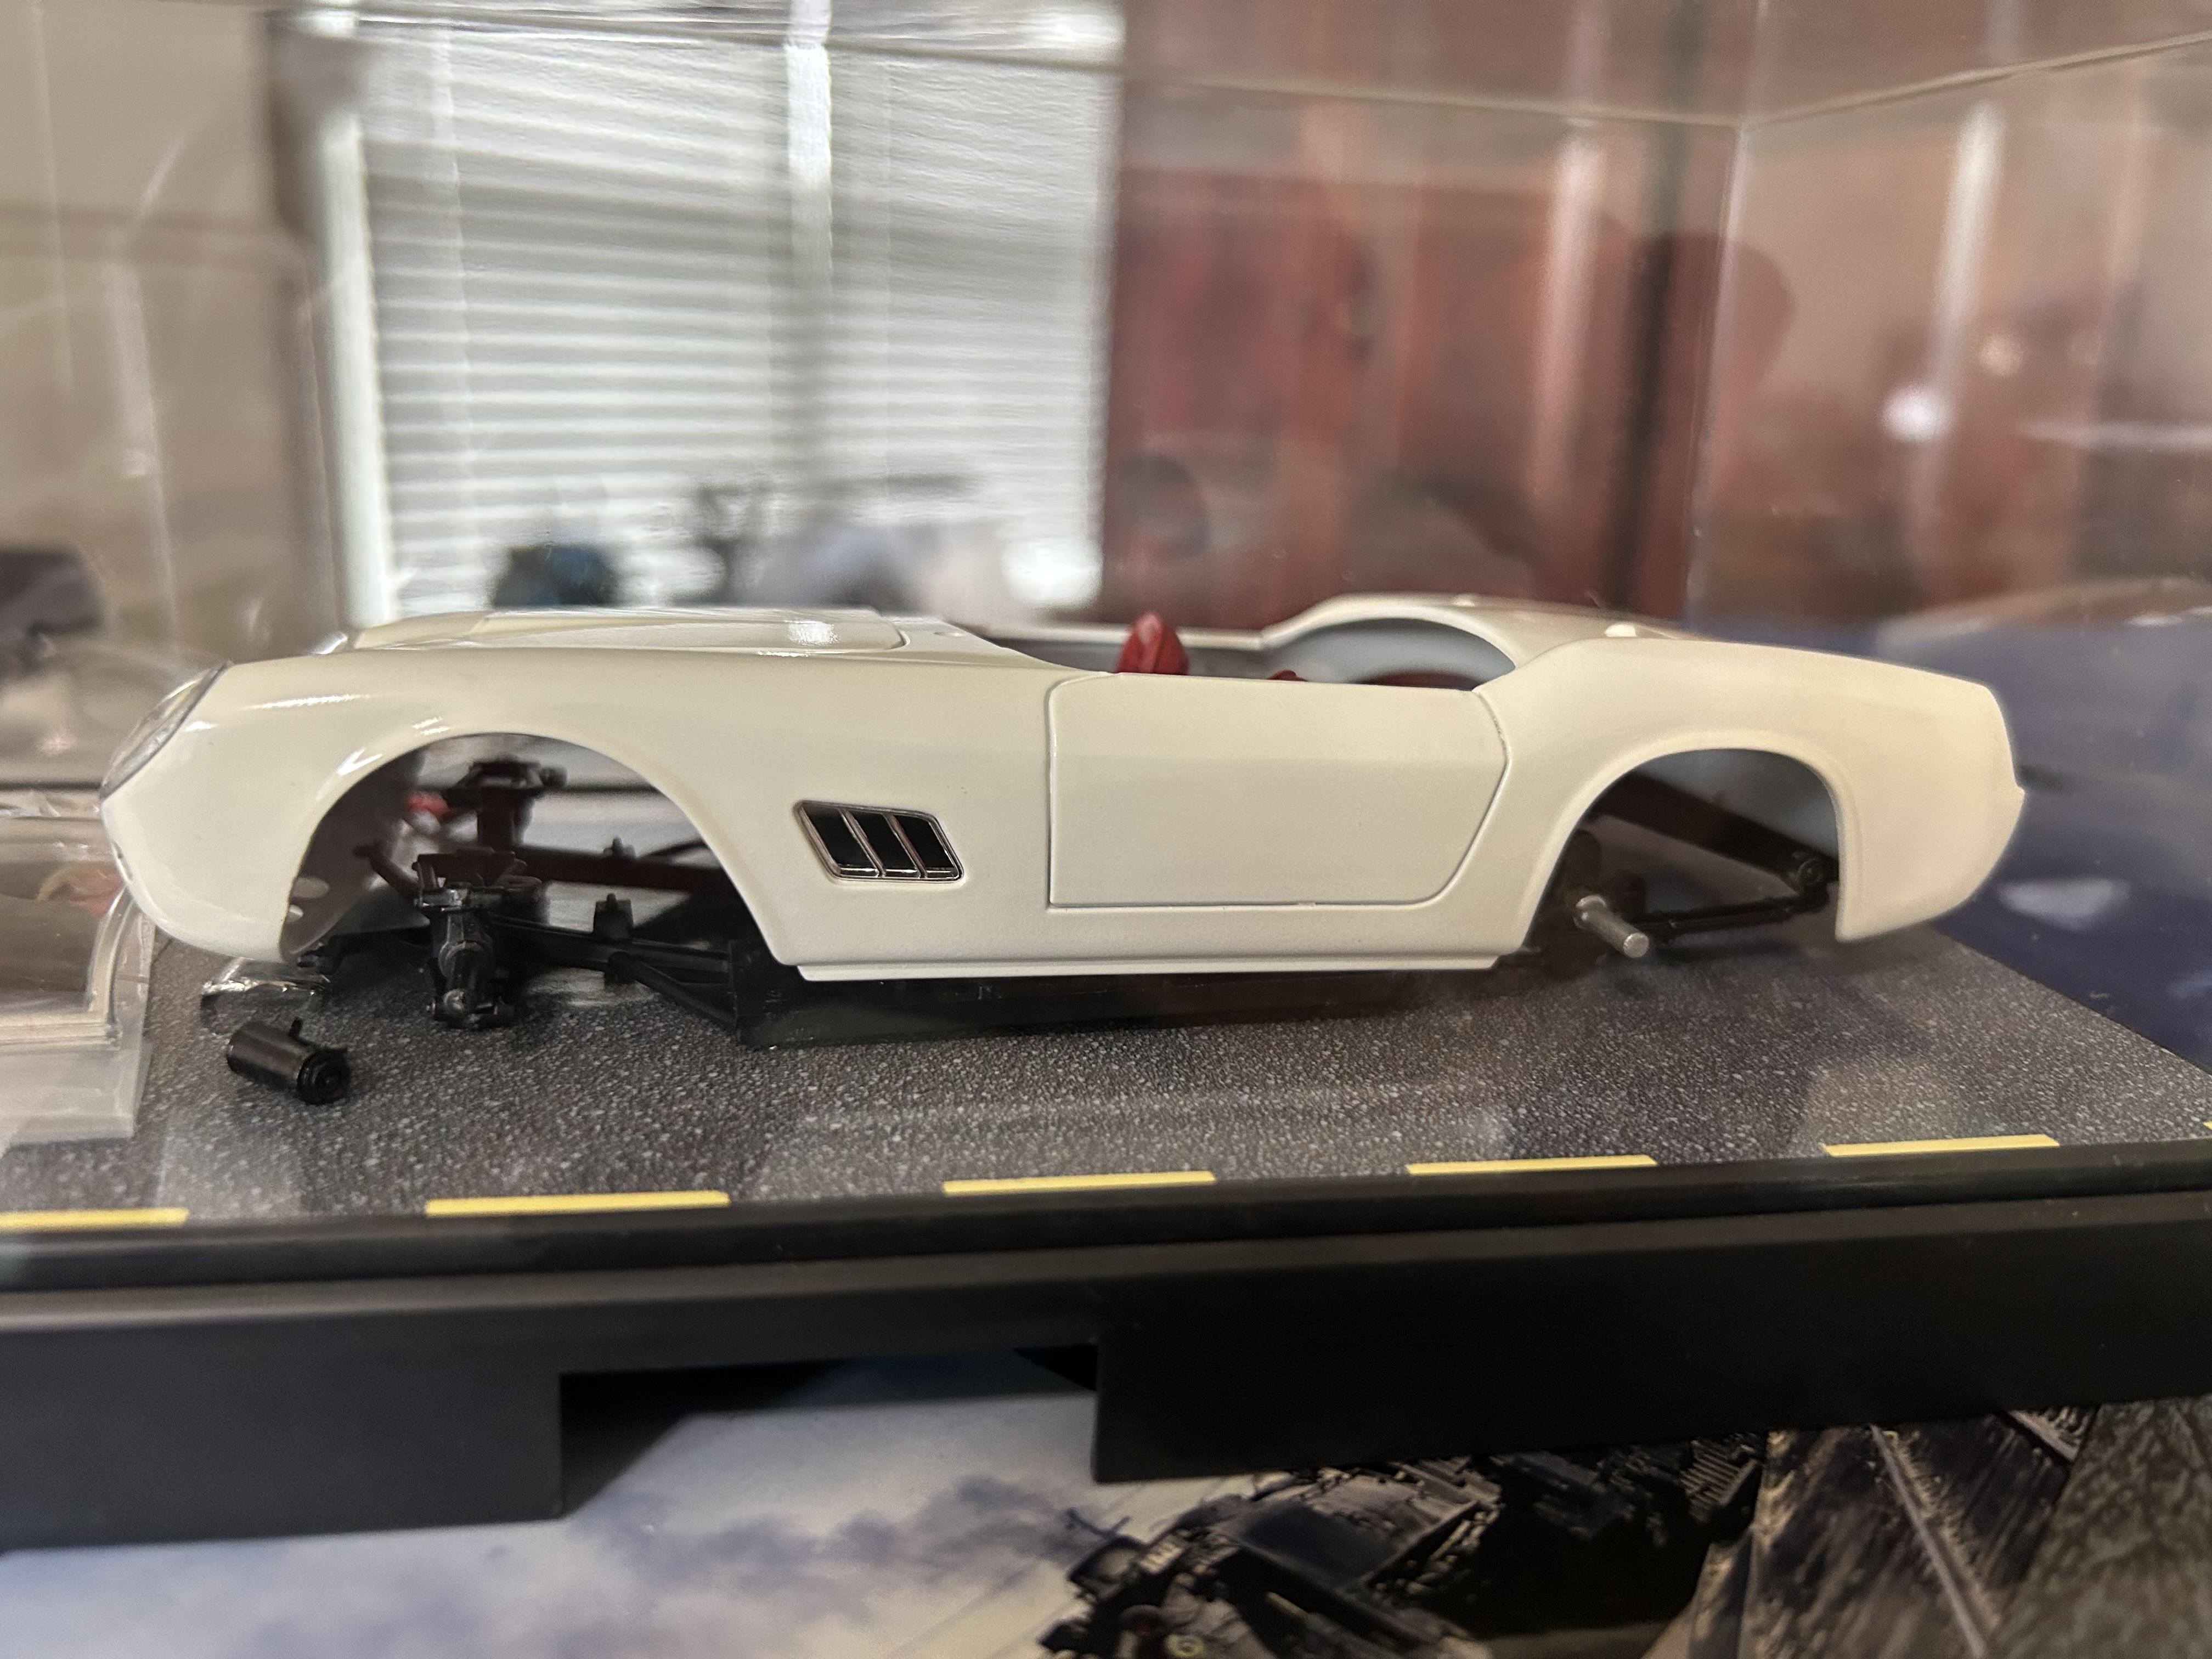
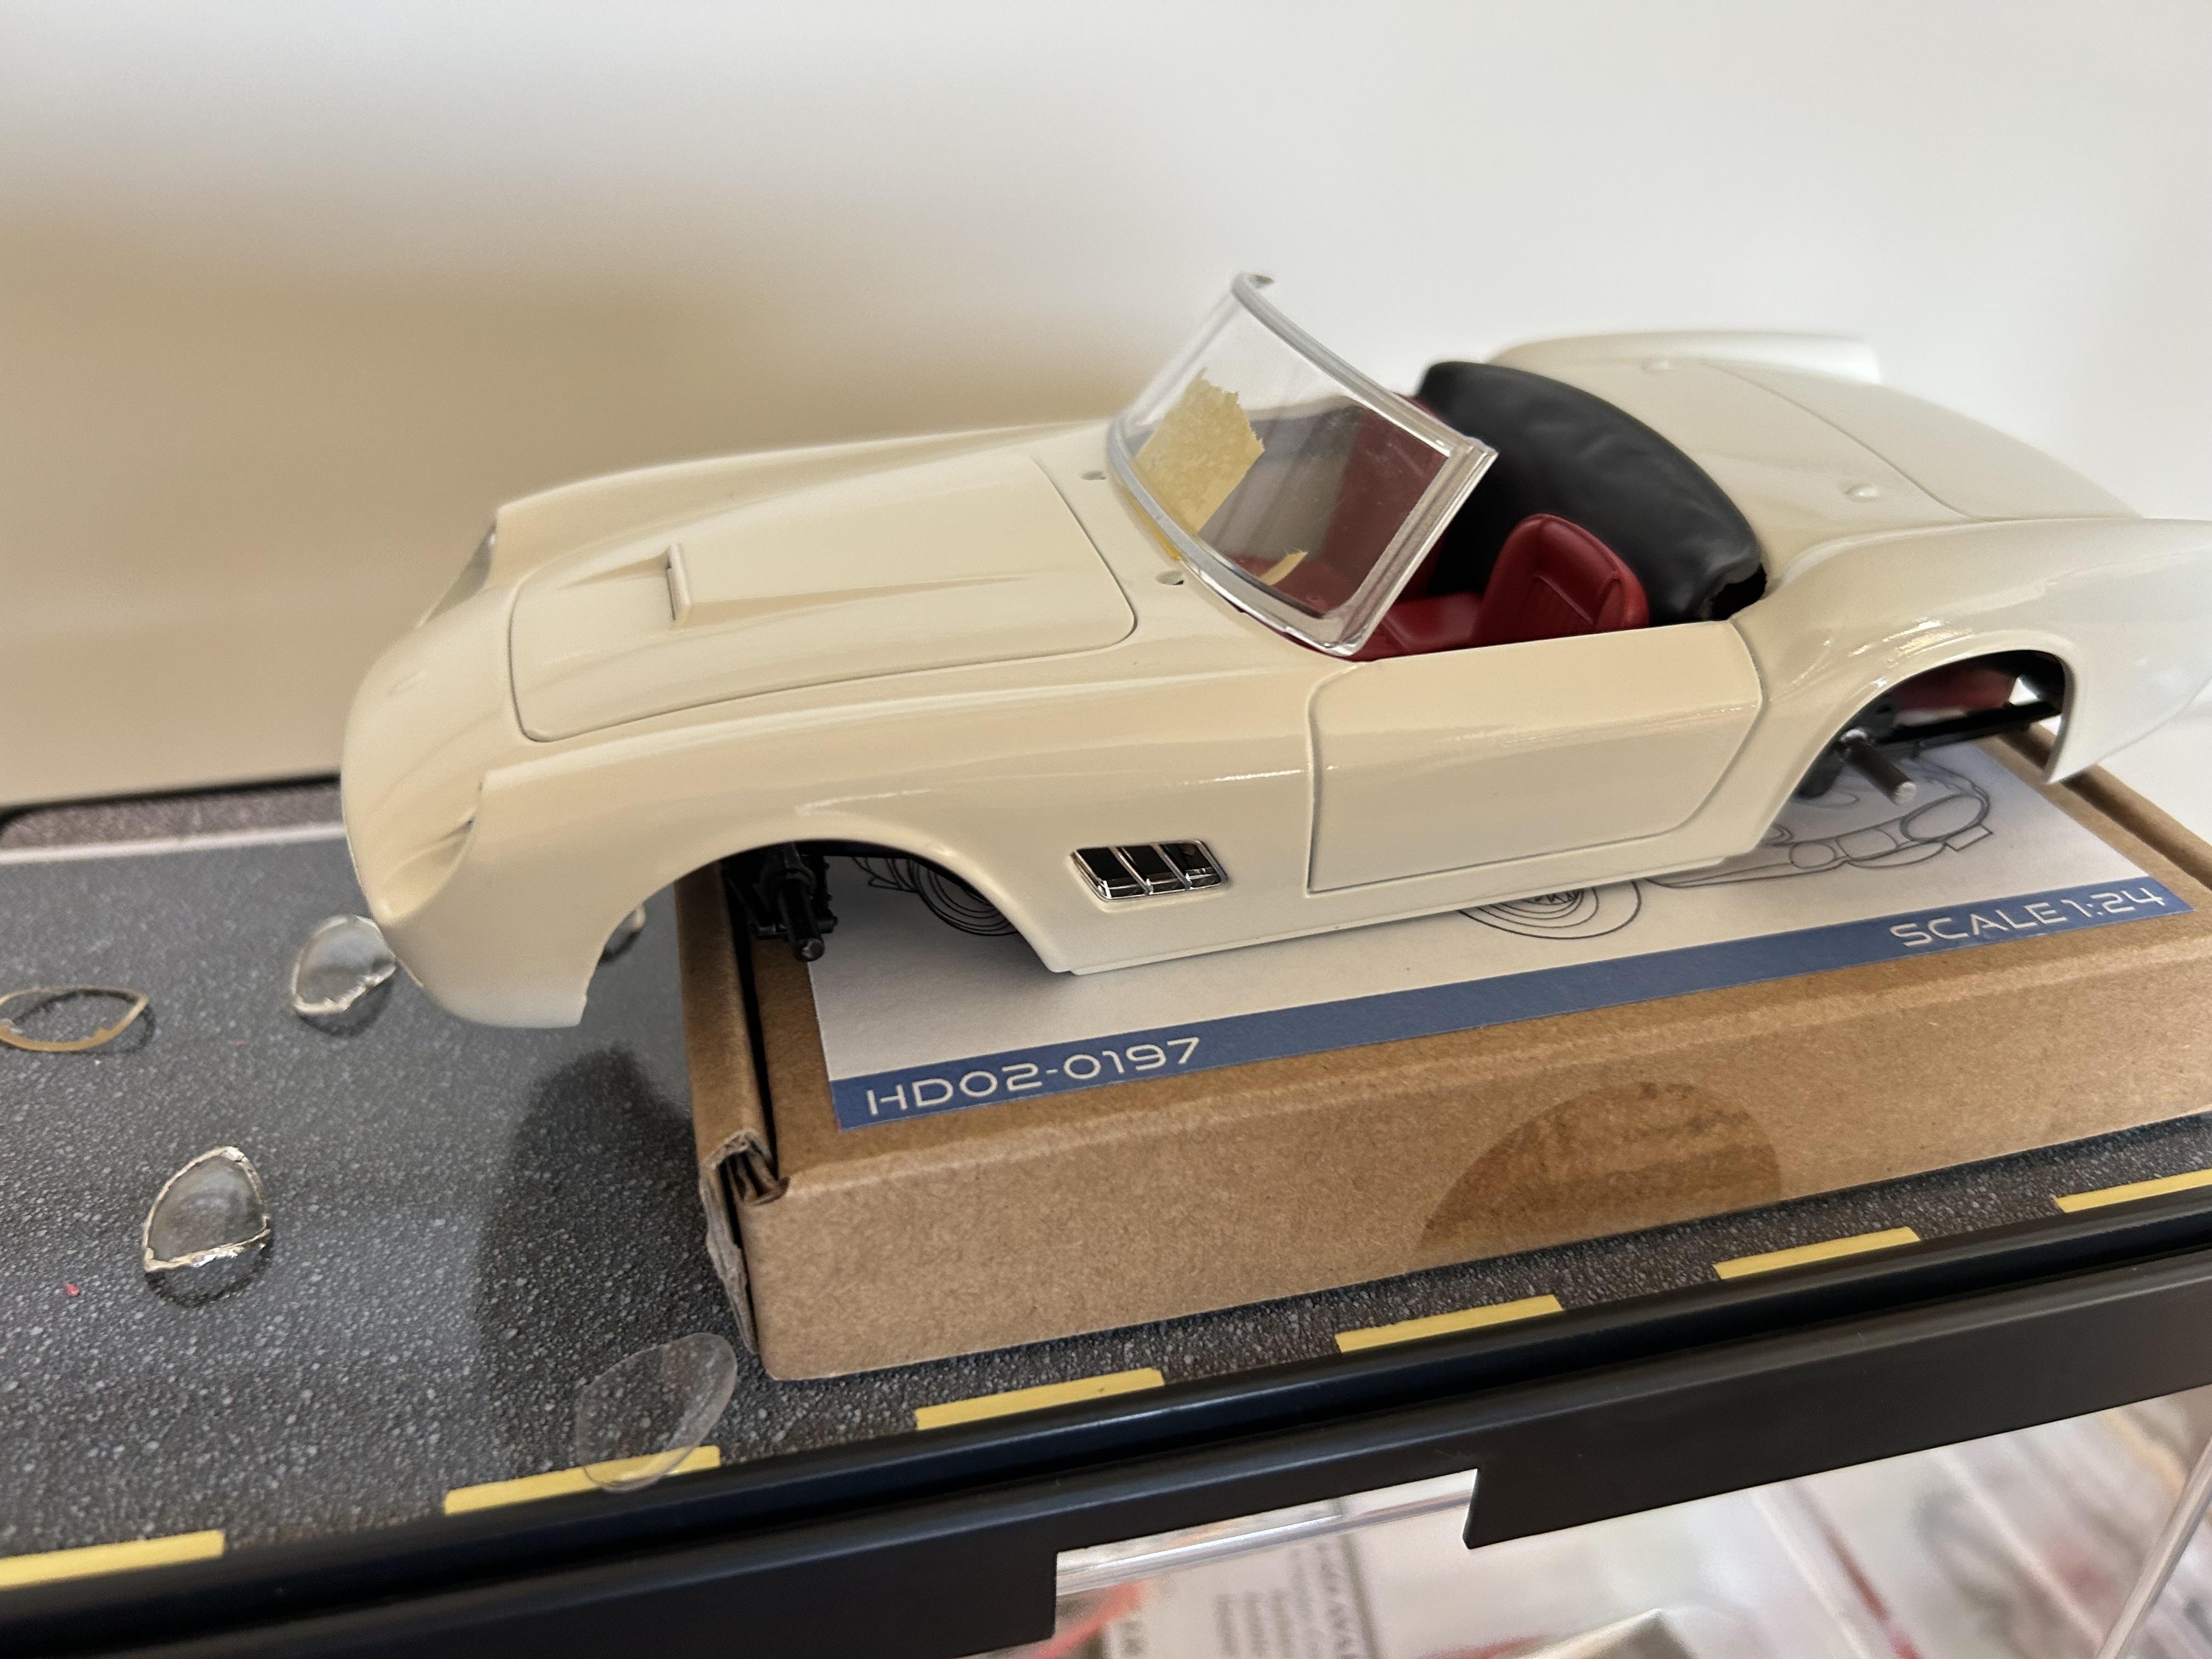
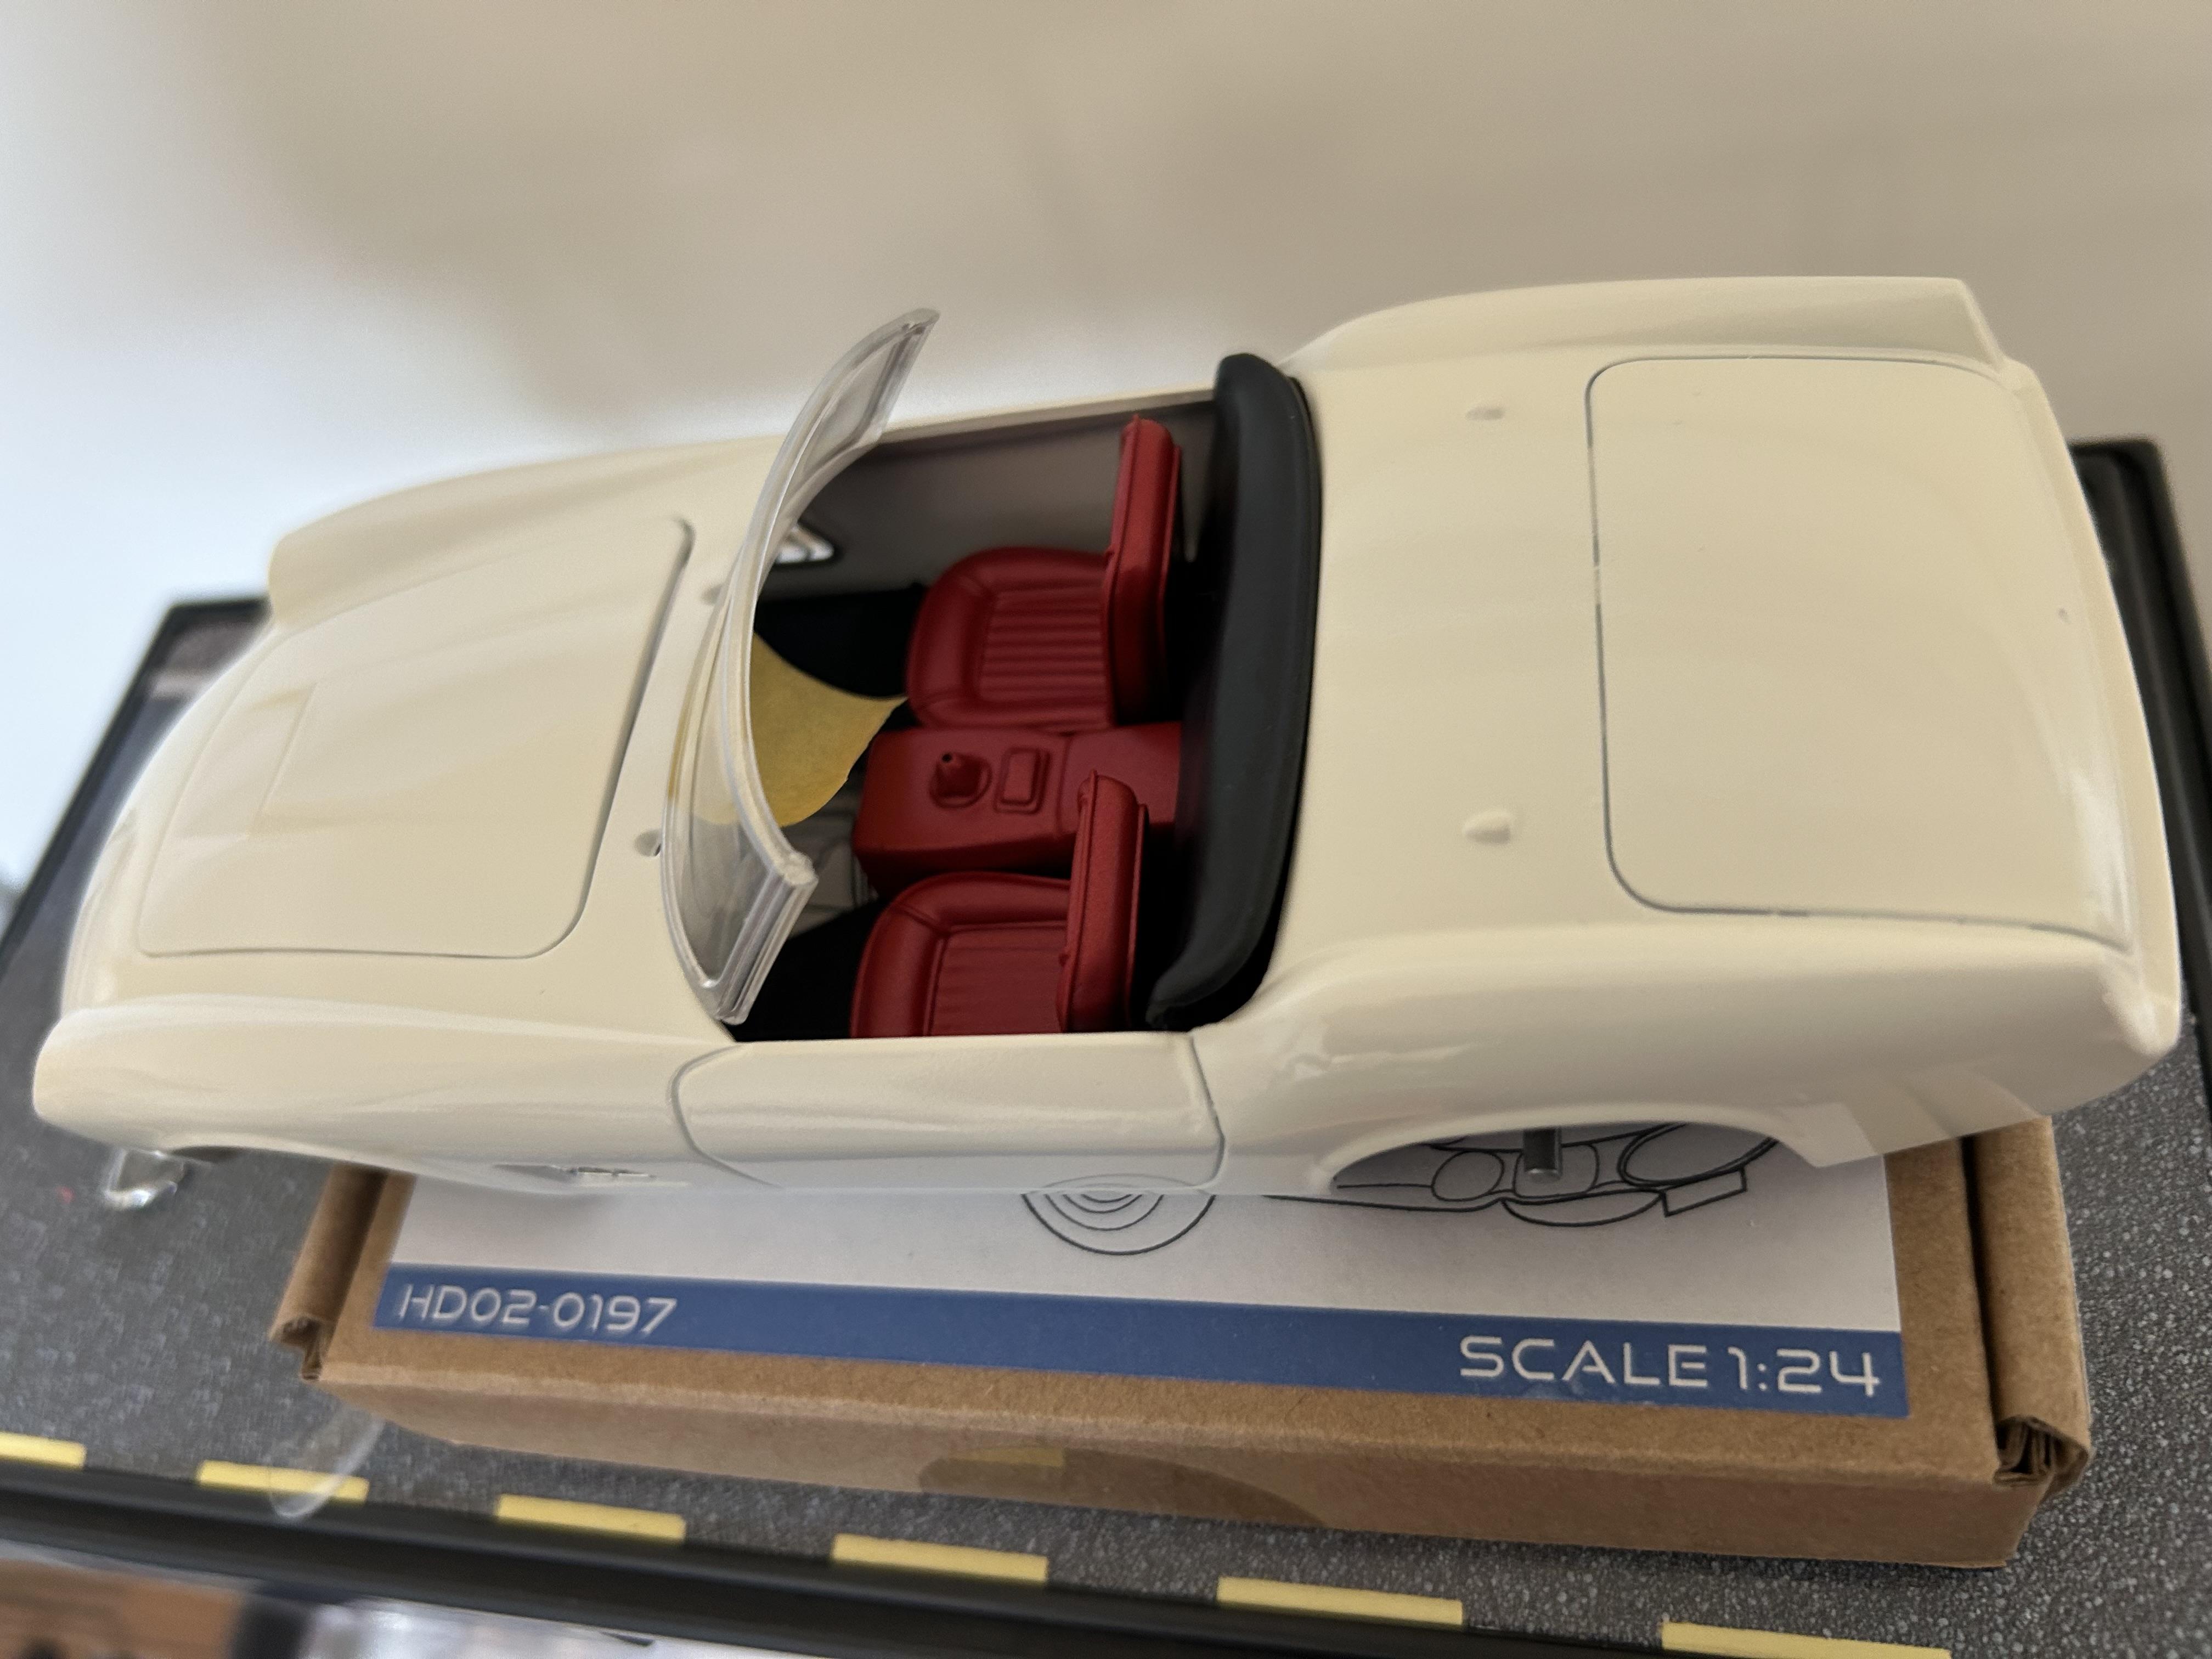
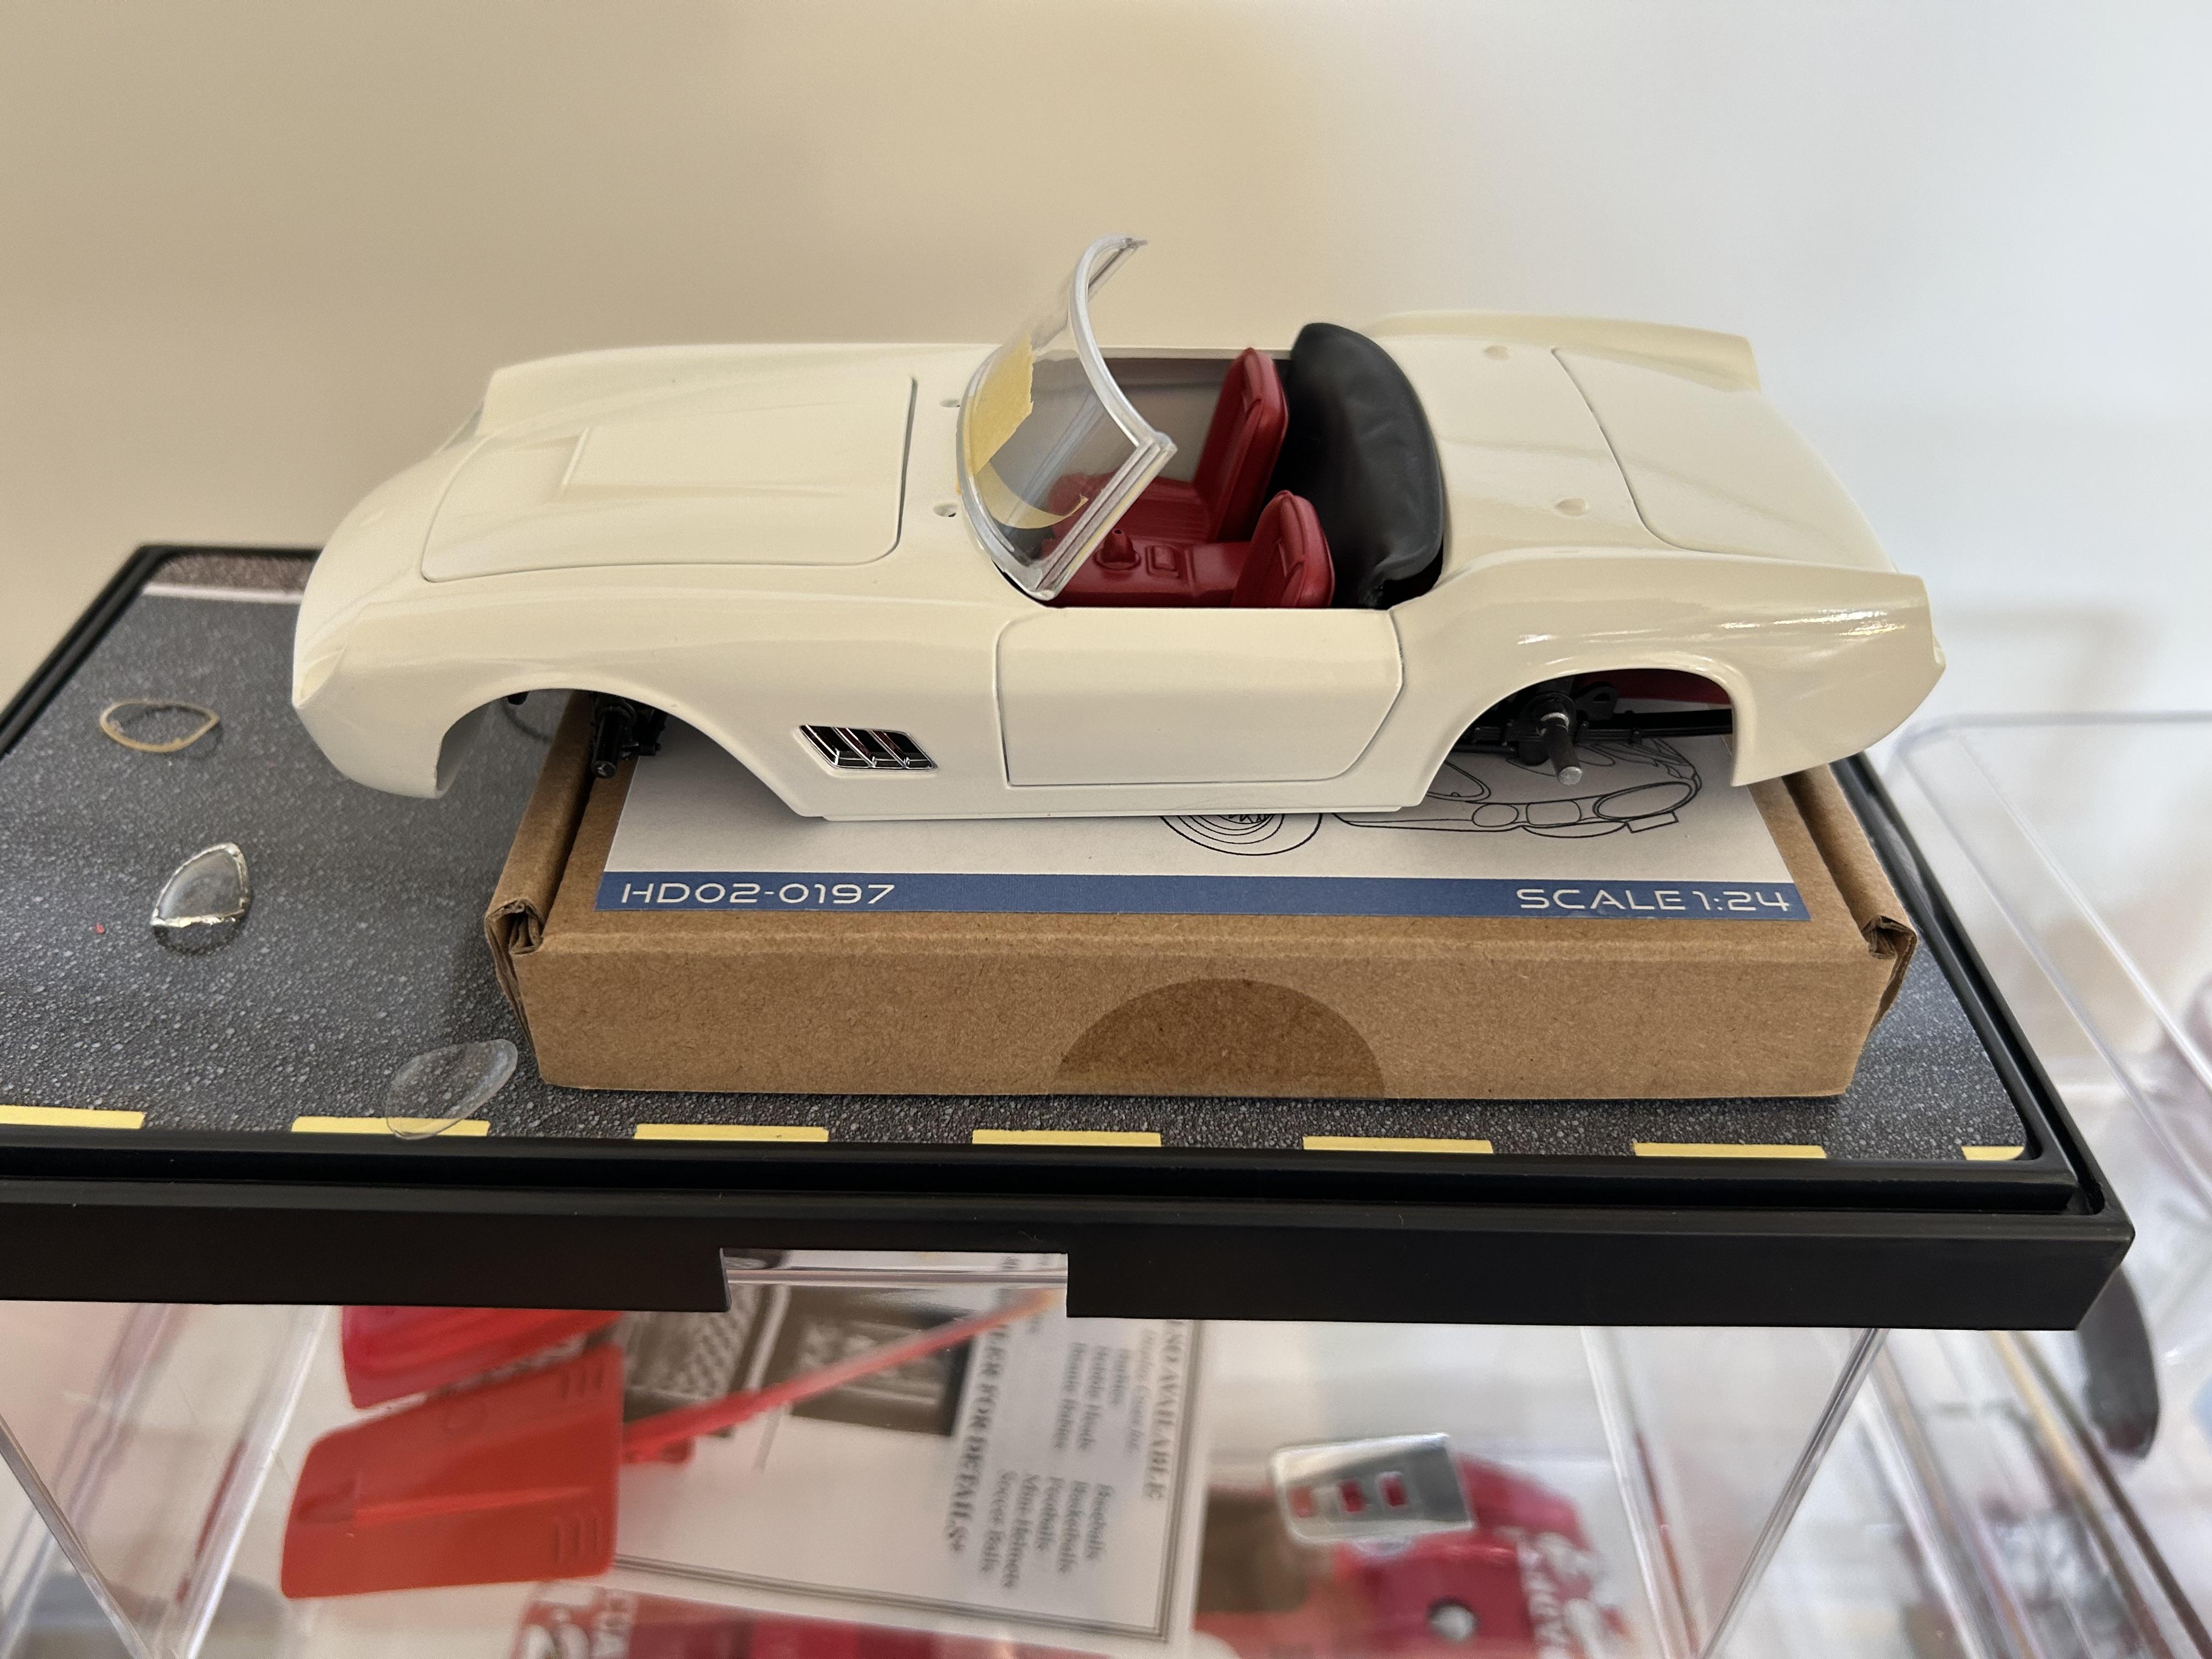
A third Ferrari in process. Renaissance Ferrari 250 California. Filled in defects under front and rear with 2 part epoxy. Removed extra lip where windshield attaches primed with gray and white primer
-
Sorry should have read mr color leveling thinner…
-
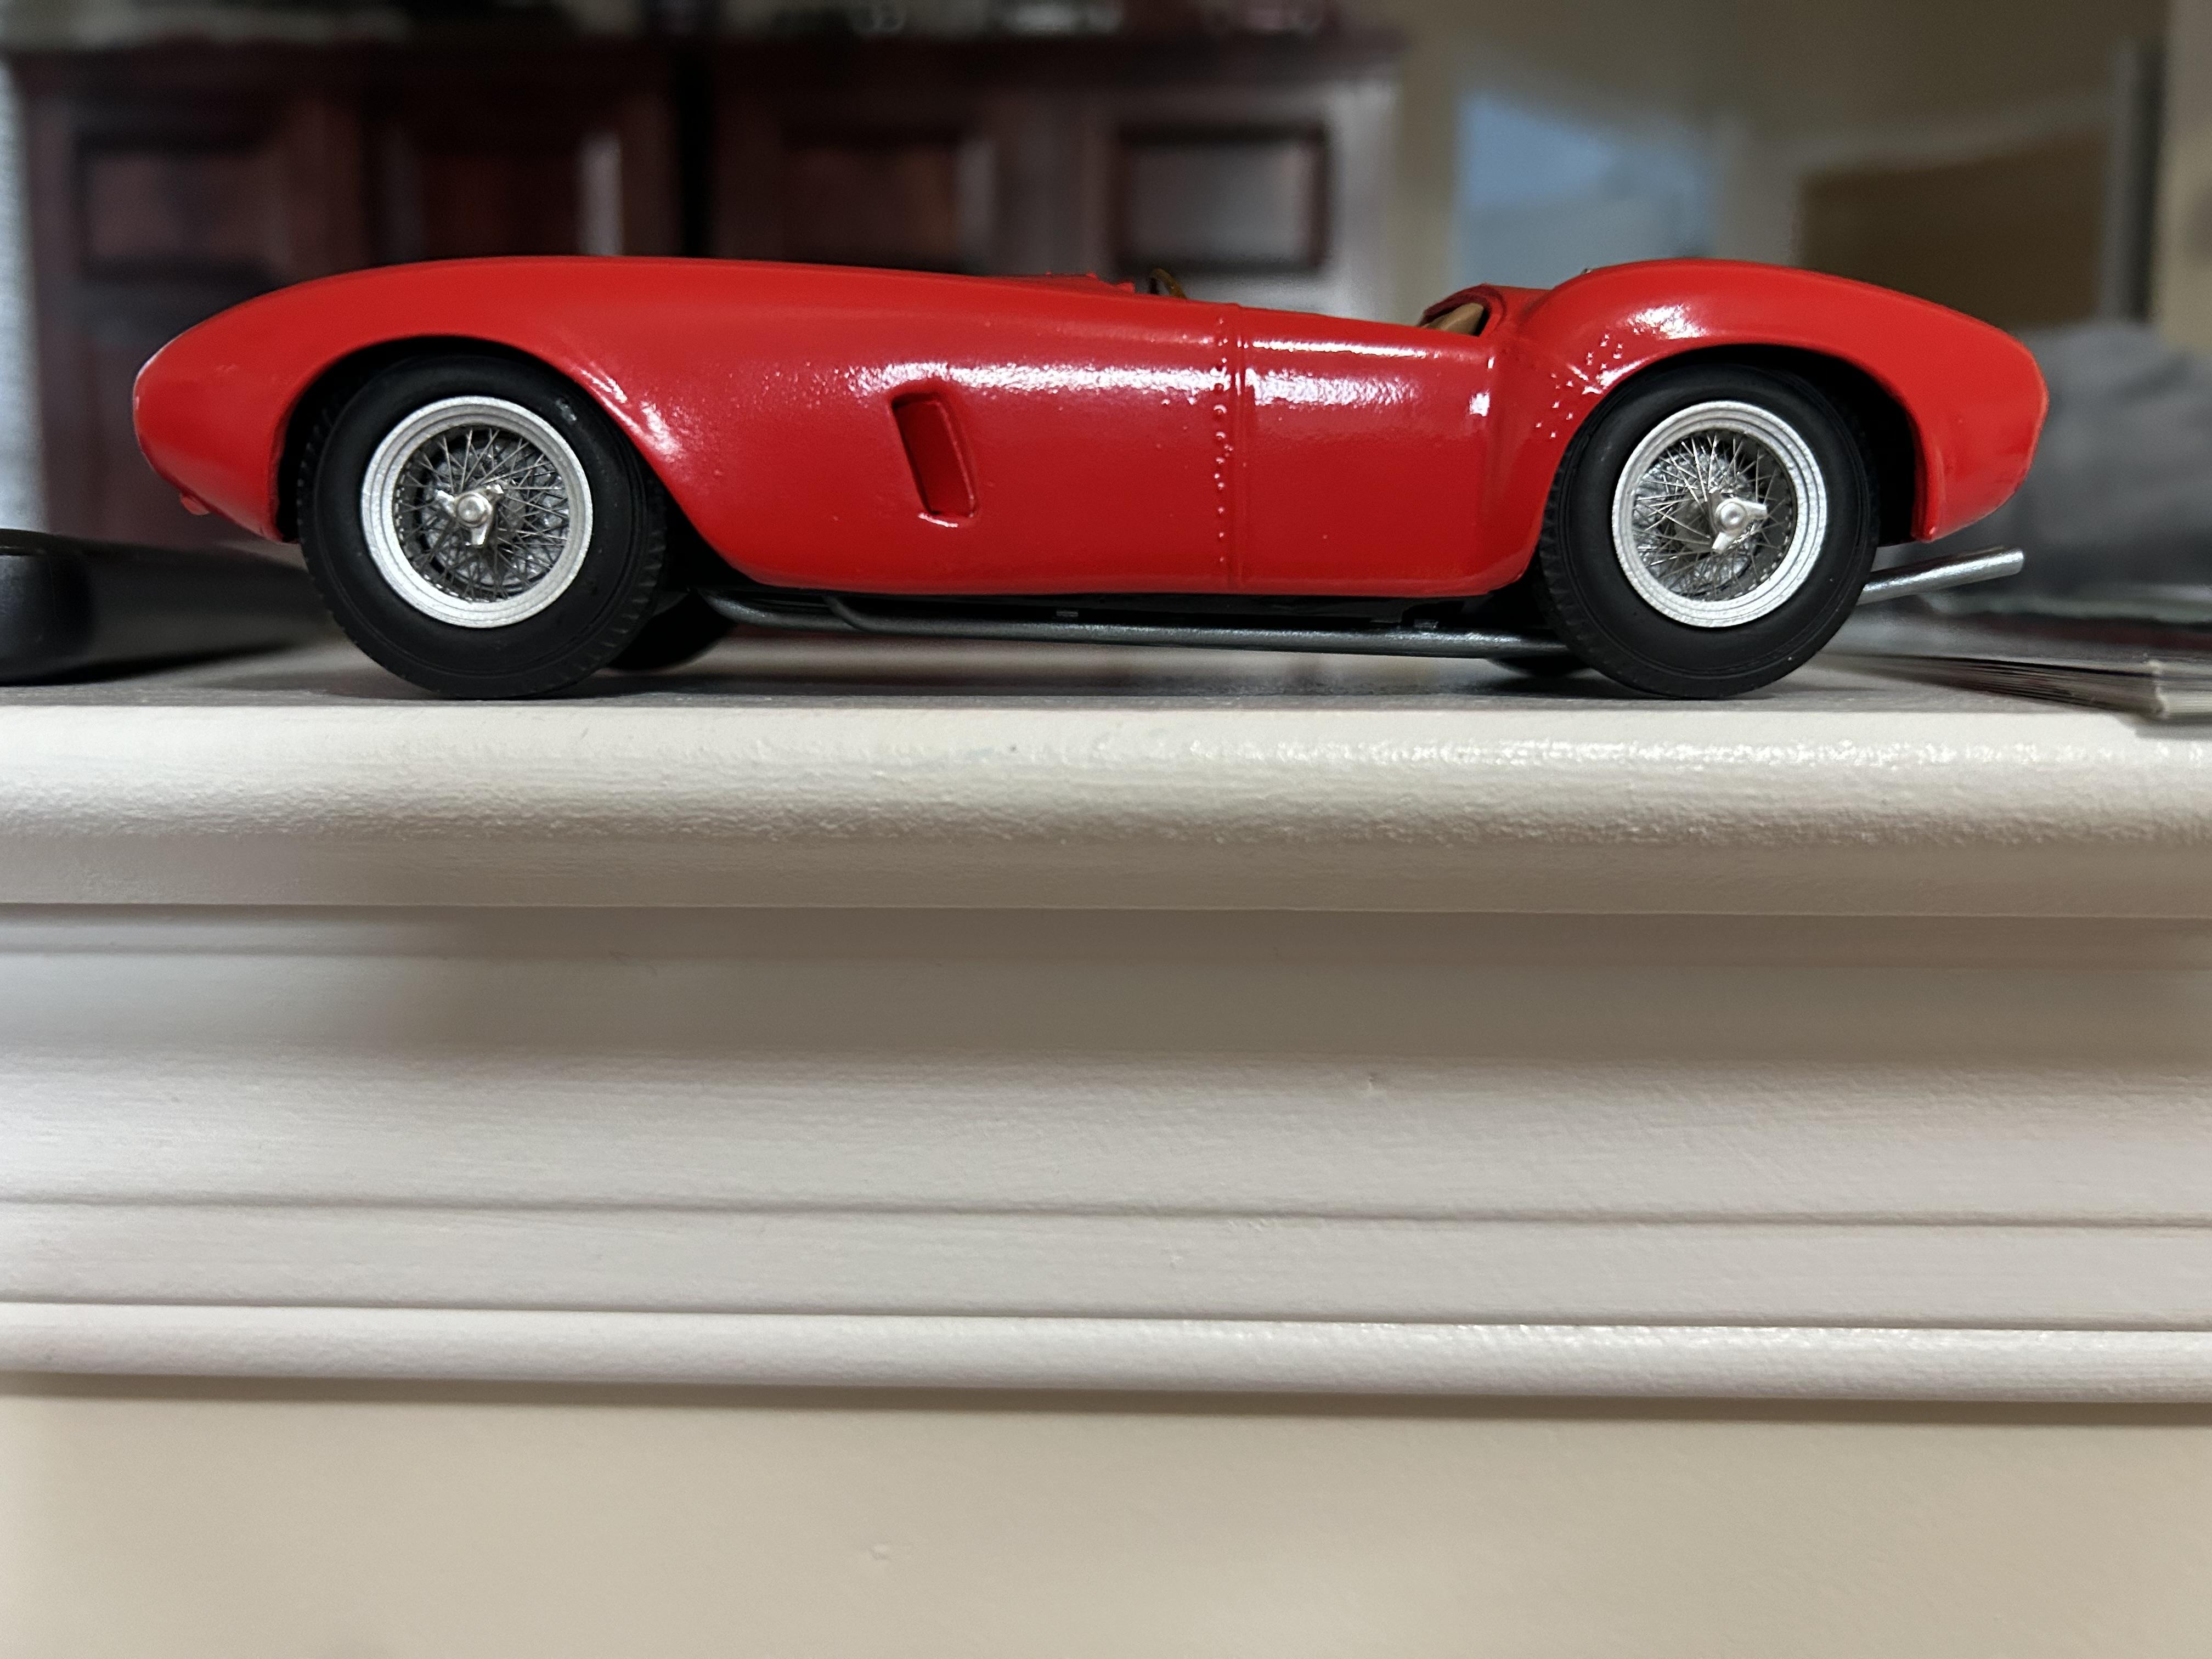
It will be a copy of restored chassis #2015. Ran in 1960 lemans.
-
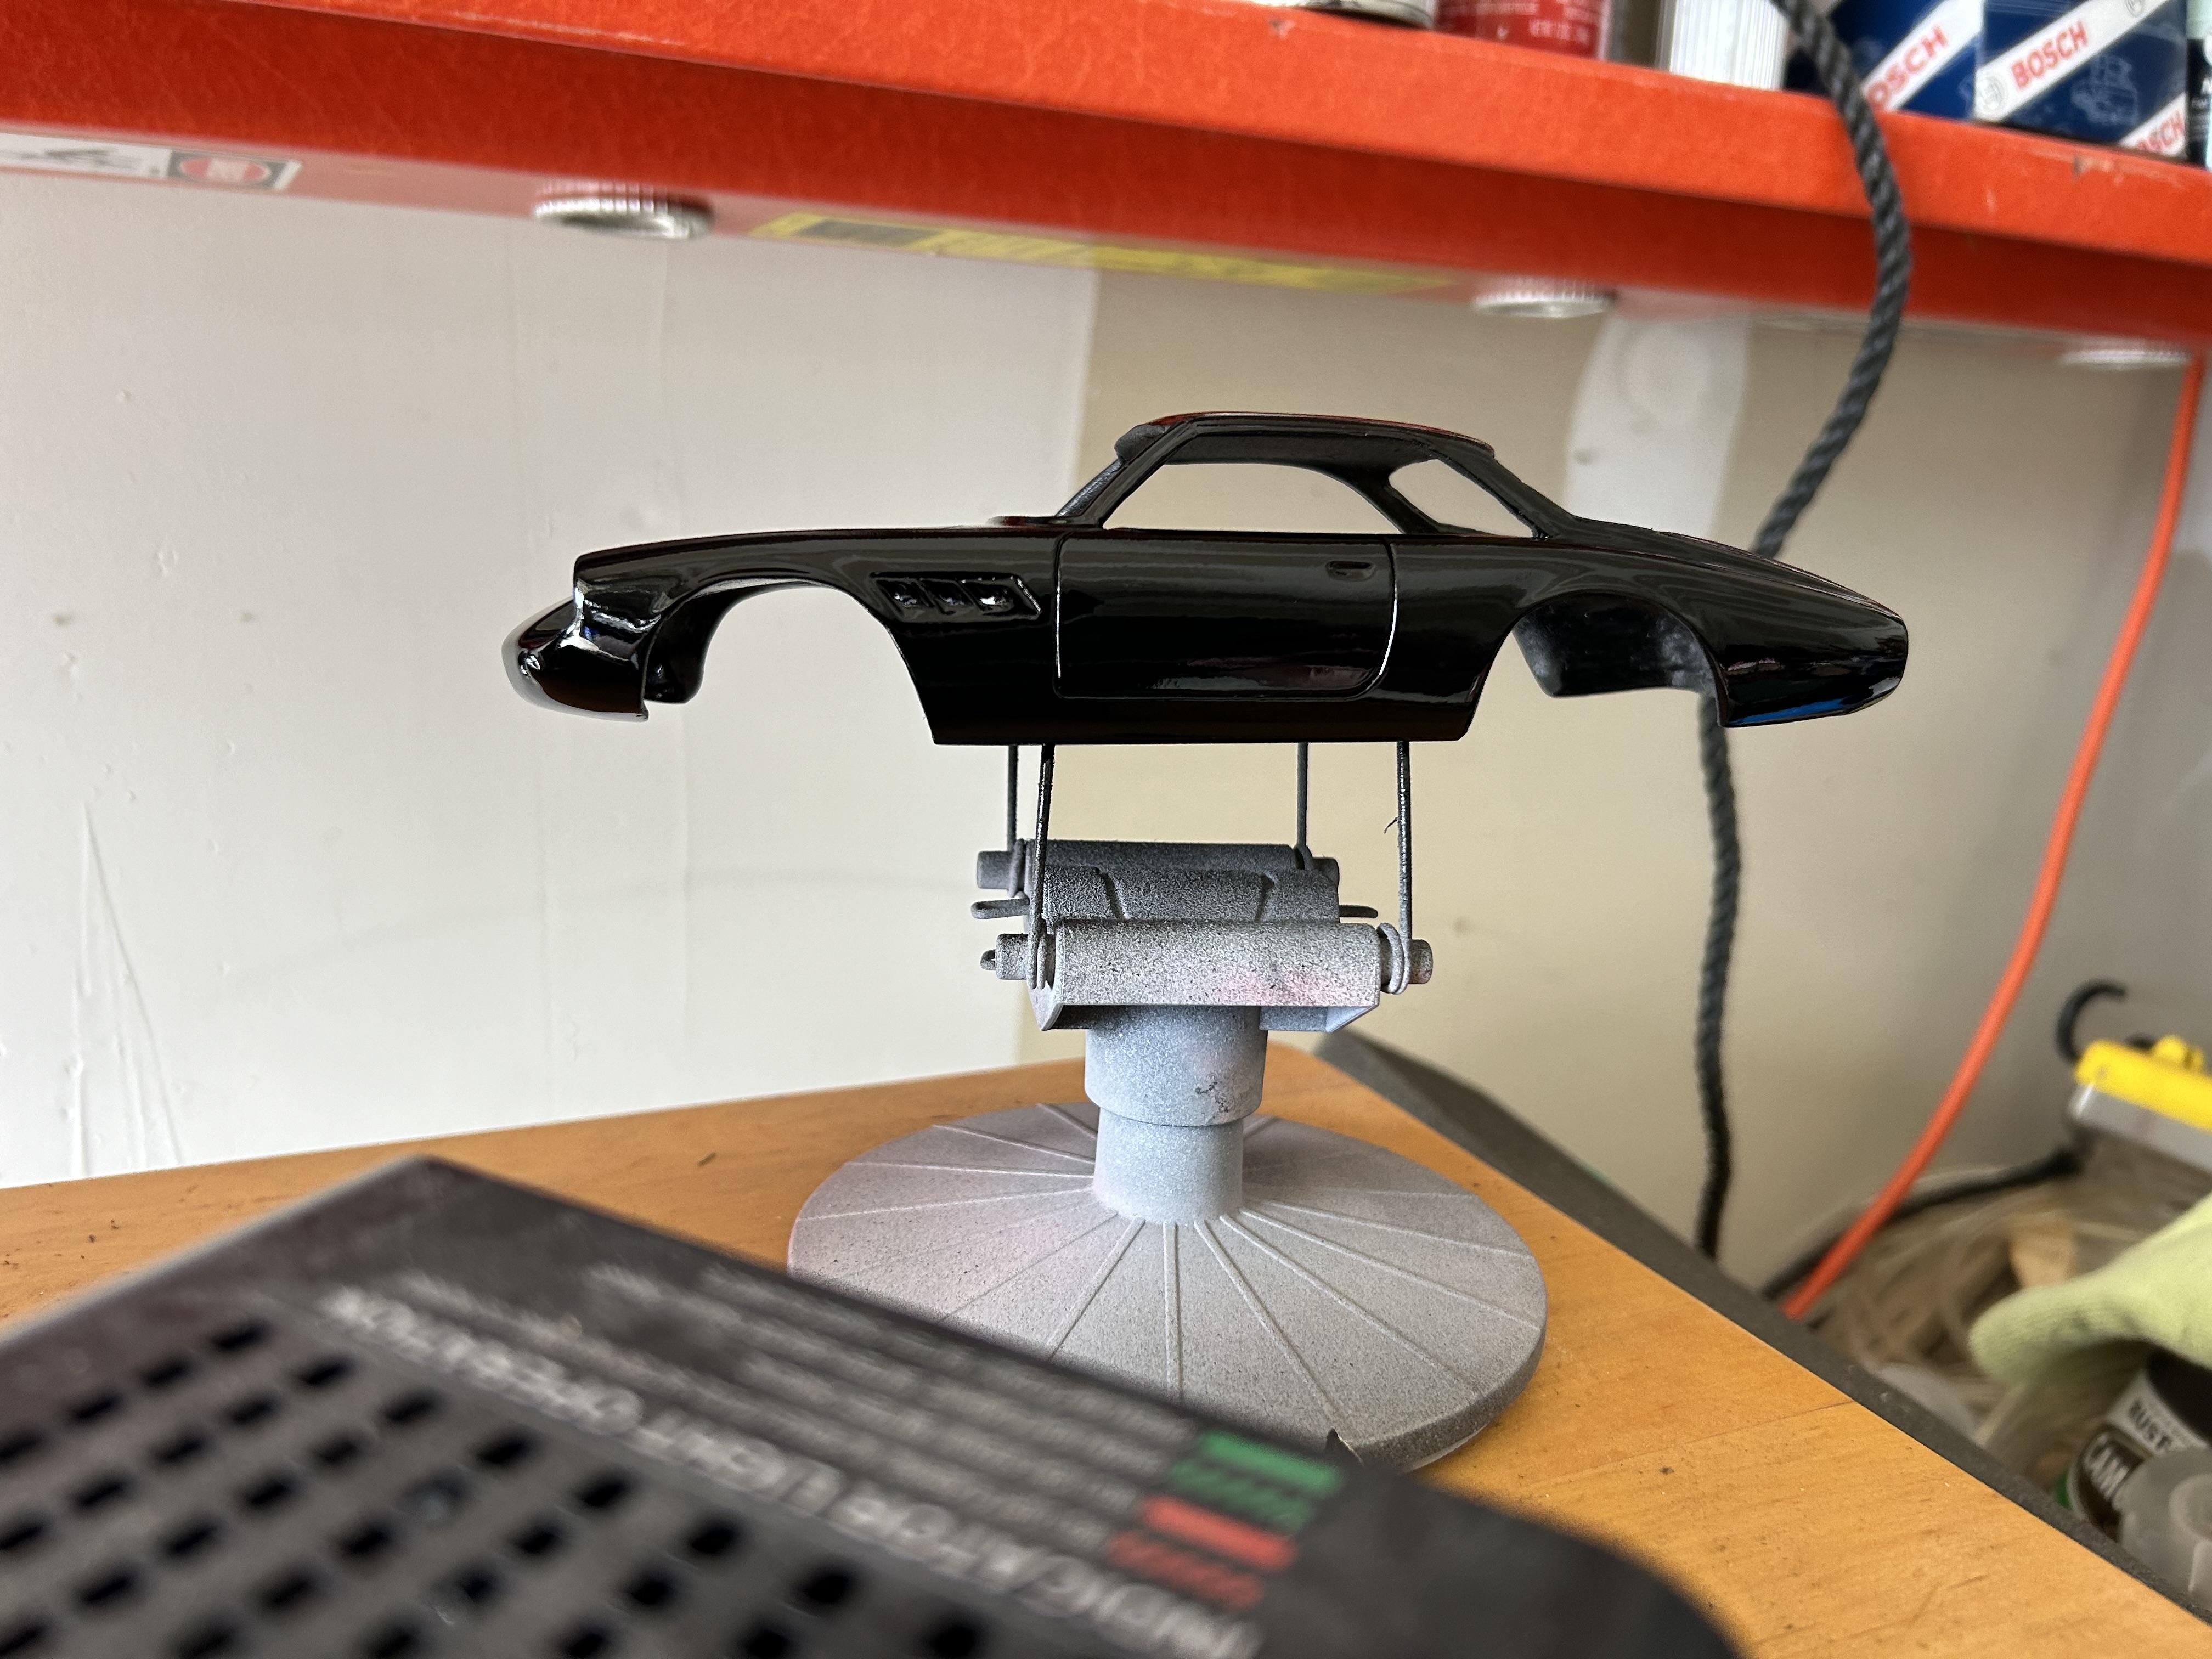
The color is a mix of tamiya lacquer paints white and racing white. I believe I settled on 50/50 mix. Then thinned 50/50 with lacquer thinner. (Mr hobby leveling thinner) Sprayed several coats followed by airbrushed tamiya clear lacquer. The tamiya bottled lacquer paints are great. I am new to airbrushing and they go in super smooth. Much better than spray cans. You can order on Amazon if your local hobby shop doesn’t carry.
-
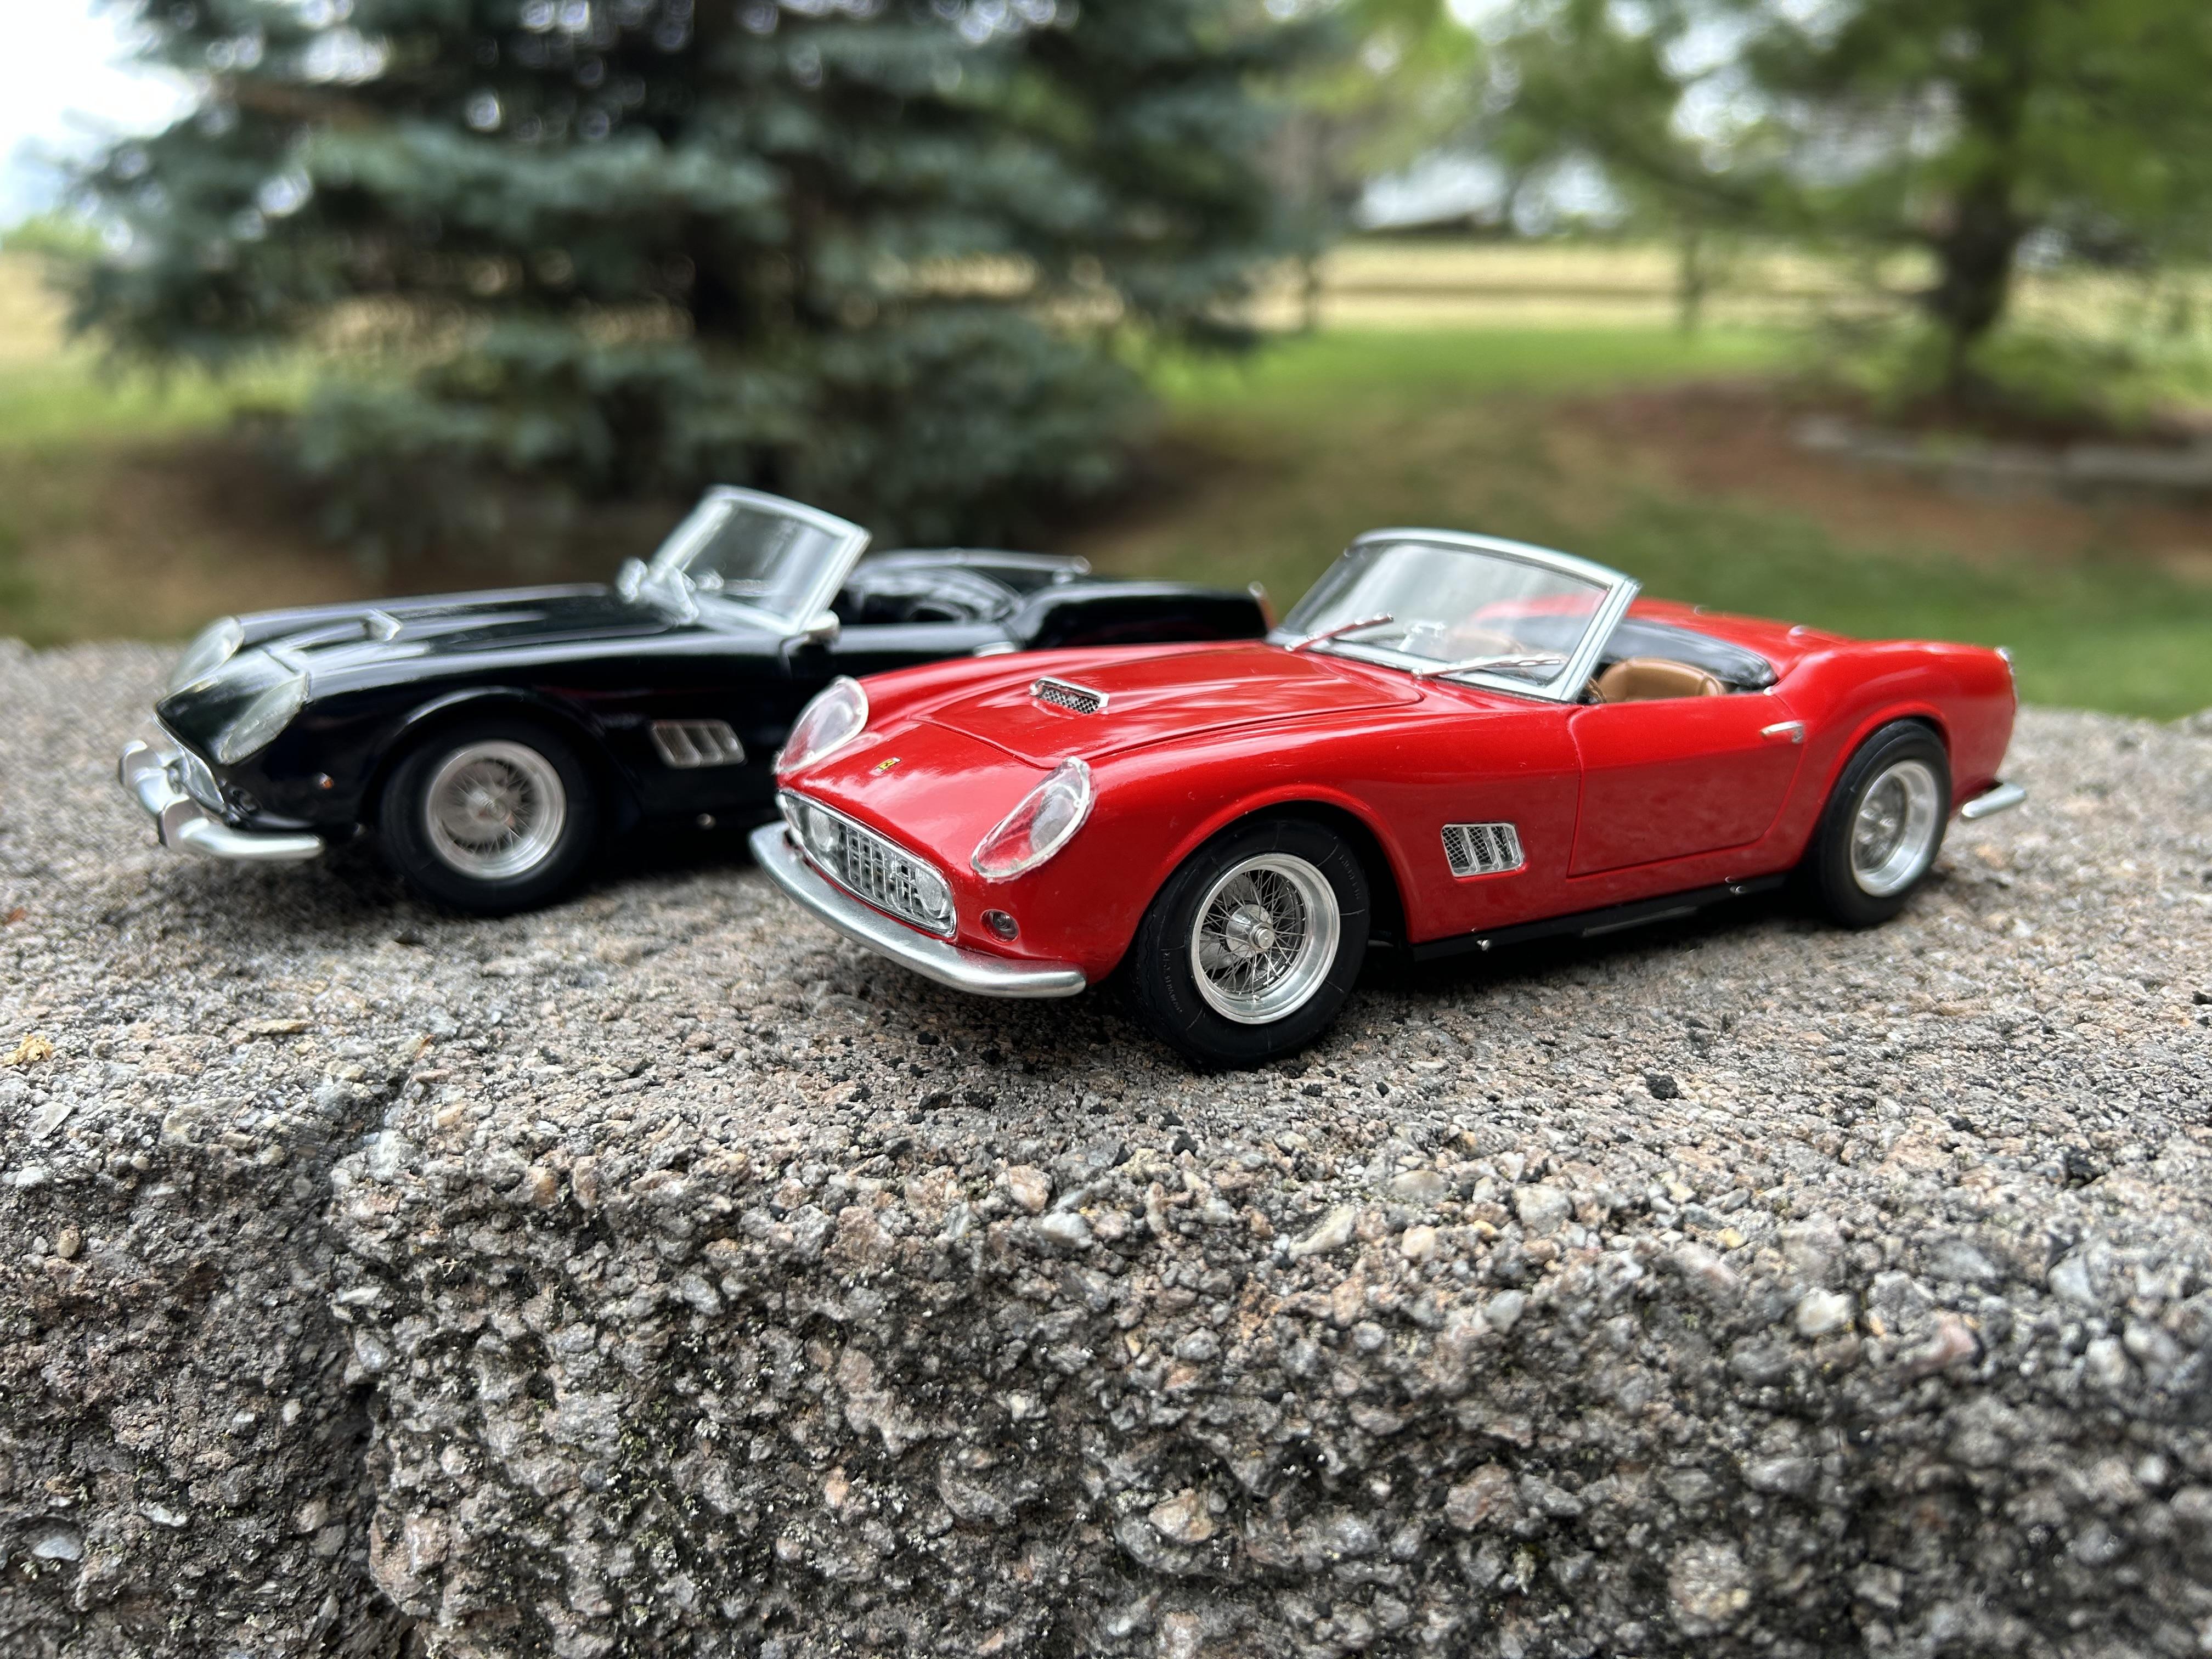
Another italeri 250 California and a Fernando pinto 375 plus.
-
mmslowly making progress towards finishing...
-
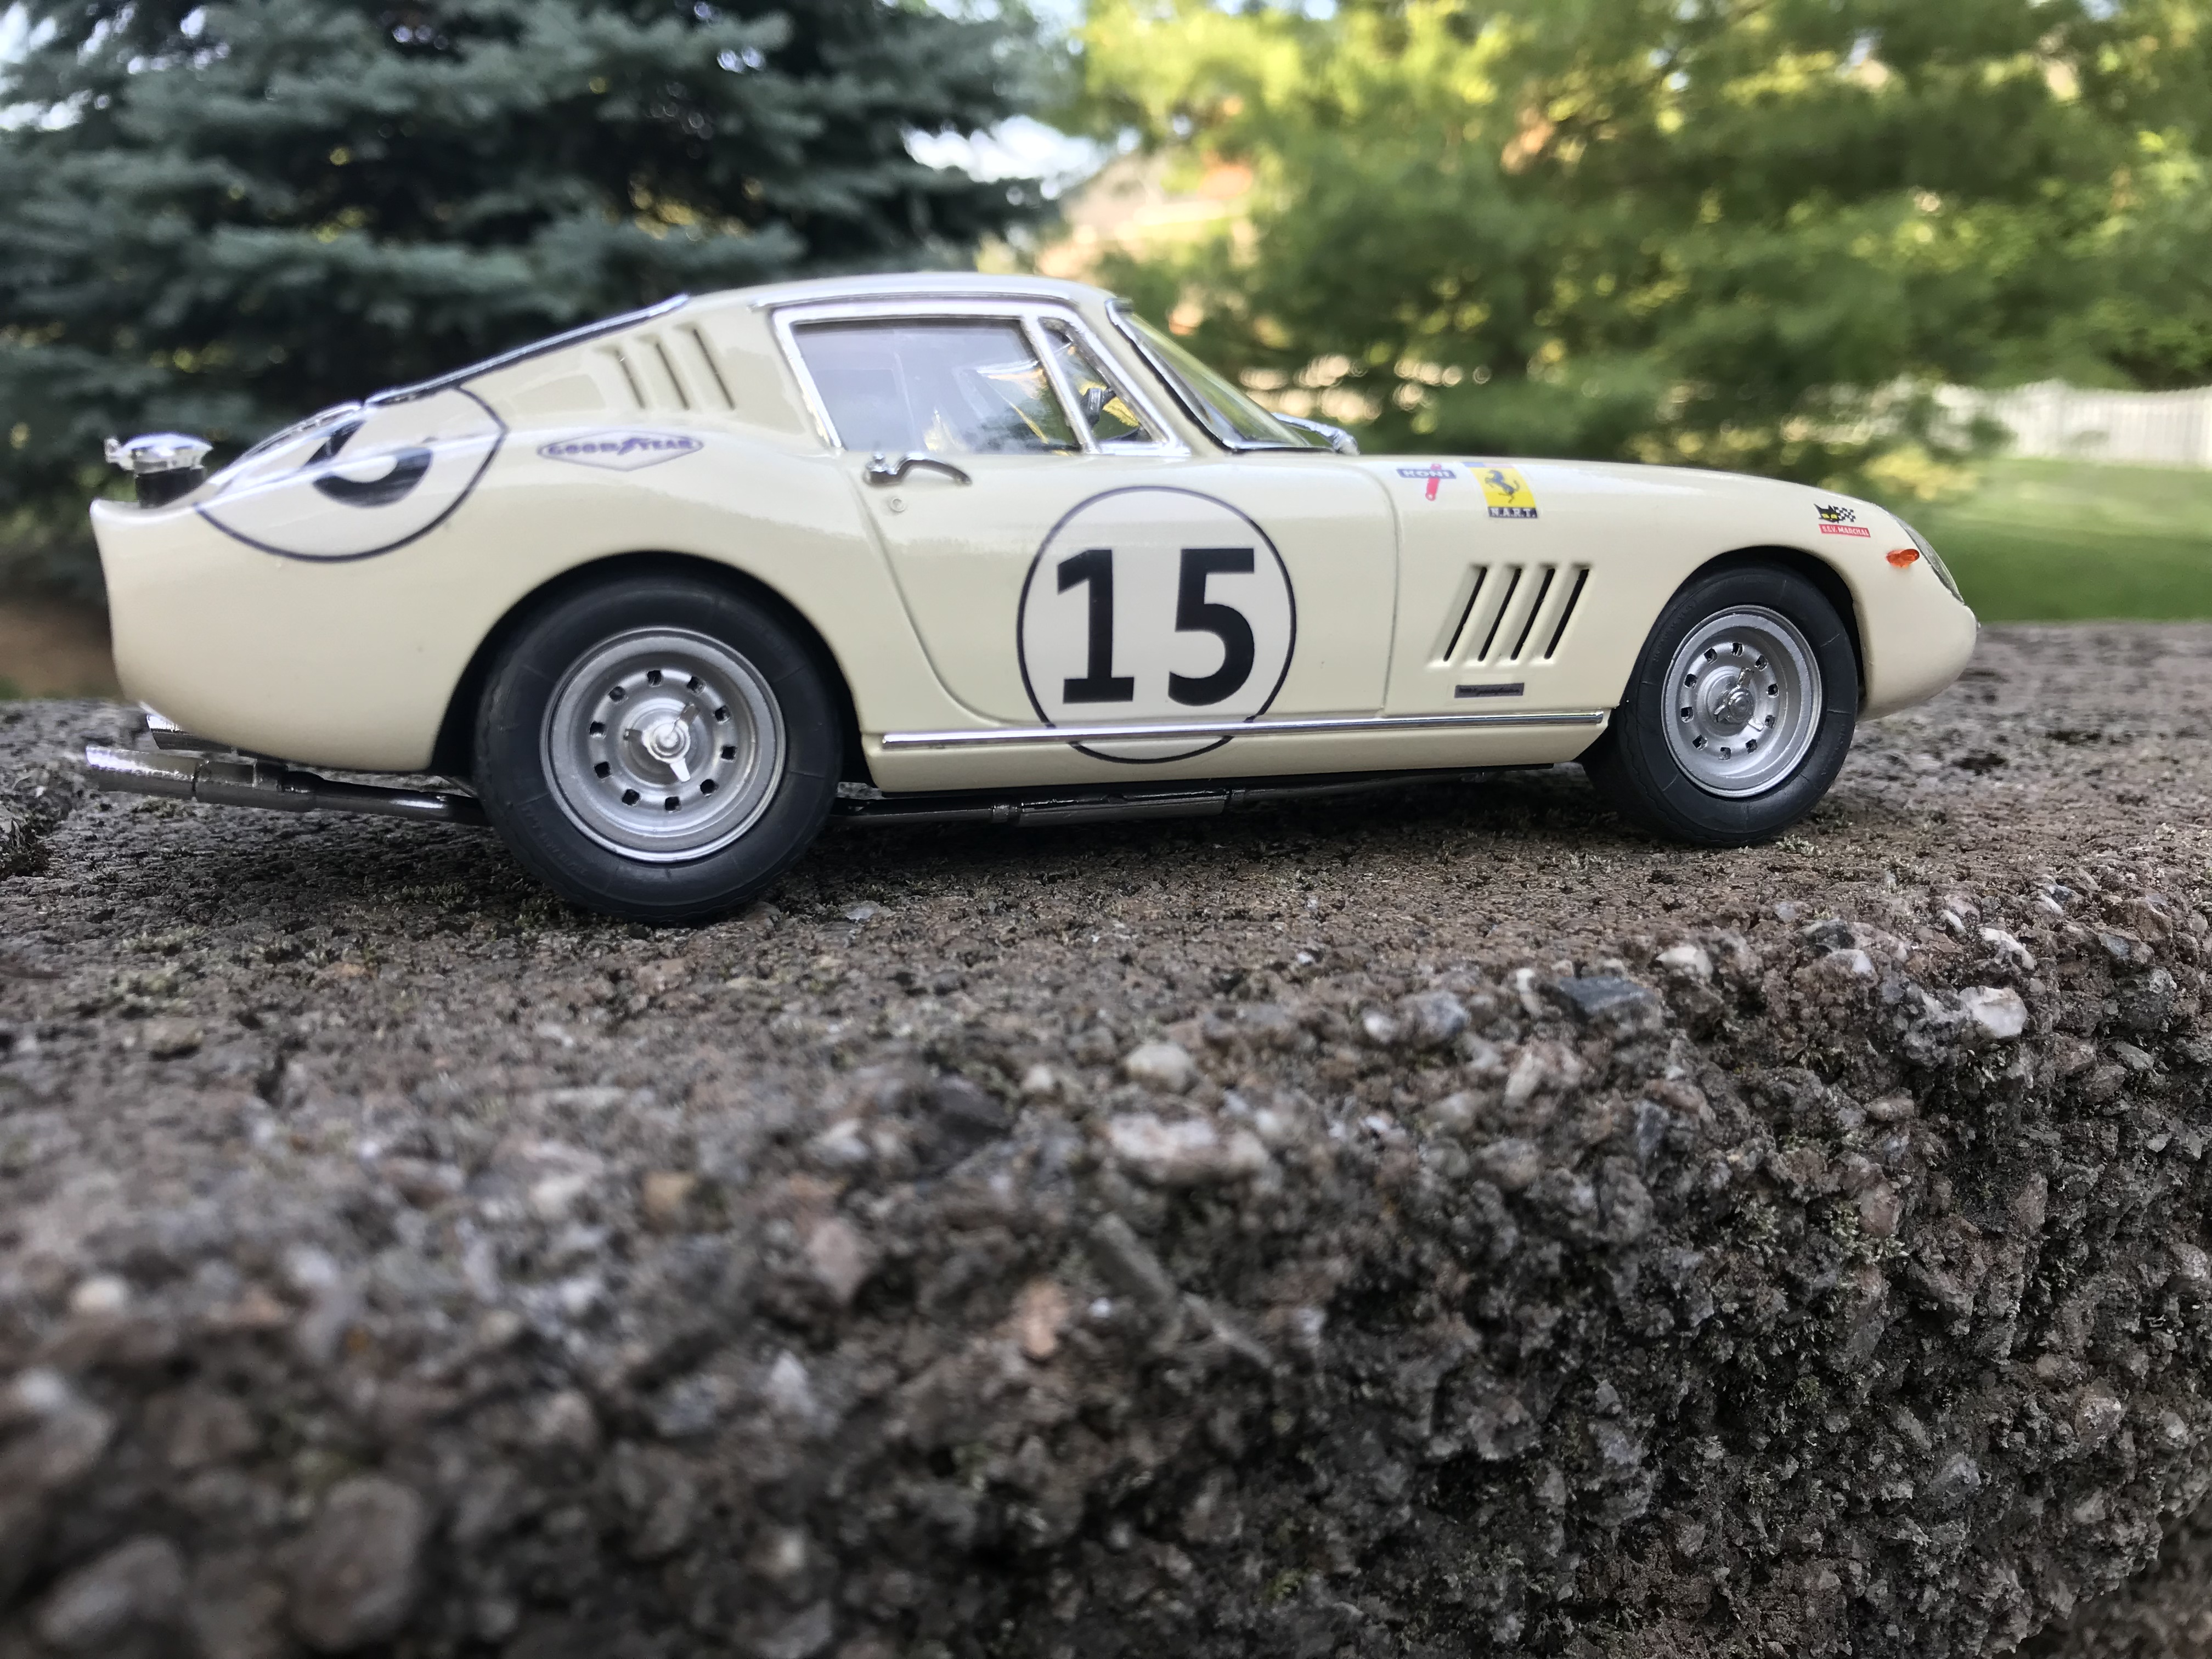
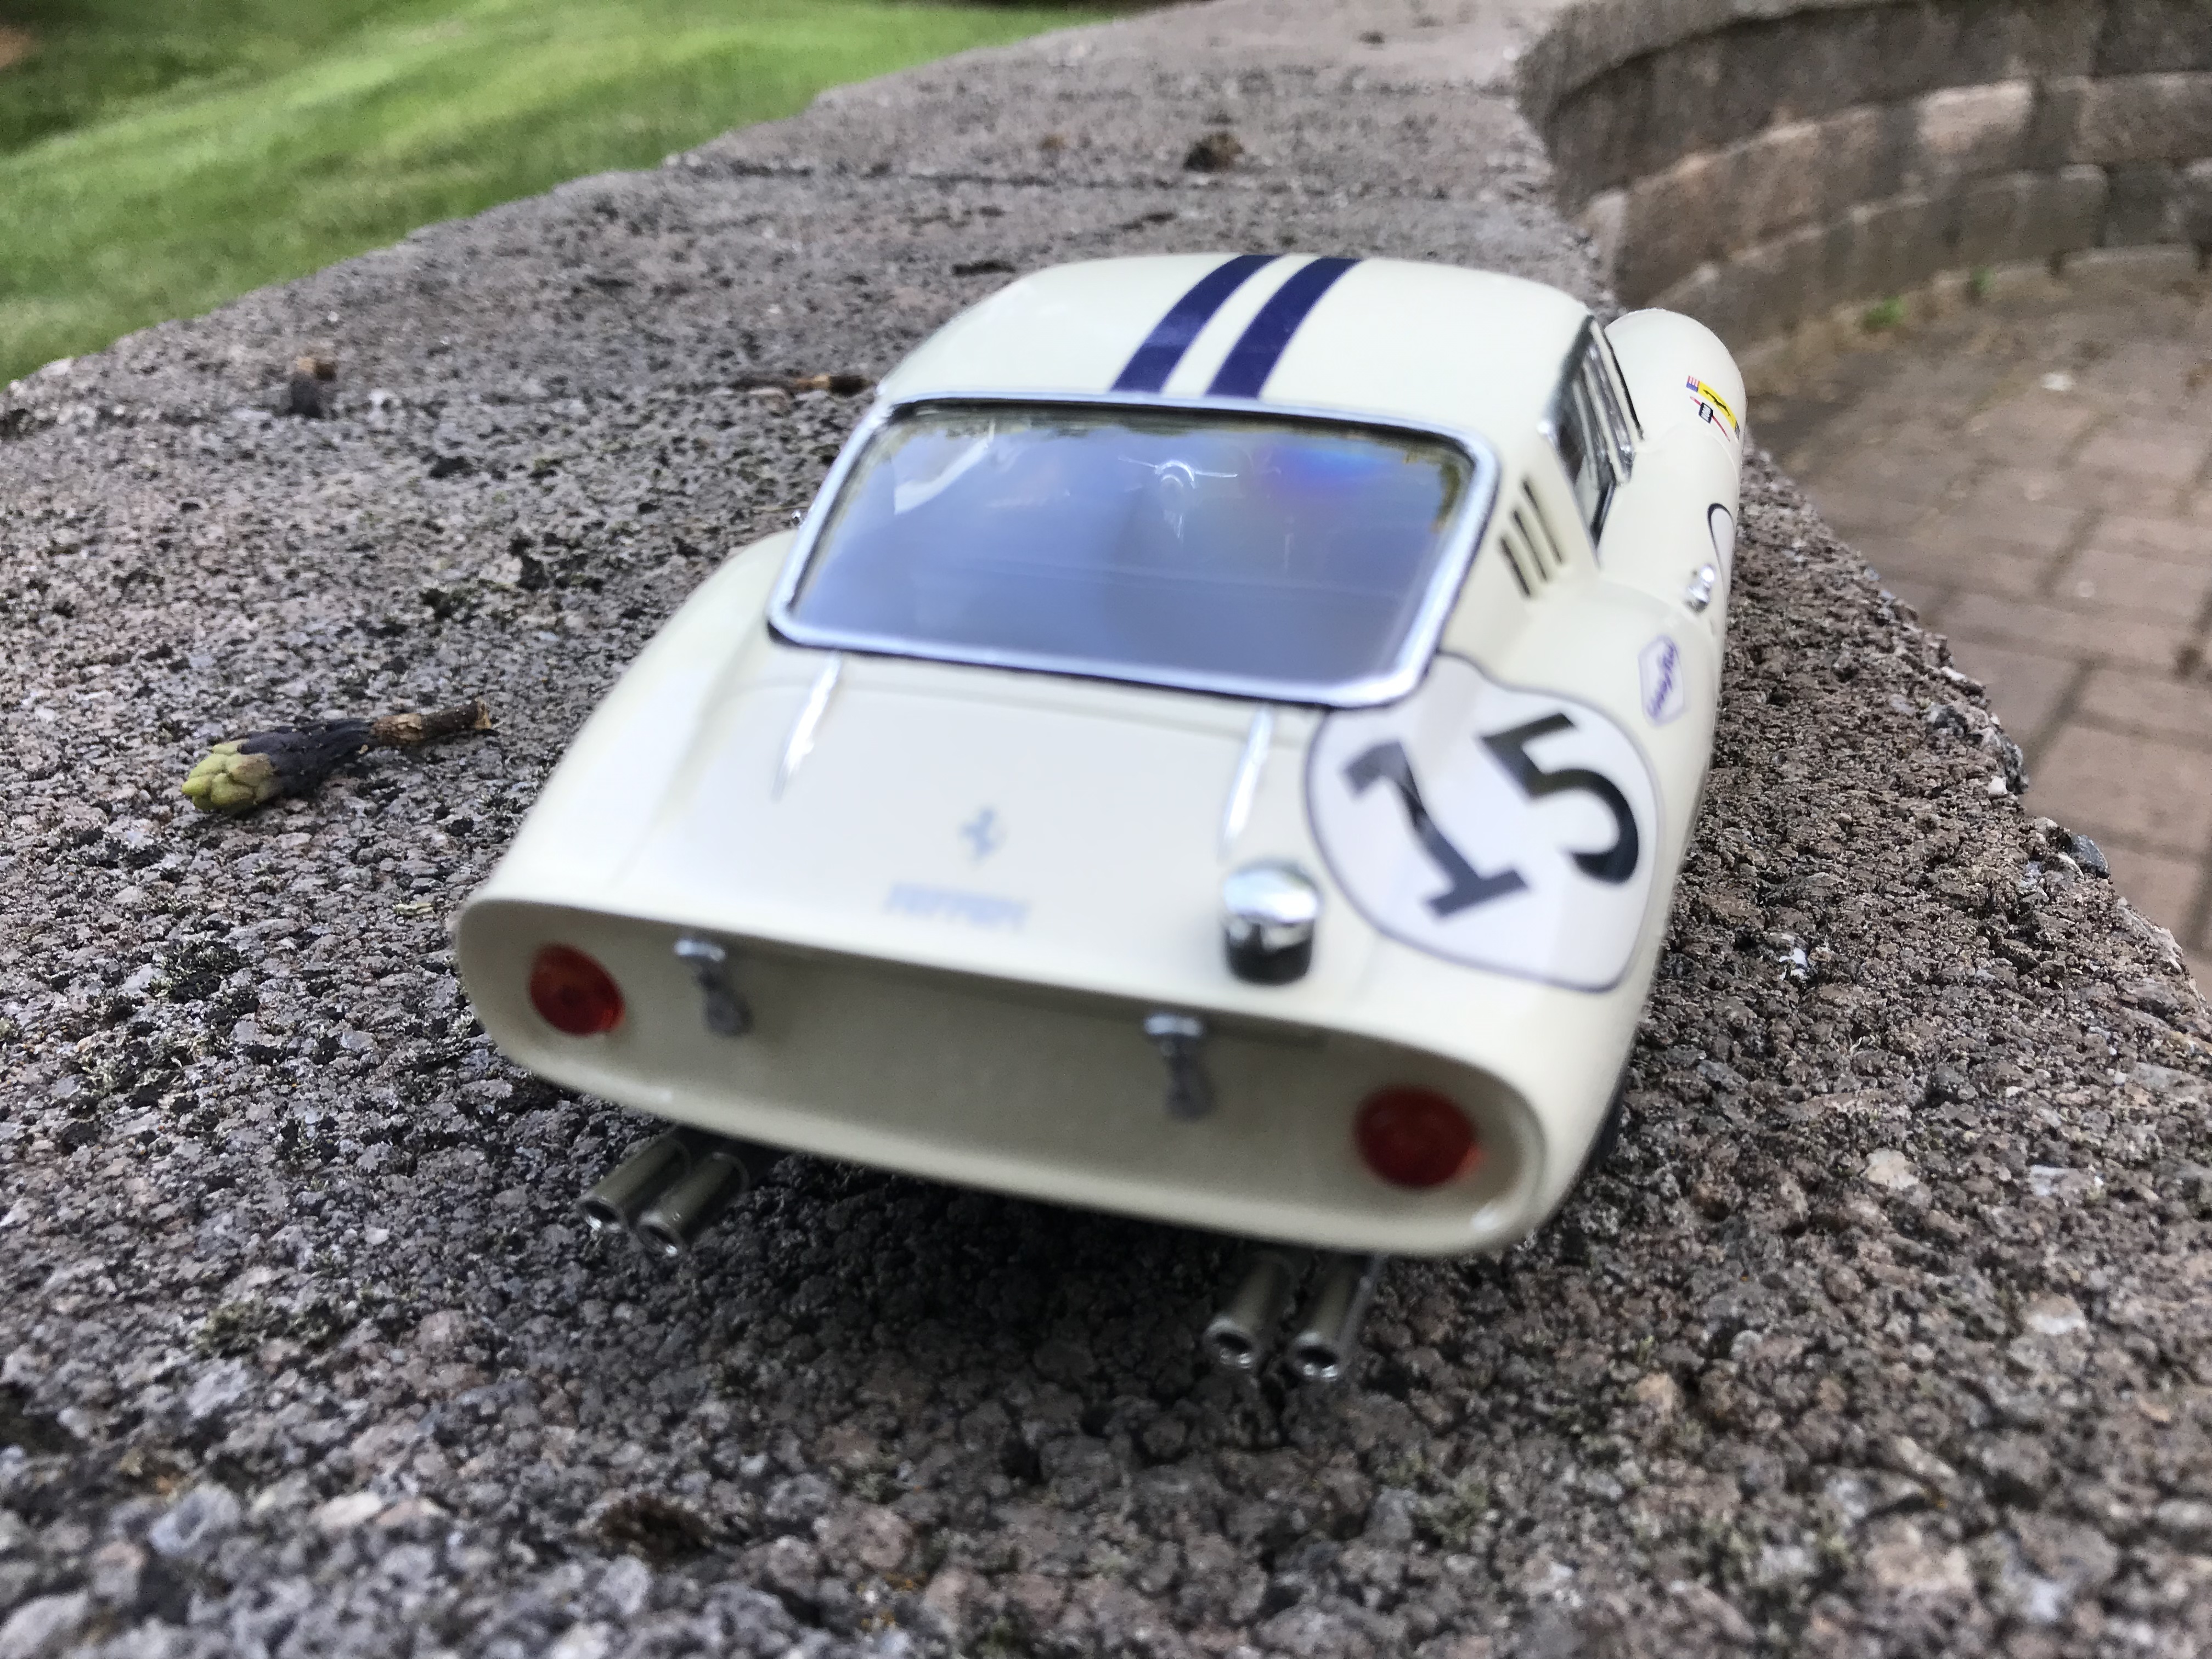
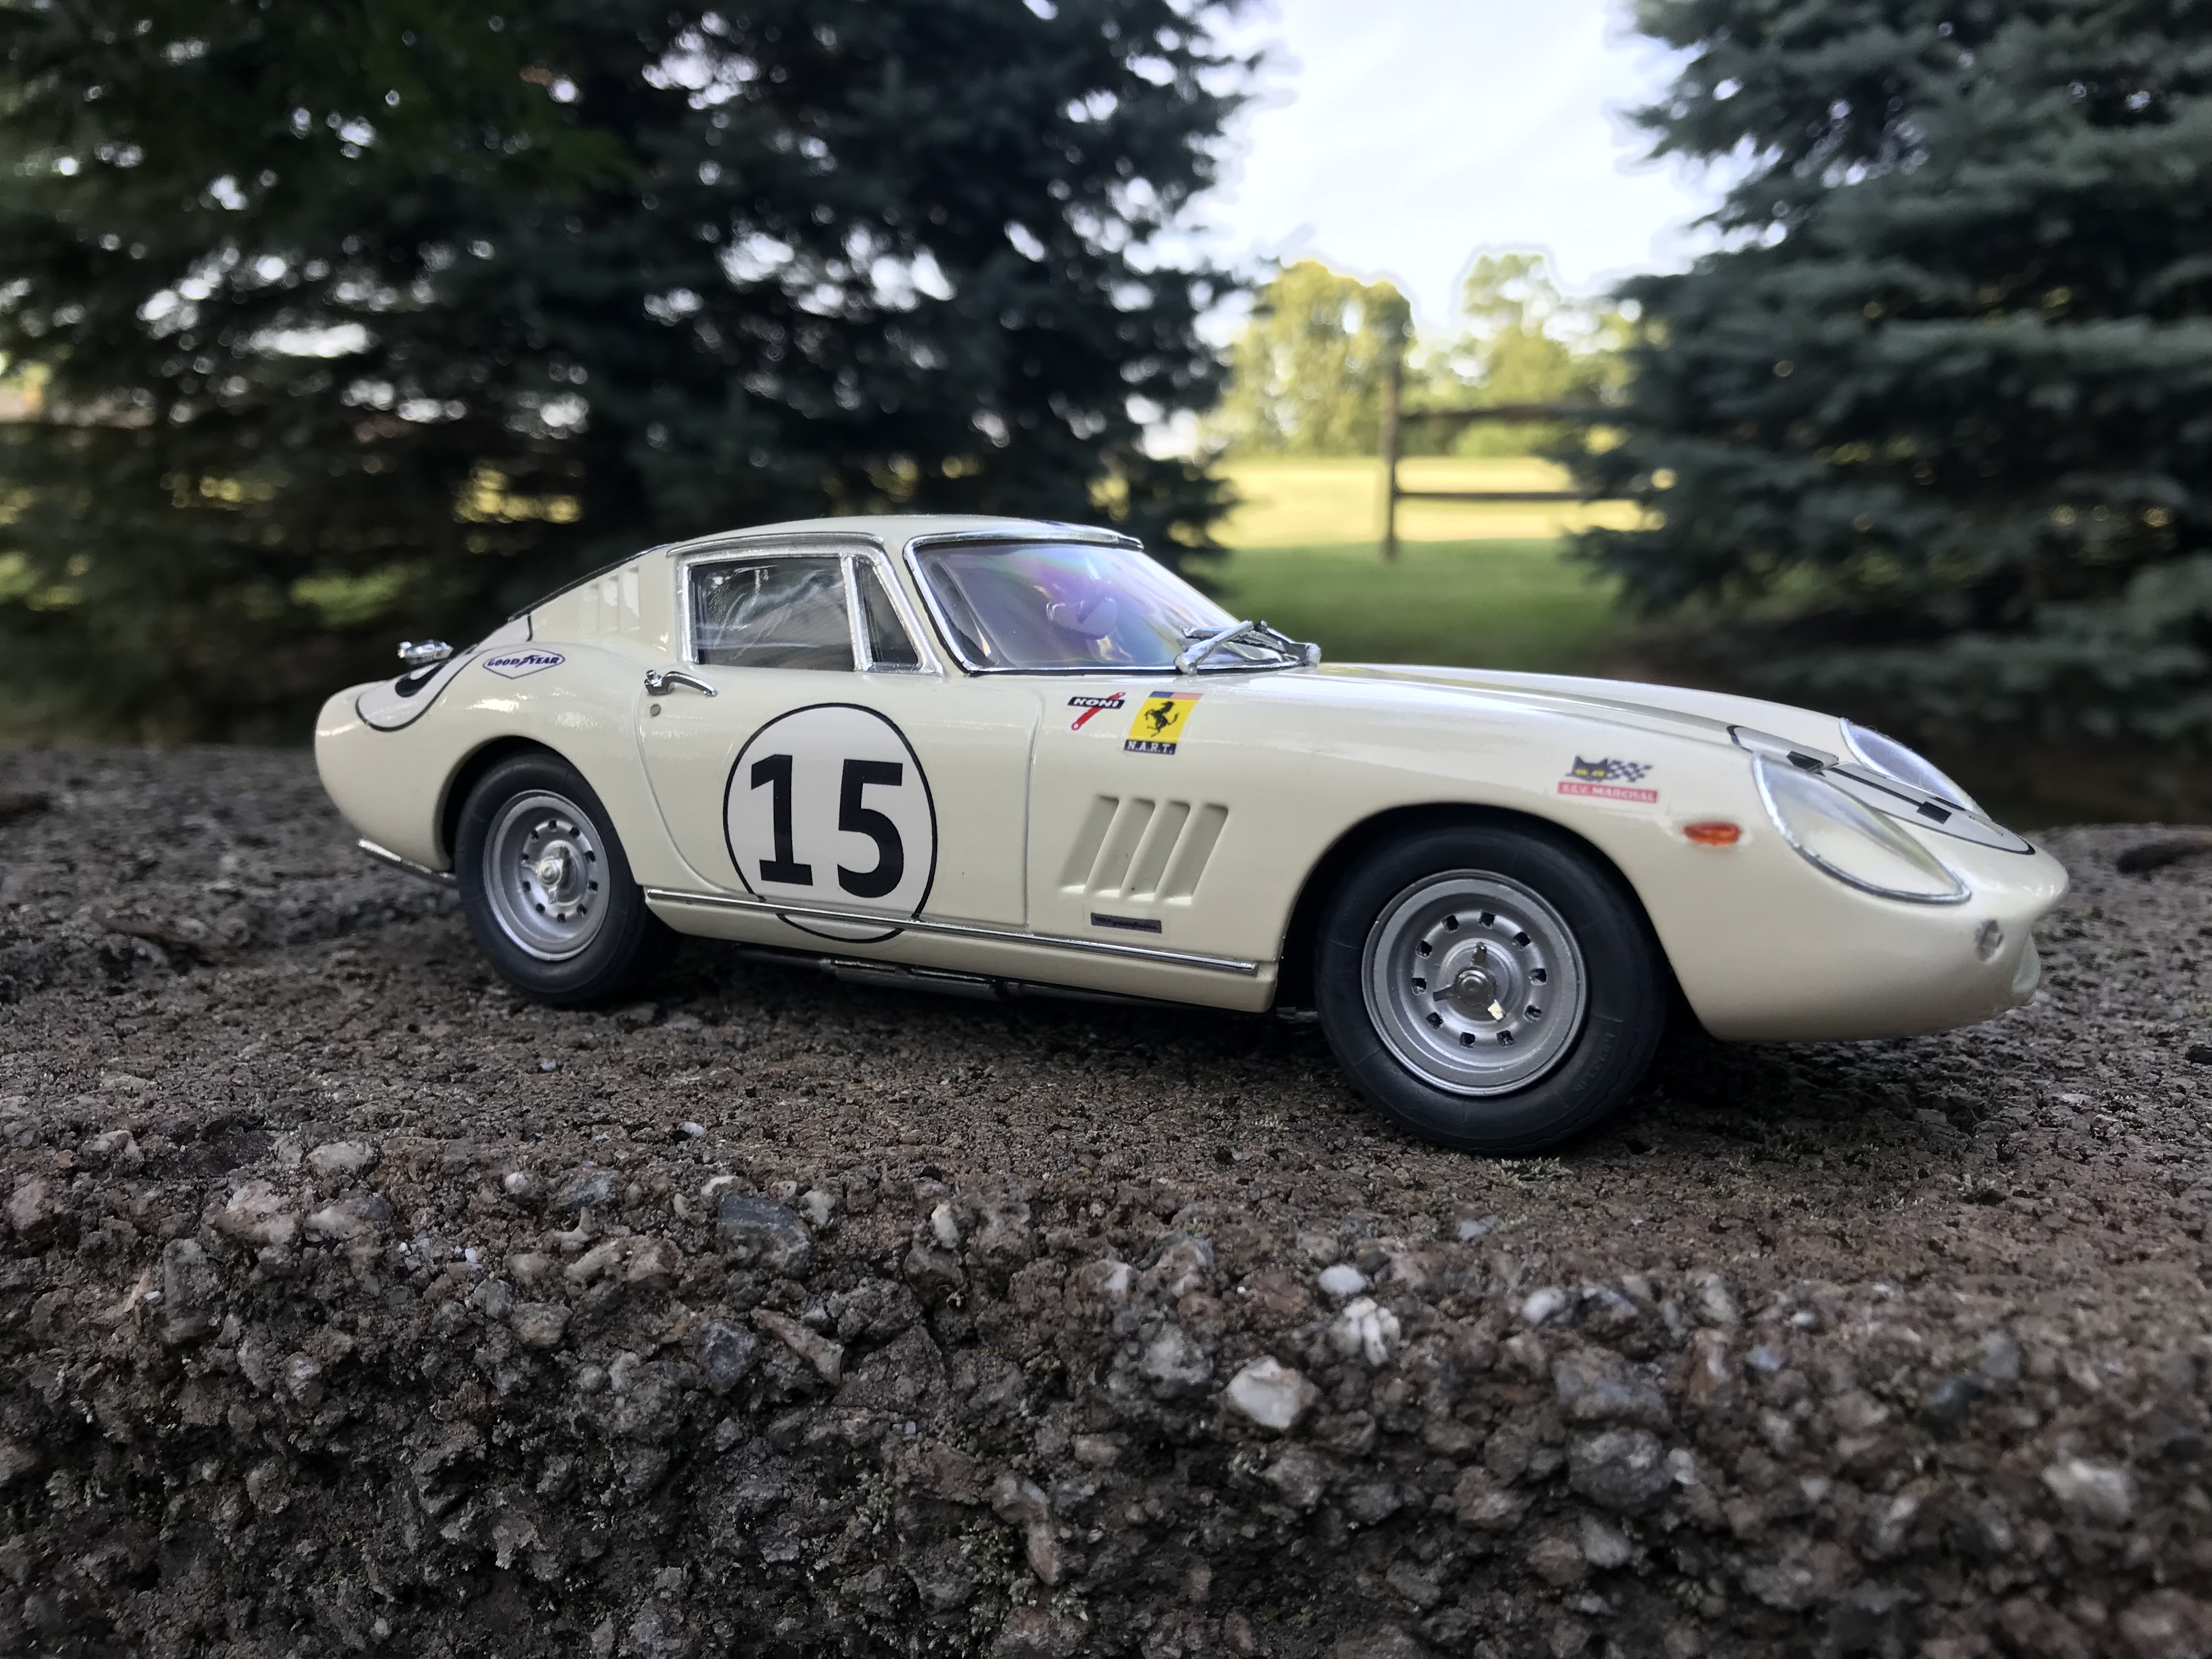
Italeri Kit, Historic Racing Miniatures wheel sets Color is KRYLON Satin Meringue, no clear coat
-
For my distributor wires I pick a bit equal in size to my wire. Carefully pick where I want the wire to go on the distributor and then twist forward and back to get my start before drilling forward rest of the way. It can be tedious…
-
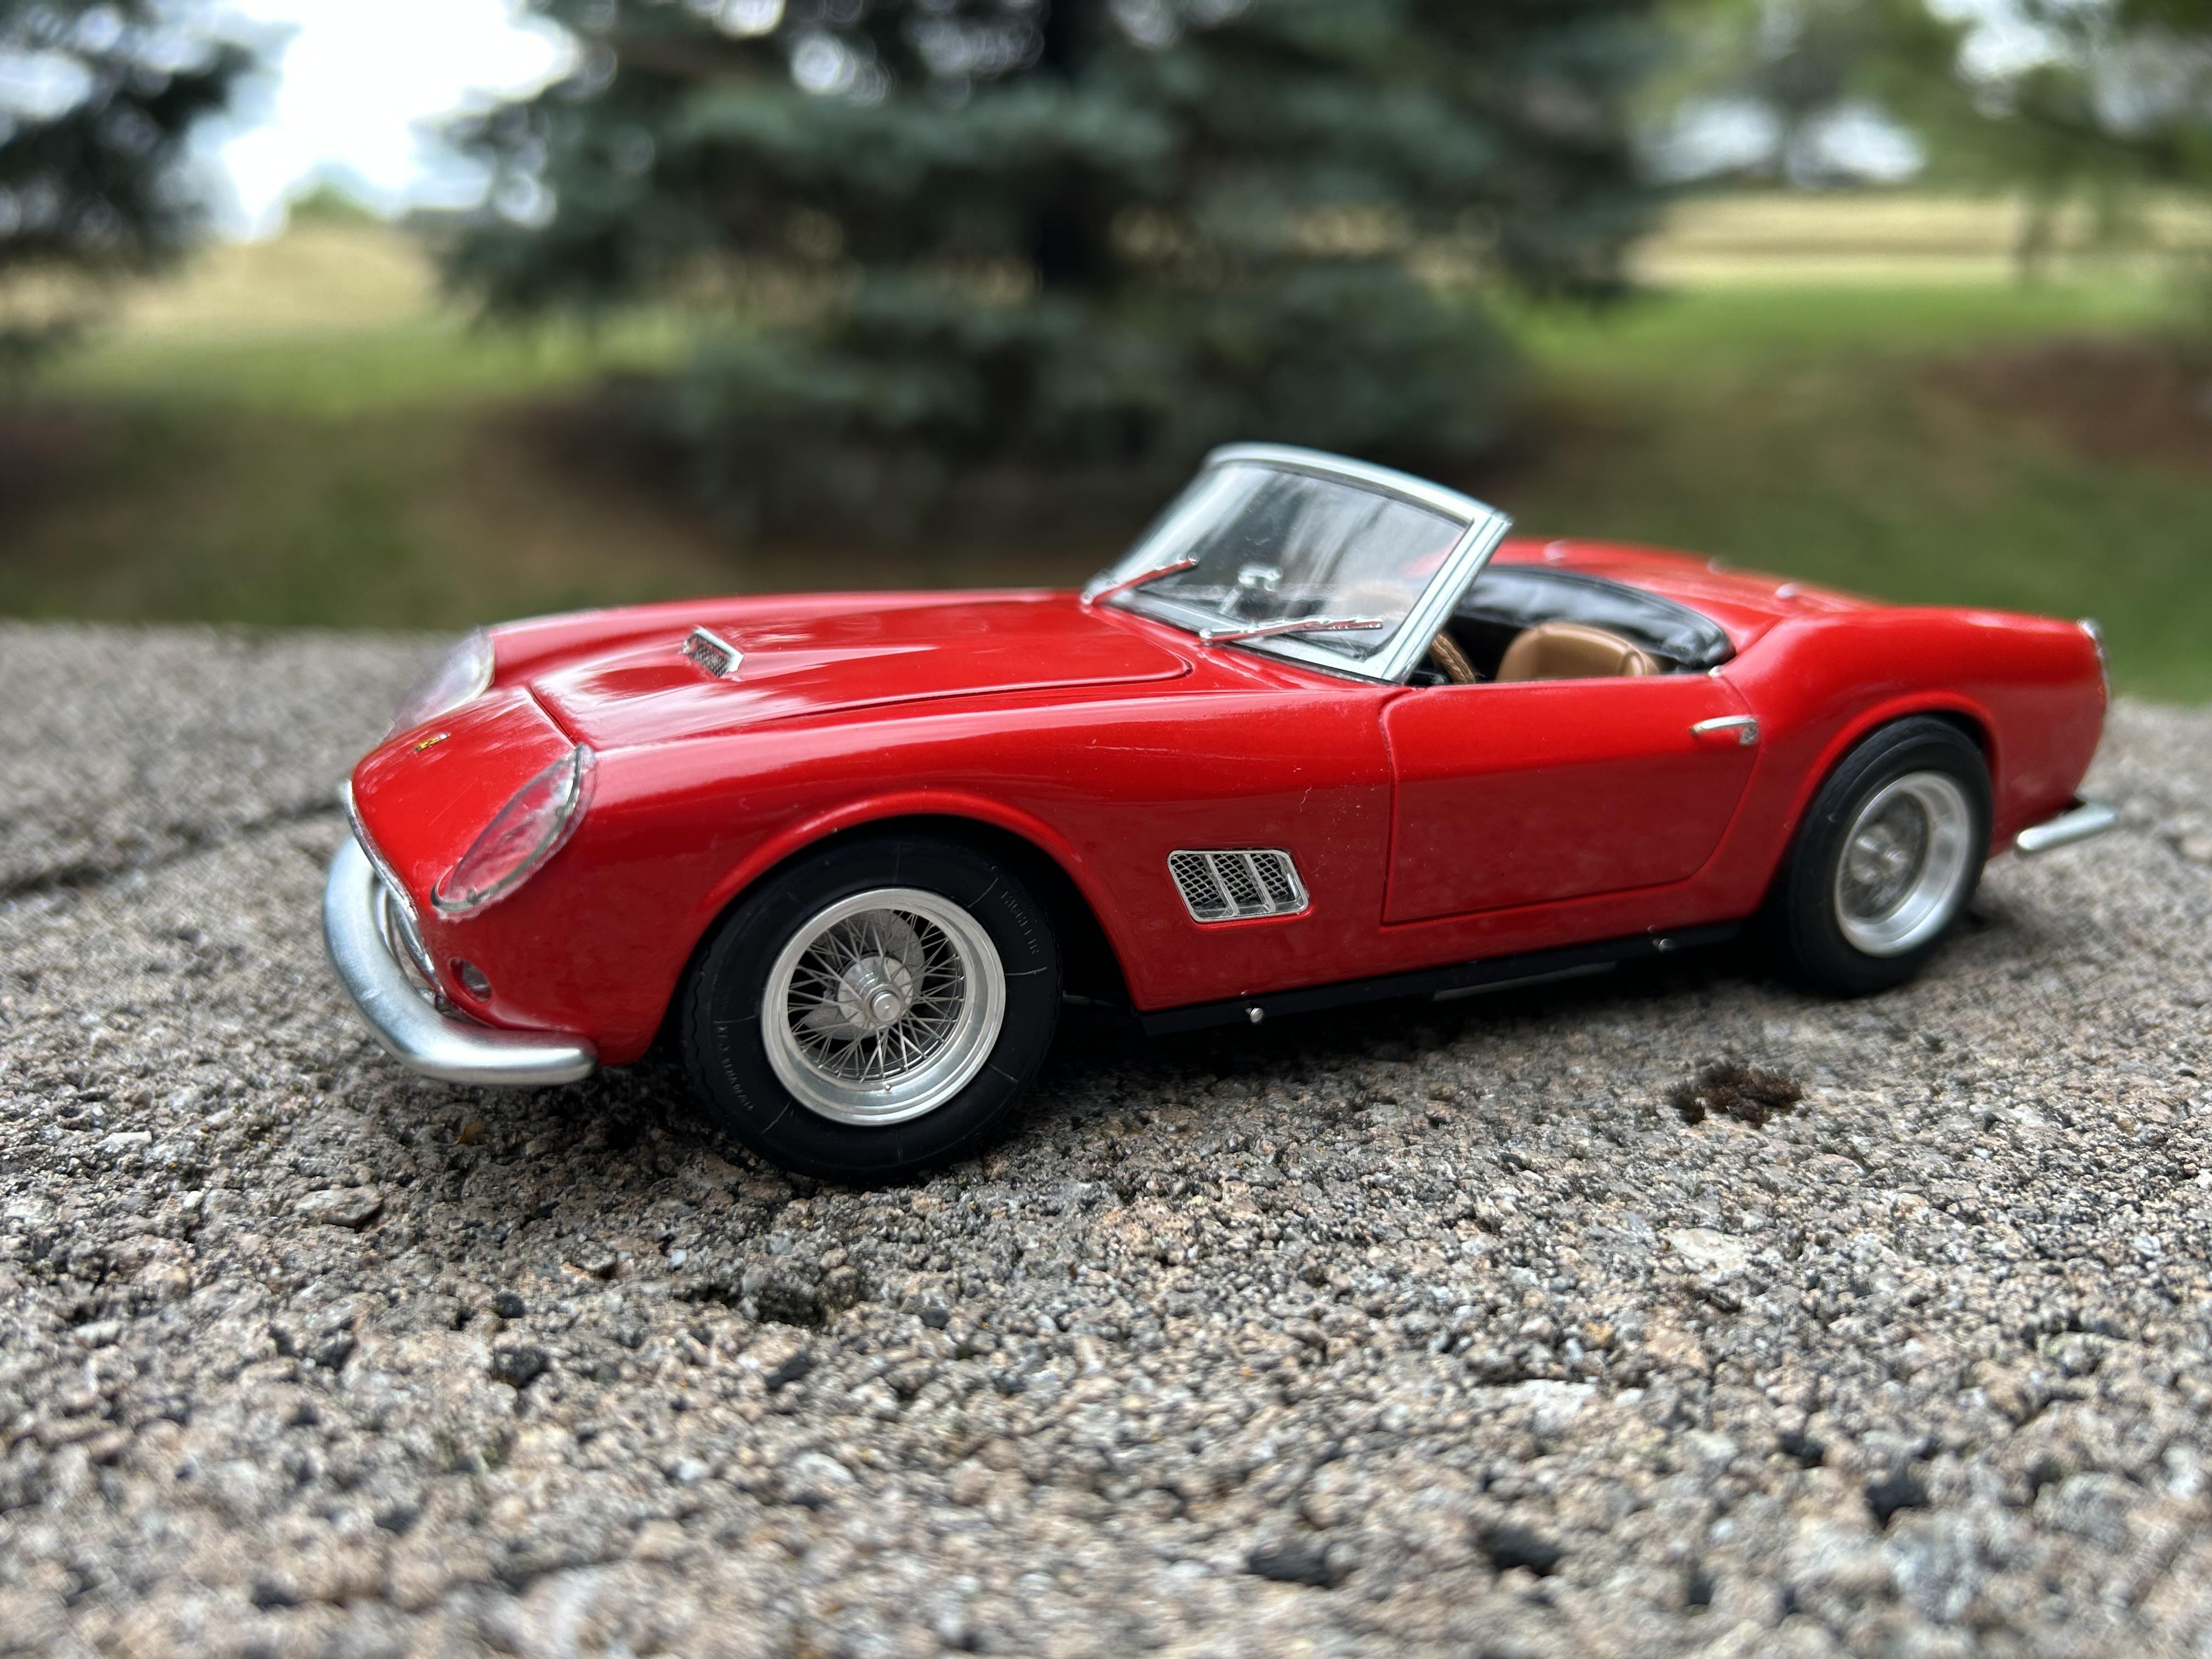
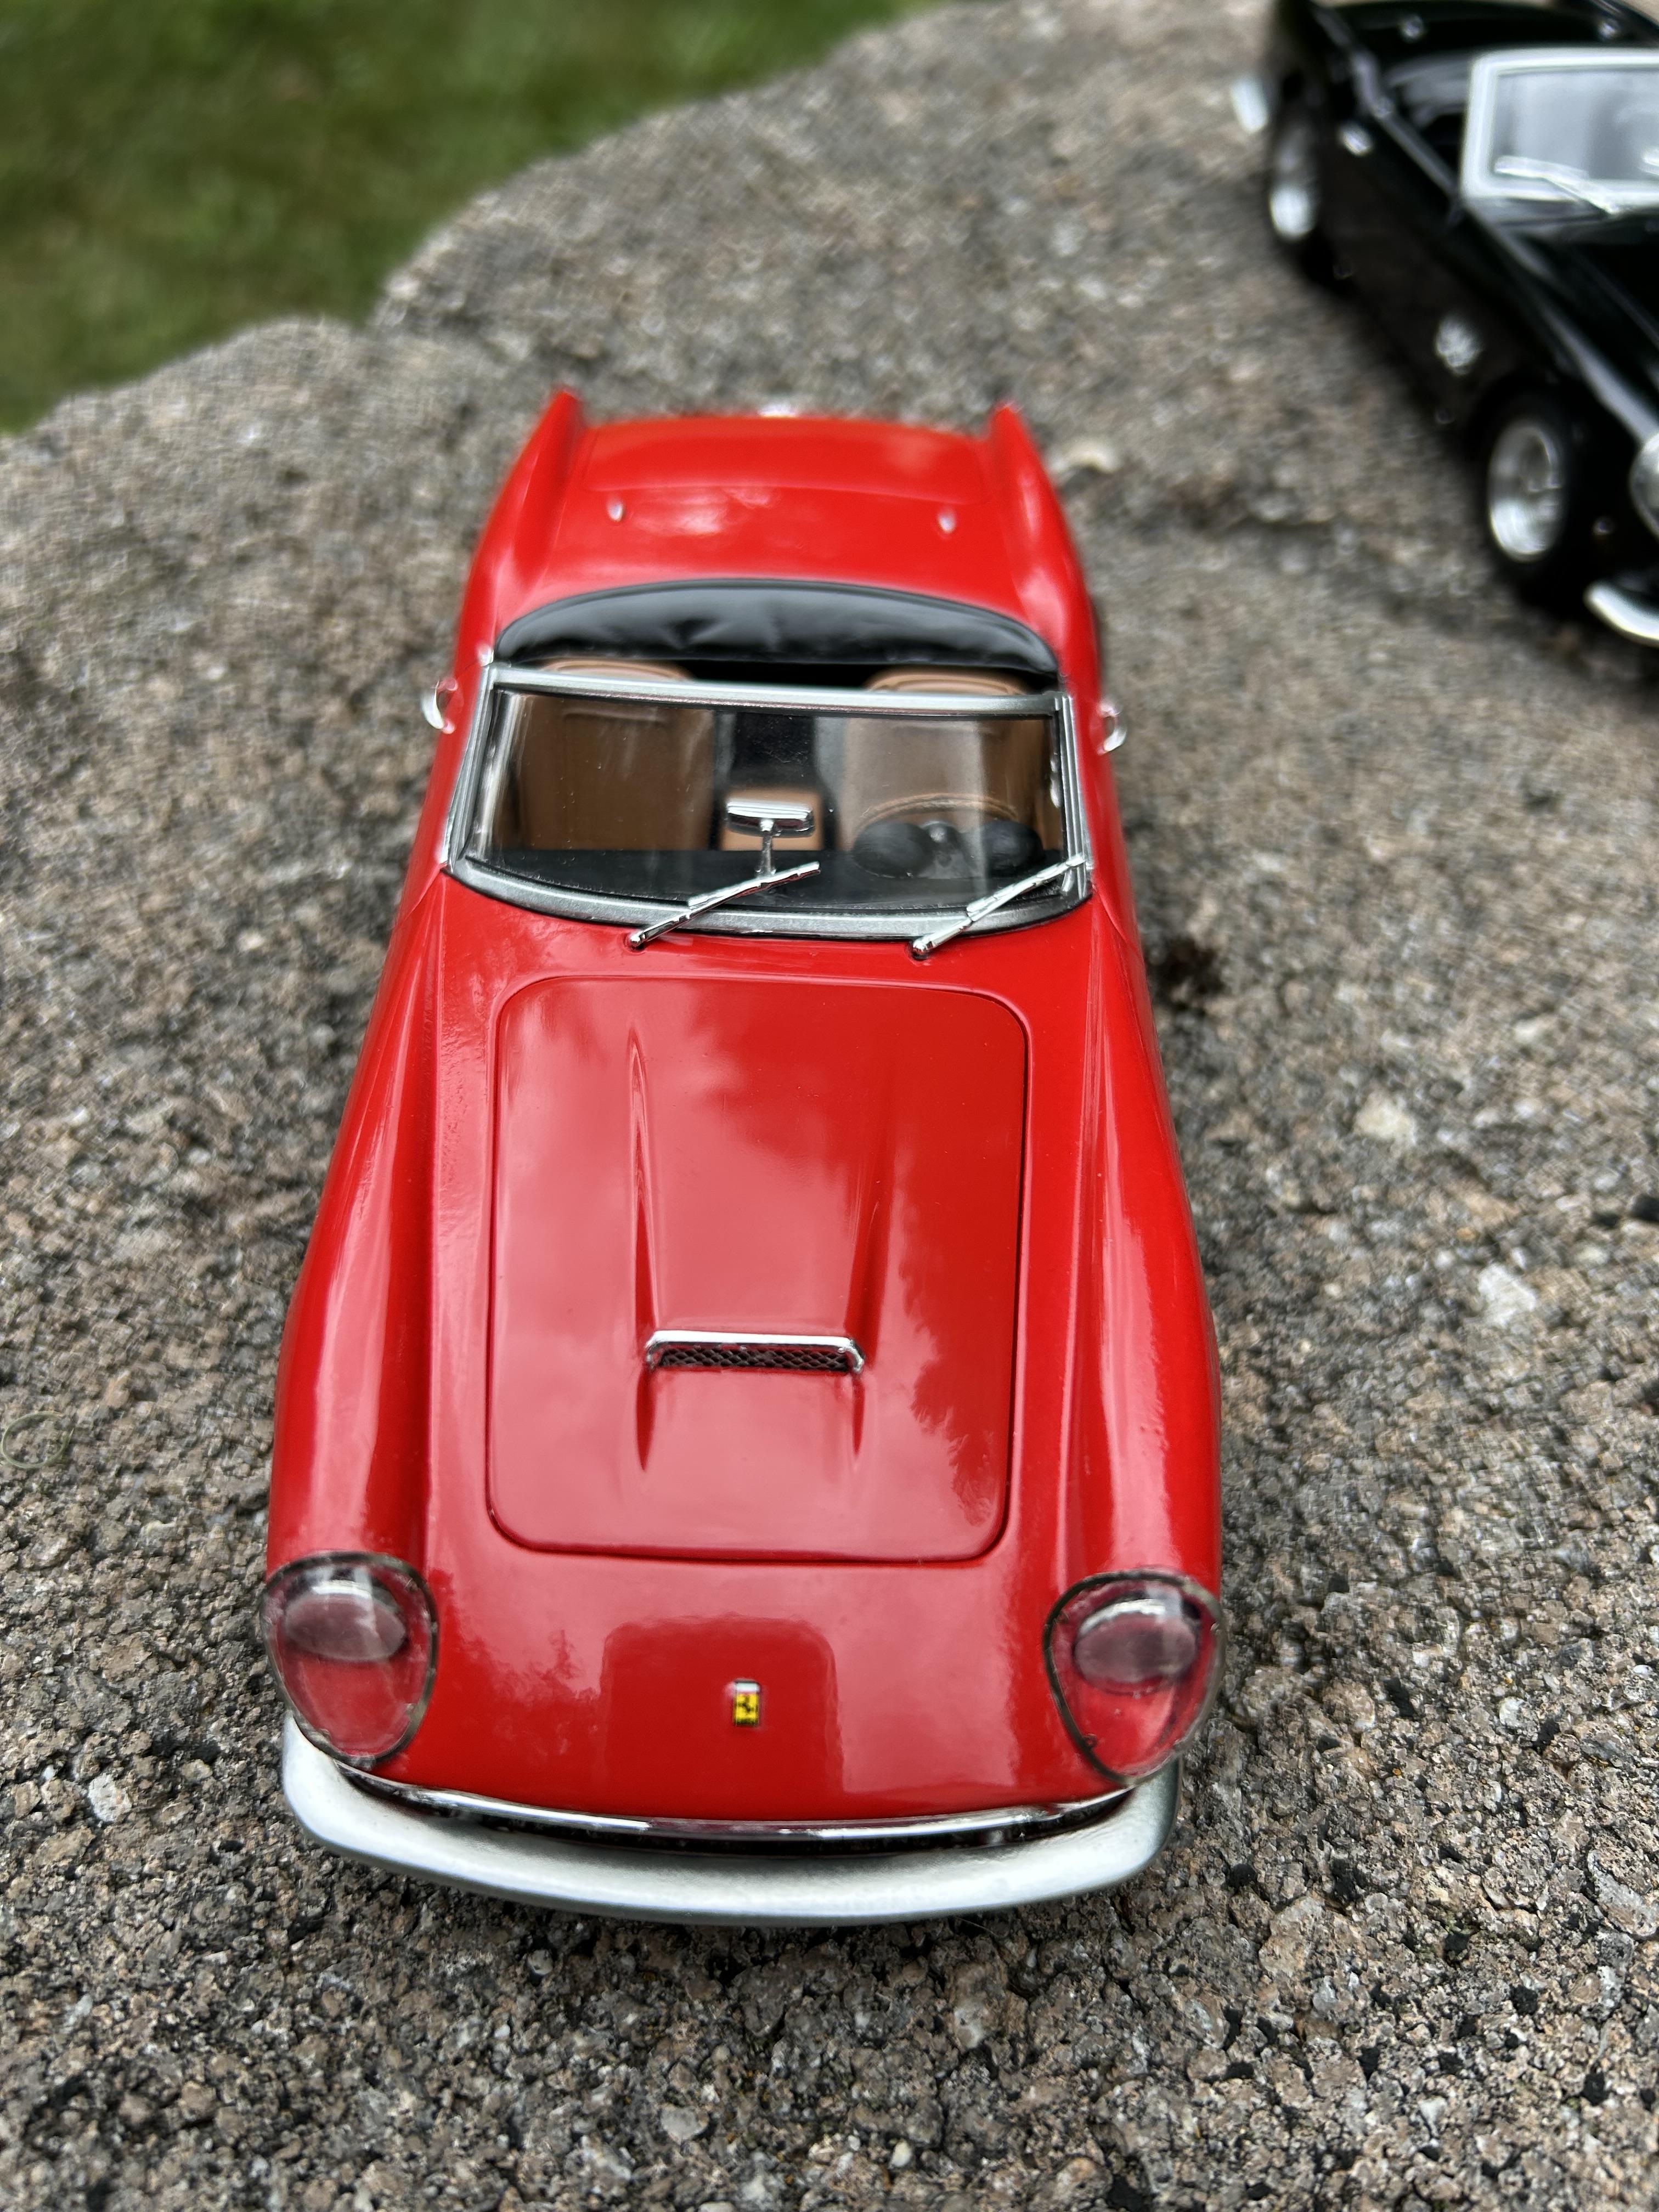
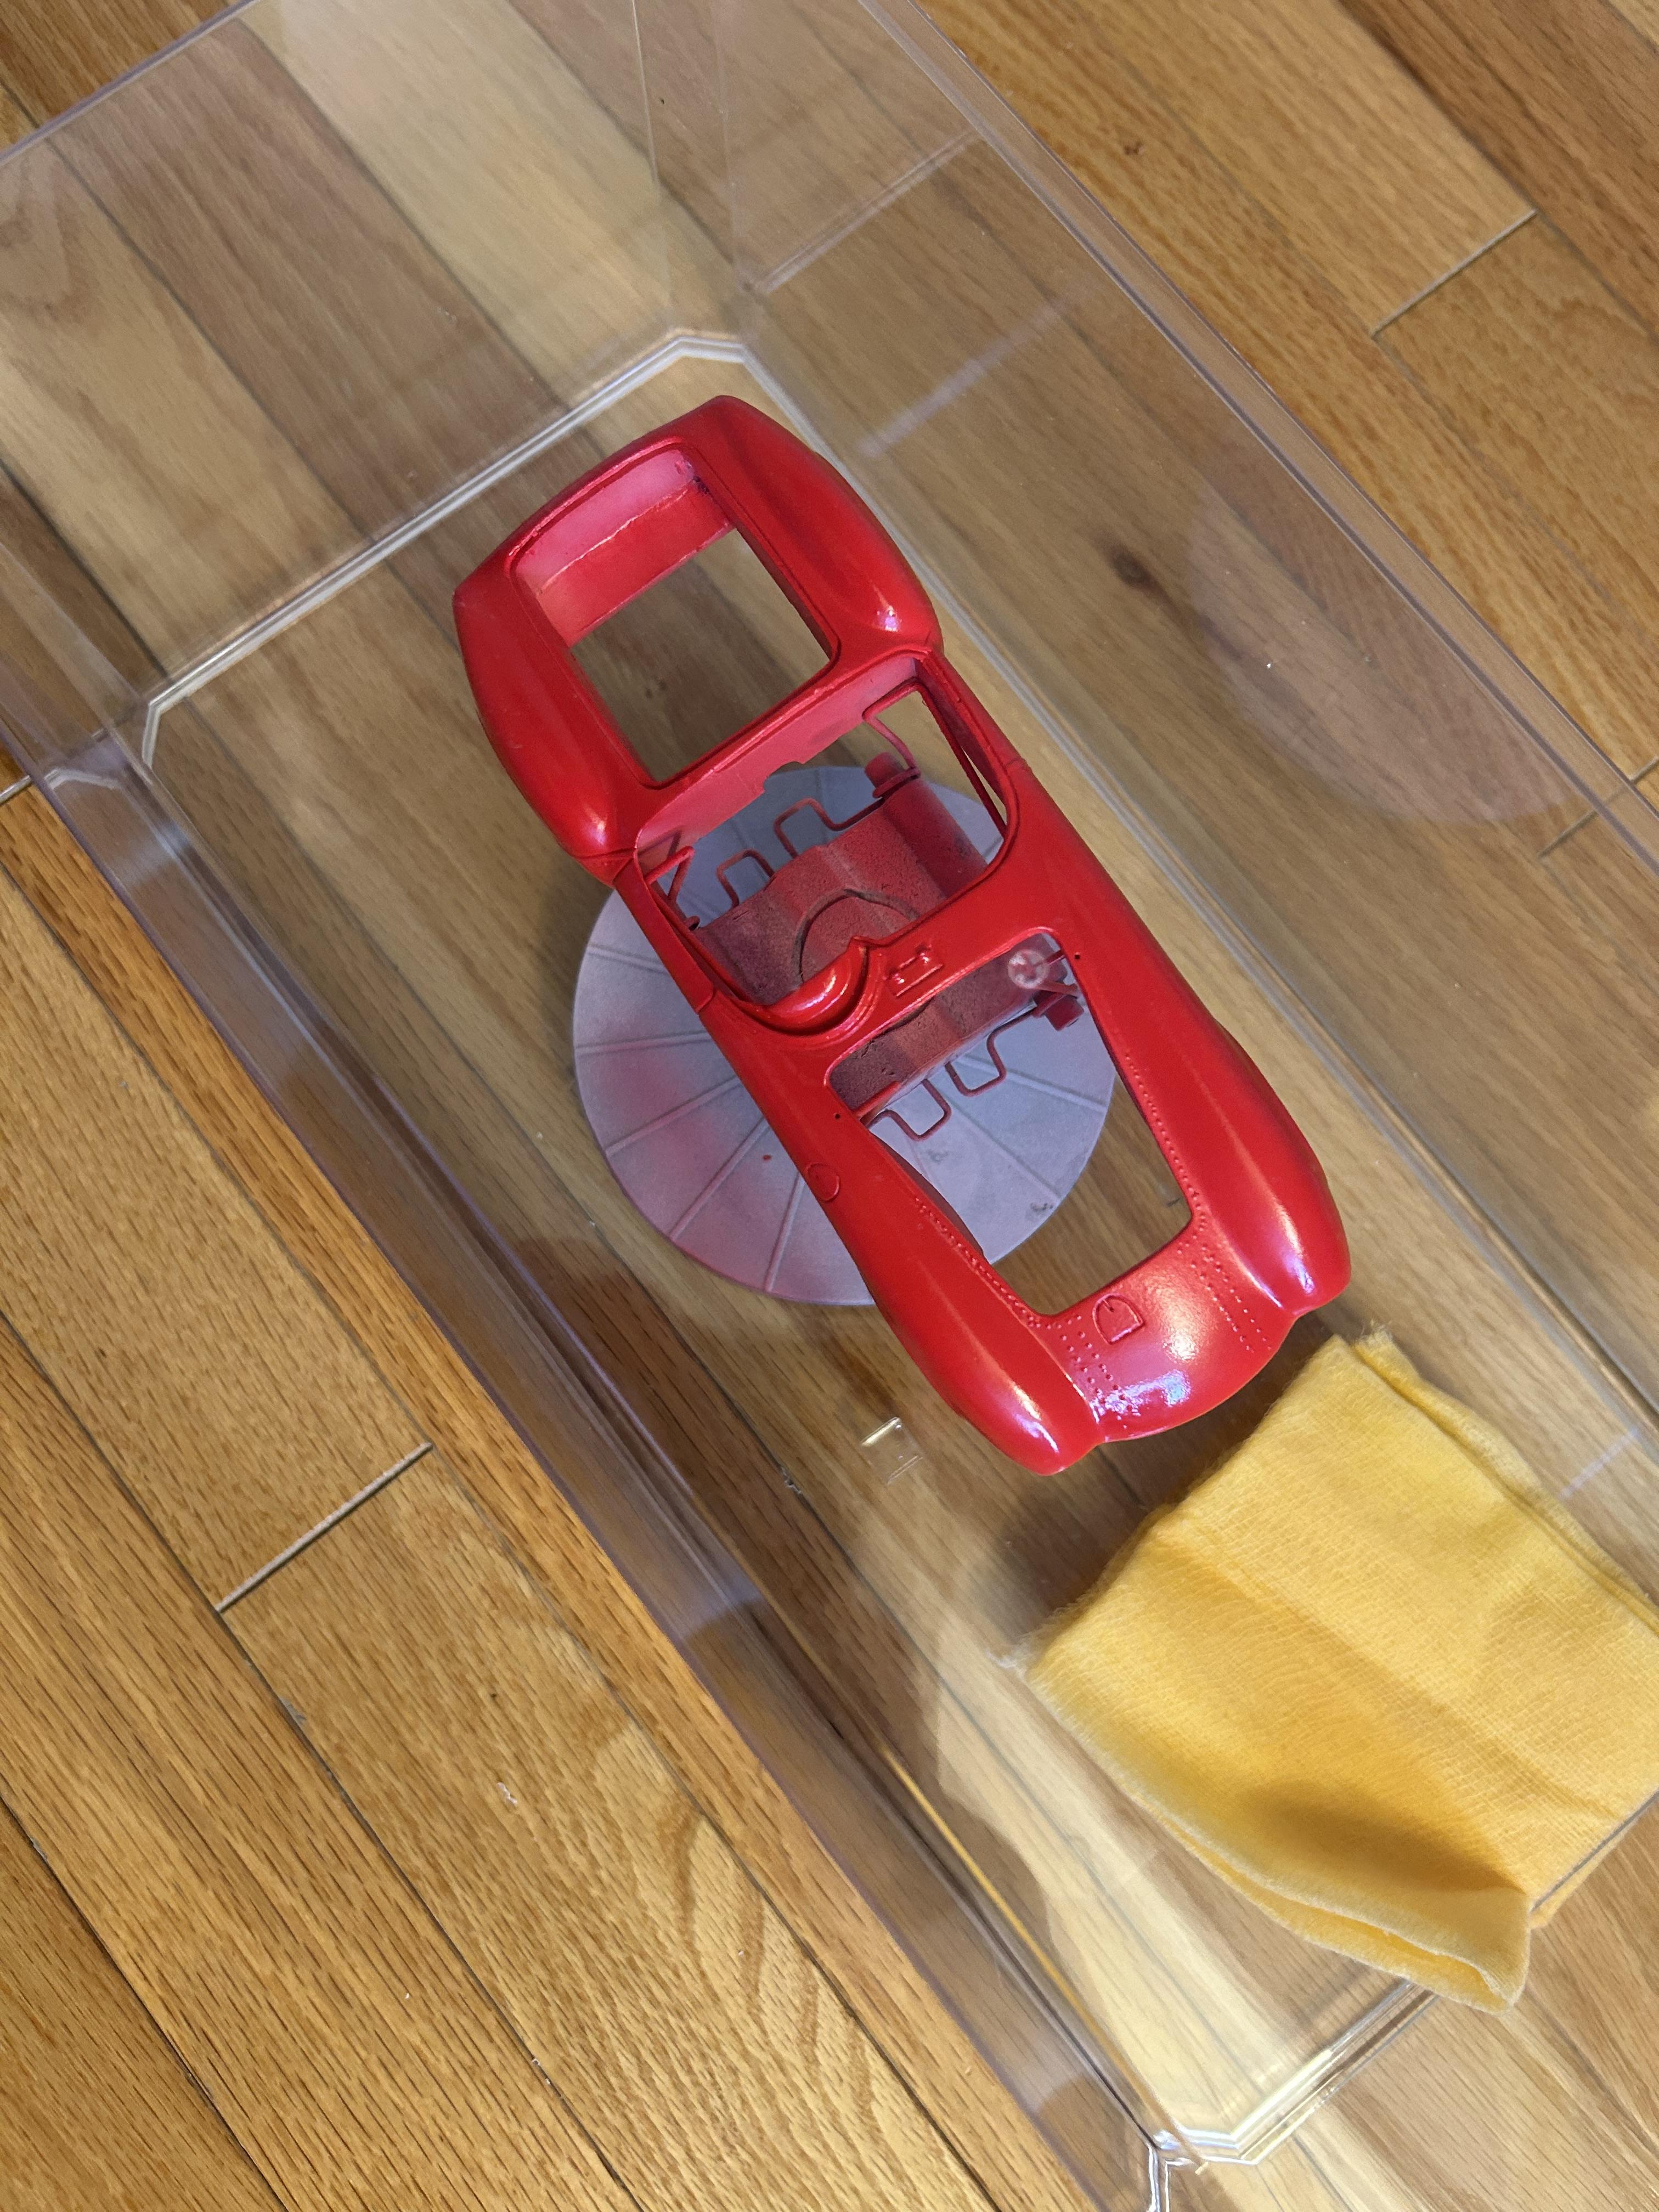
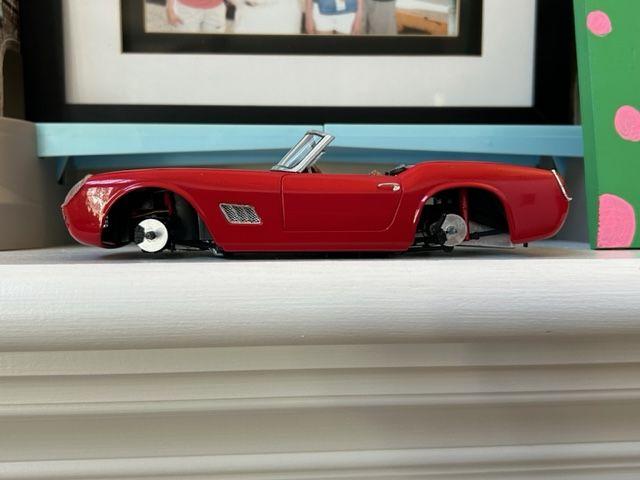
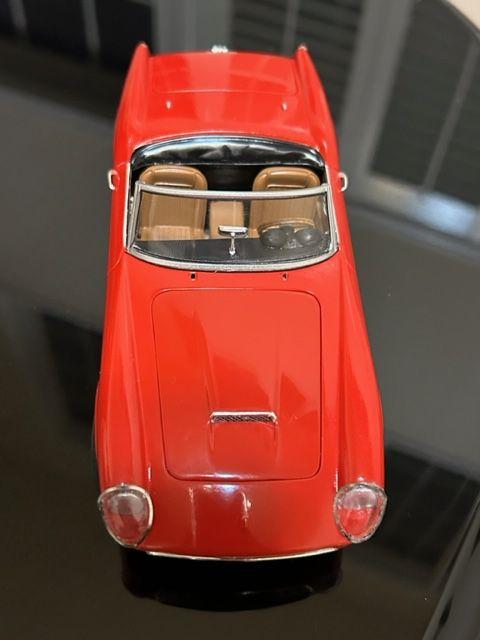
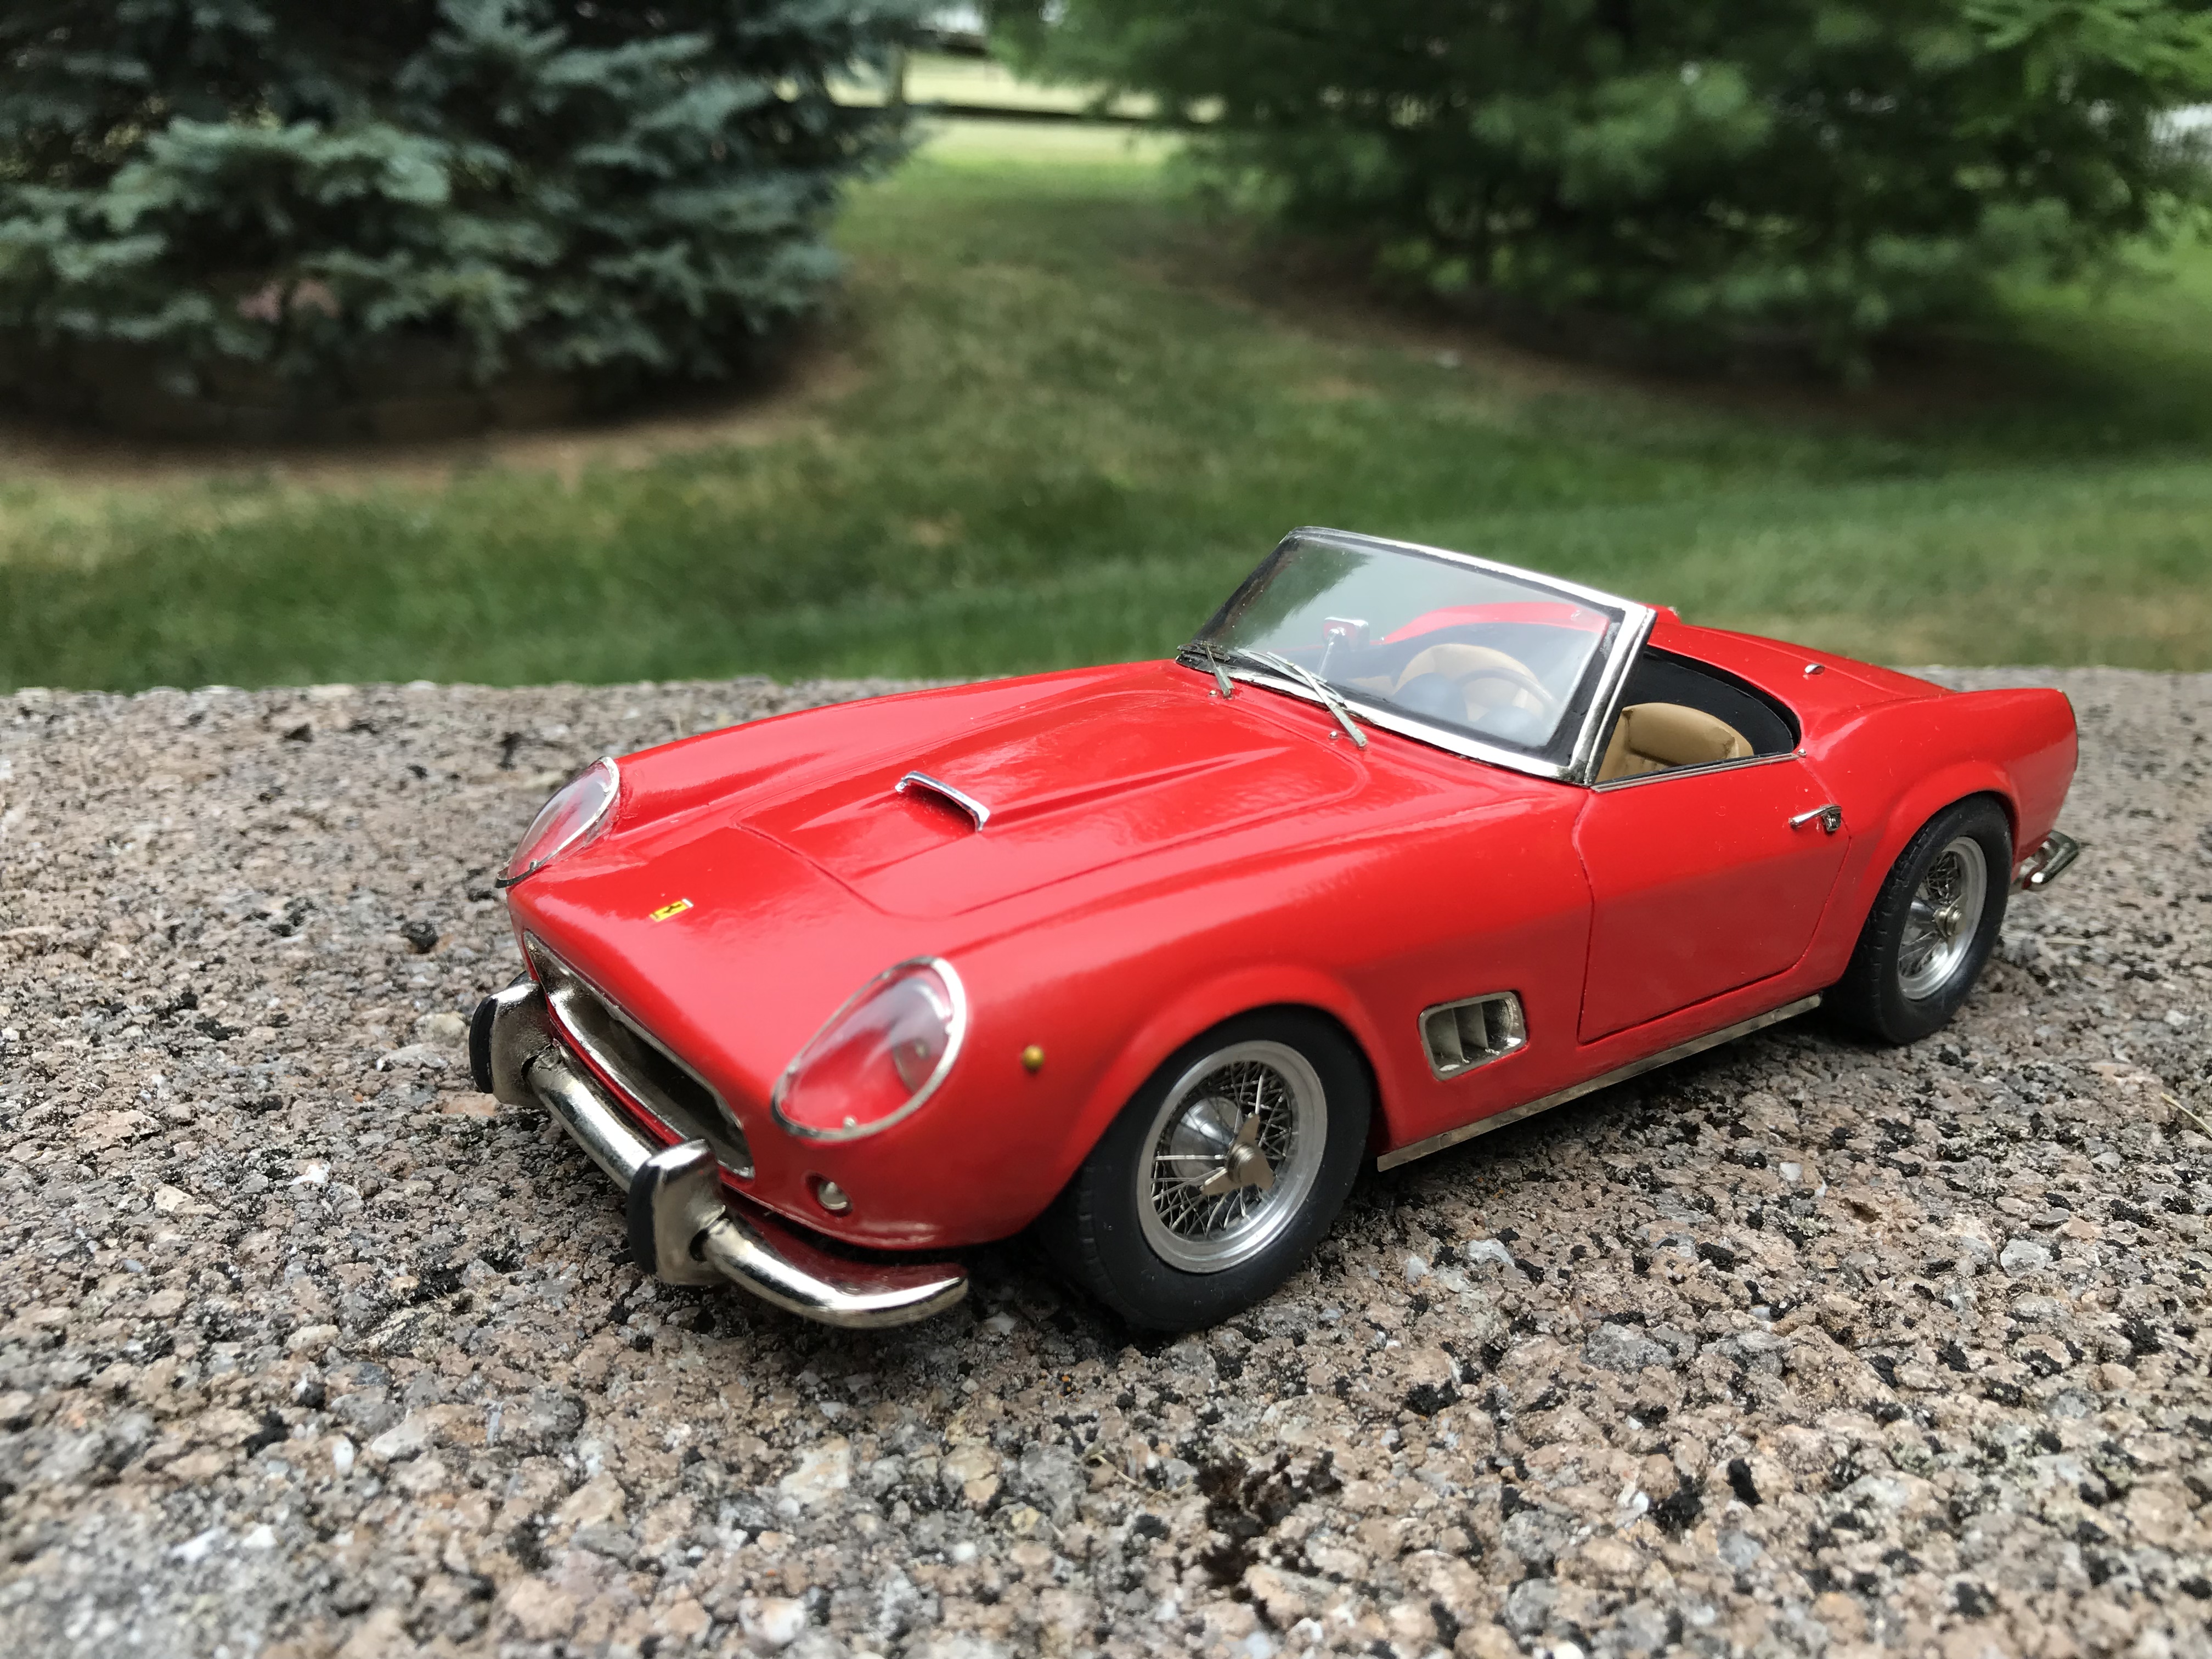
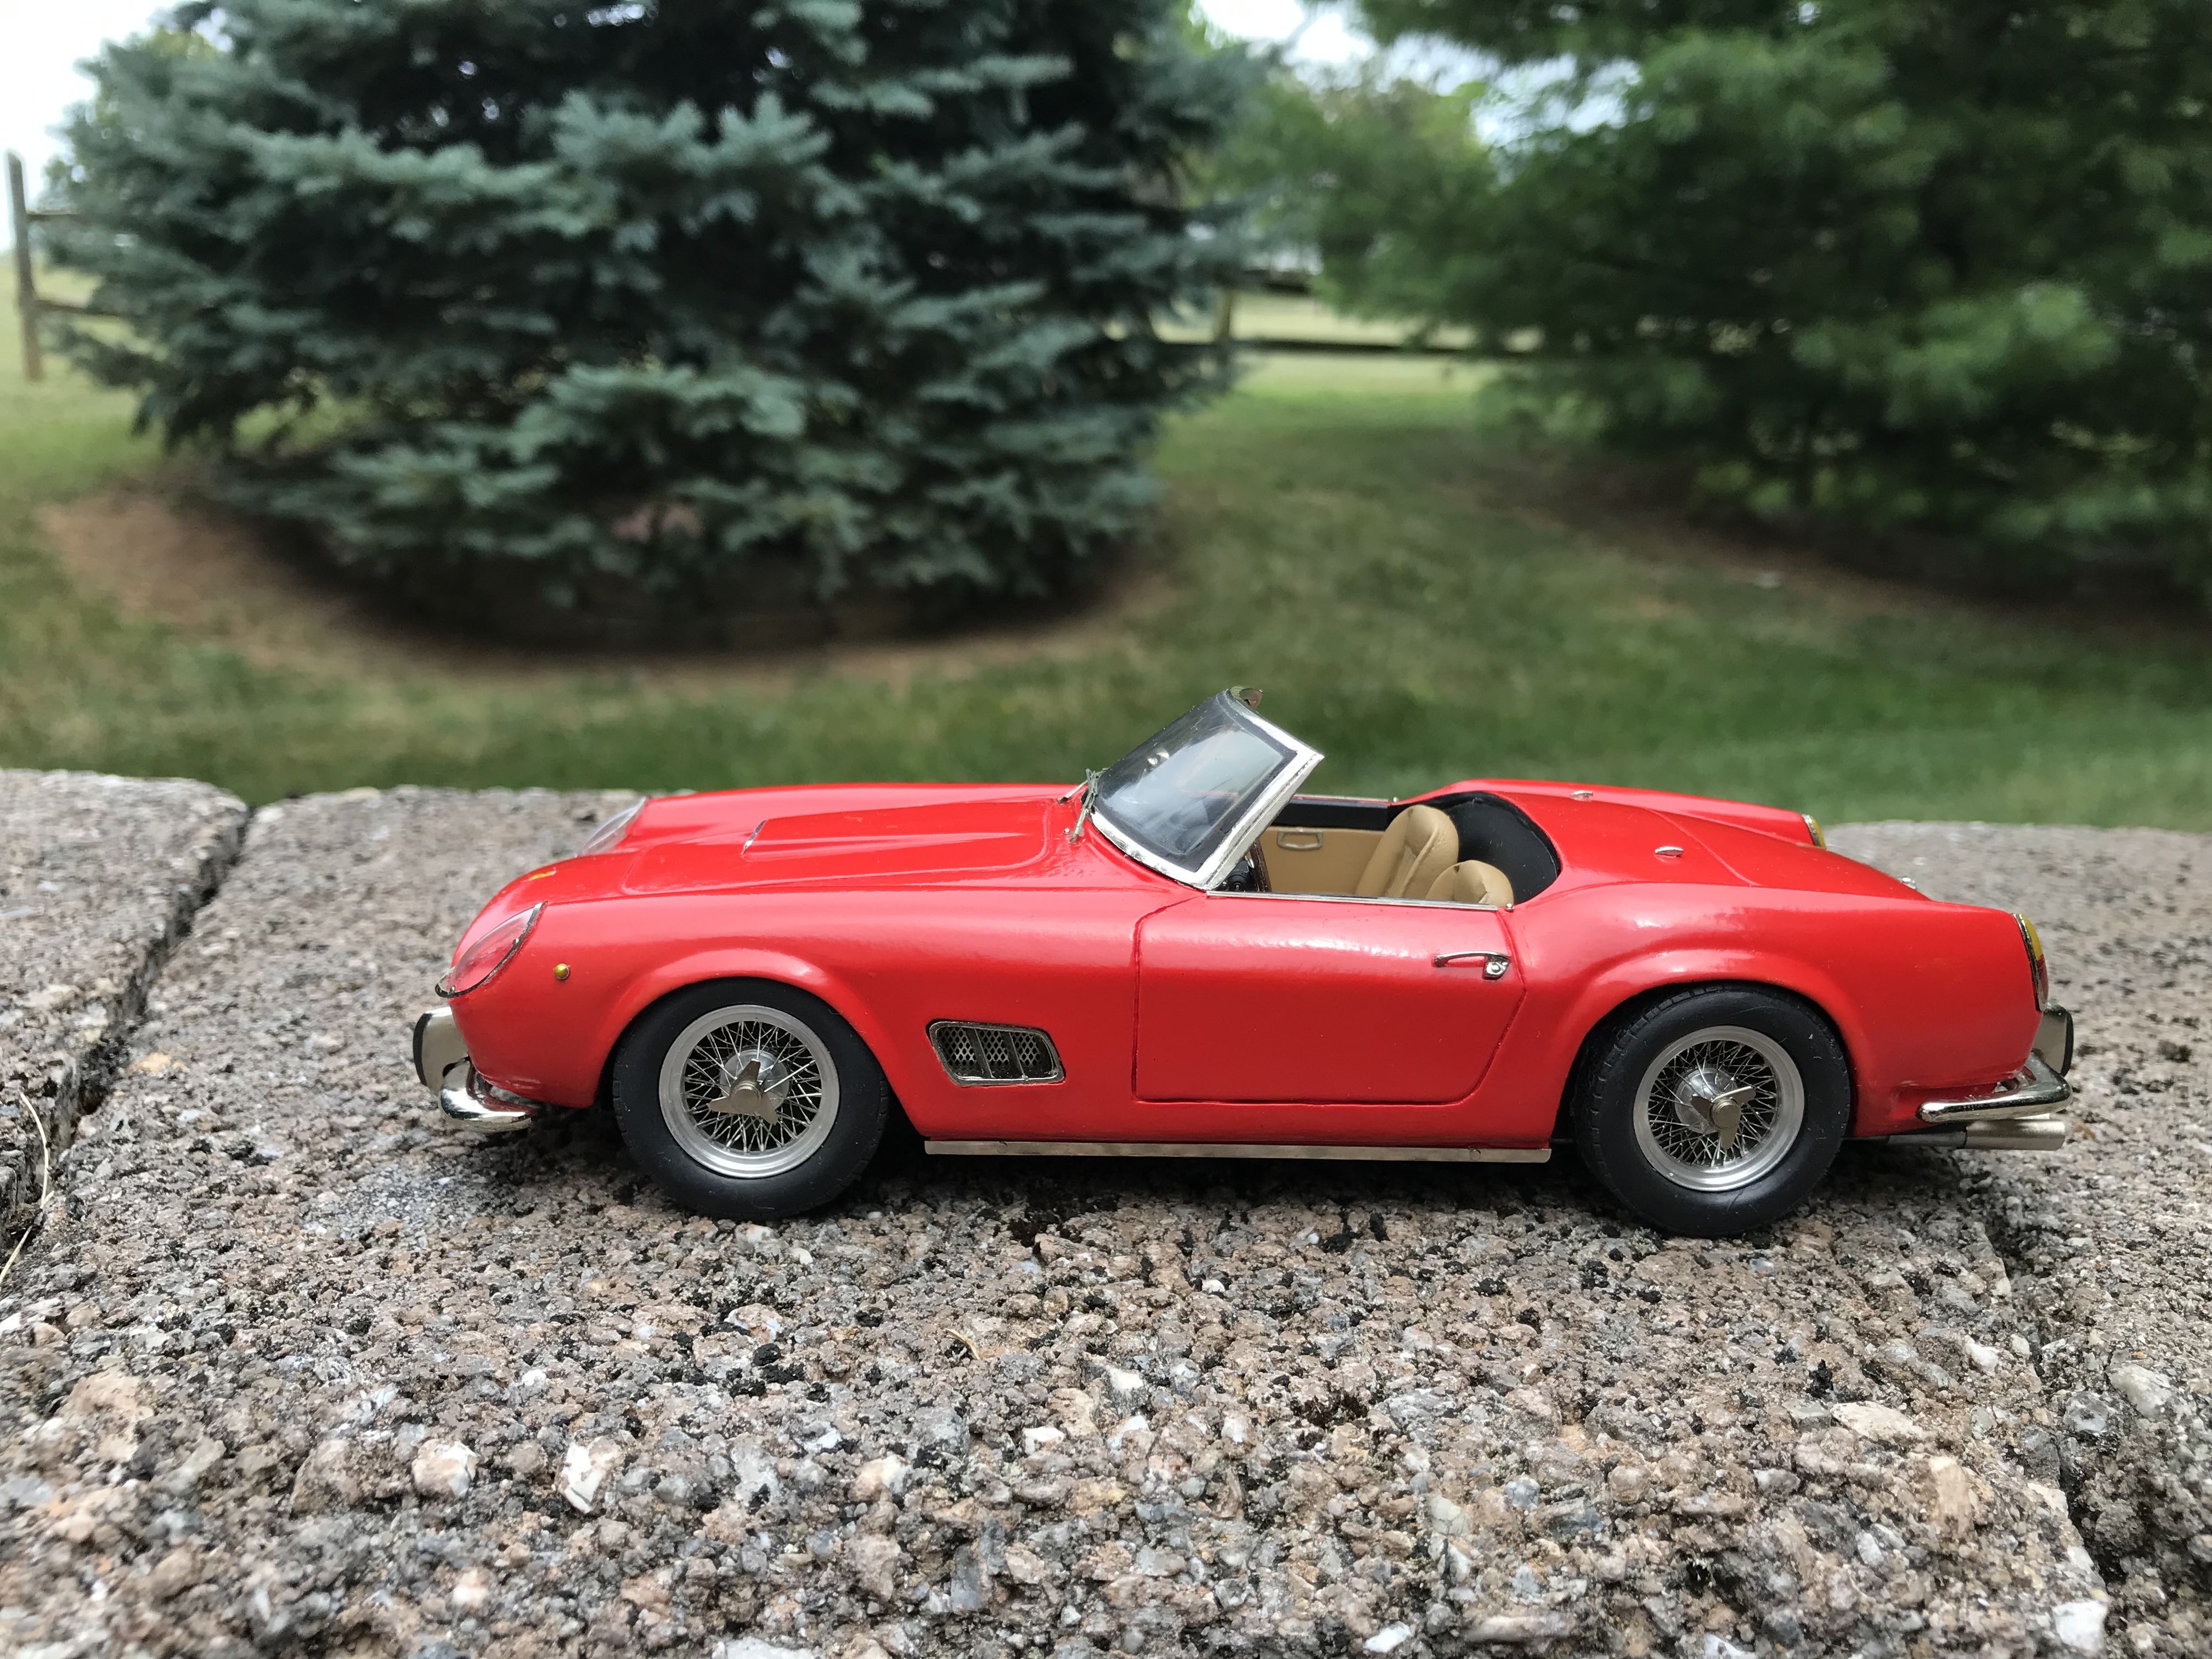
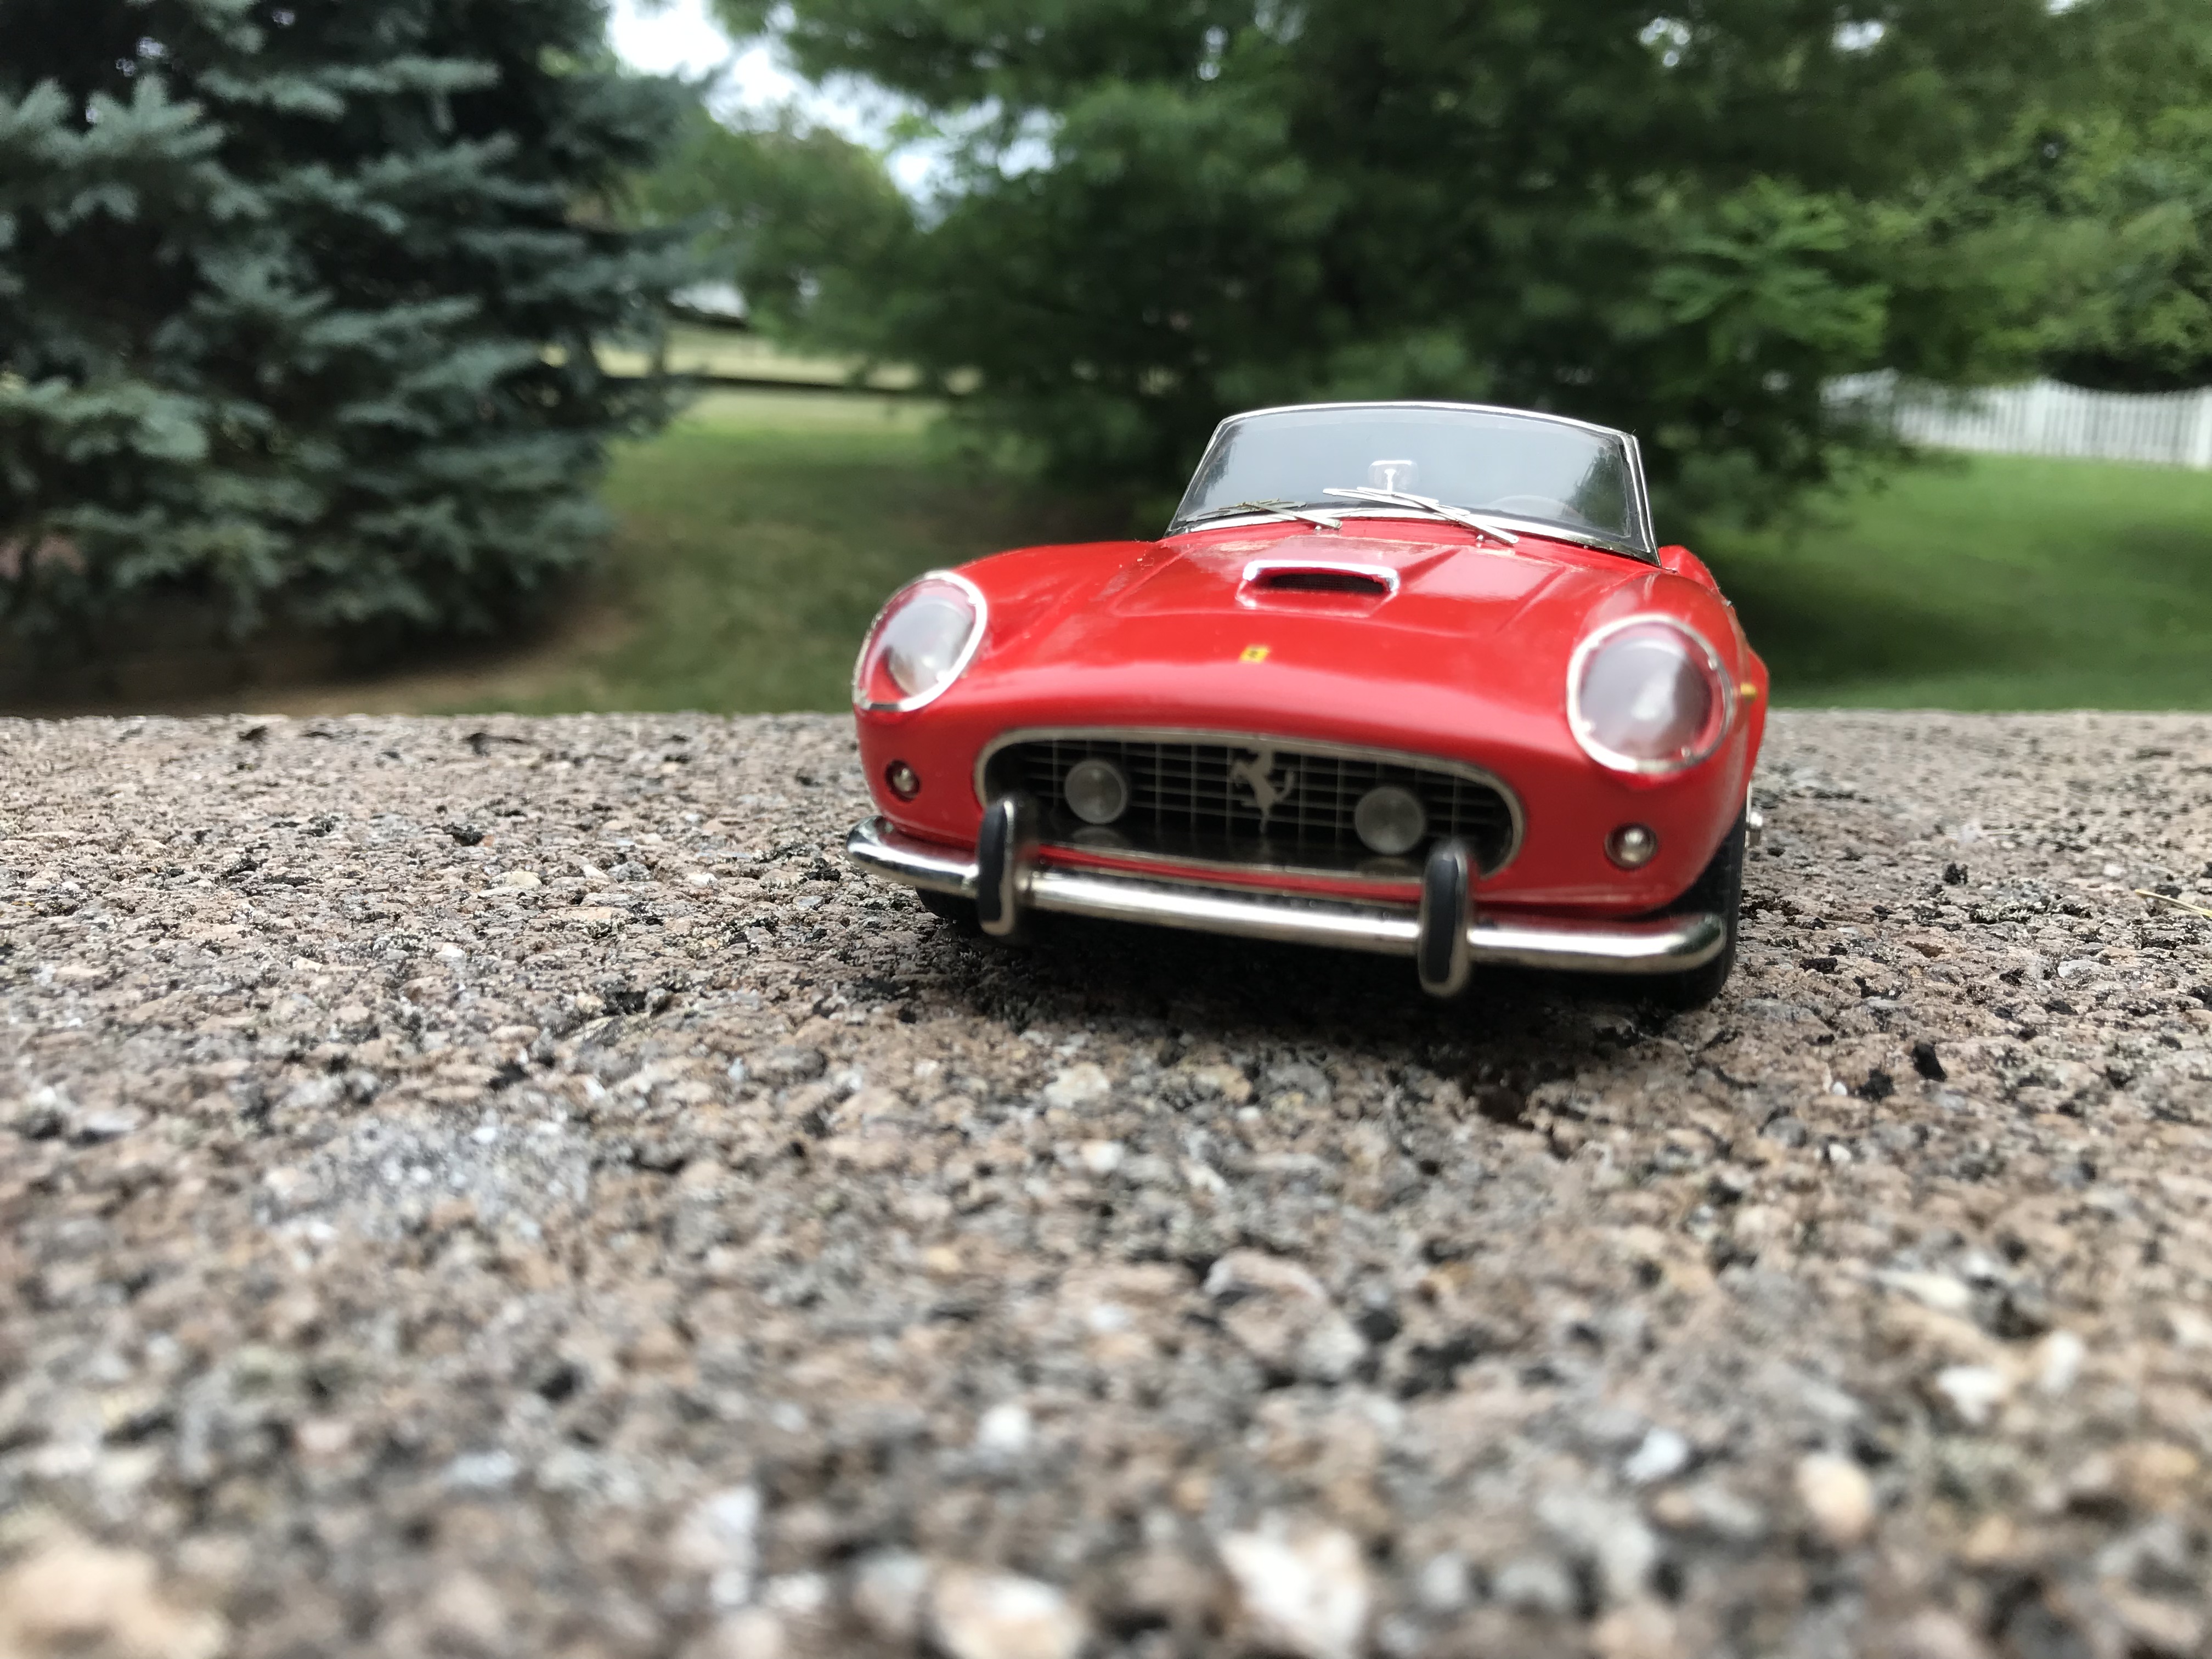
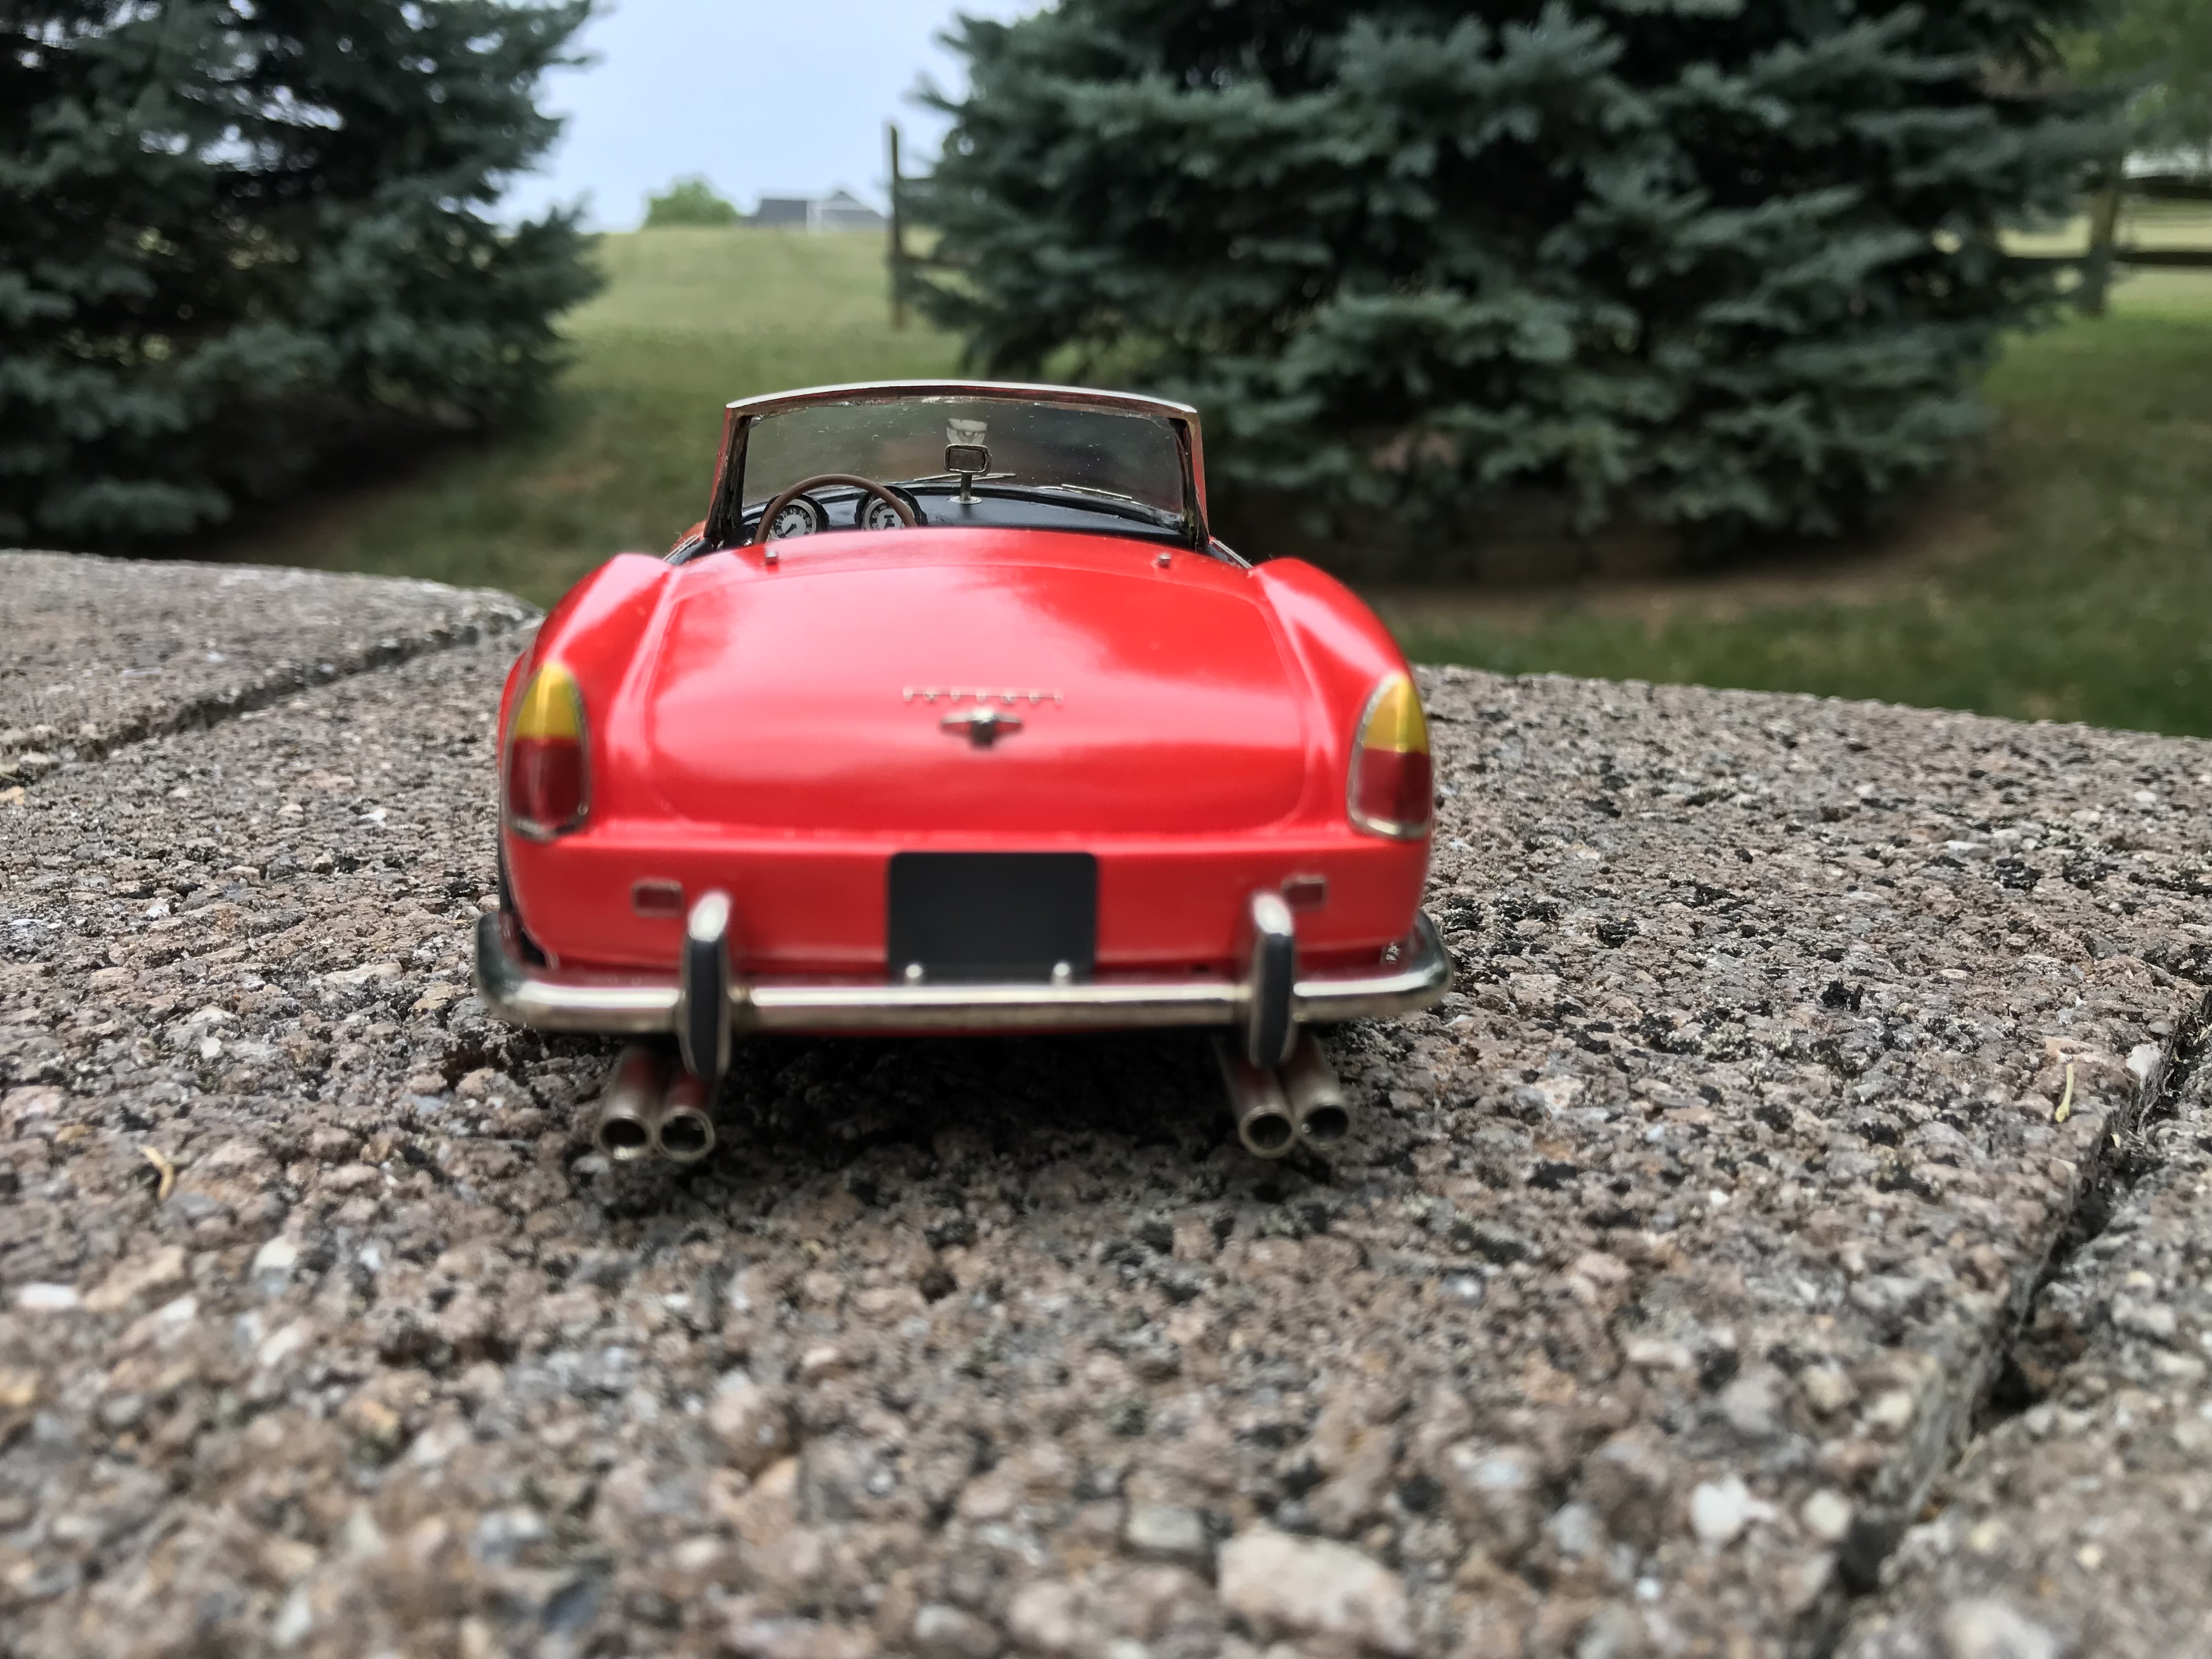
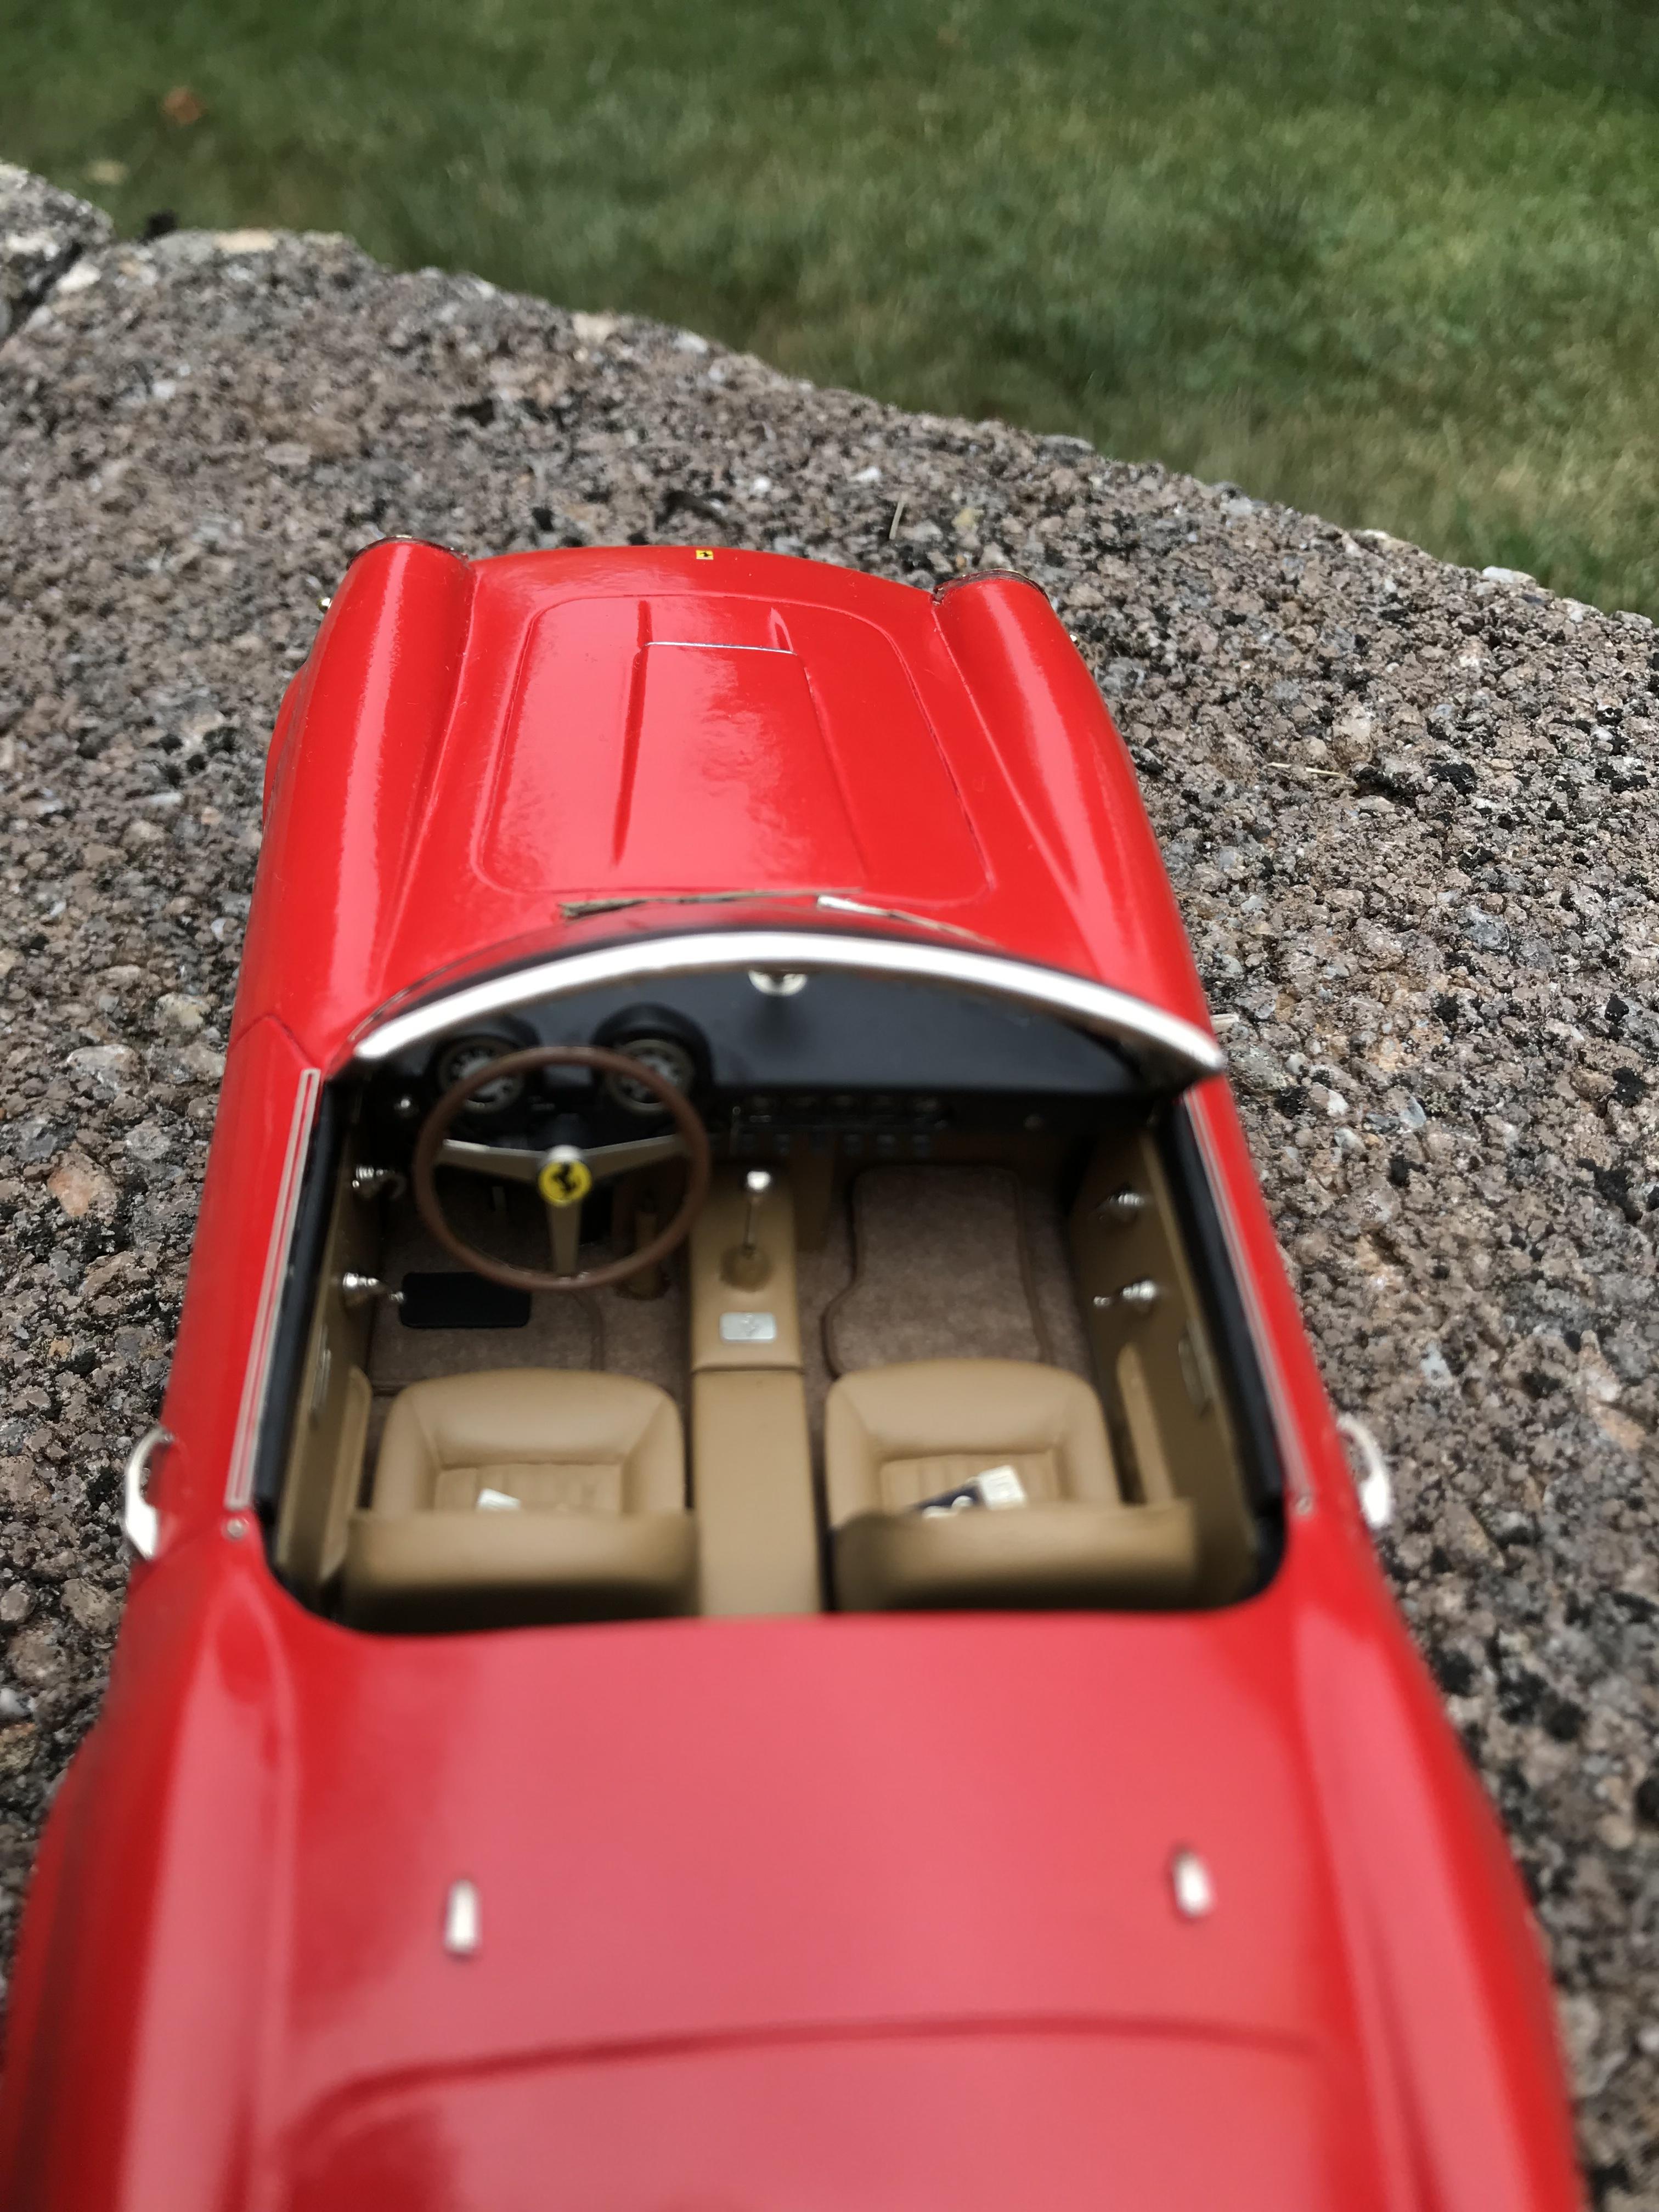
Renaissance Ferrari 250 gt California built stock about 15-20 years ago testors enamel Italian red spray paint
-
Fujimi kit. painted with tamiya TS 49 bright red lots of microsol to get the decals to snug down resin copied an italeri Ferrari Daytona engine block to fill the engine void
-
Yes those were the kit wheels as with all testors/italeri kits of that era the body is in three pieces (separate lower front and rear ends) so need to be ready to fill with putty…
-
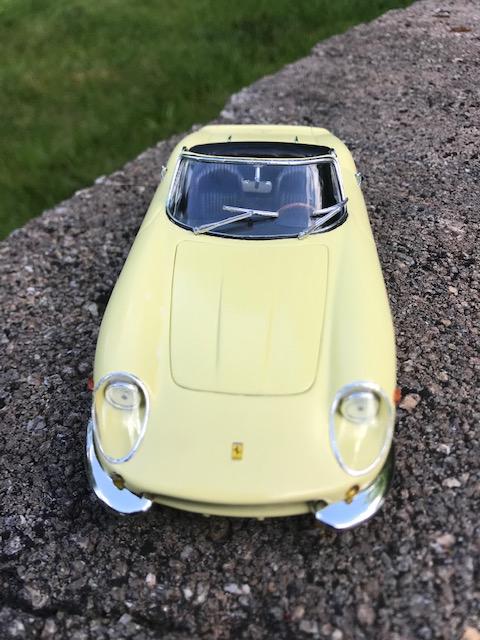
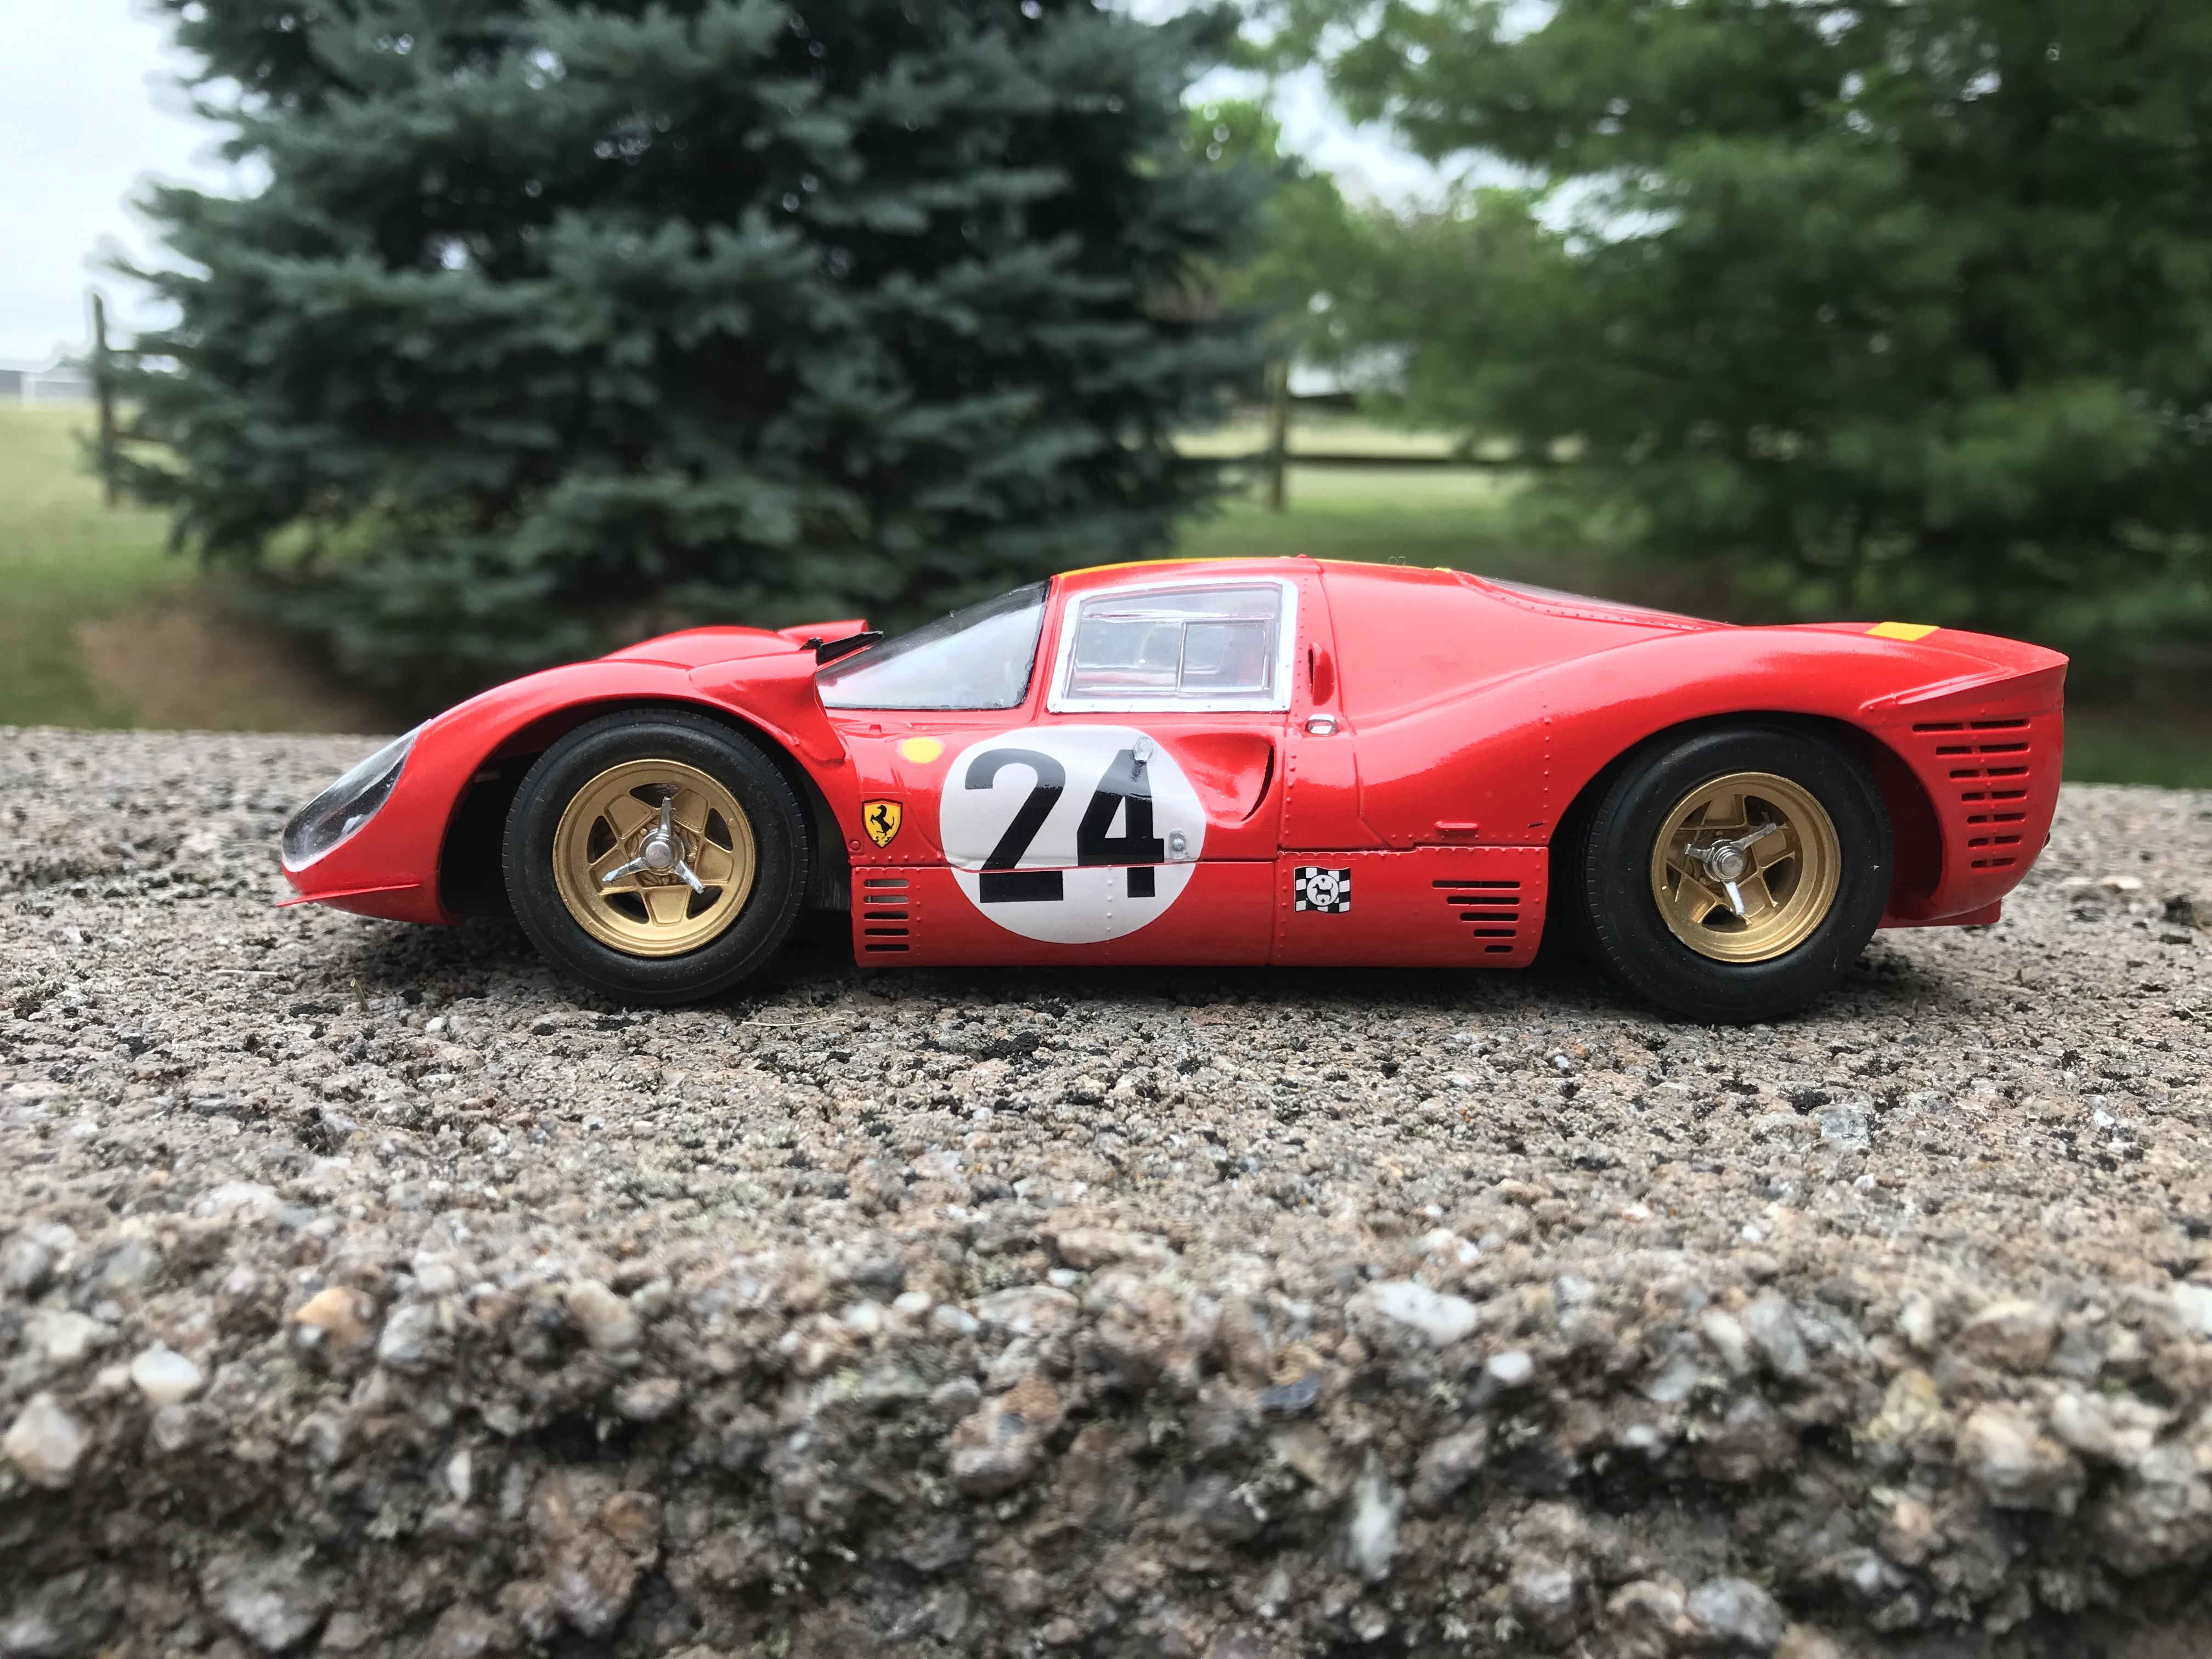
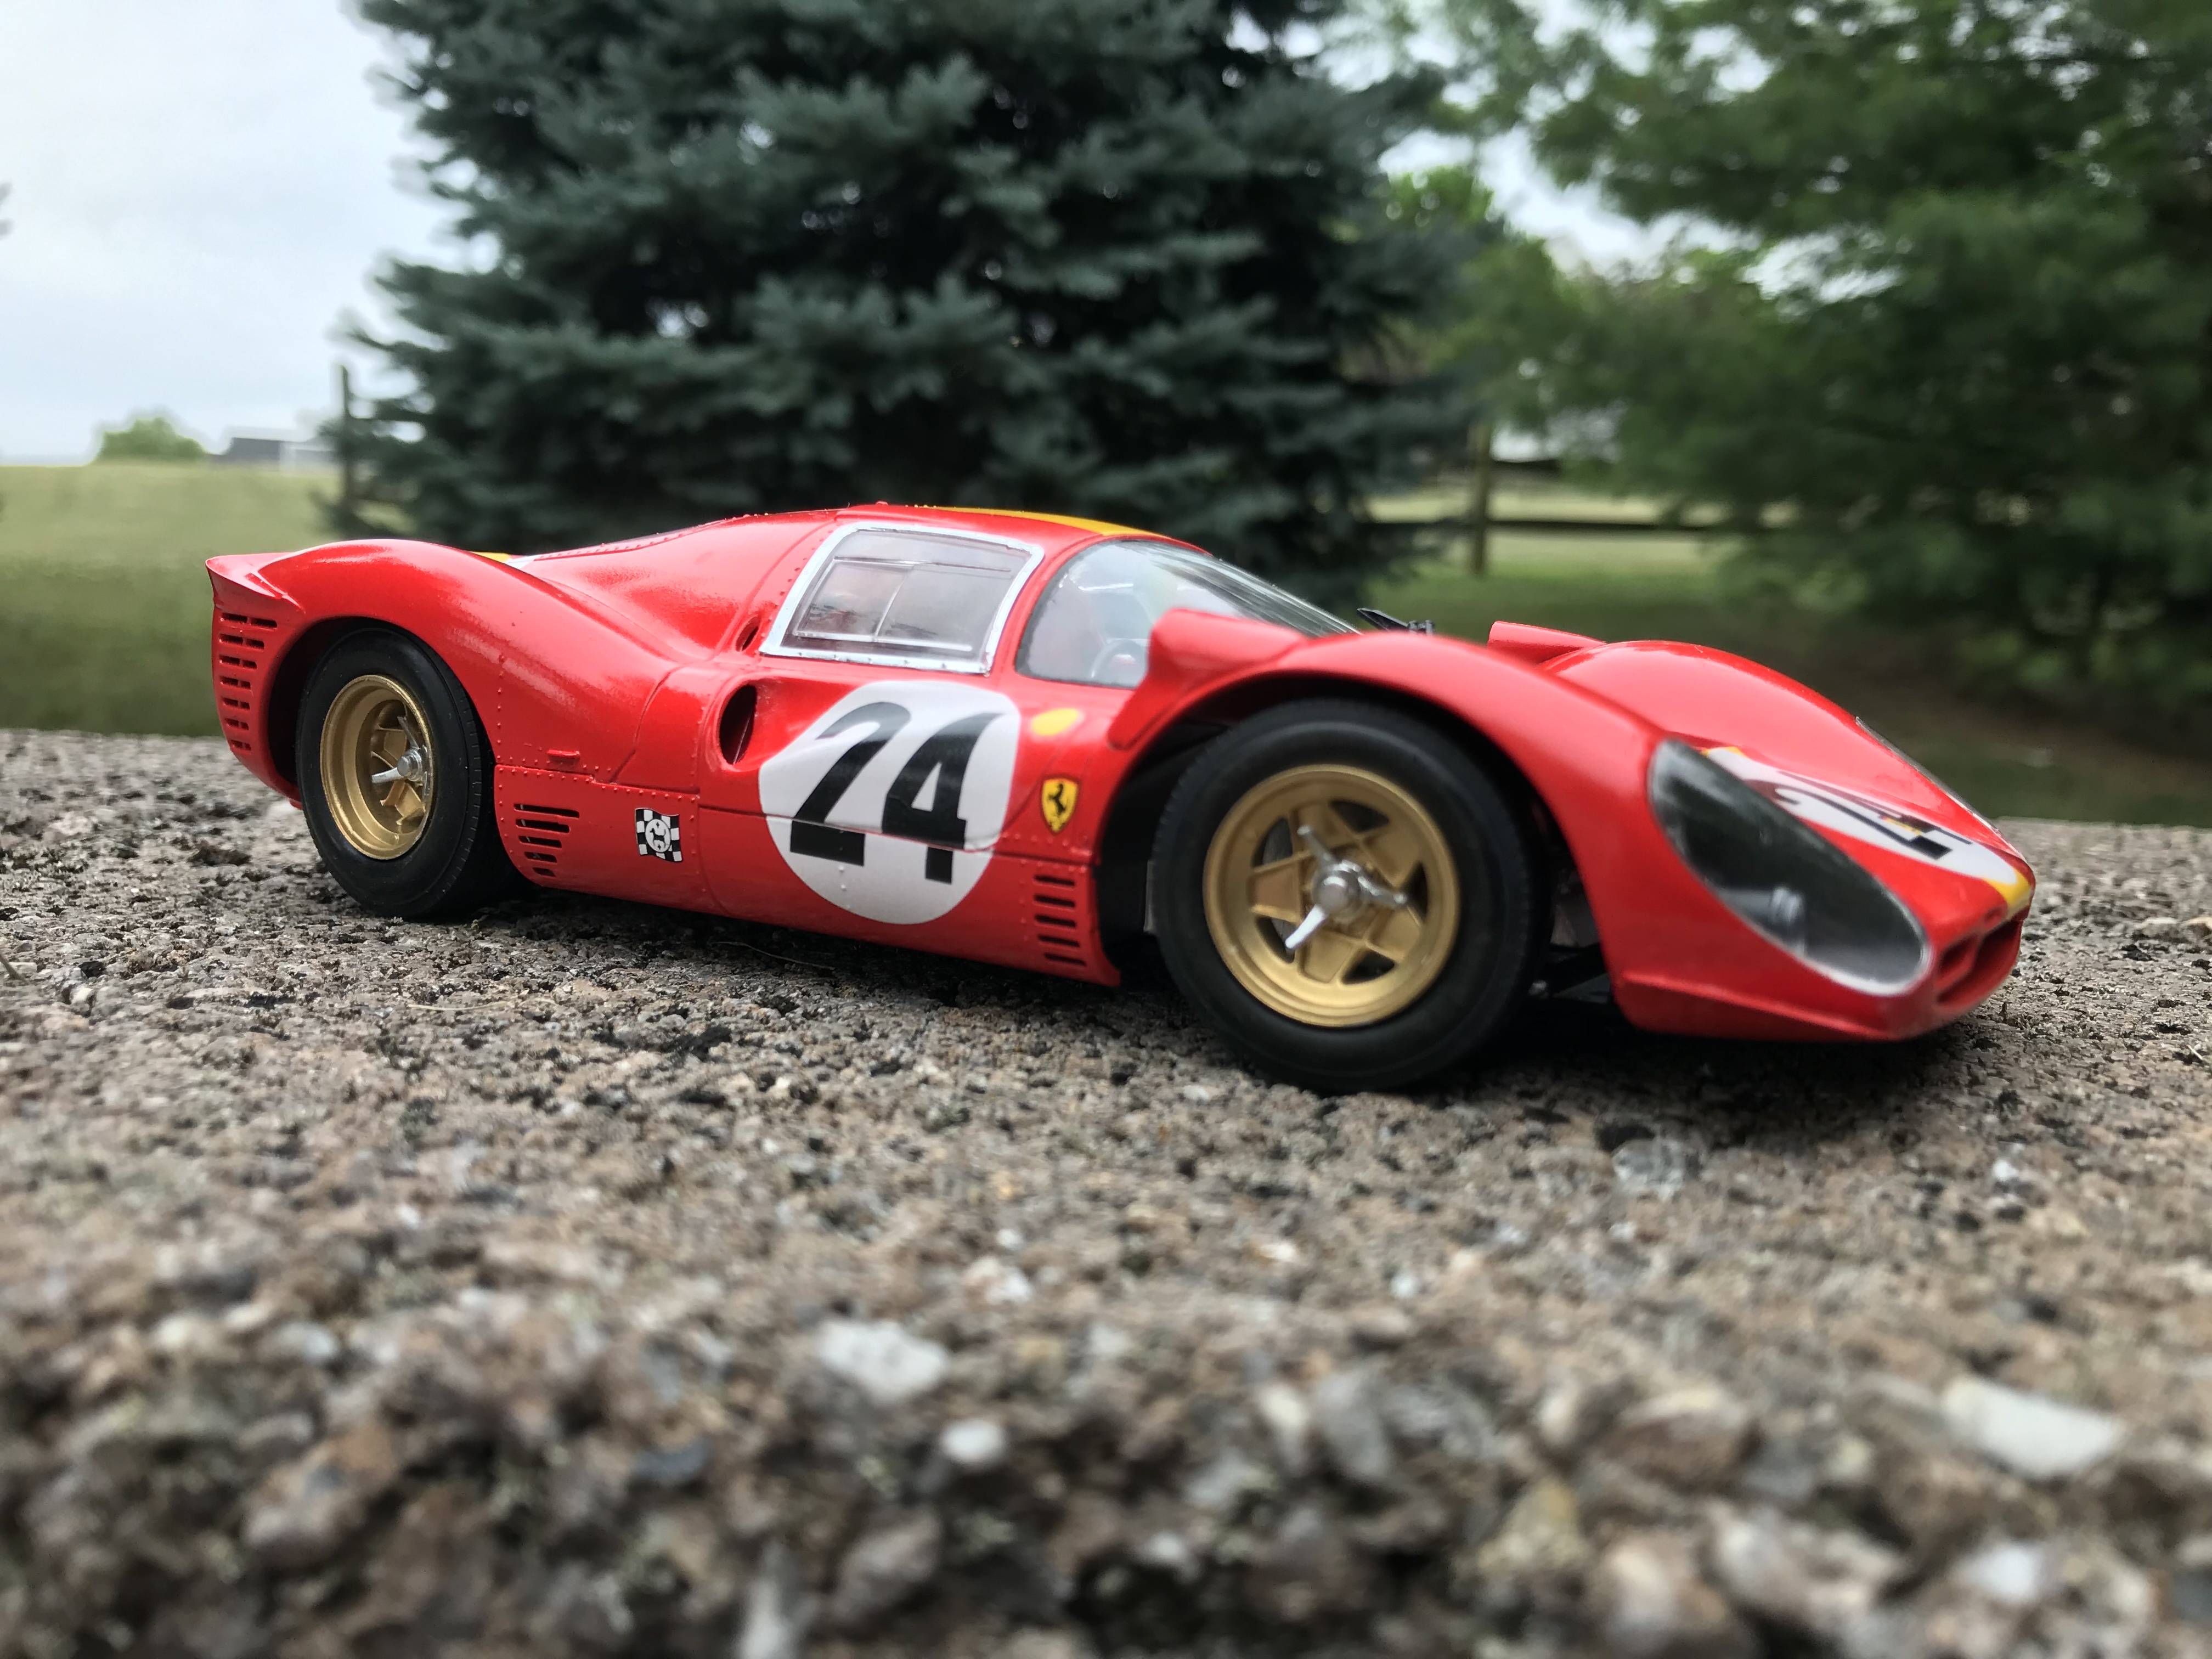
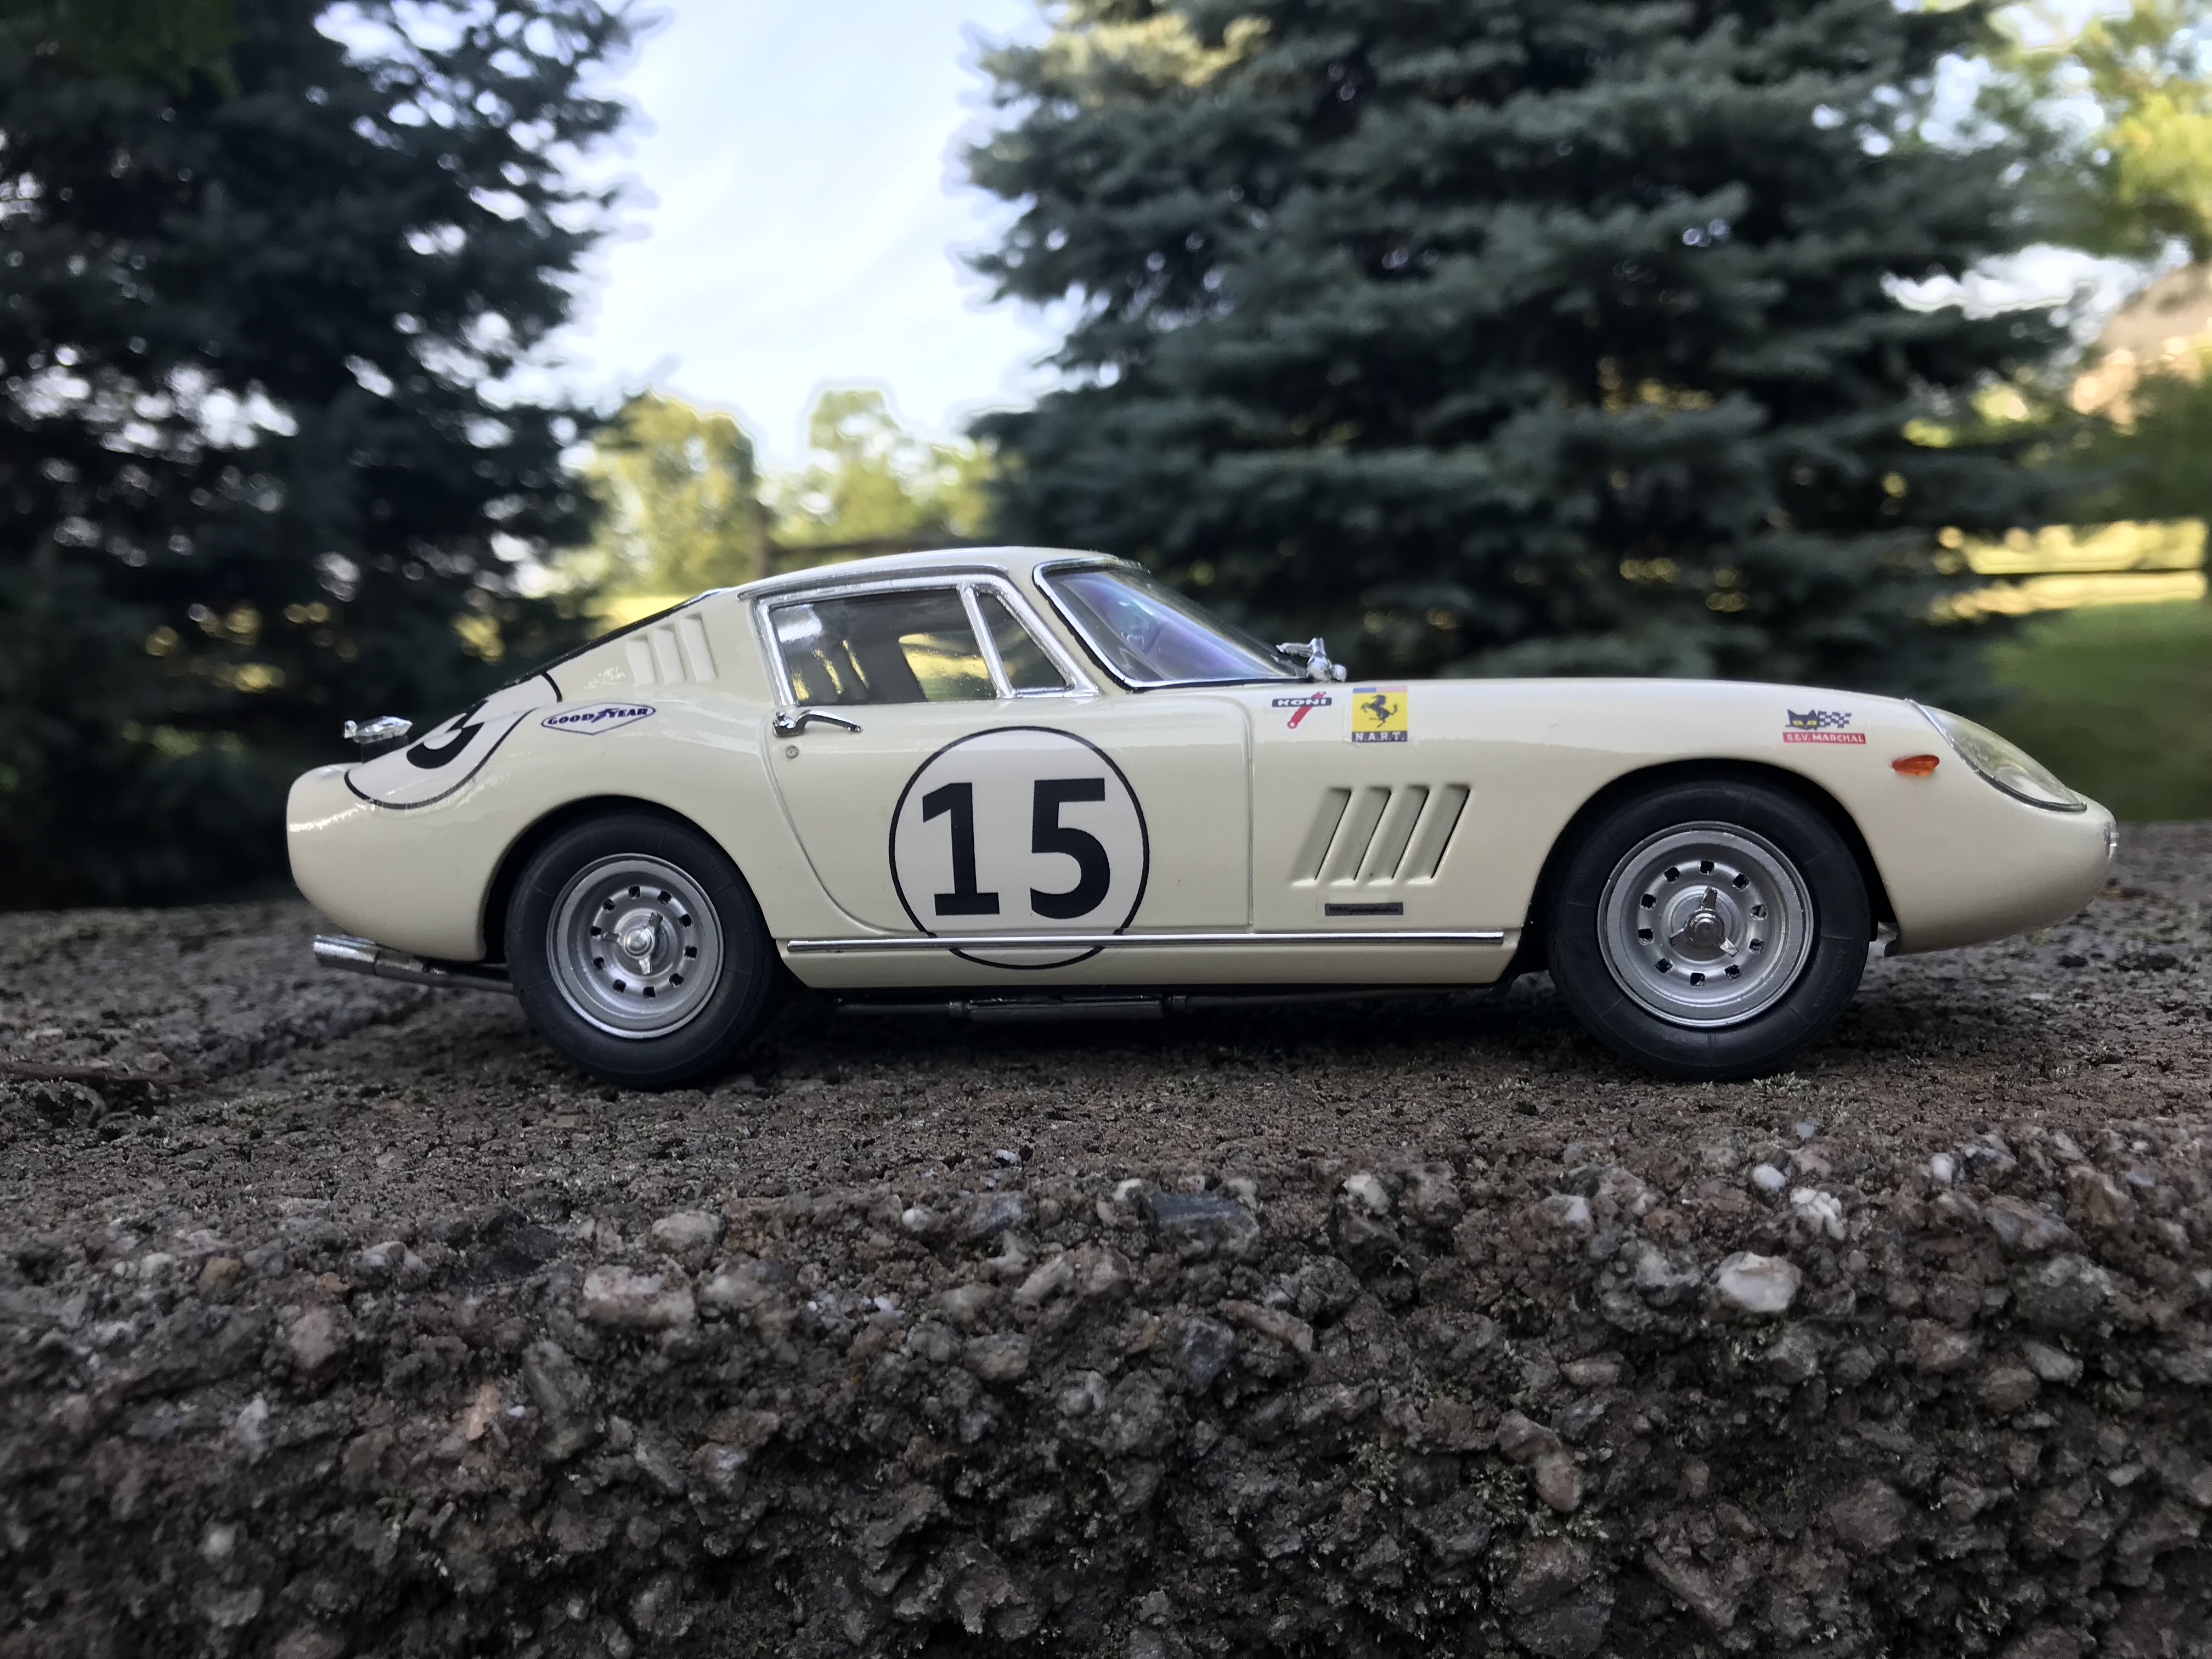
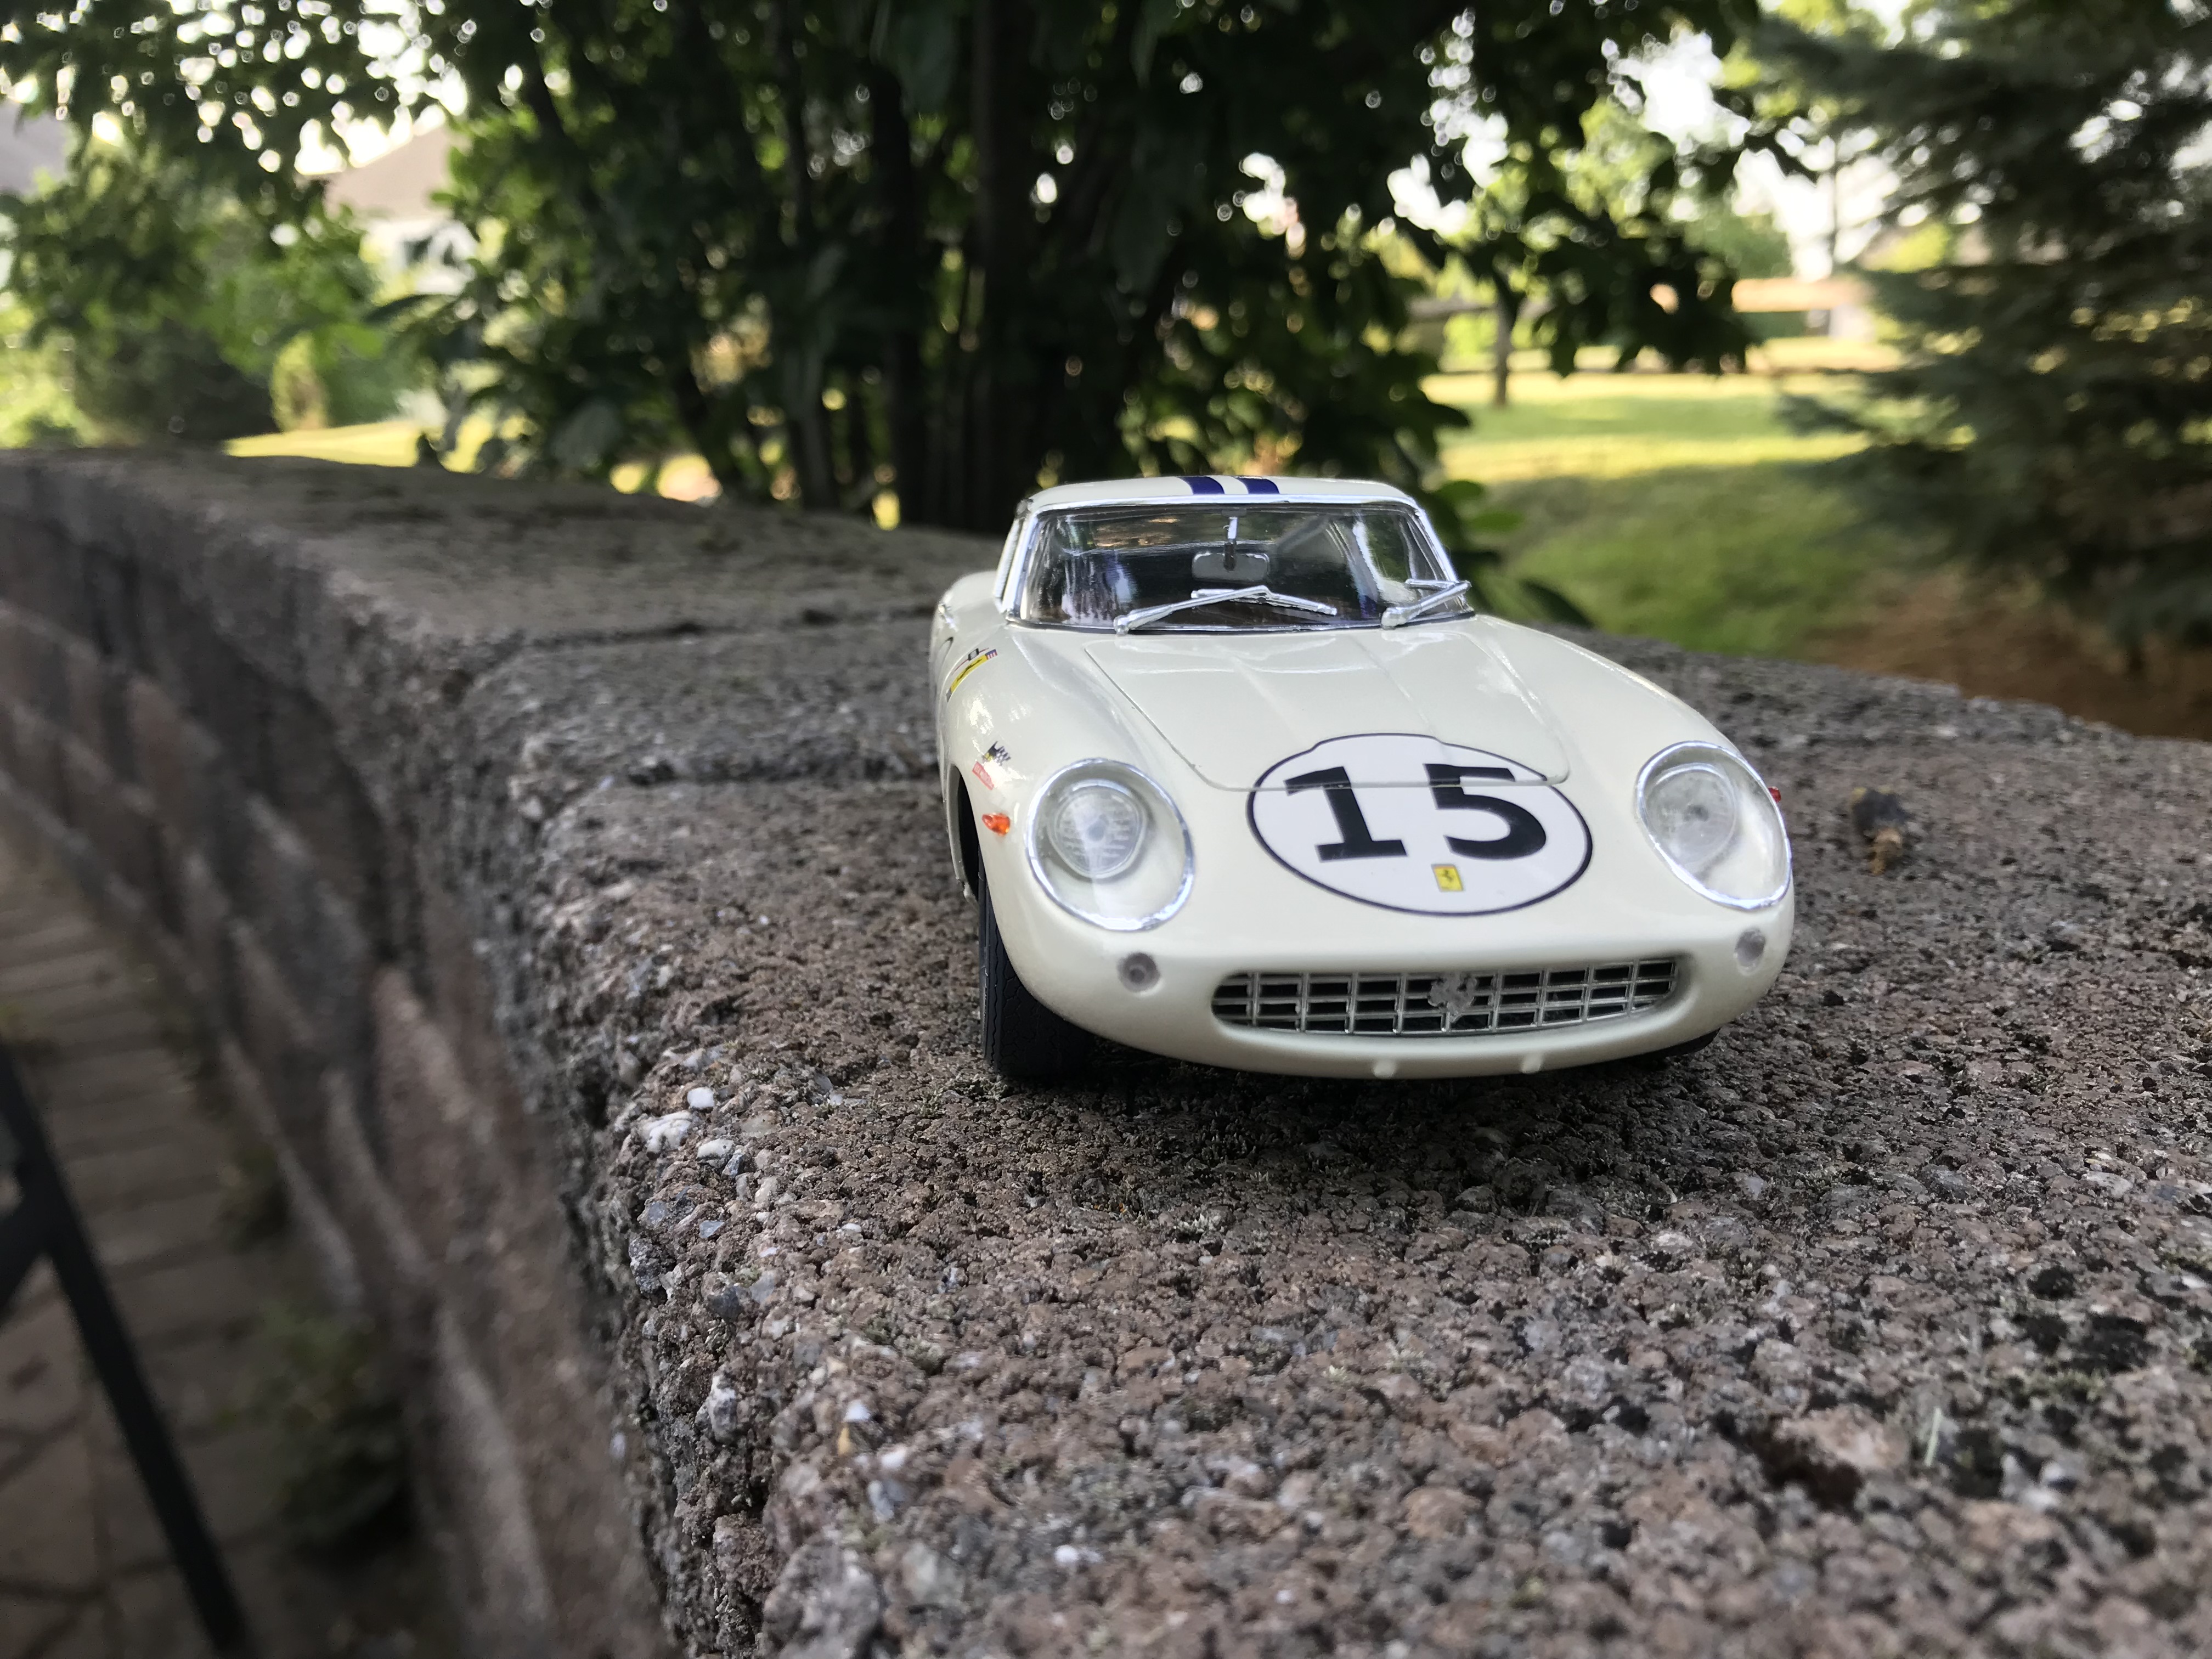
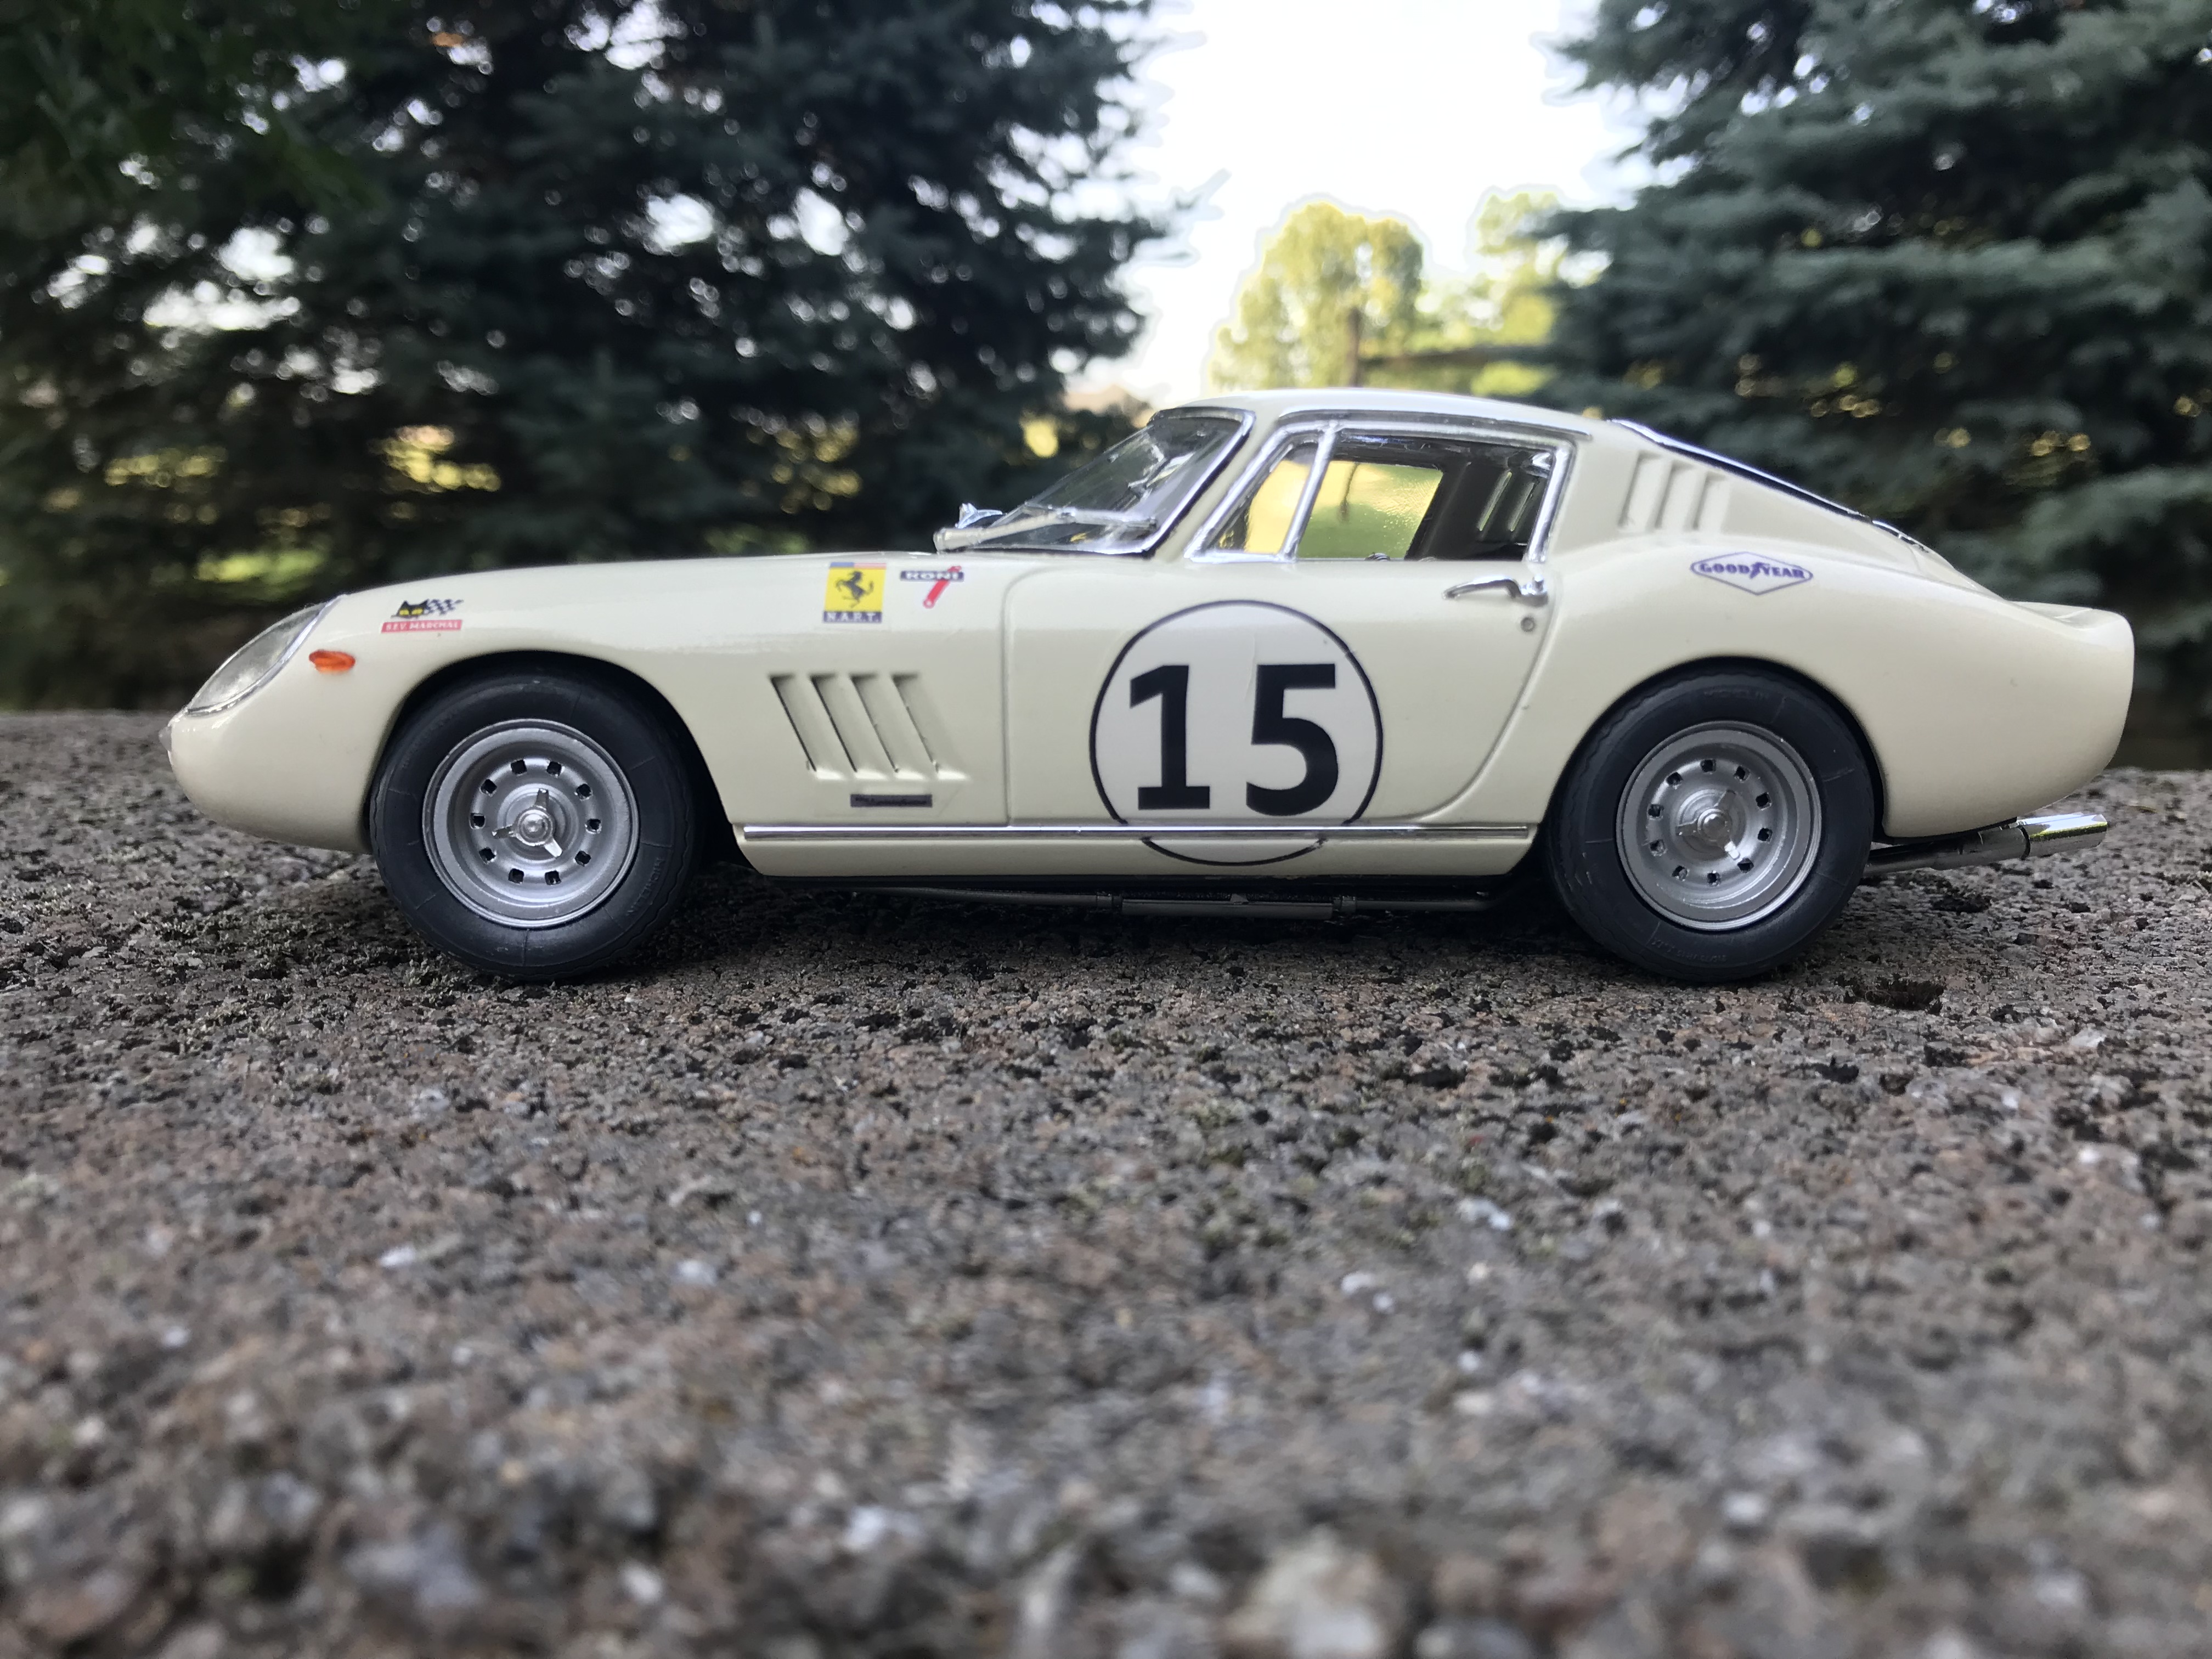
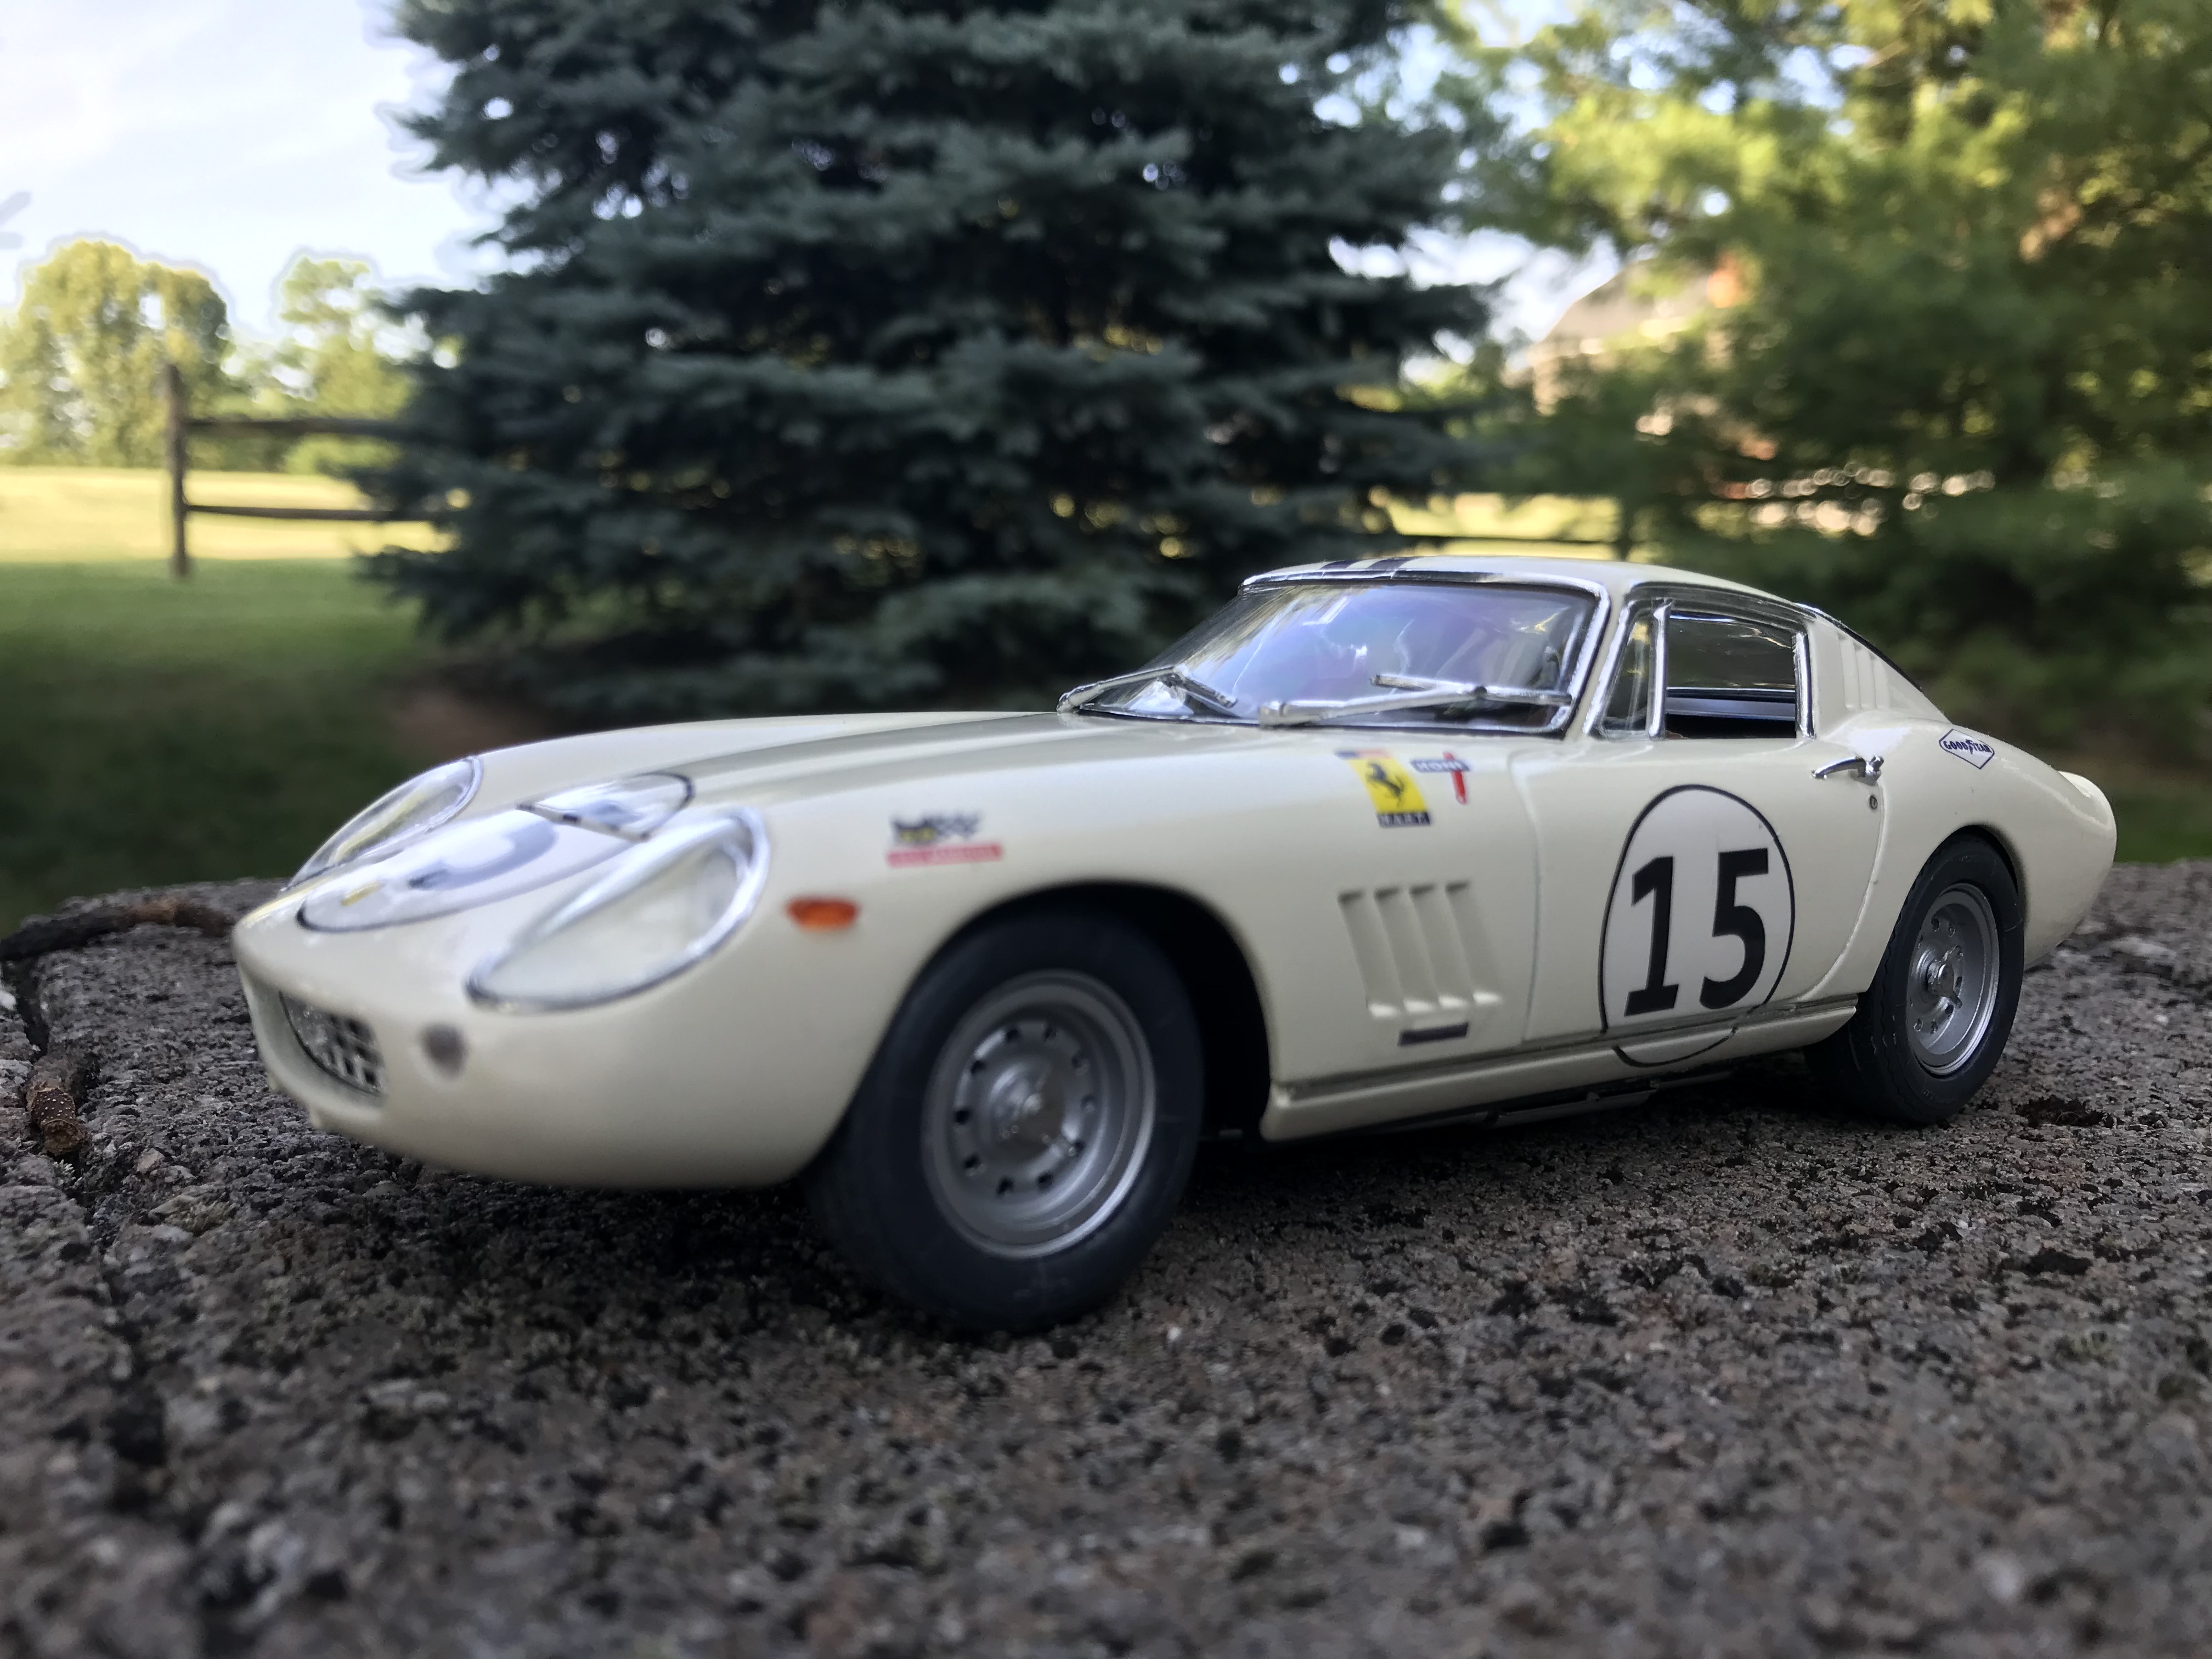
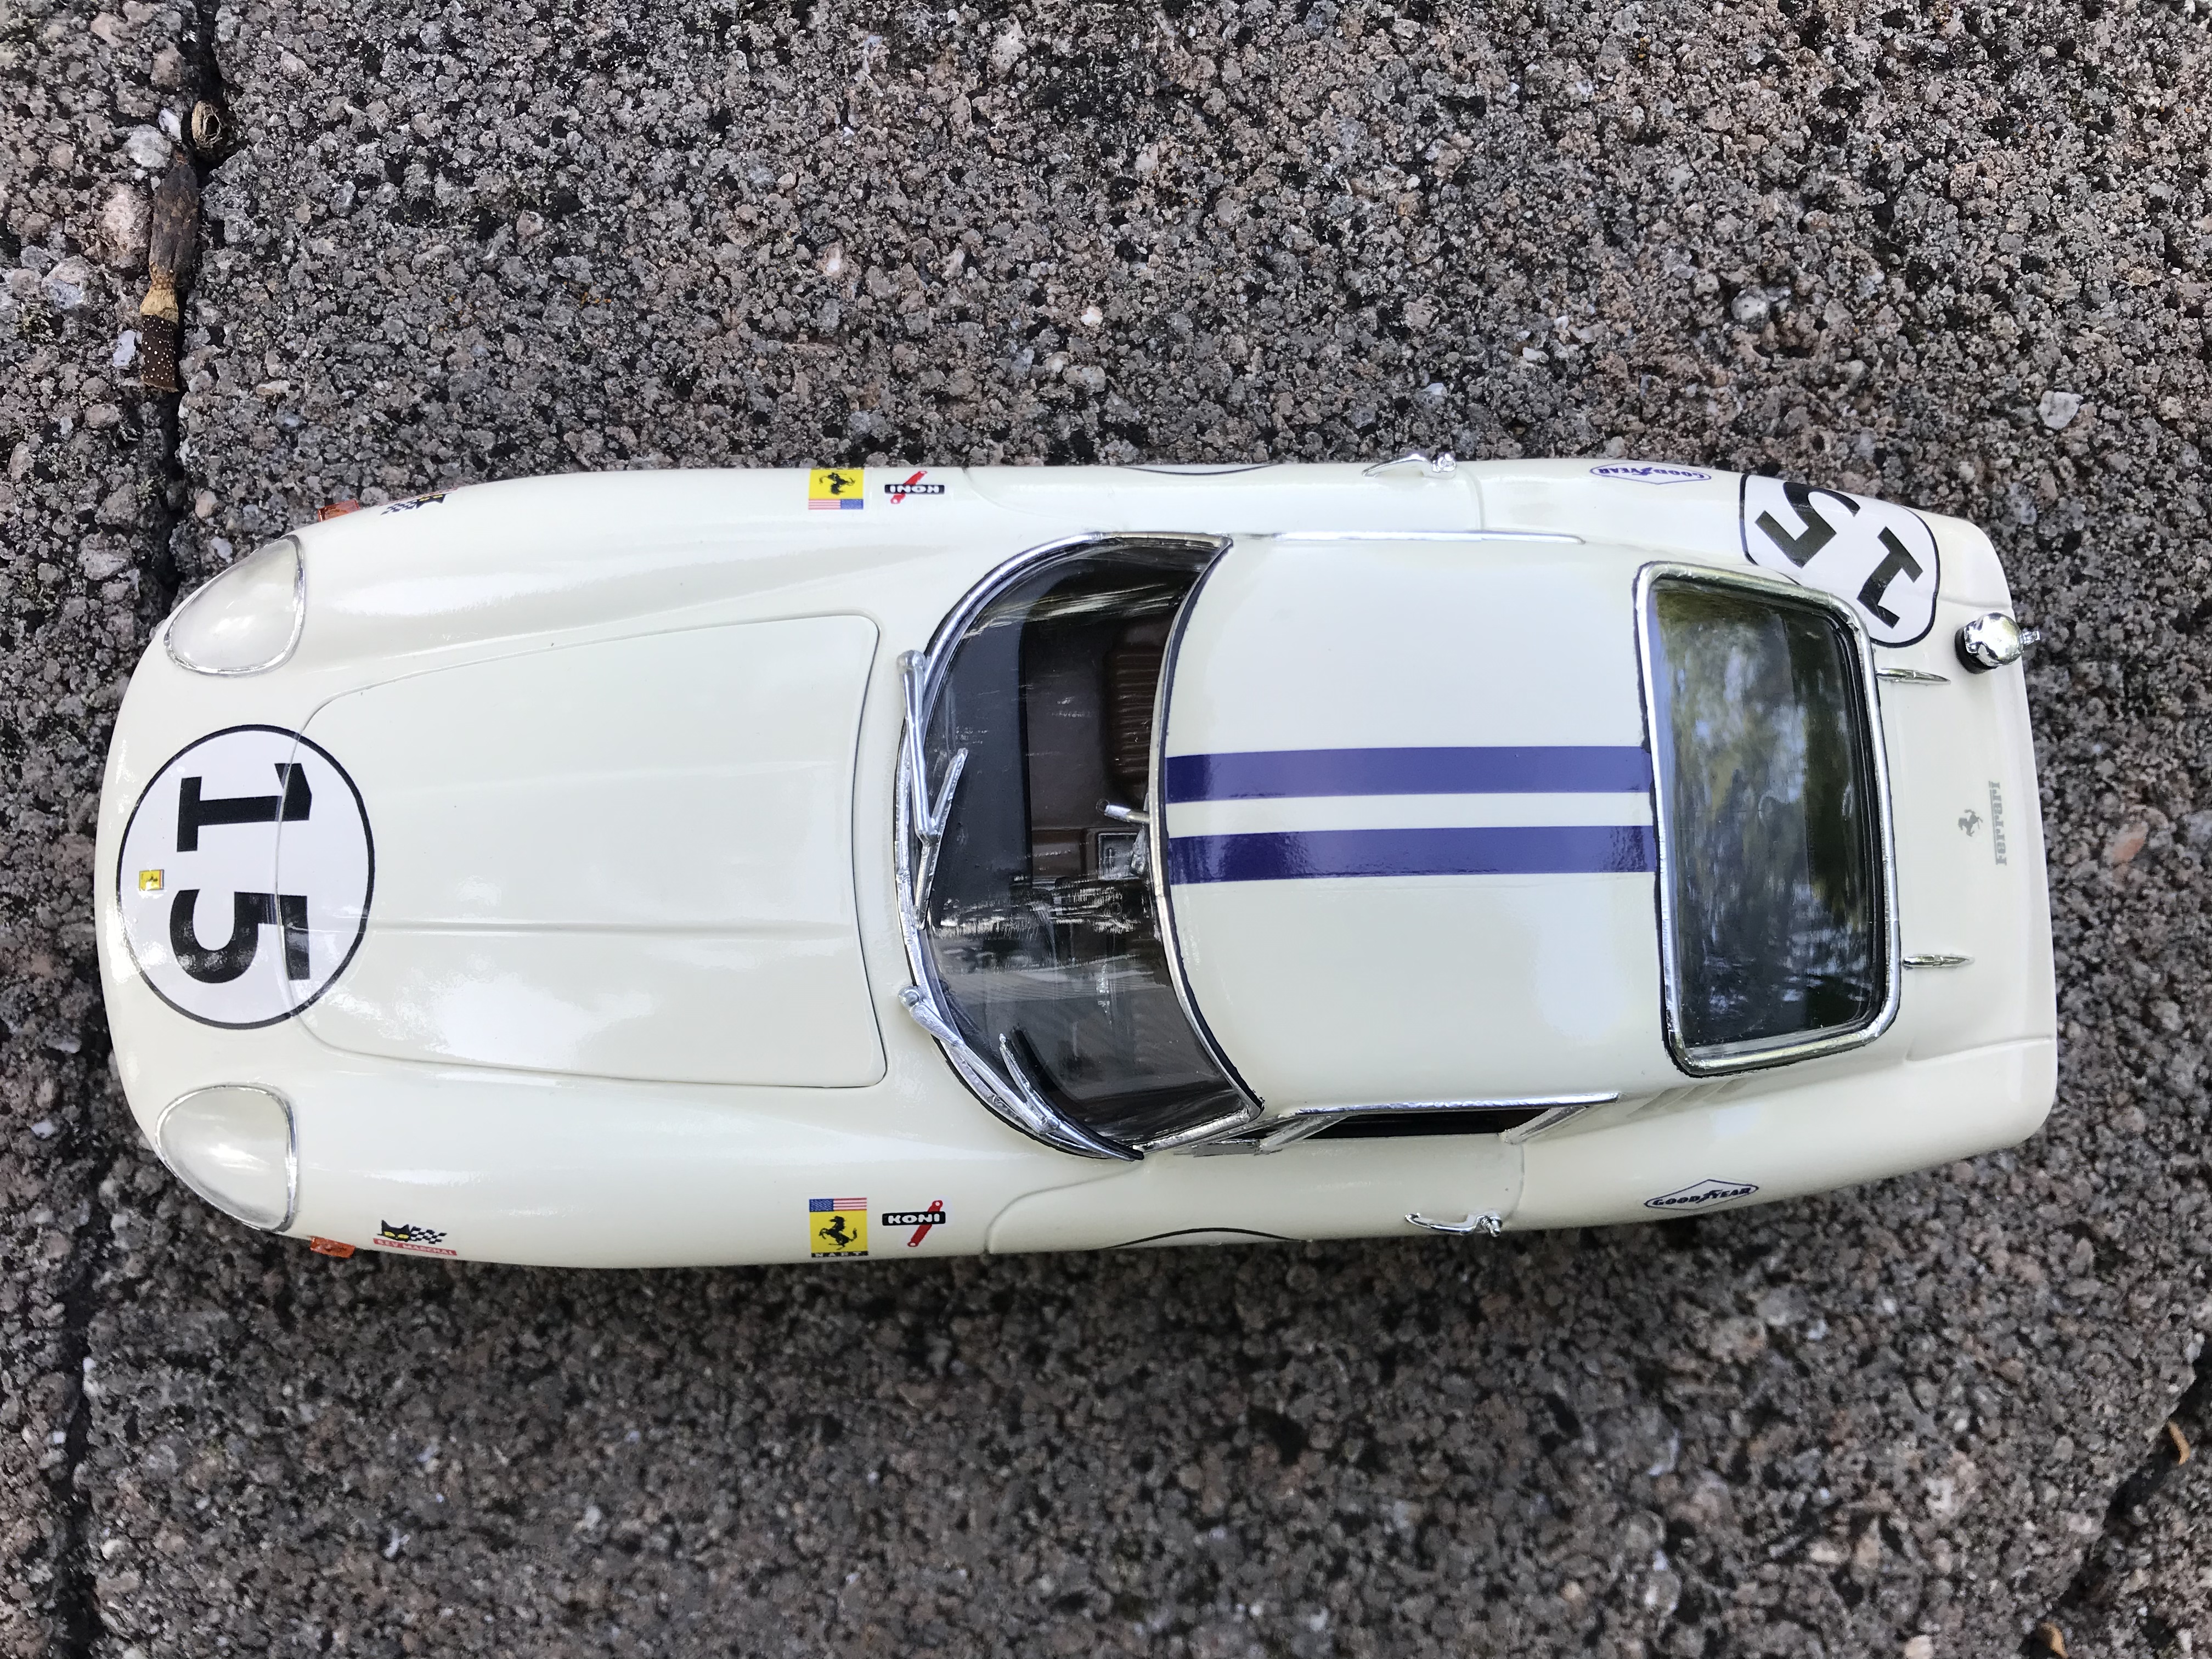
Italeri kit as base historic racing miniature wheels Decals from lemans decals. tamiya racing white spray paint with clear coat over tamiya gray and white primers bare metal foil aluminum for window detailing
-