avidinha
-
Posts
593 -
Joined
-
Last visited


.thumb.jpg.e12e5df0ccf757b78eedbb1abdd7fb95.jpg)
avidinha's Achievements
MCM Ohana (6/6)
-
Any idea on theme for the 2026 Cannonball
avidinha replied to Wagonmaster110's topic in Community Builds
A couple guys broke the Cannonball record in a car disguised to look like an unmarked cop car a few years ago. -
https://www.automotivetouchup.com/choosecolor/buypaint.aspx?vehicle=833&color=199457961
-
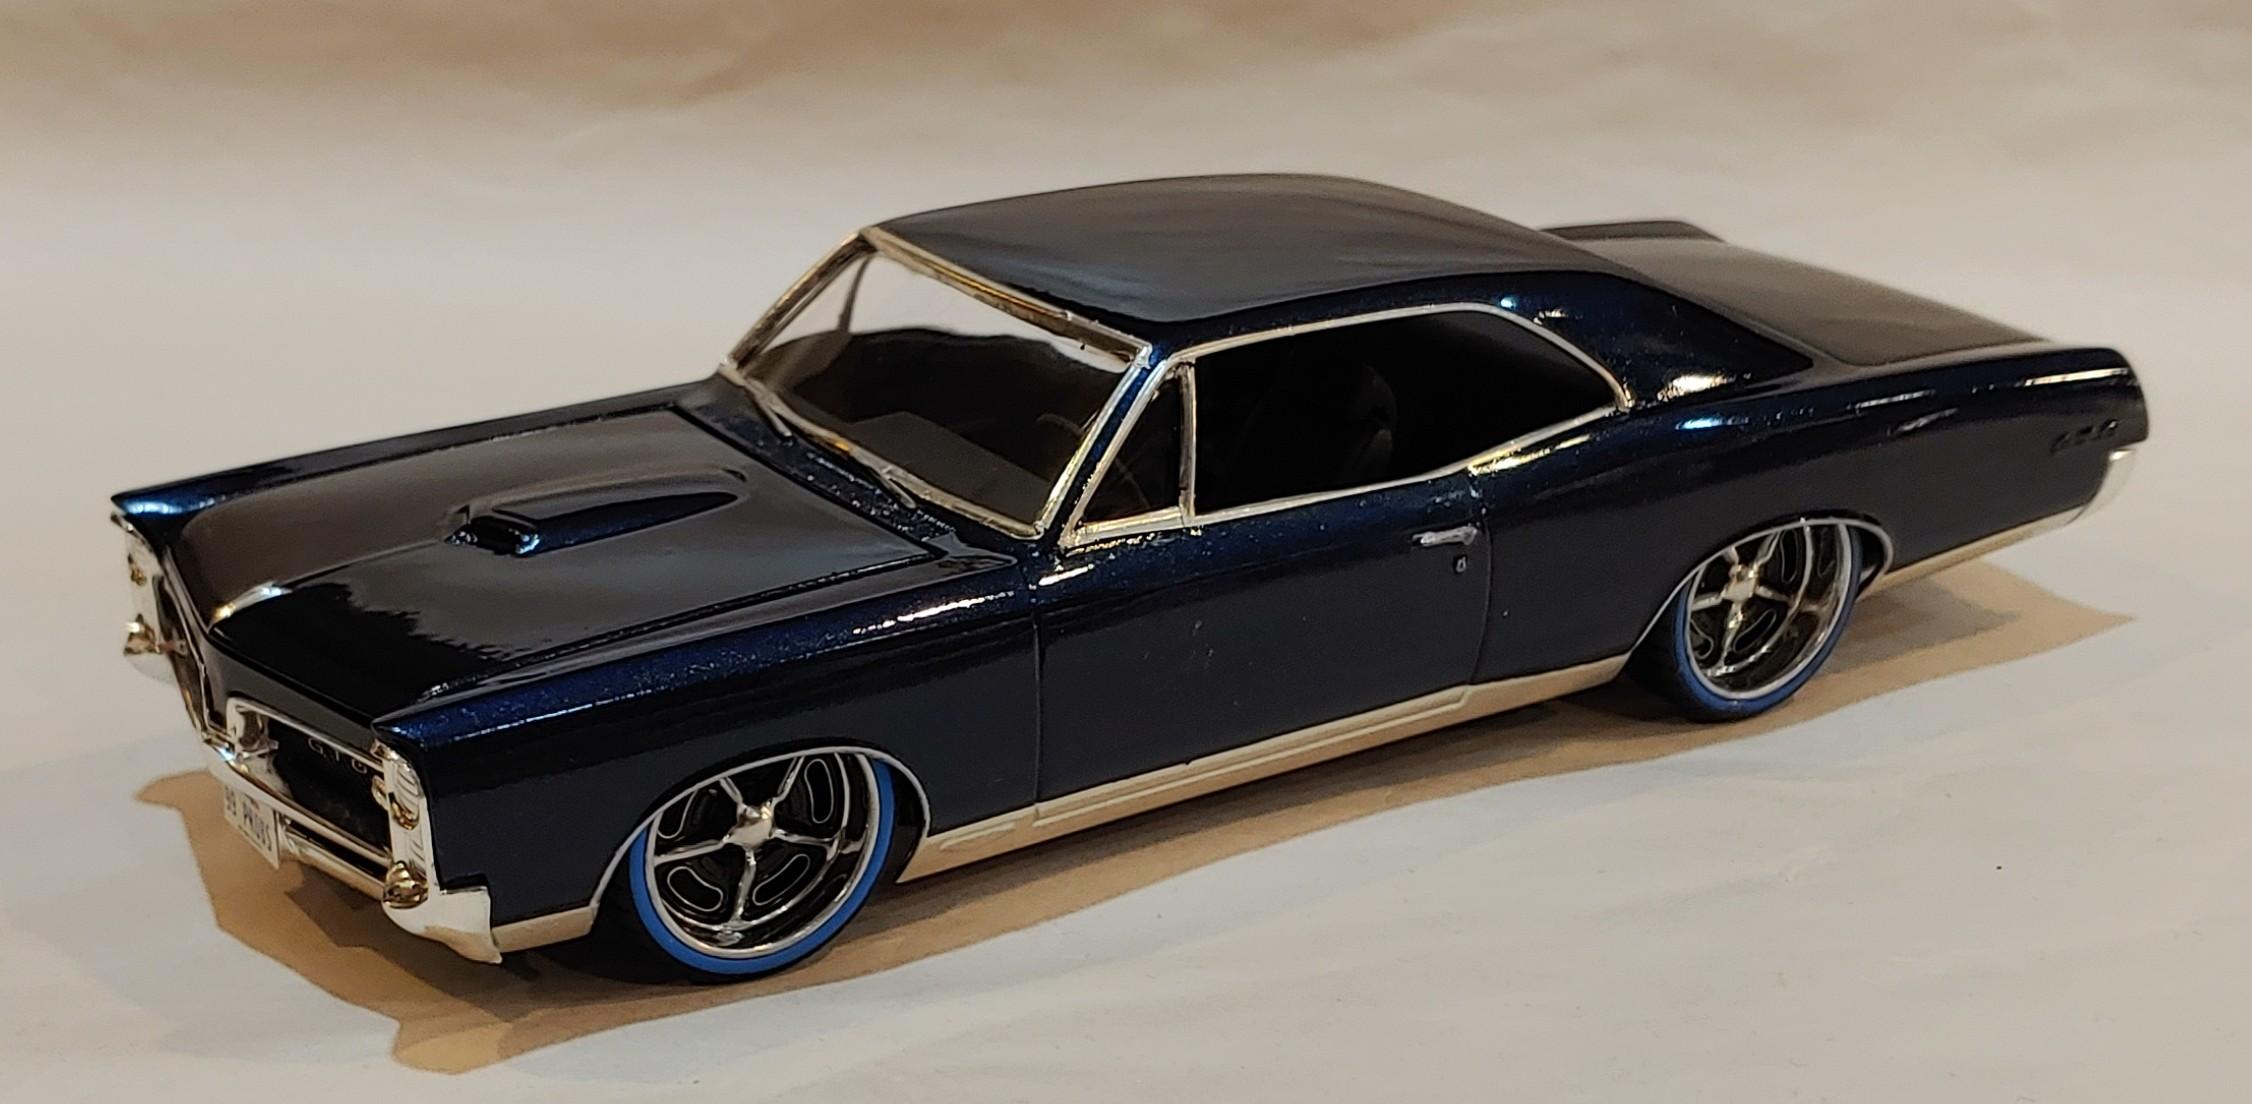
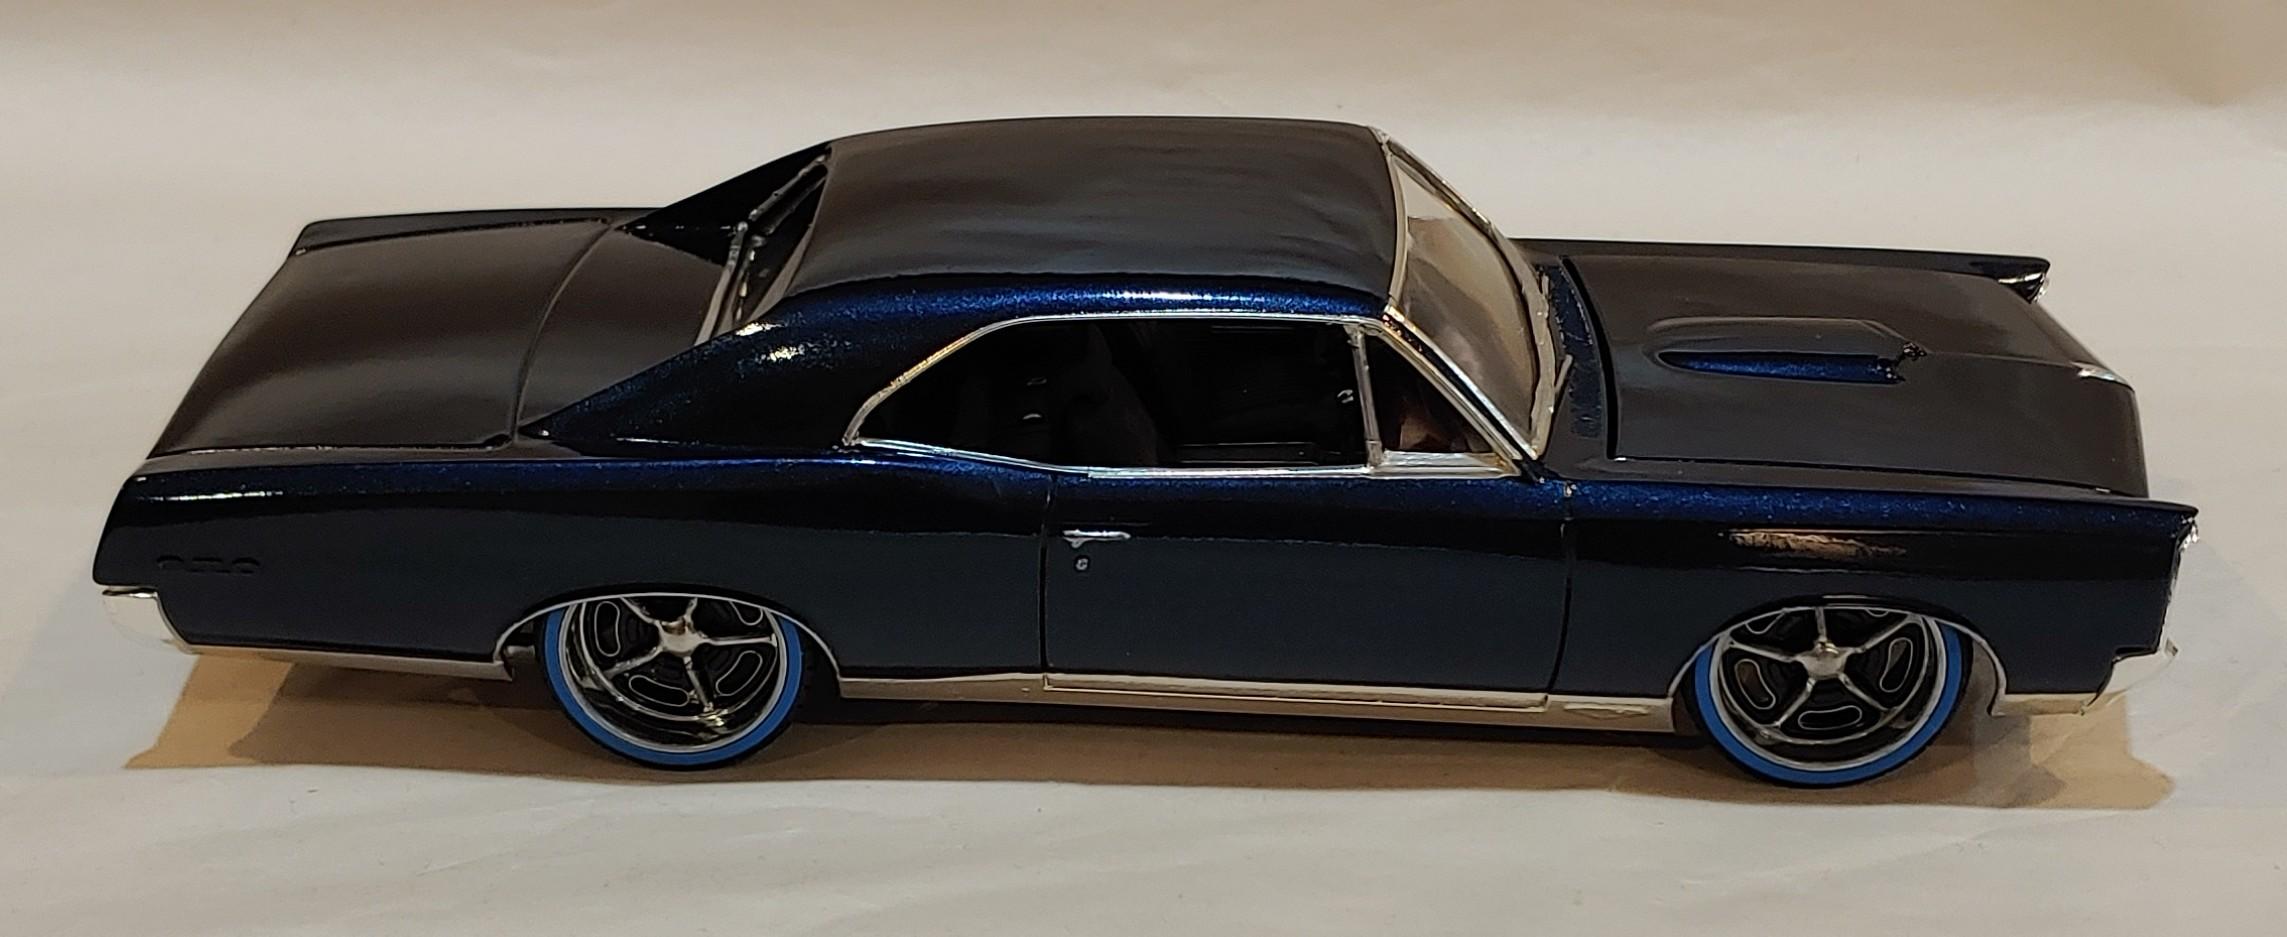
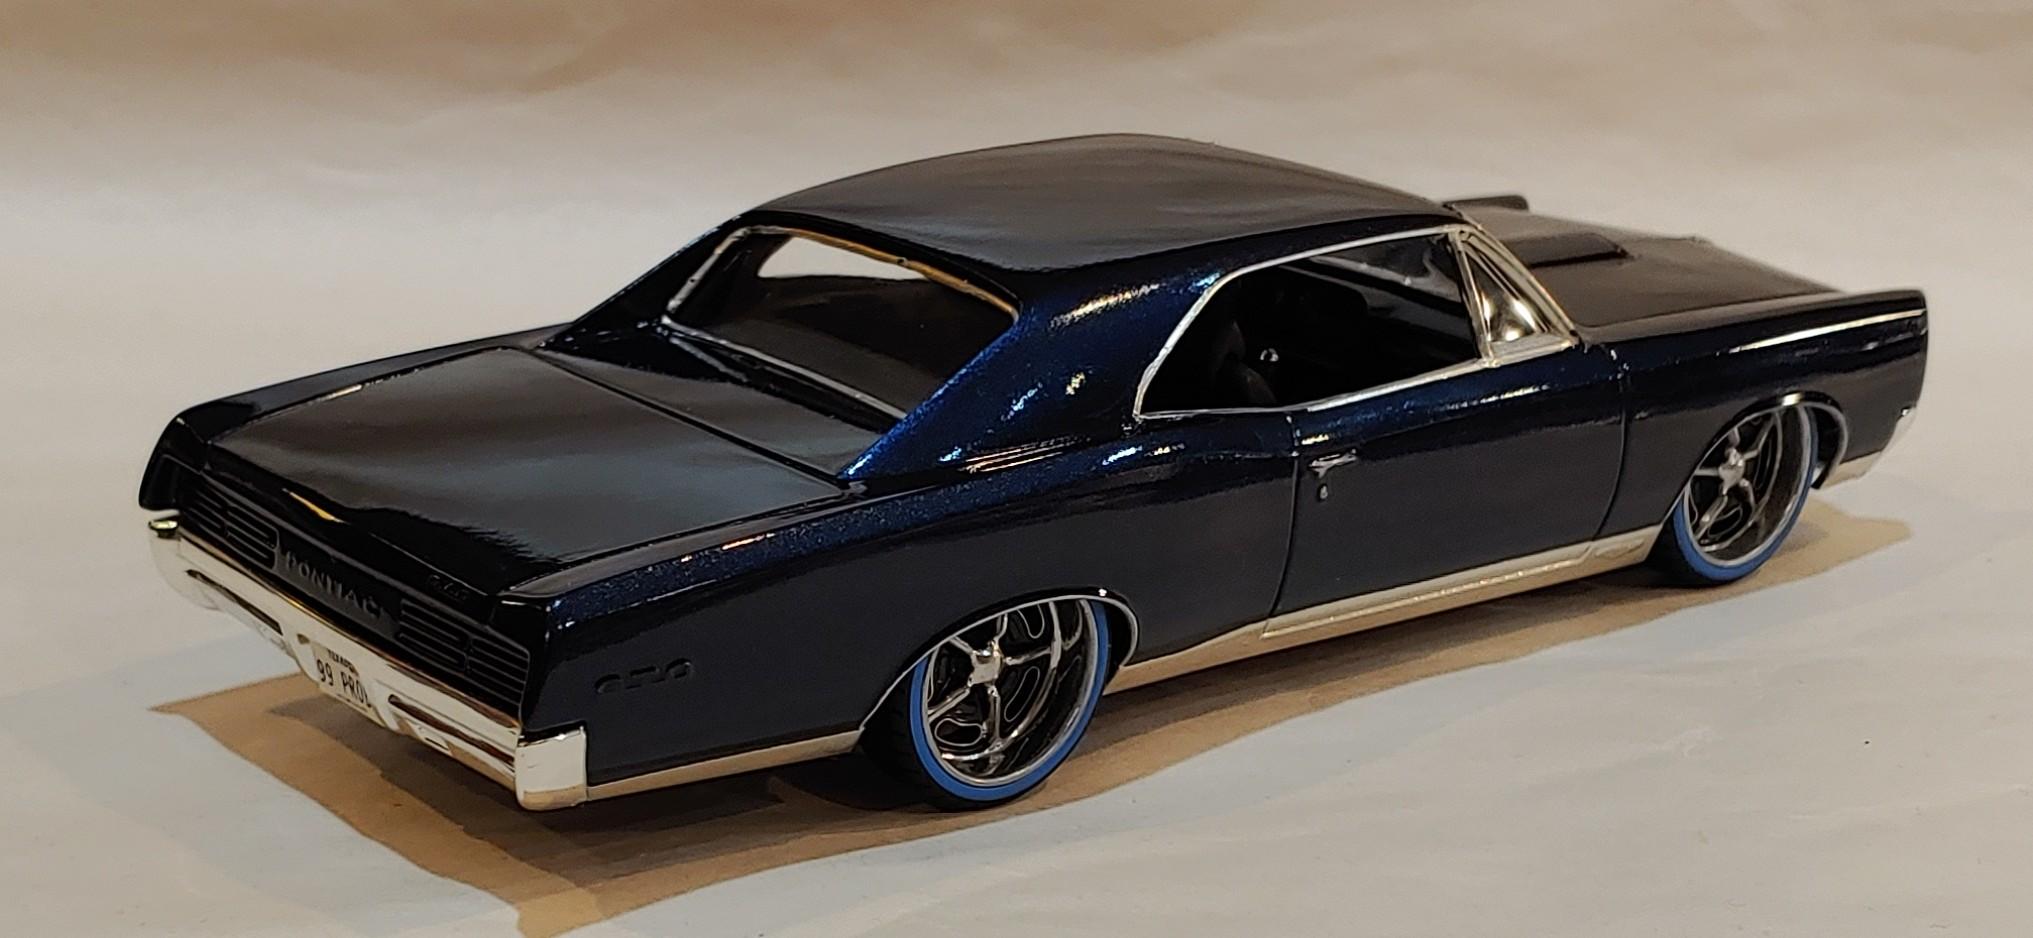
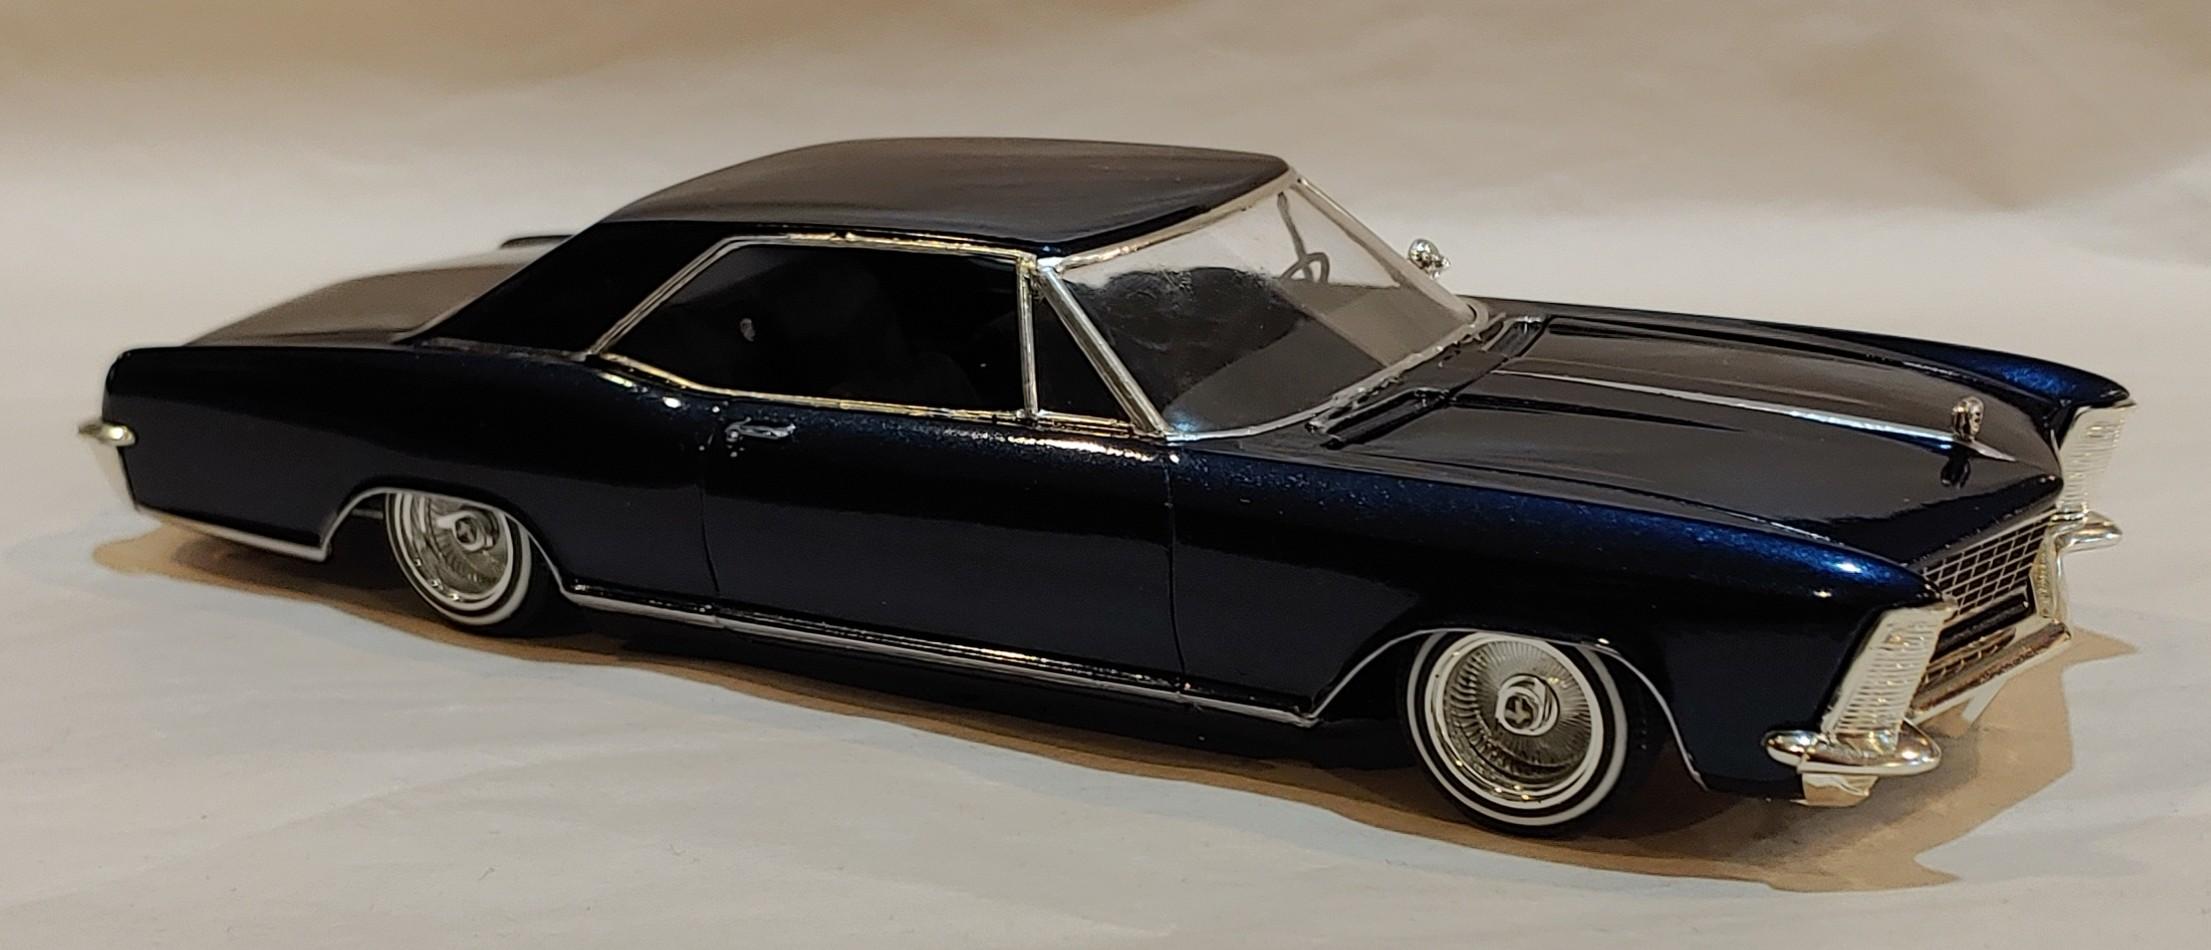
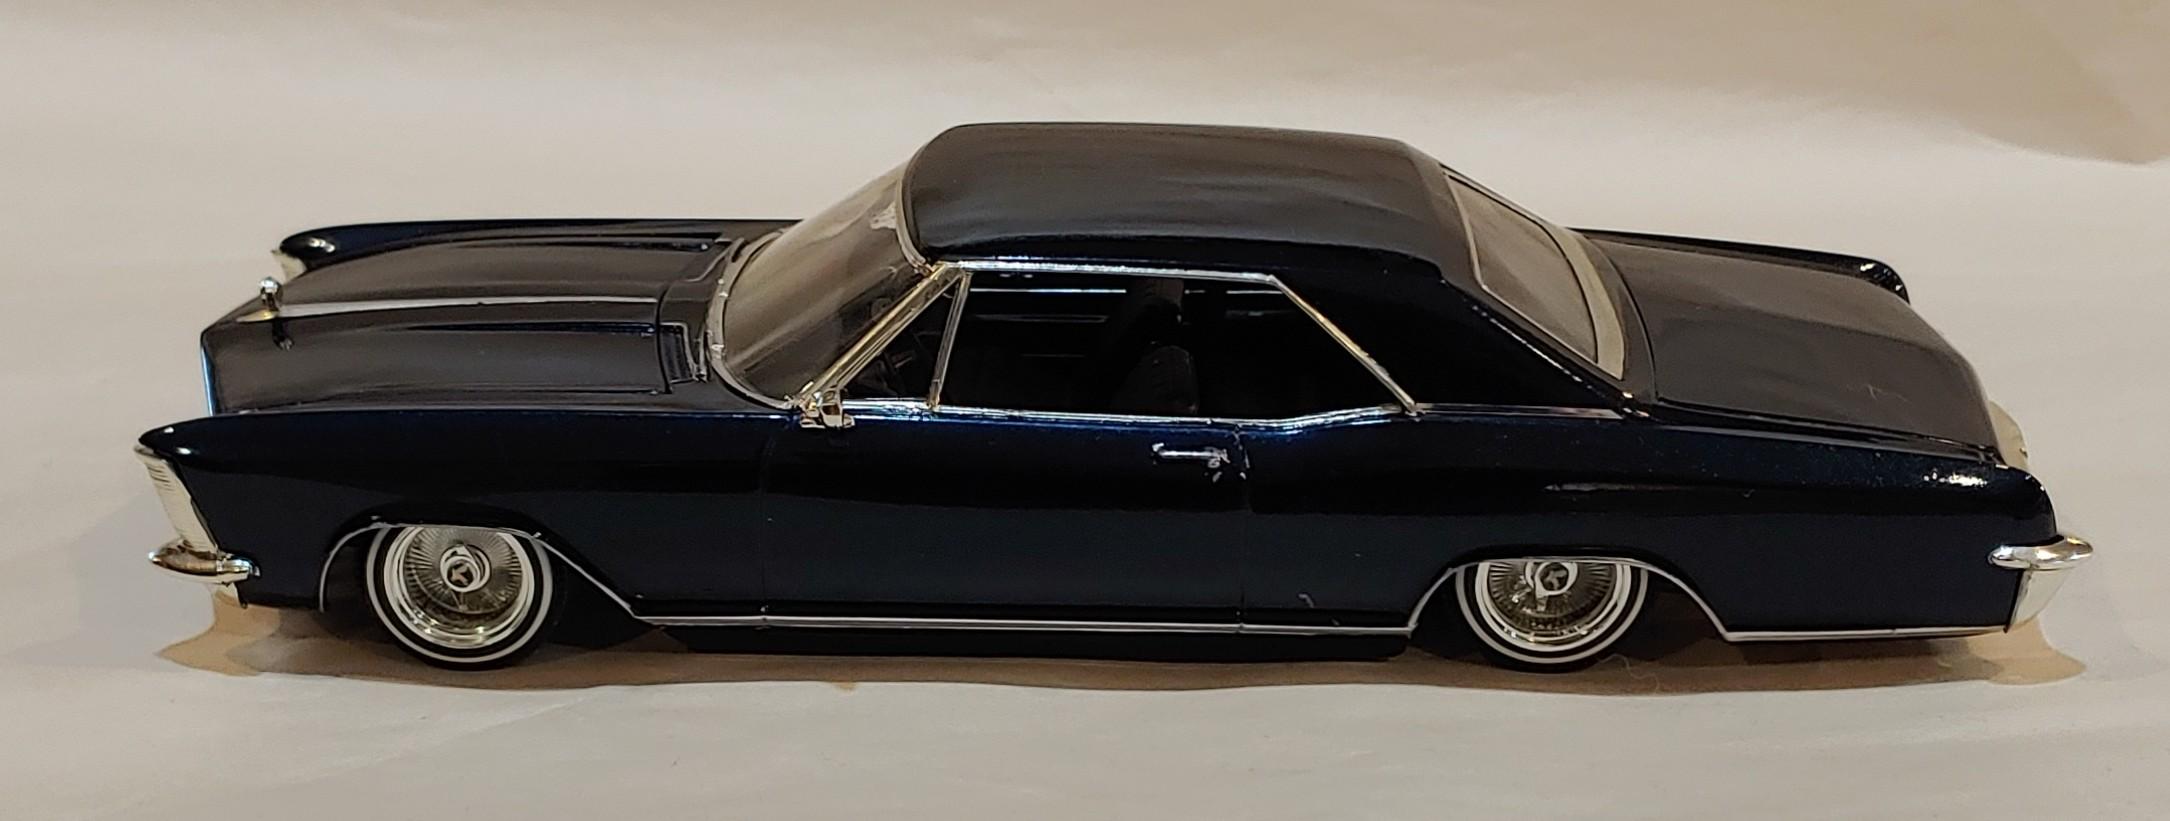
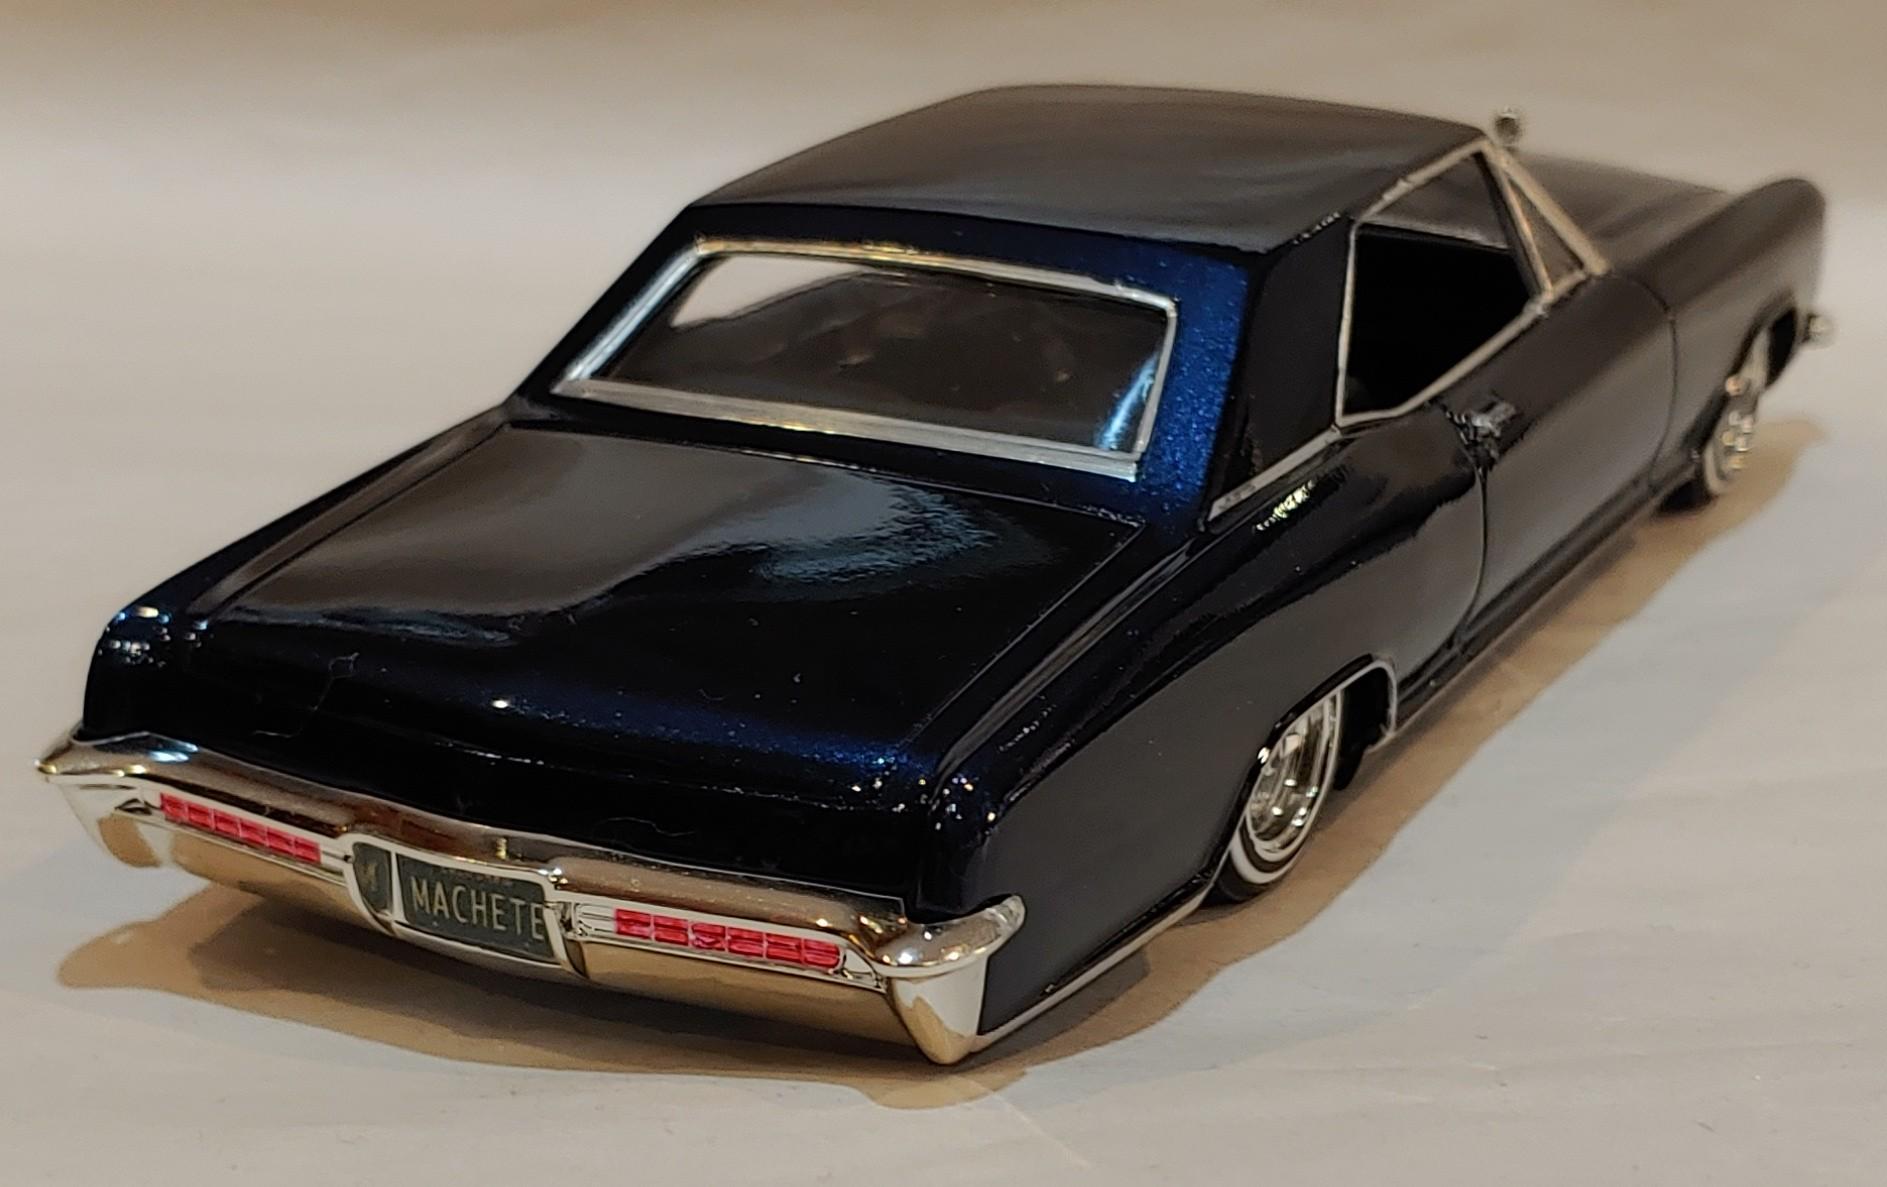
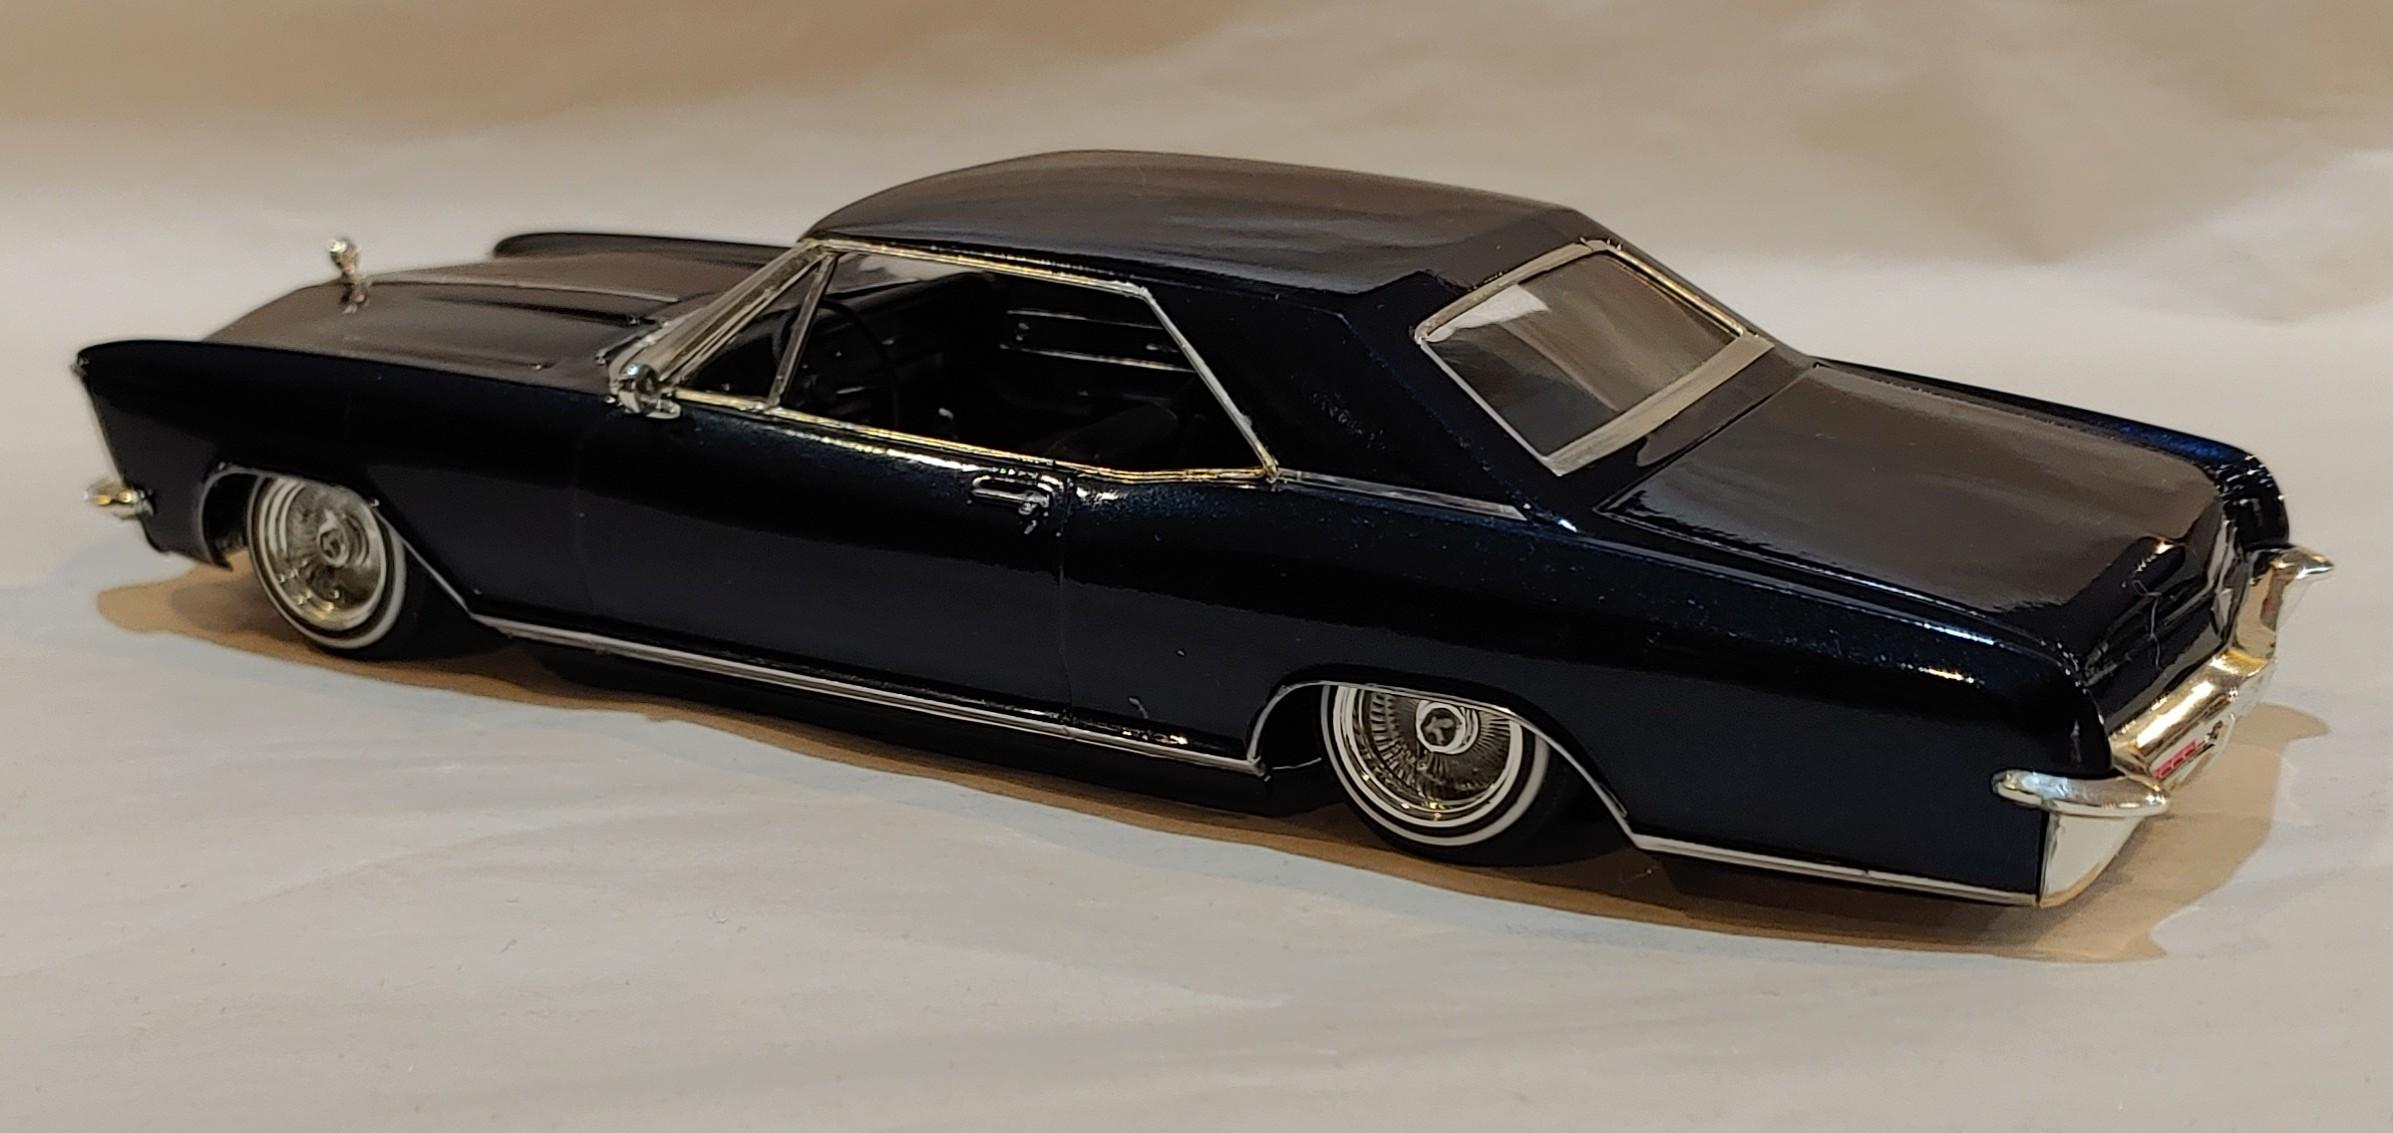
Thanks. It's duplicolor midnight blue.
-
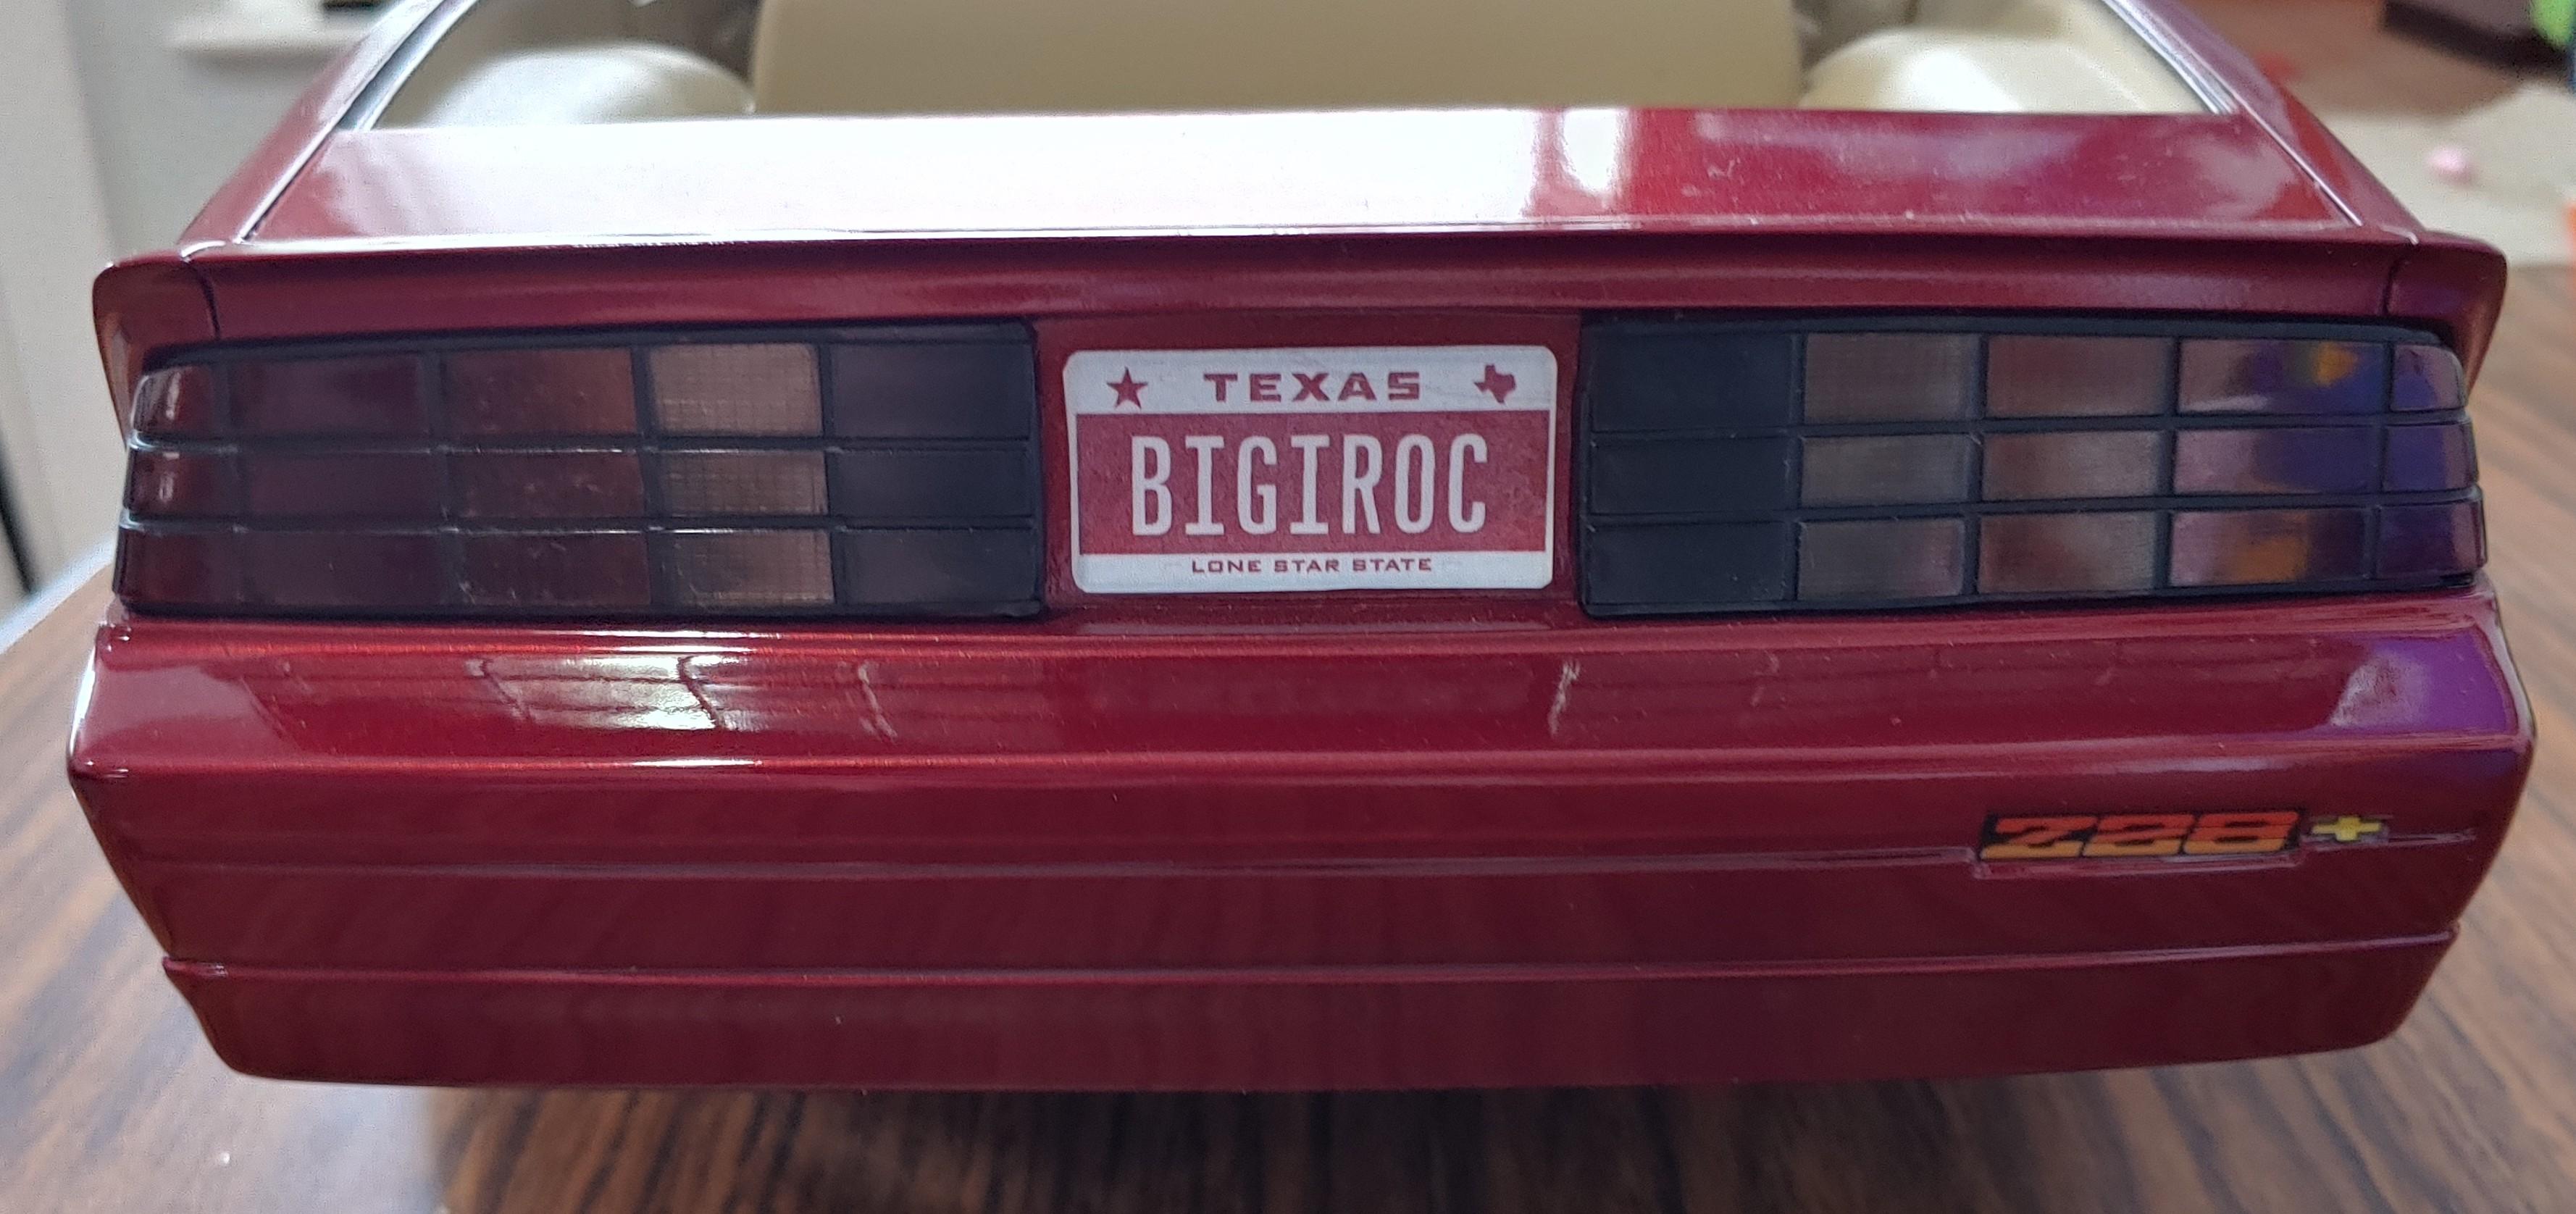
My brother-in-law found this kit for me at a thrift shop for $6. It's not a great kit, but for $6 I can't complain. No matter how much trimming and sanding I did I just couldn't get the front bumper to fit quite right. The wheels and tires are from Jay's Resin Wheels, I printed the plates, everything else came in the box.

- 12 replies
-
- 12
-

-
Thanks. I got the Eagles from a friend, not sure where he got them from. They've been in my stash for about a decade.
-
I know, the wheels came with 4 passenger side knockoffs.
-
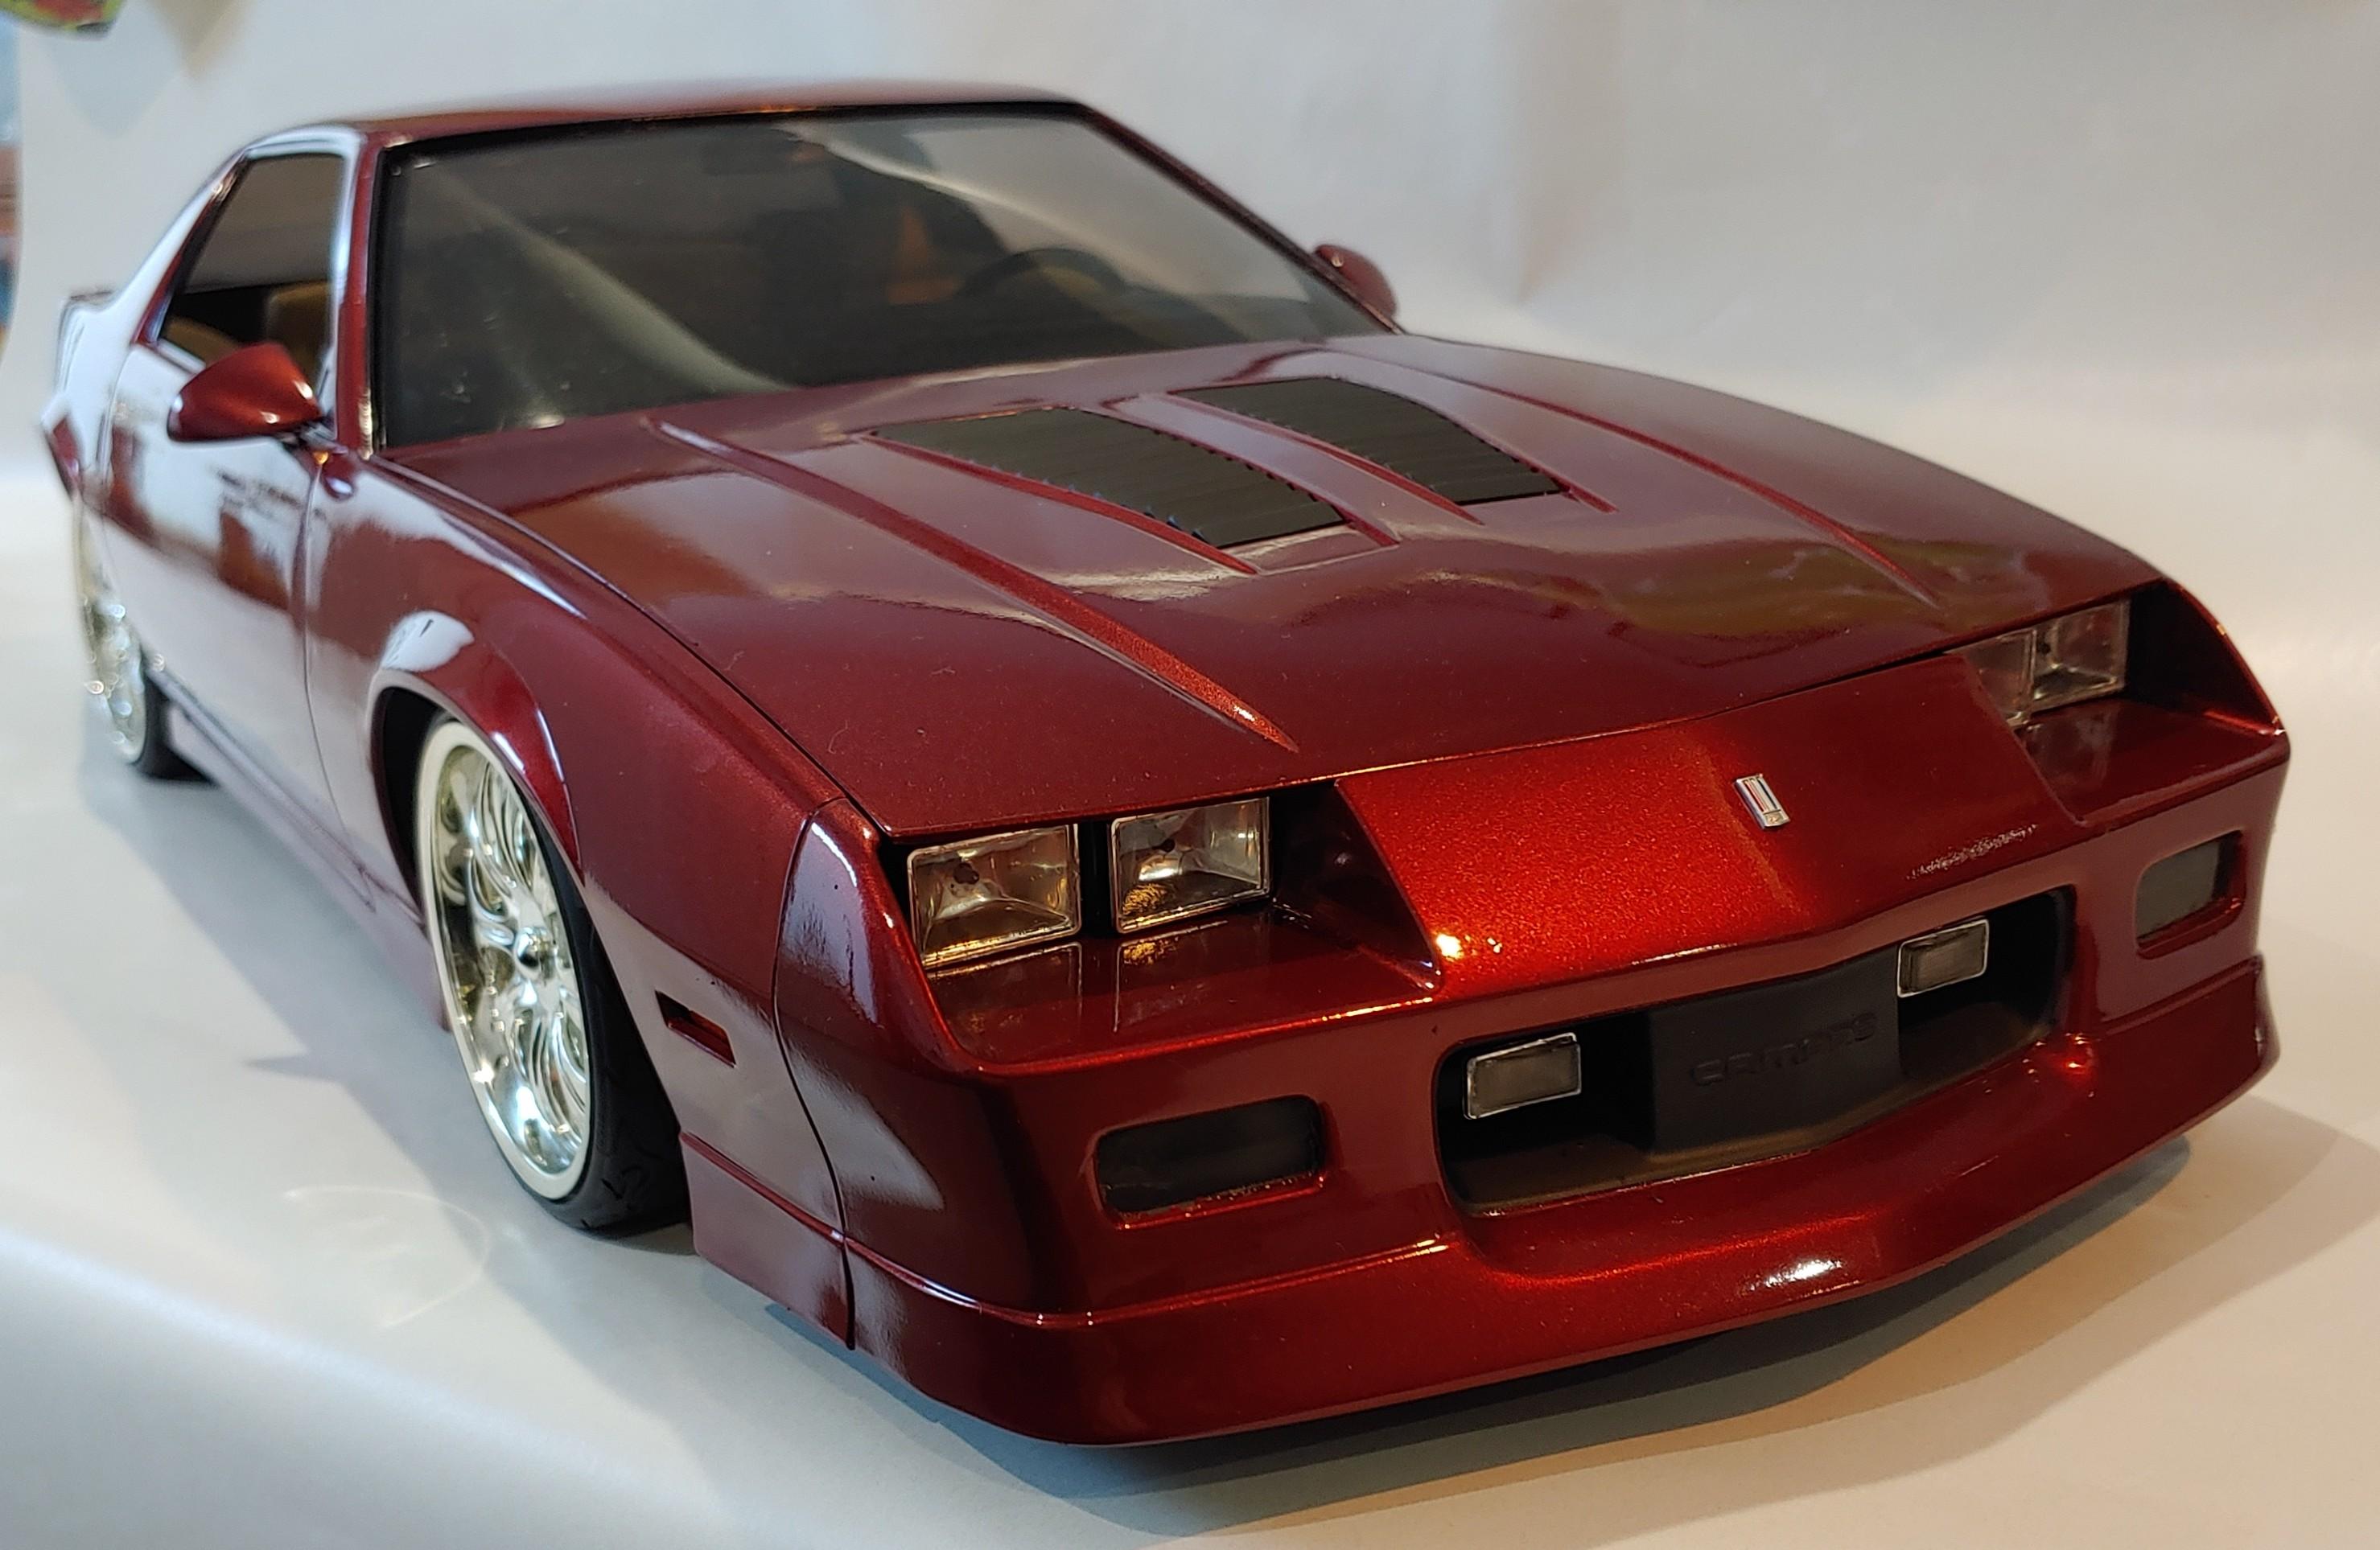
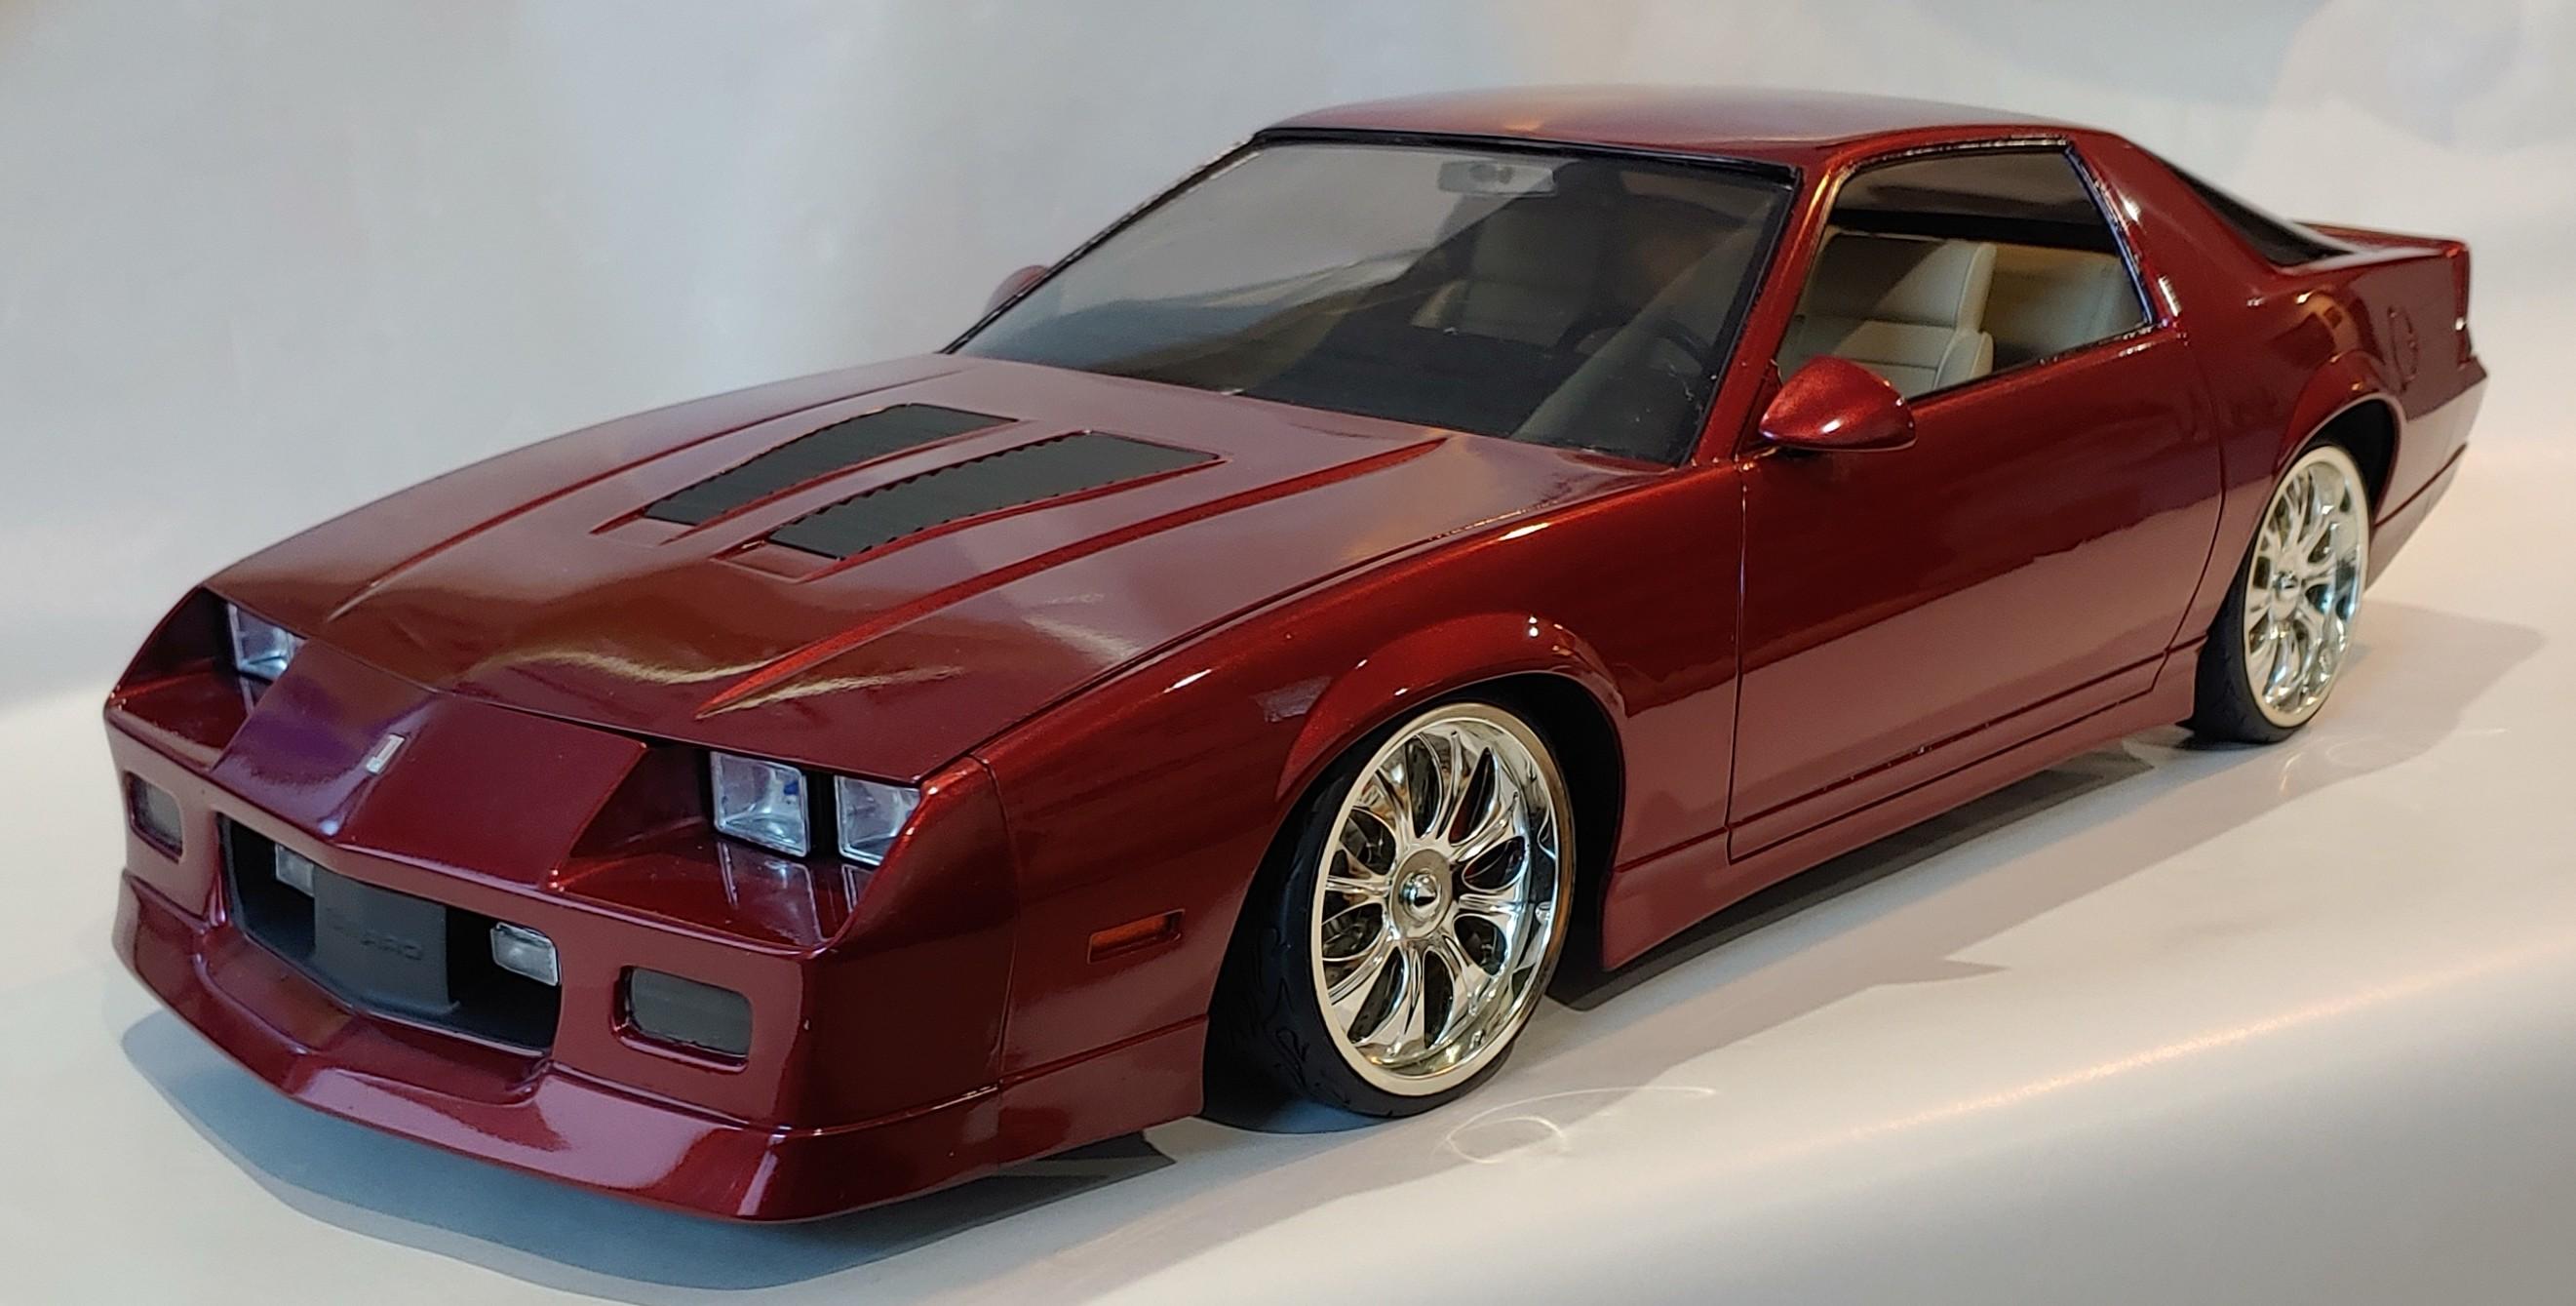
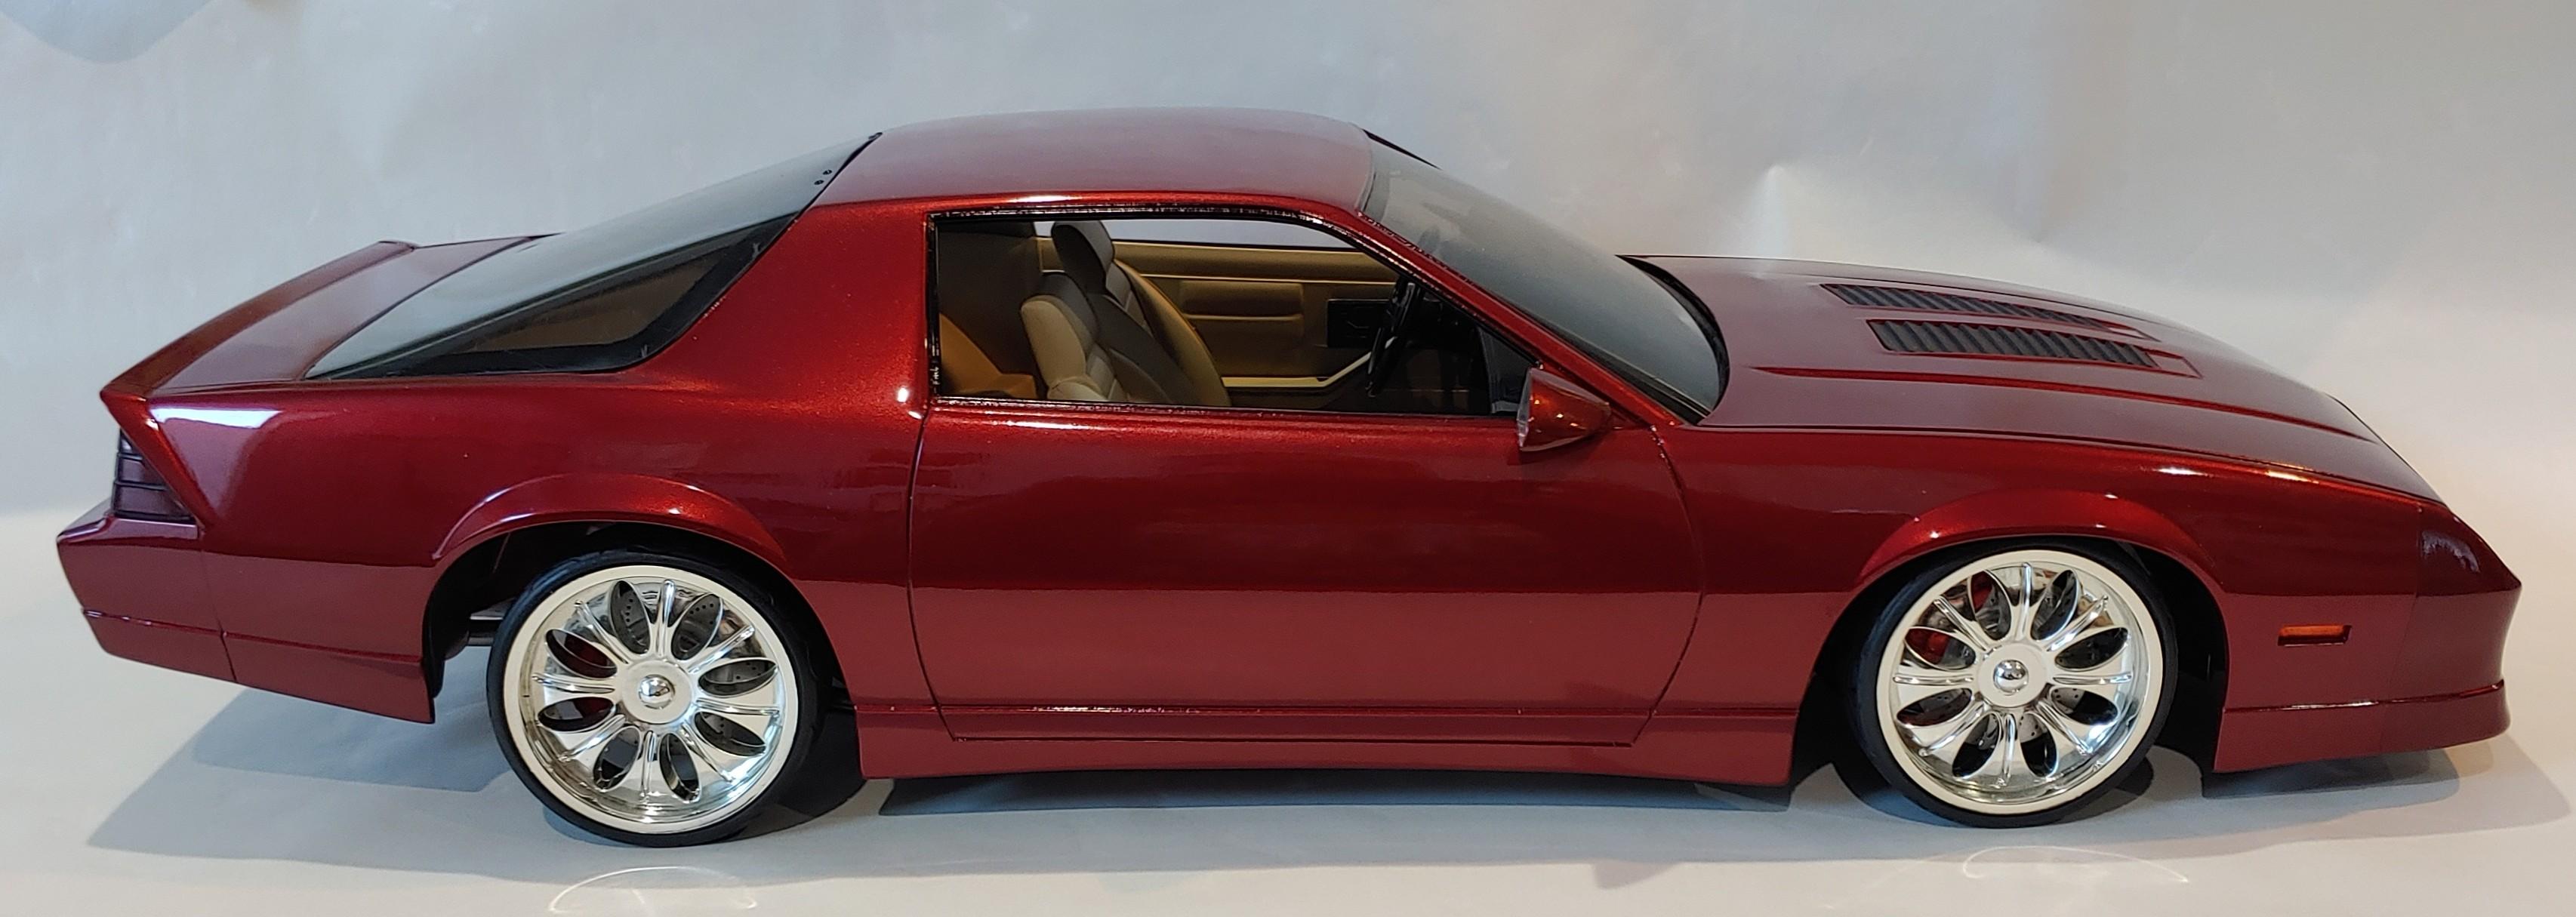
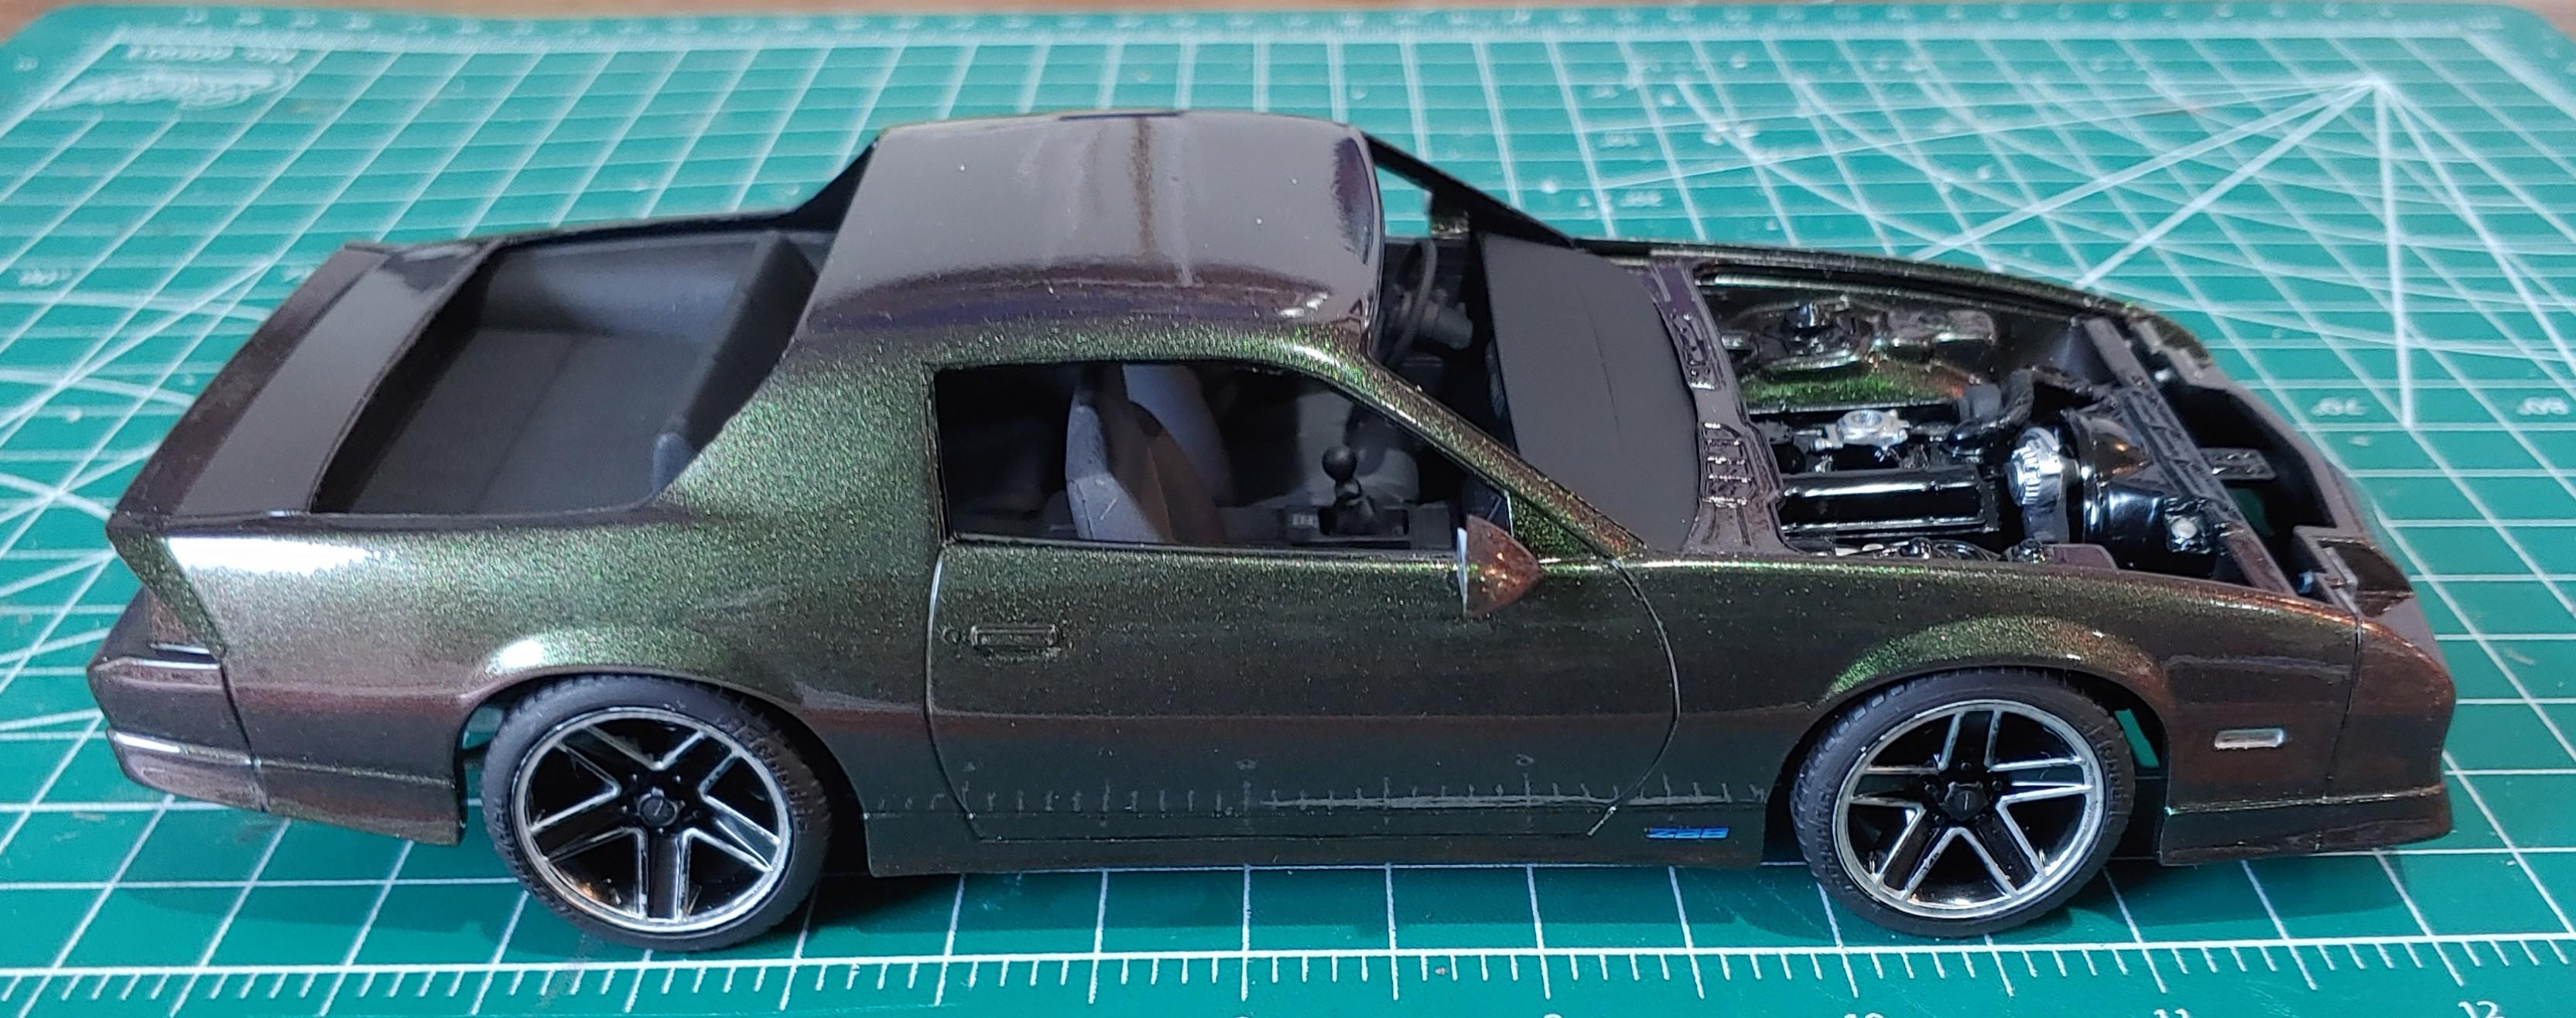
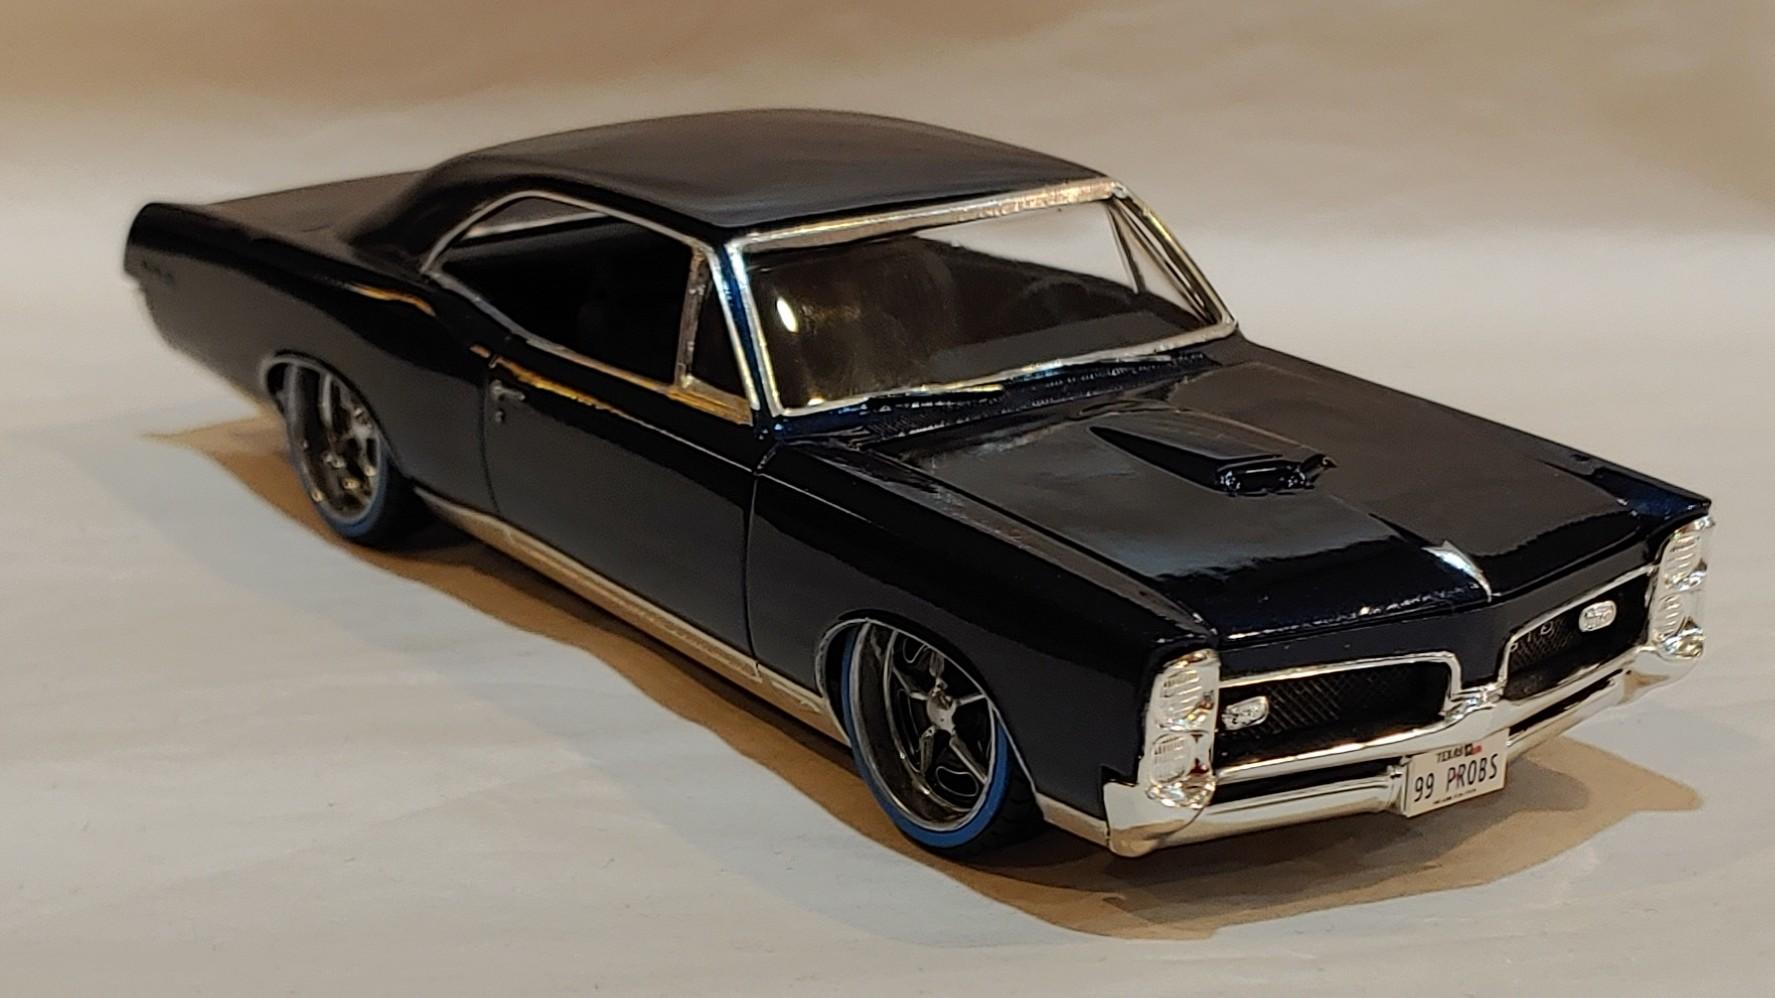
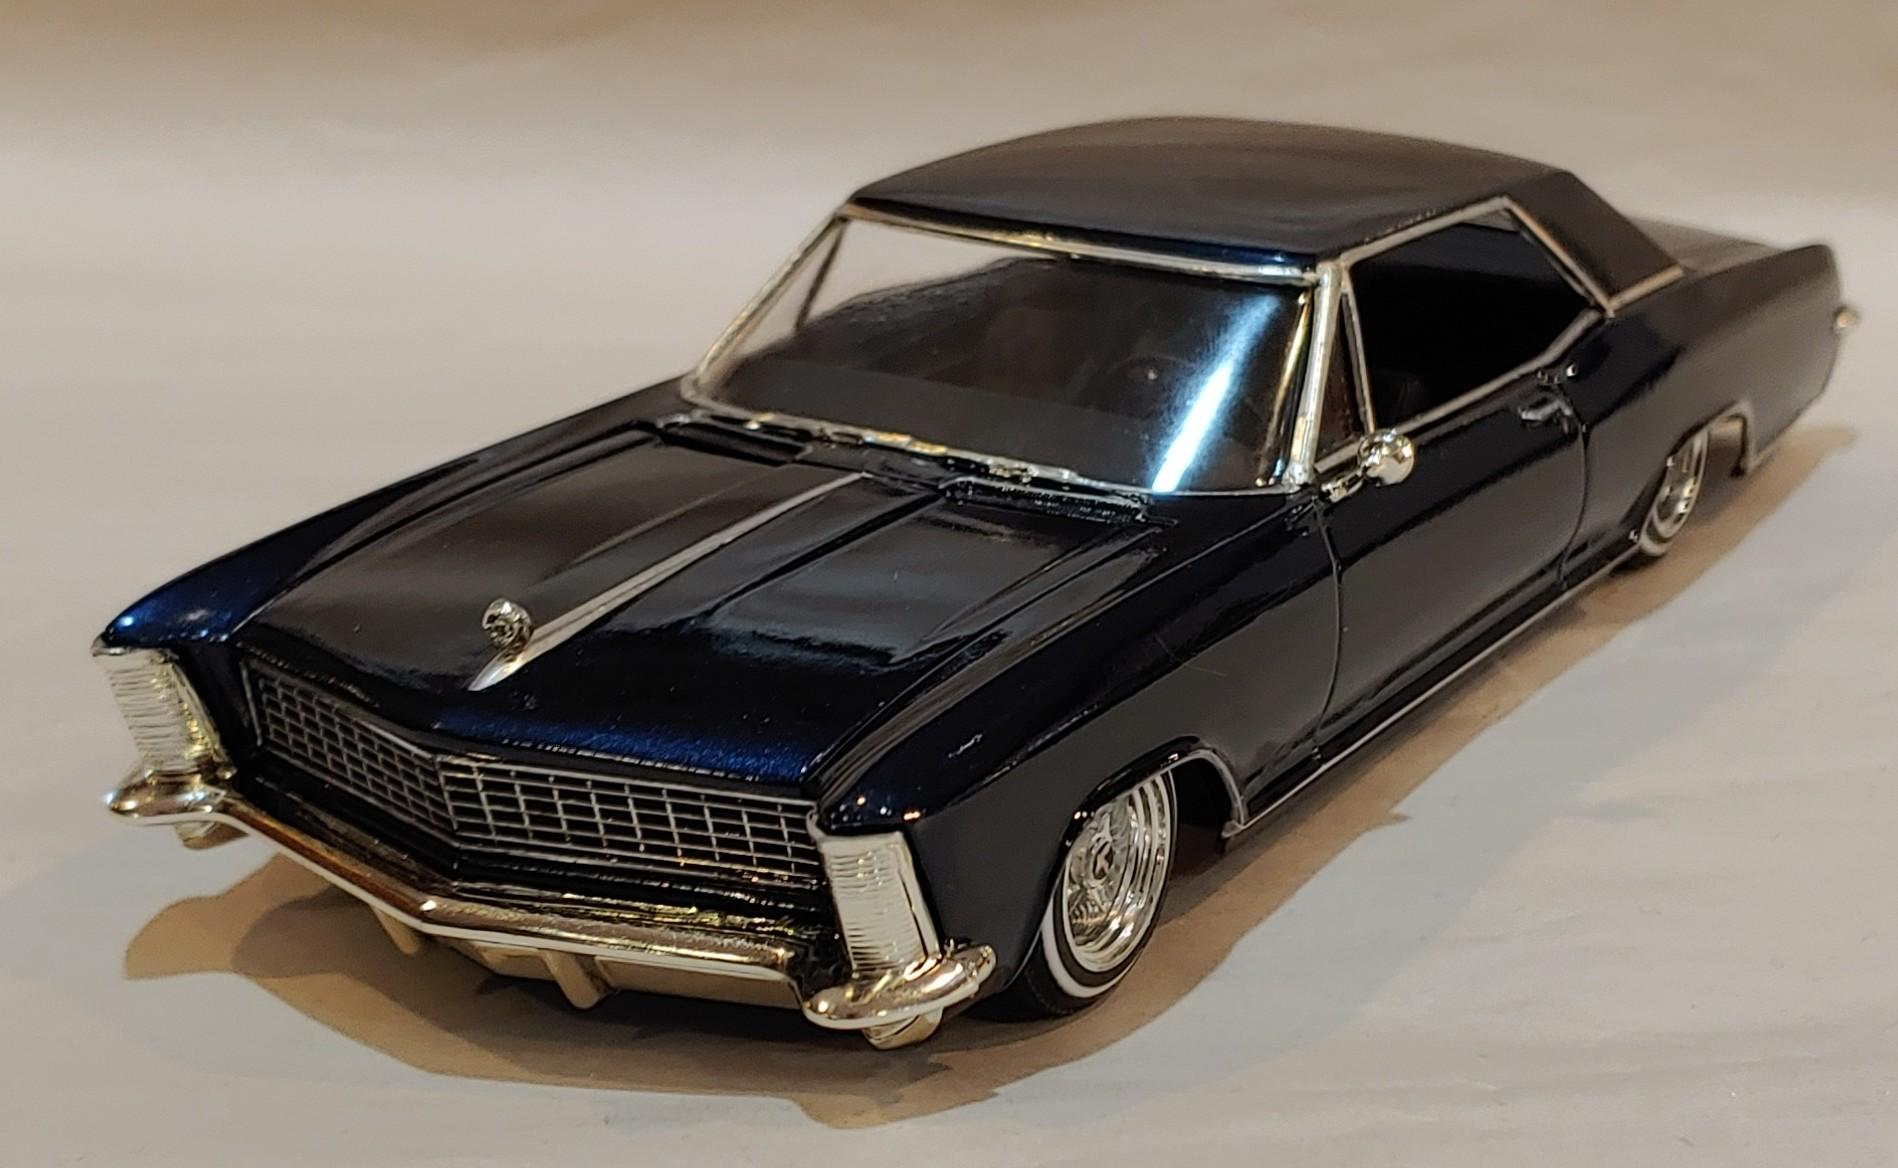
I've had this kit in my stash for 20 years and I finally figured out how I wanted to build it. I lowered it so much I had to shave the oil pan down and it's sitting on the exhaust. I got the wheels on eBay and the tires are from Pegasus. I printed the plates.
- 17 replies
-
- 25
-
-

-
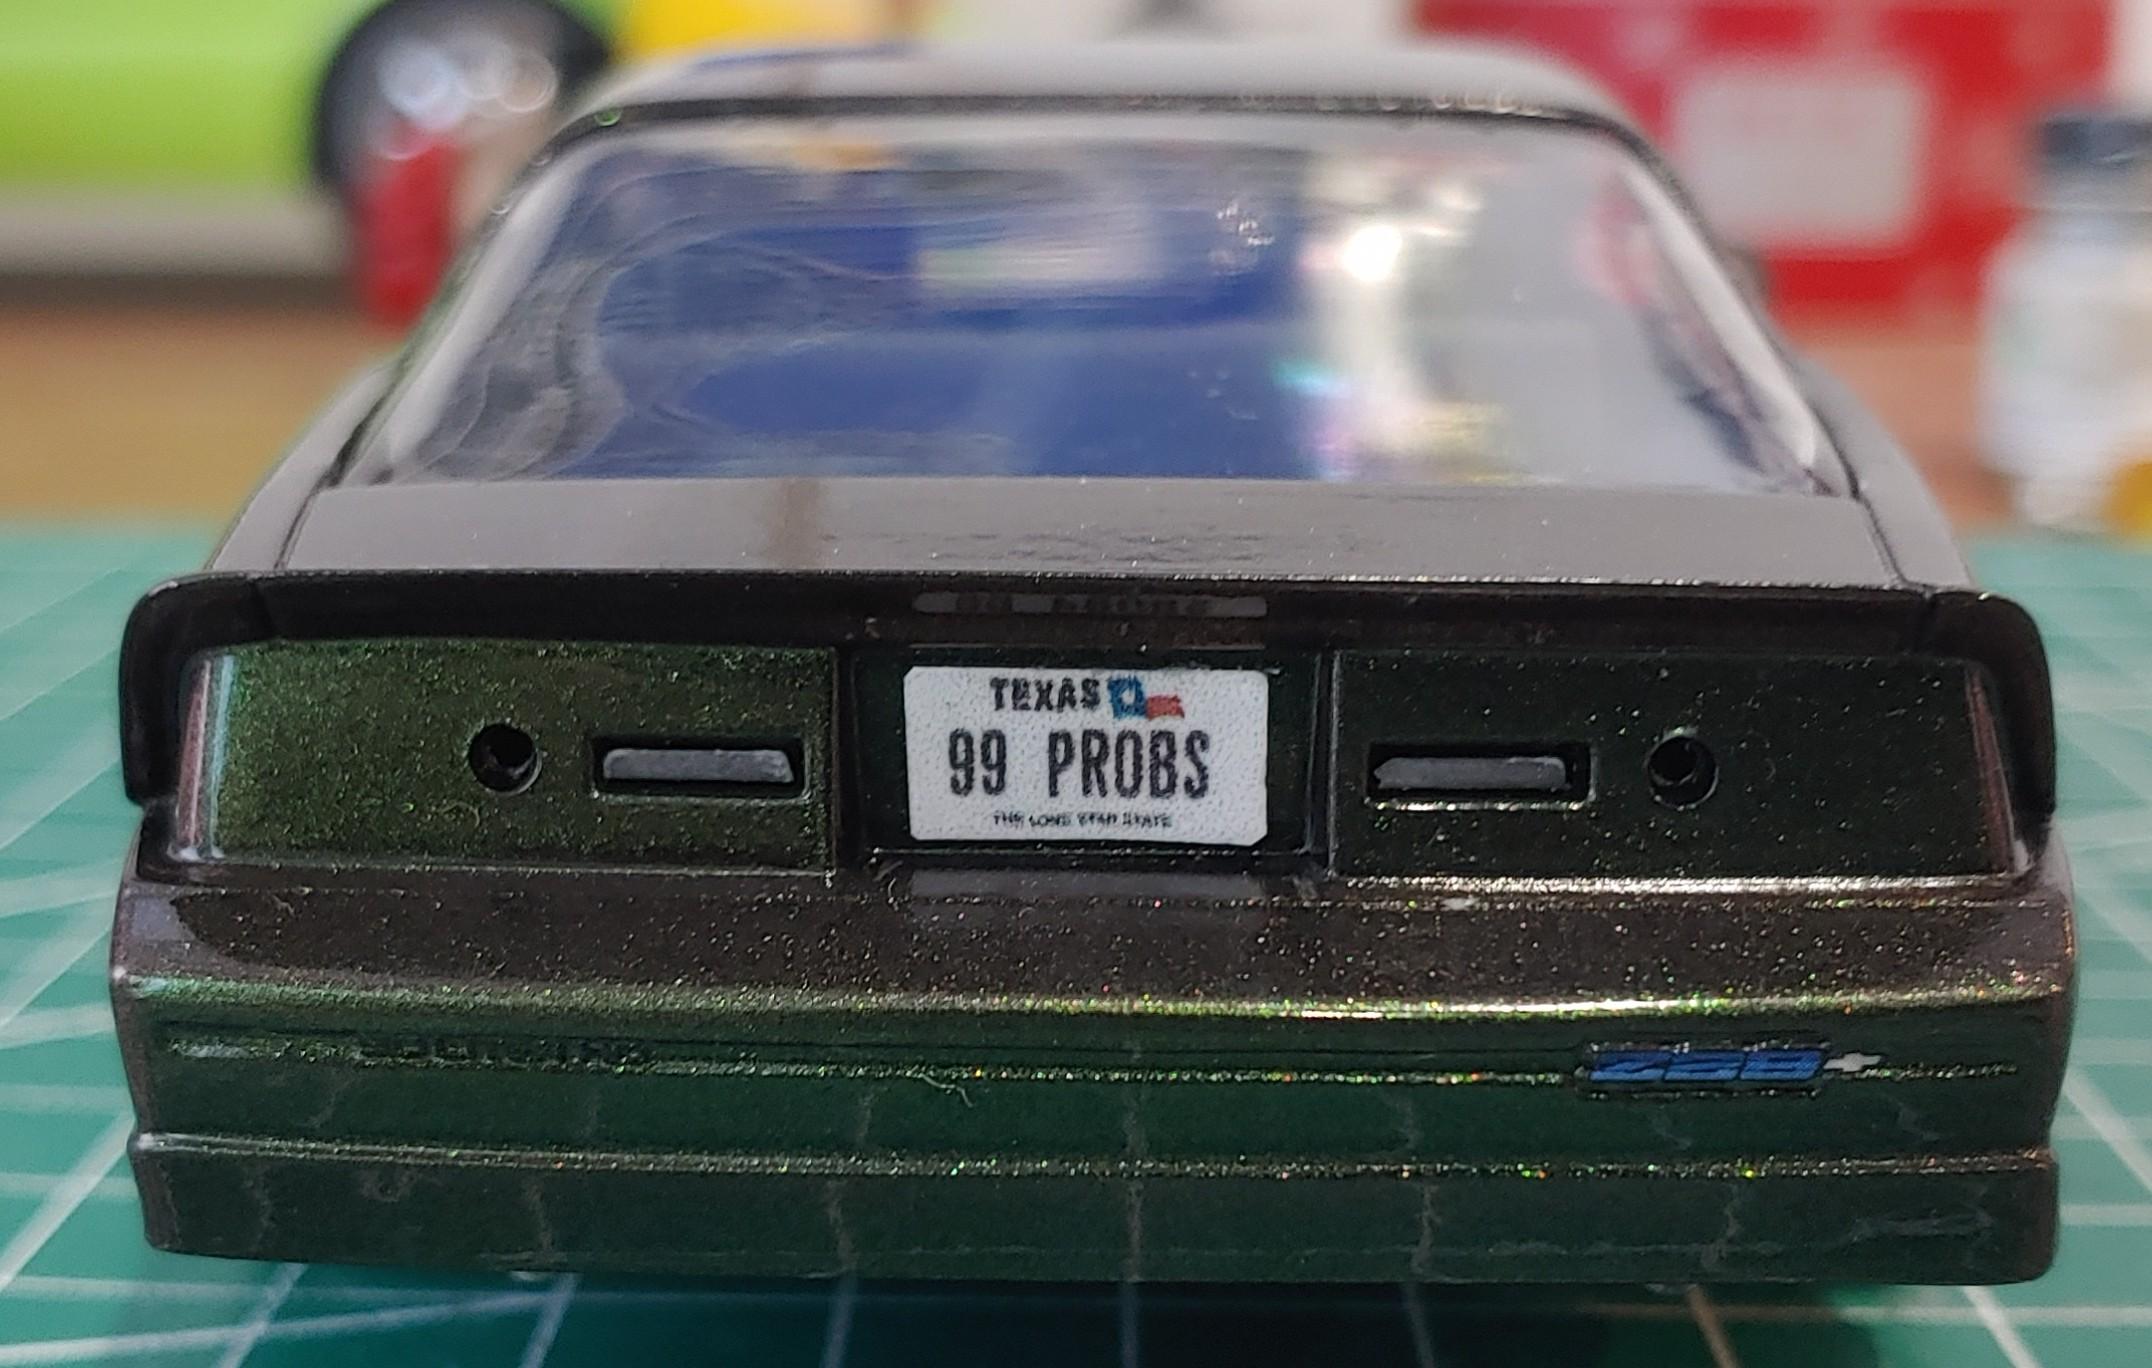
I built this from the 2015 release of the Revell kit. I got the wheels from a '67 GTX kit, they fit with no modification. I printed screen correct plates, it seems like later releases came with the plates.
- 13 replies
-
- 17
-
-
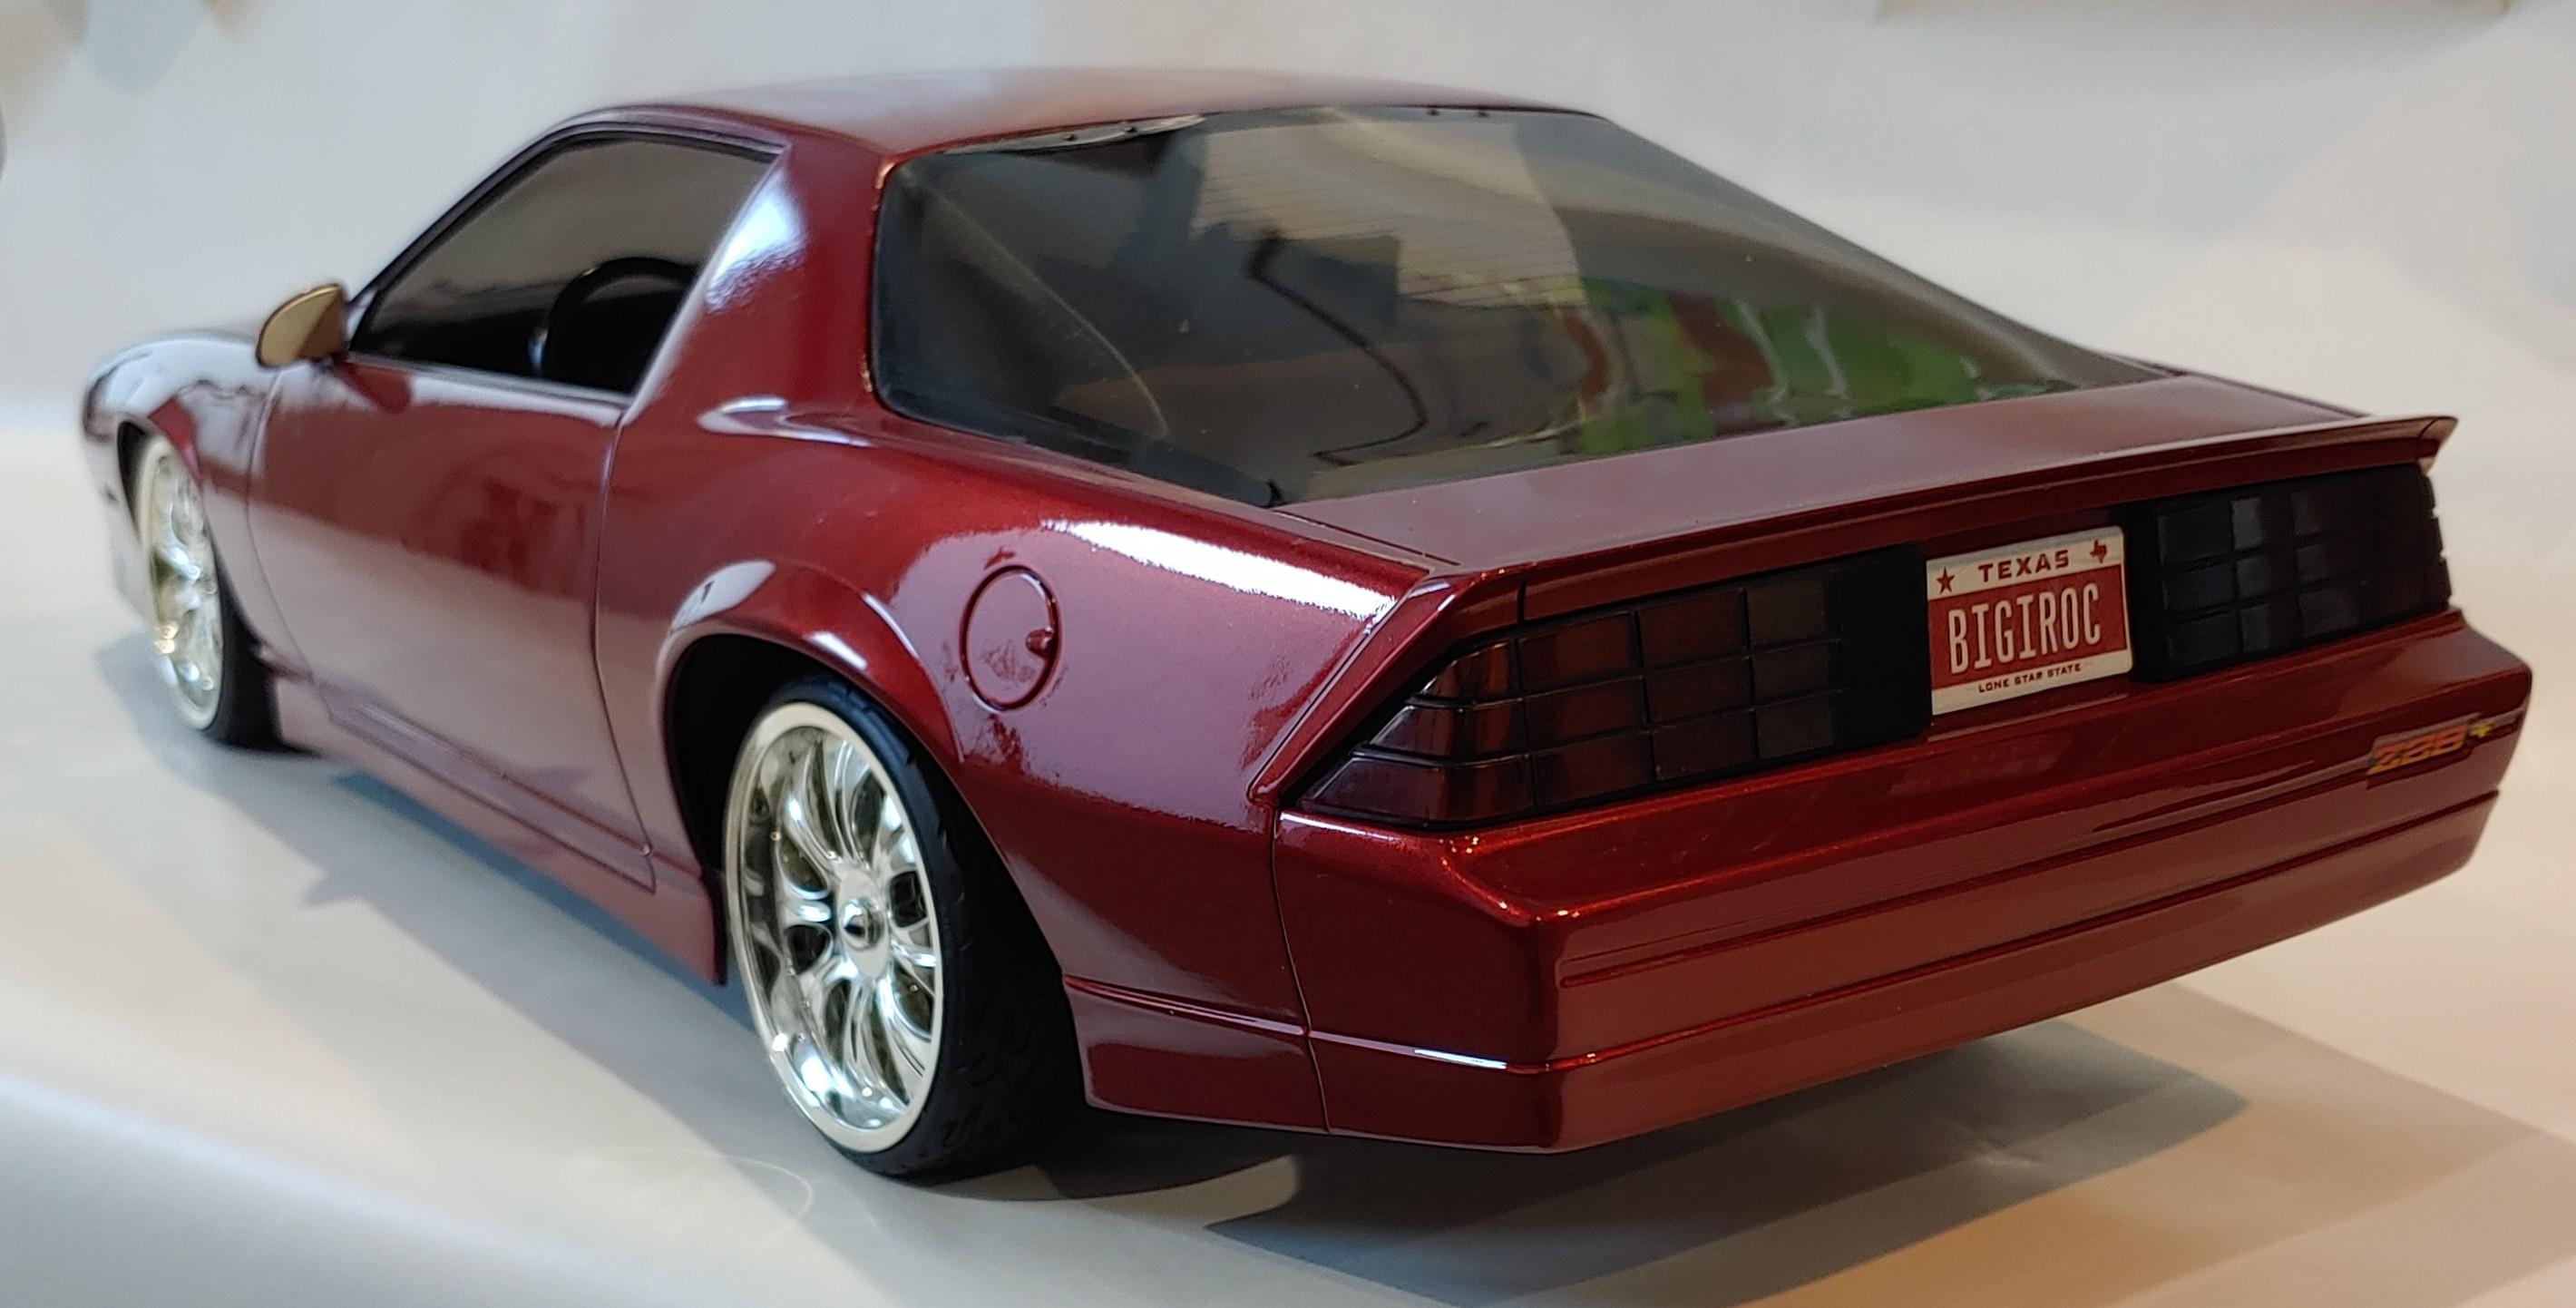
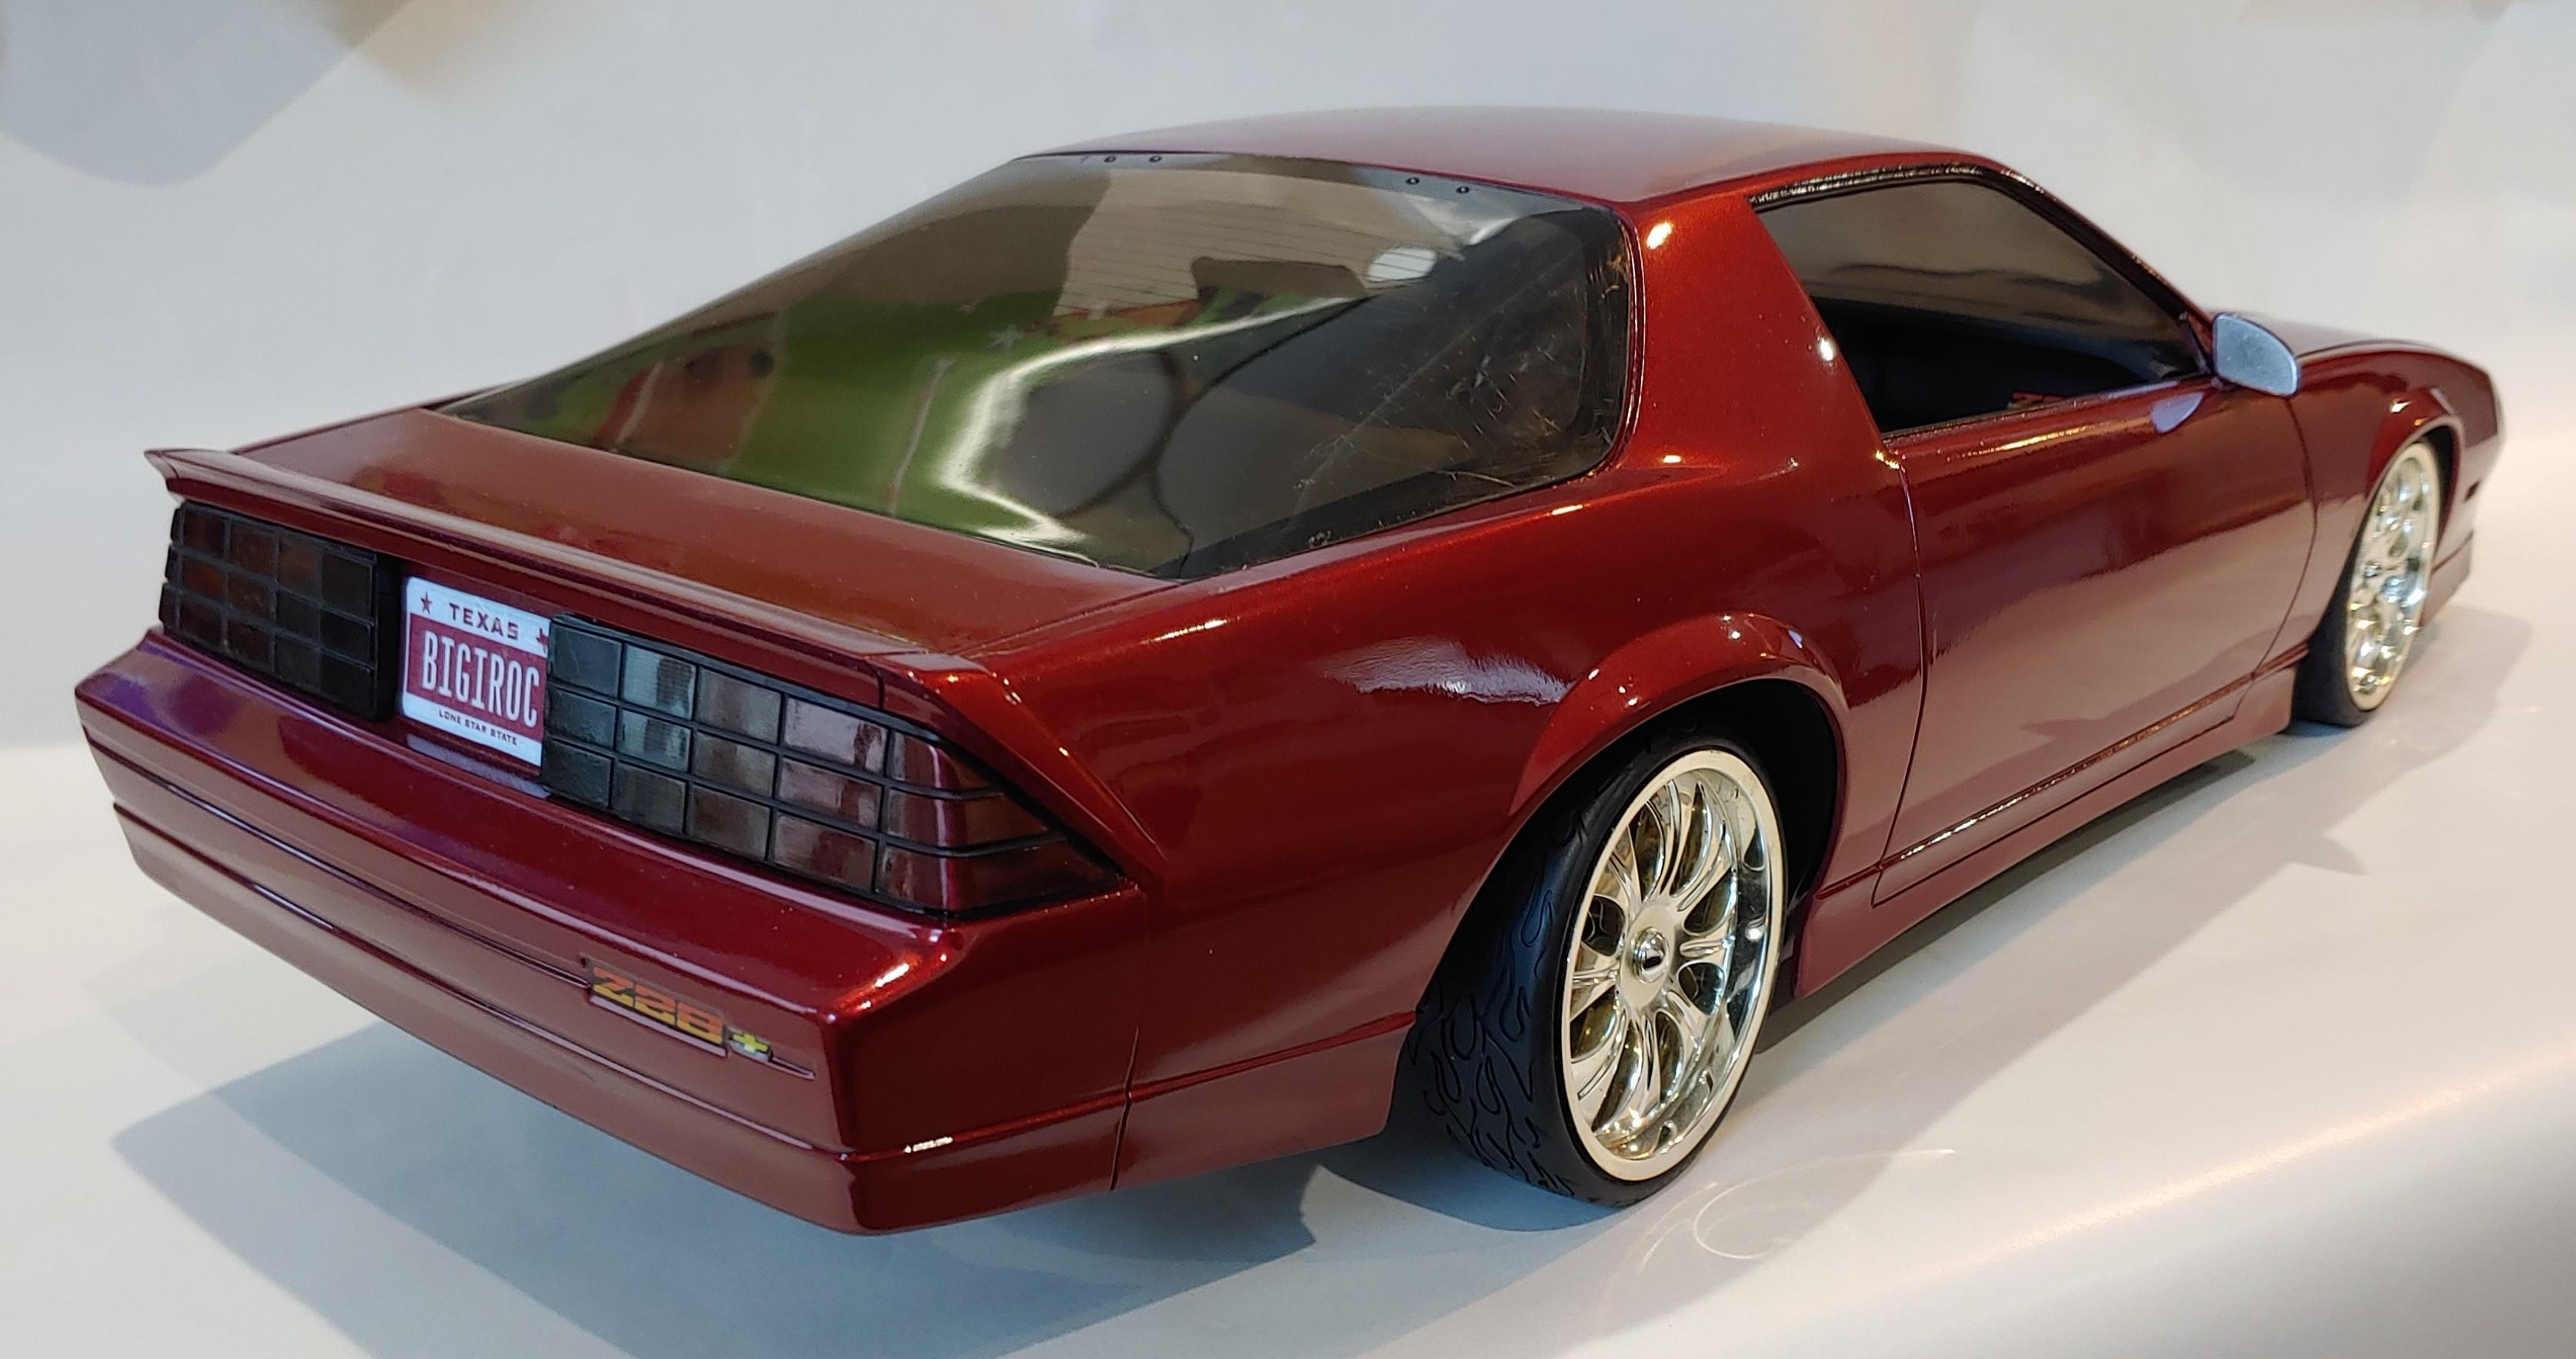
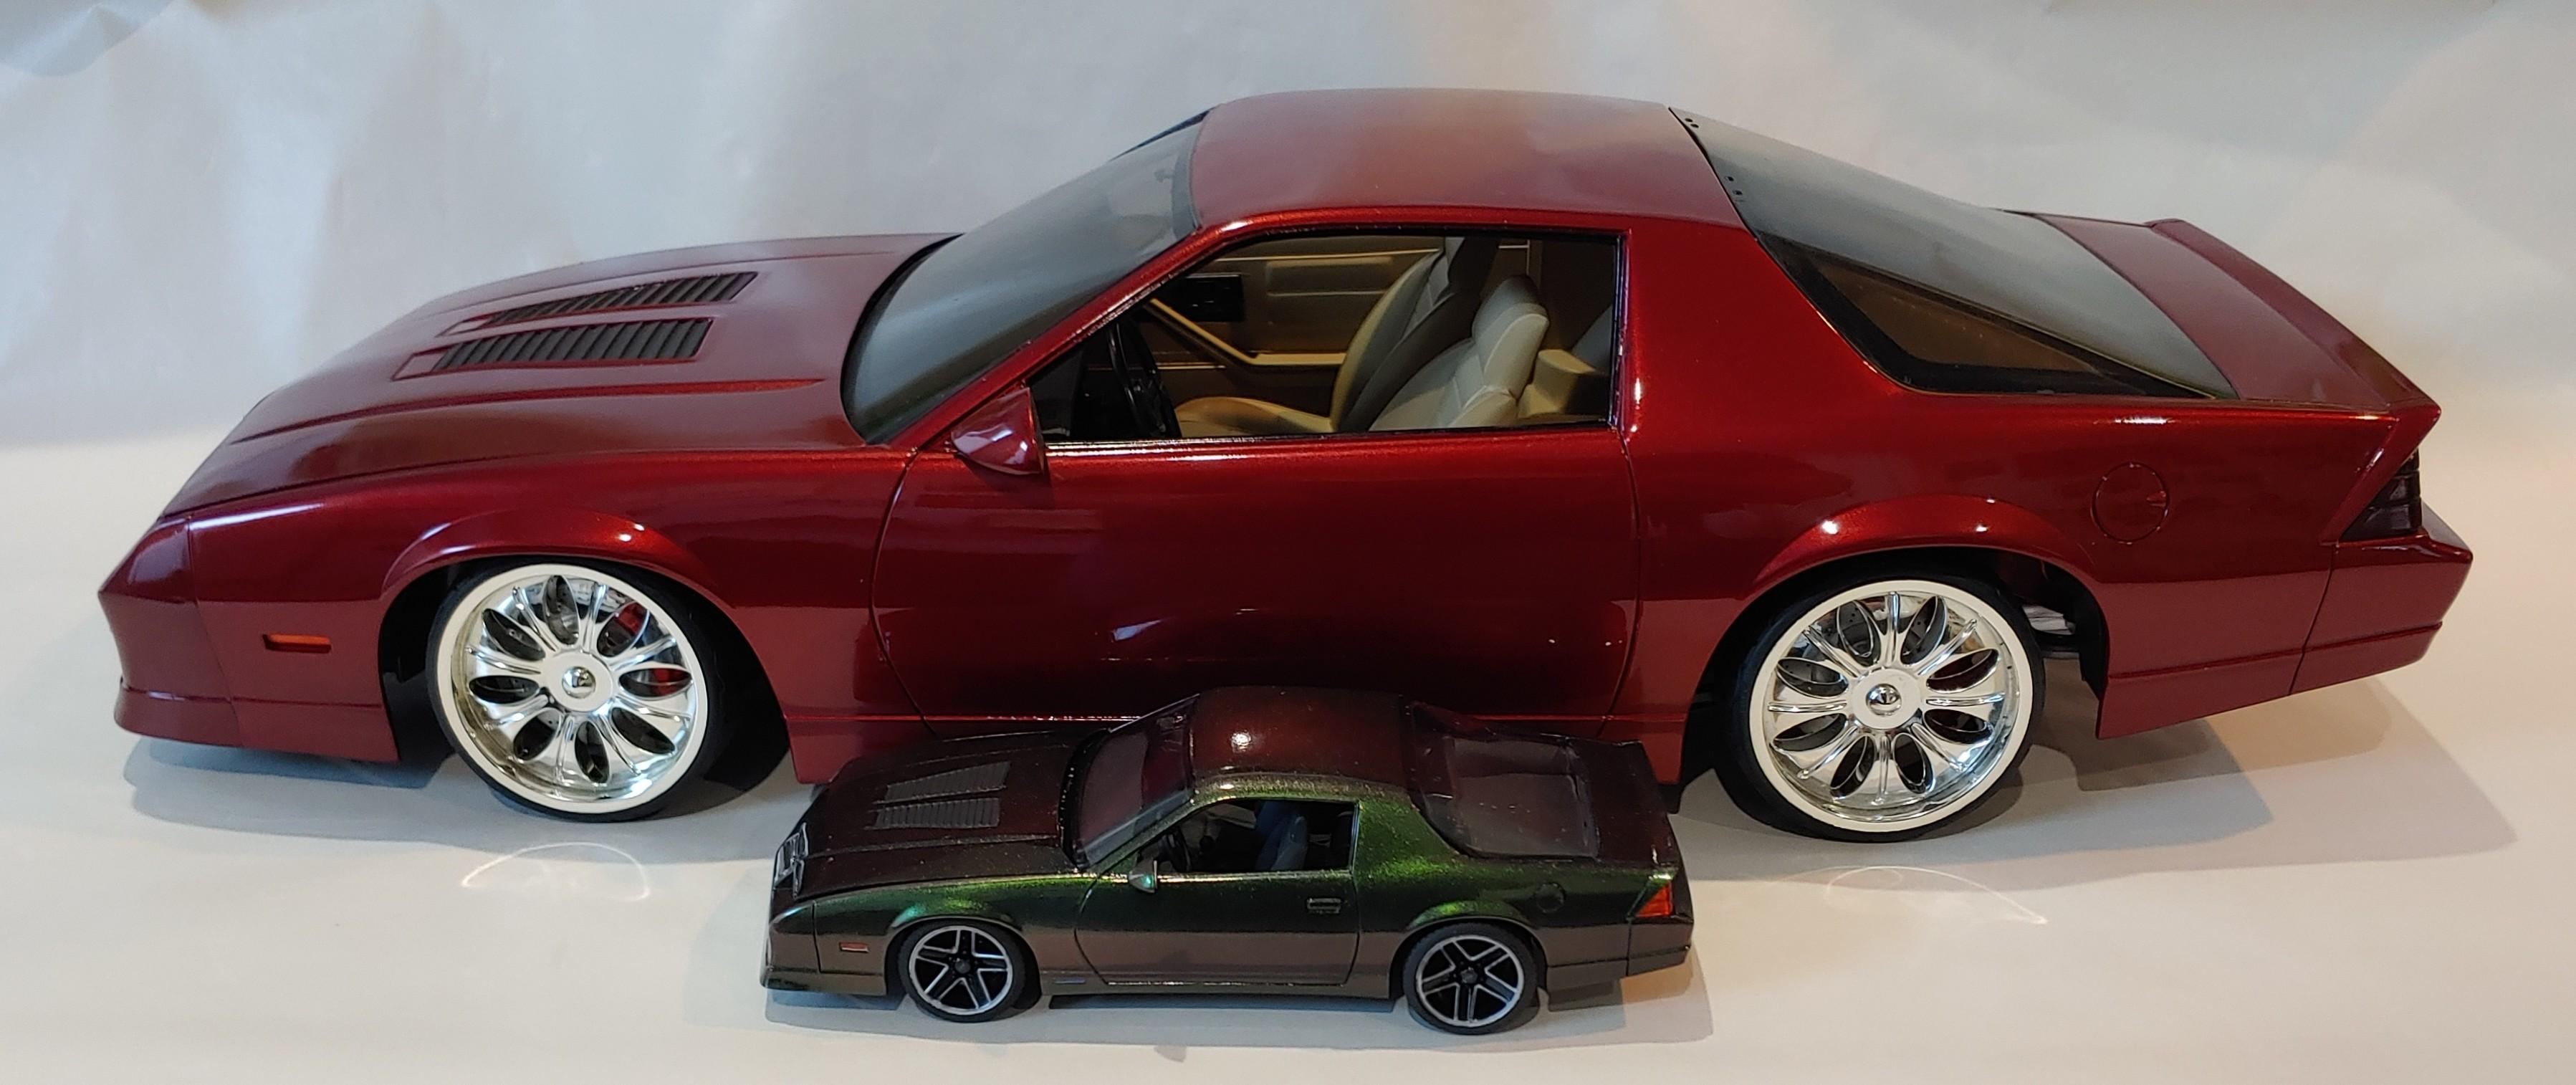
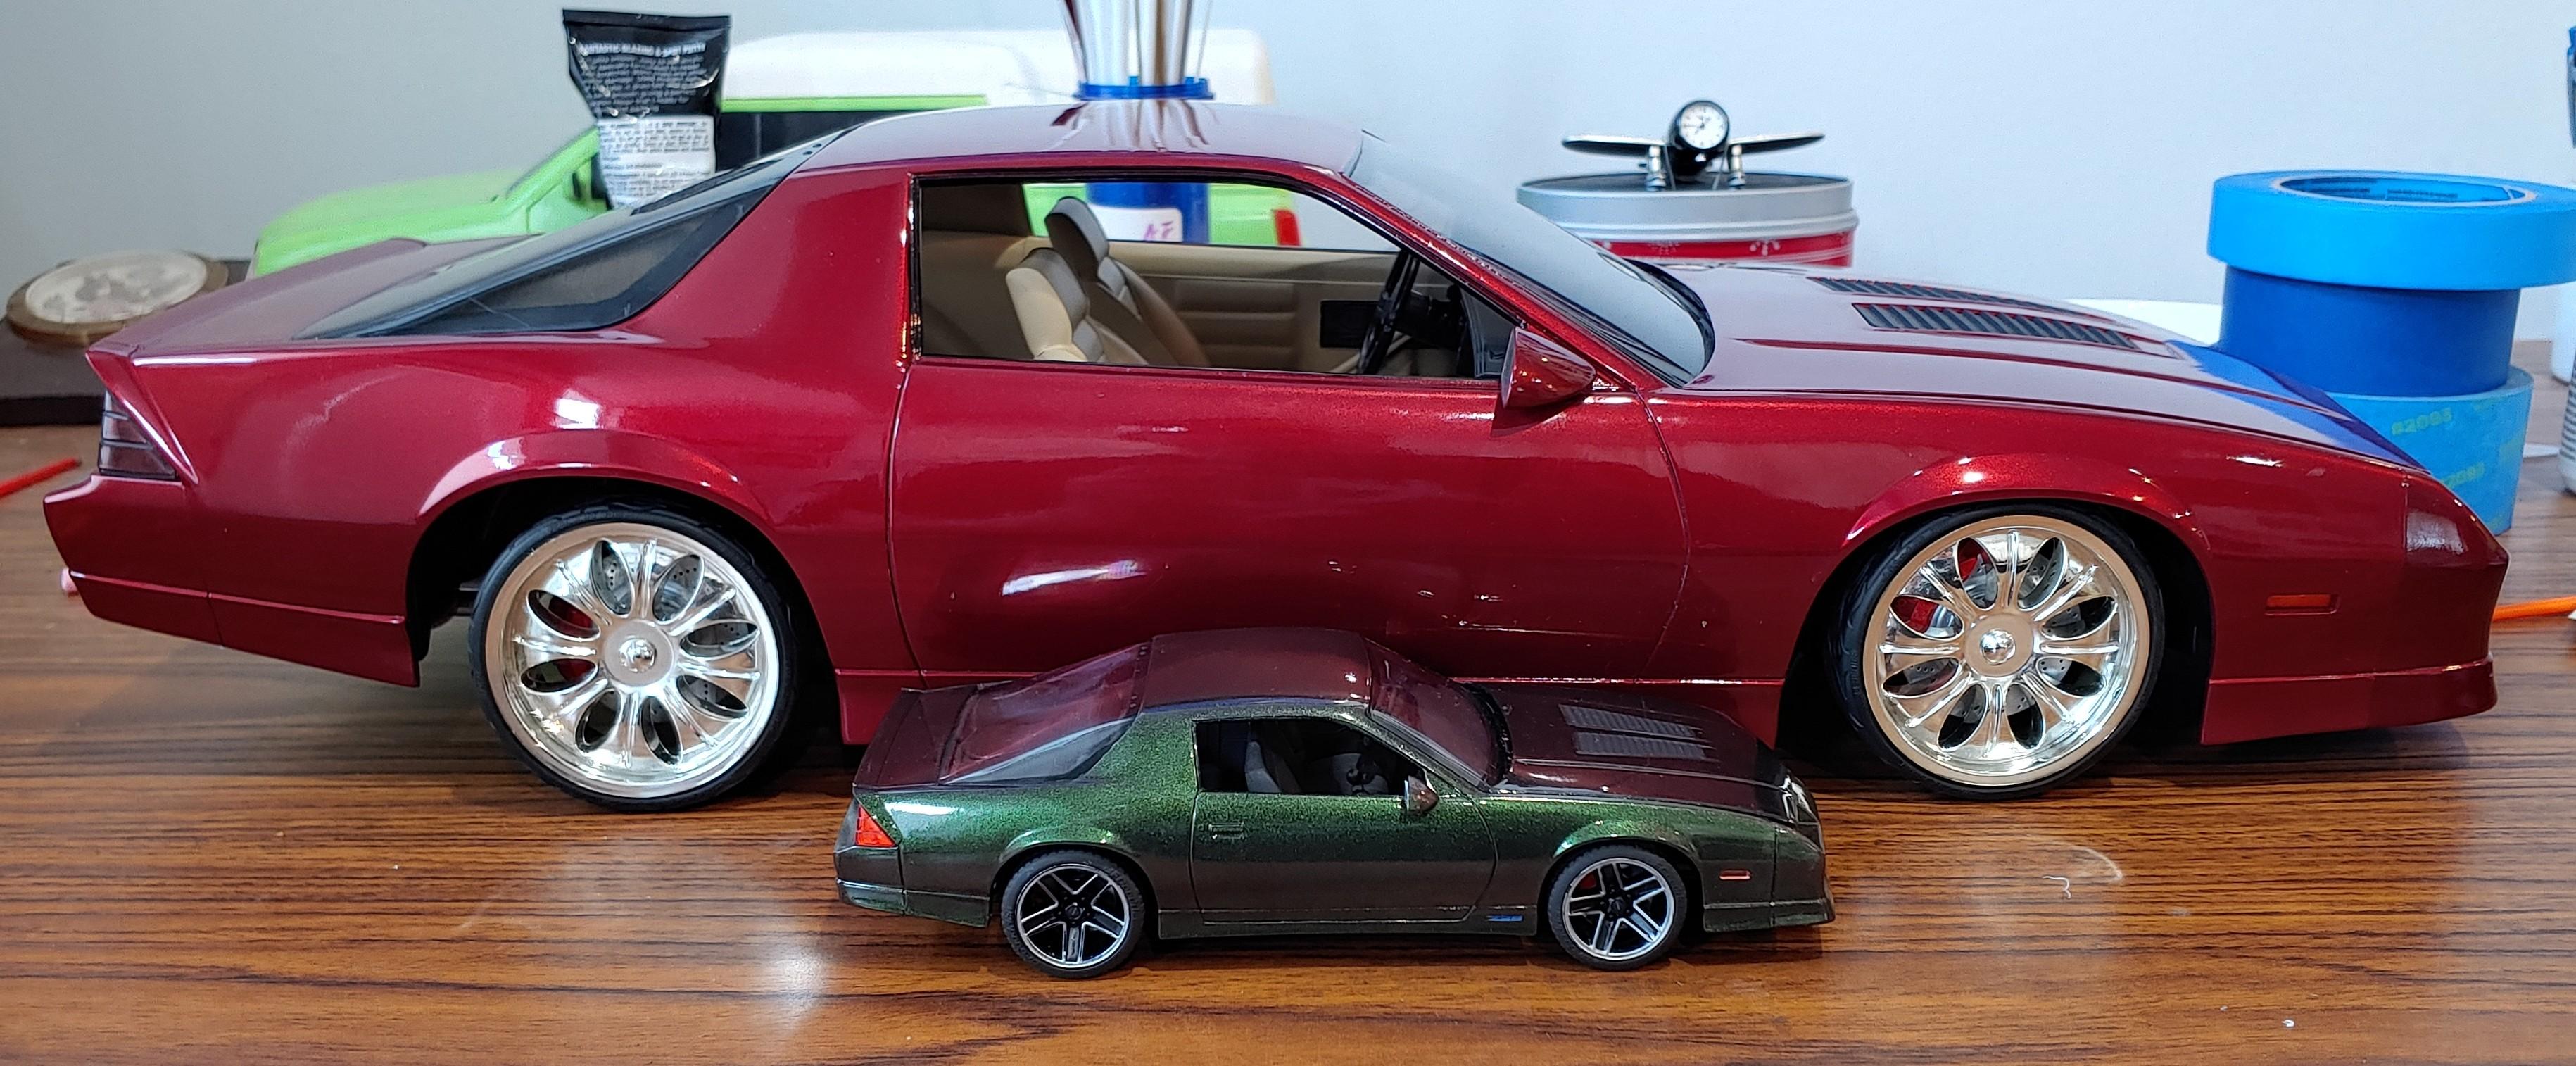
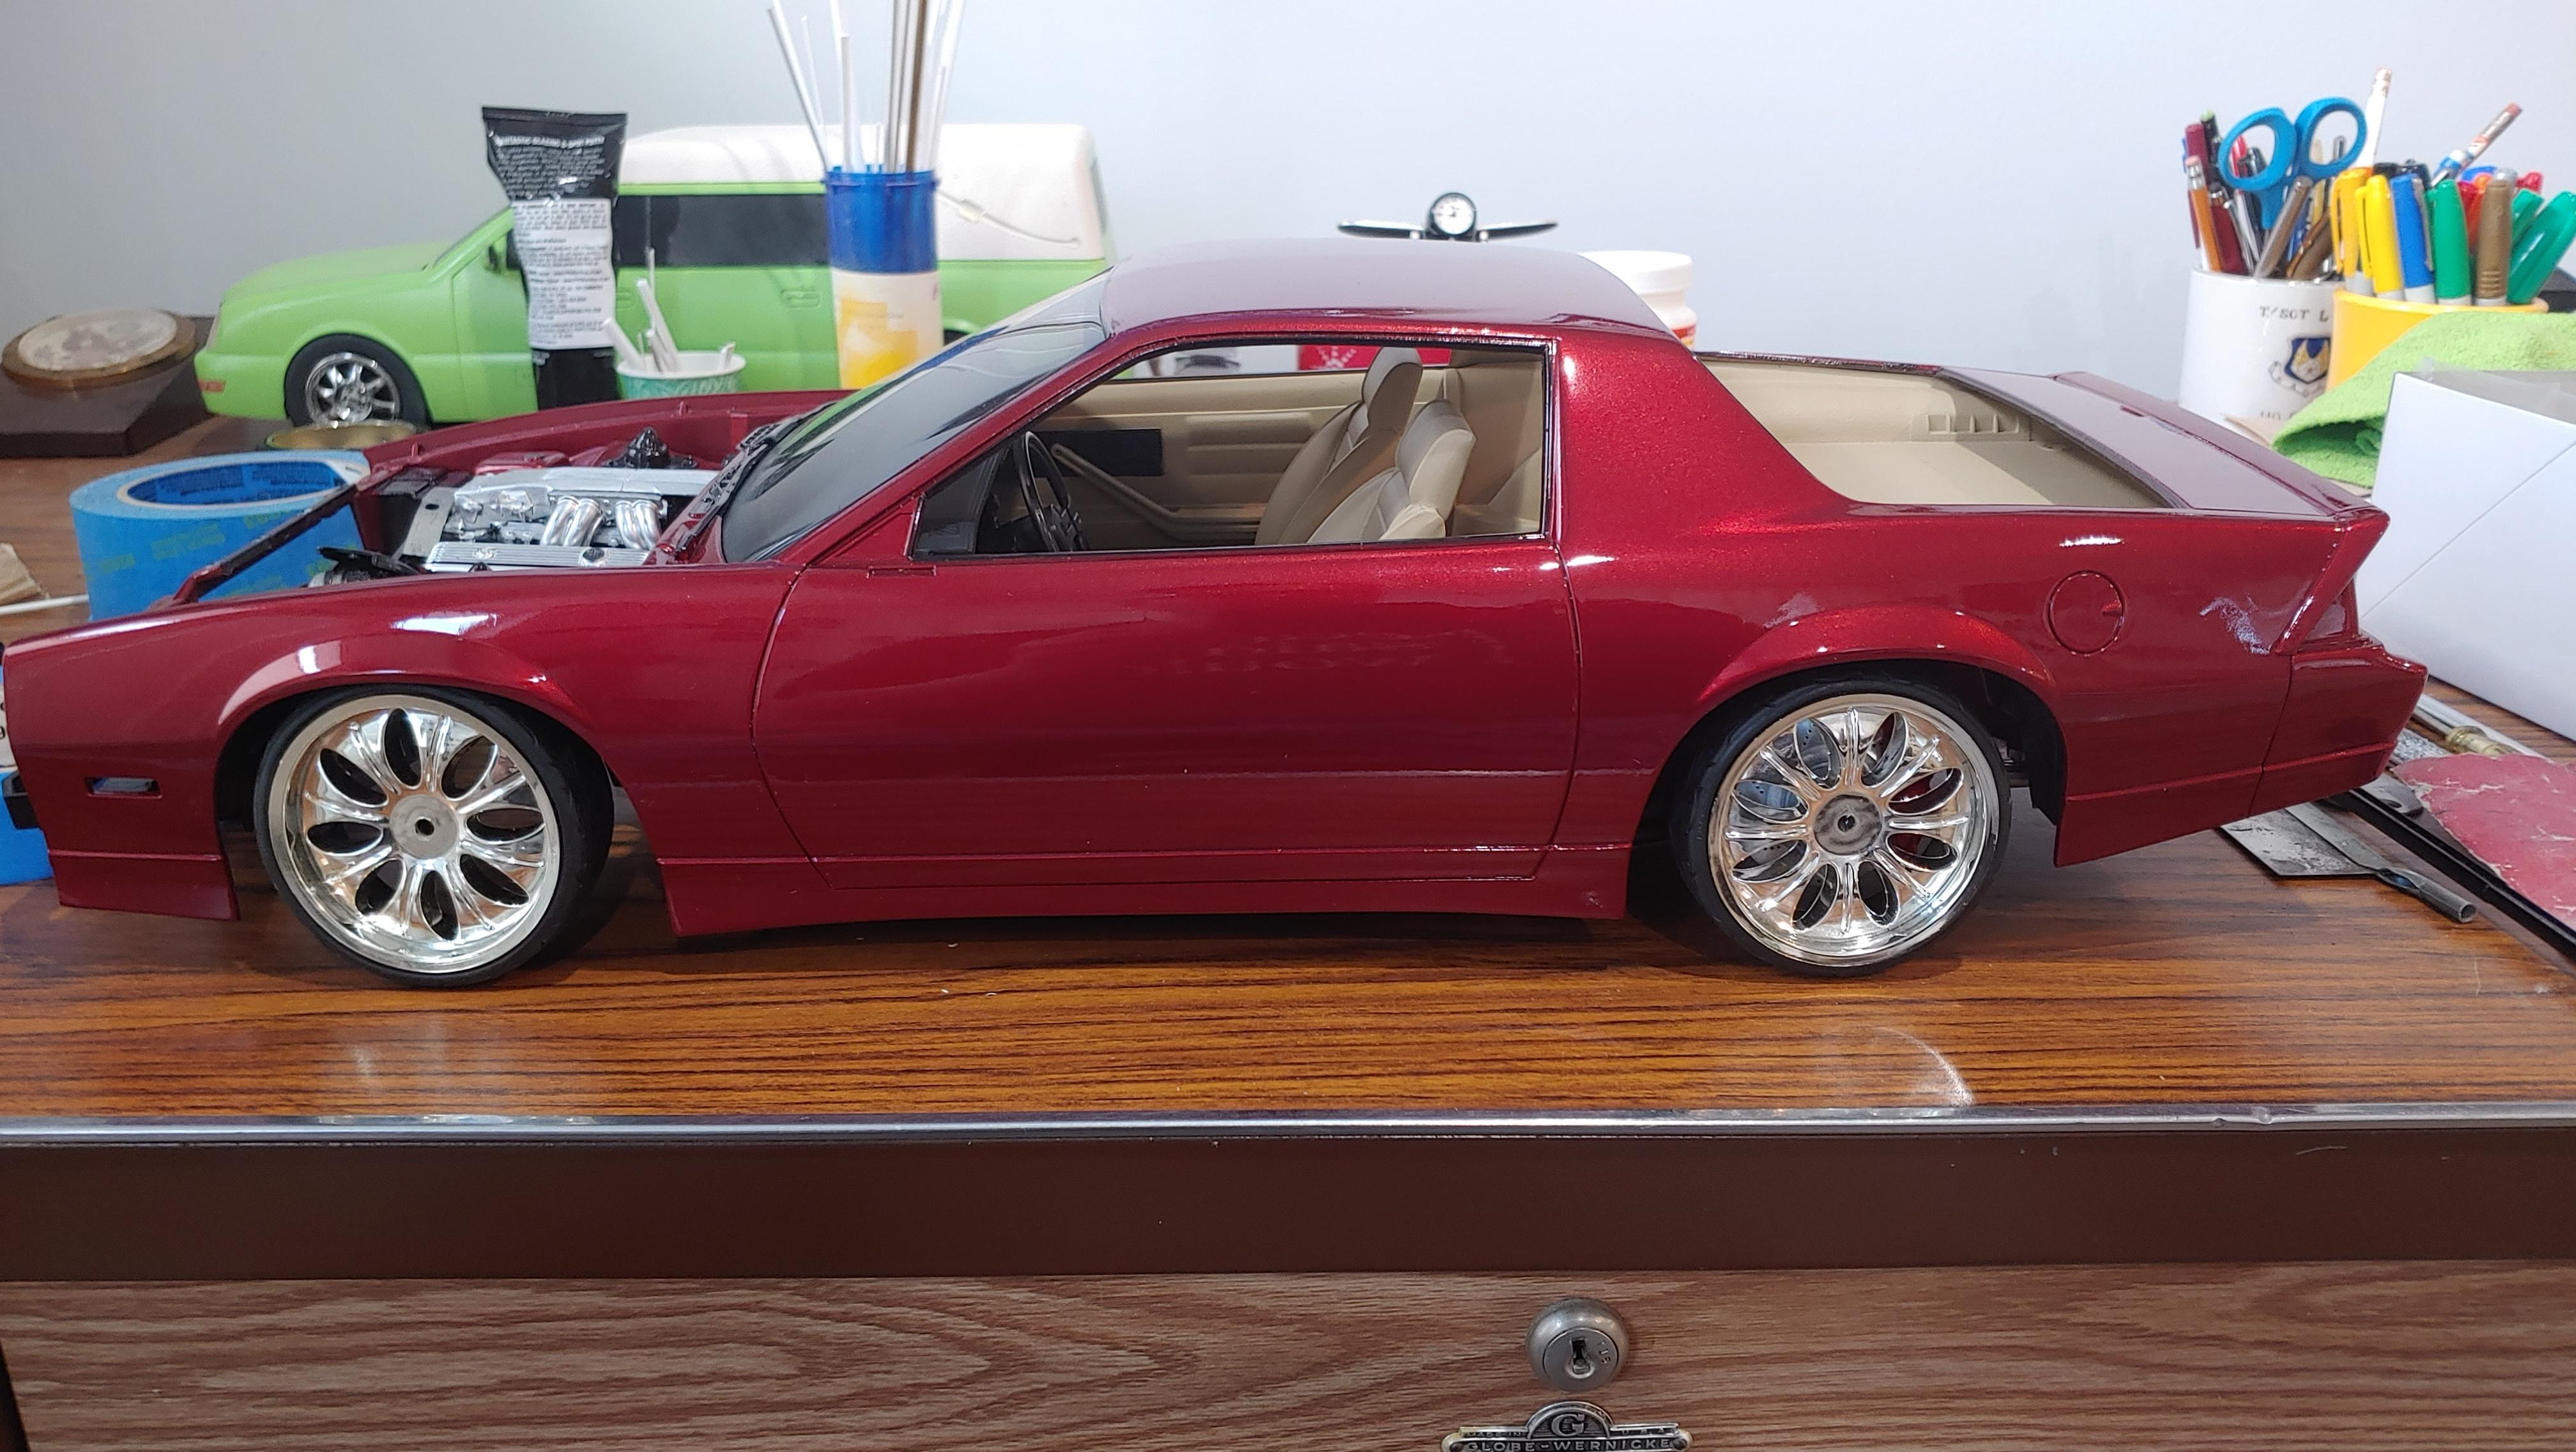
I built this from a pretty rough used kit. It was missing a few parts that I had to replace. I shaved the door handles. The wheels and tires are from an r/c car with resin brakes. I lowered the suspension a couple scale inches and printed the plates. And here it is with a 1/24 for comparison Here's the link to the WIP thread.
- 11 replies
-
- 10
-
-
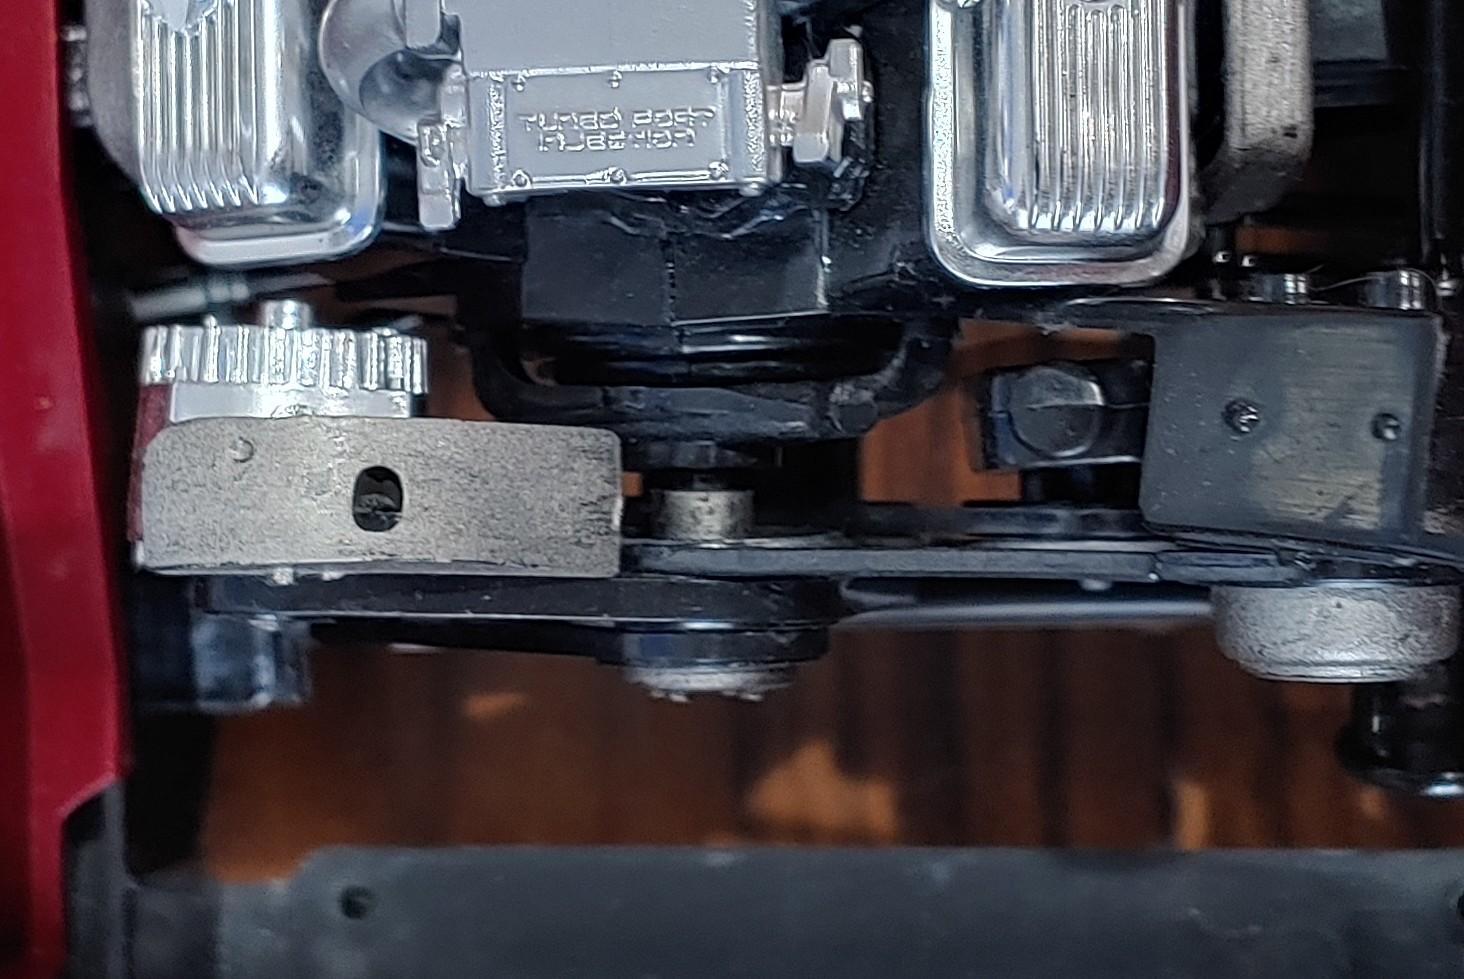
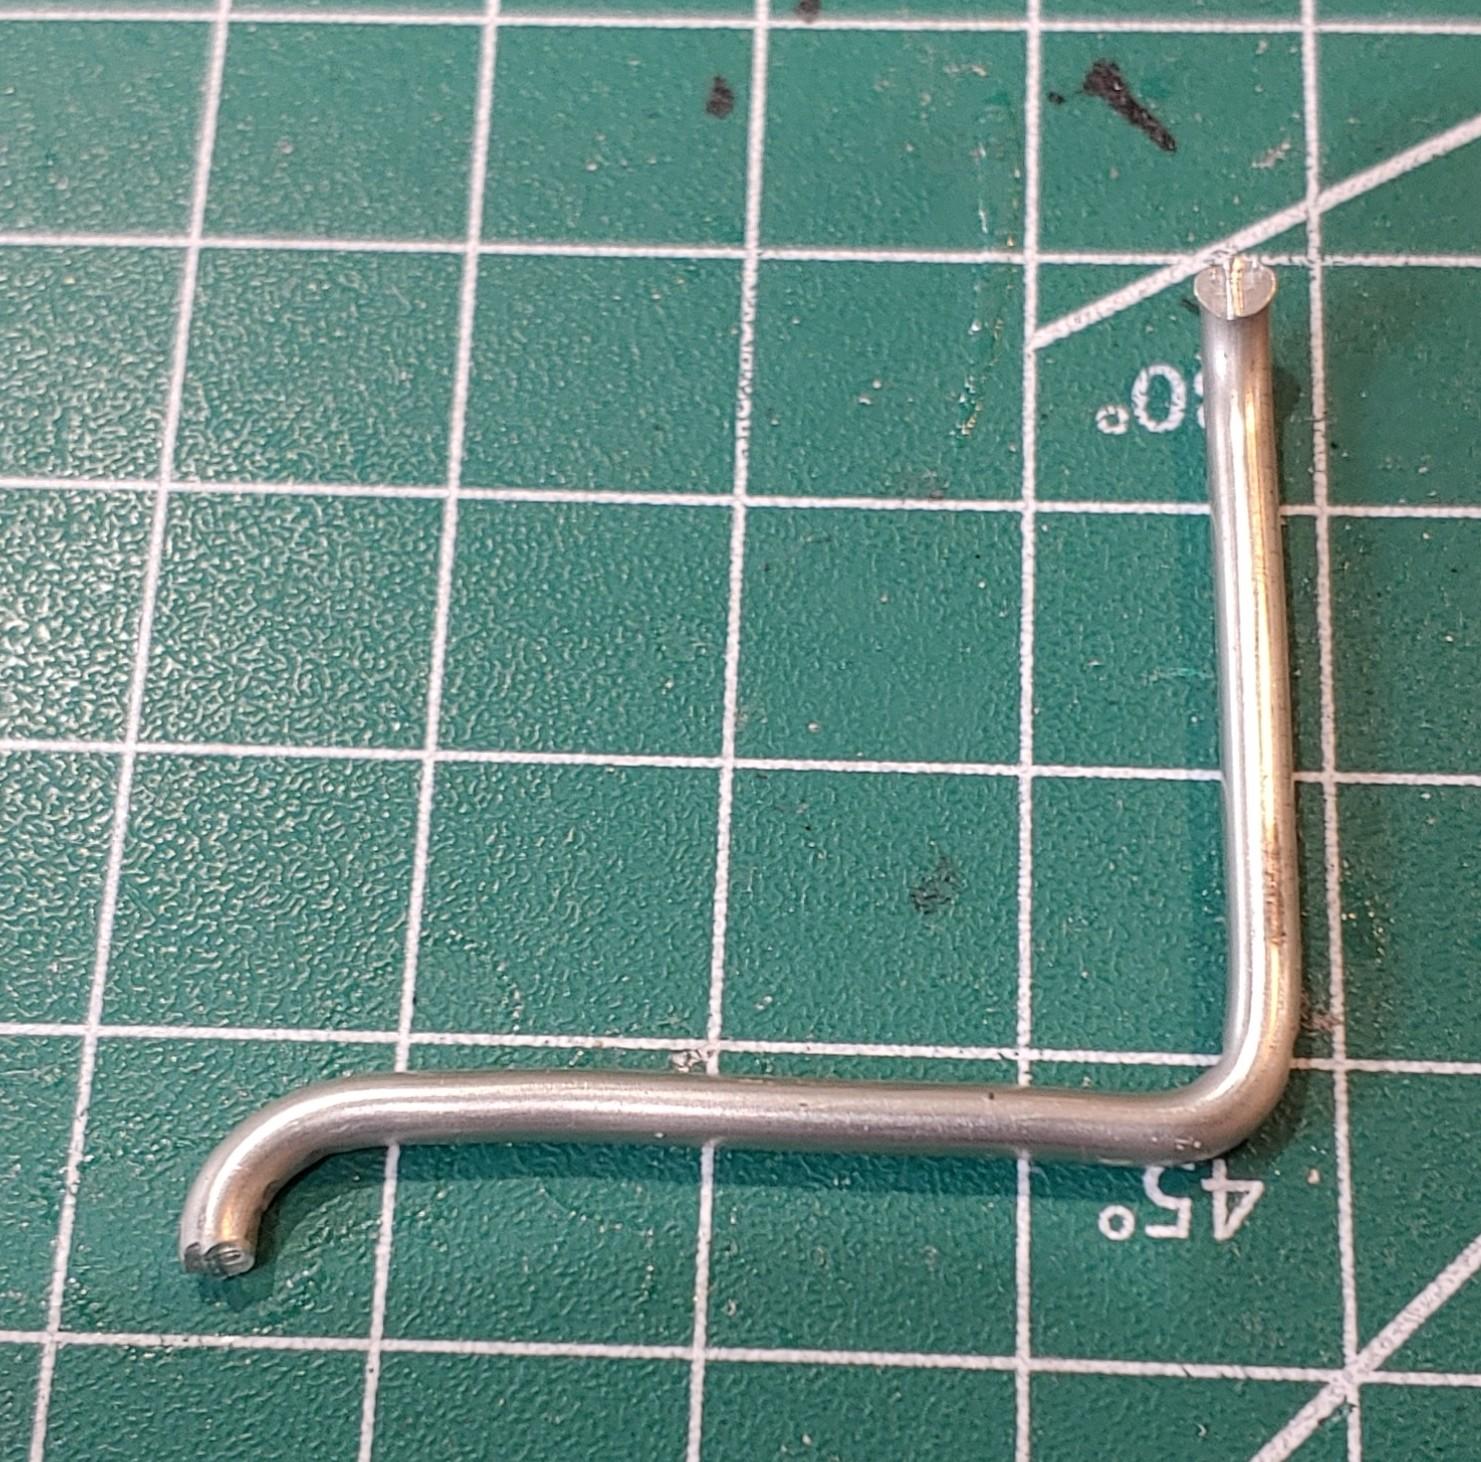
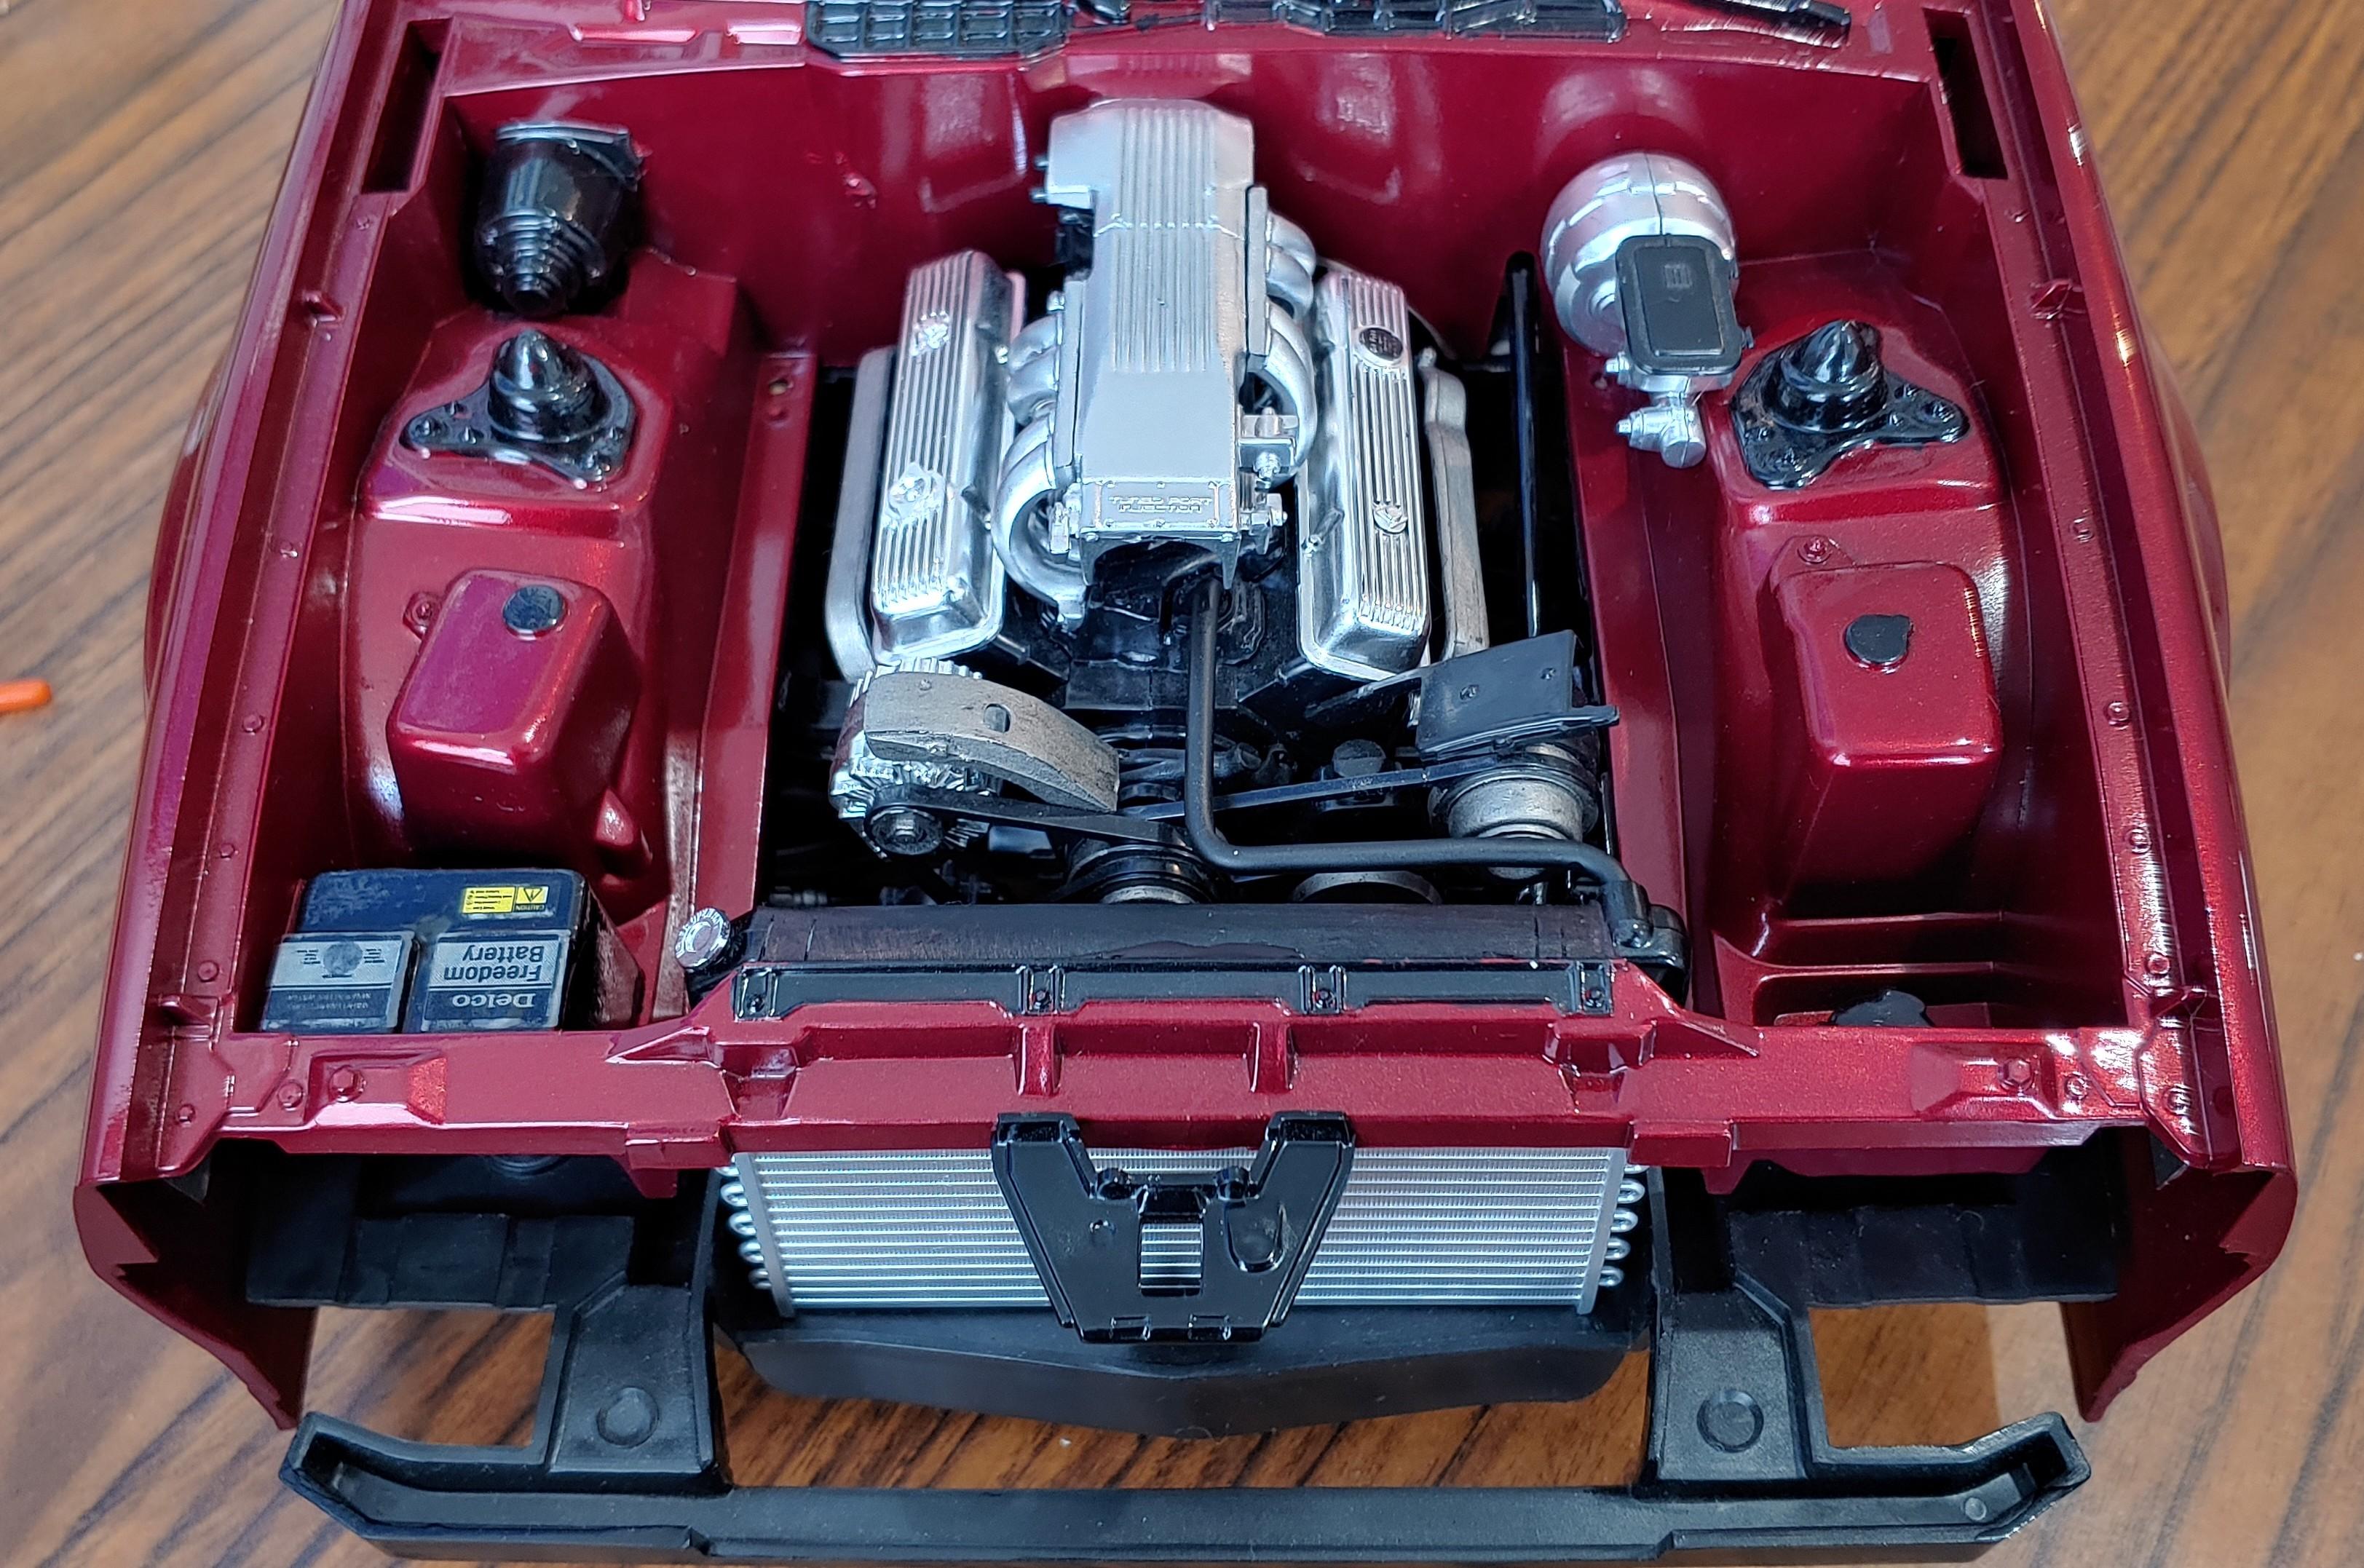
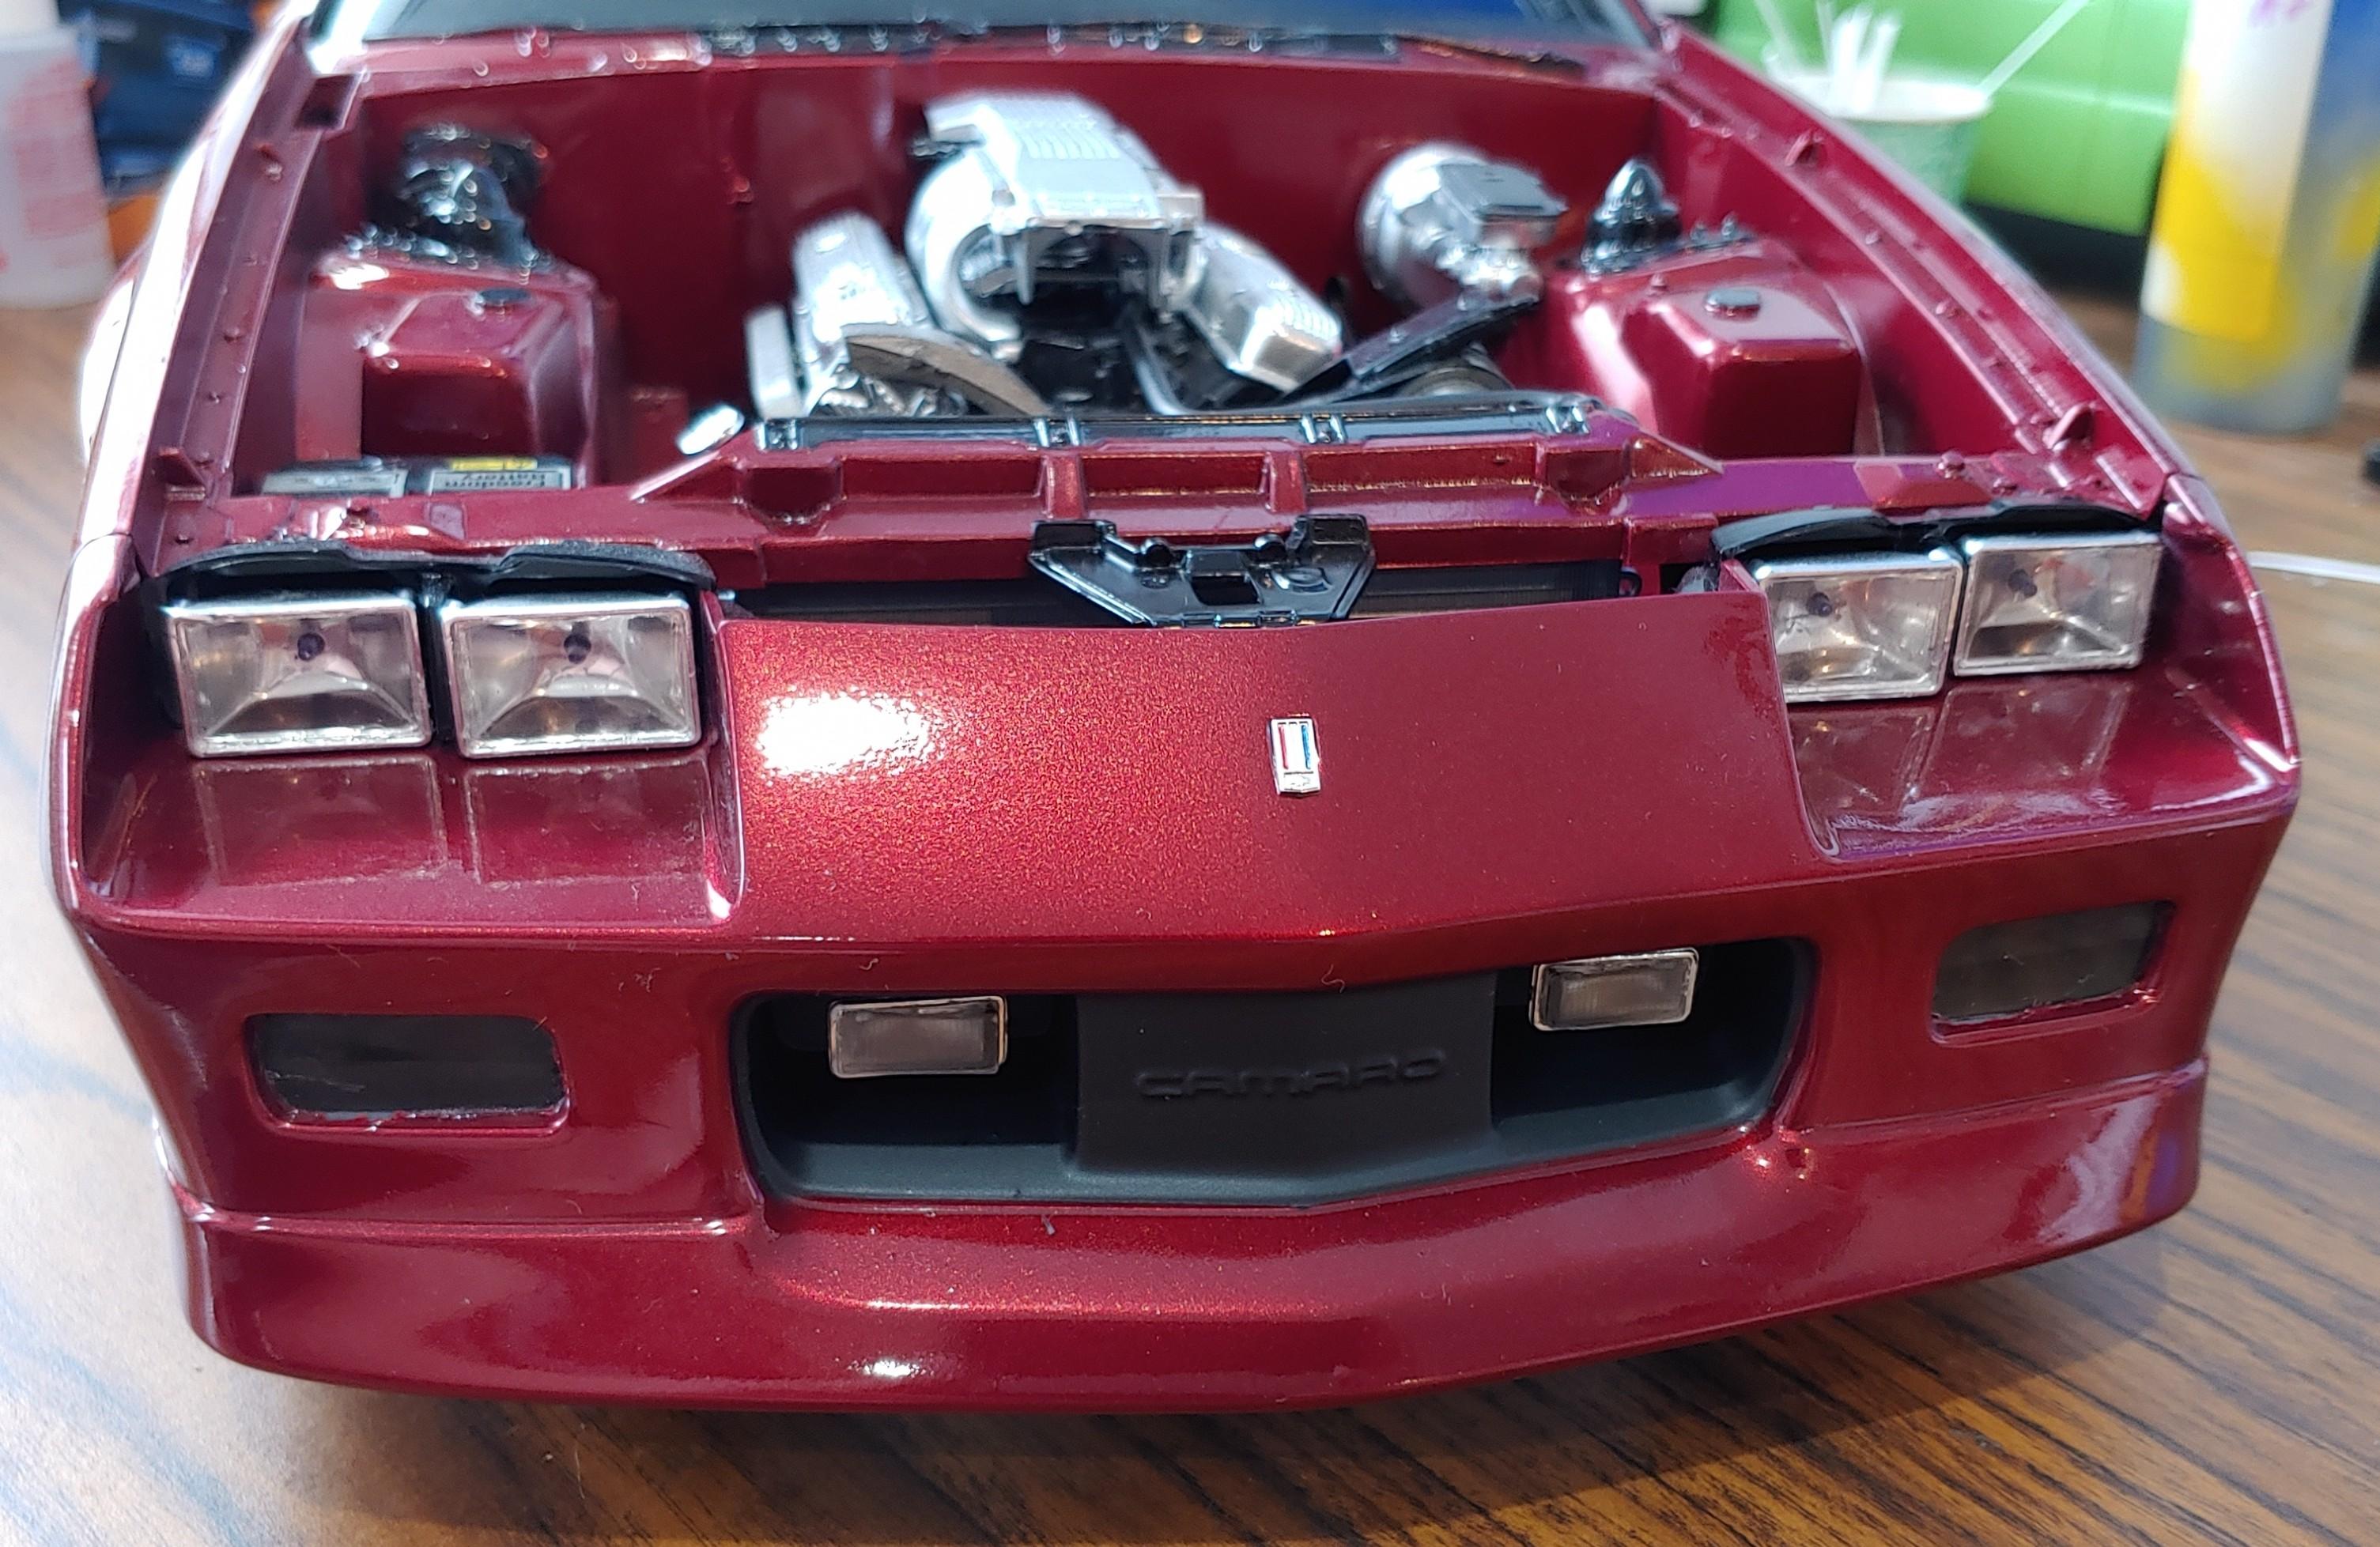
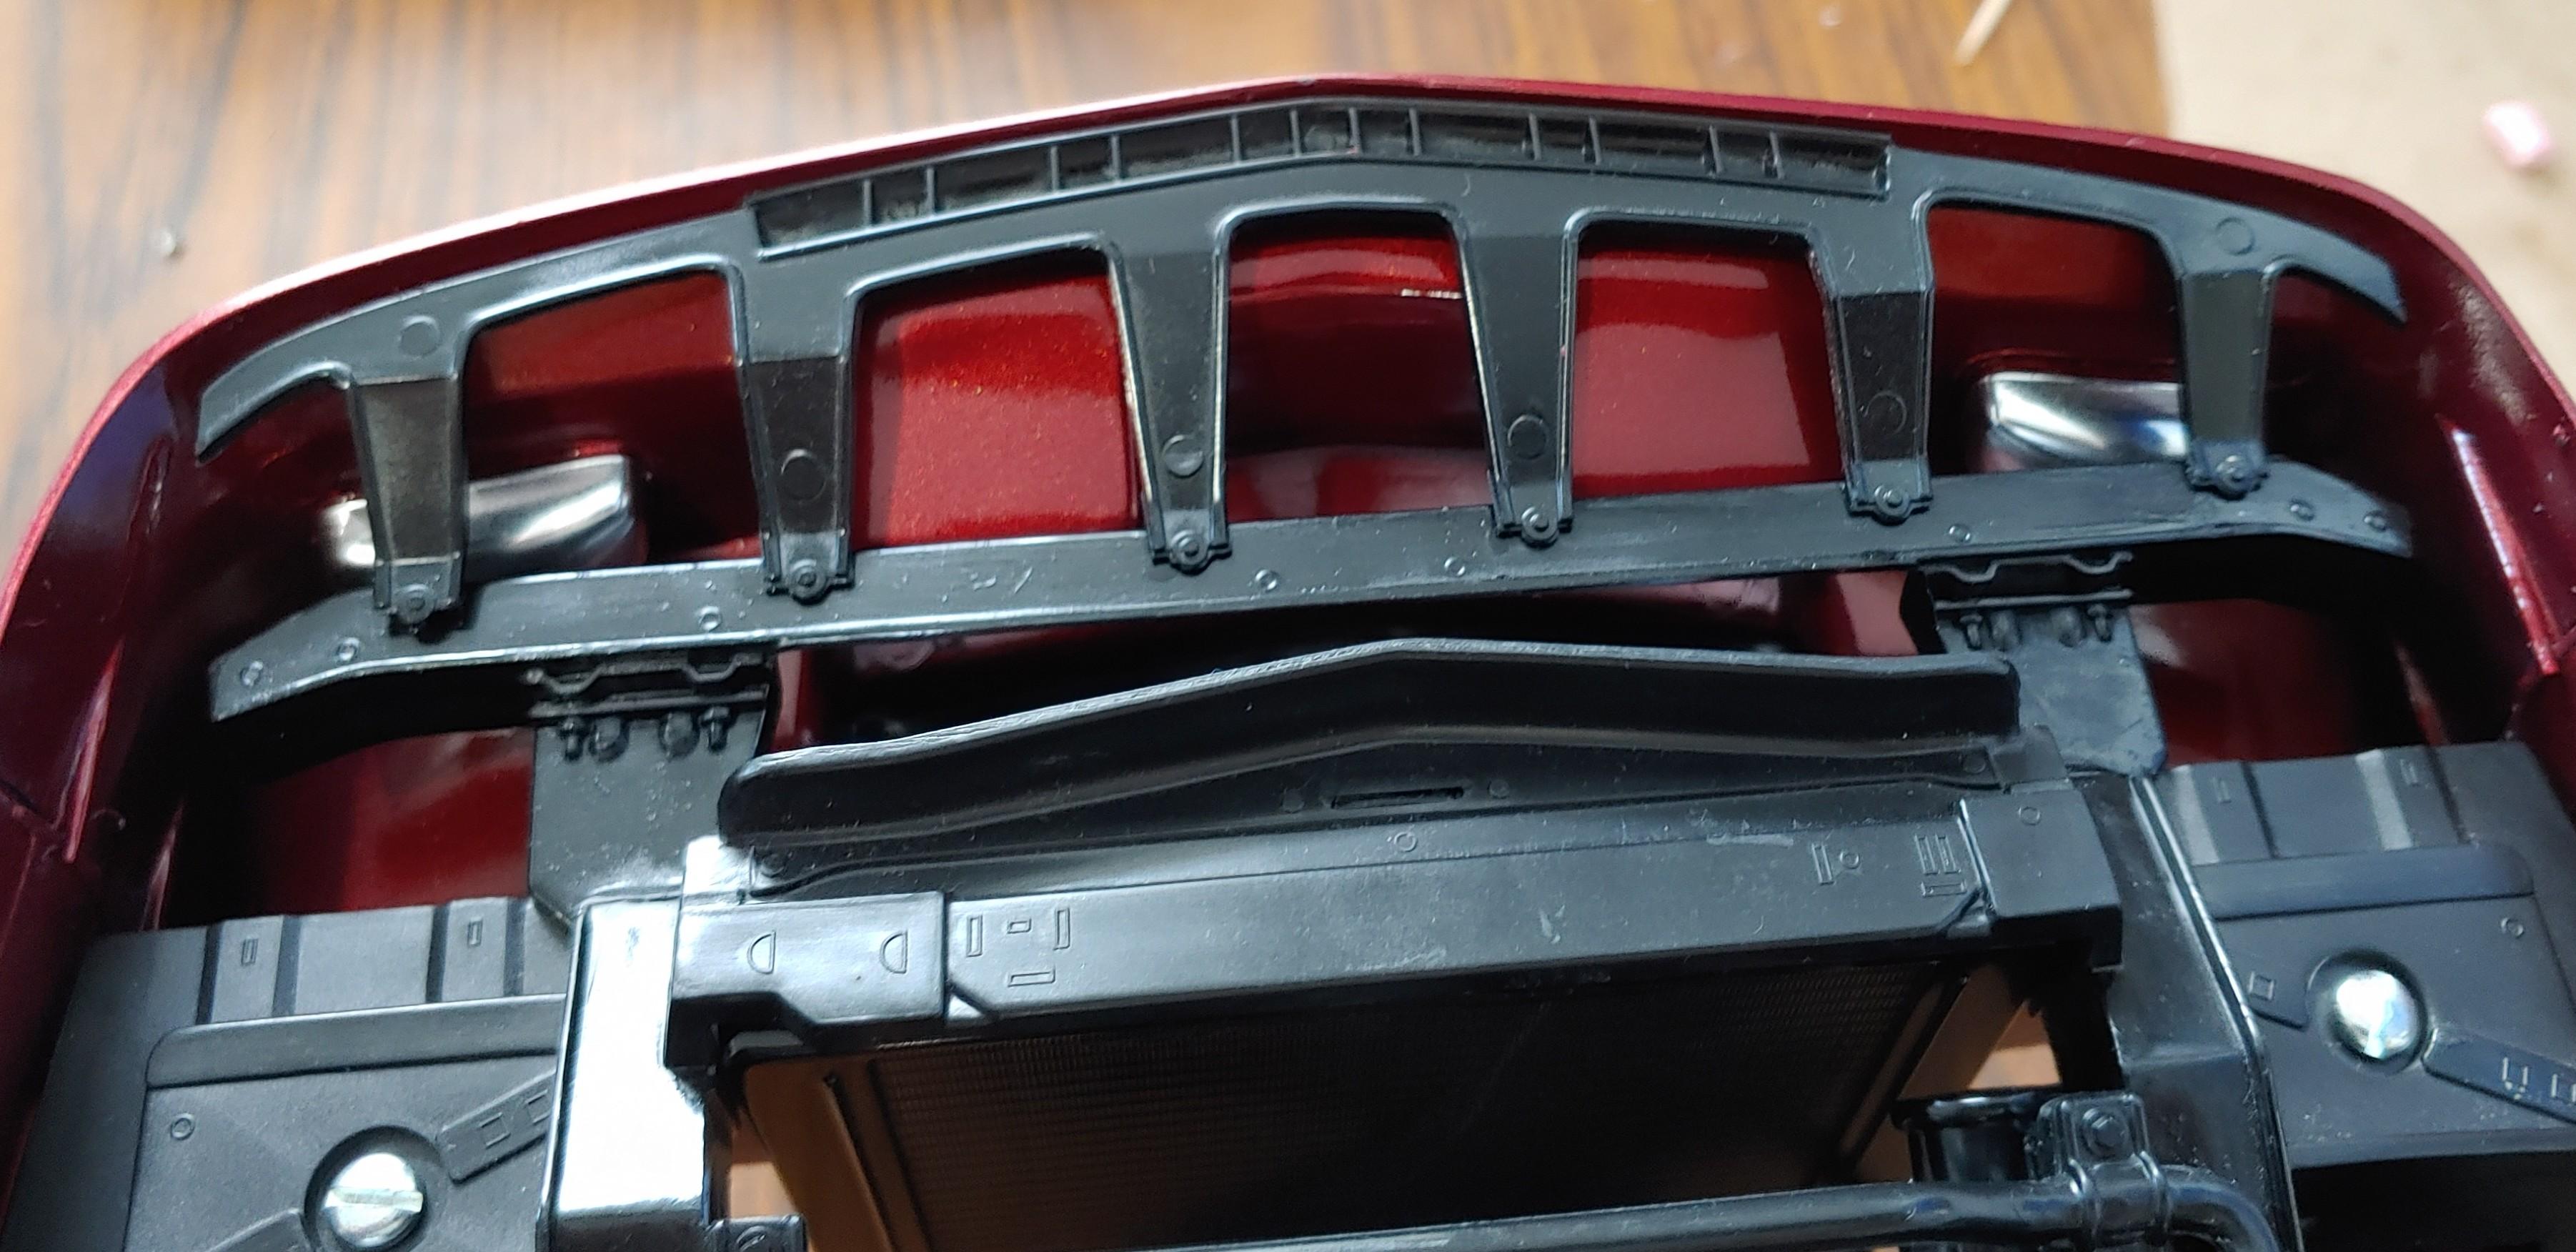
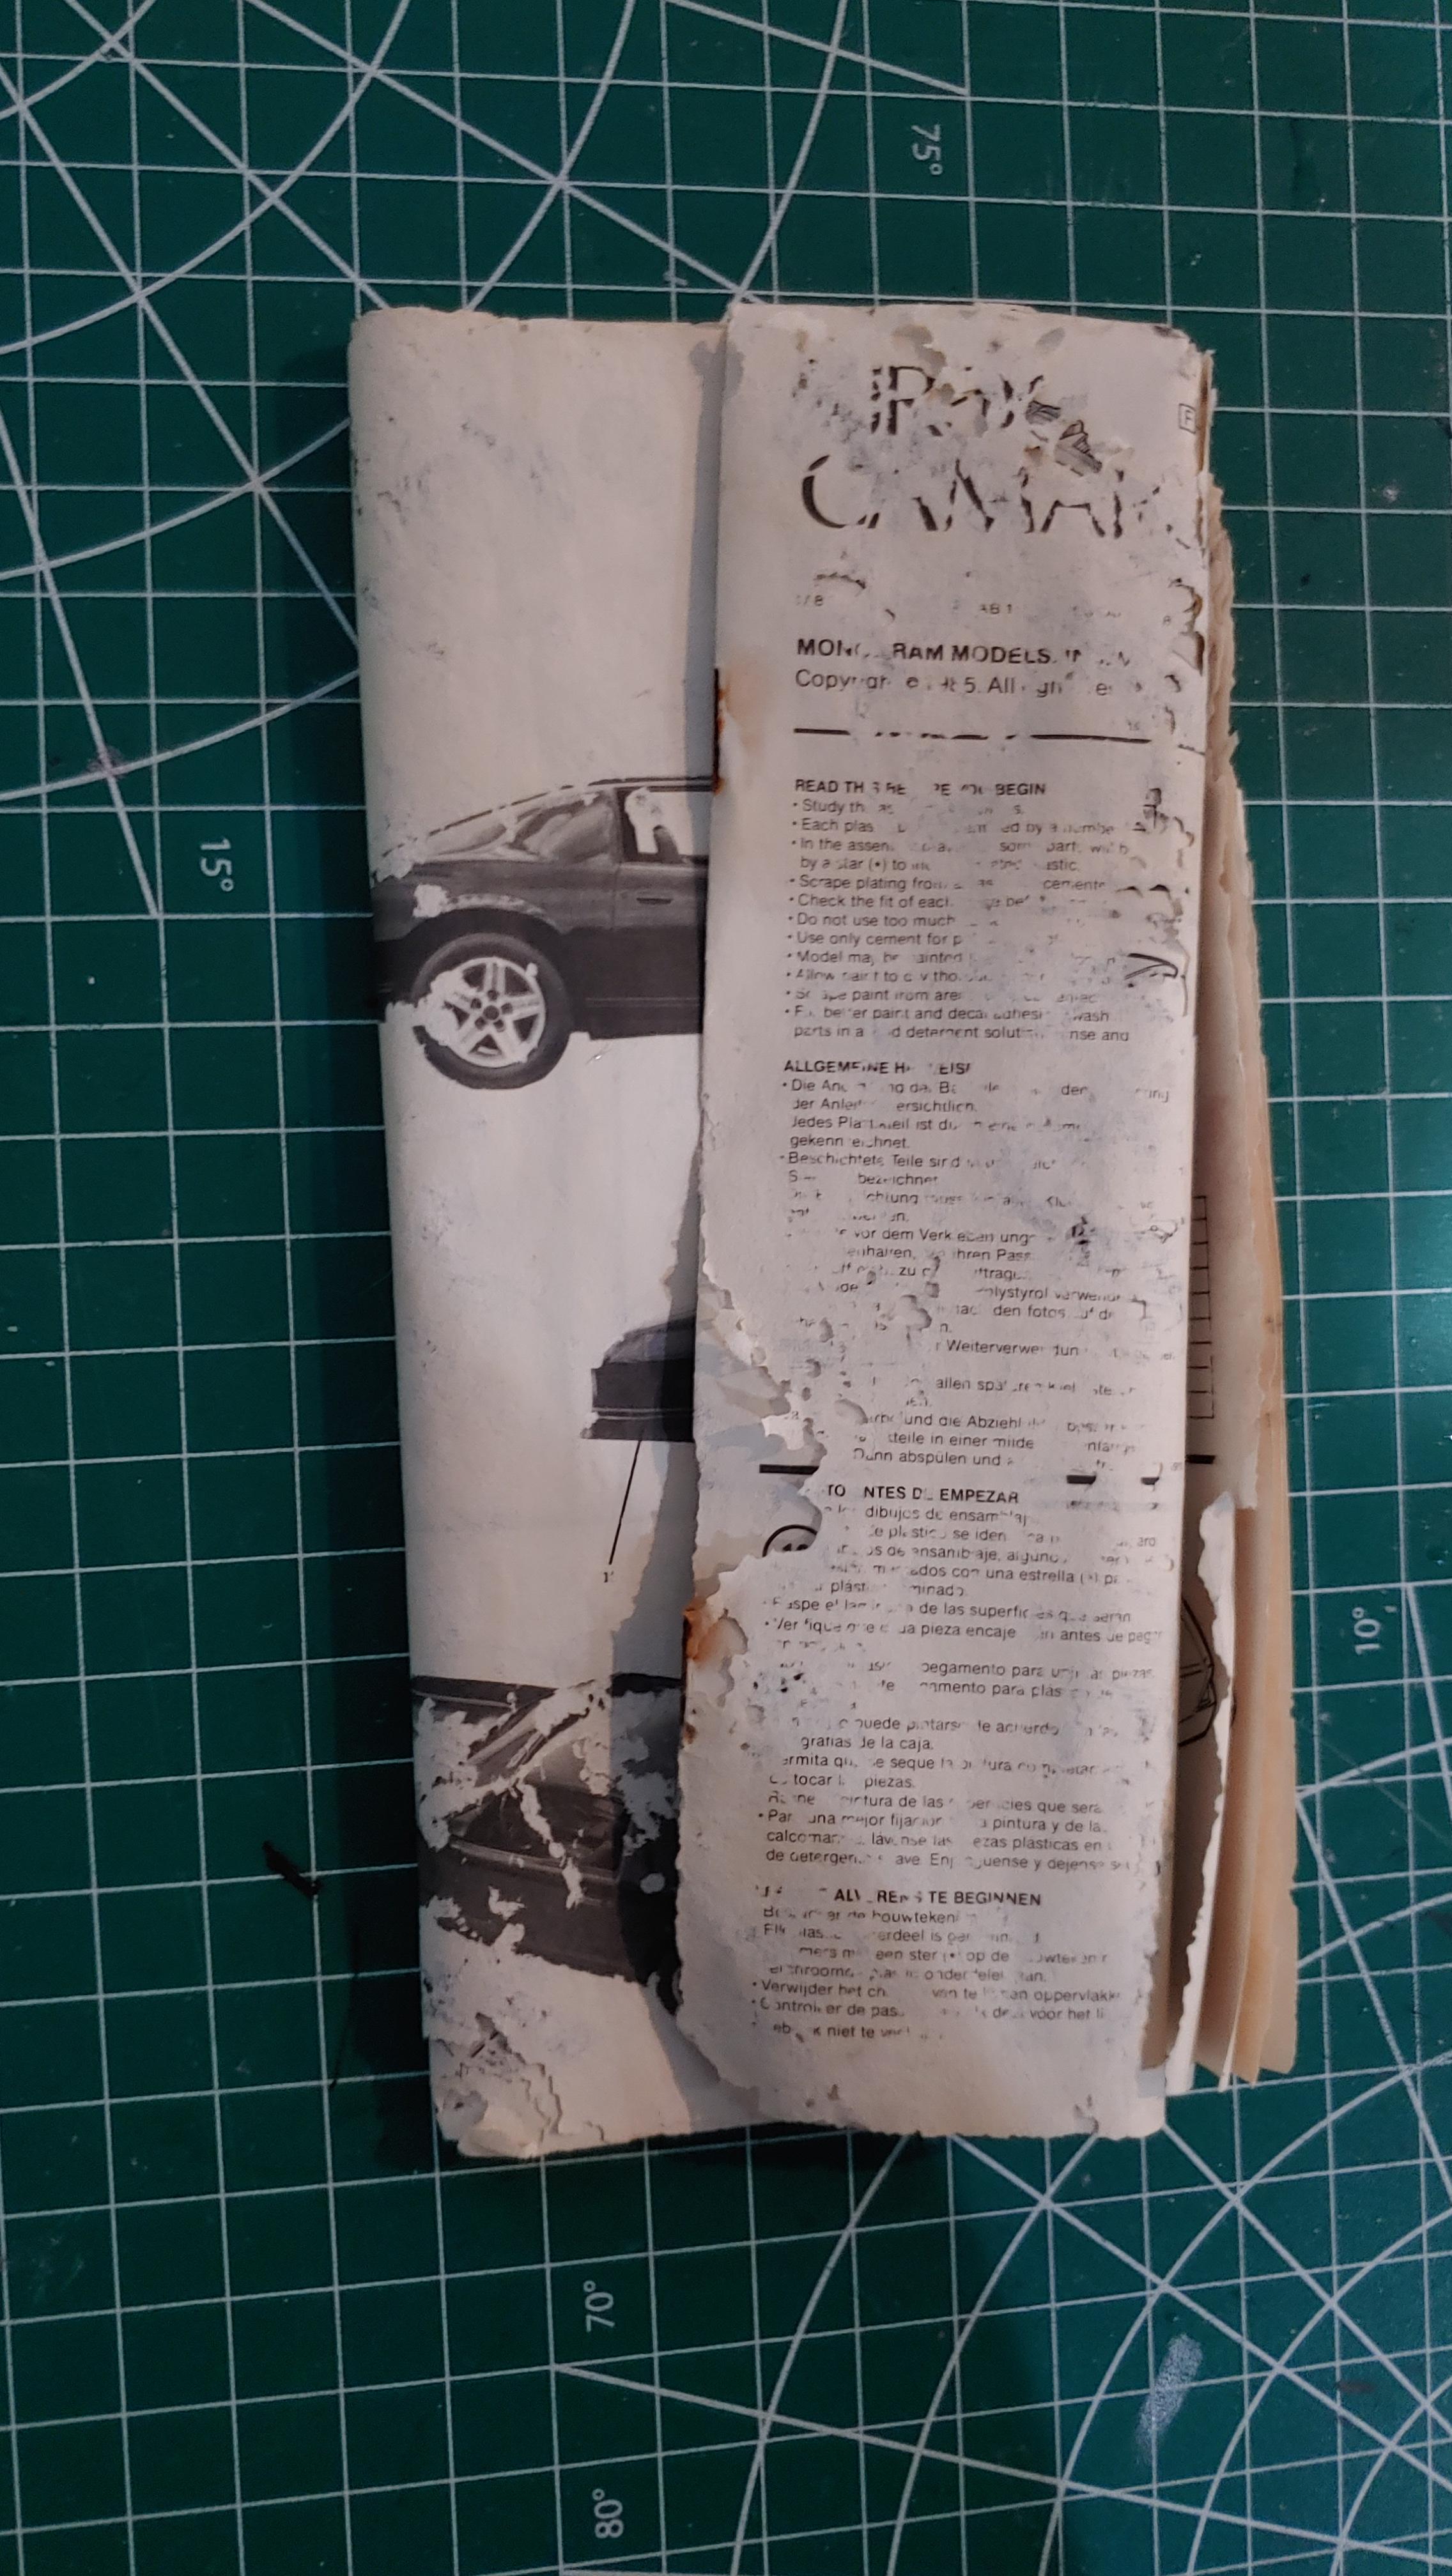
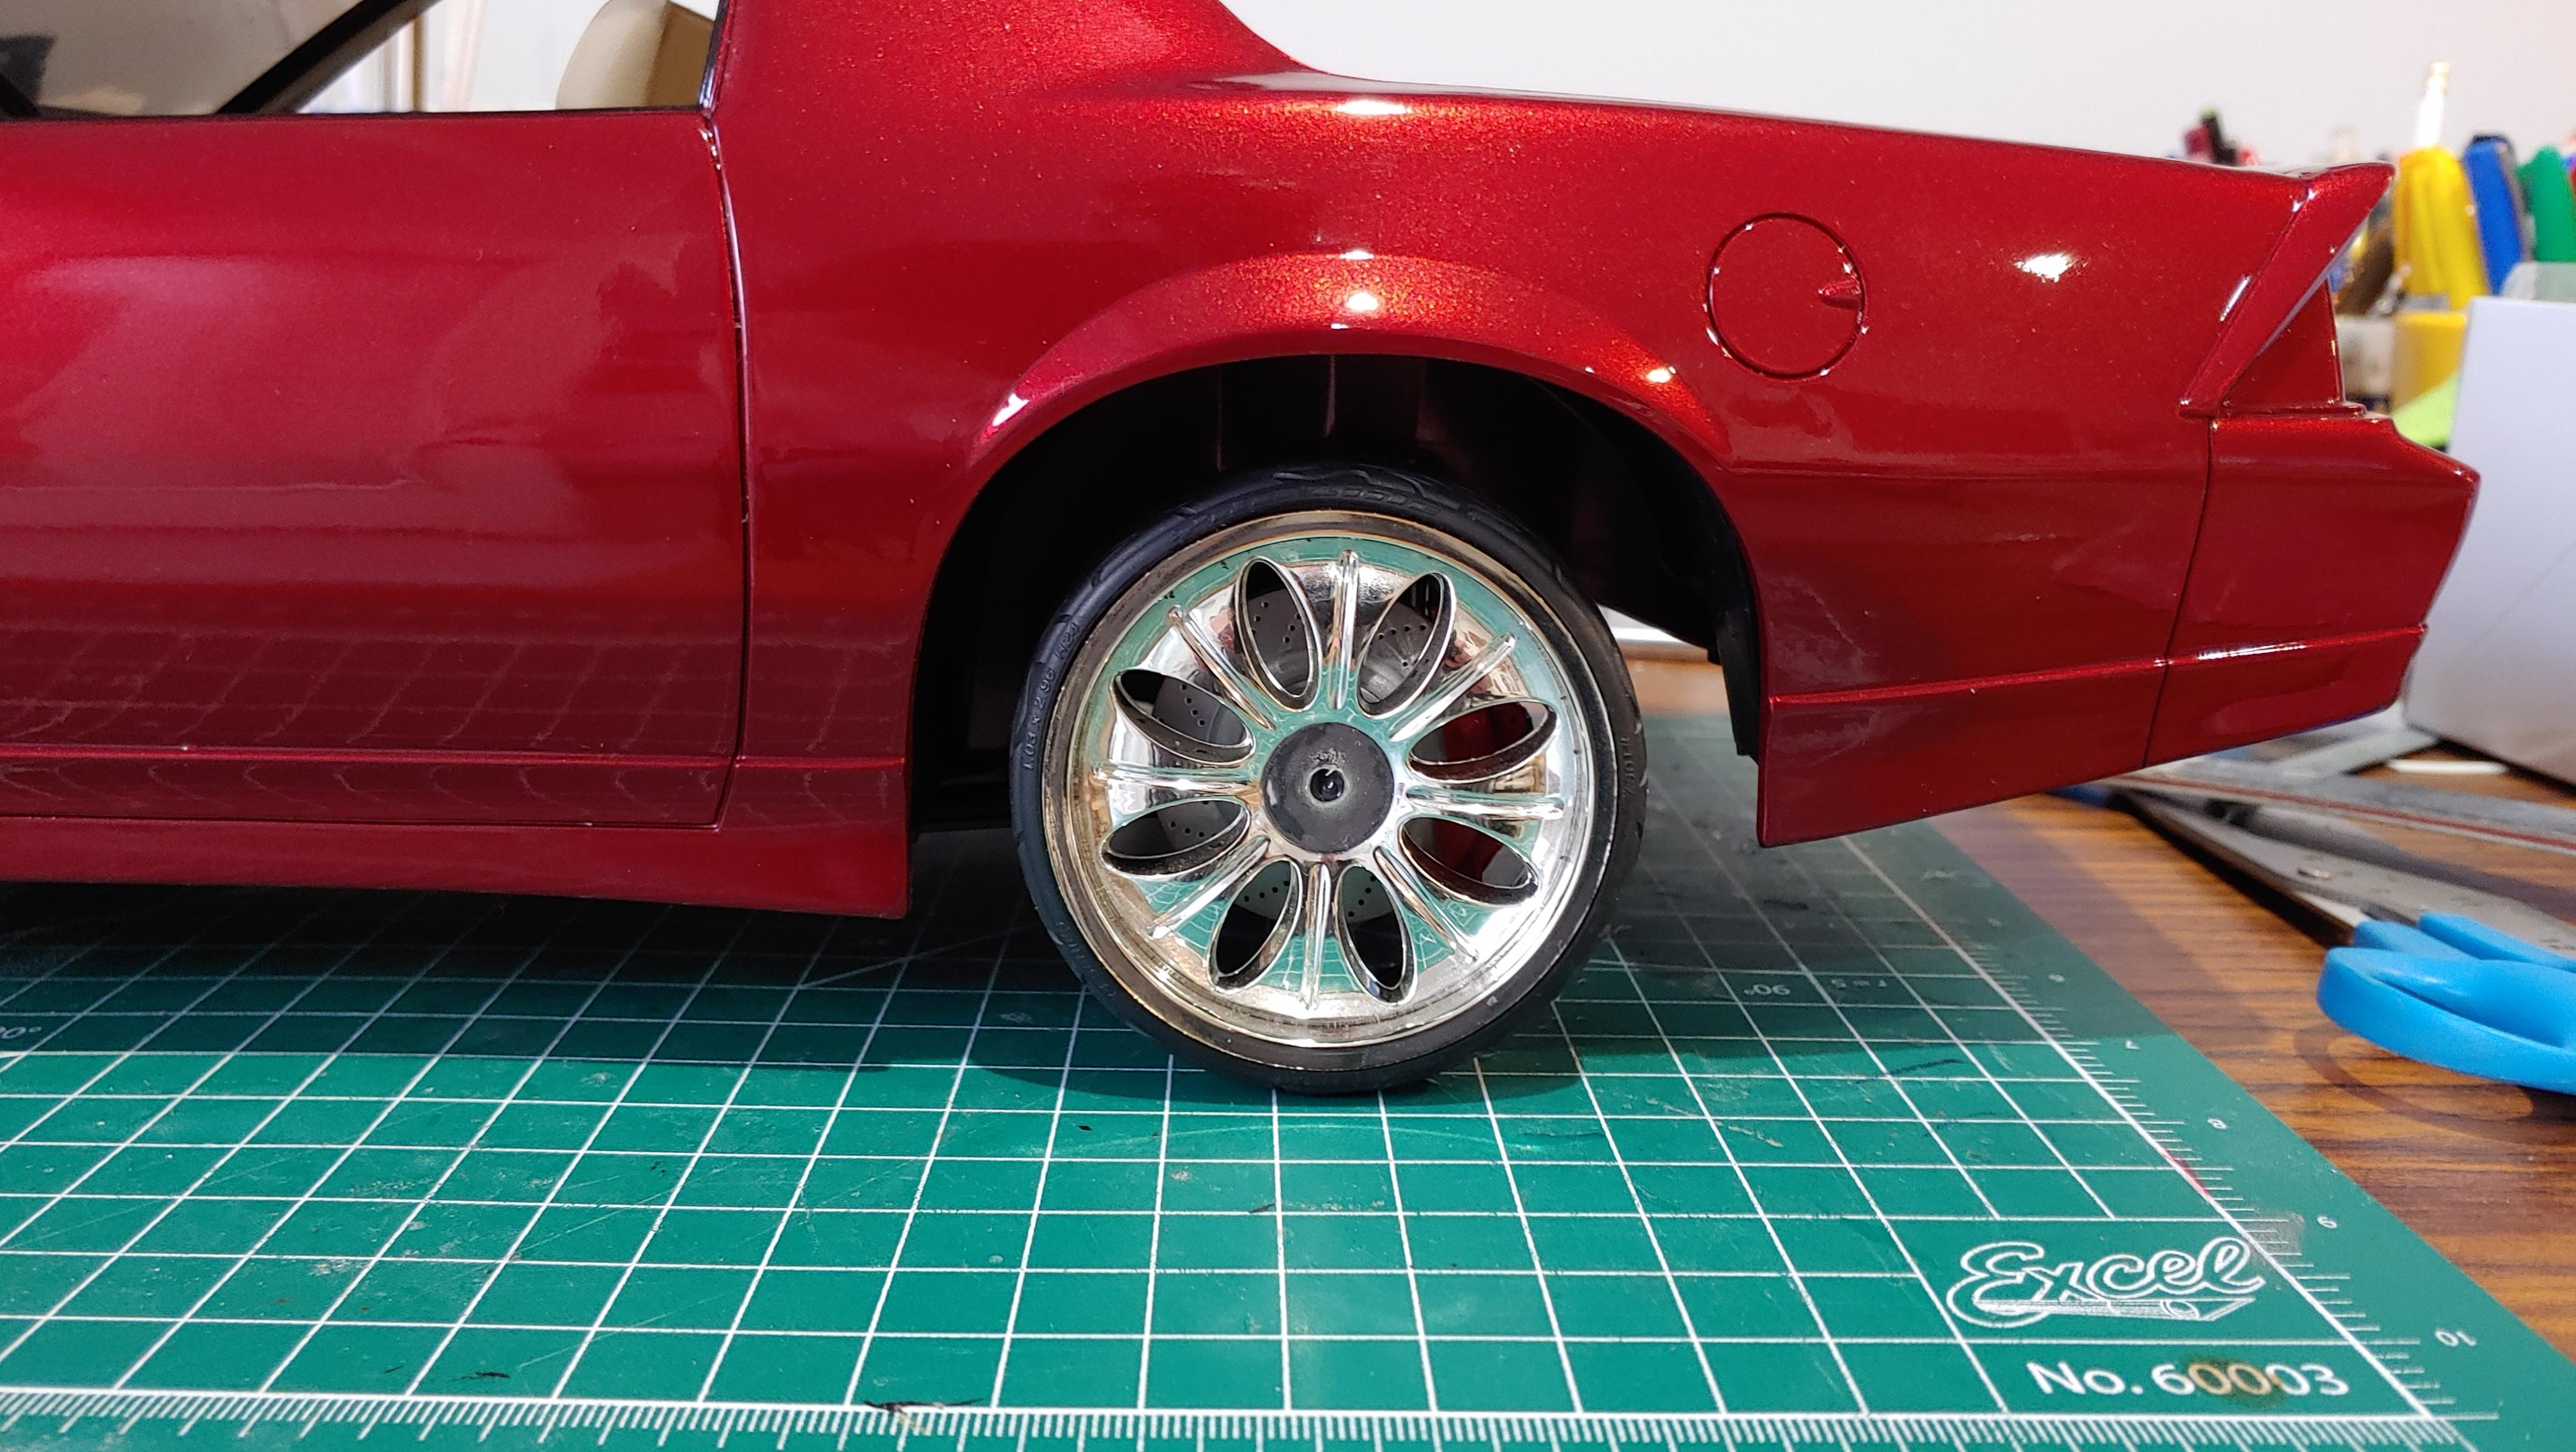
I got the front suspension painted and installed. While it was upside down I made some turn signals out of some clear plastic, BMF and an orange sharpie. I figured out why the radiator wasn't fitting. When the previous owner installed the pulleys they didn't push them in all the way and they were hitting the fan and pushing the radiator forward. I decided to solve the problem by just leaving the fan off. After I installed the radiator I ran into the next surprise missing part, the radiator hose. Easy fix, I just mad a new one by bending up some solder. After I got the radiator hose painted I installed it, the master cylinder, the core support bracket and the battery decals to finish off the engine bay. With the engine bay complete it was time to install the front bumper. Then upside down 1 last time to install the bumper support bracket. Then the tail lights and custom plate that I made. Then I finished up by installing the mirrors and rear window and putting on the hood. I used some bullet caps from my parts box to cover the holes in the center of the wheels. She's all done. The instructions were pretty deteriorated, but they lasted long enough to get me through the build. Now comes the hard part, figuring out where the heck I'm going to put it!
-
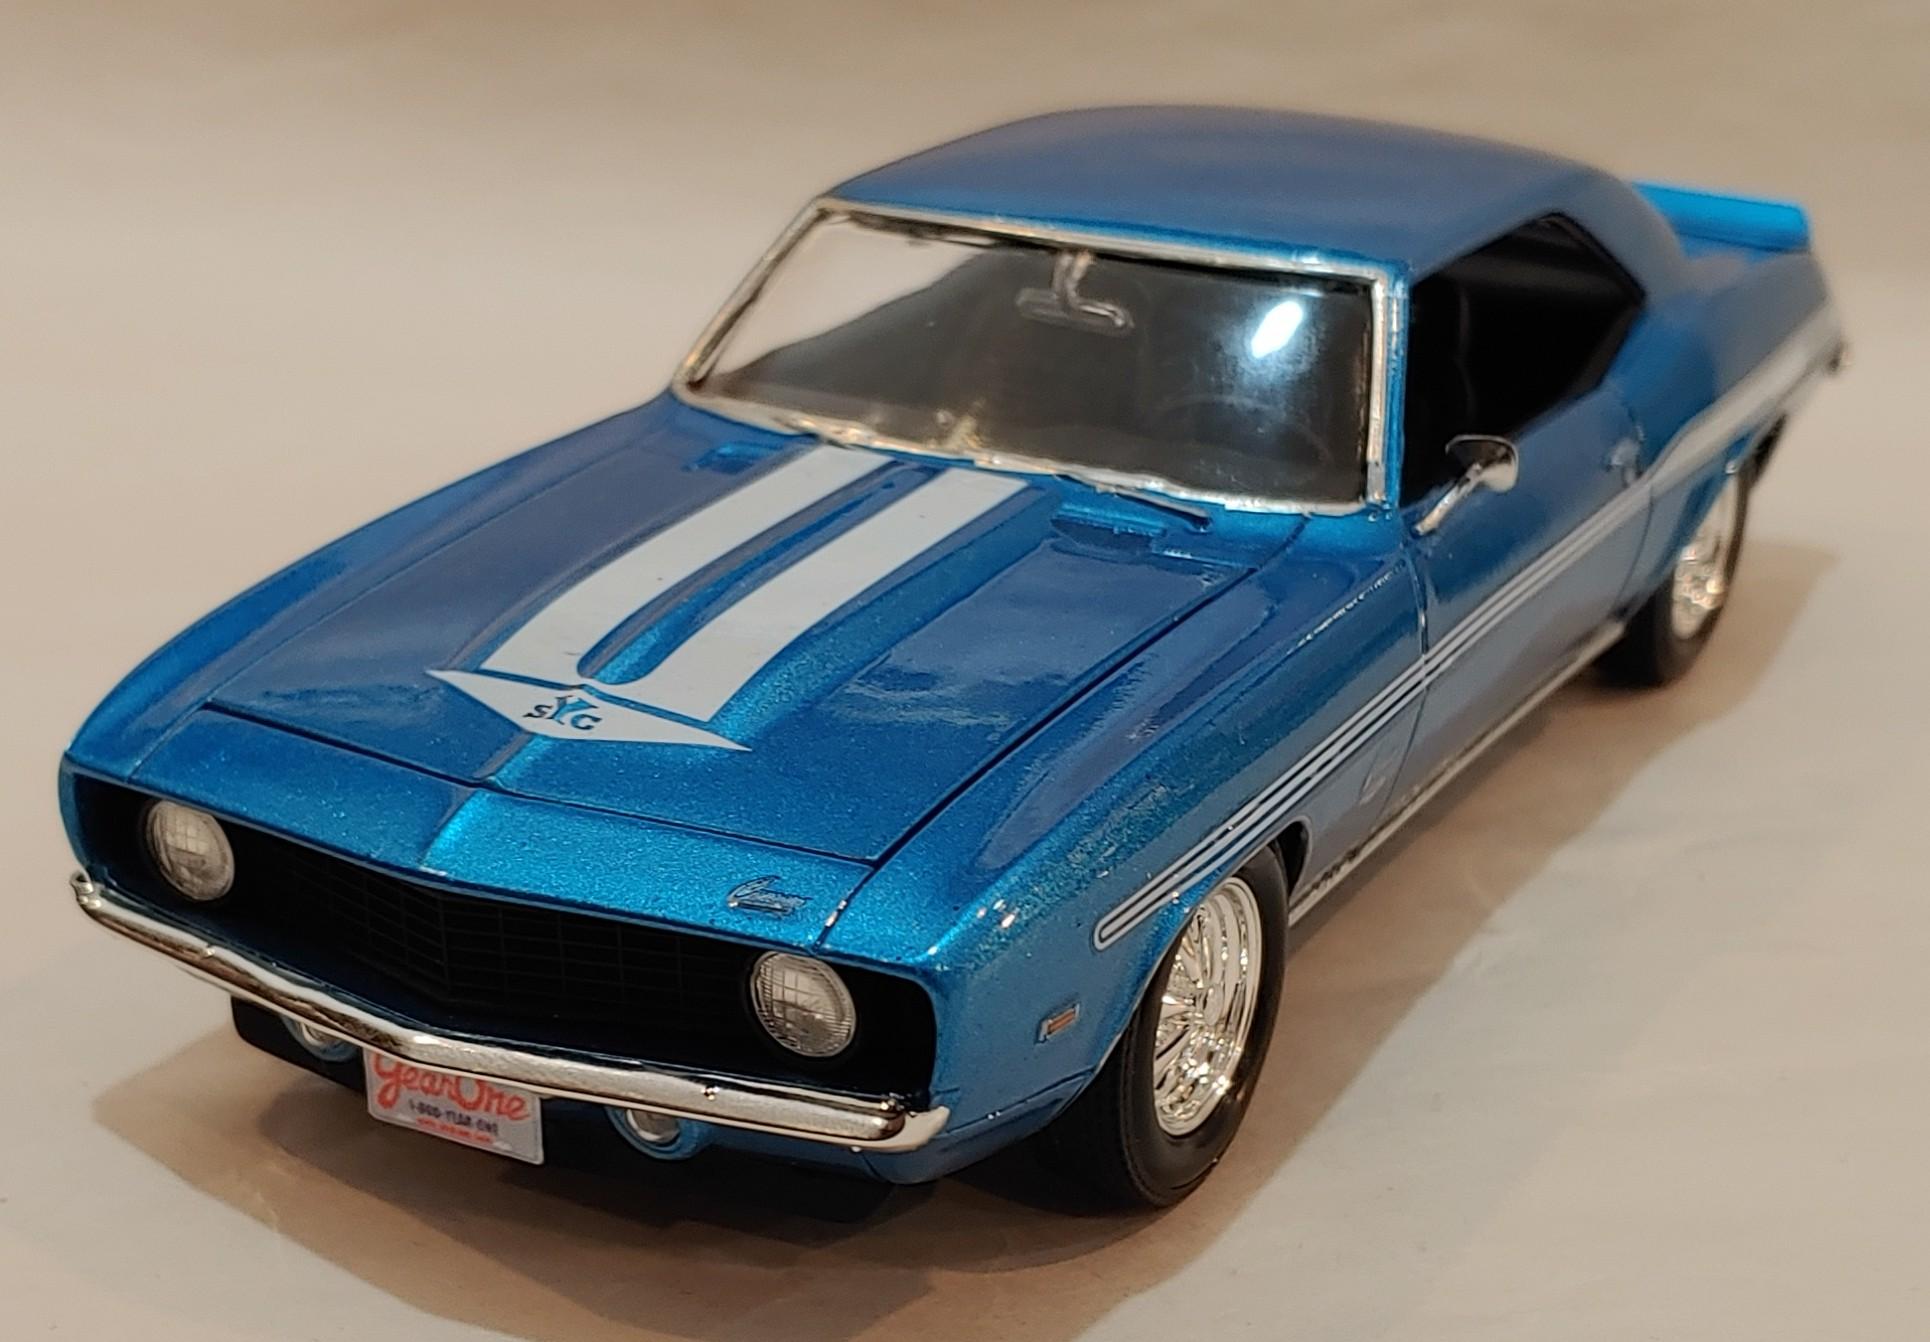
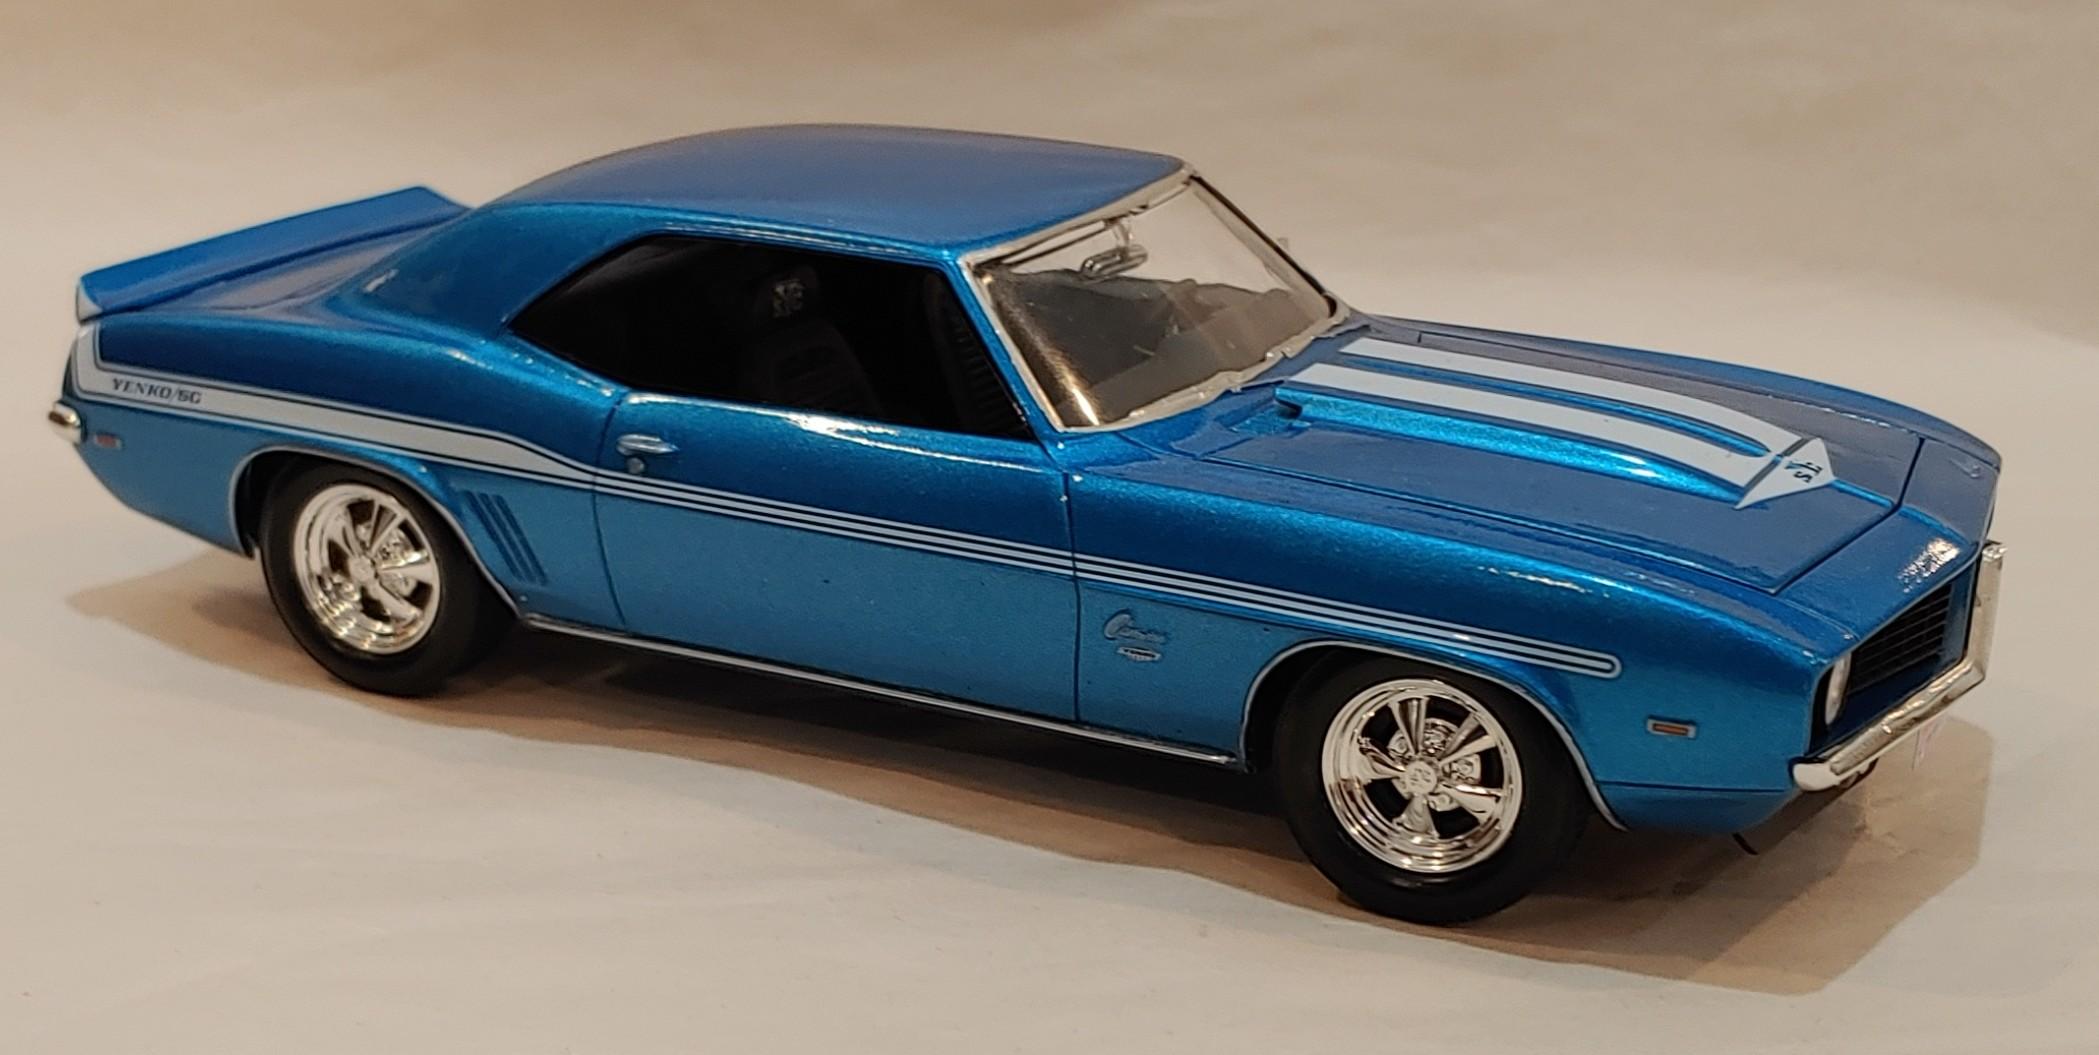
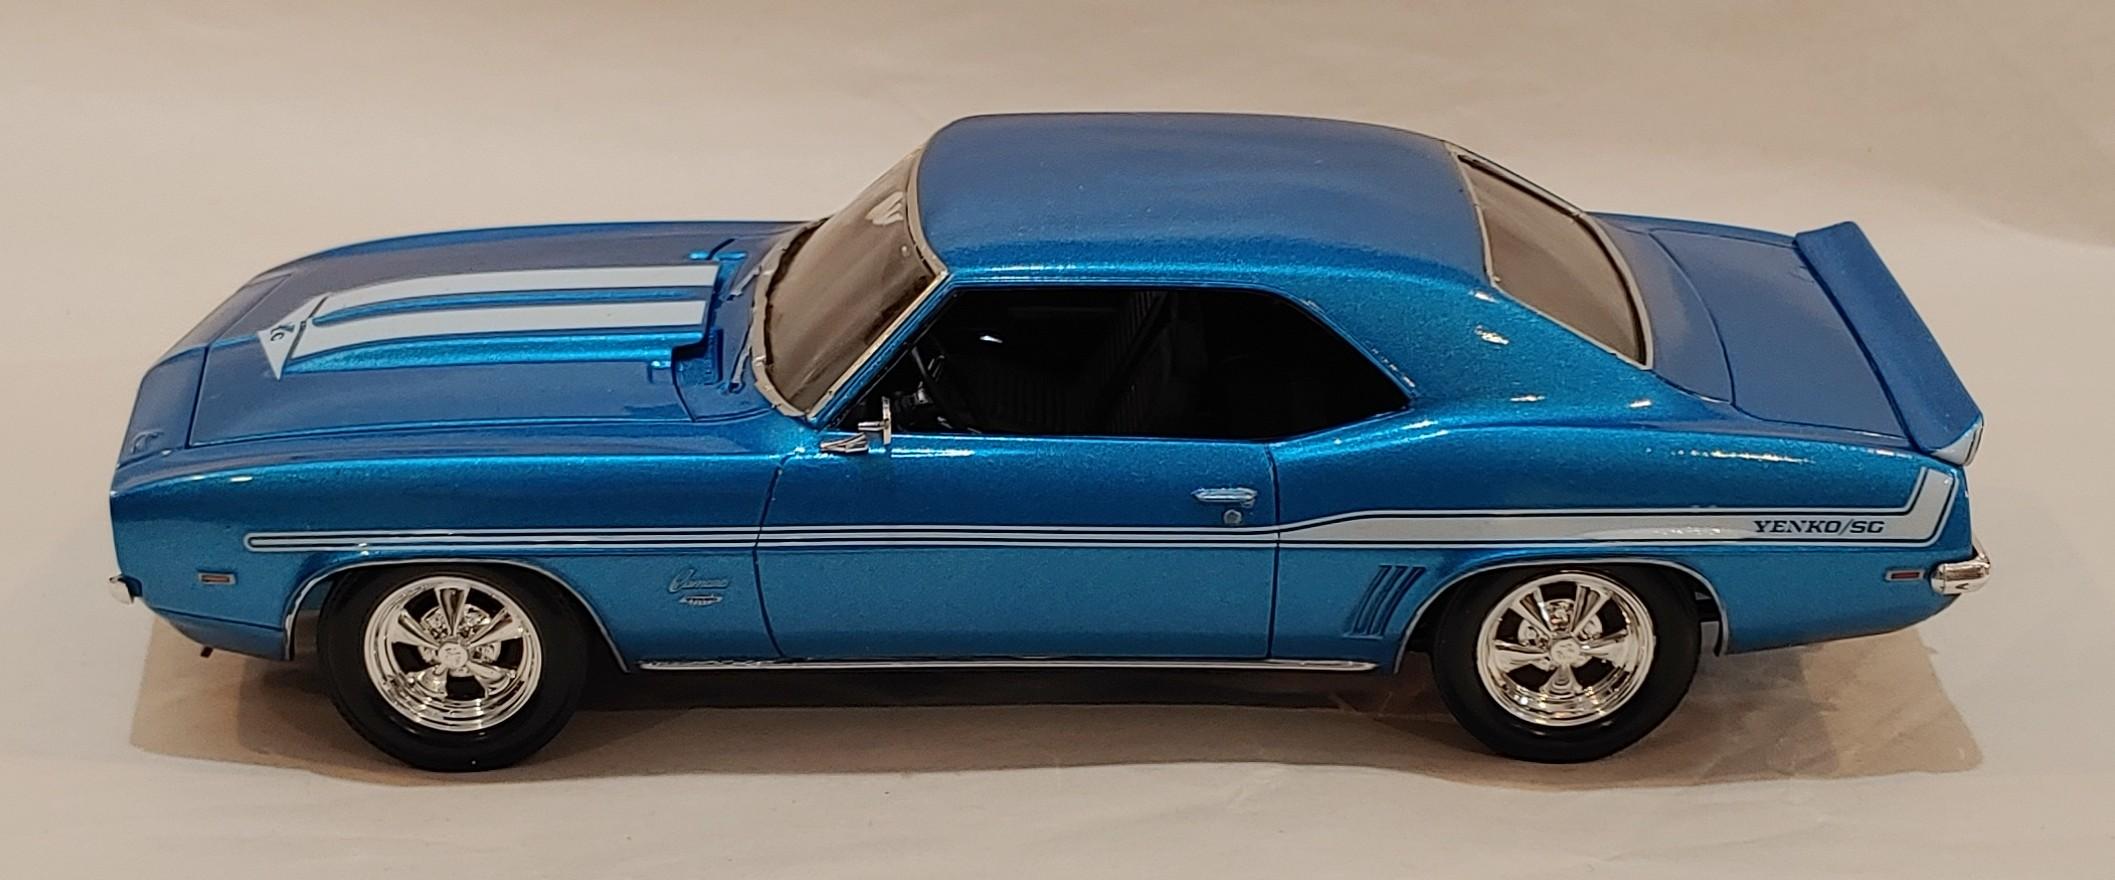
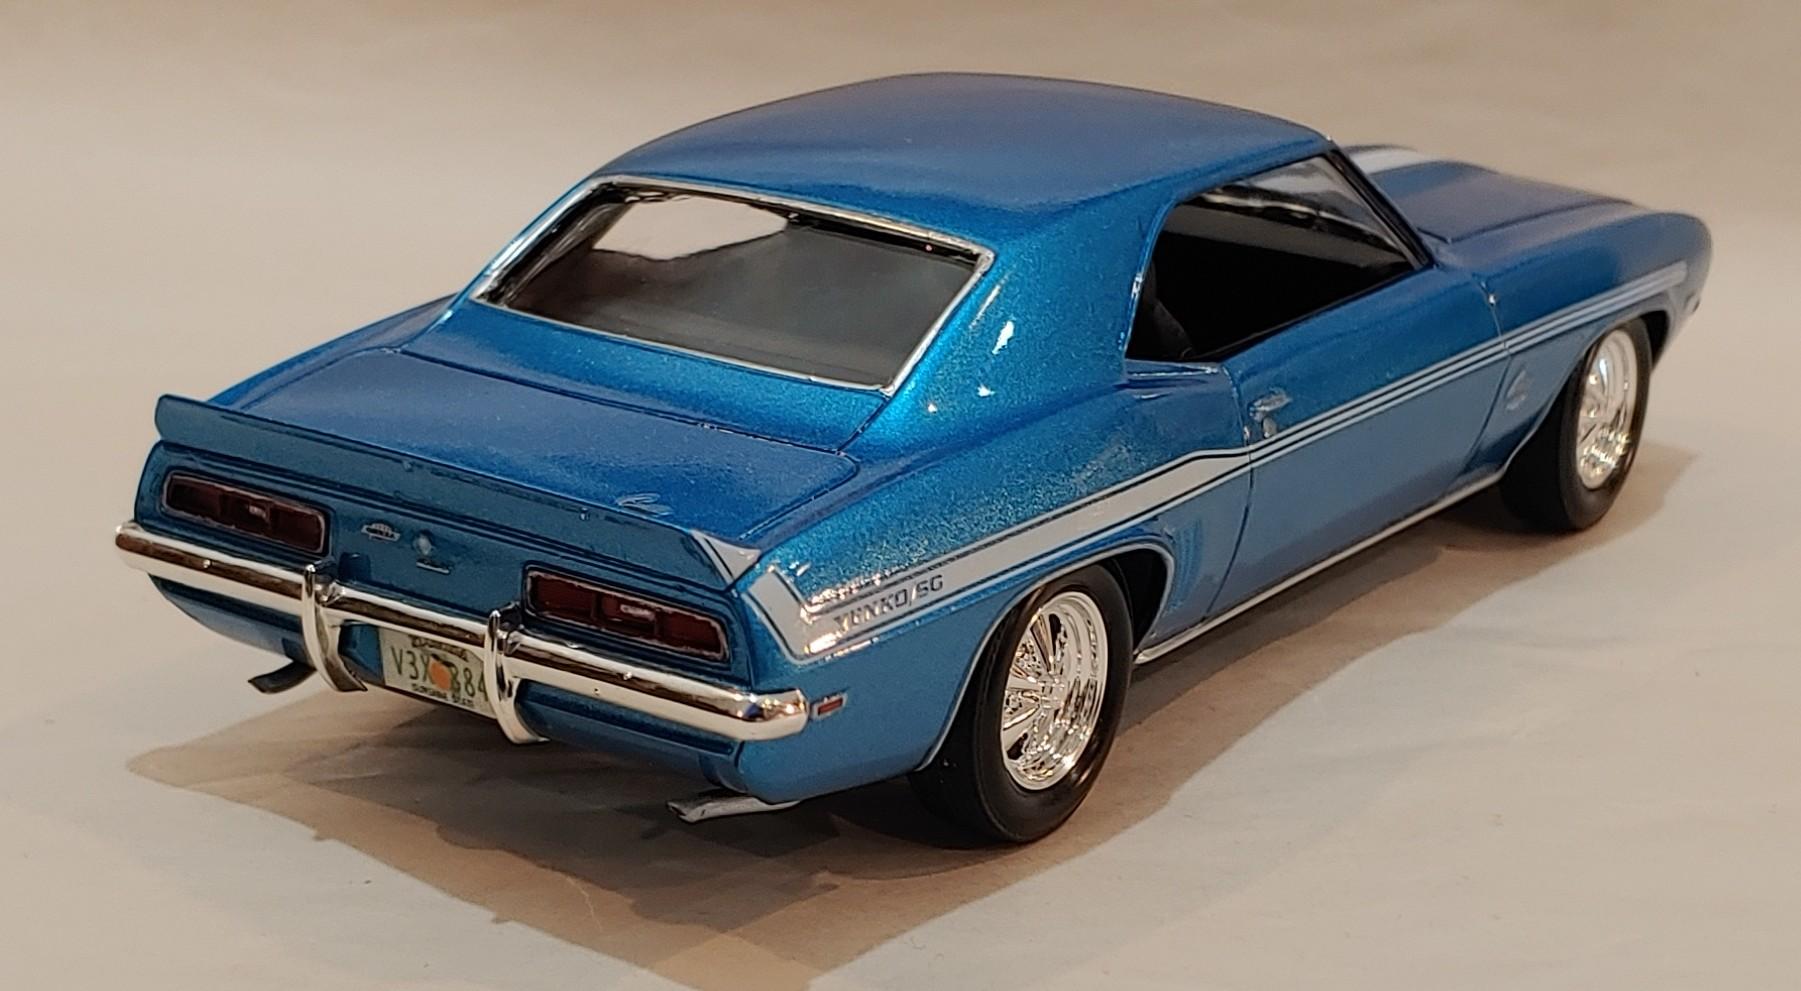
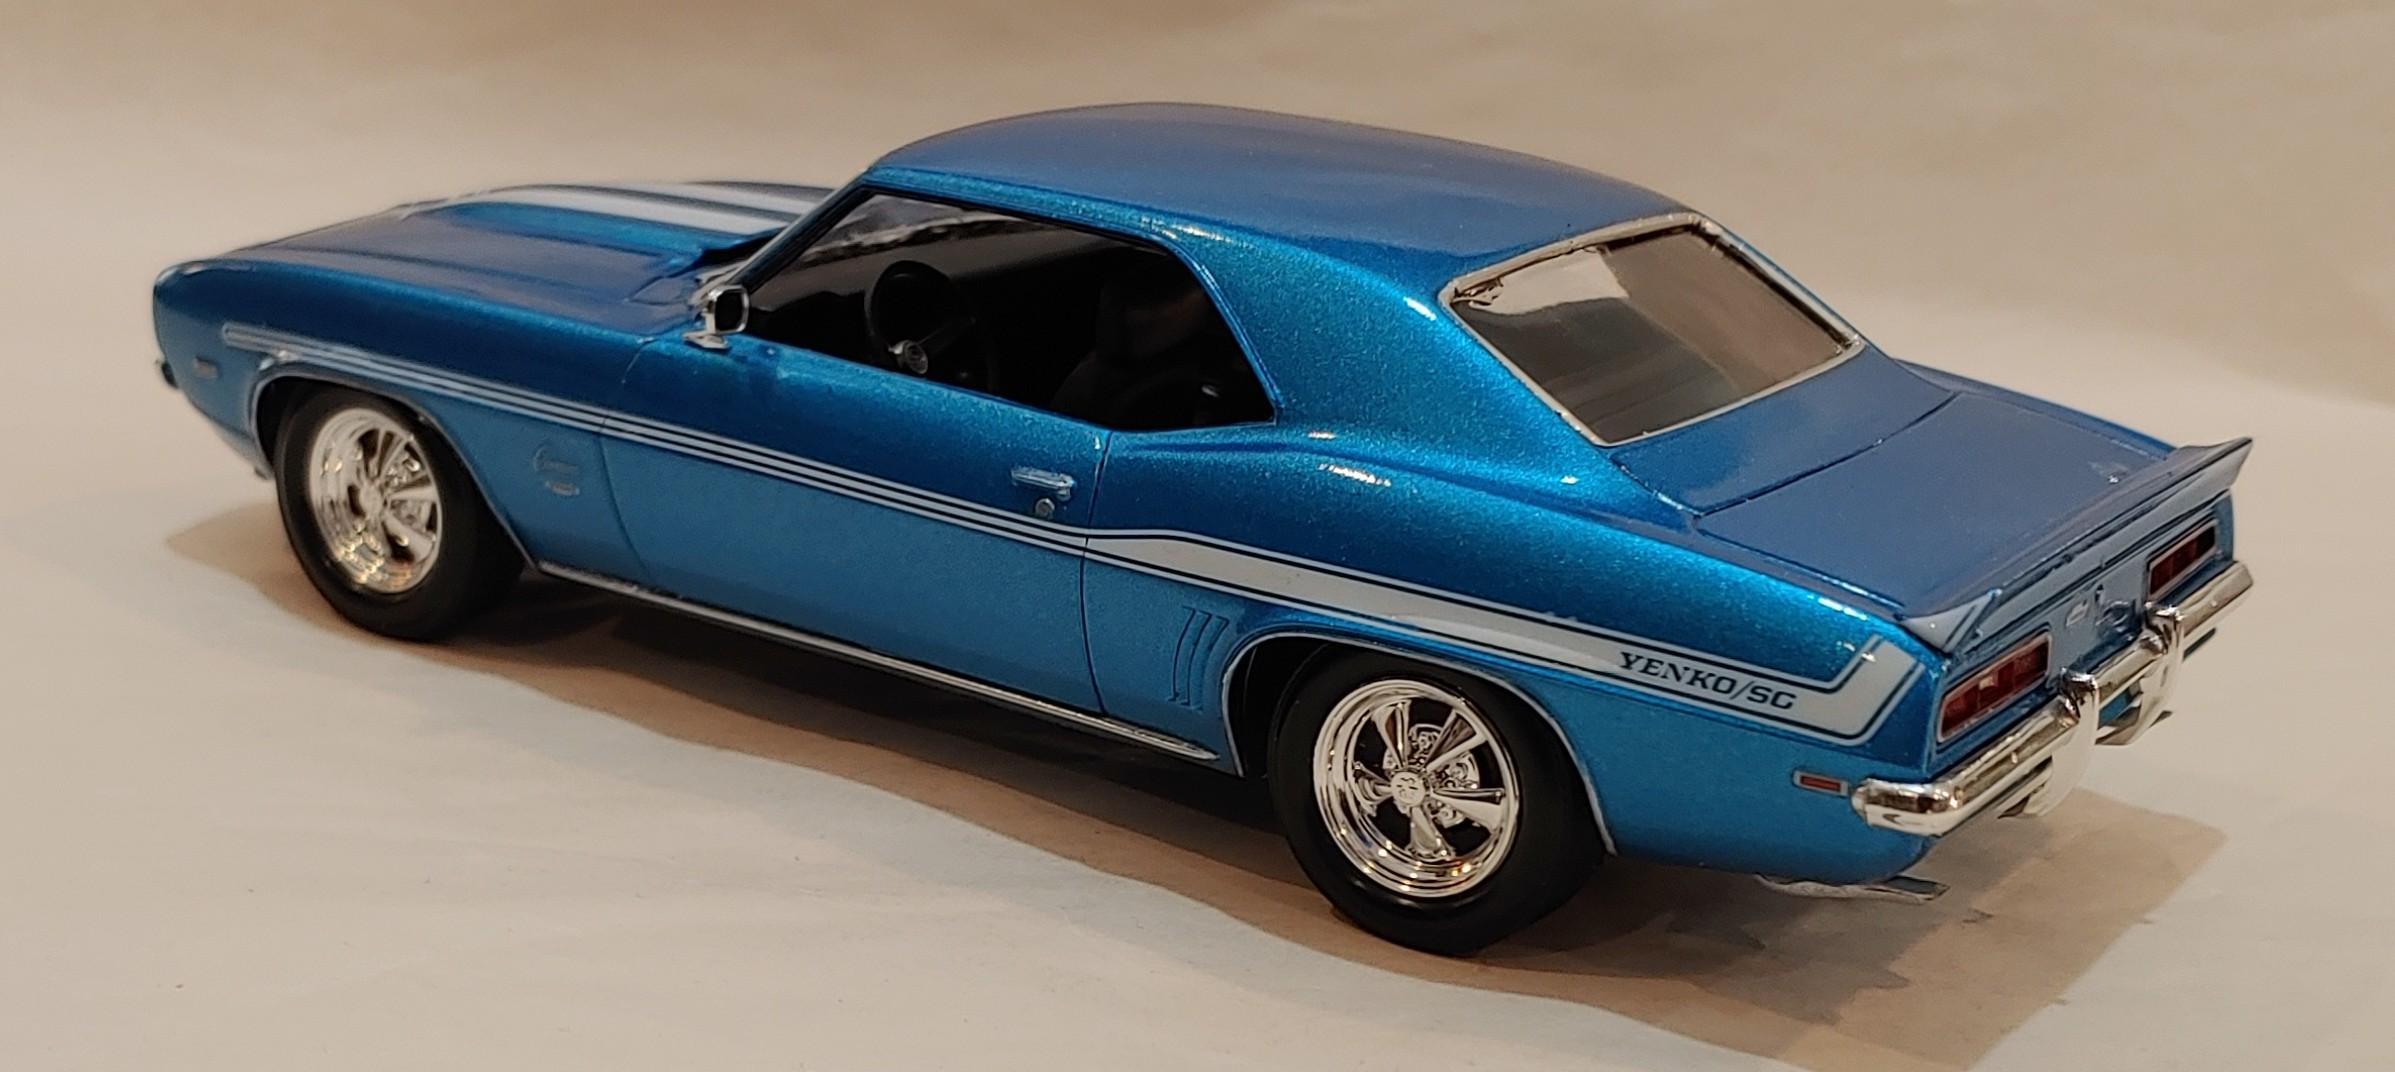
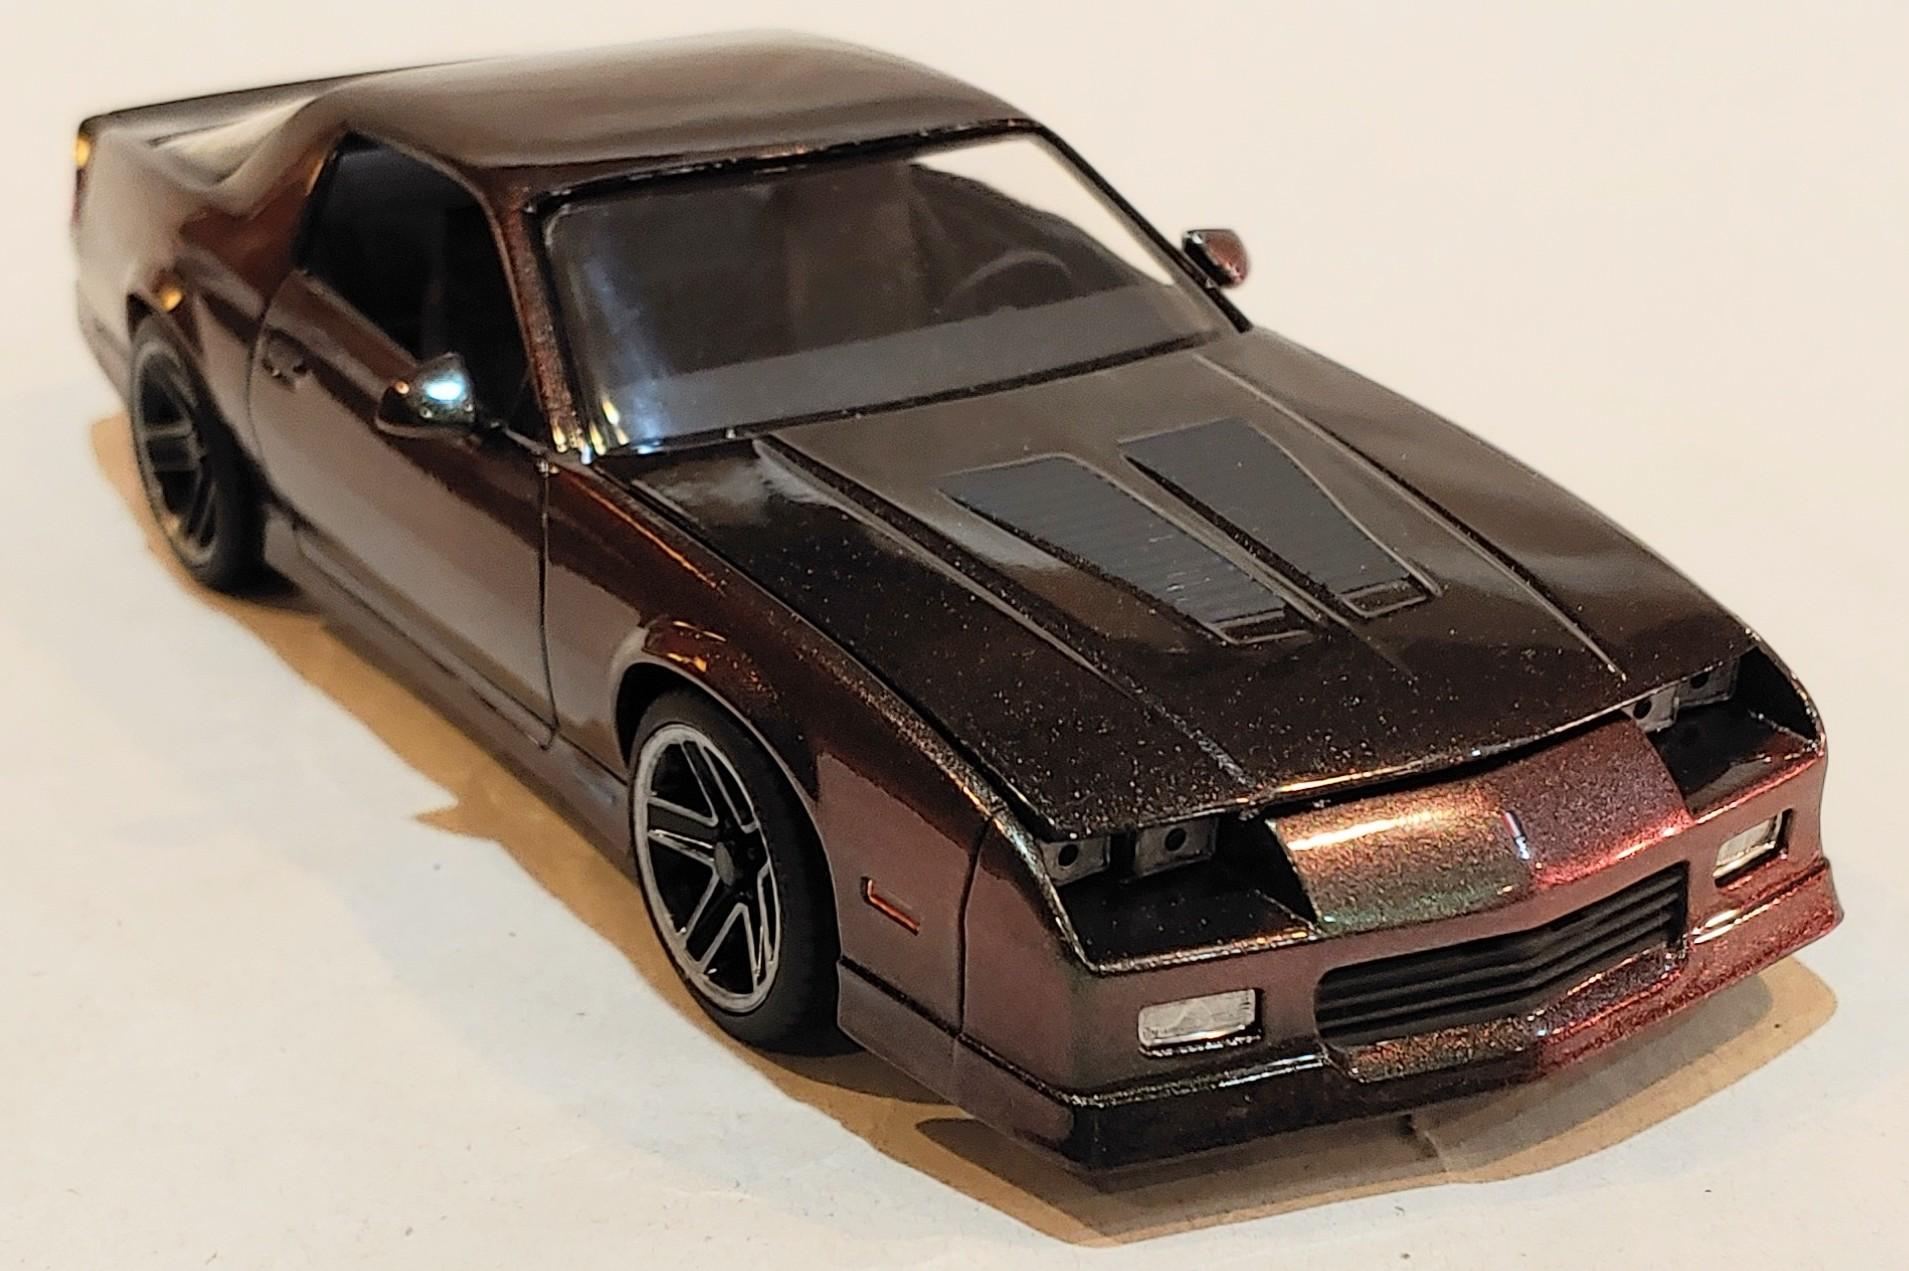
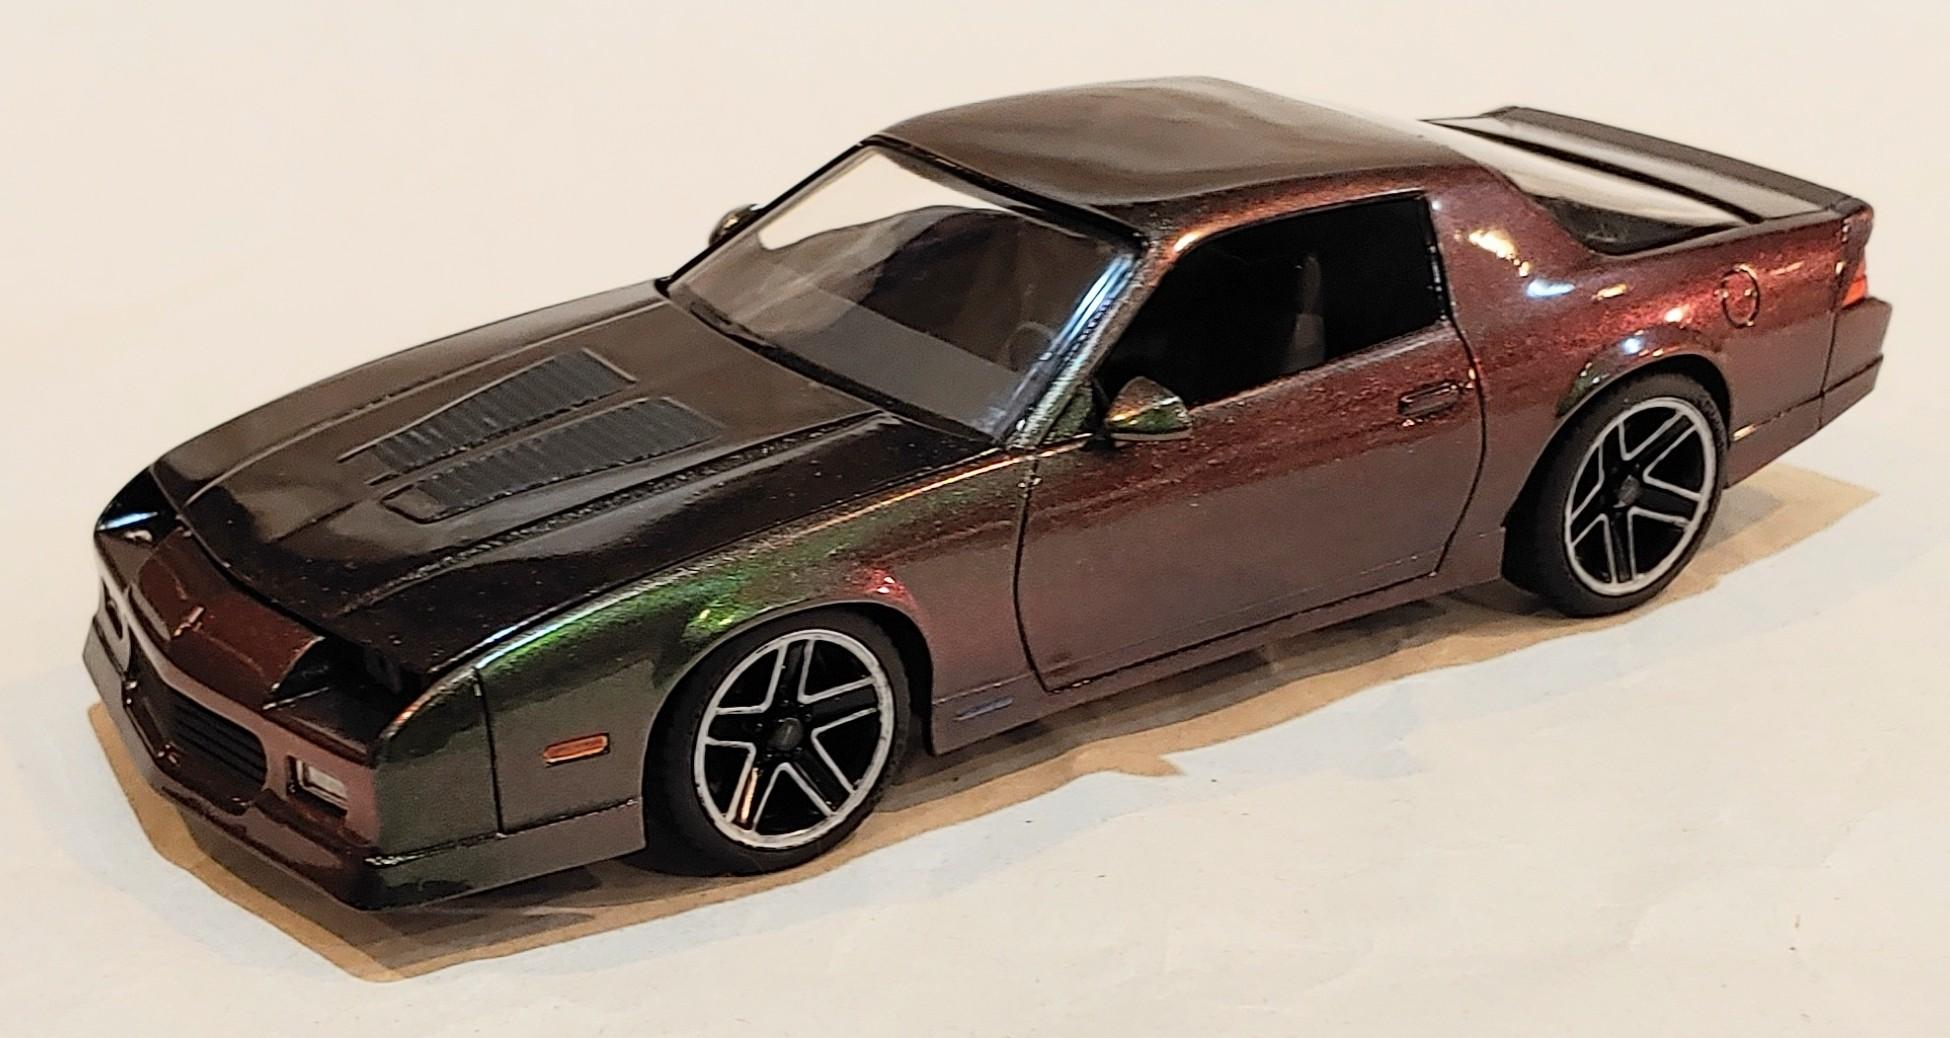
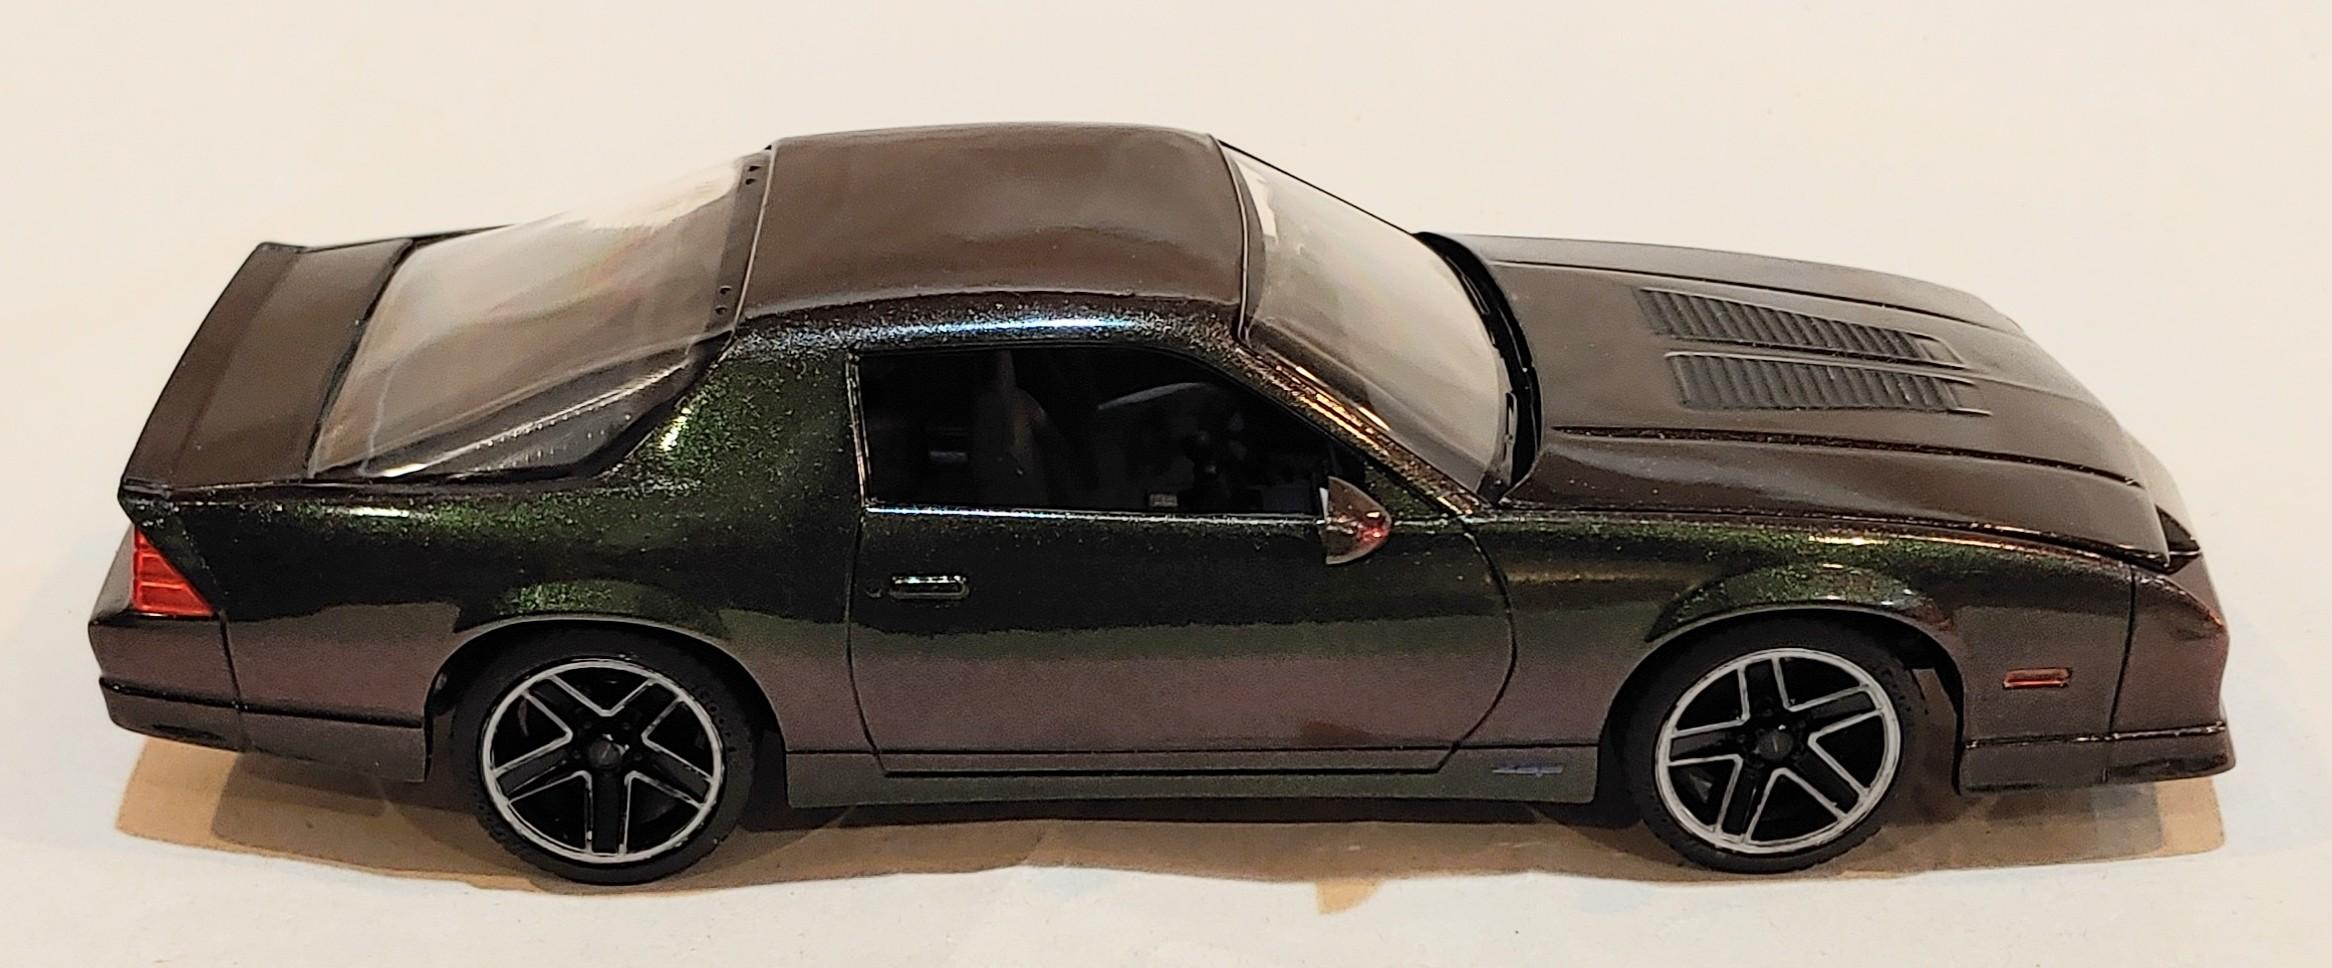
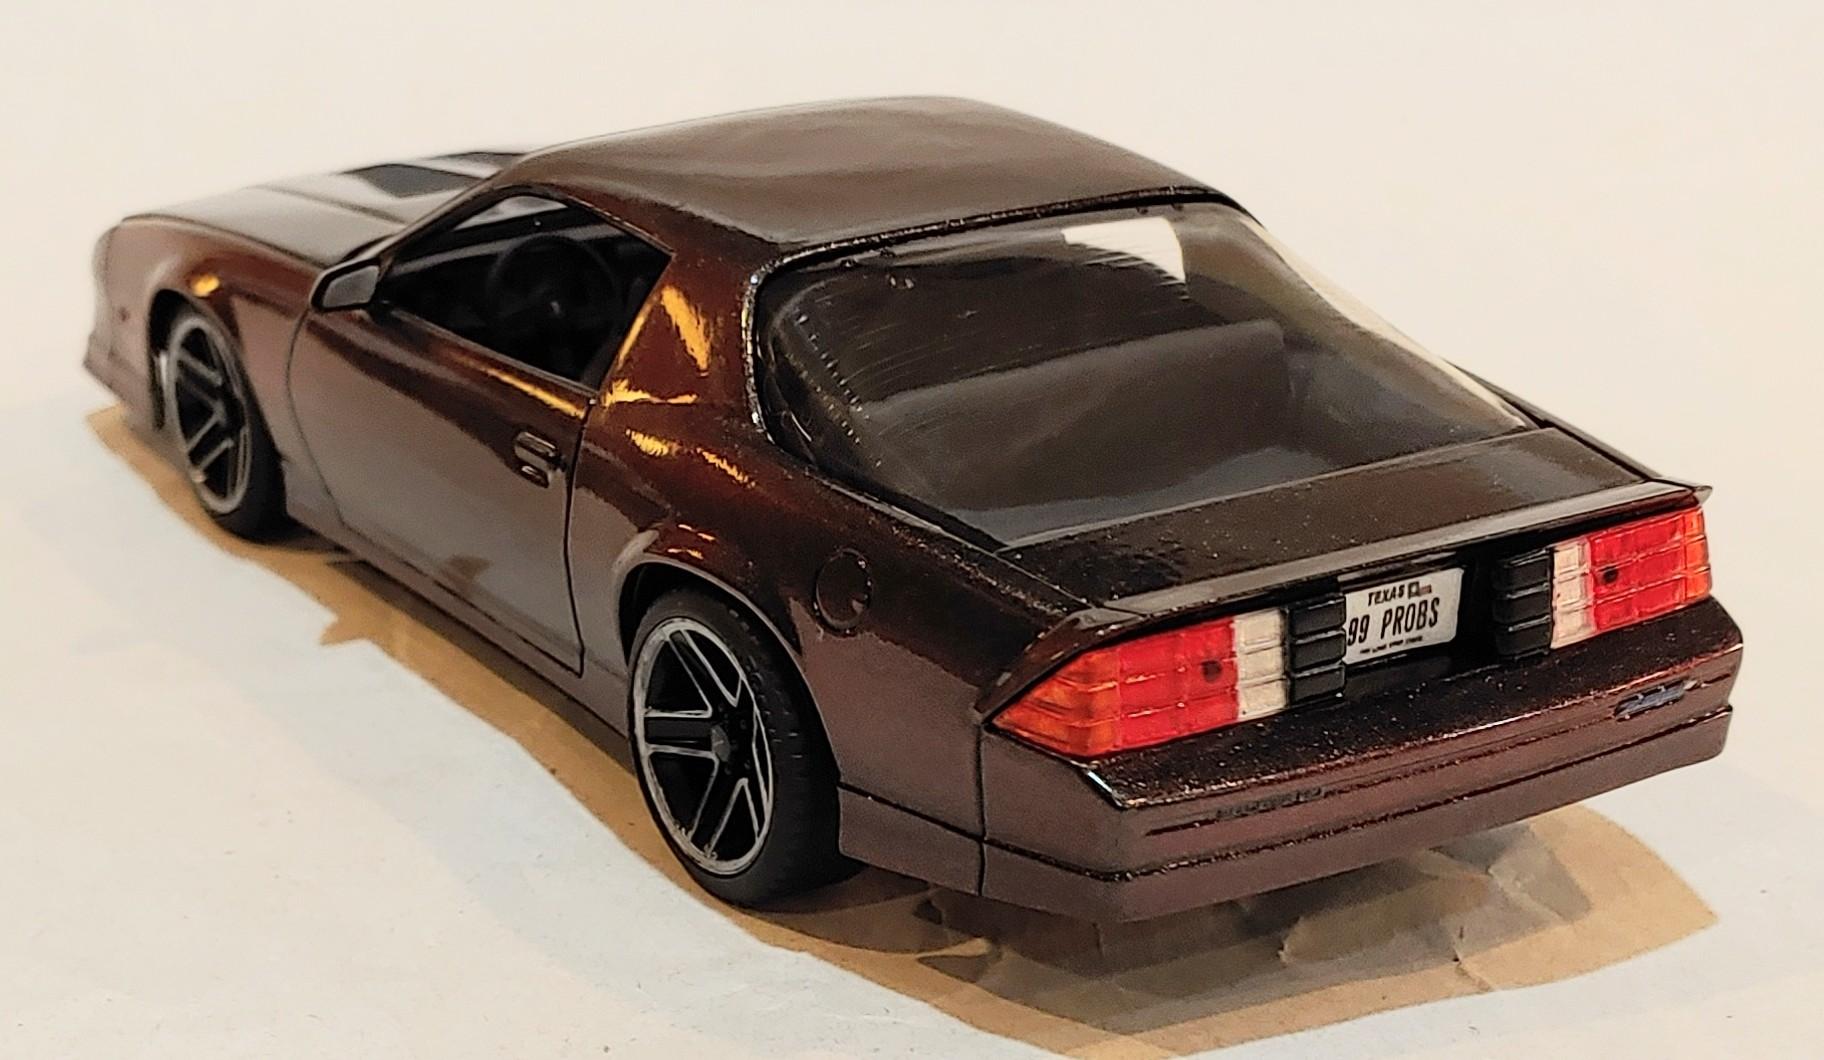
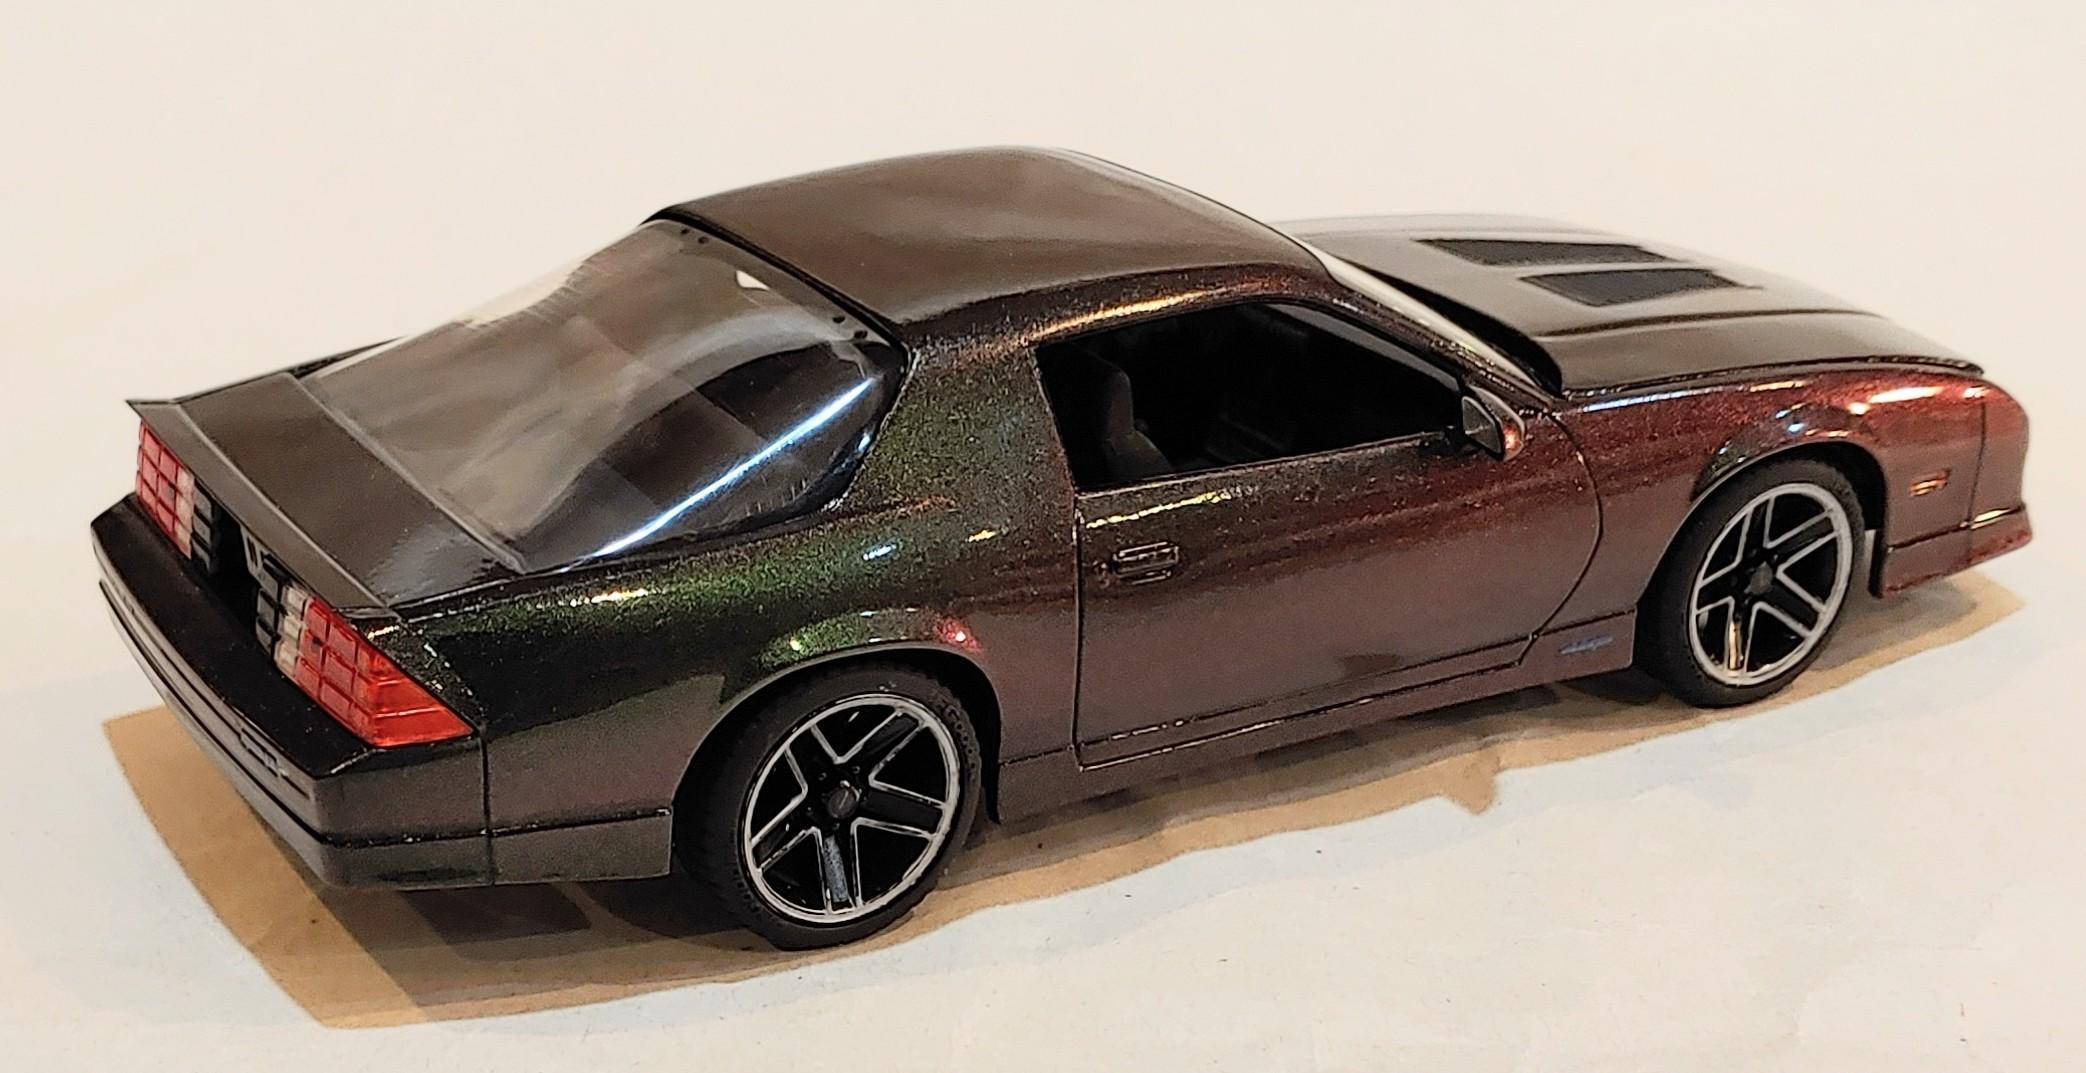
I made this Camaro from the Monogram kit. I lowered the suspension about 2 scale inches. It has resin wheels/tires and brakes from Jay's Resin Wheels. I made the license plate. Everything else came in the box.
-
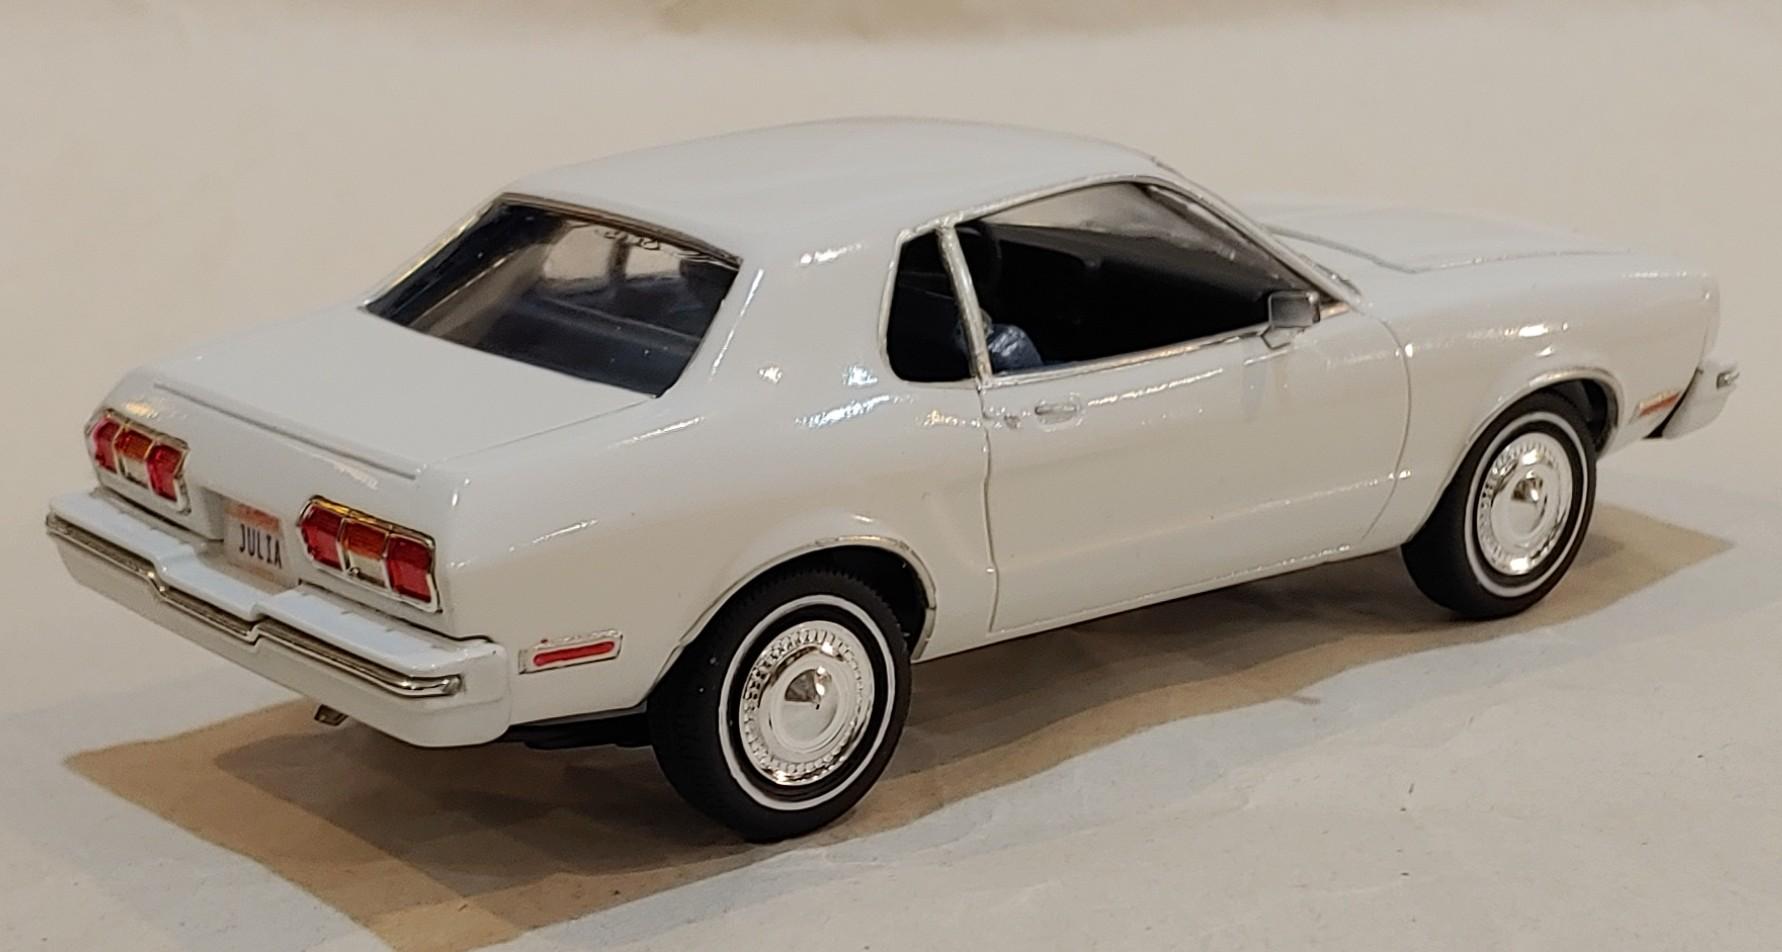
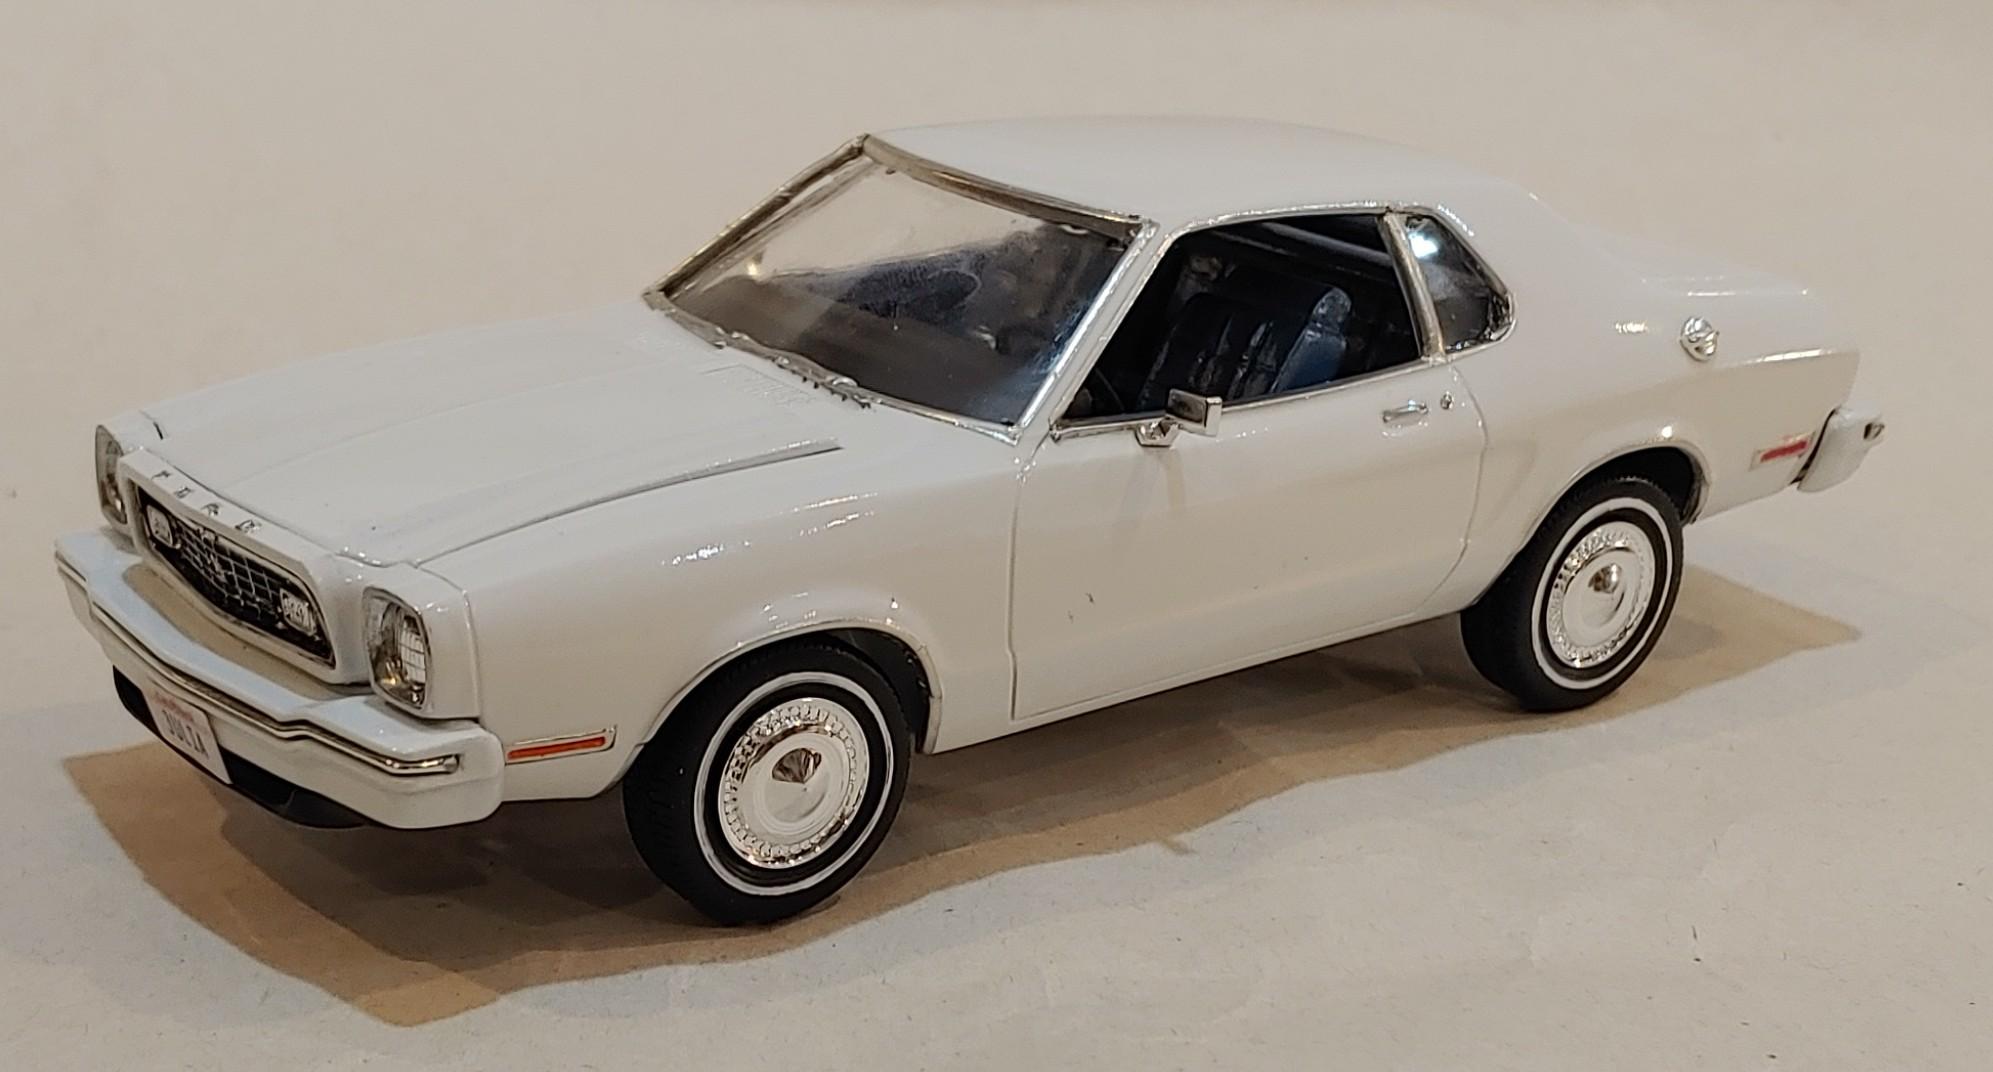
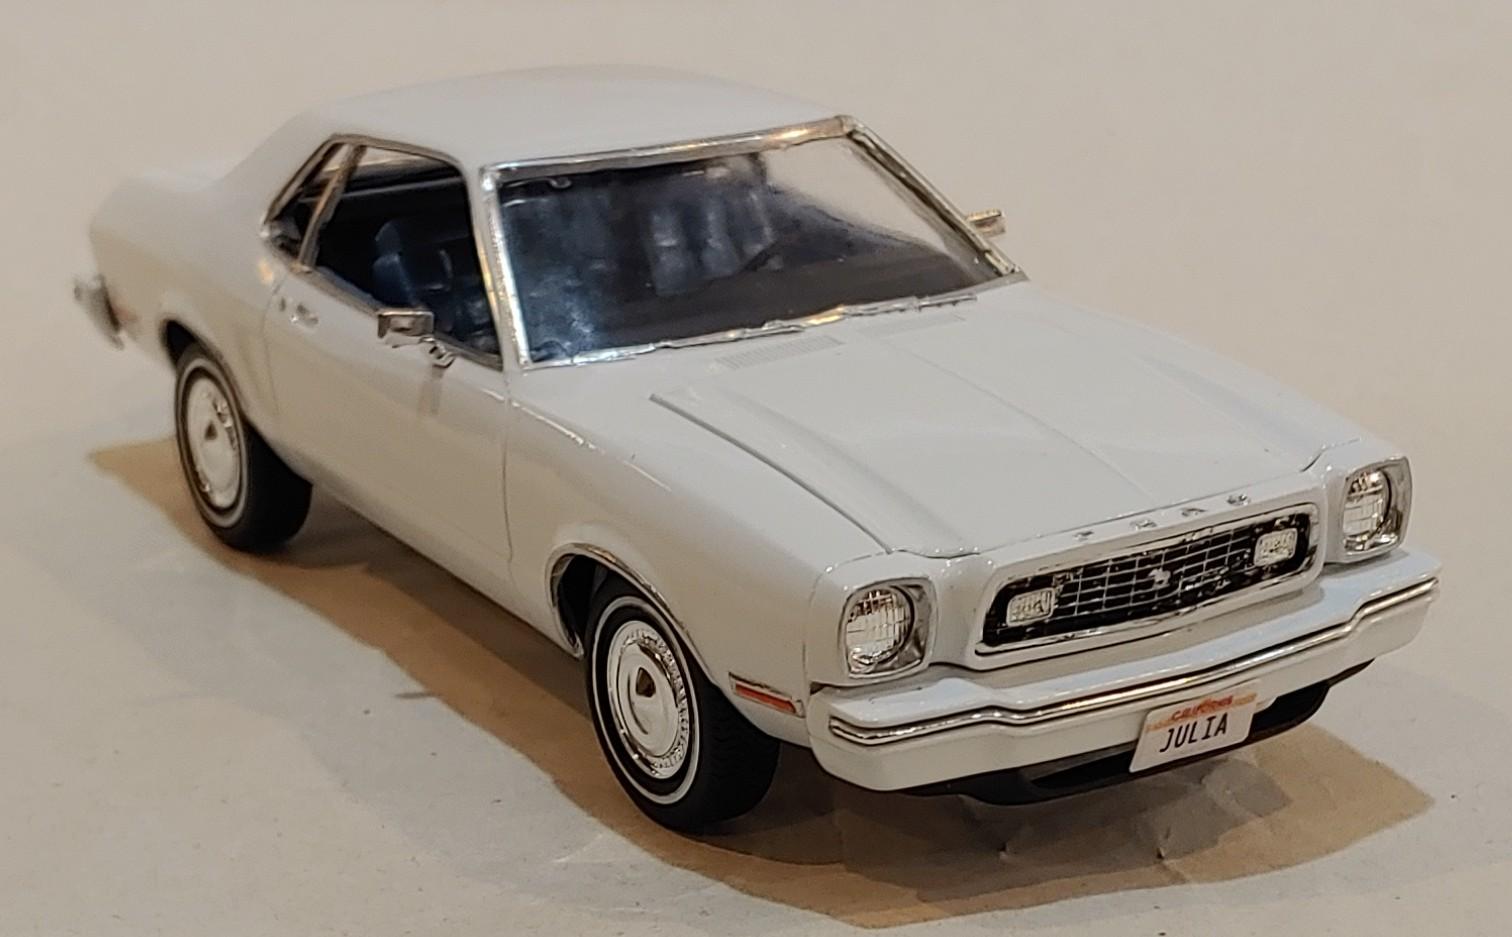
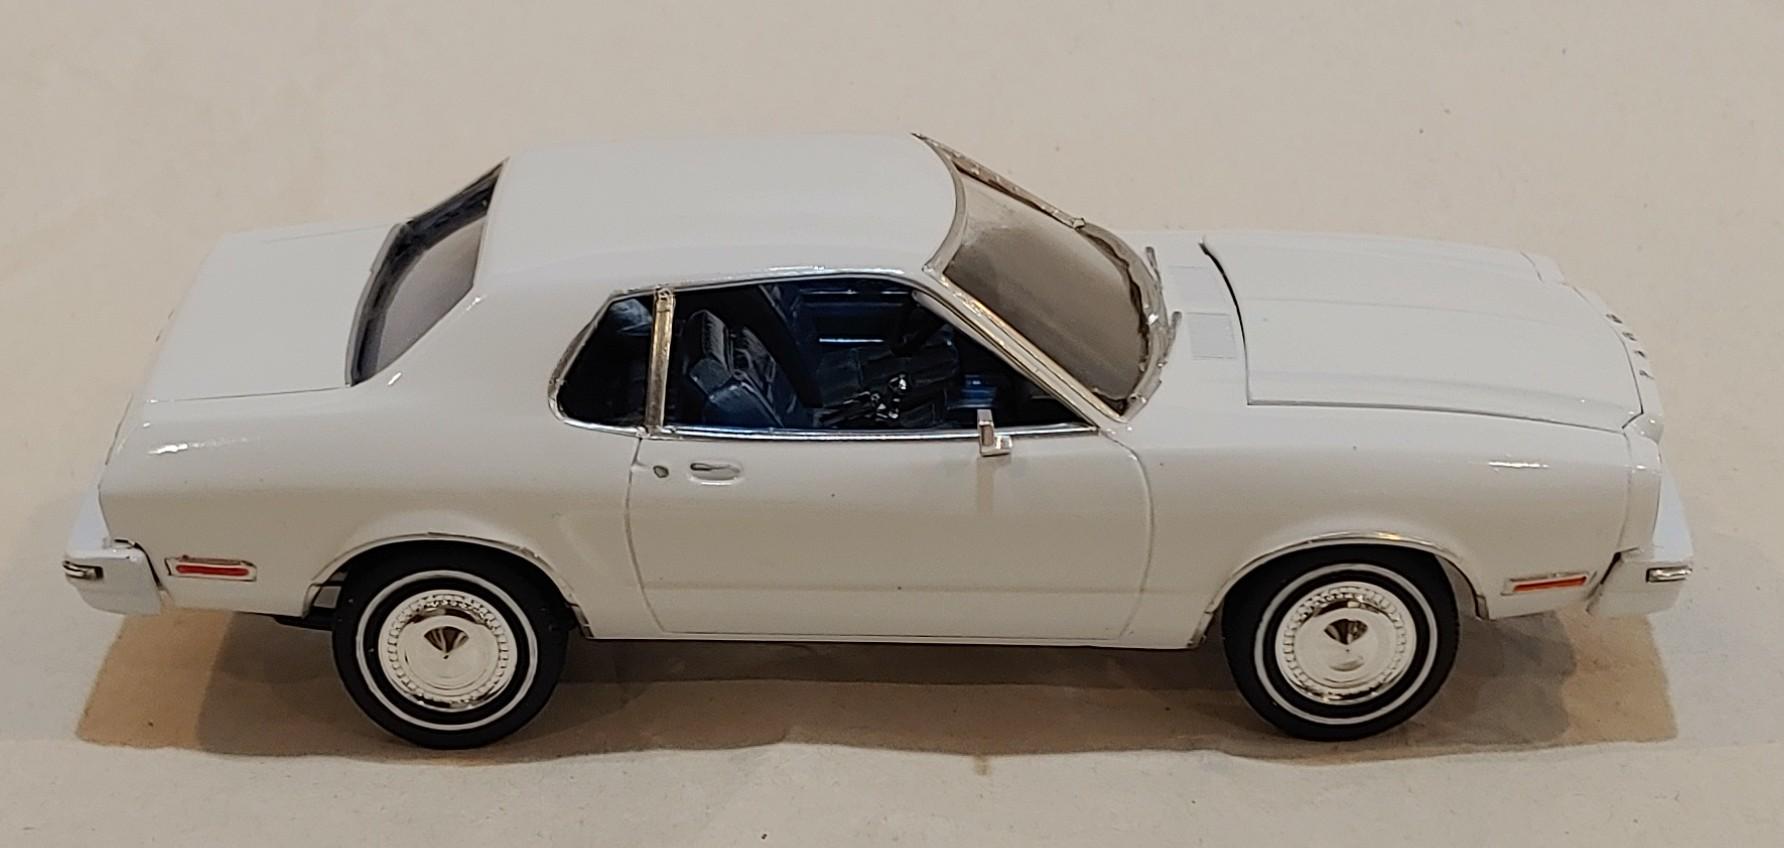
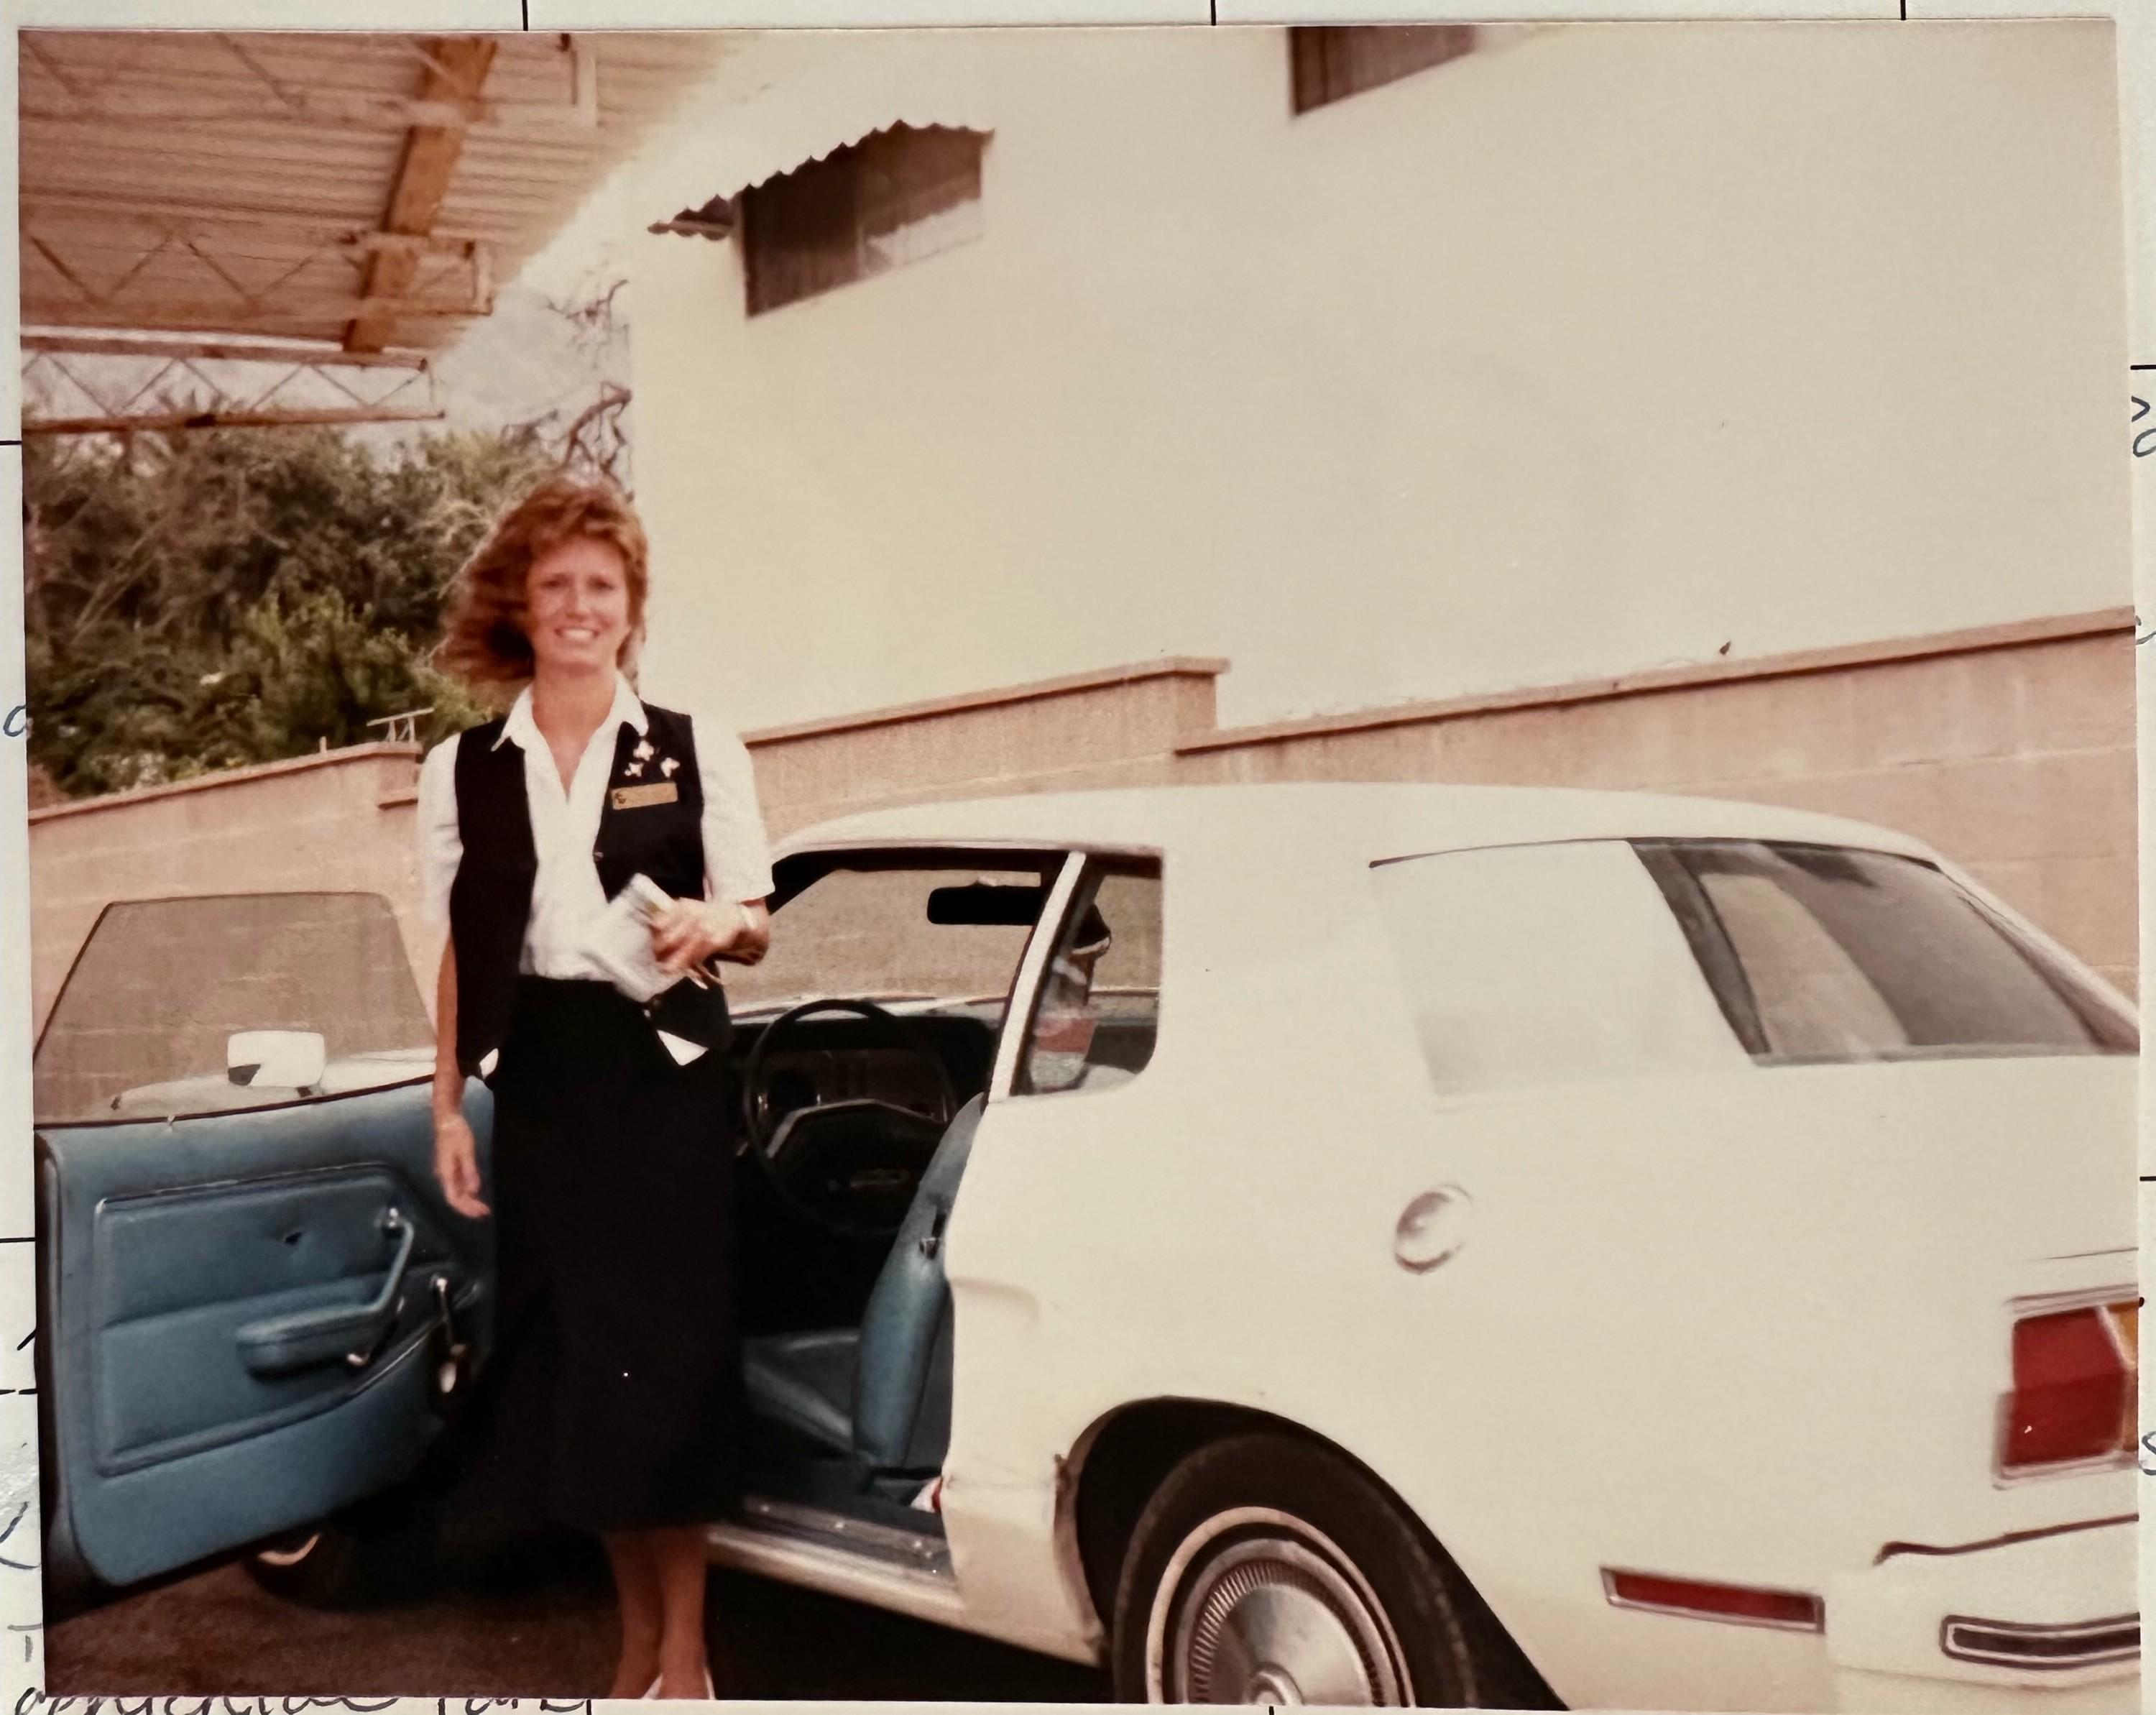
I made my a replica of my aunt's old Mustang. I have vague memories of her taking me and my older sister to see the Rose Bowl parade in it. I made it from the AMT '77 fastback kit. I cut the roof and trunk off a resin kit to convert it into a coupe. The closest things to the hubcaps I had were the wheels from a Prince Skyline. The tires are from a '70 Monte Carlo Lowrider with white walls drawn on with a gel pen. I printed the plates. The mirrors and gas cap are from my parts box.
- 24 replies
-
- 28
-
-
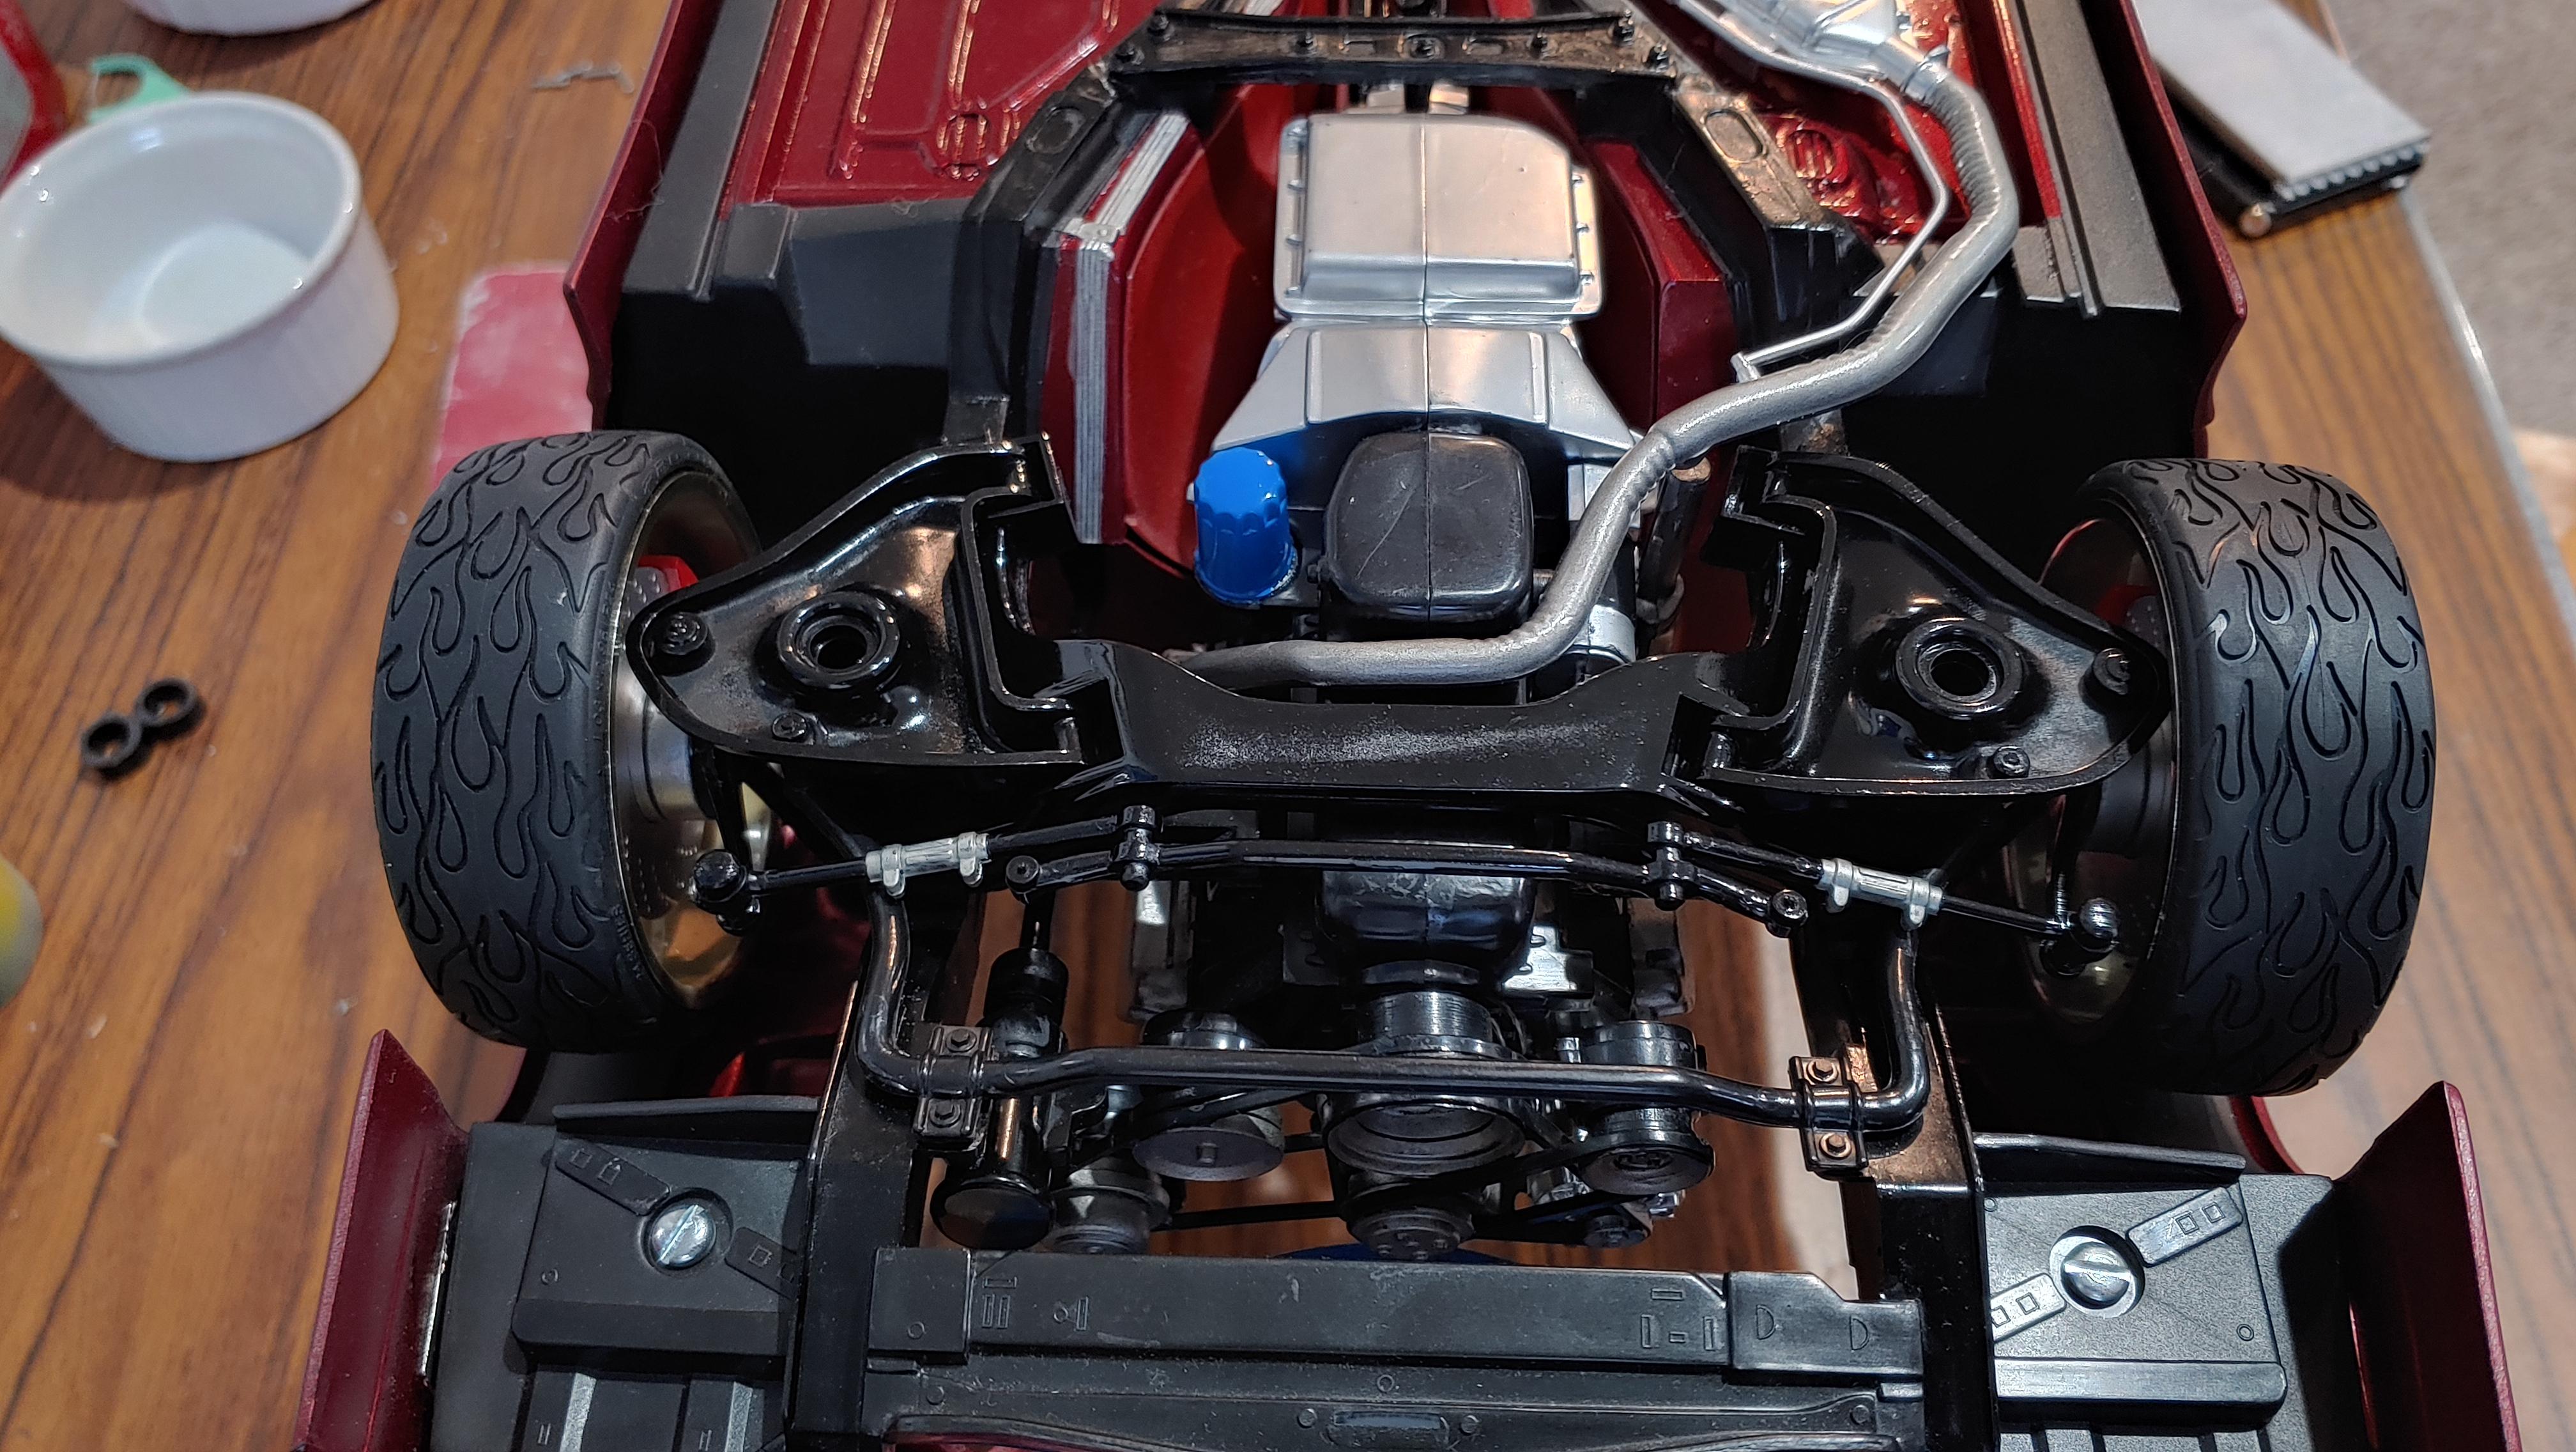
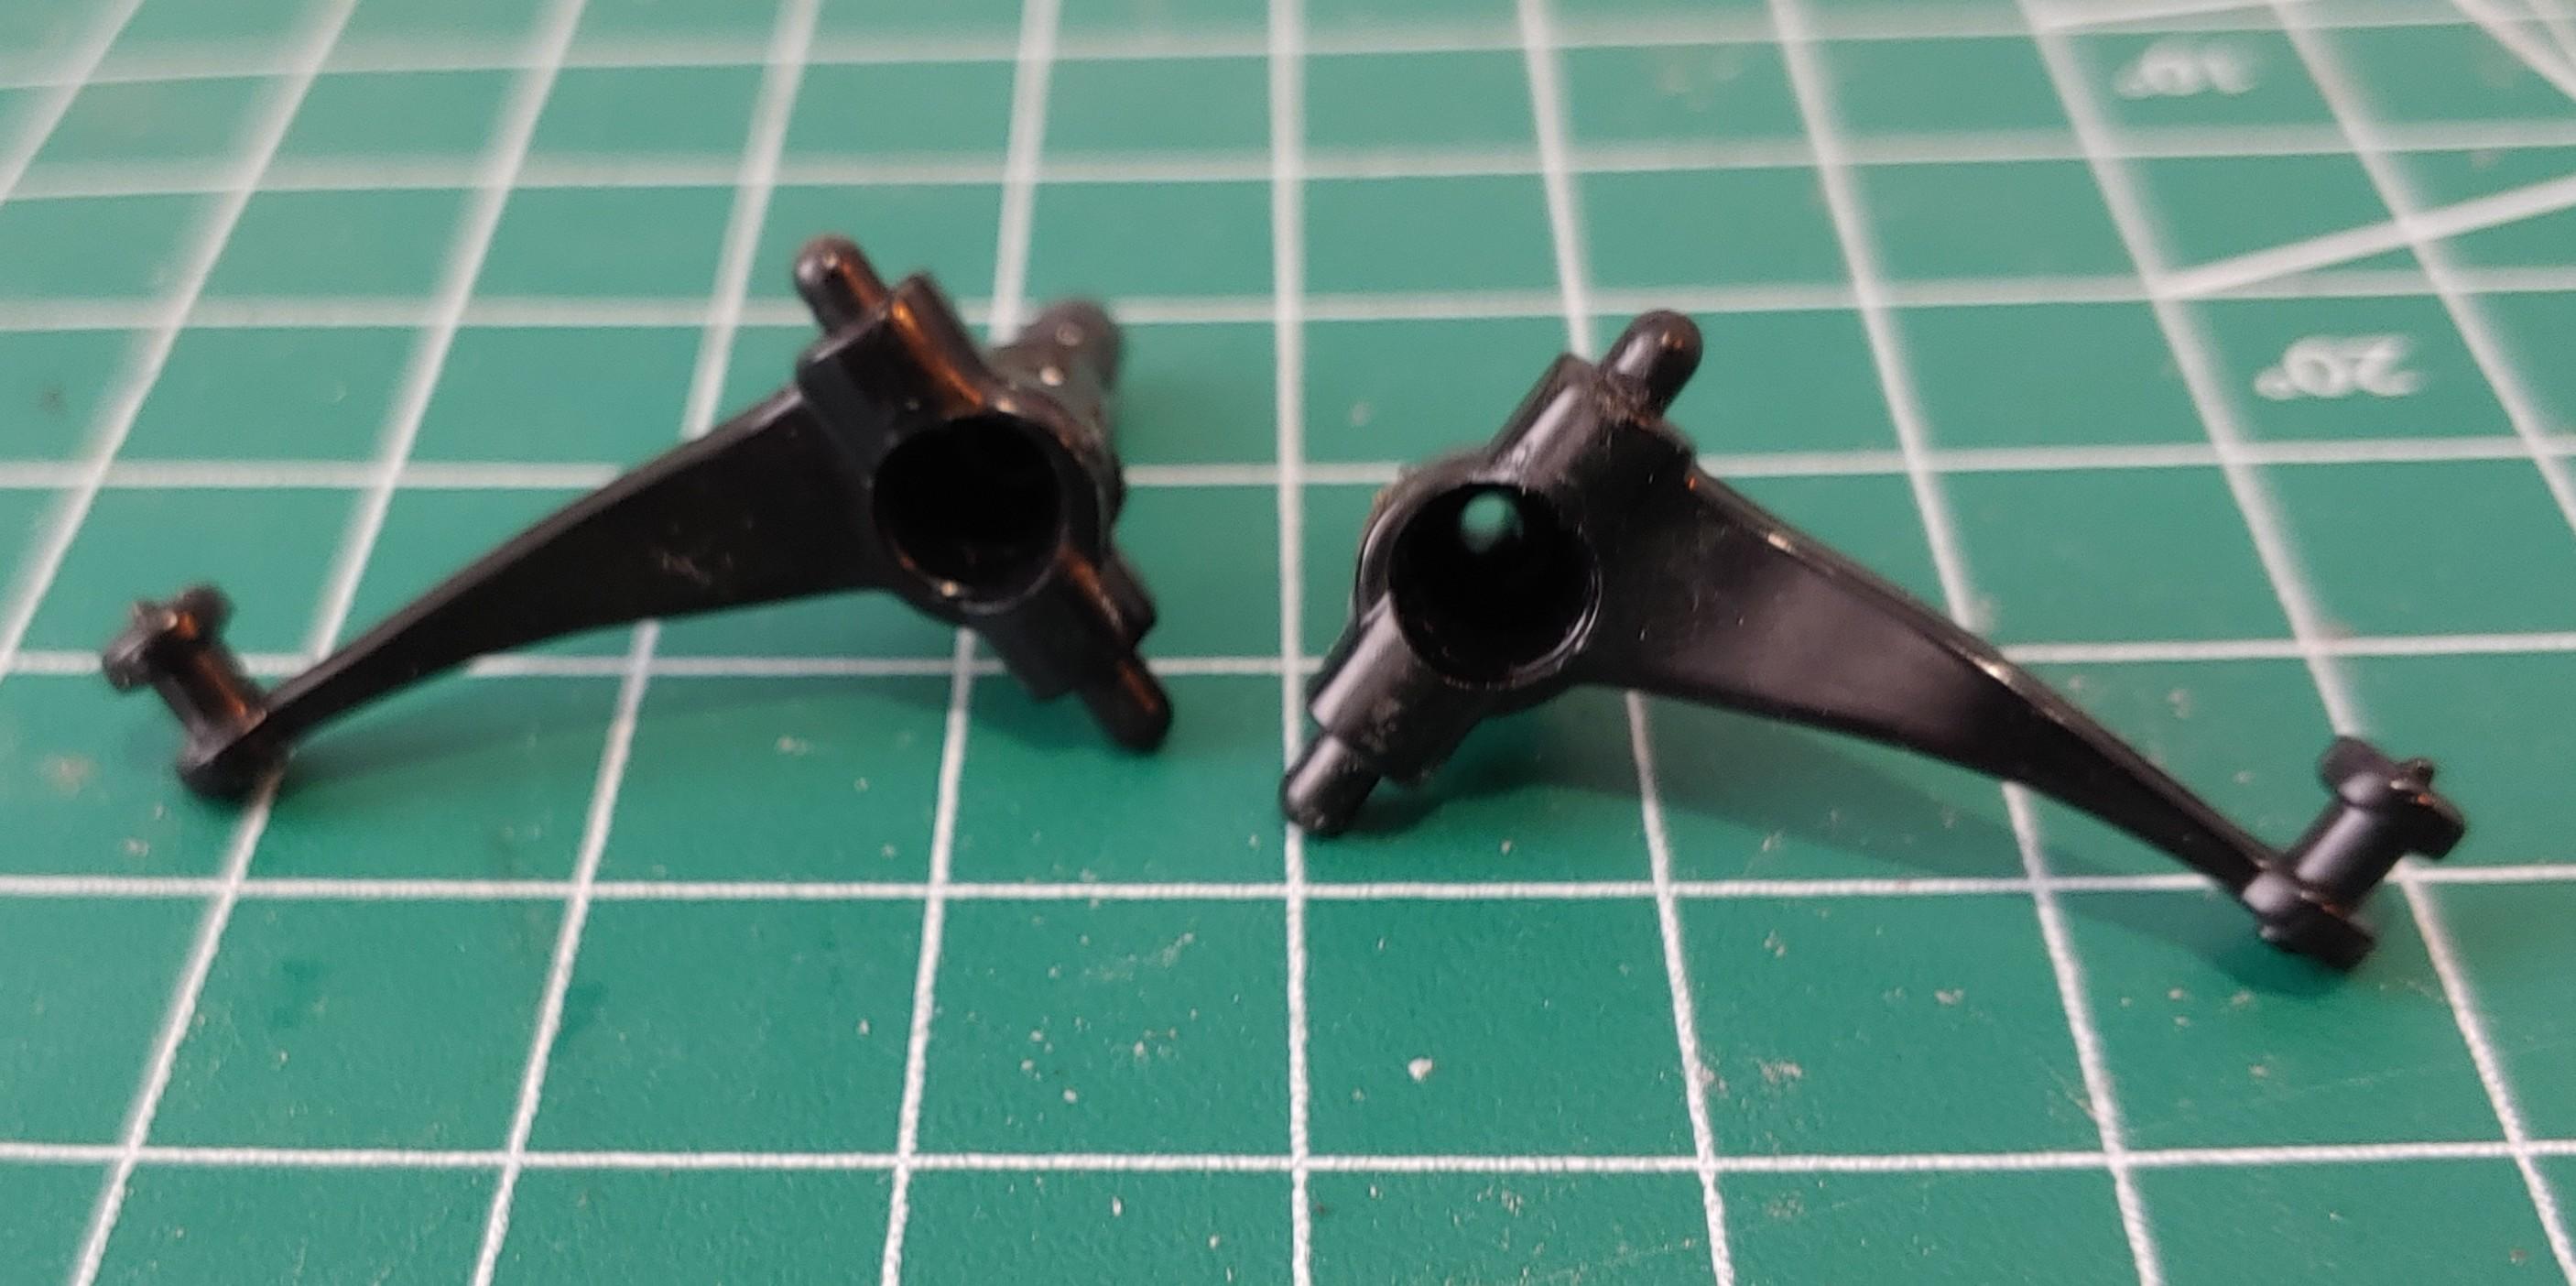
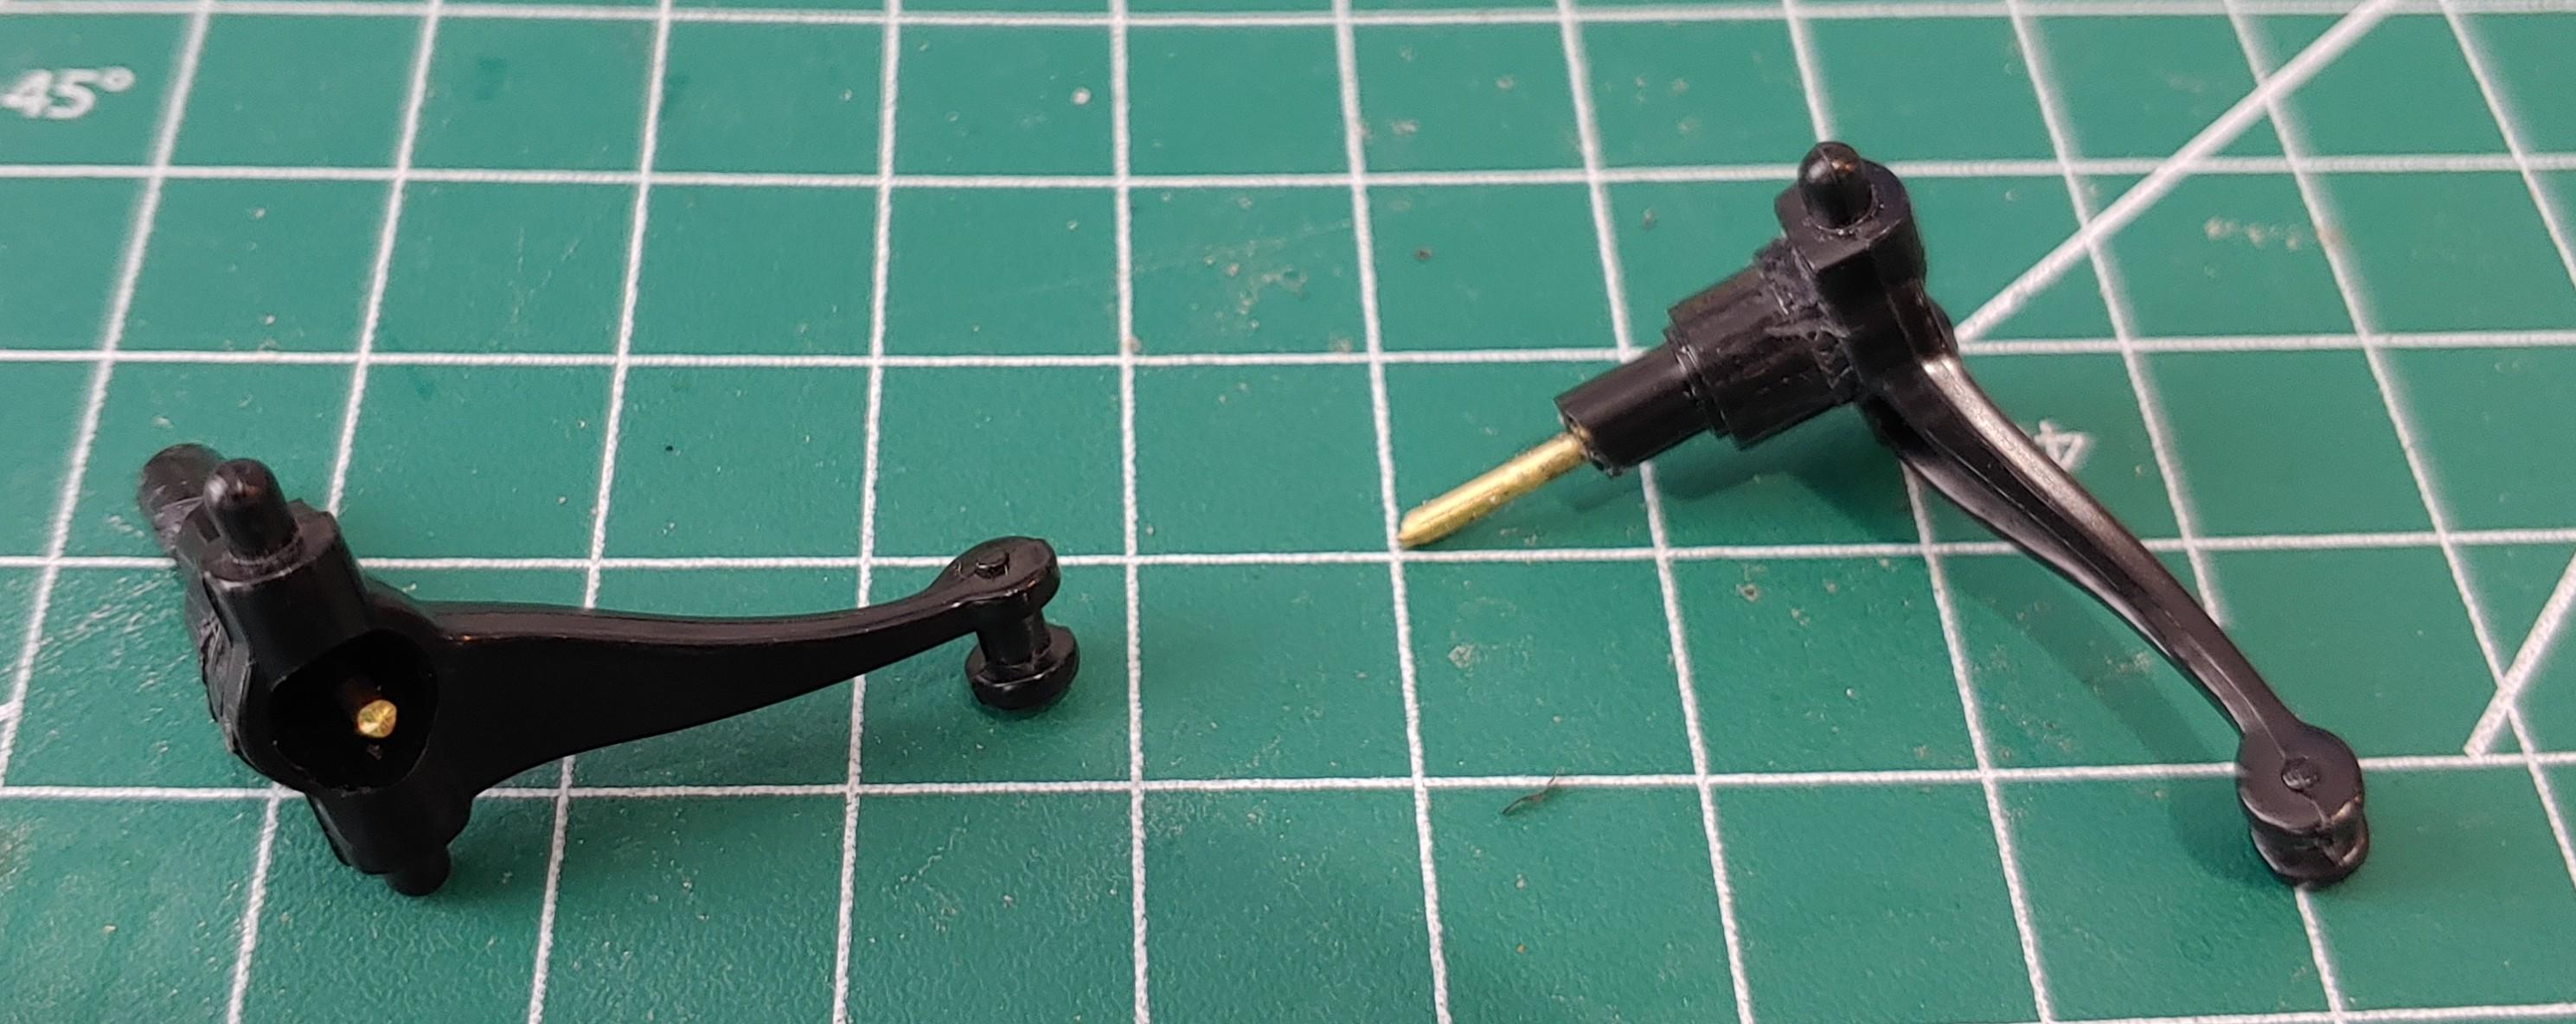
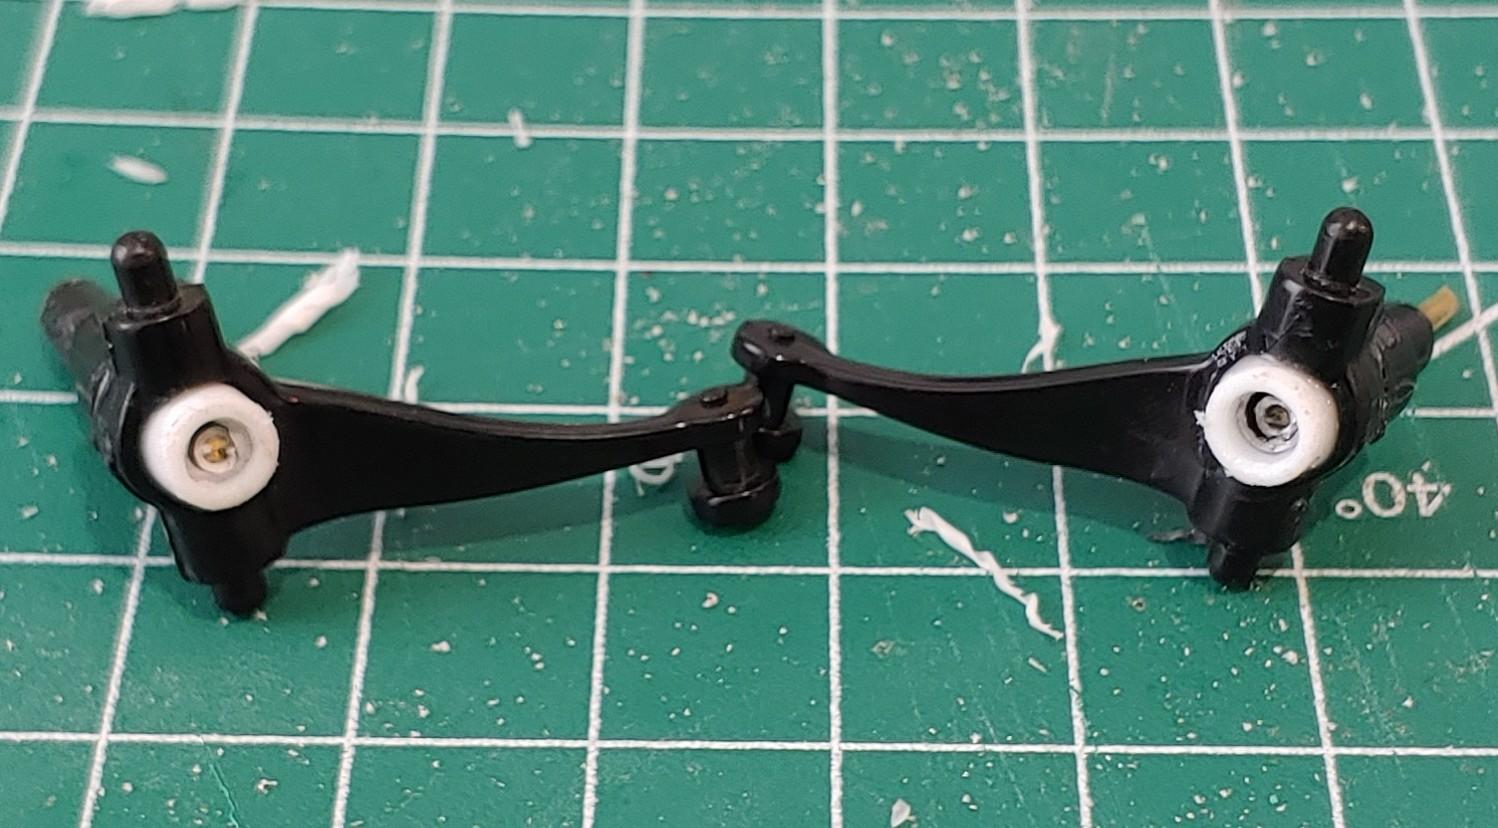
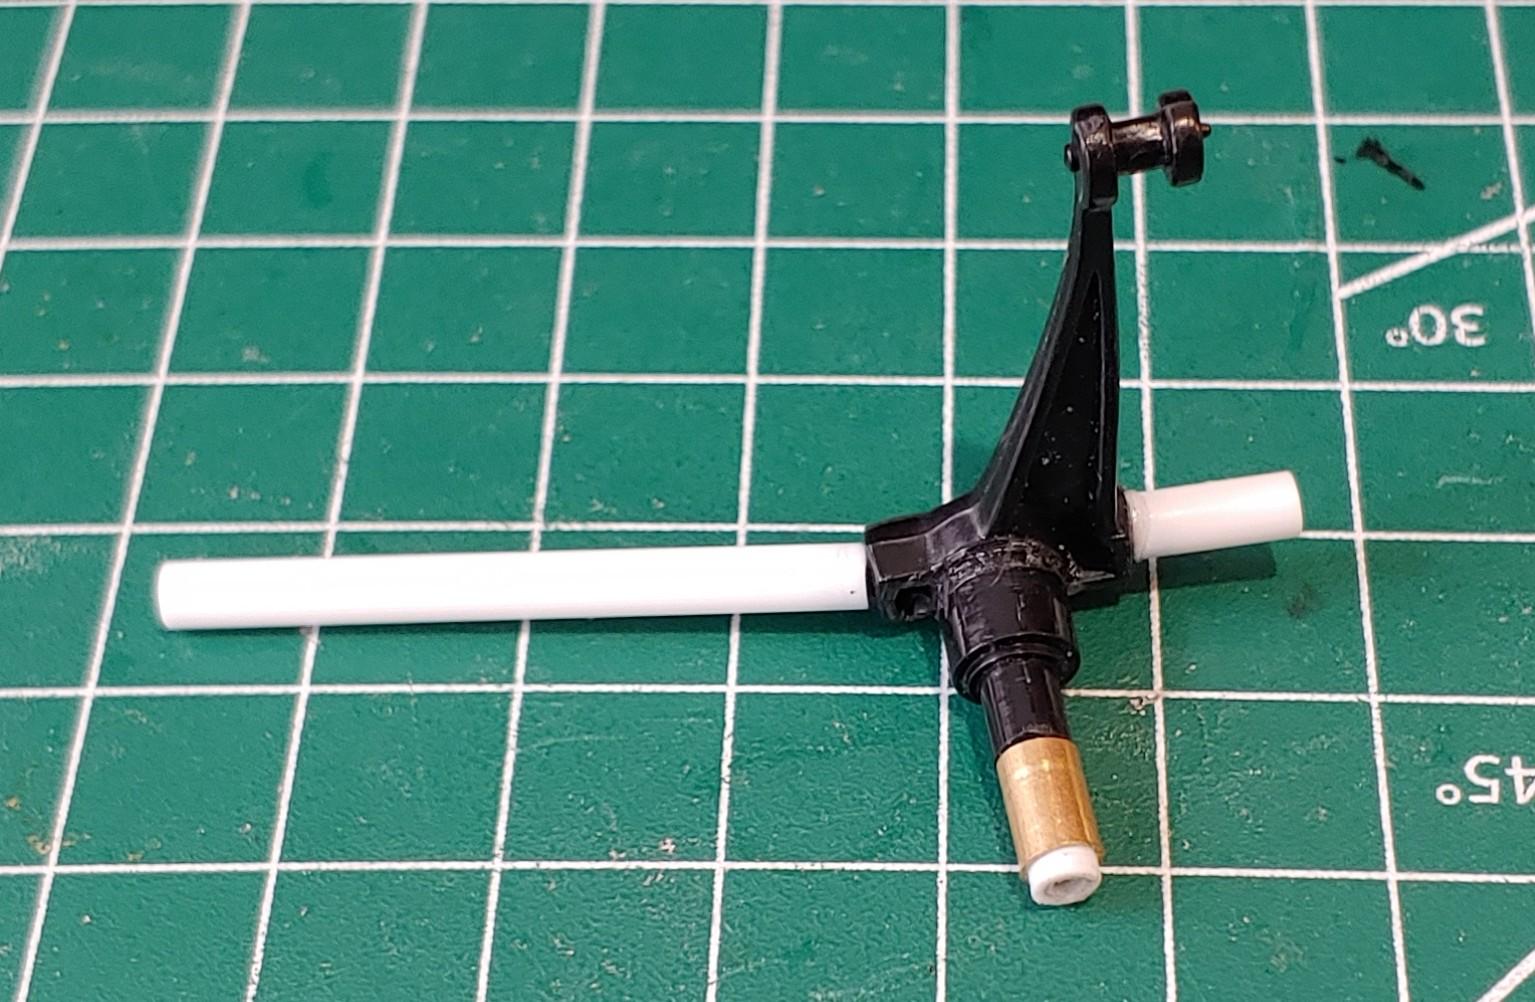
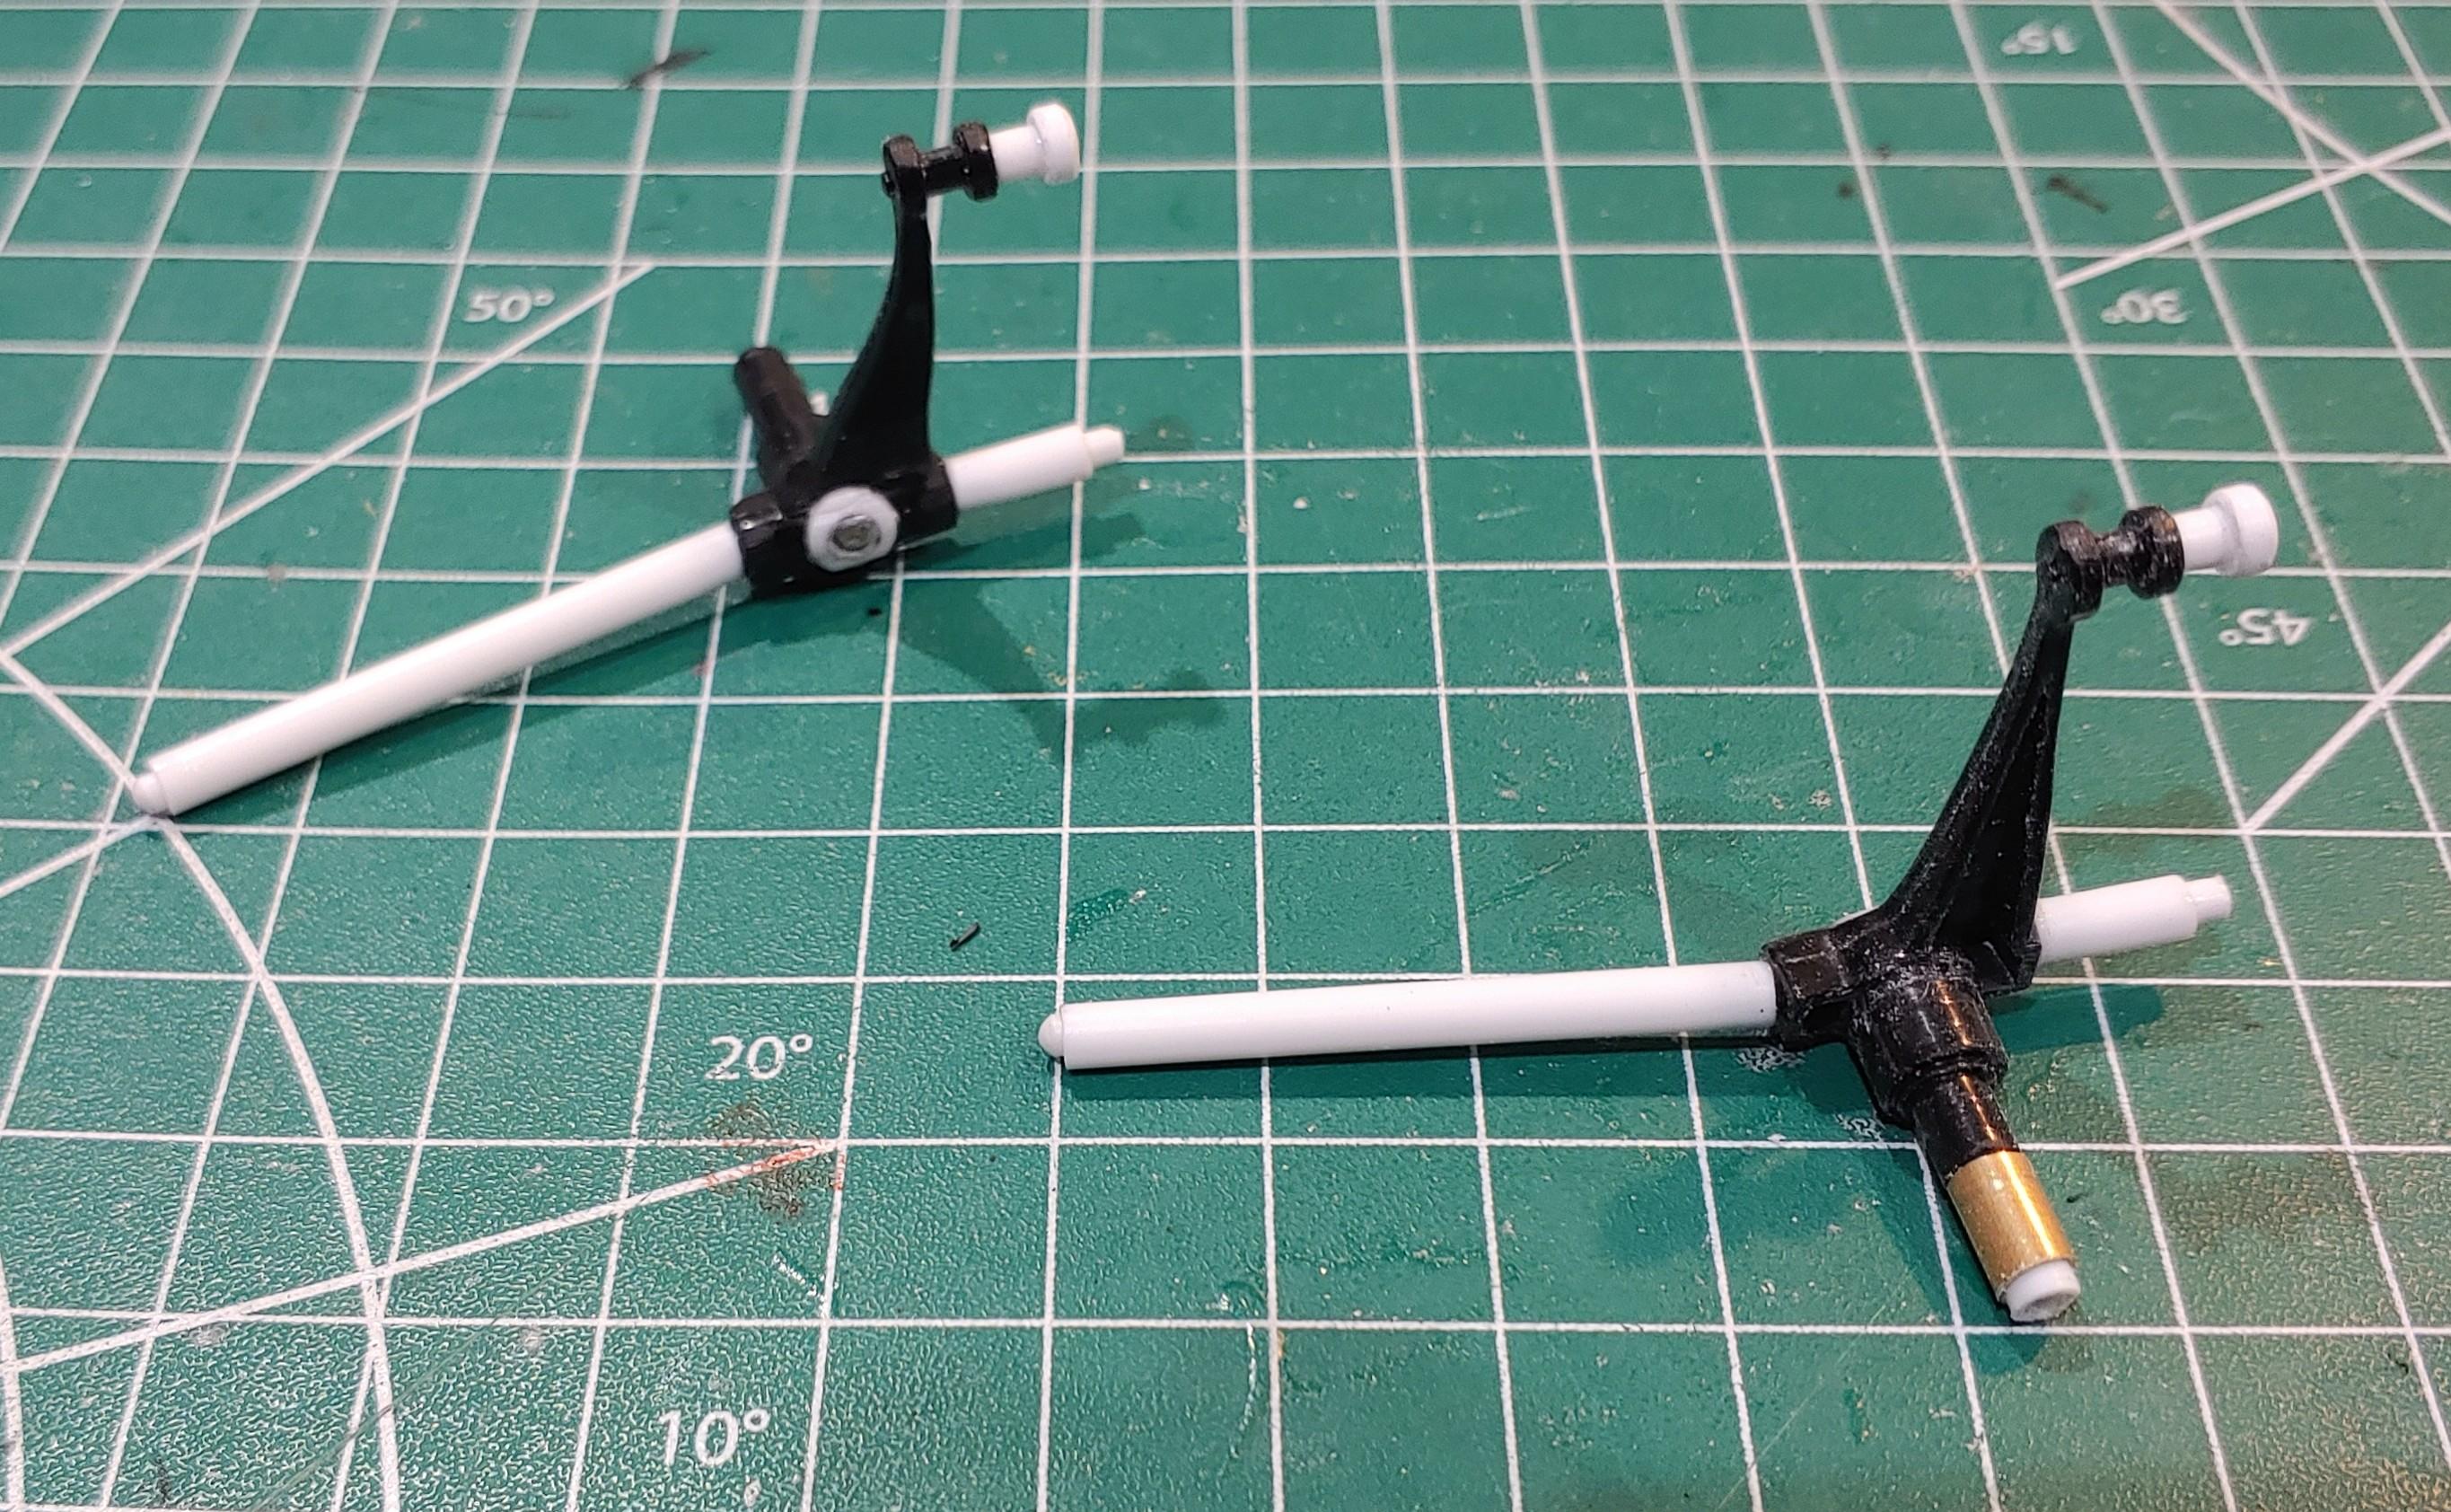
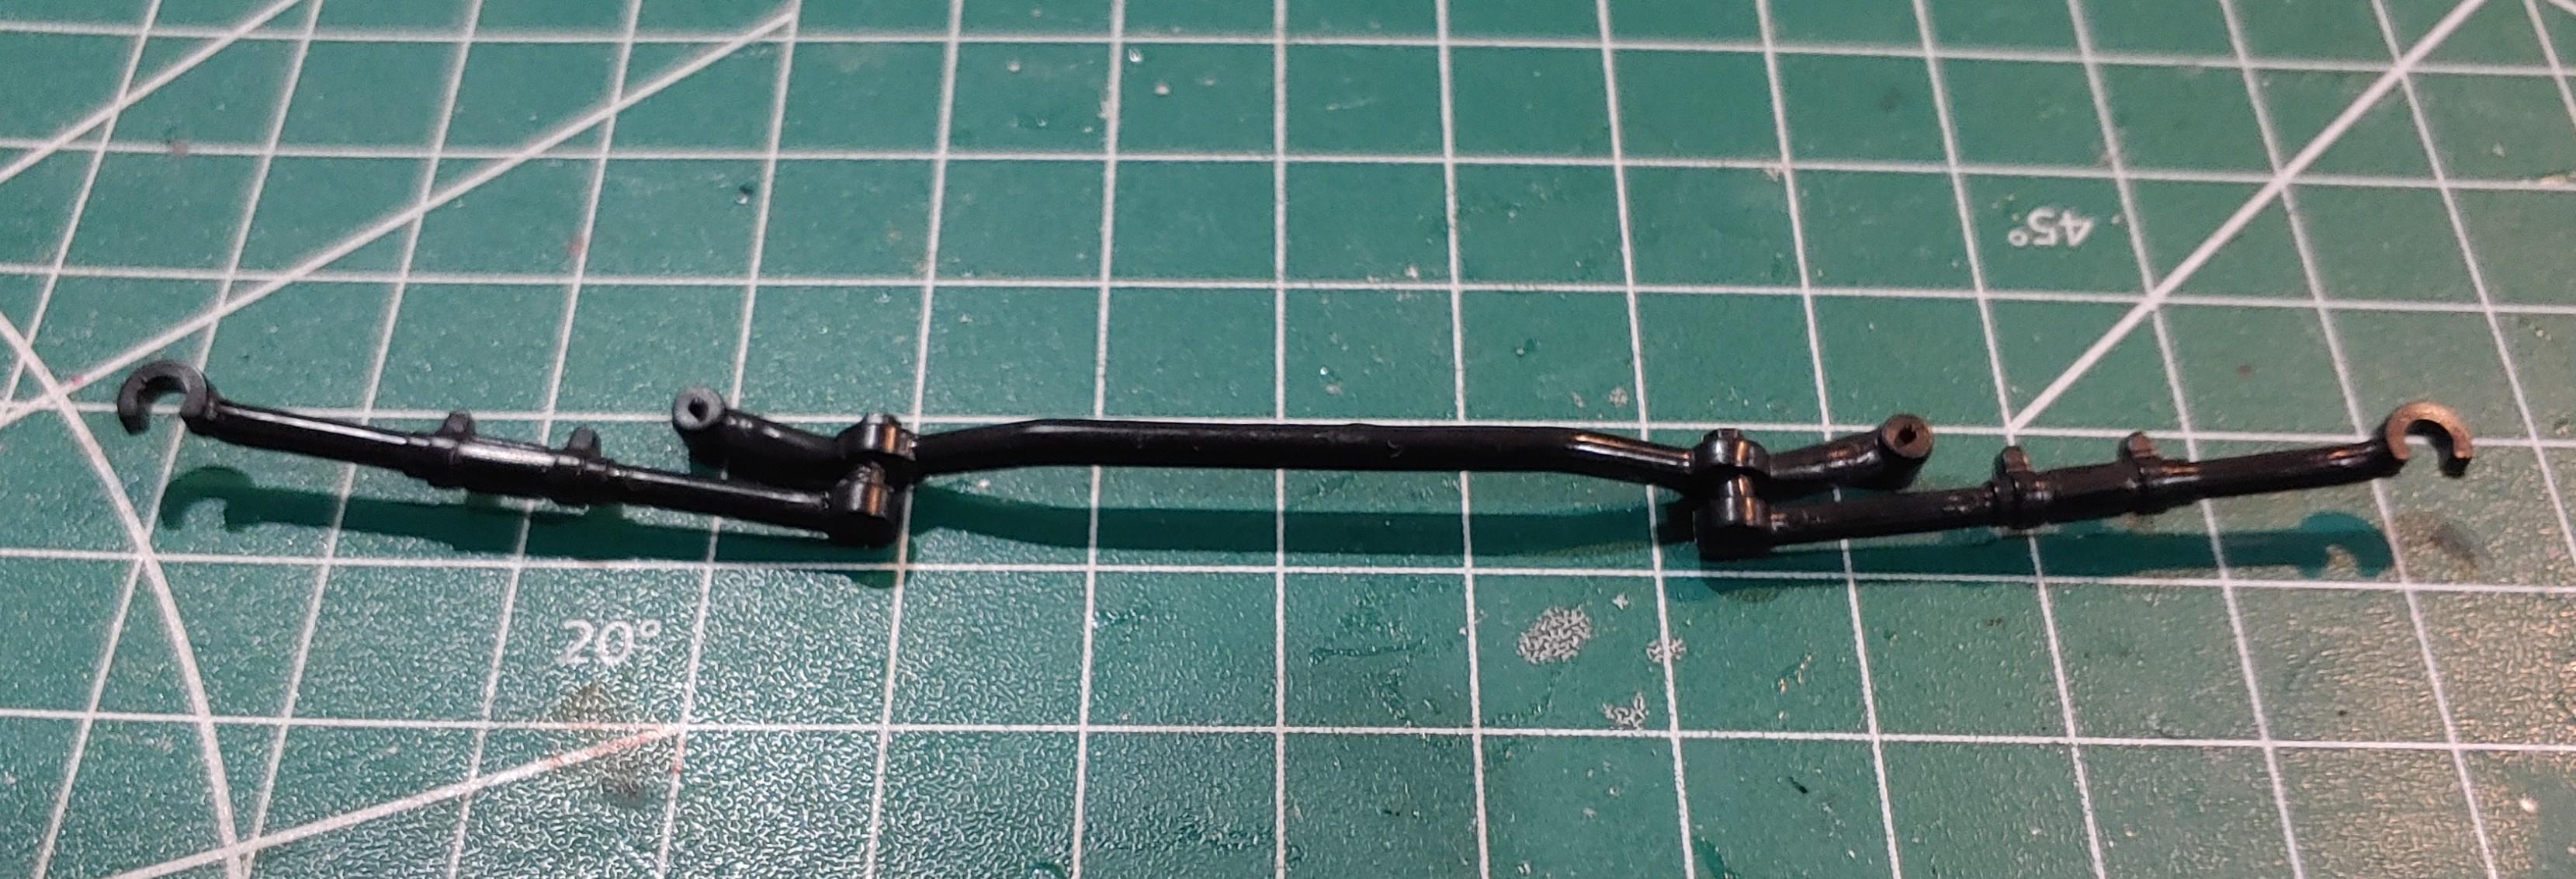
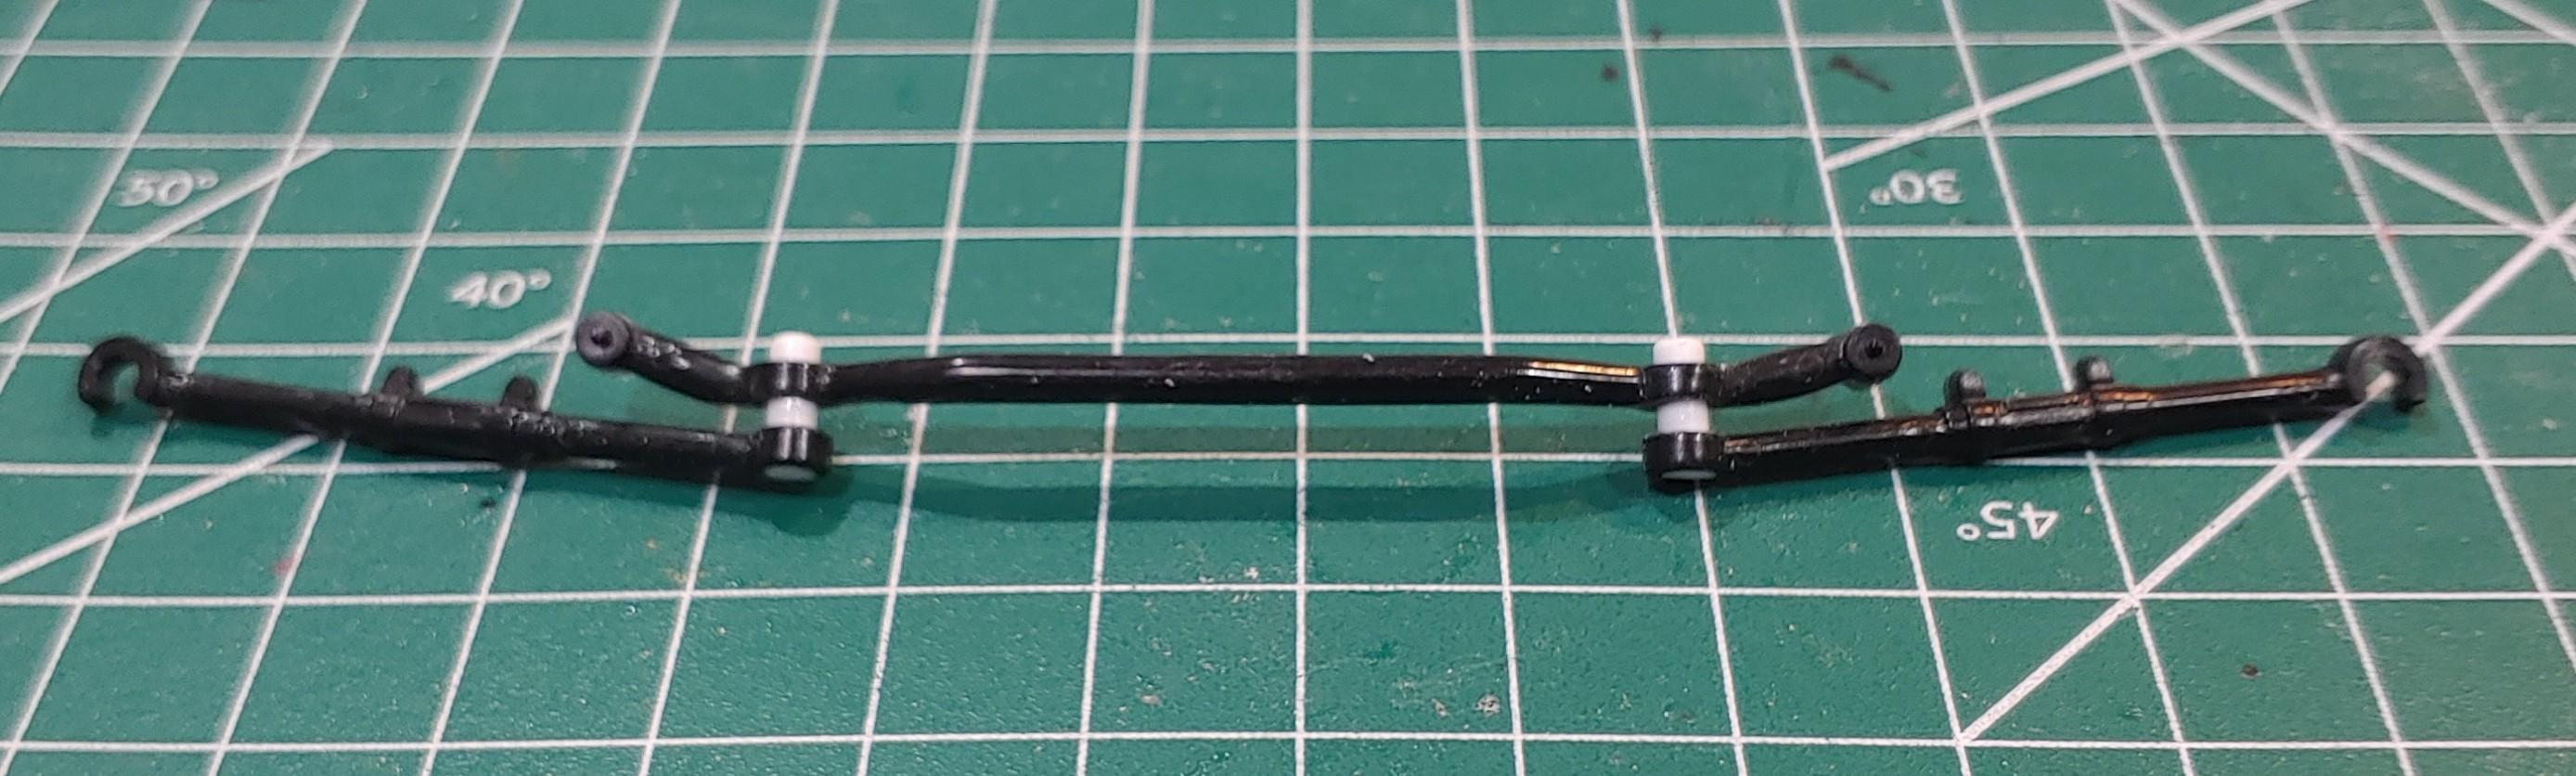
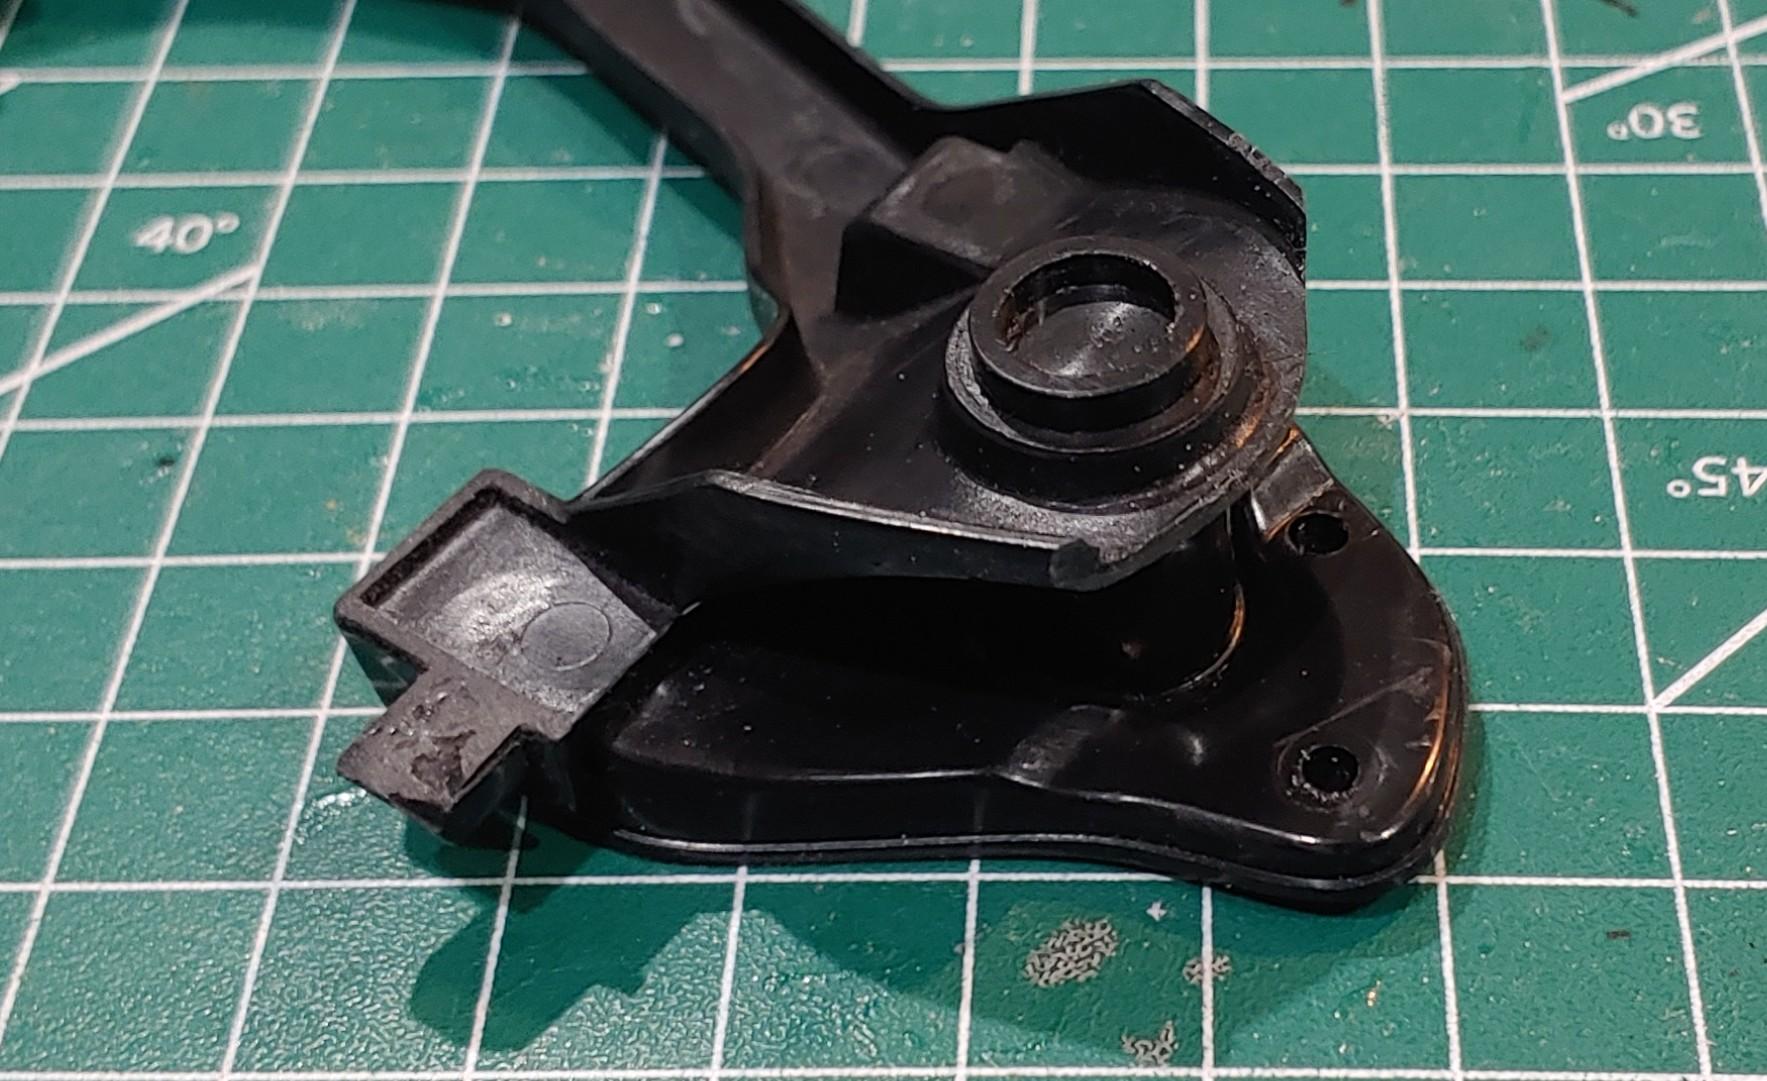
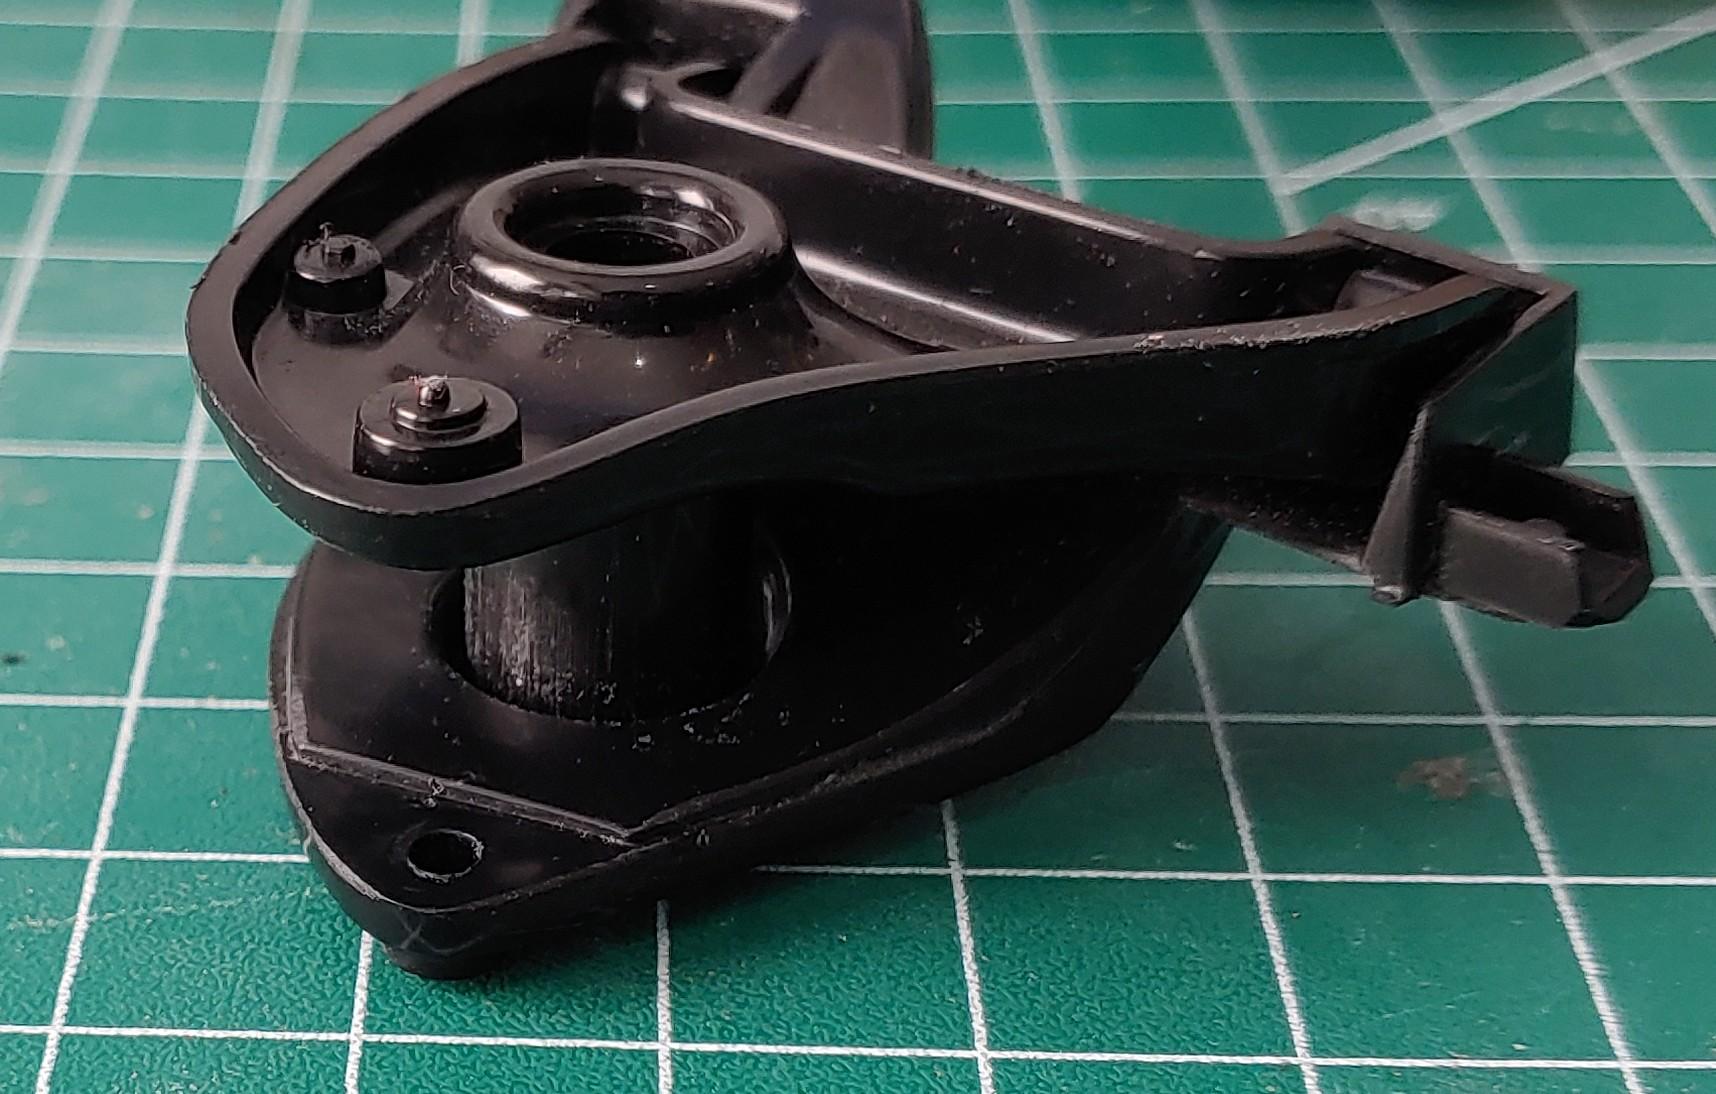
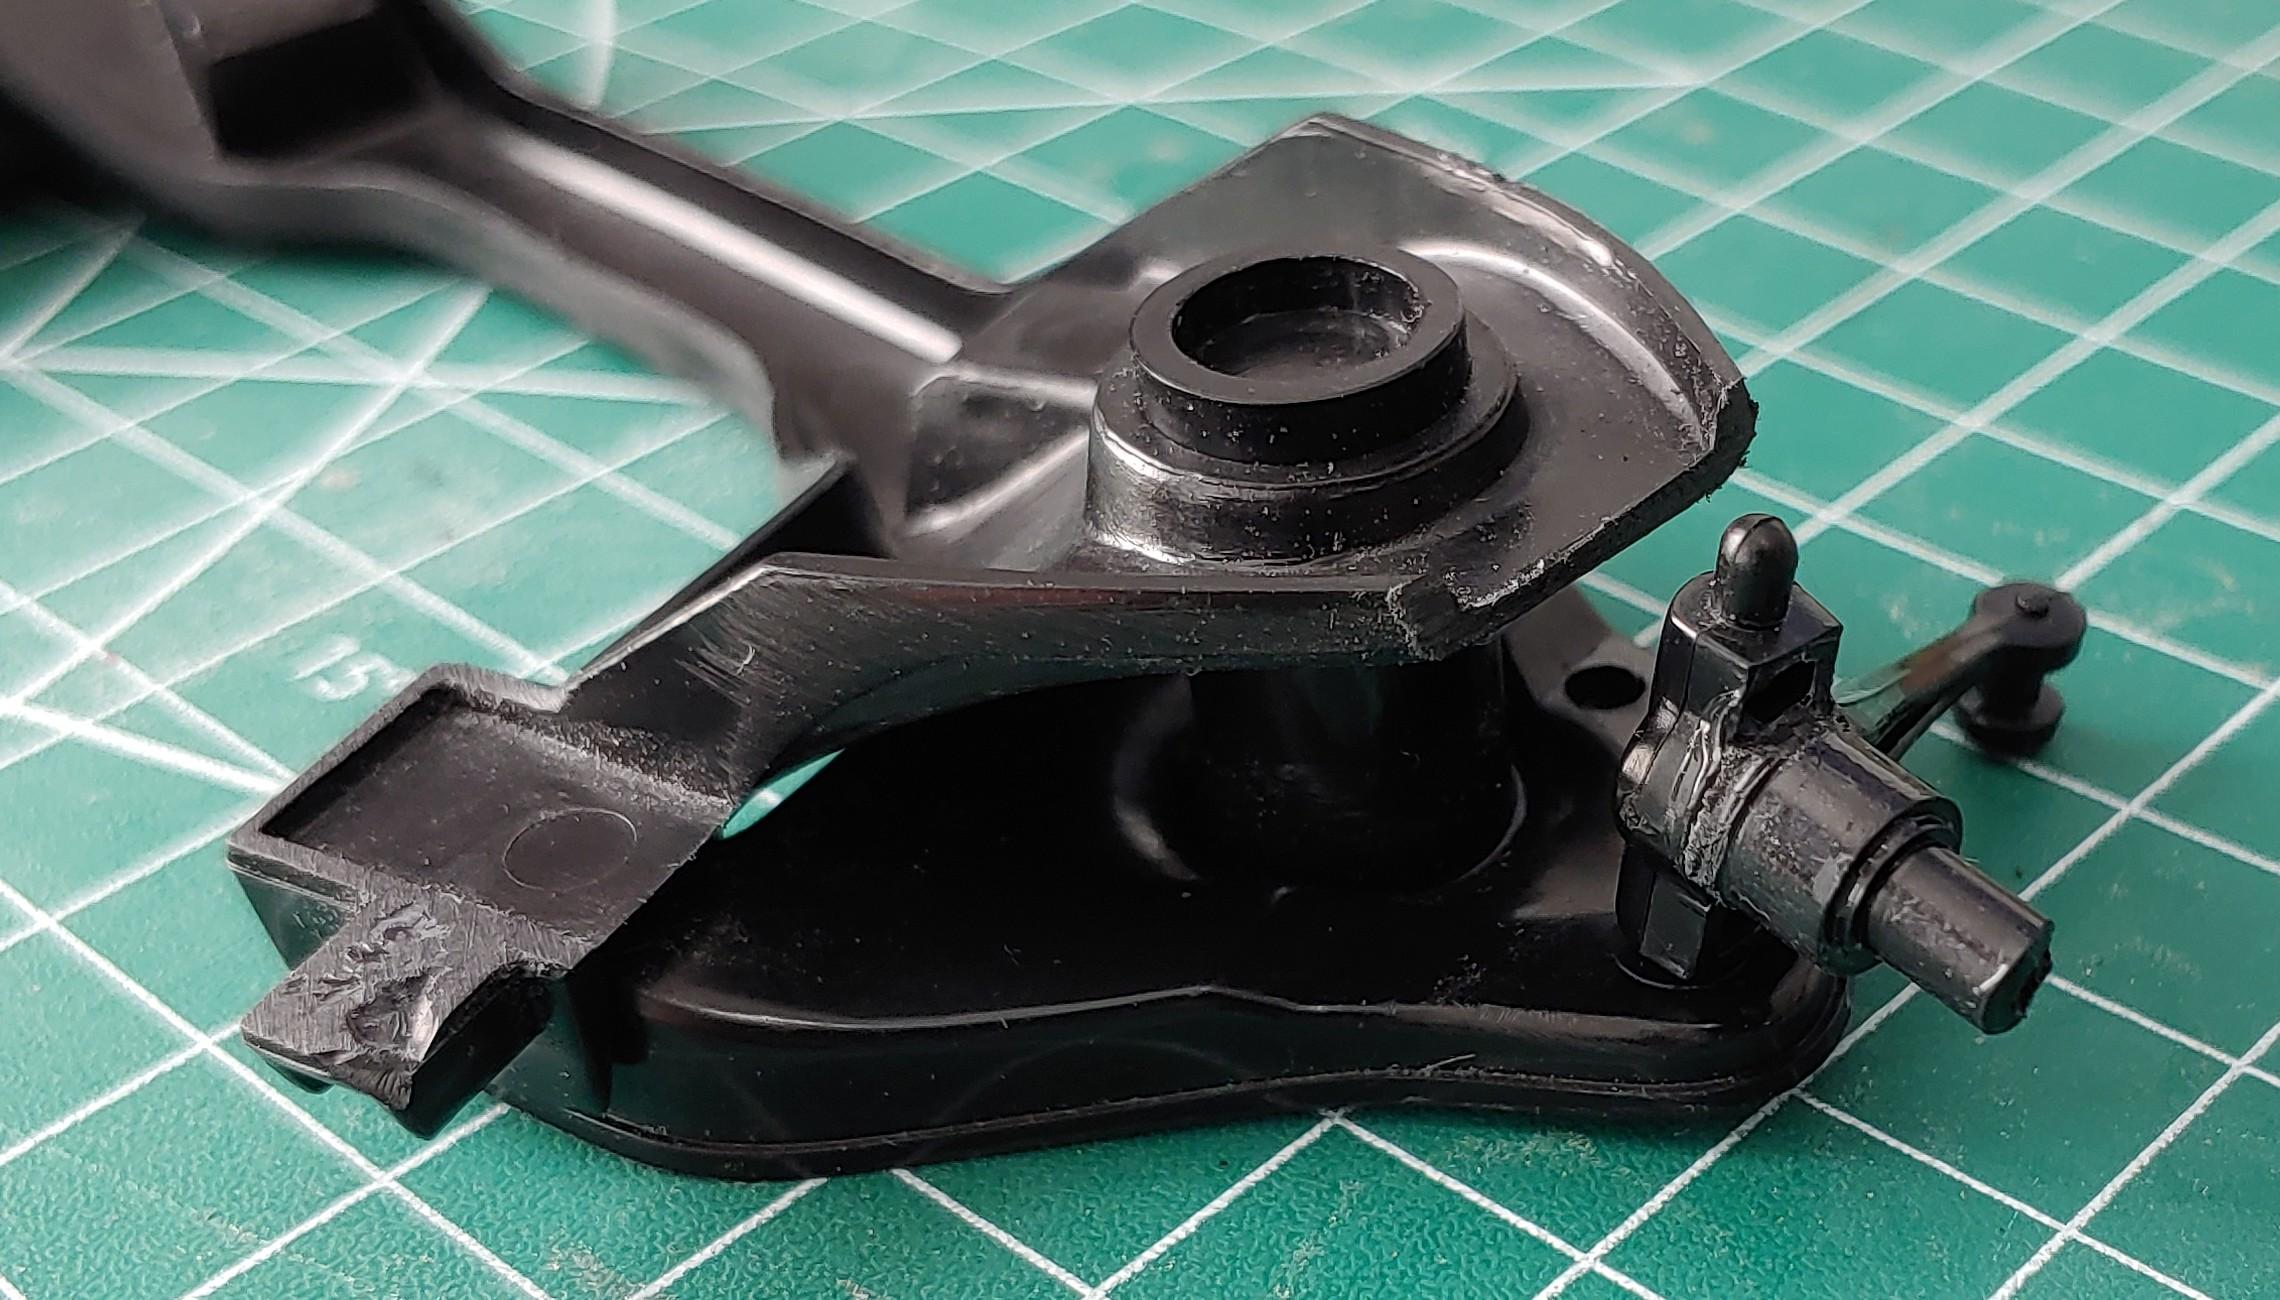
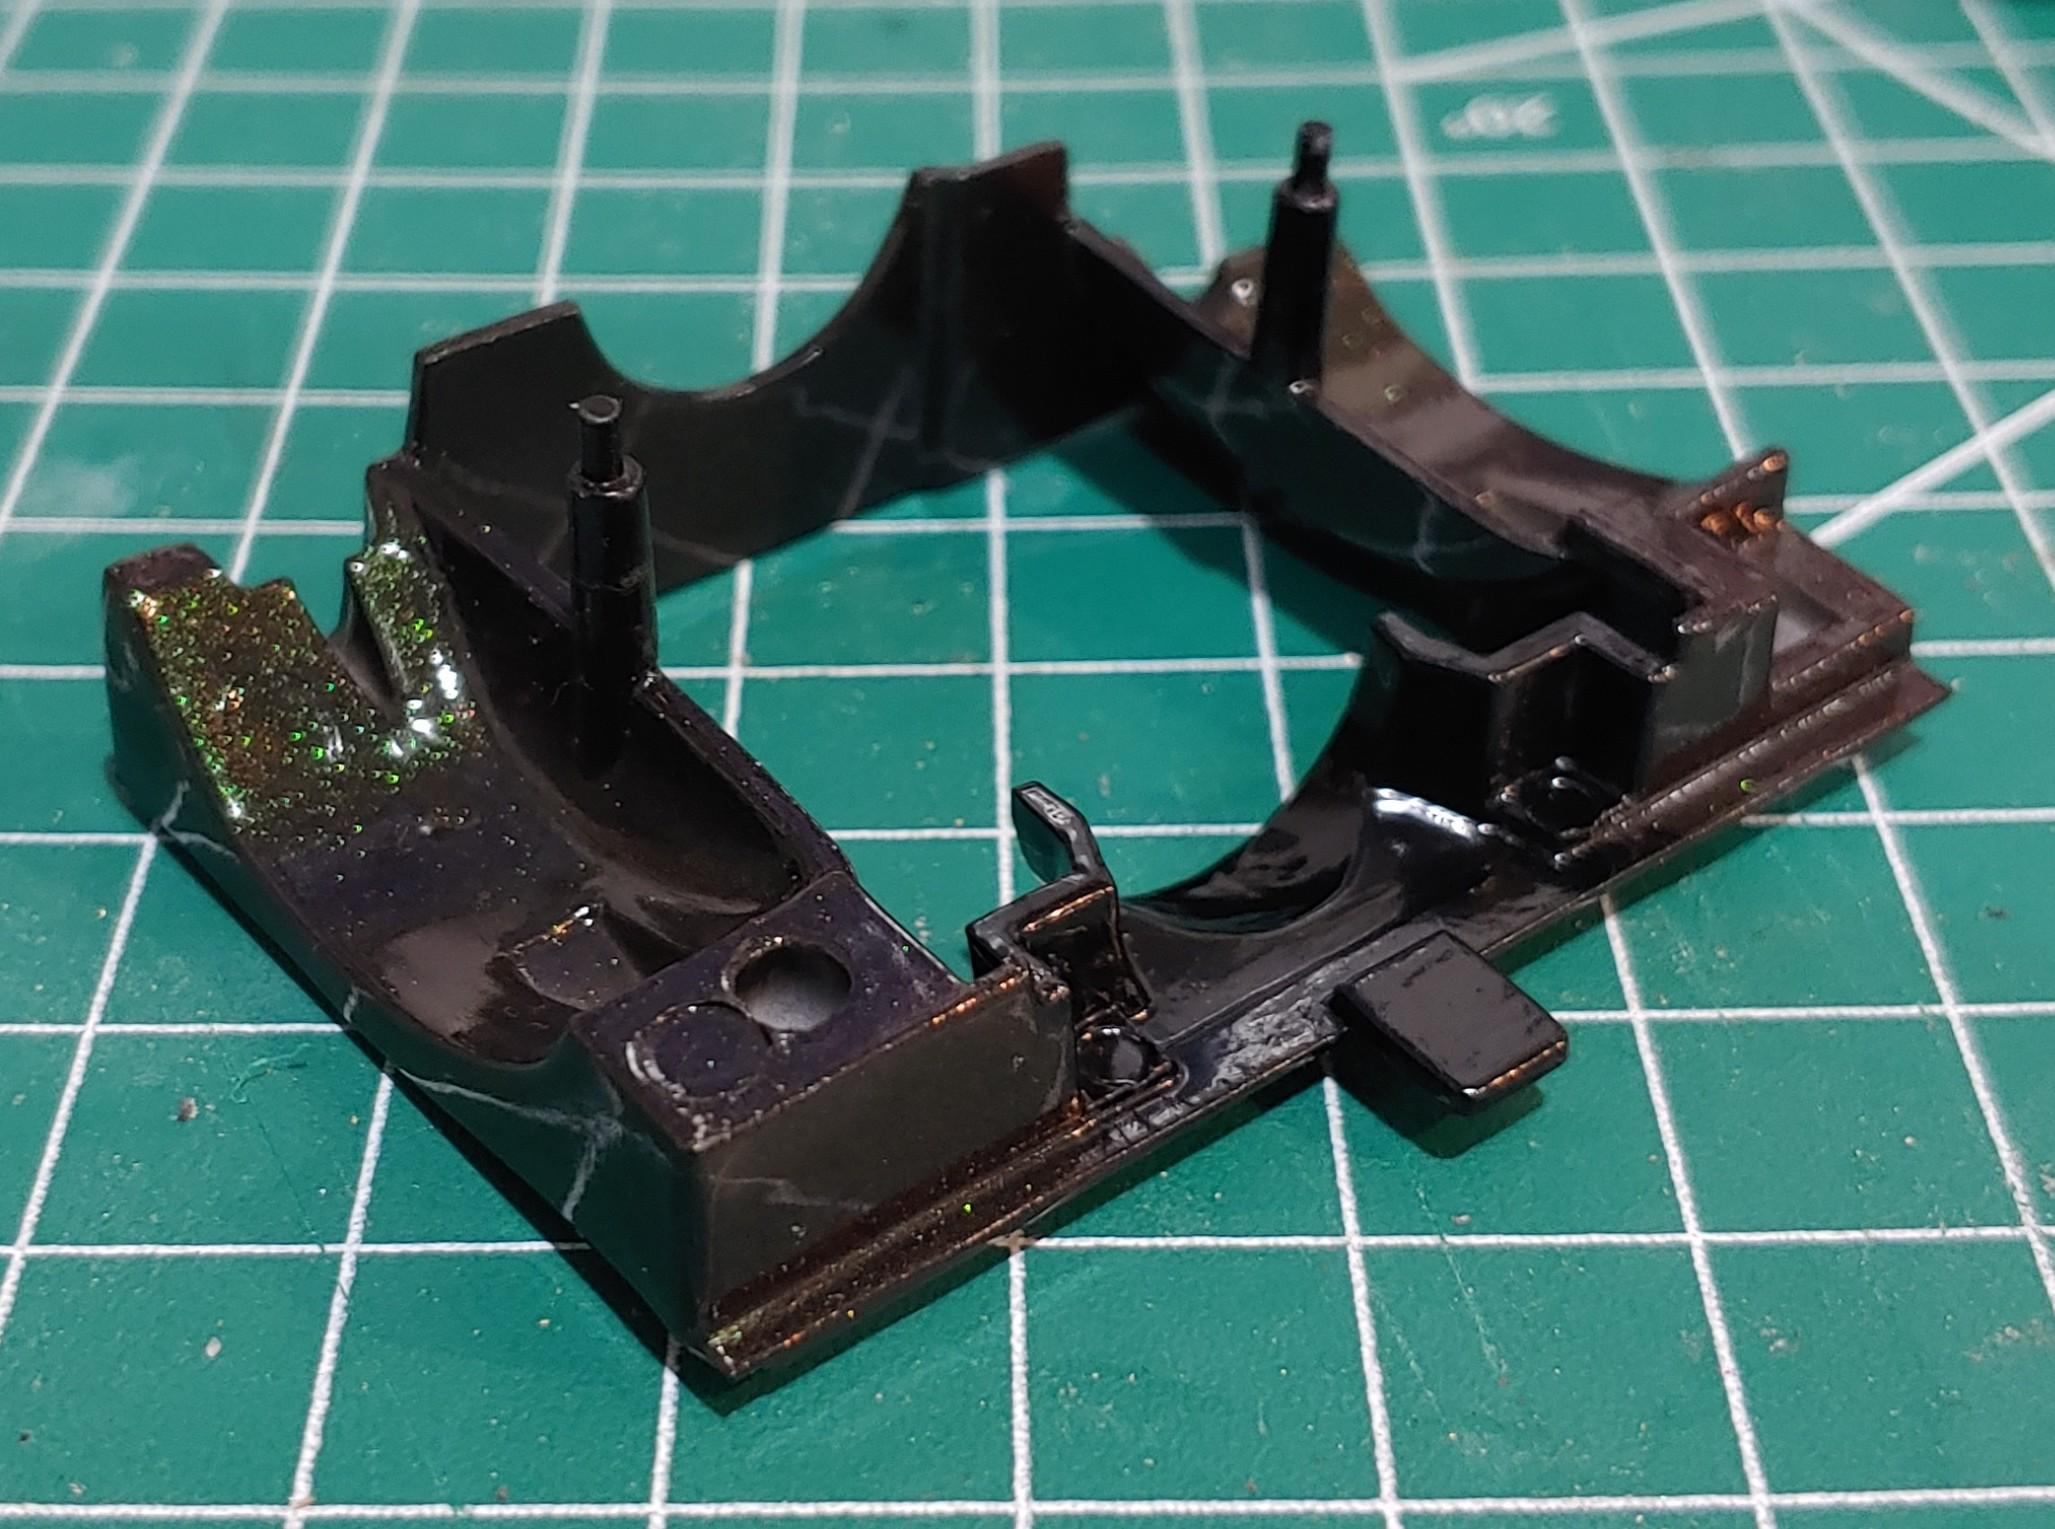
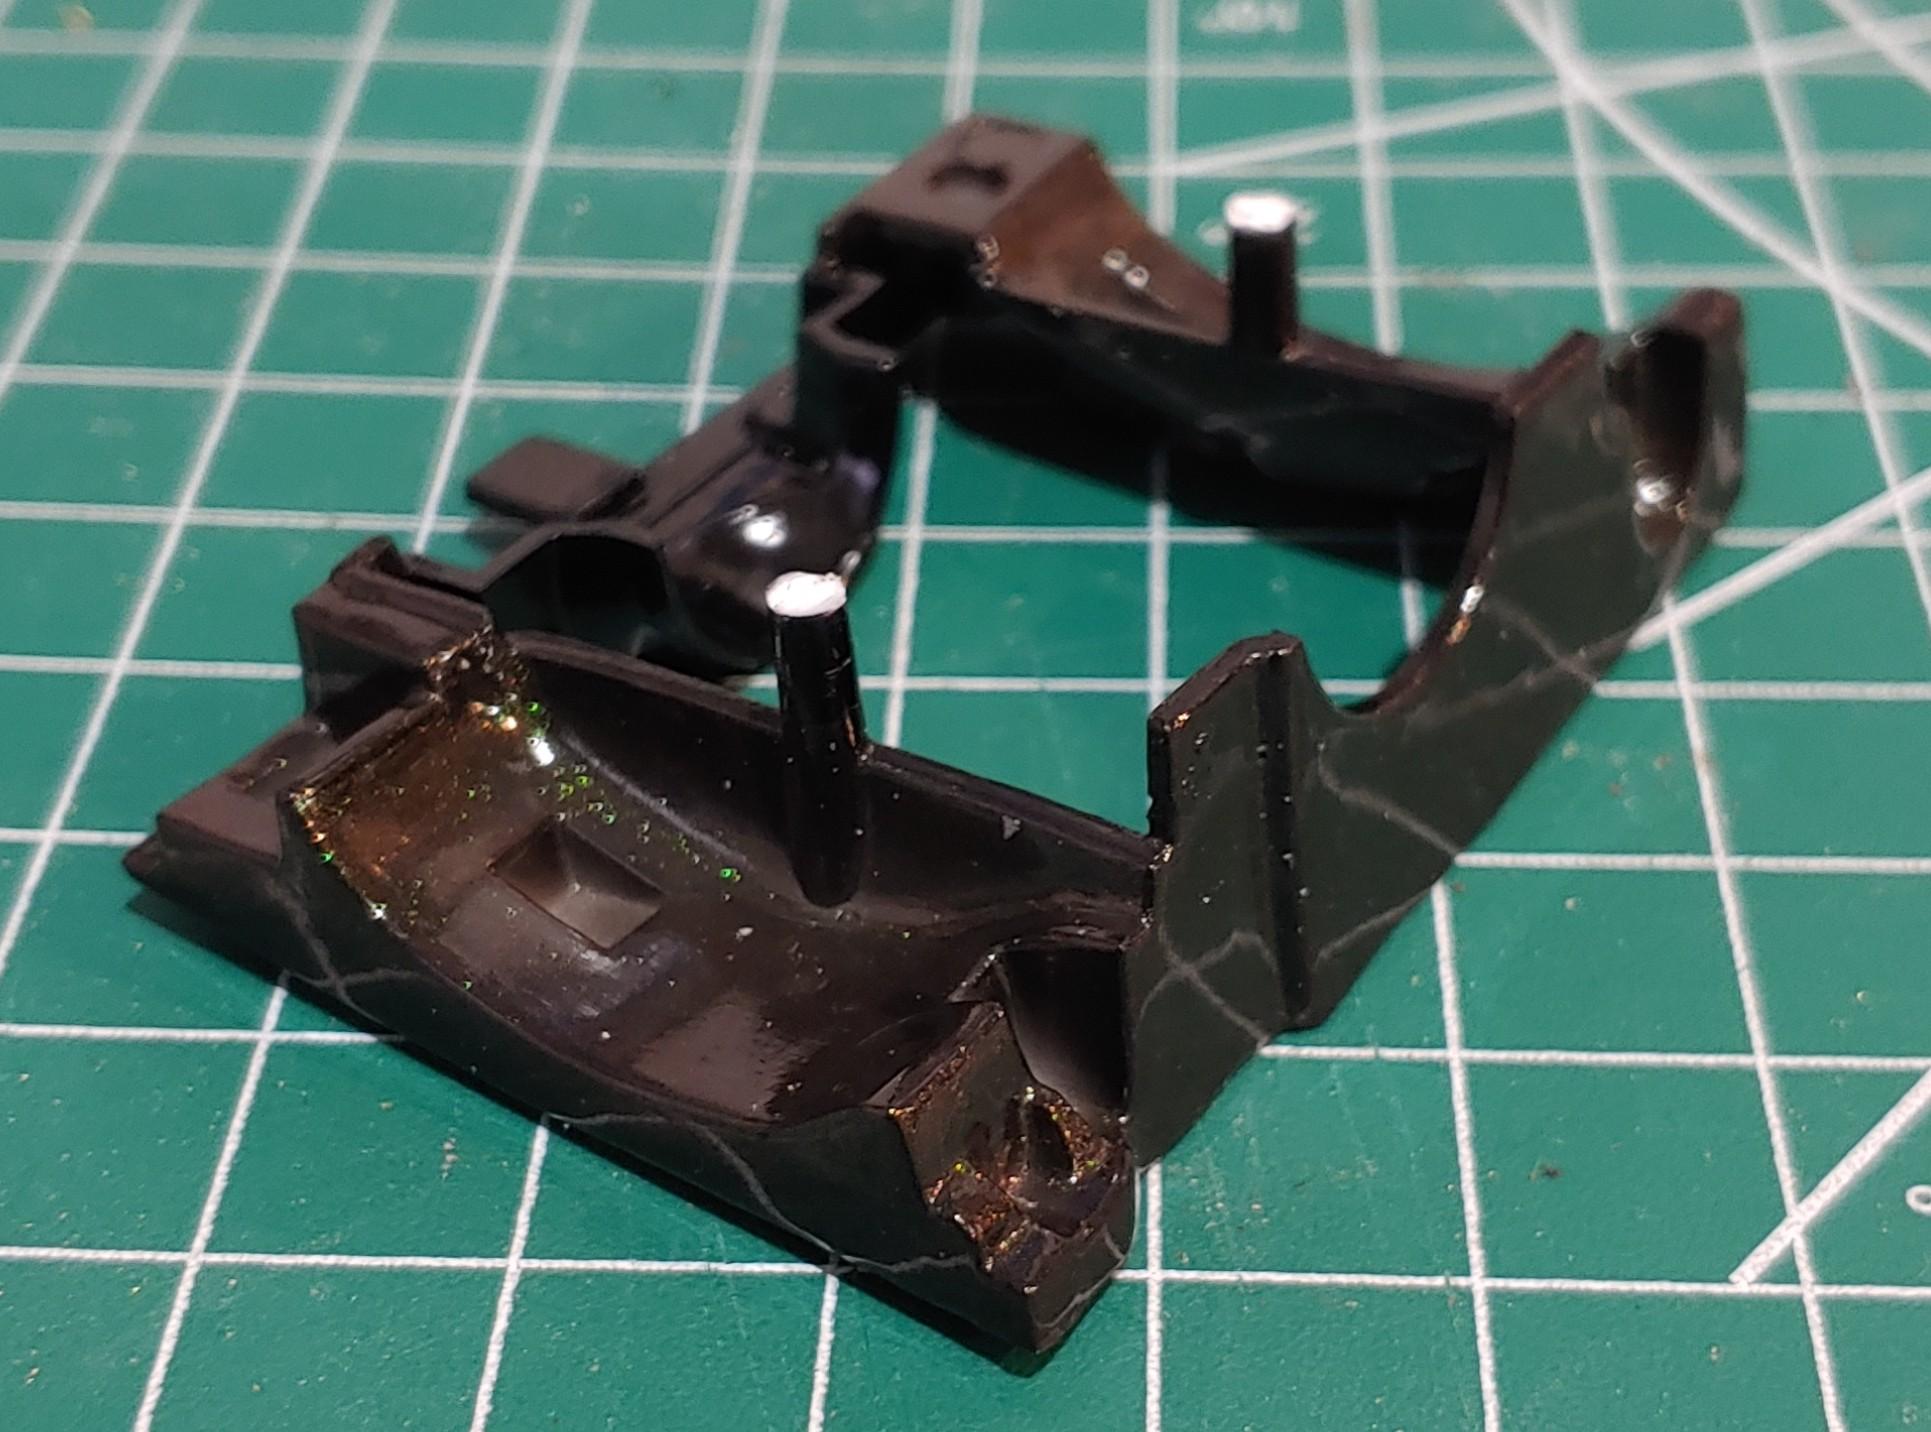
Now it's time to tackle the front suspension. The spindles are hollow and I wanted to beef them up. I used a couple different diameters of tubing to fill in the gap with a brass rod in the center to add strength. The passenger side spindle broke so I fixed it with some brass tubing. Then I converted the spindles into struts. Converting them into struts made it much easier to lower the front. I simply added some tubing to the bottom equal to the amount of drop I wanted, about 2 1/2 scale inches. I also made some spacers for the steering knuckles to give the tie rods some clearance. The tie rods were going to need a little more clearance. I modified them by drilling out the joints so I could change the angle and rebuilt them with some styrene rod. Because I converted the spindles into struts I was going to have to modify the mounts too. I started by cutting off the upper mount where the lip is. Then I rounded them off for some clearance. Here's everything mocked up. The 1/25 was much easier. It has posts coming from the wheel wells that go through the frame that the front suspension mounts to. I simply cut 2 scale inches off. Then drilled them out and made new mounting points with some styrene rod. That's about as low as I could get it without major surgery. More next time.
-
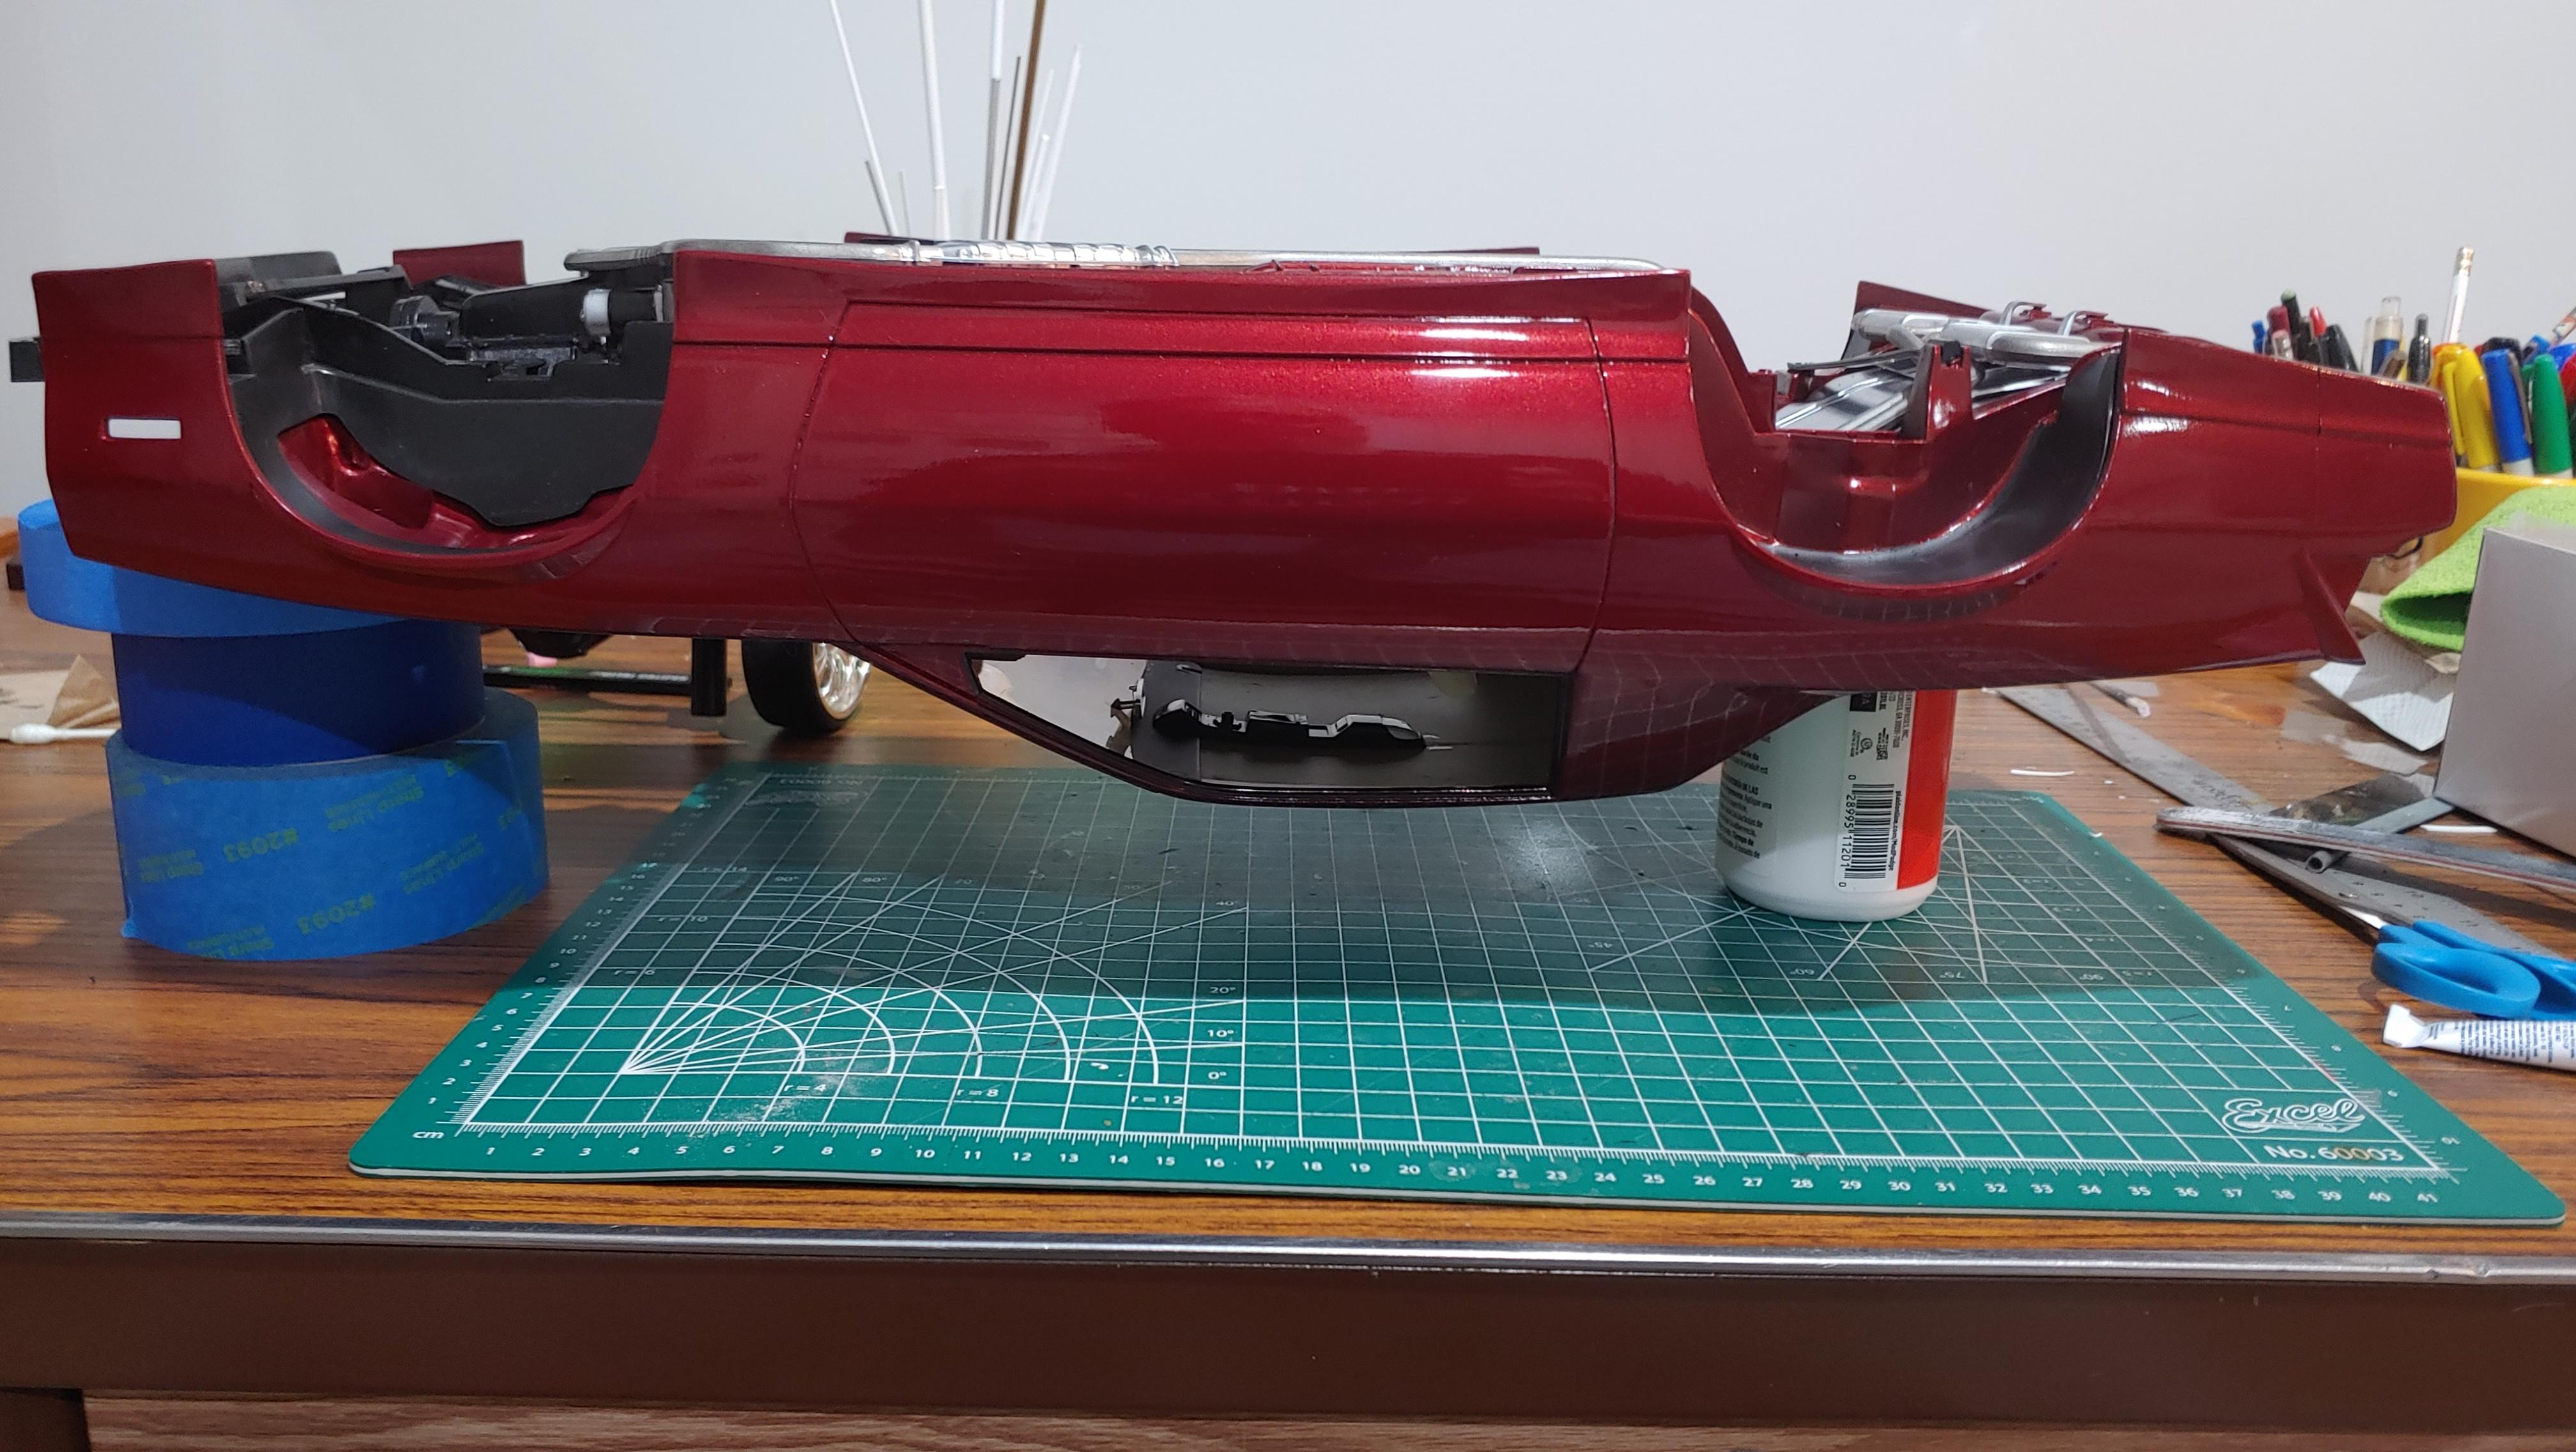
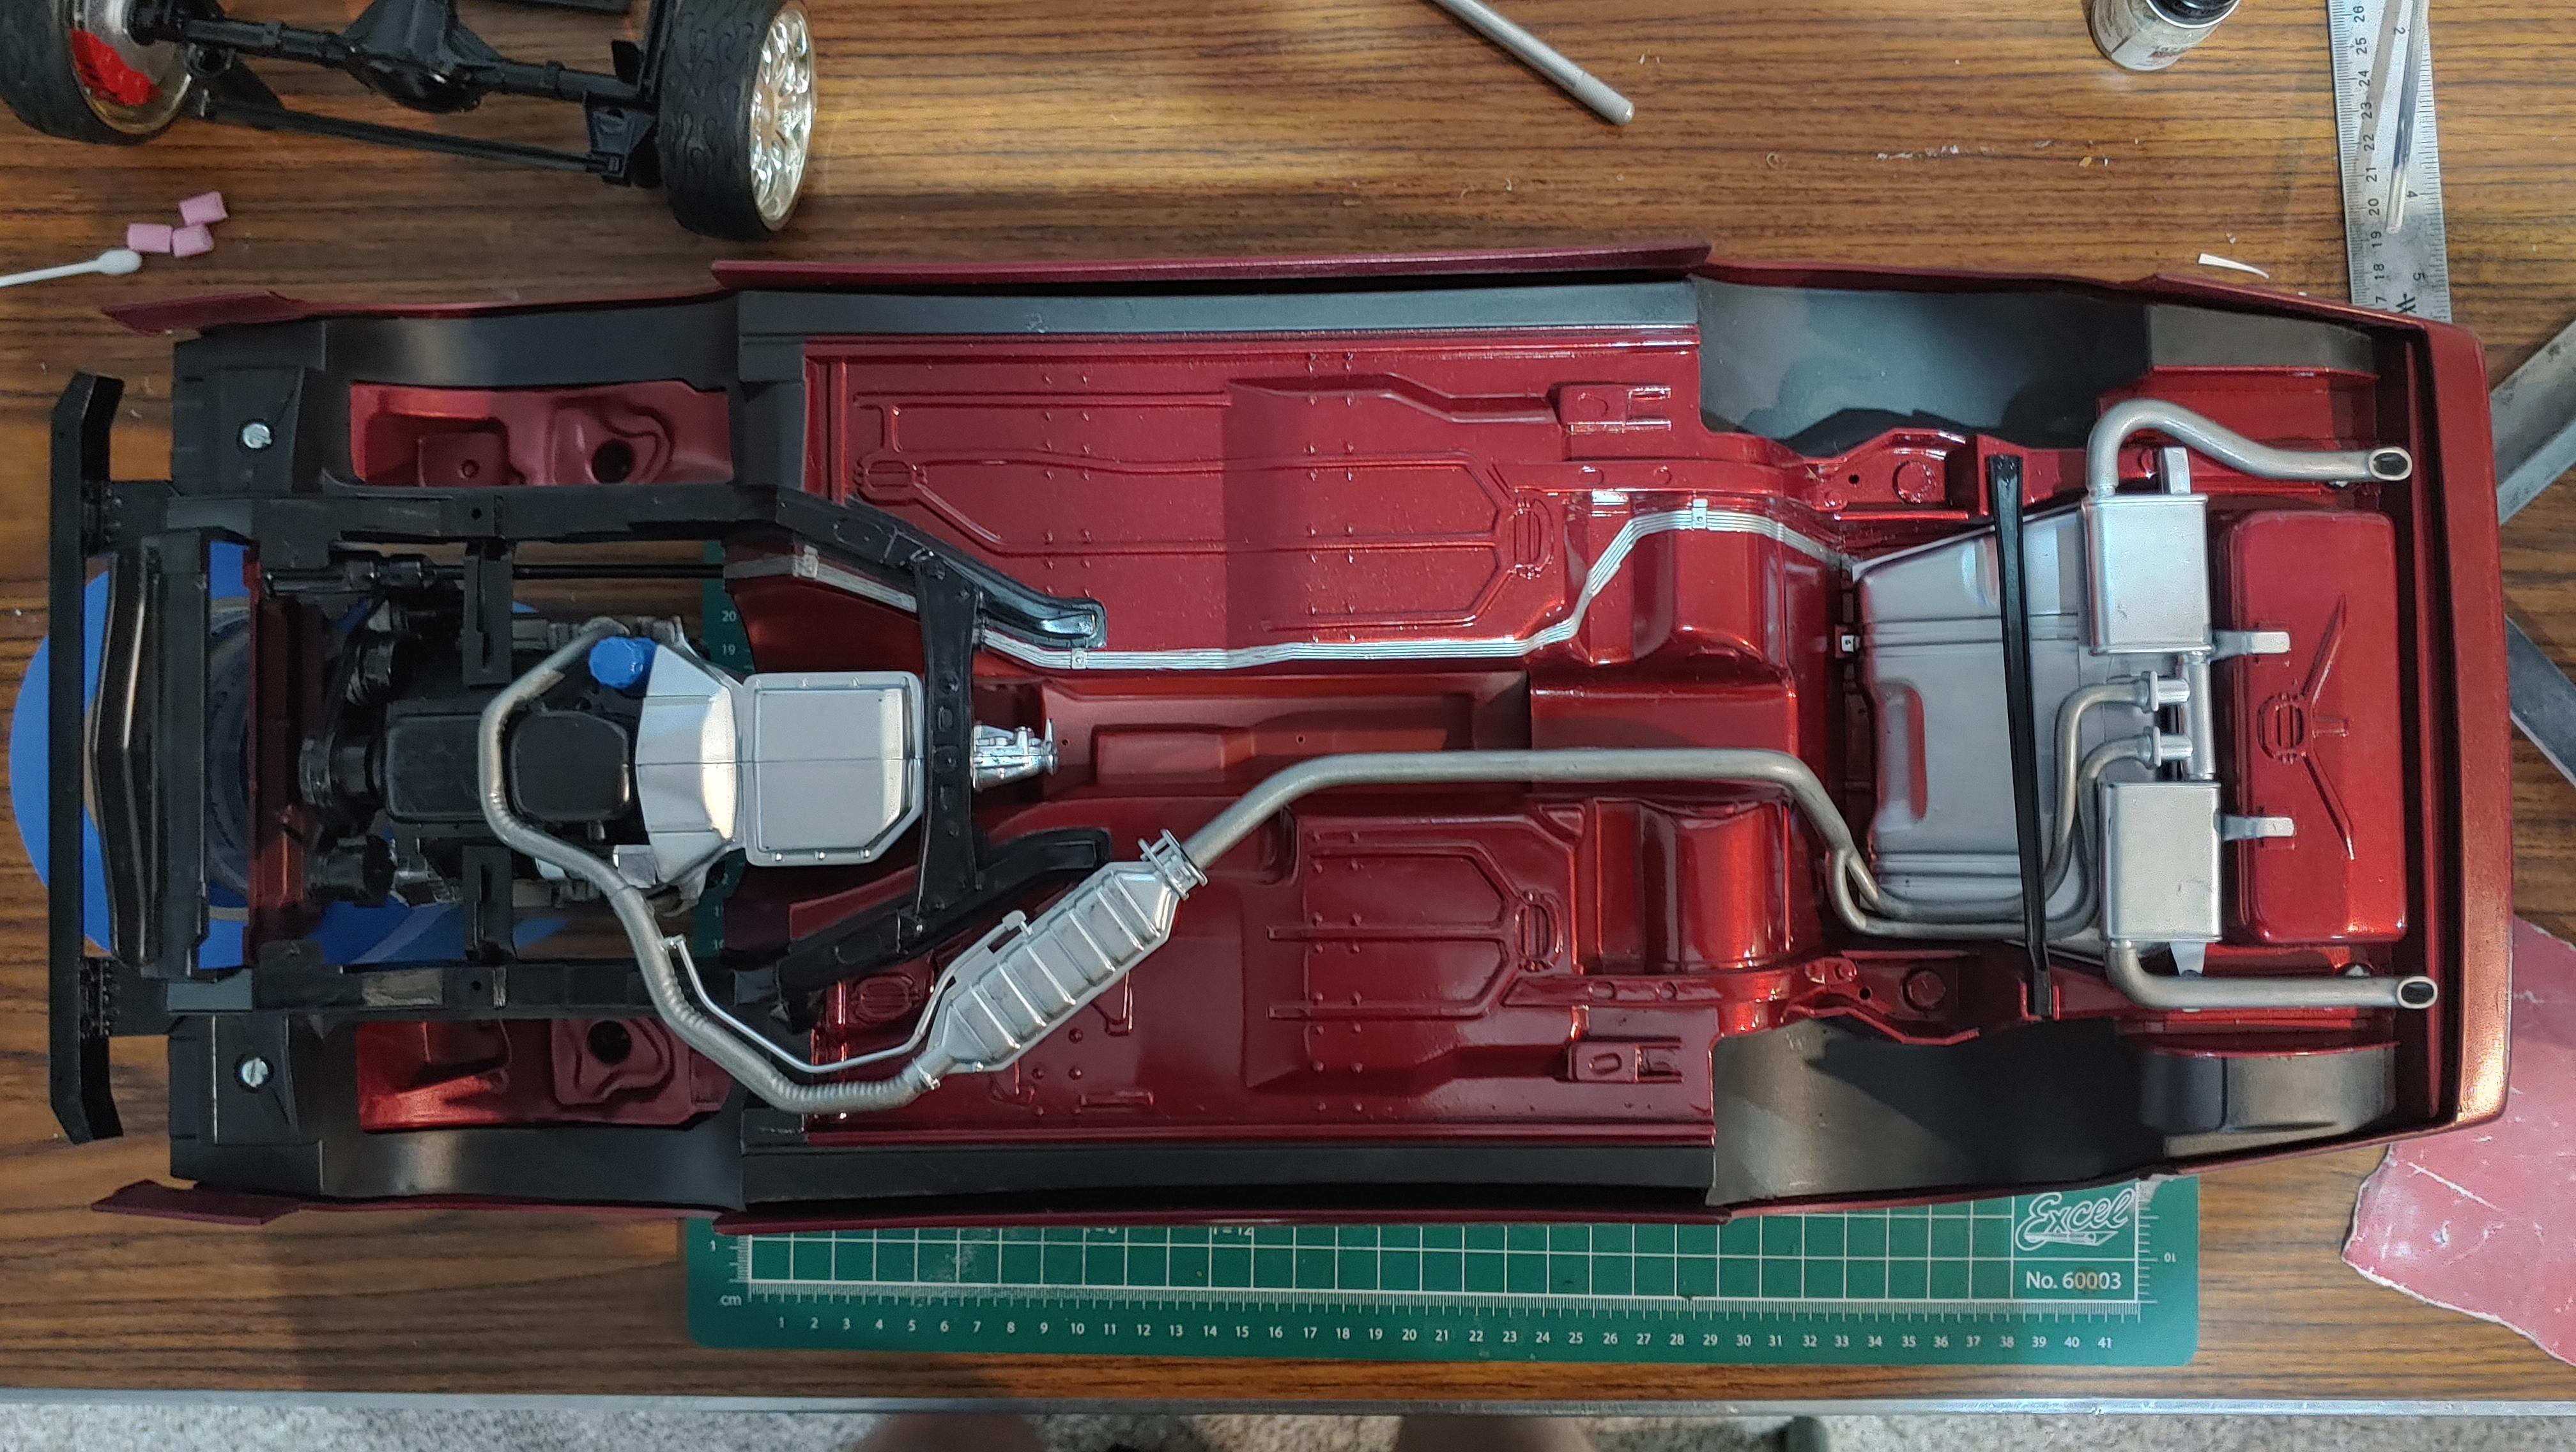
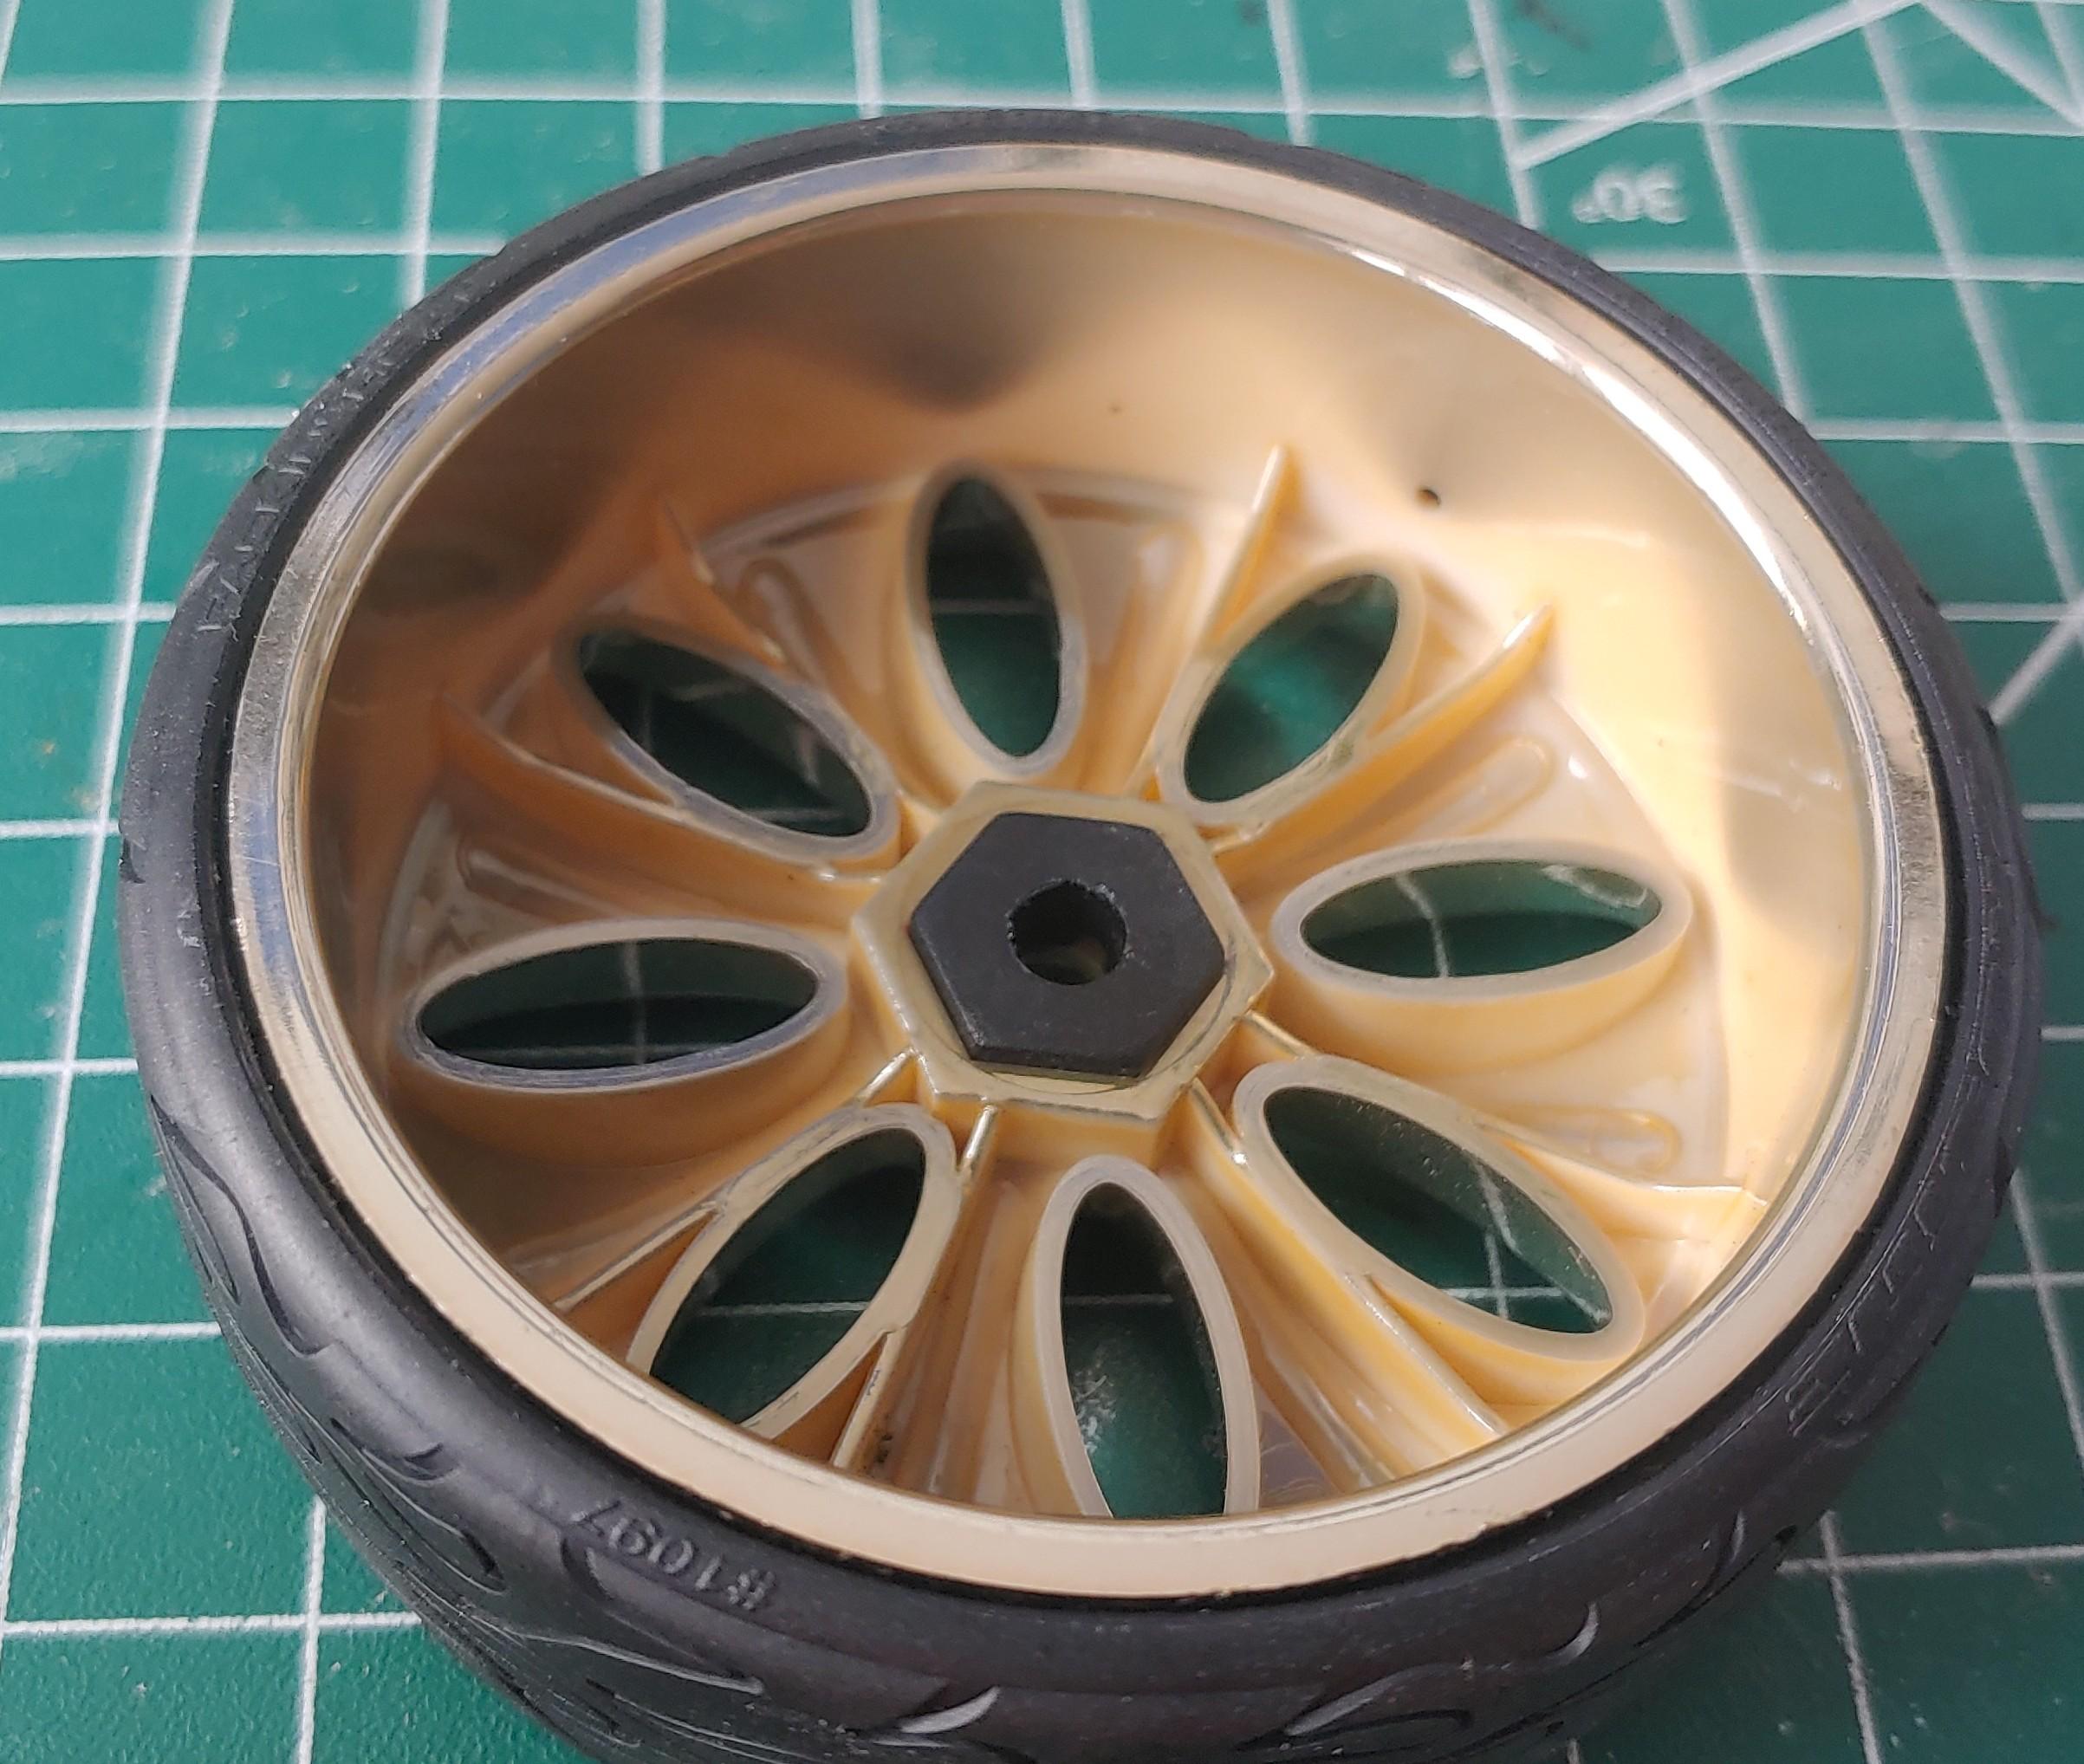
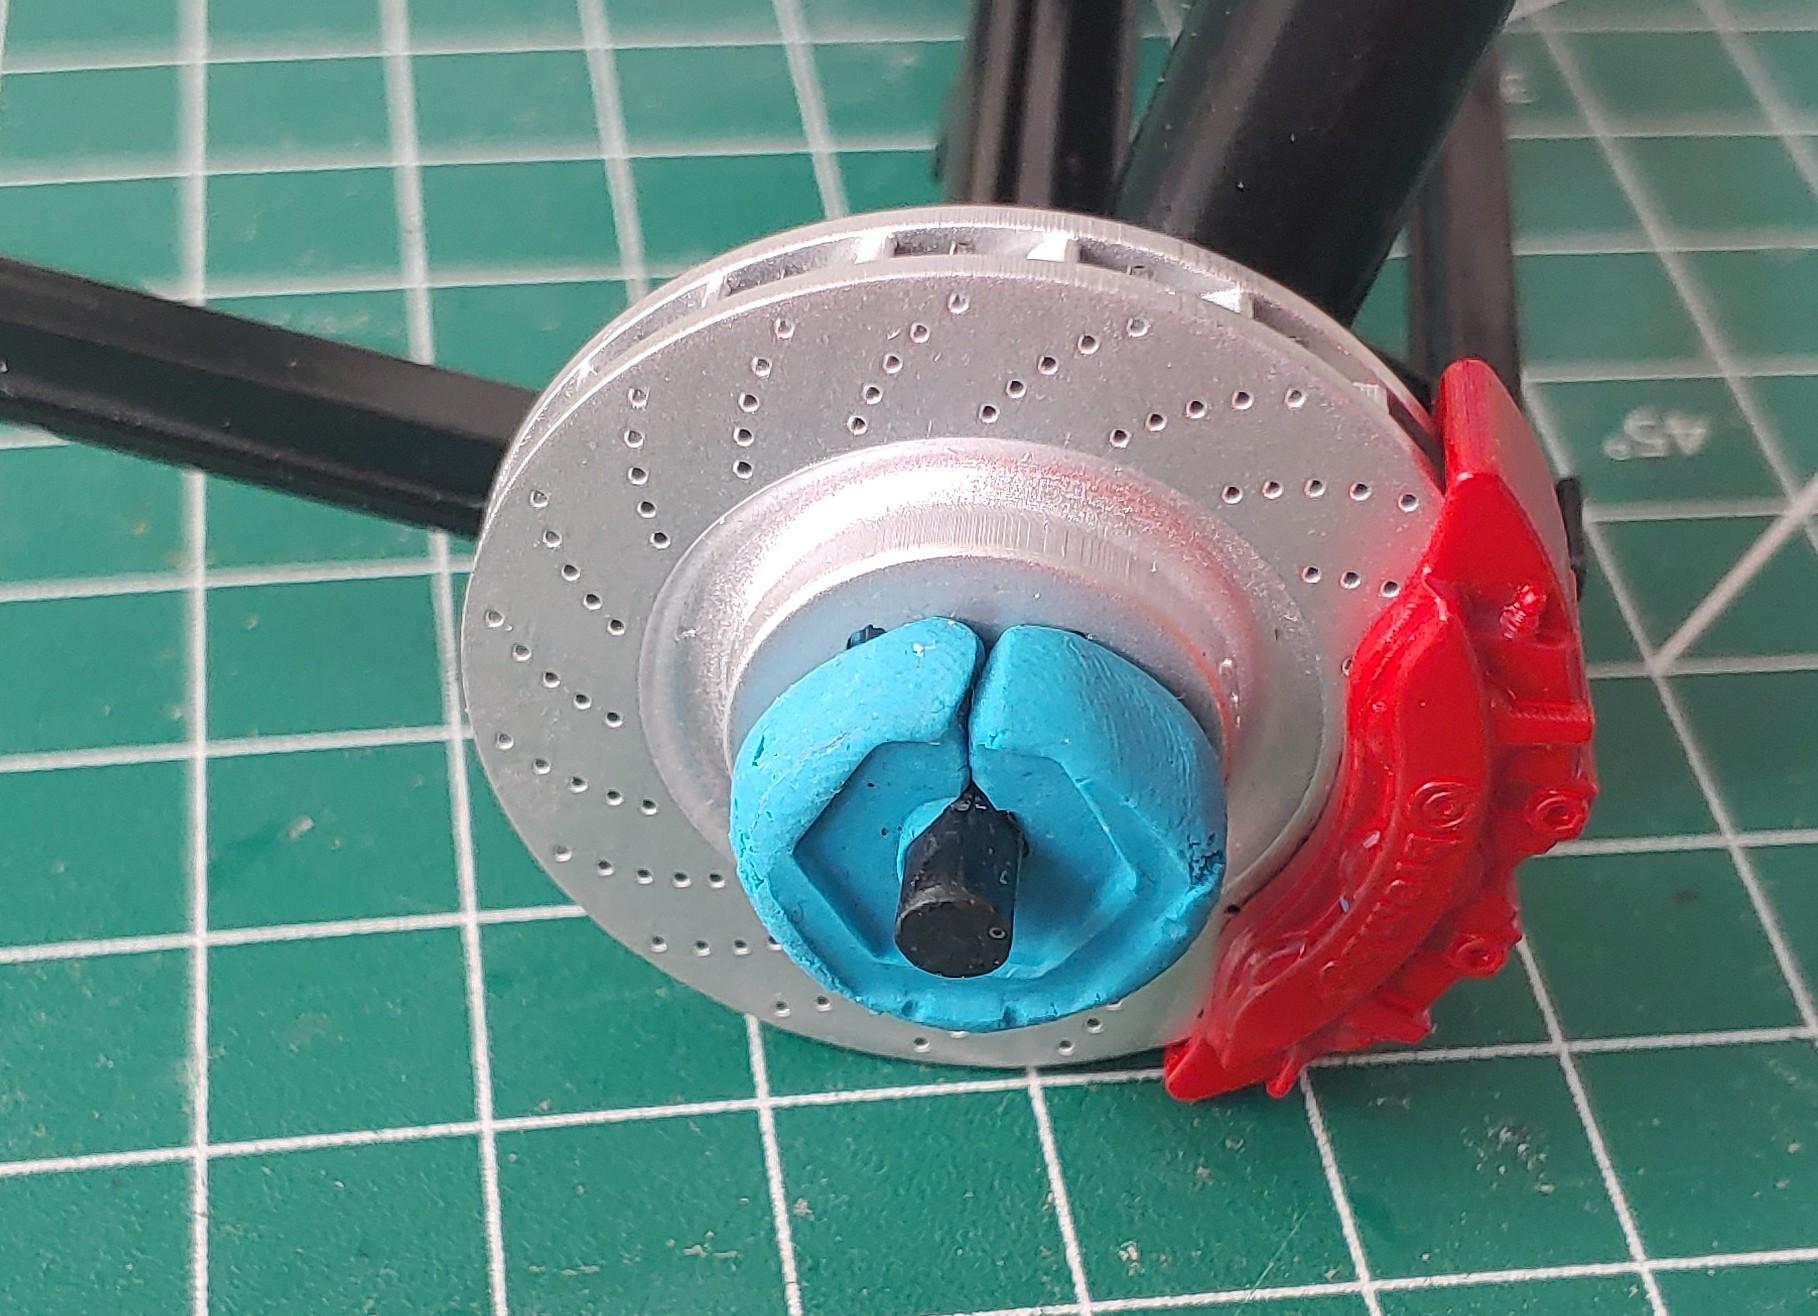
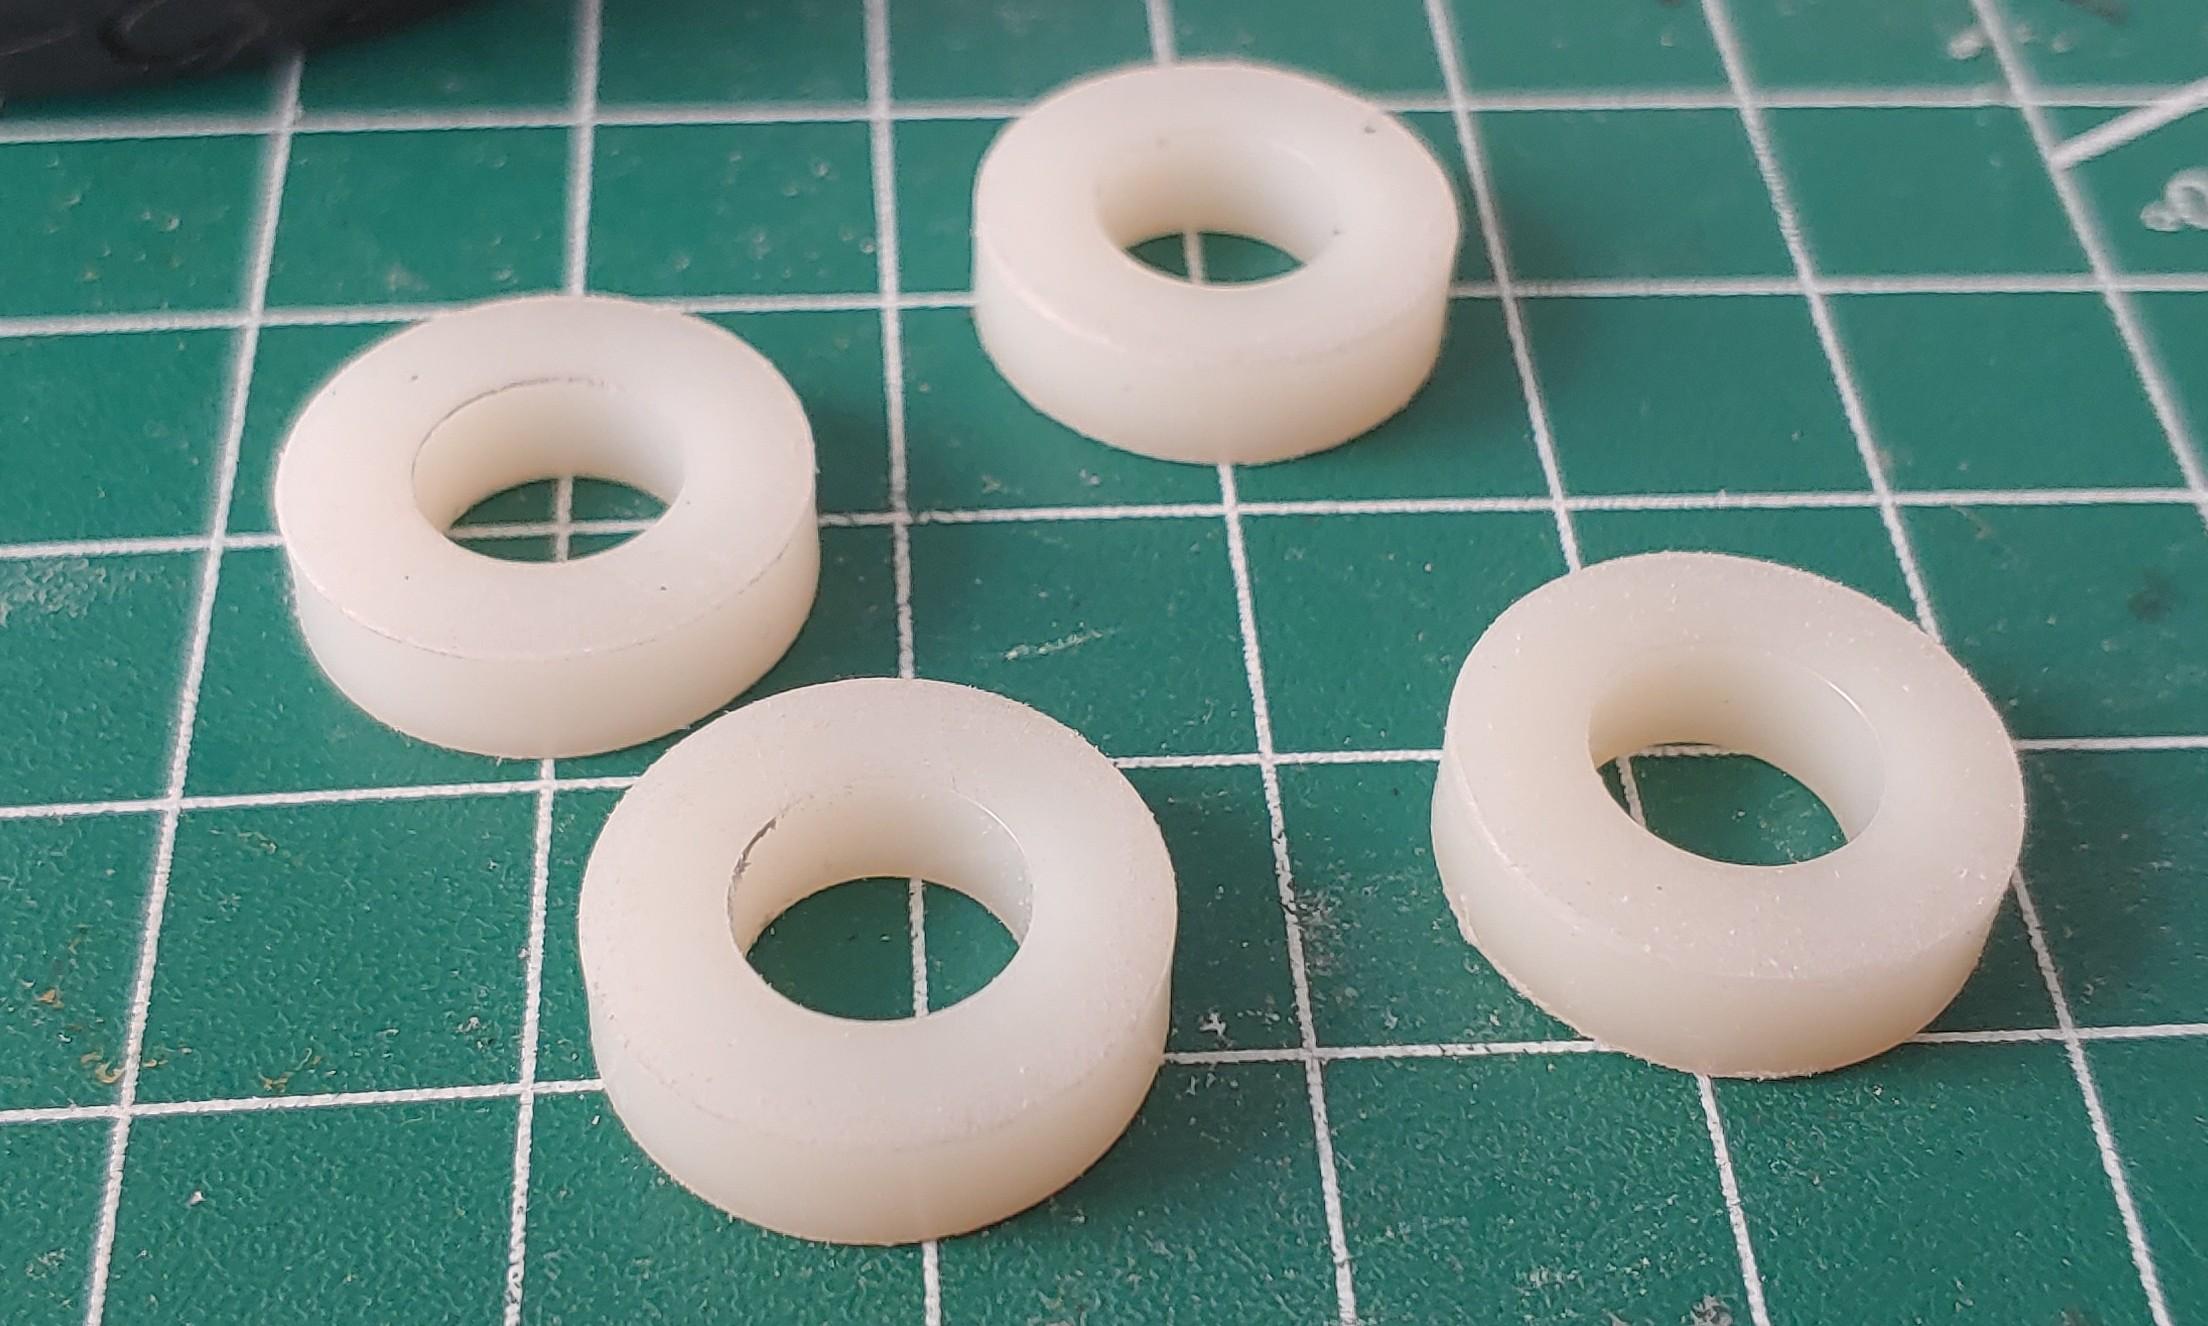
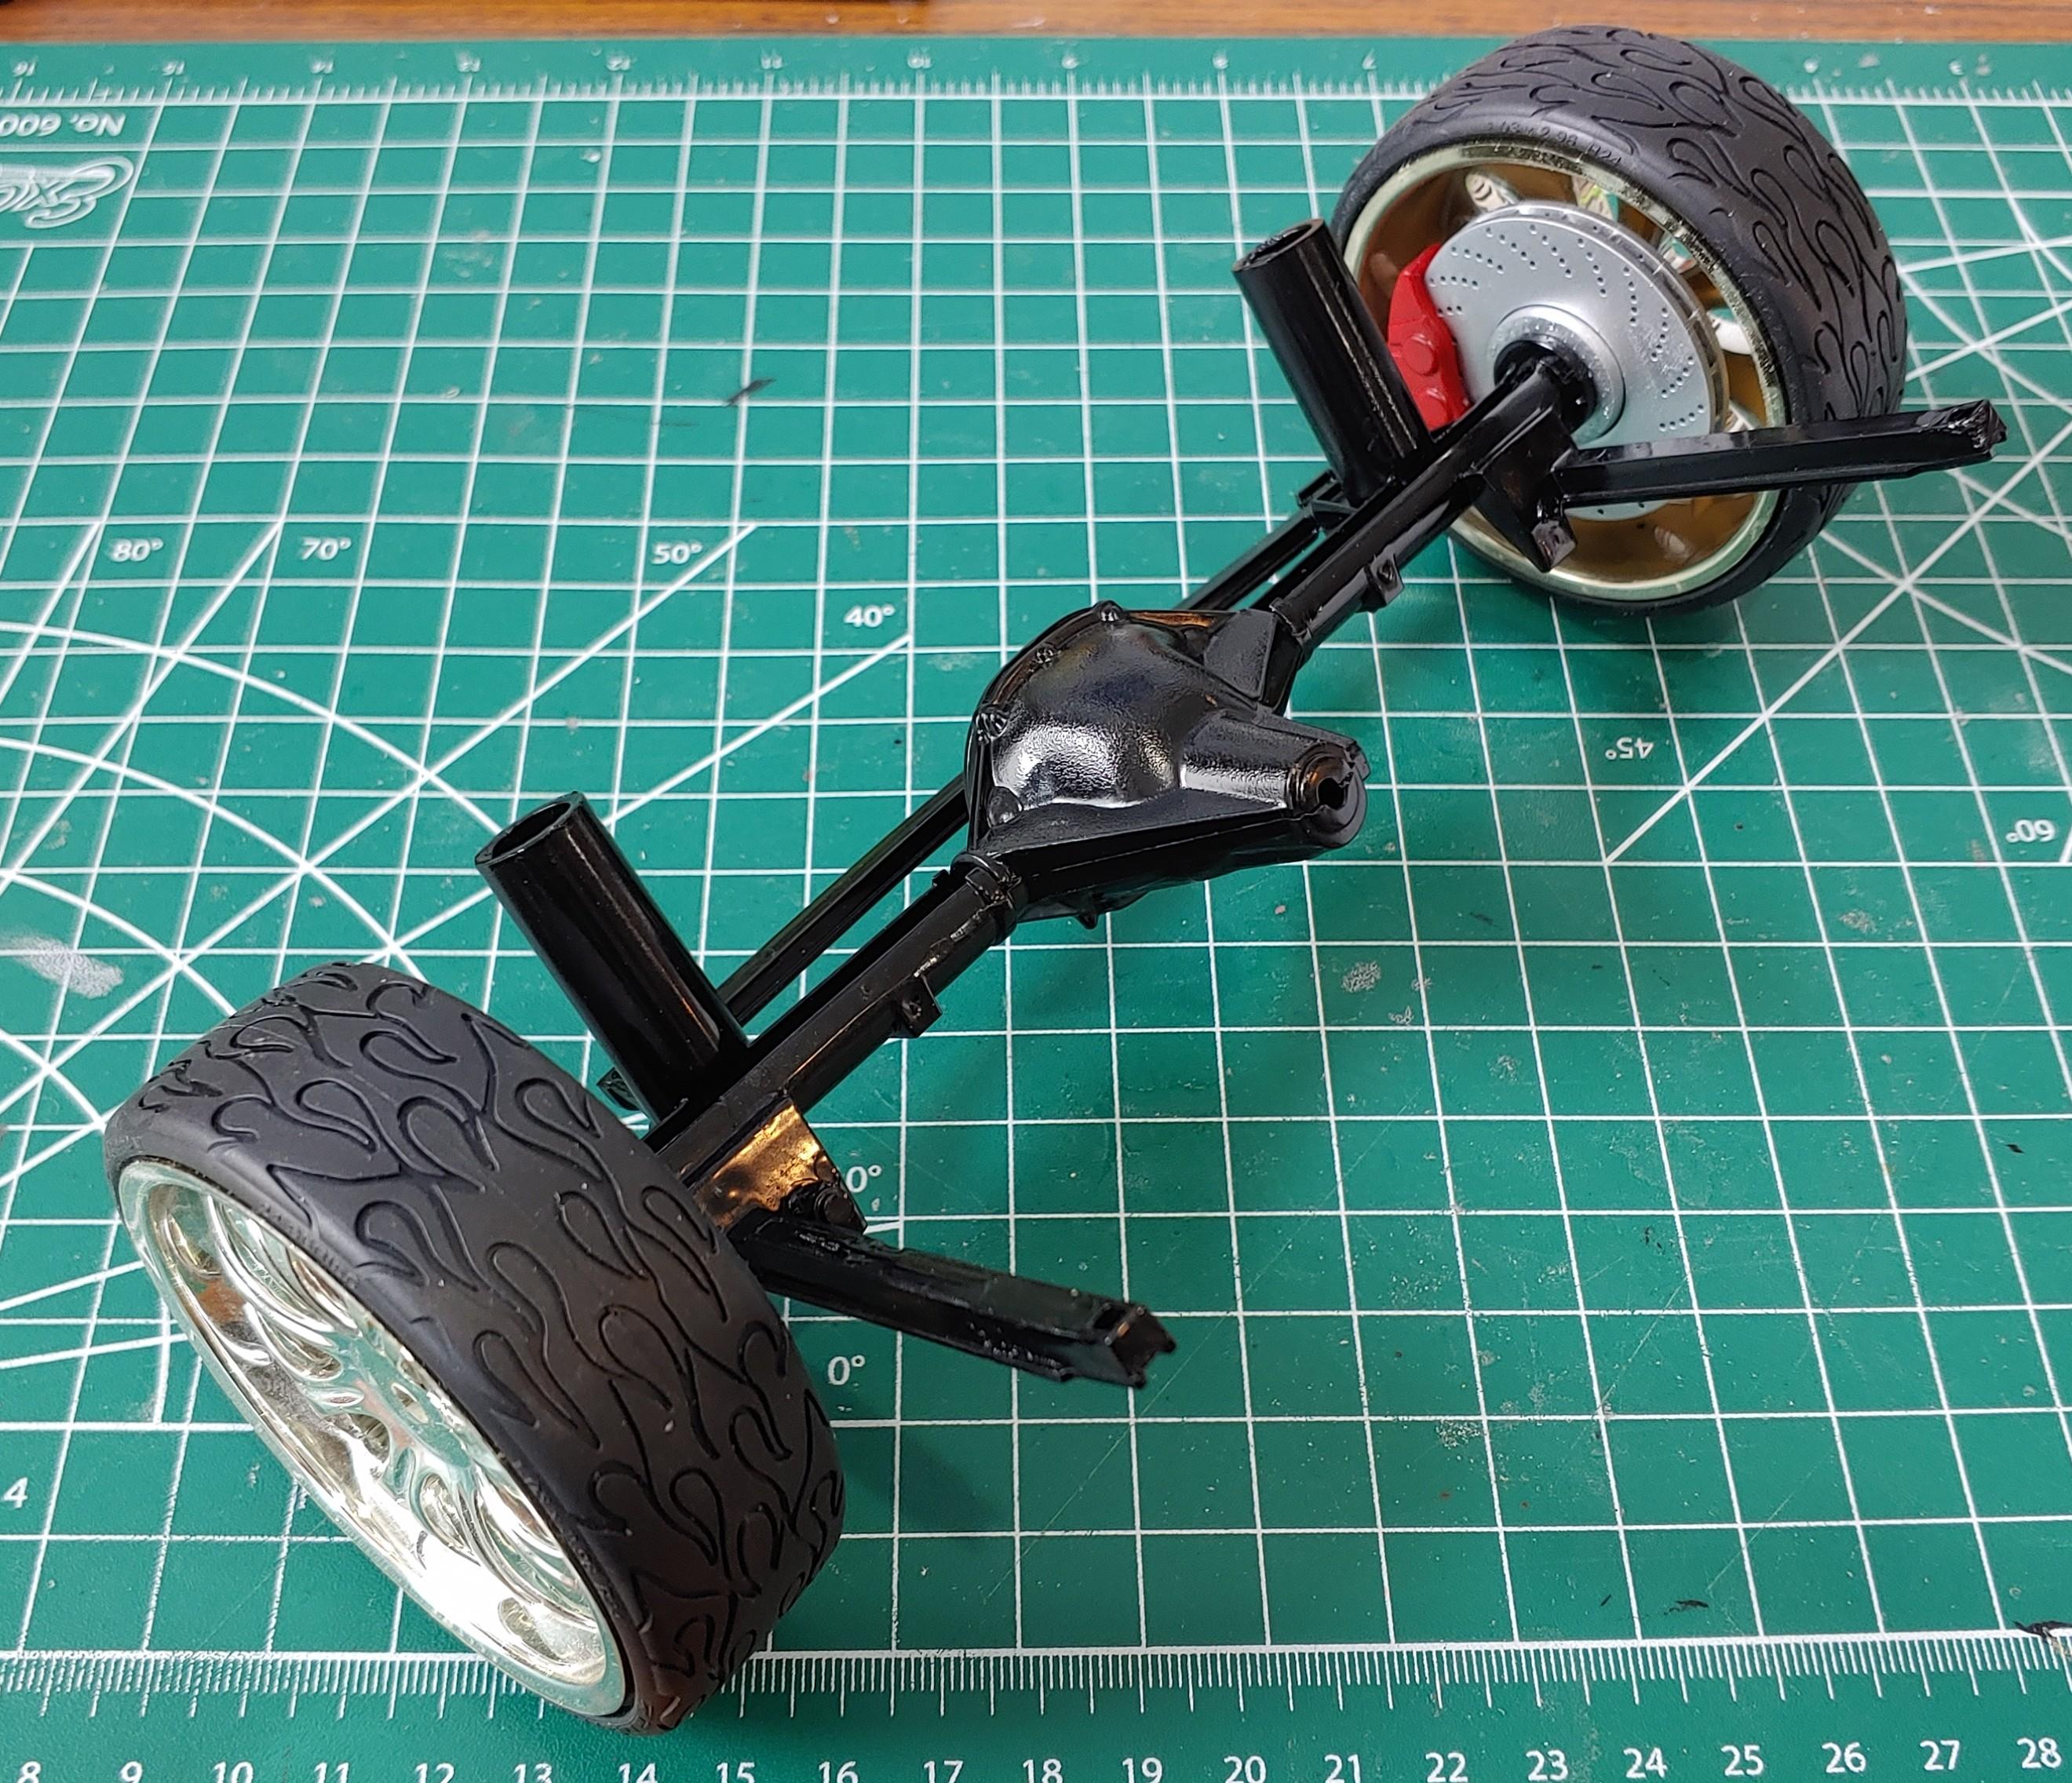
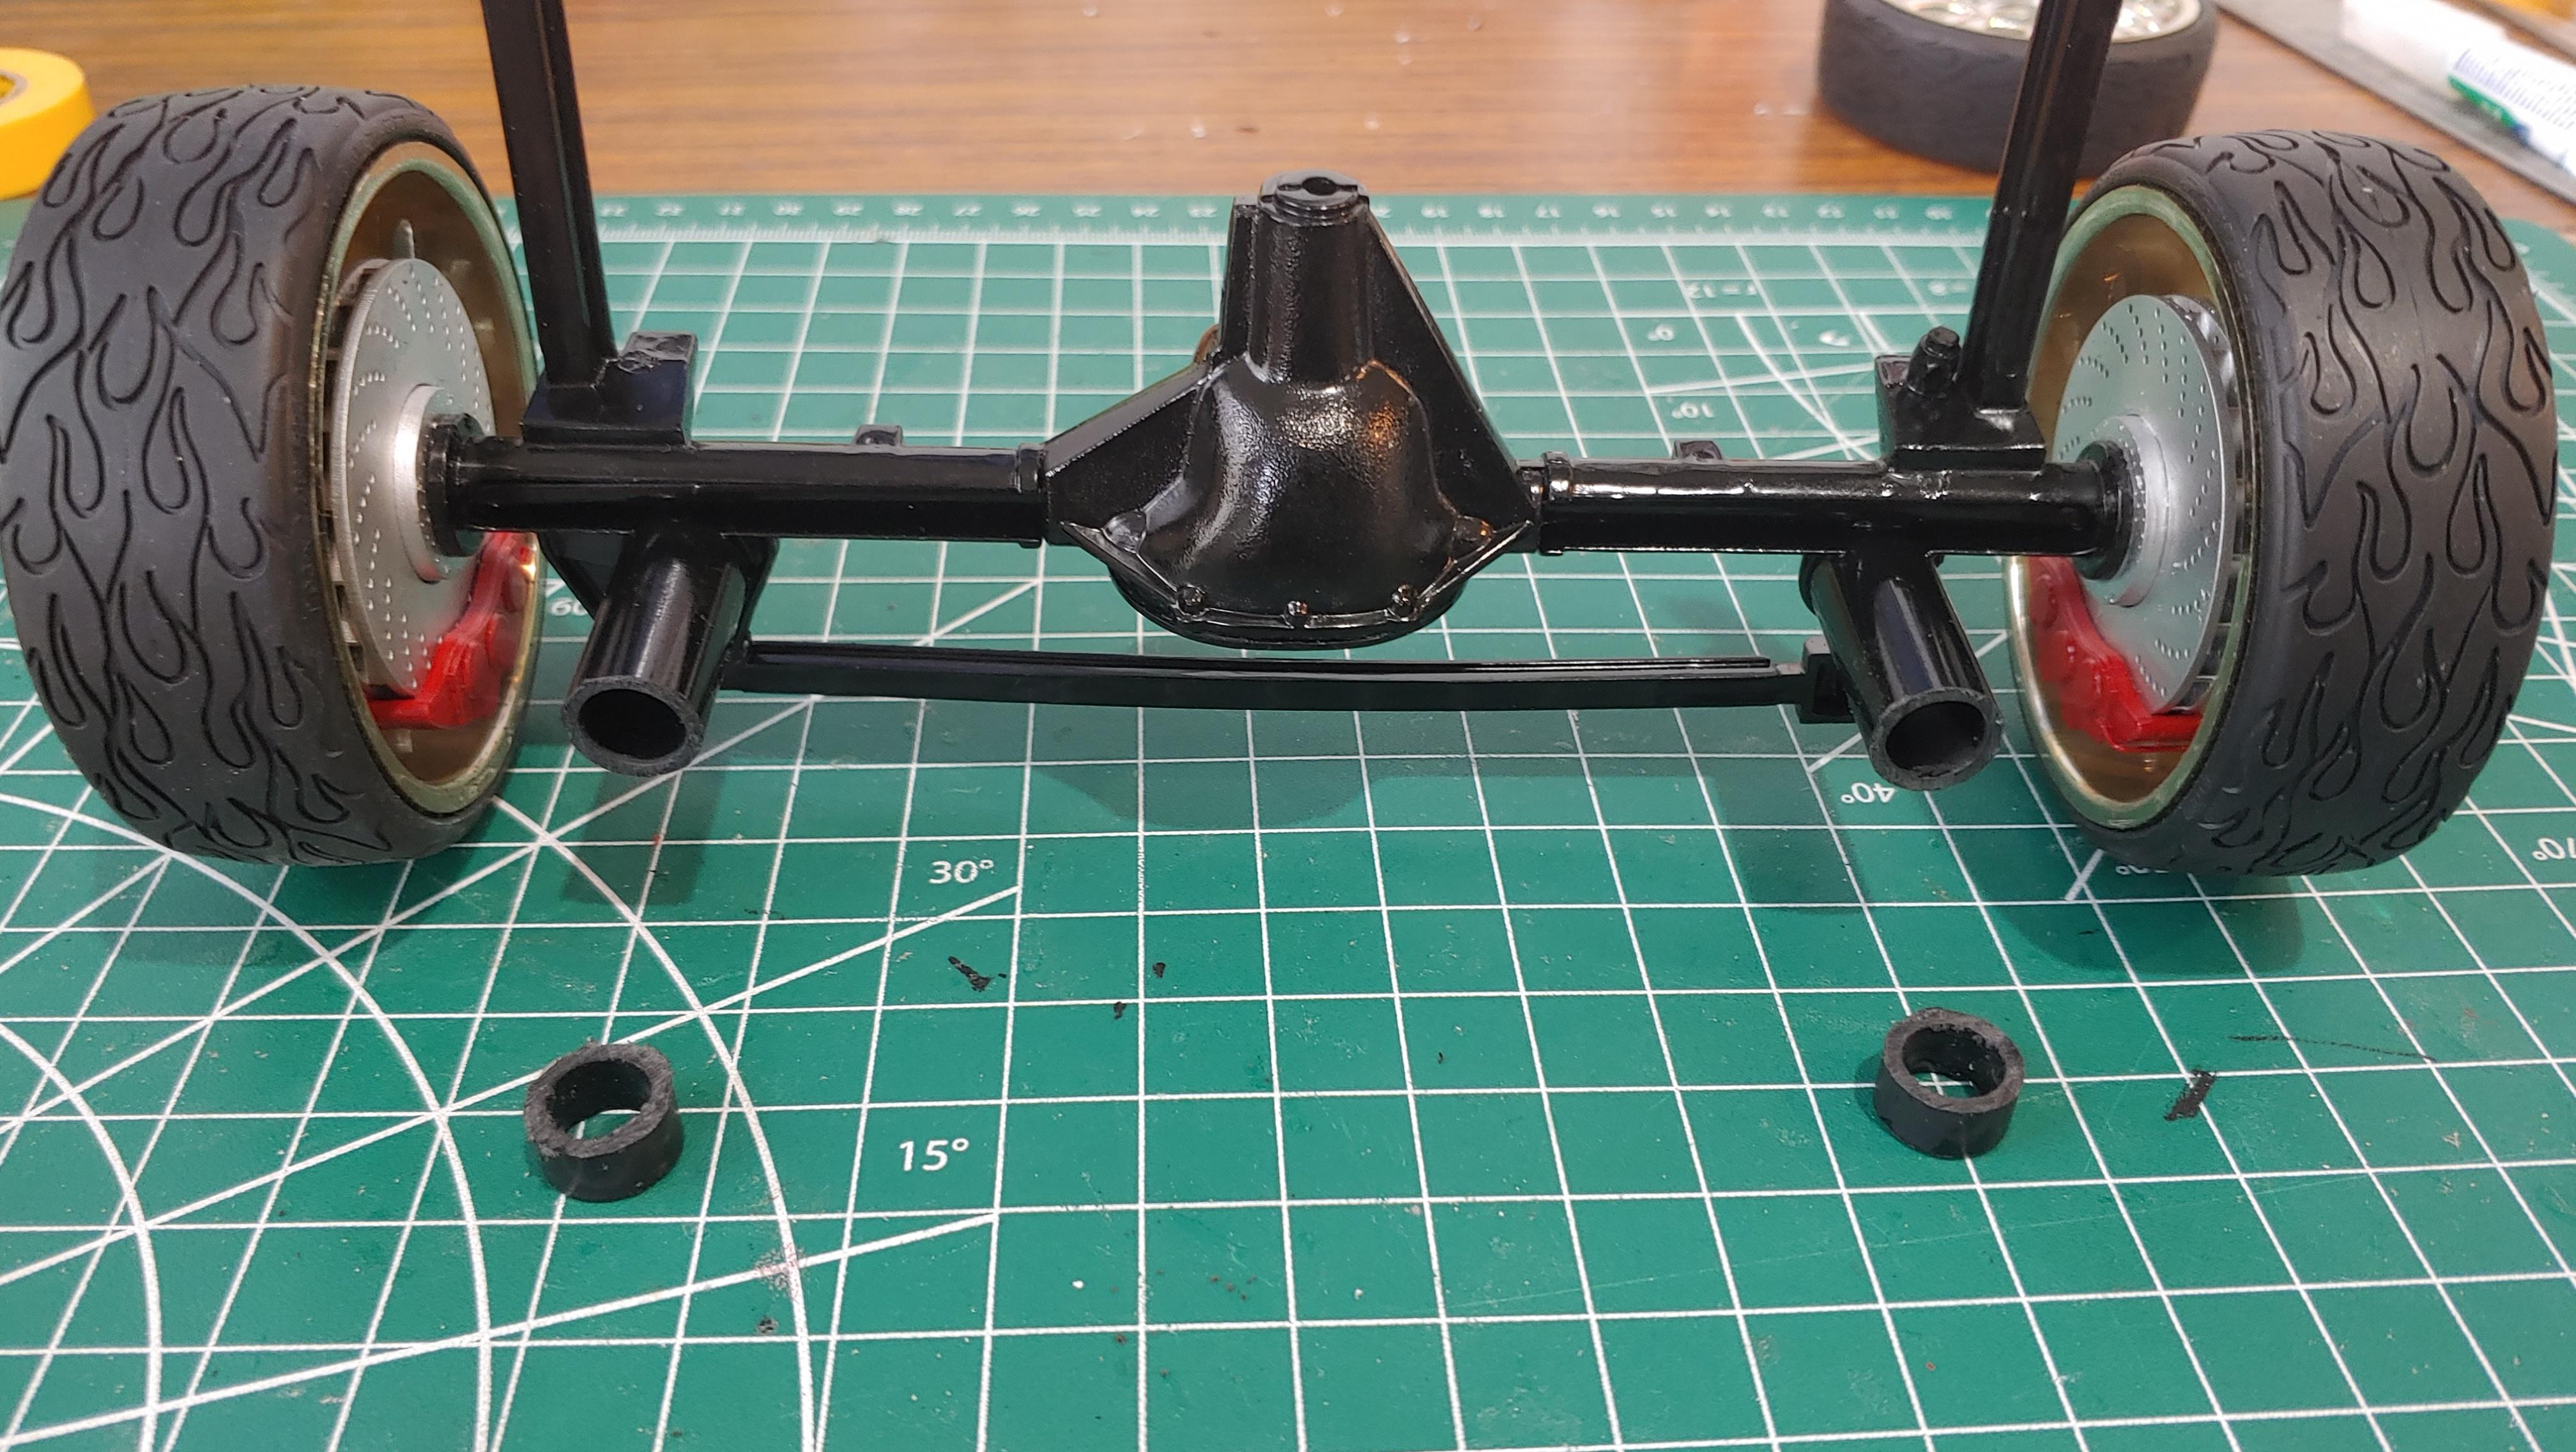
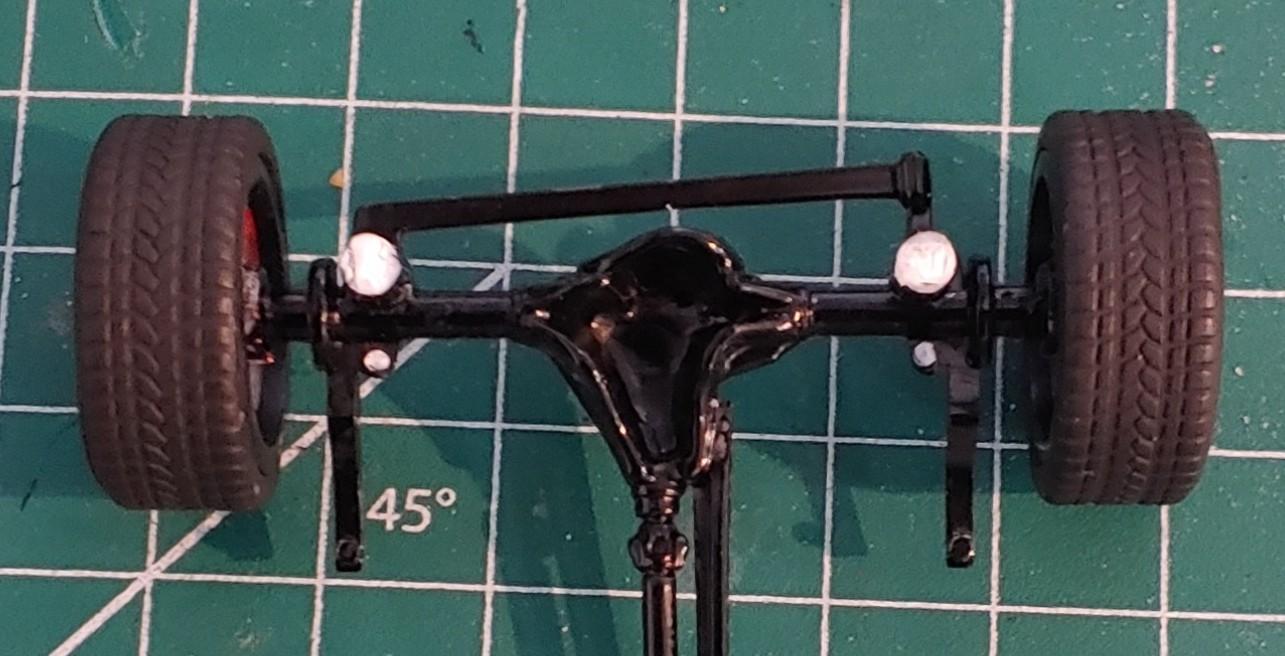
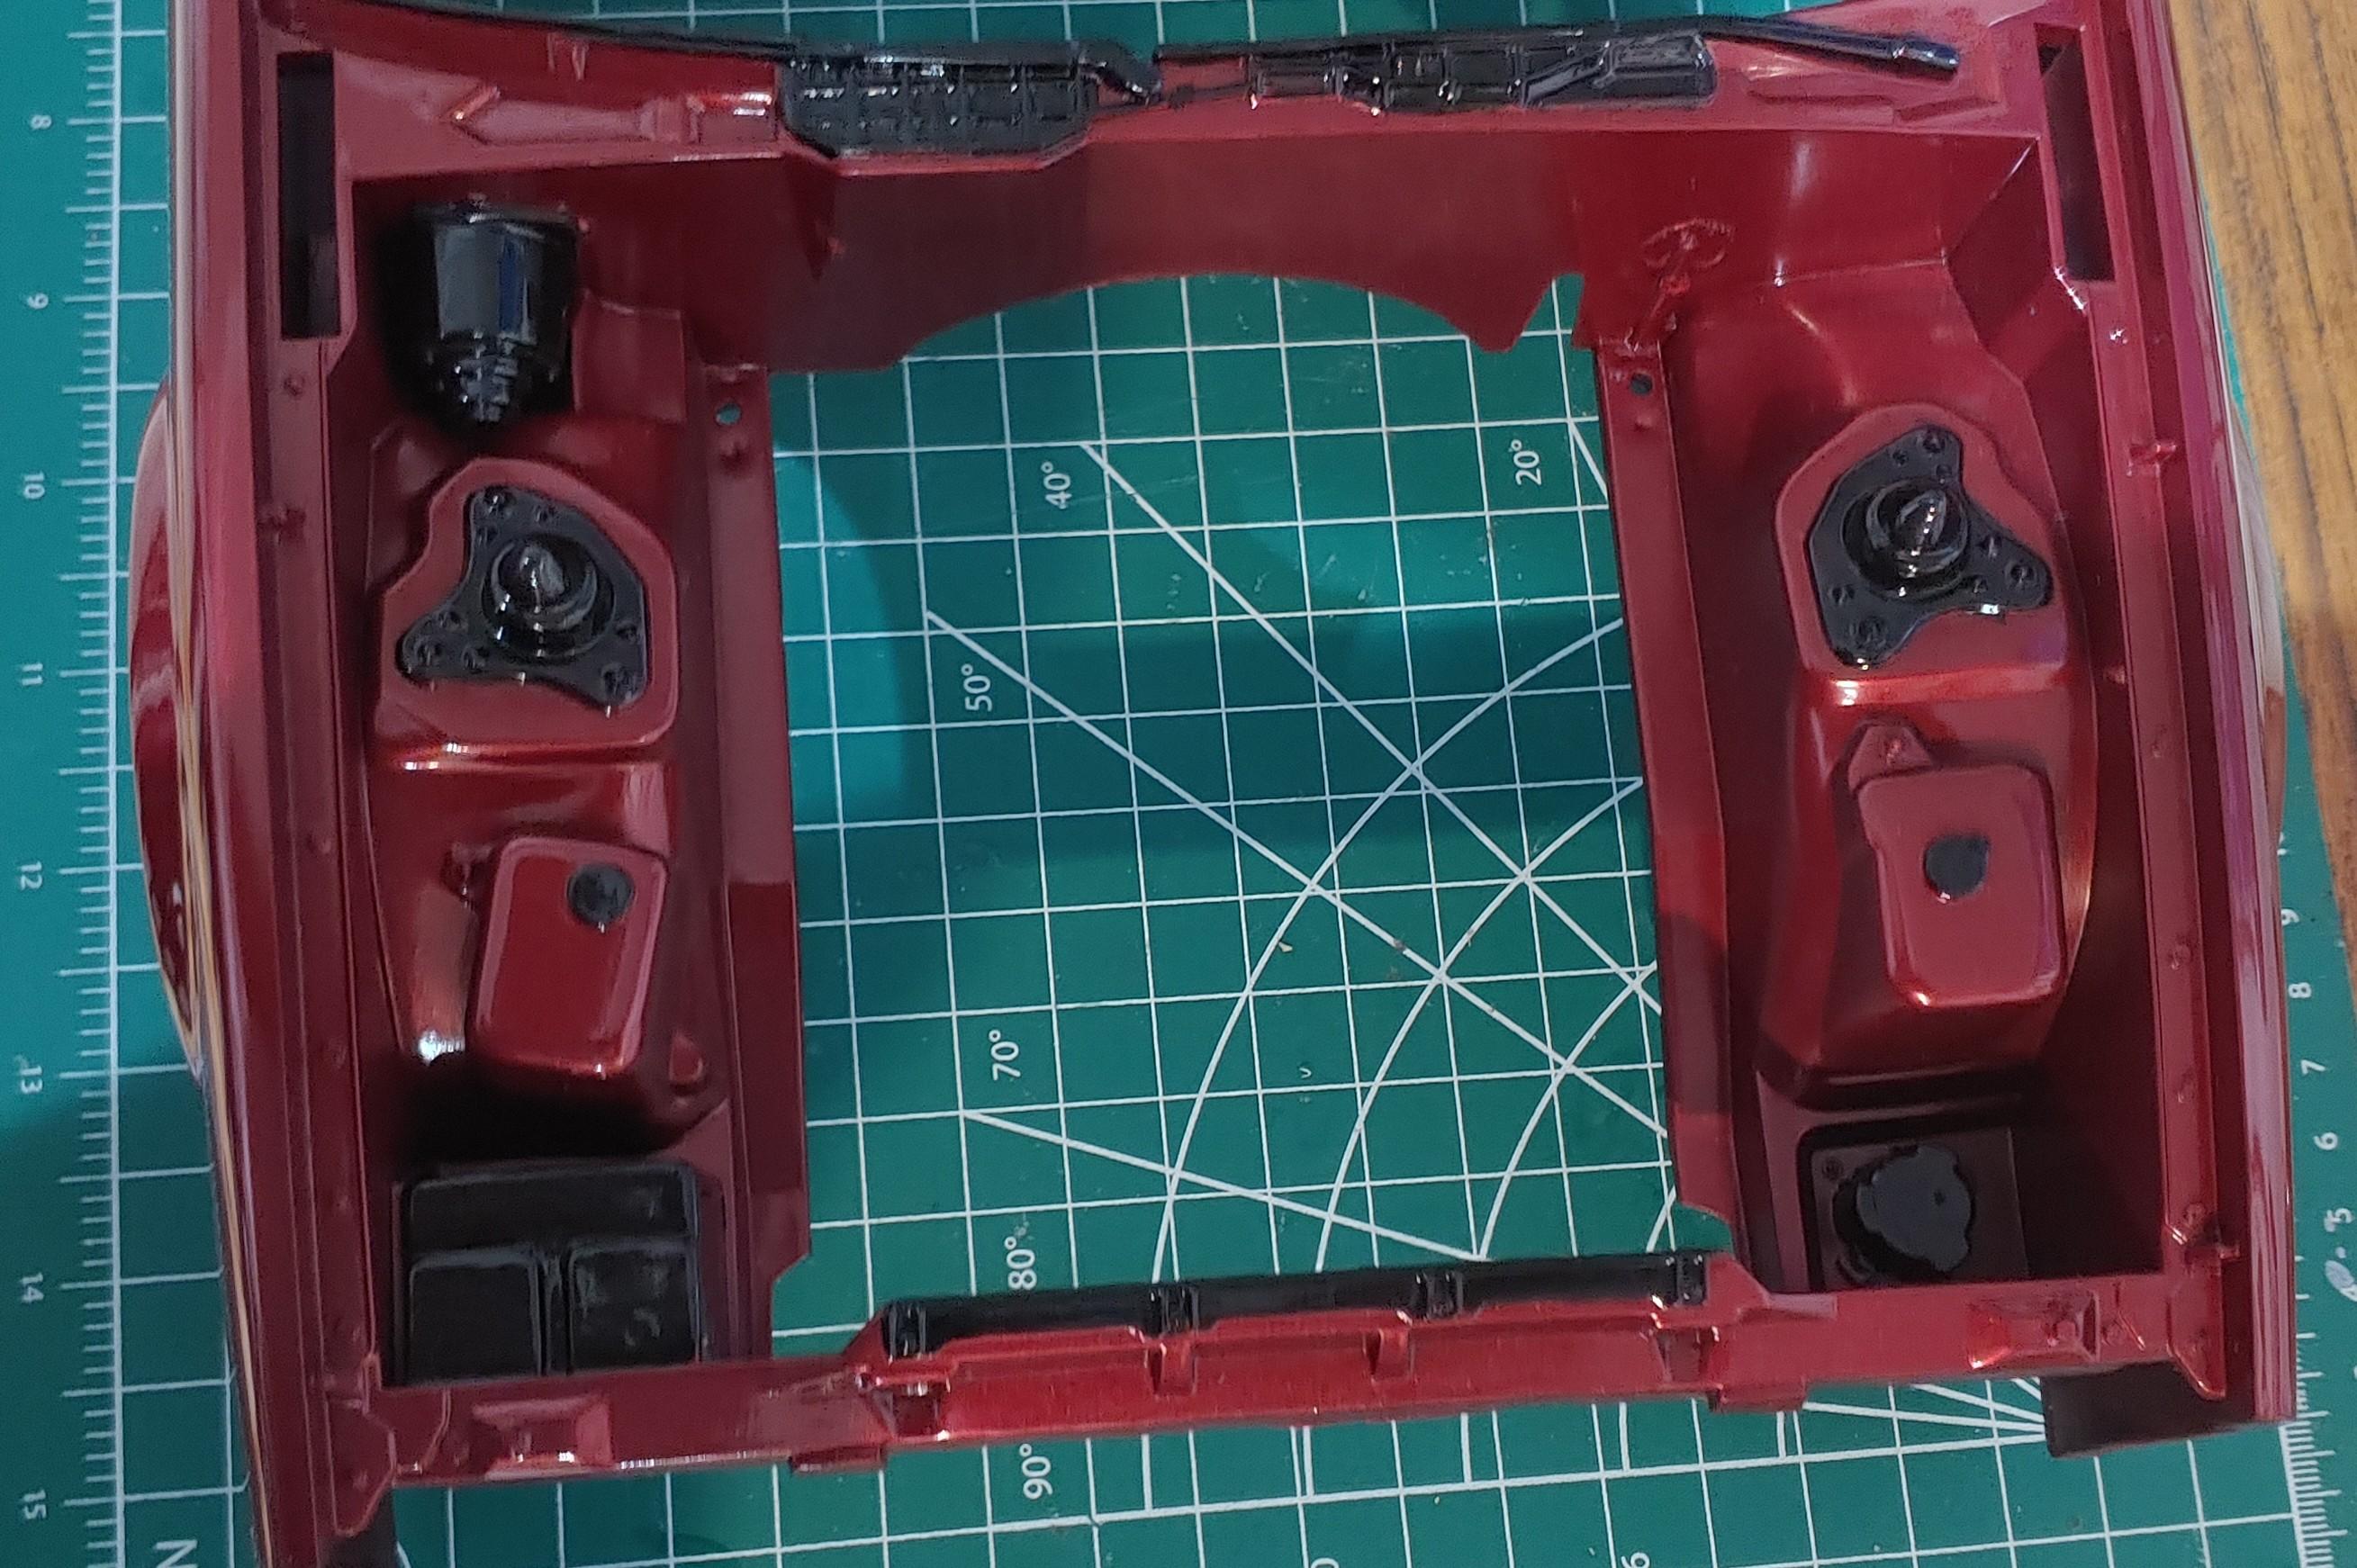
I decided I'd just leave the radiator out for now so I can continue working on other parts. Since the chassis screws on, I can always unscrew it and add the radiator later. I rigged up a stand with some rolls of masking tape and a bottle of Mod Podge so I could work on it up side down without putting pressure on the already fragile roof. The exhaust had to be installed after the chassis was mounted because it hides the rear screws. To mount the wheels onto the rear axle I was going to need a spacer. In order to figure out how thick of a spacer I used some modeling clay and pressed the wheel against it then measured it. I found these nylon spacers at the hardware store that were perfect for what I needed. I painted them to match the brakes, then glued them in place. Then I mounted the wheels. Here's the axle in place with the stock height suspension, way too high with the low profile tires, let's fix that. I was thinking I wanted to lower it about 3 scale inches, but didn't want to cut too much off on the first go, so I removed 2 scale inches off the "springs" Much better. I'm glad I didn't cut 3 inches off, I think it looks just about perfect like this. It lowers it enough so the tires don't look way too small but it's not so low that it's sitting on the ground. I lowered the 1/25 the same way, I cut 2 scale inches off the rear "springs" to get it sitting just right. And here's a mock up of how it's going to sit. Now that I have the rear sitting where I want it, I can get to work on the front. More next time.
-
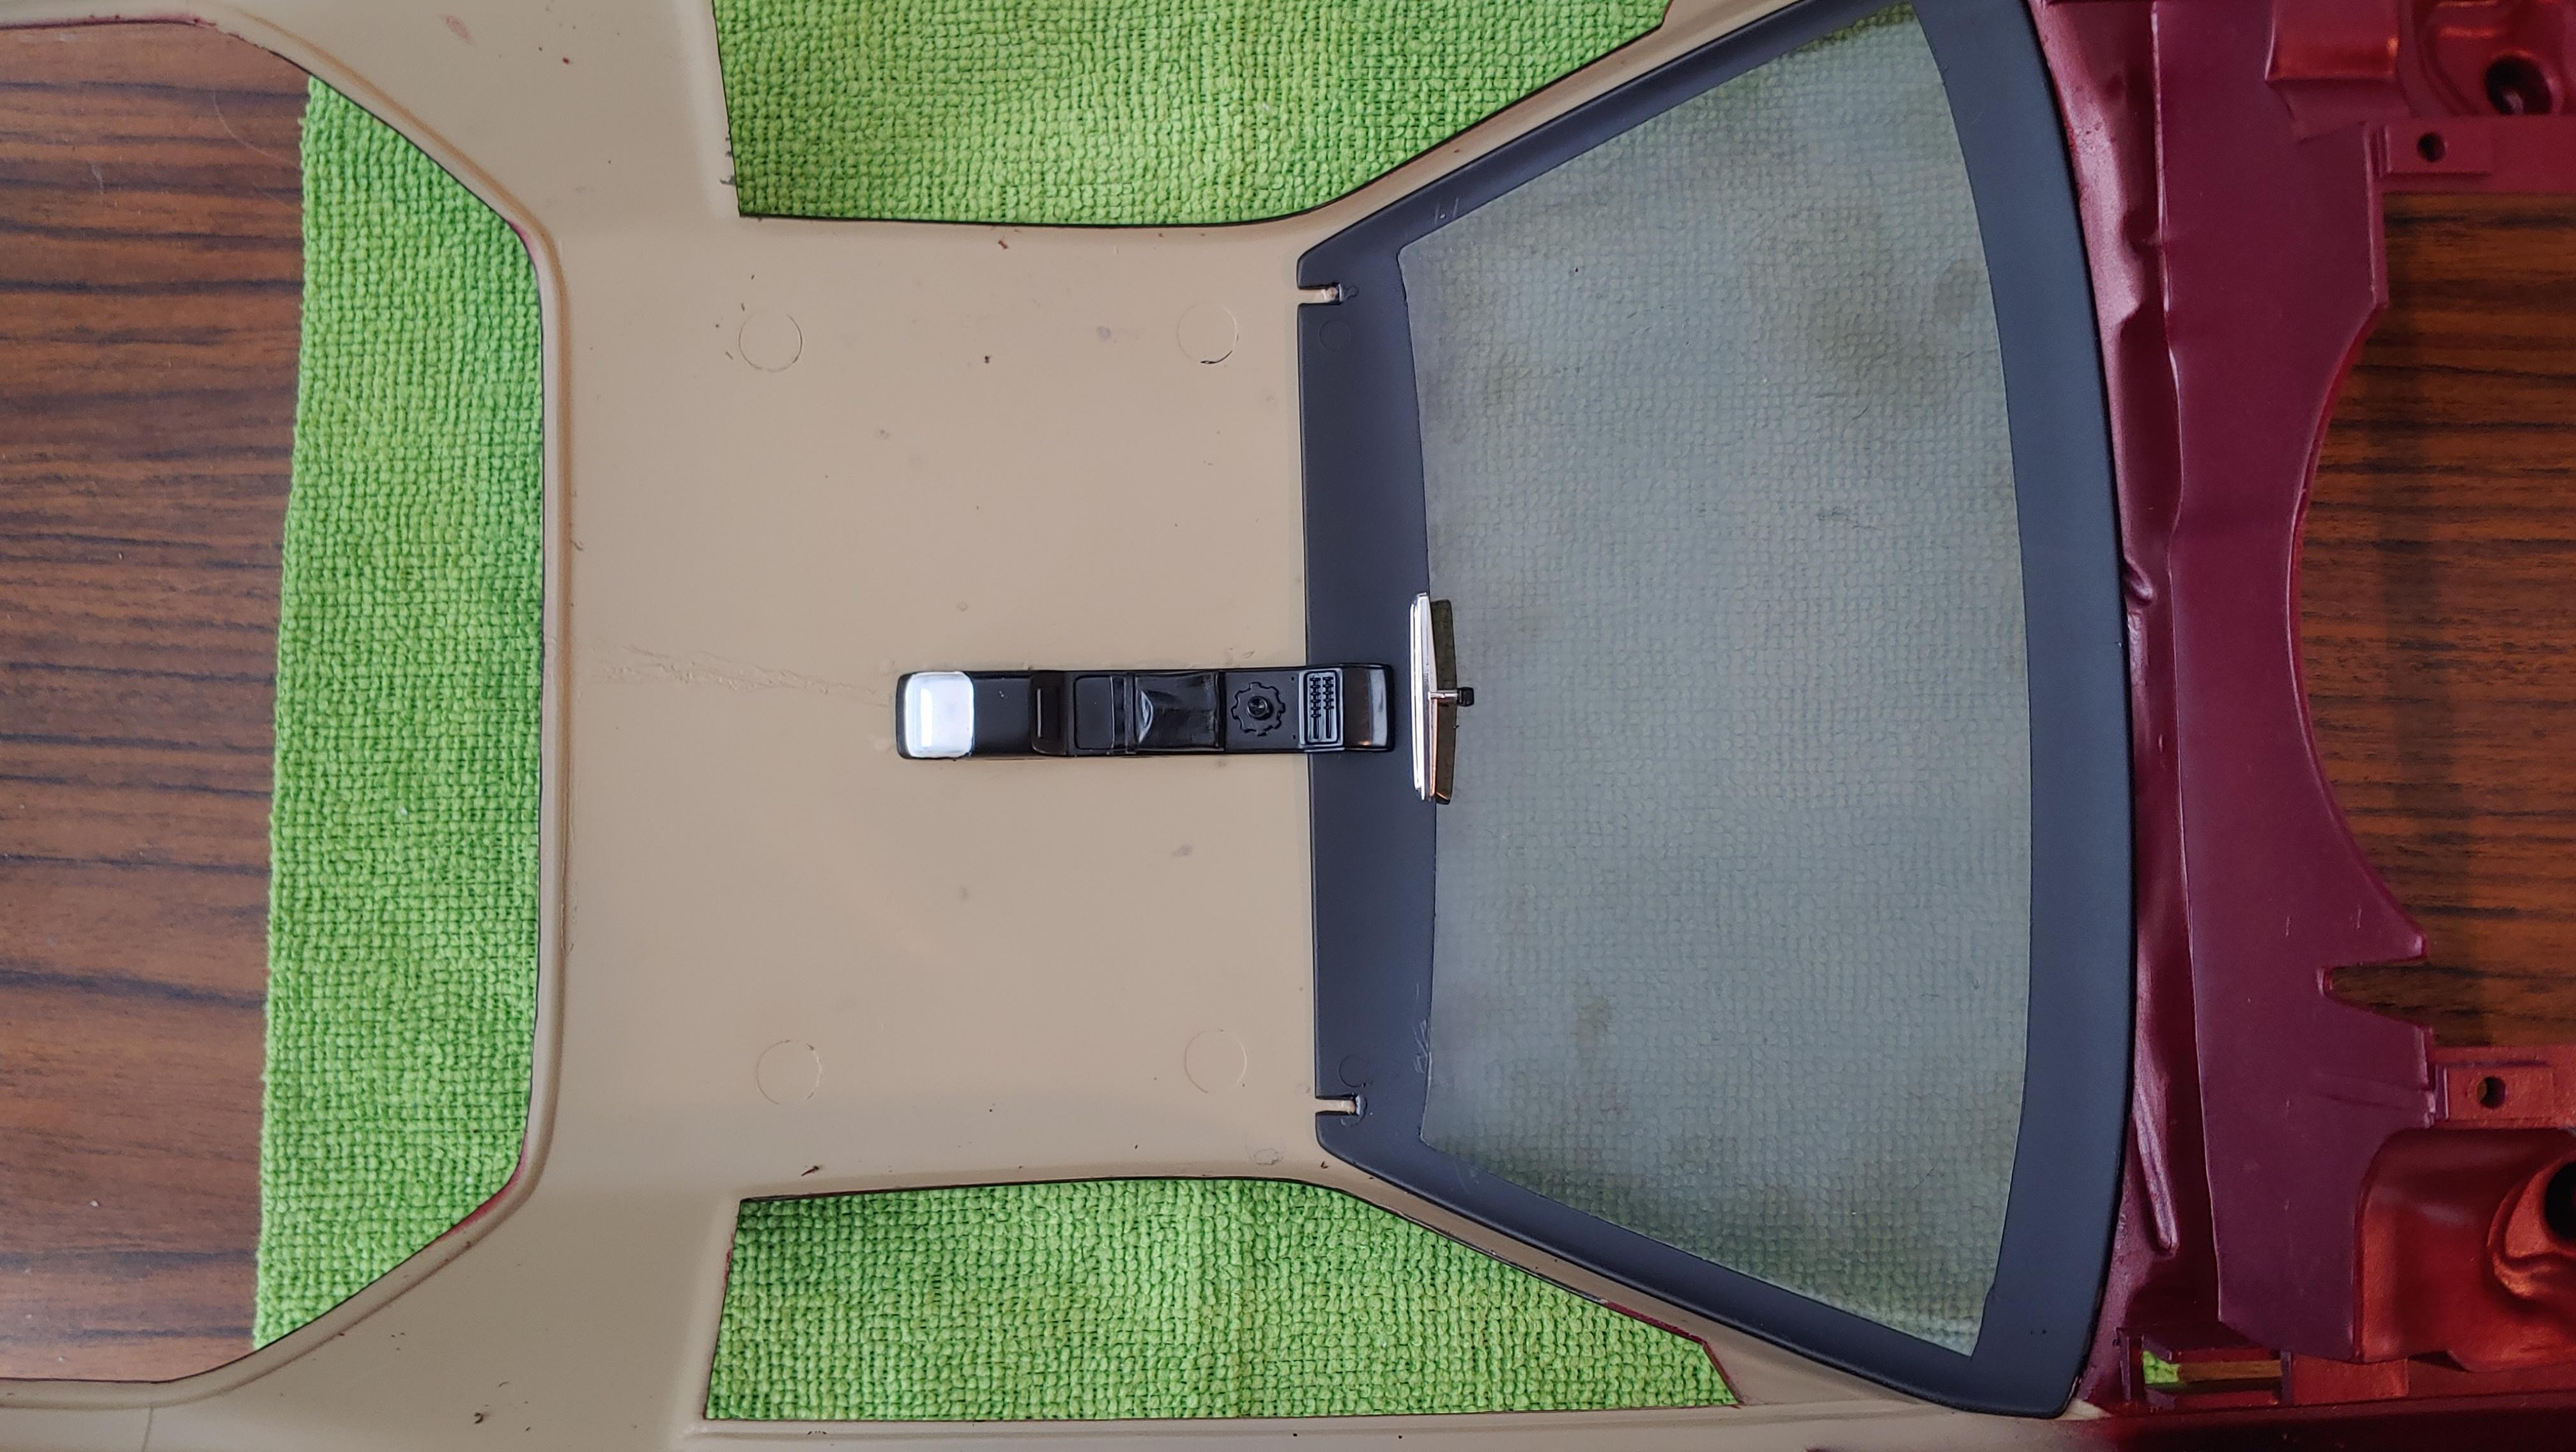
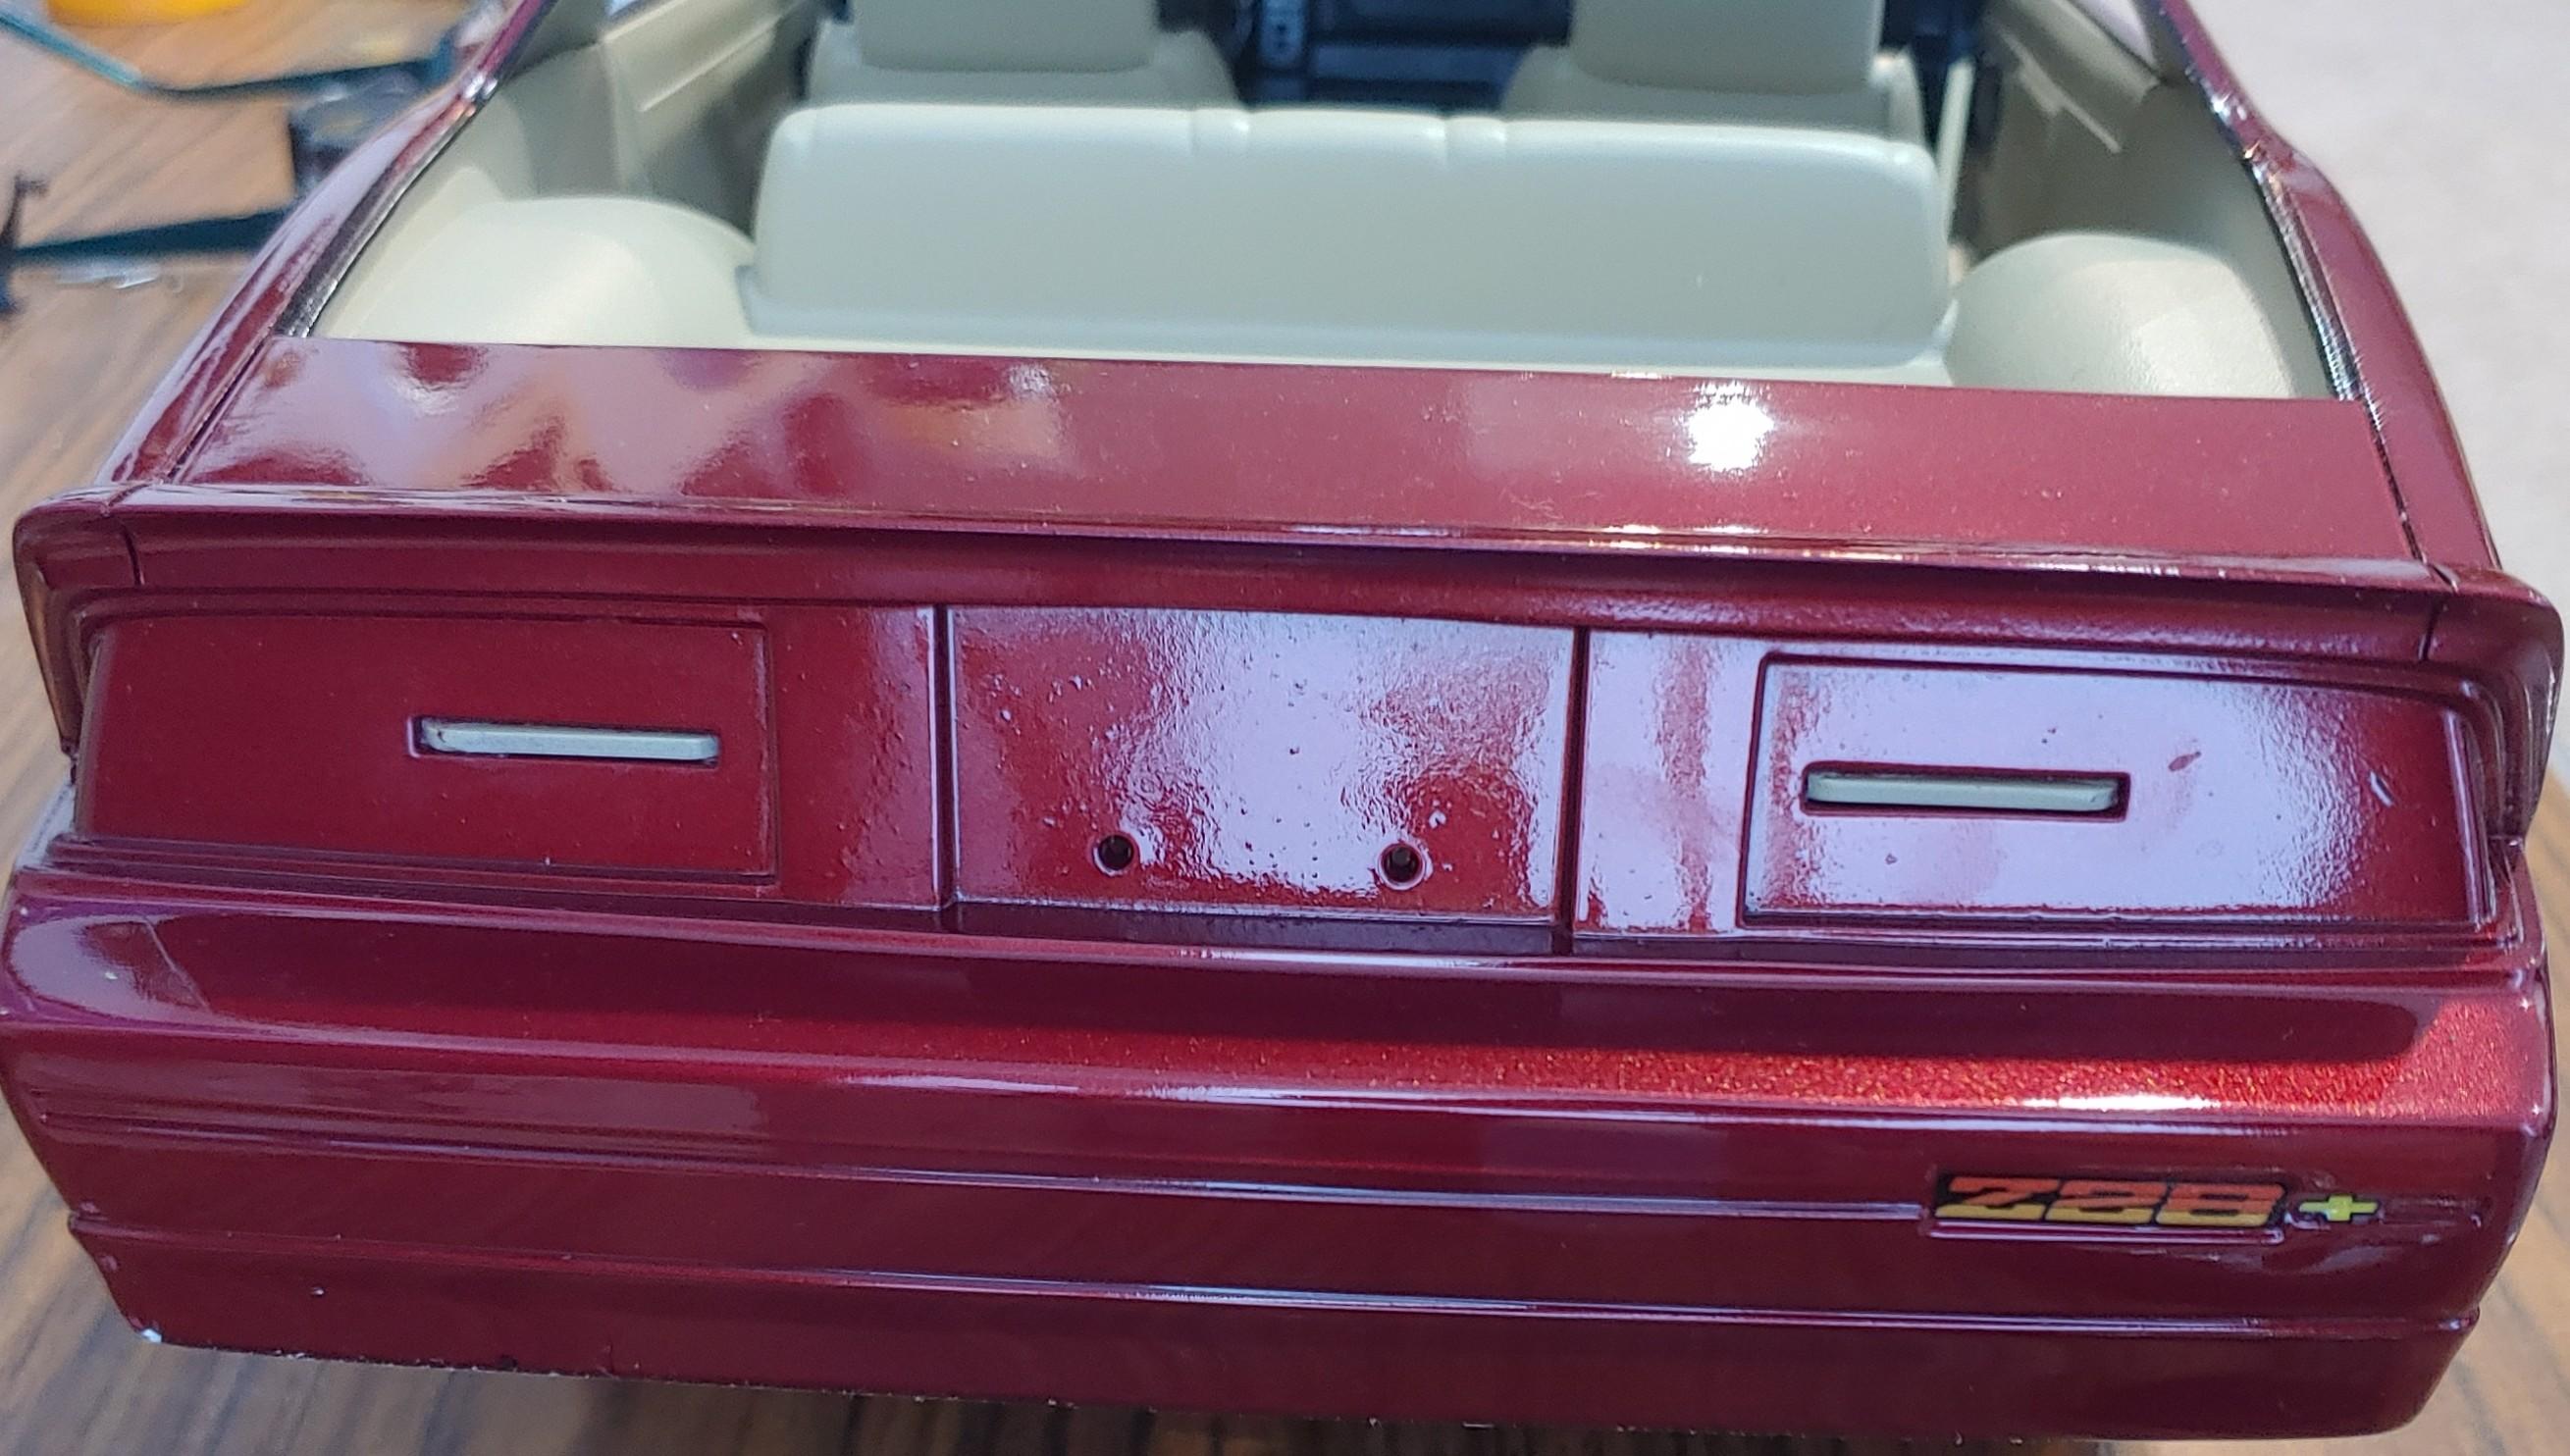
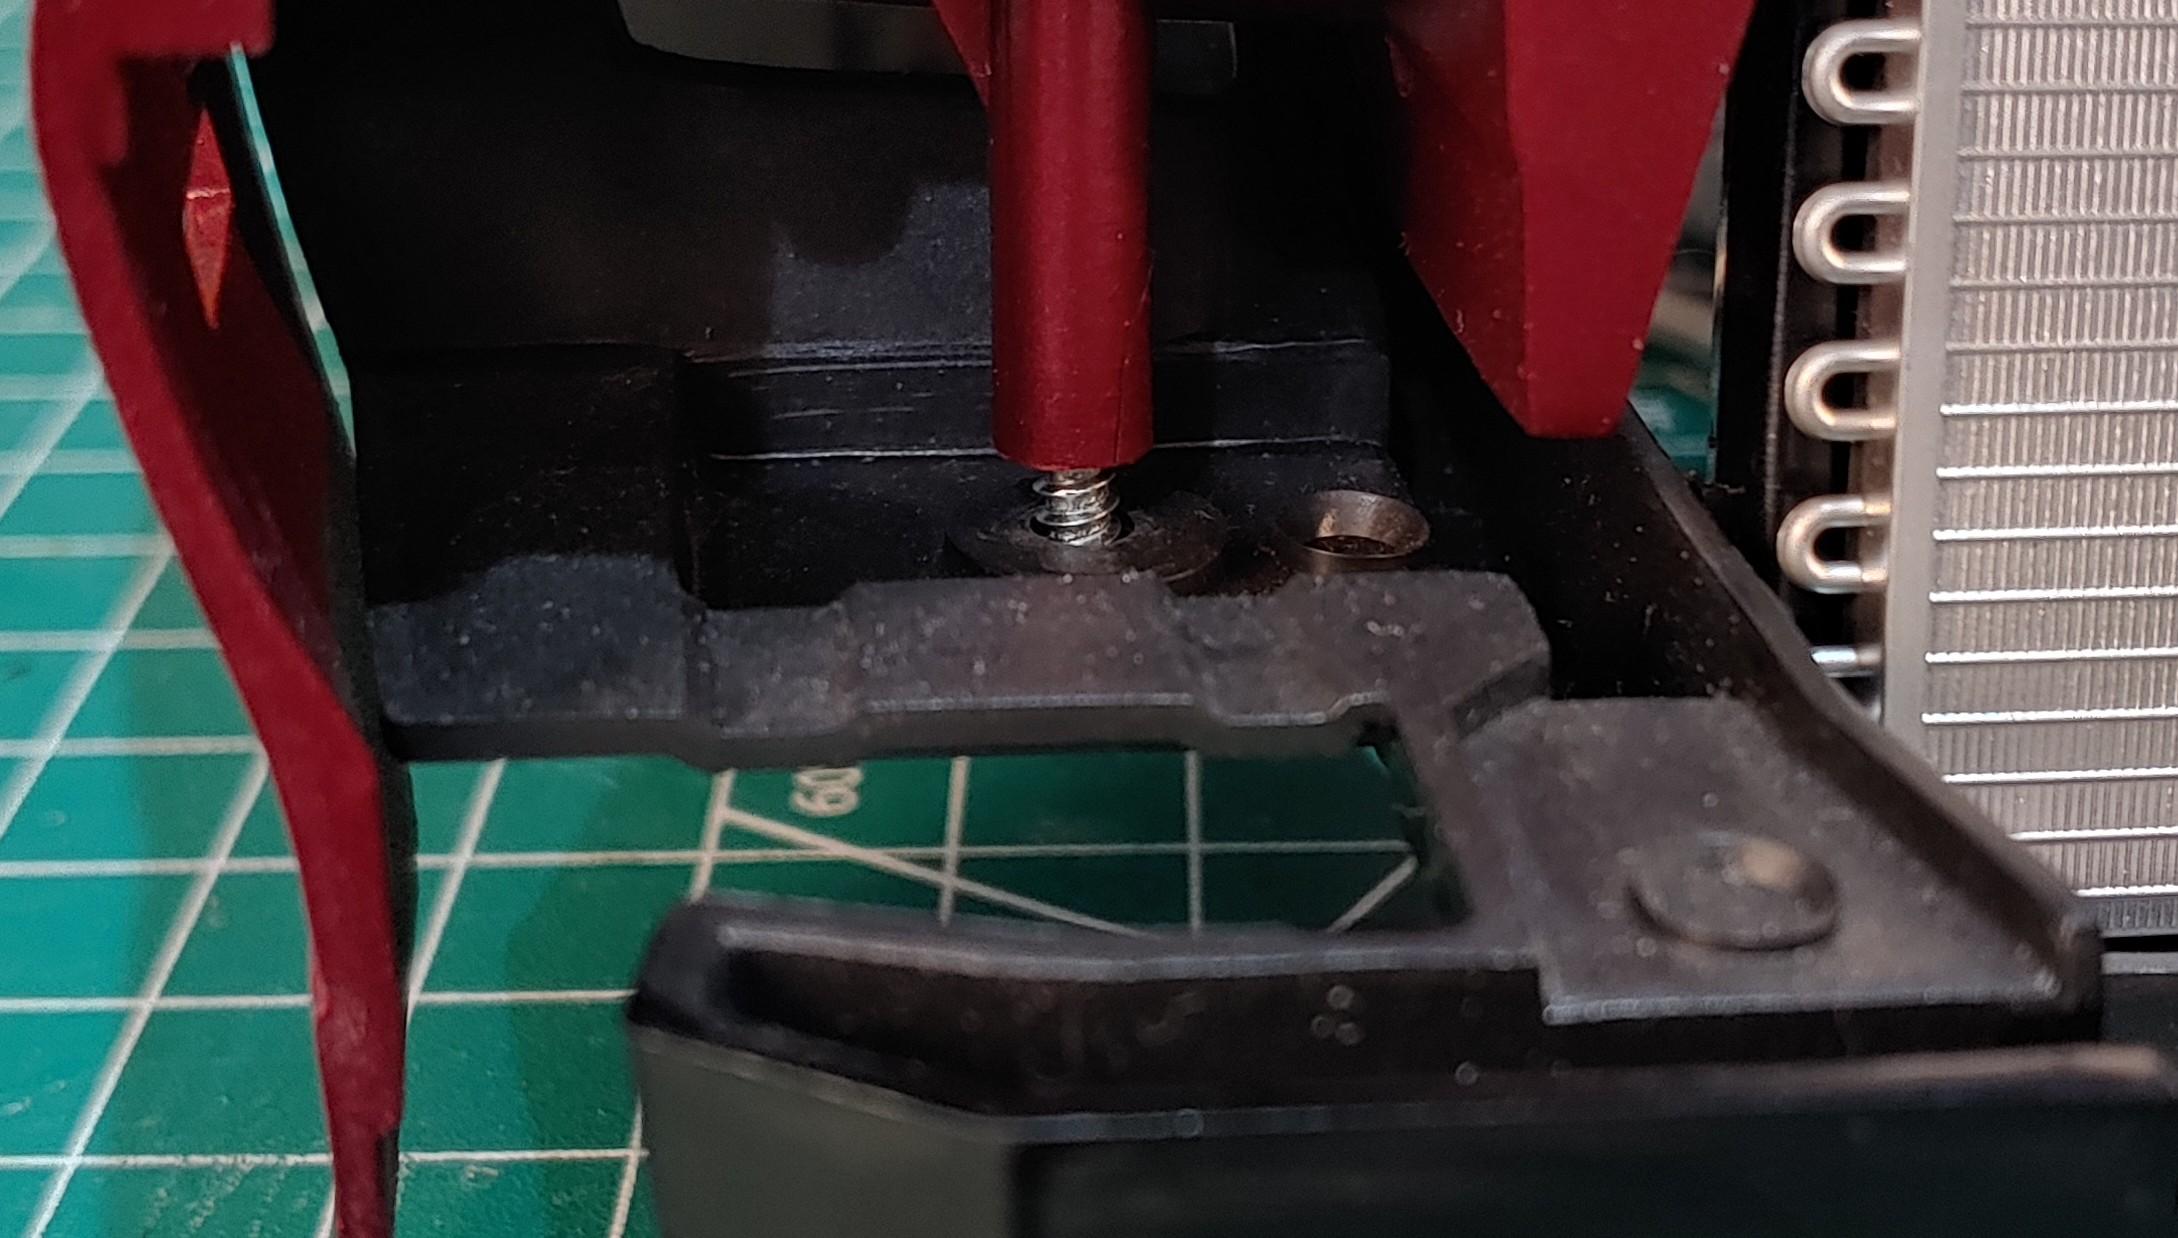
I'm getting the sub assemblies together when I ran into a problem. I did a little detail painting in the engine bay first. Then I had to mount the windshield and ceiling console before I installed the interior. The rear window mounts from the outside, so I'll install that later. While installing the interior I noticed that both cars have mounting slots that are hidden by the taillights. Now that the interior is in I can mount the chassis. That's where I ran into the problem. The chassis mounts to the body/interior with 4 screws. The front 2 screws won't screw down all the way with the radiator installed, I even removed the fan shroud for more clearance and they still won't screw down all the way. I'll have to do some thinking to figure out what I'm going to do about it. More next time.


.jpeg.08271872def2d8e1587e18577884b7c6.jpeg)