sdbos777
-
Posts
48 -
Joined
-
Last visited
Content Type
Profiles
Forums
Events
Gallery
Everything posted by sdbos777
-
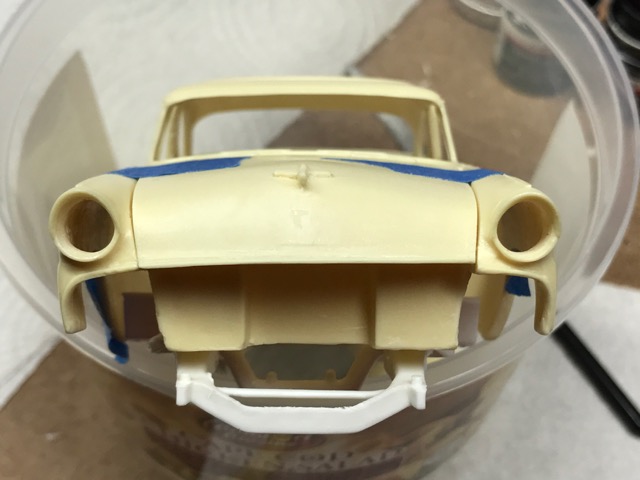
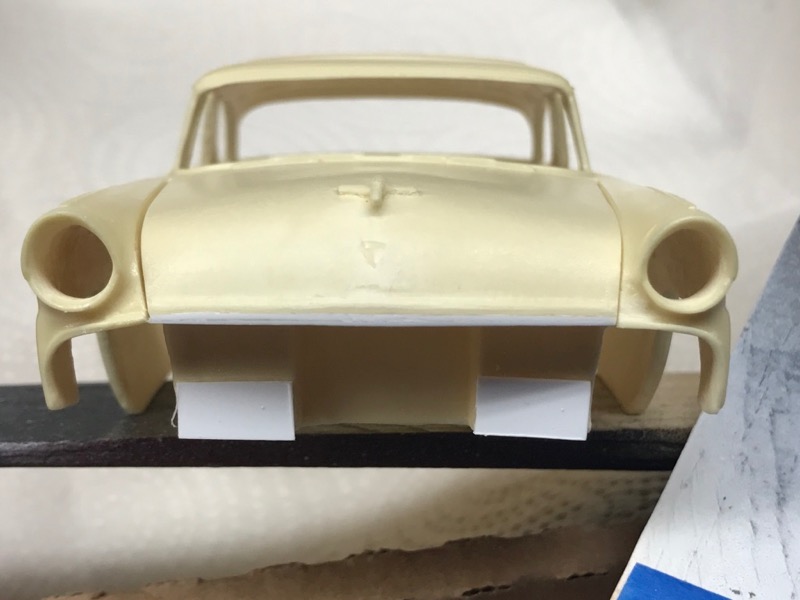
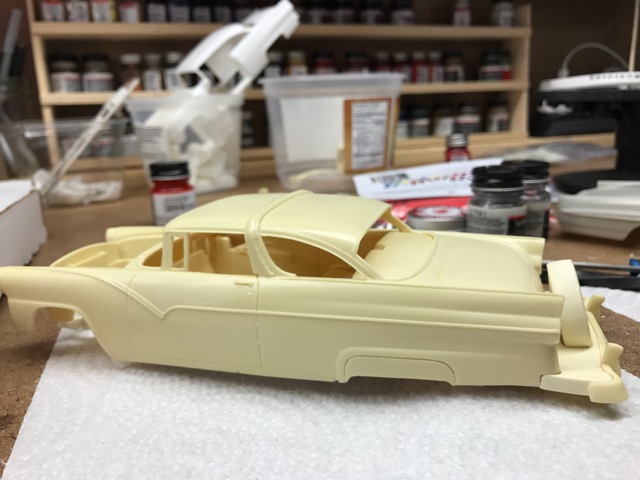
I stripped the paint with thinner, then sanded an applied Tamiya primer. I applied lighter coats and the results are much better. There is still a bit of non-glossy roughness in some tiny patches of the paint, a problem I've been having with the Scale Finishes. (See my upcoming post on paint issues with the Trumpeter 78 Monte Carlo). I'm hopeful that some light sanding/buffing and clear coat will cover those flaws. Here are pics of the new, good results.

-
I used Tamiya white spray-can primer and Scale Finishes Lake Como Blue, which I see now says "enamel" on the bottle. Enamel should be ok over Tamiya primer, right?
-
I recently started on Galaxie's 1948 Chevy Aerosedan. I ordered the original Lake Como Blue, which is a dynamite color. I sanded the few seams off and primered the body. Then I did my usual airbrush lacquer routine - a couple of mist coats, followed by a wet coat. Well, the wet coat didn't work out. I'm thinking I need to strip it, then when I reapply the paint do many more light coats to build it up, no medium or heavy coats, so that the flecks in the paint don't all flow around the (very slight) imperfections in the molding. What do you all think? Has something like this happened to you? How did you deal with it?
-
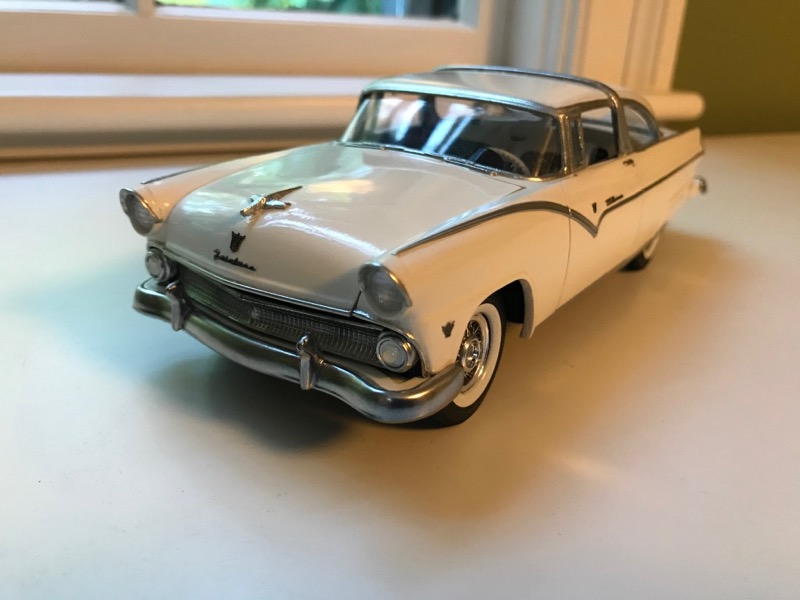
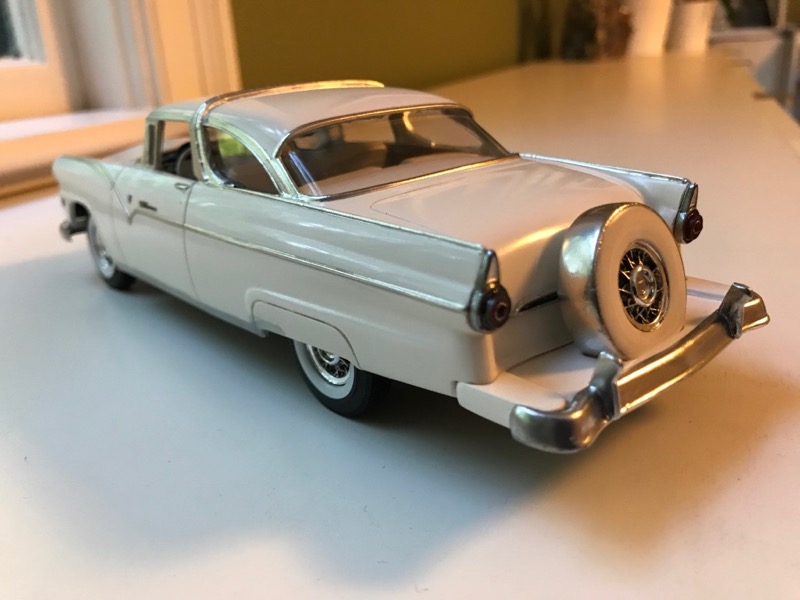
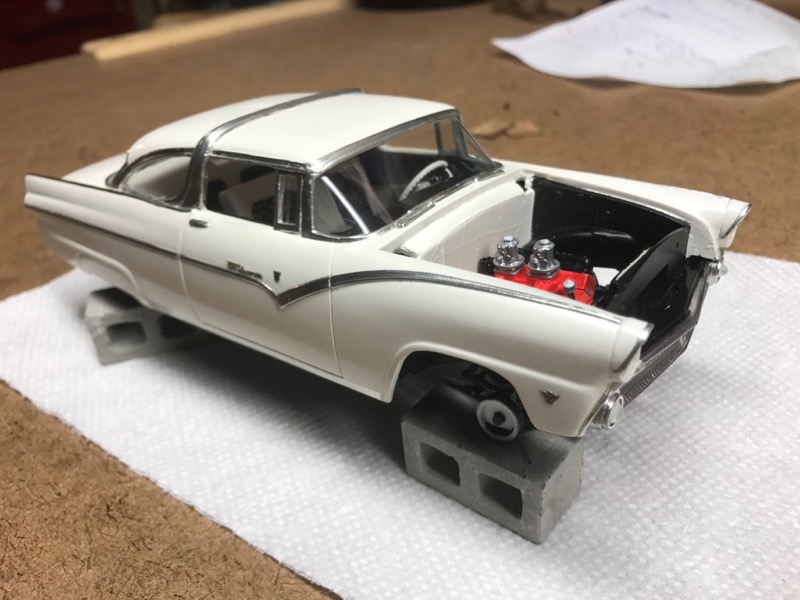
Here is the finished product. It came out very nice. I must say that this model was extremely challenging, and it fought me every step of the way, right down to the last piece - the front bumper, which was twisted. Even on one side, up or down on the other. With no positive contact pin/hole connections I was left to try to work it out with super glue and epoxy. There was a LOT of cleanup and fabrication work on this, given all the resin parts, and the usual mediocre quality of AMT kits. In the end though it looks great.
-
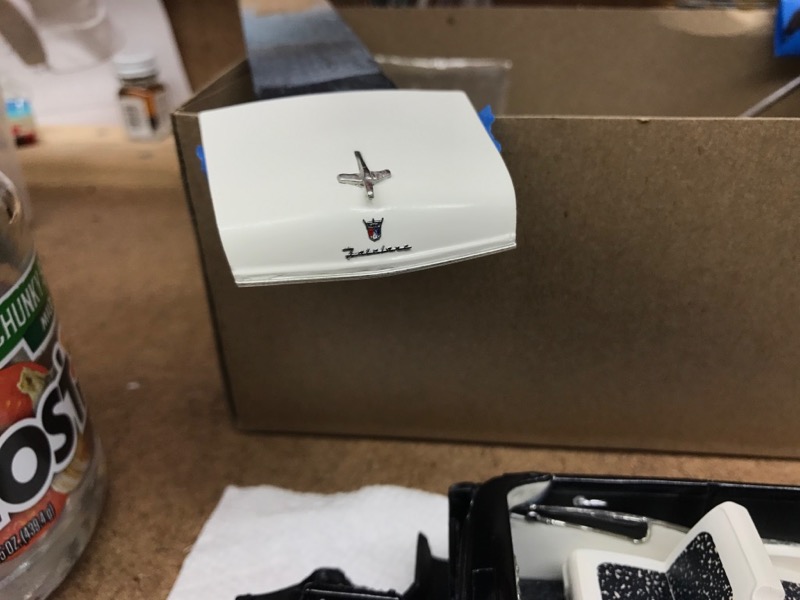
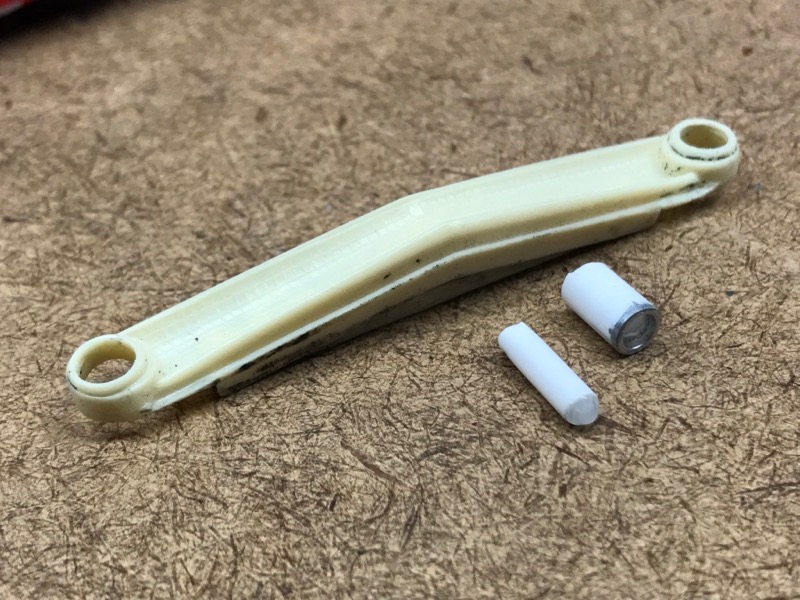
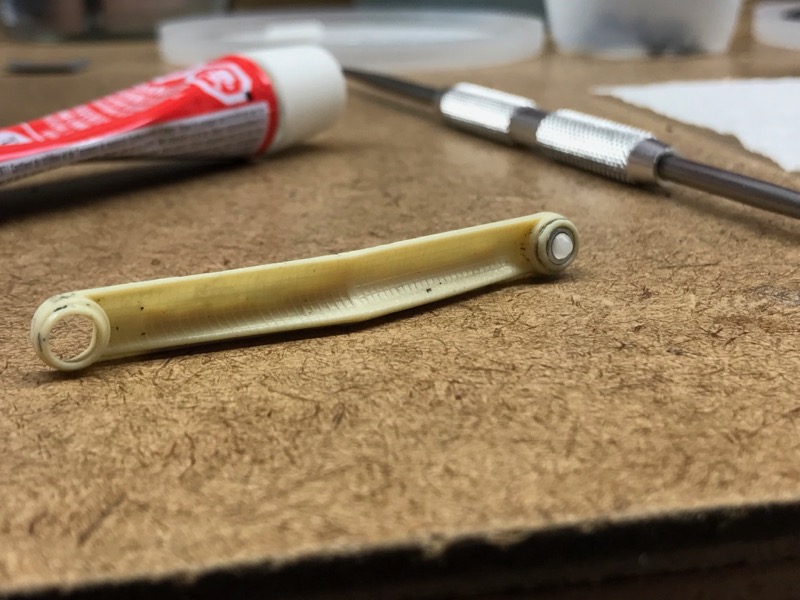
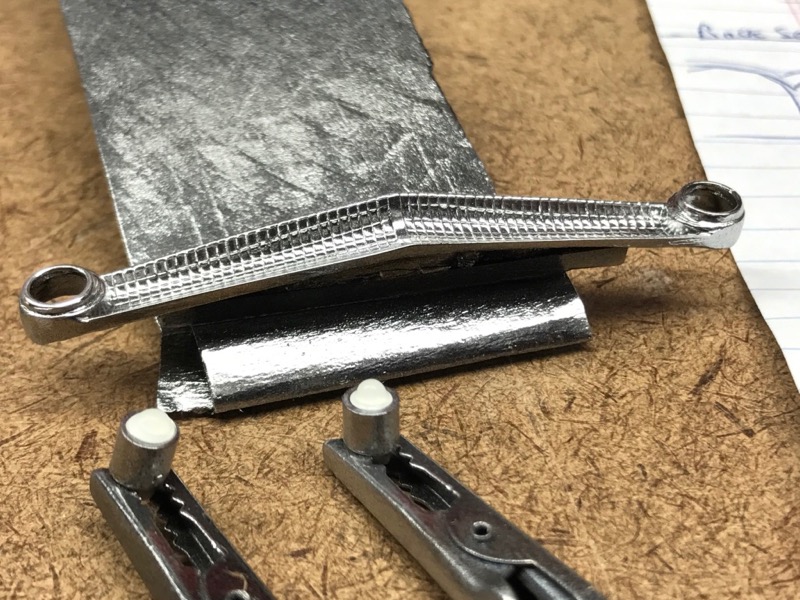
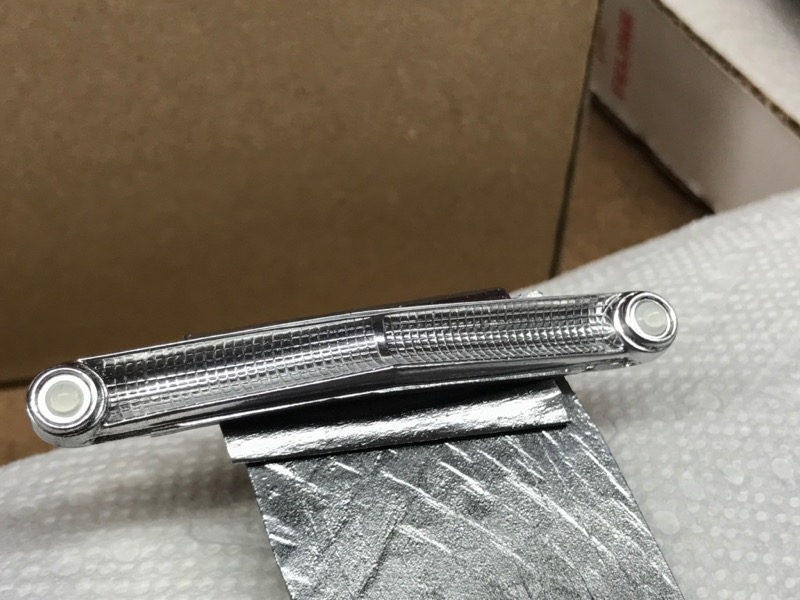
The car is nearly complete. I used the photo etch parts and they came out very nice. I sprayed them with alclad 2 chrome, then red/white/blue enamel. After all the emblems and foil were on I put on several coats of clear lacquer. Up close it interfered with the alclad chrome - it's not as smooth or silver as before. But unless you're looking through a magnifier it still reads as chrome and looks good.
-
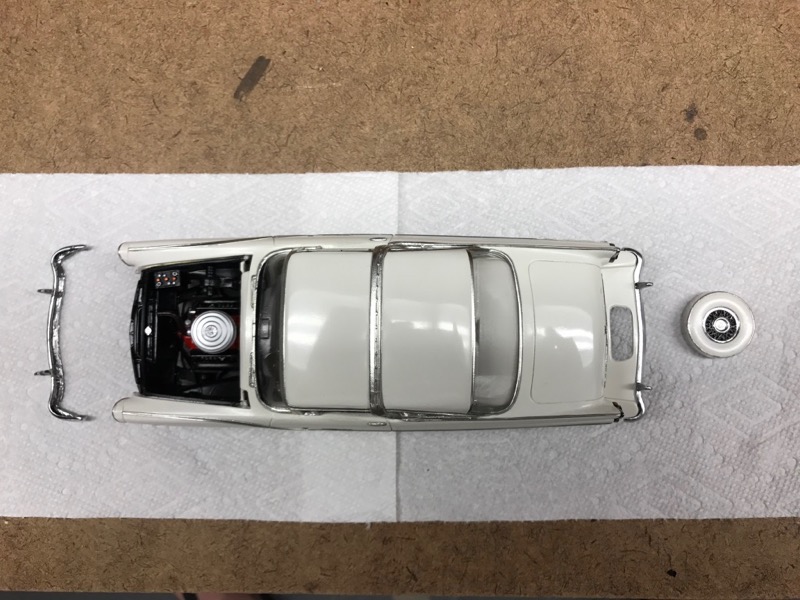
Bare Metal Foil is done. There is a lot of chrome on this thing.
-
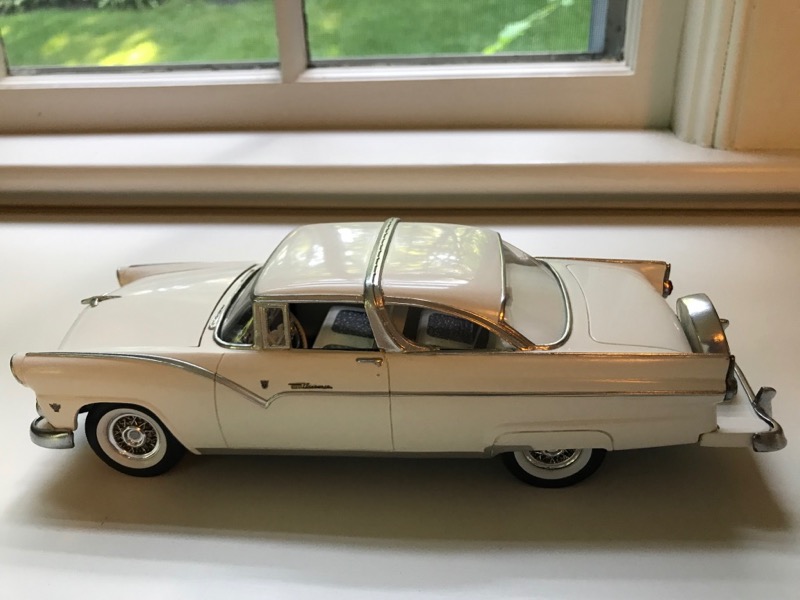
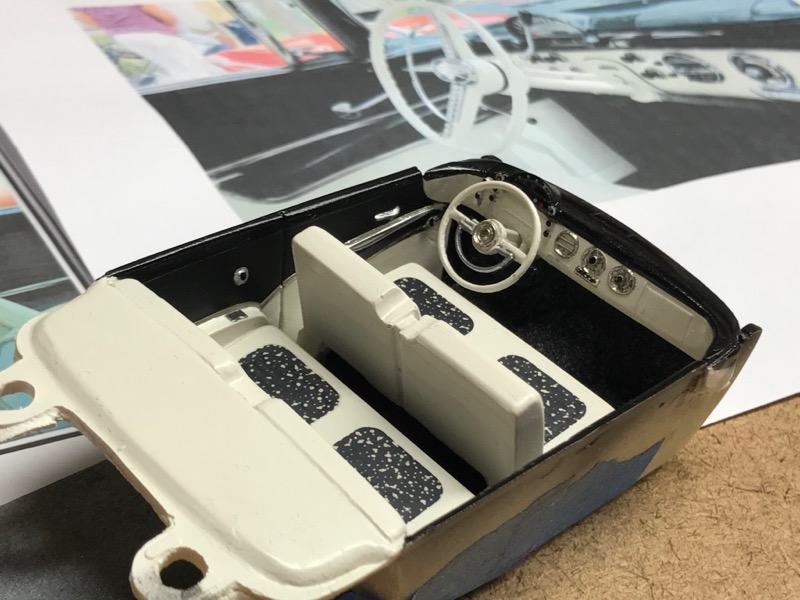
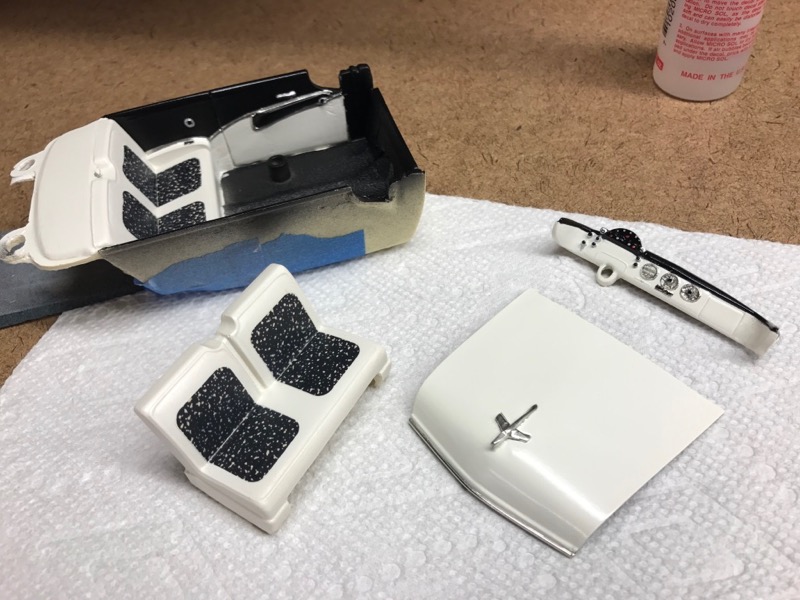
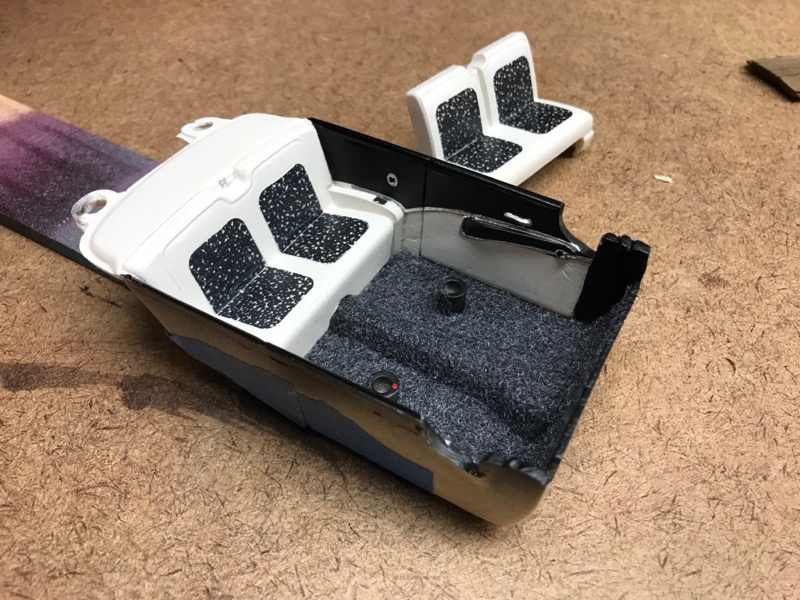
Thanks espo. Here is the completed interior.
-
Here are more photos of the interior trim correction.
-
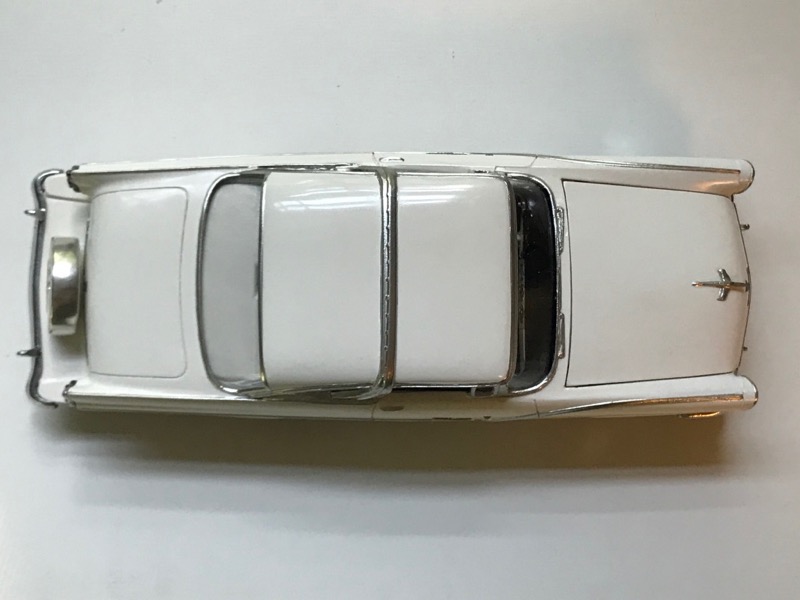
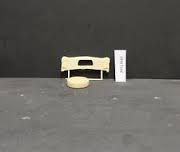
These show the interior after correcting the interior trim. I sanded off the two trim line's they'd molded in, which continued from the armrest to the base of the rear seat, and used sanded-down small tube styrene to create trim around the armrest. The scratch marks in the white are don't show hardly at all in real life. Photos accentuate every flaw, it seems. I made the seat decals using GIMP and a white speckle pattern I found on the web, printed onto decal paper with my regular home inkjet.
-
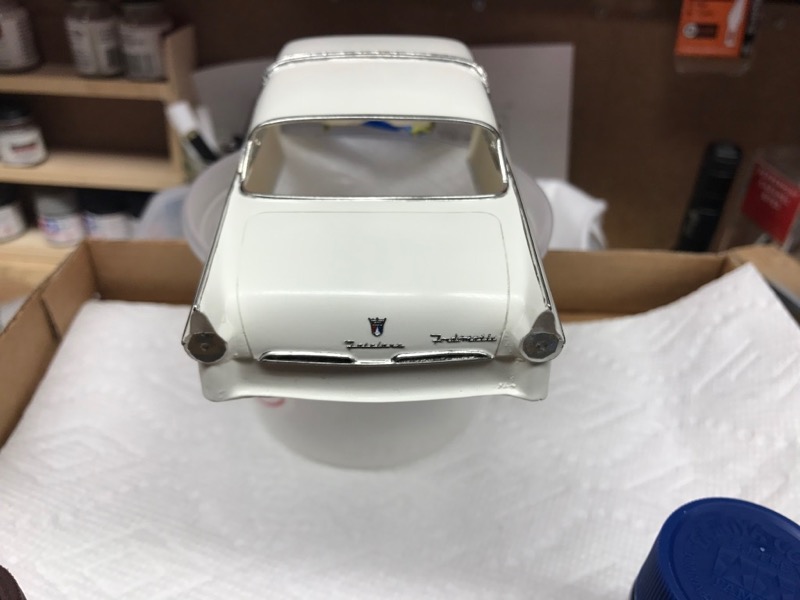
The parking lights in the front grill were poorly molded, and one actually was so thinly molded it fell out when I tried to fix it. I ended up drilling them out and creating my own. I painted the grill with alclad chrome. For the parking lights, I used a smaller tube of styrene inside a larger tube, creating a silver bezel and white center. Then I put on a large dollop of Micro Kristal Klear and positioned them downward, so they'd drip and protrude as much as possible to create the bullet-shaped lenses. It came out pretty good. The first two shots below are some test runs, the last two are the final outcome.
-
I had to do some work on the resin hood and nearby body panels and chrome trim lines to get it all to line up. Some sheet styrene and shaved-down round styrene were needed.
-
I believe Larry carved the batteries out of the Altoids that were in the tin...
-
Thanks Larry! I now have the correct 6V battery. And a cool little Altoids tin.
-
BigTallDad - do you have a link to where I could buy a proper battery? When I search I get lots of links to actual batteries.
-
1955 Crown Victoria Wire Wheels
sdbos777 replied to sdbos777's topic in Car Aftermarket / Resin / 3D Printed
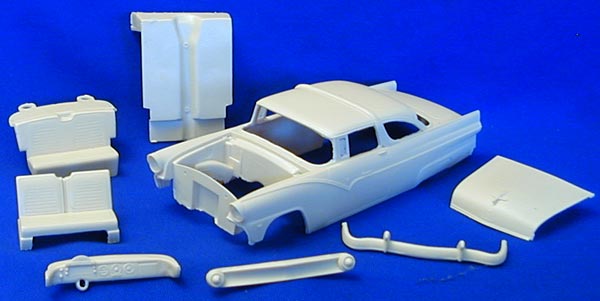
1930fordpickup - I started an "on the workbench" thread, with detailed pictures of the Hendrix body. http://www.modelcarsmag.com/forums/topic/120956-55-crown-victoria/ This is the first time I'm working with resin. Overall it is pretty good, but it requires much work. Lots of flash, flaws to be sanded out, some bubbles to be filled in. I've had to scribe the panel lines to even them out. To get the windows to fit I've had do use a dremel to remove lots of thick resin. It will turn out very nice. Though rough to start, nothing is fatal. I'd recommend it. -
For those who want to know, I got the Hendrix resin body from STAR Models - http://resinrealm.net/Star/HendrixGallery/HendrixAll.html
-
I originally ordered the resin continental kit a few months ago. When I got it the part was just fine. After a month or two, when I went to start the build, it had warped. Is it common or uncommon for resin parts to warp like this?
-
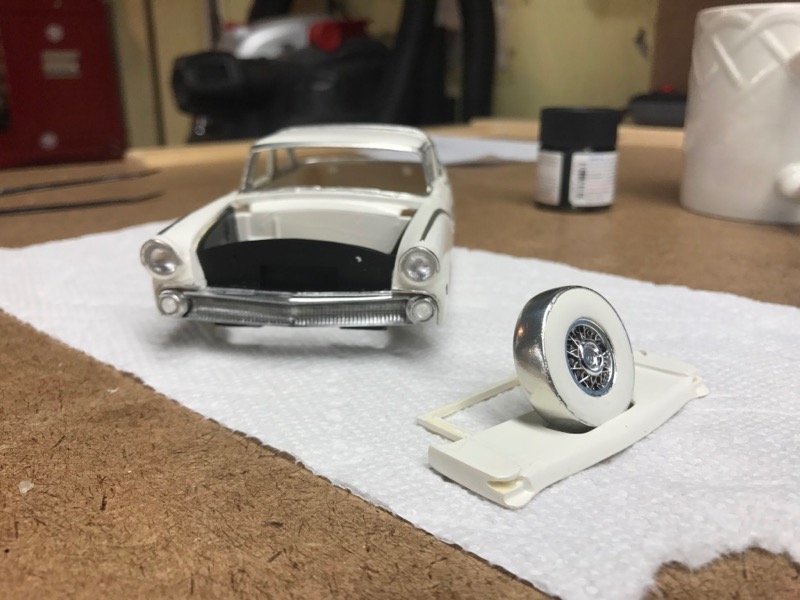
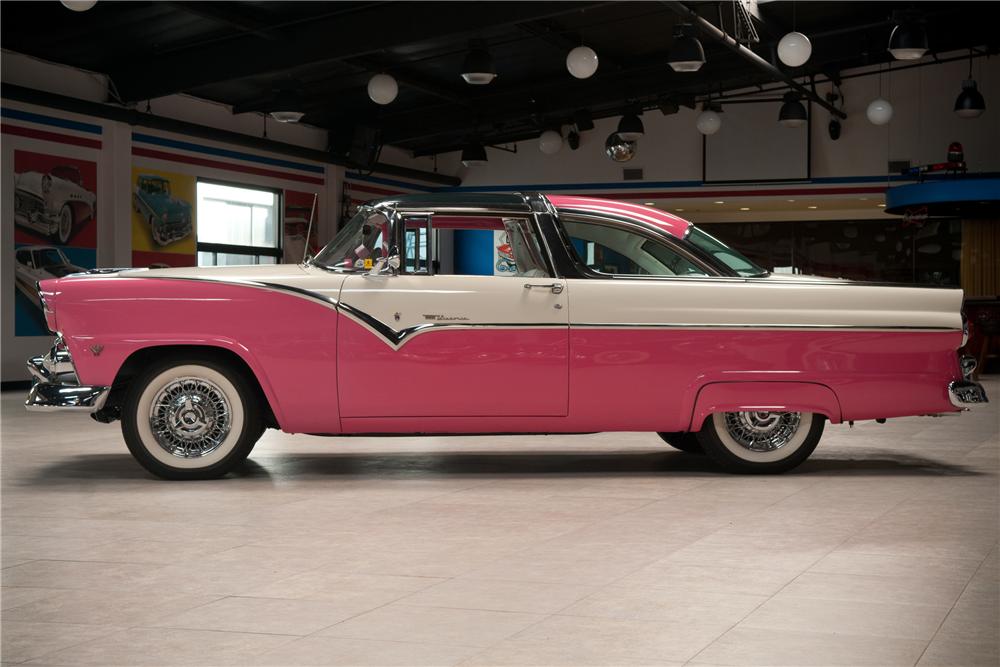
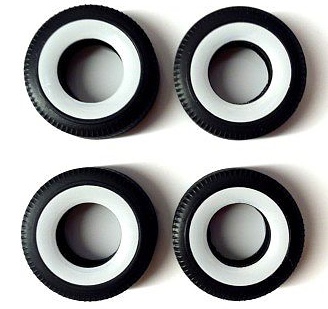
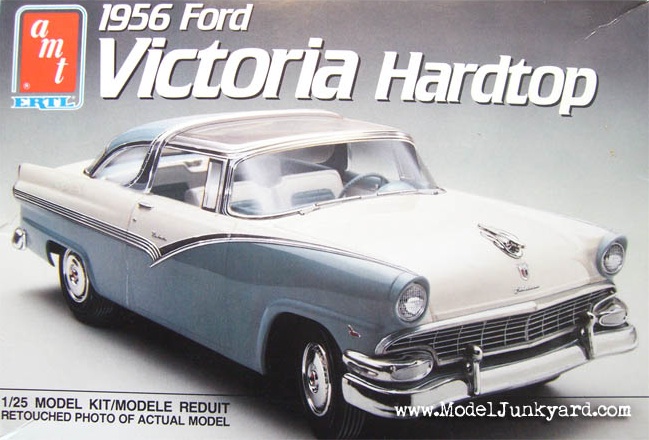
This is the first build I've done using resin. The goal is to recreate the white 1955 Crown Victoria that was my mom's first car. Her dad, my grandfather, got it for her on her 16th birthday. Swanky. She loved the car and is very happy I'm building one for her. Here is what I am using to do this build: - AMT 1956 Crown Victoria - Hendrix 1955 Crown Victoria set (resin) - Continental kit from seller ronald6386 on eBay - Aftermarket wide whitewalls by Pegasus, from HobbyLinc (1/24-1/25 1950s Style Wide Whitewall Tires Set (4) (Stevens)) - Wire wheels - either from AMT '62 Thunderbird kit, or more accurate ones if I can find them Pics attached.
-
1955 Crown Victoria Wire Wheels
sdbos777 replied to sdbos777's topic in Car Aftermarket / Resin / 3D Printed
Thanks John. My mom loved the car - her father, my grandfather, got it for her for her 16th birthday. I have no pictures of the original car from the 50's, so I don't know *exactly* the rims it had. She doesn't remember a lot of these details about it, so it wouldn't be terrible. My dad, who she was dating at the time, does remember that it had wire wheels, though, so that's why I'm looking for them. If I could find something close to the original that would be great. But the Thunderbird rims are pretty close. Does anyone have some old Modelhaus castings sitting around? Or know who else might make the wheel covers John shows? Also, what would these be called, so I can search on them? "55 crown victoria wire wheels" is too vague. -
I'm building a 1955 Crown Victoria for my mom - it was her first car. I've got the AMT 1956 Crown Victoria, the 1955 resin body from Hendrix, a resin continental kit, and wide whitewall tires. (Pics attached of all these). What I need are 1955 wire wheels to go with it, as in this pic of a 1:1 55 Crown Victoria: --> Where can I get 1955 Crown Victoria 1/25 wire wheels like these? I need a set of 5, since there's the continental kit. A set of aftermarket wheels would be great, but also if there's a full kit out there that includes these wheels, that would b helpful too.