bill-e-boy
-
Posts
912 -
Joined
-
Last visited
2 Followers


bill-e-boy's Achievements
MCM Ohana (6/6)
-
34 Hot Rod Pickup
bill-e-boy replied to bill-e-boy's topic in WIP: Model Trucks: Pickups, Vans, SUVs, Light Commercial
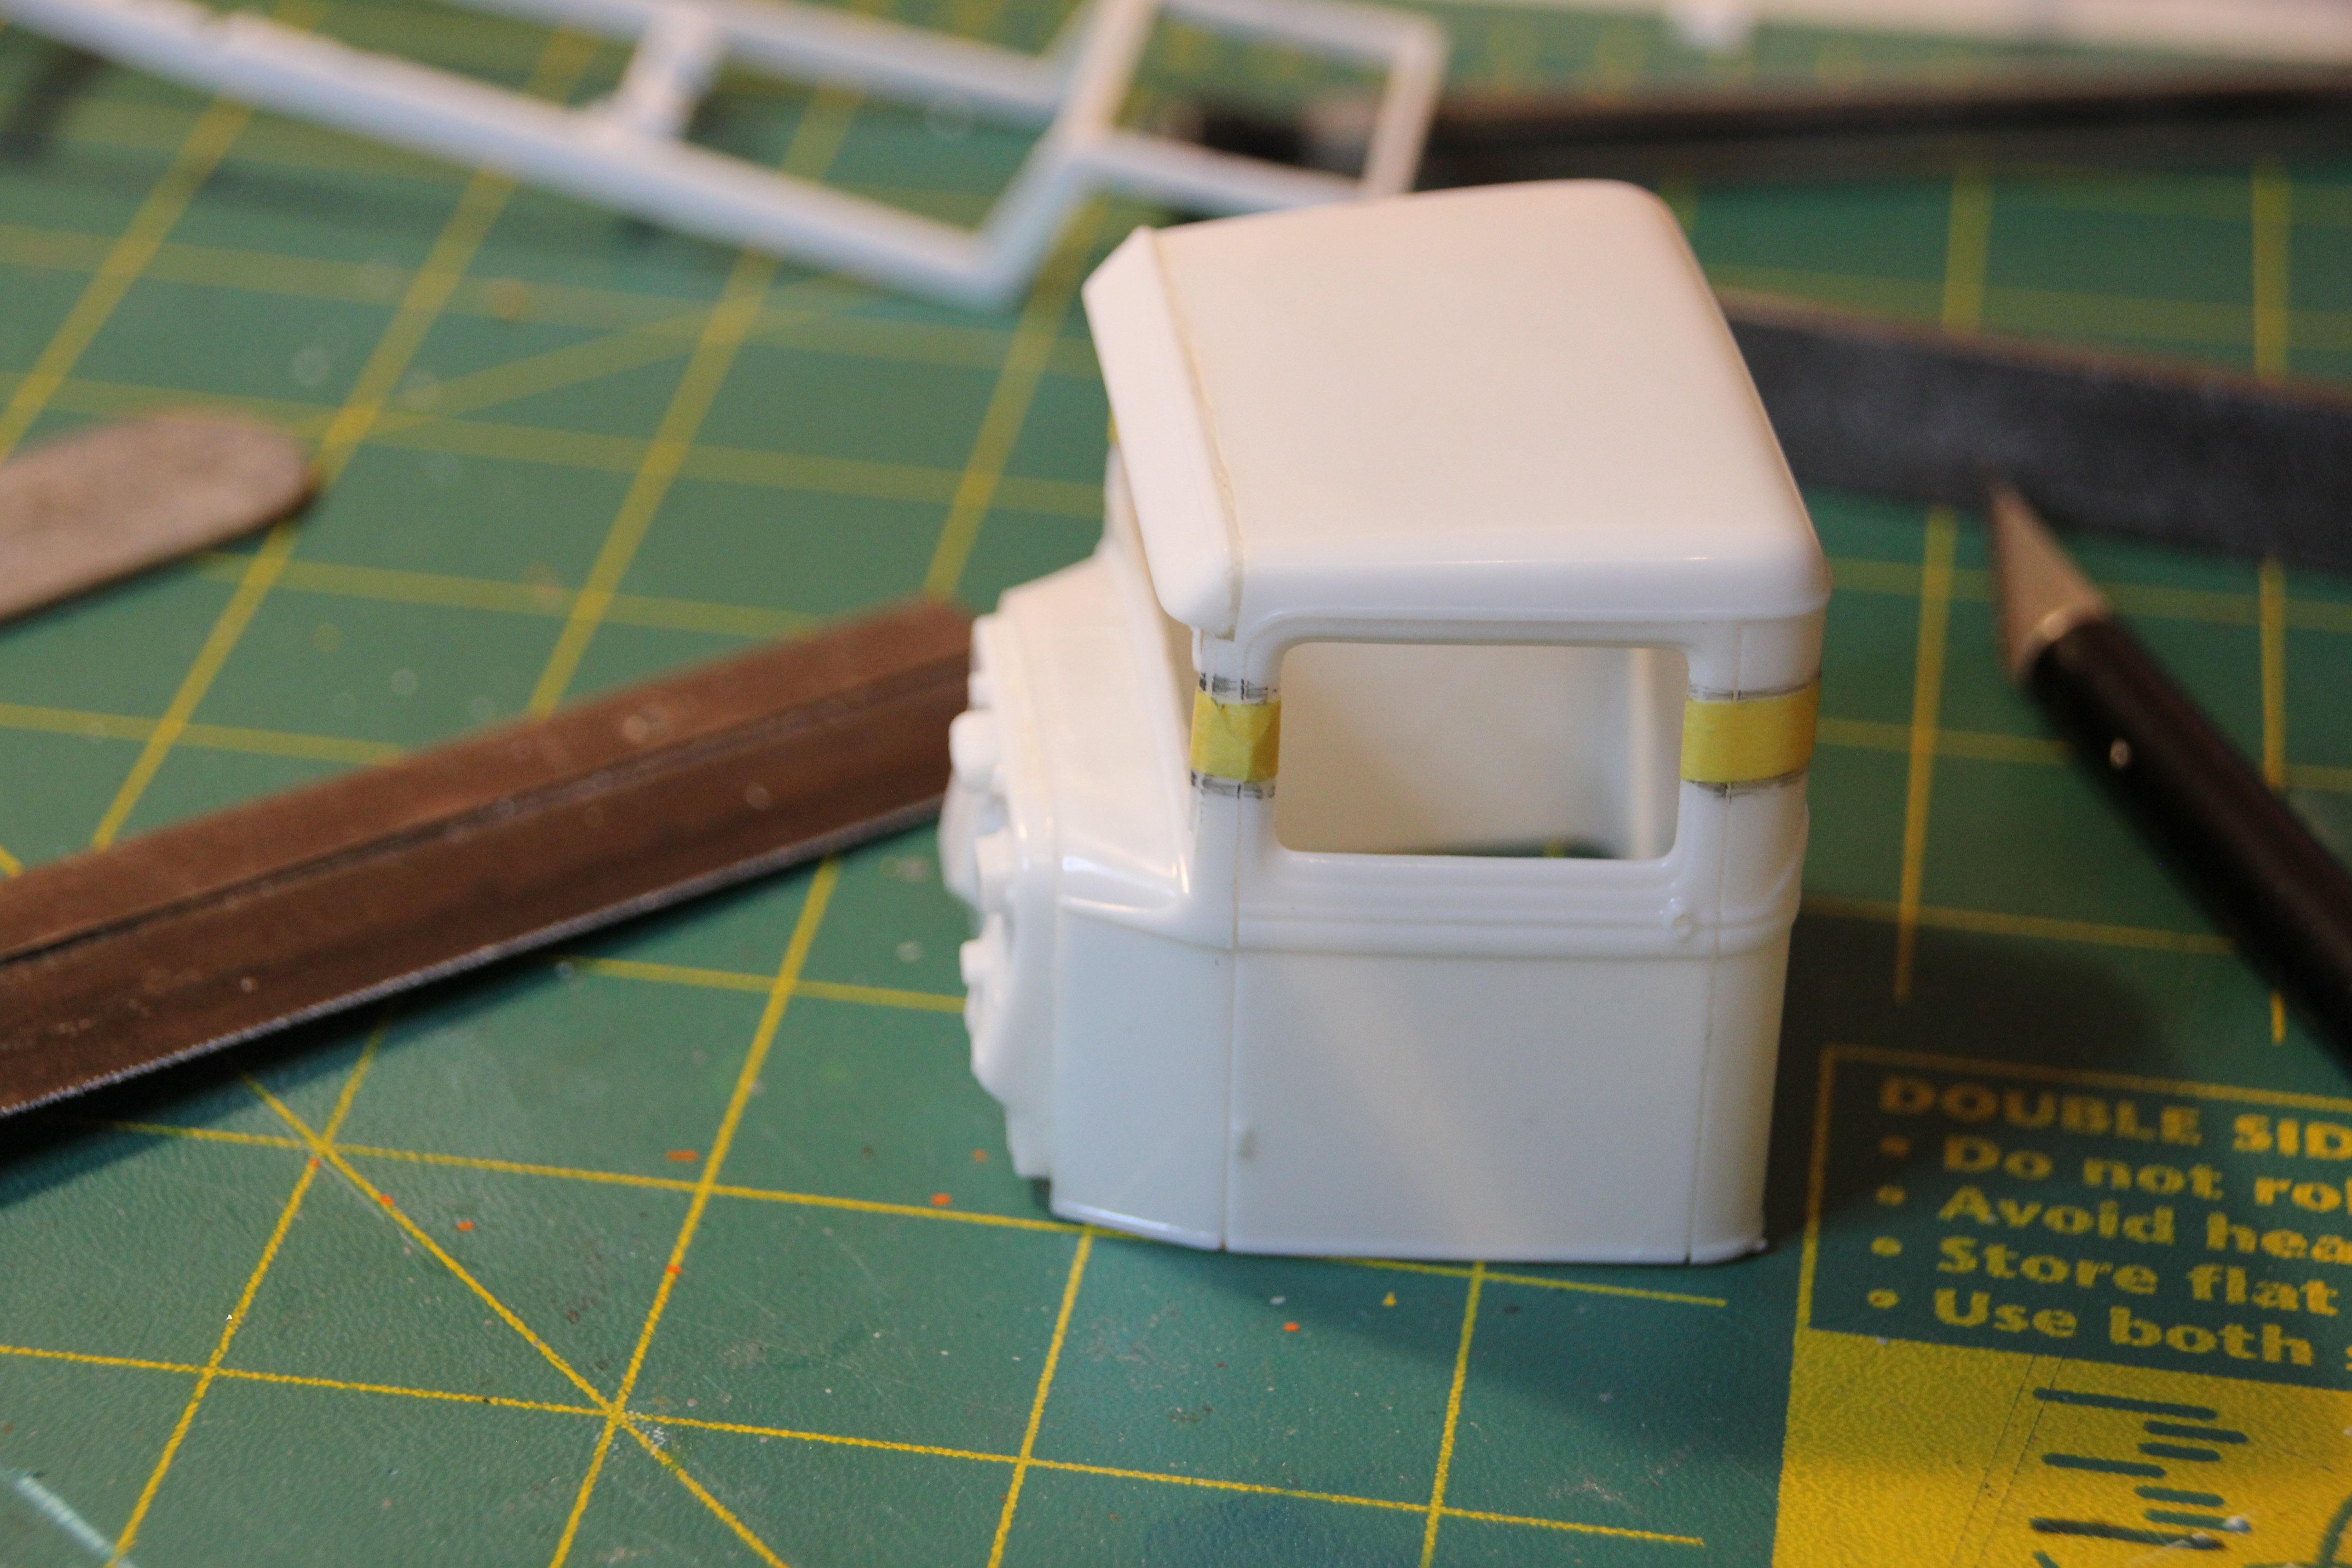
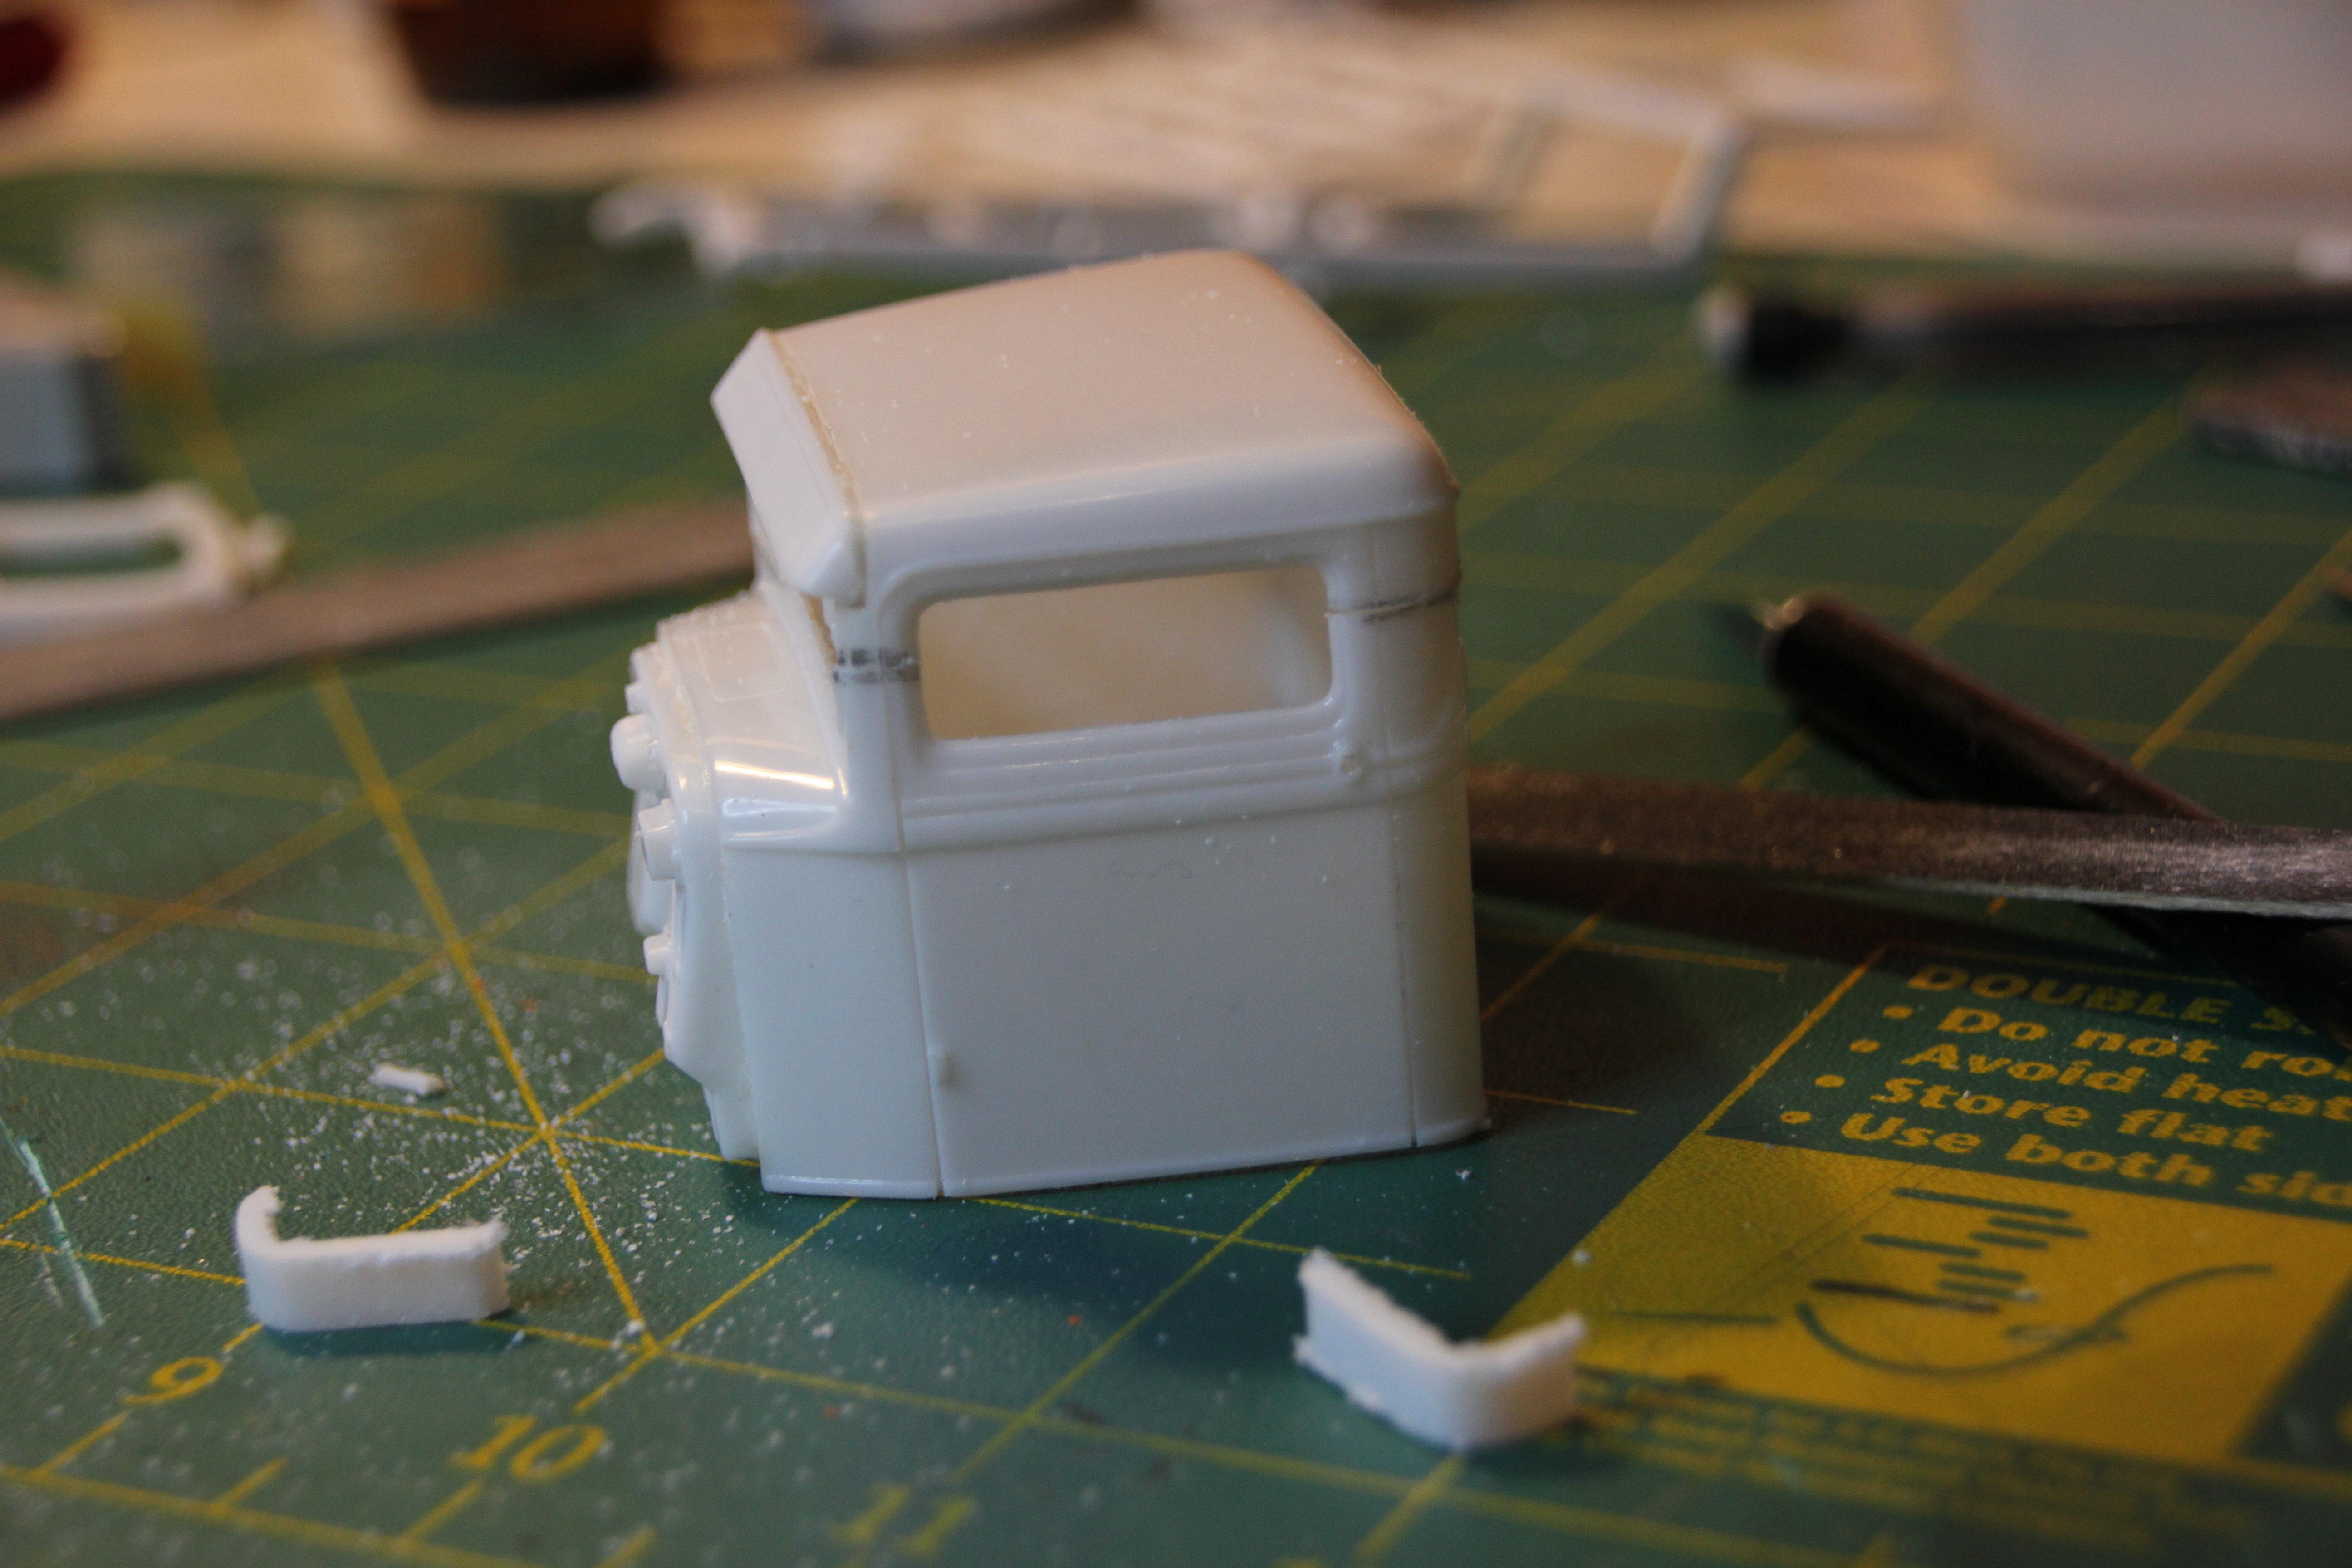
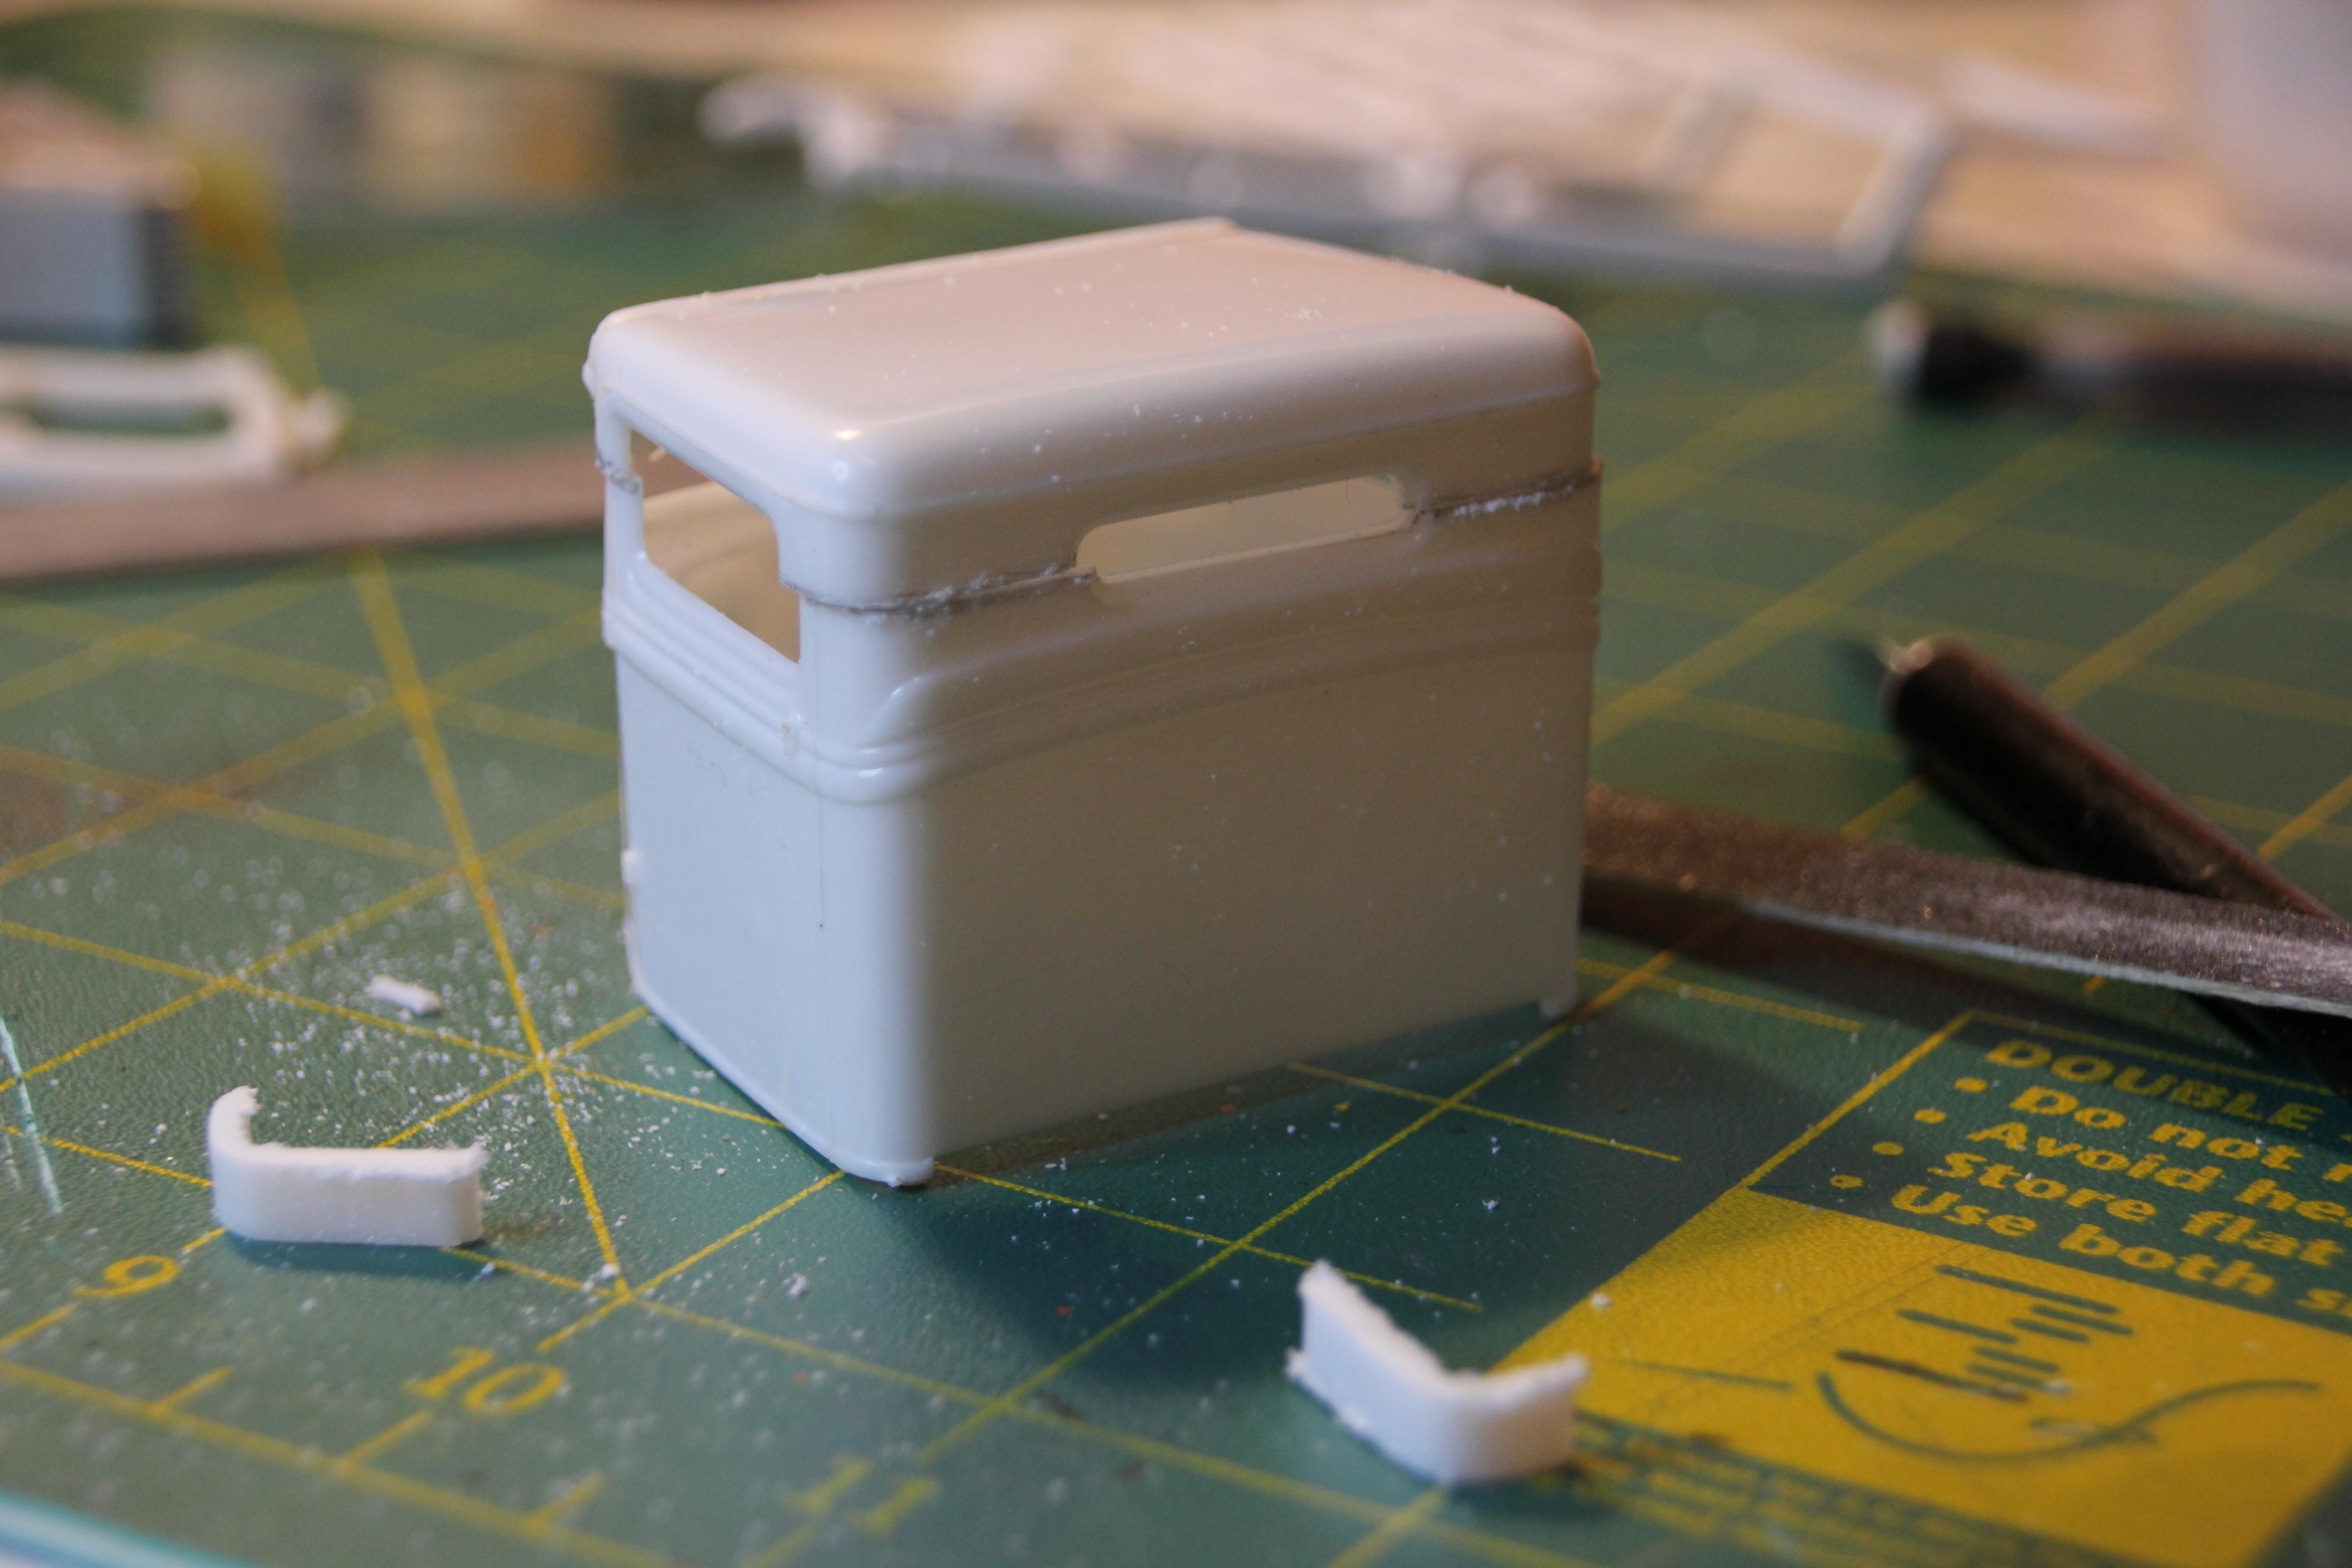
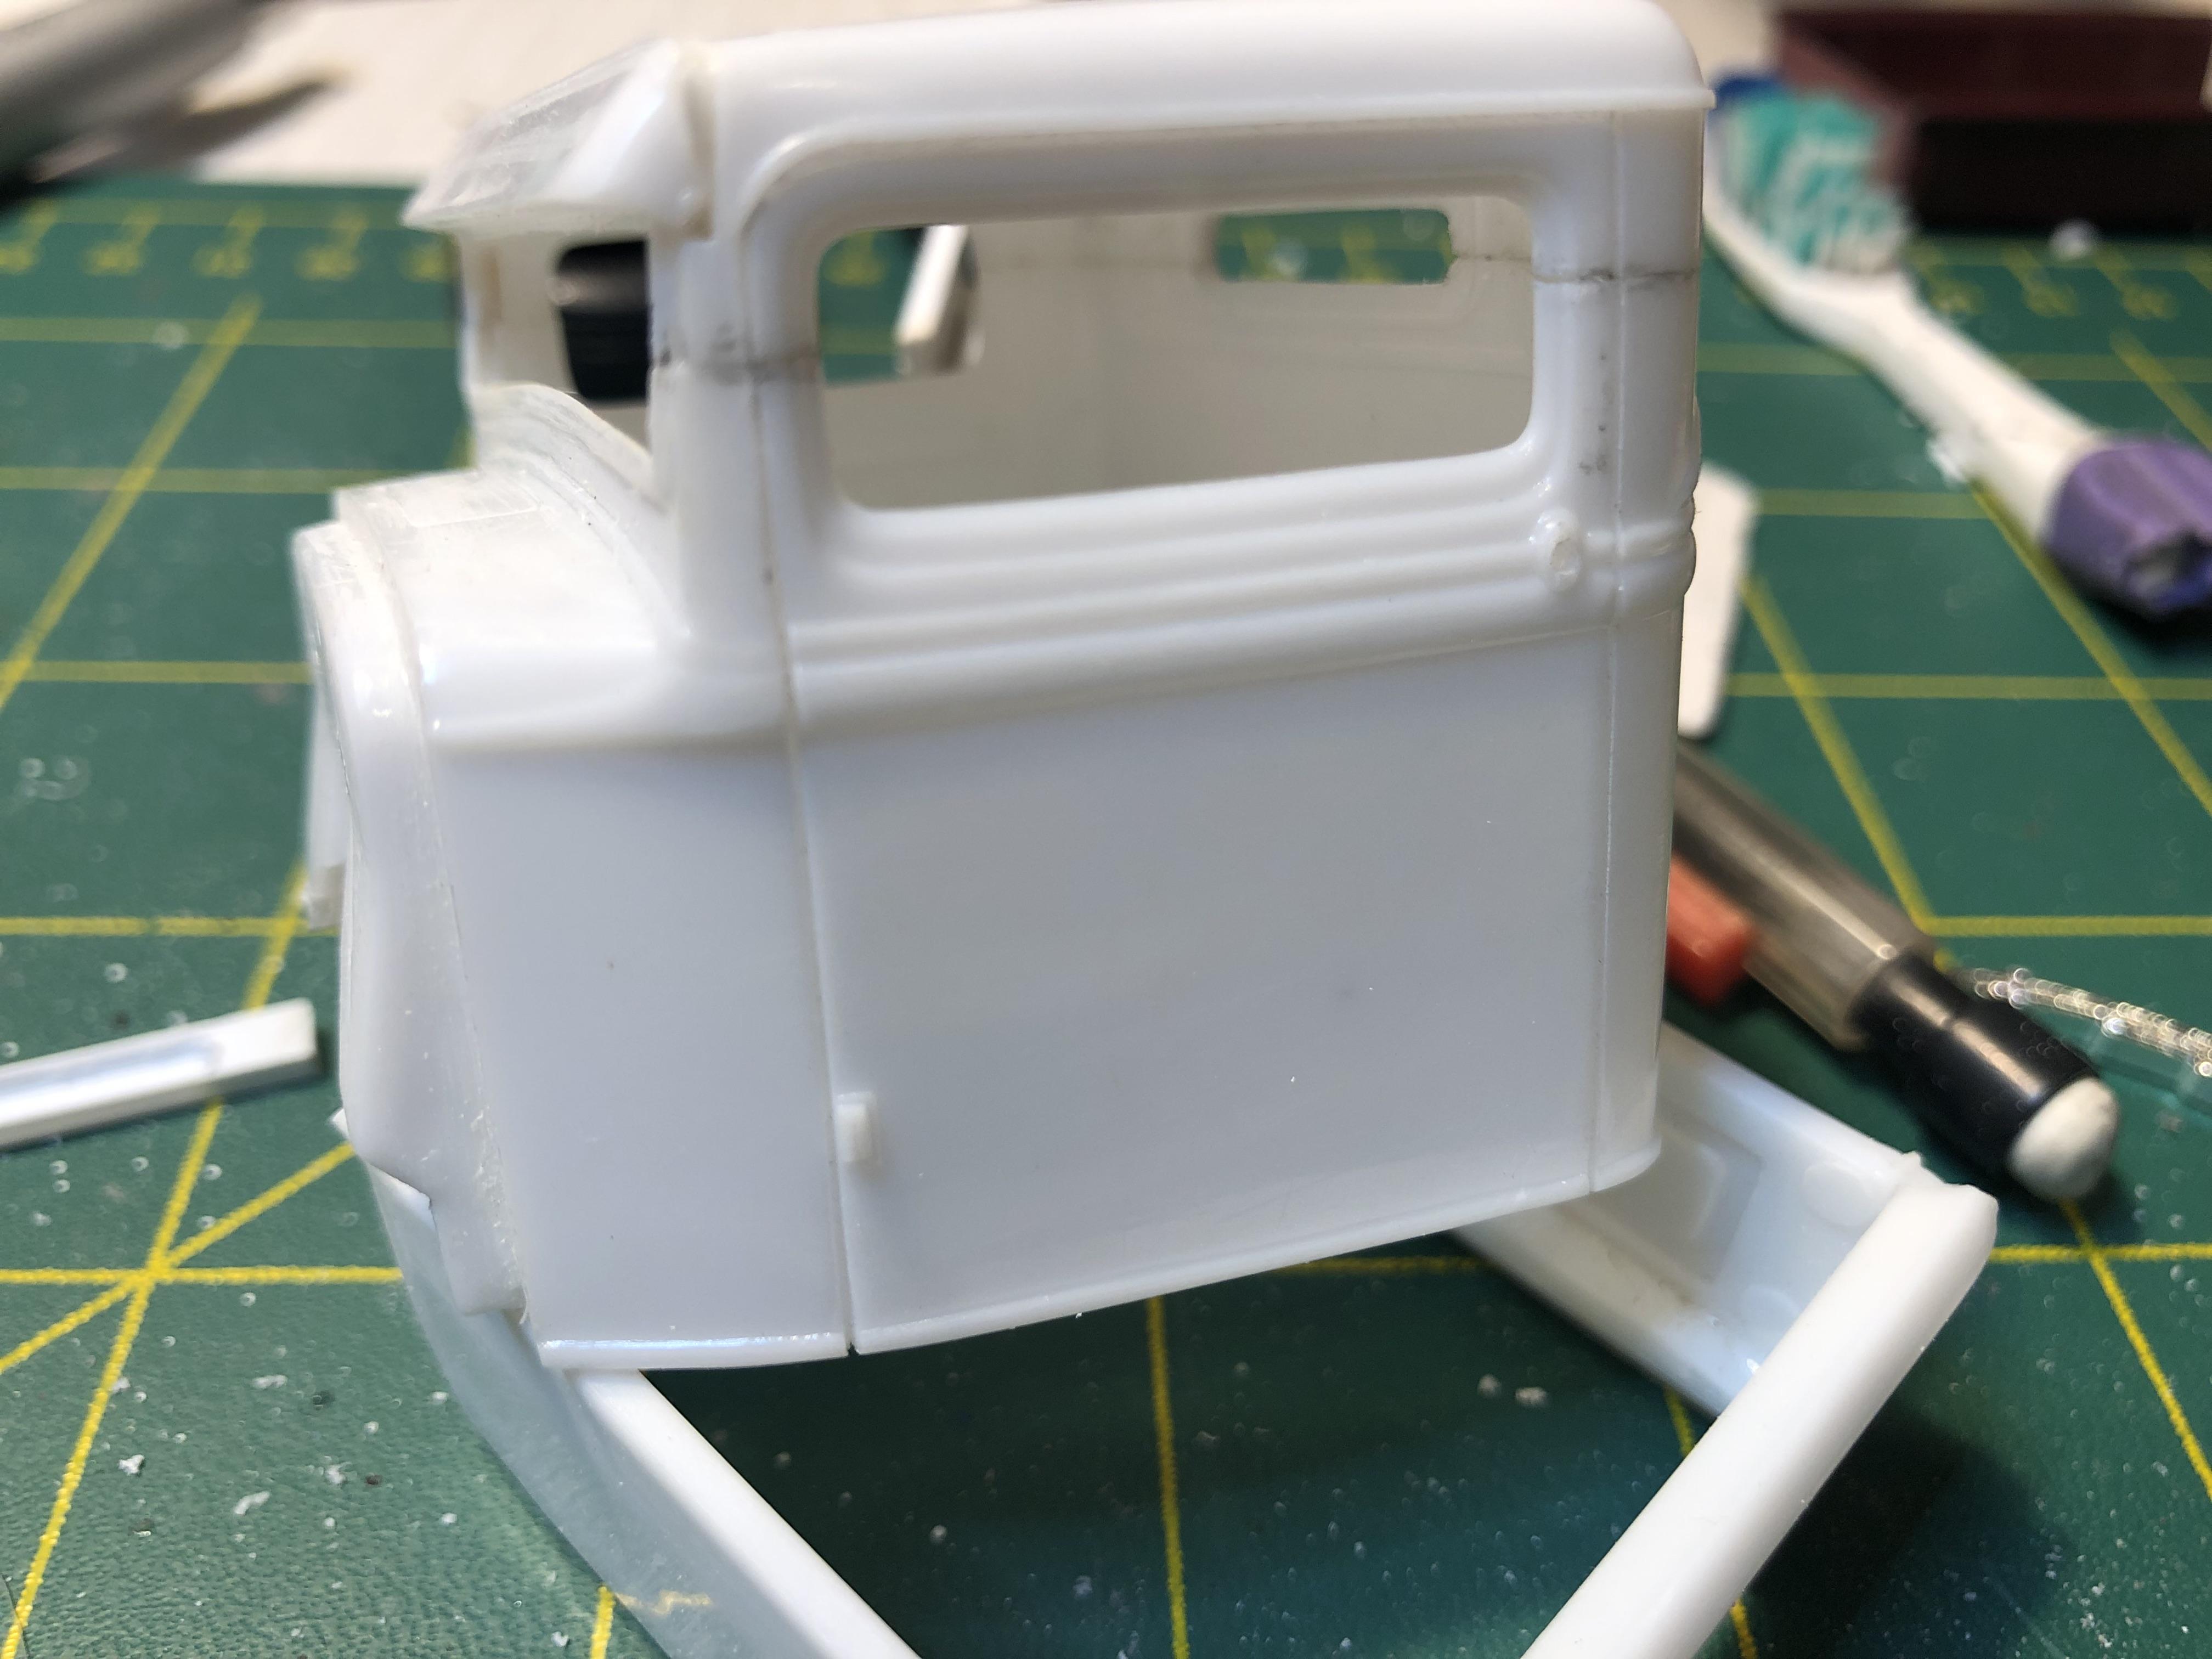
In the beginning - Getting ready for chop - at least 4" marked off with masking tape Next up with the top chopped and ready to be glued back together. The 34 PU is a simple chop as all the pillars are straight up and down, not like the cars where the A pillar is raked back a bit And glued. Next installment - chassis works Thanks for looking
-
What a beautiful car. All the right bits in all the right places, spot on chop height, stance etc. Like it
-
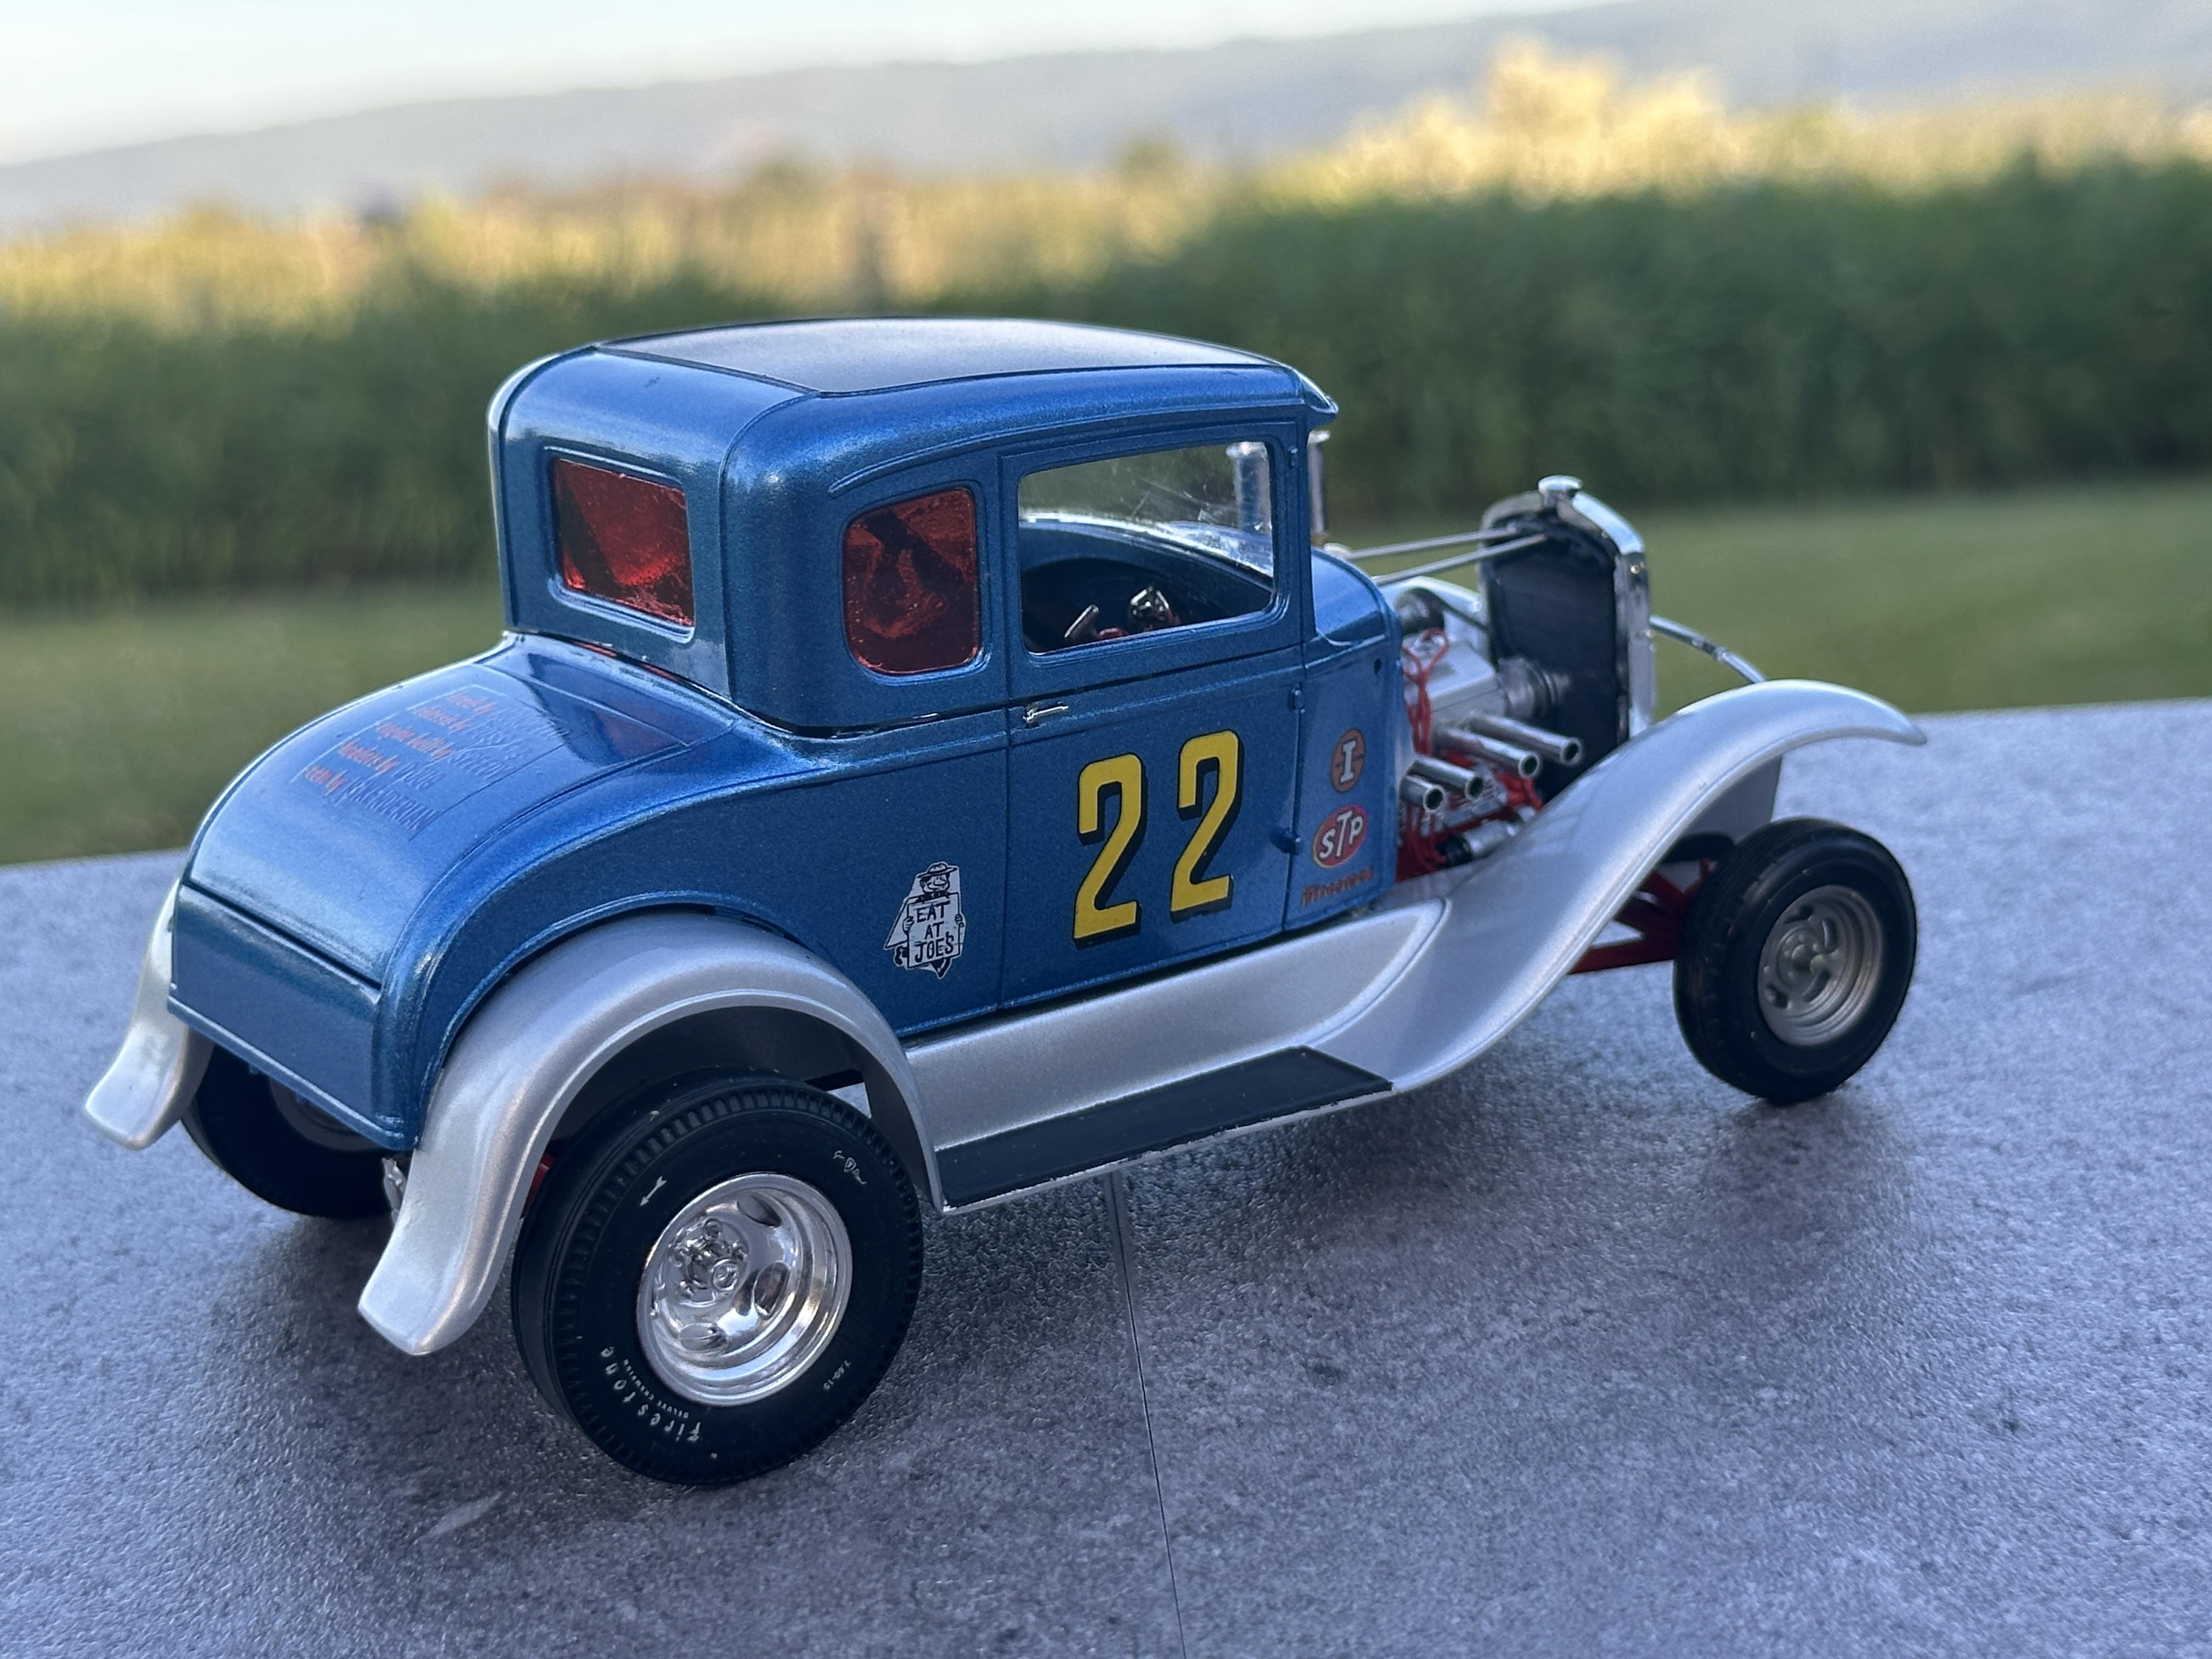
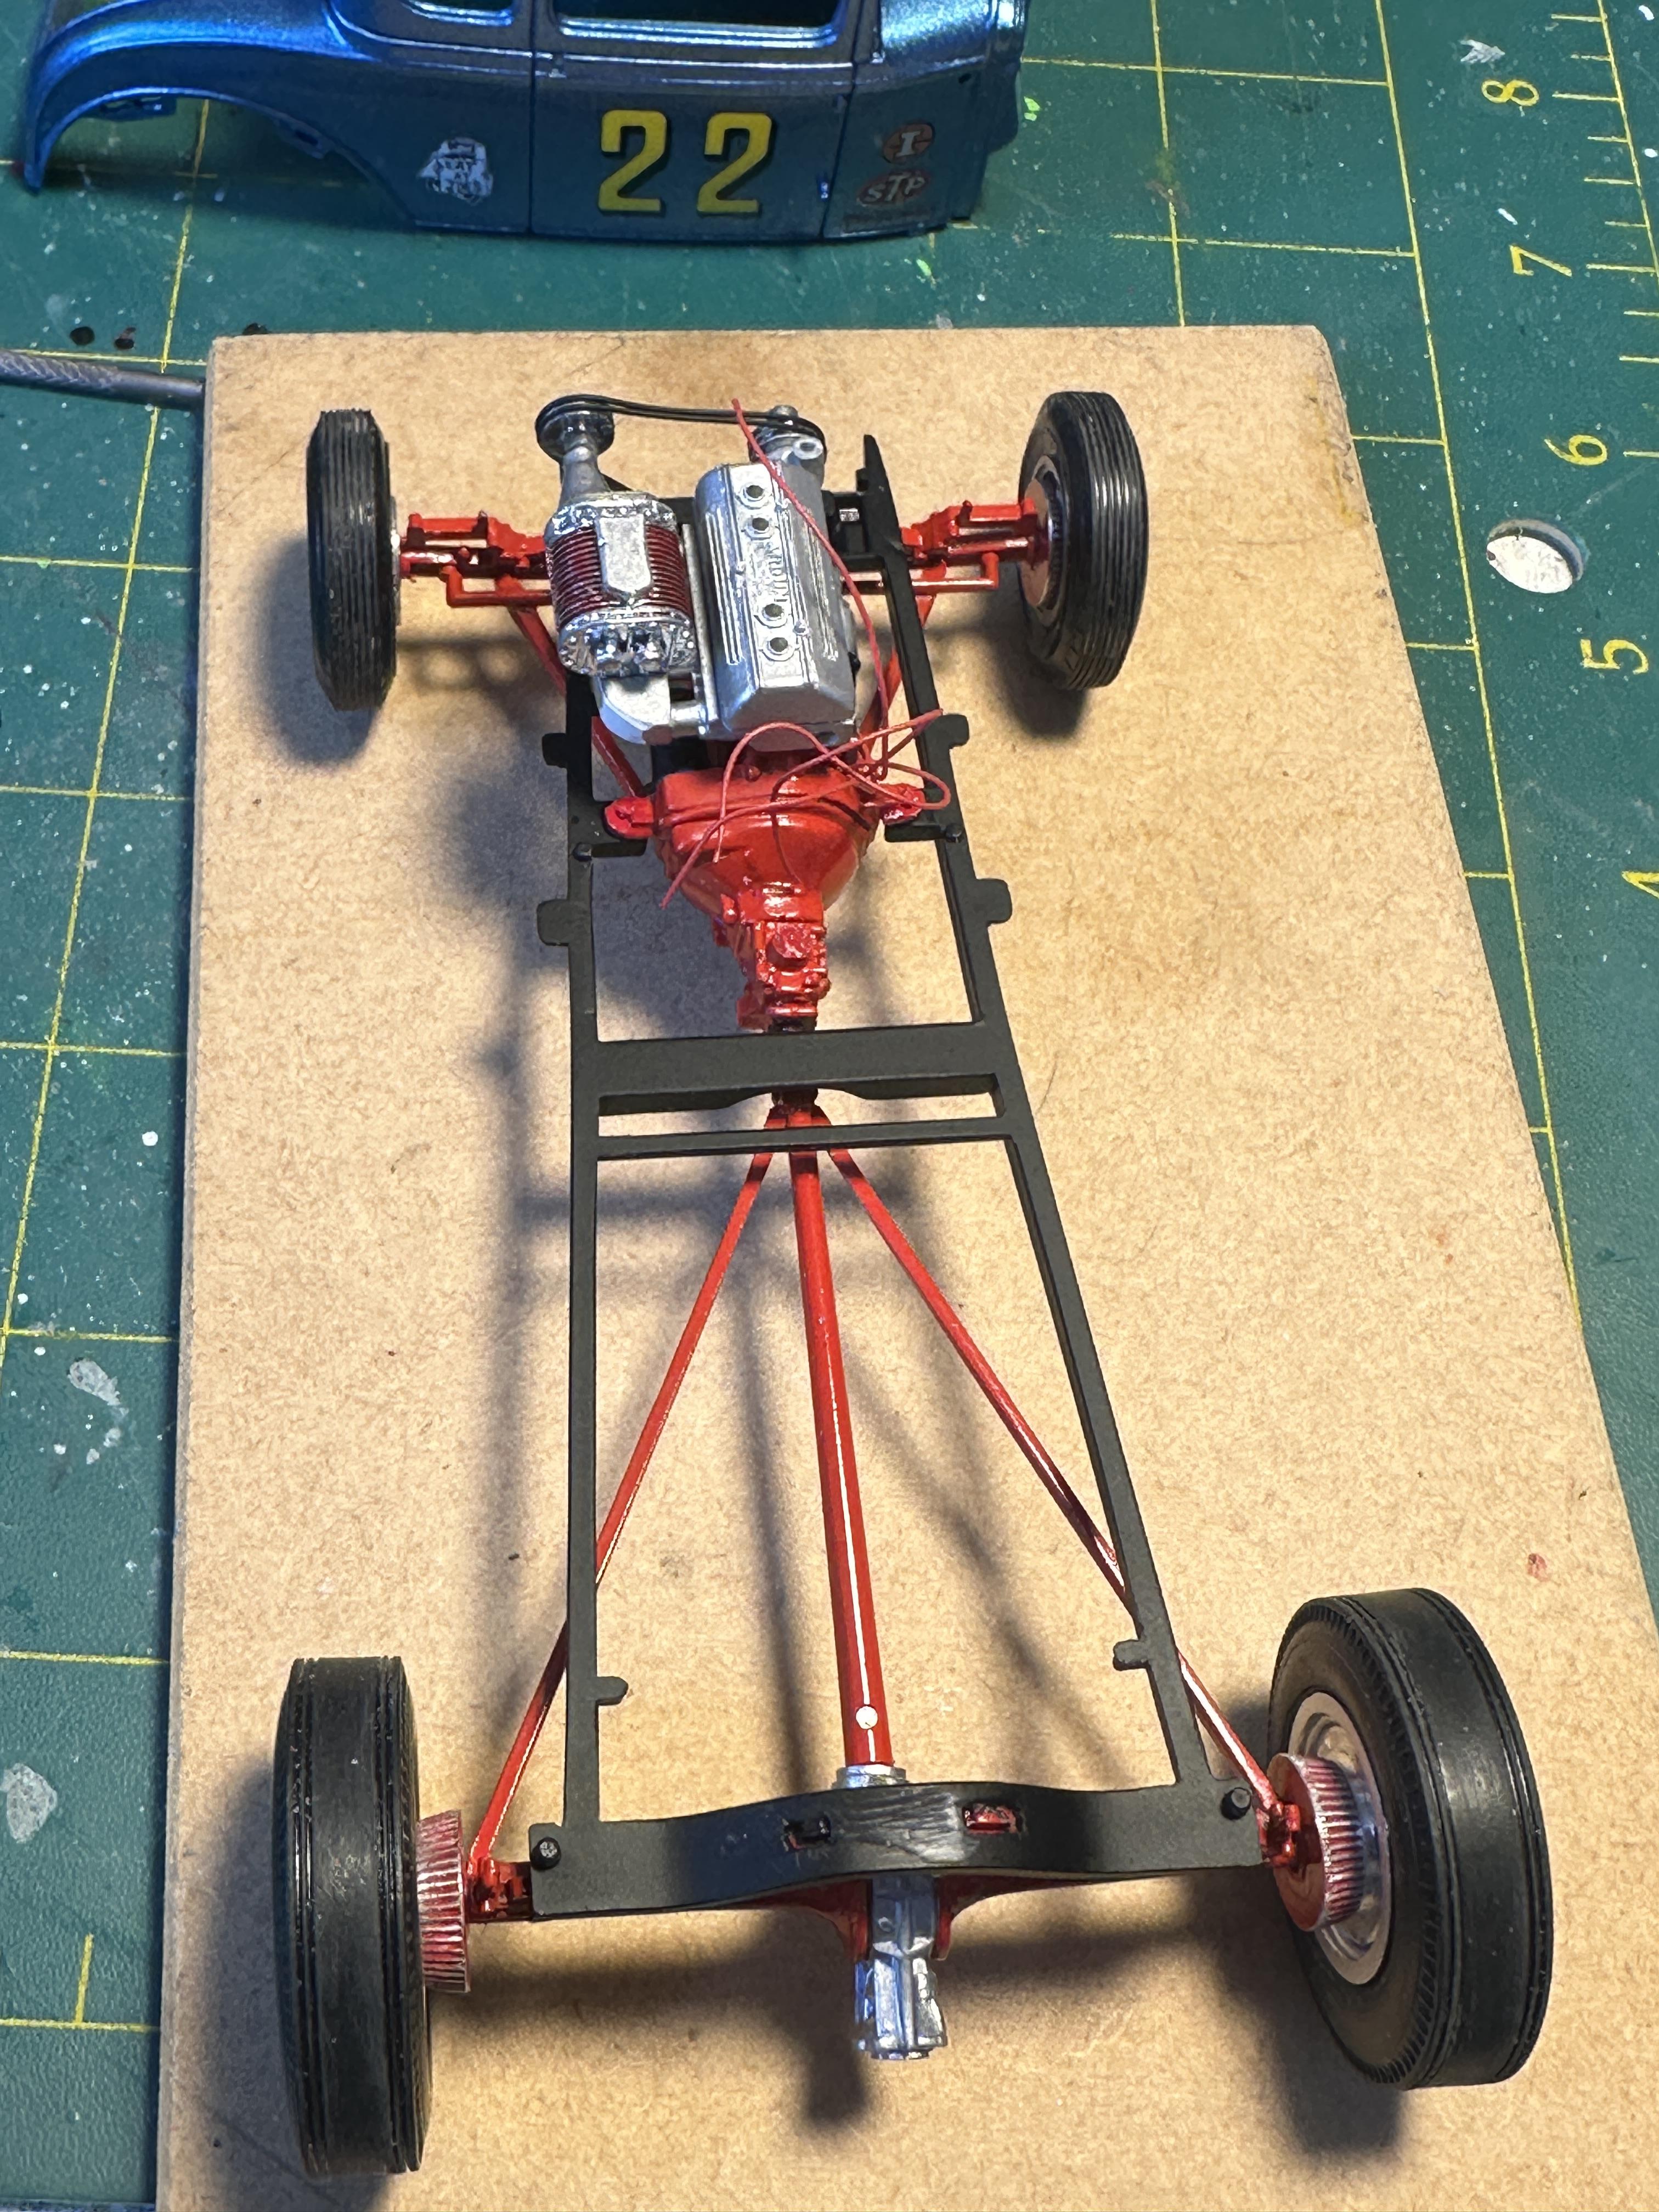
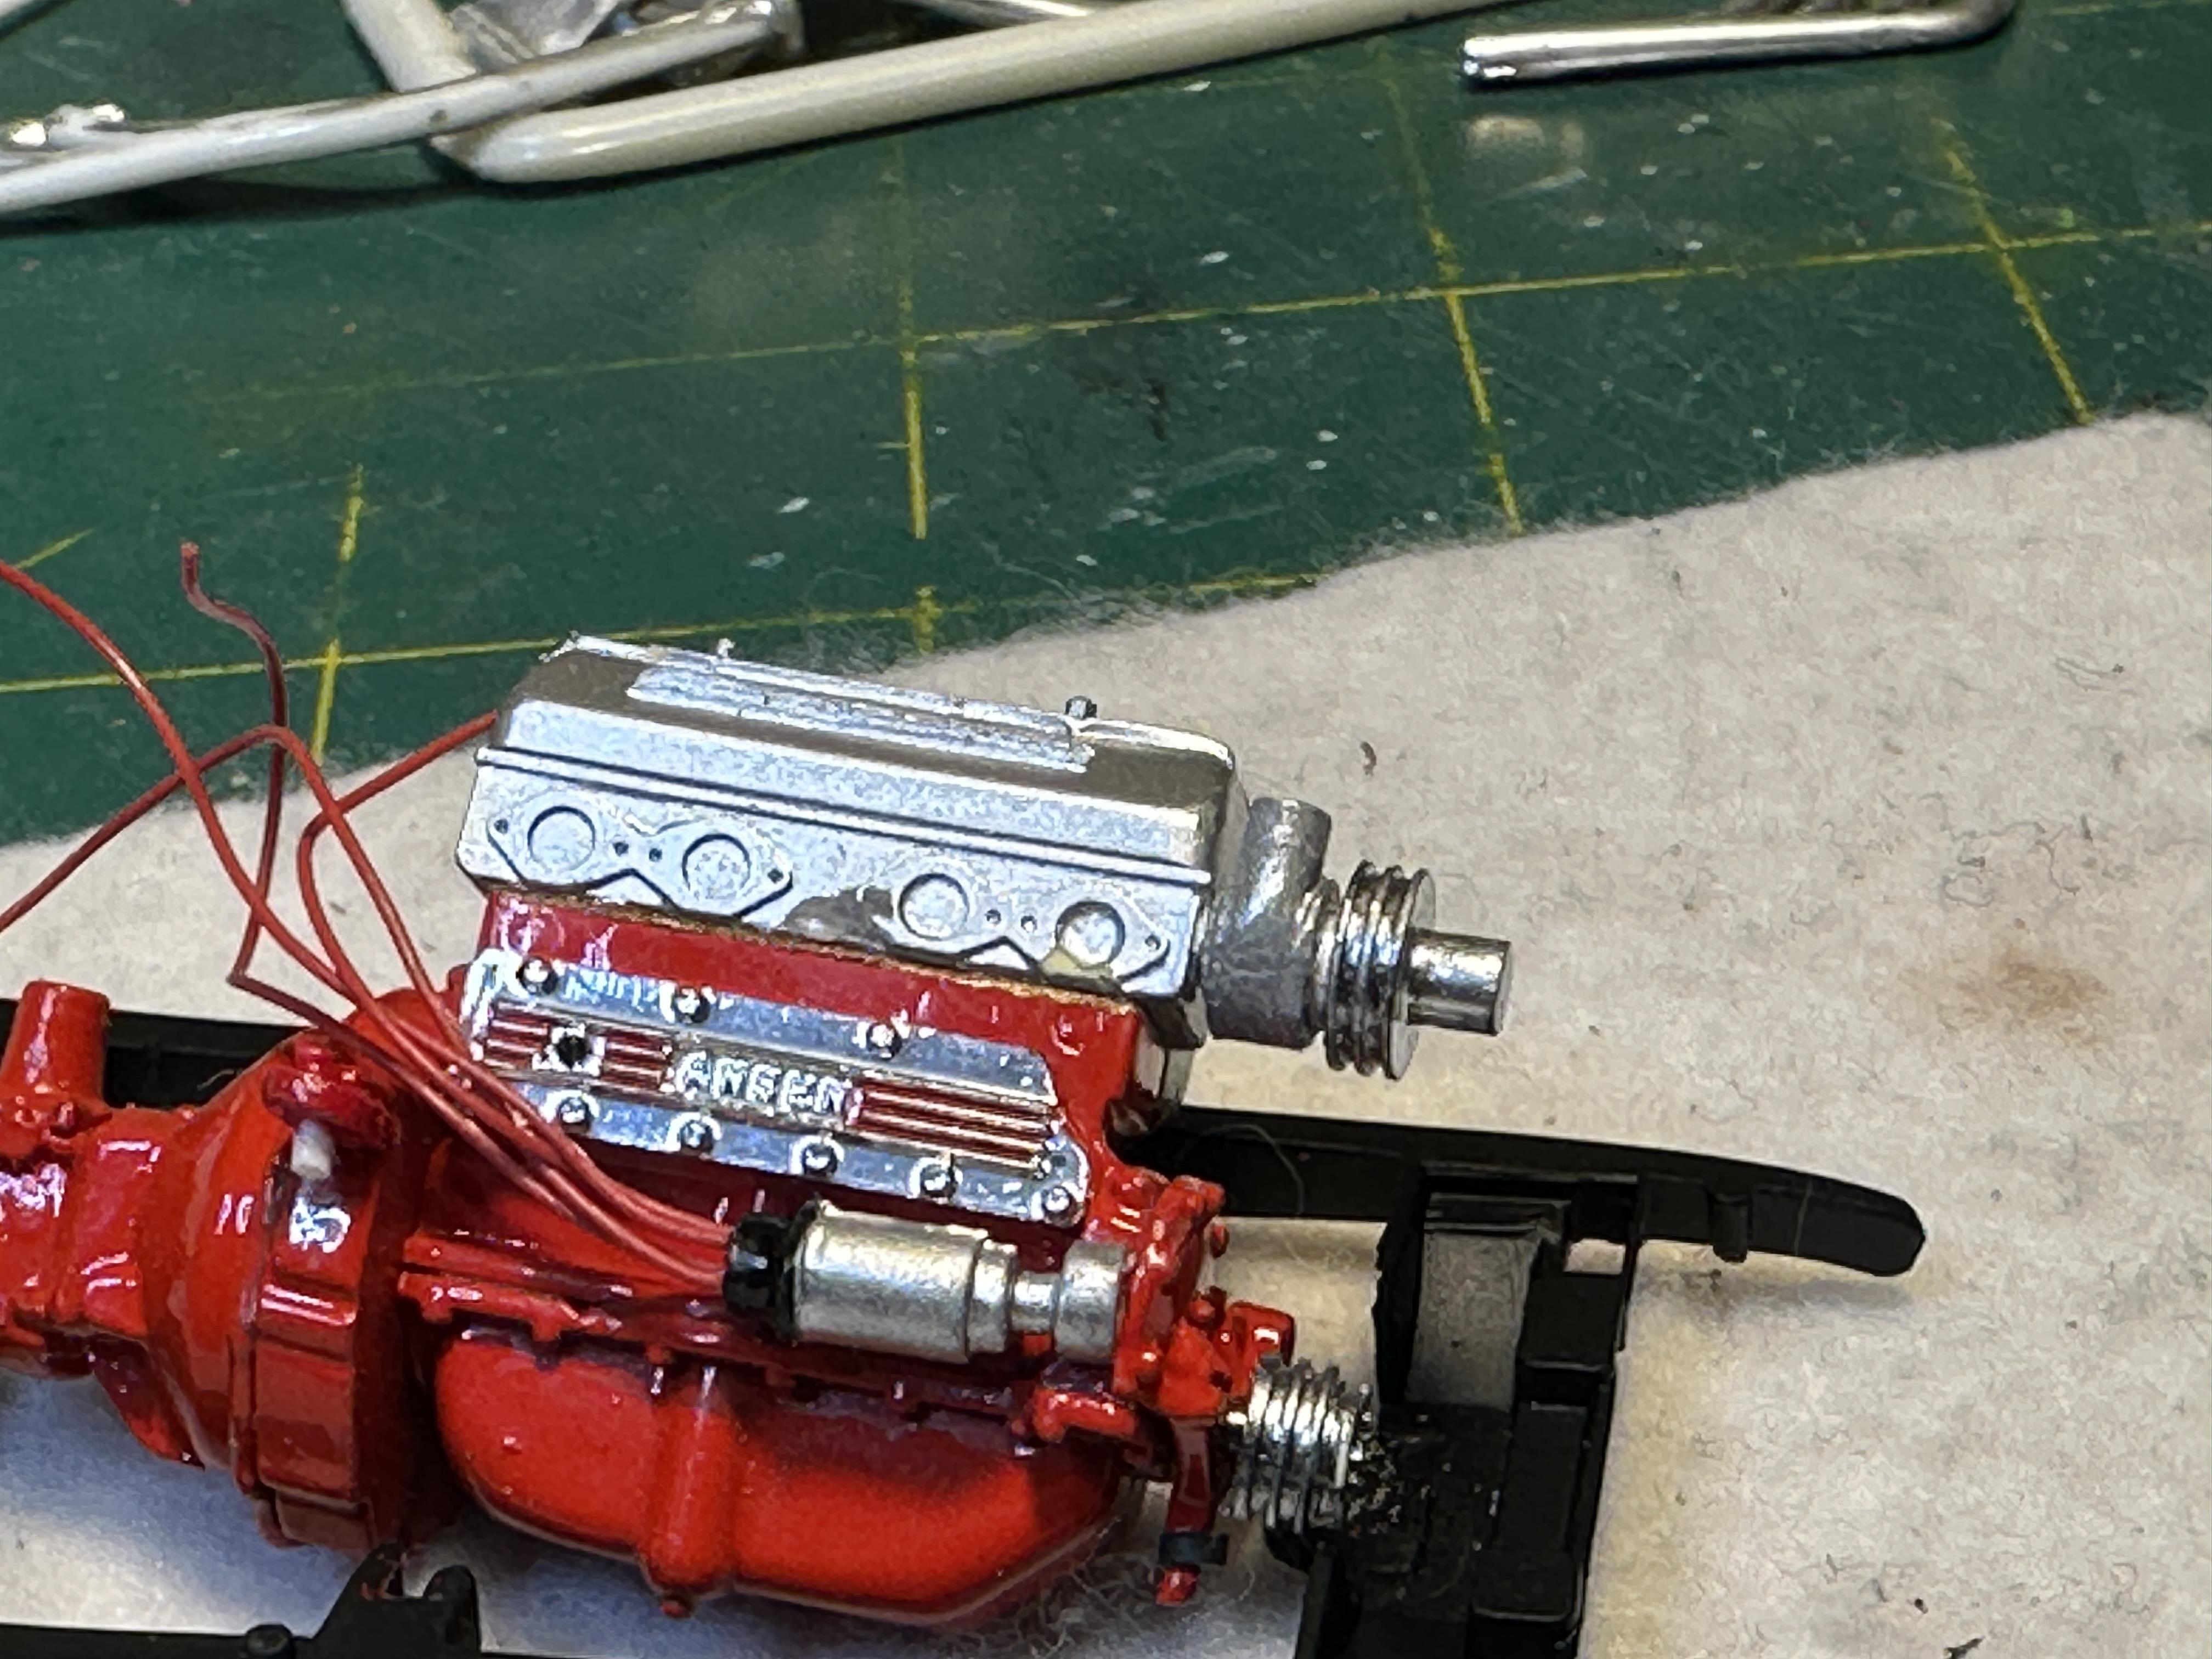
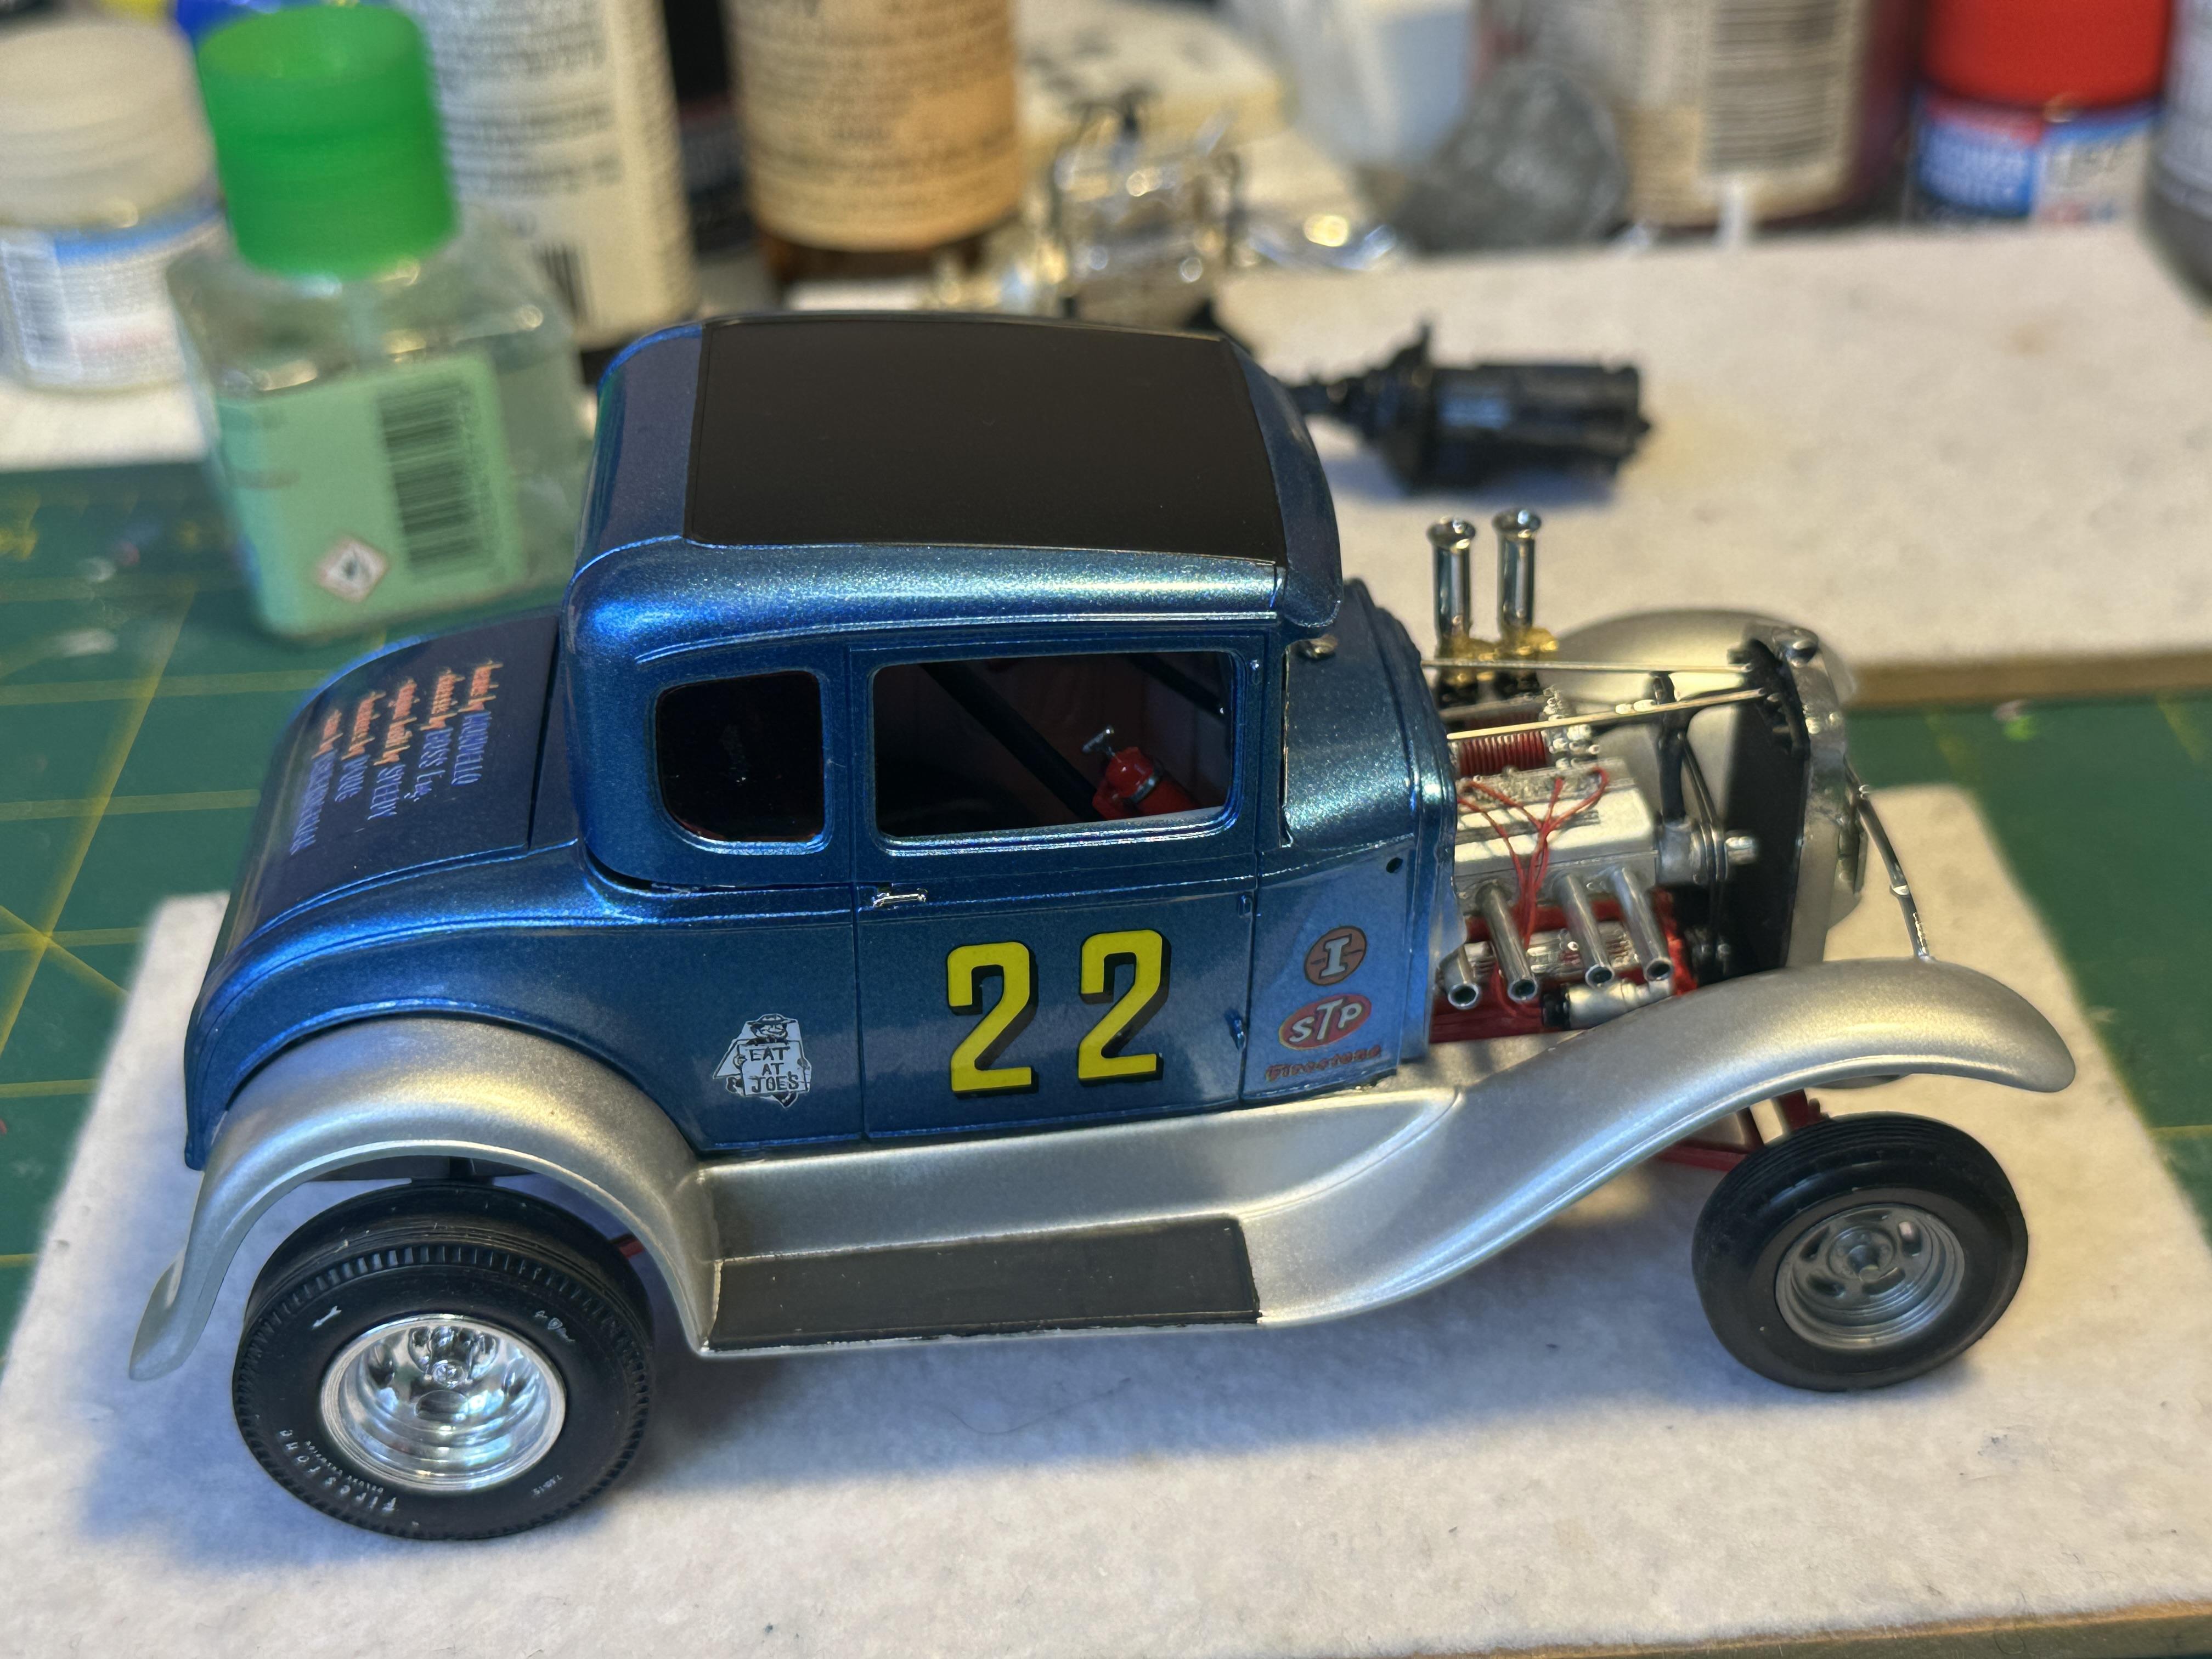
Or this might be betterer methinks - dragged it off the shelf. Build was started way back in 2018. New topic started under Pickups Every thing period correct - Nailhead, big'n'little cross plies, Model A front axle, older rear axle - unfortunately out of quickies, sever chop n channel, zedded rear - keep an eye out of at the build thead
-
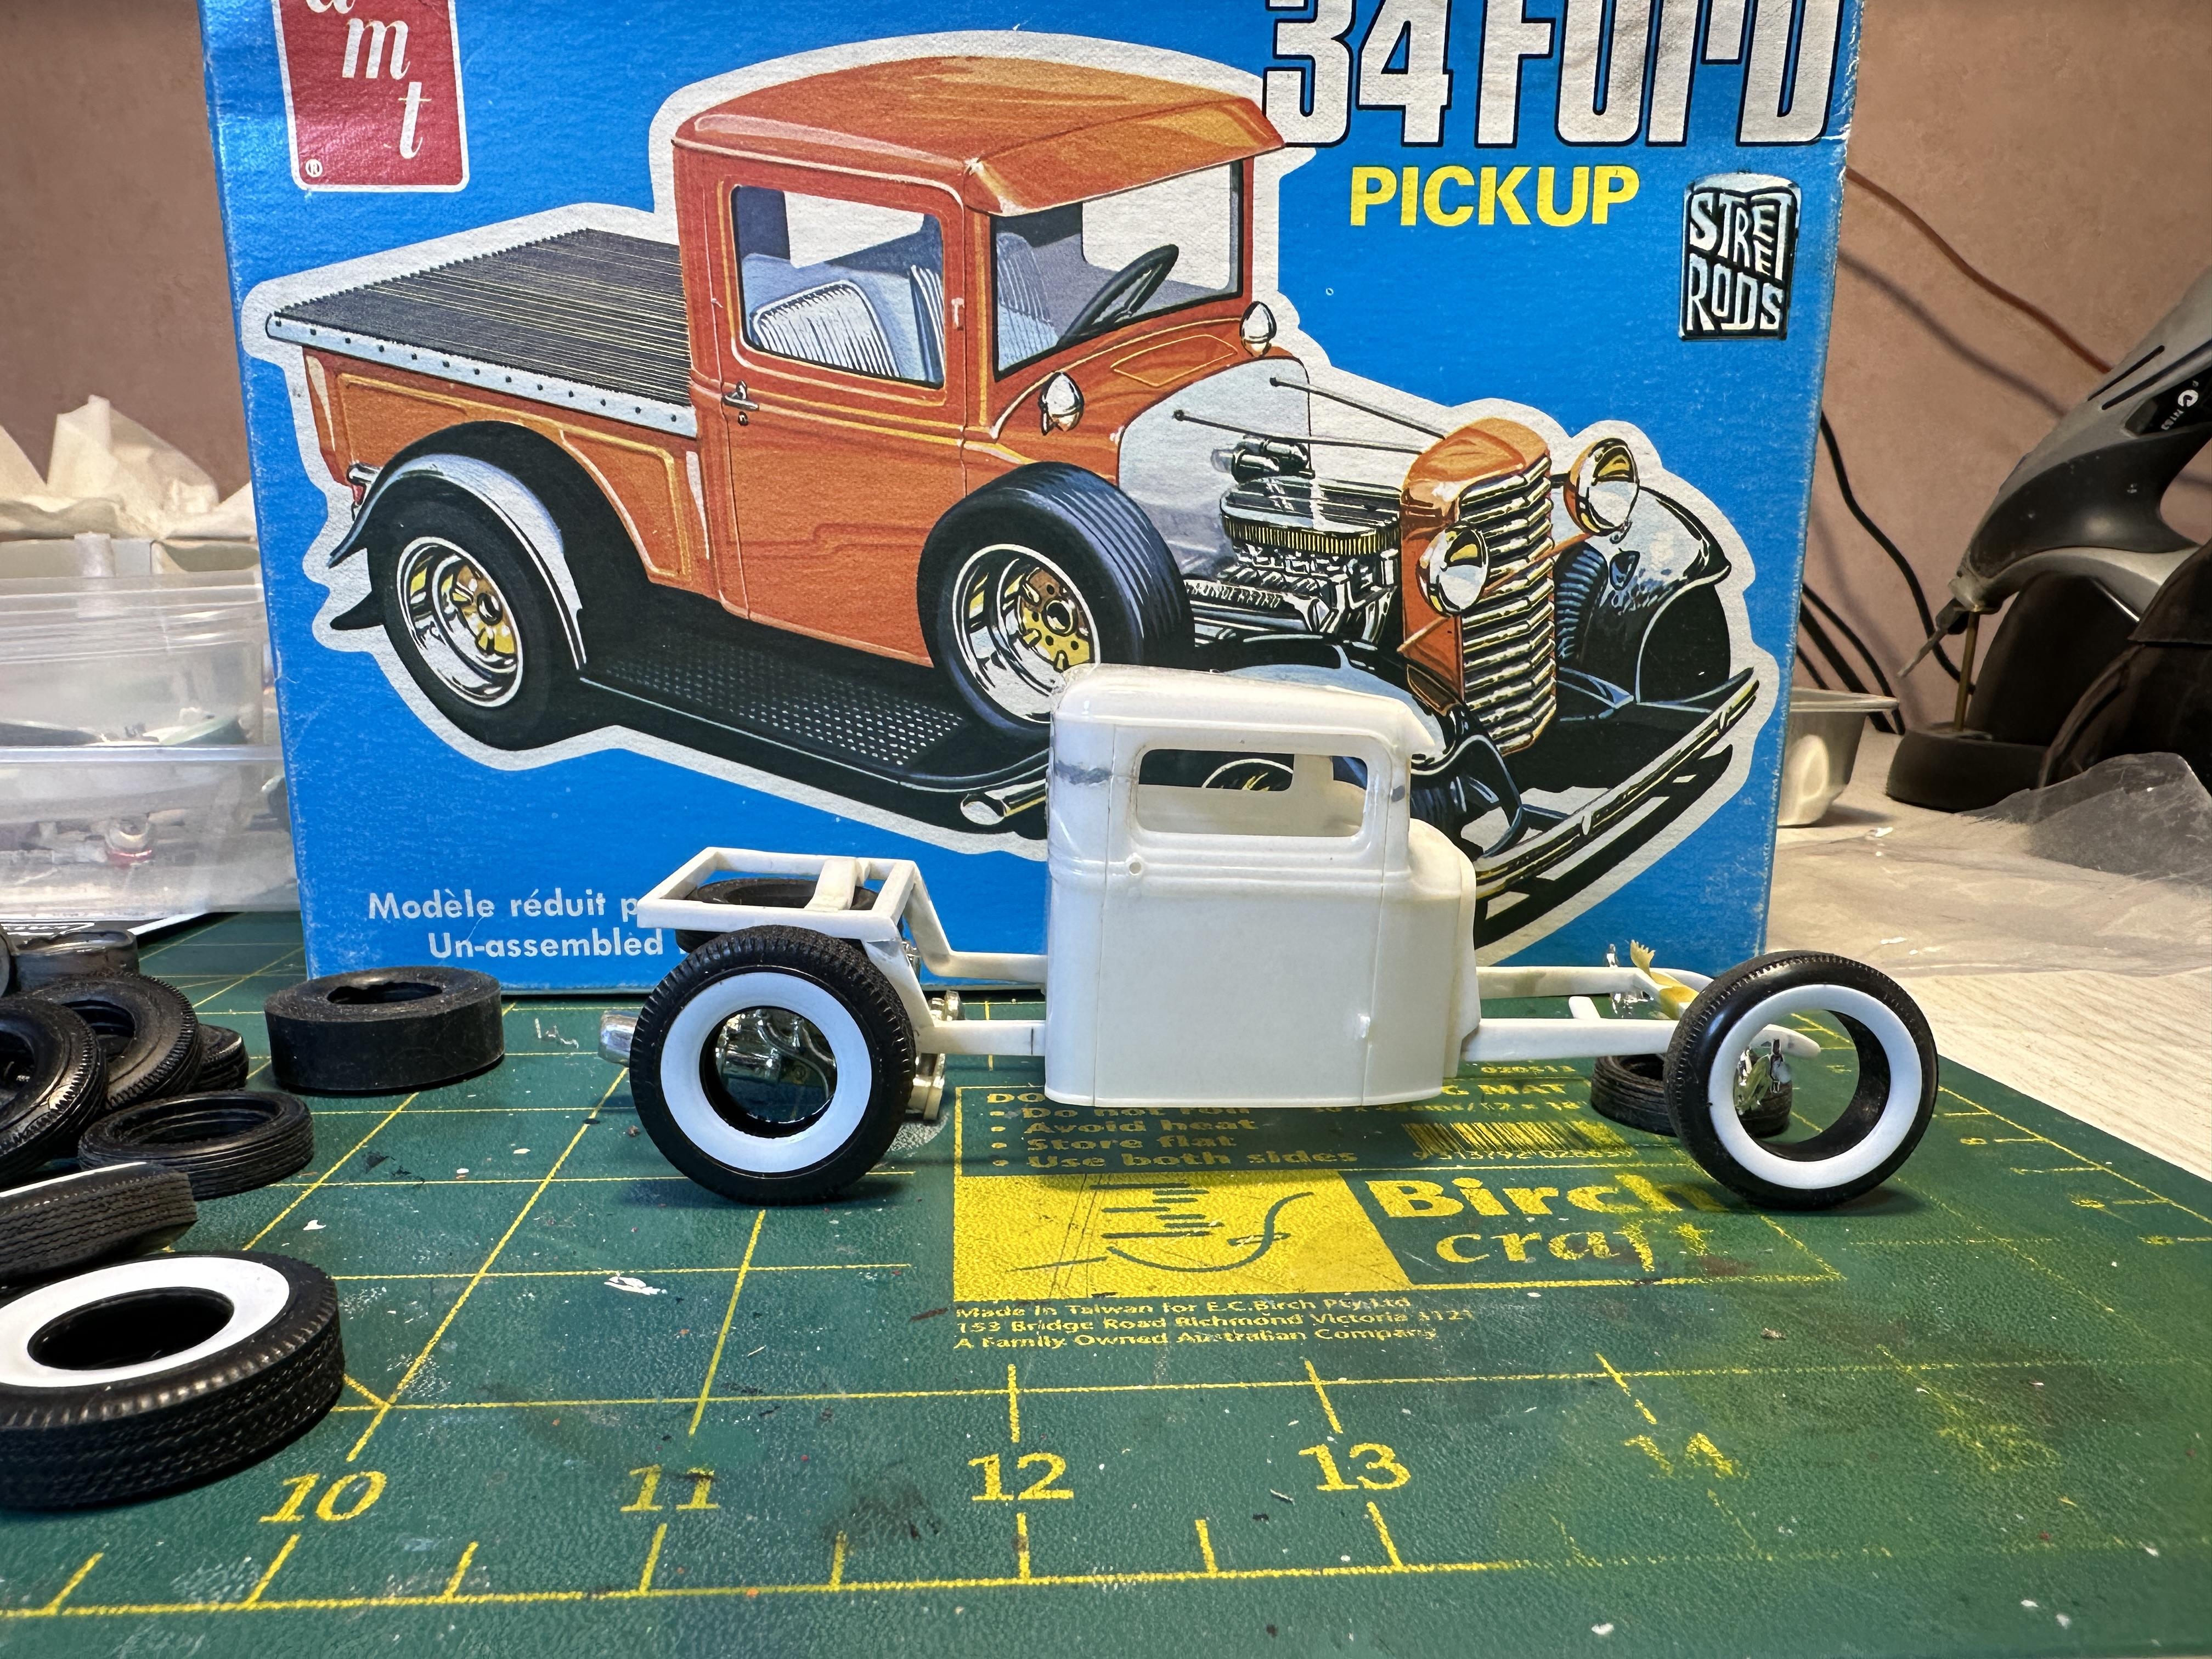
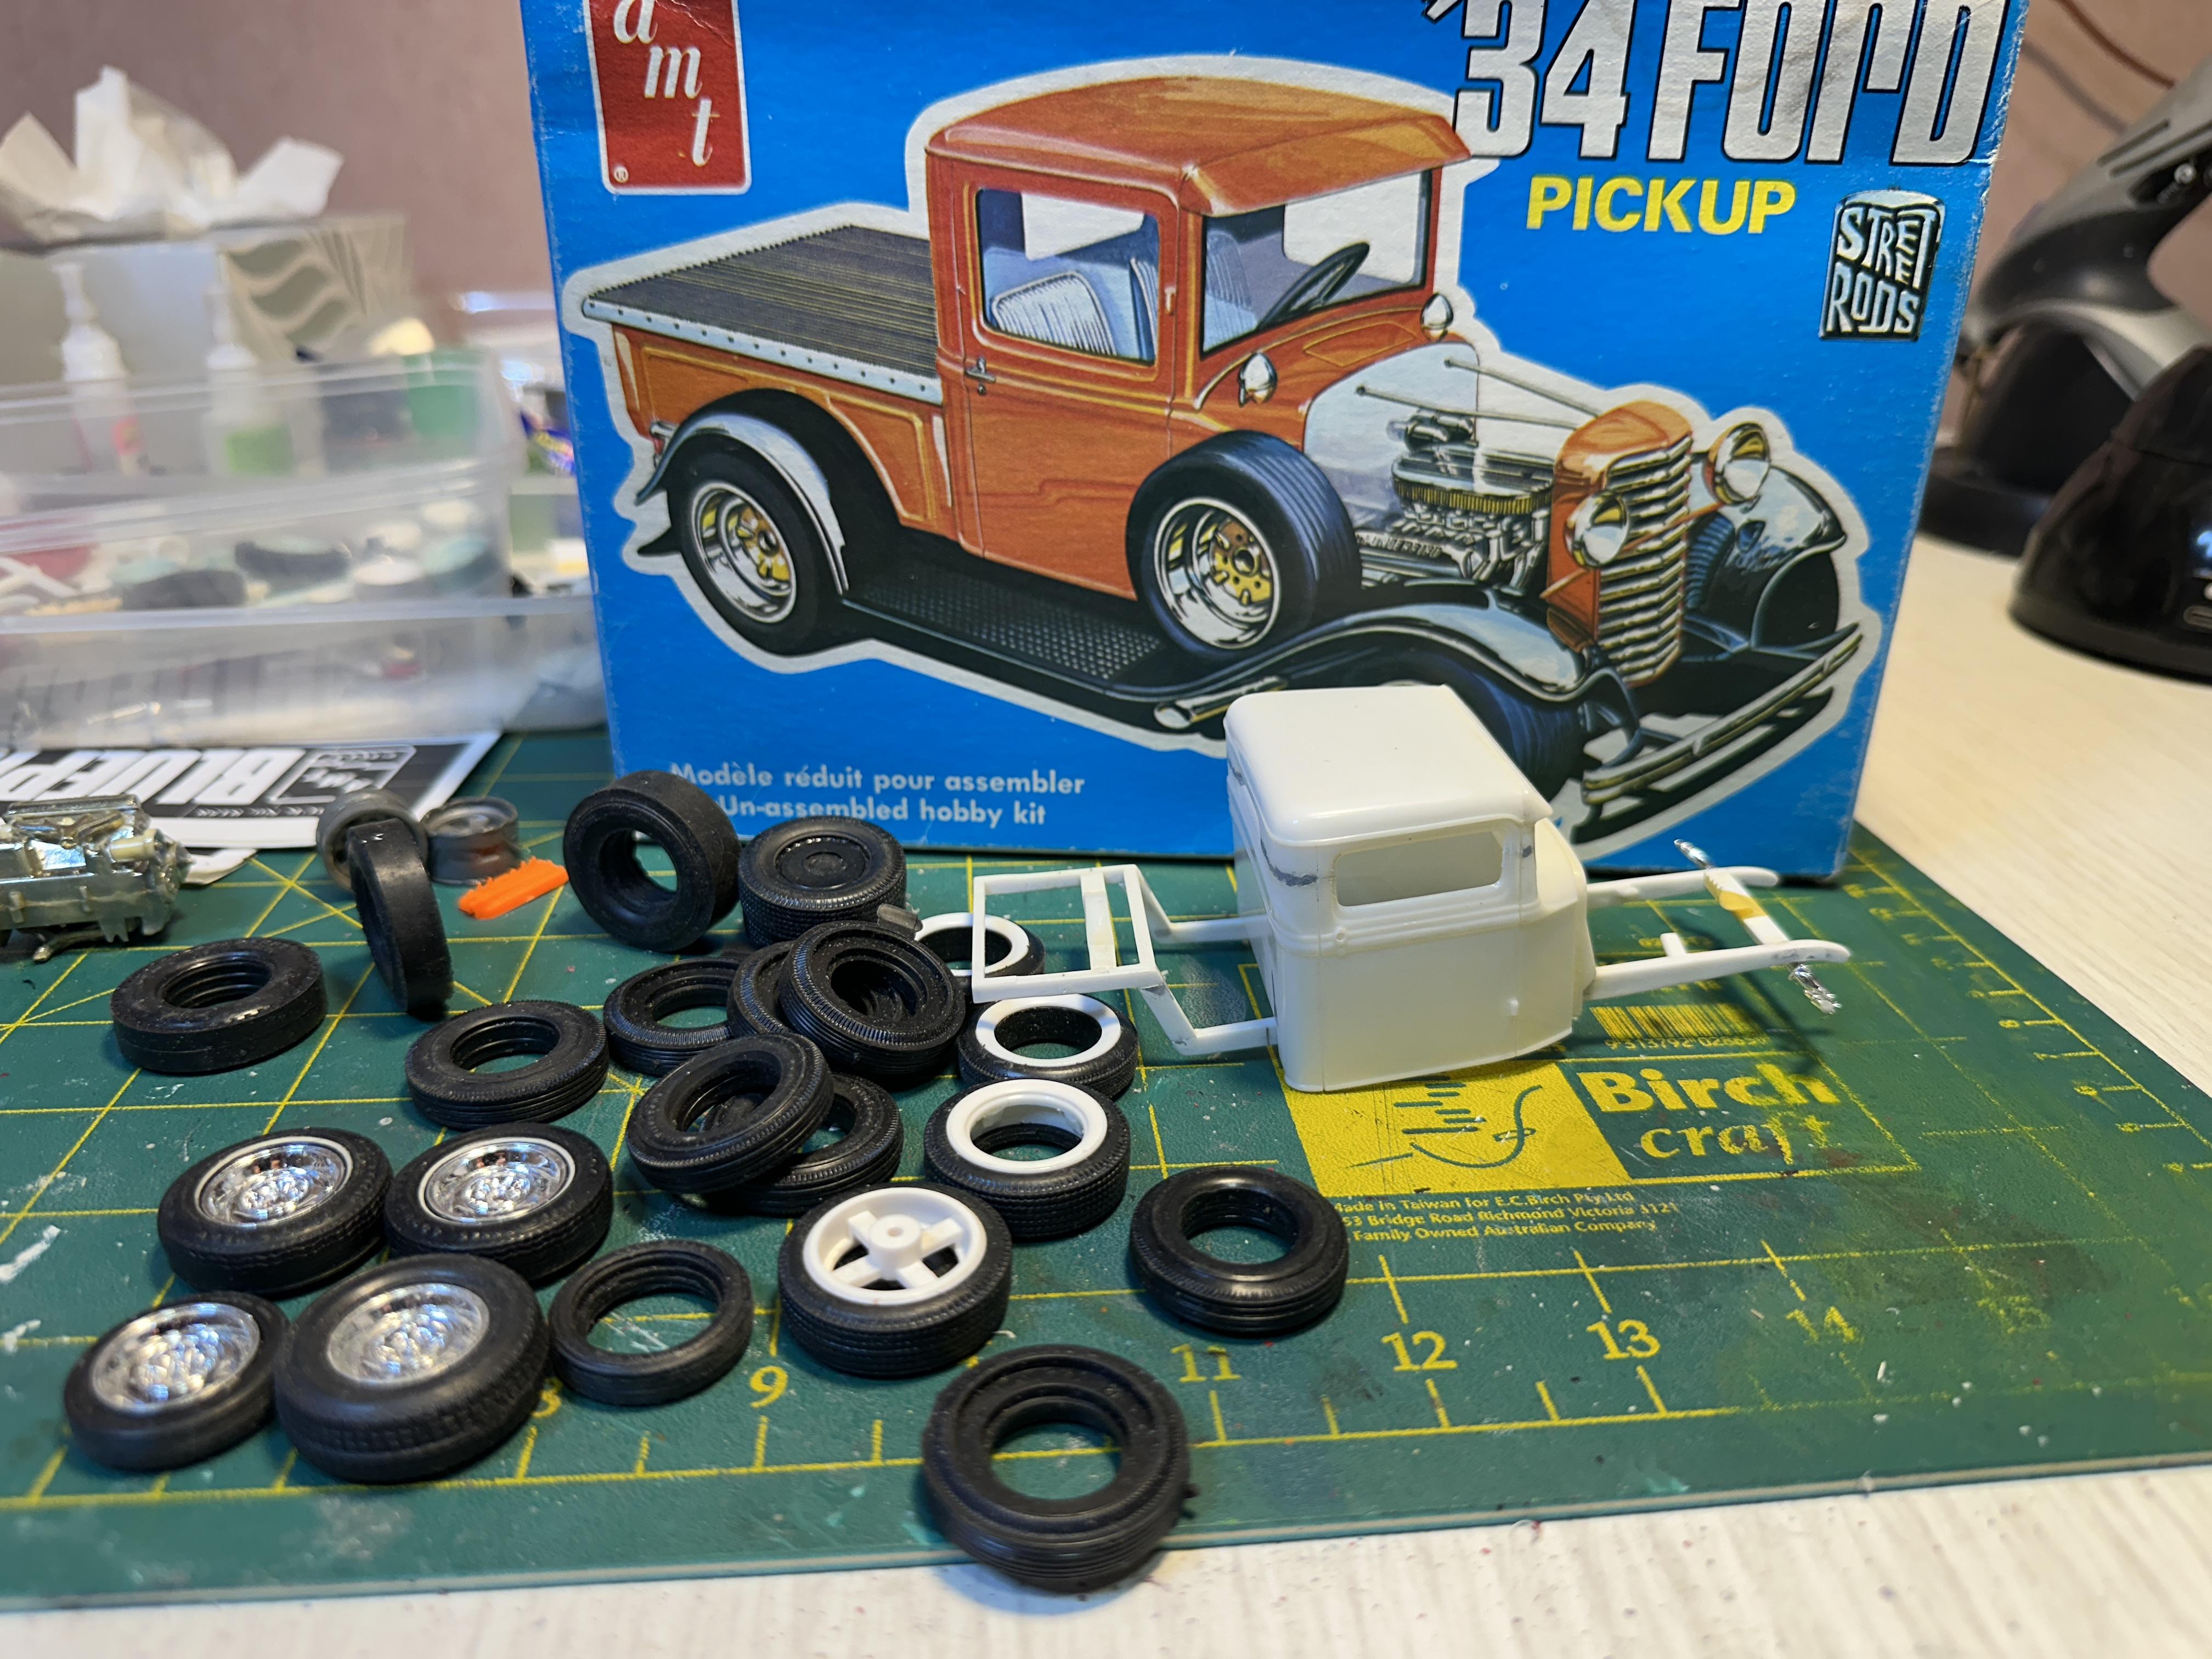
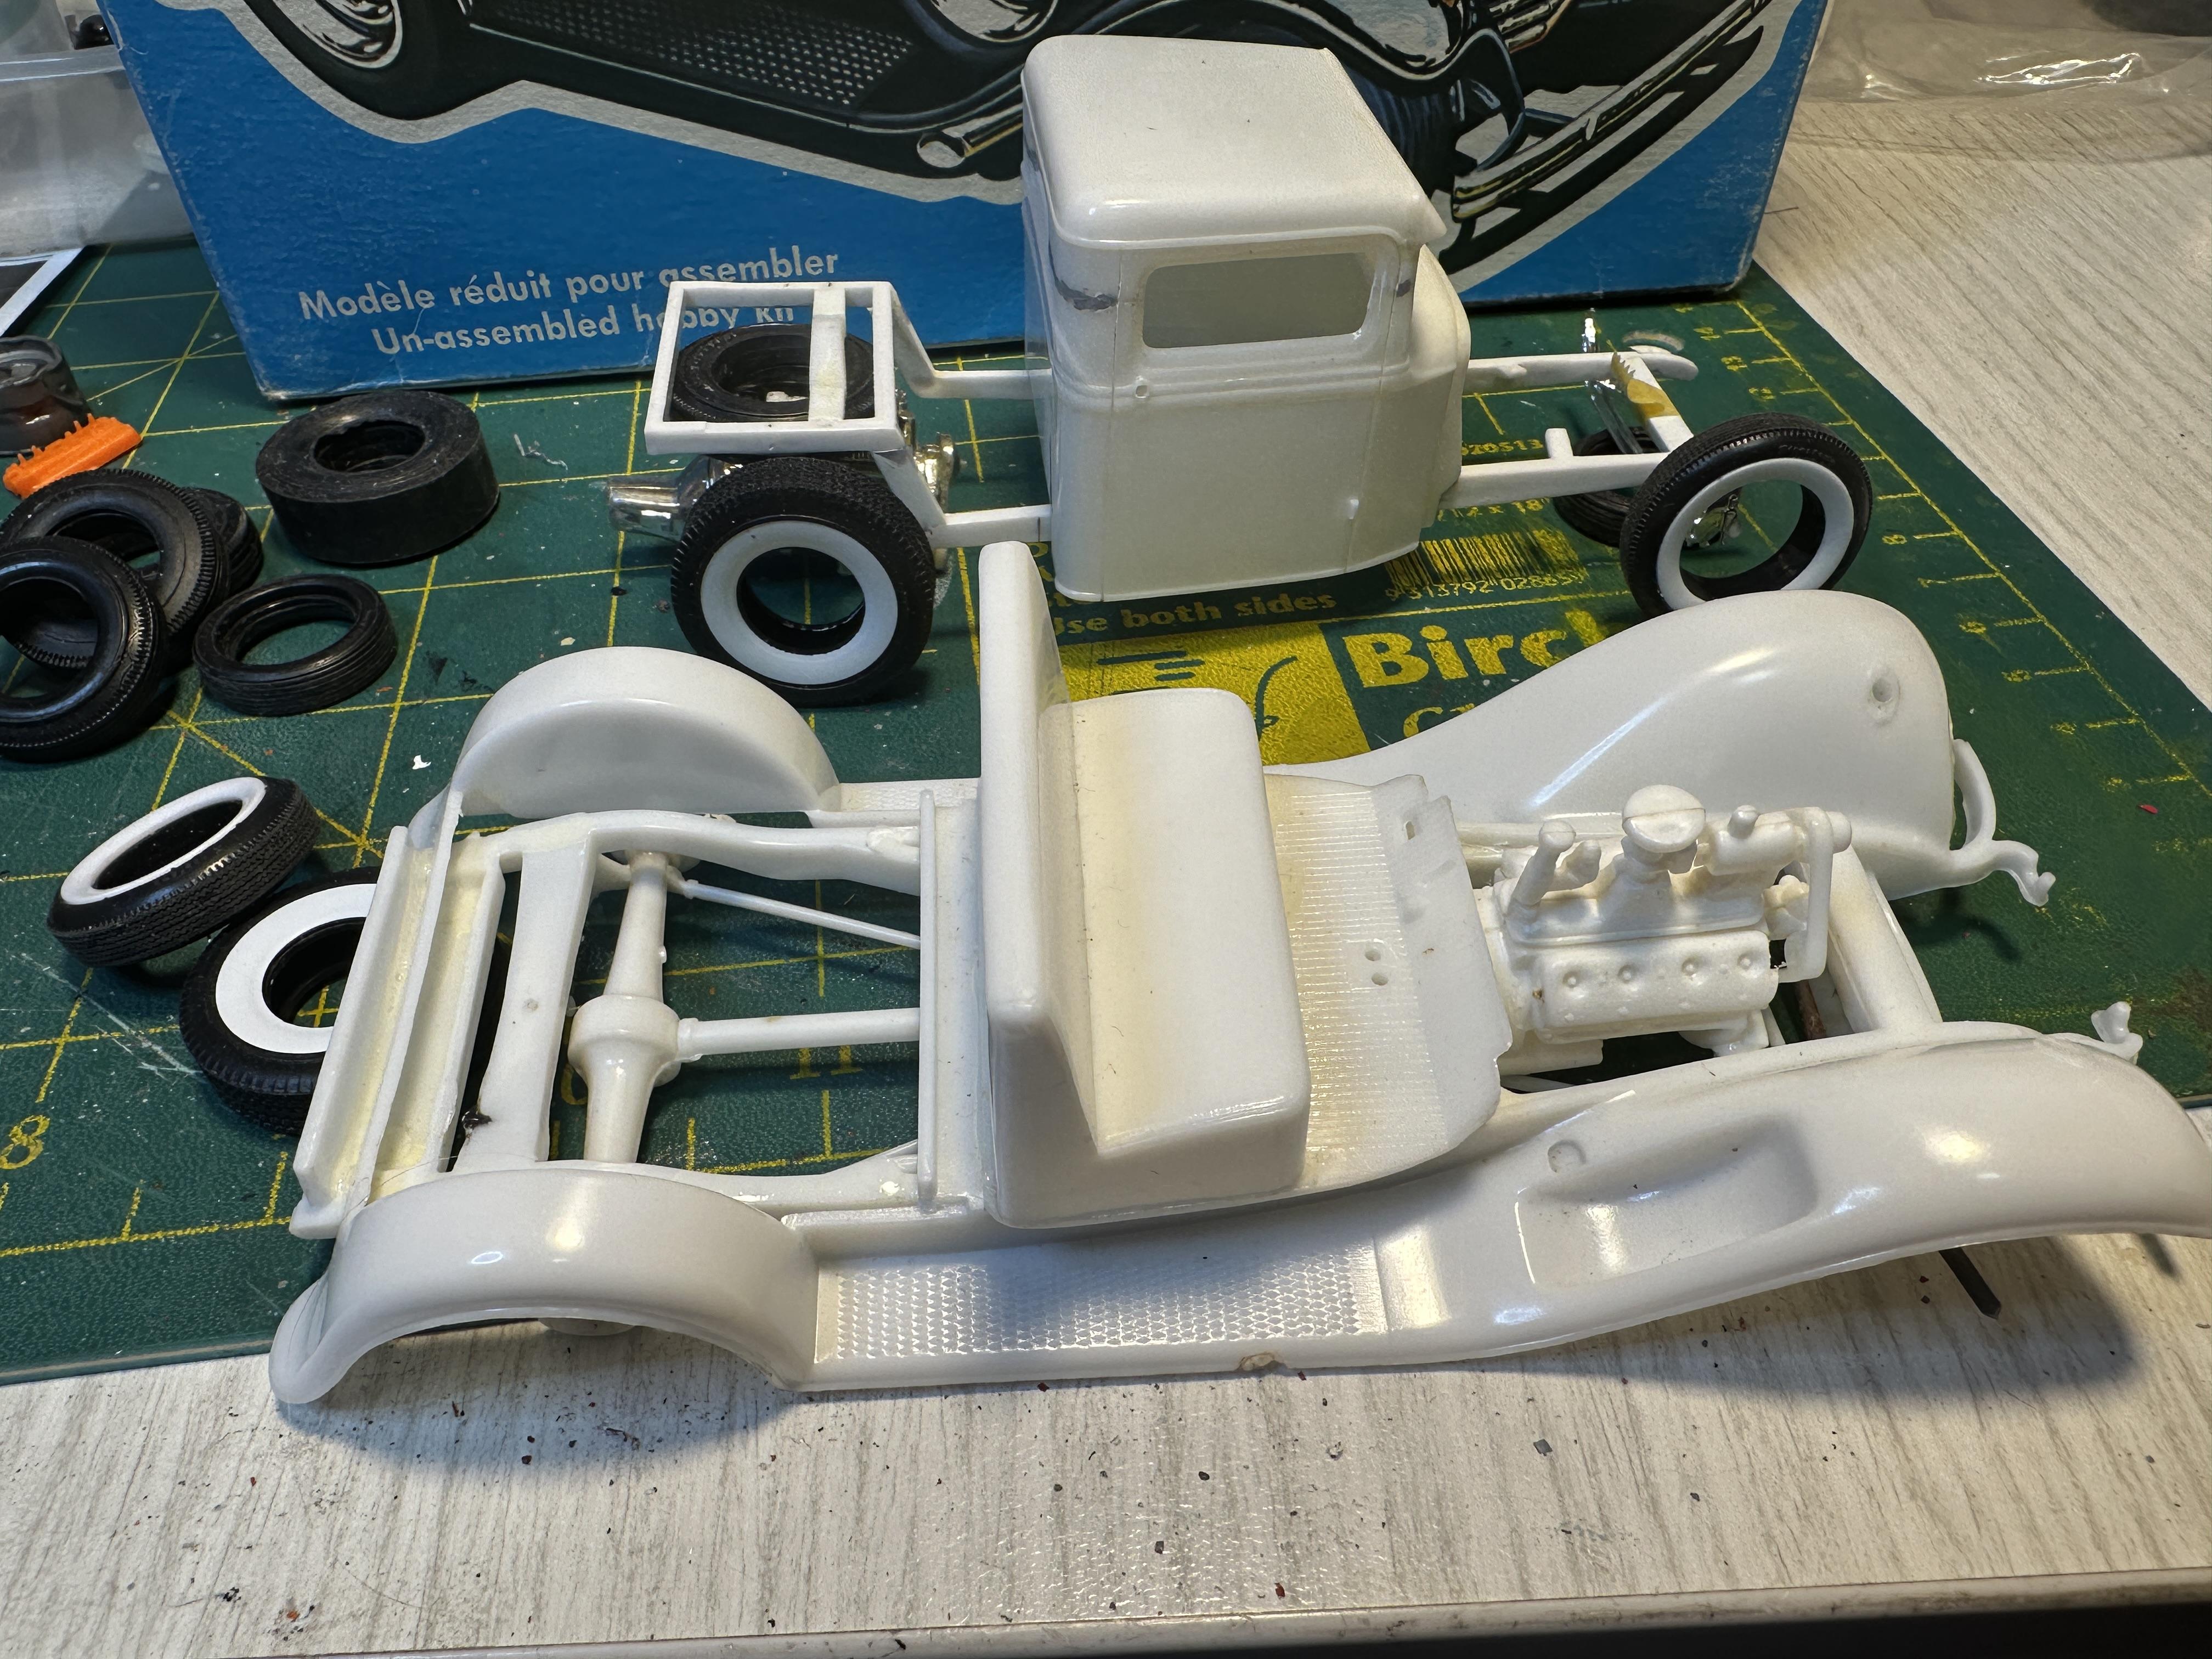
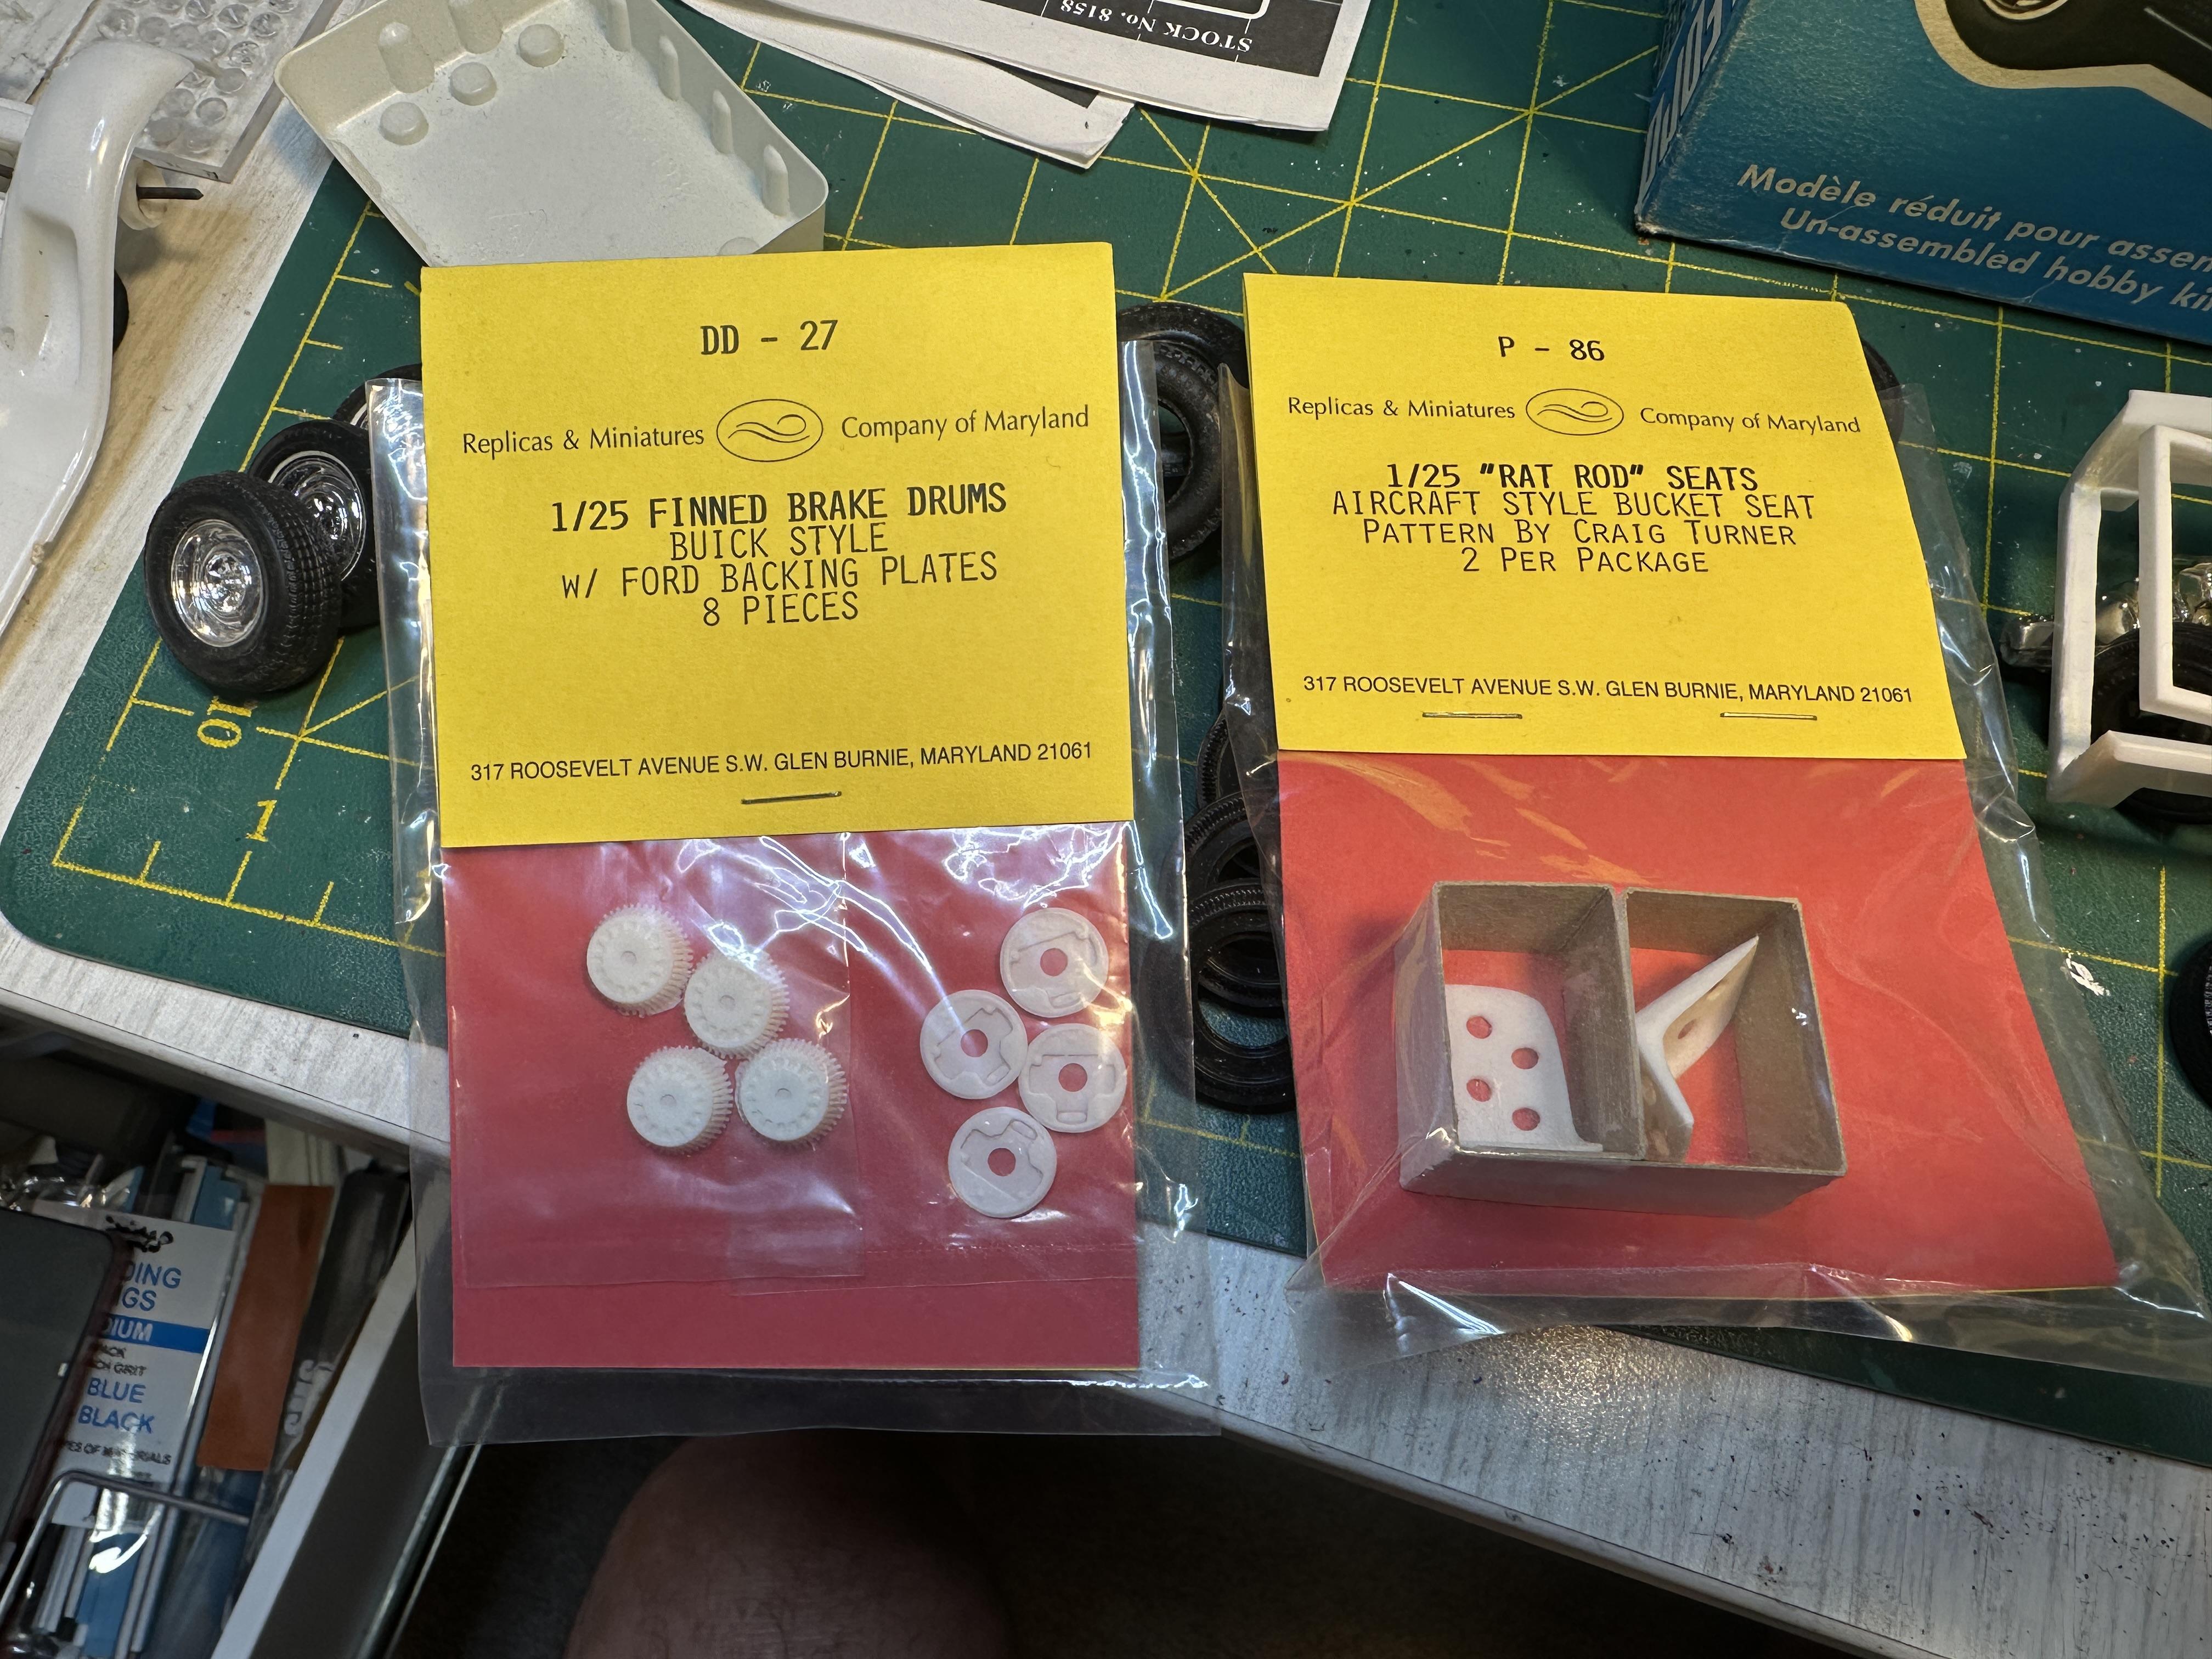
Looking back at my photos of this stalled build the chop was done way back in August 2018 and the photo spread was over the subsequent 2 years before it got shelved. The build started with an unpainted partly built AMT 34 PU glue bomb. The build is one I have always wanted to do but was put on the back burner as the 34 PU was not available for quite a few years and at that point I only had the one unbuilt kit so it stayed in the stash. Things changed when Lindberg somehow got a hold of the old AMT moulds. Then along came the glue bomb so my old unbuilt can stay squirreled away for another day. They are low quality kits IMO anyway so it will most probably stay there. I have just finished my Model A Bange build so I thought it would be a good idea to bring this off the shelf. I did a quick look through the boxes and there are parts from the 34PU, Revell 29 A roadster, a Revell Model a PU and some other bit from the parts box A quick mock up of where this is at - There was so many tires in the boxes, big'n'little, wide whites, narrow slicks. The build note originally has skinny cheater slicks but they got used on another build. So the thought is now wide whites - rears from a Moebius 56 300B and the fronts from the parts box - not sure where they came from The chassis is the Hi-boy from a Revell 29A Roadster with a massive Z in the rear. Body has a 4" chop and is channeled deeper than the frame rails Compared to the original clunker And I found these gems so will definitely be using these too. Next couple of posts I will put up pix of the build. It will be a good memory jogger as there has been quite a bit of work done to get this far. Thanks for looking
-
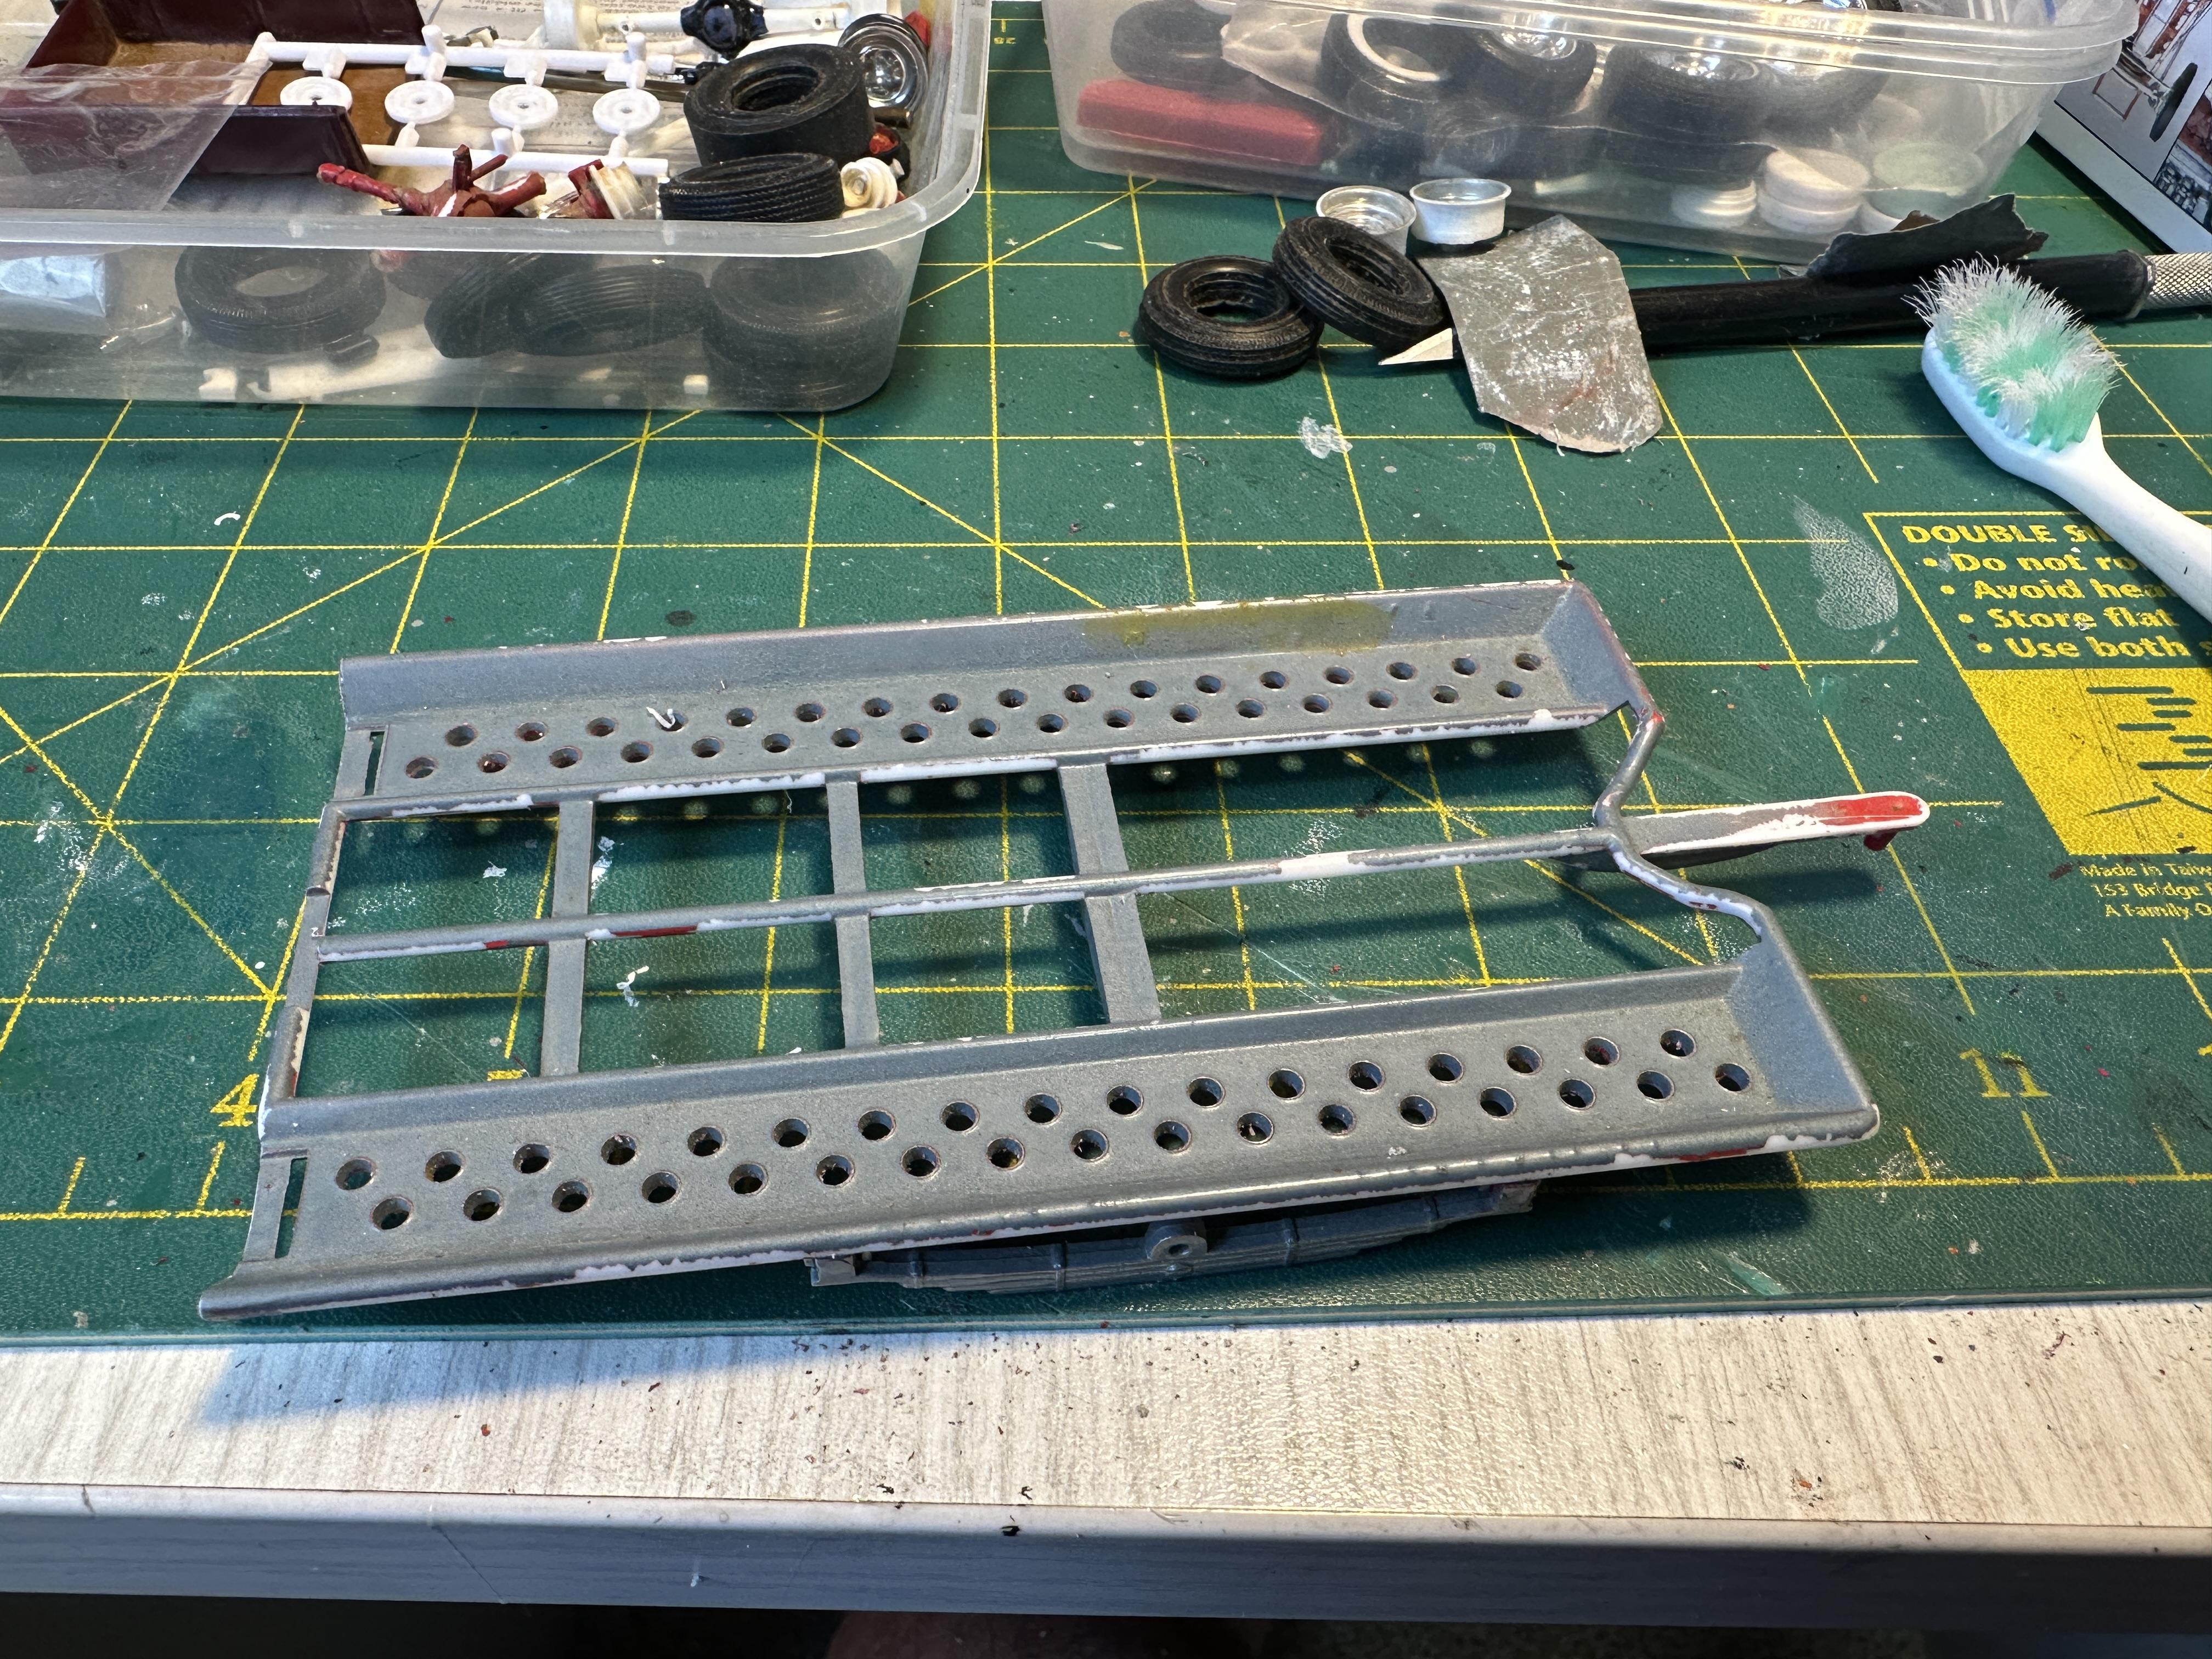
Just when you think you are done @Bullybeef releases a whole bunch of his bench squirrels down my way. Looking through the parts boxes of a stalled build and come across this. Now every race car needs a trailer. Not sure of the origins as I think it came with a pox of parts that was given to m many moons ago. I think it is AMT and more than likely to be as most of the parts in the box were AMT. In the purple pond at the moment. And I suppose I will need to find a suitable tow truck from the late 50's - early 60's to haul this lot around. A 53 F100 springs to mind first - I have never built one of those before
-
Thanks guys. Means a lot
-
Just a bit of inspiration😁
-
Nice rod. Don't see full chassis depth channel very often - well done
-
Cool rail. I am happy with my last fully parts bin build - A bucket and motor from original AlaKart, chassis a dealt to 25T - everything from the bins
-
Squirrels at play at your house again🤪 It's good to see a different approach to T-Bucket build. Like the longer chassis with the turtle deck - your original choice was too short IMO Will keep am eye on the build - may give me inspirations I have just finished my banger build. Just something about a parts box build
-
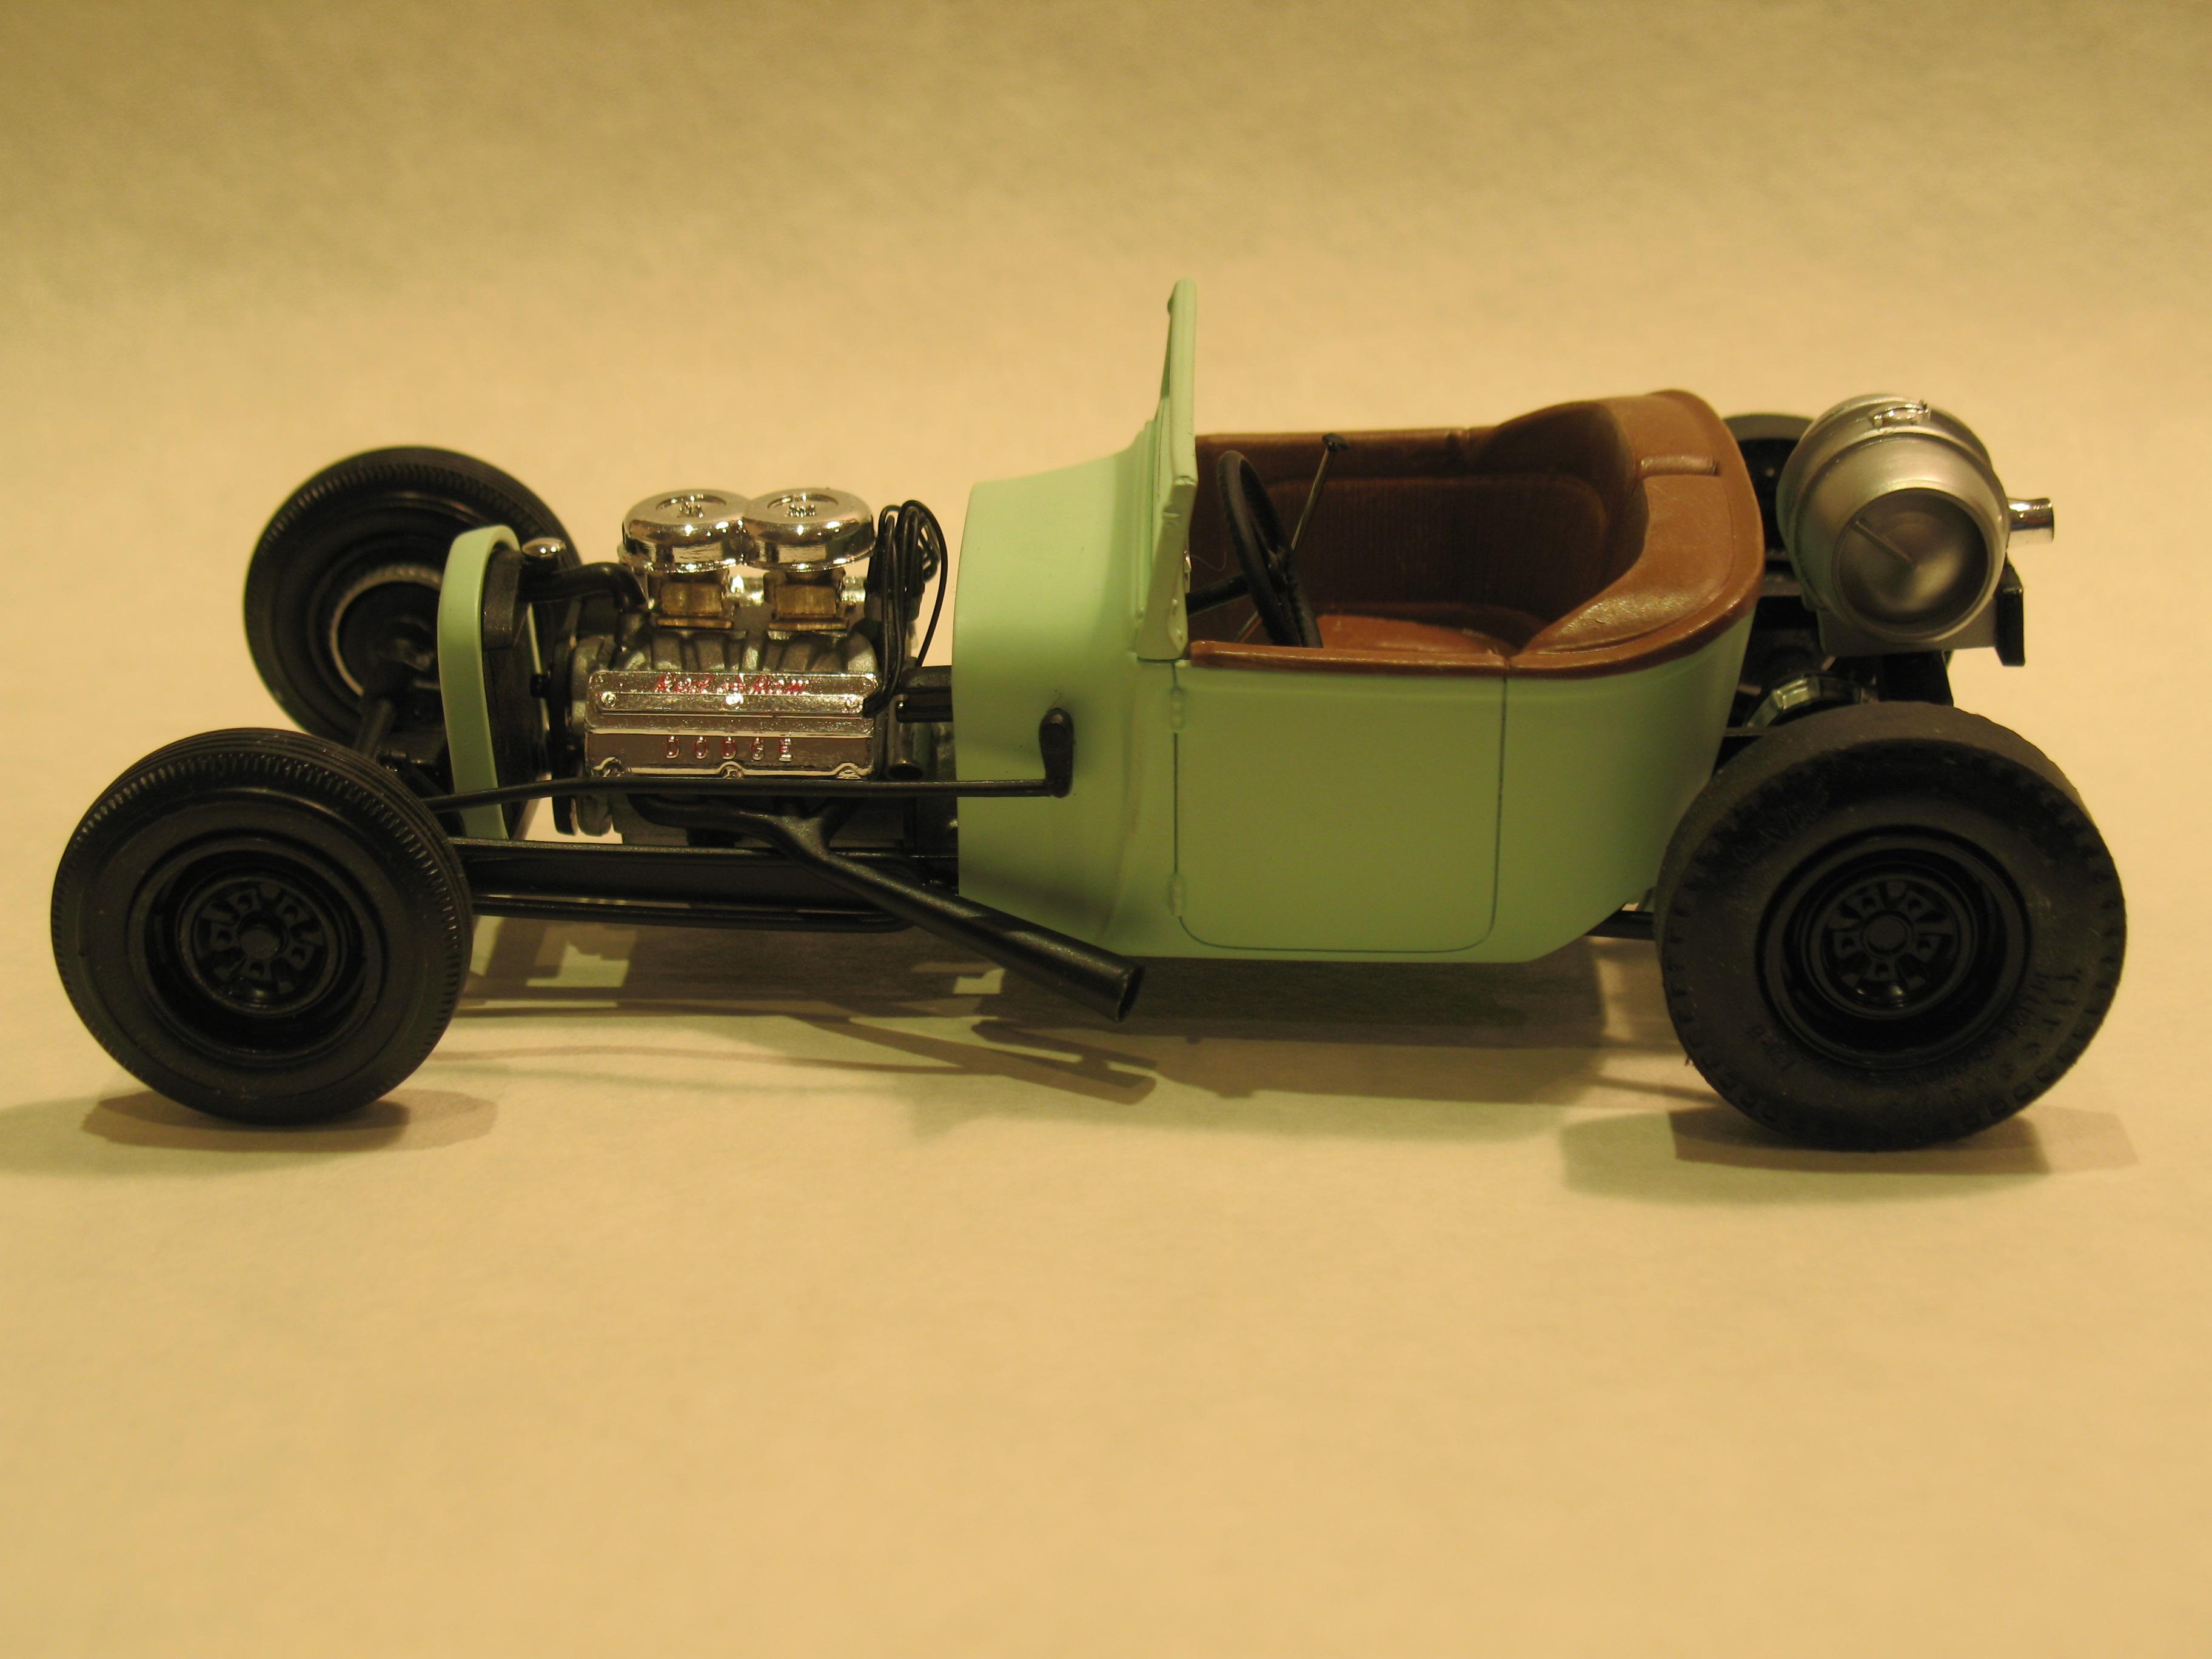
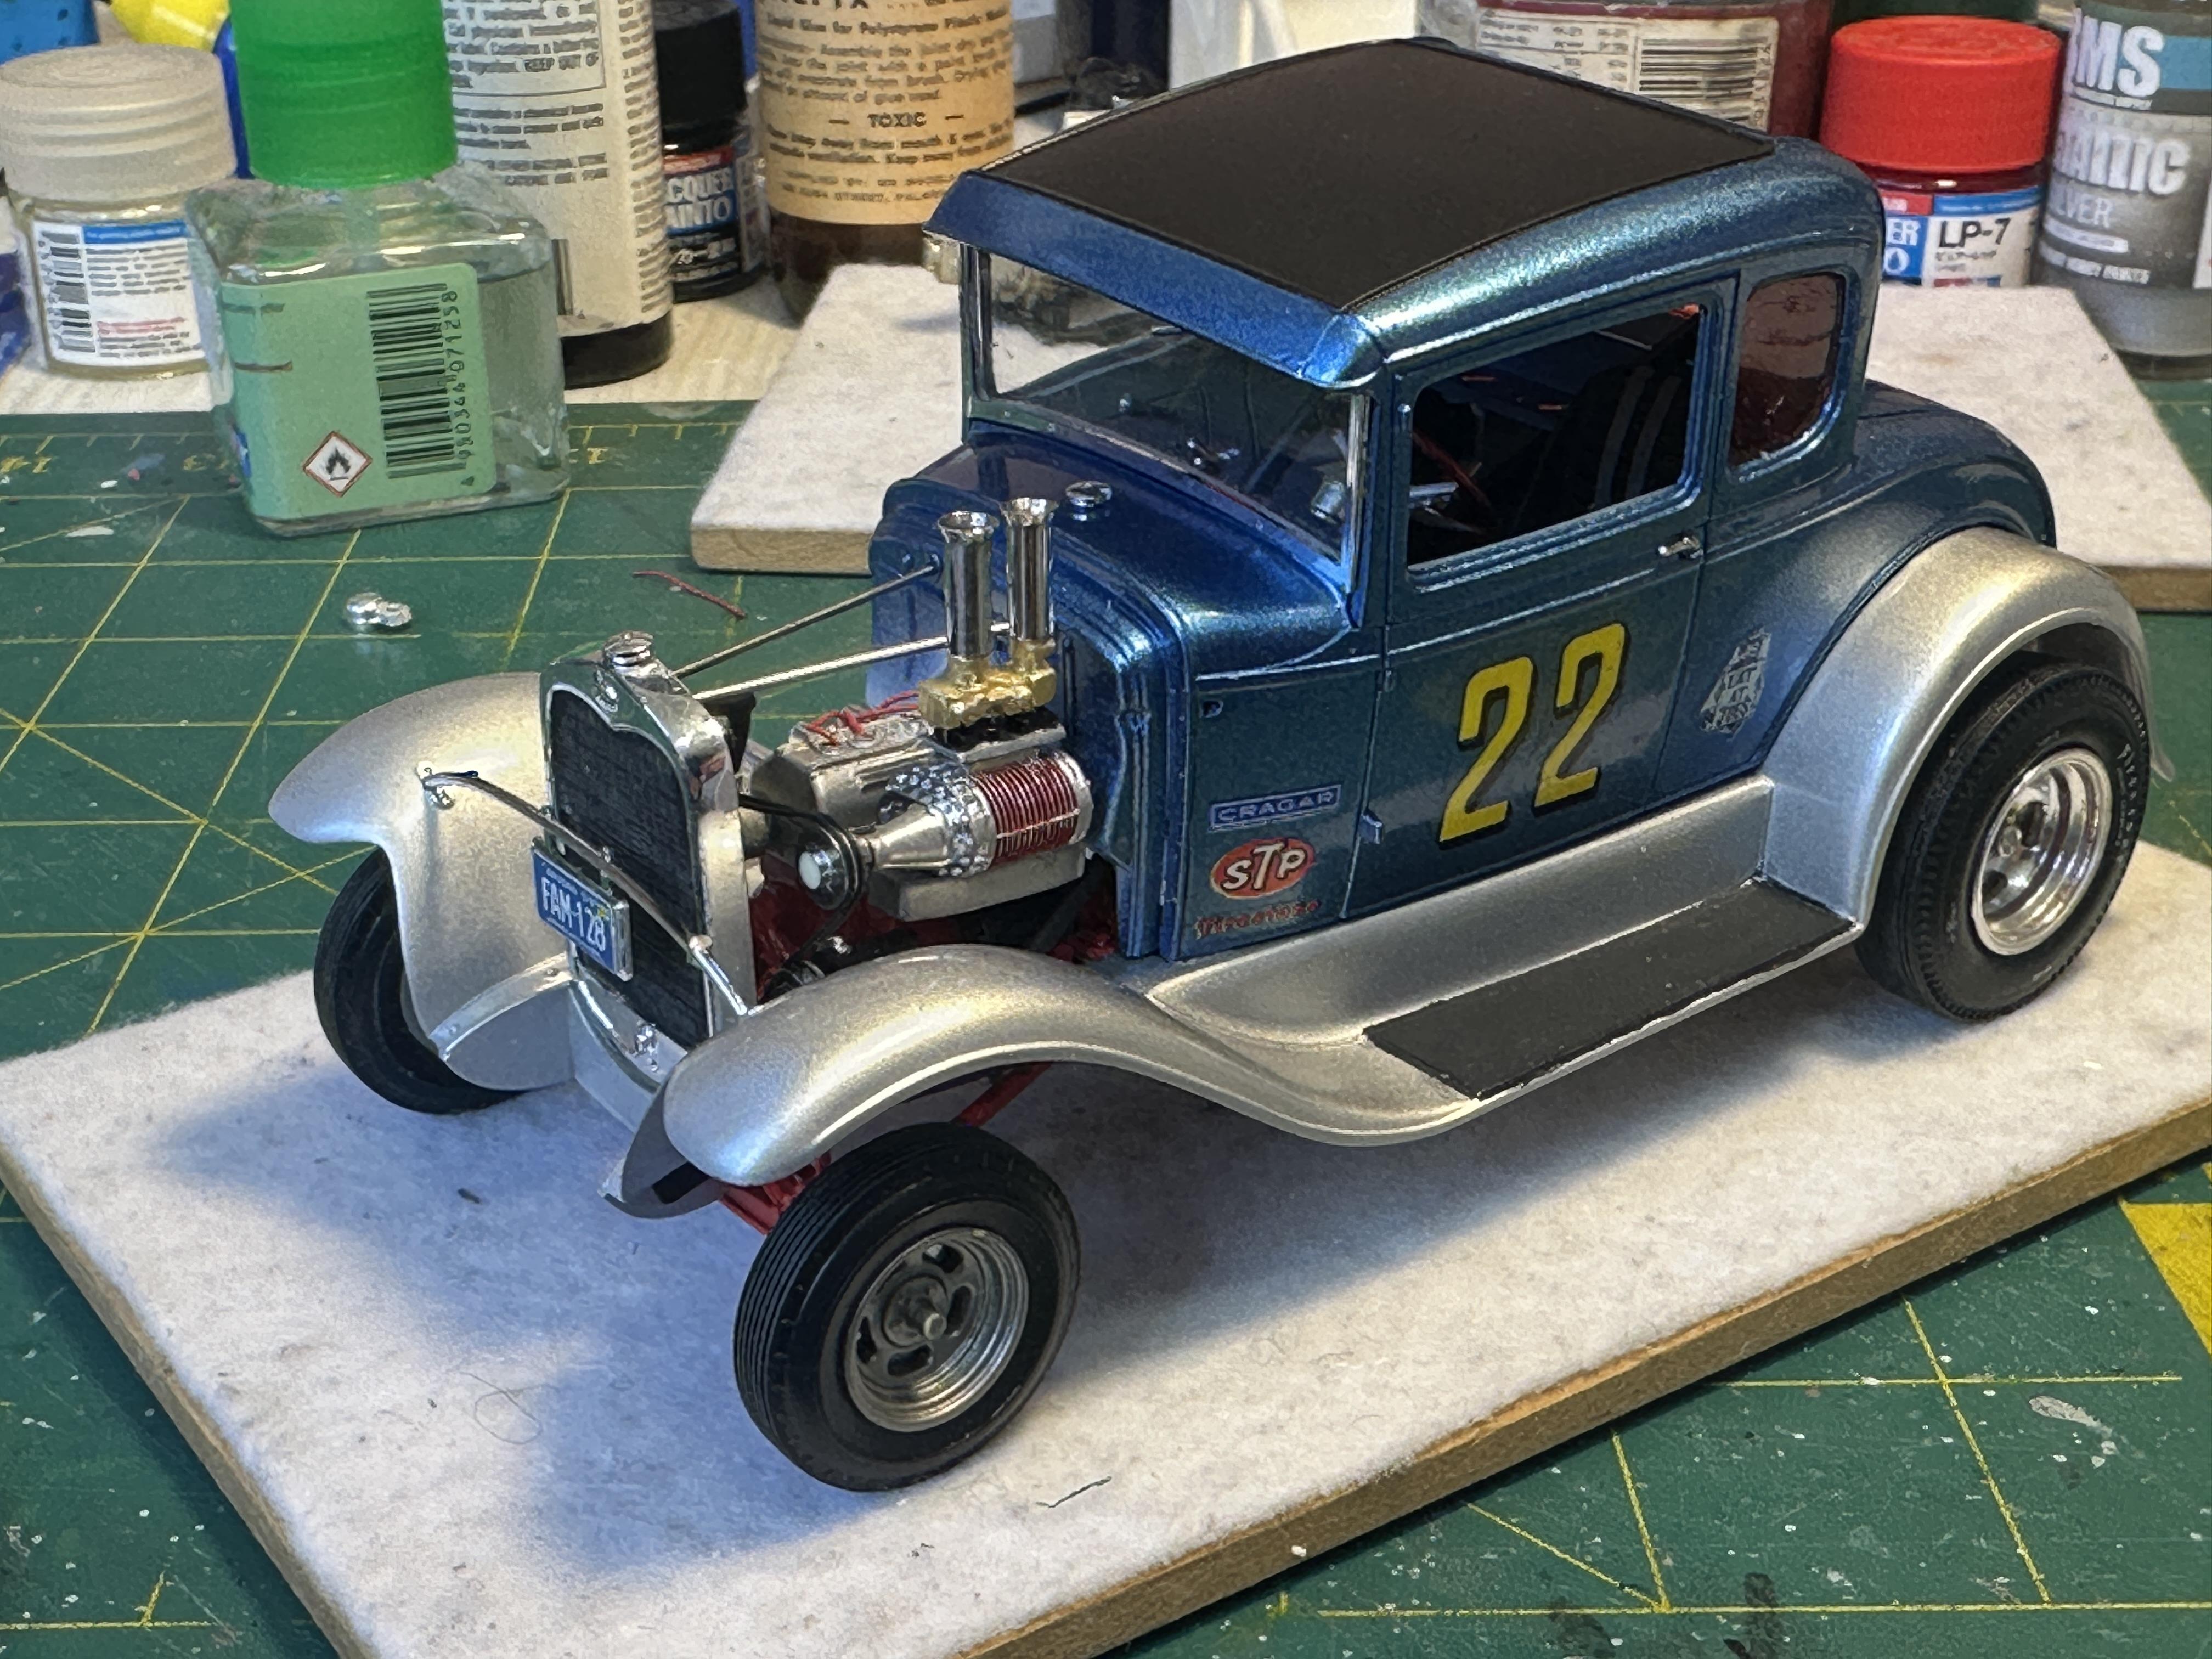
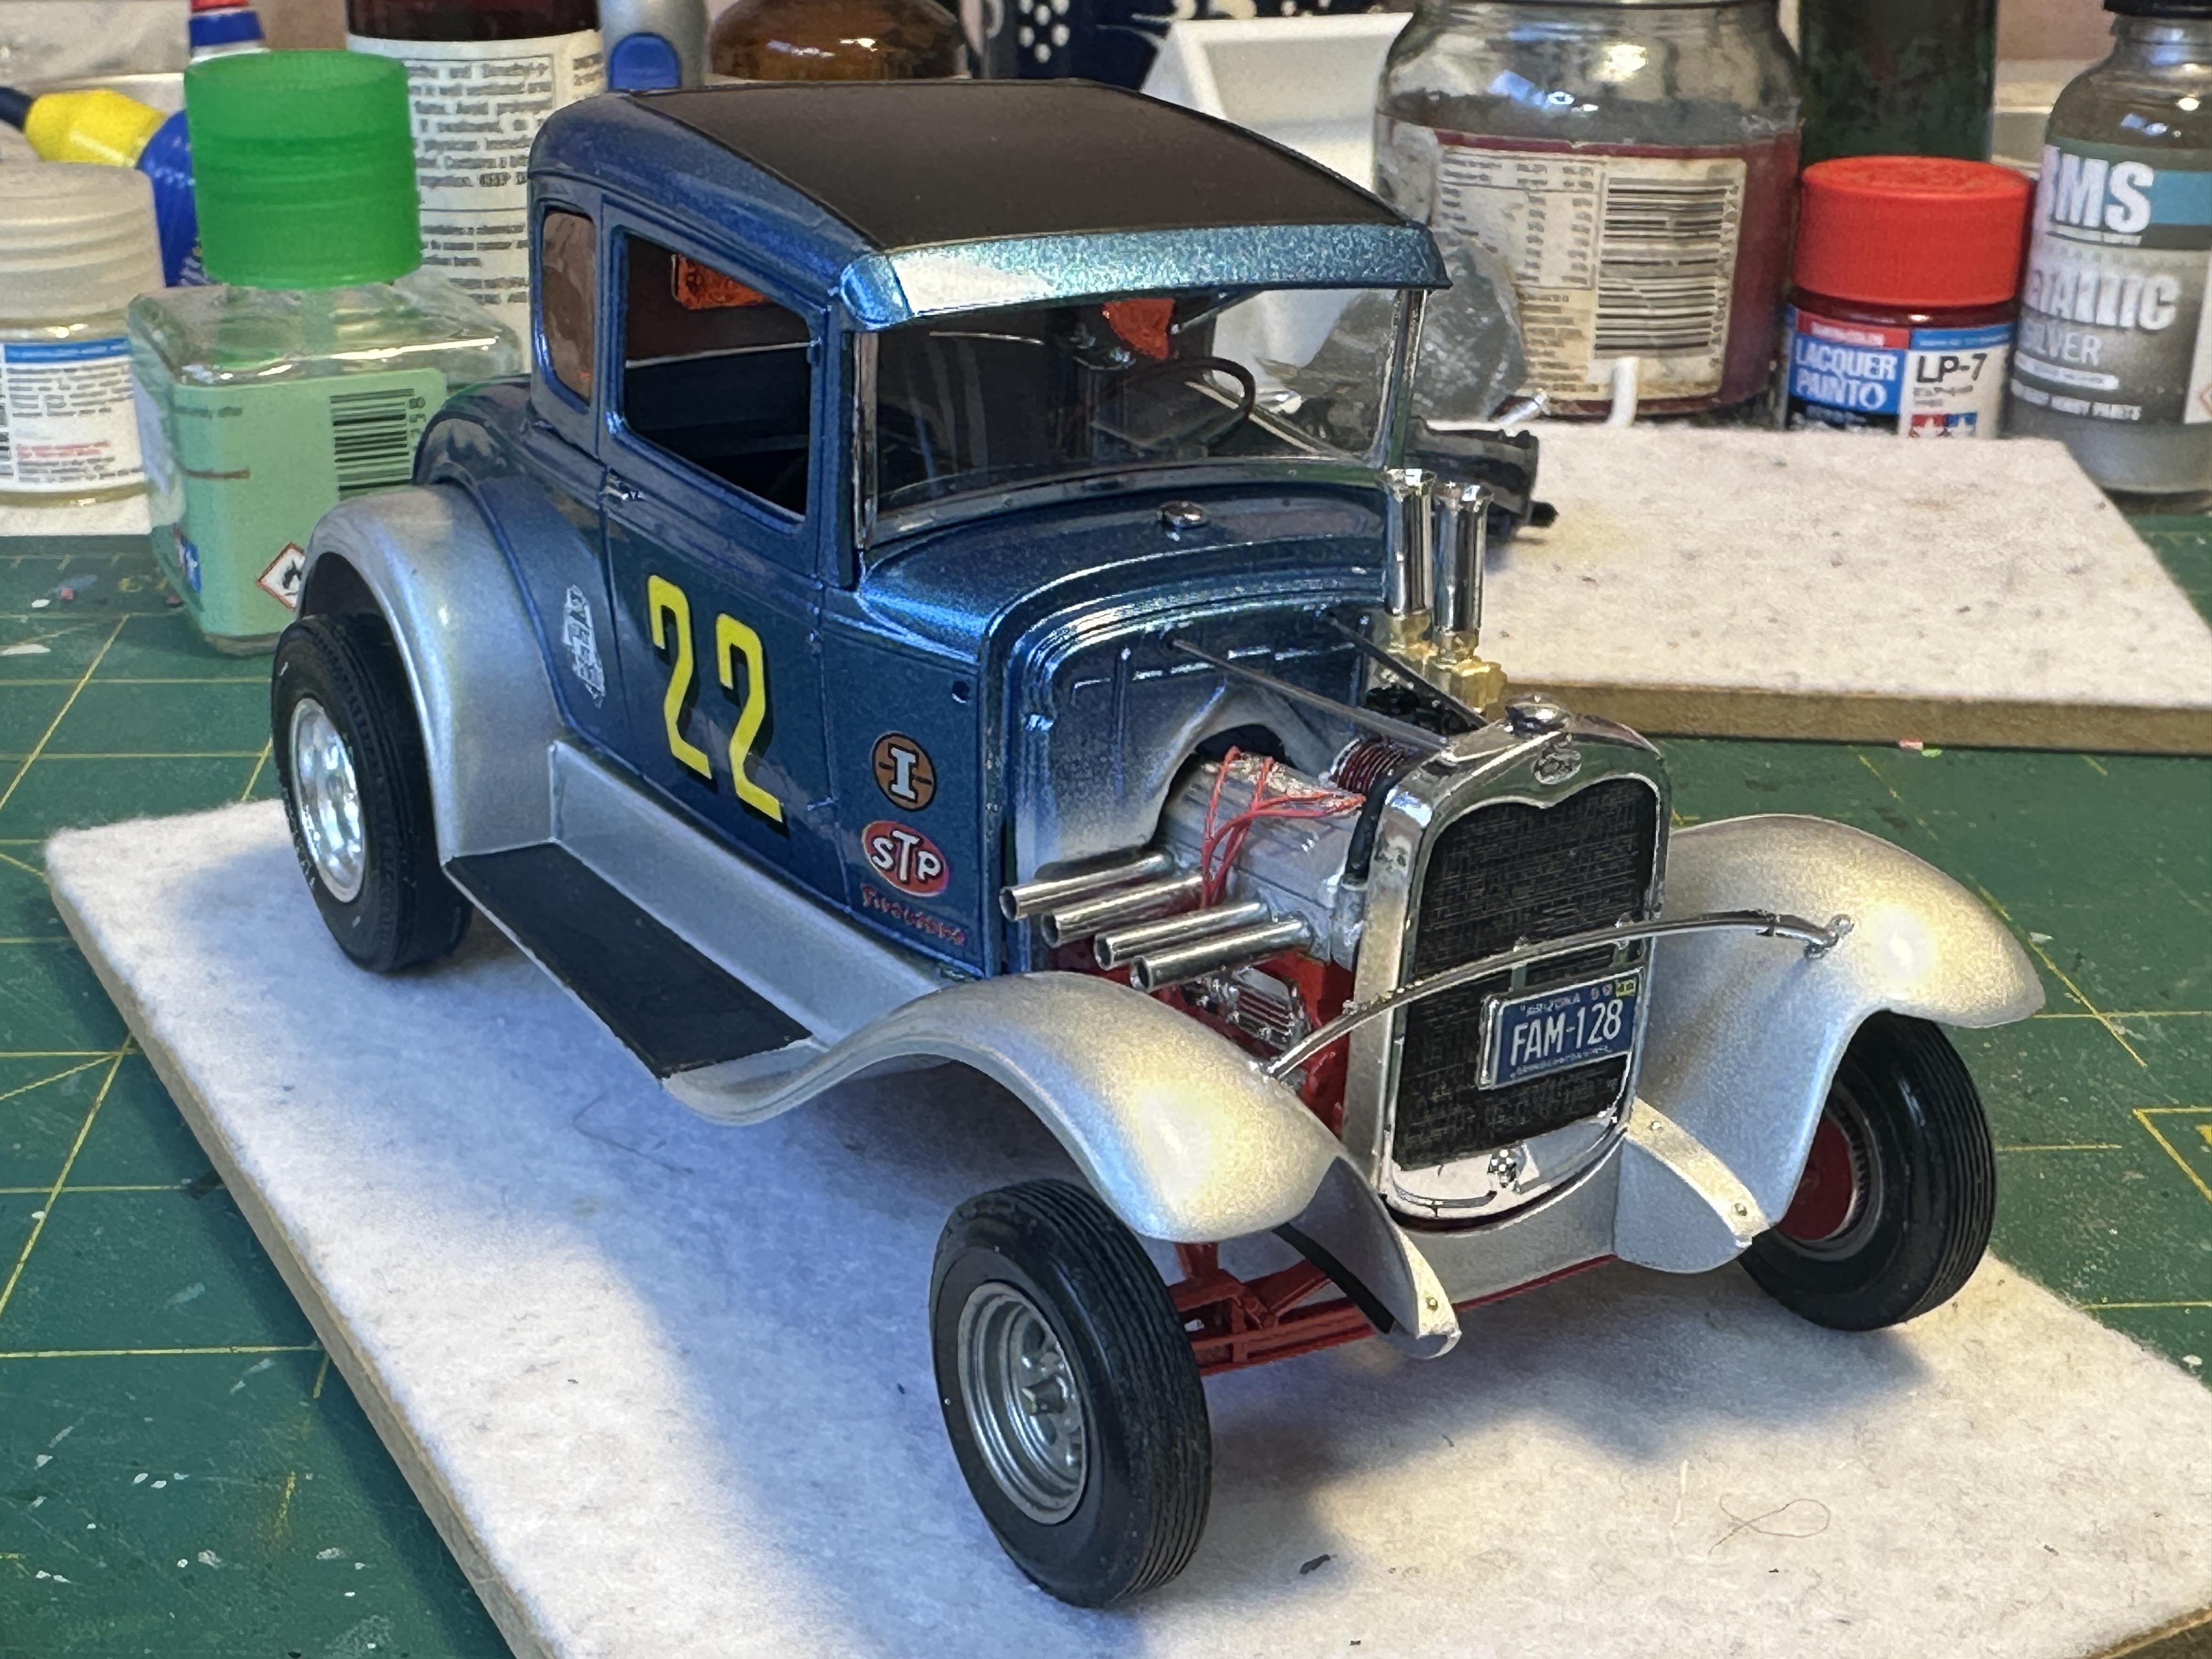
Monogram 30 A coupe I picked up earlier this year as part of an estate clear out. The kit dates back to 70 and was complete thankfully. So the theme of the build was to make an old skool A-Bone banger drag car as used back in the day. Motor to have an Ardun OHV conversion with blower which was newly installed which required some panel work on the fire wall to fit the huge head and zoomies. The motor is based on a Revell A banger. Paint is ancient LMG metallic blue with Tamiya lacquer clear. Running gear is Tamiya red. Lots of little details from the parts box and some scratch built but I wont go into details here as it is all covered on the WIP thread Build thread here - As mentioned in the build thread it is part of an on line build thread with a club down here in NZ. I have had a ball belting out a kit in record time as it usually takes me 12 months or so to get build done. Enjoy Thanks for looking
-
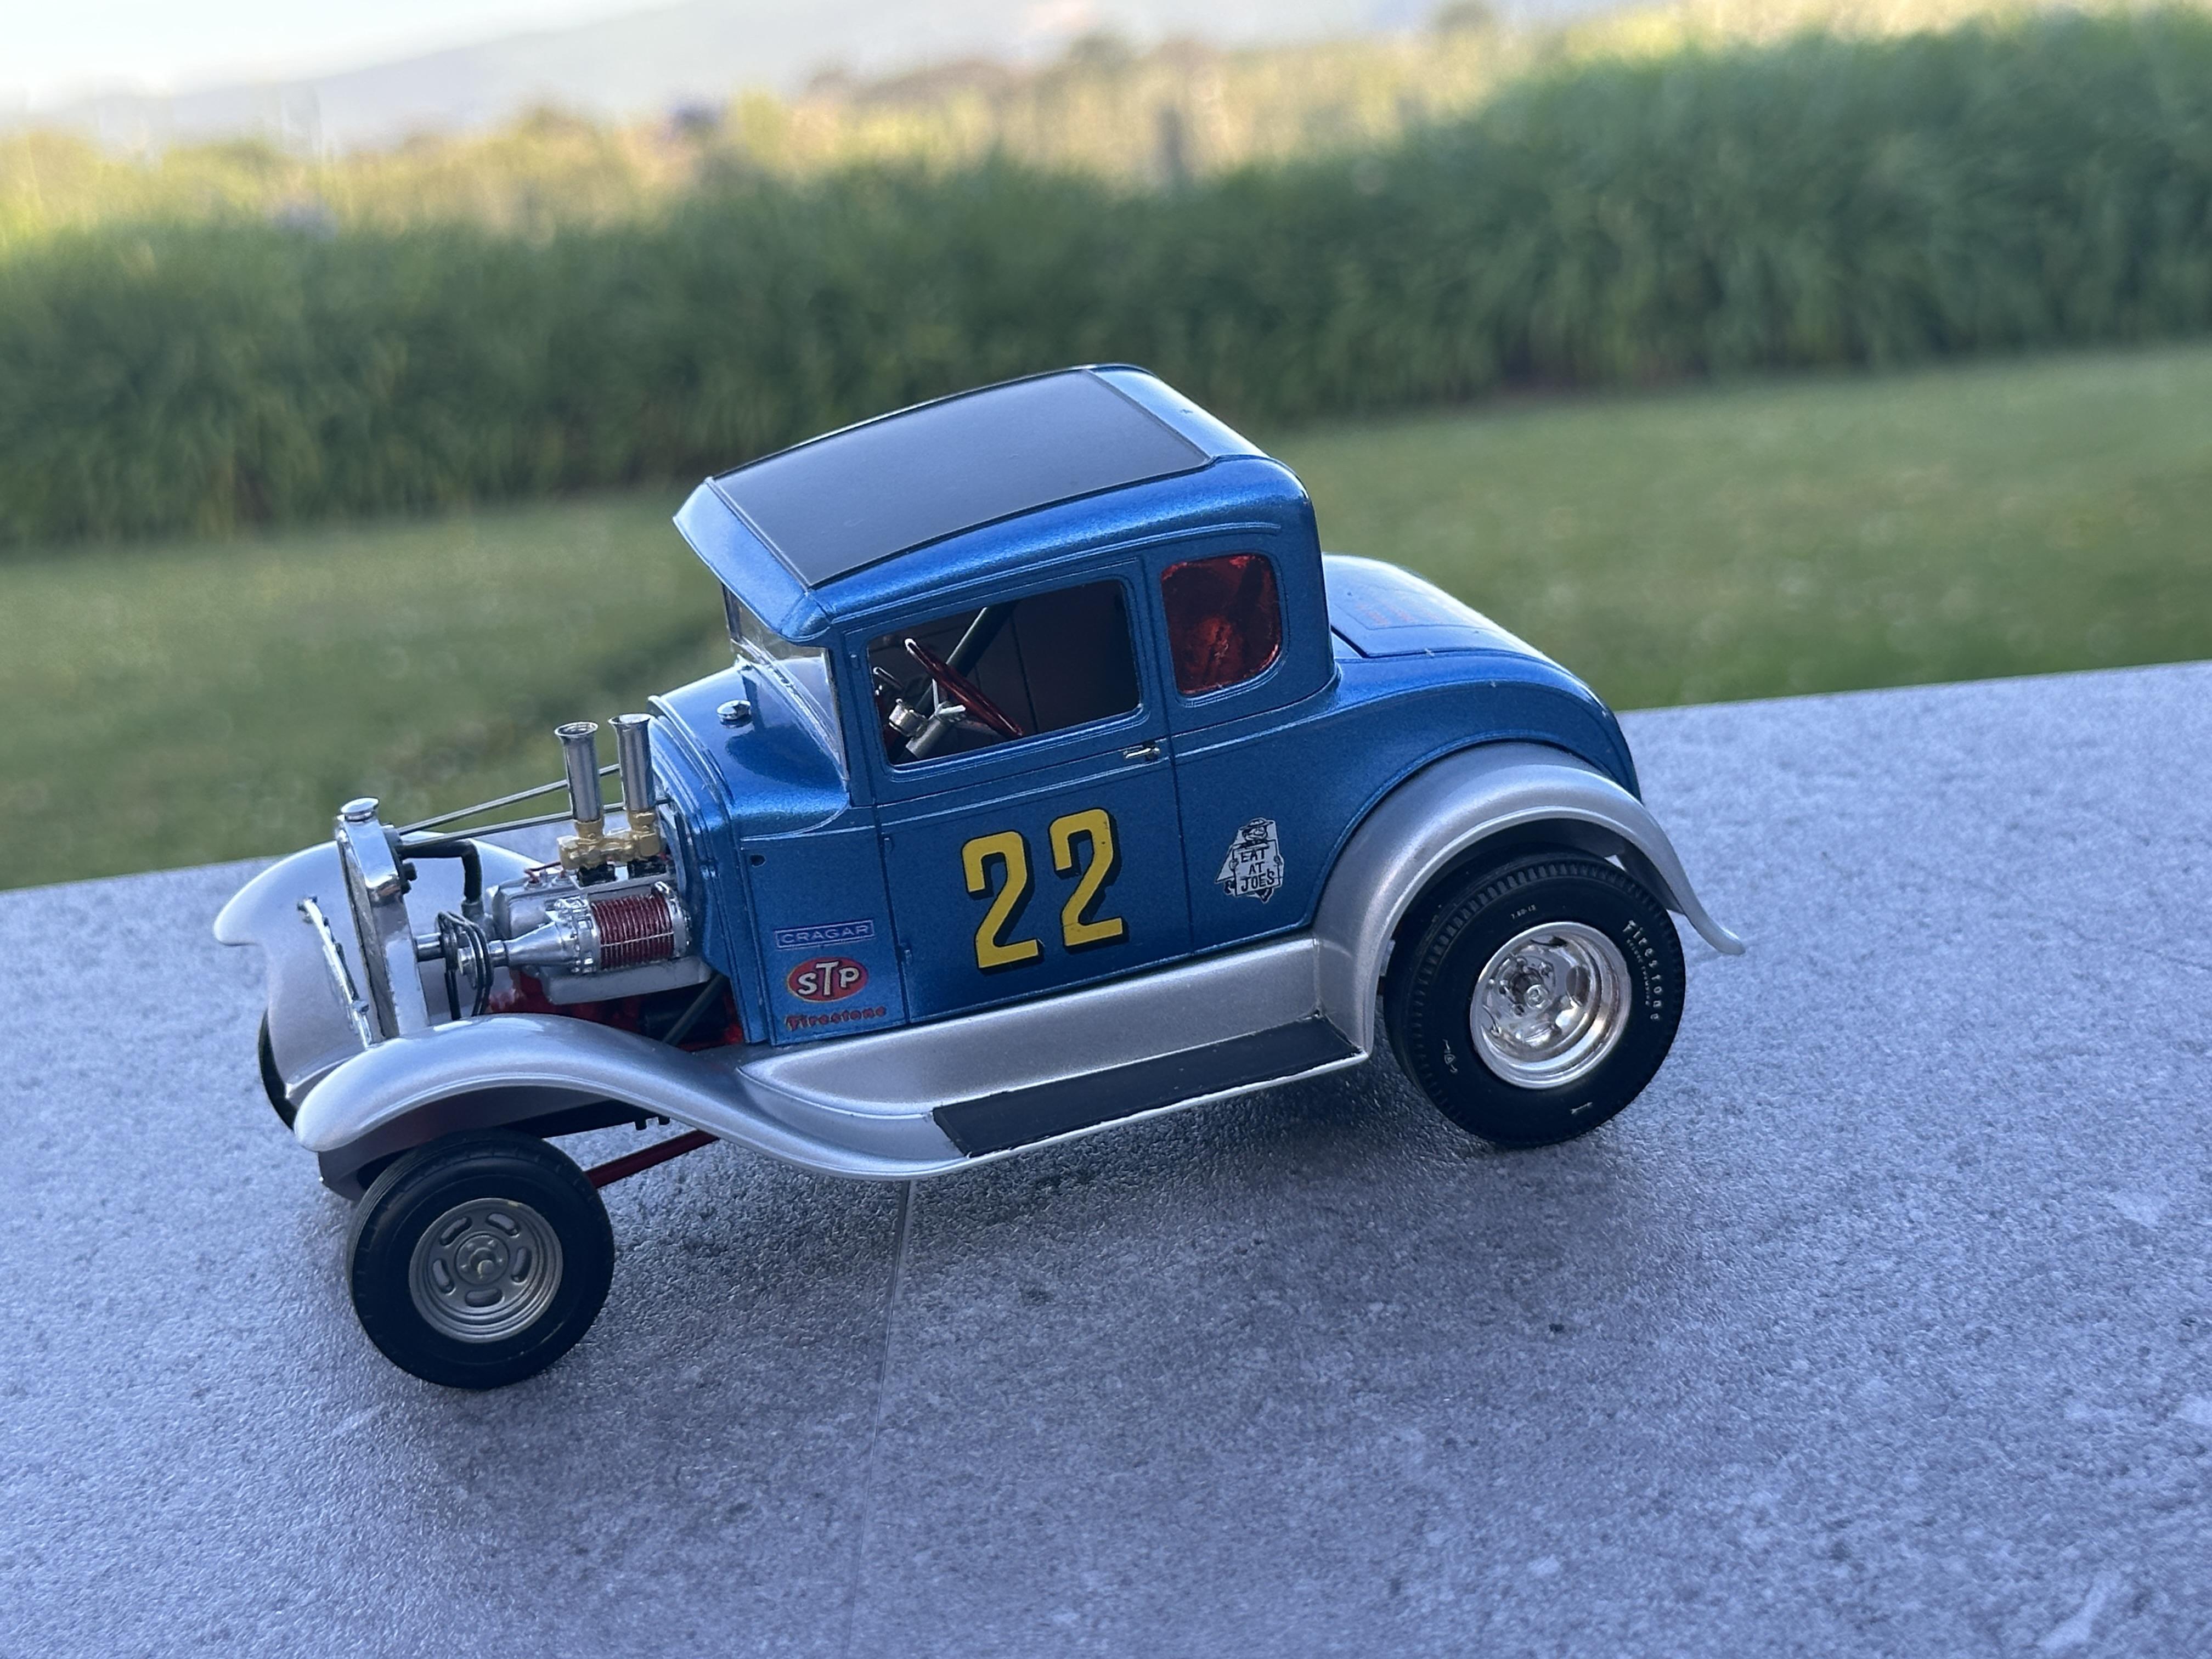
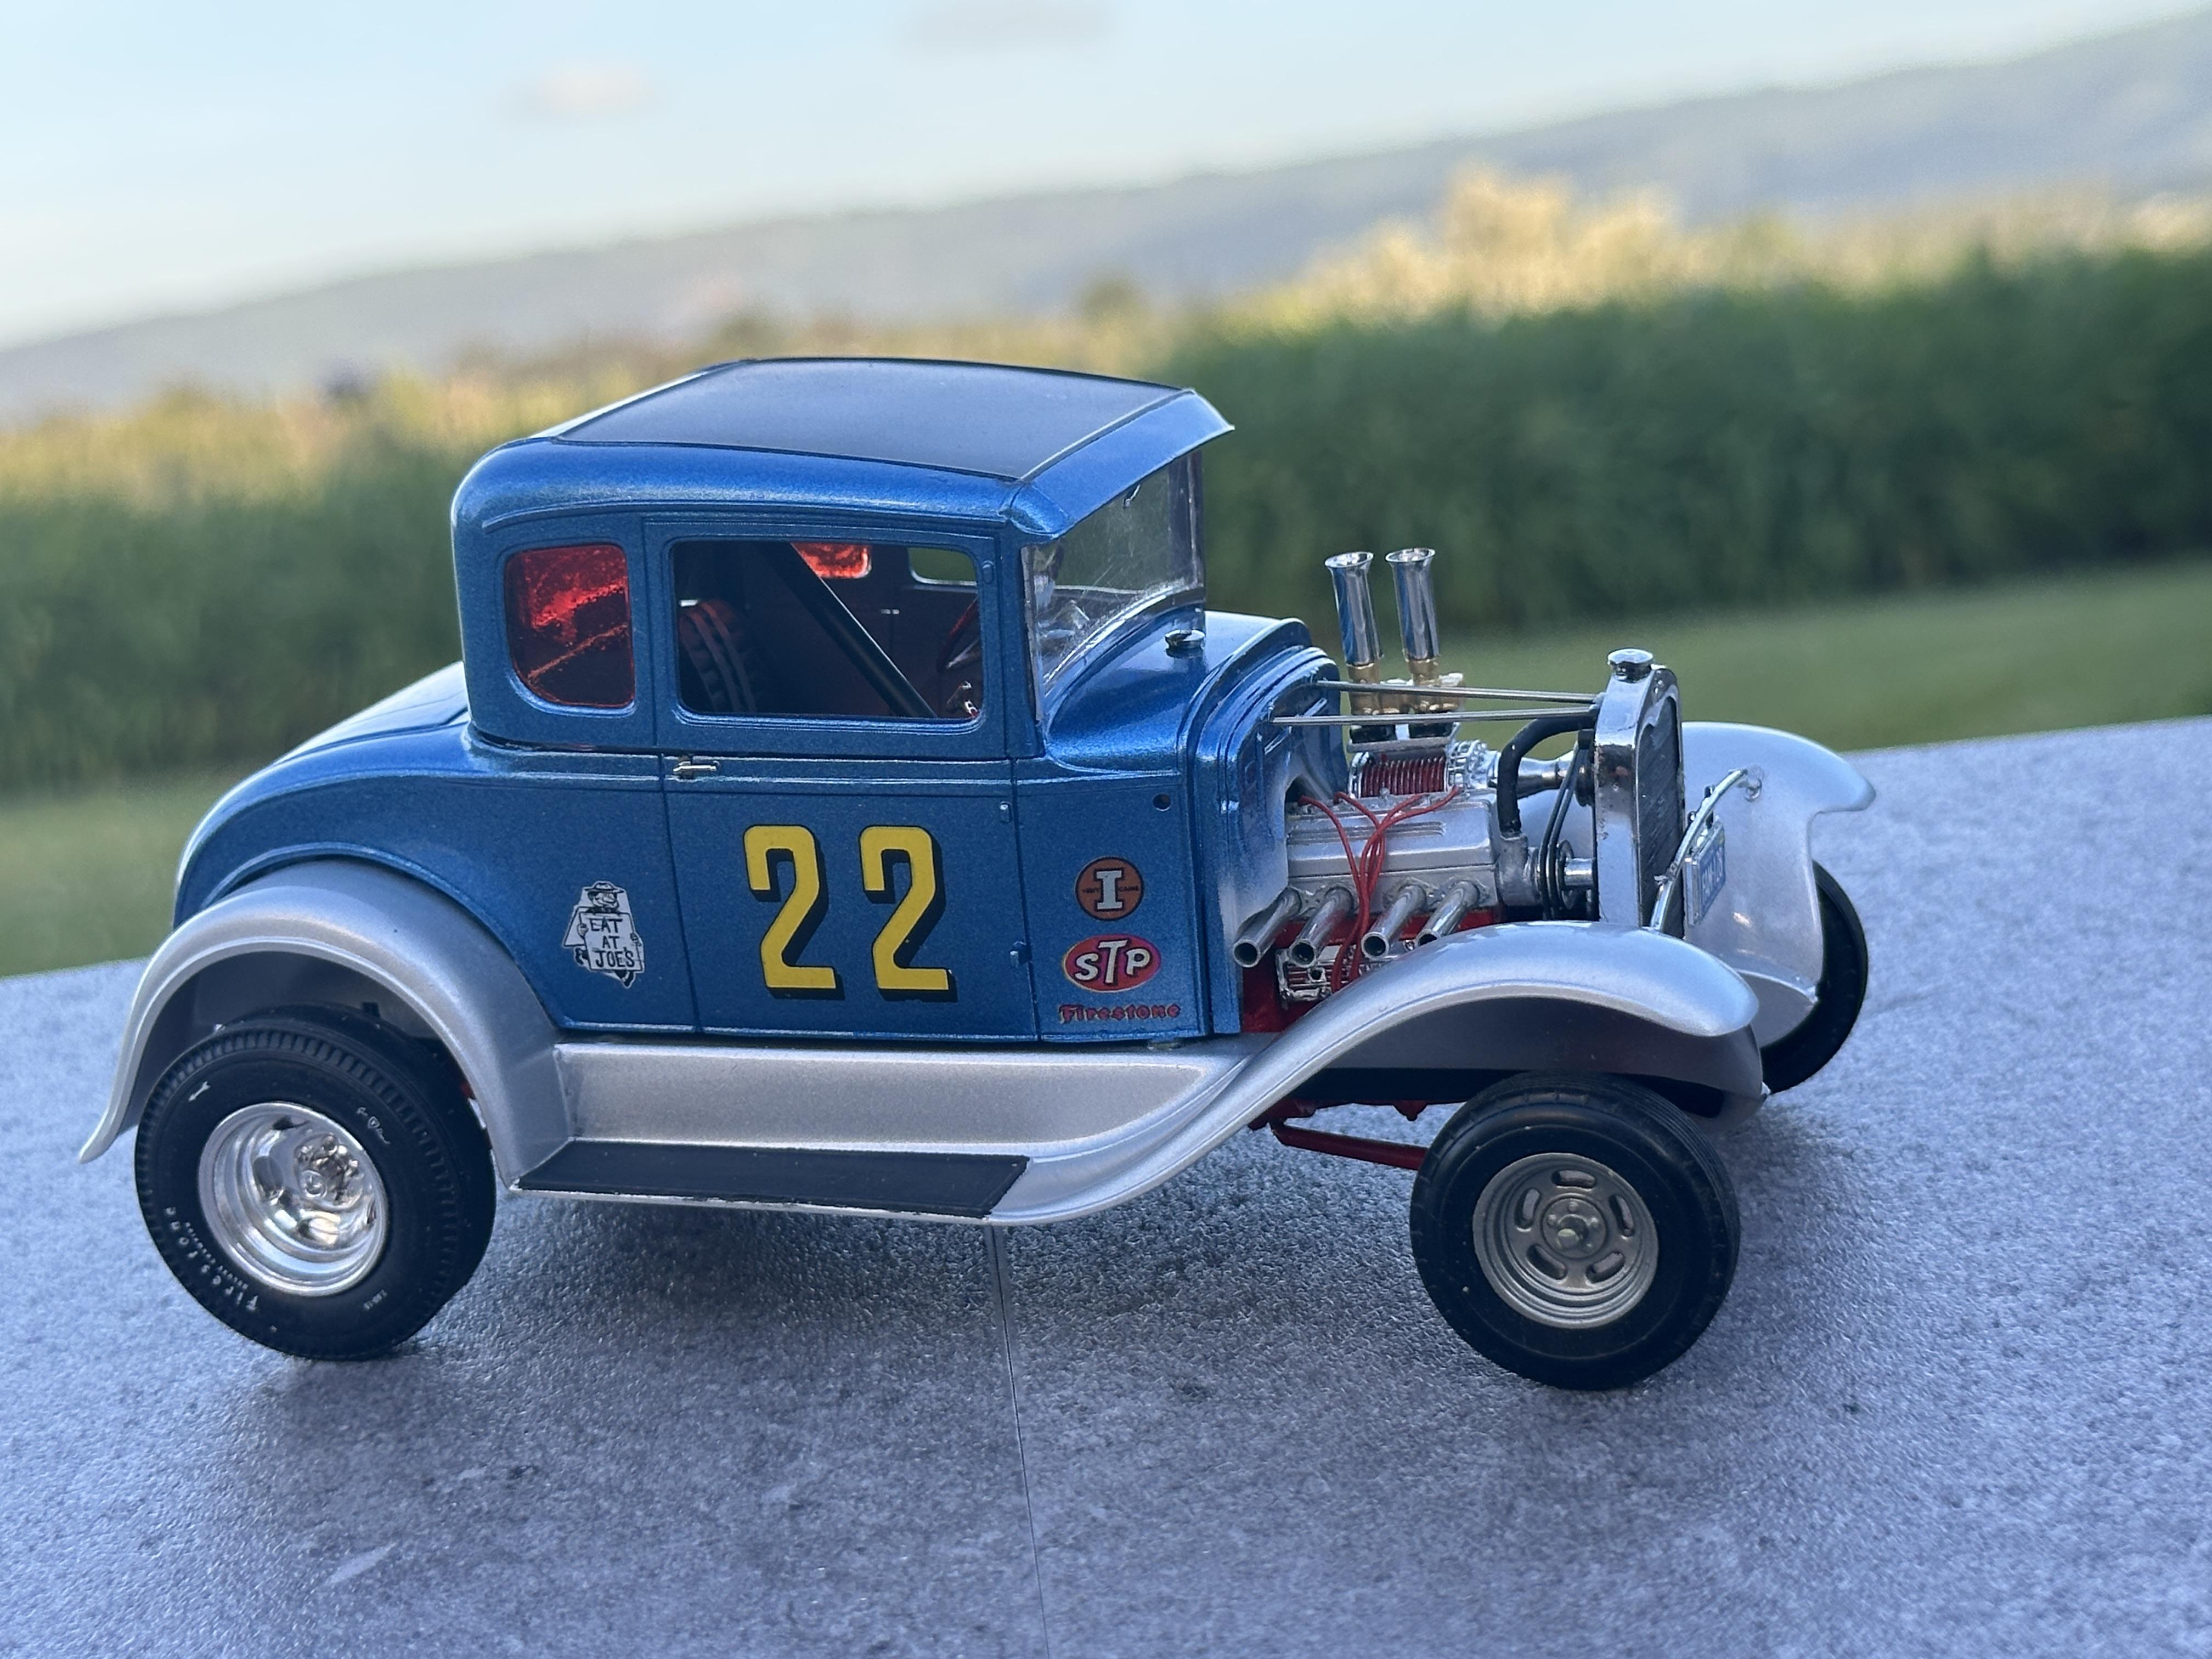
I have been getting on with final assembly. Interior done ready for the top to go on. Little details like the shifter - a bent pin with a bead glued on with thick CA and painted clear red, woodgrain effect on the steering wheel, tacho added to the steering column. seat belts picked out with grey paint, scratched rollbar complete with fire extinguisher And the money shots. Final details include 0.8mm stainless mig wire used for radiator support rods, delete head, side and tail lights but leave holes open, radiator hose made from 1.7mm solder and a few more Off to under glass. I have enjoyed this build and it is a very short time build for me. They usually take 12 months or so. Thanks for following along.
-
Two mean looking build there. Like them both Any more pix please
-
AMT 1929 Ford Woody/Pickup
bill-e-boy replied to Flatout's topic in Model Trucks: Pickups, Vans, SUVs, Light Commercial
Just seen this as I don't lurk in this corner of the woods very often. What a cool rod - just the right amount of everything -
That's a charming AV8 PU Bil. Don't lurk in this corner of the woods very often and was looking through the other day - I am missing out on something I think The Boyd Tribute was a fun build that I participated in.