

bill-e-boy
-
Posts
414 -
Joined
-
Last visited
Content Type
Profiles
Forums
Events
Gallery
Posts posted by bill-e-boy
-
-
2 hours ago, Keef said:
Why oh why can I not do a simple box stock build?!?!?
Coz its too hard
-
 1
1
-
-
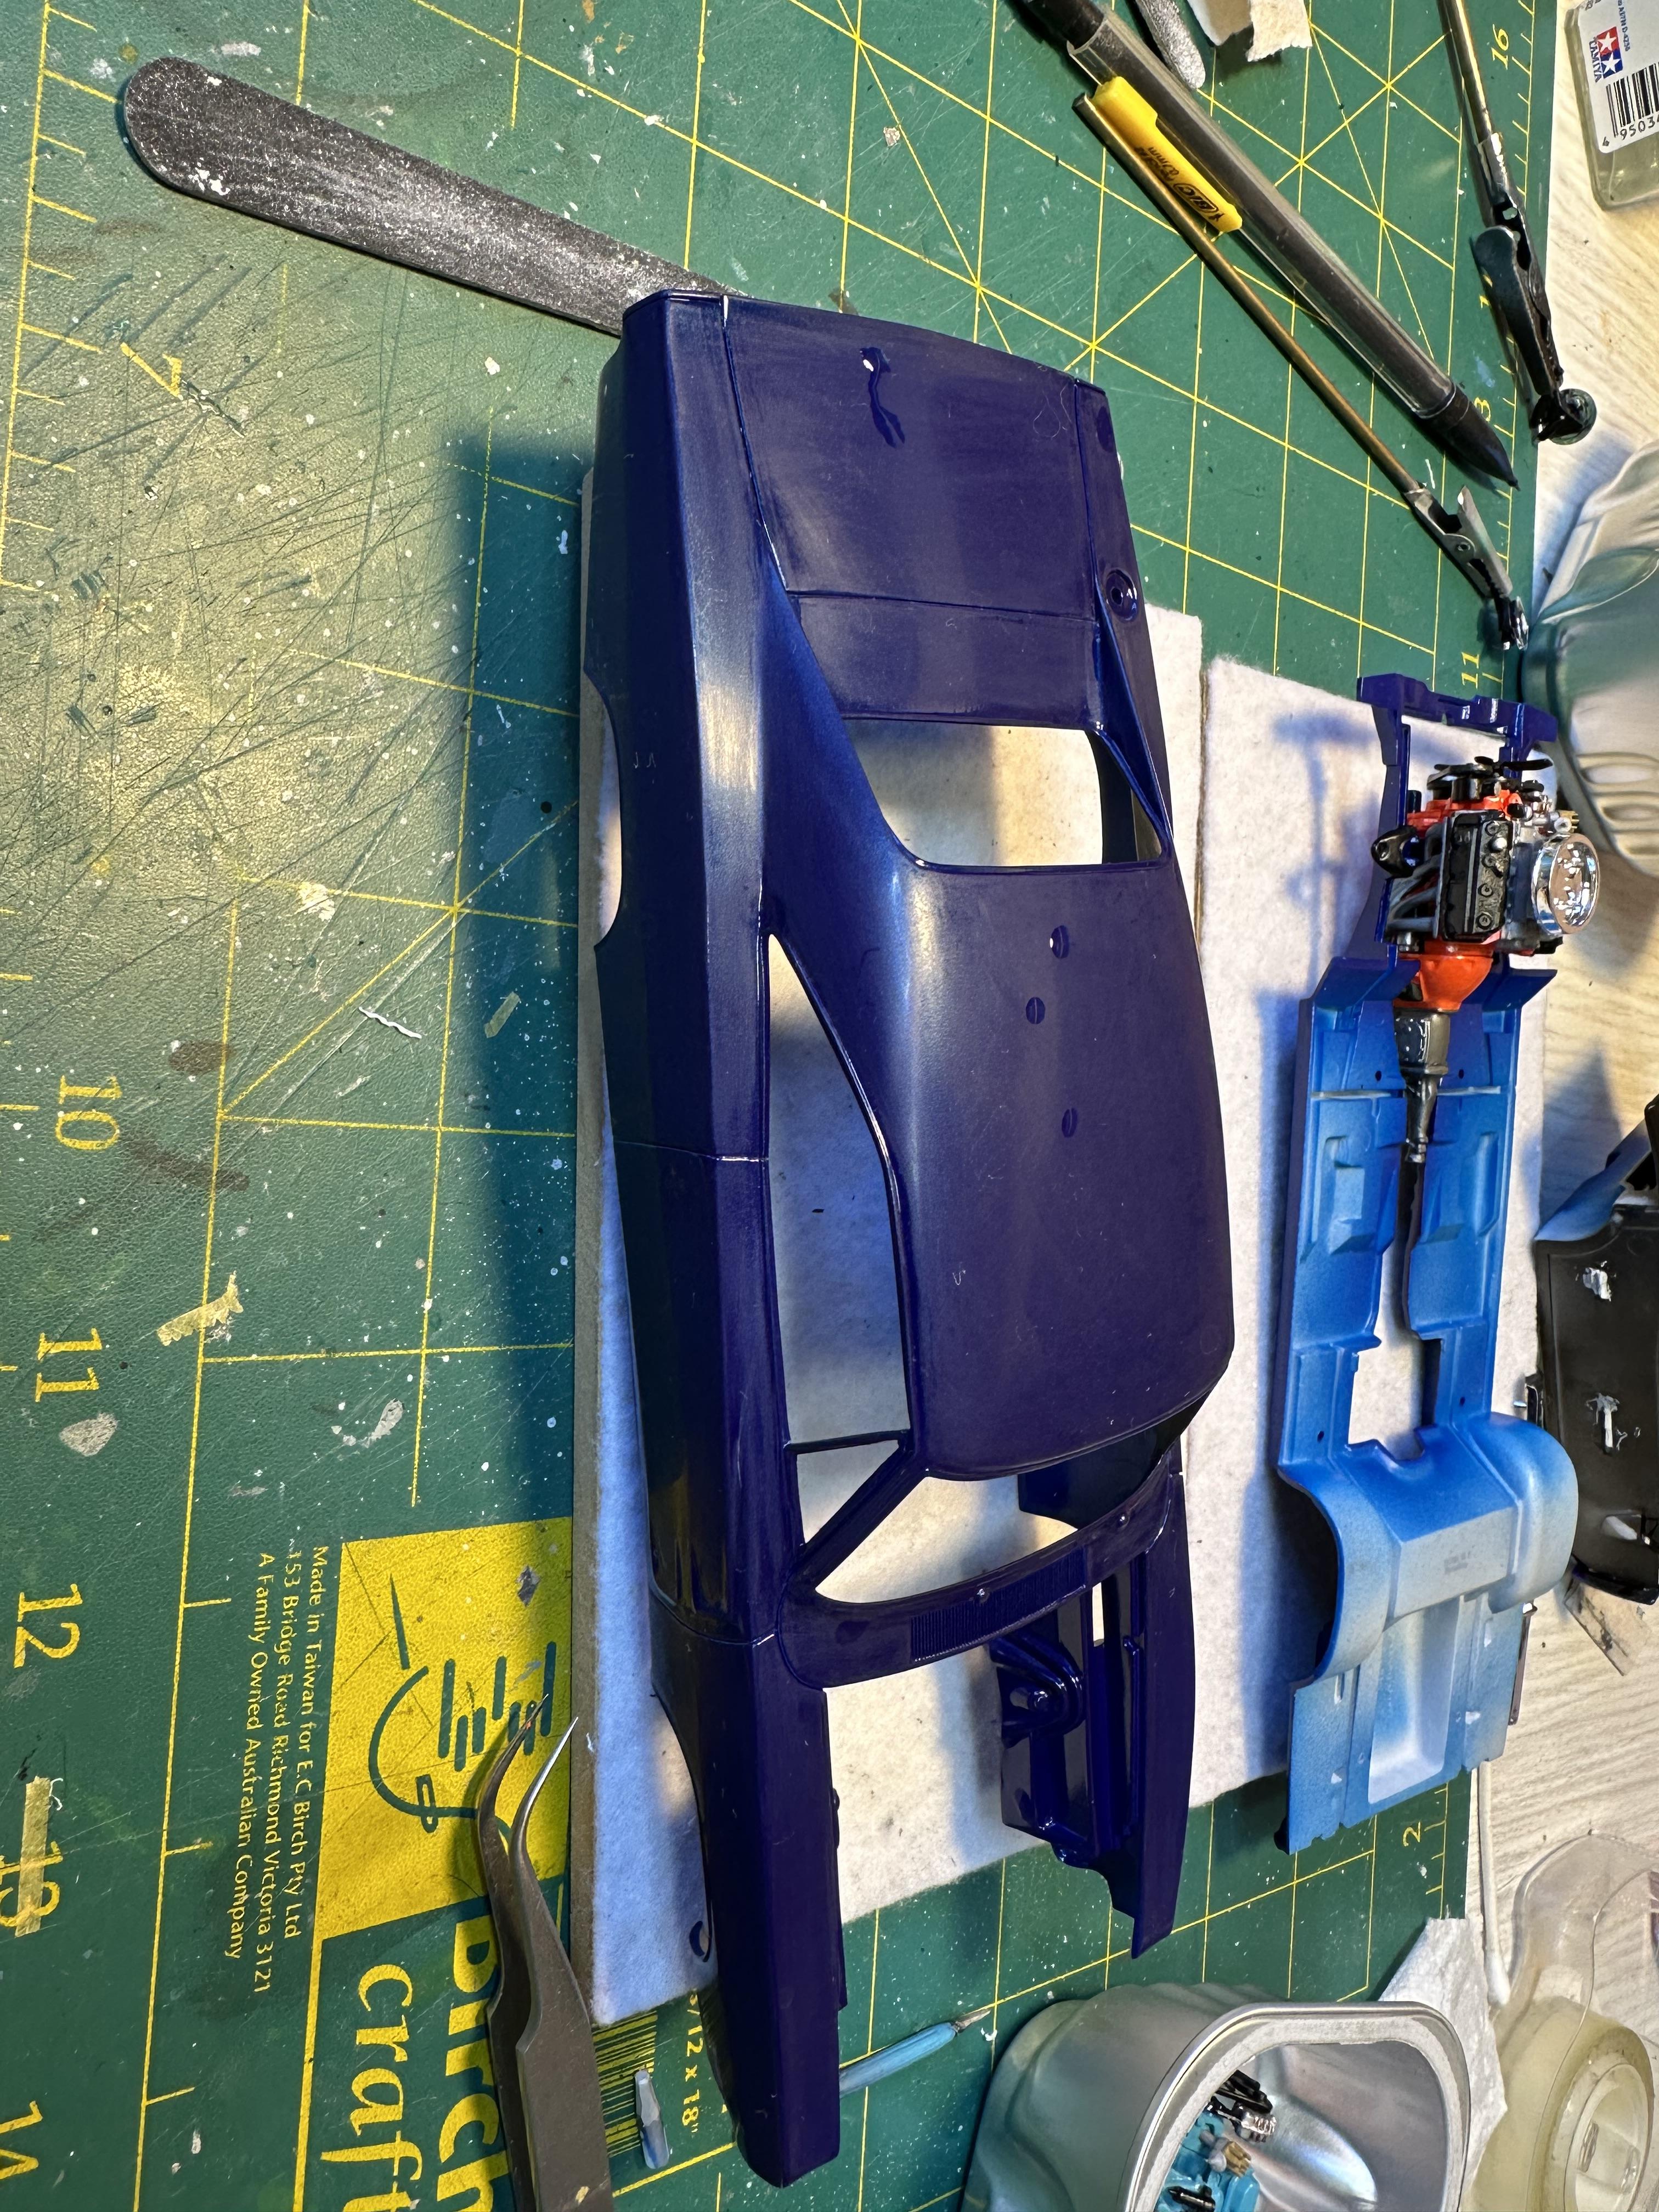
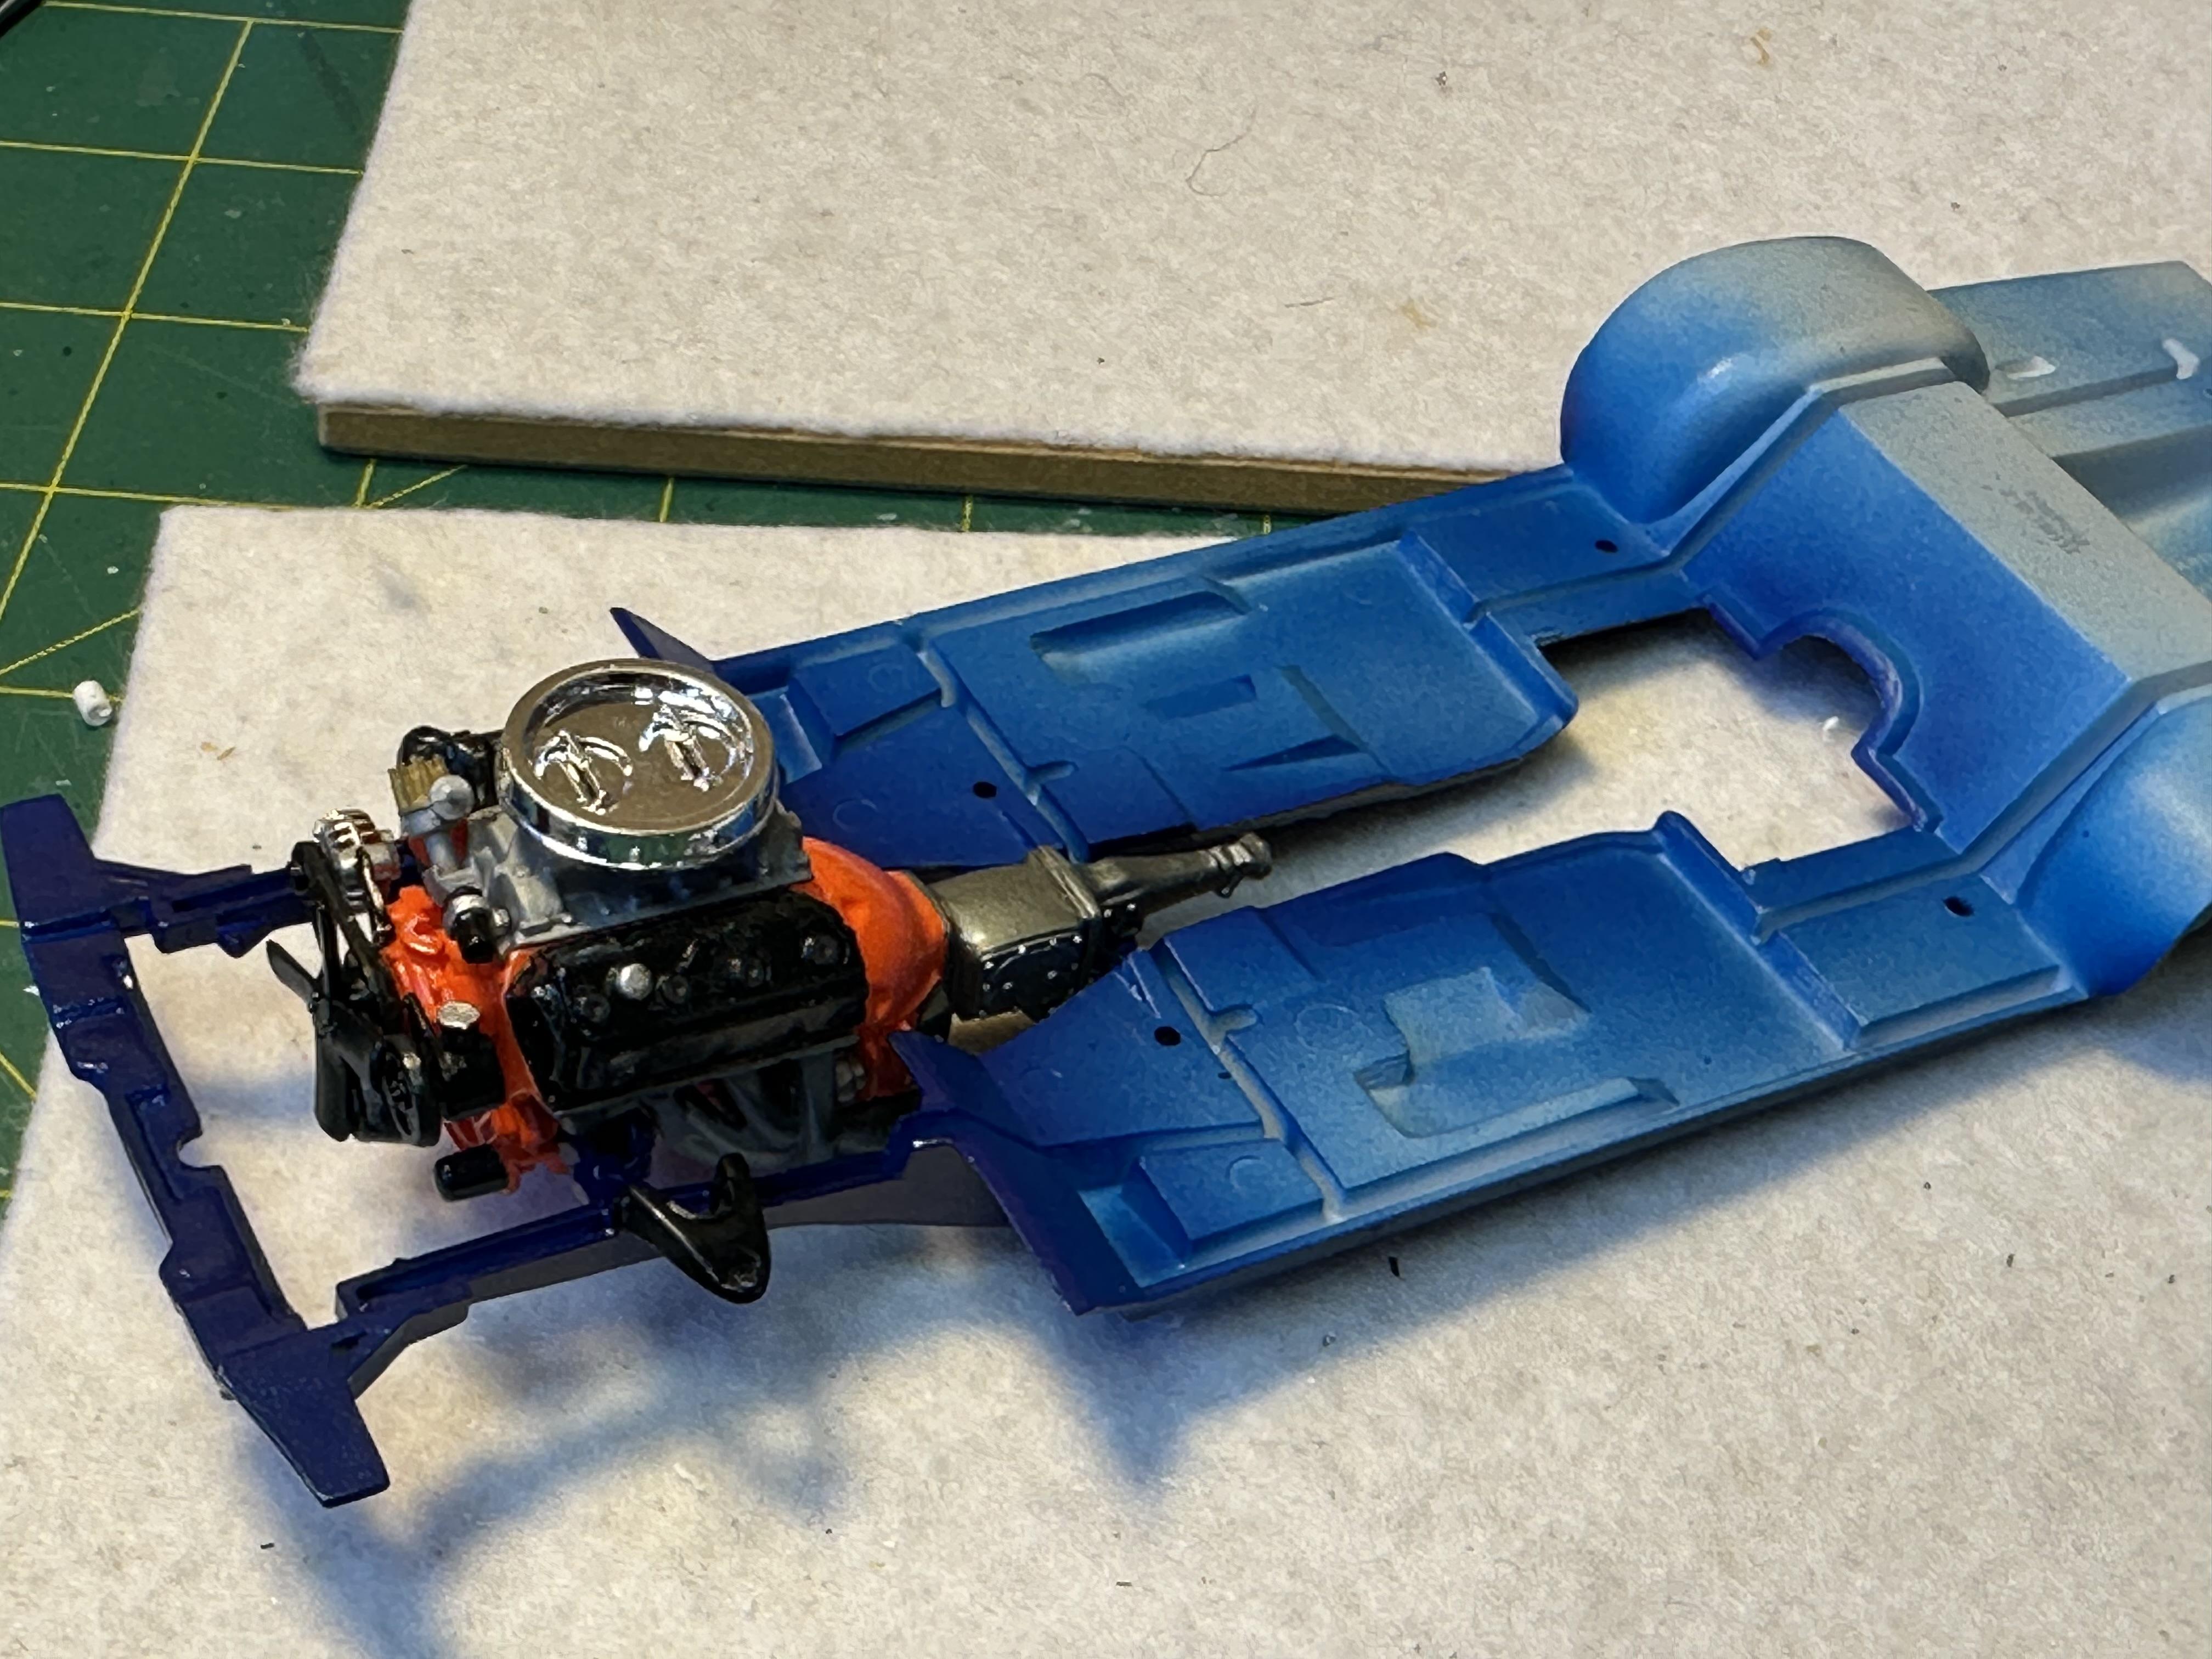
A wee bit of progress.
Engine and interior mounted to chassis and body colour sanded to 12000 grit

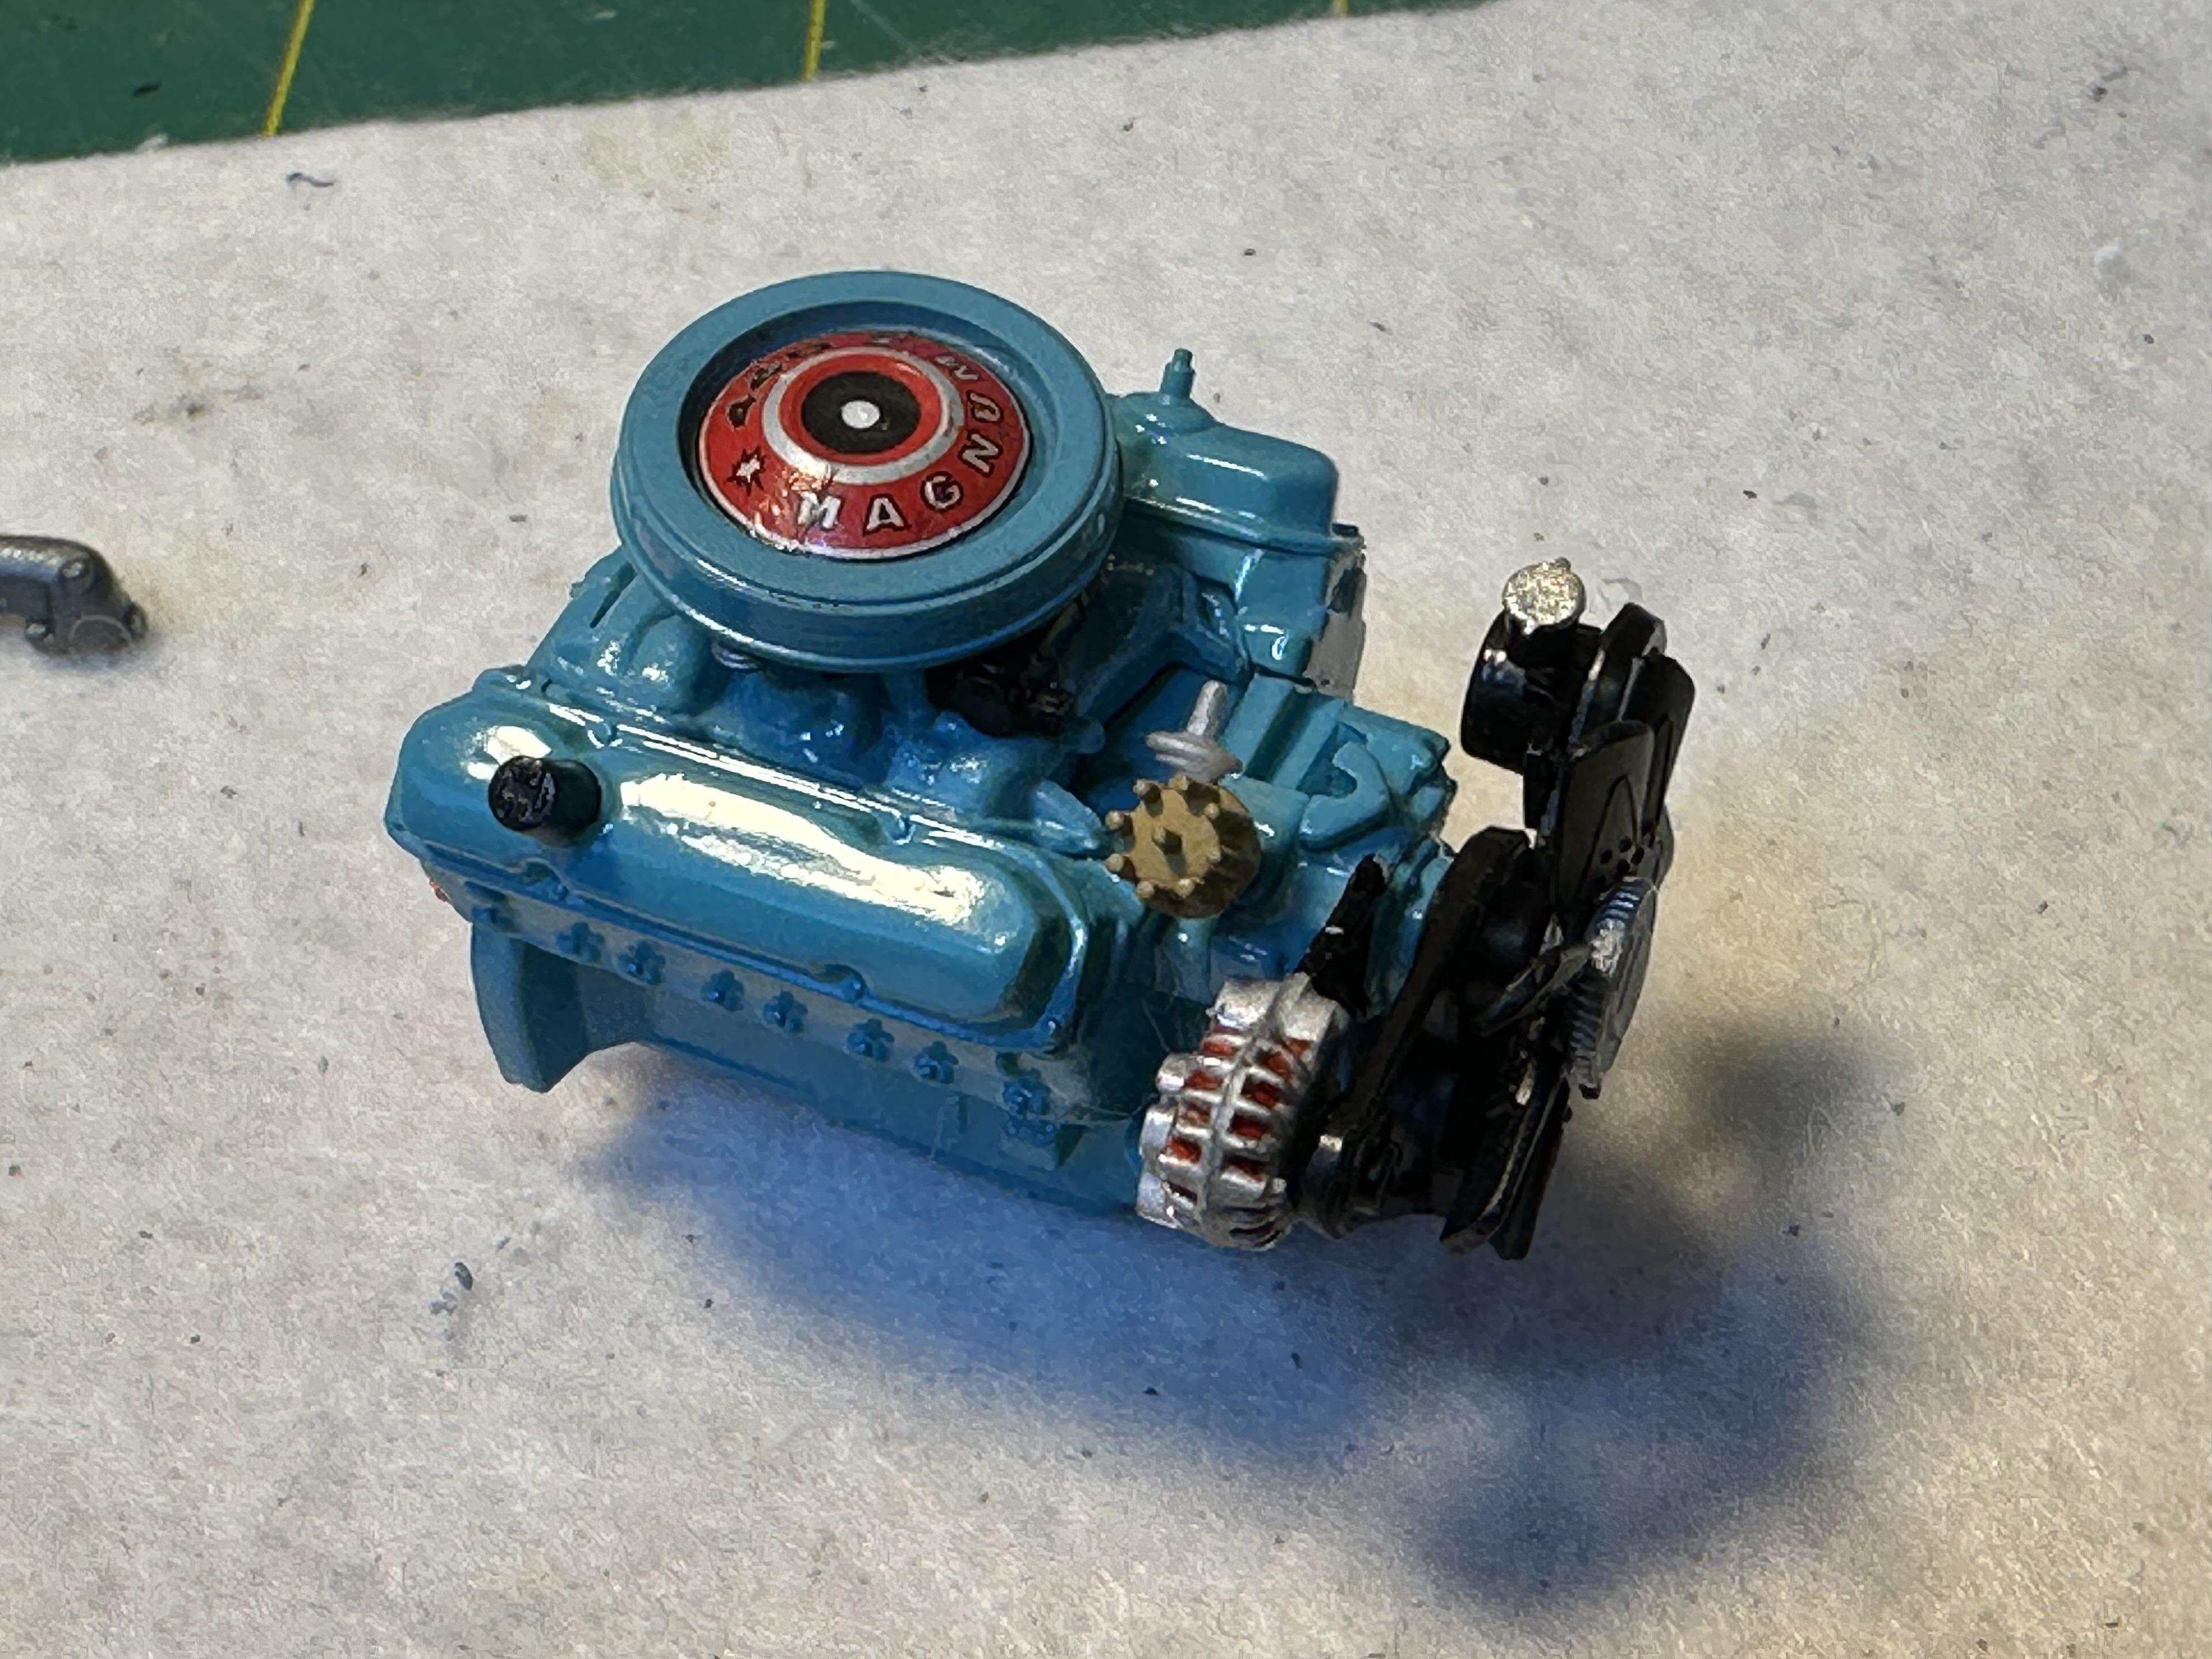
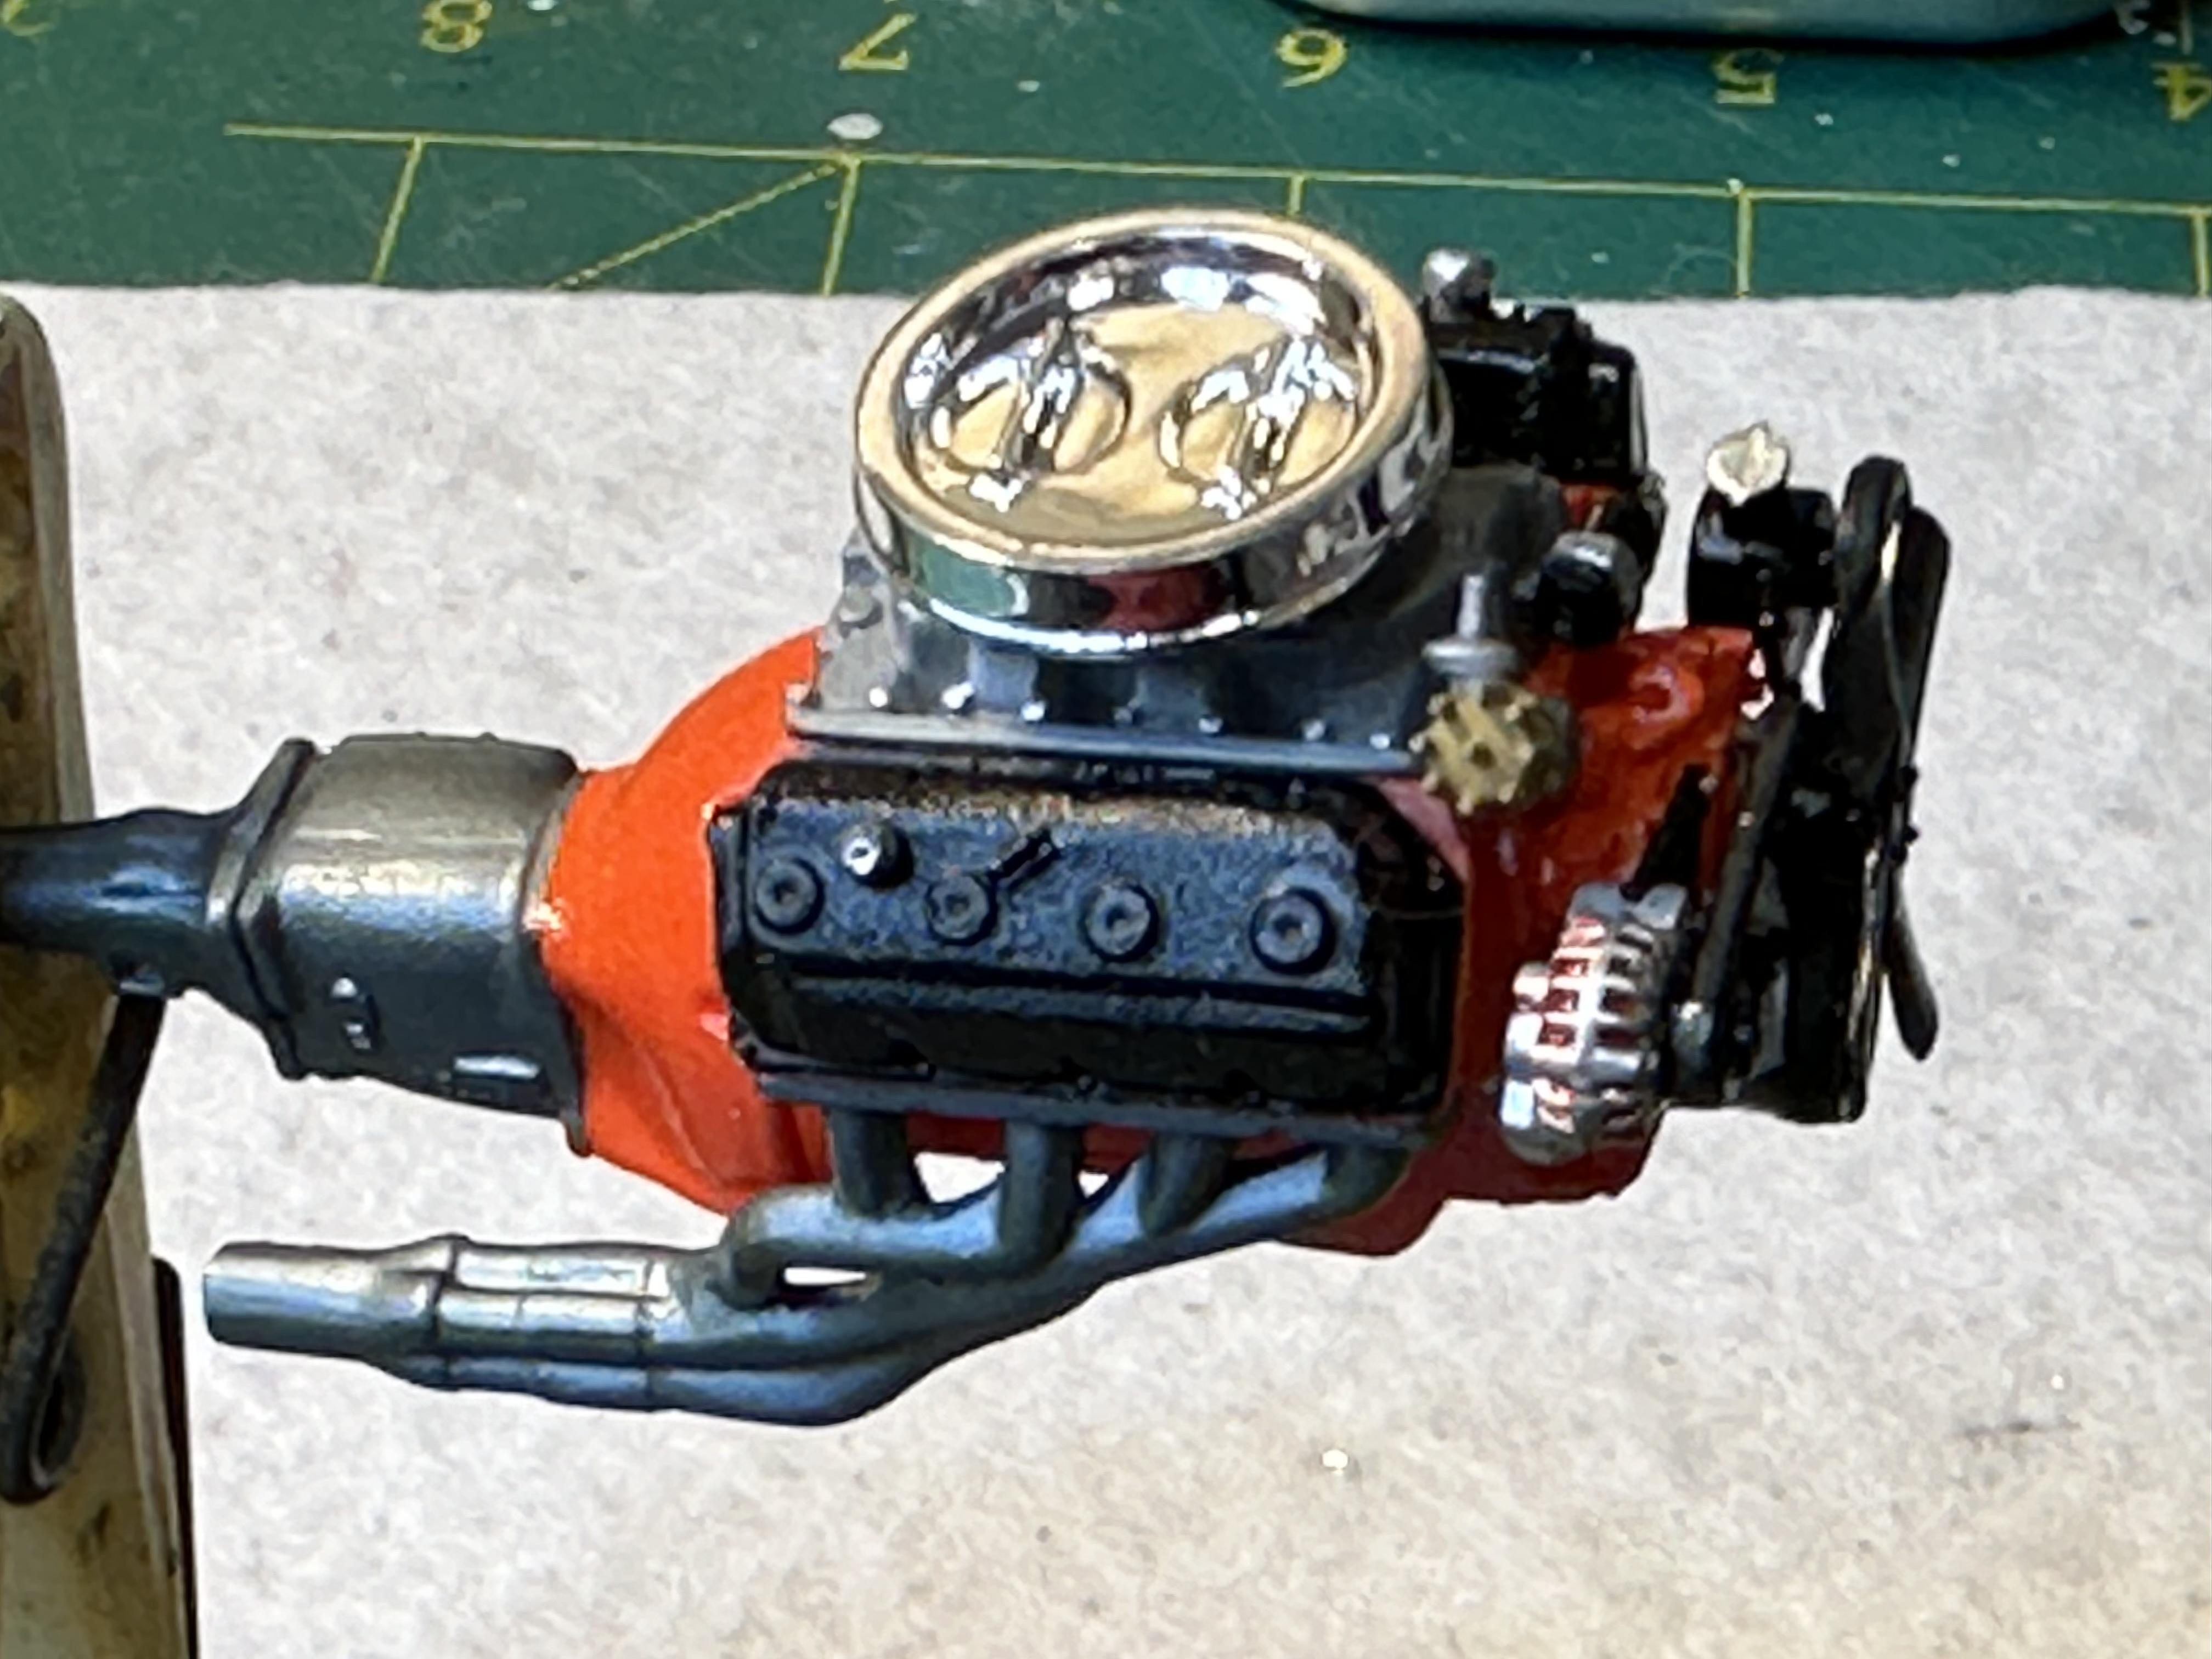
I finish assembled the spare 440 wedge engine. I had some issues with getting the air cleaner decal to soften. I think my setting solution is getting too old - I dont do much decalling
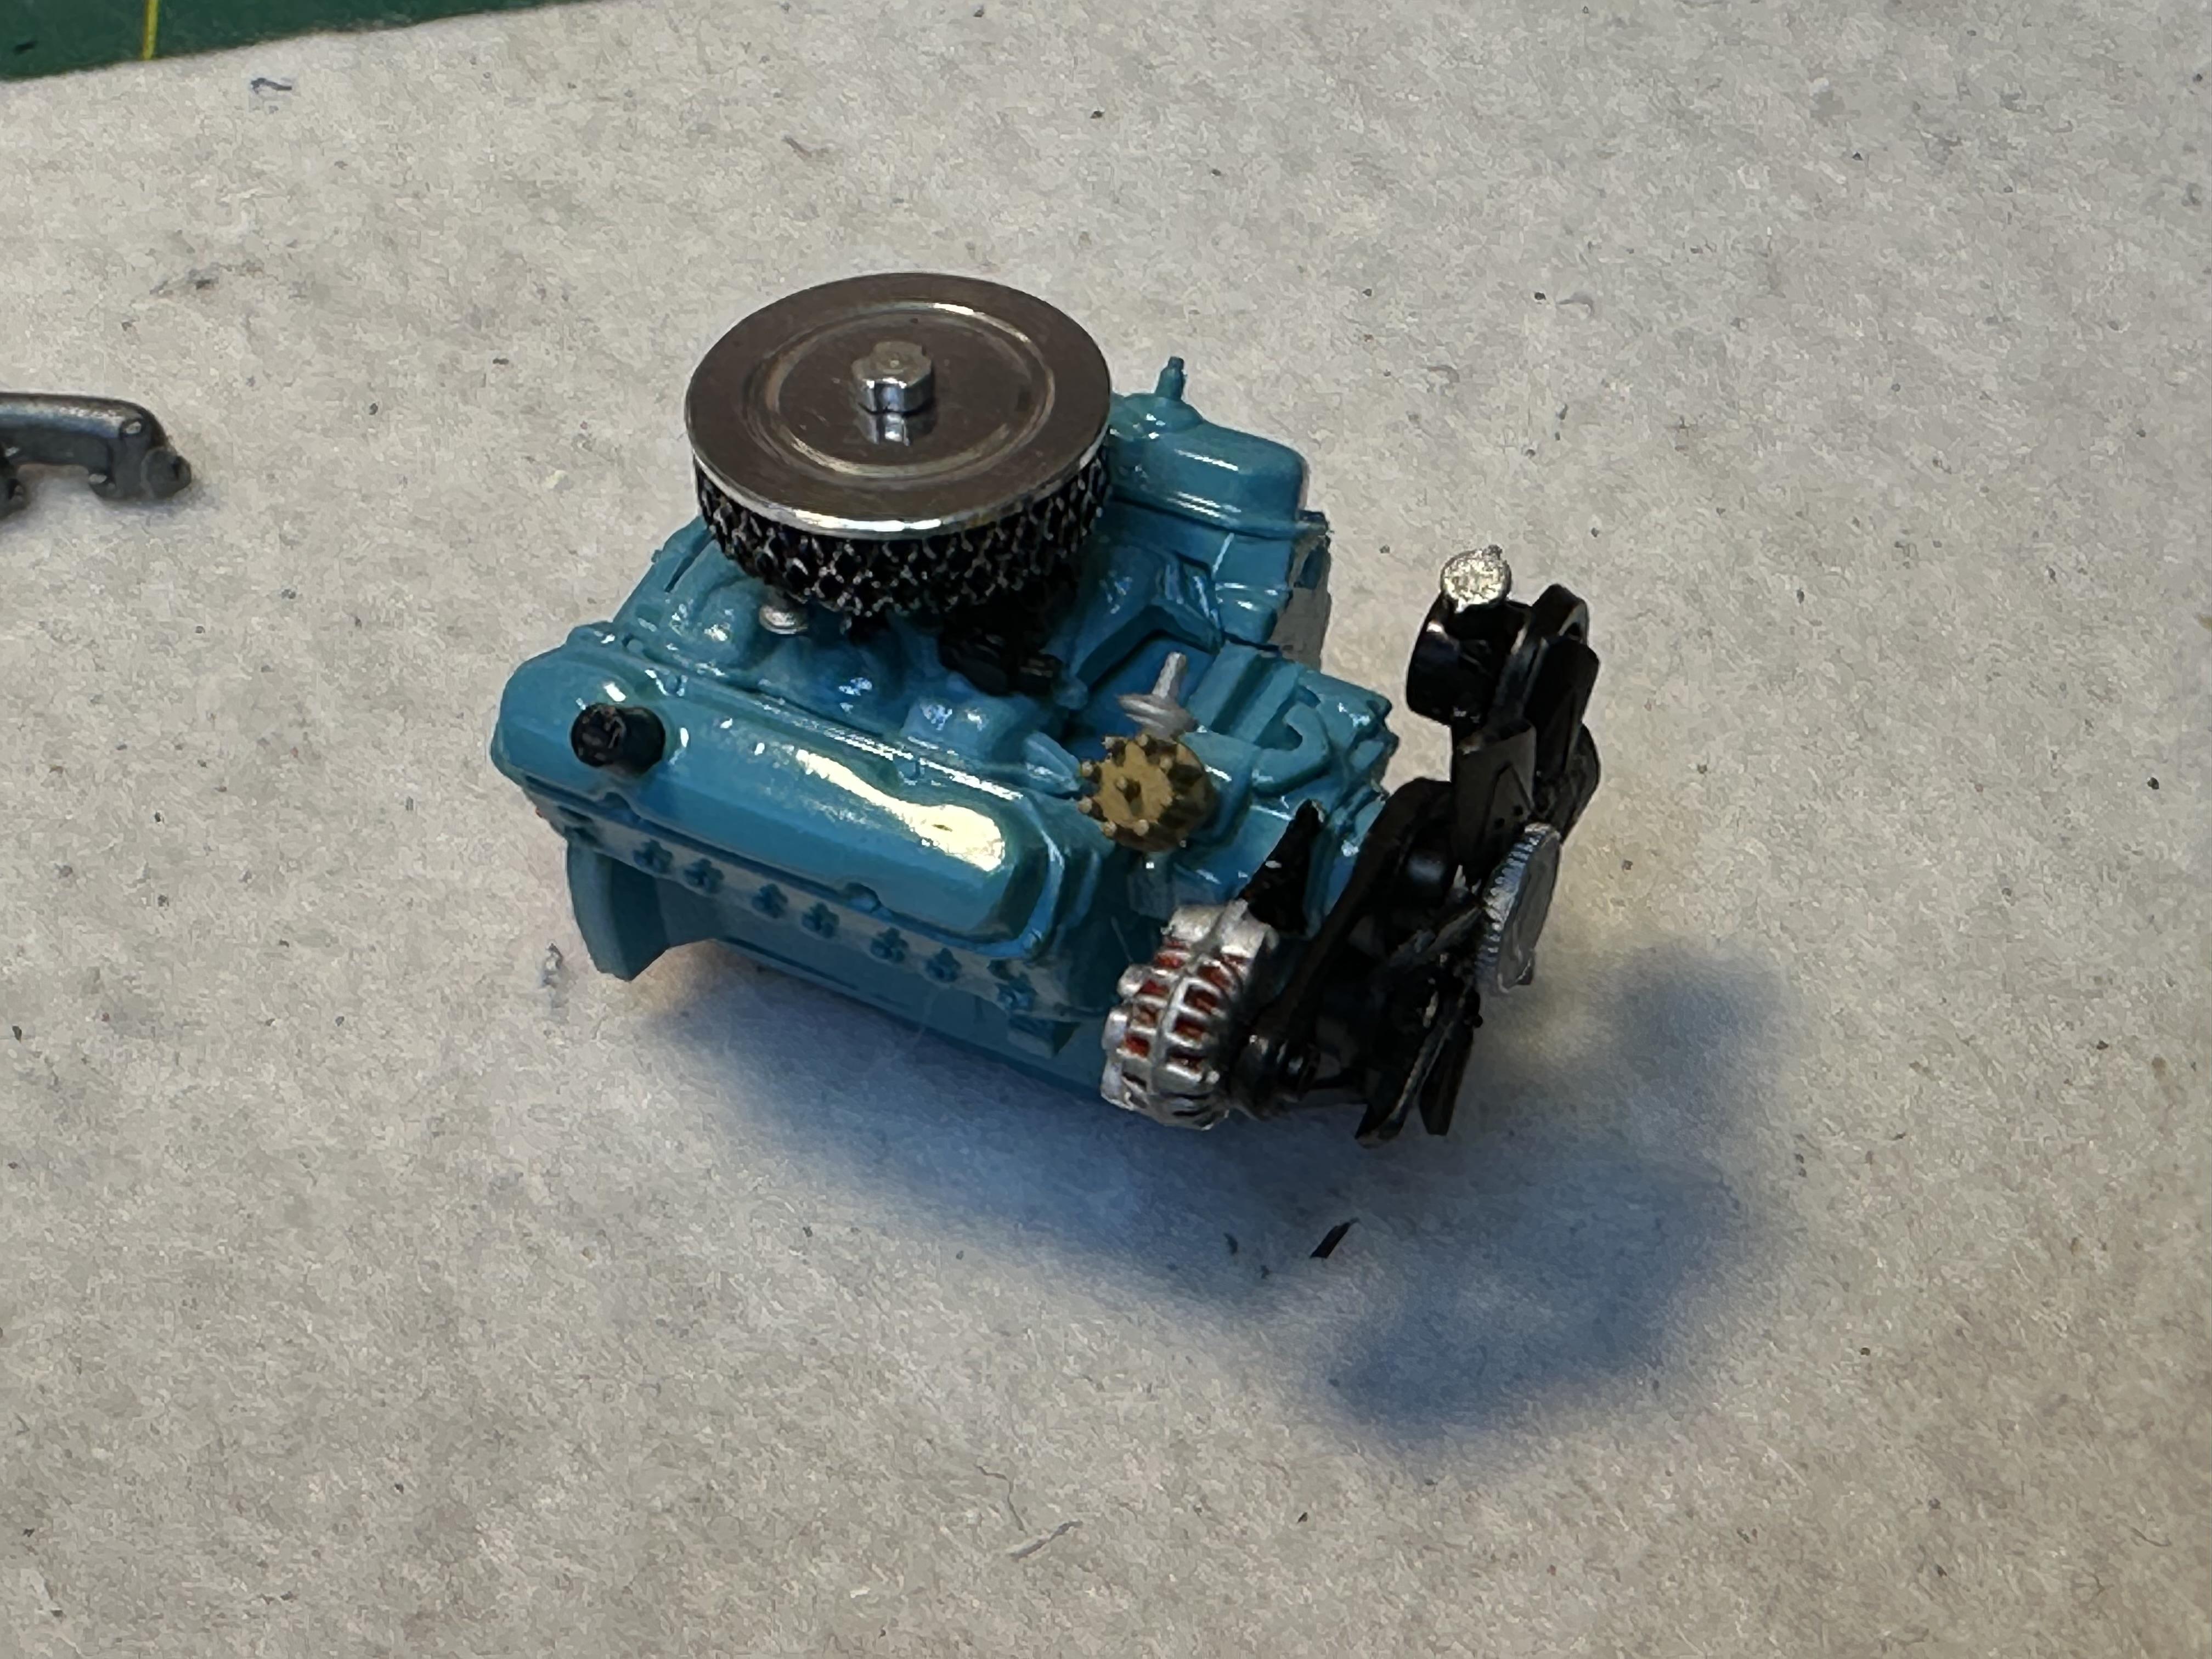
To stay with the day two theme I machined up an air cleaner from ally. The filter element is knurled in a cross hatch pattern with semi-gloss black washed into low areas. Cleaned up the cross hatch in the lathe with a file. Also made a knob to hold the air cleaner in place
Before and after comparison pix
-
 2
2
-
-
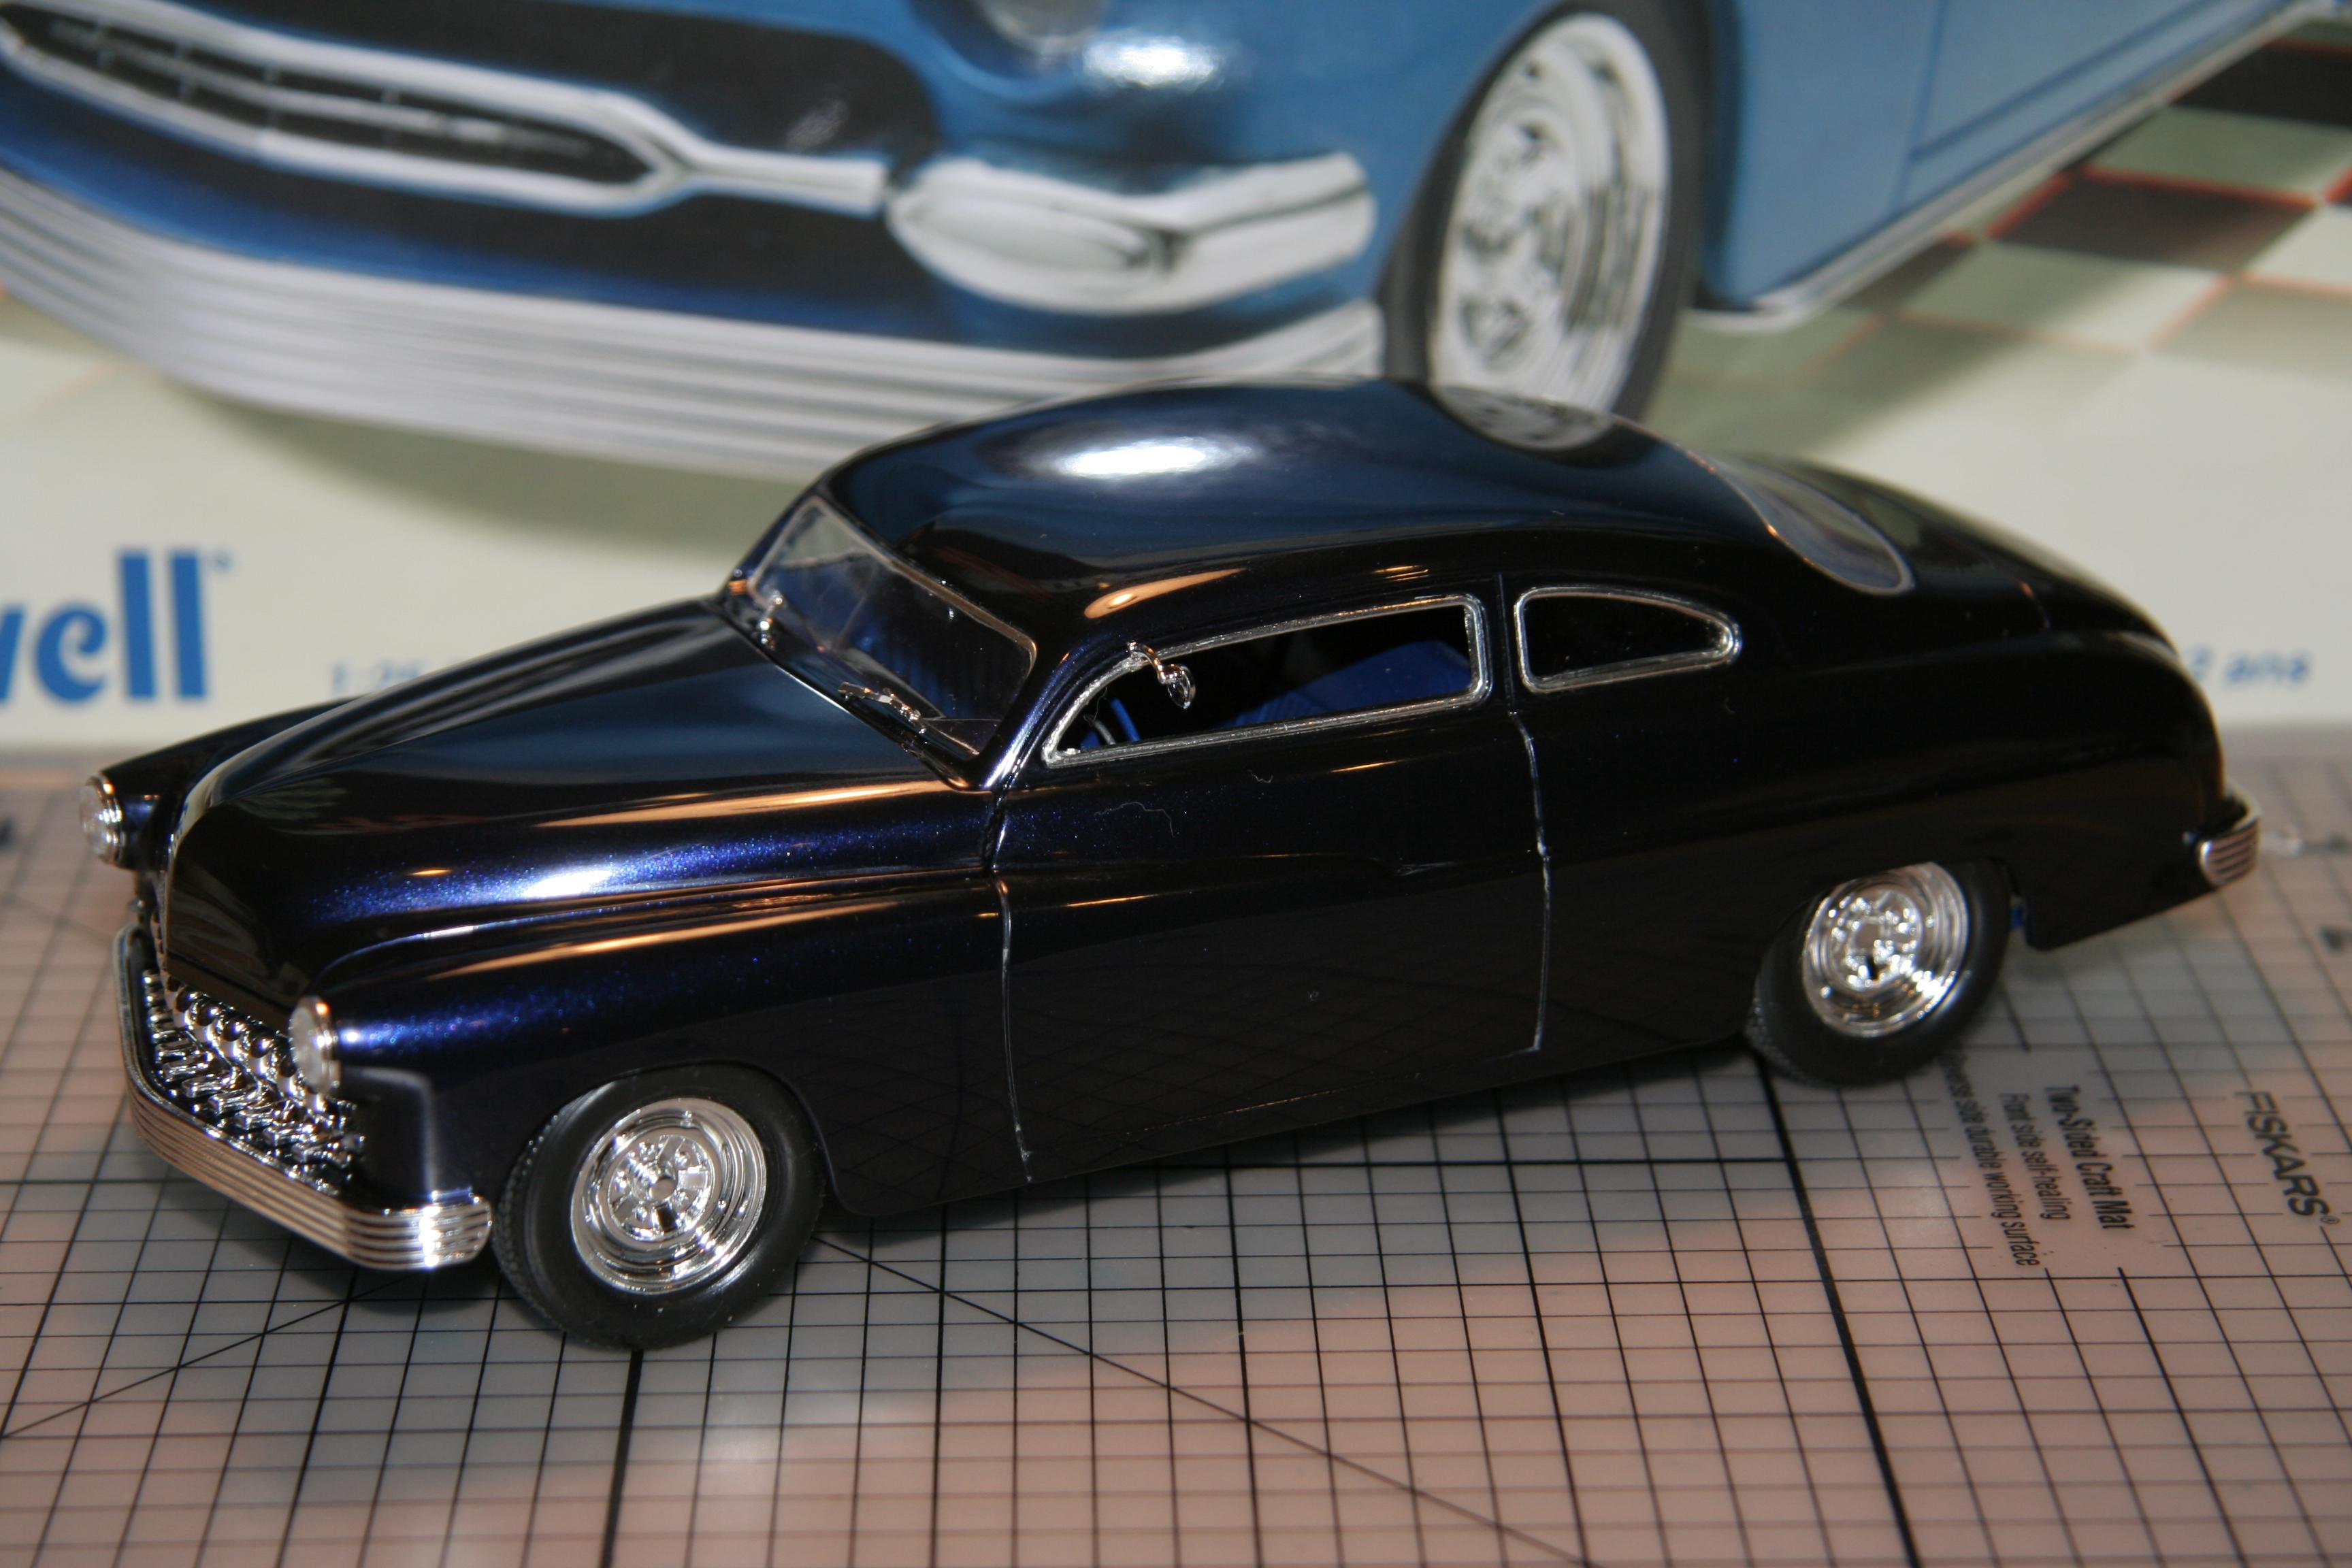
Built this about 15 years ago. Colour is a custom mix of Testors metallic purple and blue - burple!! Built box stock
Also chopped an AMT Merc years ago but left in the box since I chopped it. Need to find box in the stash and take pix
-
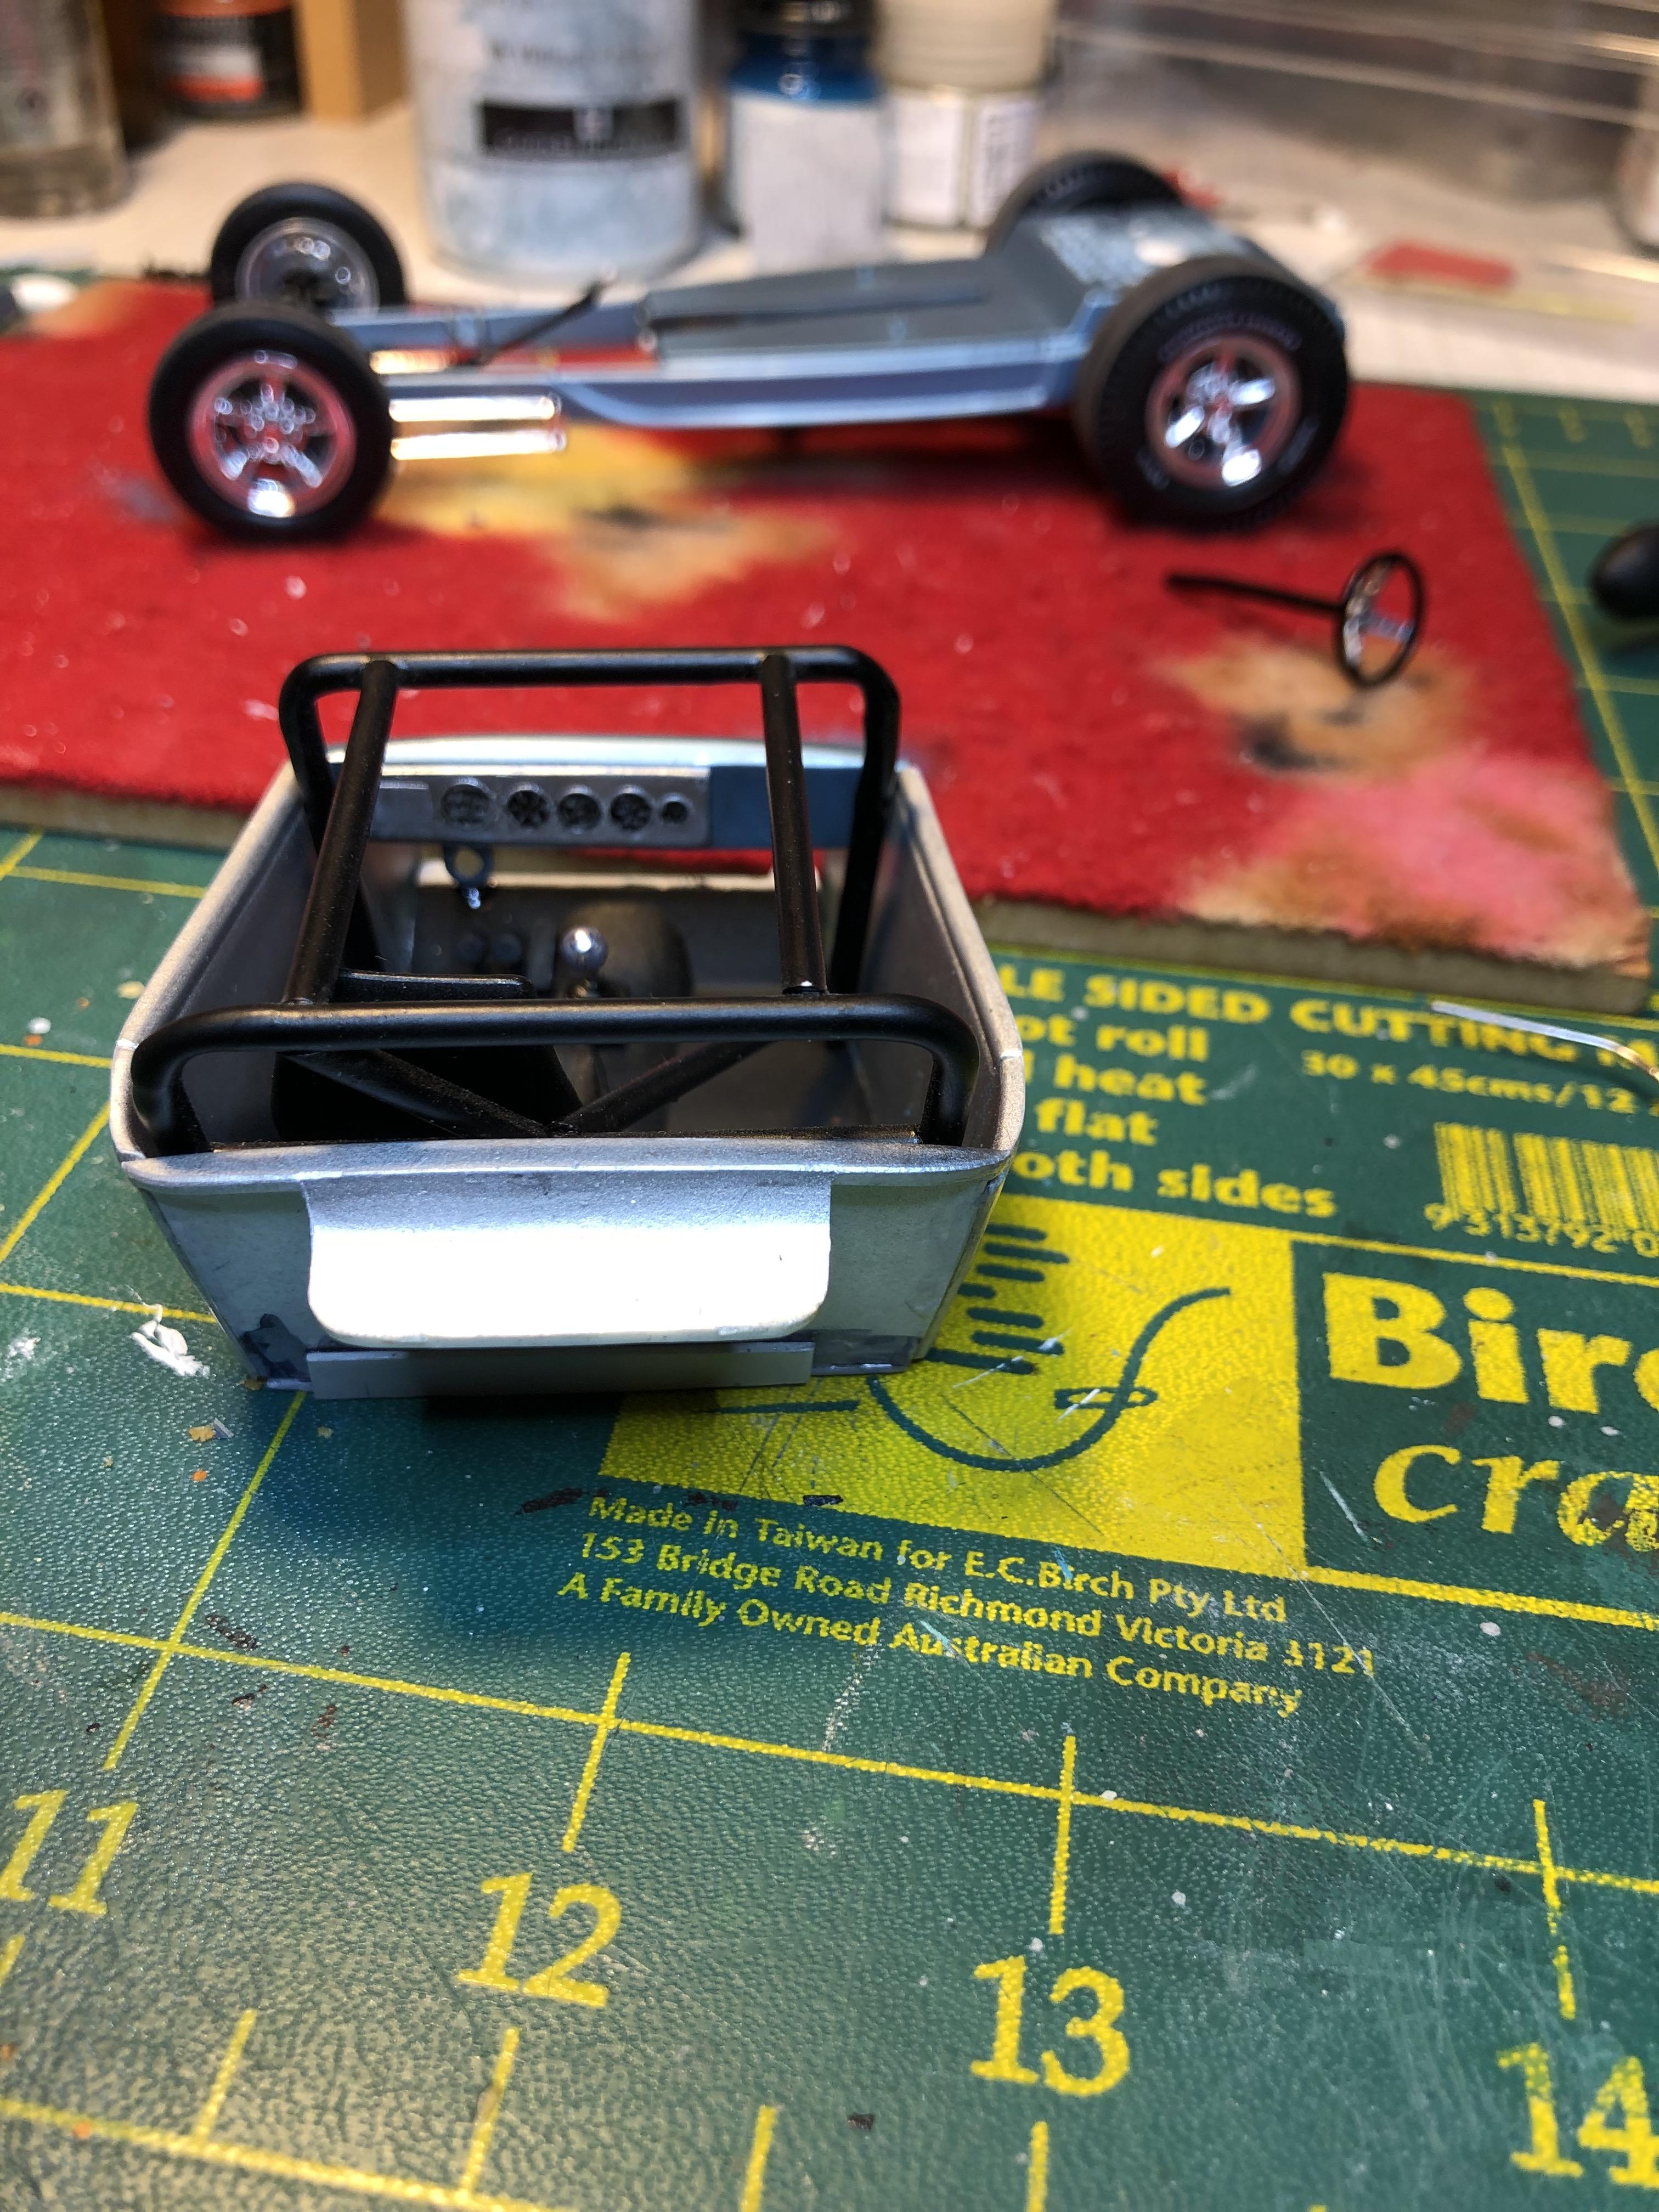
I have thin board (we call it "Custom Wood" here in NZ) lined with some polar fleece off cuts. Felt would work. Glue on with PVA glue. They are about 9" x 6" - or any size you want really. I have three of them. They are great for mock ups on the hard side too. You can see my most colourfull one in the background with the chassis sitting on it.
-
10 hours ago, Bugatti Fan said:
Just curious really, as I have some old Badgers that have served me we!l over the years.
Me too
One of the guys in our club bought one along a couple of meetings ago. It looks to be well made and the needles are extremely sharp. He had not used at that point. It is a Barbatos Rex special and was purchased direct from Gaahleri.com
-
1
-
-
I use them for mixing smaller batches of paint such as chassis satin black or other small area colours for use with my air brush. Toss them when done. With age the pills keep me going so I can model for longer 🙂
-
22 hours ago, Noah H. said:
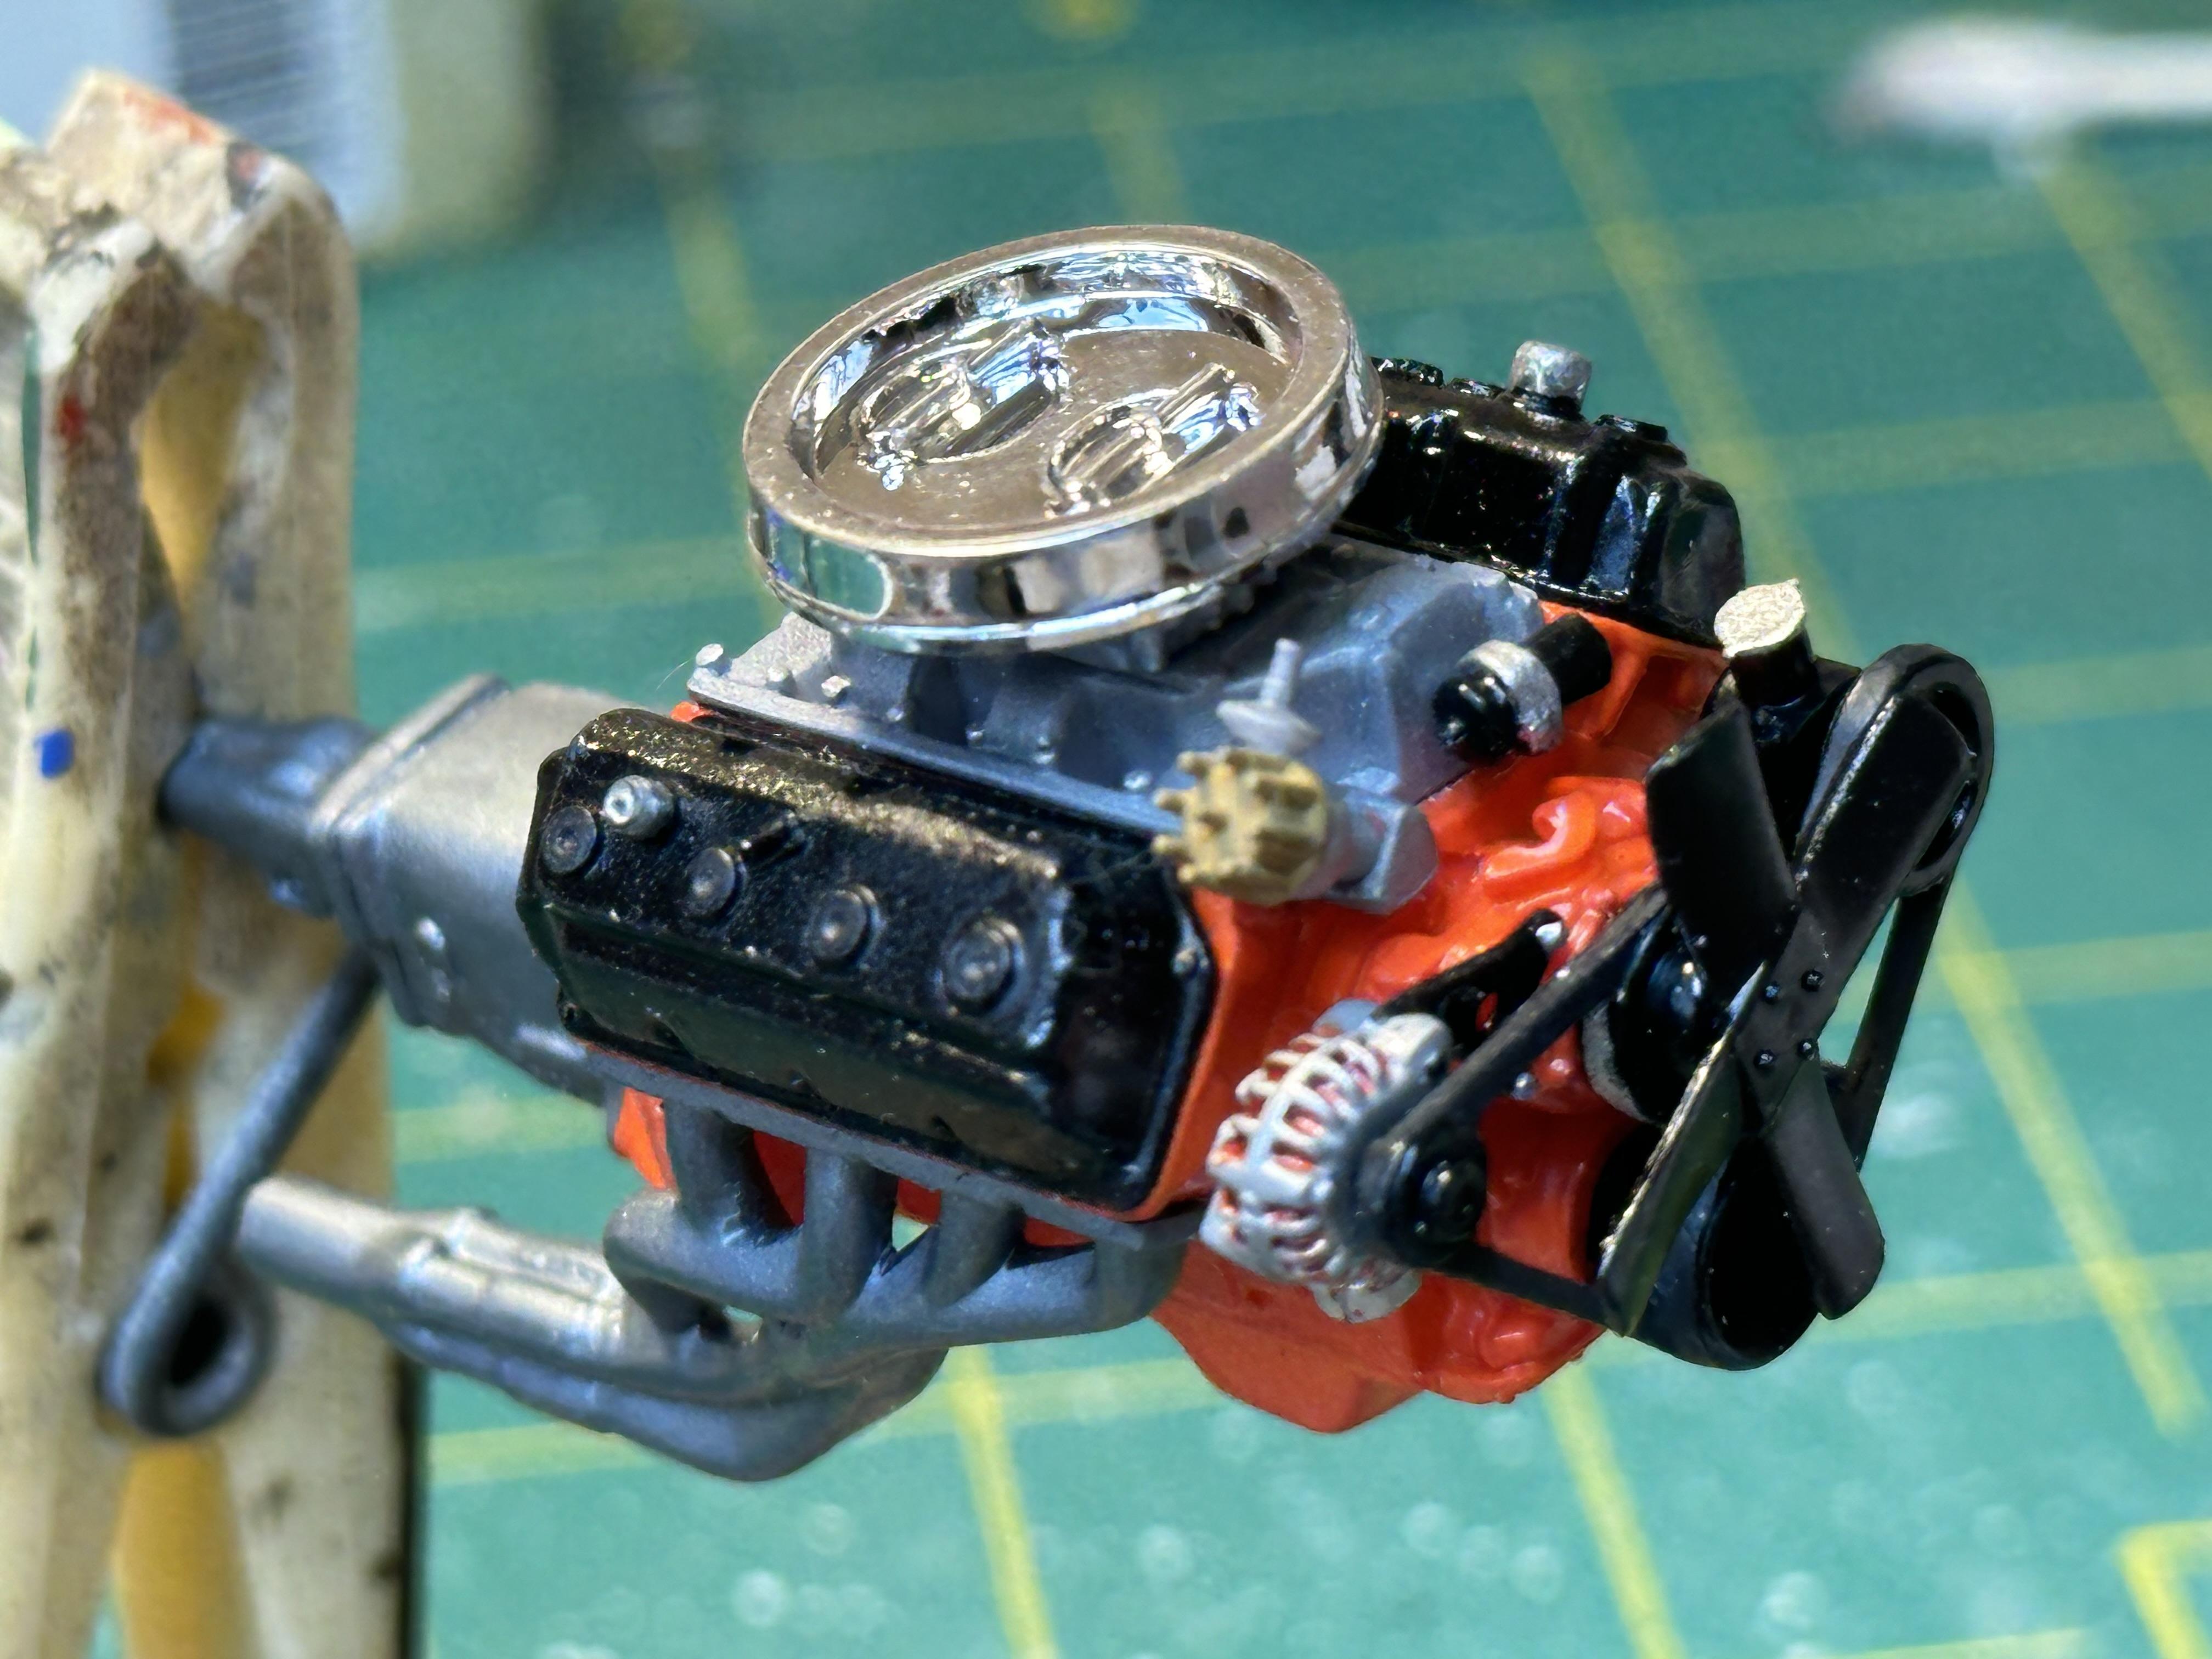
This build is looking great. I like all of the detail throughout, particularly the copper color used on the alternator to suggest copper windings within the alternator.
Thanks Noah. The copper colour is actually Tamiya clear red. The windings often have a clear or red enamel insulation over the copper wire so clear red does the trick
-
1
-
-
Progress has been slow due to working away from home, house painting - it is a big house - and life. This post is the progress over the last month or so
As mentioned in the last post I tried for a better pix of the motor
I have finish detailing and assembled the interior
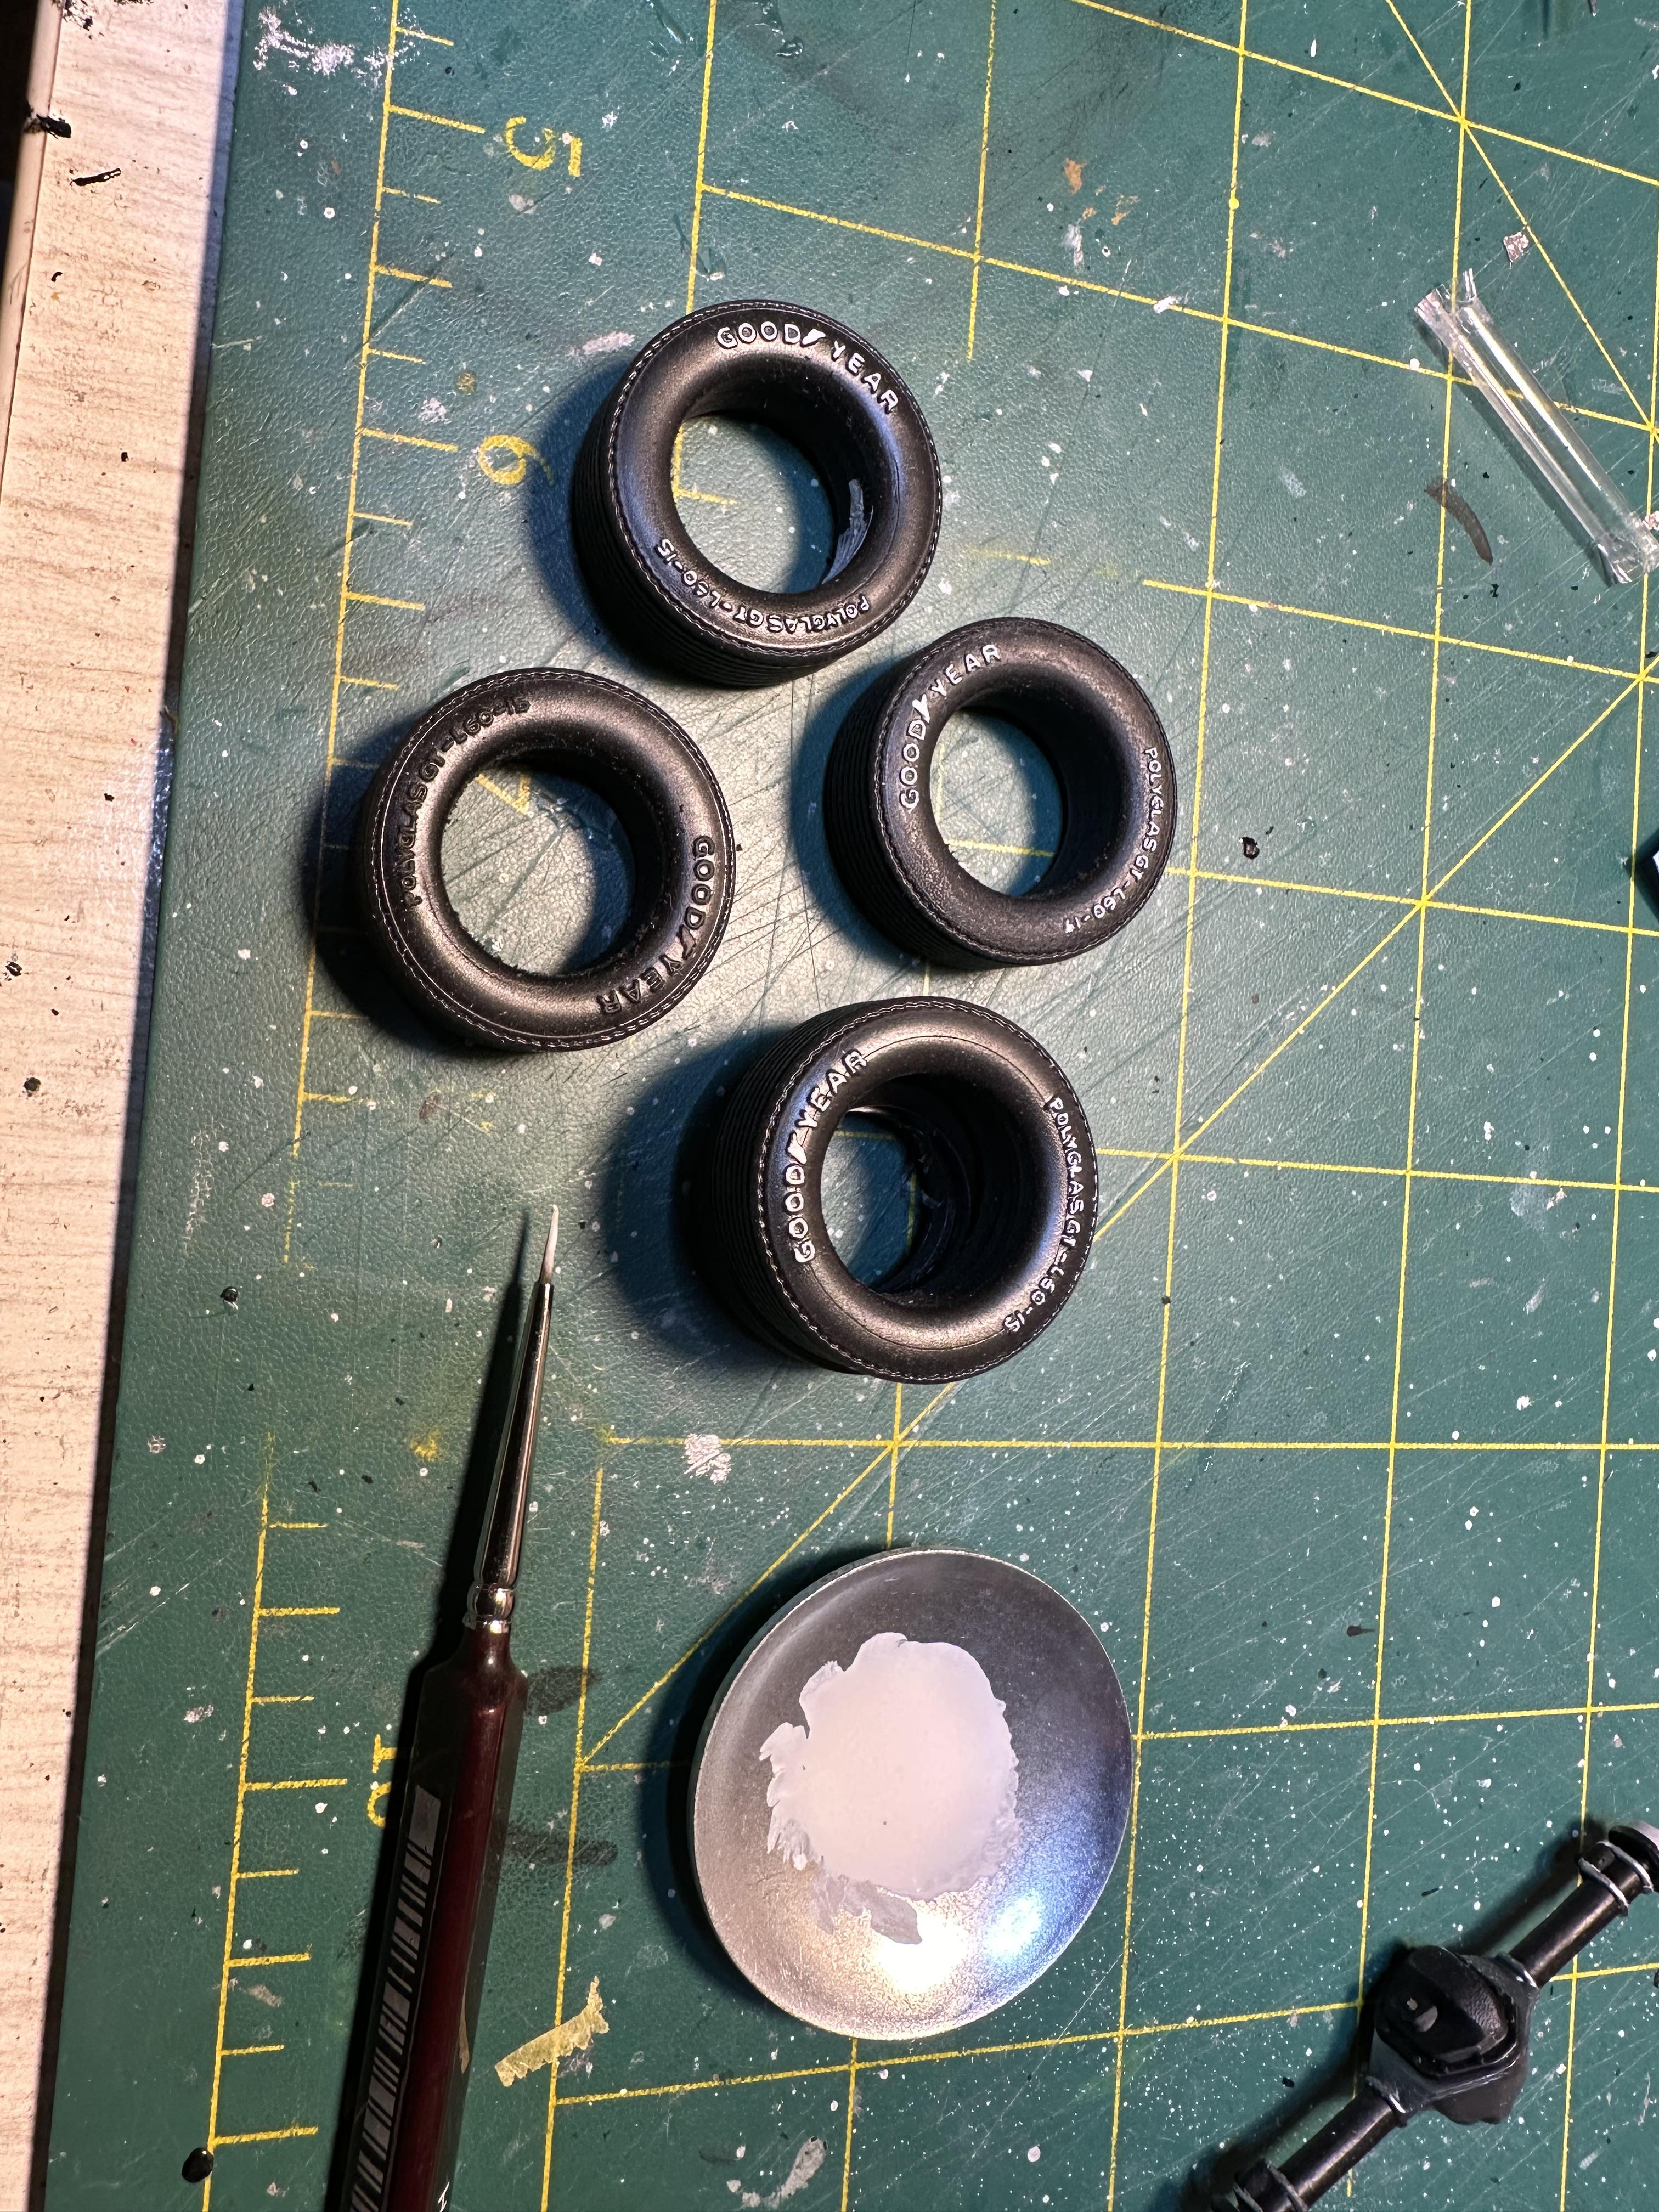
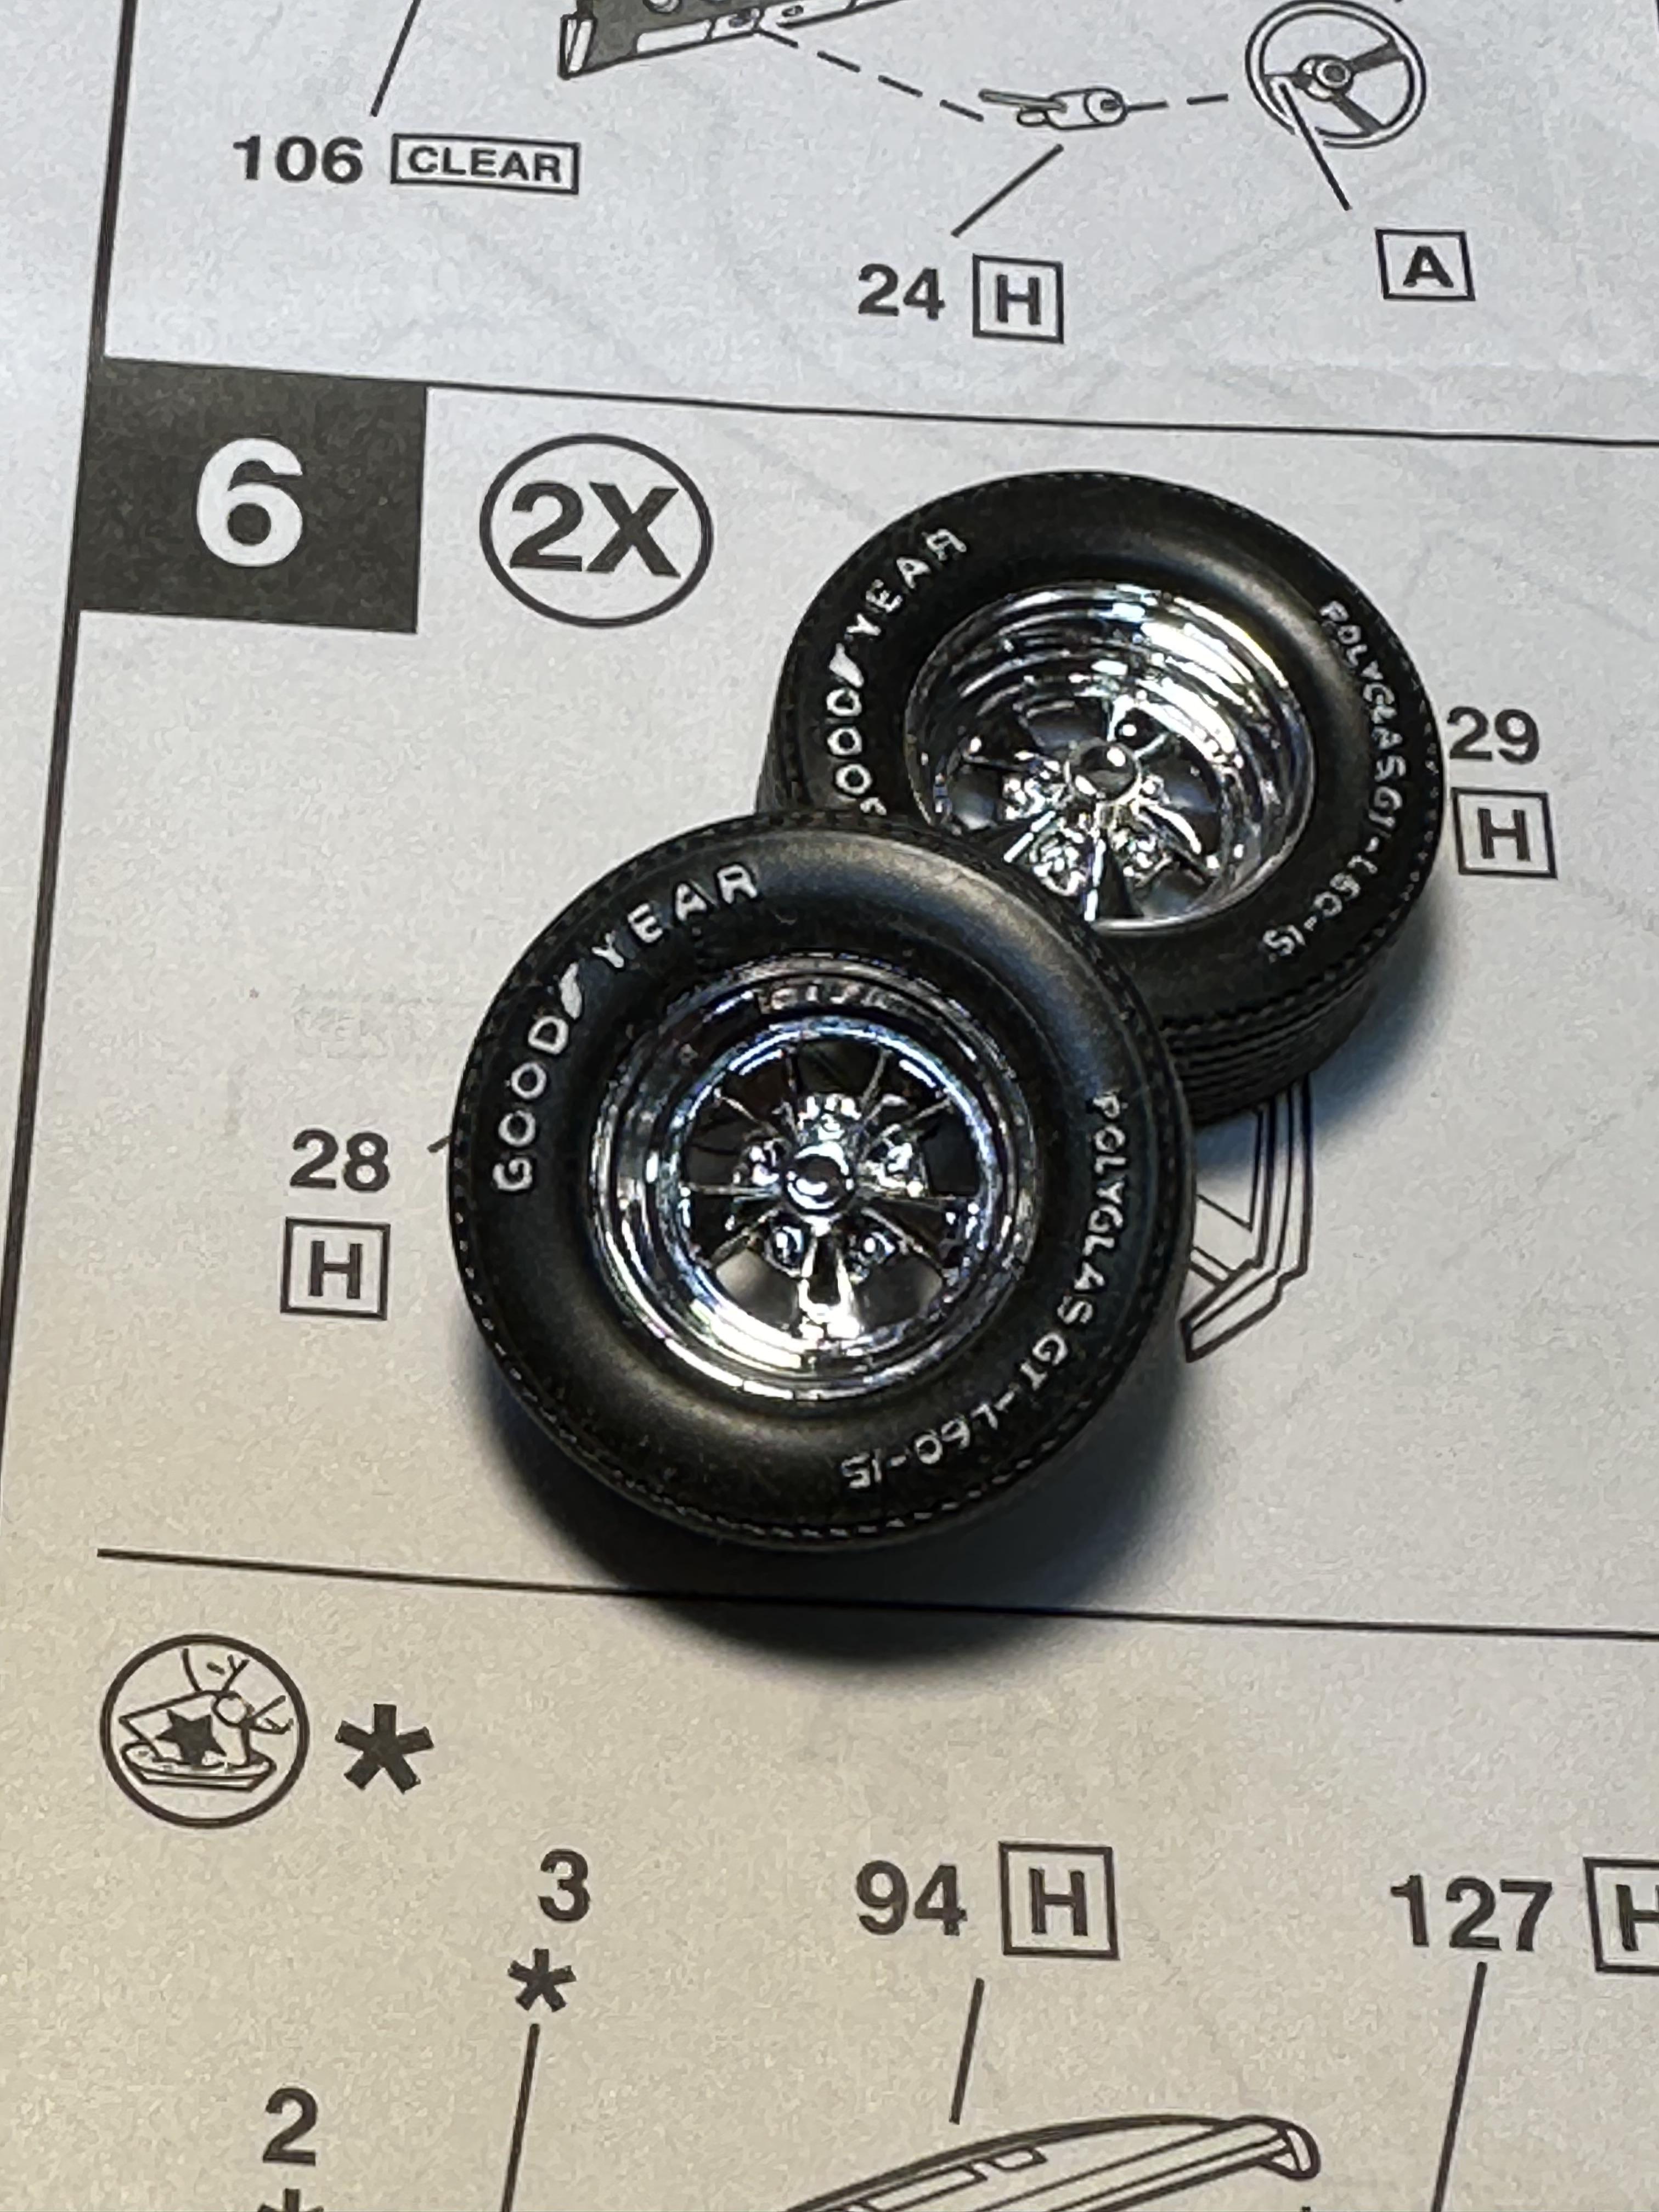
And painted the raised lettering on the tires. I use Humbrol flat white thinned a little with enamel thinners and what seems a largish brush. You lay the paint on with the side of the brush not the tip
And assembled wheels and tires
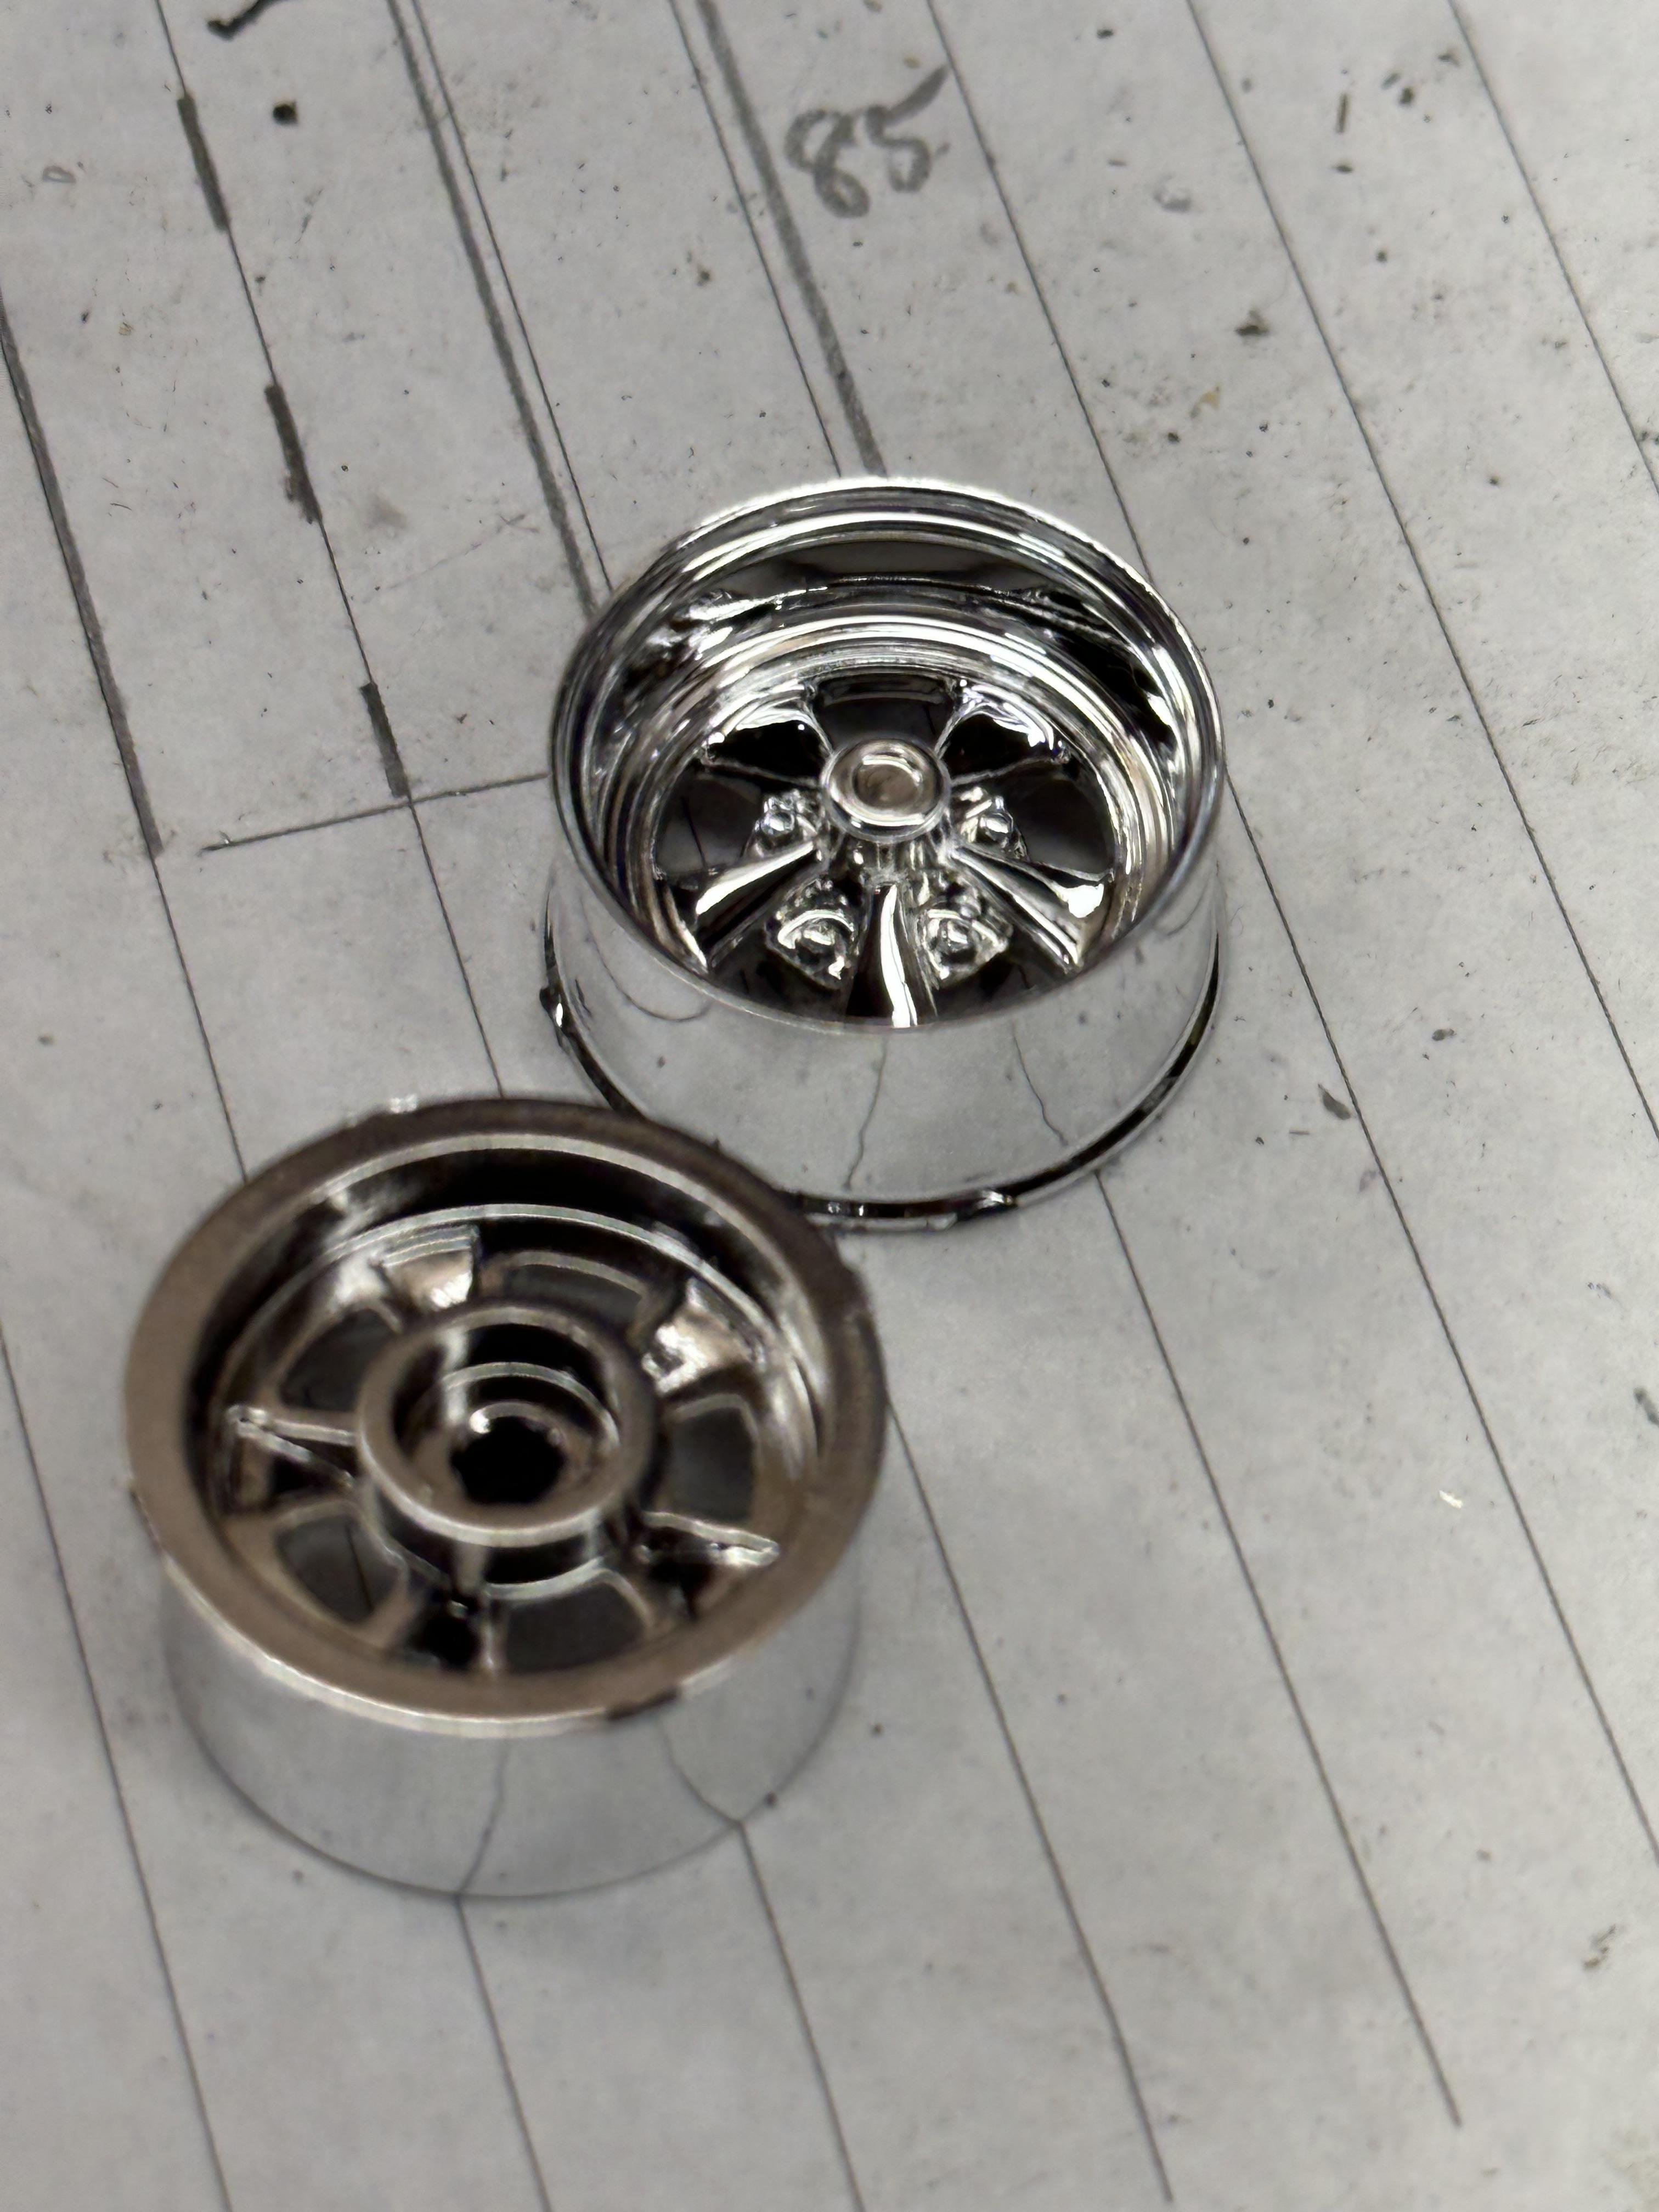
When I was getting the wheels fitted up onto the diff I had issues with fitment of the kit drum brakes so I machined some up from ally - no pix sorry
The front end posed some issues with the boss at the back of the wheel making the wheels stick out too far so I machined the bosses off. With a bit off faffing around and trimming I got the wheels to sit inside the body
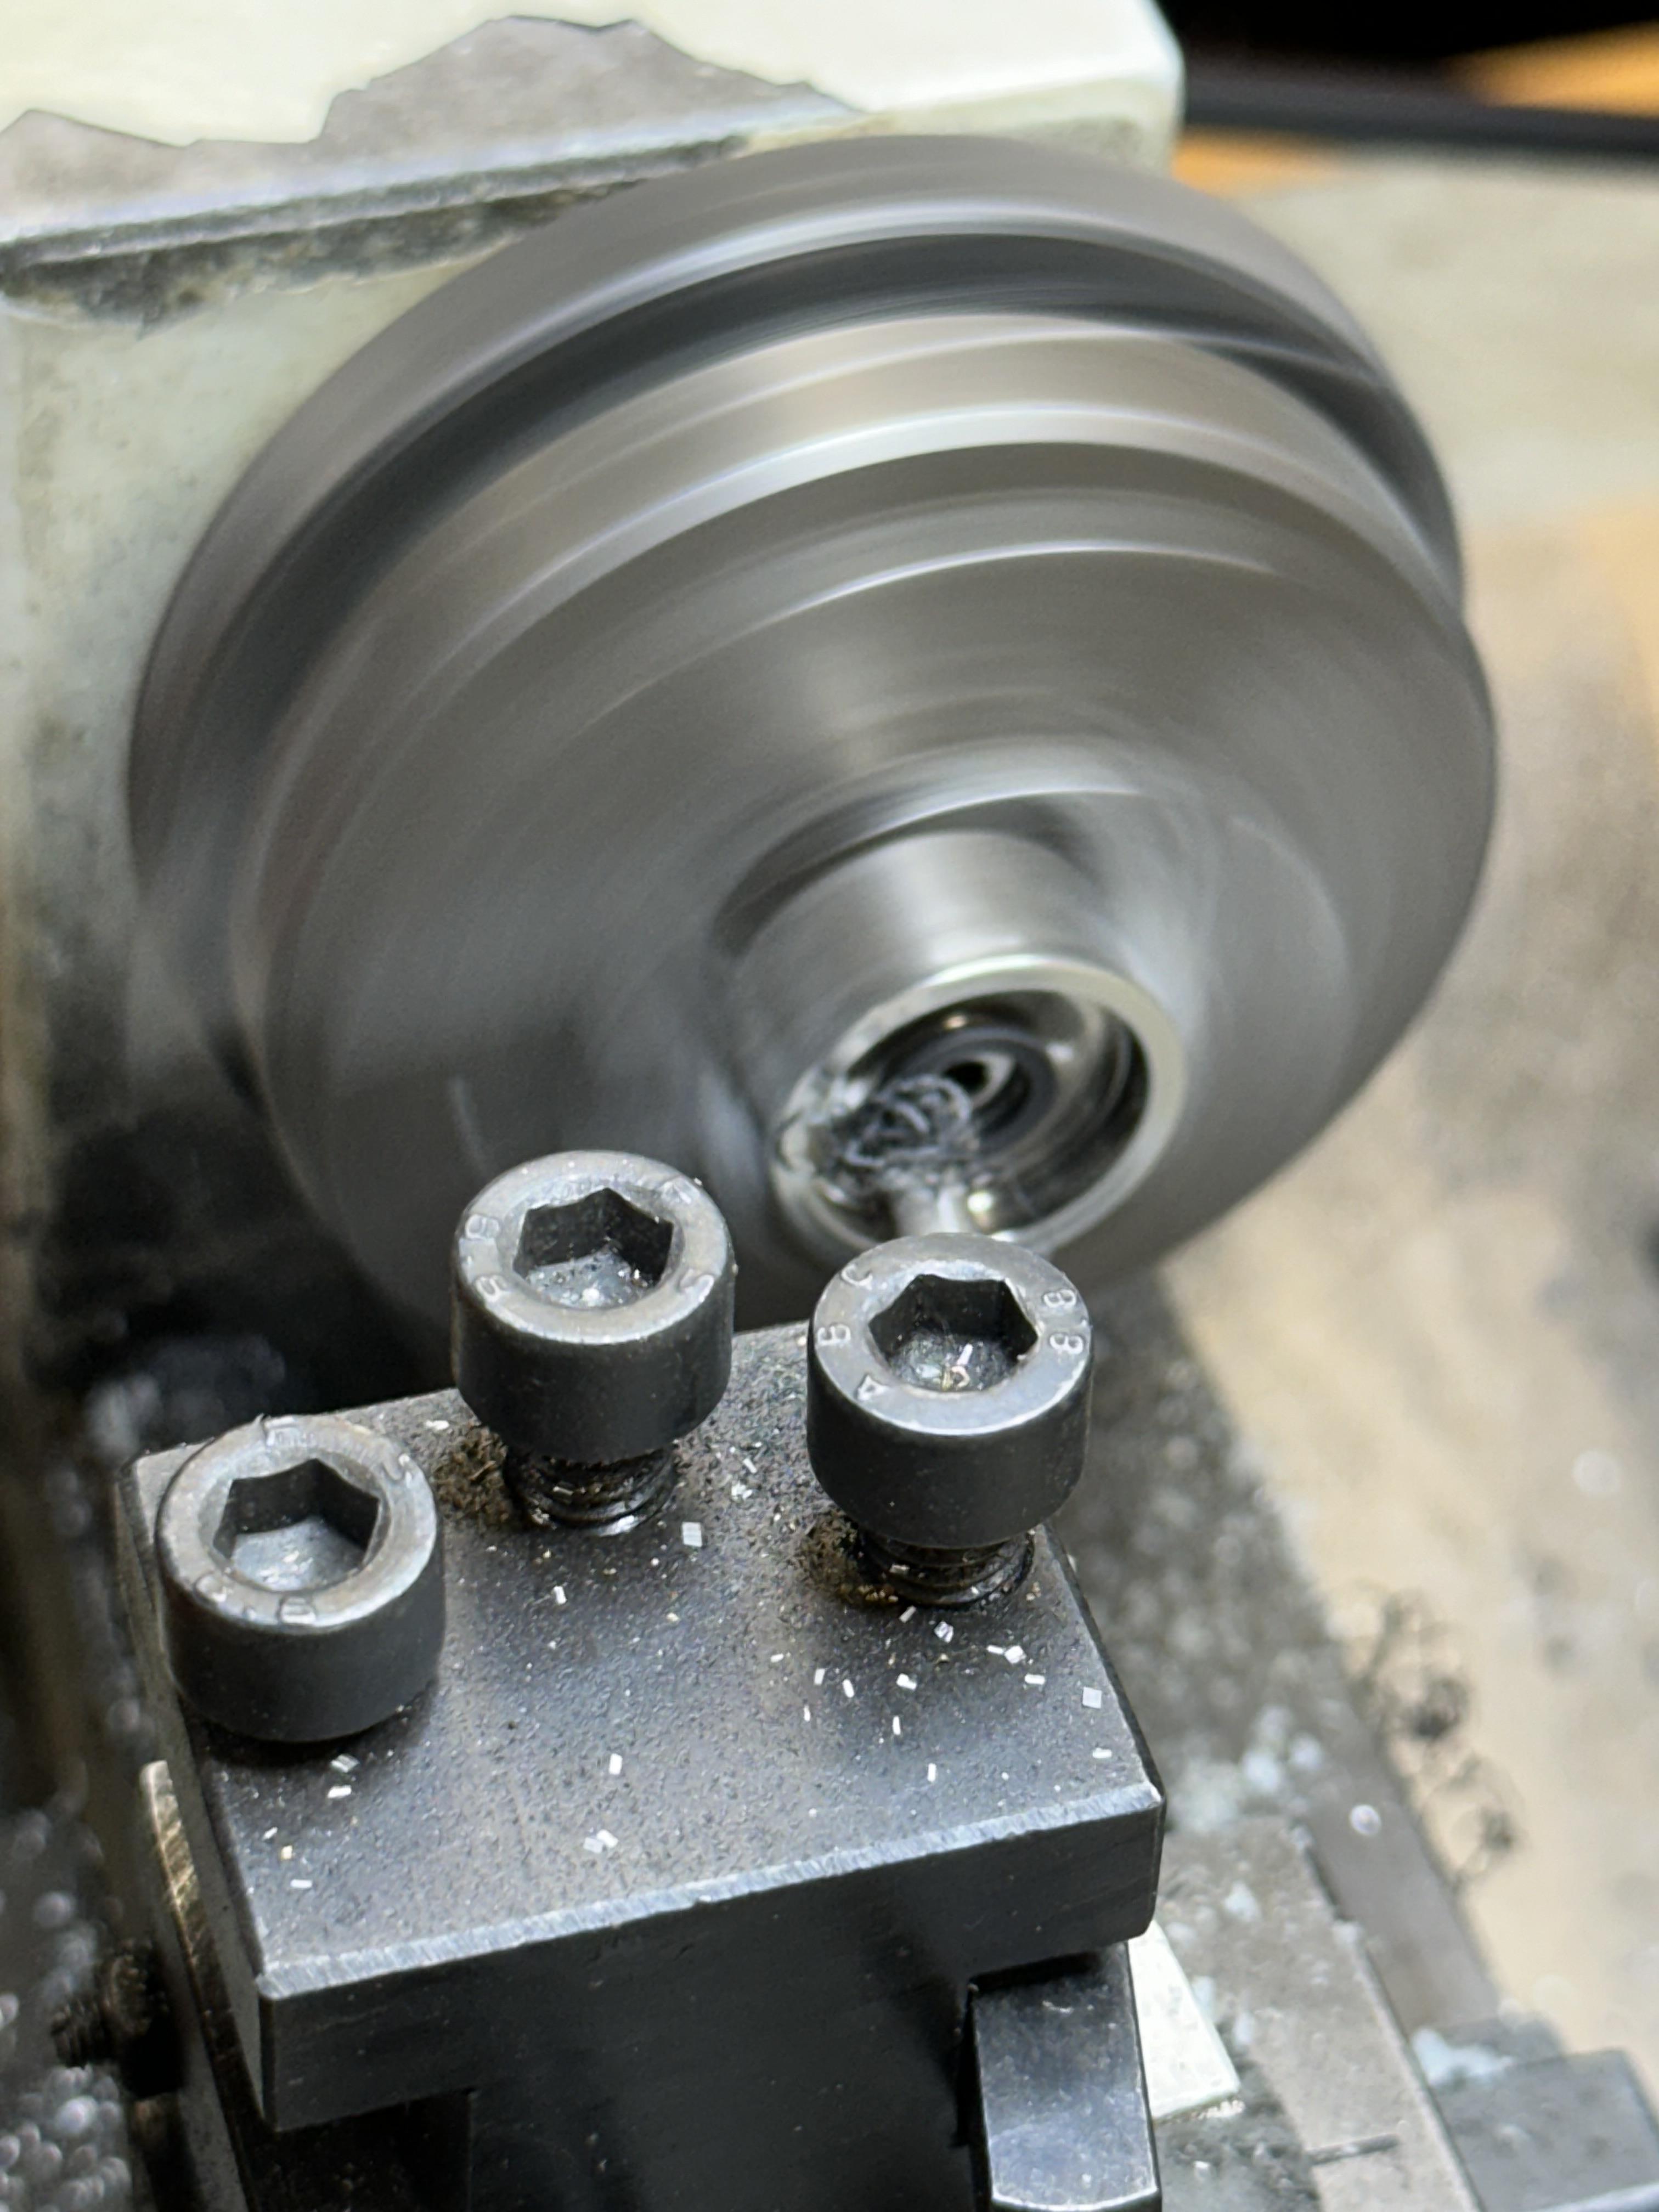
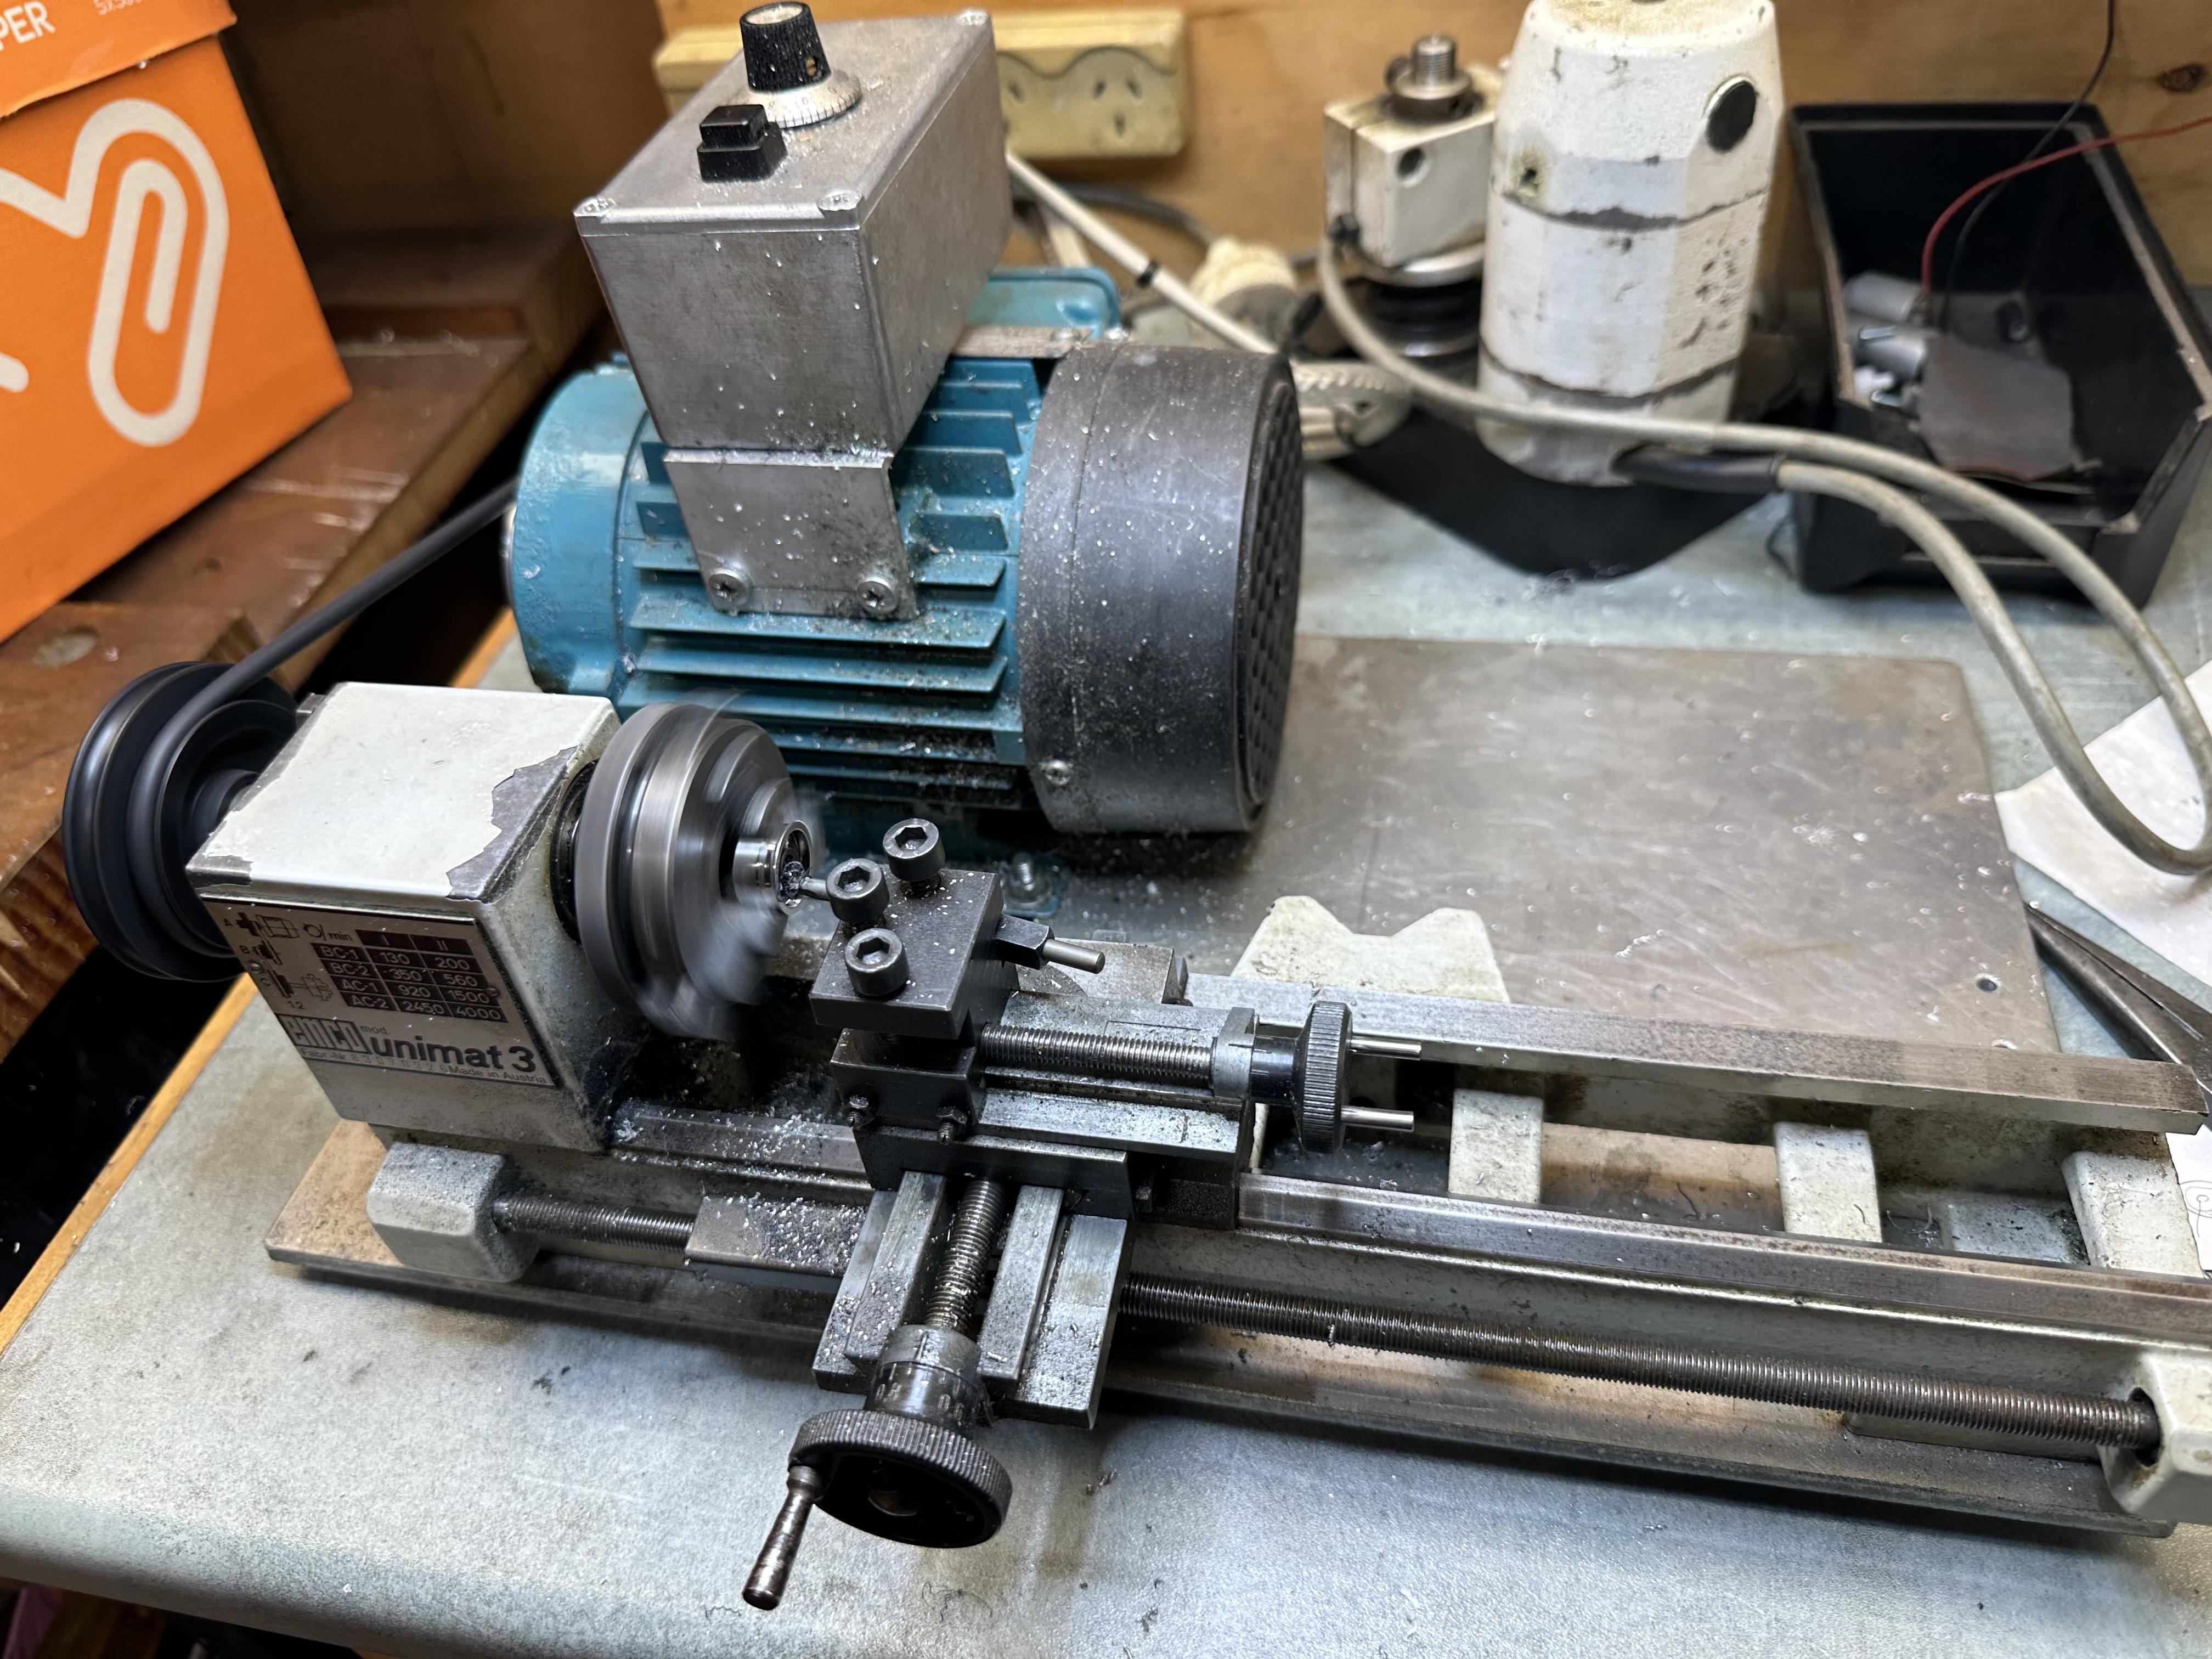
The lathe I use is a Emco Unimat III that has had the motor upgraded to a small three phase motor with VFD speed control
The original sewing machine motor can be seen as the white blob in the background and its use is now relegated to the mill head
It is now autumn down these ways so the outside jobs should start to slow down and I can spend ore time at the modelling table - if the CEO of the house does not line up a bunch of inside jobs to do.
Thanks for looking
-
1
-
-
I put a cotton wipe in front of the filter to be a sacrificial element. The type that comes on a roll and is hopeless at being a wipe anyway. And they are cheap. It extends the filter life significantly. I hold the filter in place with some clips as can be seen in the pix
-
The 56 Chrysler is a cool looking car. I became custodian of three of these little gems a number of years ago. There is a Chrysler, a Buick, an Olds and one other that I cant remember. They are all cool and quite detailed especially for 1/32 scale
-
Just sussed out why 57 Fords had such a nose down attitude - that motor is so heavy. So heavy it is known as a boat anchor down these ways
-
Kool collection of 32 roadsters you have there Alan
-
I am liking it
I like the idea of lengthening the door because although the Tudor doors are long they seem to end up looking short when the top is whacked and the proportions look so much better.
-
Kool Kustom Koupe going down here Alan
-
What a fantastic kit bash. The end result is amazing
-
1
-
-
On 2/22/2024 at 5:23 AM, Claes Ericsson said:
Any vendor(s) out there that carries (part of) Reps product line? When Norm dropped the VISA/MC payment option, only allowing domestic MO's, it became a bit more difficult to order, living in Sweden. Any help appreciated.
Claes Ericsson
This is sad news as I was about to place an order. I live in New Zealand so getting MO's are an issue
-
The other issue as I see the kit grill compared to the 1:1 is the grille surround looks a little heavy. You could thin than down a bit and add some stock to the inner side and open that out like you already have done. The grille opening would also then need filling in to fit the reshaped grille.
I must dig one out of the stash and have a look or just rehash the built up
And yep there definitely some Fisher-Price elements to the kit such as the already mentioned rear end and also the gearbox leave a lot to be desired. The headers hang a little low too
-
Amazing
-
"I also glued a piece of white plastic to the rear corner And sanded it down with a file and sandpapers. Got it pretty good" - I had the same issue with my build - see current threadYou are doing an nice job and the paint is looking good
-
1
-
-
That looks like a nice sunburnt survivor car
-
This an excellent build of the Plymouth coupe.
Have you tried spark plug wire for the welting. It is usually 0.4mm (0.015"). Typically the real thing is about 5mm diameter so 0.5mm would be correct but may still look a little large but 0.4mm plug wire woud be sweet with paint on it.
-
Absolutely mind blowing
-
Got the motor done and am working on interior assembly and final paint detail of the chassis
Will try for a better photo and post up
-
2
-
-
Looking good. That Duster engine looks like a good representative of the LA engine. And I like the colour too


'55 Chrysler 300
in Model Cars
Posted
Kool car, nice build of a nice kit