THORDOOR220
-
Posts
179 -
Joined
-
Last visited
Recent Profile Visitors
1,516 profile views


.thumb.jpg.9bb91451e336338afa29d574b4325cc7.jpg)


THORDOOR220's Achievements
MCM Friend (4/6)
-
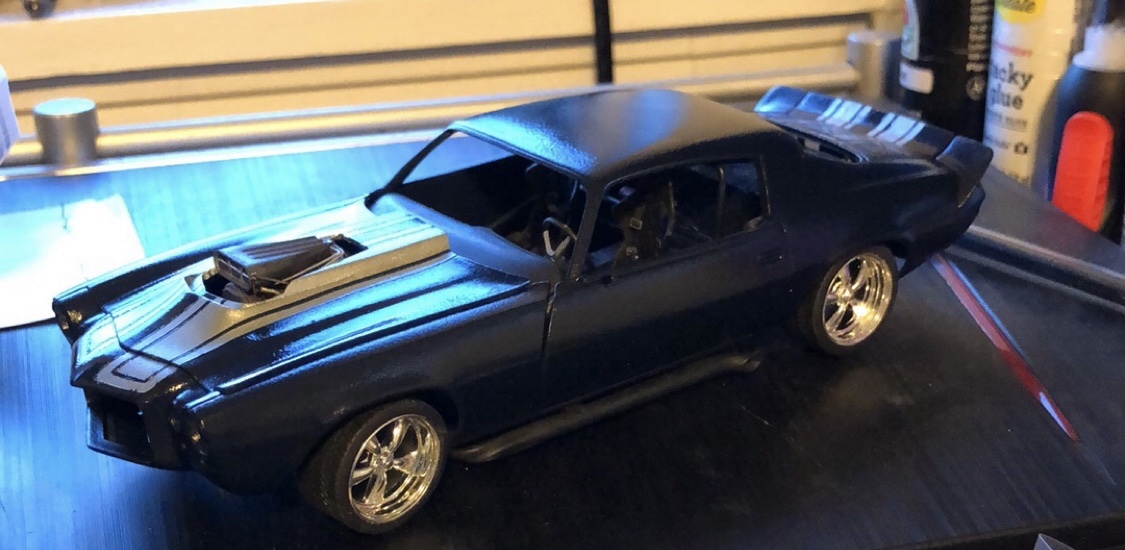
Thanks, I think it’ll be alright. Got it painted and cleared, first time I’ve used an airbrush. Turned out okay, considering all the issues I had. Going to have to buff it to at least reduce that orange peel a bit. Personally I think the stripes look a little goofy up front...but it is what it is at this point.

-
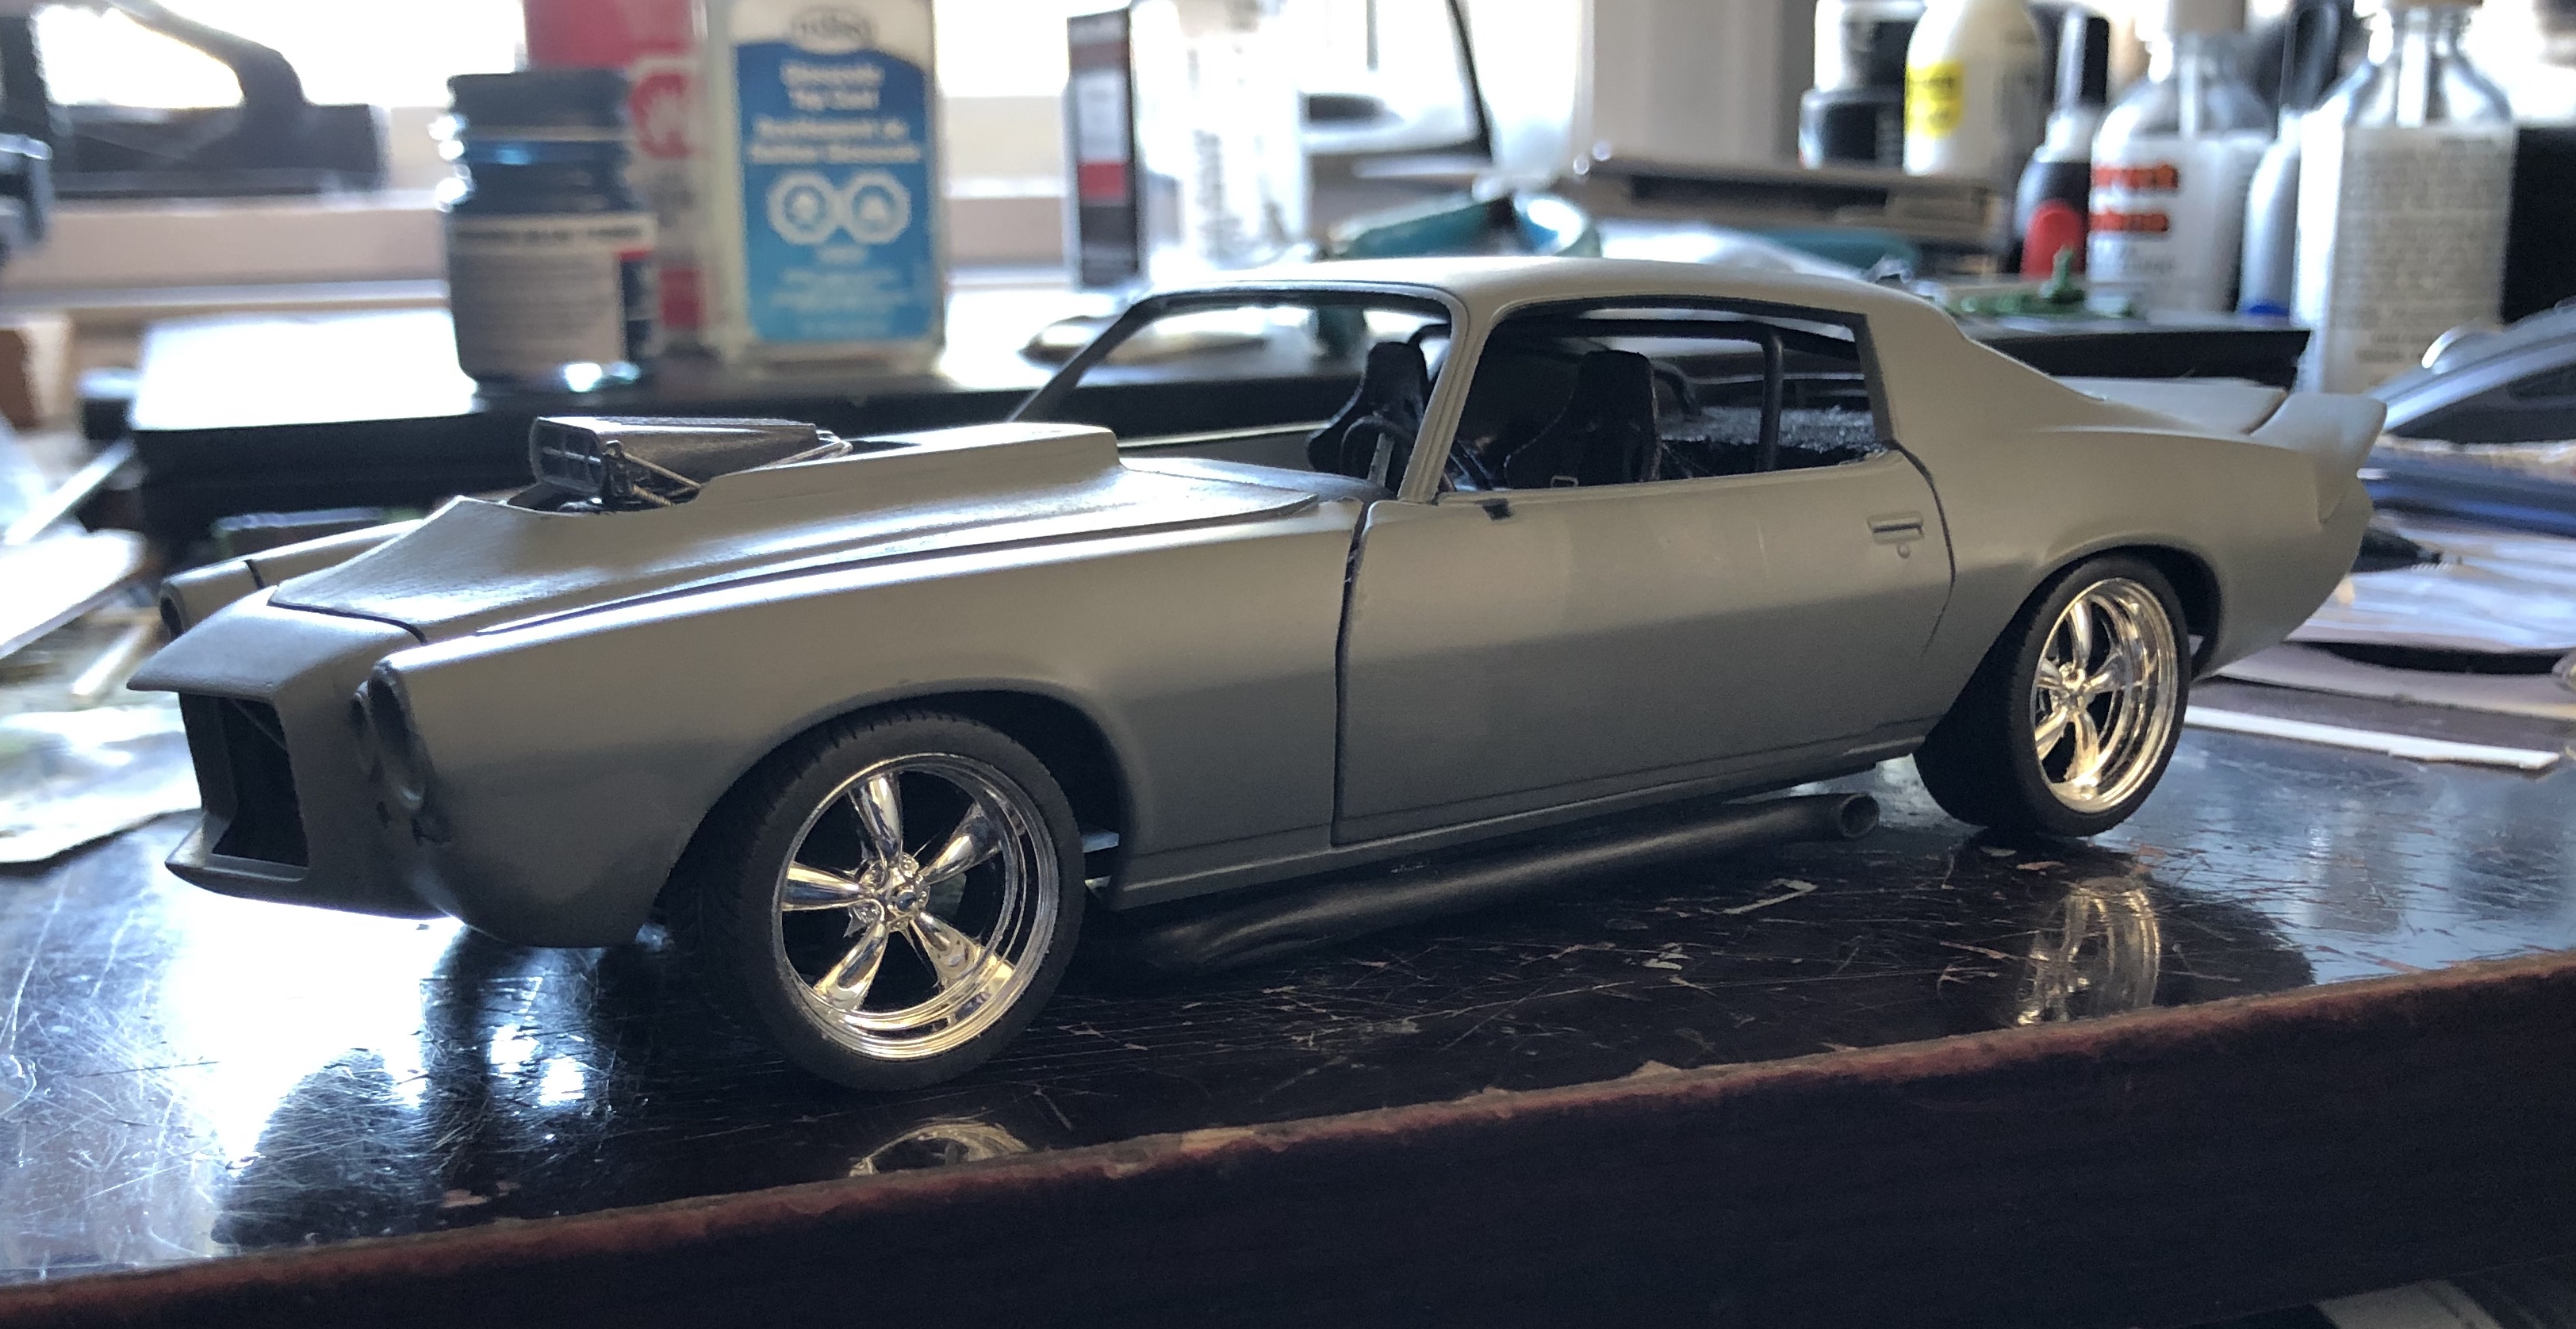
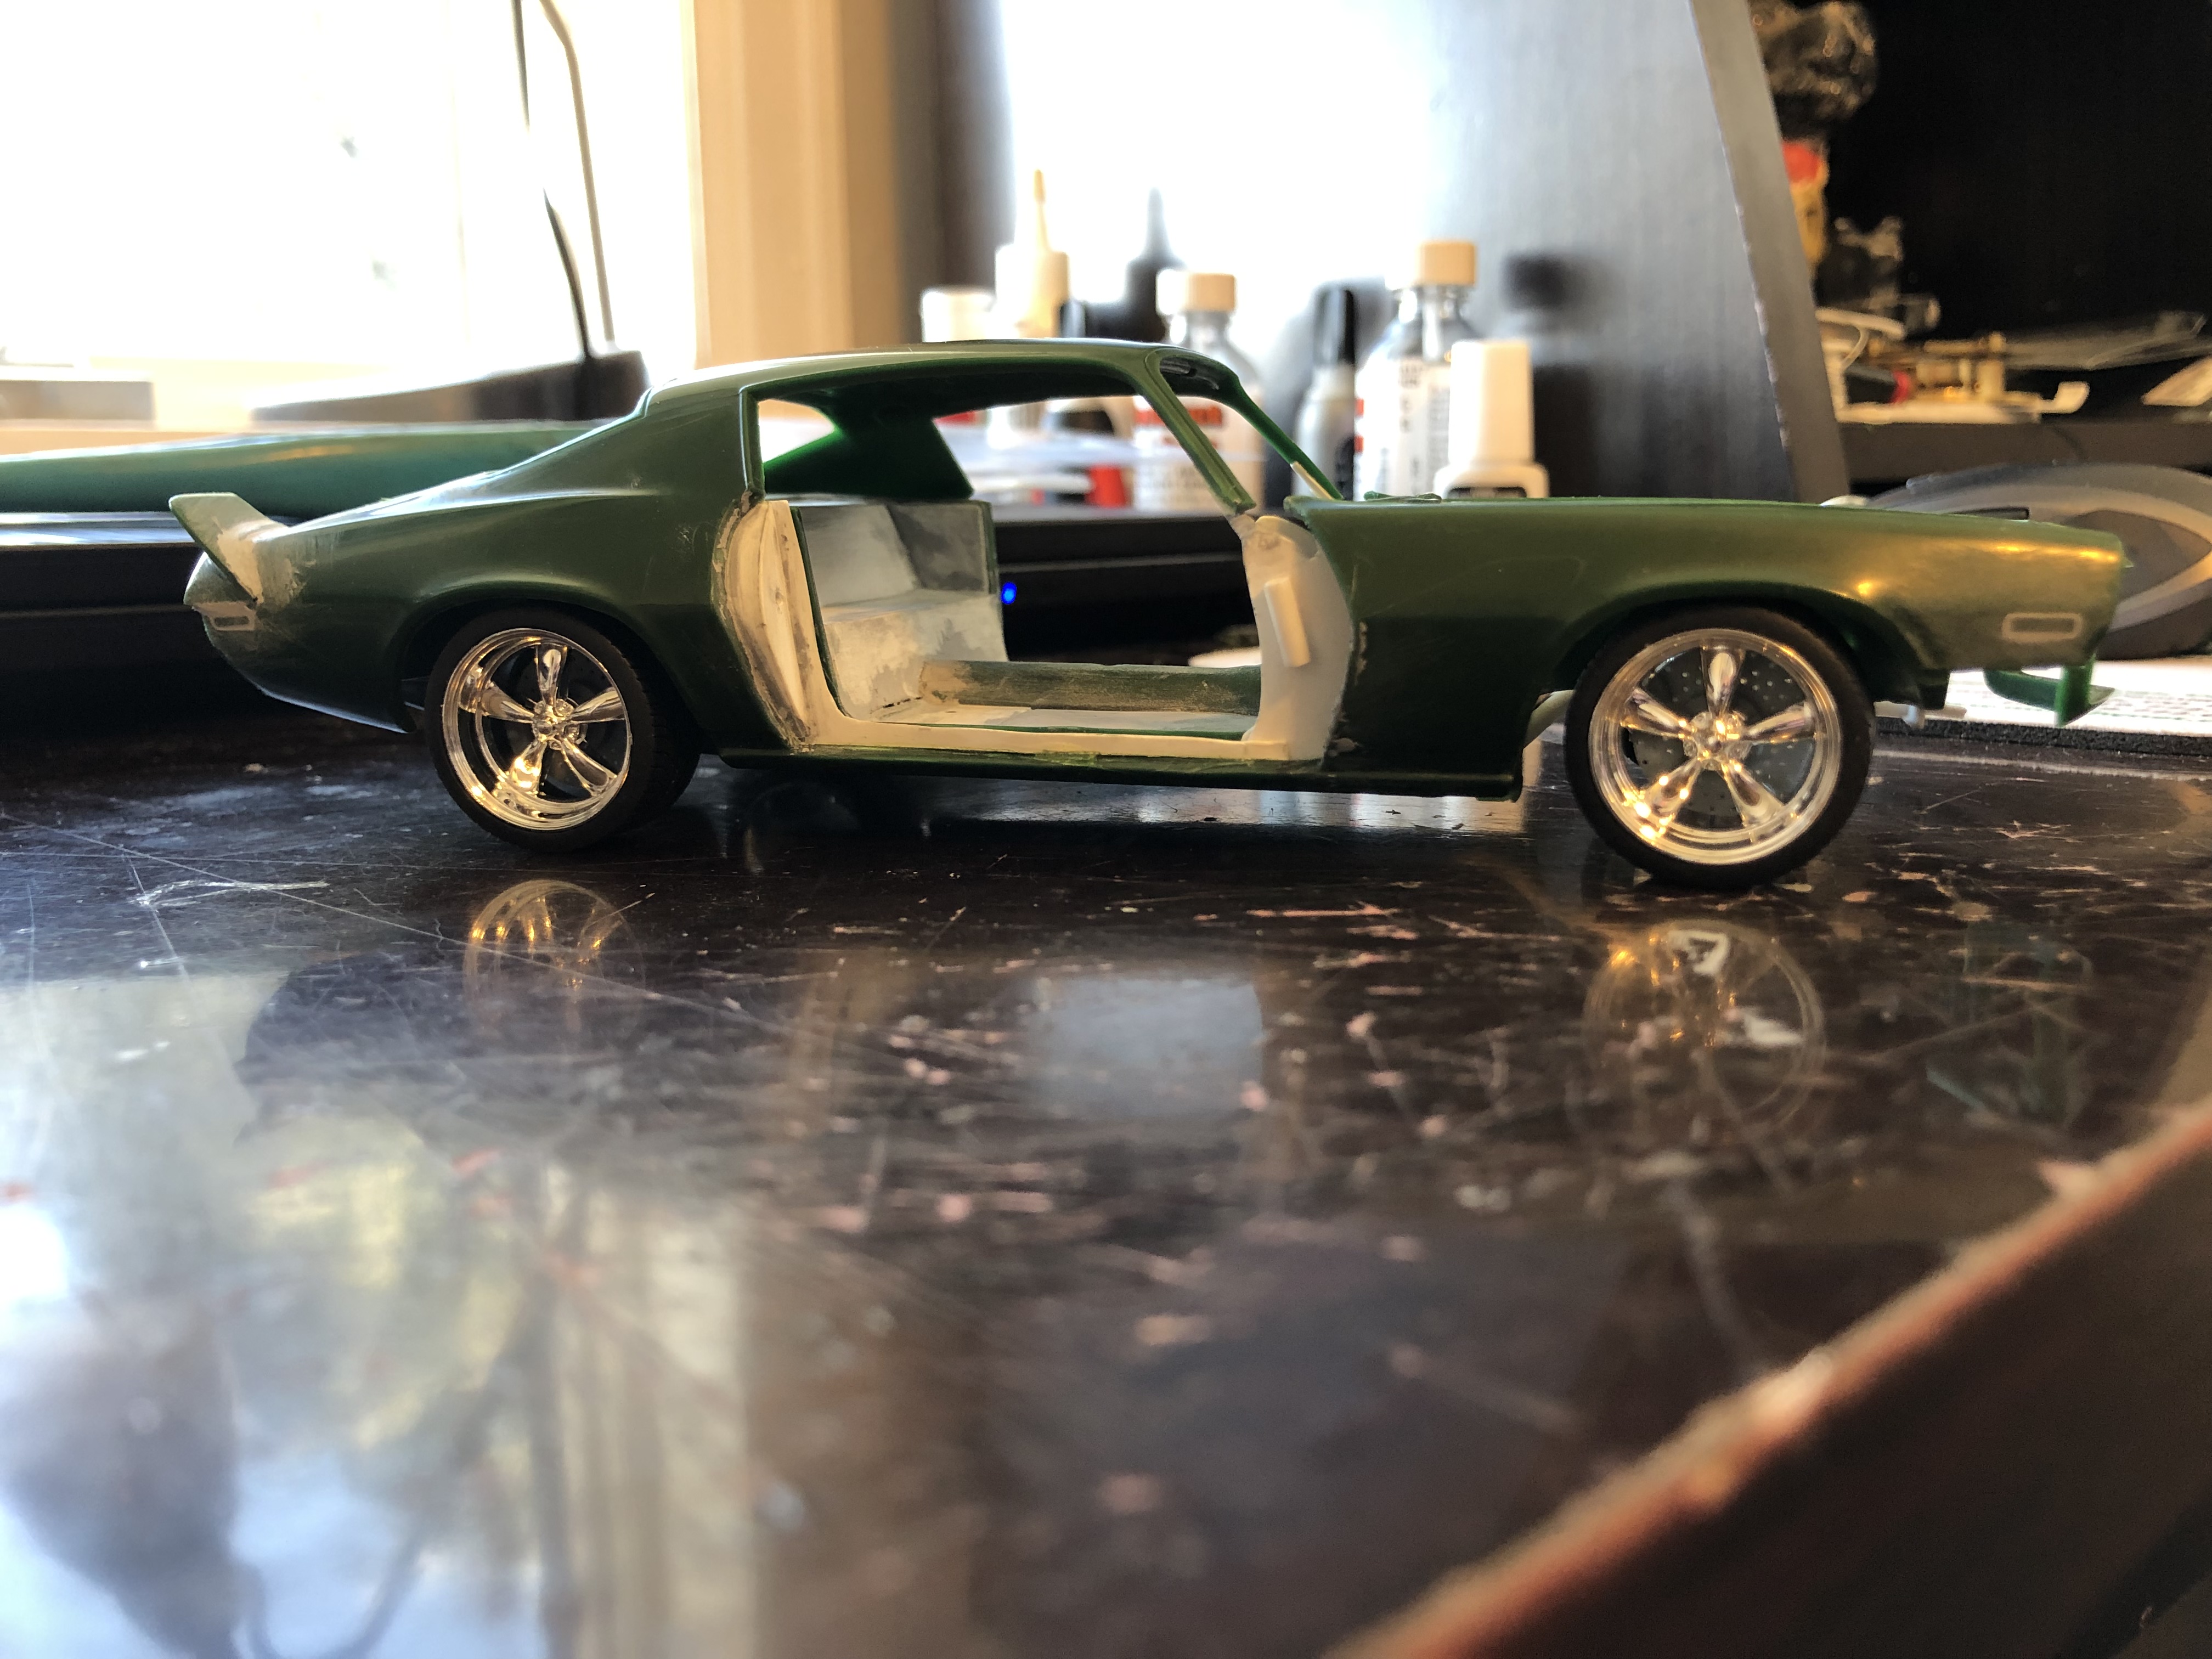
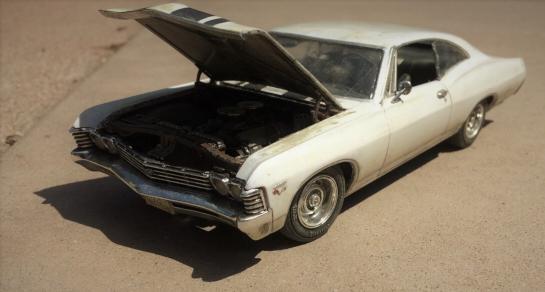
So, good news and bad news. Good news, I’m on track to have it painted over the next couple days. The car is in primer, gonna shoot the stripe color here shortly and probably base color tomorrow, followed by clear either tomorrow or Monday. The bad news is I had an unfortunate mishap where the model came between my phone and the floor. Broke both a pillars and the body half way under the passenger door. It’s fixed (or as much as it can be), but the passenger door doesn’t fit up right anymore and the exhaust hangs down in the front on both sides. I’ll try yet to fix the exhaust, but the door I think will be a permanent flaw in the car. The whole body is twisted. Still needs a few things, namely brakes and door panels, but we’re pretty close.
-
Thanks Dann, if only it ran!
-
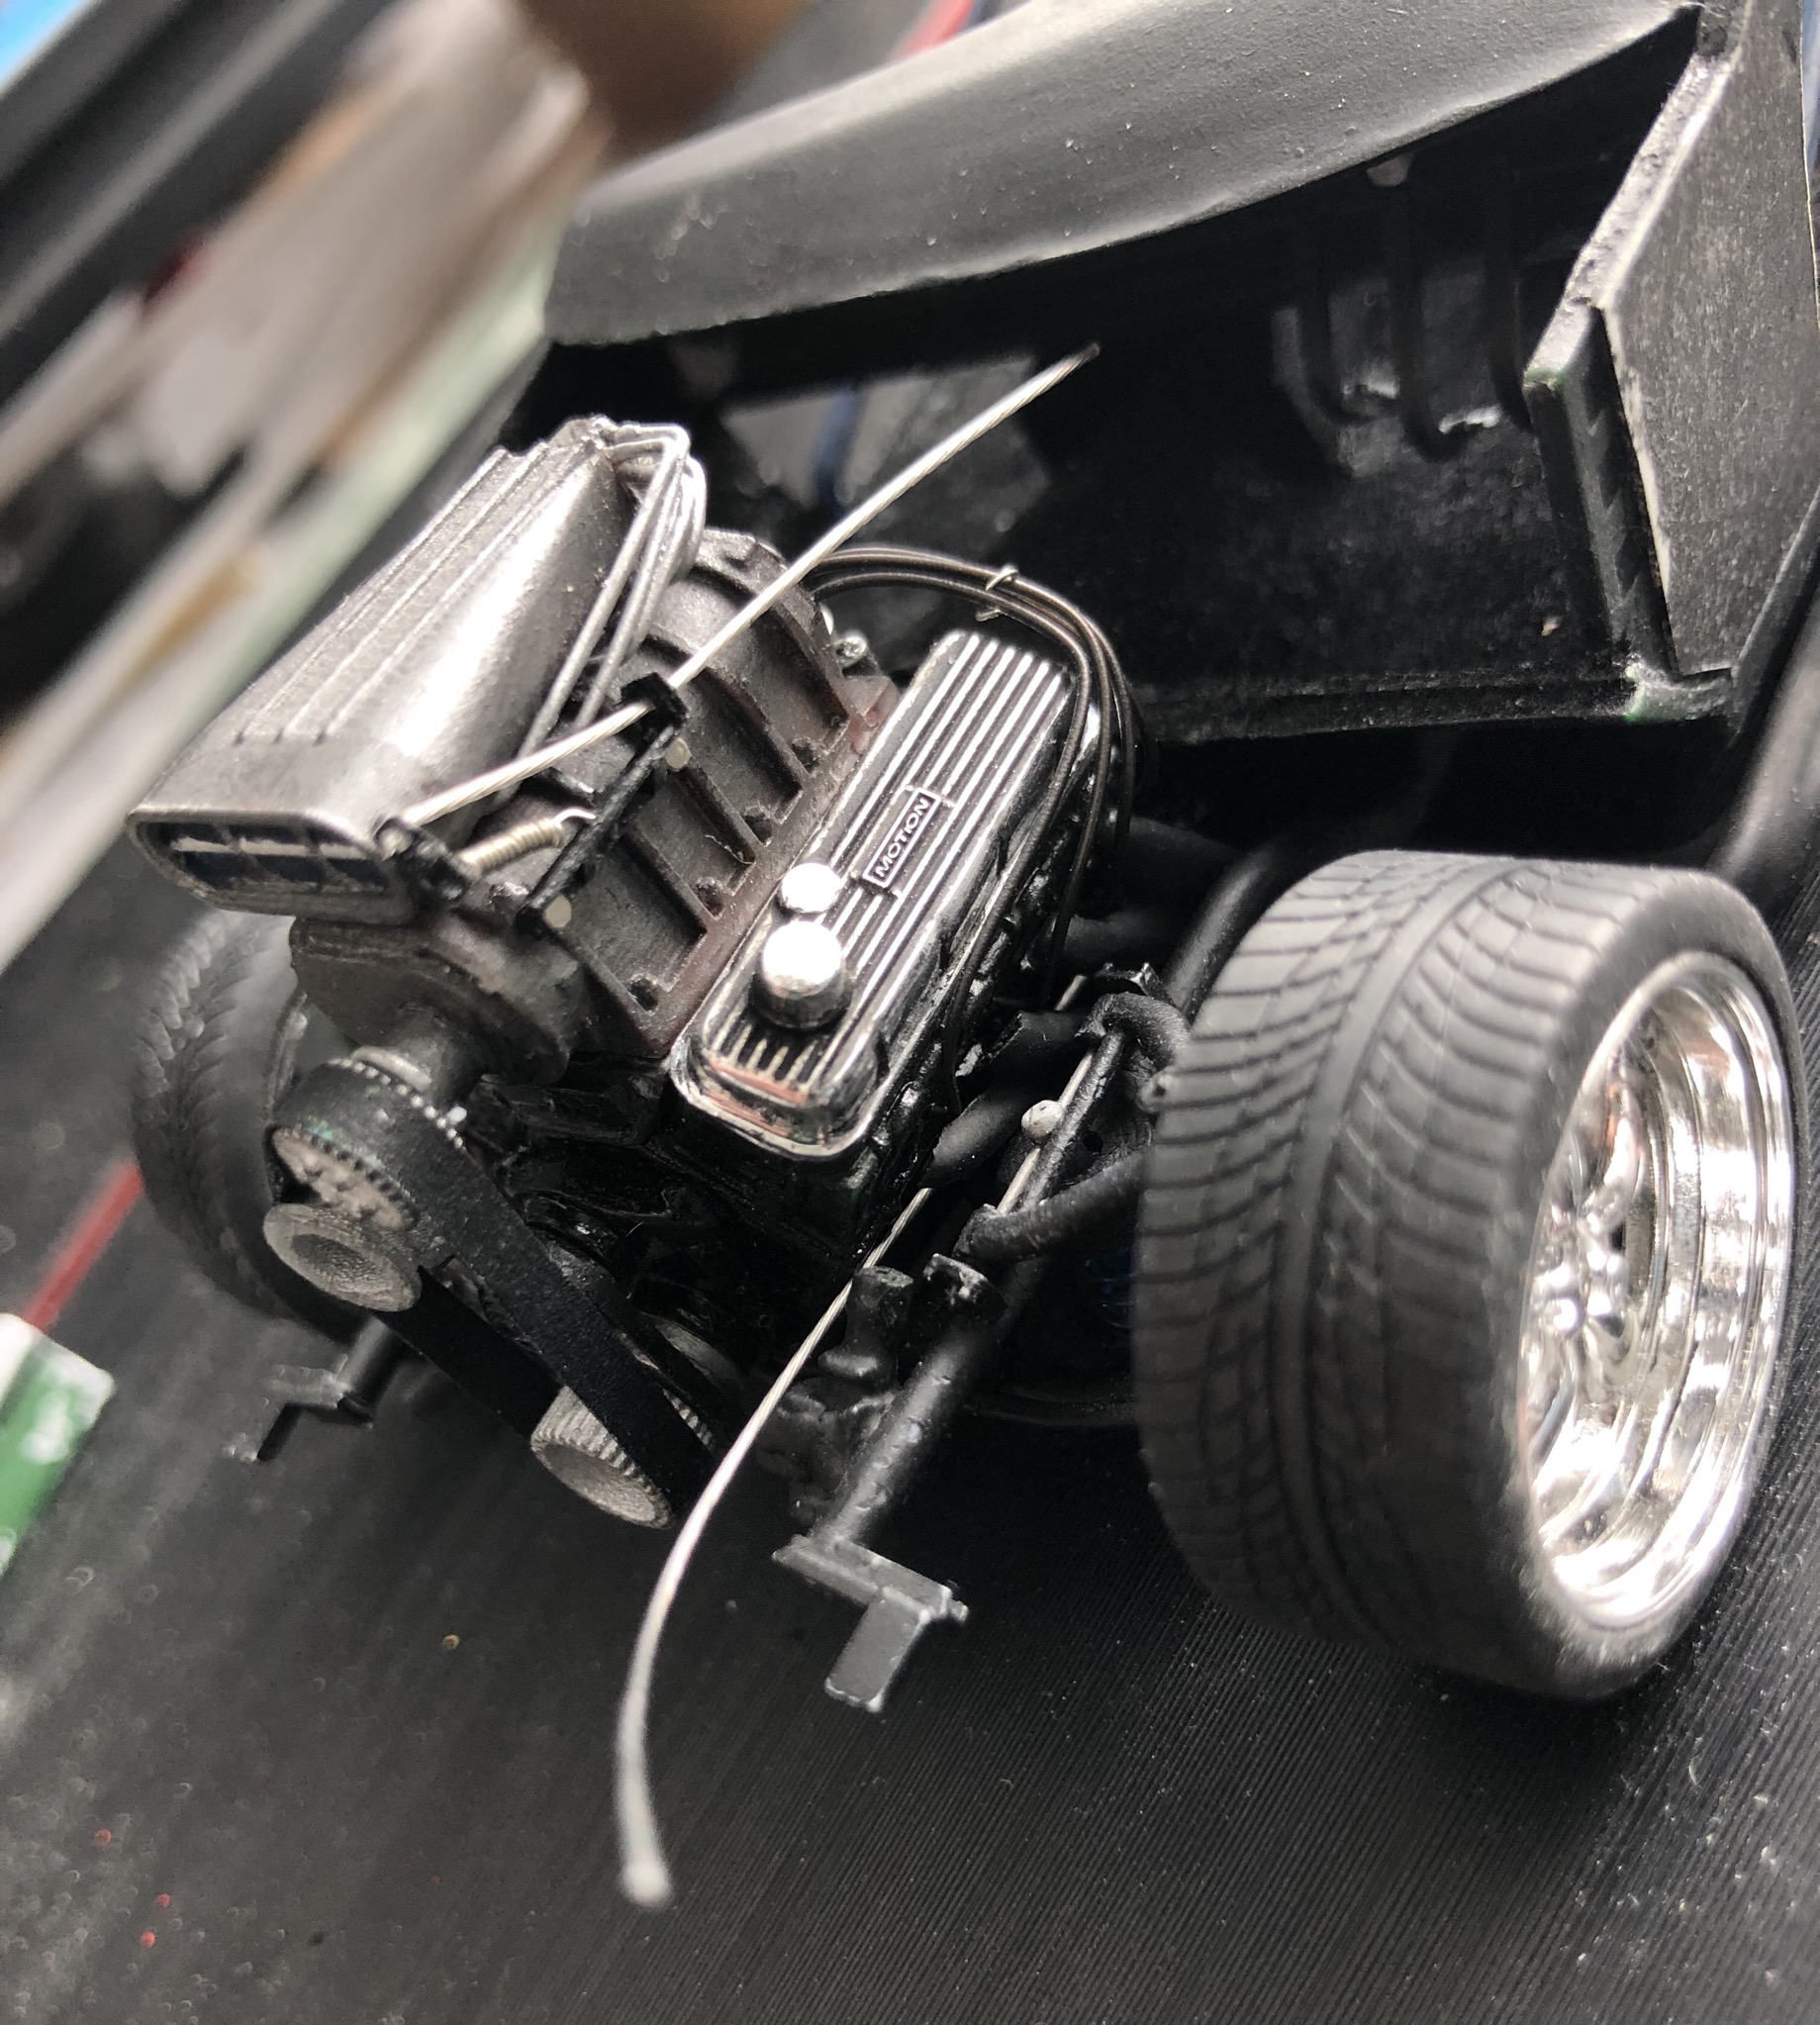
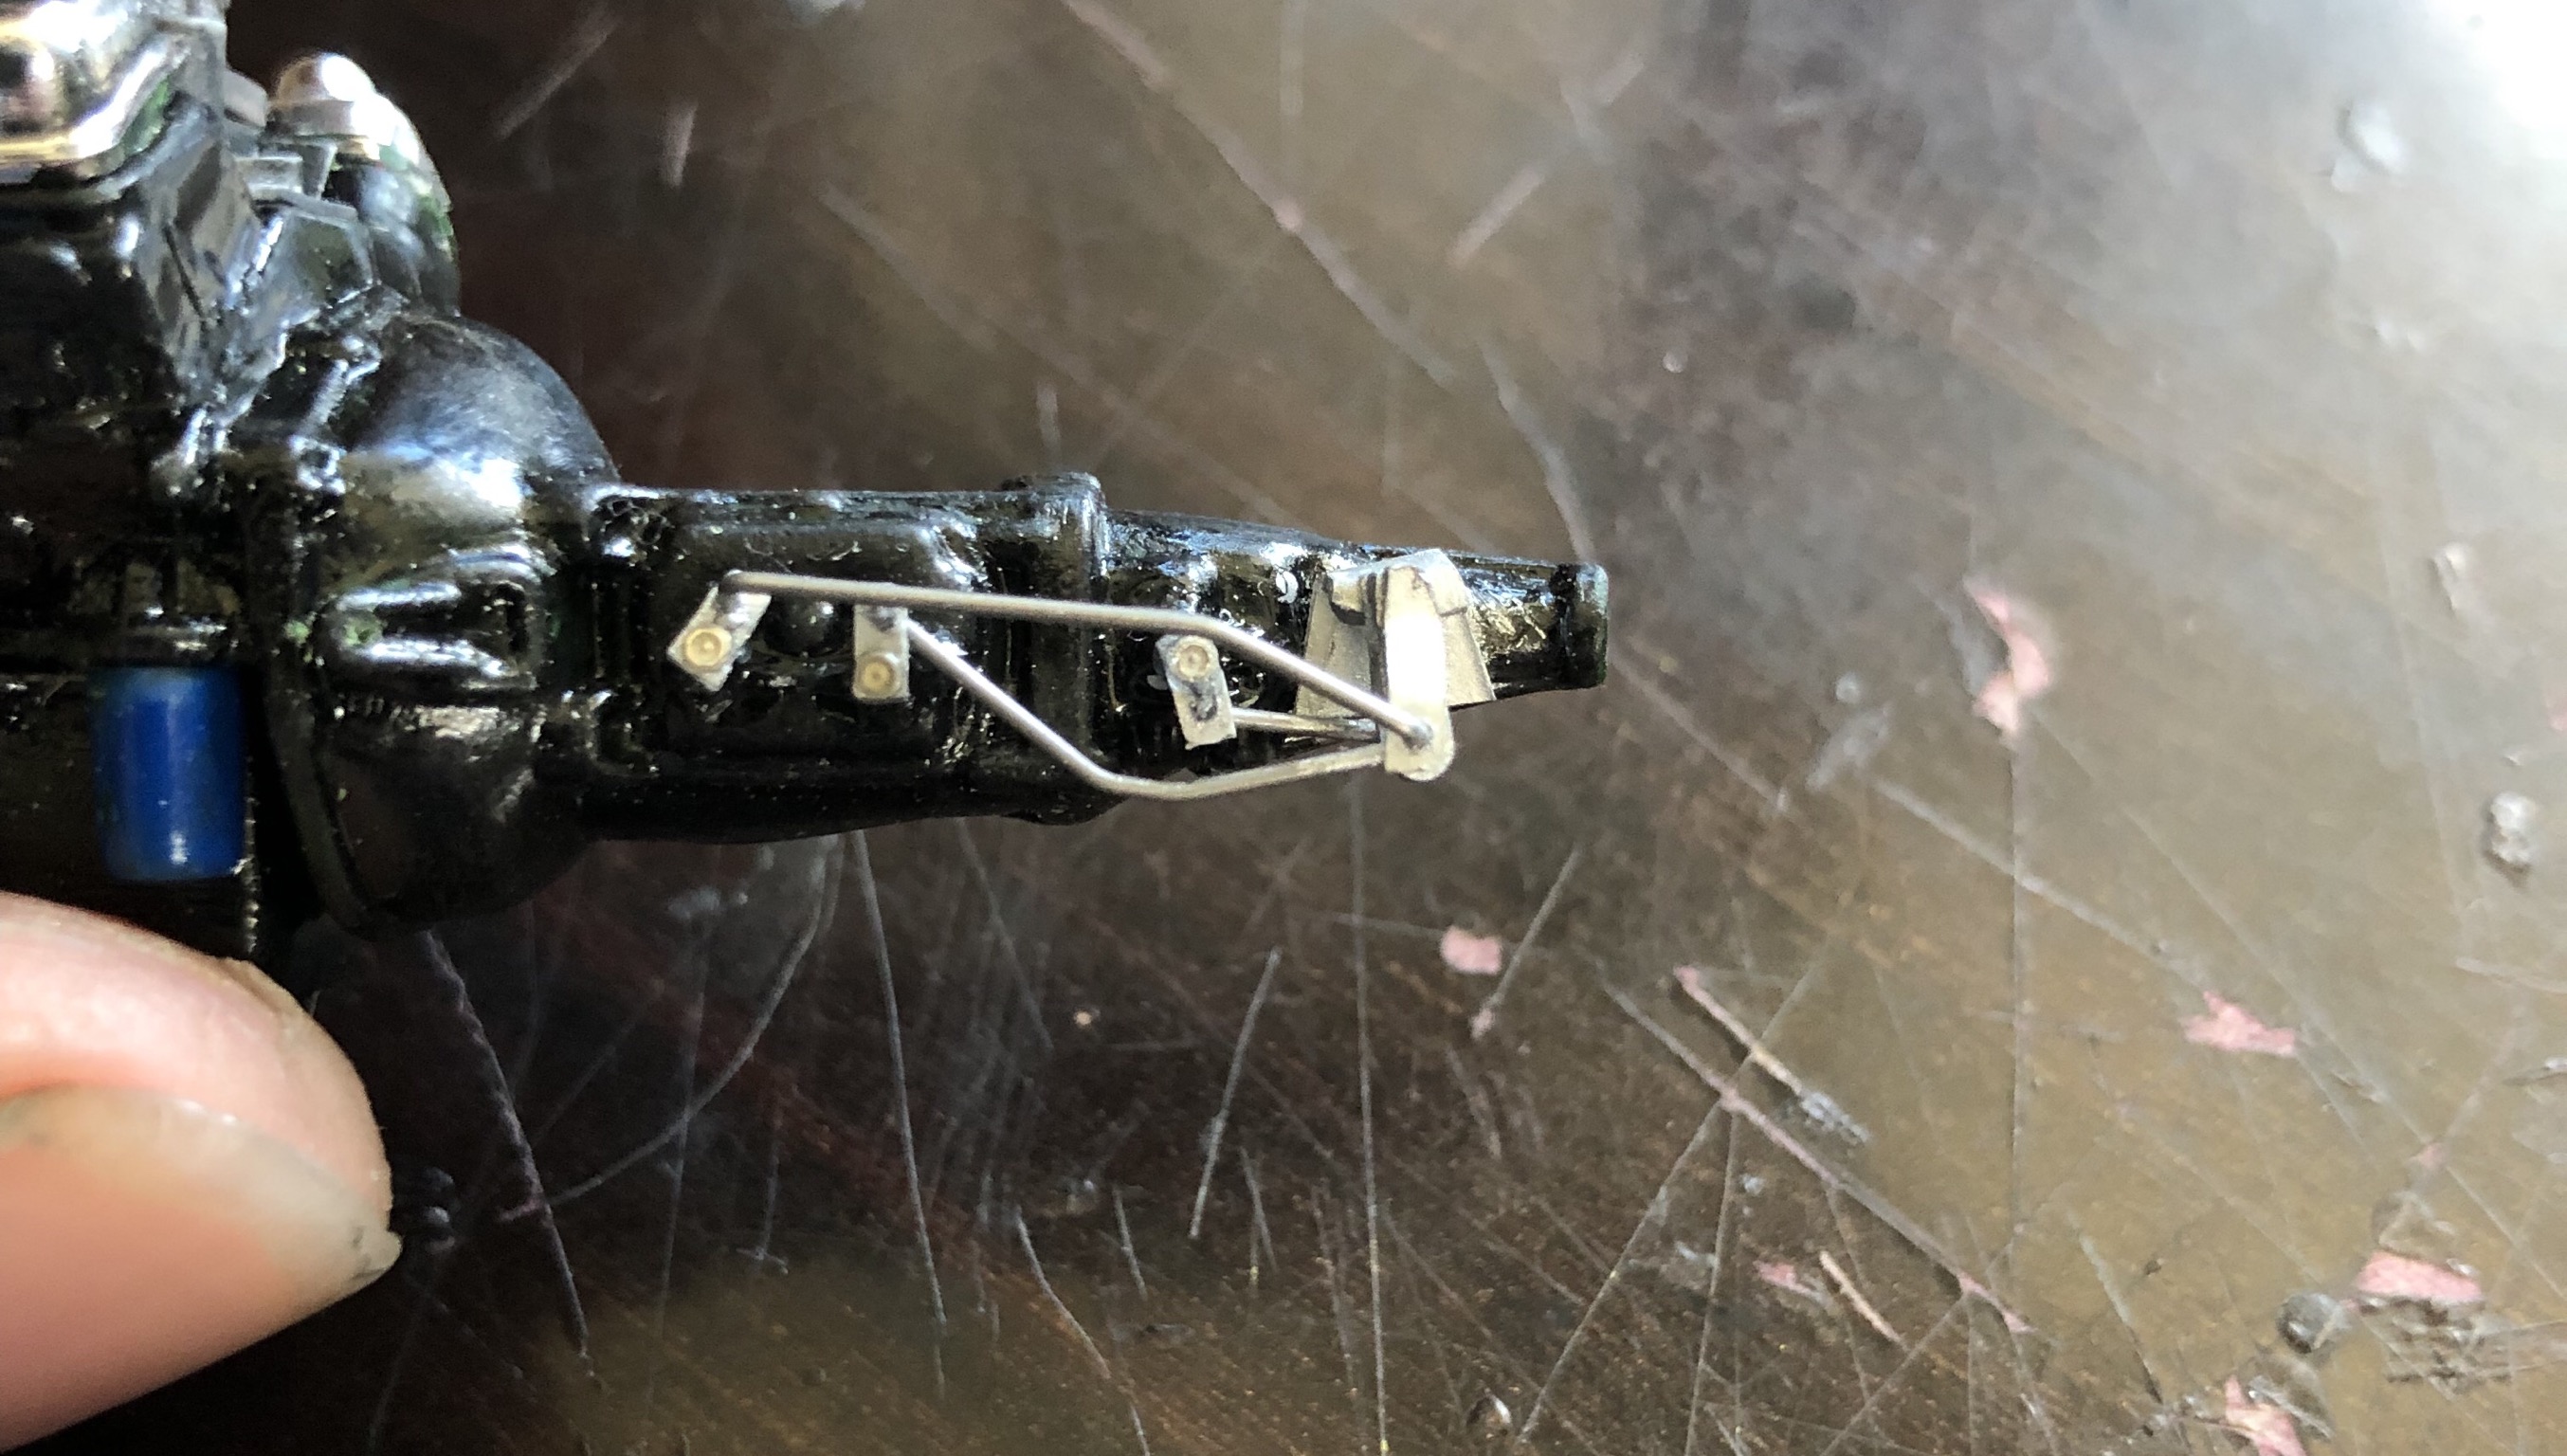
Its been a little while, not a lot to show at the moment though. Motor is in and throttle linkage there, that’s about all I have to show for the moment. There are other things (fuel line, exhaust, stuff like that), but that’ll be shown later. That line coming from under the header is the clutch cable, it’ll get hooked up when the firewall is put in. Working on doors right now, getting them to stay shut with magnets. Hoping for nice weather this week and next weekend so I can get the body sprayed, we’ll see if I get there as planned.
-
Been following for a while, love how it turned out. Very nice build
-
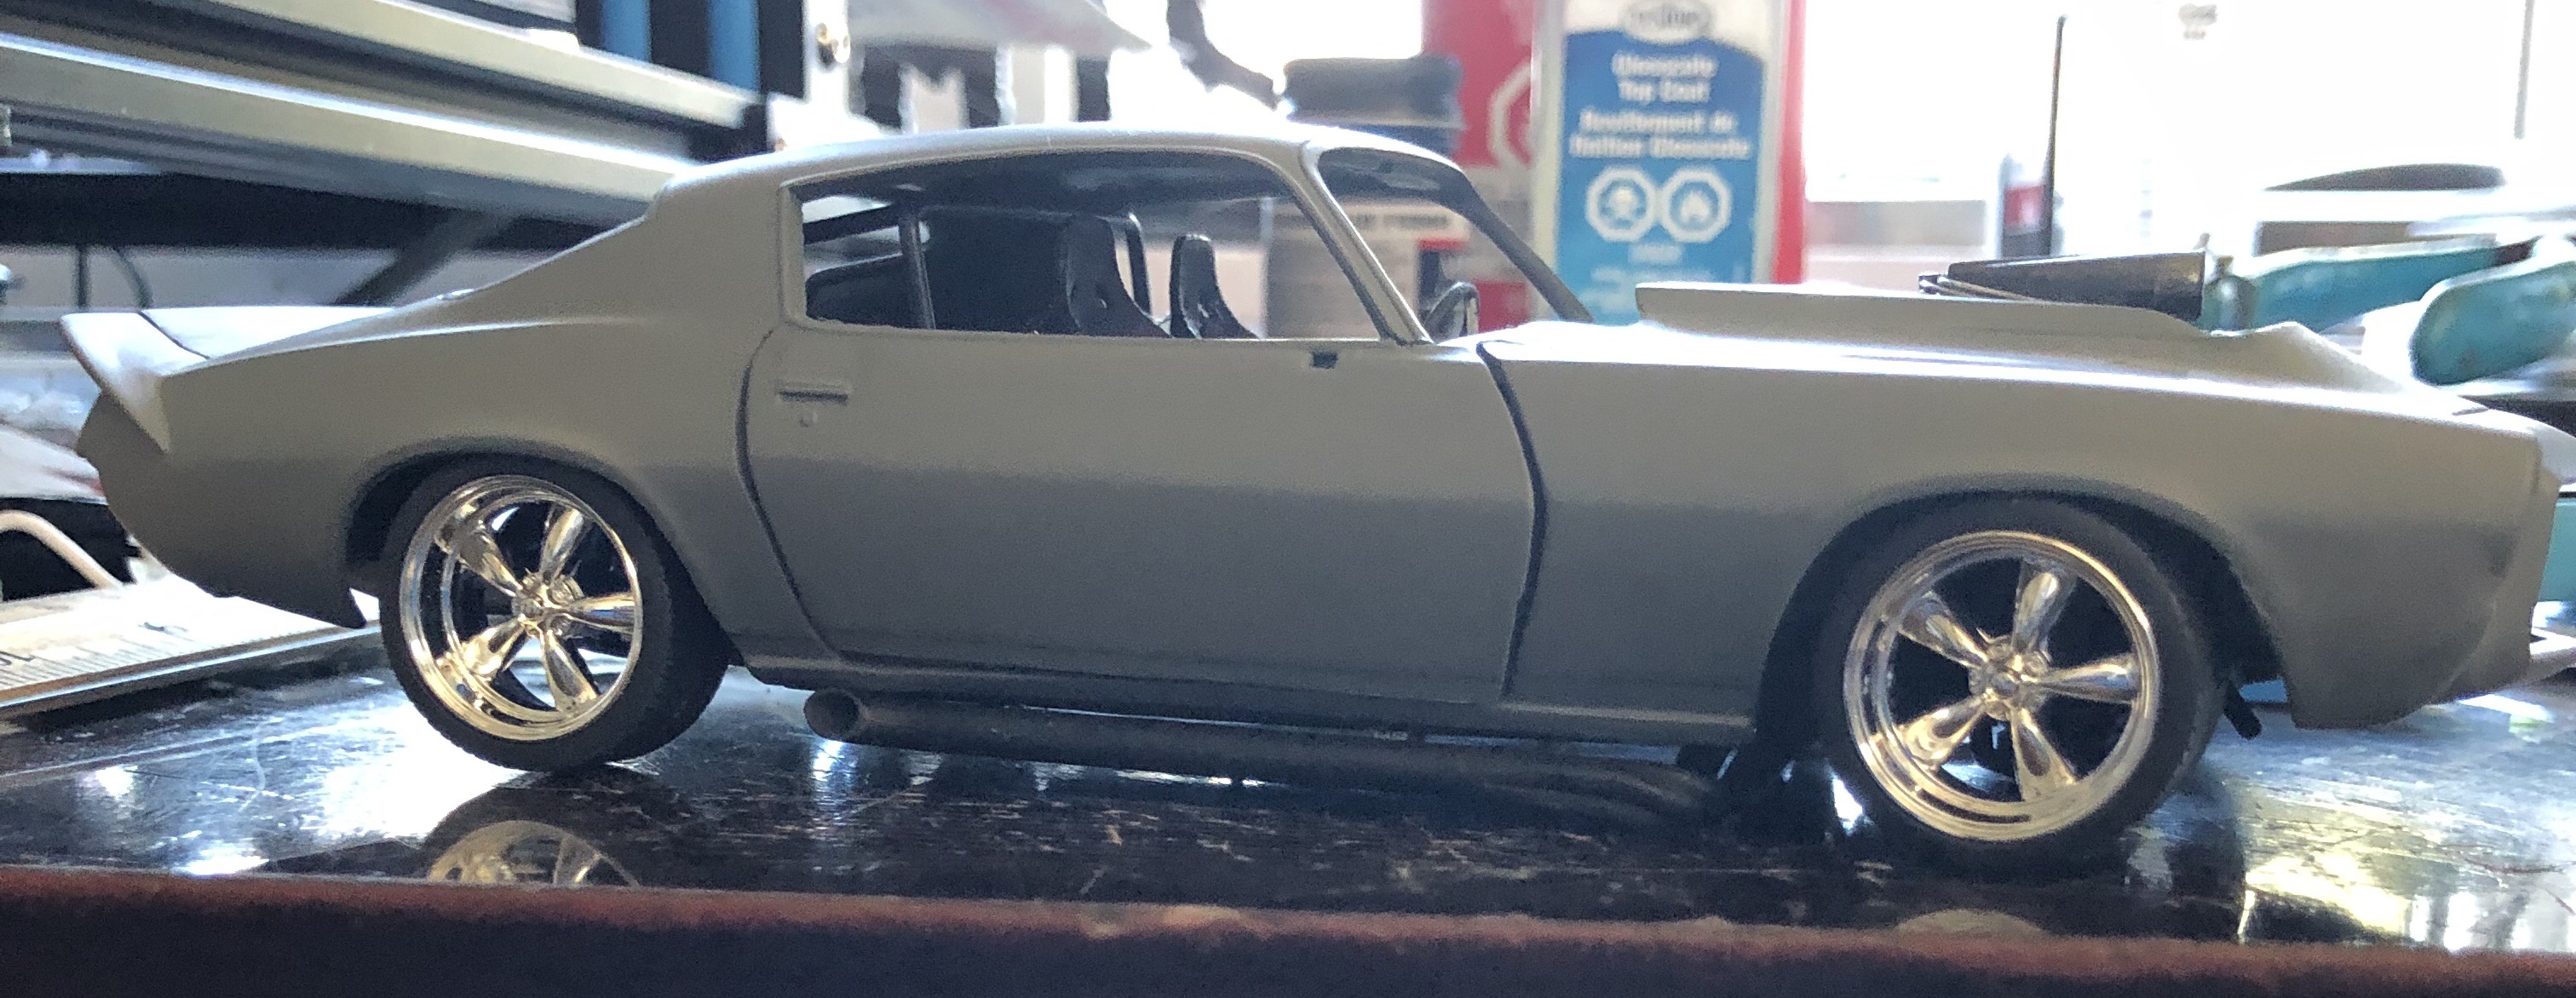
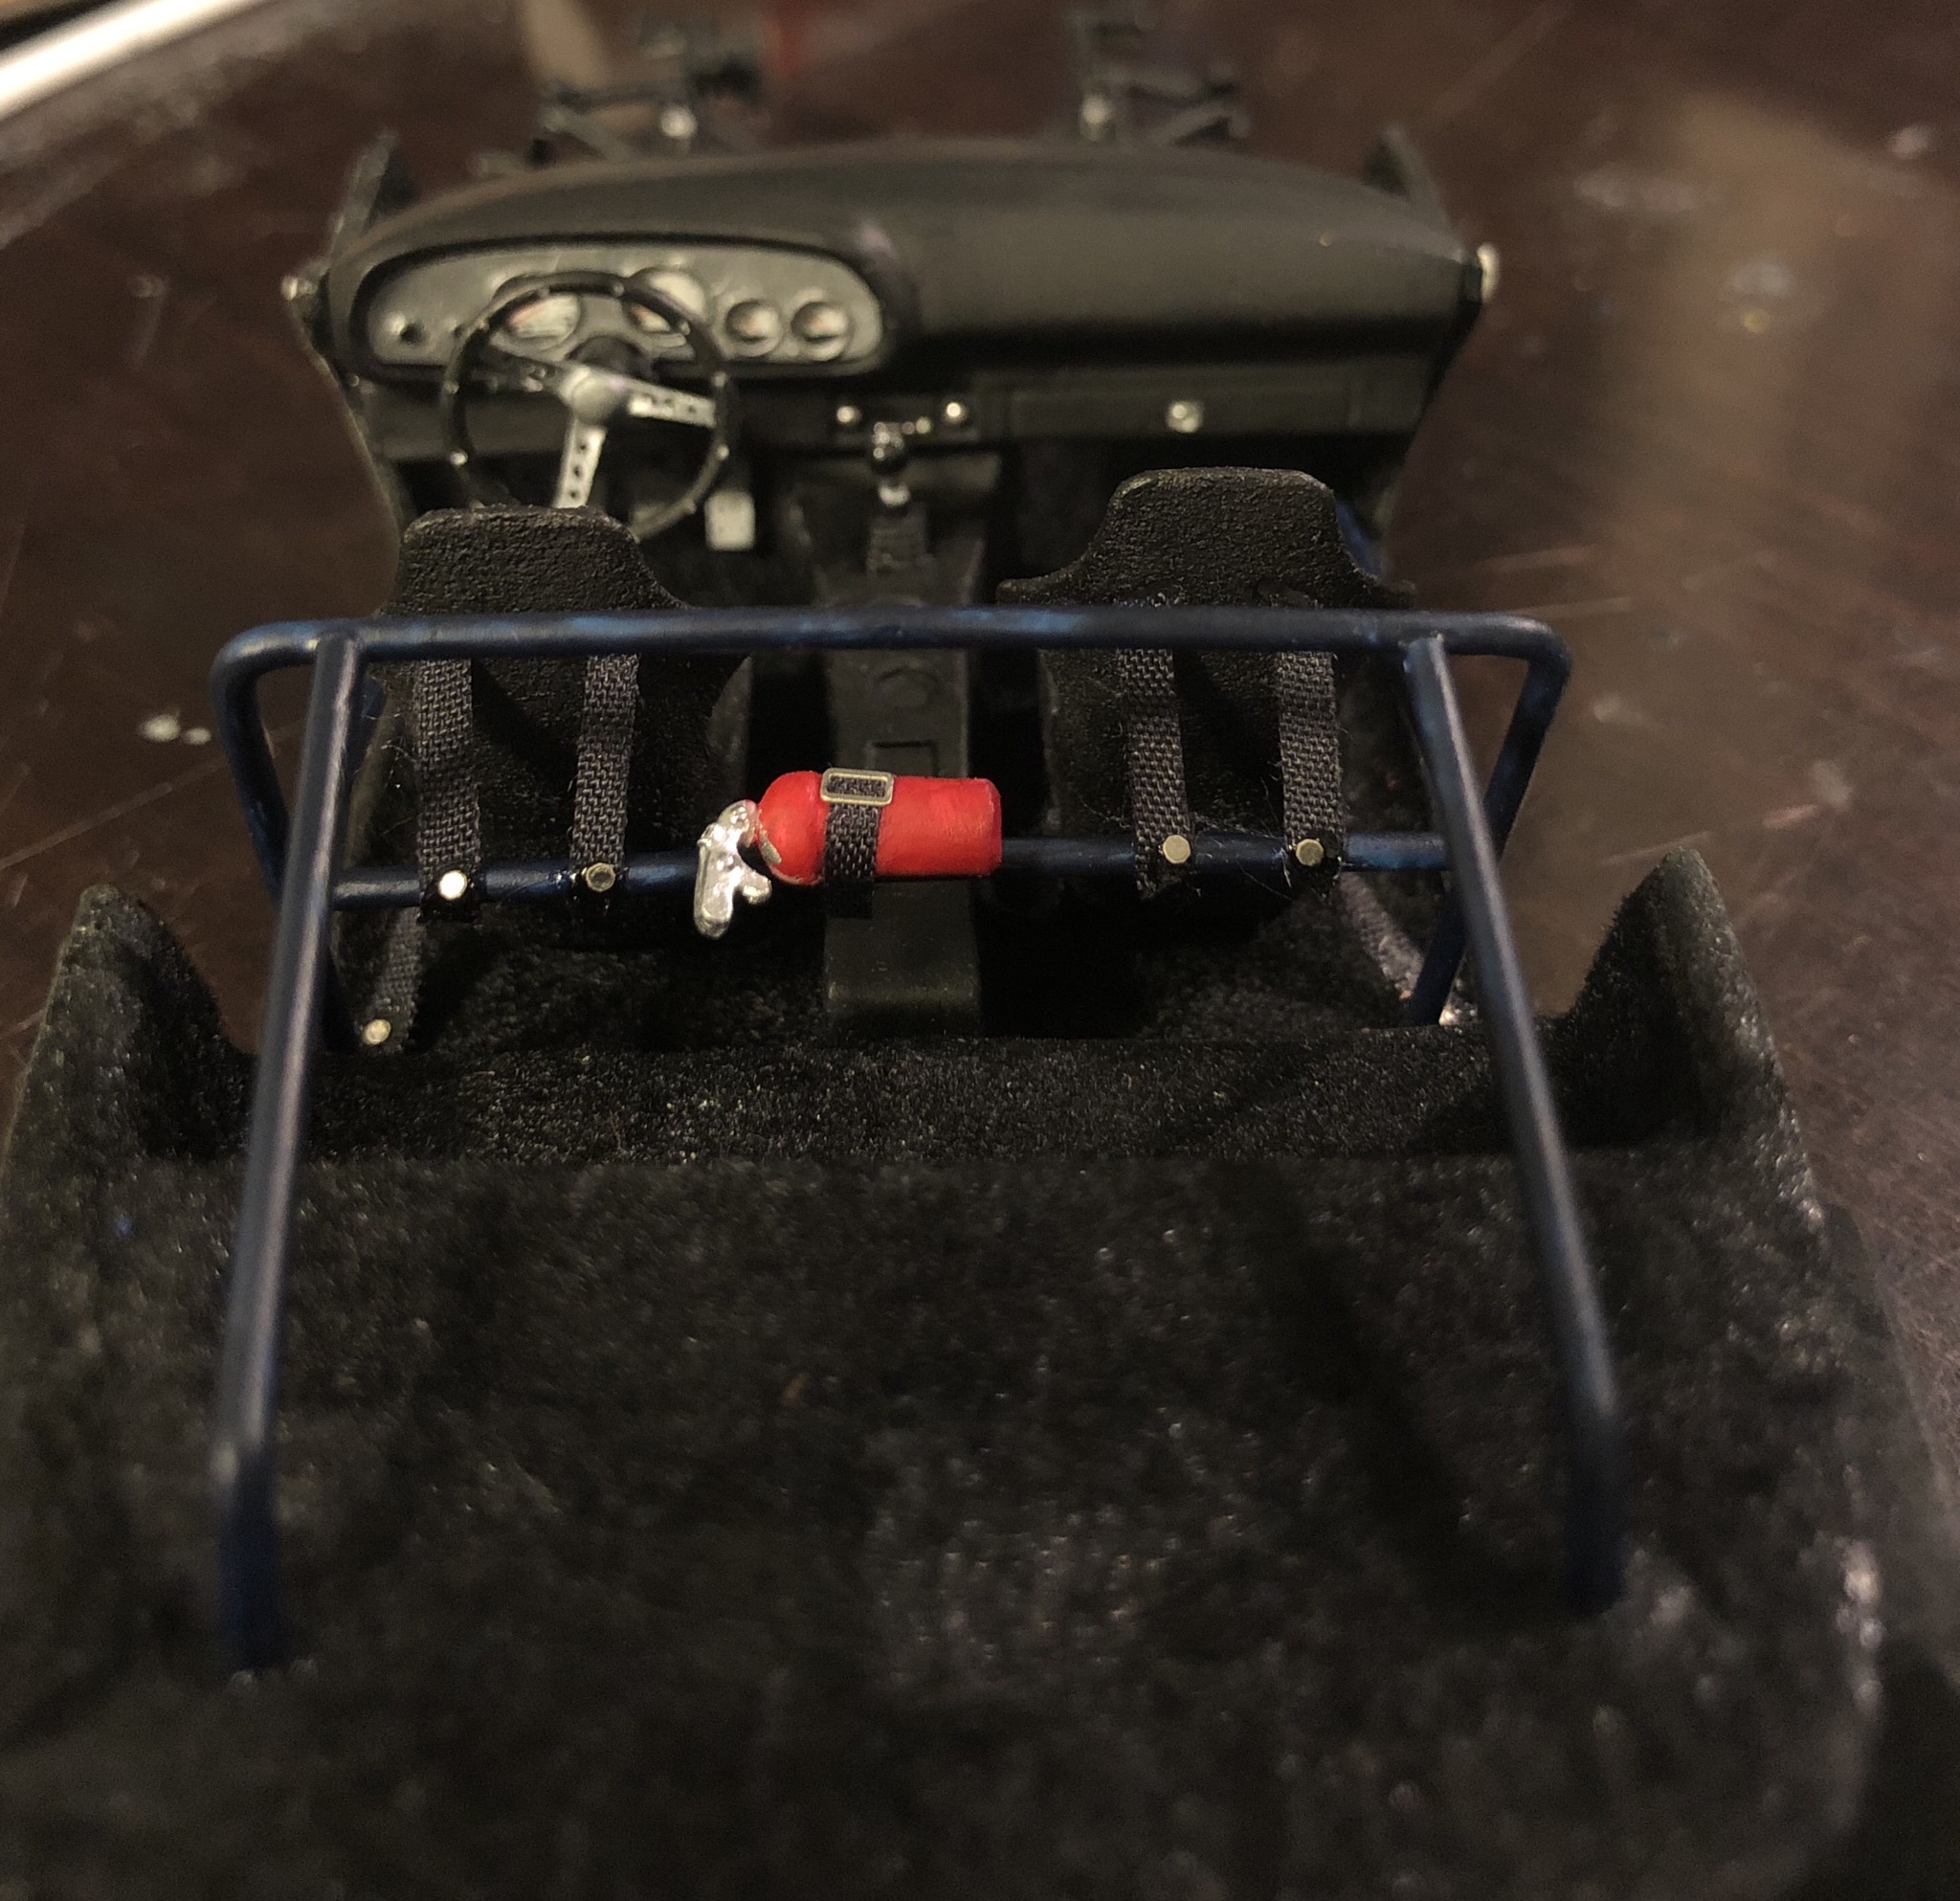
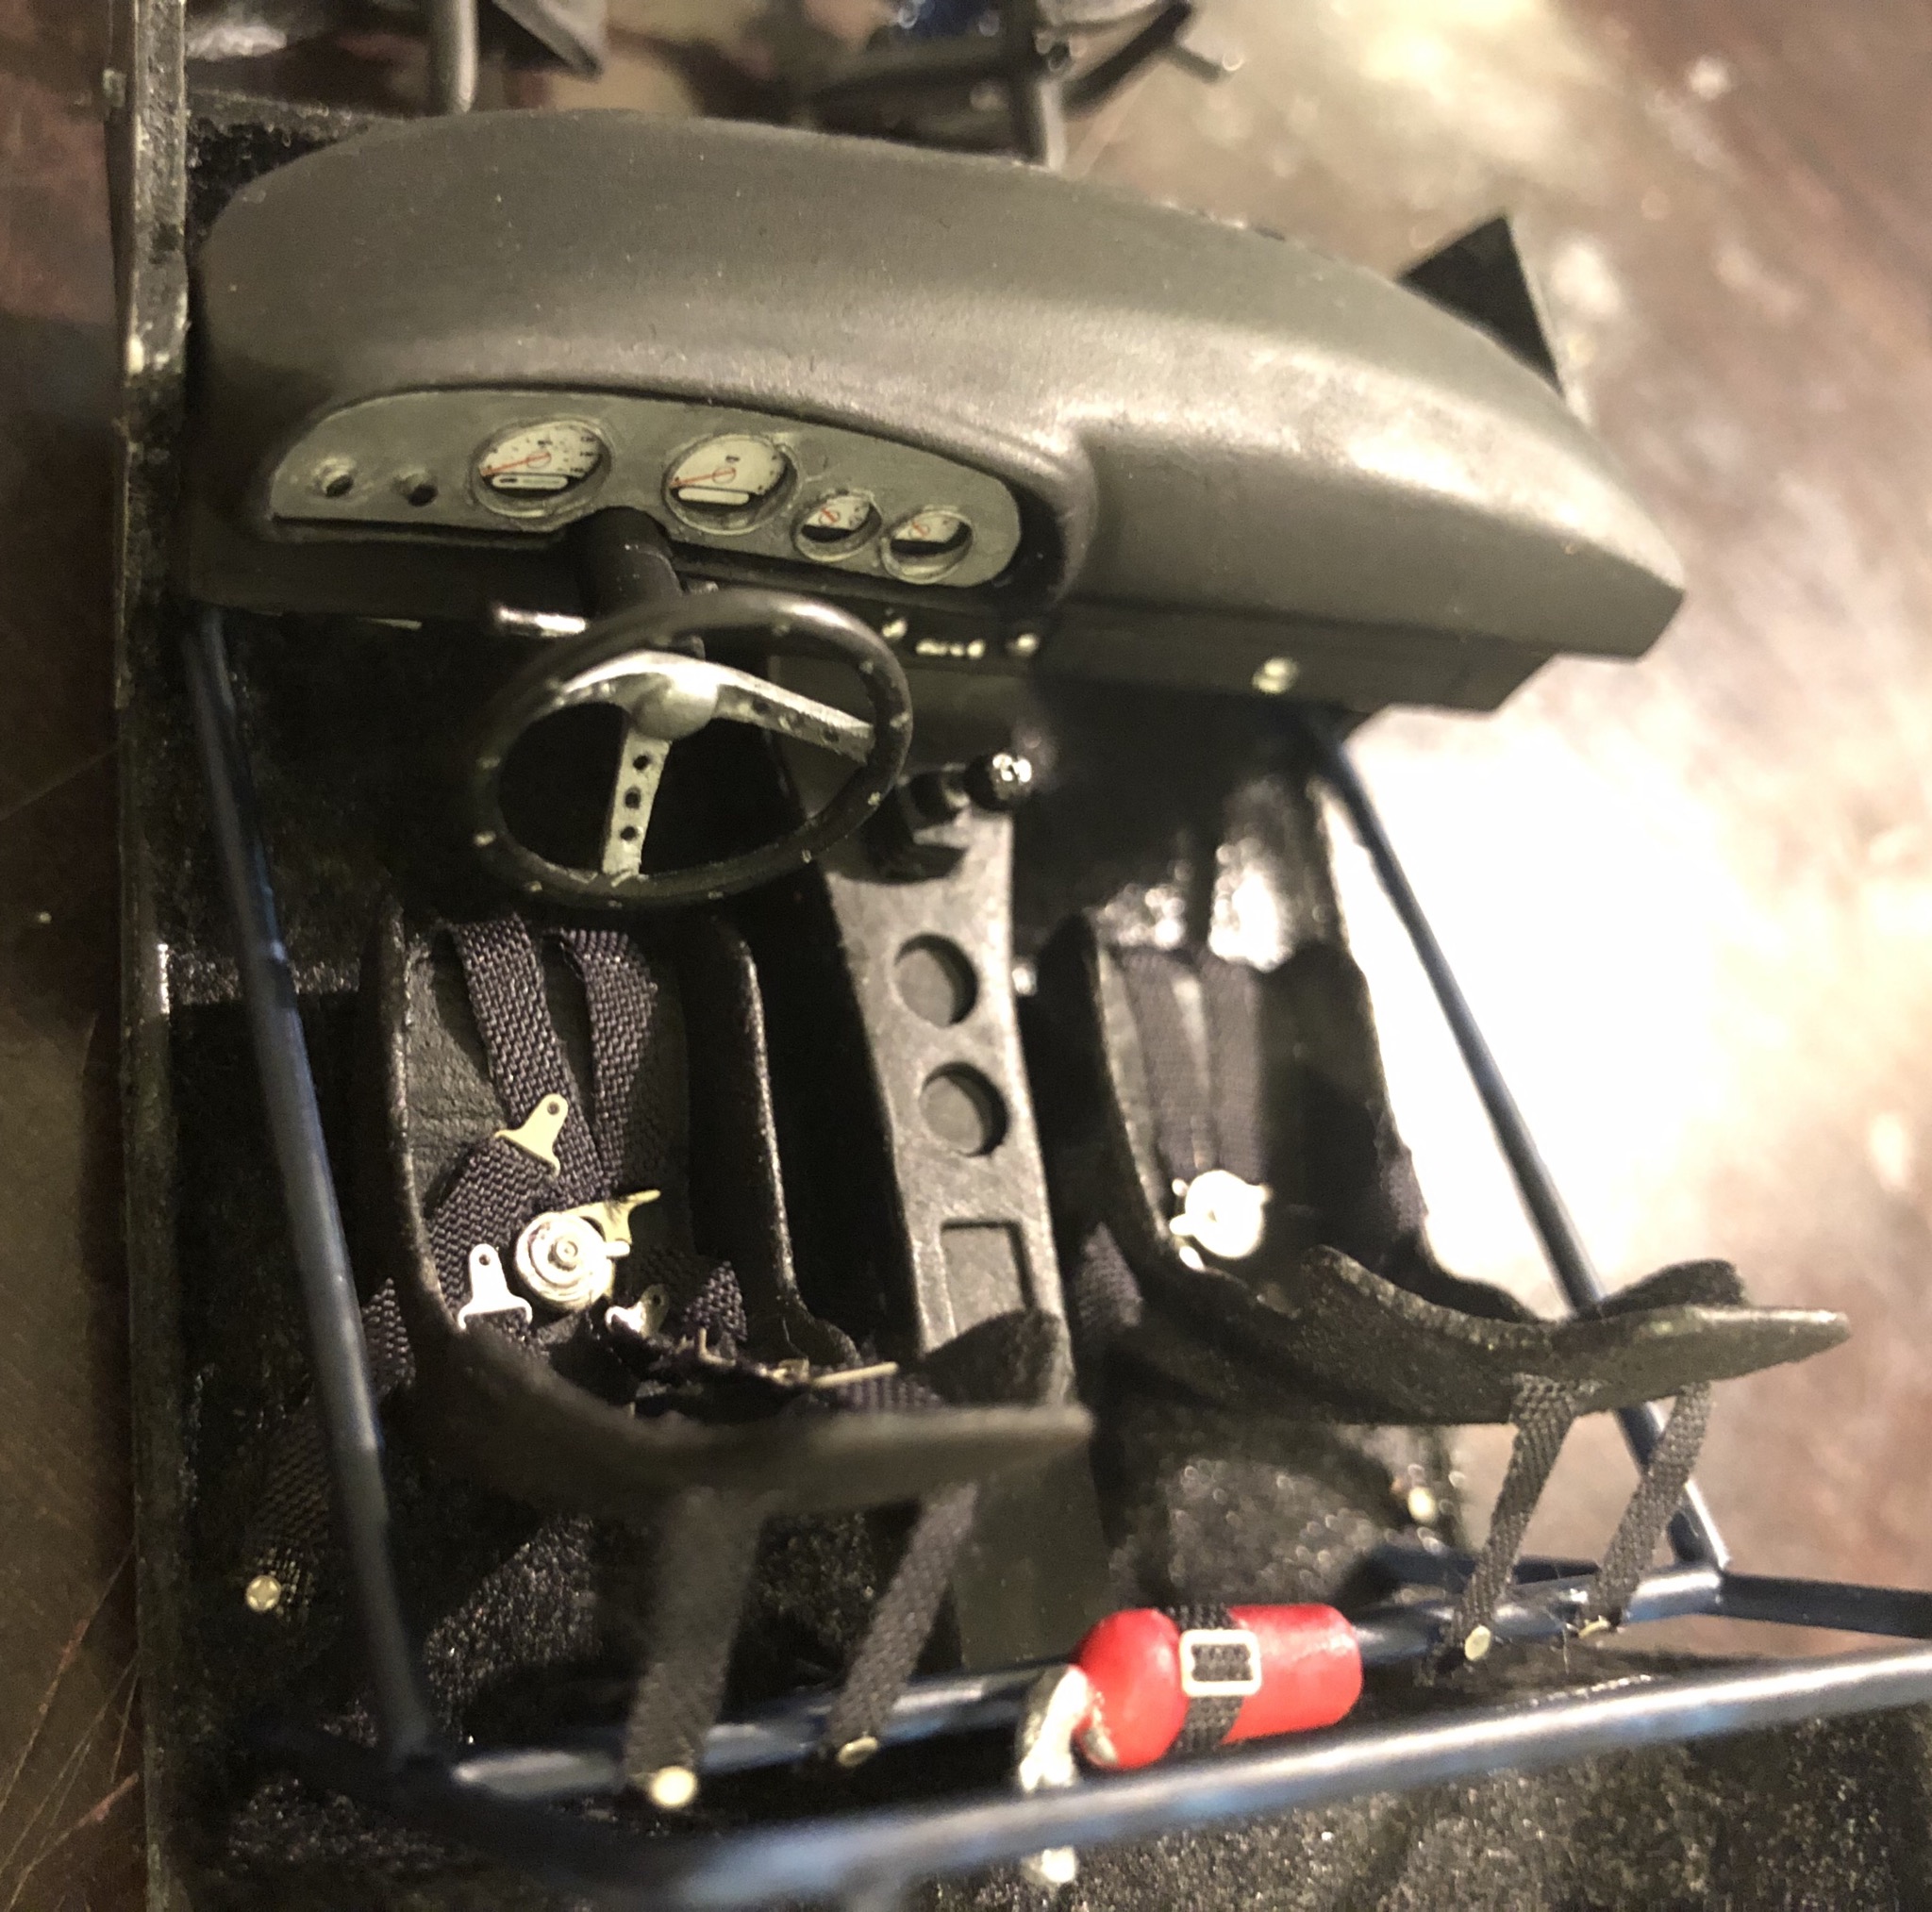
Got the front suspension together, but broke one of the steering pieces. Haven’t fixed it yet, so it isn’t on the car. However, I did get the interior done. Still needs door panels, and then parts on the body itself (a pillar trim and such), but this part is complete.
-
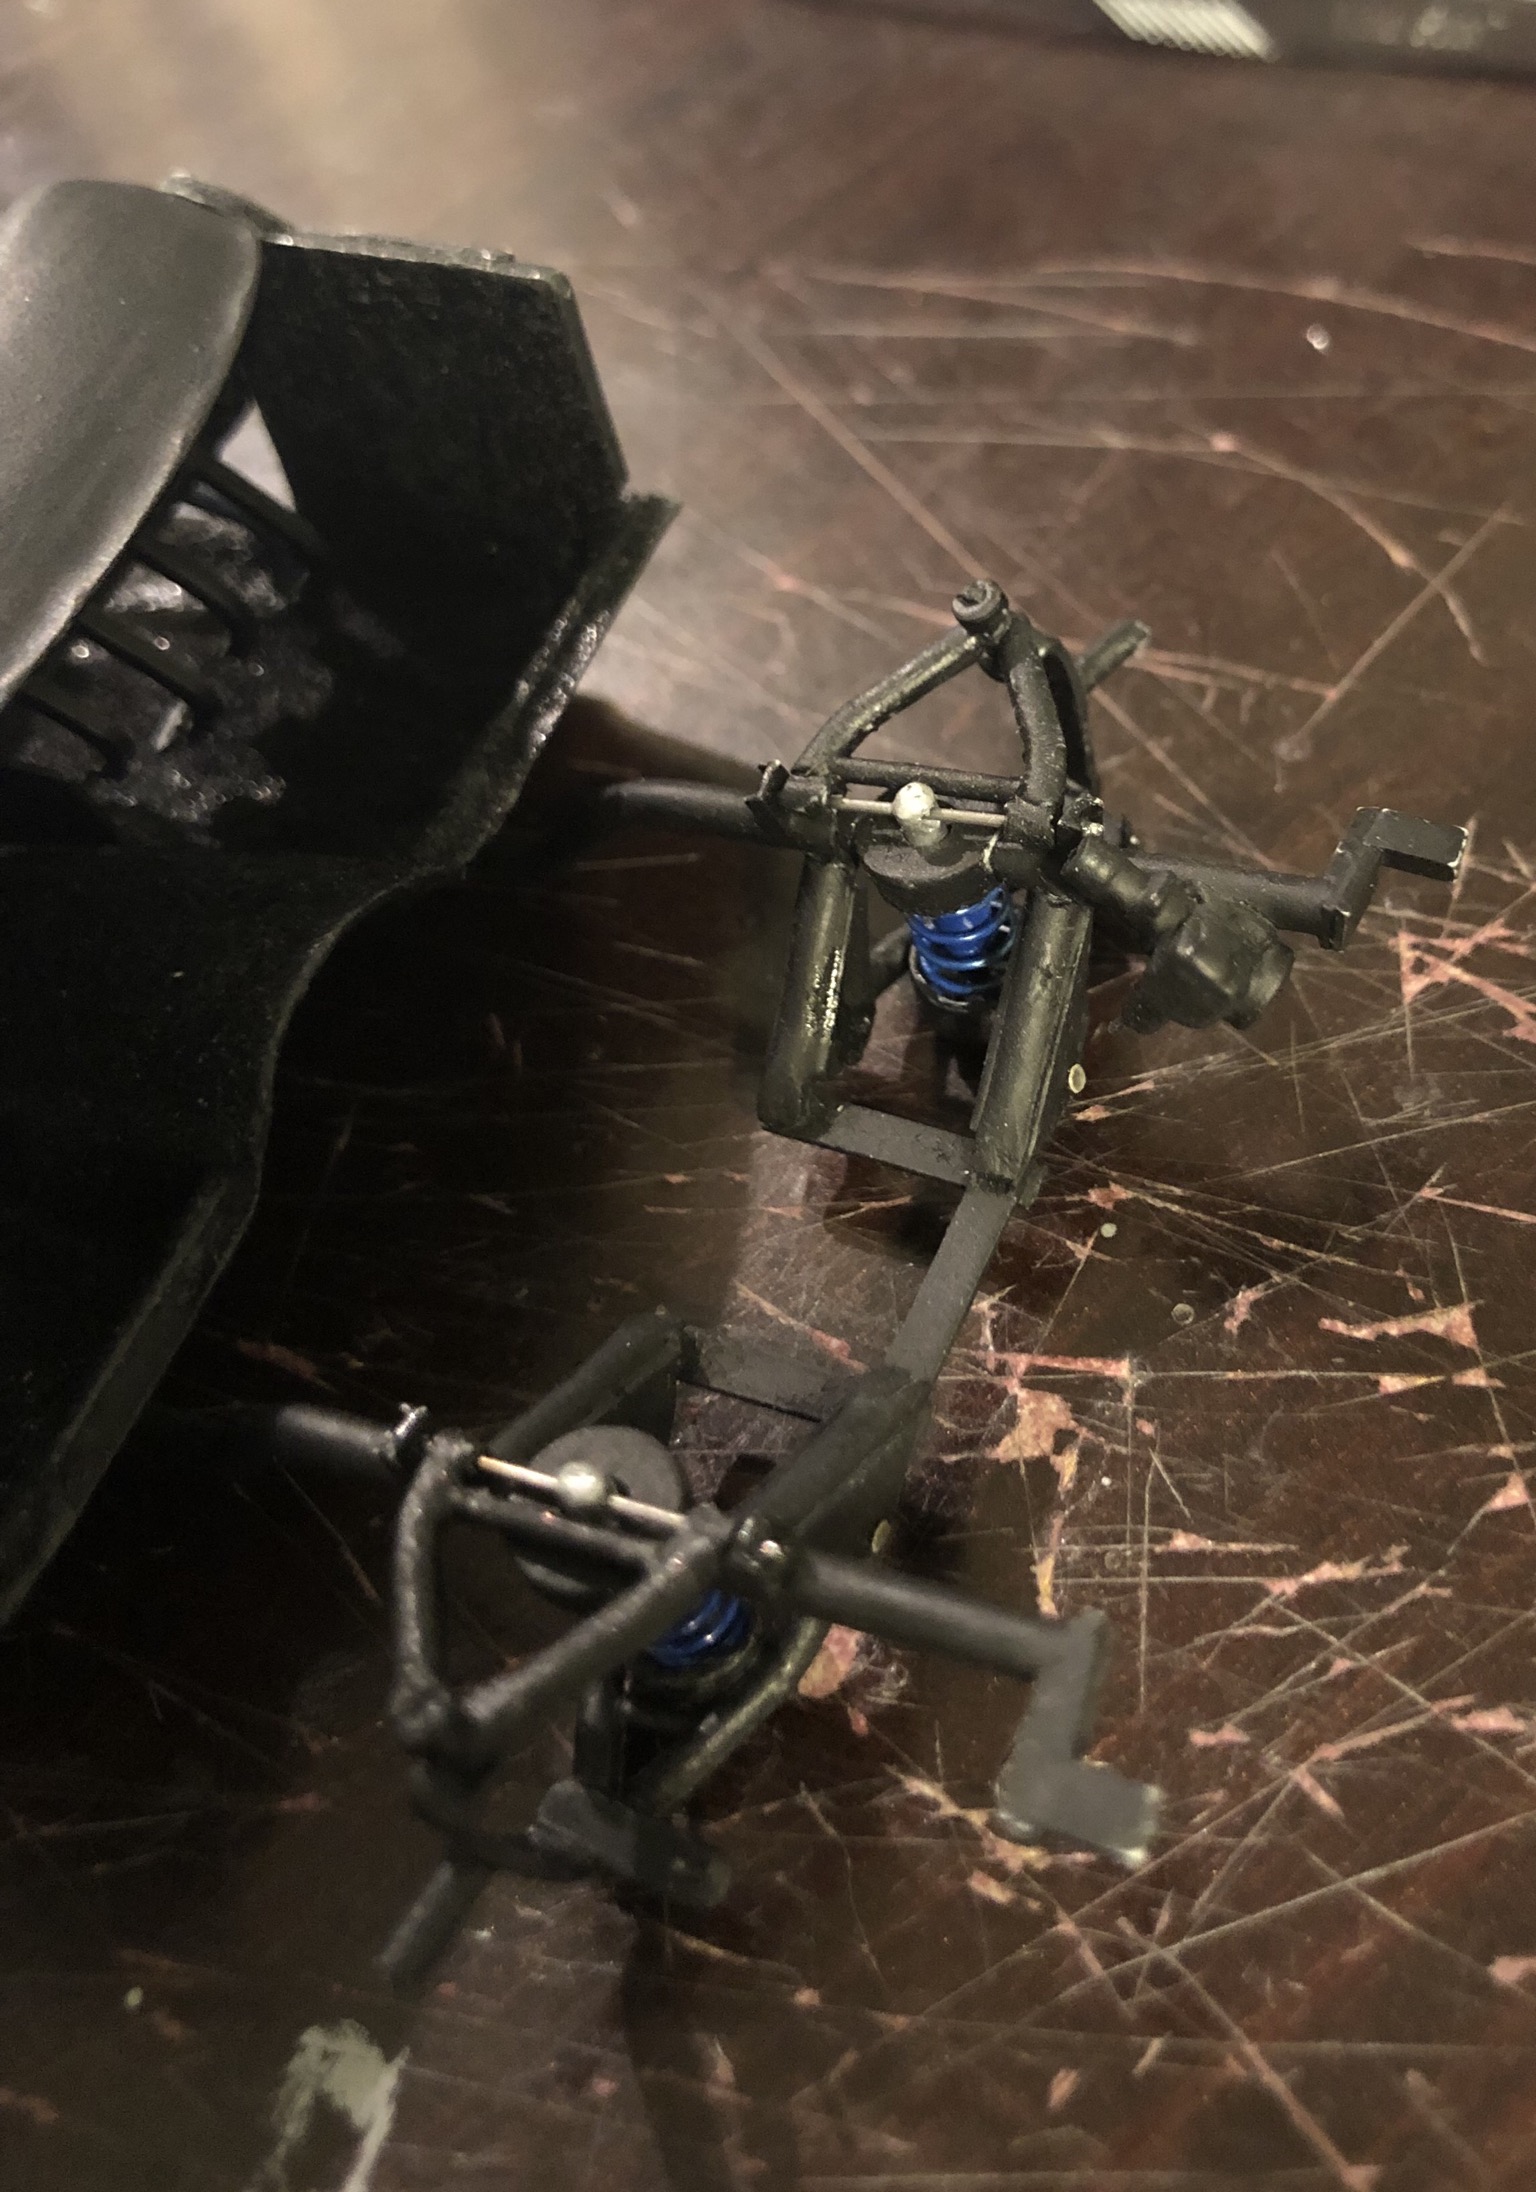
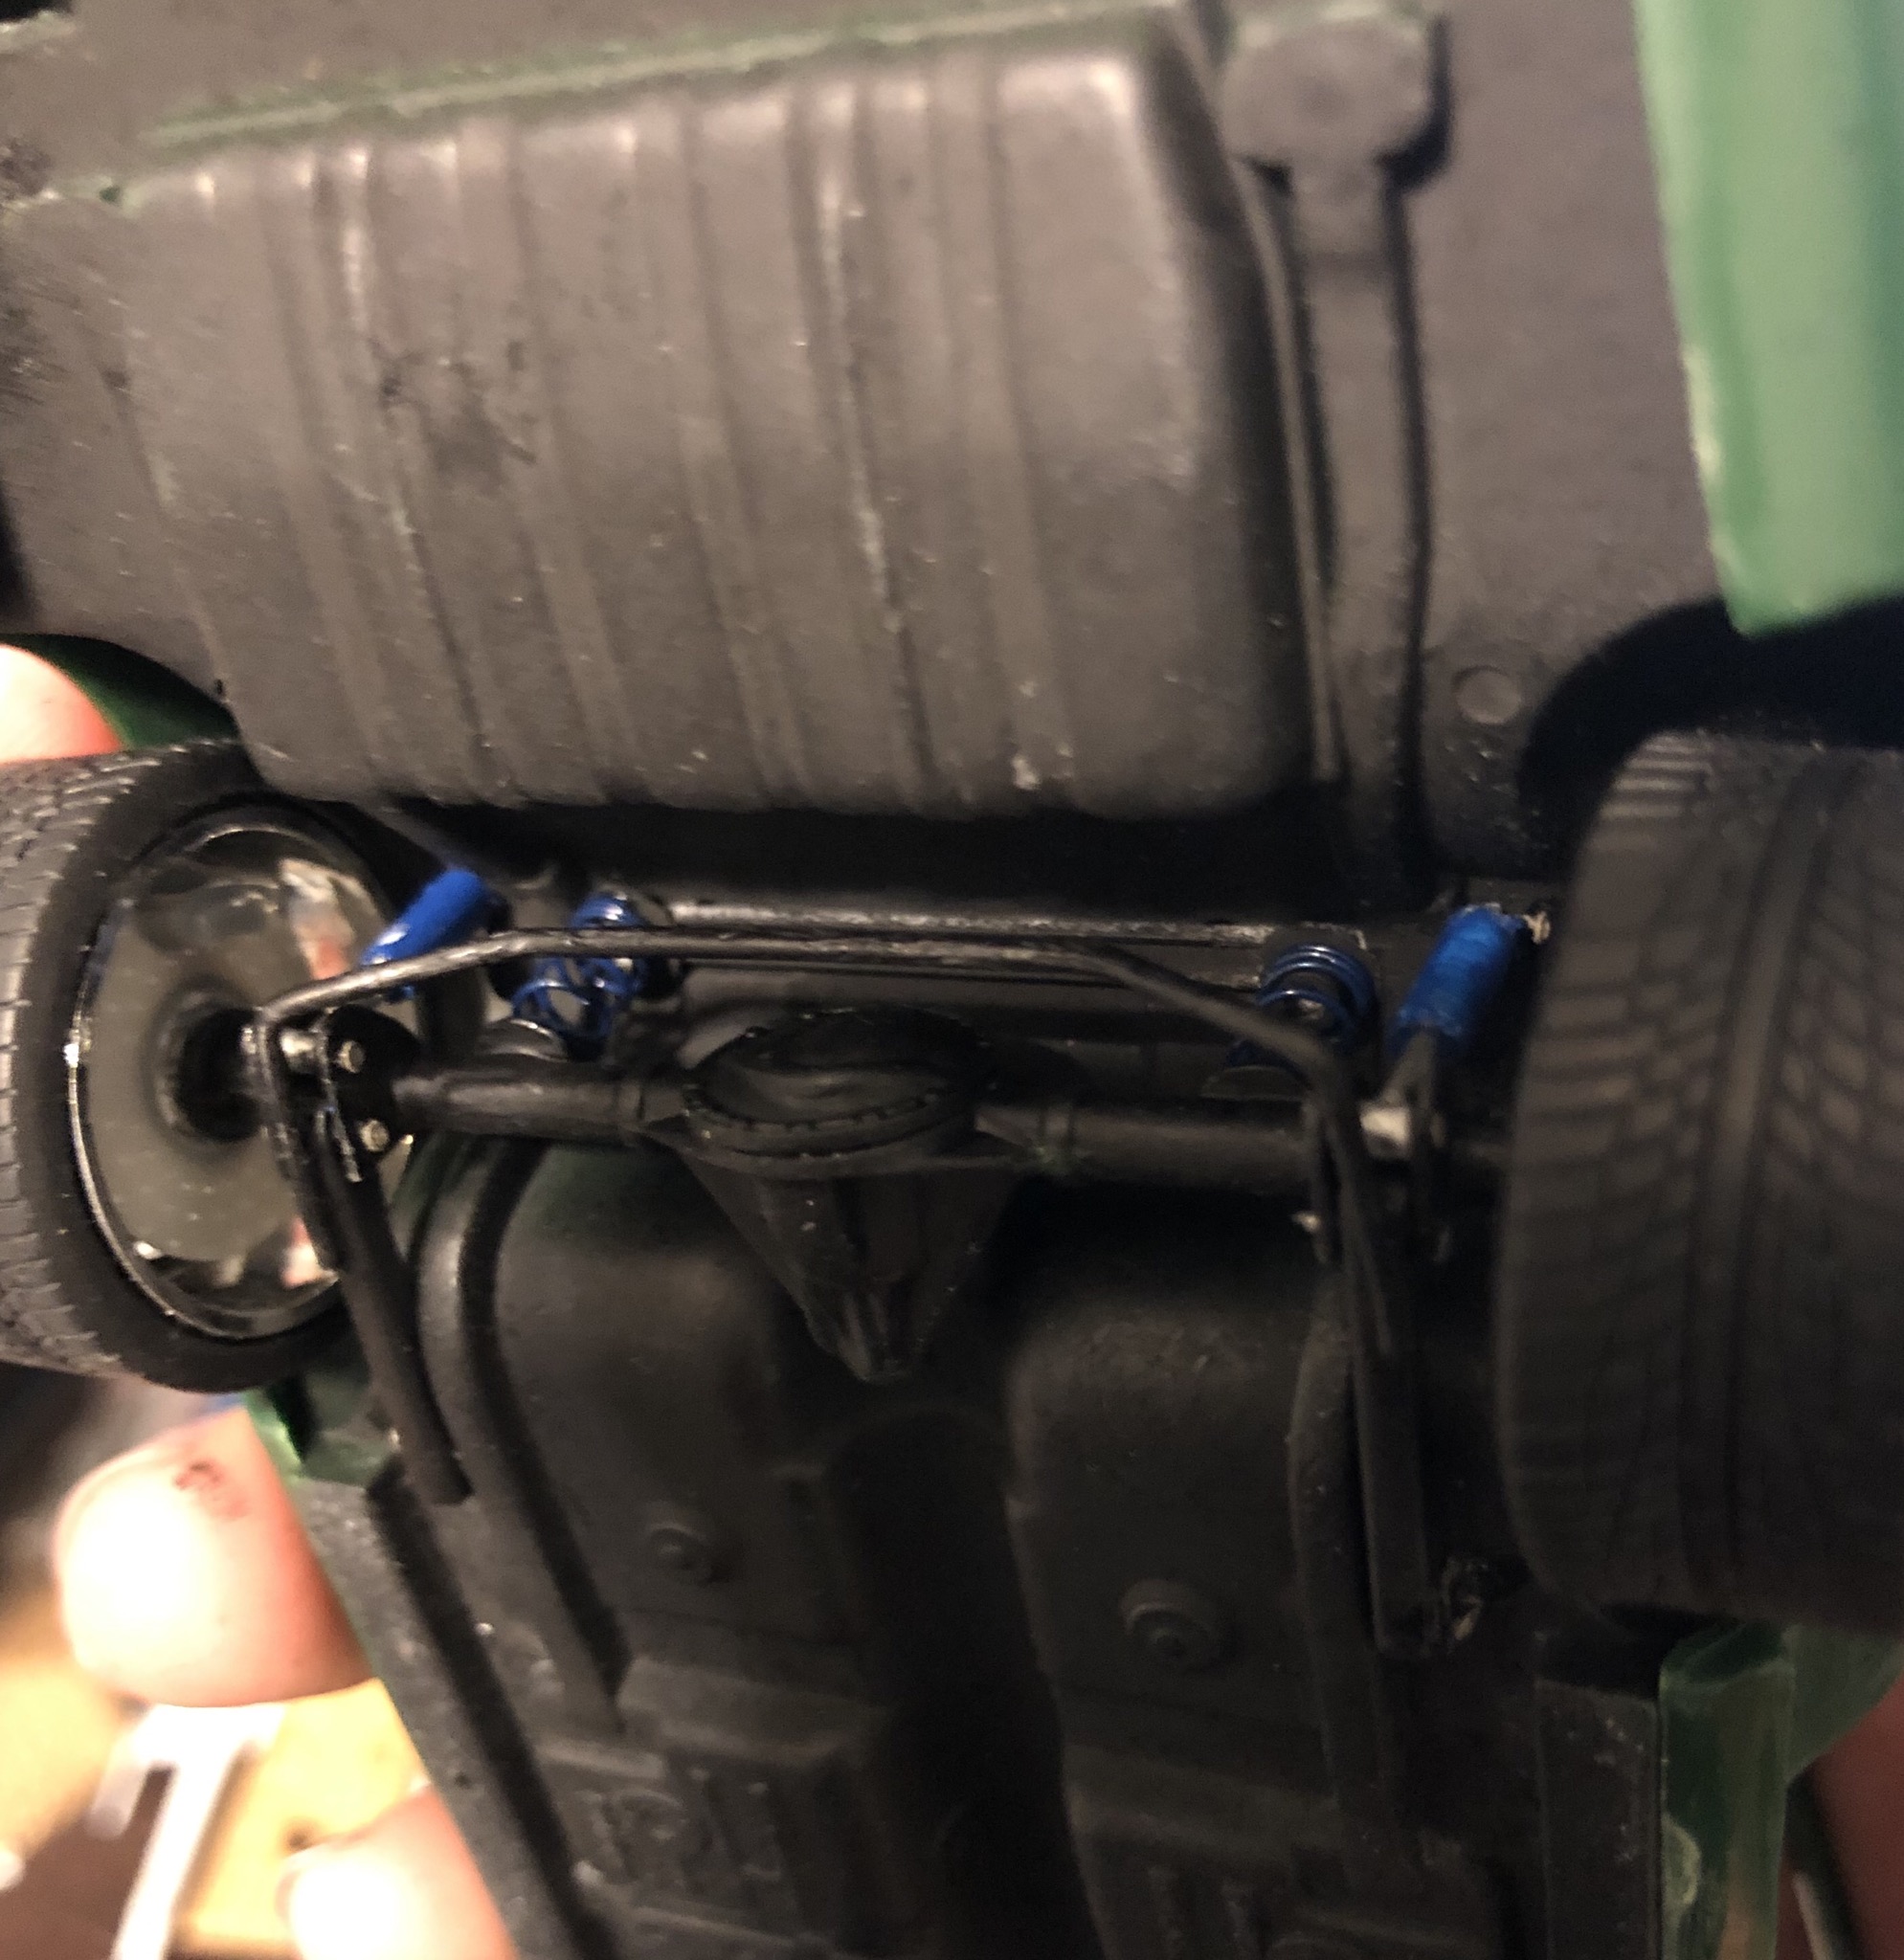
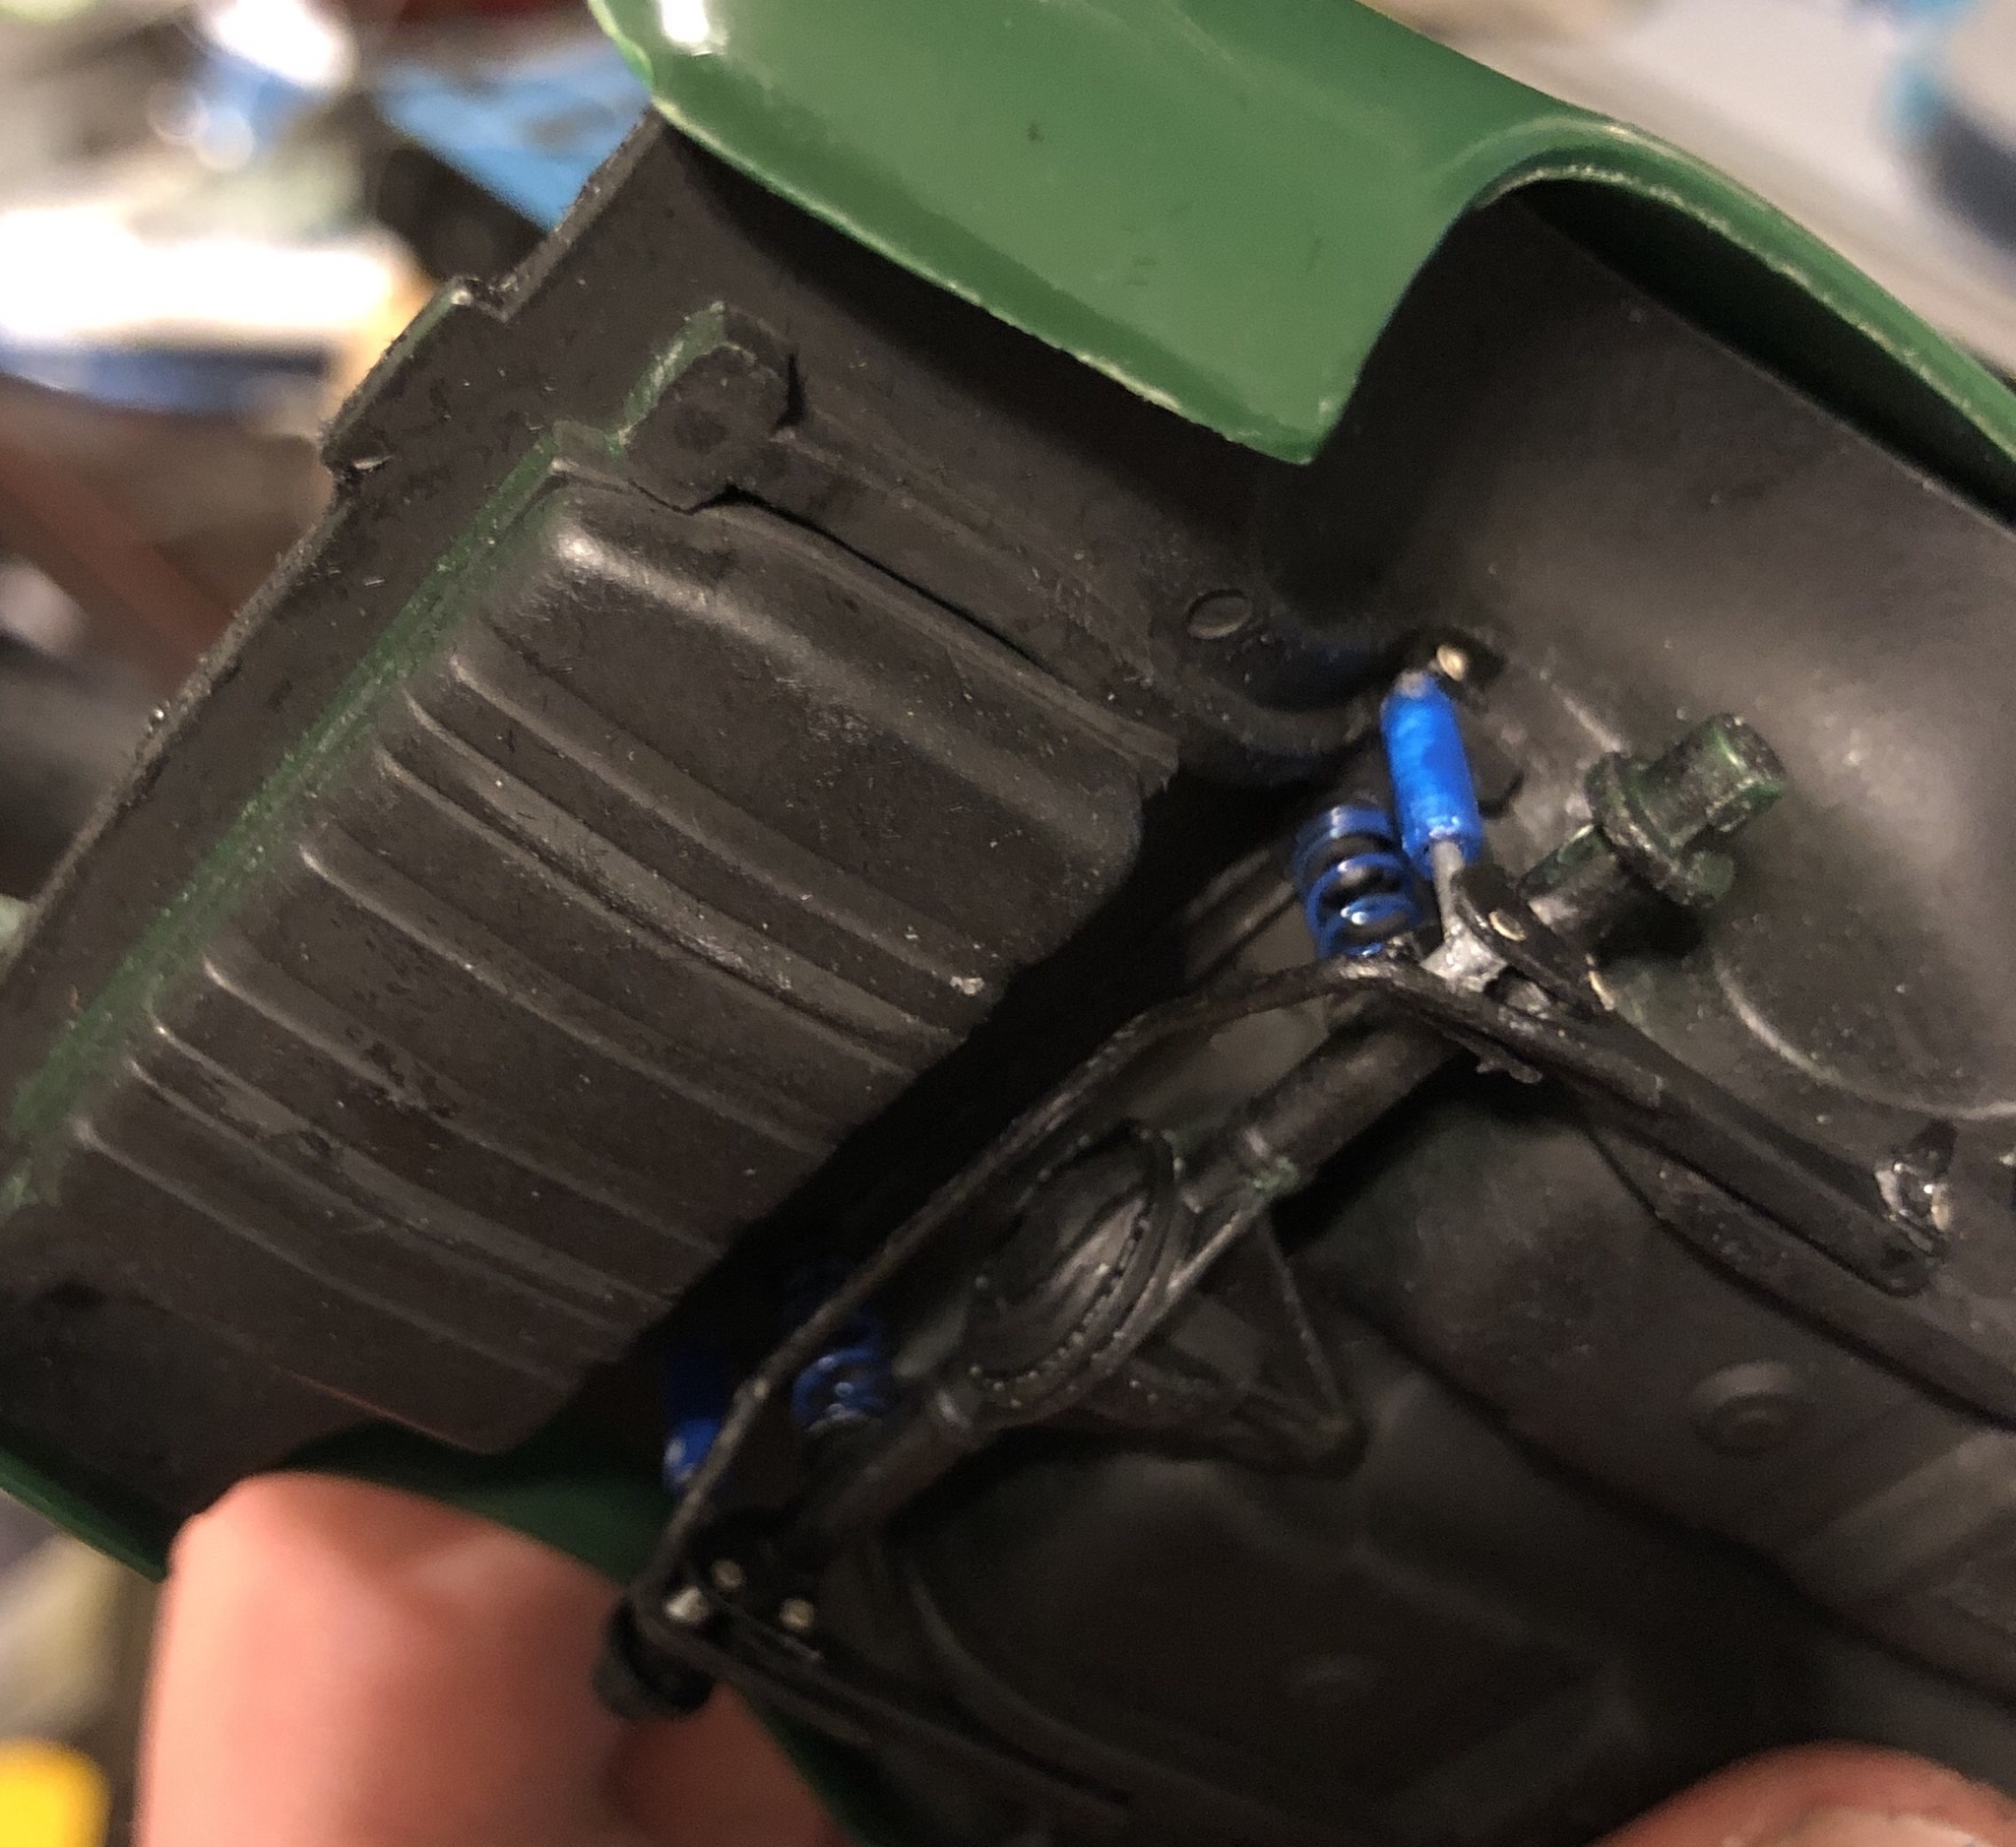
Final assembly for the rear suspension. All works. Not a lot of travel and it’s fairly stiff, but that’s how it should be right?Front is probably going to take a while. Also got steering done (technically incorrect for the car, but there’s a lot on here that’s ‘wrong’), that’ll be shown with the front suspension.
-
Little progress. Still need to do shocks for the rear suspension, and then sway bars and steering. I’ll show what the rear looks like when that’s done. Here’s how it’ll sit, or similar anyways. And then I did the shifting linkage on the transmission, got bored one day and thought it would be fun. Didn’t do the shifter up, but that won’t be seen anyways. Also got the trunk cut out and the wing on, but needs work and hinging yet.
-
 Just out of curiosity (and impatientness apparently), is the truck going to have the radical degree (for lack of better words) of camber like that when it’s finished? Or is that simply from mock up, since it’s difficult to keep the wheels upright?
 -
It’ll be a lot of work no doubt, but I have time to figure it out
-
I didn’t take it as such, so no worries lol haven’t thought of cardboard, that’s an idea. I’ve considered creating a seat frame and covering it in actual cloth, or maybe a real thin vinyl. The seams and such could be difficult, though I suppose they could be cut into the frame (sheet styrene and putty to make the ‘foam’?). Could be something to try. I won’t mess with that for this build, but perhaps my ‘48 ford model coming up.
-
Though I suppose it fits better for cloth, where as your typical flocking is better for carpet
-
I am 18, and my convertible is a little bit nicer than that lol So you basically made your own flocking with paper? That’s a smart idea
-
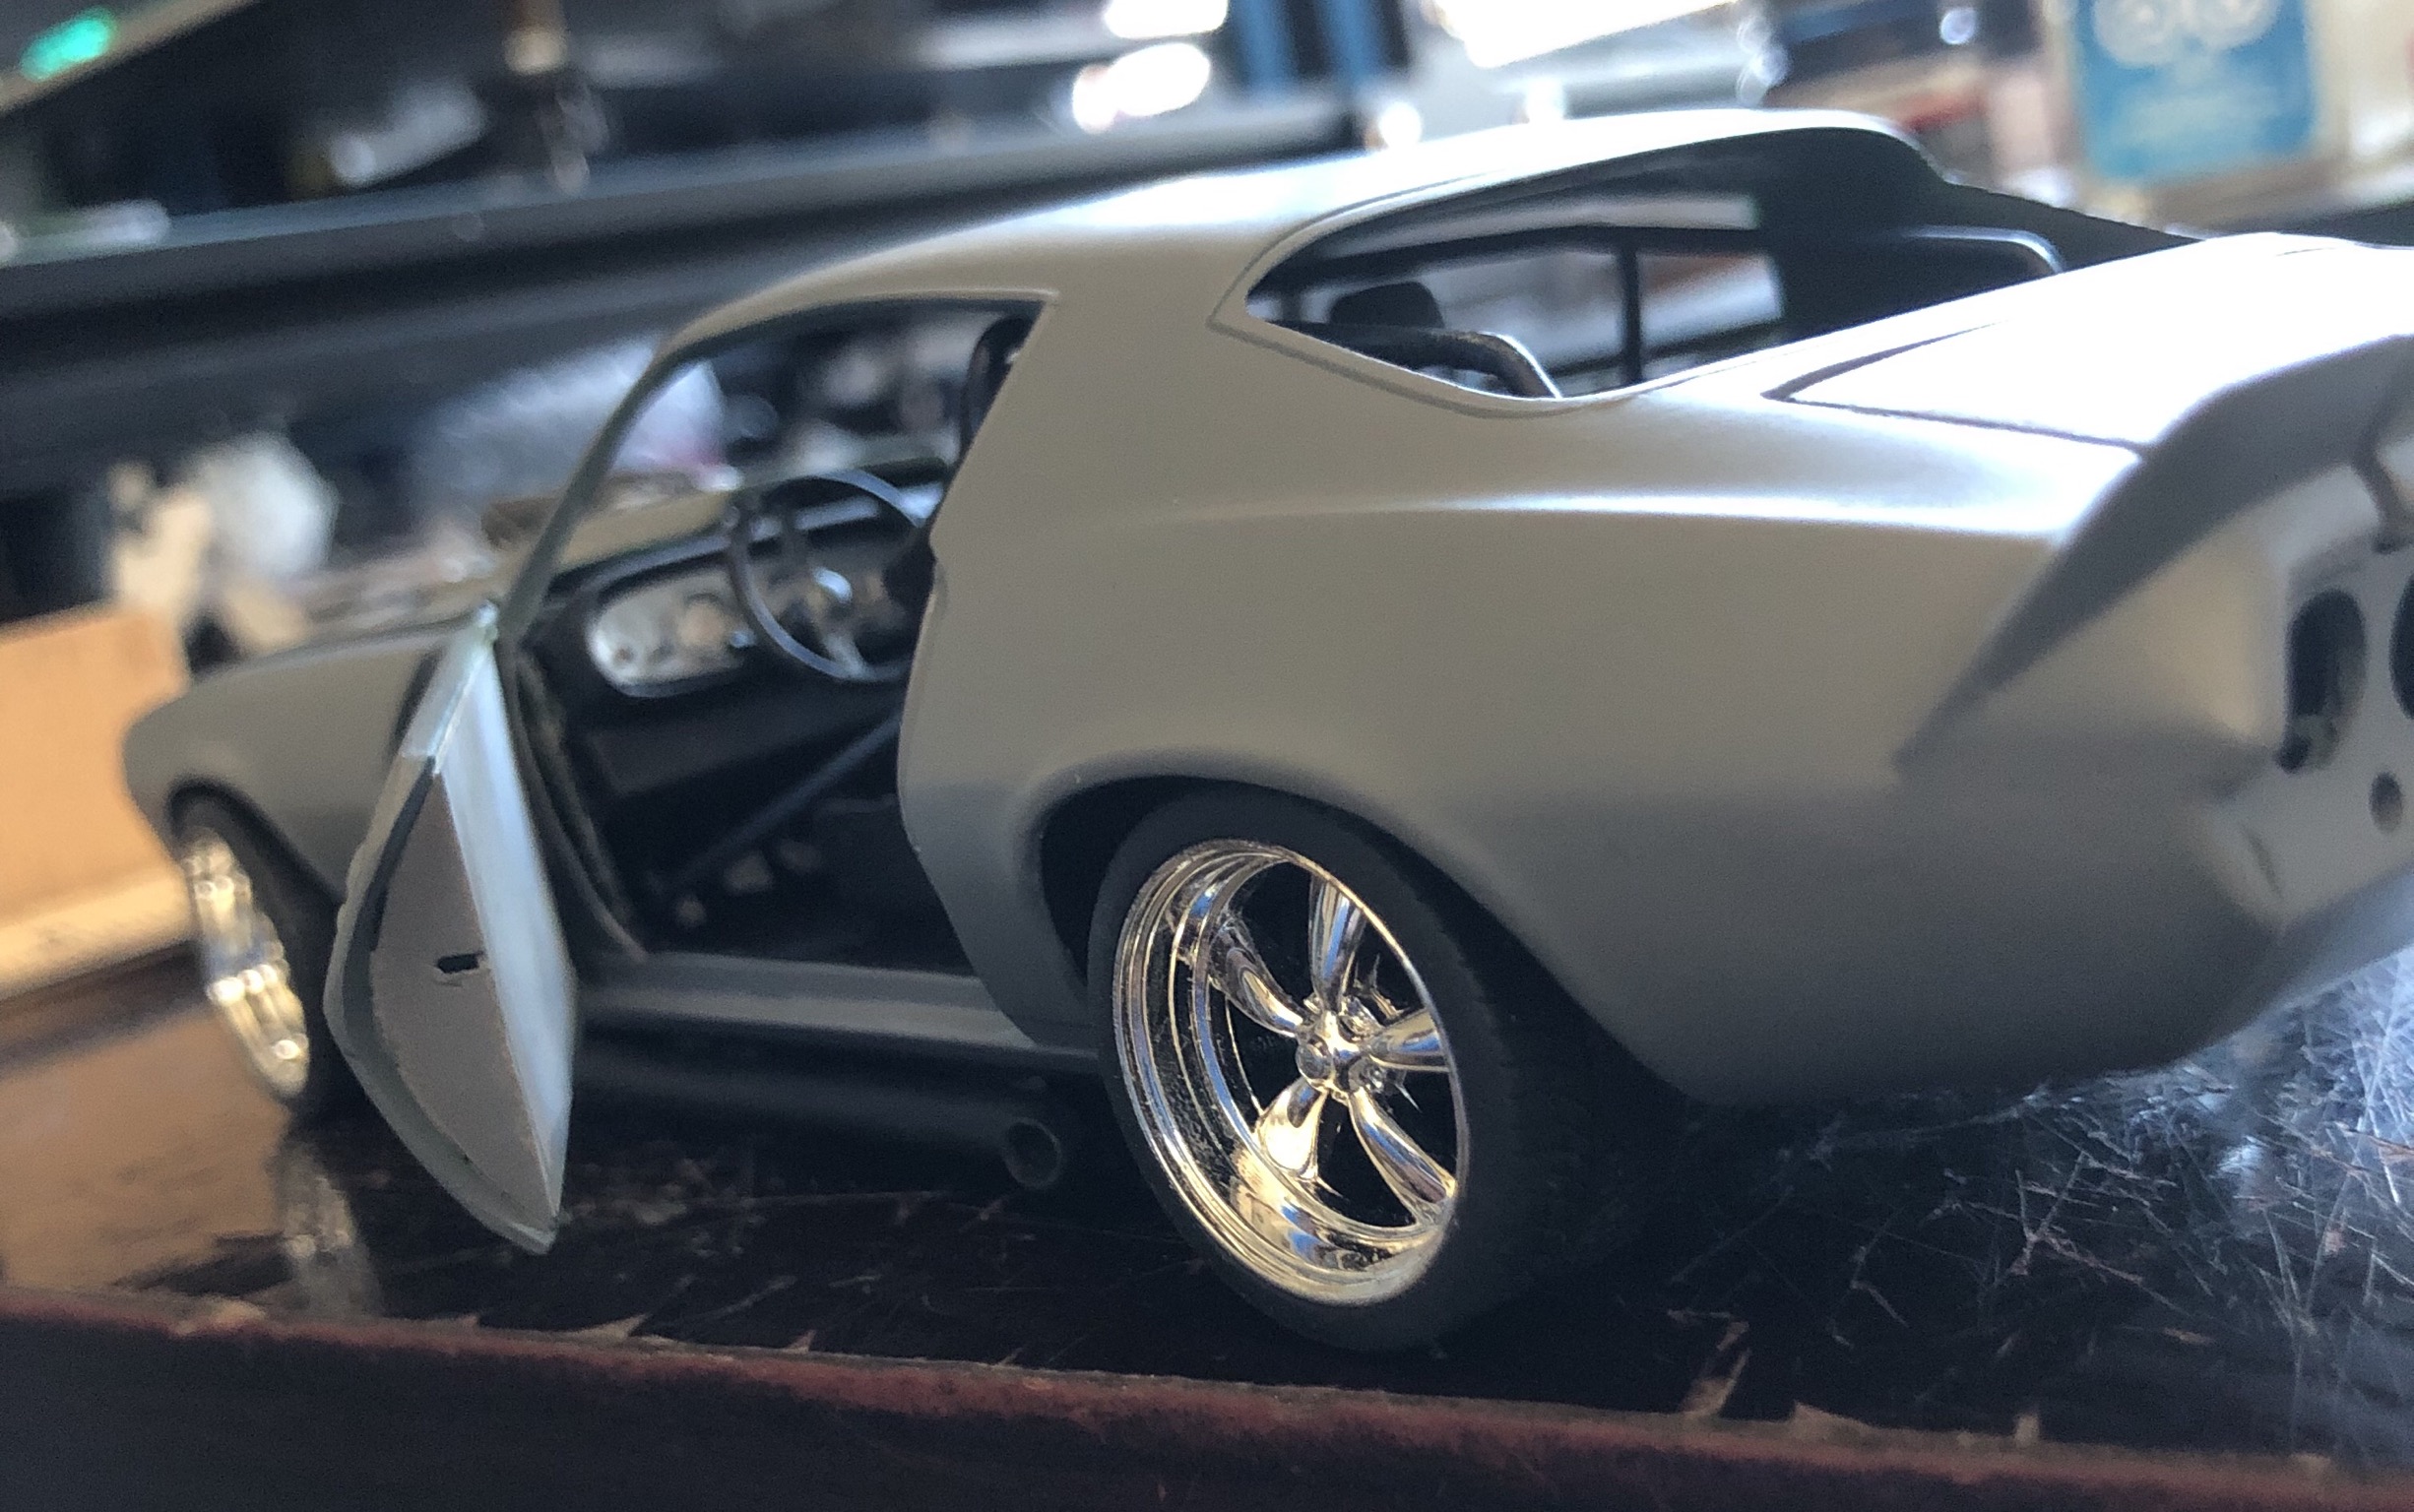
You know, I hadn’t considered using putty for those. I think I might, thanks for that. And I’d like to know your (or whoever’s) trick to the upholstery too, I’ve always wanted to make that look more realistic. My impala turned out okay in there, but that’s the only car I’ve had where the interior looked right. I might use the gel glue idea, too, it would be far easier than building up styrene. Those pictures should also be helpful...I’m glad you liked the door idea. It wasn’t entirely mine either, I saw something similar on a ‘69 mustang. He did it straight onto the interior tub though, and a little bit differently. I’m hoping mine ends up looking a little better than his did.
-
I had to cut them to get the doors off. I’m thinking of finding a way to attach them to the same part where the door is hinged at, like the actual car, but that gives some clearance issues with the windshield. I’m going to have to make some modifications to the windshield (or make a new one) anyways, so we’ll see what I come up with. I’m wanting to do all the a pillar interior pieces and everything too, so I’ll find some way to make it look good.