
THORDOOR220
-
Posts
179 -
Joined
-
Last visited
Content Type
Profiles
Forums
Events
Gallery
Posts posted by THORDOOR220
-
-
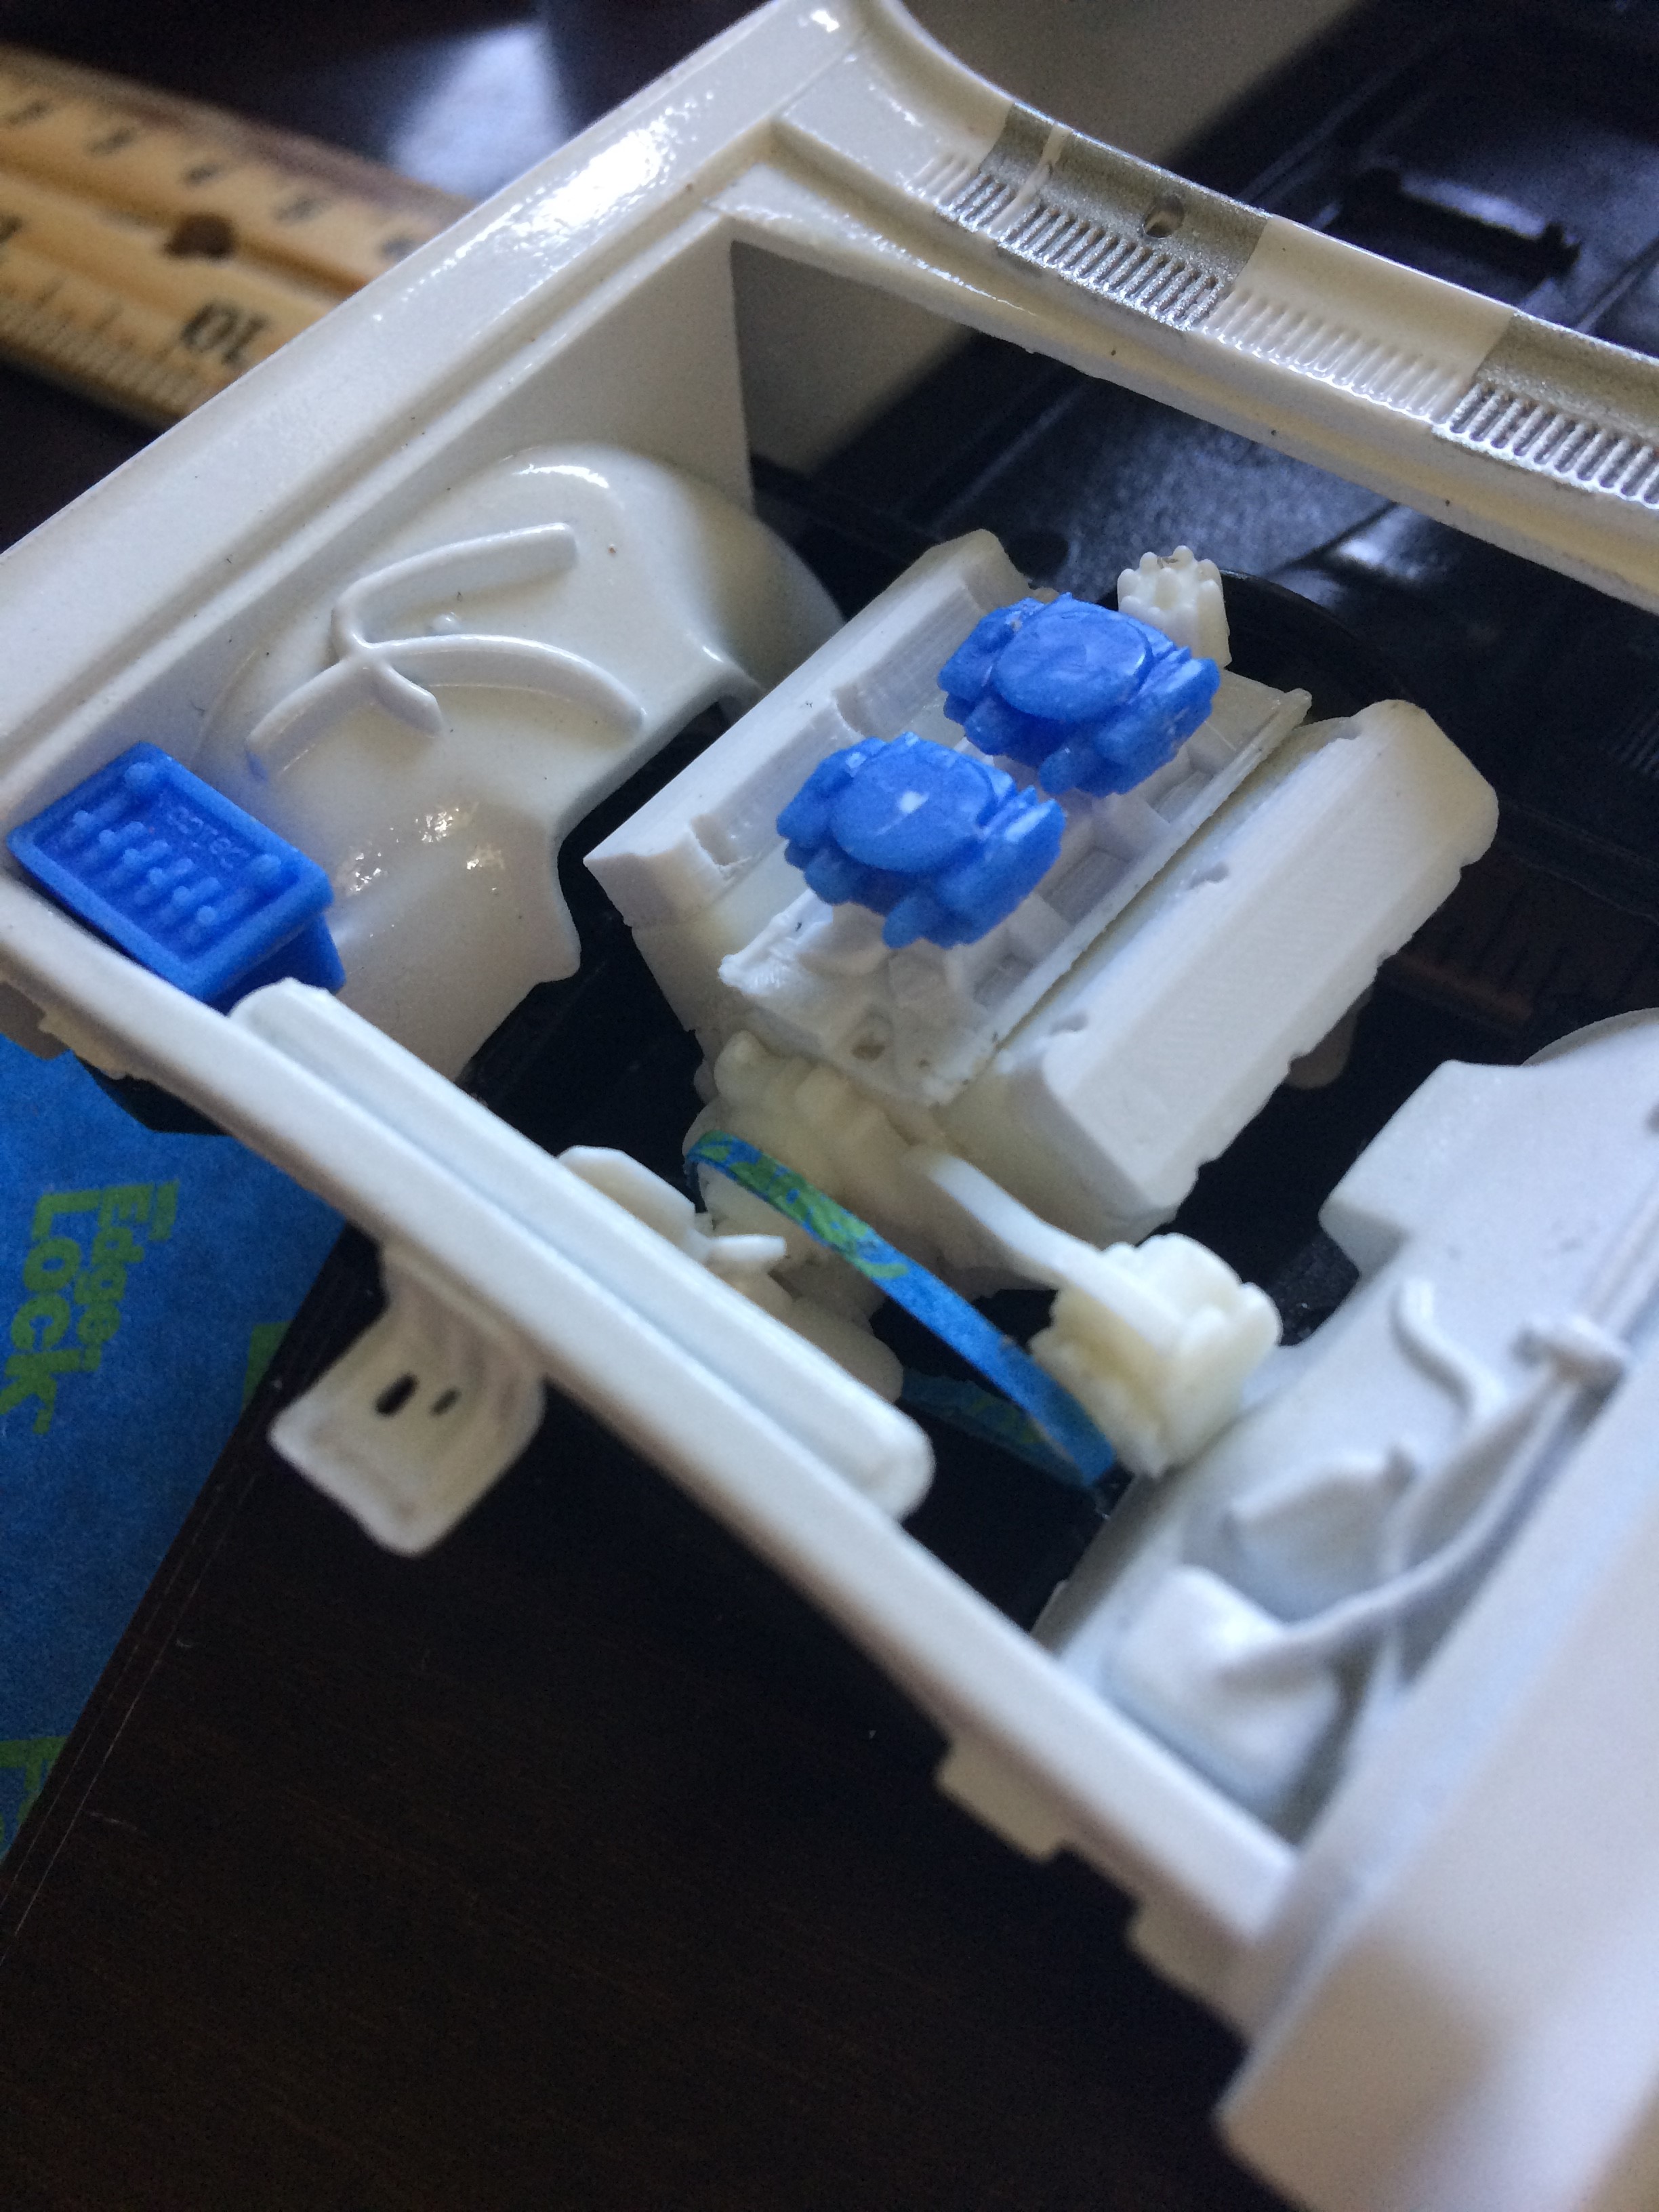
Haven't had a whole lot of time to work on it this weekend. What I have done is 3D printed an intake manifold and valve covers, and fabricated a new belt out of masking tape. It's mocked up just using white glue. With old resin belt, the alternator to hit the inner fender, so I trimmed it away to replace it. I have the alternator bracket trimmed where it'll clear better, but this belt I've made is a little too small and pulls the alternator over to where it hits again. I'll be trying to make a better one before the day is over.
The battery and carburetors are off of the 66 nova pro street model, which I have yet to build but won't be using them for. I replaced the battery because I didn't like the lack of detail the original had. I forgot a breather on the valve covers, but I think it'll be fine without. I have an air filter I was going to use, I believe it was from a 70 cuda model, but it won't clear the plug wires when I get those attached, so I need to figure something else out for that.
Also, does anybody know what those molded lines on the inner fender are for (shown in the left of the picture)? I first thought battery cables, but they don't line up. I'm thinking about cutting them away if that is the case, since I'll be using actual wire for them.

-
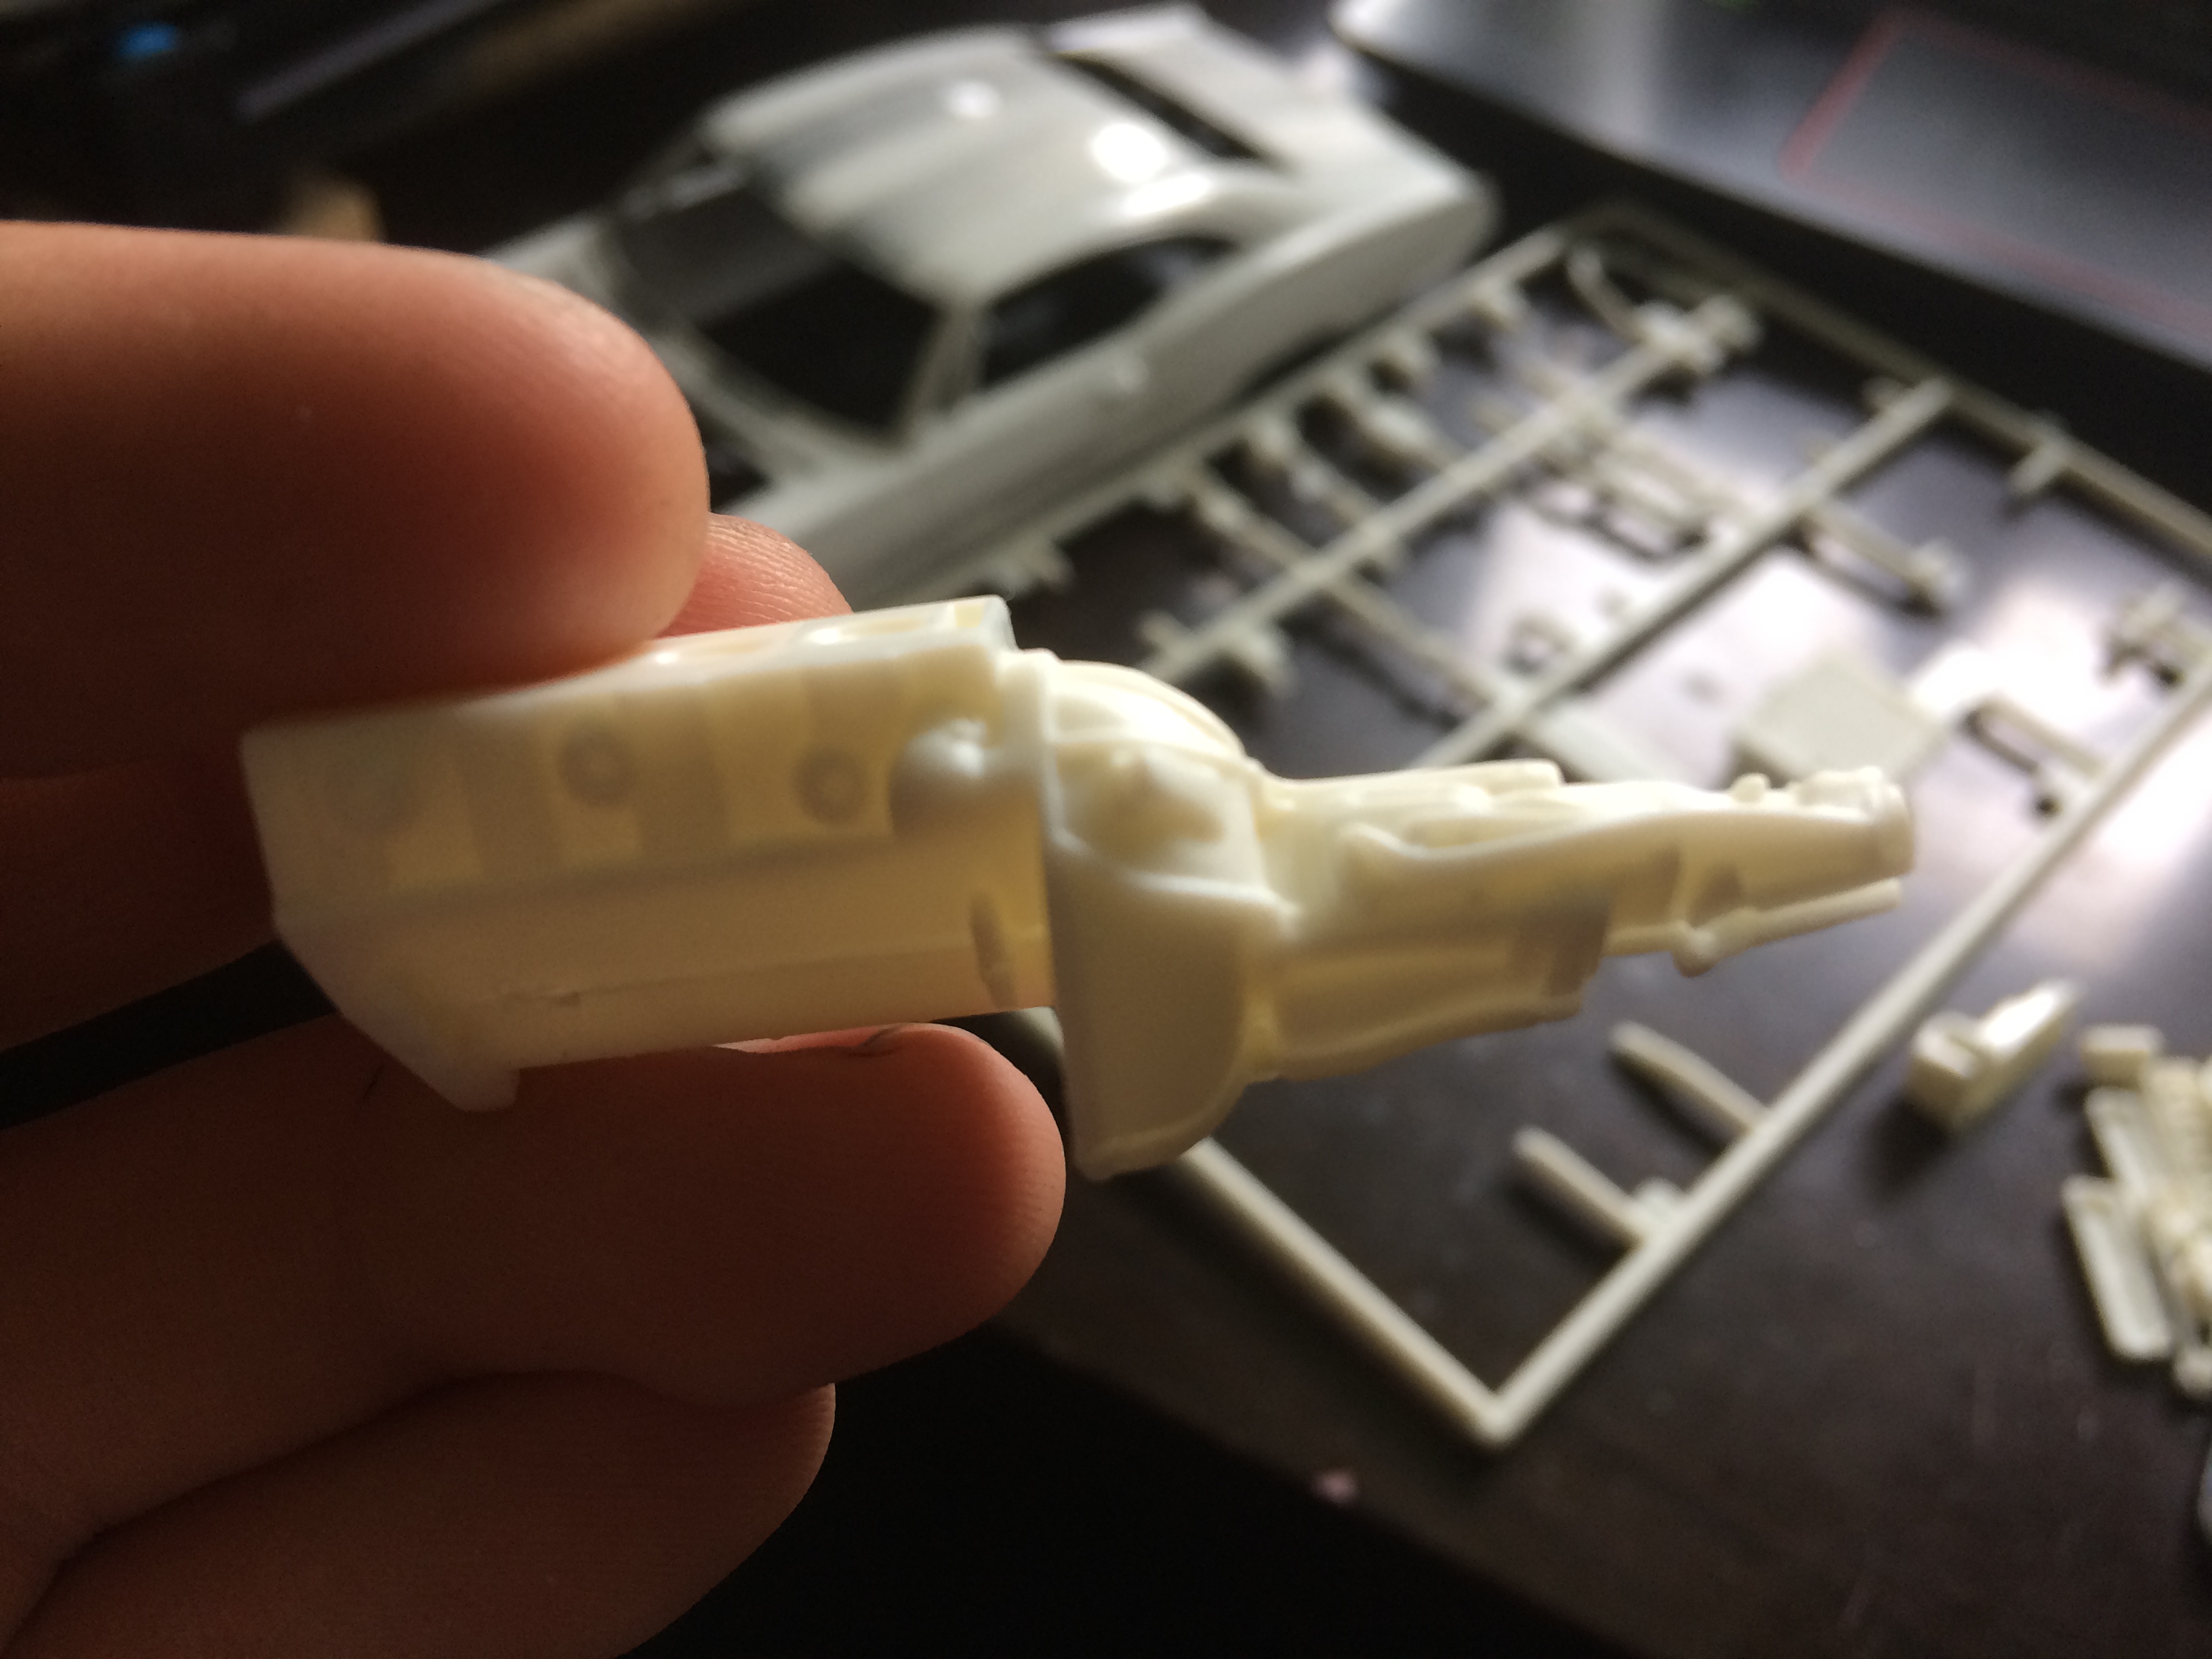
Now that I've looked closer, I think it is the 4 speed manual after all. It resembles this 3 speed used at the time (this one is out of a 66 chevelle) very closely, and I knew a lot of the SS cars had a heavier duty 3 speed, so that's what I assumed was in it. I was at least sure of the manual part, since it lacks a lower pan. Thanks for pointing that out.
Also, I looked at the dash. It doesn't appear to even have a place for a parking brake pedal. Had it broken off, you would think there would at least be a sign of where it was. At the least, if the parking brake was on there, I don't have it anymore. Upon closer inspection, I found that the gas pedal is actually molded into the floor, so what I have on the dash is brake and clutch. One less pedal to print at least!
-
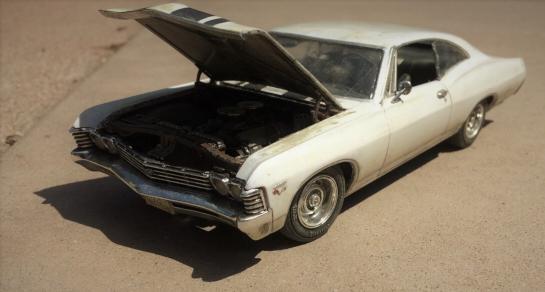
This is a somewhat experimental build for me, using AMT's 1967 Impala kit, so any tips/ideas are surely welcome, and if you think I could do something better, please do tell me.
Let me start with the goal for this car. I'm not wanting a show car, but not a beater either. I want it to look like somebody's hot rod that gets driven regularly. Worn, dirty, but still in good shape. I'm going to be using the original 427 from the kit and 3 speed manual, but I'm going to see if I can't find different headers and carburetor for it somewhere in my spare parts. It'll have stock black interior, although I did notice an issue with the dash so far. The 427 SS cars (usually) had the heavier duty 3 speed manual, which appears to be the case in the model, but there's no clutch pedal. That, and there isn't a parking brake pedal either. I have a 3D printer, so I'm thinking I'll print out a couple to use, despite the limited detail. I don't know how common it is to see 3D printed parts going into models, but I thought it worth experimenting with.
With that being said, the amount of detail I want with it could be a long shot, so we'll see how it goes. This is the first car I'll be doing spark plug wires, brake lines, that sort of thing, and it'll be a first try for bare metal foil and weathering as well. I was going to have opening doors too, but decided that would be best to try on a scrap body and then maybe incorporate in later builds.
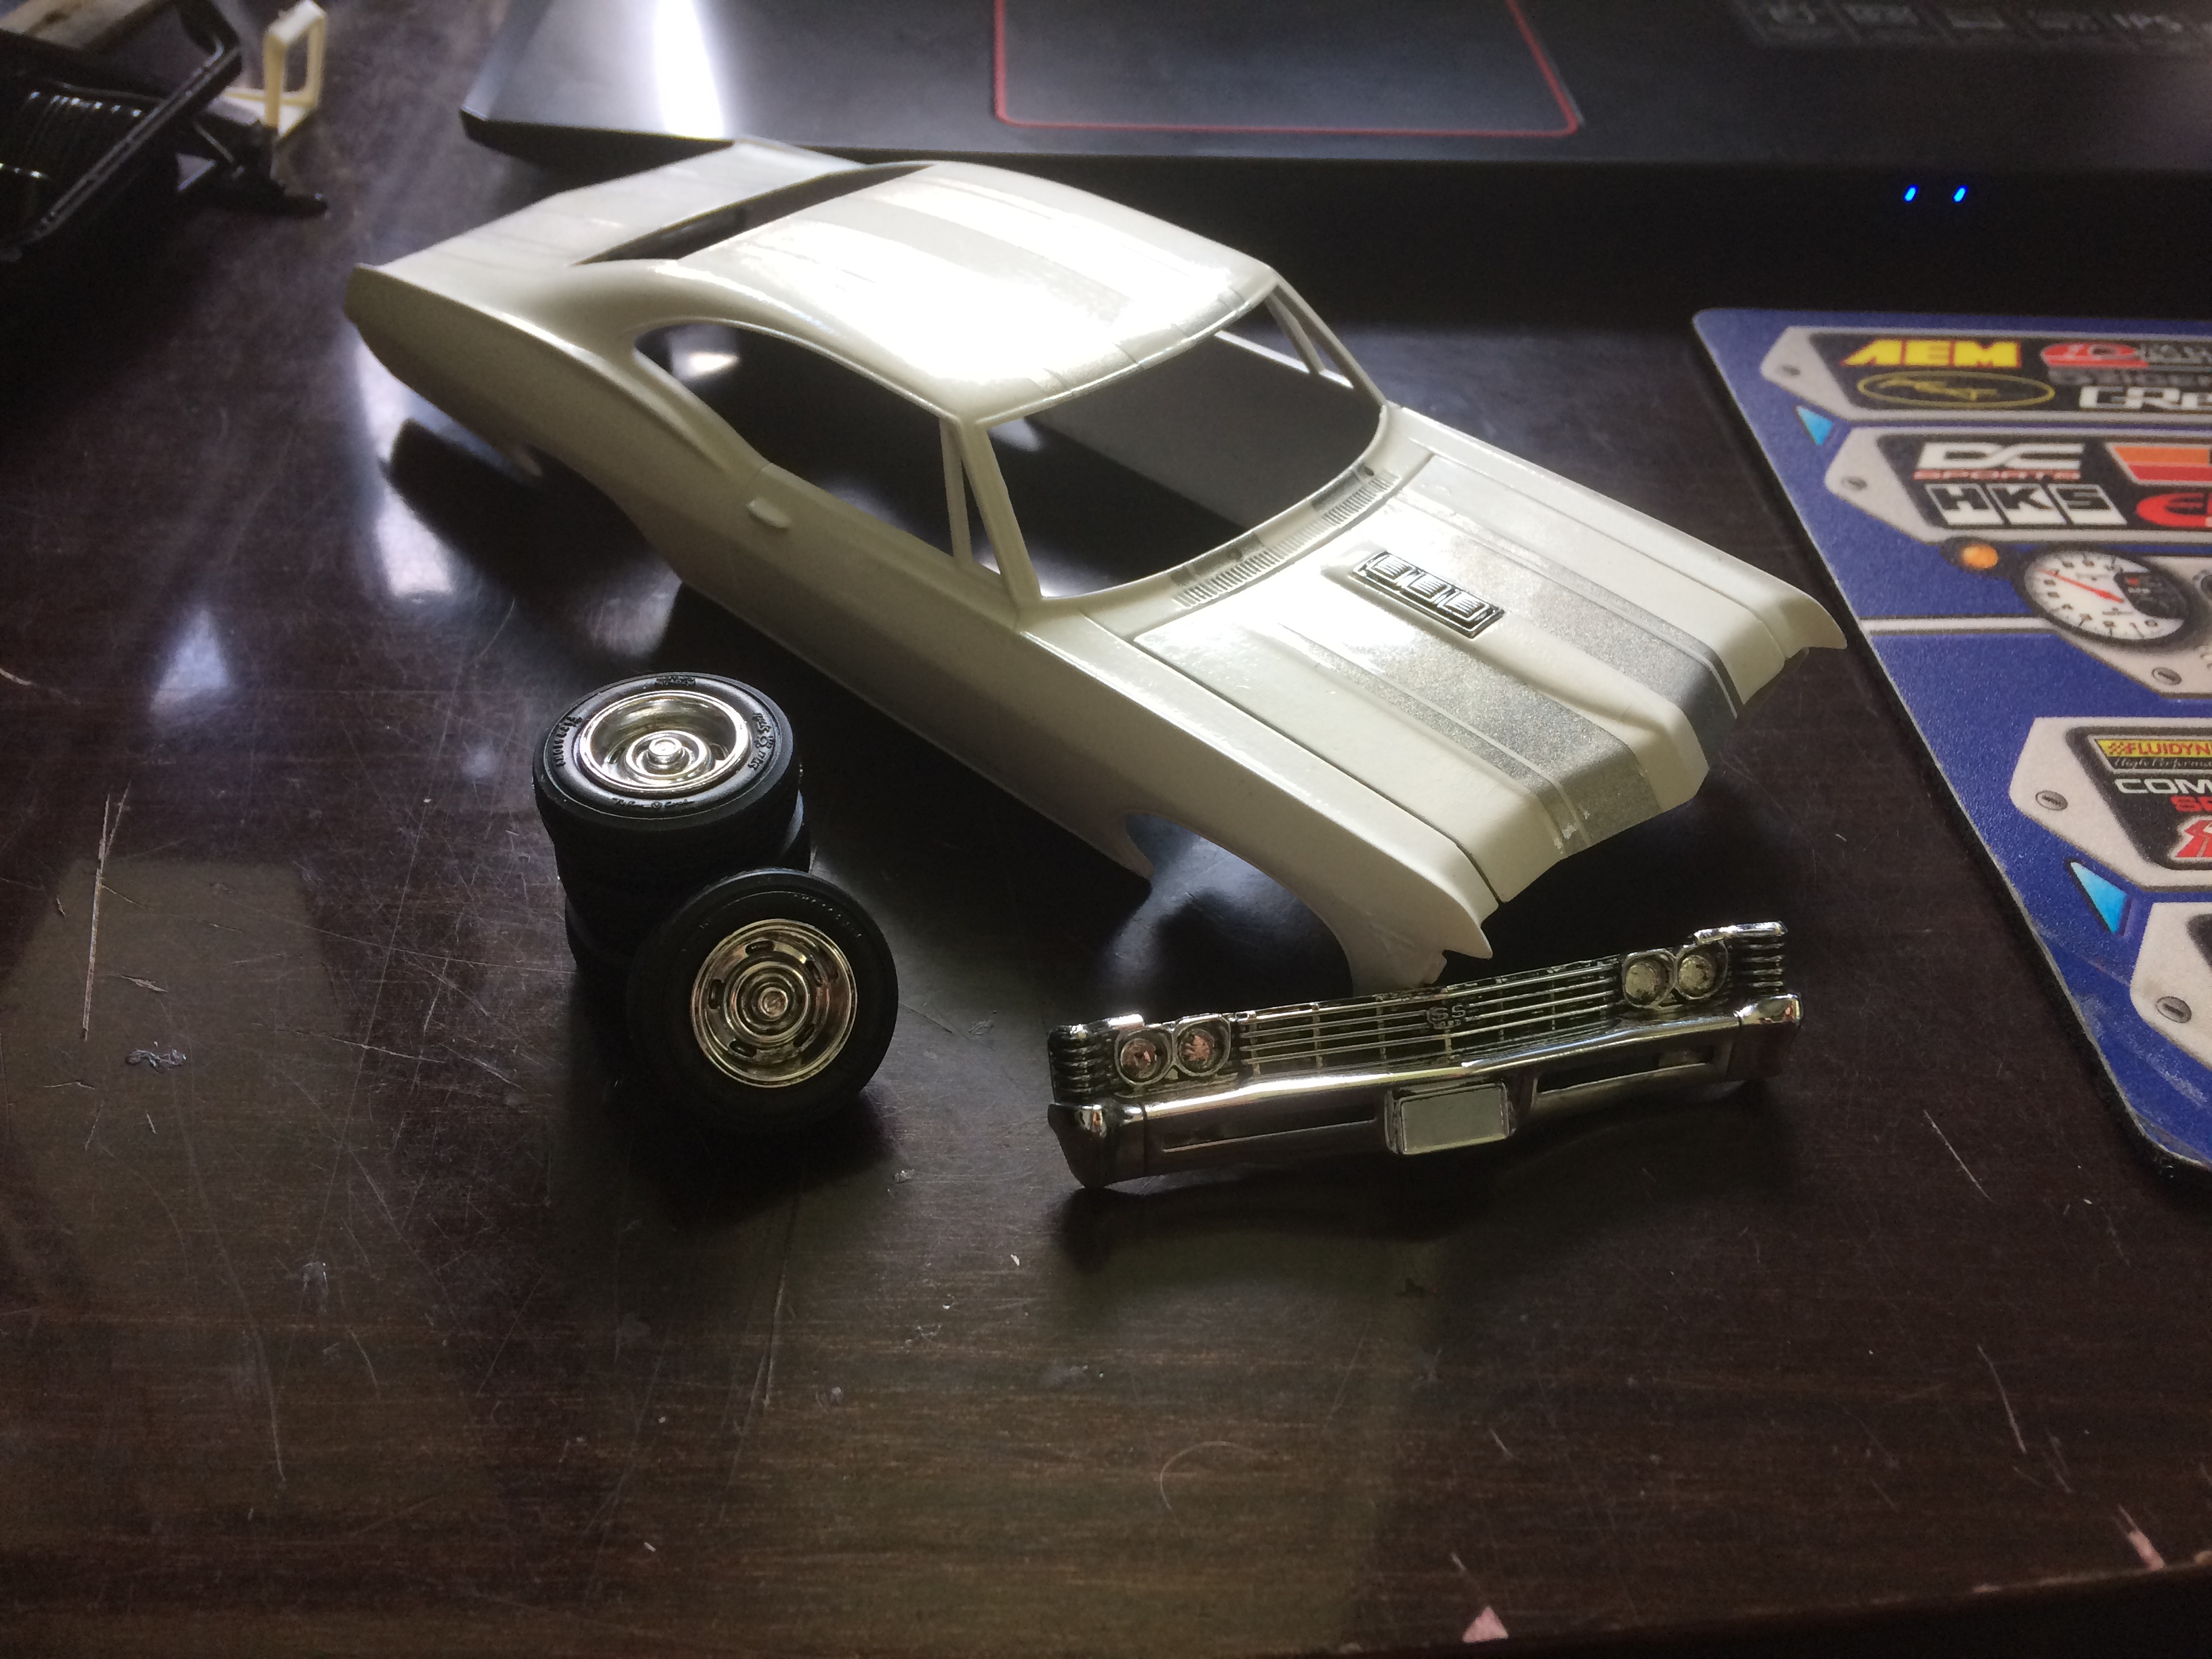
Now, here's where I'm currently at. The body is painted, the white is just cheap walmart stuff and the silver is Testor's 'diamond dust'. There's plenty of flaws in the paint due to a few unfortunate events, but I'm running with it. I've also black washed all of the chrome, and I might go over the grille a second time yet. I've also lowered the front, just by cutting the little protrusion that the wheels attach to off of the spindles and reattaching them higher up. I've left the rear alone, although it might need tweaking. We'll see. Again, if you guys have any suggestions at all, you're more than welcome to share. Feedback is always good, I think, and ideas certainly can't hurt.

Salvaging a junk flathead. DONE
in WIP: Model Cars
Posted
Is this something you plan to put into a car, or just restoring it for funsies?
I like that 3D printed engine block, it's a good idea. I might have to try printing something like that one of these days. Excited to see how yours turns out.