
SCRWDRVR
-
Posts
1,034 -
Joined
-
Last visited
Content Type
Profiles
Forums
Events
Gallery
Posts posted by SCRWDRVR
-
-
I'm looking for decals for both of these cars (1 each) Let me know if you have them and what you want for them, Thanks

-
I'm looking for a set of decals from this kit or of this car, let me know if anyone has a set laying around

-
Had a great trade with afxmustang, Thanks Karl for an easy trade.
-
Is this the kit your looking for? I have one I took in trade a while back looks complete, it is molded in red though. I can send you some pics if you want..
-
I had good trades with AZPartsLocators and fshoemake, thanks guys for the good trades...
-
Had a great trade with Lunajammer, thanks again for the help Mike...
-
I have one PM me
-
PM's incoming...
-
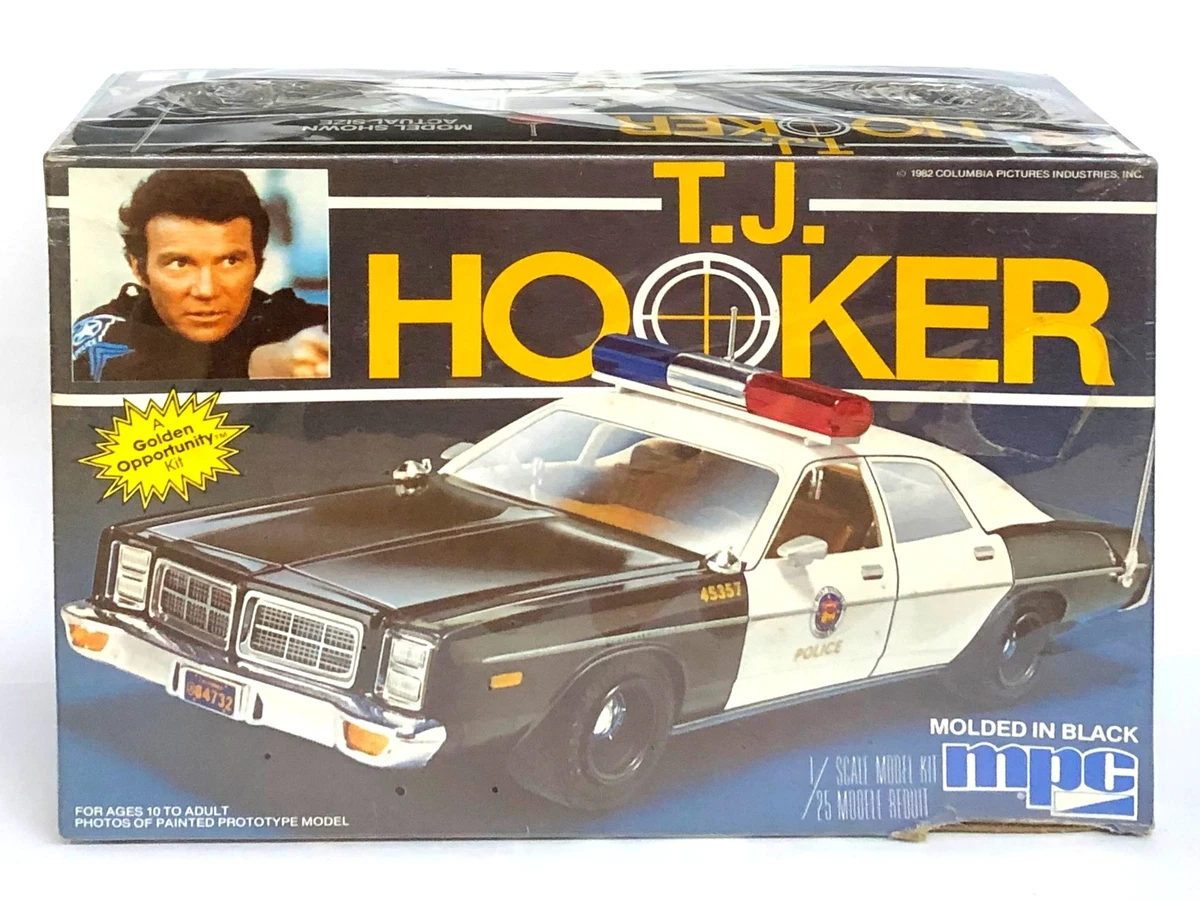
I have one of the Surf Shark kits I want to turn into the Ghostbusters Ecto 1A so I need the parts changed if anyone has them laying around, let me know what you want for them. Or if you have the Ecto 1A and want to trade. Thanks....
Needed
Ecto 1A Decals
Factory Wheels
Roof lights and accessories
-
Most nail polishes are also lacquer and can be reduced with regular lacquer thinner..
-
I use Dupli-color a lot, I've found it doesn't like humidity, perfect match and the clear. I try not to use it unless the humidity is below 50% around 40% is Ideal. I paint in my basement with an indoor spray booth vented and I have a humidity gauge down there so I know when it's good for painting. You can also use a small heater to blow hot air on it to get the blush out of it when spraying, just be careful about how hot. Blushing can be polished out in most cases but I prefer to try to stop from having it.
-
1 hour ago, Mittagskind said:
Hello Brian, nice to meet you. Maybe we have already met us on the track. I also play RealRacing3 since a lot of years, sometimes more, sometimes less. My user name is MissPiggy98767. My driver score is 220 but it´s more and more hard to score up higher.
Hope we will see each other in Laguna Seca or Melbourne.
Greetings from Berlin
HanjoHello Hanjo,
My name in the game is bd4martin I'm a 133, I will keep an eye for your name on the tracks. Who can tell we may have already raced each other...
-
I play it, not hard core or anything but I've been playing it for several years now. It is awesome for a free game...
-
I have the hood louvers
-
I've seen some huge stashes, mine is relatively small. According to my Scalemates inventory which might be missing one or two I have 154 in my stash, 31 started (which includes build ups) and 93 Completed currently...
-
21 hours ago, CabDriver said:
Oramask 815, but if you have a full size plotter something like 3M’s masking material comes in as much as a 40” roll of various lengths…
Great, thanks for the info…
-
 1
1
-
-
On 12/18/2022 at 11:30 PM, CabDriver said:
You ever see a scale flame-job that looks cool until you get up close and see bleeds, rough edges, high edges, fuzzy spots and other imperfections that come from trying to shoot light colored flames over a darker colored base color?
Here’s a technique for super clean and easy flames I’ve been using for a couple of years now that I thought some of you all might find useful.You’ll need nothing special for this process, and I did this particular body with rattlecans. I DO use a Silhouette scrapbook cutter for making my masks…but you can use pre-cut ones from eBay or Lazy Modeler or cut your own from masking frisket or tape if you don’t have a plotter to use.
First step, prep and prime body as normal:
Second step is NOT, I repeat NOT the body color. Here, you’ll paint the color that the flames will be. I did a solid color, but you can do a gradient from white-yellow-orange or yellow-red or whatever you would like your flames to be at the end:
Next, we mask. I like a traditional classic hot-rod flame, but for this one I recreated the decal art from the new issue of the Revell 32 Roadster kit, and then cut masks out of Oramask 815 masking vinyl (usually about $10 a roll from Amazon or eBay)
The cool thing with this vinyl is that it’s translucent, so I could also have laid it over the decals, or a photograph or a drawing of some flames and traced the shape by hand instead…and actually, that IS how I did it before I had a cutter.
Once you’ve got your flames, lay them down and make sure the edges are sealed nicely:
Next up…body color! I used an old spray can of Testor’s blue, but any color darker than the first color will work just fine.
And finally…carefully de-mask! Fold the vinyl over on itself as you pull it back, starting from the widest end - if you make the vinyl do a ‘u-turn’ on itself as you peel, you’ll get cleaner edges. If you do this when the paint is starting to dry but not wet you’ll usually avoid the paint chipping on the edges.
And…you’re done! Tada!
The secret to this technique is that by painting the lighter color first you won’t struggle to cover it with the darker color. And the less layers of paint, the smaller the ridge that you’ve got to try and cover with clear, the faster the drying time and the quicker you’ll be admiring your handy work. This entire paintjob was done in a day, including prepping the body (and more of the time was just waiting for the primer and green to dry).
So, for, say, a black paintjob with yellow flames you’ll have no problems with building up multiple layers of paint trying to cover the black and it’s WAY easier to lay down those spindly little flame licks on a body than align a big sheet of mask that doesn’t want to lay flat over the curves of a more complex body (think 40 Ford, for example).If you’re painting something with a lighter main color, say a yellow body with red flames…do it how you normally would. But for light colored graphics on a dark body this is by far the easiest way I’ve found so far. And it doesn’t have to be FLAMES, of course - this trick works with scallops or race numbers or stripes…anything you can imagine!
Hope some of you found this helpful!
I have a regular vinyl cutter that will cut up to 34" vinyl. I used it to make a stencil for a car a while back came out pretty good, what type of material are you using for the stencil?
My first stencil job
-
7 hours ago, Plowboy said:
A trick I learned a long time ago when I worked in a body shop is to use a guide coat over primer. I'll spray a coat of gray and mist a coat of white over it. When I sand, any imperfections will show.
I learned the same thing the same way... Only thing I tend to do different is I will dust black just because it makes it easier to see and I will end up sanding all the black off anyway... Just my preference..
-
11 hours ago, Straightliner59 said:
Man! Awesome! $12.50 is a steal! I think I paid $80 for mine. The bumper won't cost you $67.50! 😂
🤣 I don't know it might I need 2 I have a kit that the rear bumper is broken
-
 1
1
-
-
30 minutes ago, keyser said:
Don’t see that color very often. Bumpers not awful to find.
It’s in fantastic shape with the exception of missing the rear bumper
-
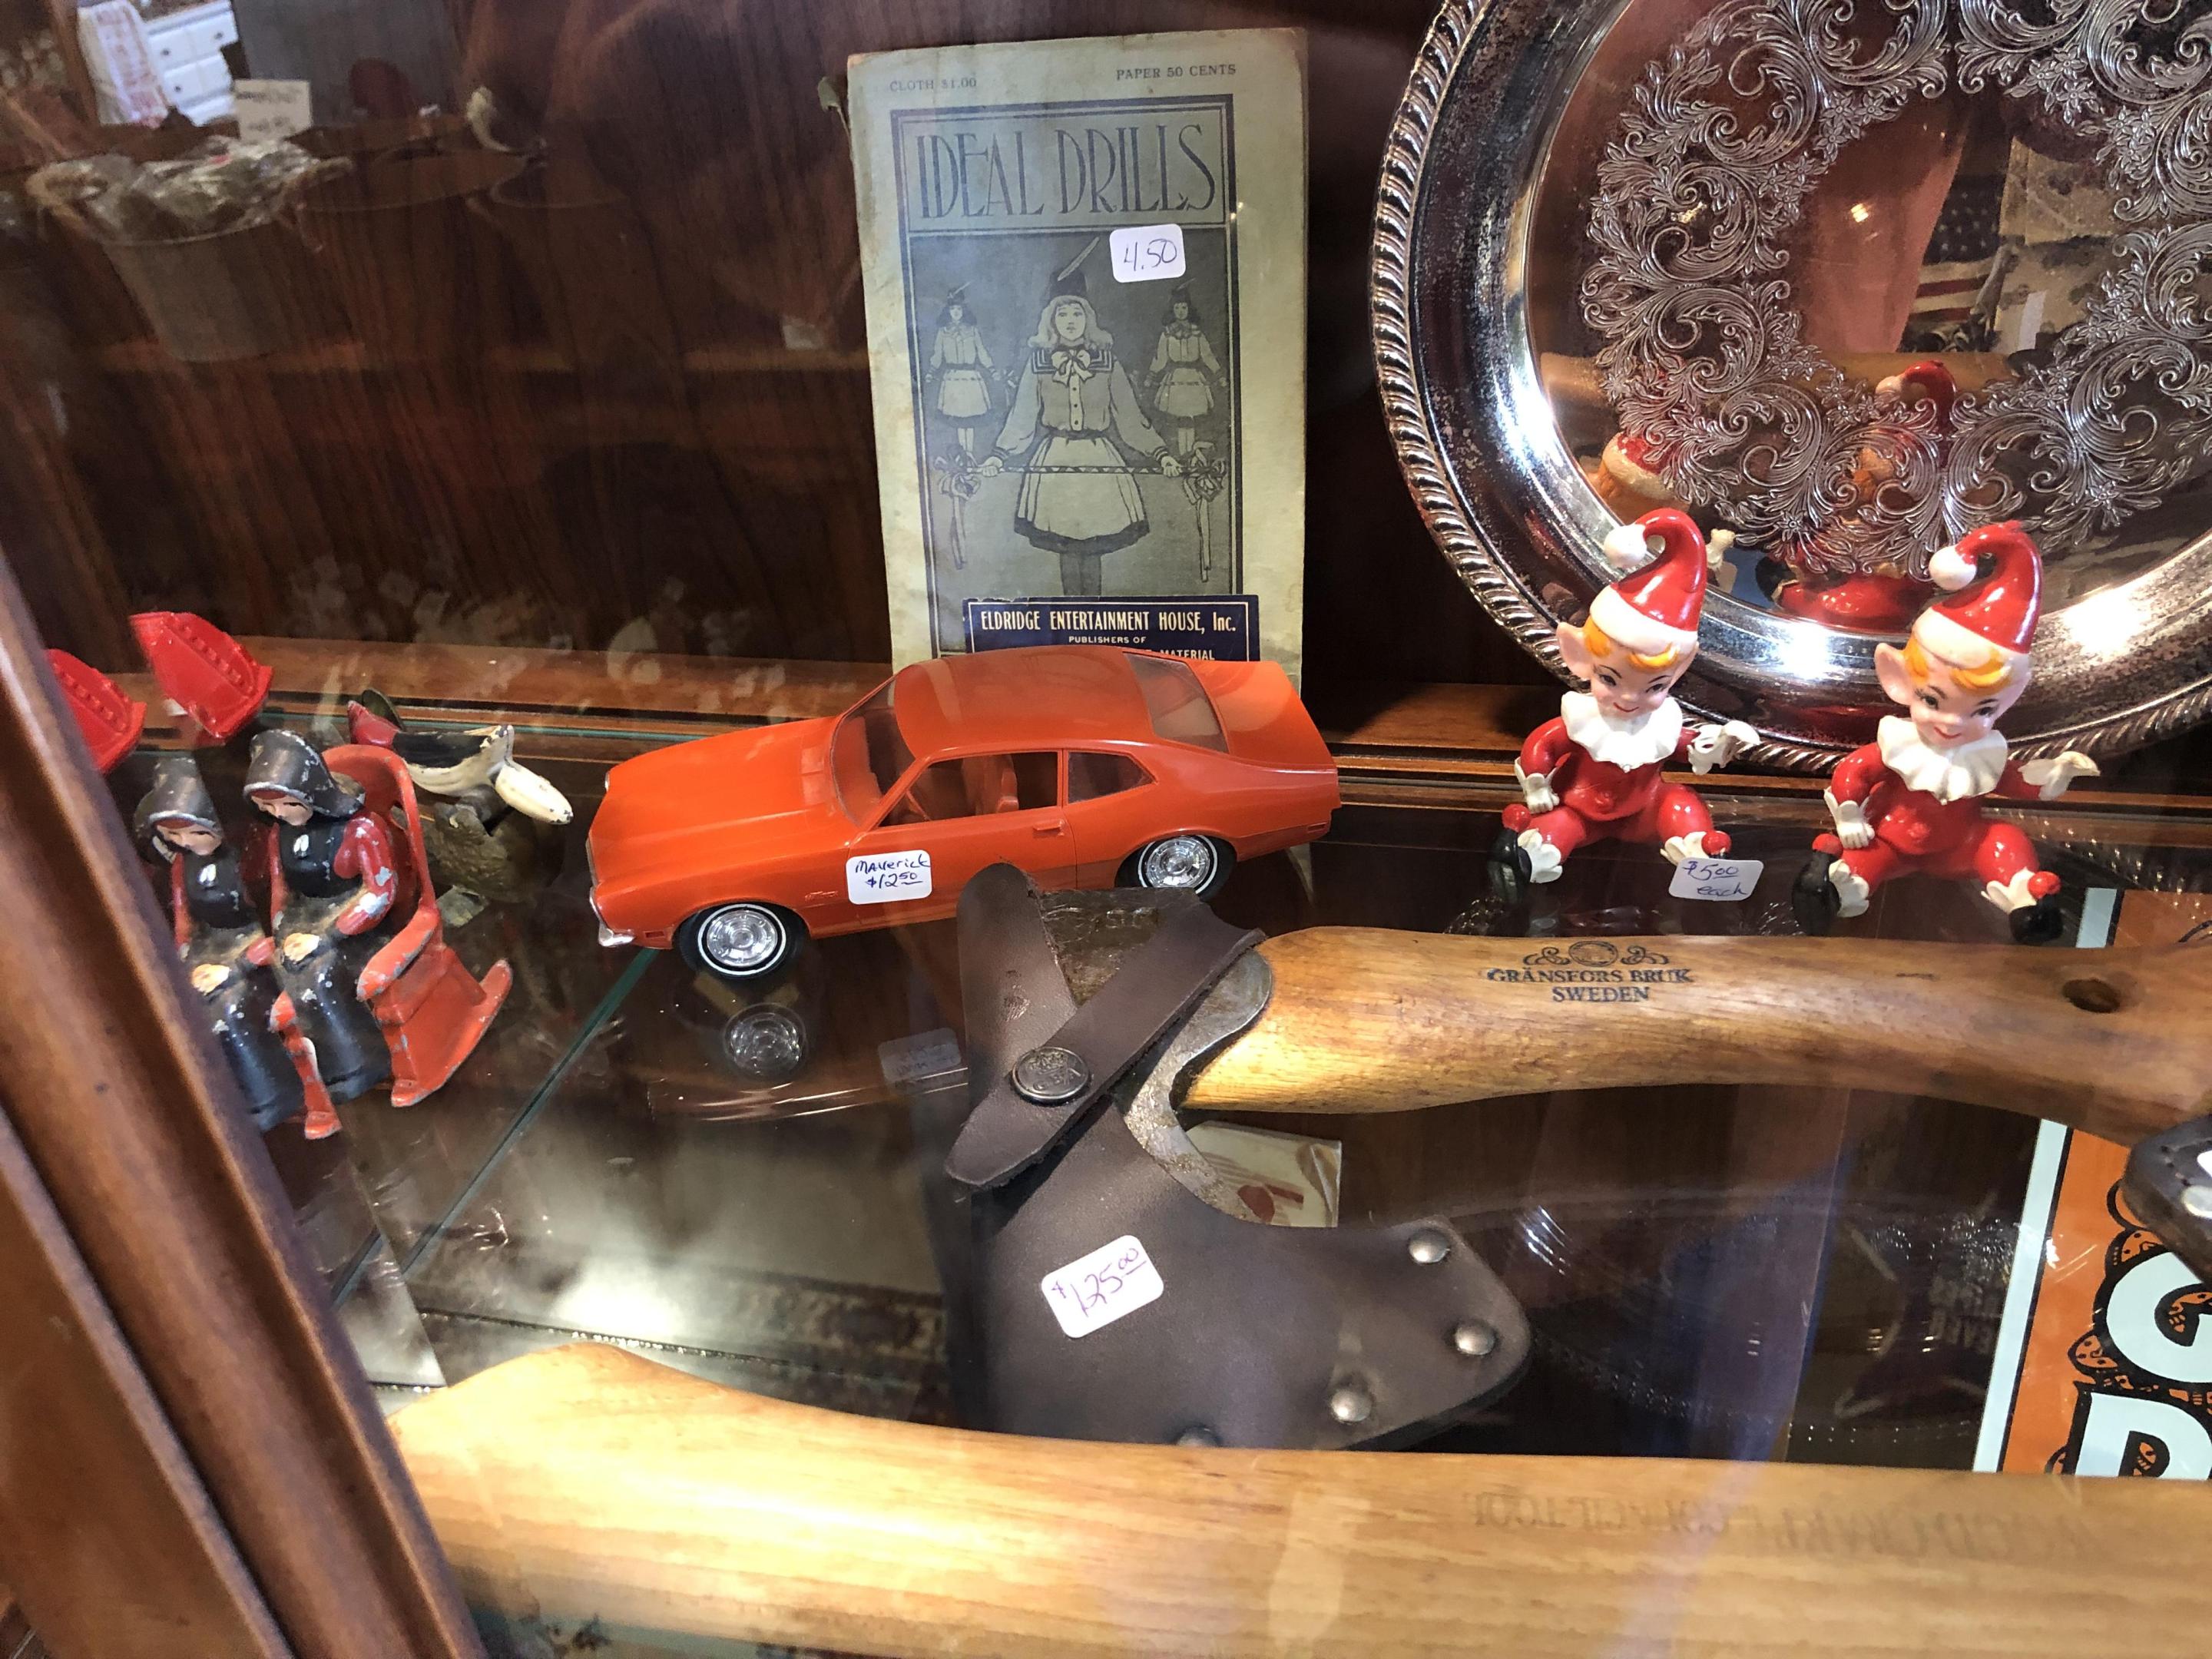
Picked up at Johan Maverick promo for $12.50 what a bargain. Only thing wrong with it is it’s missing the back bumper.
-
9
-
-
-
If memory serves me right he did a 67 and a 69 Nova funny car. That would be a cool kit…
-
 1
1
-
-
2 hours ago, 1972coronet said:
The 1/16 (recently reissued) would be, IMO, the best one to work with. If you're unfamiliar with it (originally a Revell kit, now under the Atlantis banner), I wish to suggest watching the build and review as seen here:
**EDIT**
The 1/16 kit in the video is the Vega, but its 'guts' are the same as the Camaro (not sure if the Camaro F/C was ever kitted in big scale)Ok thanks, I don’t care if it’s the Camaro or the Vega I’m wanting a Jungle Jim kit. I was a fan when I was young and he is from not far from where I am. I think they released that kit as his car at one point…
-
1
-


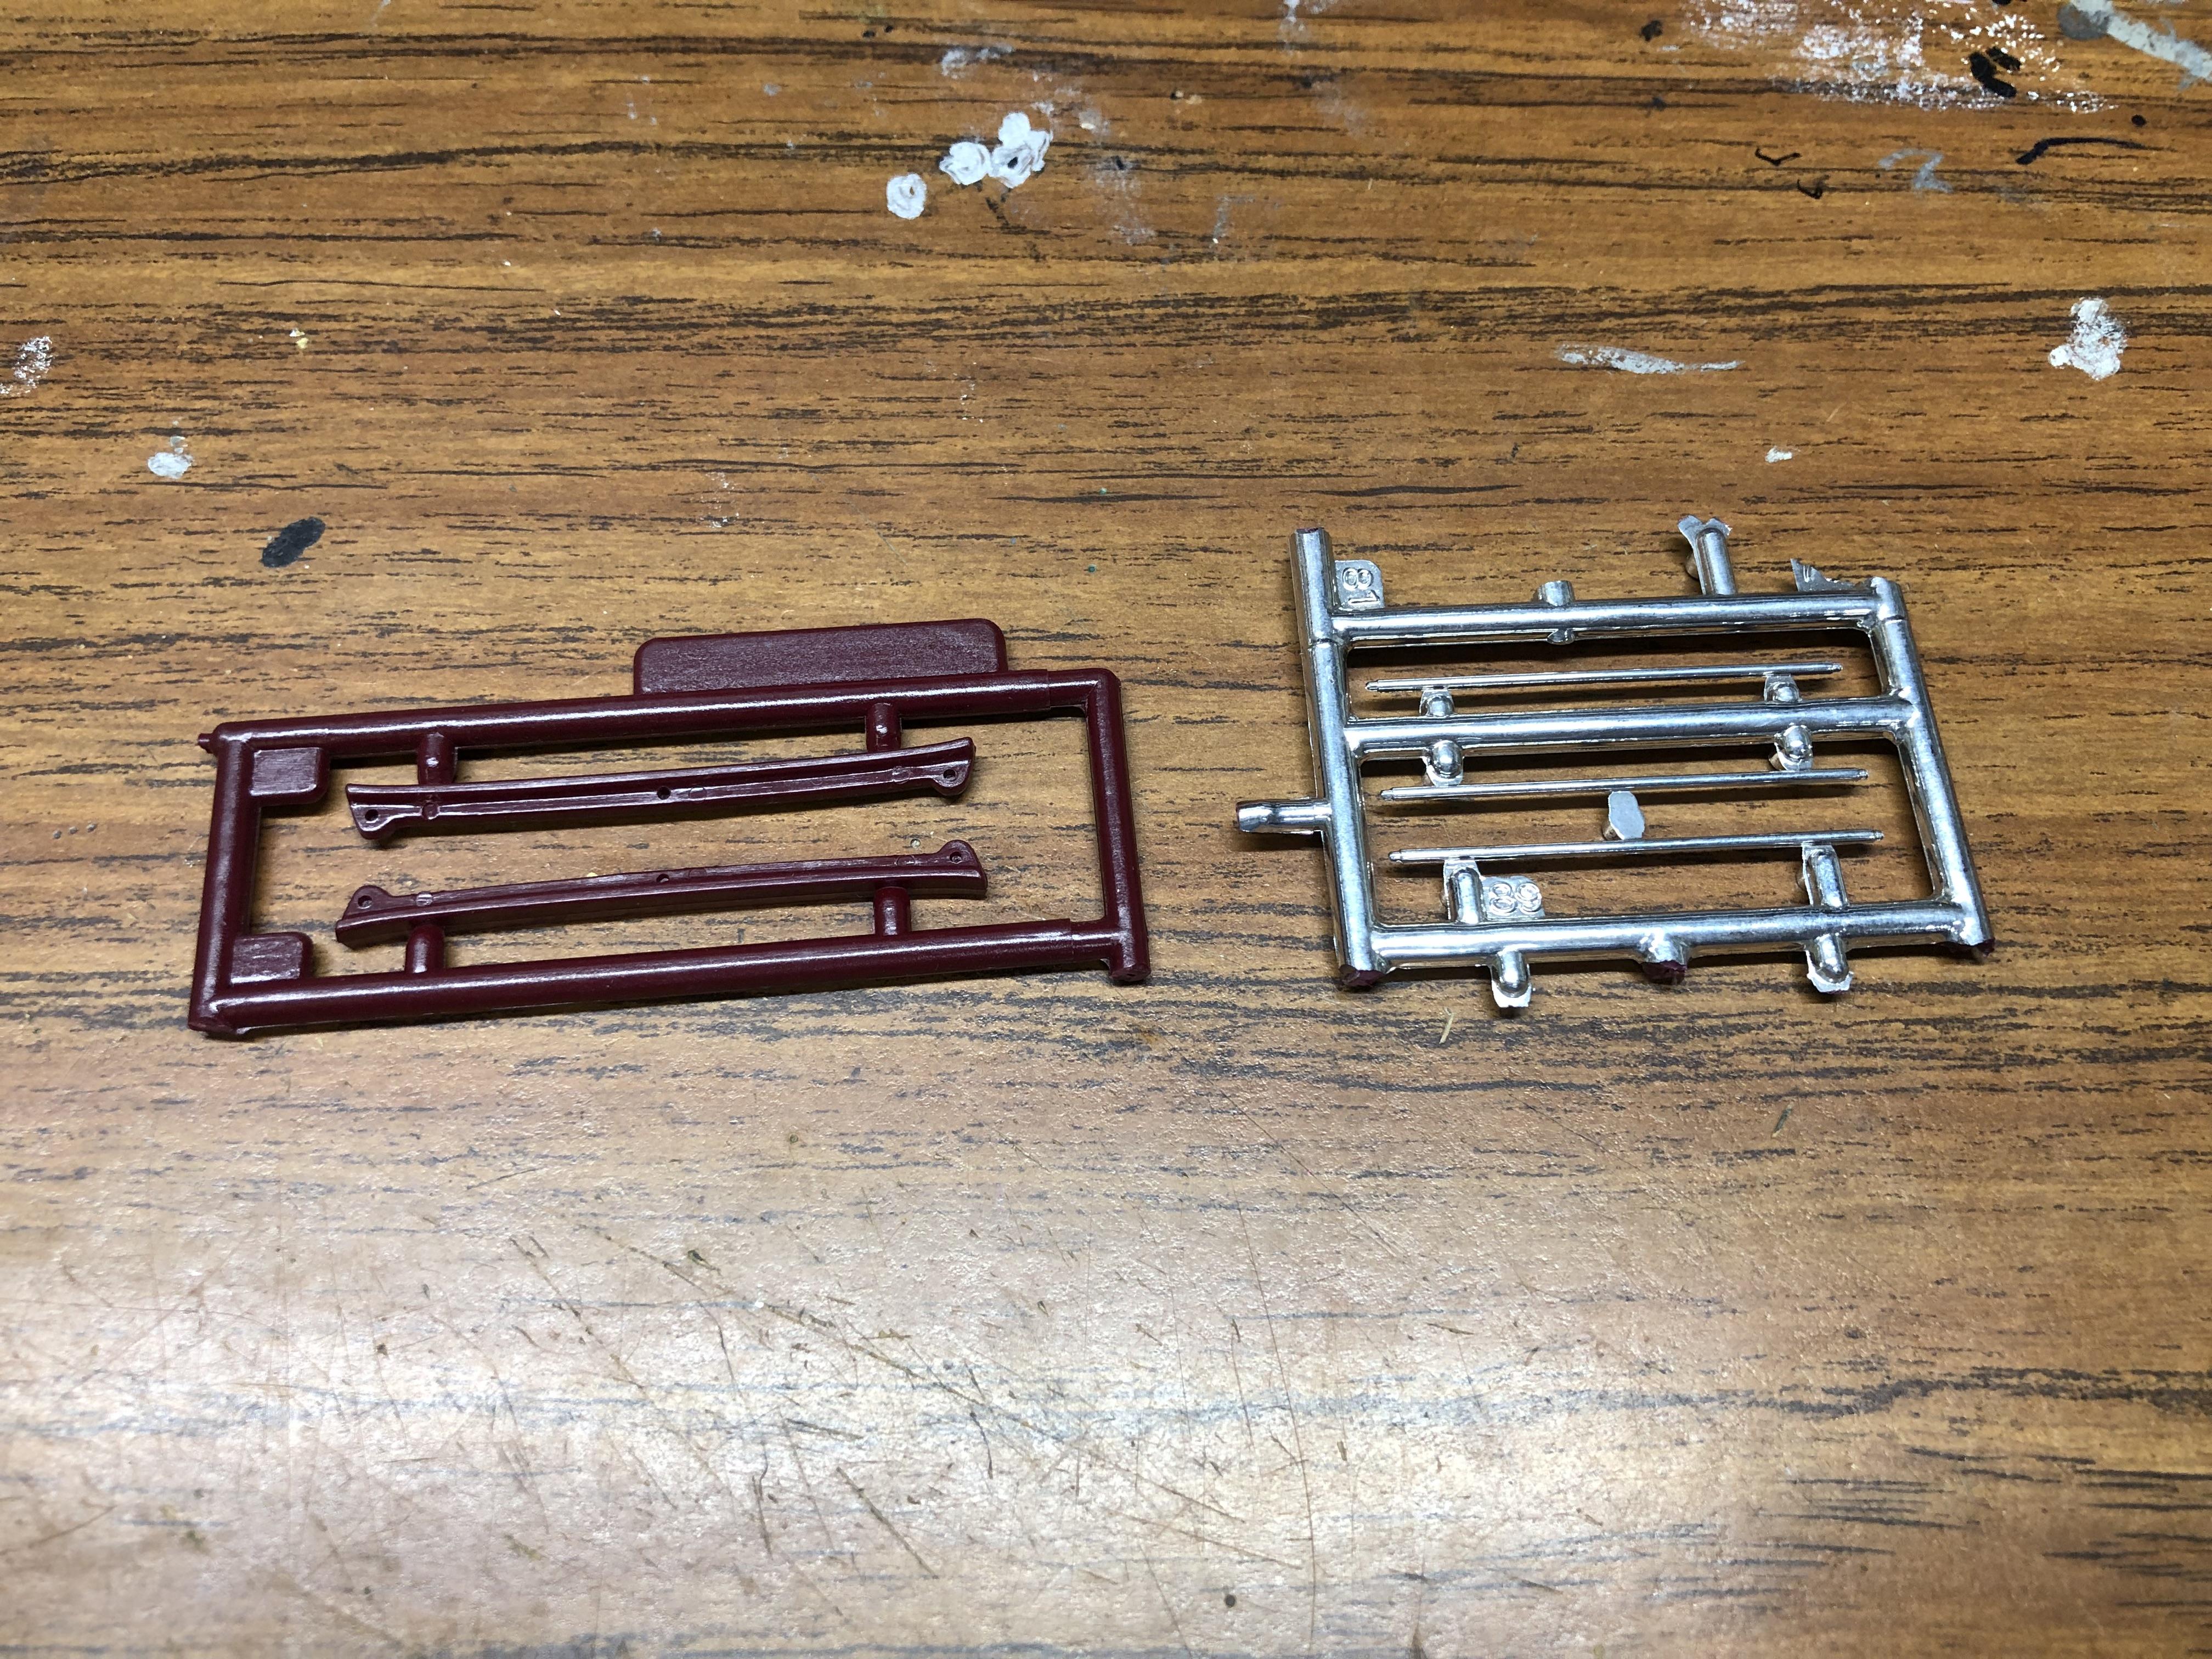


Ecto 1 parts
in Wanted!
Posted
I’m looking for some Ecto 1 parts. I am looking for all the parts off the roof including the ladder, rear bumper and the wheels is anyone has any of that laying around let me know what you need for them, thanks