Bronzekeg
-
Posts
4,202 -
Joined
-
Last visited
Content Type
Profiles
Forums
Events
Gallery
Everything posted by Bronzekeg
-

Kenworth W925
Bronzekeg replied to Bronzekeg's topic in WIP: Model Trucks: Big Rigs and Heavy Equipment
test fitting the sleeper and exhausts I found out the passenger side elbow was fine but the drivers side was out of rotation. my mistake, so I took a warm knife to the elbow and sliced it off and rotated it where it needed to be.
-
Kenworth W925
Bronzekeg replied to Bronzekeg's topic in WIP: Model Trucks: Big Rigs and Heavy Equipment
I filed off the molded in wipers before paint and used a set from the spares box. also got the steering linkage hooked up.
-
Kenworth W925
Bronzekeg replied to Bronzekeg's topic in WIP: Model Trucks: Big Rigs and Heavy Equipment
thank you Brian and thanks for the info. -
Kenworth W925
Bronzekeg replied to Bronzekeg's topic in WIP: Model Trucks: Big Rigs and Heavy Equipment
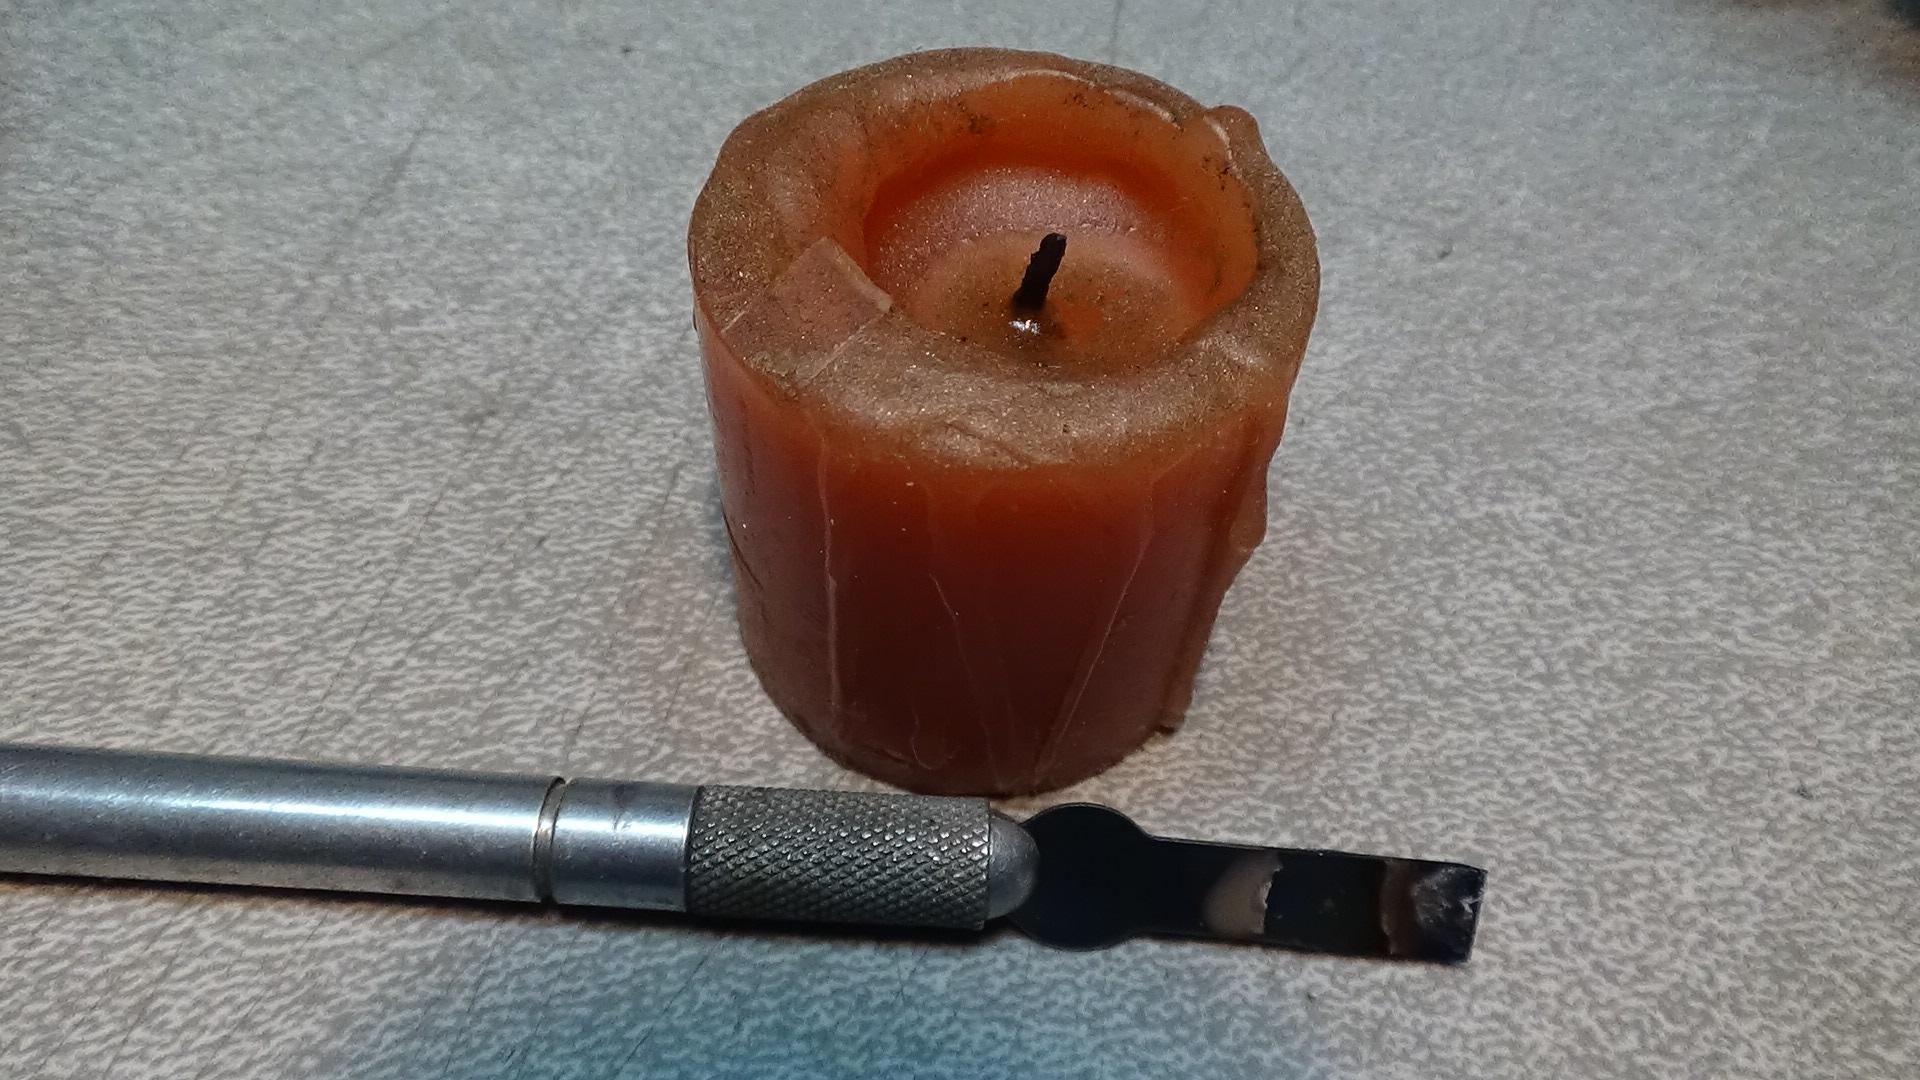
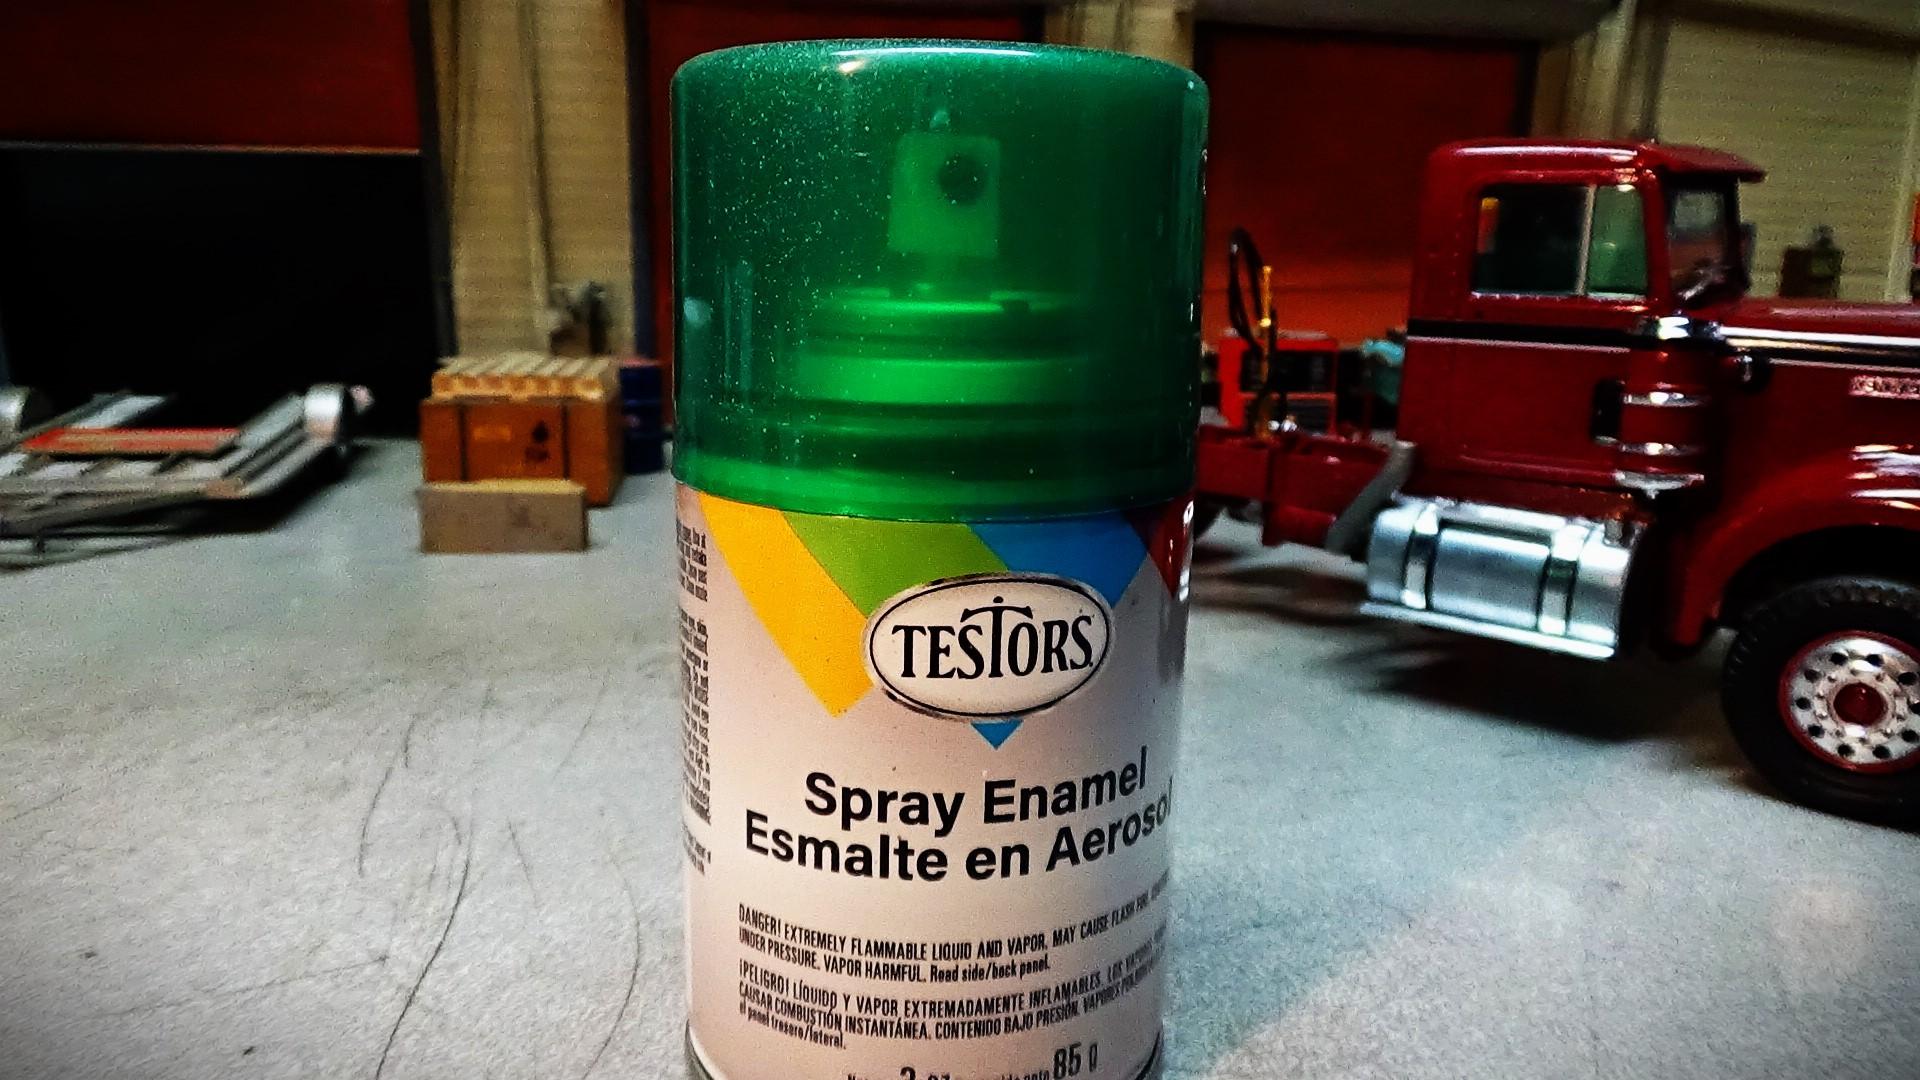
thanks Bob. I used testors custom transparent green paint by using one quick coat.
-
Kenworth W925
Bronzekeg replied to Bronzekeg's topic in WIP: Model Trucks: Big Rigs and Heavy Equipment
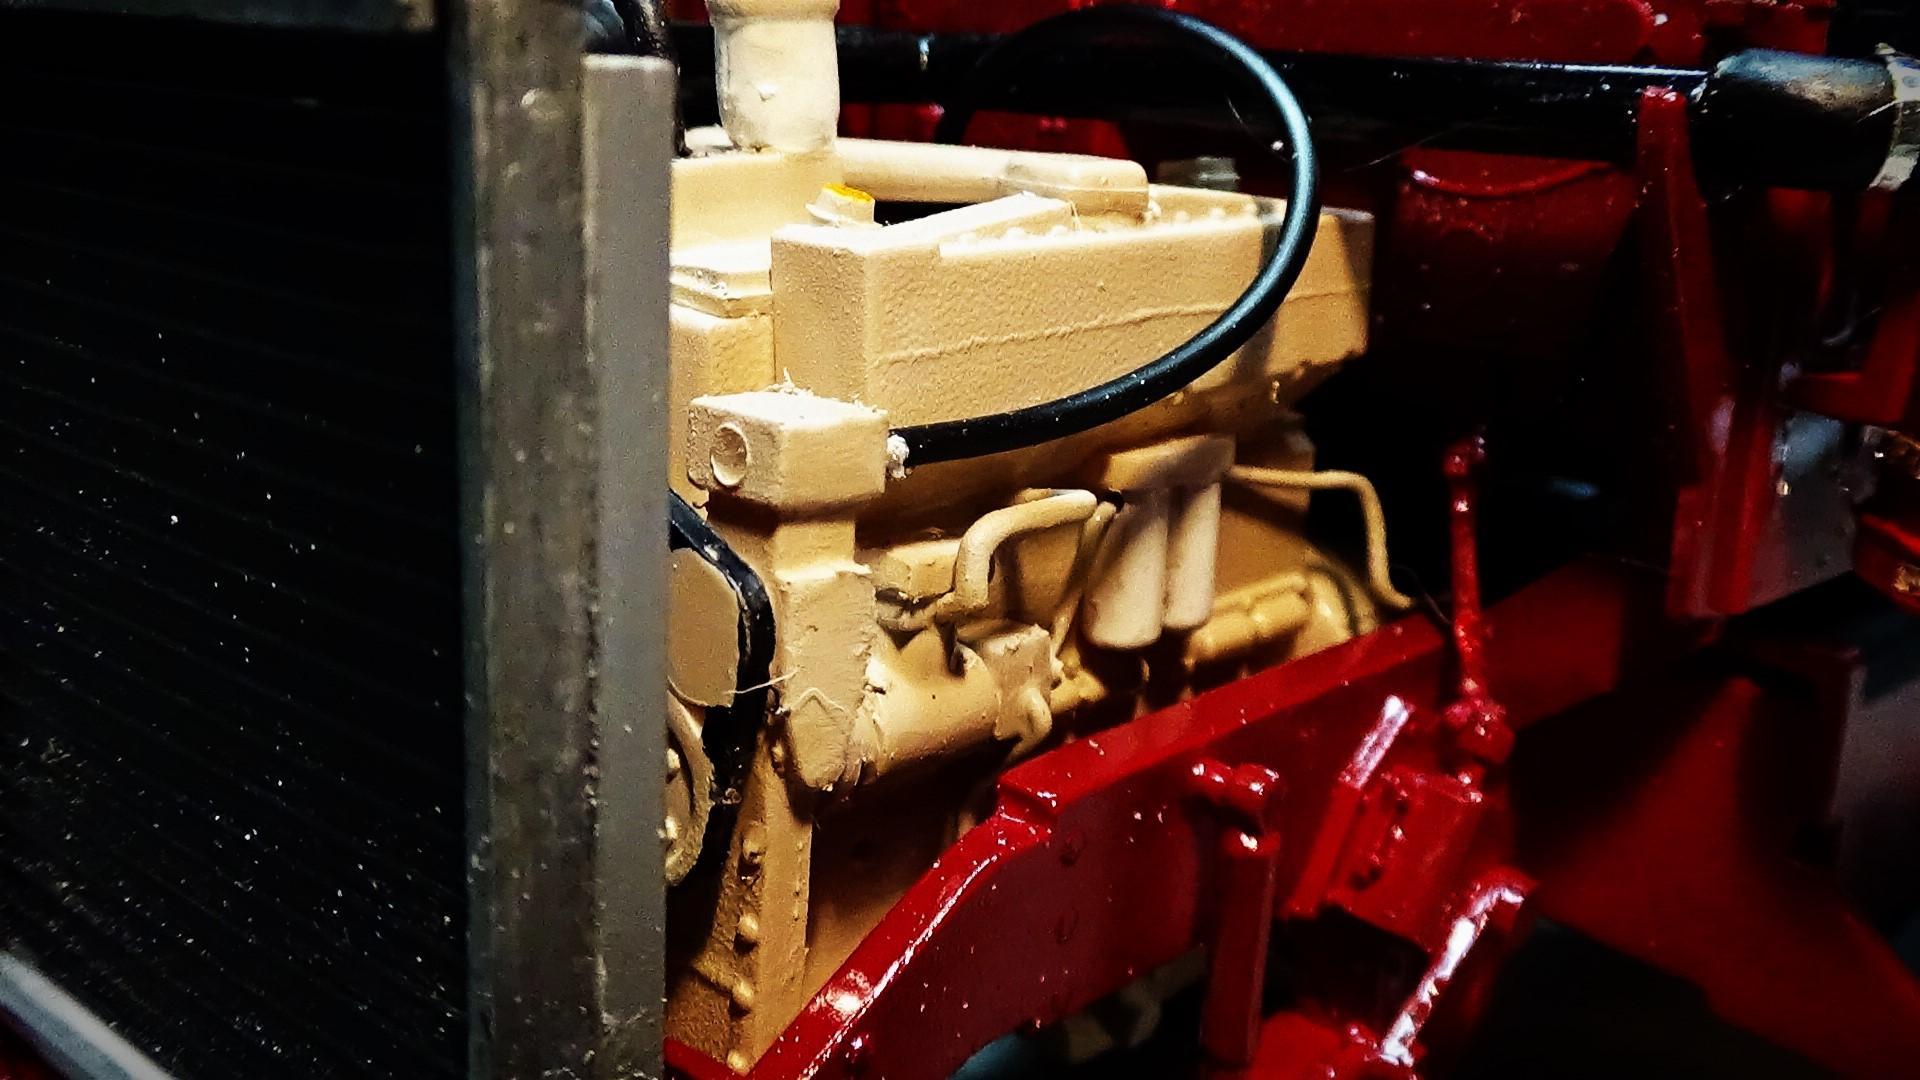
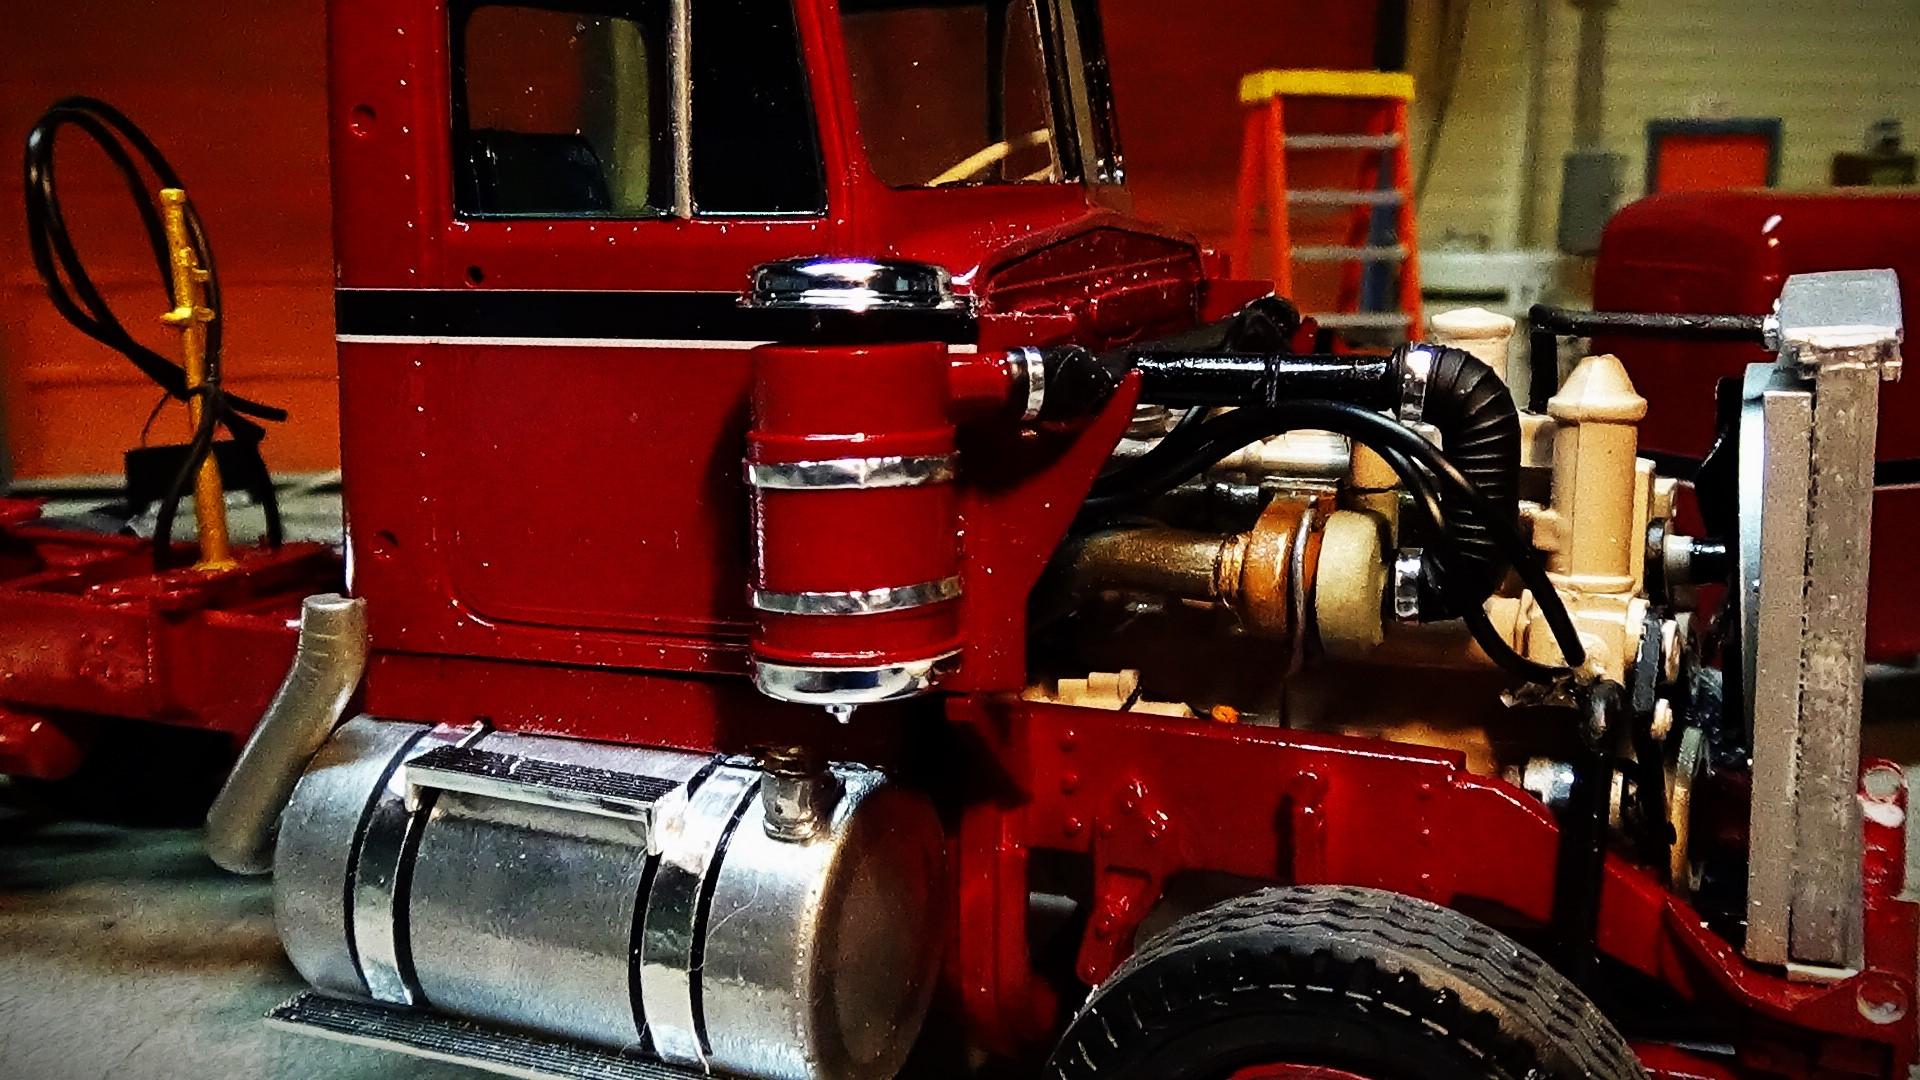
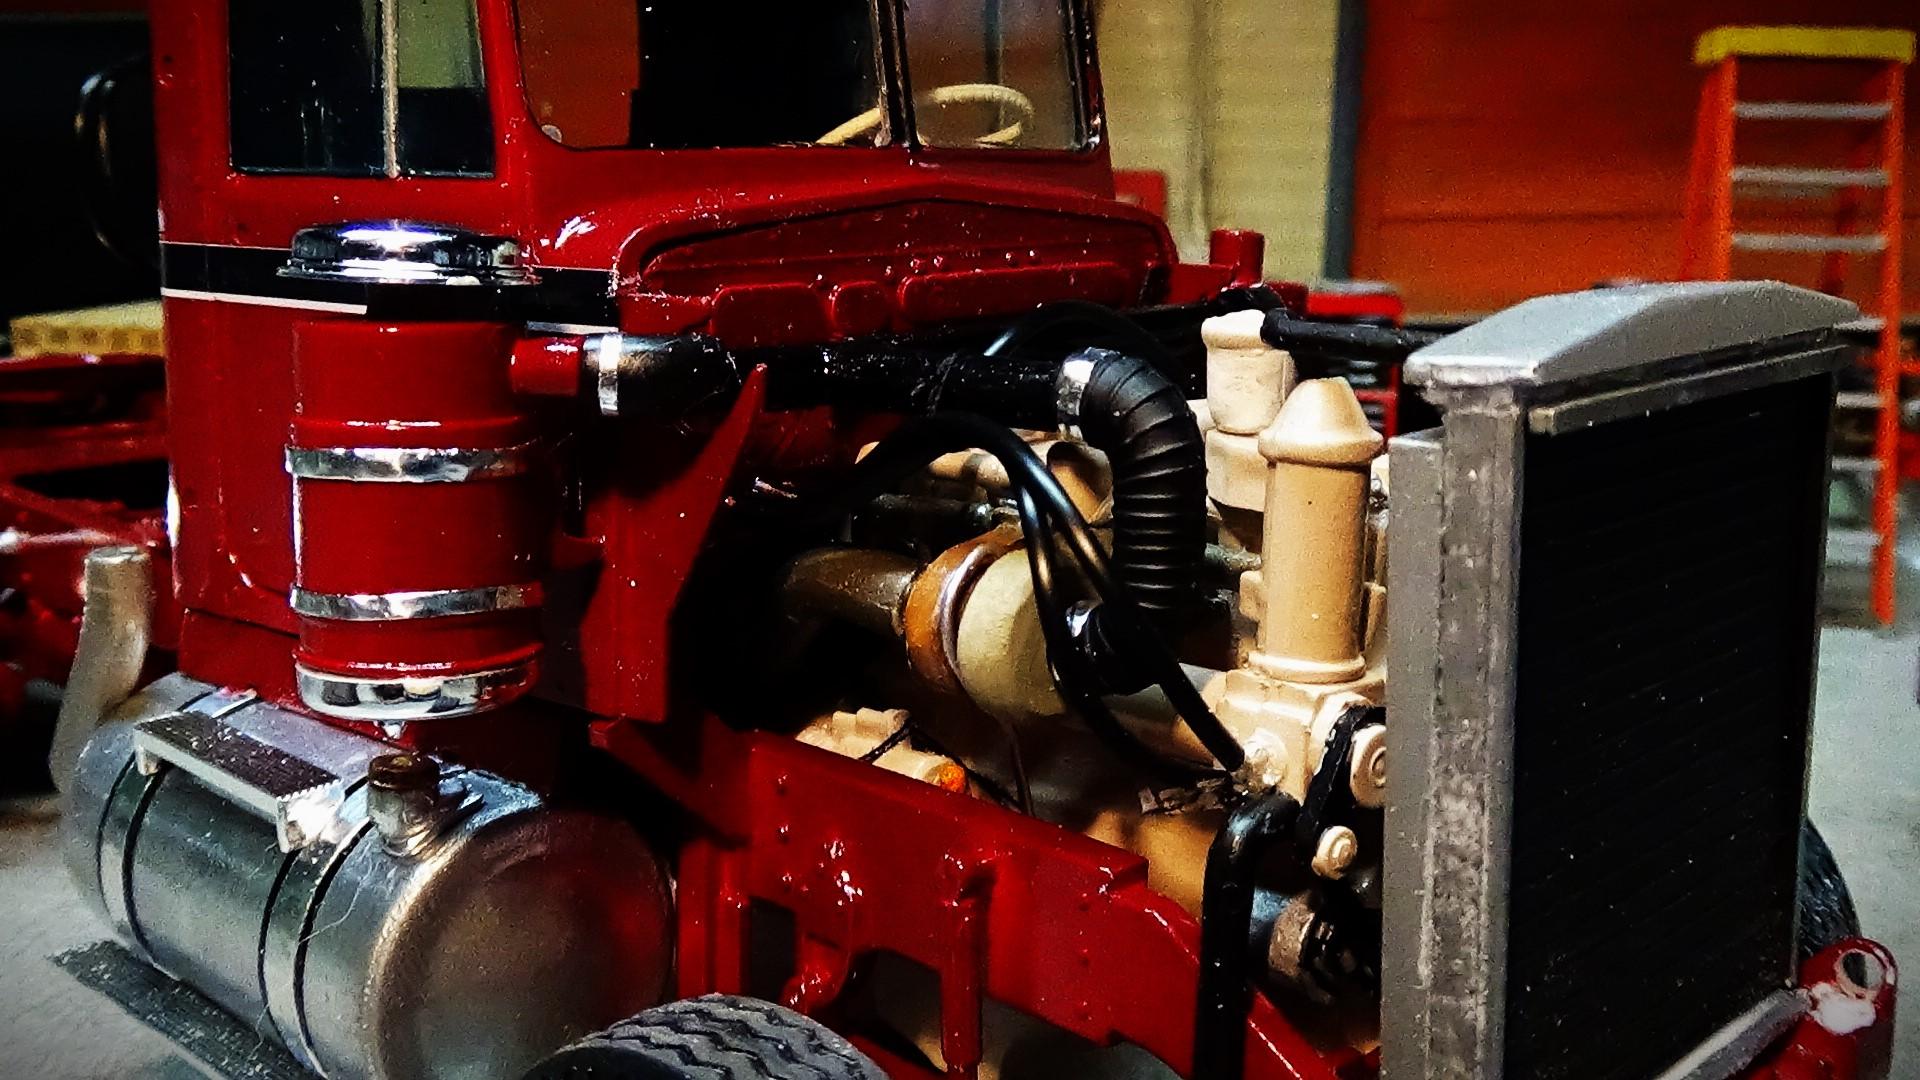
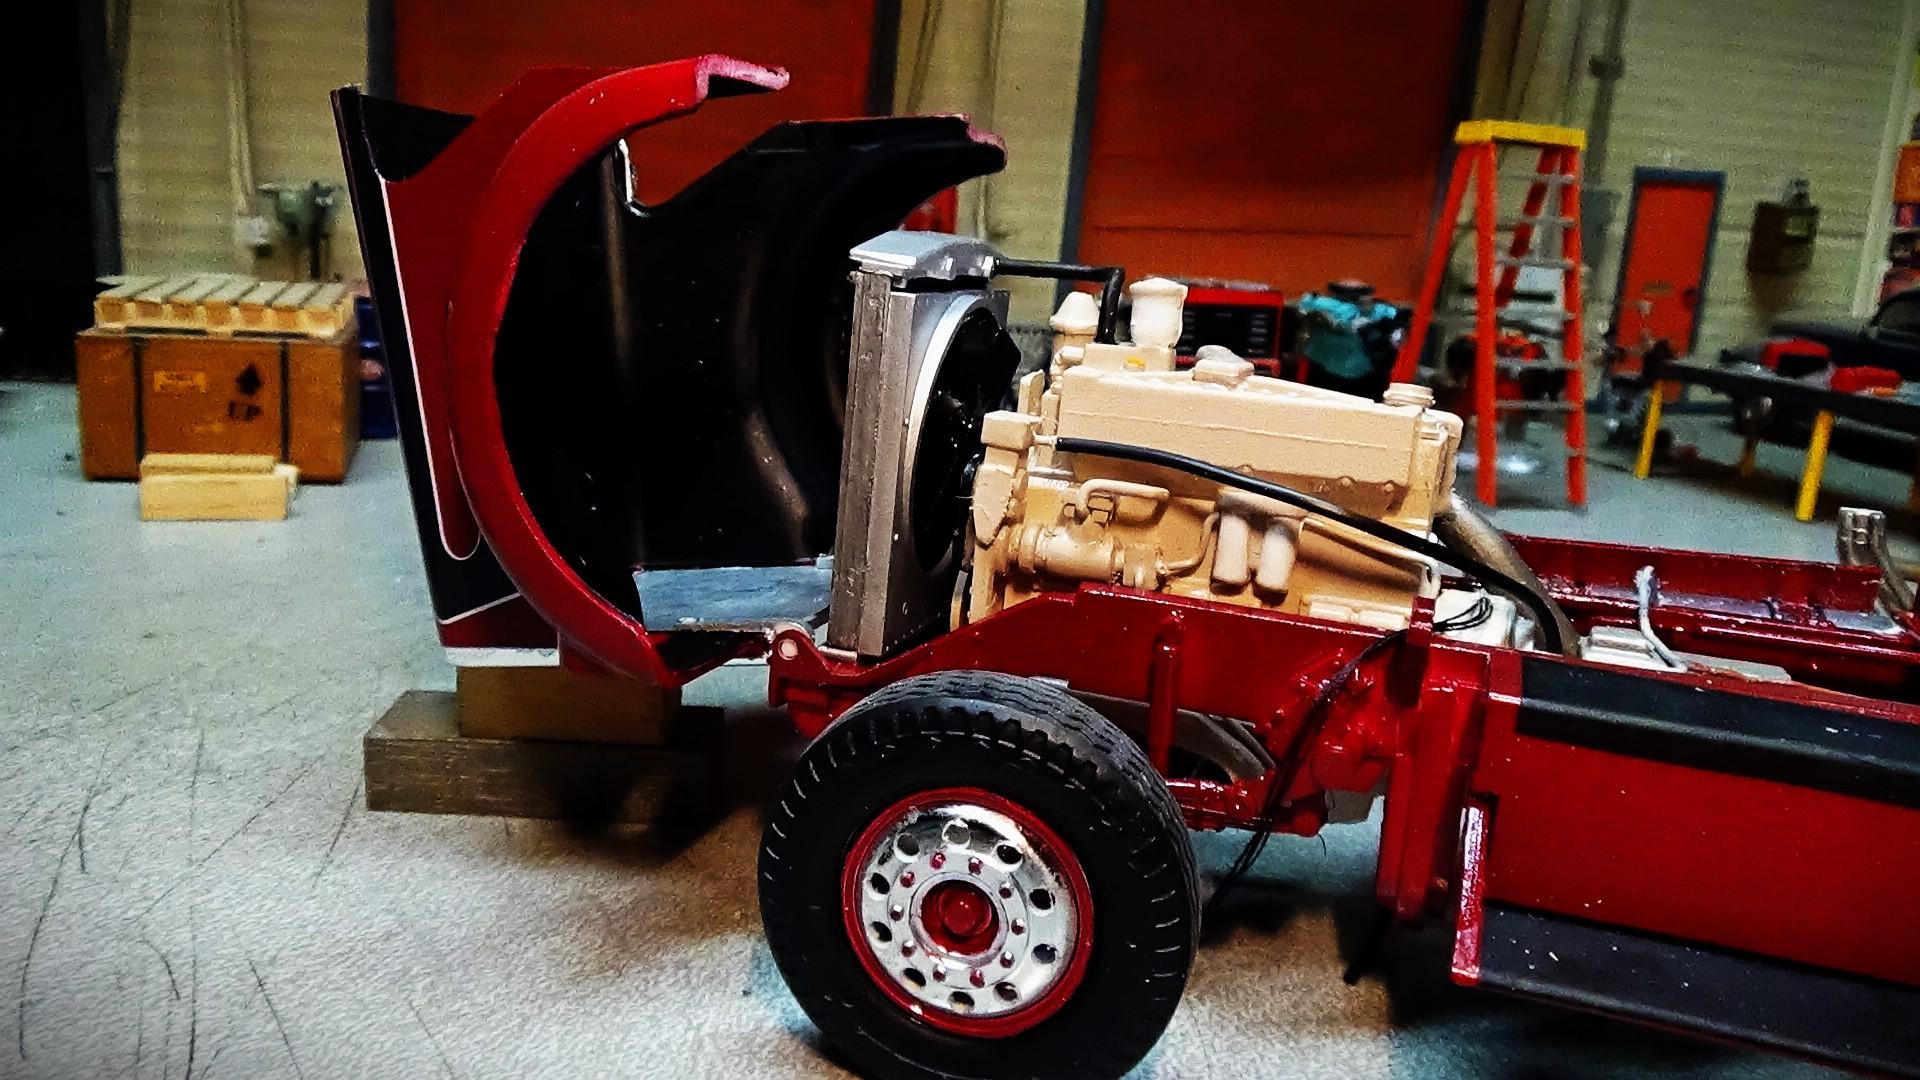
spent today working on the intake piping and air filters. and that's when I wasn't filing my guts out on the hood and pivots. it wound up a lot closer than it was.
-
Kenworth W925
Bronzekeg replied to Bronzekeg's topic in WIP: Model Trucks: Big Rigs and Heavy Equipment
got the glass put in the cab and the interior installed and went ahead and mounted the cab to the chassis last night so it could dry over night. I also took the hood back off with some careful prying.
-
Kenworth W925
Bronzekeg replied to Bronzekeg's topic in WIP: Model Trucks: Big Rigs and Heavy Equipment
if you look at the hood pivot holes in this photo there is an eigth inch difference in height plus they throw the hood out of square with the cab. if you follow the note in the instructions you'll wind up with a crooked hood cab and sleeper.
-
Dodge Cabover
Bronzekeg replied to Repstock's topic in WIP: Model Trucks: Big Rigs and Heavy Equipment
x2!! -
Kenworth W925
Bronzekeg replied to Bronzekeg's topic in WIP: Model Trucks: Big Rigs and Heavy Equipment
the hood is both out of square and not level side to side. there are 7 locating points for the cab and sleeper so it will be easier fixing the hood contrary to what the instructions say.
-
Kenworth W925
Bronzekeg replied to Bronzekeg's topic in WIP: Model Trucks: Big Rigs and Heavy Equipment
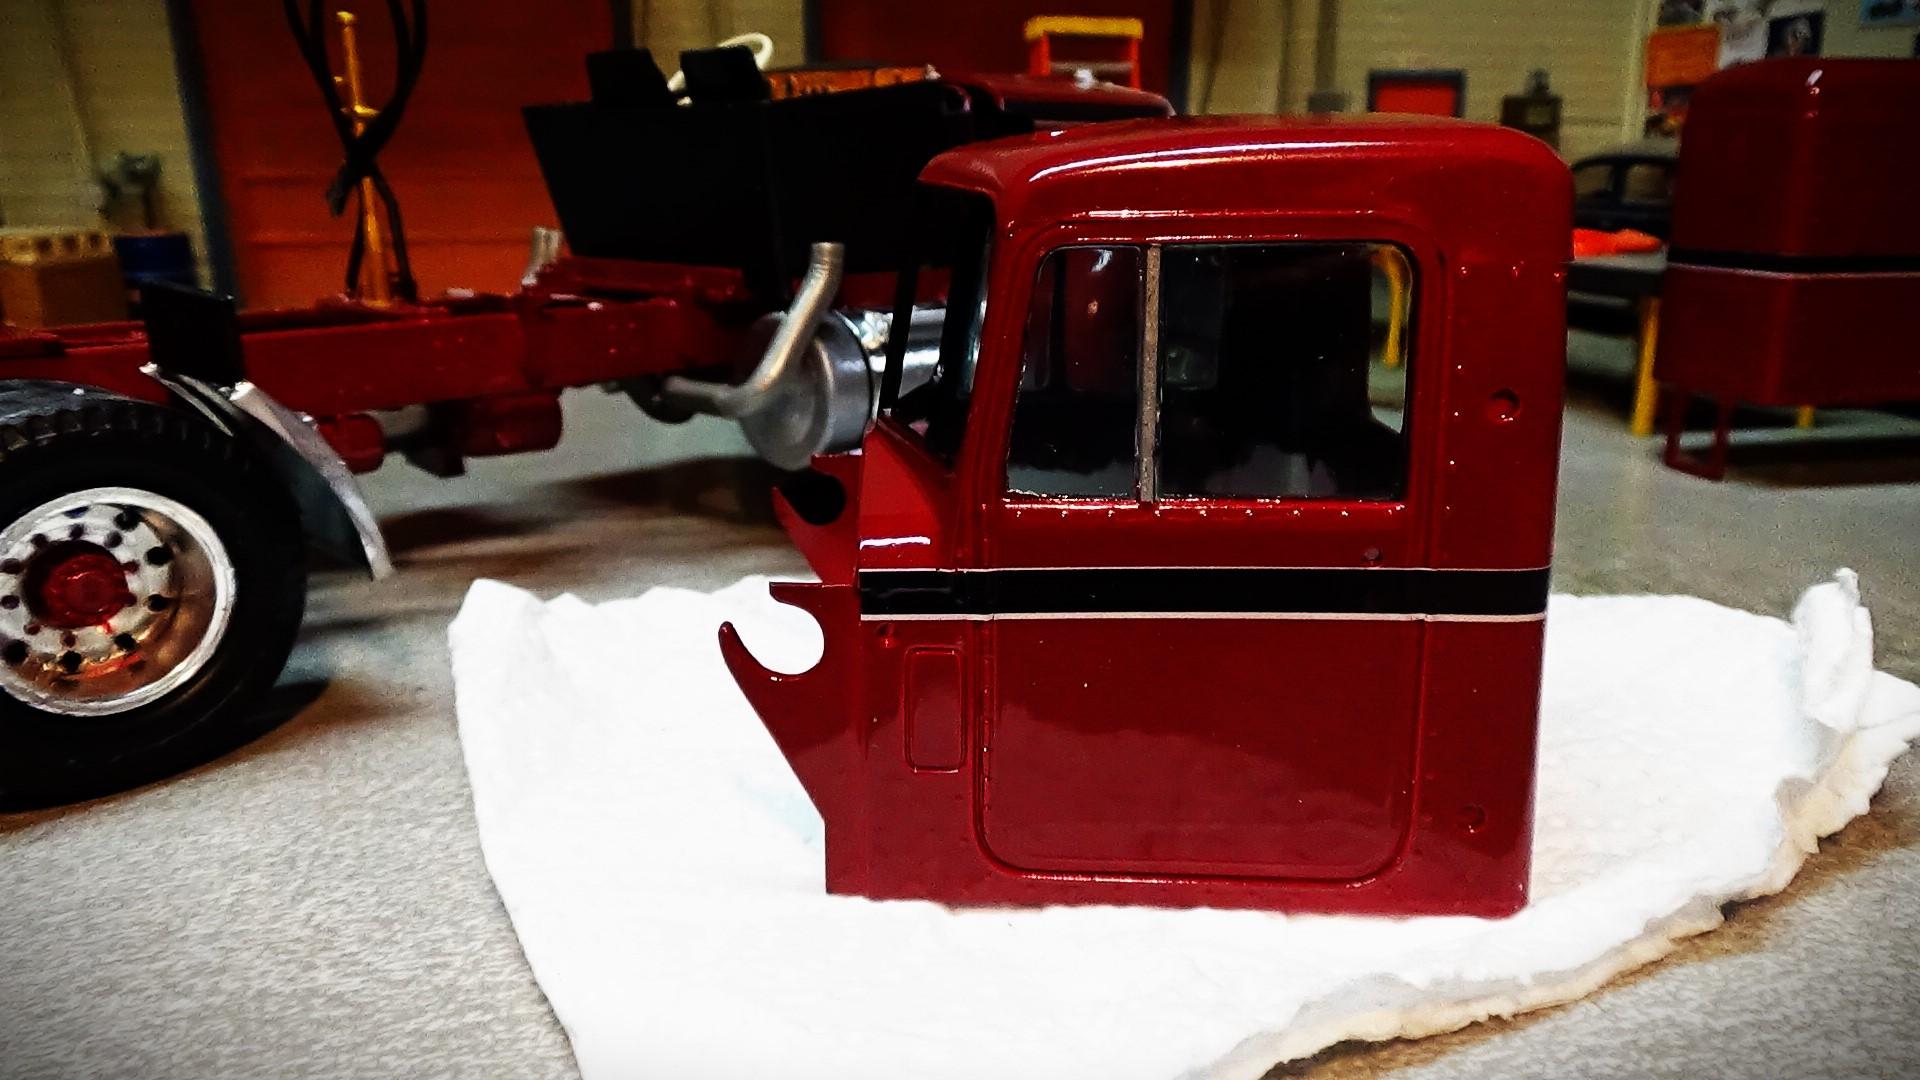
side windows have been tinted and installed. upper interior of the cab has been painted as well as the under side of the hood. grill and pivots painted and fastened to the hood. cab and hood were mocked up at least 20 times and everything seemed to line up. I can't cheat the cab so I need to pry the hood pivots apart and slot the holes in the chassis. seems like it's always something.
-
Kenworth W925
Bronzekeg replied to Bronzekeg's topic in WIP: Model Trucks: Big Rigs and Heavy Equipment
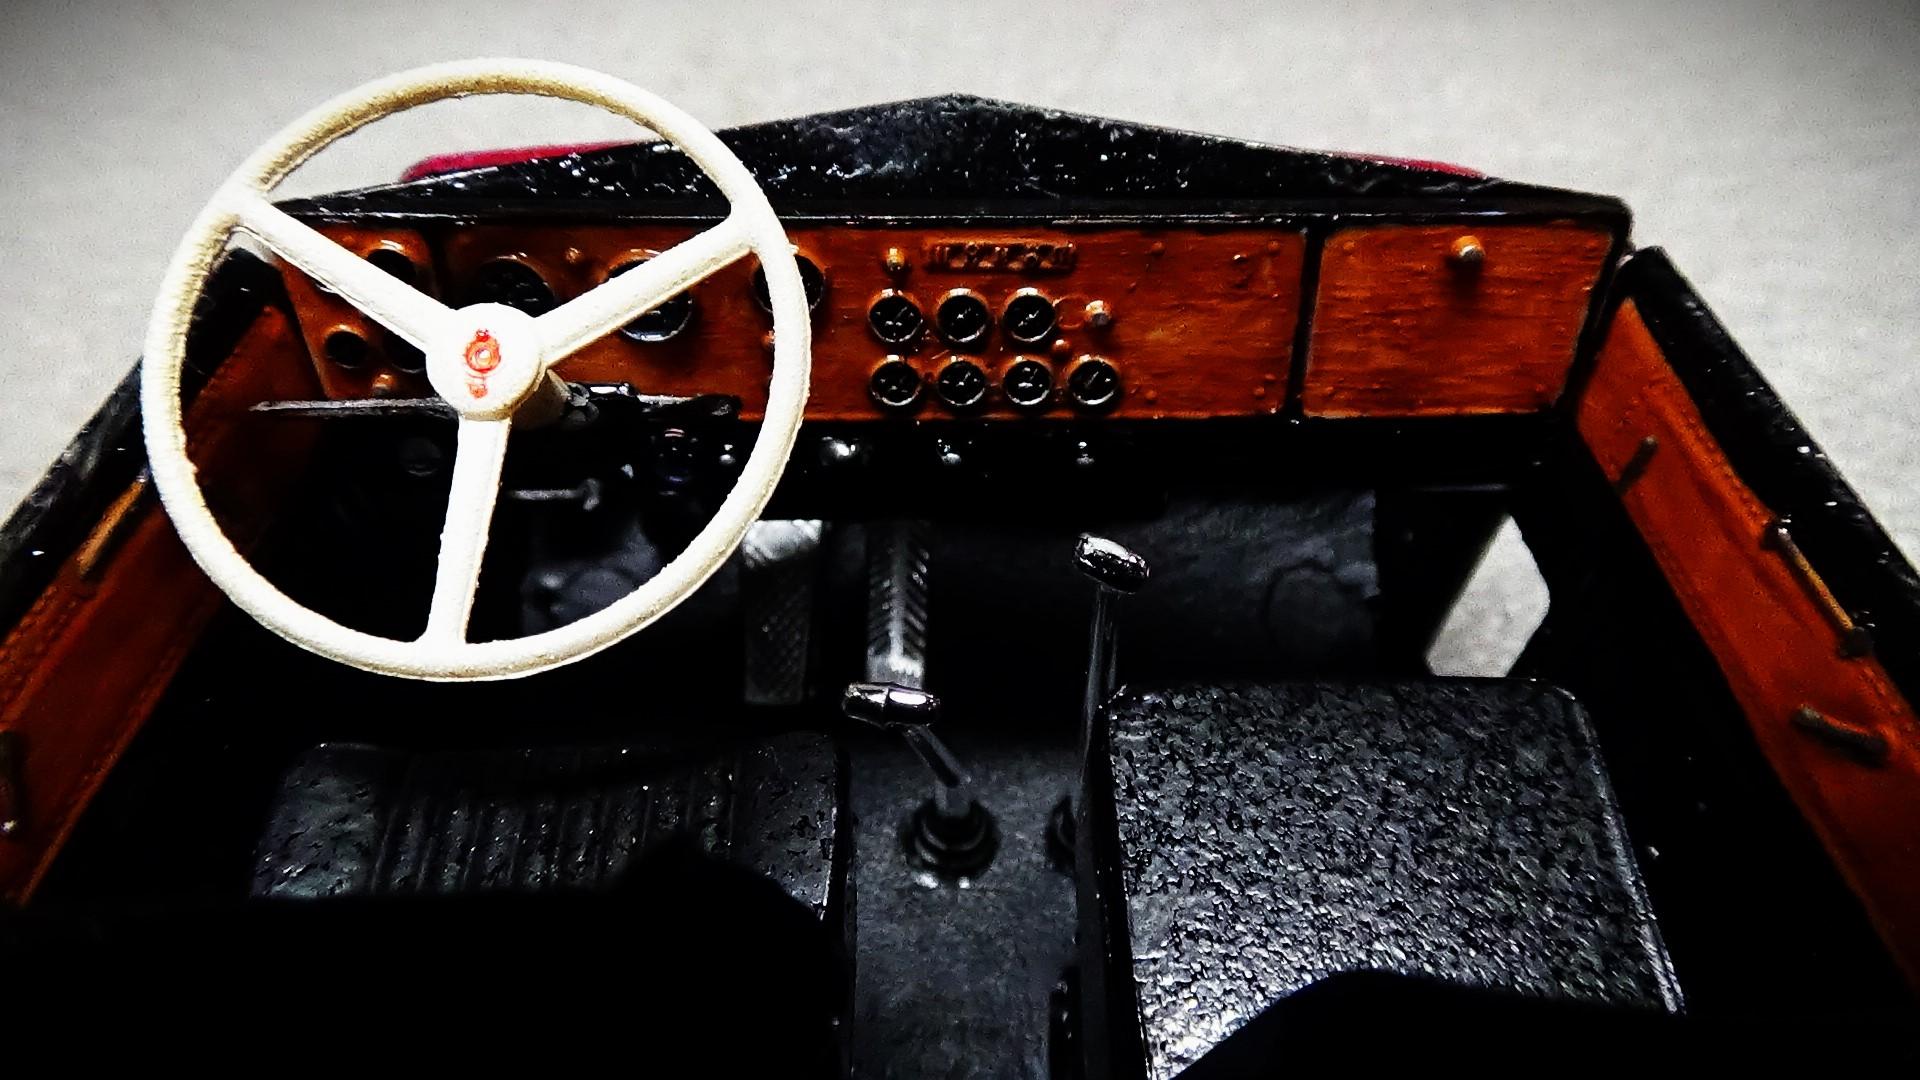
got the interior about wrapped up. it turned out decent. decal stripes were also put on today. truck is starting to look period correct. going to use testors clear over the decals to seal them.
-
Kenworth W925
Bronzekeg replied to Bronzekeg's topic in WIP: Model Trucks: Big Rigs and Heavy Equipment
kinda costly here also. -
Kenworth W925
Bronzekeg replied to Bronzekeg's topic in WIP: Model Trucks: Big Rigs and Heavy Equipment
worked on the dashboard, and it turned out okay.
-
Kenworth W925
Bronzekeg replied to Bronzekeg's topic in WIP: Model Trucks: Big Rigs and Heavy Equipment
thanks Steve! decal stripes that just came in the mail.
-
Kenworth W925
Bronzekeg replied to Bronzekeg's topic in WIP: Model Trucks: Big Rigs and Heavy Equipment
about ready for stripes.
-
Kenworth W925
Bronzekeg replied to Bronzekeg's topic in WIP: Model Trucks: Big Rigs and Heavy Equipment
thanks Hakan! -
Kenworth W925
Bronzekeg replied to Bronzekeg's topic in WIP: Model Trucks: Big Rigs and Heavy Equipment
thanx Jeff! -
Kenworth W925
Bronzekeg replied to Bronzekeg's topic in WIP: Model Trucks: Big Rigs and Heavy Equipment
thank you Steve! -
2023 BRGB Movin' On Kenworth
Bronzekeg replied to leafsprings's topic in WIP: Model Trucks: Big Rigs and Heavy Equipment
personally I would use the decal stripes trimmed as close as possible to the ink and put on in three pieces. one around the arch one across the front and one across the back. trimmed as close as possible should go right around the wheel well arch. -
Kenworth W925
Bronzekeg replied to Bronzekeg's topic in WIP: Model Trucks: Big Rigs and Heavy Equipment
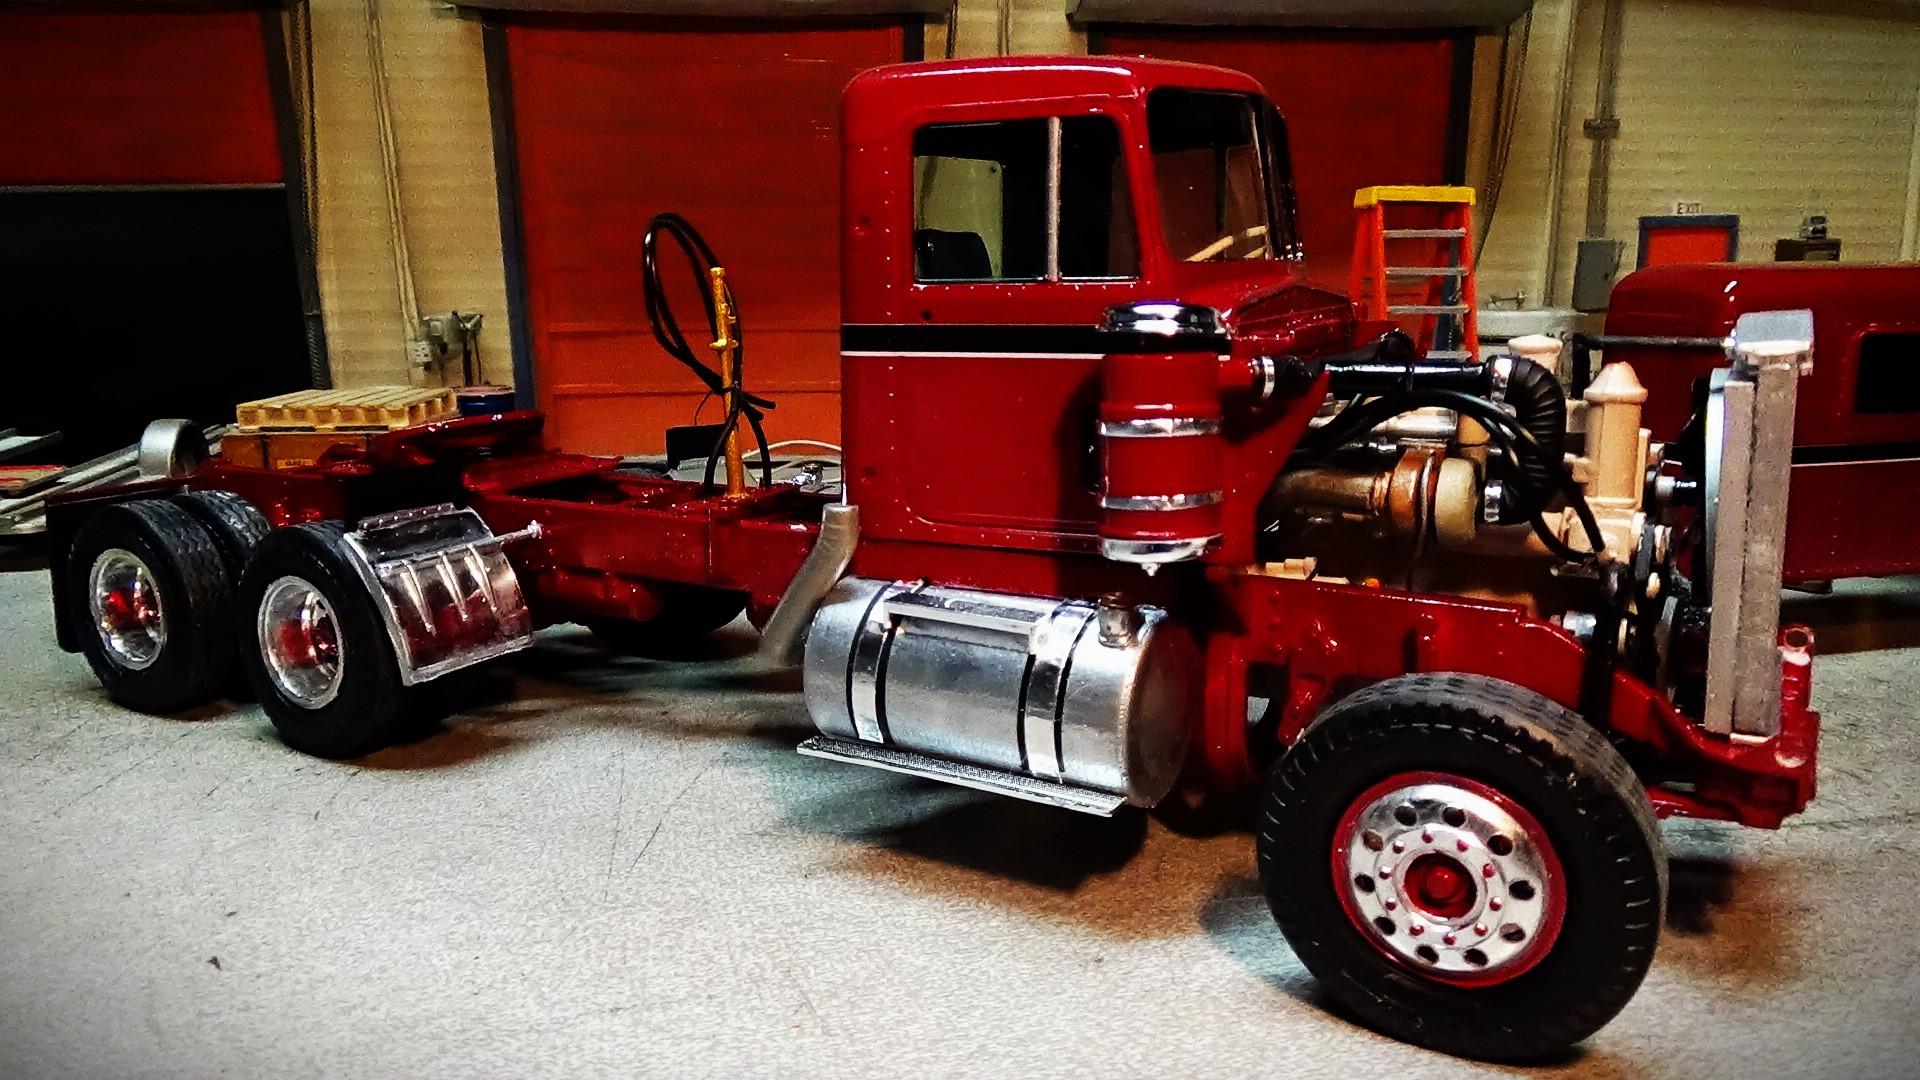
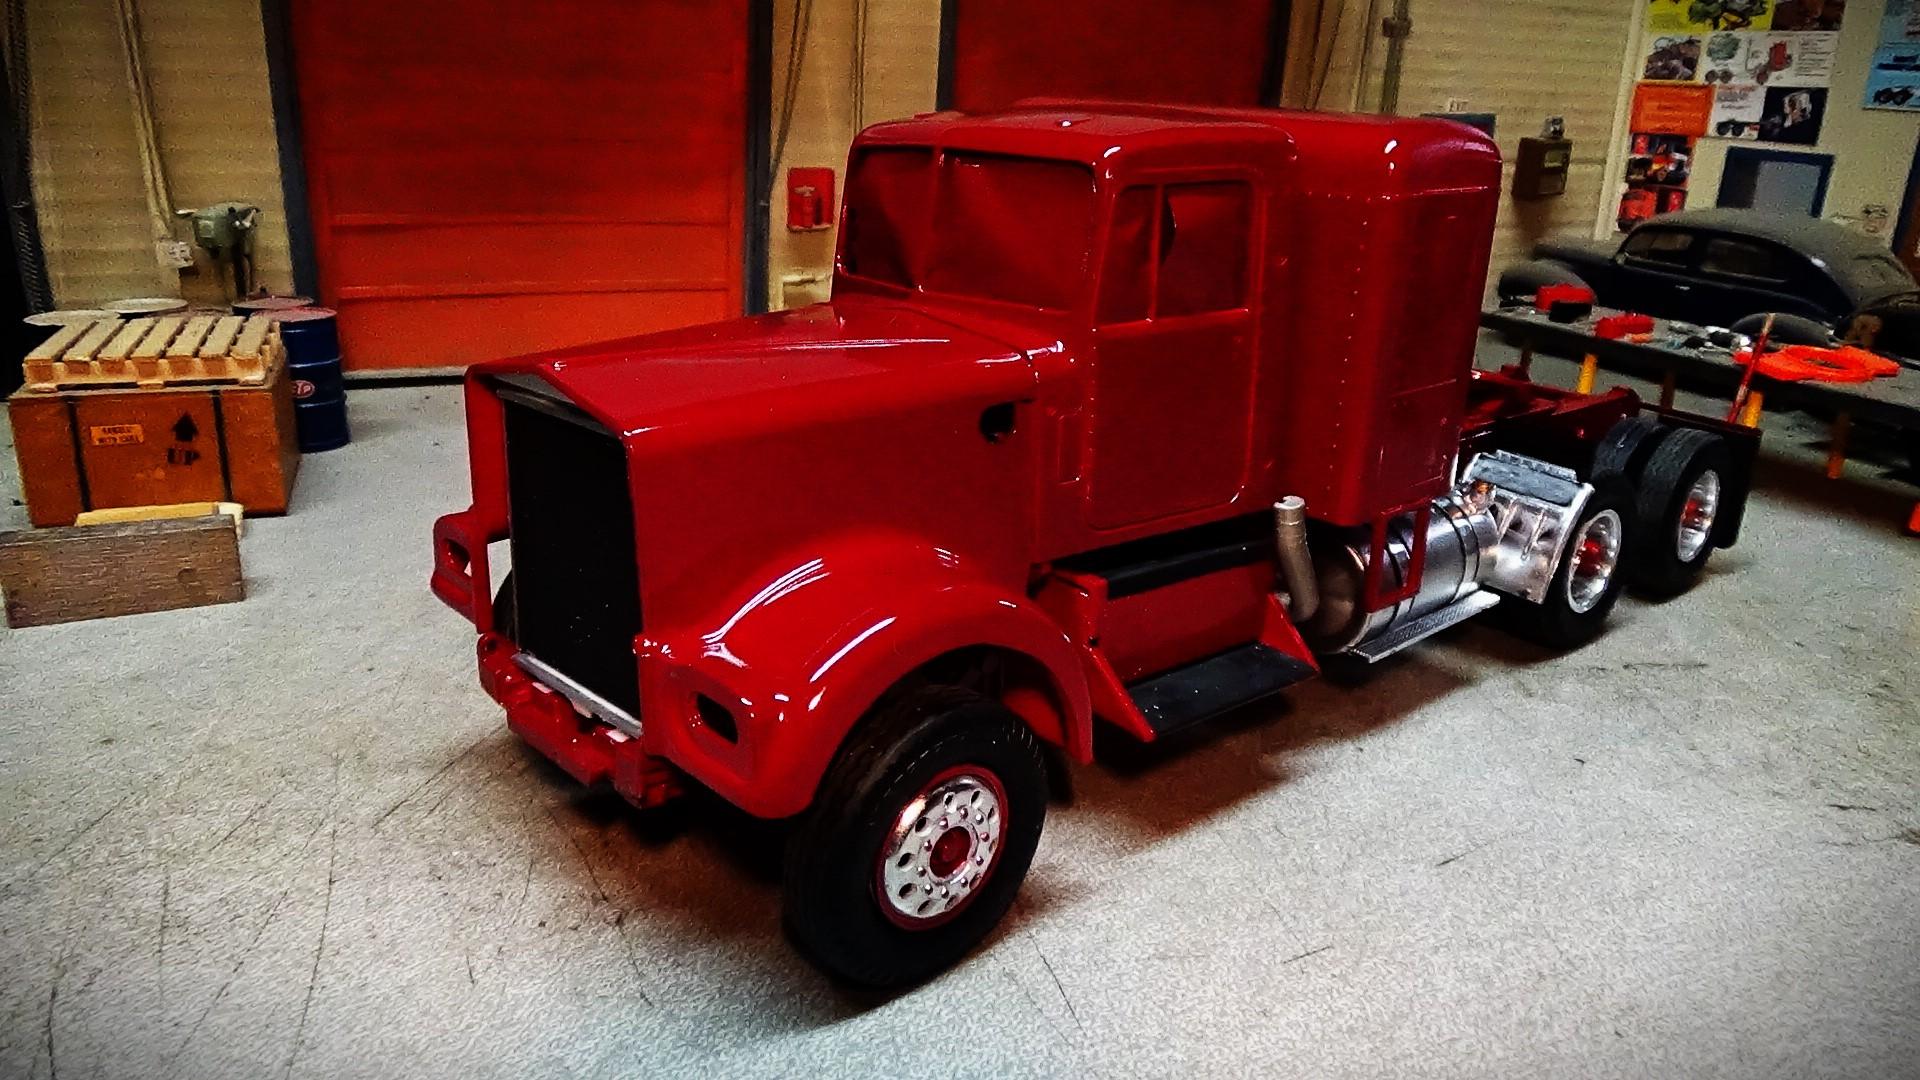
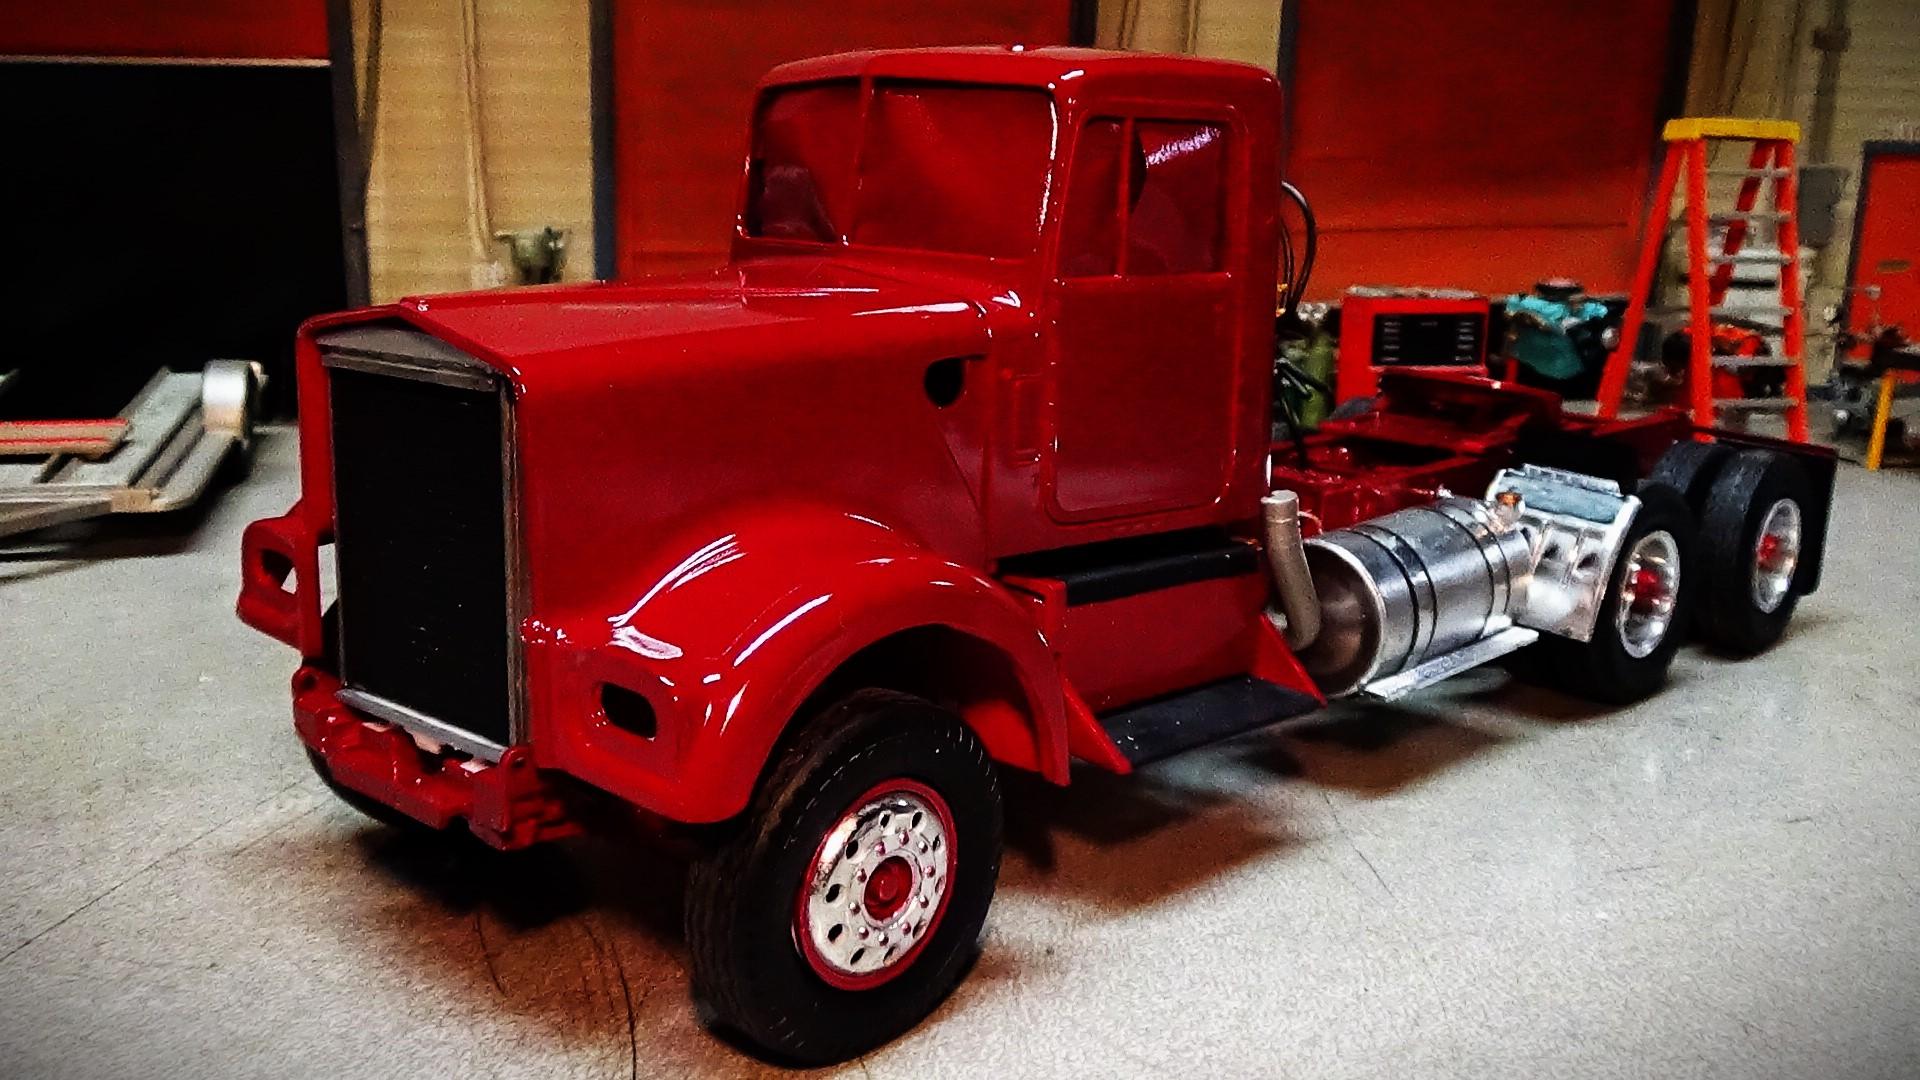
a quick mock up, I couldn't resist. it should look nice with stripes.
-
Kenworth W925
Bronzekeg replied to Bronzekeg's topic in WIP: Model Trucks: Big Rigs and Heavy Equipment
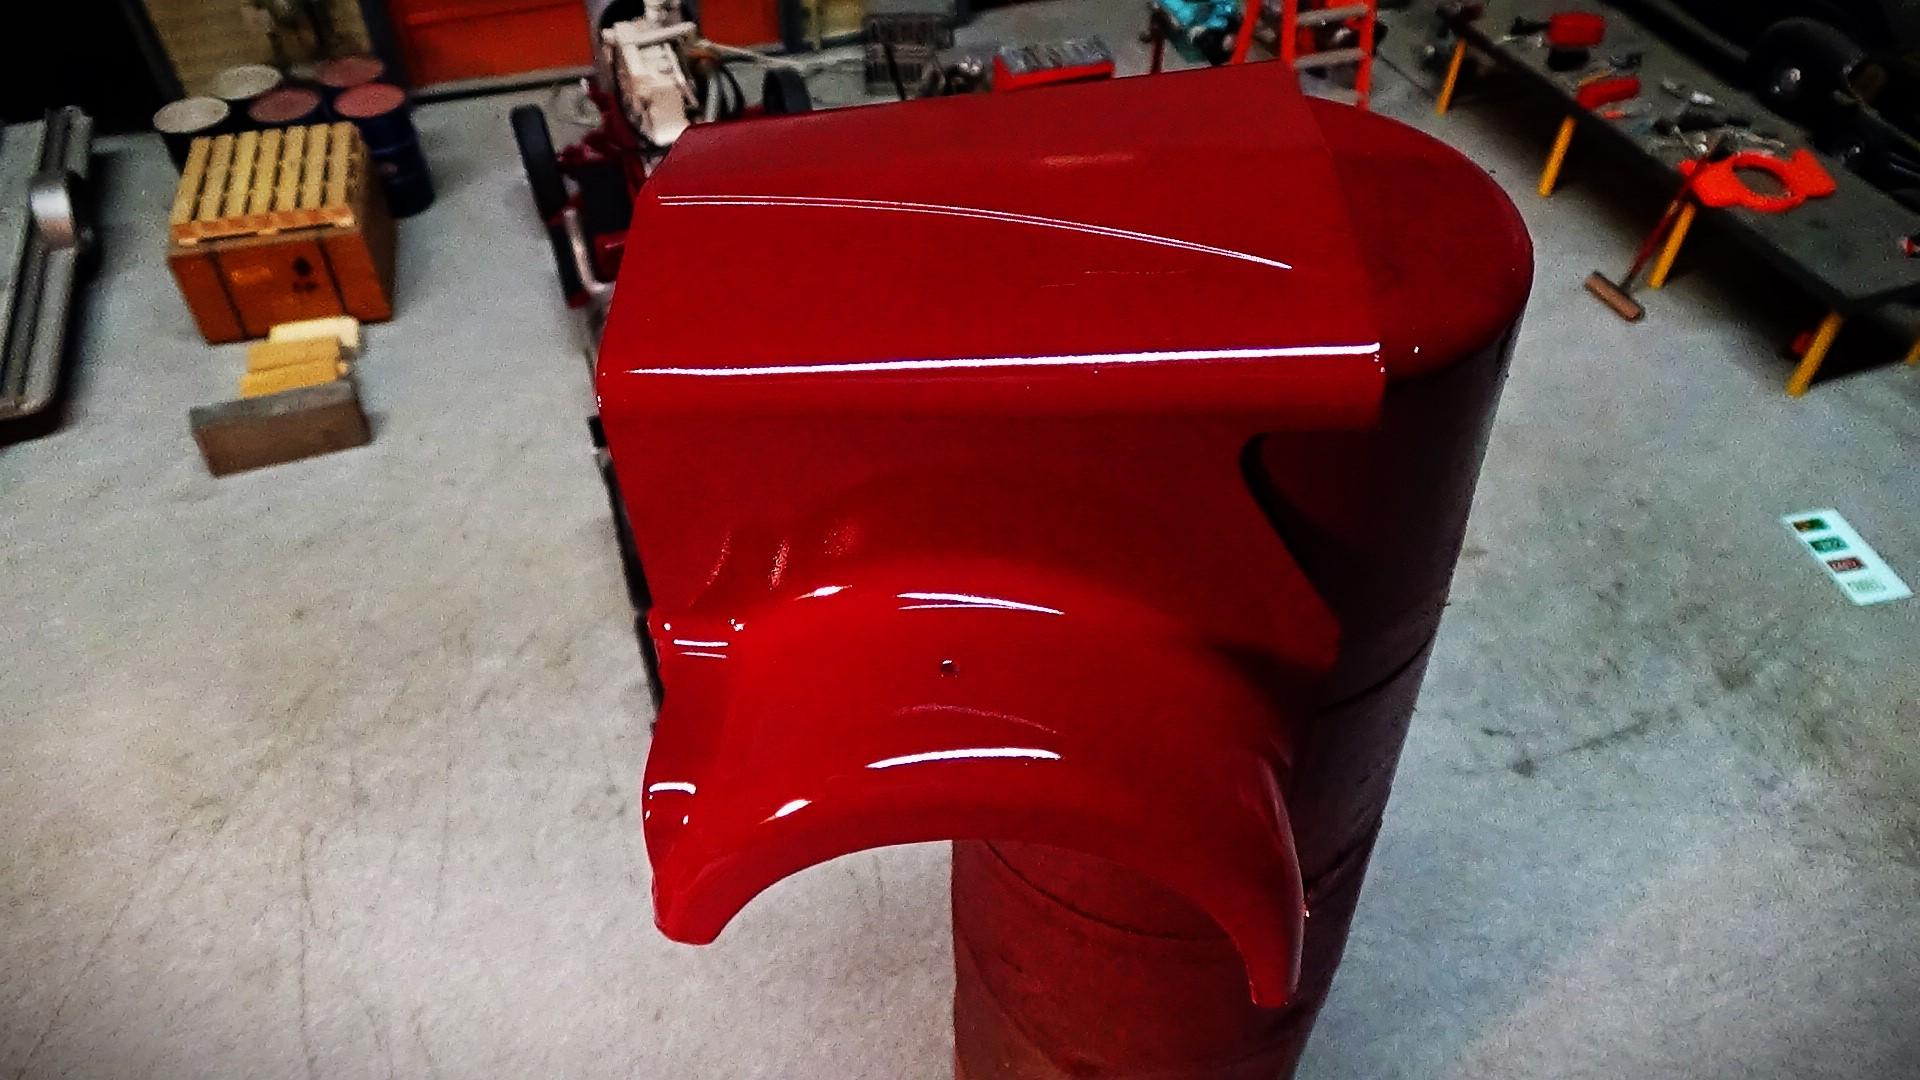
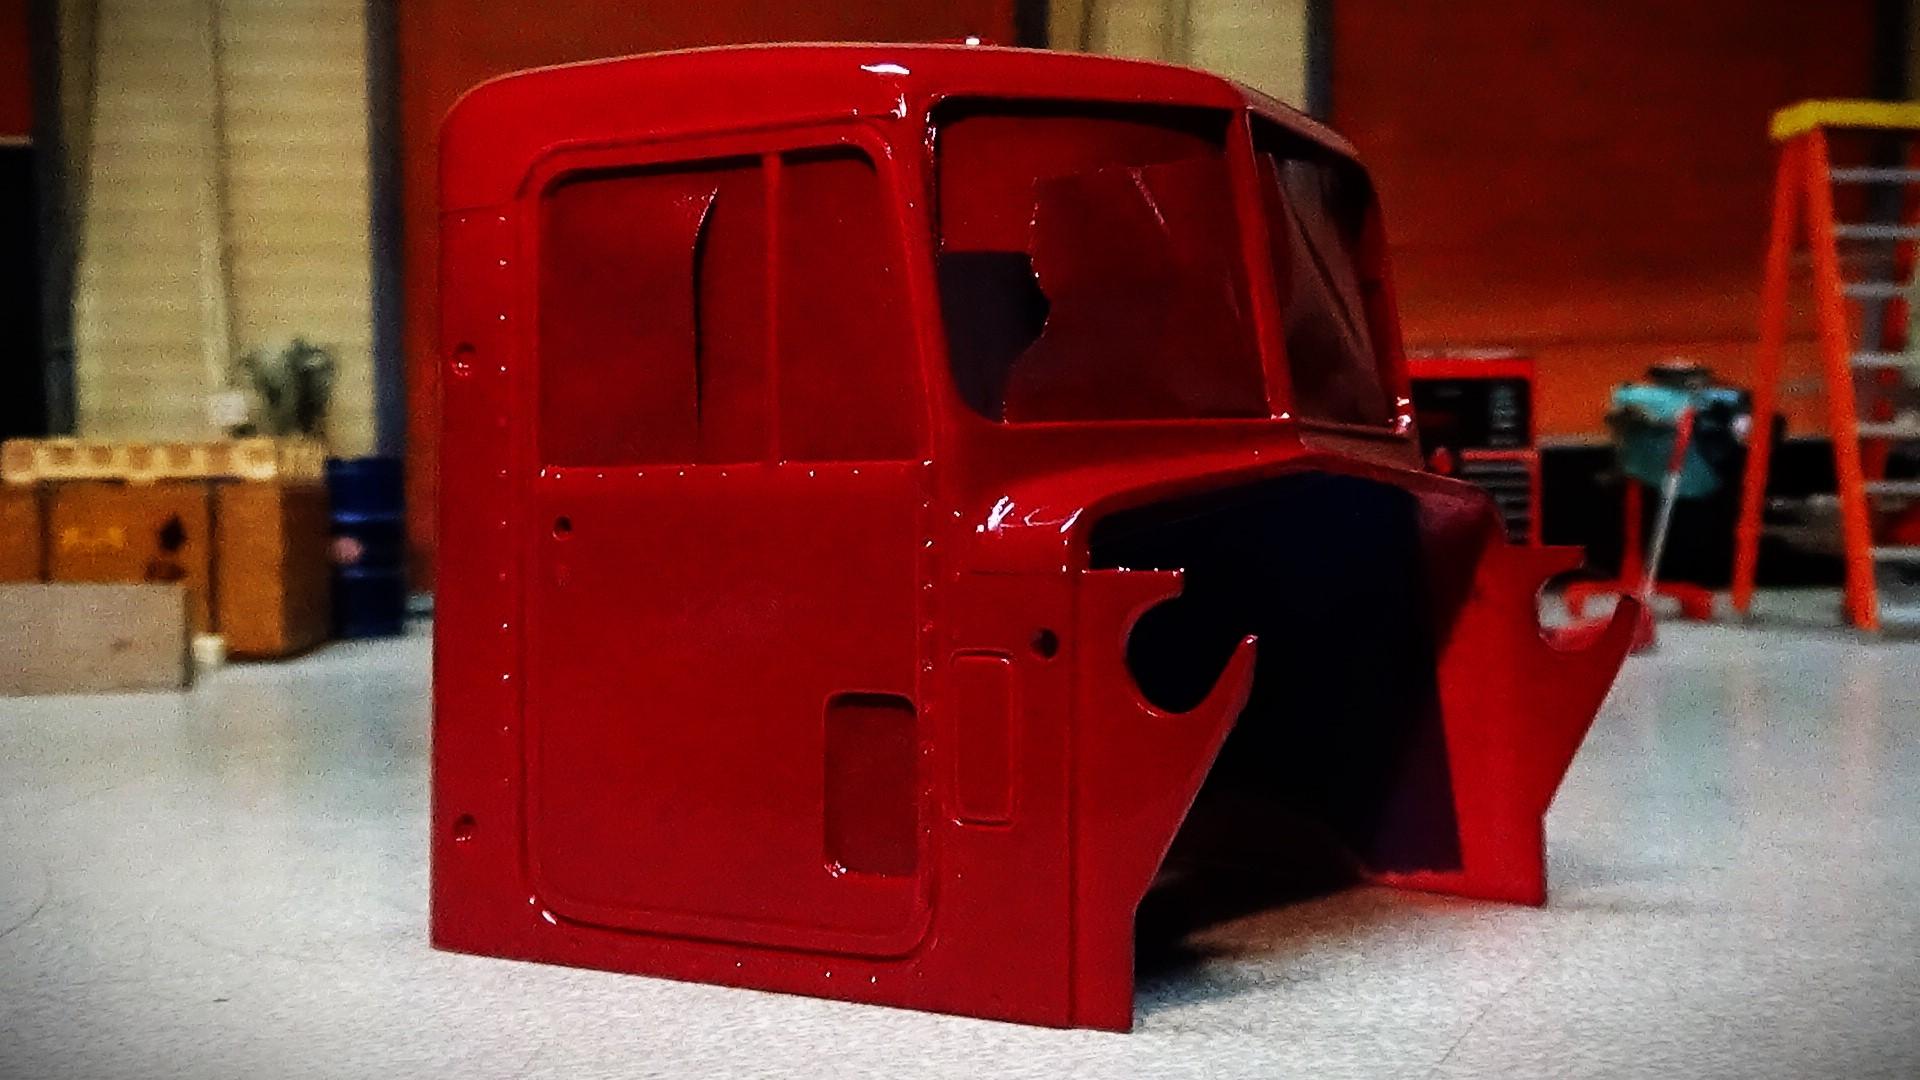
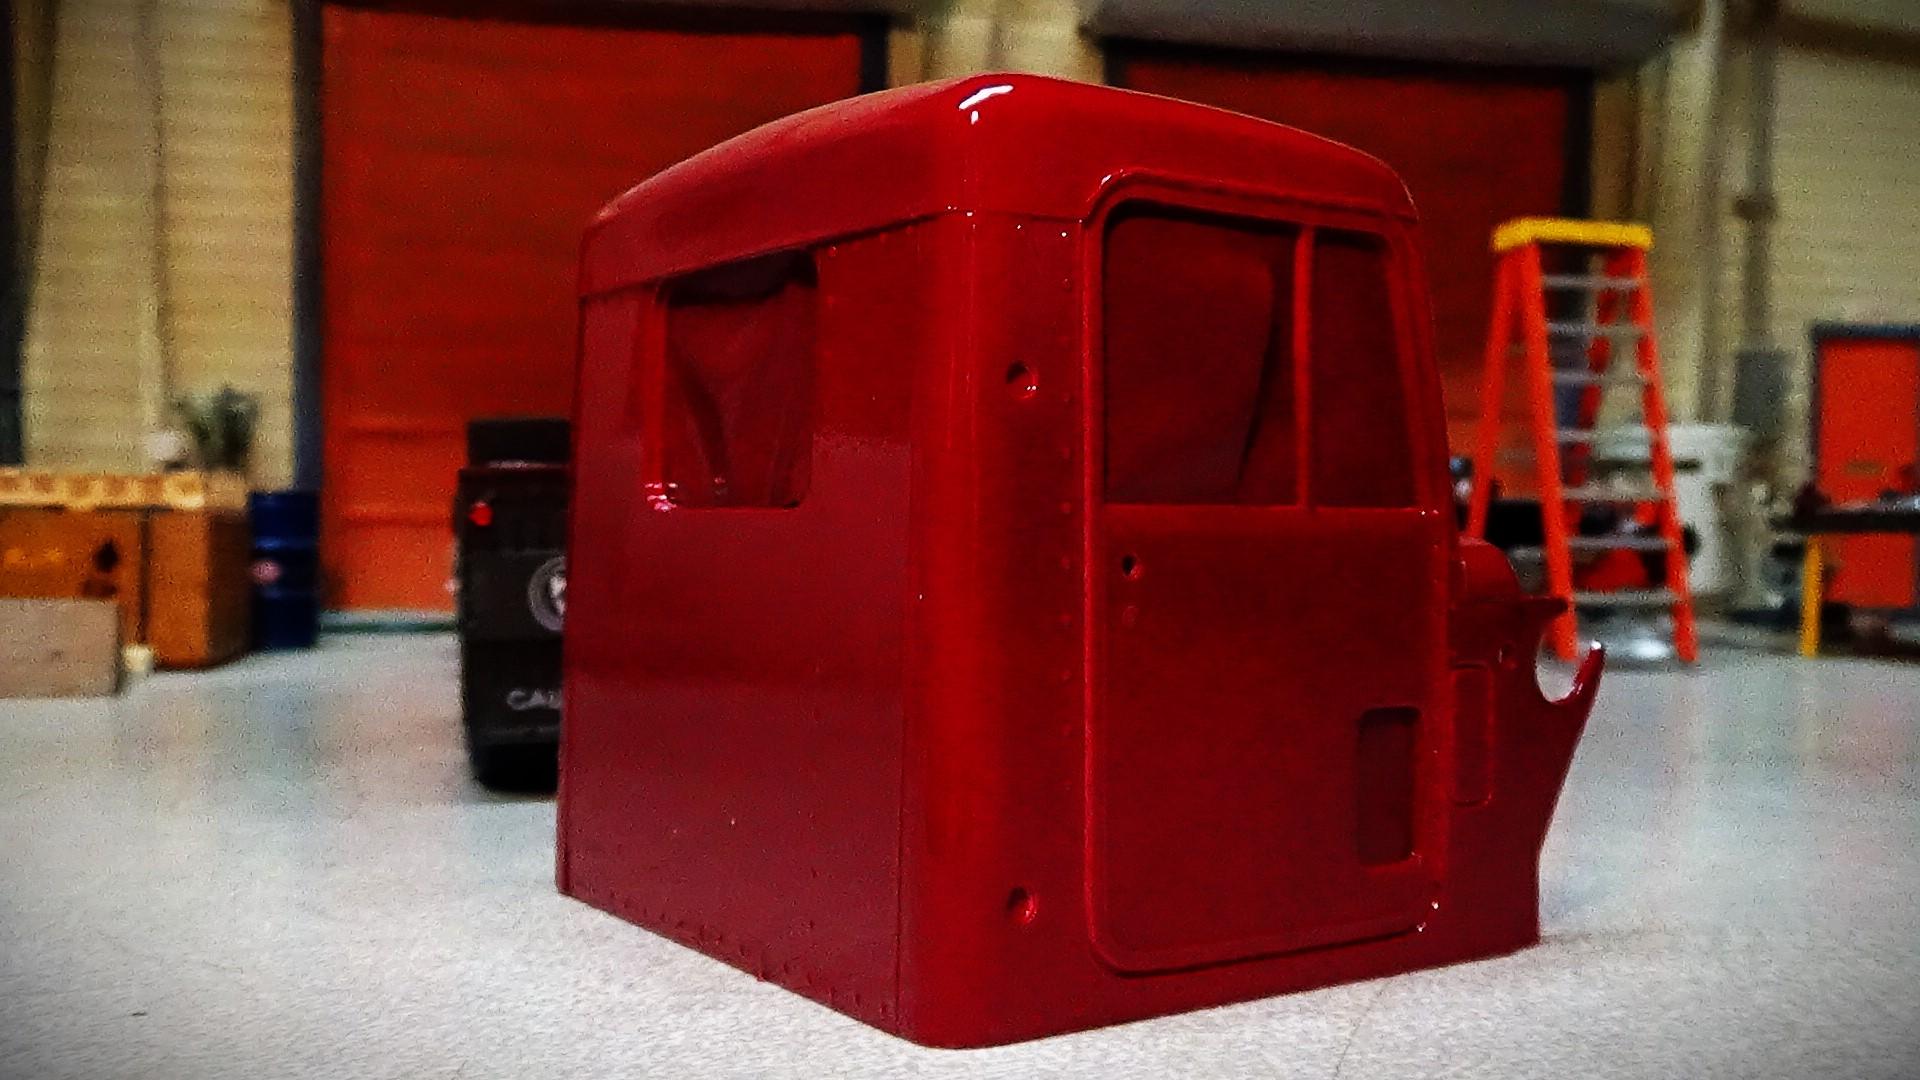
got paint put on the hood and cab. they turned out pretty decent for a can of rust oleum spray.
-
Kenworth W925
Bronzekeg replied to Bronzekeg's topic in WIP: Model Trucks: Big Rigs and Heavy Equipment
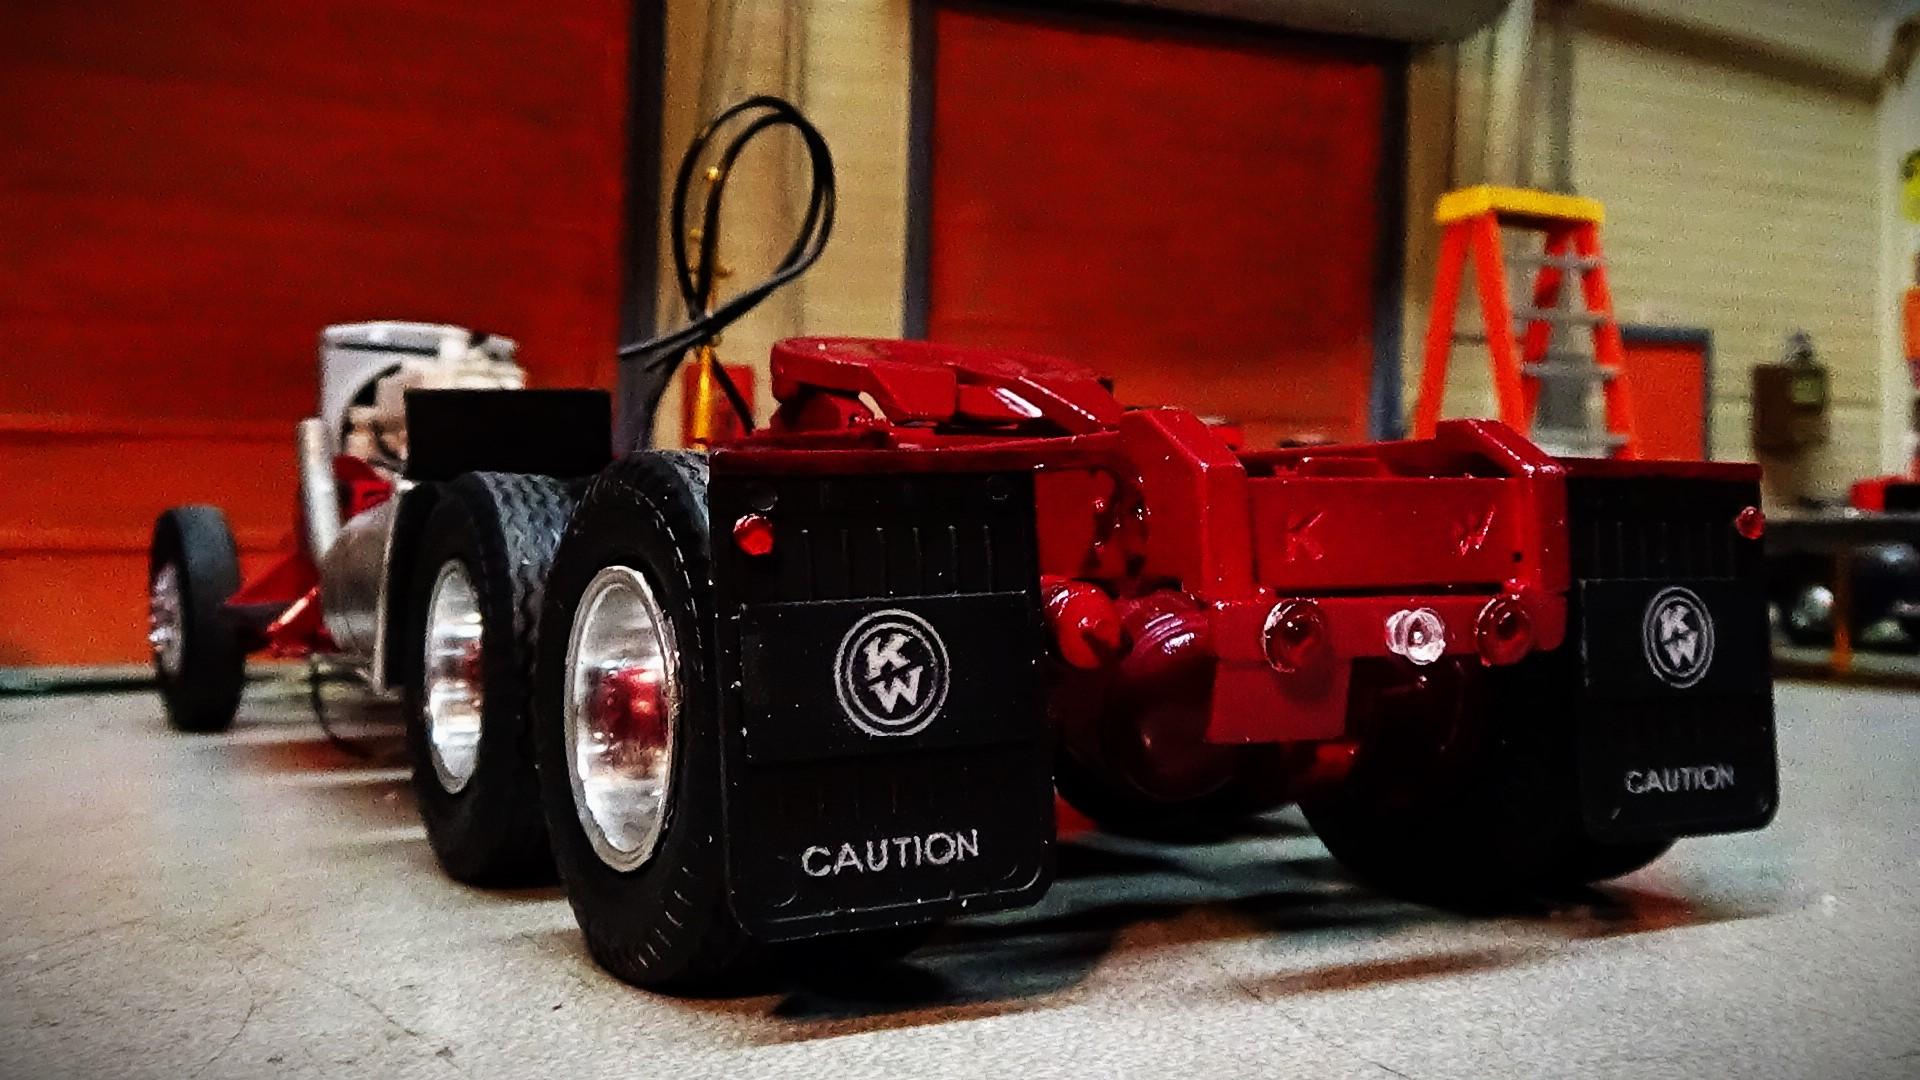
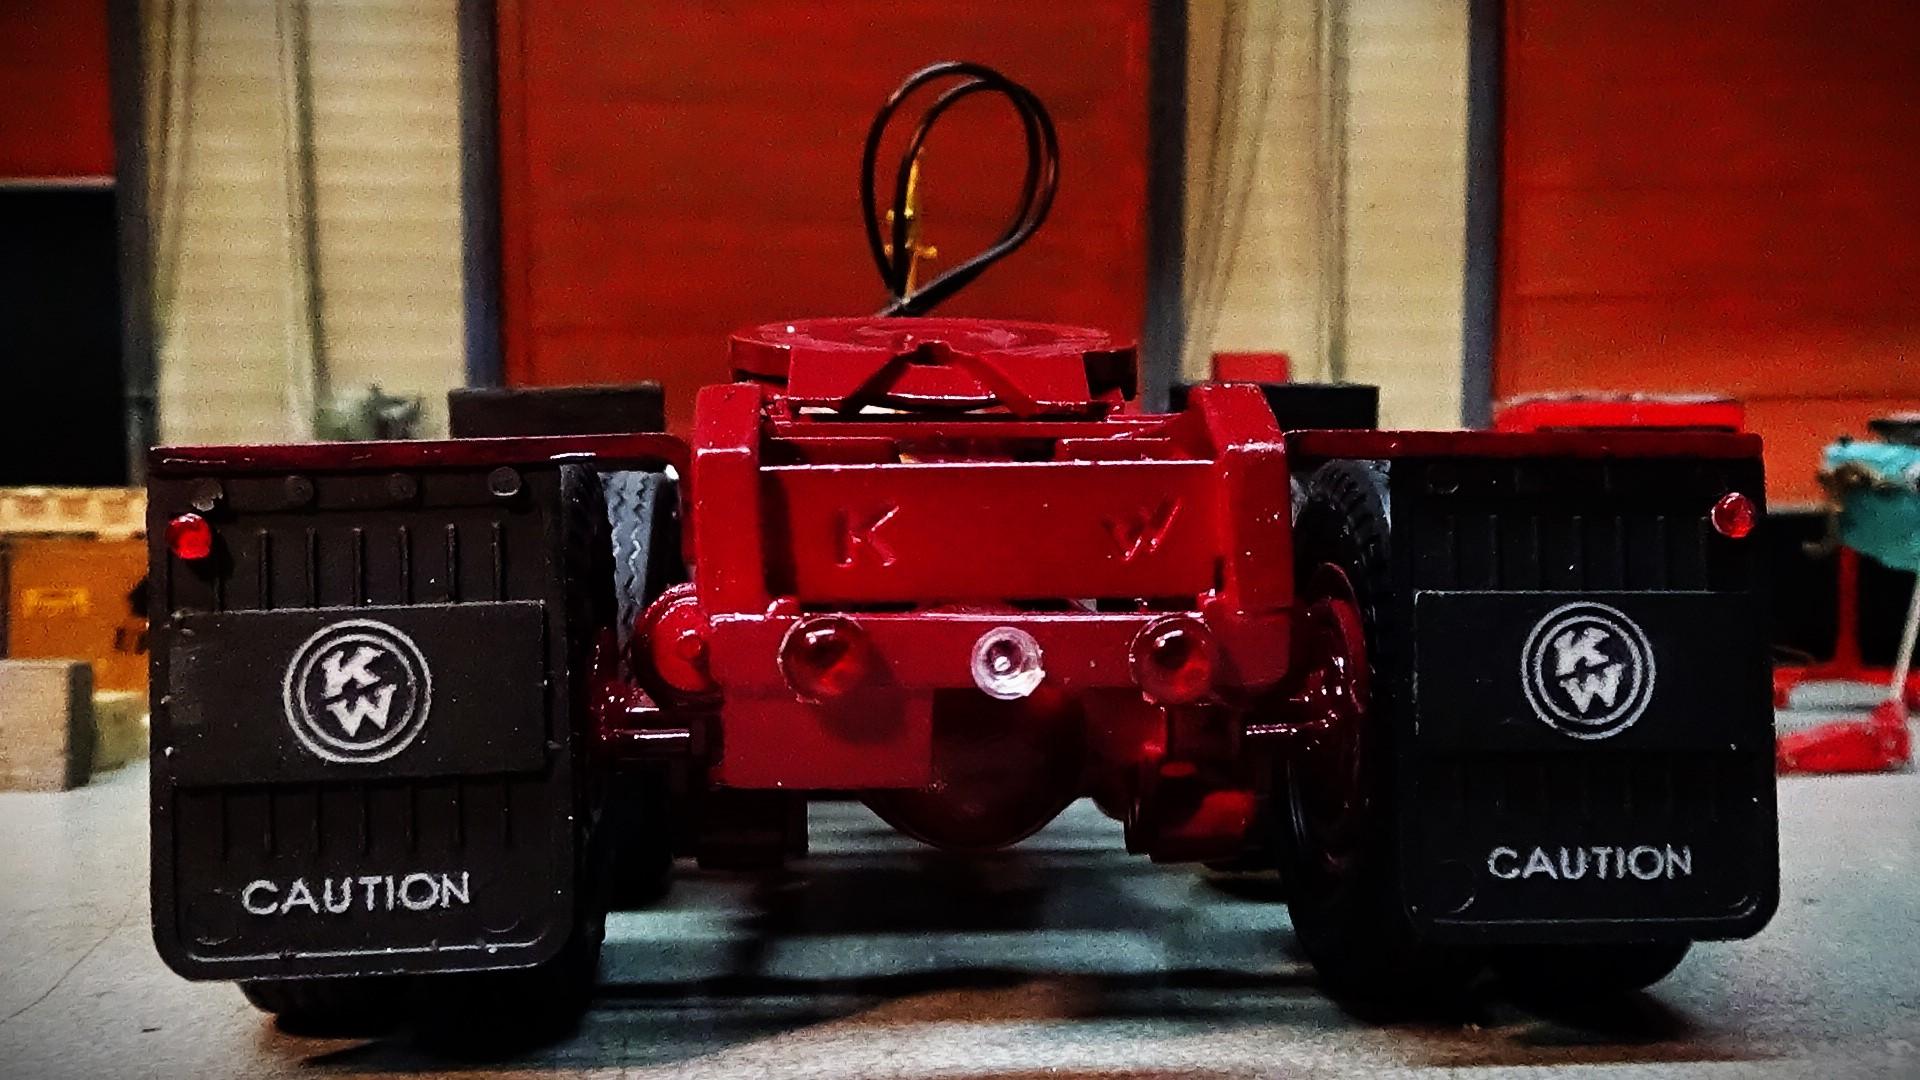
rear fenders flaps and lights are done.
-
x2!!
-
Kenworth W925
Bronzekeg replied to Bronzekeg's topic in WIP: Model Trucks: Big Rigs and Heavy Equipment
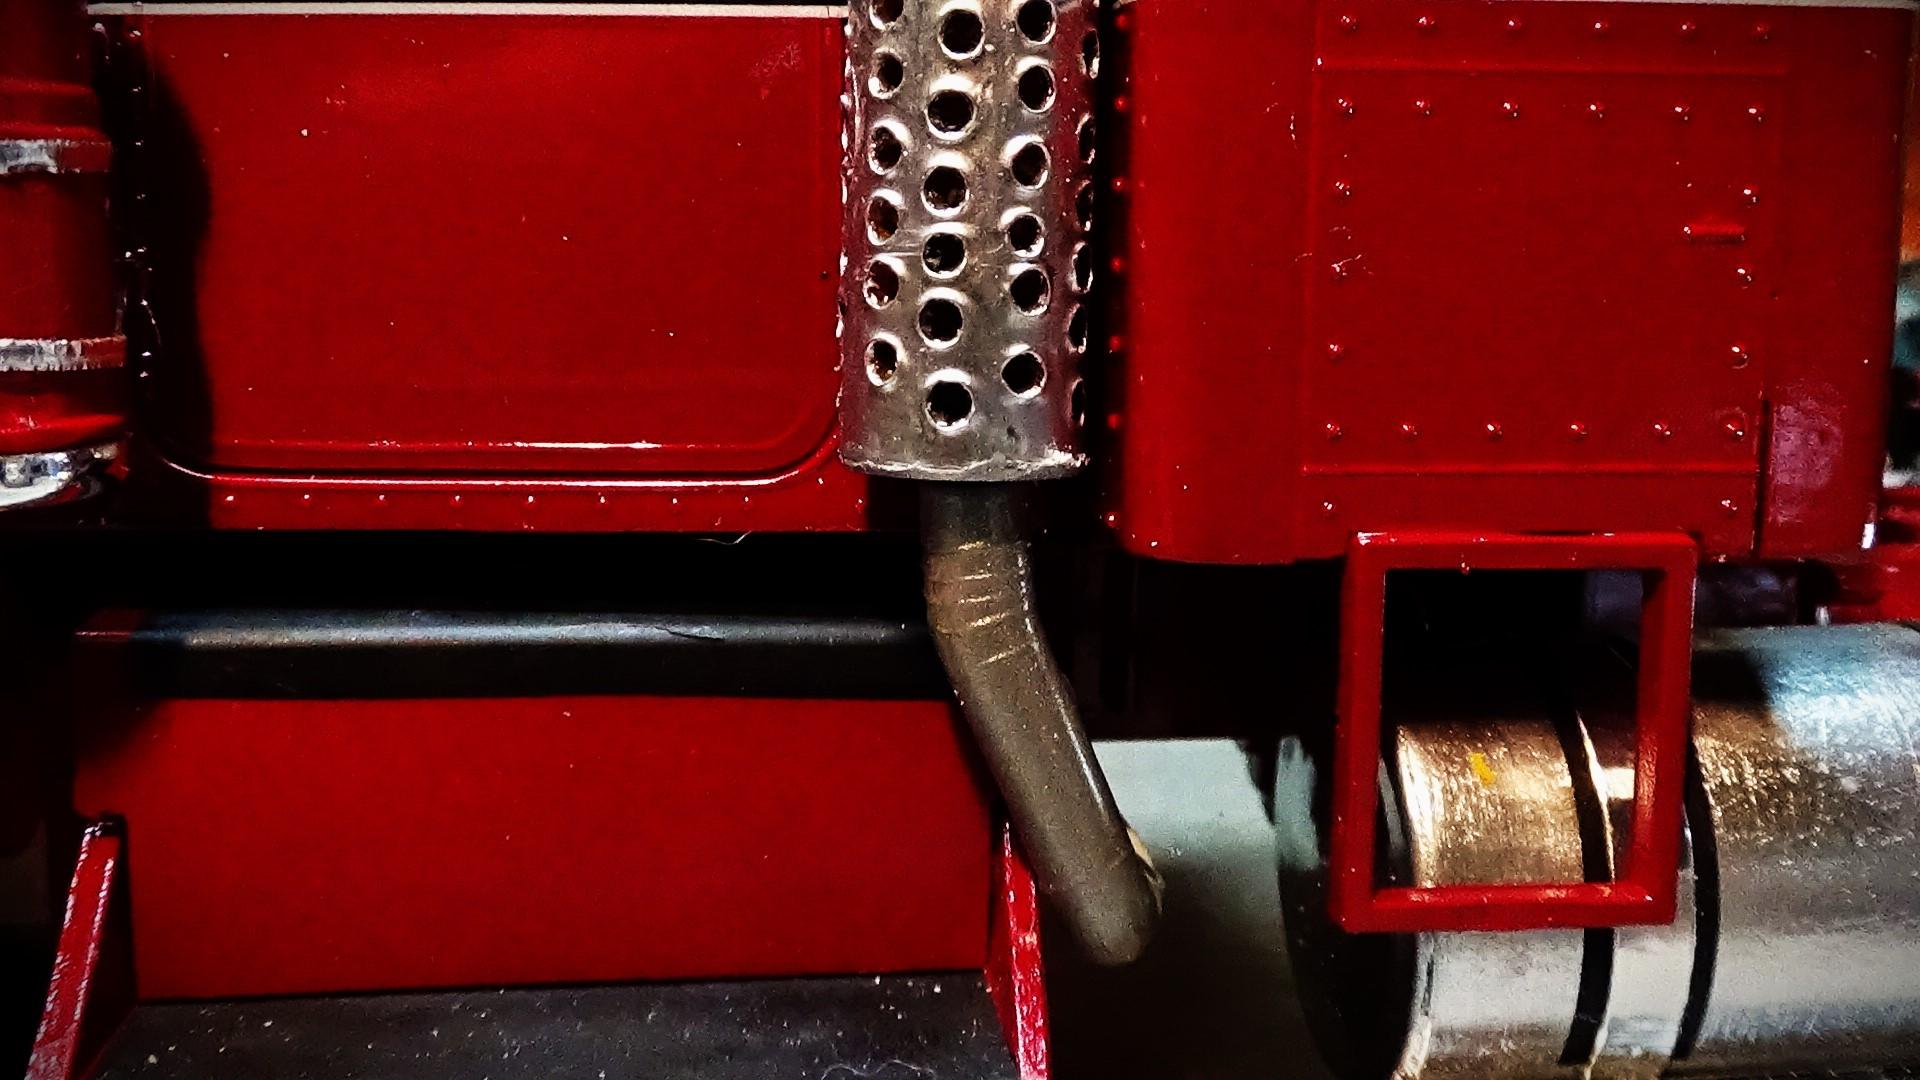
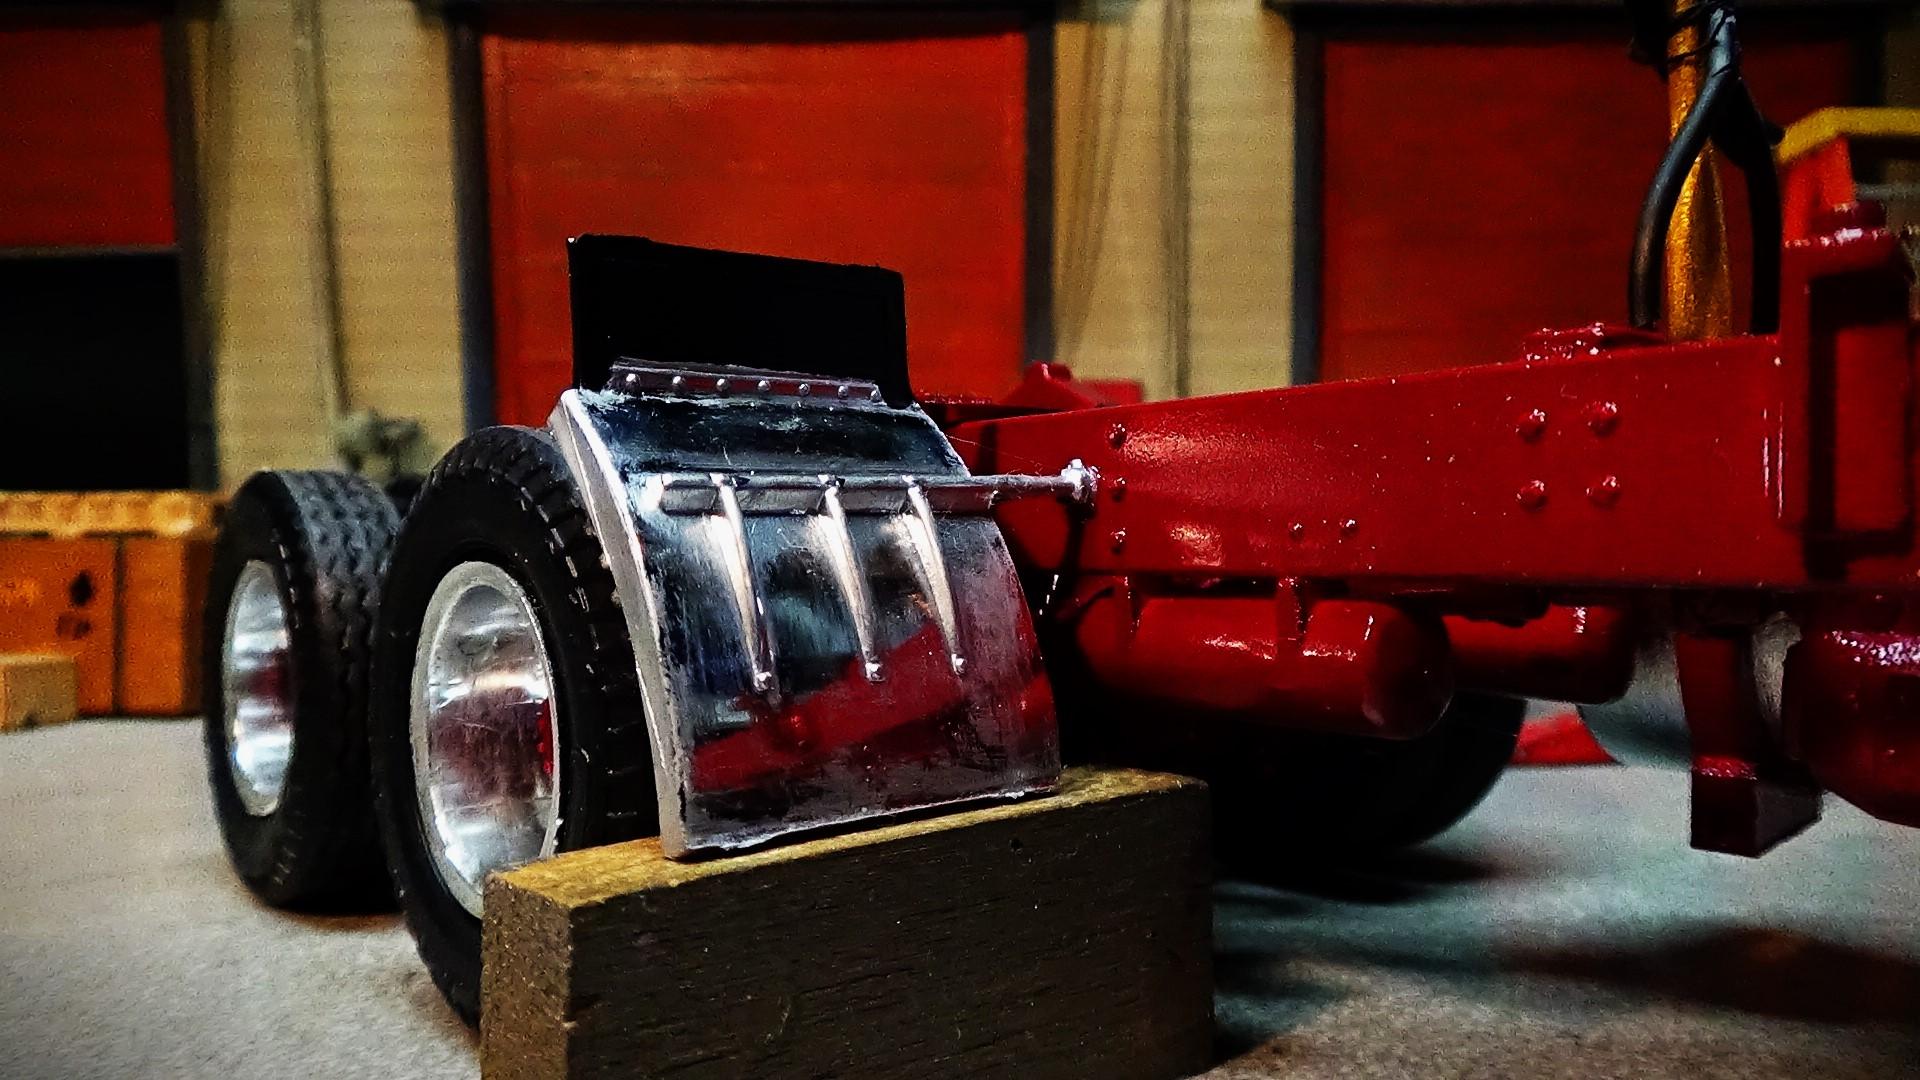
working on rear fenders and mud flaps. also have scratch built mufflers and stacks. I don't like the diameter of the kit supplied ones.
-
Dodge Cabover
Bronzekeg replied to Repstock's topic in WIP: Model Trucks: Big Rigs and Heavy Equipment
x2!