Pete75
-
Posts
538 -
Joined
-
Last visited
4 Followers


Pete75's Achievements
MCM Ohana (6/6)
-
Thanks guys. Much appreciated!😃
-
F1 - Lotus 102b, done differently!
Pete75 replied to Gfer Gman's topic in Other Racing: Road Racing, Salt Flat Racers
Love it! It's like the beginning of an animated exploded diagram. I like that you left enough bodywork to retain the car's overall form, and that you never get the sense that it's just chopped in half. 👏 -
🤣 Thanks very much, Scot - both kind and very amusing!! Pretty much everything I've learned, scratch-building-wise, has been picked up on this forum. I'm still only just beginning and, likewise, I have plenty to aspire to when I grow up! My regards to Mrs Scot: a very useful person have around, for sure, and I wish I had some of her skills!! 👍
-
Thanks guys, much appreciated!
-
Thanks guys, much appreciated!
-
Excellent. And TC's van too! Well done.
-
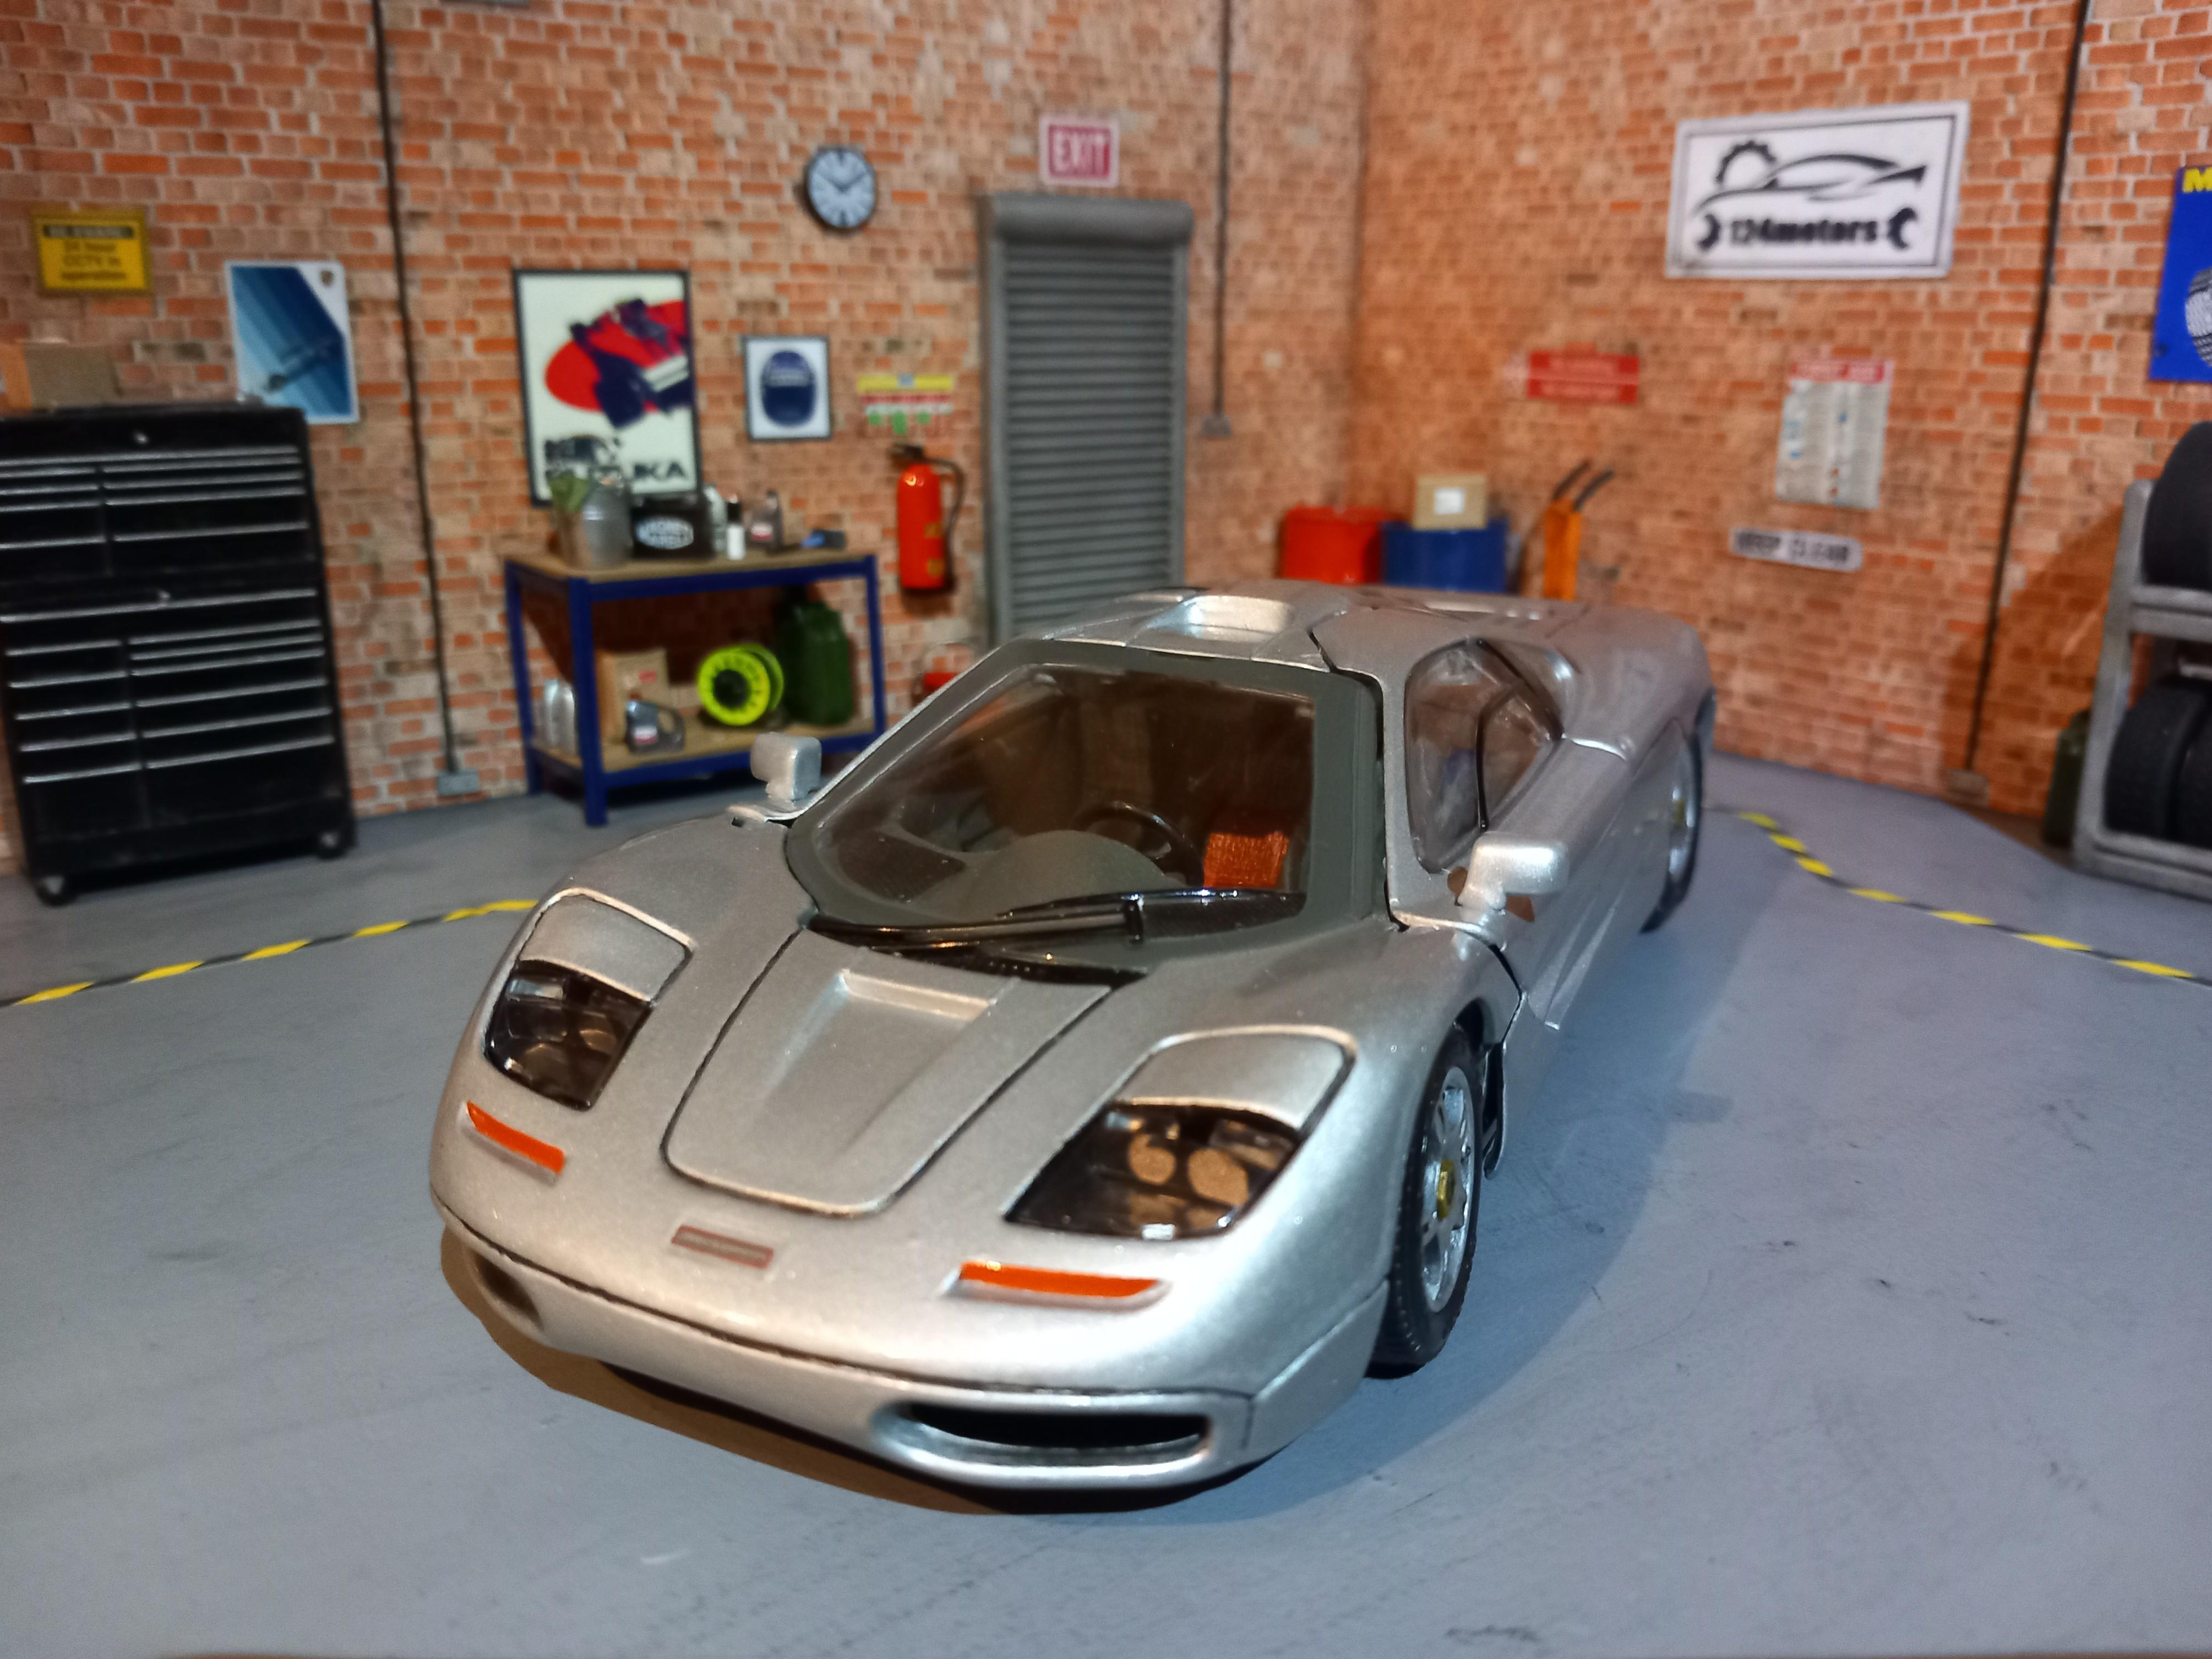
This is my first attempt at a dio, which I've just finished. I wanted a simple backdrop to photograph single cars, and one that could be easily moved around. The main structure is made from plywood, and the contents are comprised of a mixture of scratch building & 3D printed purchases. There is a WIP thread here for more details: https://www.modelcarsmag.com/forums/topic/201541-124-garage-photo-backdrop Comments & questions welcome. Thanks for looking.

-
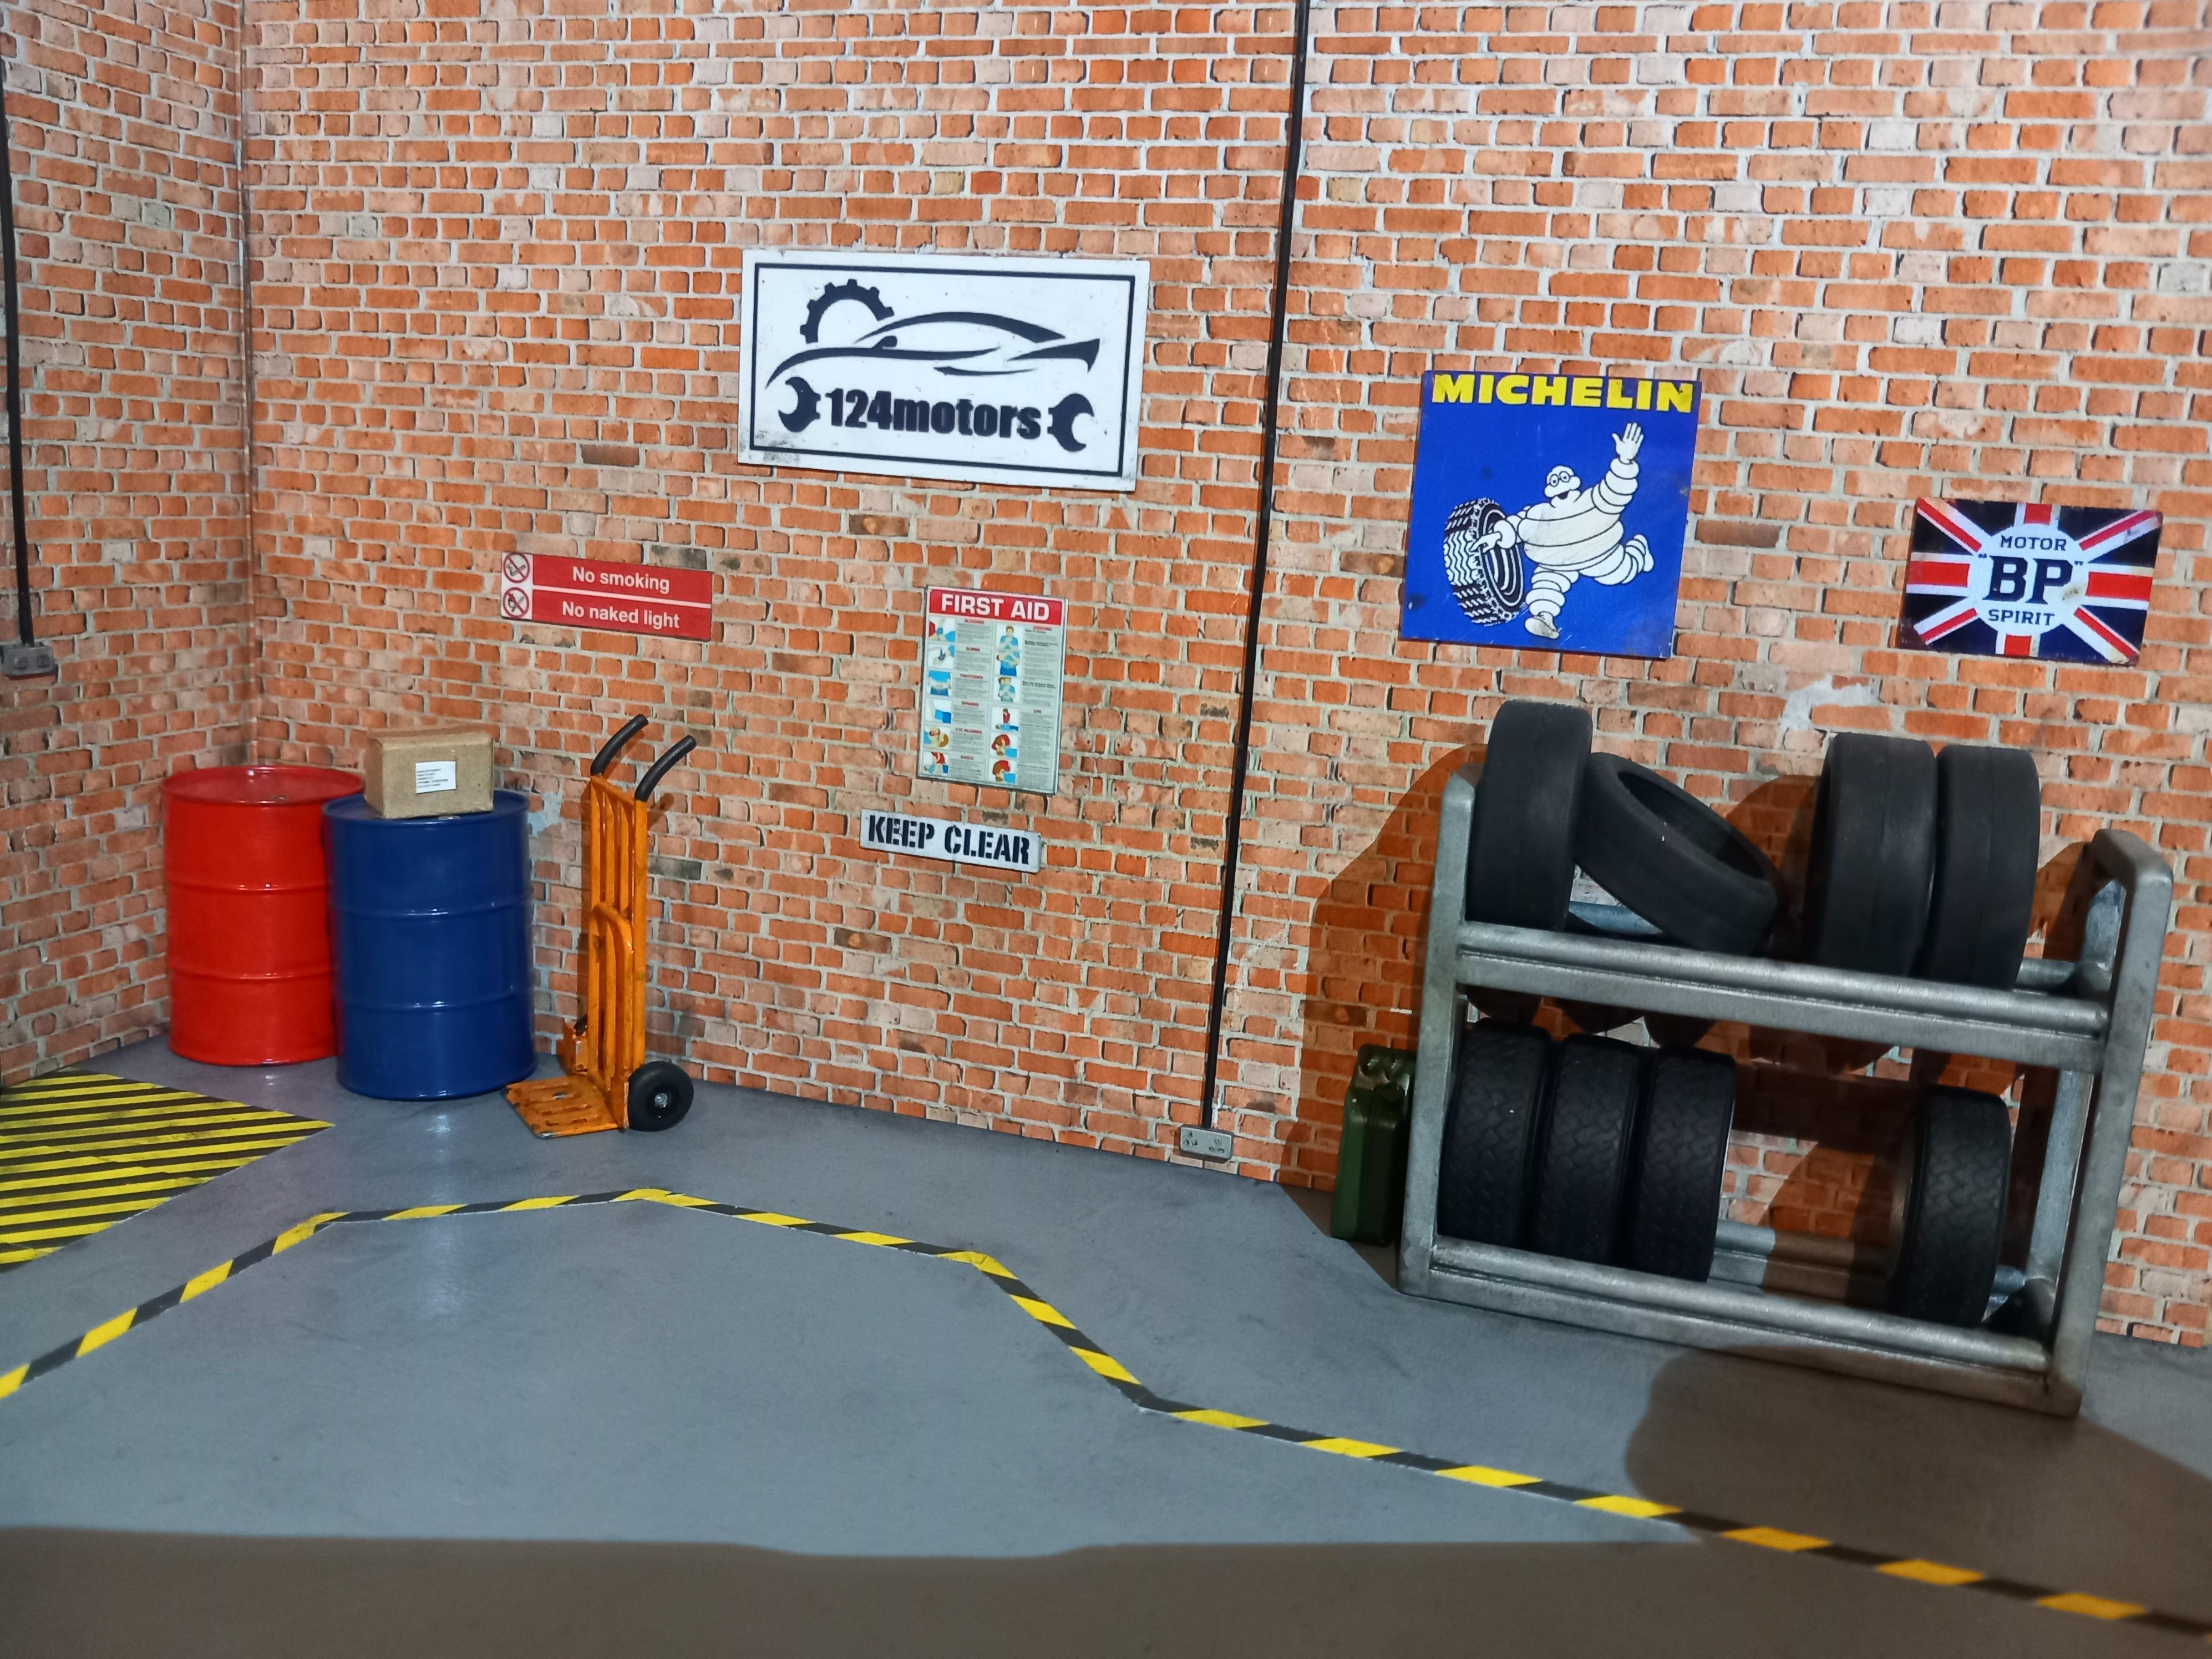
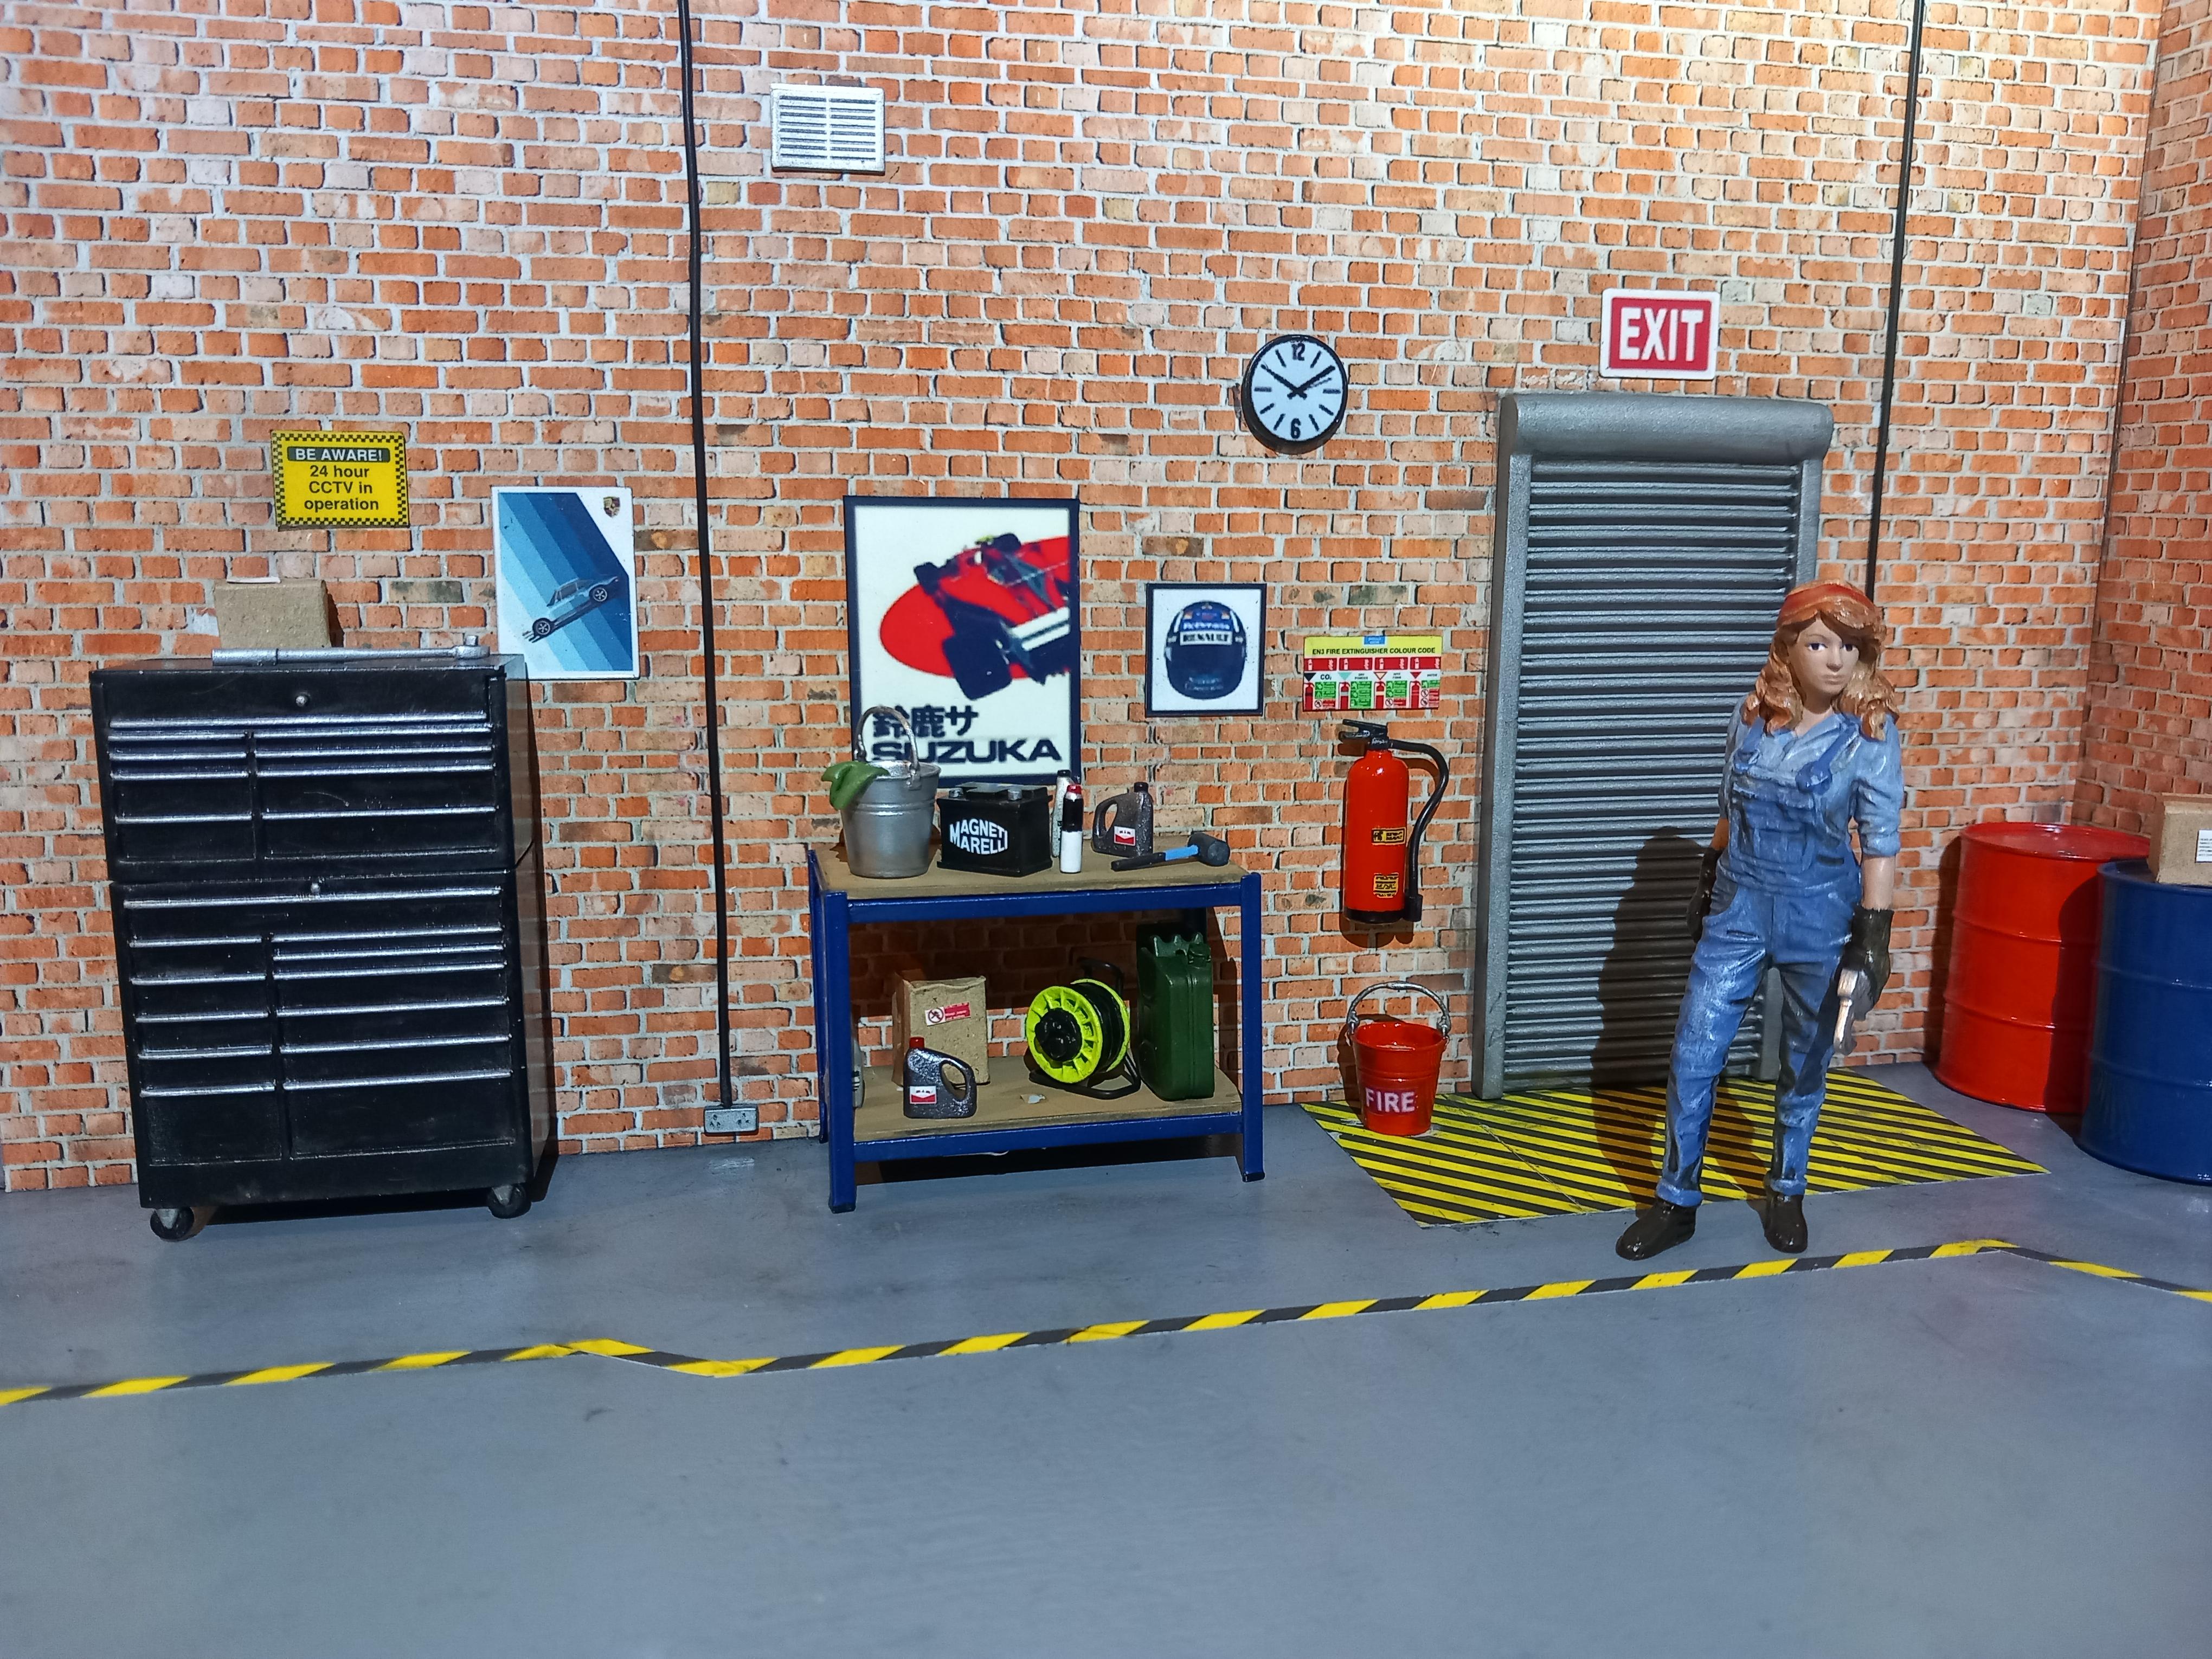
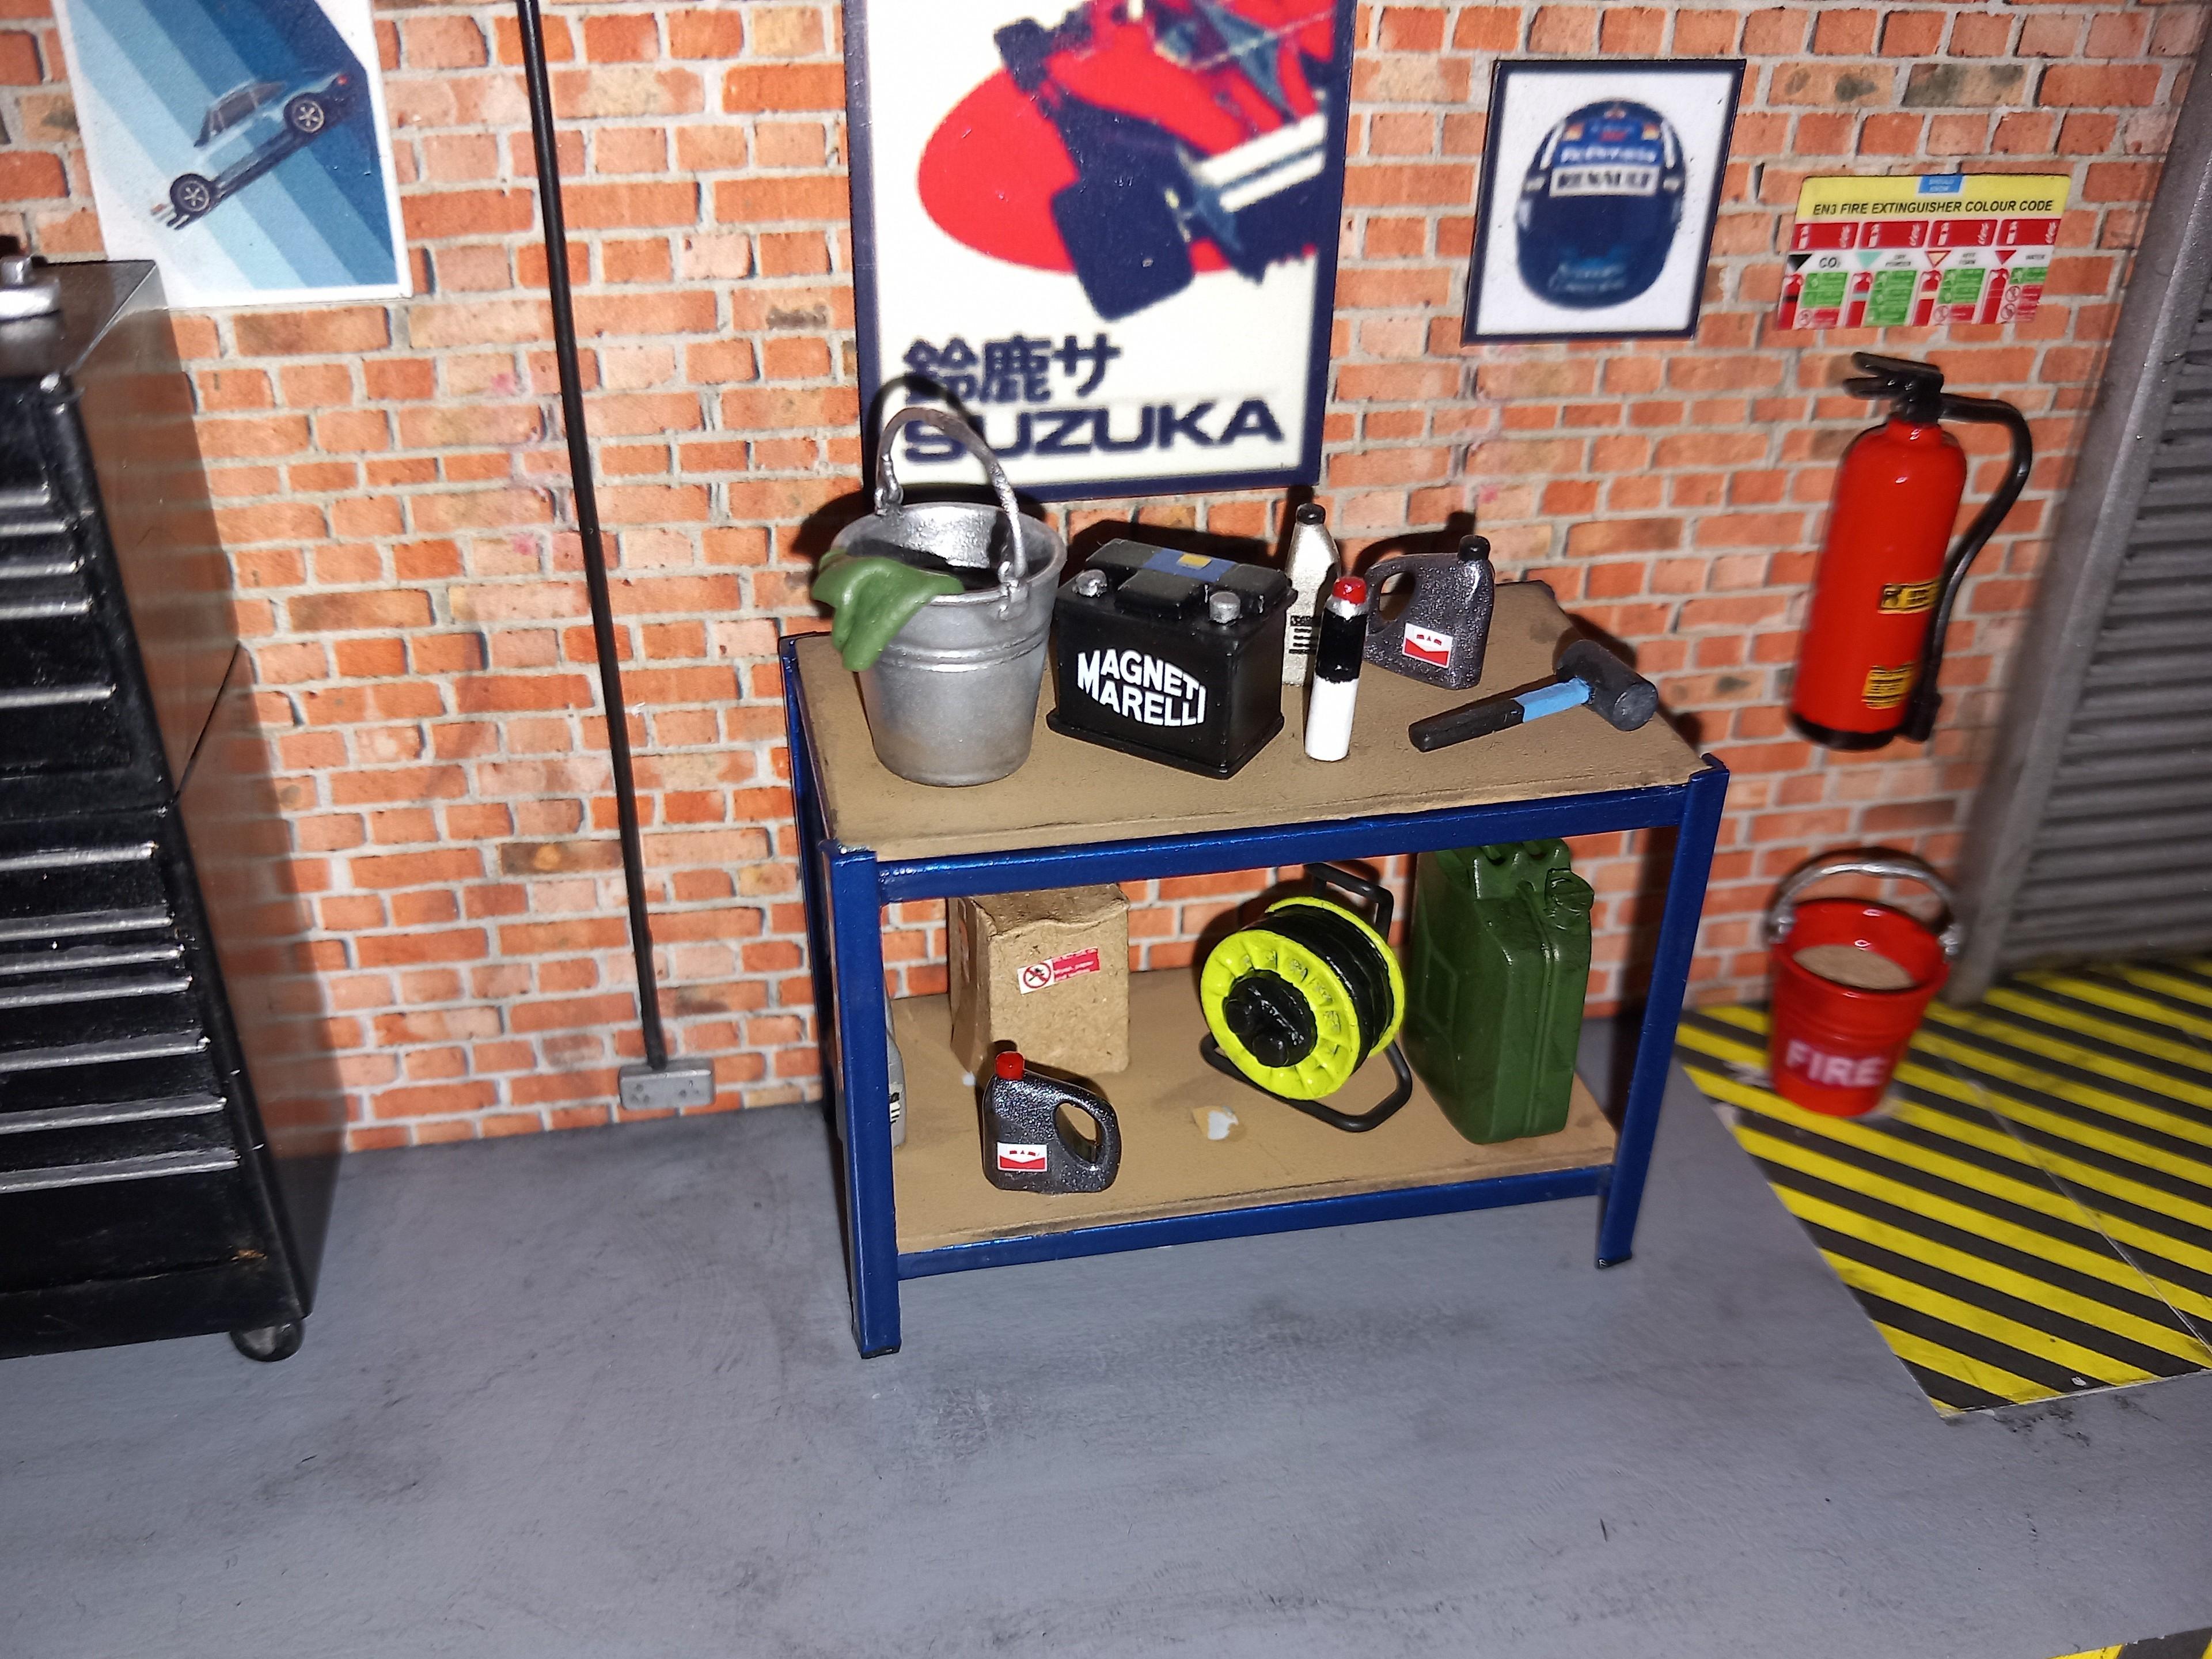
I'm calling it done. Quite pleased with it for a first attempt, and I definitely learned a lot as I went. I suppose every diorama builder knows the temptation to go a little further, so it ended up taking more time & effort than I had planned - but doesn't everything! On the end wall, as elsewhere, I took the Tamiya weathering pastels to "Pretty Darned Grimey" level. Also, I designed, printed, and mounted a couple more signs, plus you can see one of the three "cardboard" boxes I made. Here I found & downloaded a free template for a full size box, printed it onto plain paper (after shrinking!), then temporarily glued it to to thick brown paper & cut it out. 8 Most work went into the long wall. I filled out the bench surfaces with another box, a printed extension reel from eBay, and a scratch built car battery (for which I was pleased to use a decal leftover from an old F1 kit). I found/downloaded the images for the posters, then printed onto self-adhesive vinyl & mounted on thin styrene. I only have an ordinary ink jet printer and I learned a bit about what is-and-isn't really possible here. The two takeaways were that bold shapes/forms work best at such a small scale, plus, when hunting for likely online images it is a case of smaller is better. (This was completely counterintuitive, for me, as I imagined big HQ images would shrink down to HQ small images: except they didn't!) The resizing process entails distortion, so the less you have to do the better. For the air vent, I sprayed some styrene silver, then downloaded a wall art vent and printed onto clear decal paper. With the clock, I initially tried printing the wall art clock face onto vinyl, but it didn't look right sitting slightly proud against my black base (painted styrene). In the end, I printed it onto white decal paper, which isn't really thick enough to stay white over black paint, but it'll have to do. That just leaves my mechanic, who I've named Gwen. She's by American Diorama, but I added some extra paint to tidy her up, plus some dark wash for better detail. (I've just noticed, she needs a coat of anti-shine). "Doesn't look like any mechanic I've ever met", said a friend the other day, with a slight hint of bitterness. Perhaps, but the world is always changing!
-
Excellent. You're very welcome!
-
Ferris Bueller's Day Off Ferrari 250GT California
Pete75 replied to spencer1984's topic in Model Cars
Absolutely beautiful job. Congrats -
Awesome job. Great looking car 👍
-
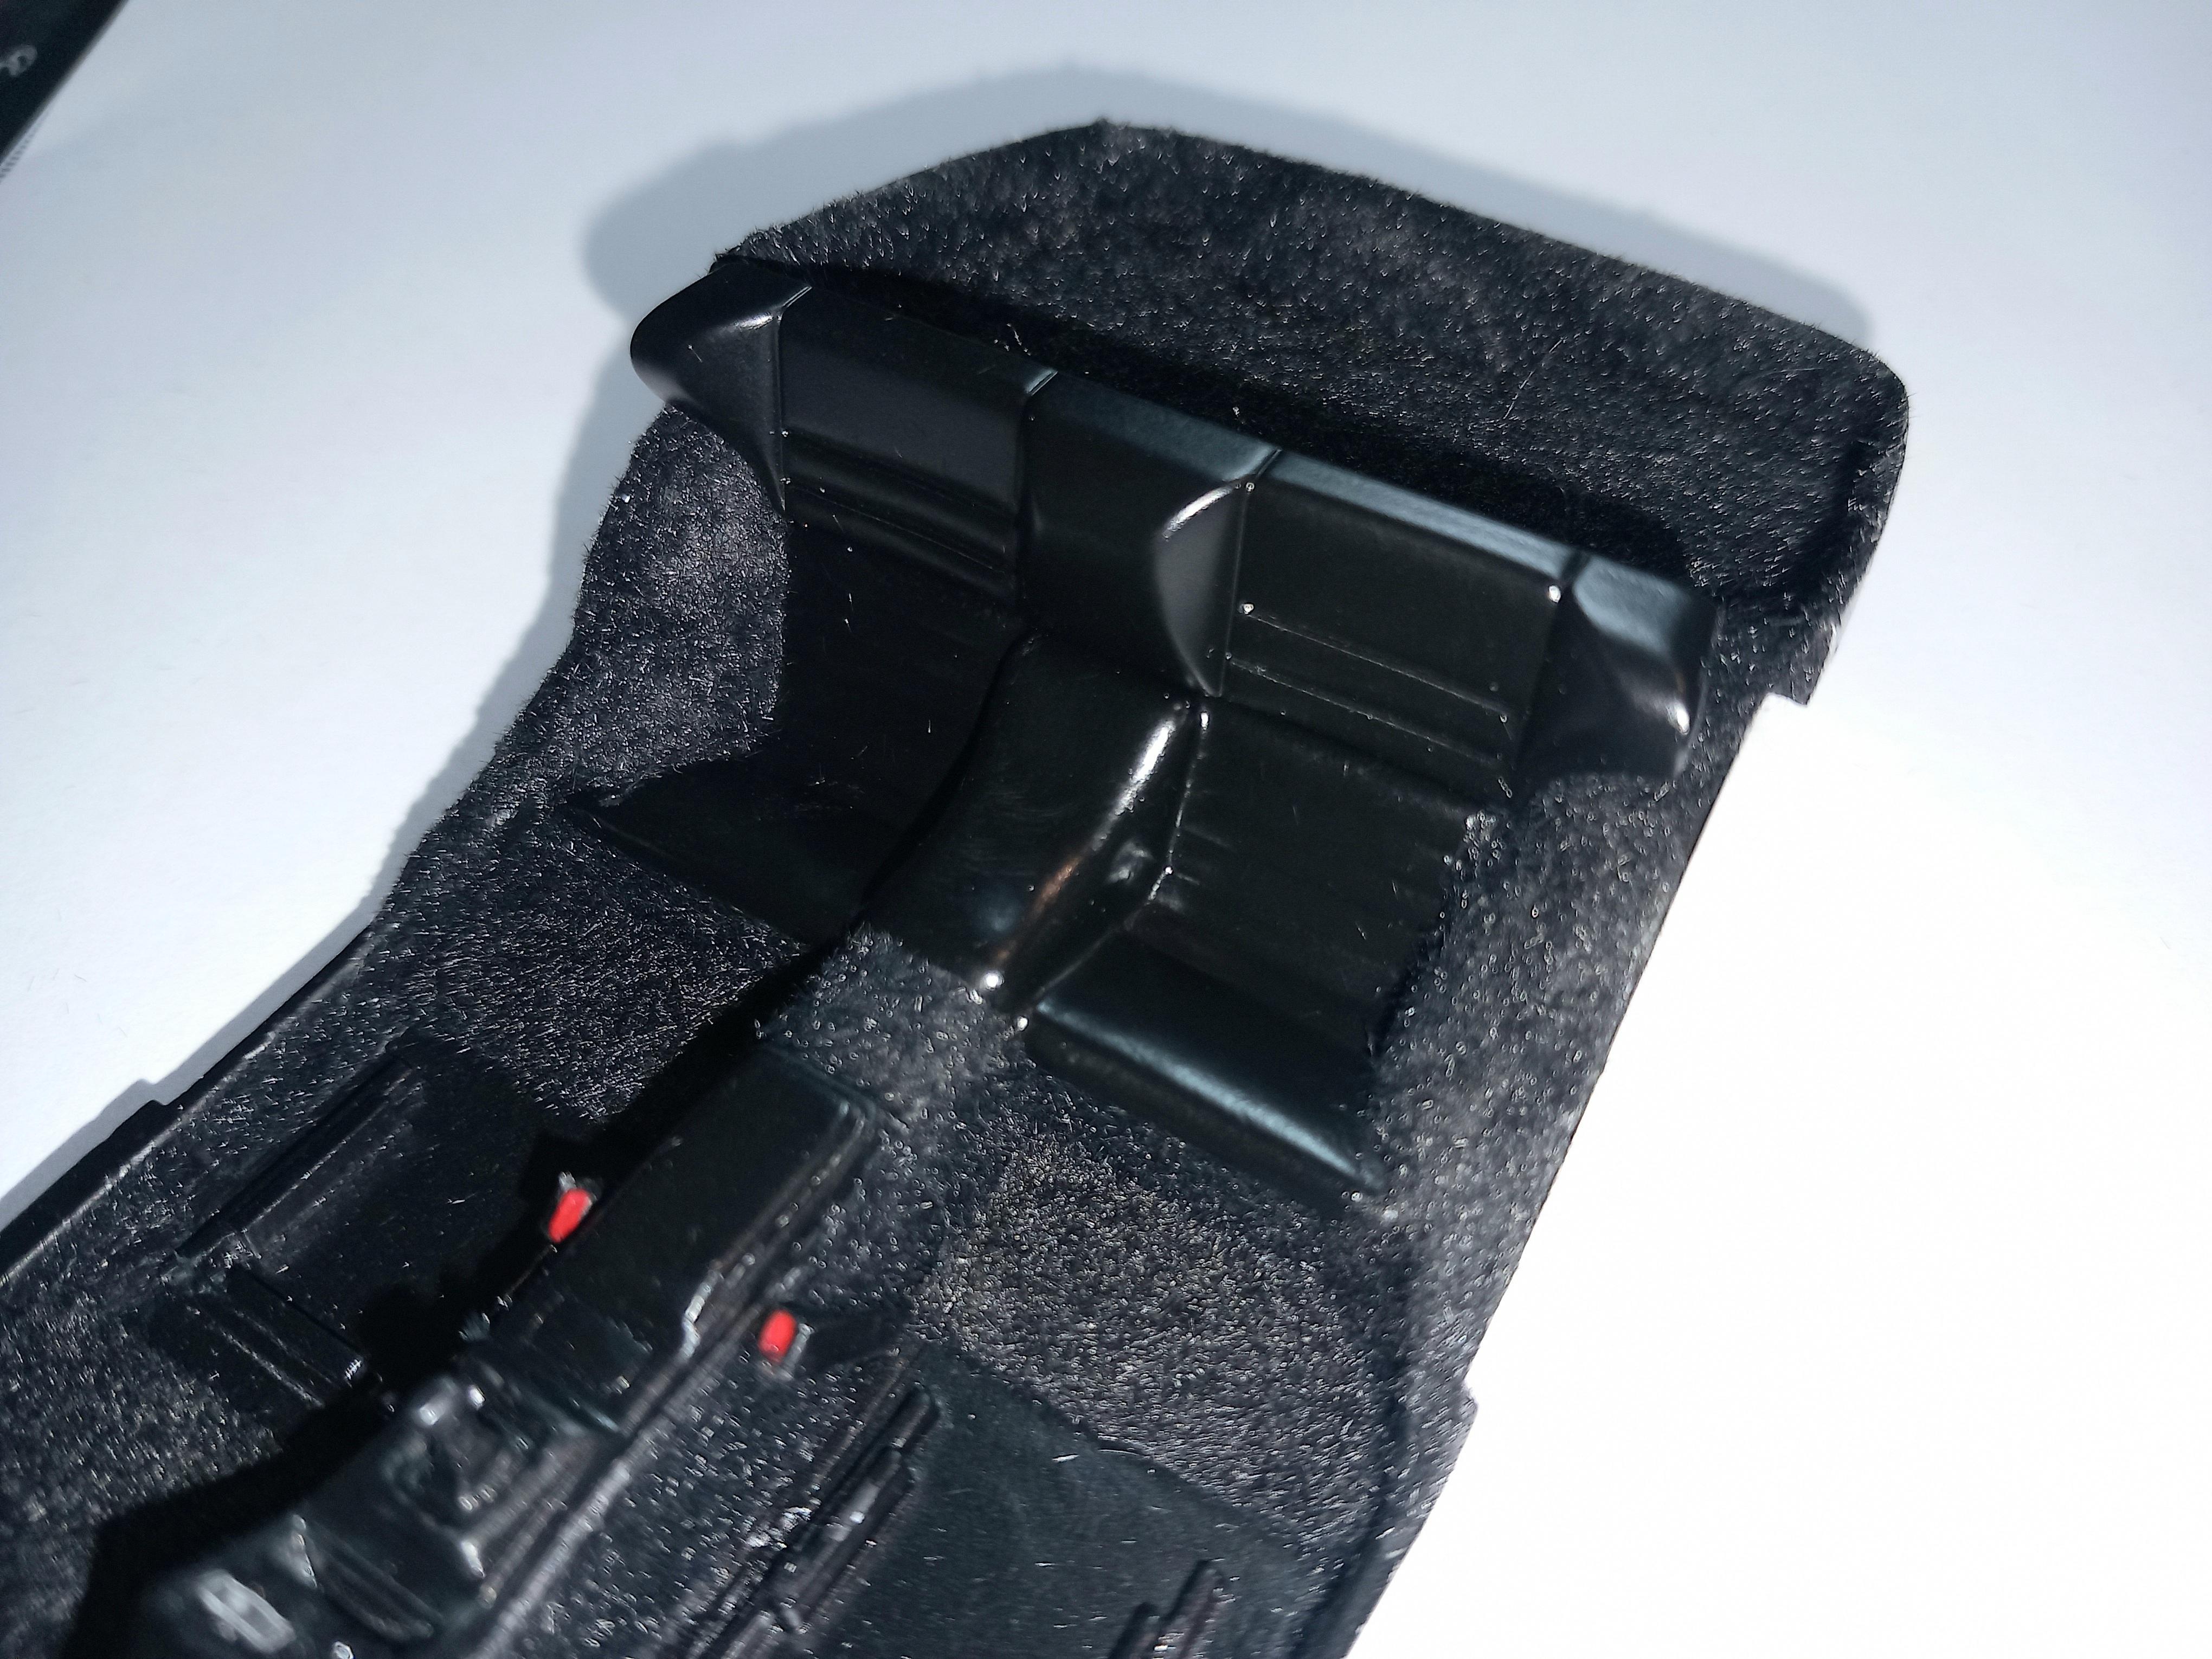
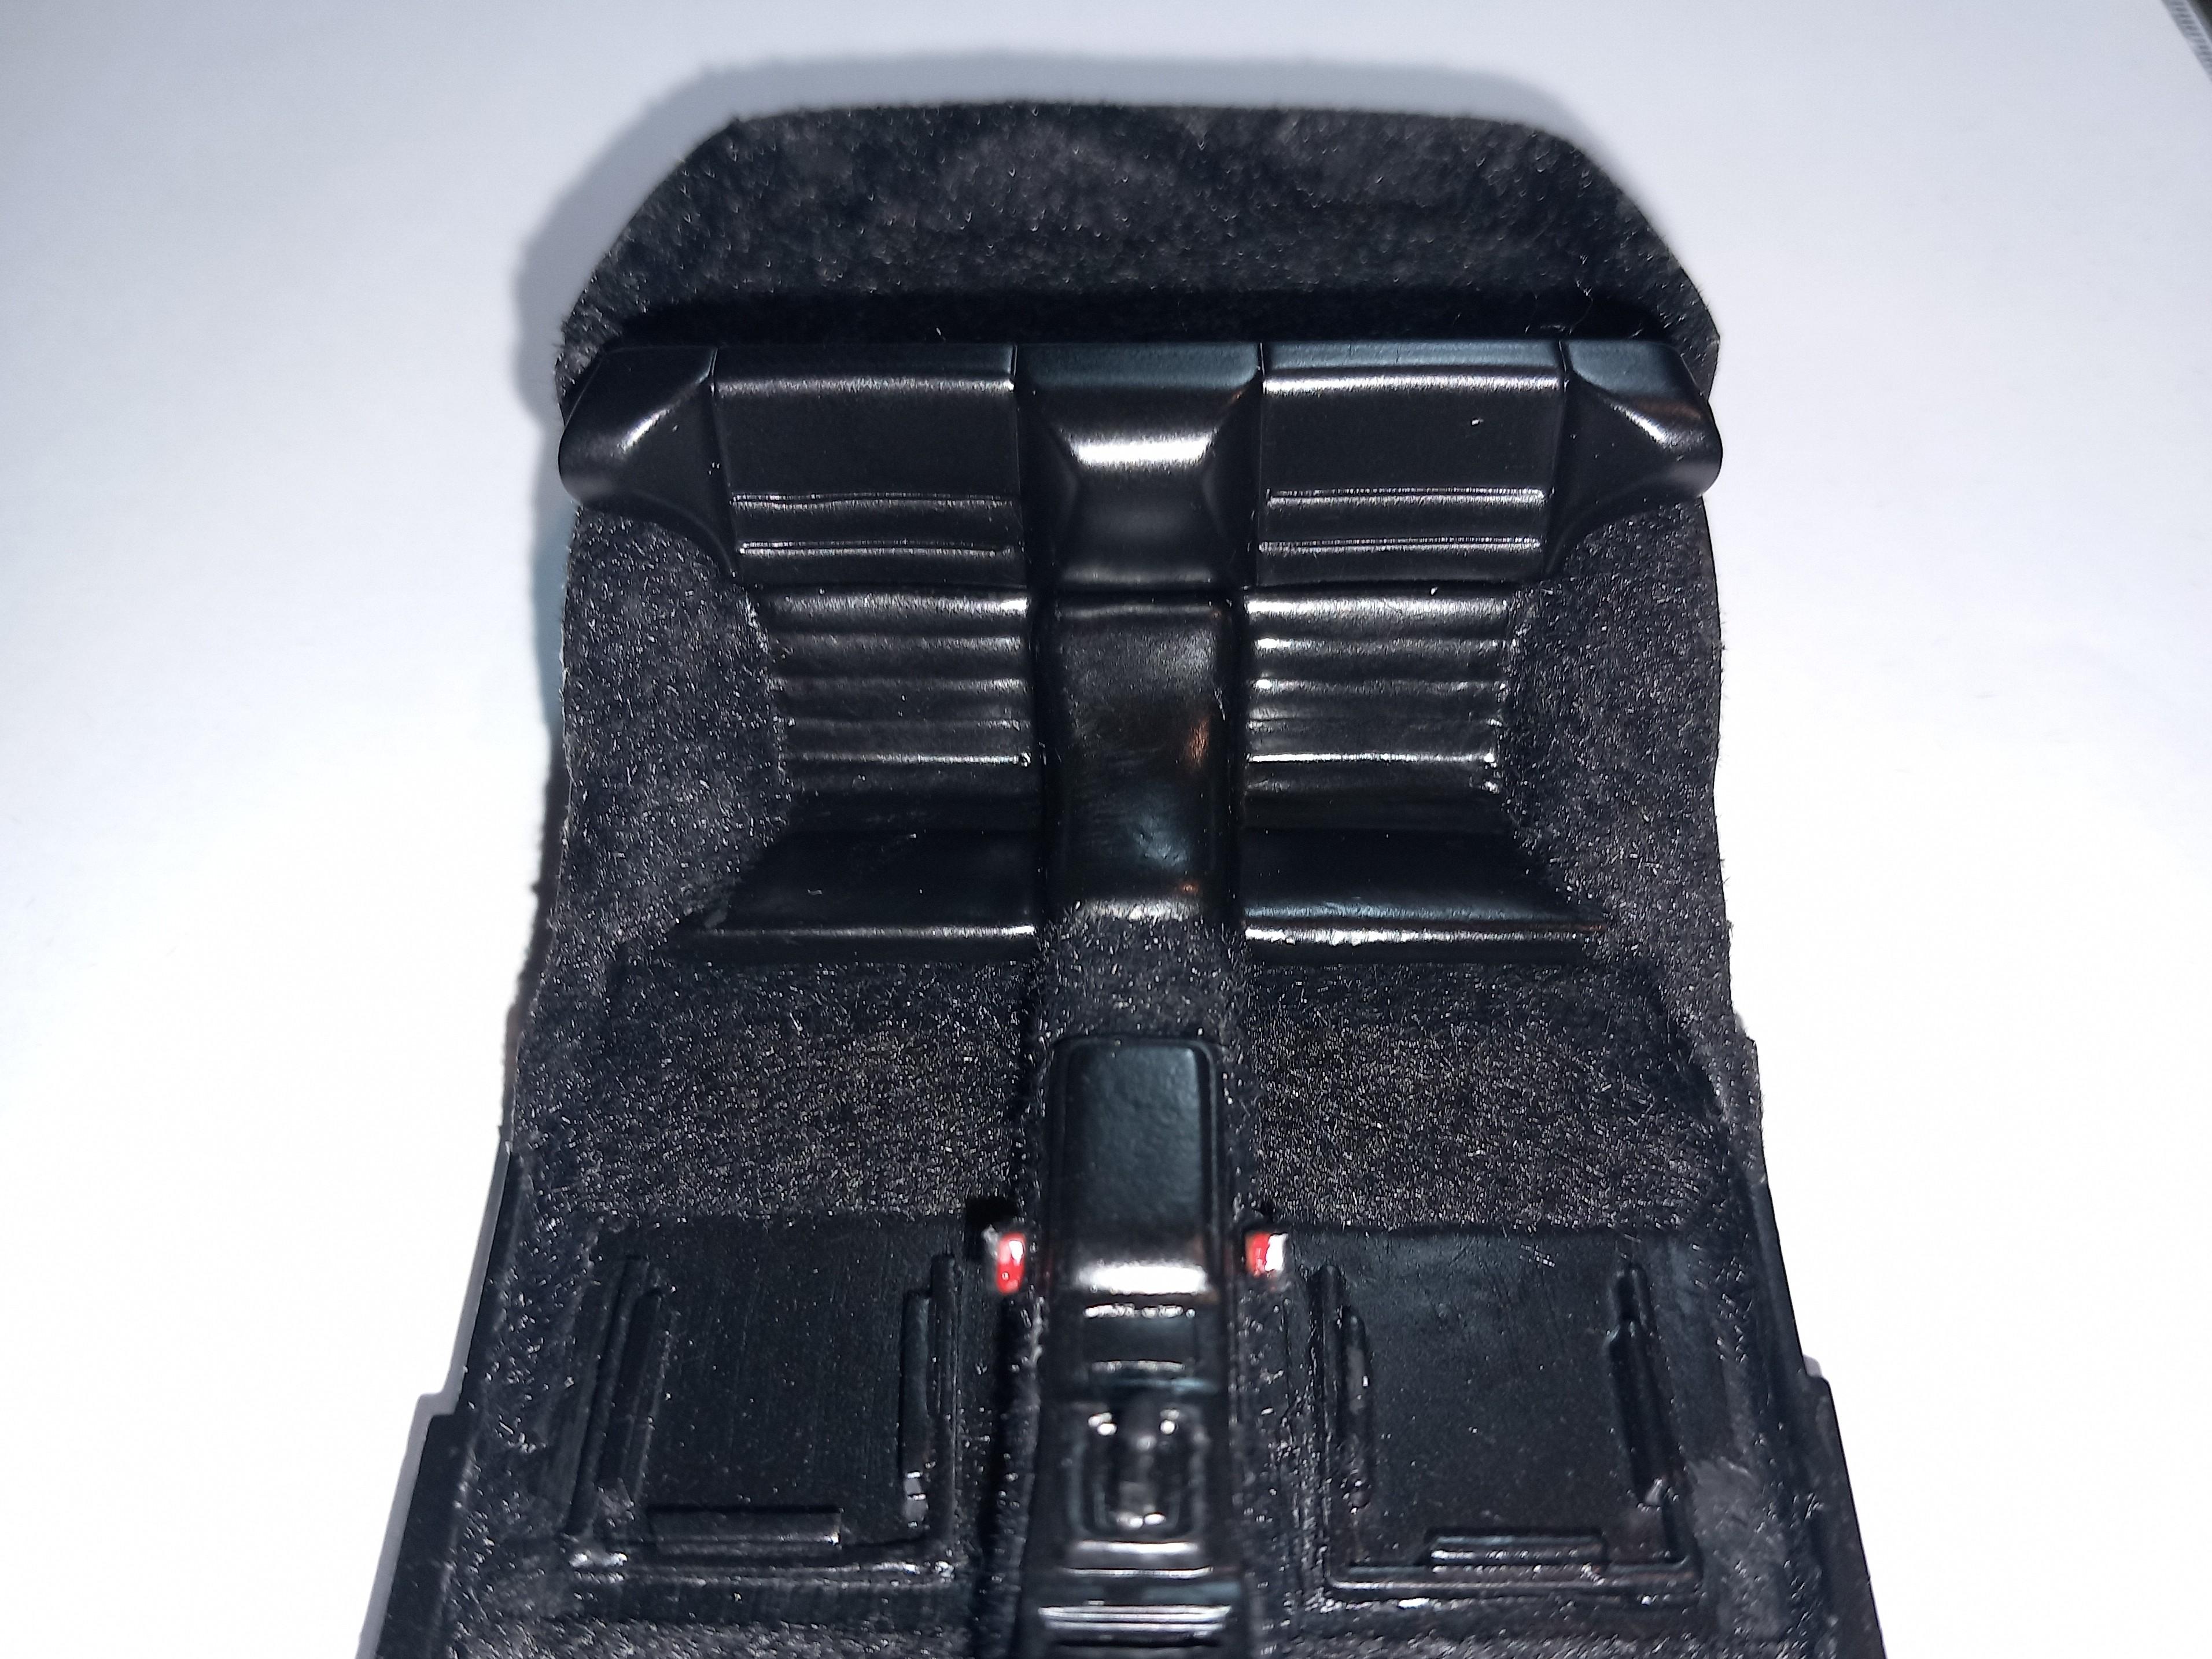
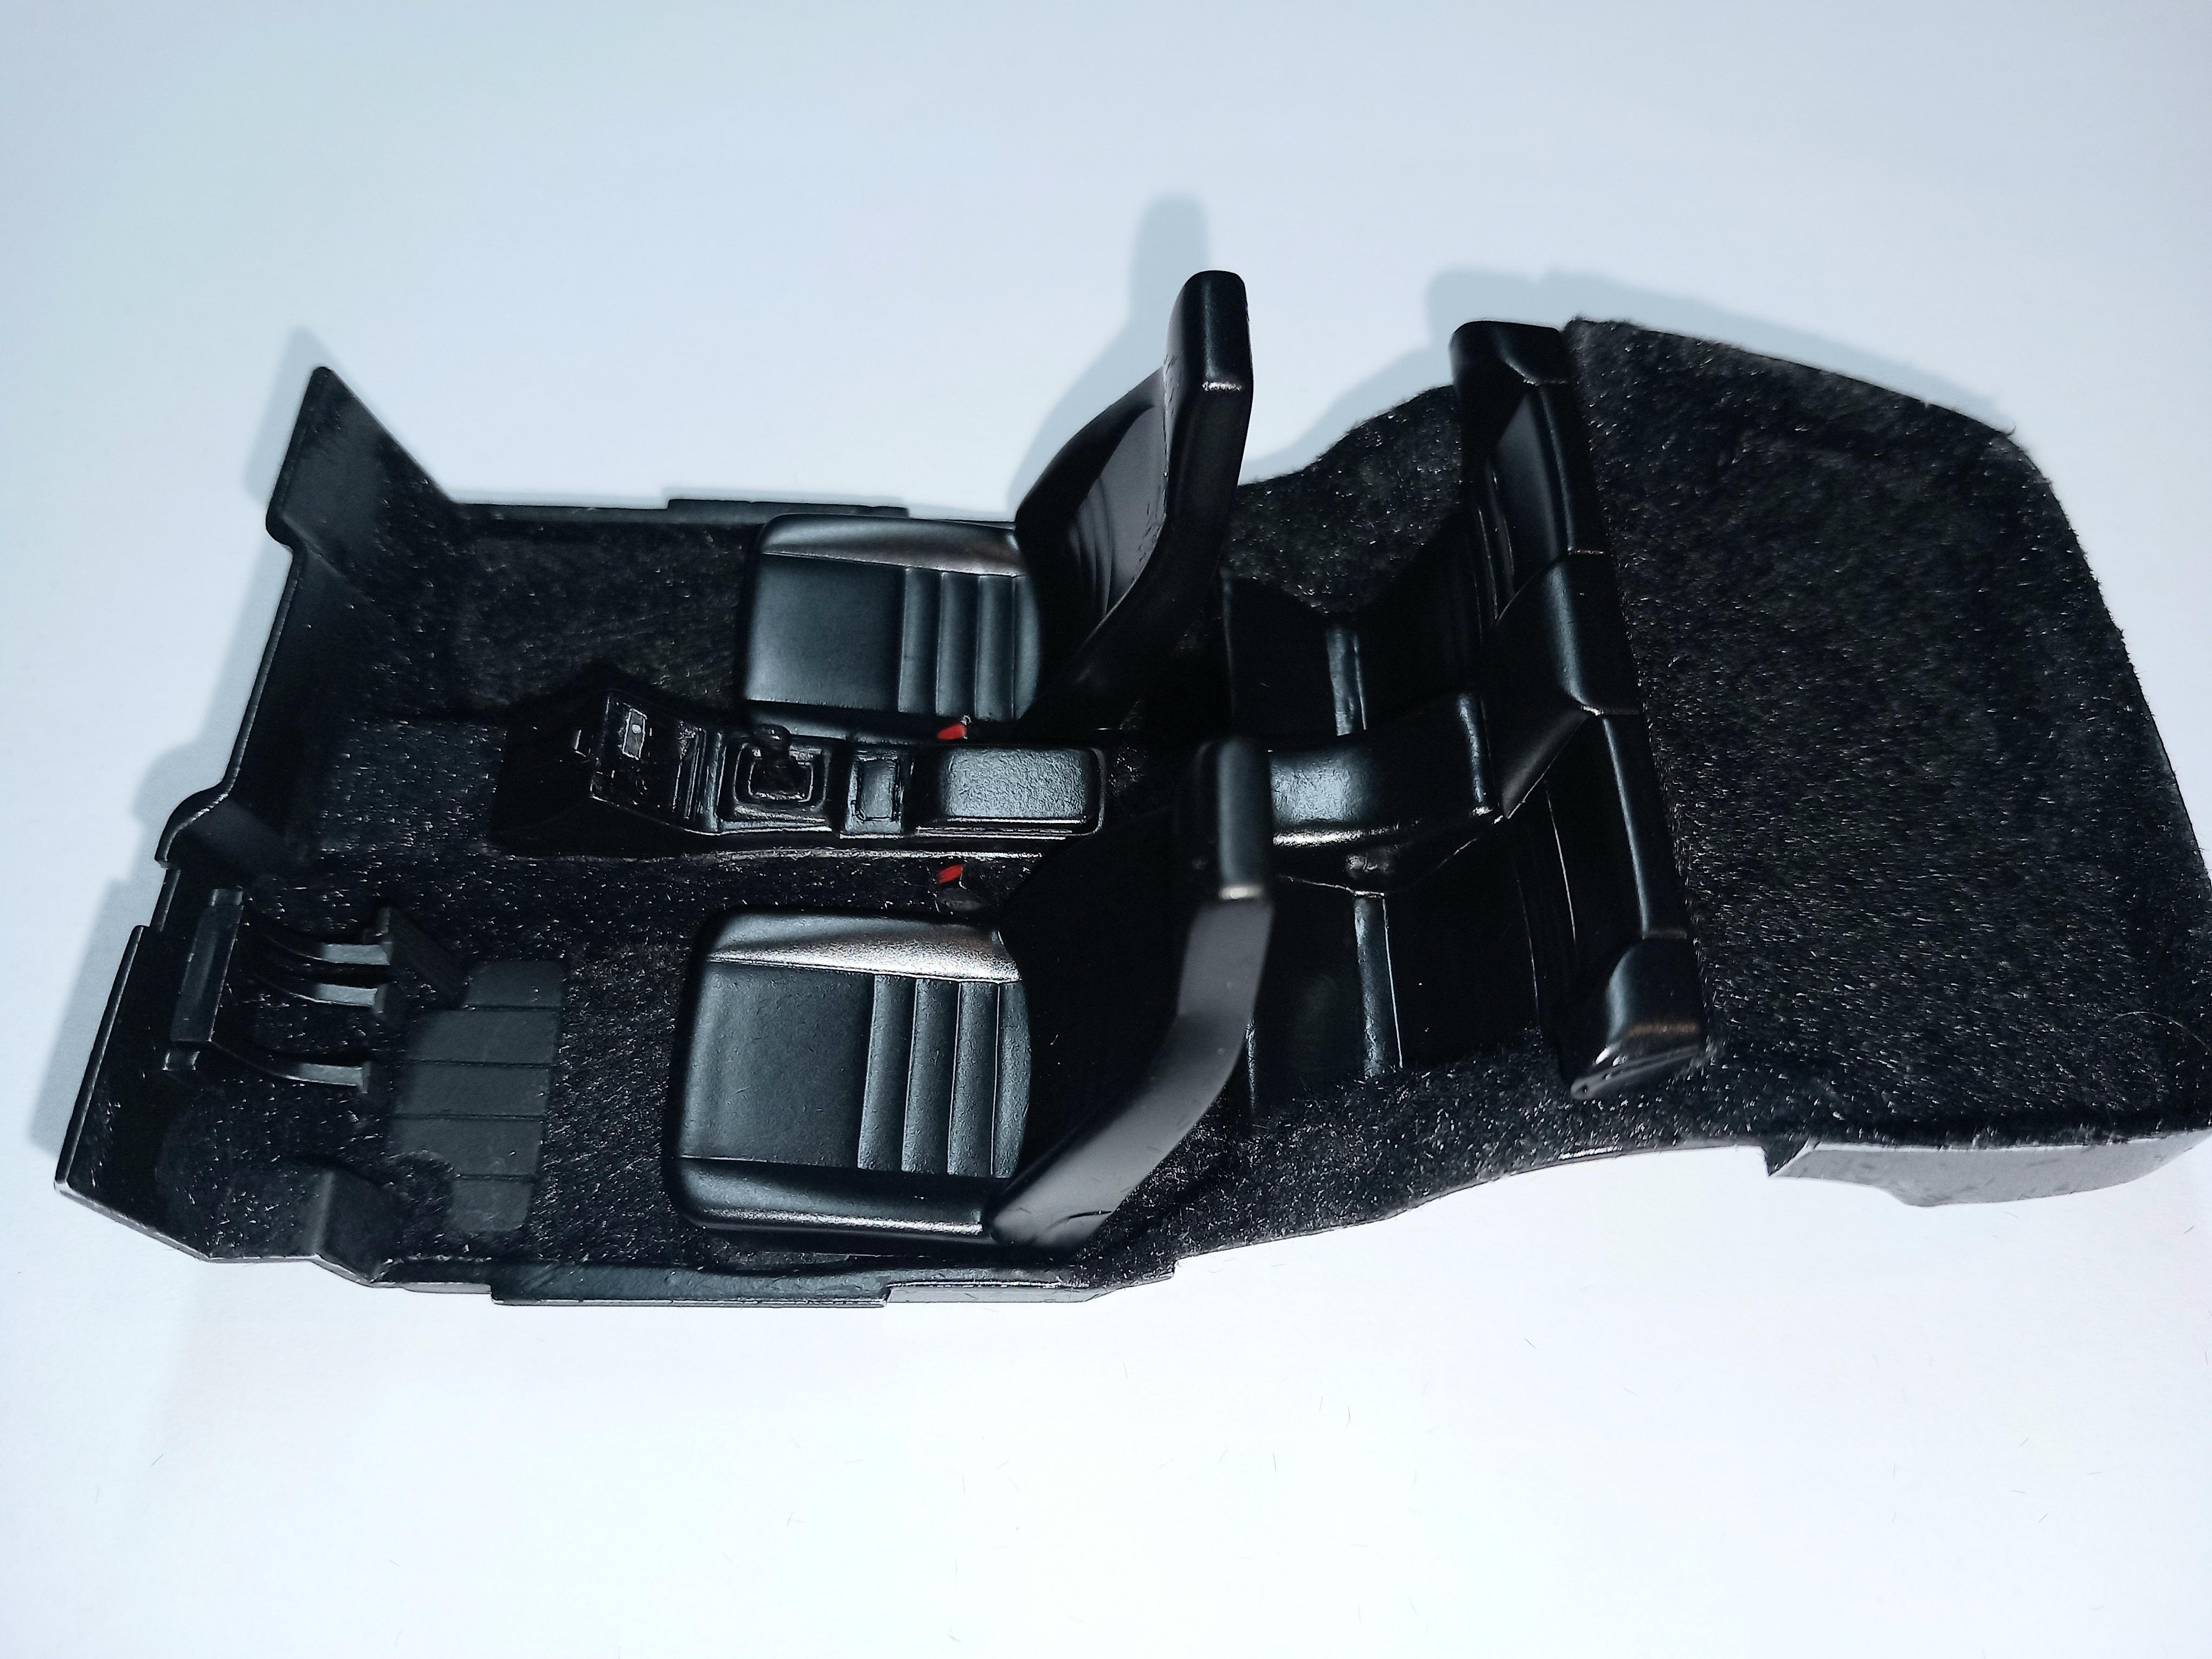
Thanks Sonny, that's kind of you. Been busy building my first diorama, but have been slowly ploughing on and got the interior finished. This section of the build ought to have been fun, but it wasn’t really. First, I blemished the rear seat somehow & had to re-spray it. However, it became Groundhog Day because I’d start work without letting paint harden properly, then out of nowhere a new blemish... Less haste, more speed, and all that. Anyway, it never did get back to where it was, plus the extra paint reduced the definition on the SB seat padding, but in the end I’m just happy to be done with it. After all, it’s an all black interior that will never be seen! For carpets I used self-adhesive felt for horizontal areas, and flocking for everything else. I remember now why I don’t do the latter very often, although by the end I think I have sorted my technique such that next time should be much more efficient. Other details: - I scratched the seat belt anchors purely for the relief of having a dot of colour in the sea of black! - Reshaped the gear knob to be more accurate, then snapped it off twice & lost it on the carpet once... - Fashioned the scuff pad/mat/thing that you only really see when you take the foot mats out to vacuum, but I wanted some textural difference. It’ll never been seen but it is accurate to the real thing! Just the chassis & engine bay left. I really want to be done with this build now, but I'm determined not to rush & screw up!
-
TS-82 actually does look like rubber. In the picture below, the rubber mallet has the head sprayed in TS-82 and the handle is brush painted in Revell matt black:
-
Mc Laren M16 AMT 1/25
Pete75 replied to lascar's topic in Other Racing: Road Racing, Salt Flat Racers
Great job! -
Super-clean & unusual build. Looks fantastic. Making a note of the Halfords paint - I can already think of two possible uses