Search the Community
Showing results for tags 'f1'.
-
My latest completion. These Revell 1/24 kits are kind of finicky, small attachment points for the wings being the toughest part, but I really like doing the decals. Lots of setting solution and some hair dryer heat got them snugged down well. This is the car driven by David Coulthard, his teammate was the #9 of Mika Hakkinen. Coulthard won the first race of the season in Australia and I think Hakkinen won in Spain that year also. Comments welcome, thanks for looking.
-
From Wikipedia: The Ferrari 412 T2 was the car with which Ferrari competed in the 1995 Formula One World Championship. Designed by John Barnard and Gustav Brunner at Shalford in the United Kingdom, the car was launched at Maranello on the 6th February, 1995. Driven by Jean Alesi and Gerhard Berger, this depicts Berger's car. Nice little kit, it does have an engine which will never be seen after gluing the body together. The only issue I have is with the tires, they are the soft, sticky plastic that attracts every mote of dirt within 6ft and will probably eventually eat the wheels. I put a couple of coats of primer and paint to hopefully forestall that, time will tell. Comments welcome, thanks for looking.
-
Driven by Juan Pablo Montoya in 2001 along with teammate Ralf Schumacher, back when Williams was competitive - placed third that year in constructors championship. V10 BMW engine, 820hp at 17,800 rpm. Revell kit, 1/24 curbside. I see flaws in the pics that I didn't notice before but I'm pretty happy with it, looks good in the case. Comments welcome, thanks for looking.
-
1/20 scale Tamiya Ferrari F189 Great kit to build if you want to go to town the 1/20 scale F1 cars are great
-
Hi all, I've recently started HOBBY ROBBY, a vlog on YouTube covering F1 scale models and other racing series, and also ordinary, abandoned cars. Recently I uploaded my first vlog! I am trying to build the 27 y/o Tamiya kit of the Lotus 107 Ford in 1/20 scale. I would like to invite you to subscribe to my channel, and leave a comment and/or like. Is it any good? Let me know what you think of it! Best regards, Rob
-
From Wikipedia: The Tyrrell 020 was a Formula One racing car designed by Harvey Postlethwaite and George Ryton for Tyrrell Racing and raced during the 1991 season. The 020 was driven by Satoru Nakajima who brought the Honda engine contract with him and also by Stefano Modena. Its best result was a second place by Modena in the Canadian Grand Prix. Tyrrell scored 12 points to finish 6th in the Constructors' Championship with half the points scored by Modena's 2nd in Canada. The car was powered by the 690 bhp (515 kW; 700 PS) Honda RA101E V10 engine previously raced by McLaren in 1990 and maintained by Mugen Motorsports, which would run Mugen-Honda badged engines the following year for Footwork Arrows. The car was updated for the 1992 season and was dubbed the 020B. For this season the Honda V10 was replaced with the 680 bhp (507 kW; 689 PS) Ilmor LH10 V10 engine and was driven by Olivier Grouillard and veteran Andrea de Cesaris. The team only scored 8 points for the season but again finished in 6th place. My first time building a kit from Wave. Very basic, few parts, it was almost a snap kit the way it went together. The tires were suspect as they seemed "sticky" no matter how much I cleaned them. I coated them with Future both before and after the decals and they seem to be OK. Simple curbside slump-buster between more complex builds. Comments welcome, thanks for looking.
-
Revell kit, this one gave me a pretty hard time. Paint issues, decals, lots of getting up and walking away from the bench. In the end I think it came out pretty good. Driven by Heinz-Harald Frentzen during the 1999 season he won 2 GP, Monza and Magny-Cours and finished 3rd in the points. Honda V10 power, I love the Buzzin Hornets livery. Comments welcome, thanks for looking.
-
Hey, everyone!, since i wasnt able to post photos, i started my F1, and since now i can post, here now, heres what i have done so far... The objective here is a street version, so all the work will be in the interior from the looks of it. -Photo 1; Everything here is pre-assembled, minus the wing to body contact, and the doors -i Canopy glued them in place while i sanded the body even, and smooth. -Photo 2; I have no idea what these bumps are...they are only on some of the real cars....maybe a bad representation of number lights? -Photo 3; Something i like to do, is drill tiny holes to make it easier to locate, and attach bits...works a treat! -Photo 4; This bit was a separate piece in the kit, but not on the real car, so some fillerin needed to be done because they didnt really line up all that great. -Photo 5; I had to open ALL the vents you see here!....why? Fujimi has a weird way of choosing which ones to do. -Photo 6; I opened these three too, as well as the tow slot... -Photo 7; The angle of the rocker skirts wasnt low enough like the real car, but instead of cutting it off, i just added styrene stock to it, and it looks good with a nice ride height now. -Photo 8; I noticed during a test fit, that there was a slight see-through crack between the body, and interior tub, so just incase, i added styrene stock as you see it -problem solved! -Photo 9; All the arrows point to lines seams that shoulda already been there, but they werent, so i had to scribe them. -Photo 10; Lets see what i can do with this sad engine bay...i opened the rear windows, and cut out the molded in stabilizing bar -i have a more realistic one from Plastistruck. --Photo 11; I opened up the sides here like on the real car... -Photo 12; ...now i needed styrene to fill in the spaces to the parcel tray areas. -Photo 13; Here is a test fit of most of the interior bits...they all fit in harmony. -Photo 14; I really had to chop this bugger up to get the right look. Obviously all the white bits i made, and i added the carpet trimming....its all ready for paint now. -Photo 15; Just another angle with seat belt slots EVERYWHERE!!!...man thats tiring!...I'm also pointing at the storage areas i had to open up, I also had to scribe some seams that shoulda been there. -Photo 16; Believe it or not, but these seats were all the same....until i tweaked the back? two....no they arent stock, but there isnt just one kind either, i often use artistic license, and couldnt give a toss if someone didnt agree, lol I also SB seatbelts that resemble some of the real cars. -Photo 17; In order to make the dash more realistic, i needed to scribe a seam around the top of the guage cluster. The real street version of this car has a slightly different dash, but i like this one better. Since i will be gluing the doors shut, I needed to modify the door cards...i.e., Cut all the sides off. -Photo 18; Here are the last bits...i added more details to the peddles, and drilled out the exhaust tips for better realism...with the size they were, and how shallow they were, even flat black paint wouldnt look okay.
-
My latest off the bench. I really enjoyed building this kit, my 1st F1 car. Revell 1/24 all the parts fit well and the decals, oh so many decals, went down great with some solvent. Most of the time was putting on all the carbon fiber decals on the suspension components. Comments welcome as always and thanks for looking.
-
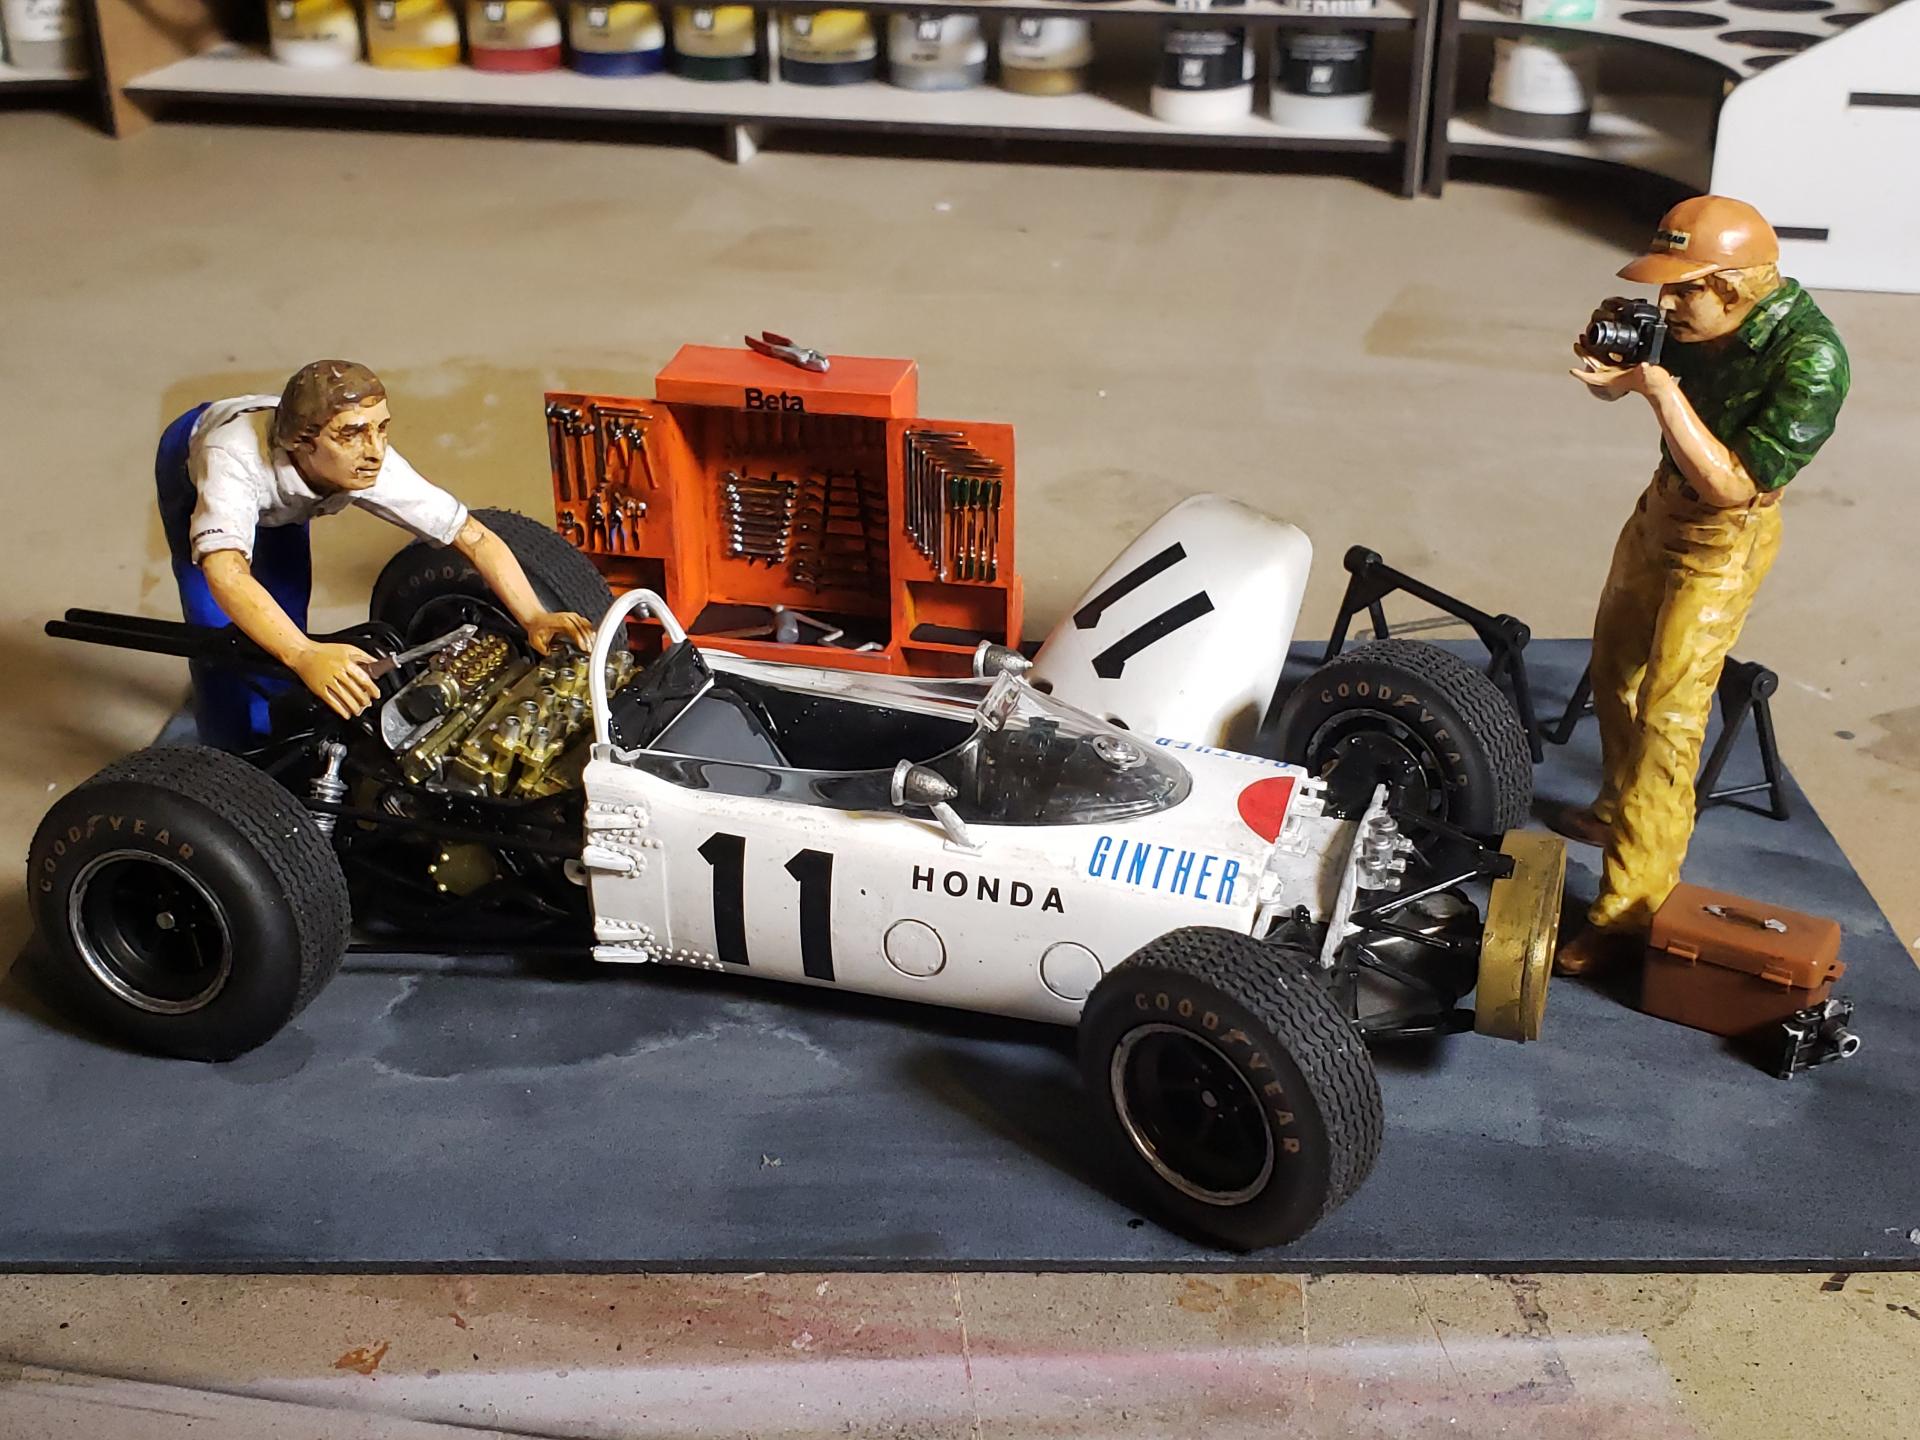
The last one I'll get finished this year, still have a couple on the bench. I really enjoyed building this, the engine was a little fidgety with the intake horns and drilling out the tailpipes was an adventure. The kit came with real metal springs for the rear suspension. Although it looks frail it is actually pretty rugged. I painted the rising sun as I was afraid the supplied decal wouldn't conform. All in all I'm pretty pleased with it. Honda's first F1 victory in 1965 at the Mexican GP. Comments welcome, thanks for looking.
-
My latest completed build at TandemCTelevision on YT. The idea was a pit scene of a race used Honda RA272, maybe after it's Mexico GP win.
- 10 replies
-
- tamiya
- honda ra272
-
(and 1 more)
Tagged with:
-
Hey folks, just picking up the hobby again after a few years. Nice to do something not involving a screen for a bit! It's gonna be F1 cars, and mainly I'm just sticking to the cheaper plastic stuff like the Tamiya 1:20s and the Revell 1:24s. I built a few, and then figured if I'm going to build em, I might as well share my tips (and mistakes) for all to see! Just doing my best with basic paints and brushes, no air spraying or anything too specialist from me, but I enjoy seeing the work of those who do that stuff too
-
I made this kit a while back and cant remember the brand, I think it might be revell (correct me if I'm wrong) regardless I really enjoyed the built, hope you guys enjoy the video.
- 13 replies
-
If you want a decent cabinet piece and great value for money I would highly recommend these little Revell F1 cars. With some added detail they come out pretty decent, I've built x3 of them now and there are some issue with warped wonky wings and wheels maybe not always 100% facing the way the should (I right that off as camber) otherwise really nice Hope you guys enjoy the video let me know what you think
-
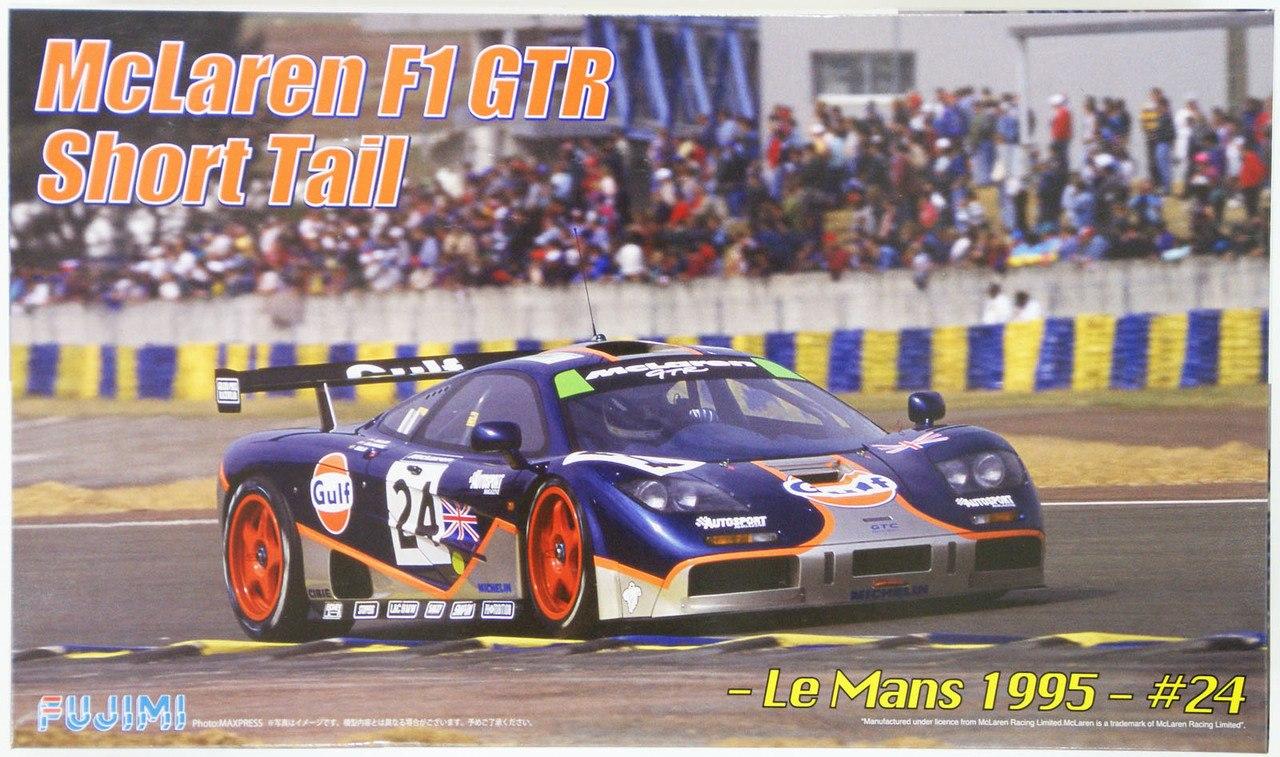
So i recently started a new build... the F1GTR Long tail. I bought the kit as a gulf racing livery. However ive decided to give it my own personal touch. The color combo might not be to everyones liking. but i thought its something else for a change... still undecided if i need more purple on the body. Hereby some pix Let me know what you think, and any advice/tips are sure welcome!
-
From the album: Ferrari F189
-
From the album: Ferrari F189
-
From the album: Ferrari F189
-
From the album: Ferrari F189
-
From the album: Ferrari F189
-
From the album: Ferrari F189
-
A few quick pictures of a project that was a on again off again build. I finished this about a year ago. It's a Revell f1 kit. A good kit for a quick build. Decent detail. The car was built post race winner. Note the light weathering and tire clag. The clag was made by taking an eraser and rubbing it on a sanding stick. It was stained black with some ink. I used a clear glue that I tinted black with the same ink. Then blended it in with chalk. The driver is a Tamiya rally driver with a Different helmet . Helmet details were done with a Sharpie markers.
-
Hello everyone. This is my Williams FW14B completed last year. The build was posted in the On The Workbench category but I never posted the finished model here which is where it should be. It took about 8 months to complete and it was the first large scale detailed build I did. Aftermarket parts were mostly from Thunder Valley, RB Motion, and SMS for the carbon fiber decals. I really learned a lot from this build and am currently working on the 1/12 Tamiya MP4/6.
-
So, after a while of not posting on here, i have decided on my next project, i want to build a BRISCA f1, unfortunatly there are no sets made of these cars, so it will have to be scratch built, i have managed to make one in a 3d model software before, so how hard can it be irl right? having just been paid my first wage, i can now afford the styrene to make it, but im not sure the sizes i should get and i may need a bit of help with some things, as its my first time scratchbuilding. i have found a brilliant build diary on a website showing exactly how the guy made one, however there isnt any sizes that i can refer to, so im not sure of the styrene i should get, here is a link to the build diaries from 1 to 5: http://f1stockcars.com/?s=build+diary. Also, does anyone know of any sites that sell styrene based in england, as it takes weeks to be shipped from america and my local model shop doesnt stock it.
