Cuba_13
-
Posts
147 -
Joined
-
Last visited
Content Type
Profiles
Forums
Events
Gallery
Everything posted by Cuba_13
-

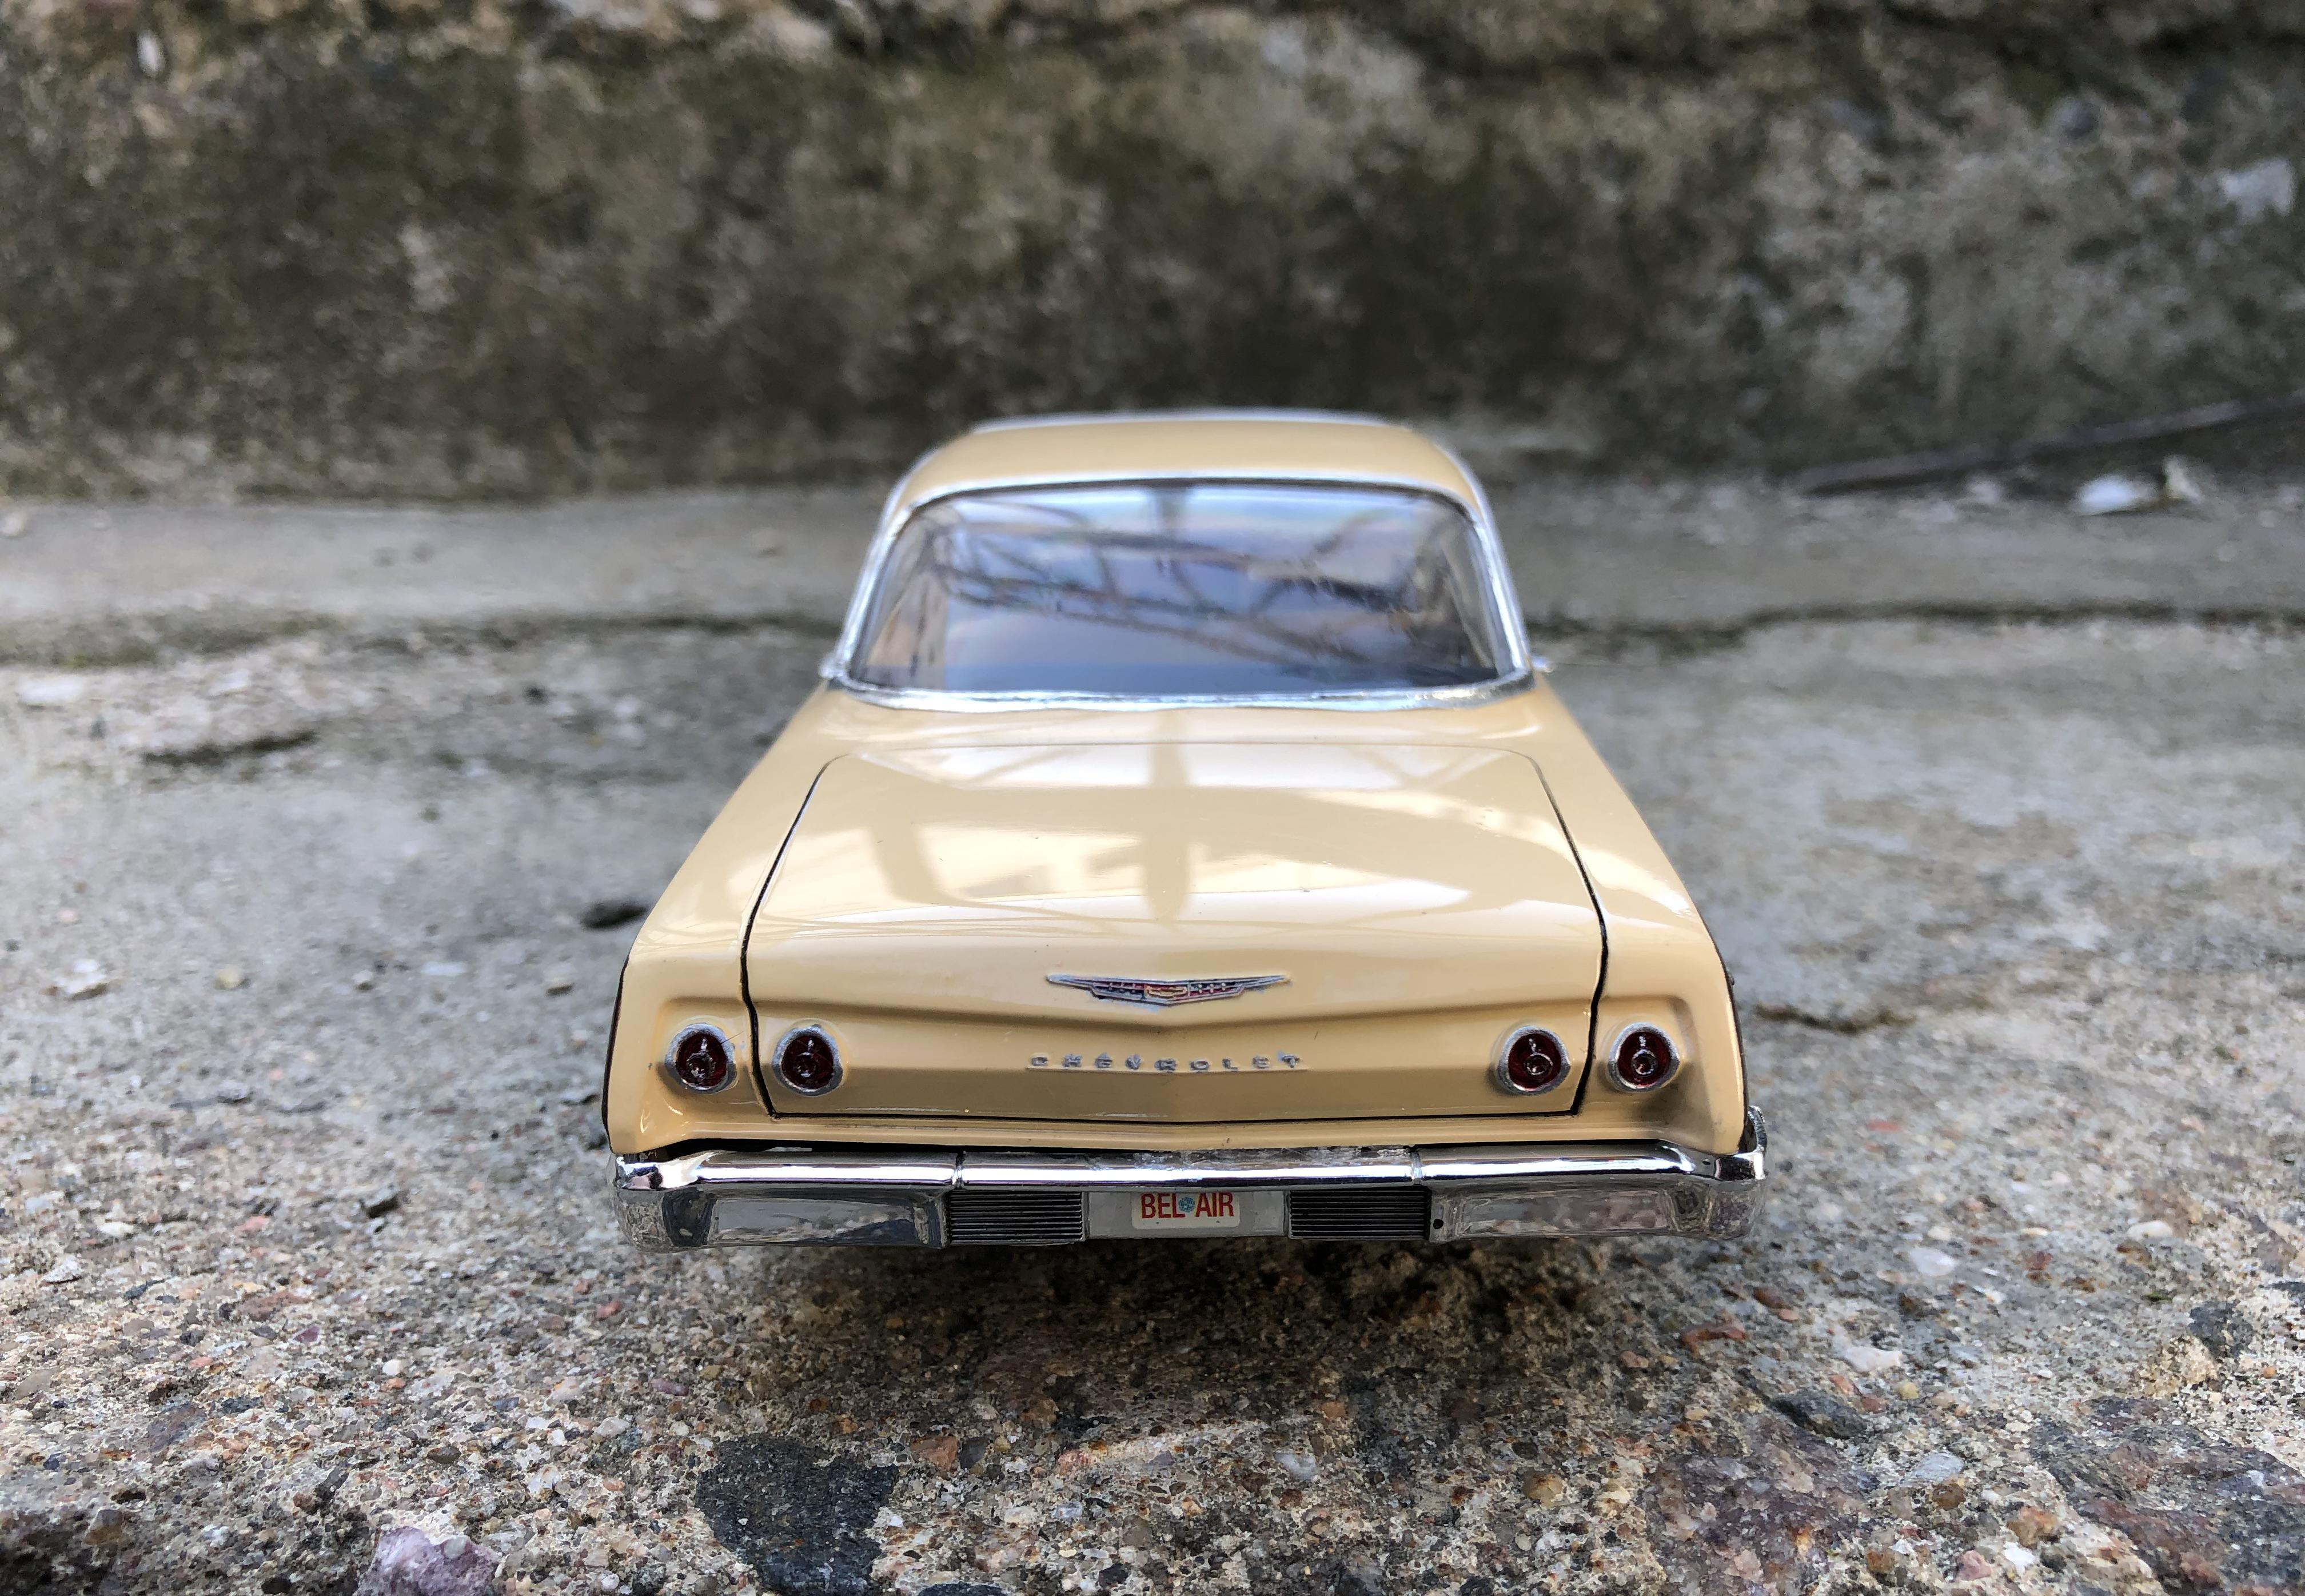
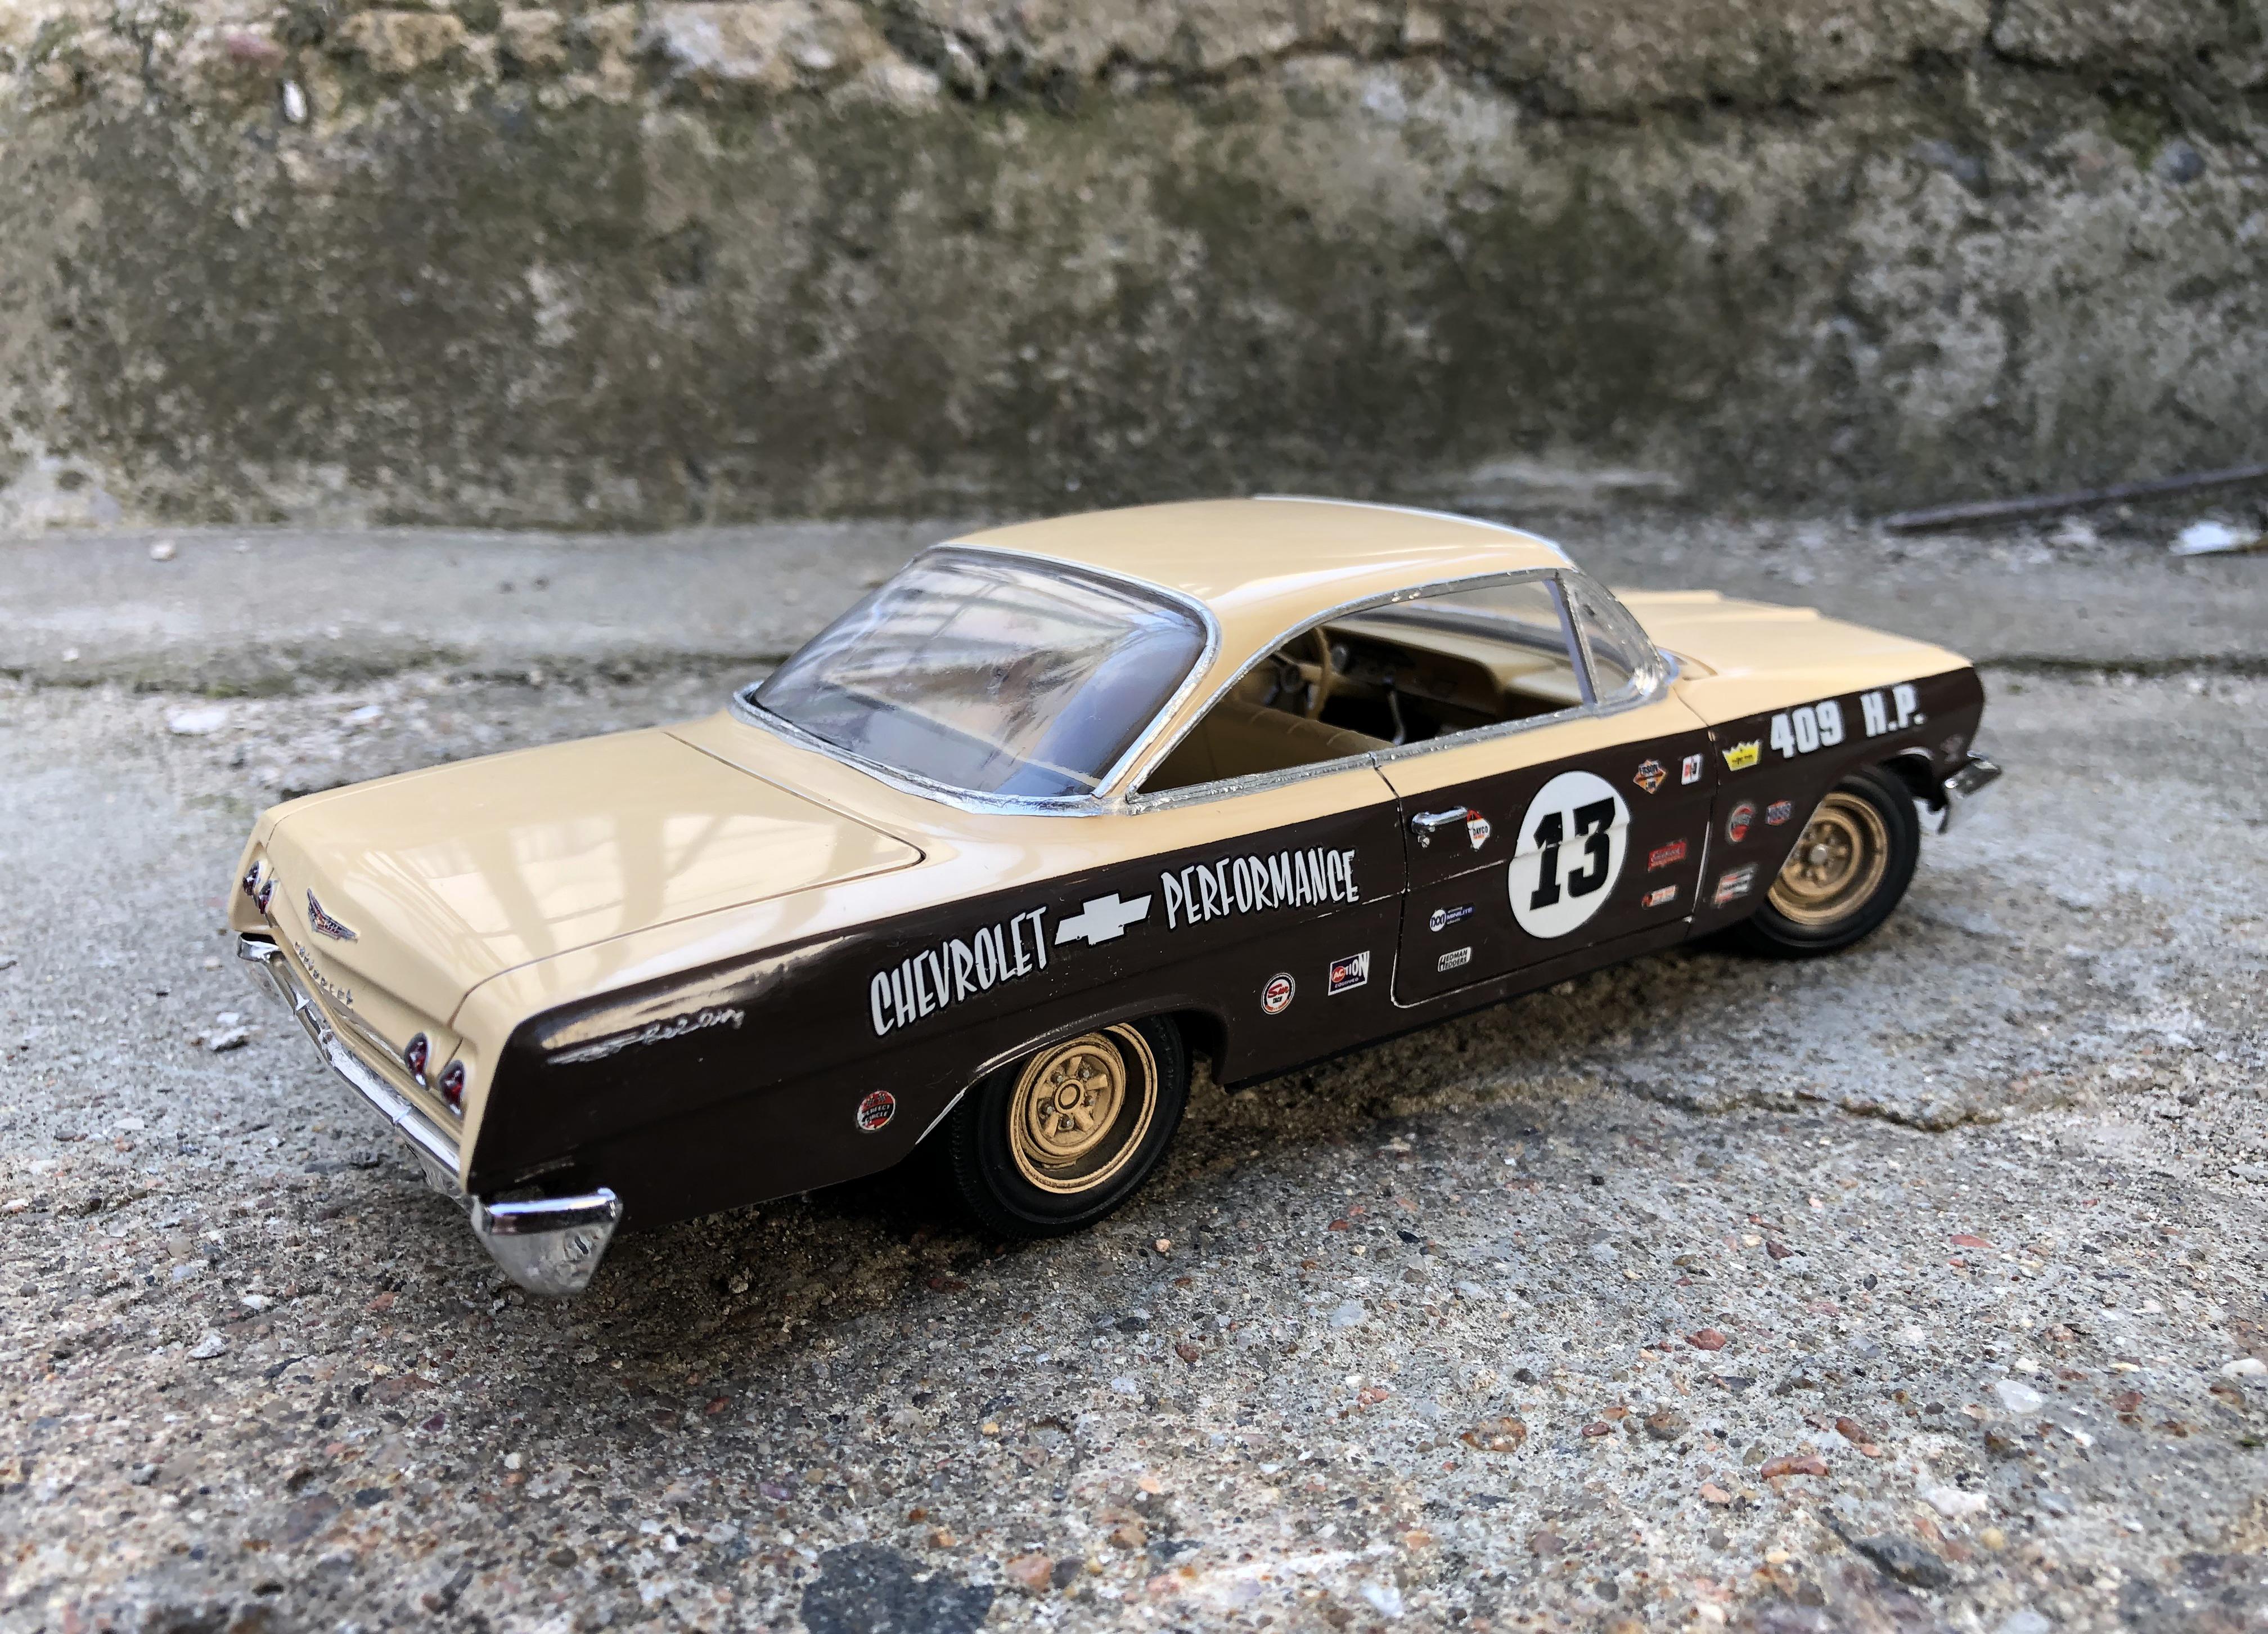
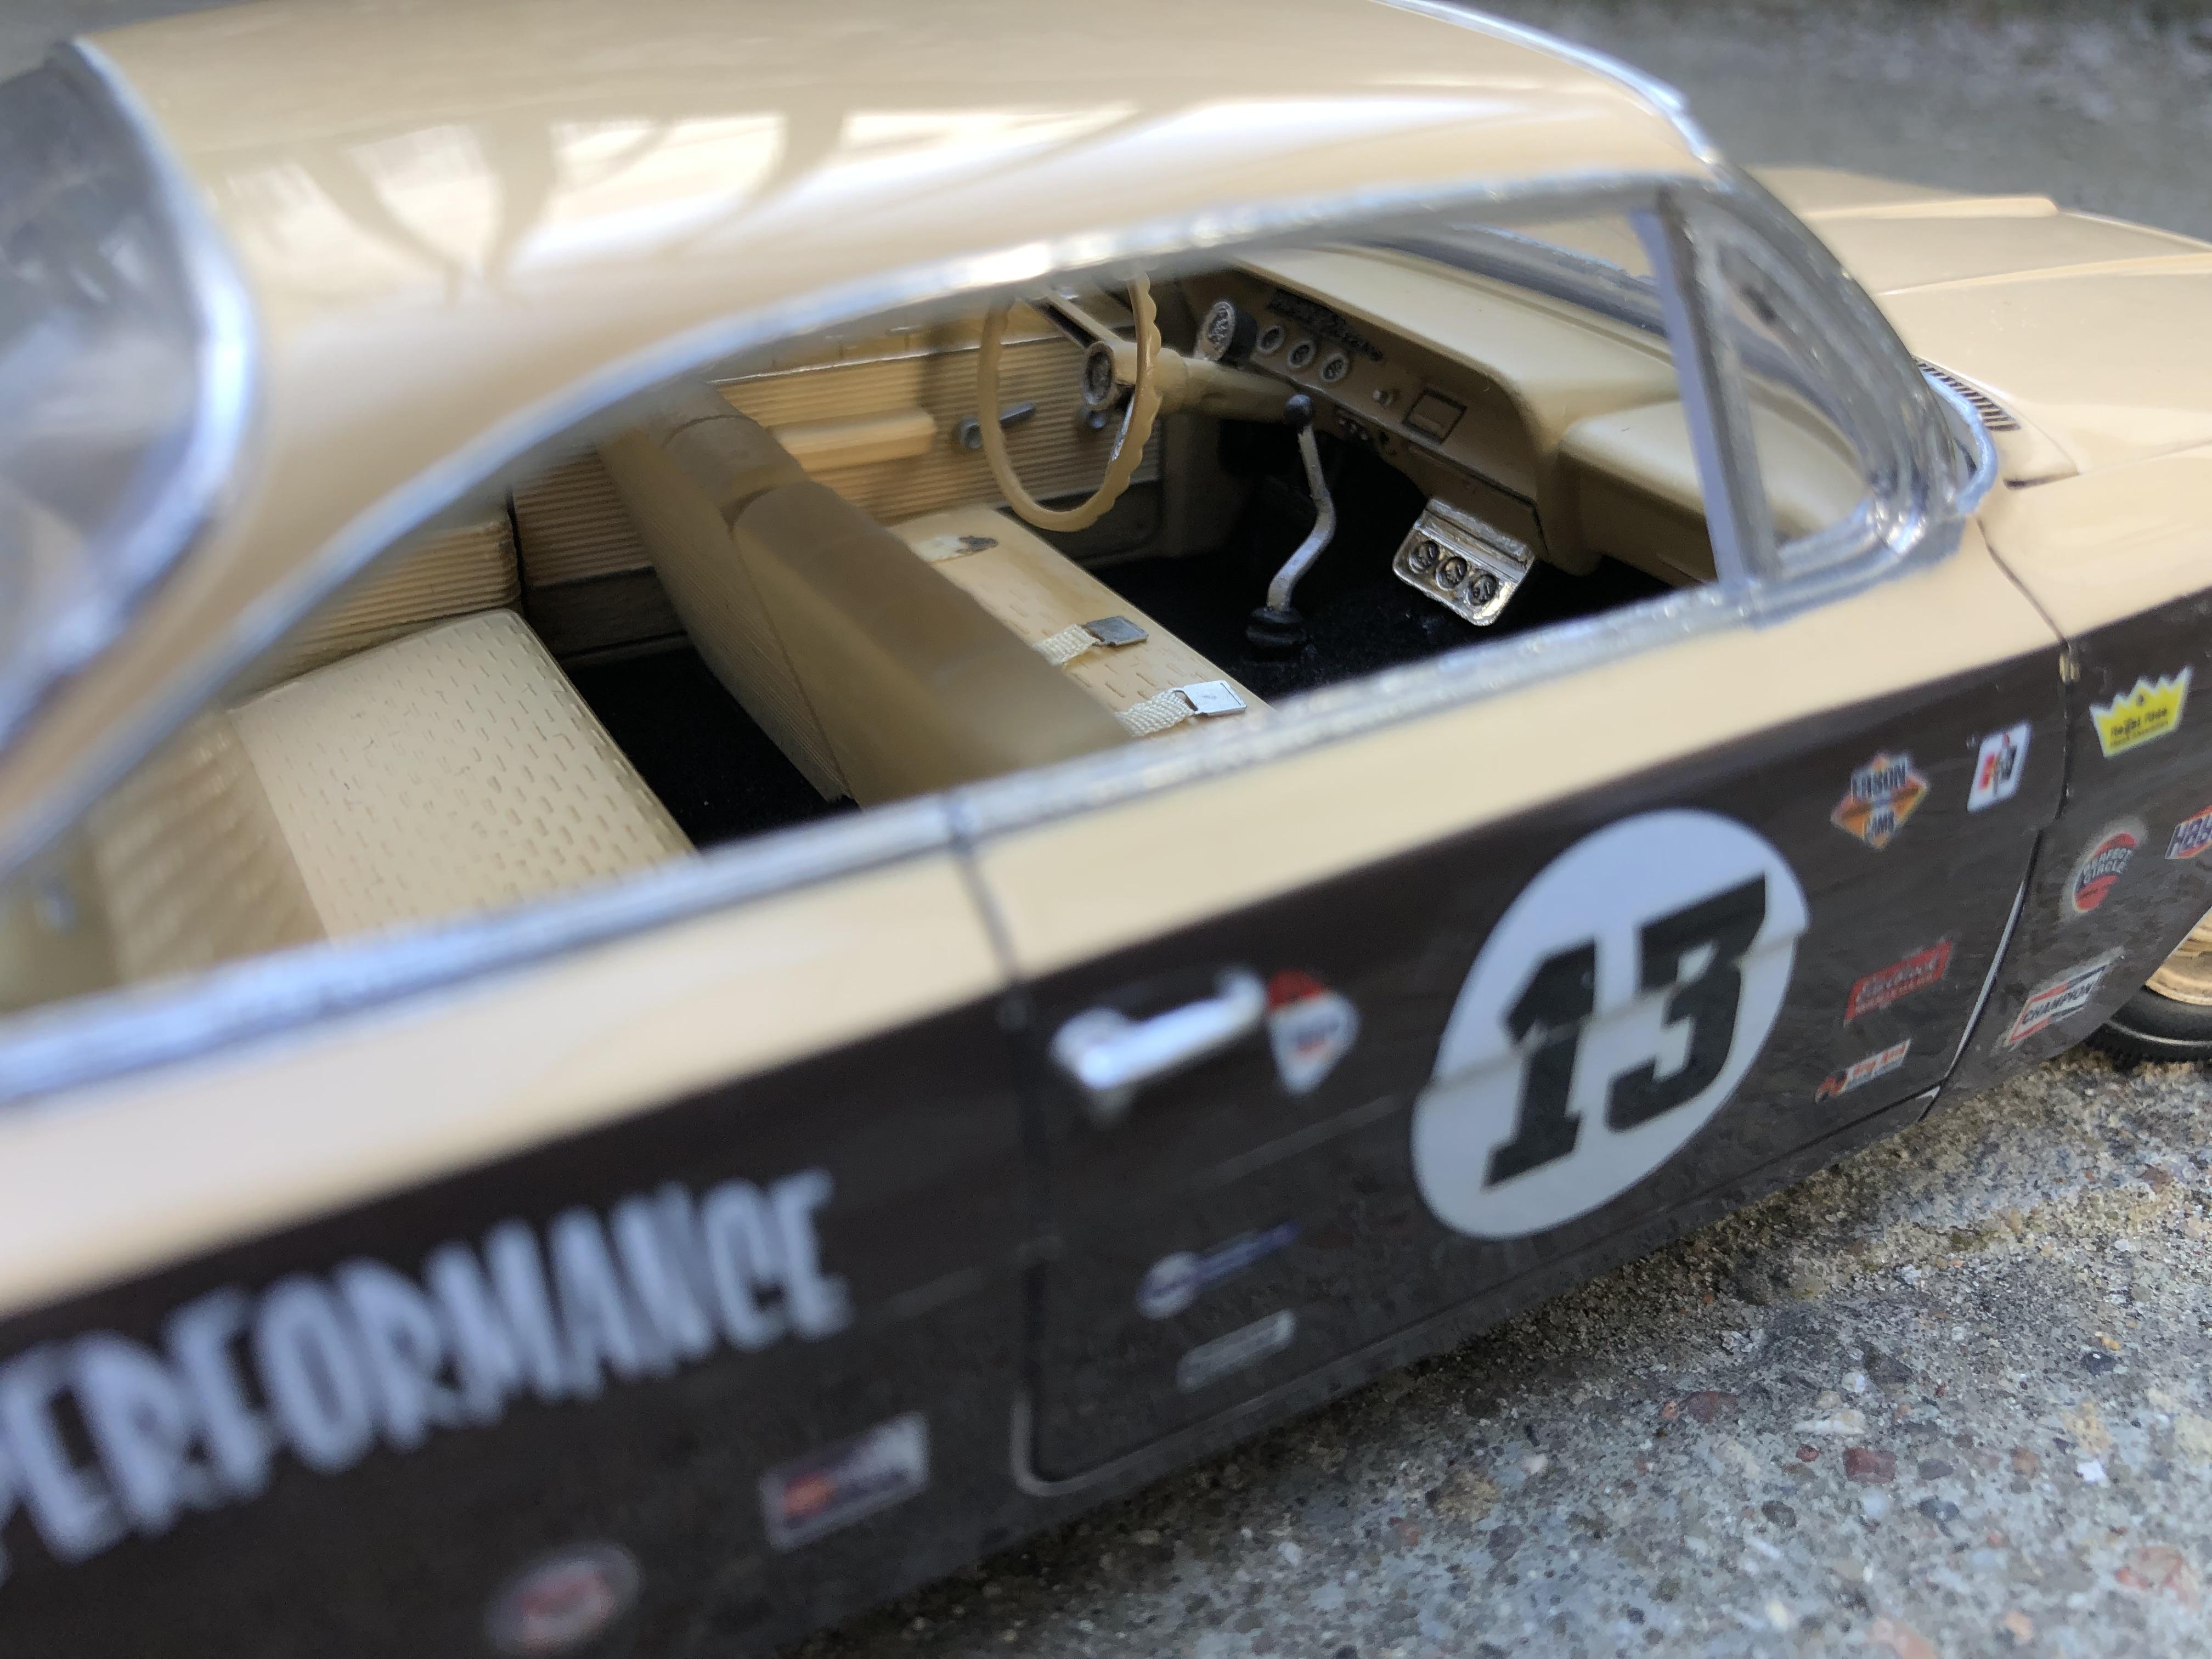
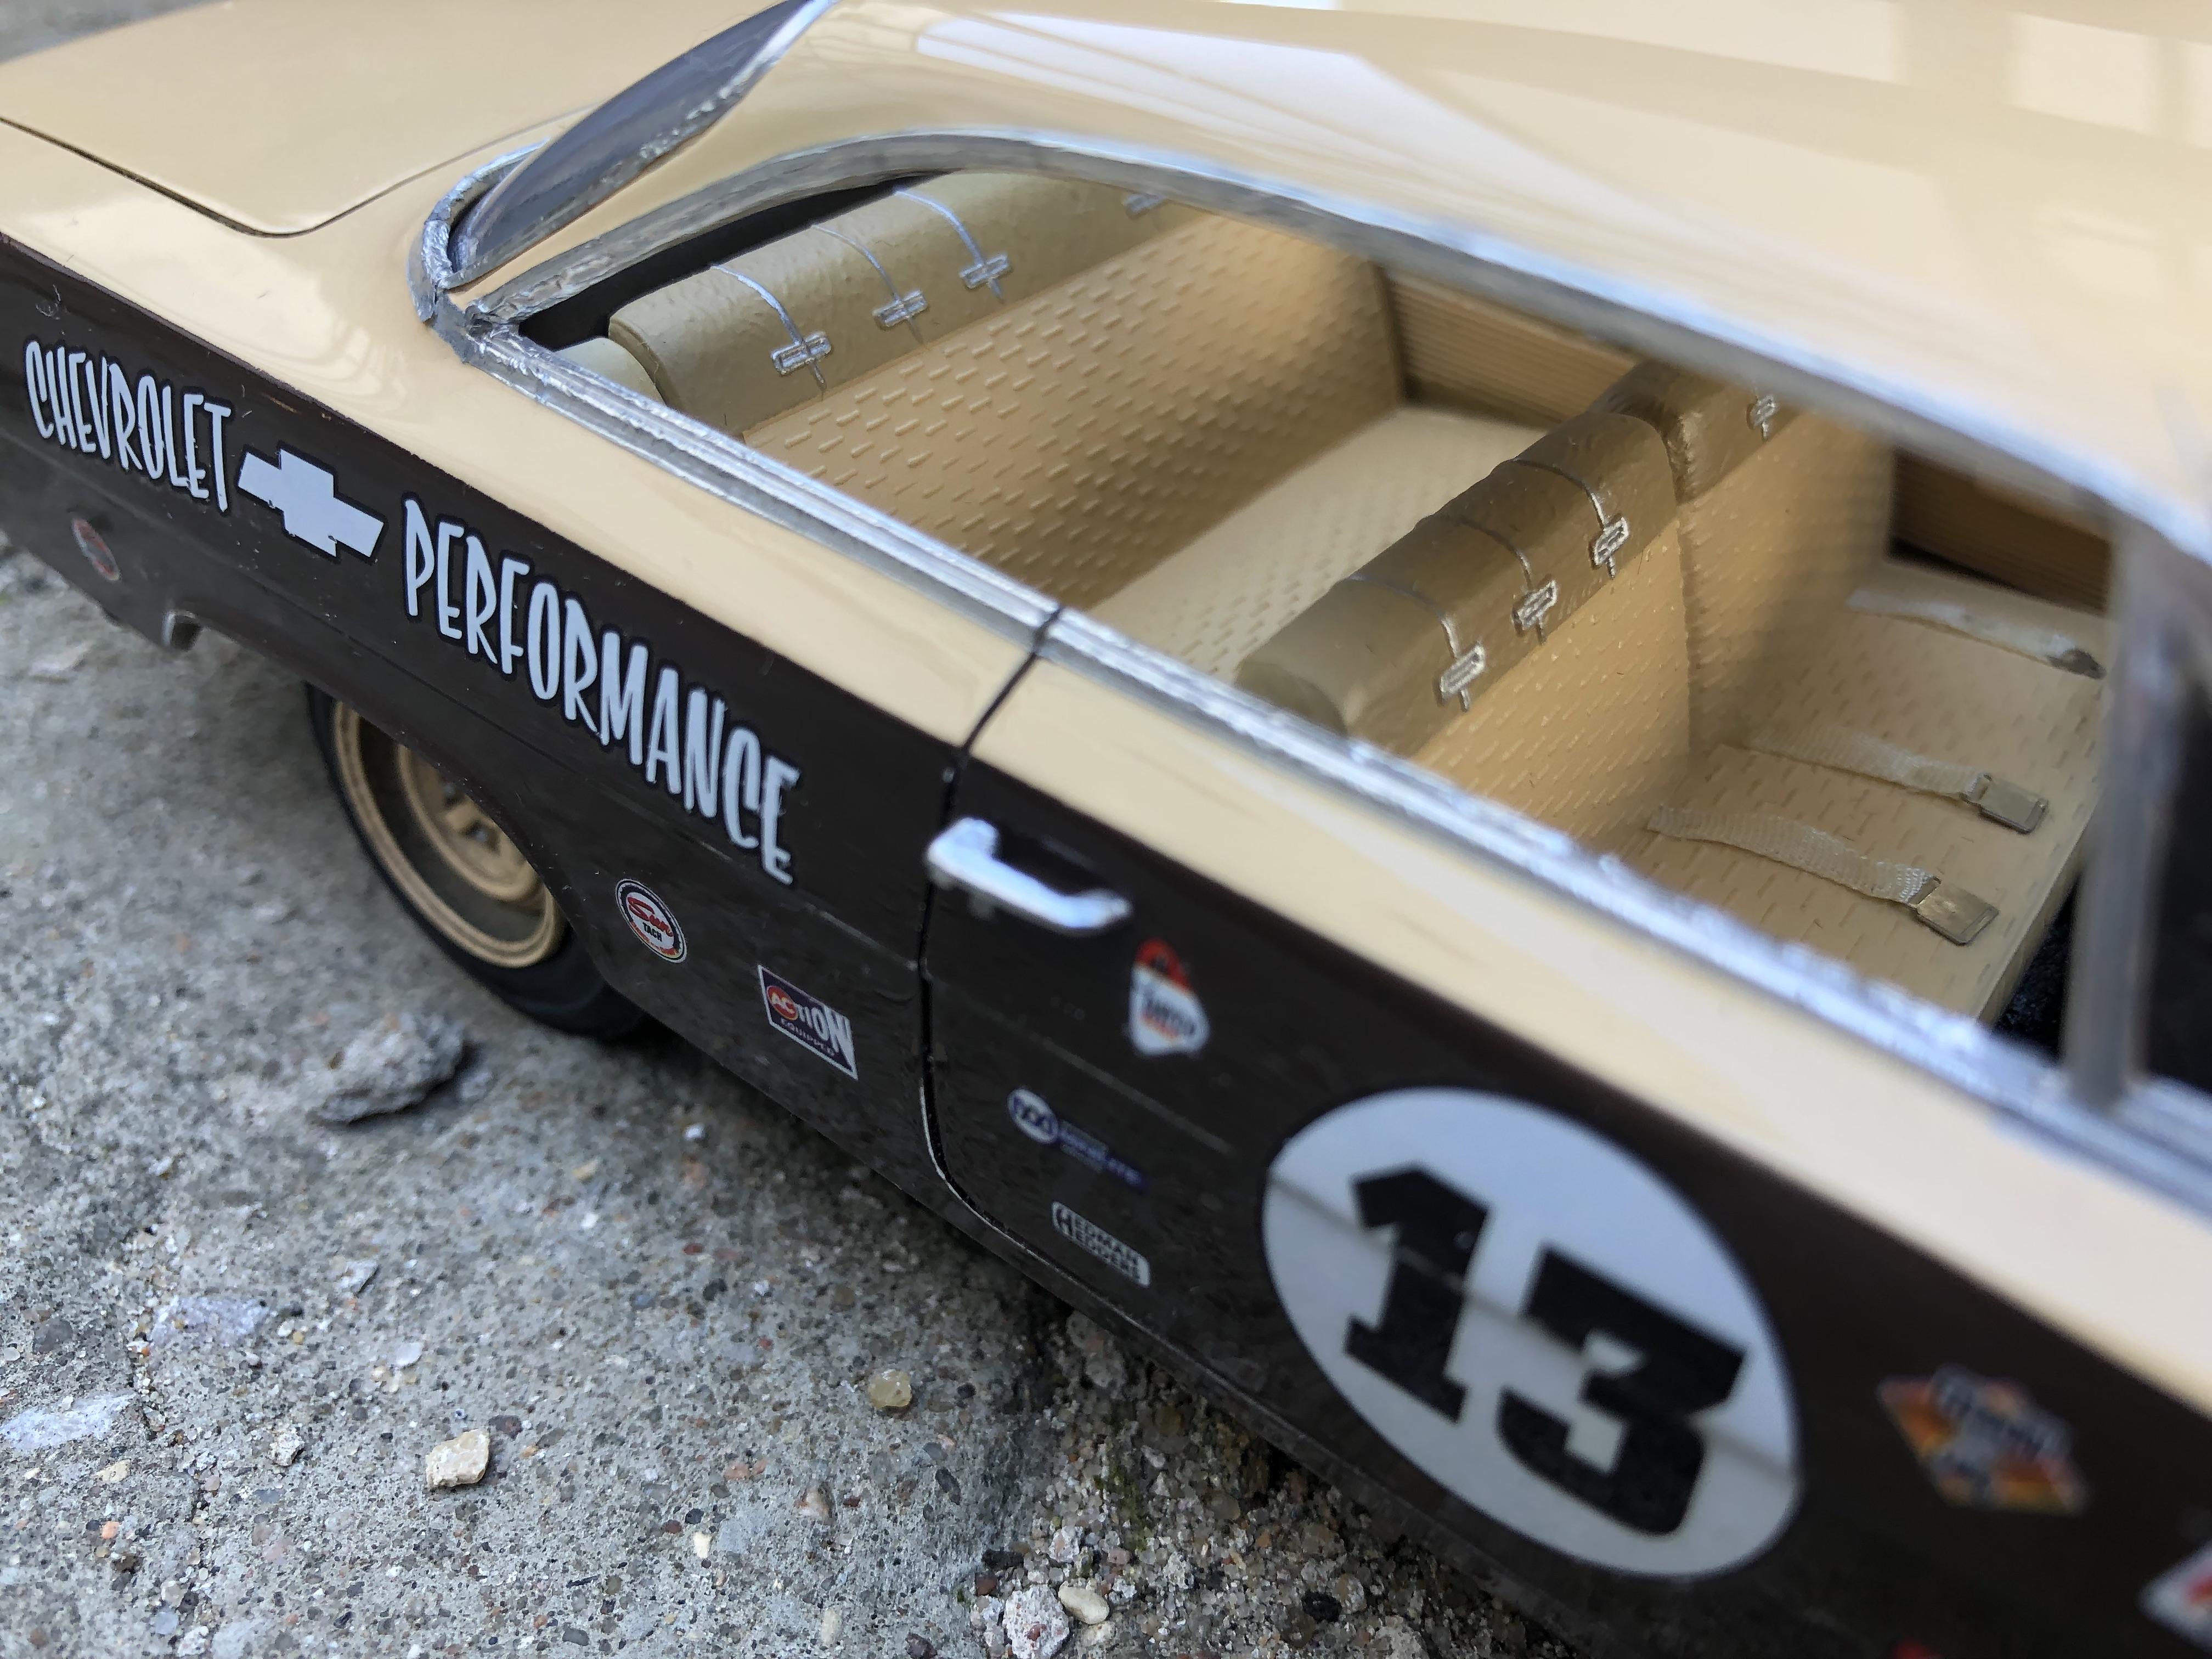
1/25 [AMT-ERTL] 1962 Chevrolet Bel Air 409 Race Car
Cuba_13 replied to Cuba_13's topic in Model Cars
It's Pledge. -
The model is finished, you can see the final photos at the link:
-
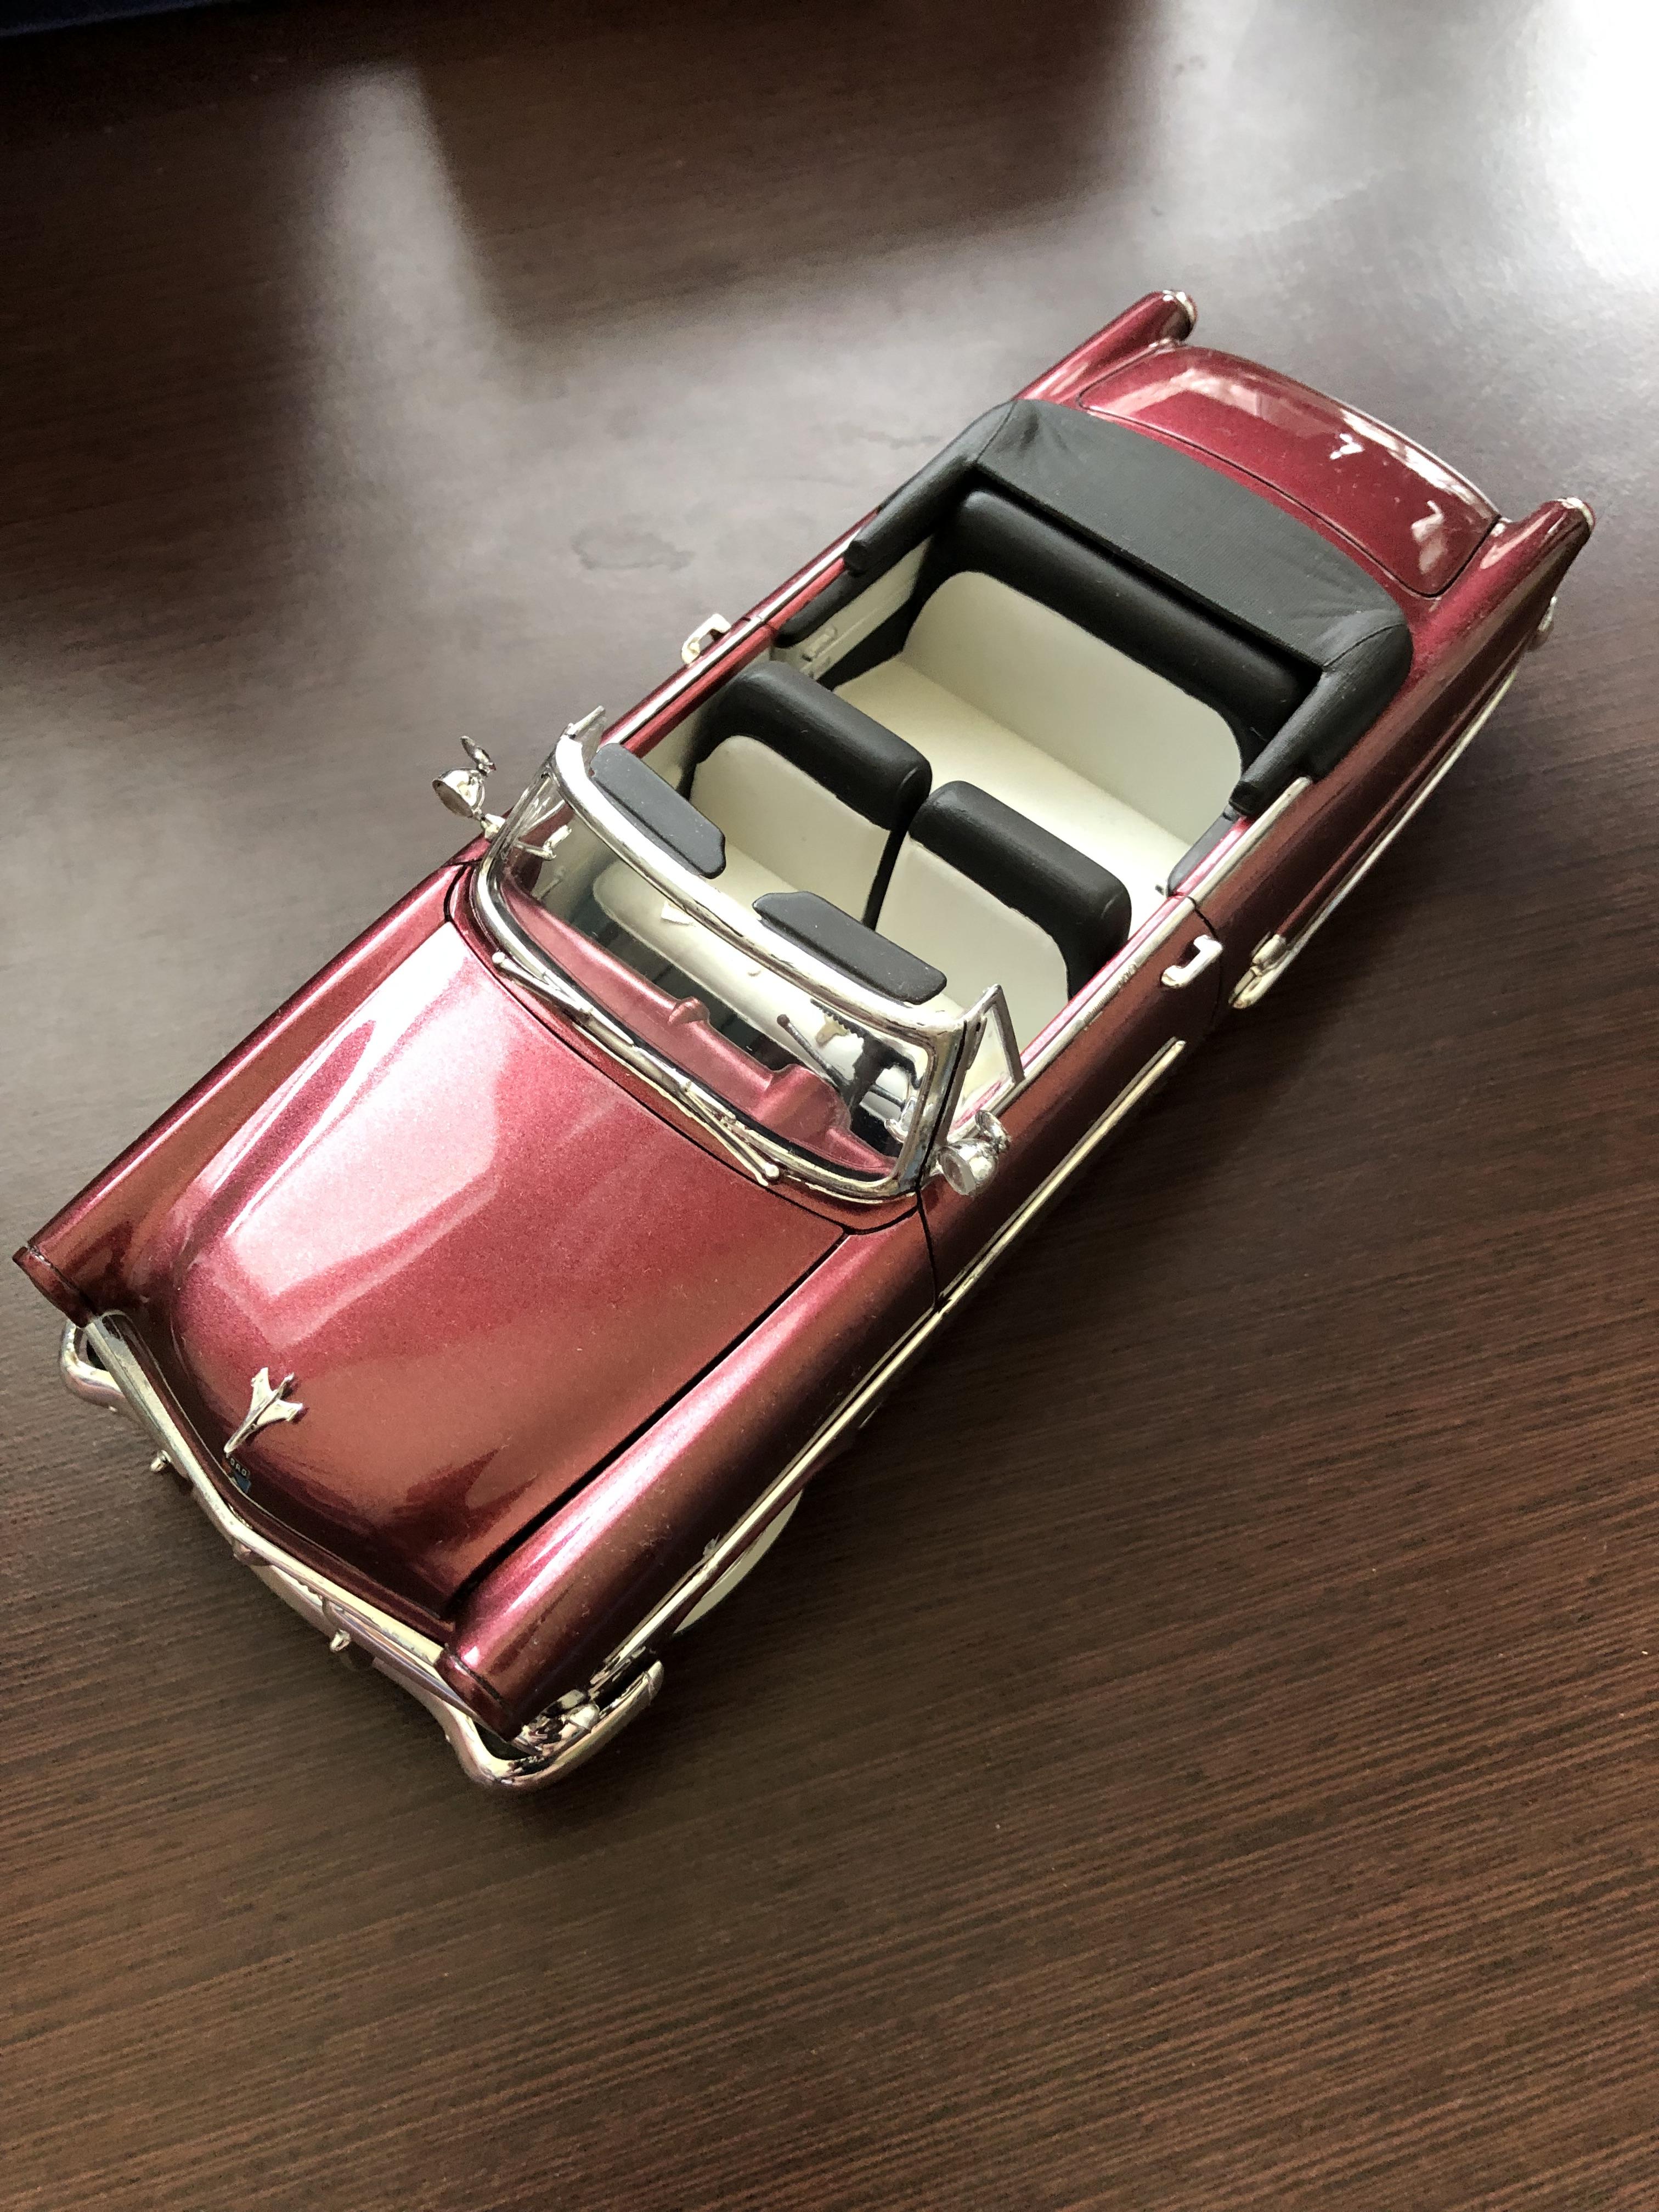
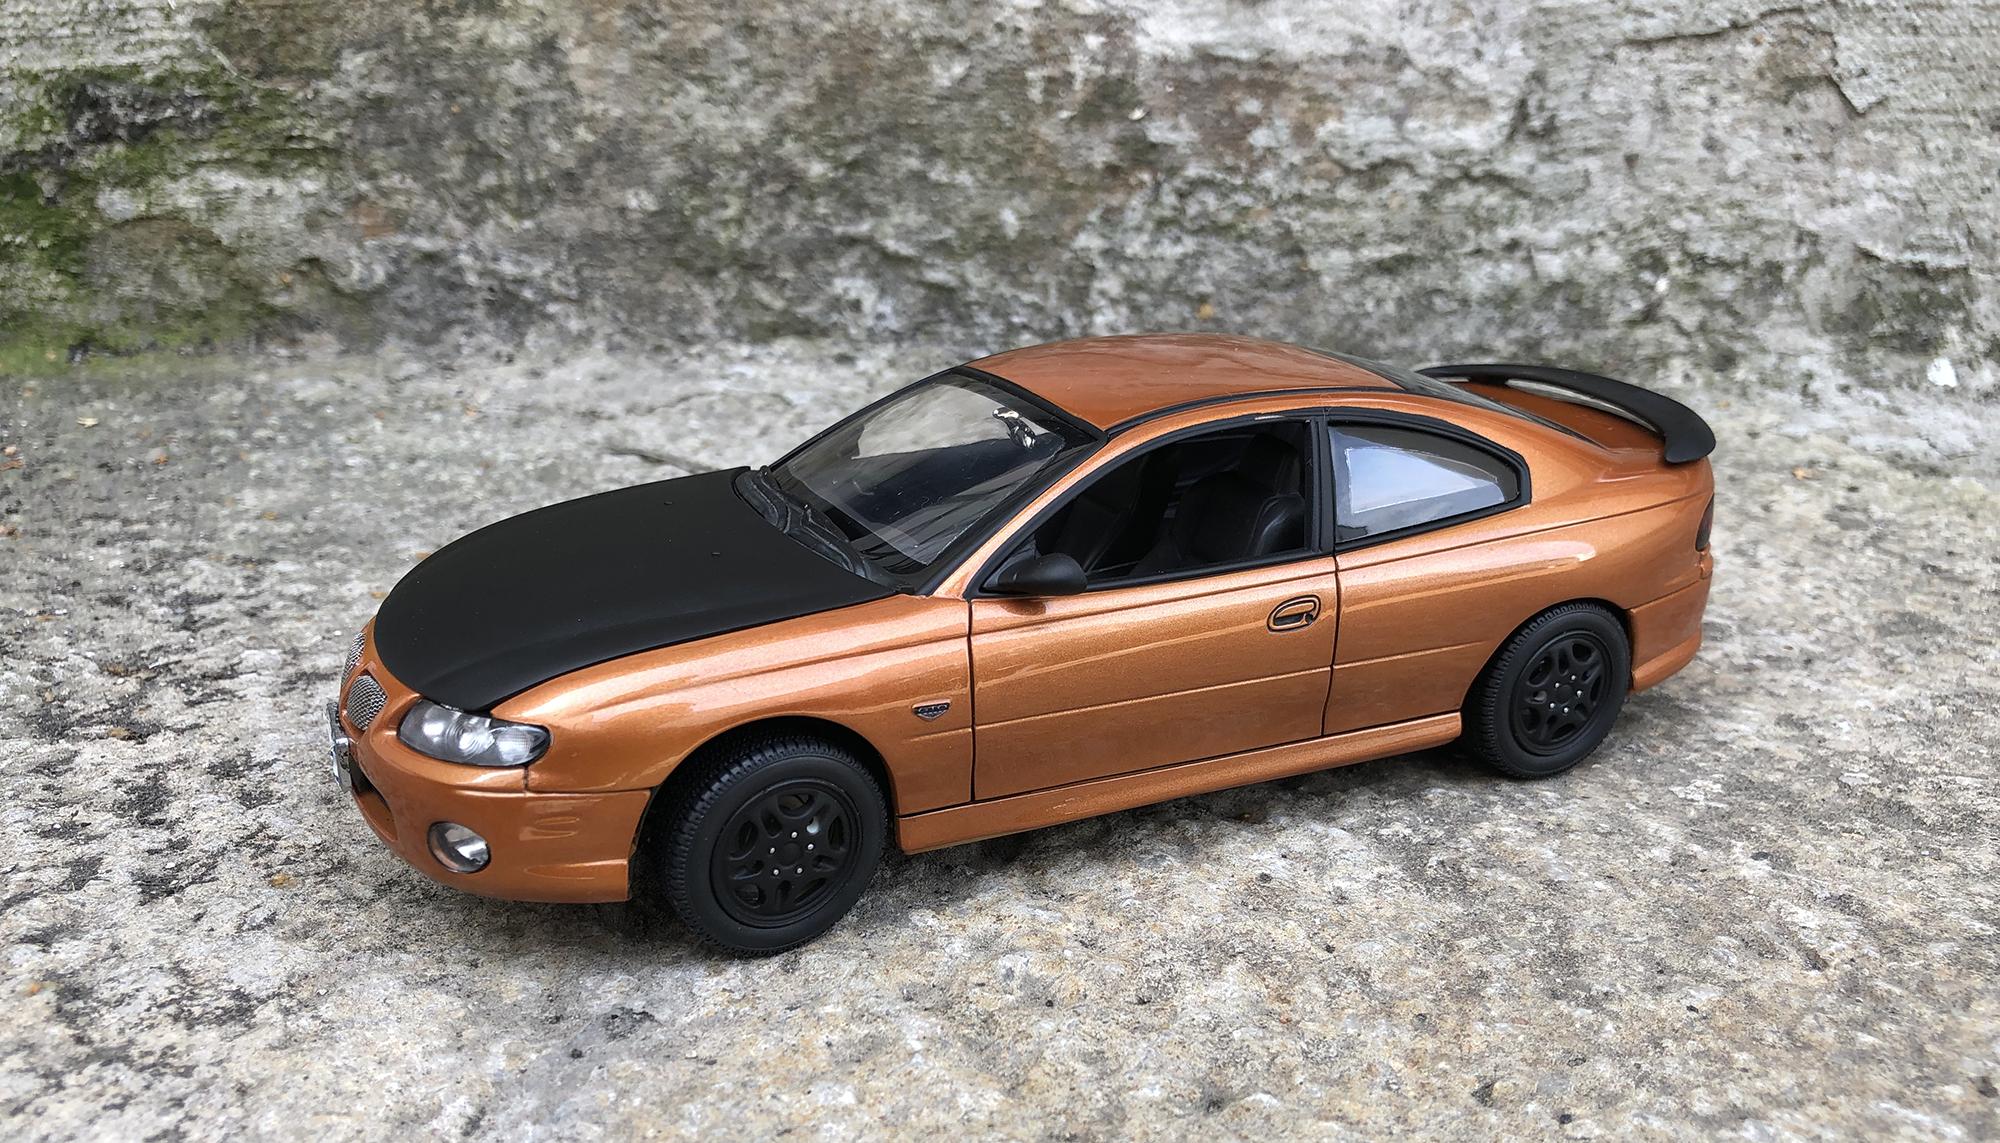
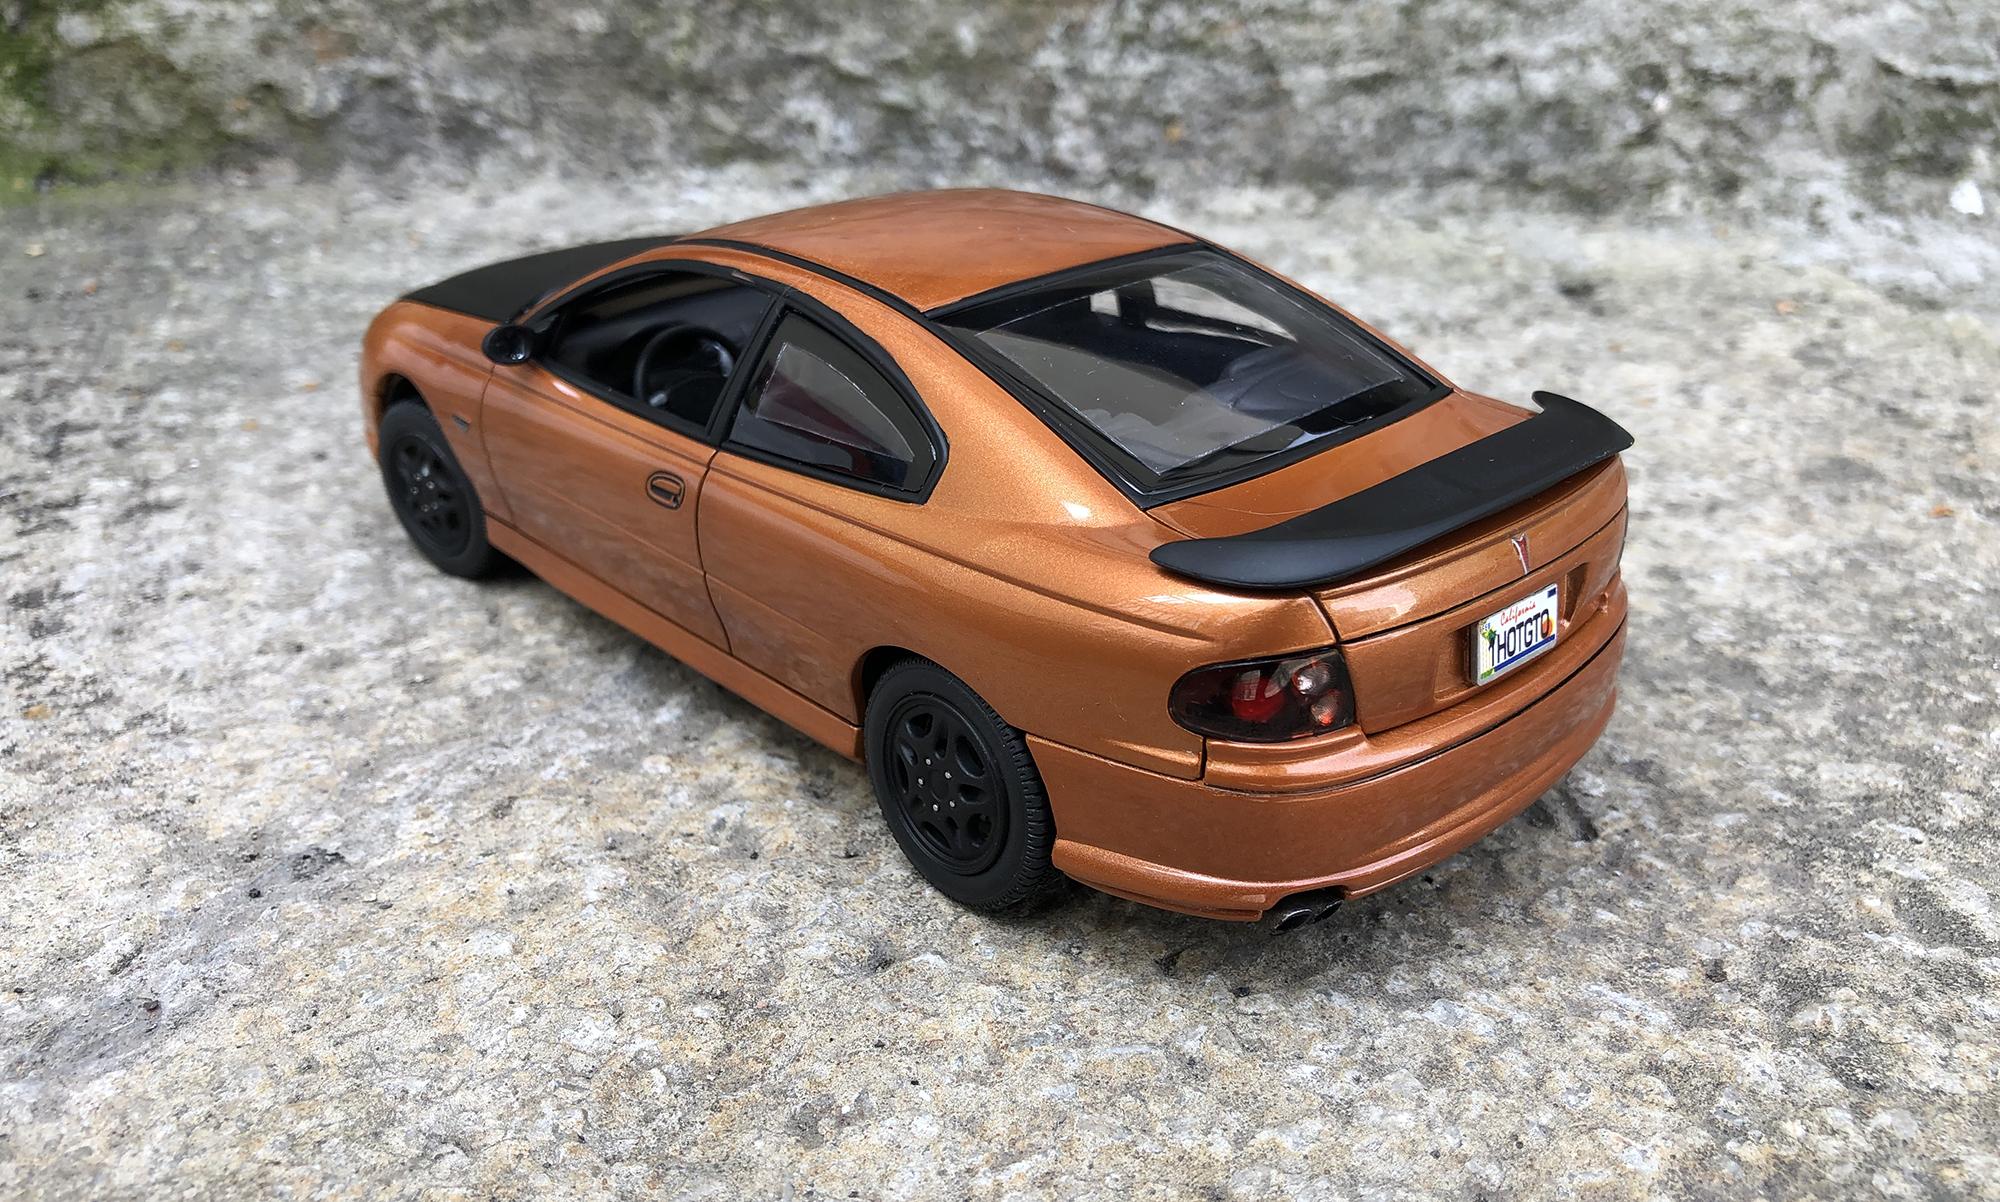
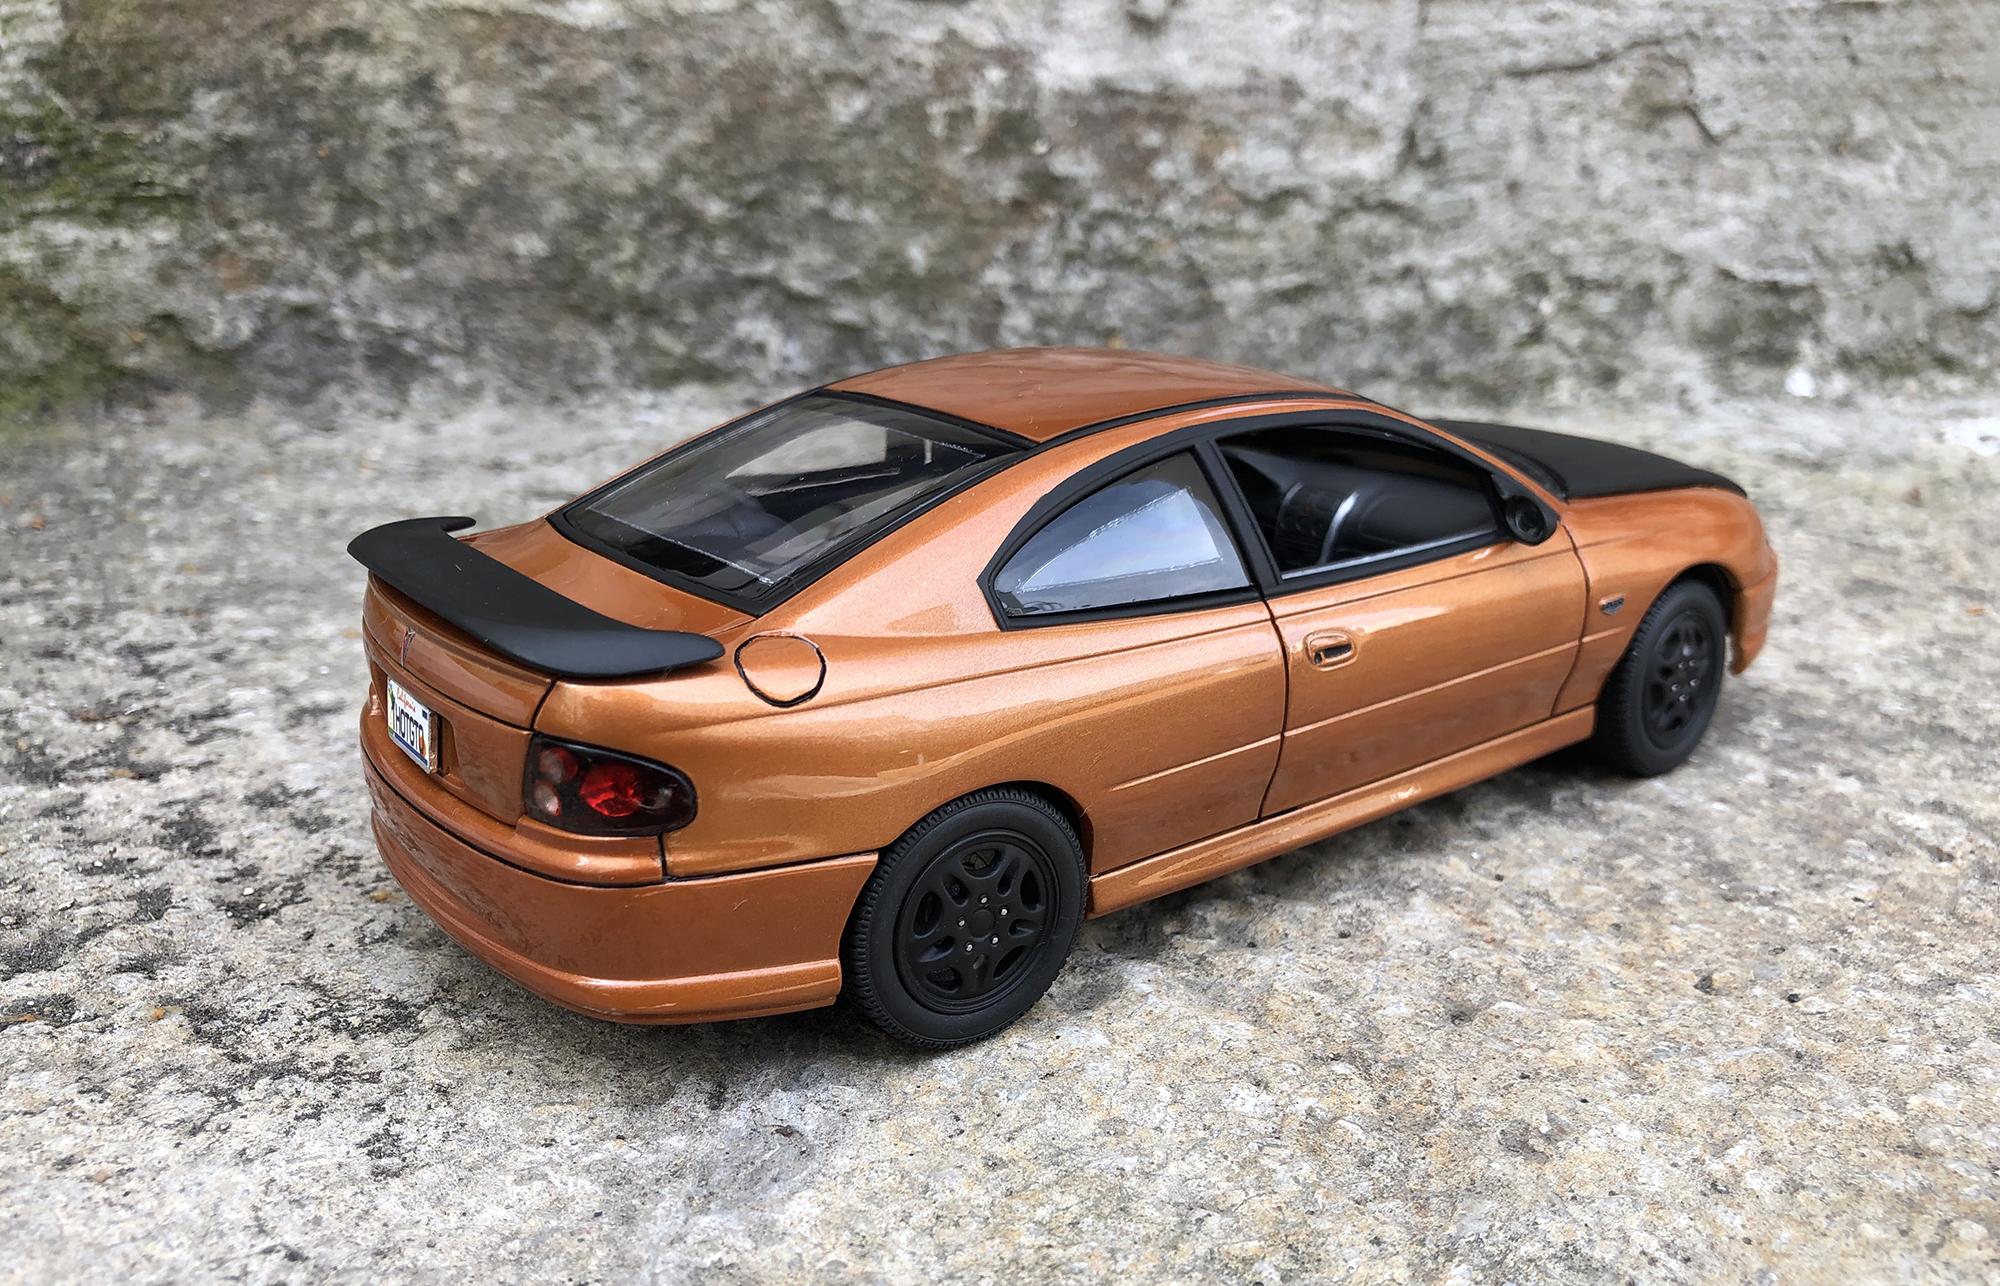
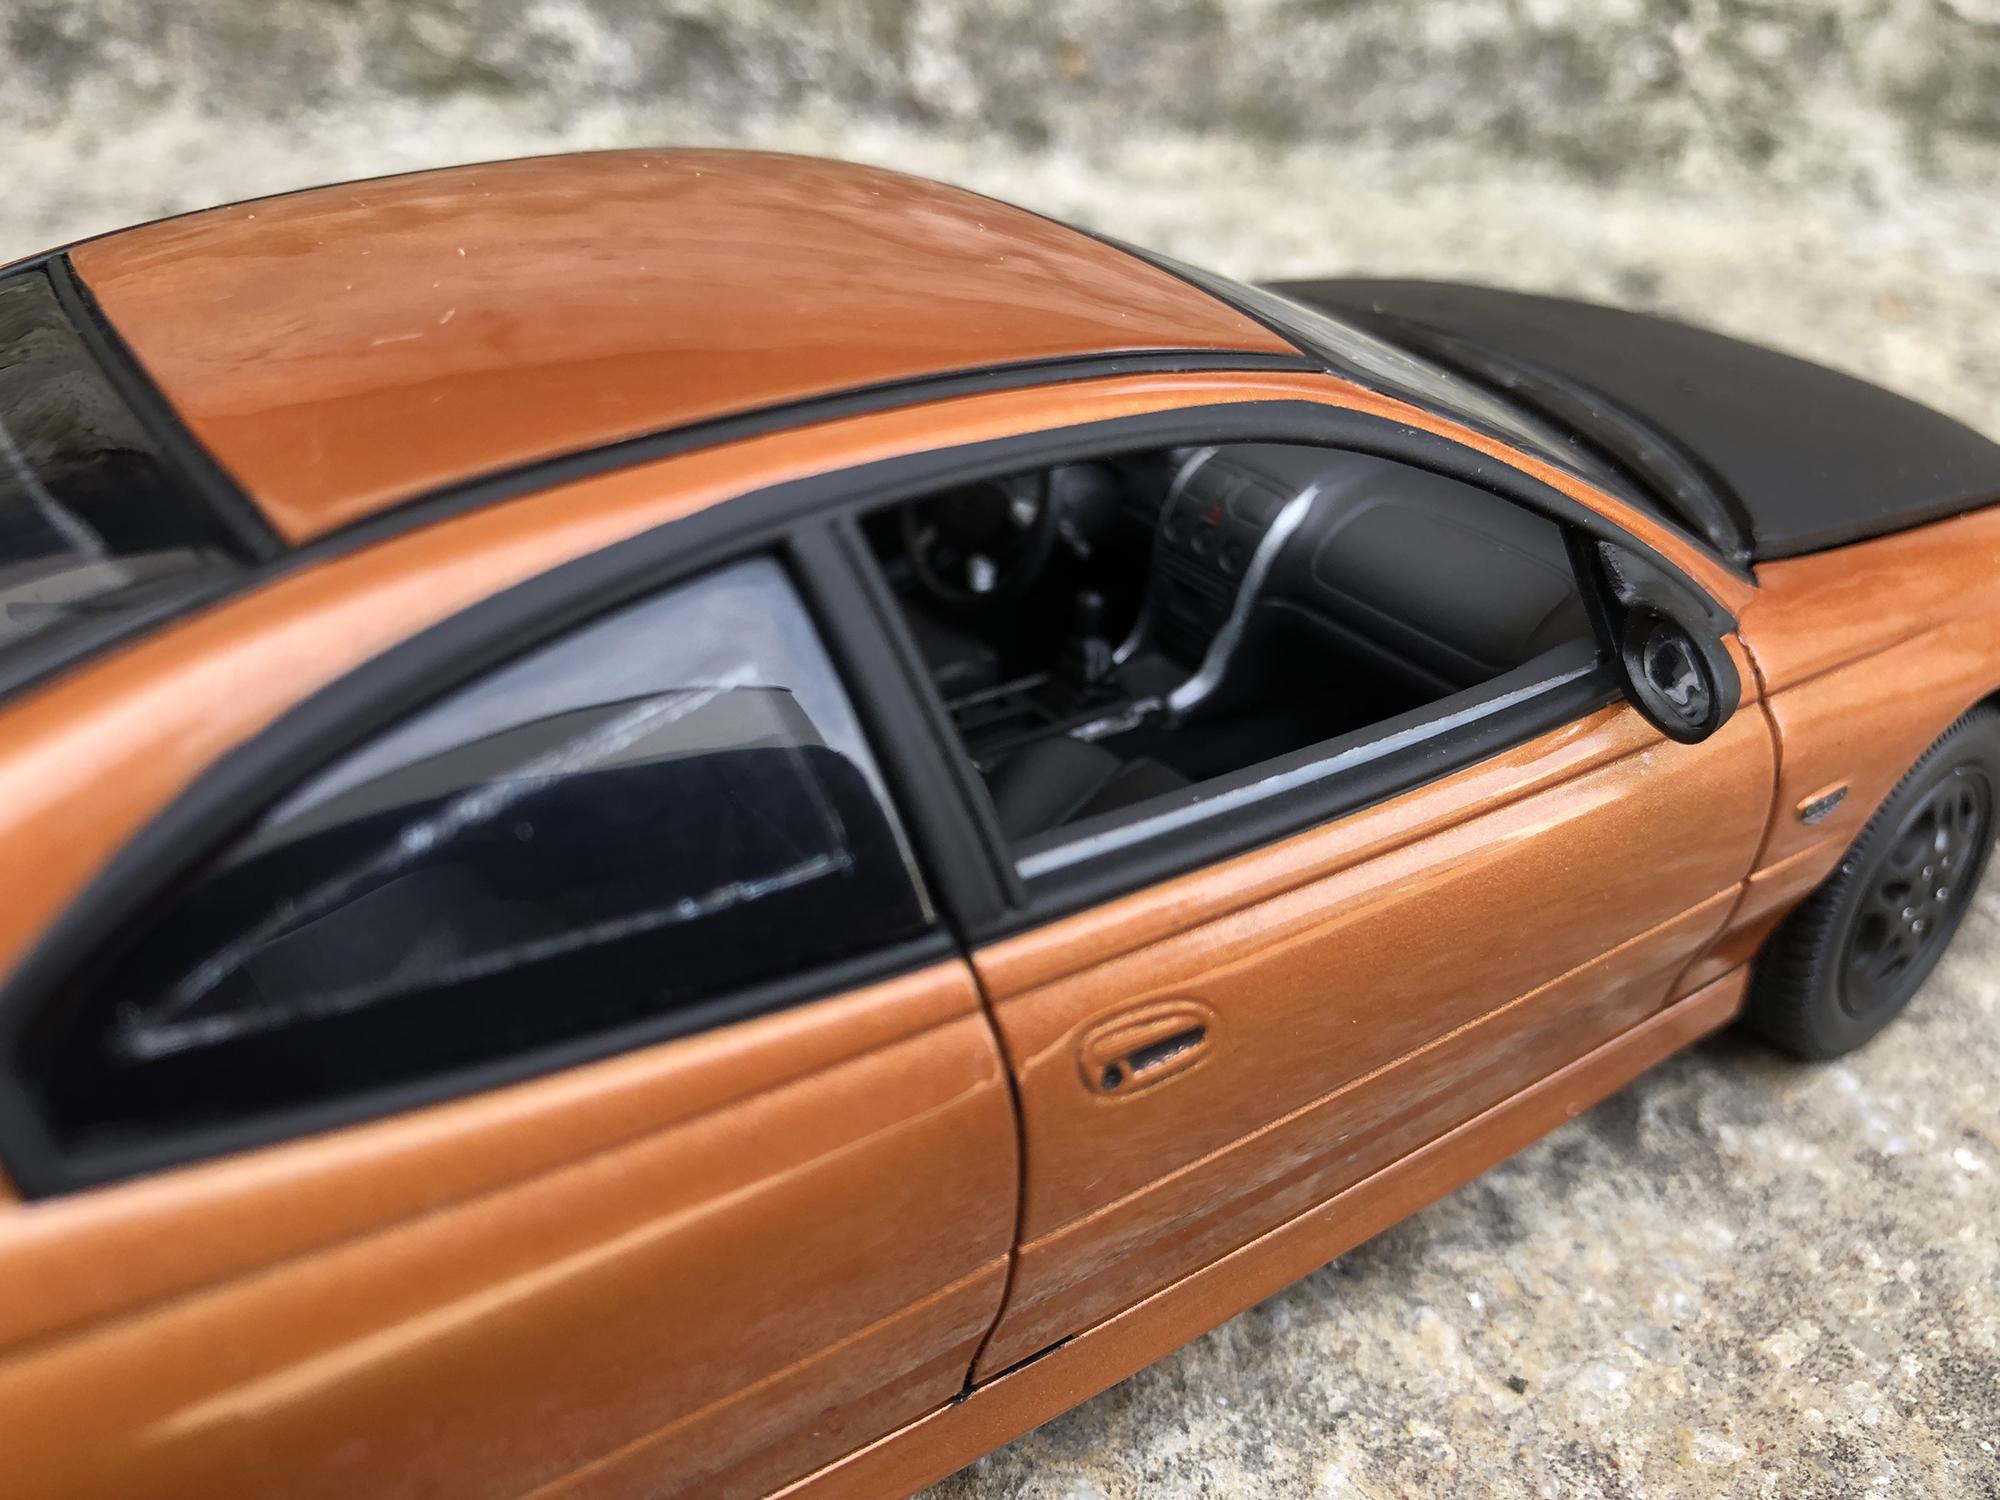
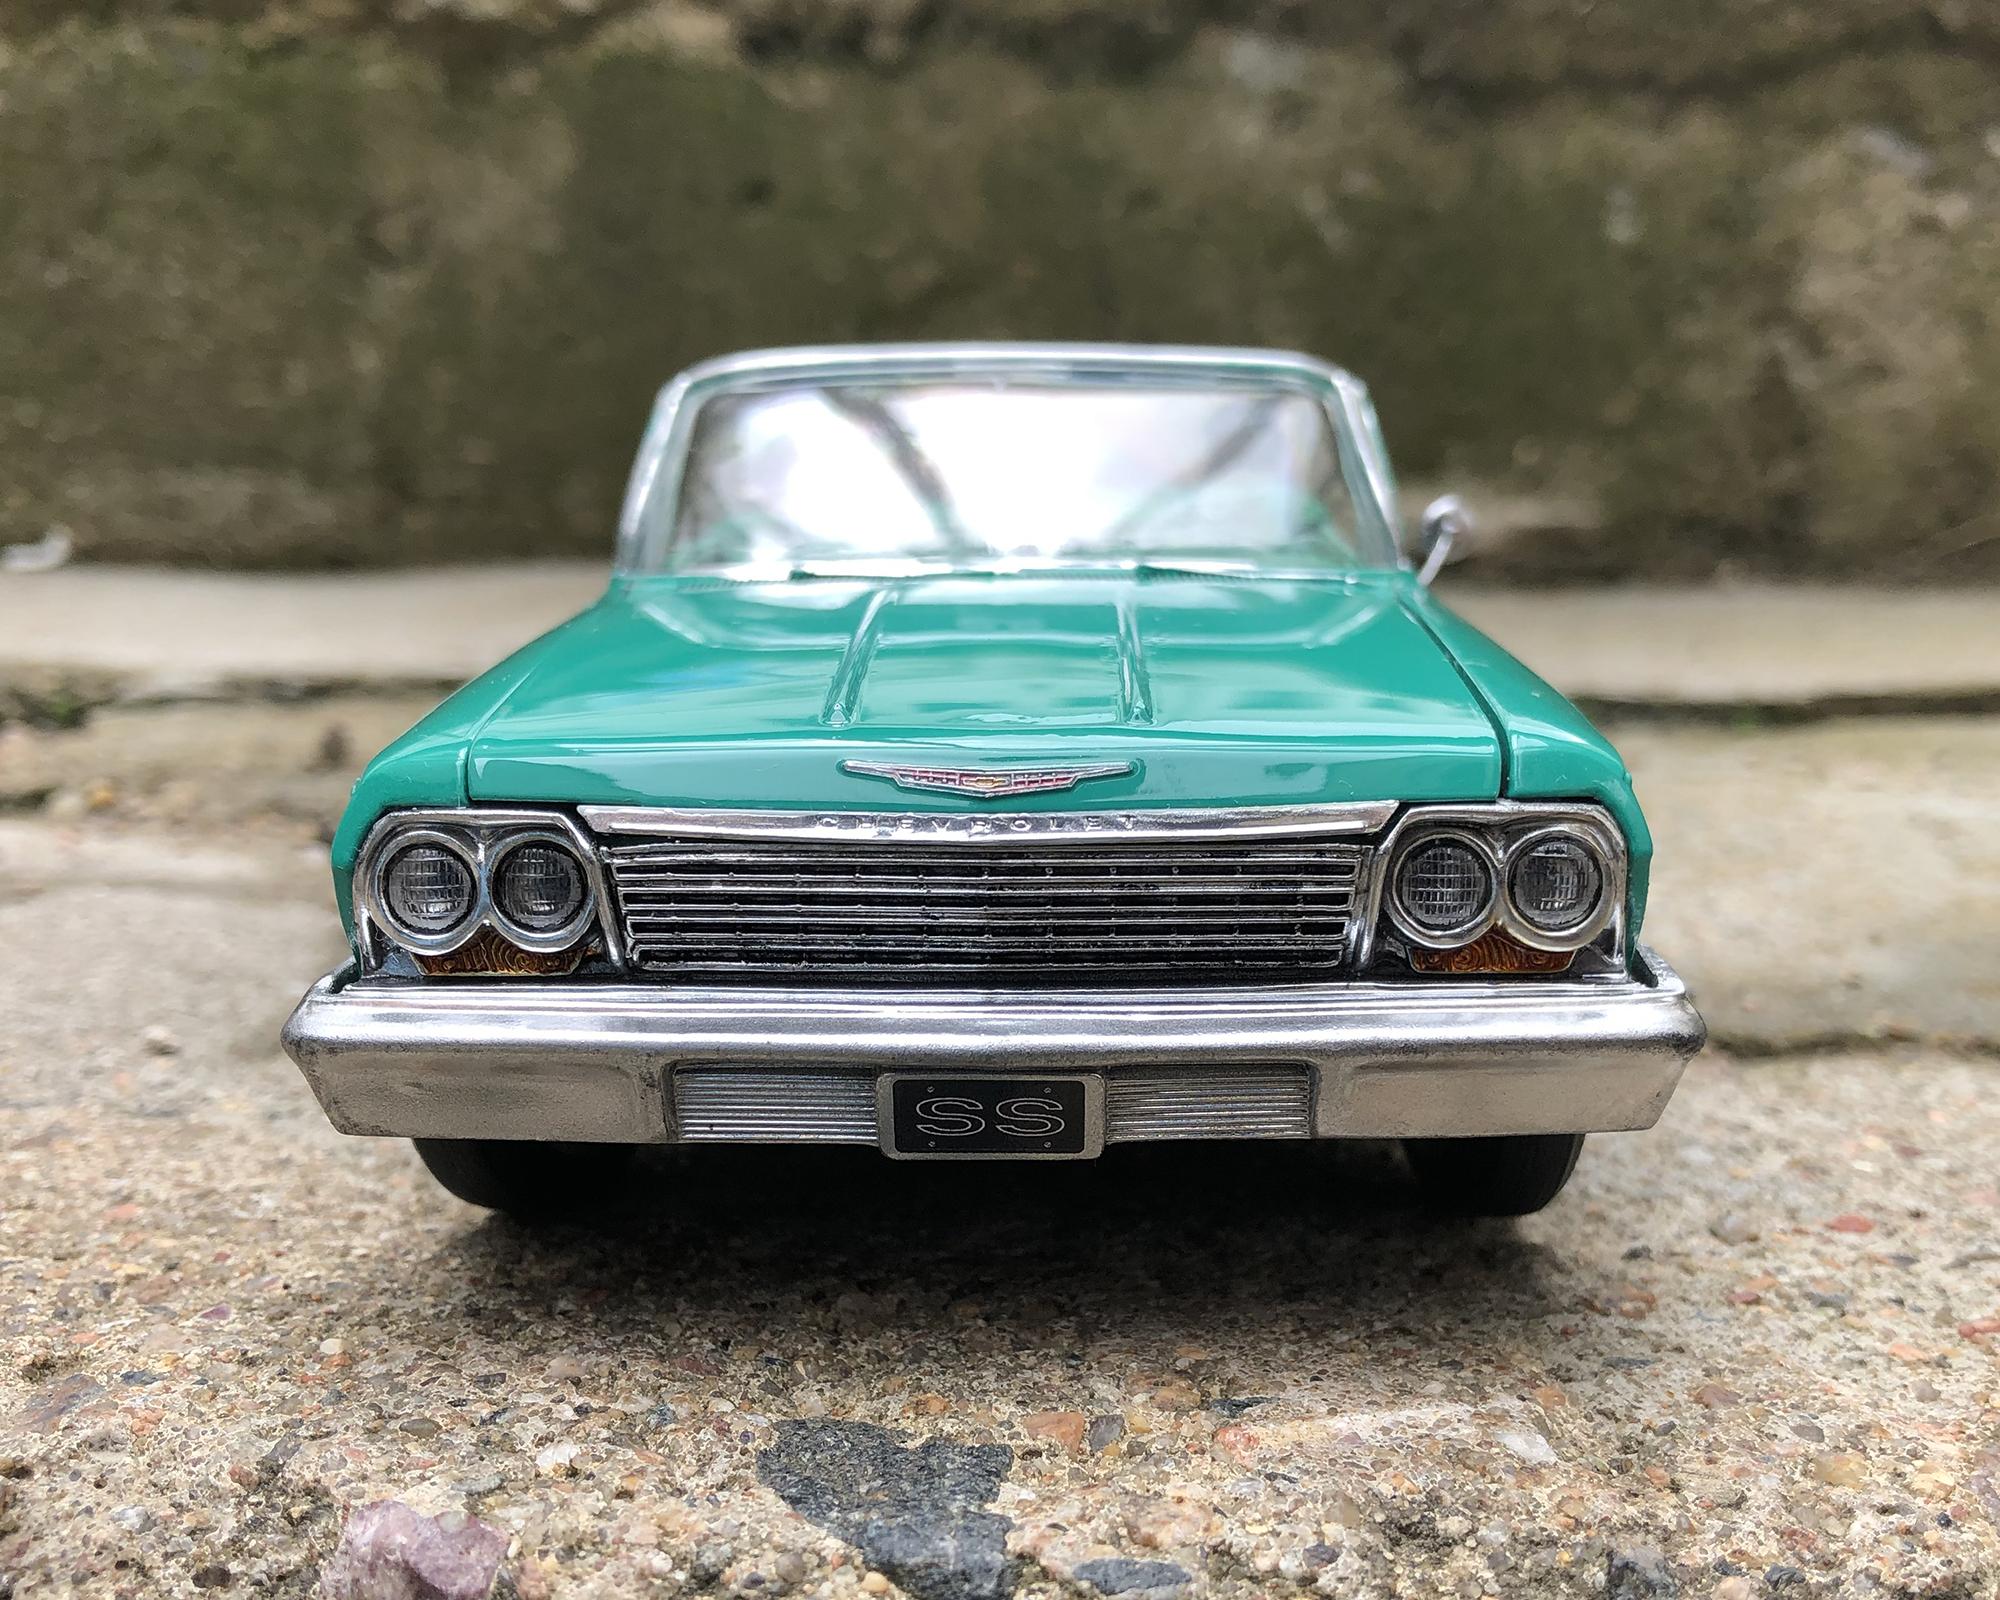
Good afternoon, I present to your attention another completed model. Paints mr. Hobby, varnish 2k Zero Paints.

-
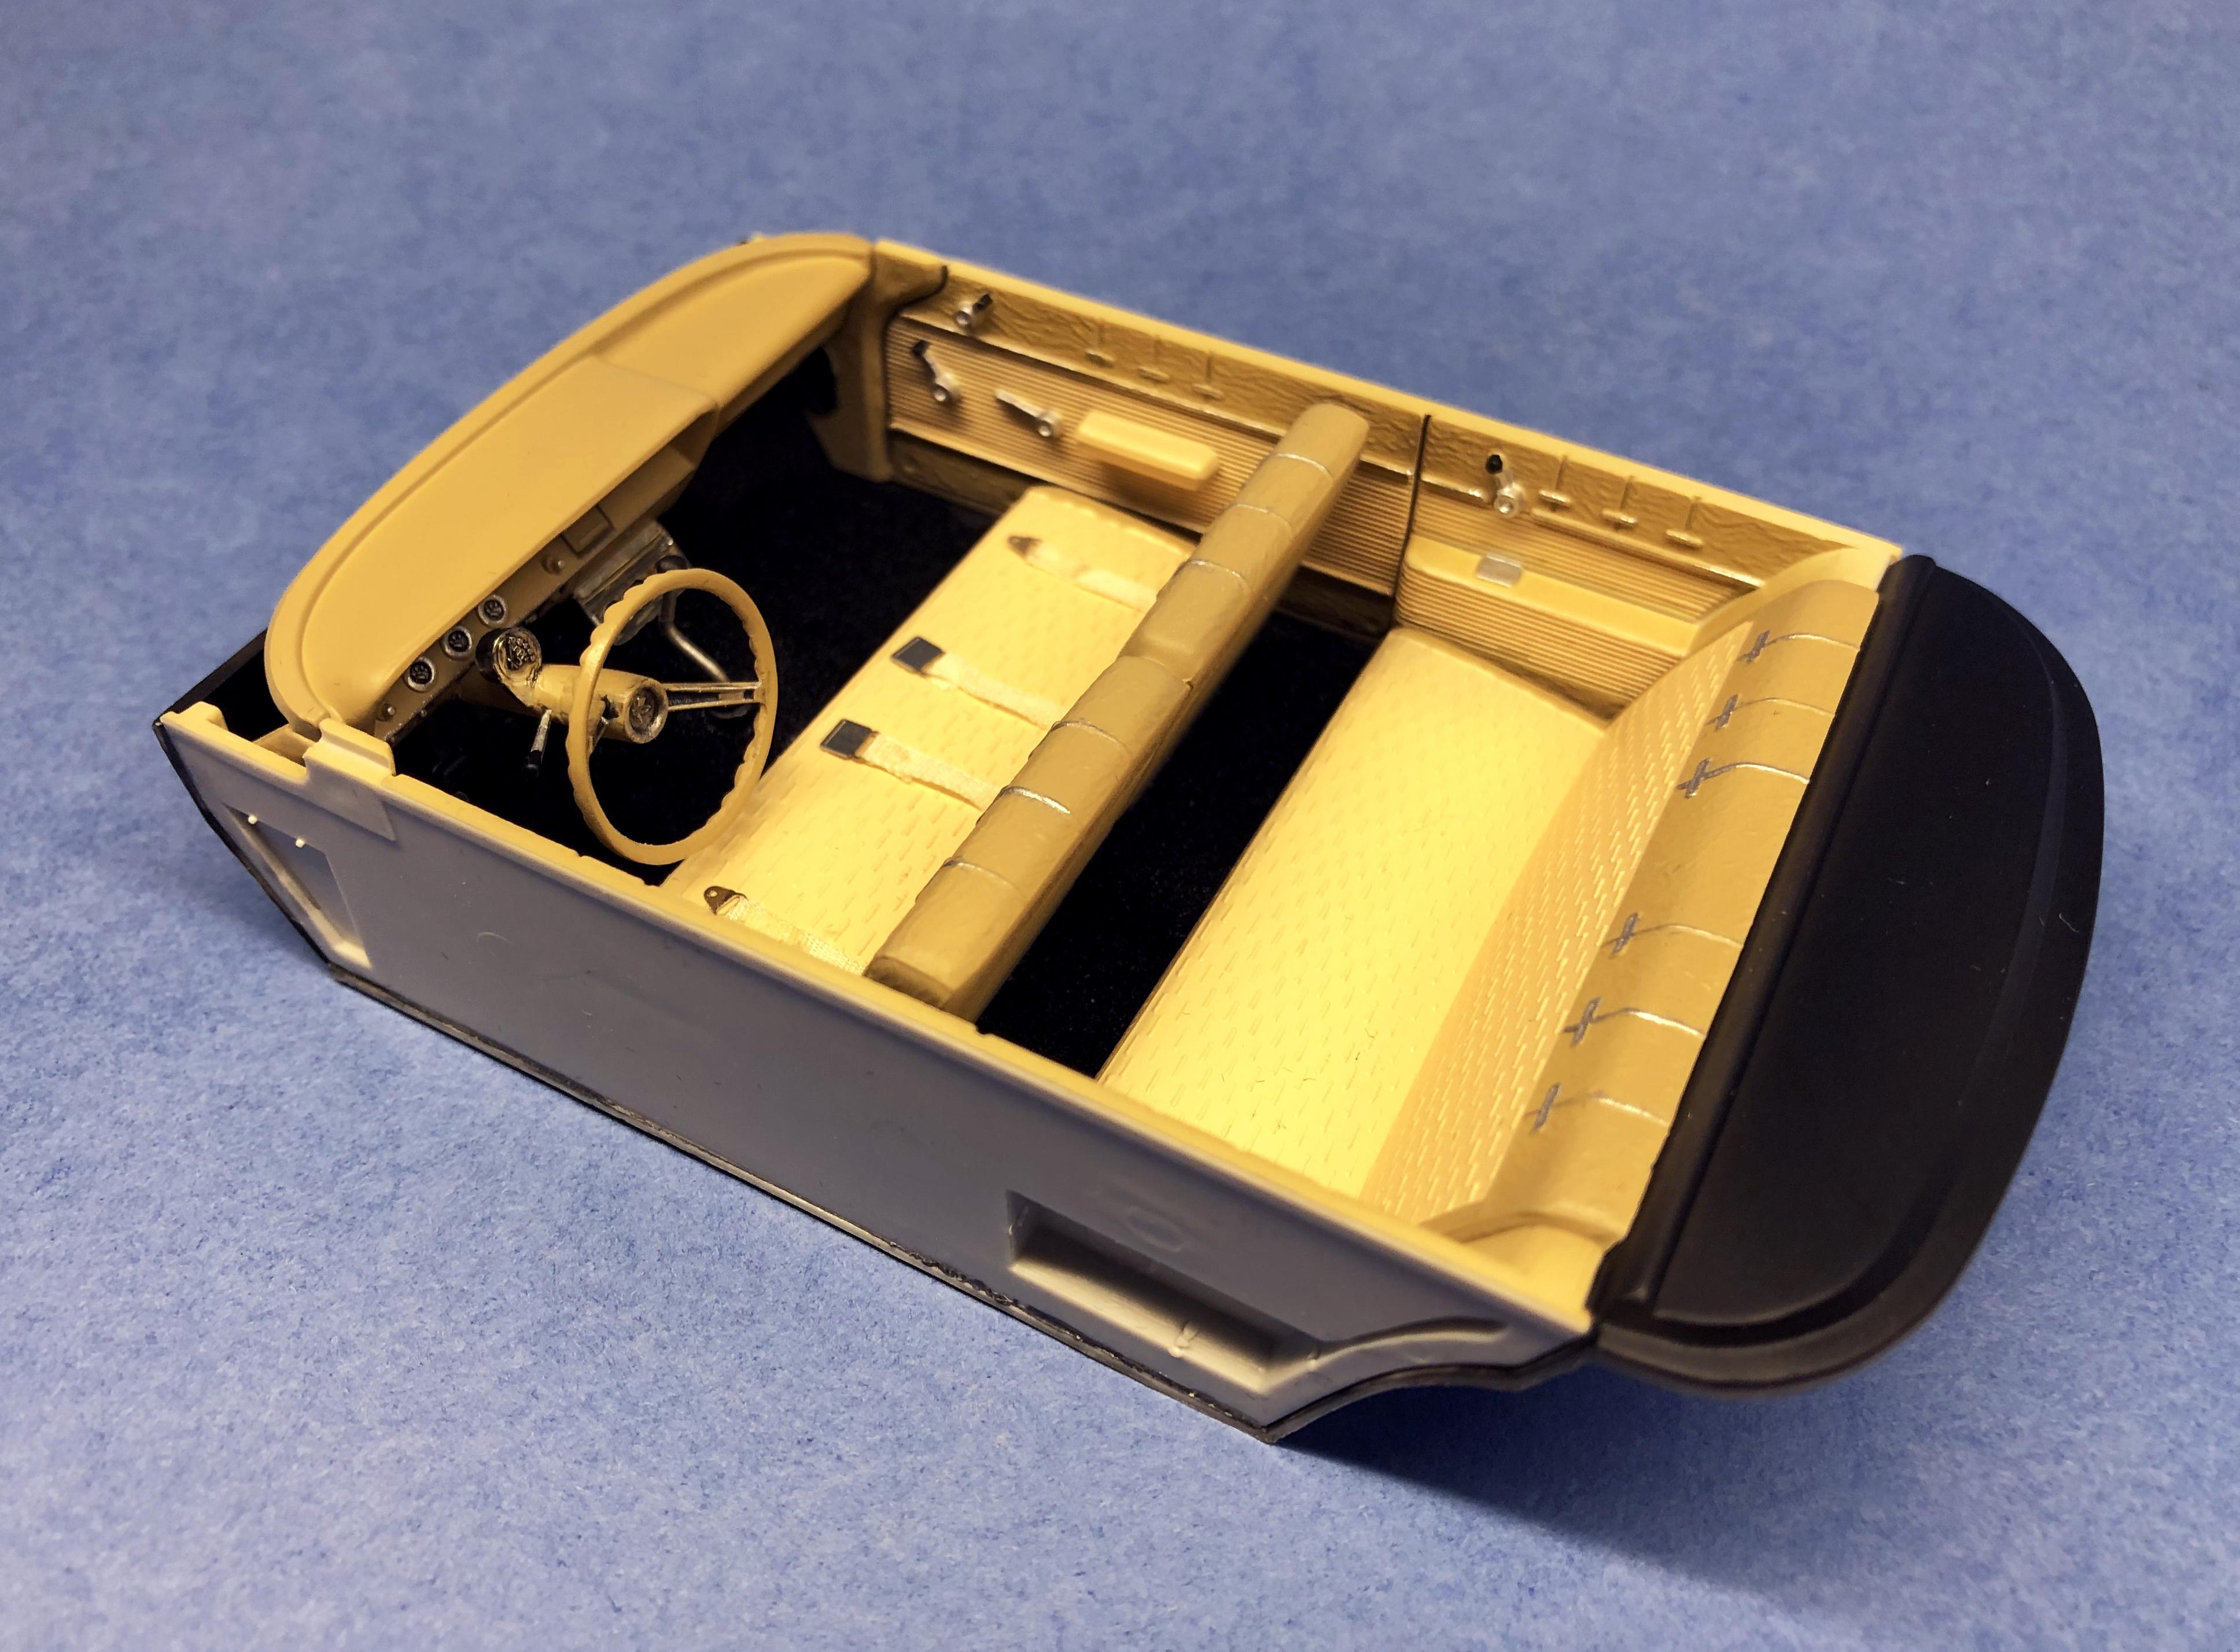
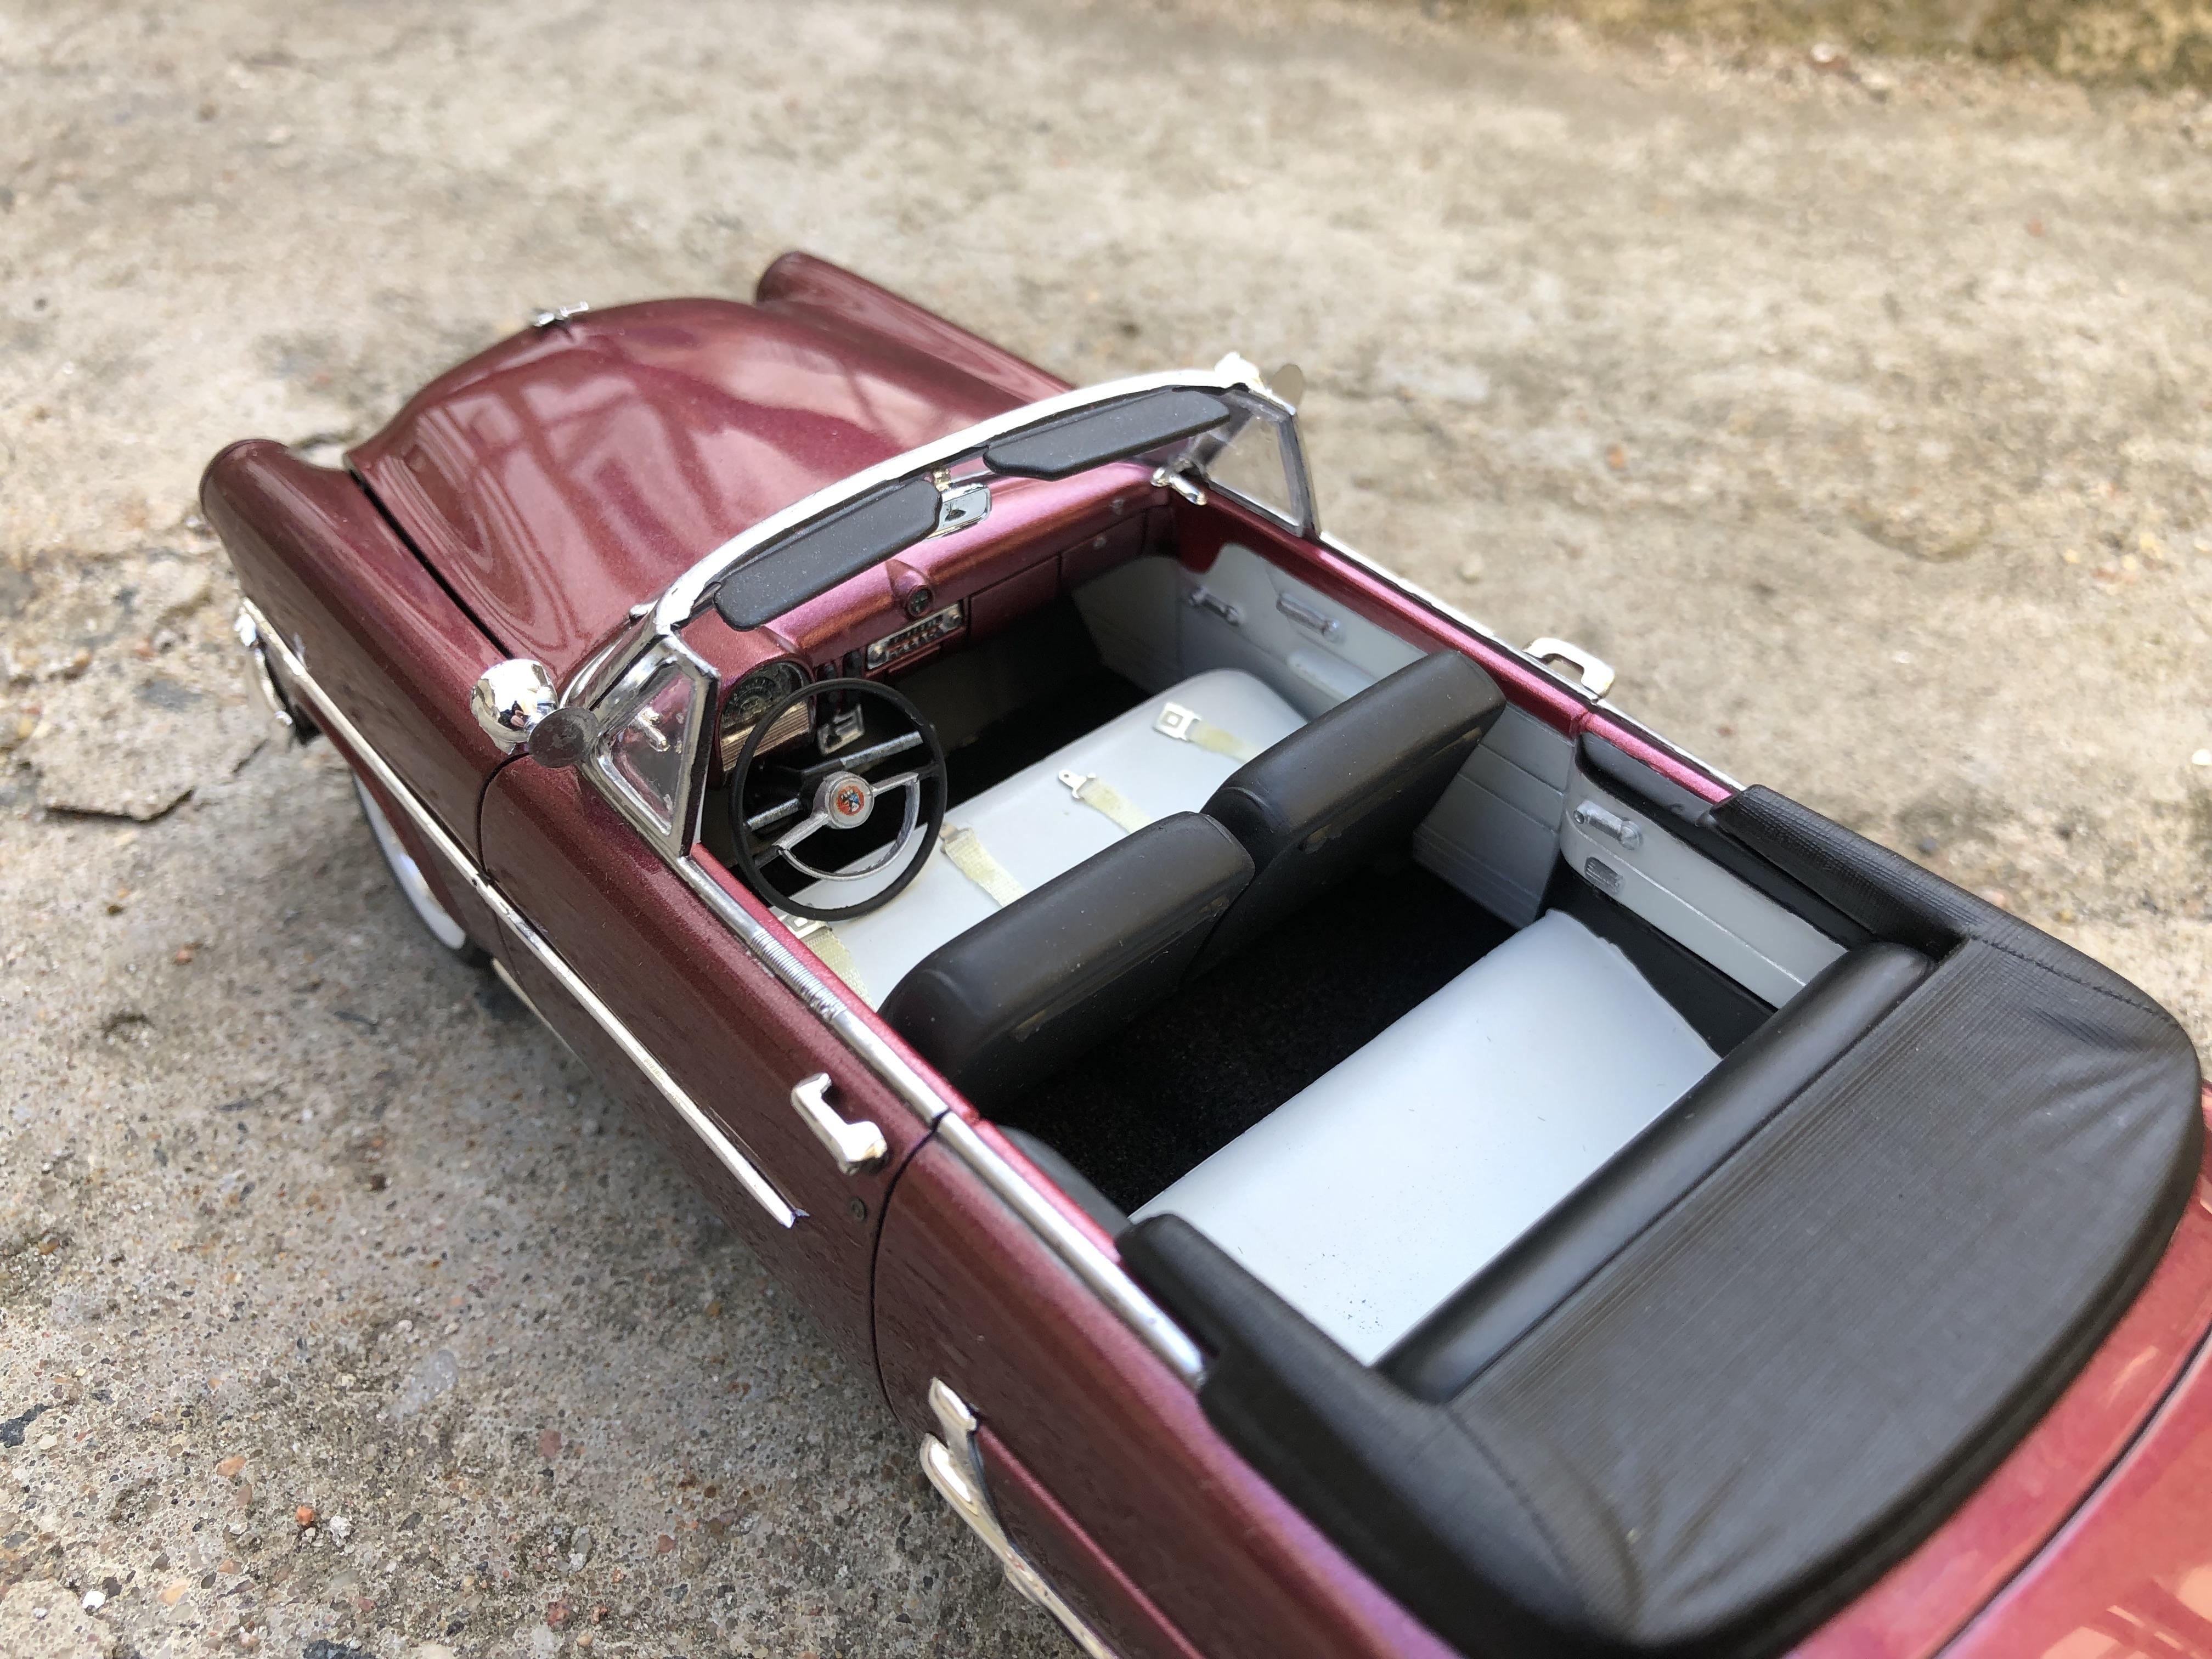
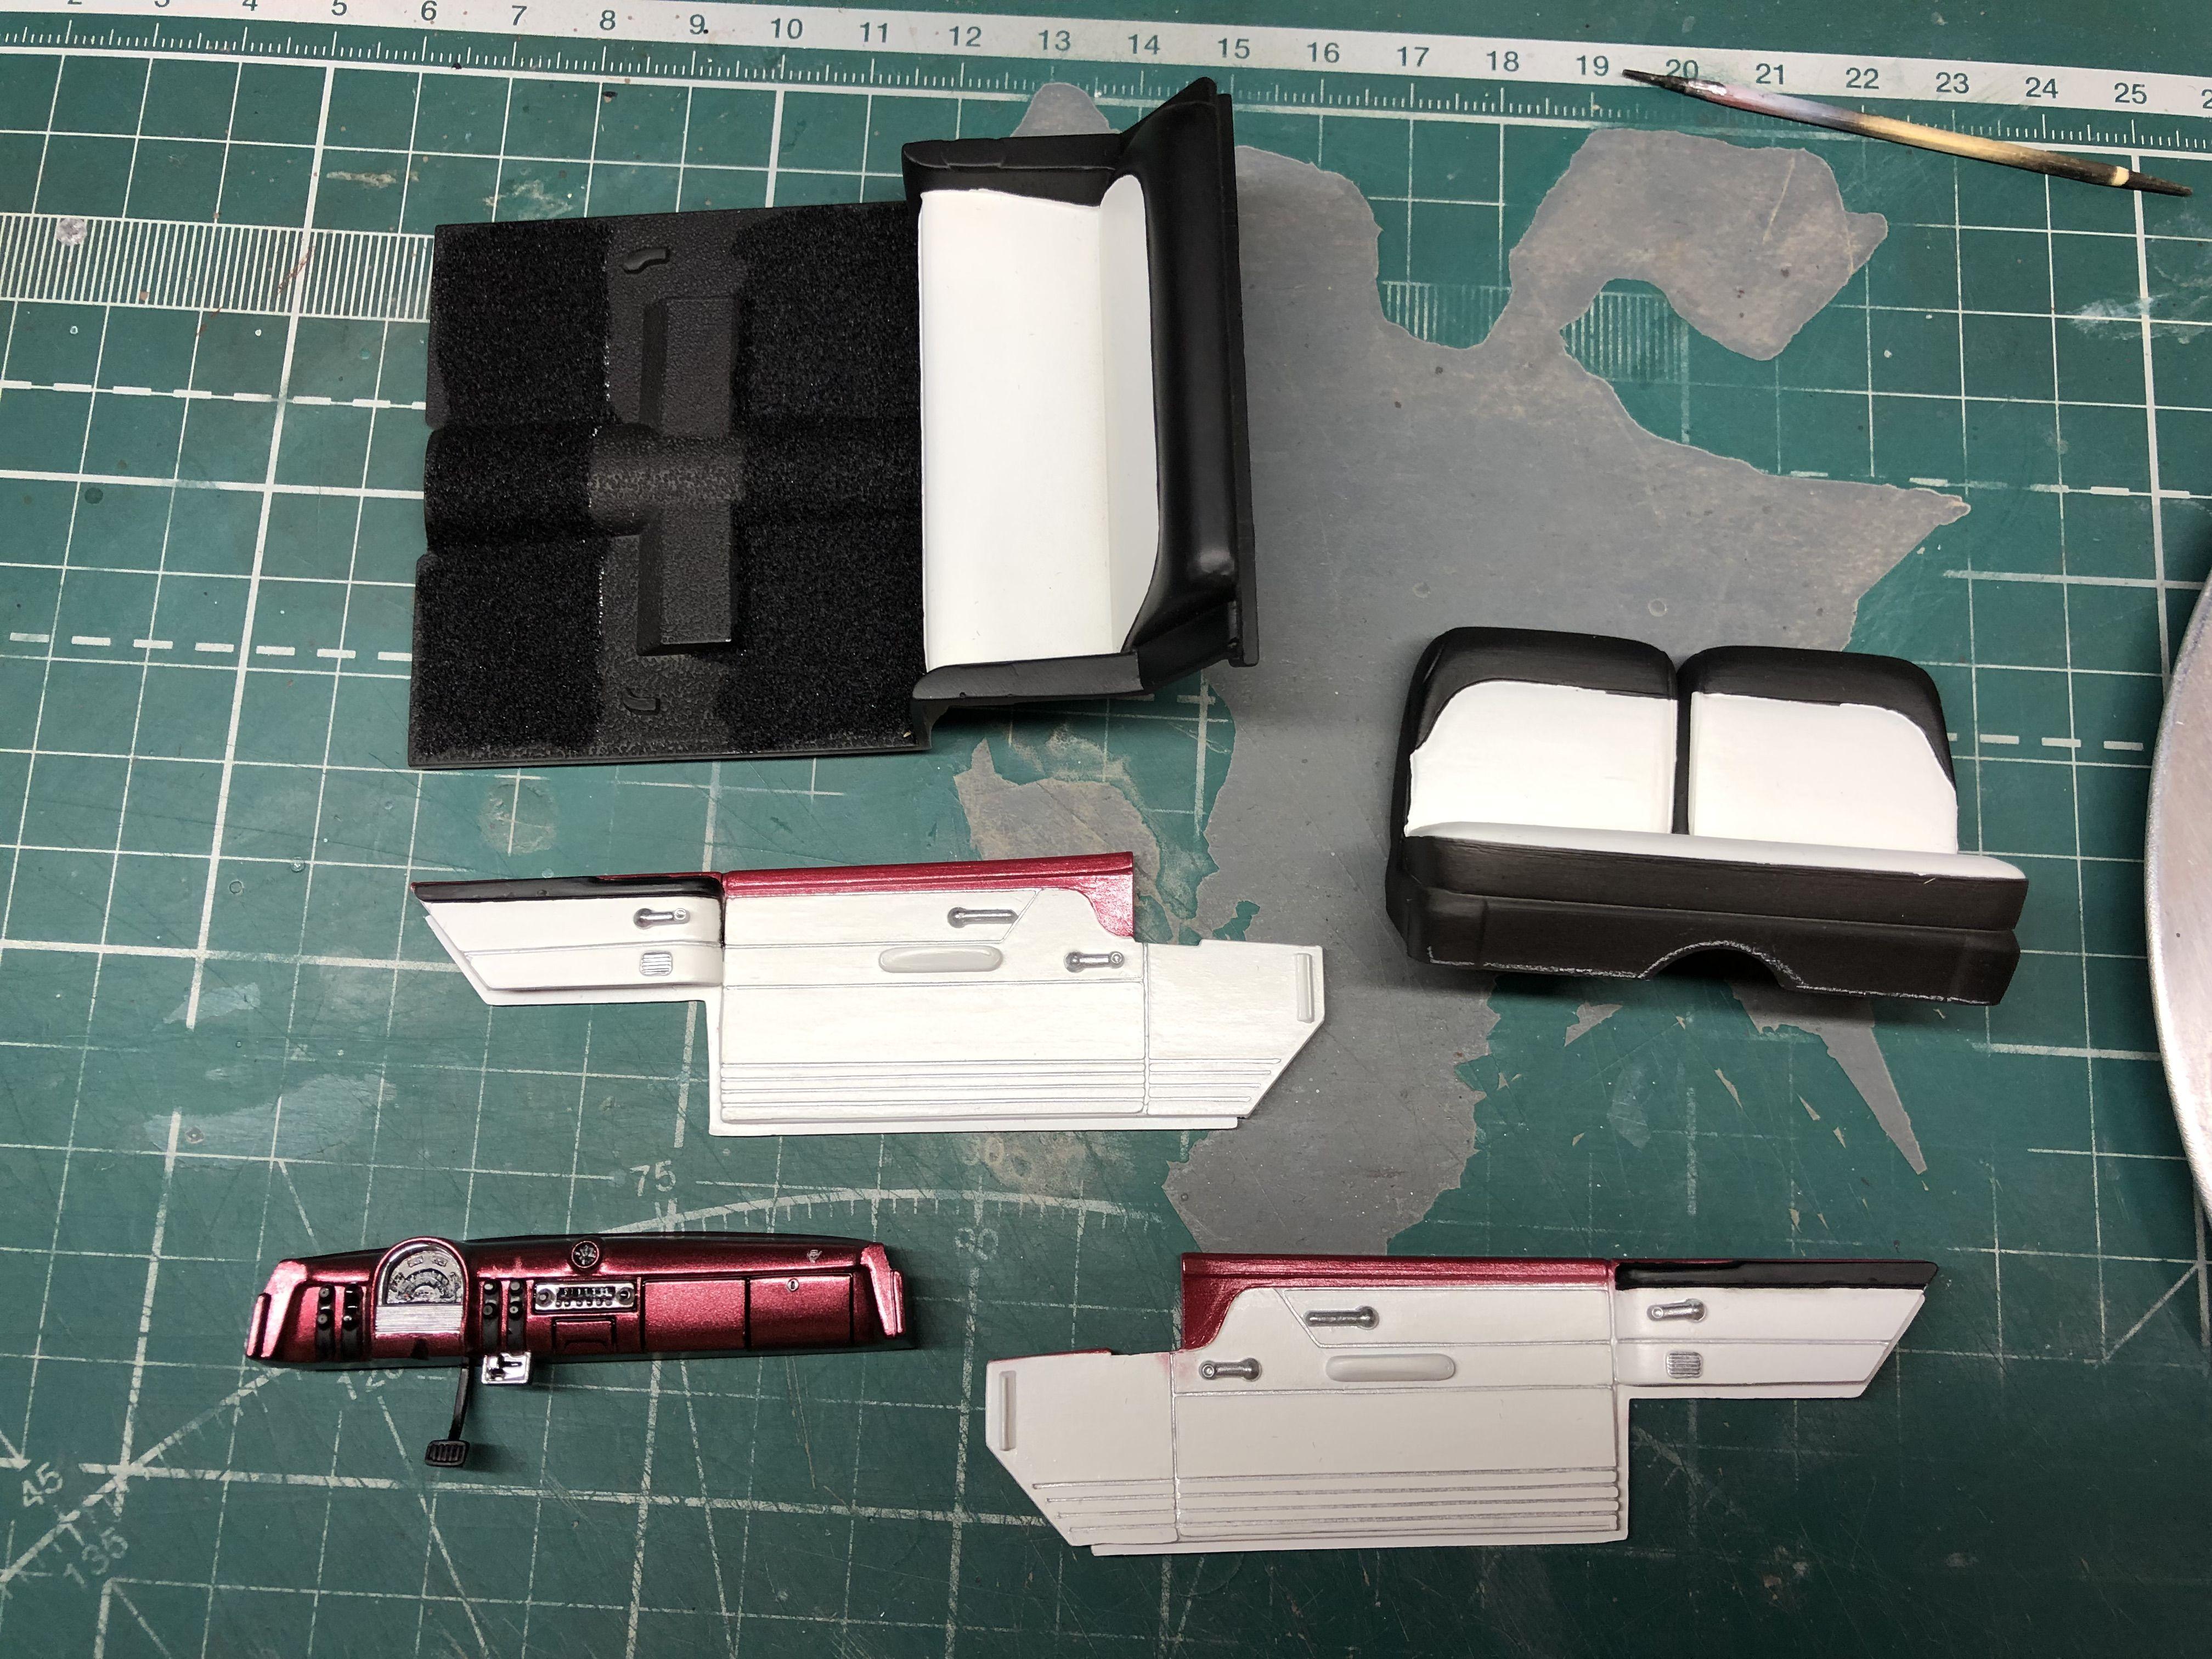
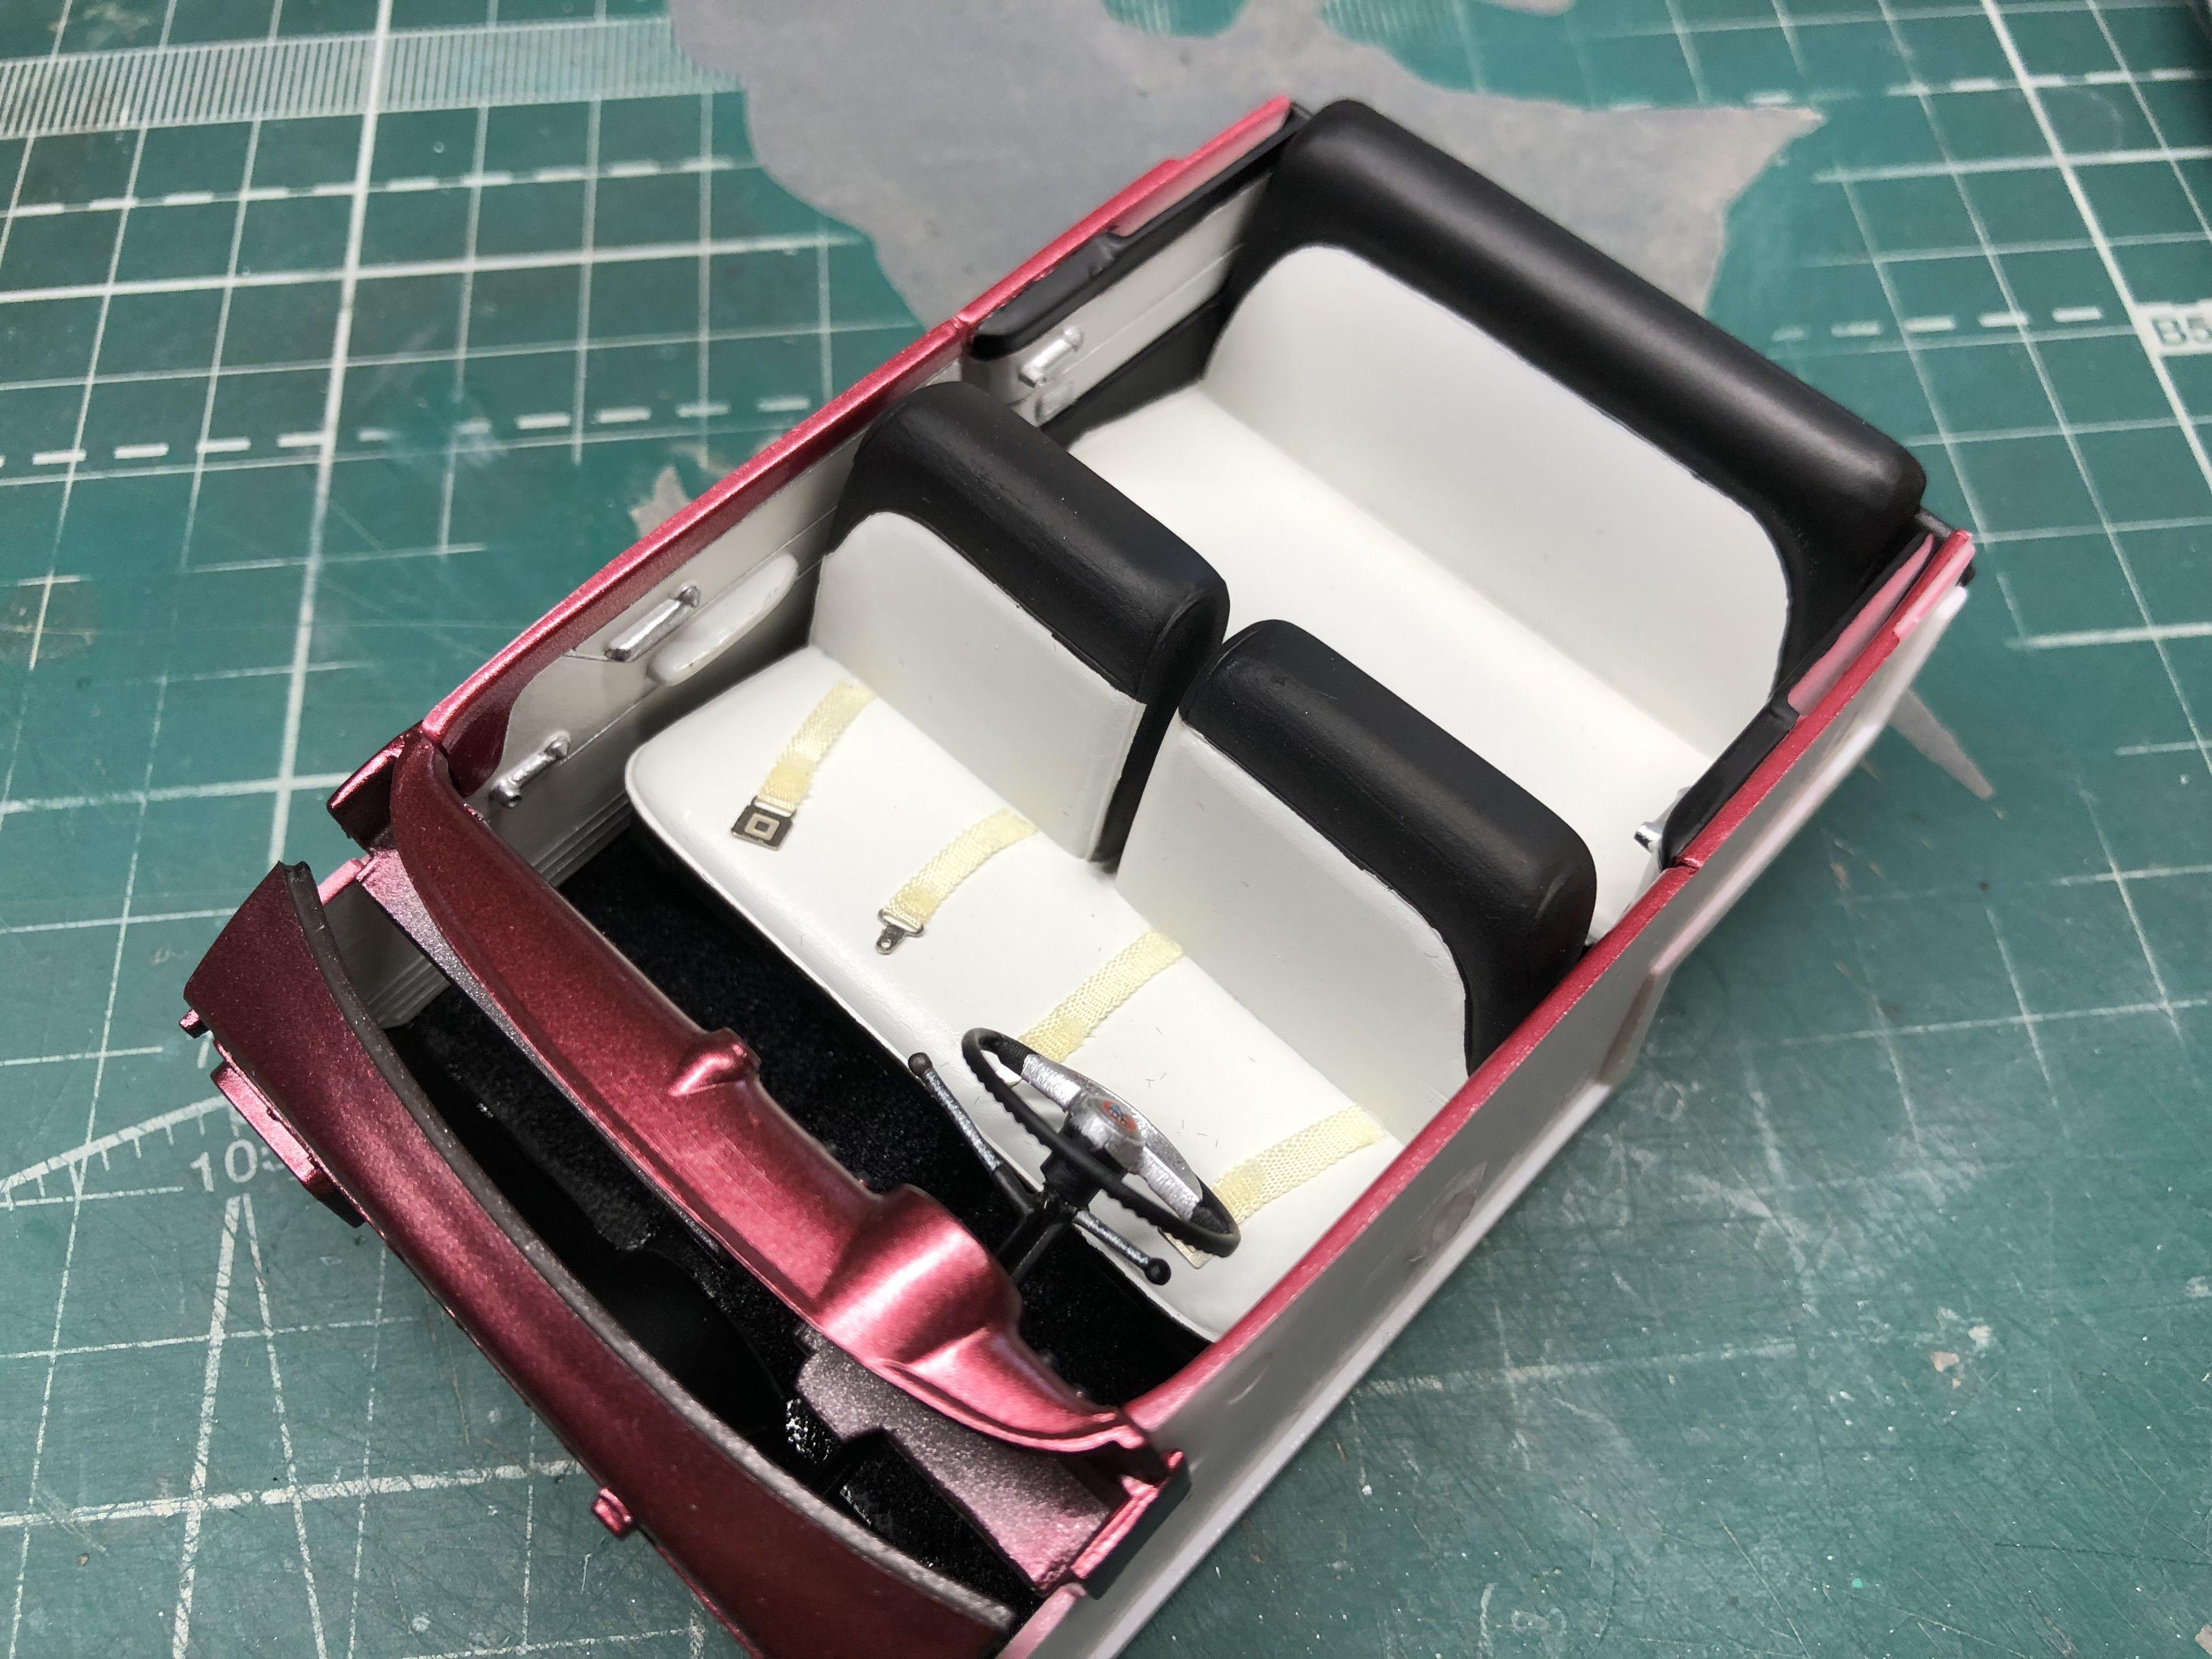
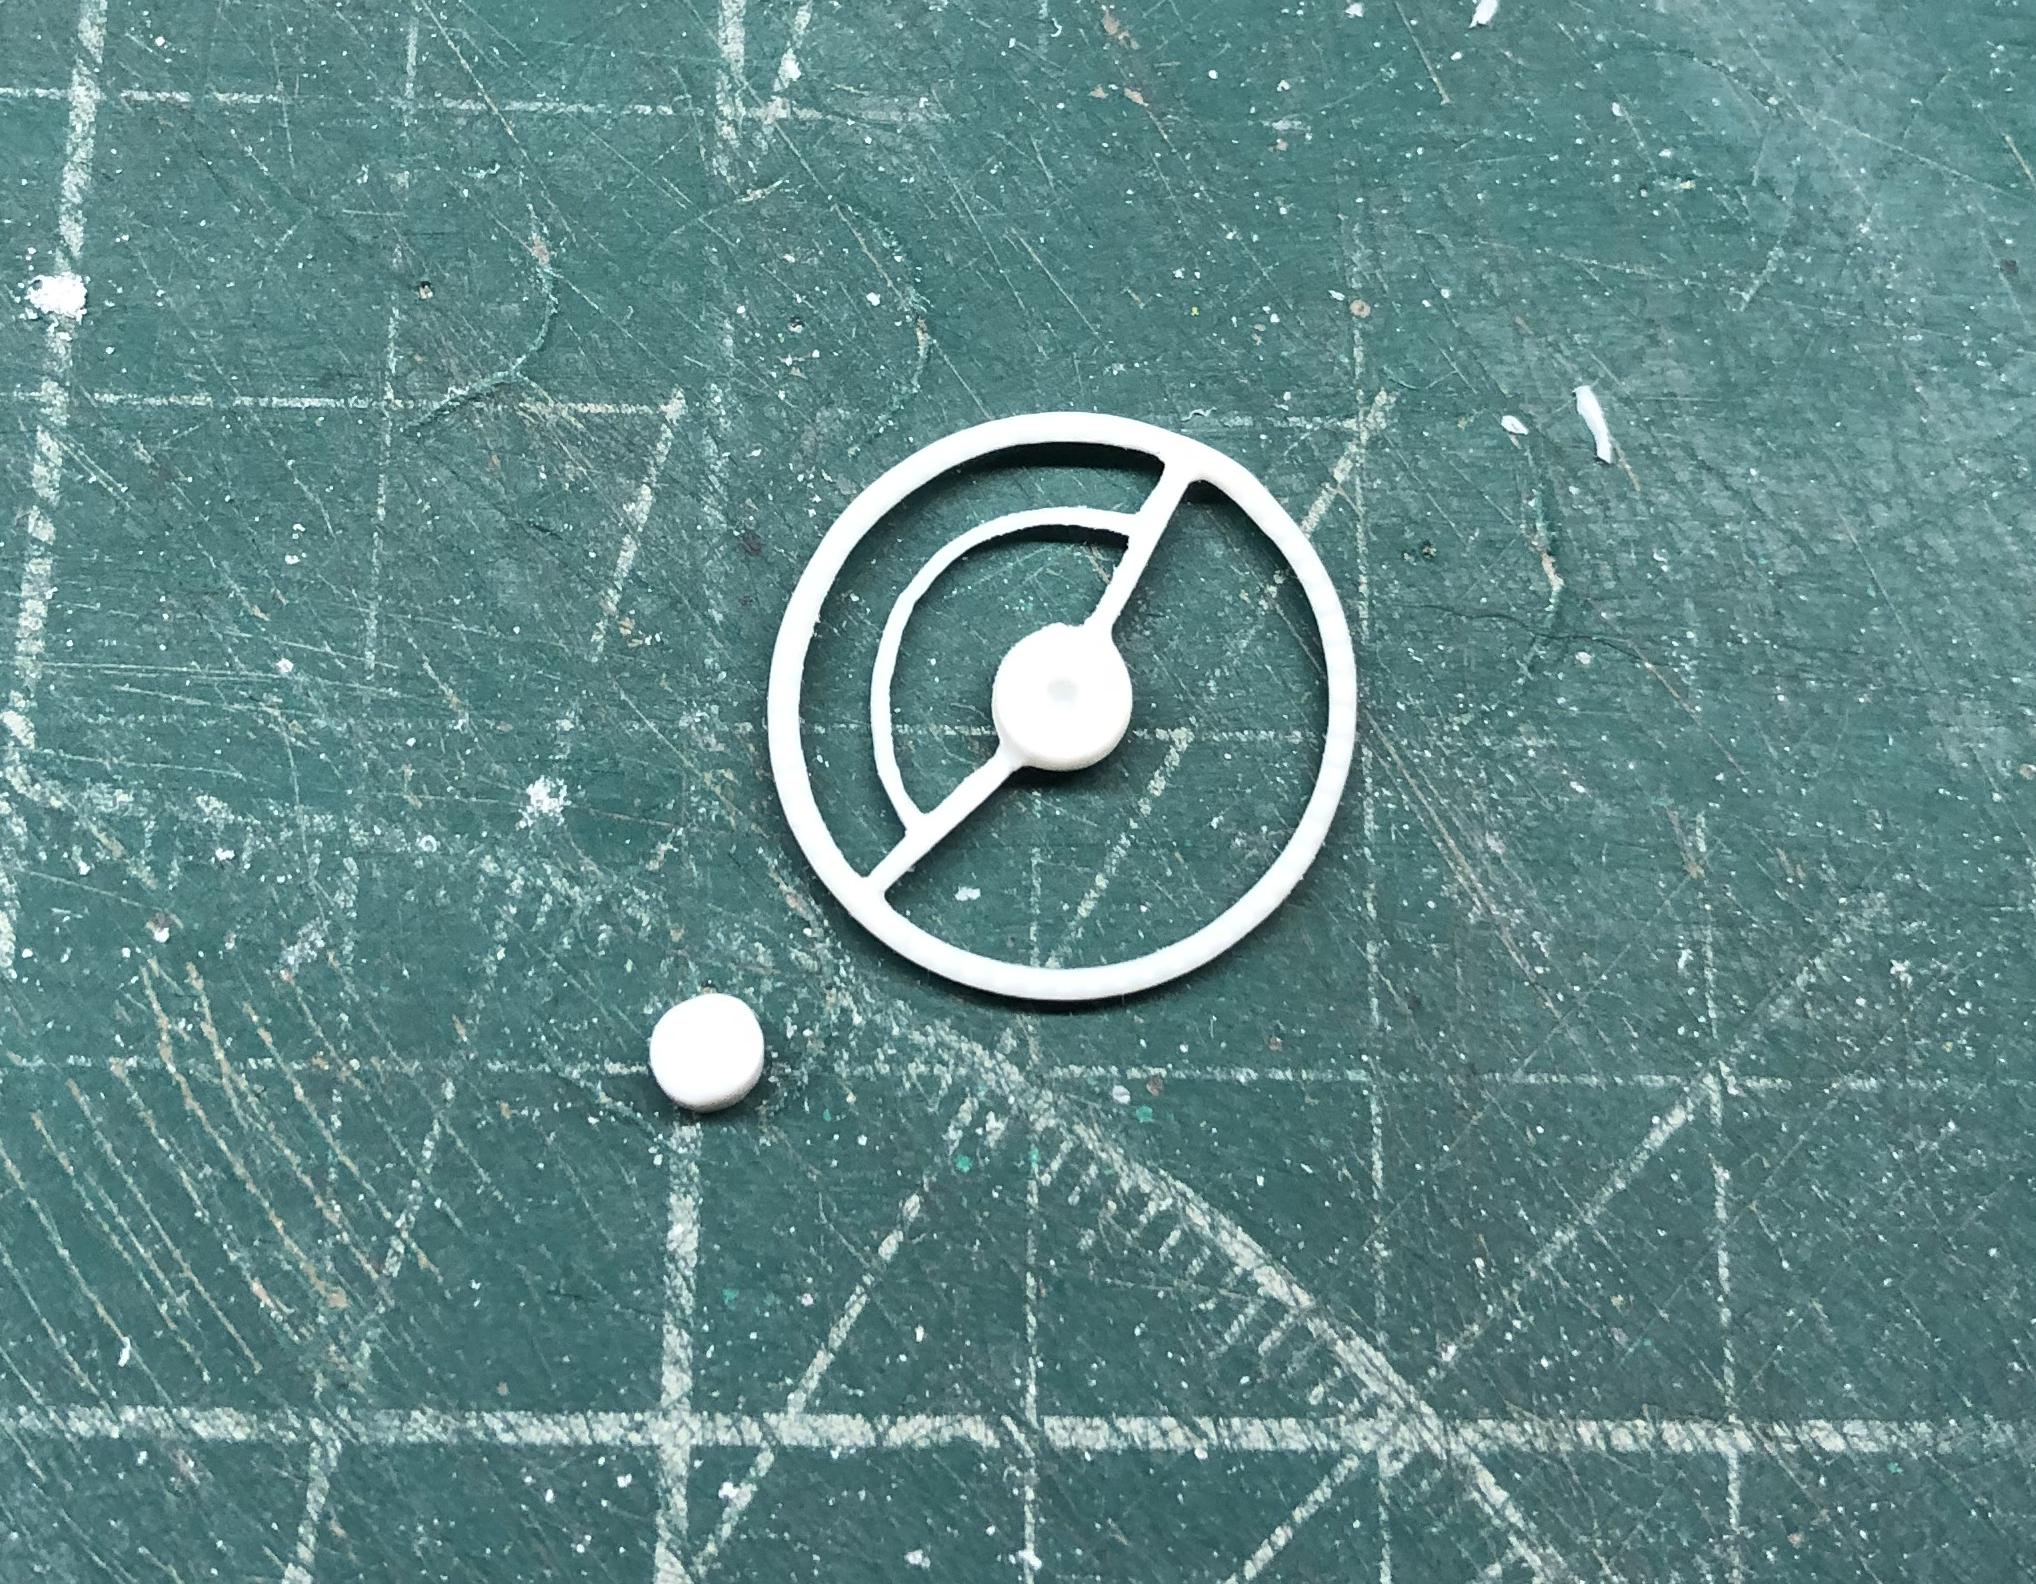
Interior is done.
-
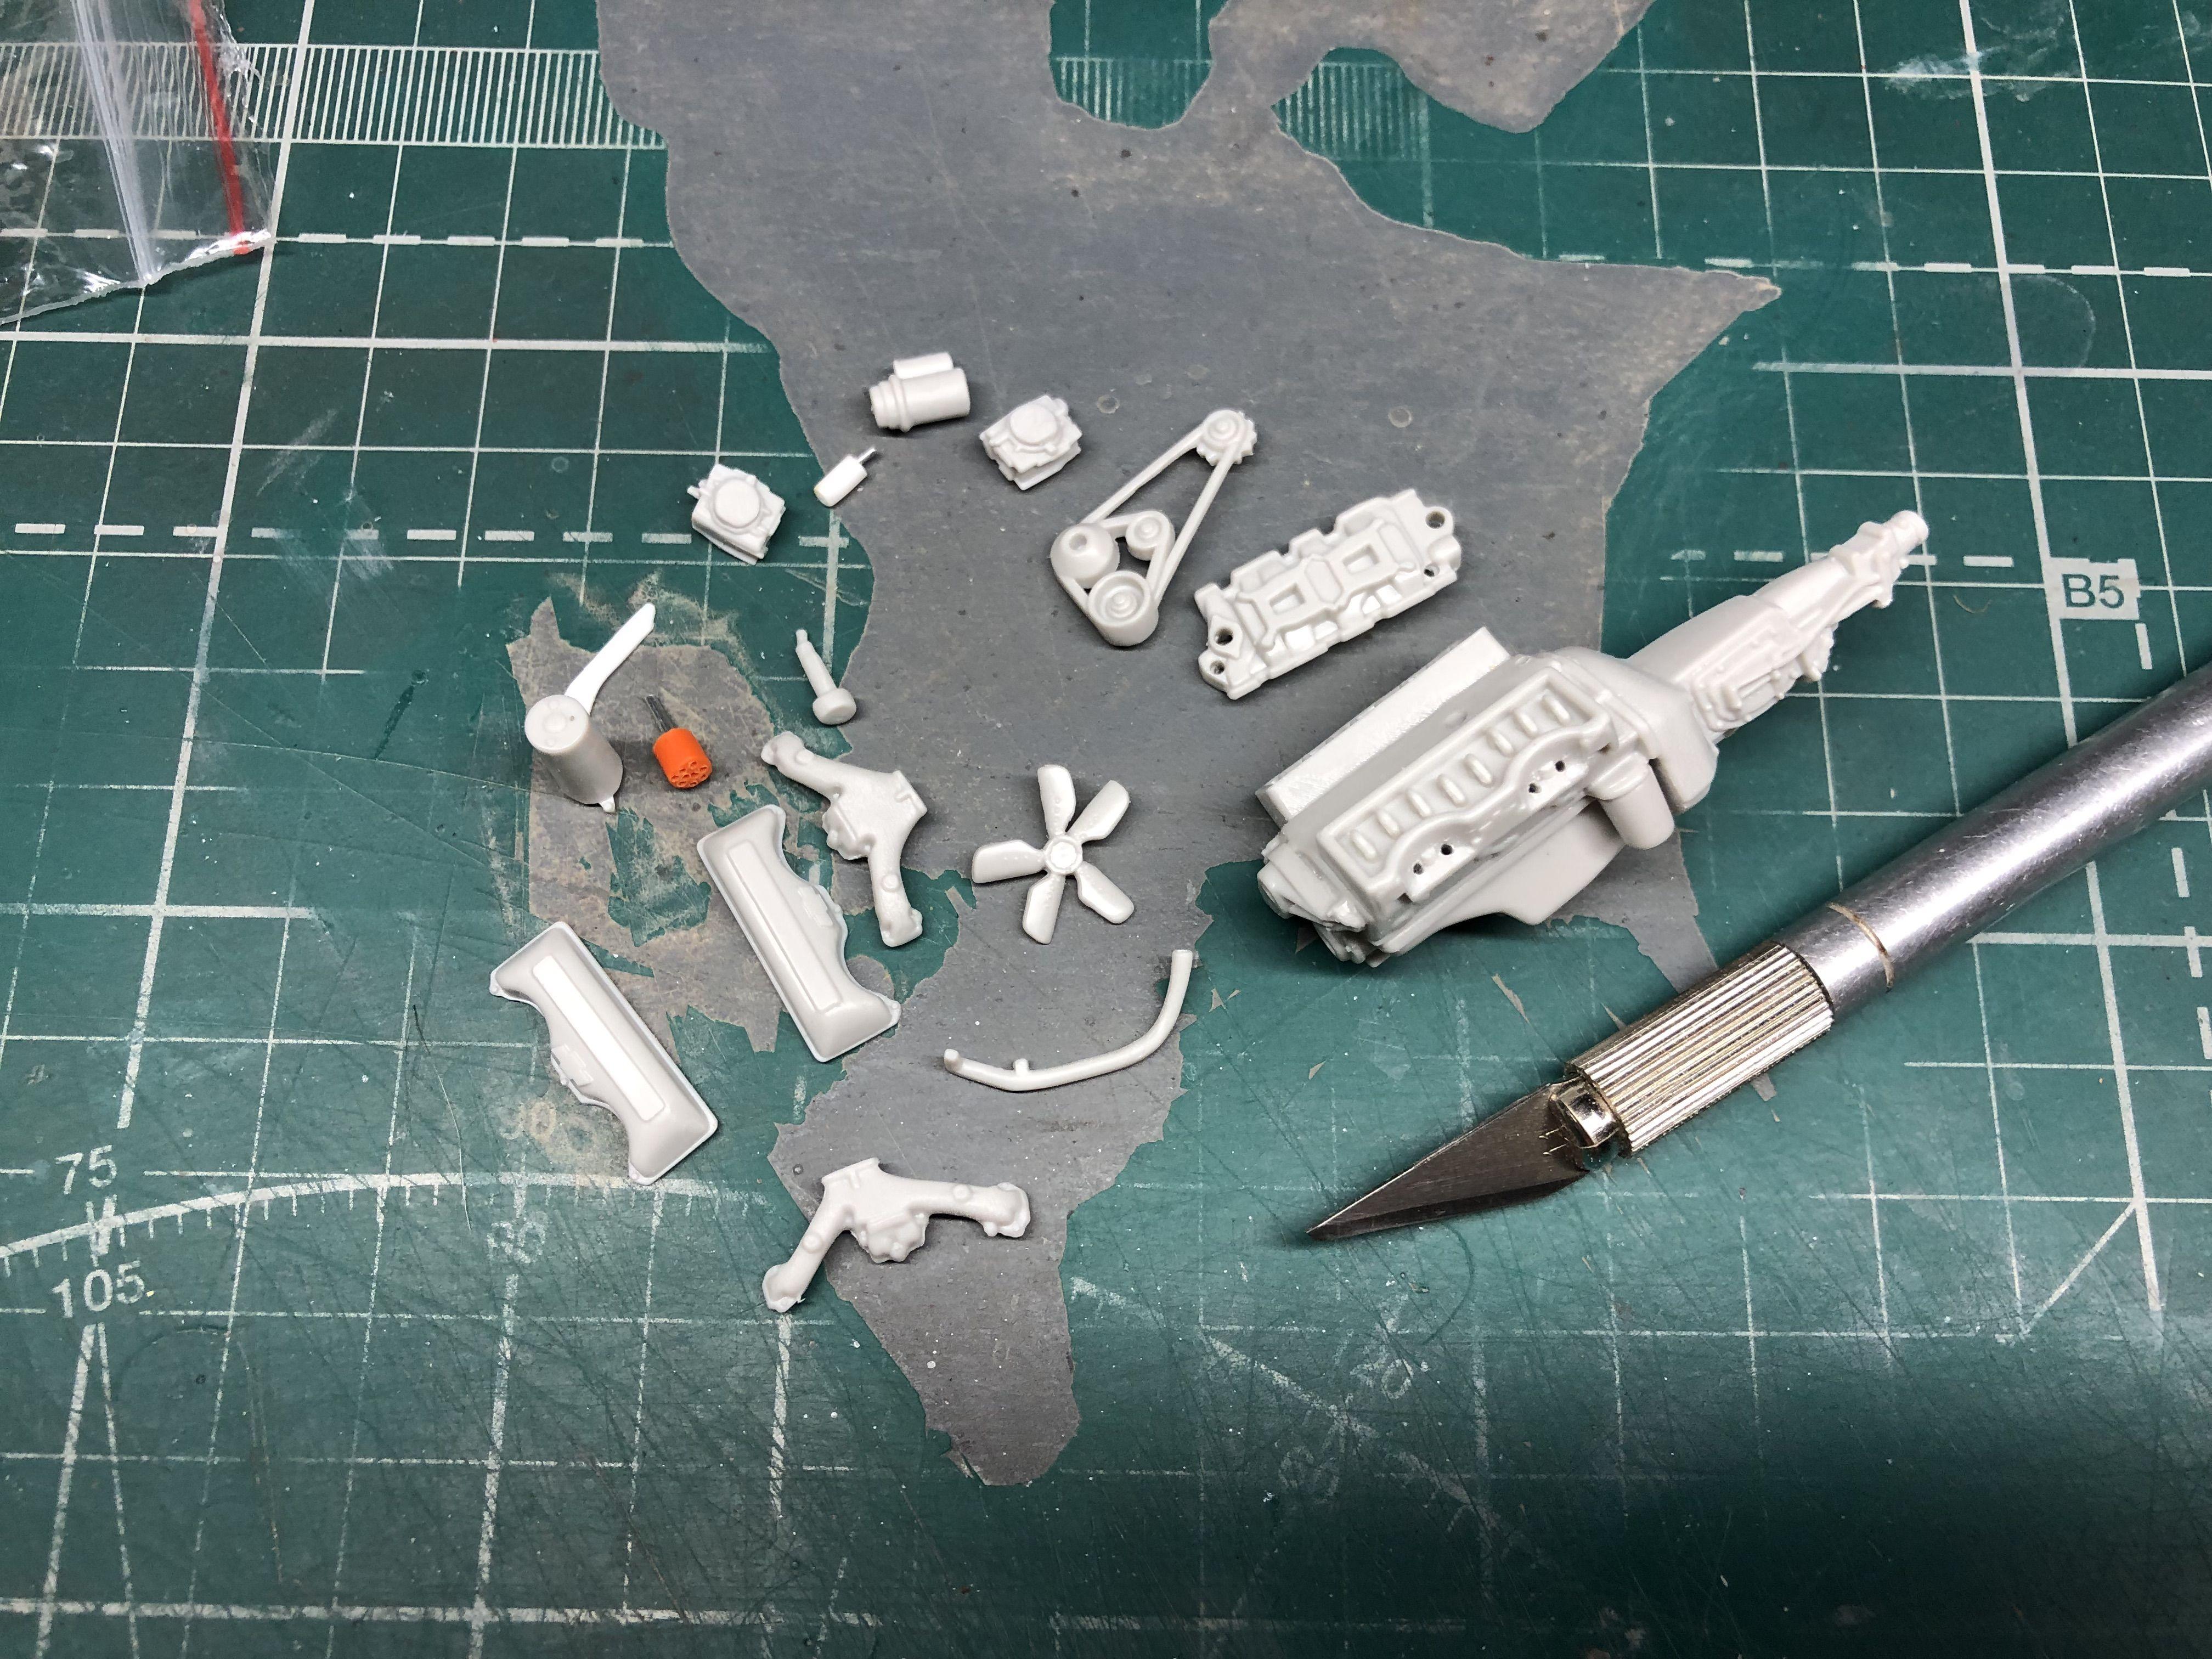
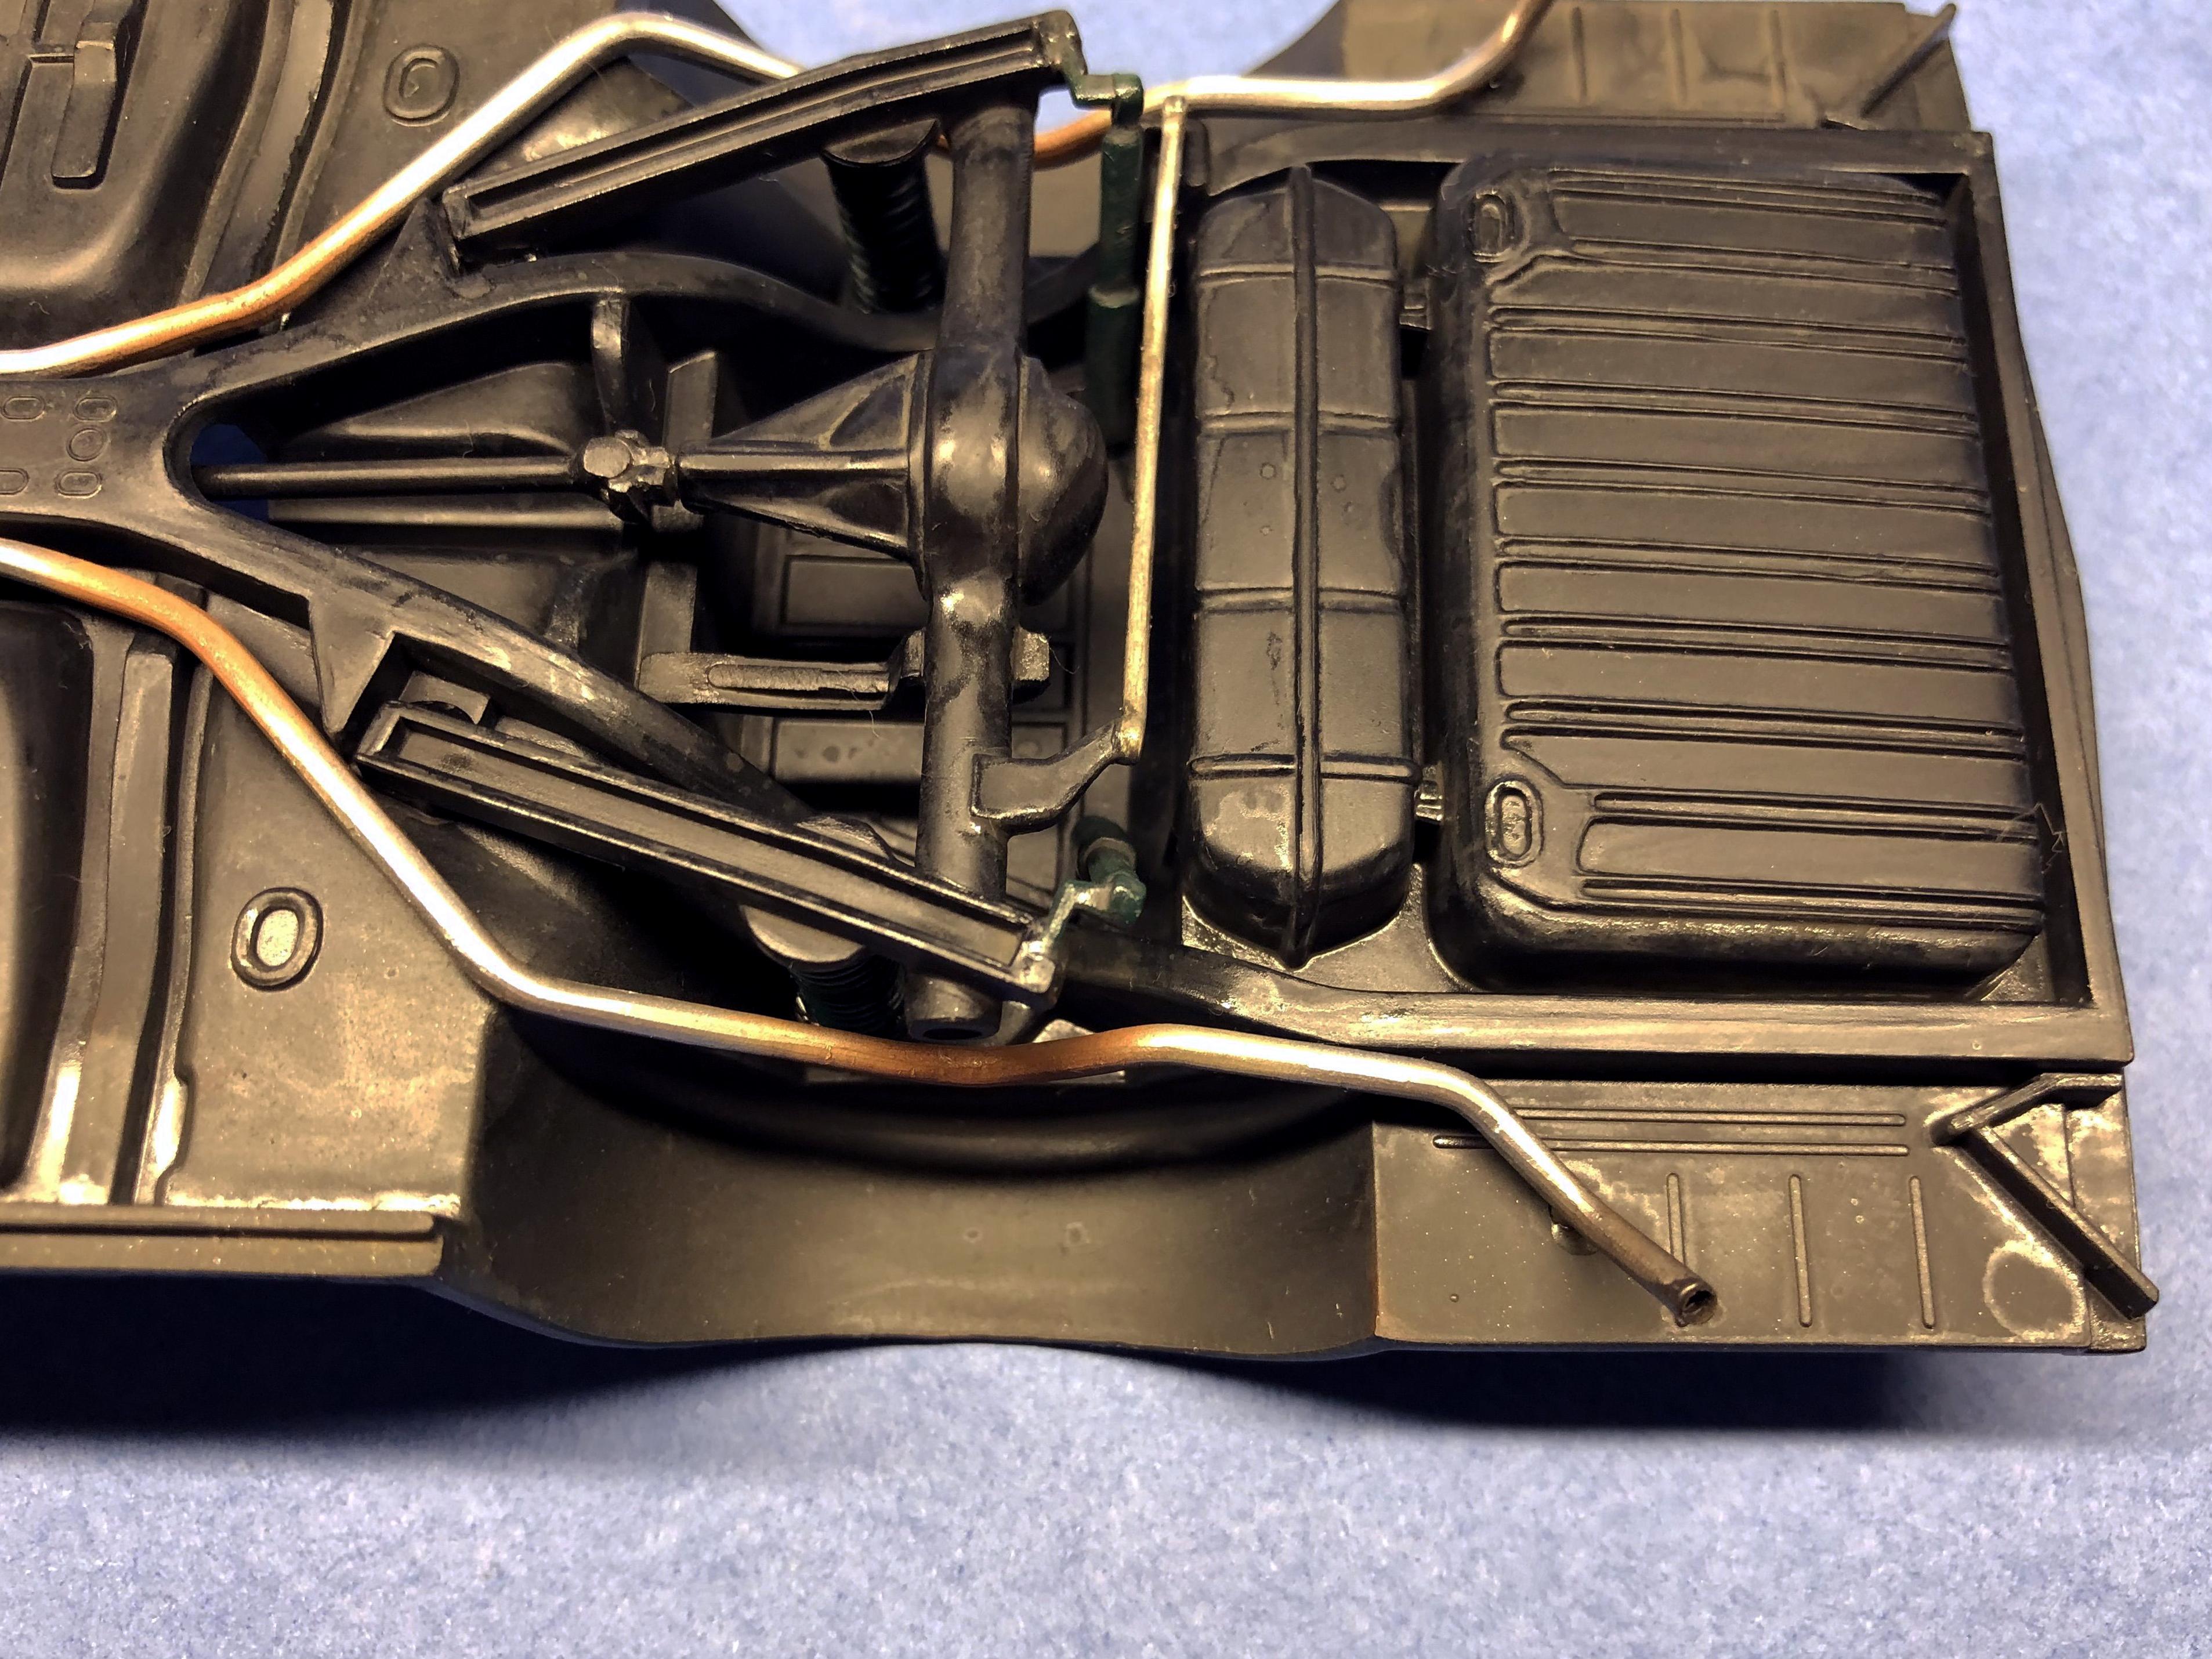
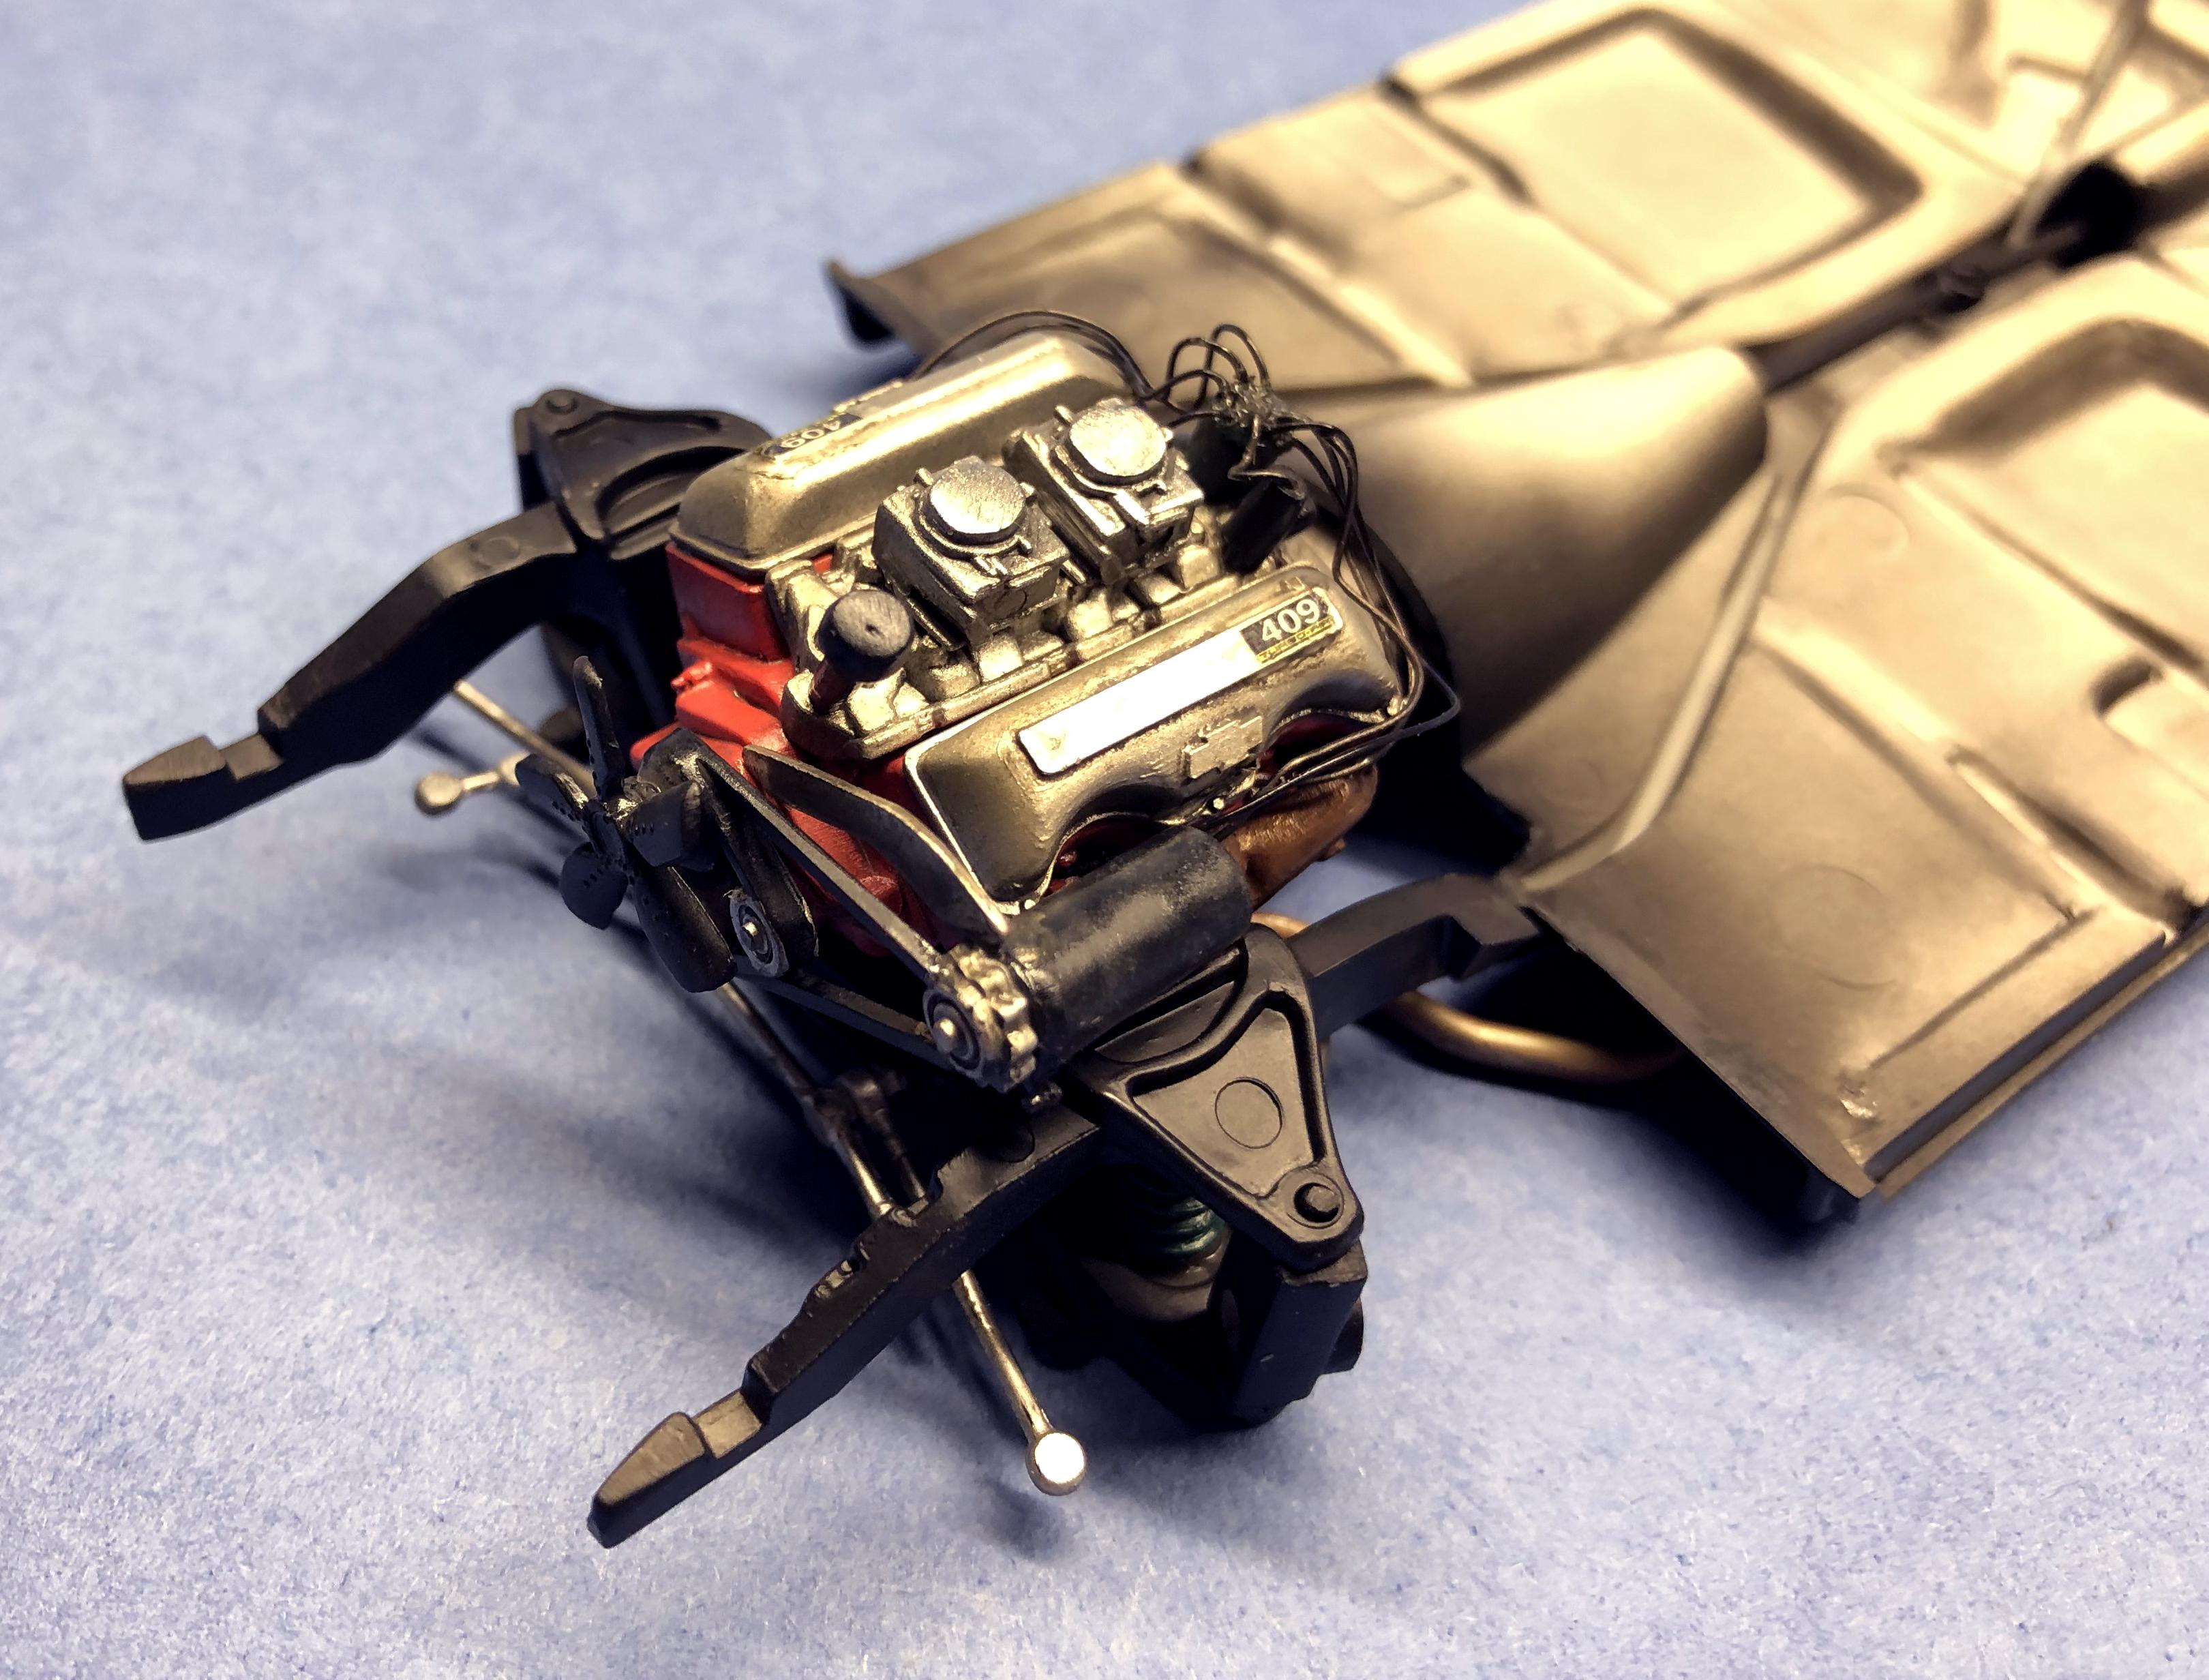
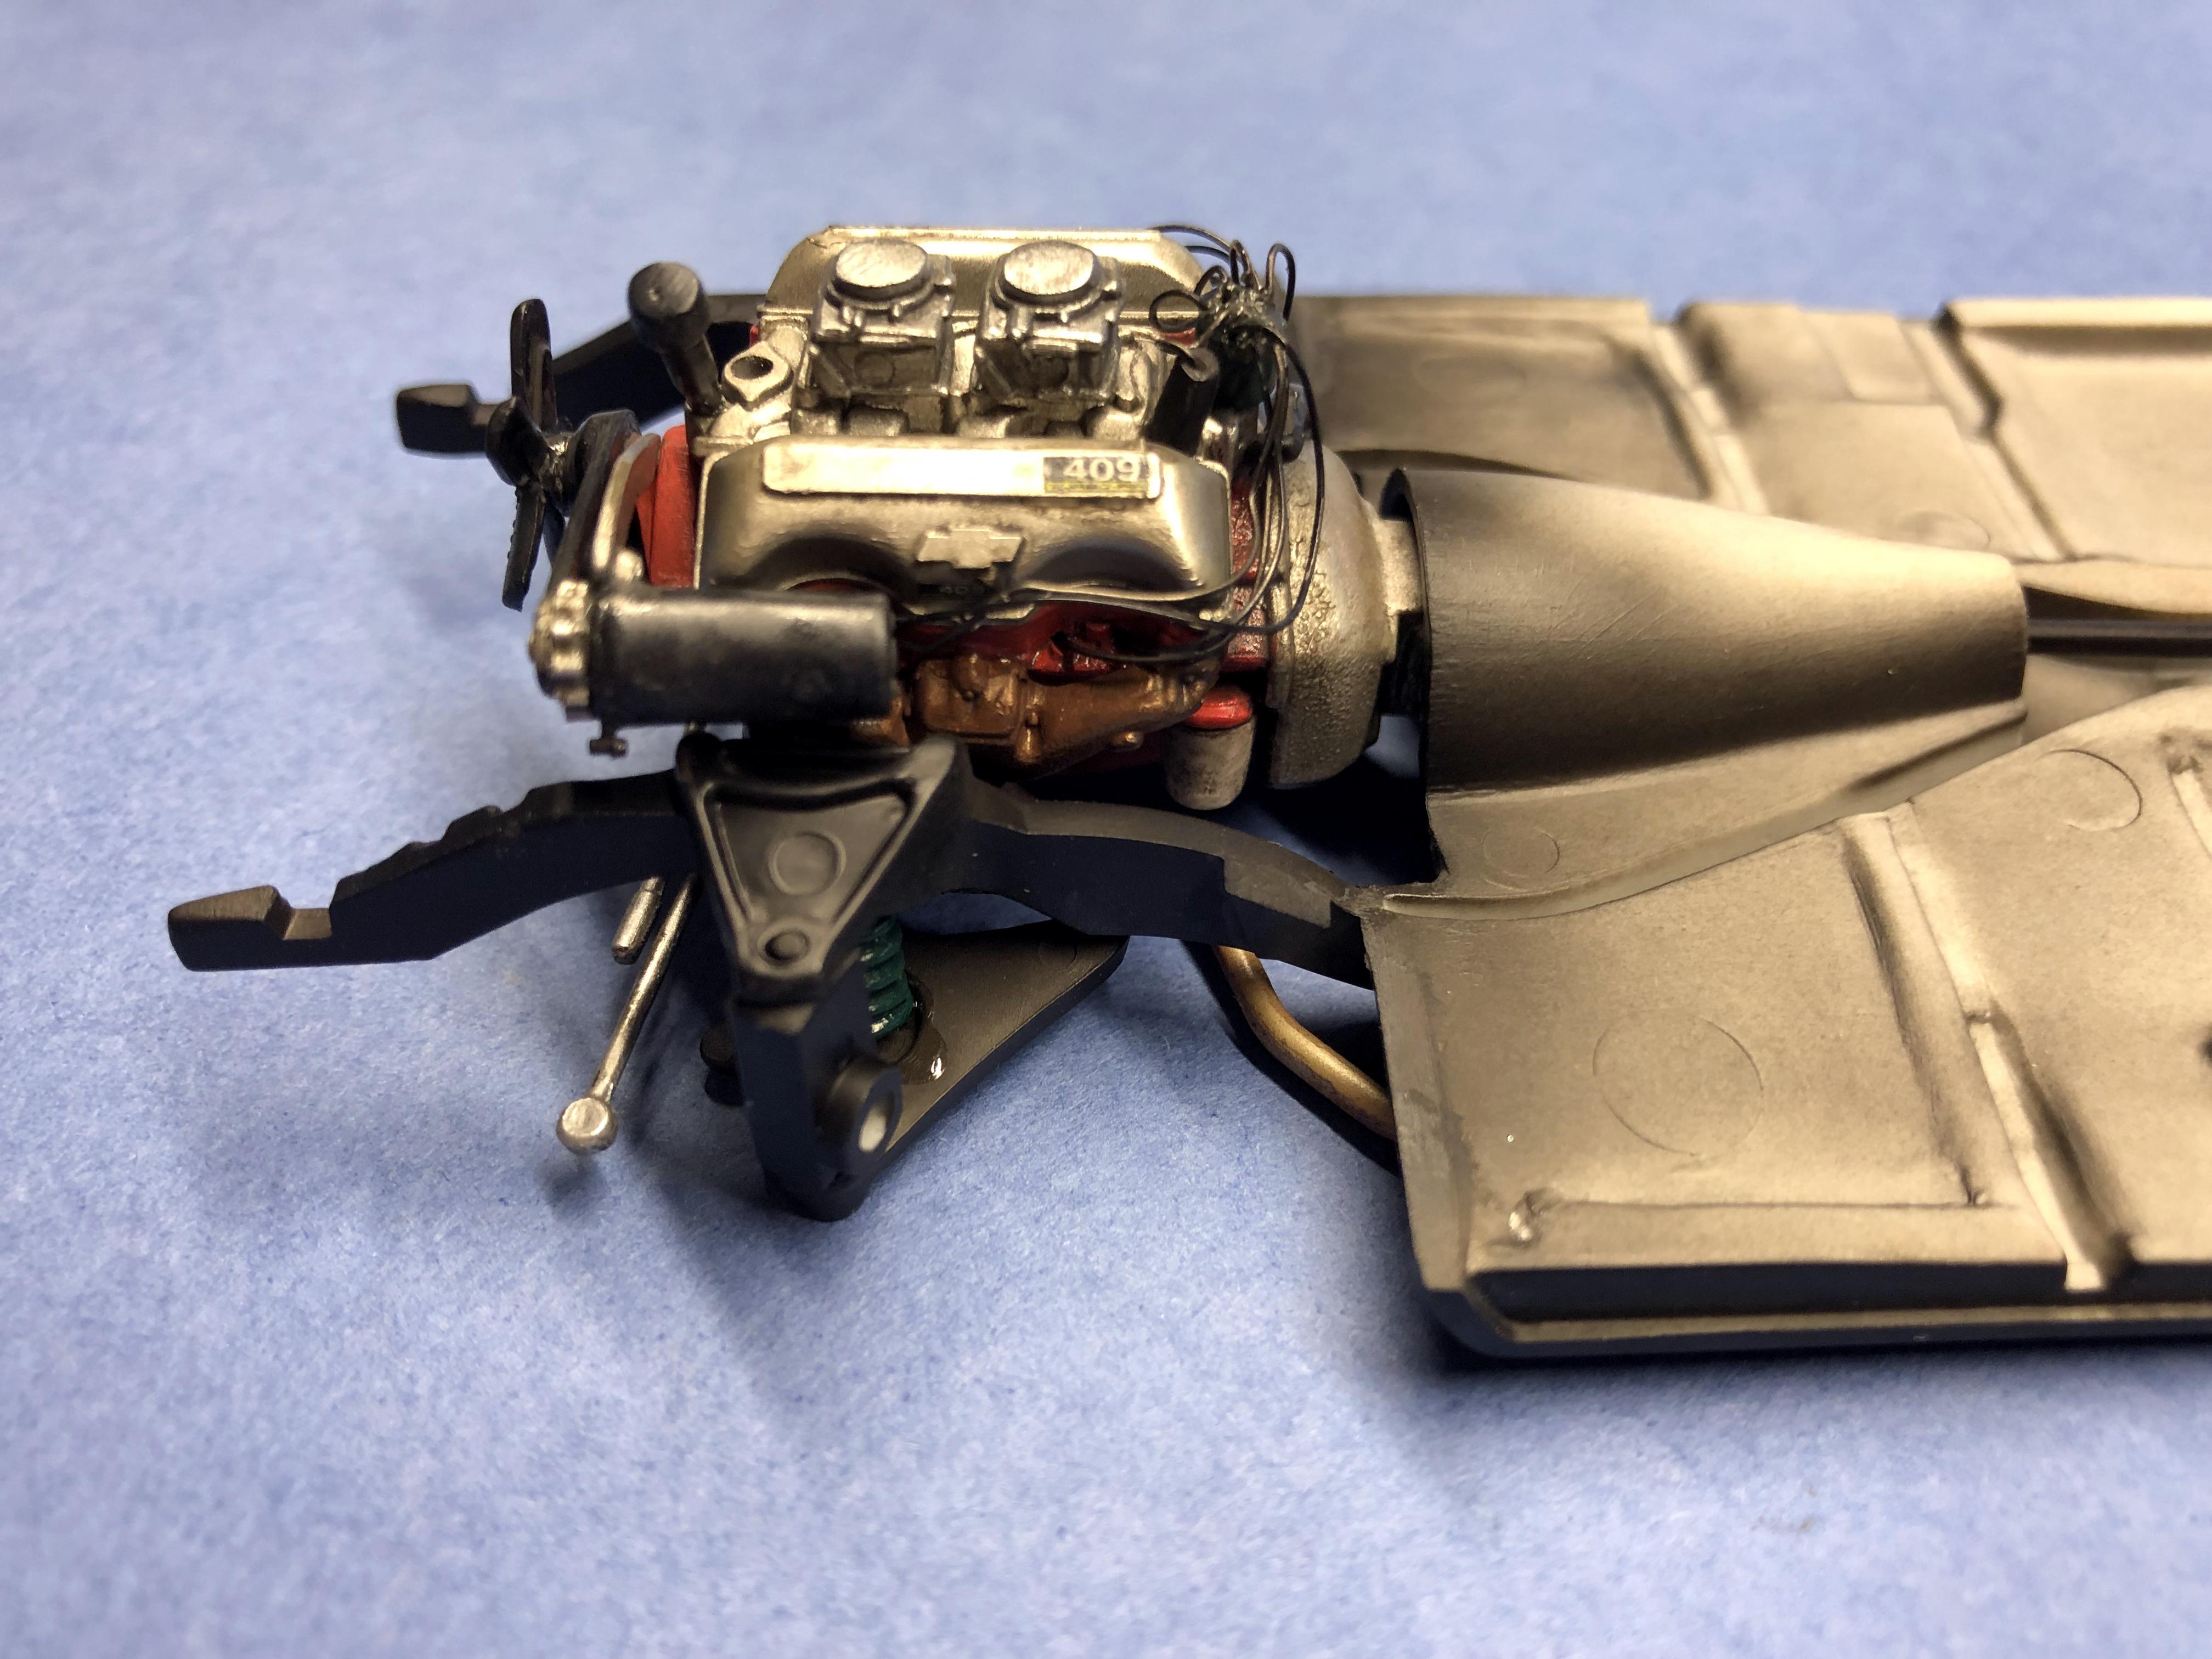
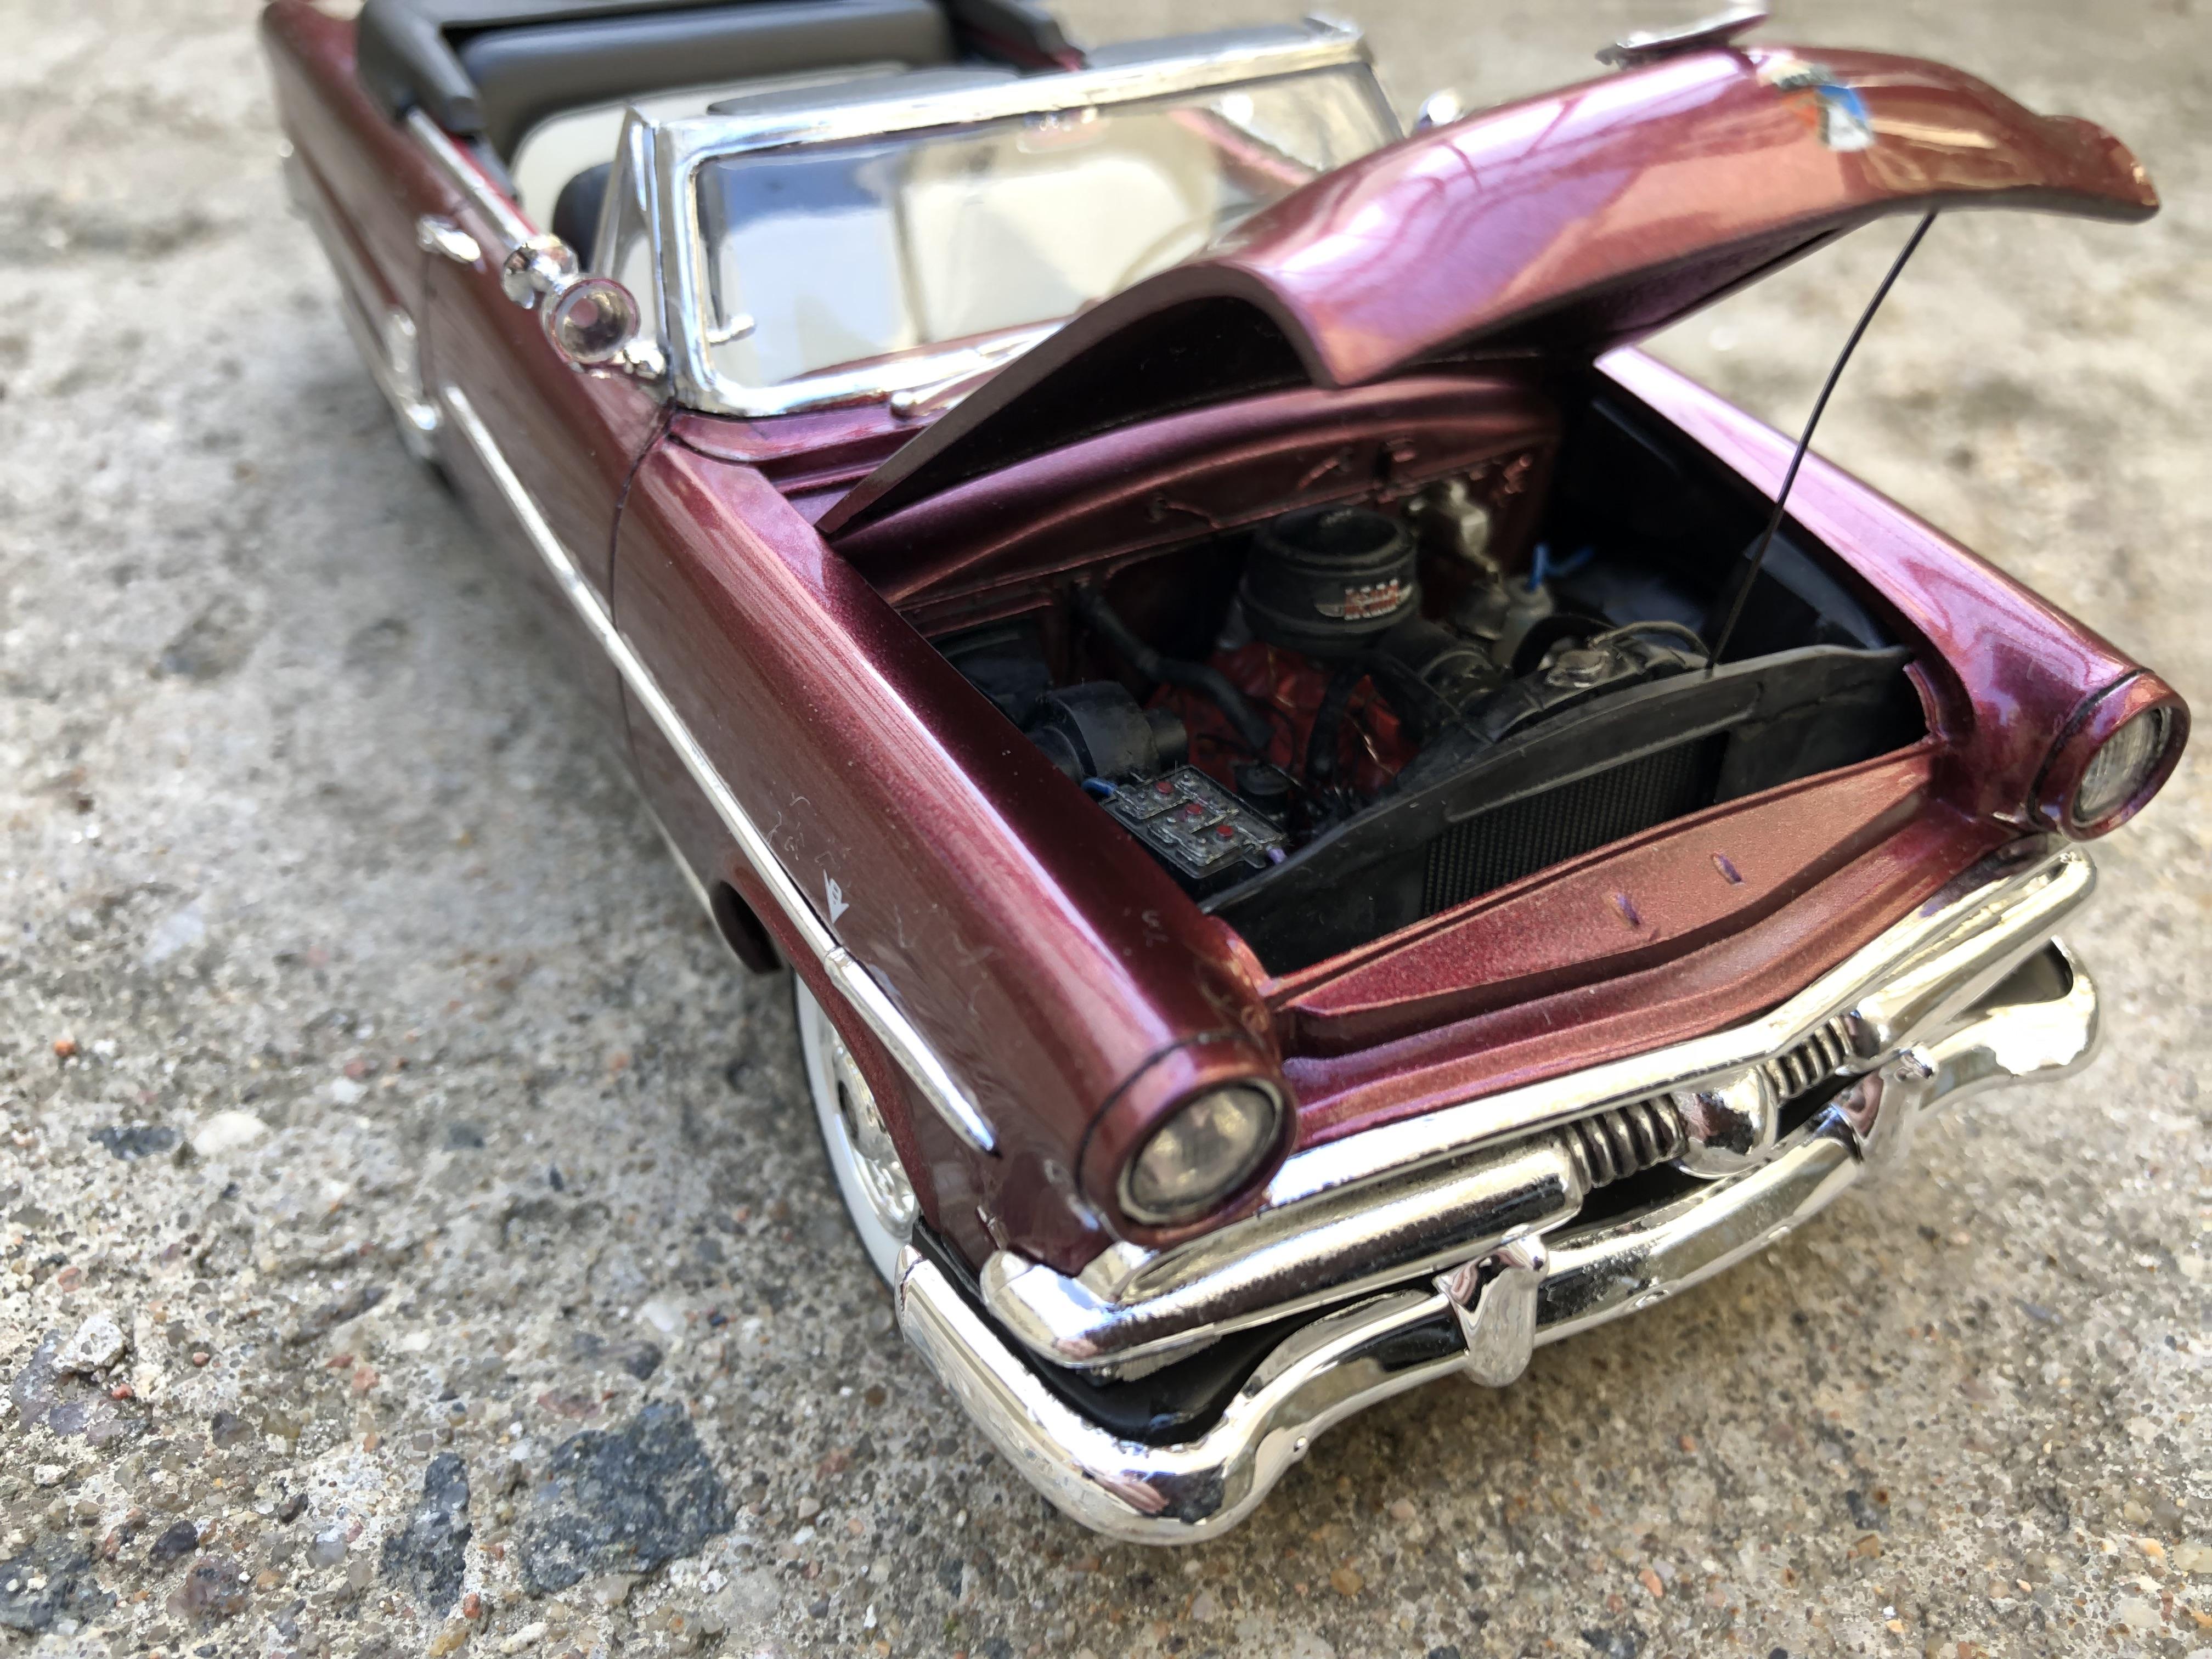
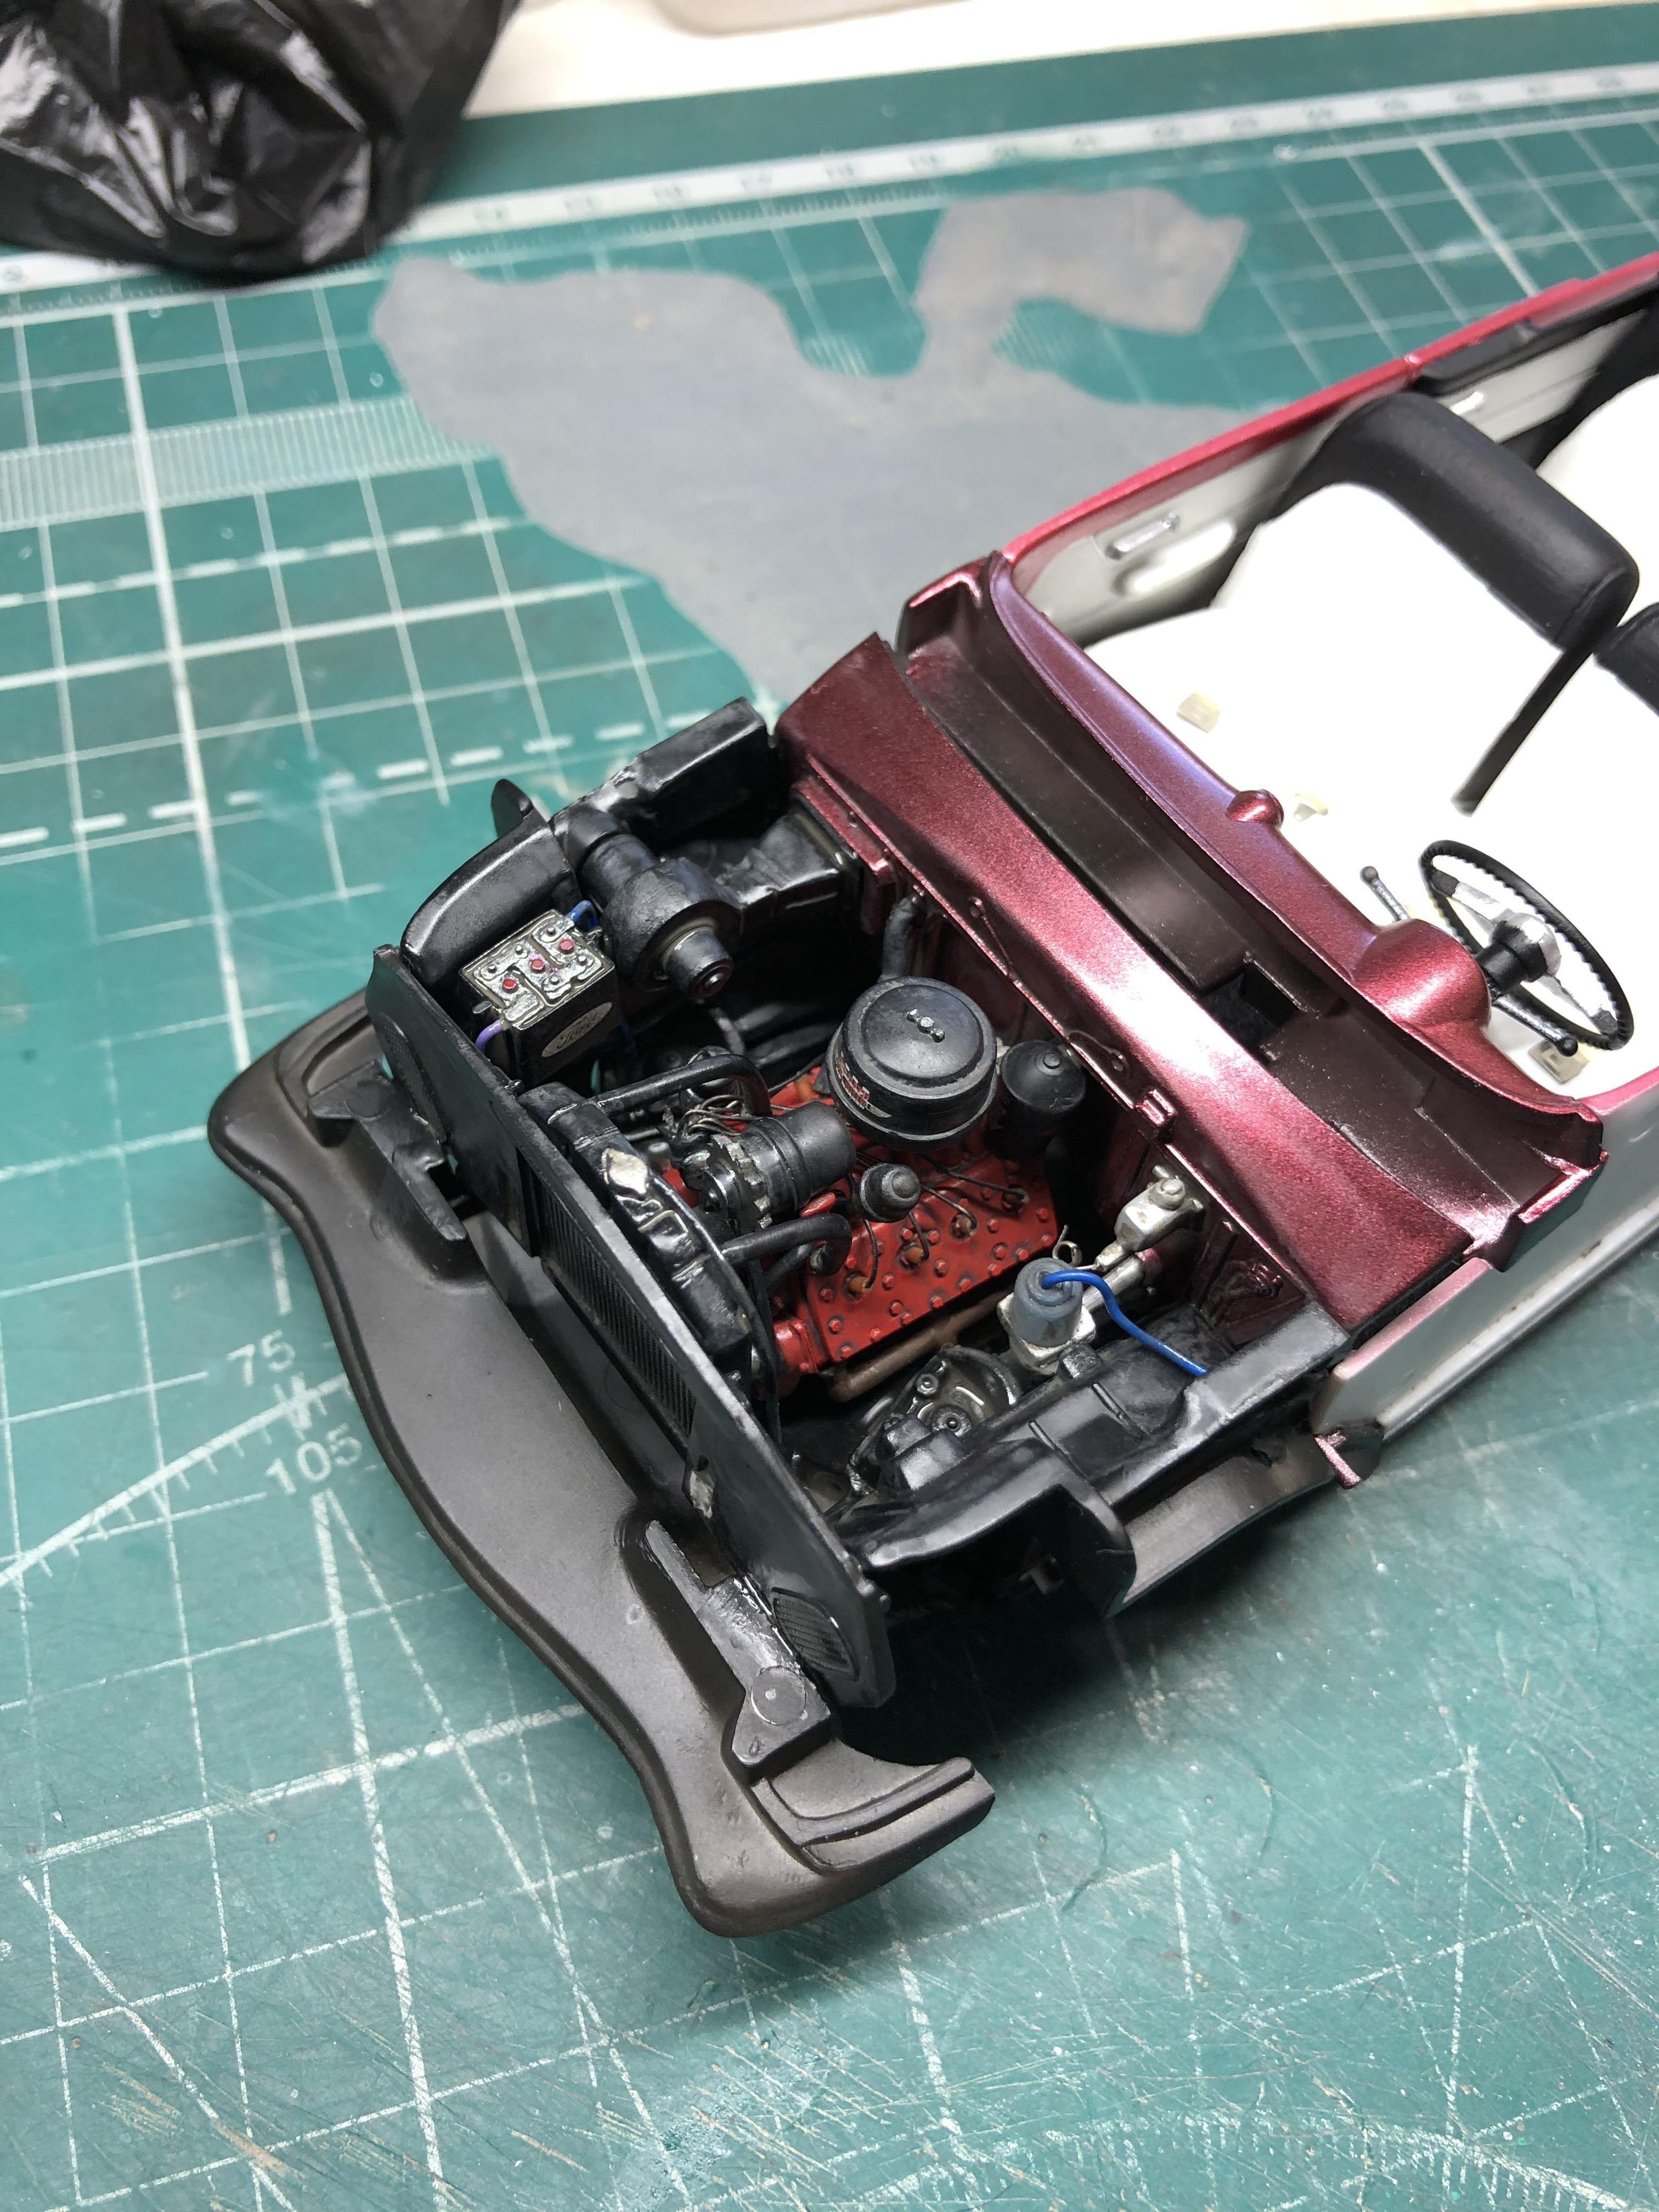
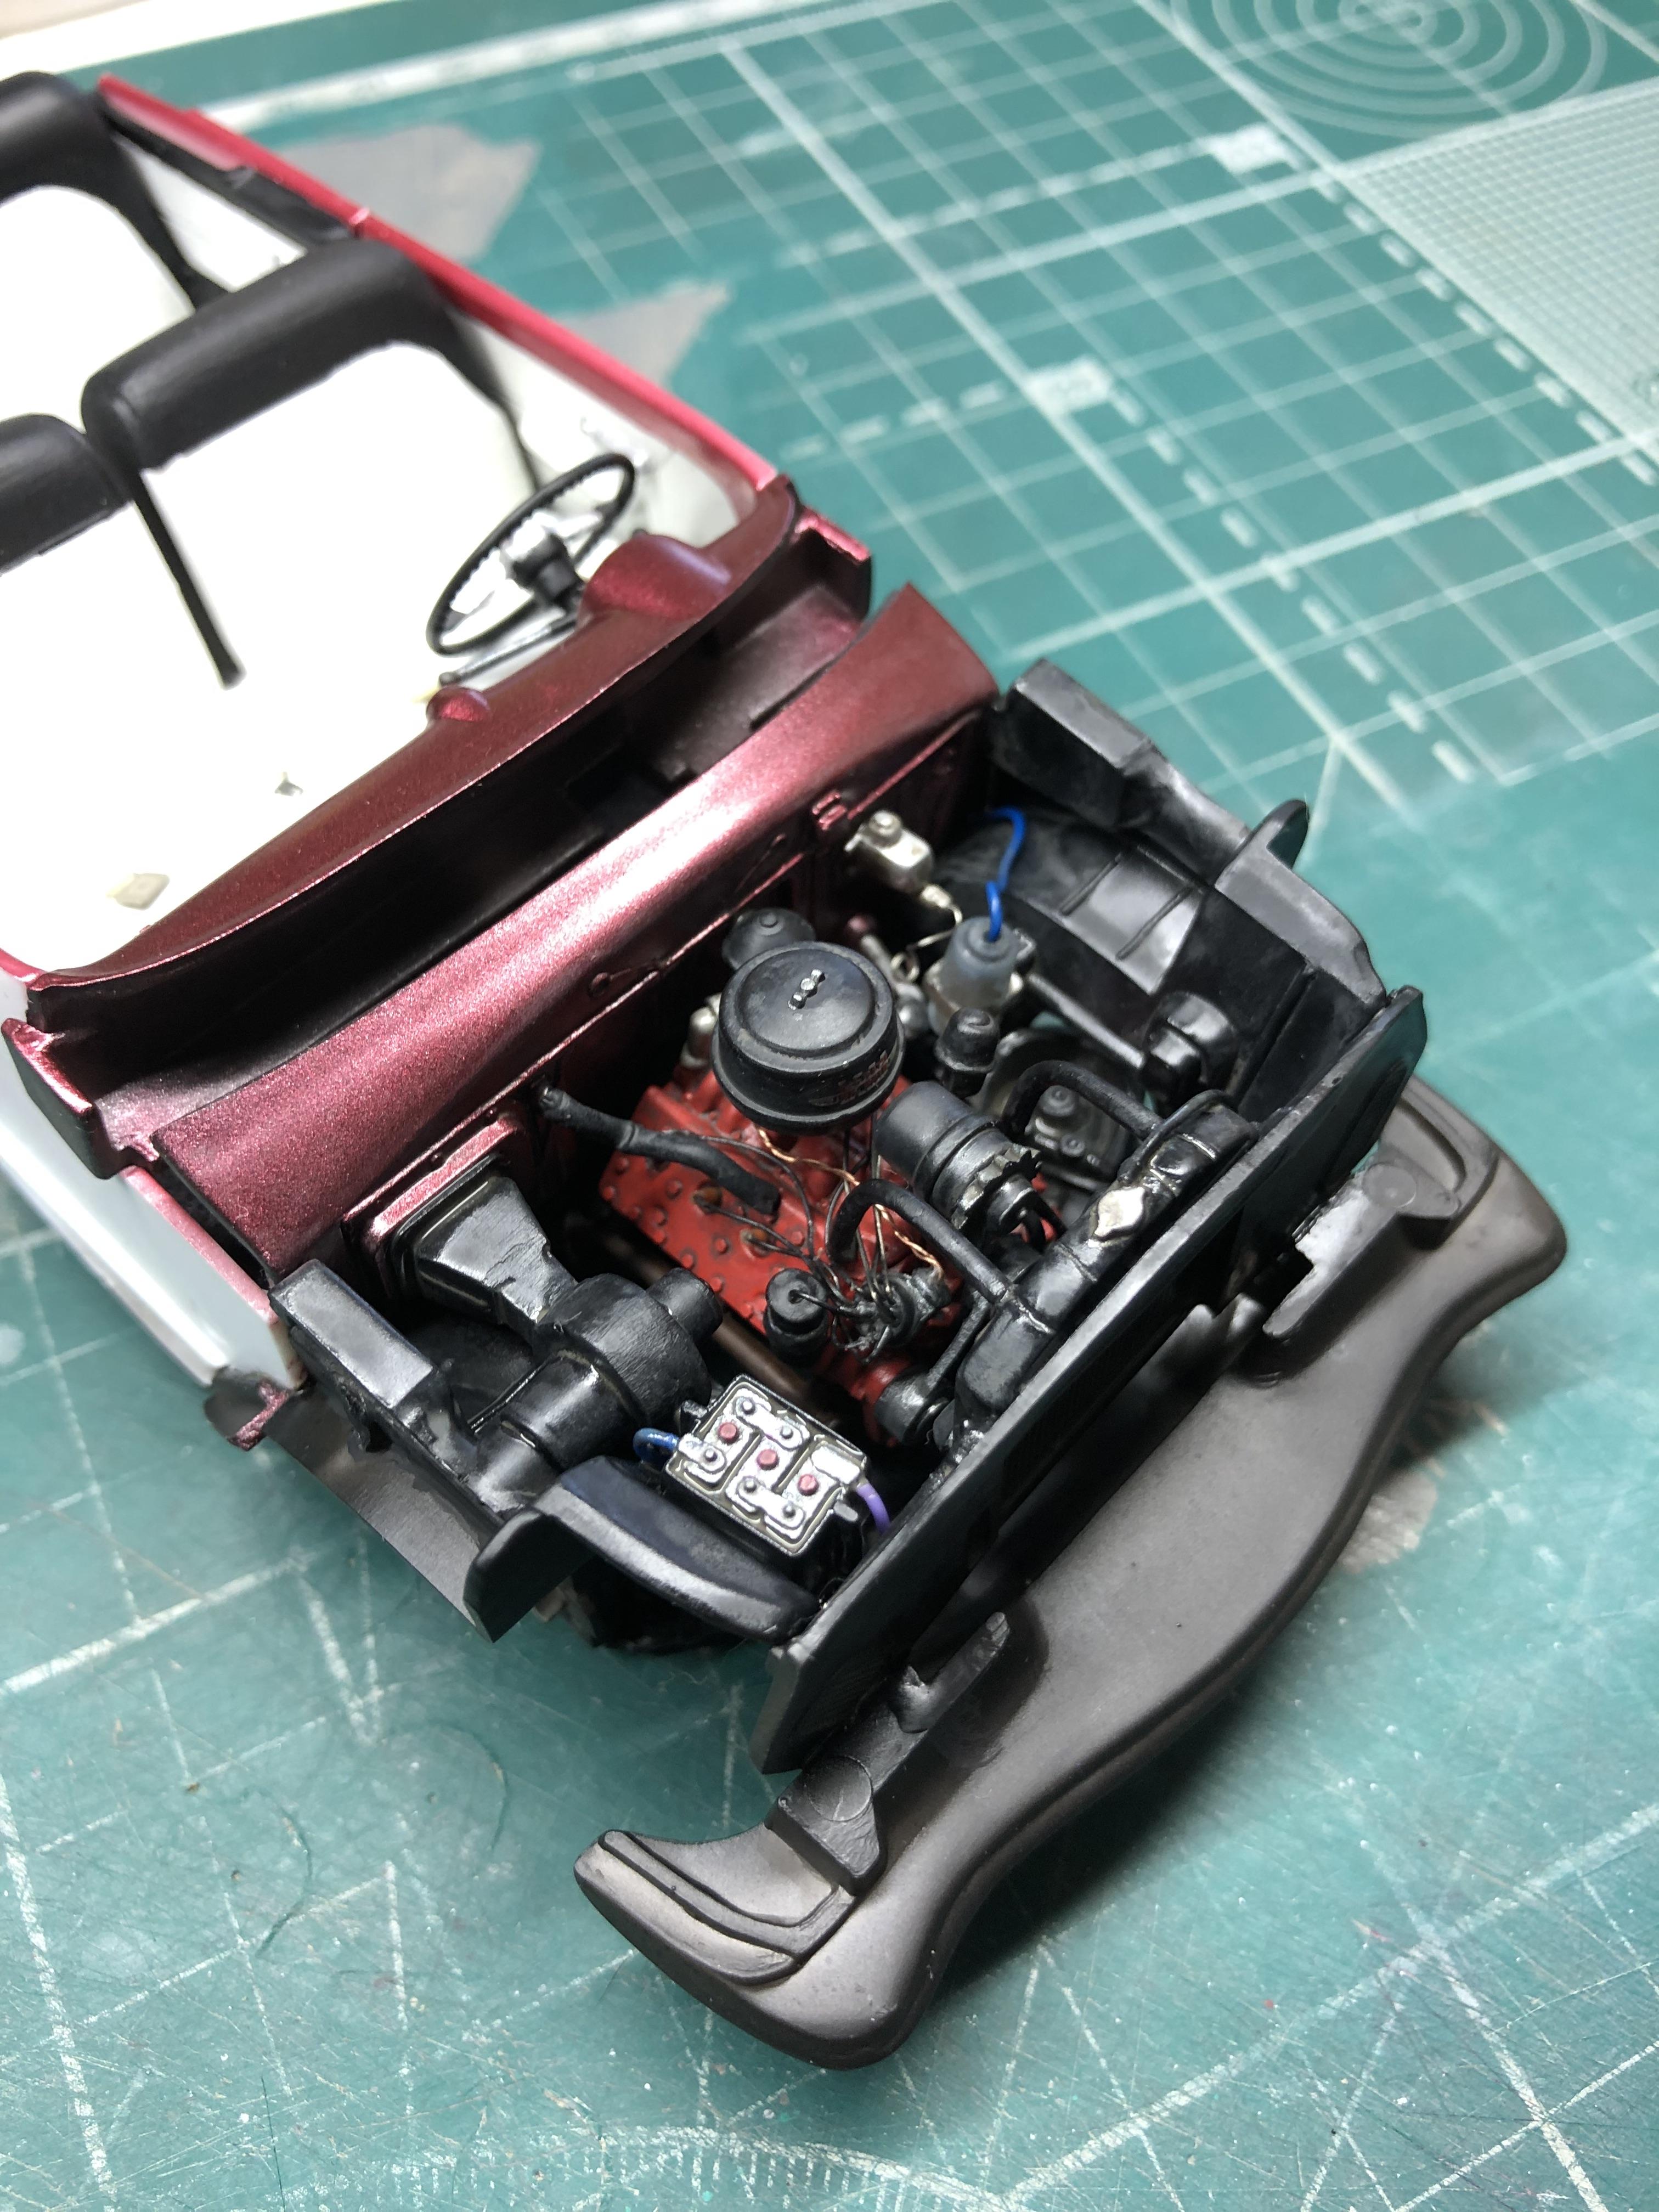
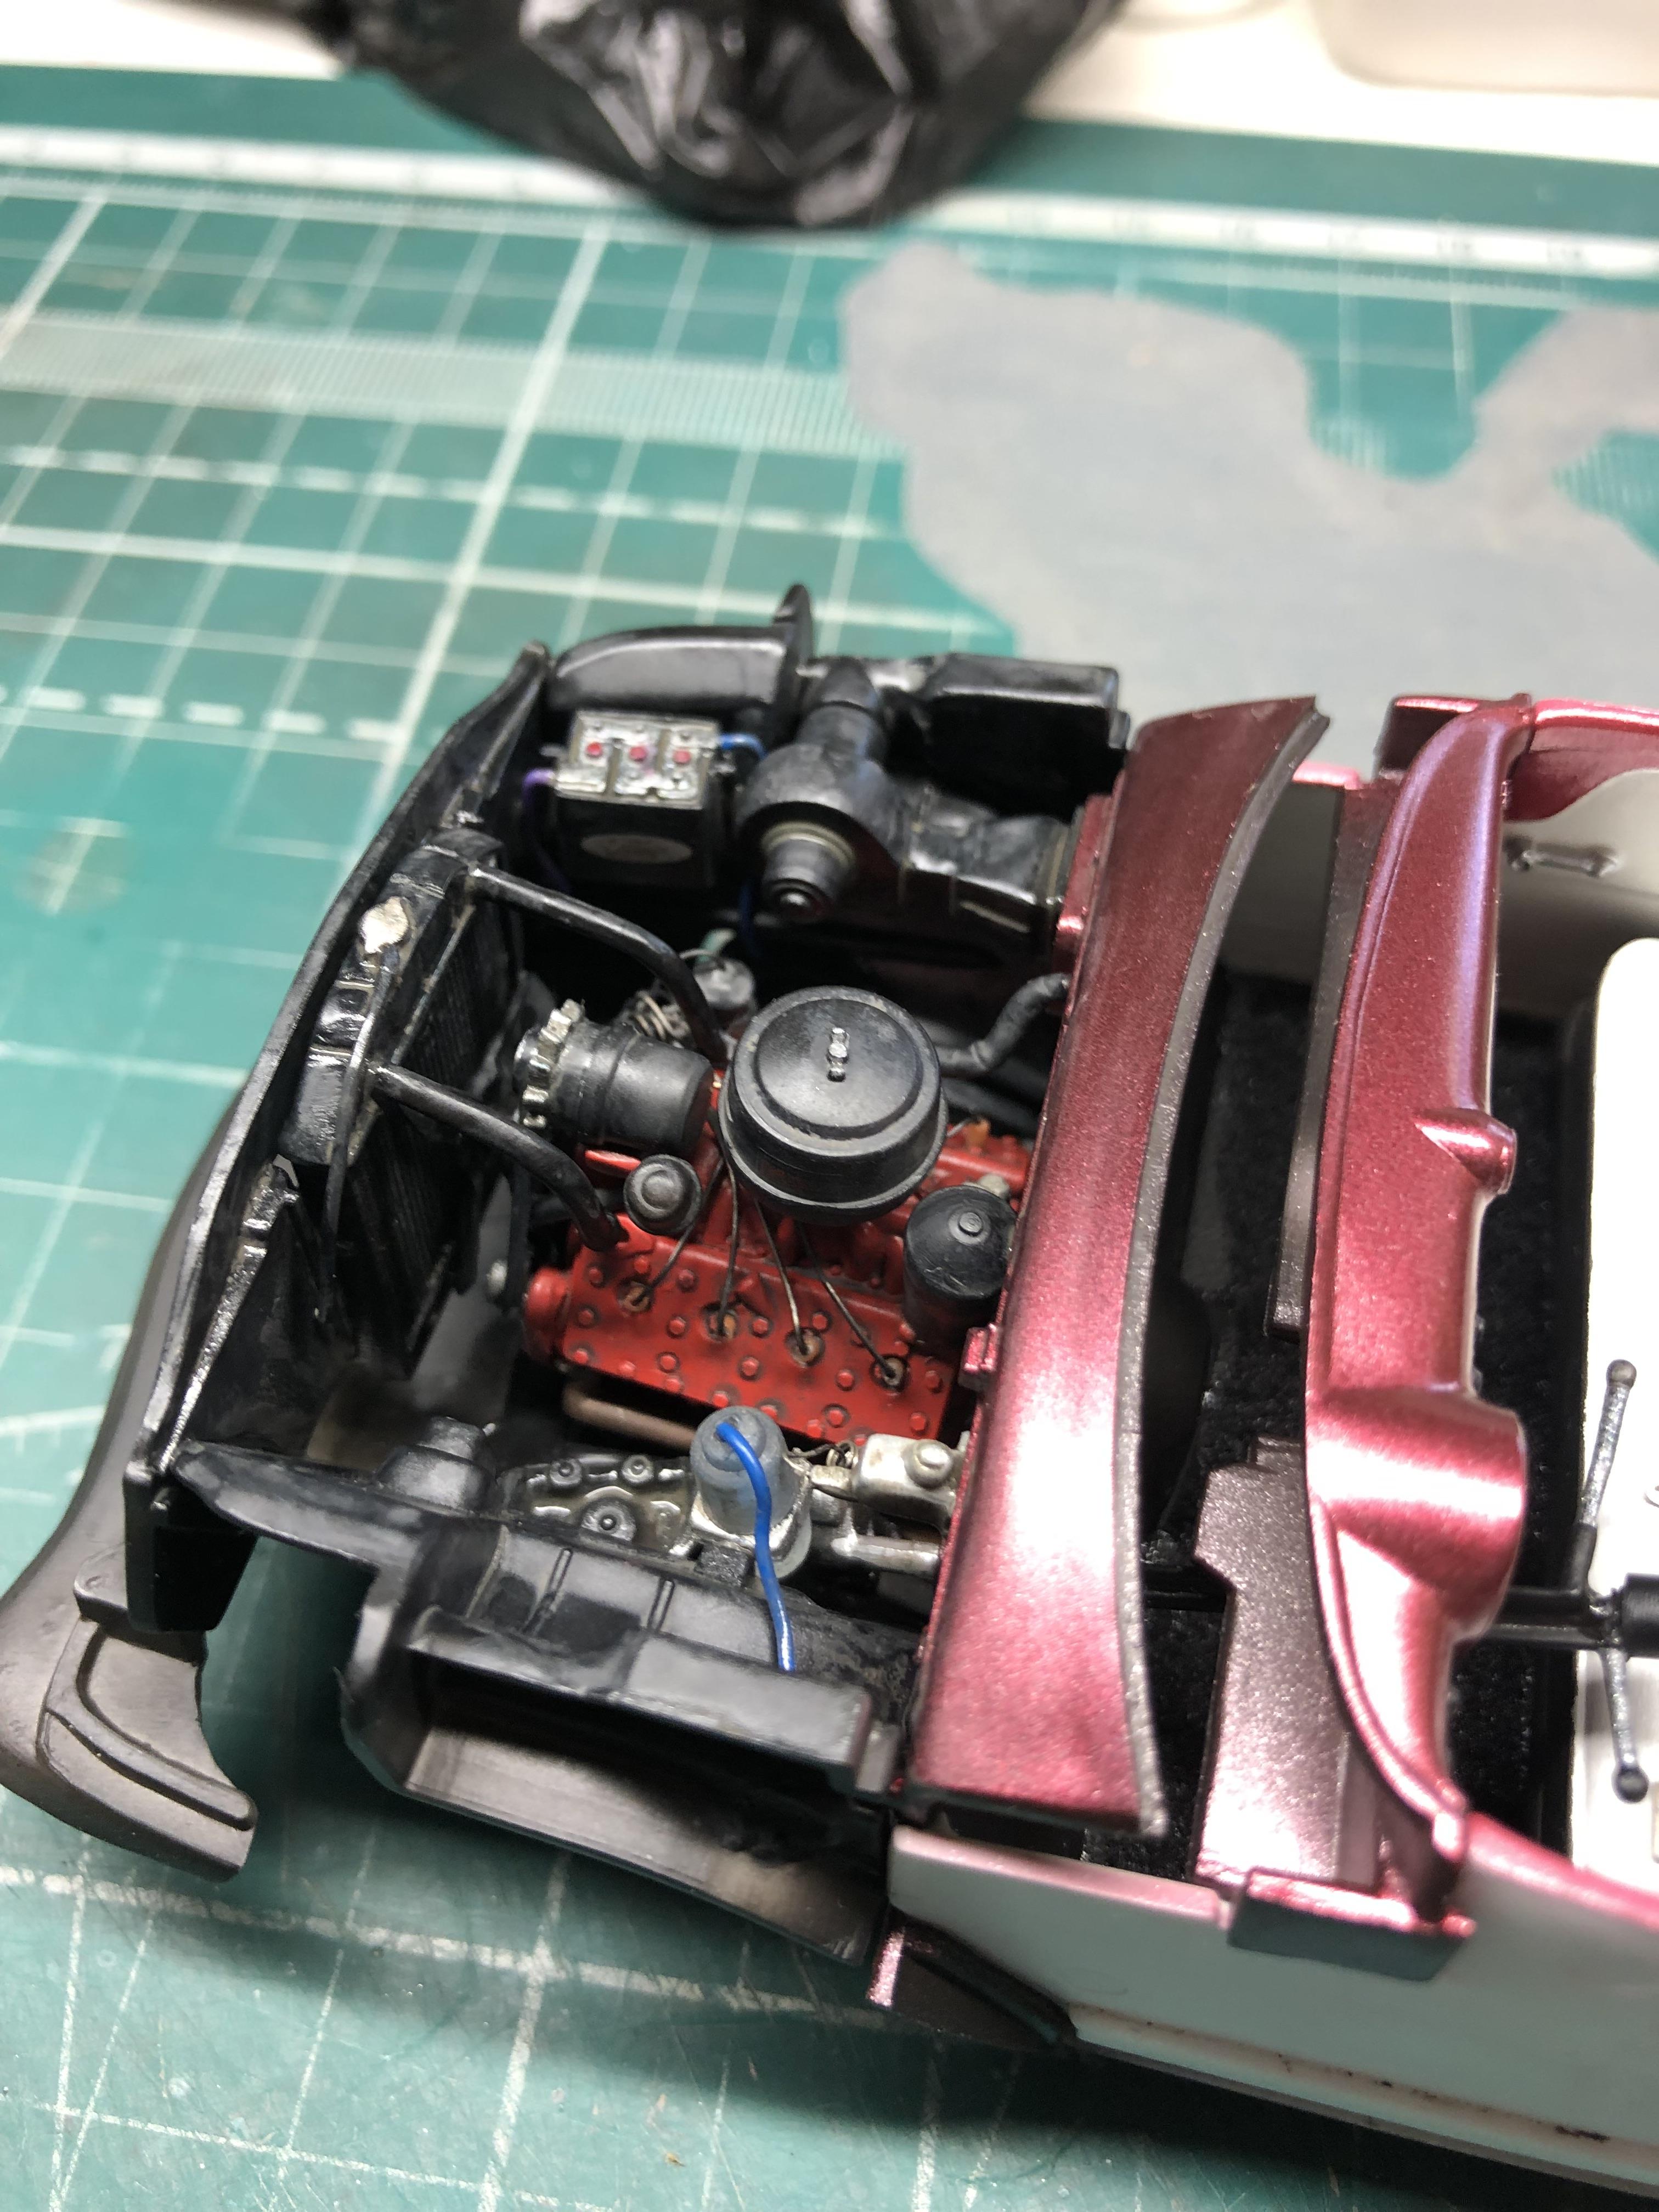
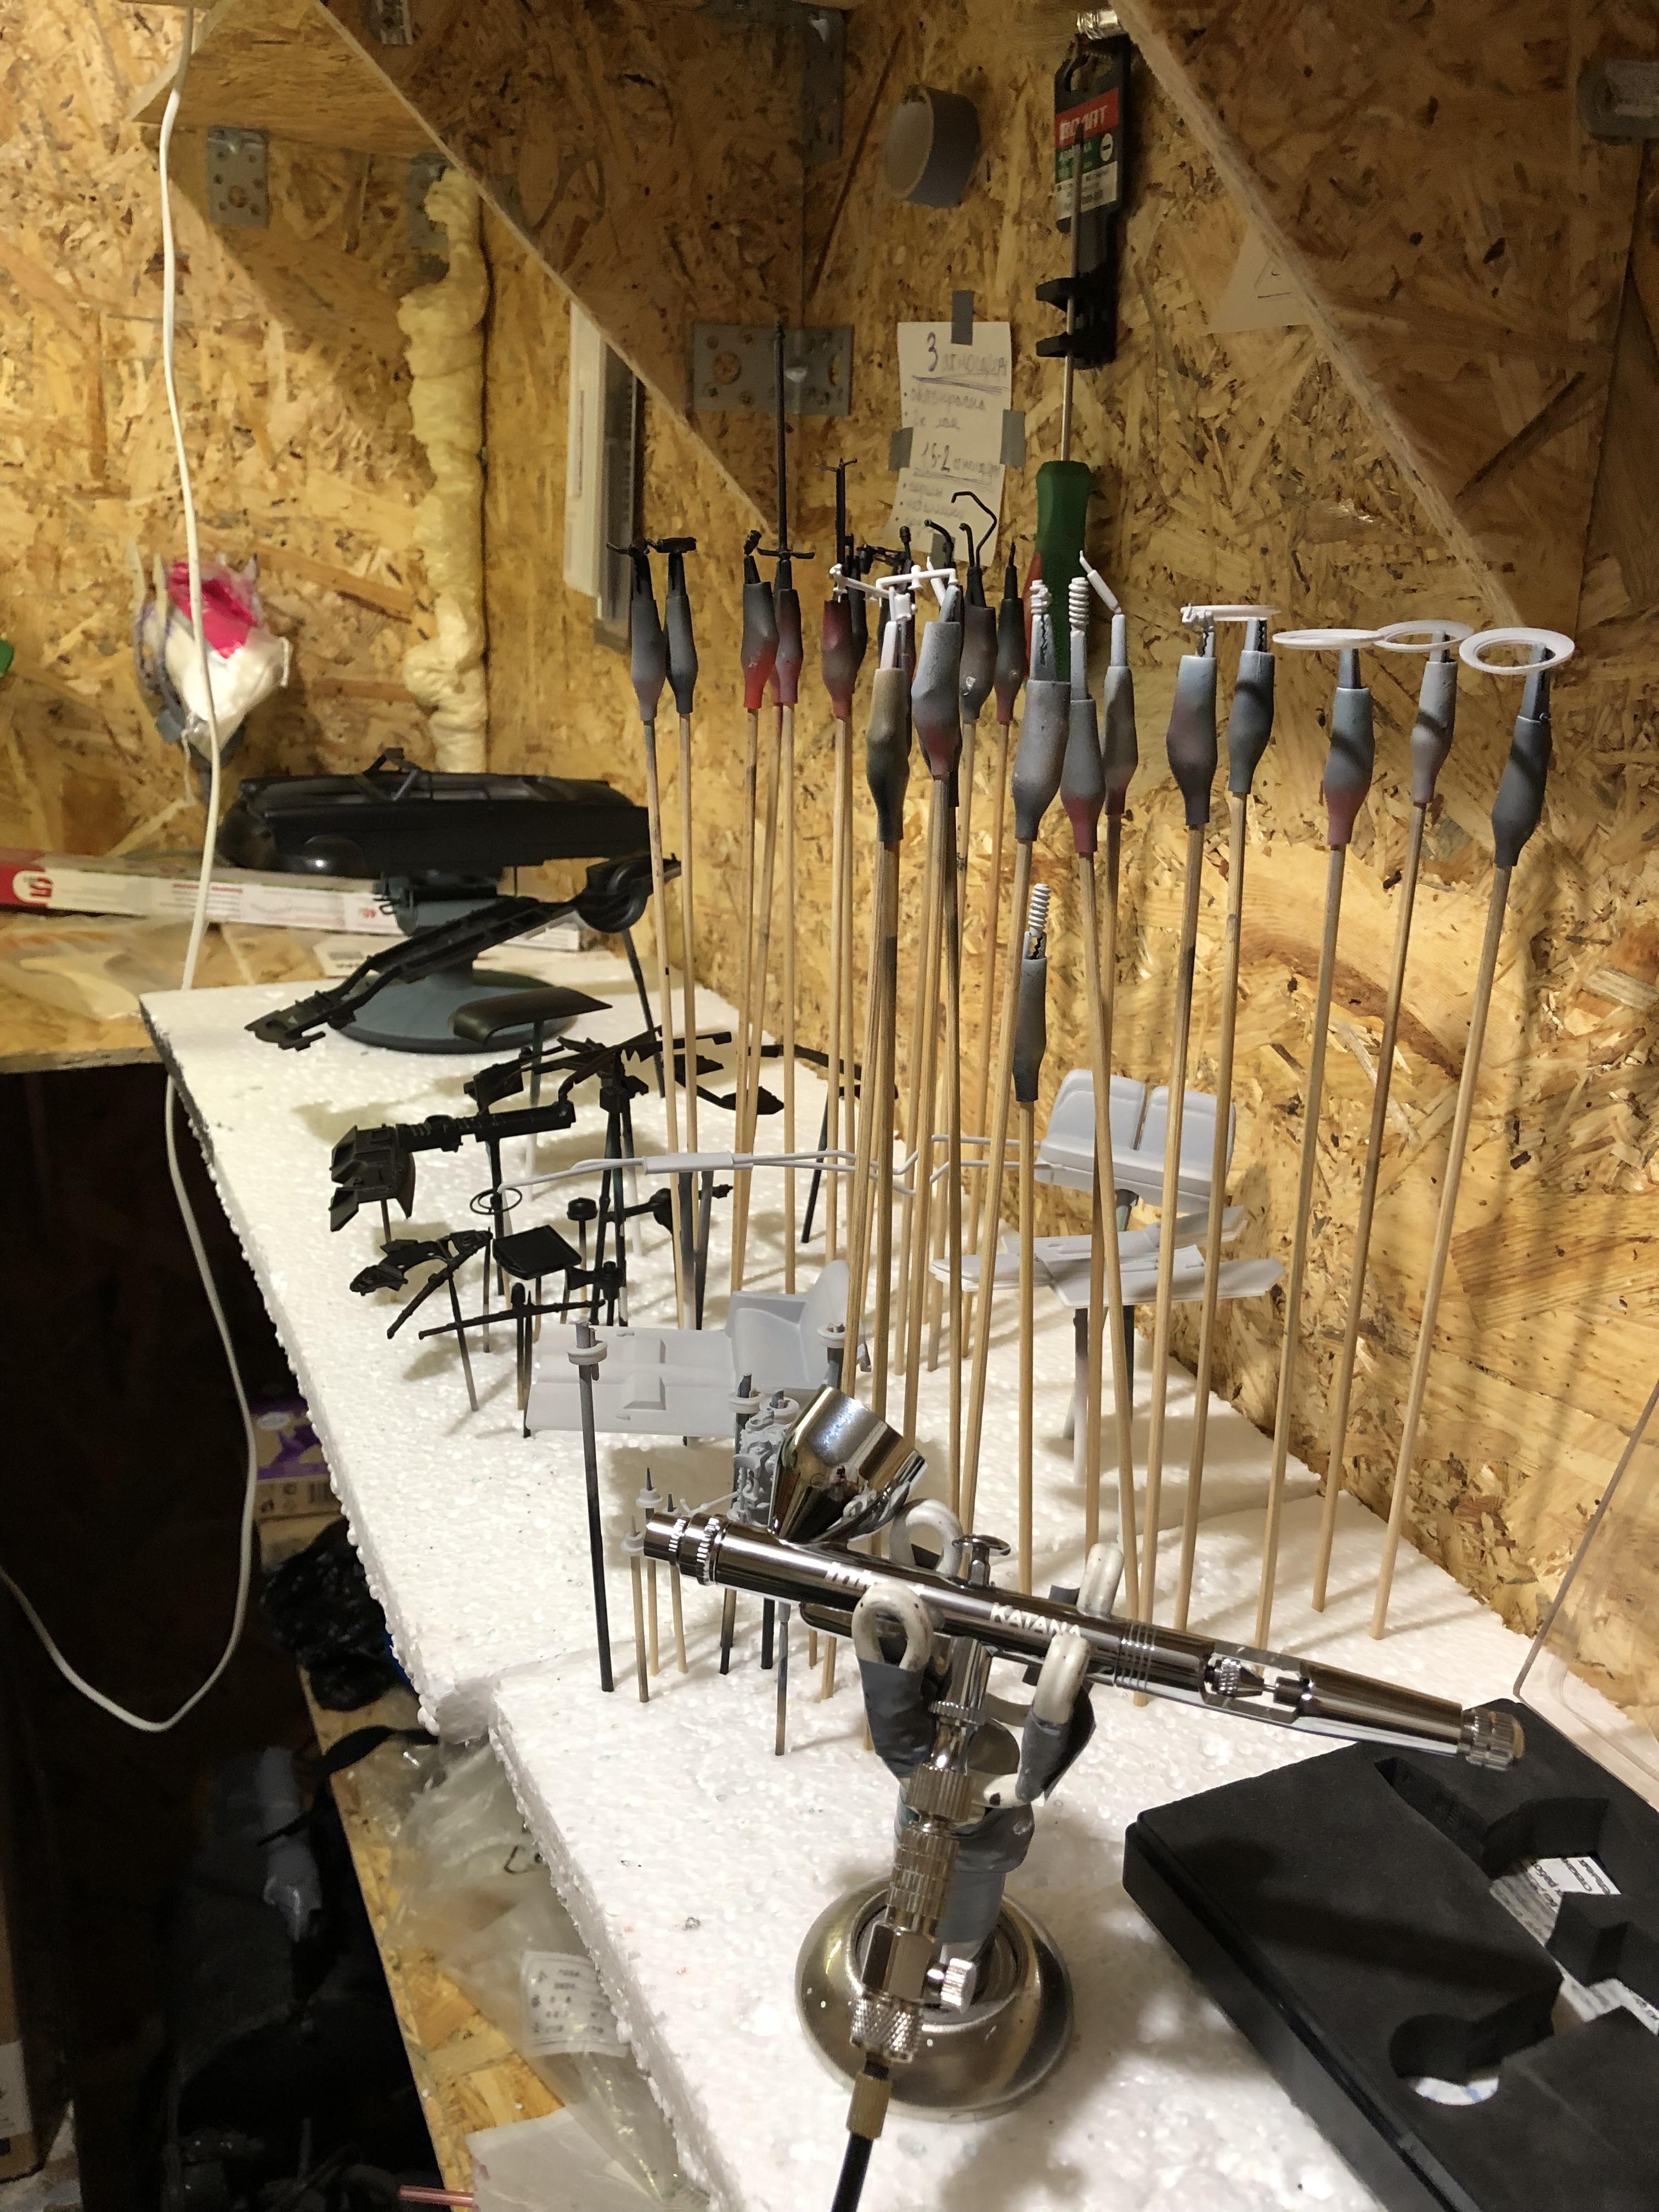
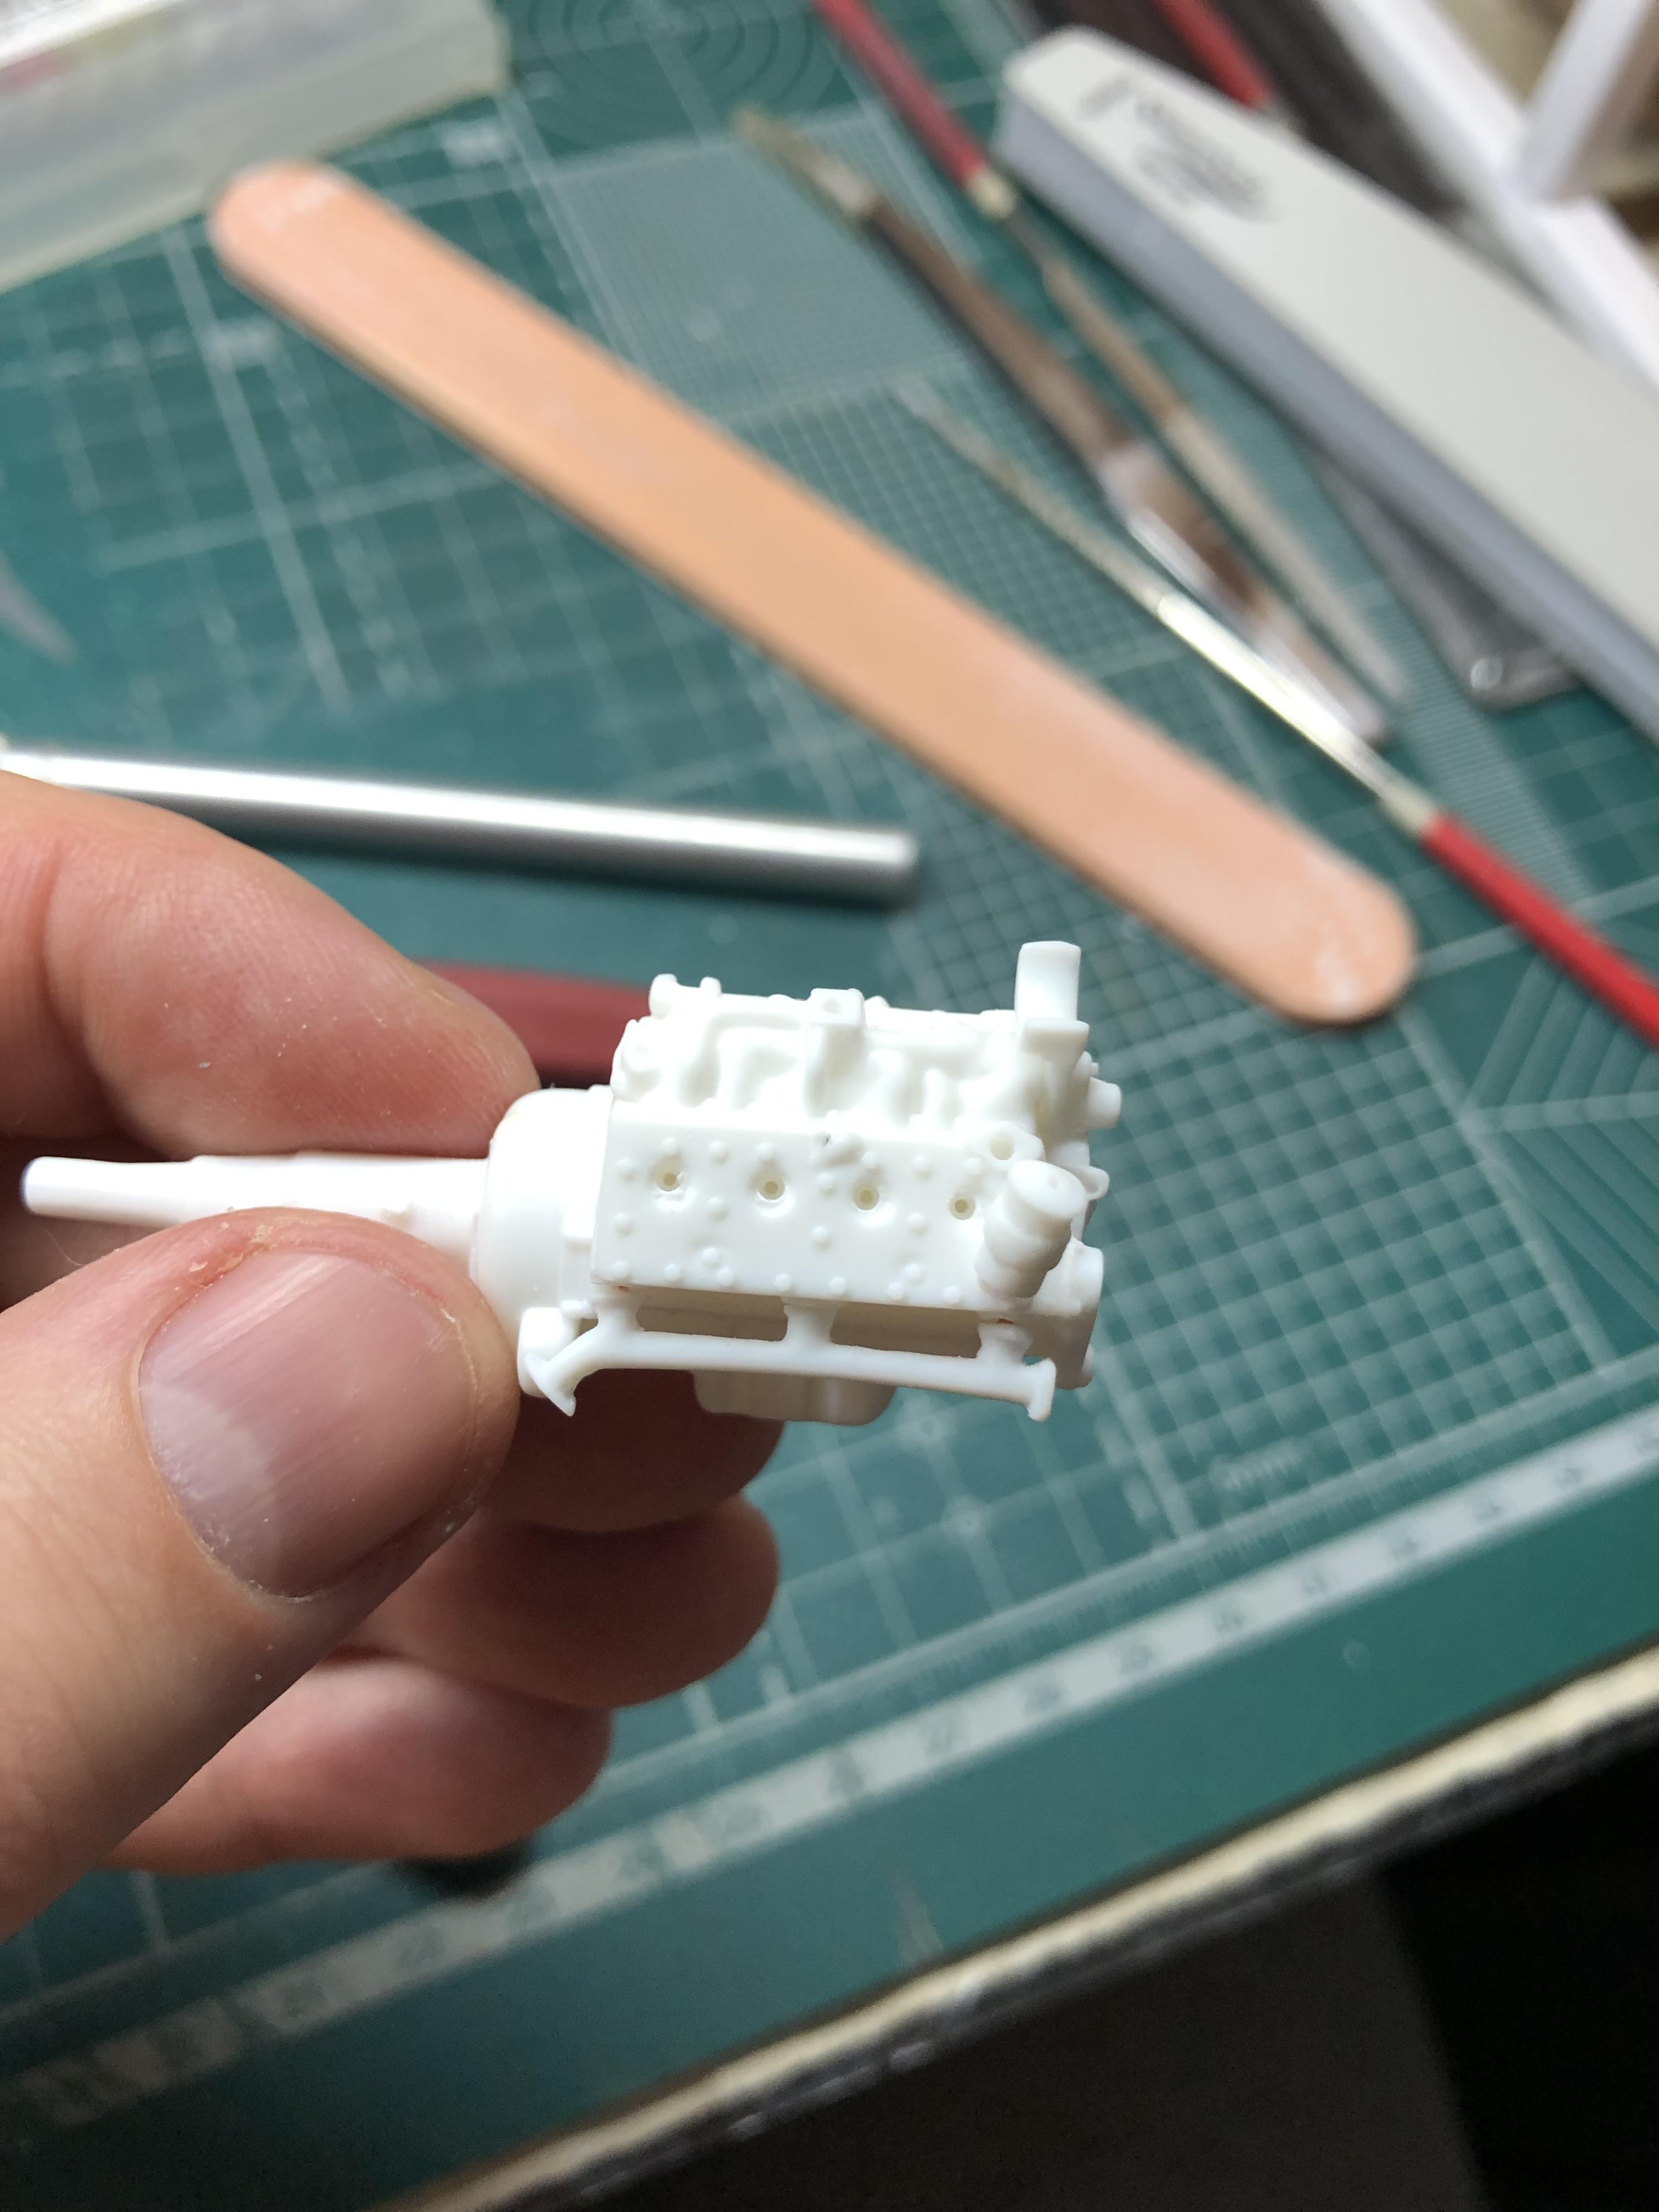
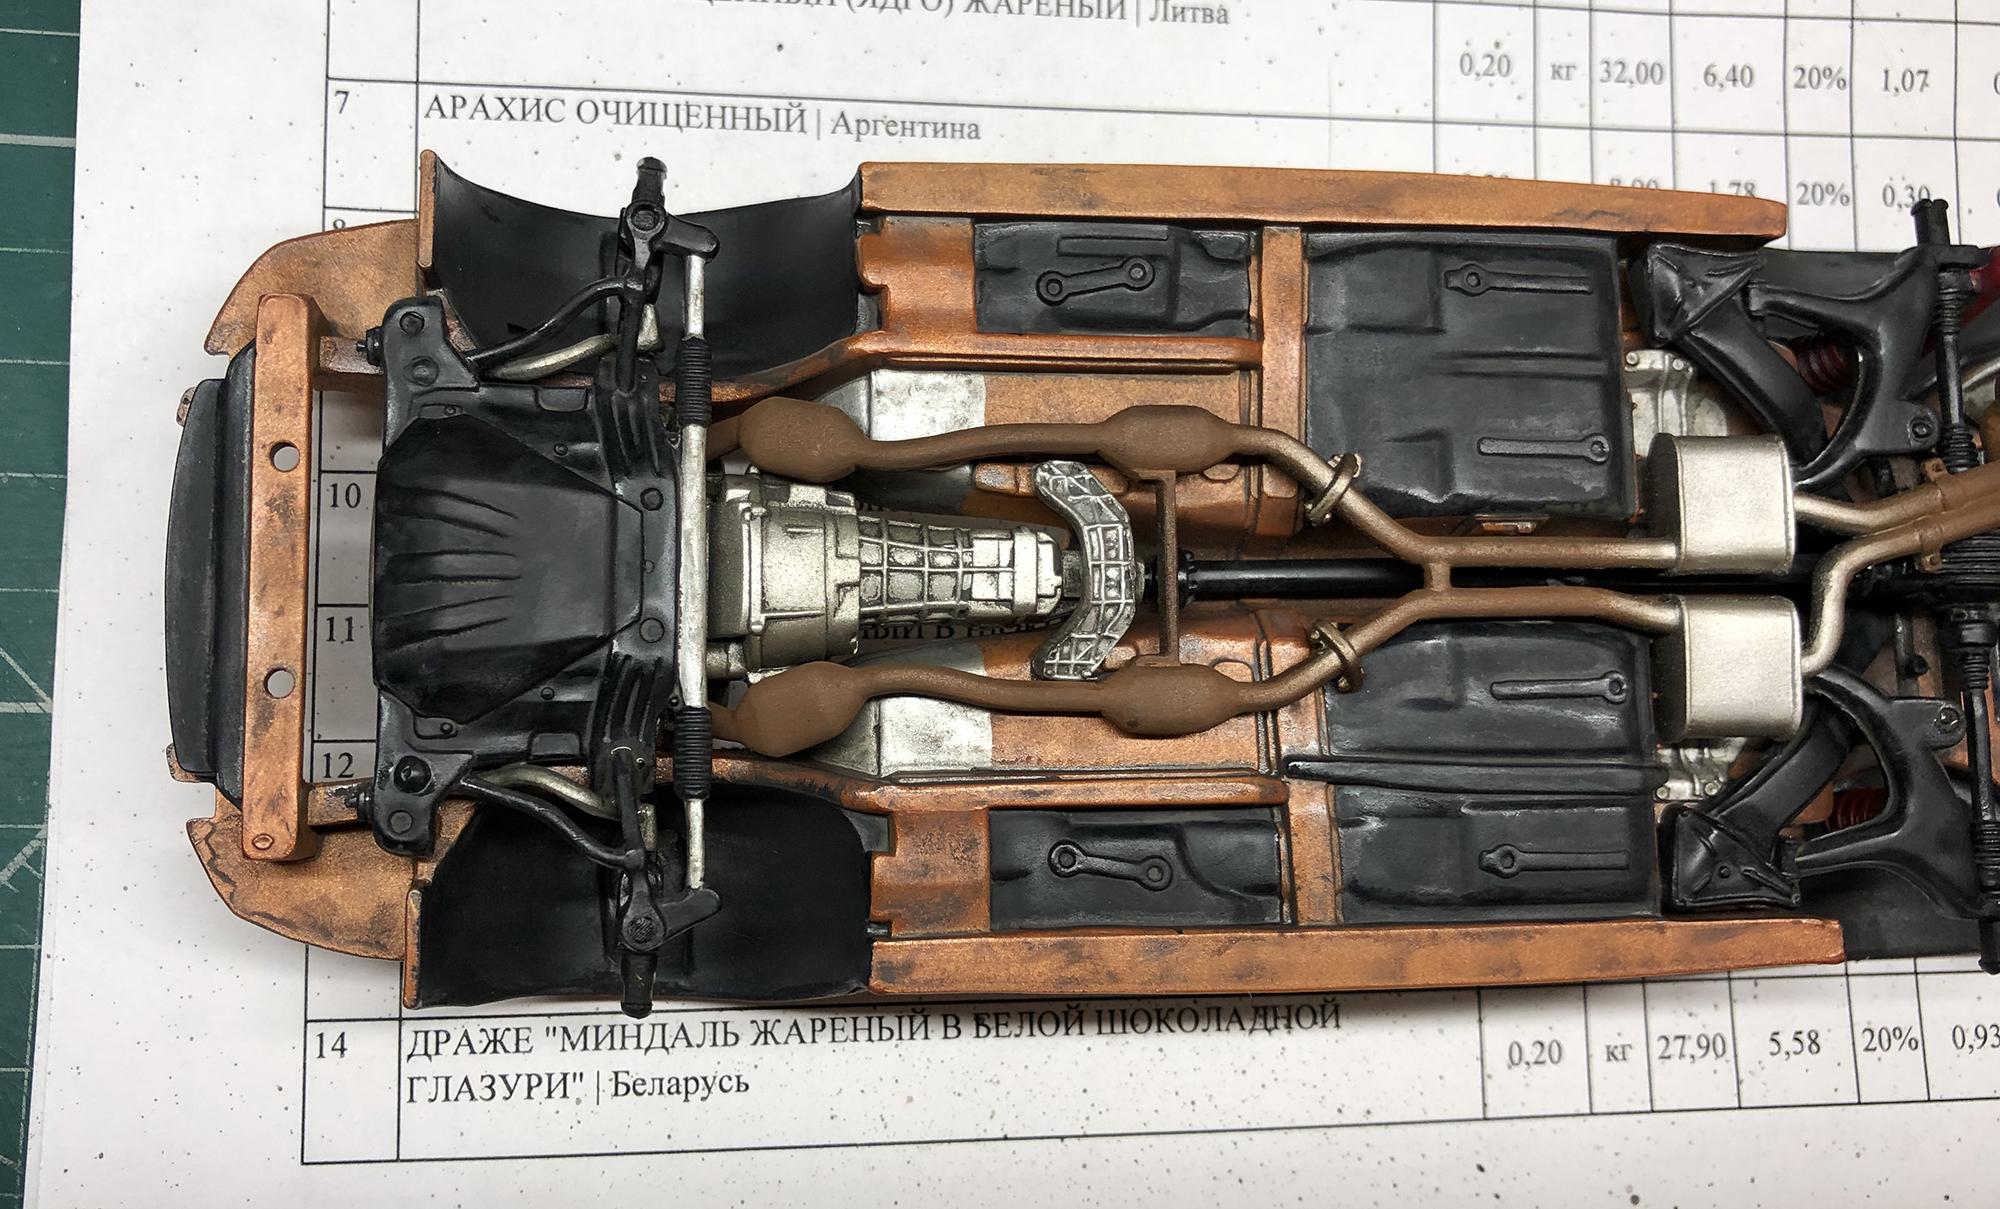
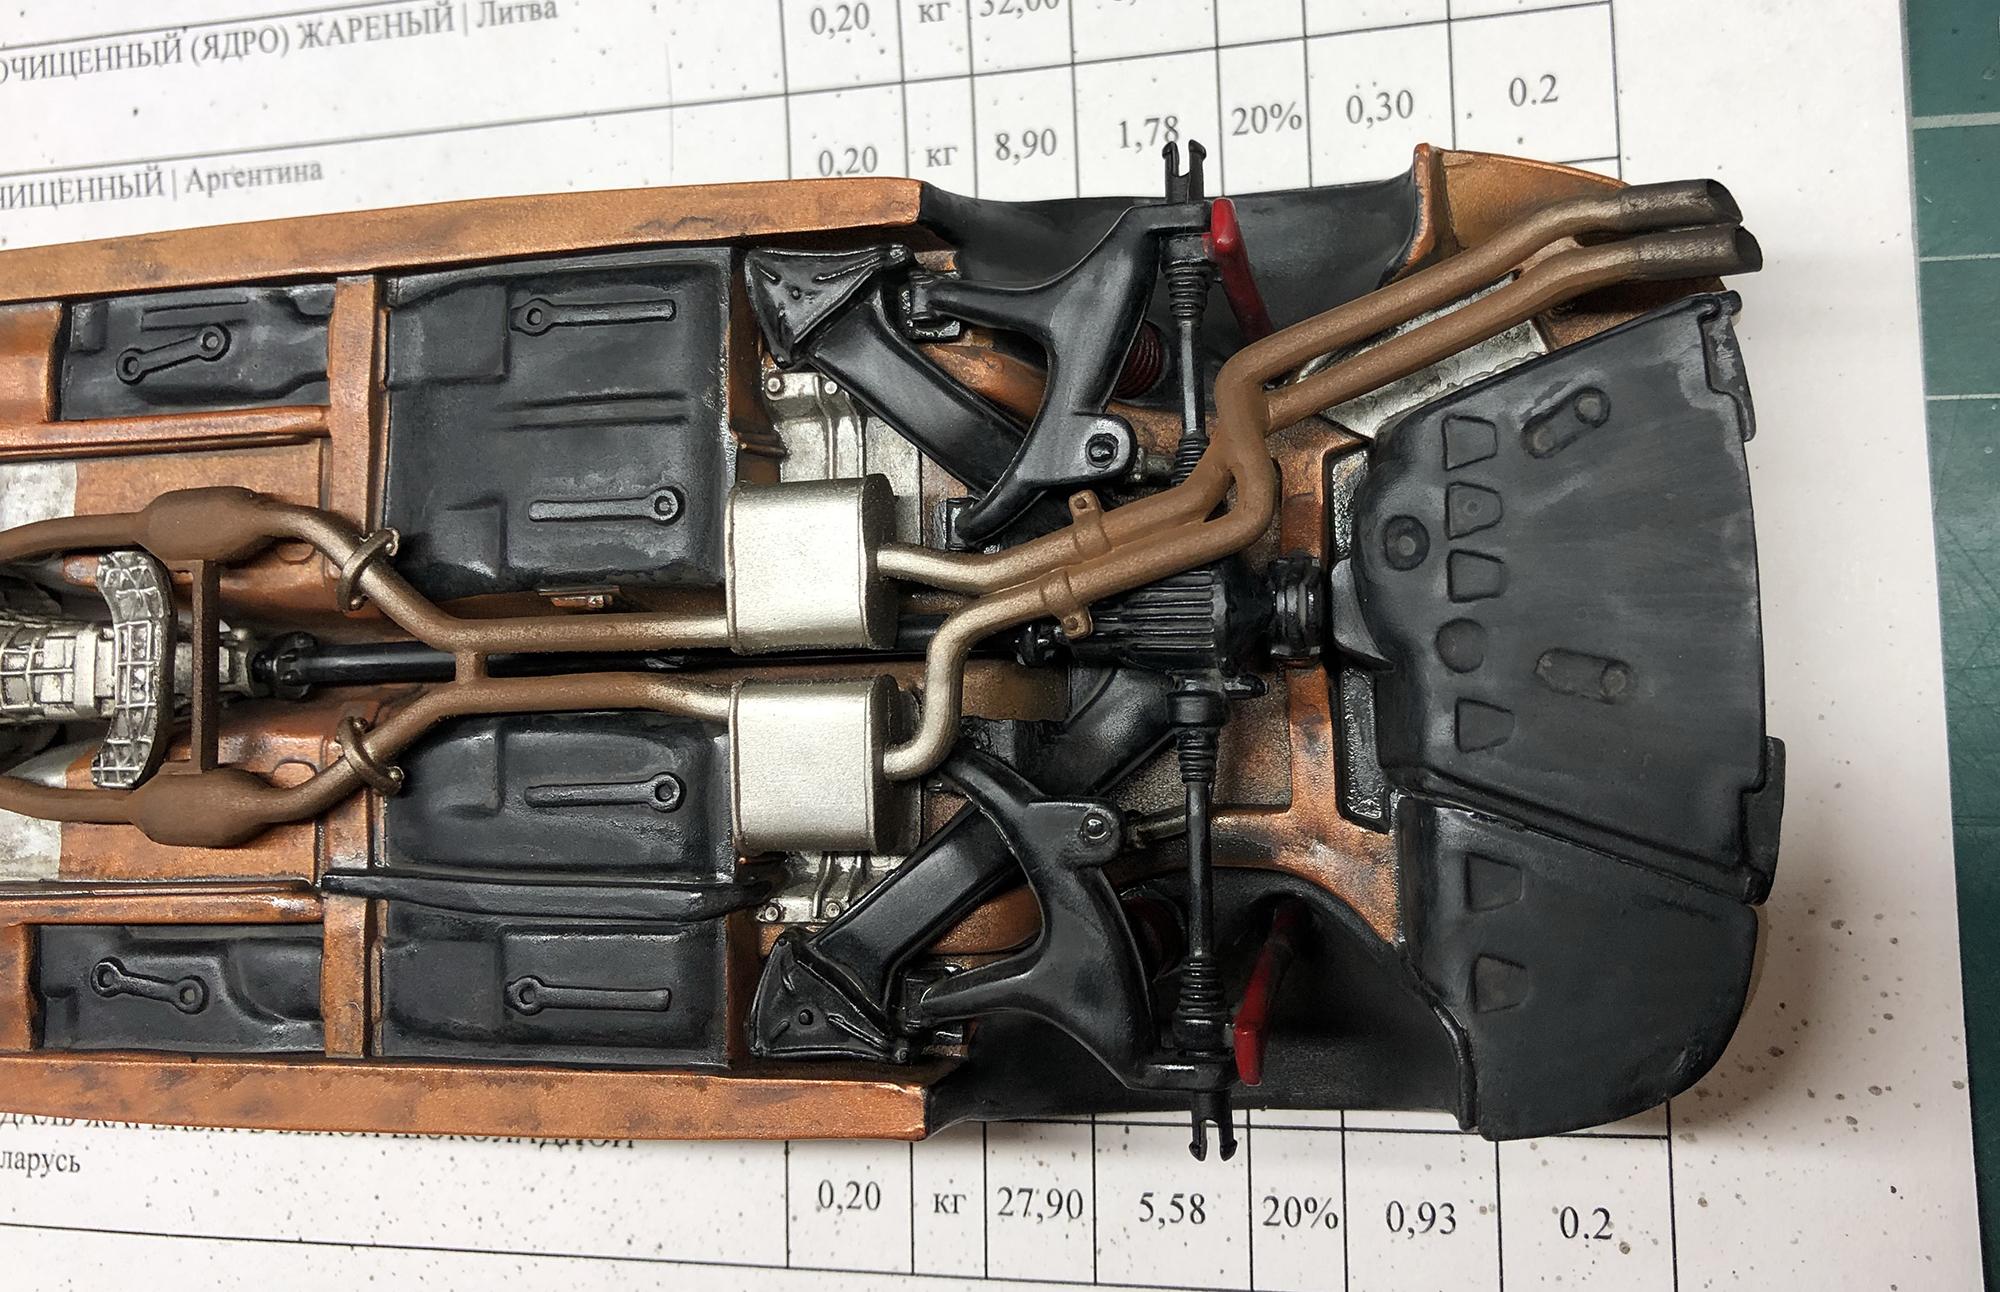
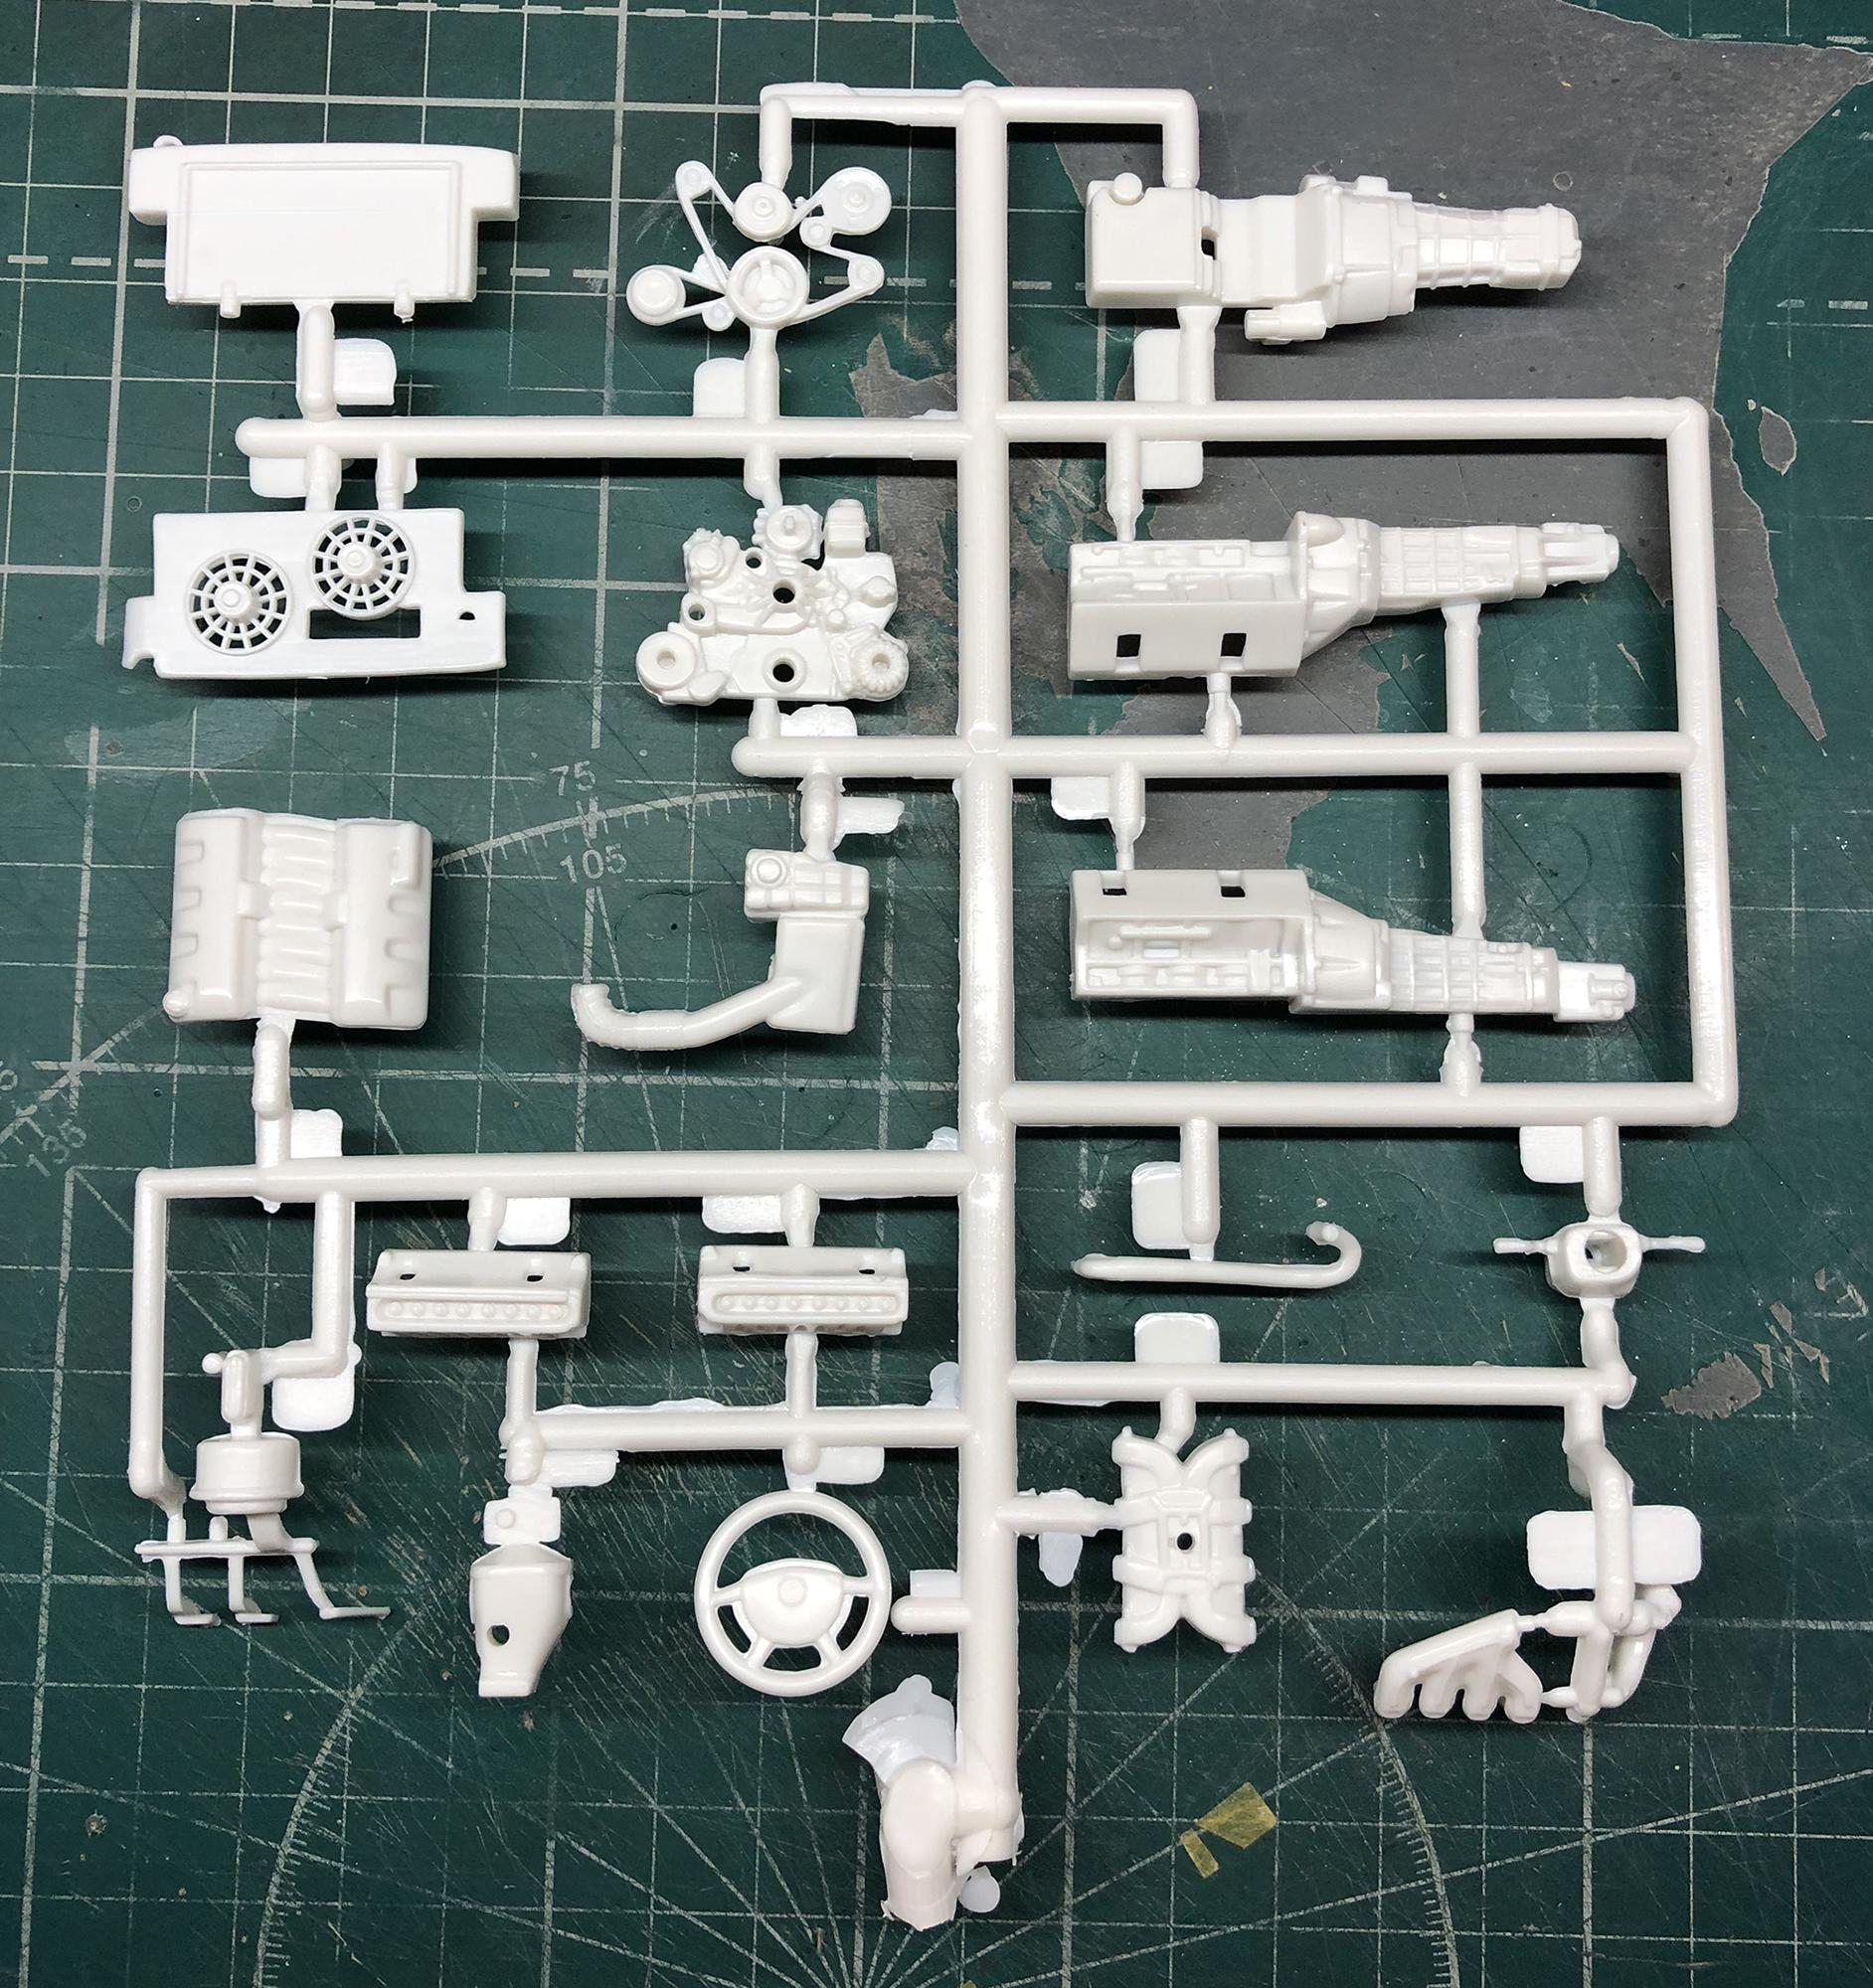
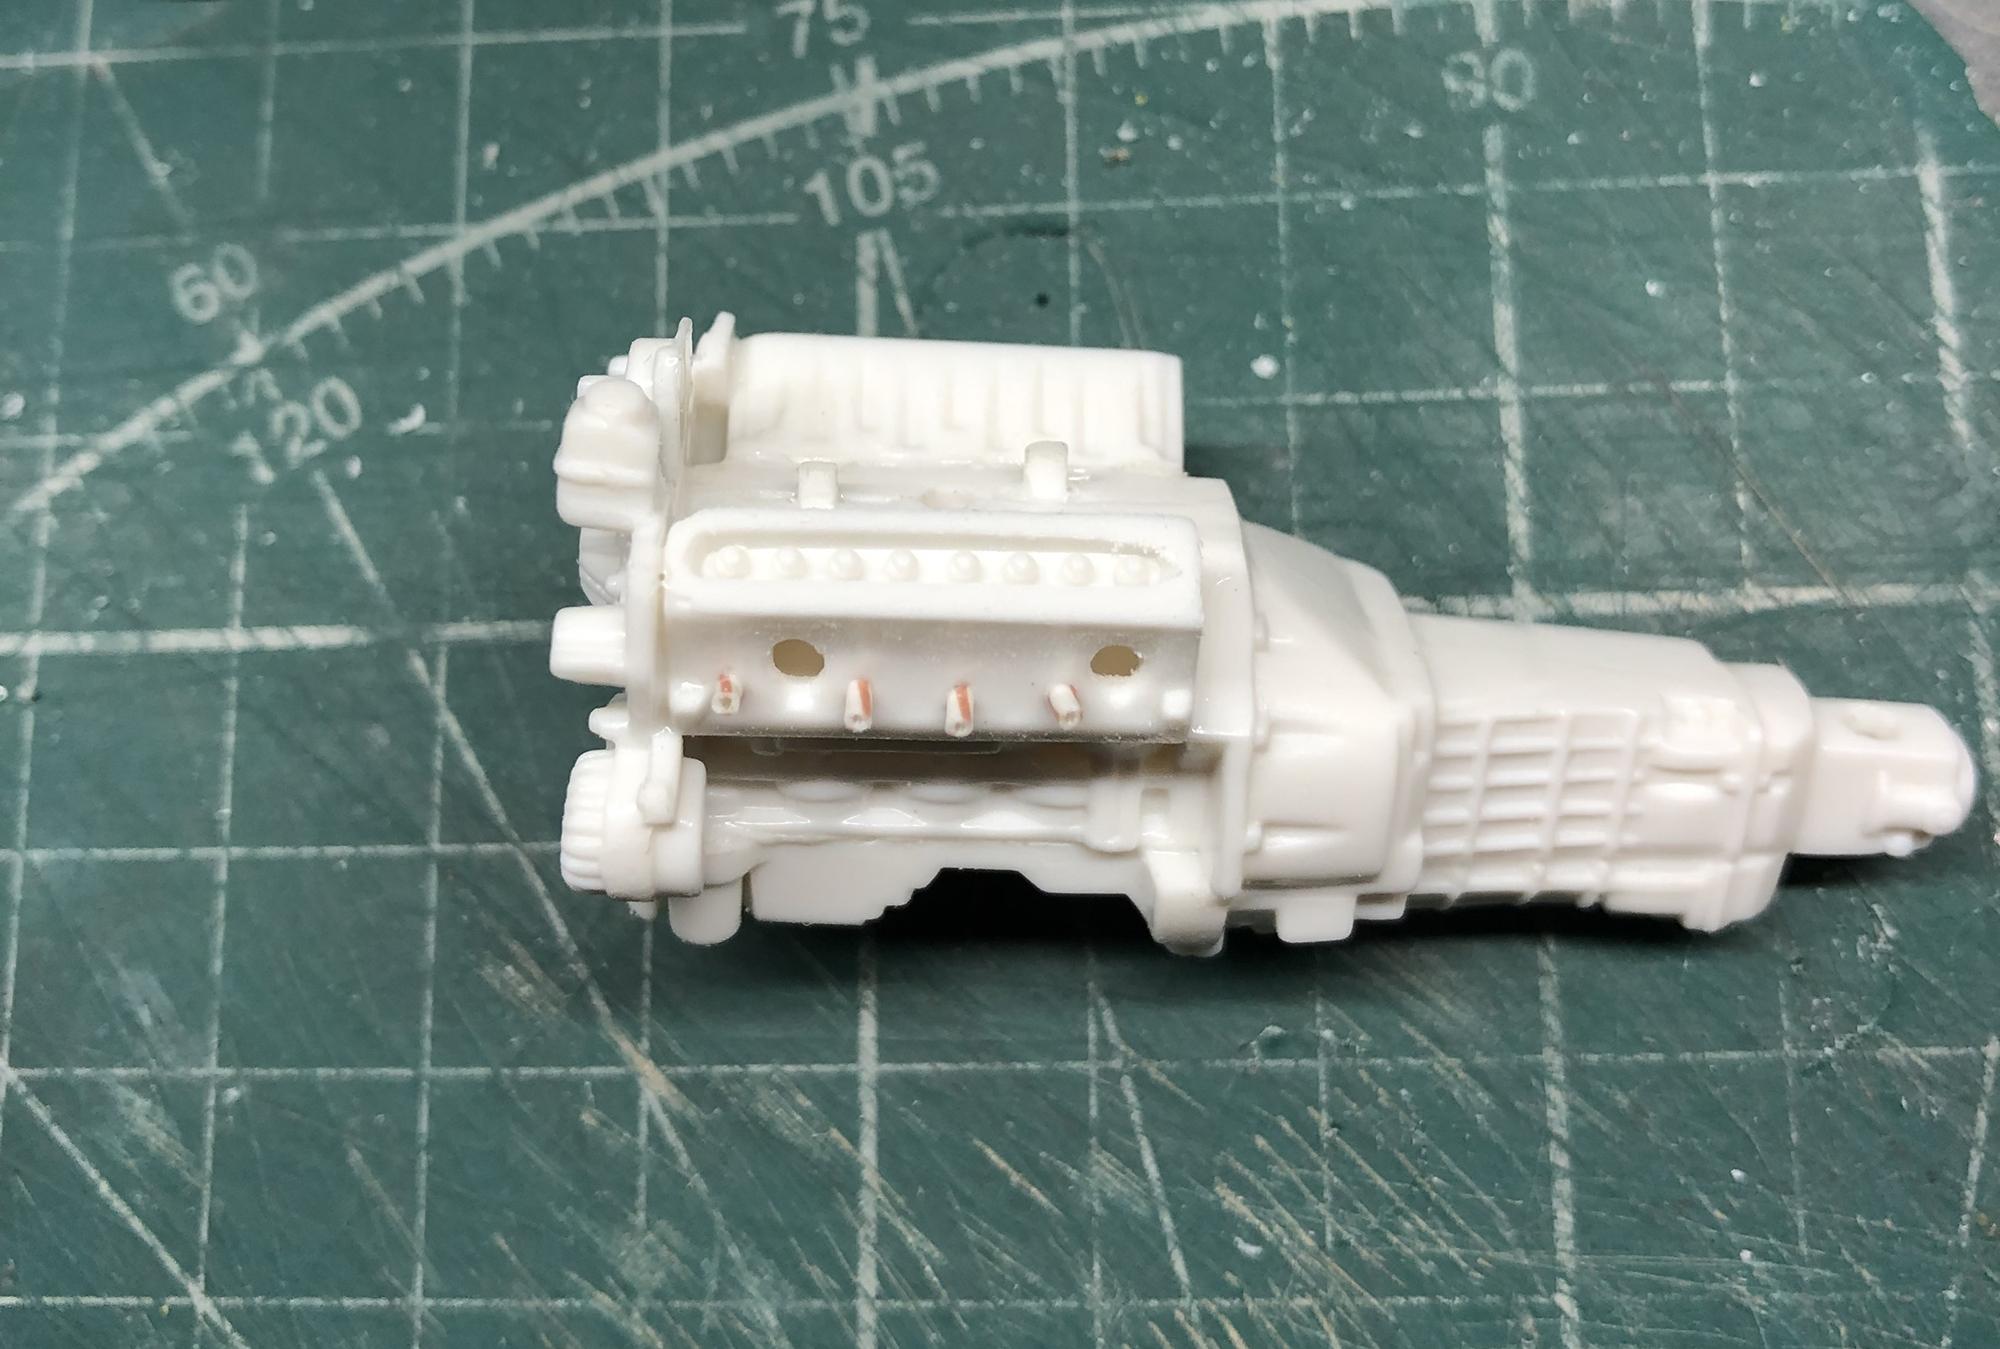
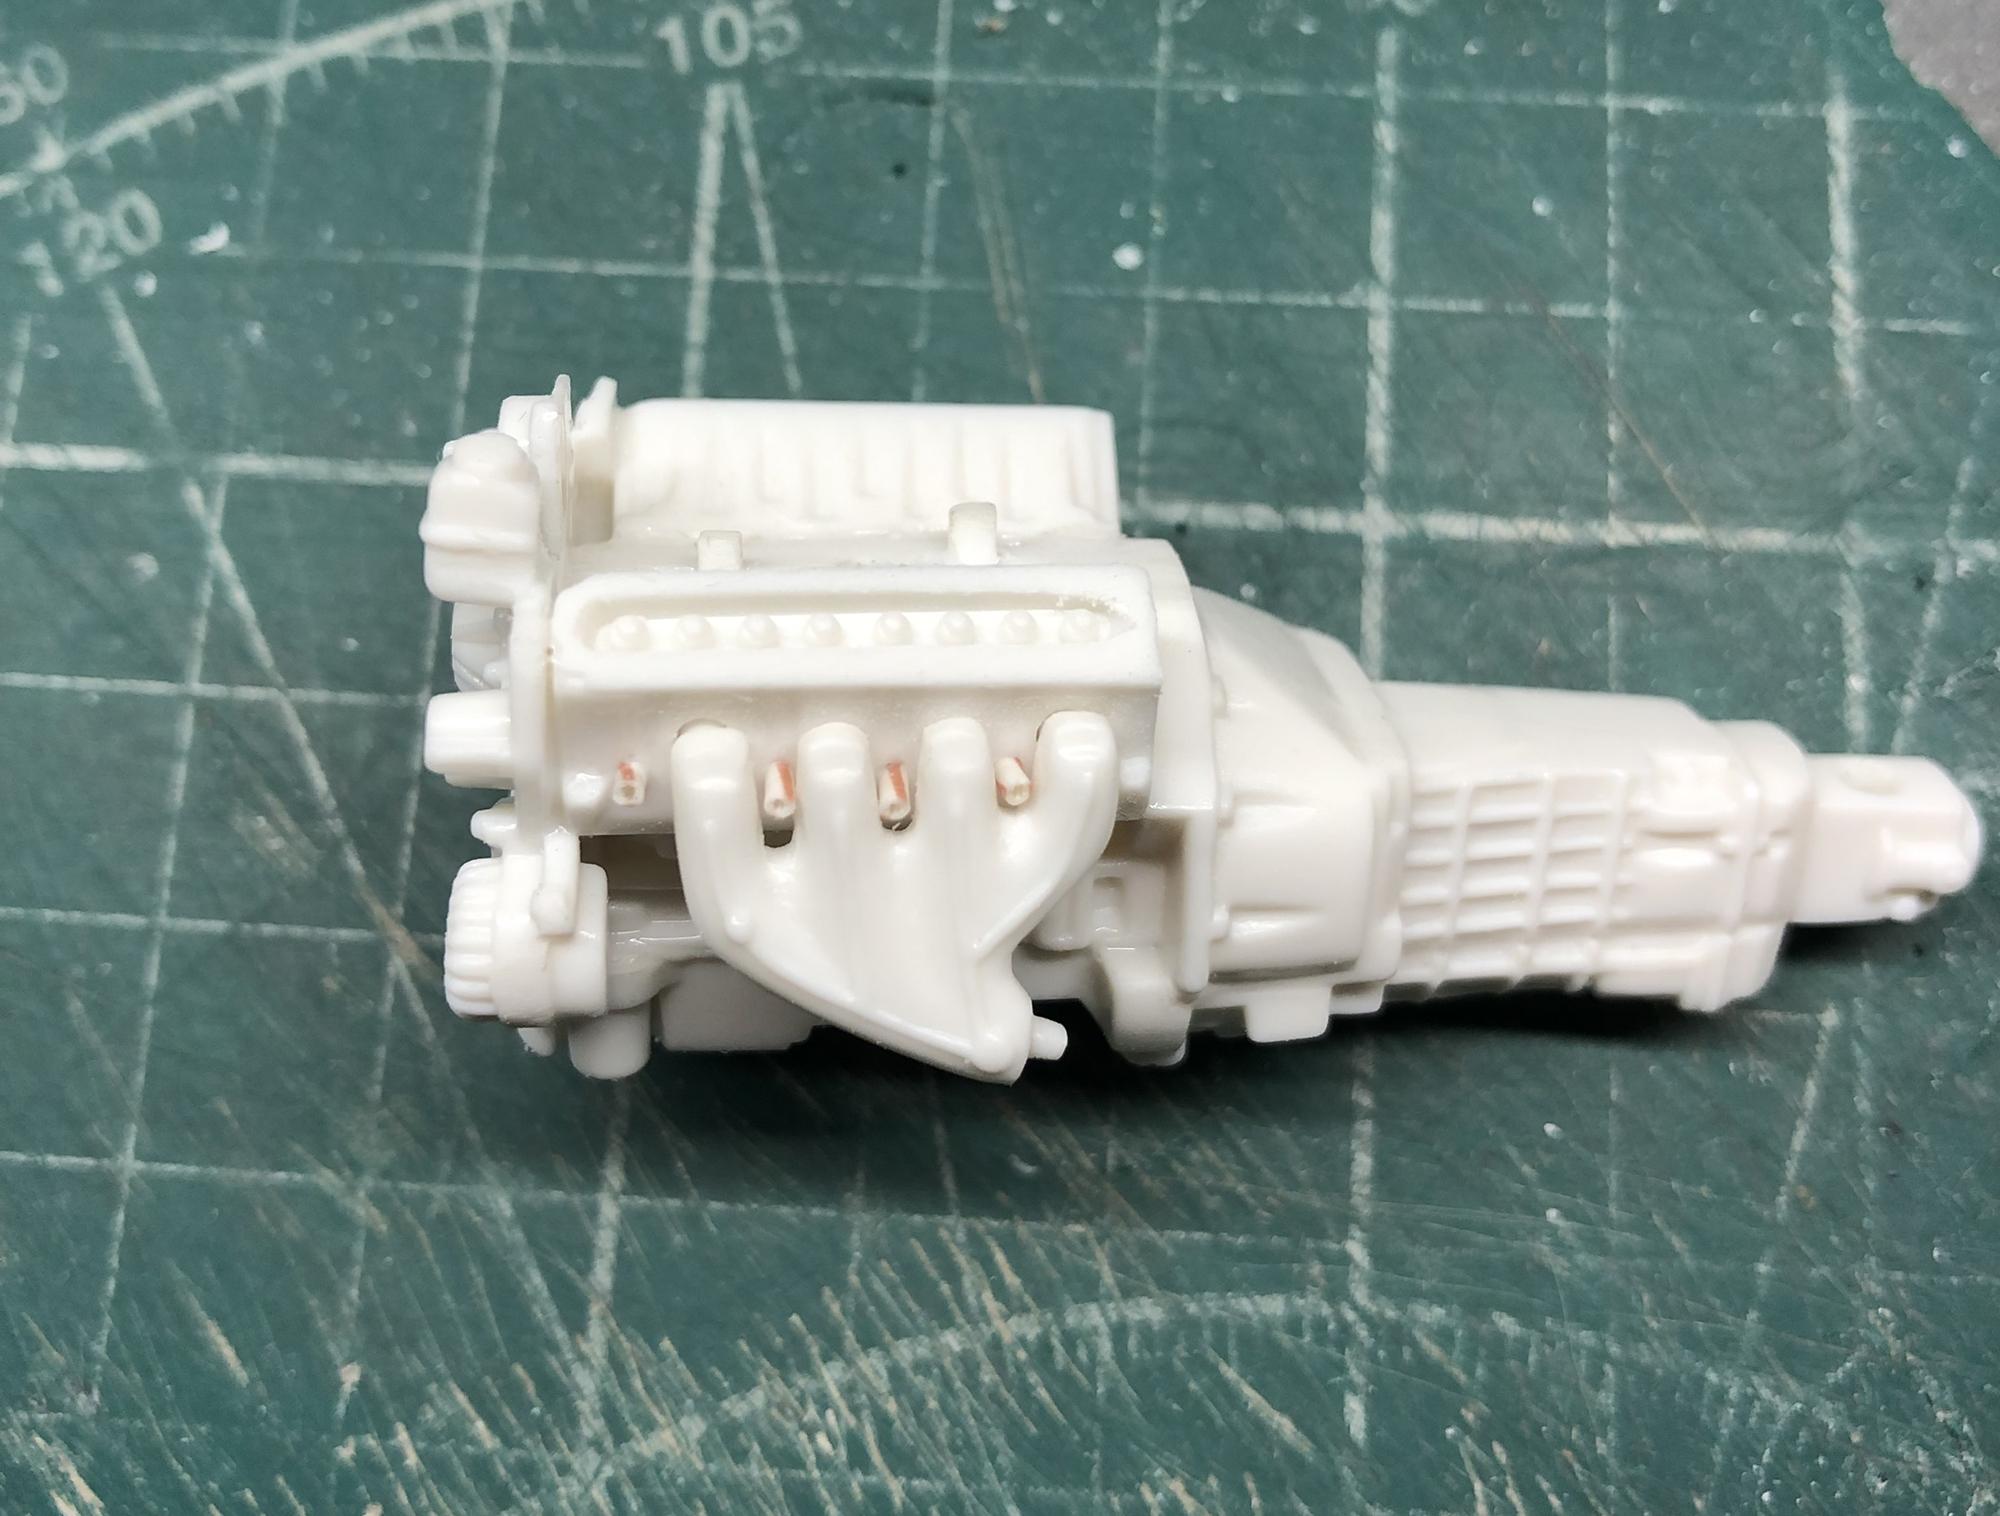
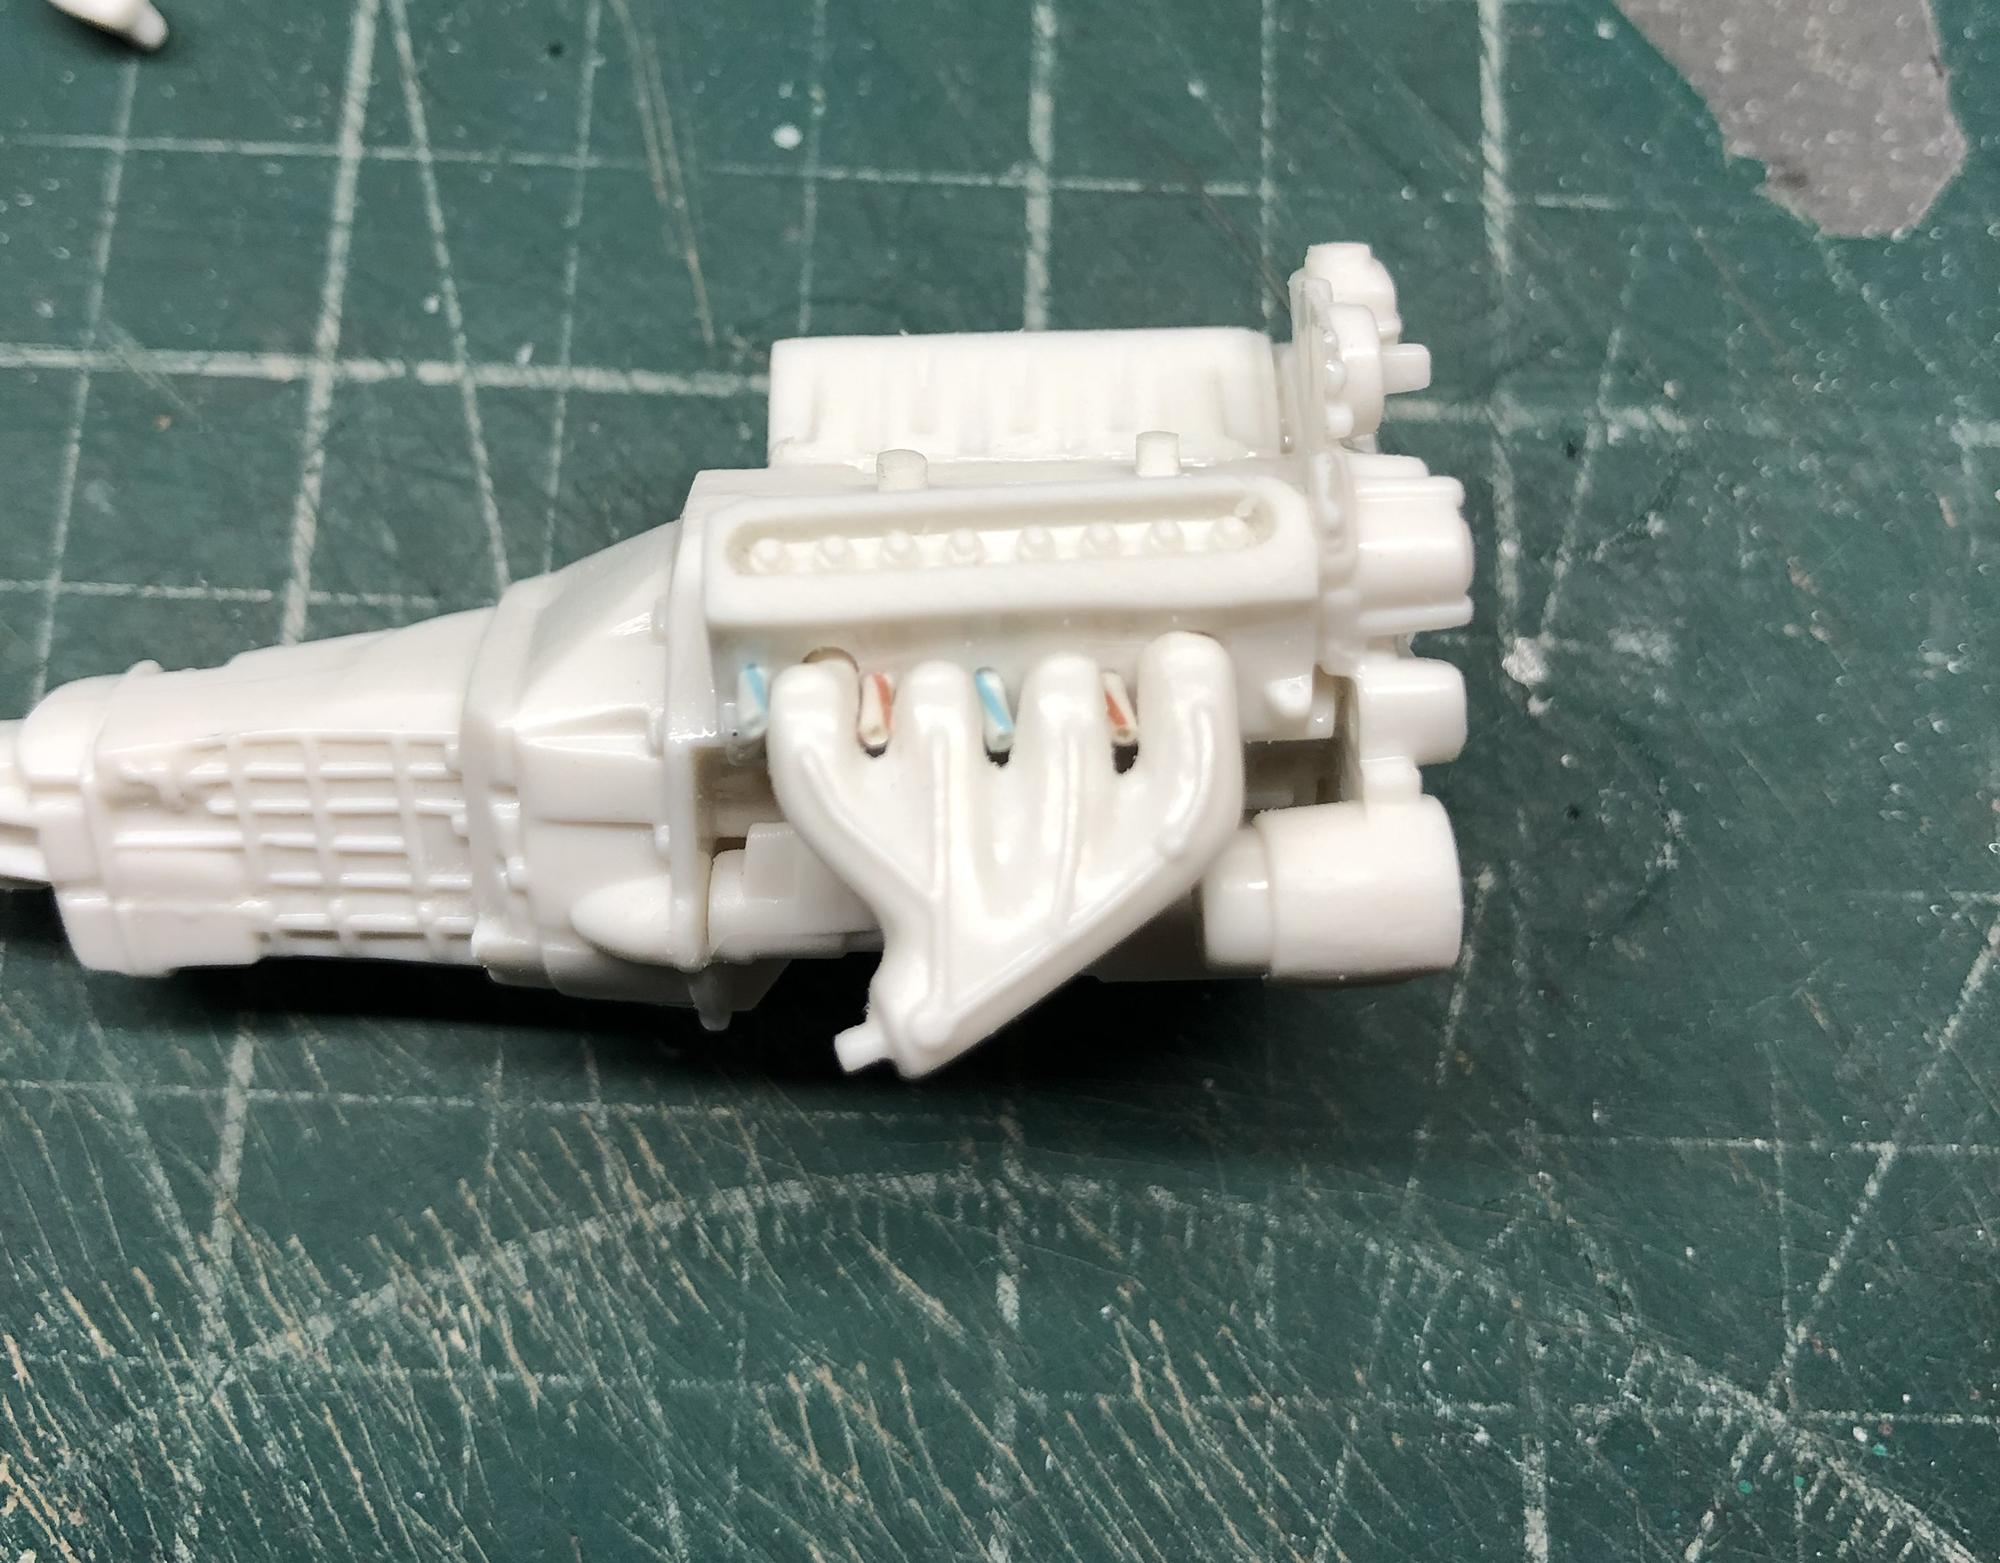
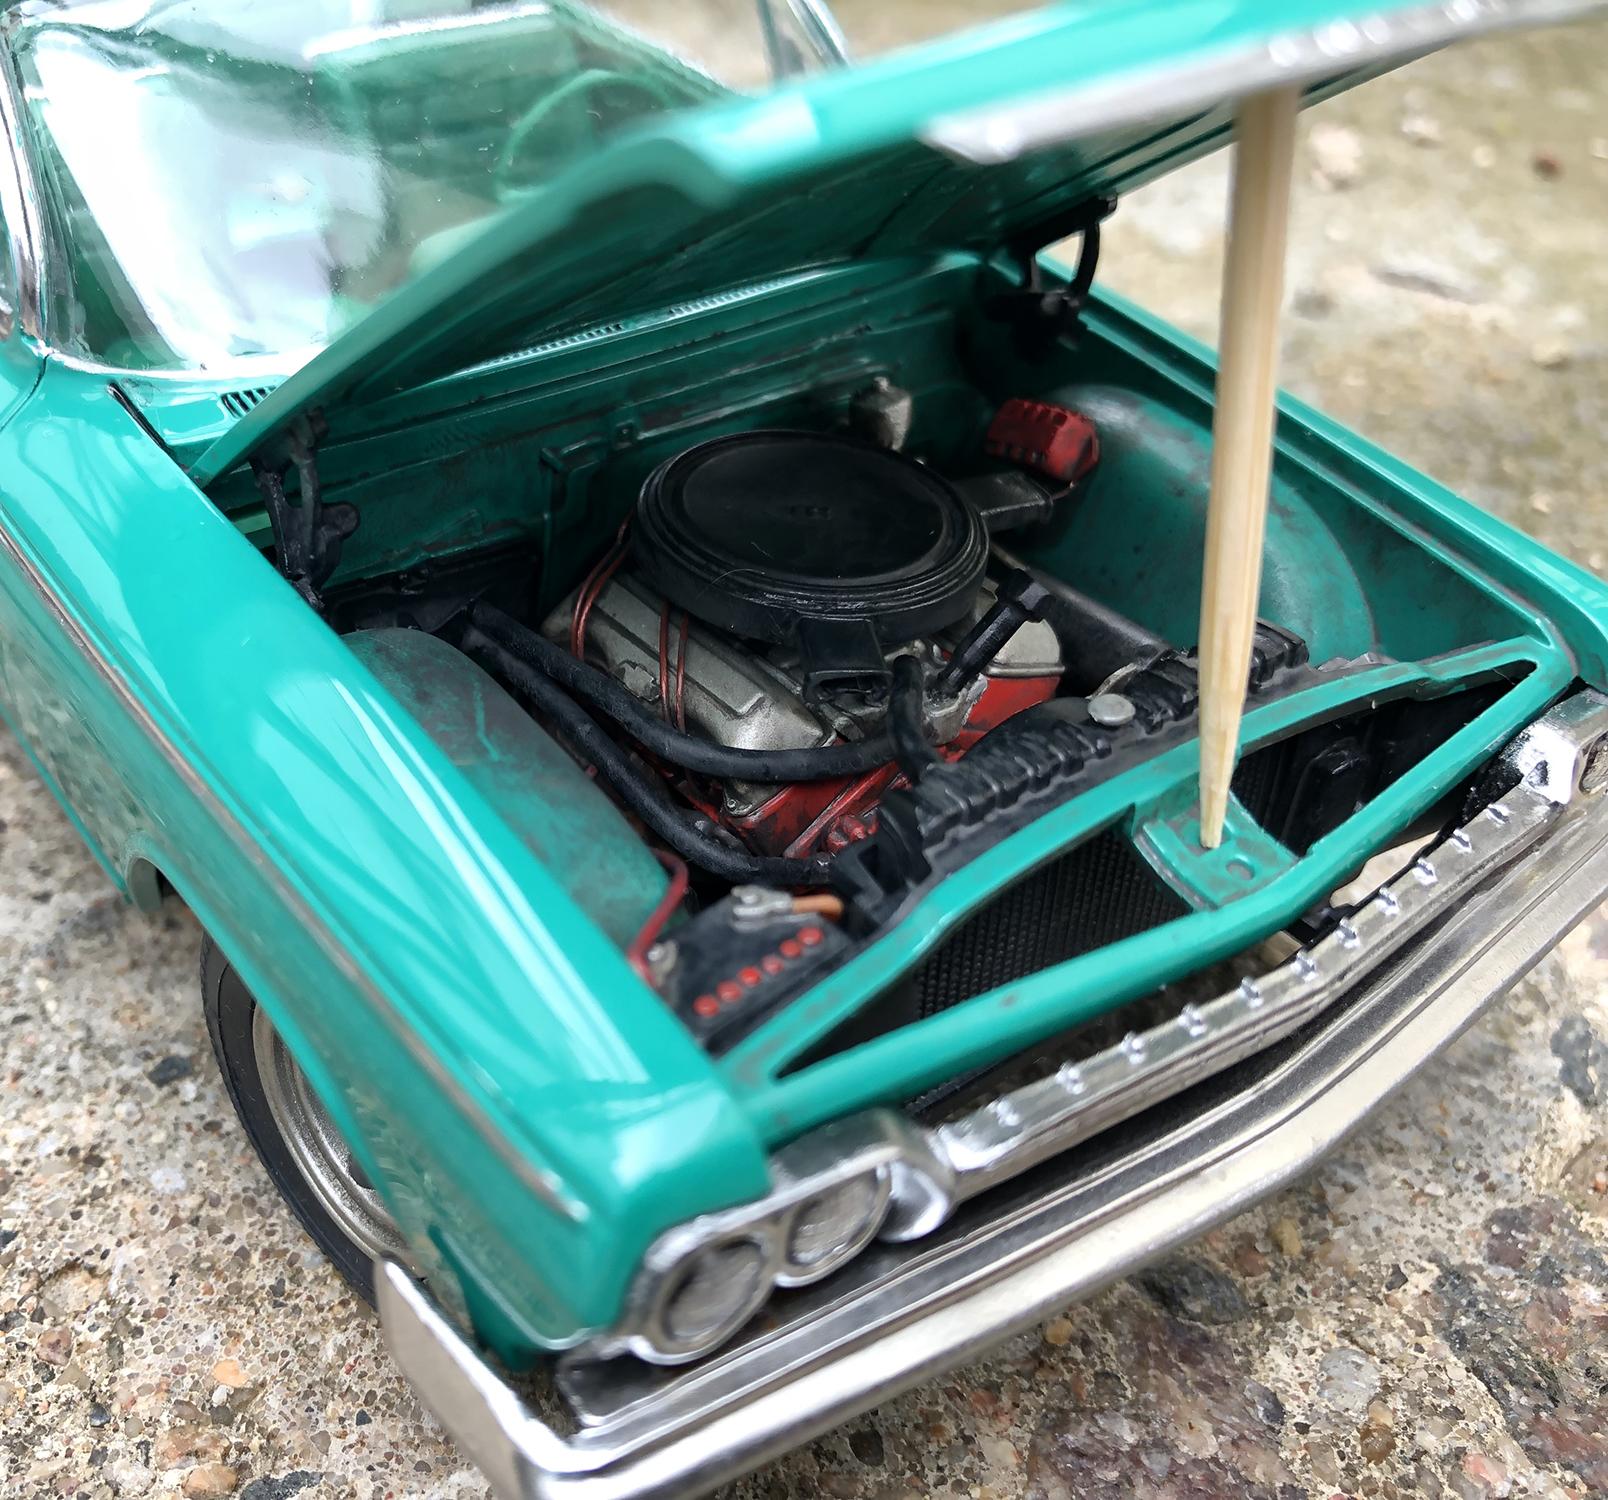
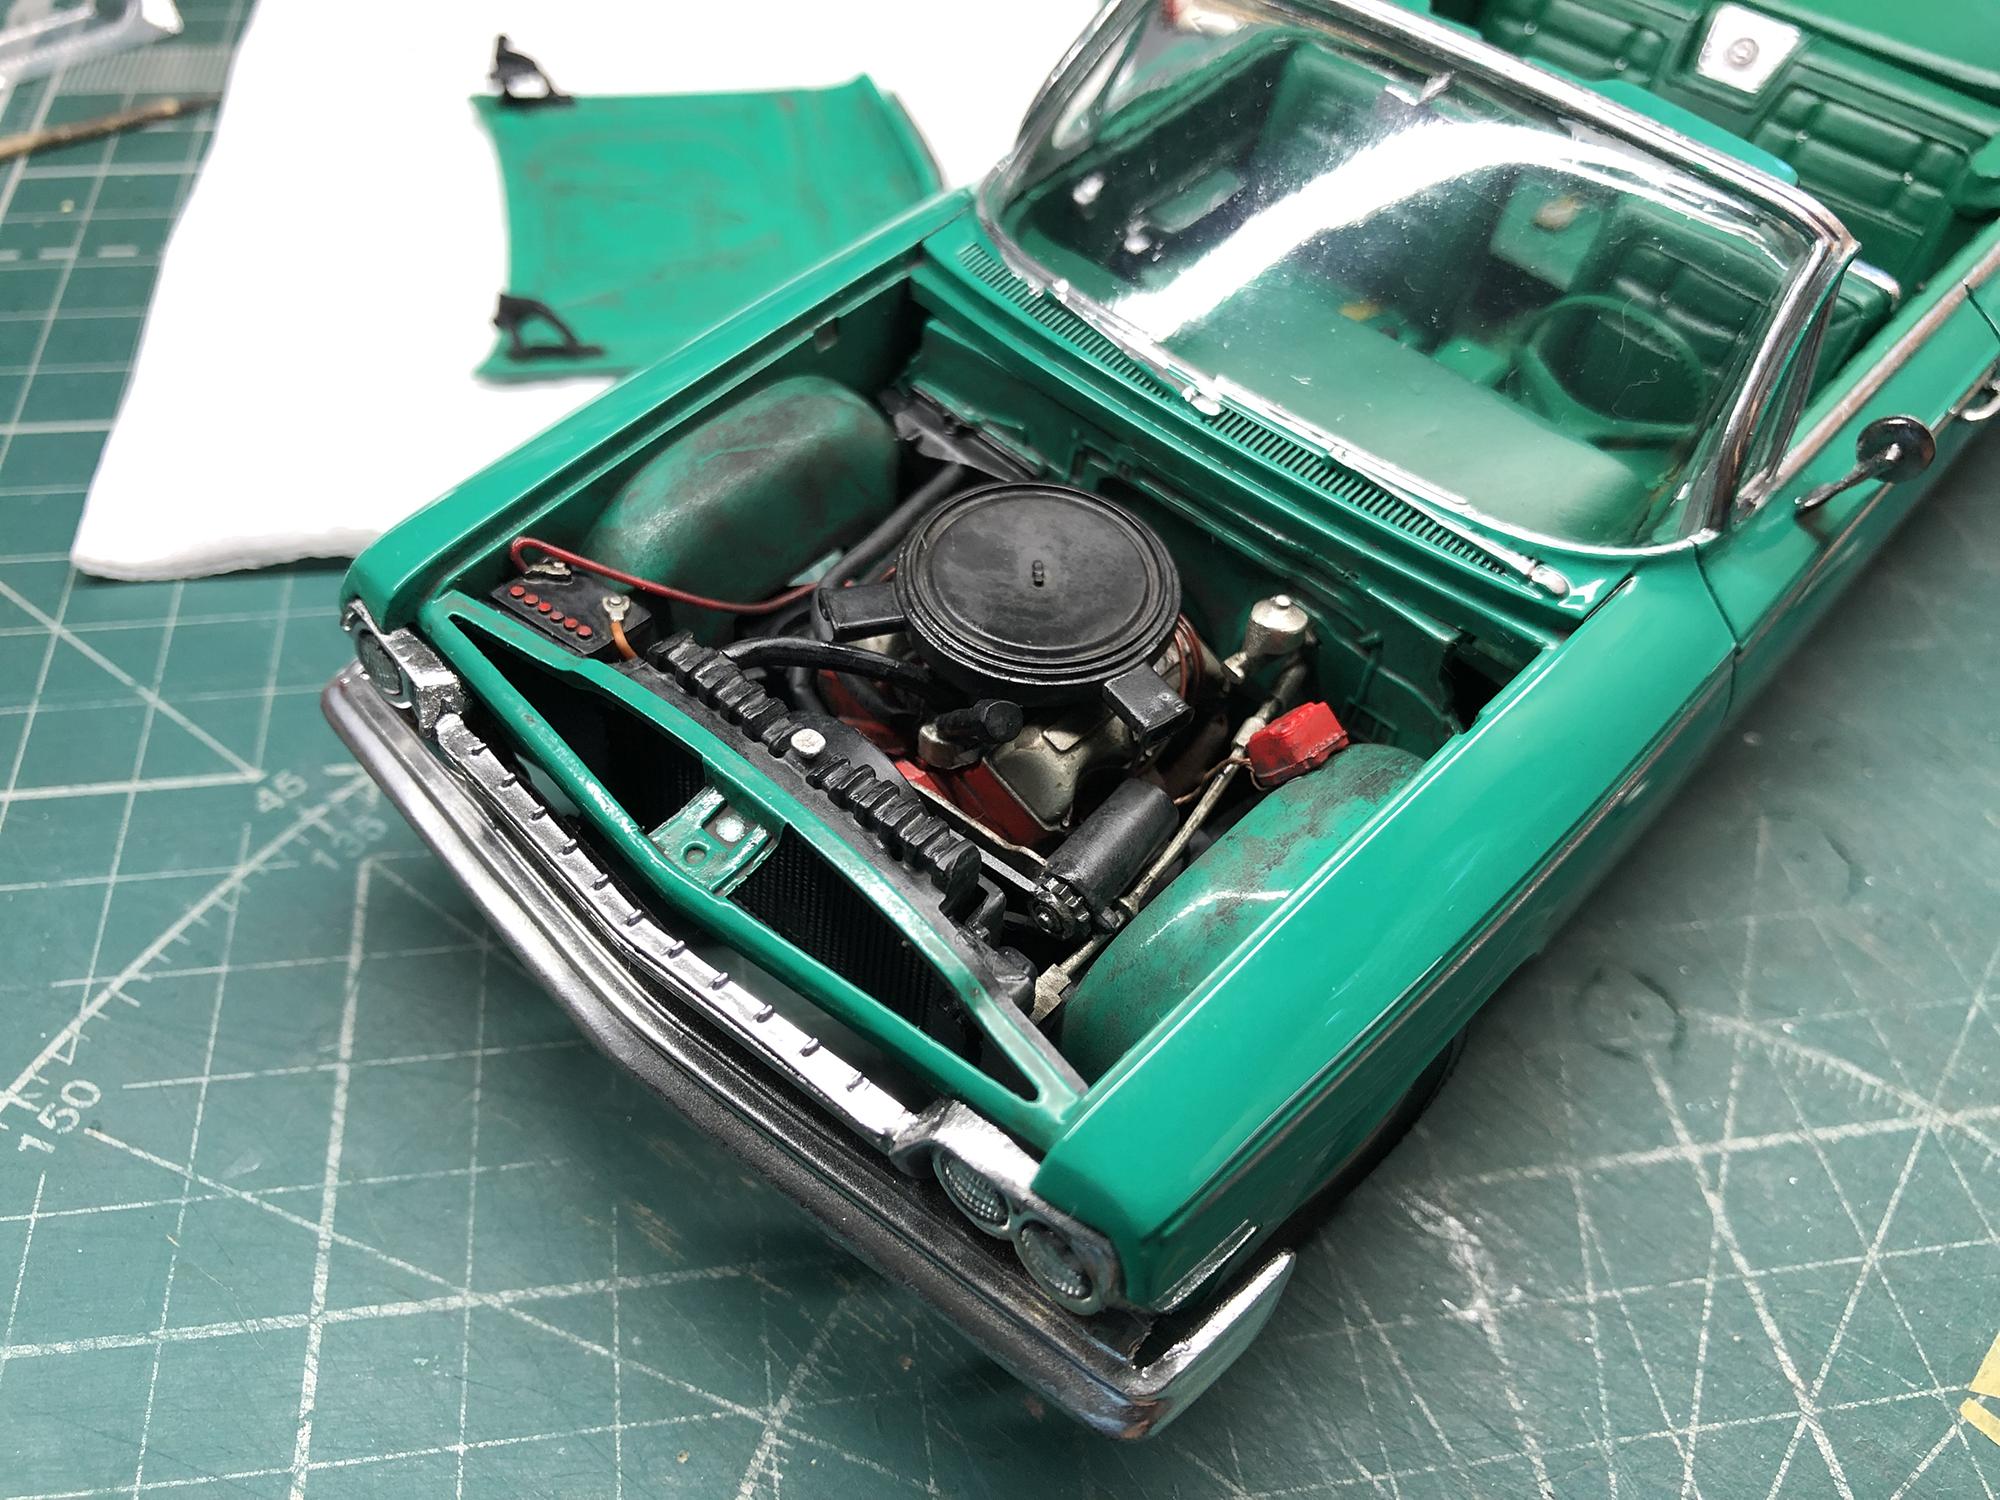
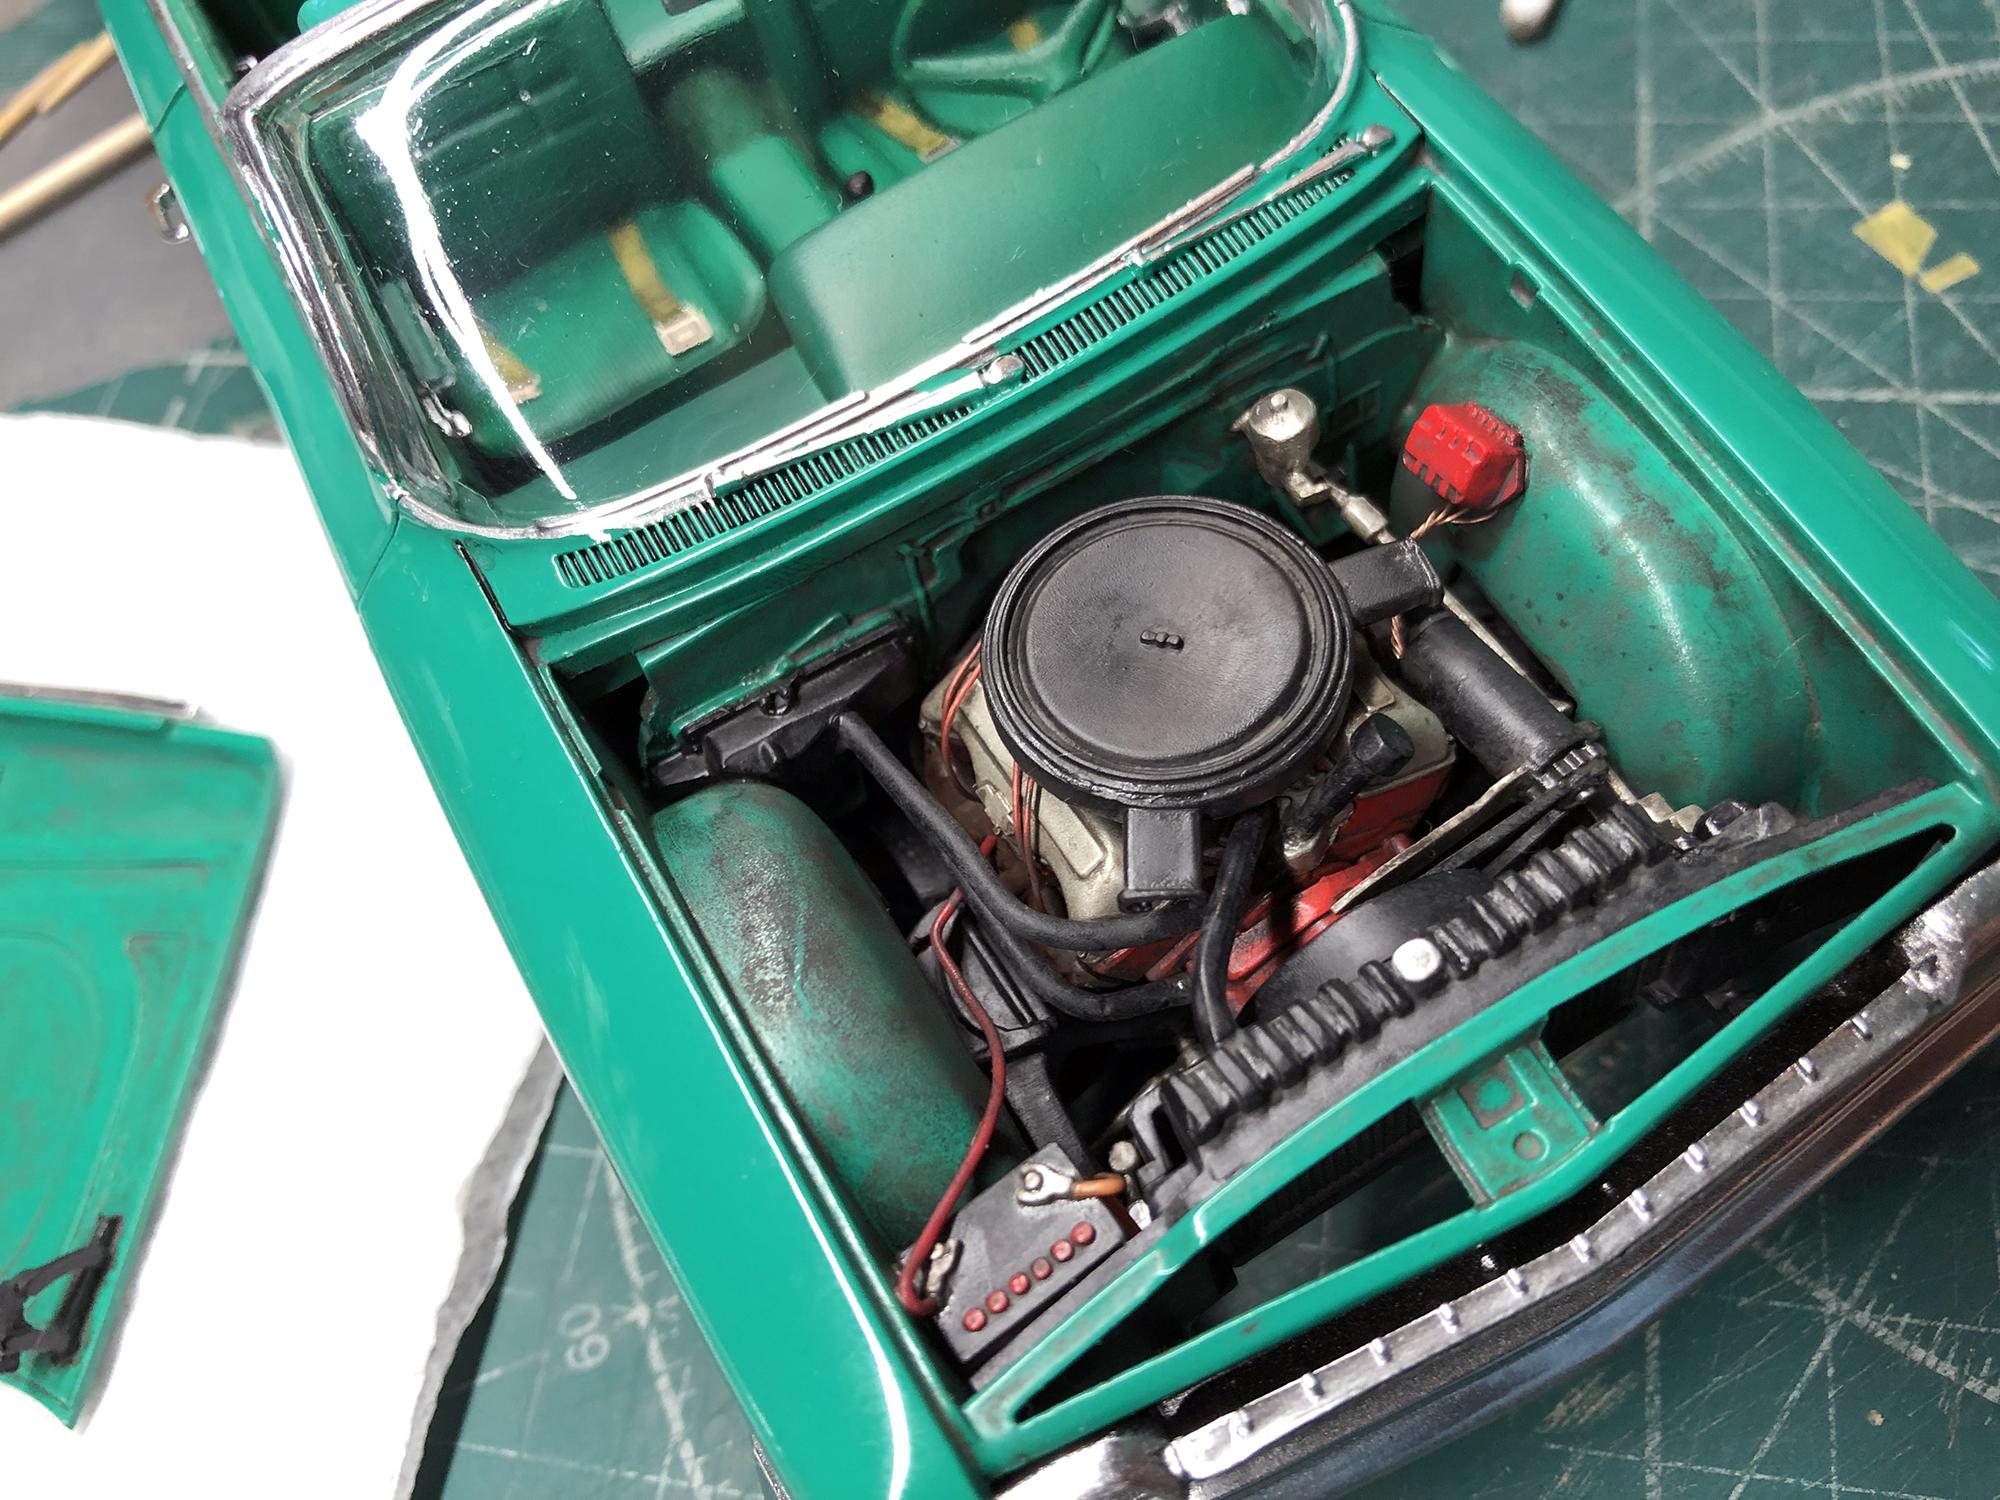
In the meantime, I was preparing and finishing parts for painting. The distributor is made from the remains of the sprue. I did not use the one that was in the set, because. it is very small and I could not drill 9 holes for the wires in it. Aaaaaaaaaaaaaaaaaand. Undercarriage & engine - done.
-
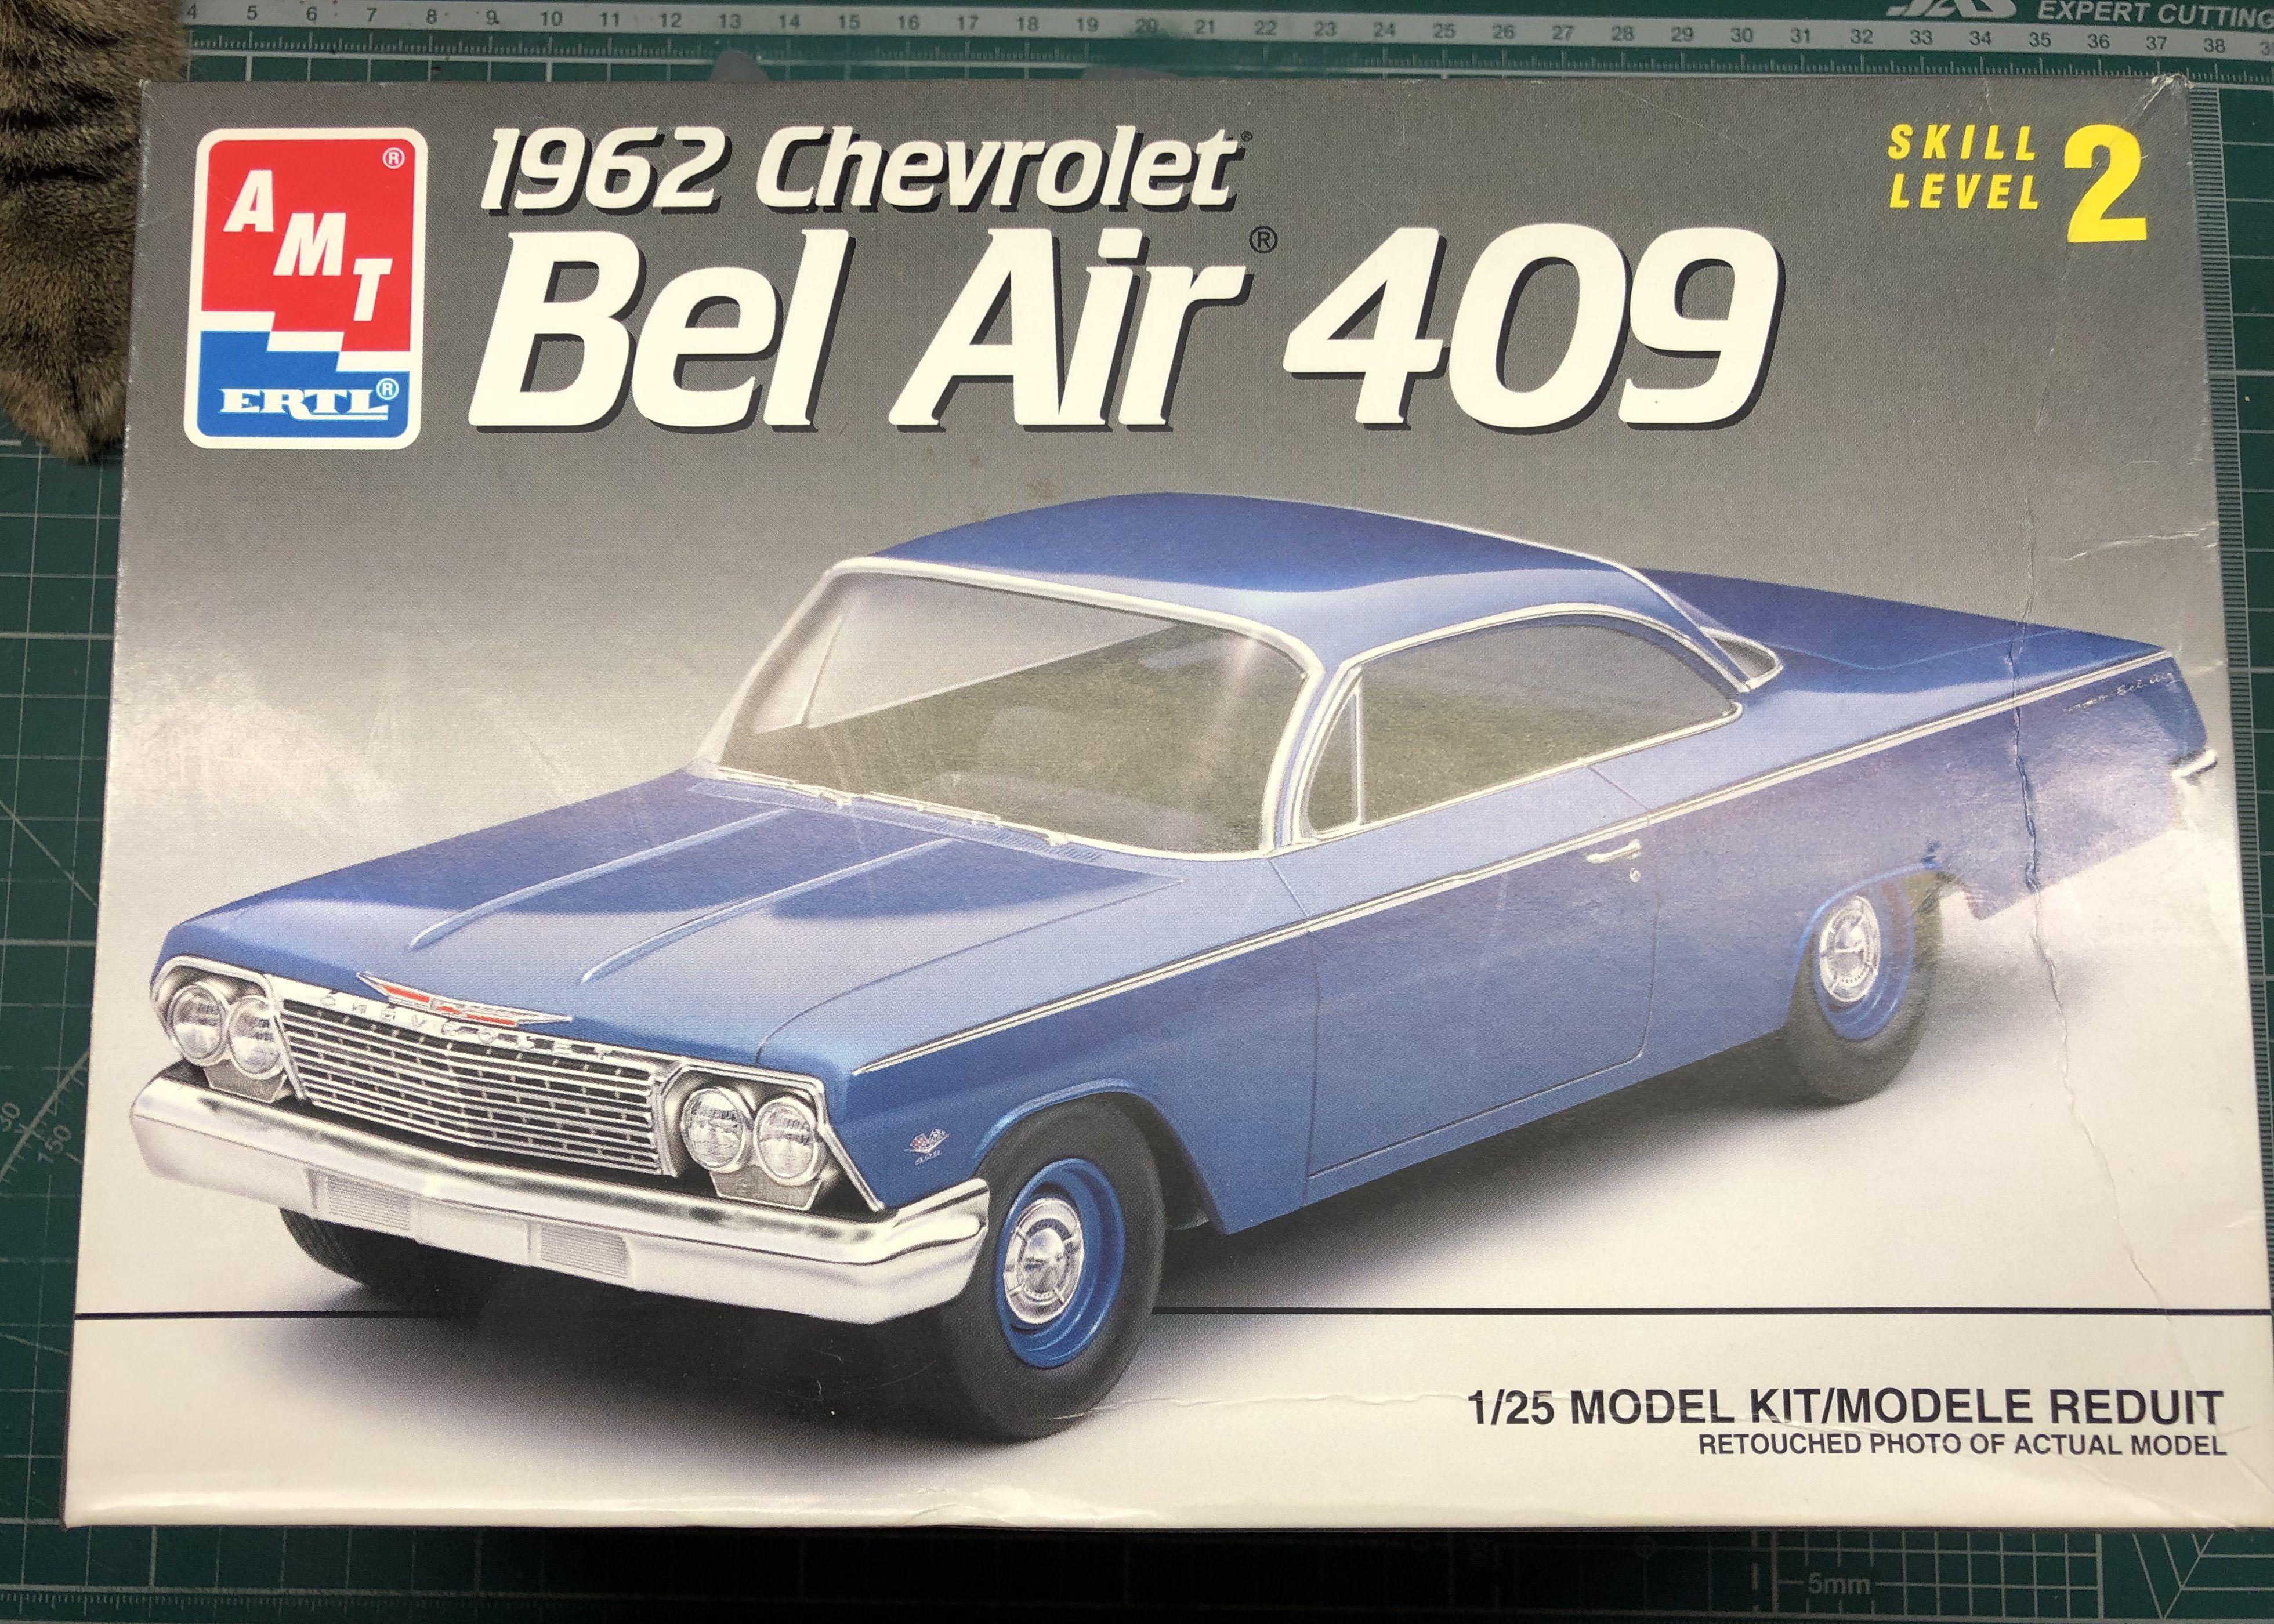
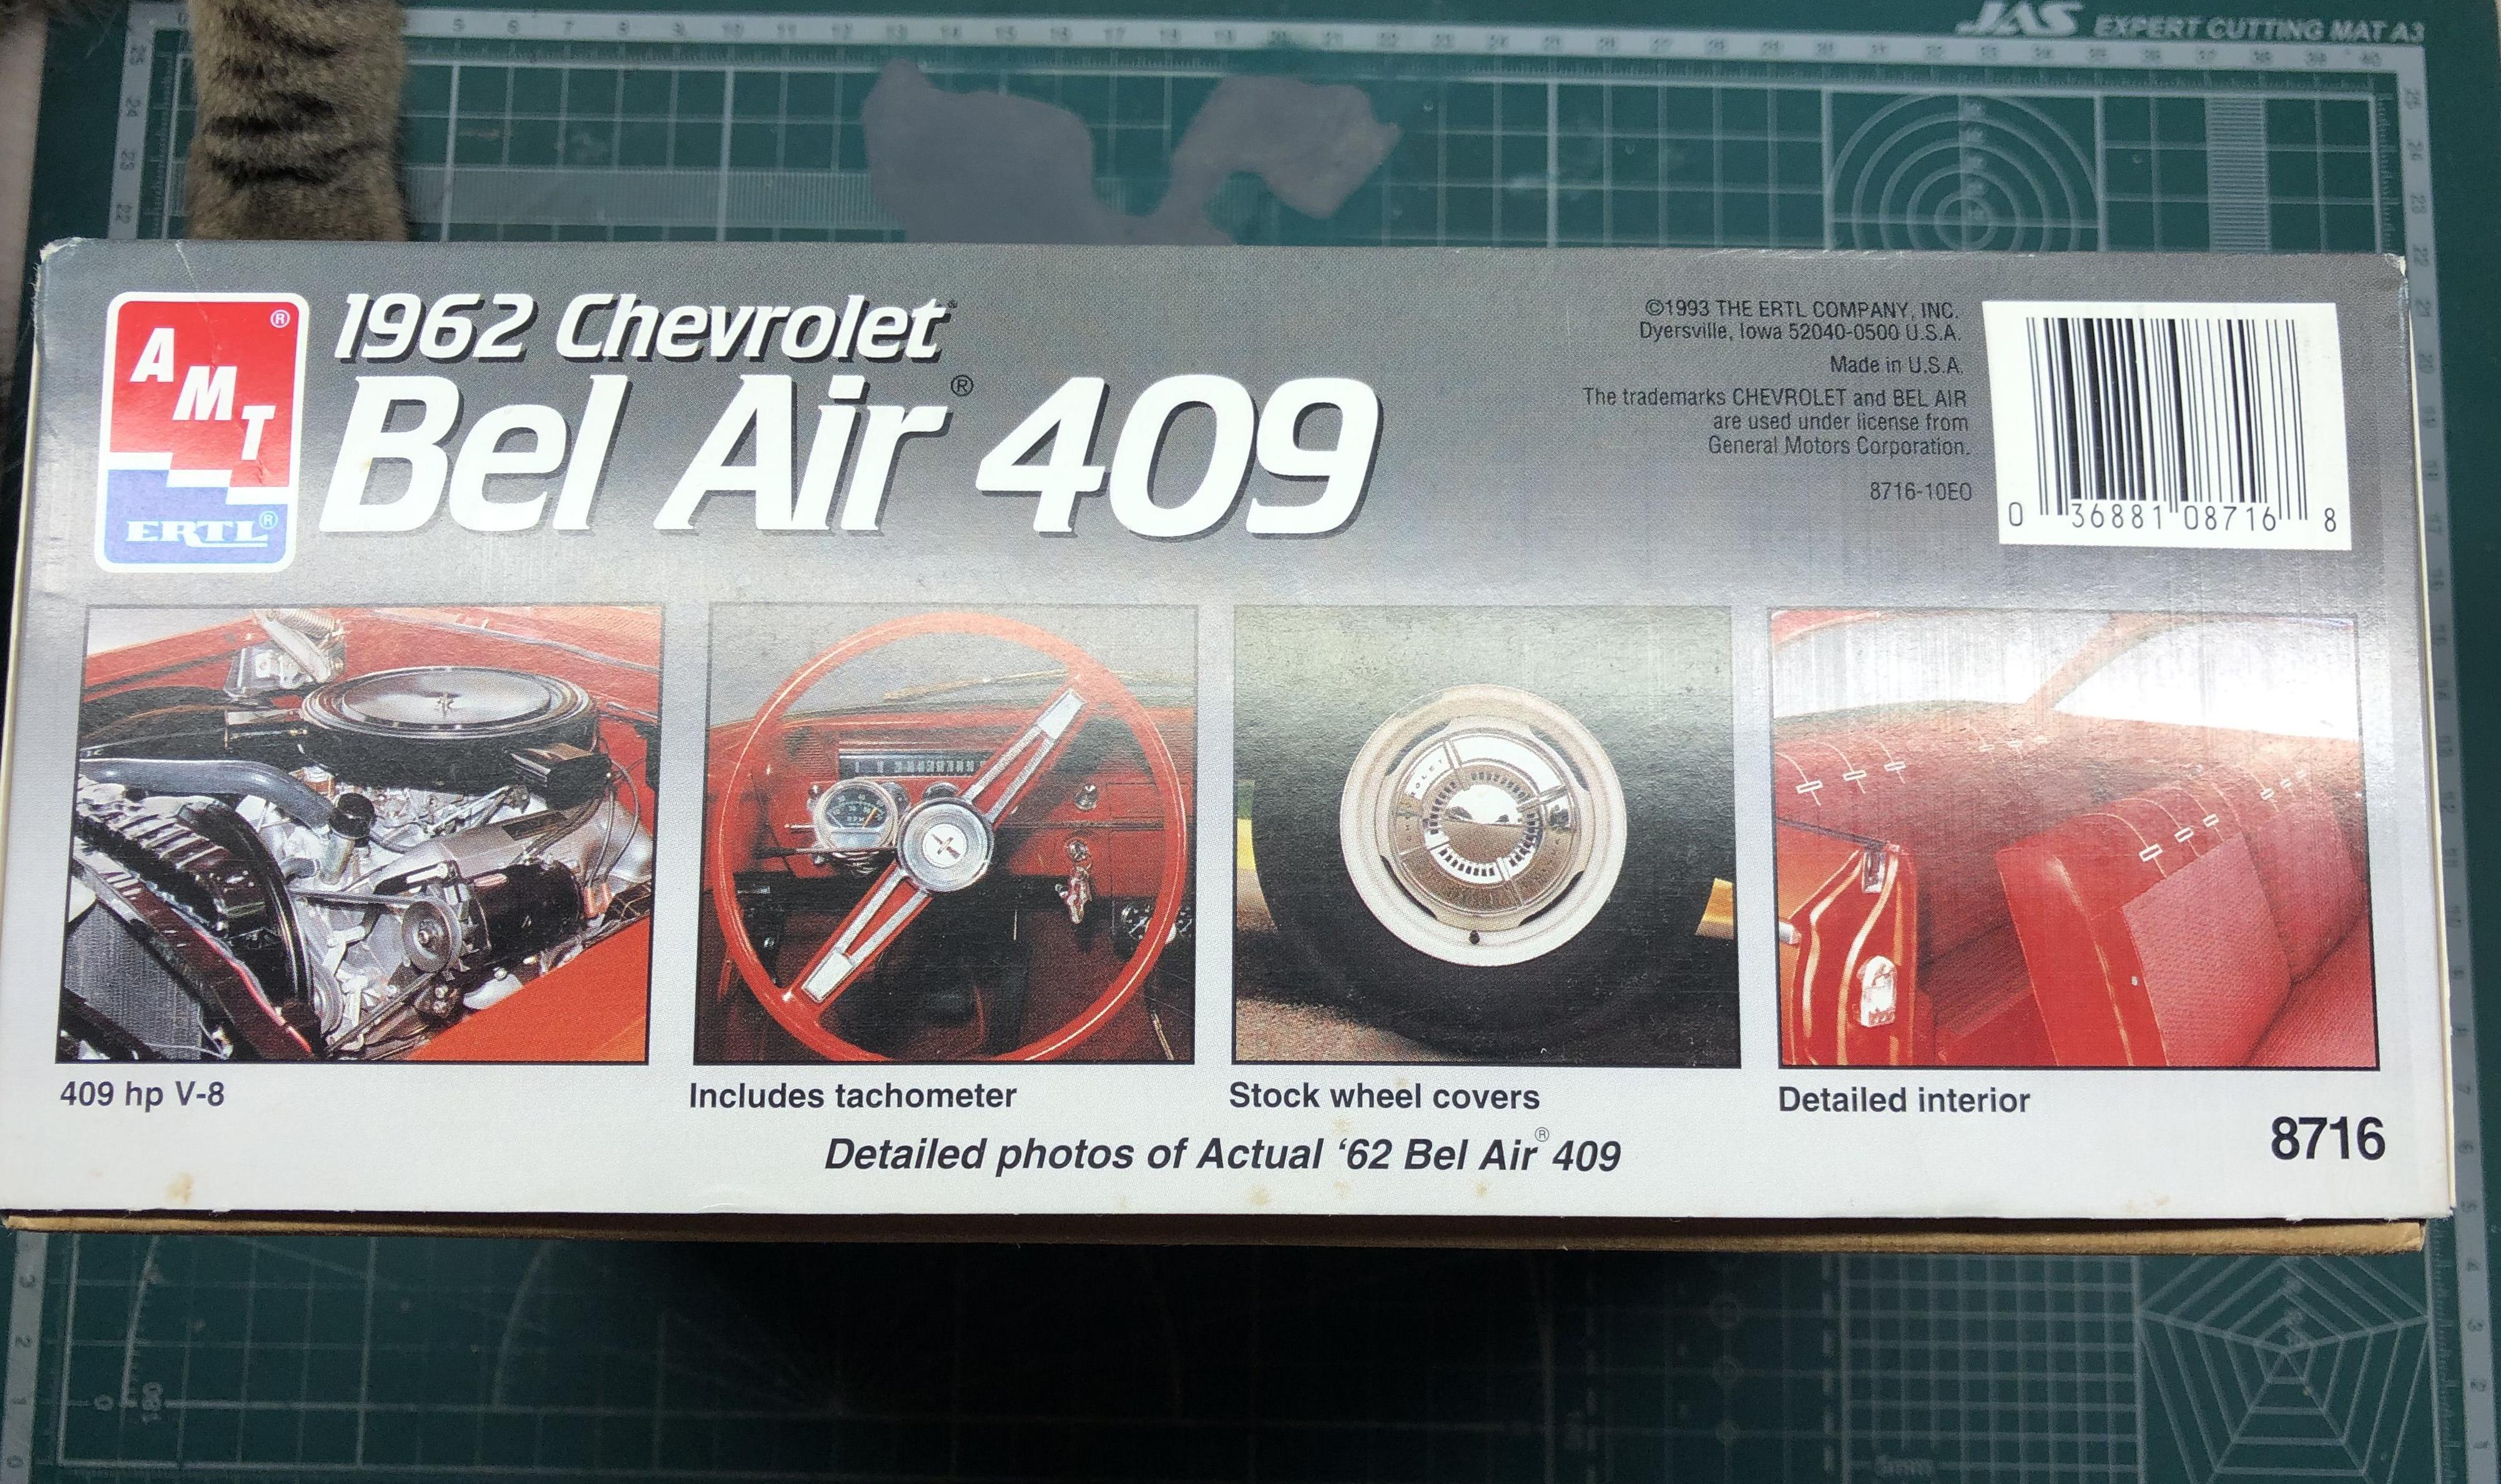
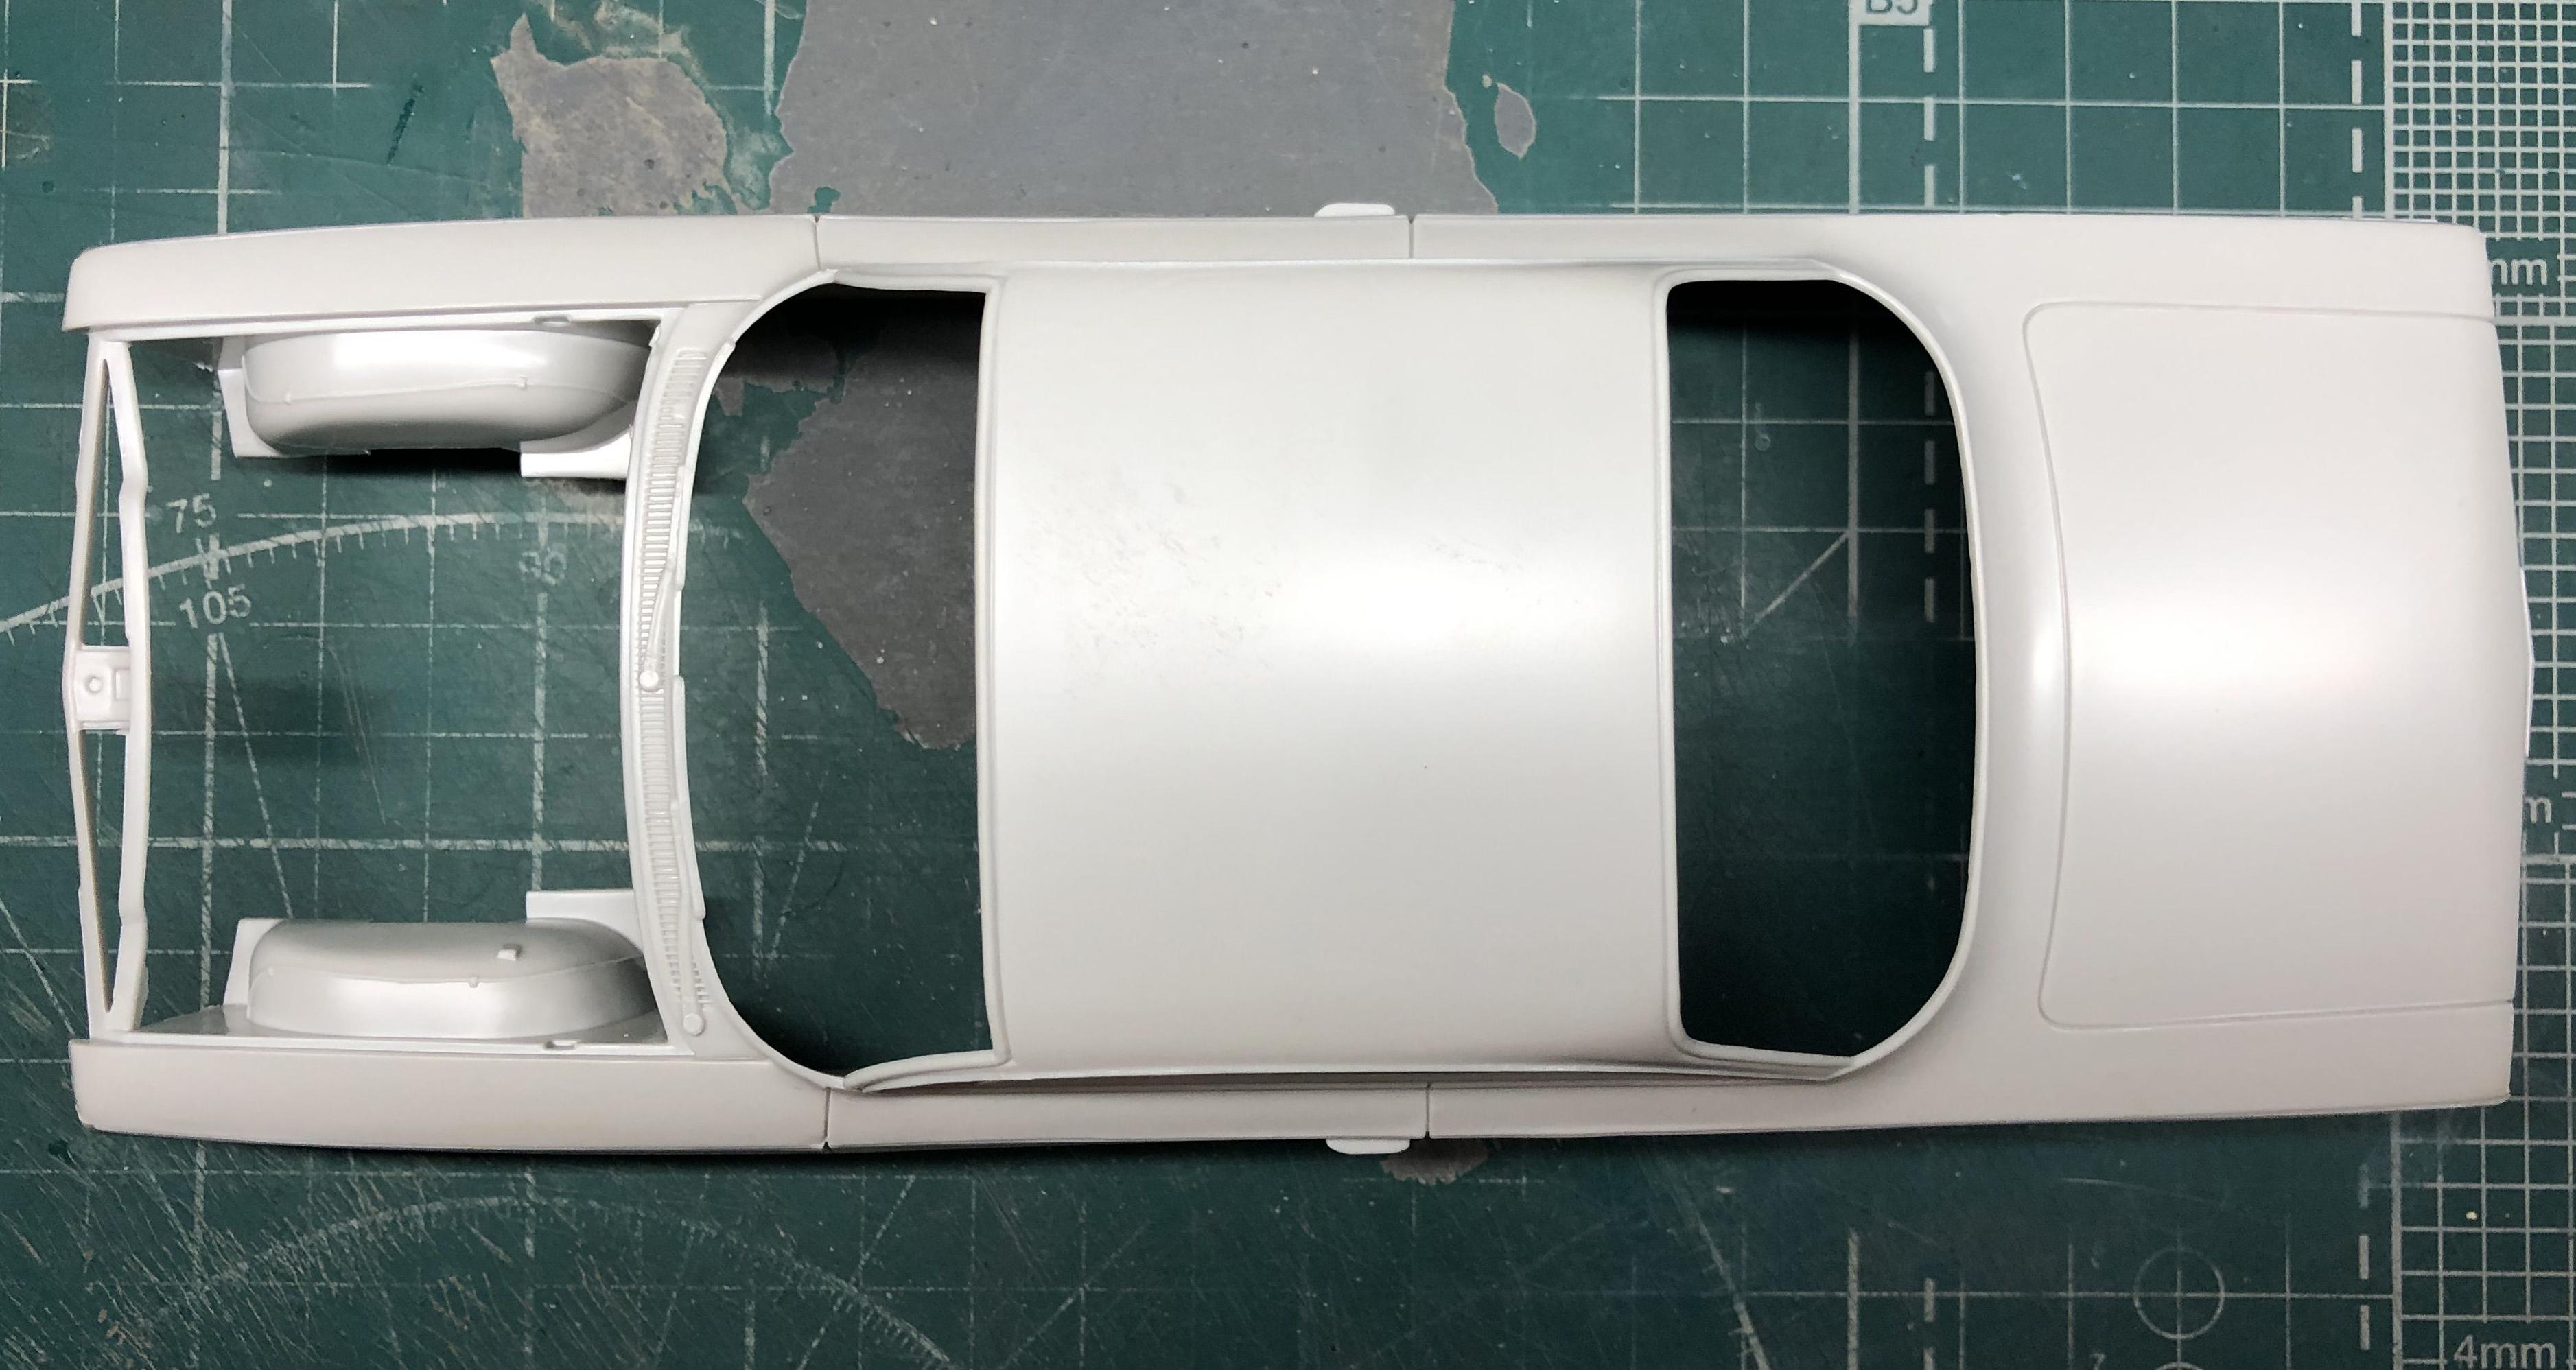
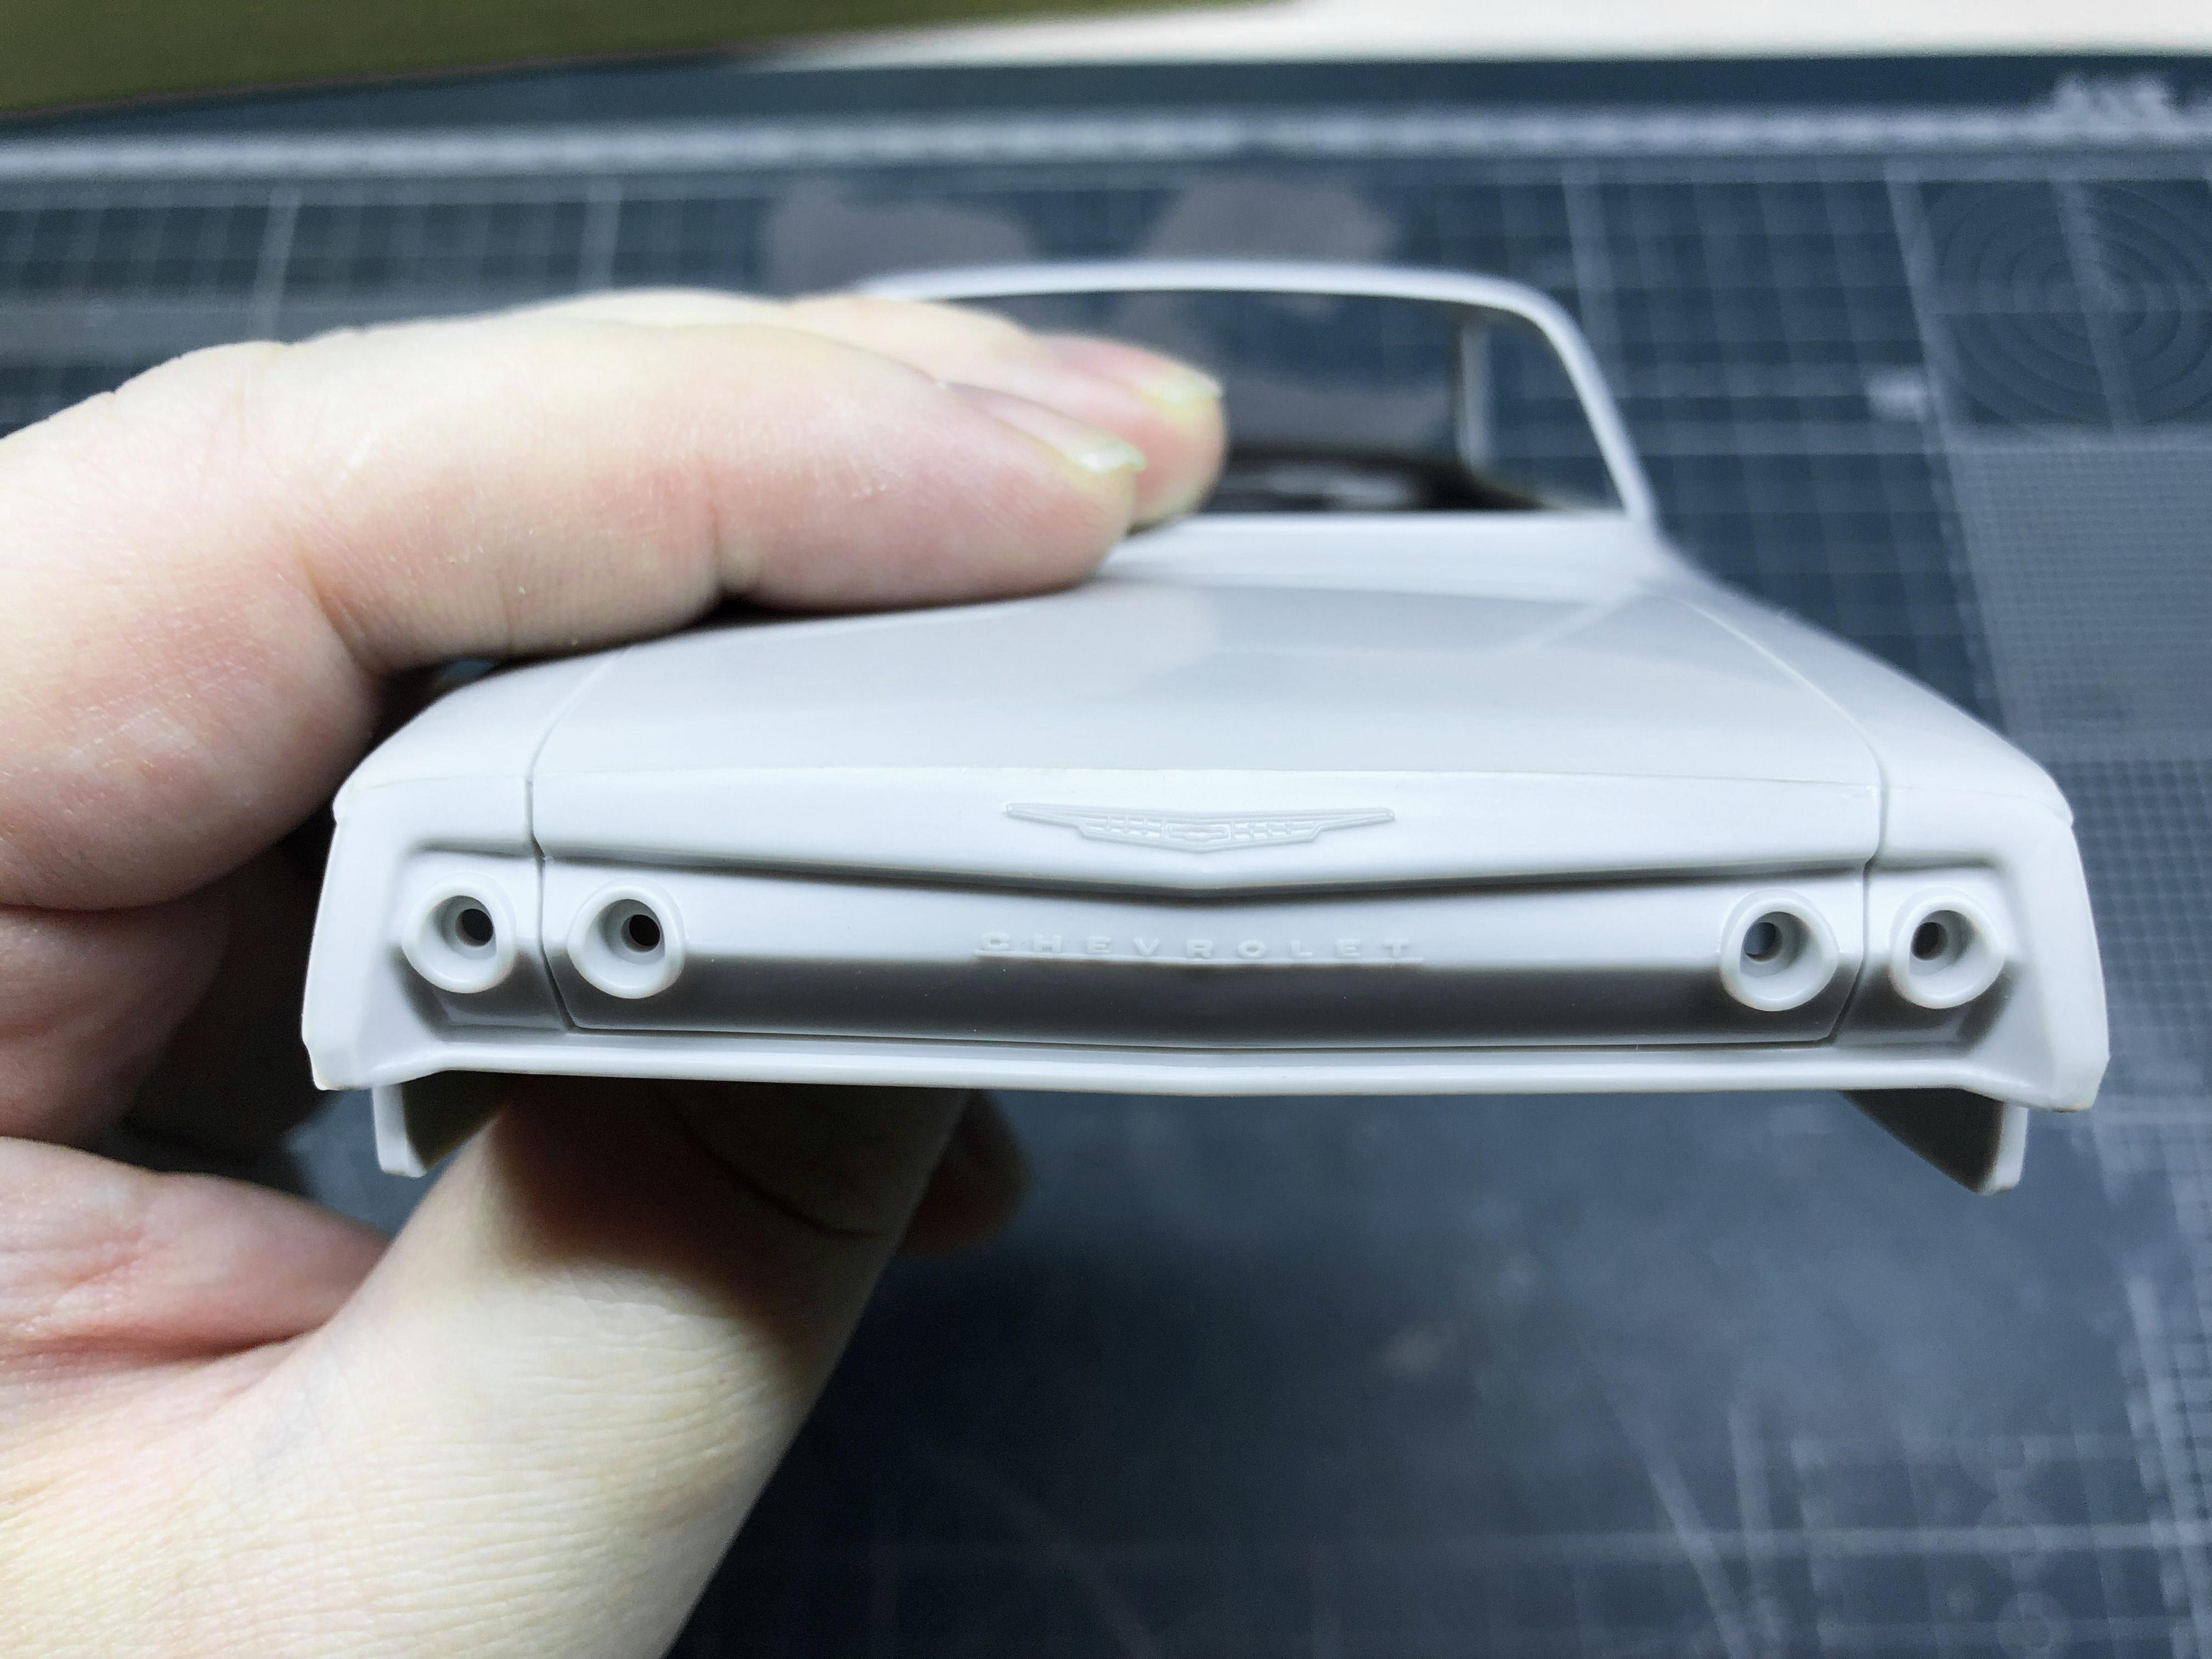
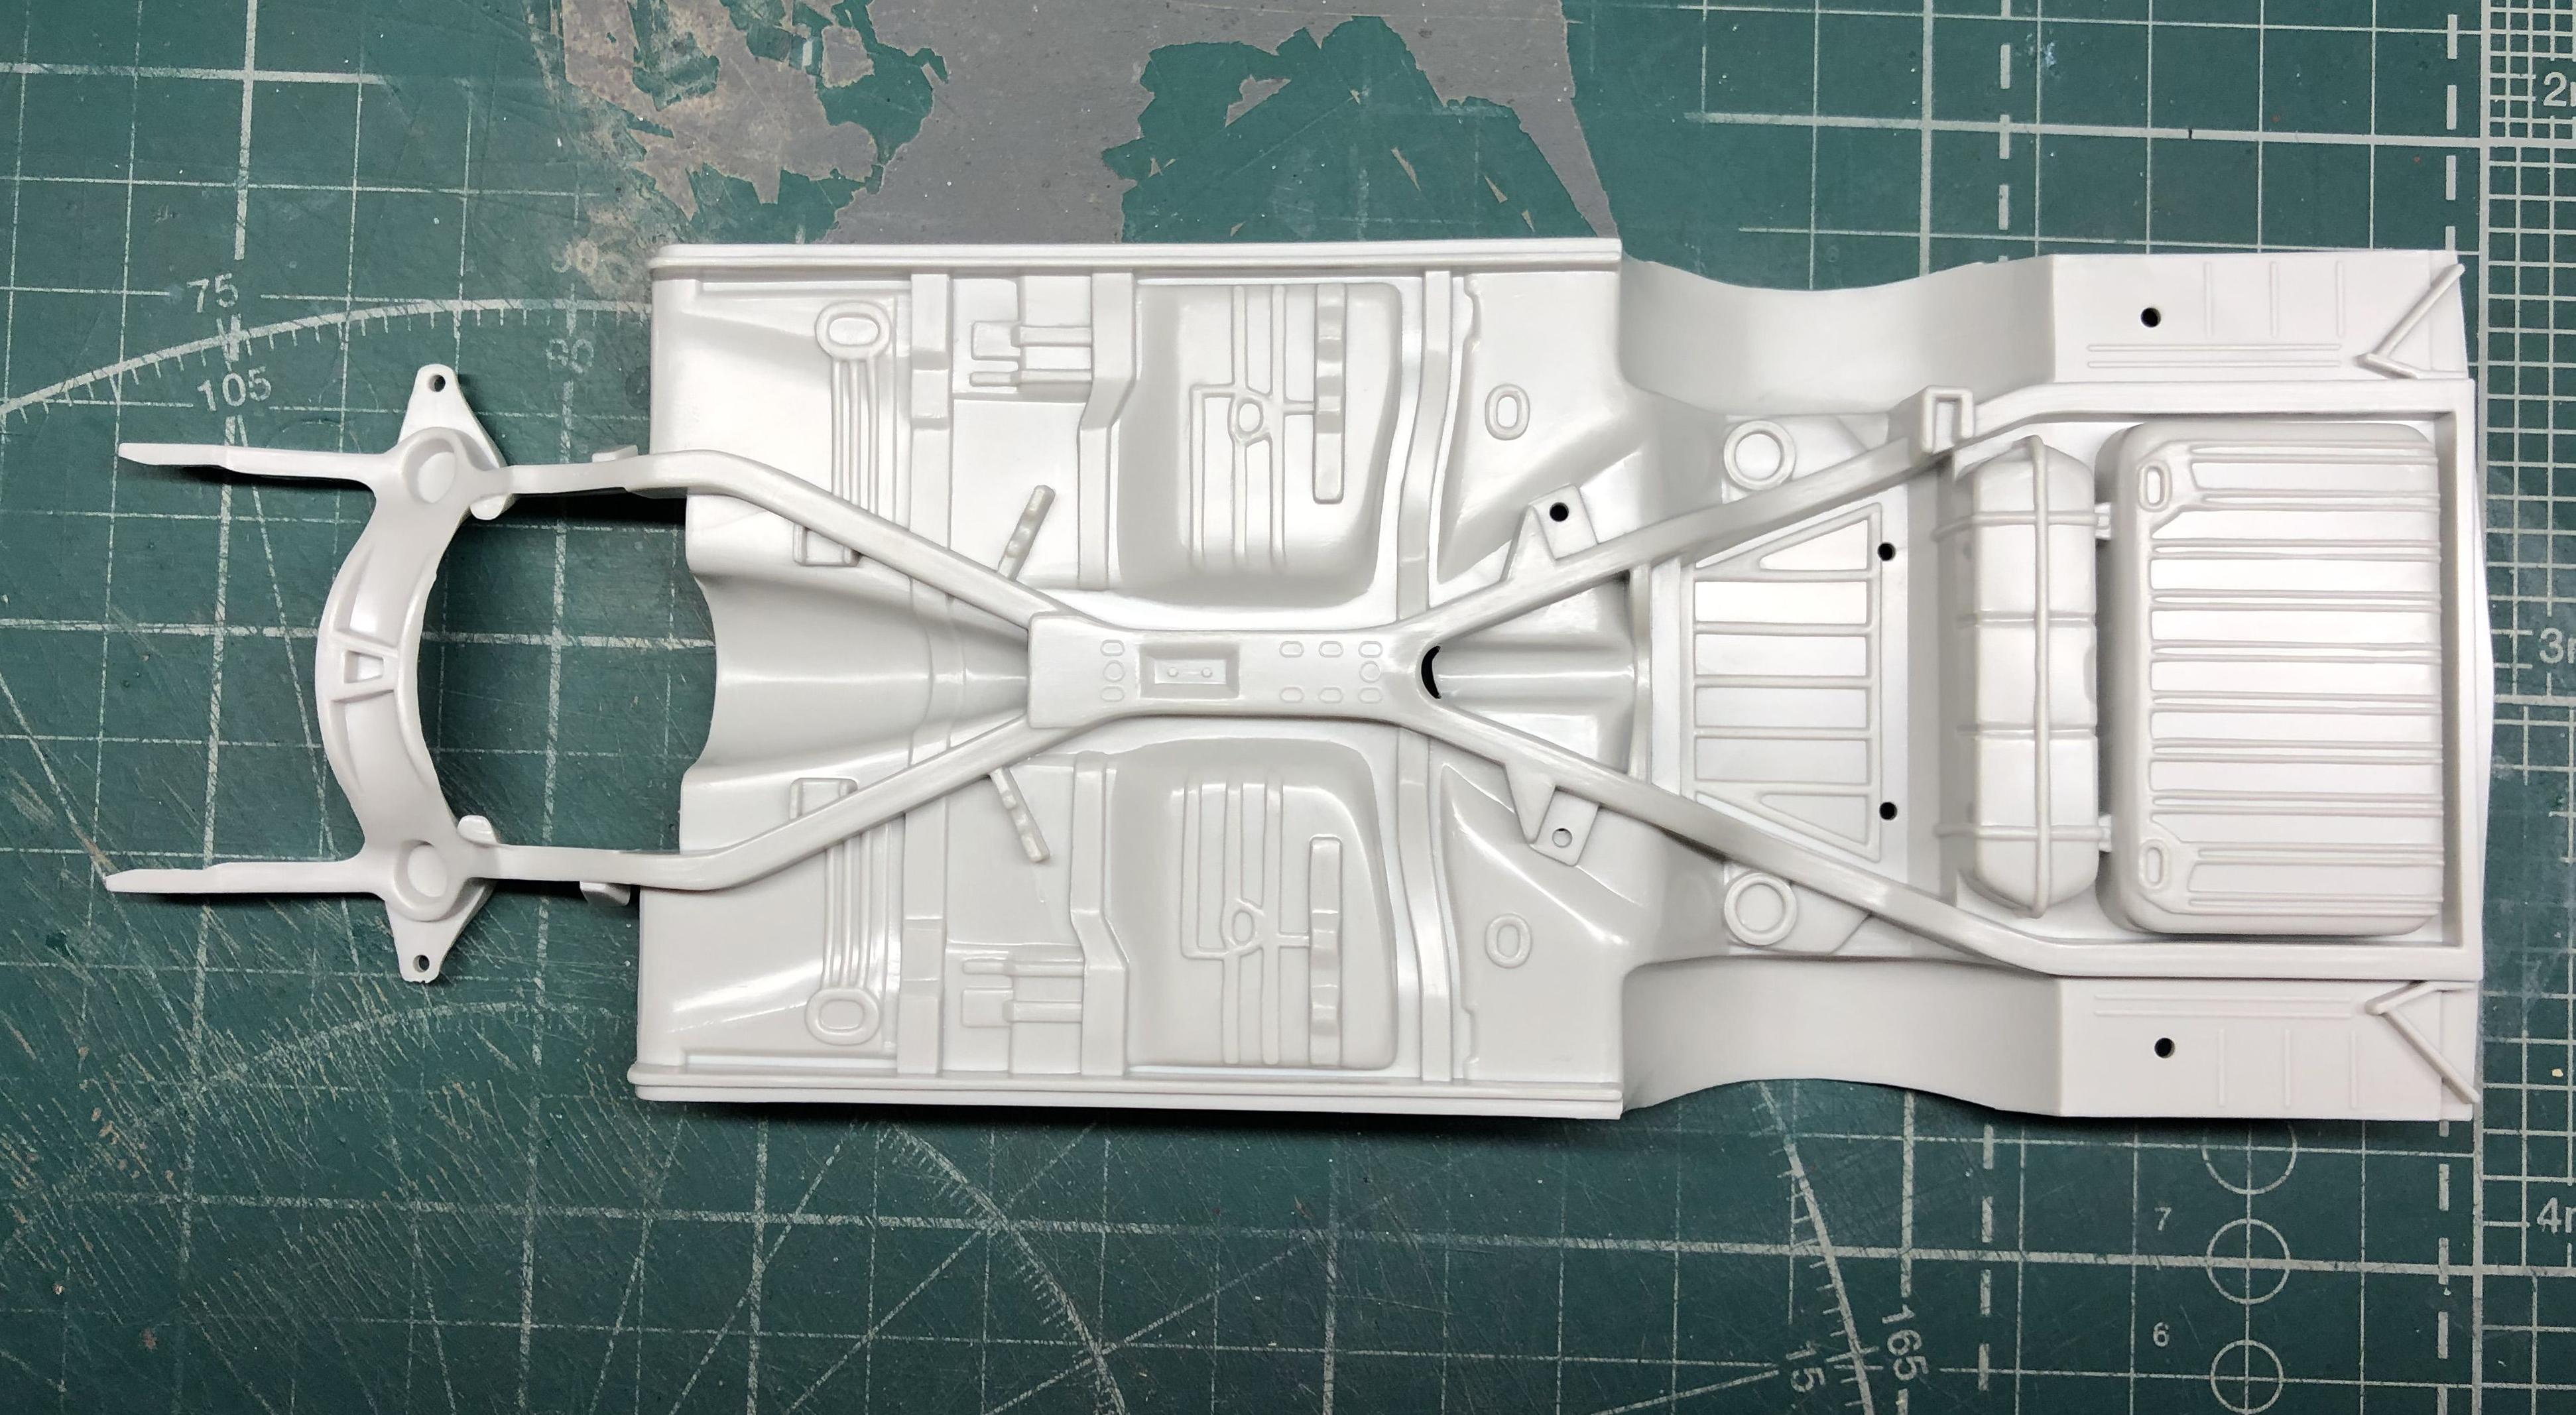
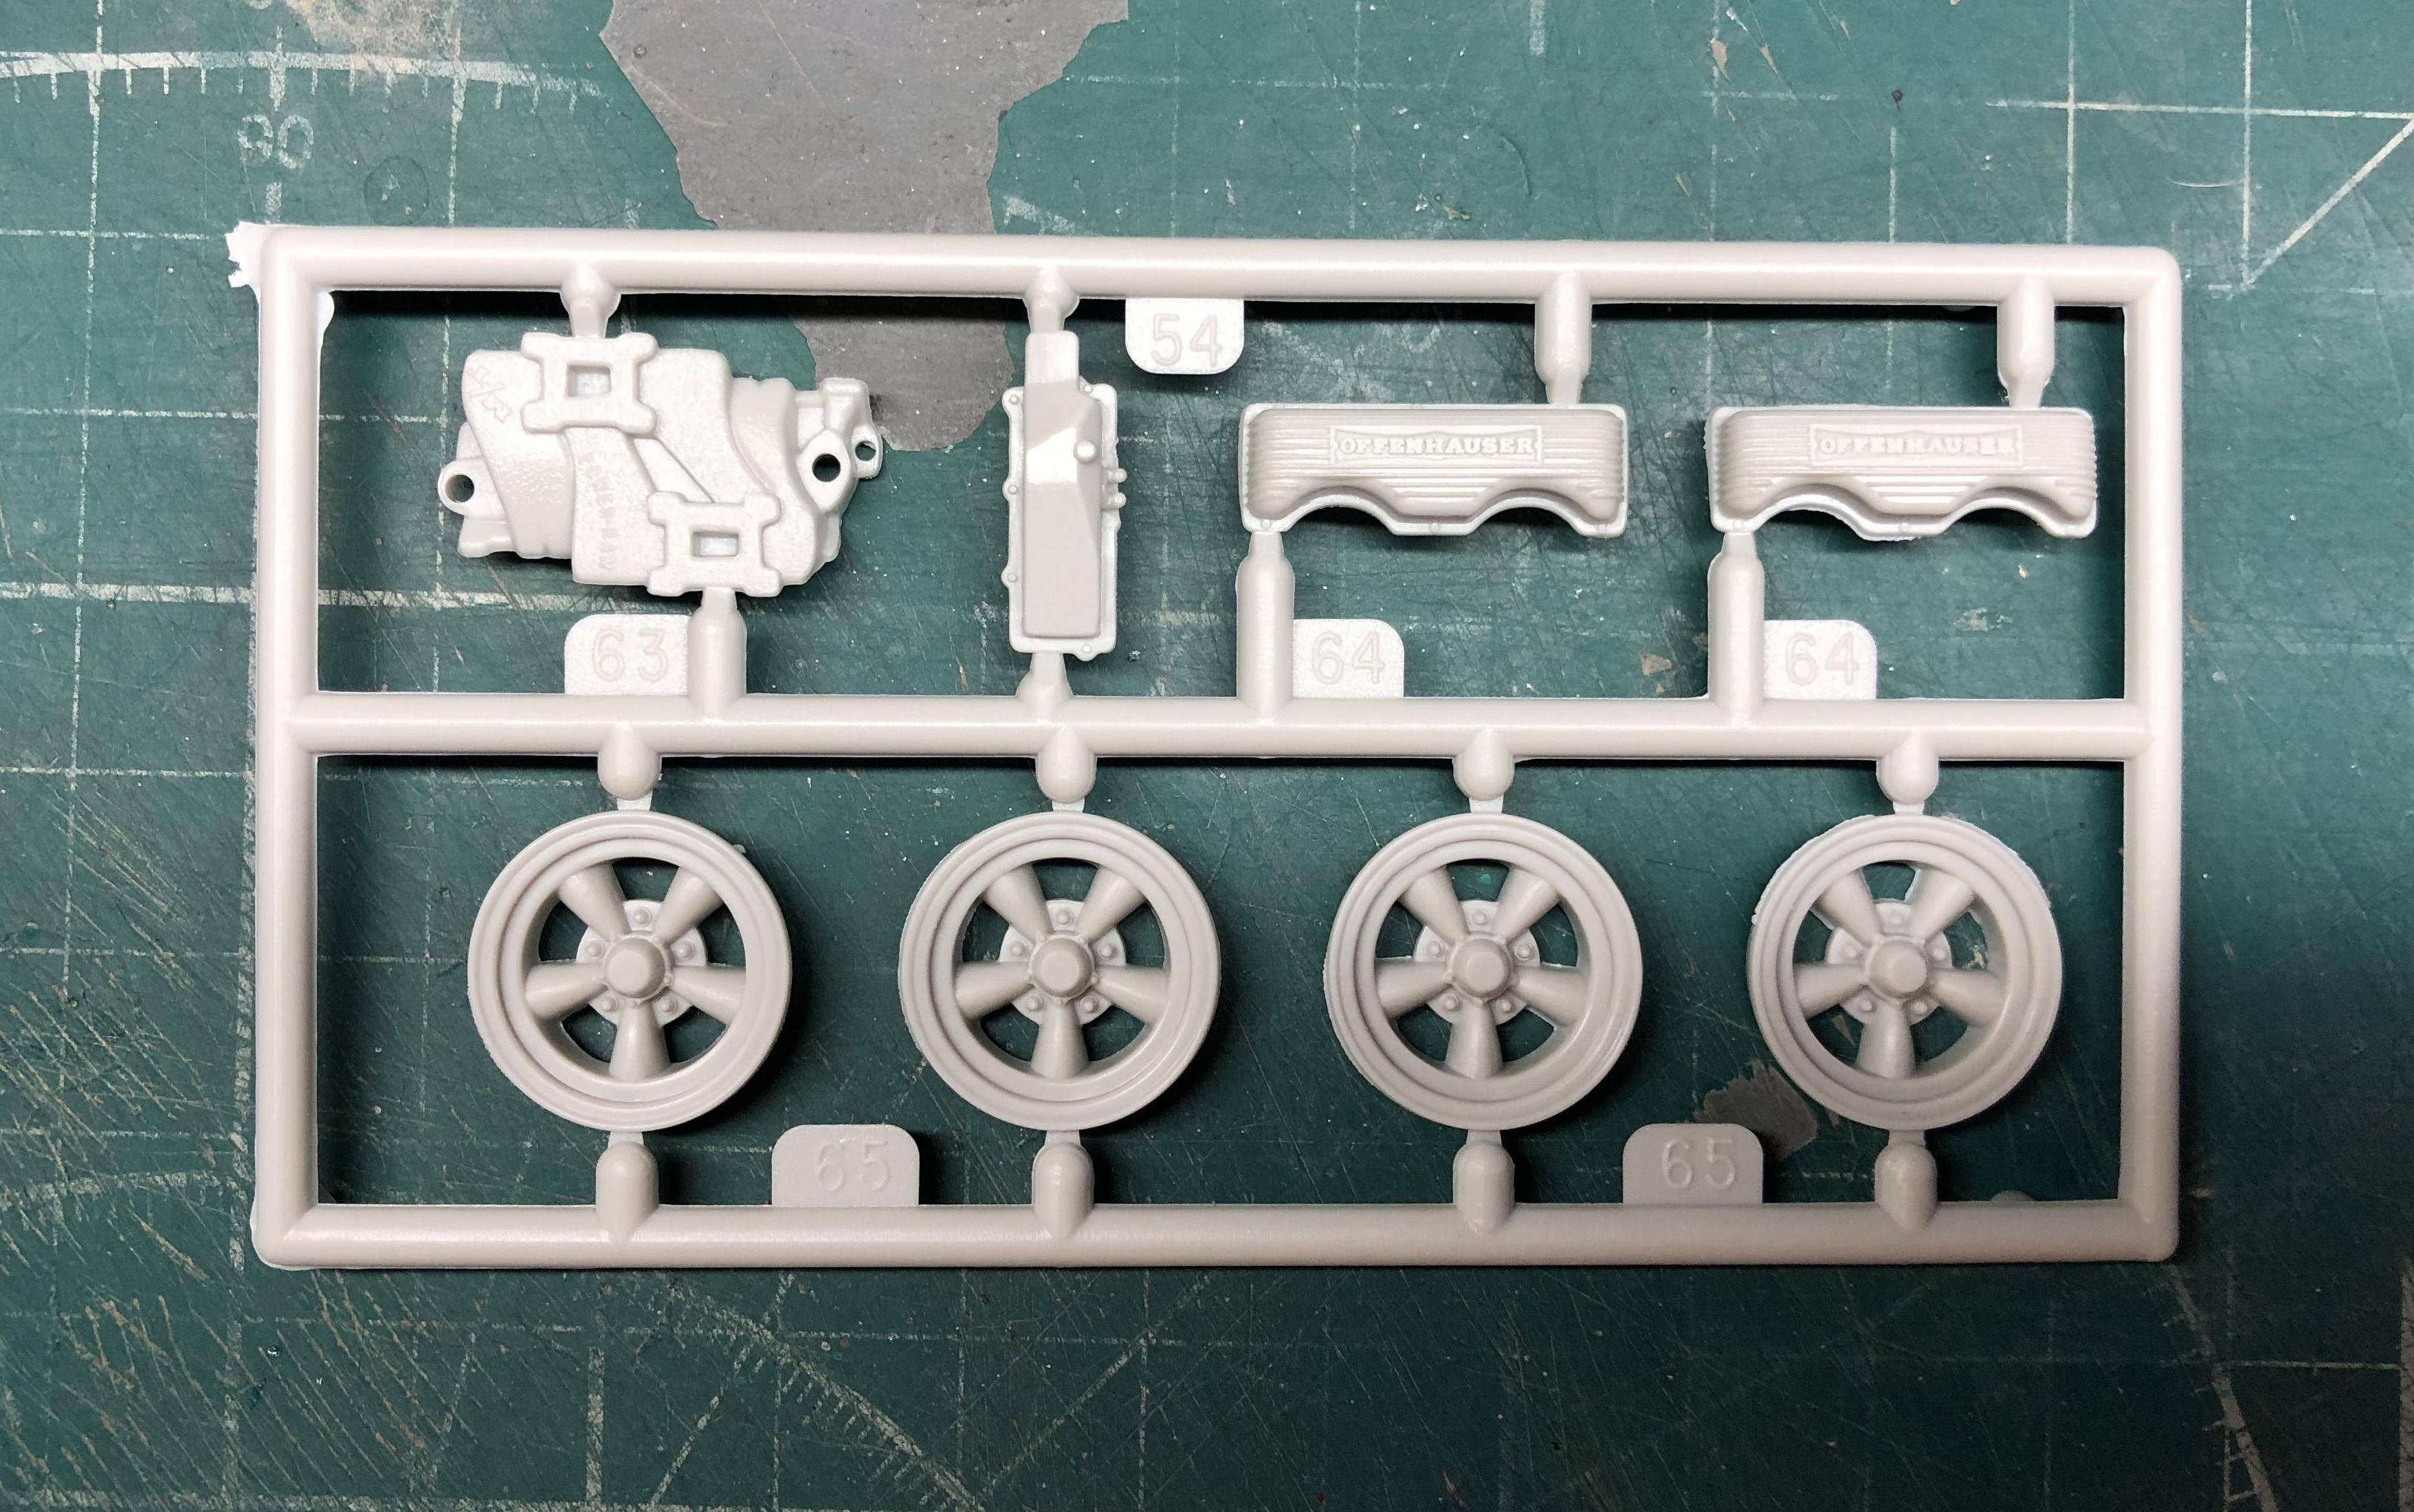
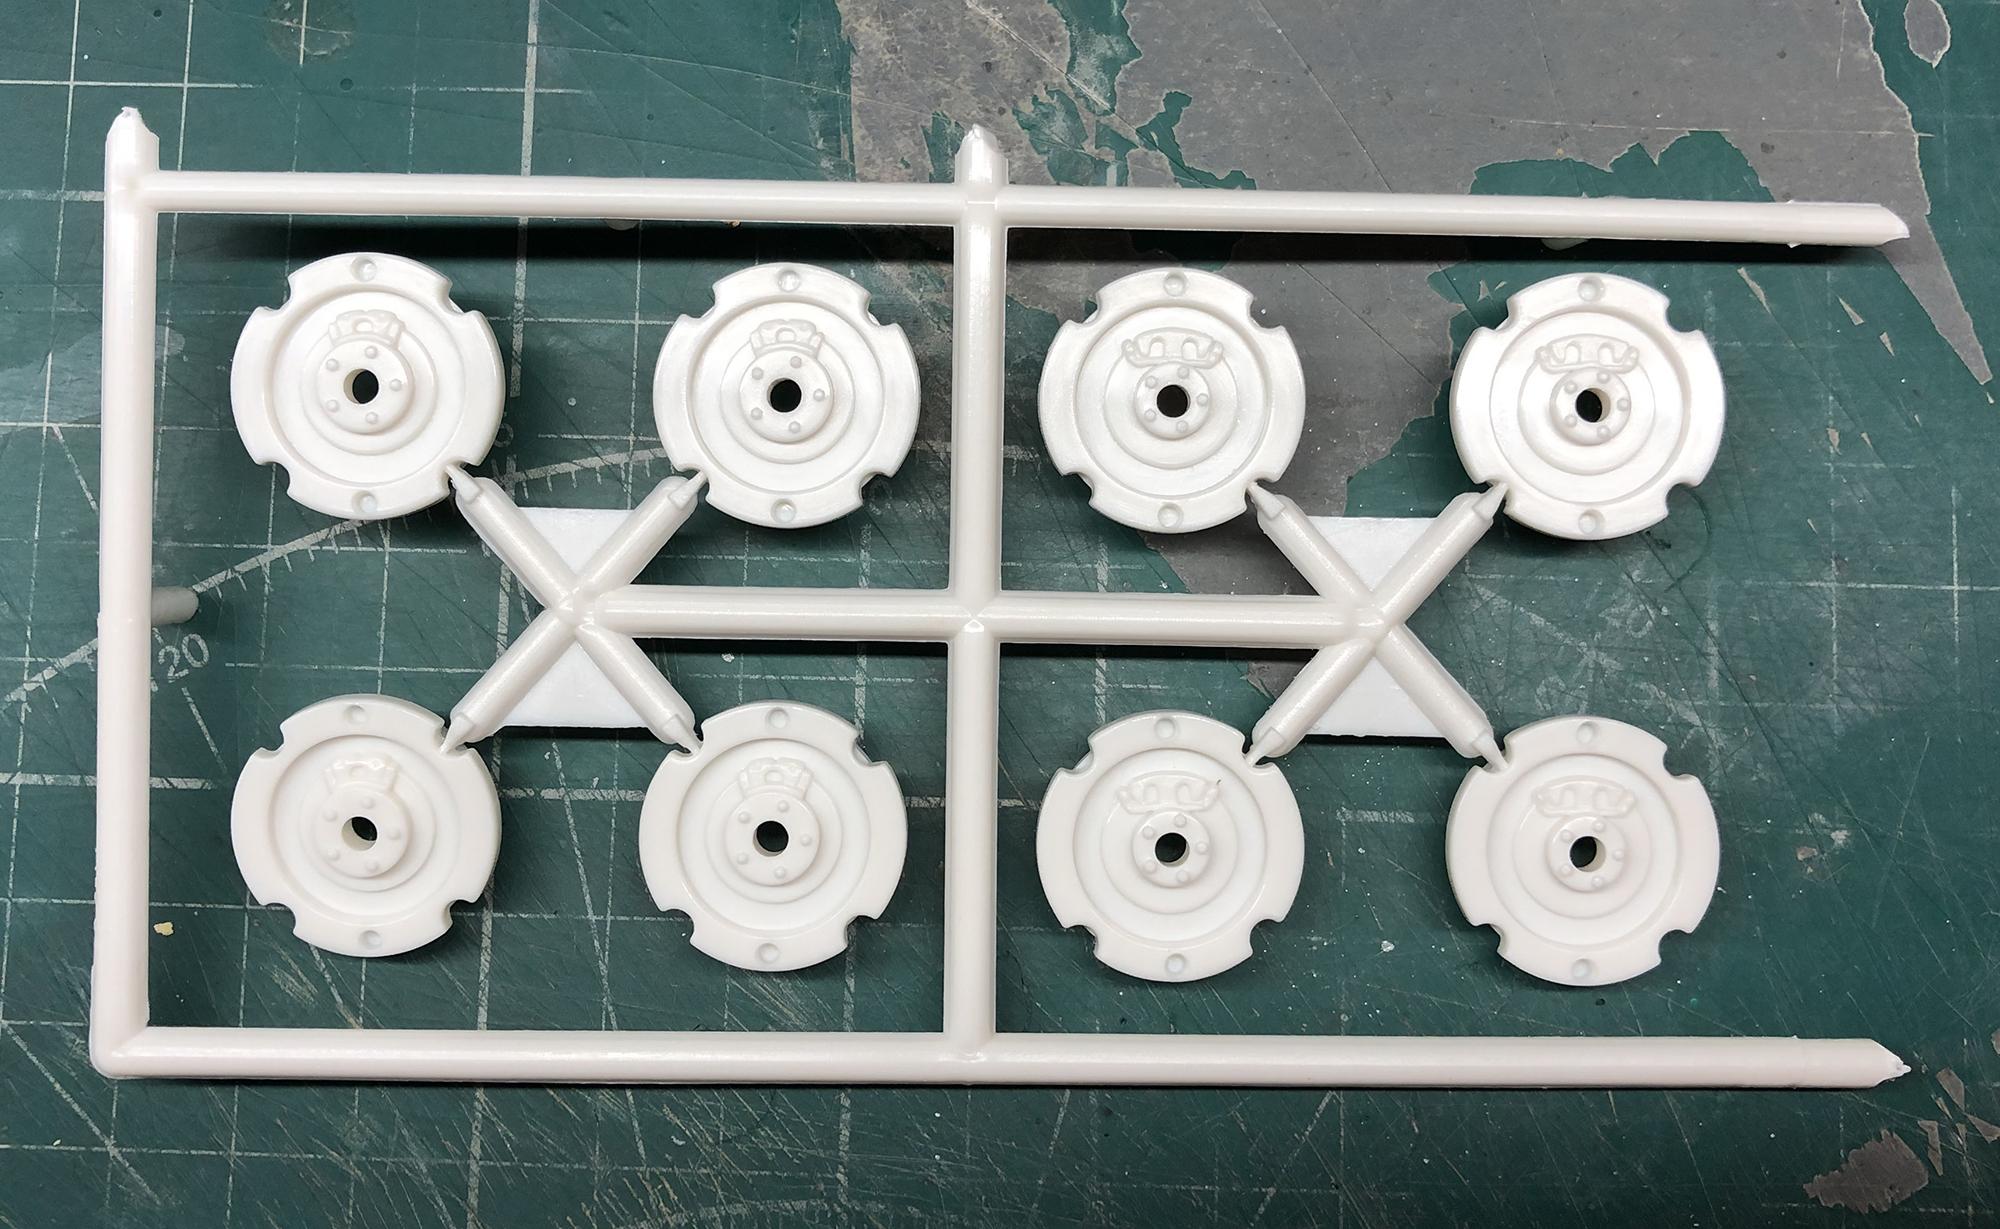
Good afternoon friends. It's time to build another model. This time I chose this wonderful box from my collection. The gorgeous 1962 Chevy Bel Air 409. Here is the contents of the kit box: I will be very grateful if you can show me a photo of the car or car model with decals, like in my kit.
-
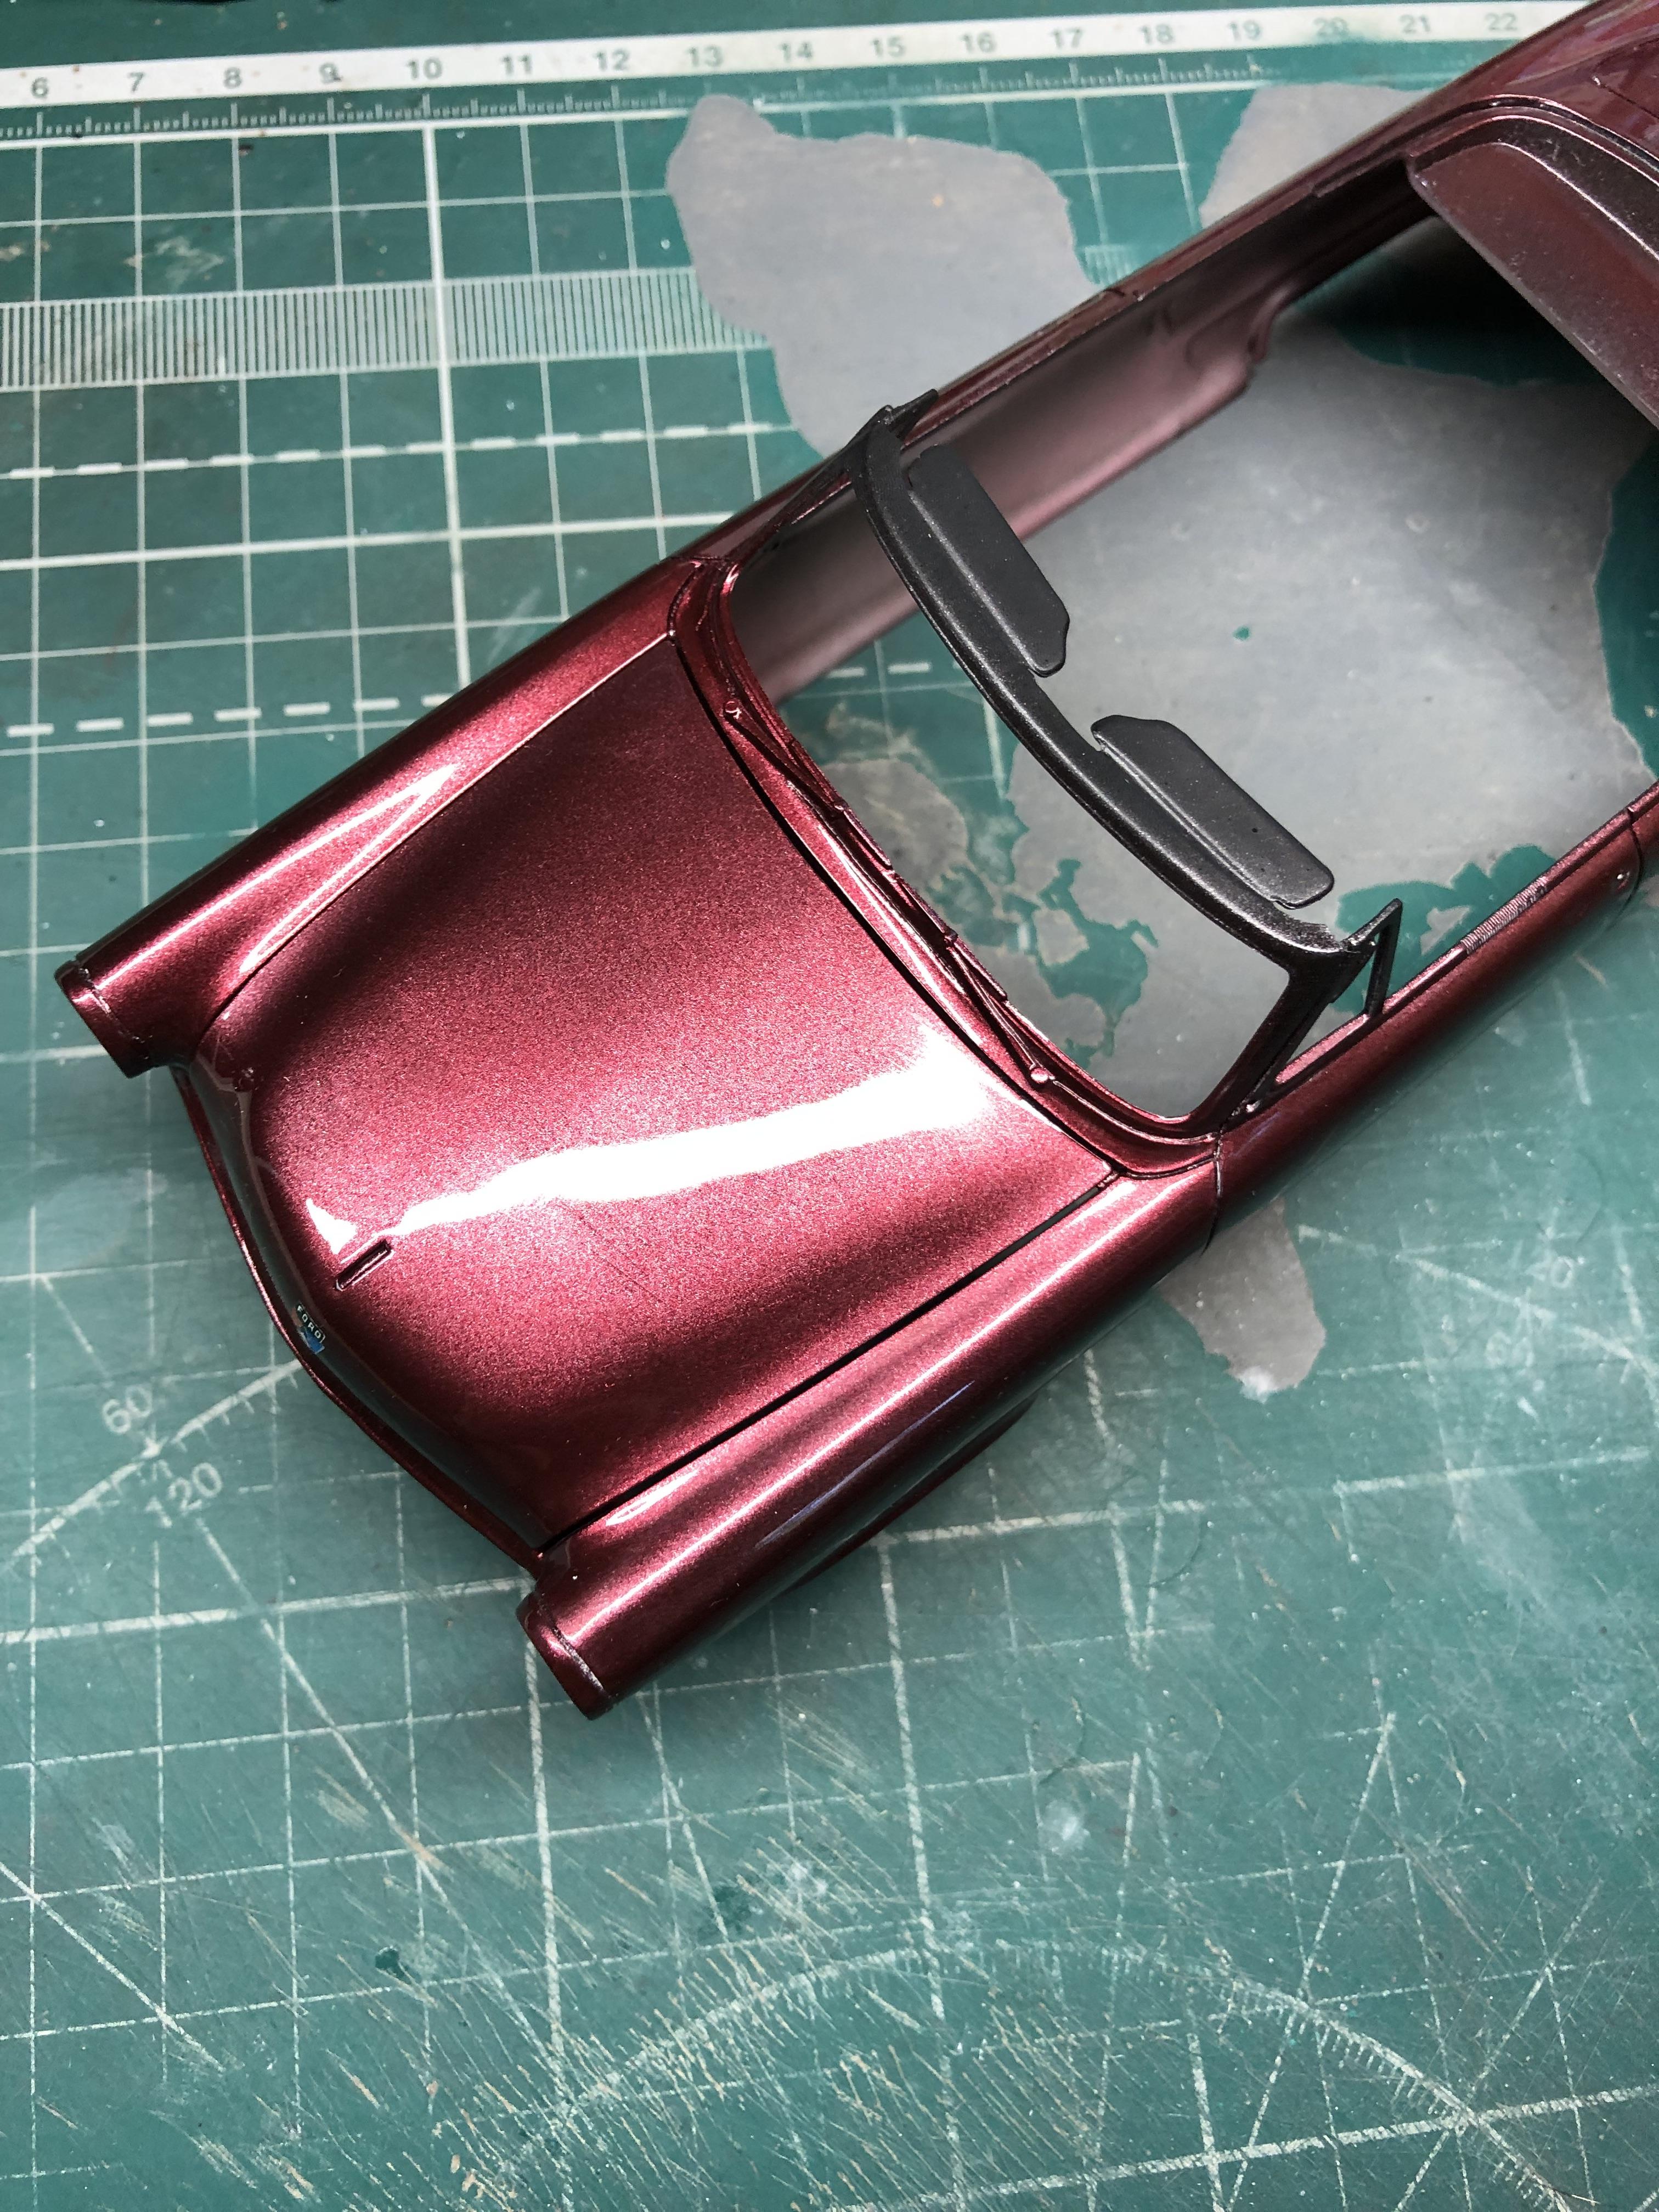
Good afternoon, I present to you my latest assembled model. The body is painted with Mr Metallic Color GX215 Metal Bloody Red and 2k clear.
-
Calling it's done! Final photos in the under glass topic.
-
Body is clear coated. Interior in progress. Body polished. Interior is complete. Engine bay is complete. Have a good day to everyone!
-
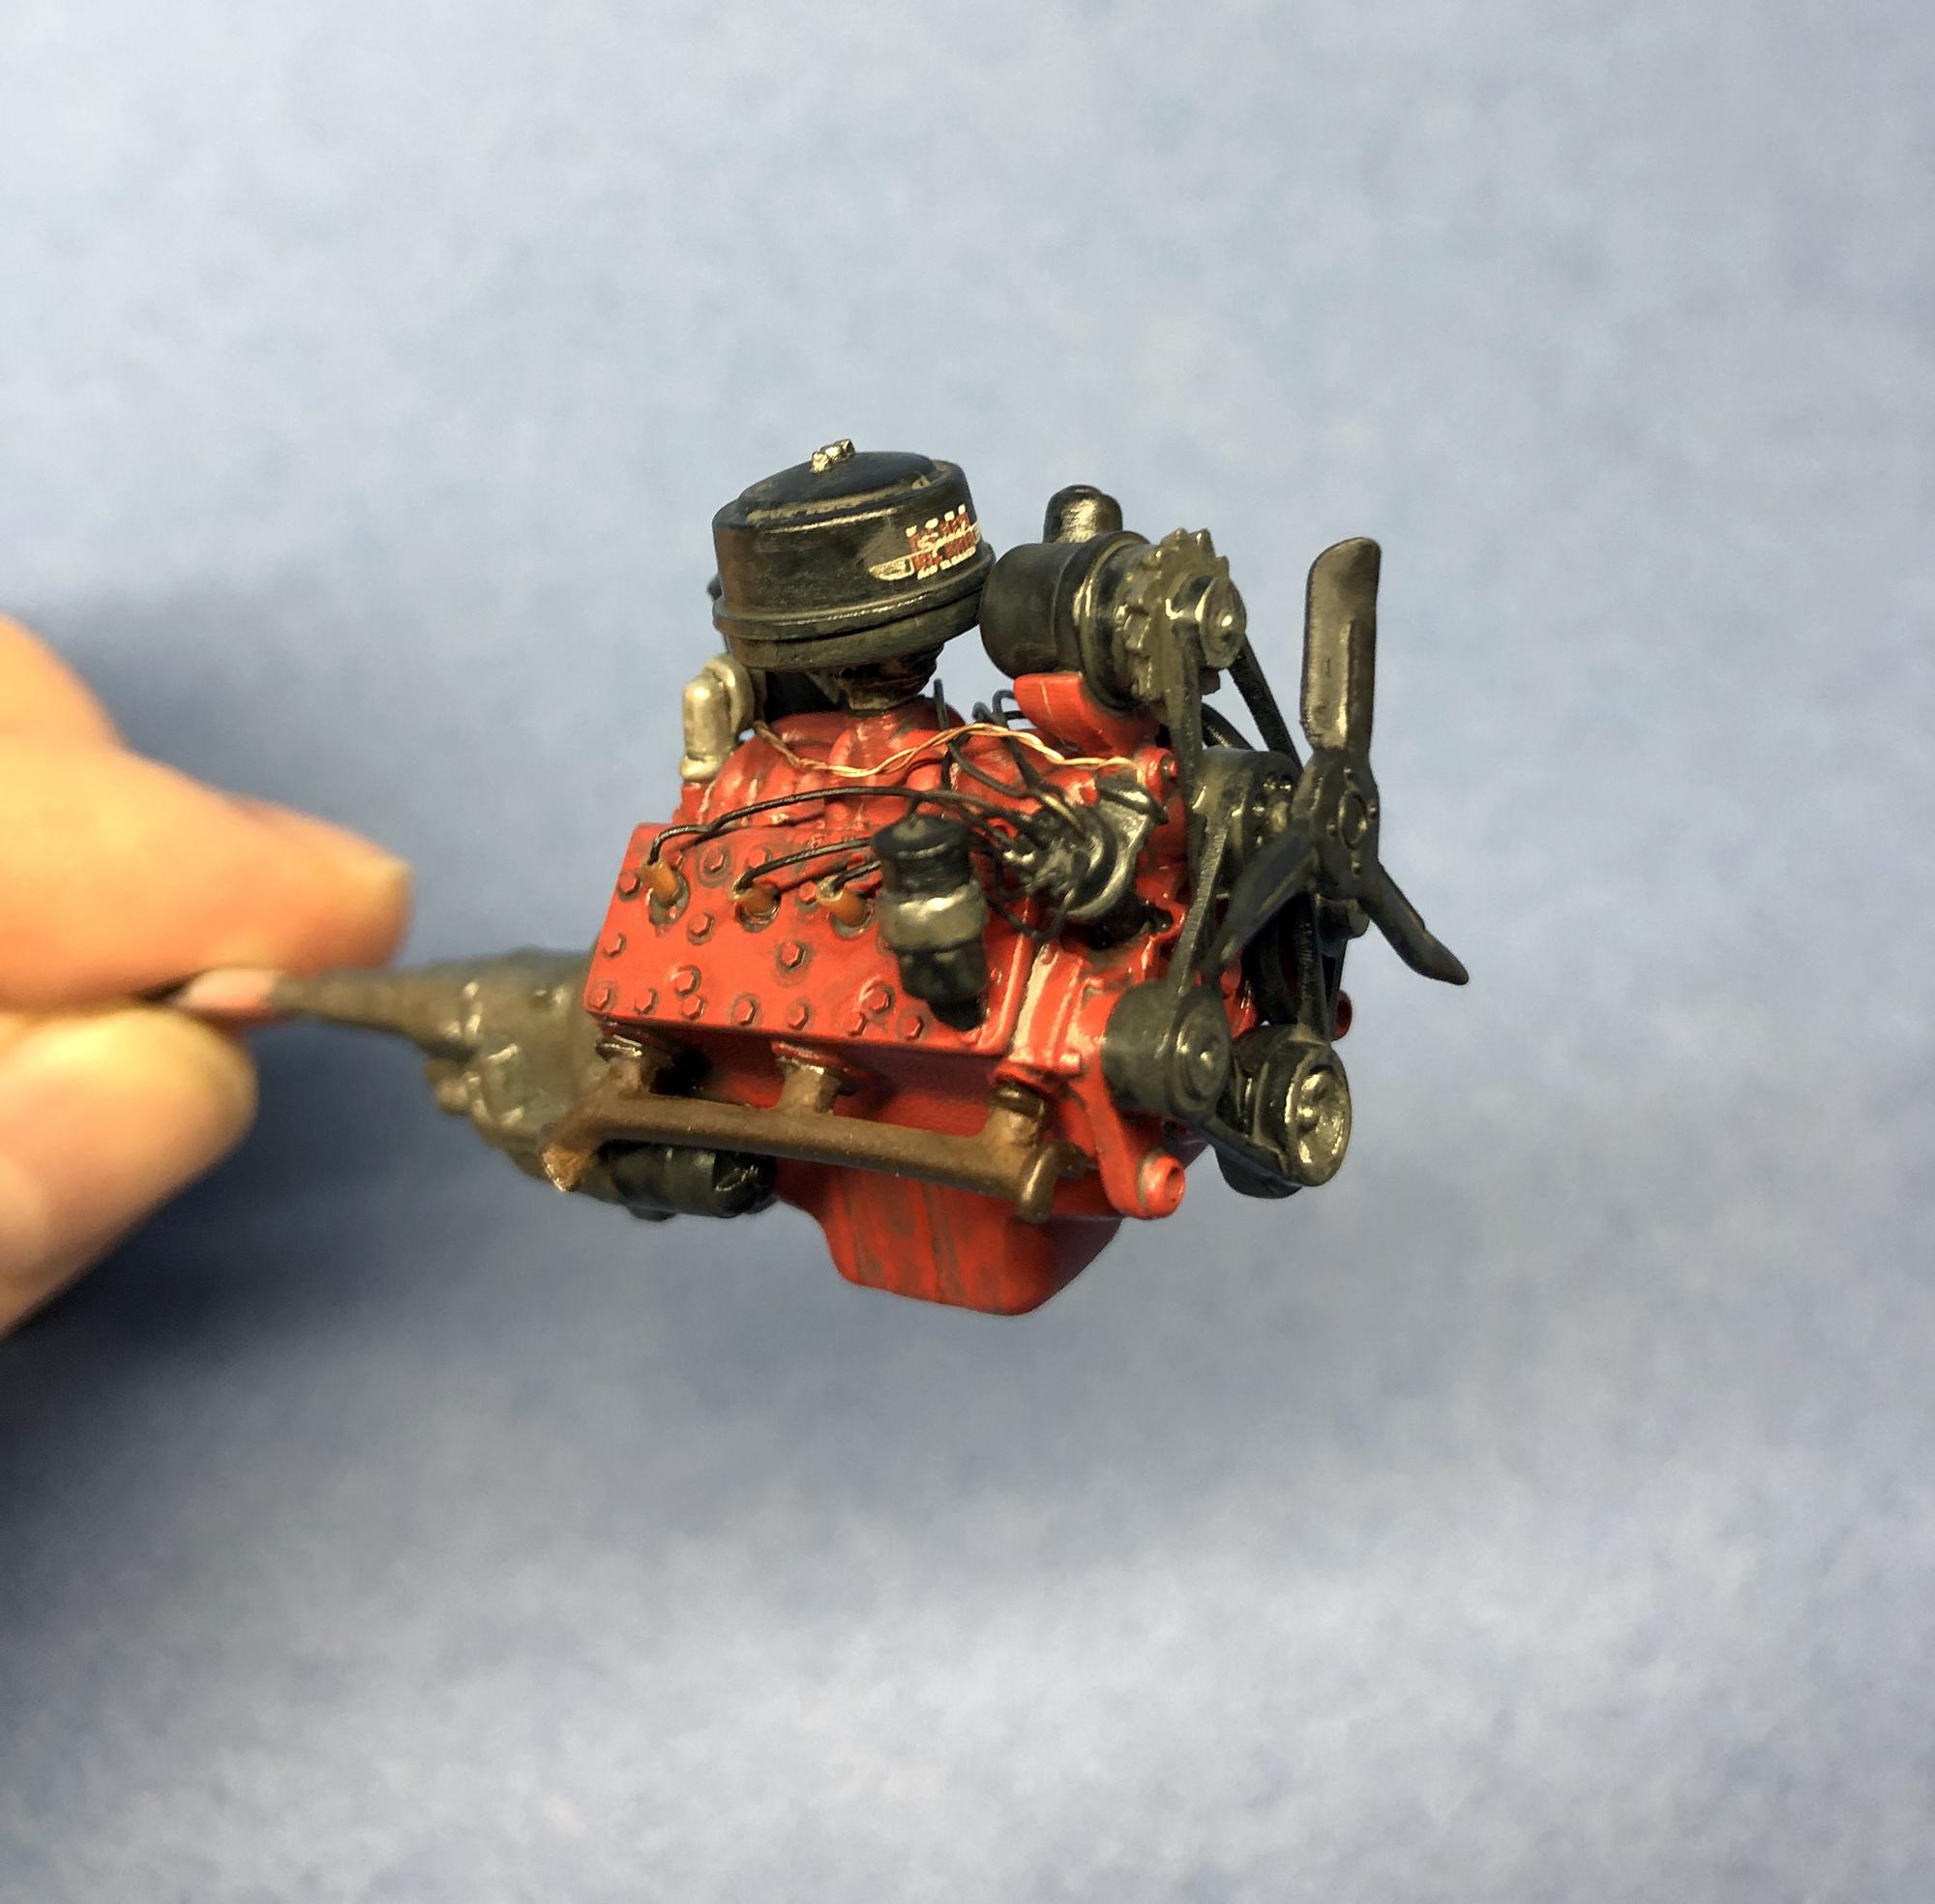
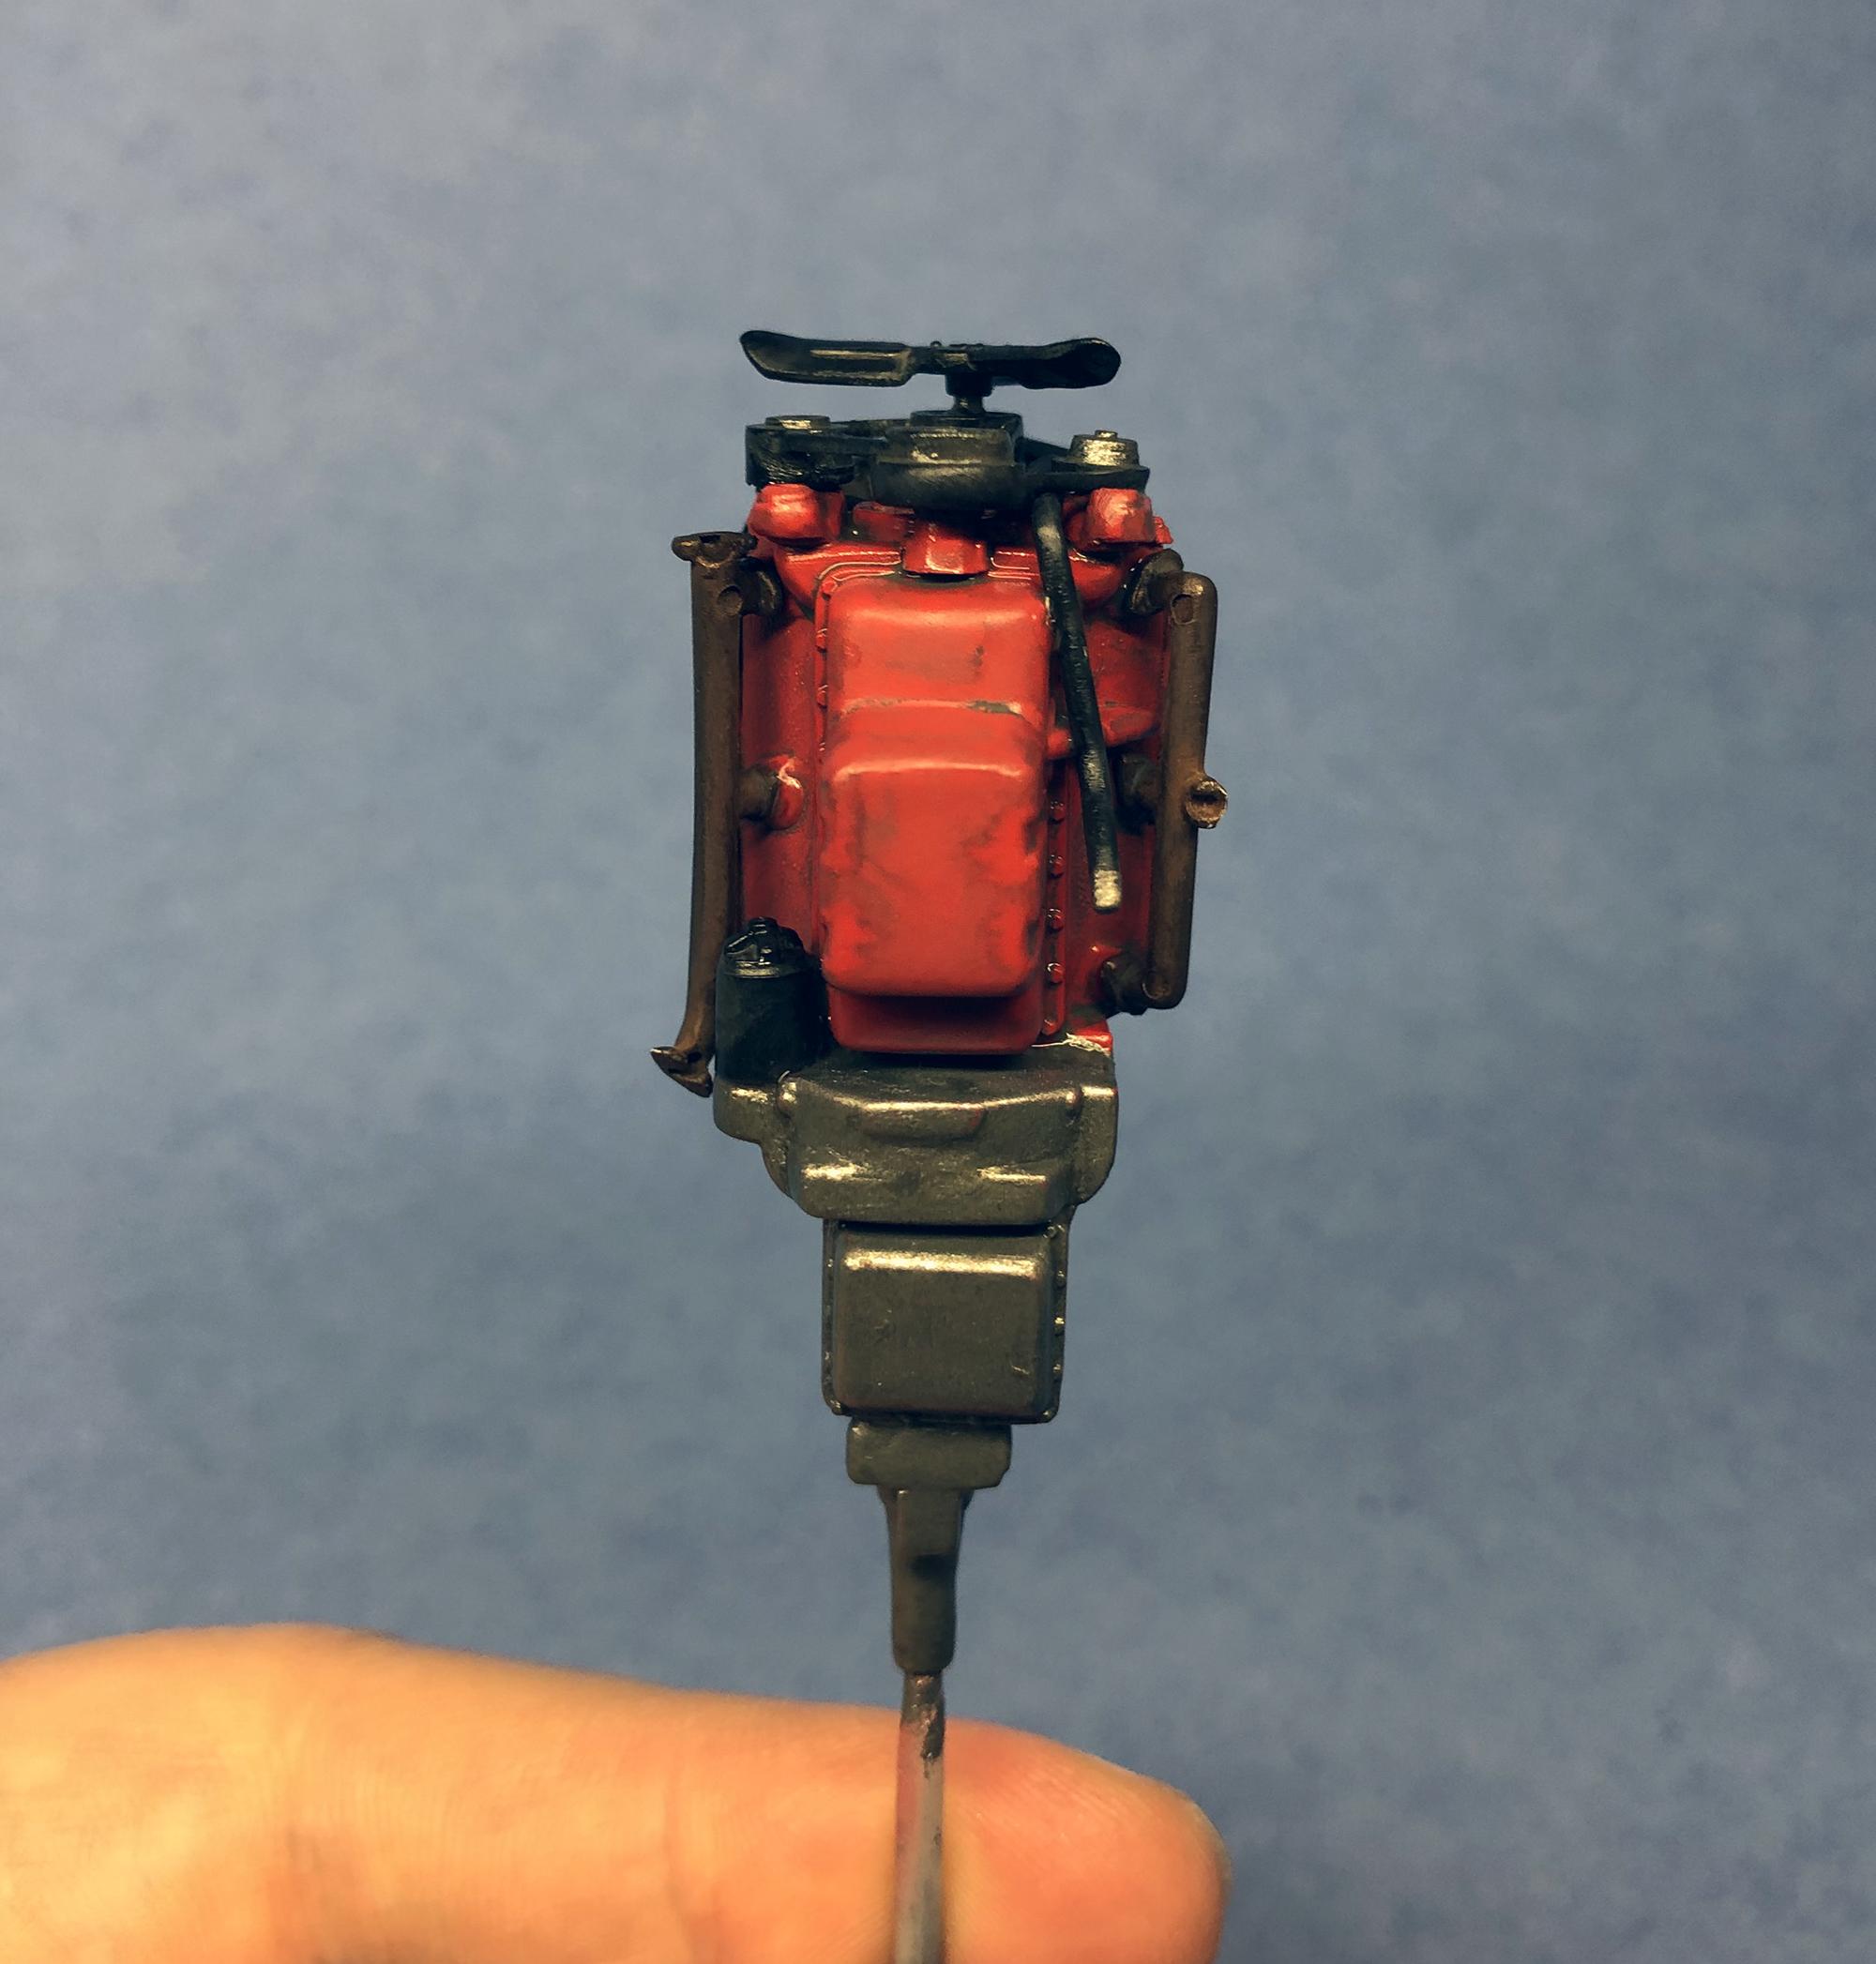
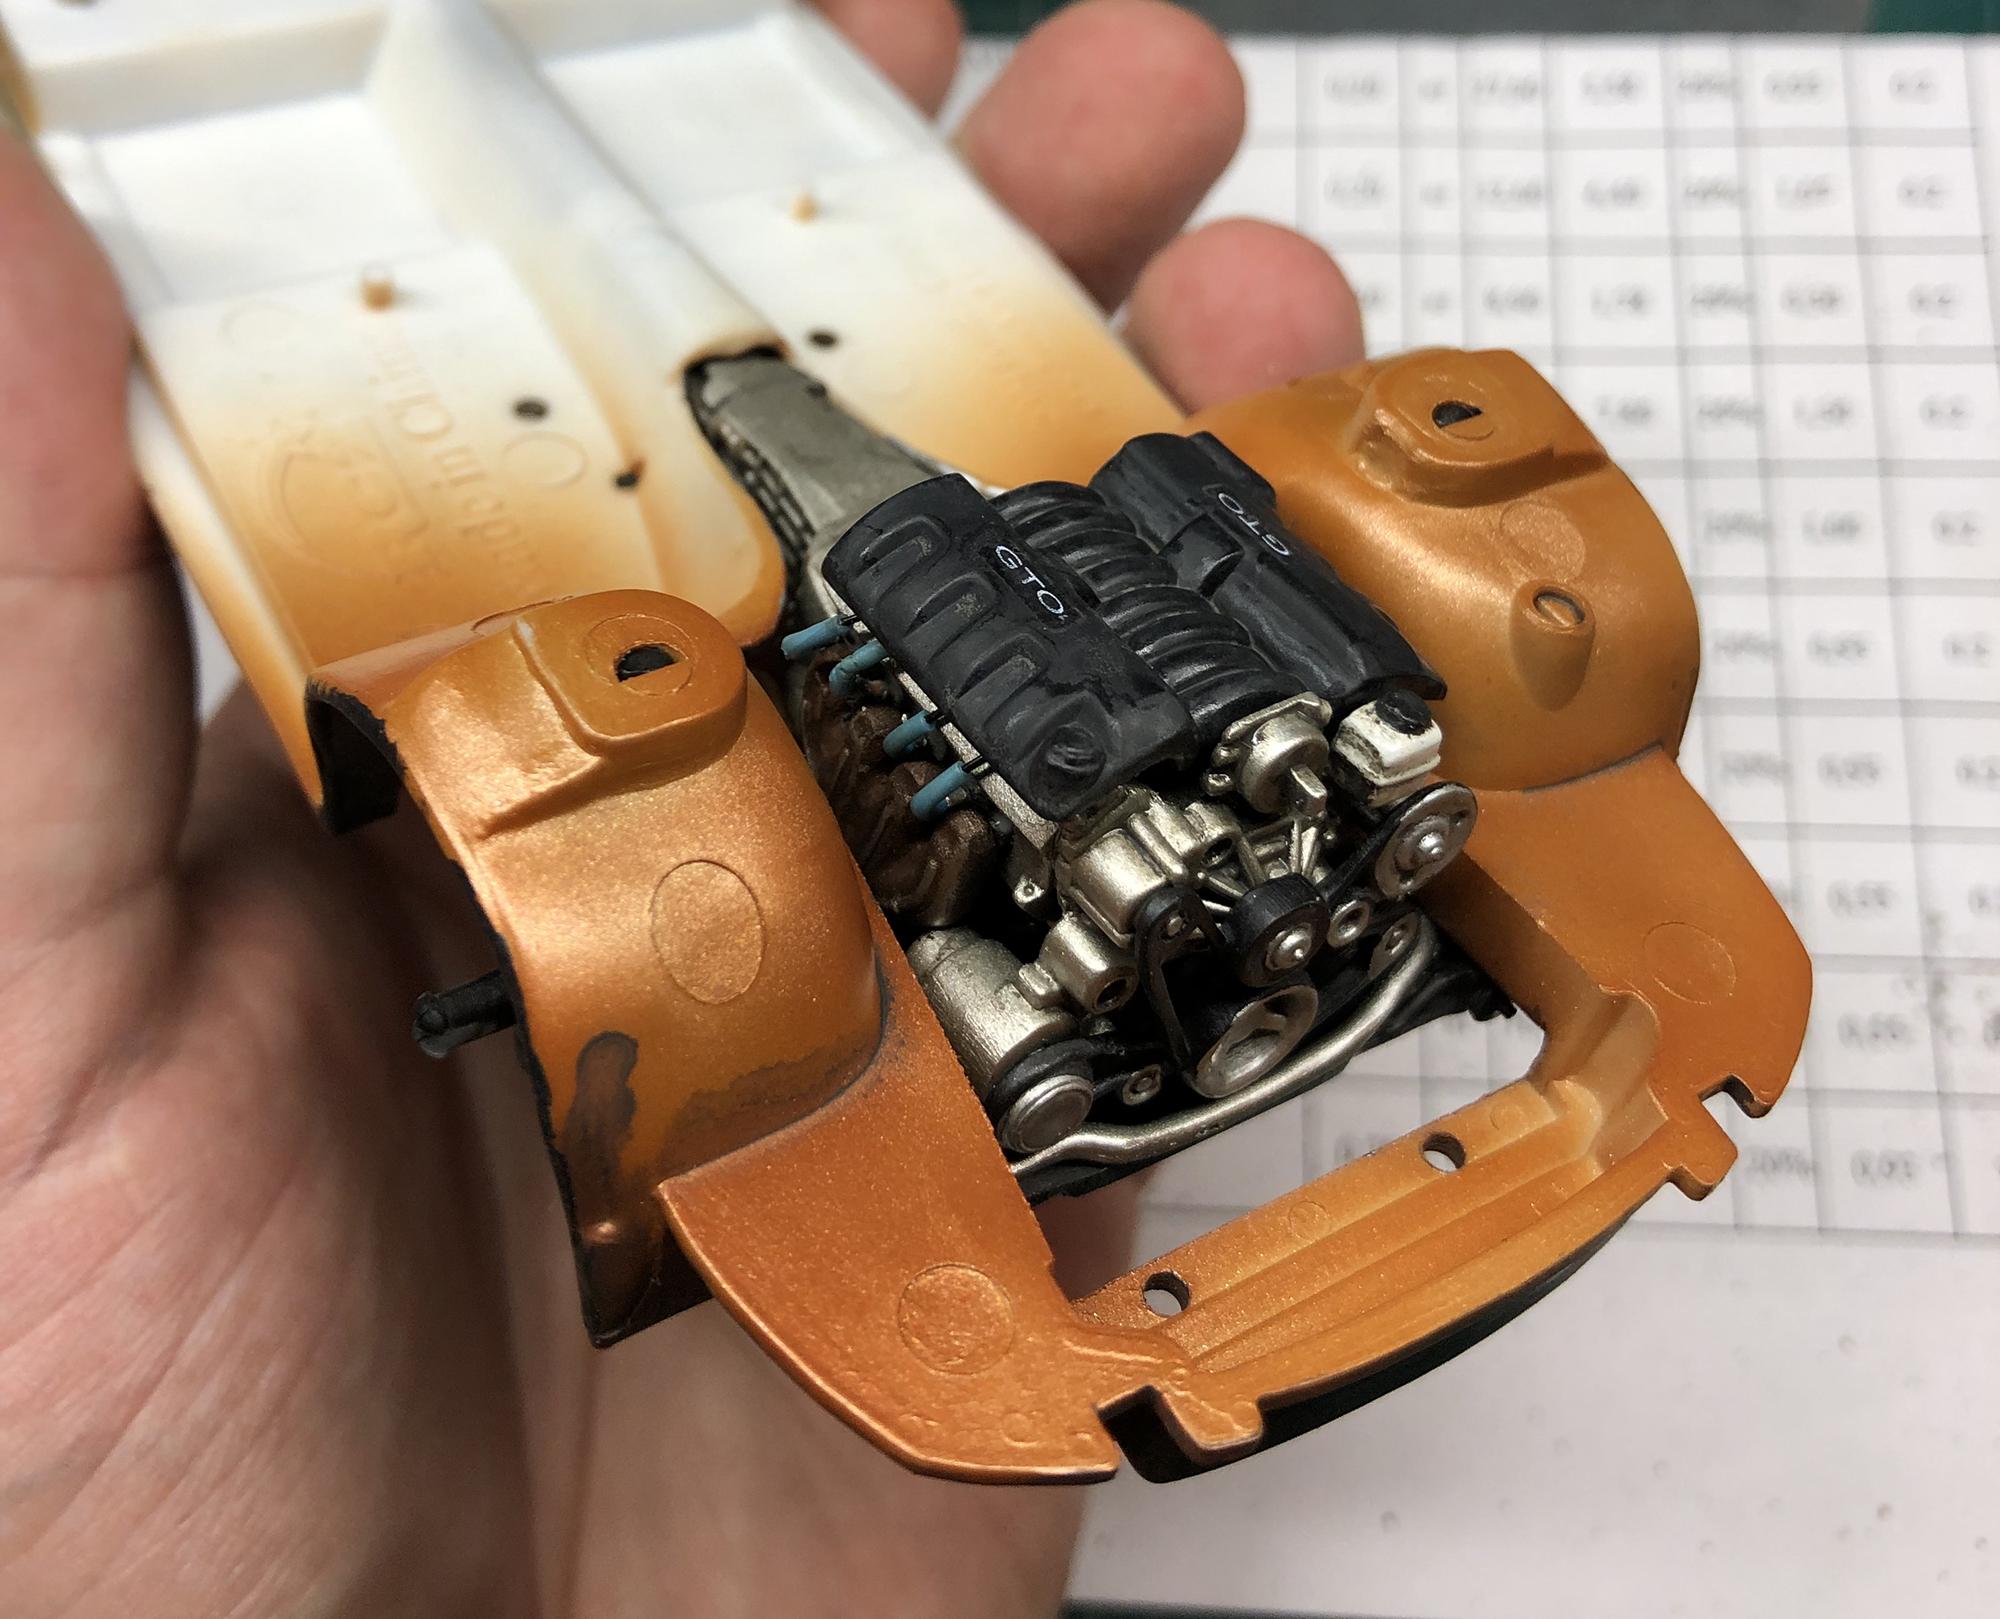
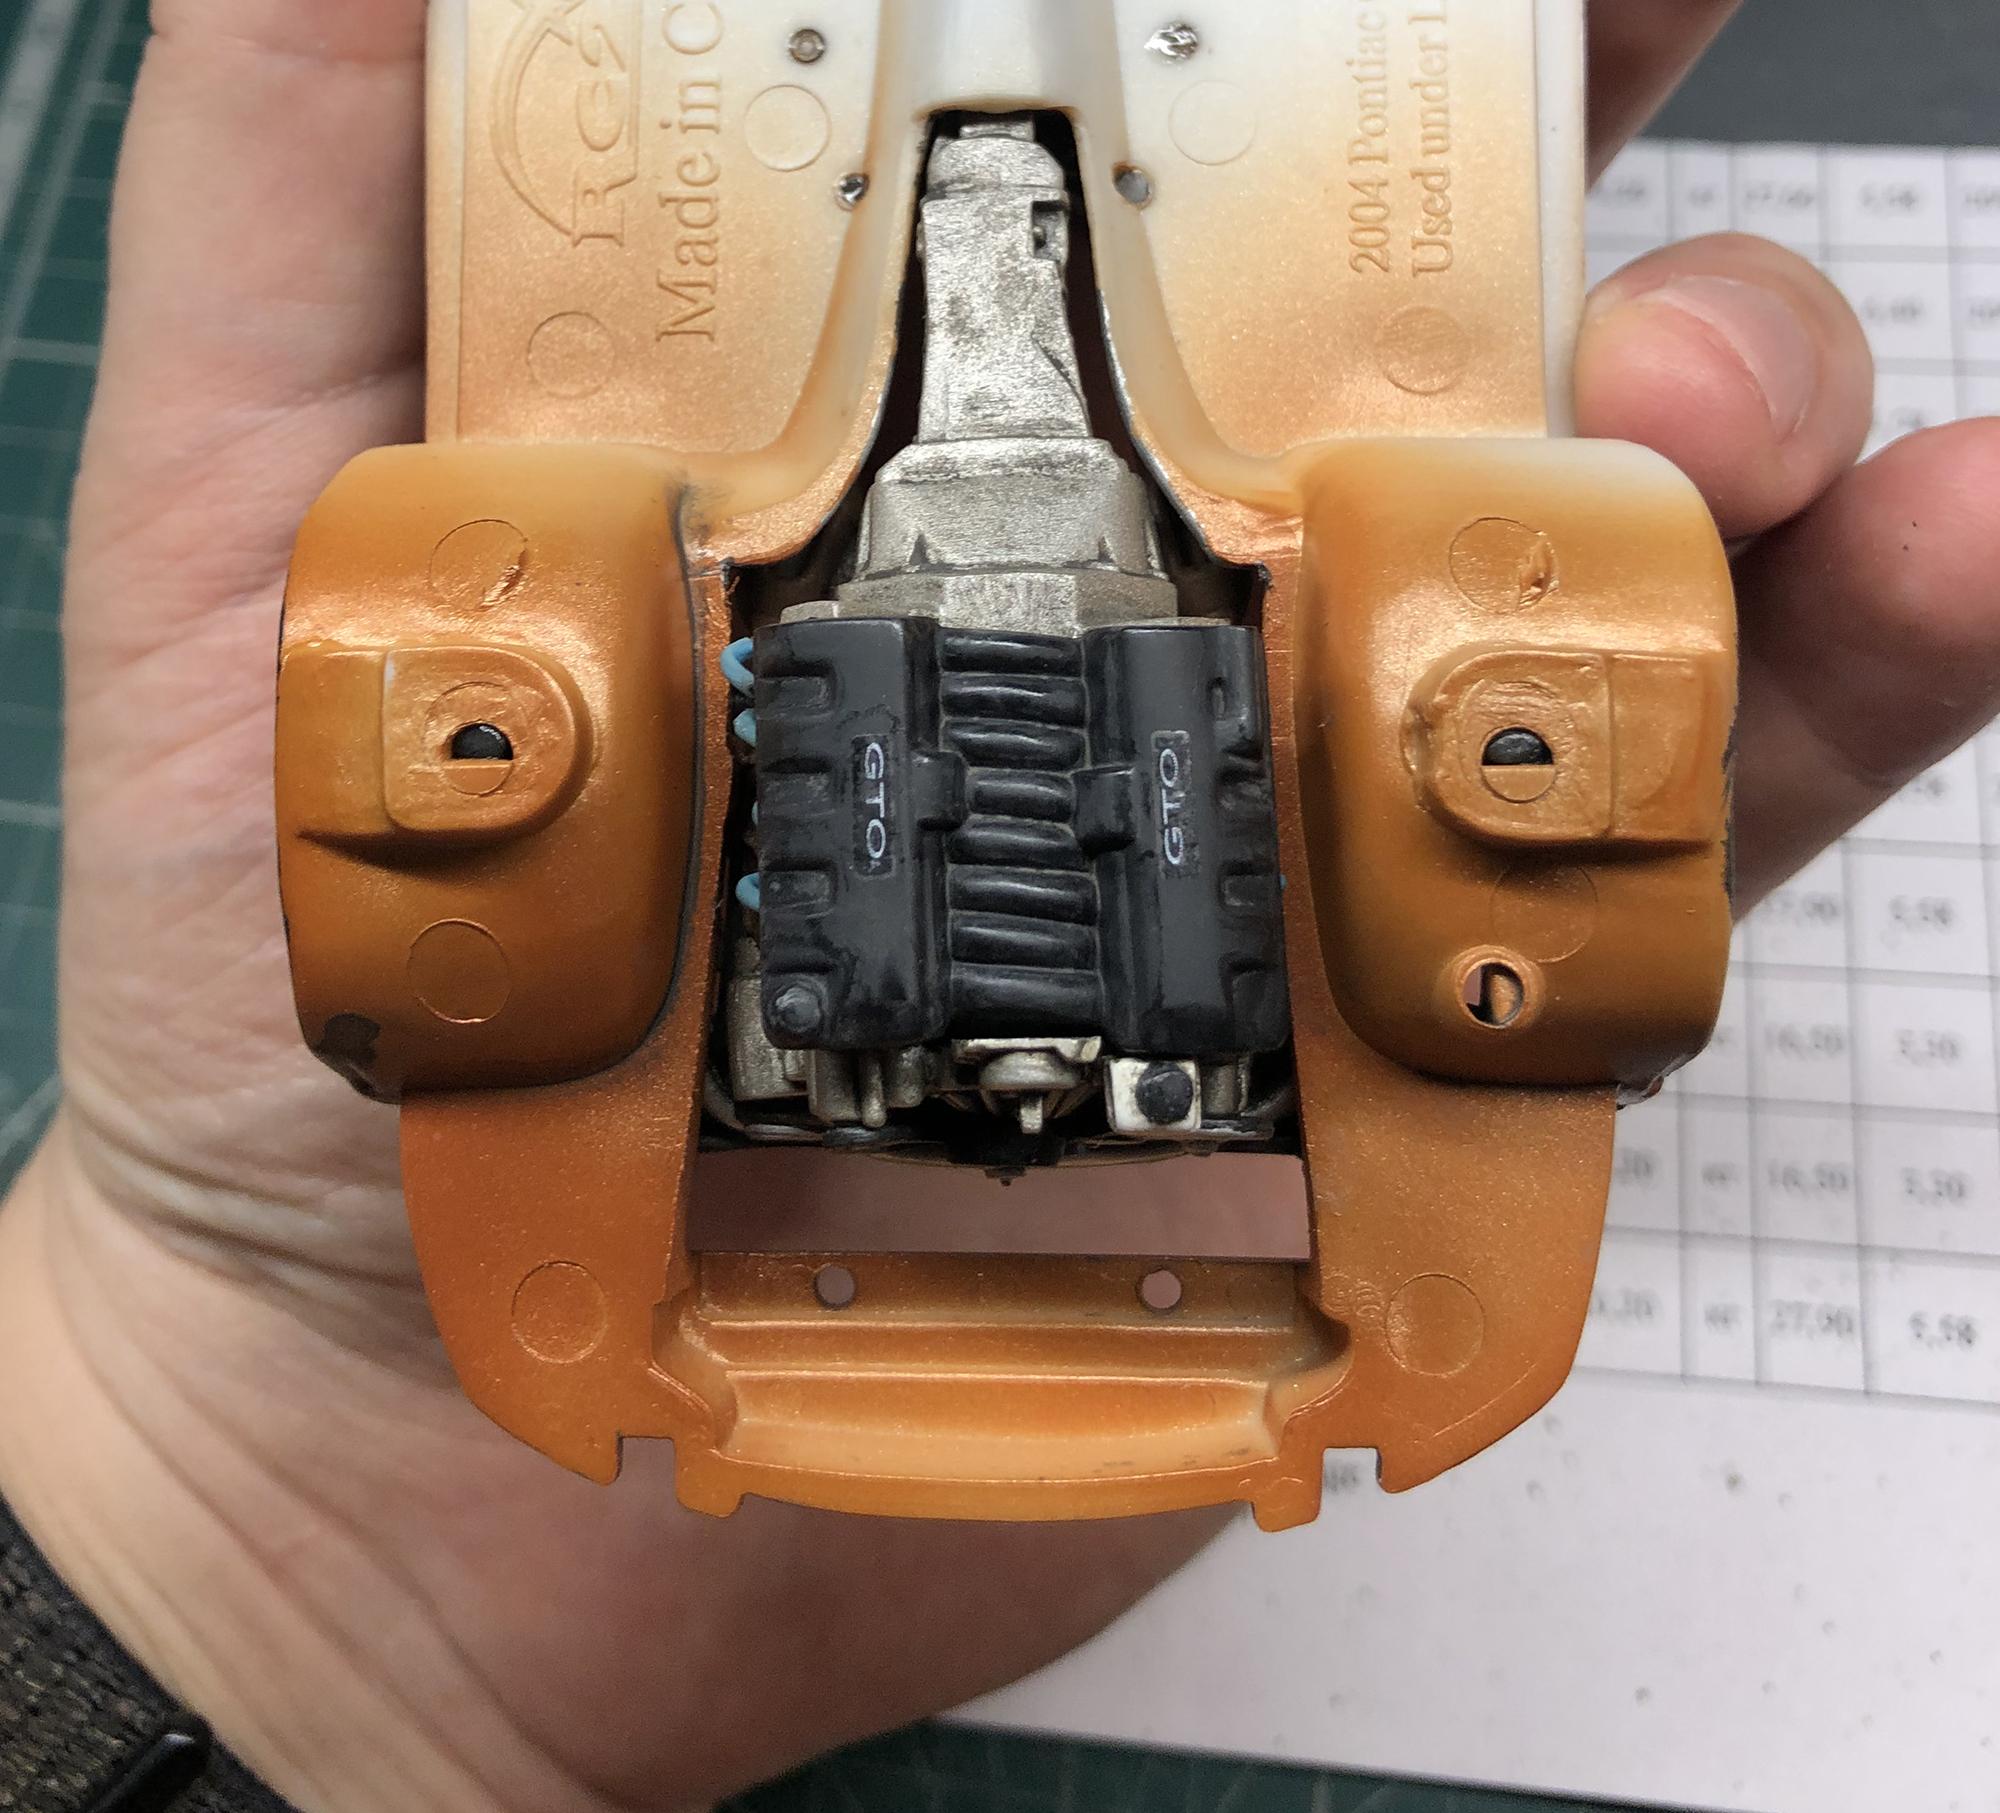
Engine done.
-
I could sell you if you are talking about tires made of two halves of plastic. But here is an incomprehensible moment with sending to you. I live in Belarus.
-
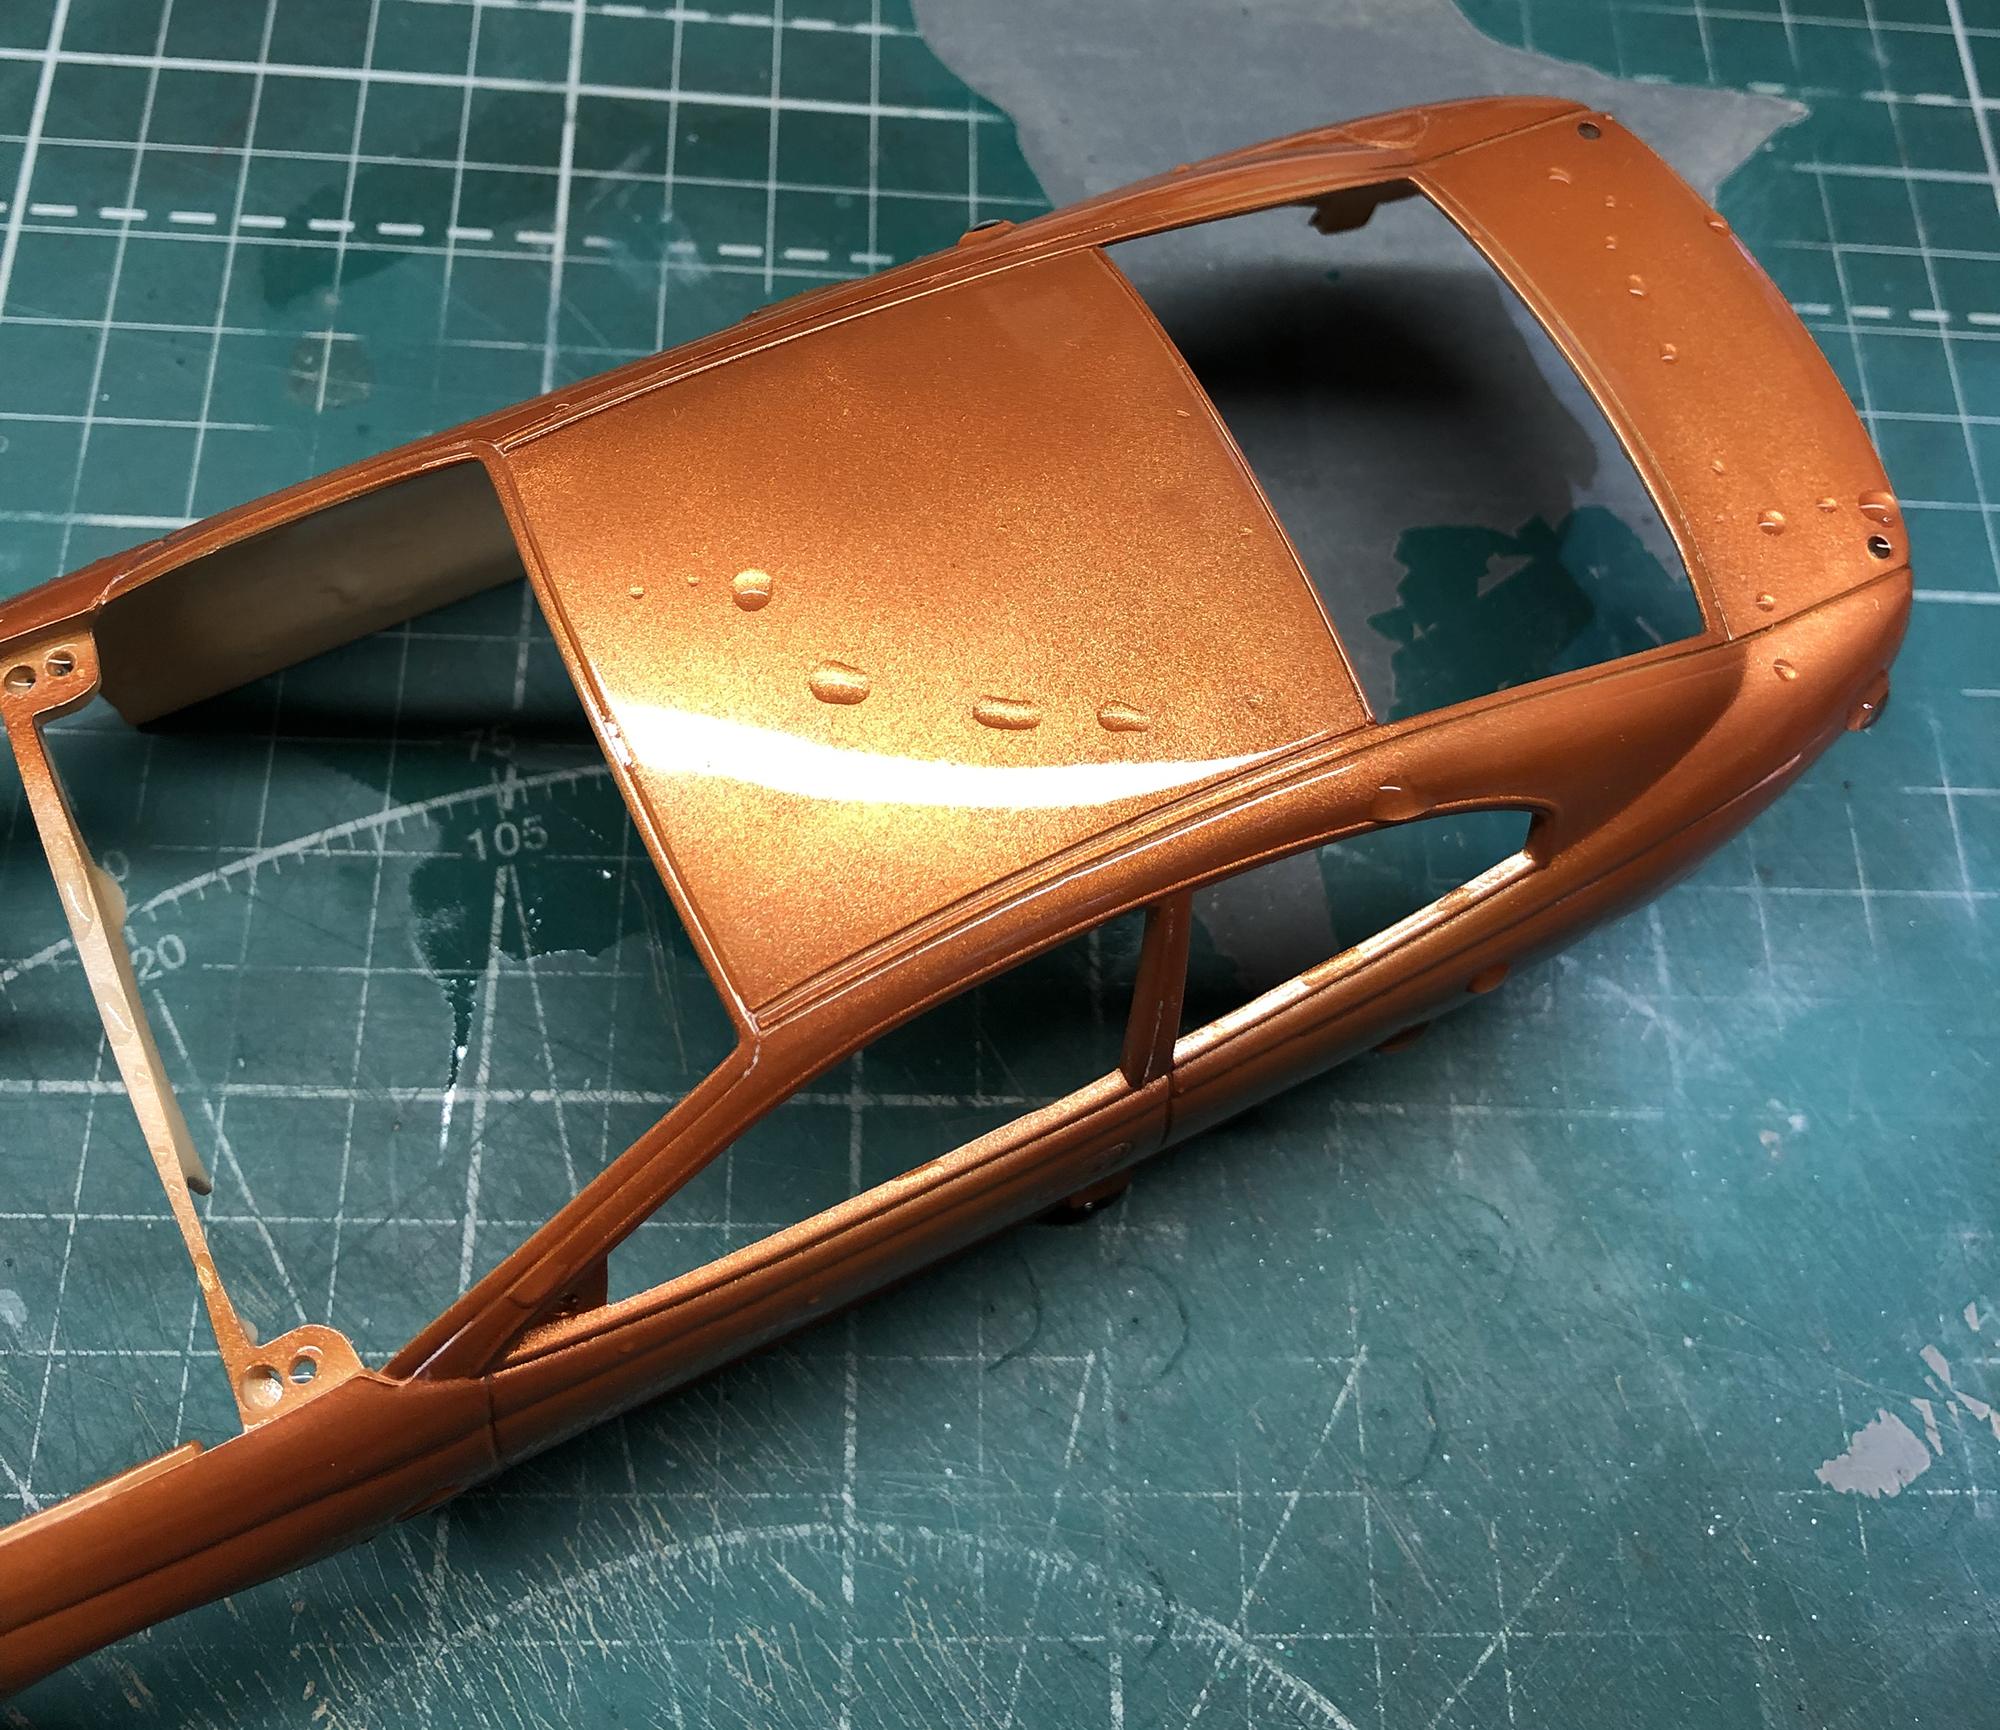
Hello friends. All parts primed. And painted.
-
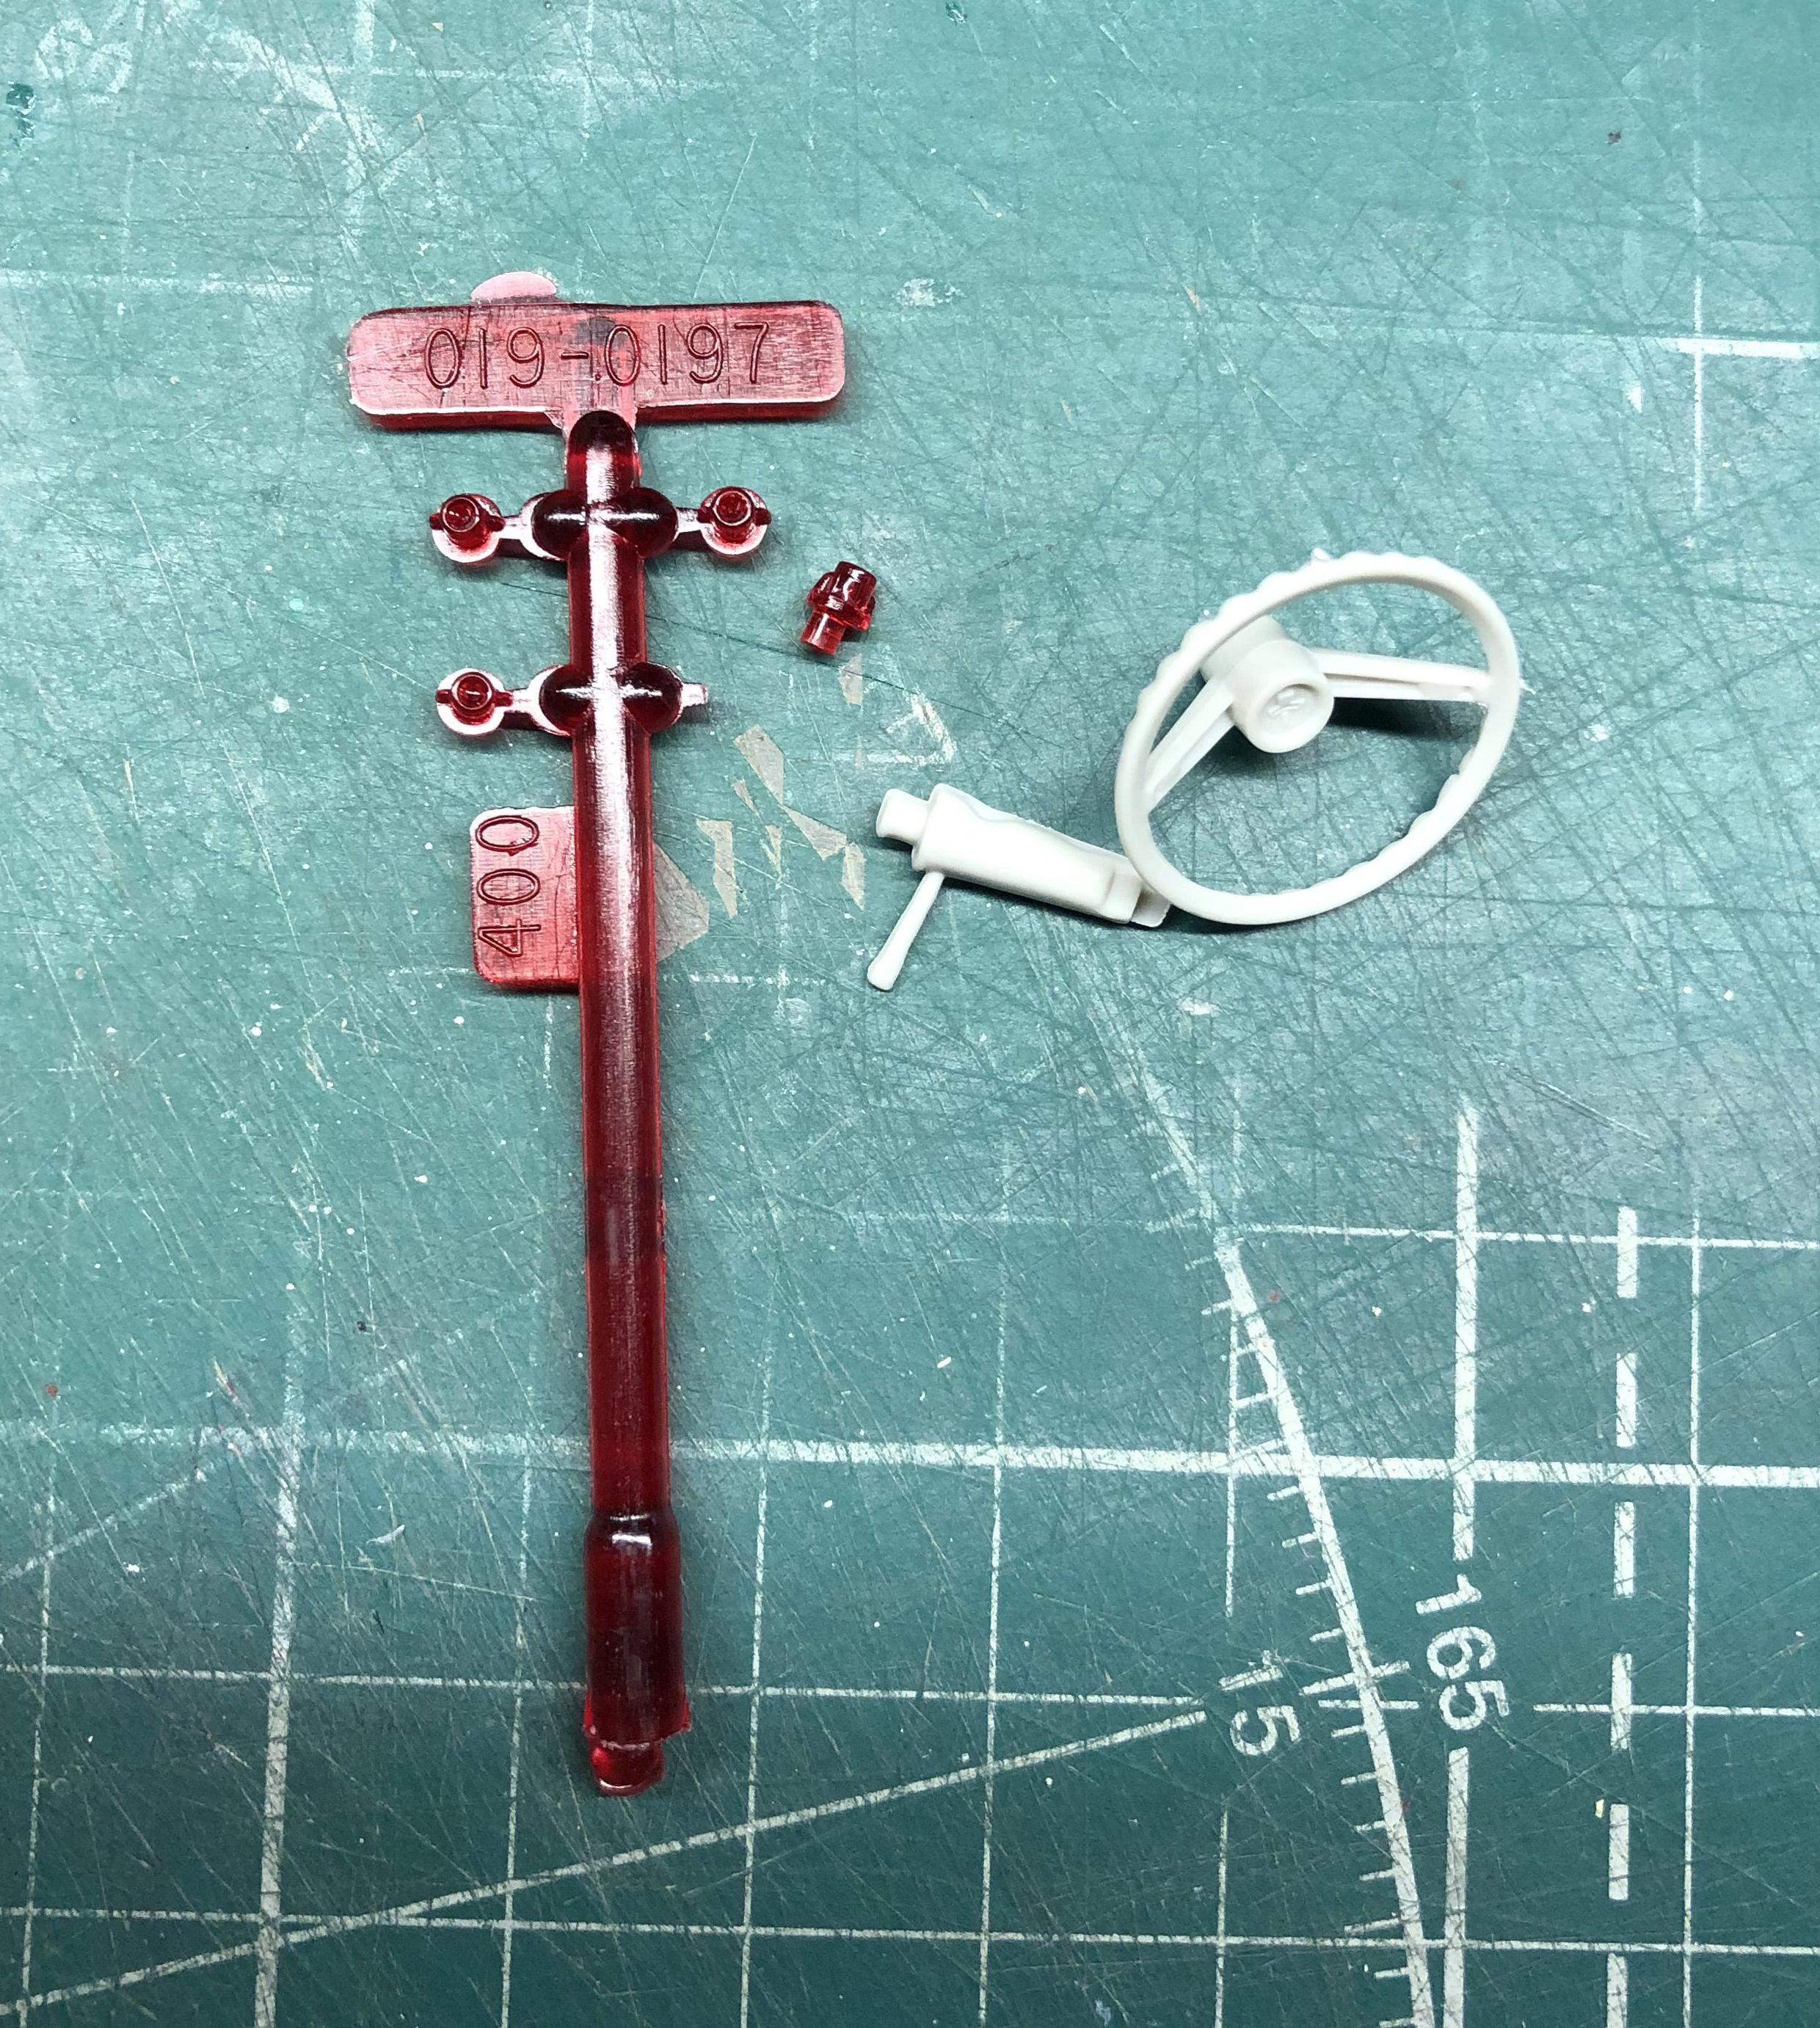
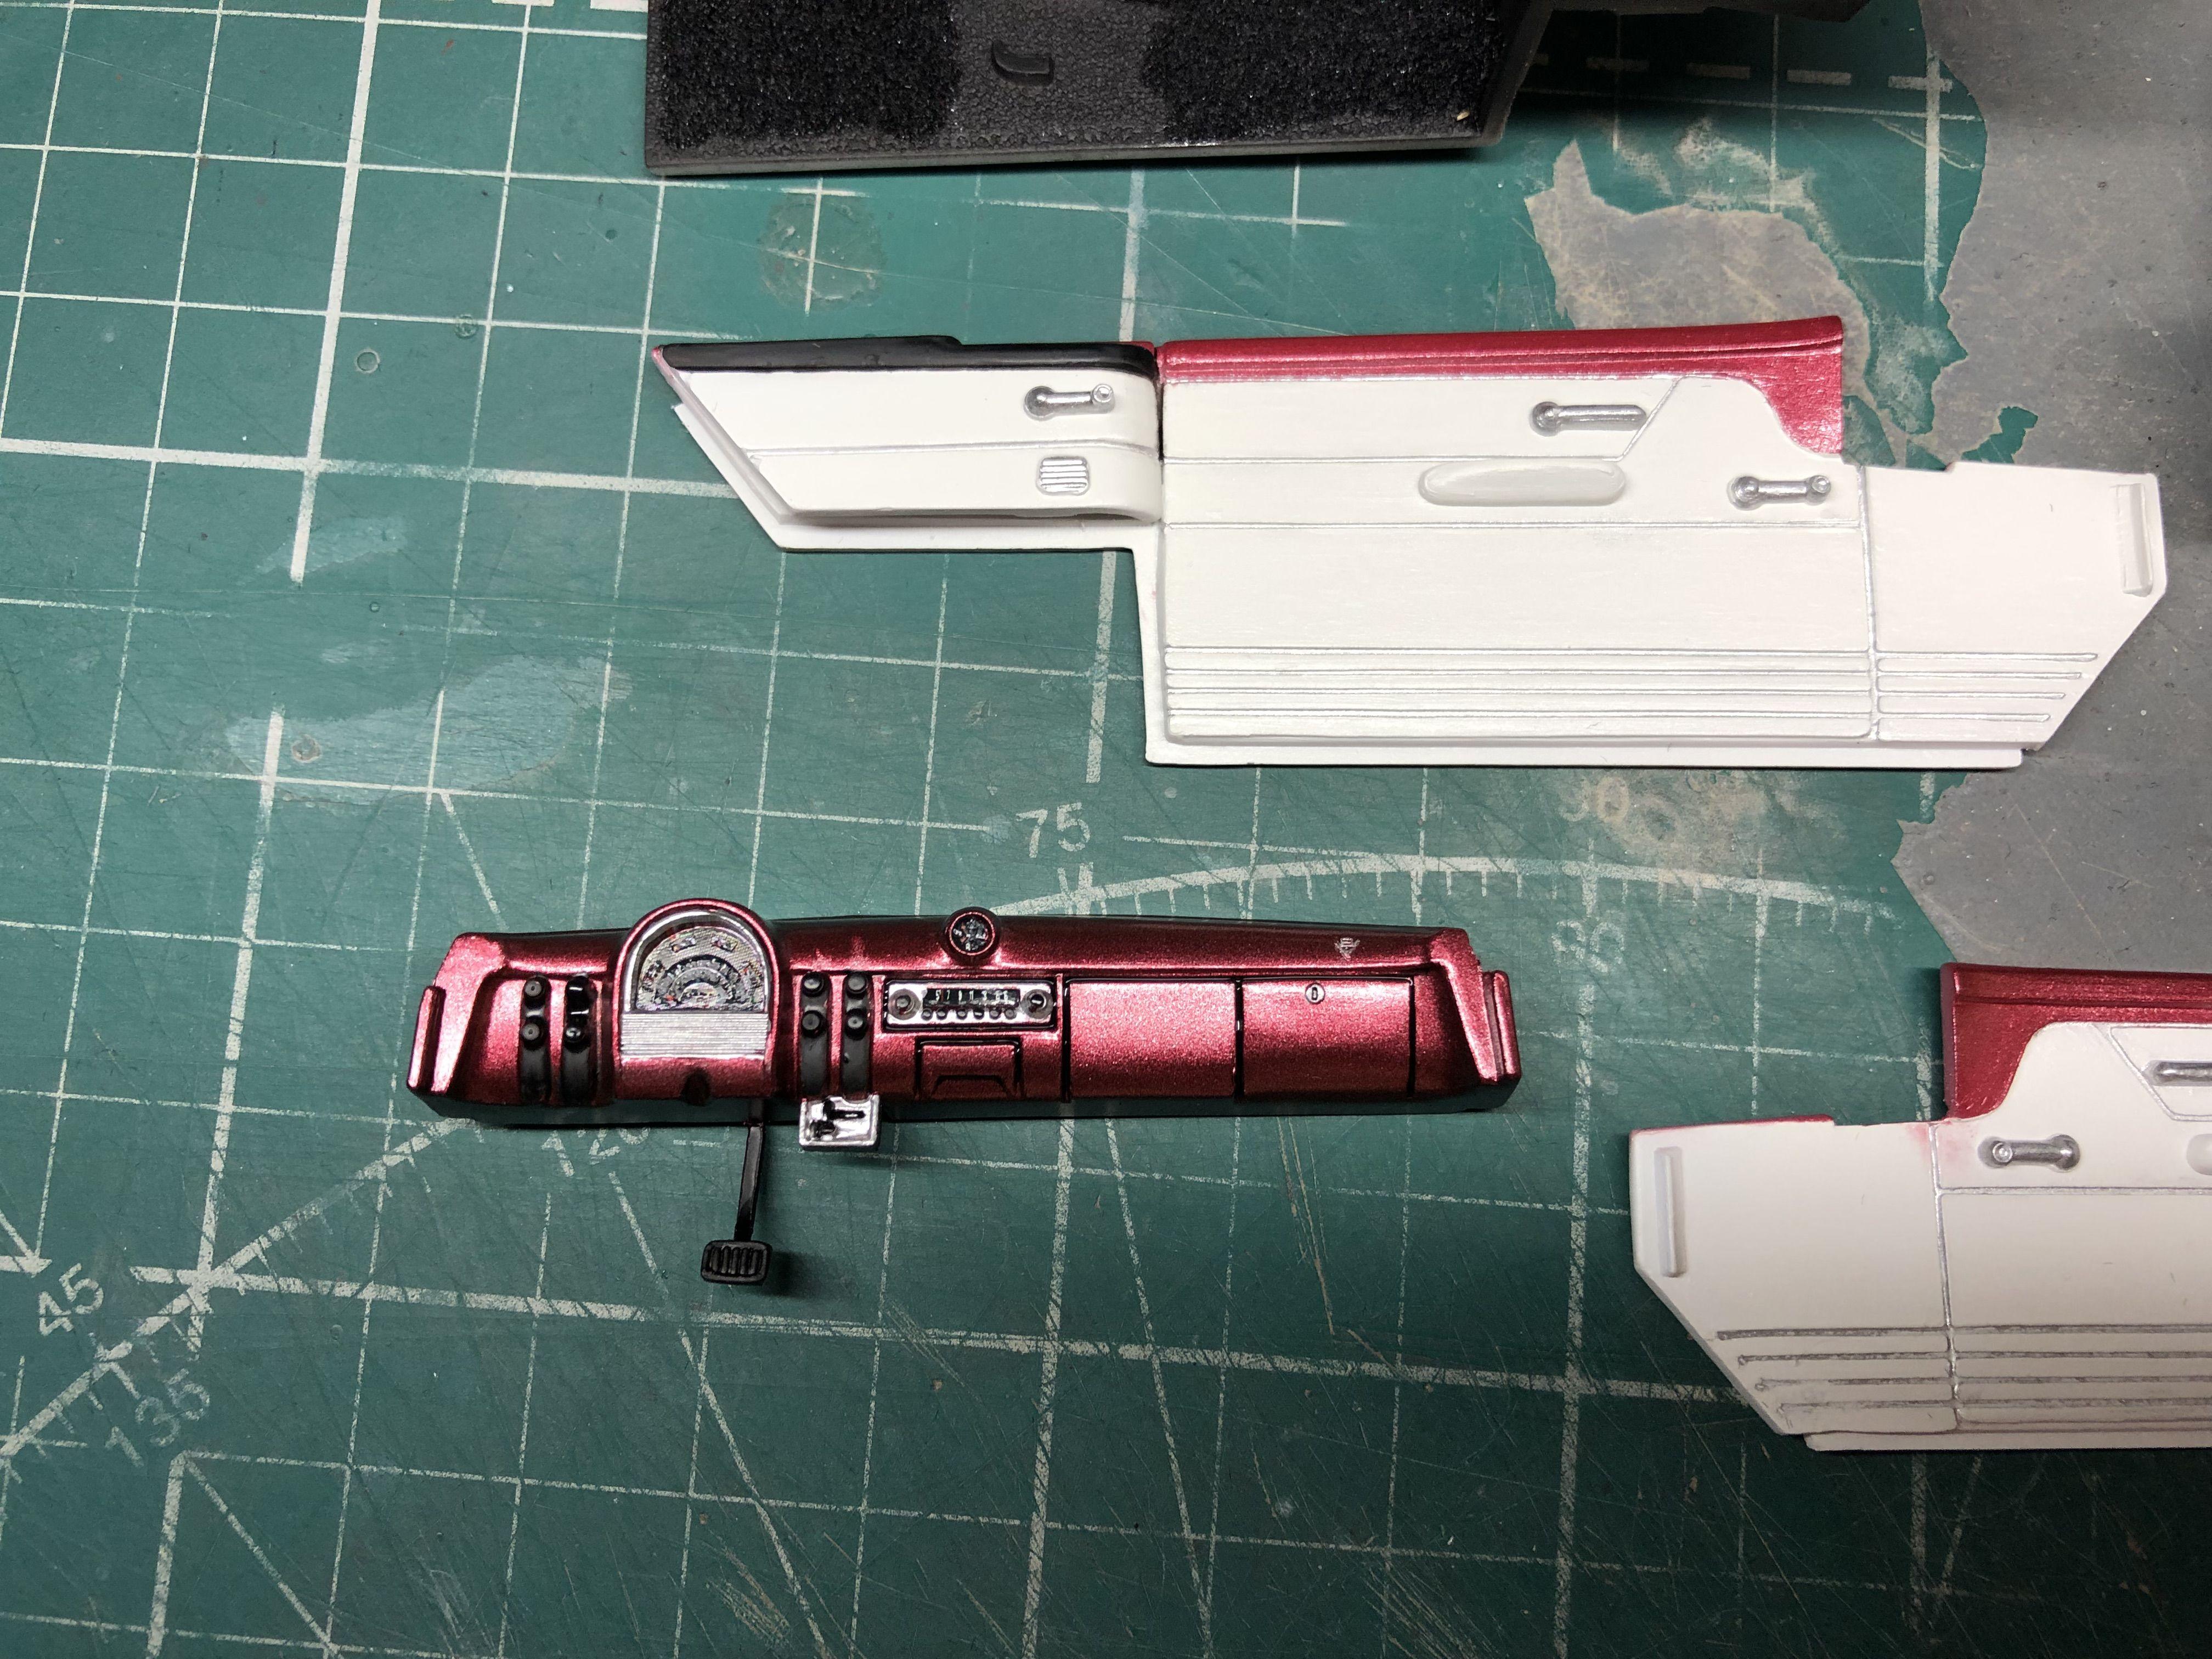
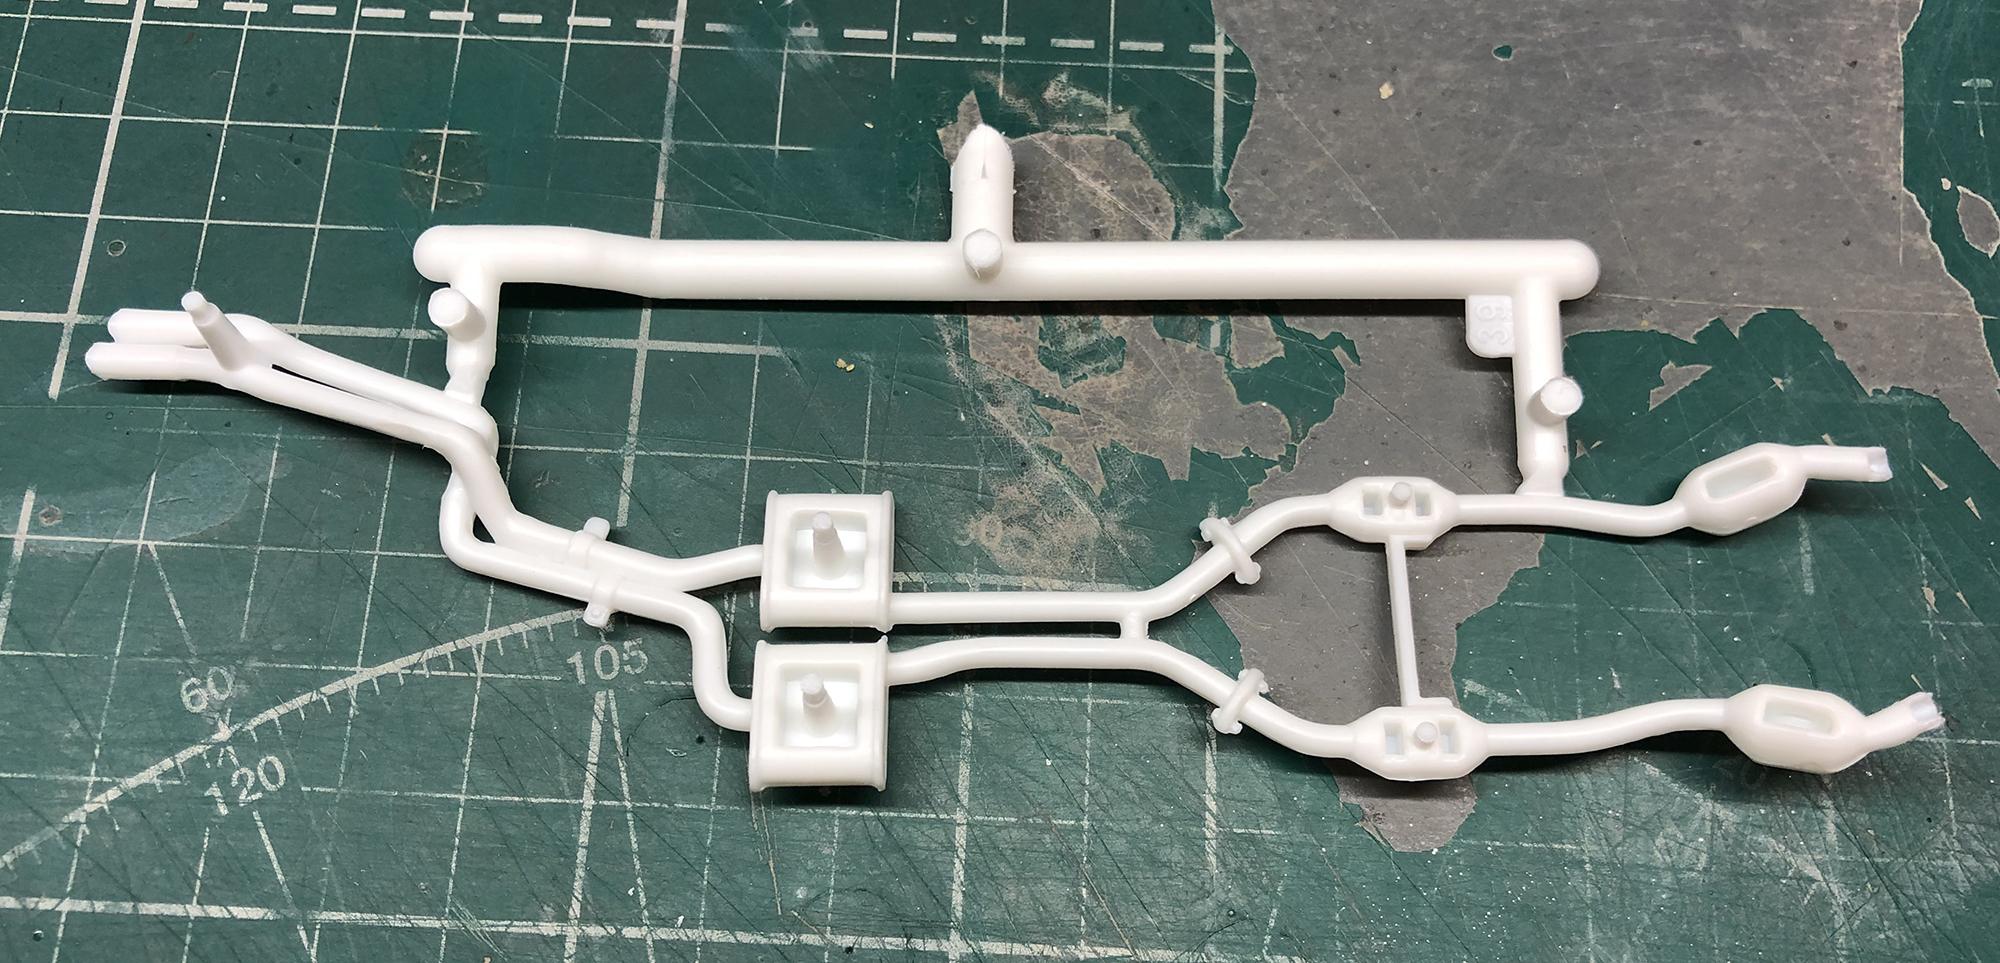
Good afternoon friends. Here are some points that I would like to draw your attention to. I often make pins for parts so that they will hold better later in the final assembly. For the pins, I use thin copper wire. Thanks to the pins, the exhaust manifolds and the ignition coil will hold up better. My furry helper. Funny moment with the door cards. The manufacturer simply took them from the Victoria hardtop and added small elements. The steering wheel out of the box is too close to the levers, almost close. It should not be. I took a piece of sprue and lengthened it. Now everything is ok. All parts are processed, washed and ready for primer. See you again.
-
It is quite possible and on the forum, you never know who else will come in handy. Yes, I saw them on some forum, but there was a picture in poor quality, they are very similar to those that I should have.
-
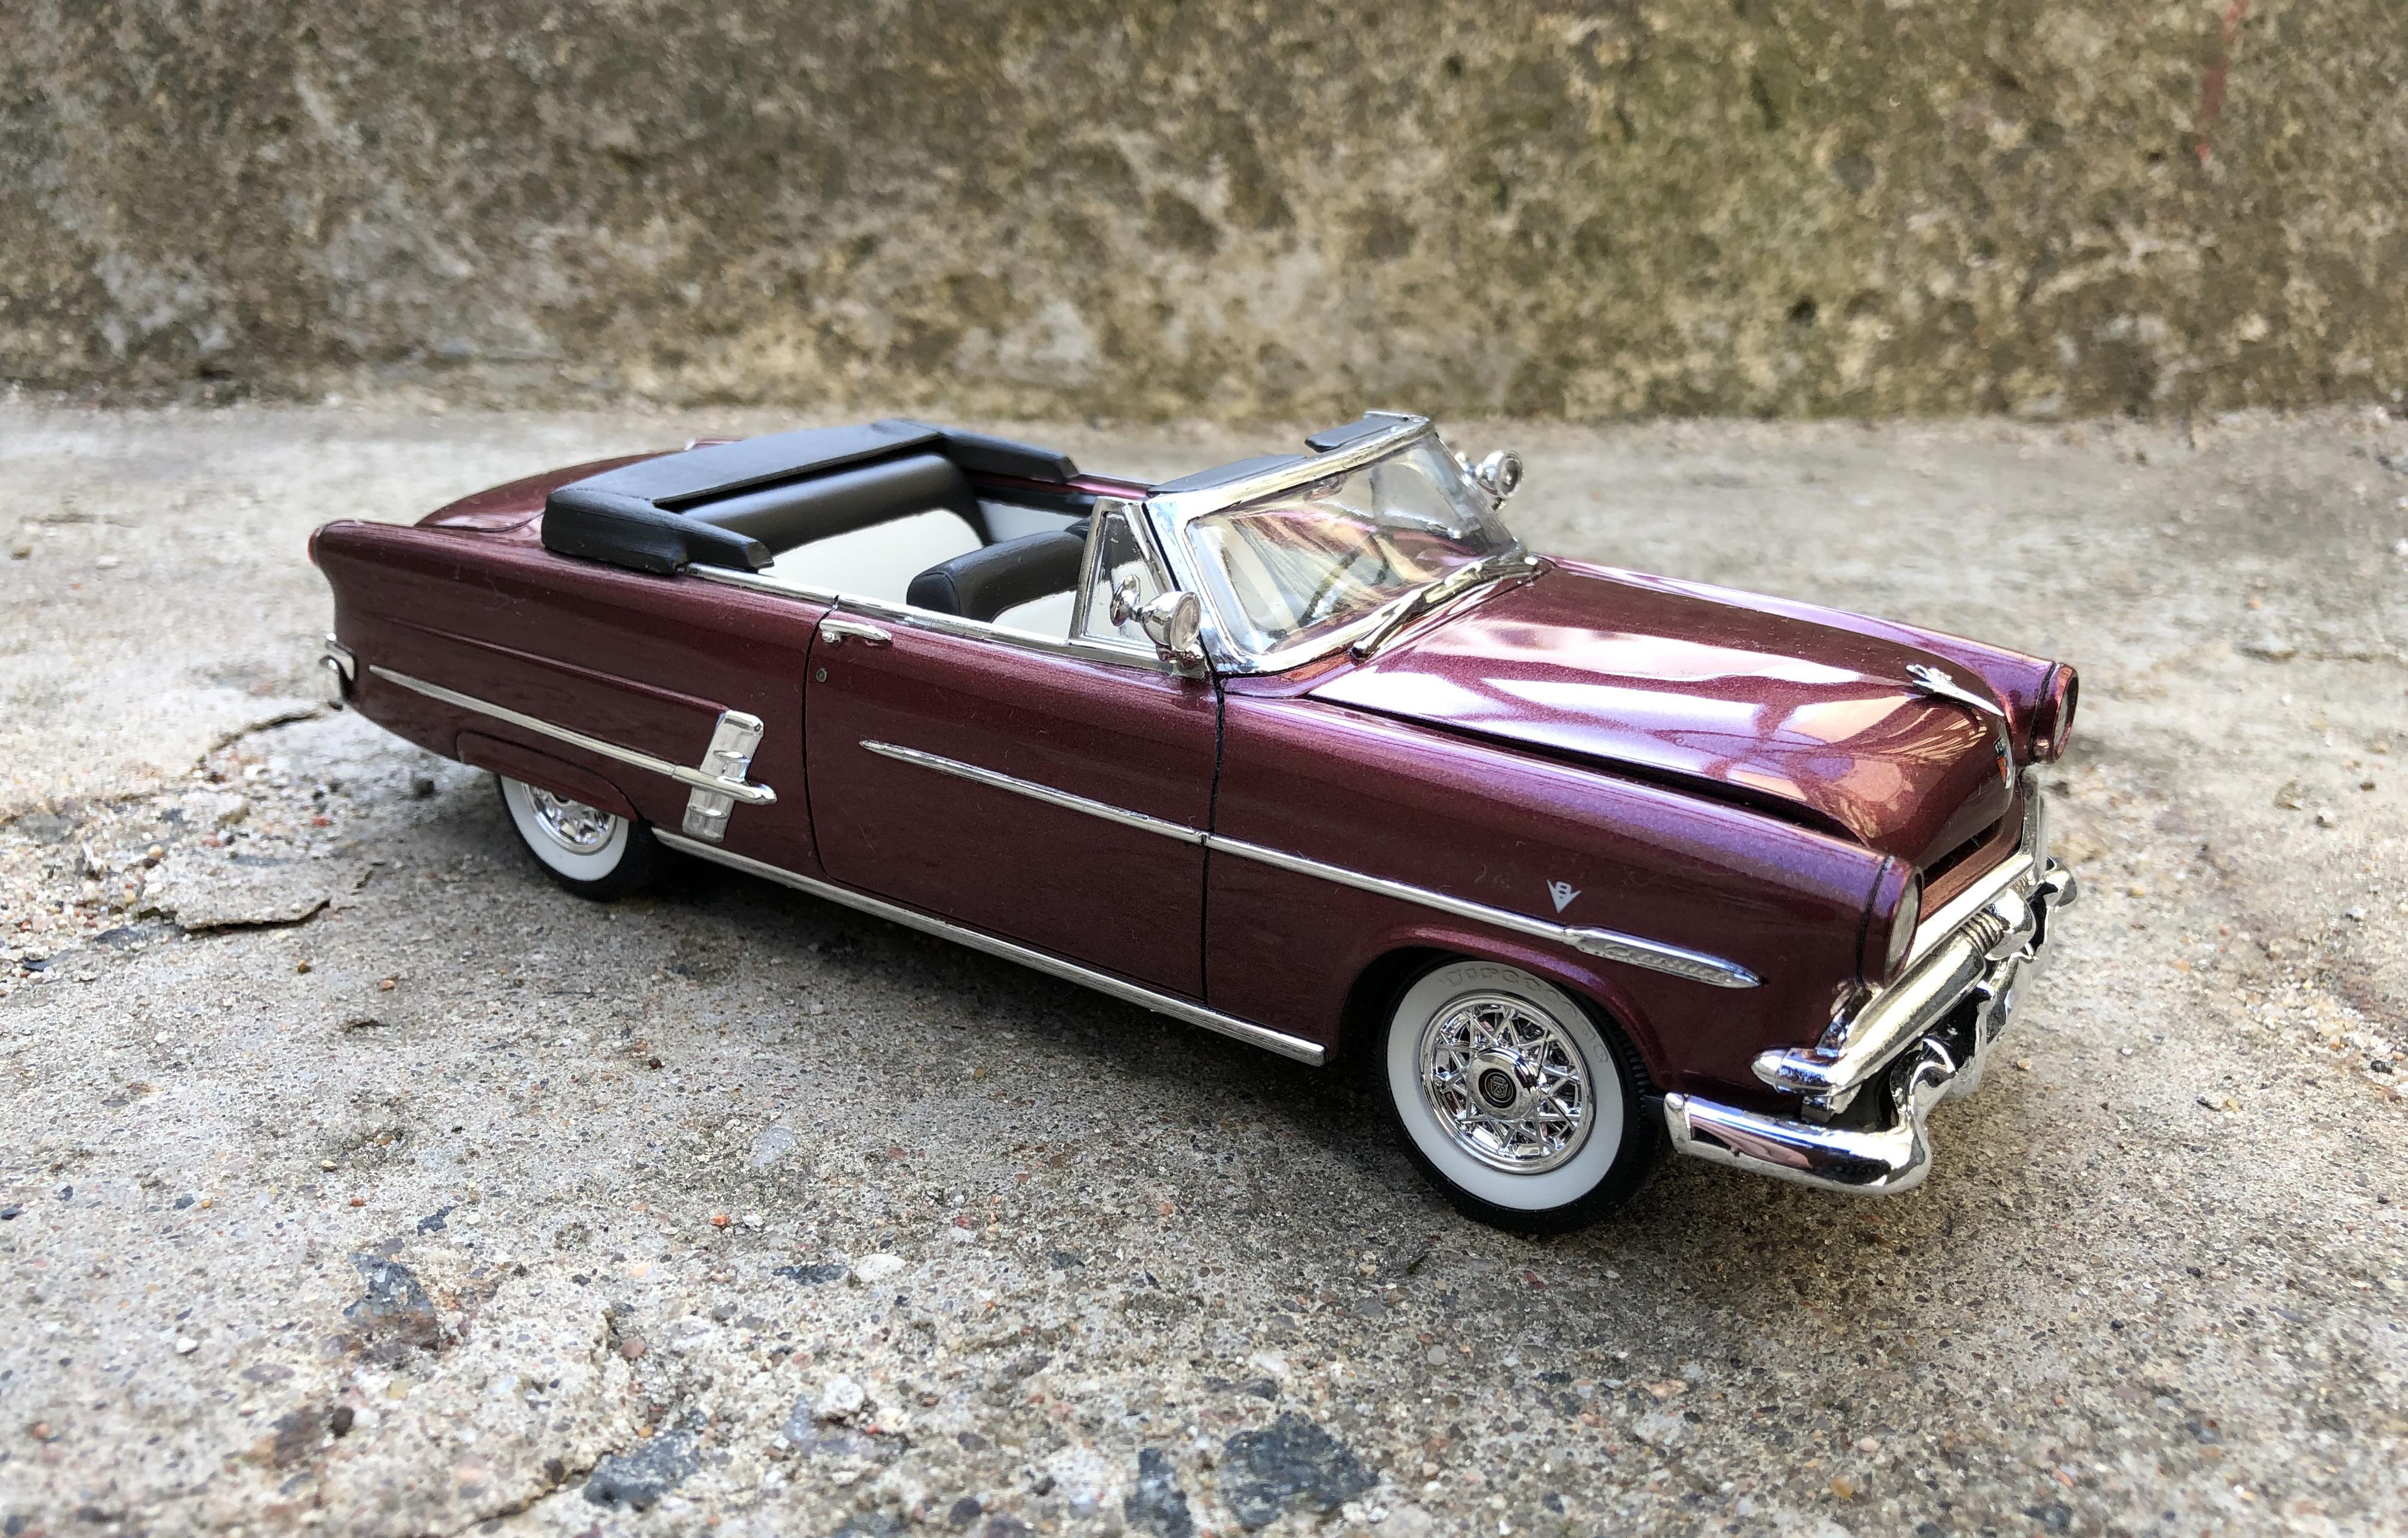
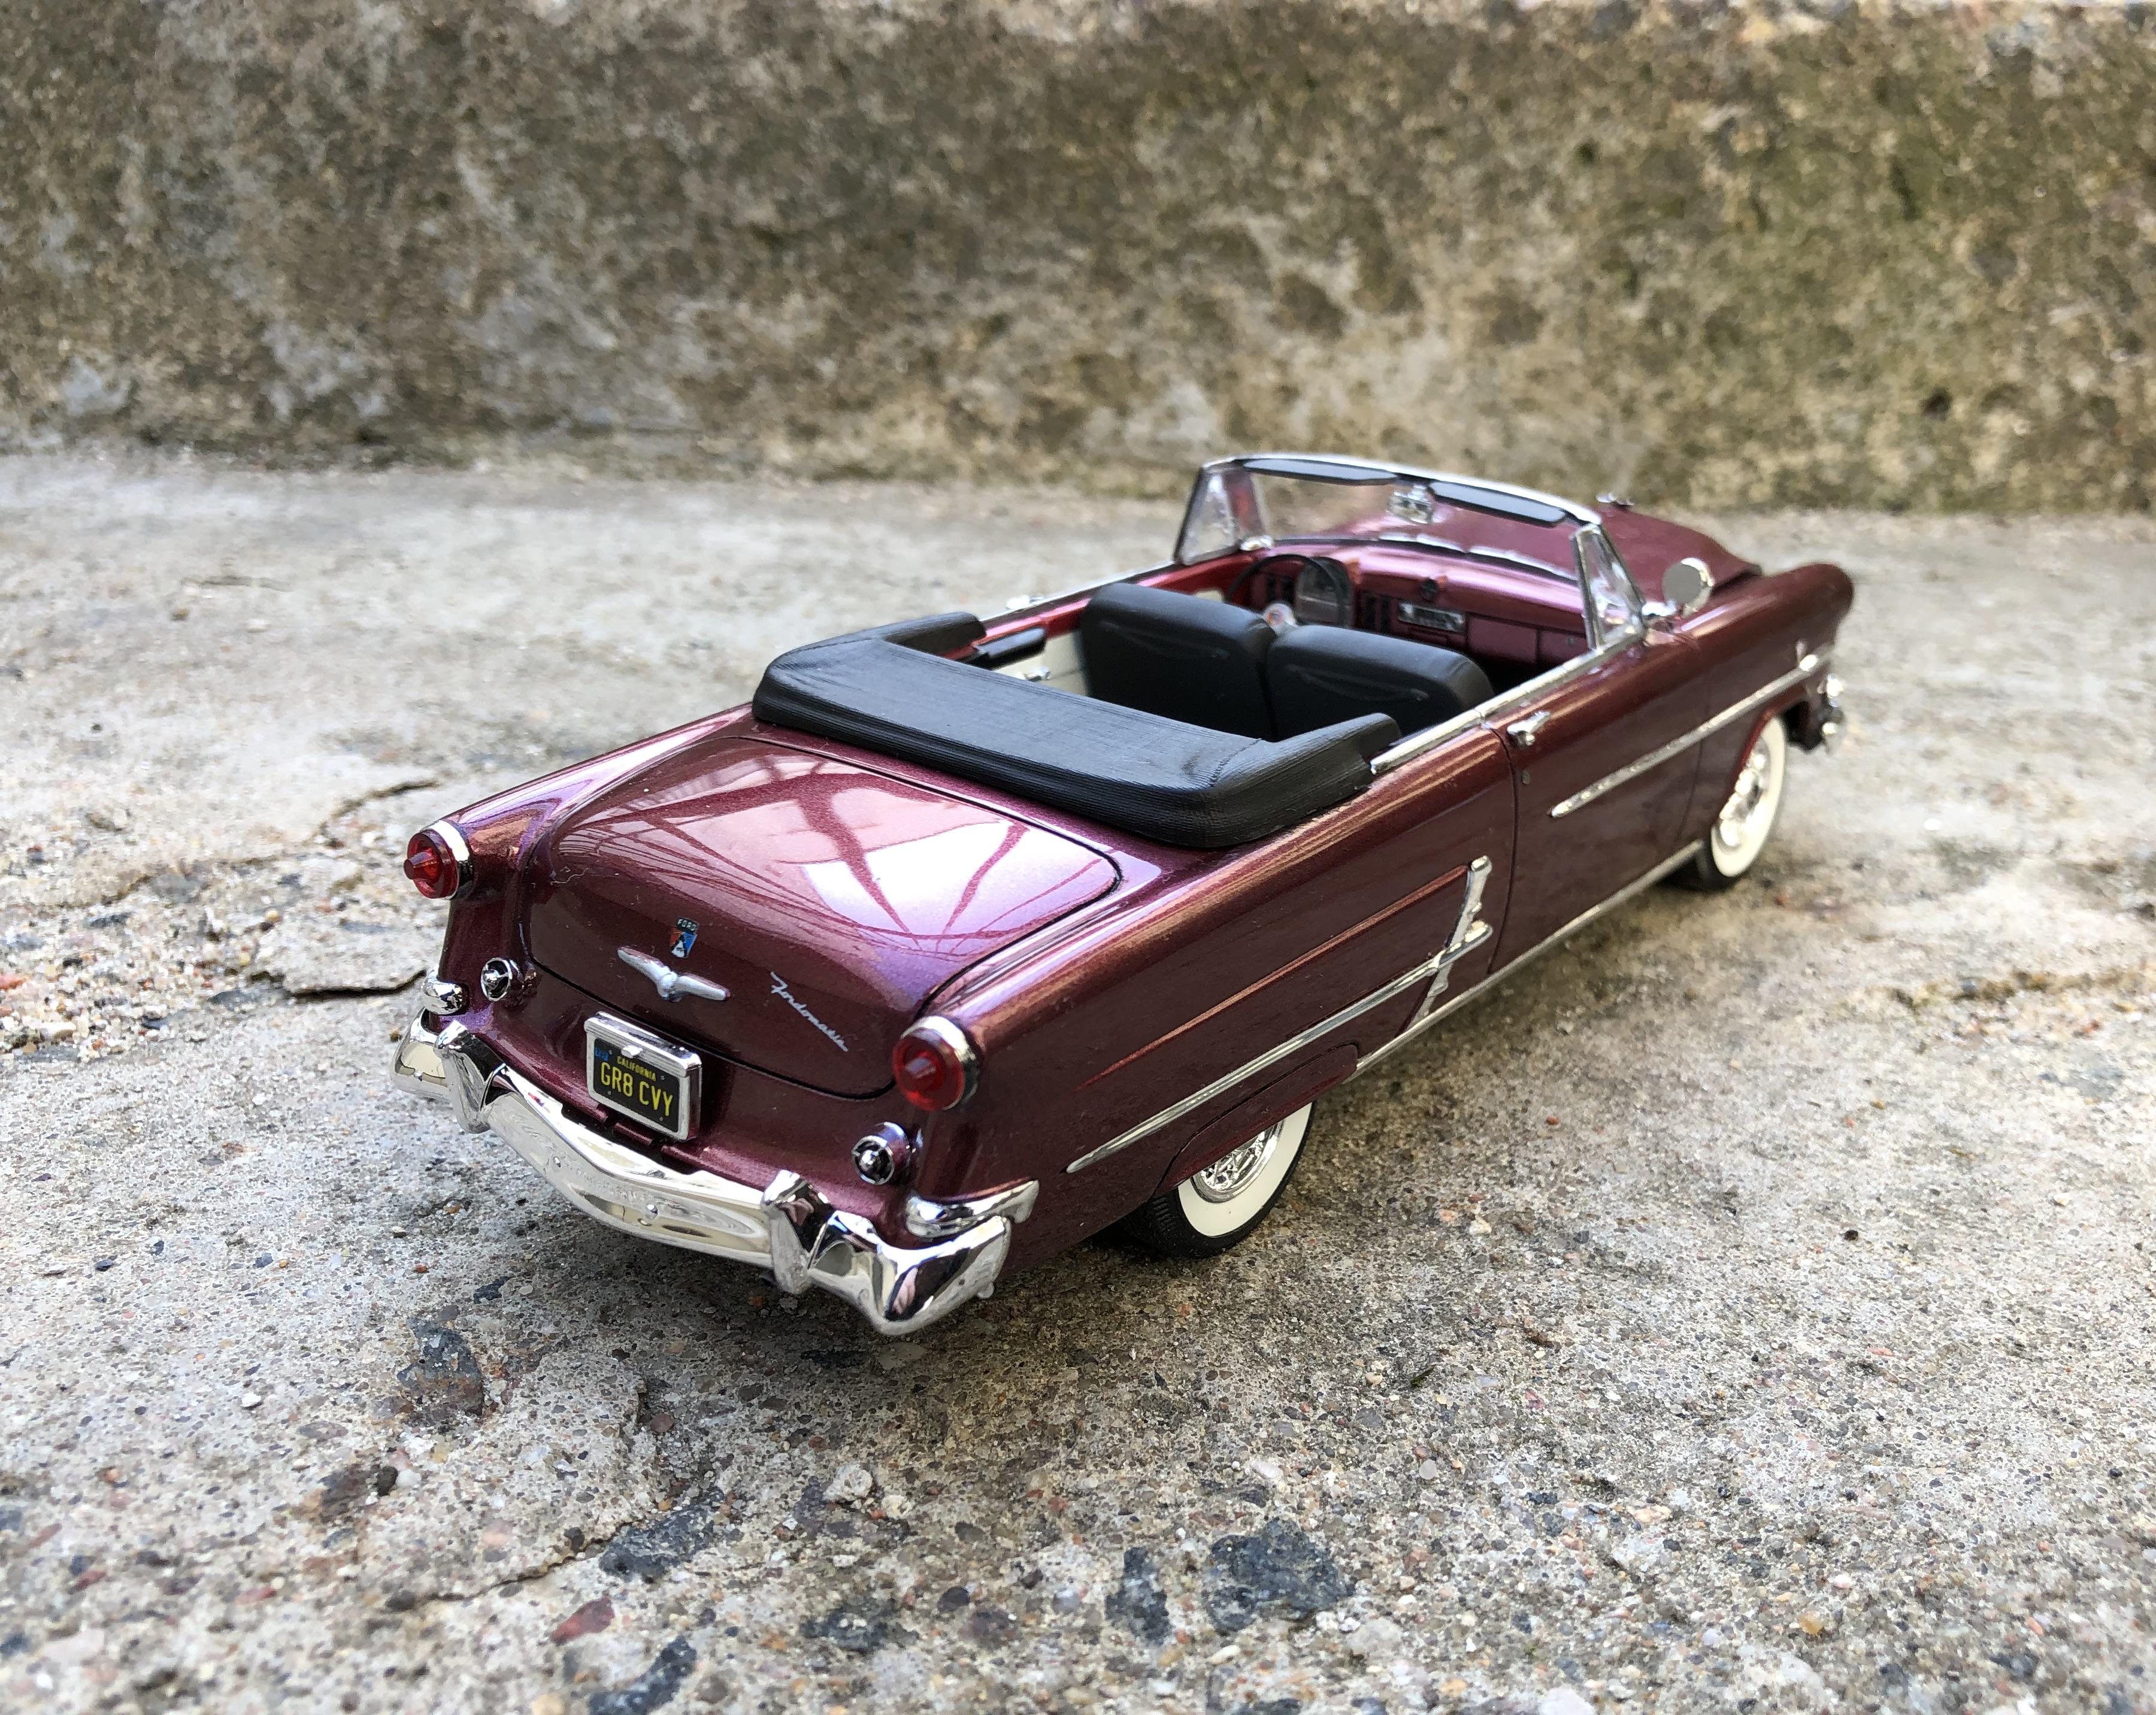
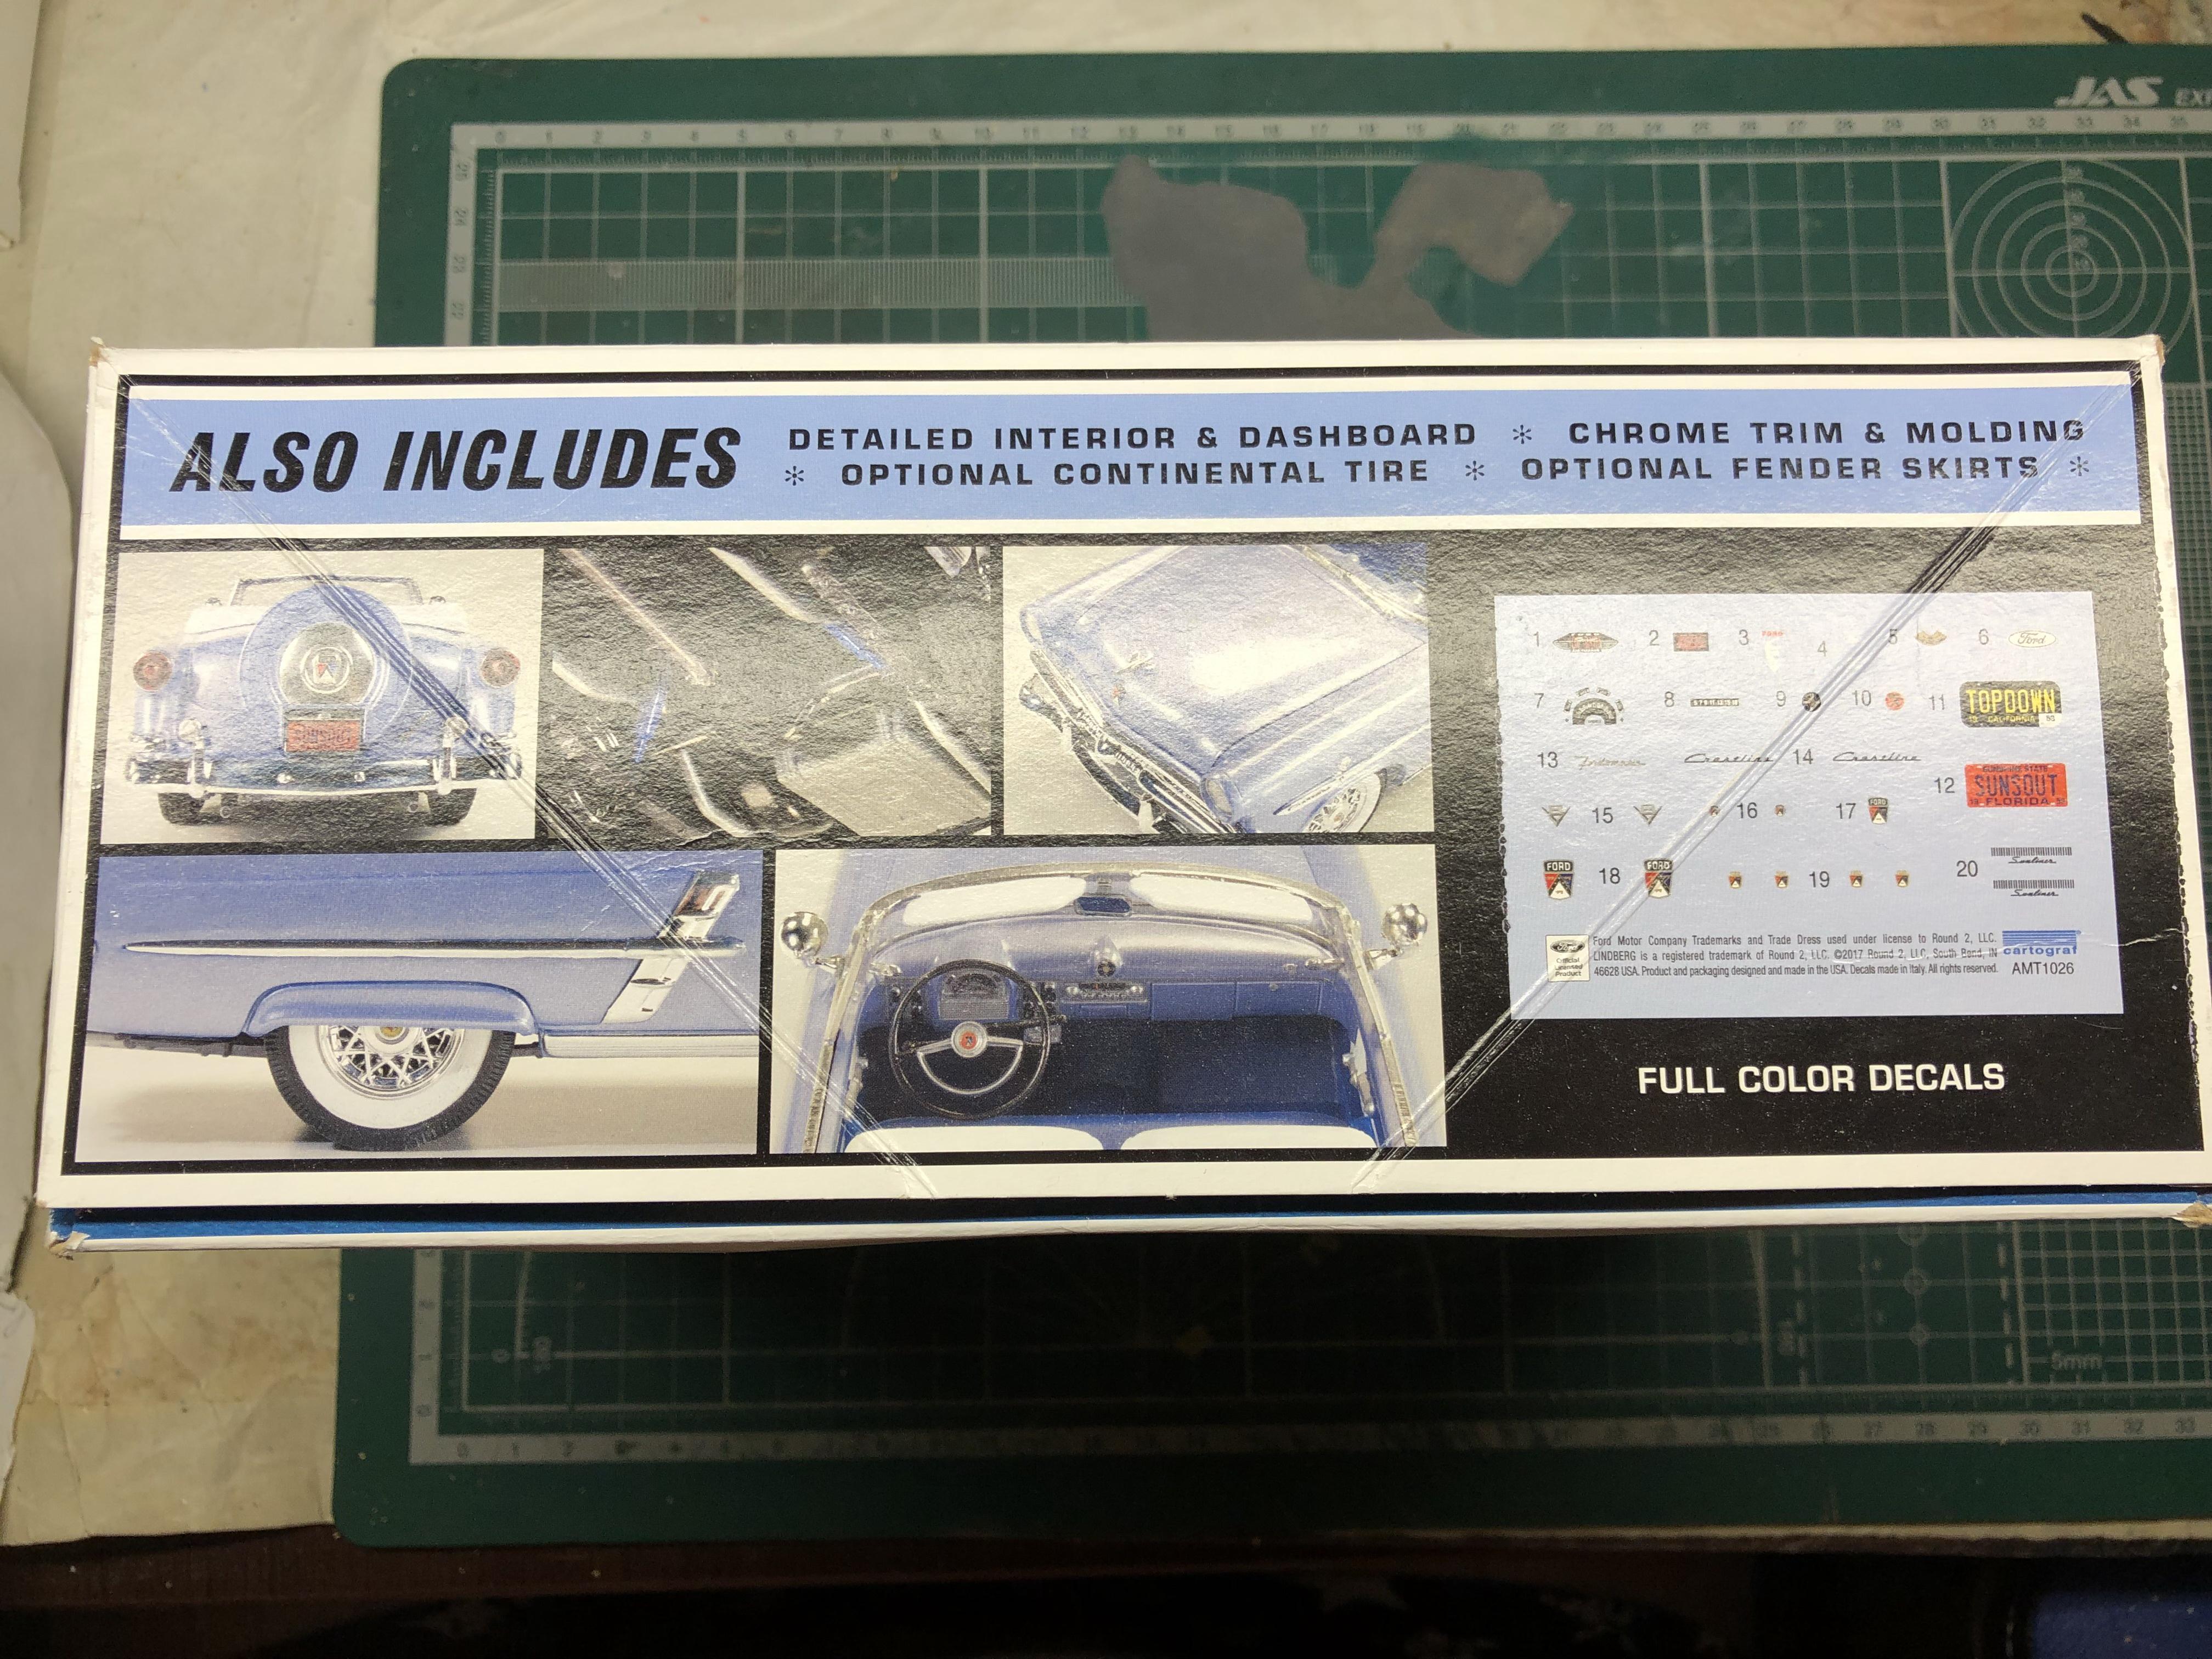
I would be very grateful and grateful for the scans of the decals from the 1953 Ford Victoria kit (hardtop). Yep, it's same, Except pace car decals.
-
No, I'm planning a custom color. I will mix it in the auto paint shop. I'm leaning towards dark cherry. With black and white interior.
-
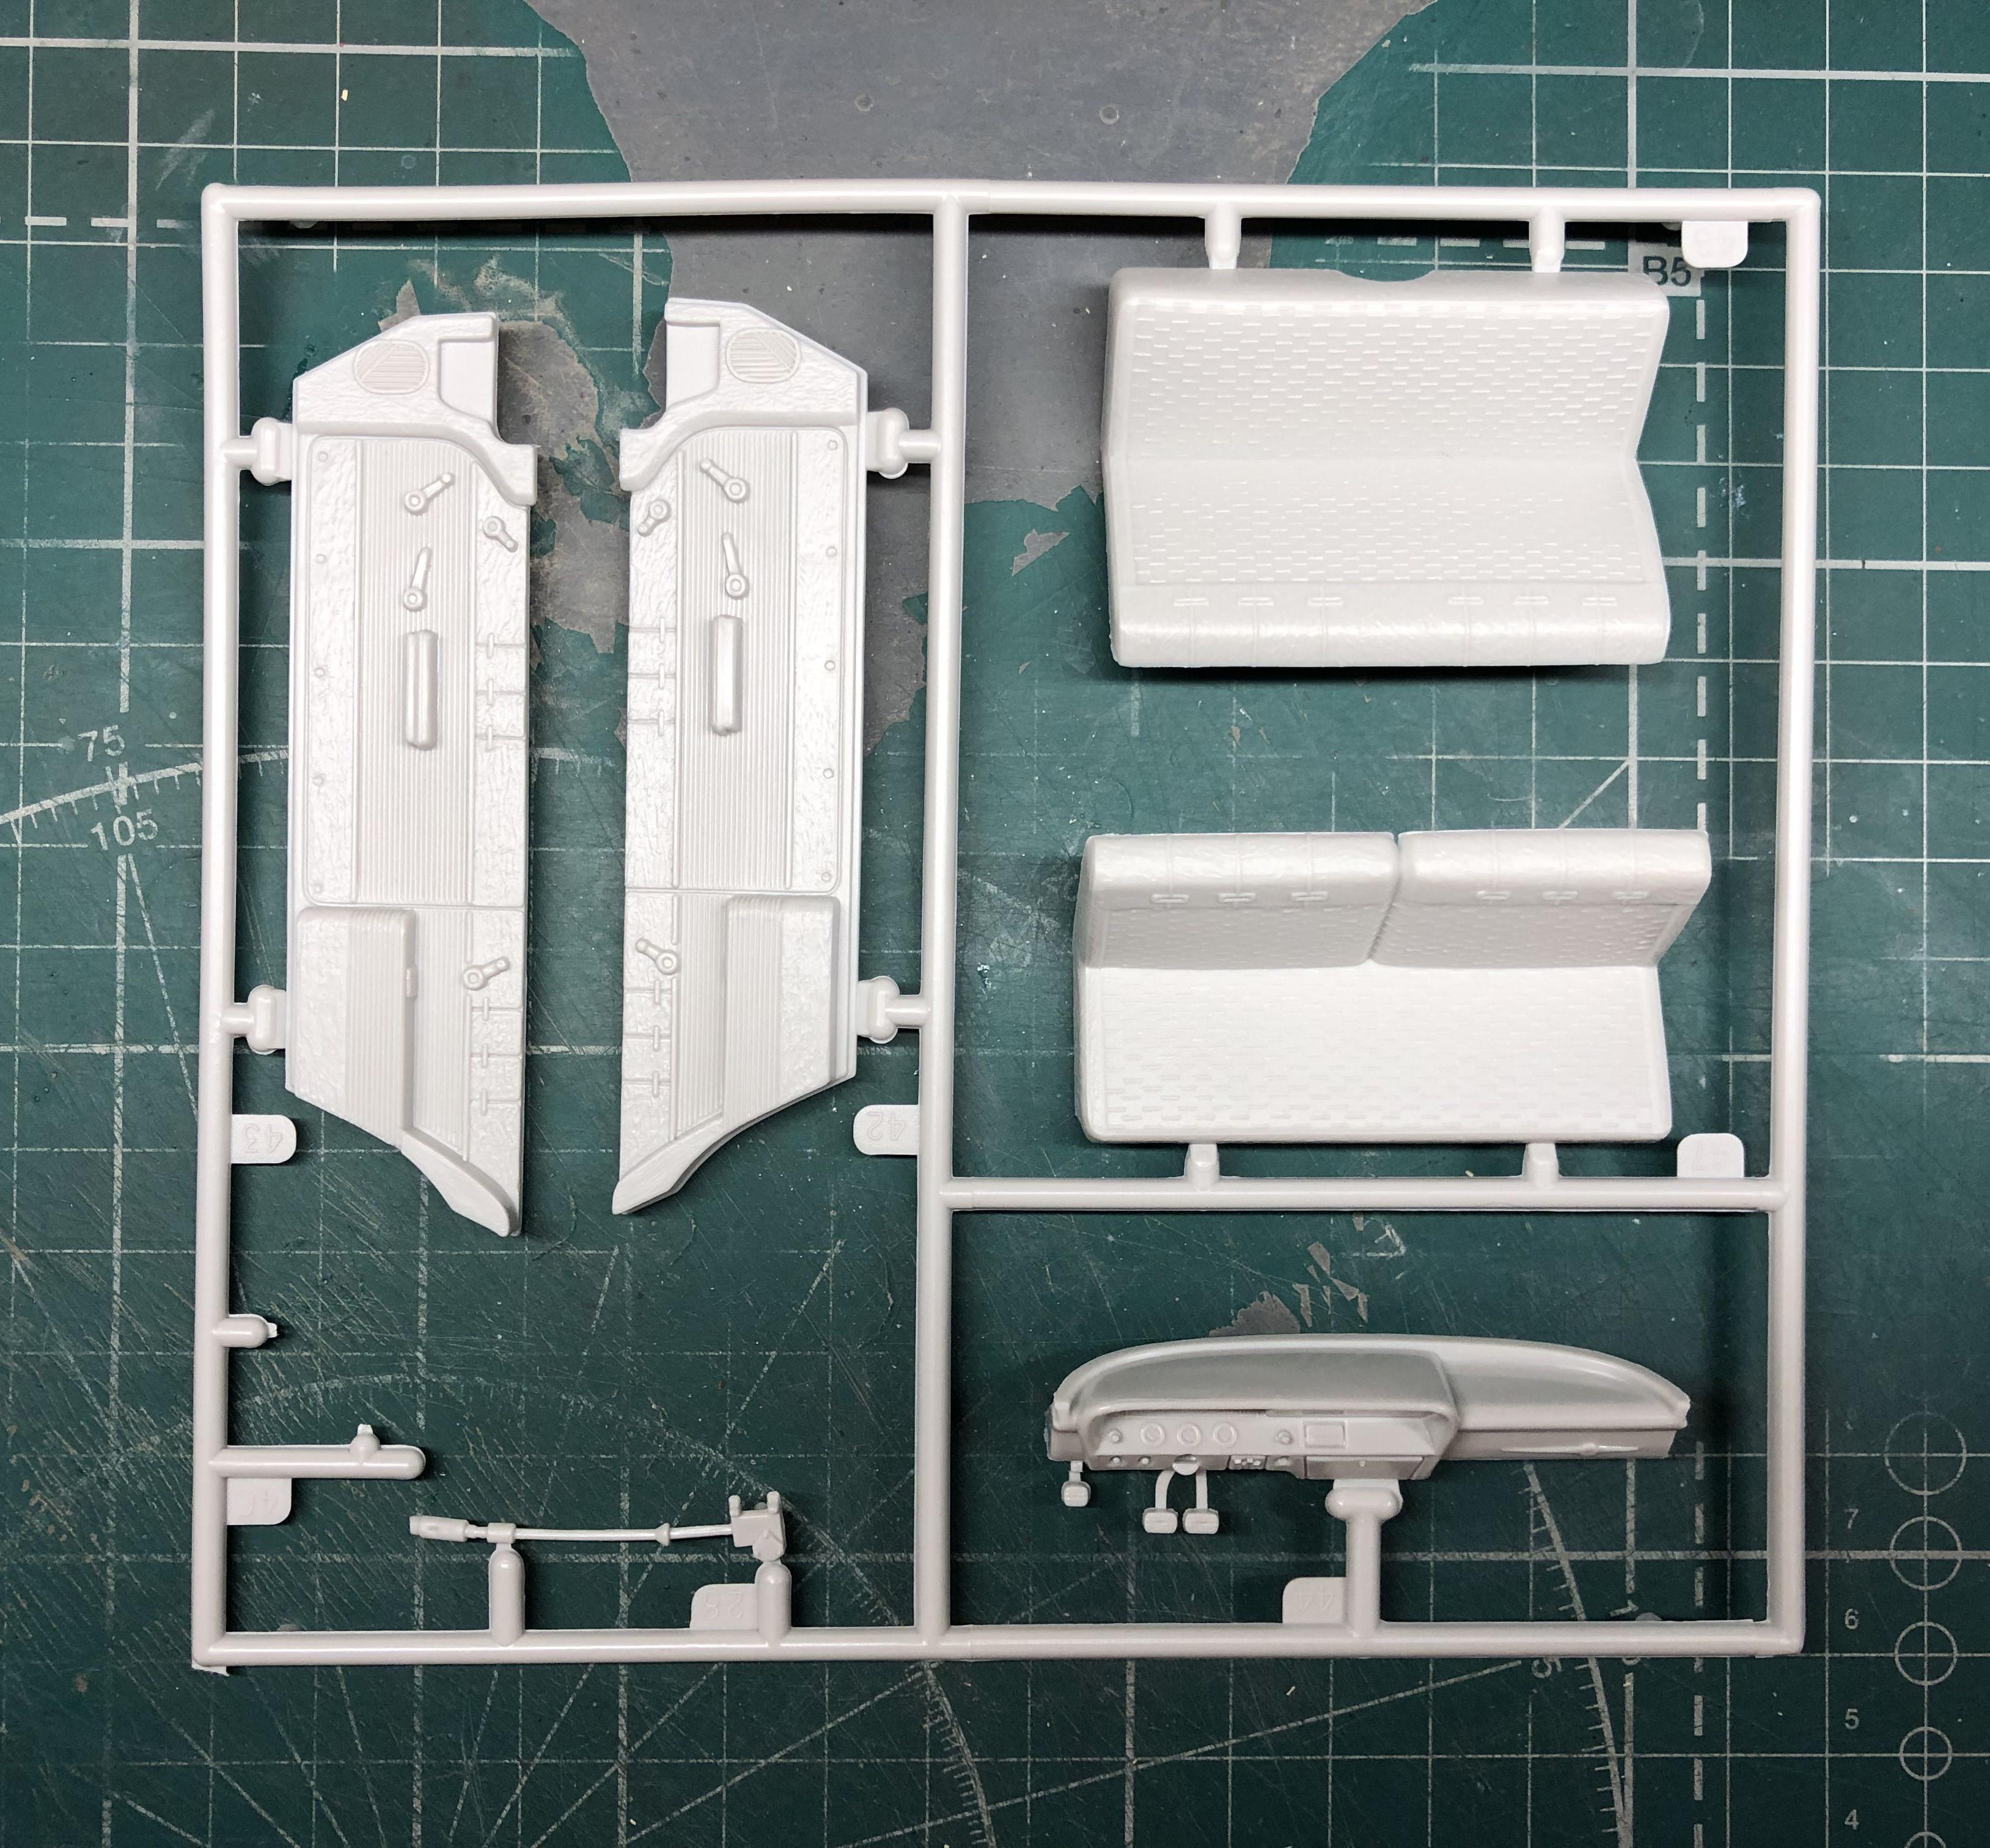
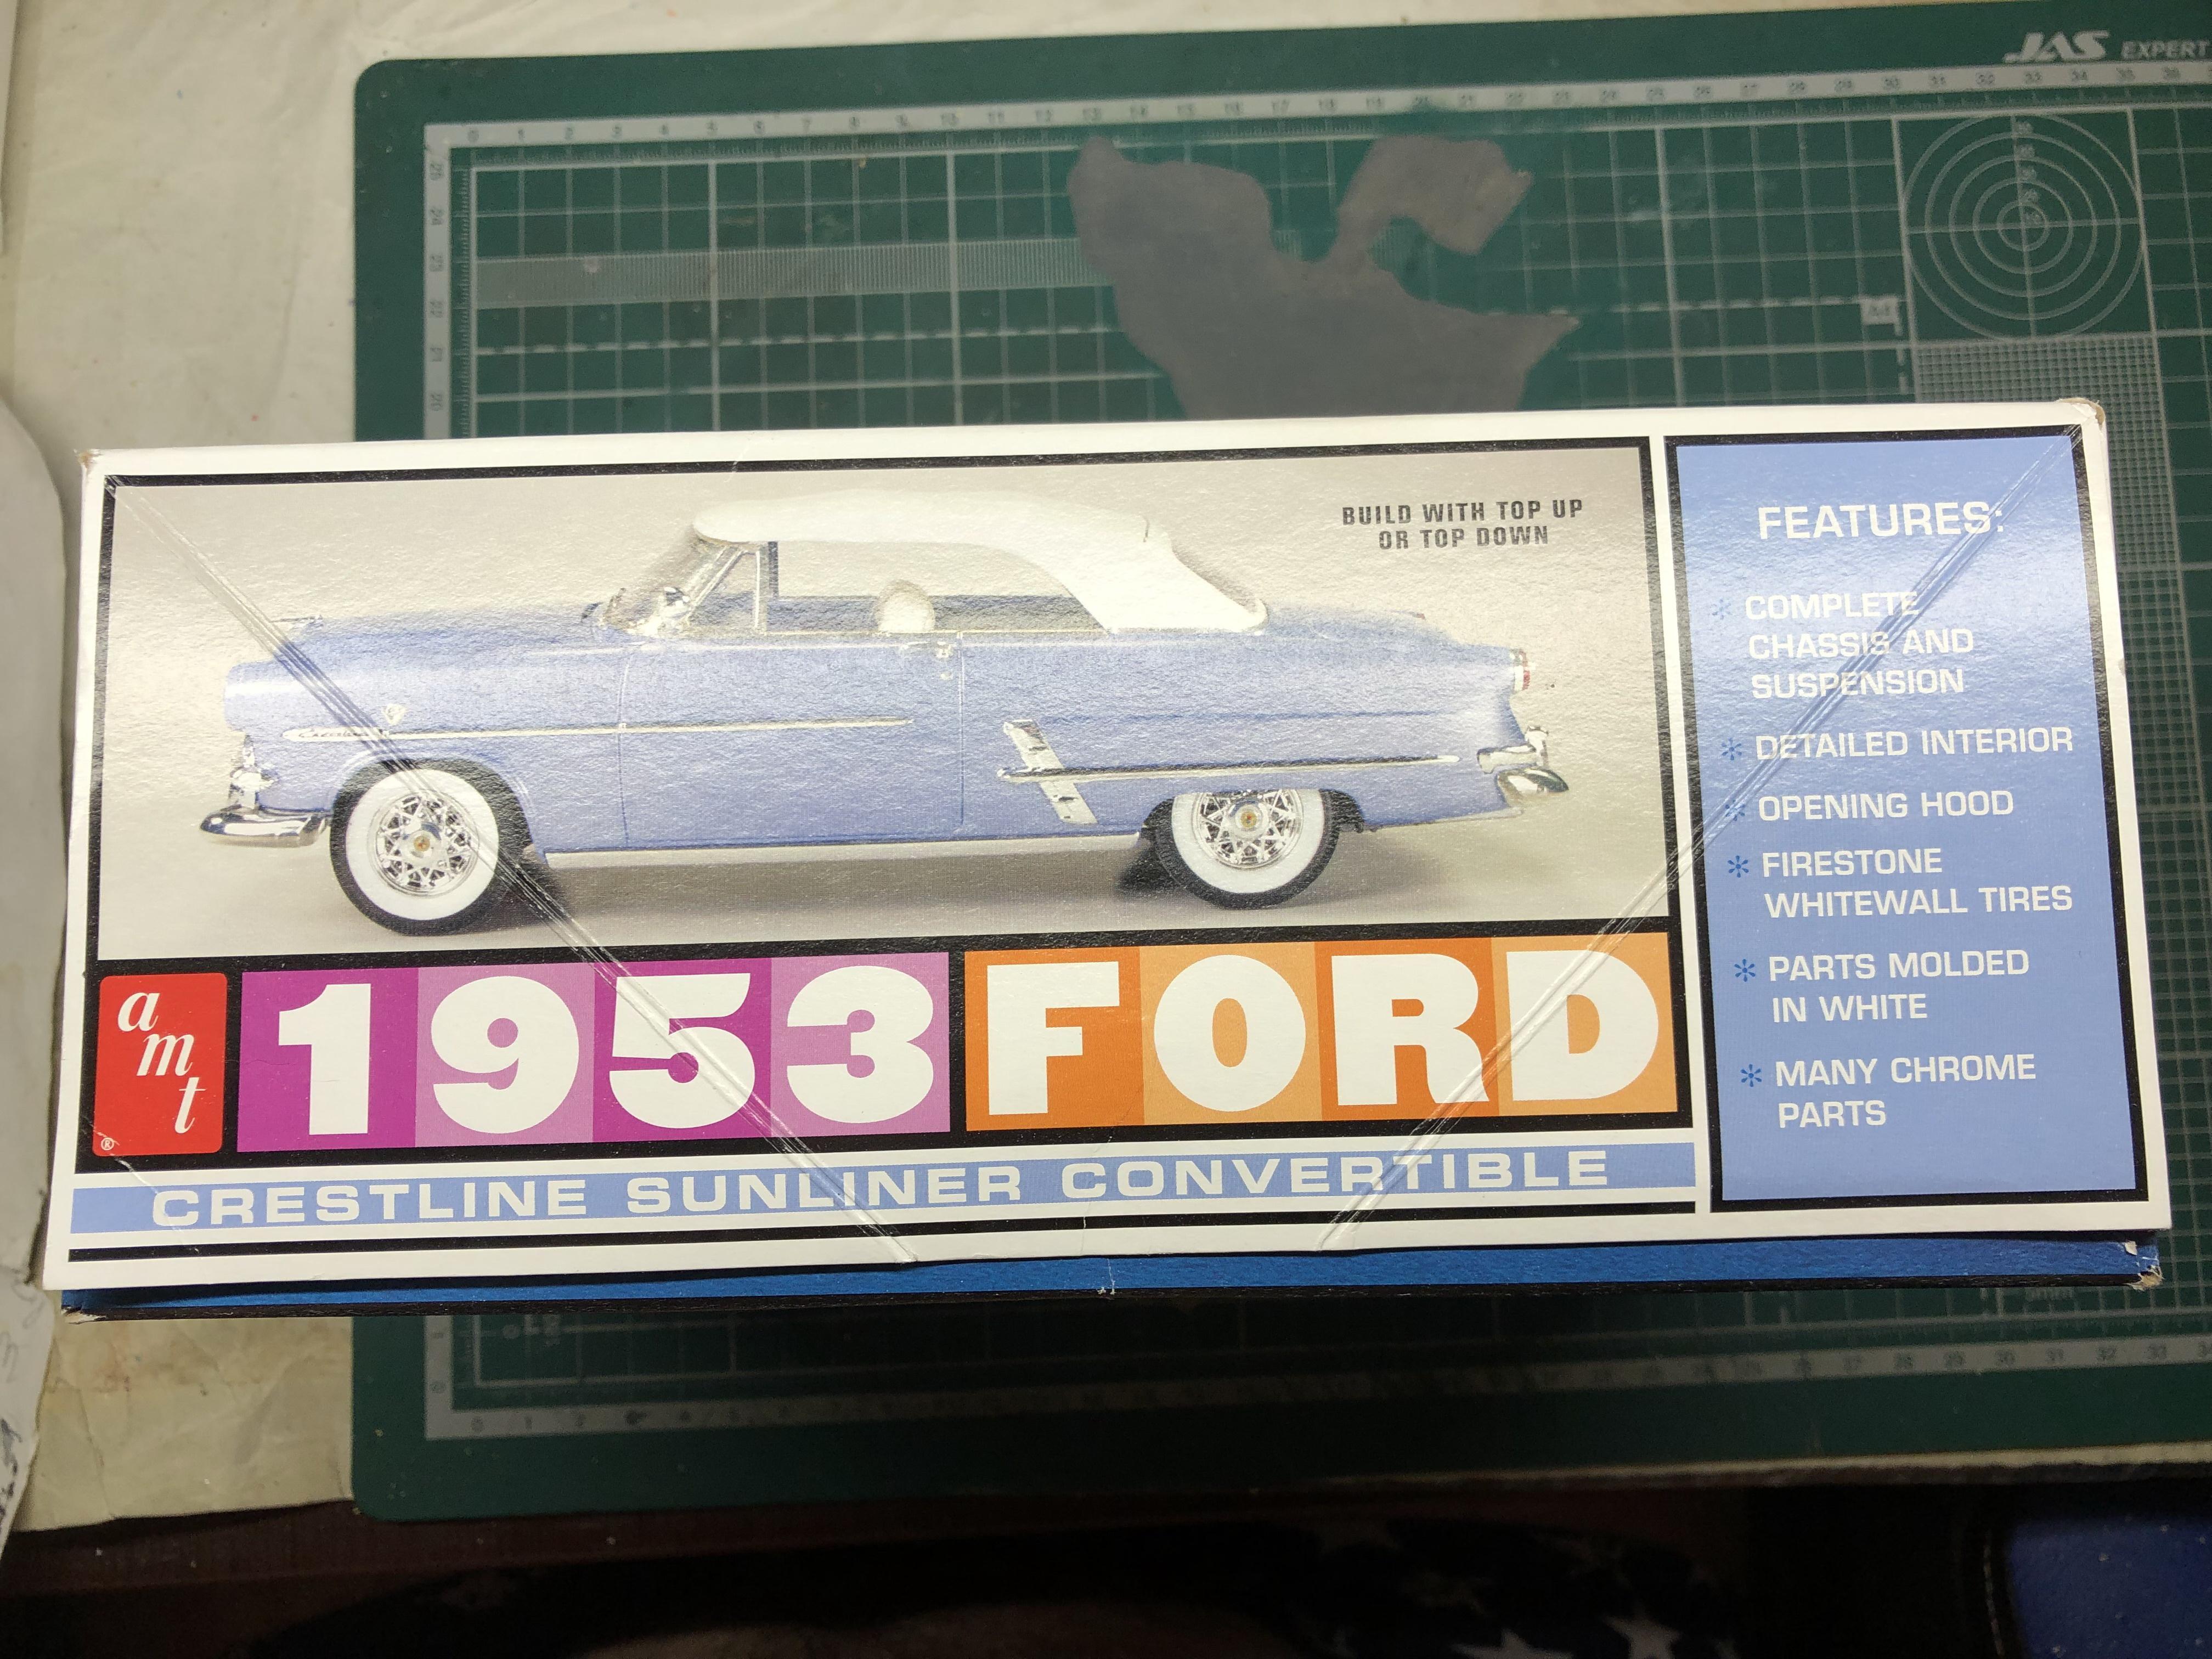
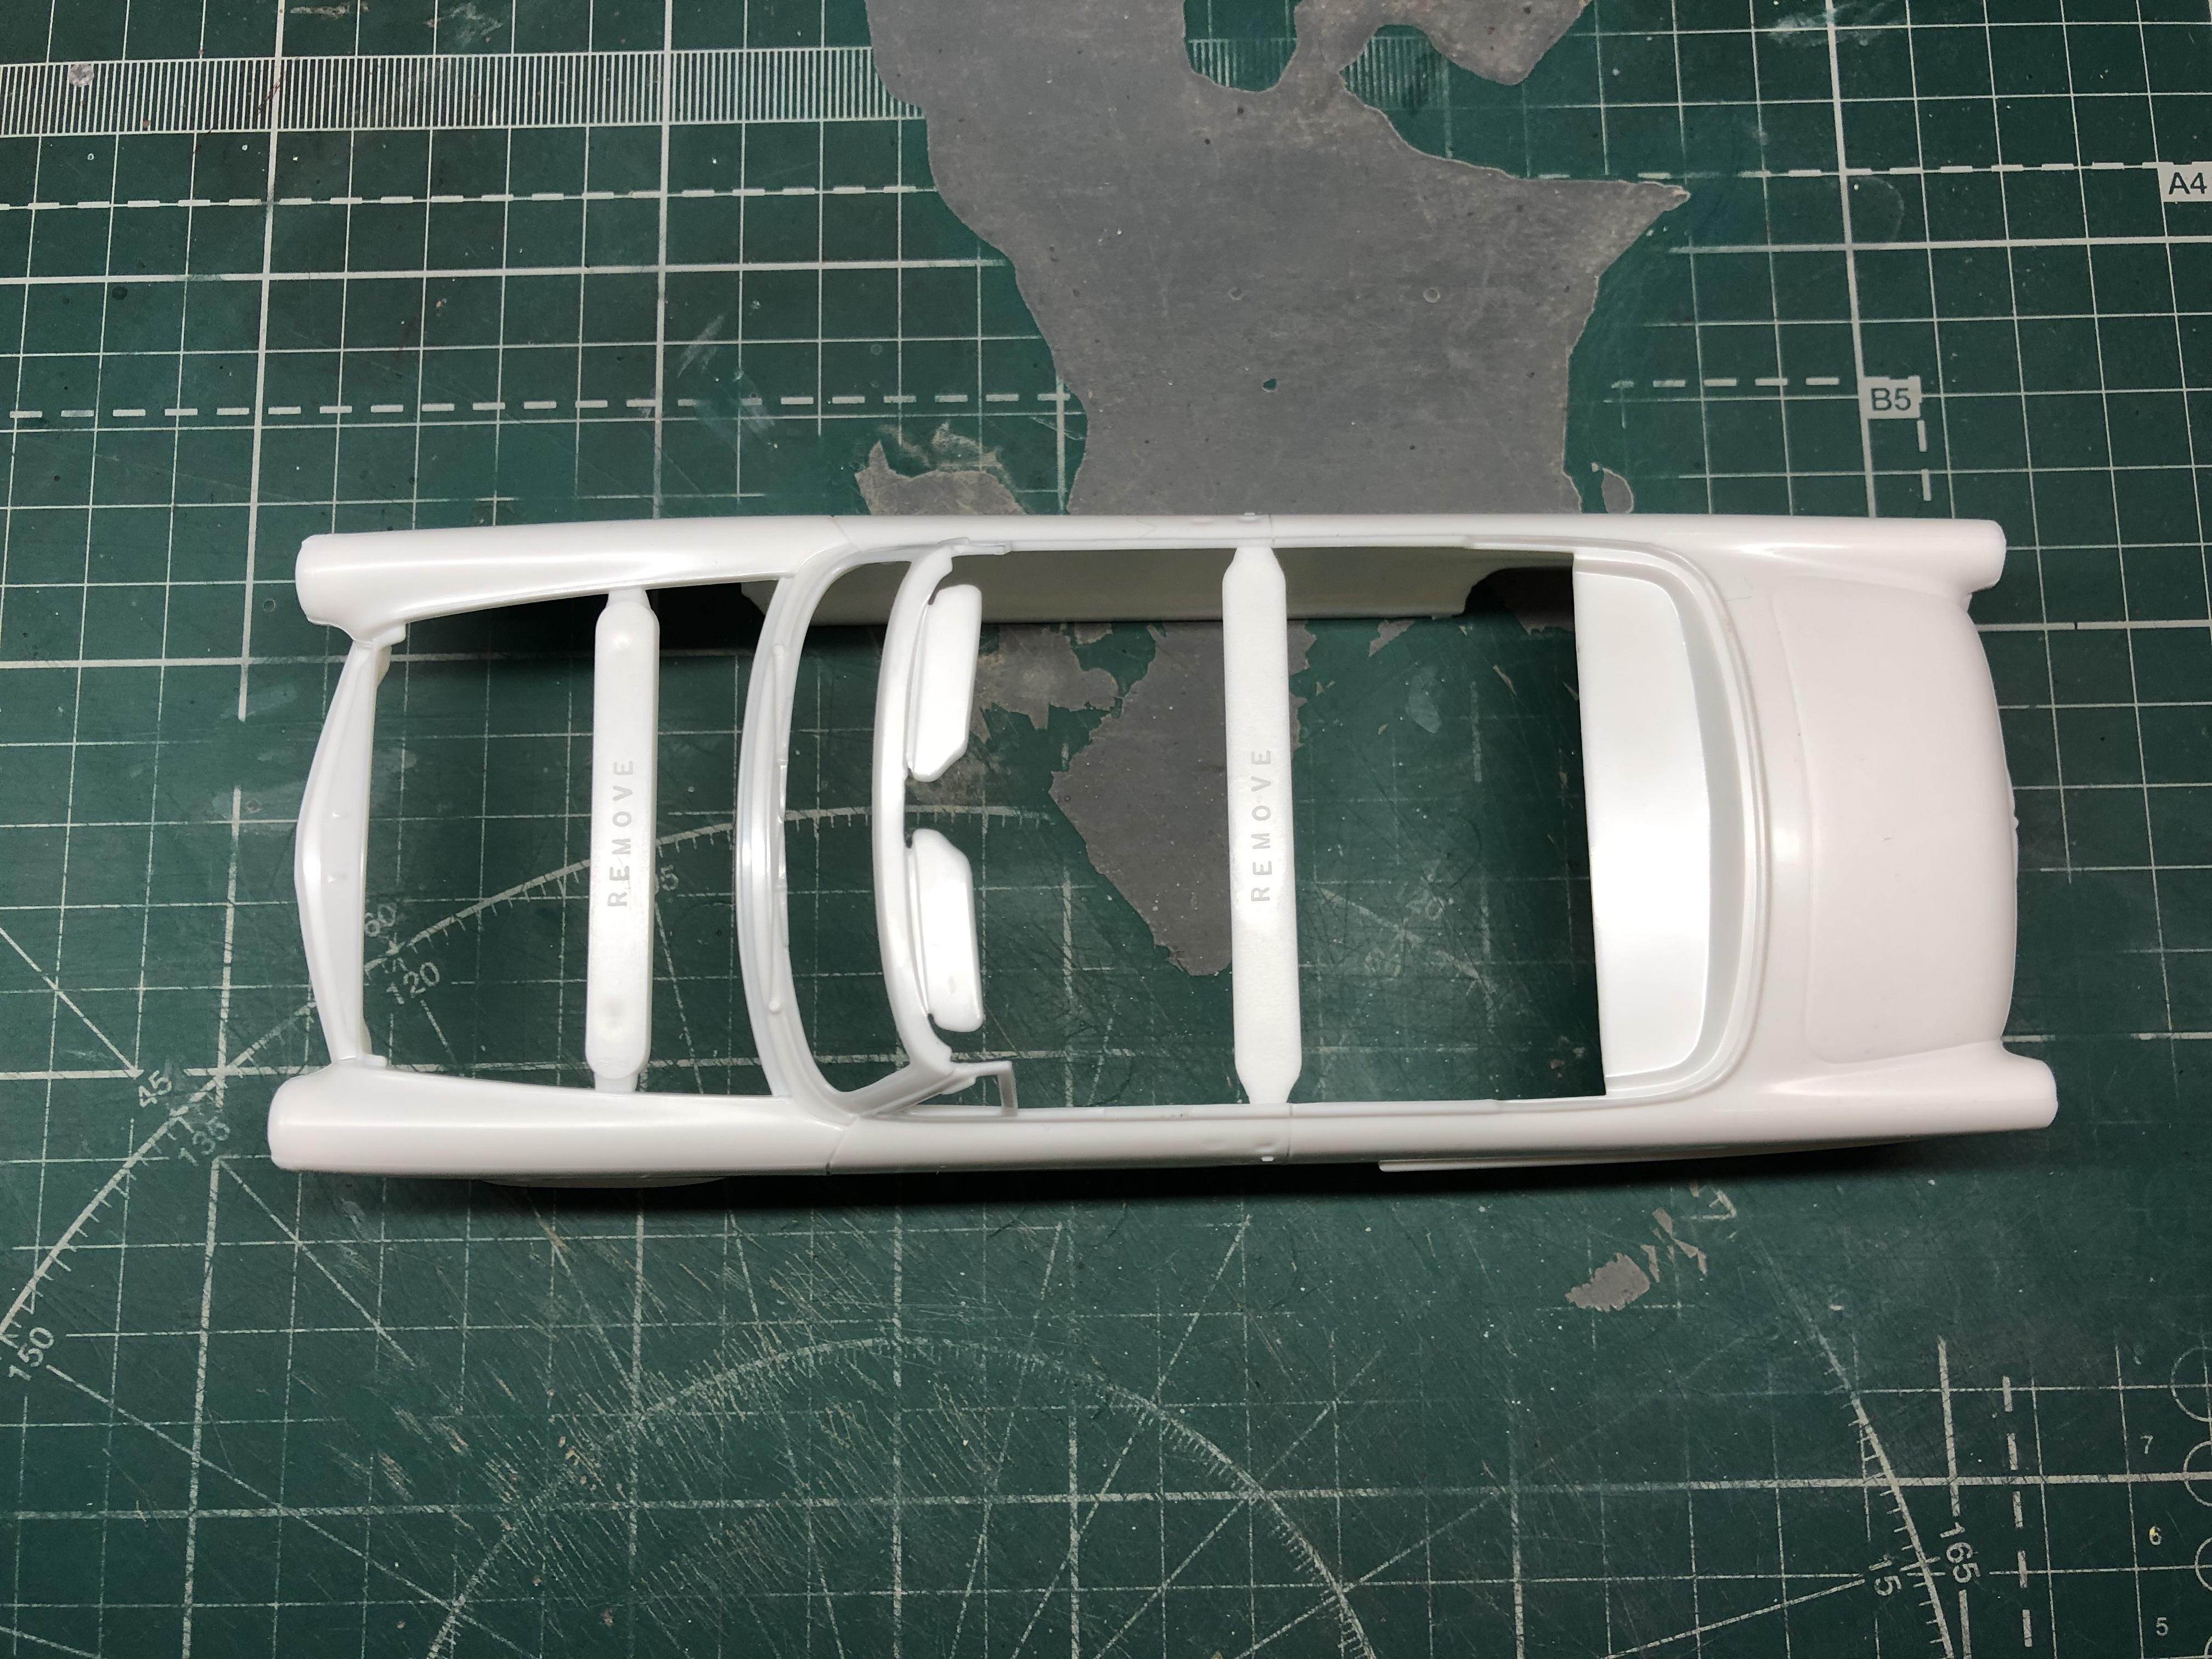
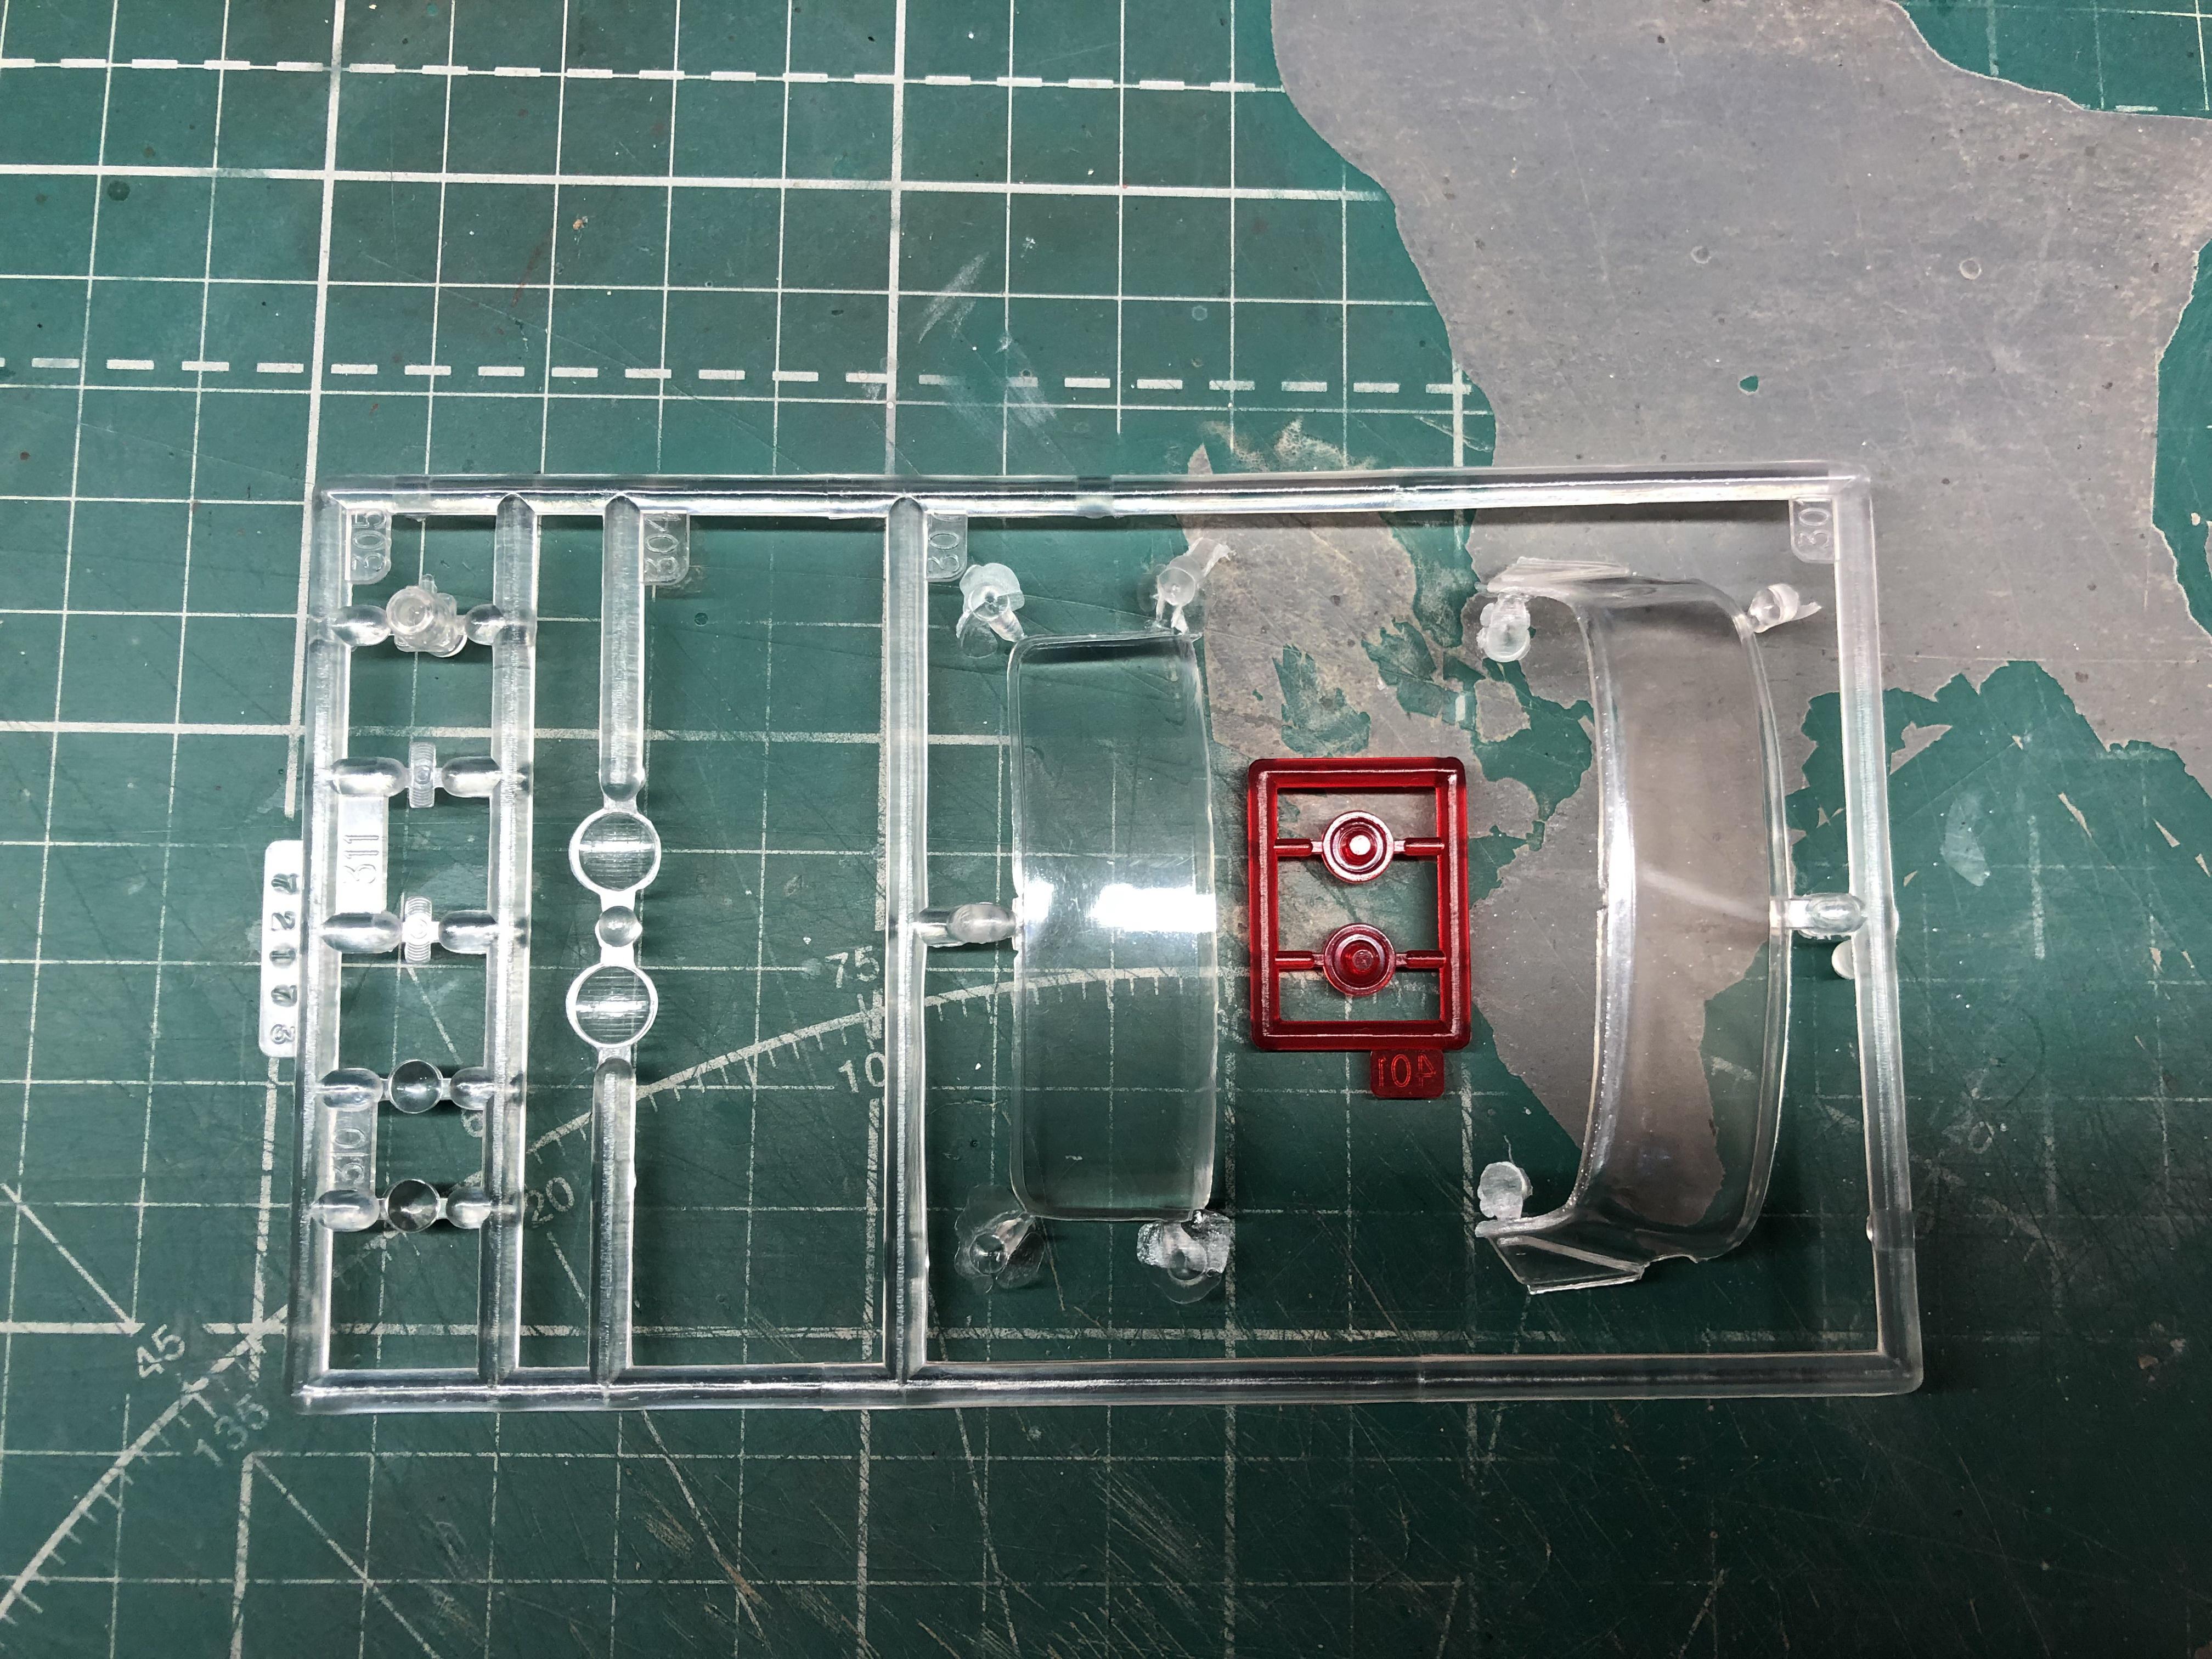
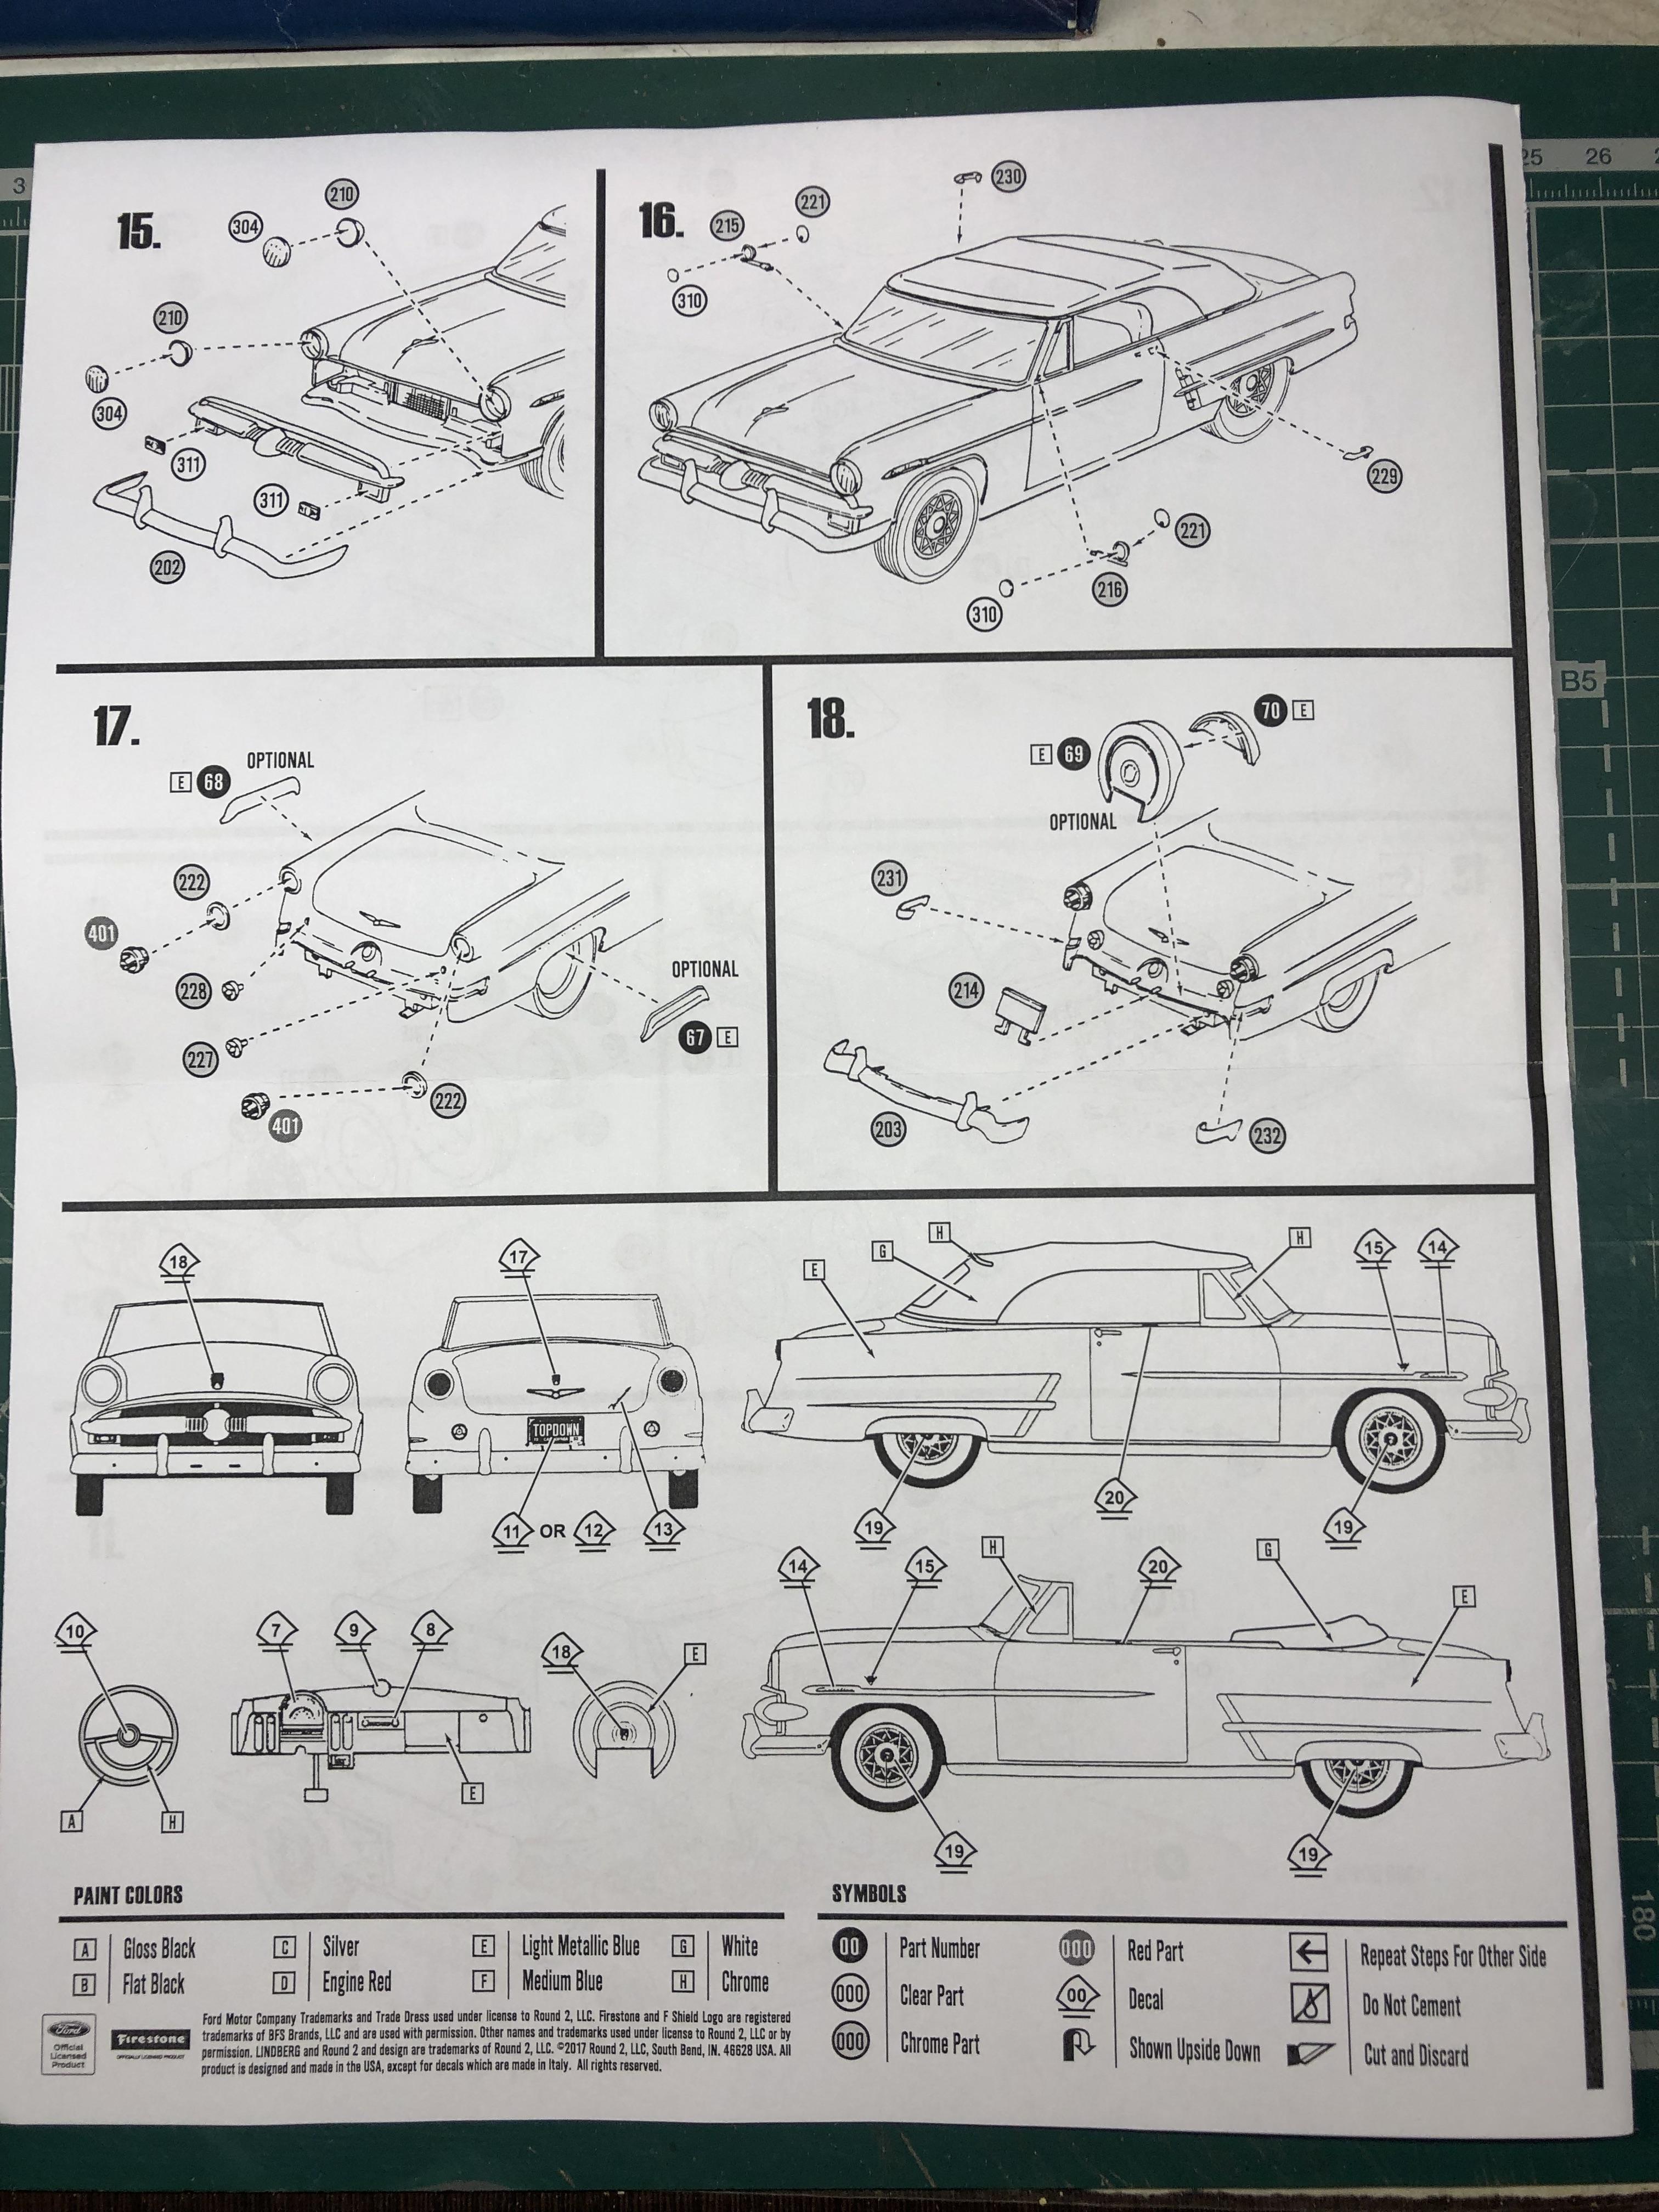
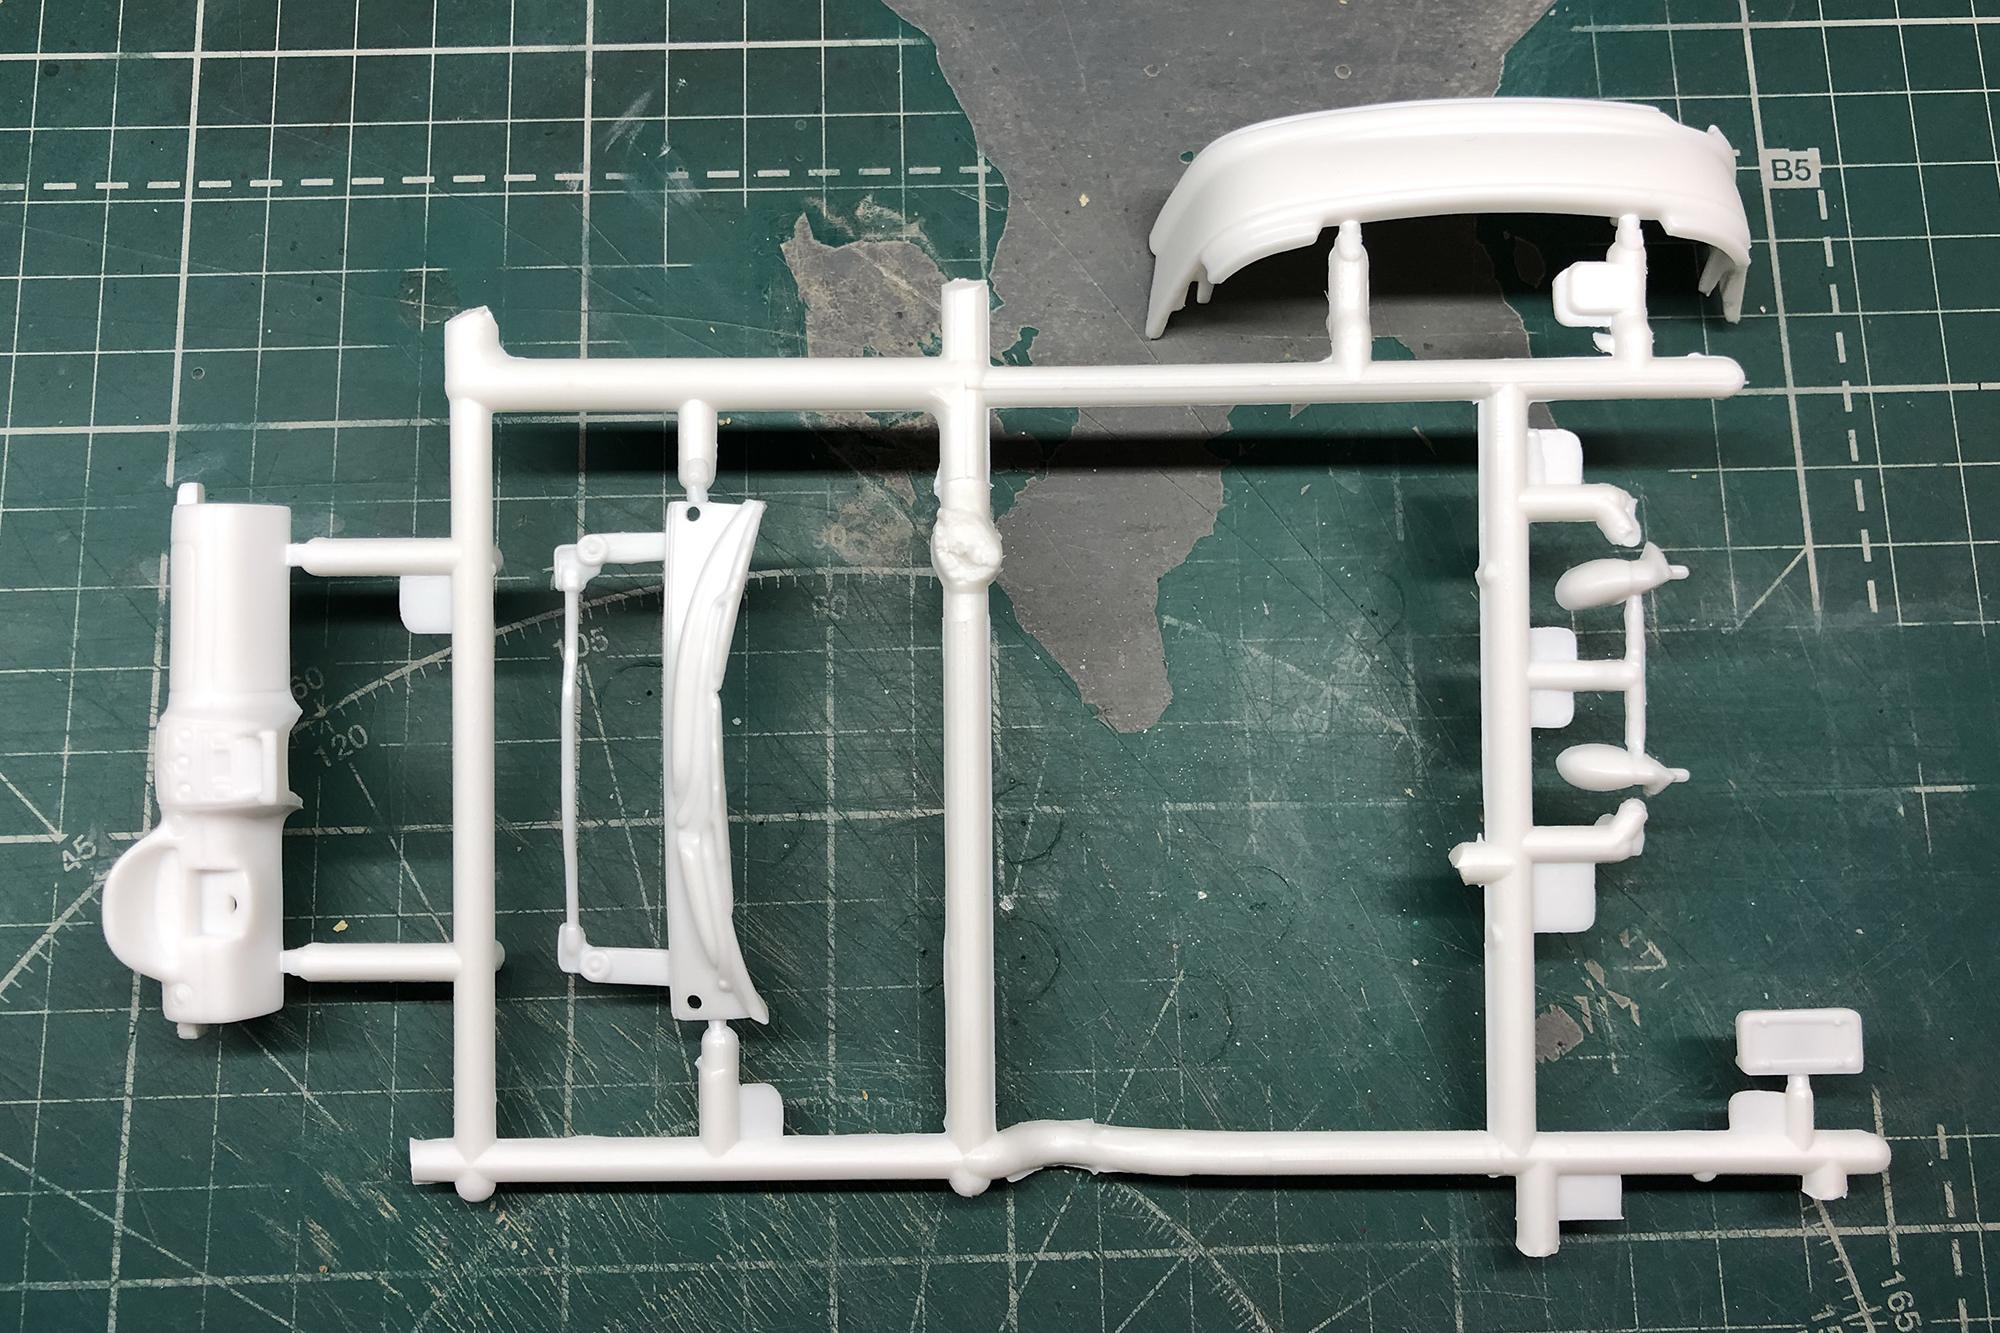
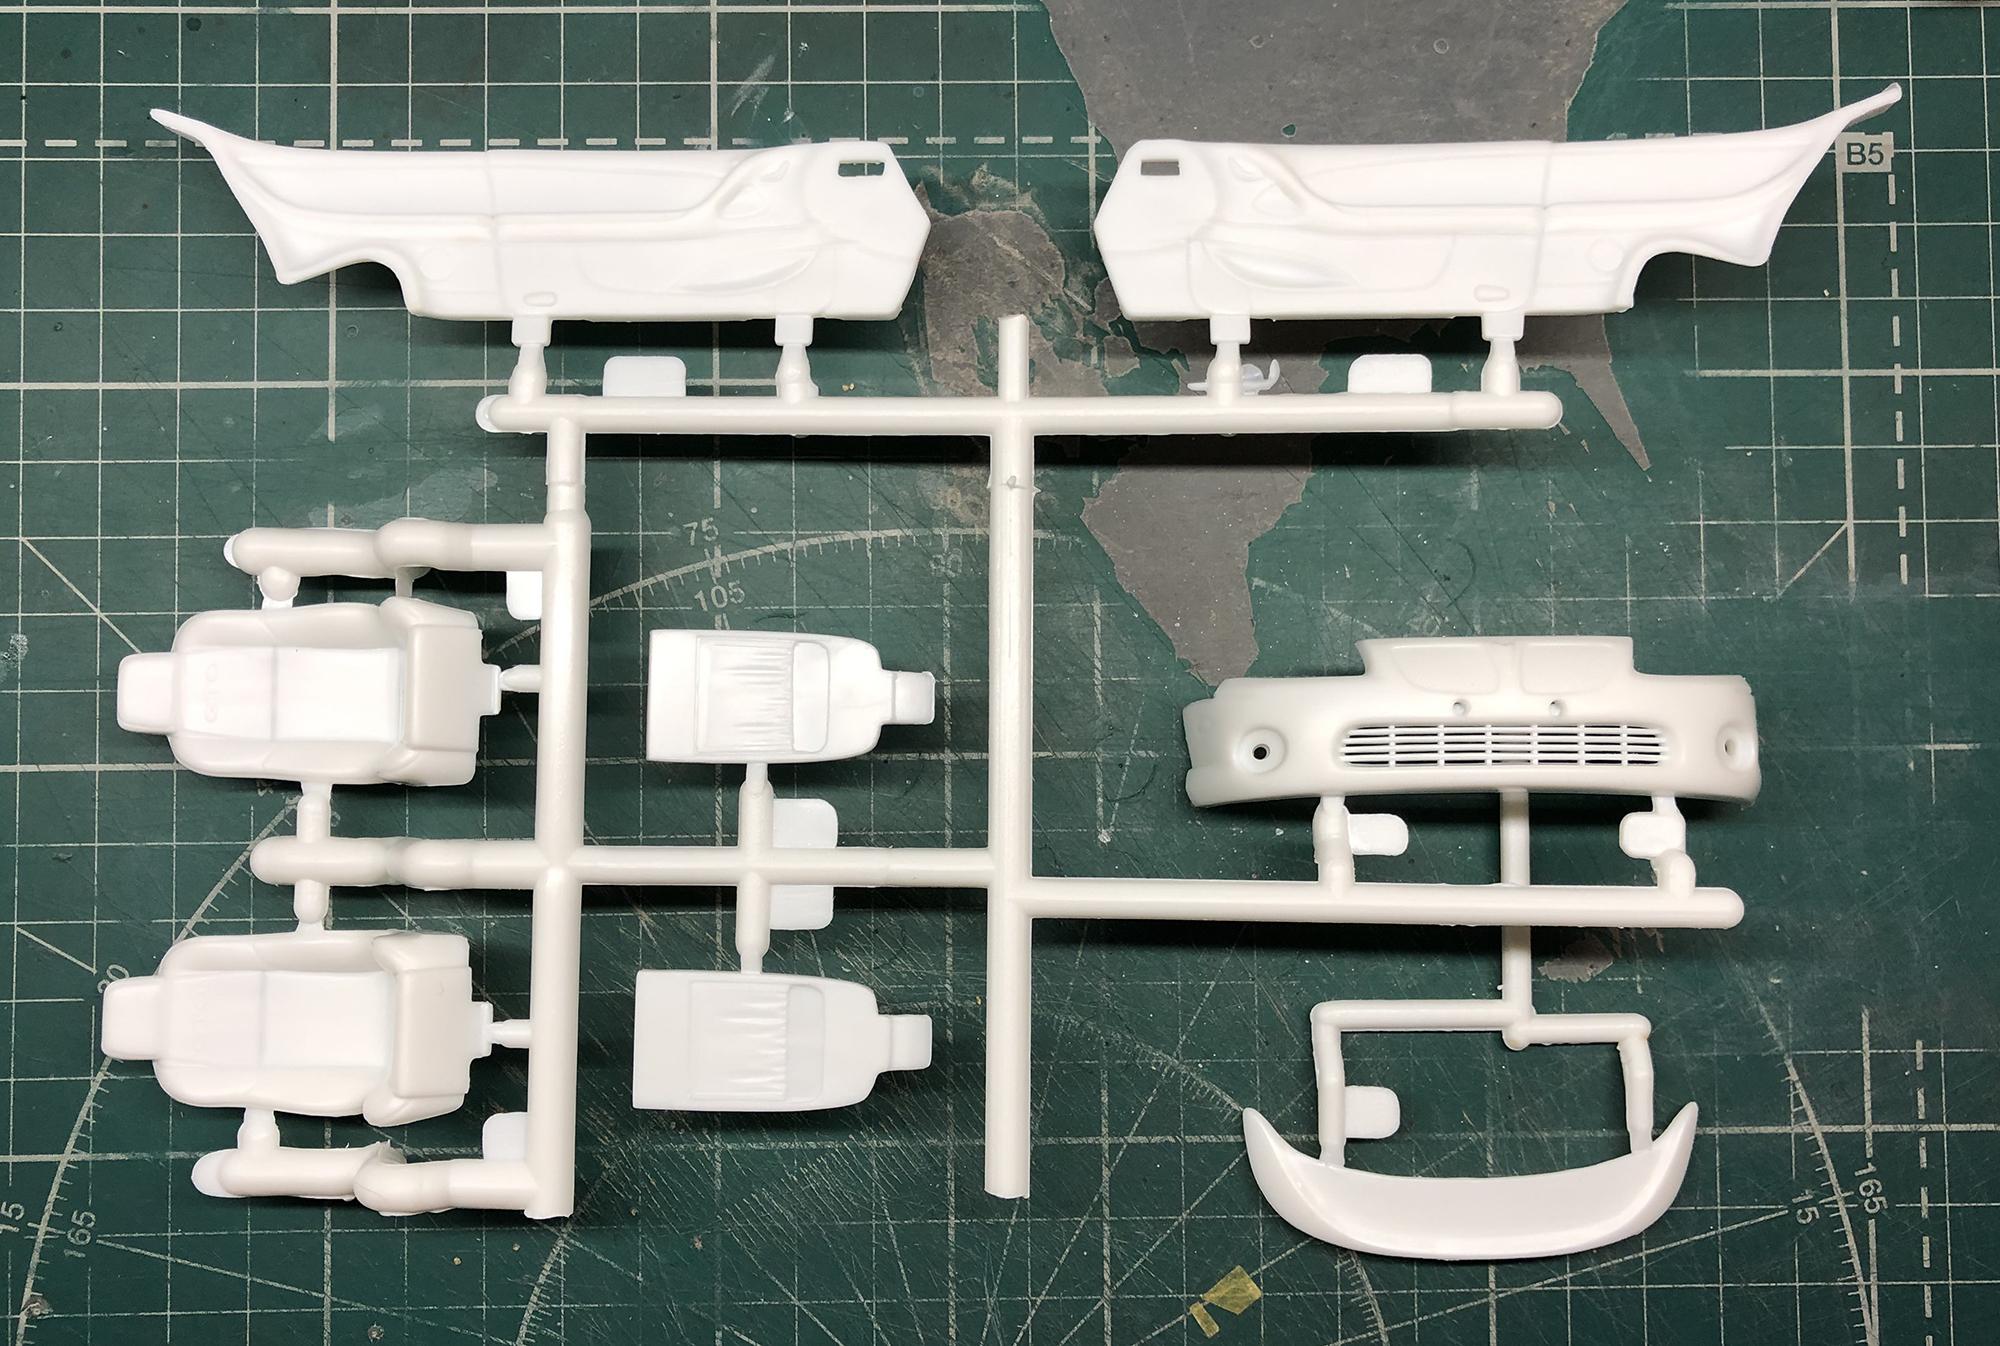
Good afternoon friends. I'm starting a new build. This time I'm visiting a very beautiful car. We look at the box itself and see what's inside. I bought this box from my friend and his kid lost the decal sheet and the 4th tire. I would be very grateful if one of you who has the same (or similar from Lindbergh) unbuilt kit could scan the decals for me in high resolution. I will already think about the tire myself, or I will replace the tires completely, I will take from another set, or I will look for someone who can match me.
-
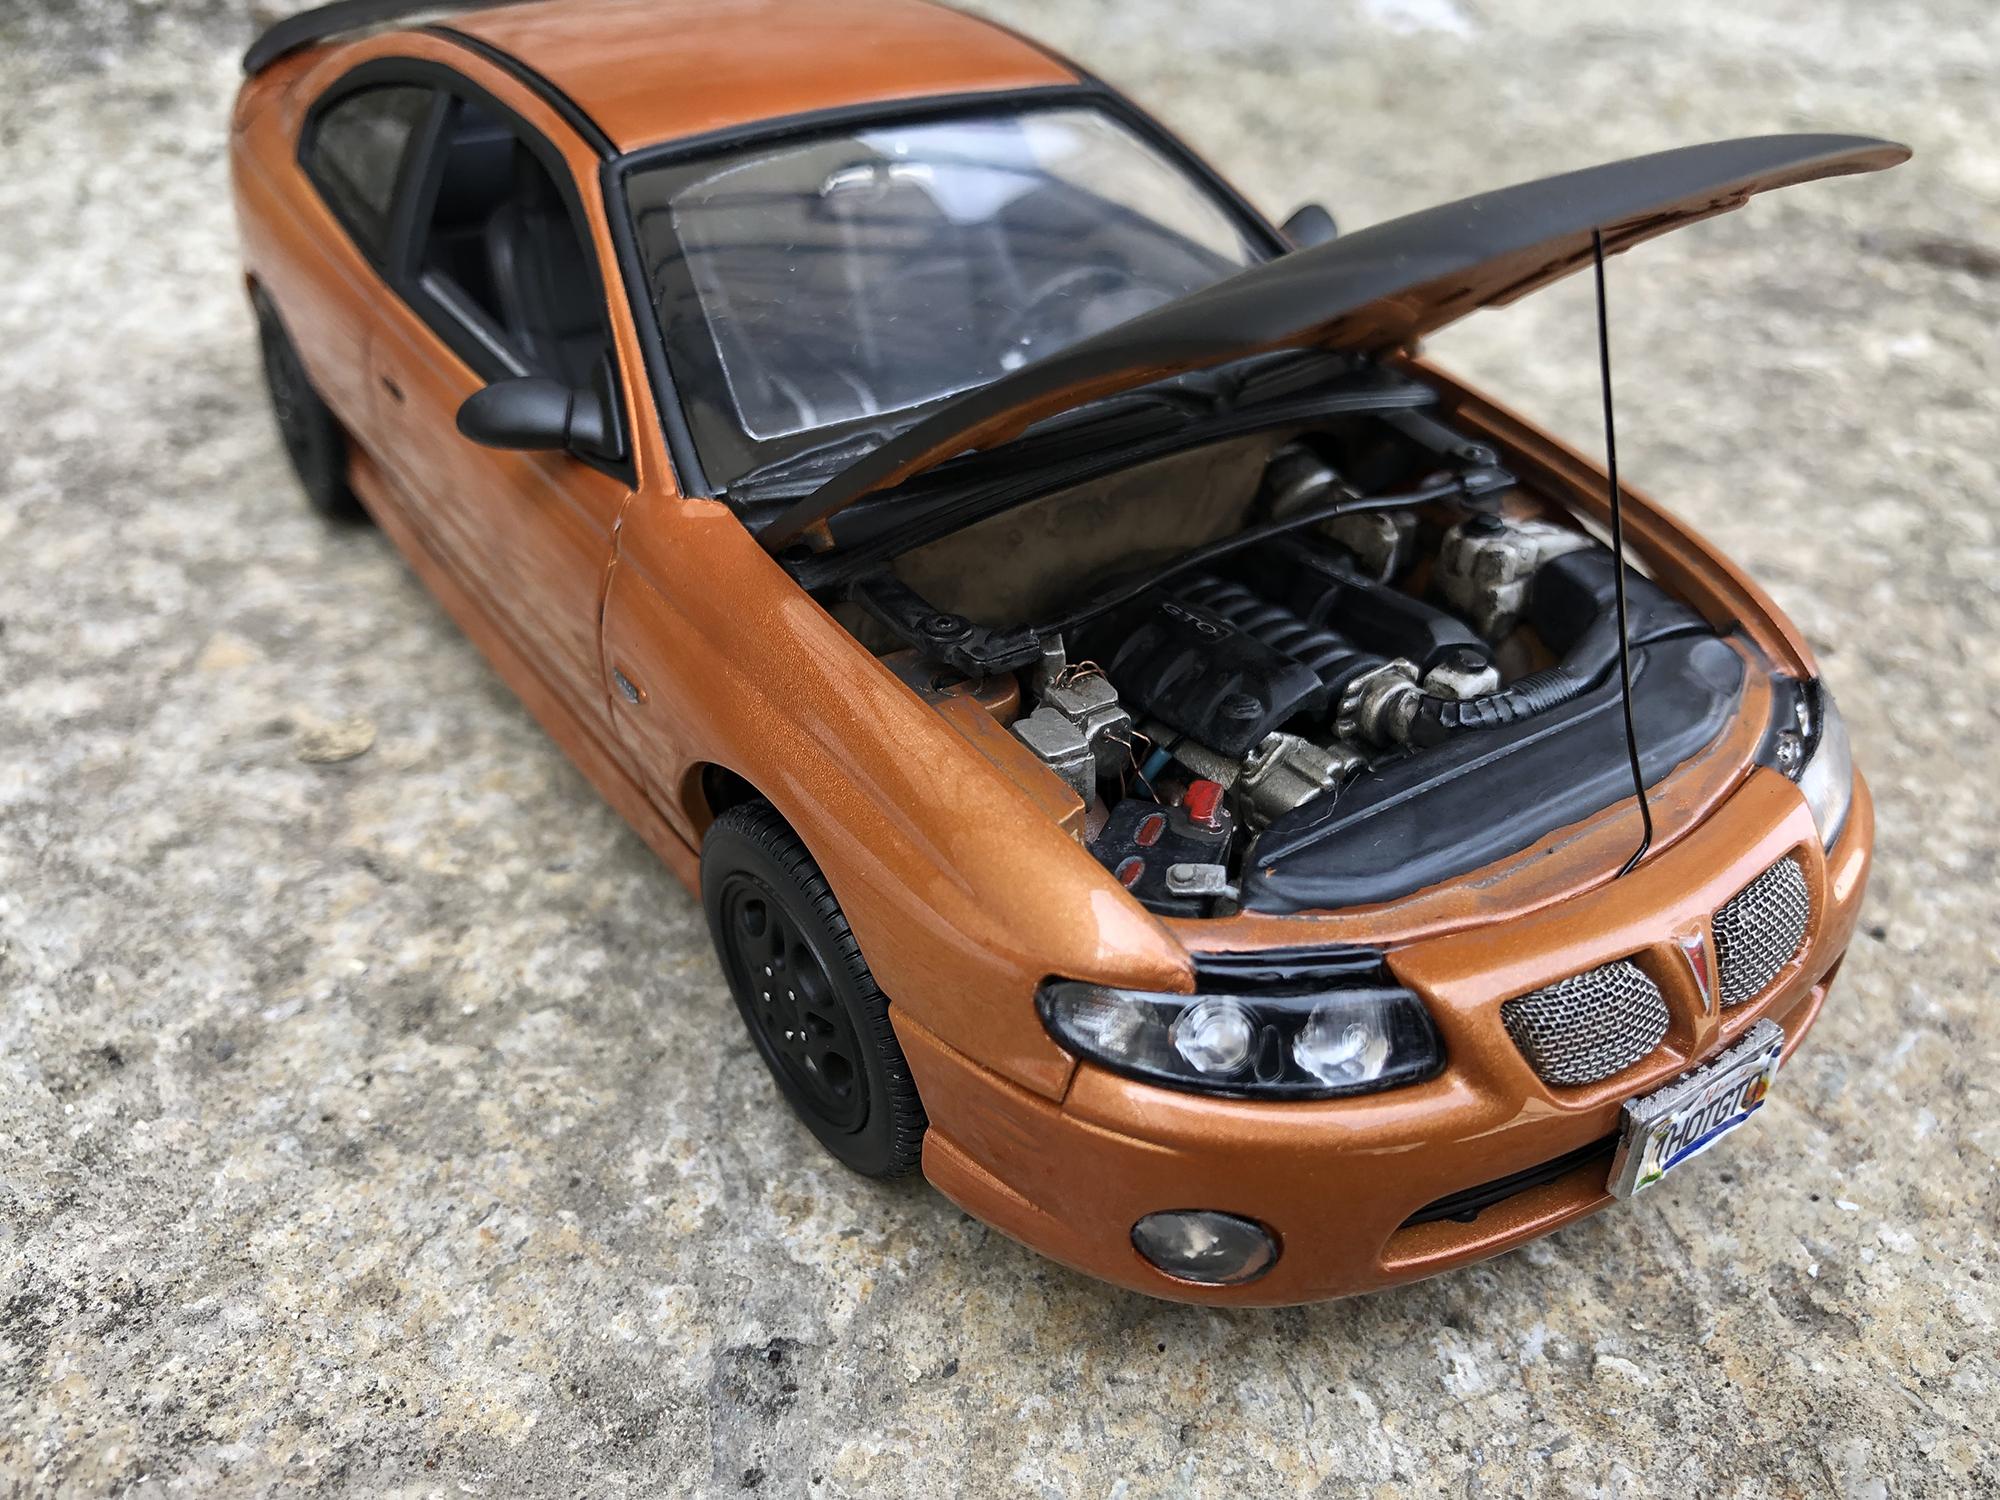
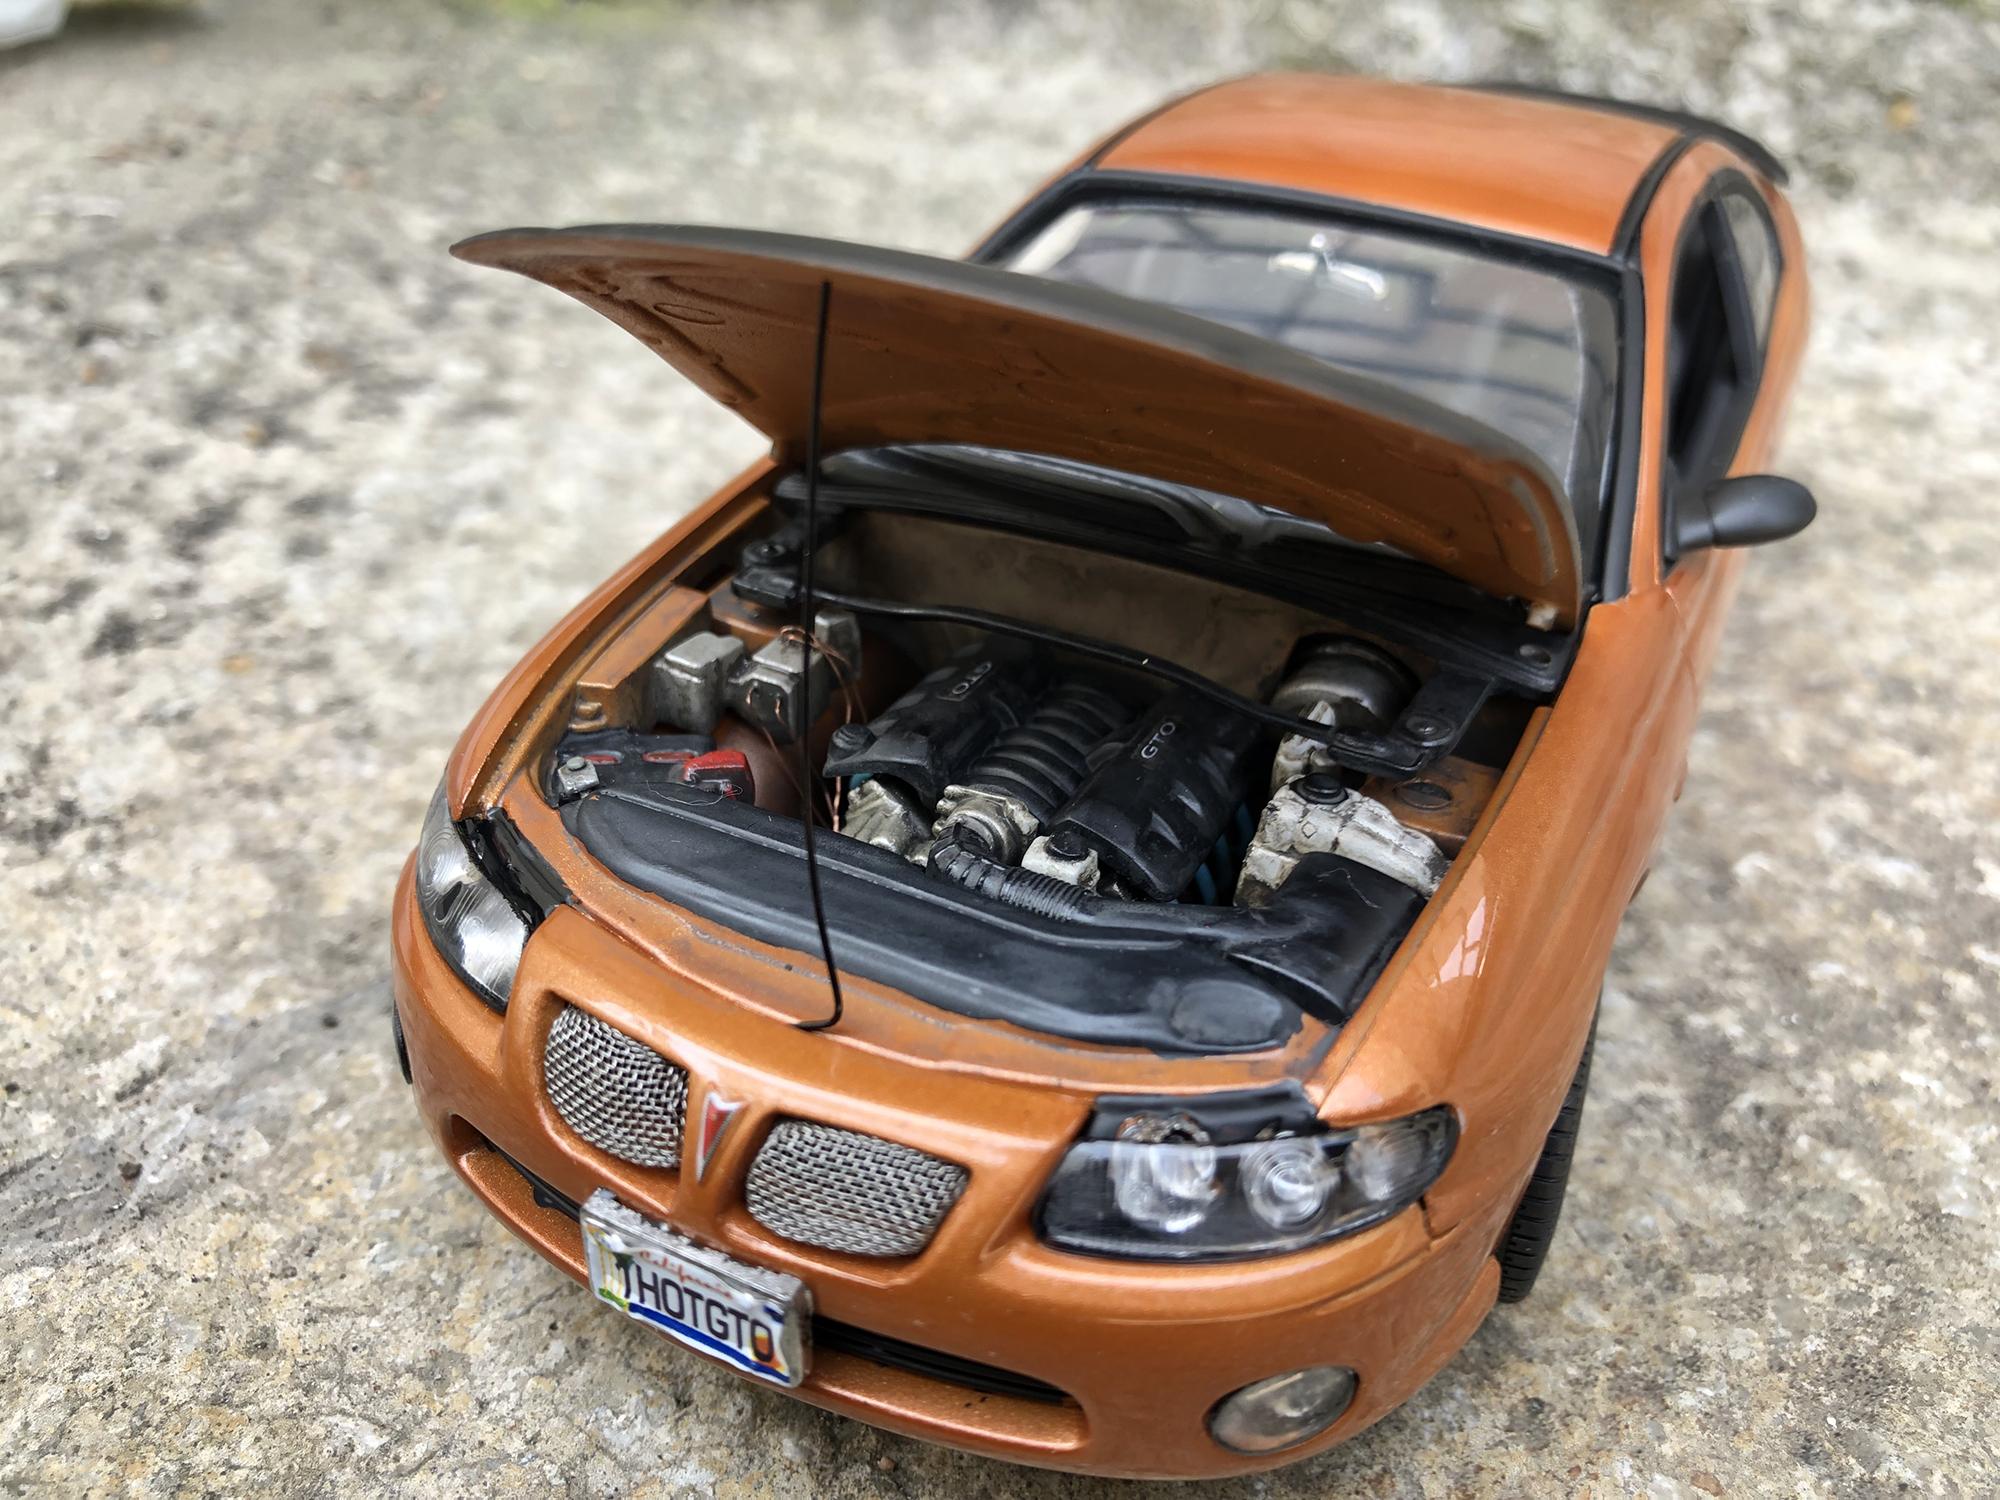
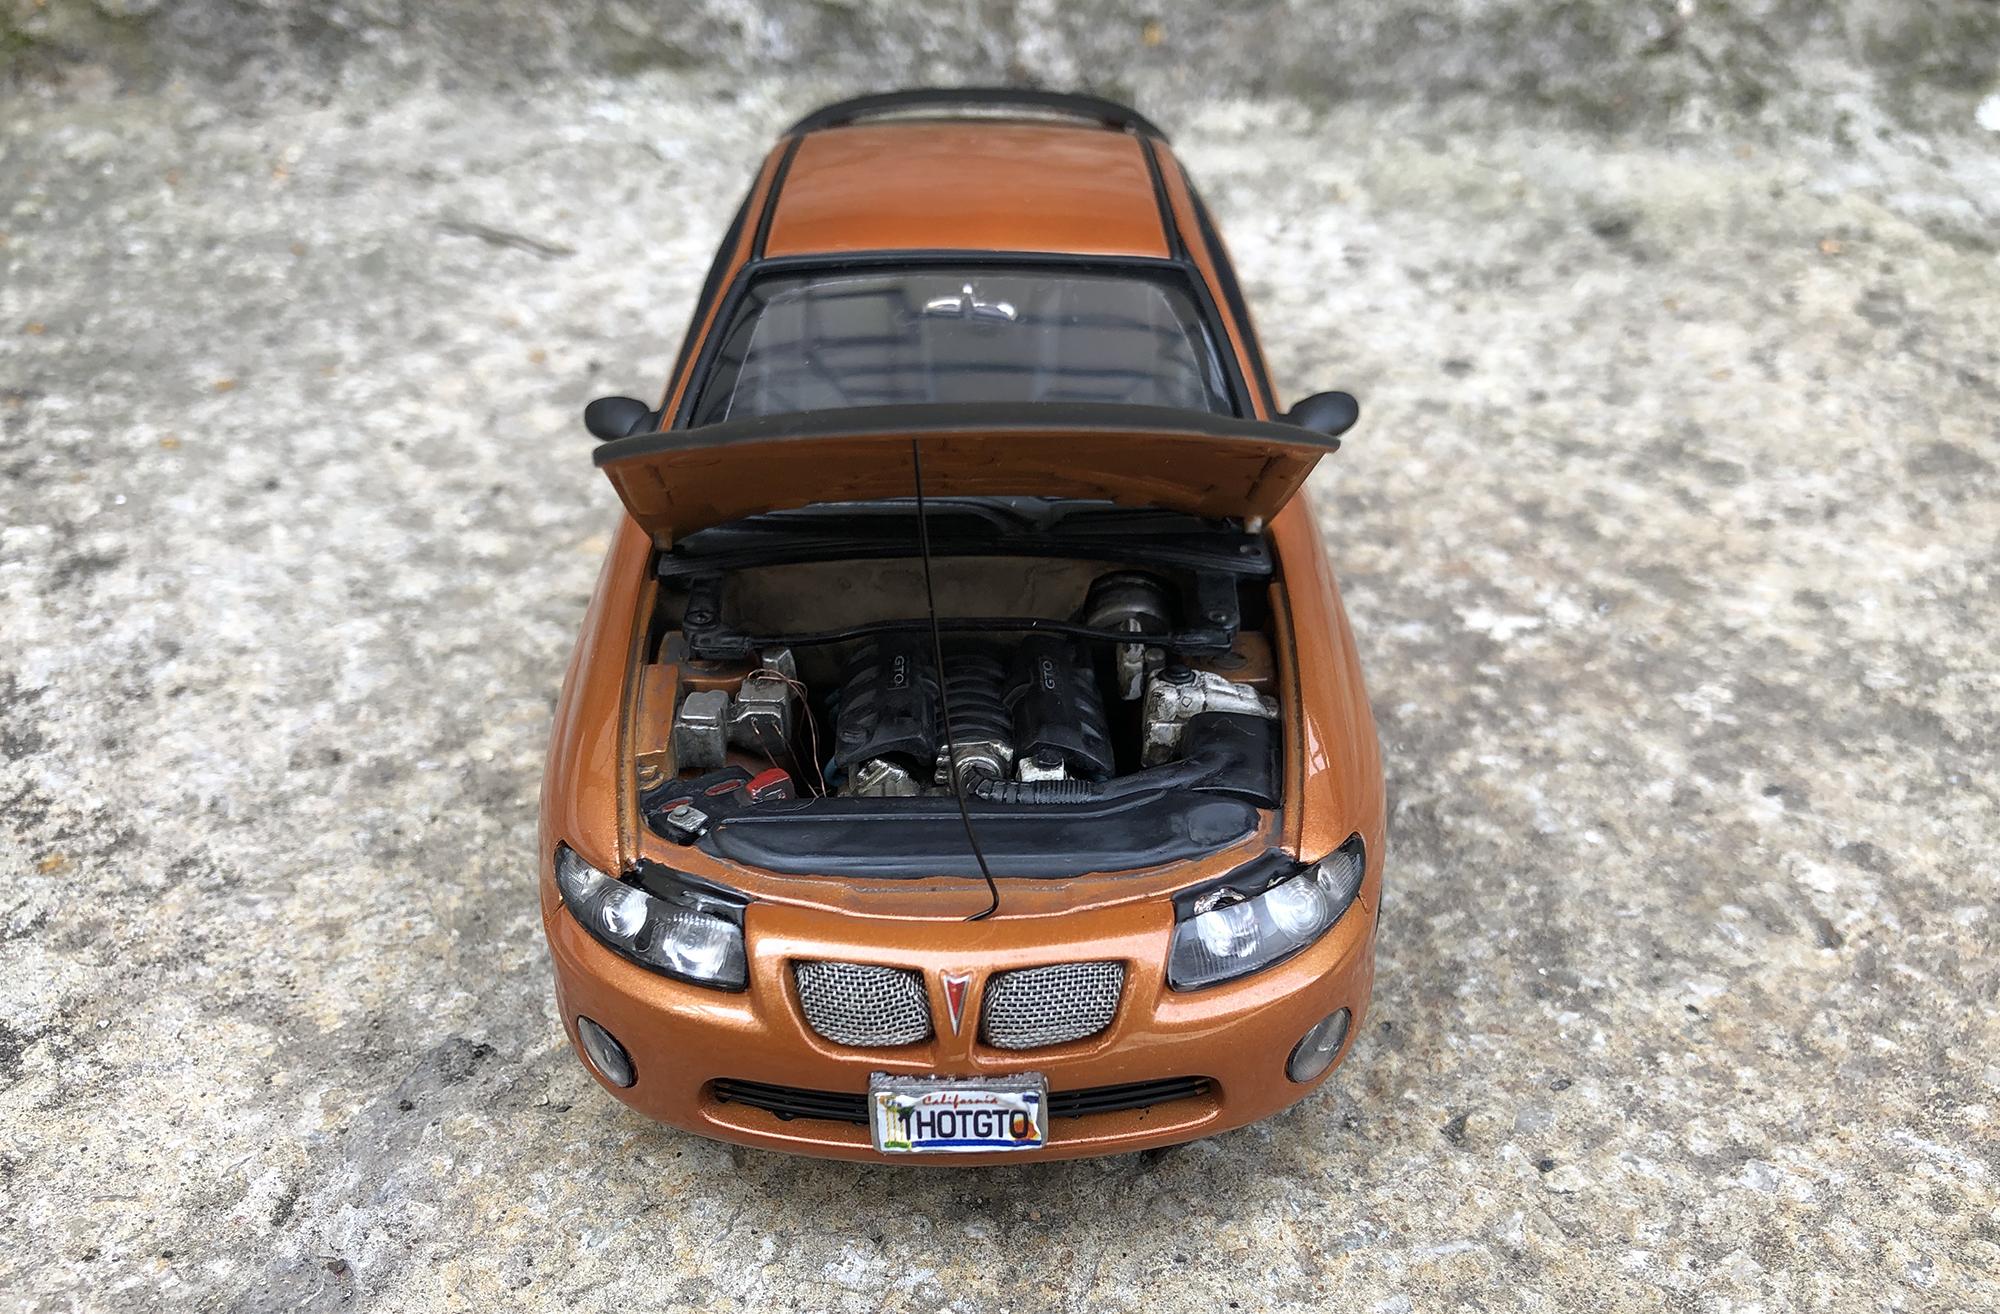
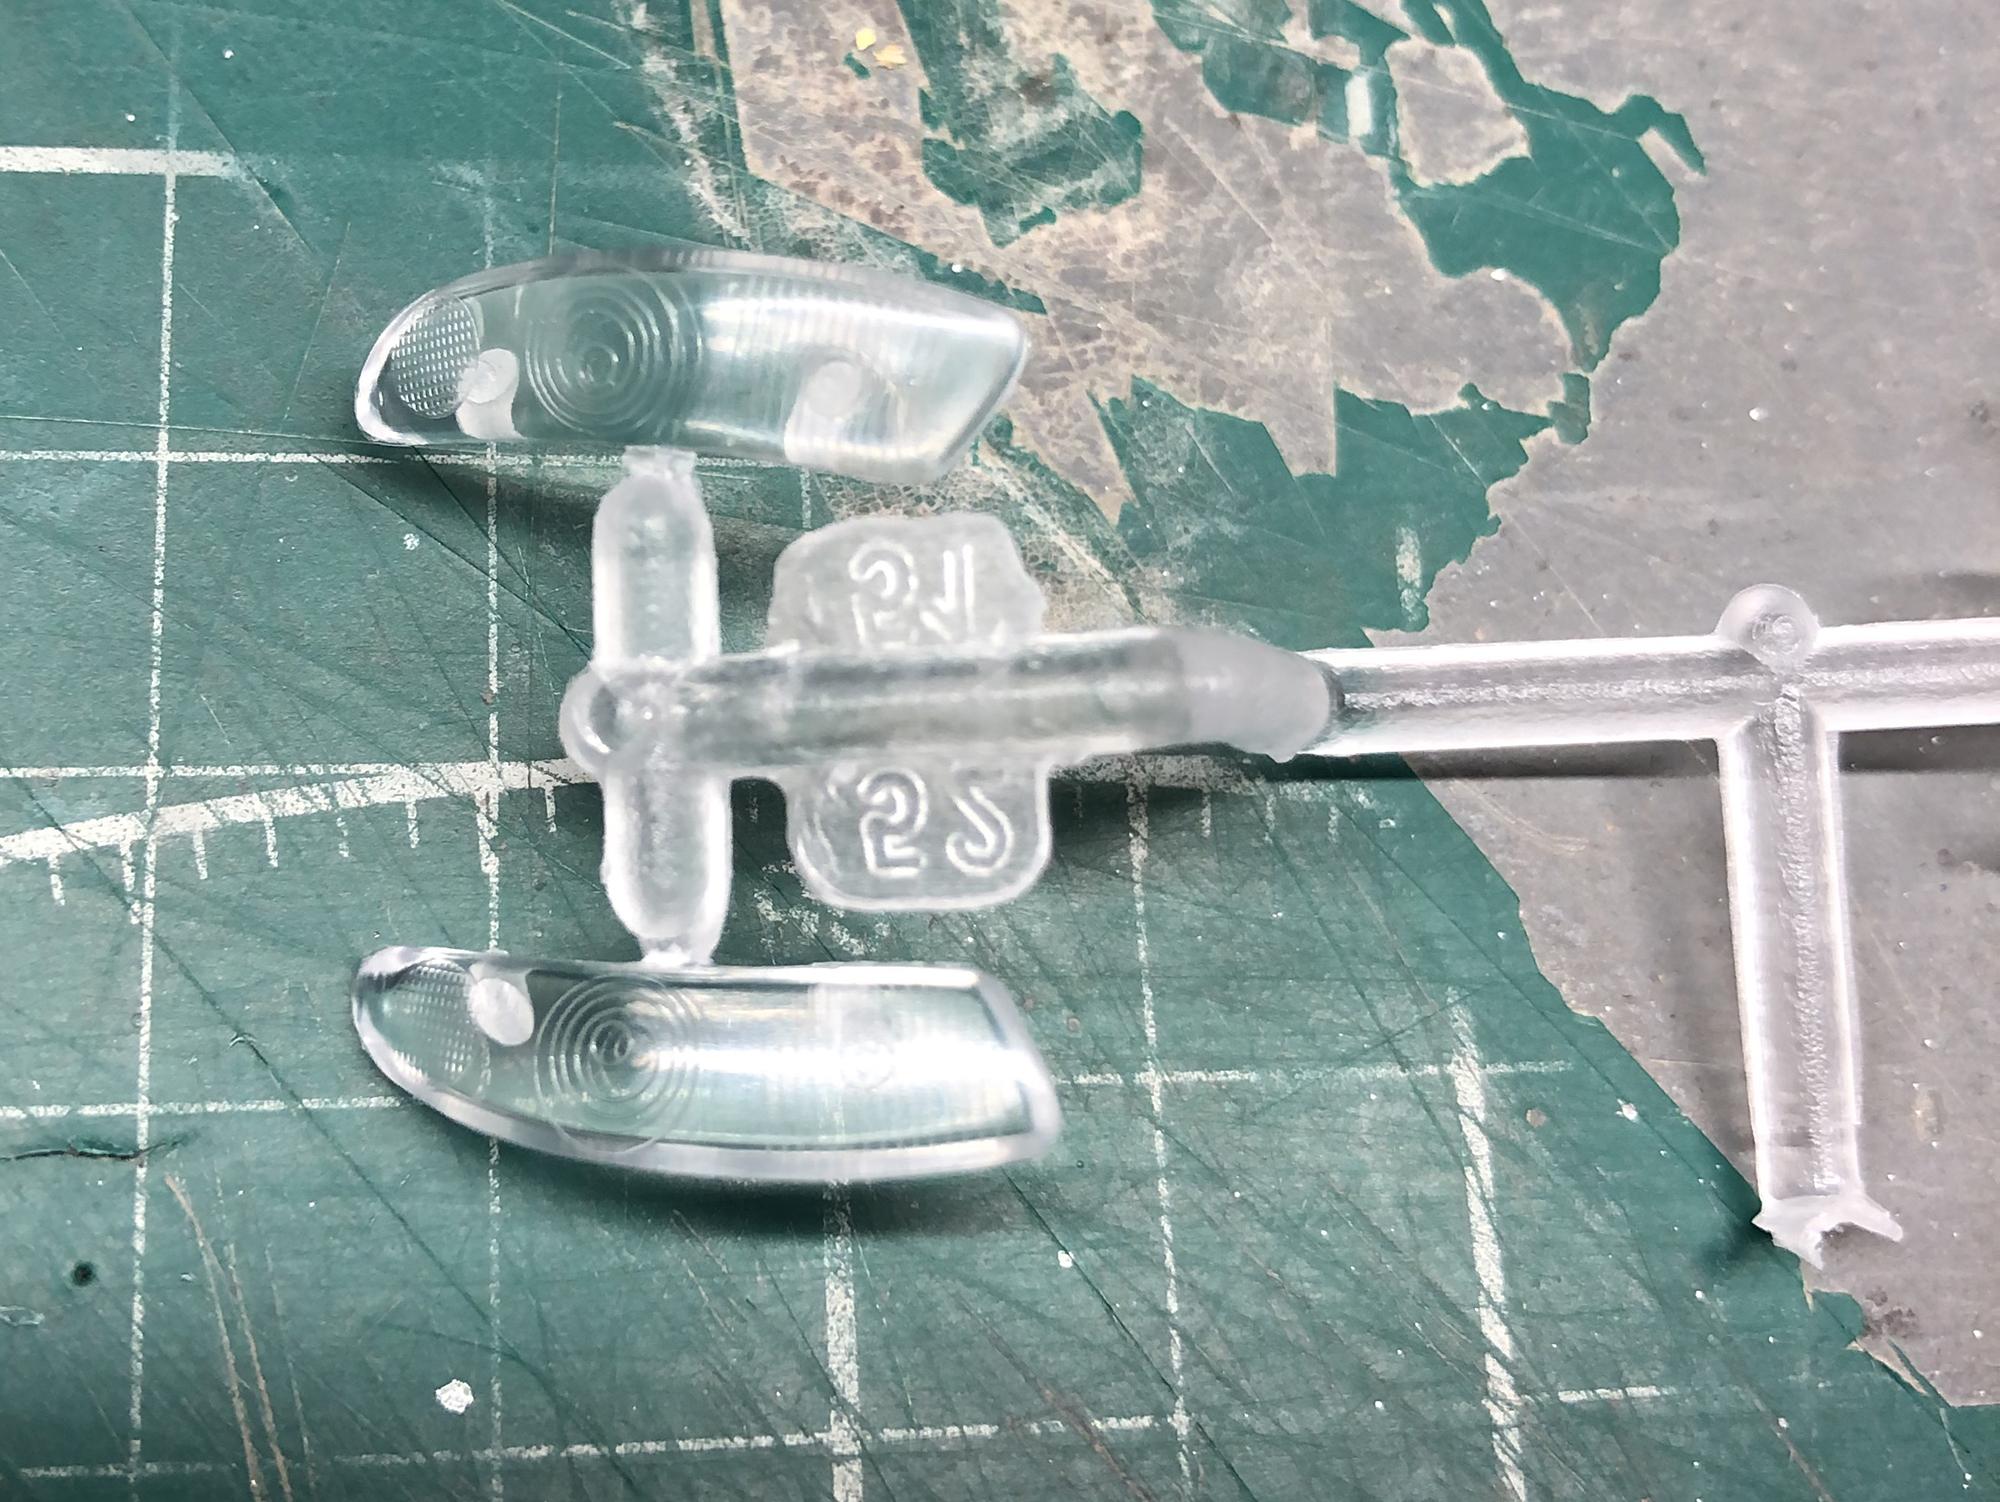
Good afternoon friends. I present to your attention my 25th anniversary finished model. From improvements: - mesh grille made - holes drilled in headlights and backlights
-
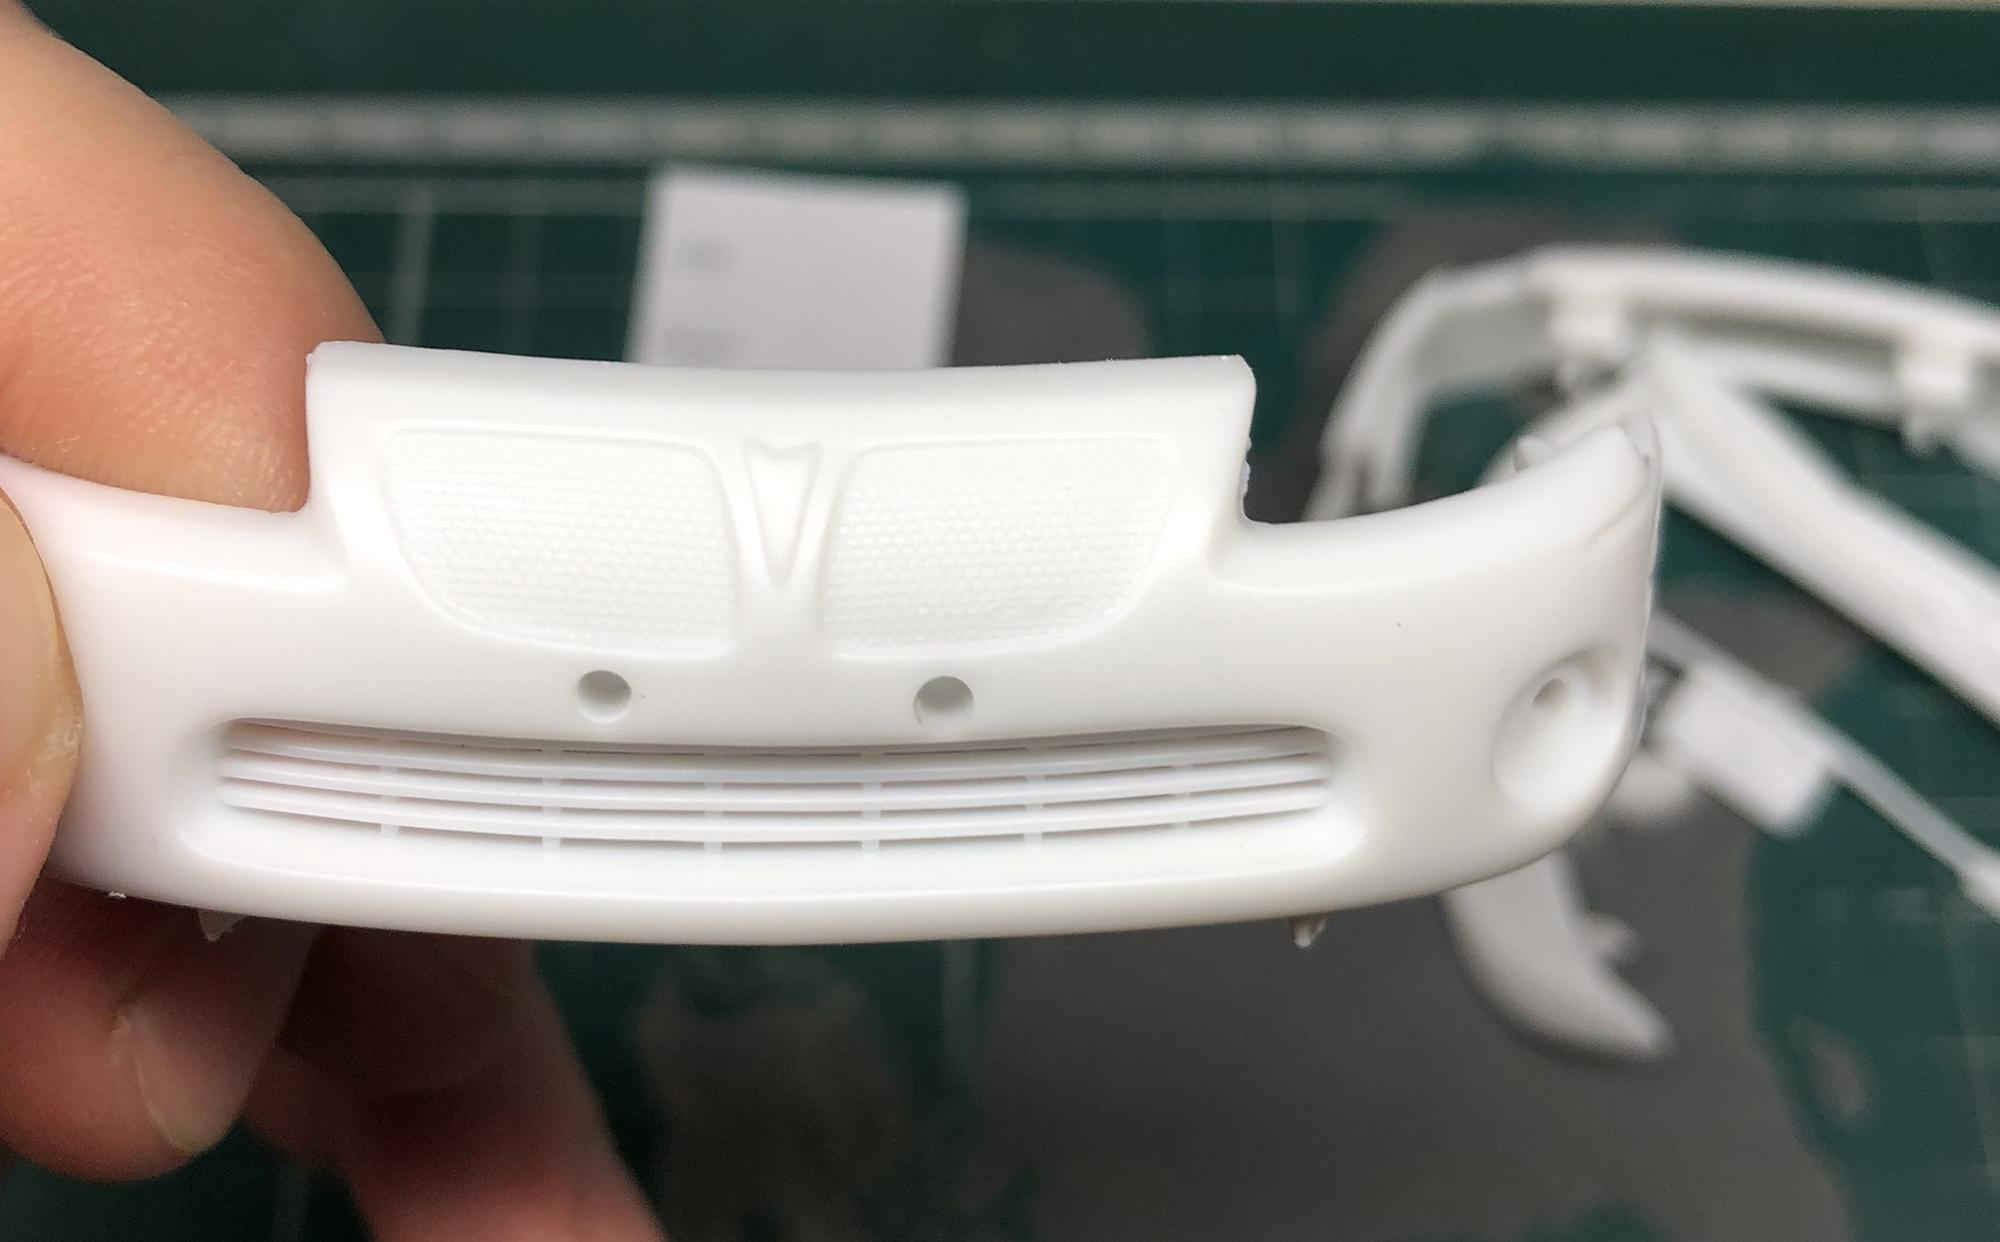
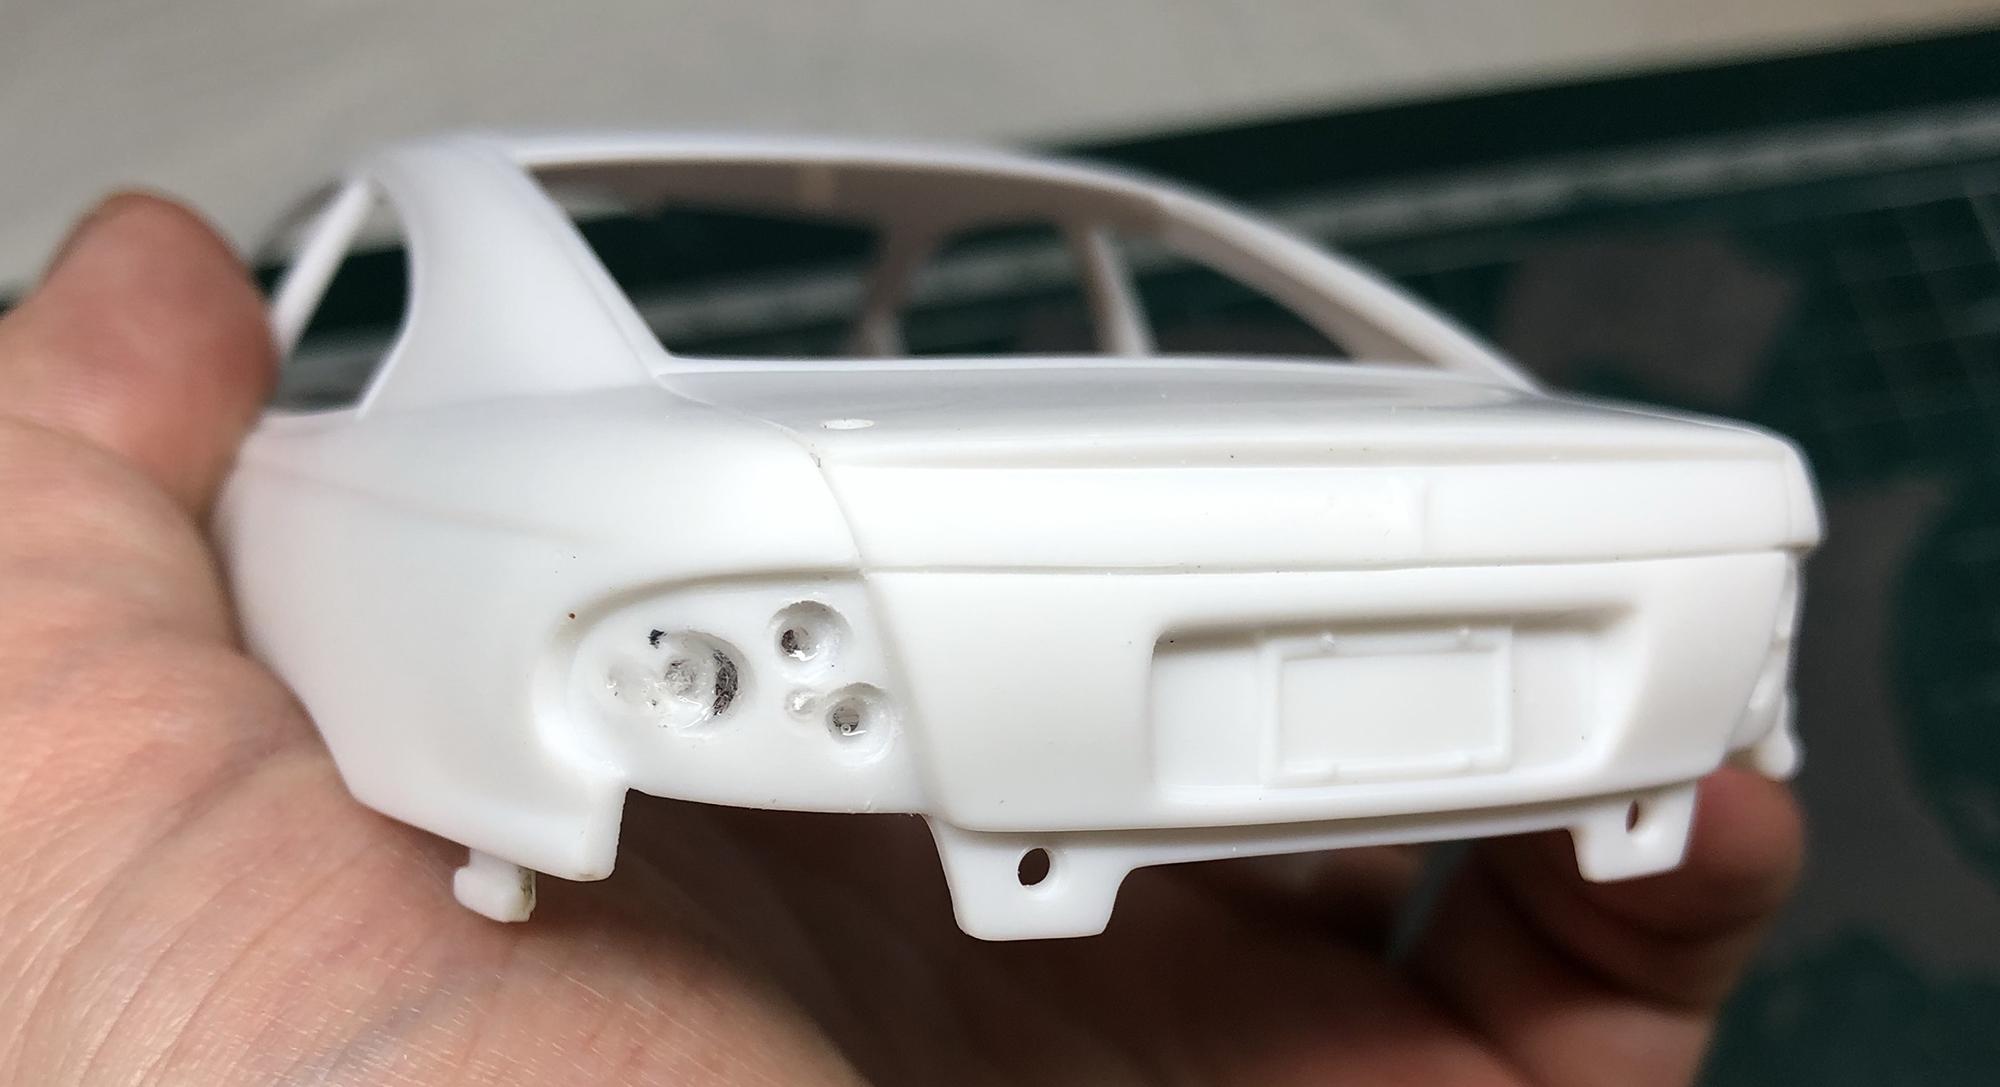
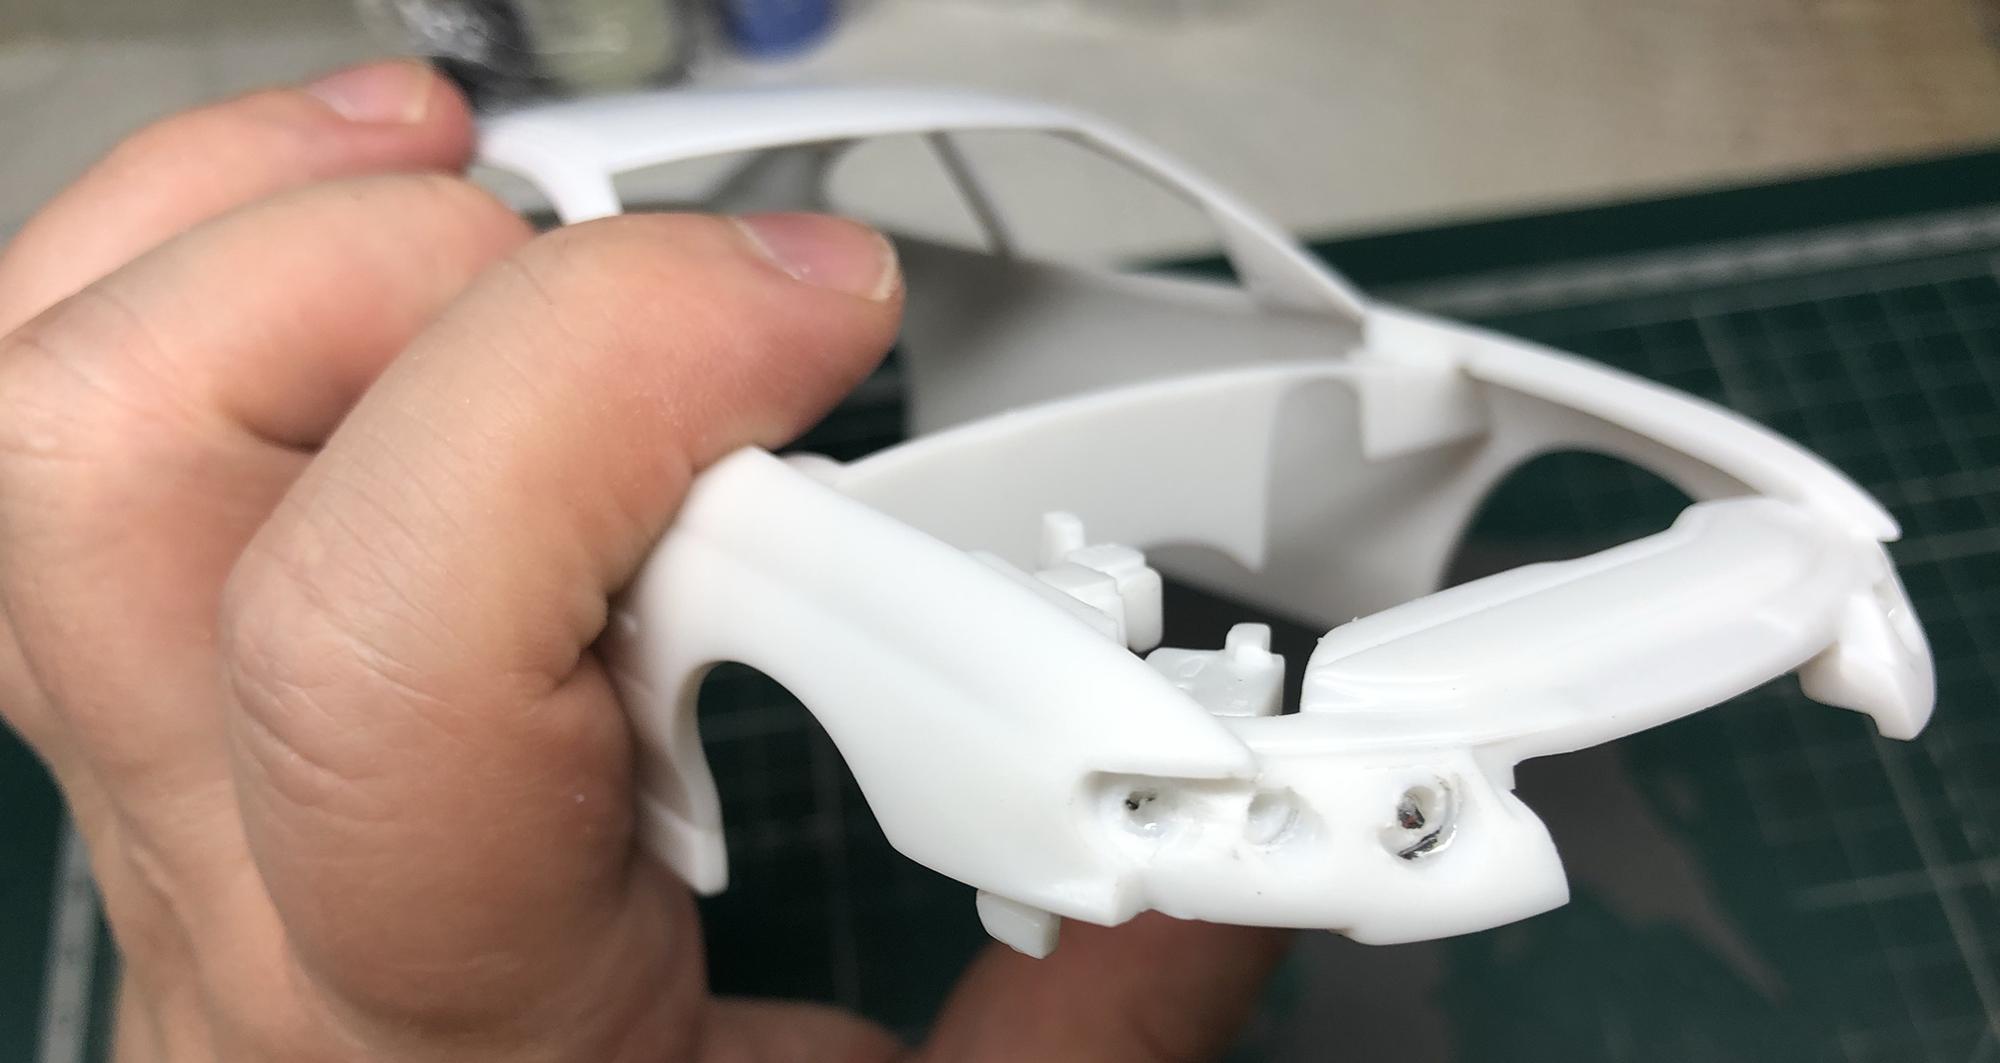
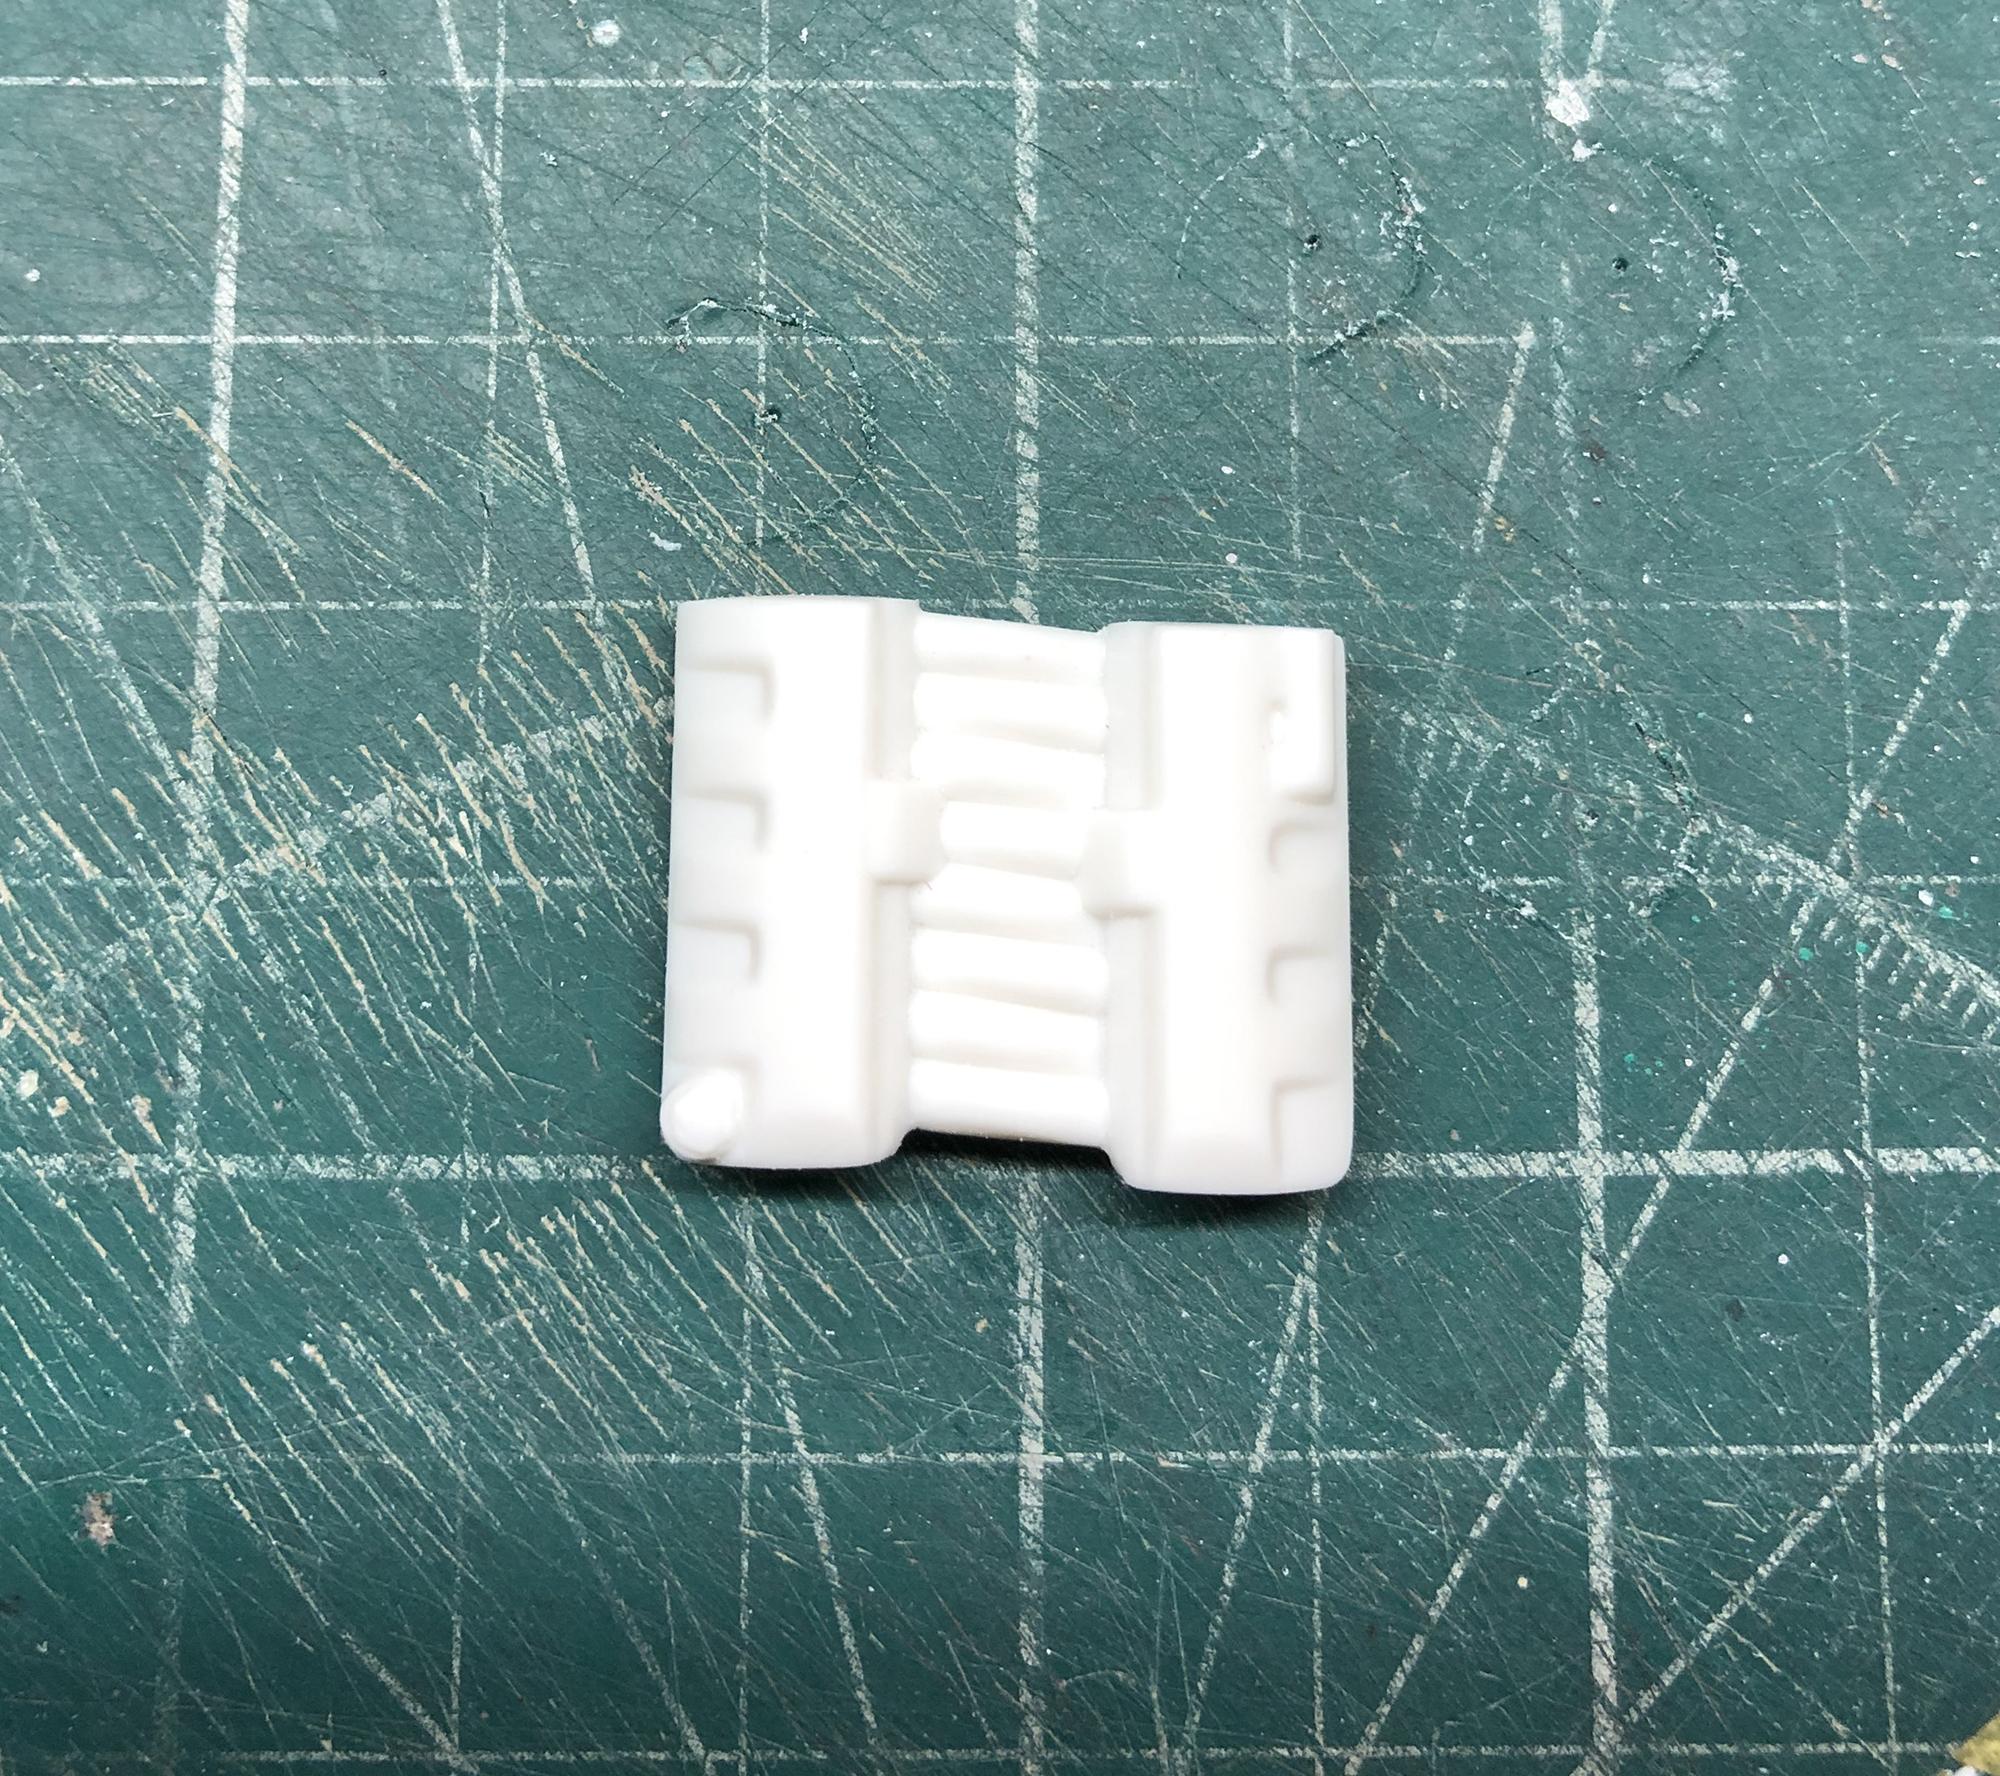
Hello friends, let's move on. Exhaust pipes without holes, fix, pick up a drill and make beauty. The radiator grill is completely different from the original. Headlights and back lights too. Looks terrible. I puttyed the holes and ground the pins off the headlights and back lights. I cut out the kind of radiator grille that AMT offers us, made the shape of the pusher from a two-component putty and, using a grid, made grilles that look like an origal. Next, I took drills with a diameter of 3, 4 and 5 millimeters and drilled holes in the headlights. All parts are painted. Engine & undercarriage is done. Body is polished. My little helper helped me all the time. Aaaaaaaaaaaaaaaand it's calling done! Thank you for your attention.🤠
-
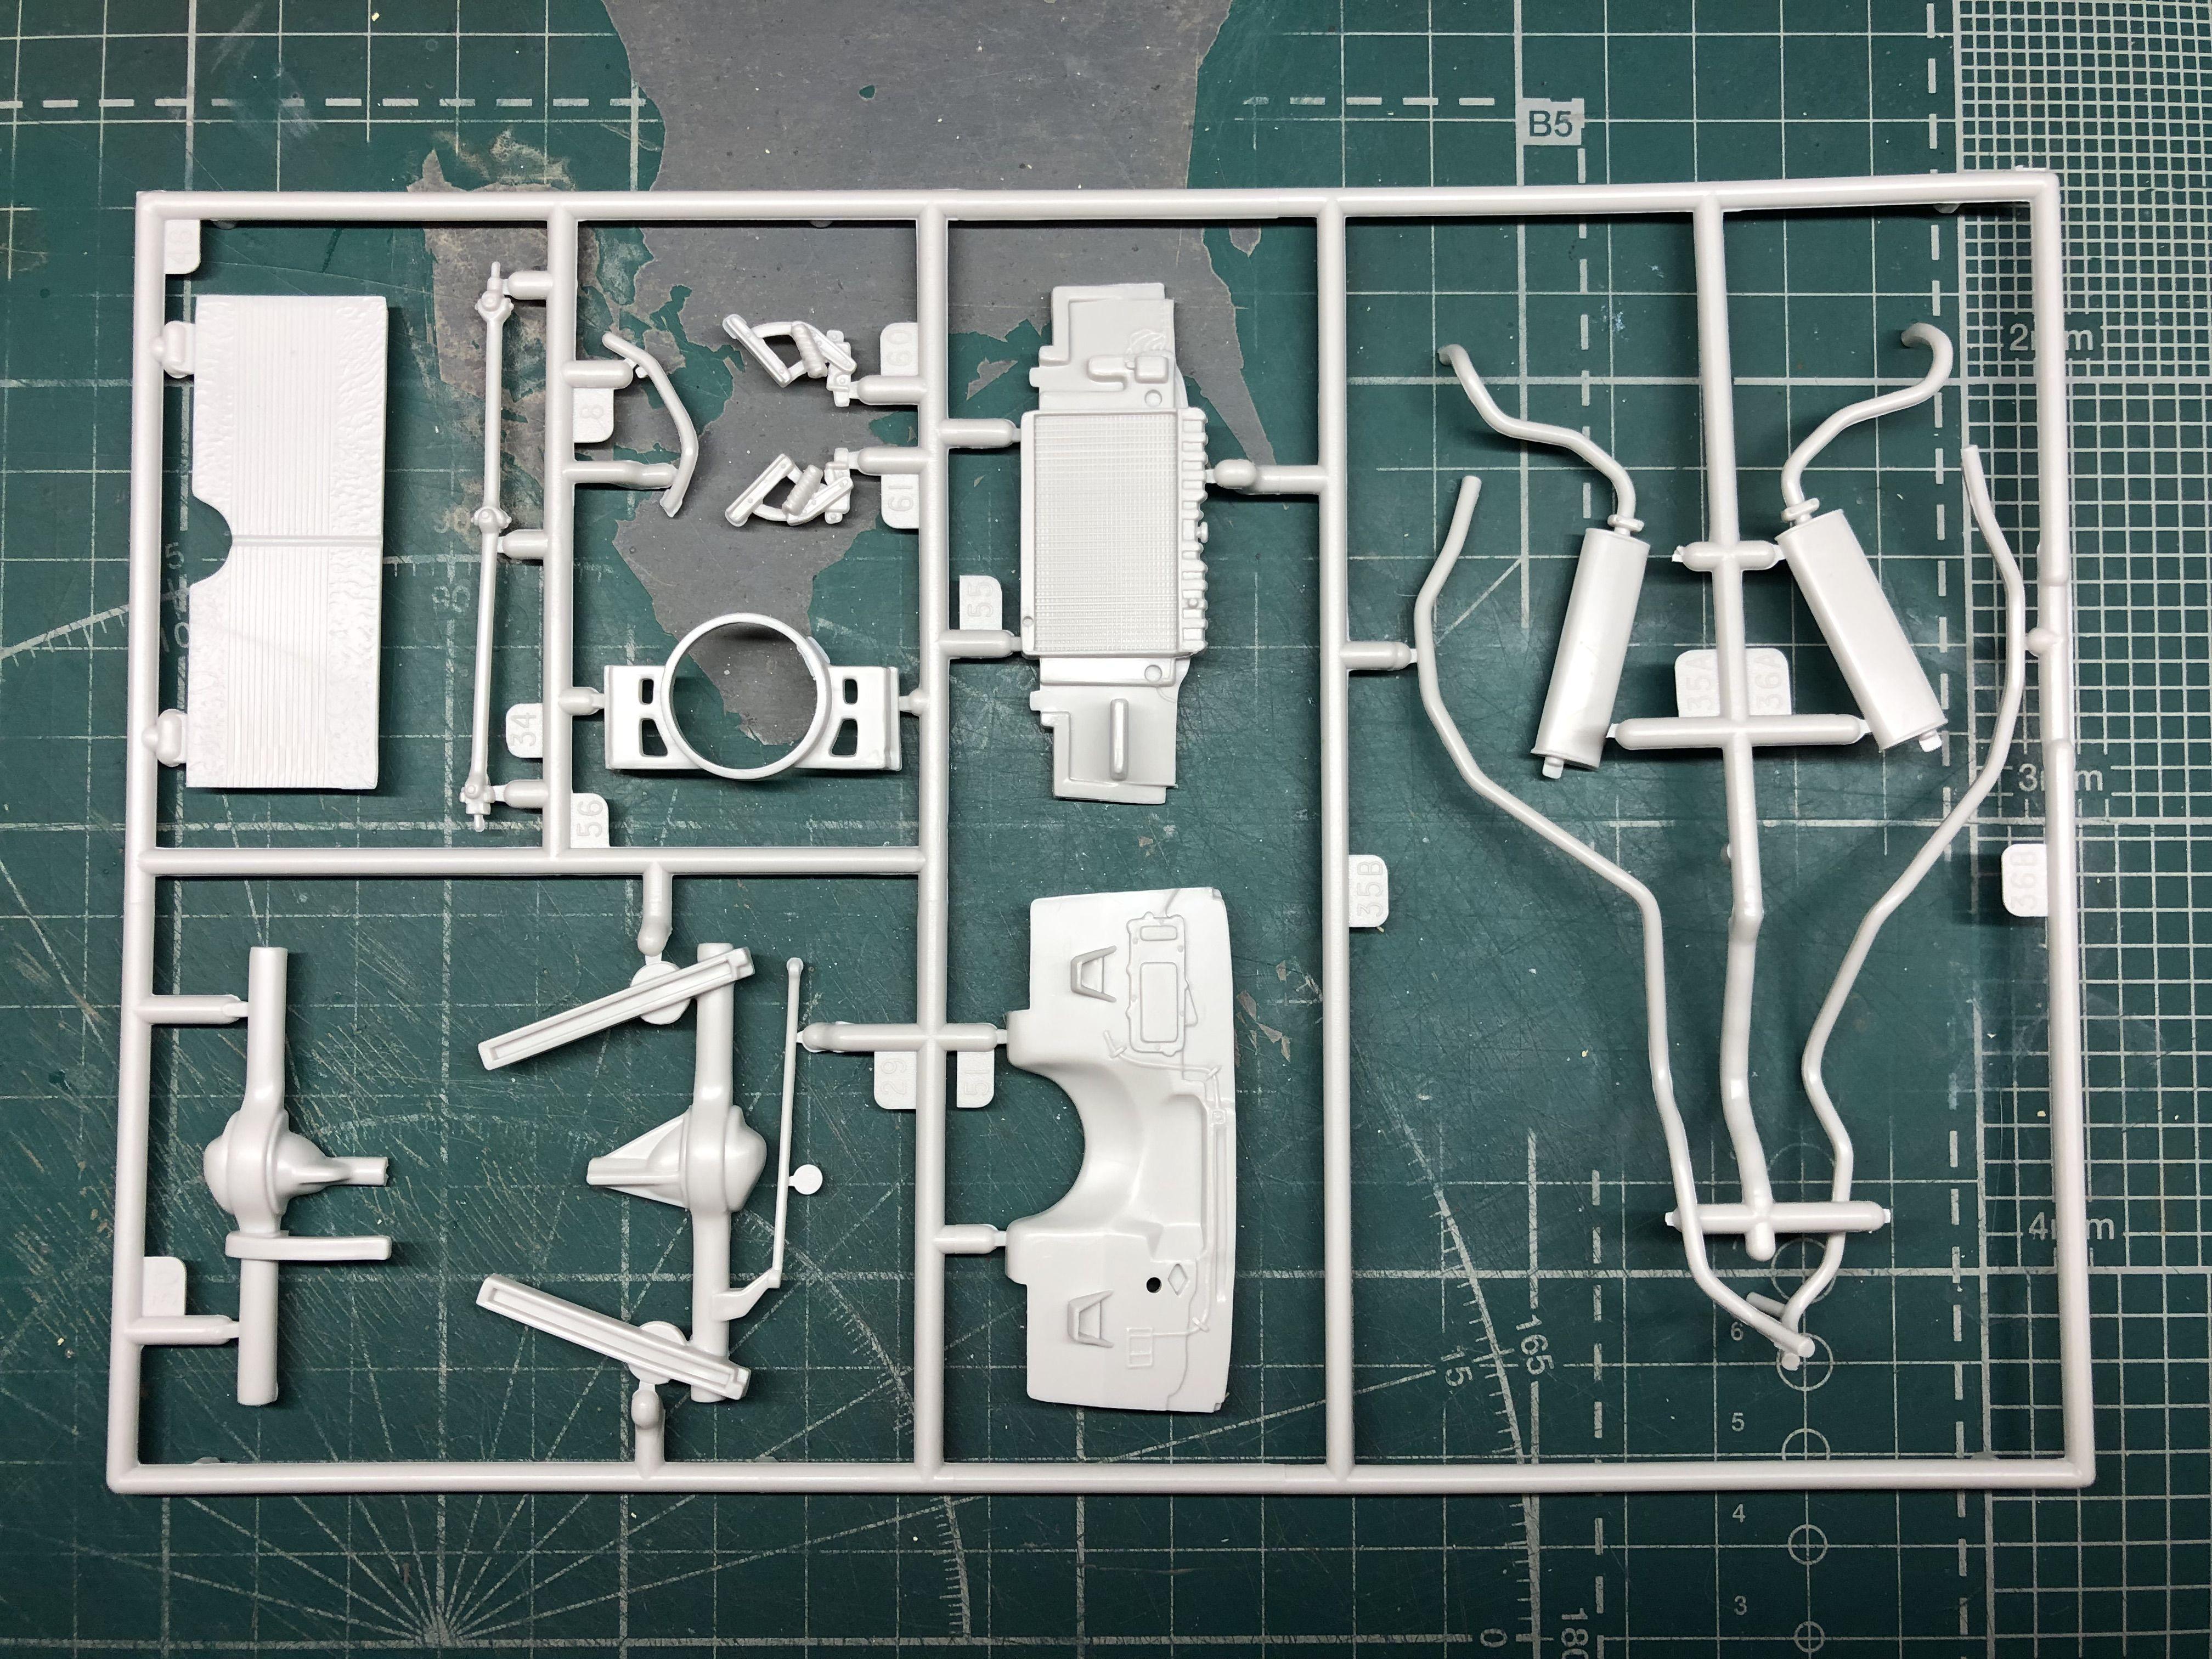
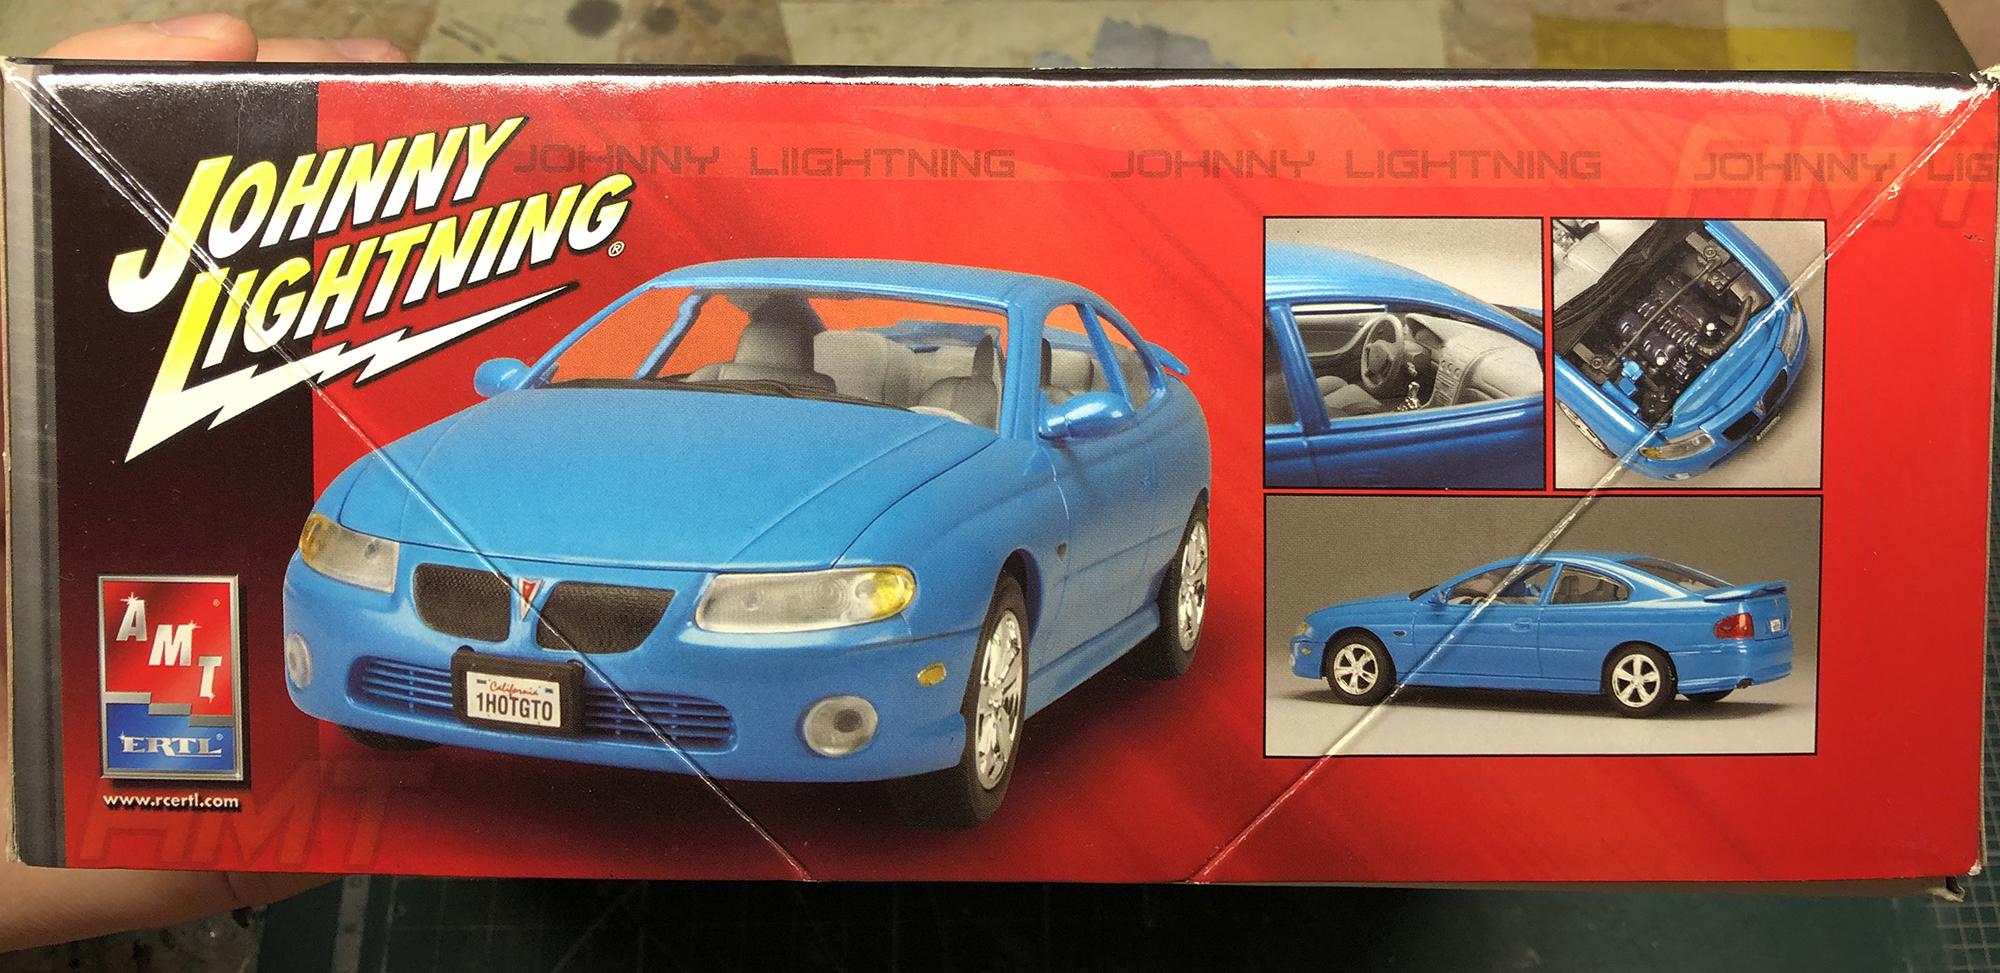
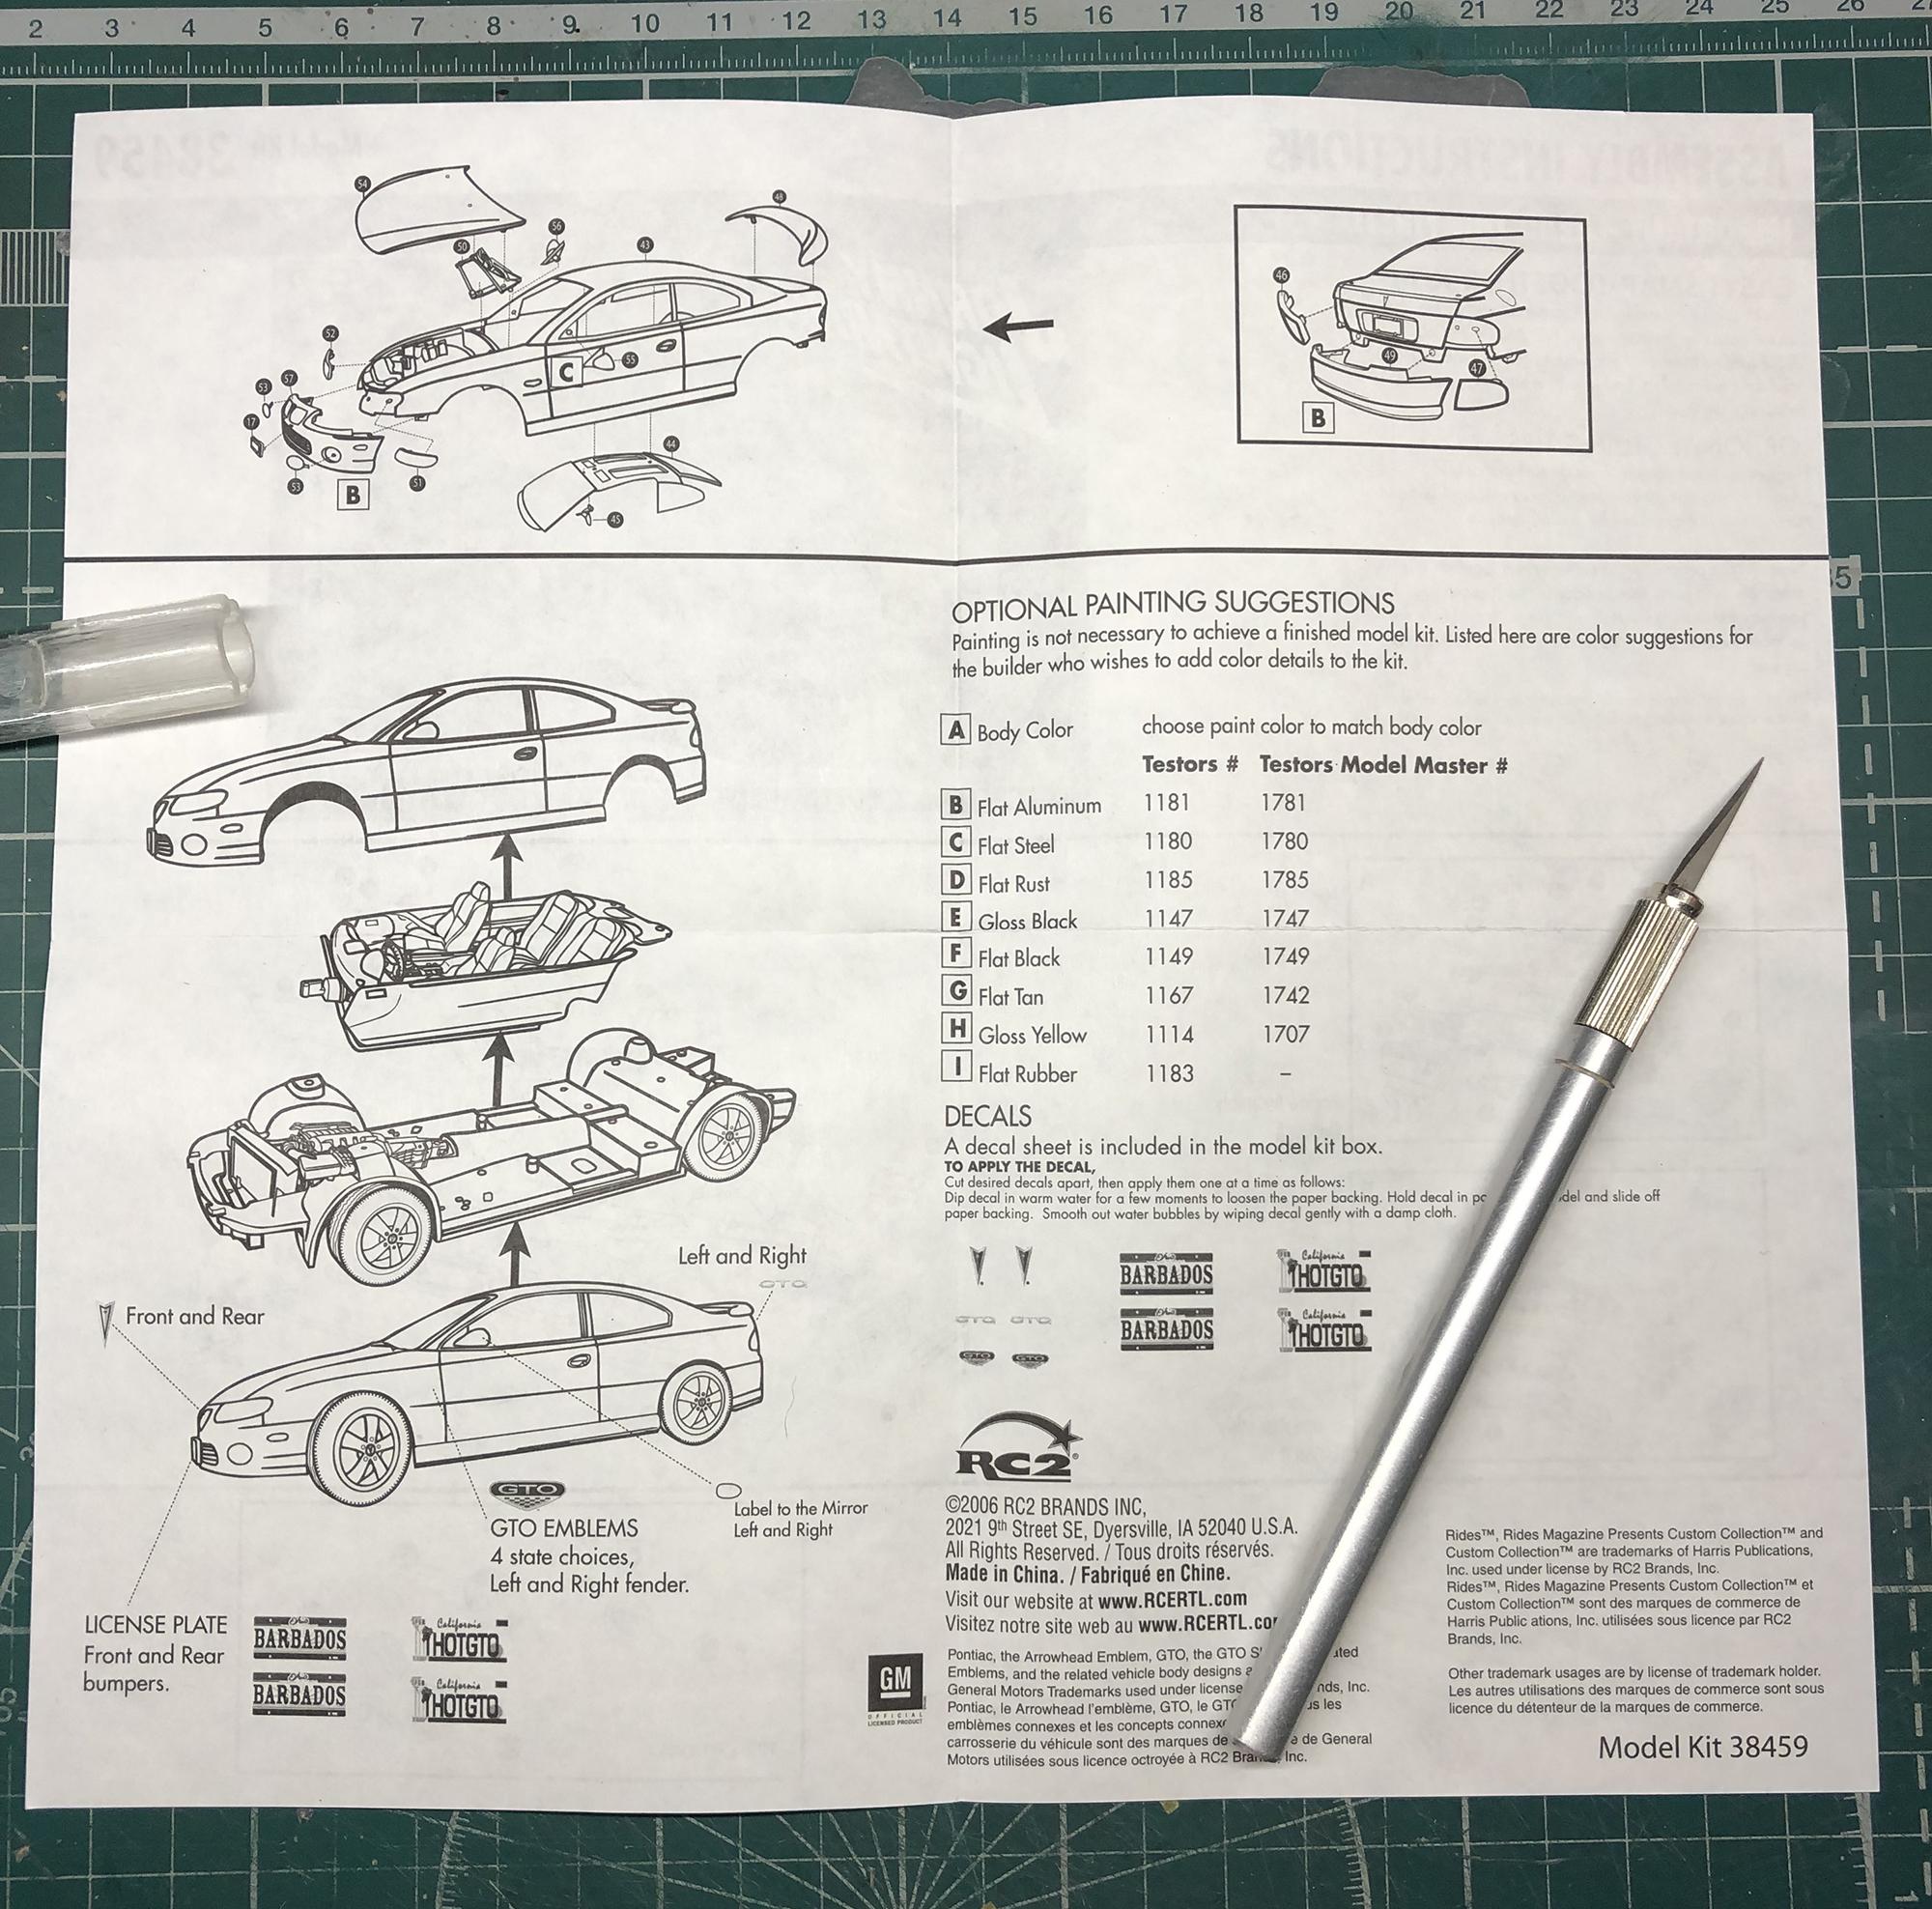
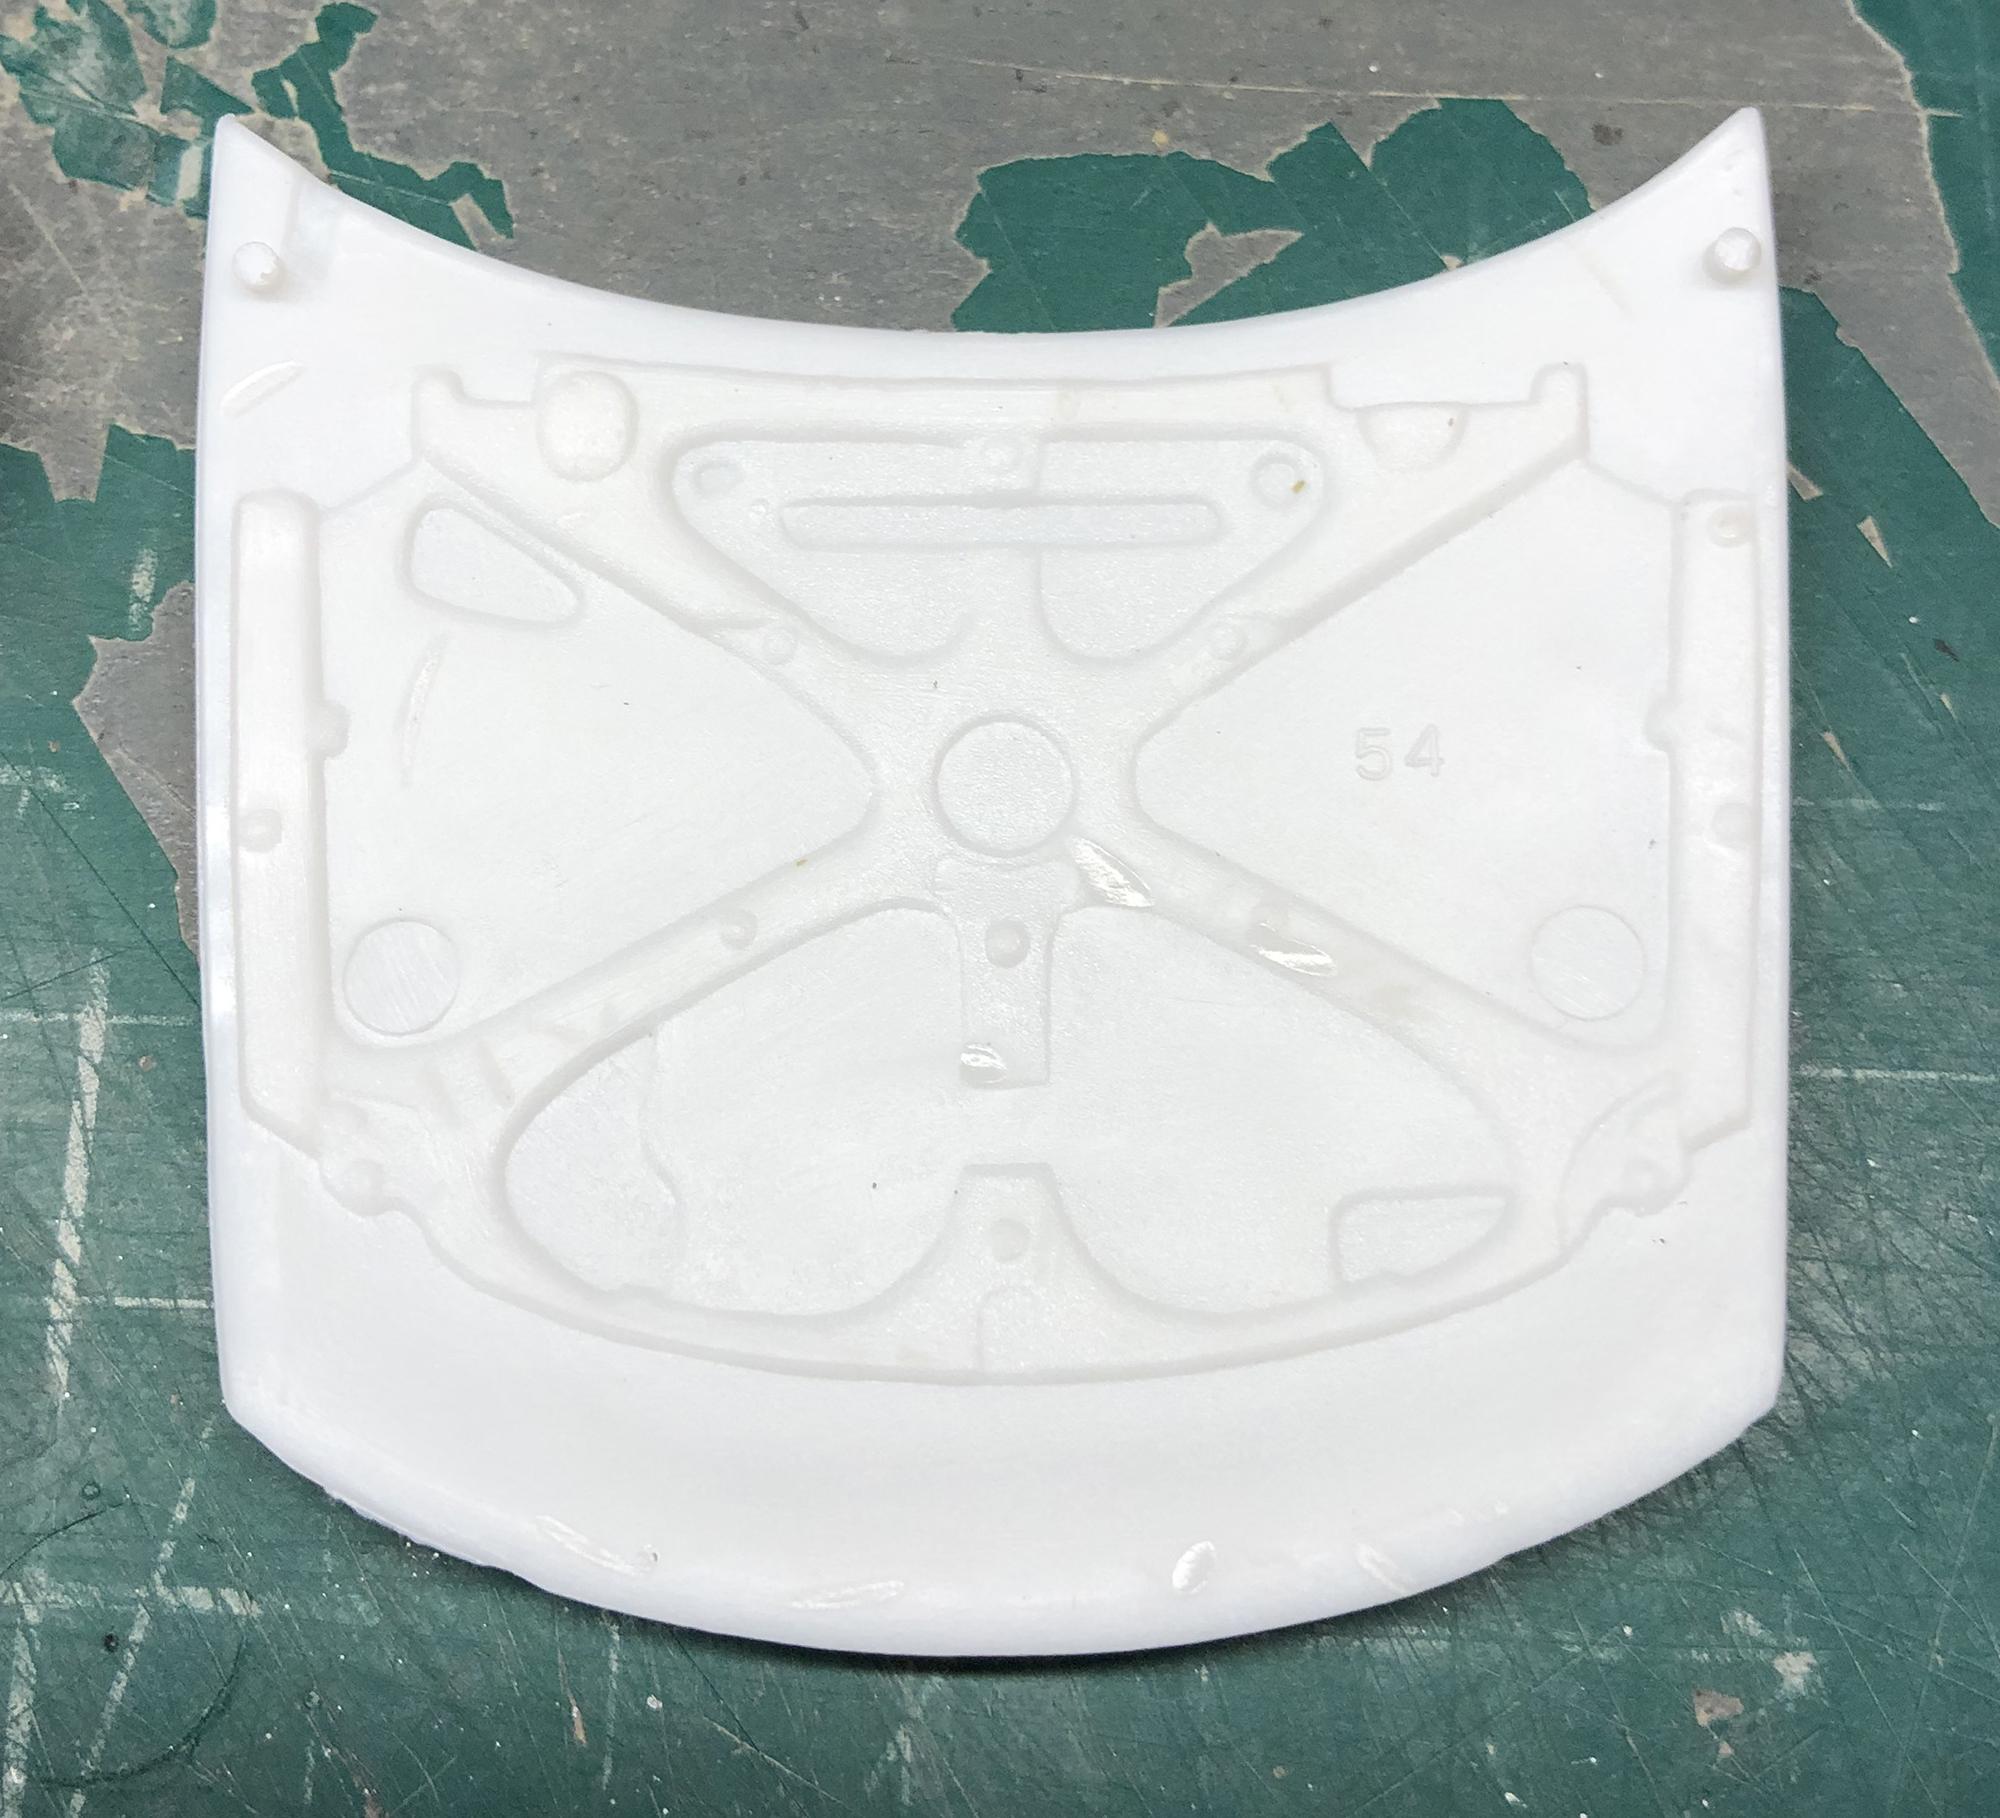
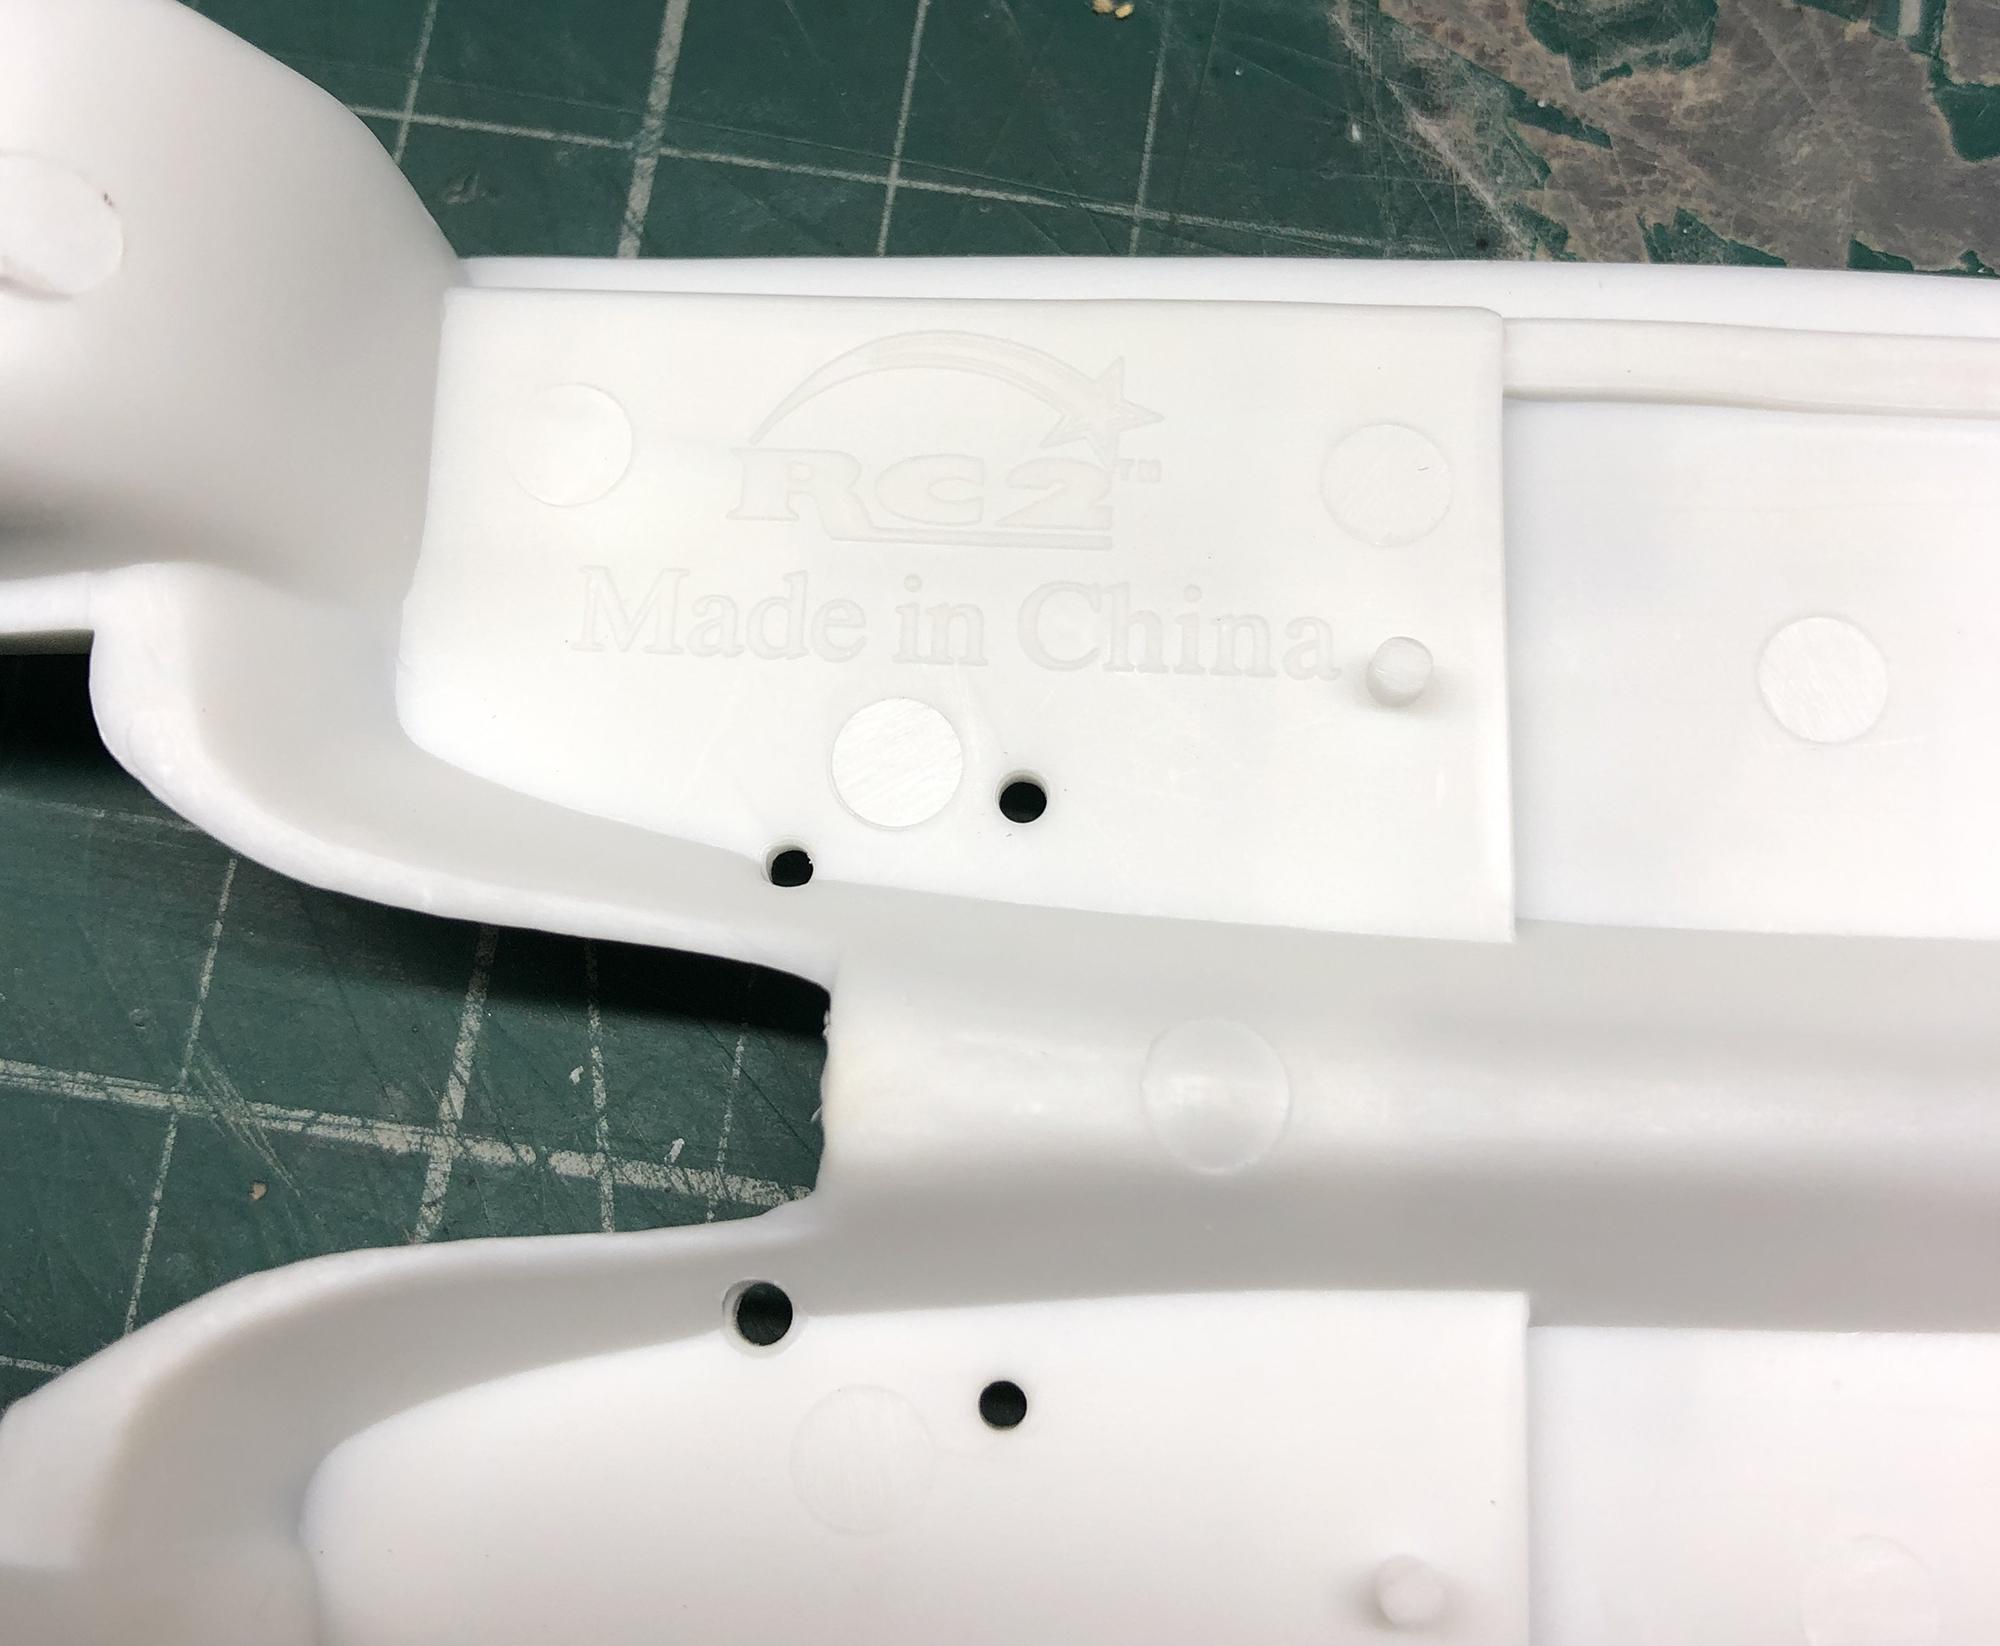
Hi all. It's time to start a new box.🙂 Here's what I chose this time. This is the first time I've come across such a short manual. A very, very small leaf and everything is explained very small and briefly. As we can see from the instructions, this is a snap kit, but it is not at all suitable for beginners. Partly because of the poorly understood instructions, but more because of the fact that this is a very highly detailed snap kit. And this is very good for me. Let's start looking at what's in the box. Mirrors are given with a metal sticker, it's very, very cool. For the first time I see this in AMT kits. The rubber is also of excellent quality. First of all, I decided to correct the shape of the engine cover. Before. After. Next, I made the missing parts where the high voltage wires will lead. That's all for now, thanks for your attention.
-
https://aliexpress.ru/item/1005002848450517.html?gatewayAdapt=glo2rus&sku_id=12000022453646324&spm=a2g0s.12269583.0.0.6deb2d66a2ICGQ
-
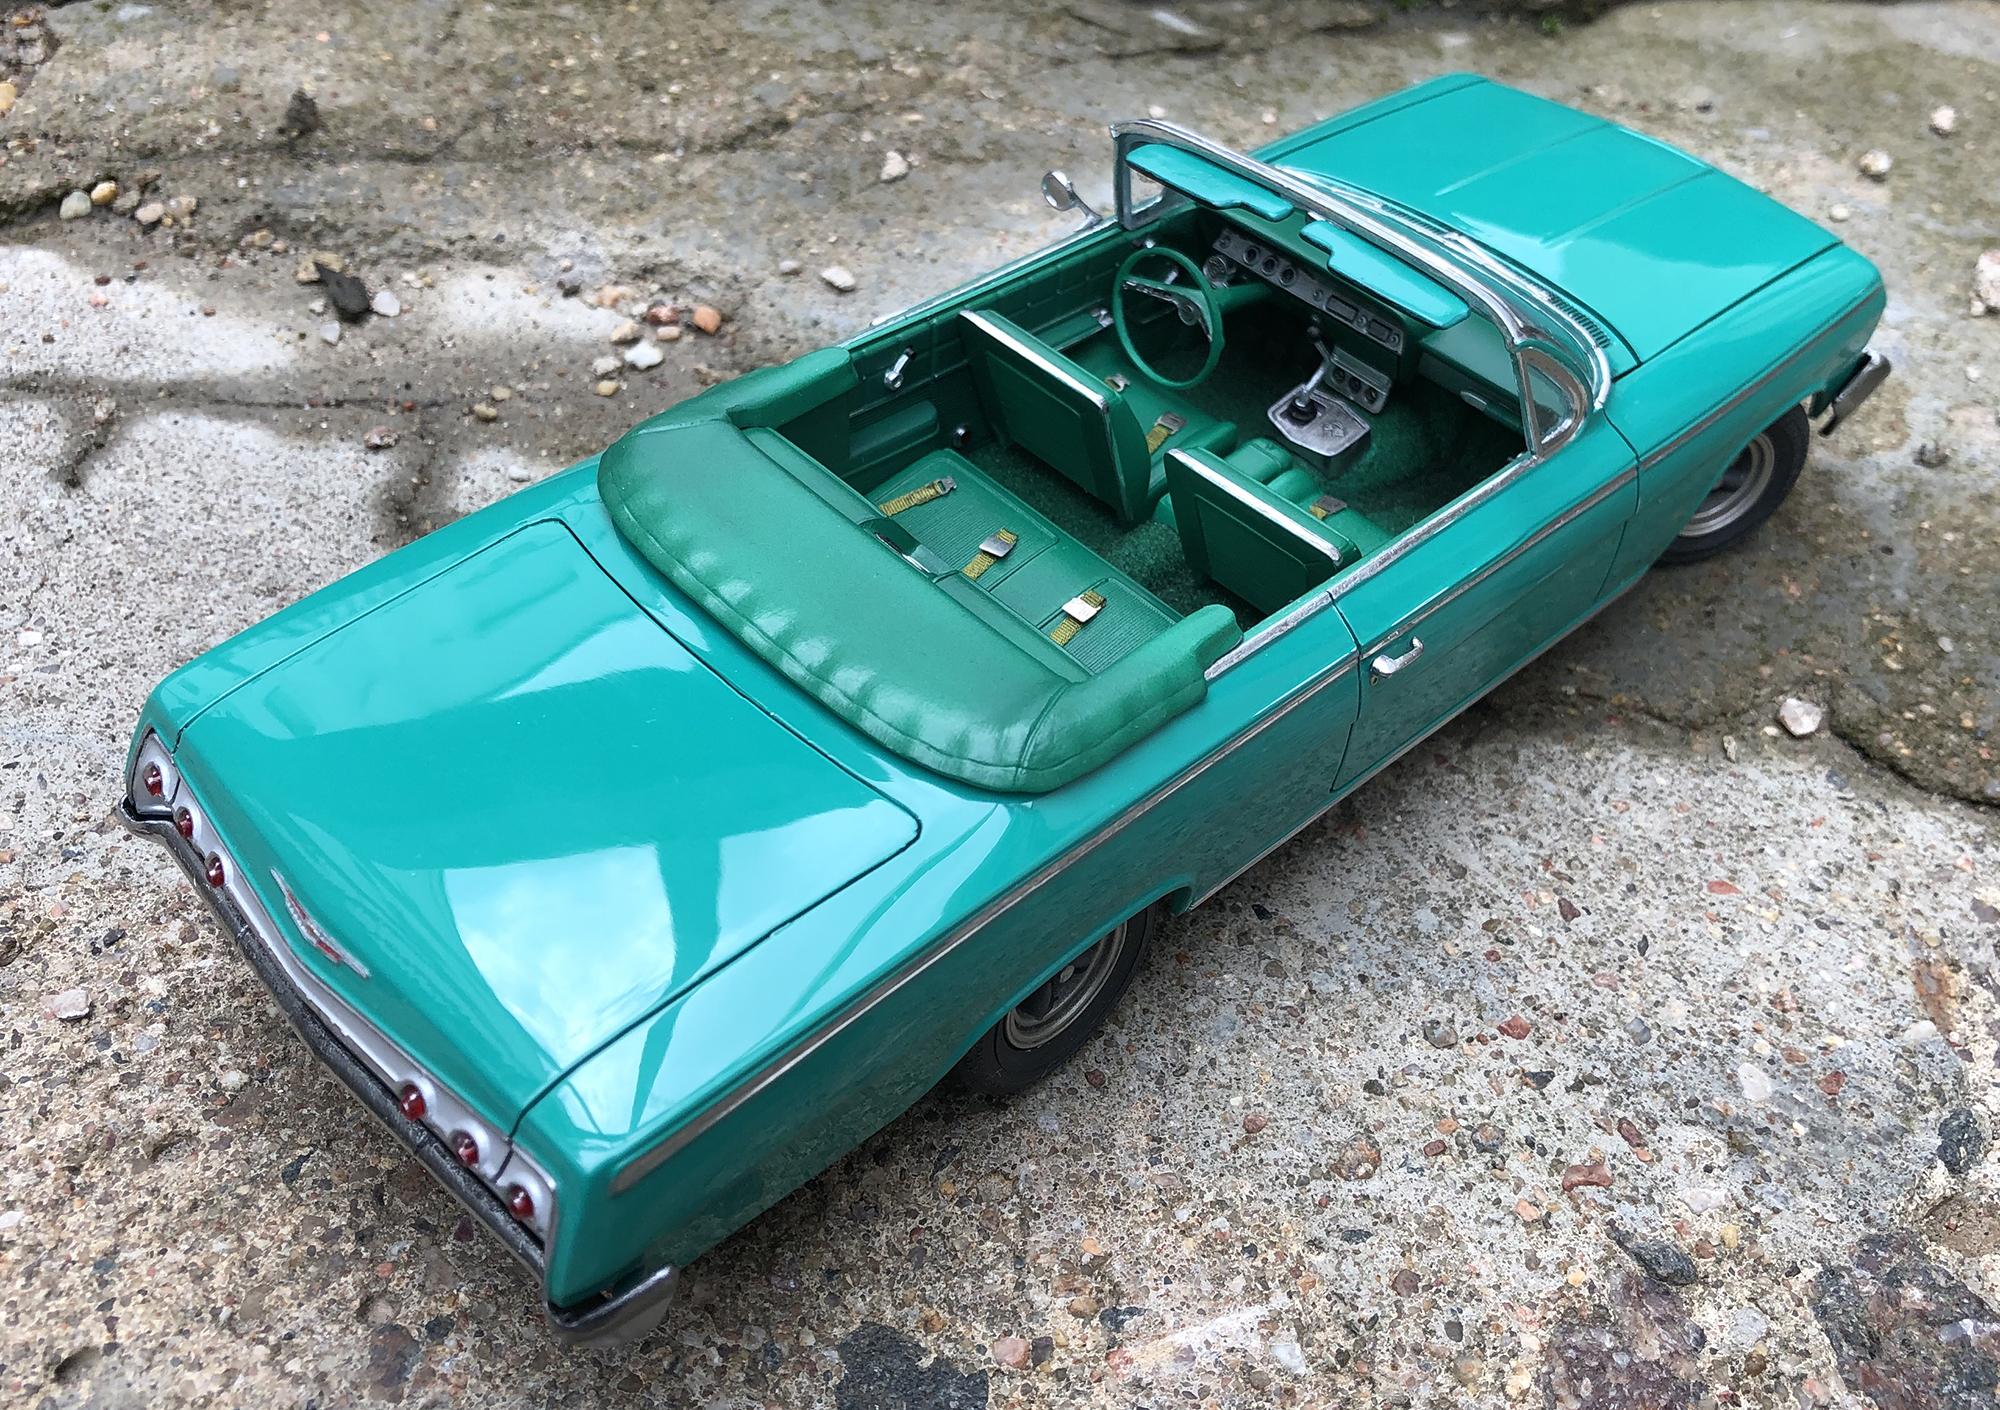
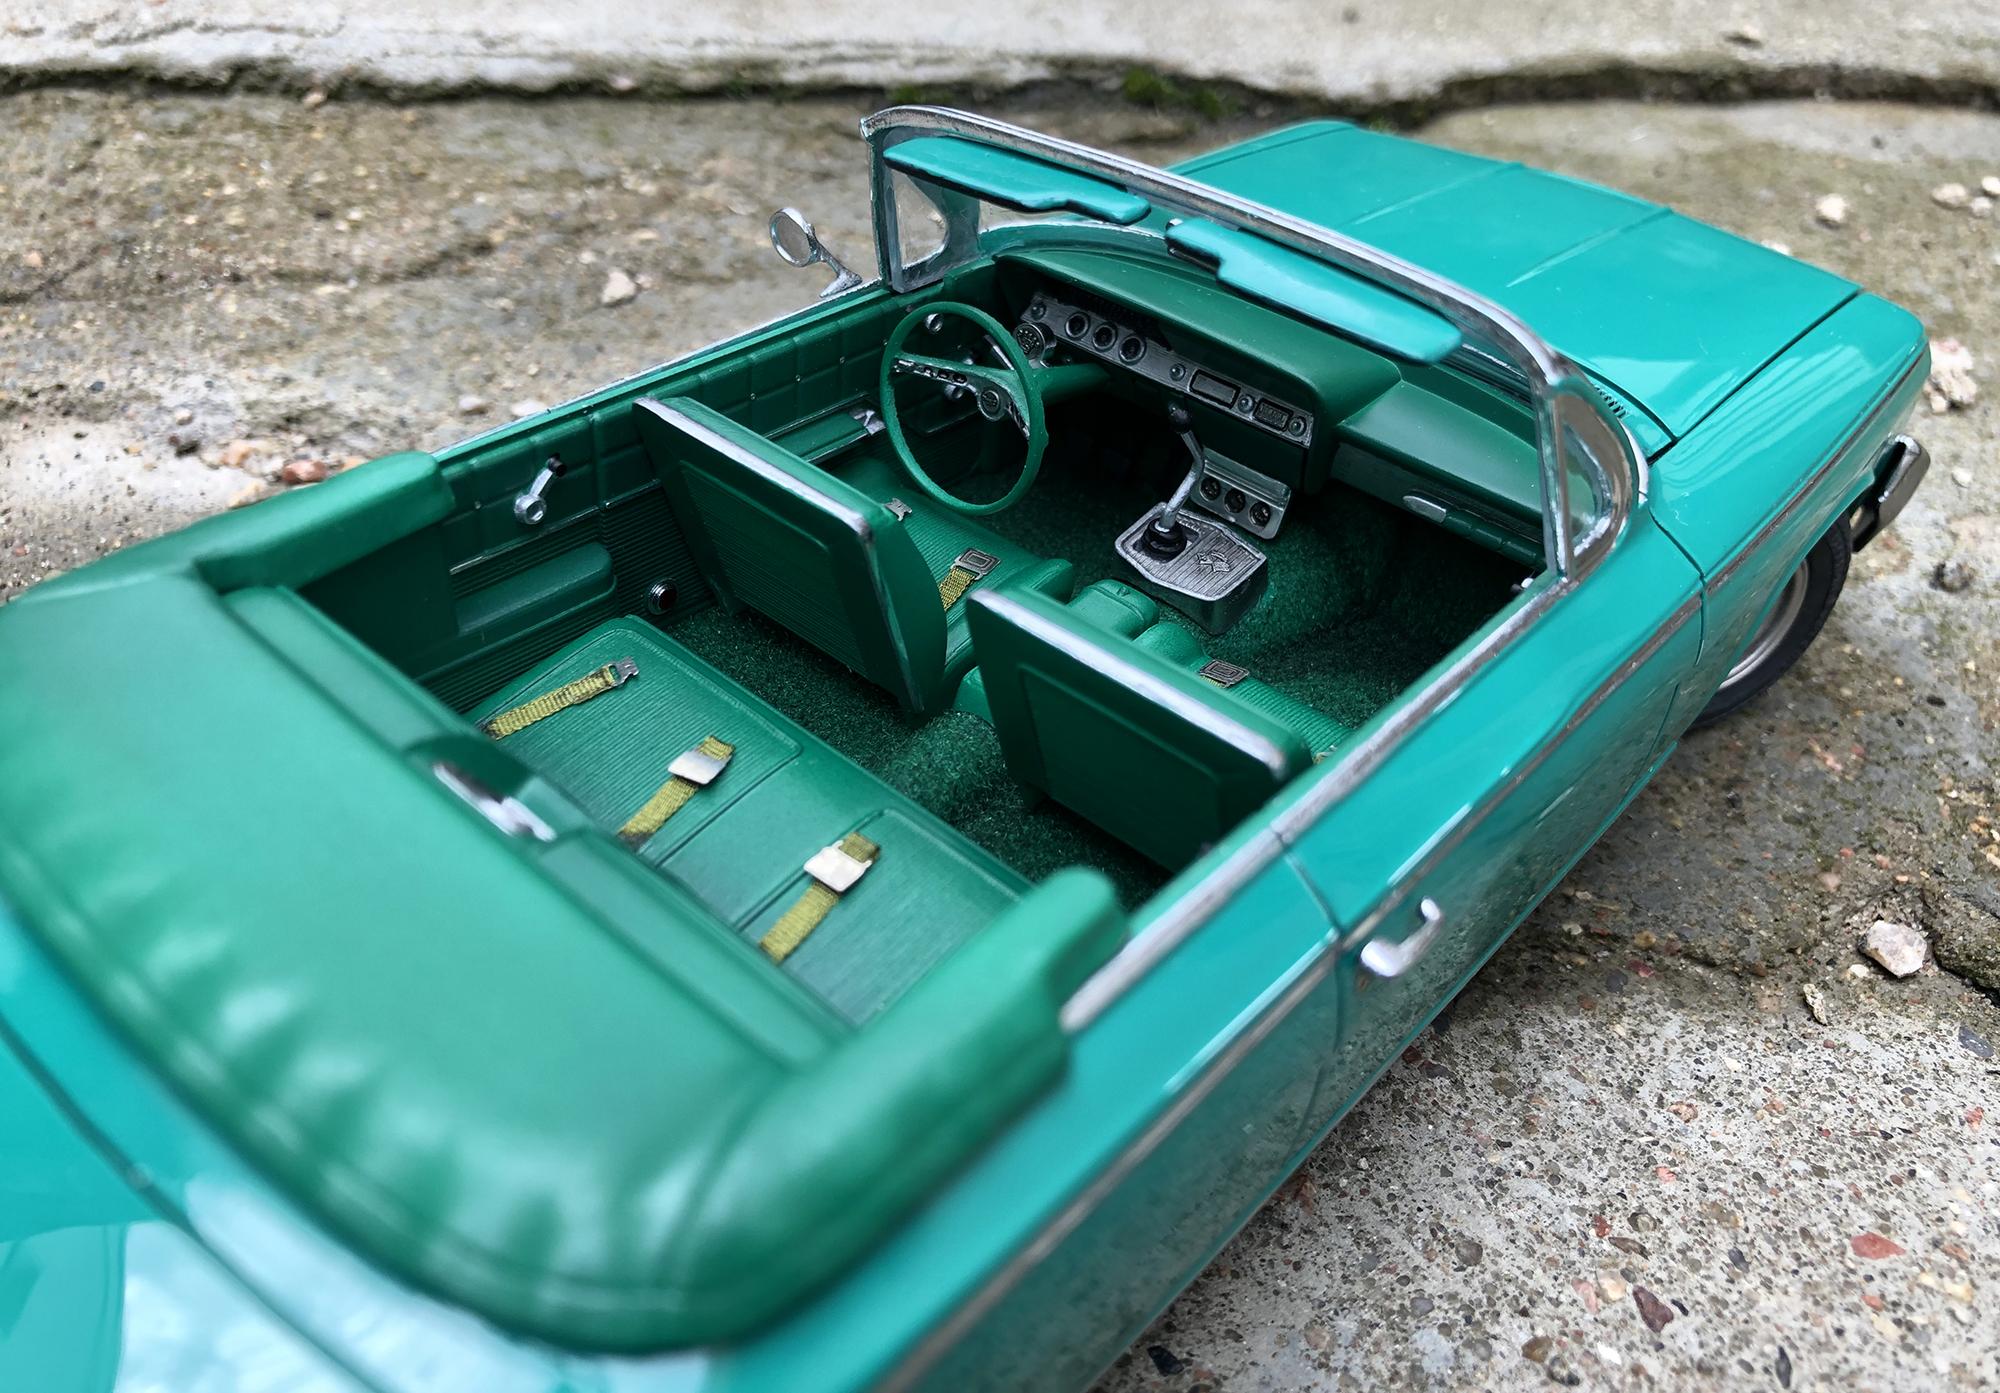
Good afternoon friends. Finished another model. The body was painted with AMMO MIG 223 Interior Turquoise Green, the interior interfered with Mr.Color GX: Morrie Green (GX-6) + Mr.Color C005 Blue Gloss. Chrome, except for bumpers - a marker from Aliexpress, bumpers - Alclad Chrome. Clearcoat - 2k zero paints. I decided not to use BMF this time, because. I absolutely don't like how it looks on large surfaces, such as the glazing frame, and also because of the poor shedding of moldings on the body itself. Thank you for your attention.🤠
-
Almost done.🙂
-
This is a 2mm silk ribbon from a craft store + photo-etched belt buckles from Model Car Garage.
-