Cuba_13
-
Posts
153 -
Joined
-
Last visited
Content Type
Profiles
Forums
Events
Gallery
Everything posted by Cuba_13
-
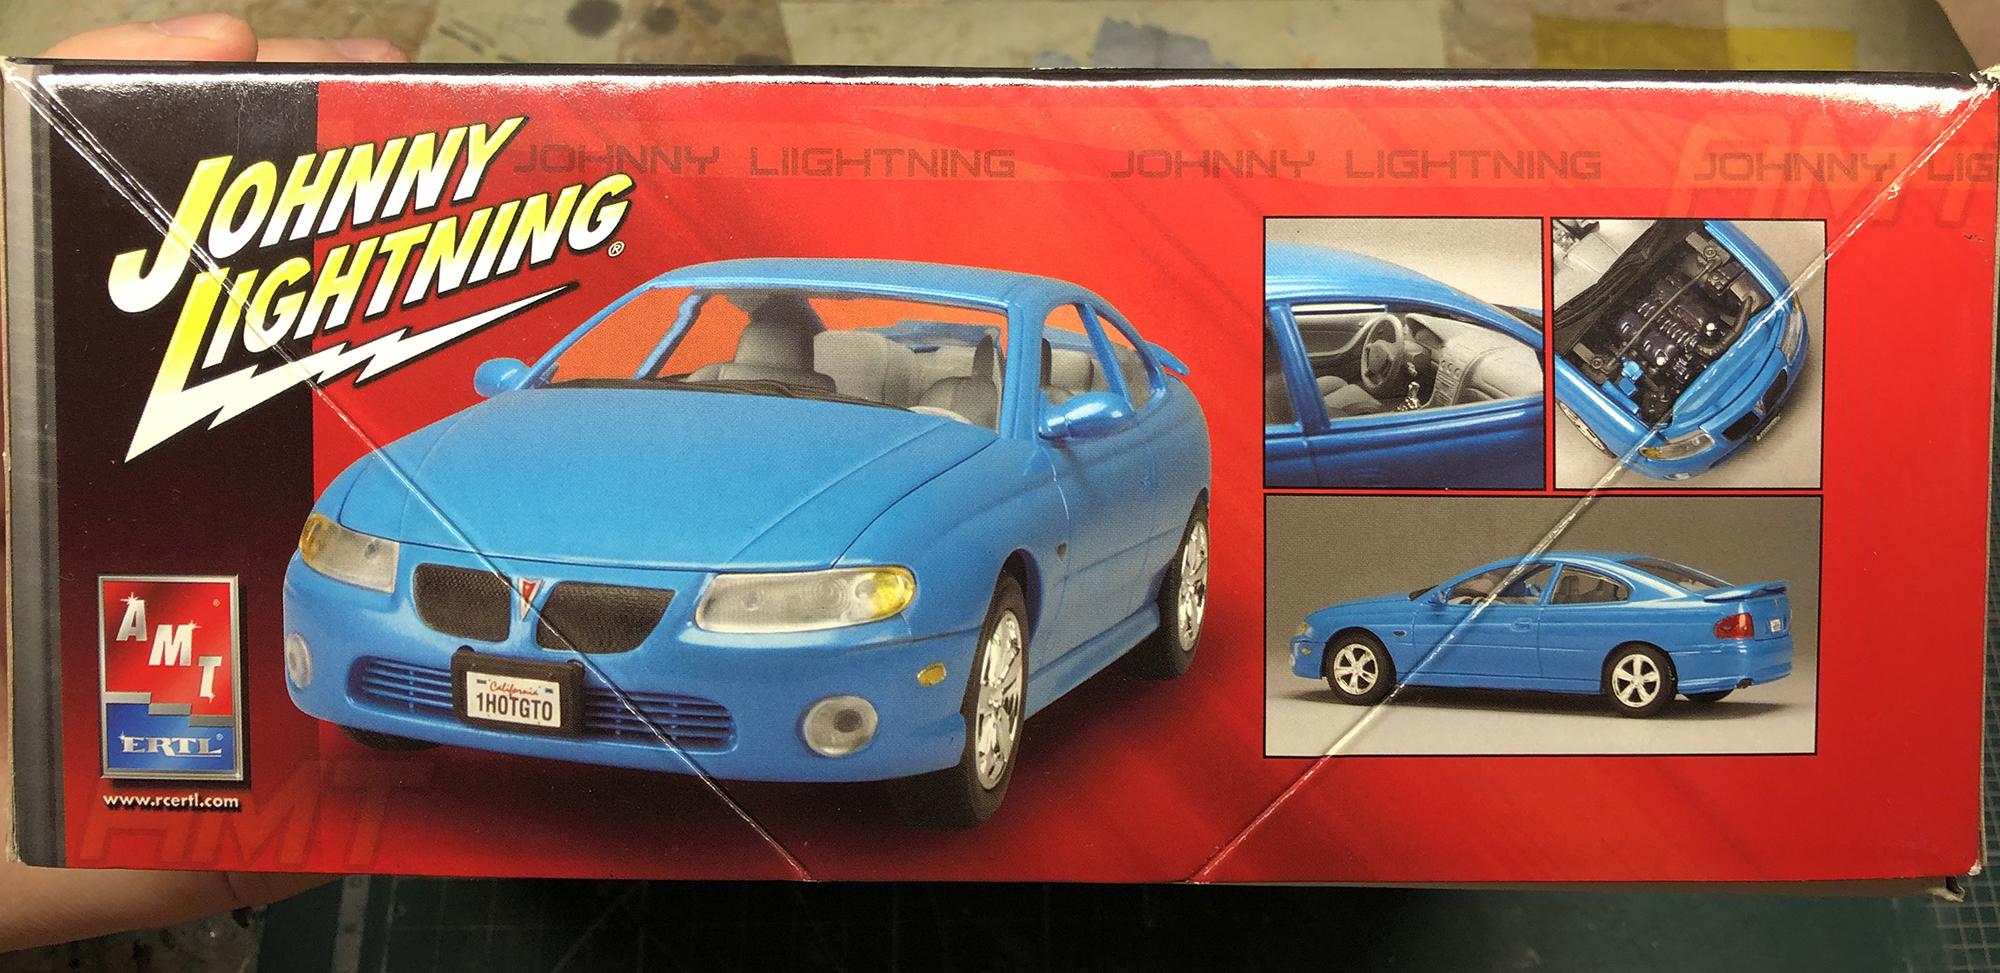
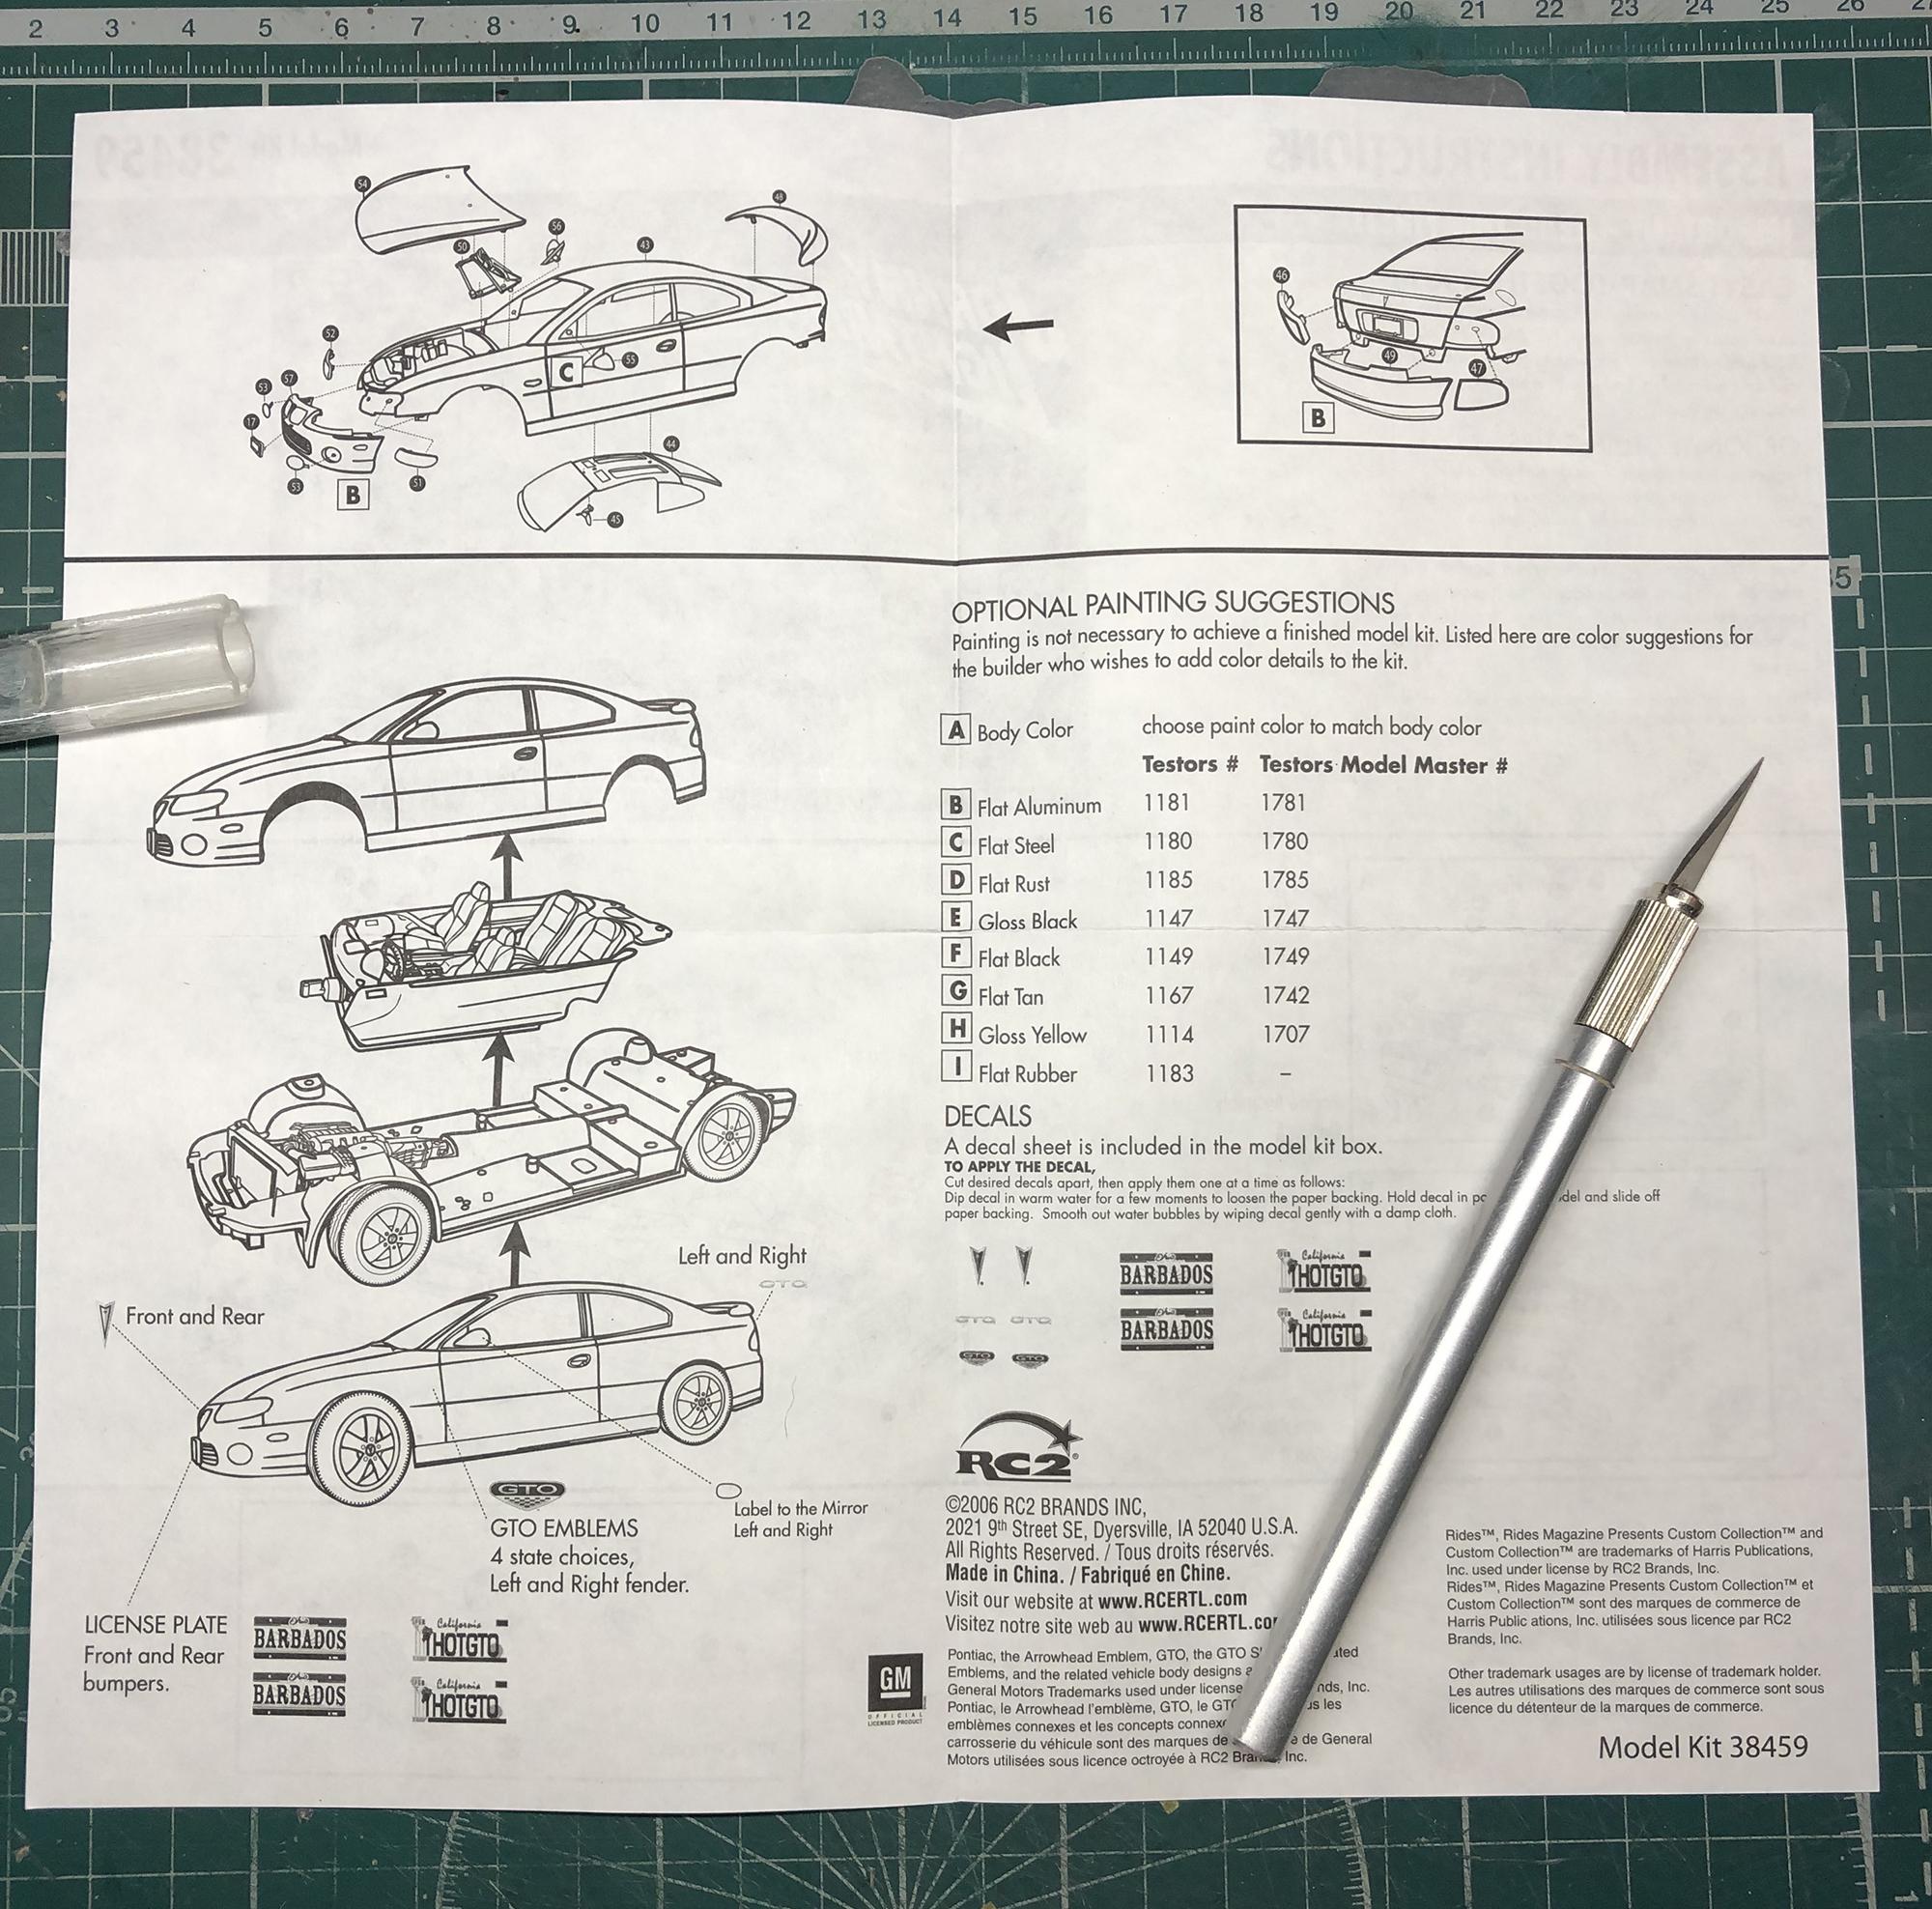
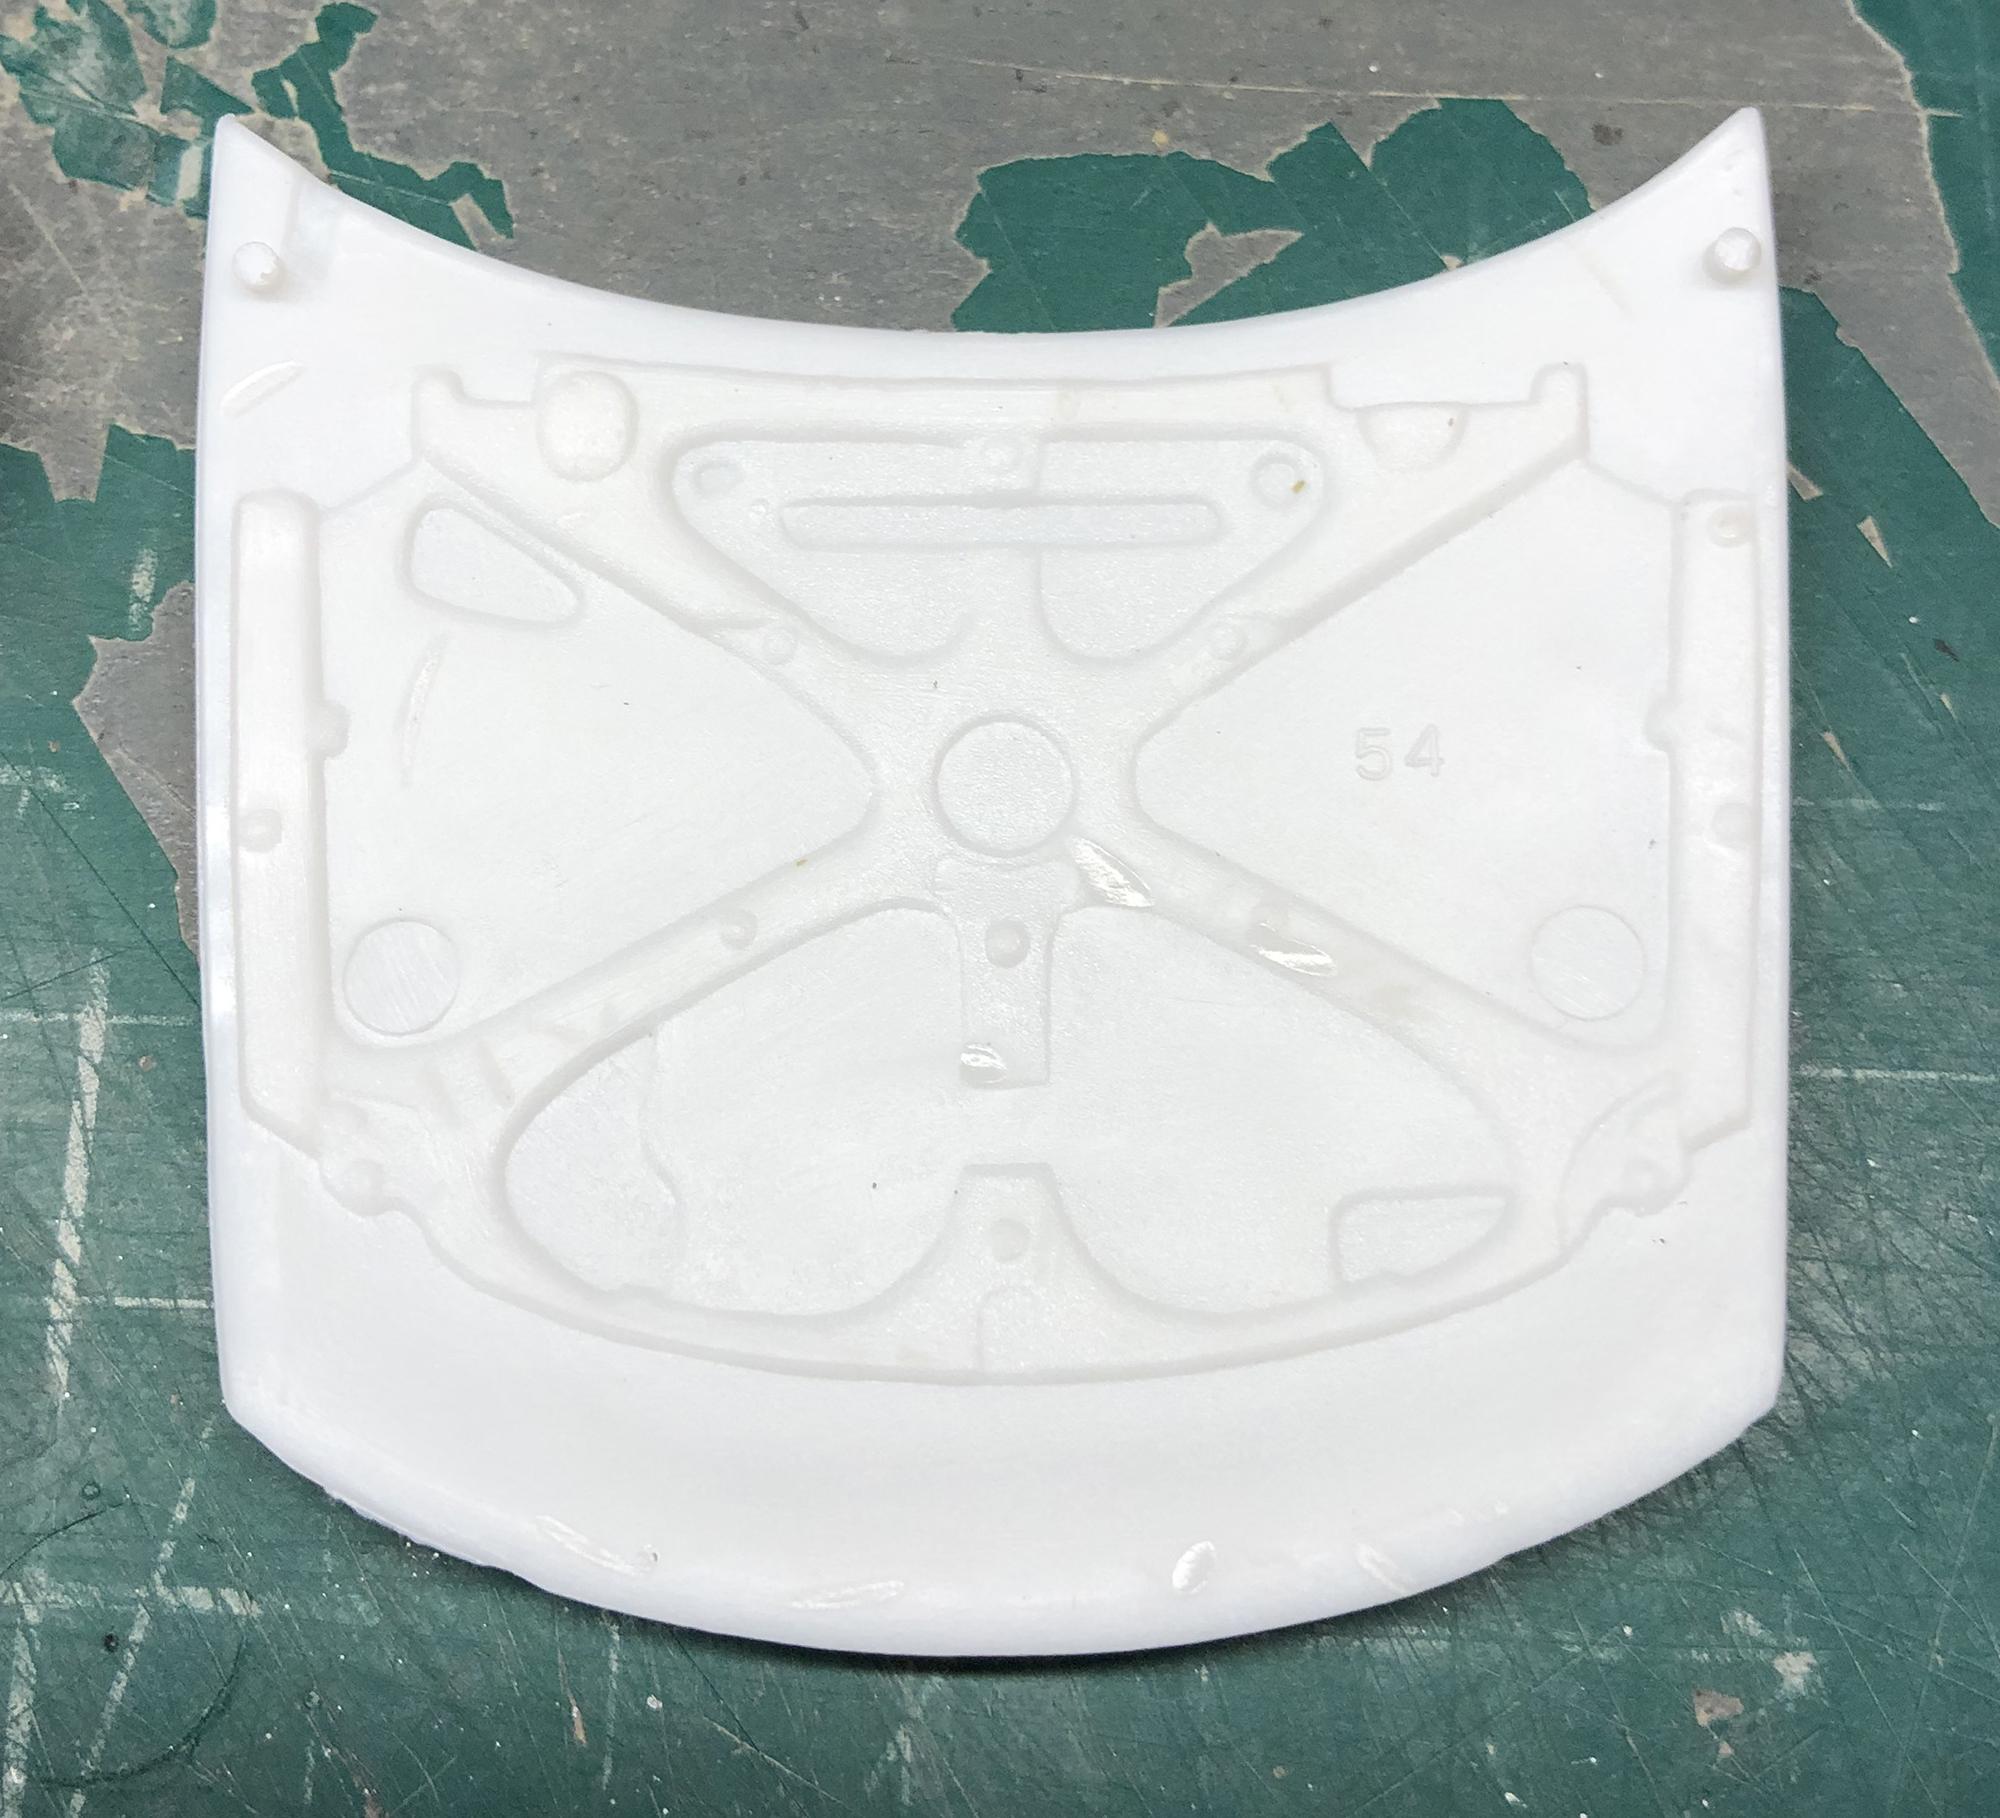
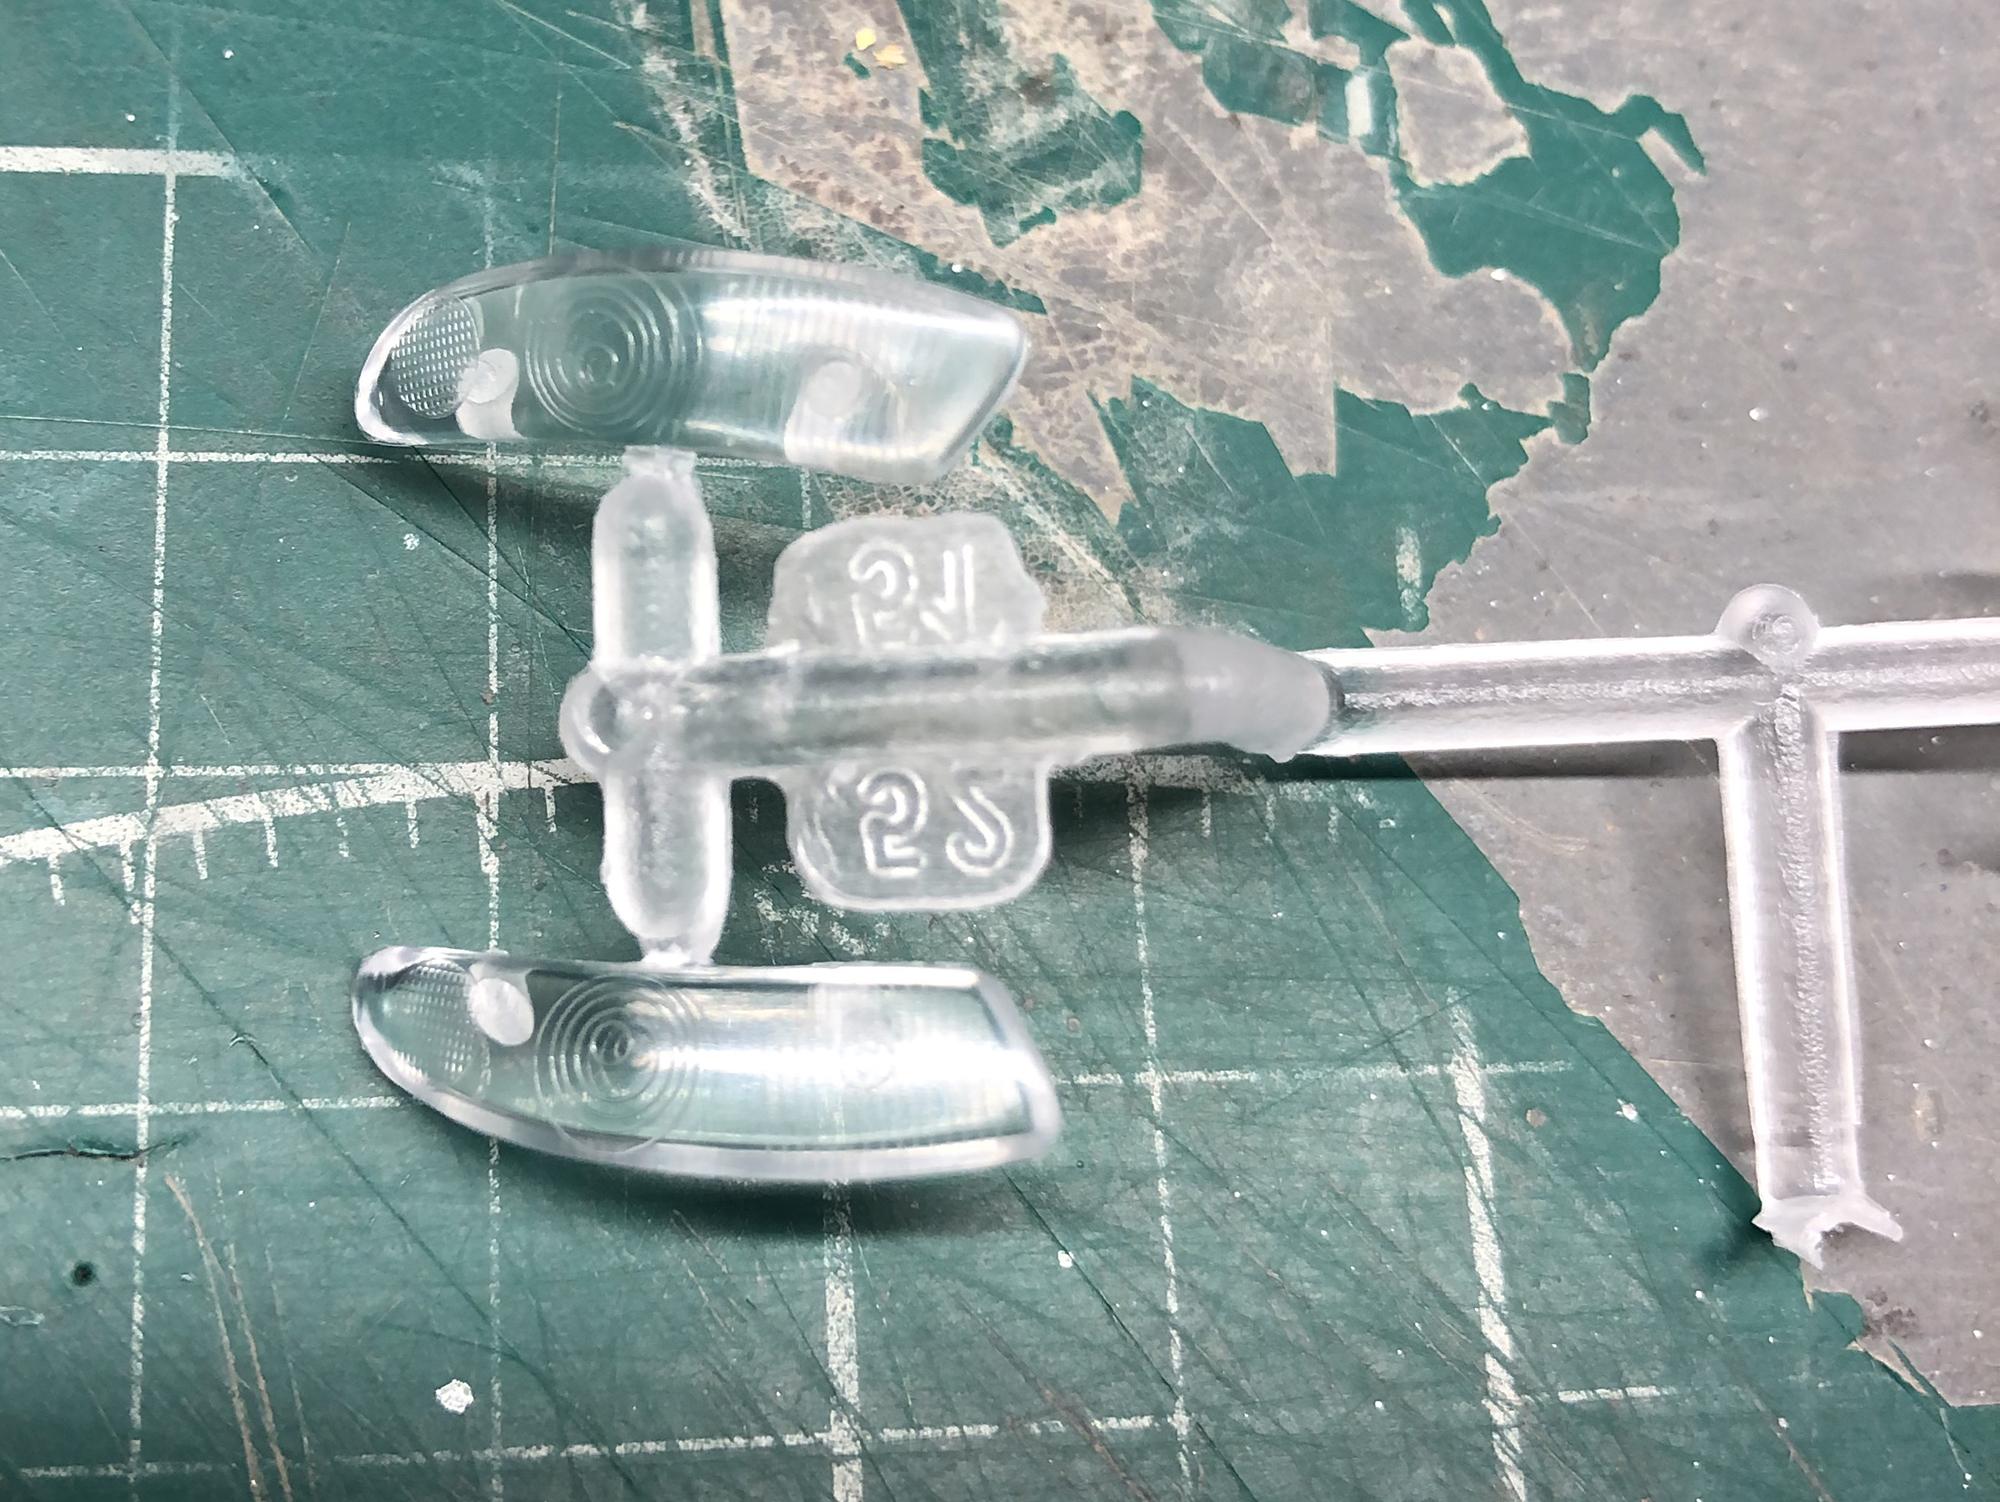
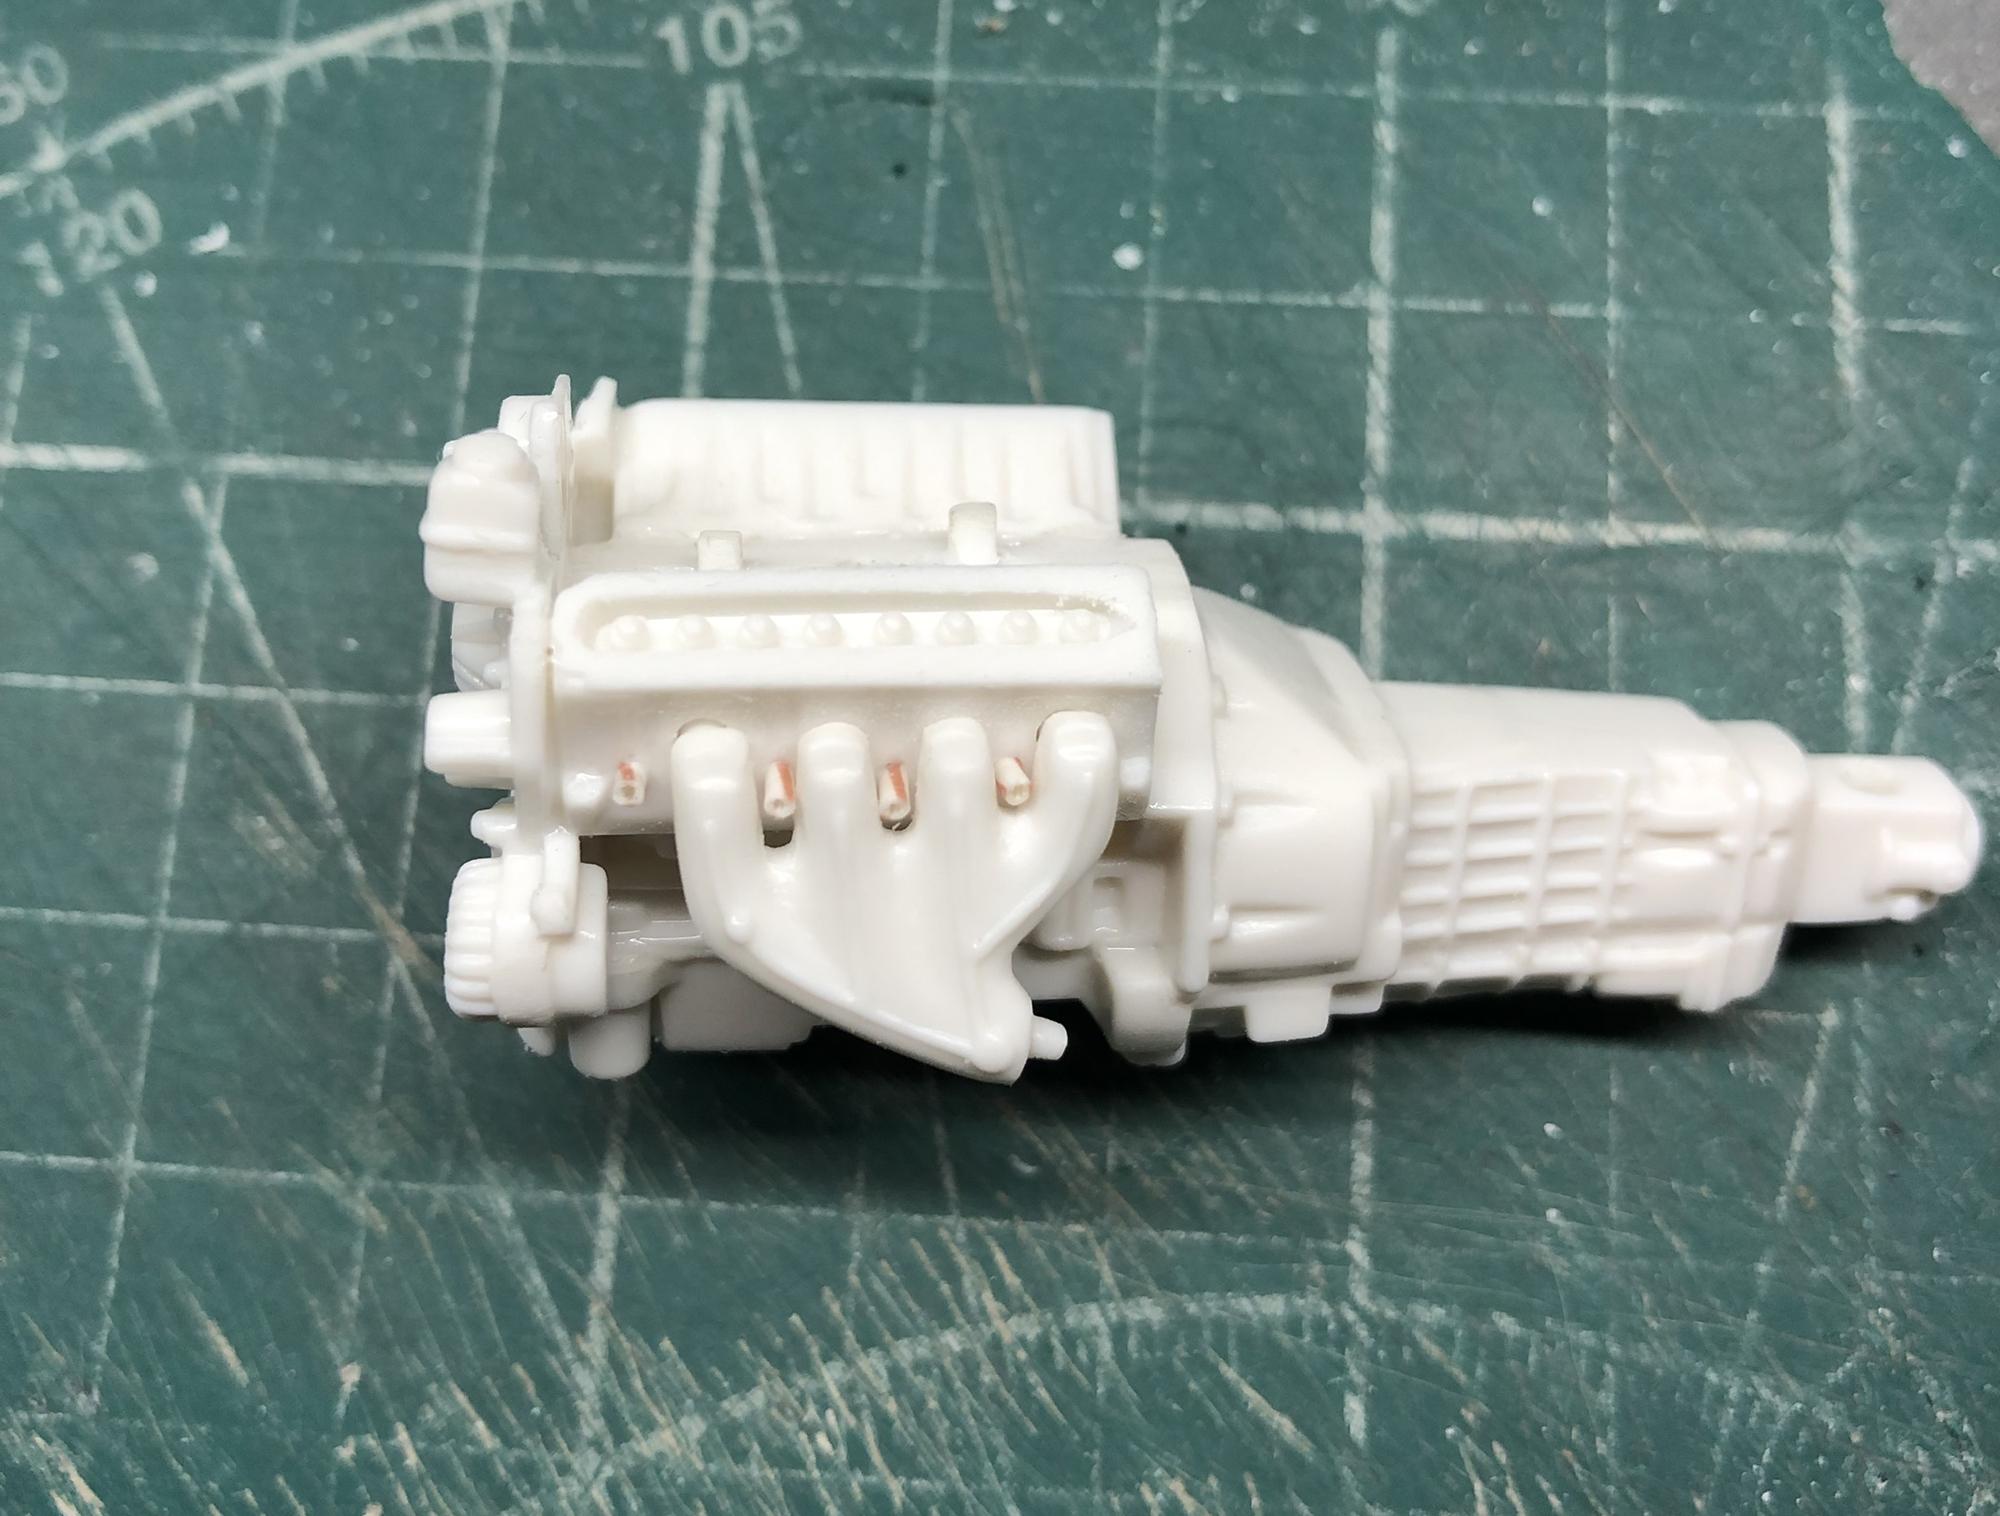
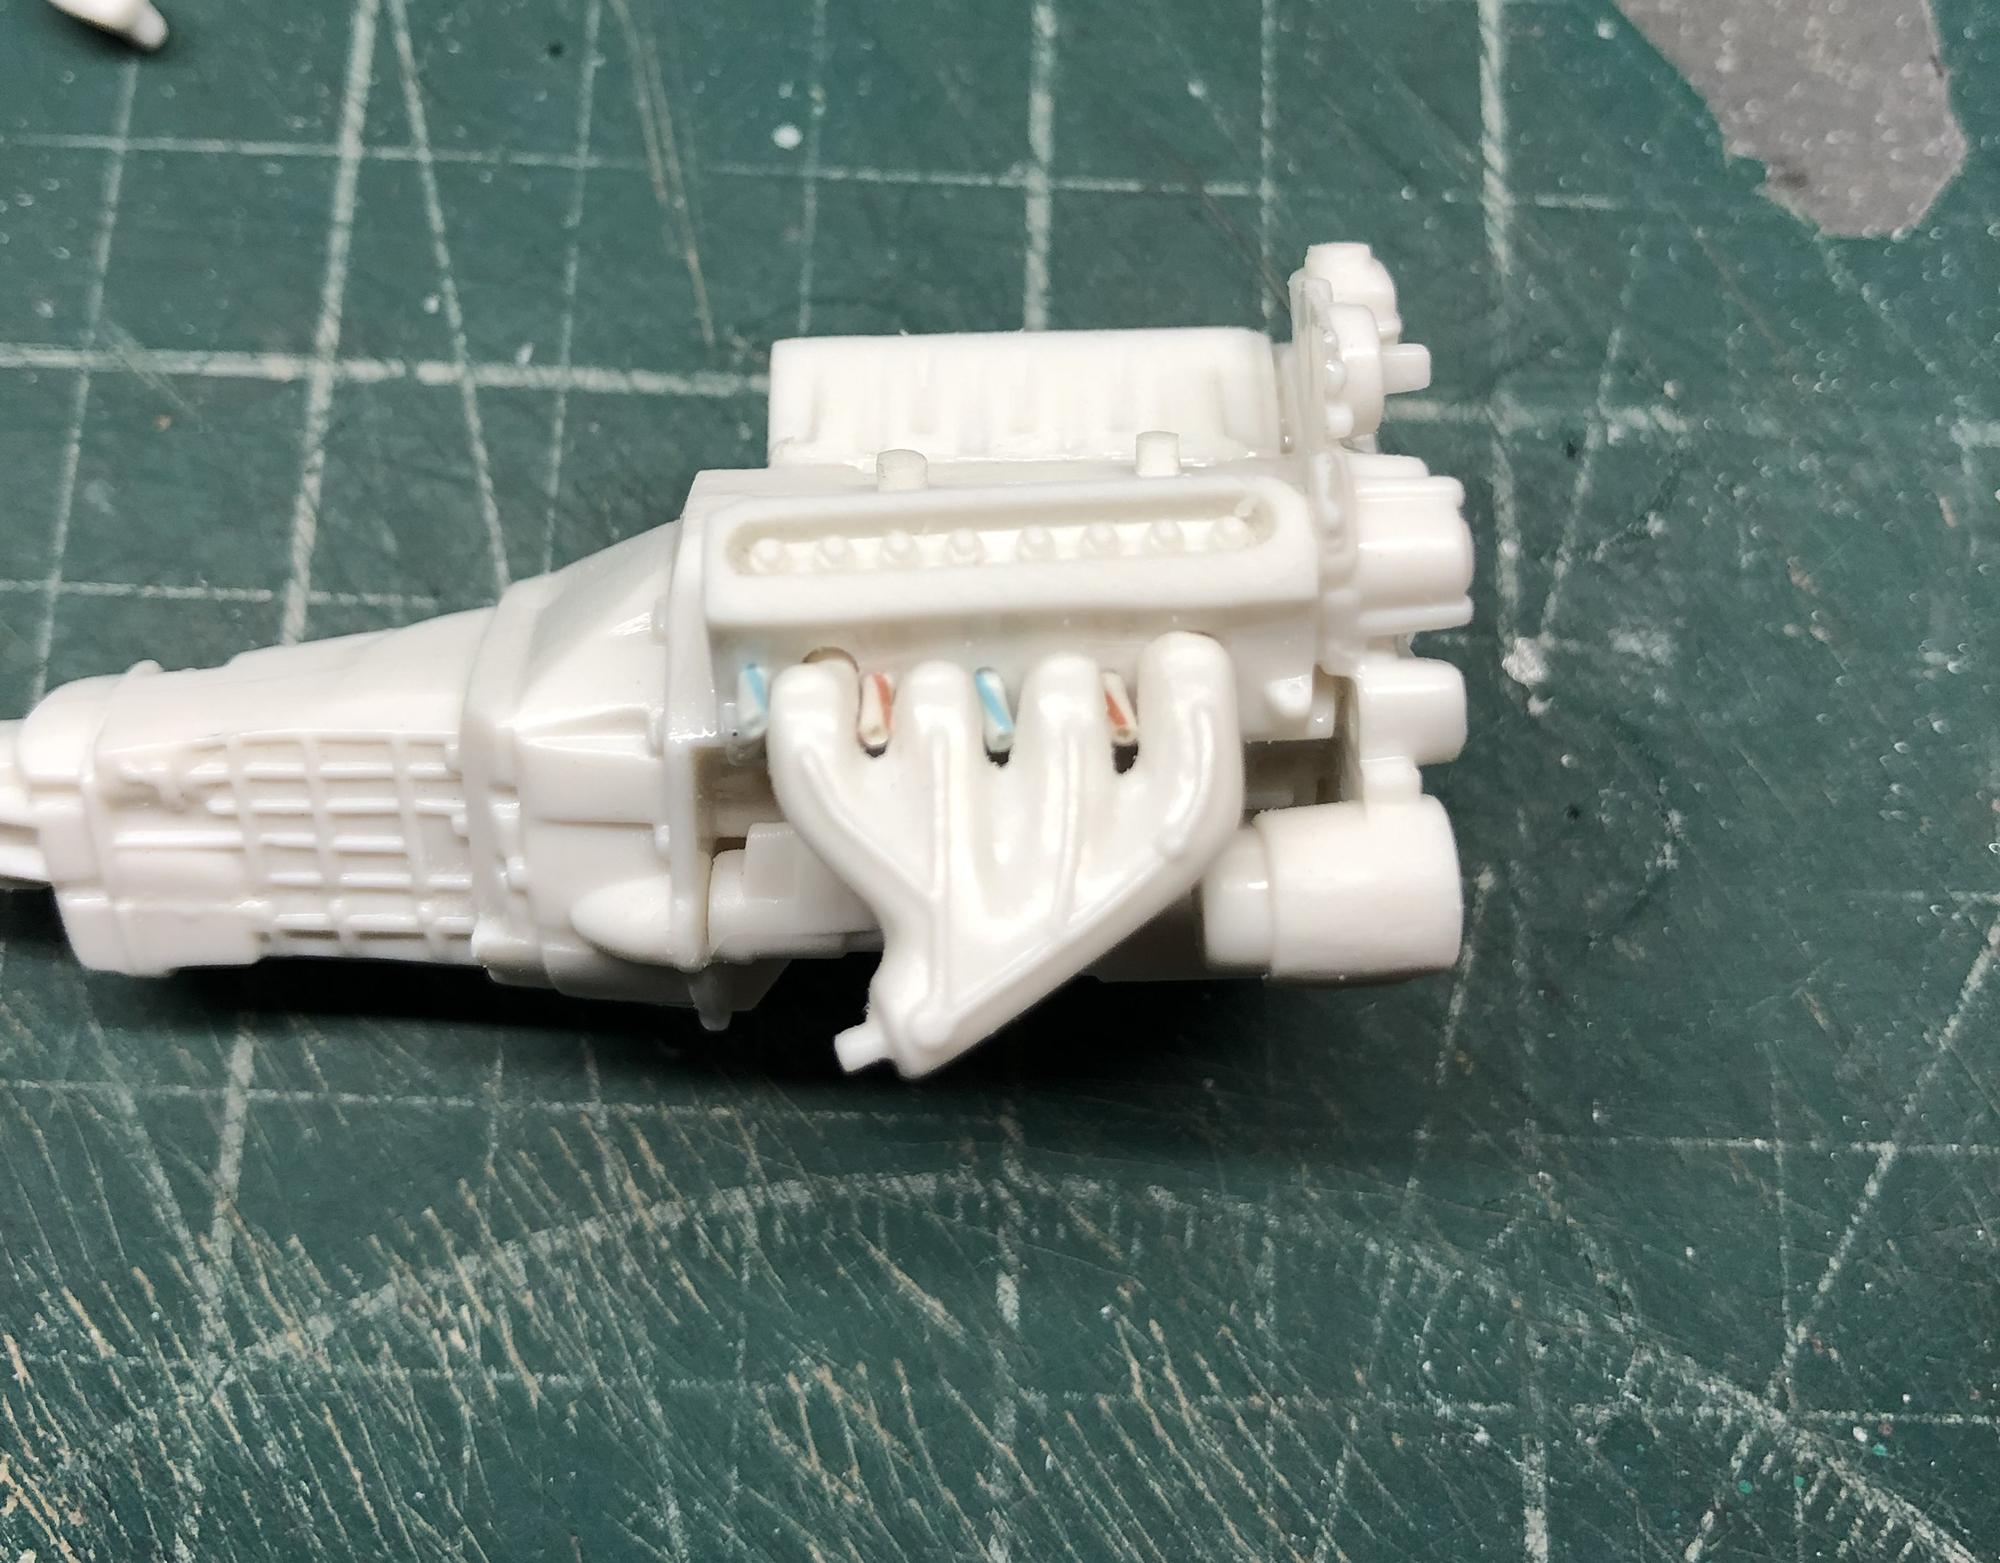
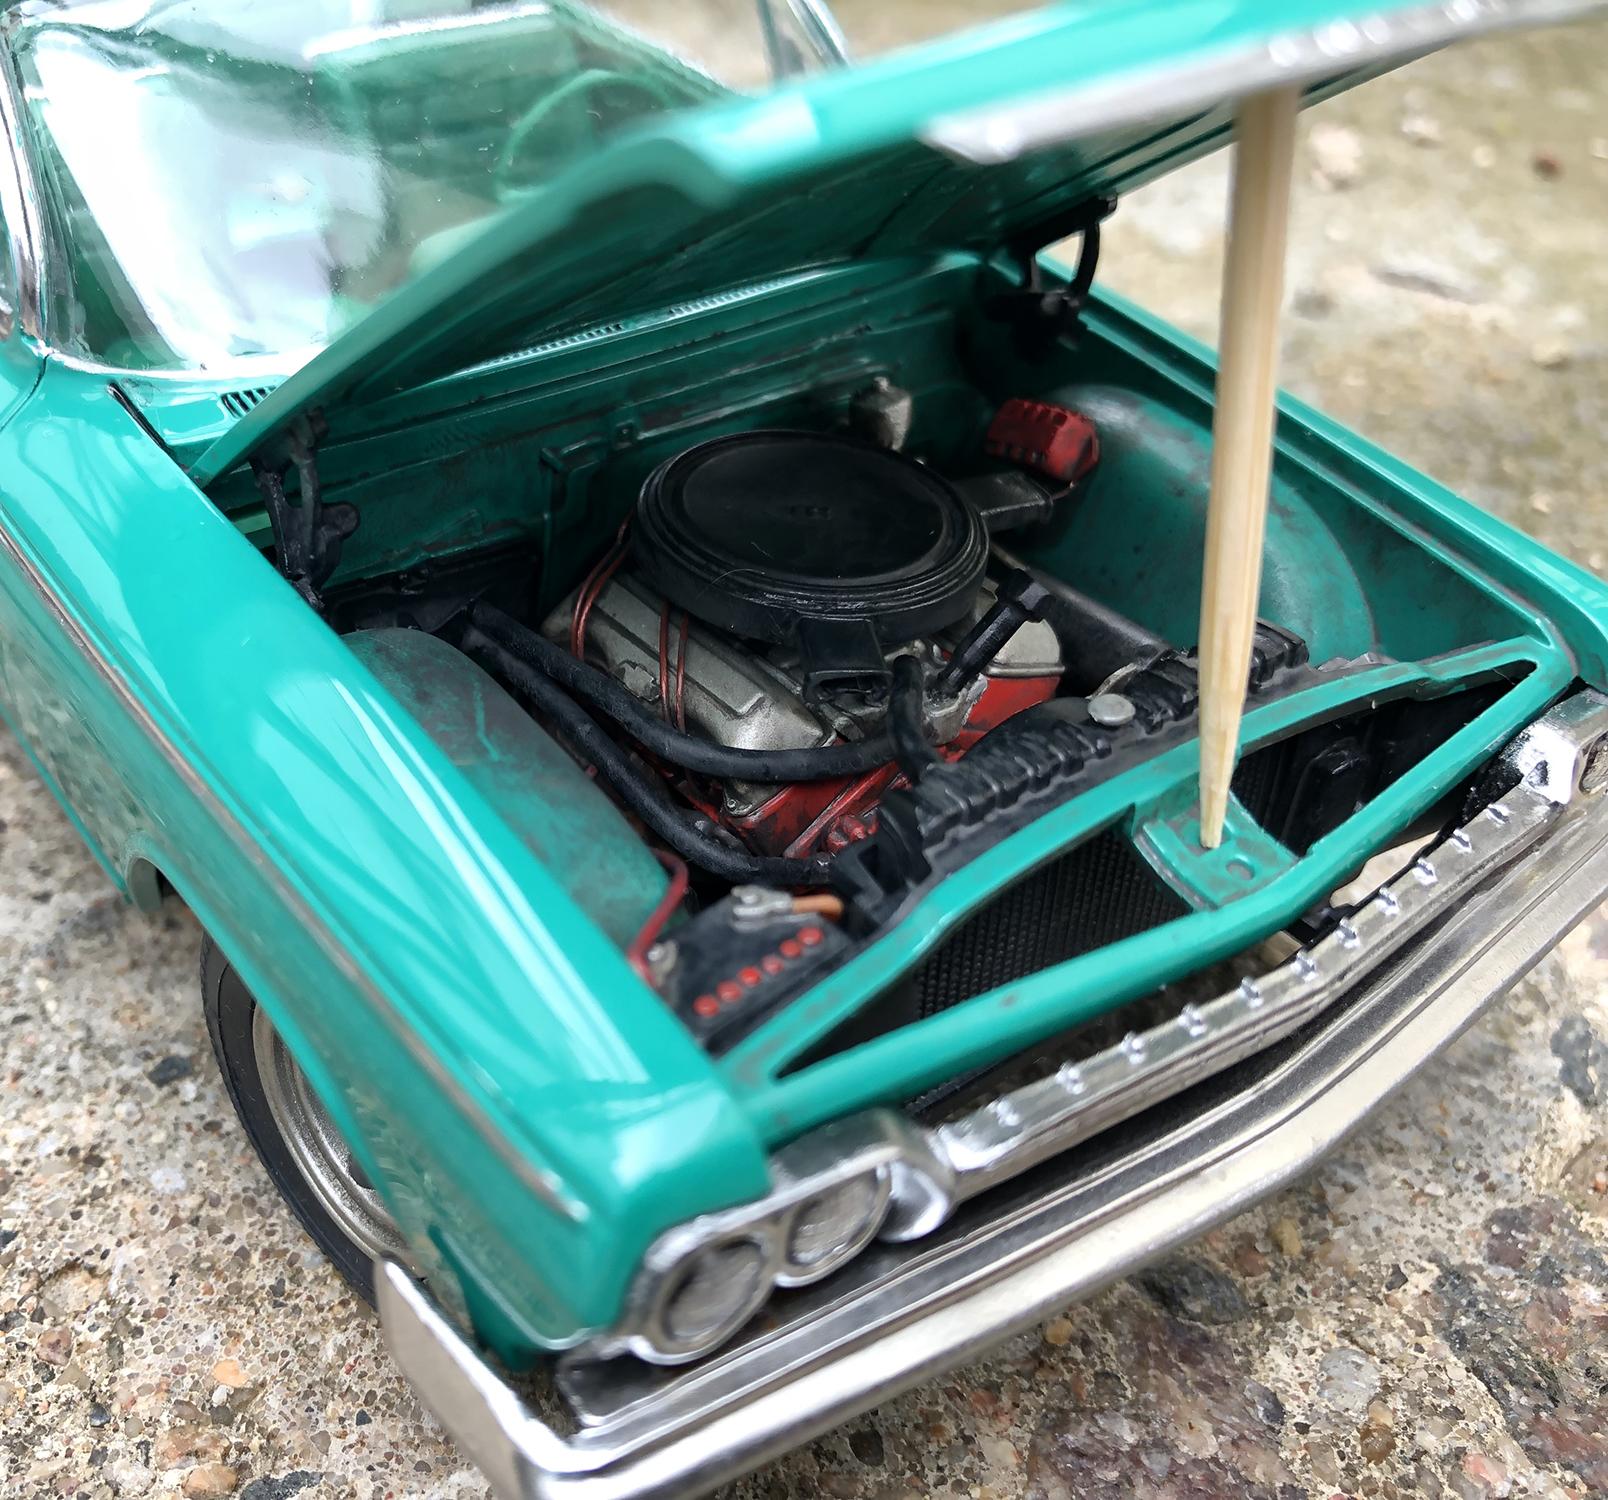
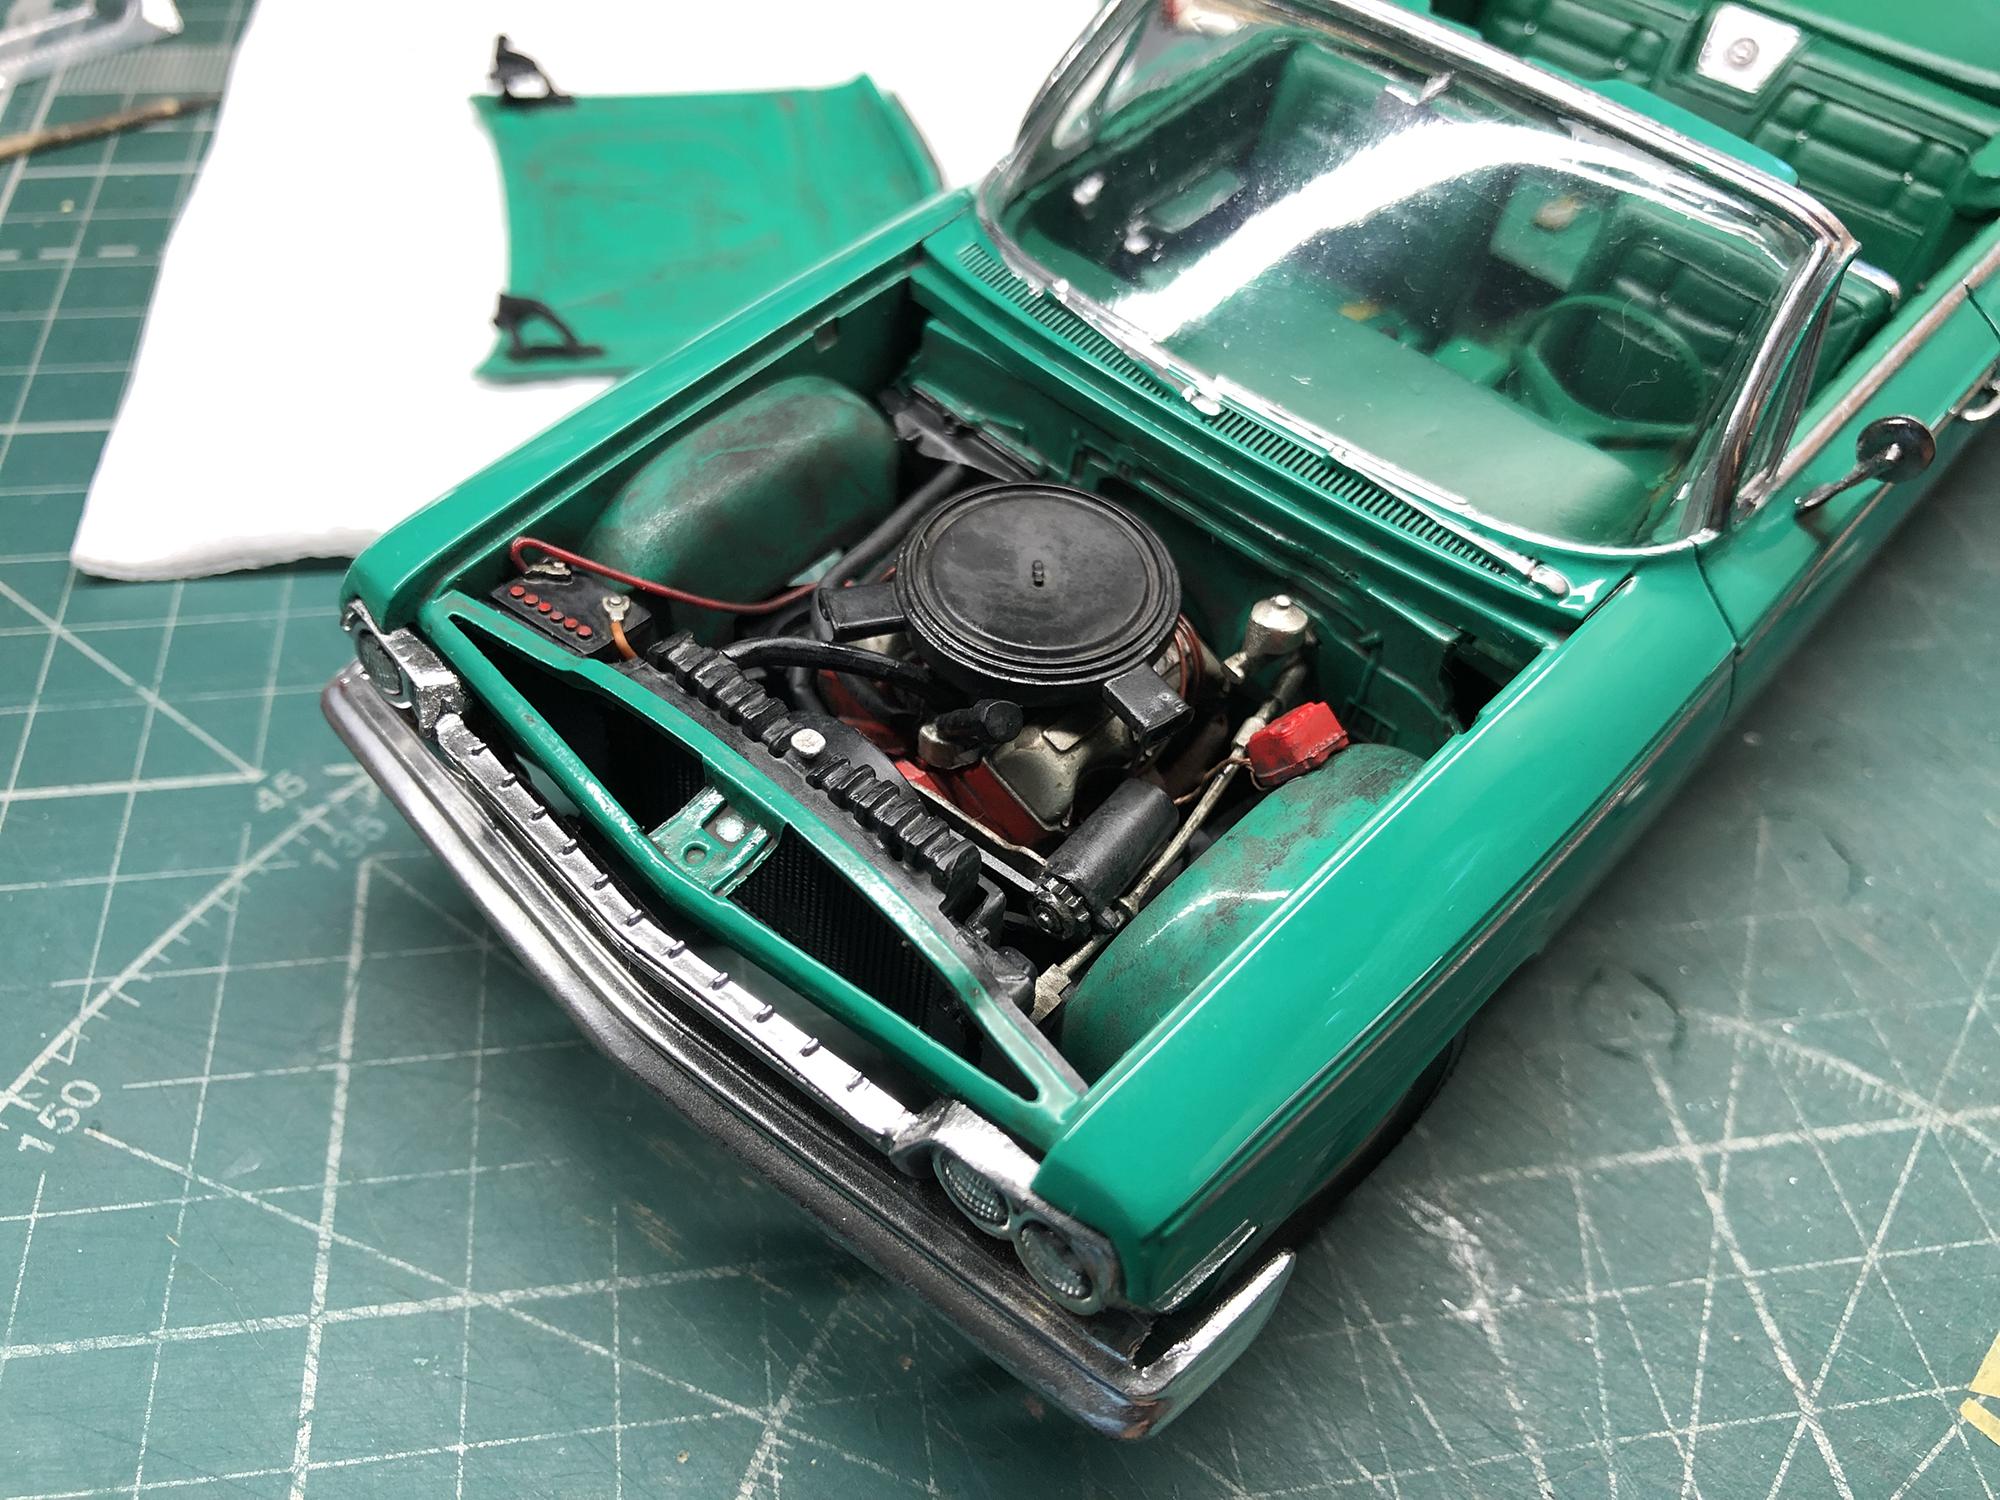
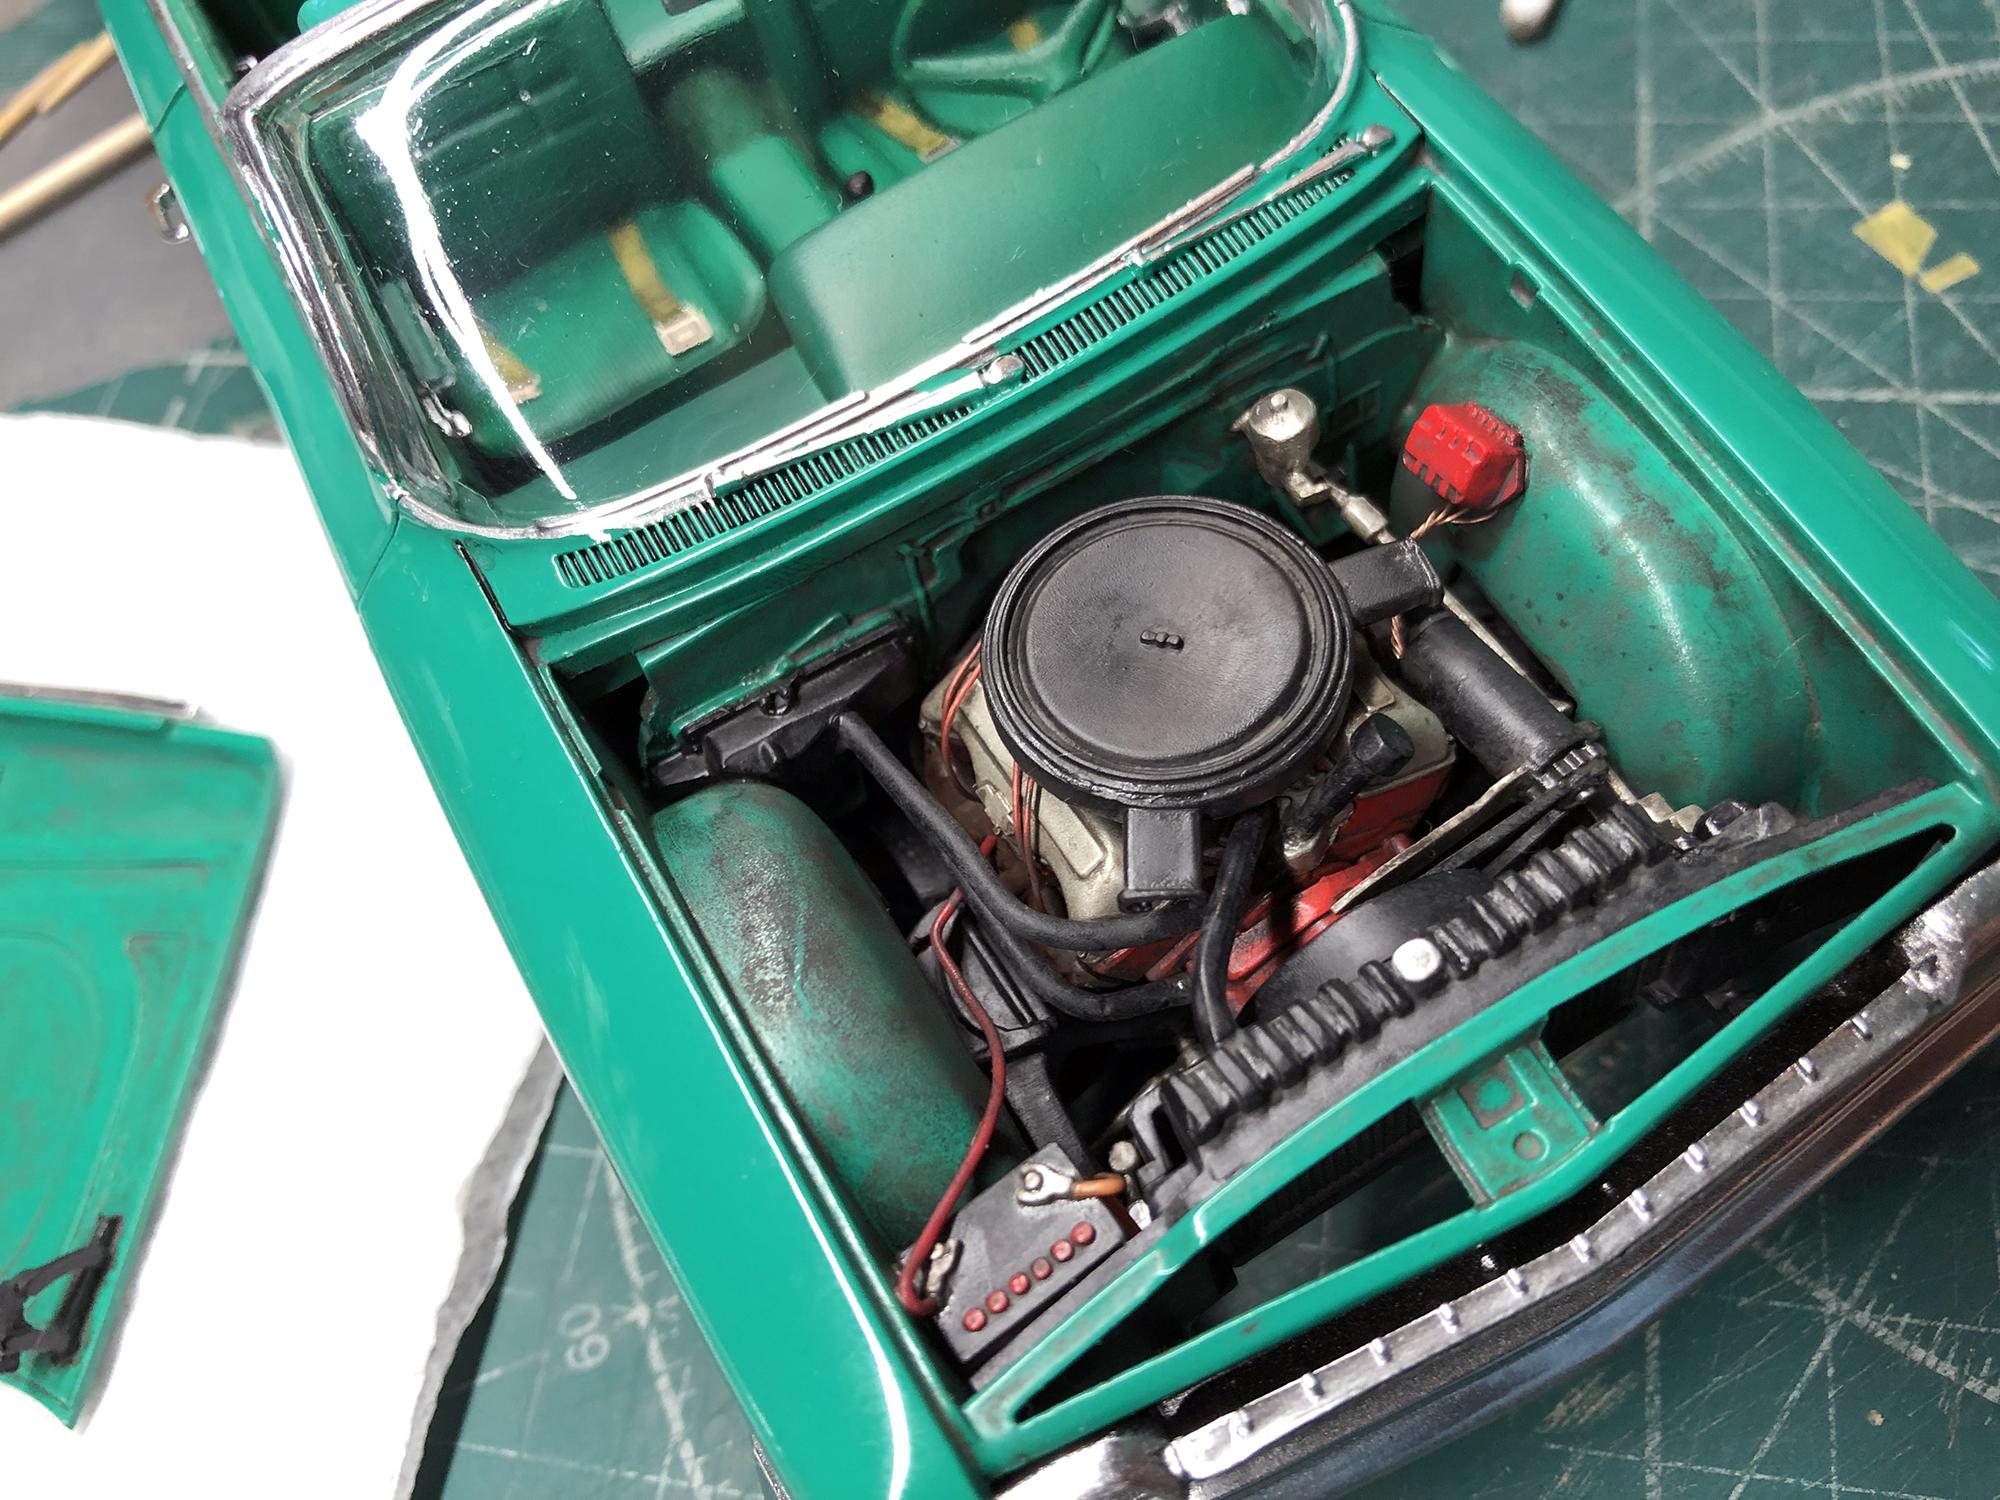
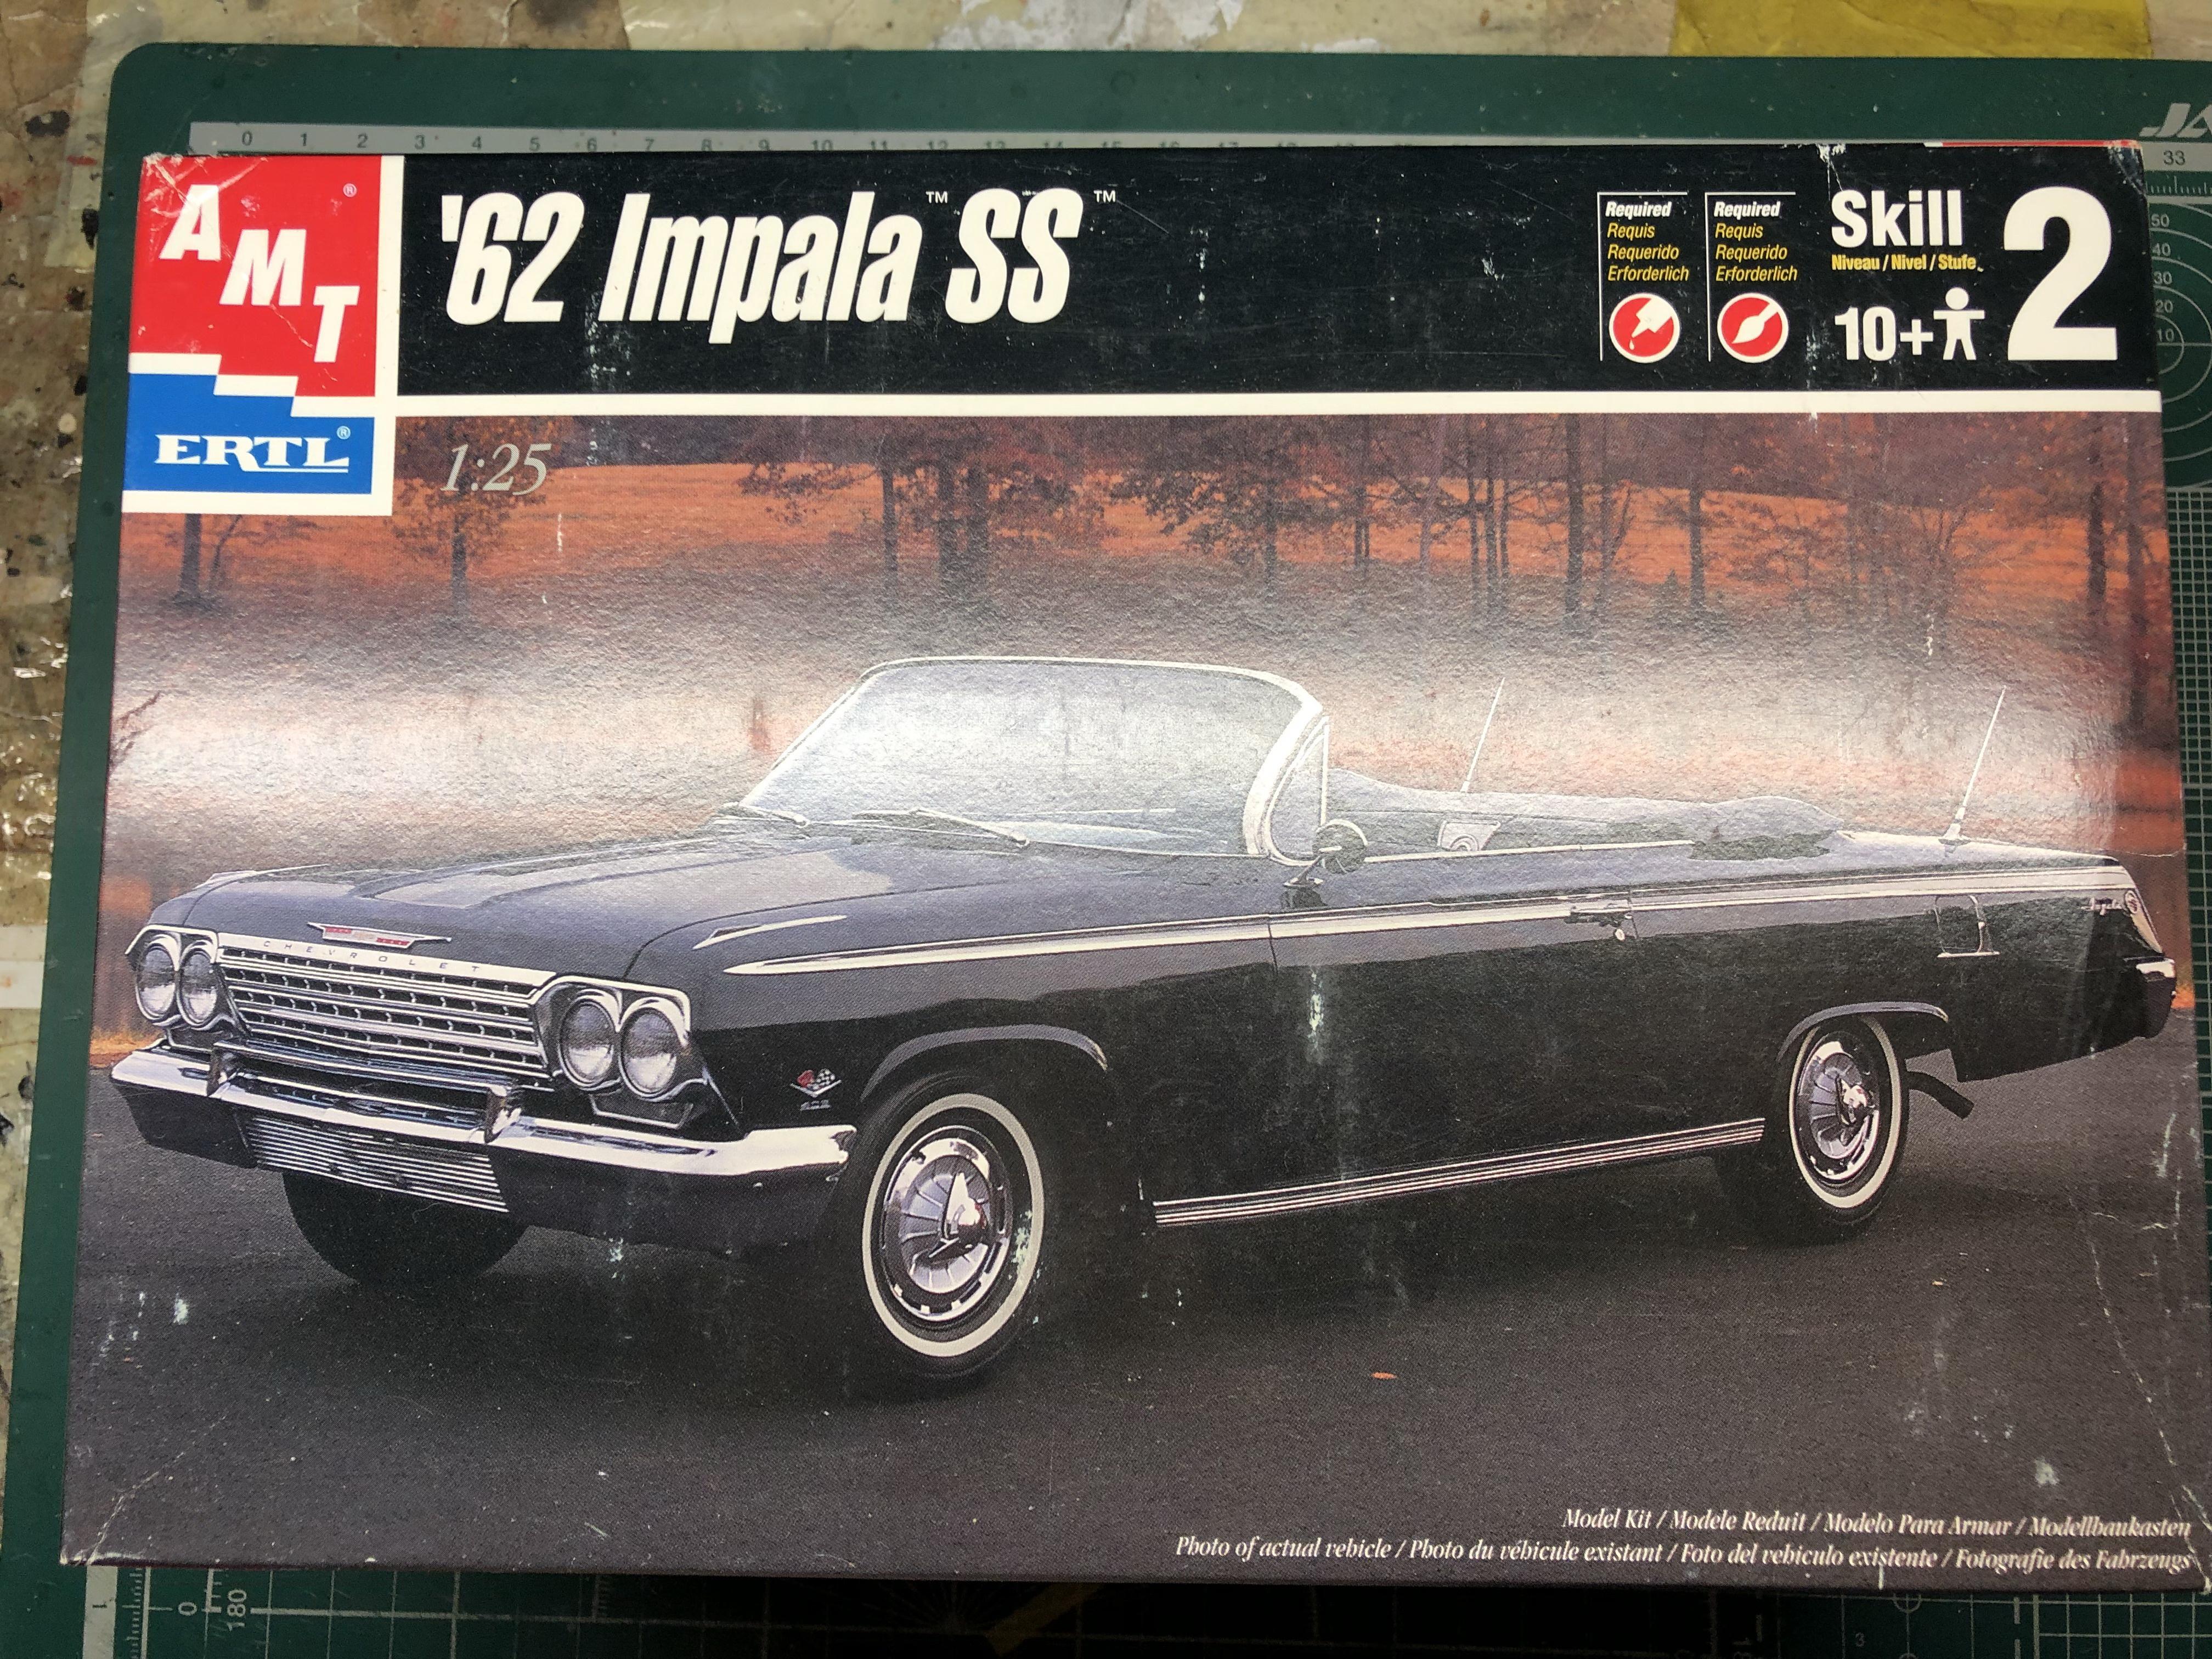
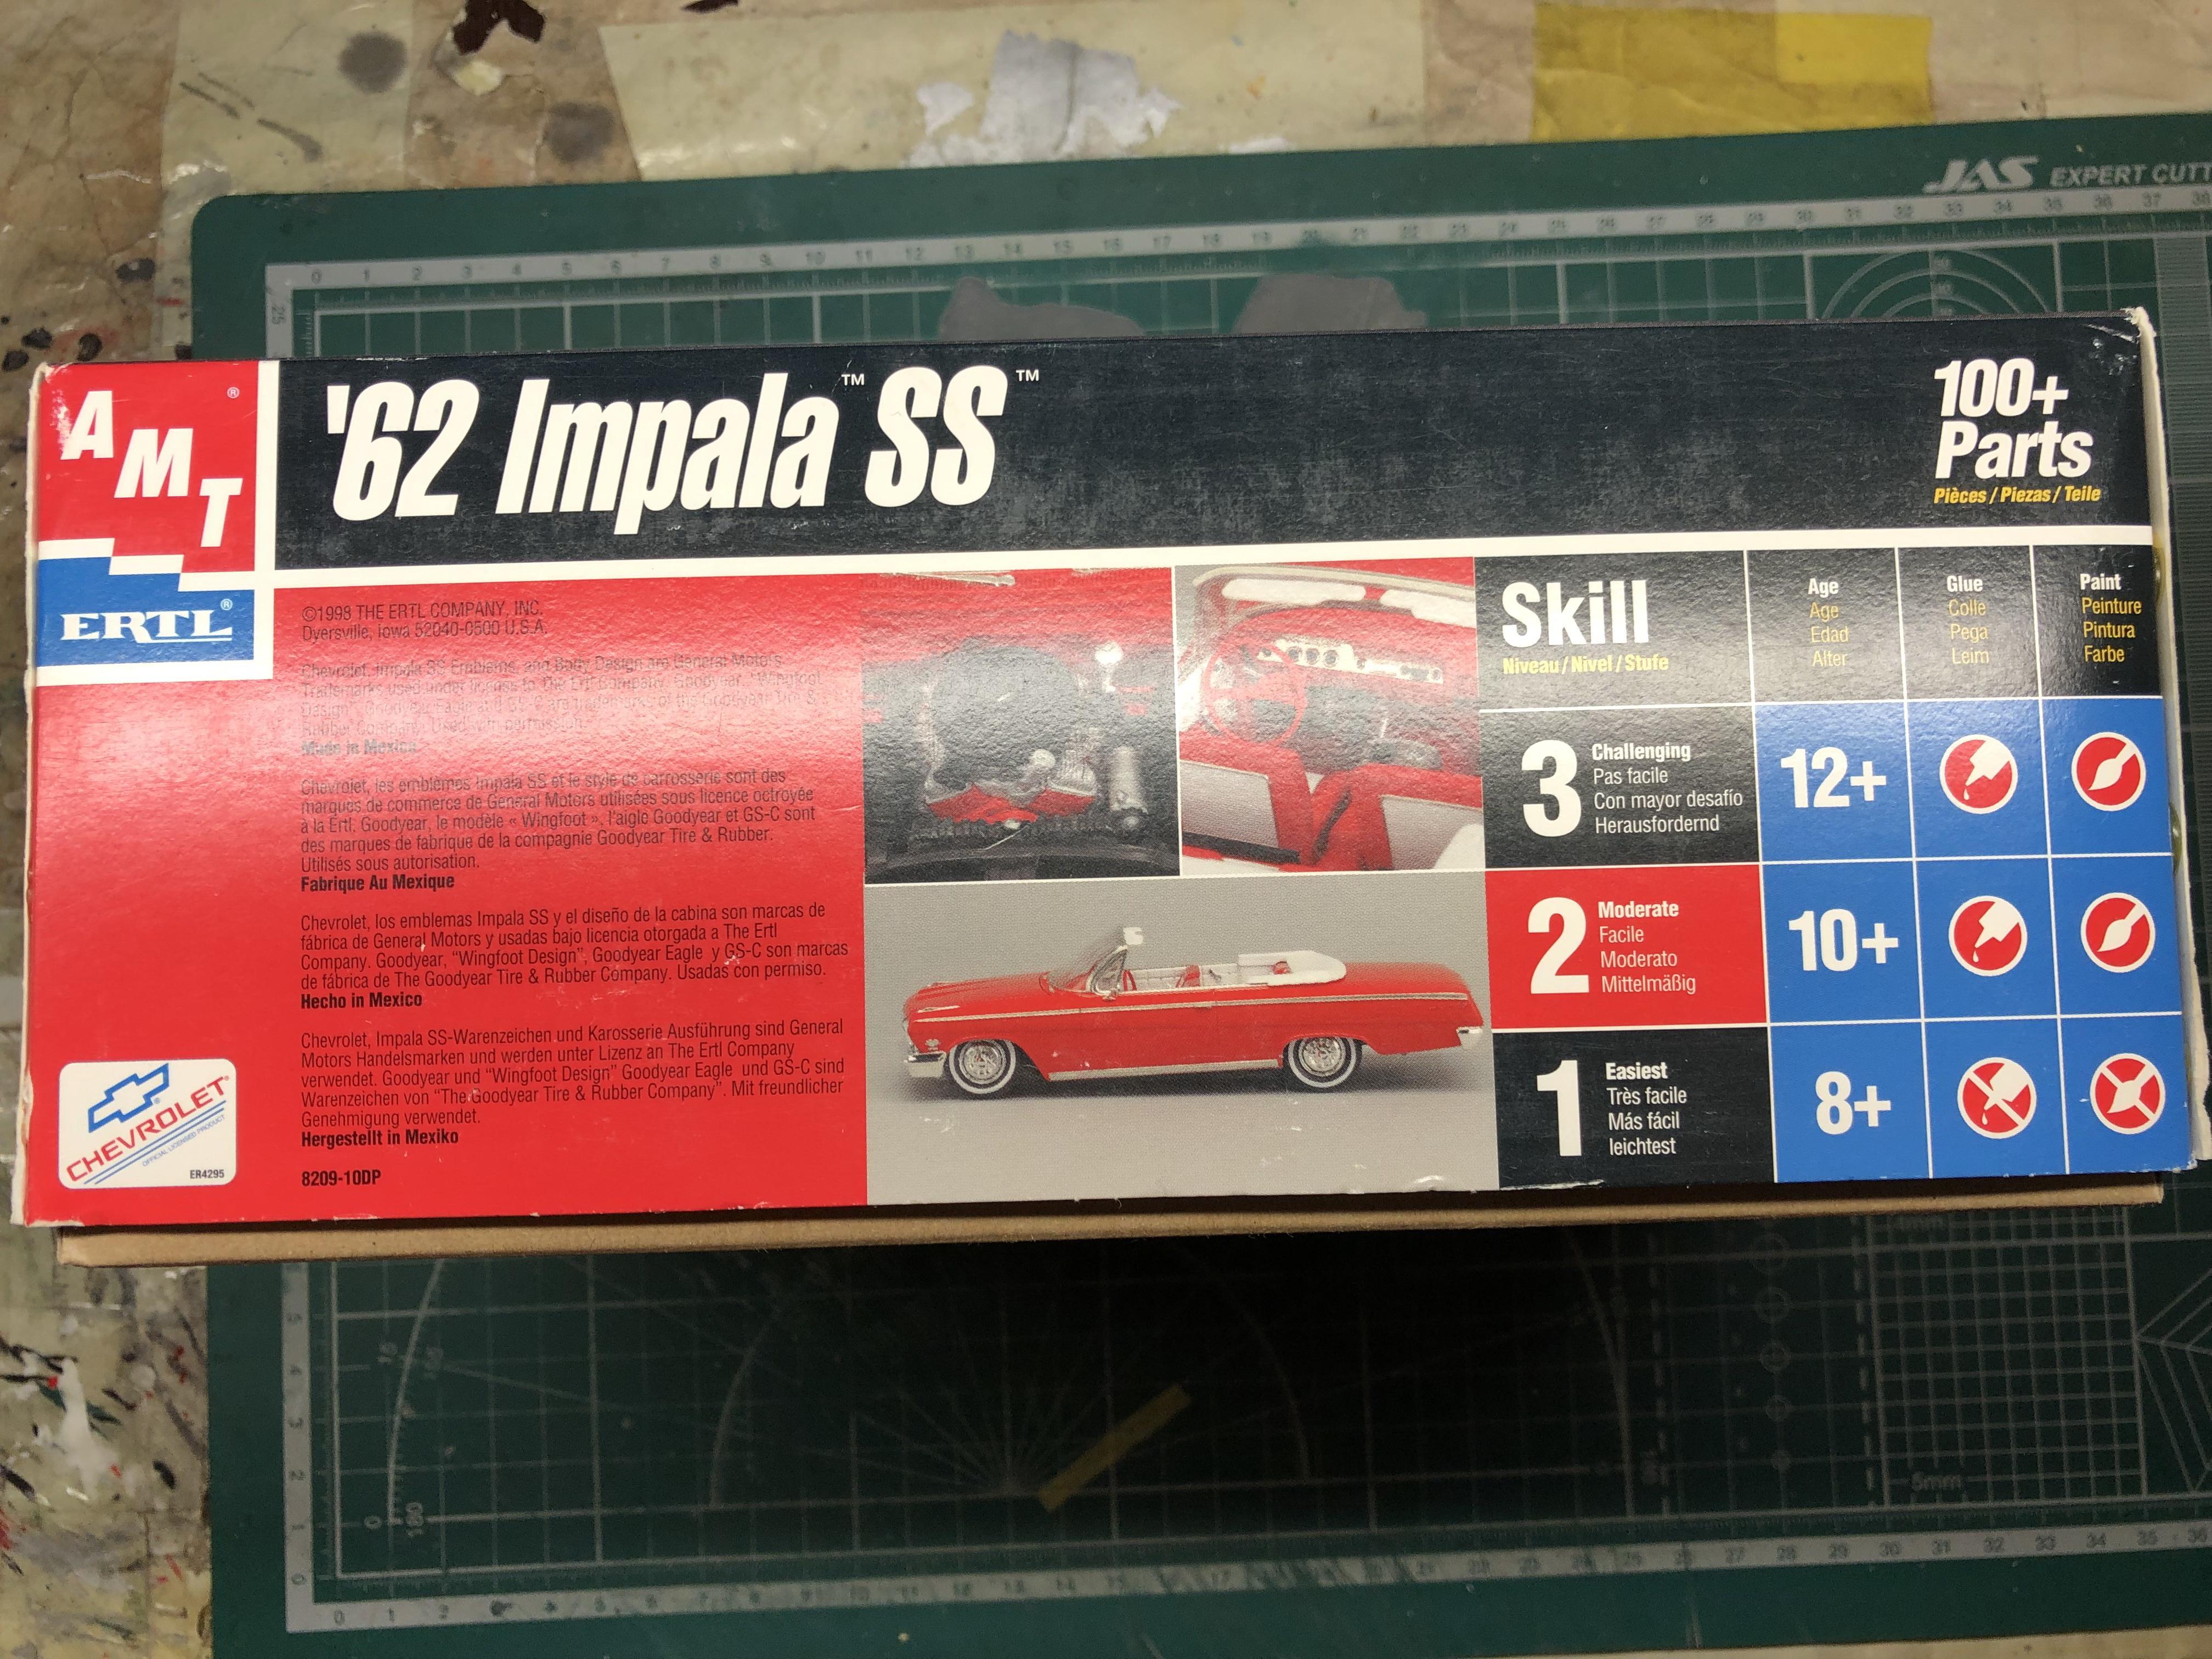
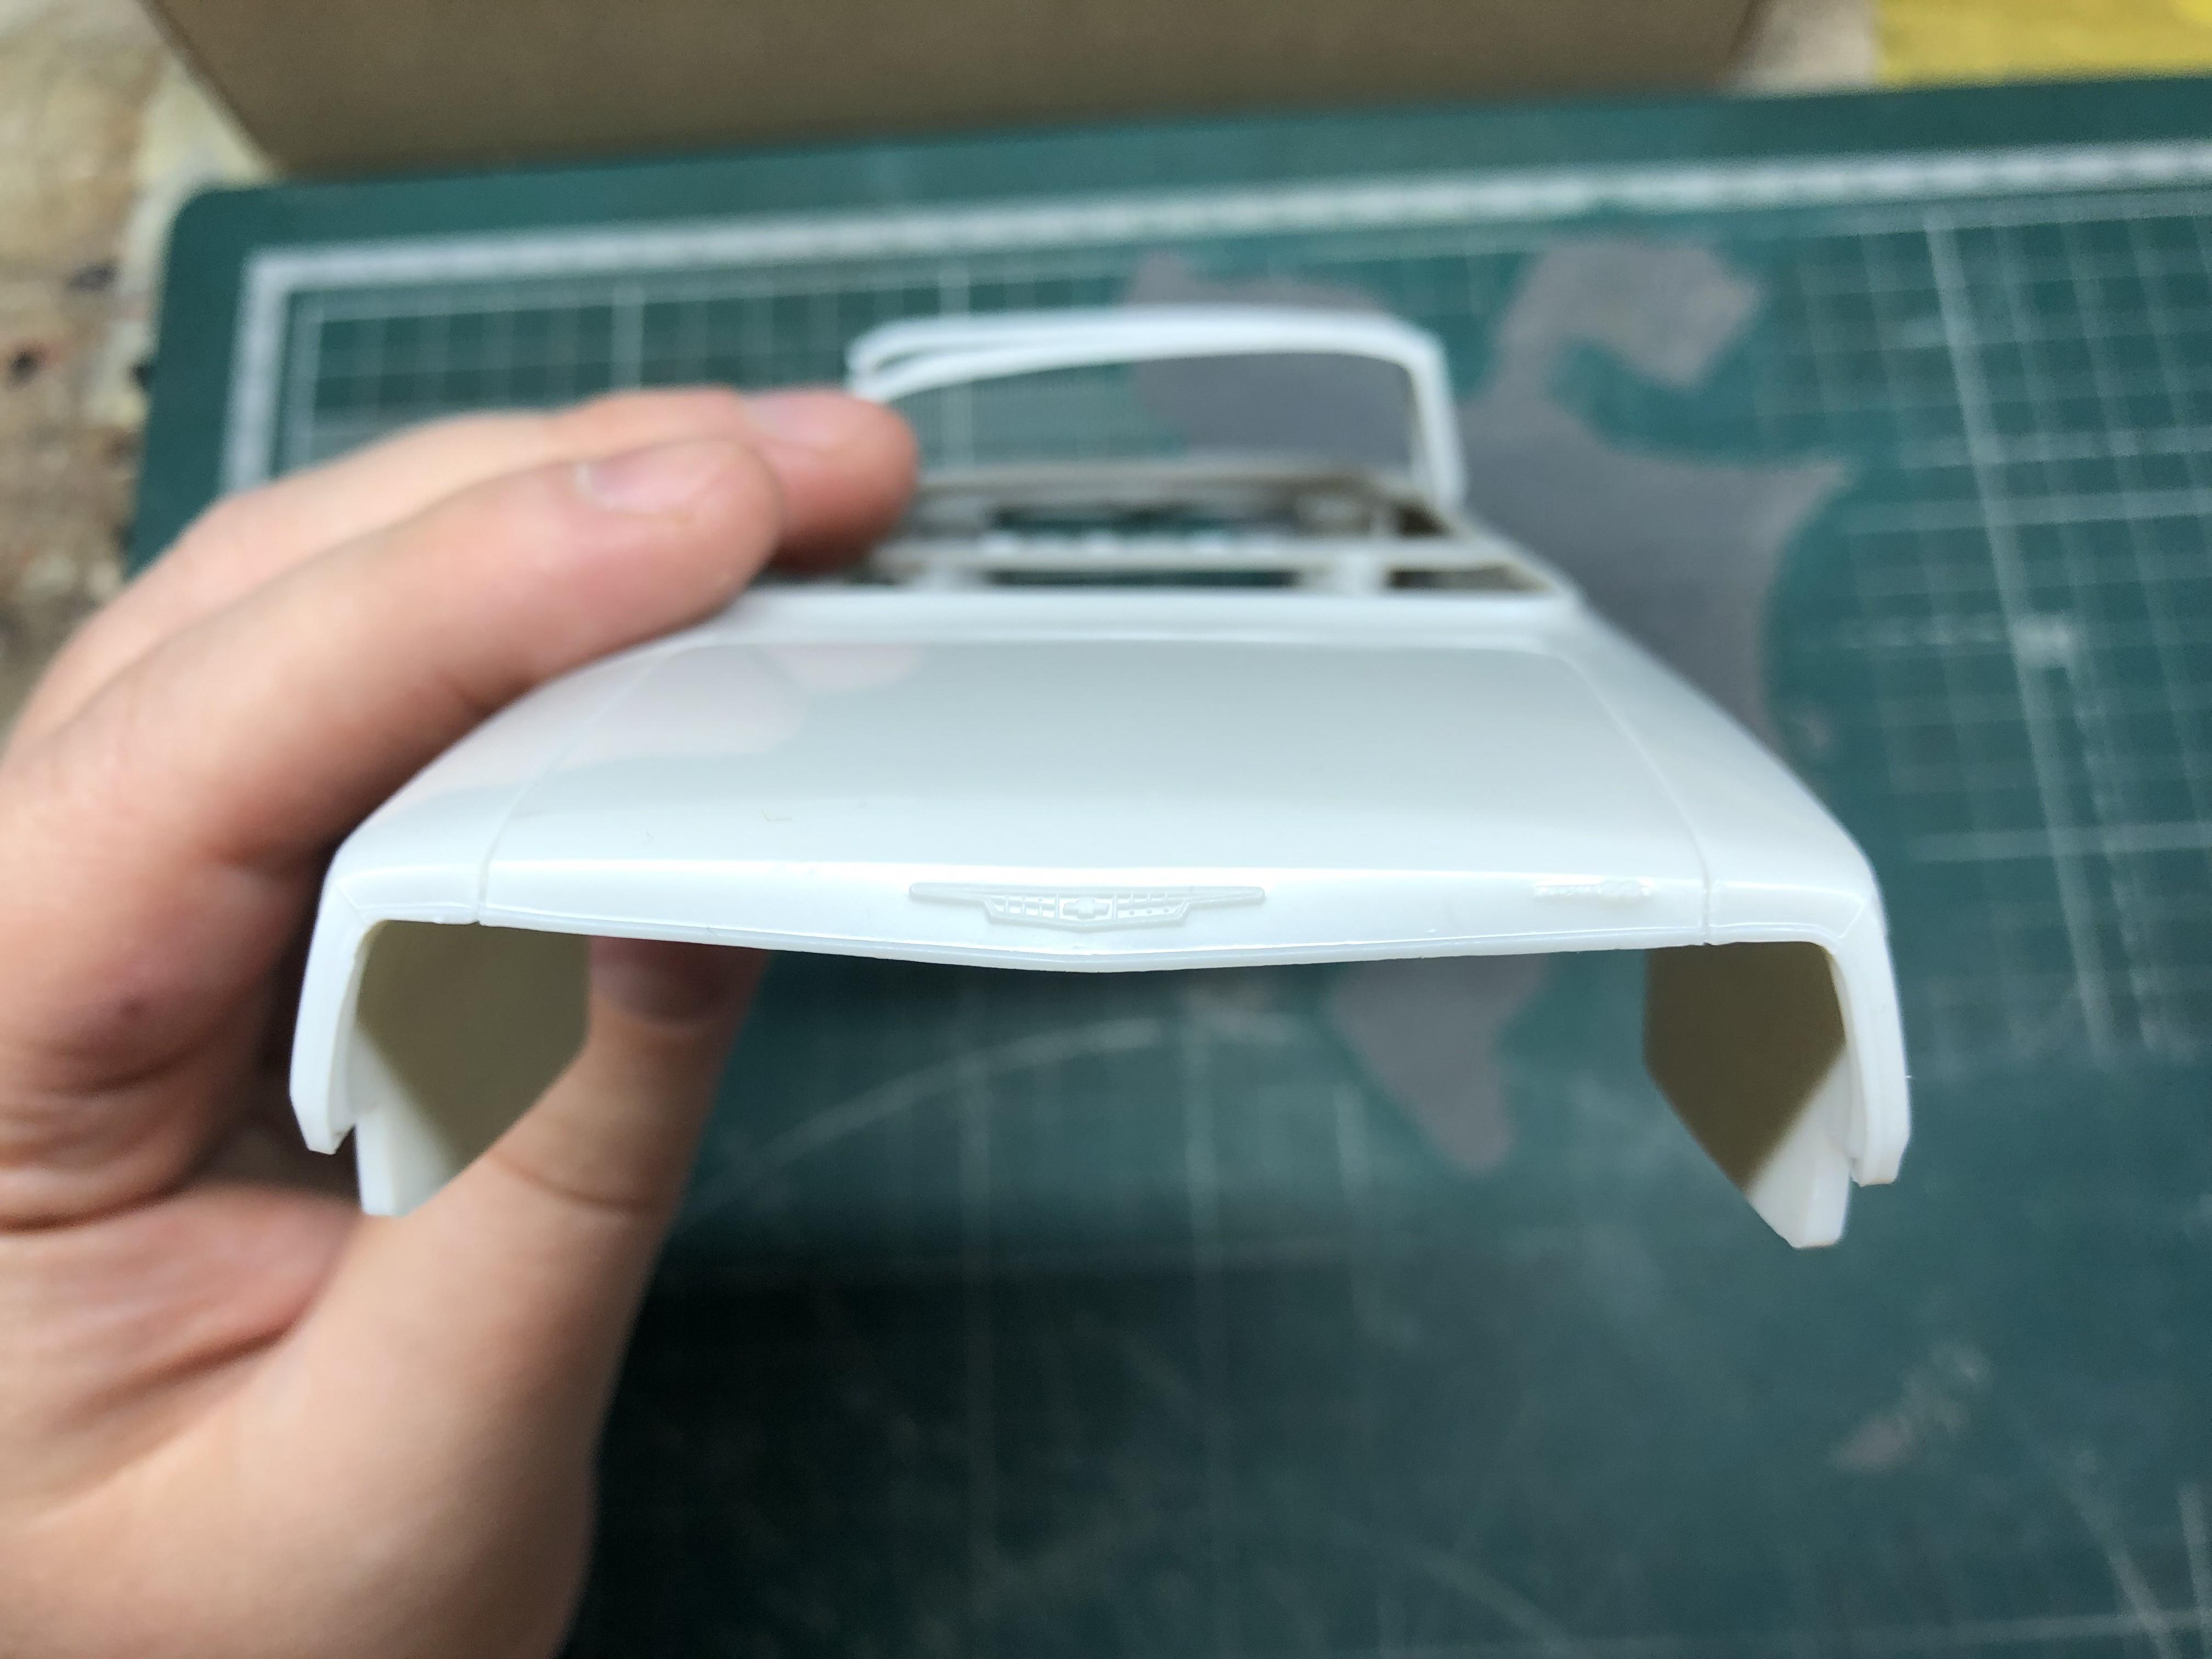
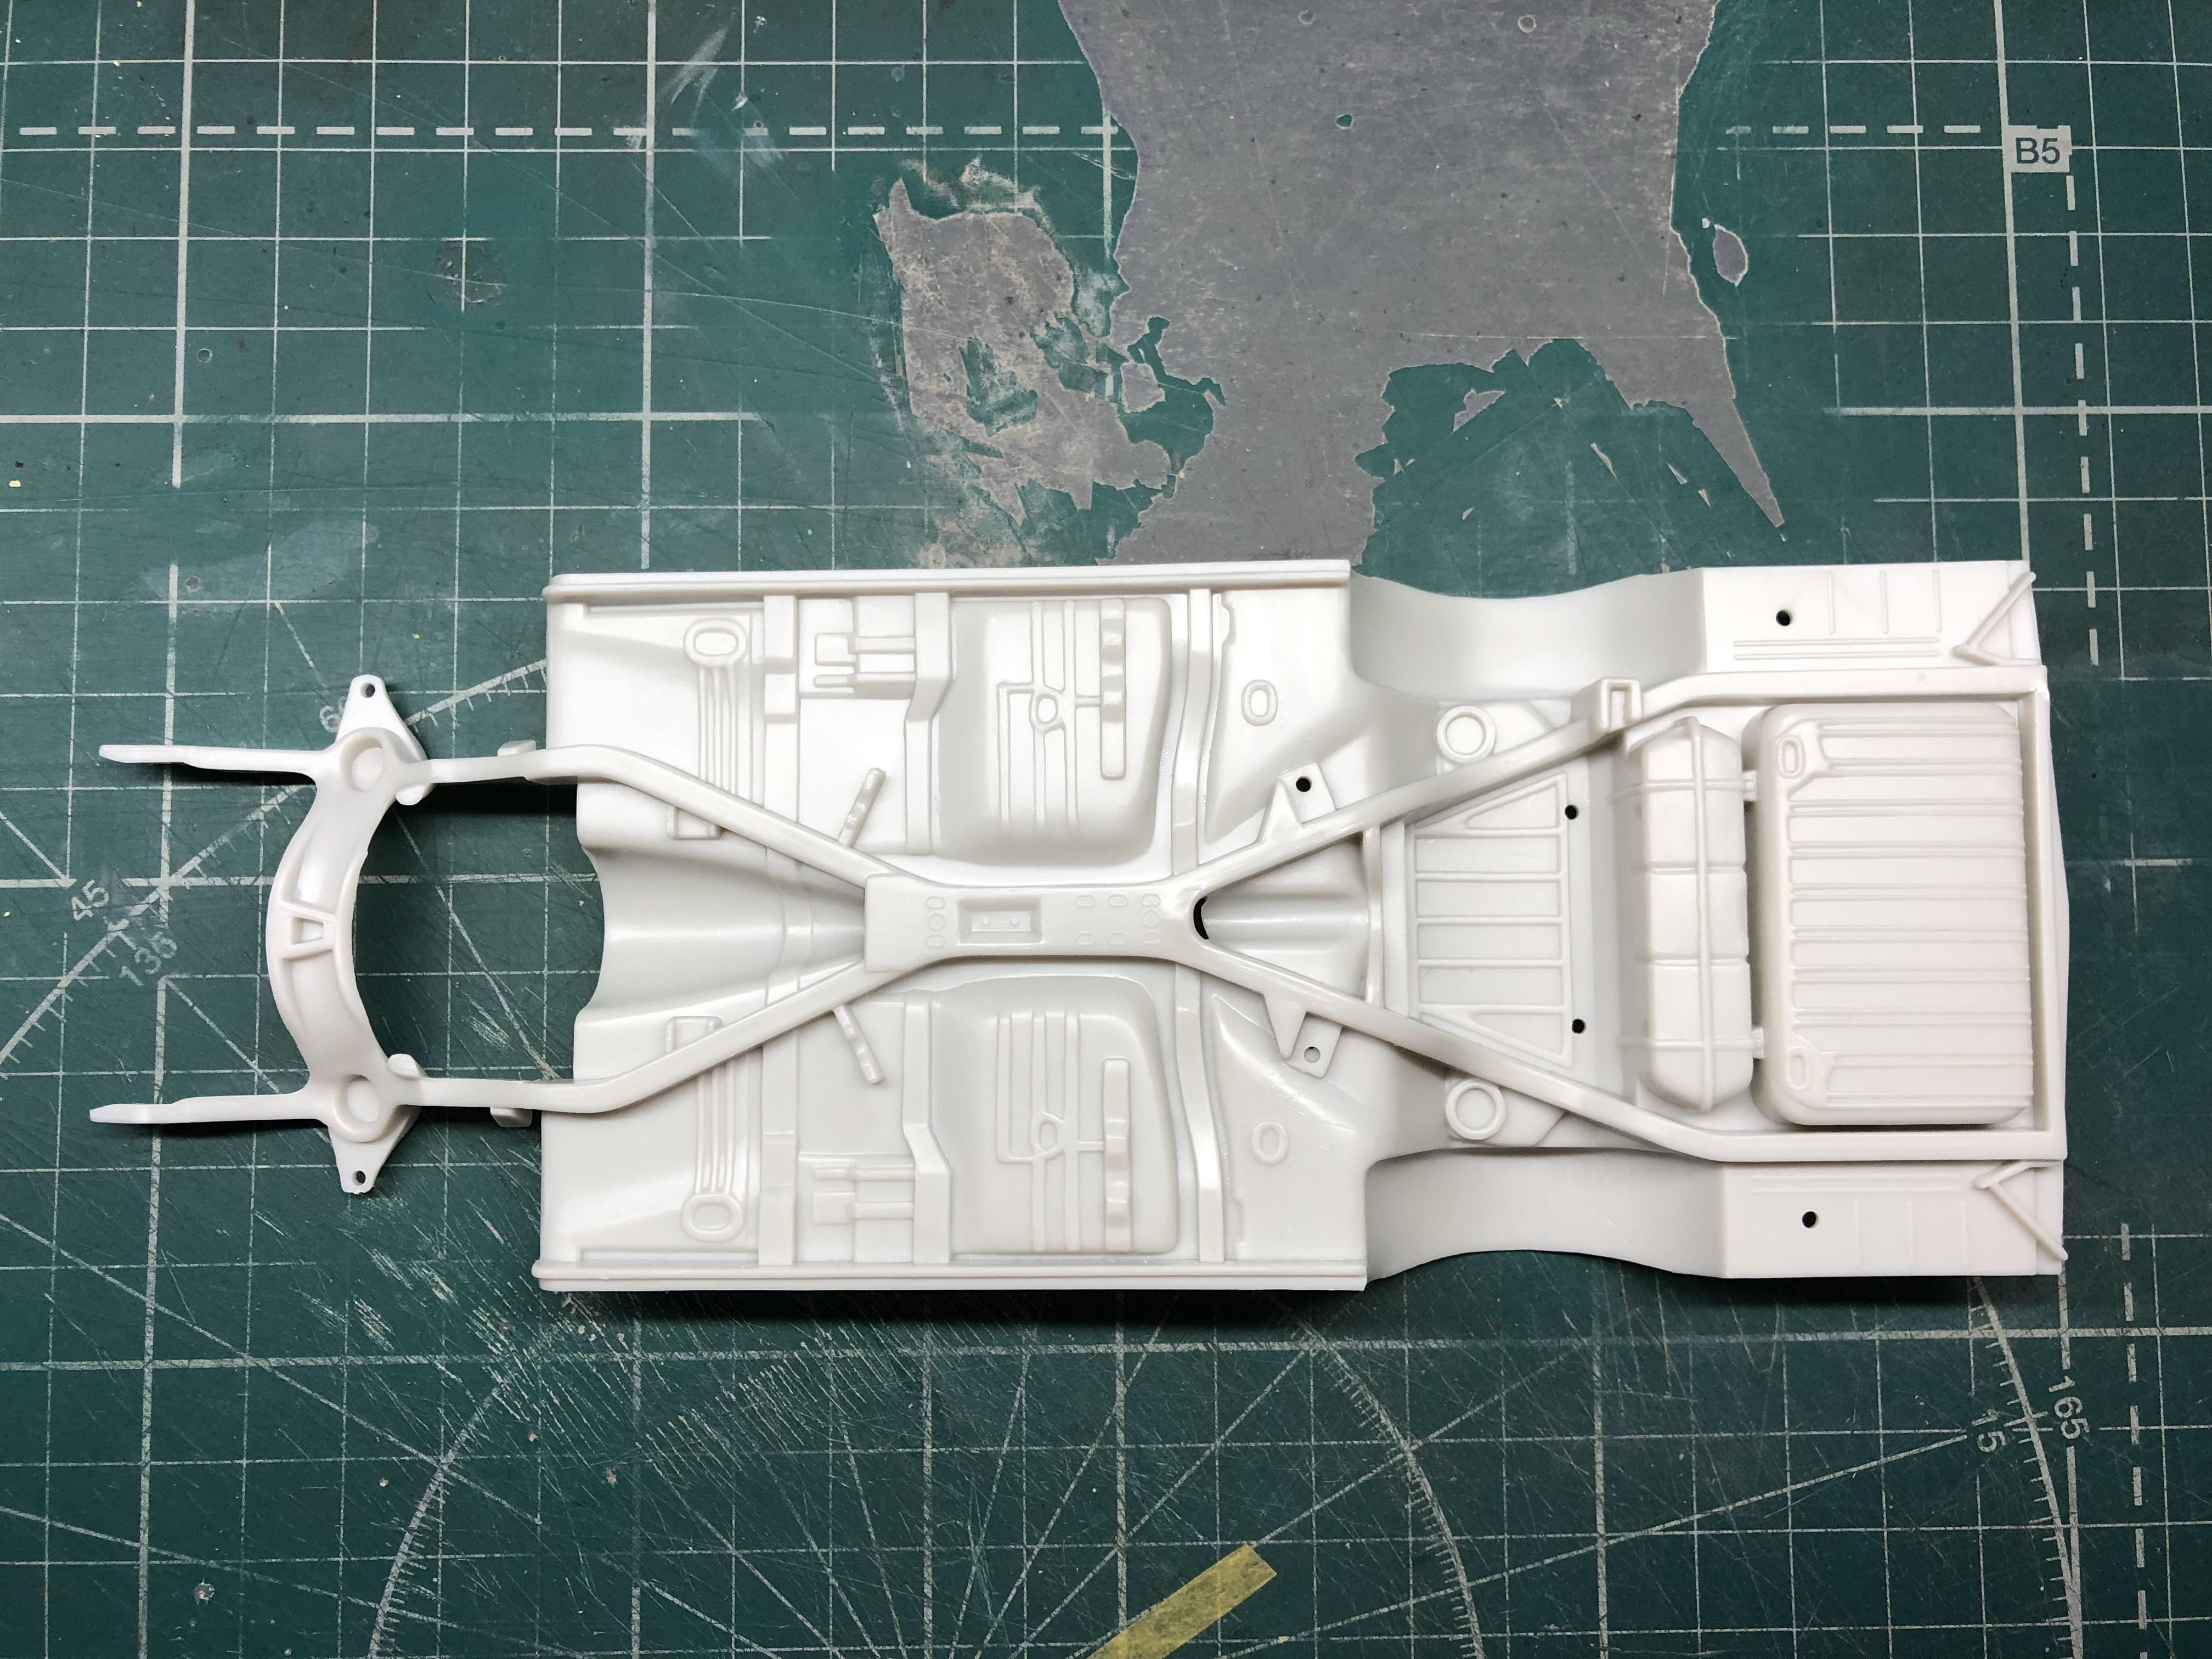
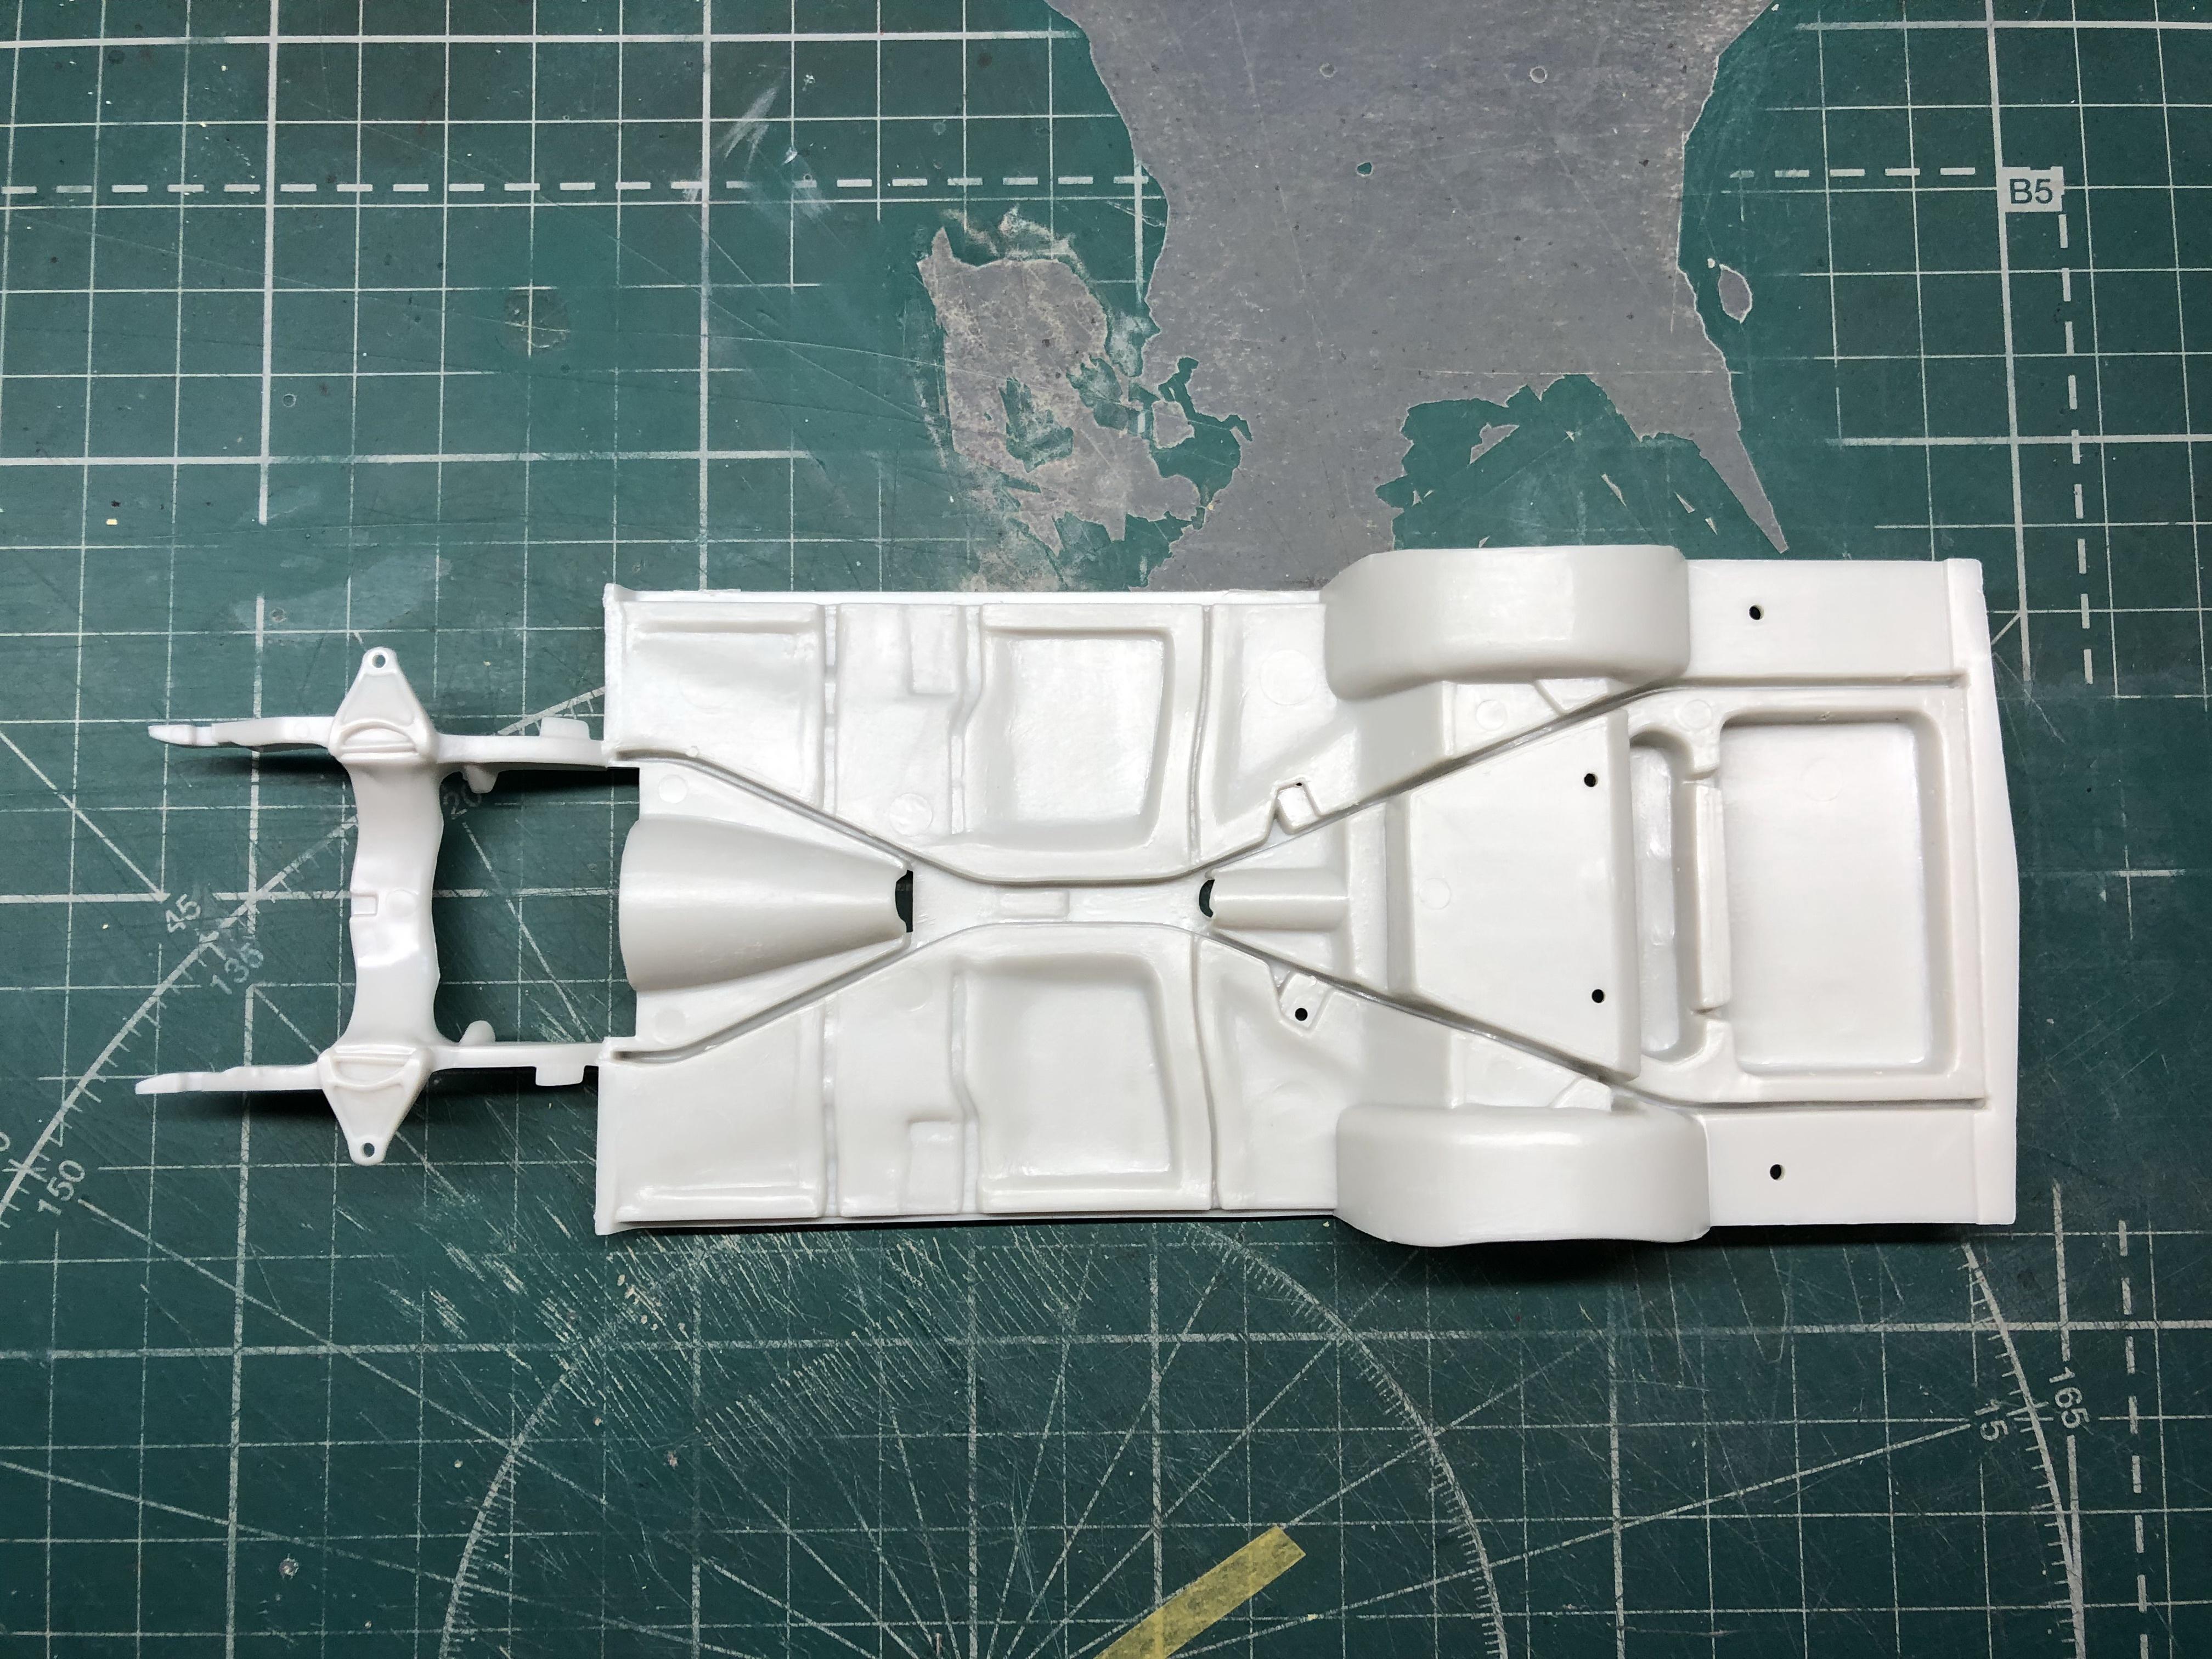
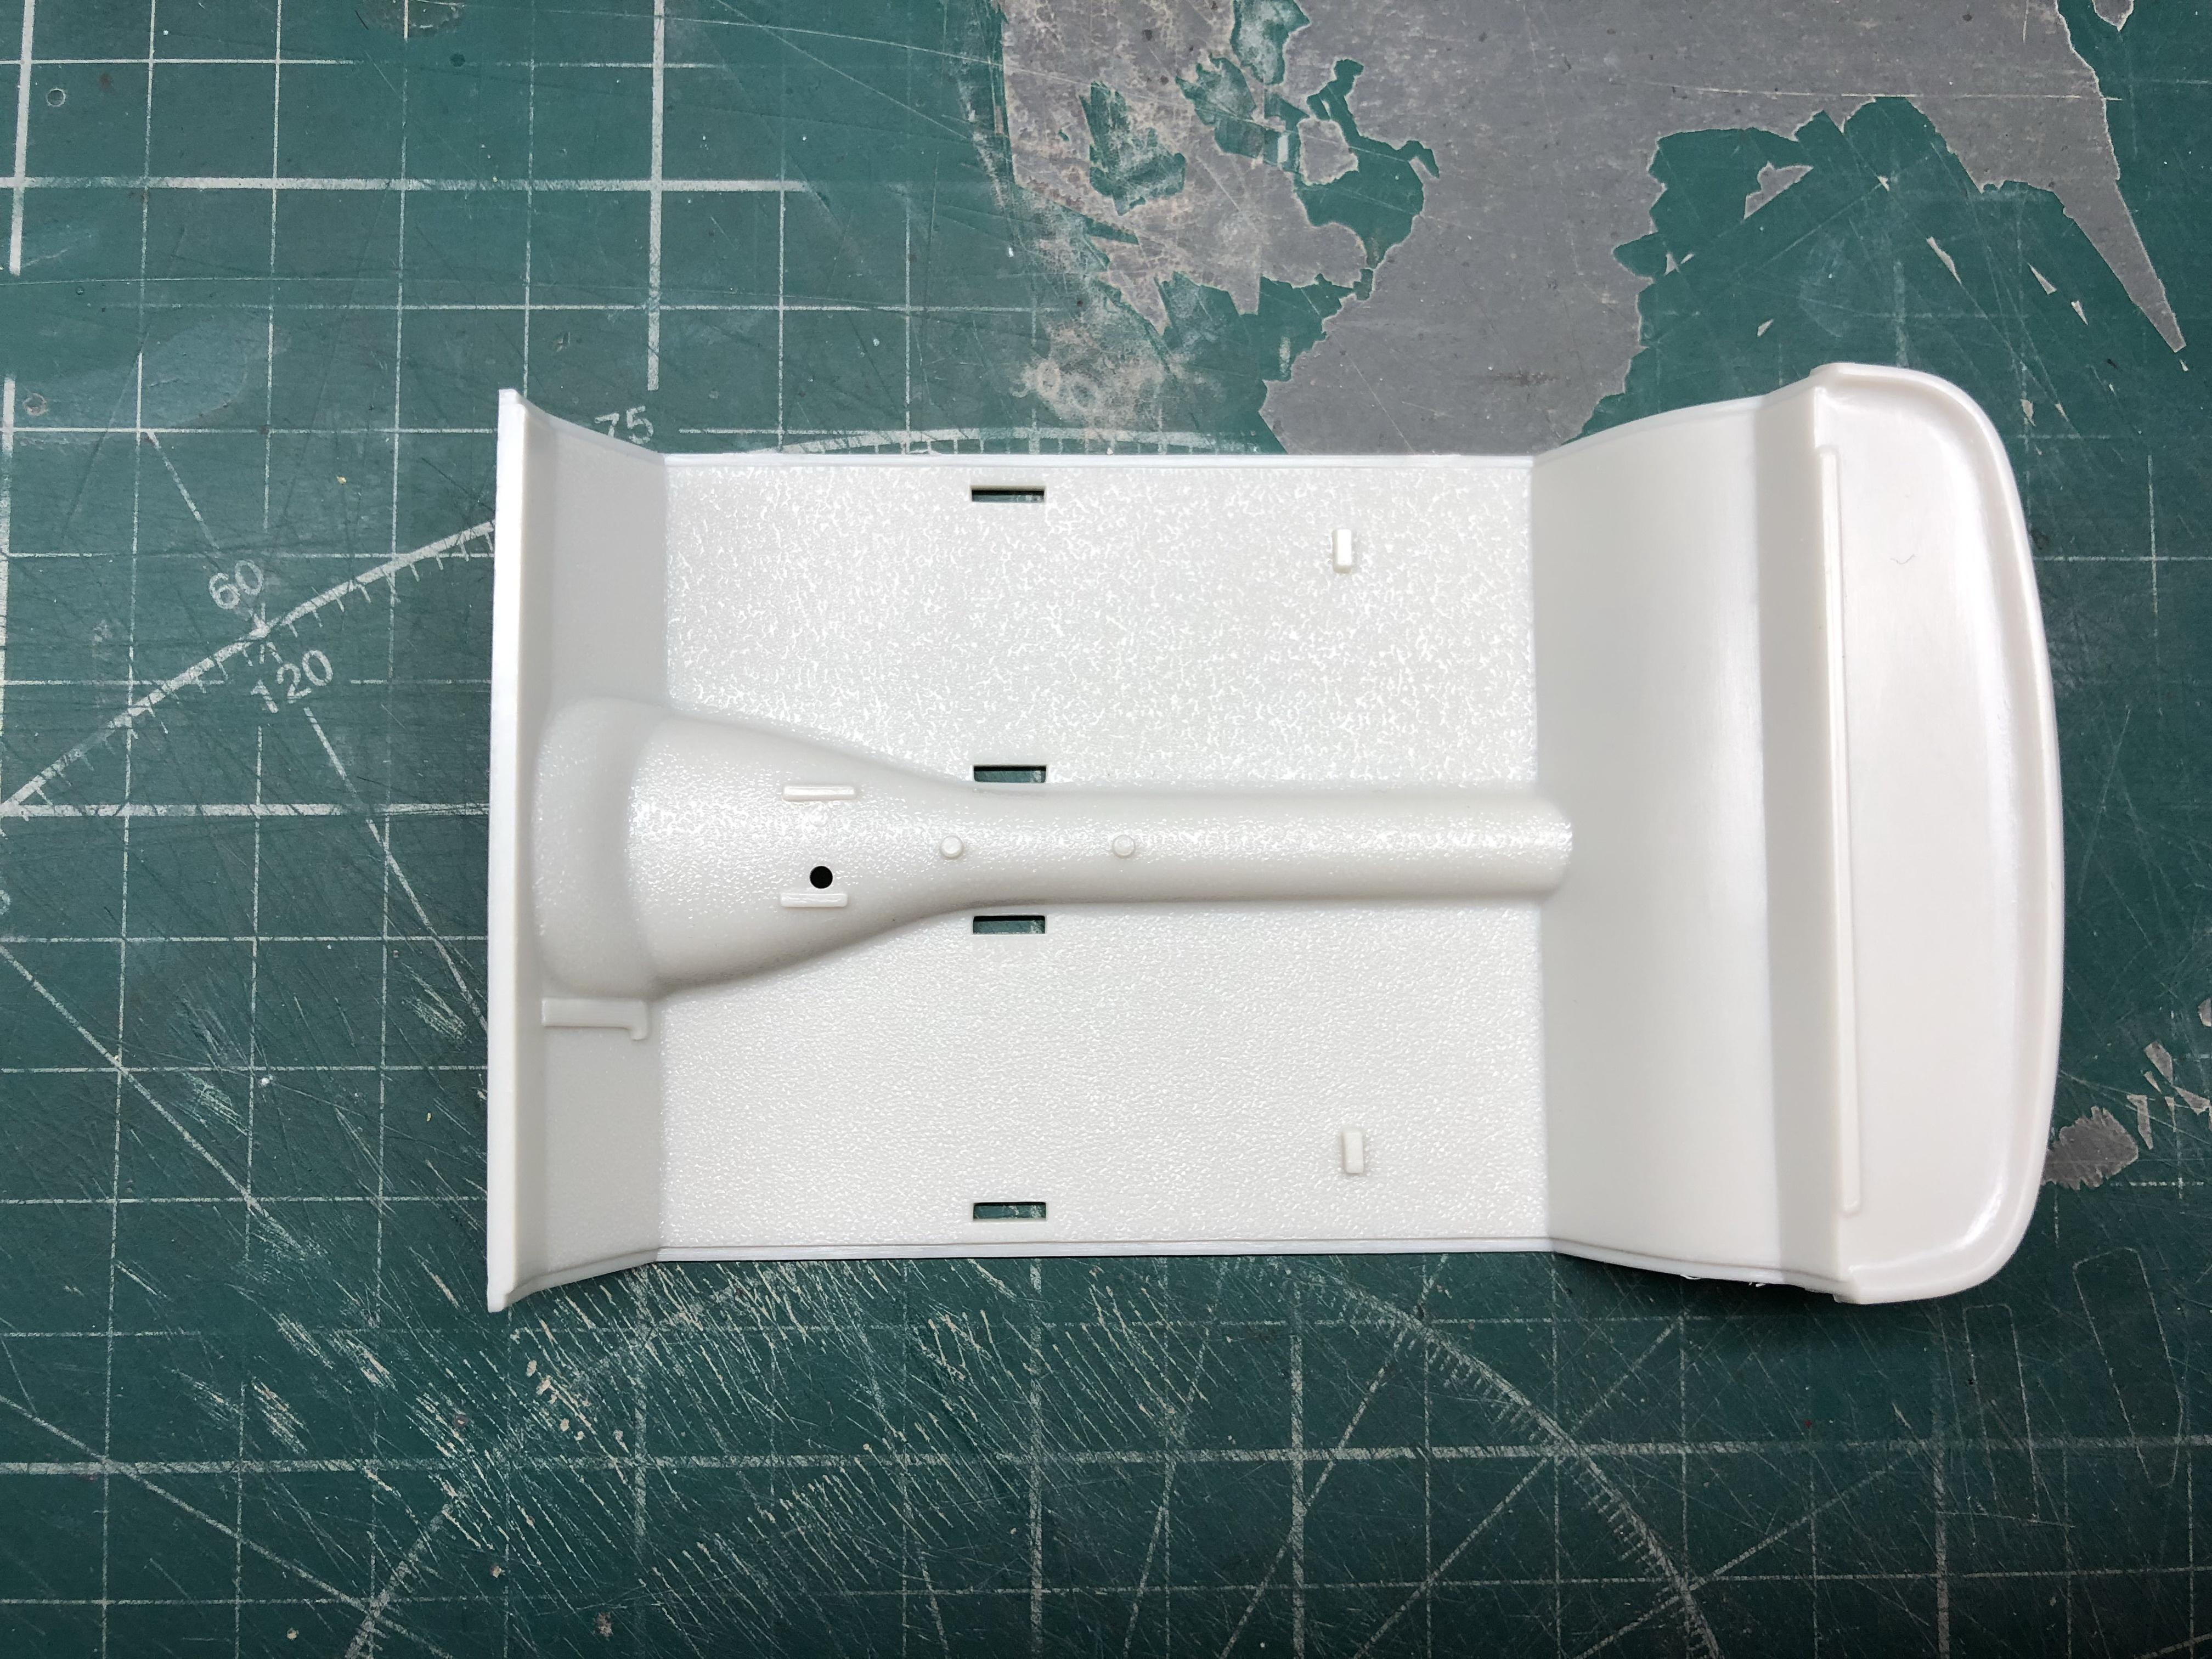
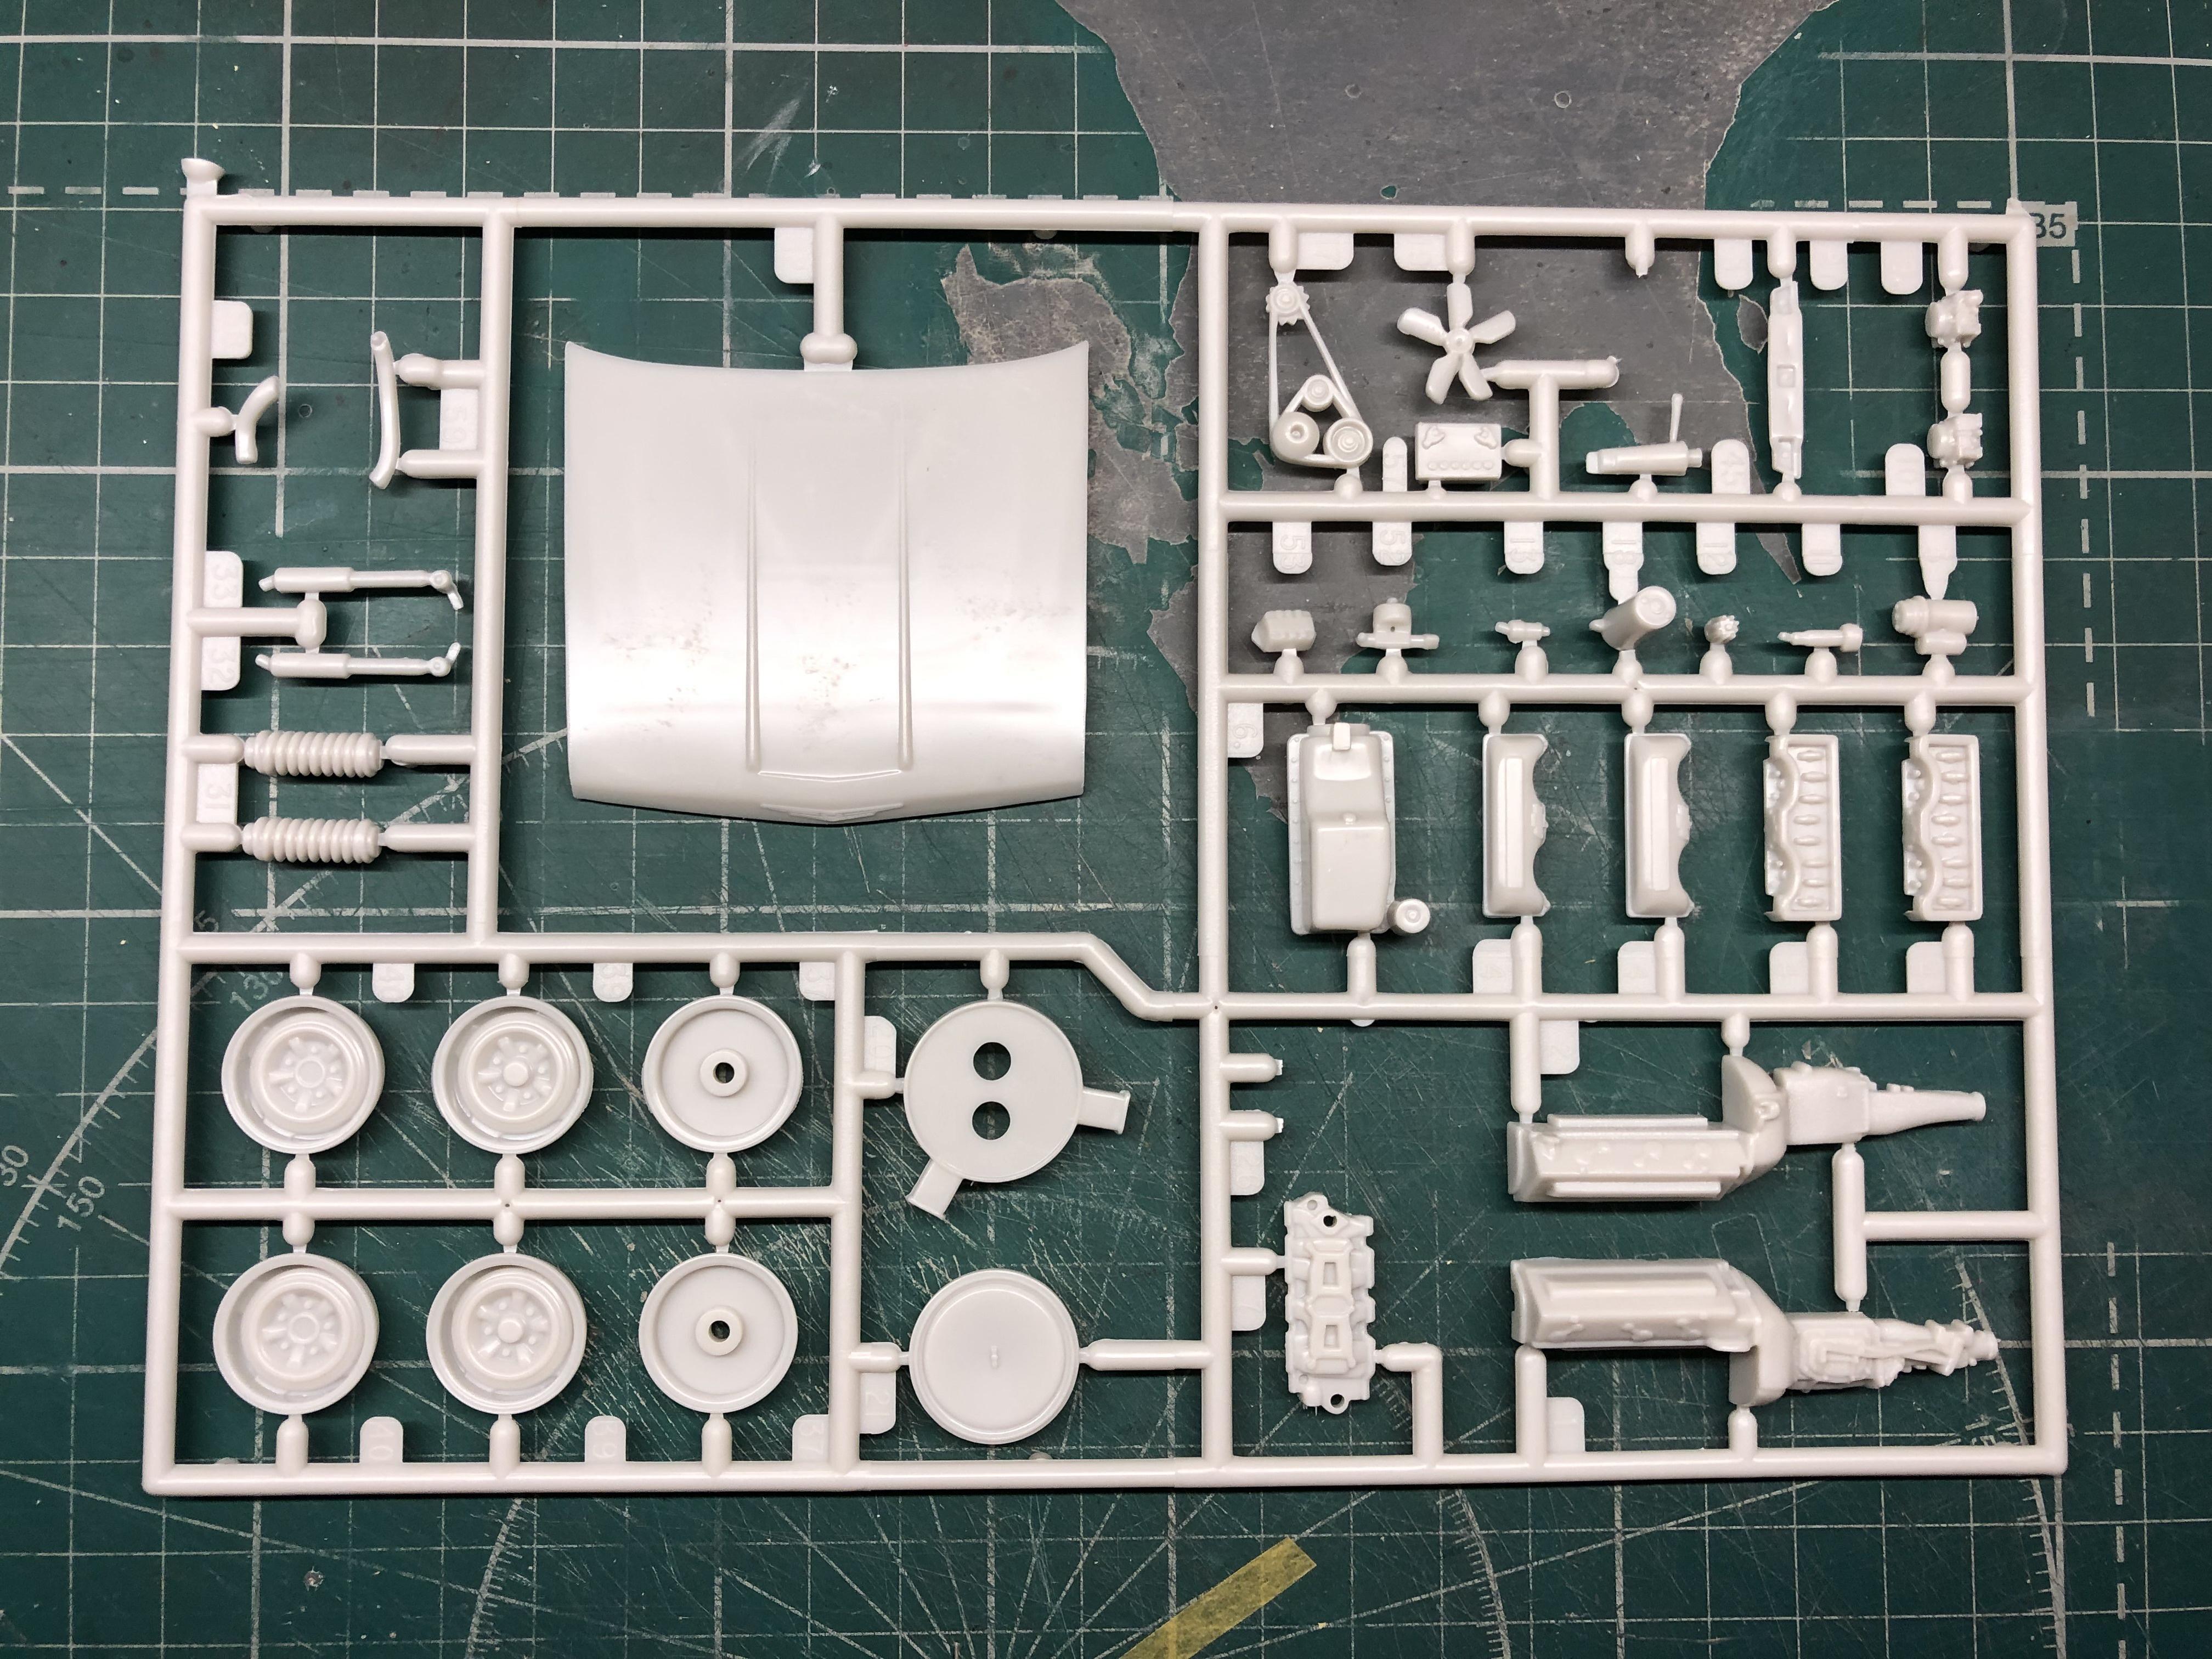
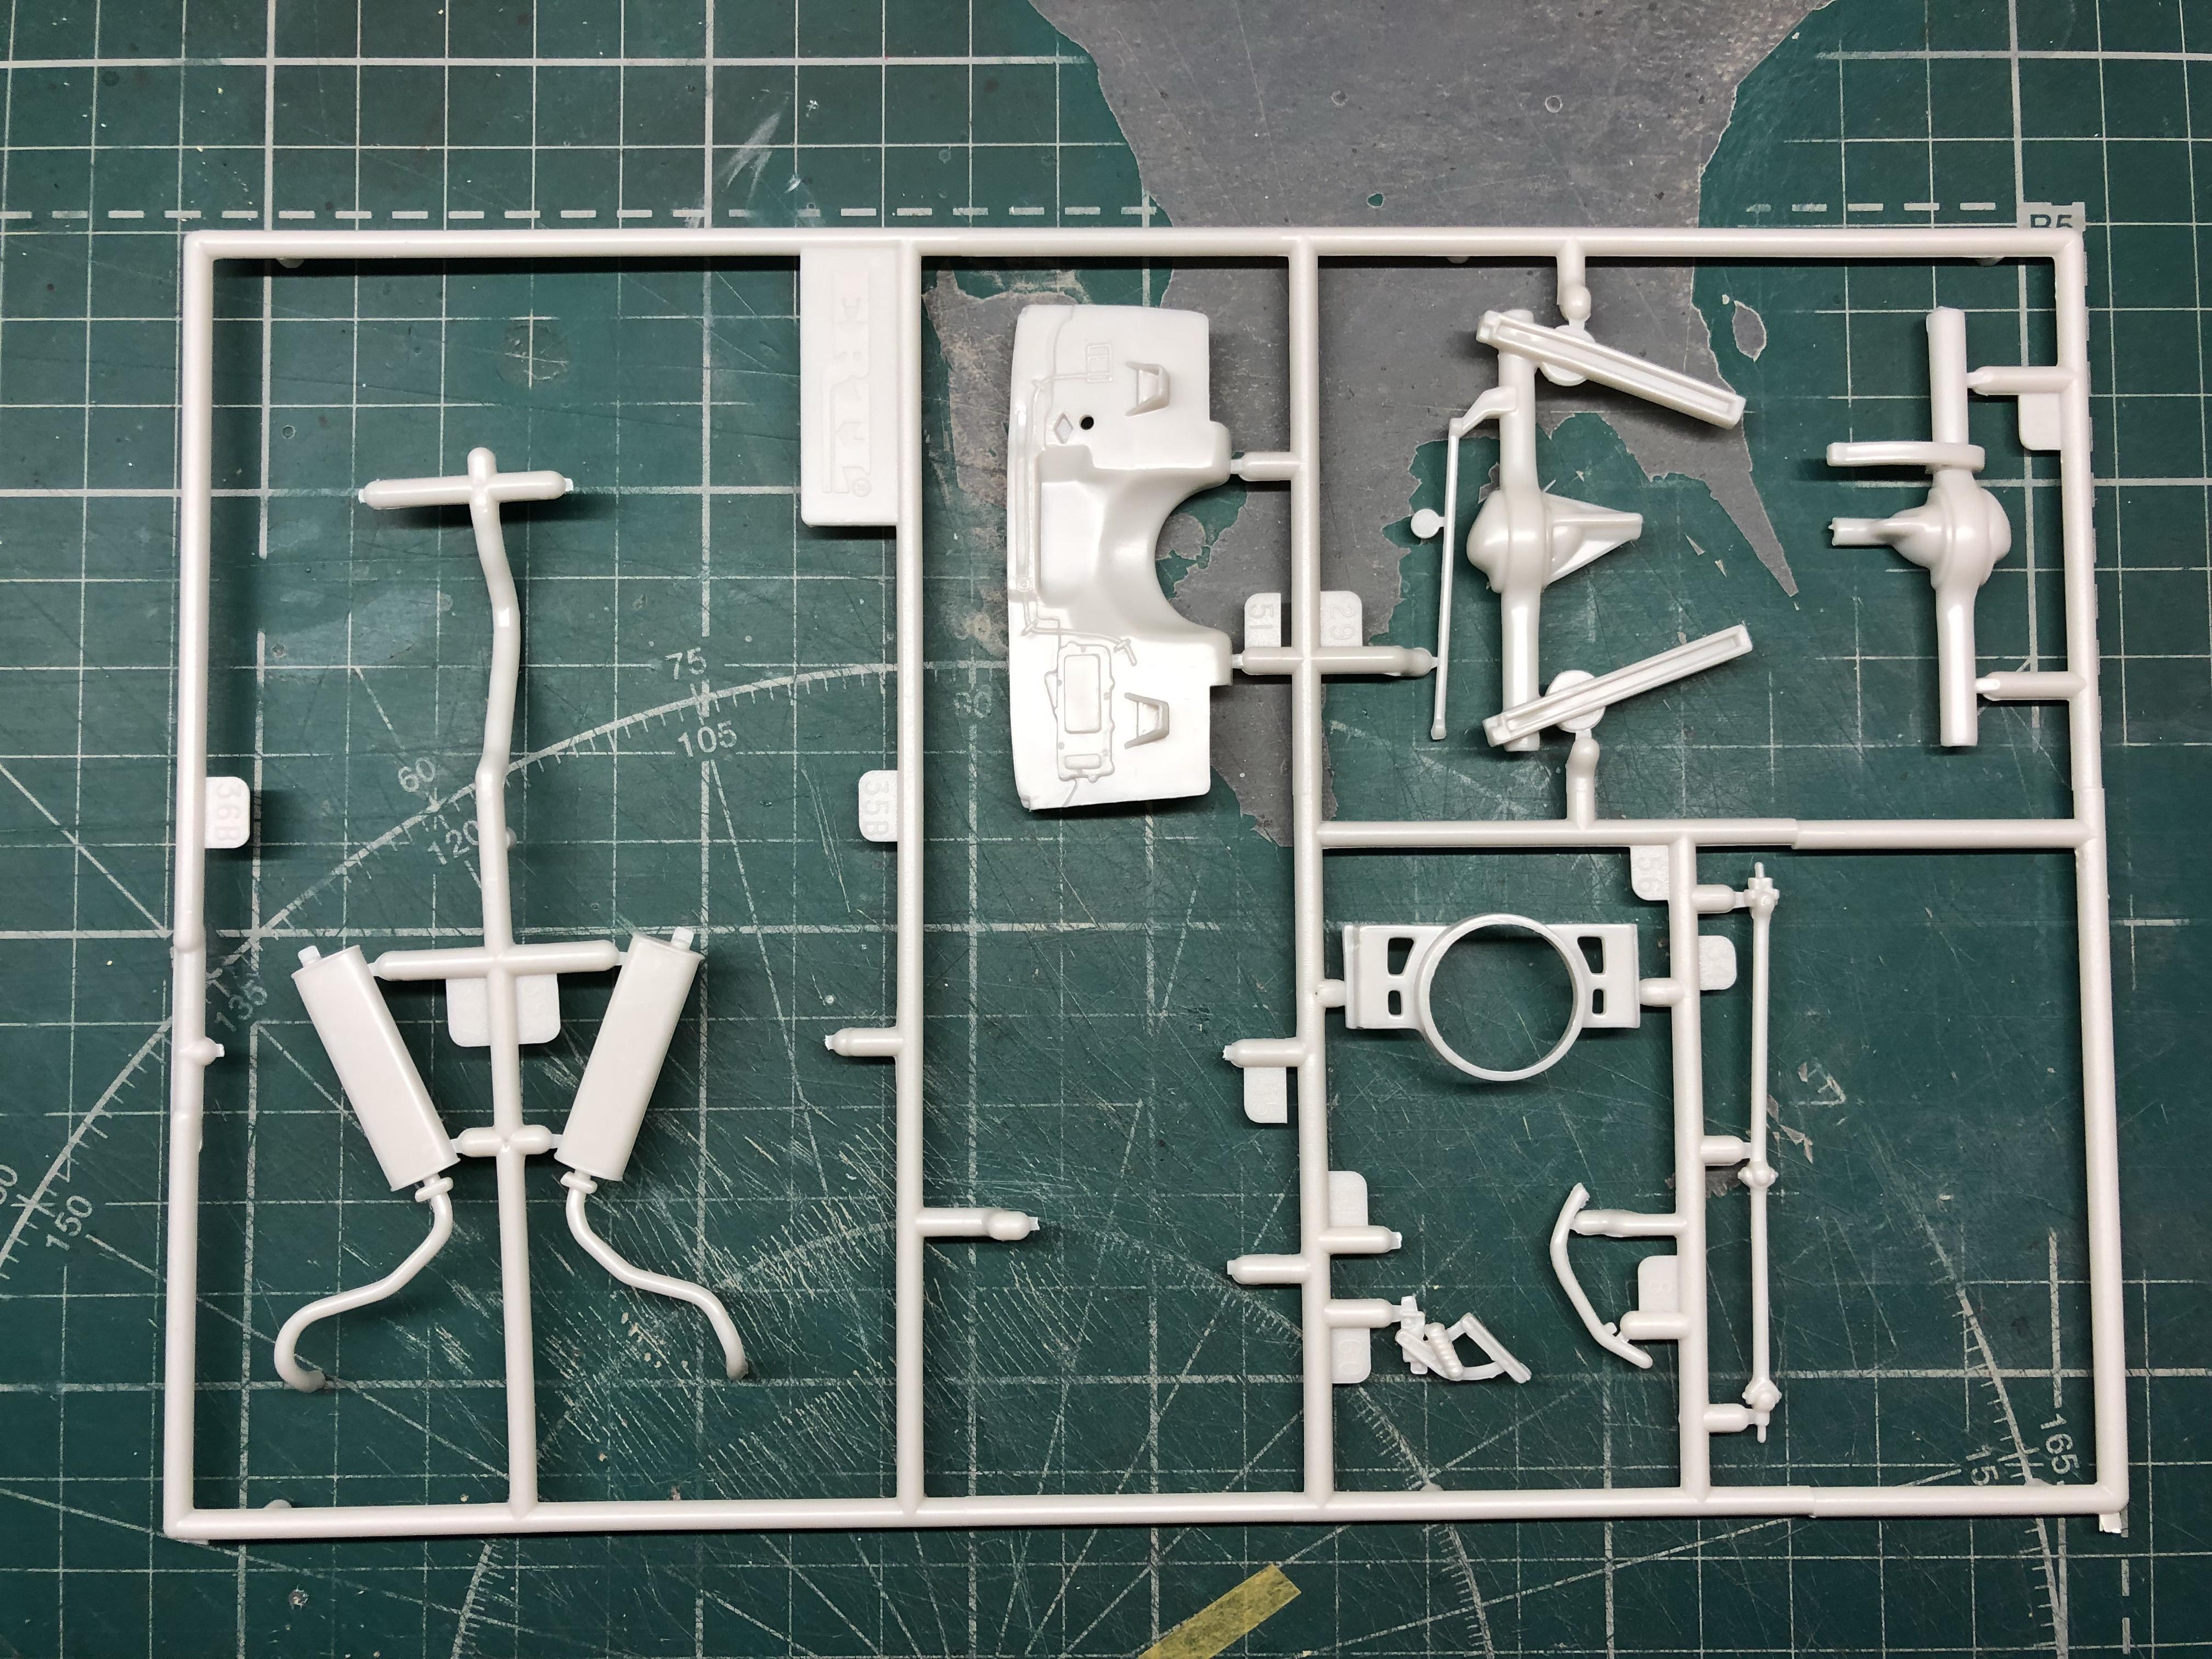
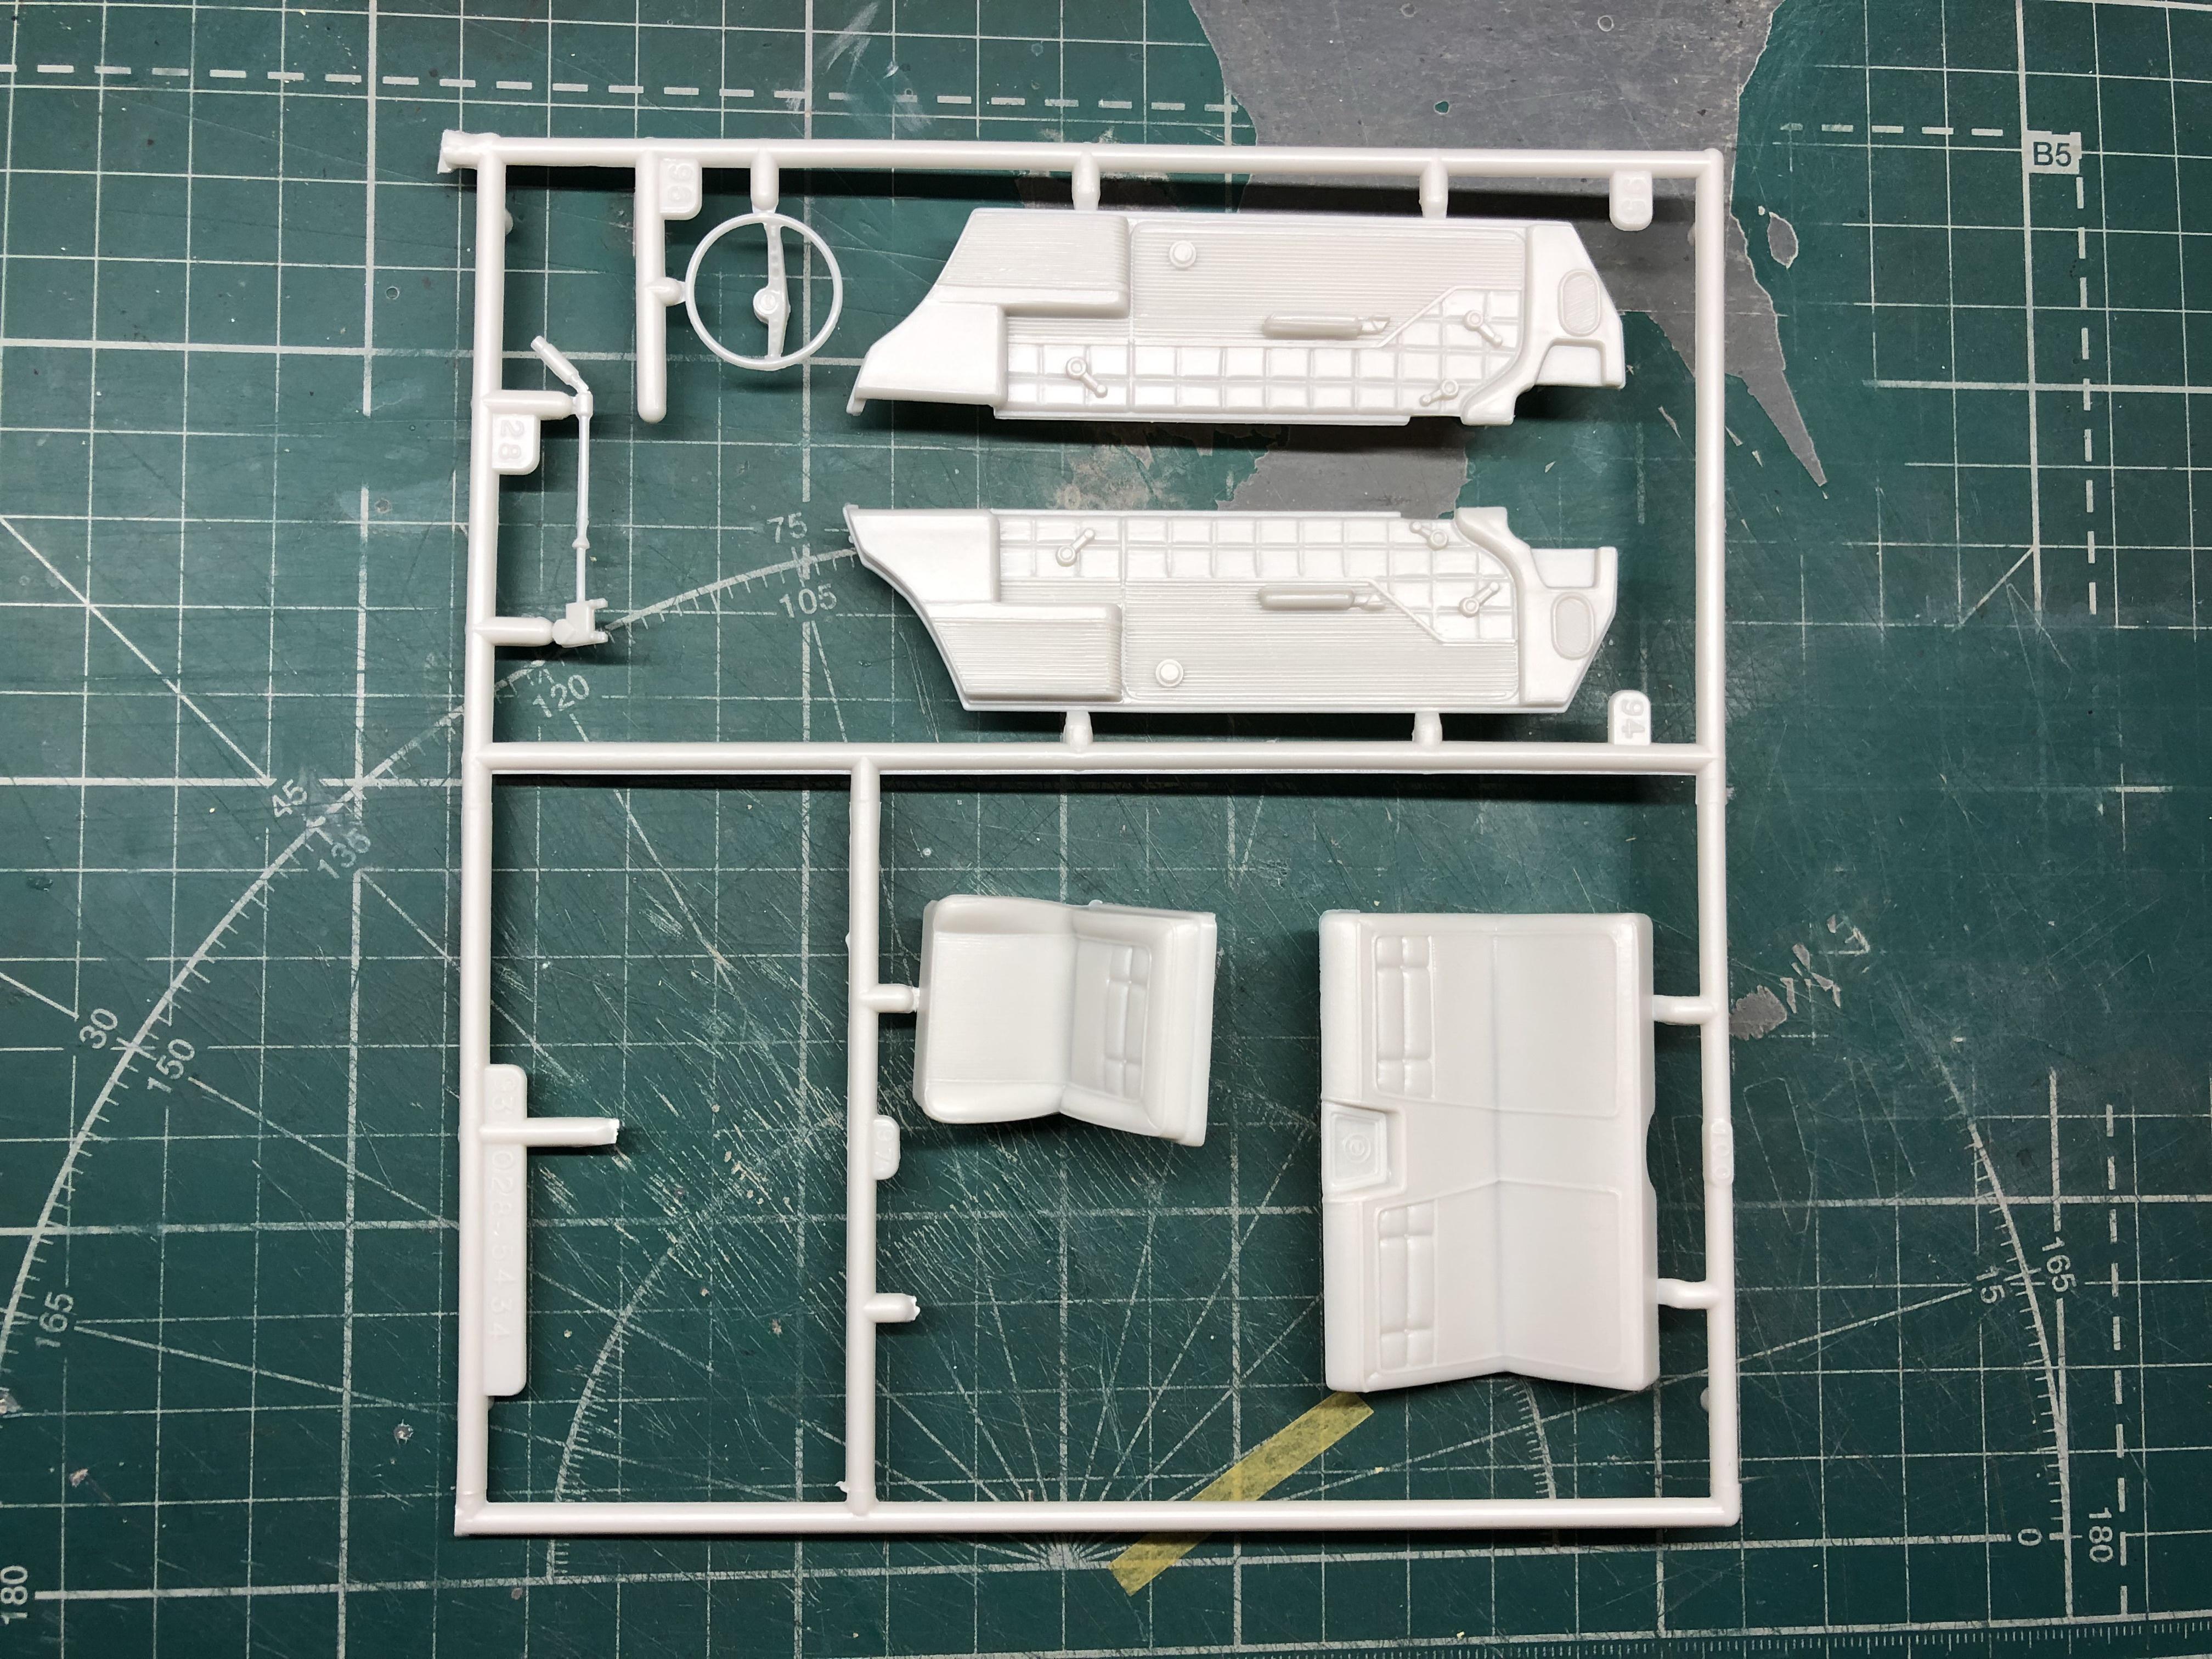
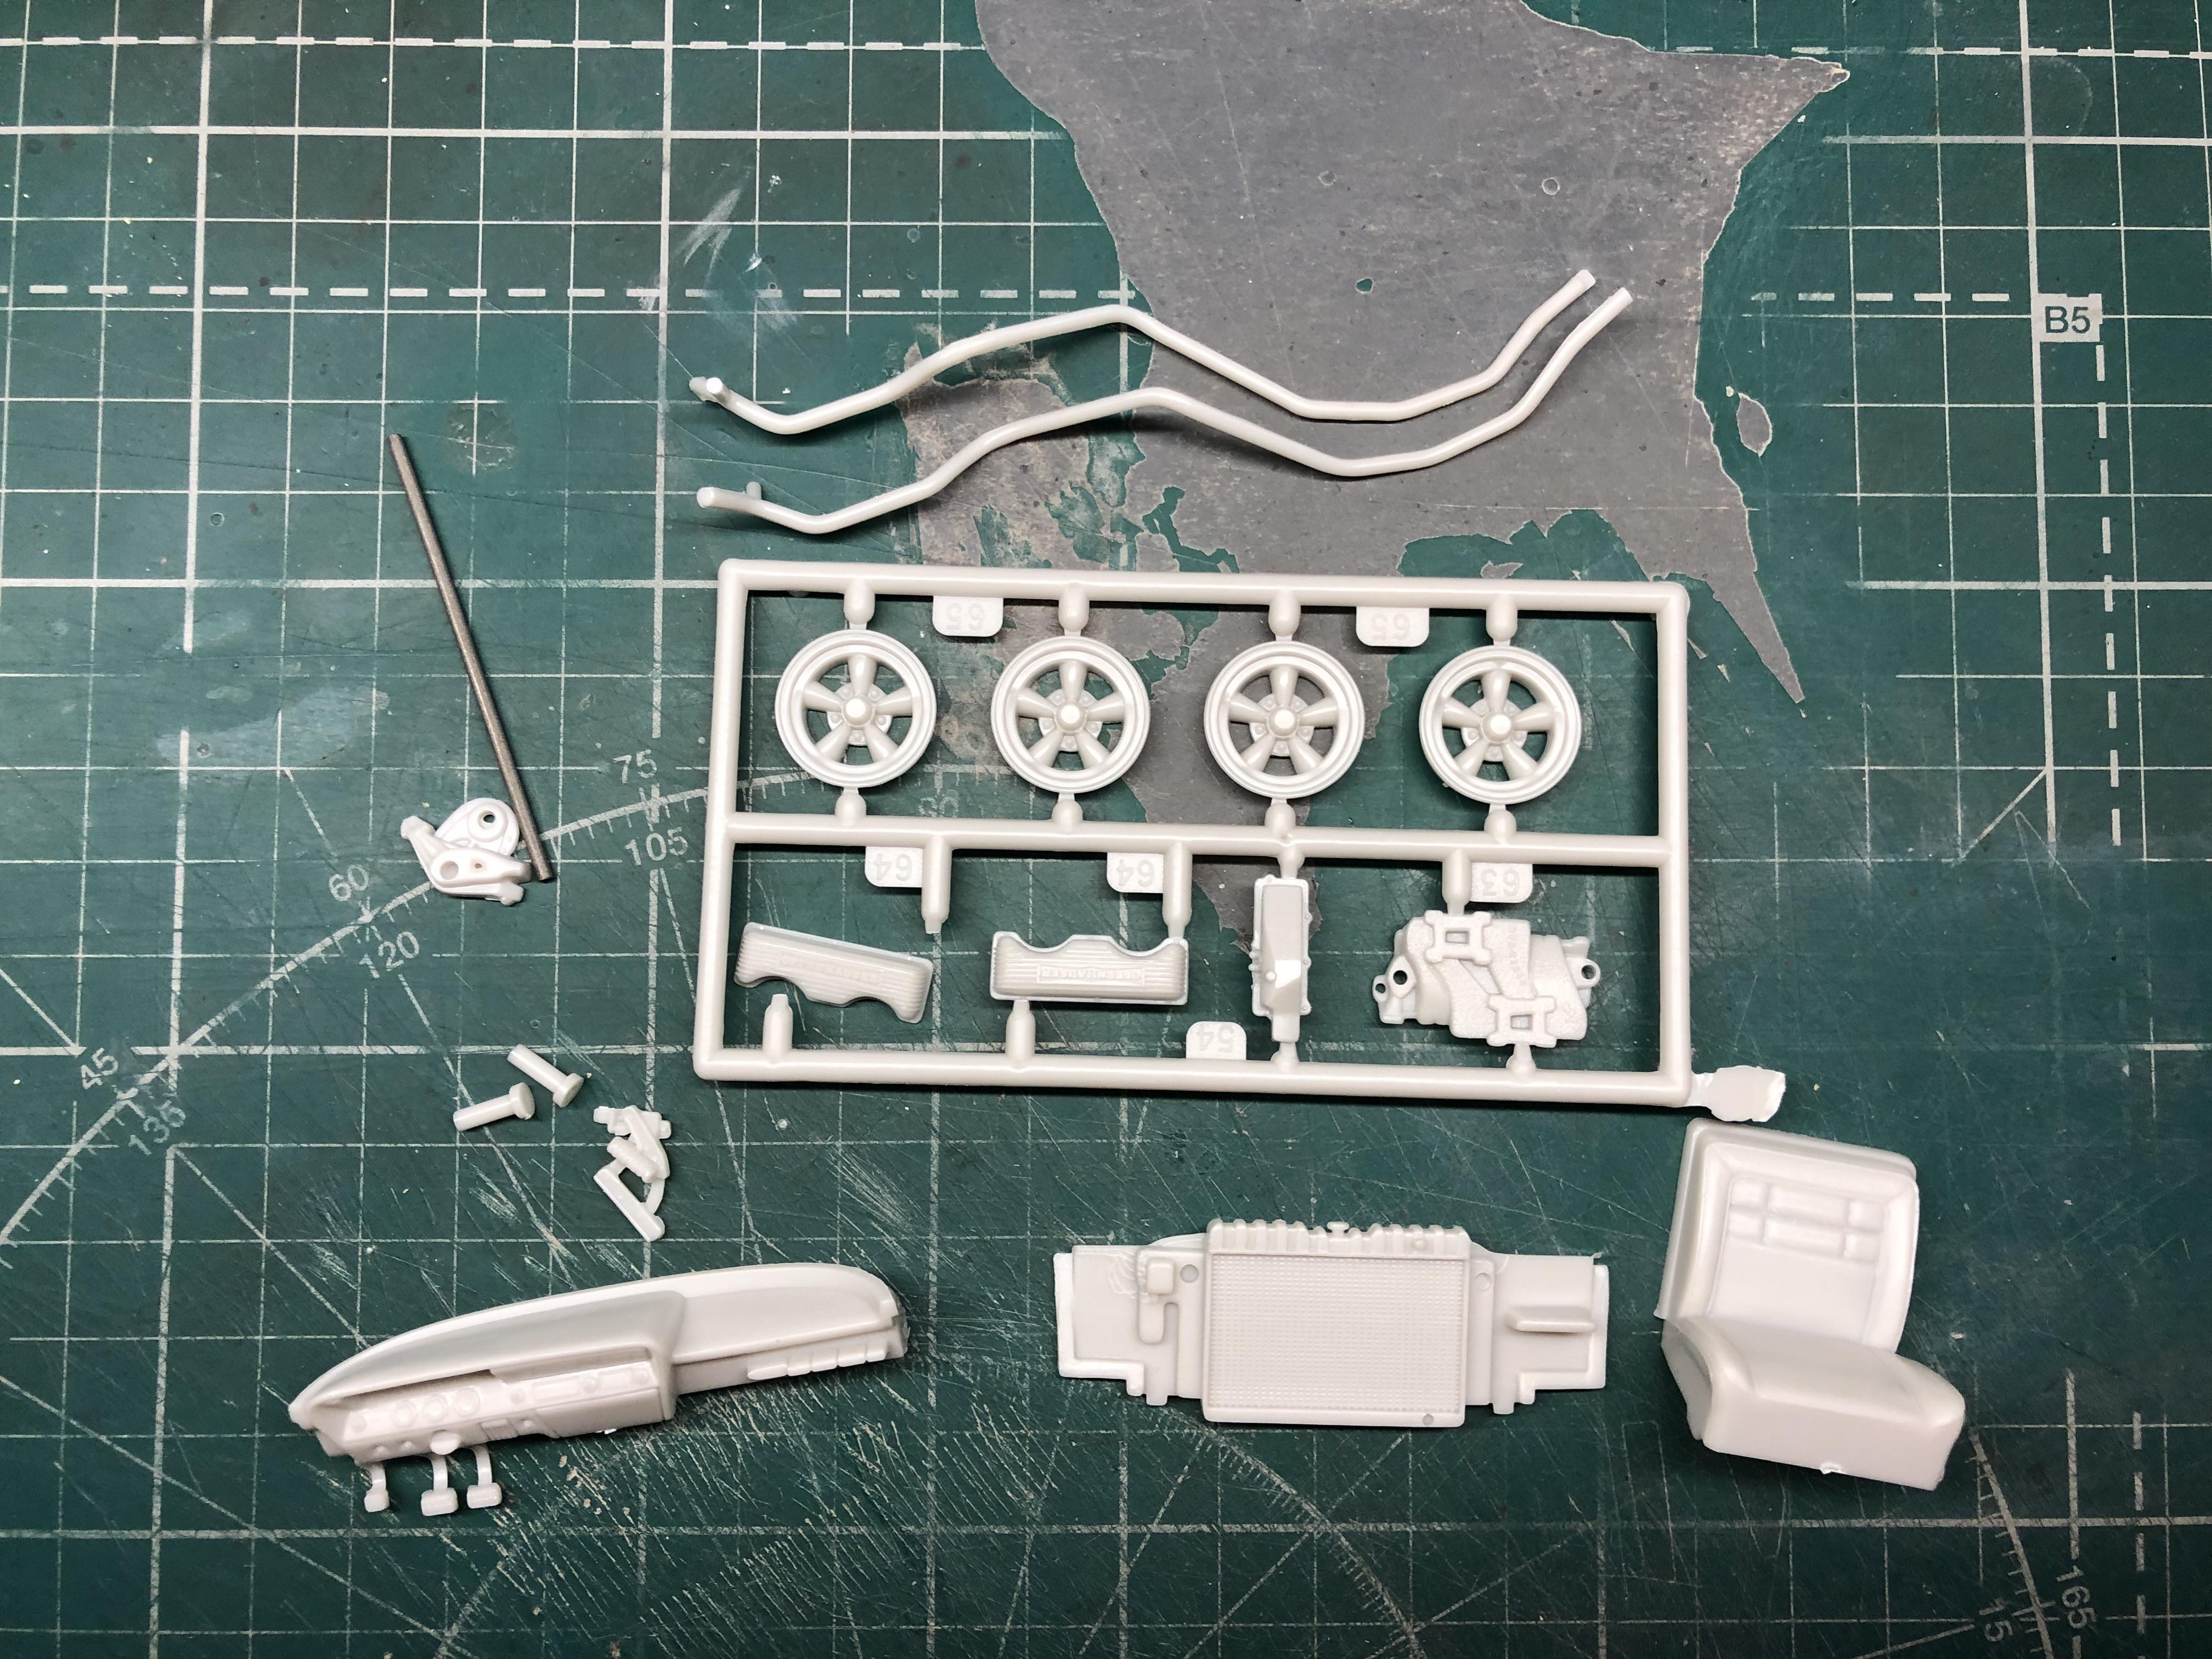
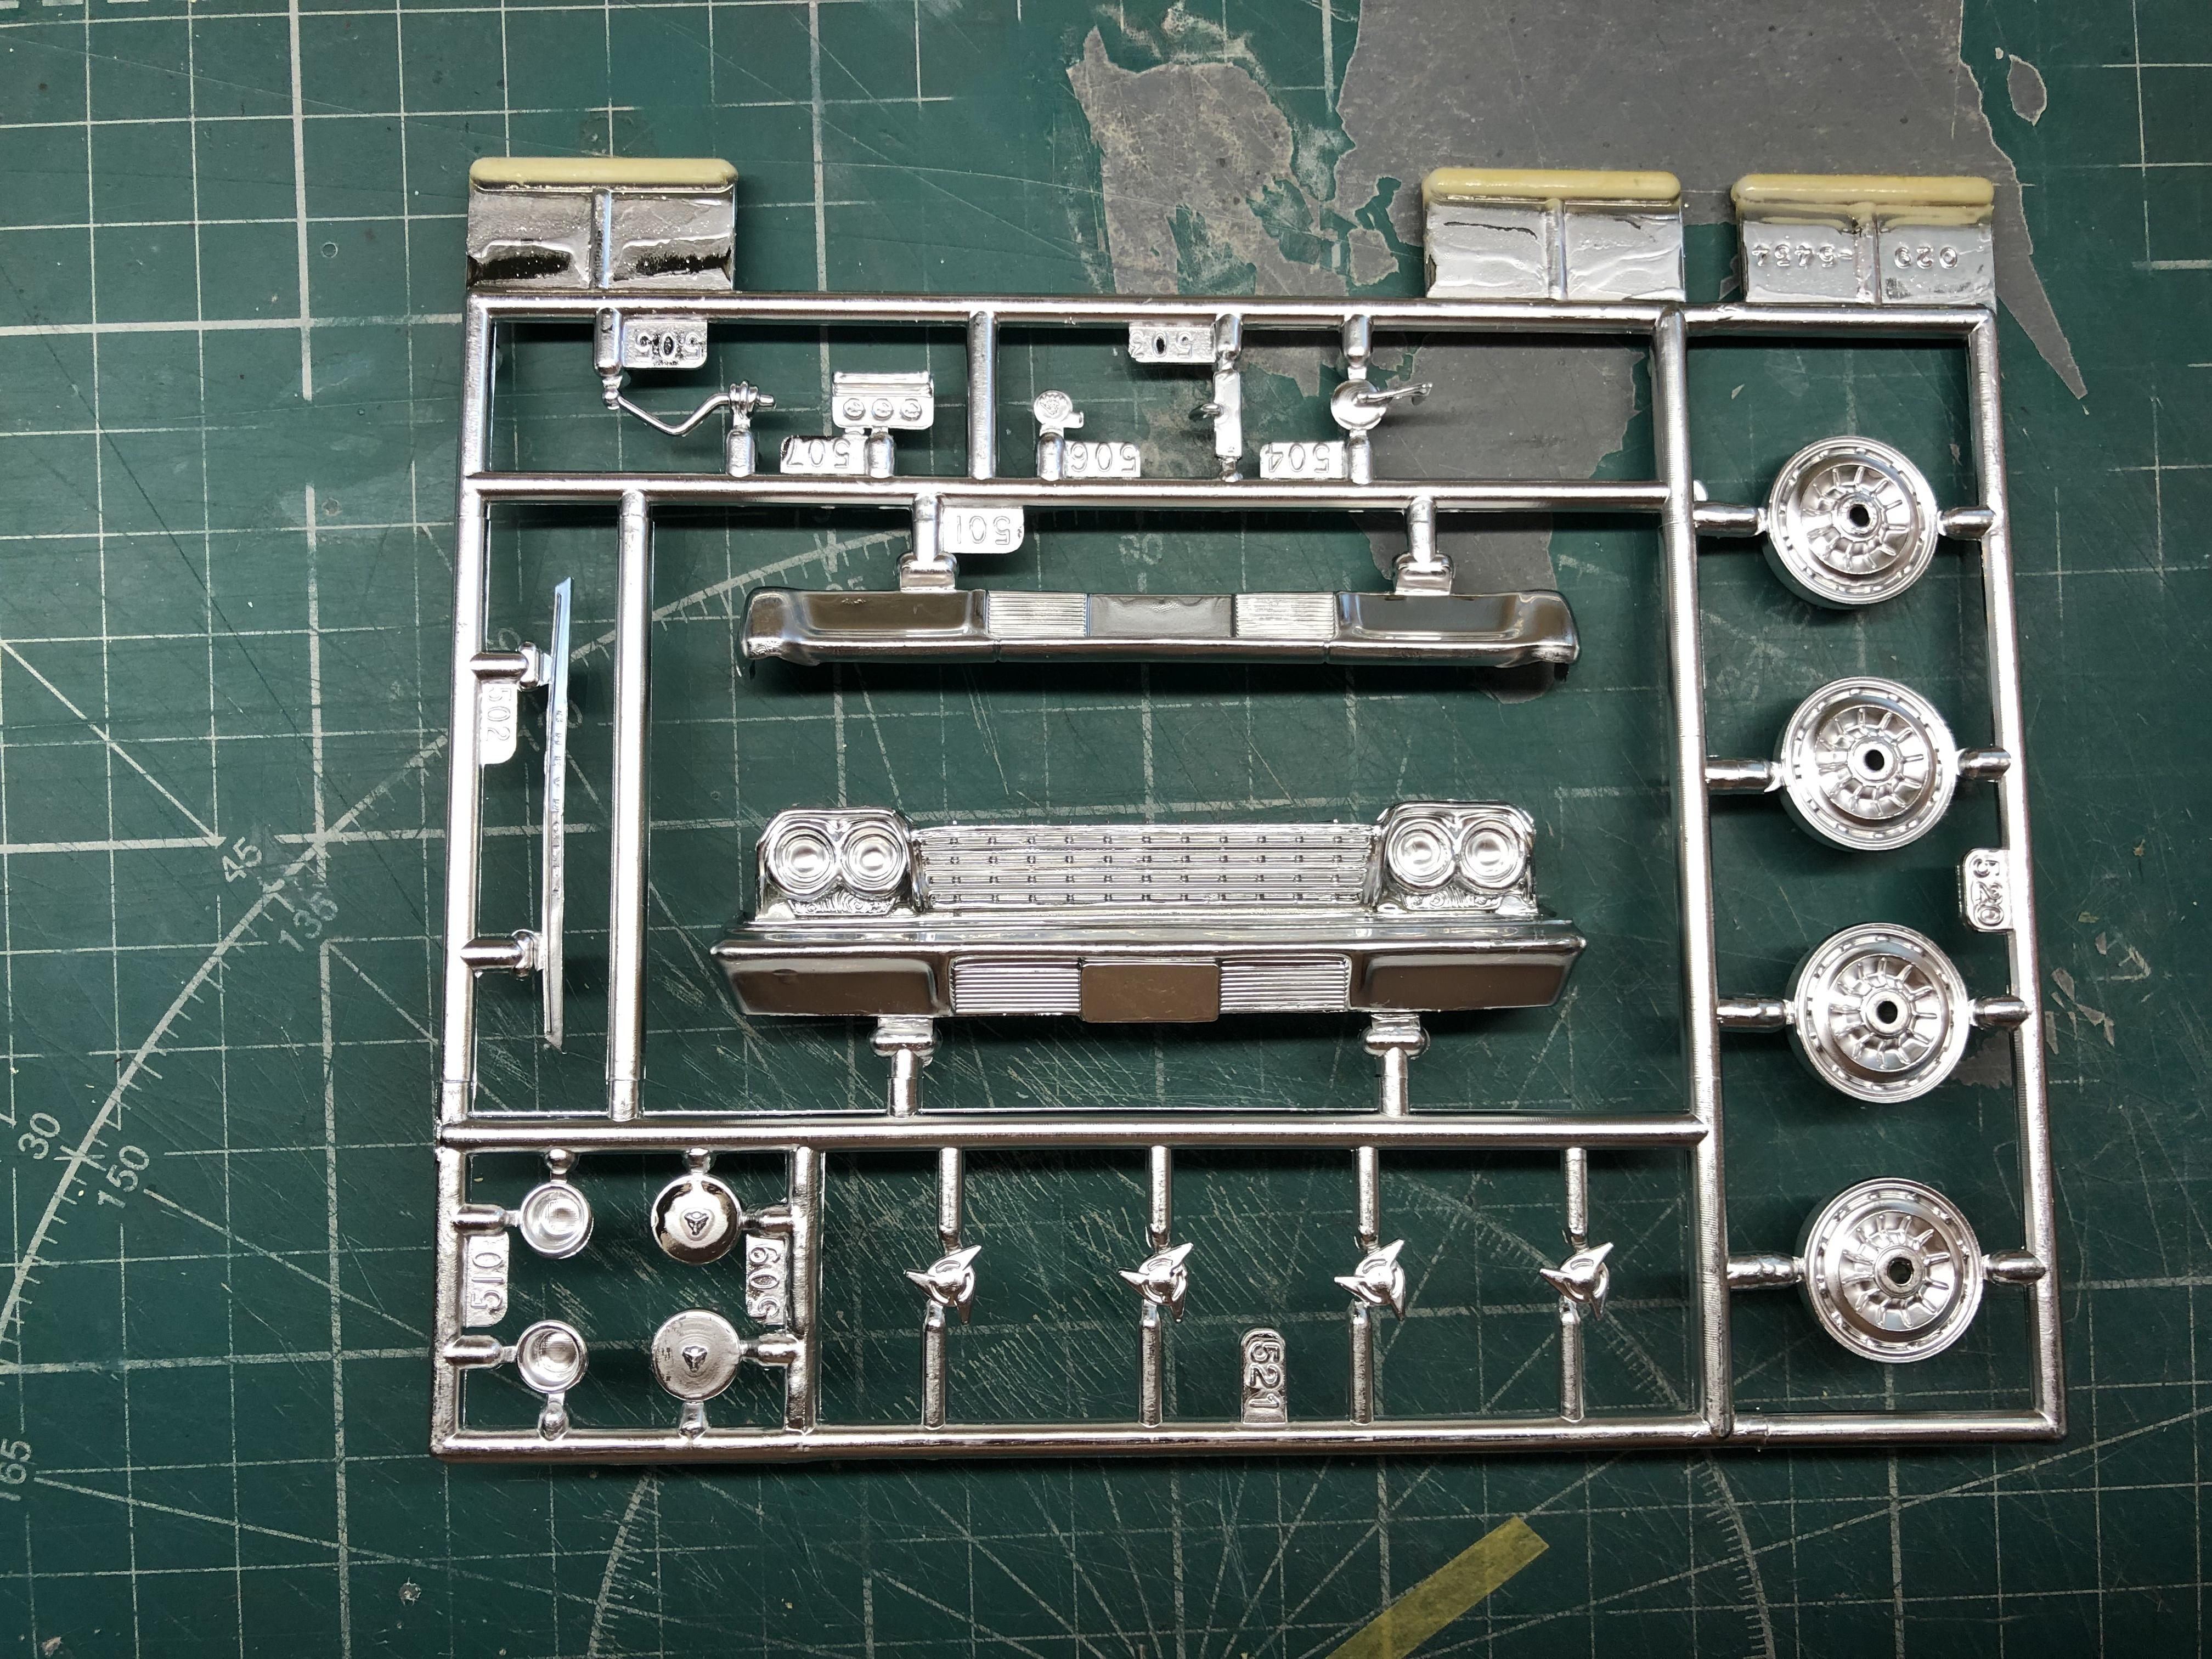
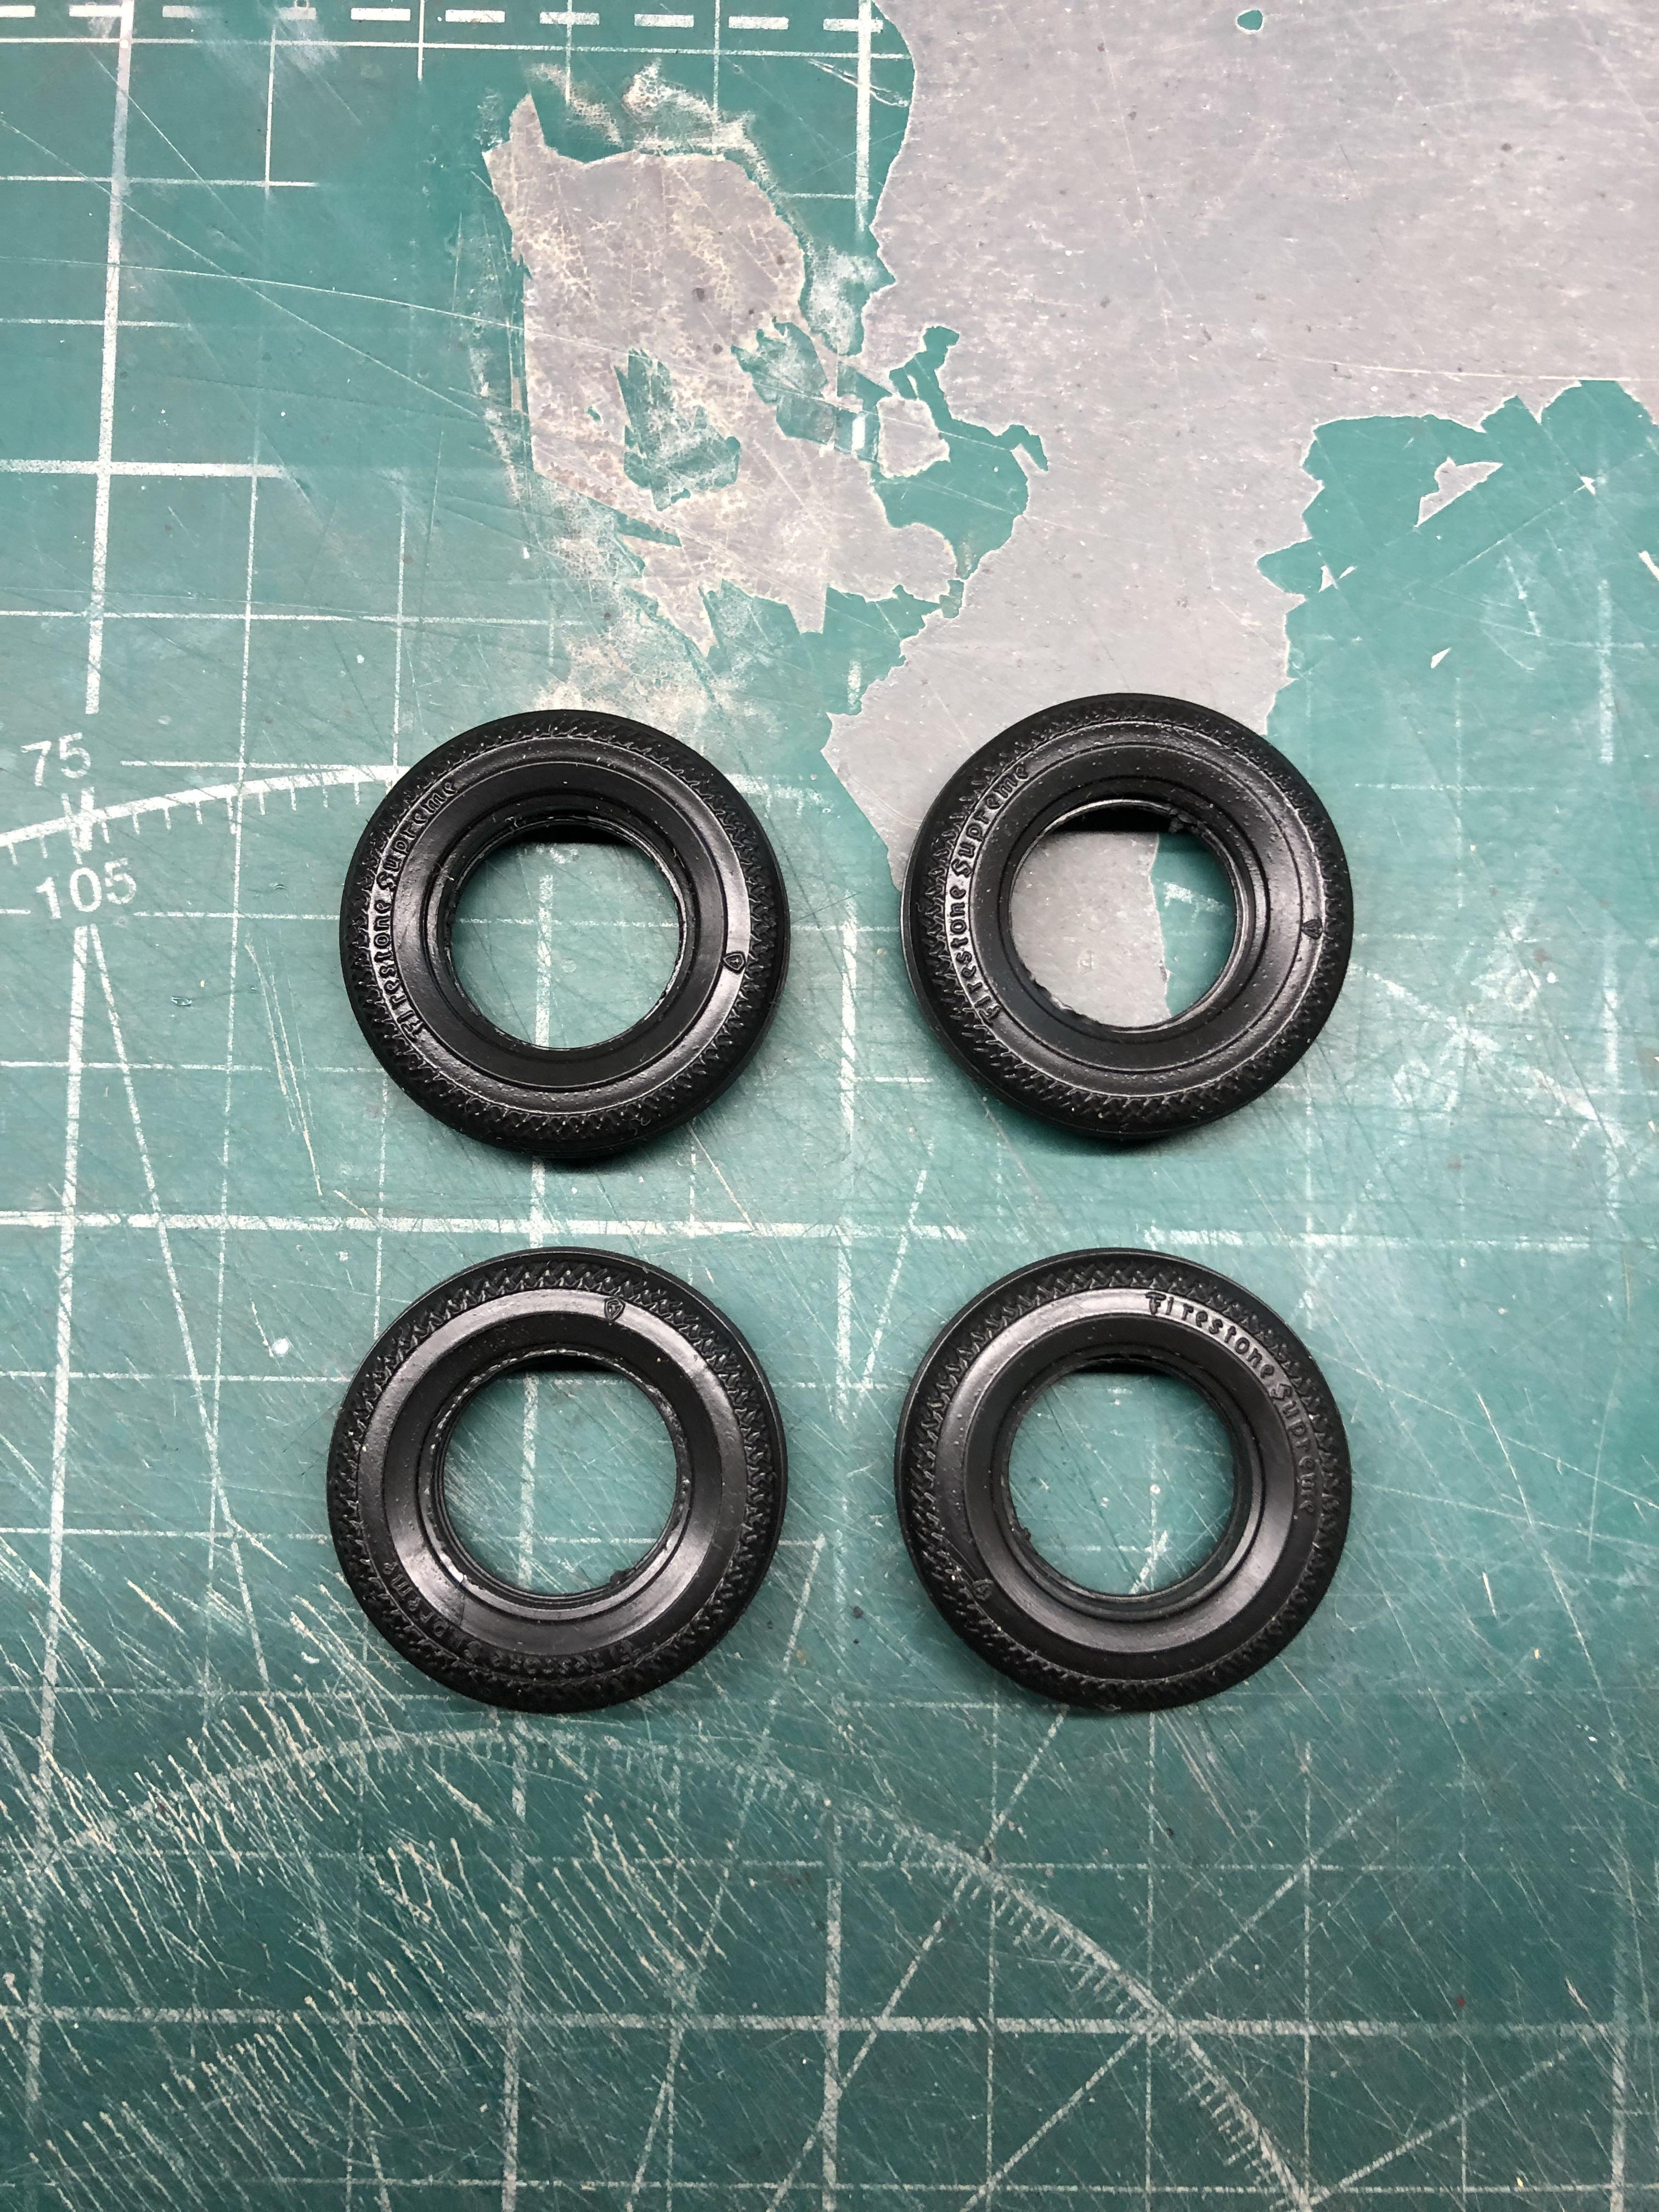
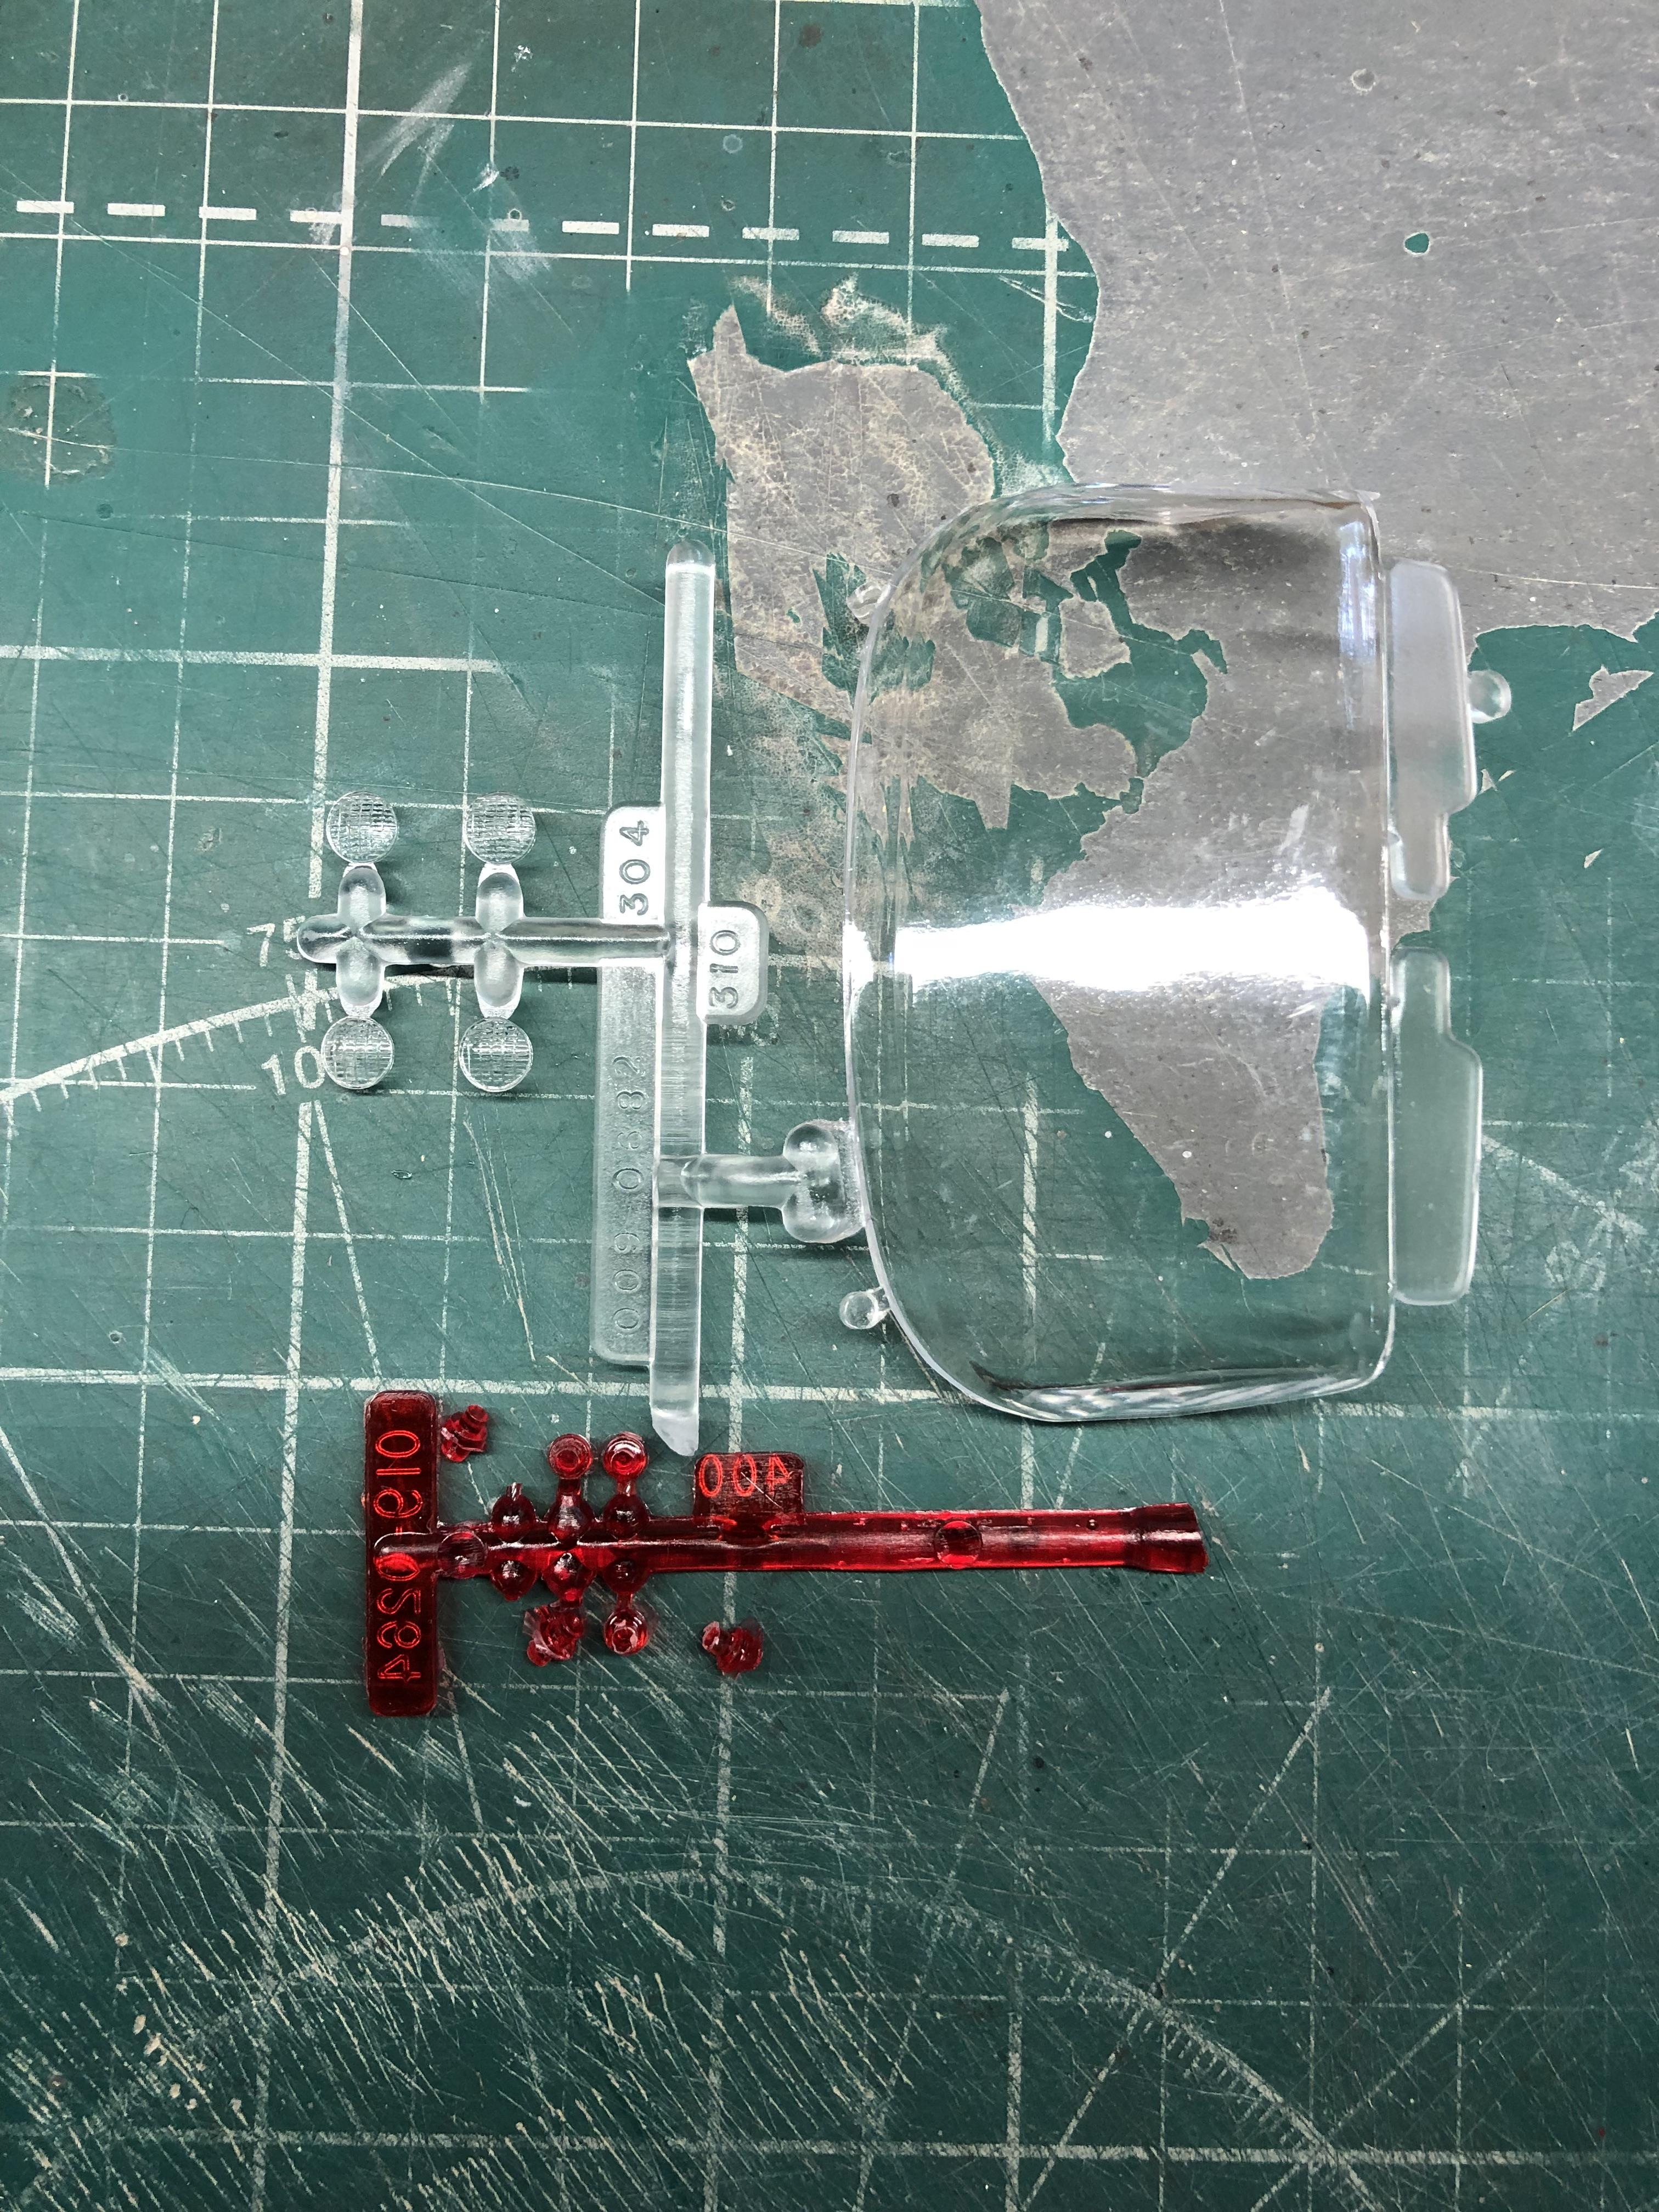
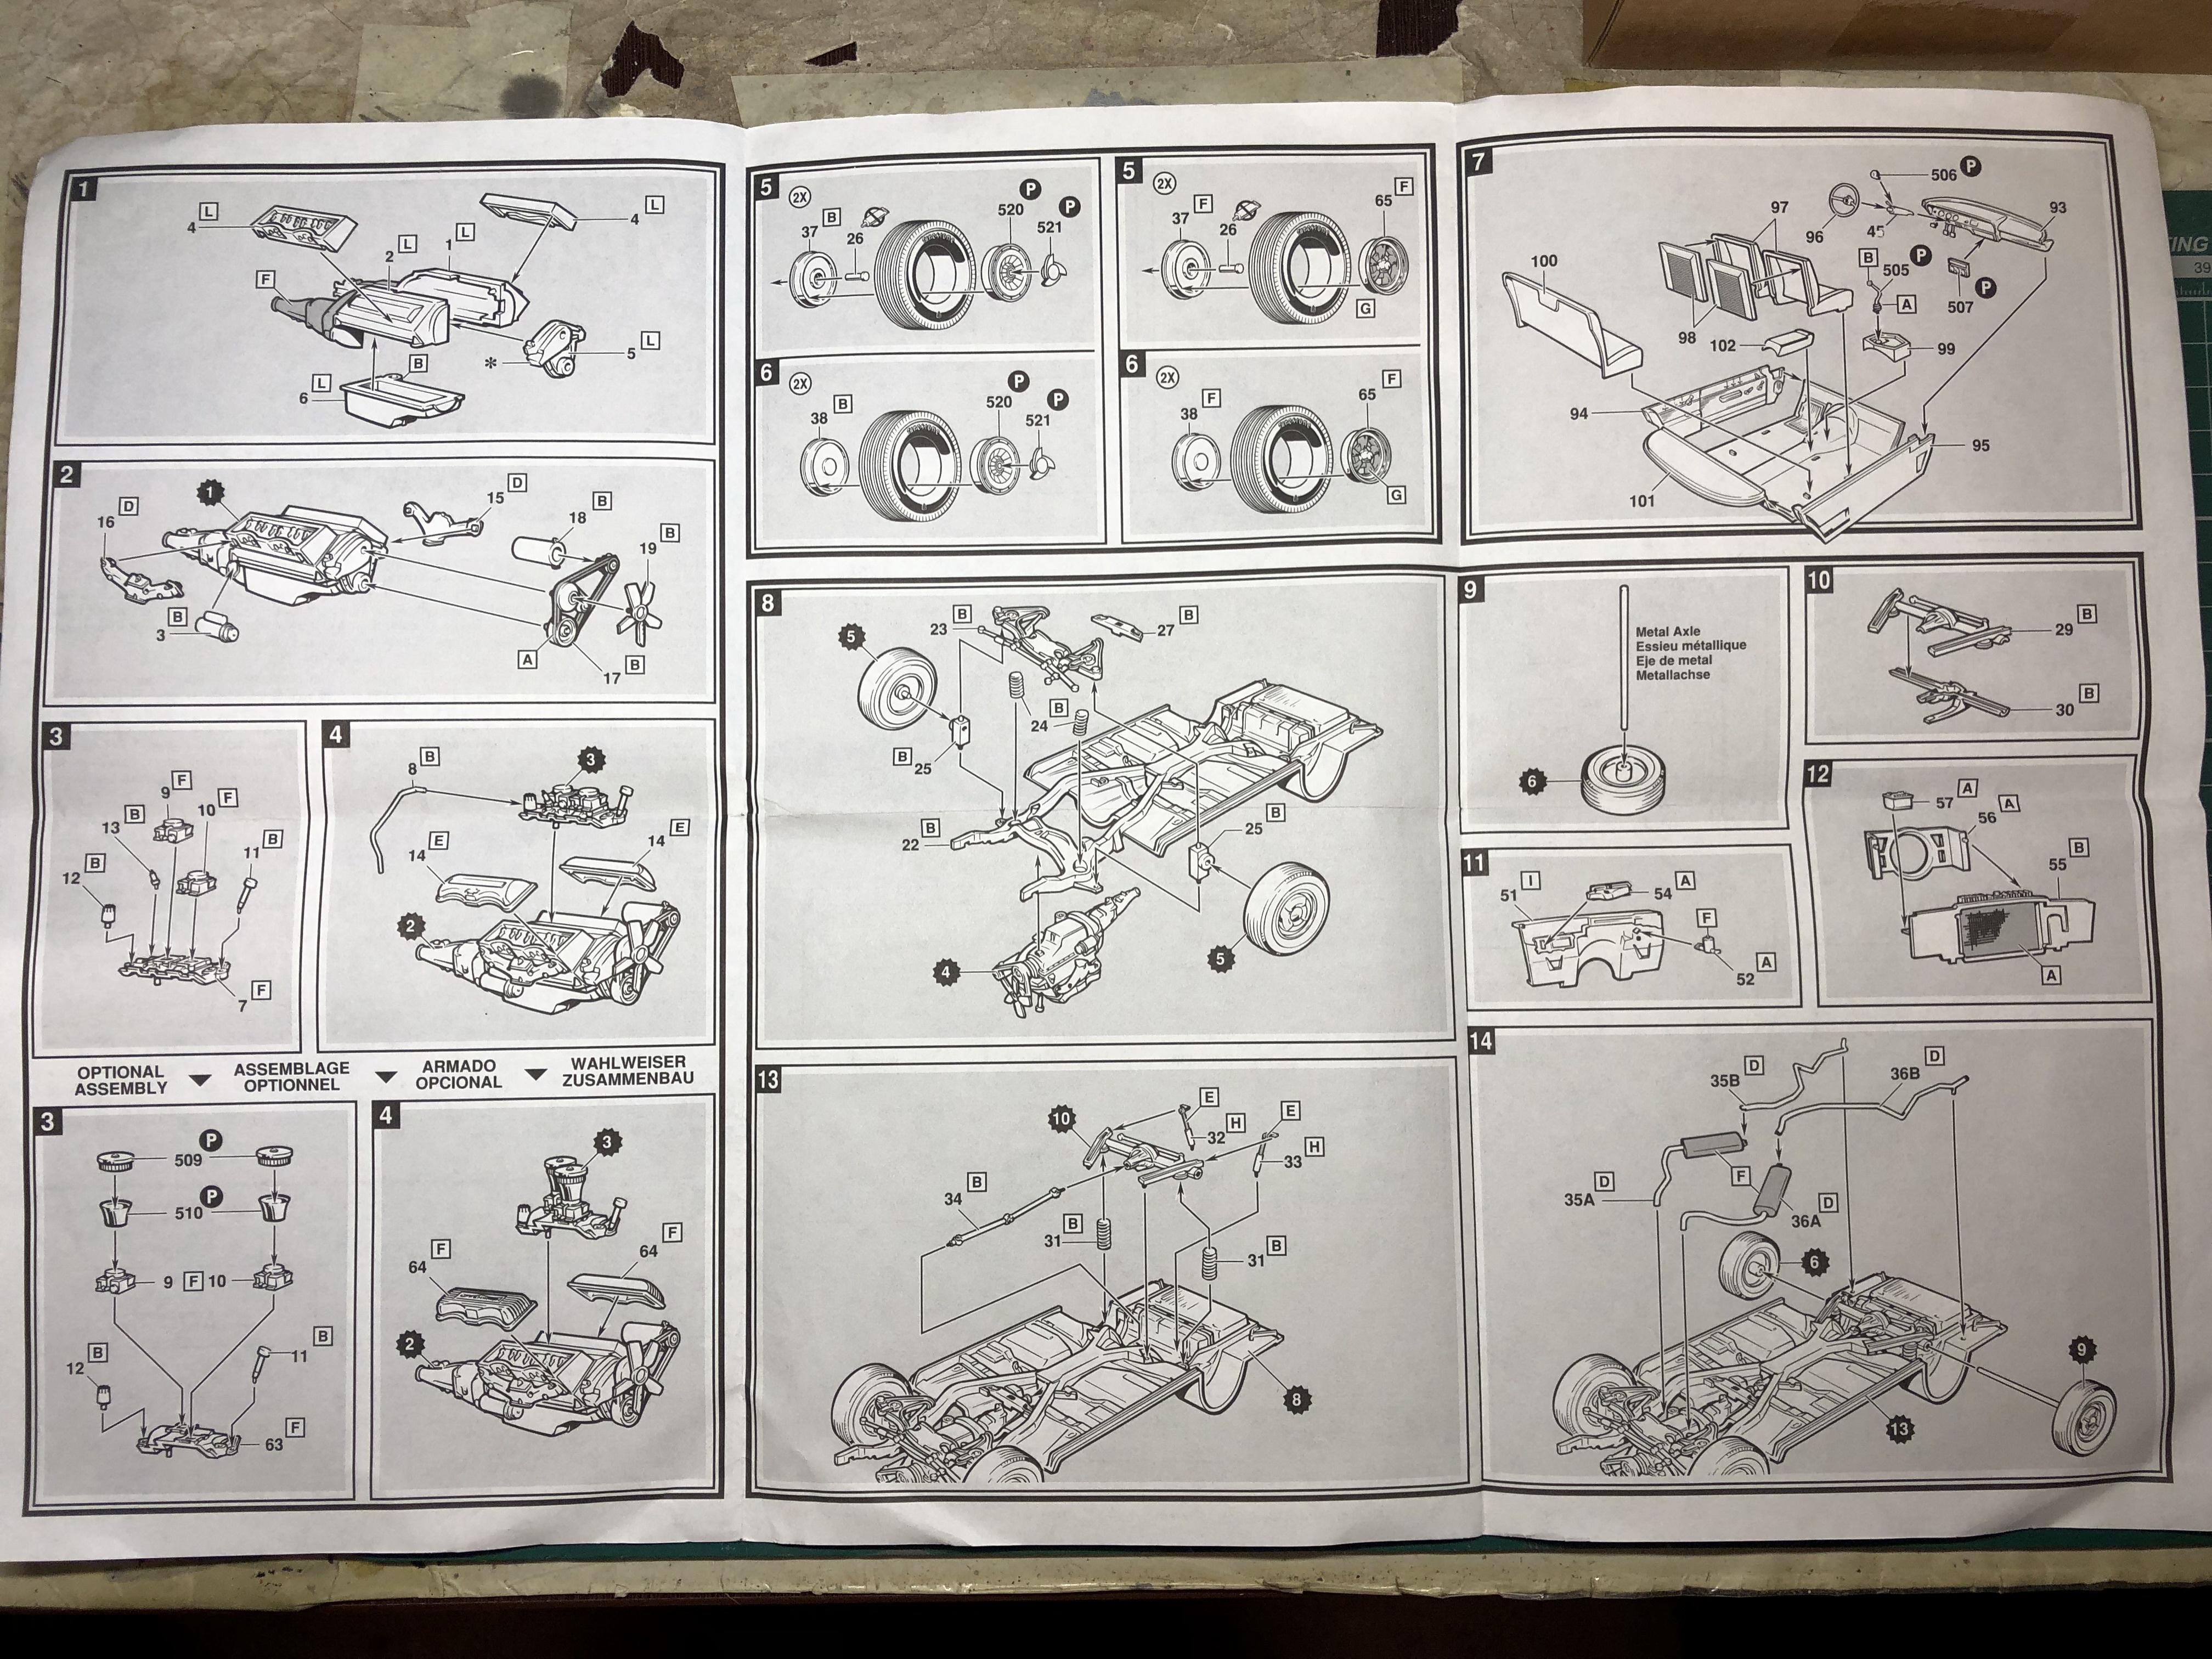
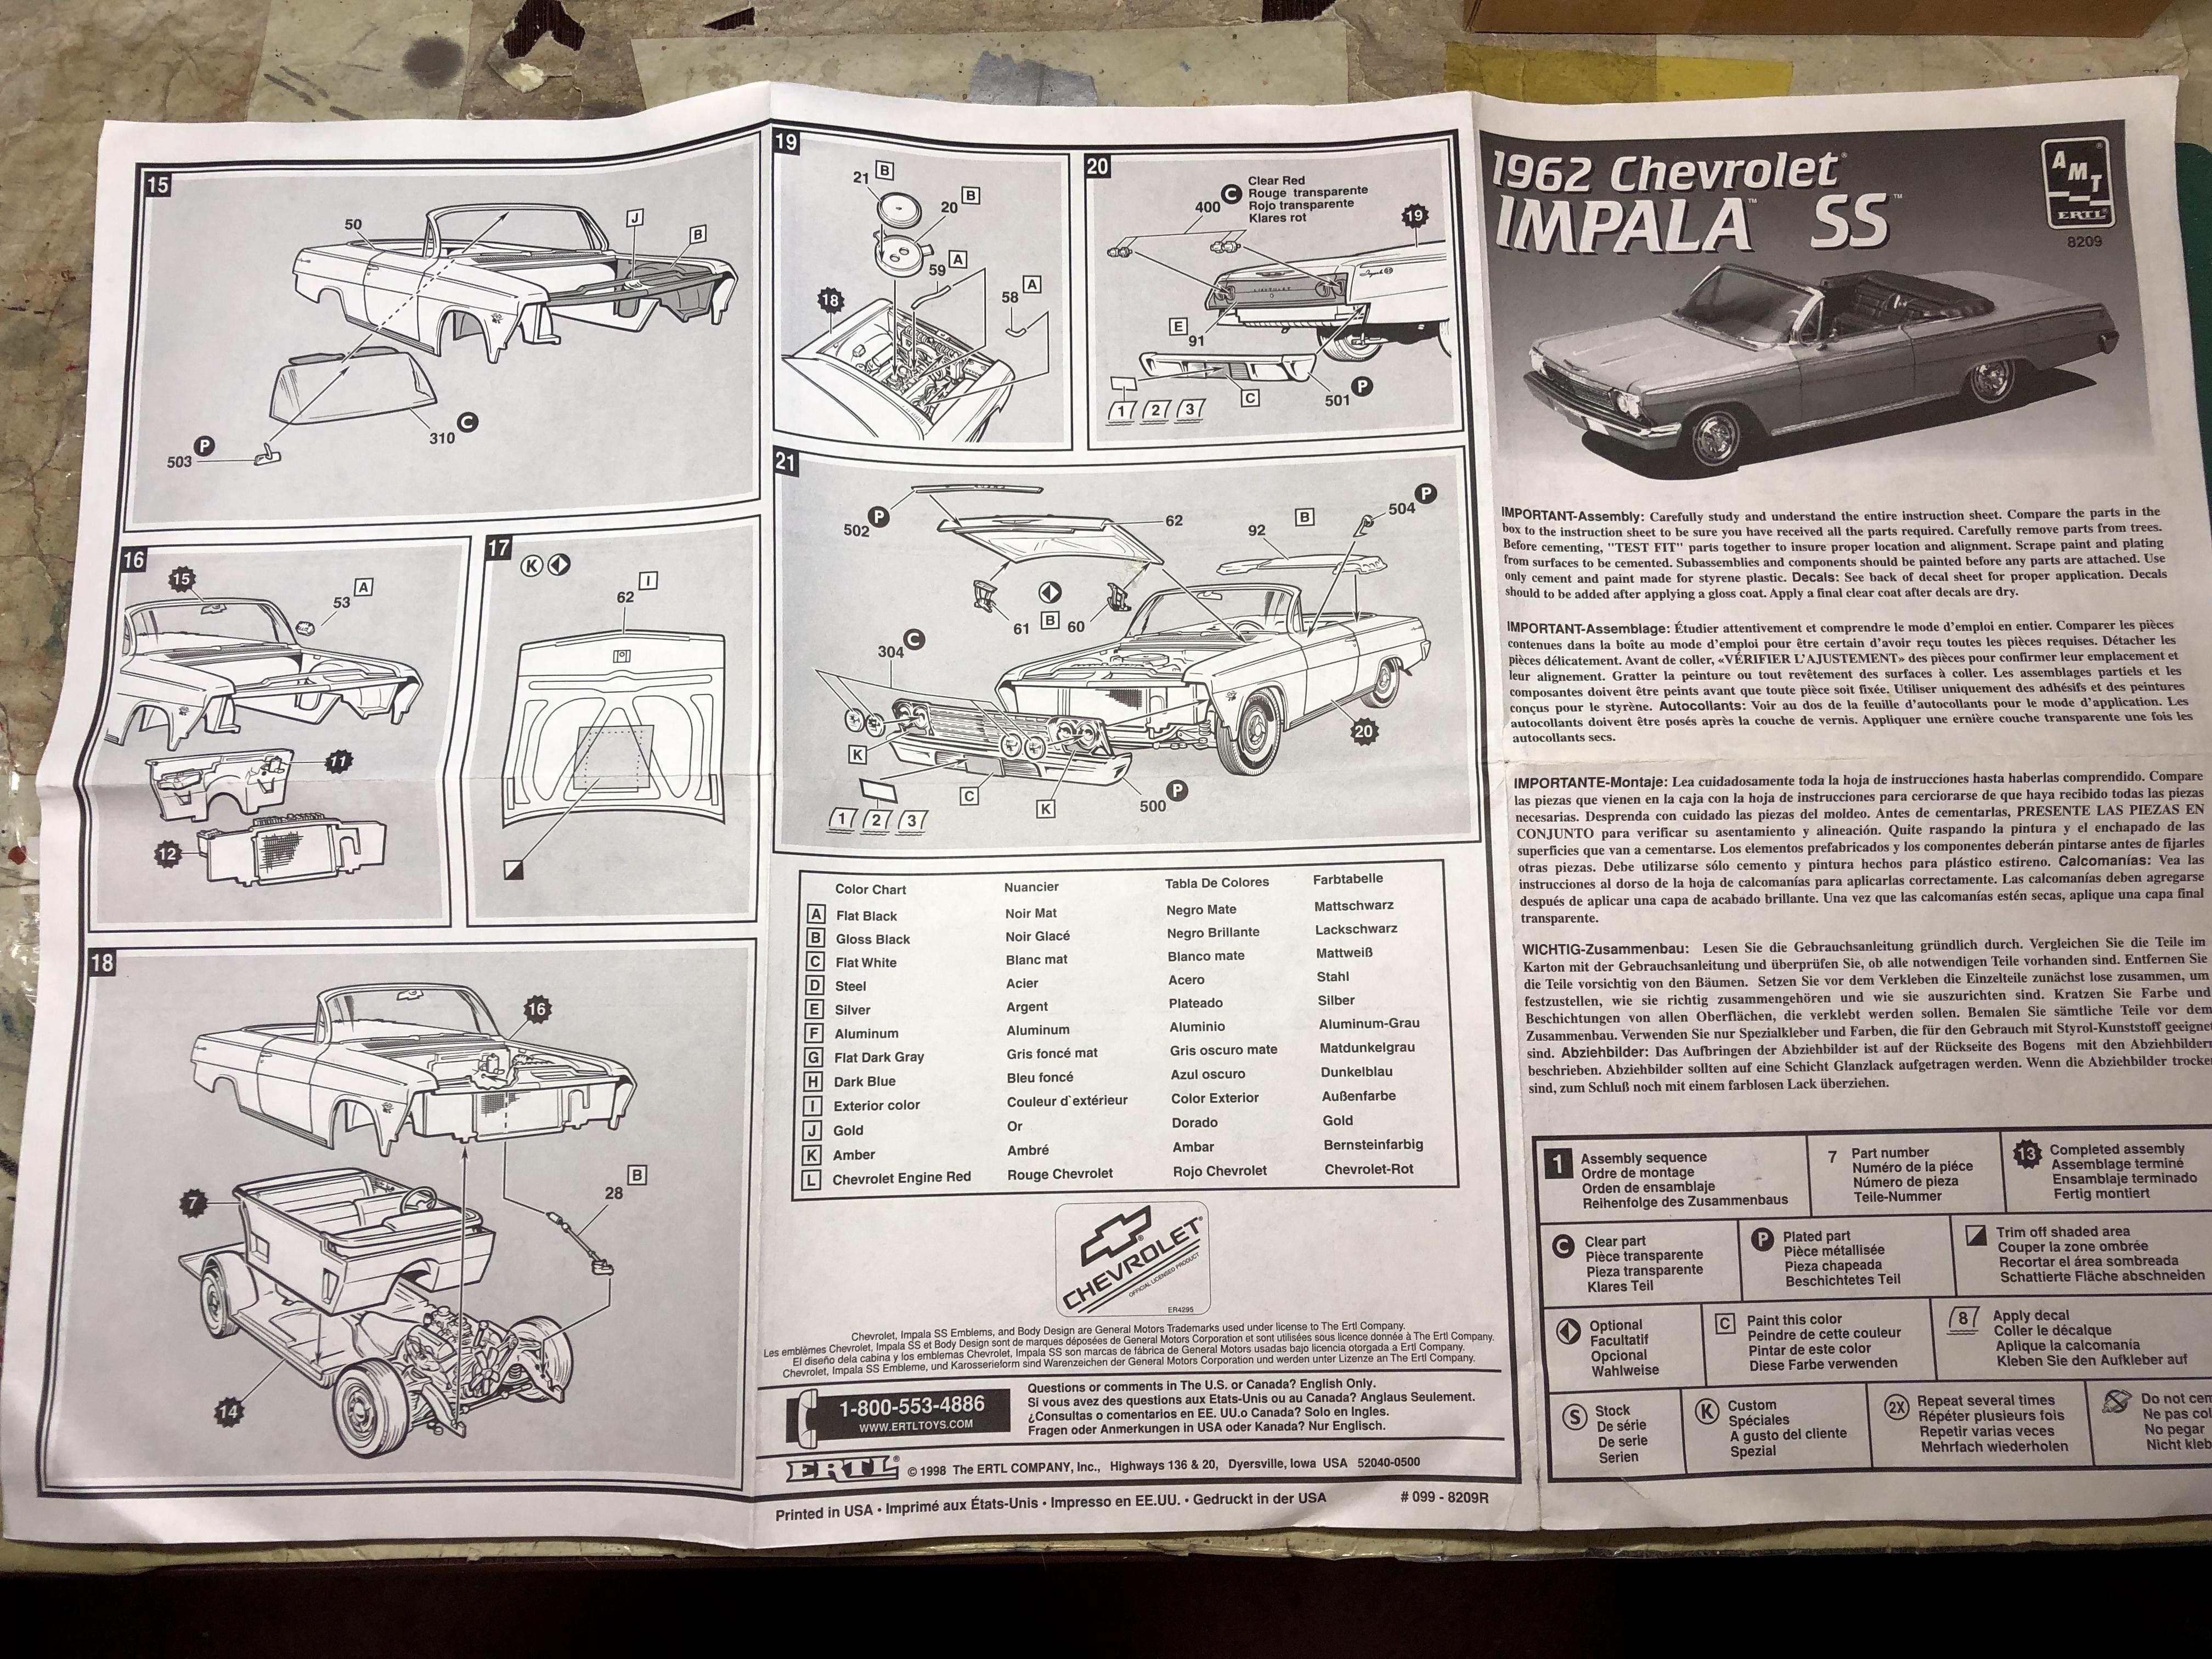
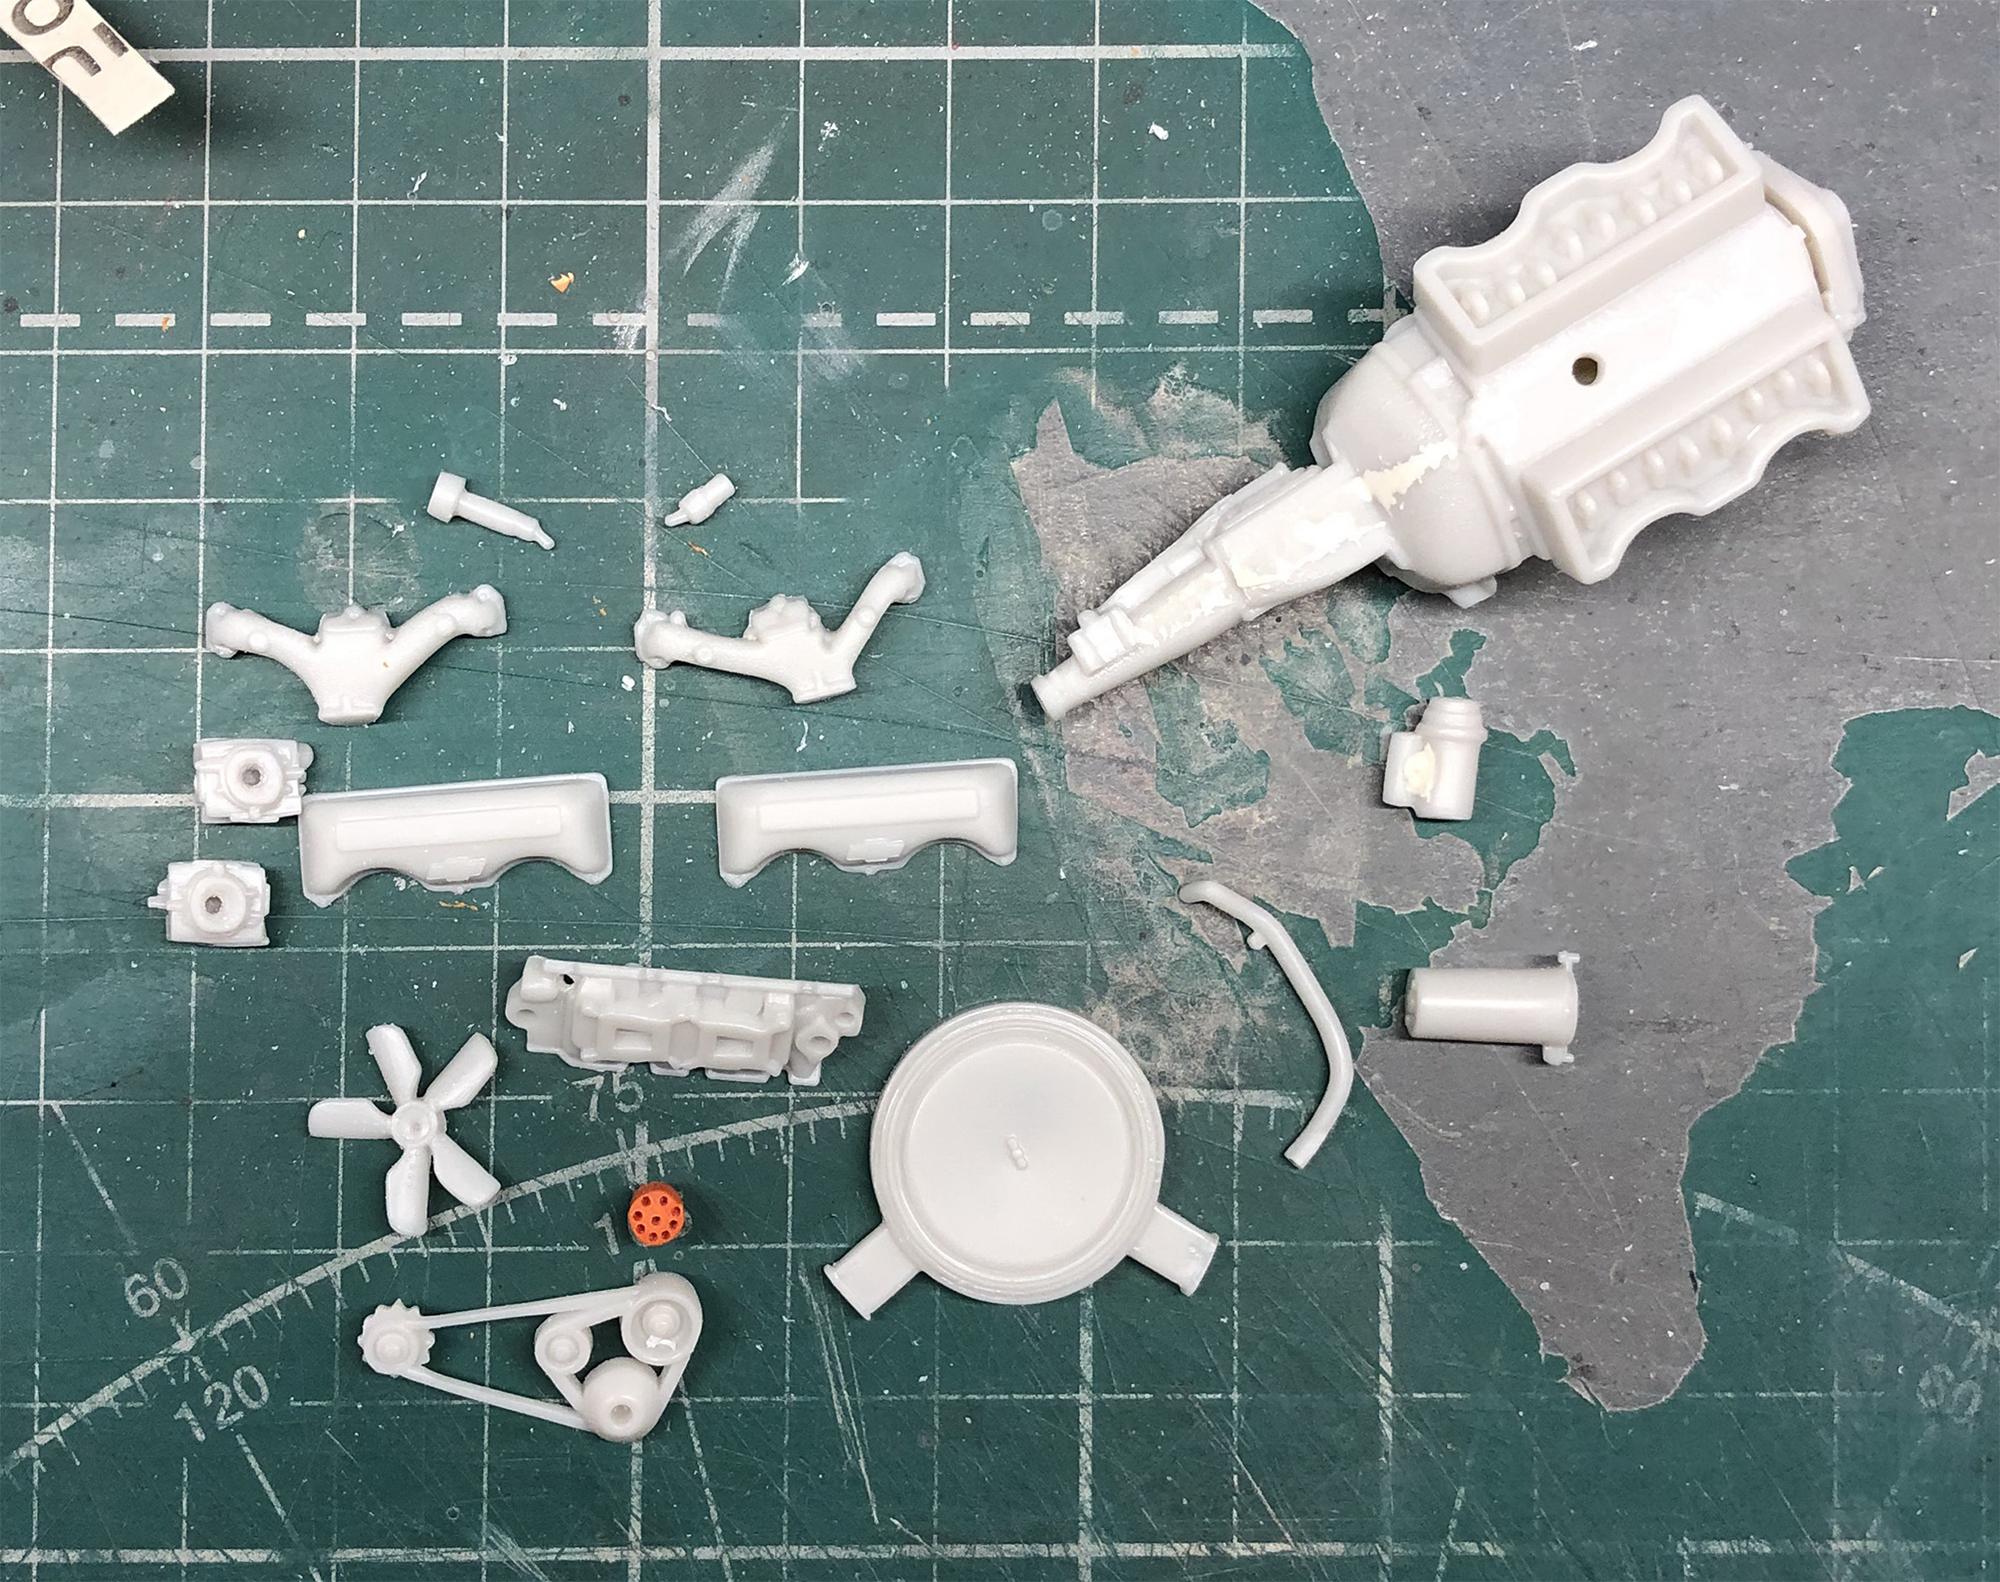
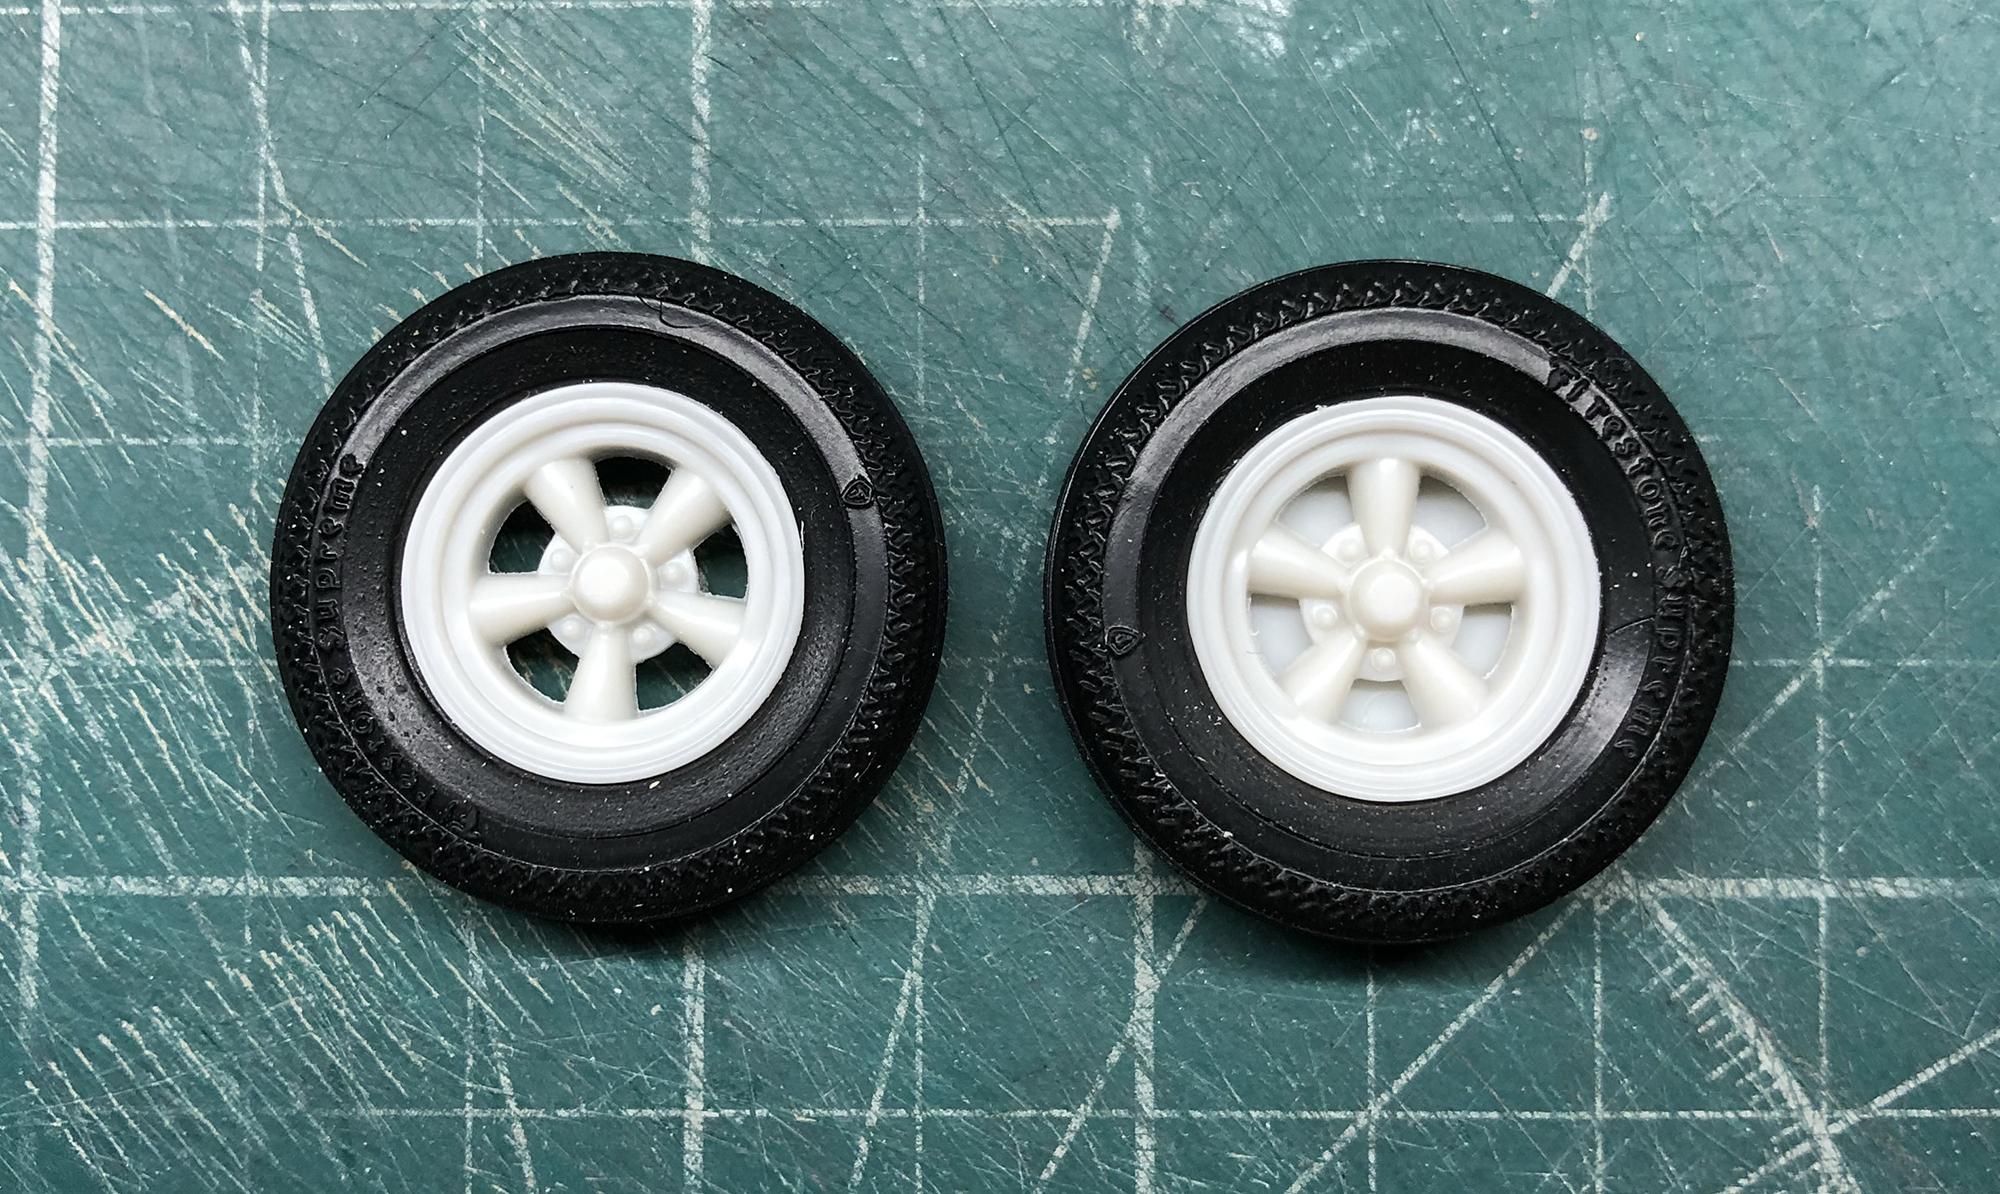
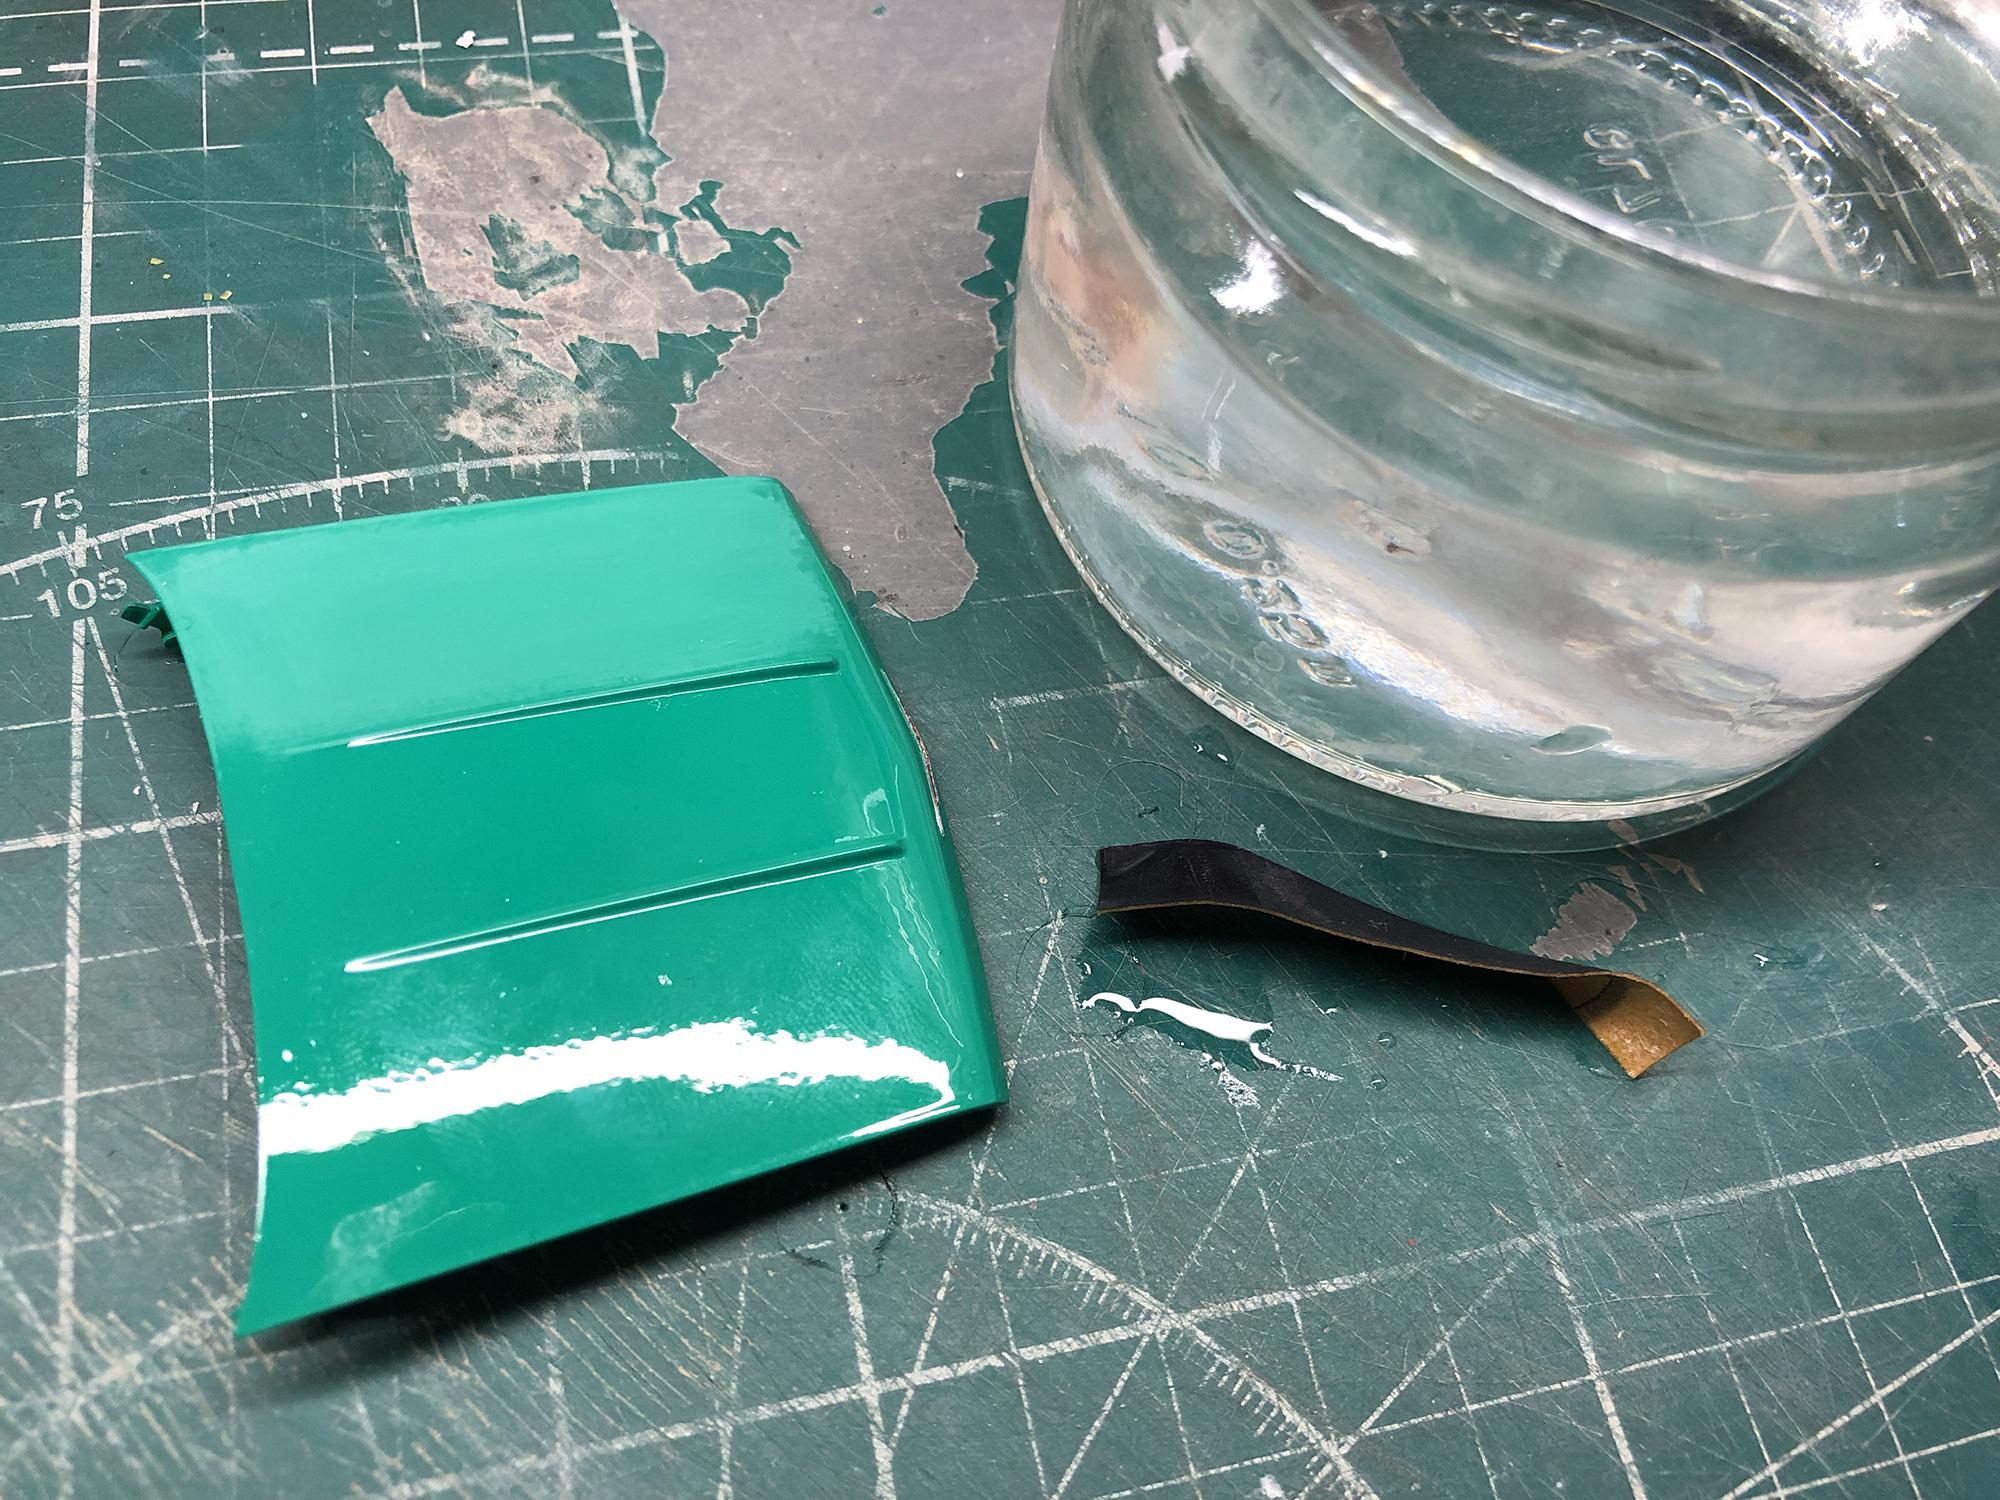
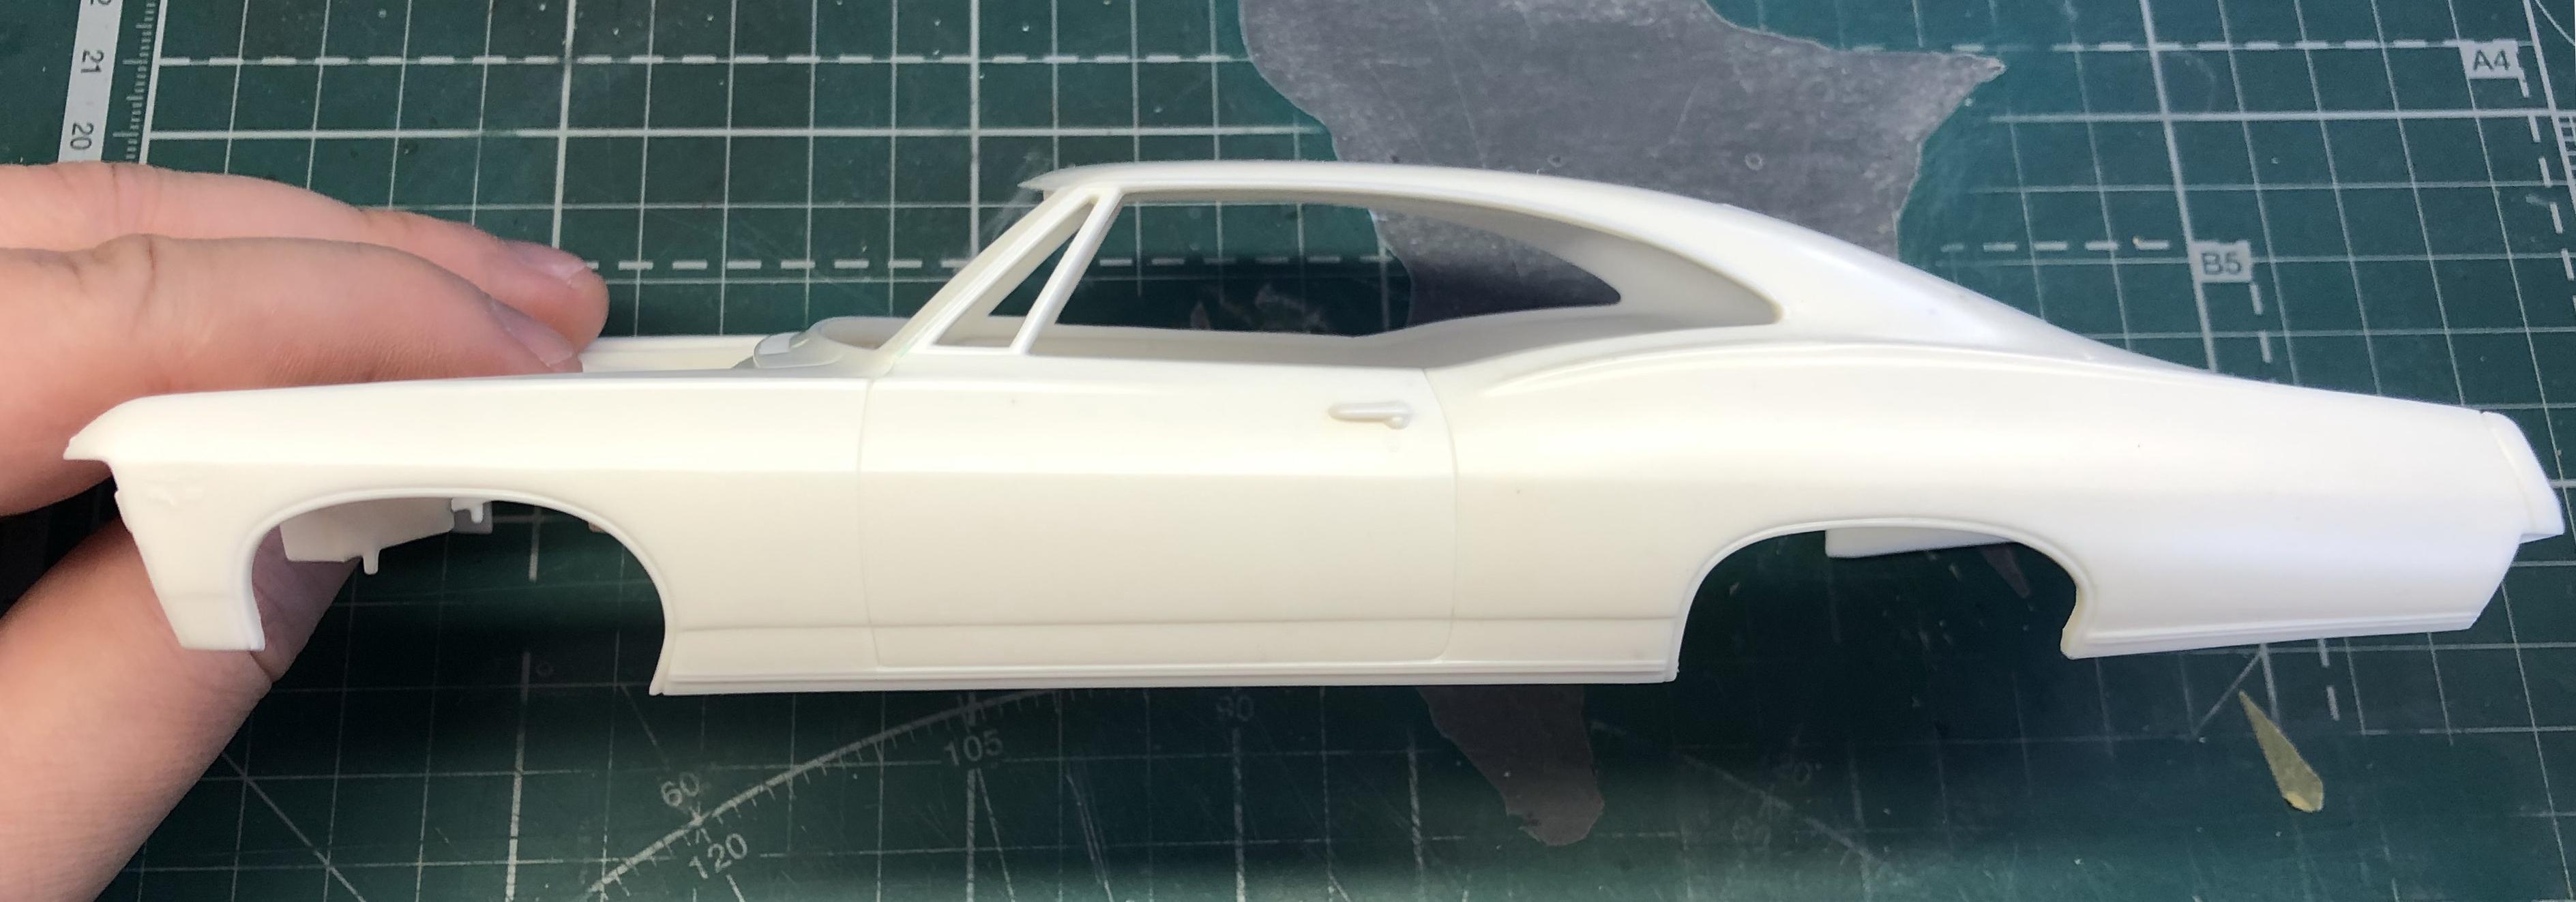
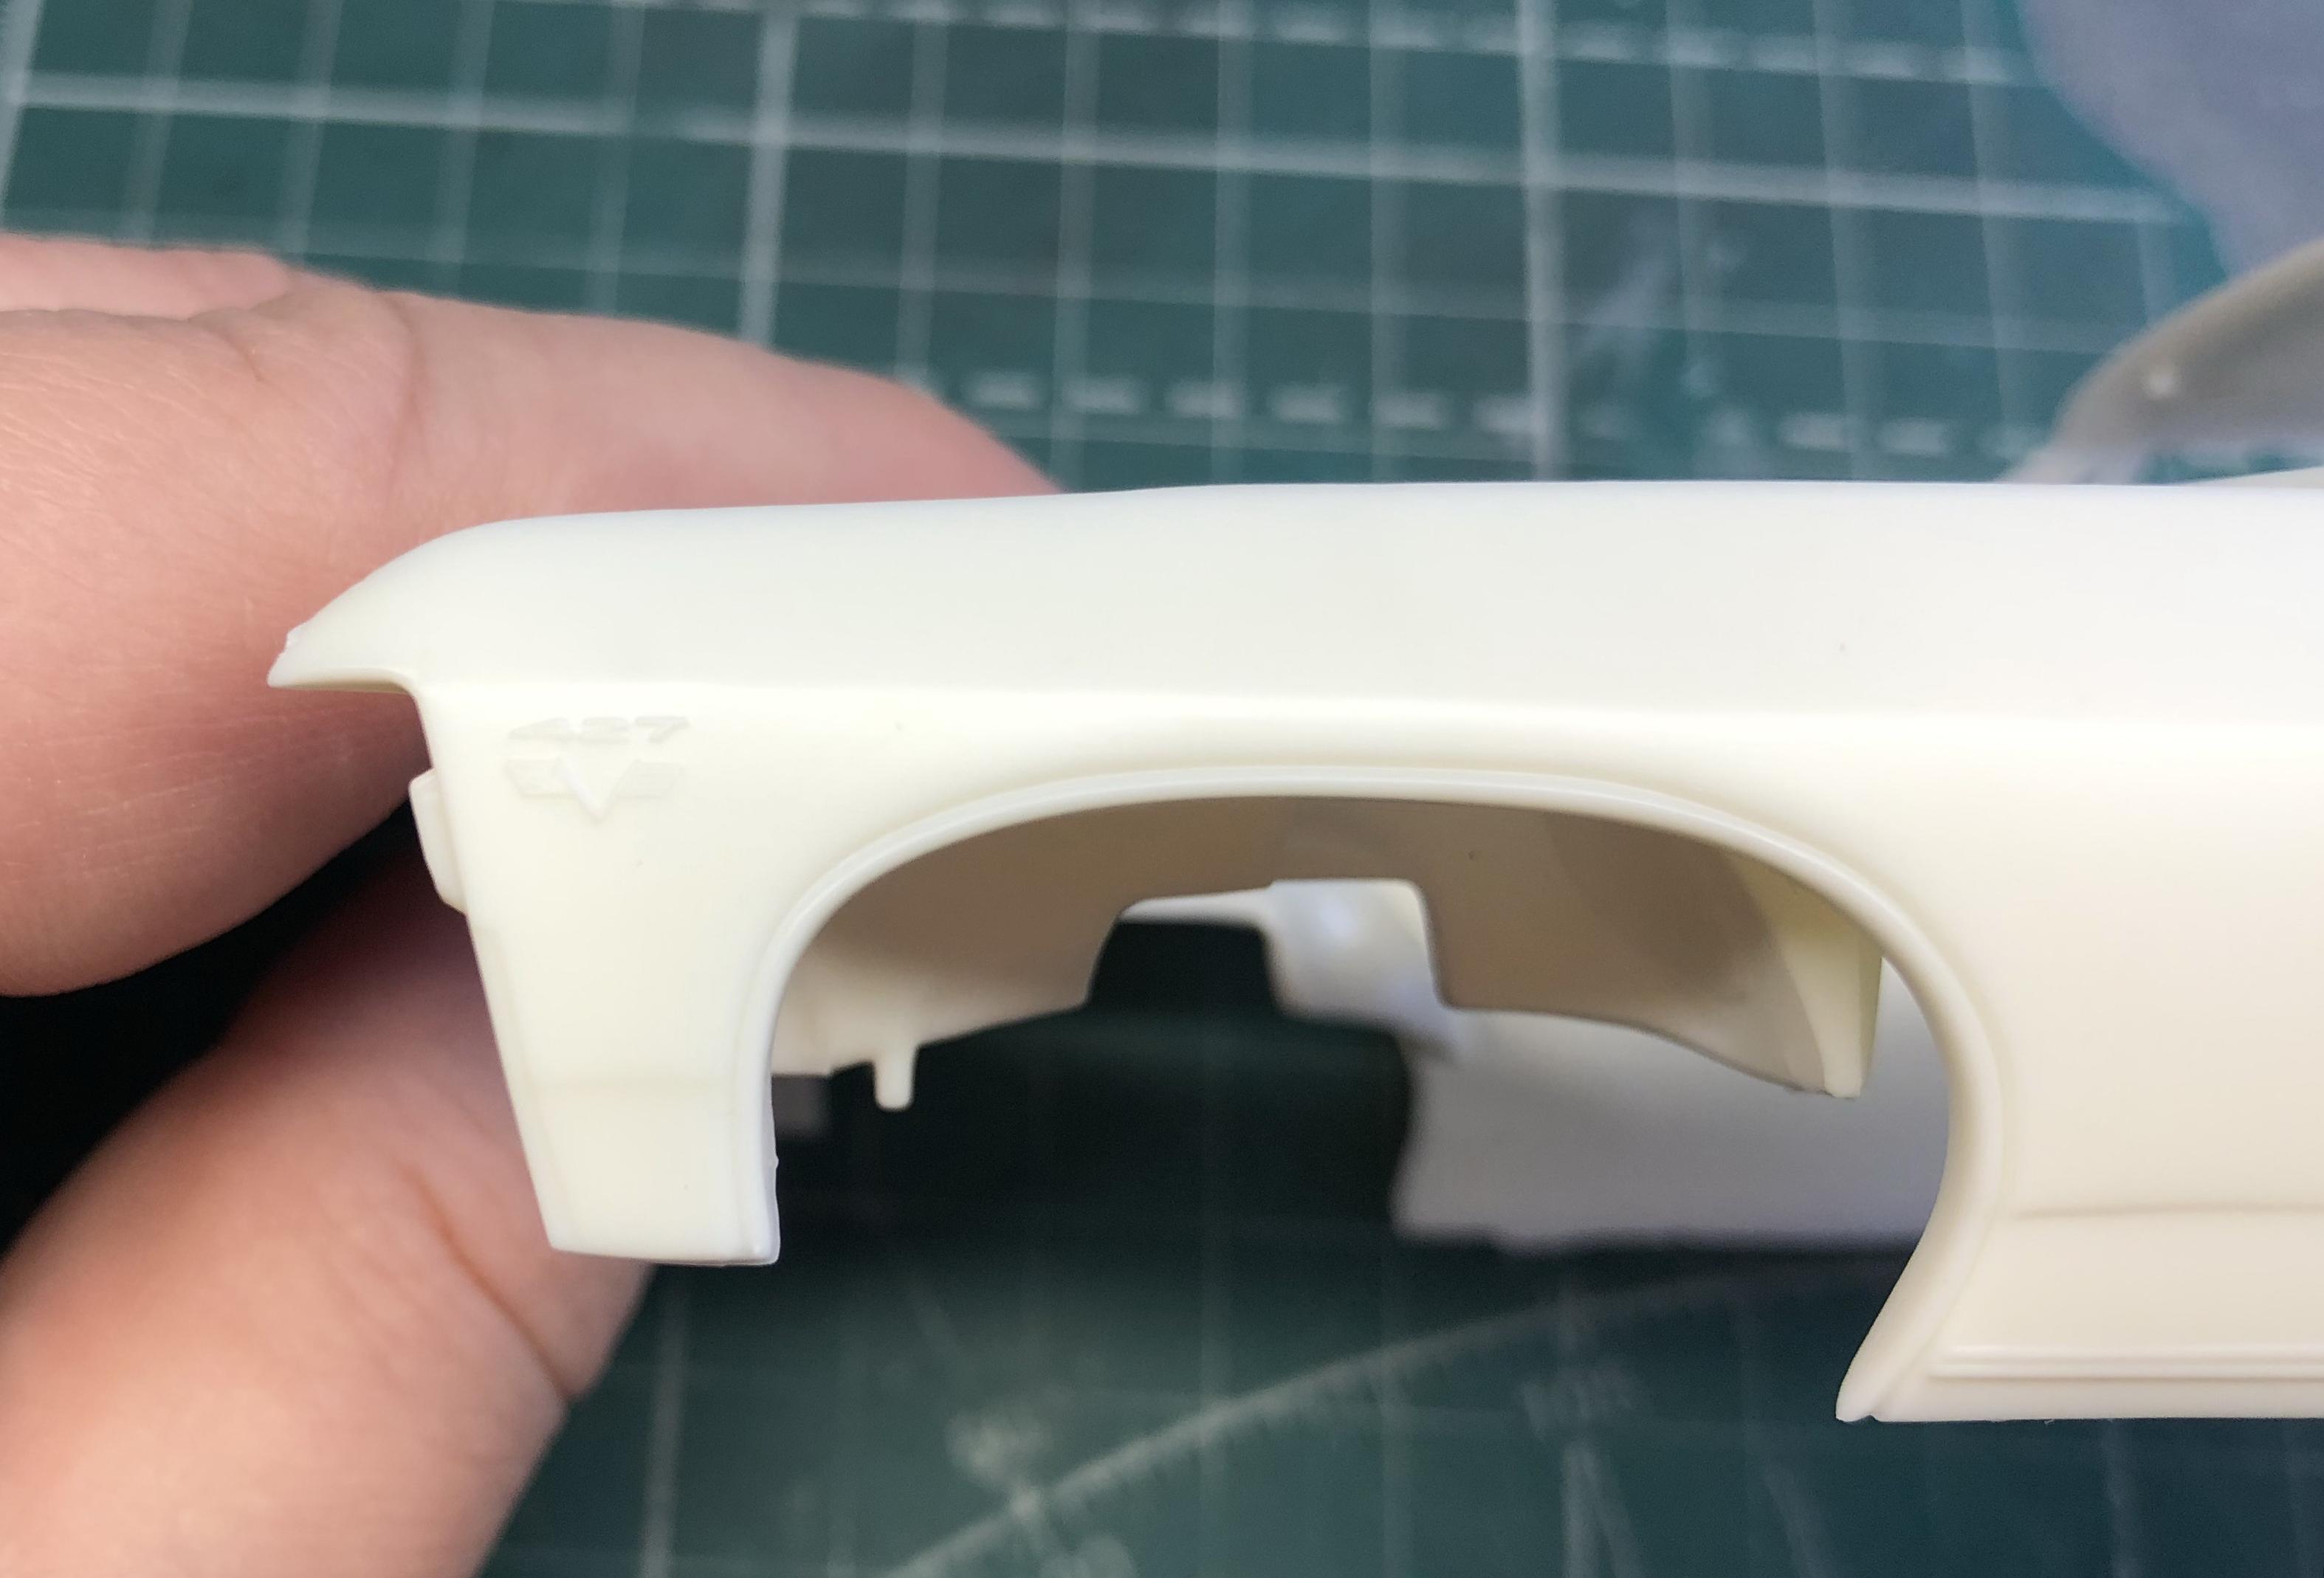
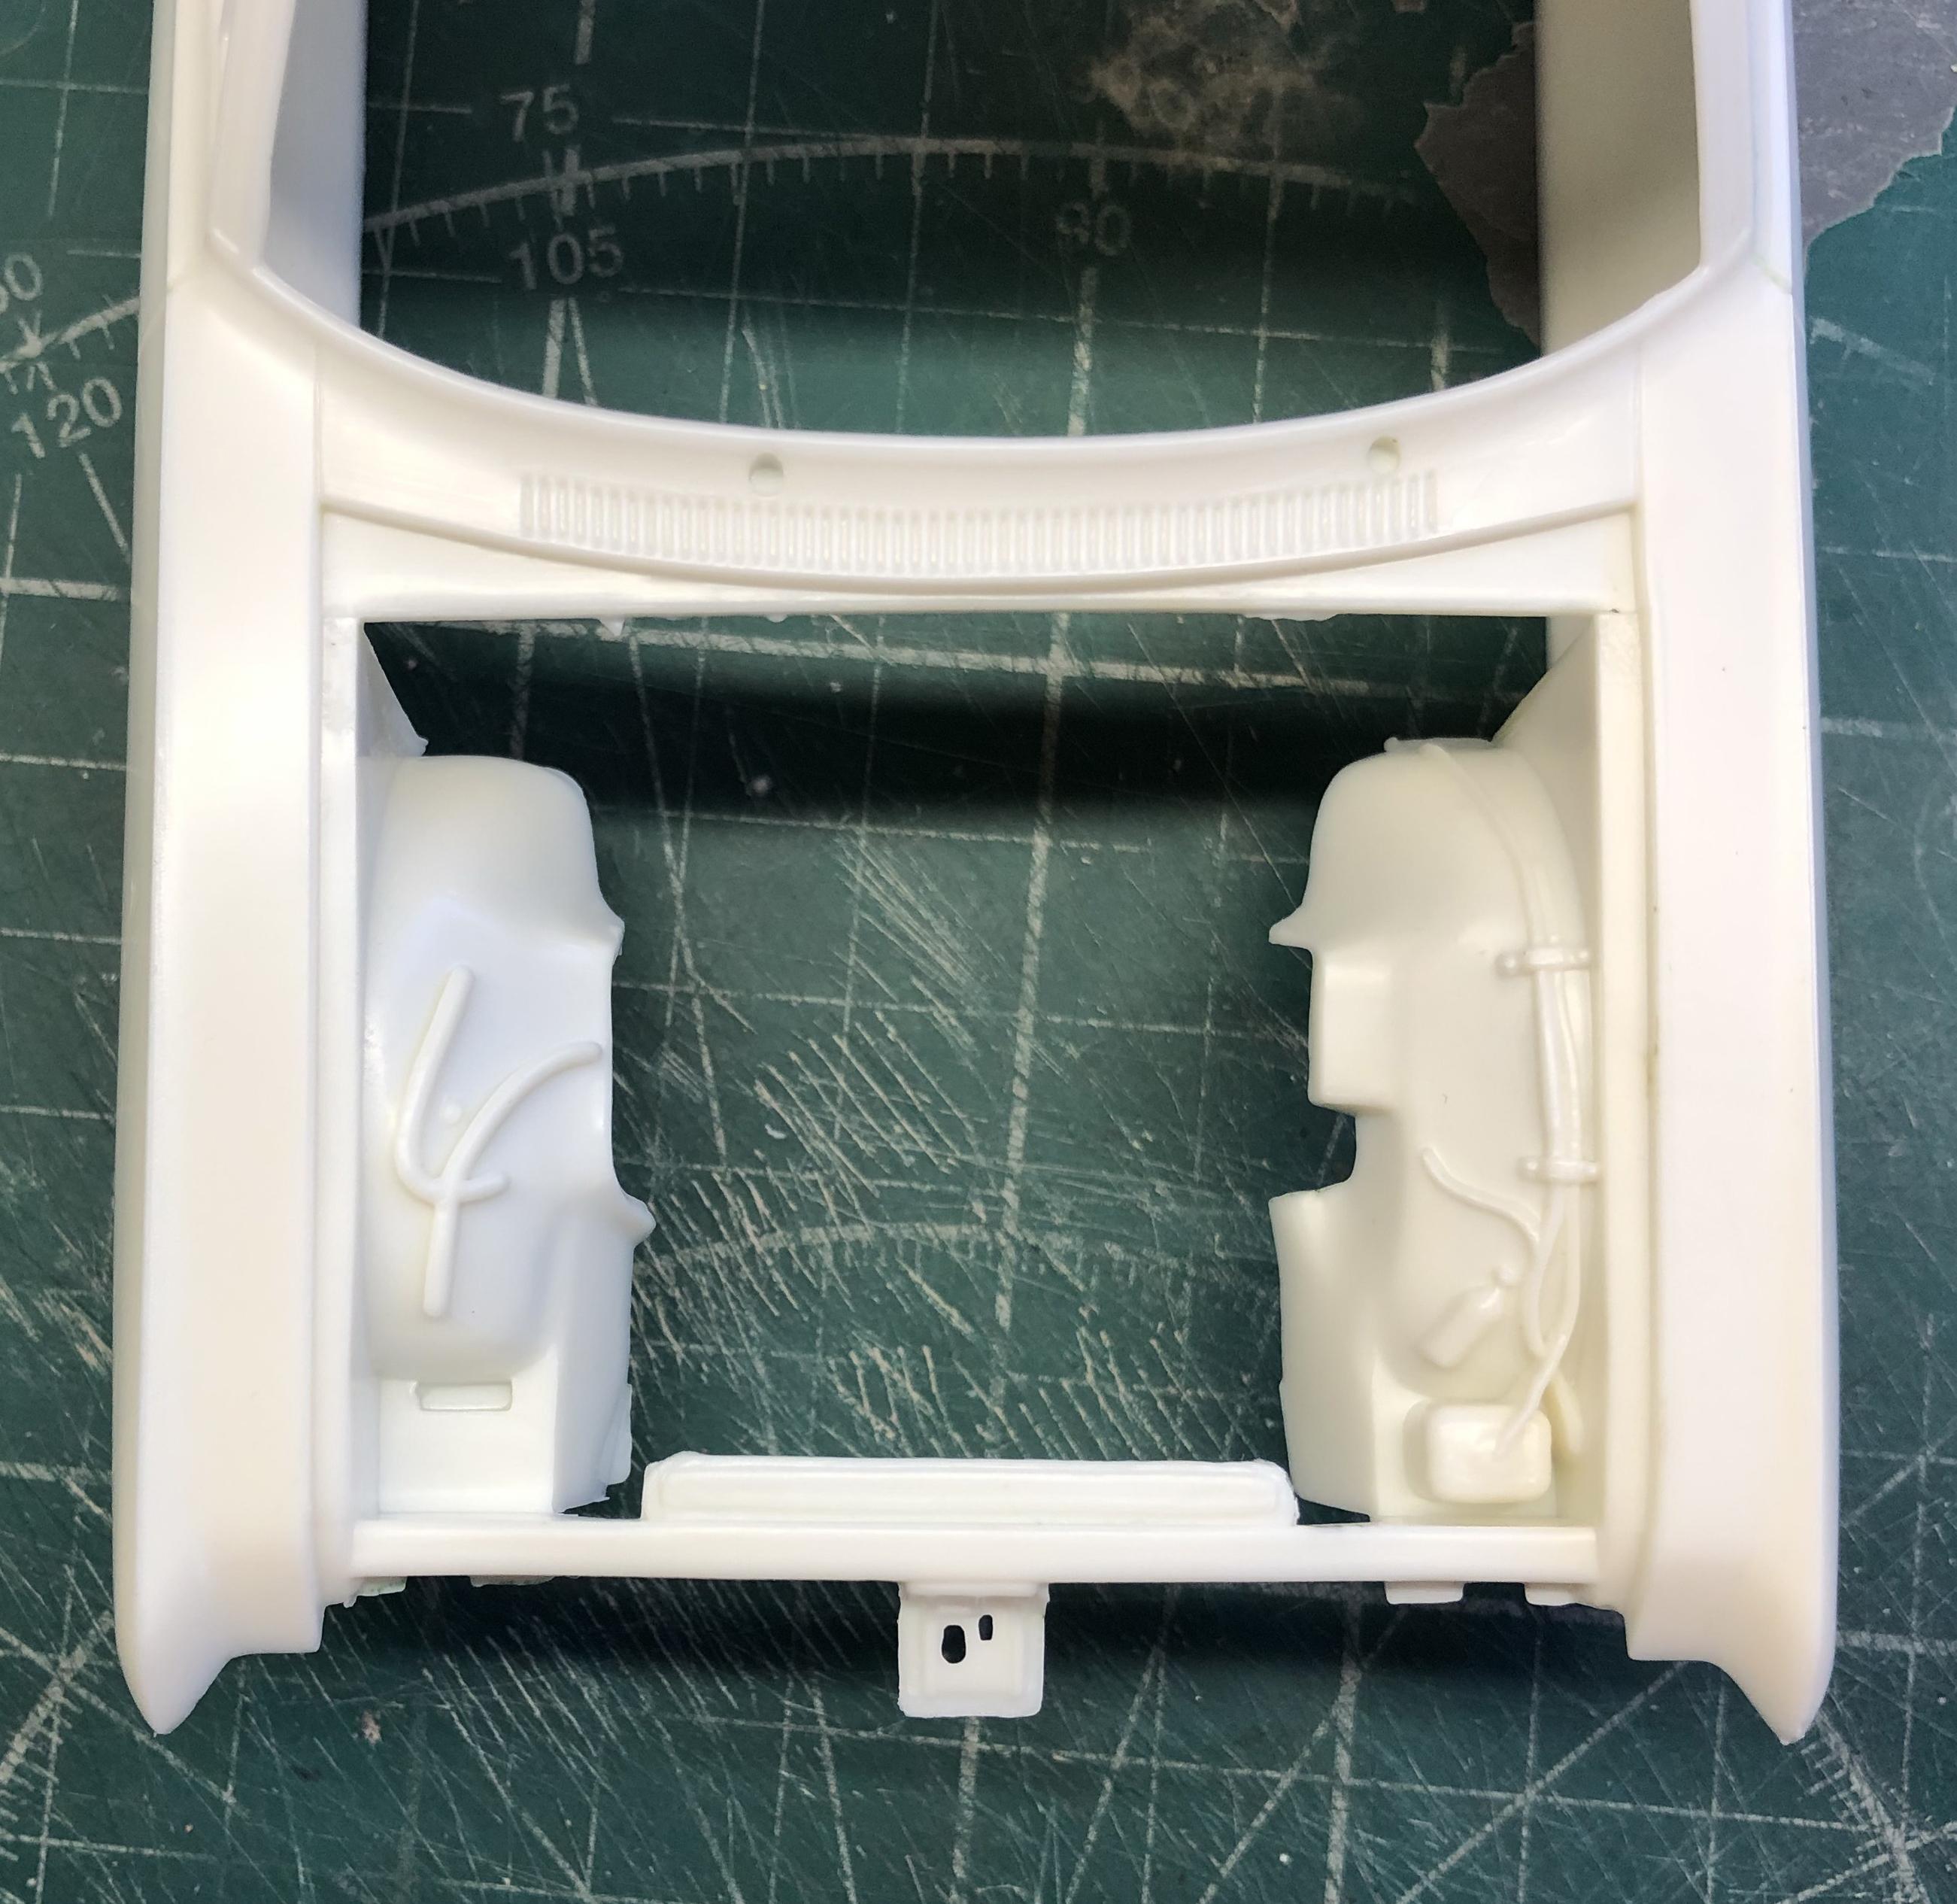
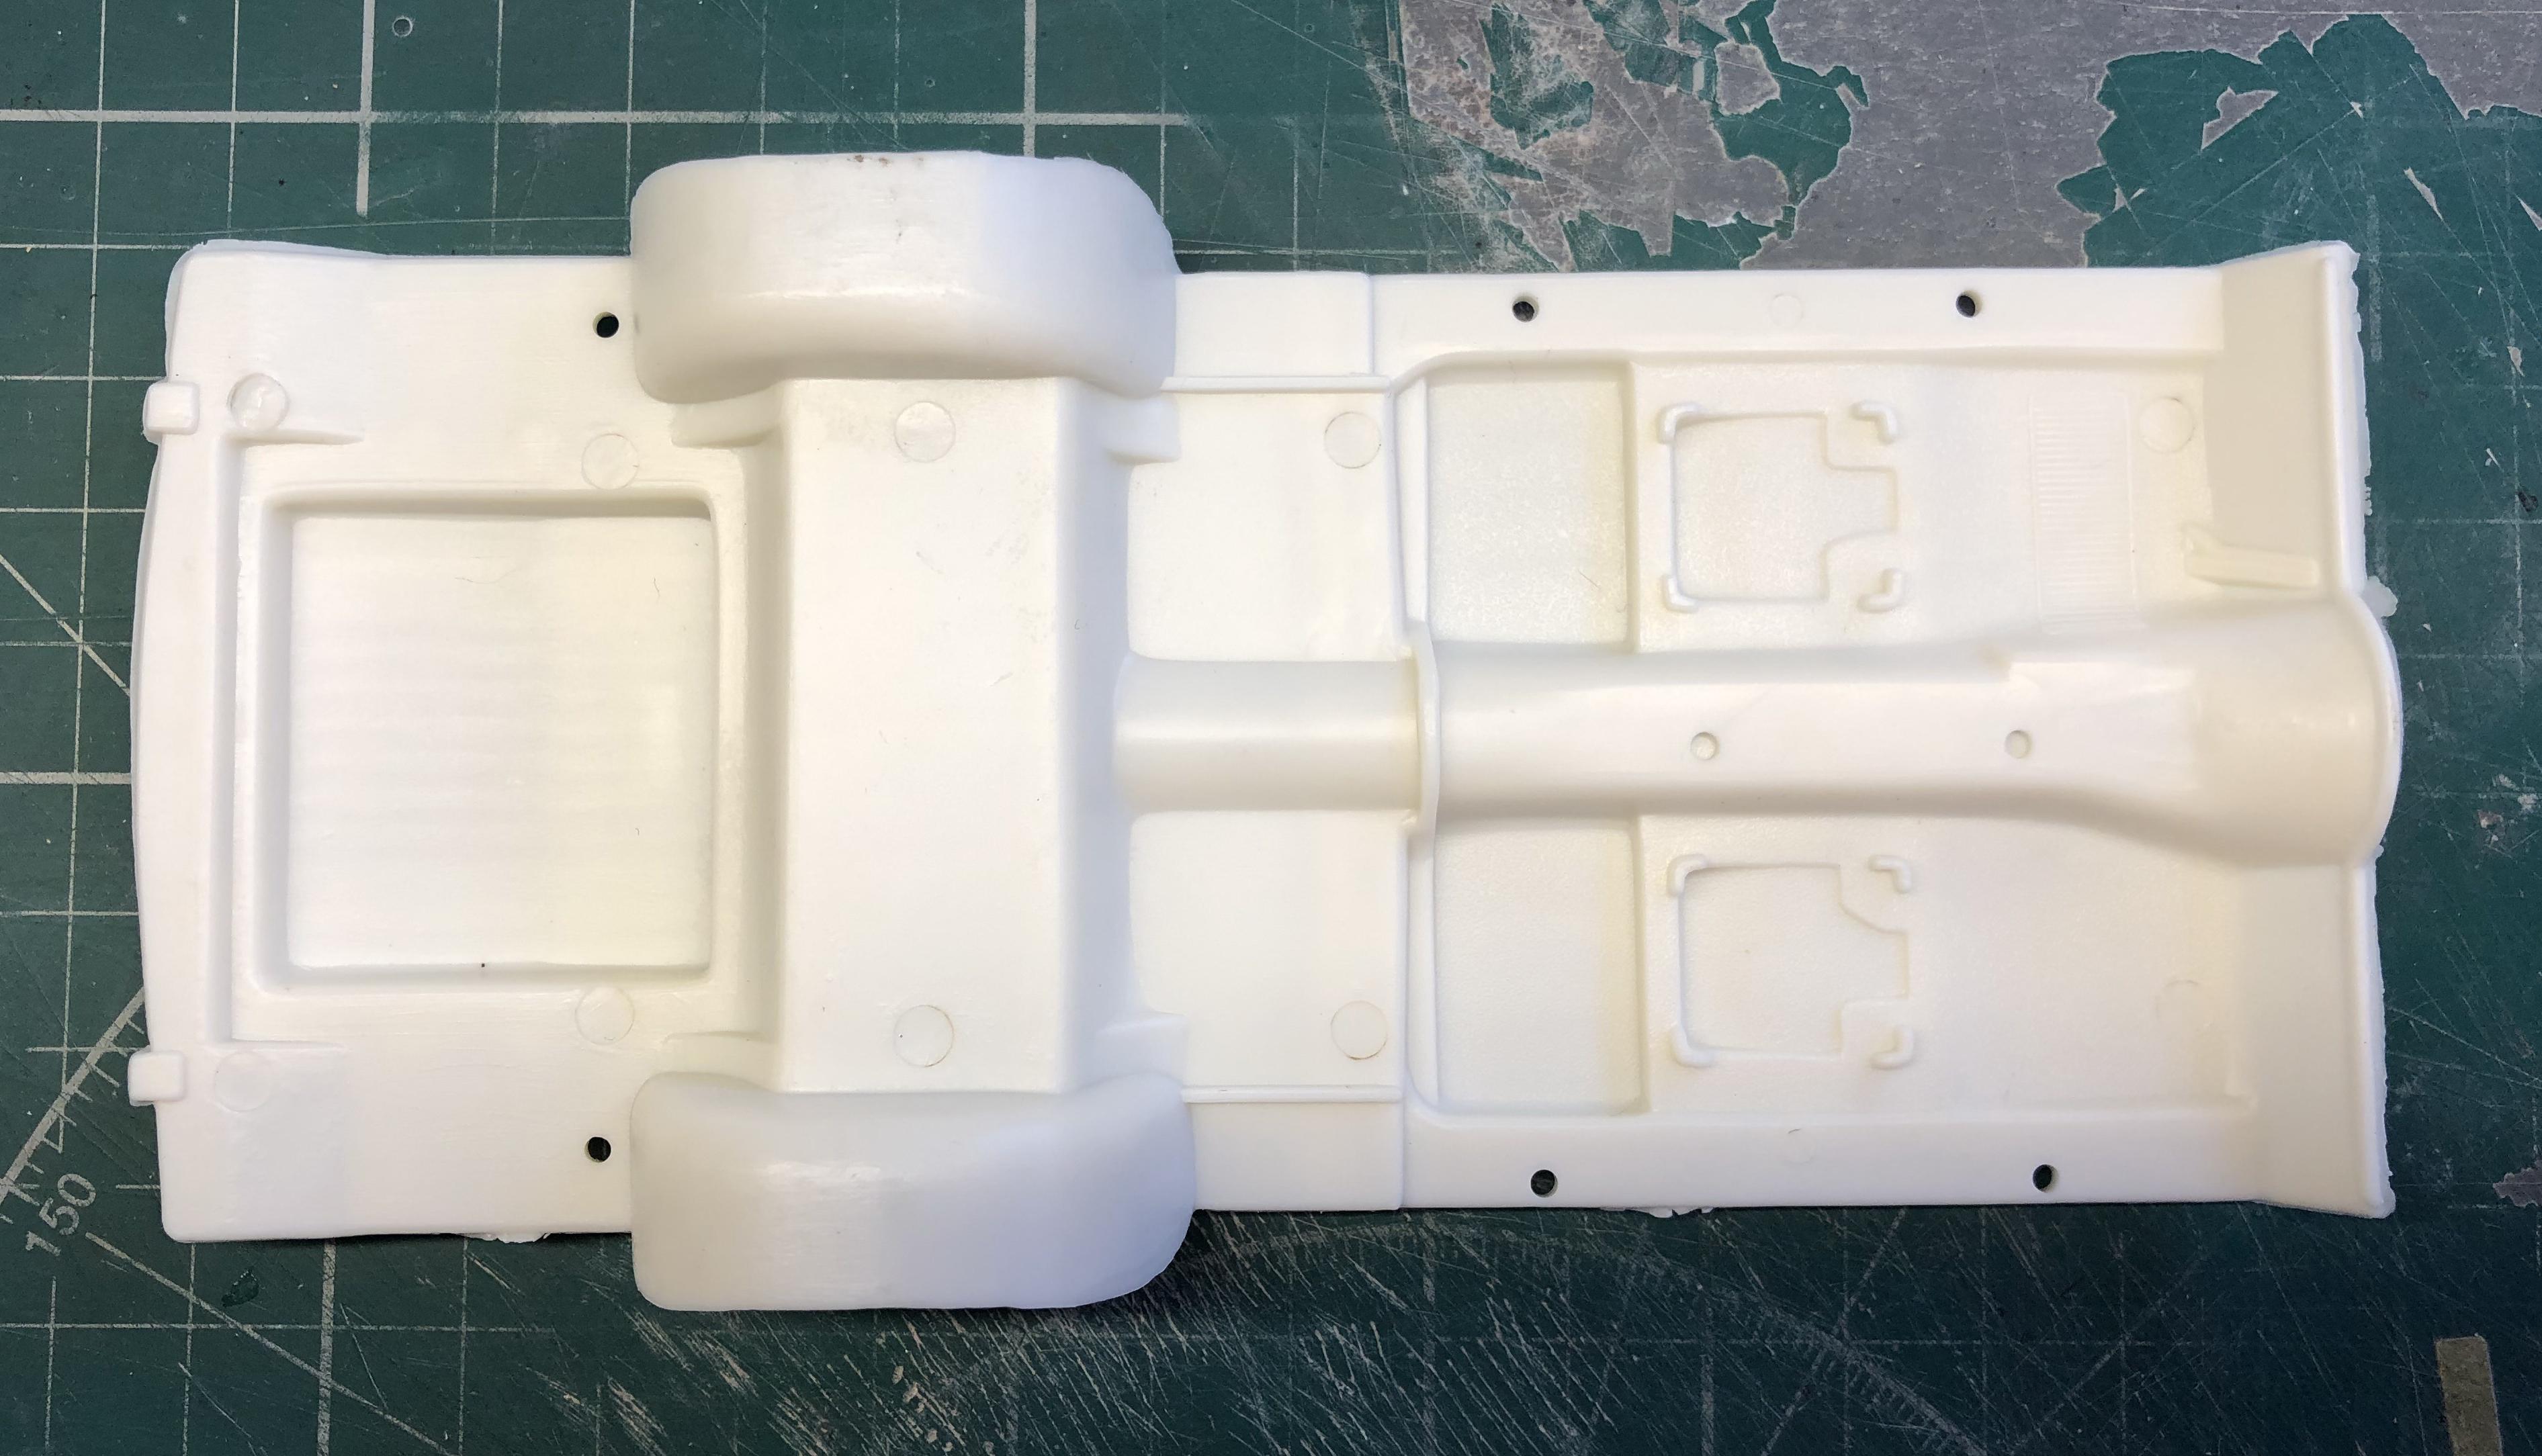
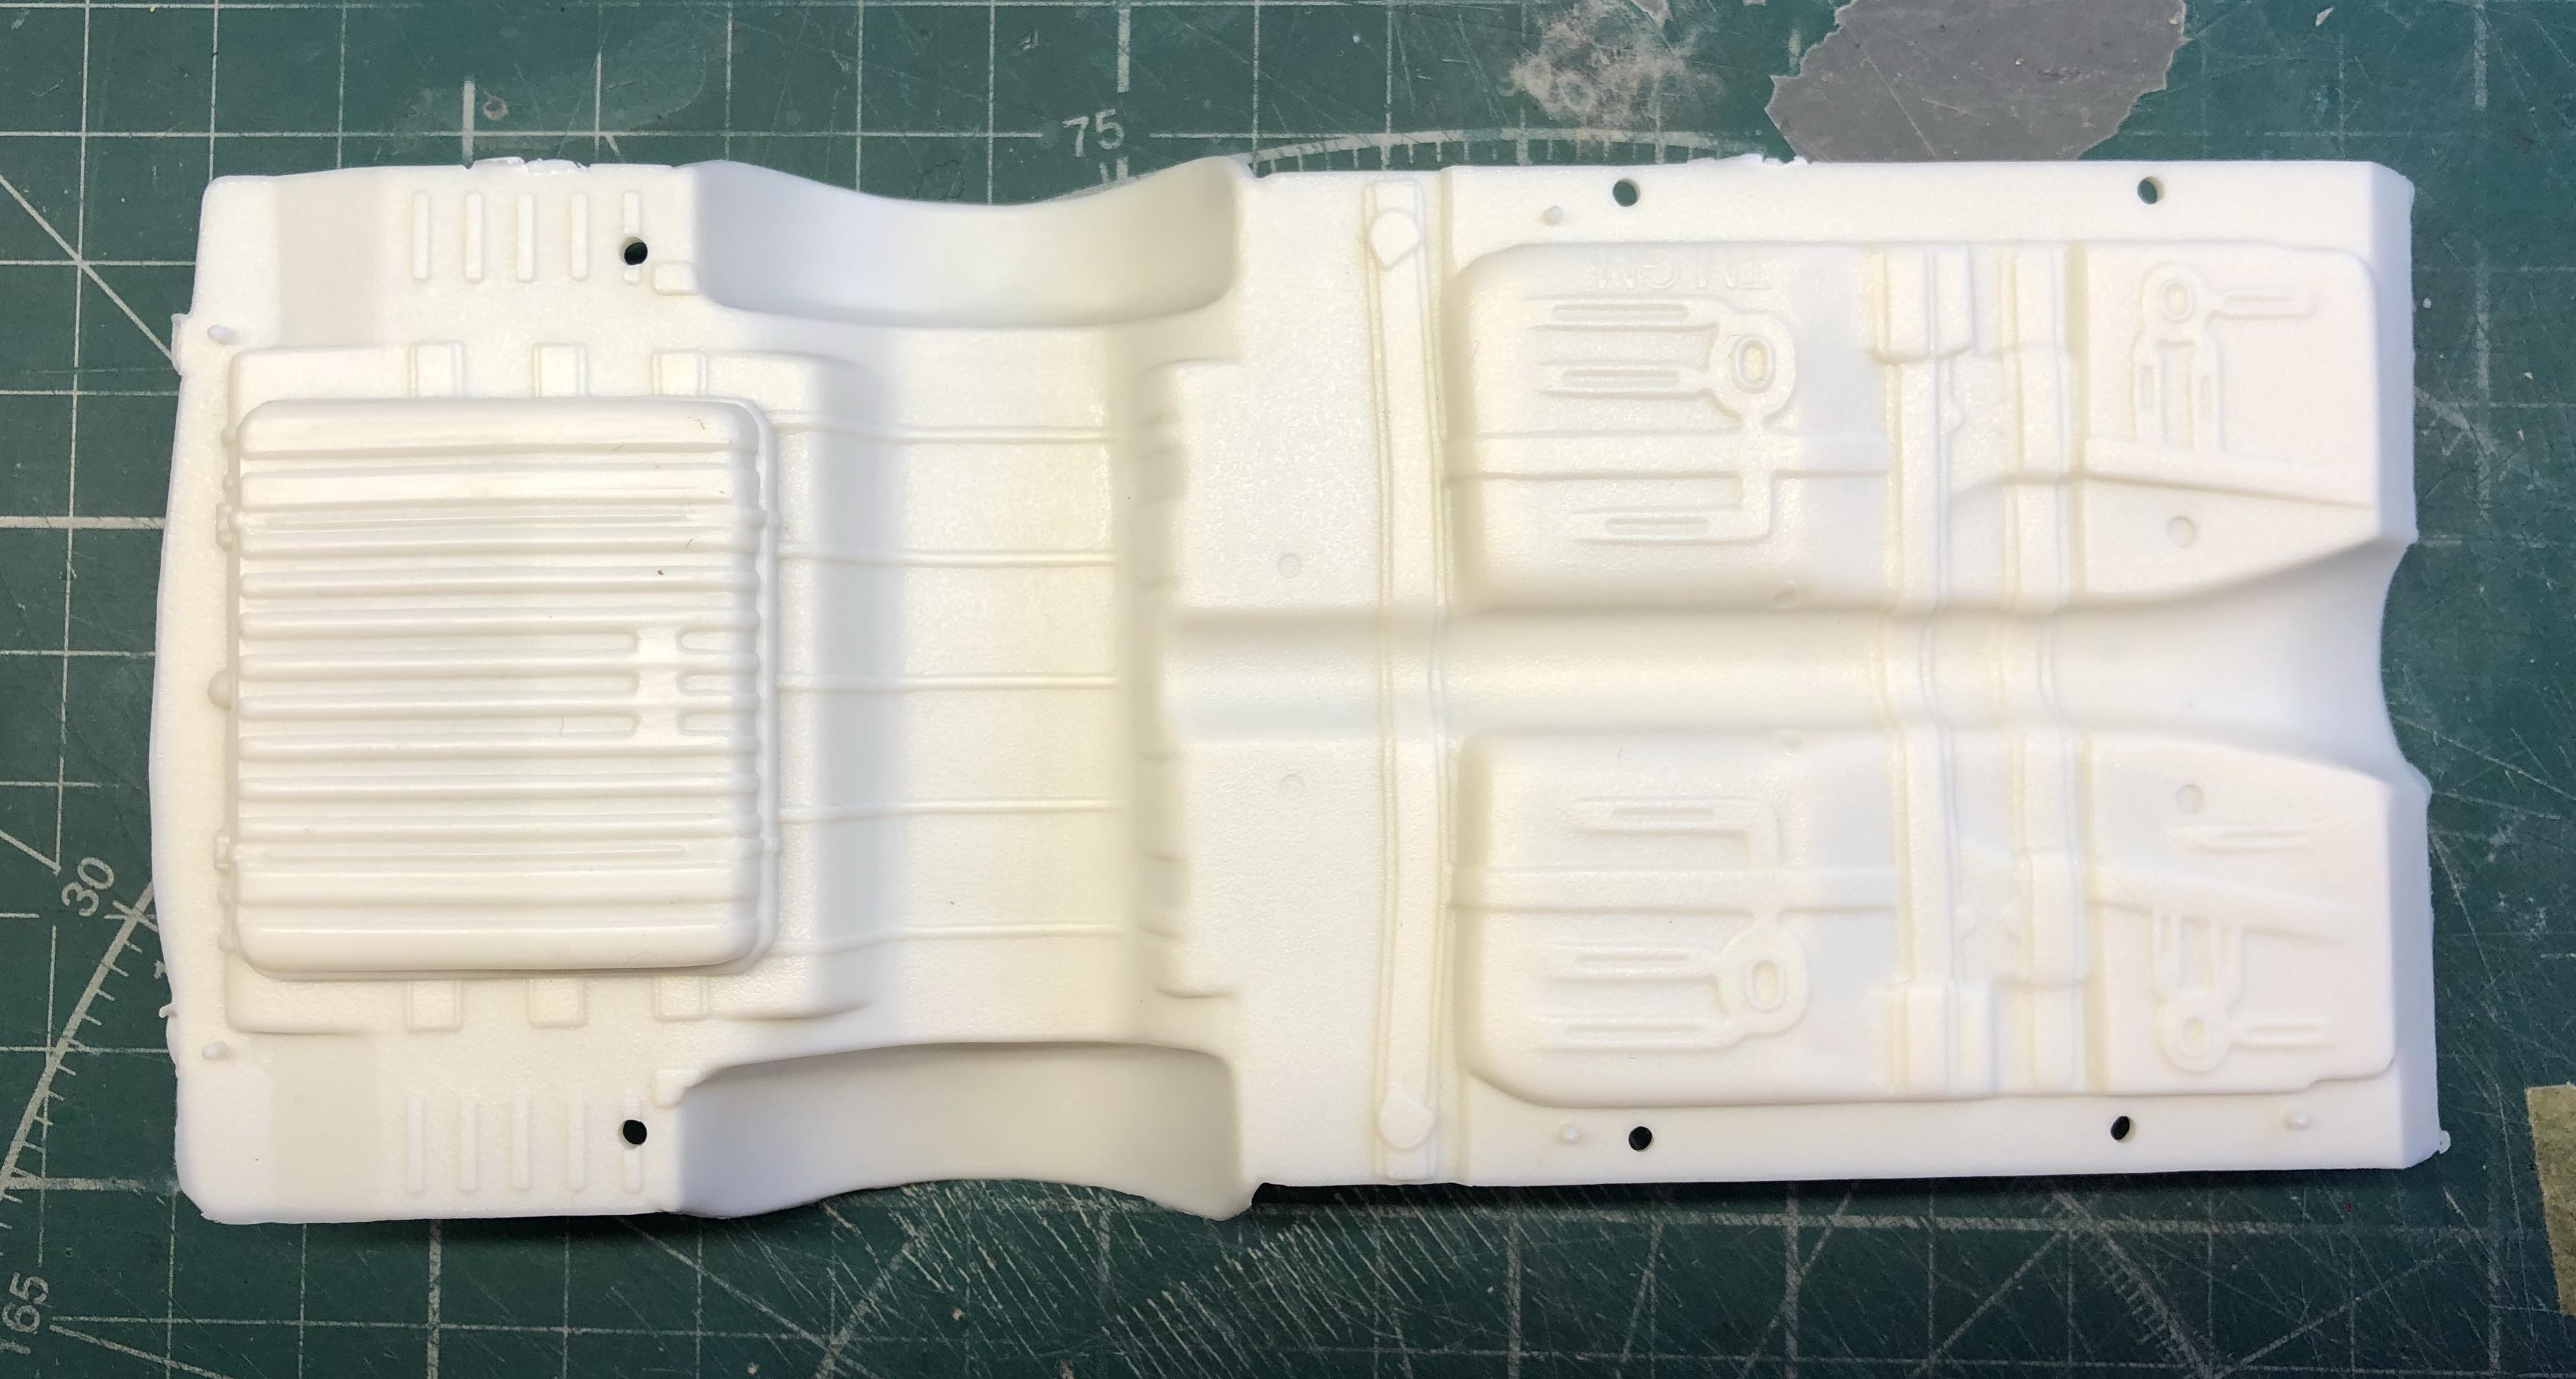
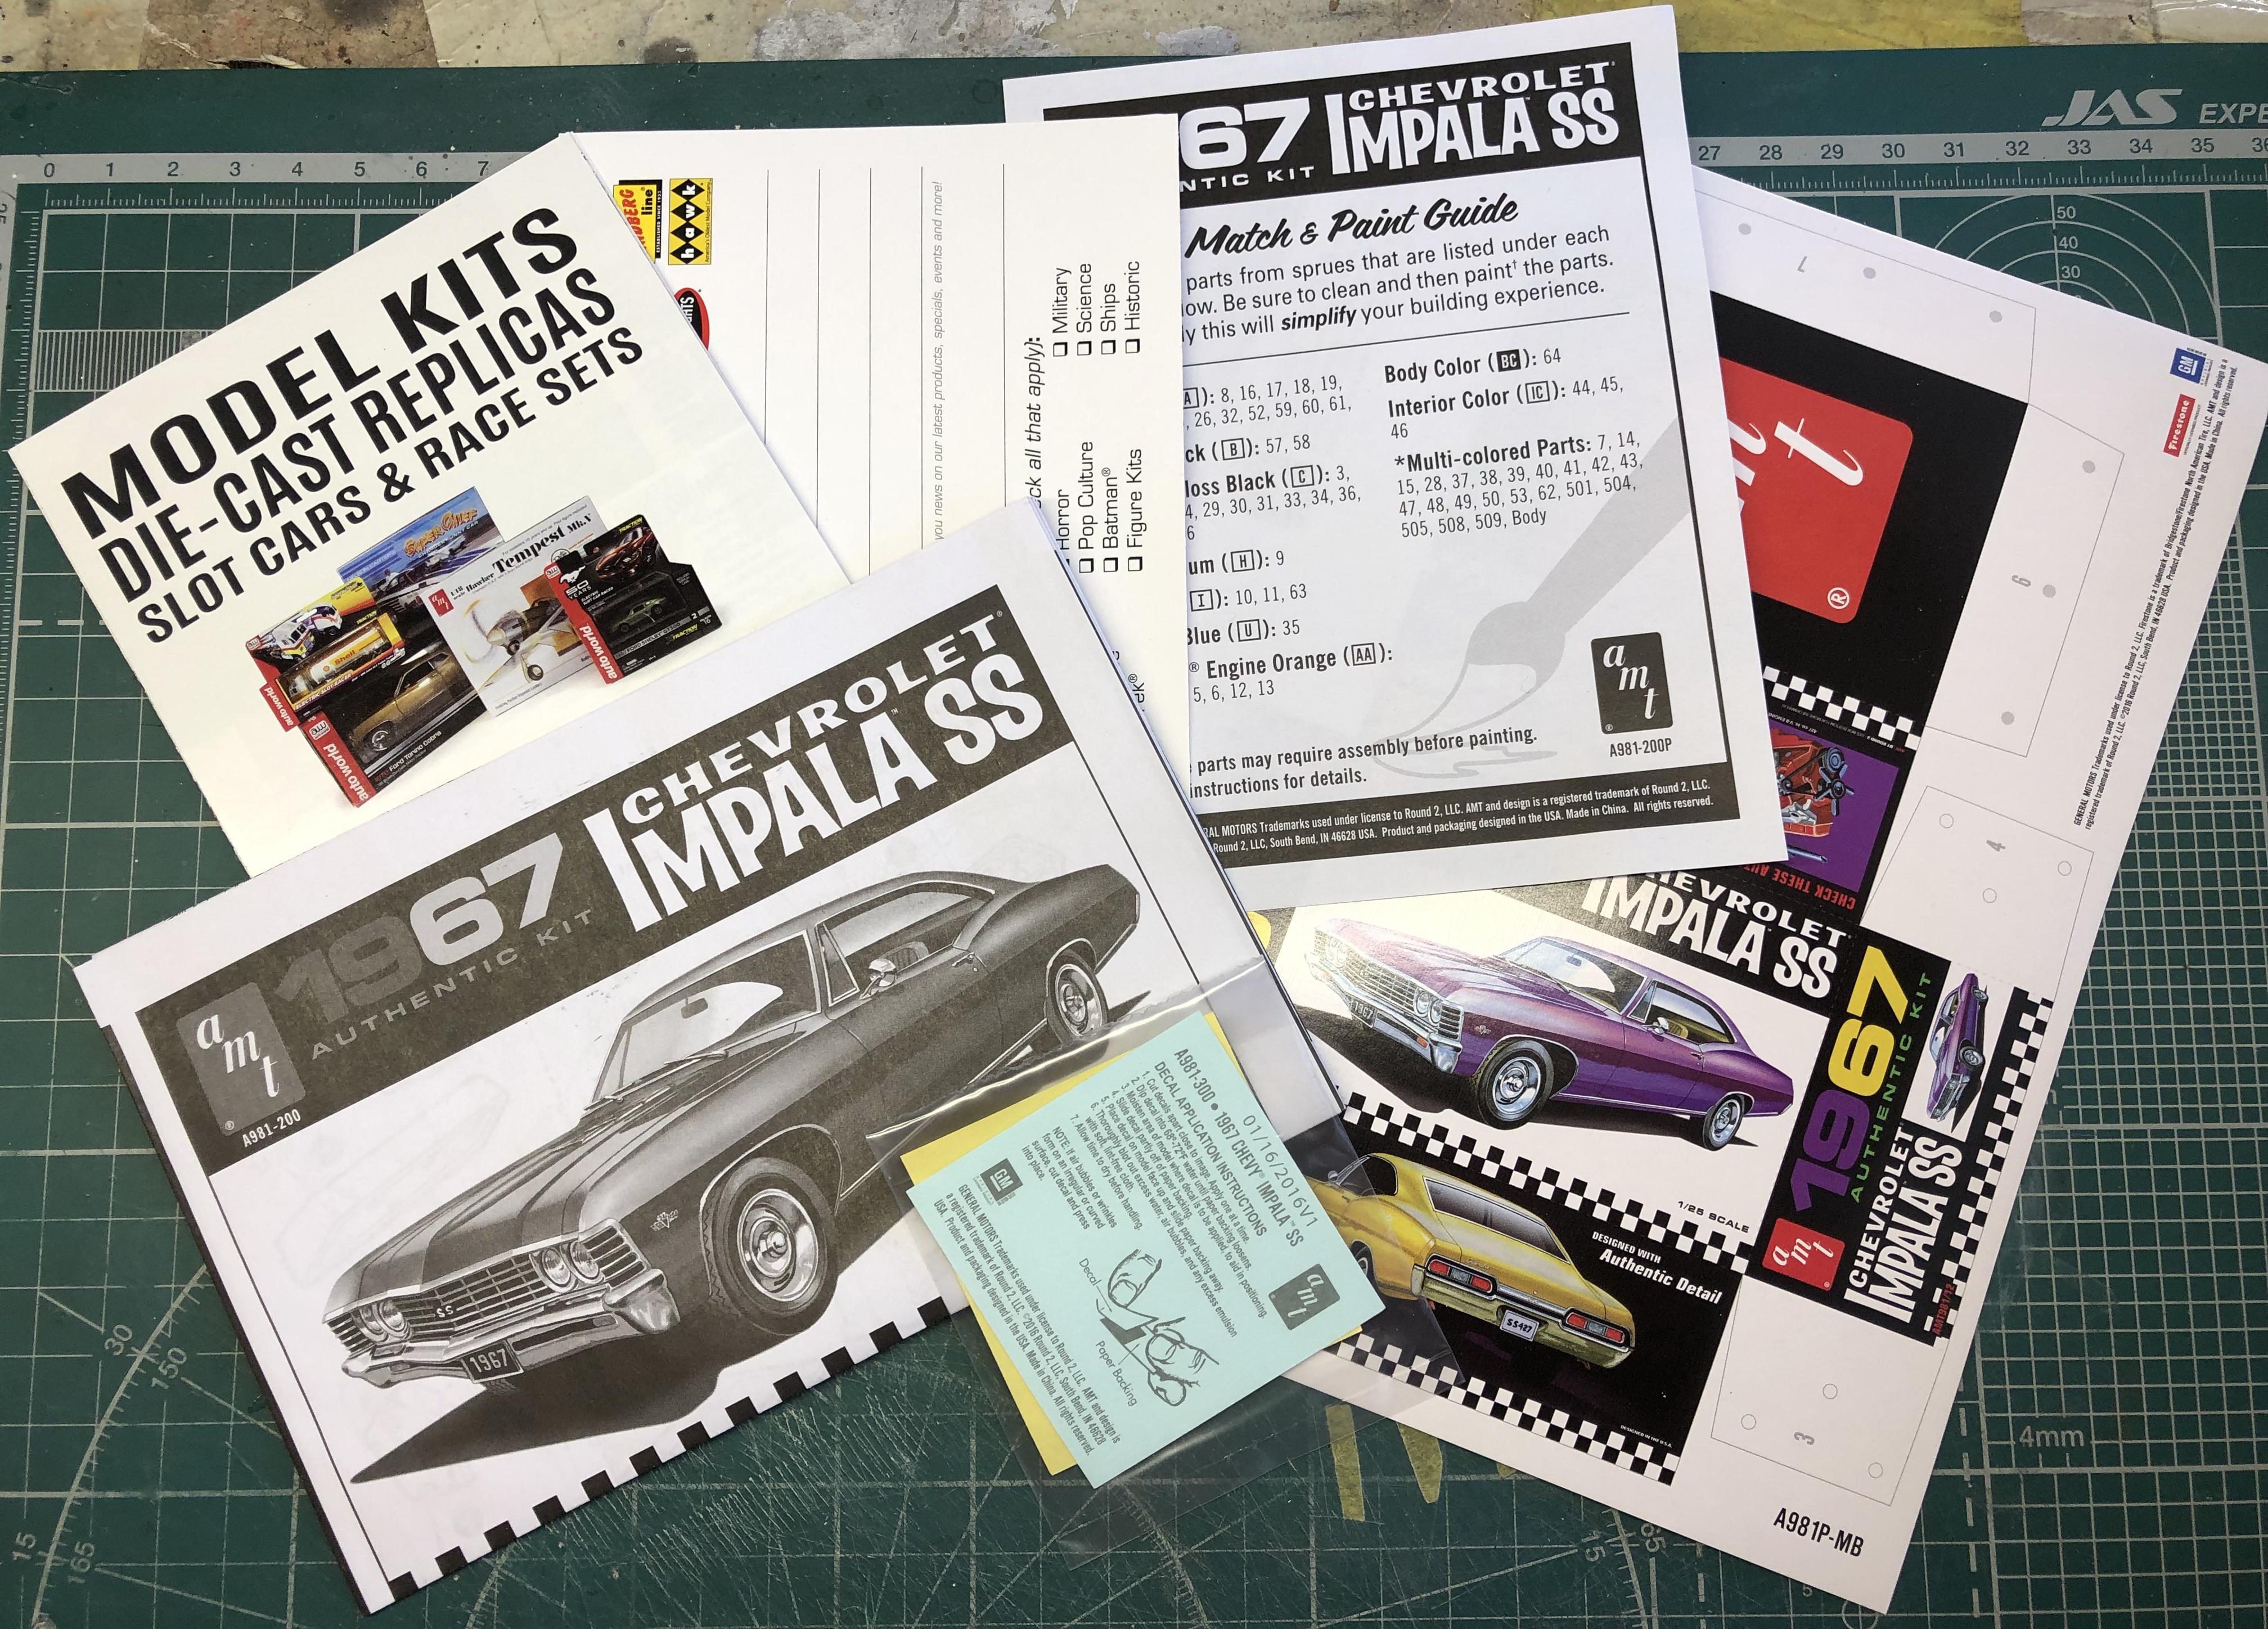
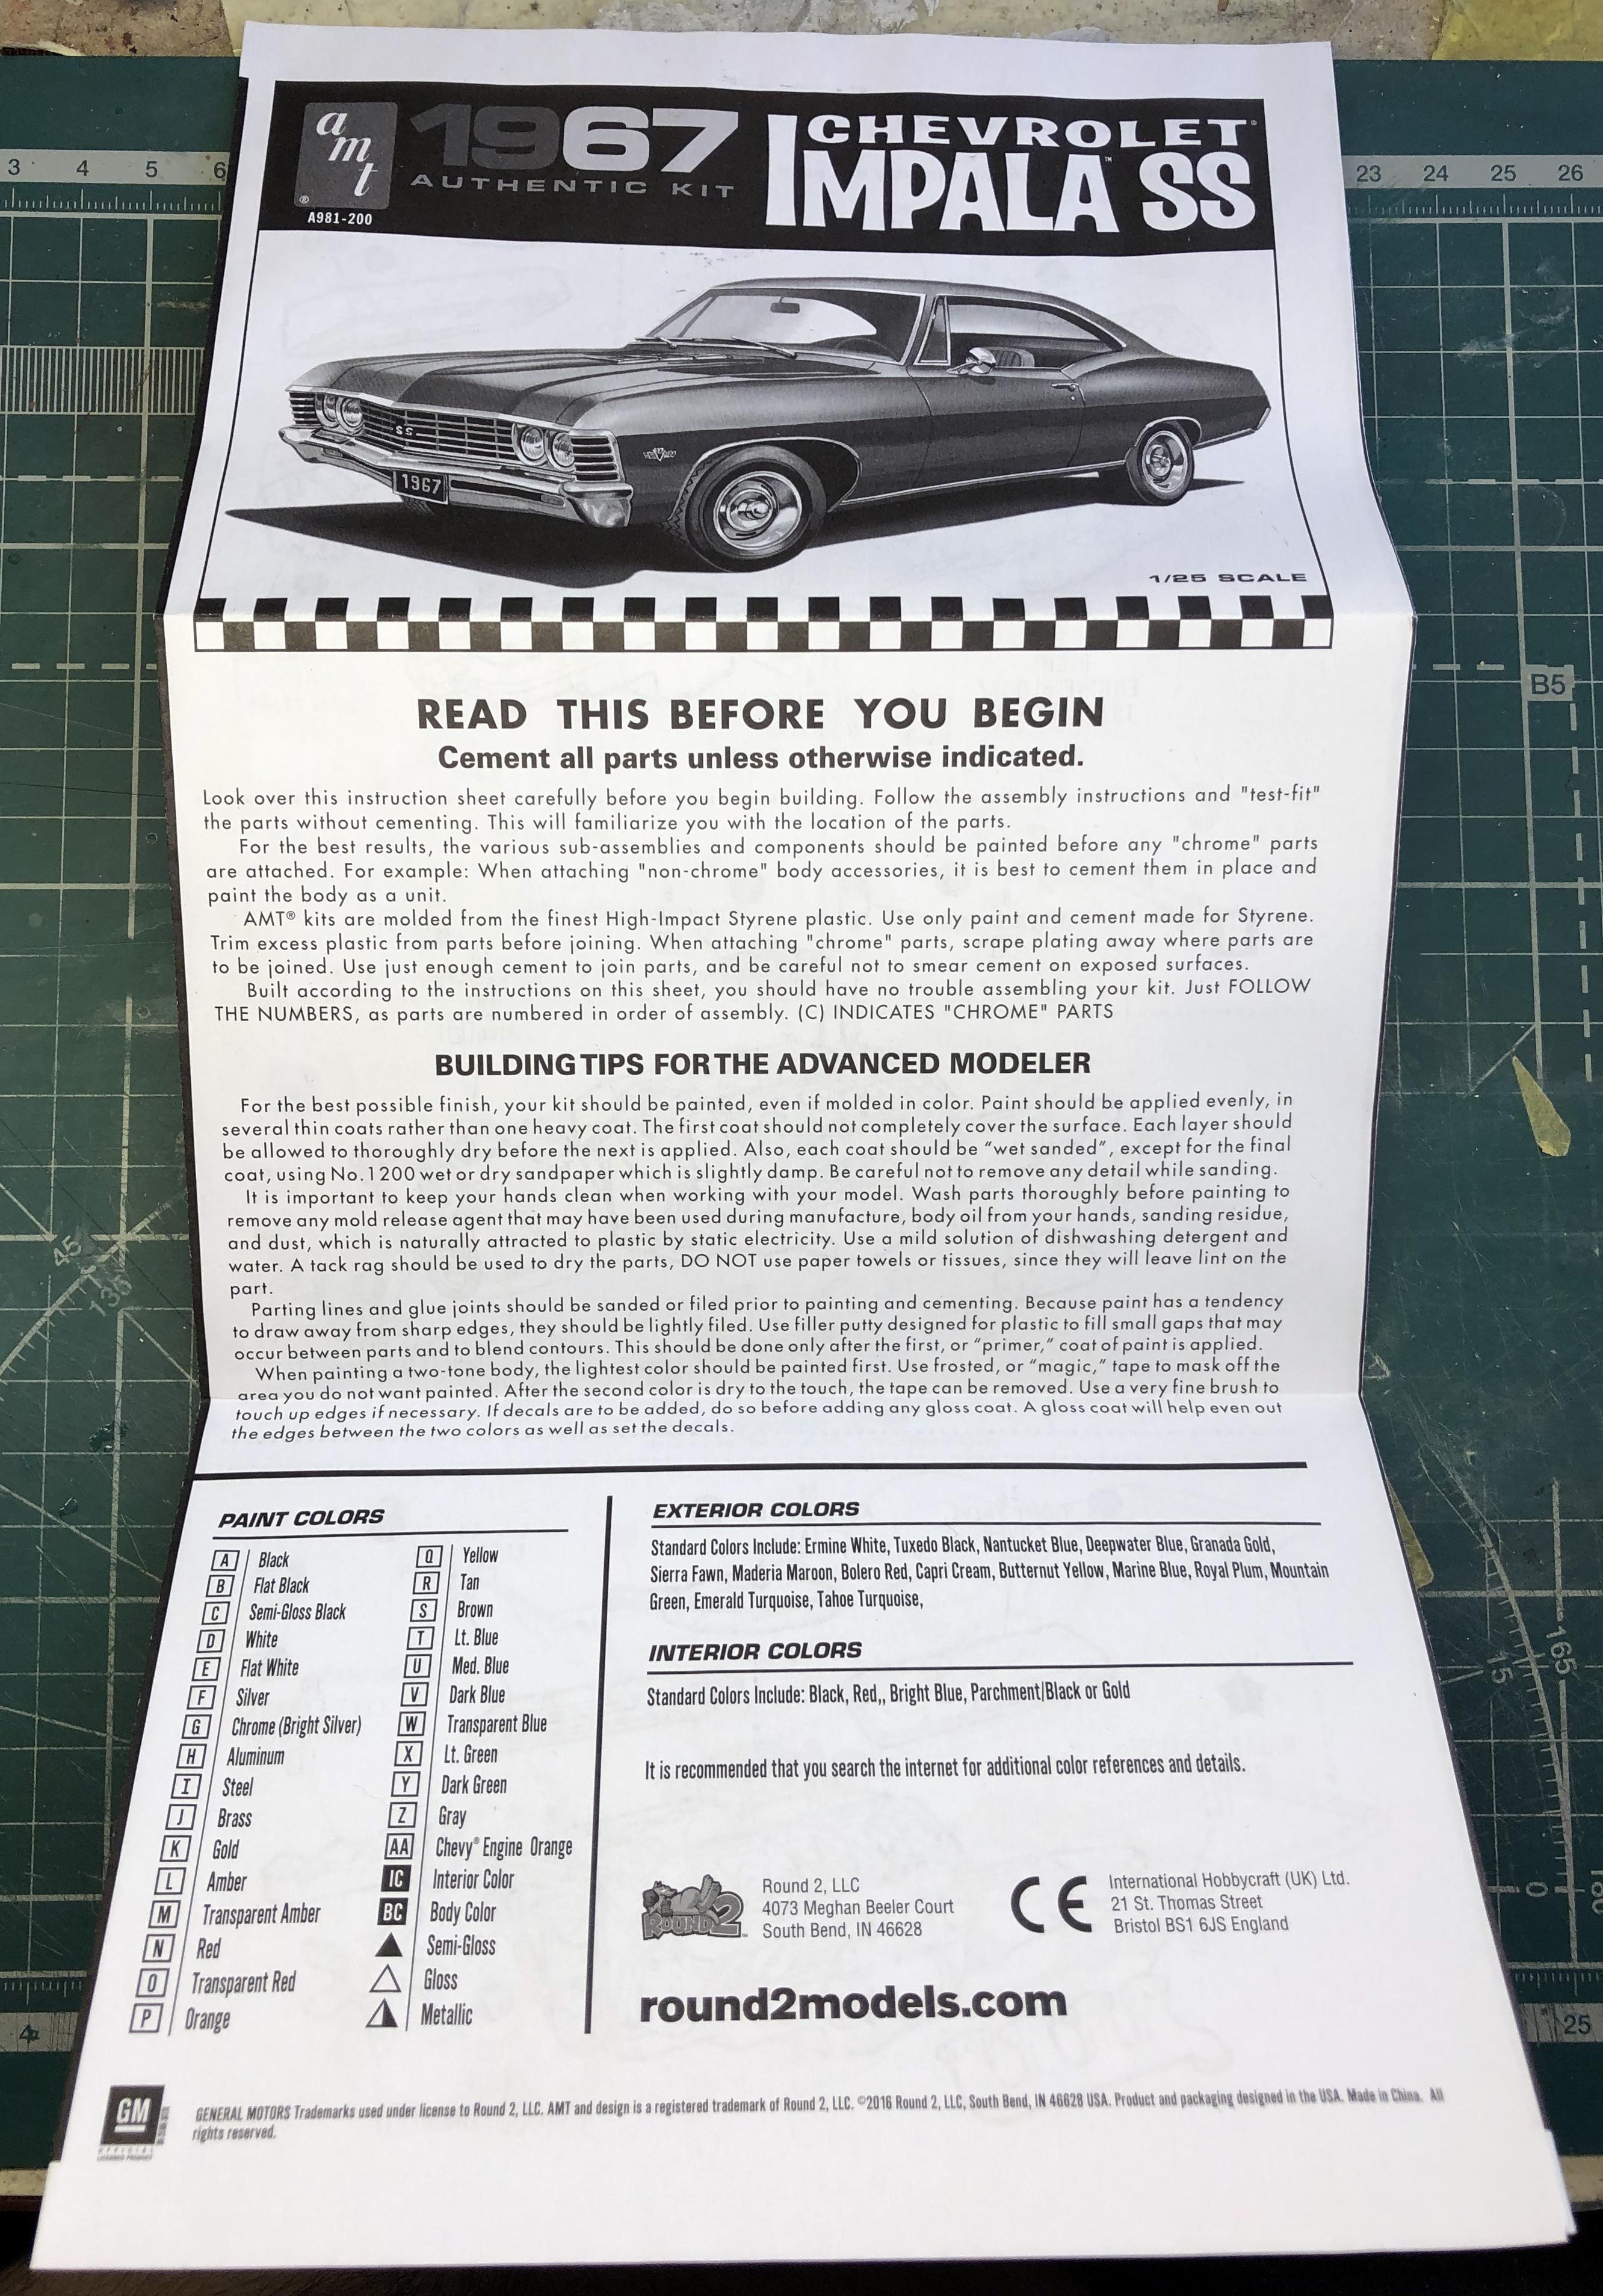
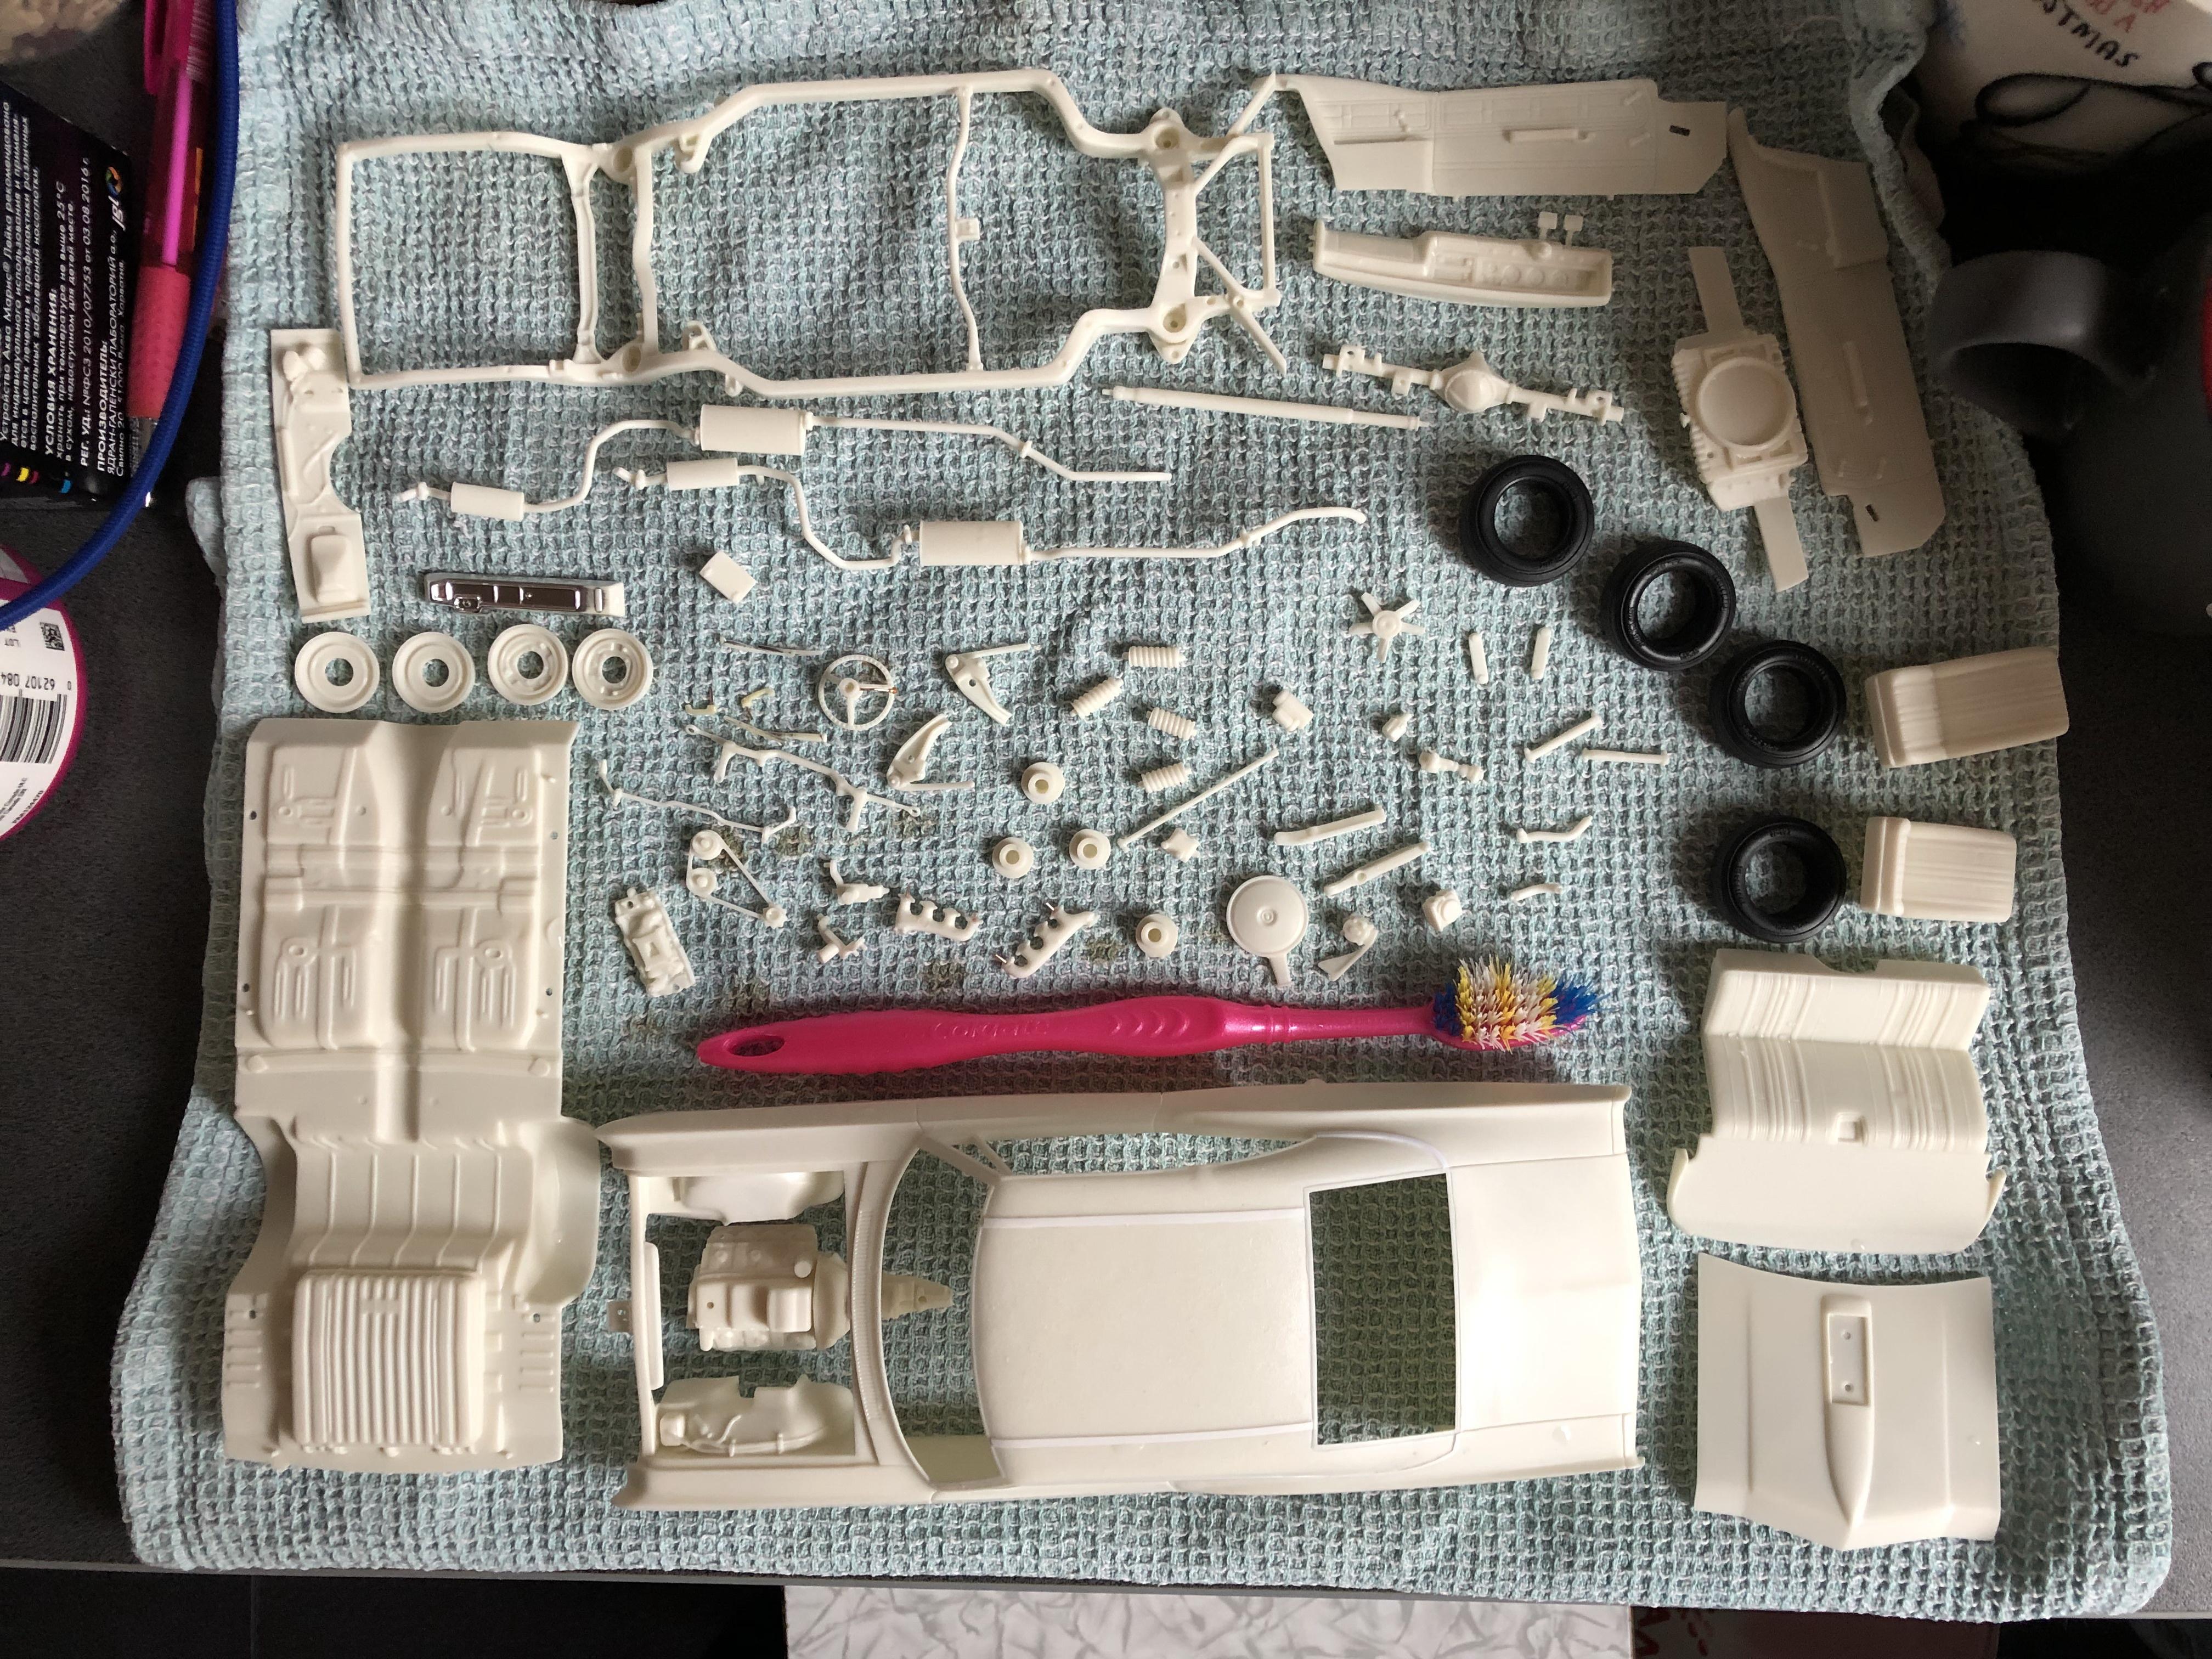
Hi all. It's time to start a new box.? Here's what I chose this time. This is the first time I've come across such a short manual. A very, very small leaf and everything is explained very small and briefly. As we can see from the instructions, this is a snap kit, but it is not at all suitable for beginners. Partly because of the poorly understood instructions, but more because of the fact that this is a very highly detailed snap kit. And this is very good for me. Let's start looking at what's in the box. Mirrors are given with a metal sticker, it's very, very cool. For the first time I see this in AMT kits. The rubber is also of excellent quality. First of all, I decided to correct the shape of the engine cover. Before. After. Next, I made the missing parts where the high voltage wires will lead. That's all for now, thanks for your attention.

-
https://aliexpress.ru/item/1005002848450517.html?gatewayAdapt=glo2rus&sku_id=12000022453646324&spm=a2g0s.12269583.0.0.6deb2d66a2ICGQ
-
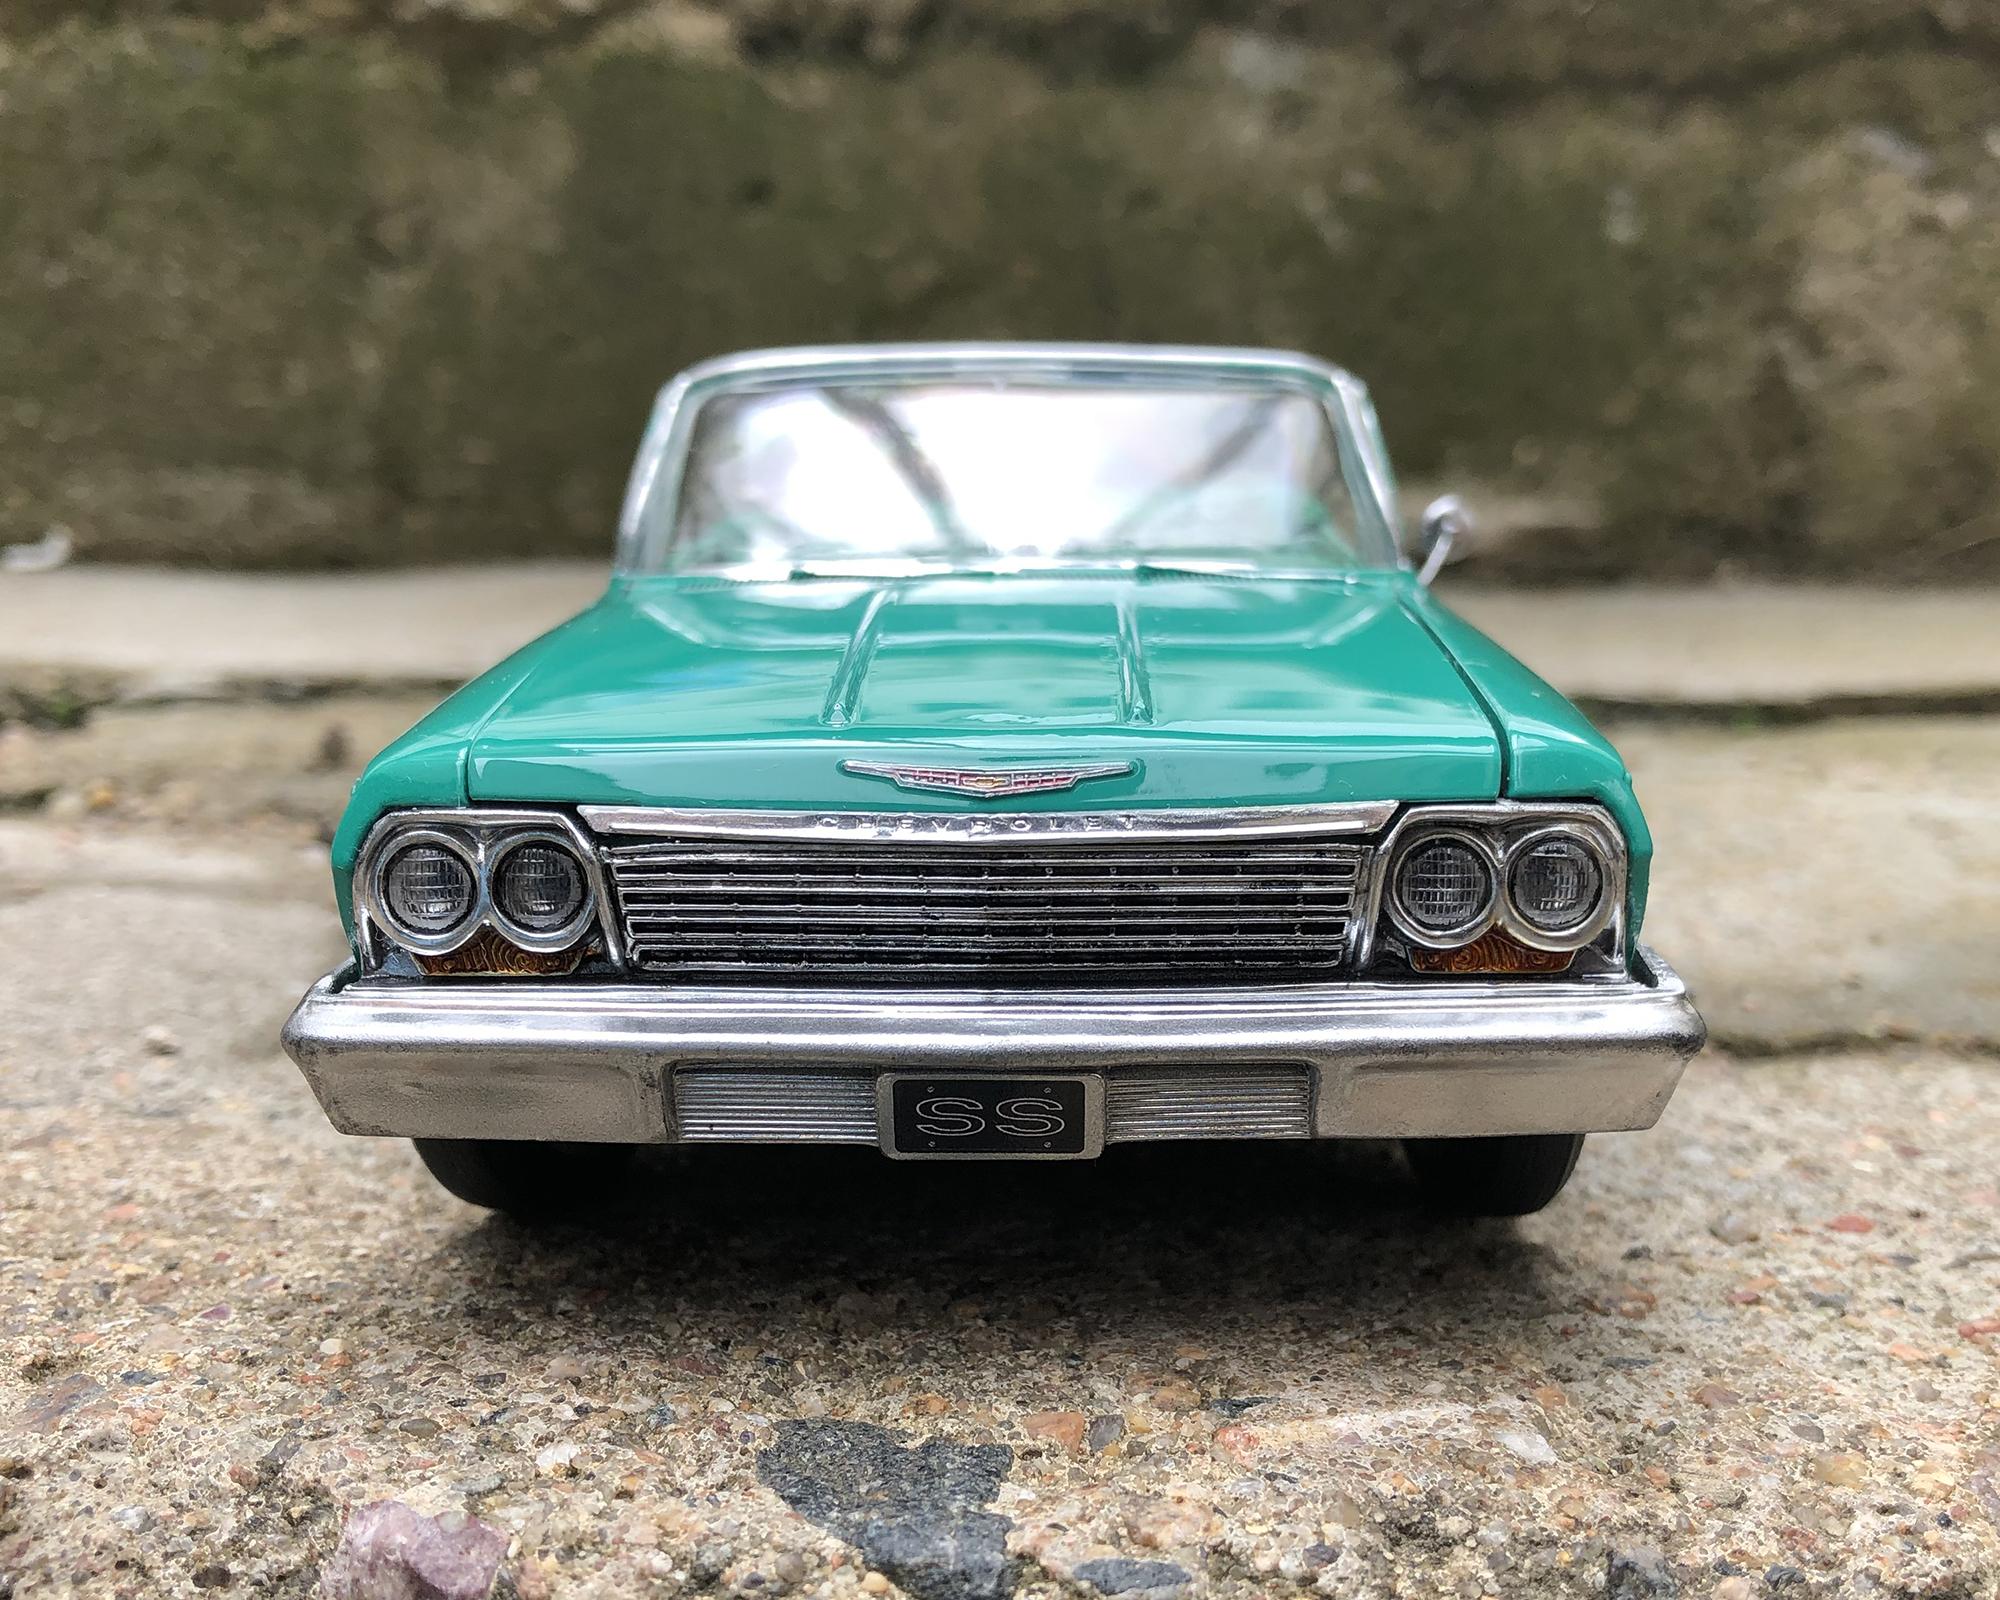
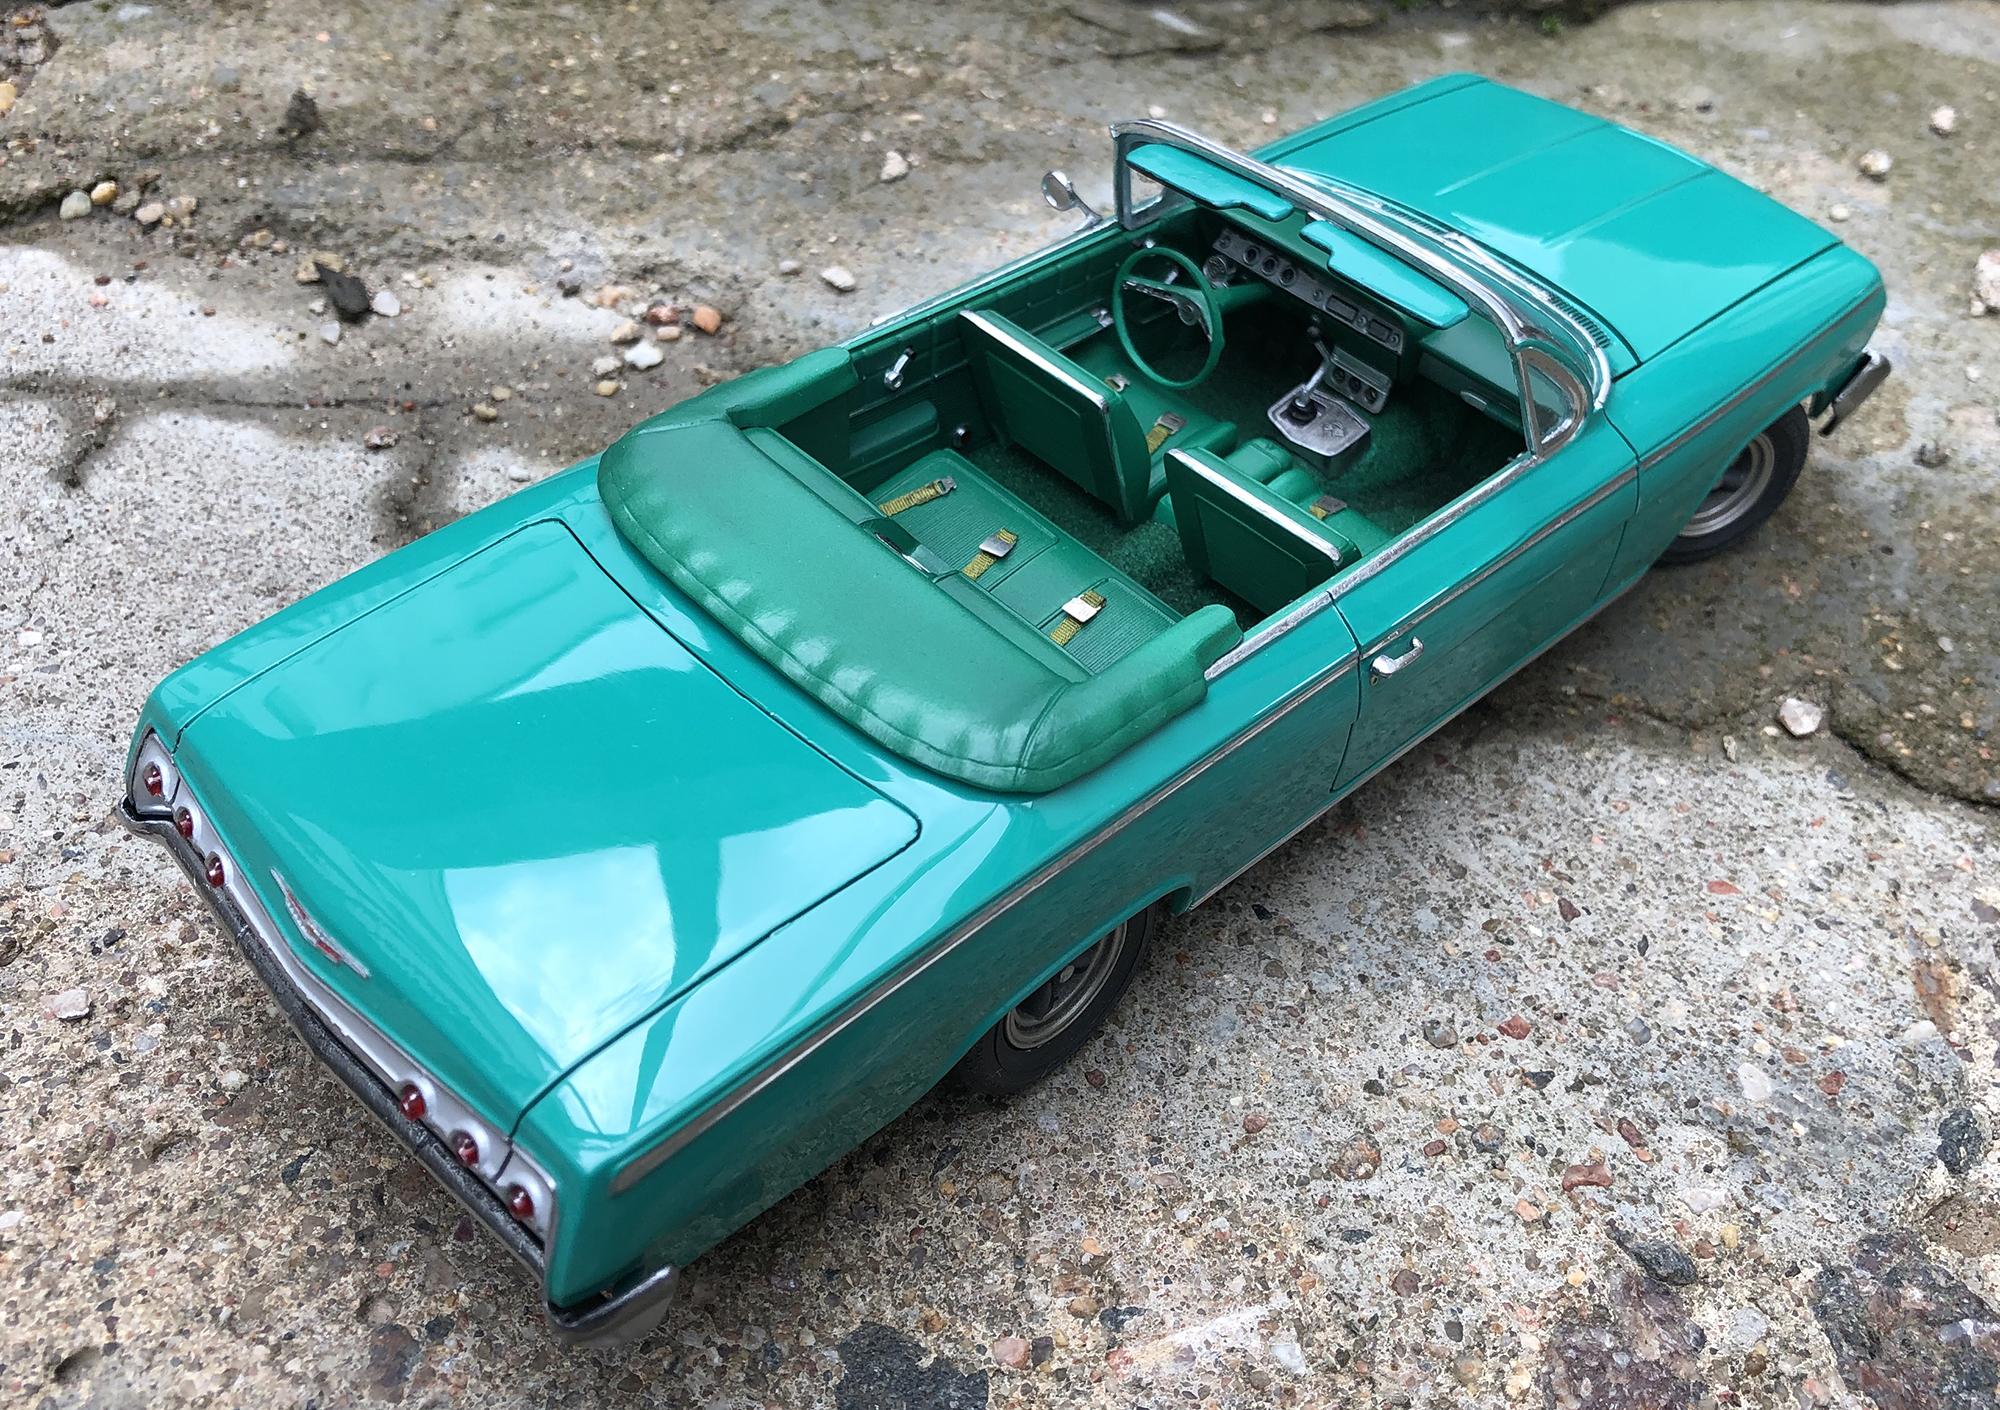
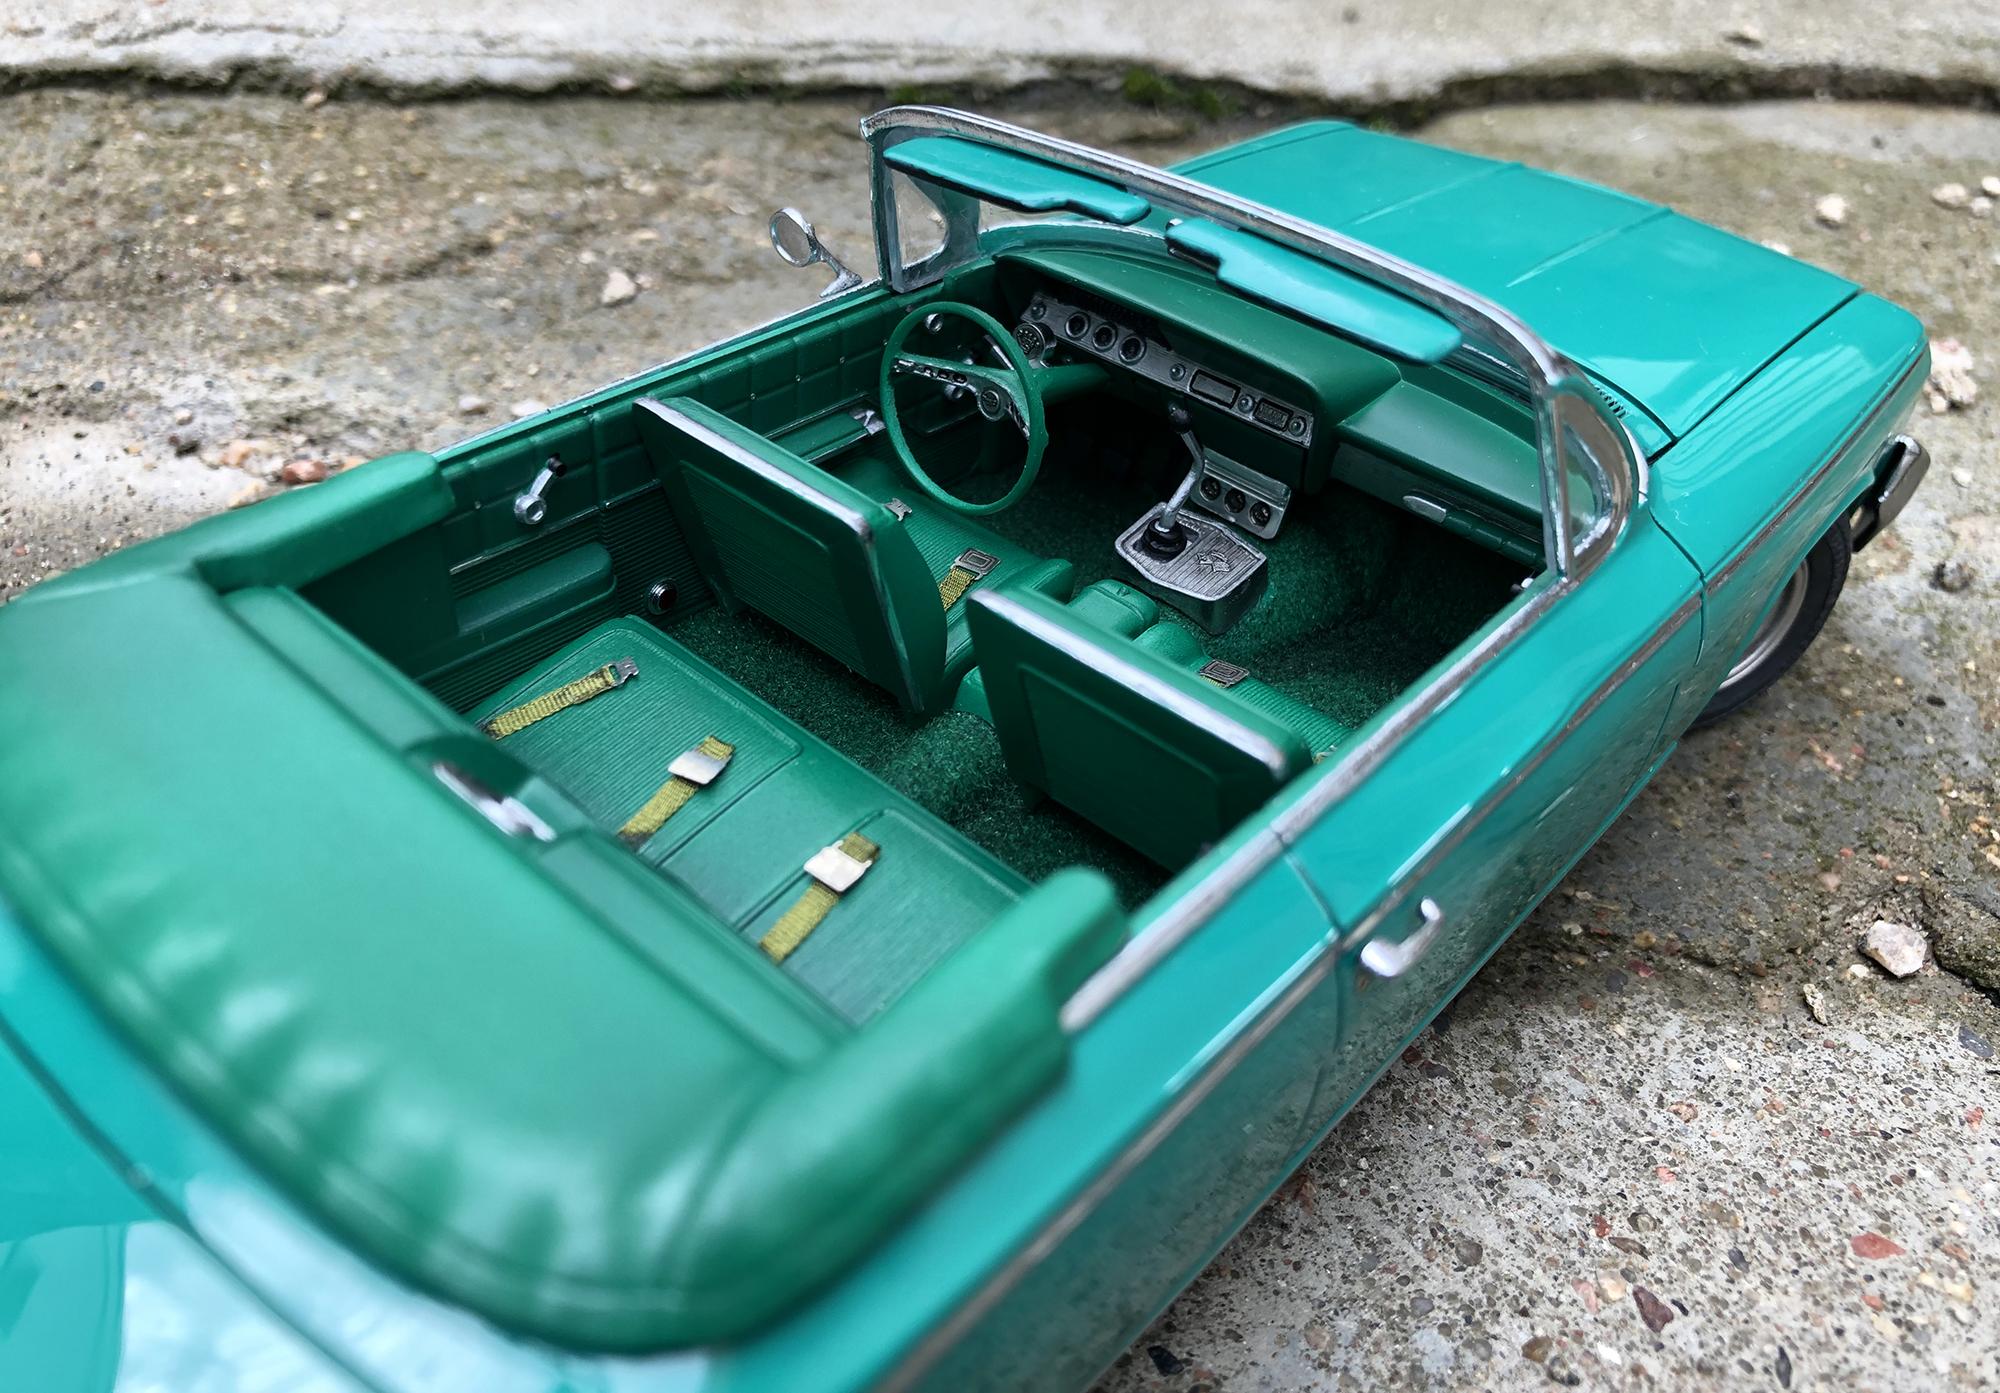
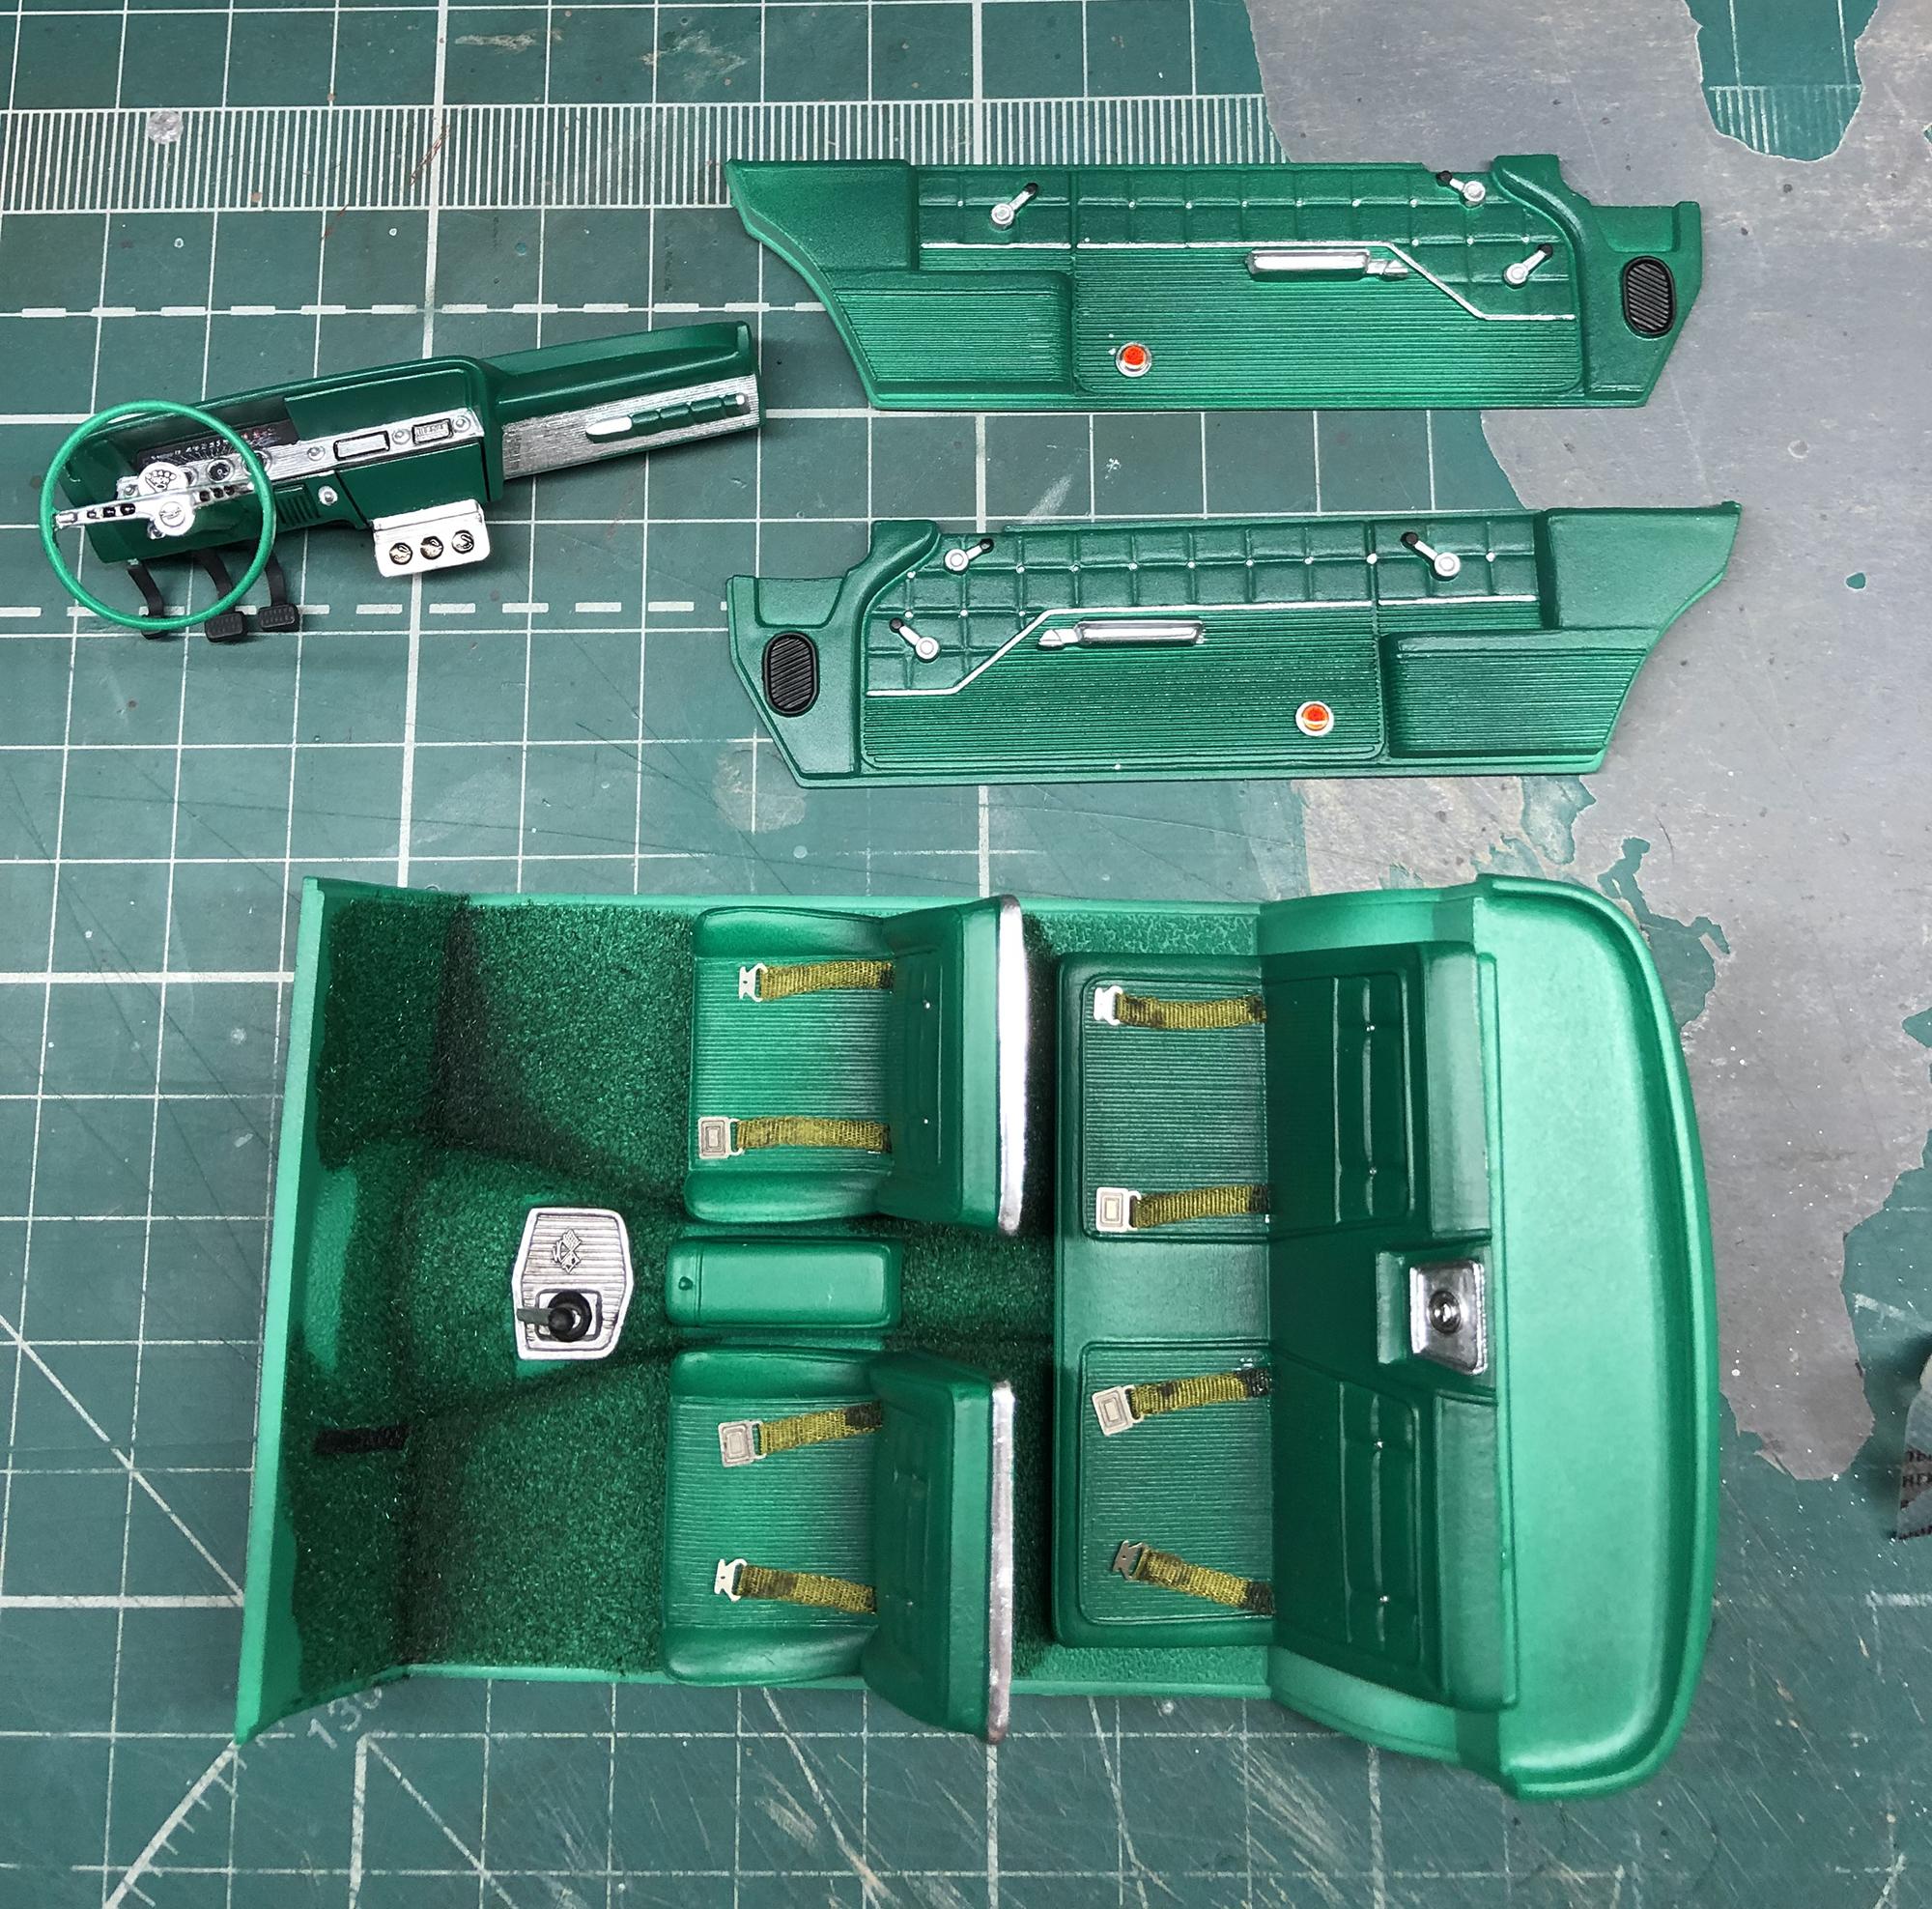
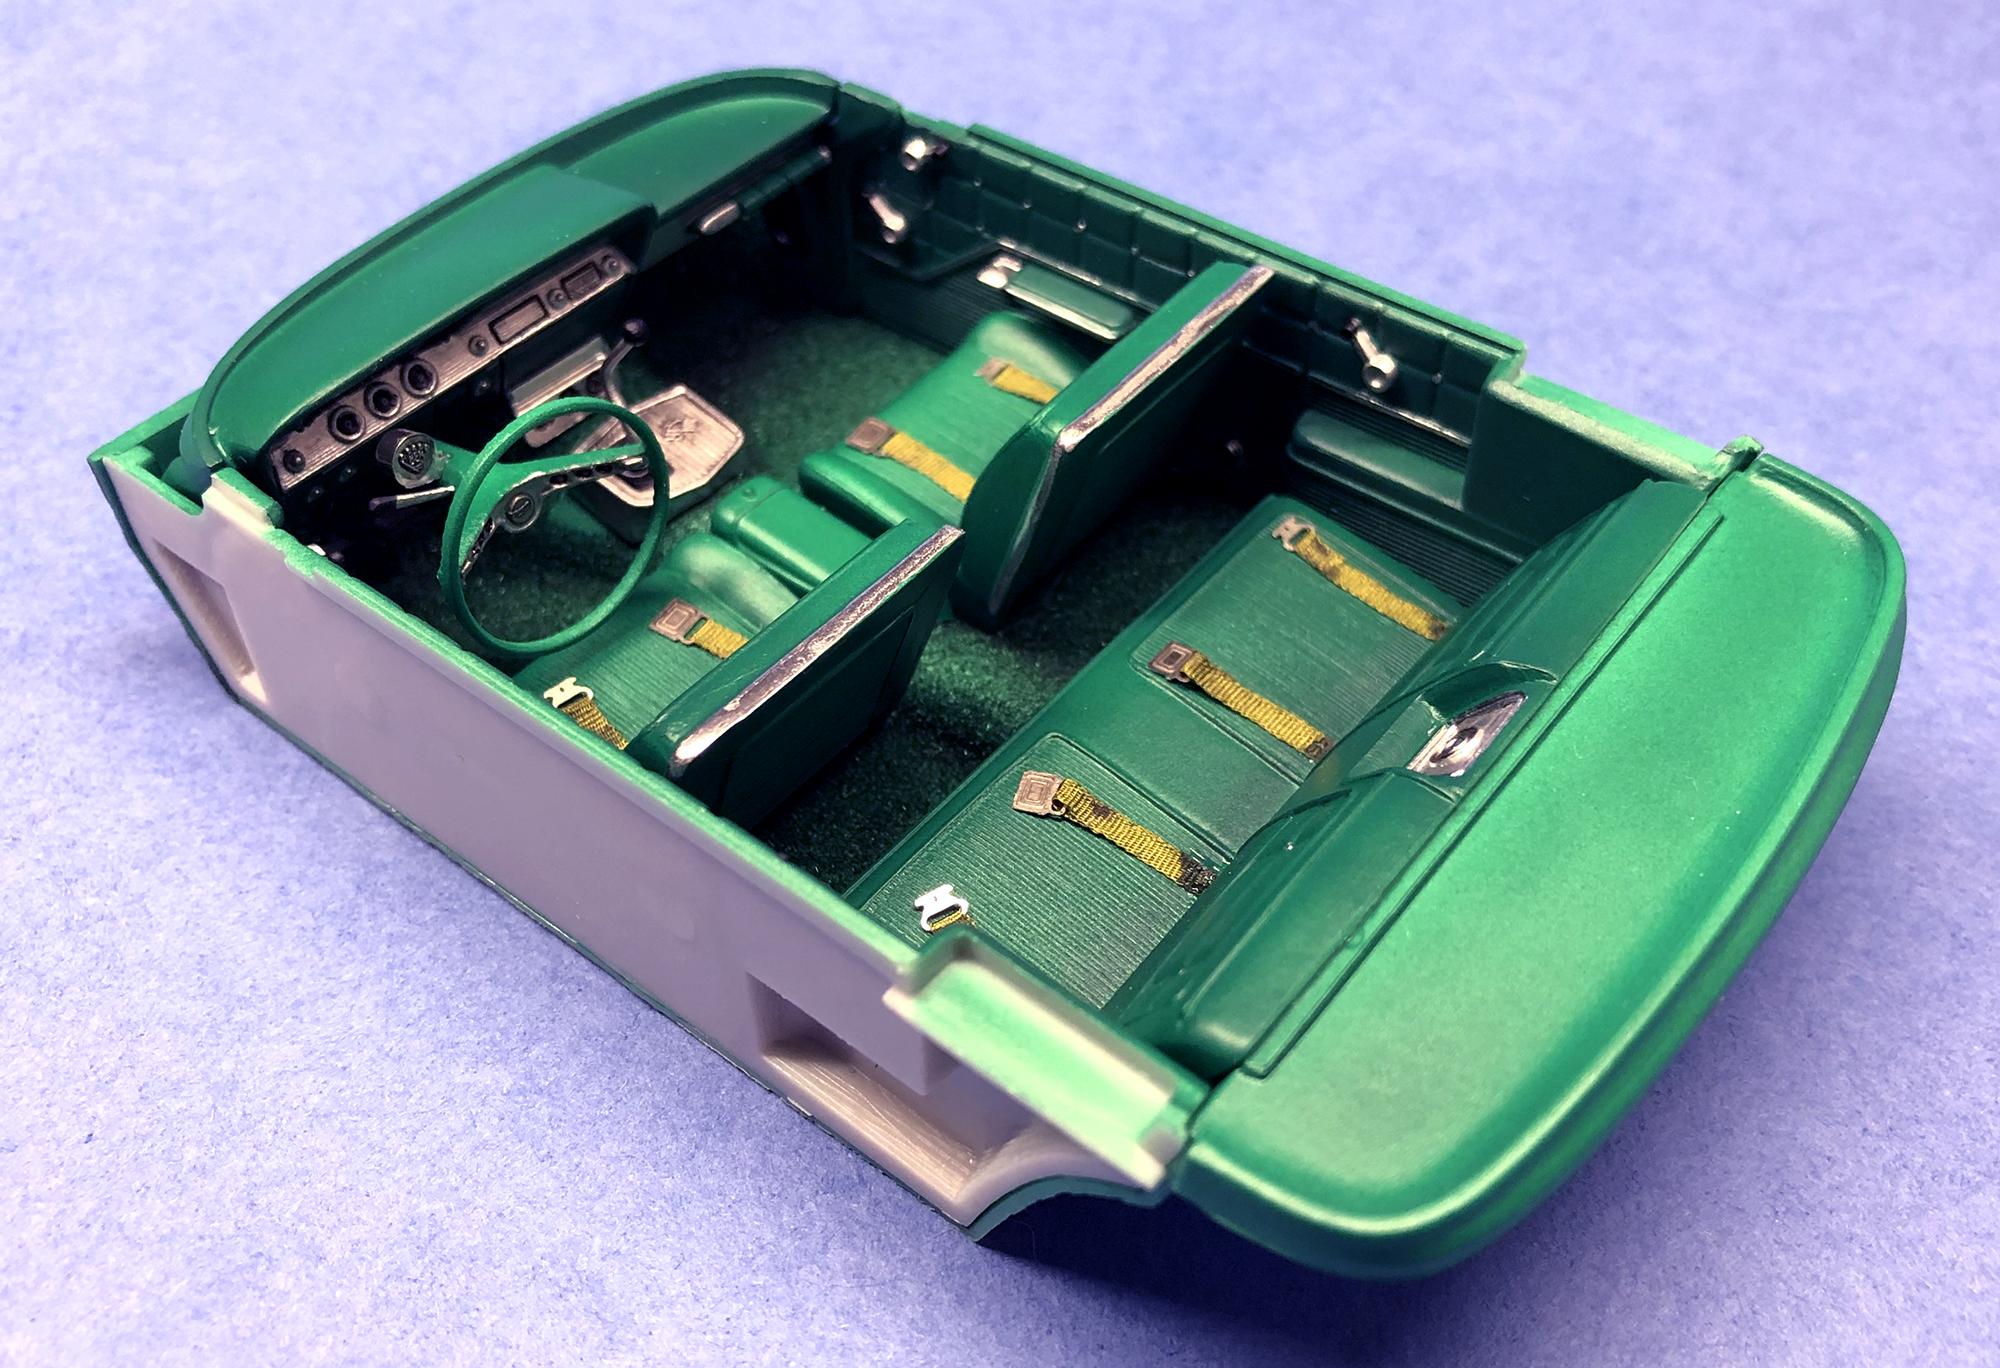
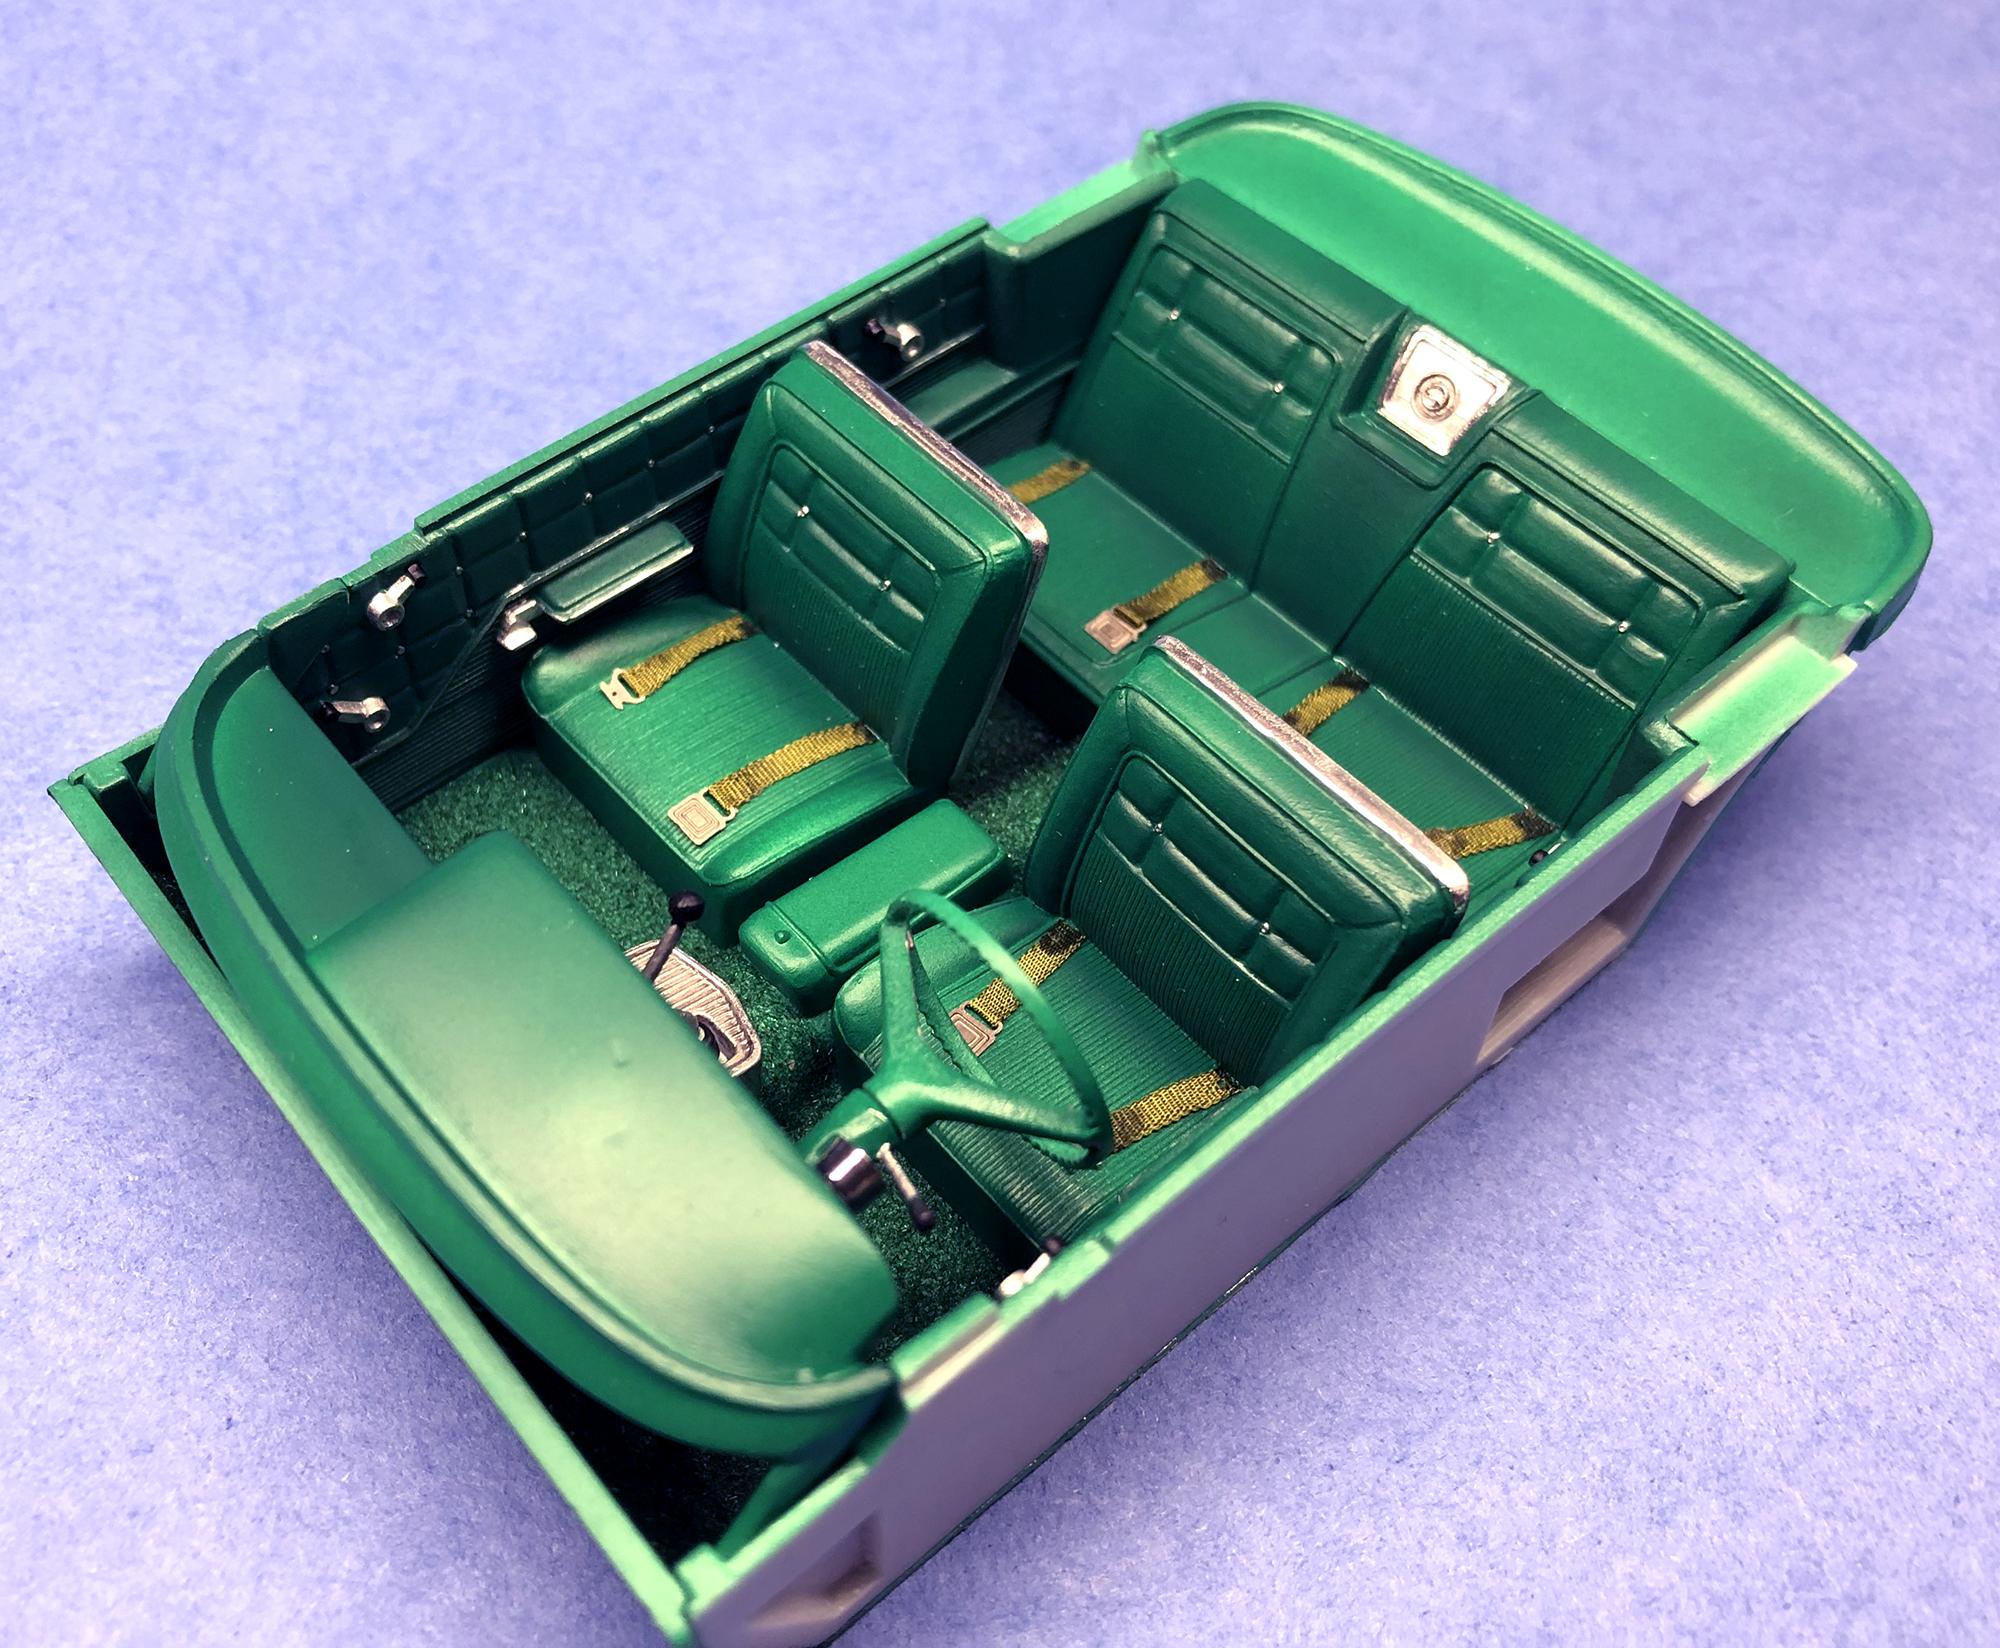
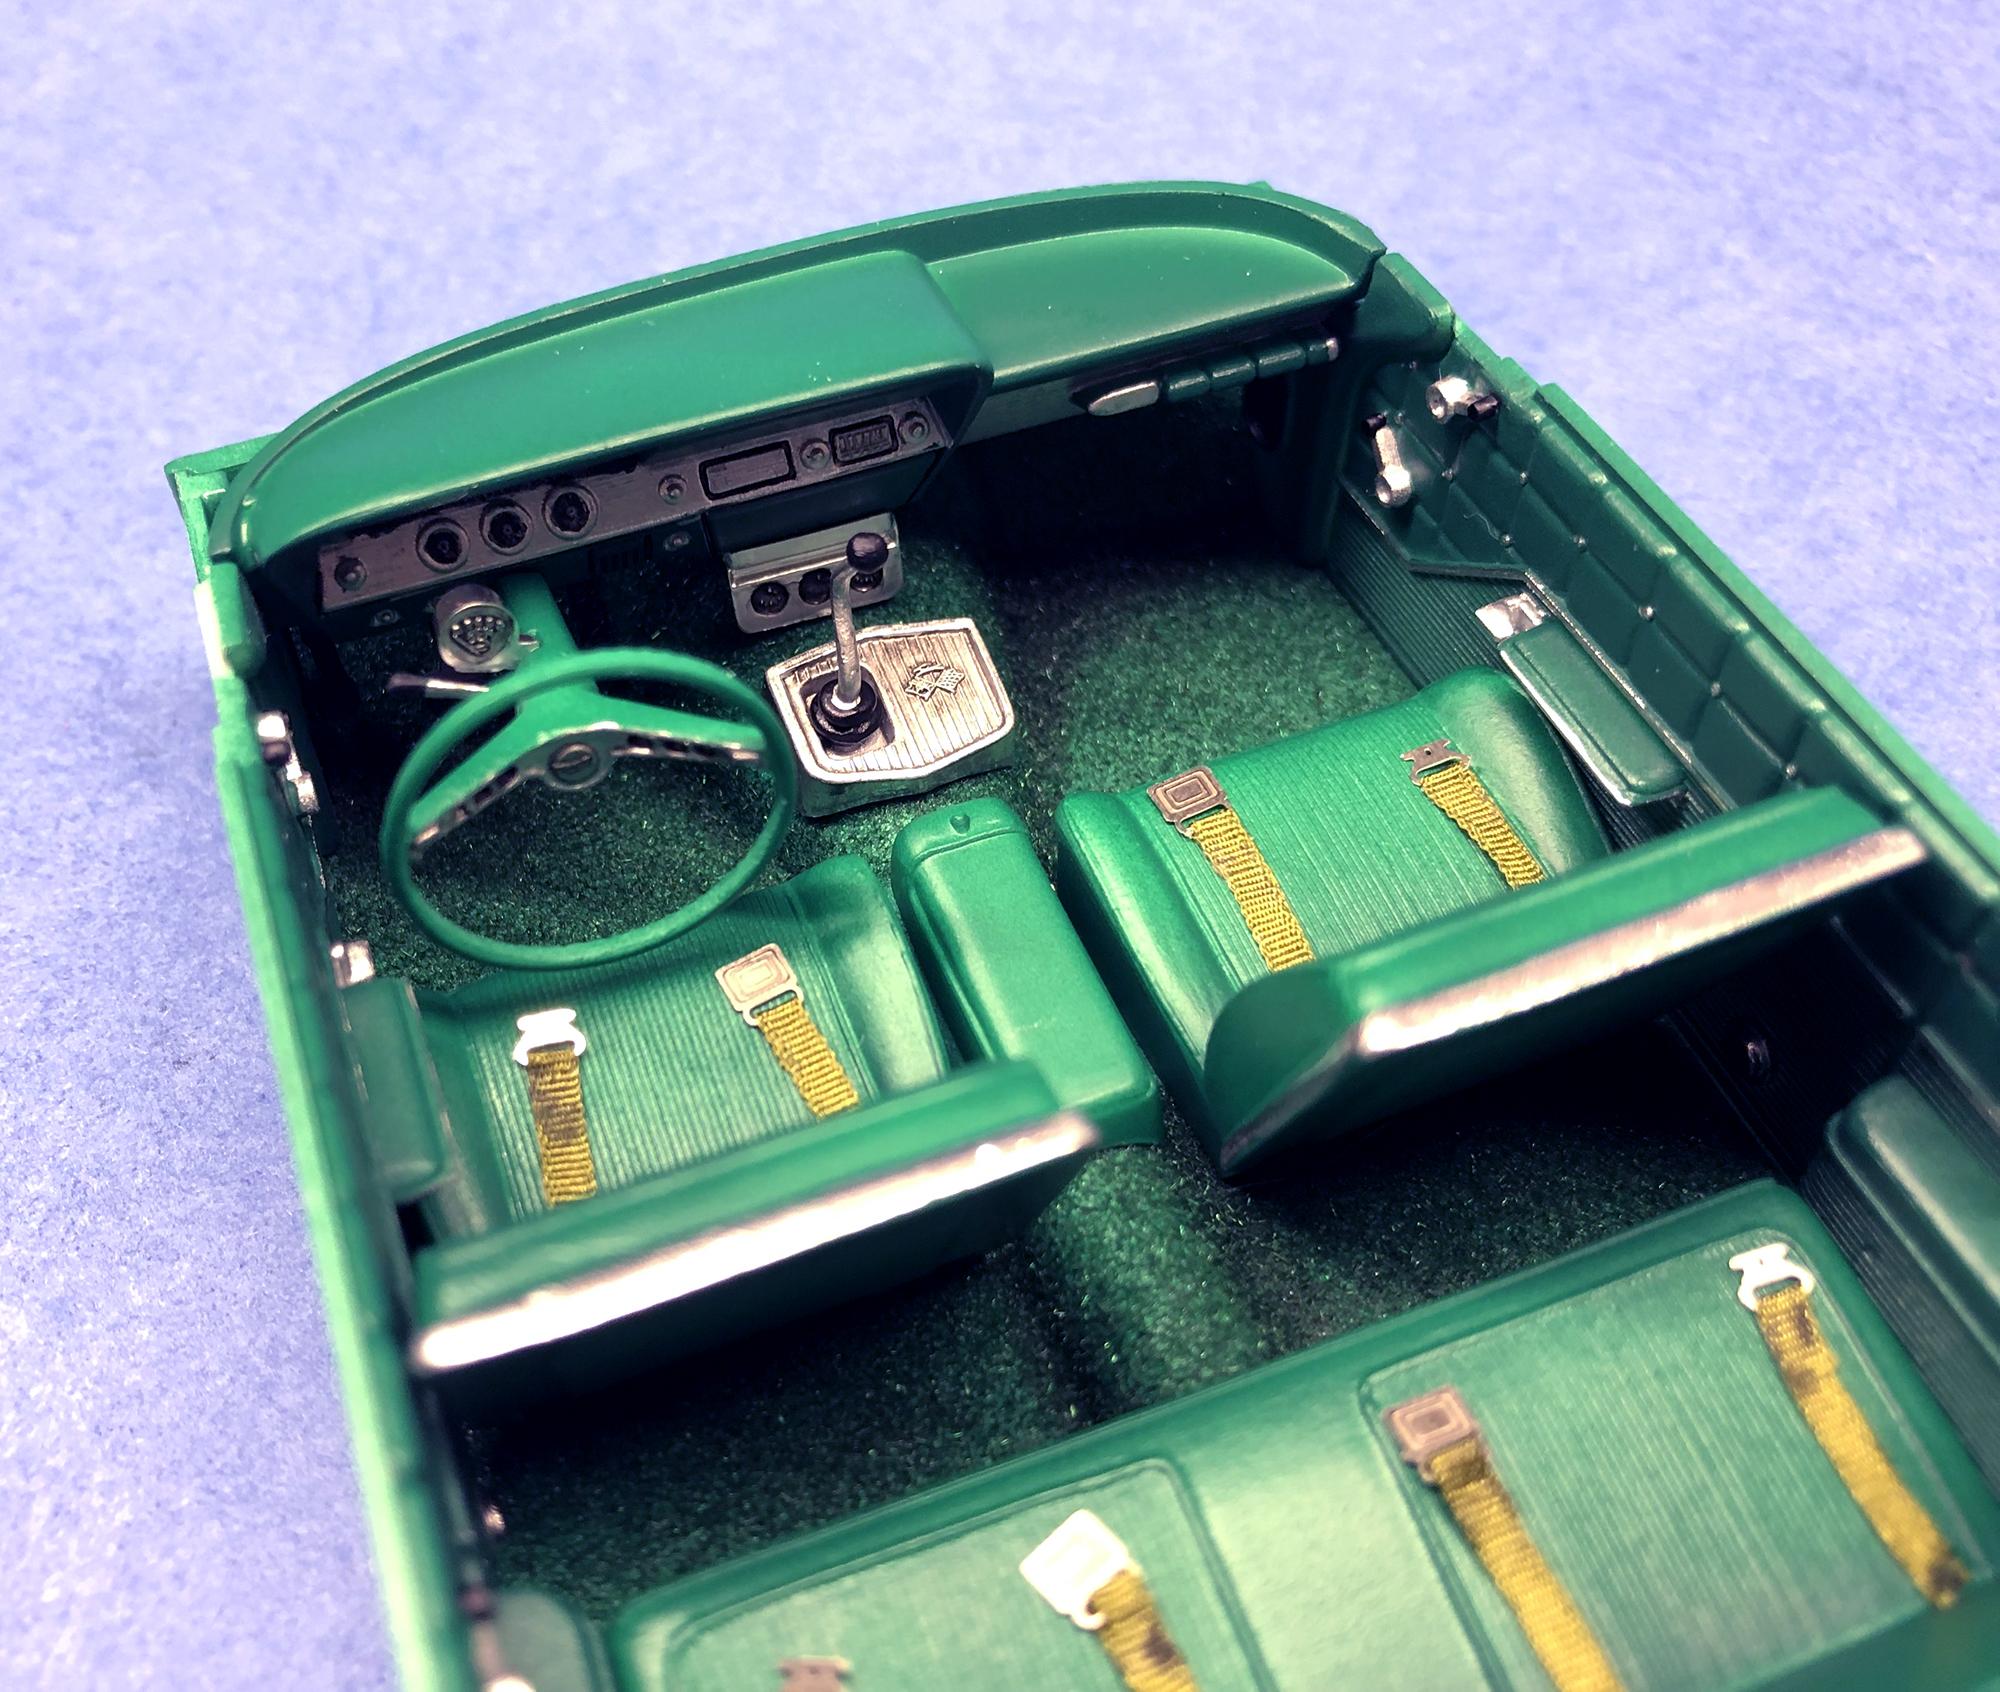
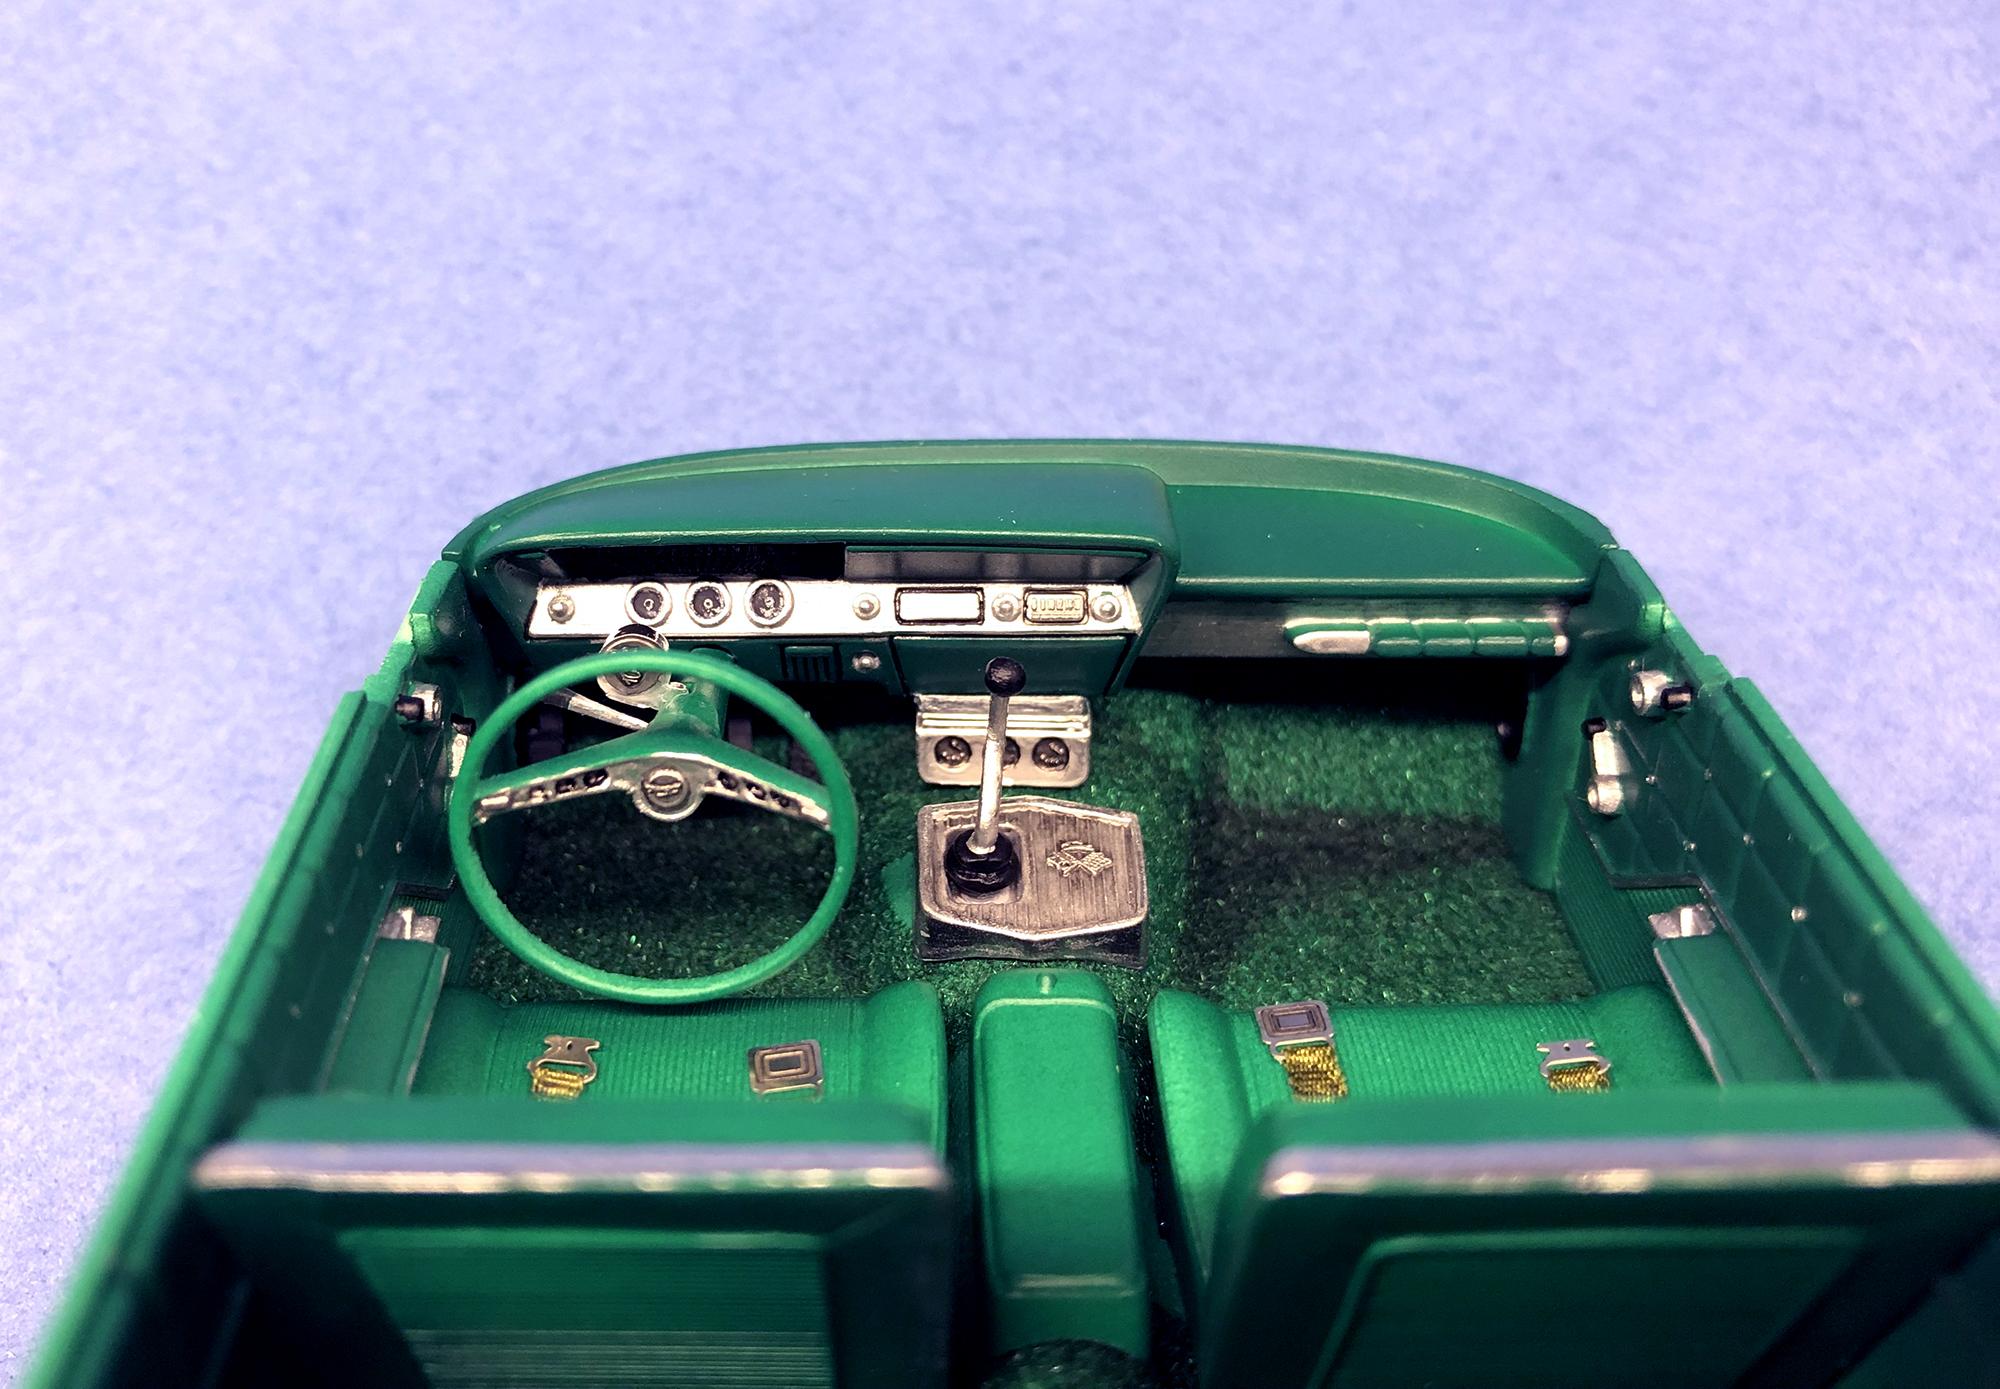
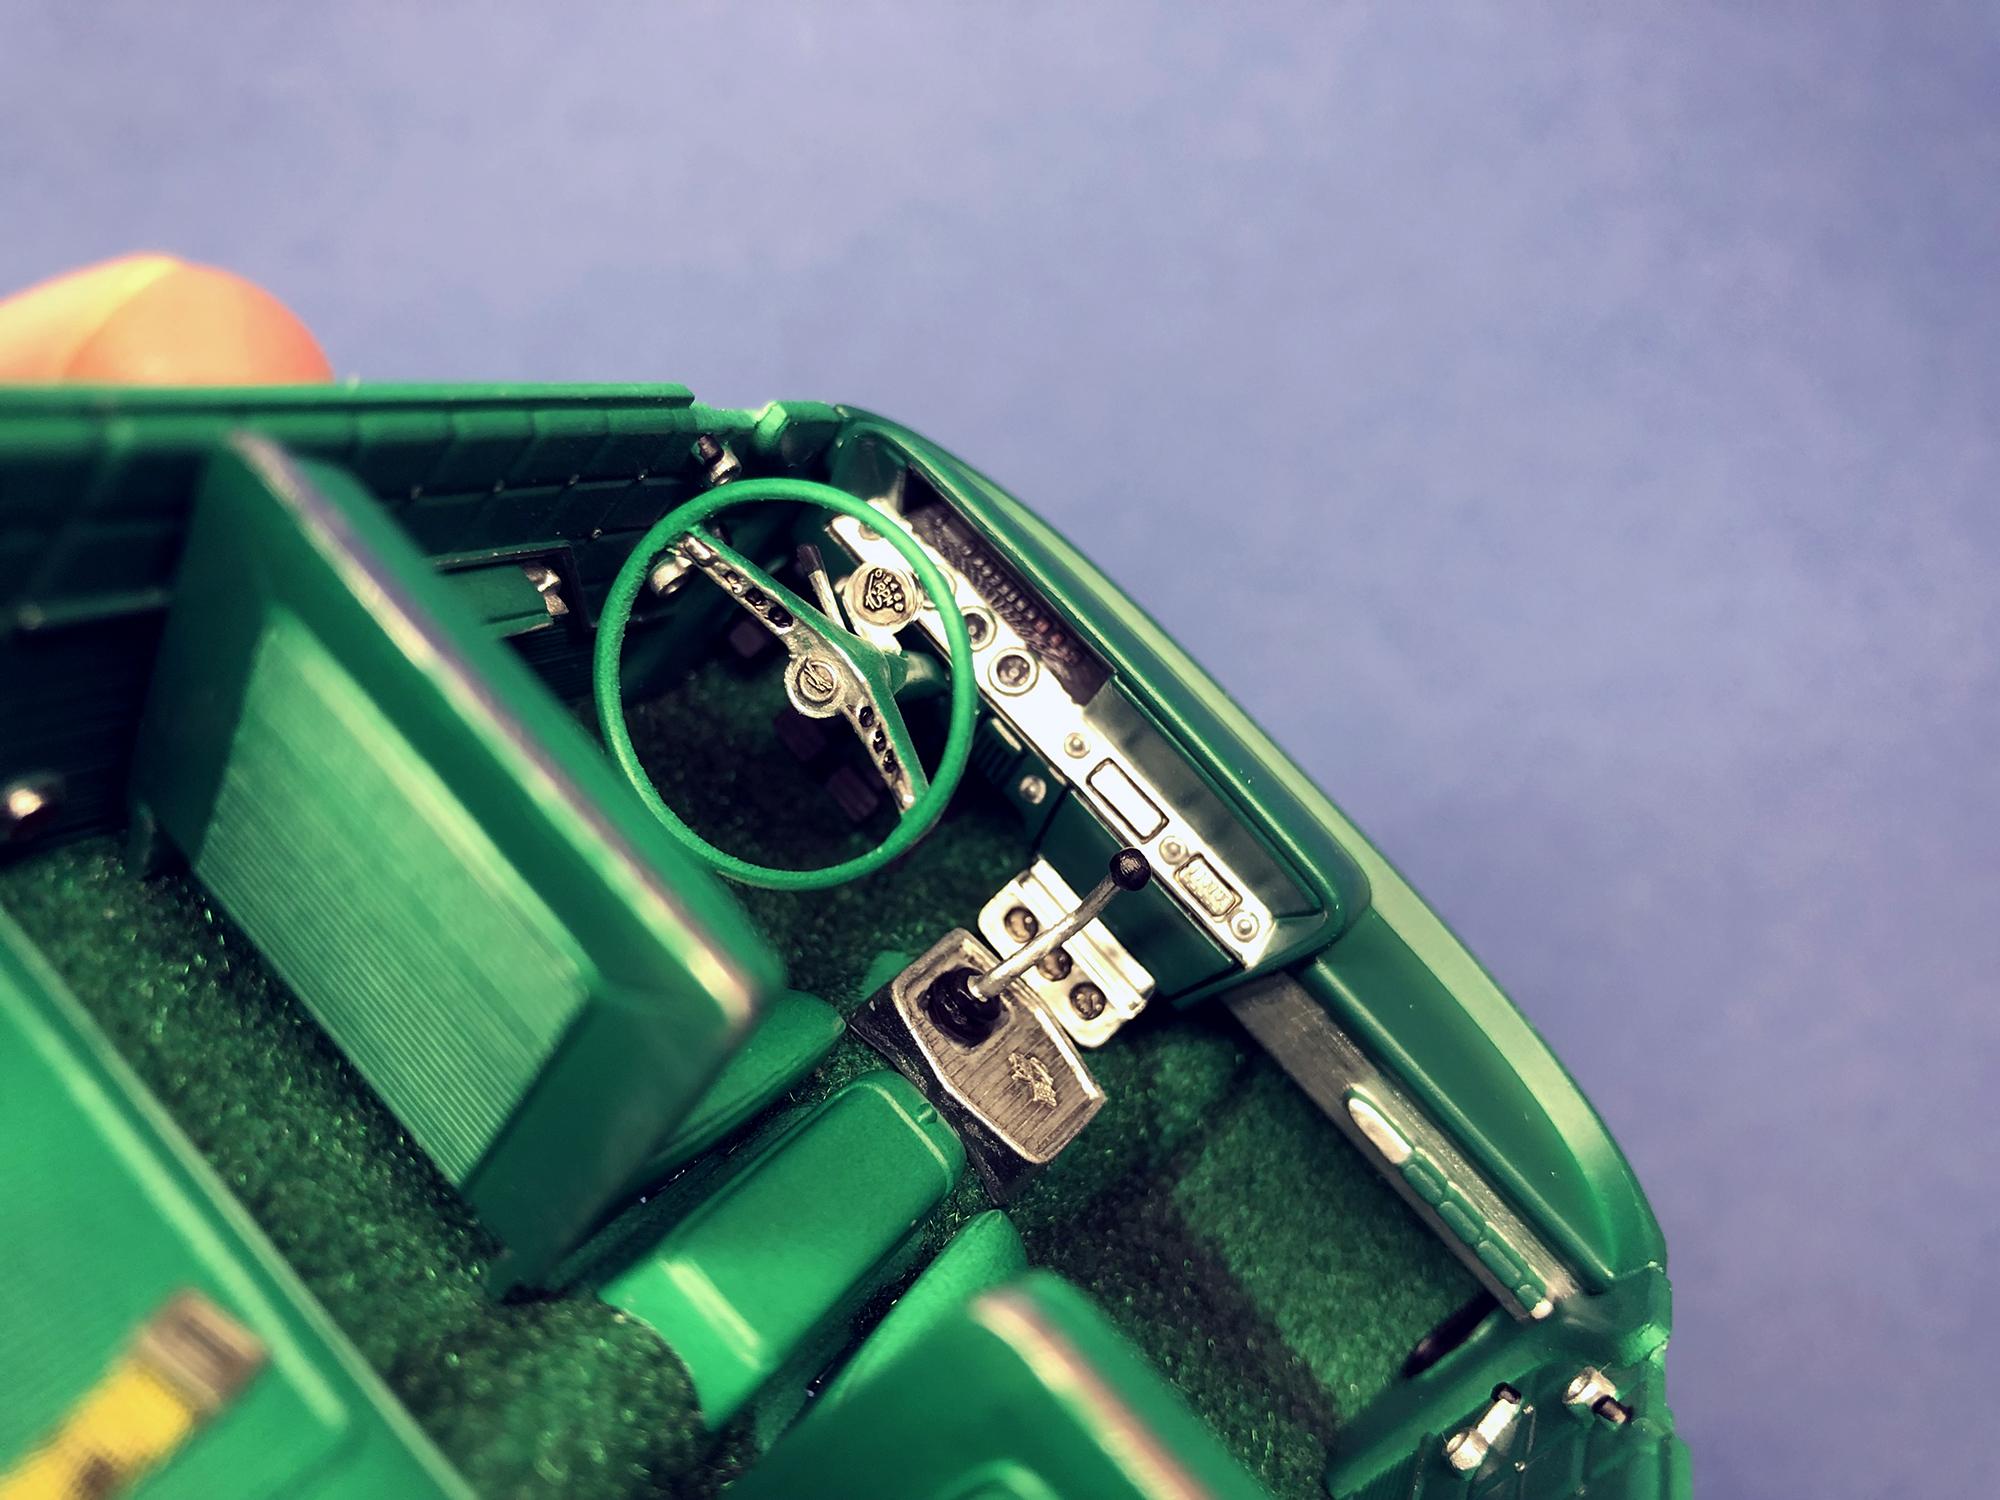
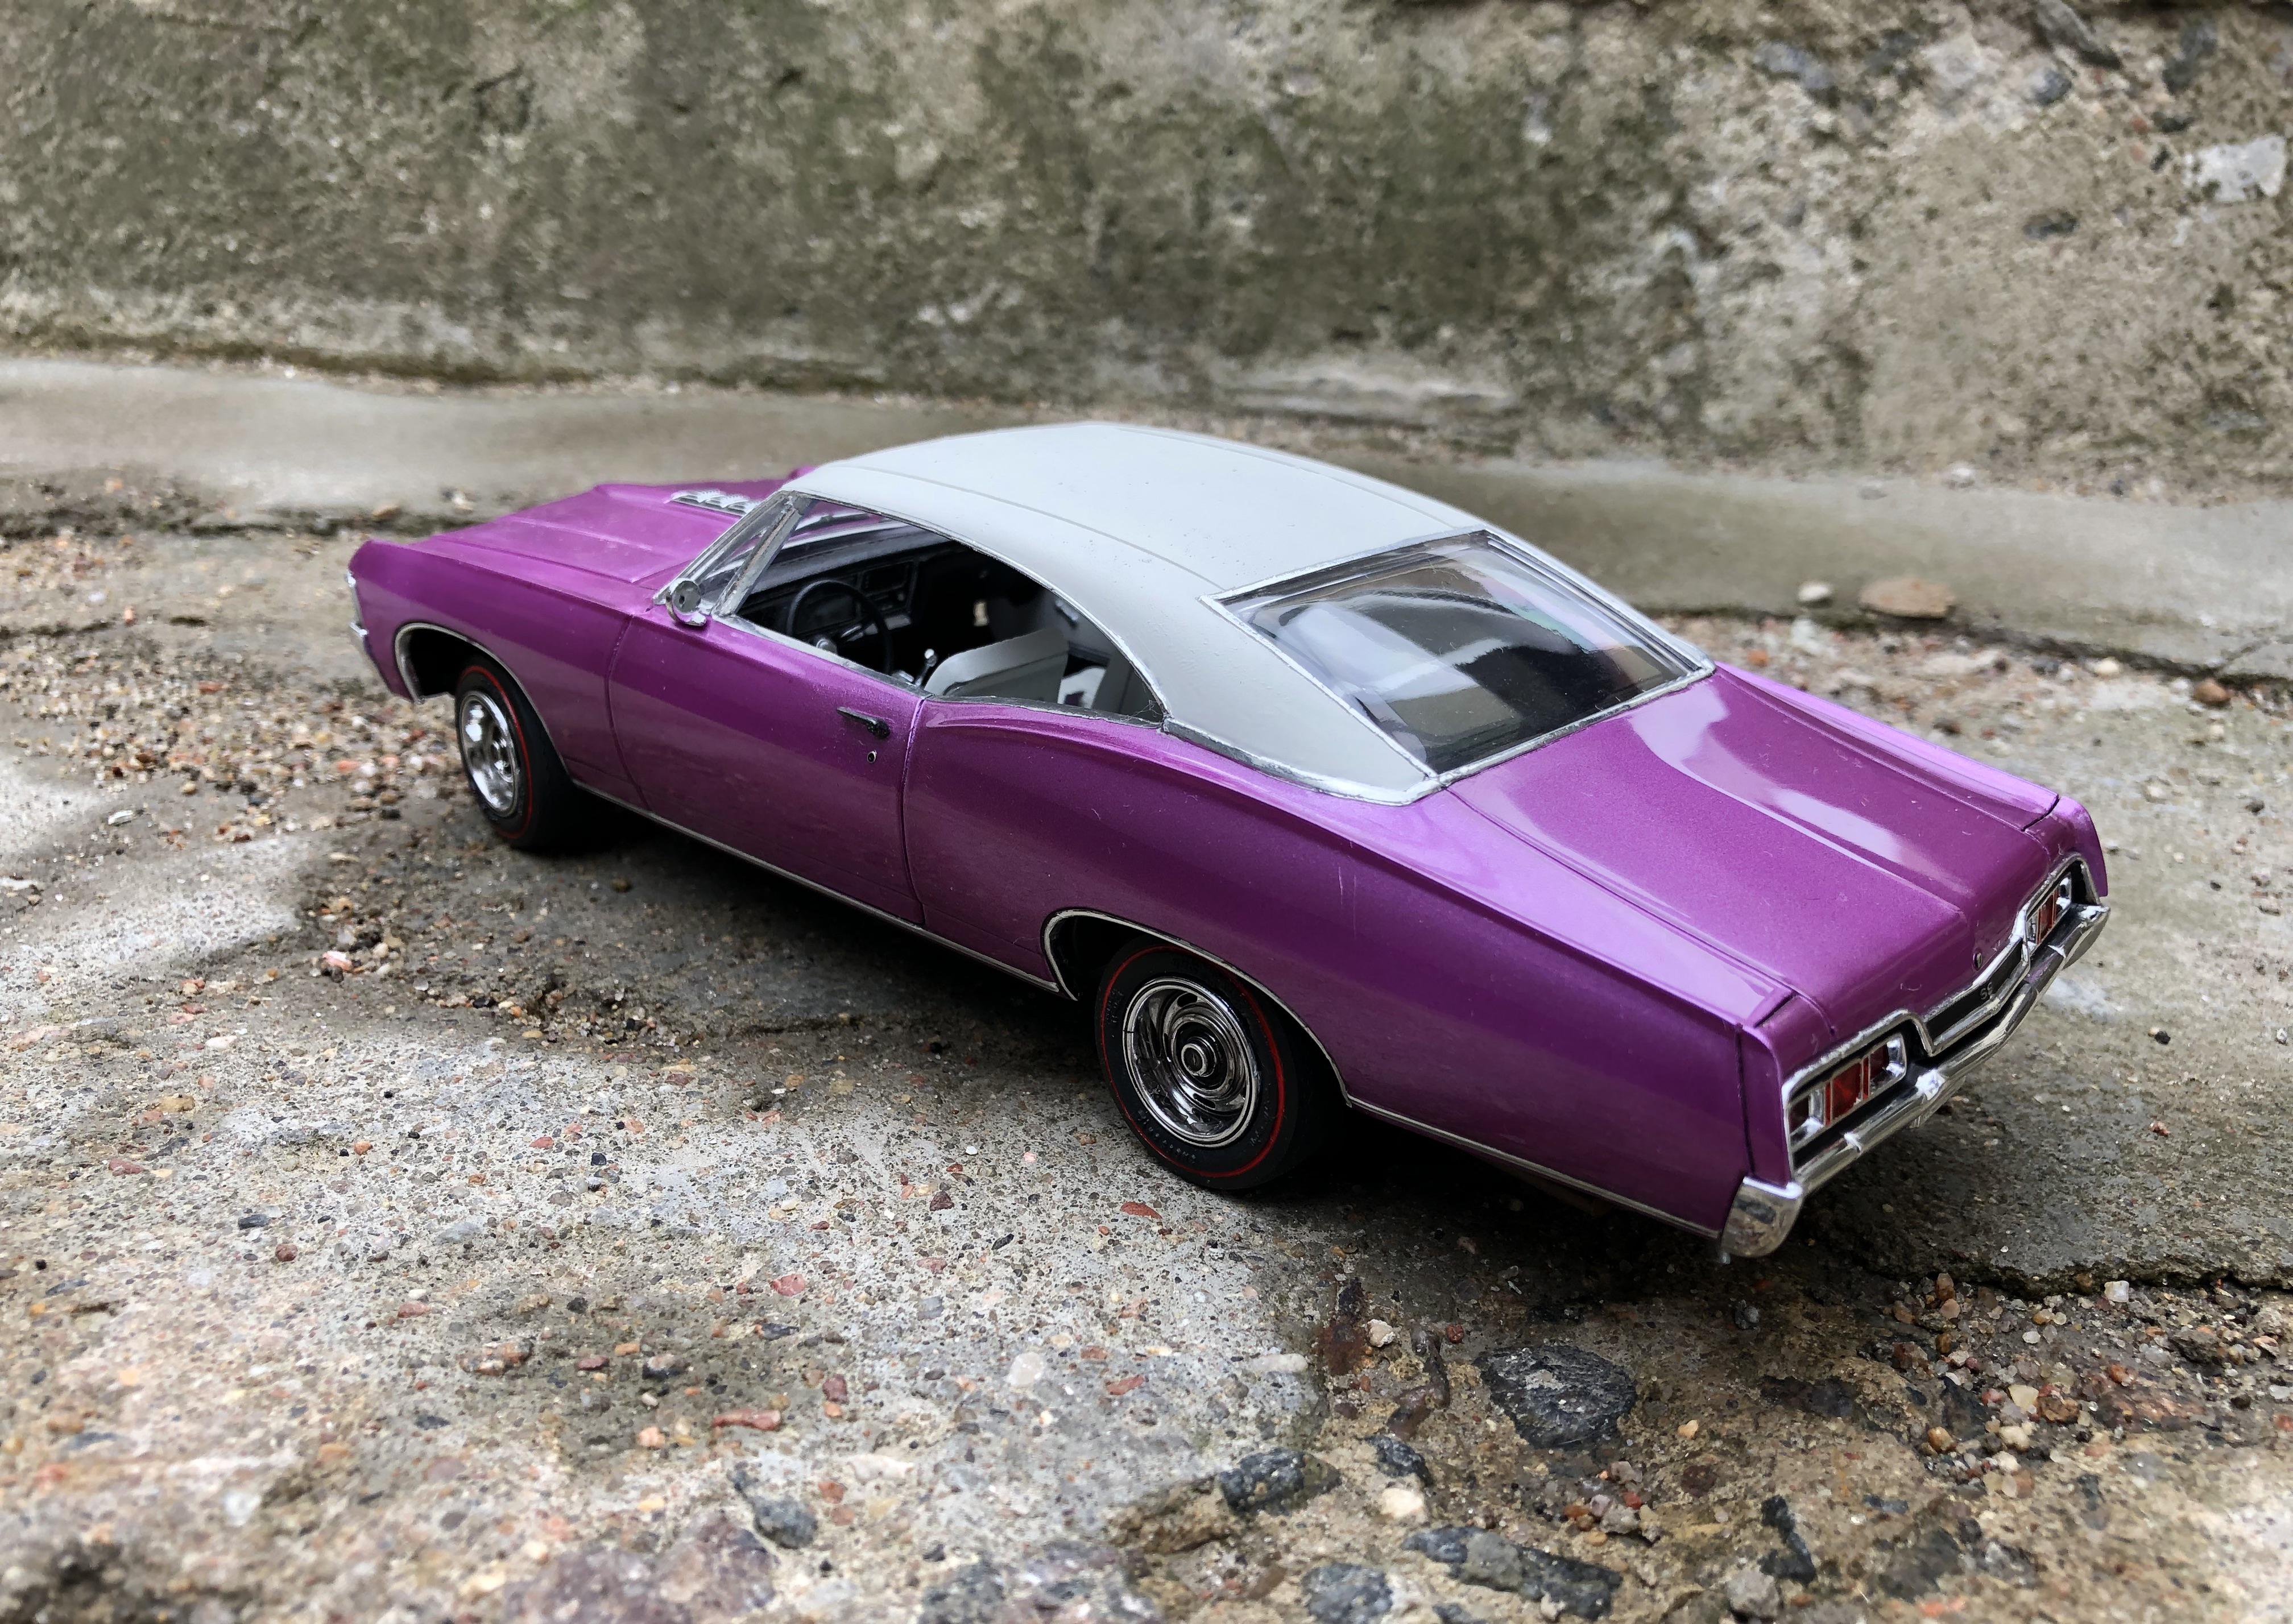
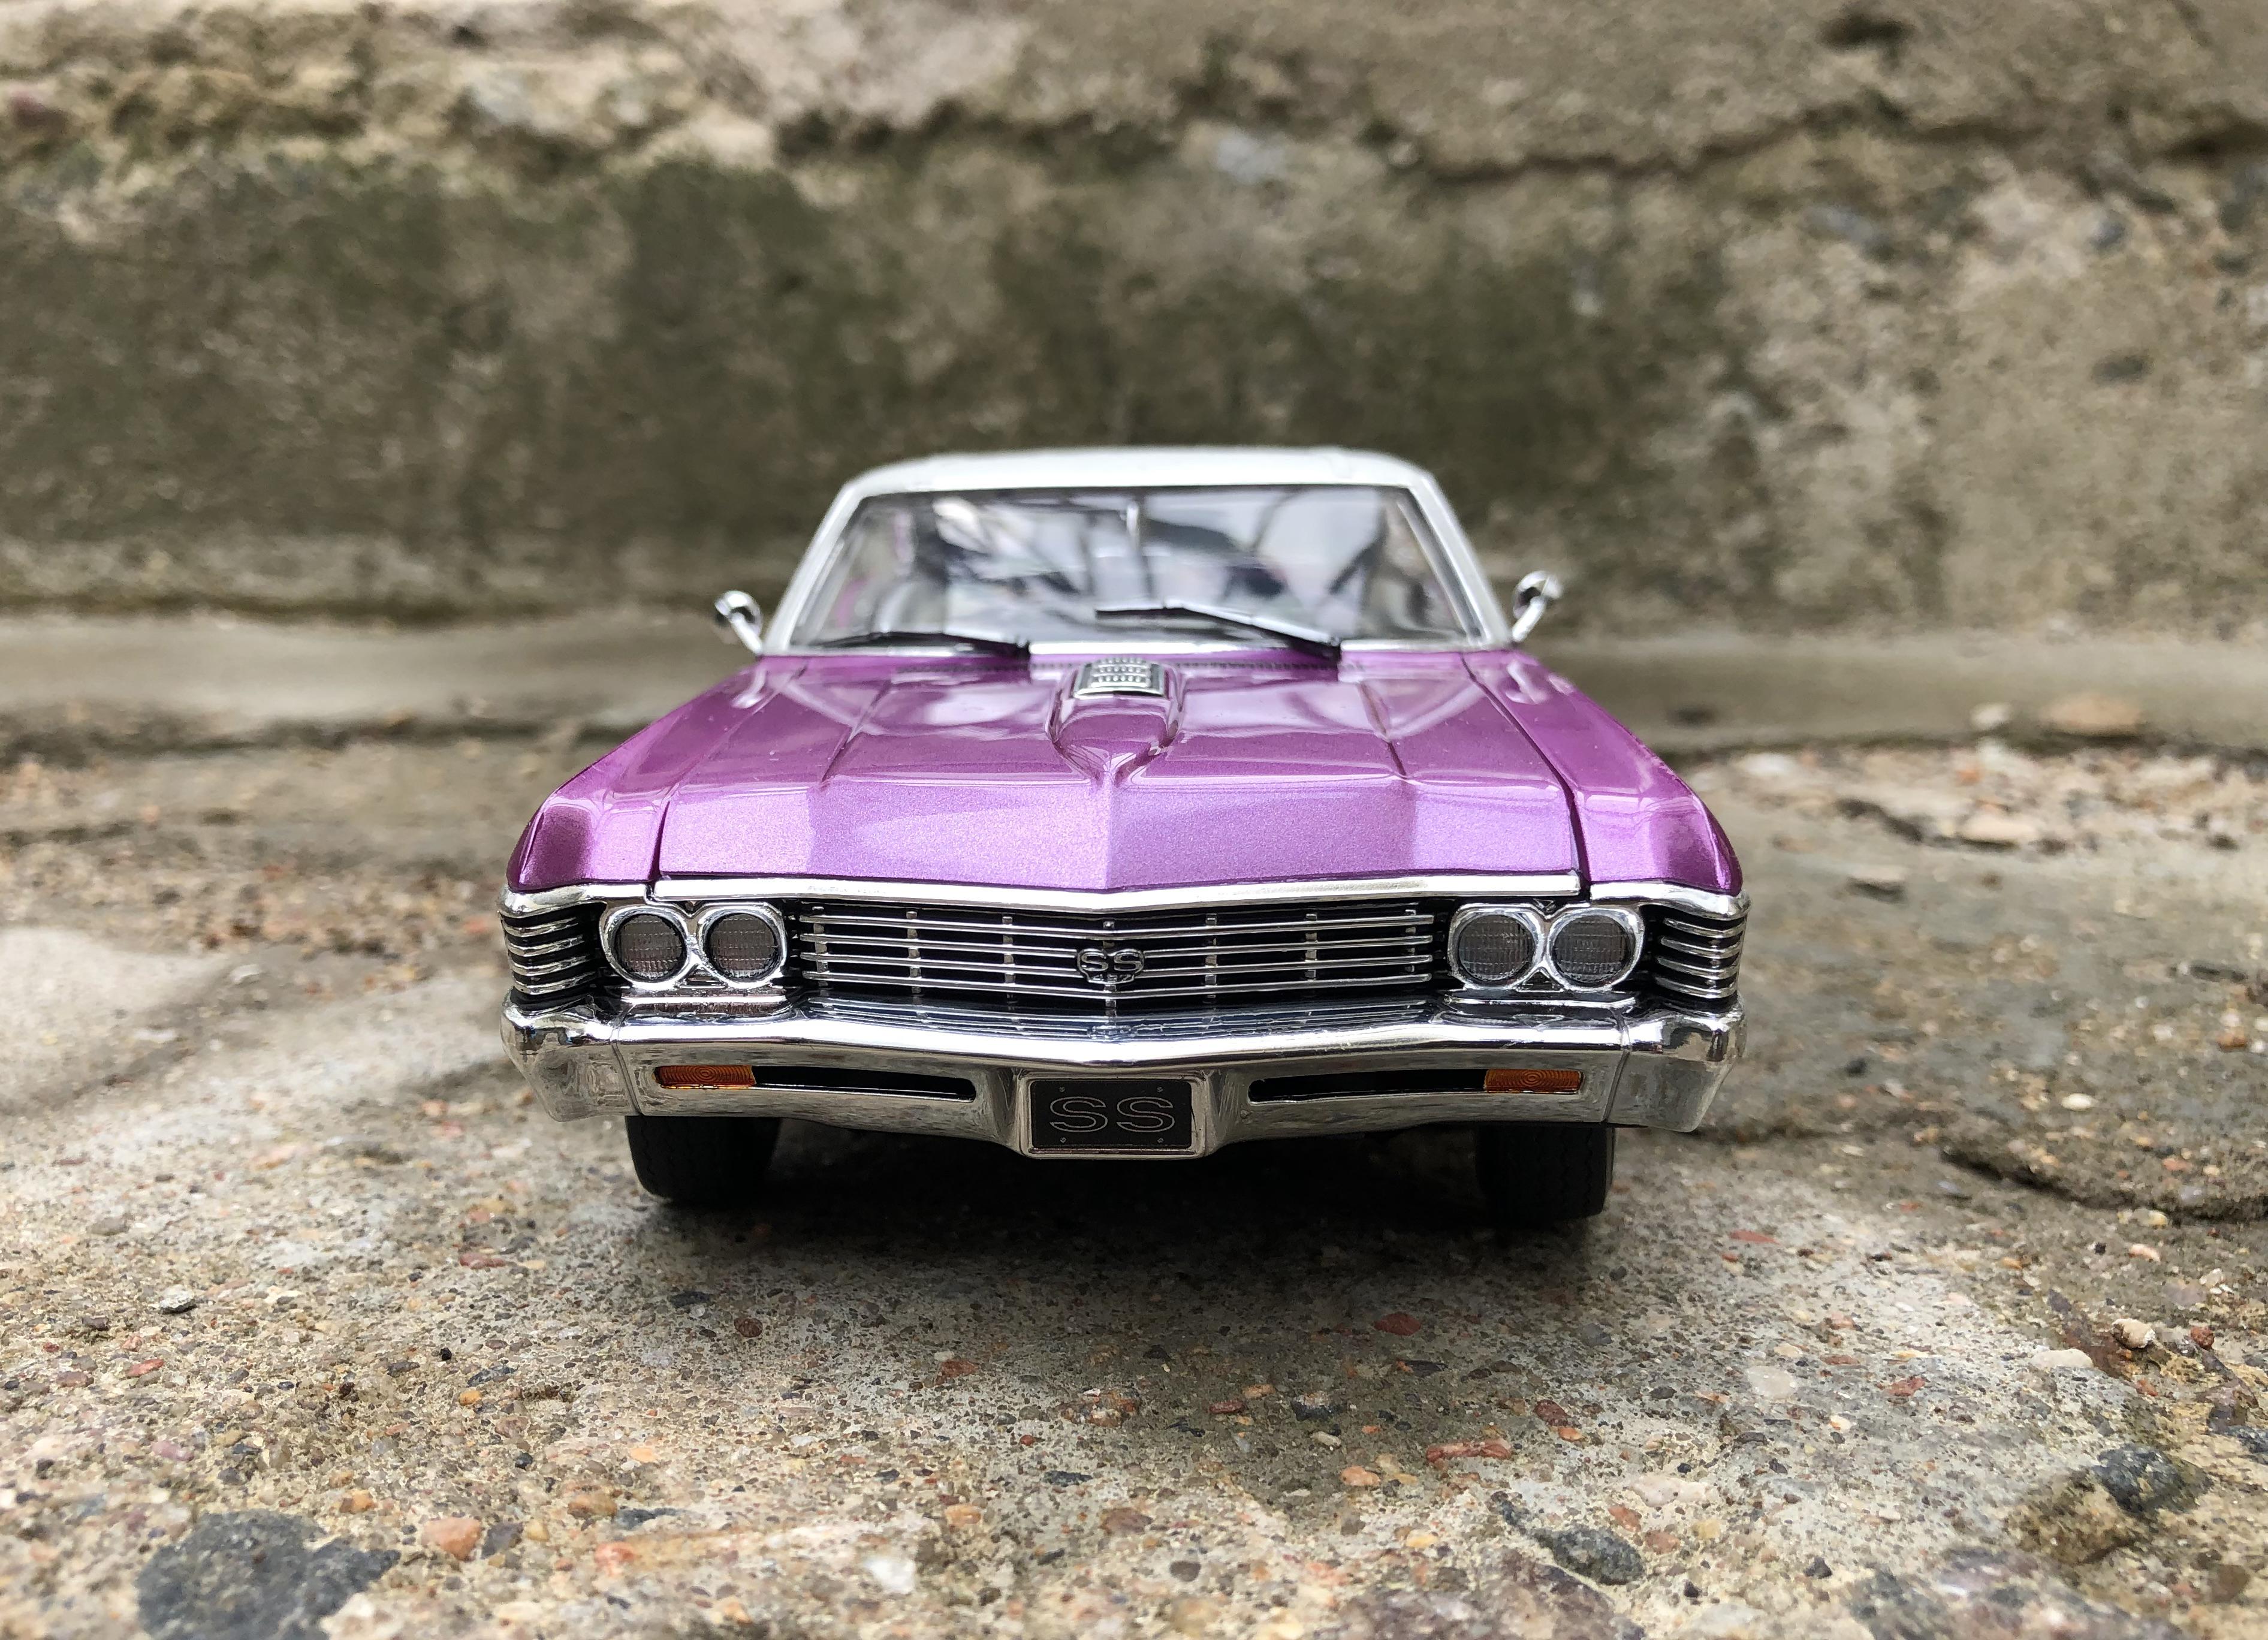
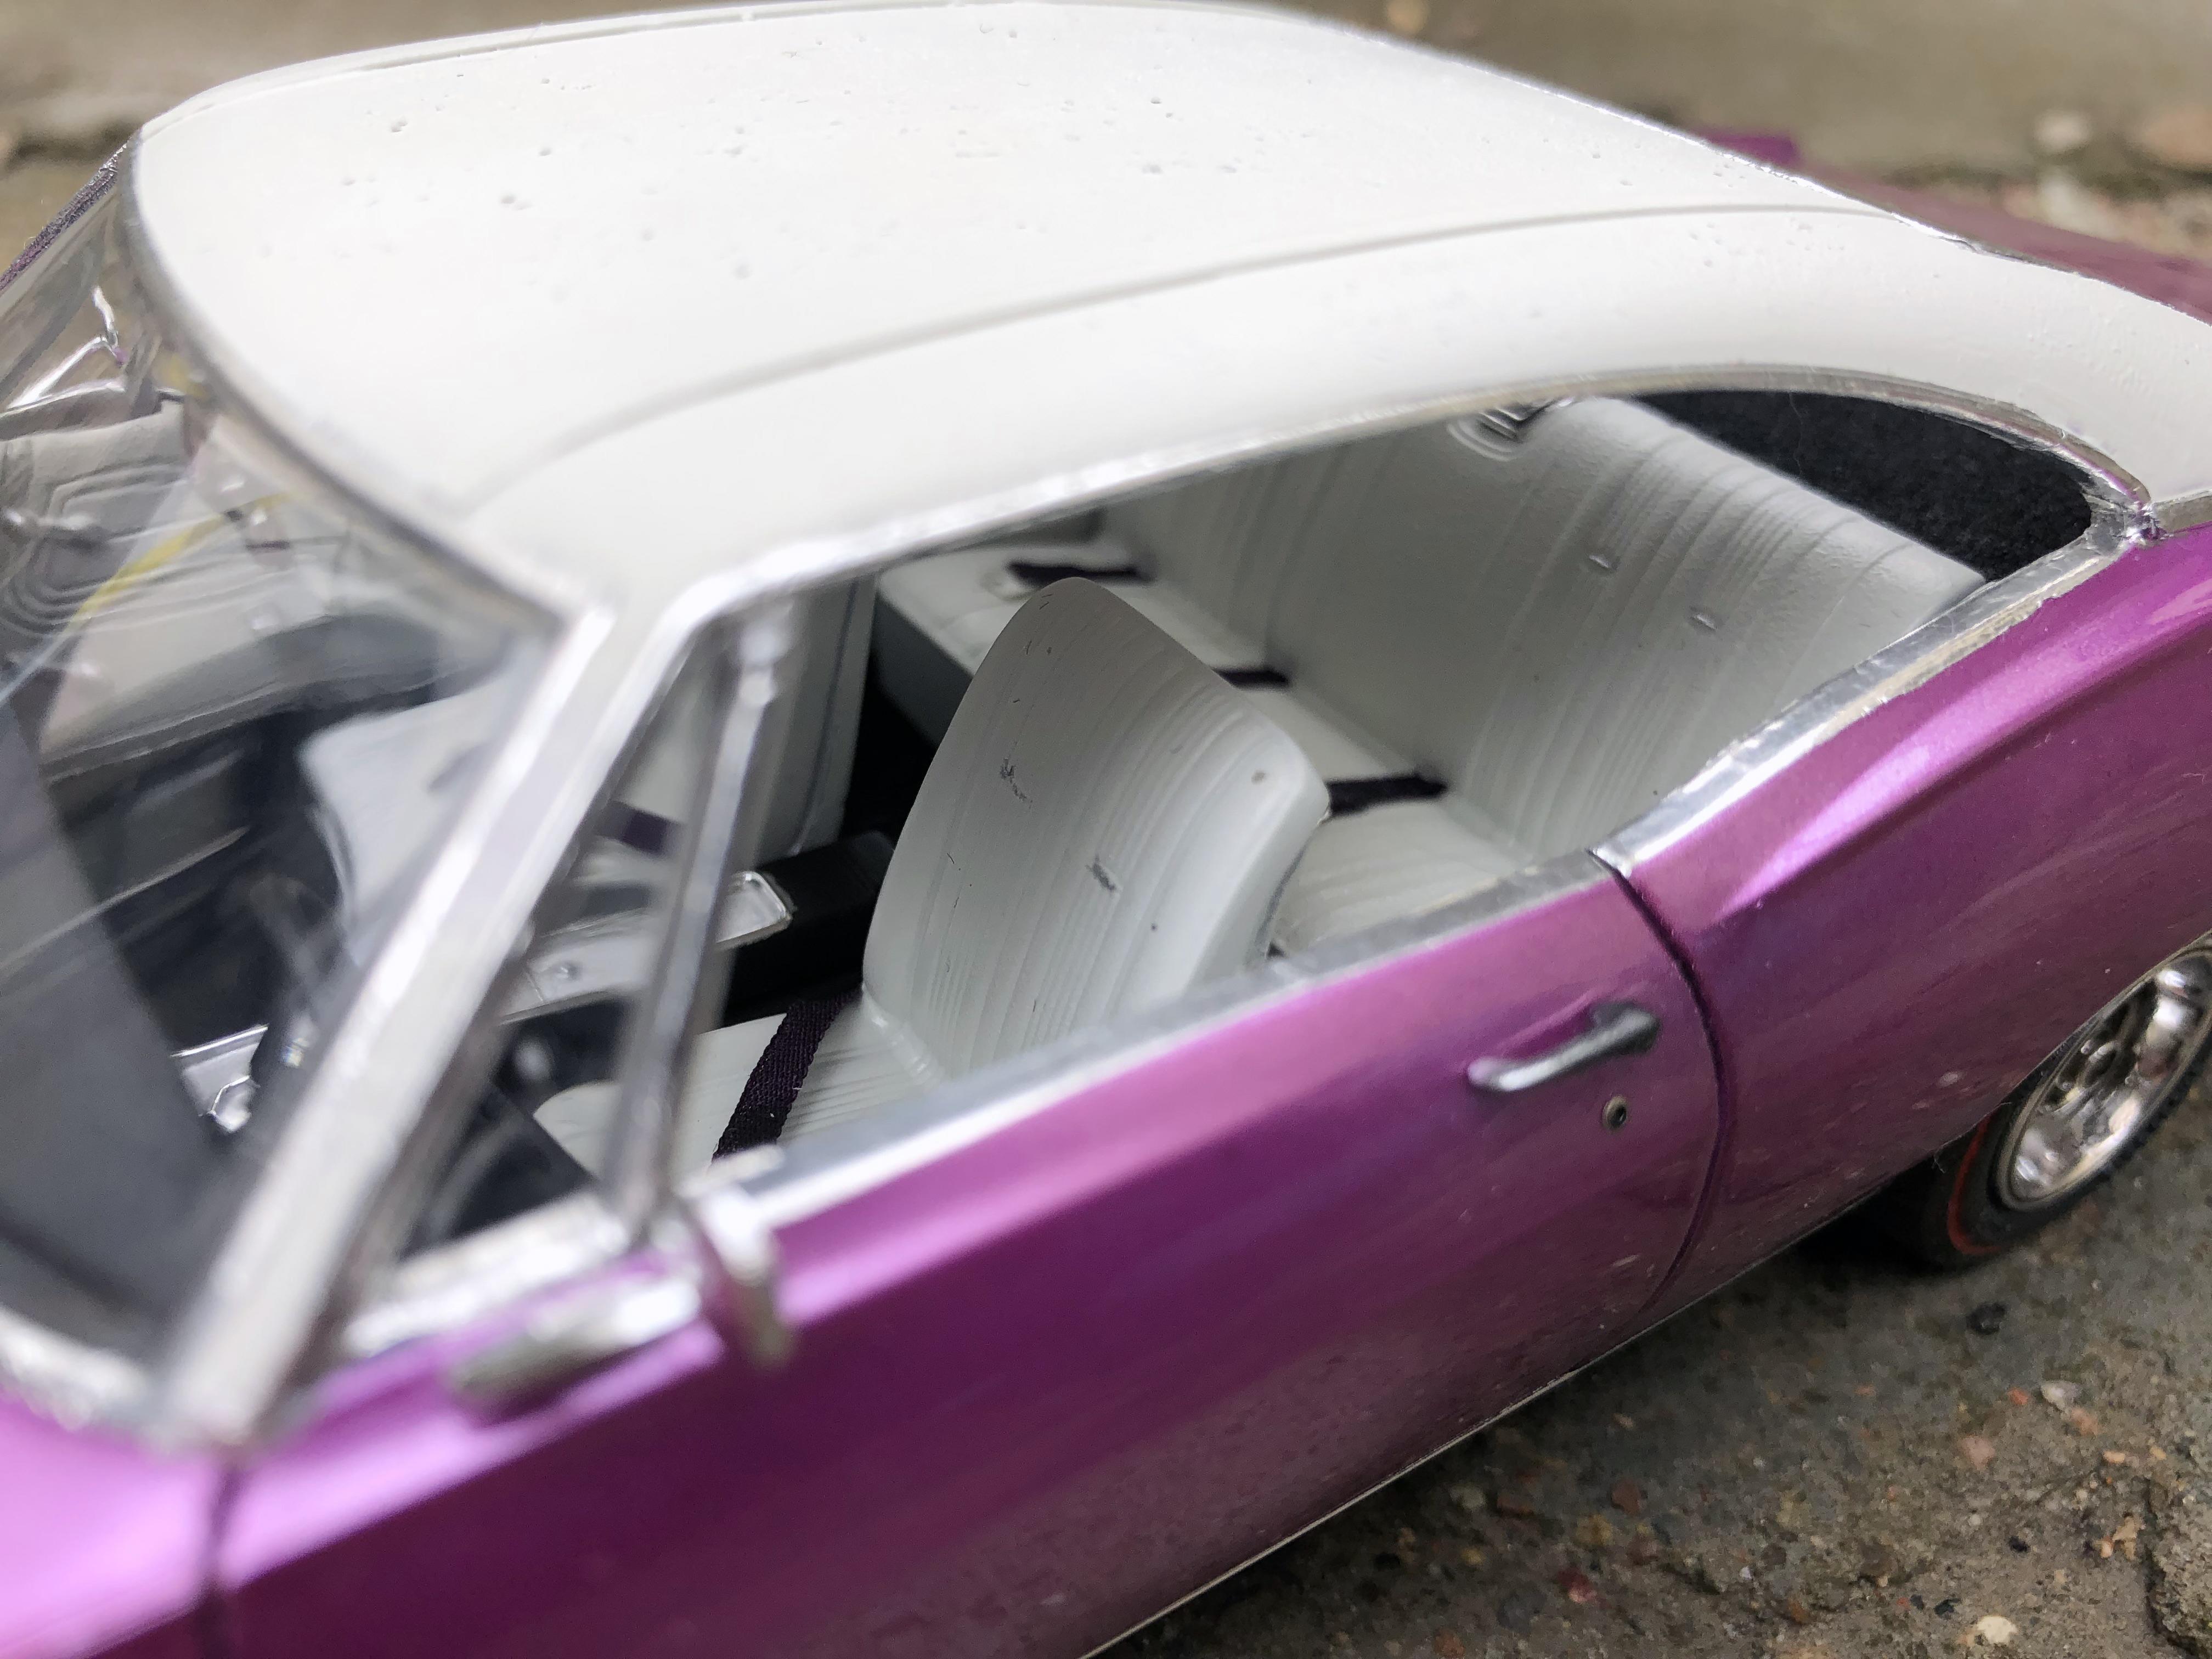
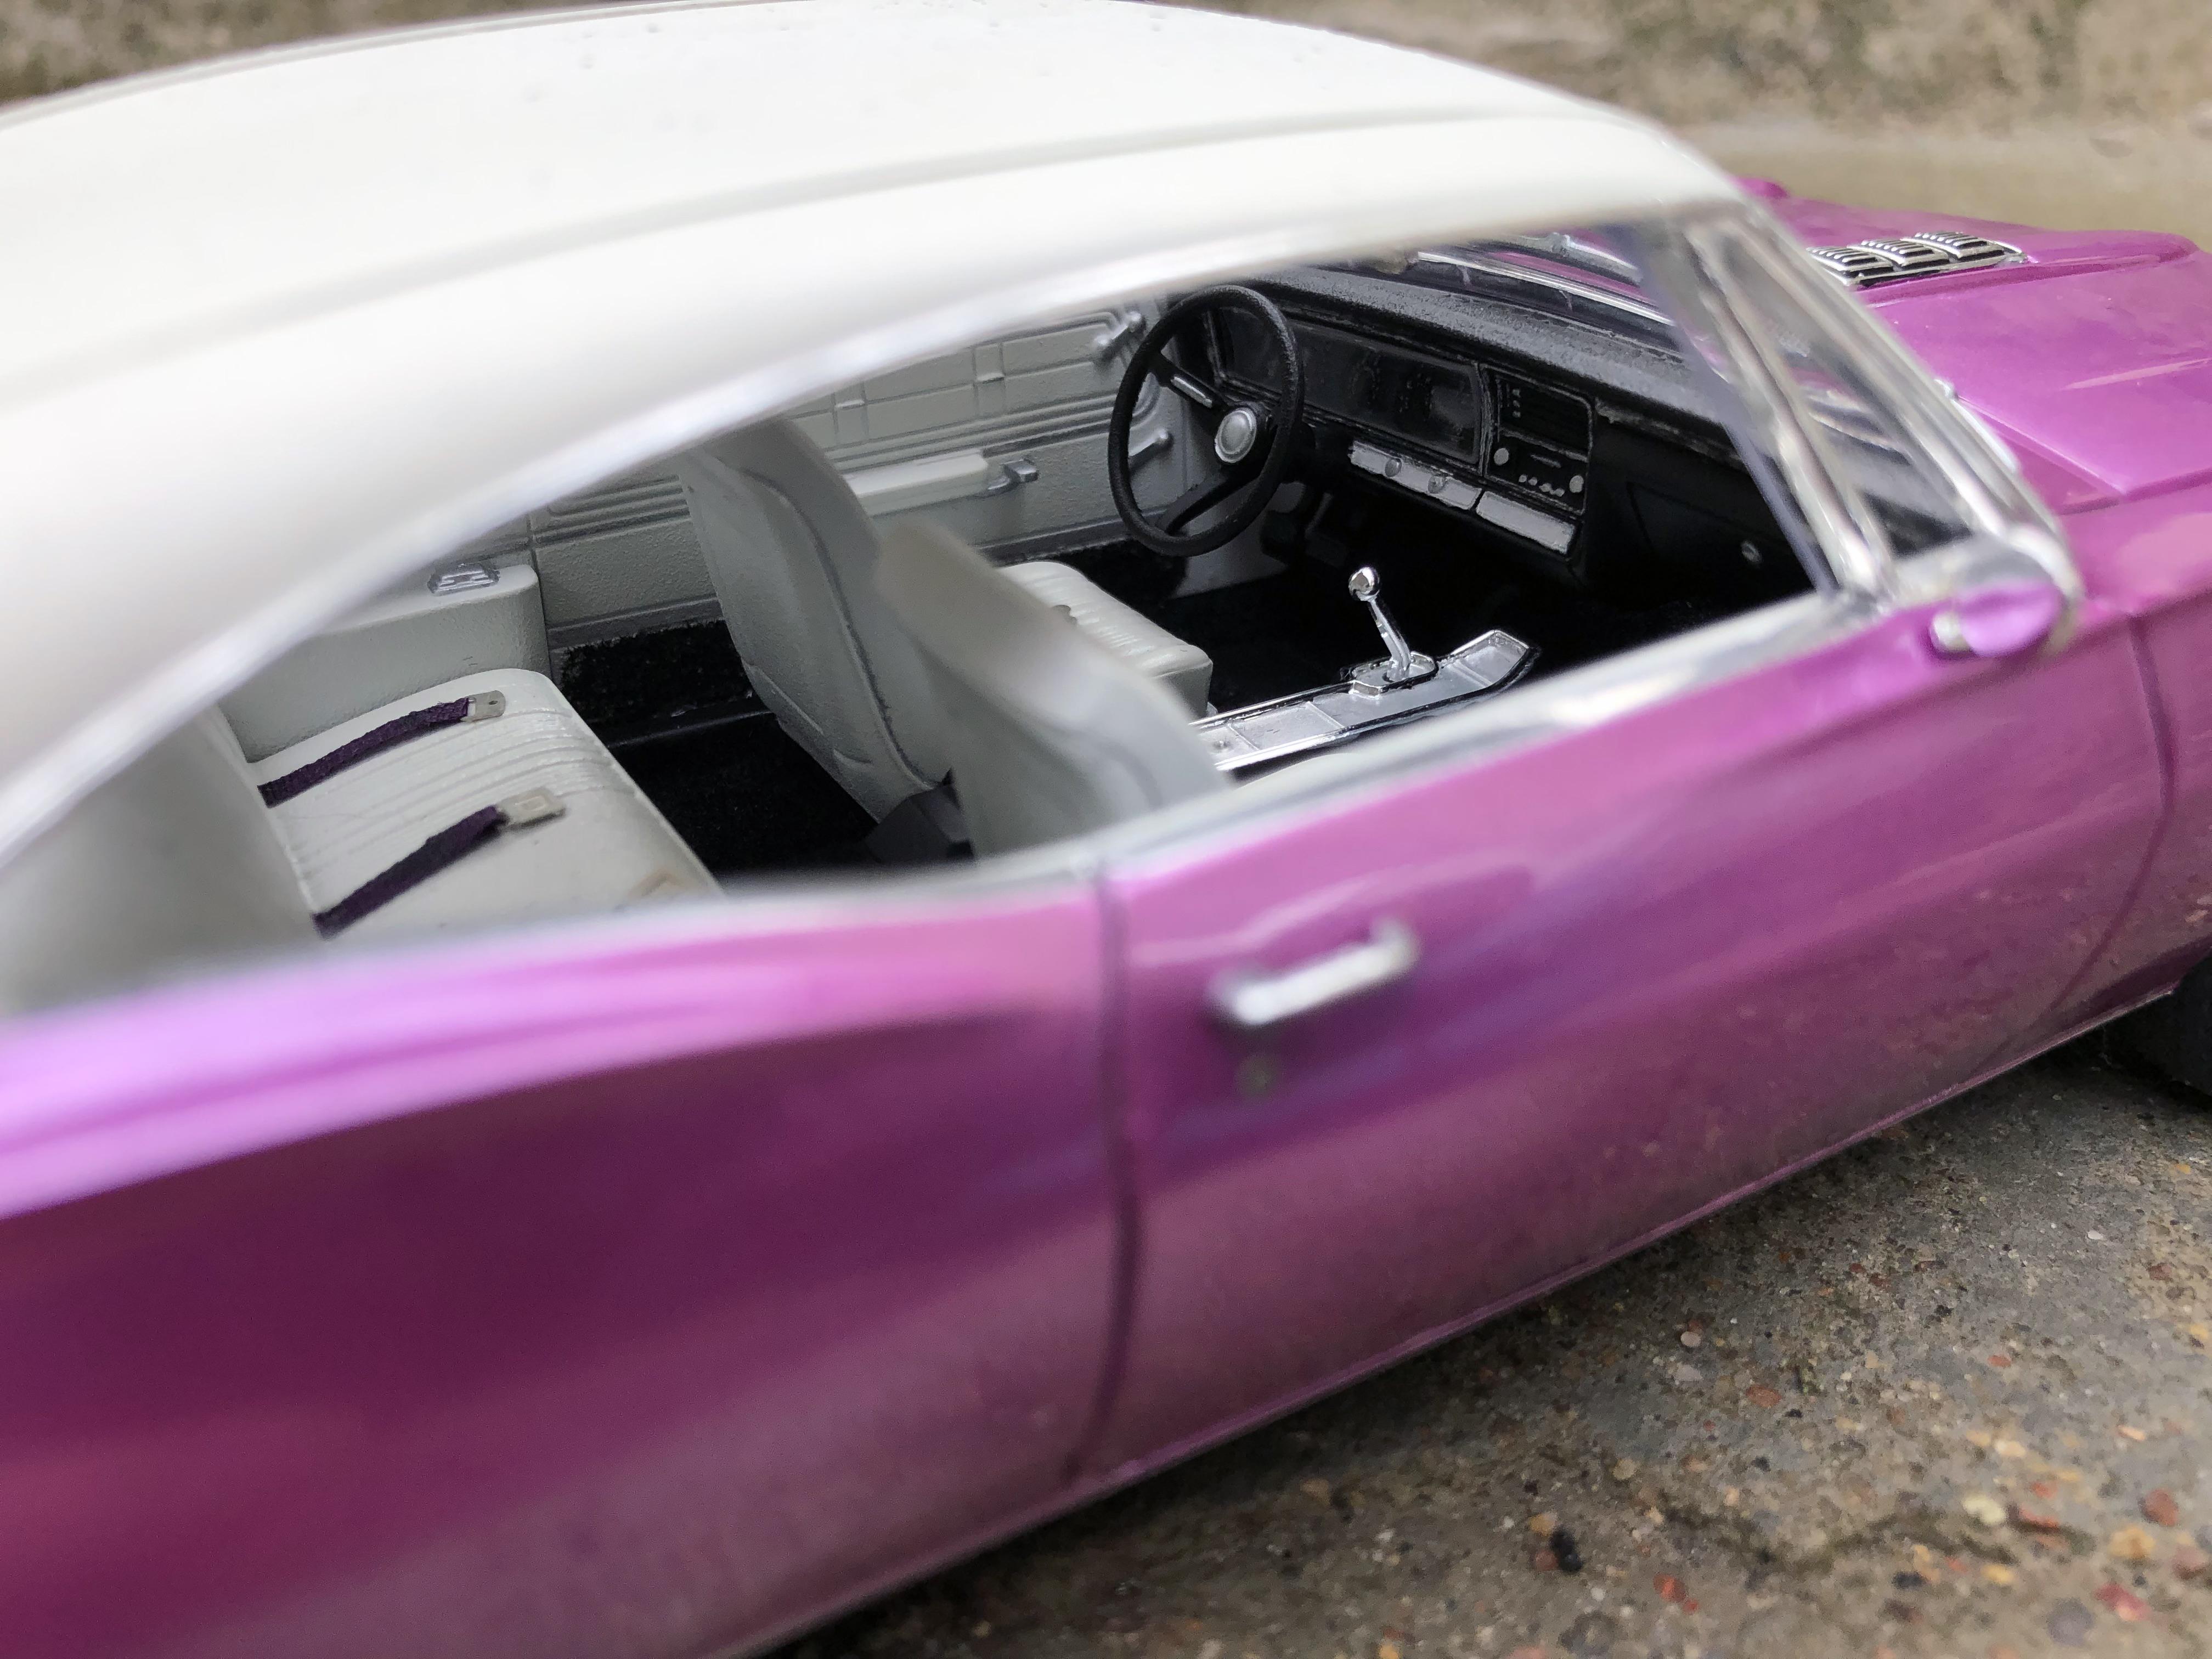
Good afternoon friends. Finished another model. The body was painted with AMMO MIG 223 Interior Turquoise Green, the interior interfered with Mr.Color GX: Morrie Green (GX-6) + Mr.Color C005 Blue Gloss. Chrome, except for bumpers - a marker from Aliexpress, bumpers - Alclad Chrome. Clearcoat - 2k zero paints. I decided not to use BMF this time, because. I absolutely don't like how it looks on large surfaces, such as the glazing frame, and also because of the poor shedding of moldings on the body itself. Thank you for your attention.?
-
Almost done.?
-
This is a 2mm silk ribbon from a craft store + photo-etched belt buckles from Model Car Garage.
-
-
Interior done.
-
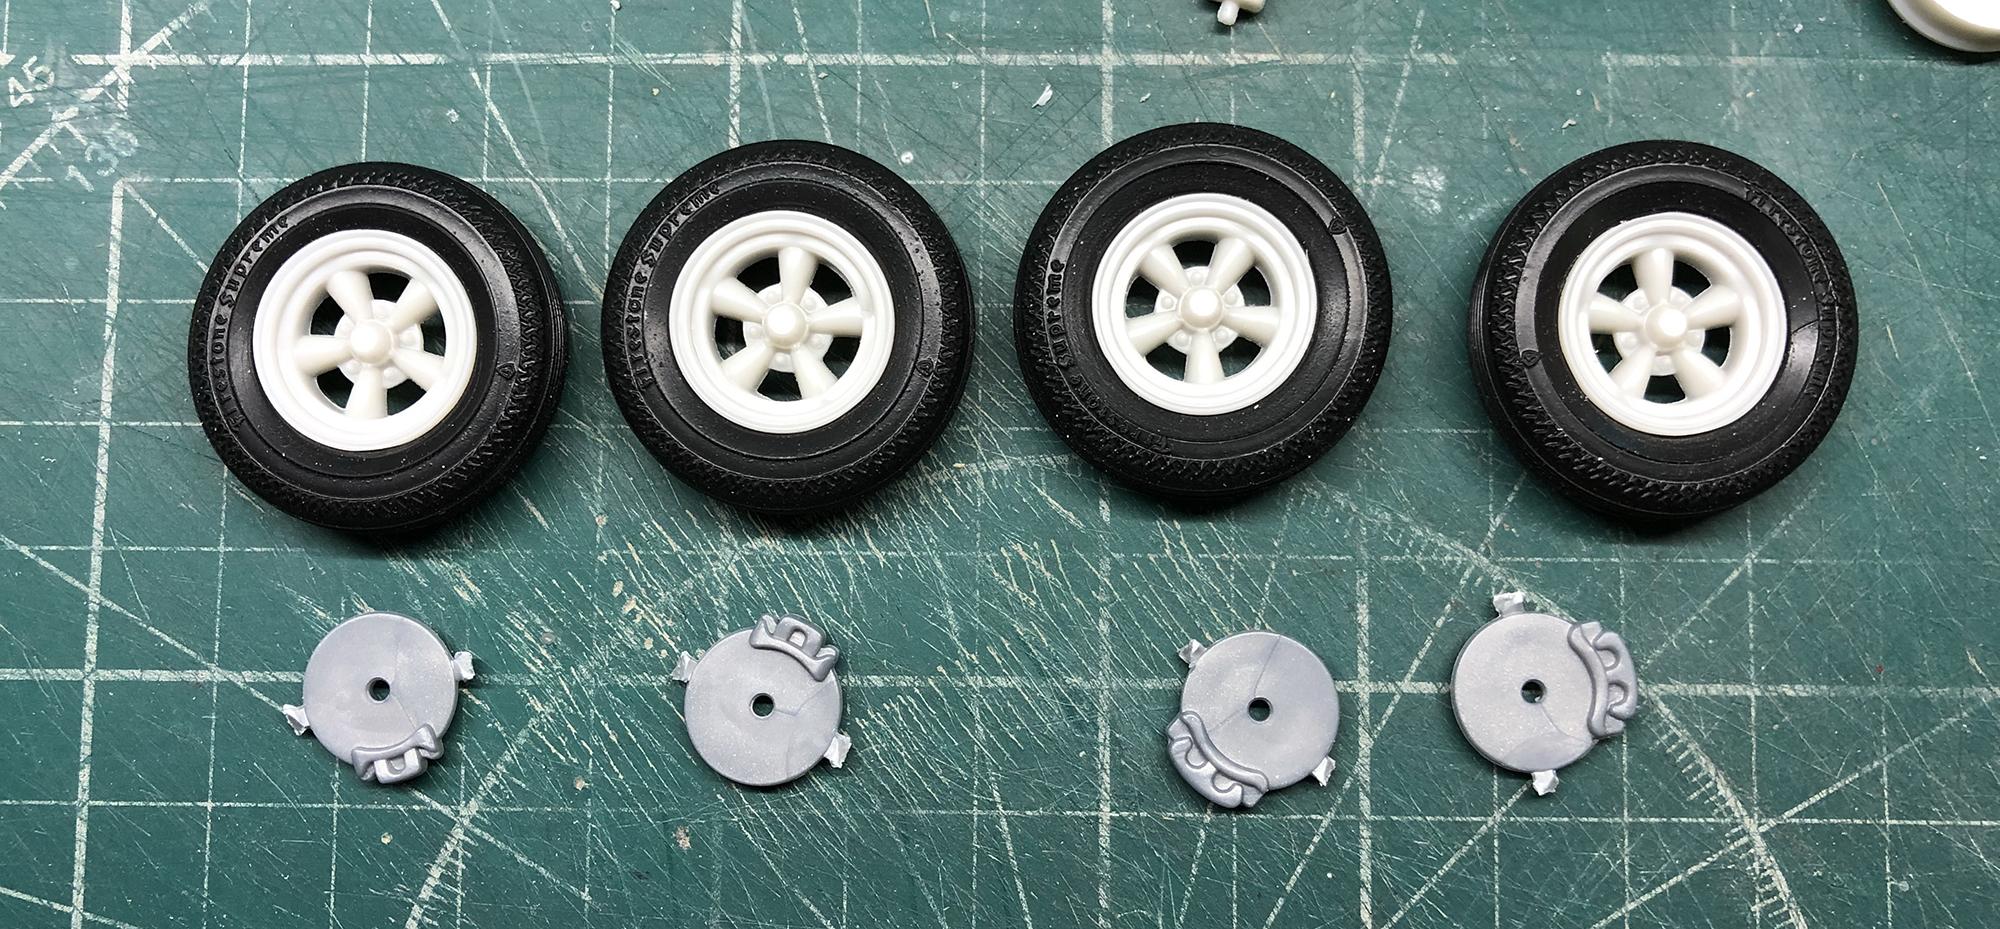
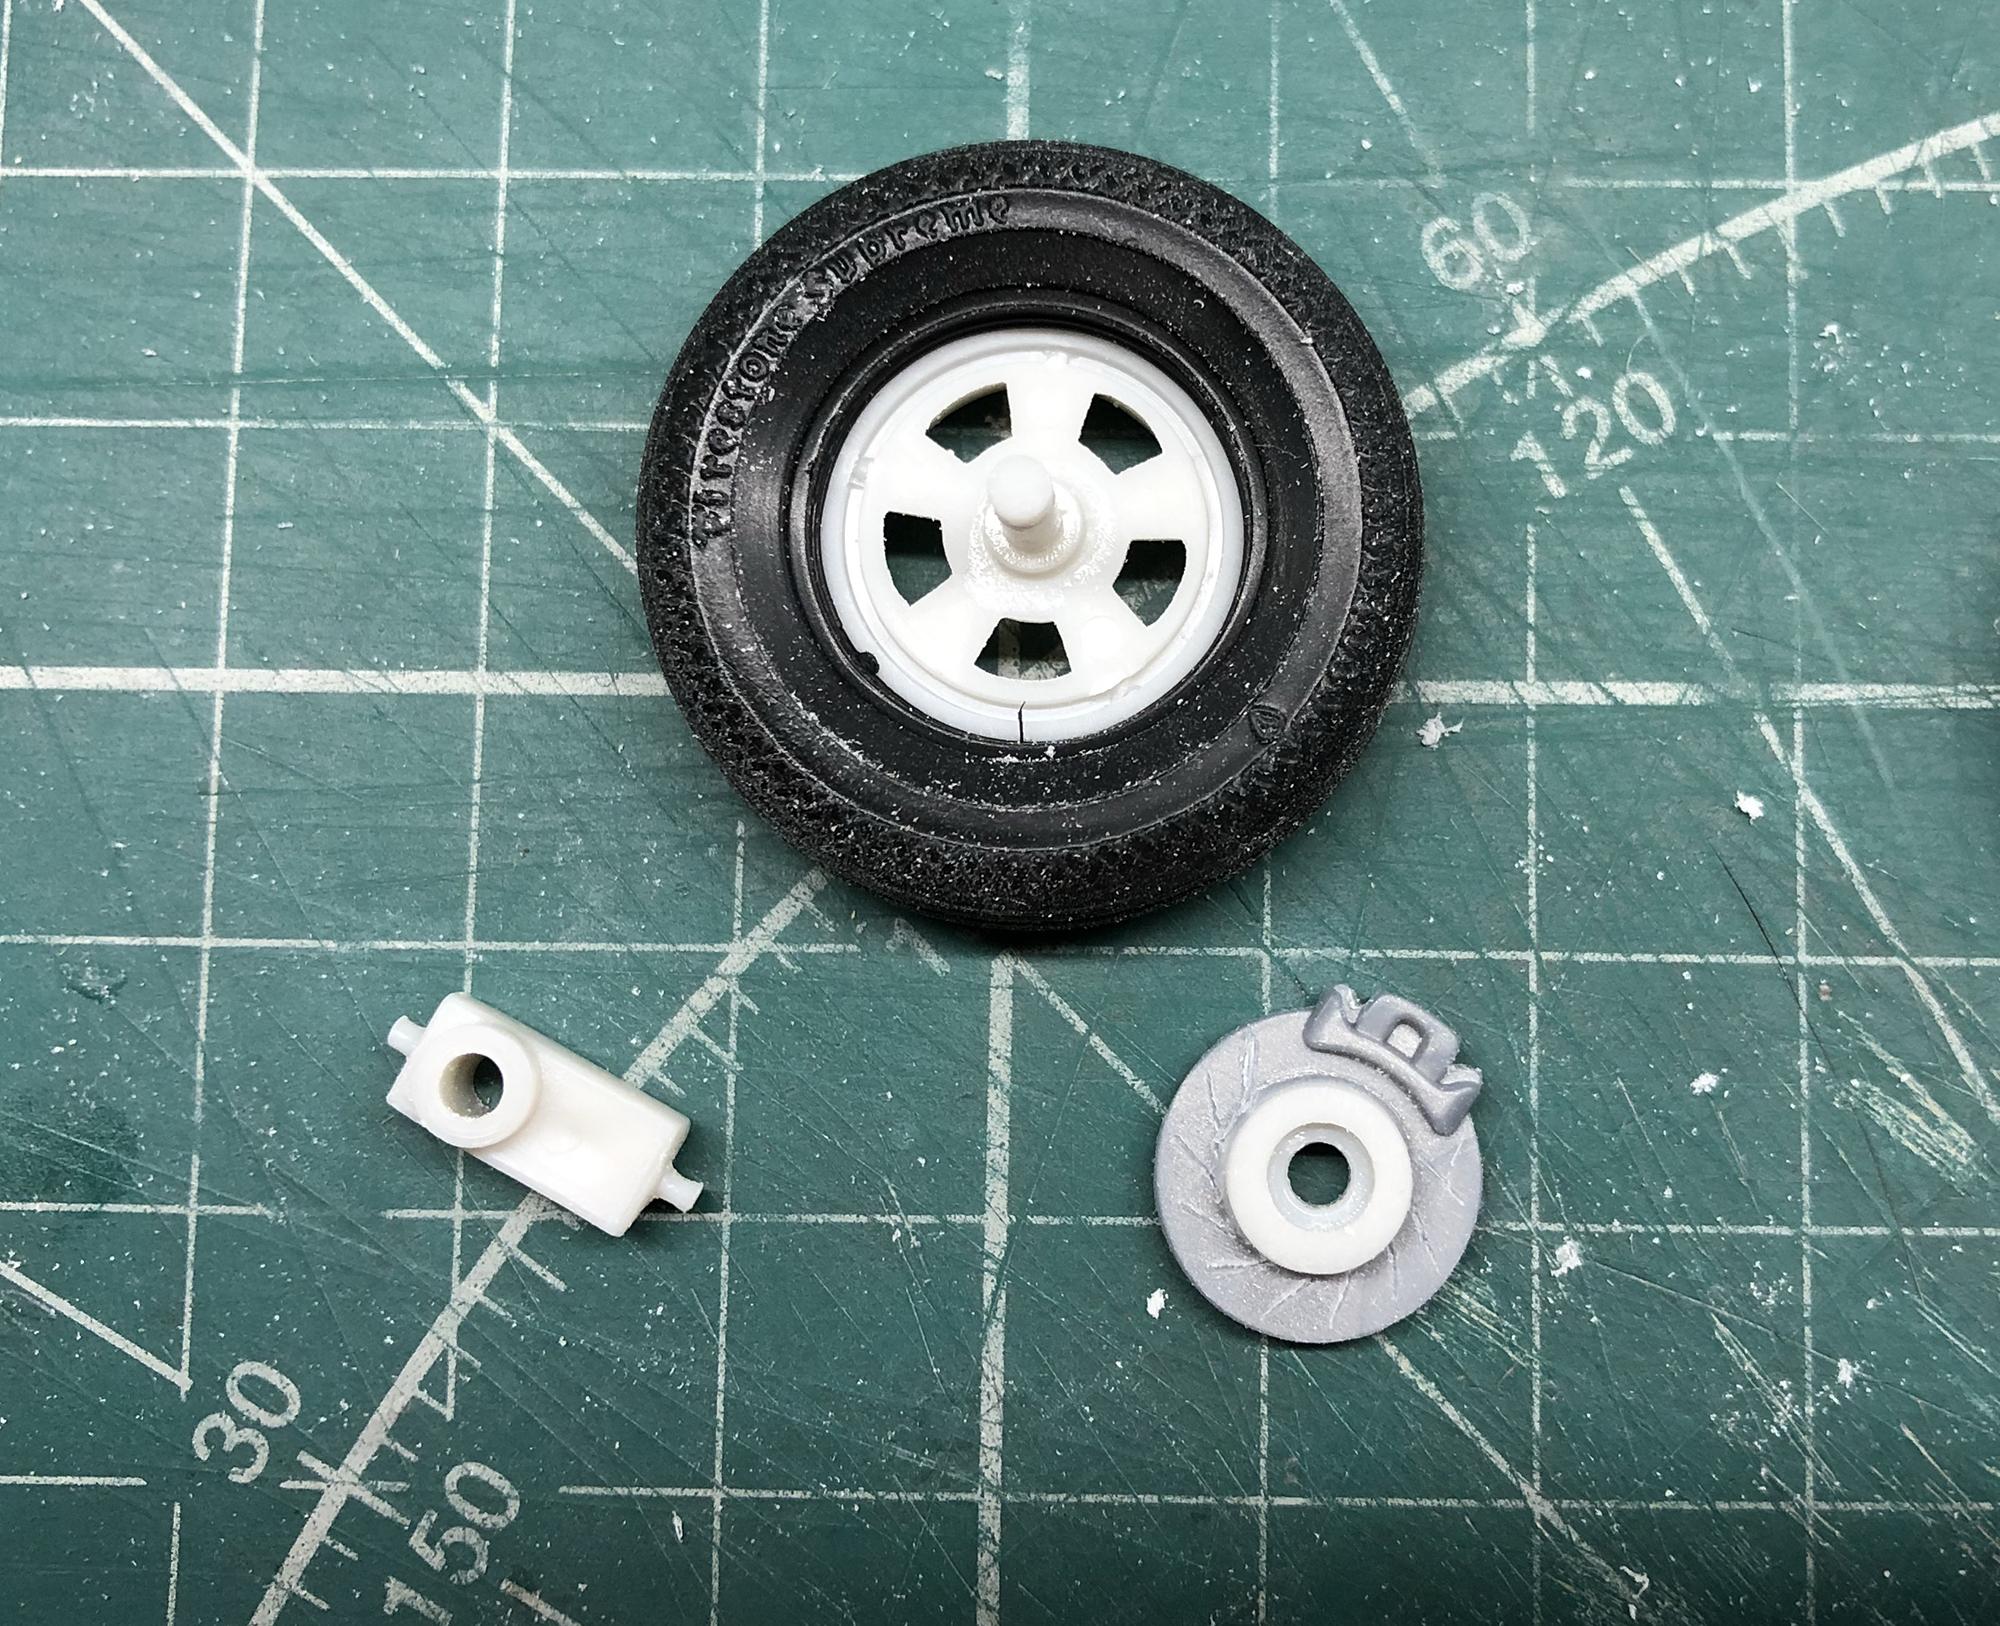
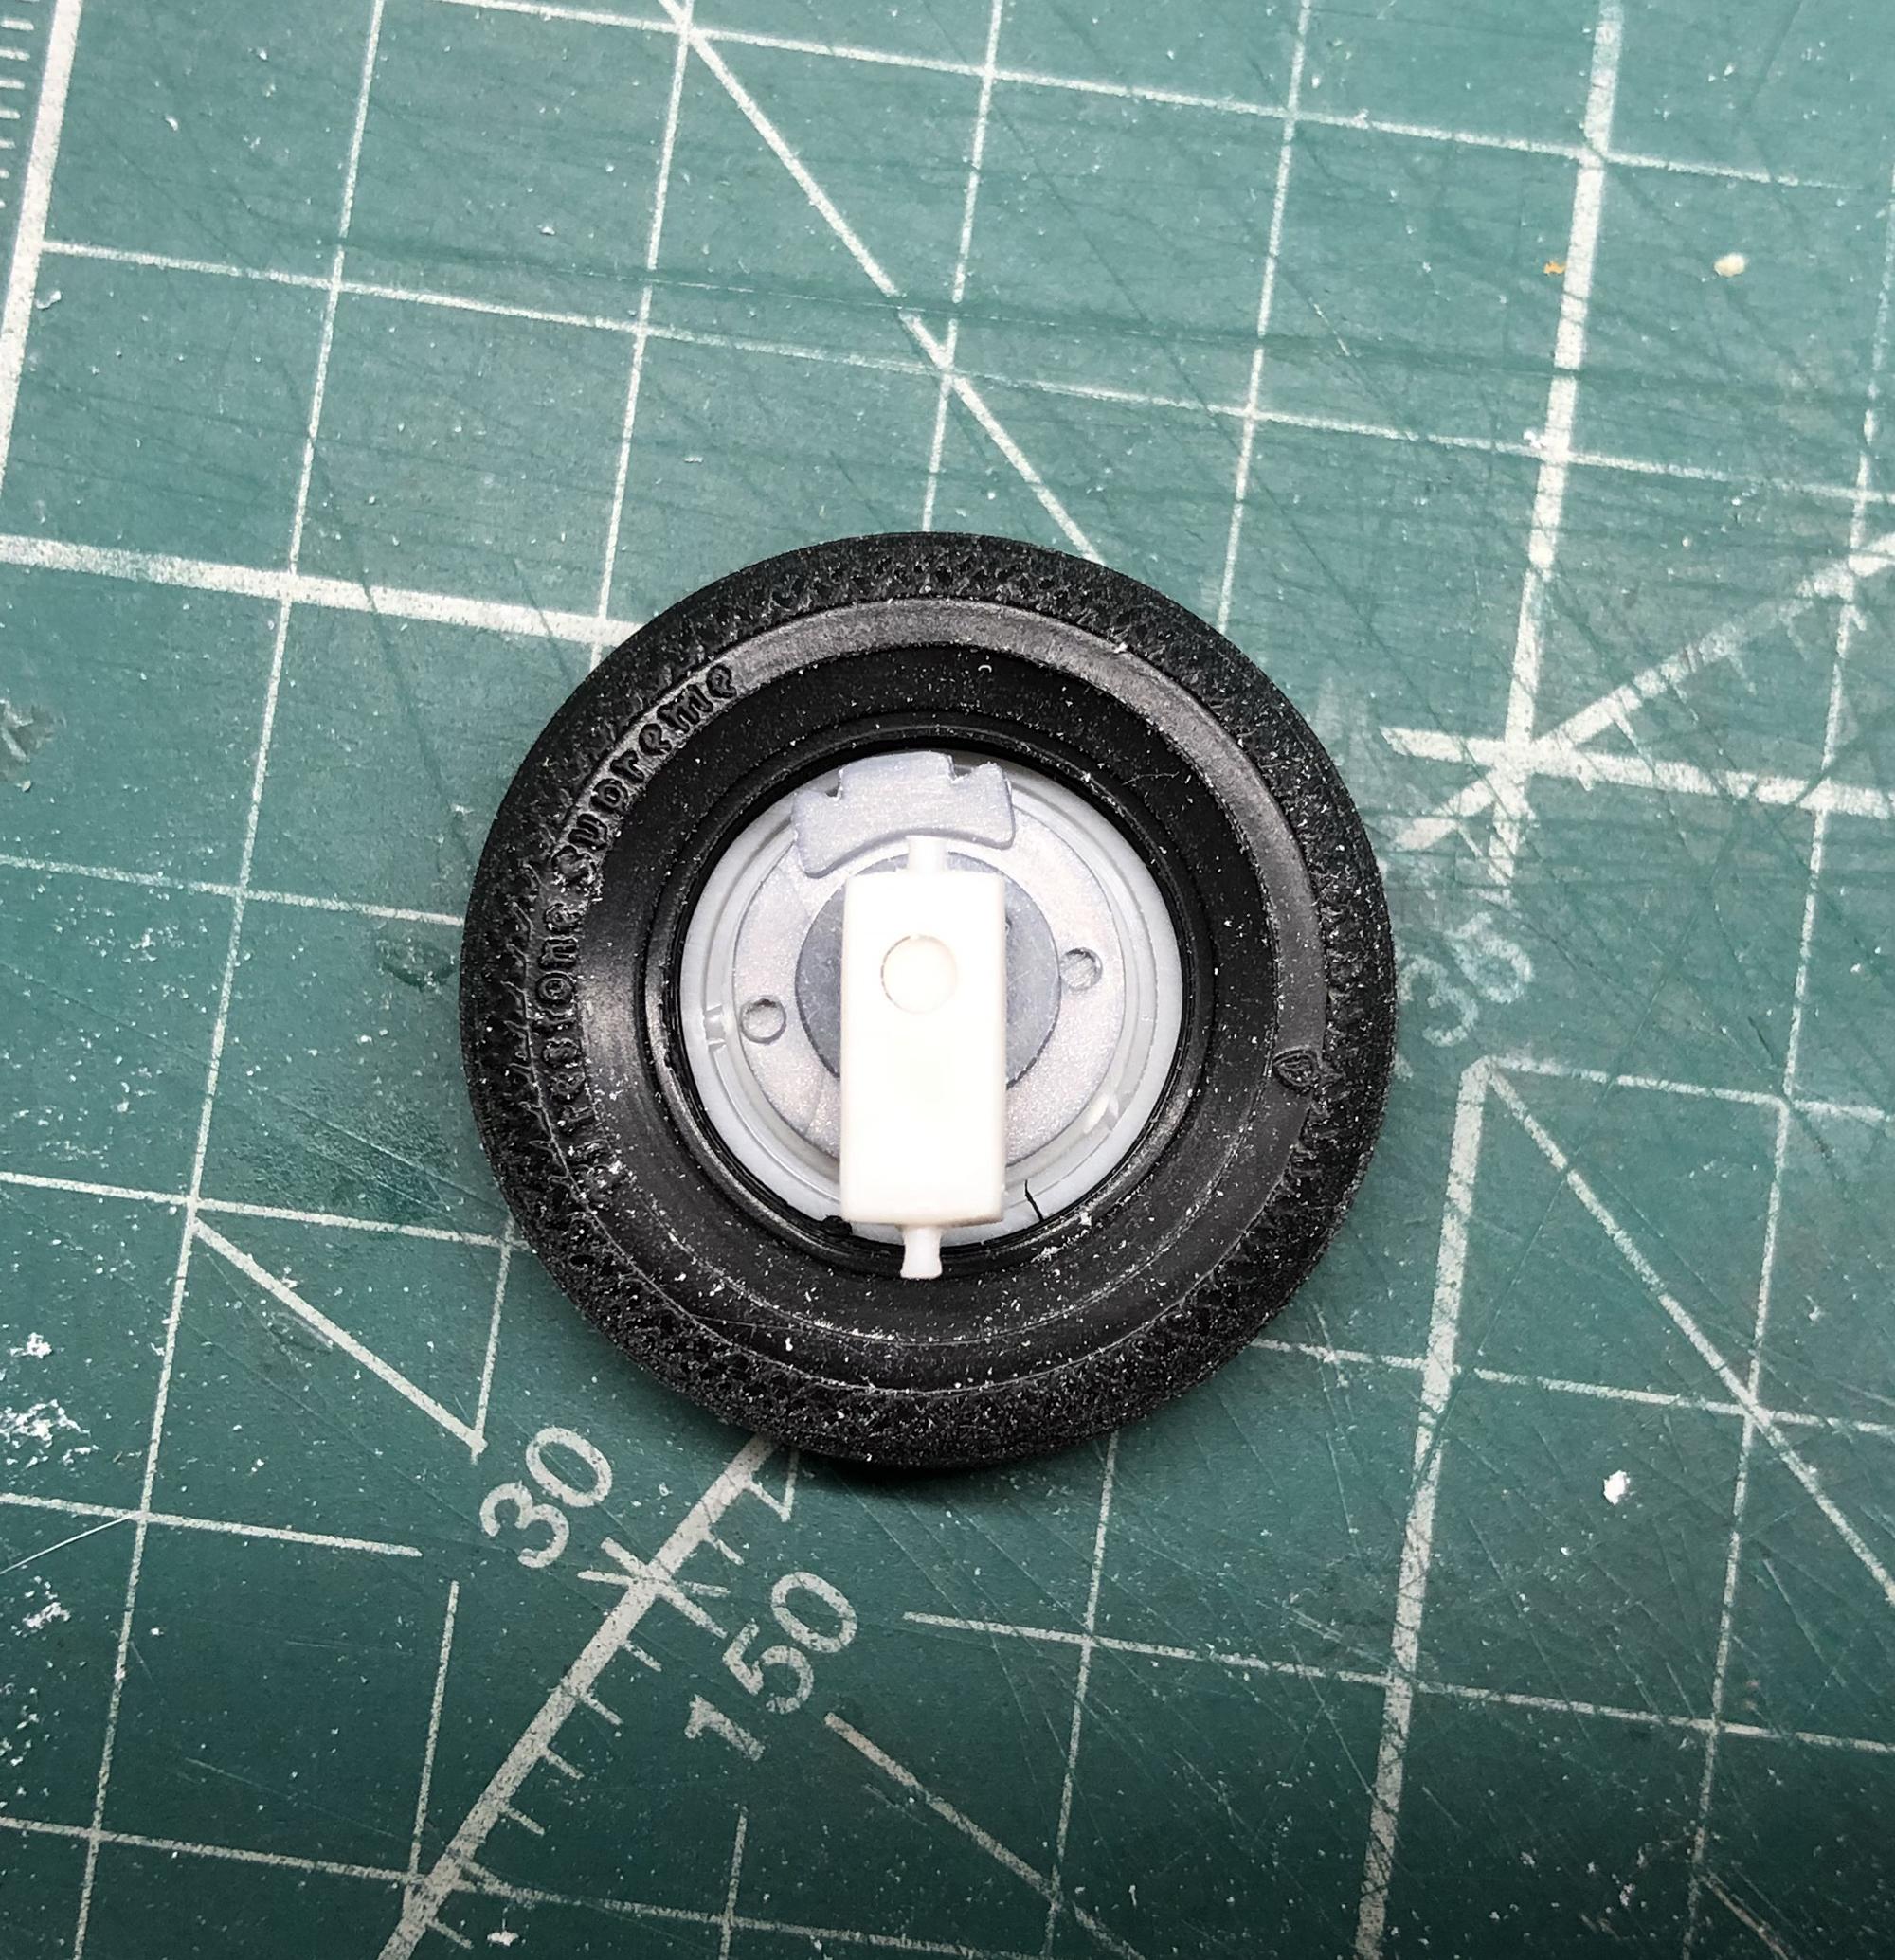
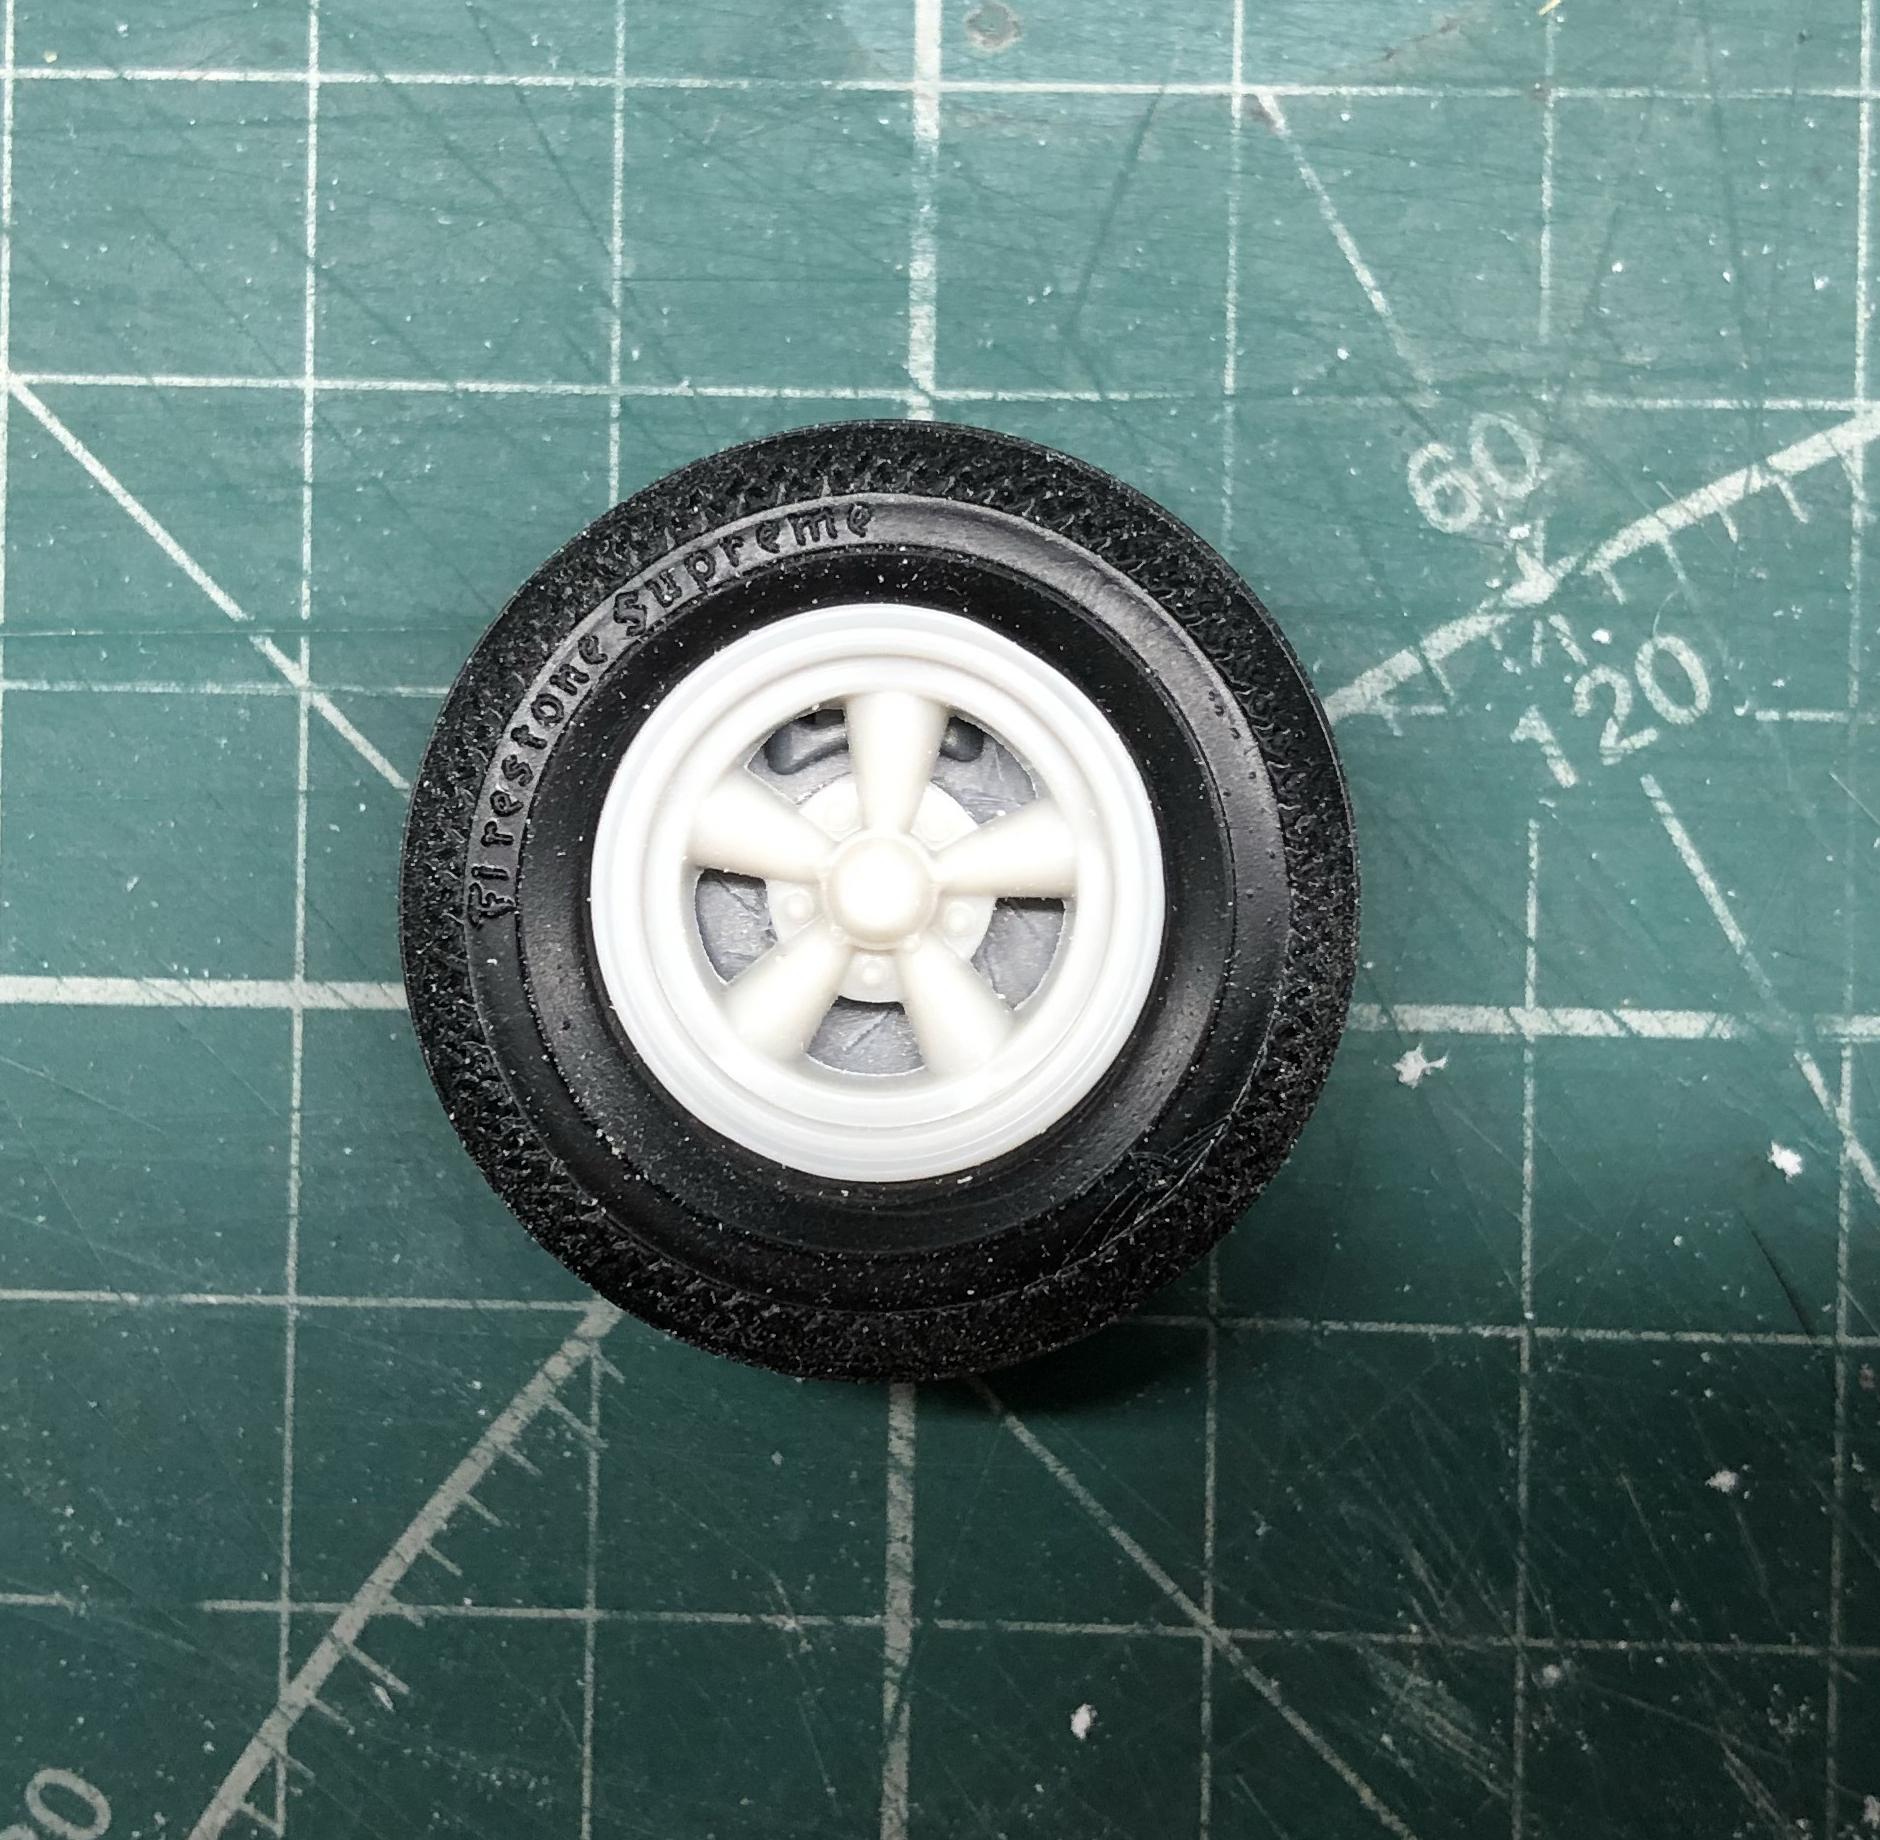
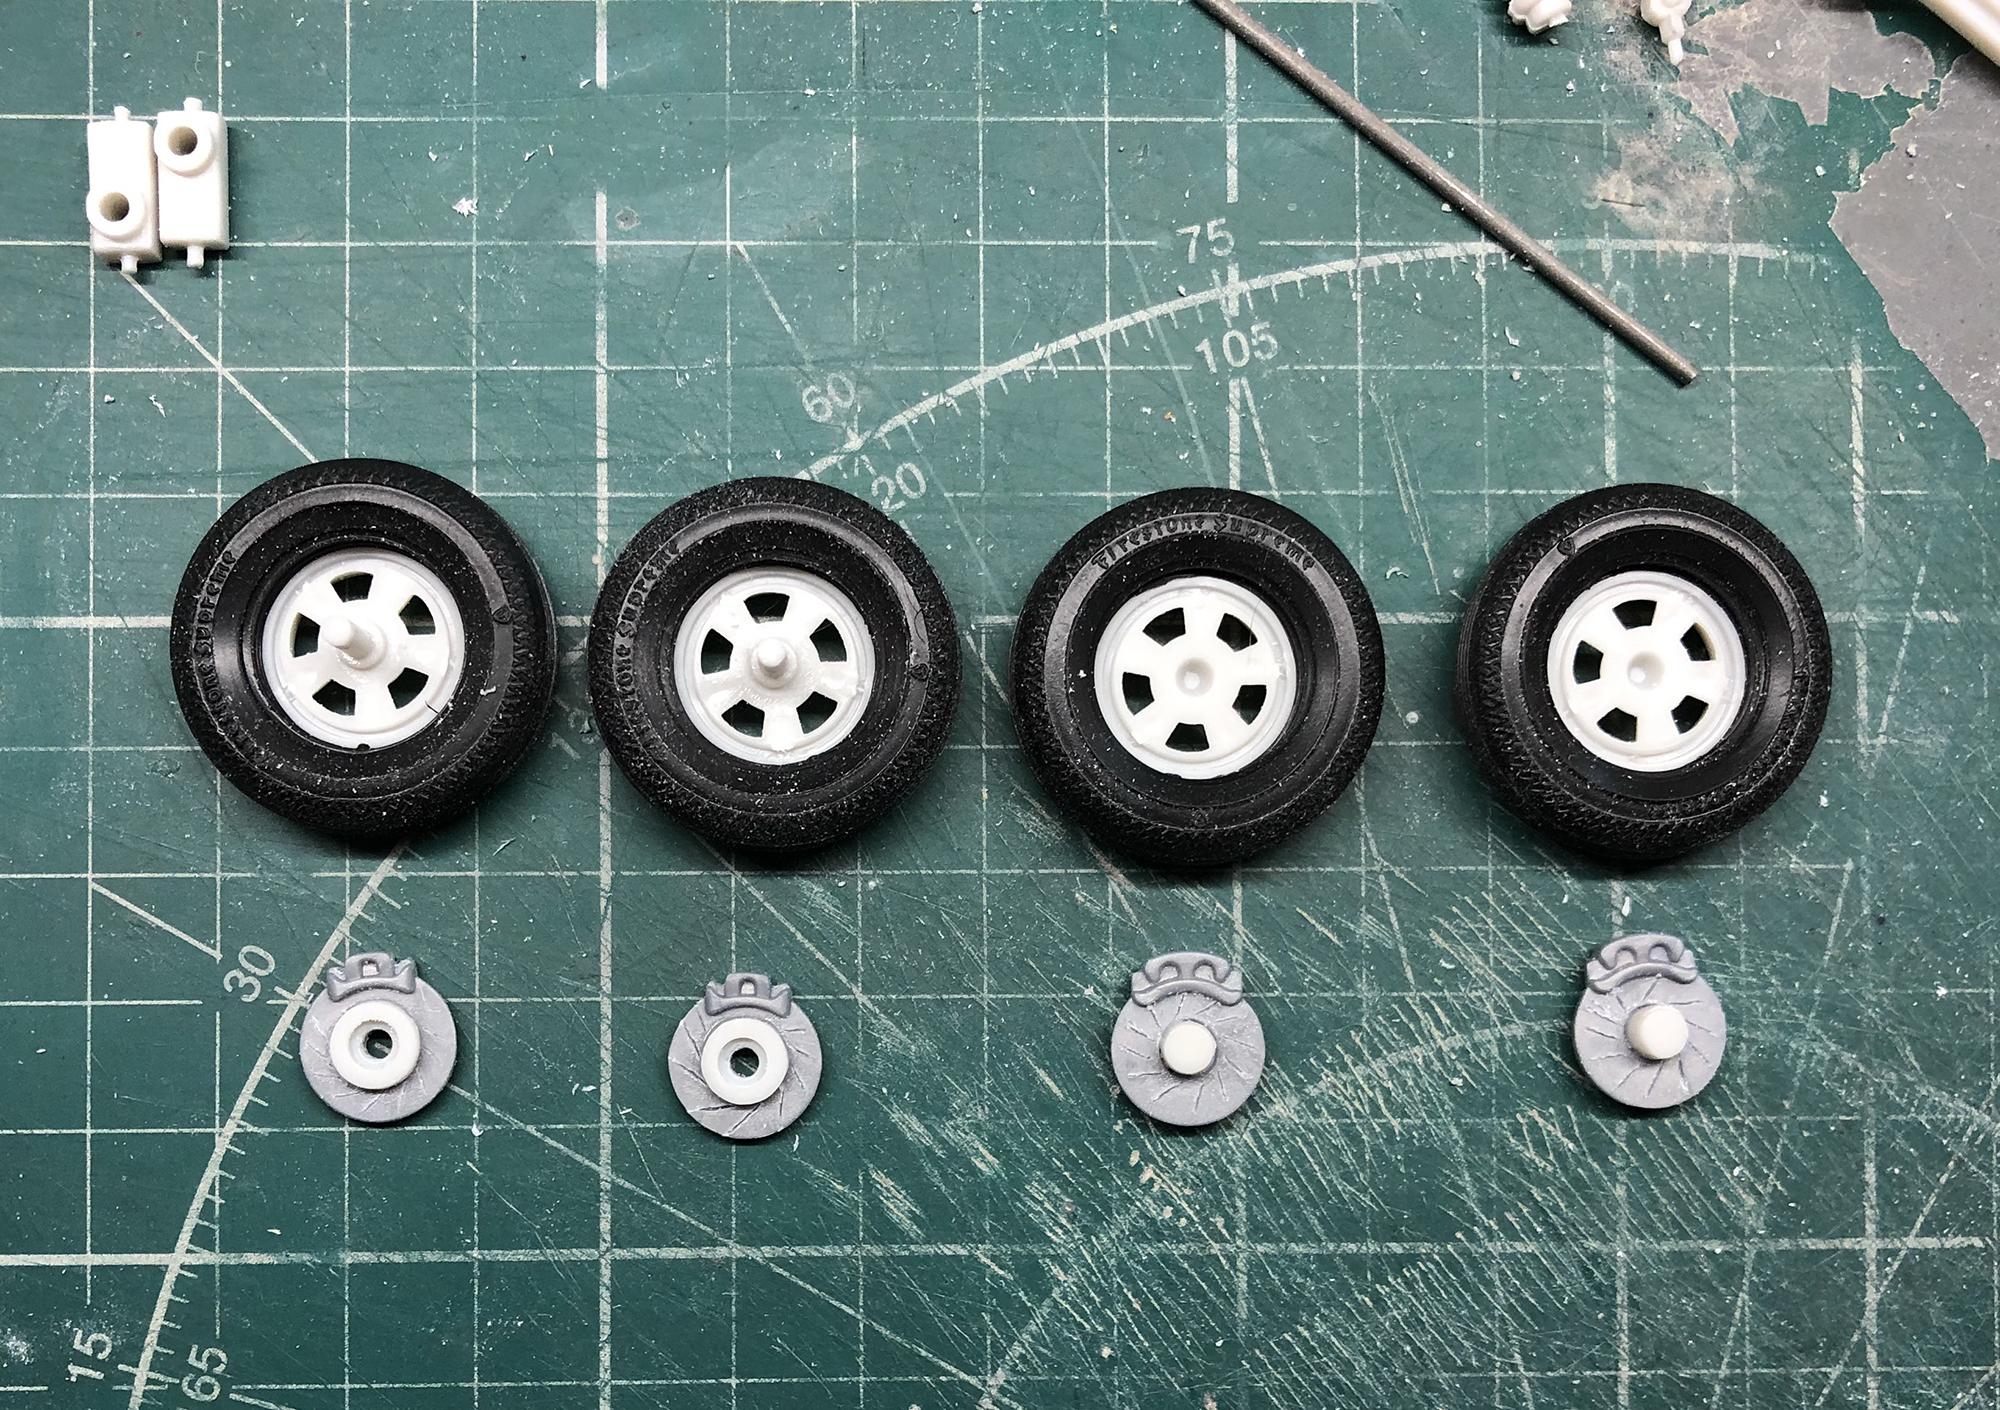
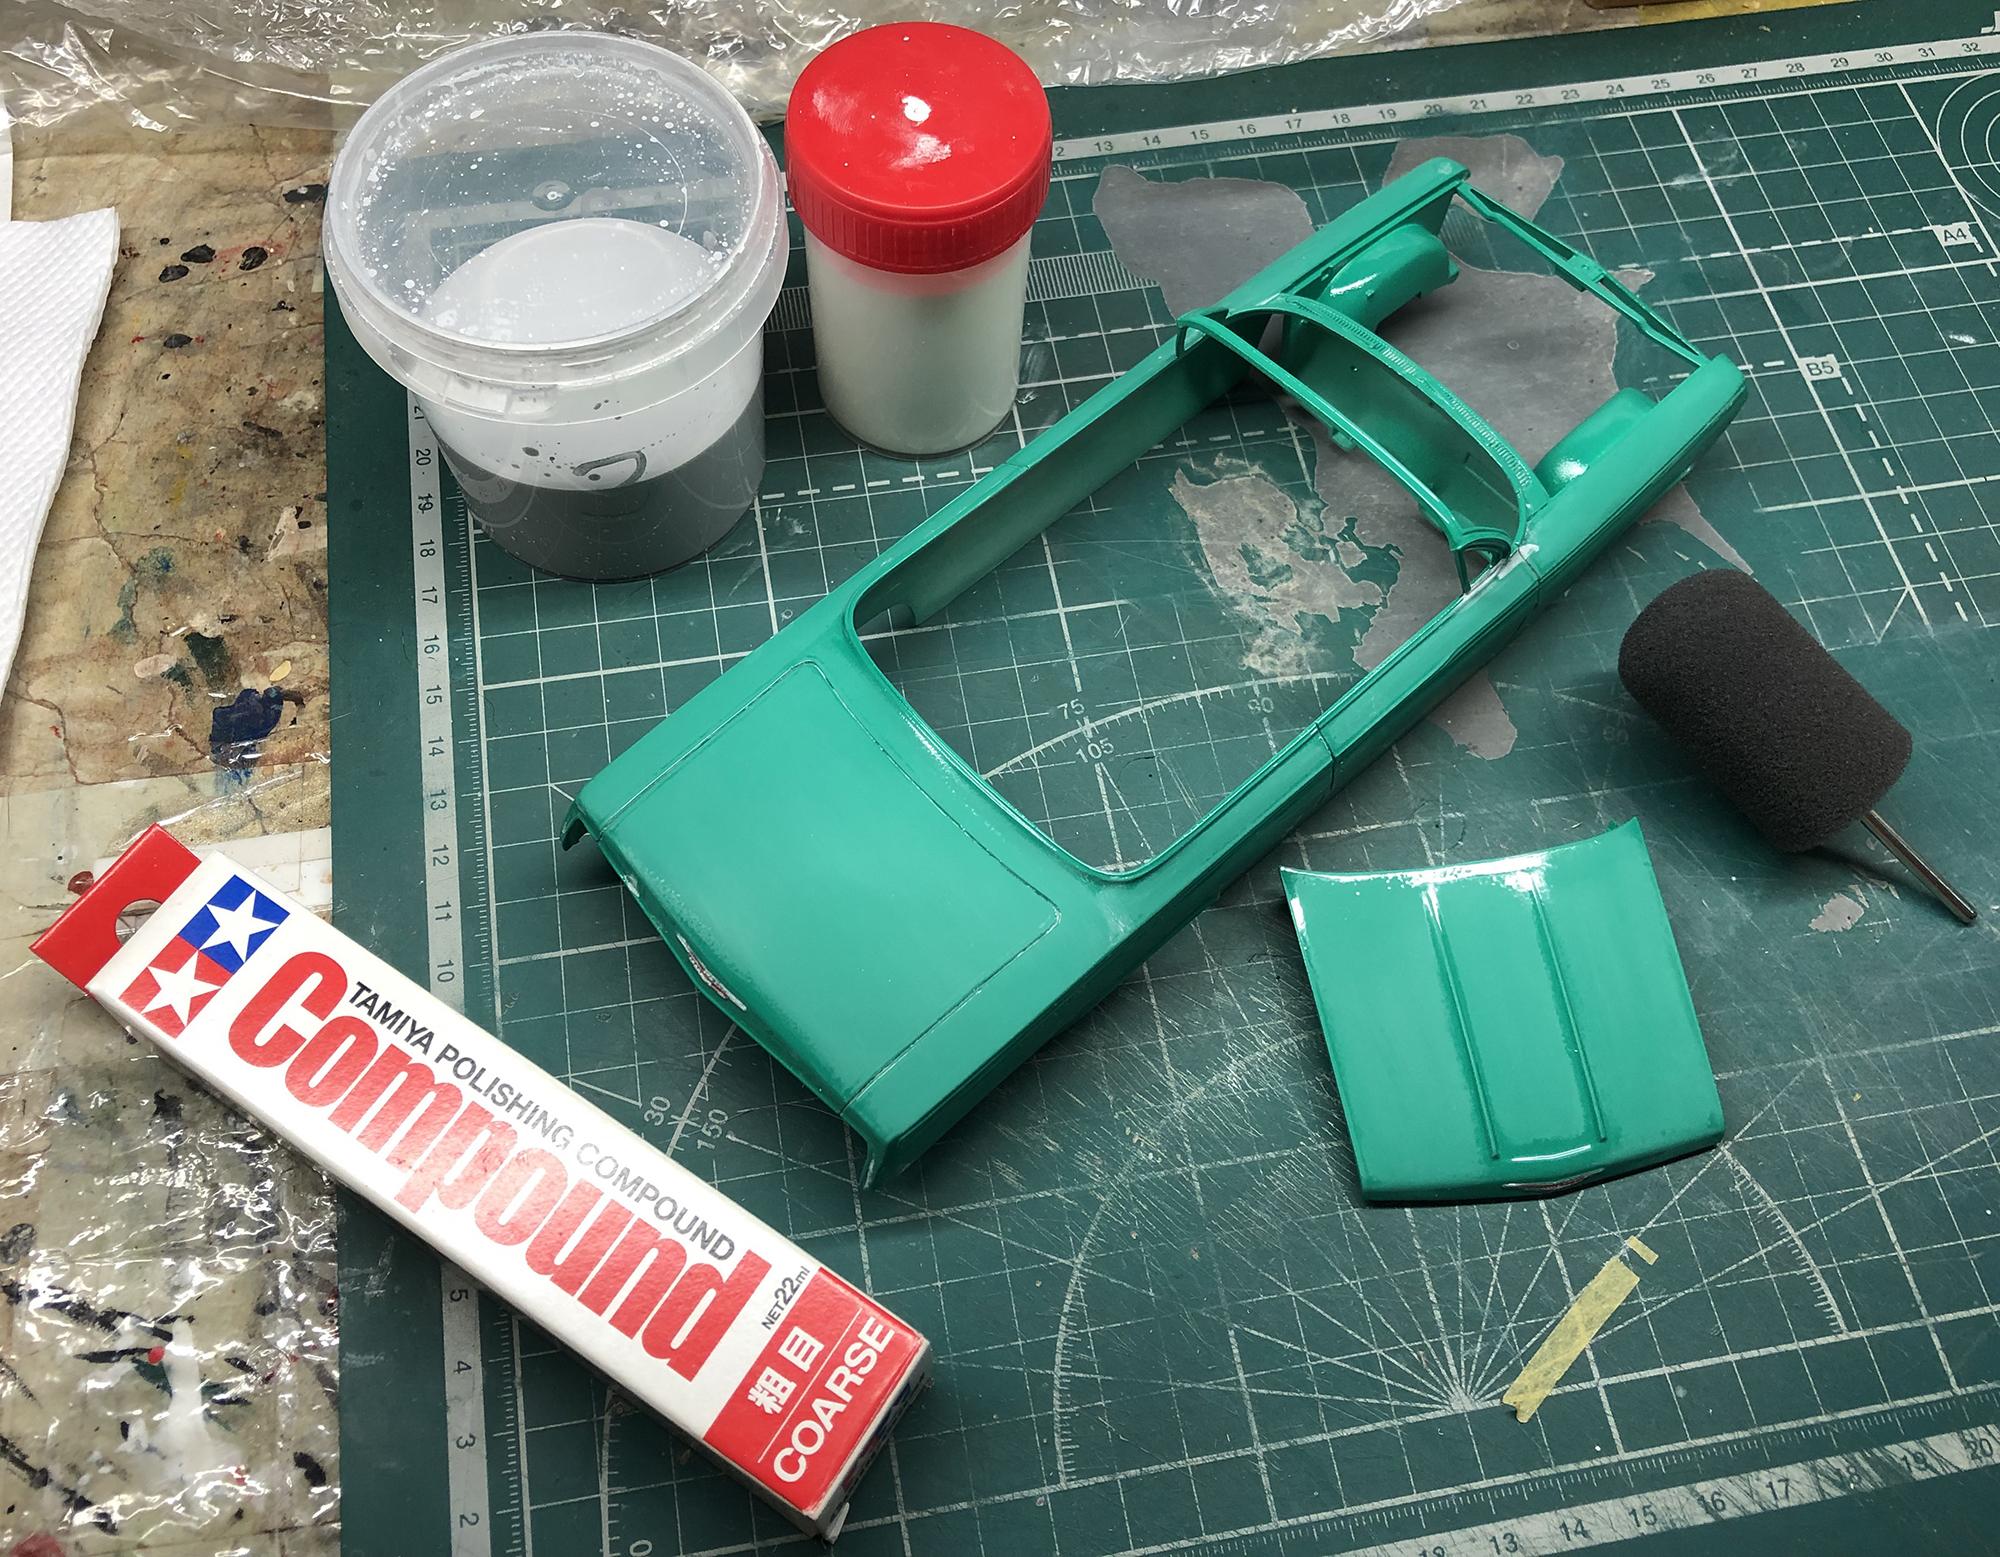
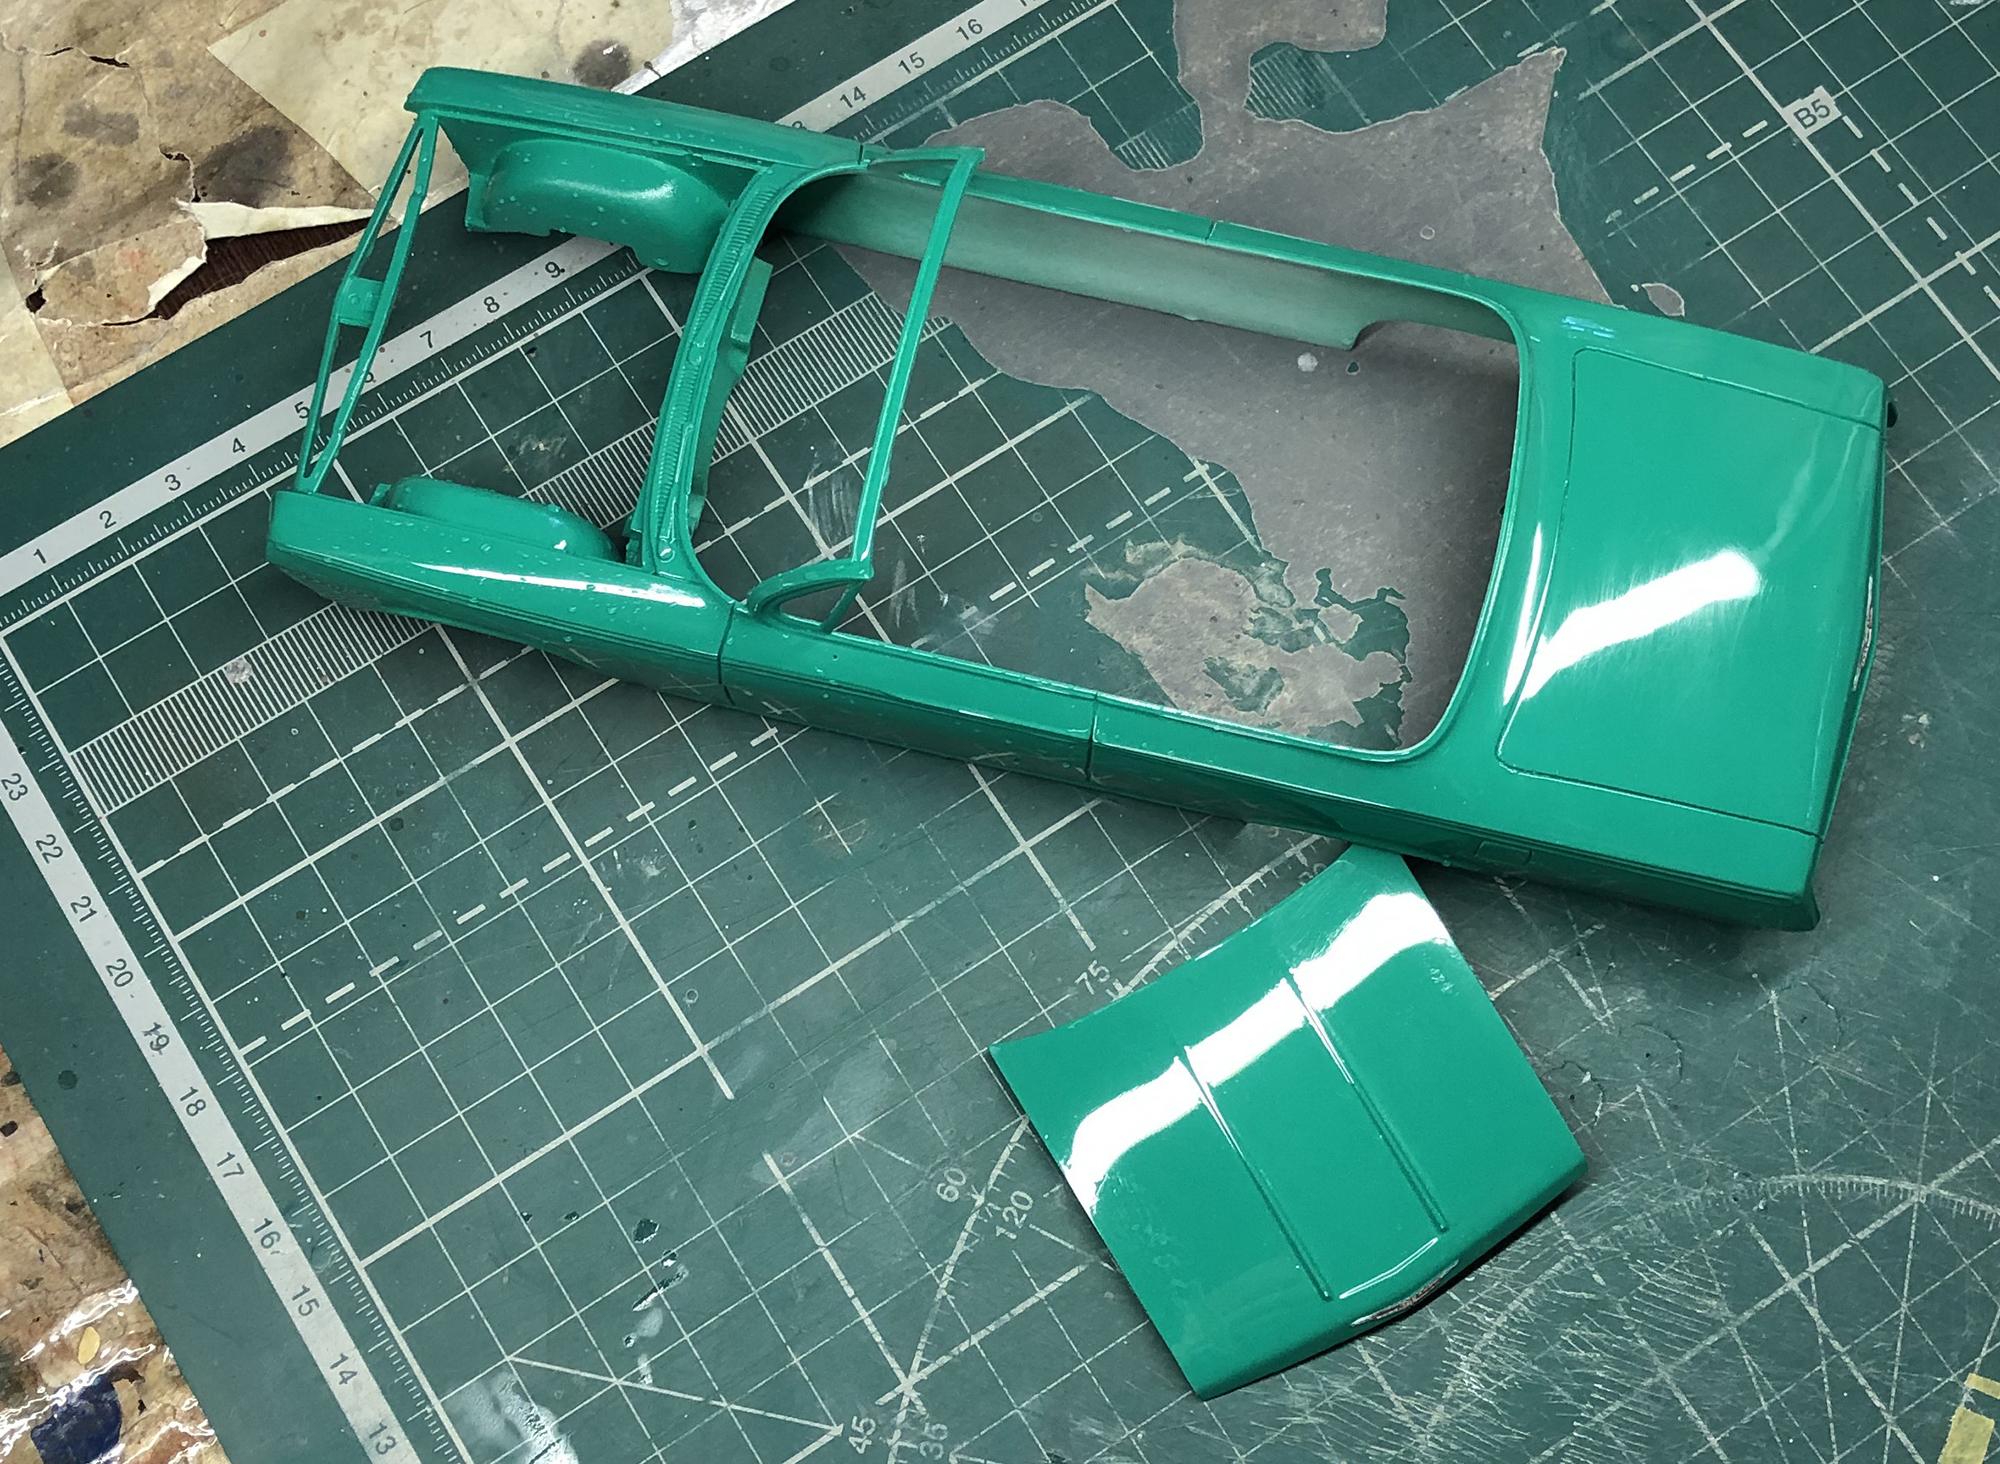
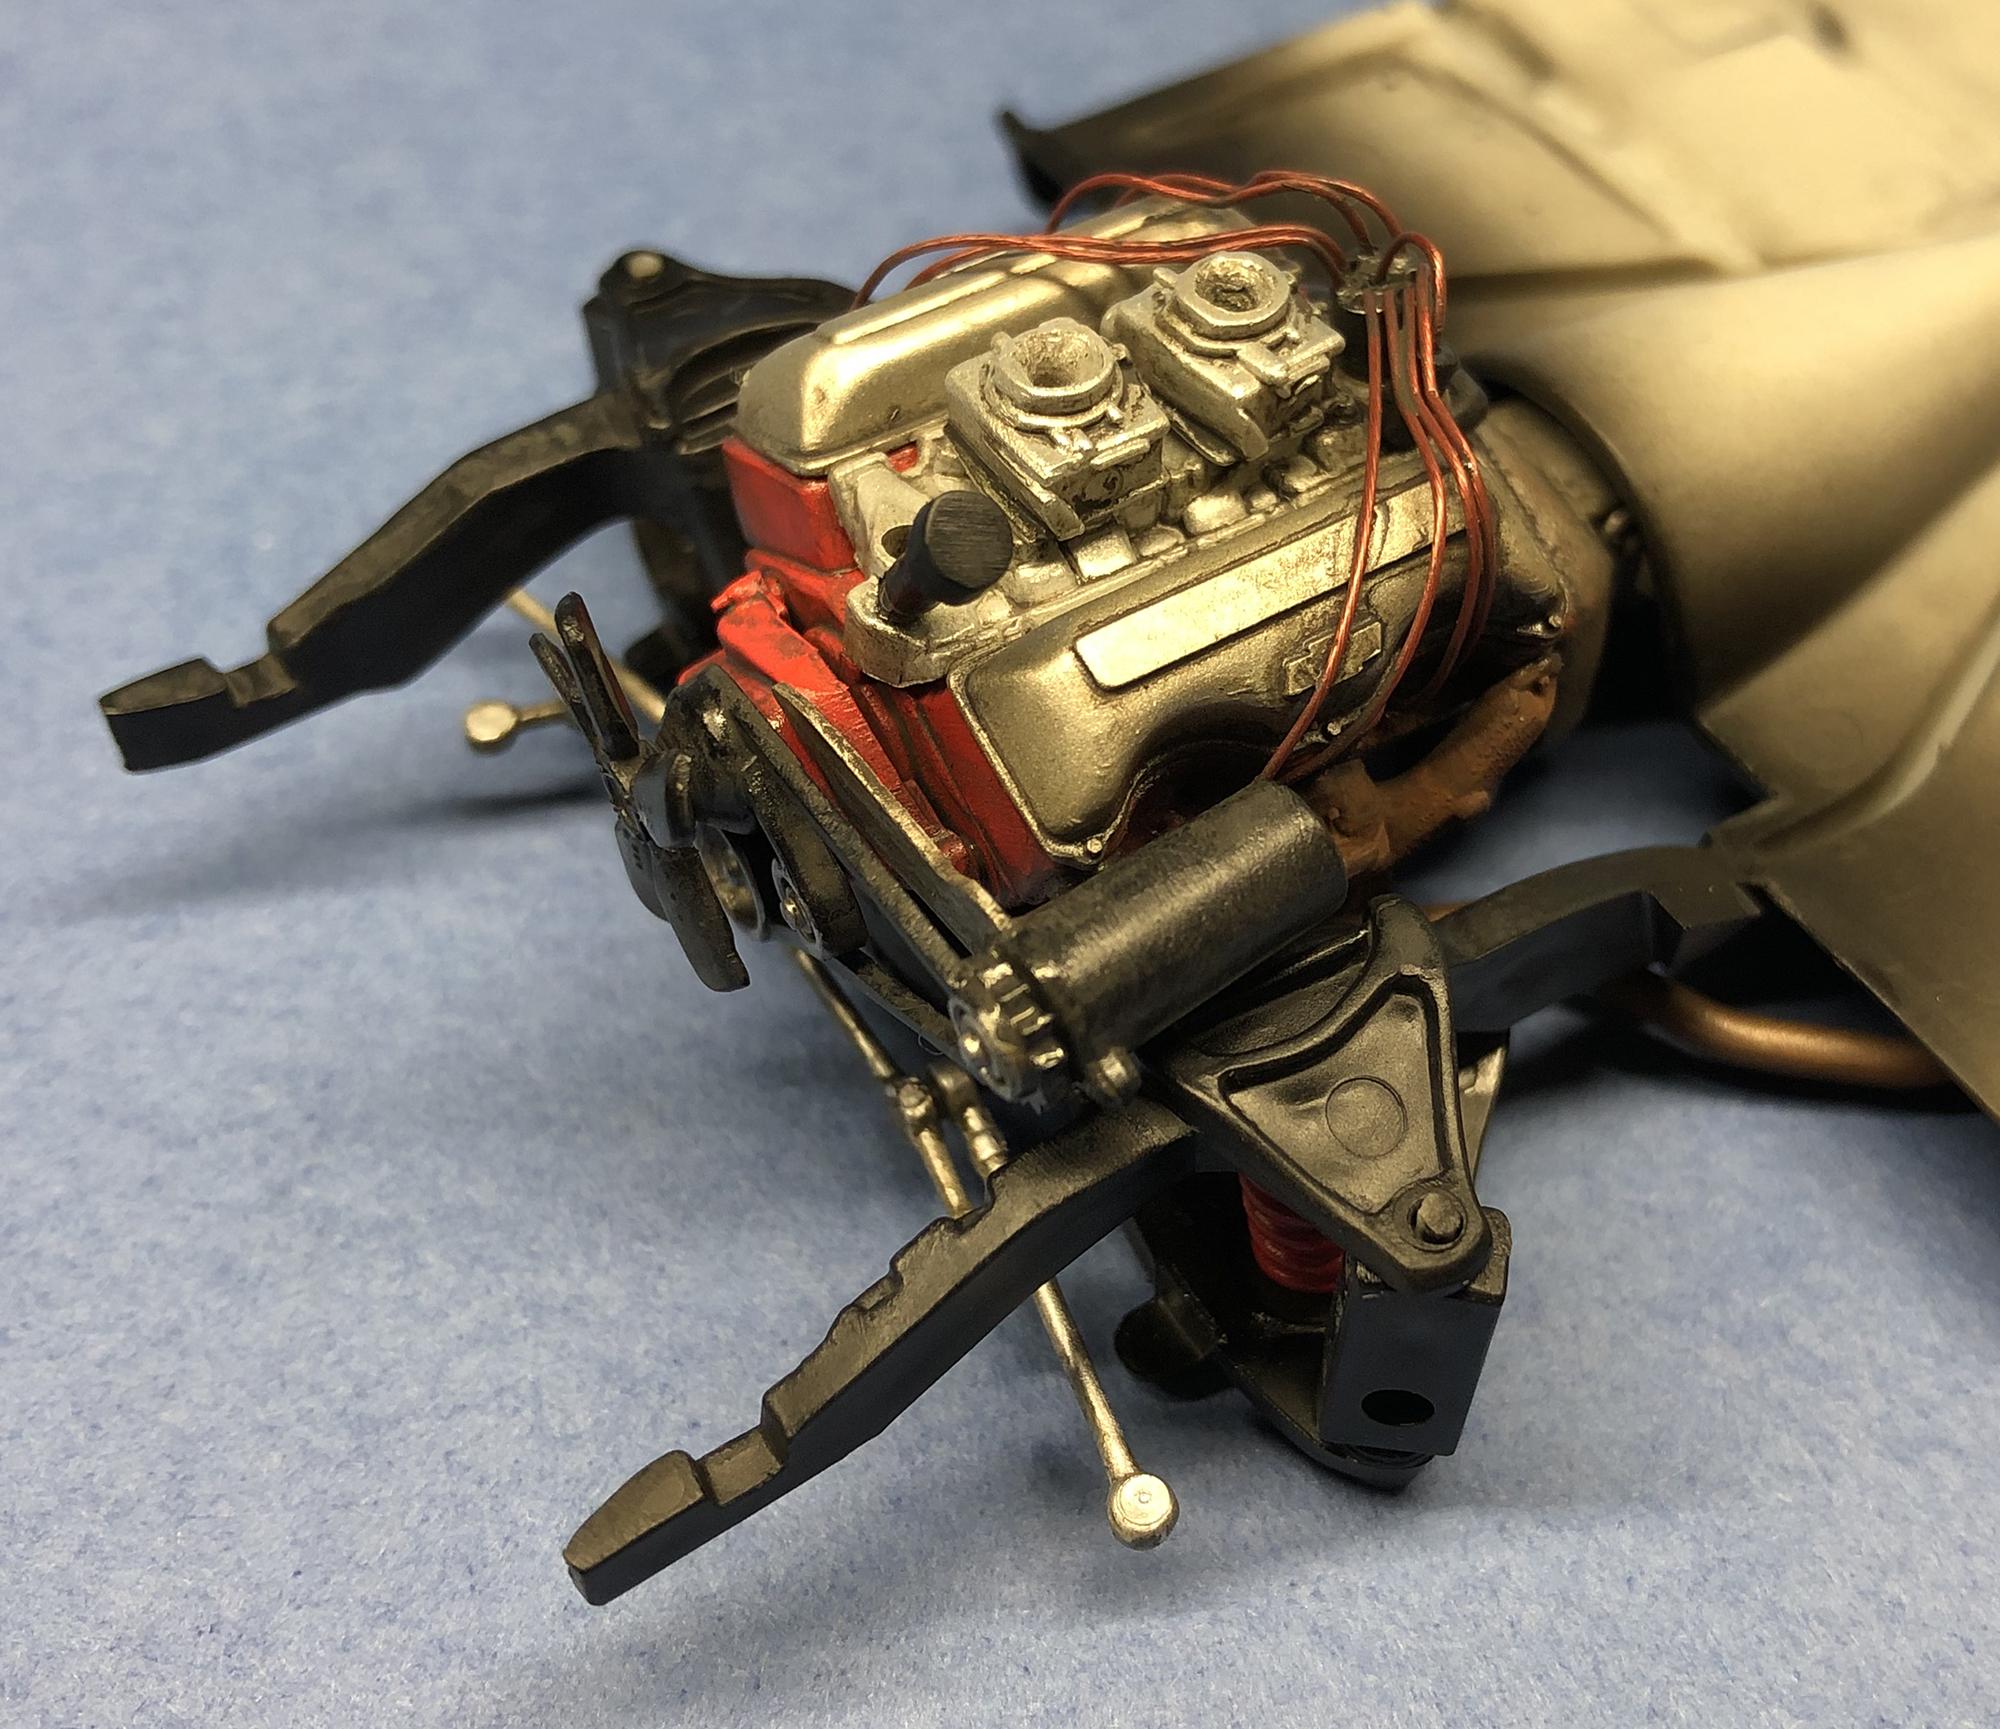
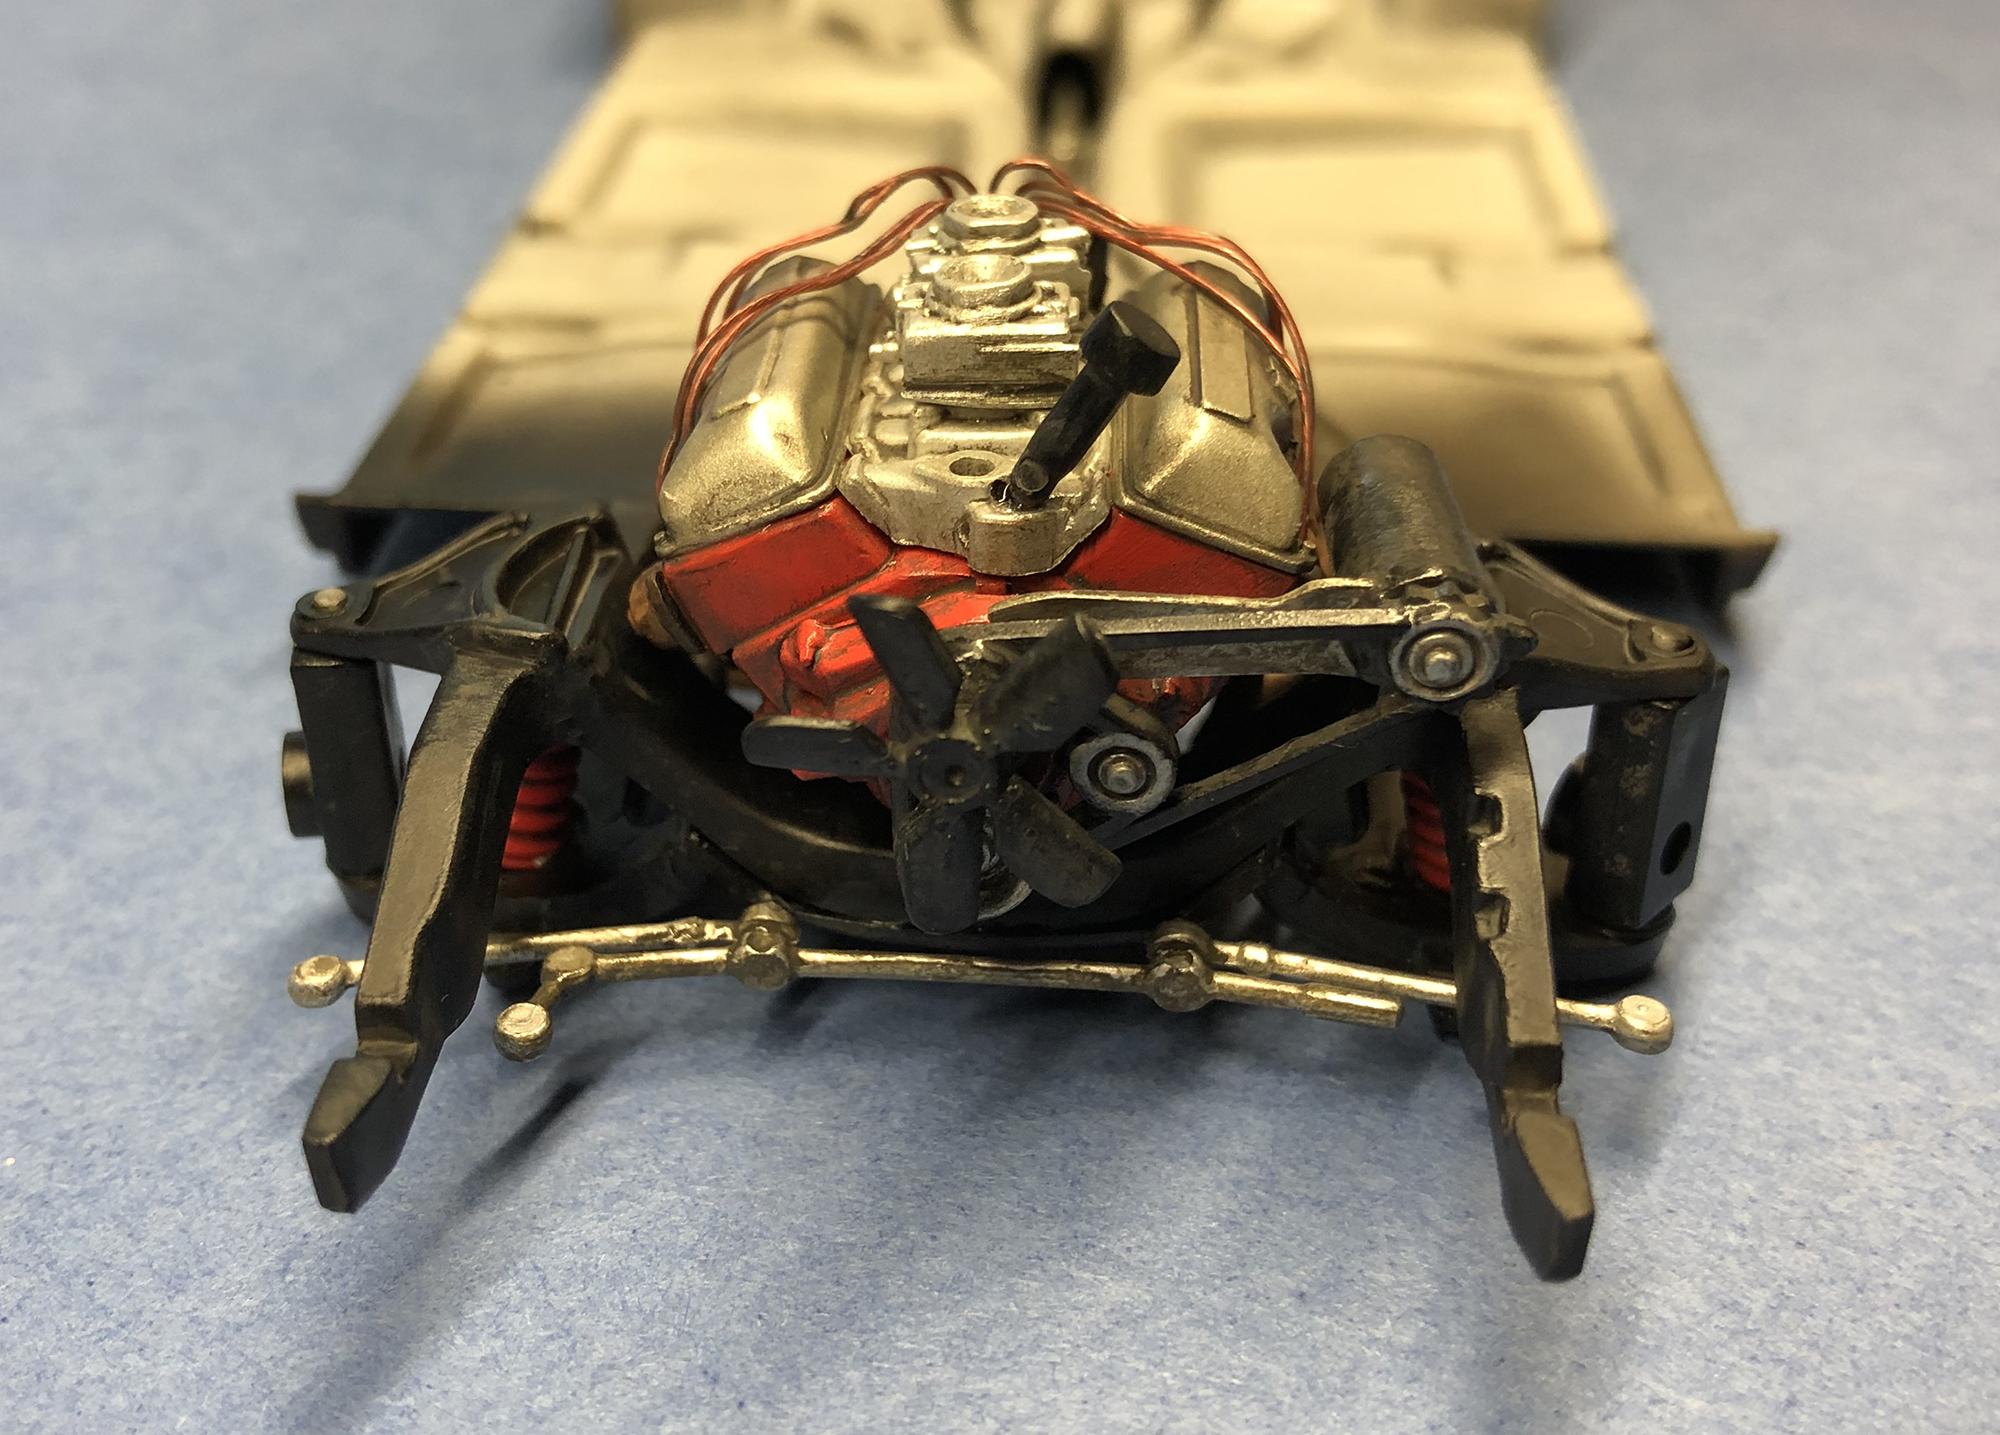
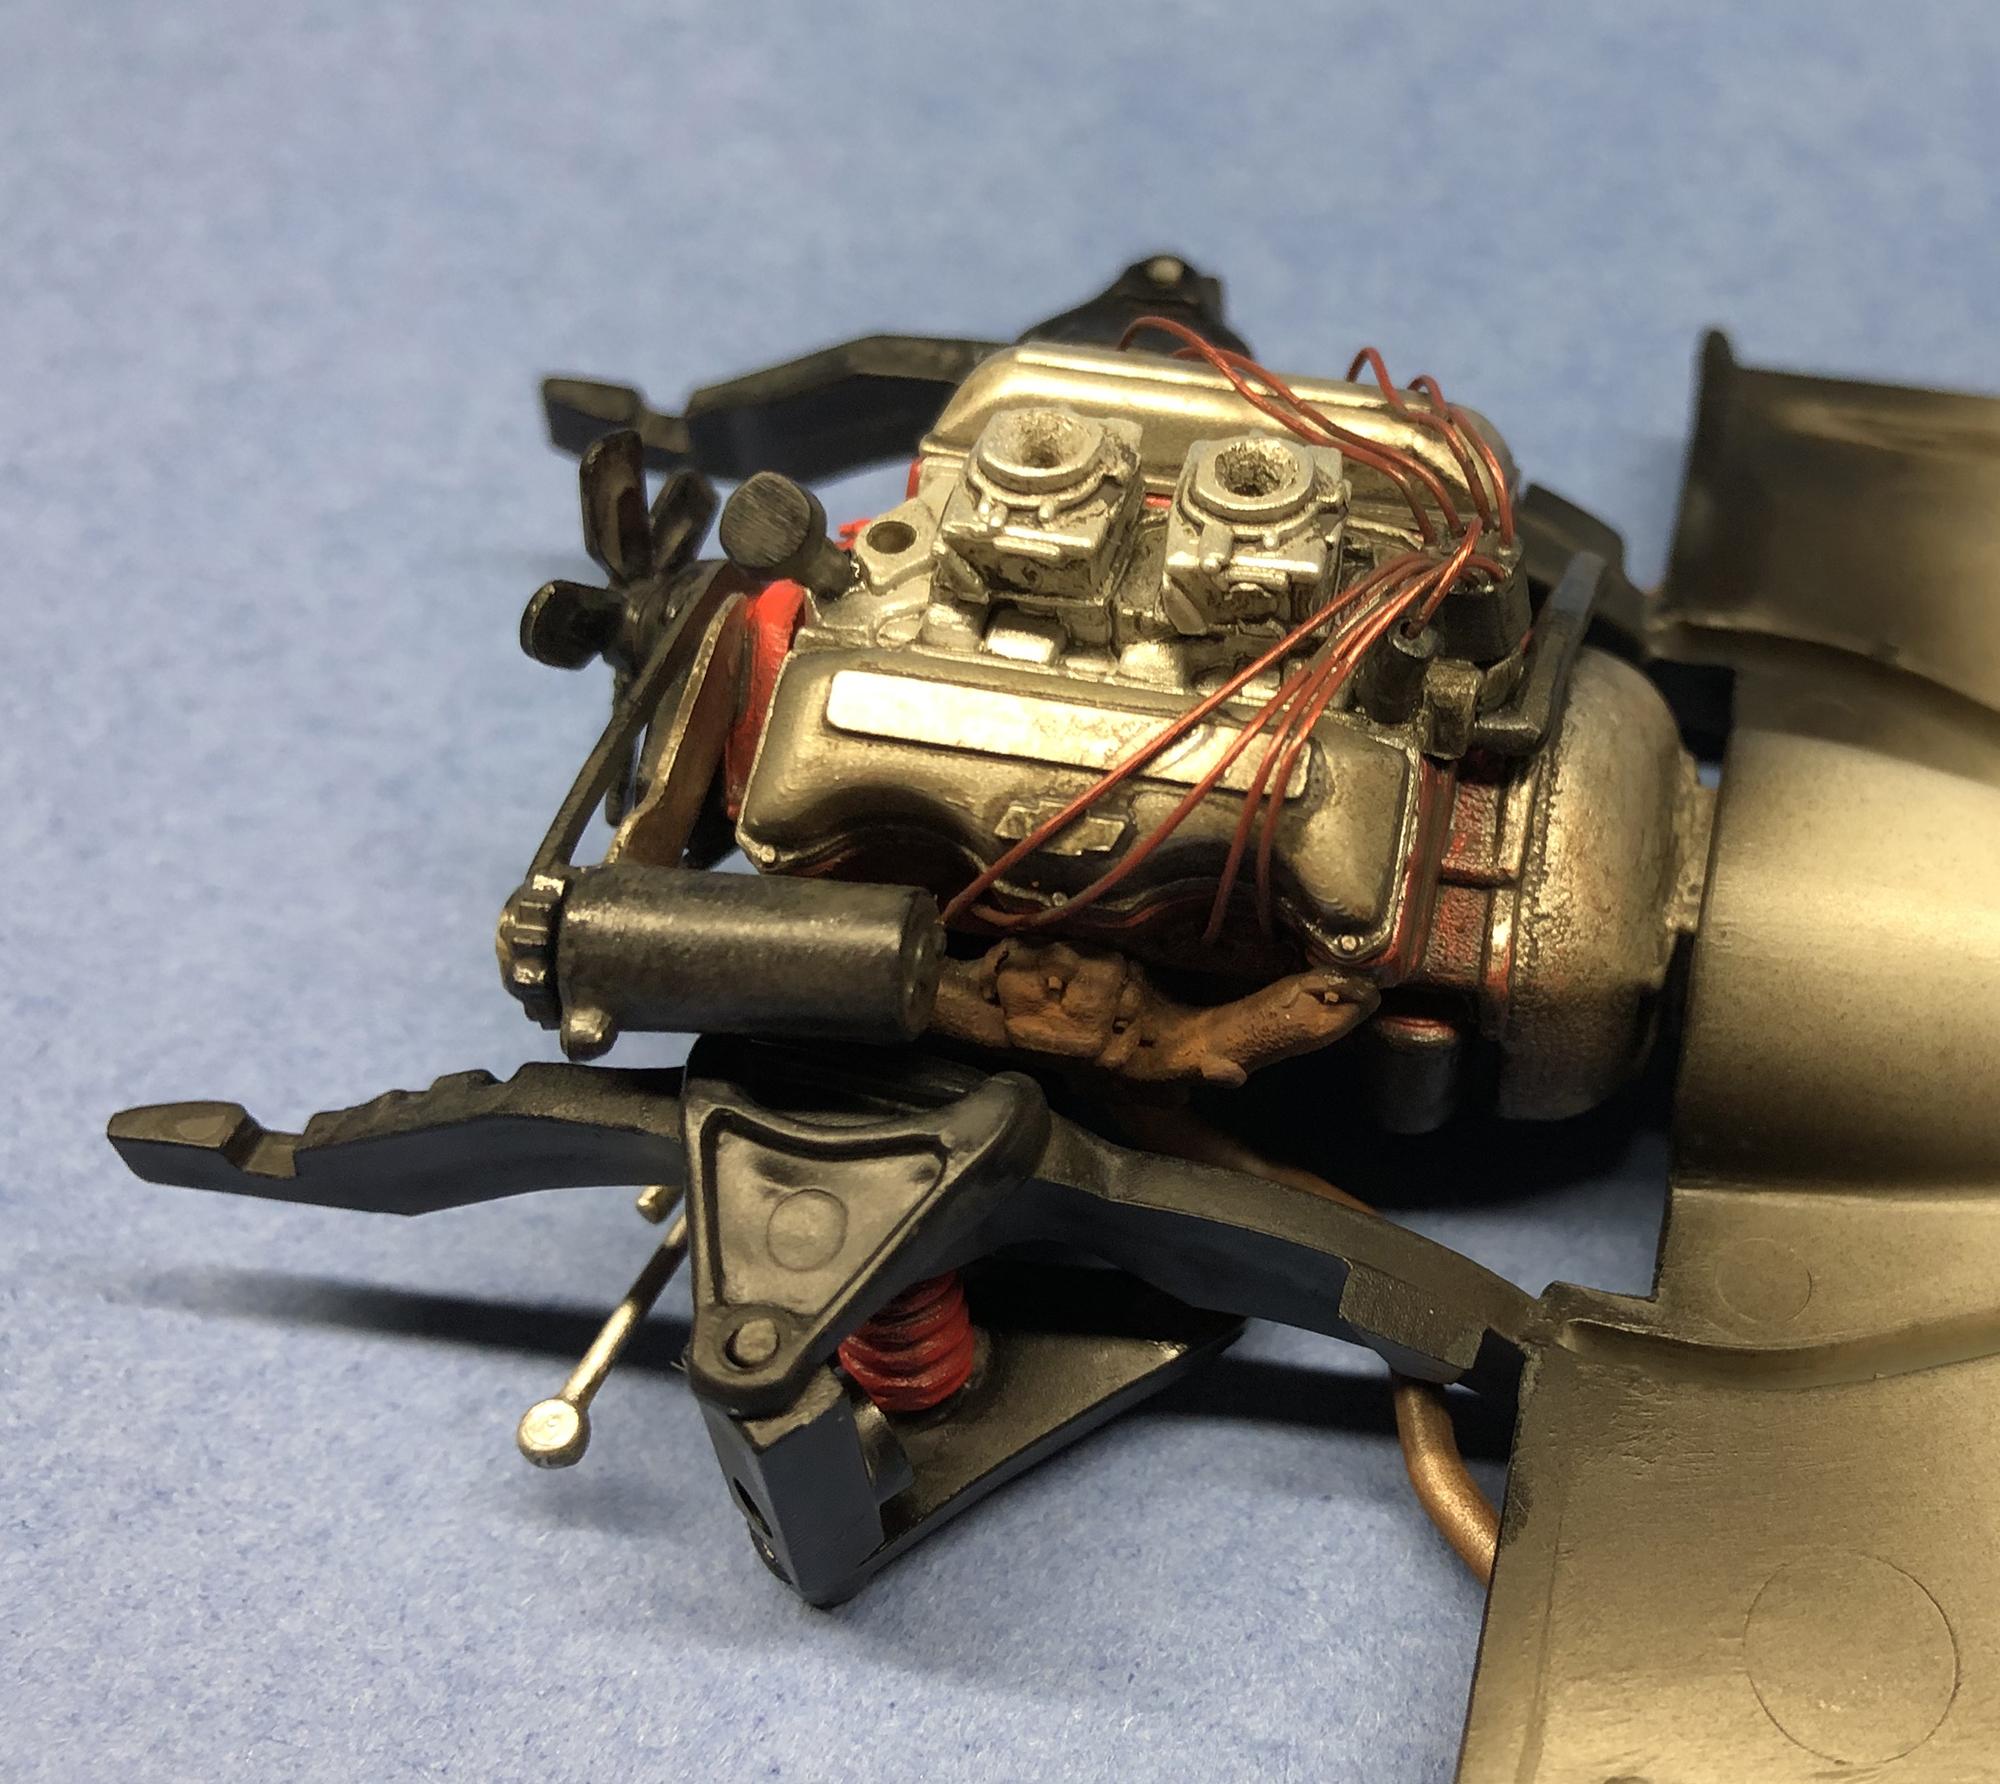
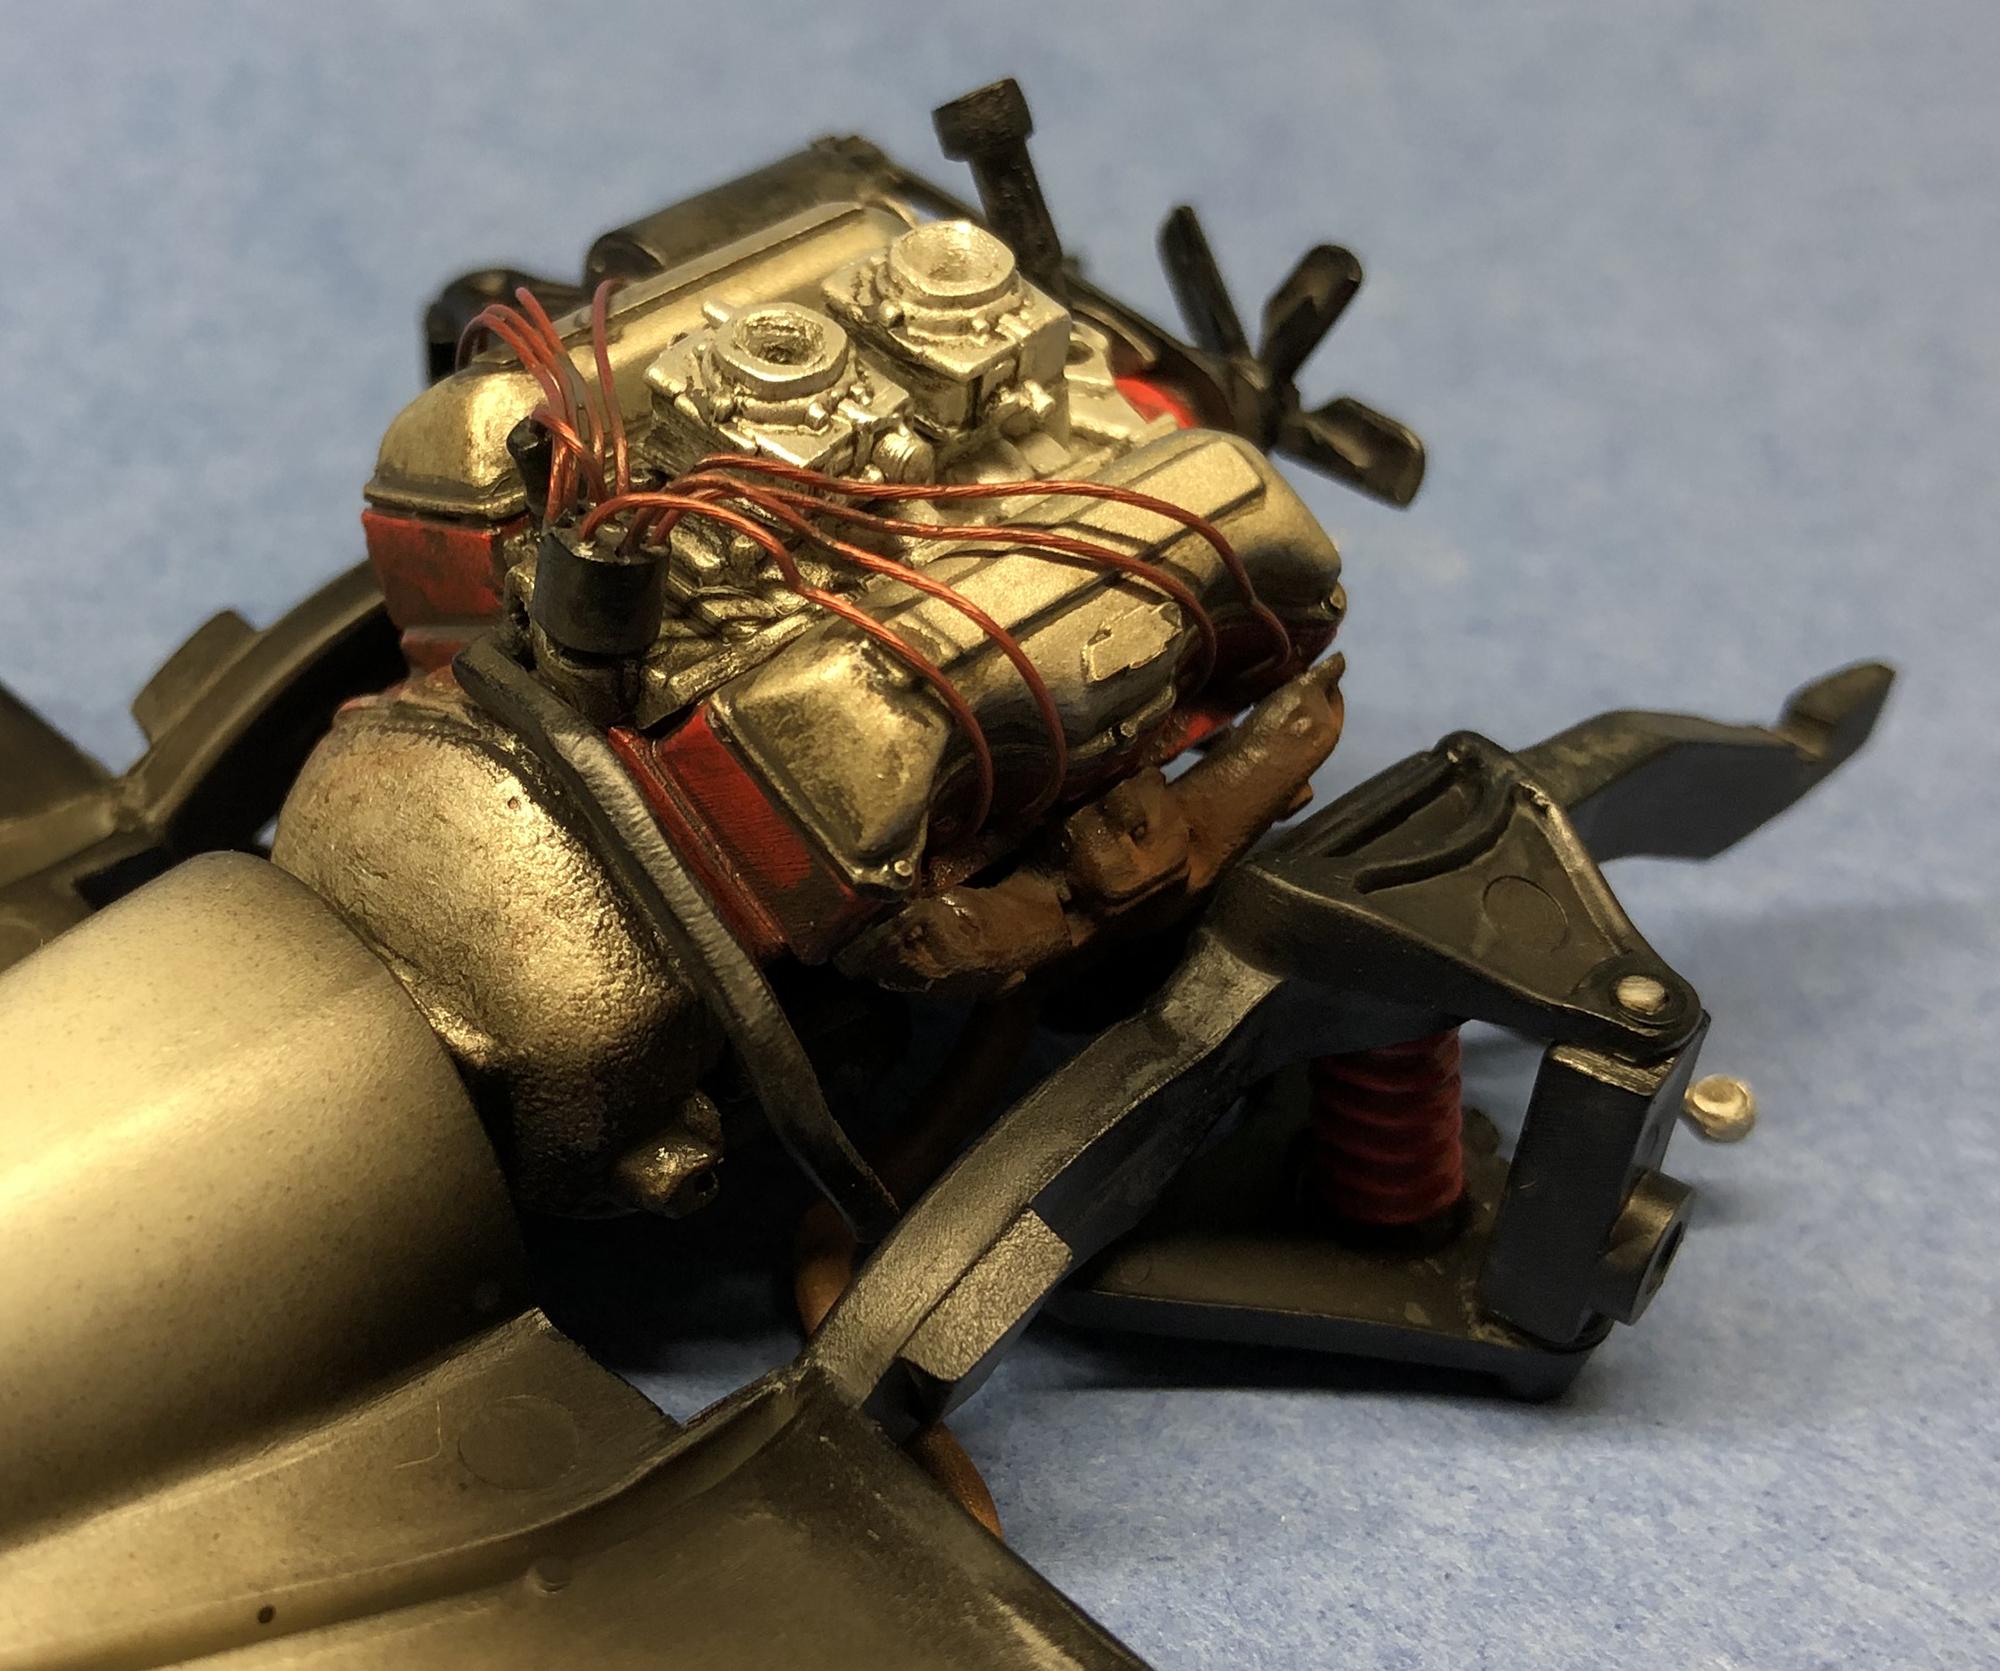
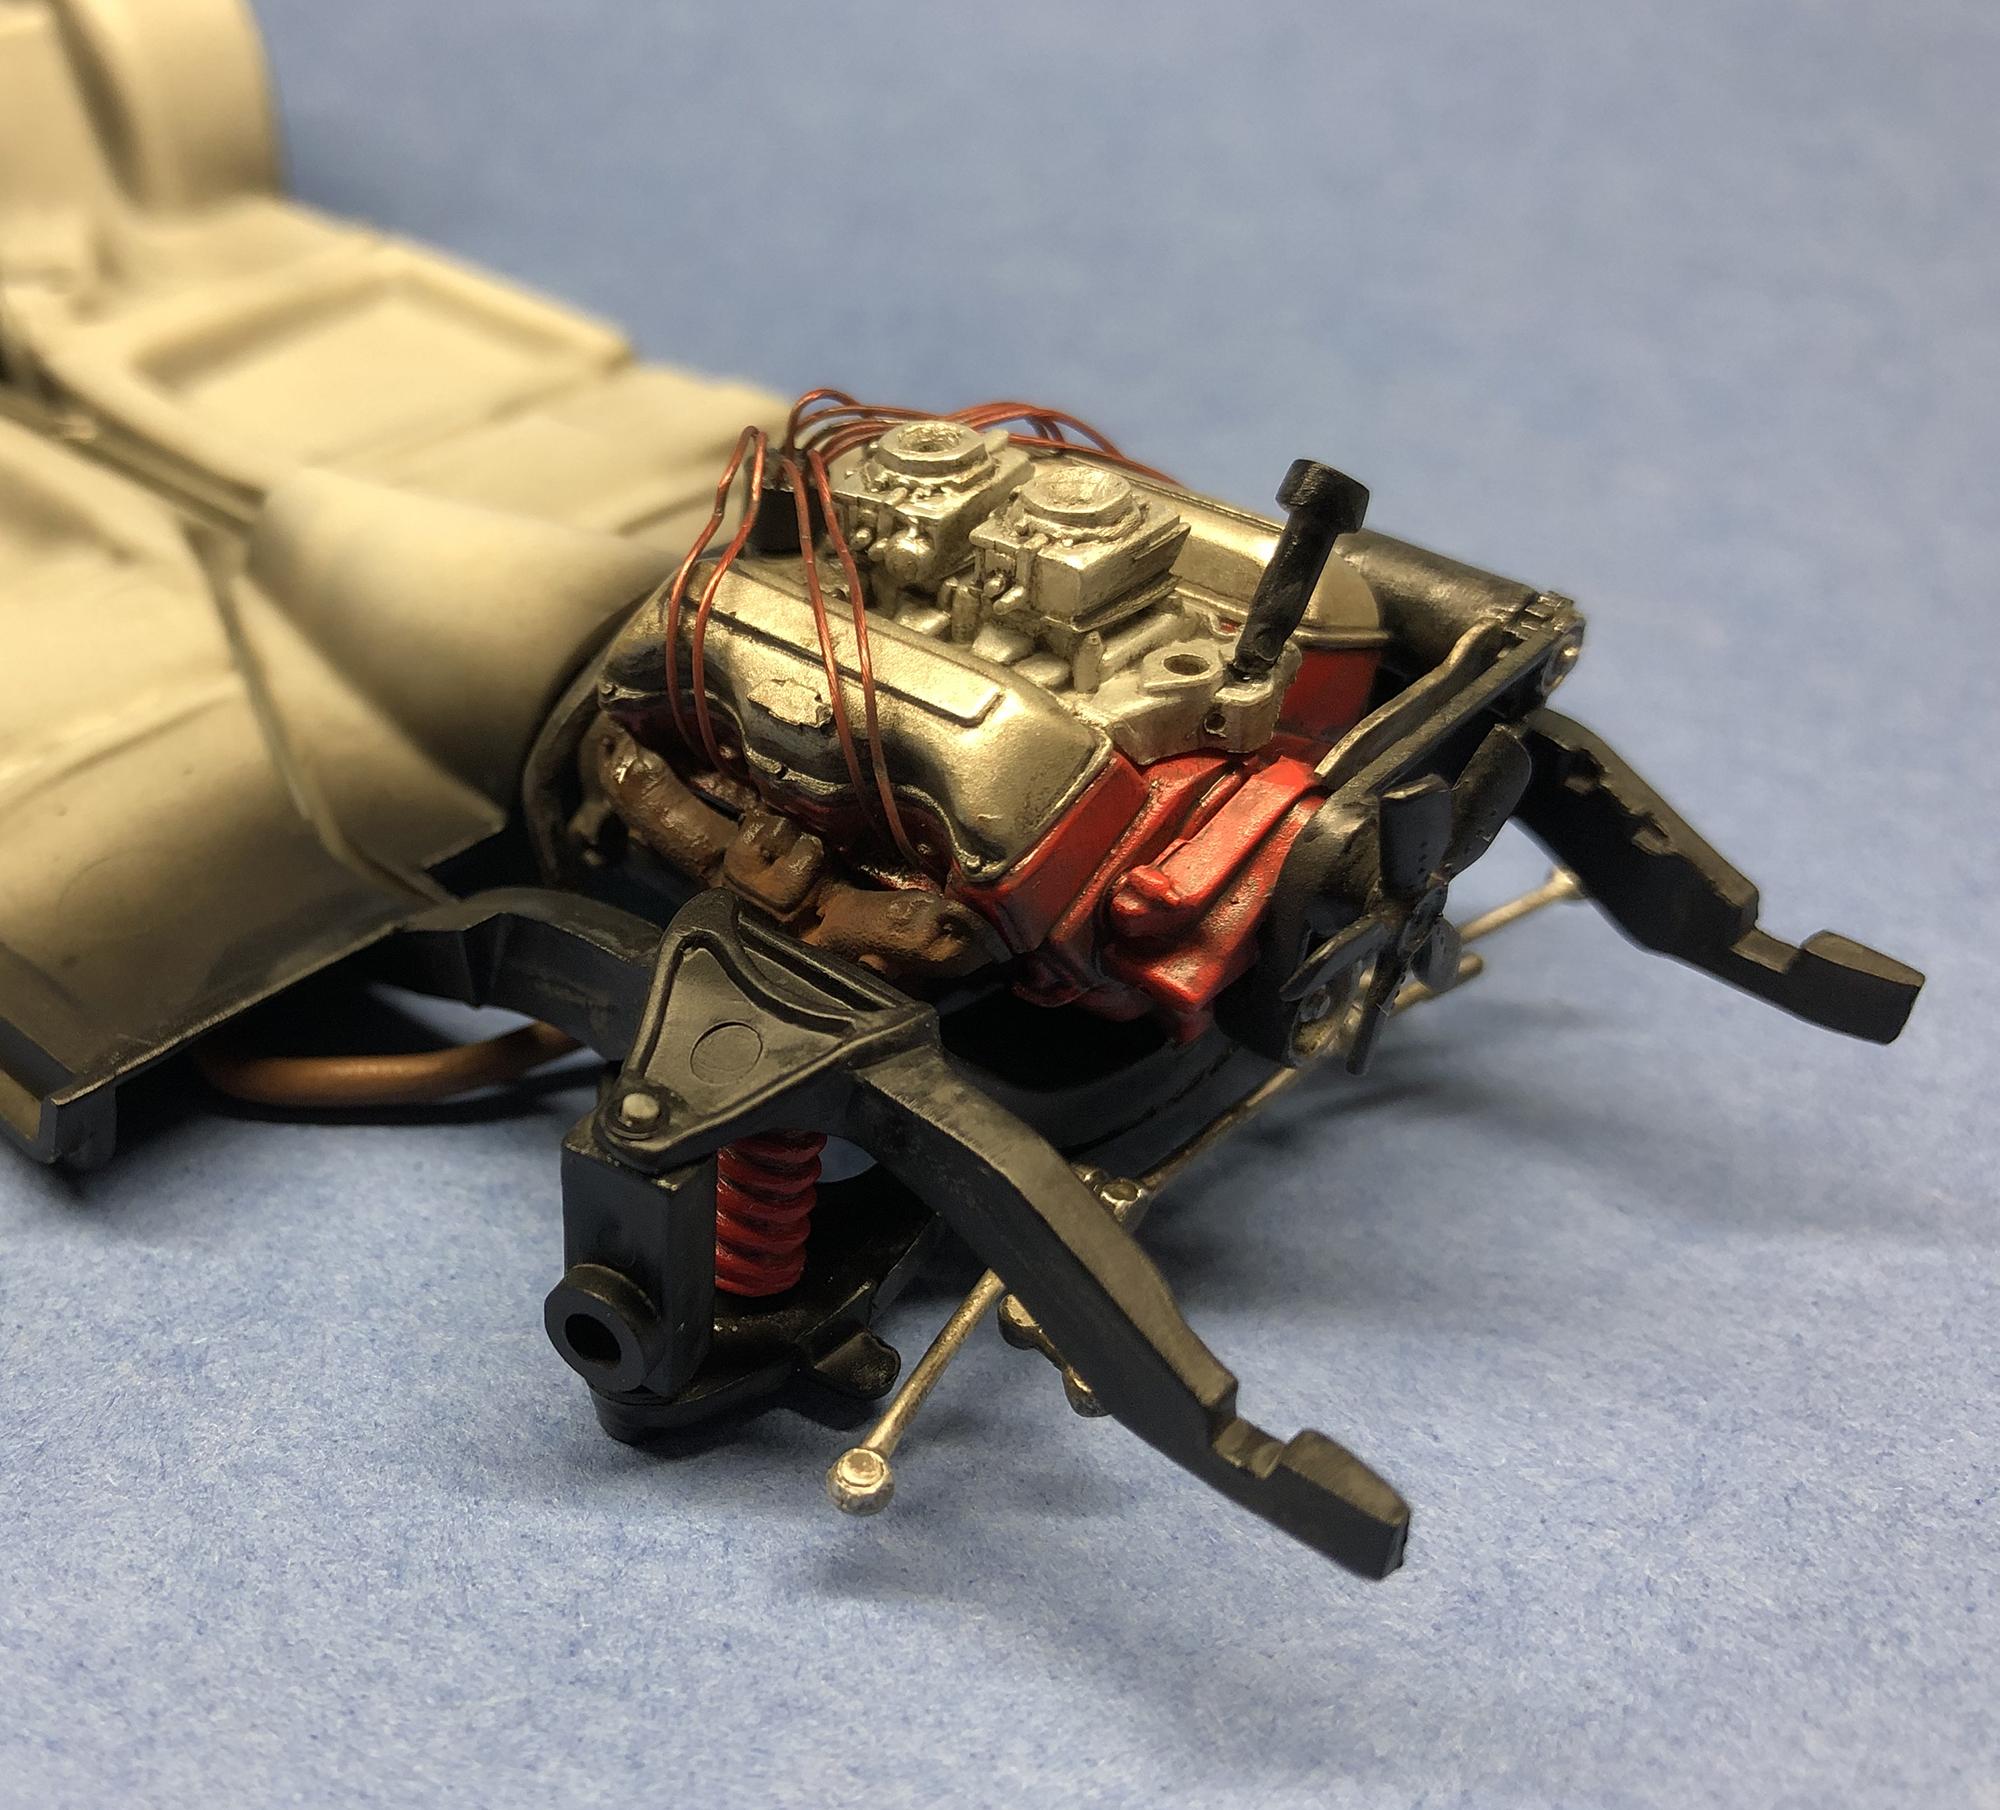
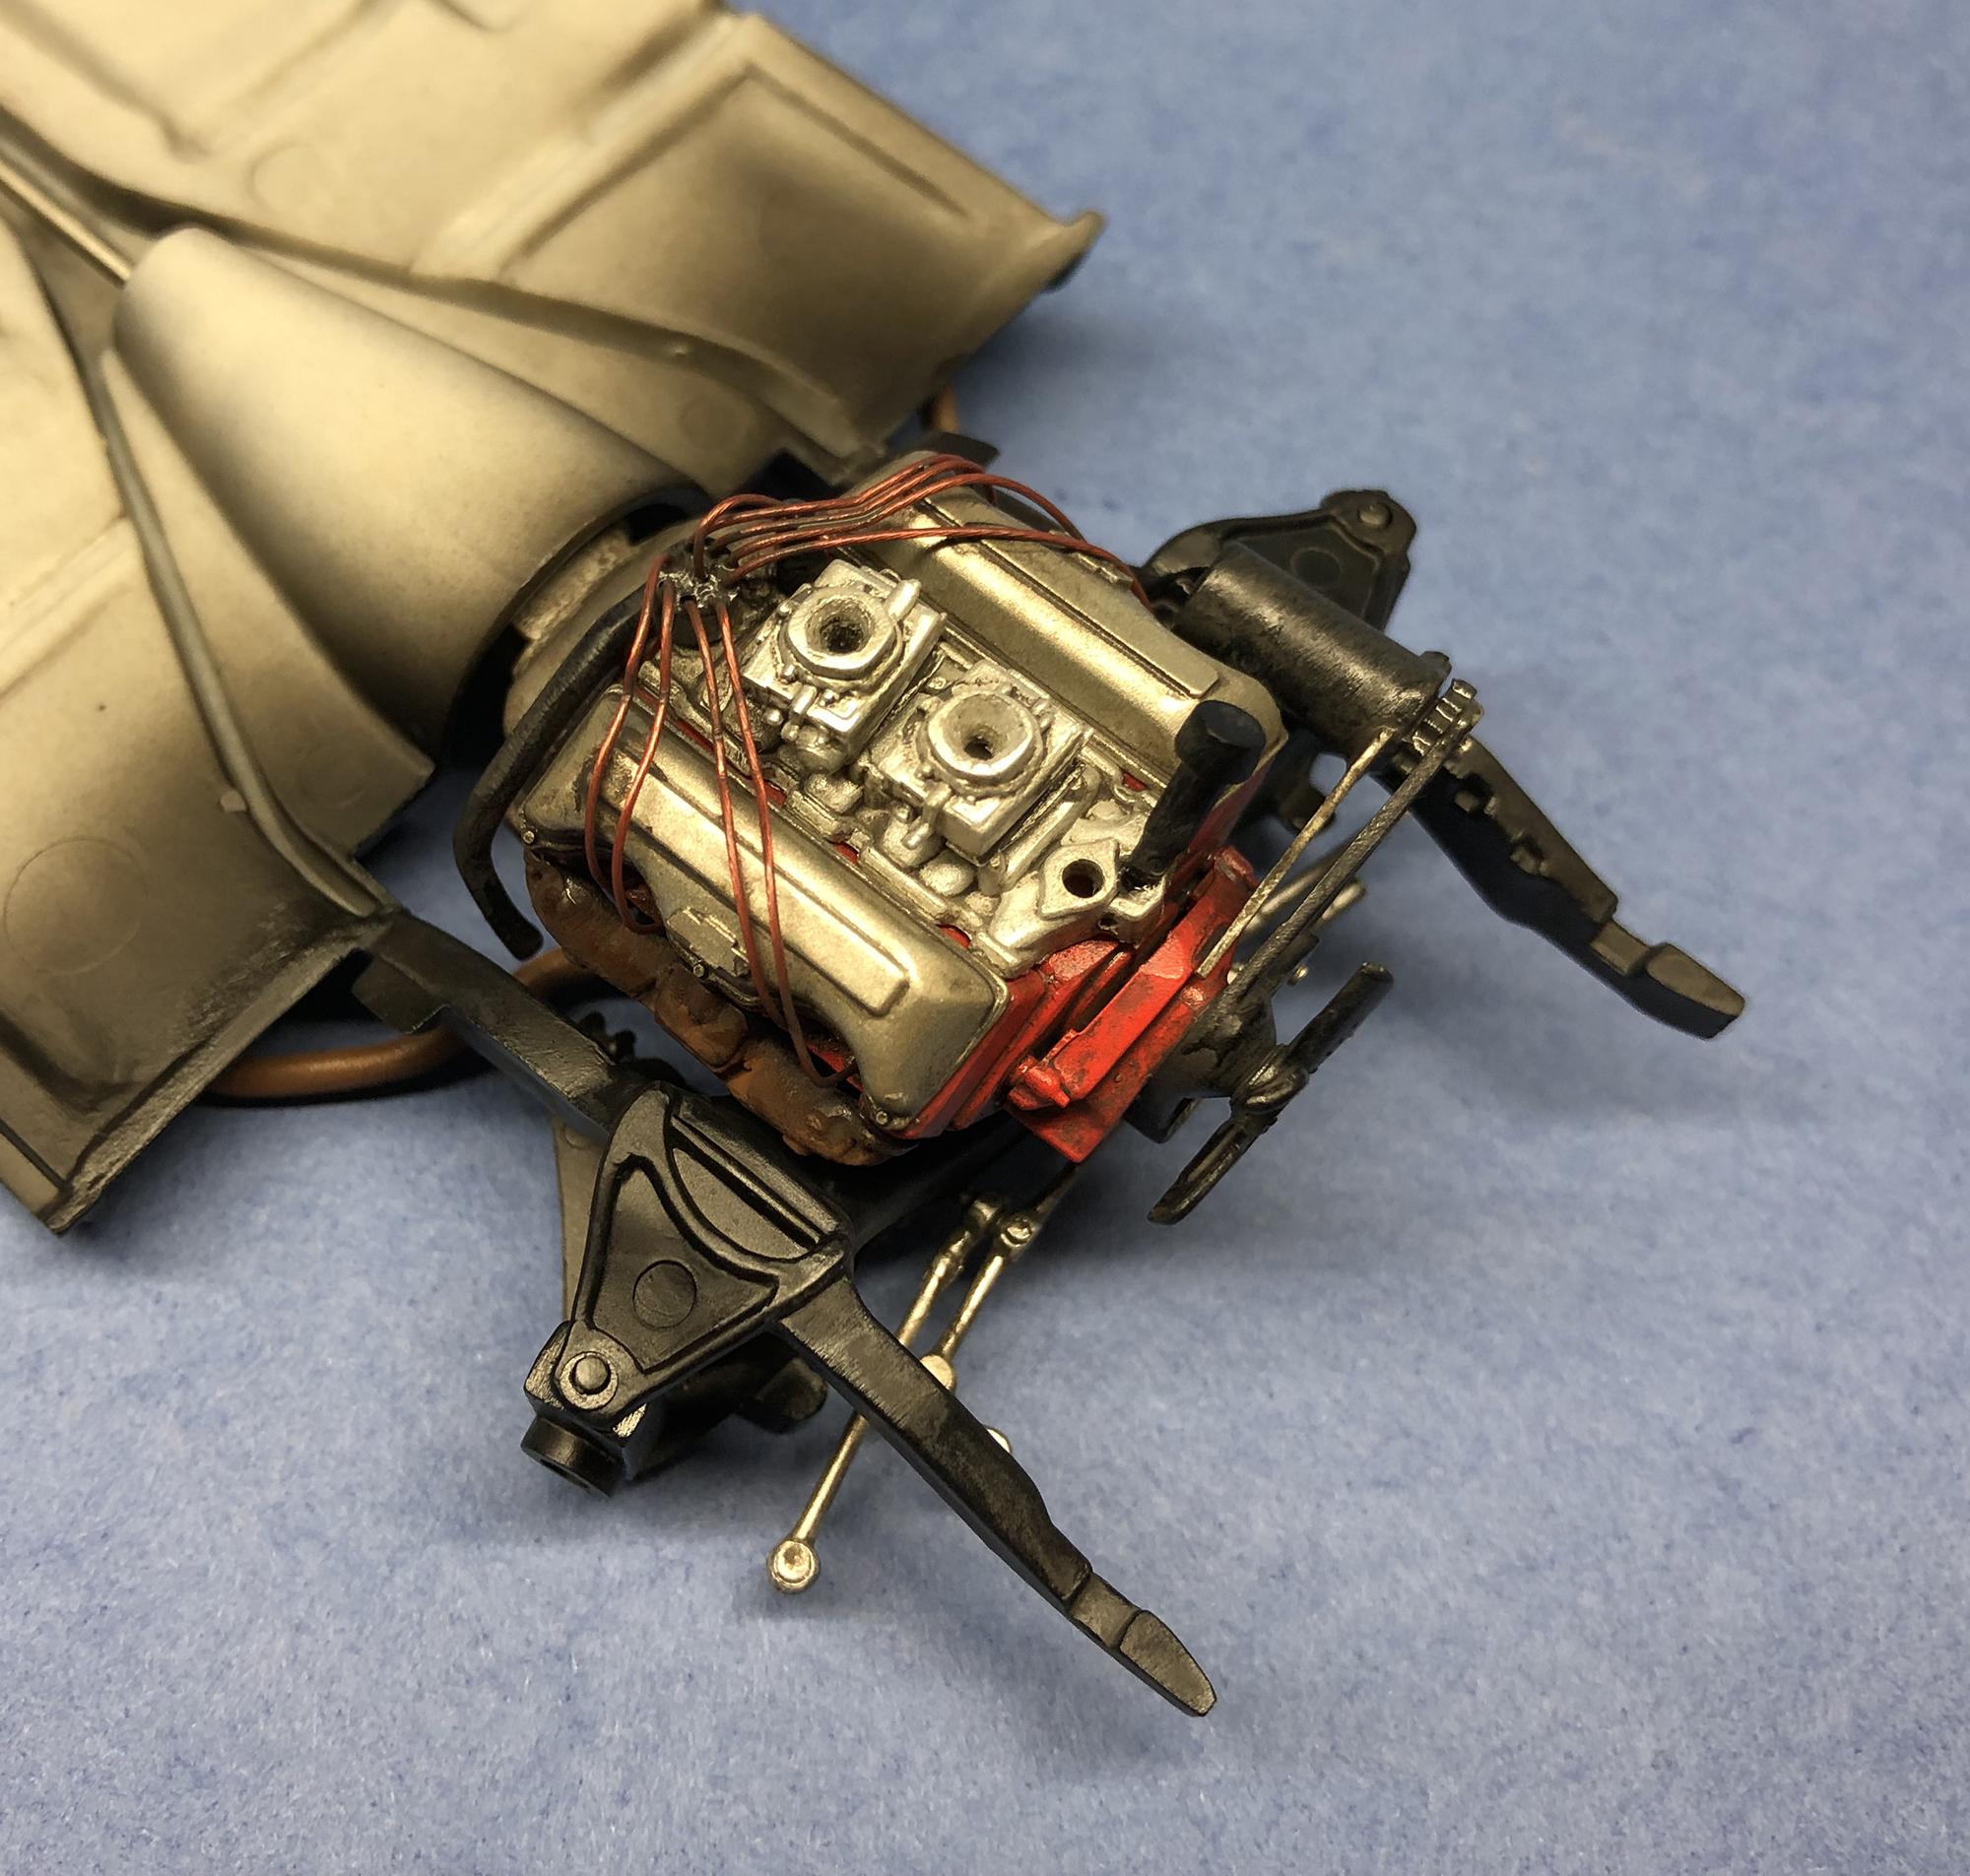
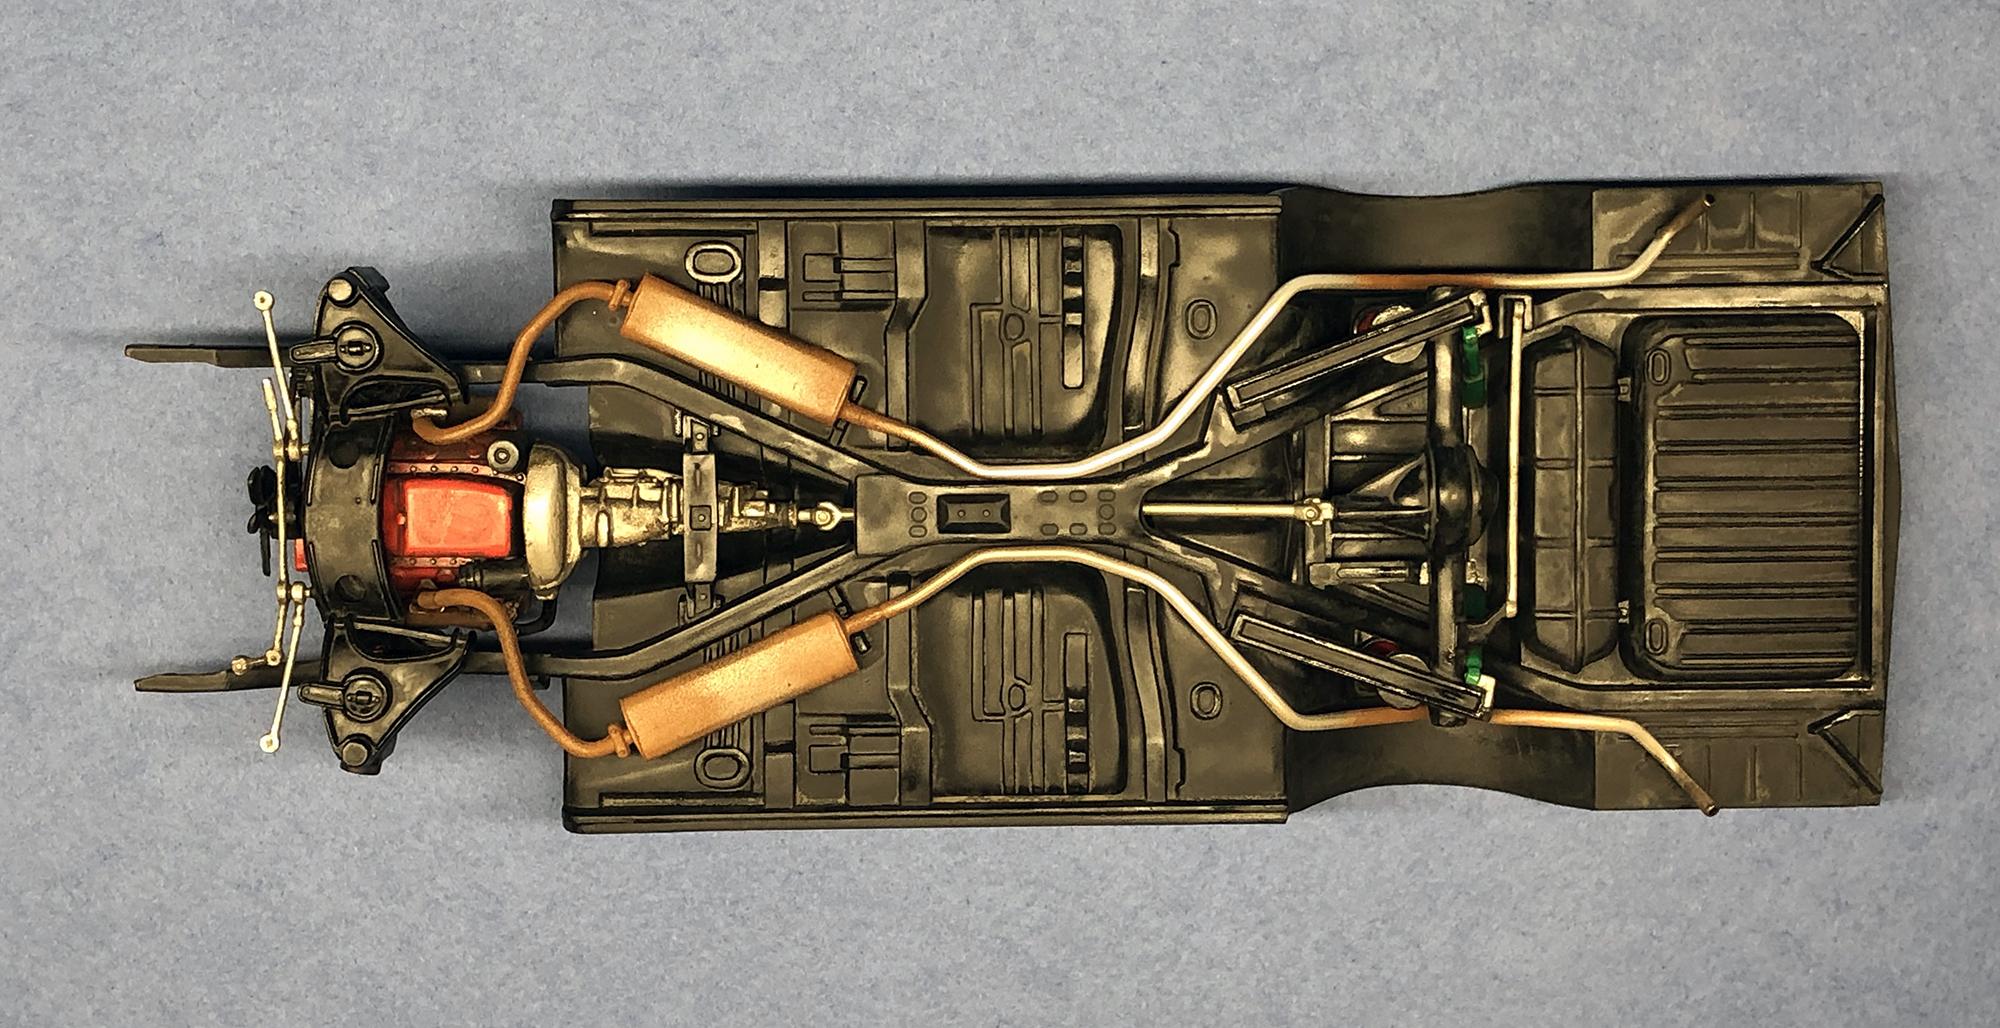
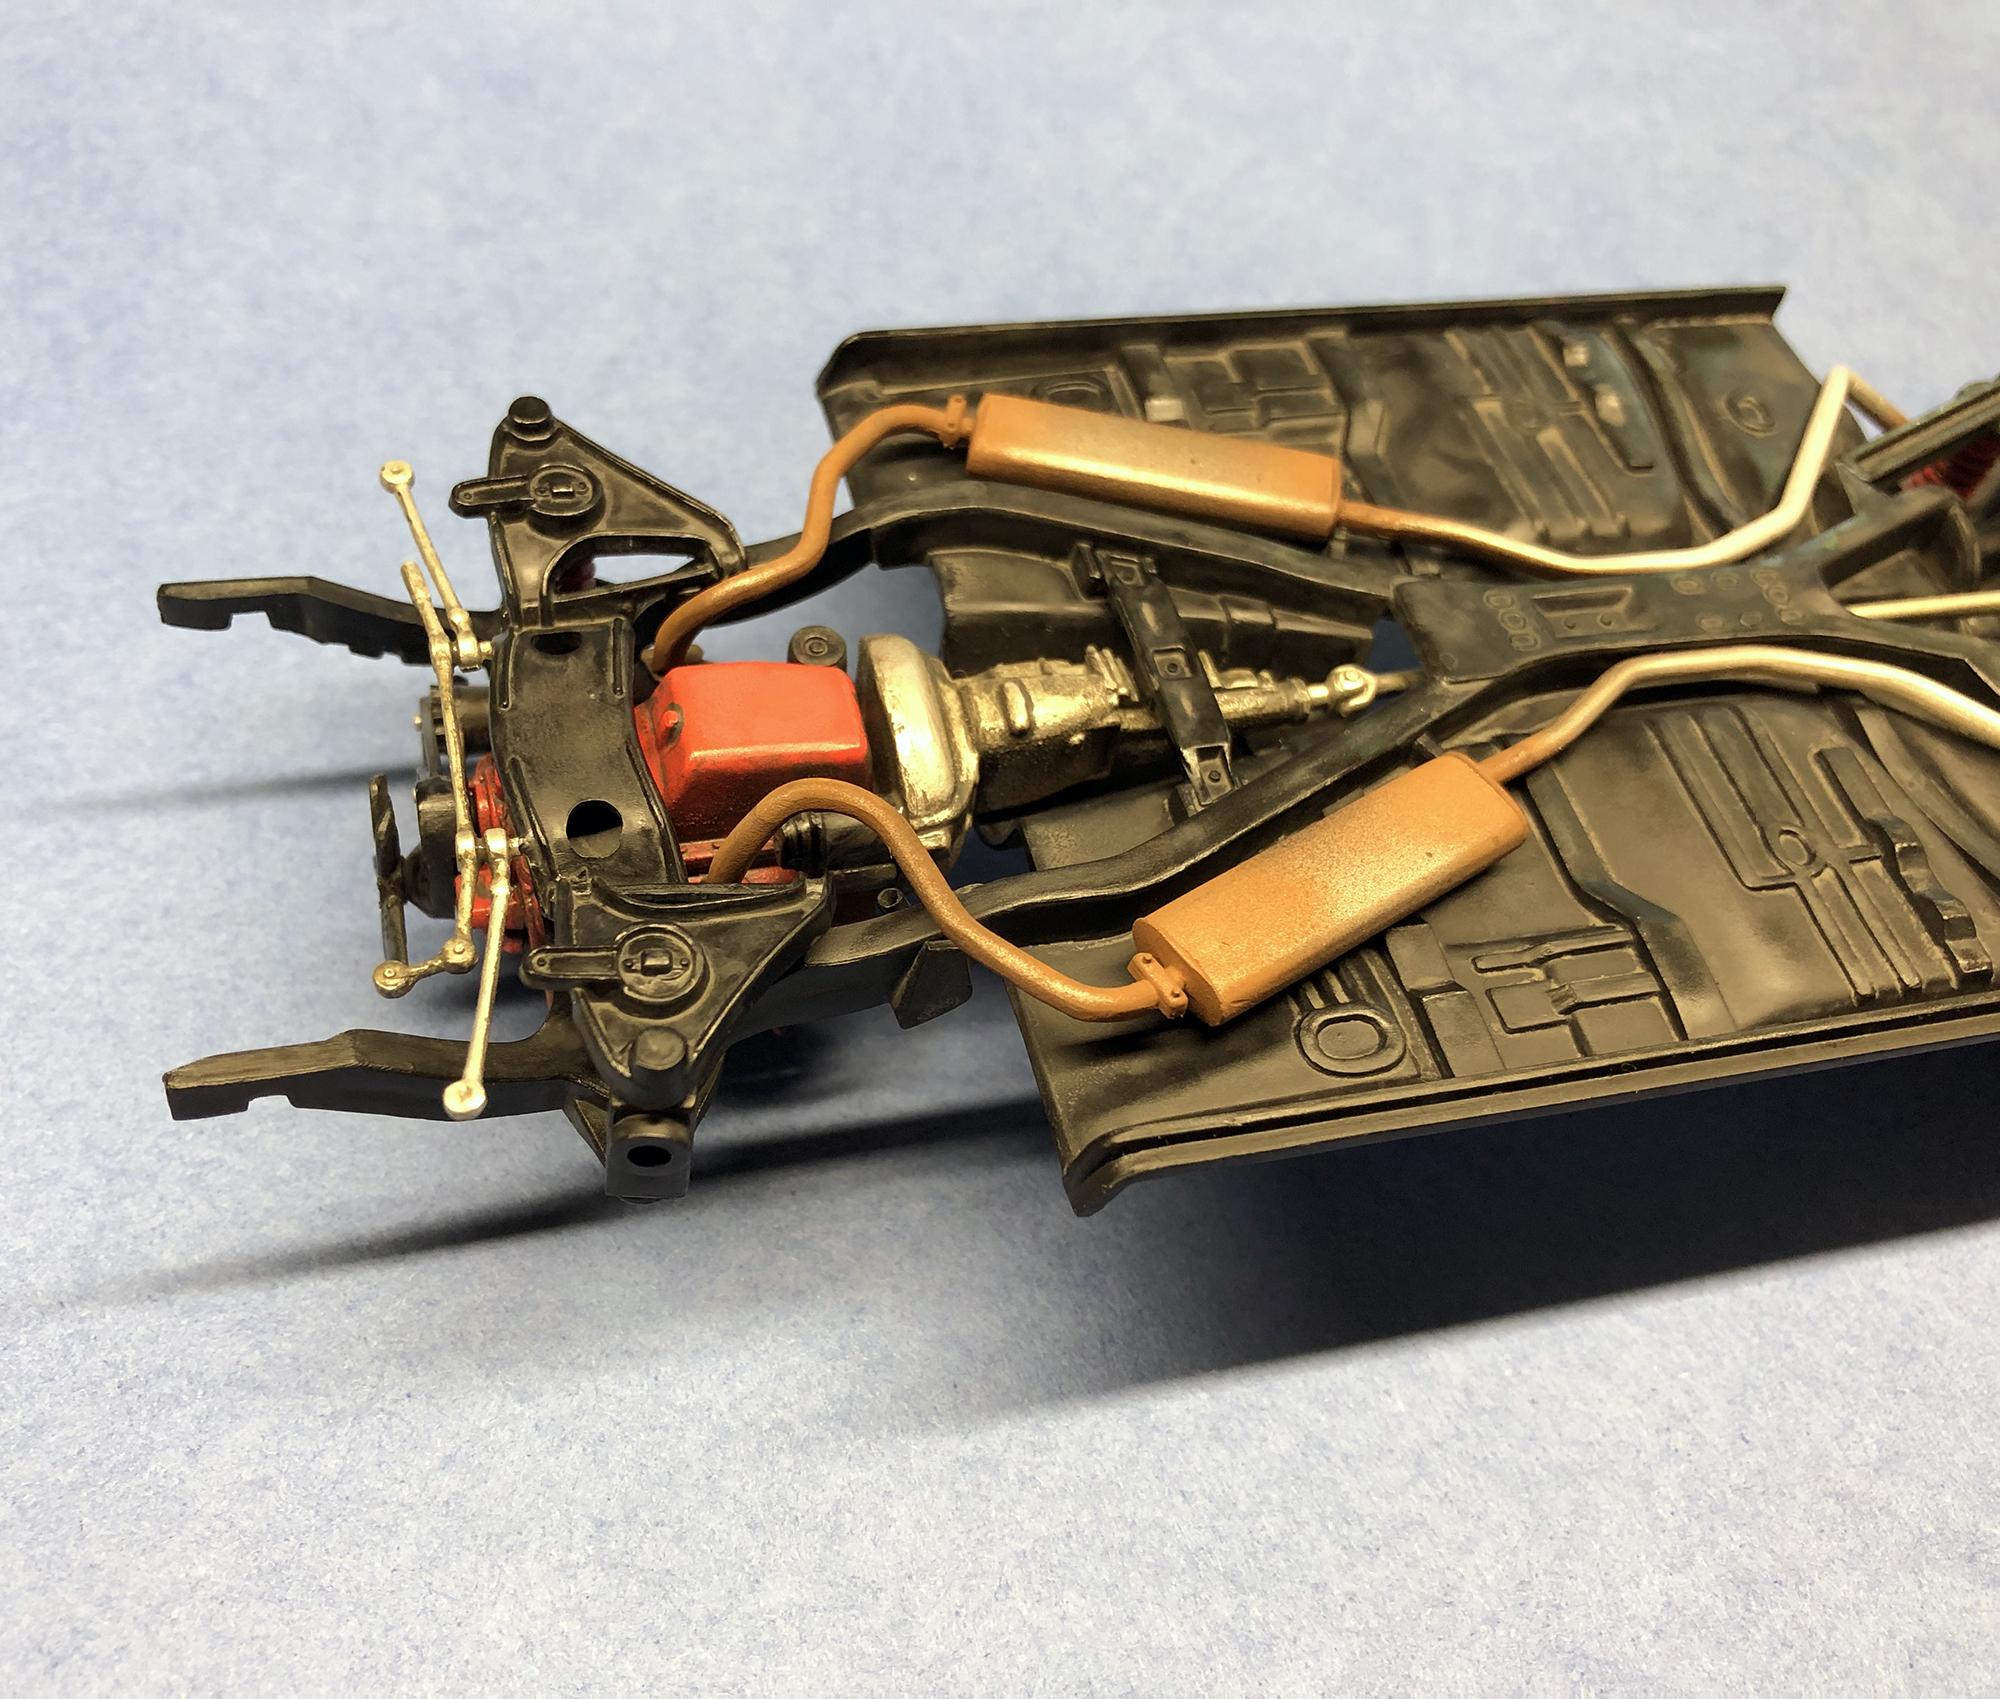
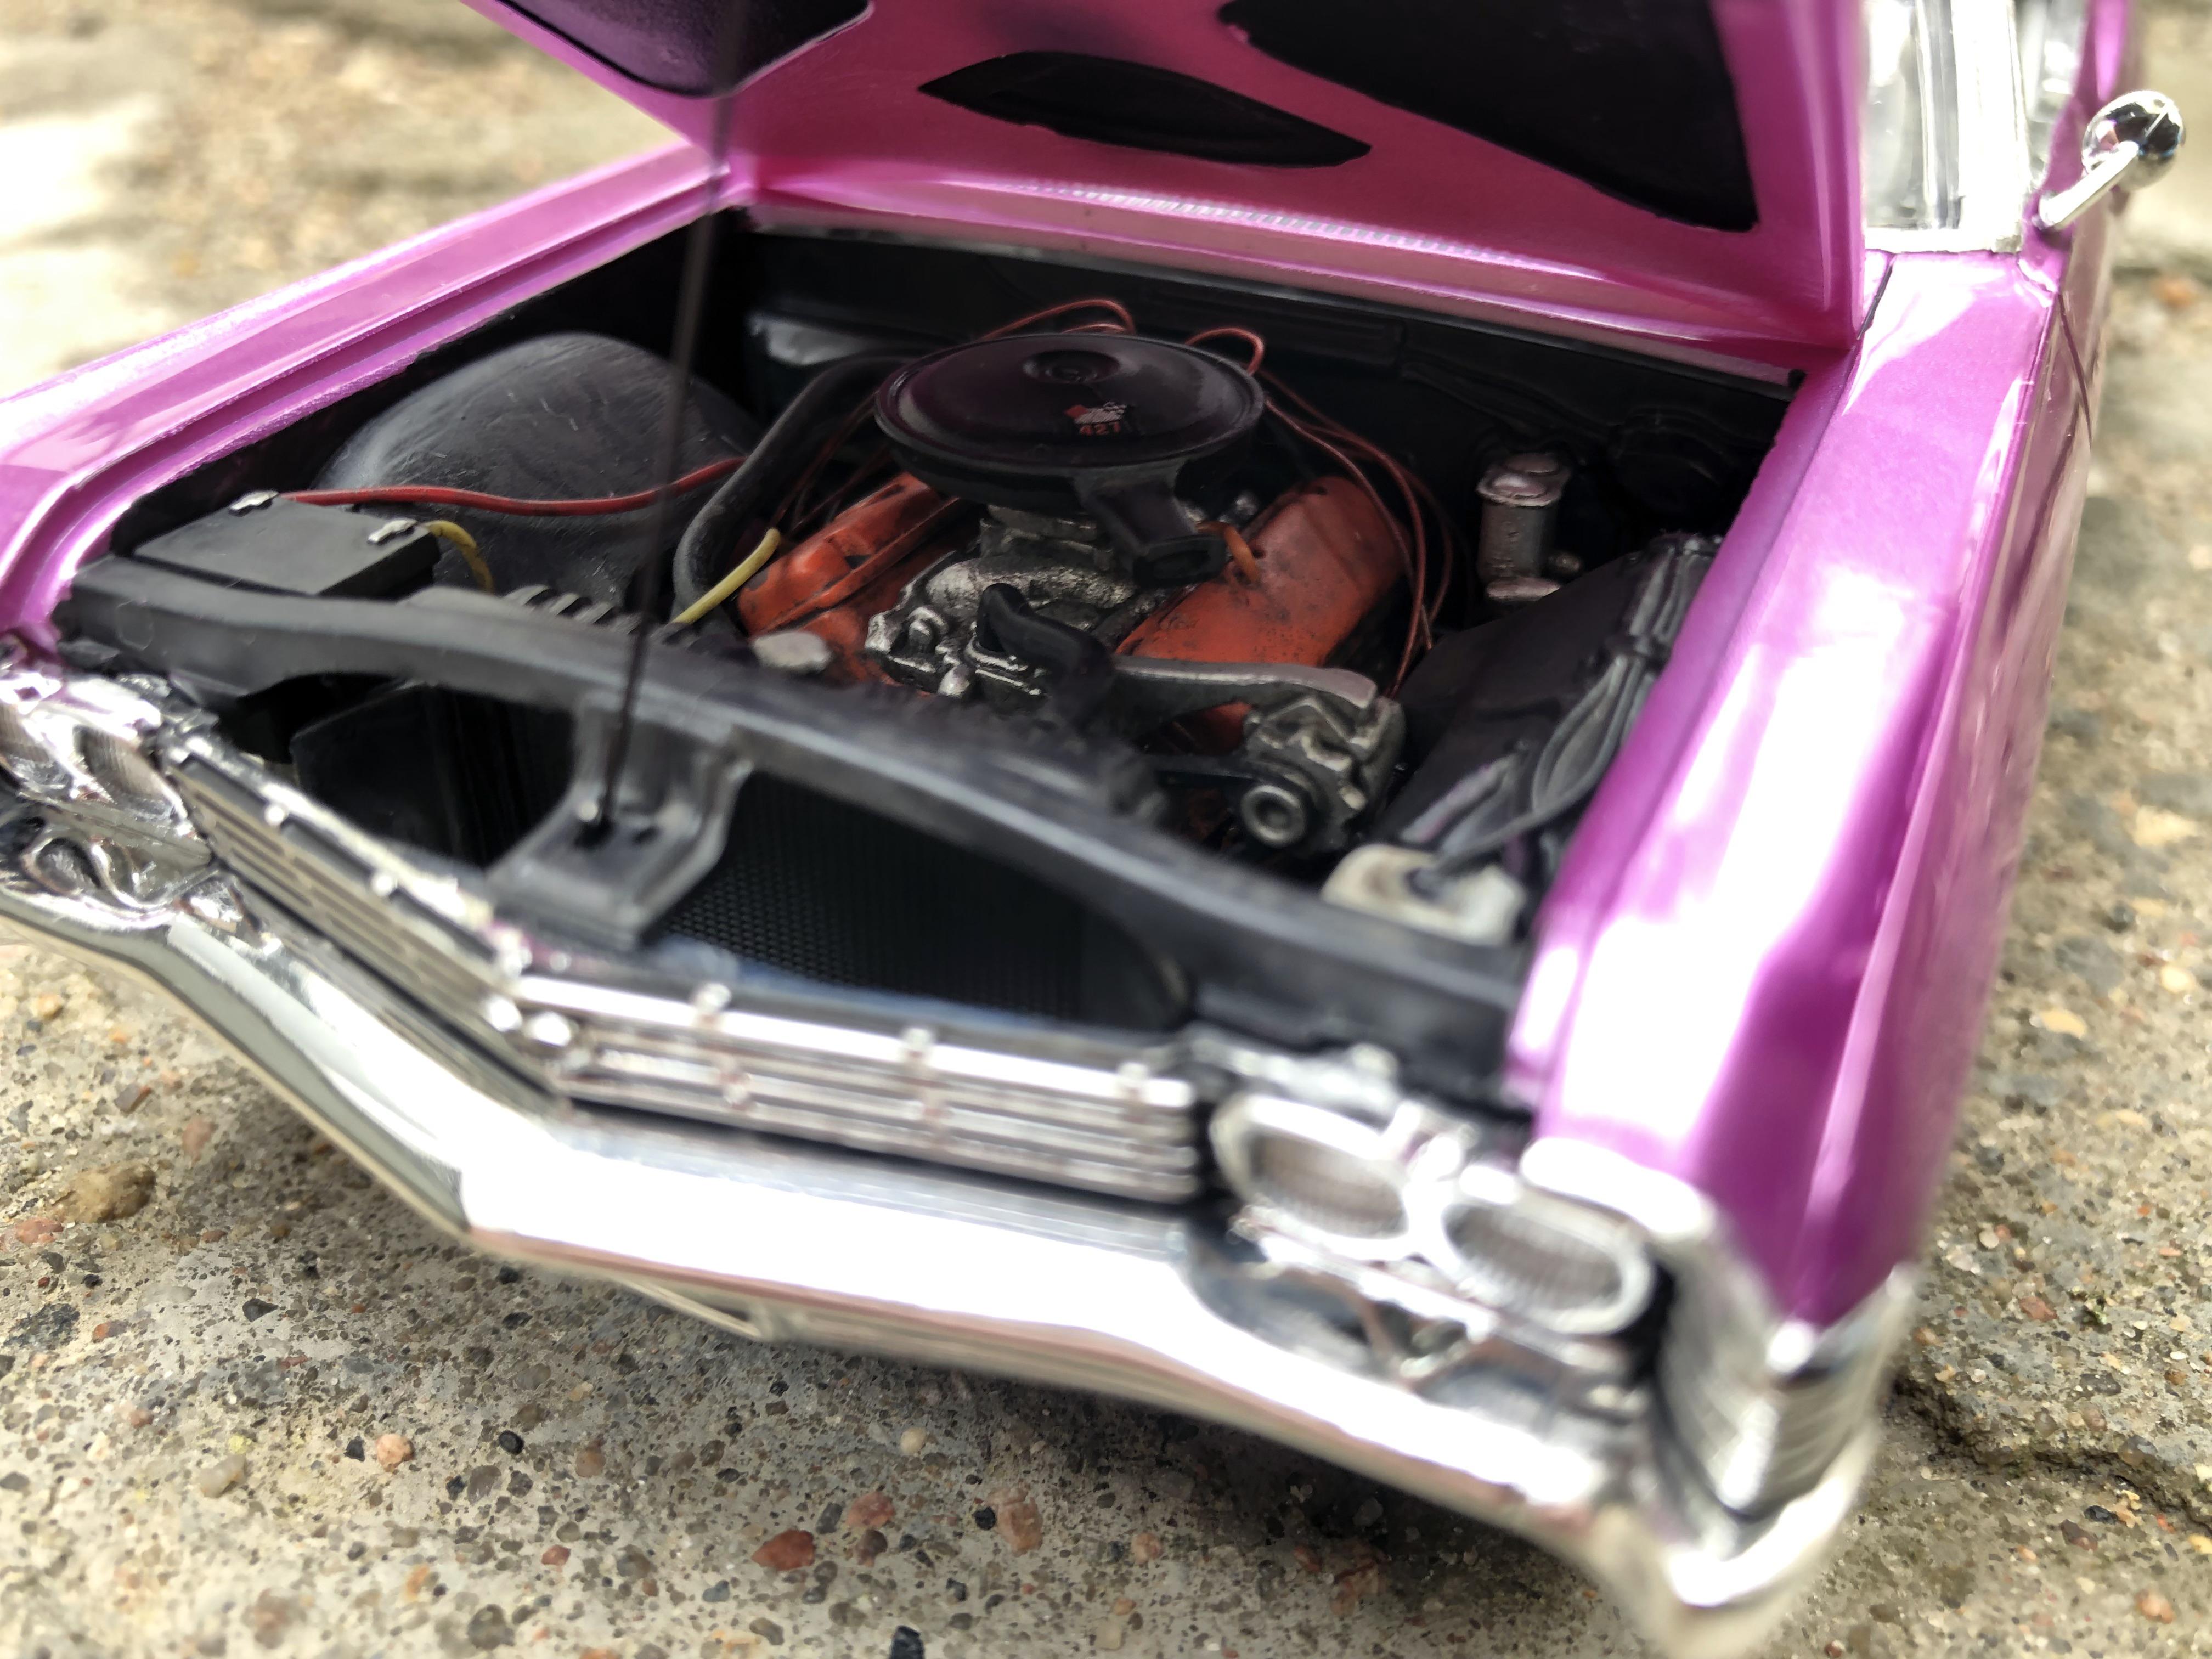
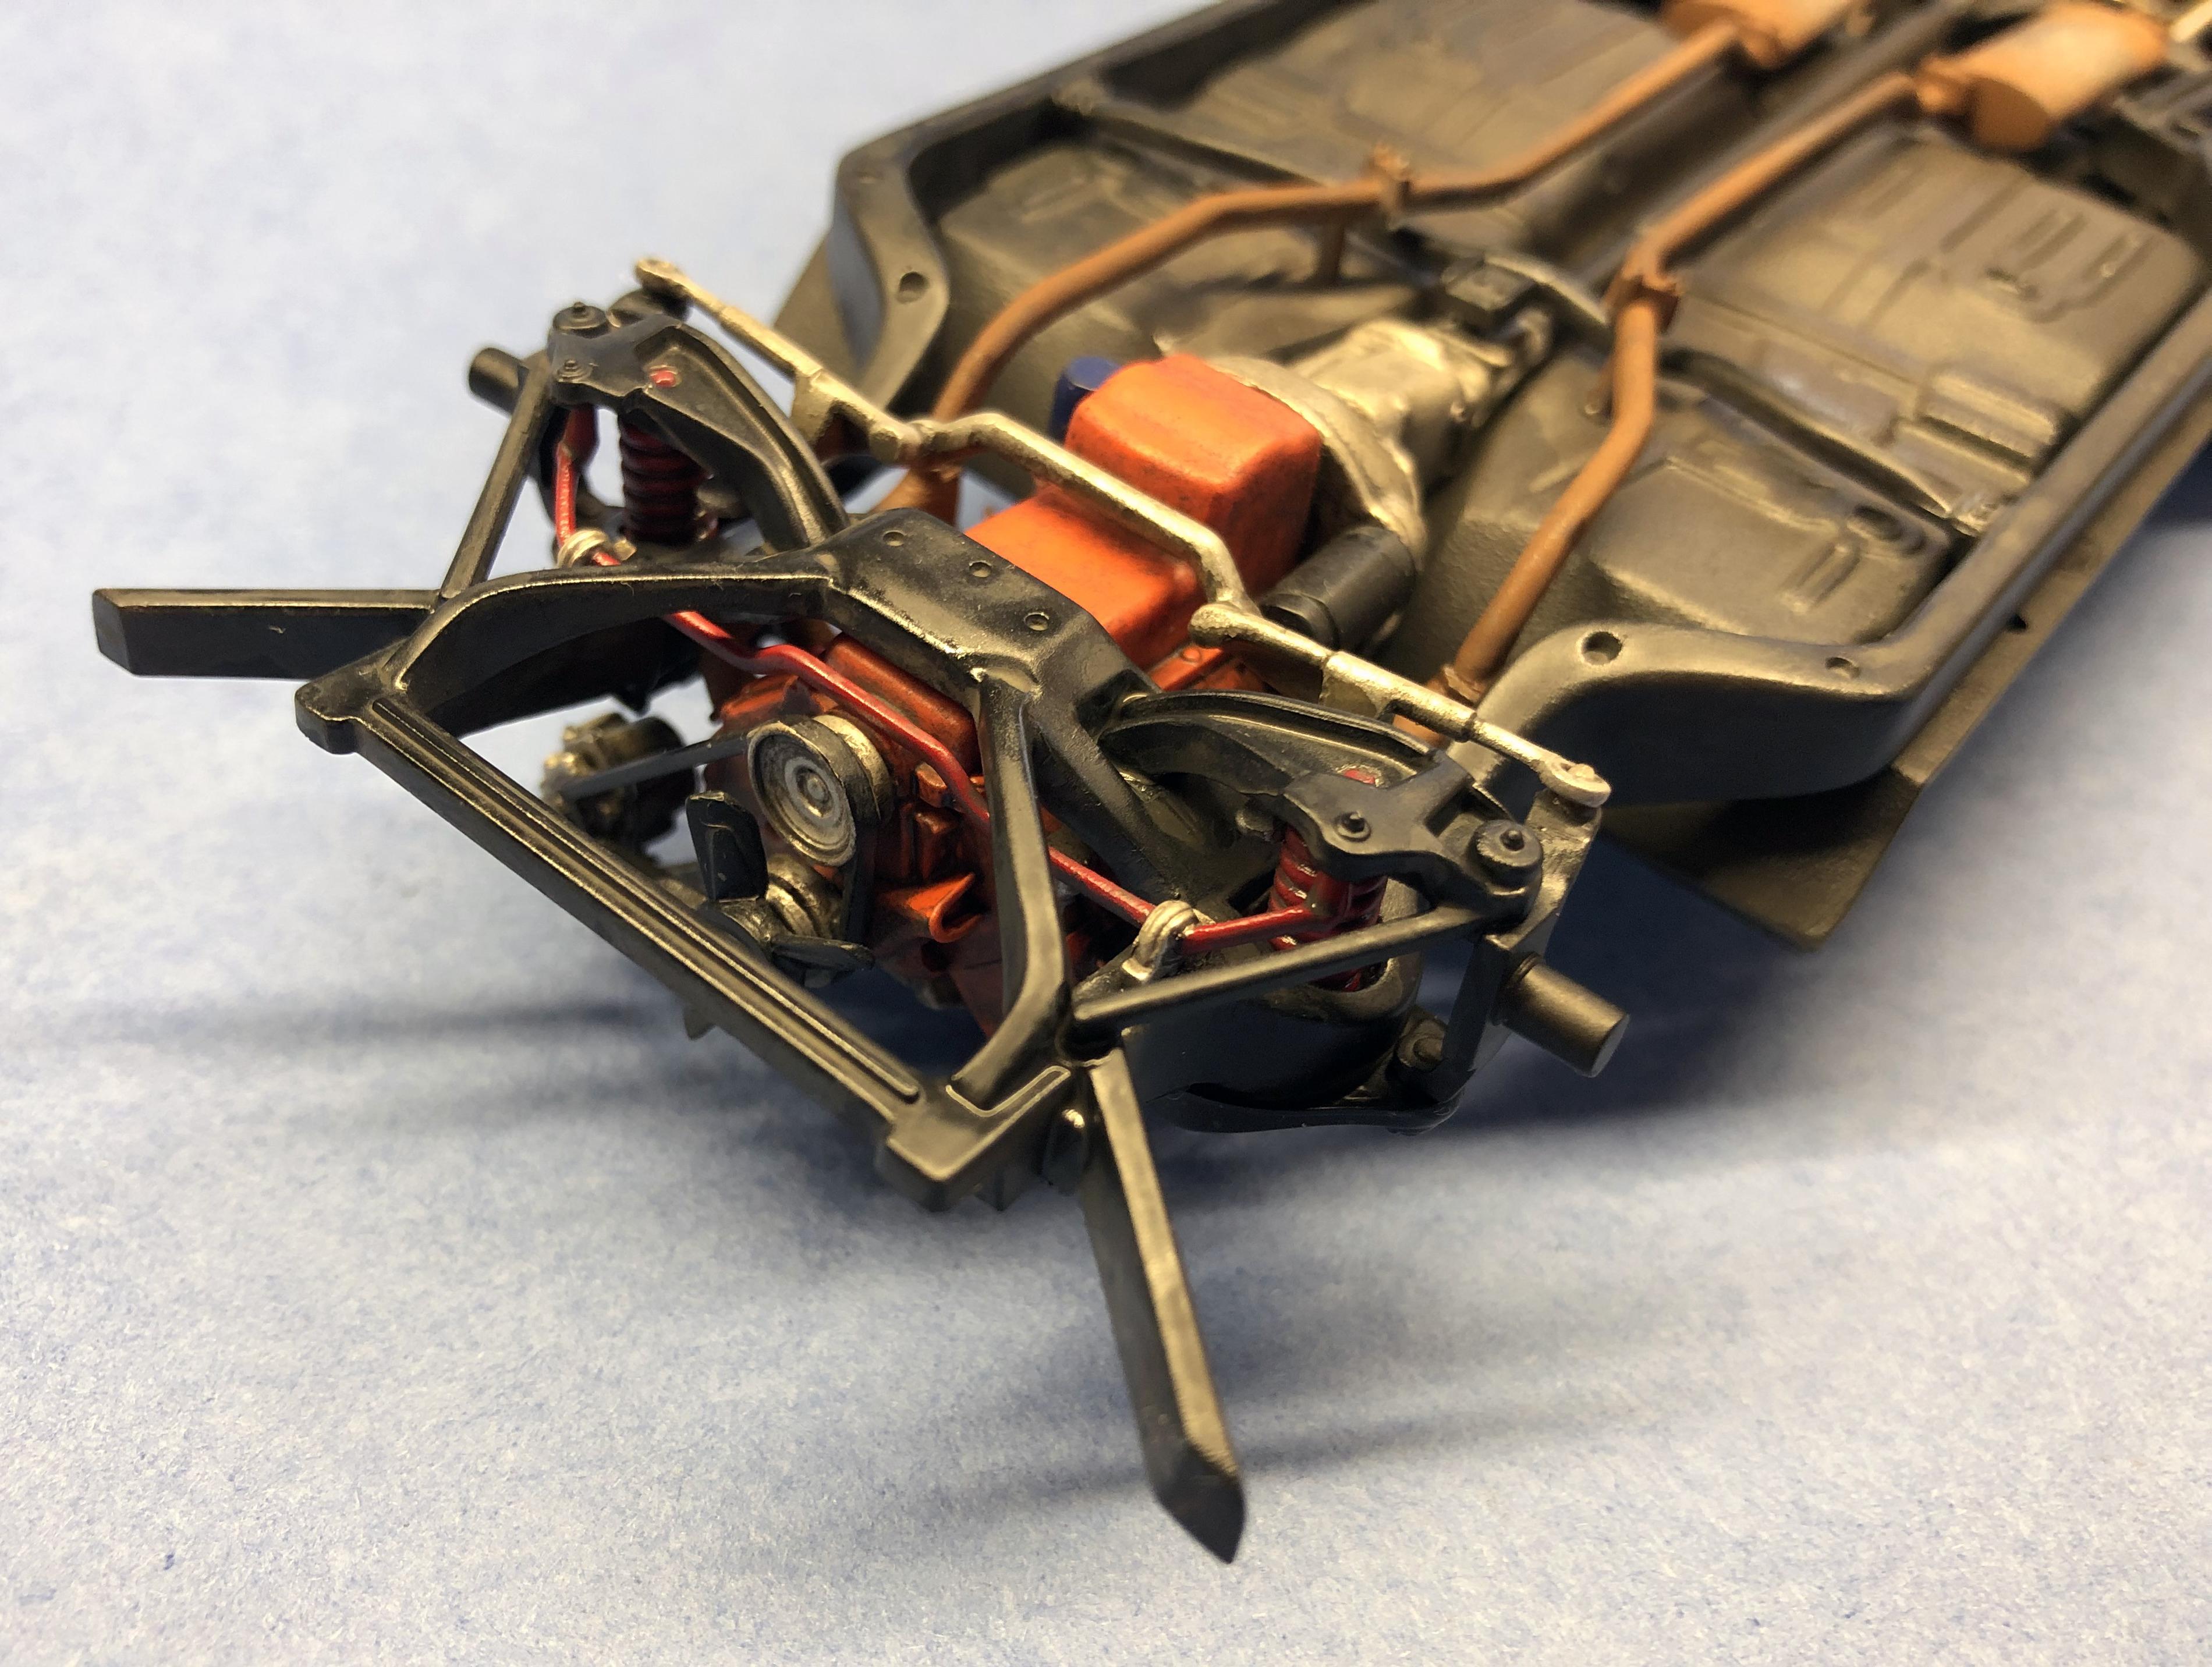
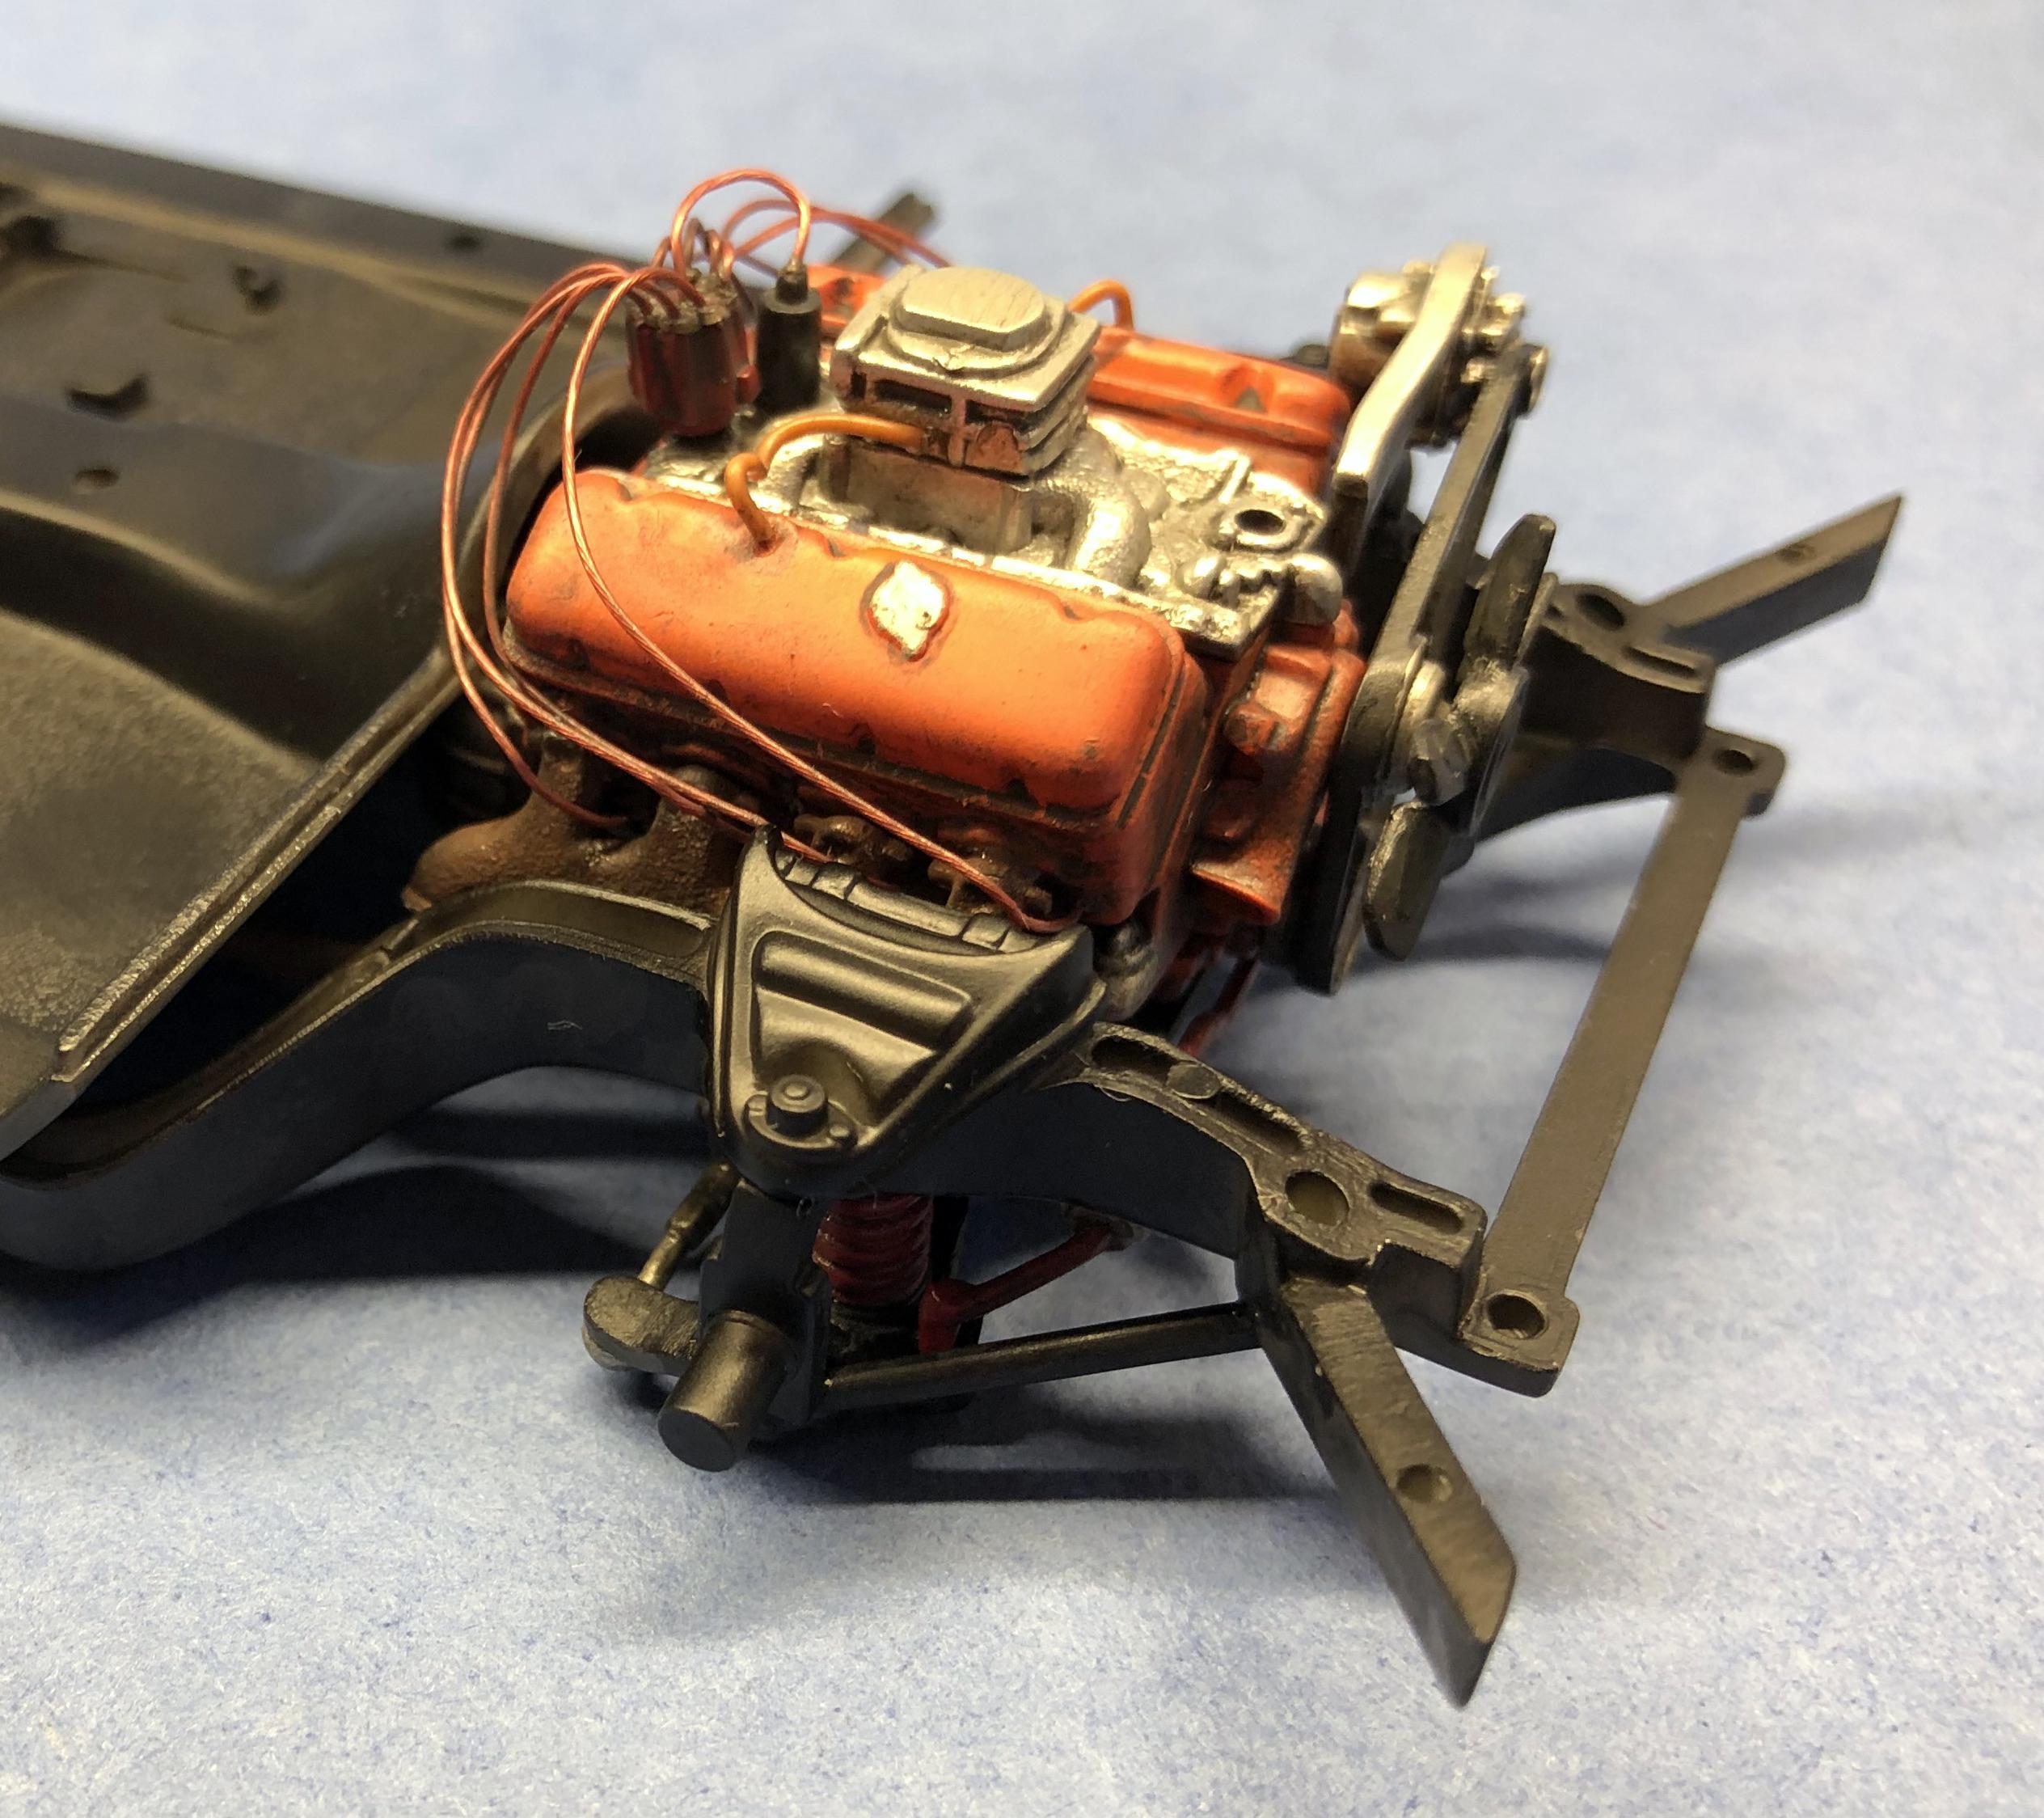
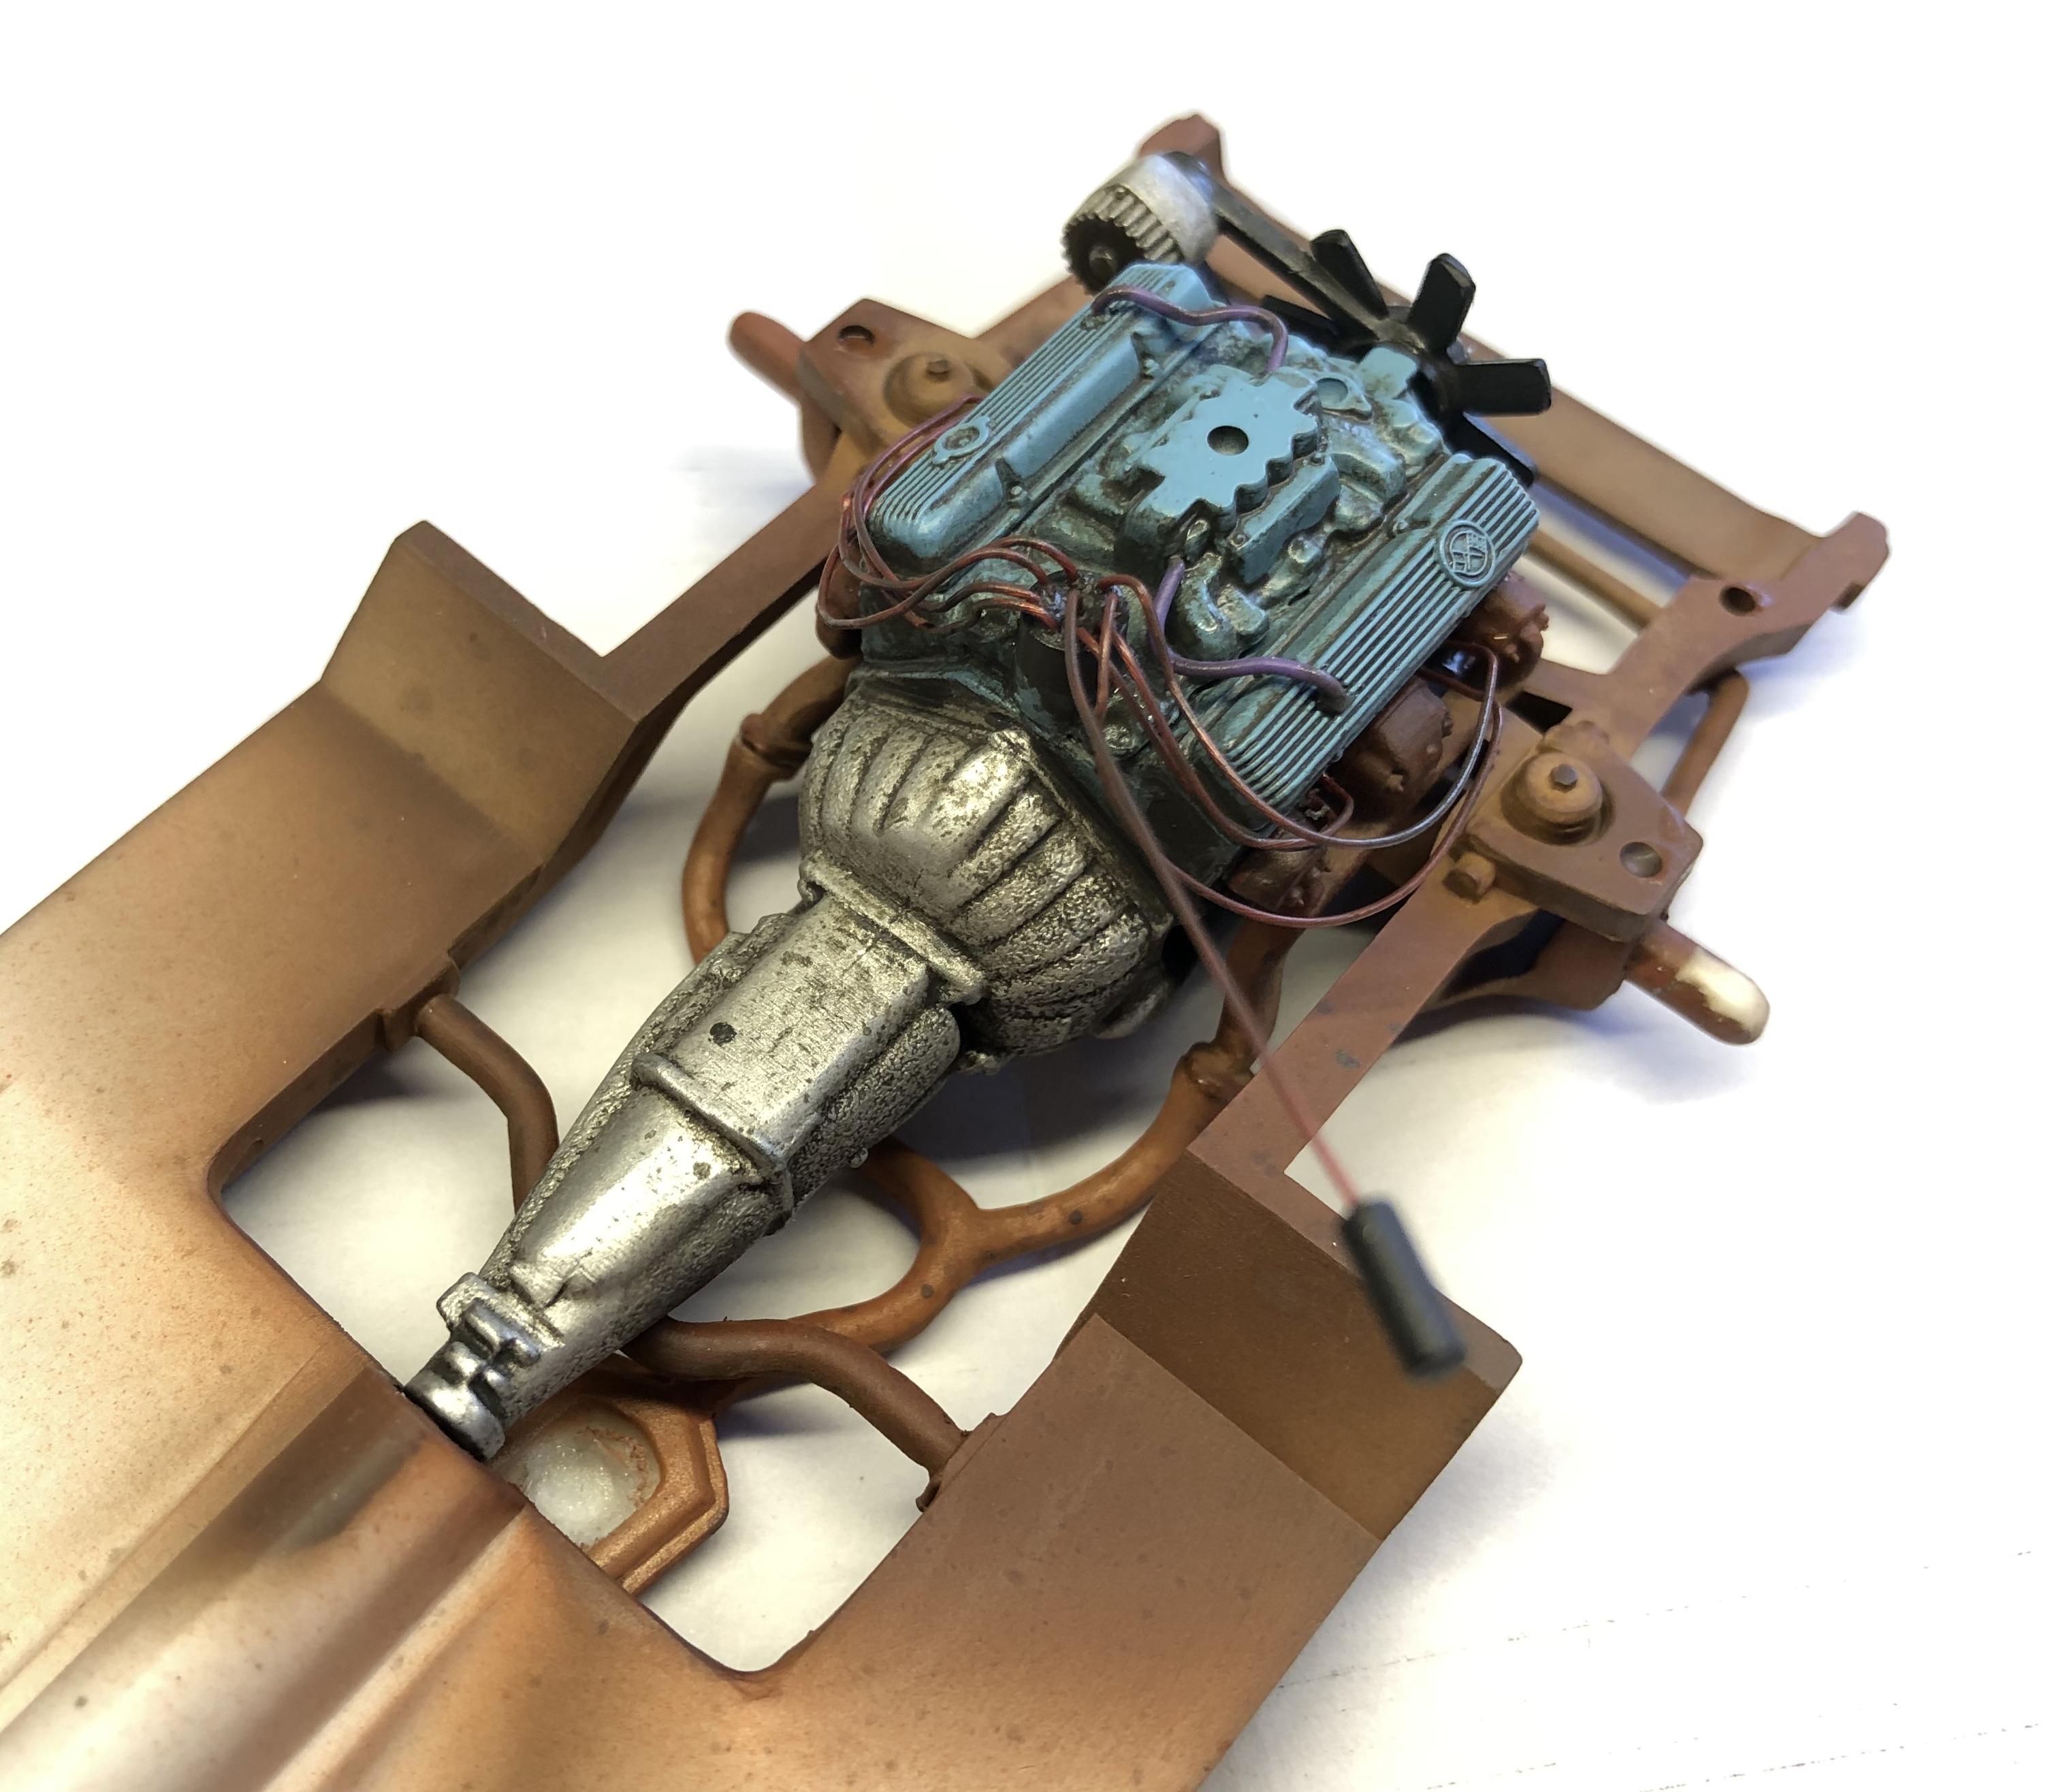
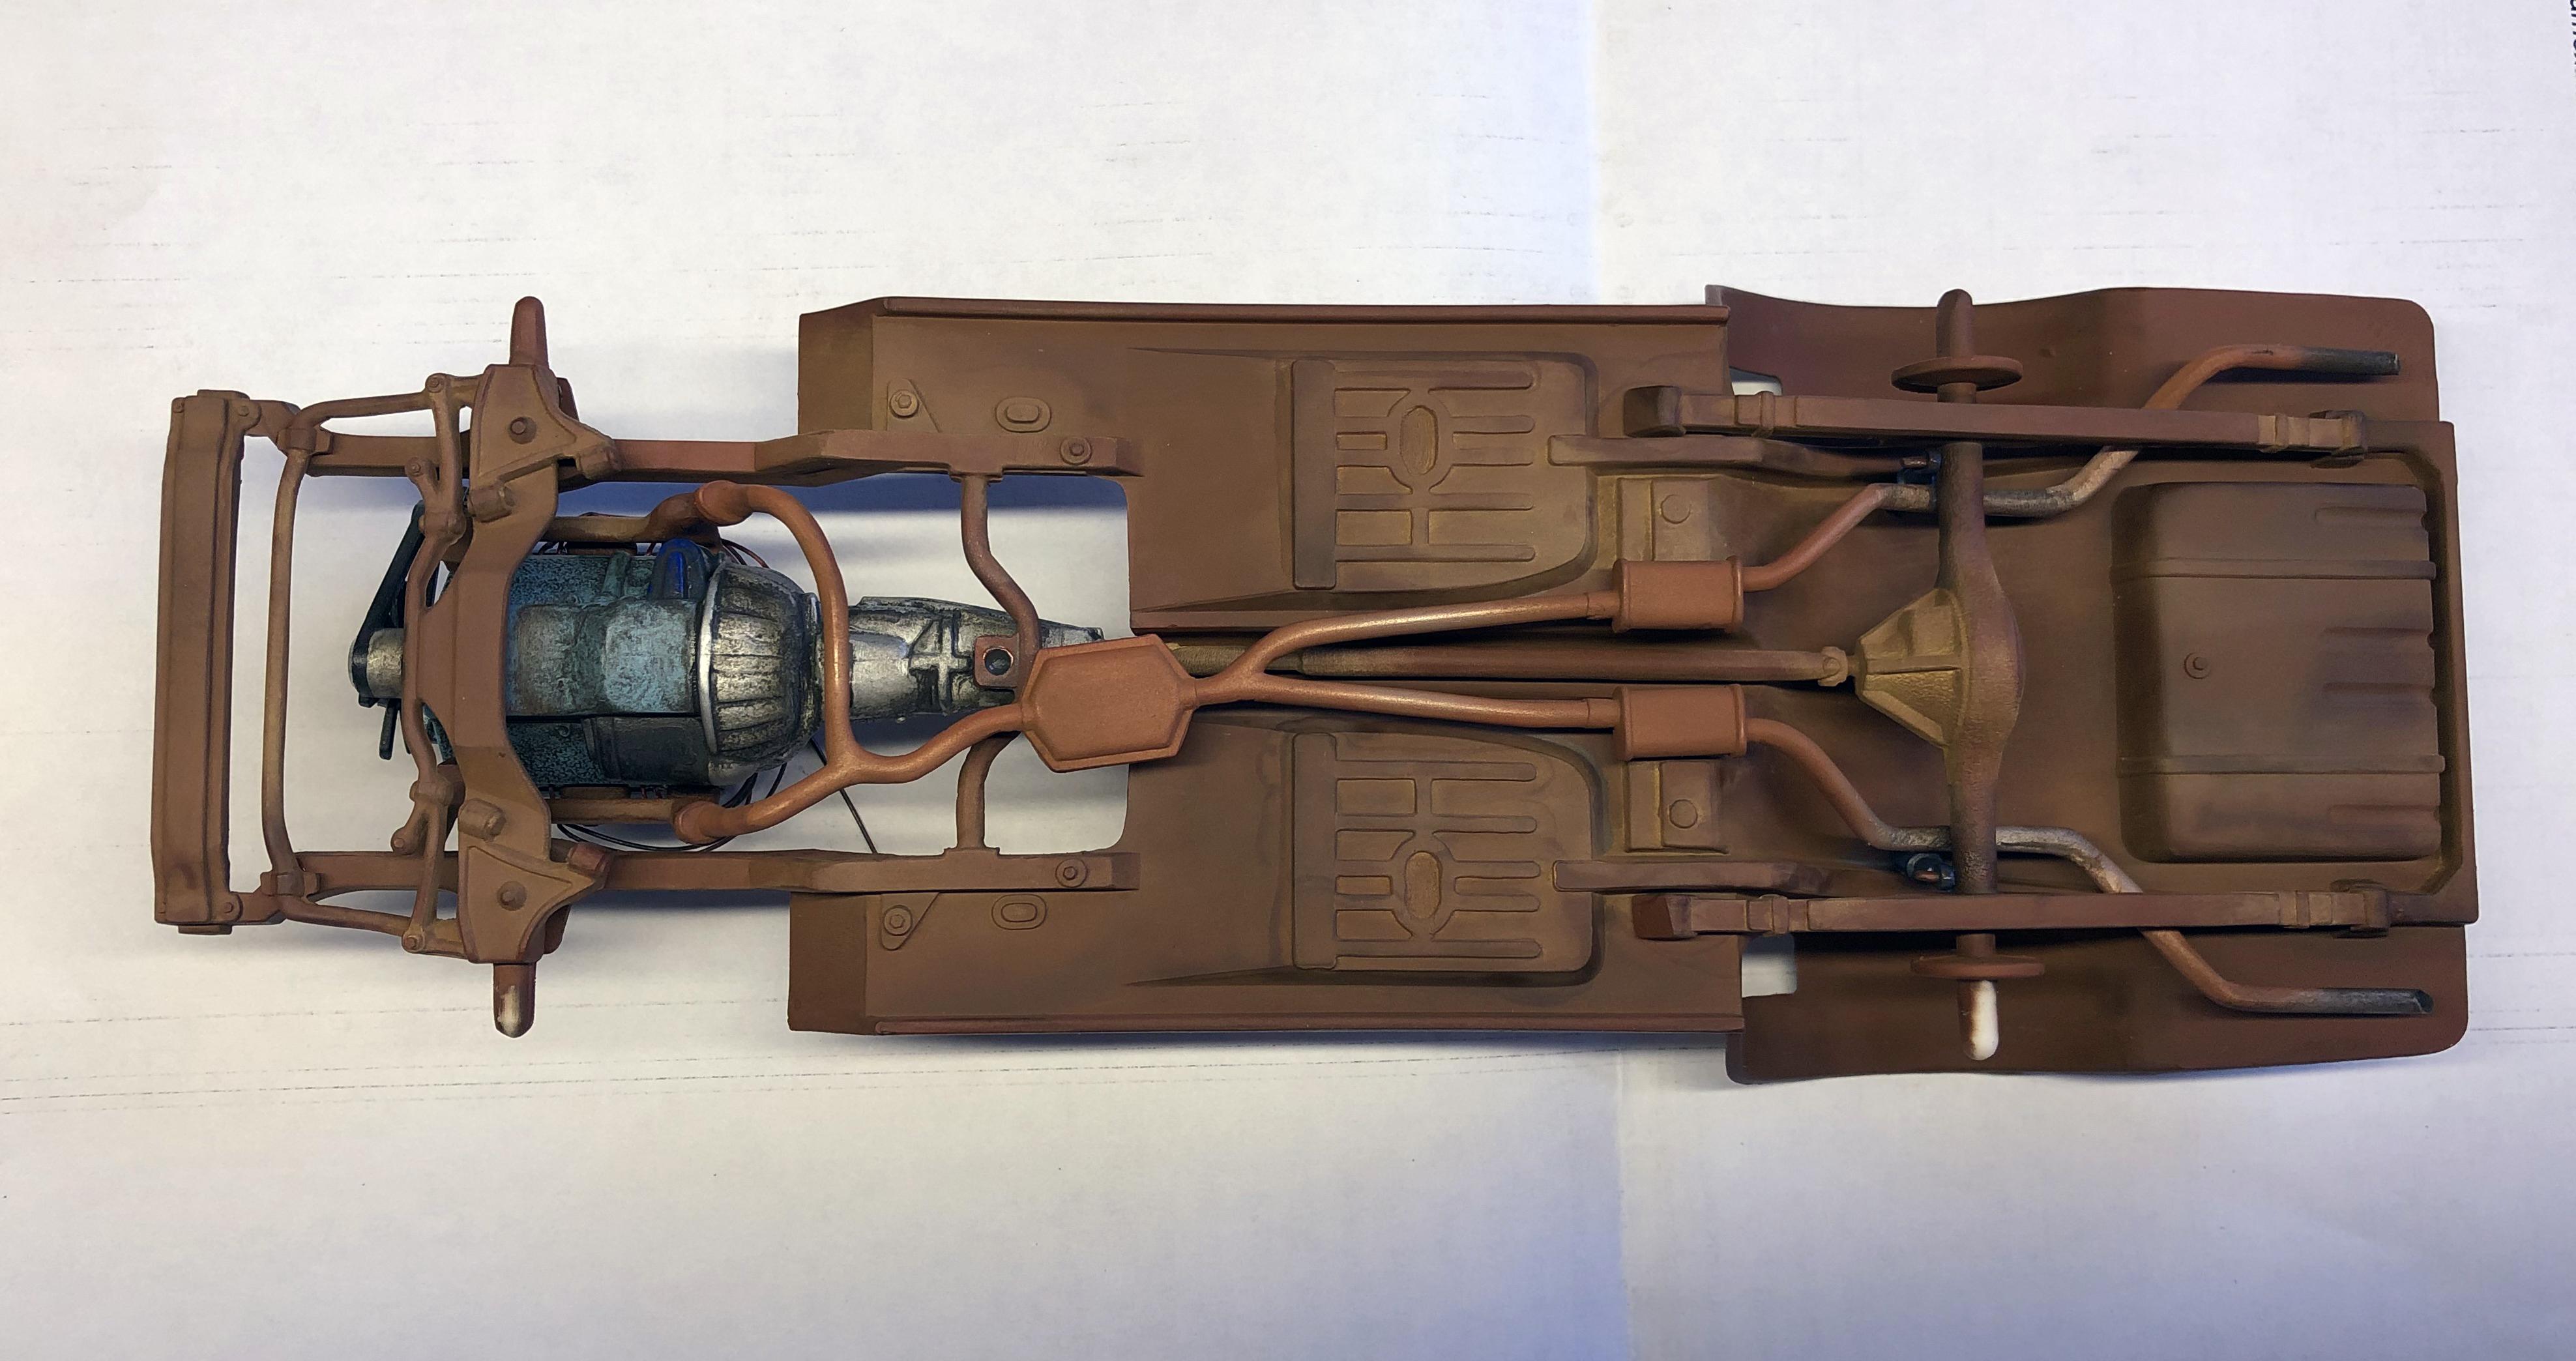
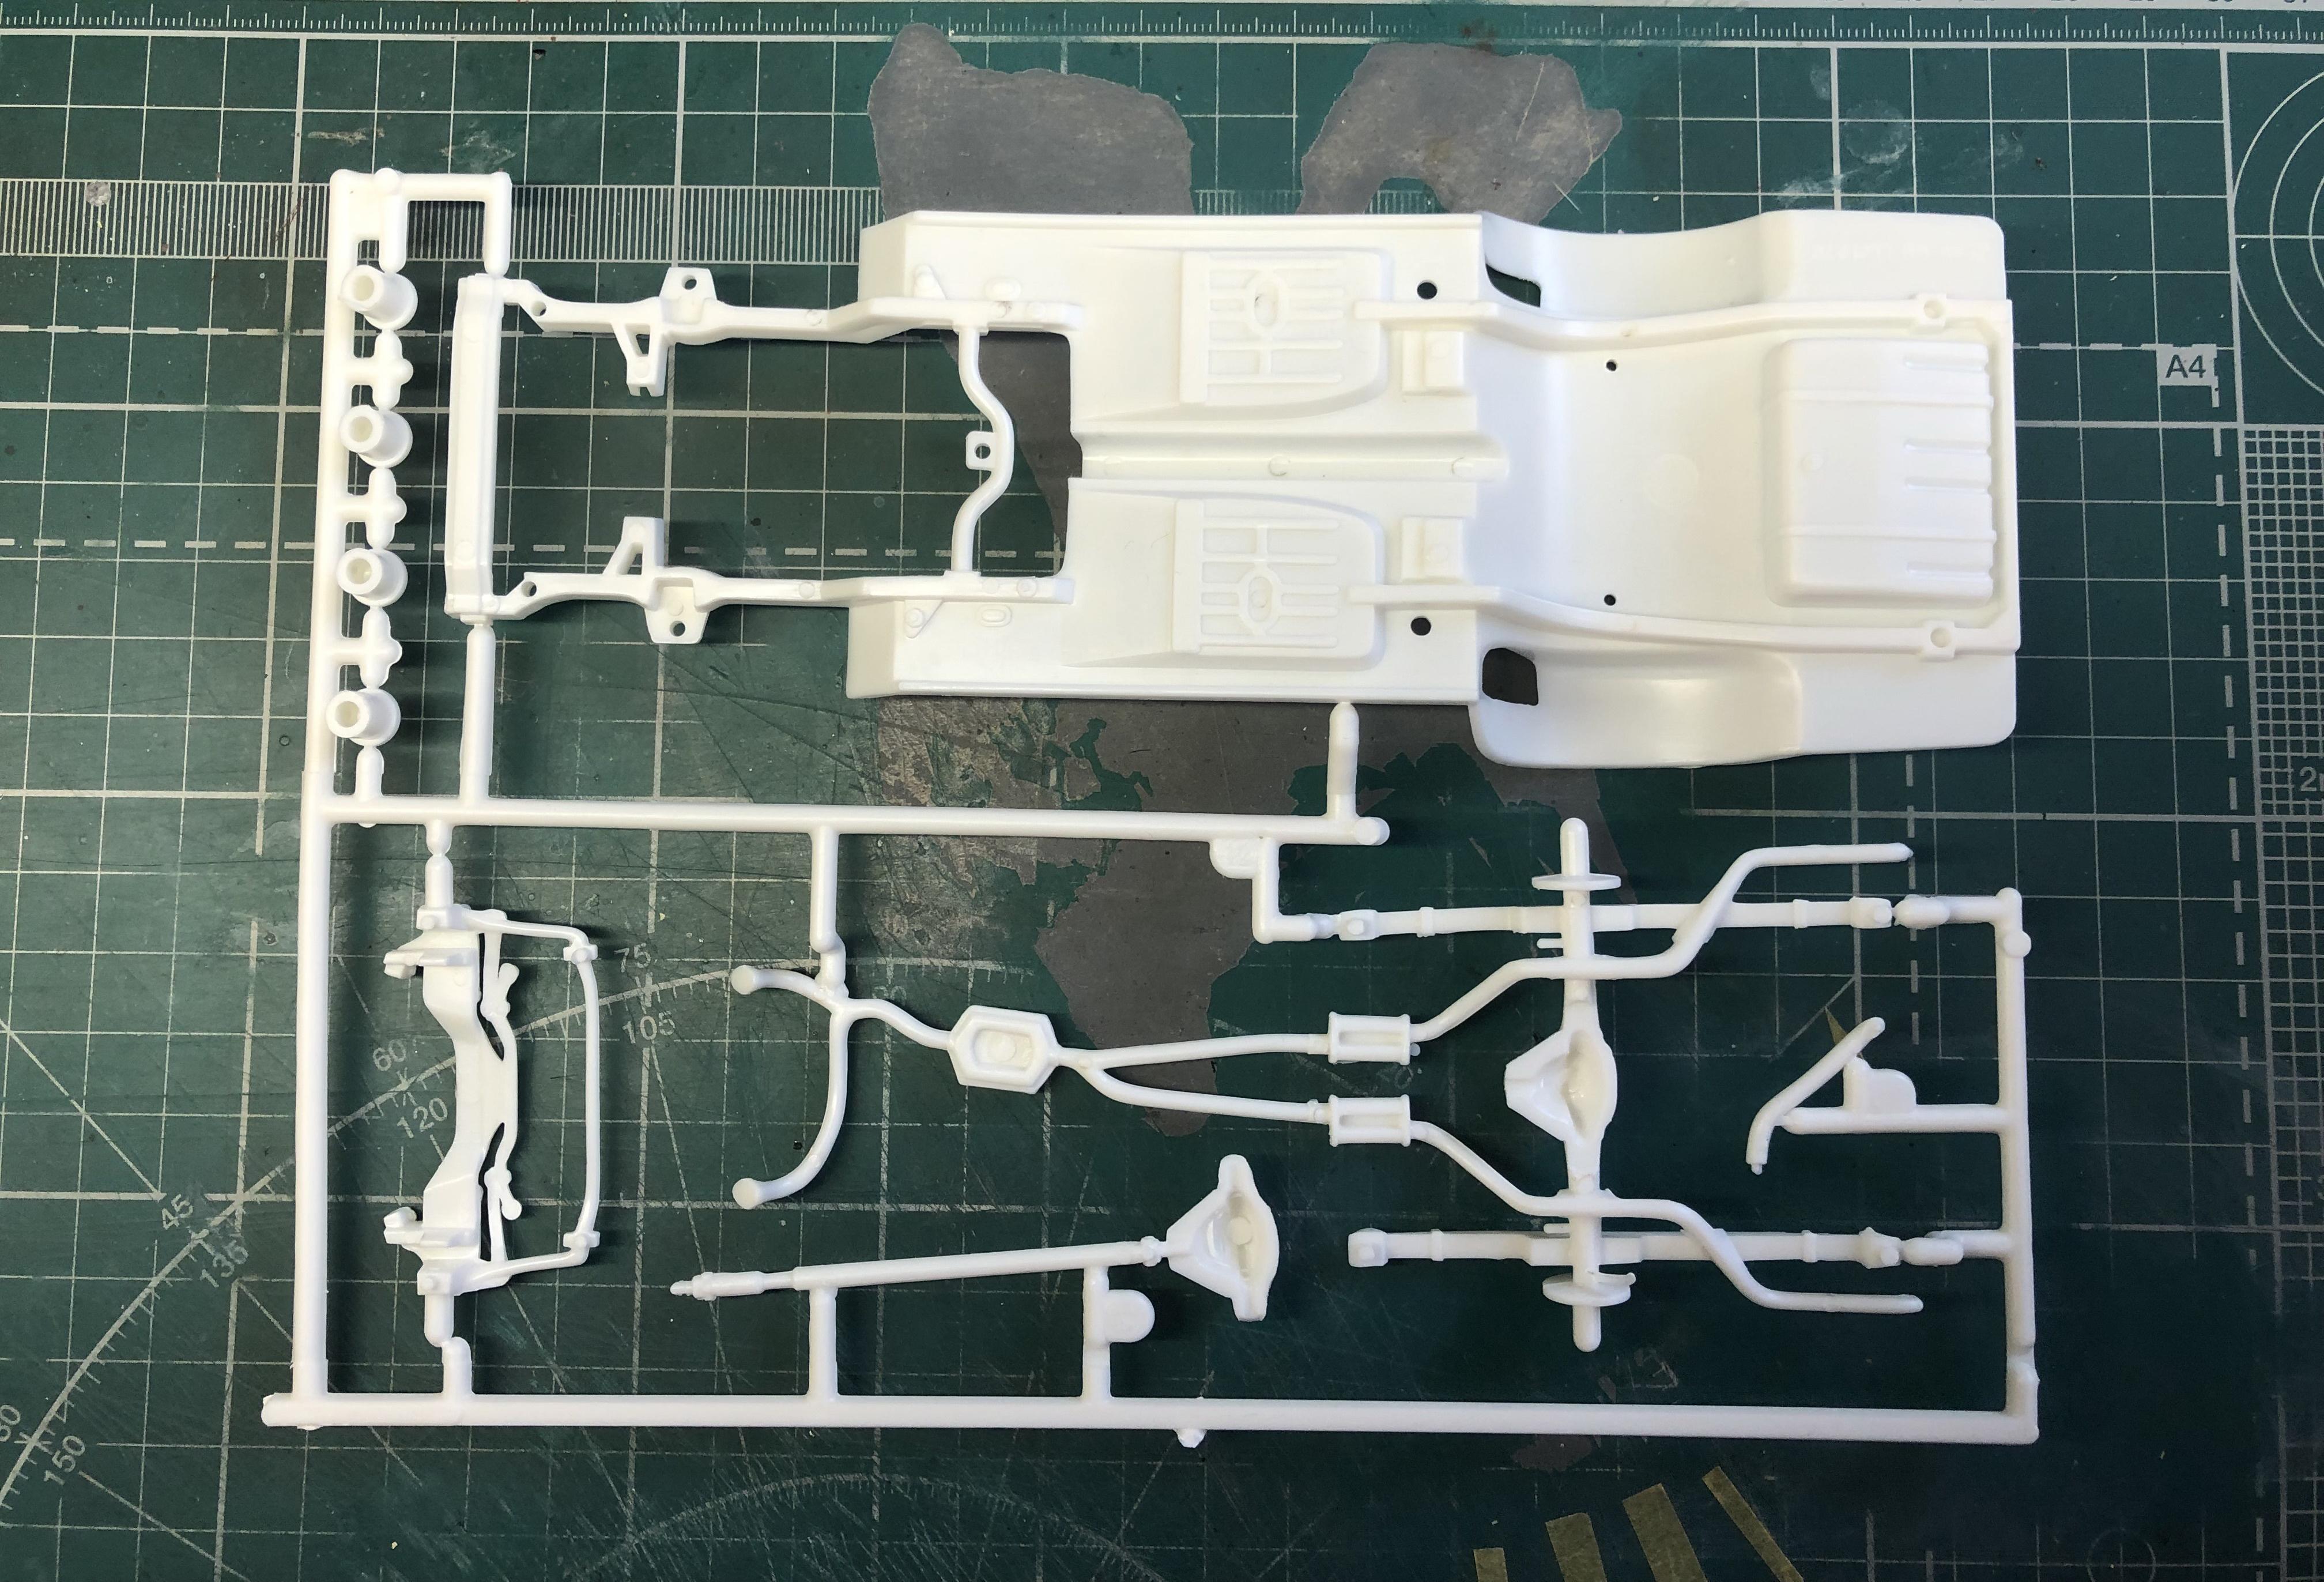
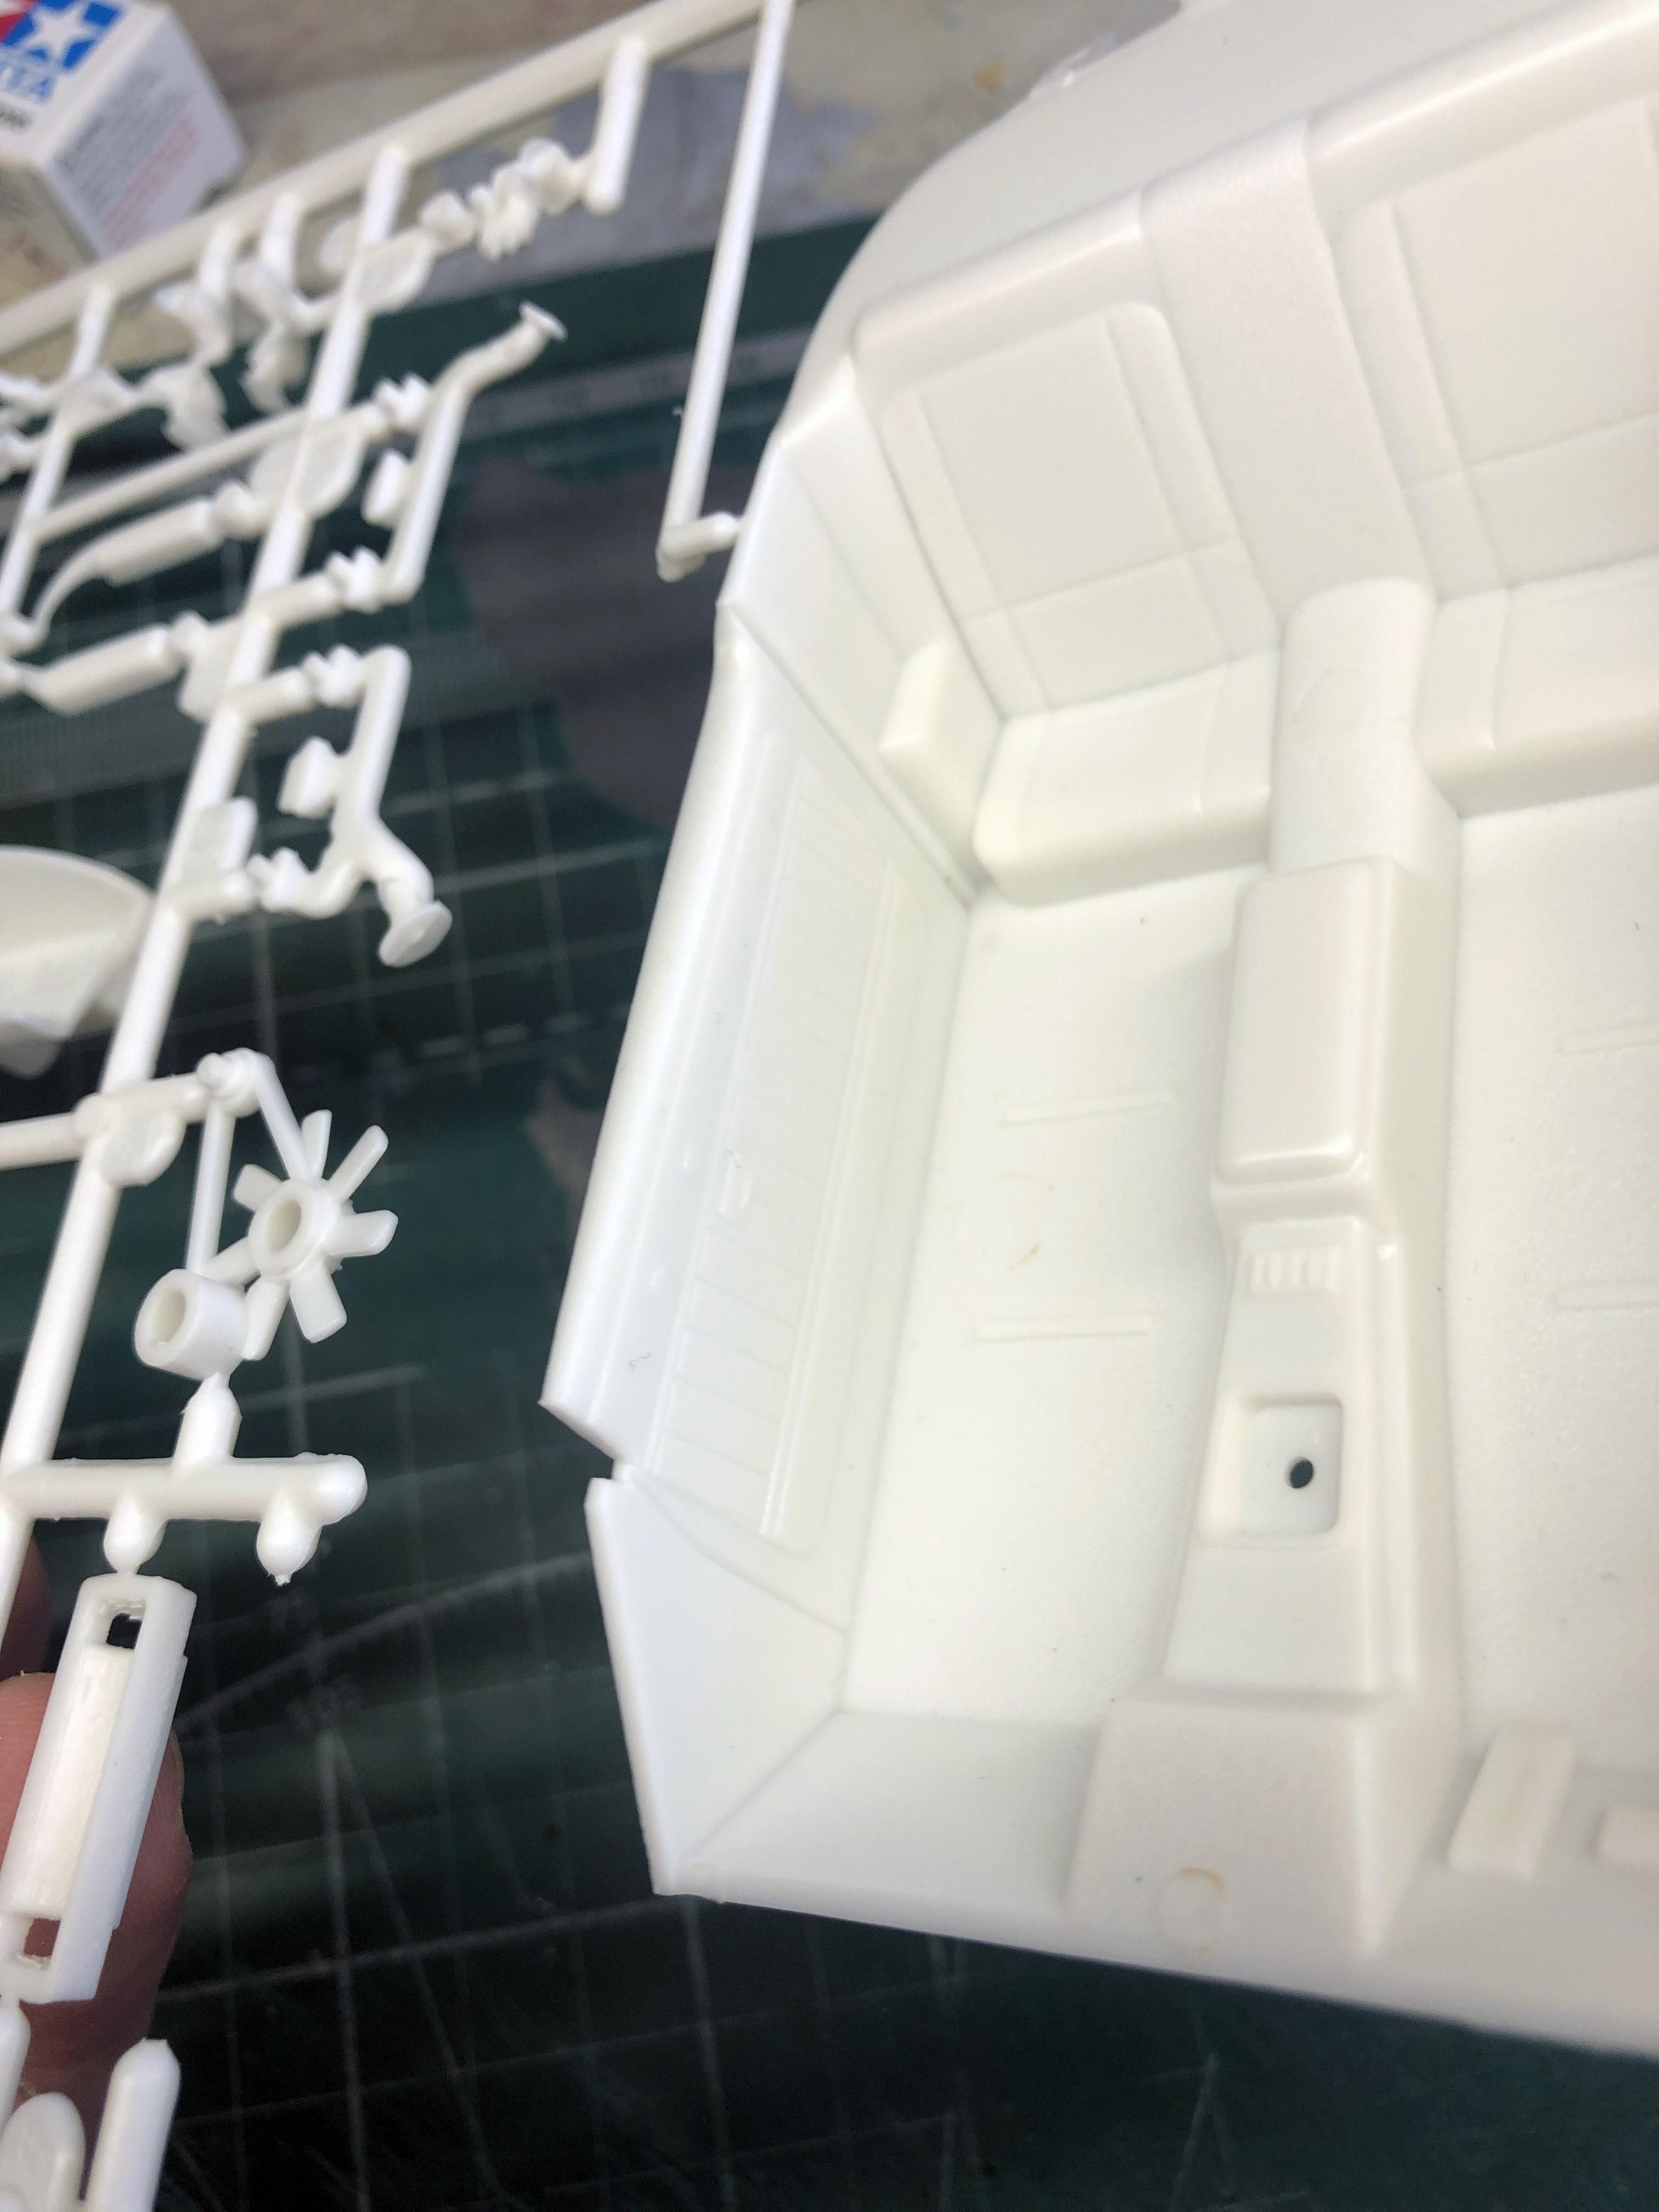
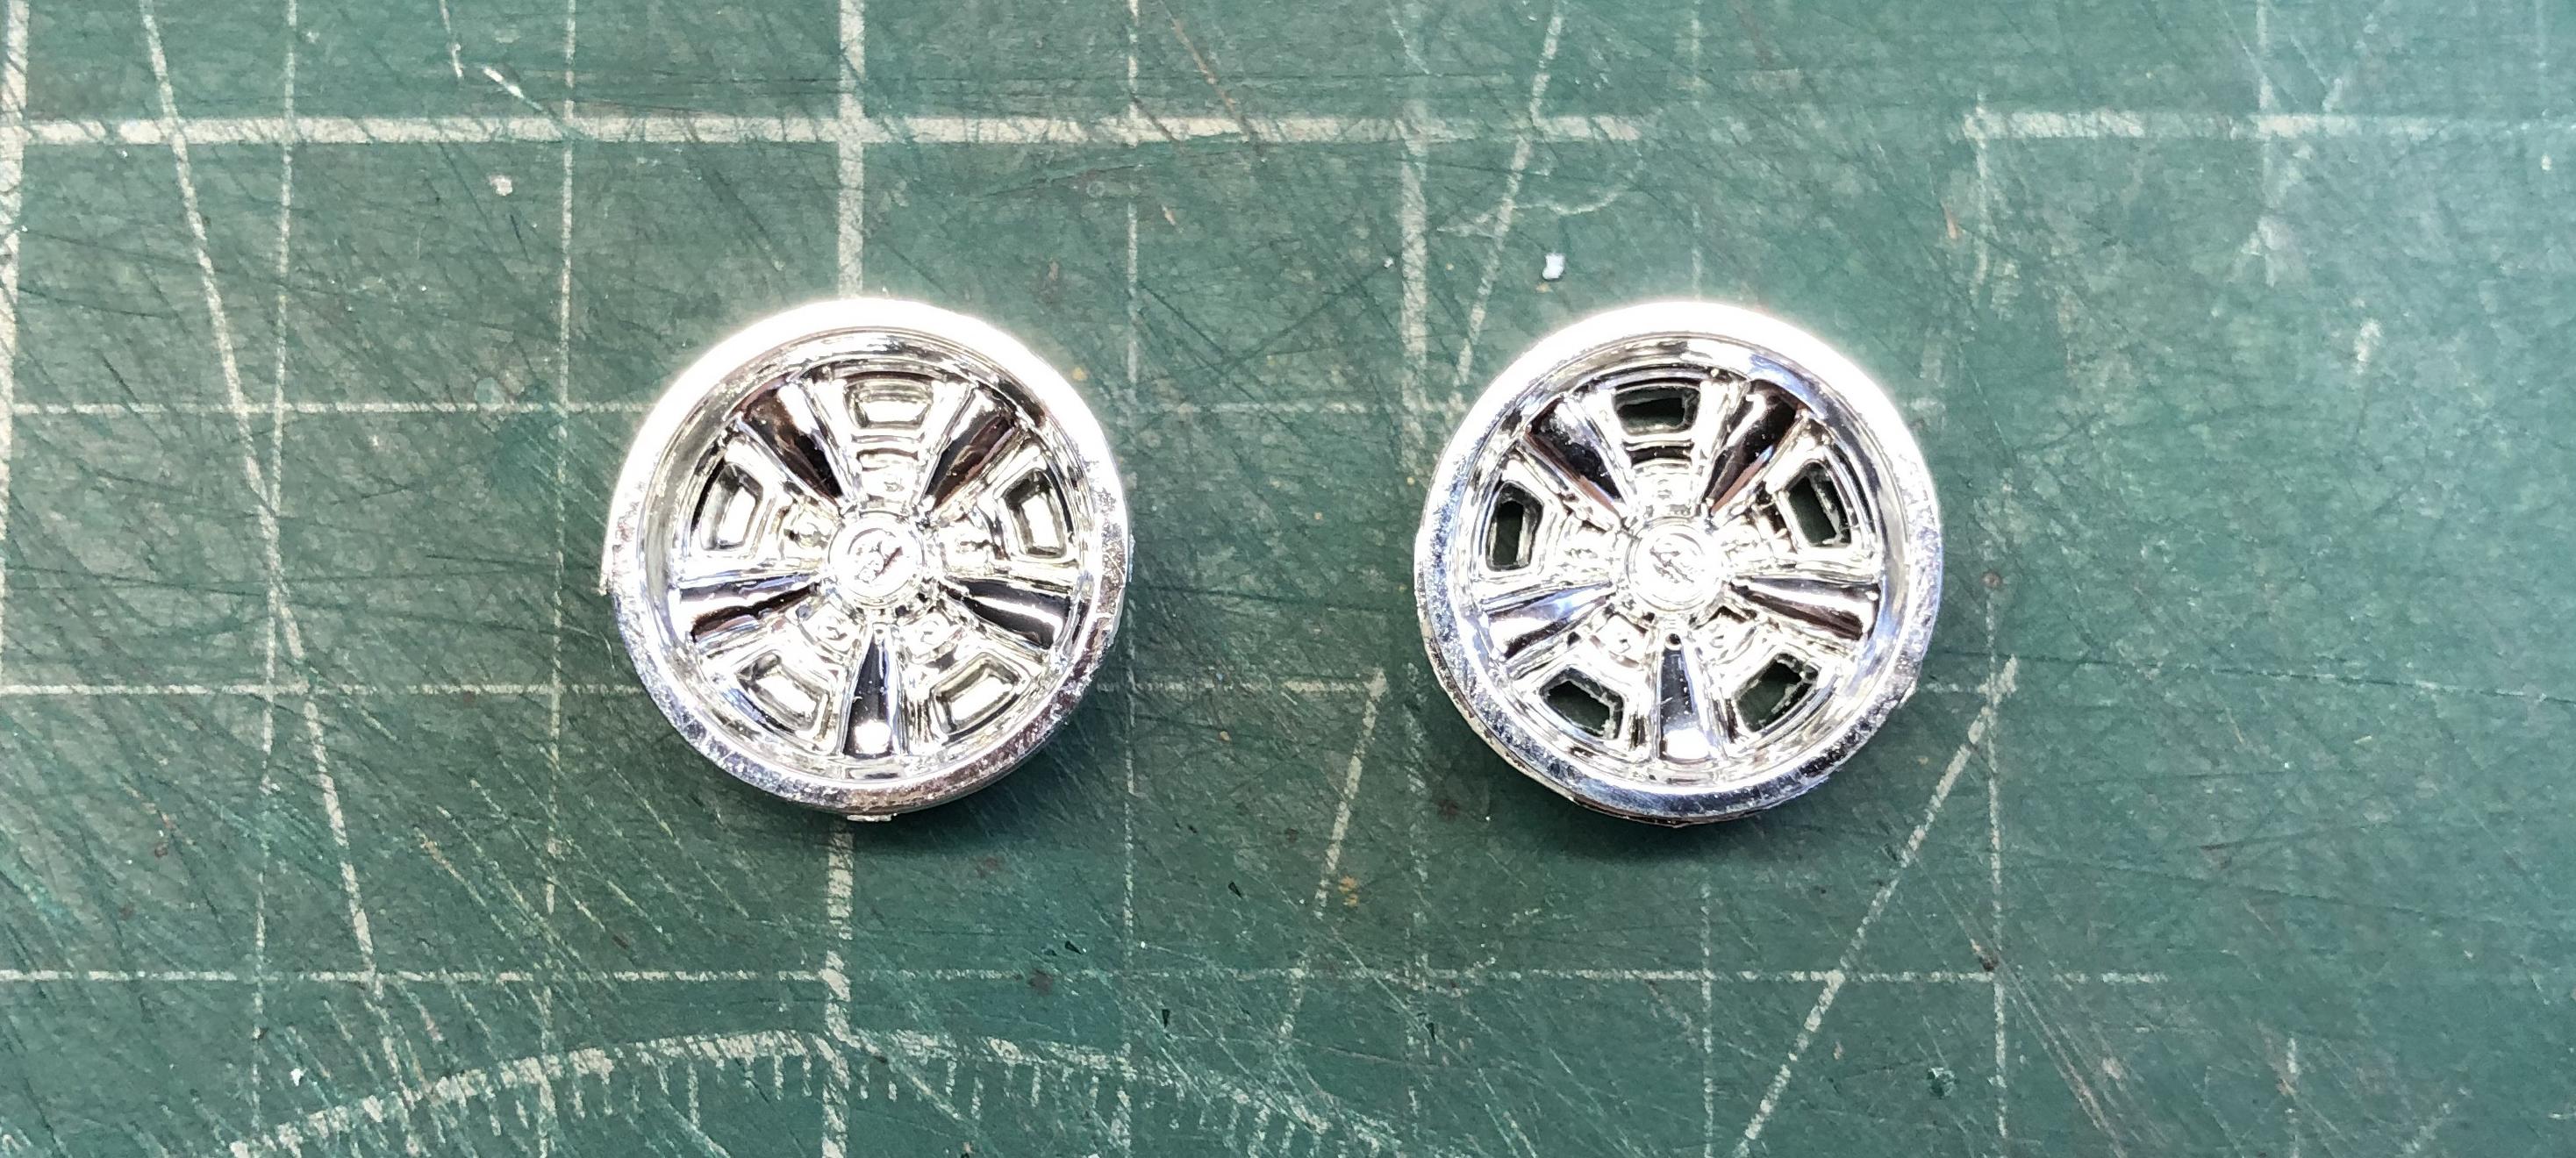
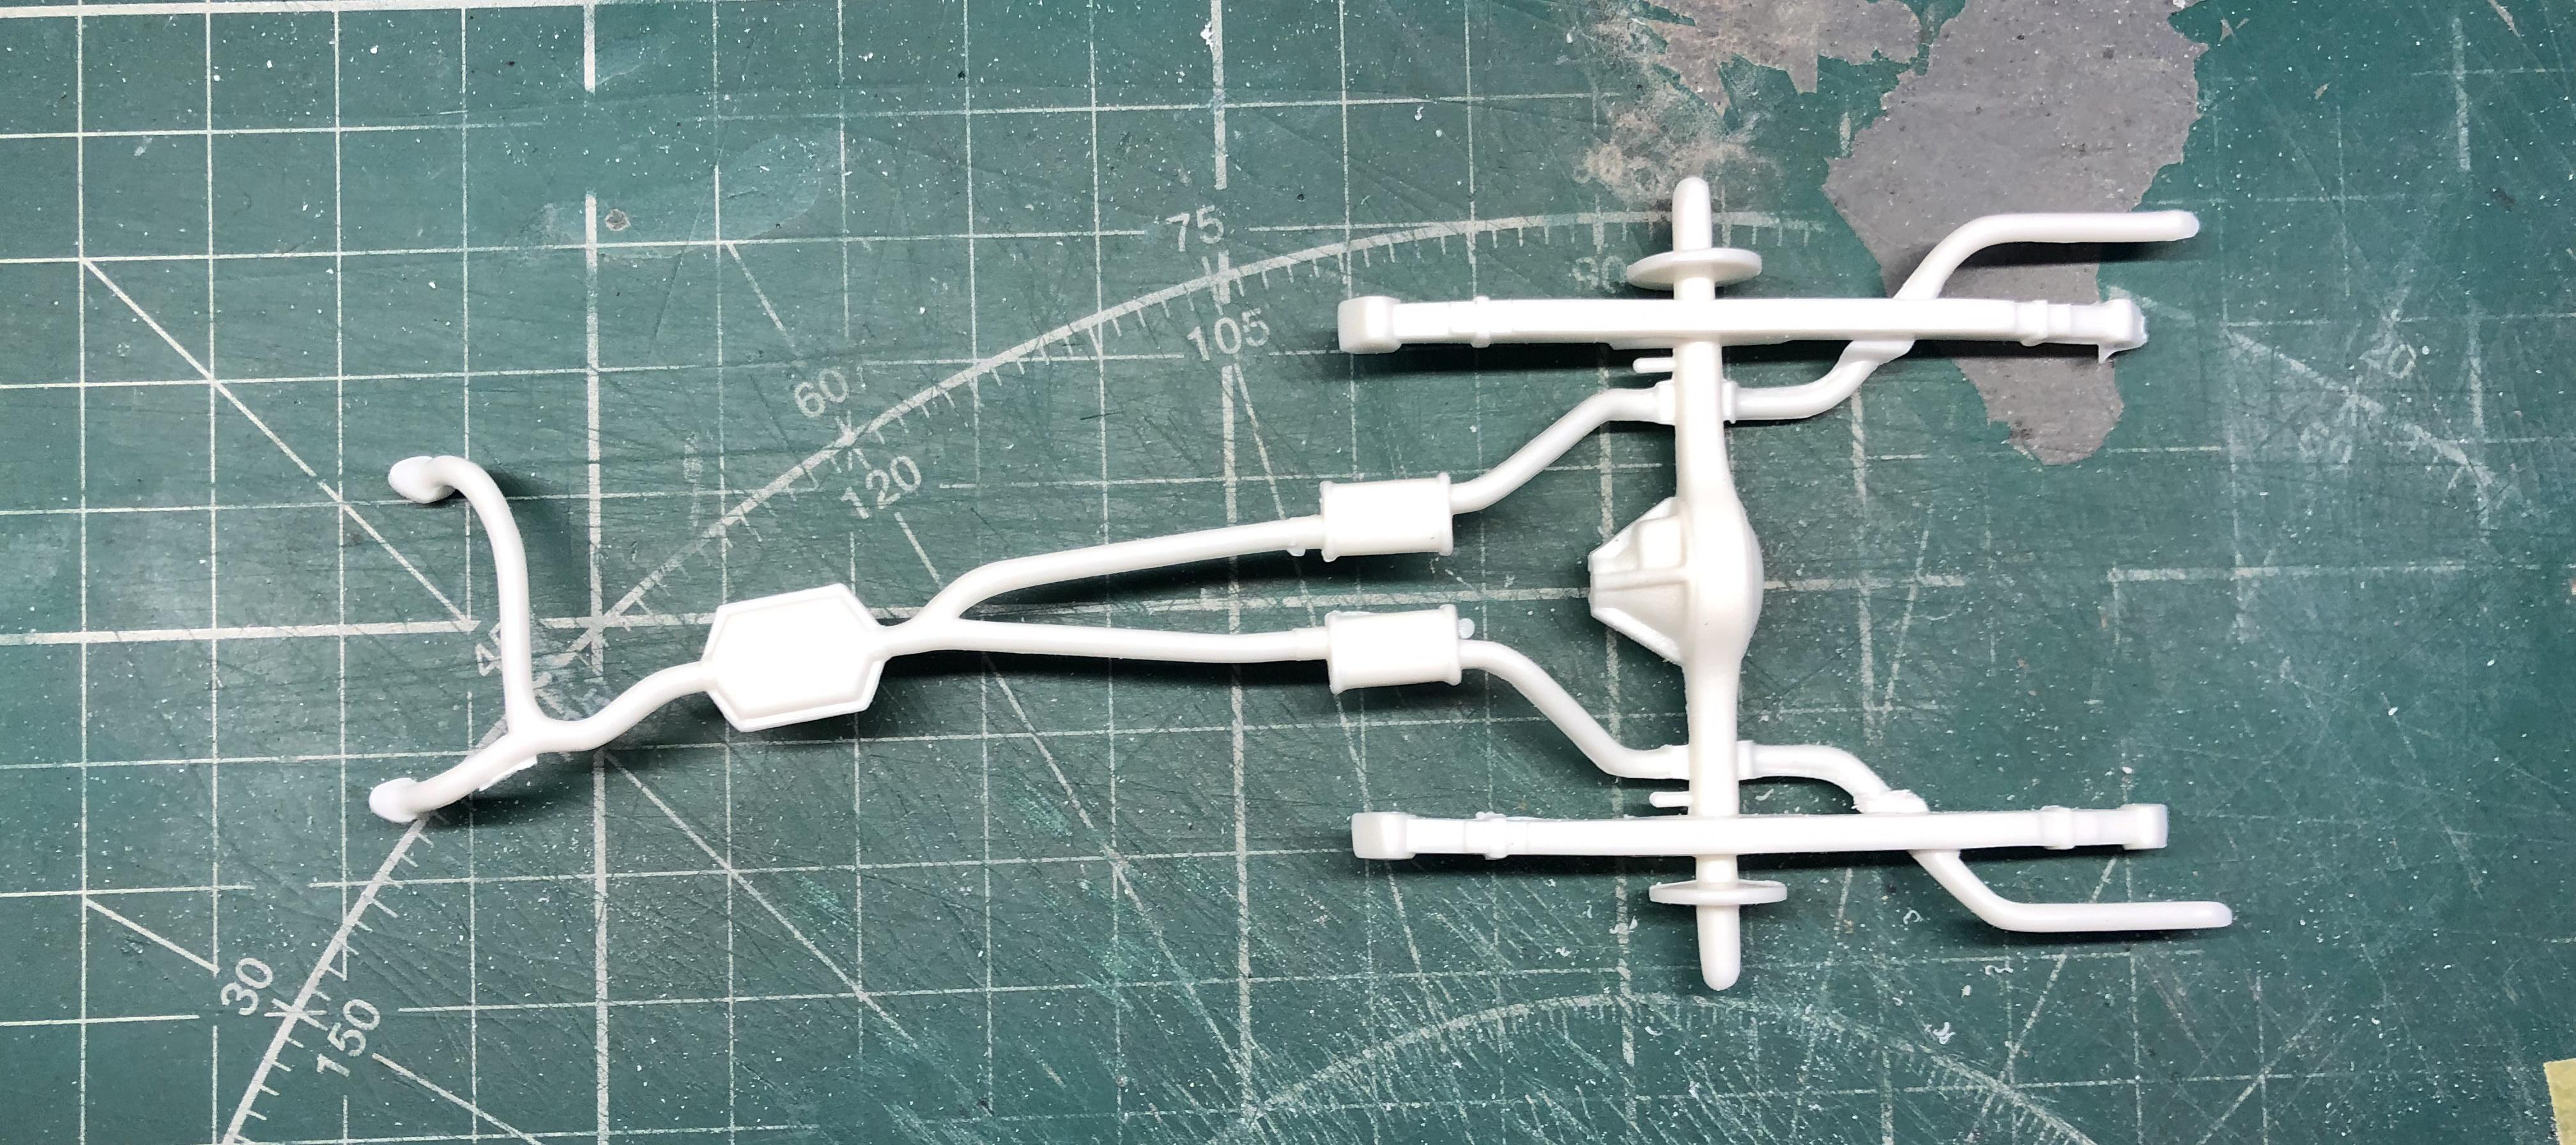
Hello everyone, it's time for a new build. This time I chose this kit. Let's see what's inside. Prepared and processed engine parts. The distribution coil was made from garbage, because. the one that was in the kit is too small and it was difficult to drill 9 holes in it. For the wheels I chose these amazing mug wheels. But here a problem immediately arose. Here's how the manufacturer suggests we do it. This is no good, because. there should not be a blind plug behind the disks. I took a set of brake discs from the 2006 Mustang Shelby Cobra set (I have a photo-etched set for it, so the discs from the kit are not needed there). Further, through simple manipulations, we get this. Quite a different thing. All parts are painted. And cleared. The clear lay down not quite well, there is an orange peel. This is not a problem for me. We take sanding paper 2000 and matte the entire peel. Next, first I polish with Tamiya's coarse polish, then 3M's medium and finish. Great looking! And engine + undercarriage are done. See you again.
-
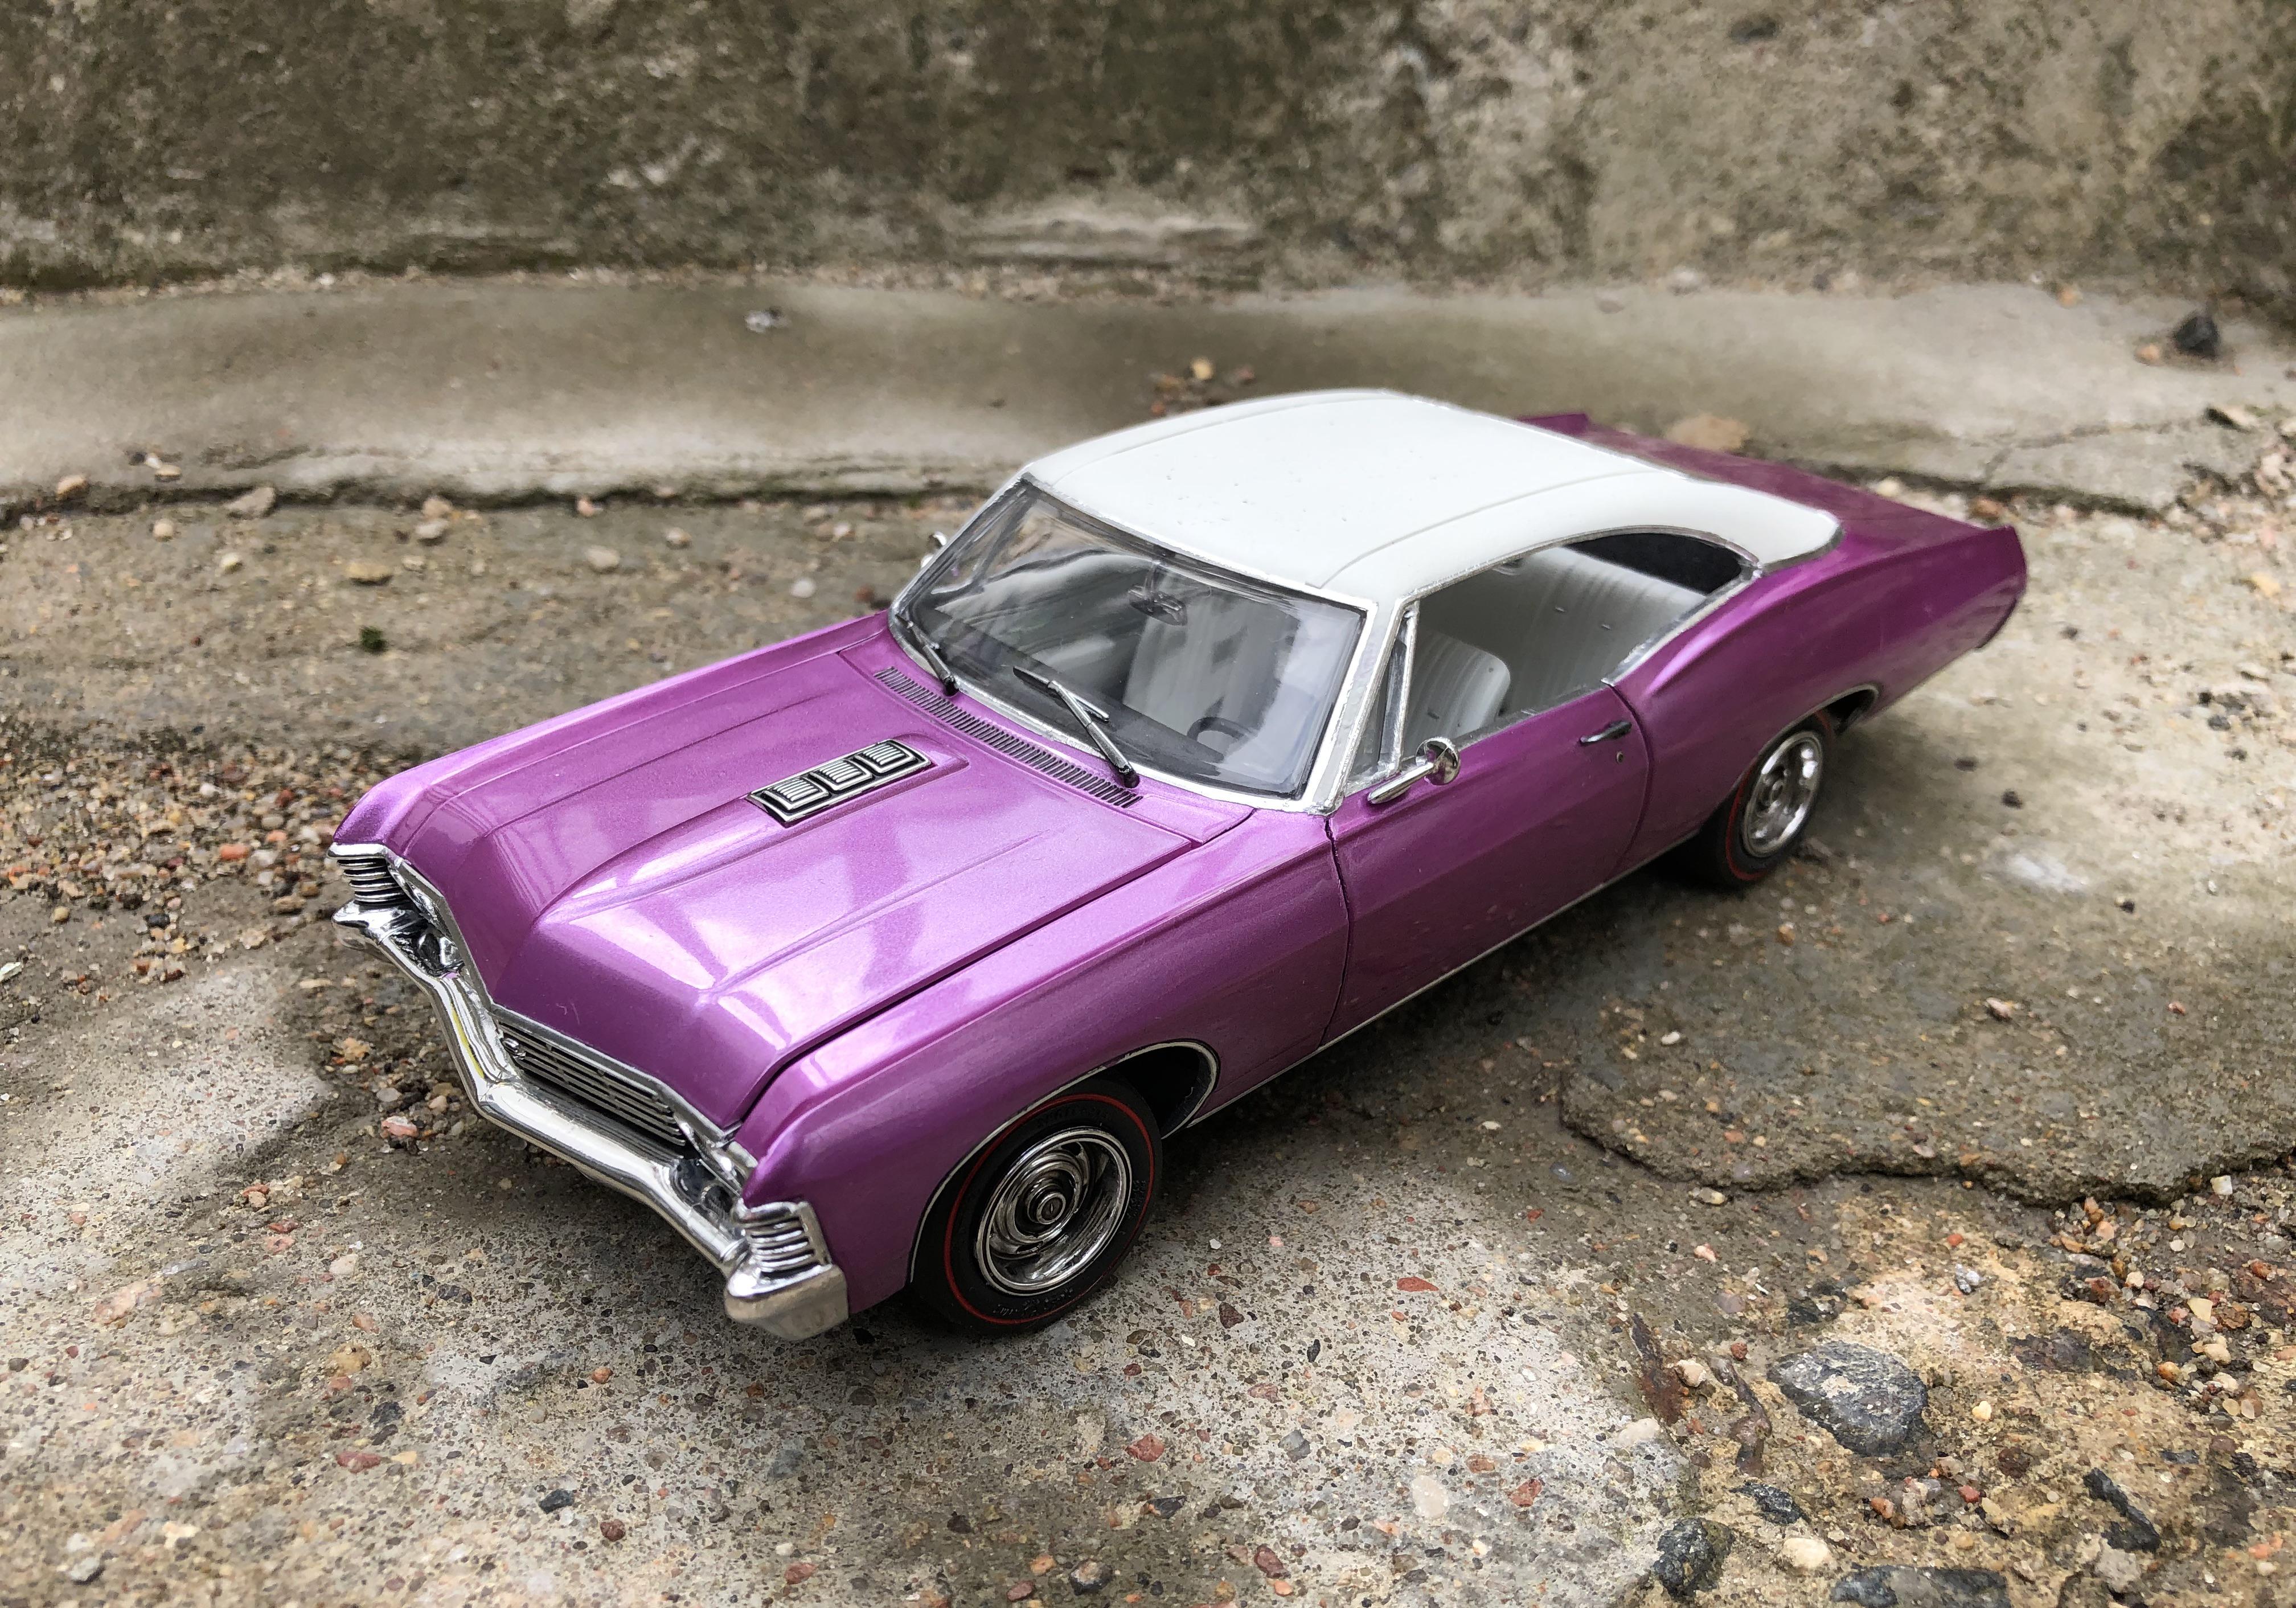
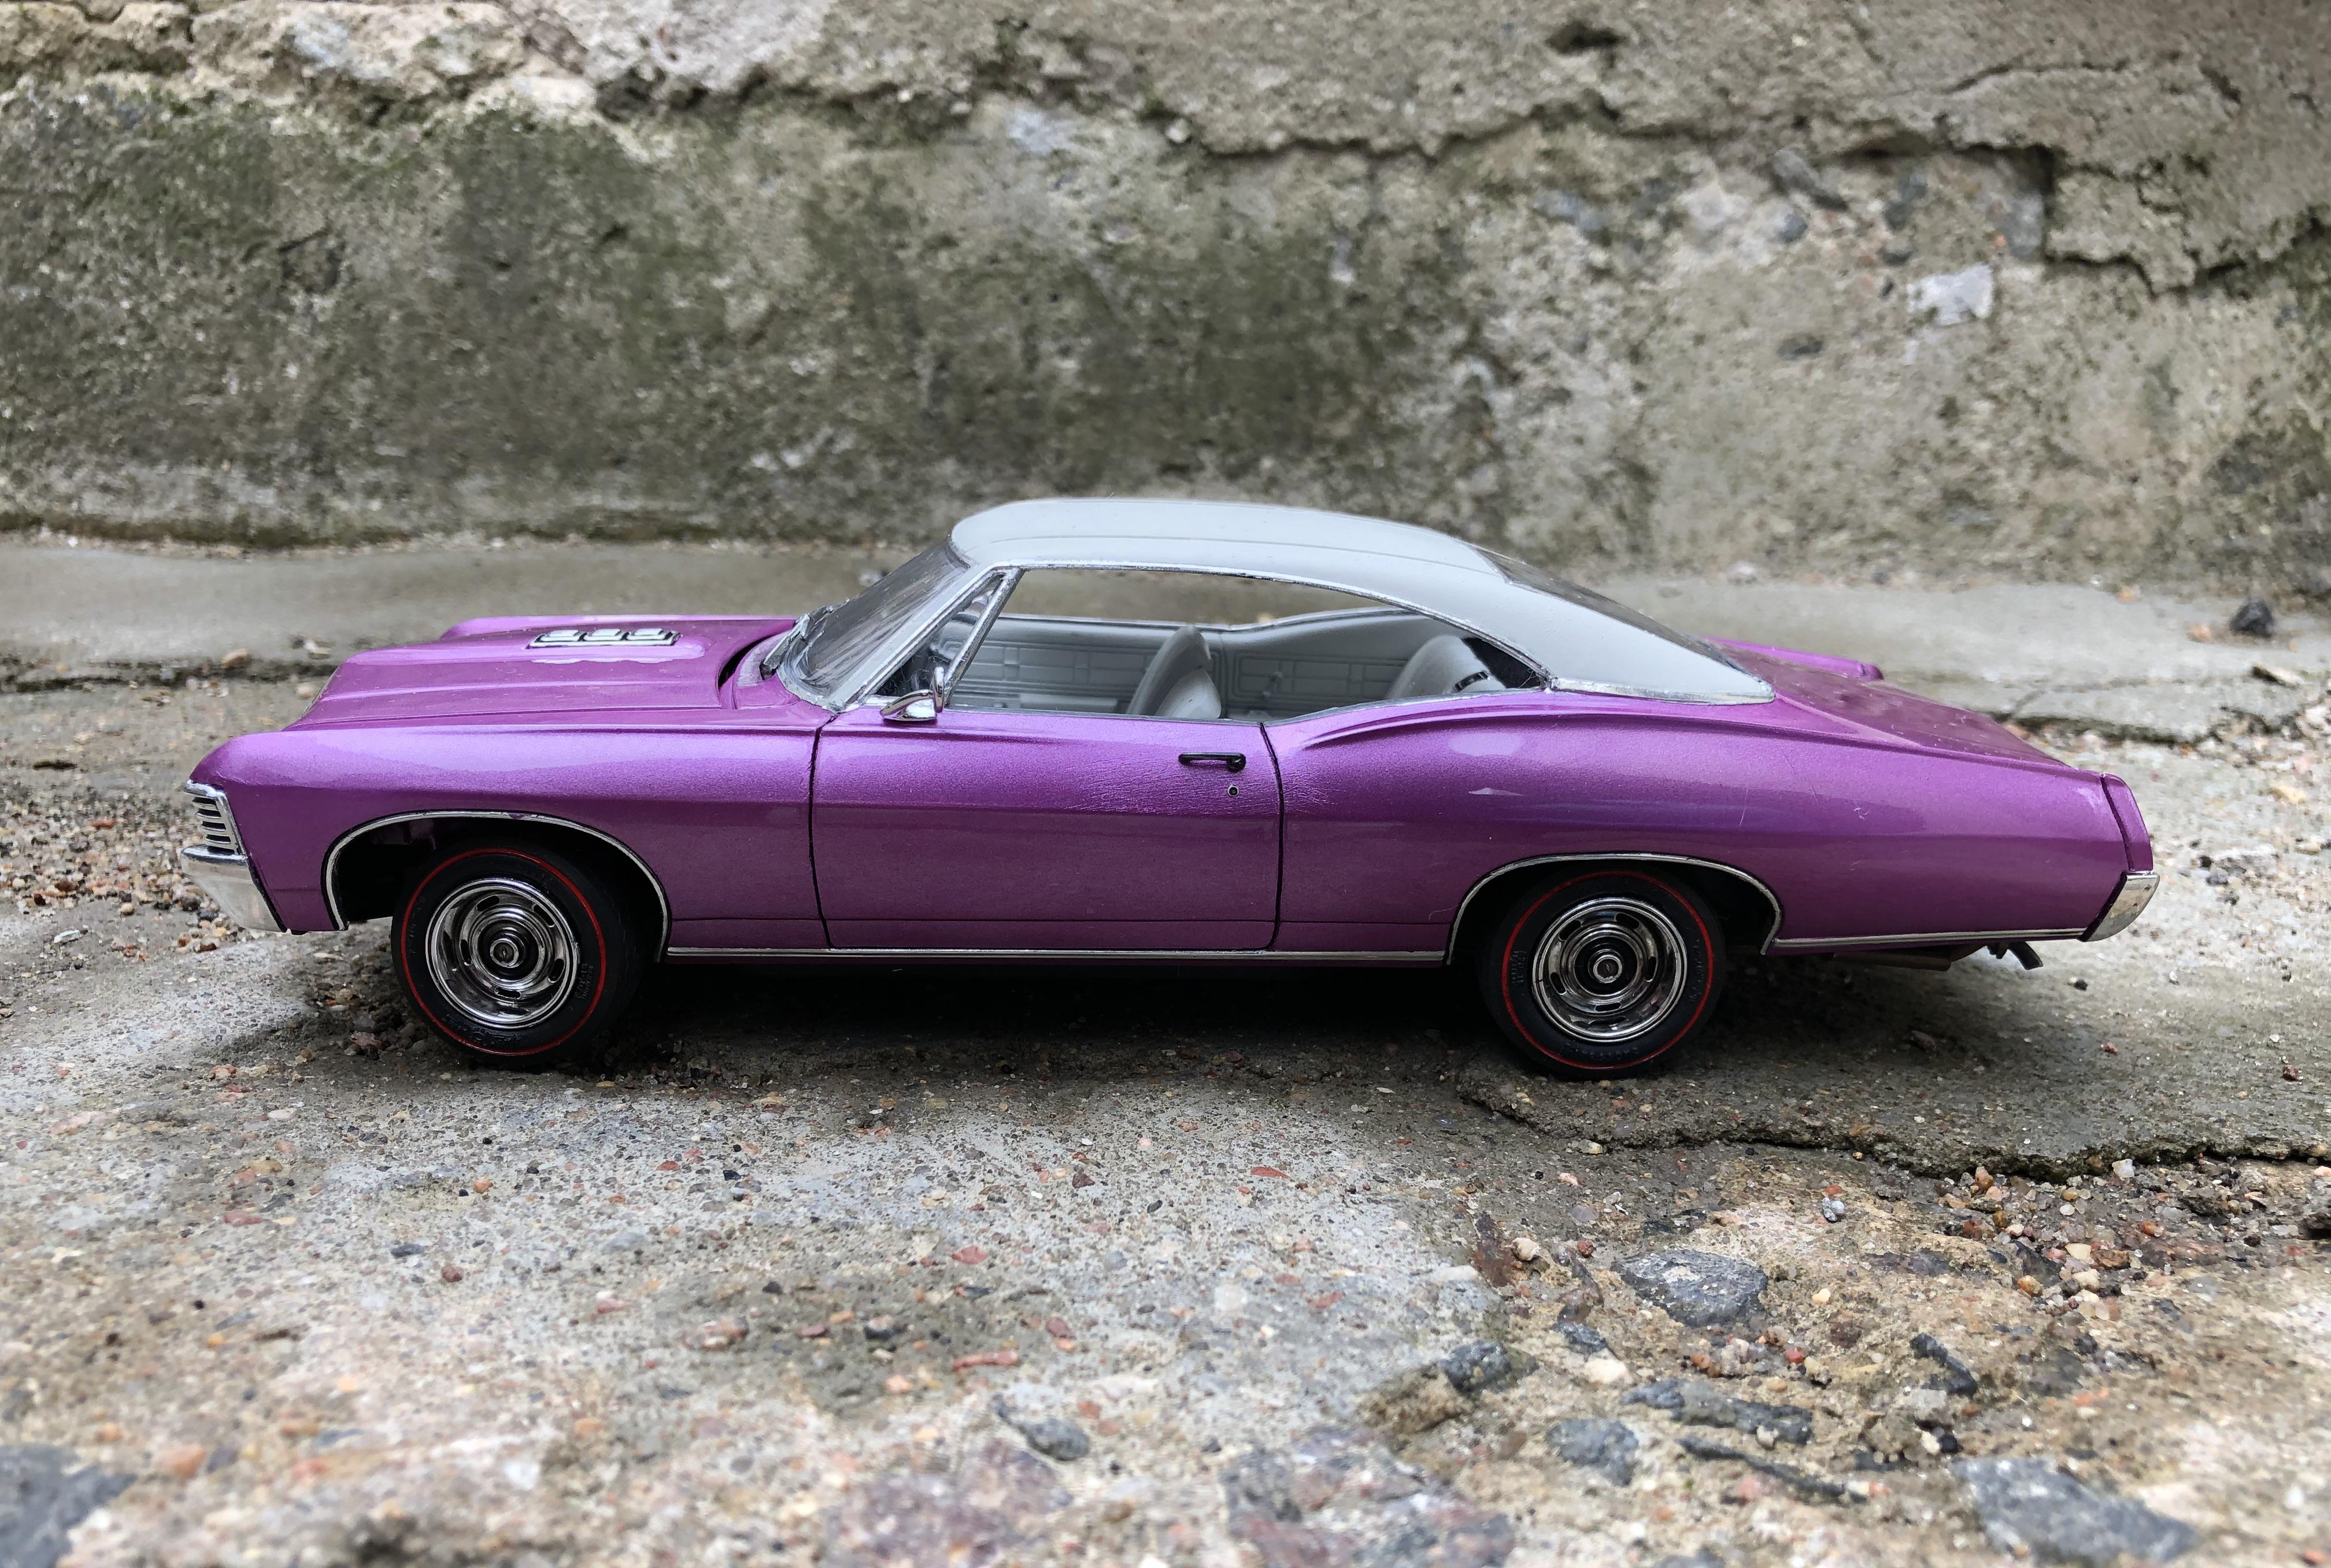
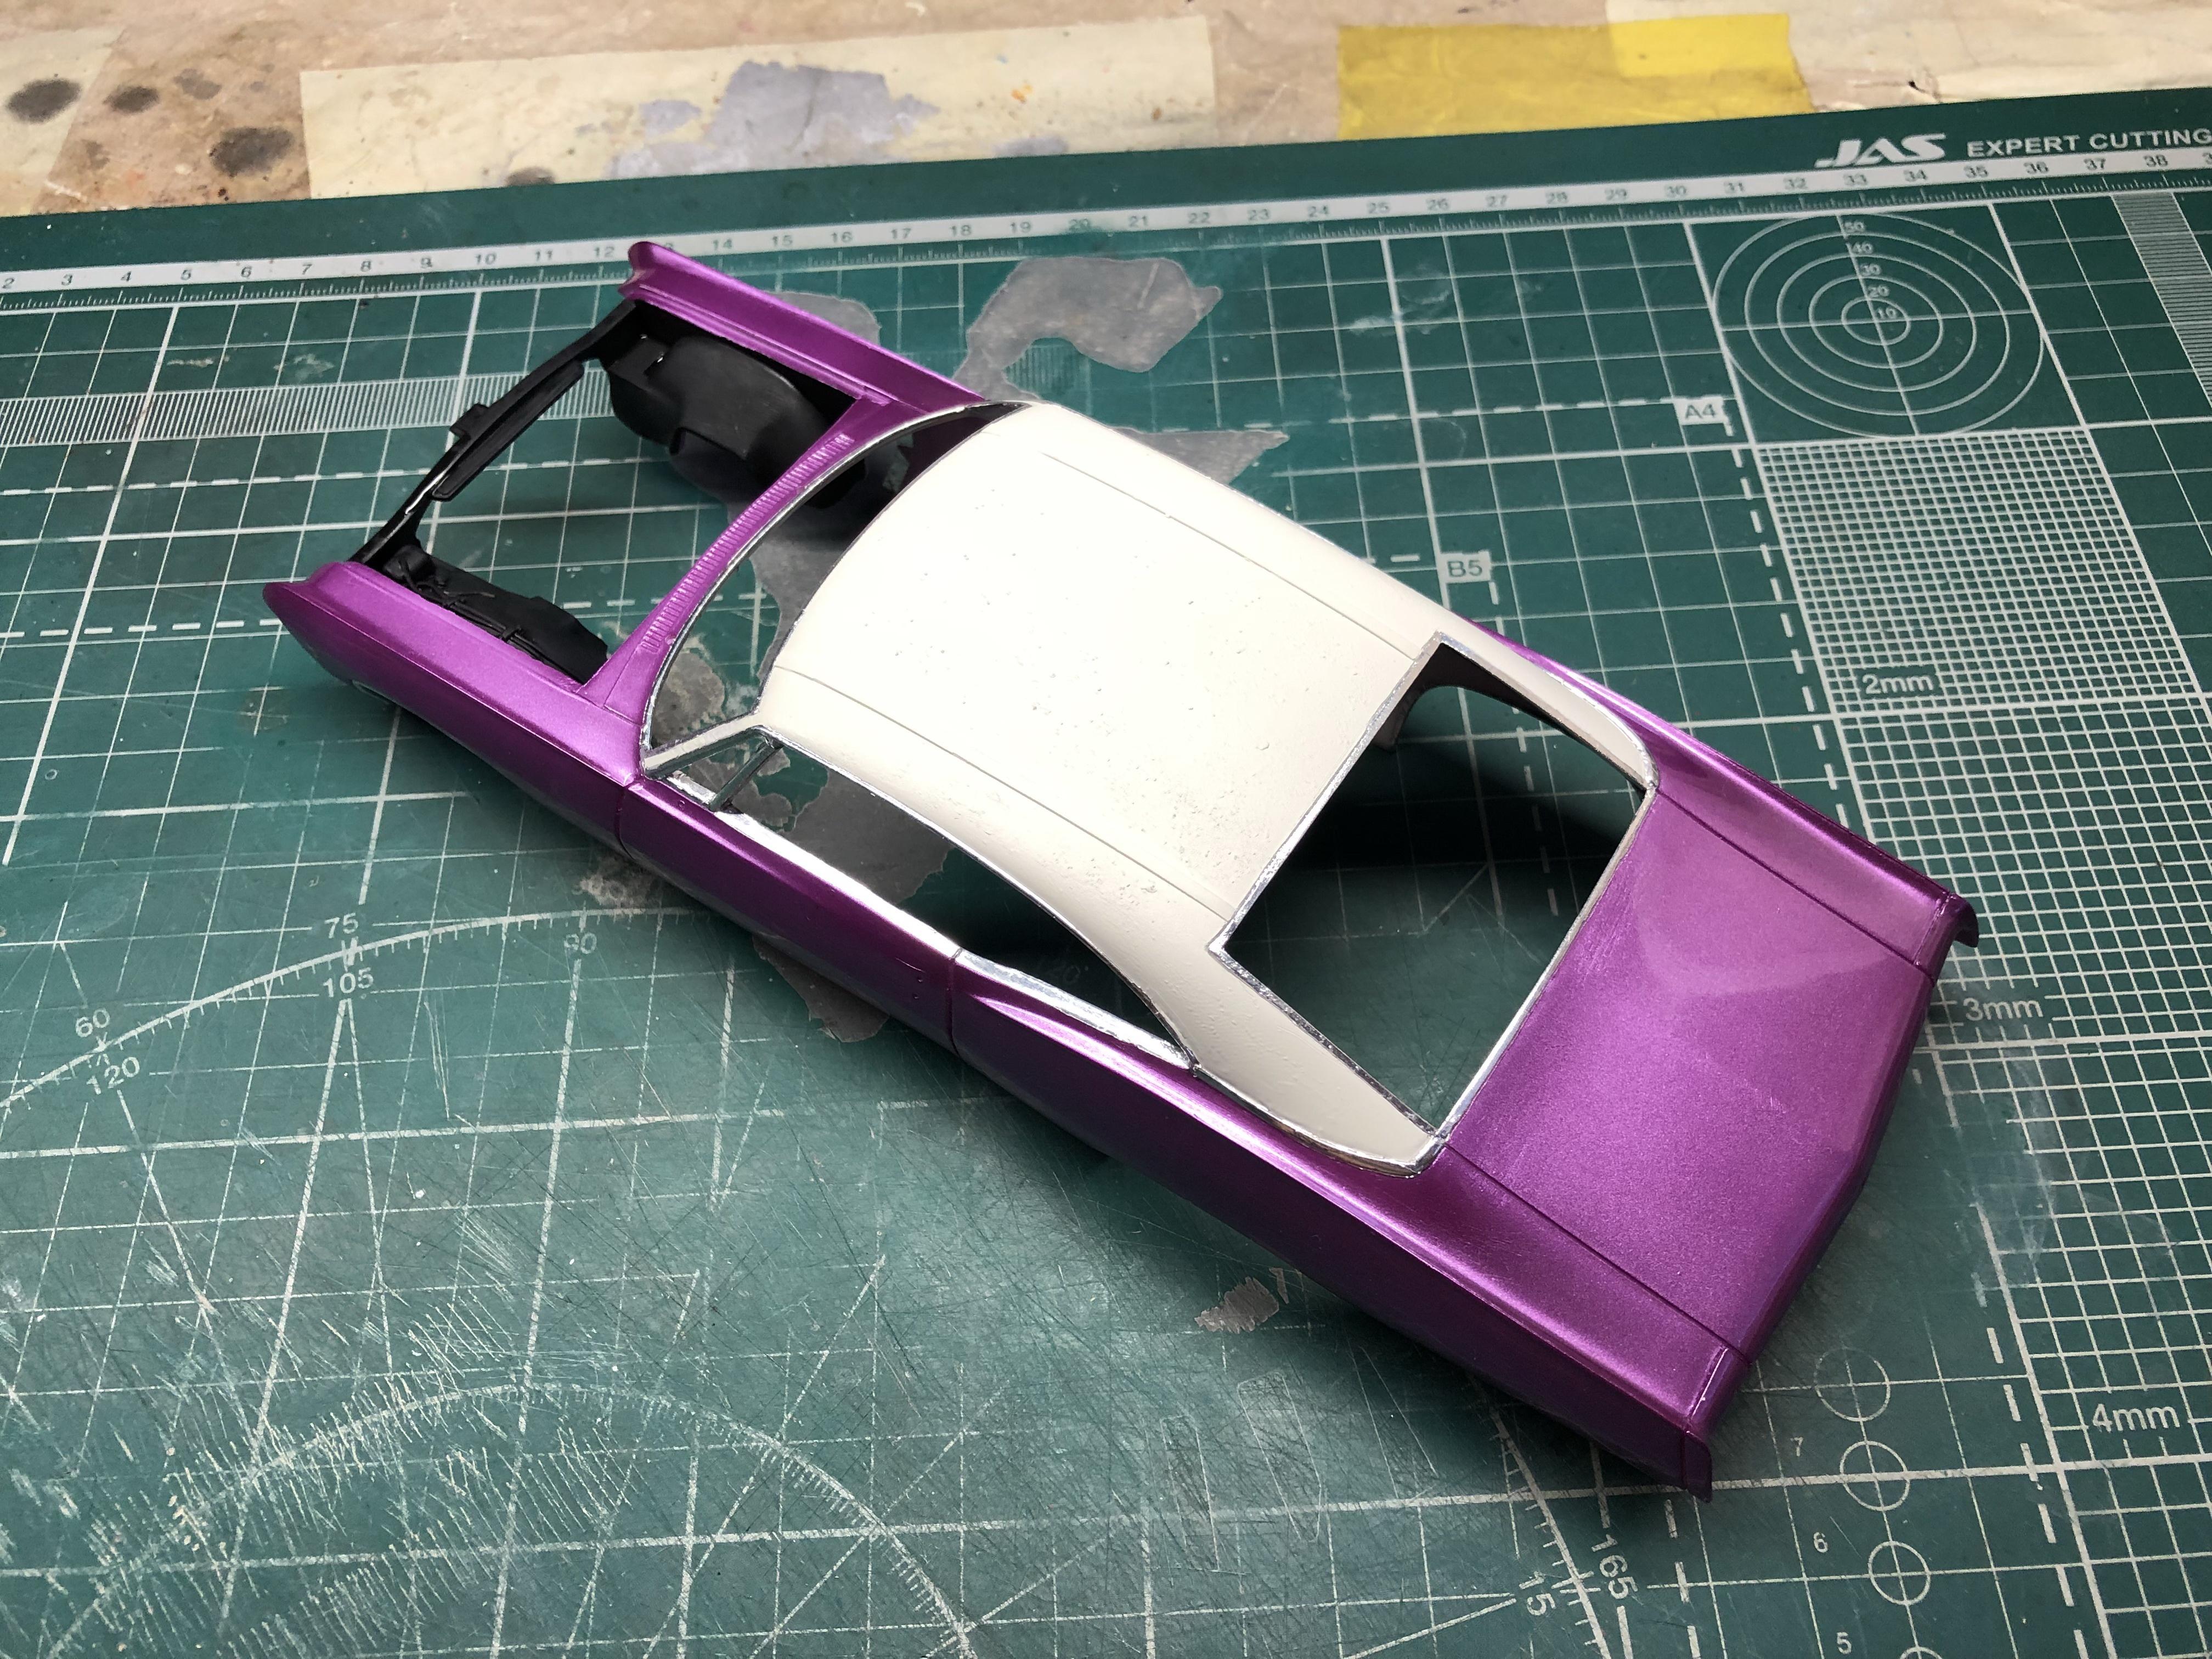
Body - Mr.Metallic Color GX: Metal Purple (GX-206) Vinyl + Interior - Mr.Color: Off White (C-69)
-
It’s Bare Metall Foil, not paint))).
-
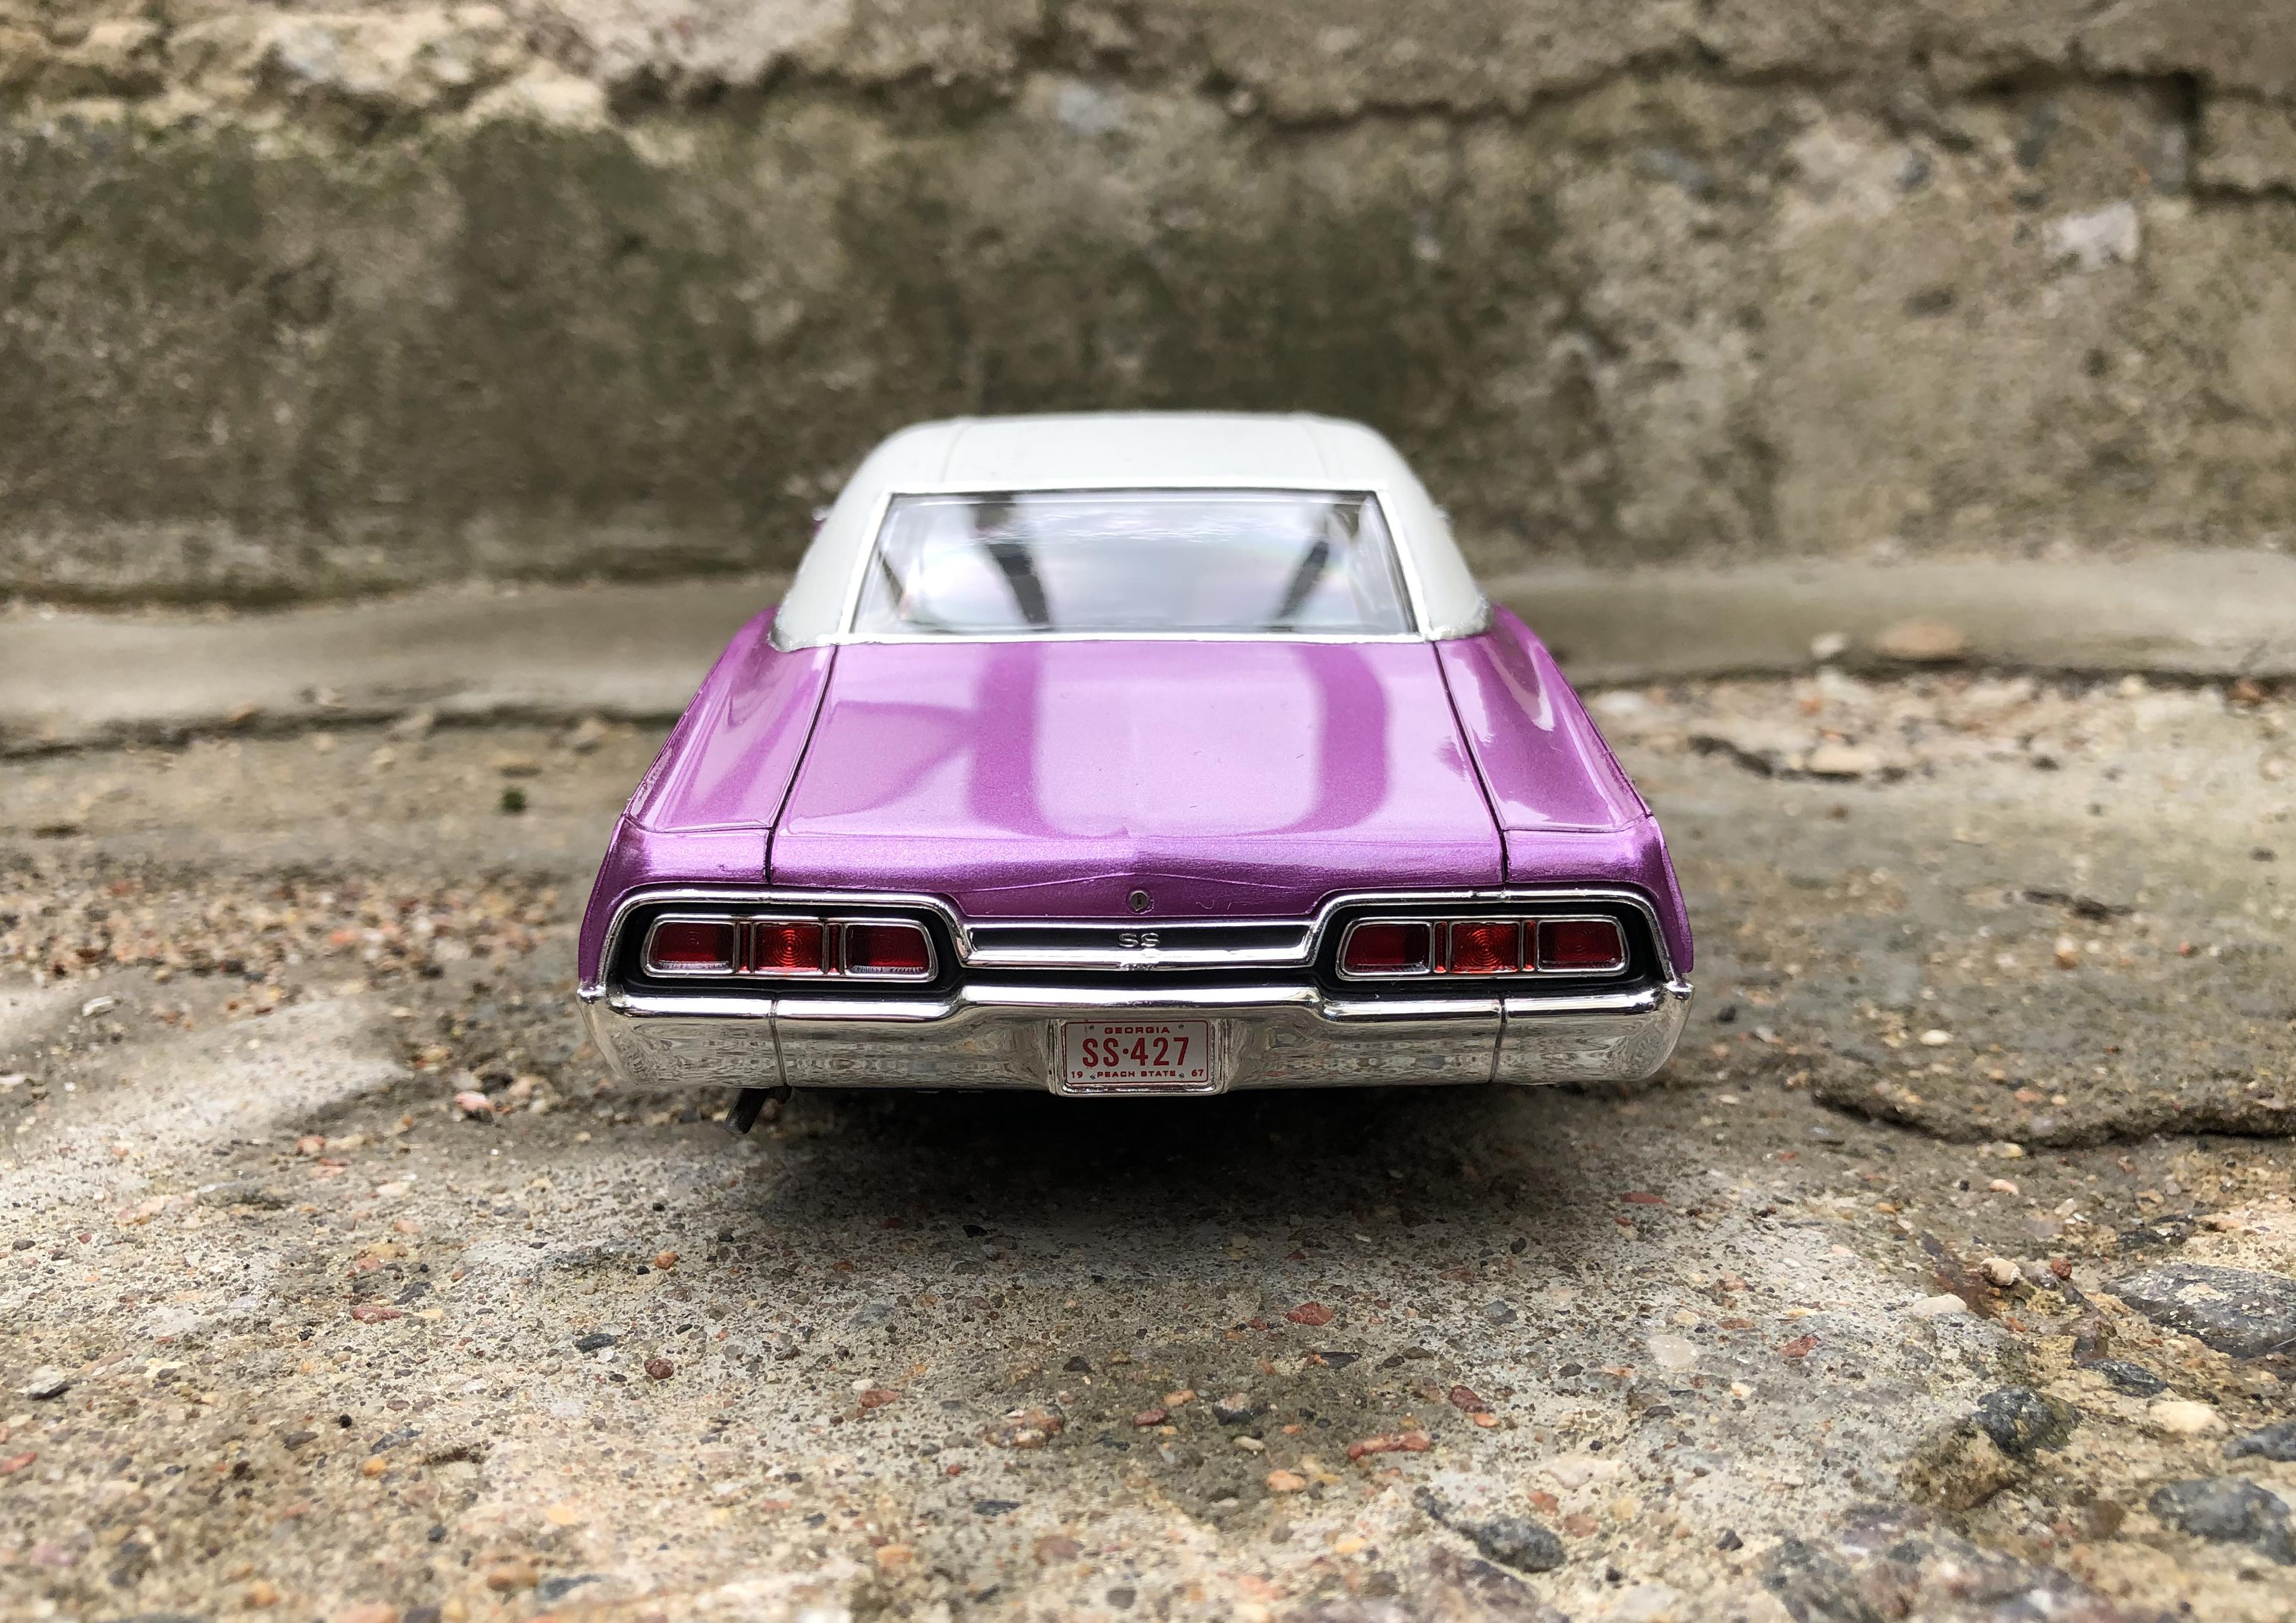
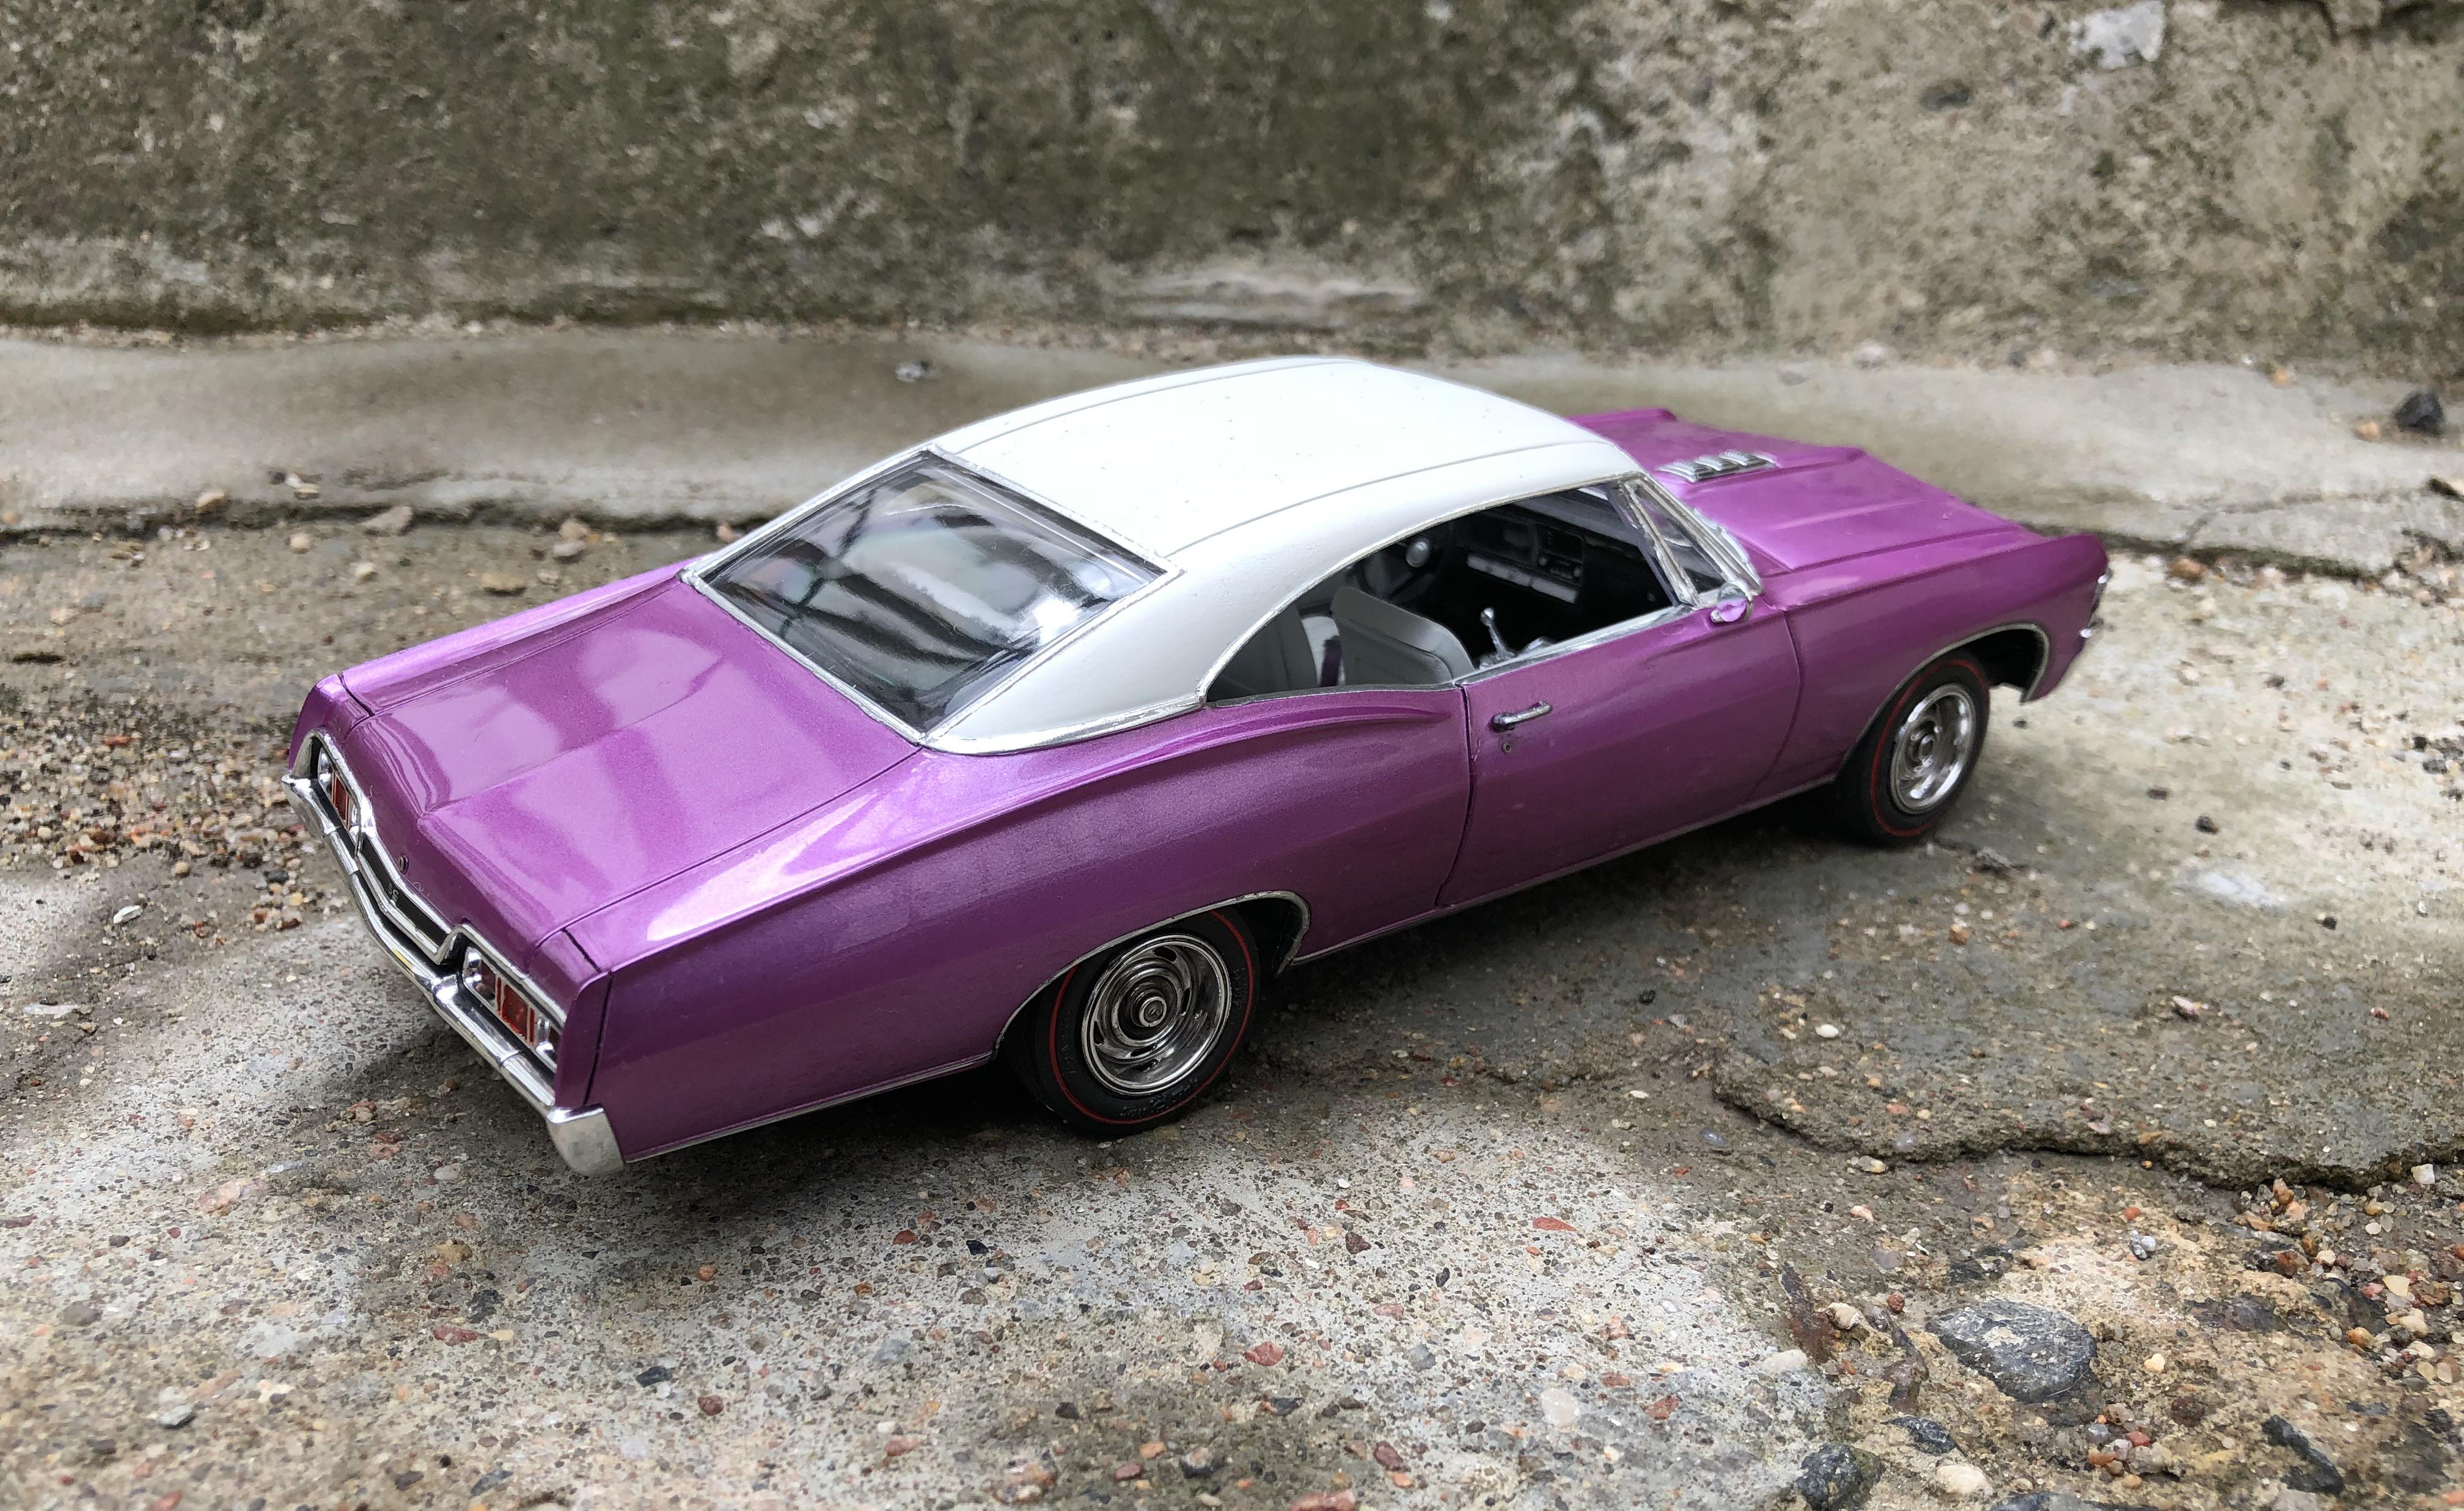
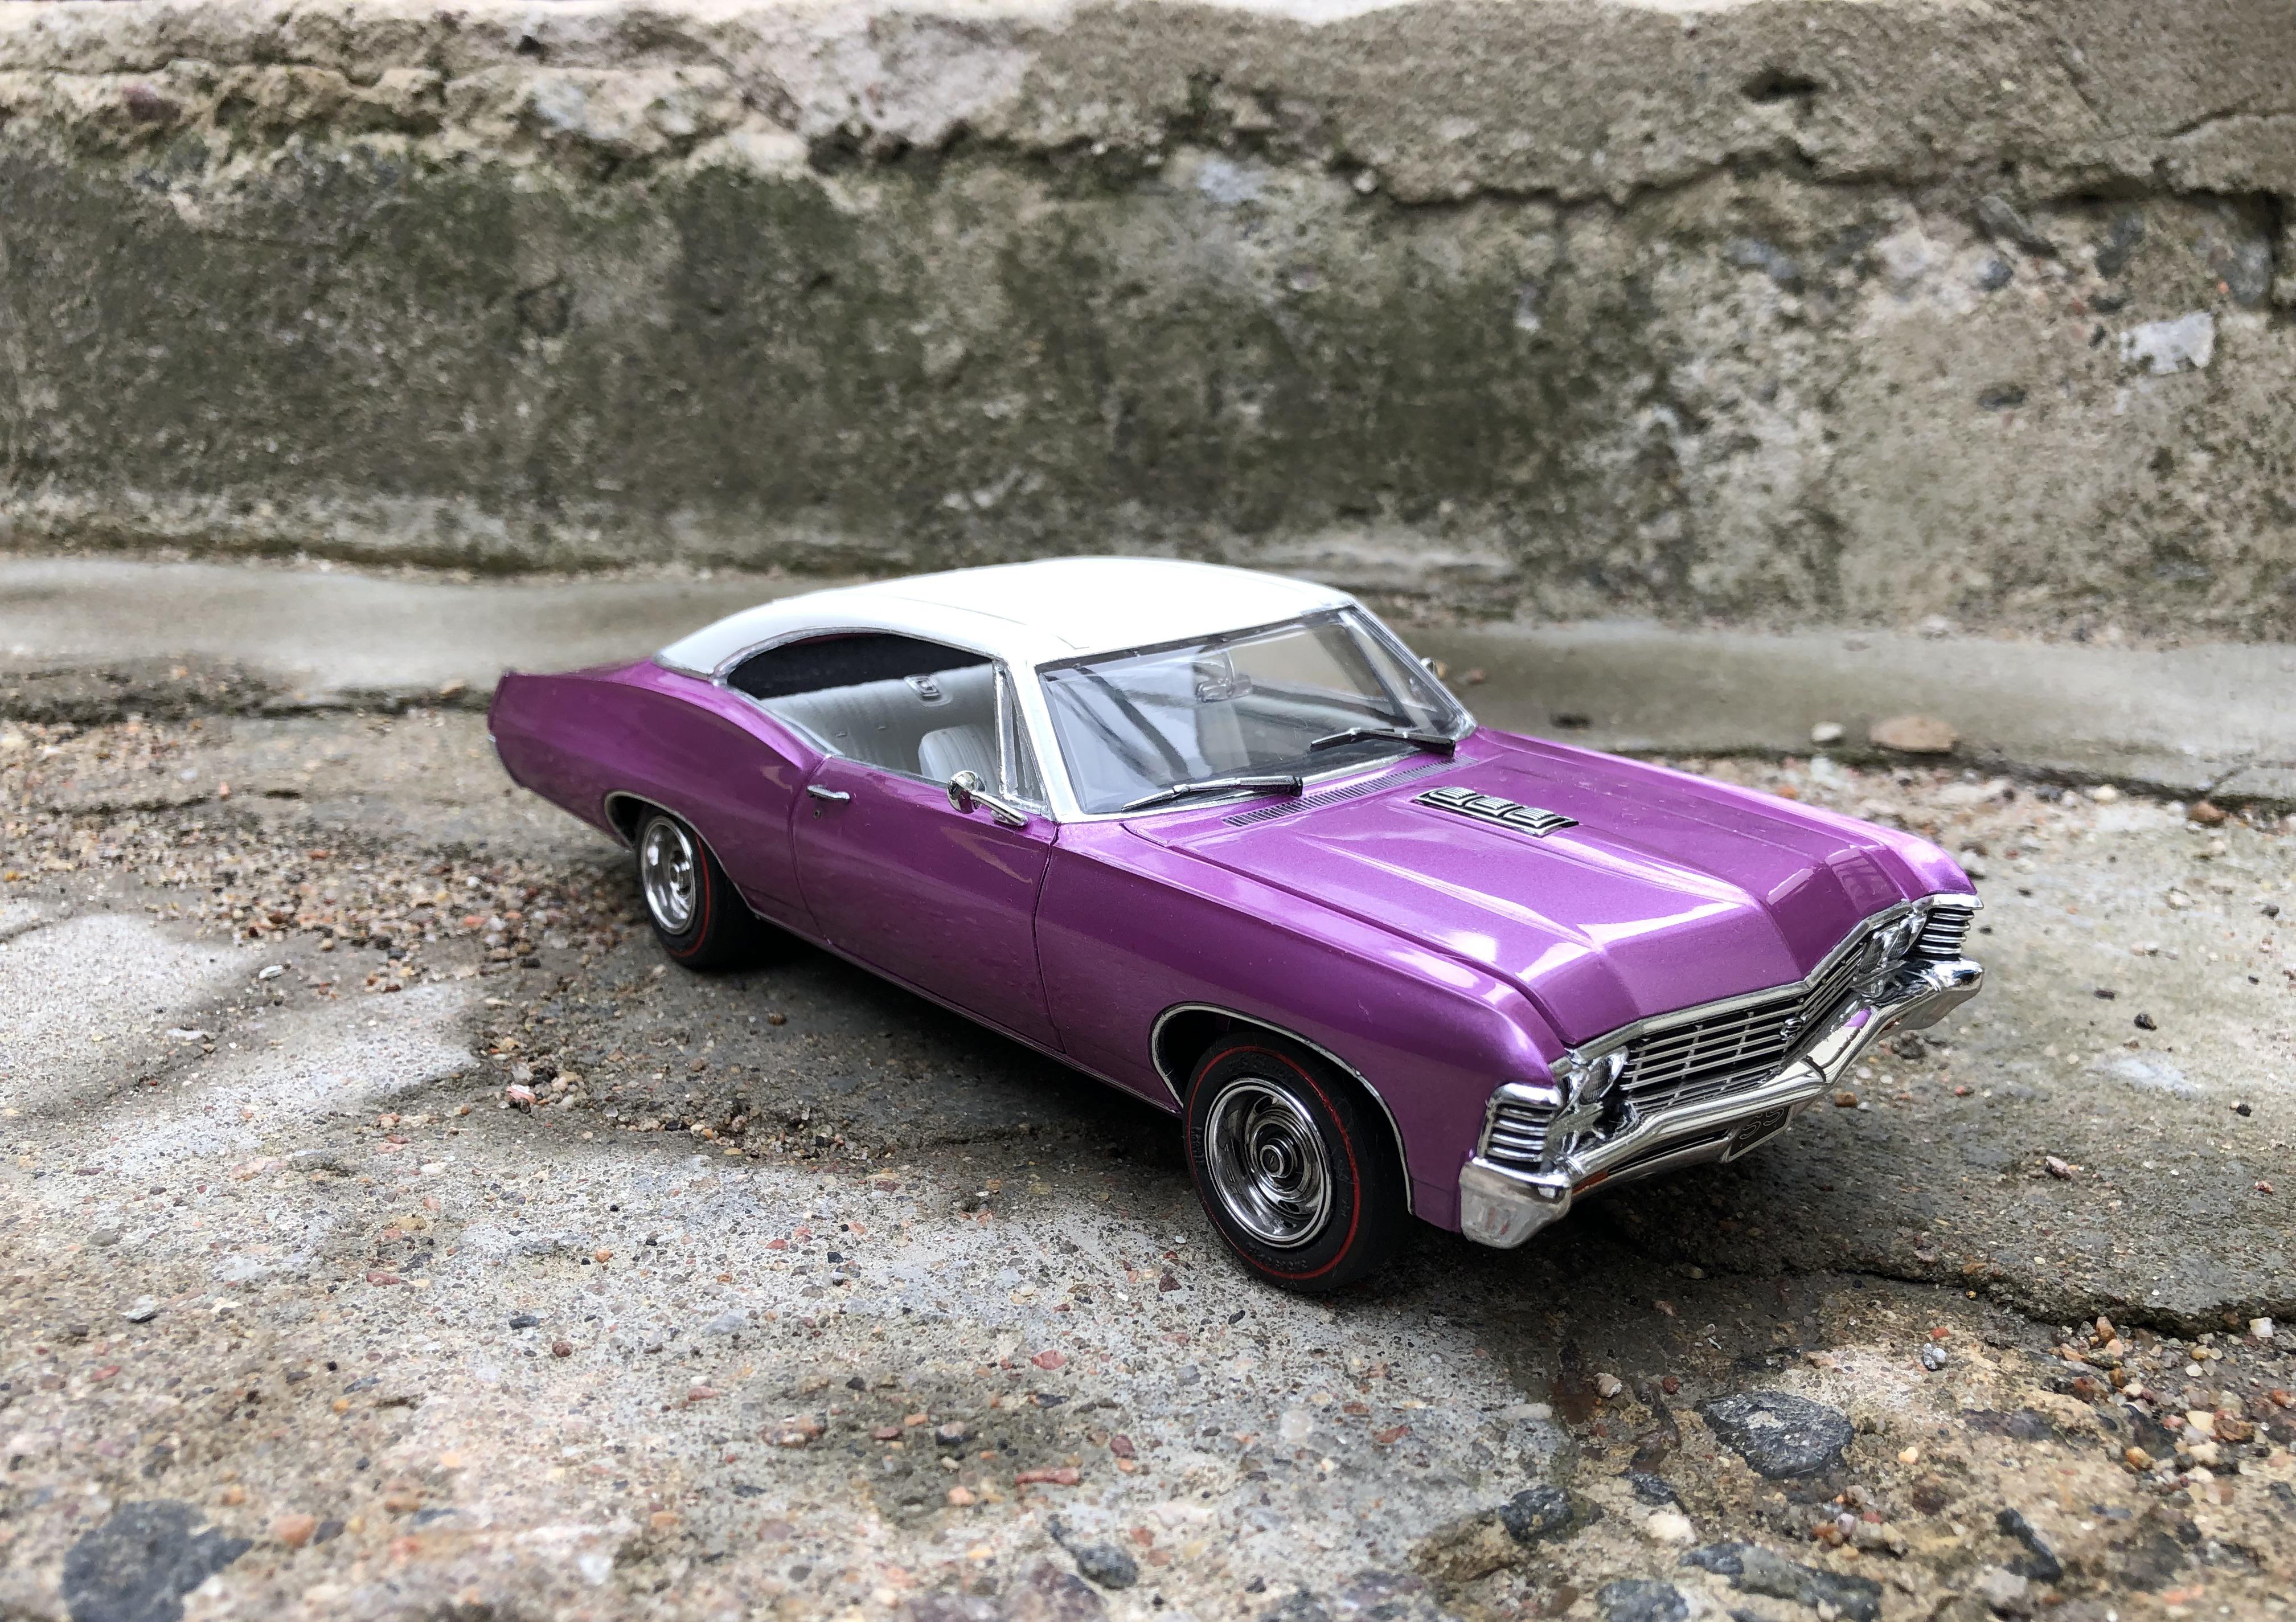
Good afternoon, friends, I present to you the final photos of my latest model.
-
It's calling done.✔️ Wait for the final photos on the street in the under glass topic soon.
-
Interior done.
-
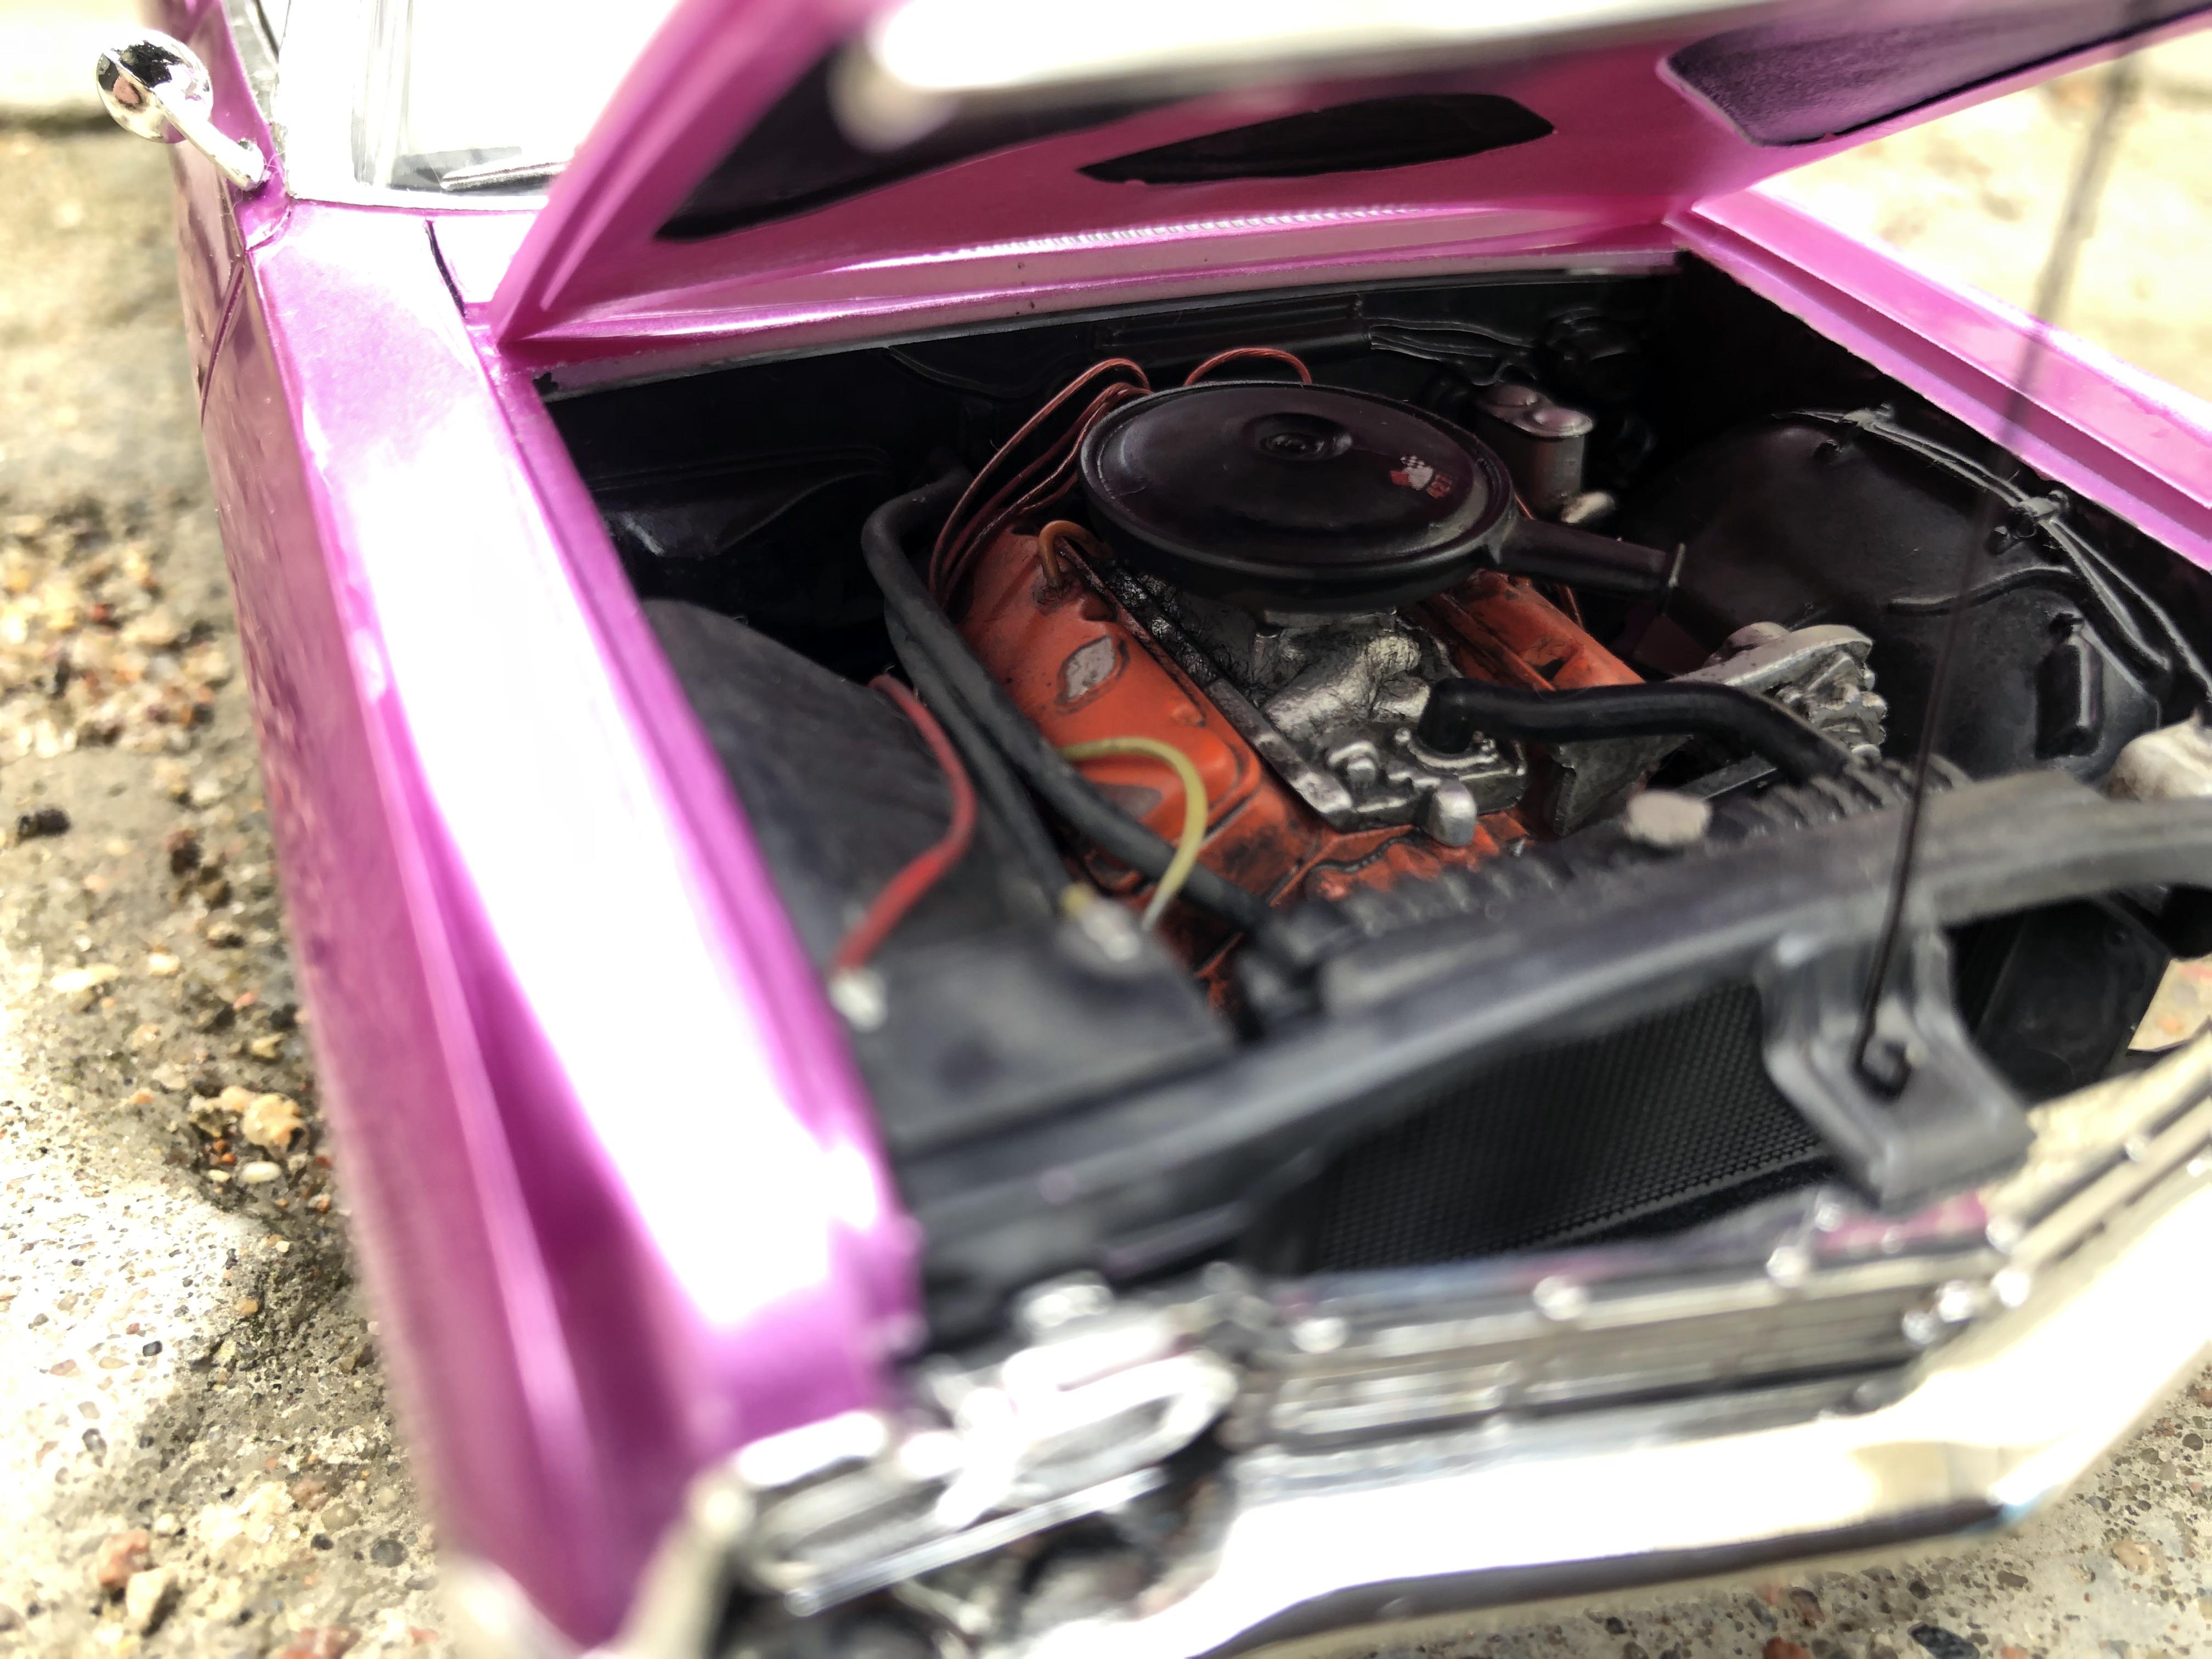
Engine & undercarriage done.
-
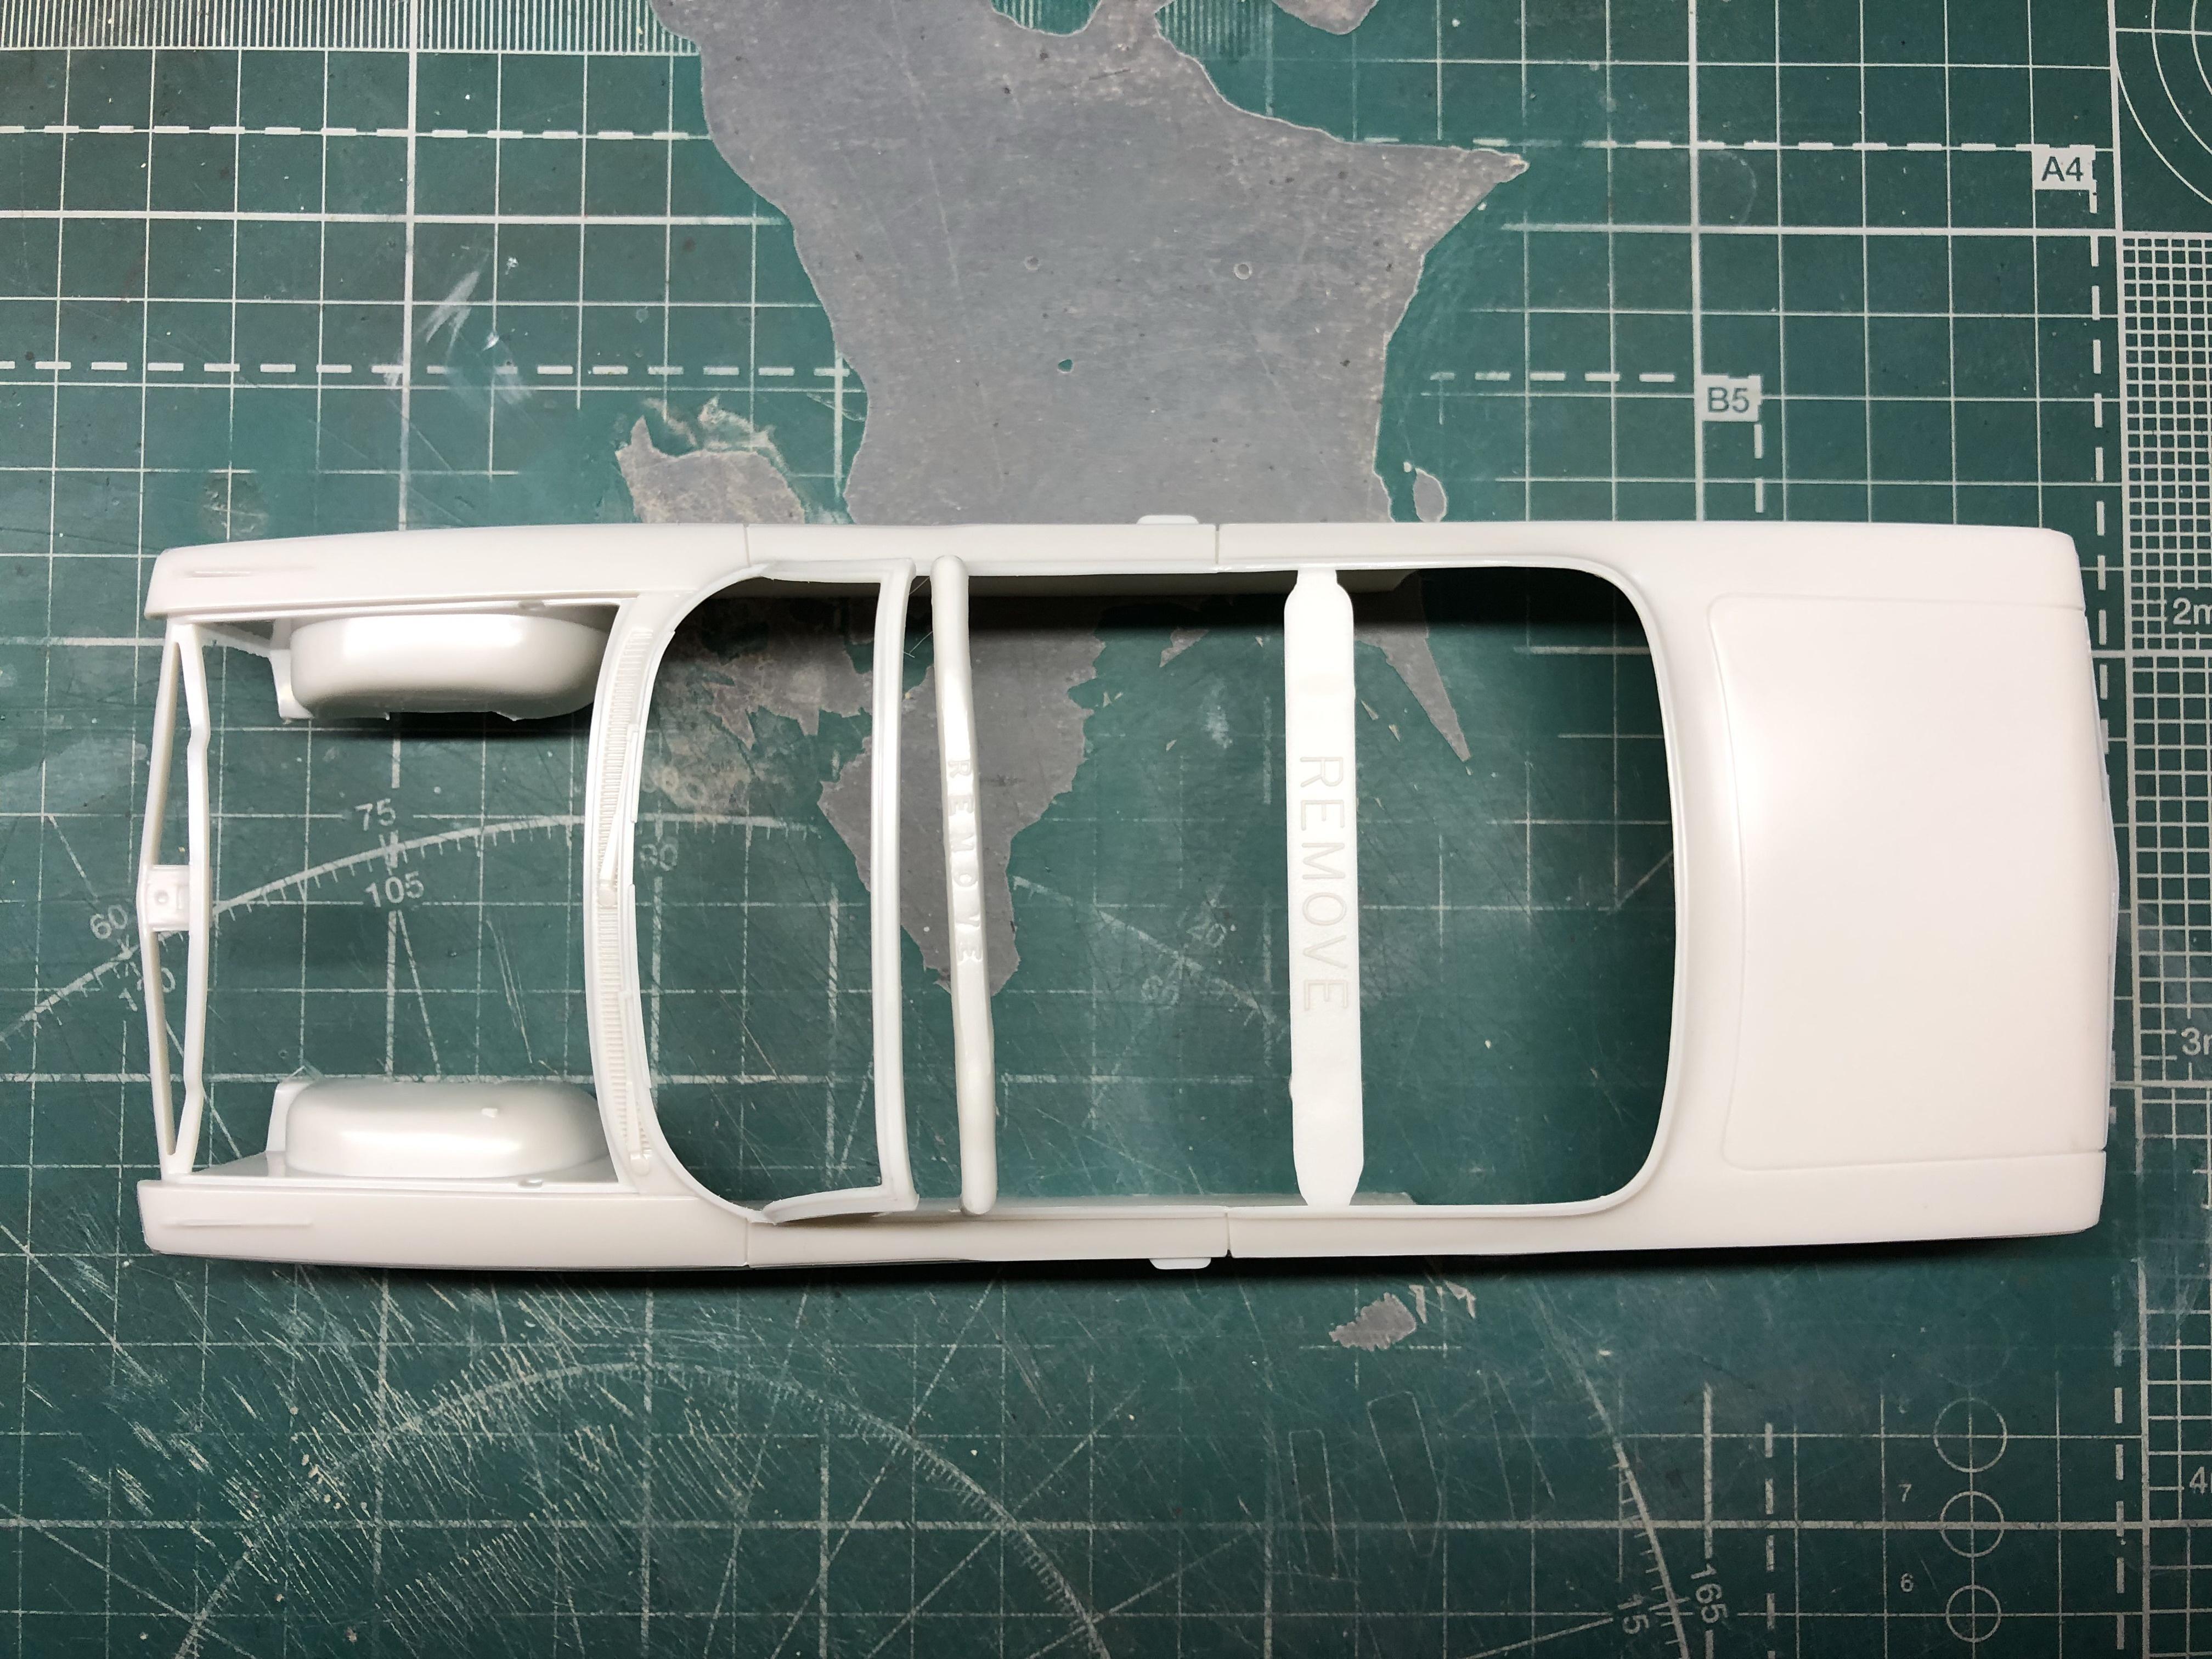
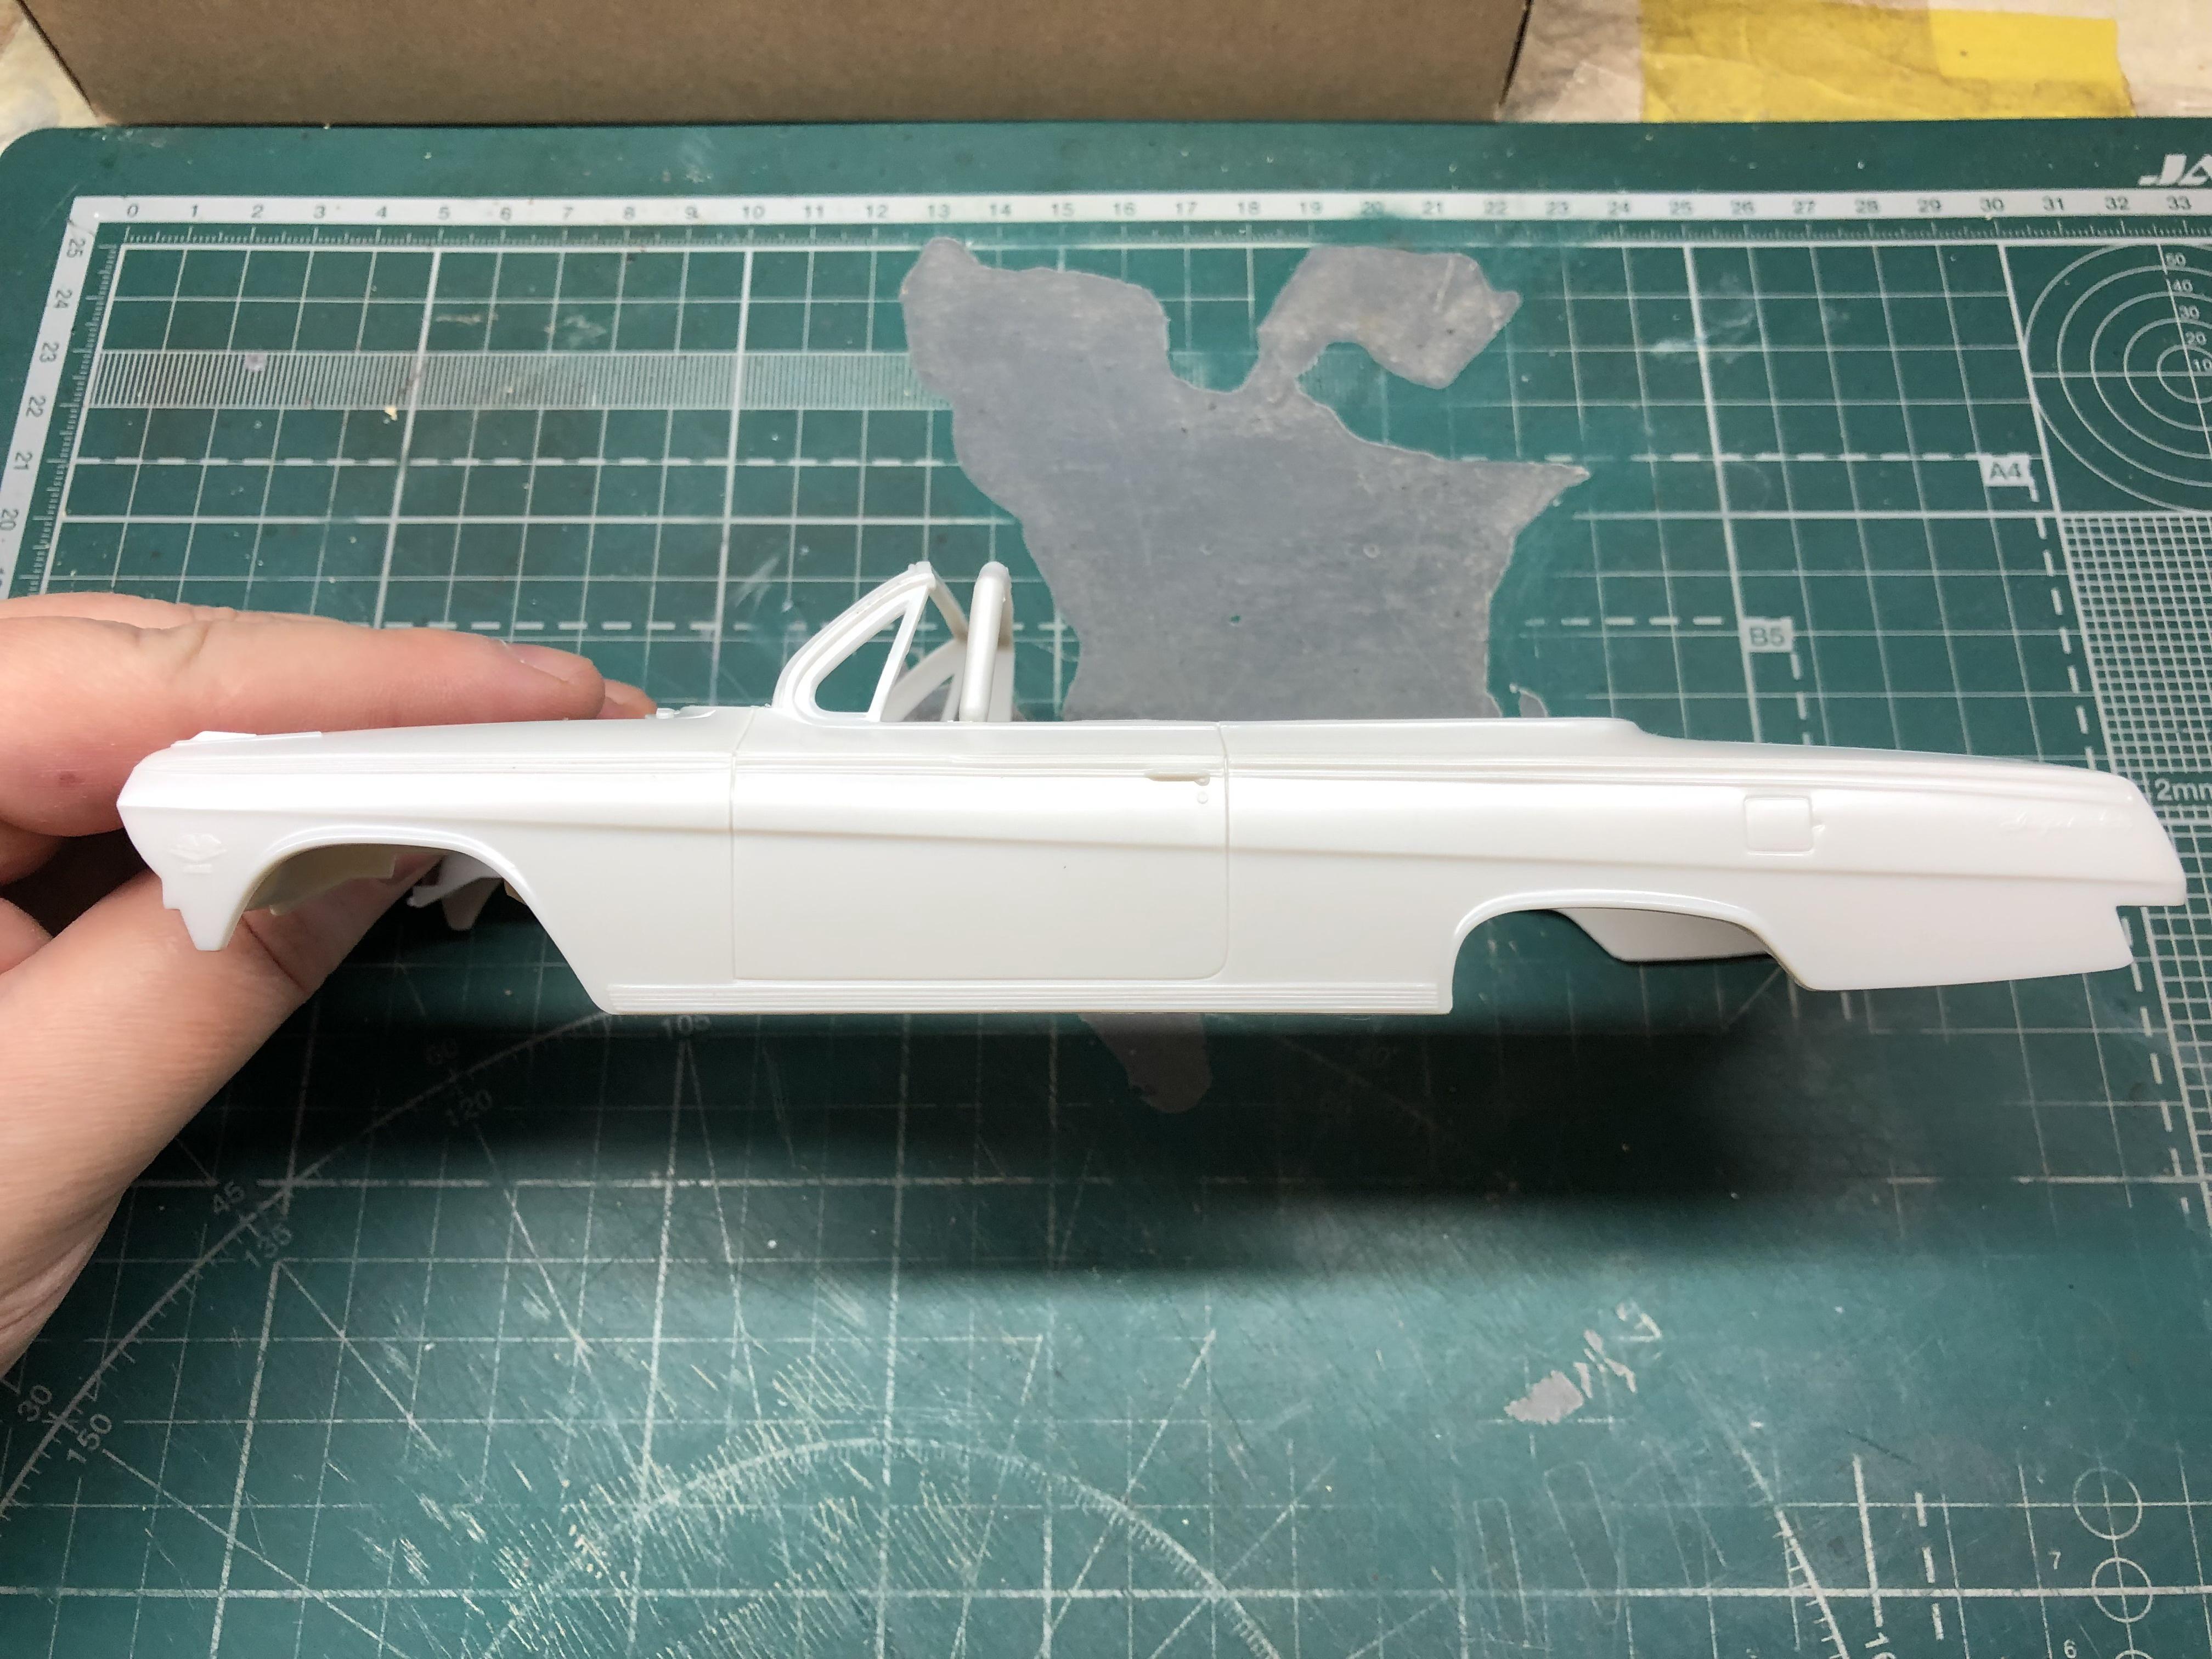
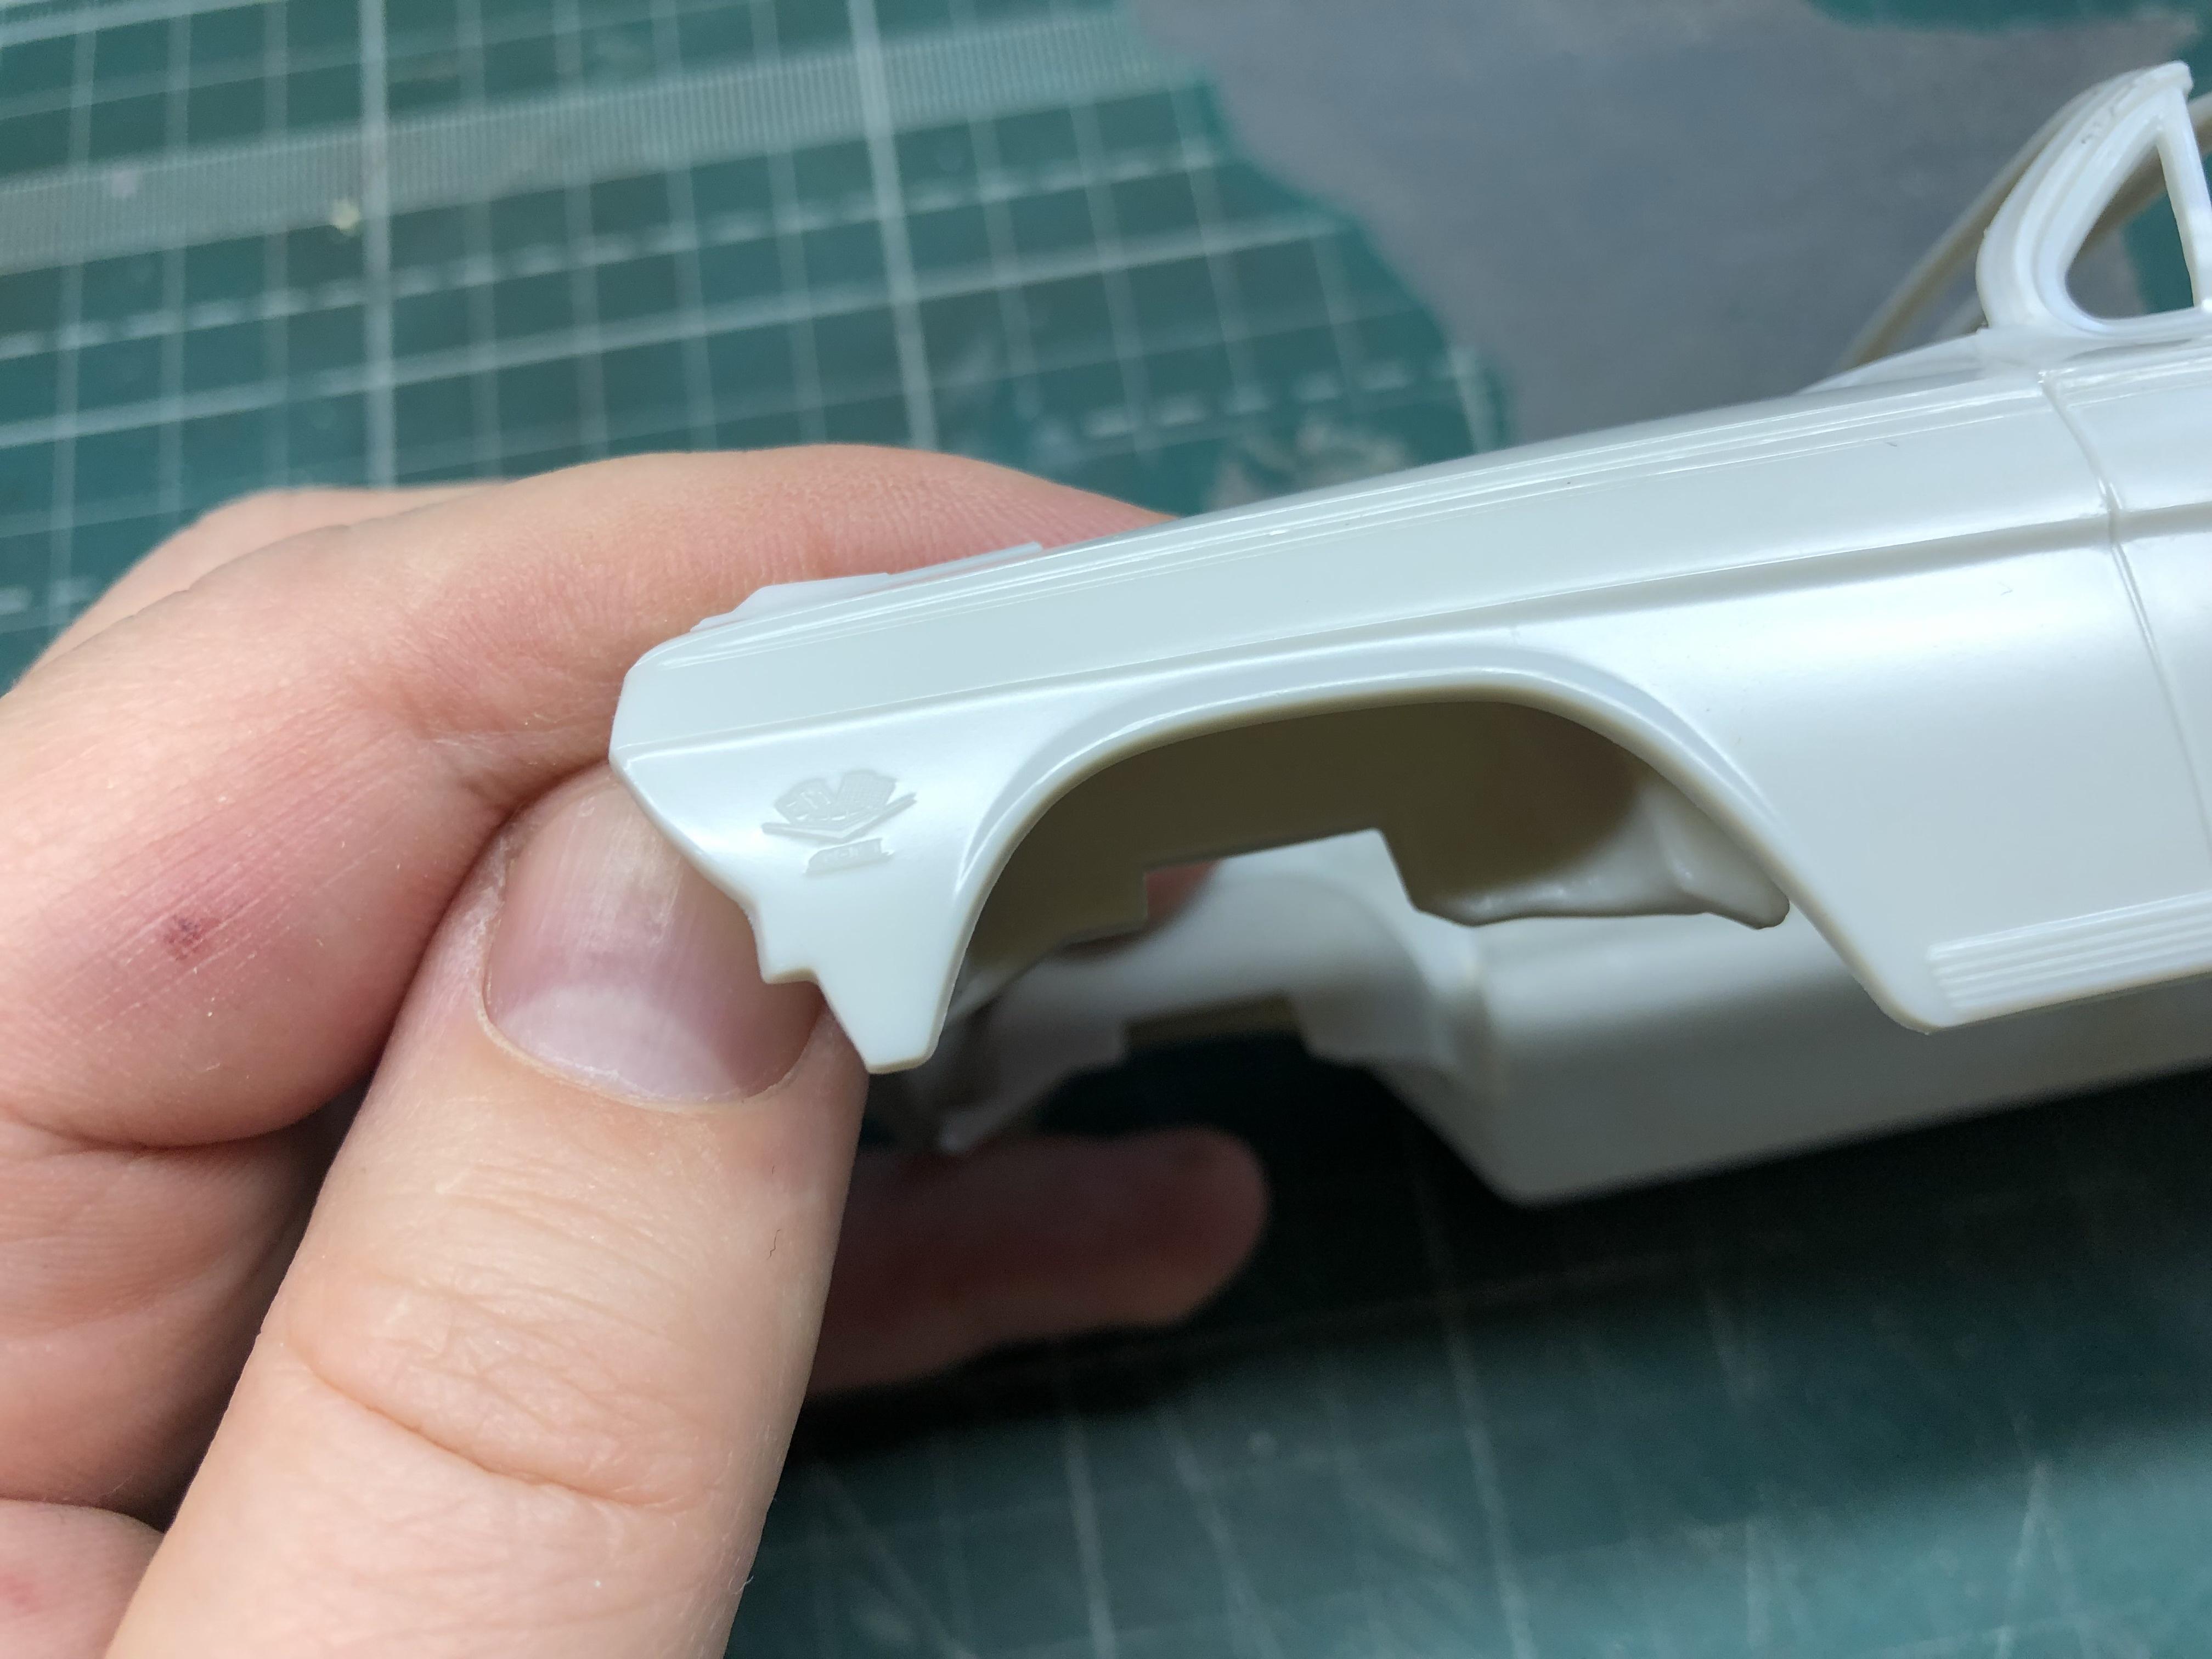
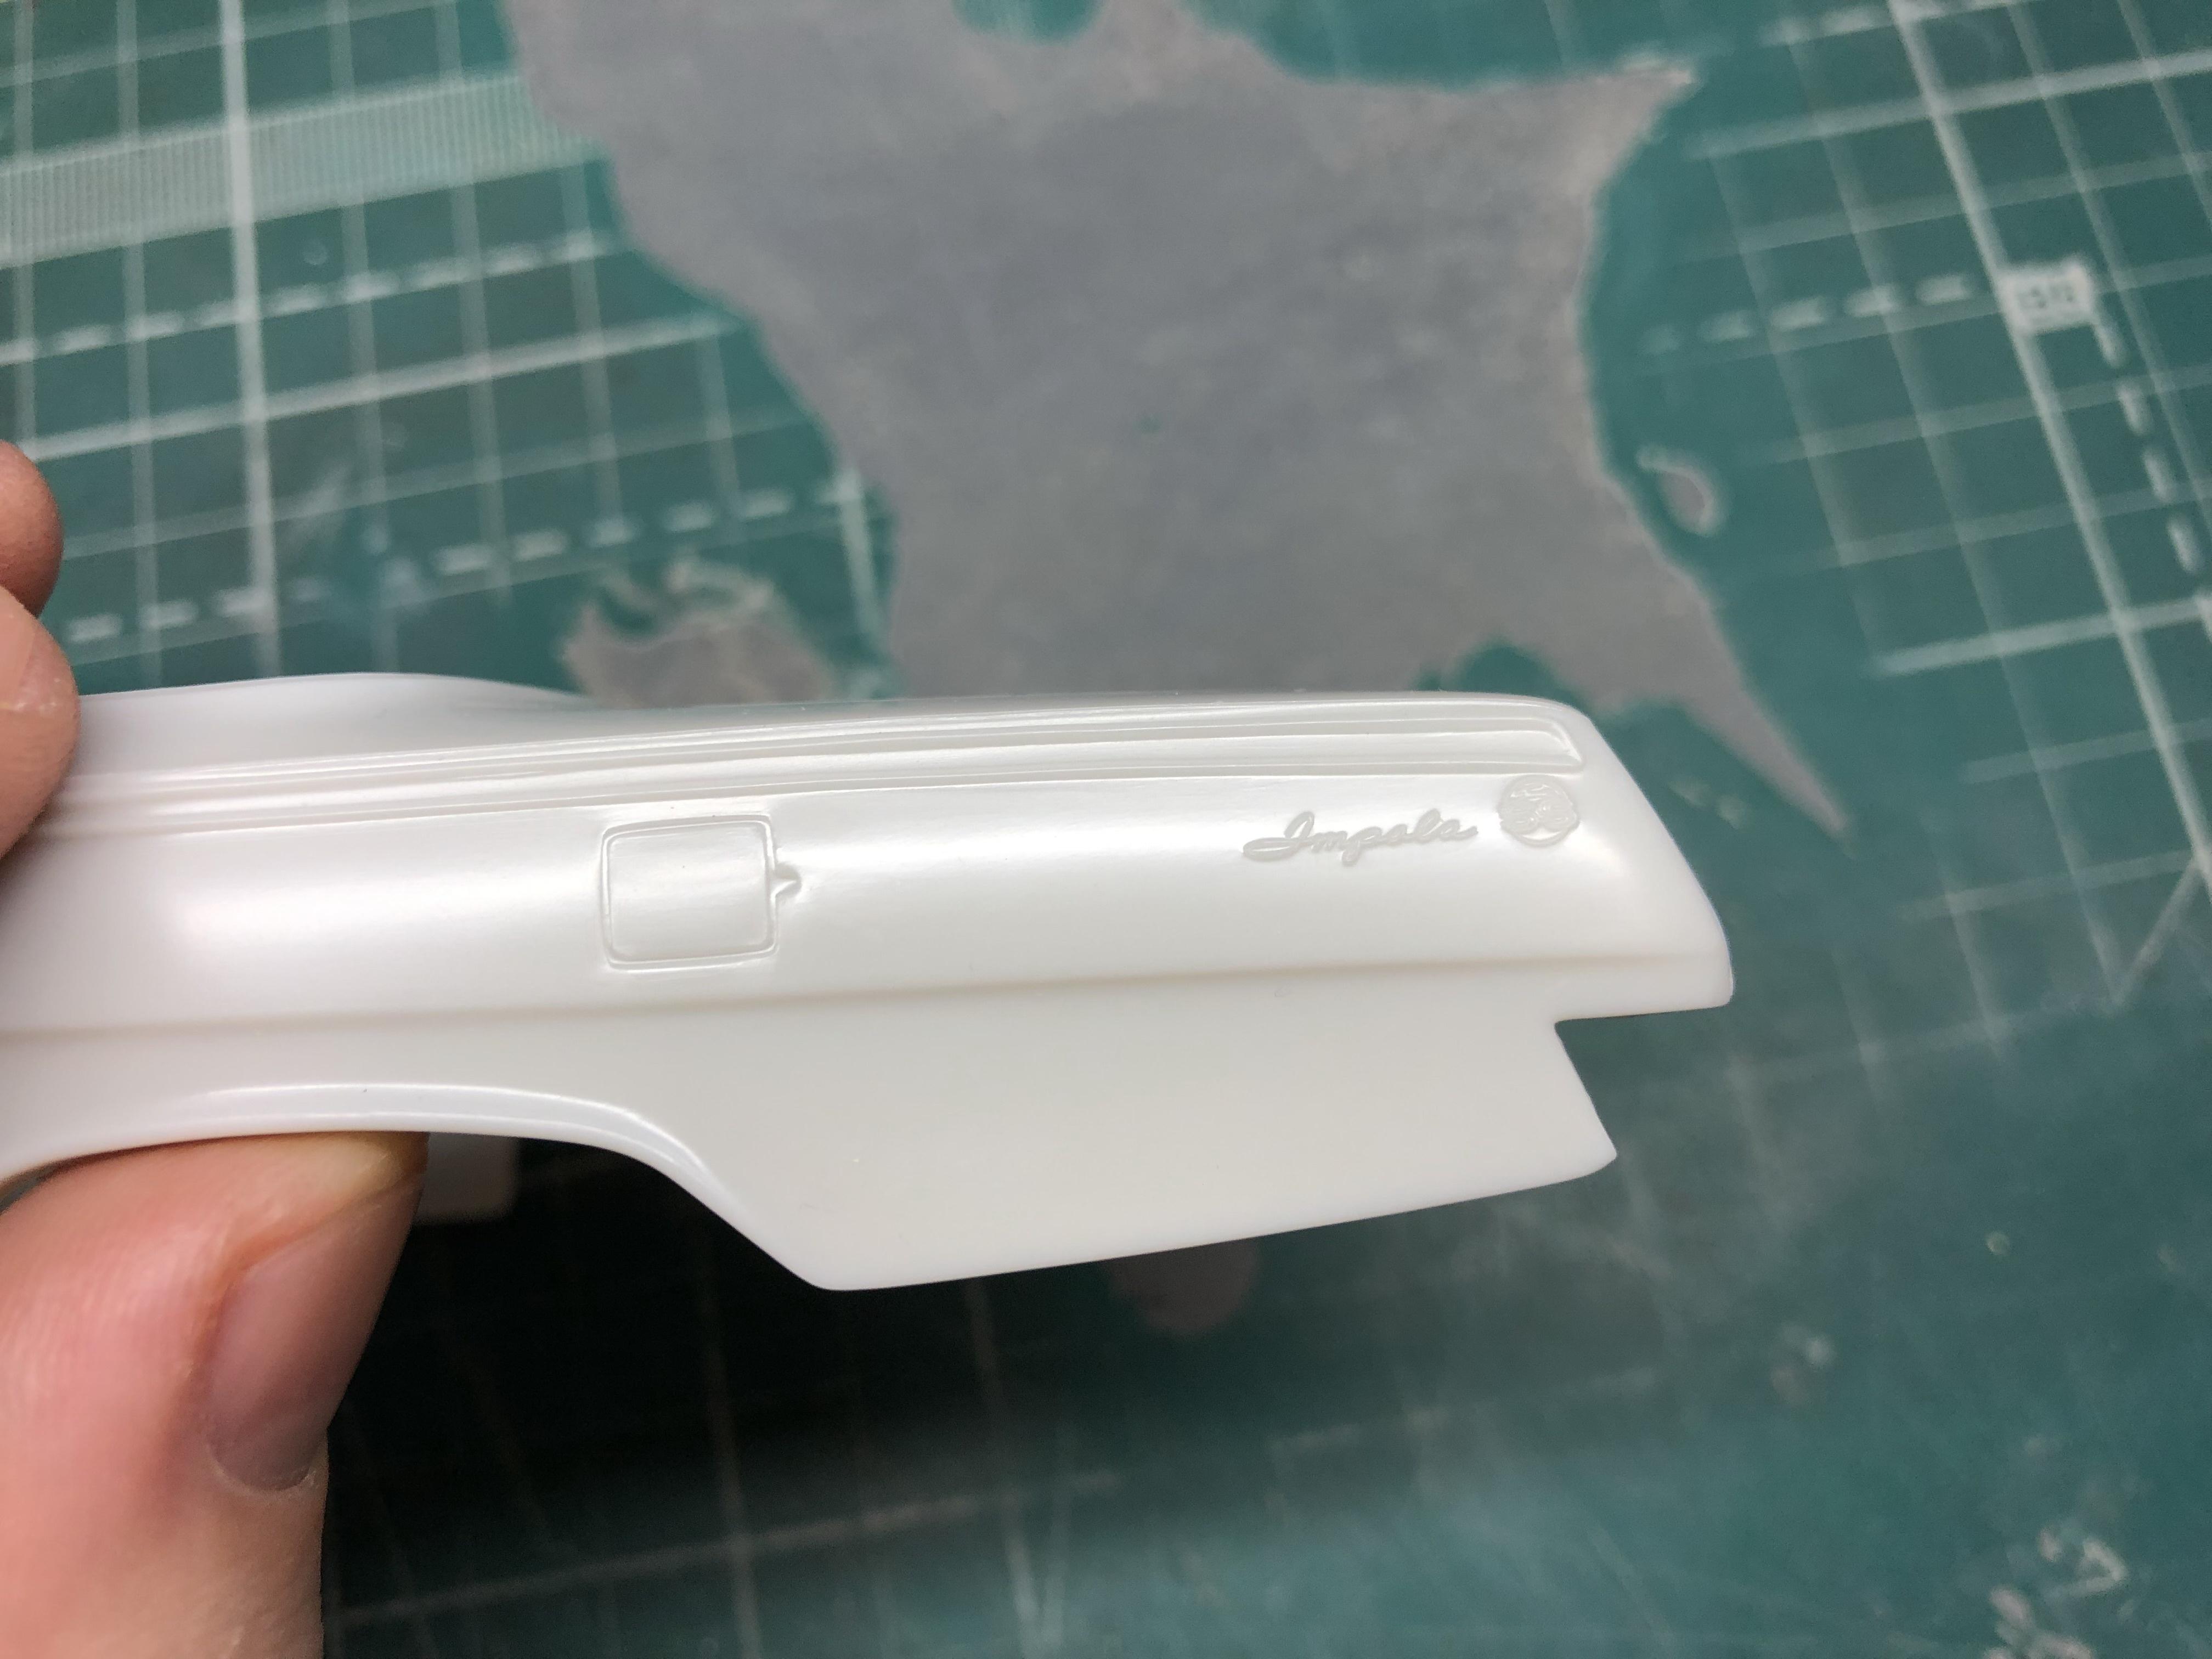
Good afternoon, friends, so I started a new kit. Gorgeous and graceful Impala. Whats in the box. All details are prepared and washed. Everything is painted. Body in 2k clear. Body polished and BMF is done.
-
Today I photographed the "baby" on the street in natural light.
-
Hello,everyone. My latest model.
-
Aaaaaaaaaaaaaaaaaaaaand it's done.
-
Polishing done.
-
Interior done.
-
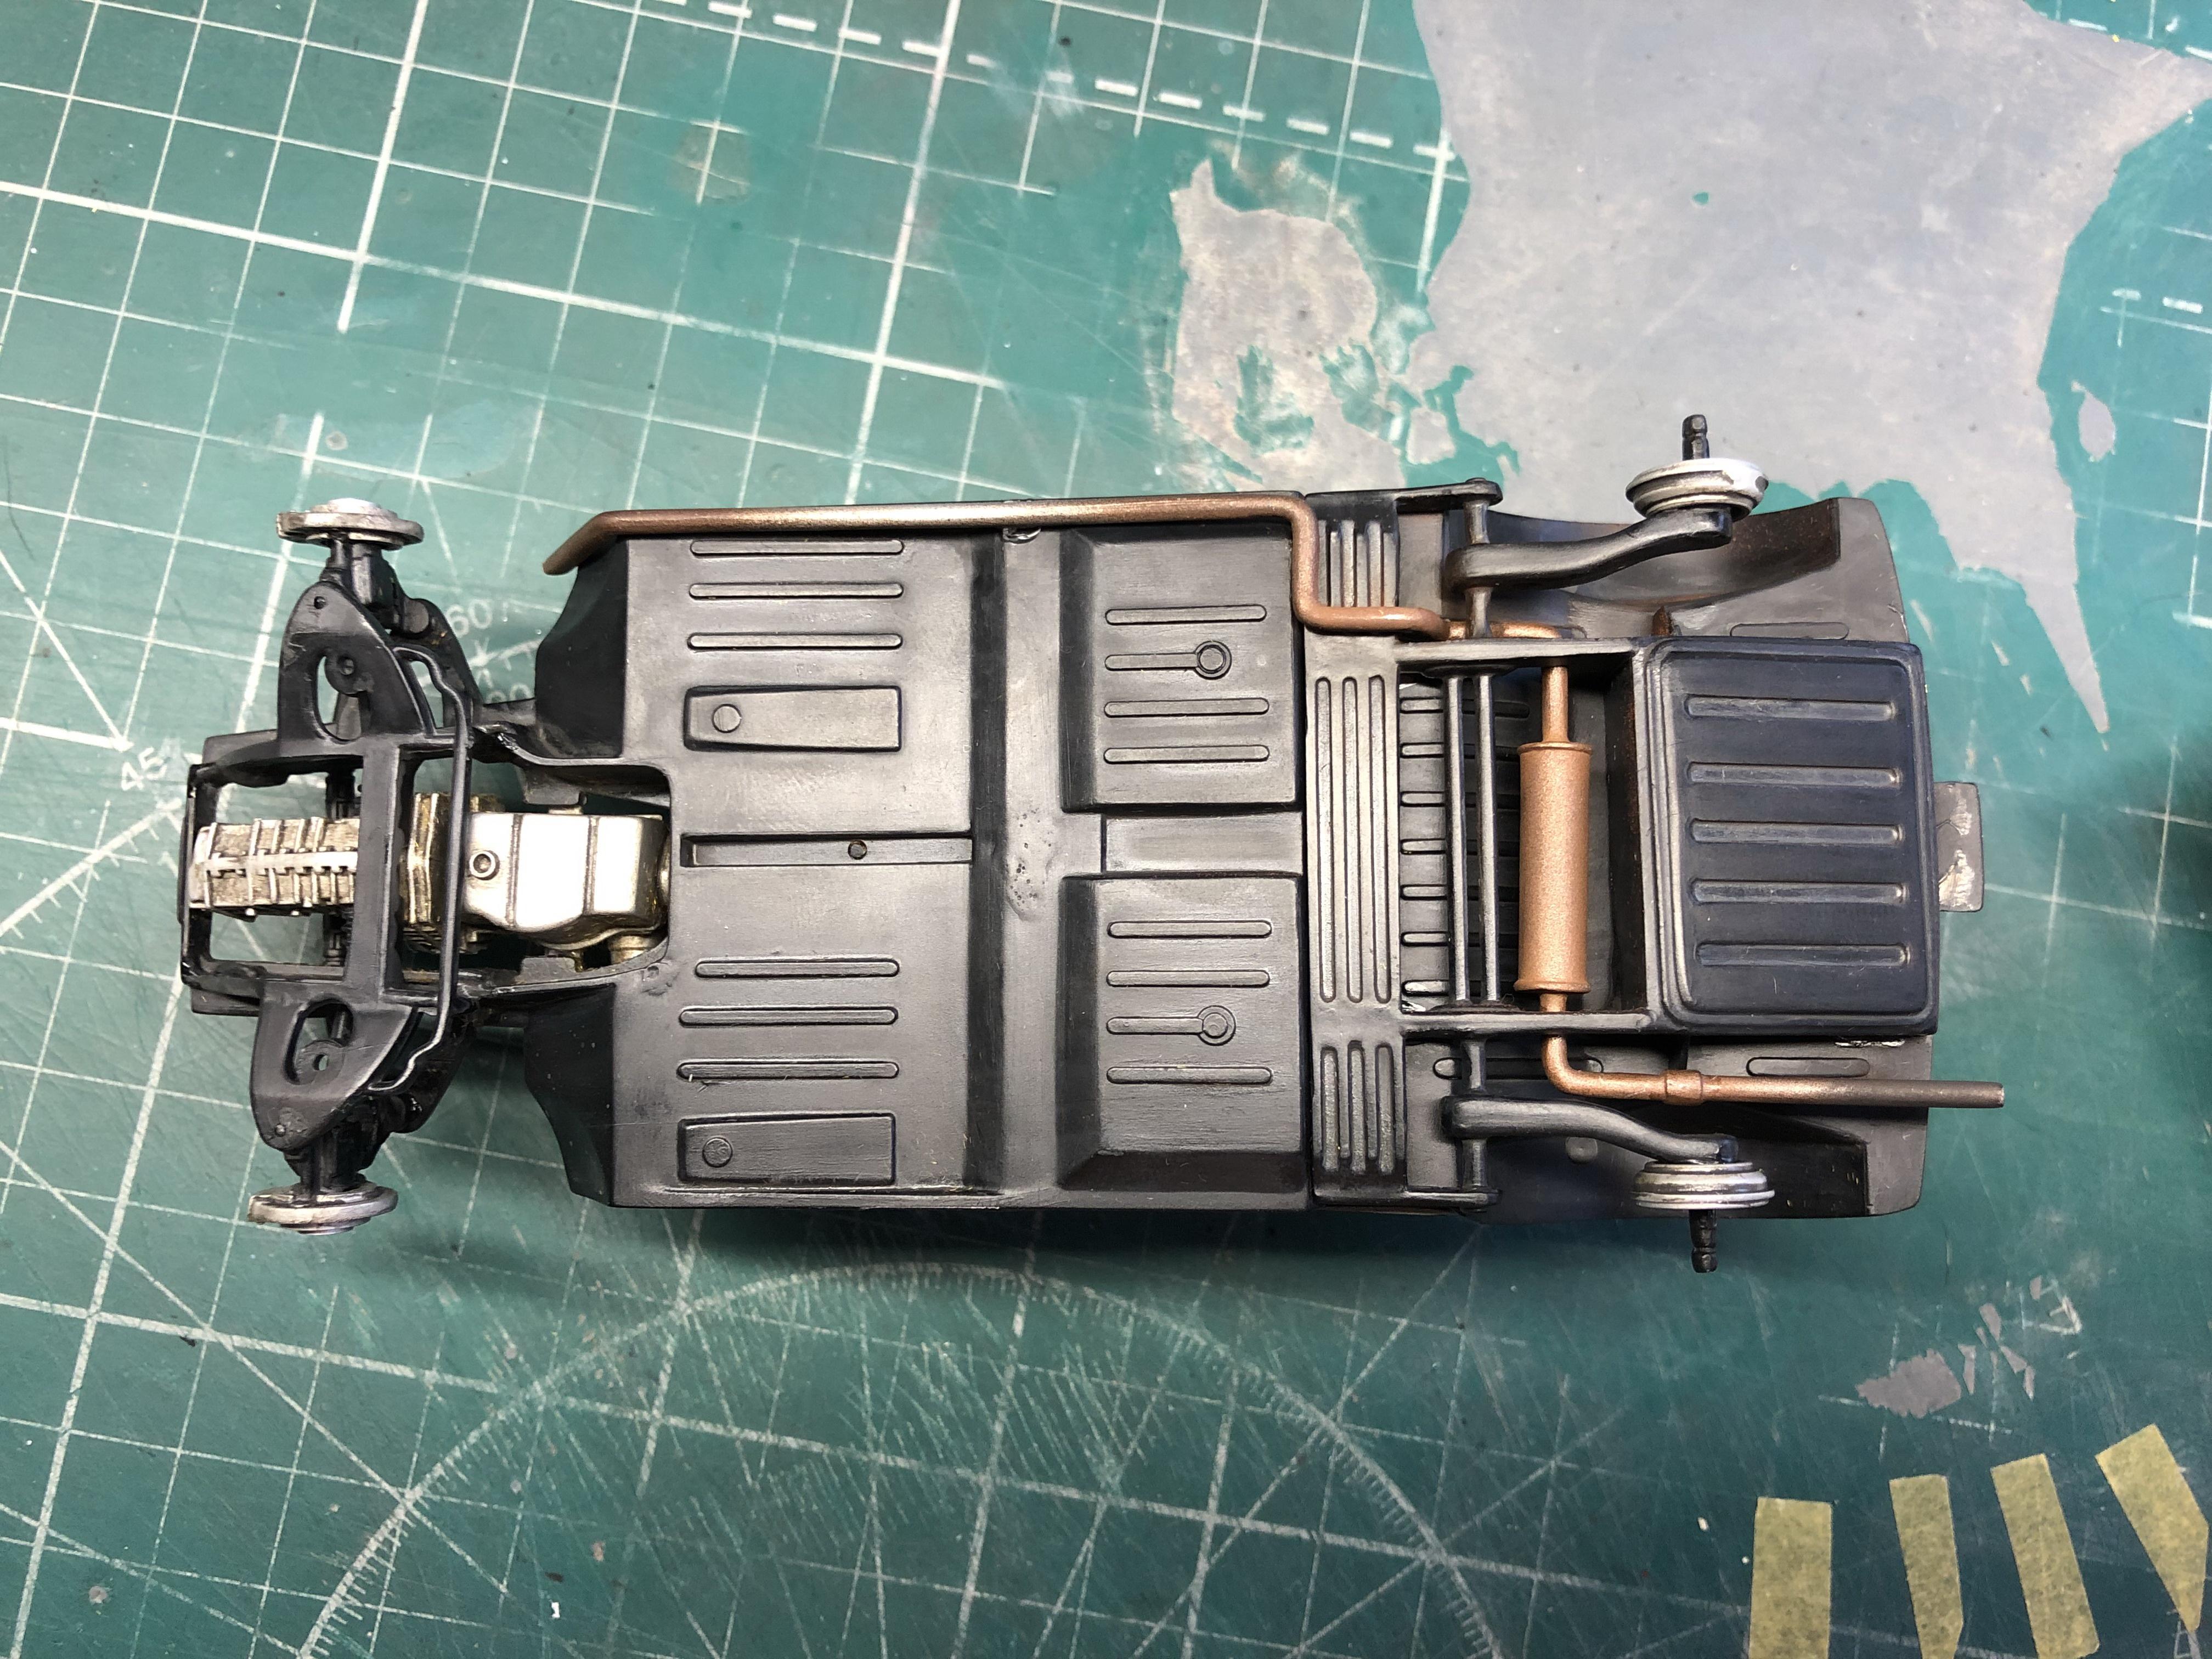
Engine and undercarriage done.
-
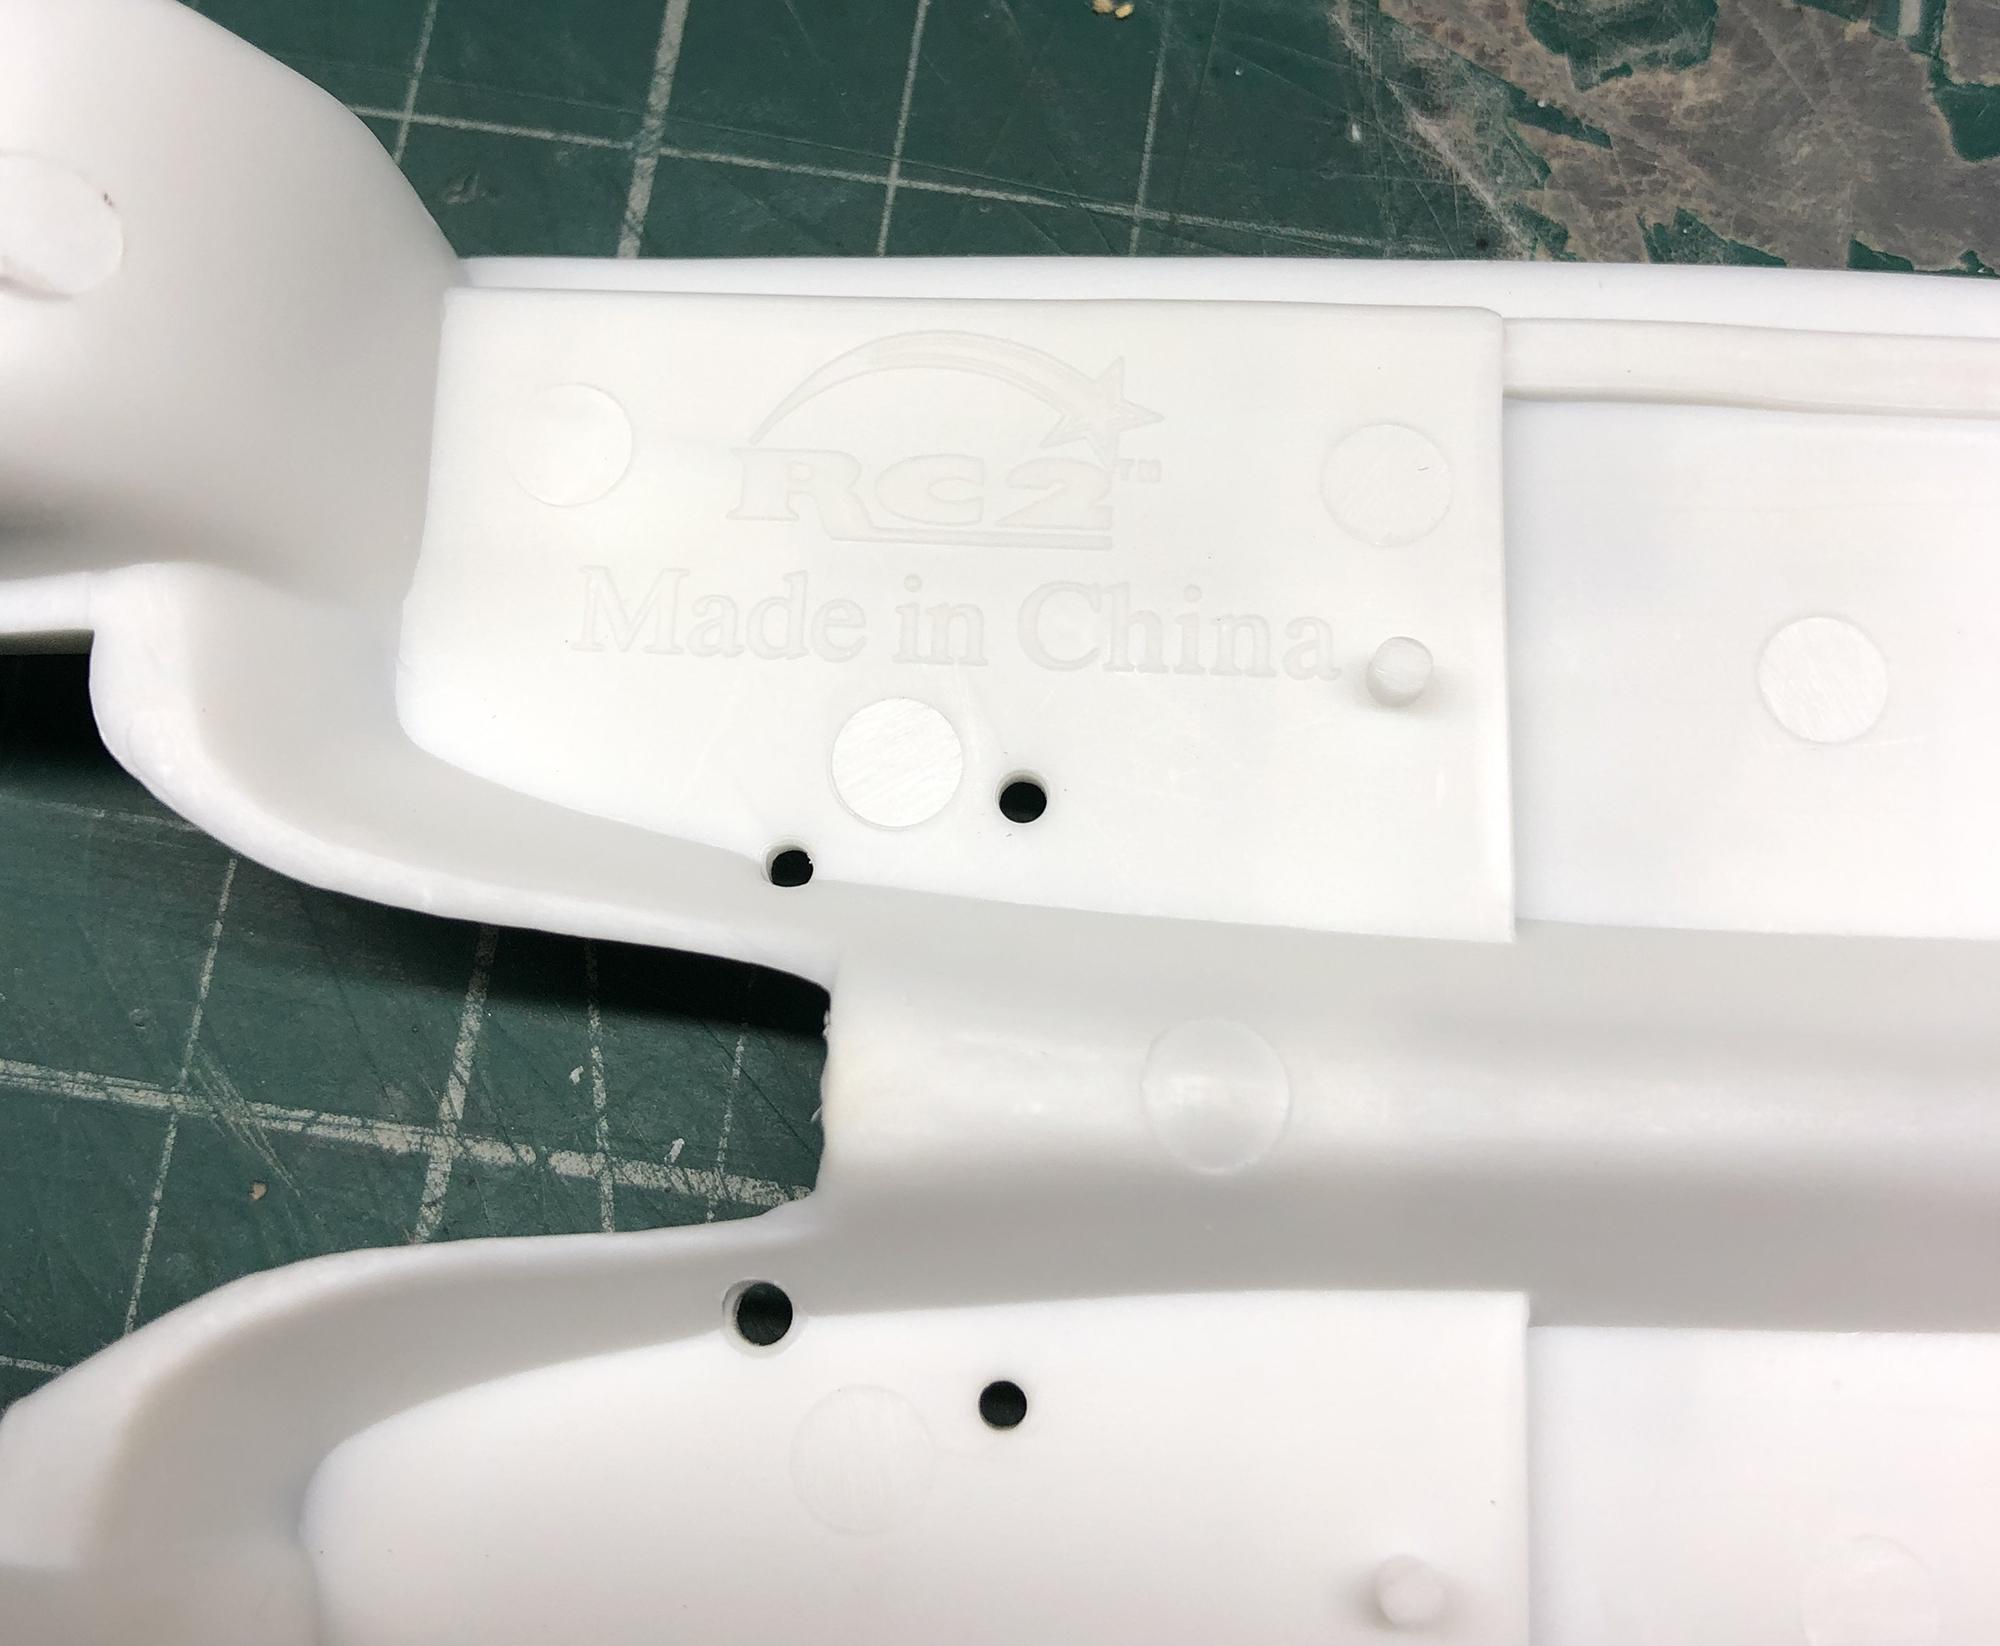
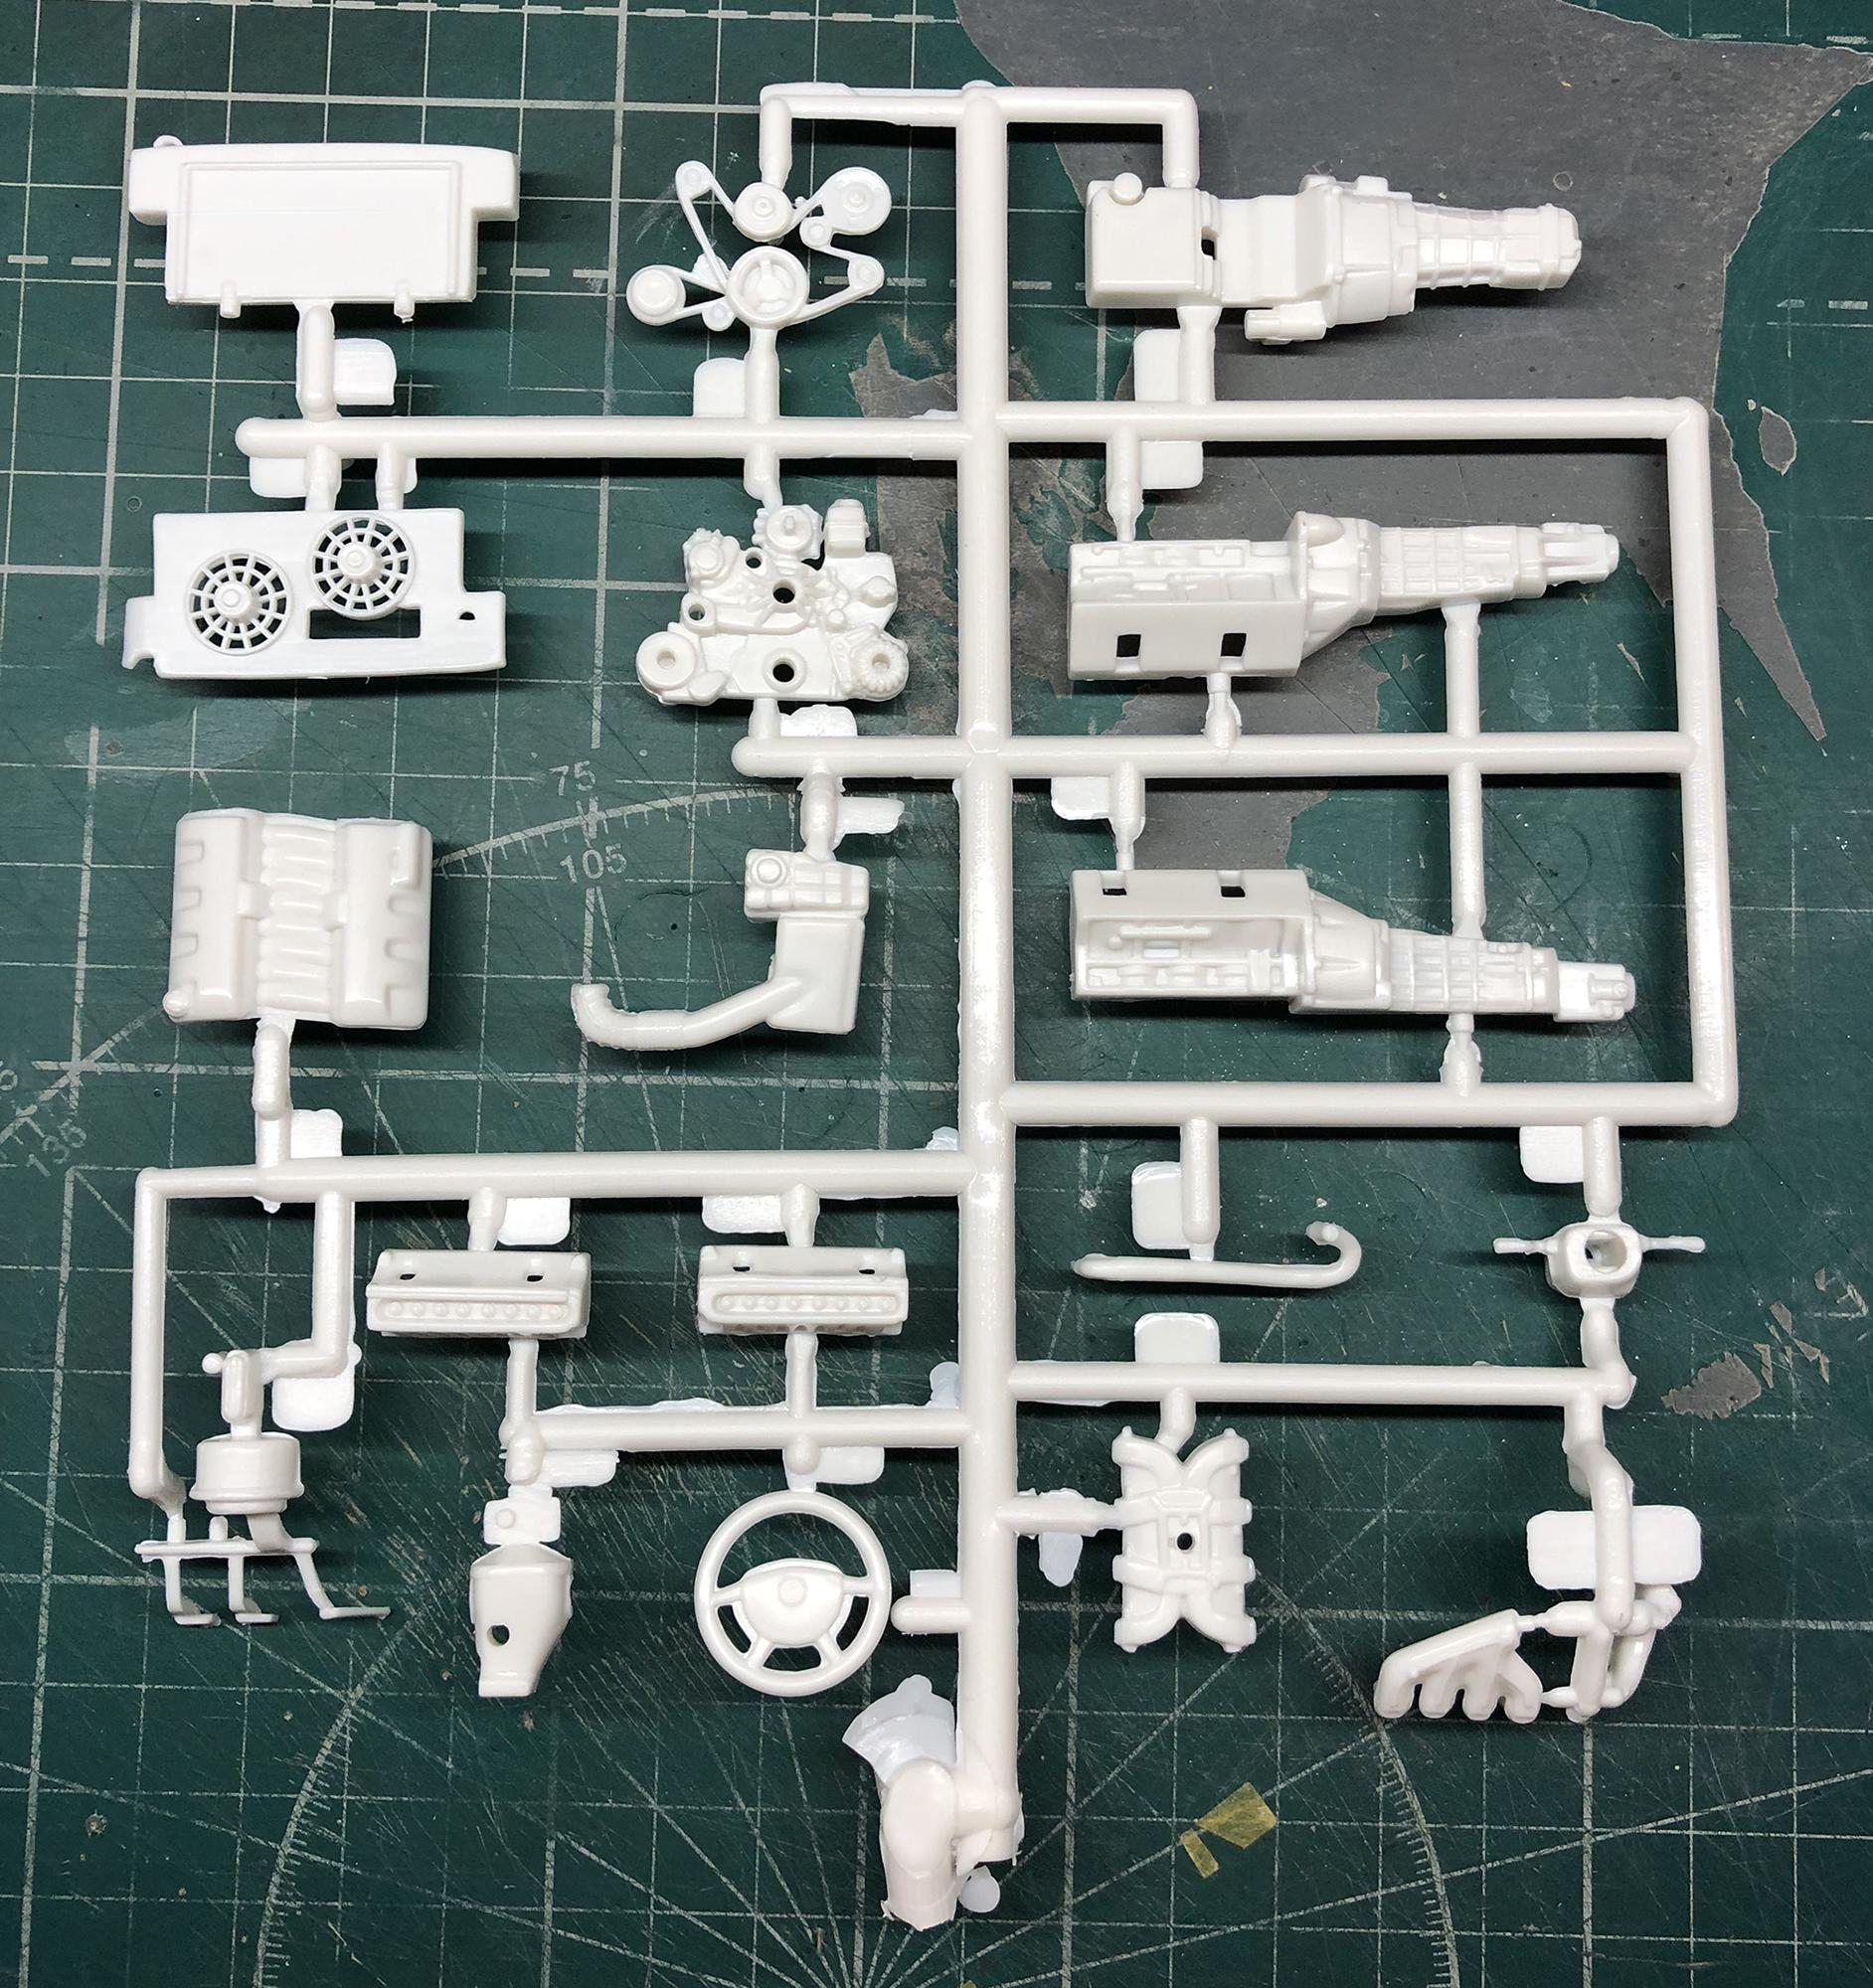
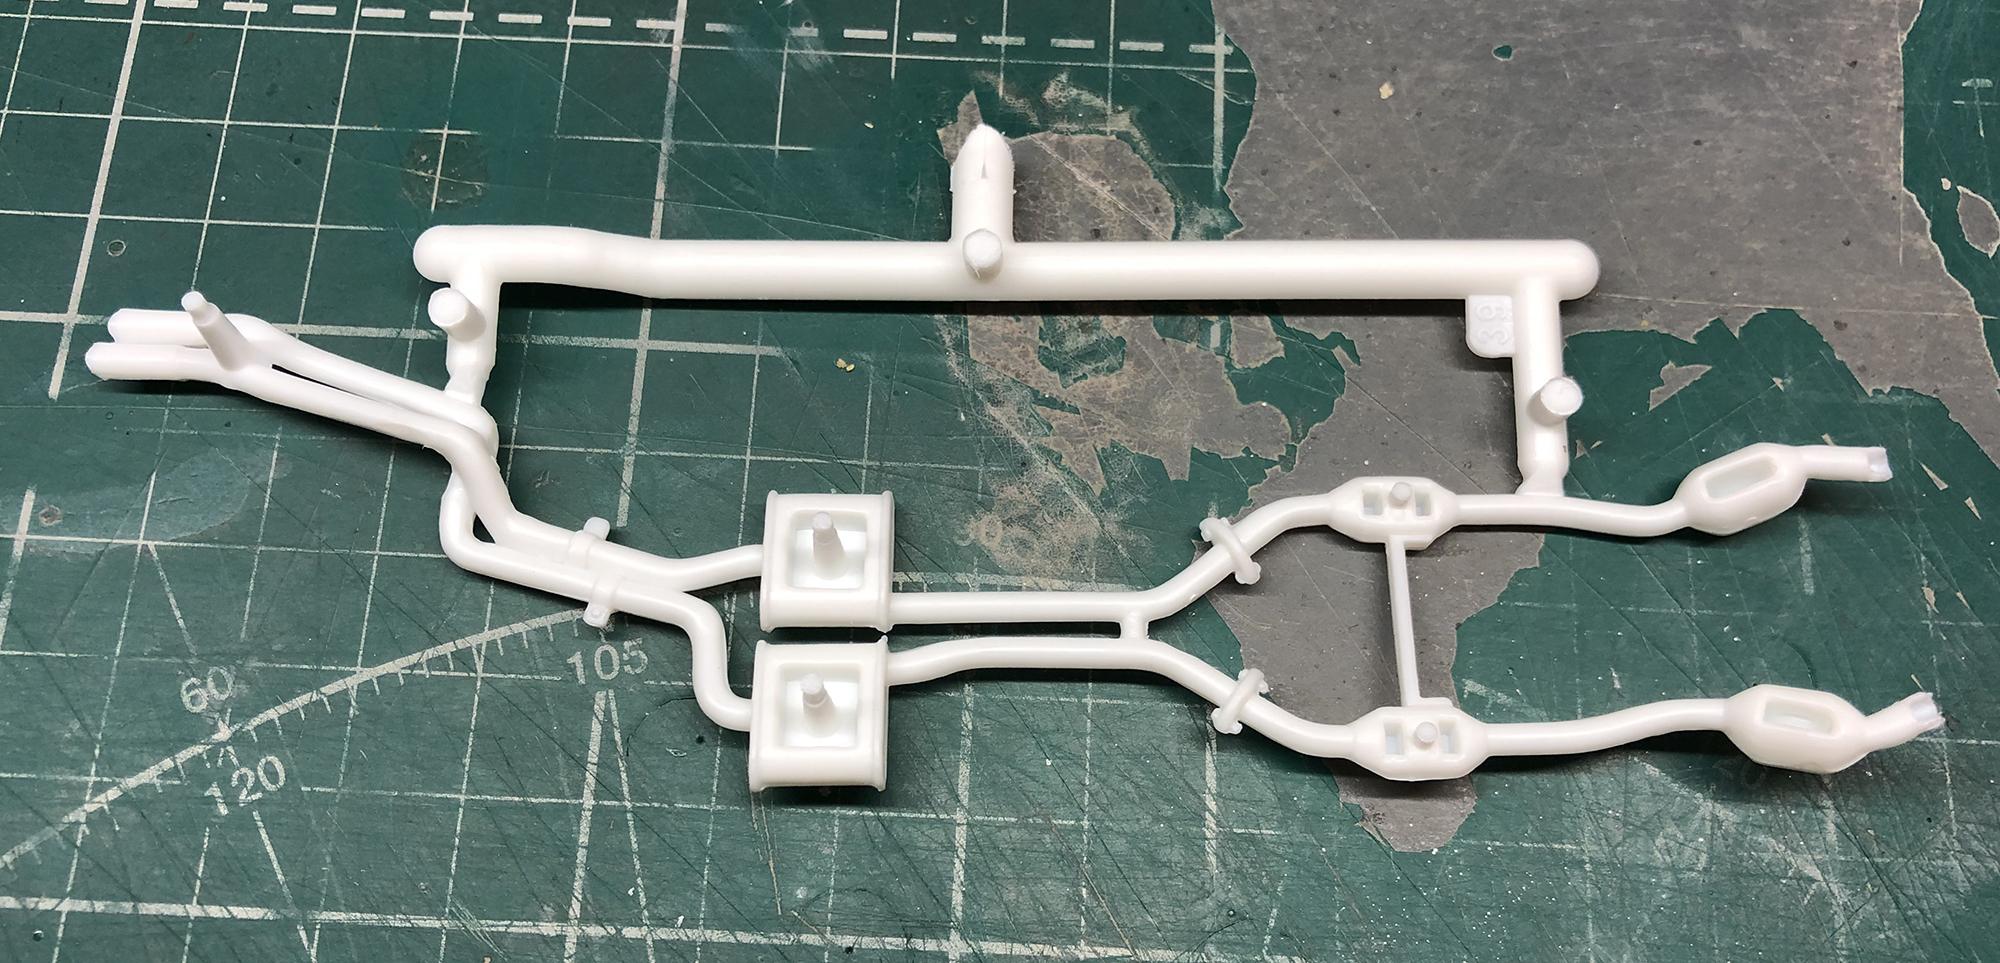
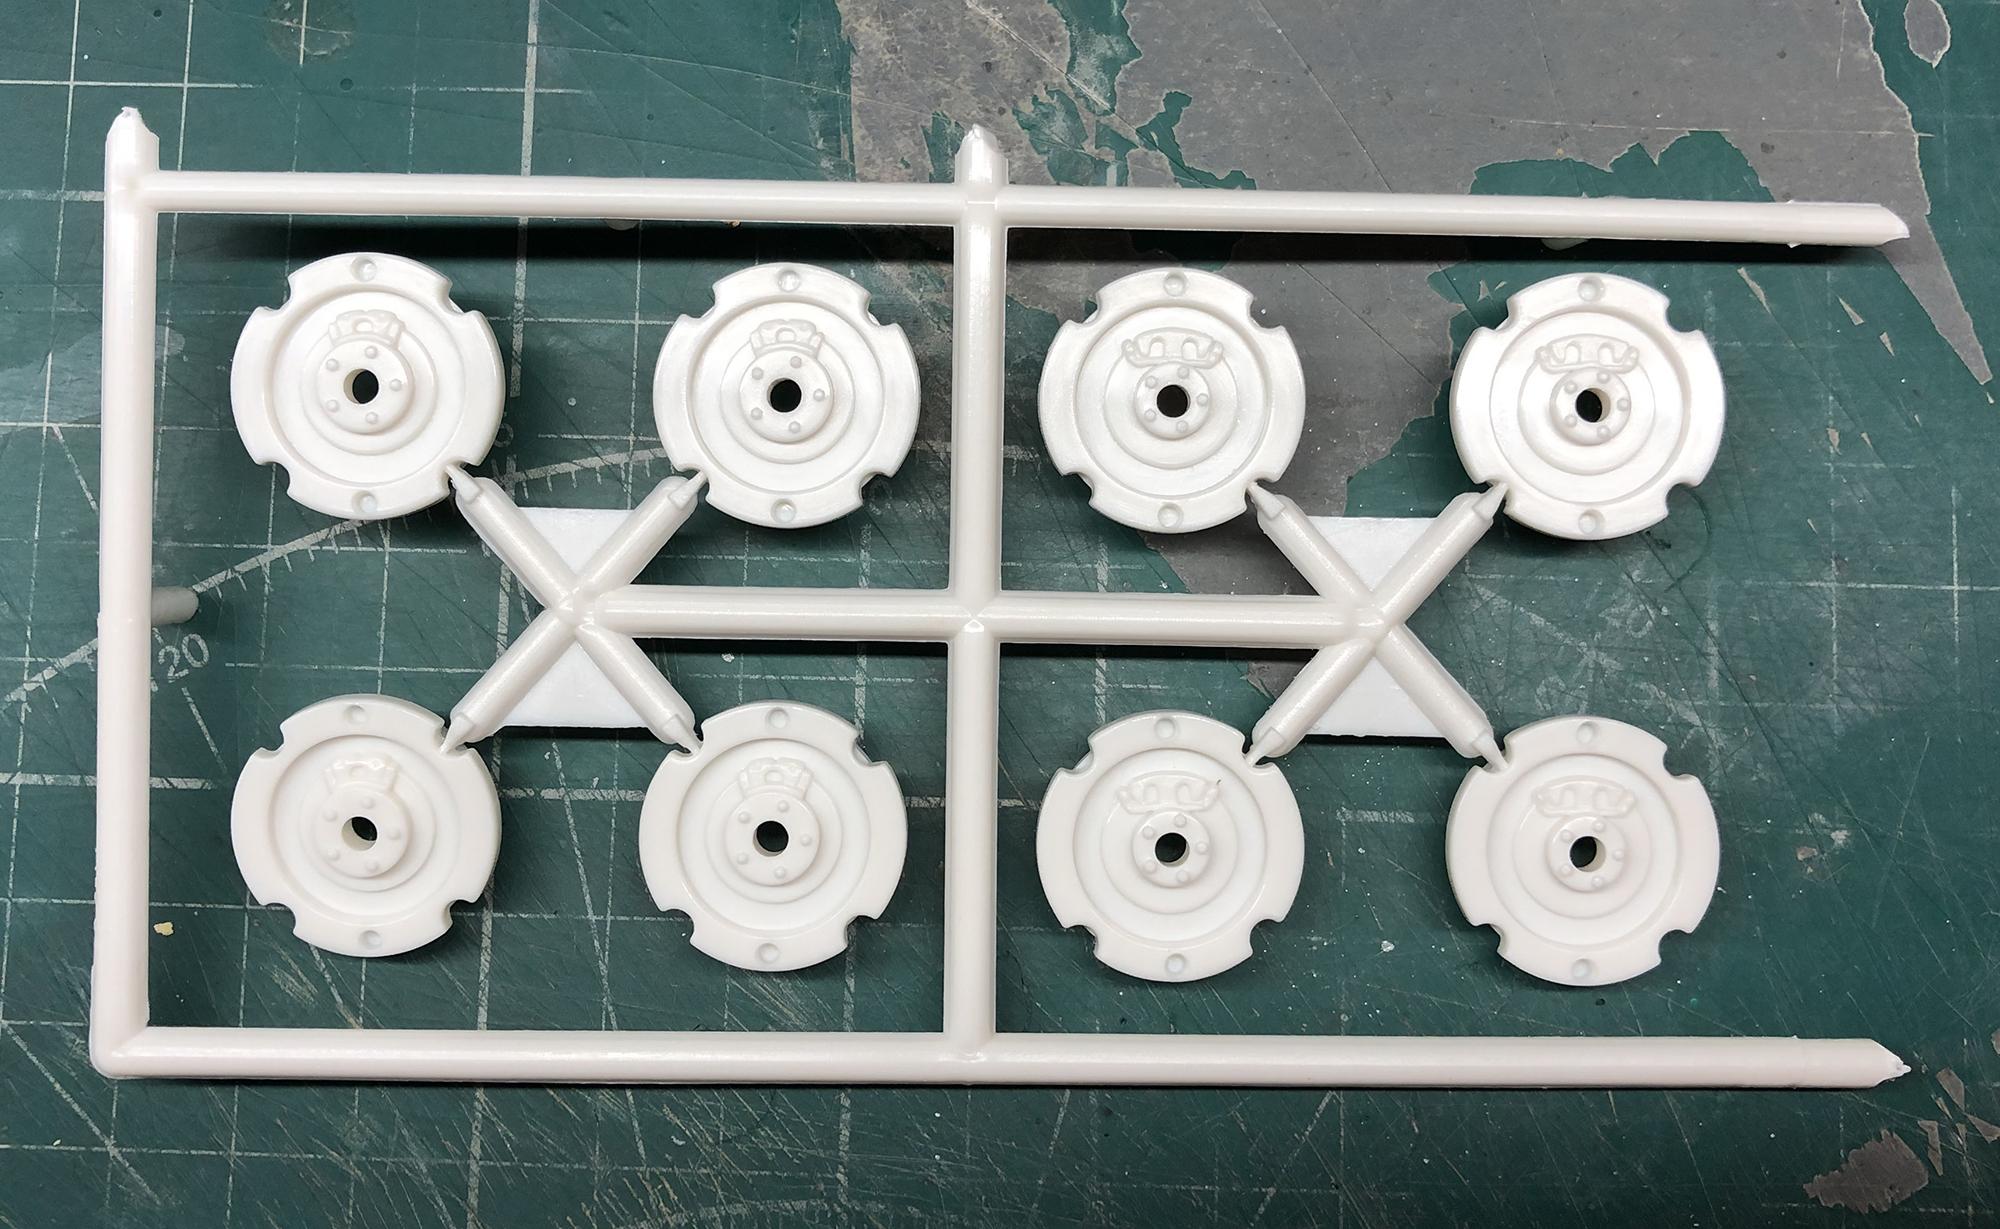
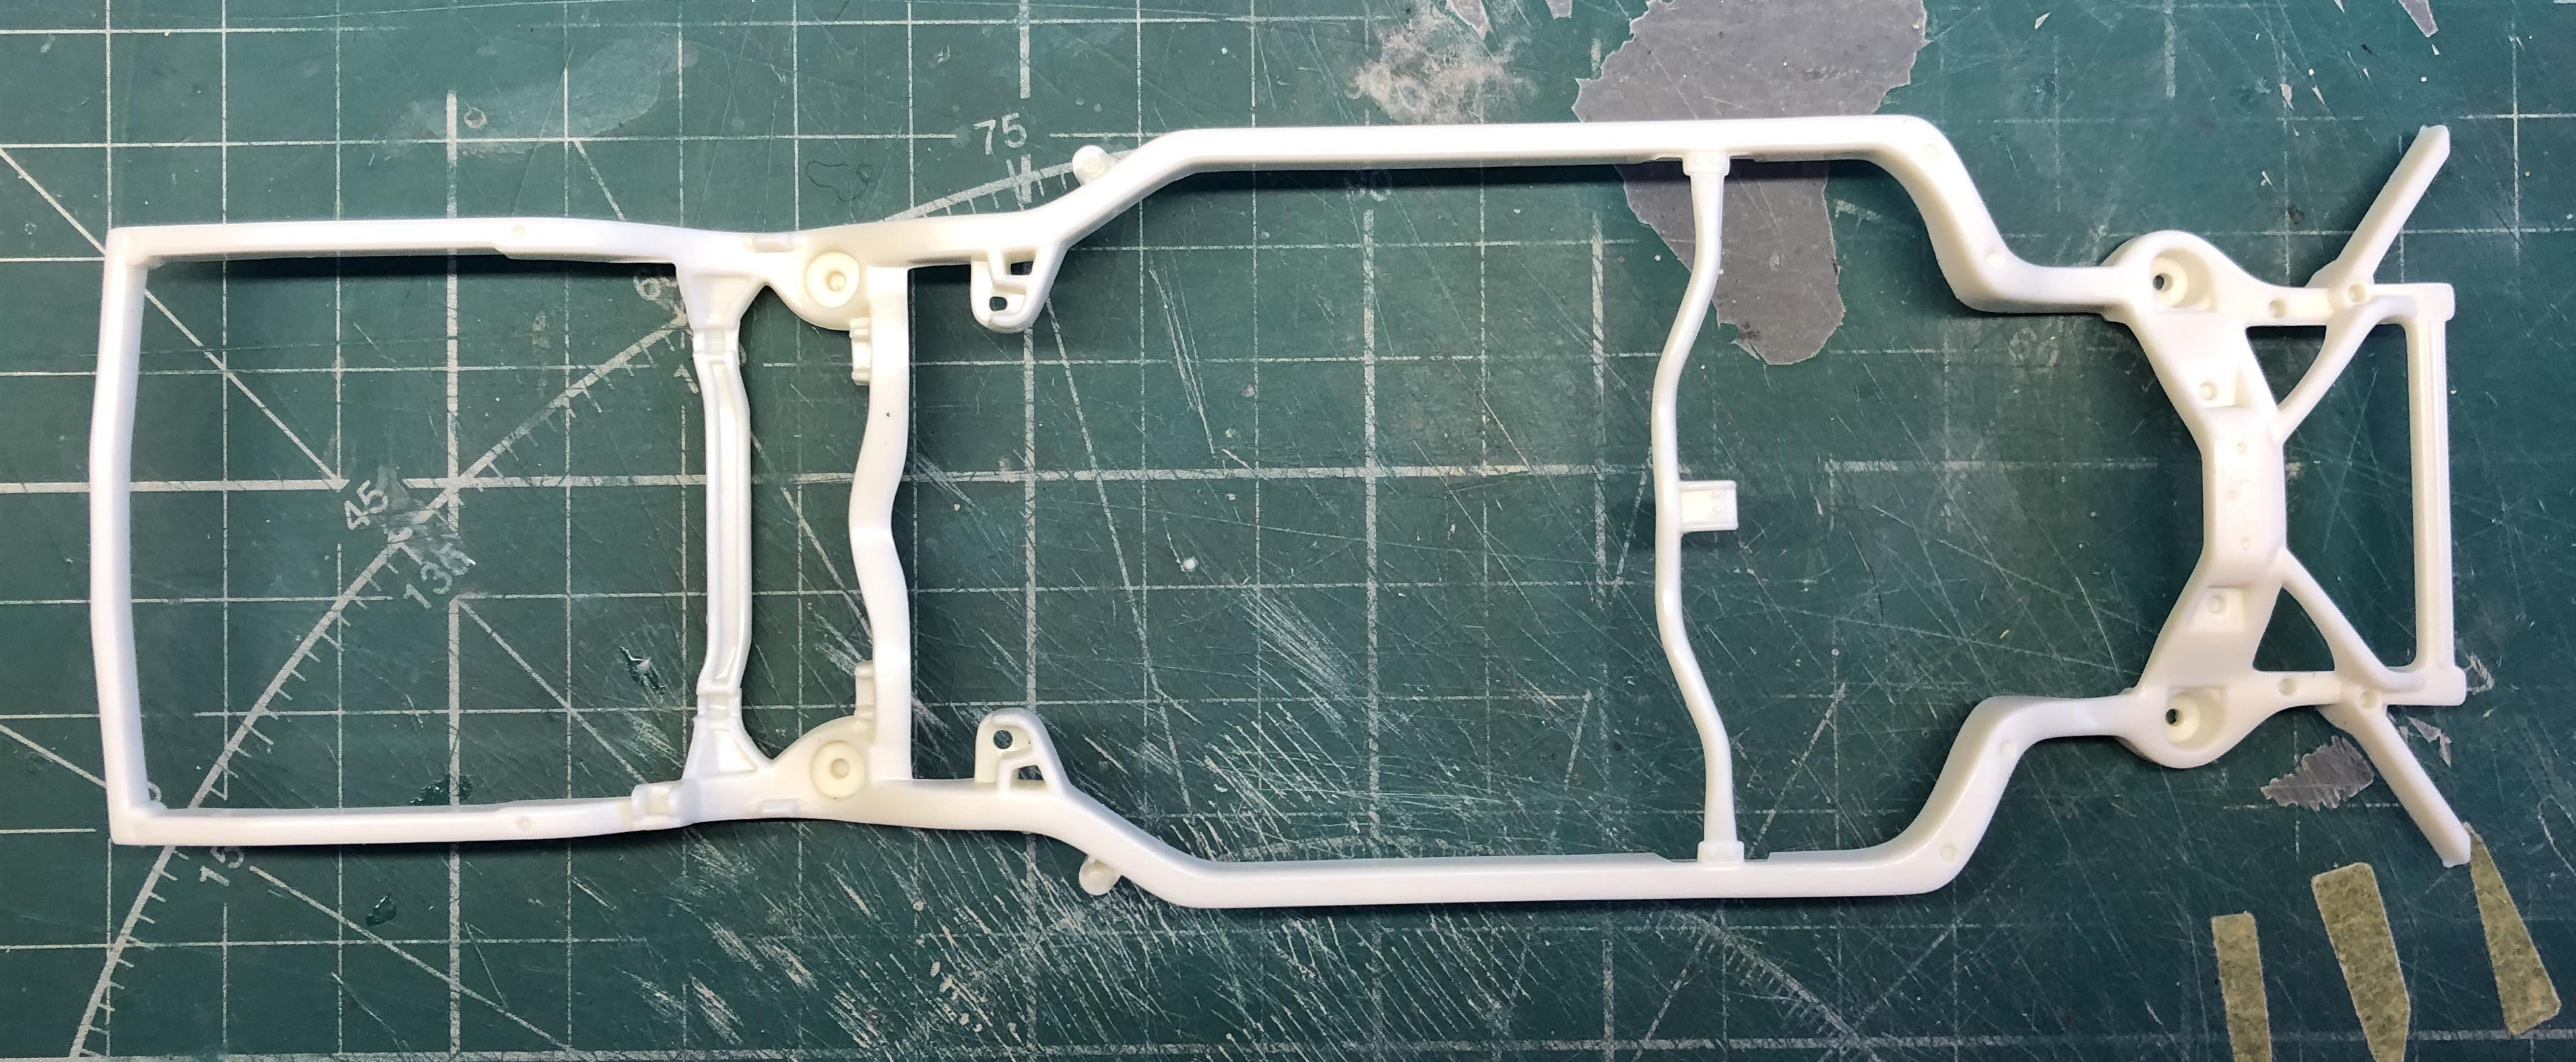
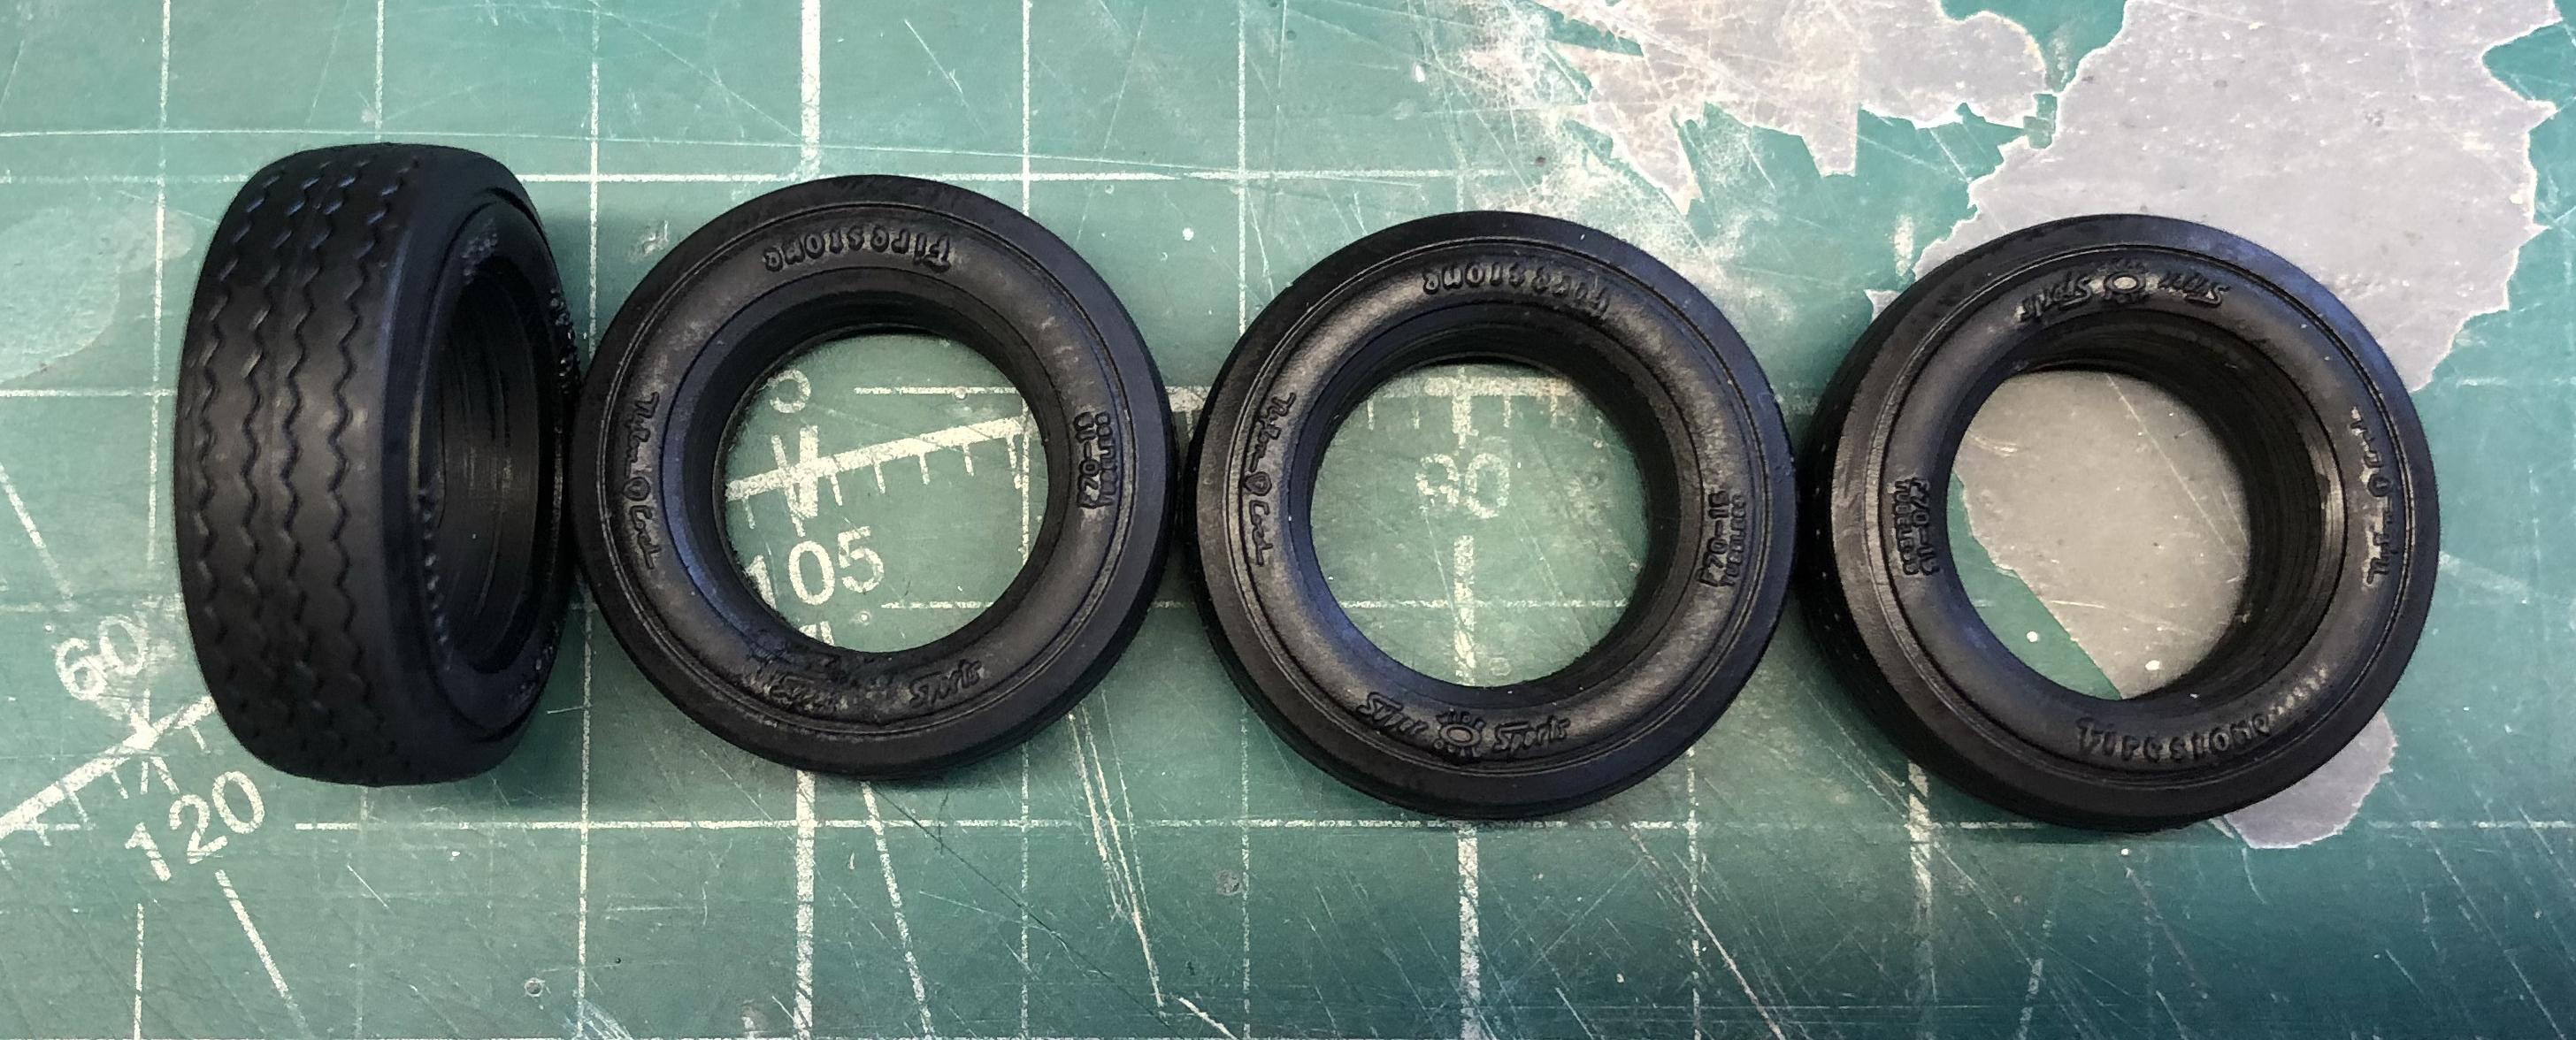
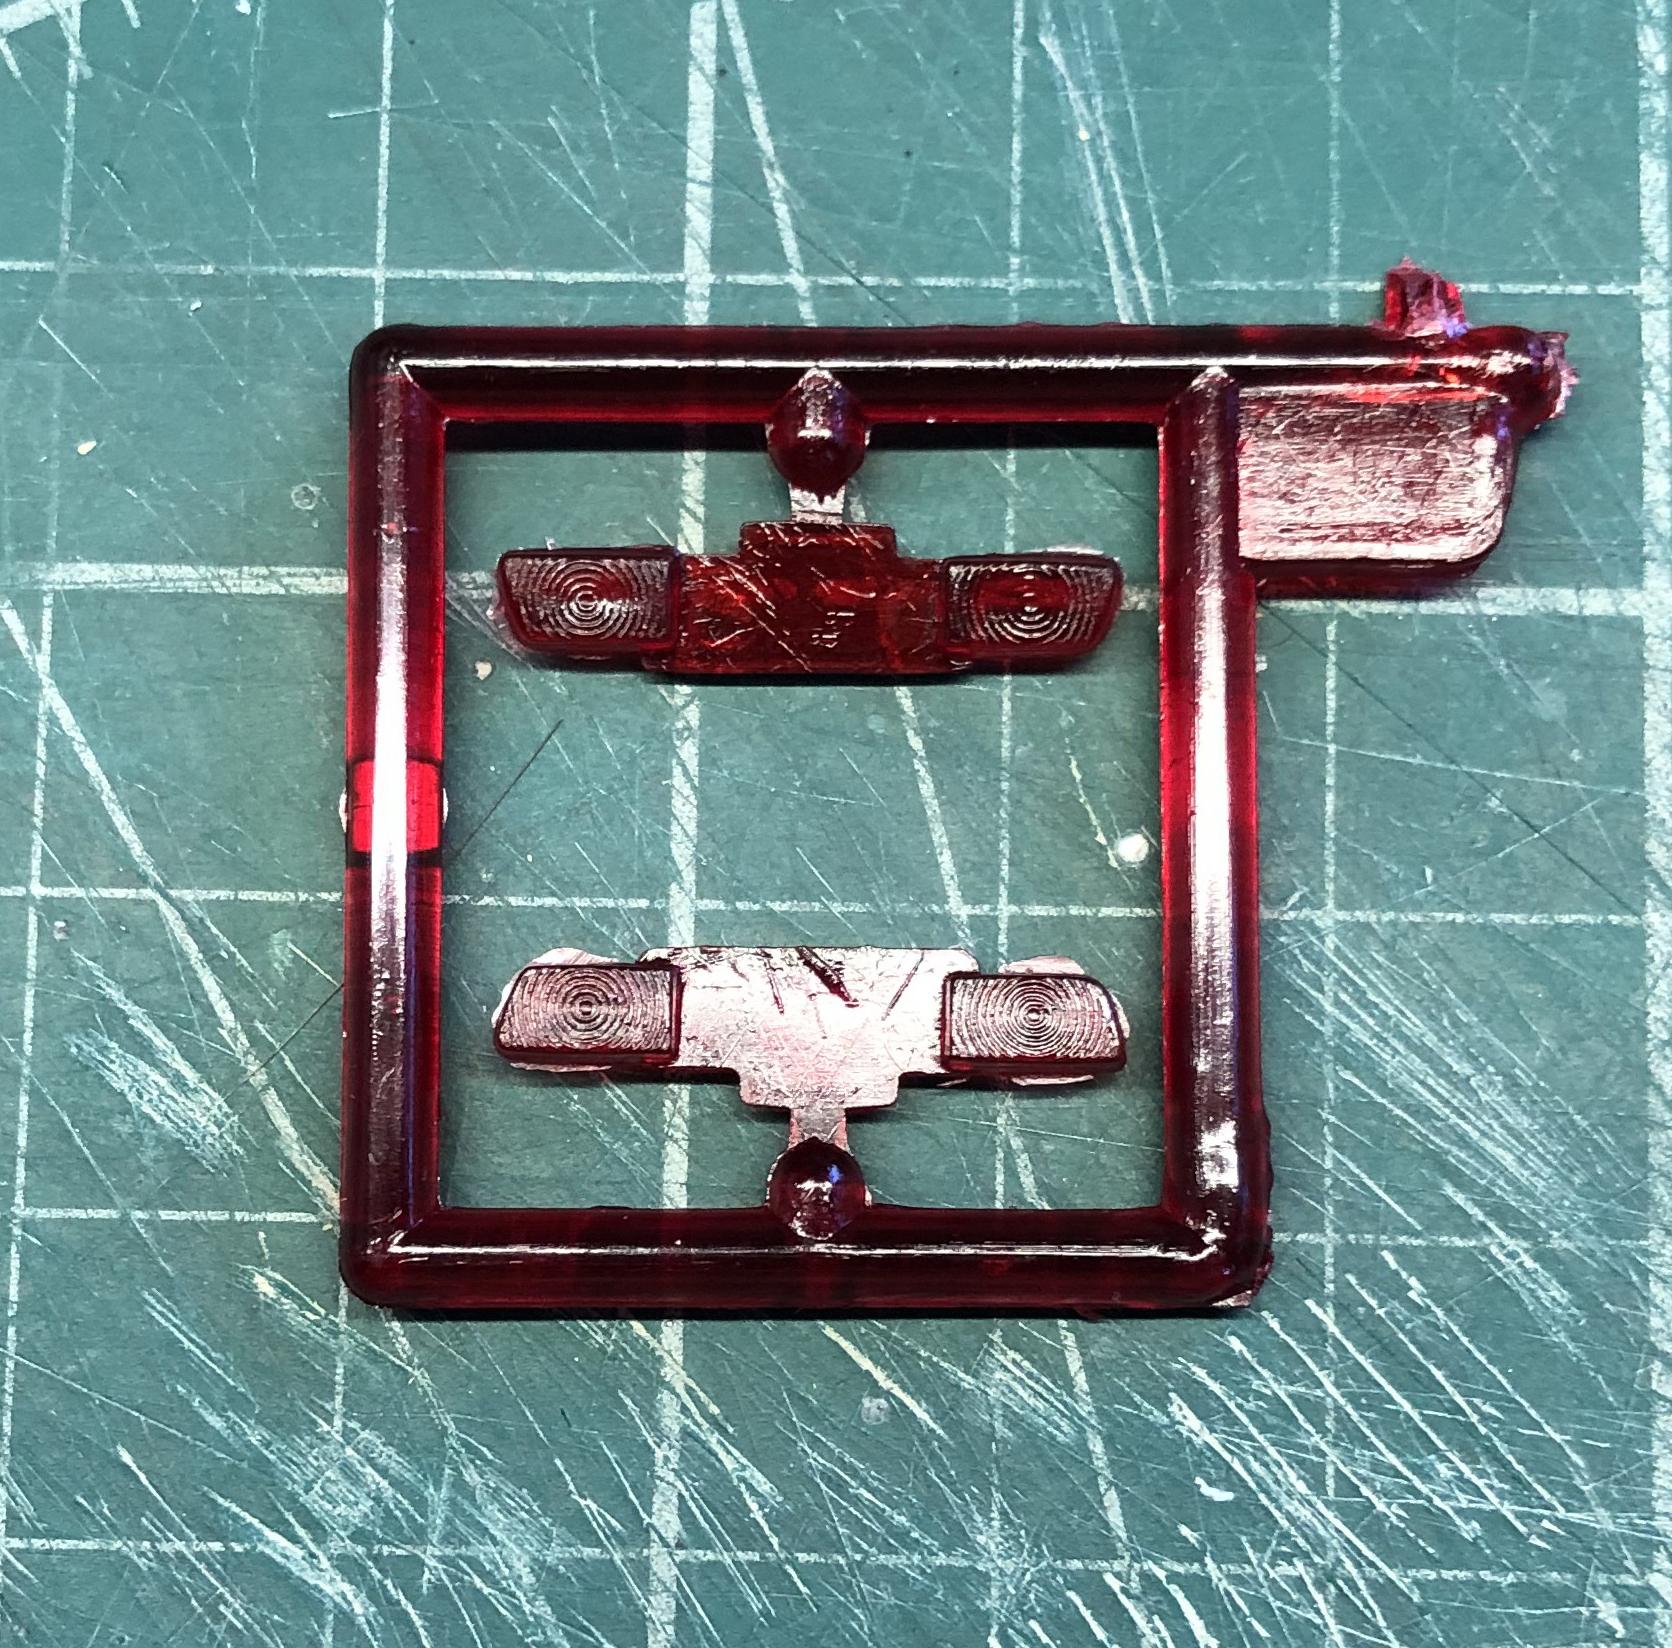
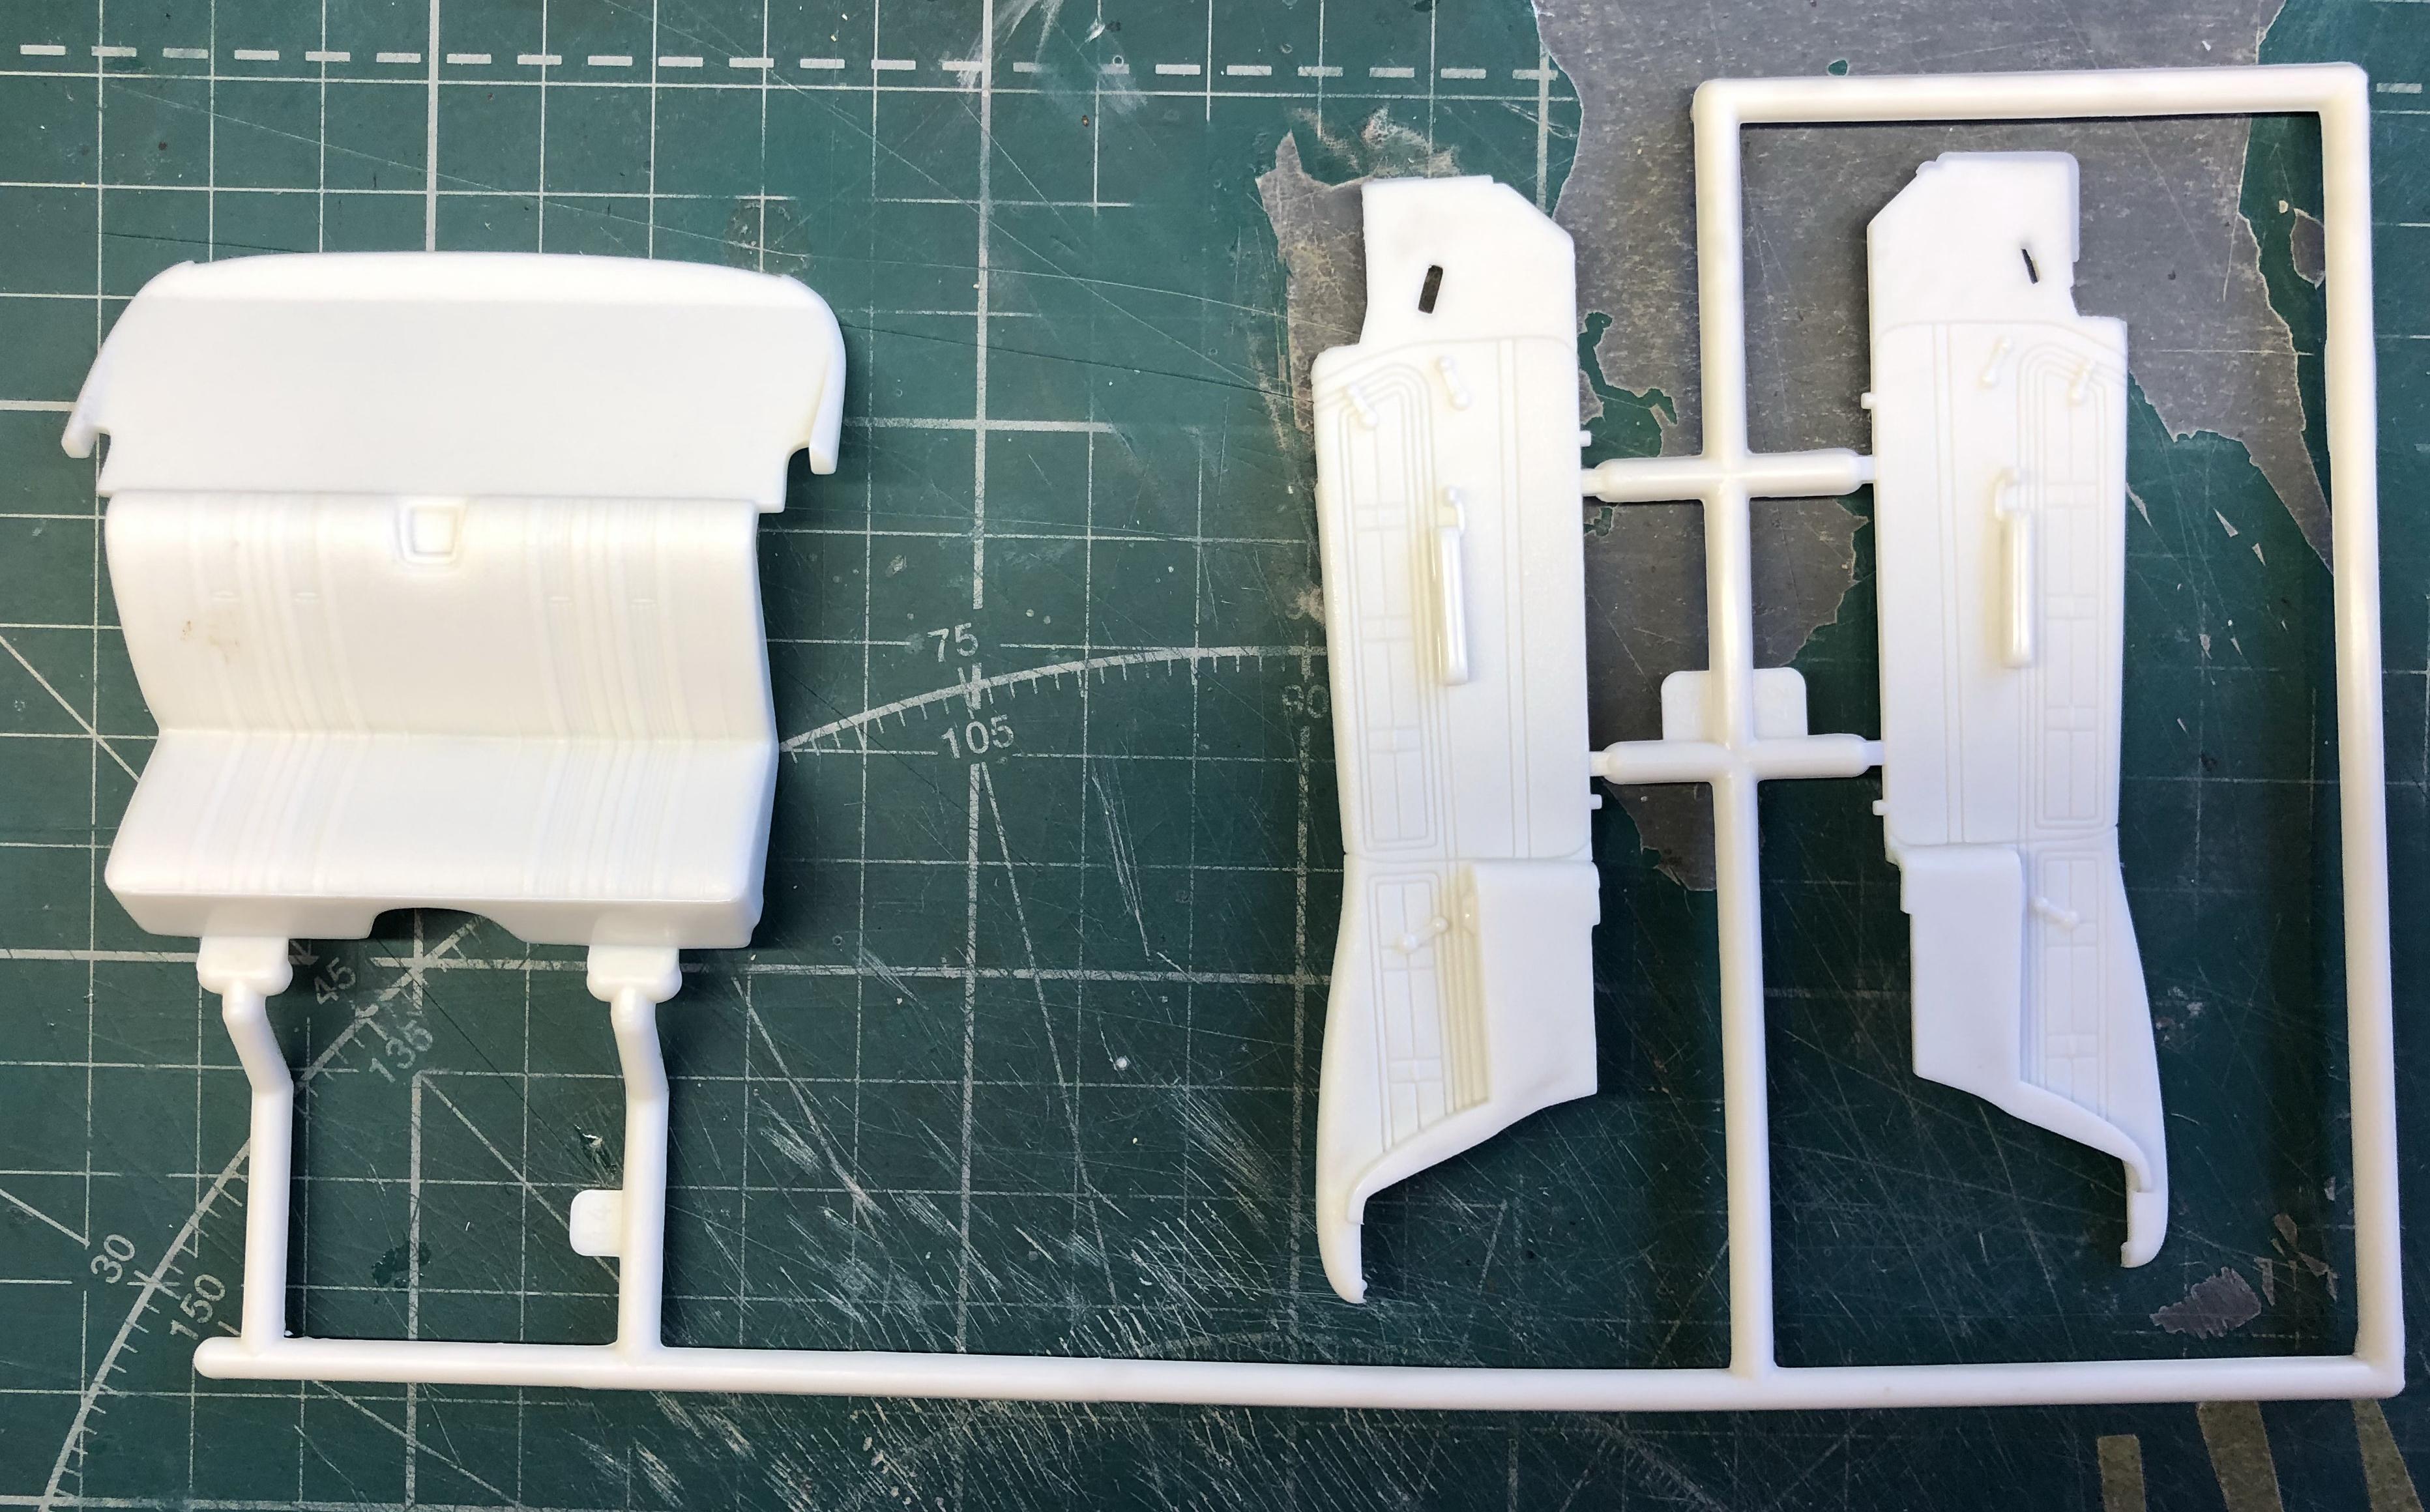
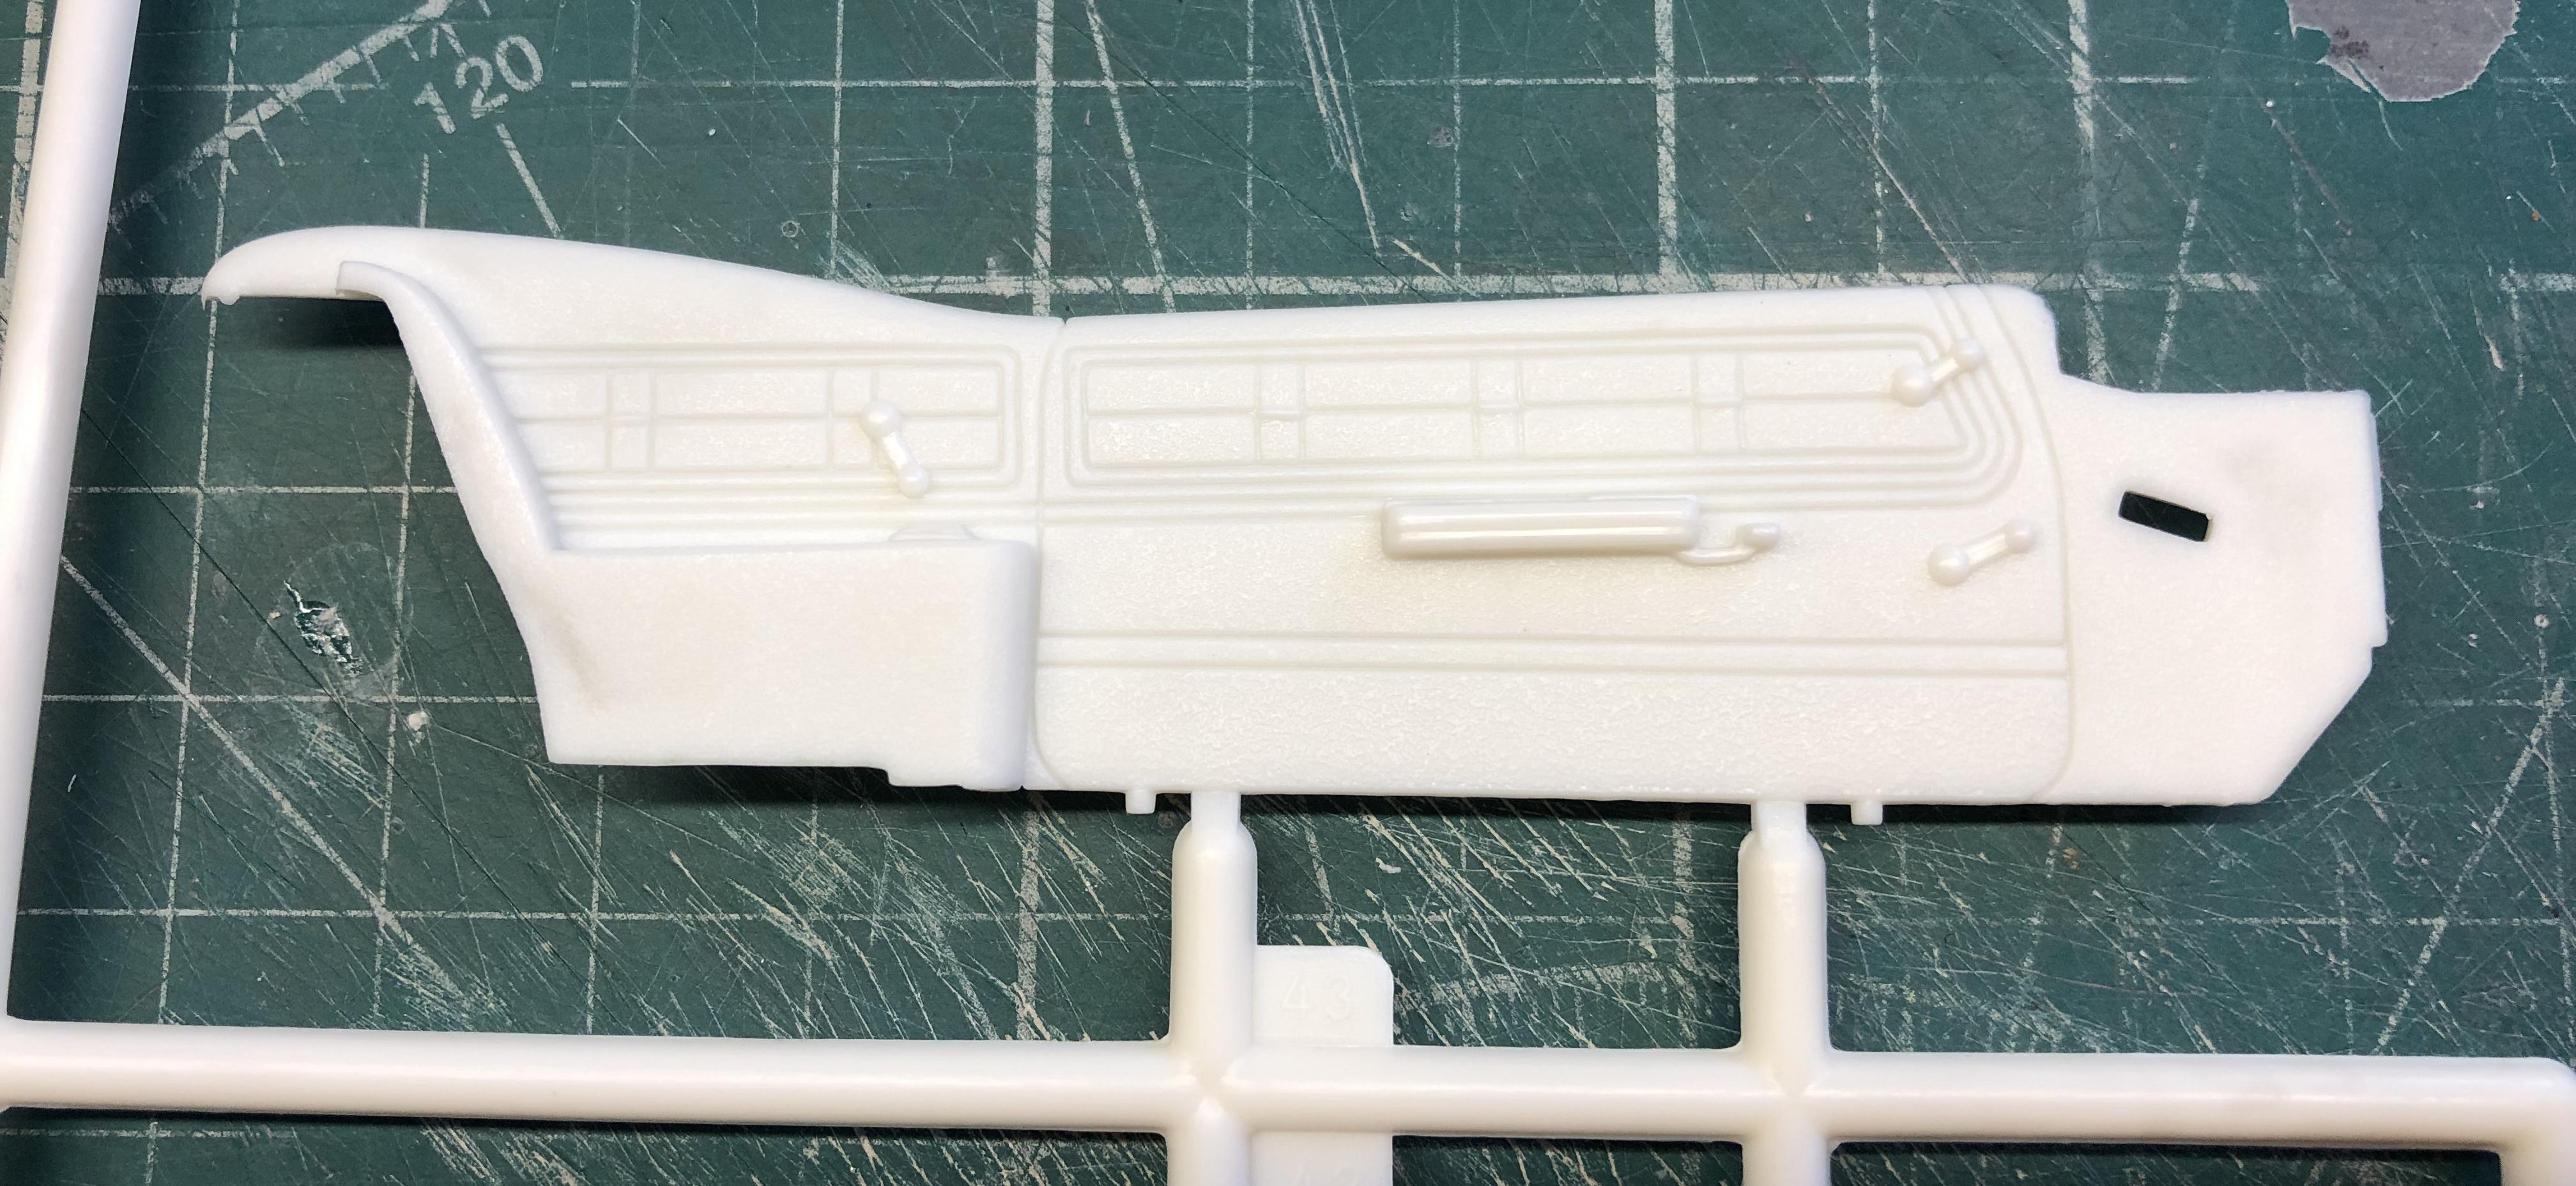
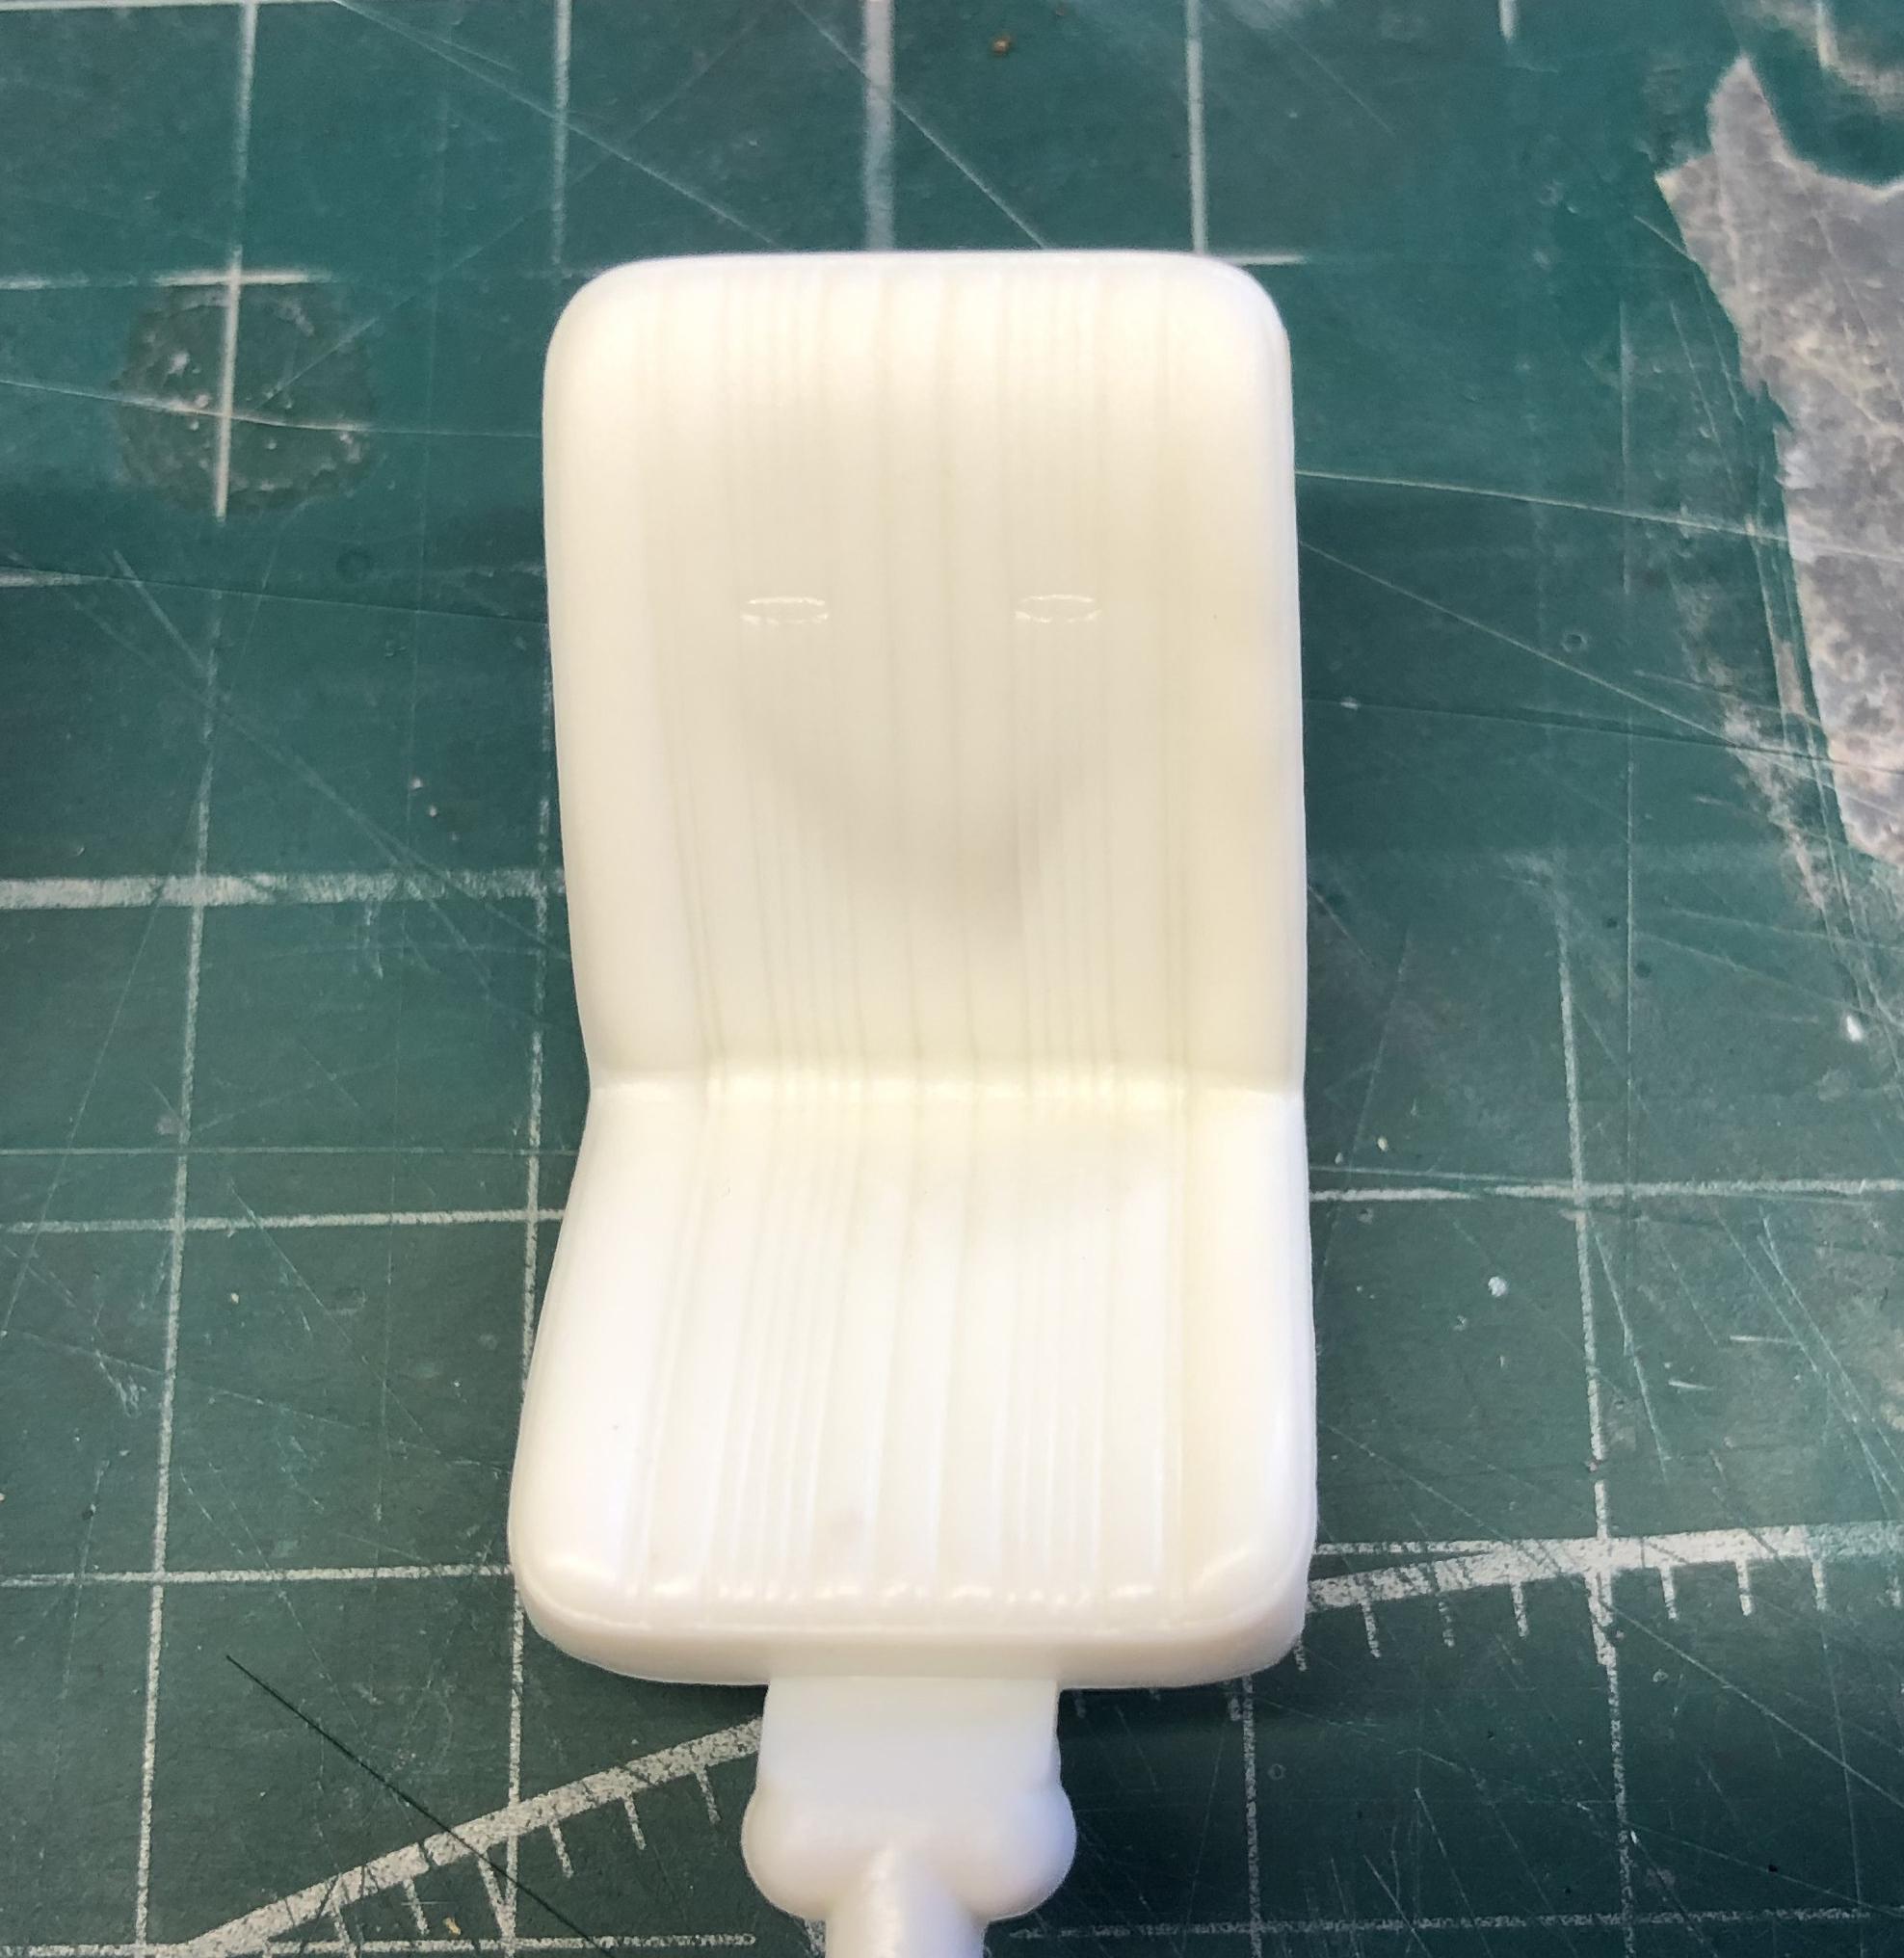
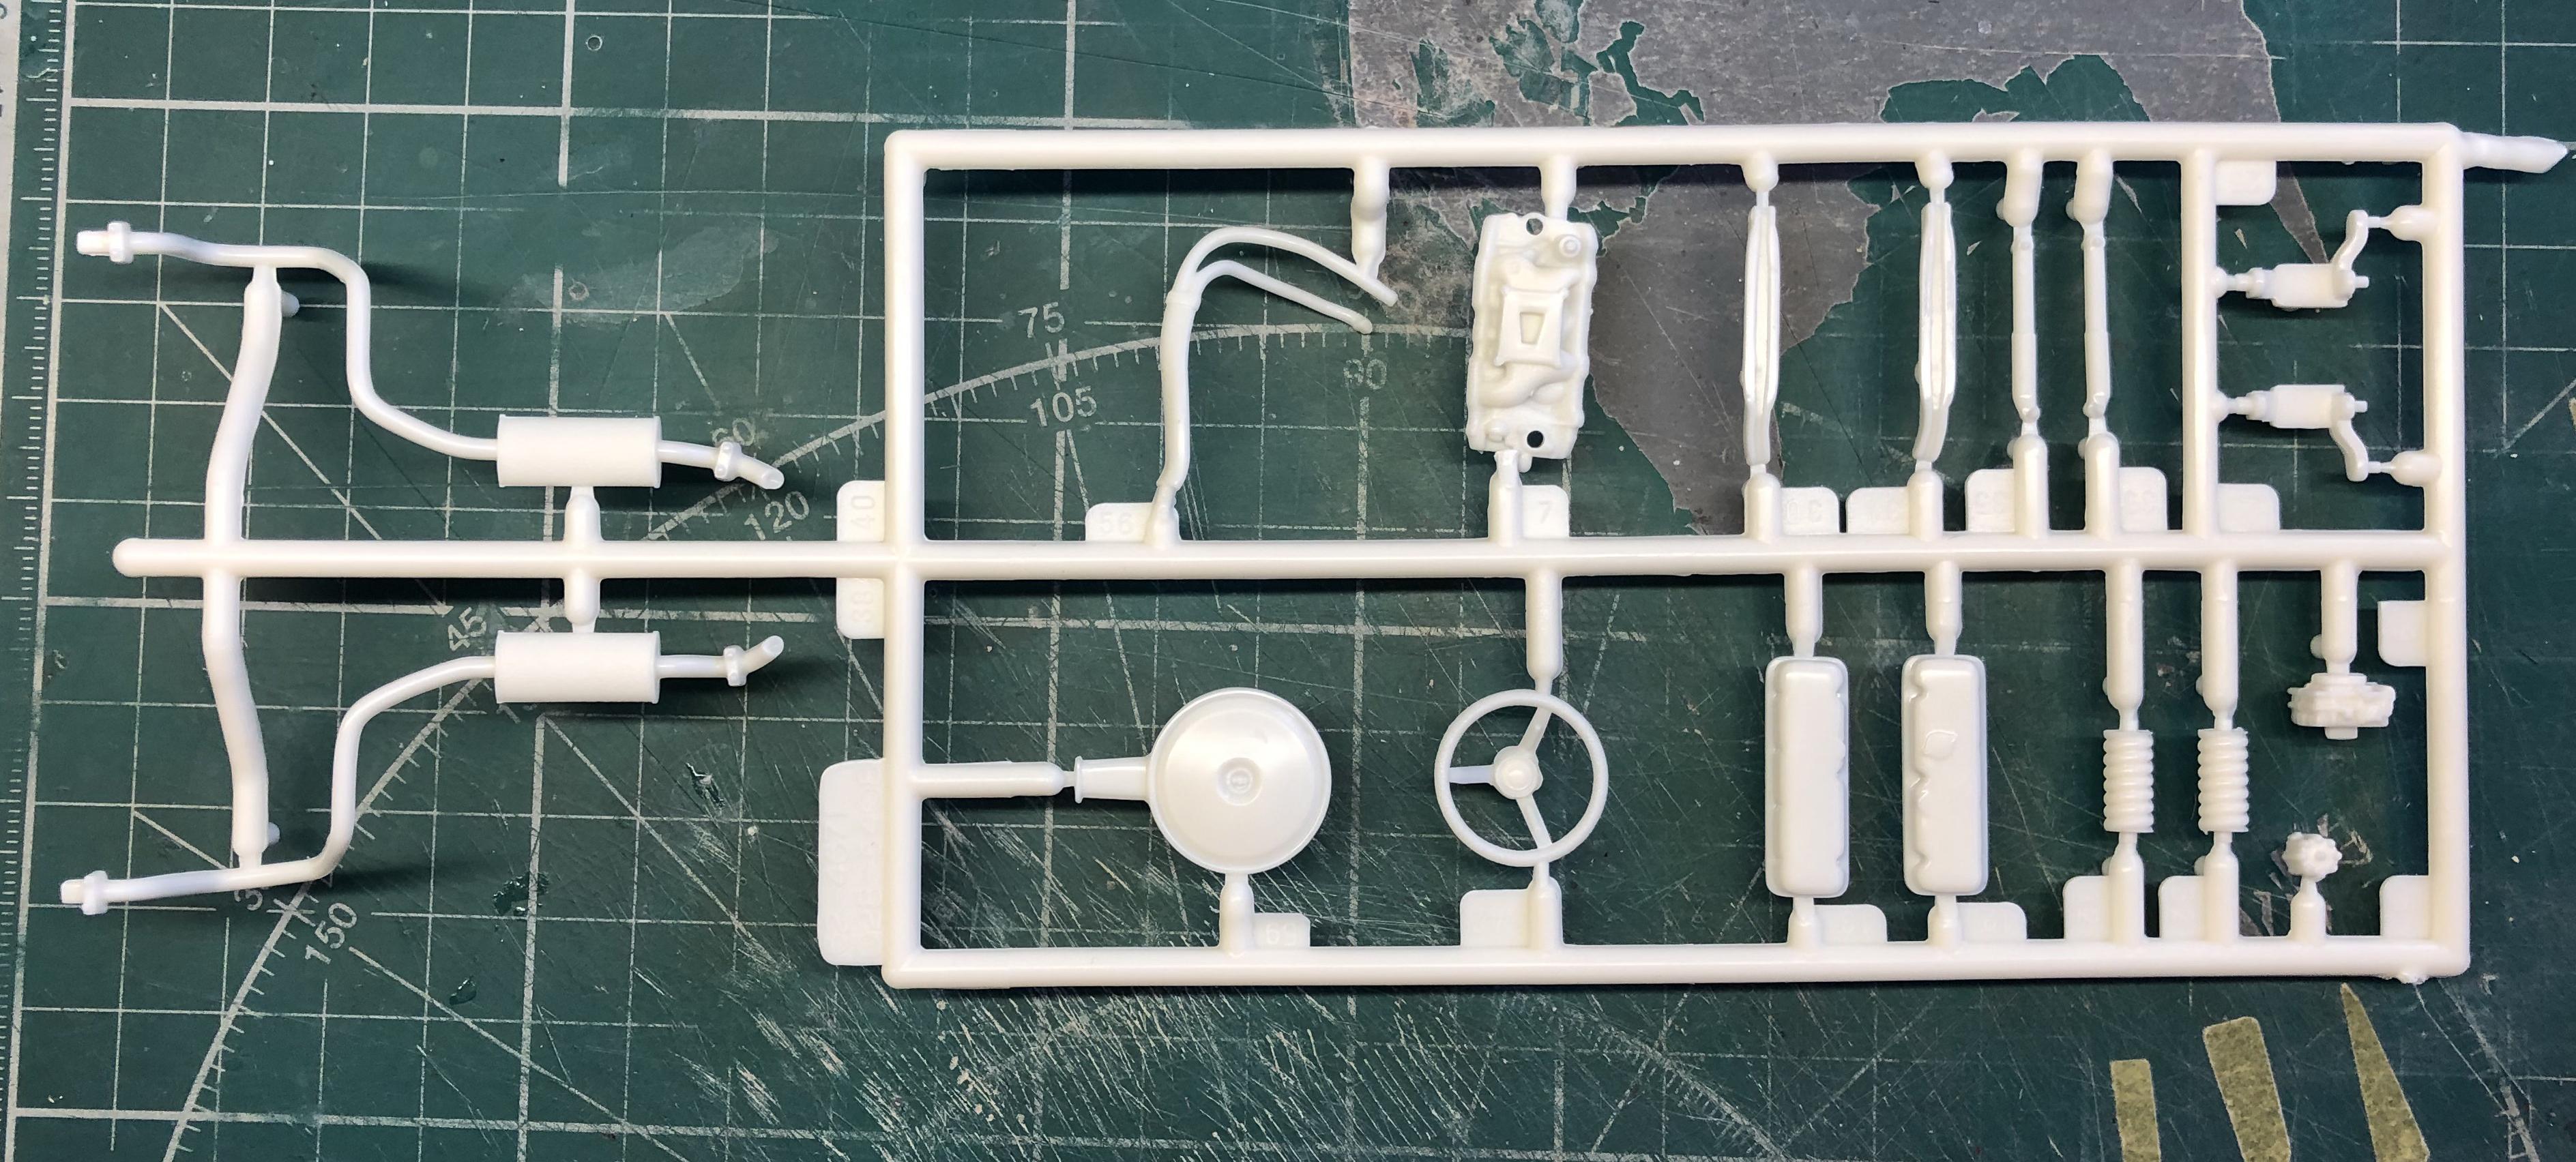
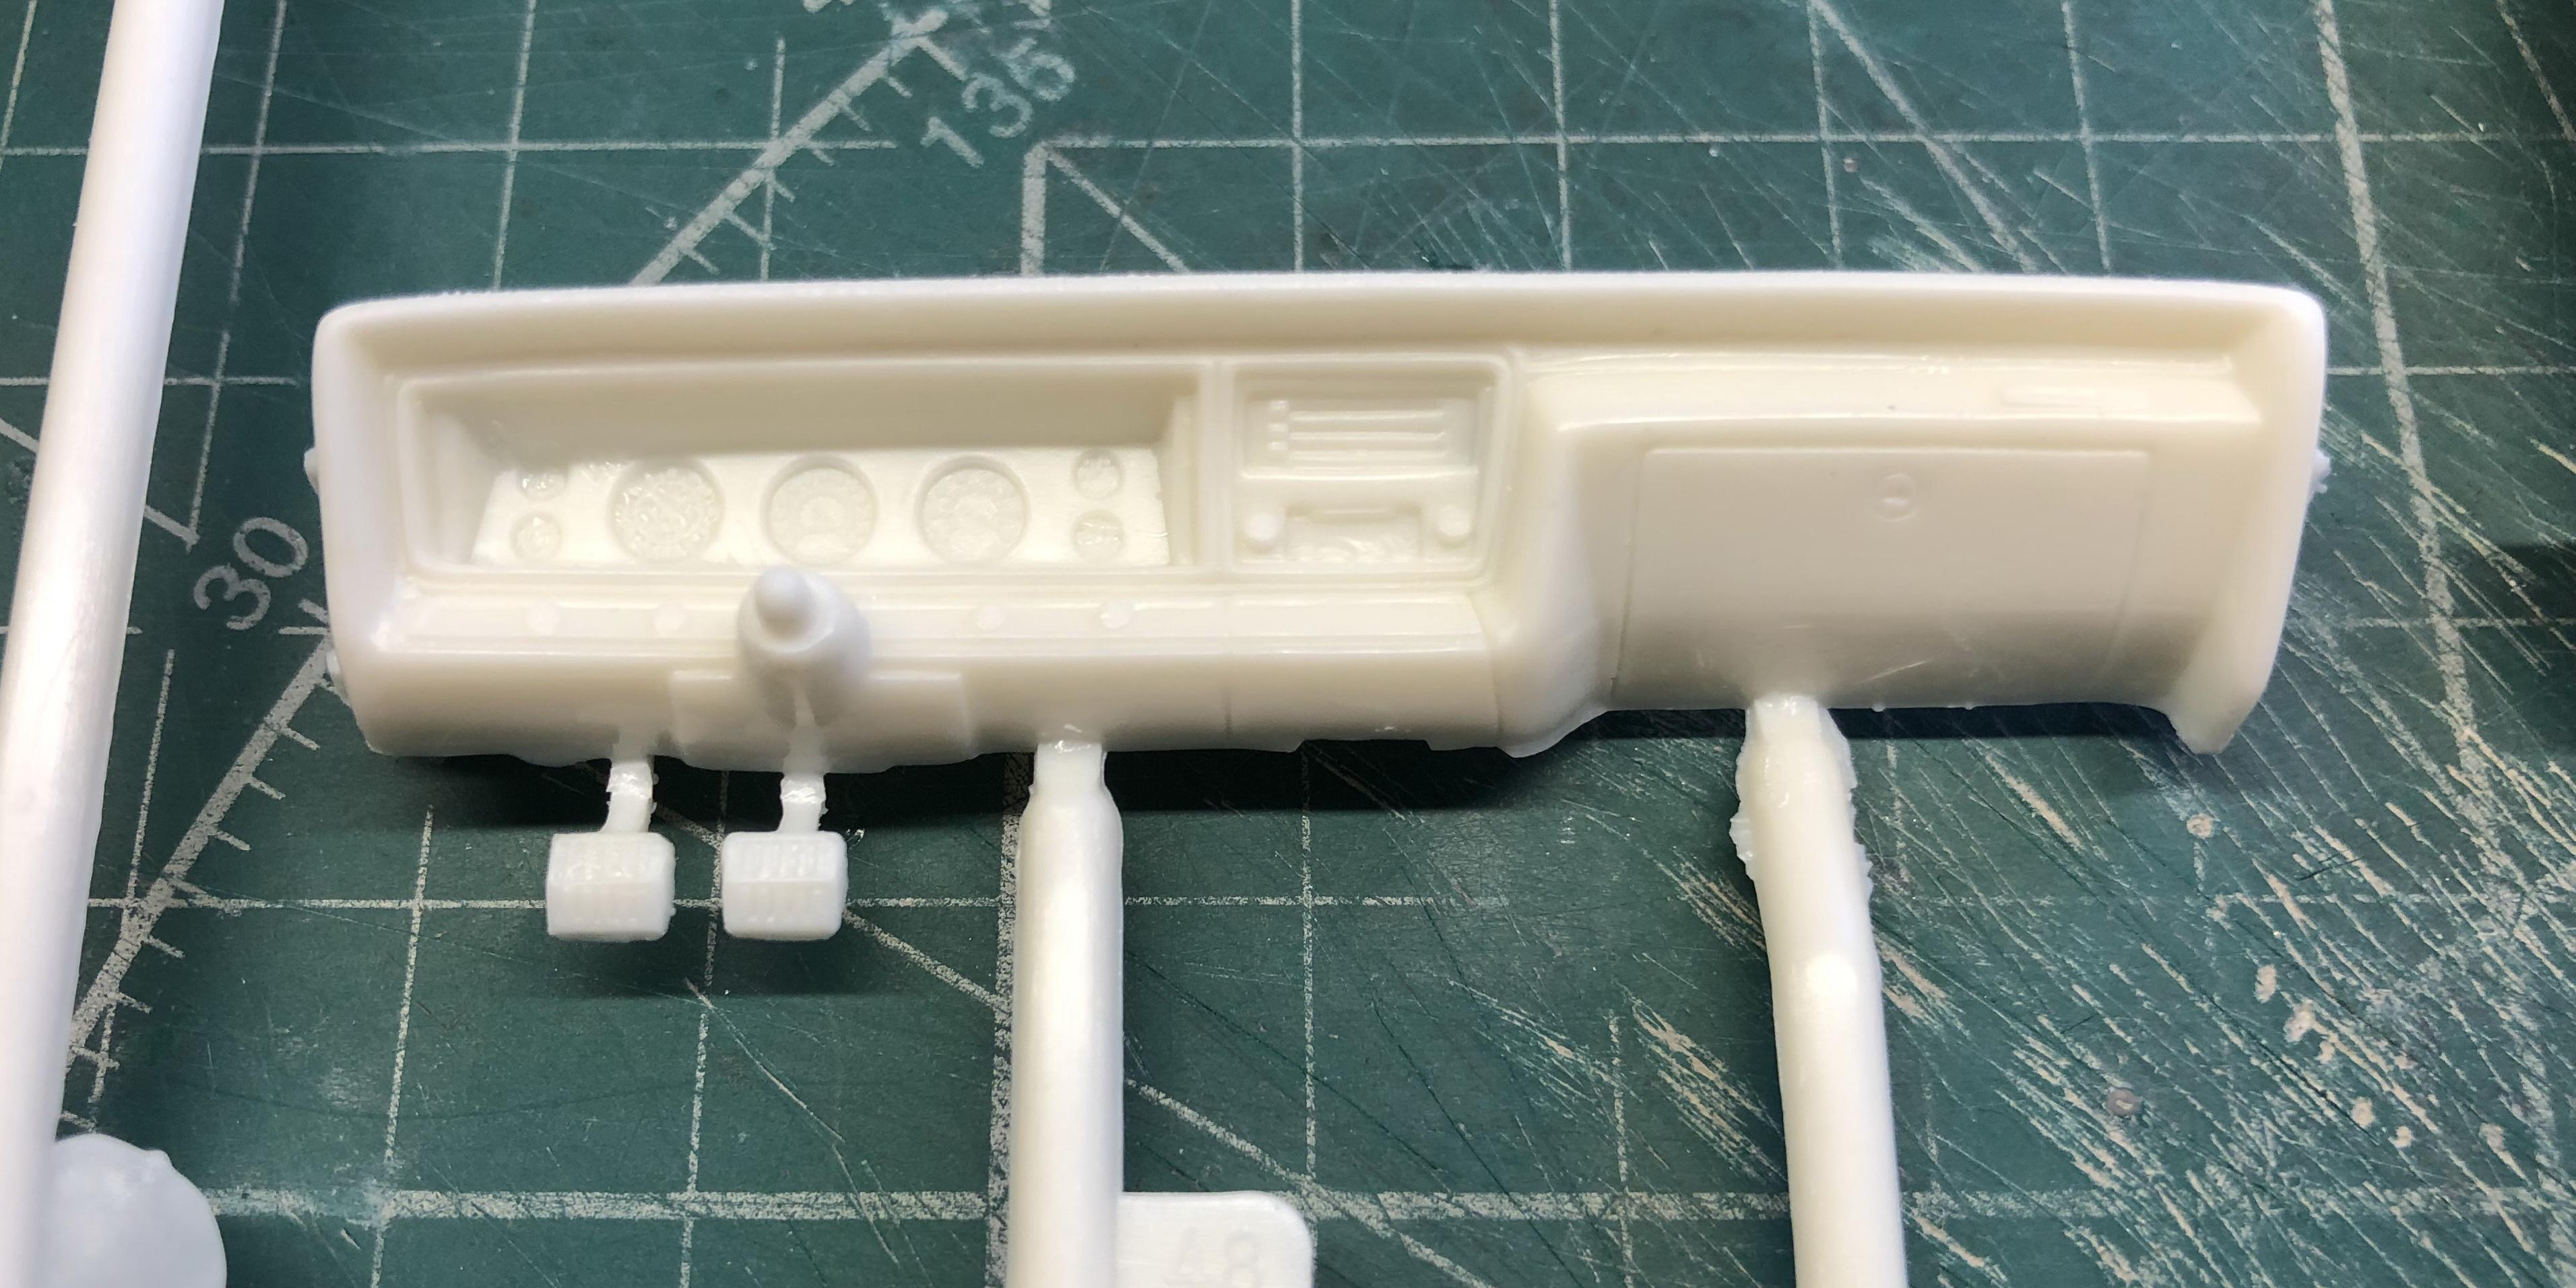
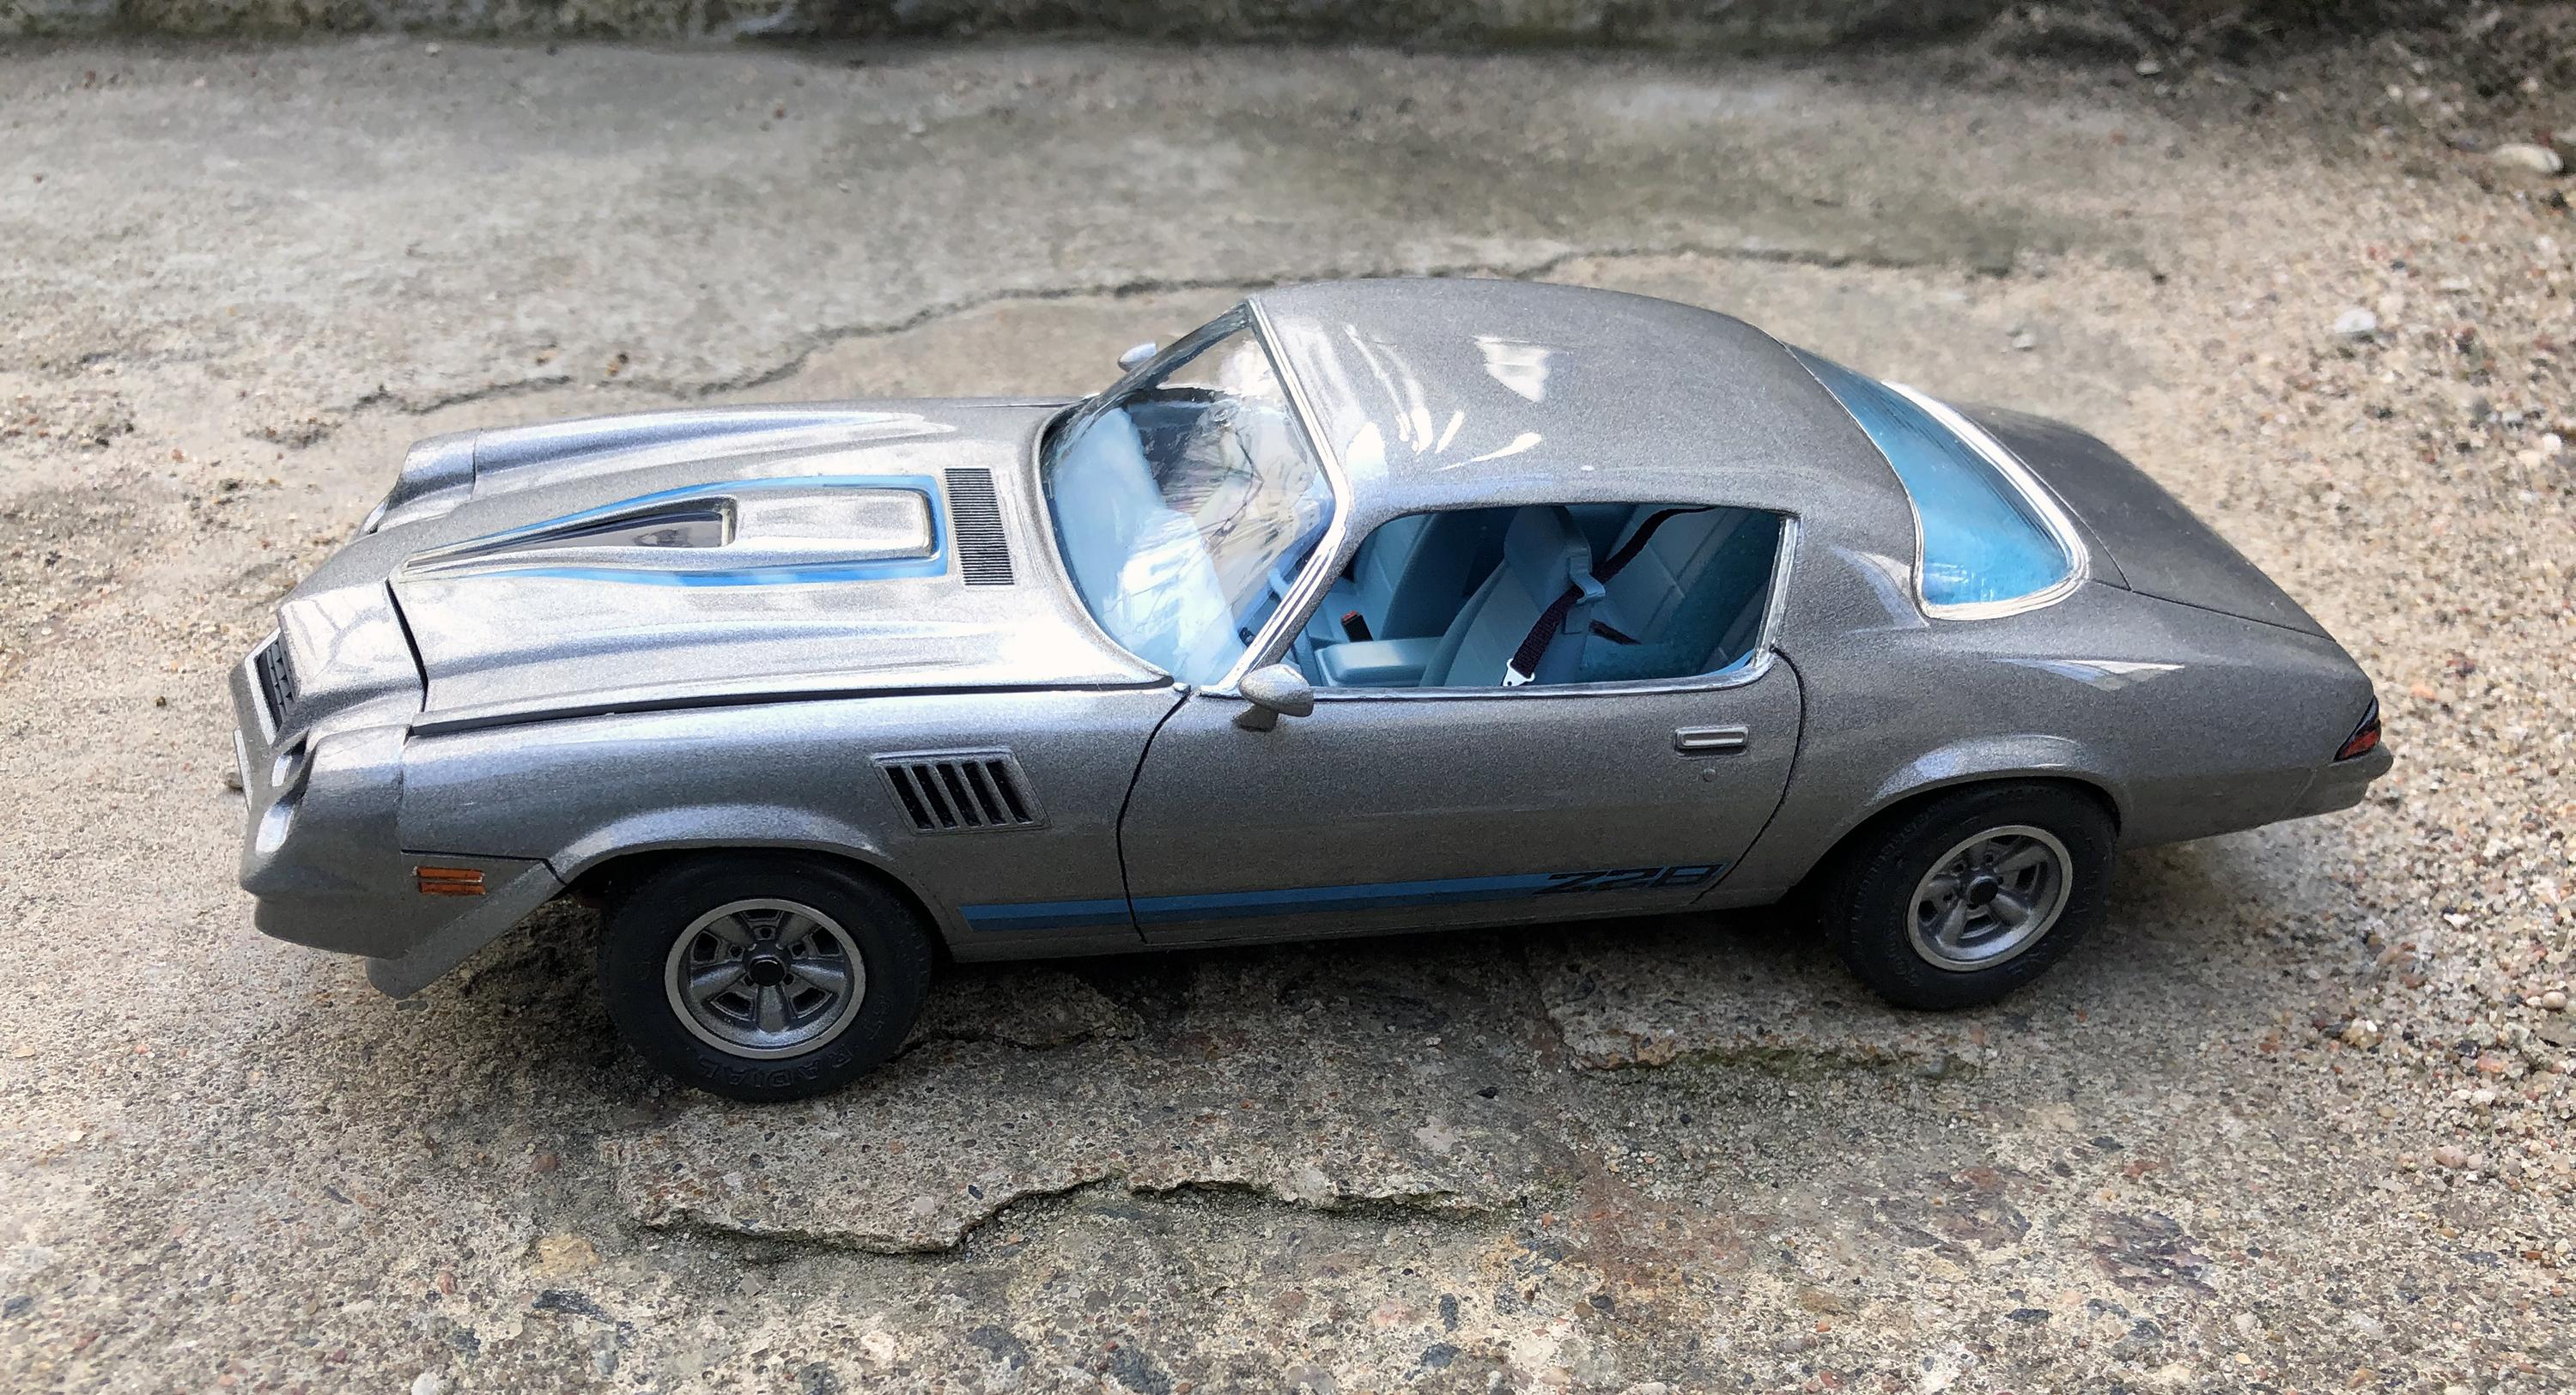
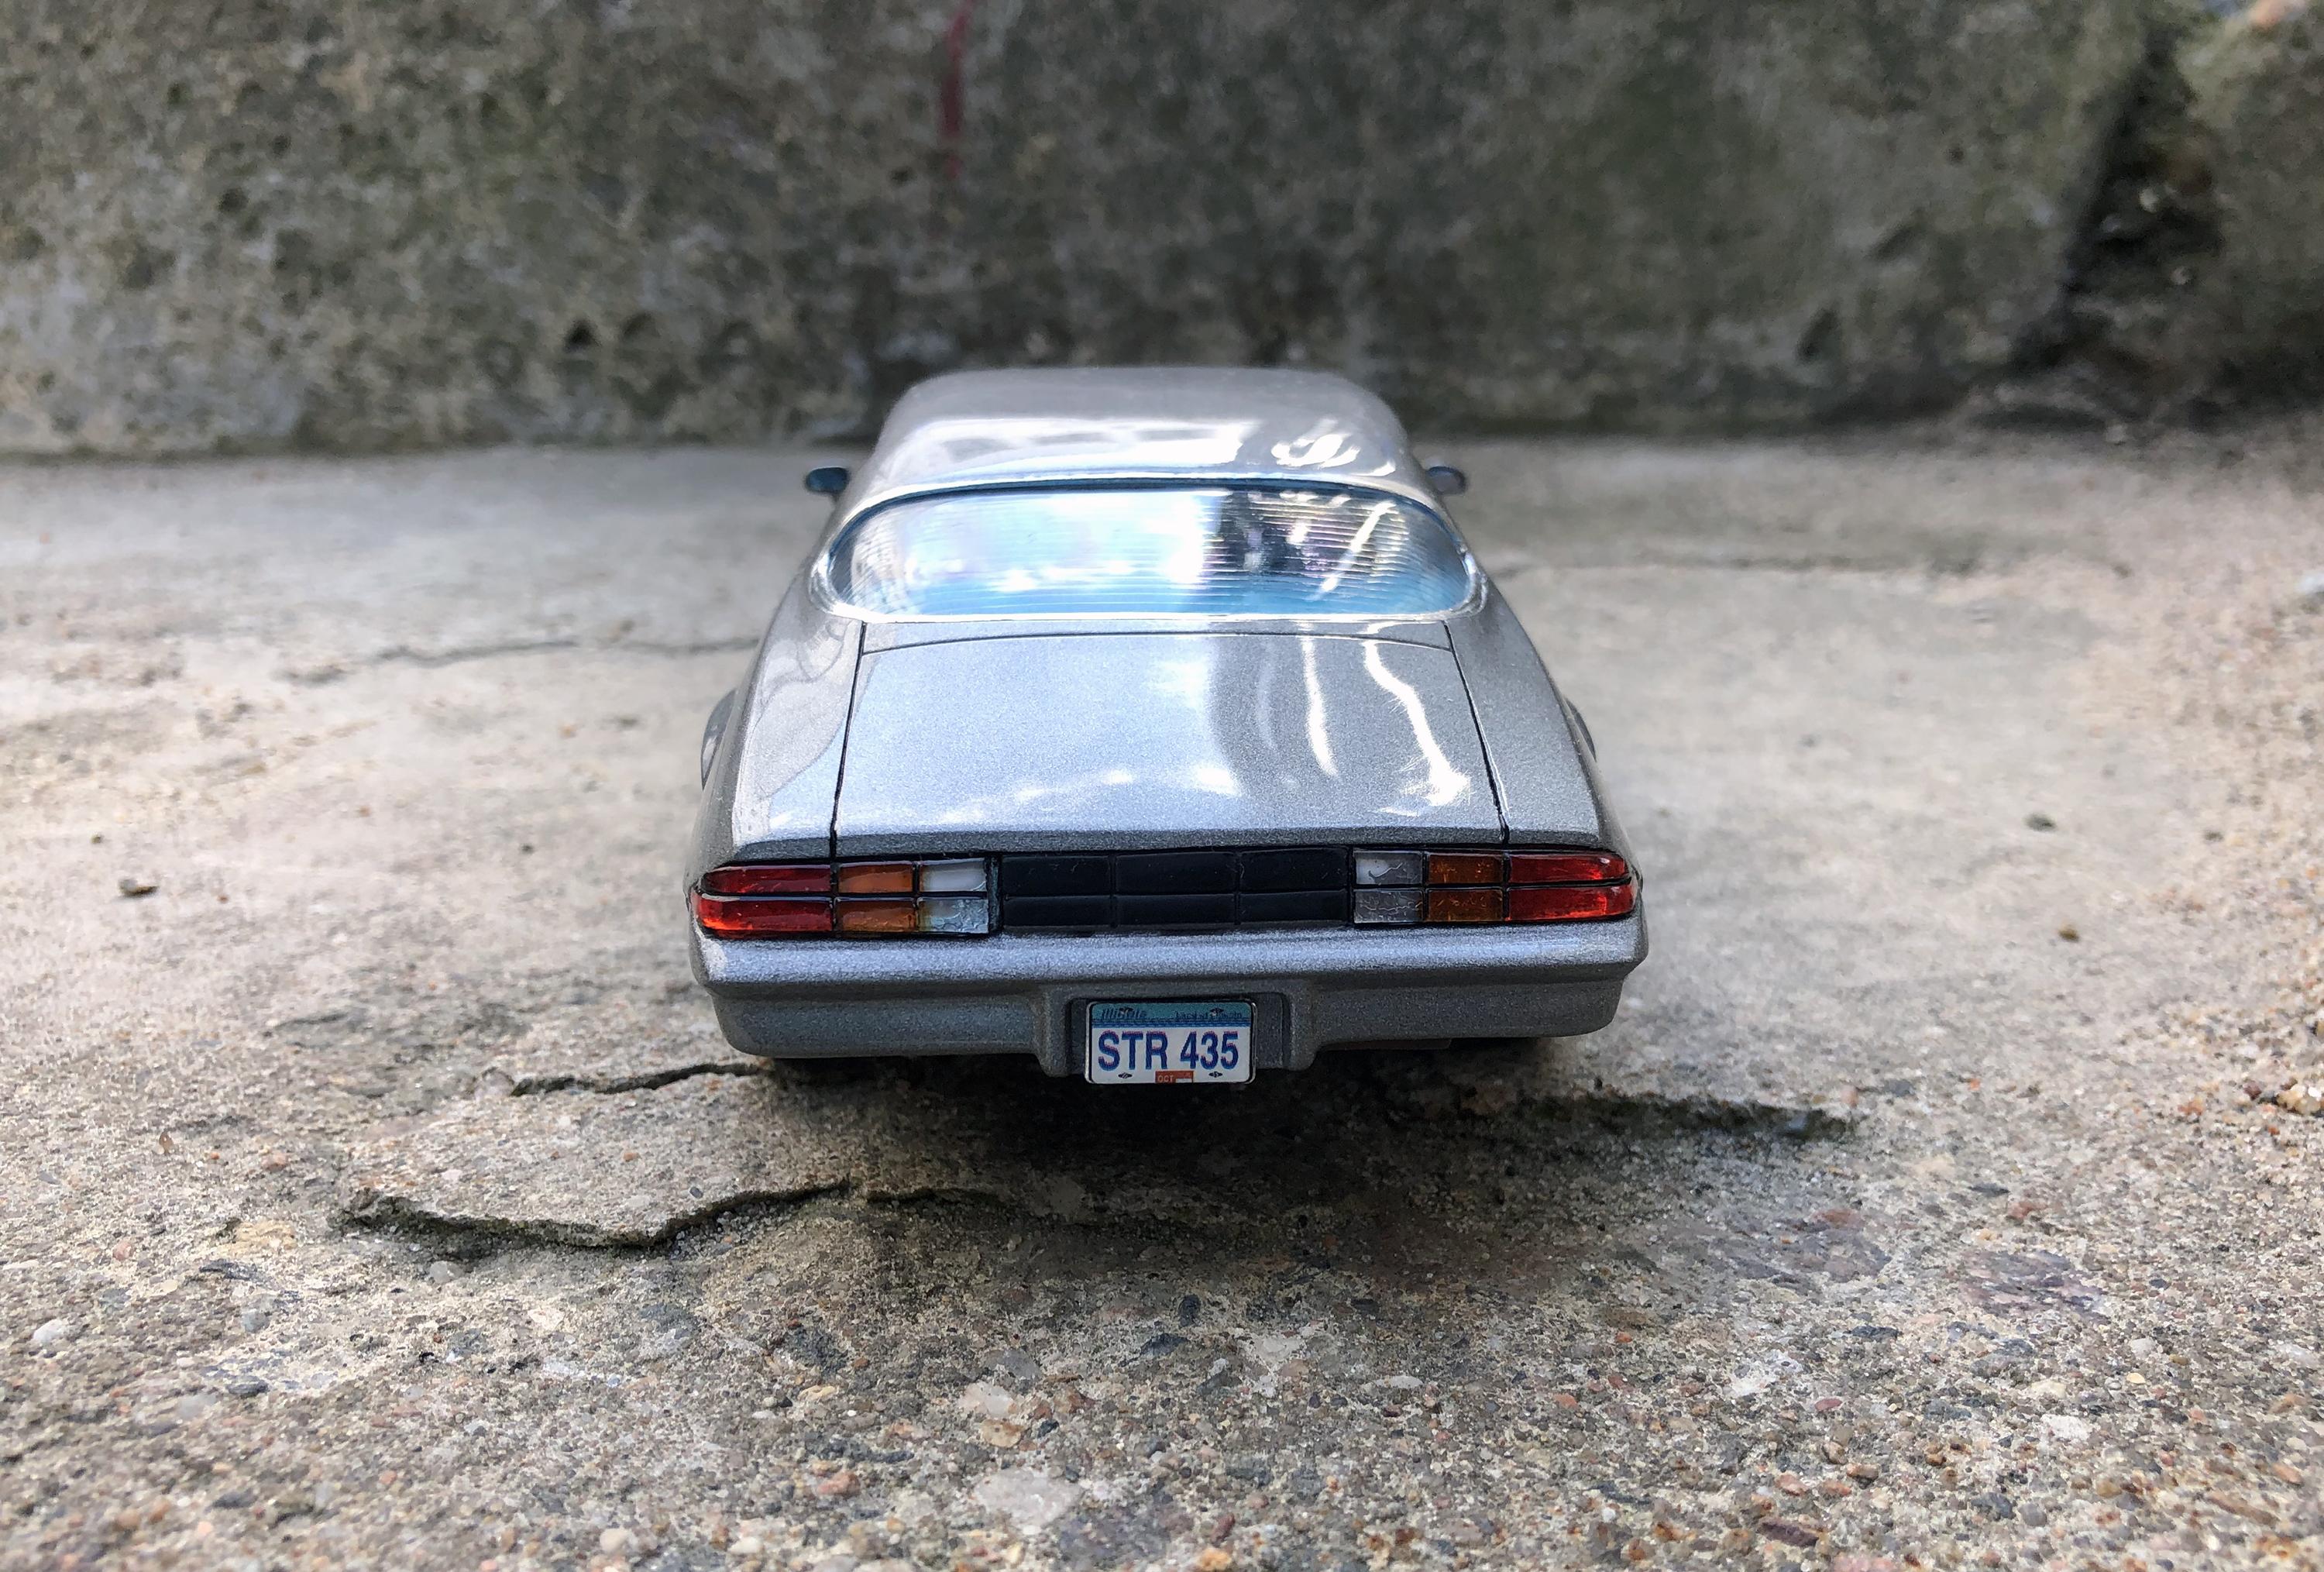
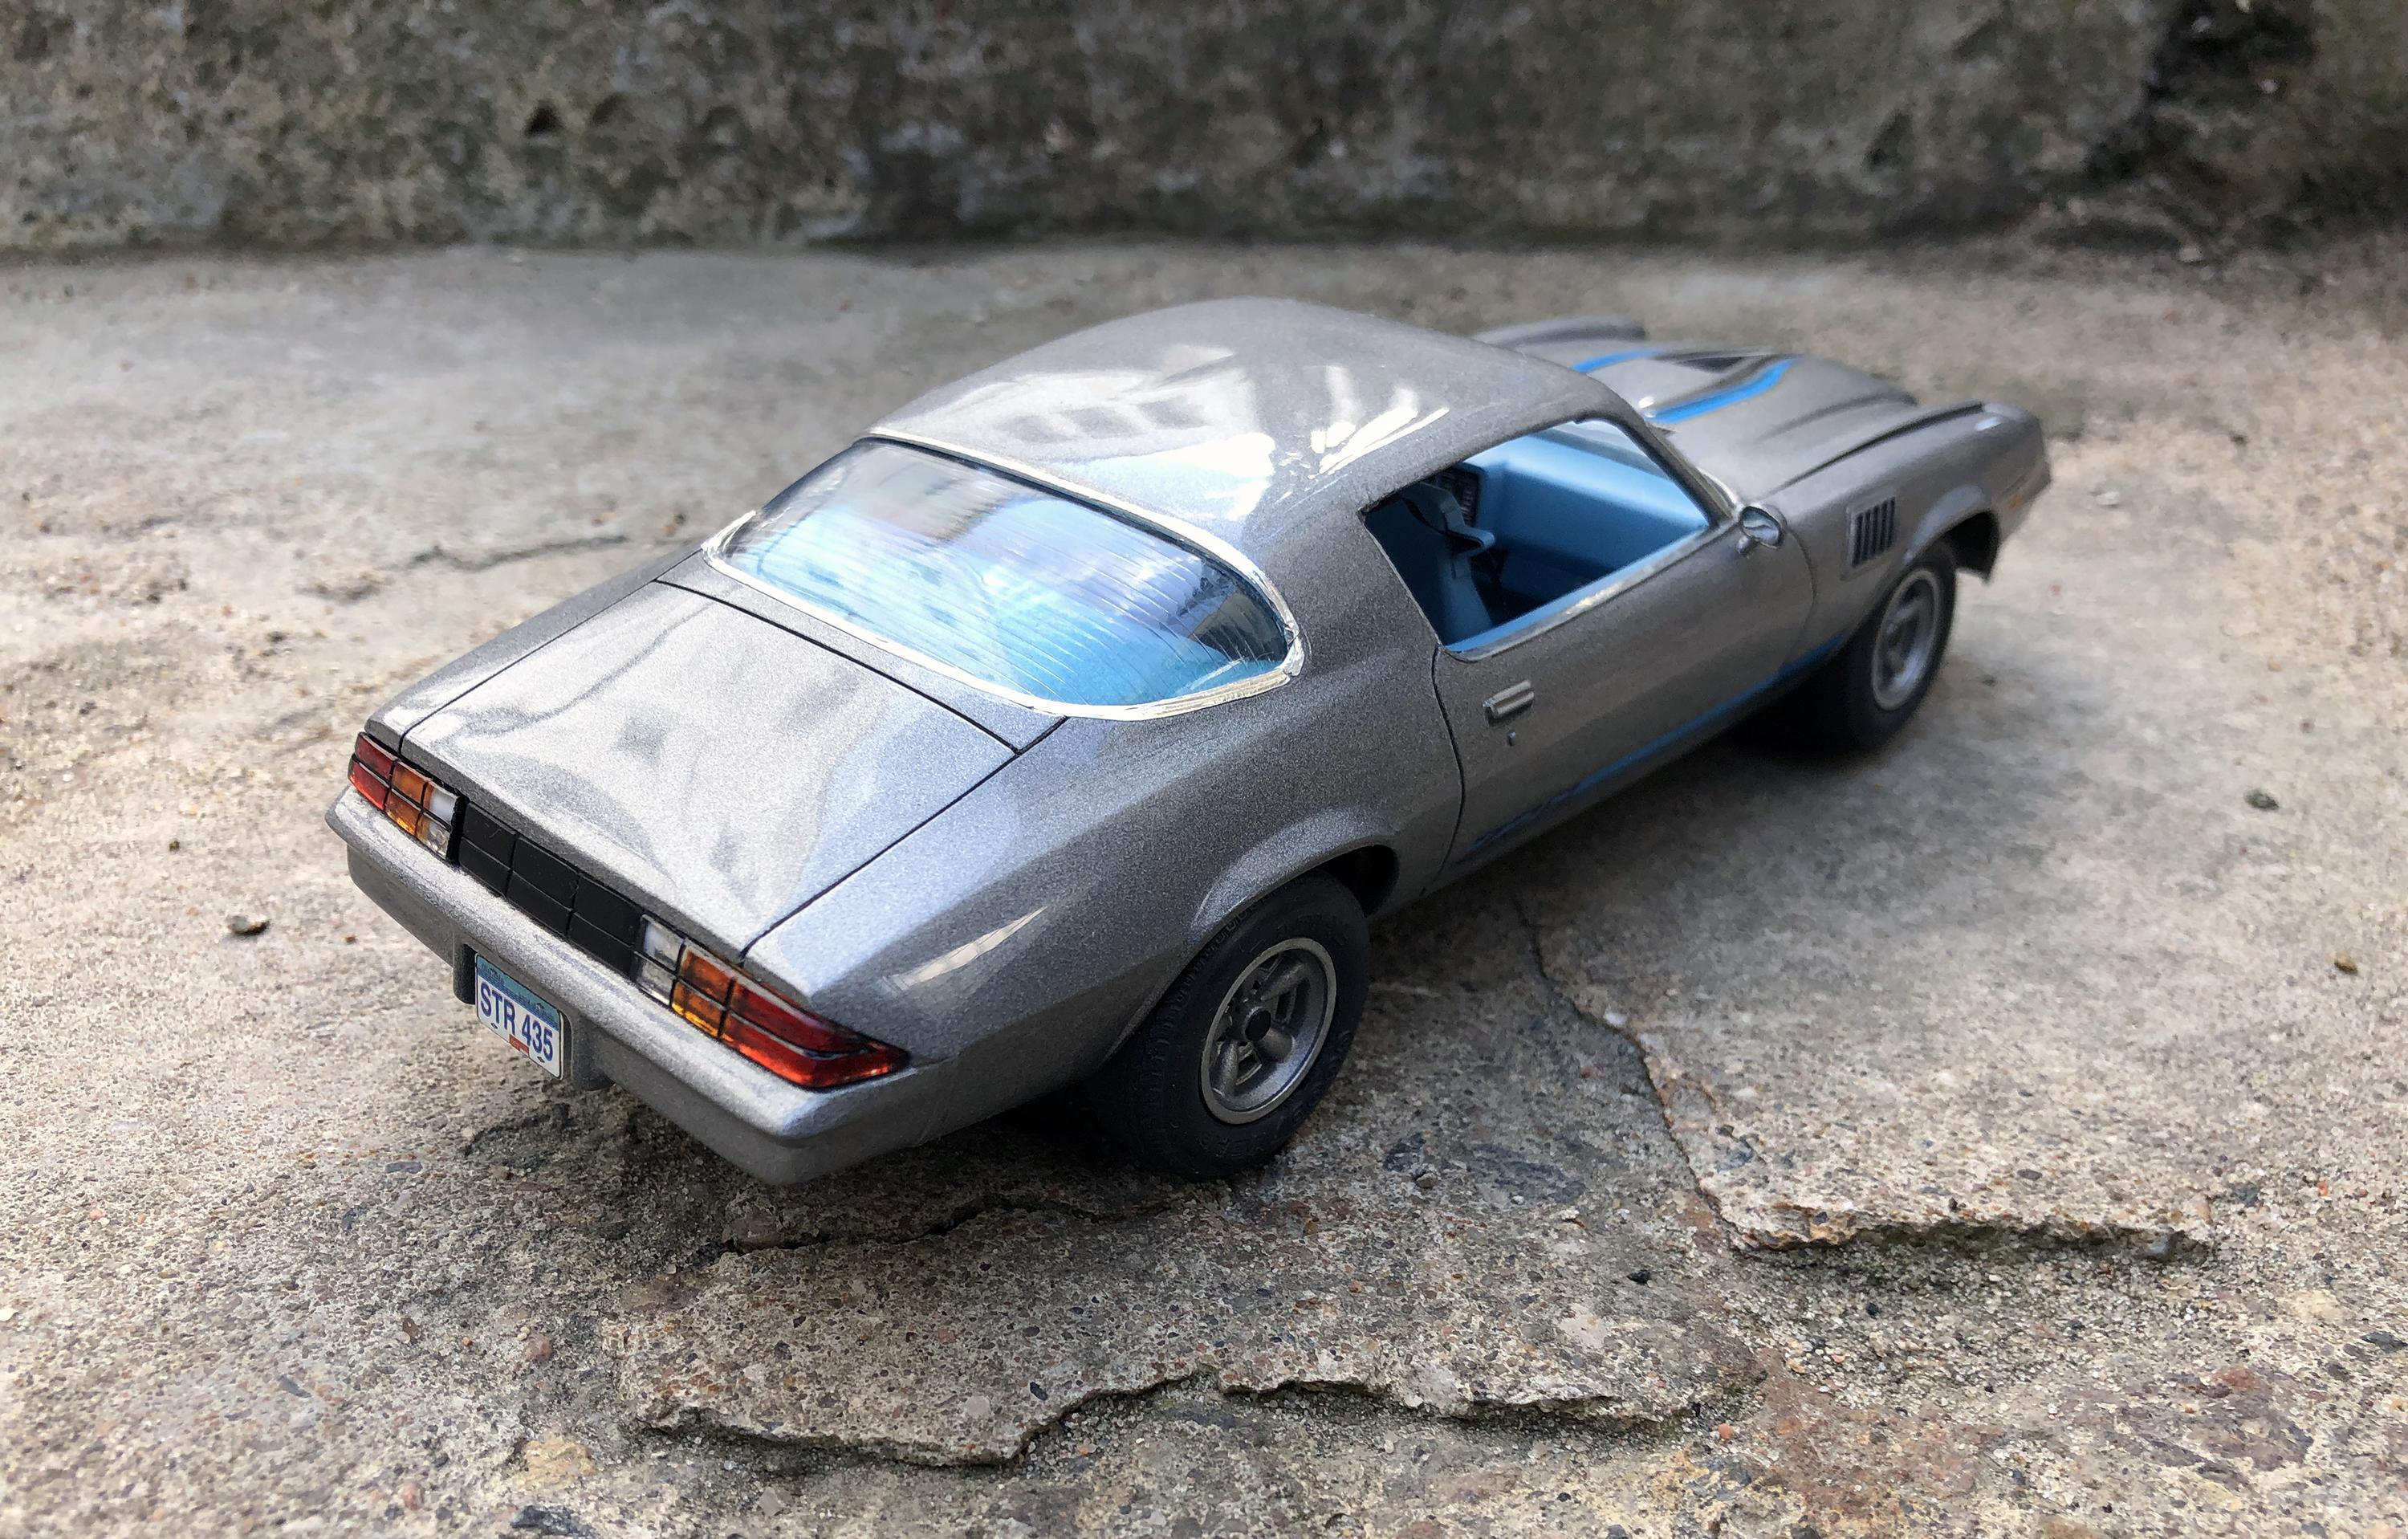
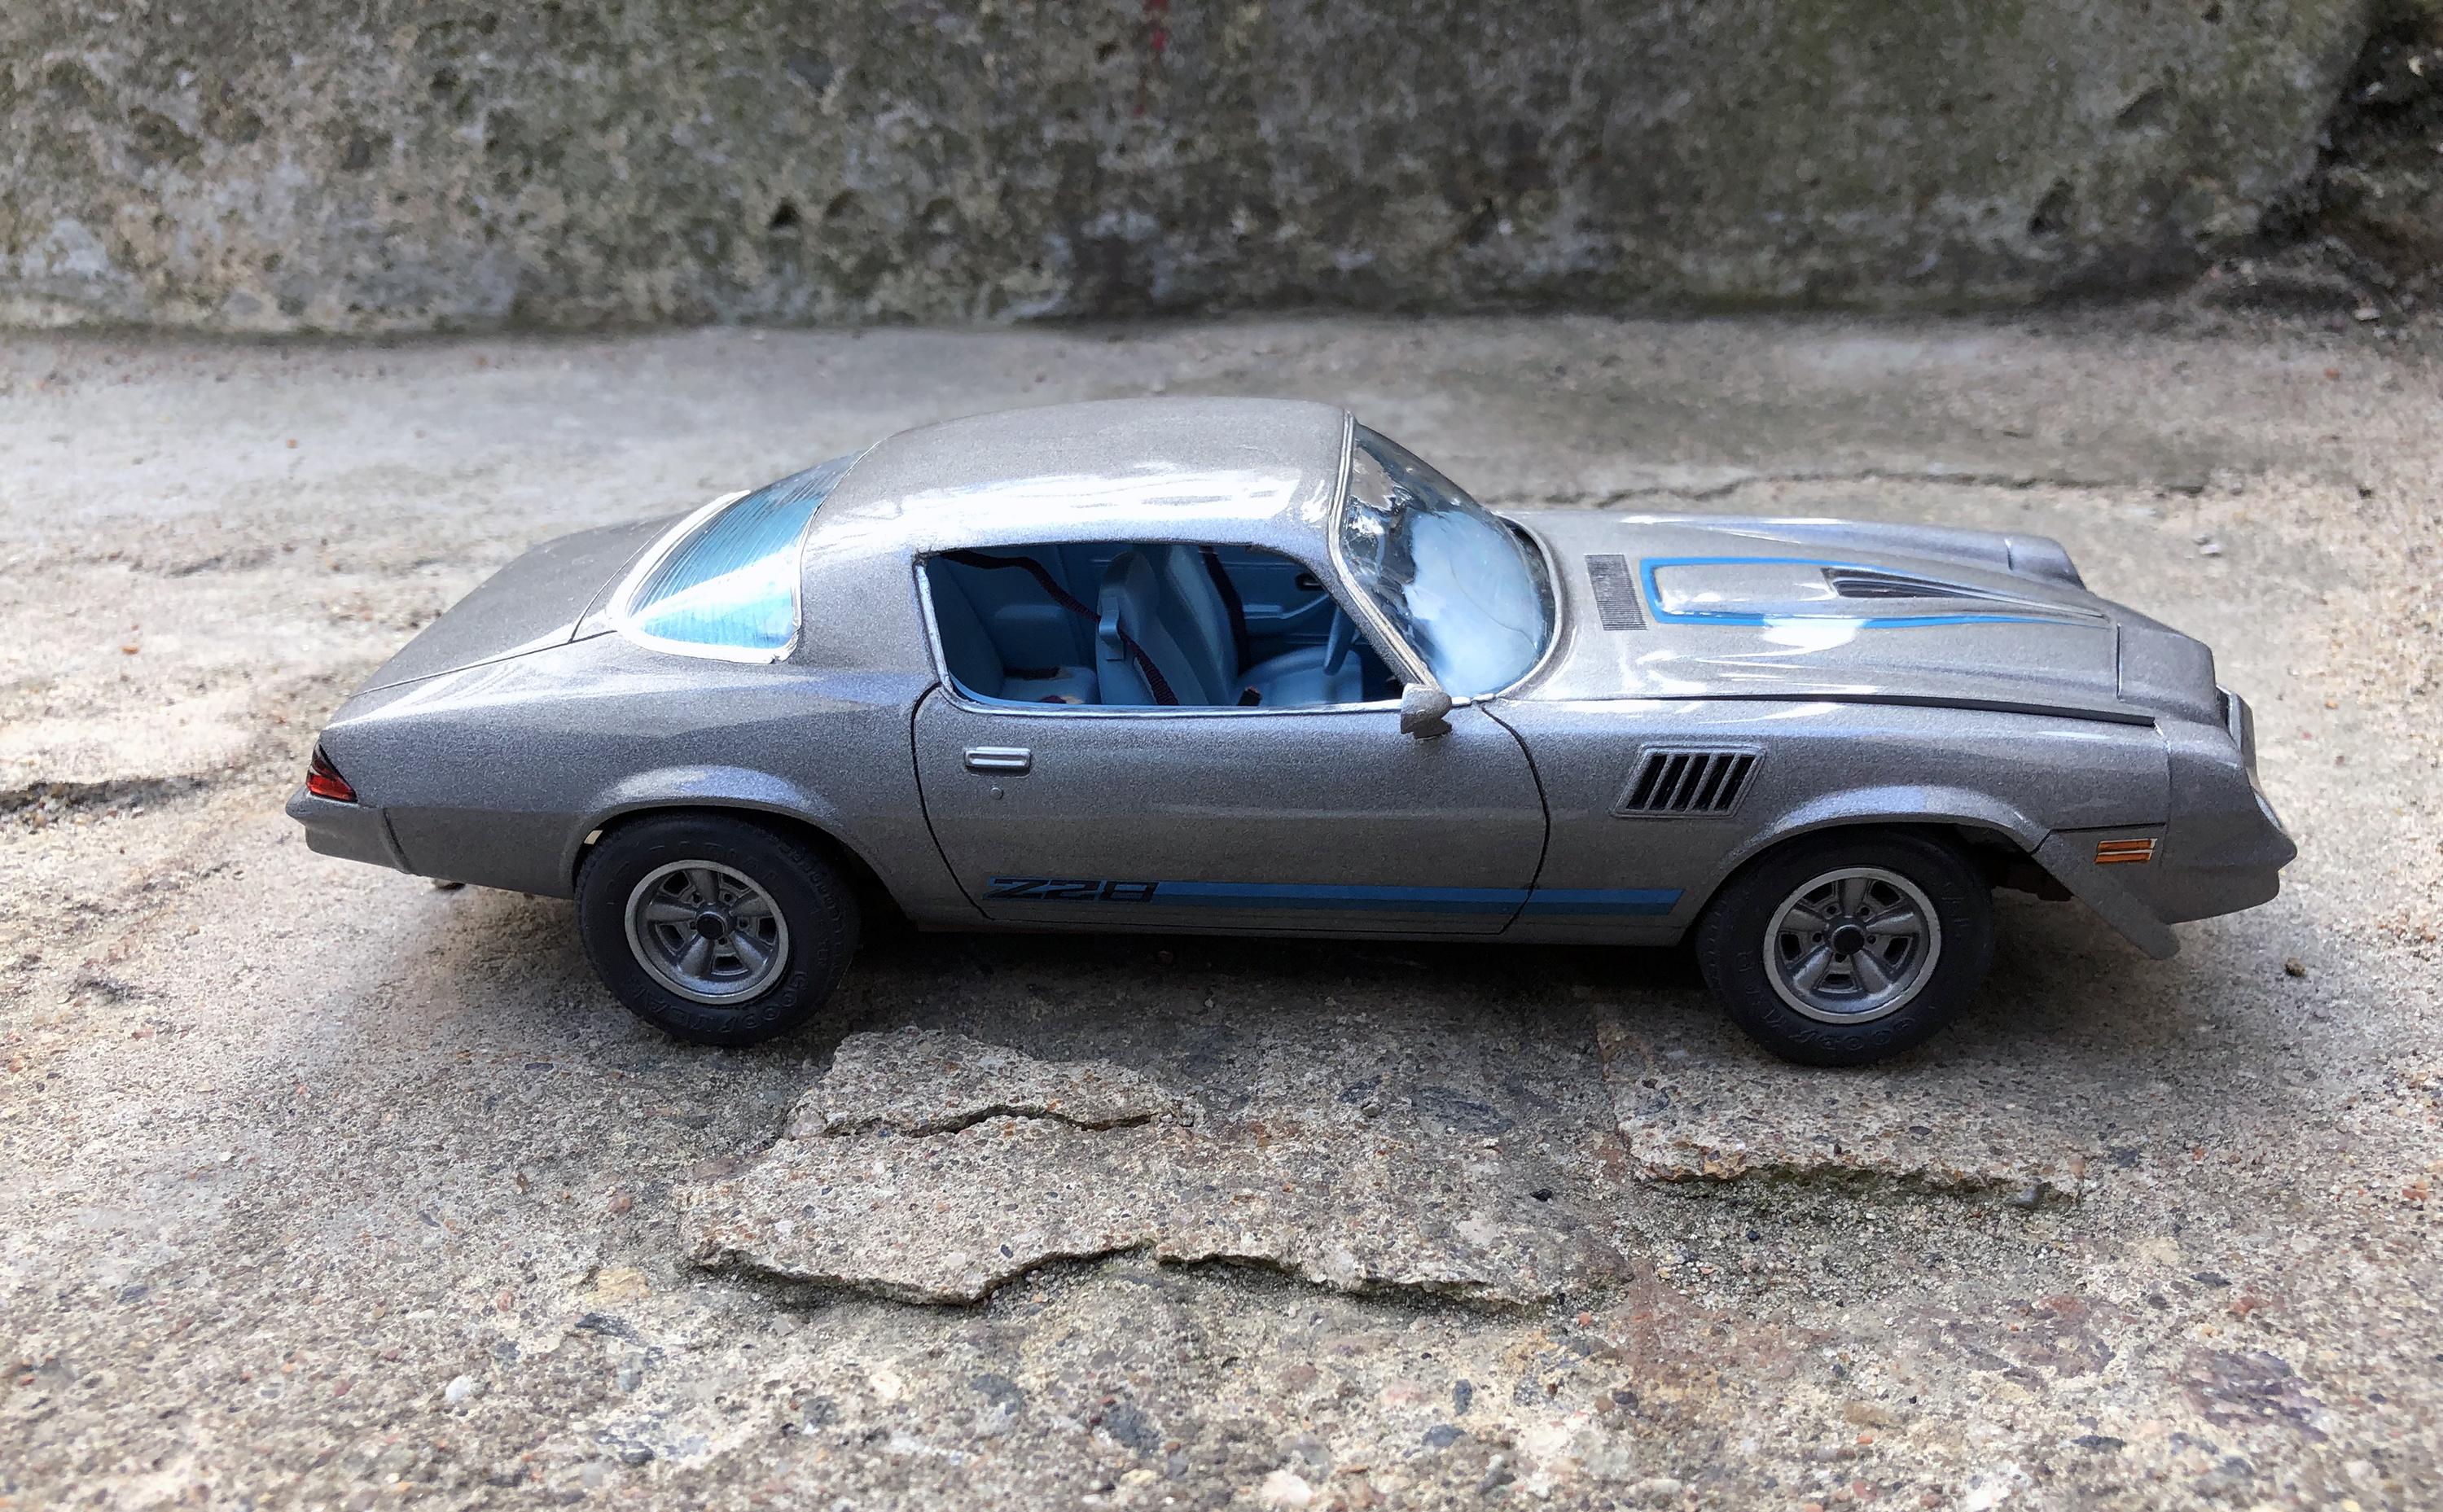
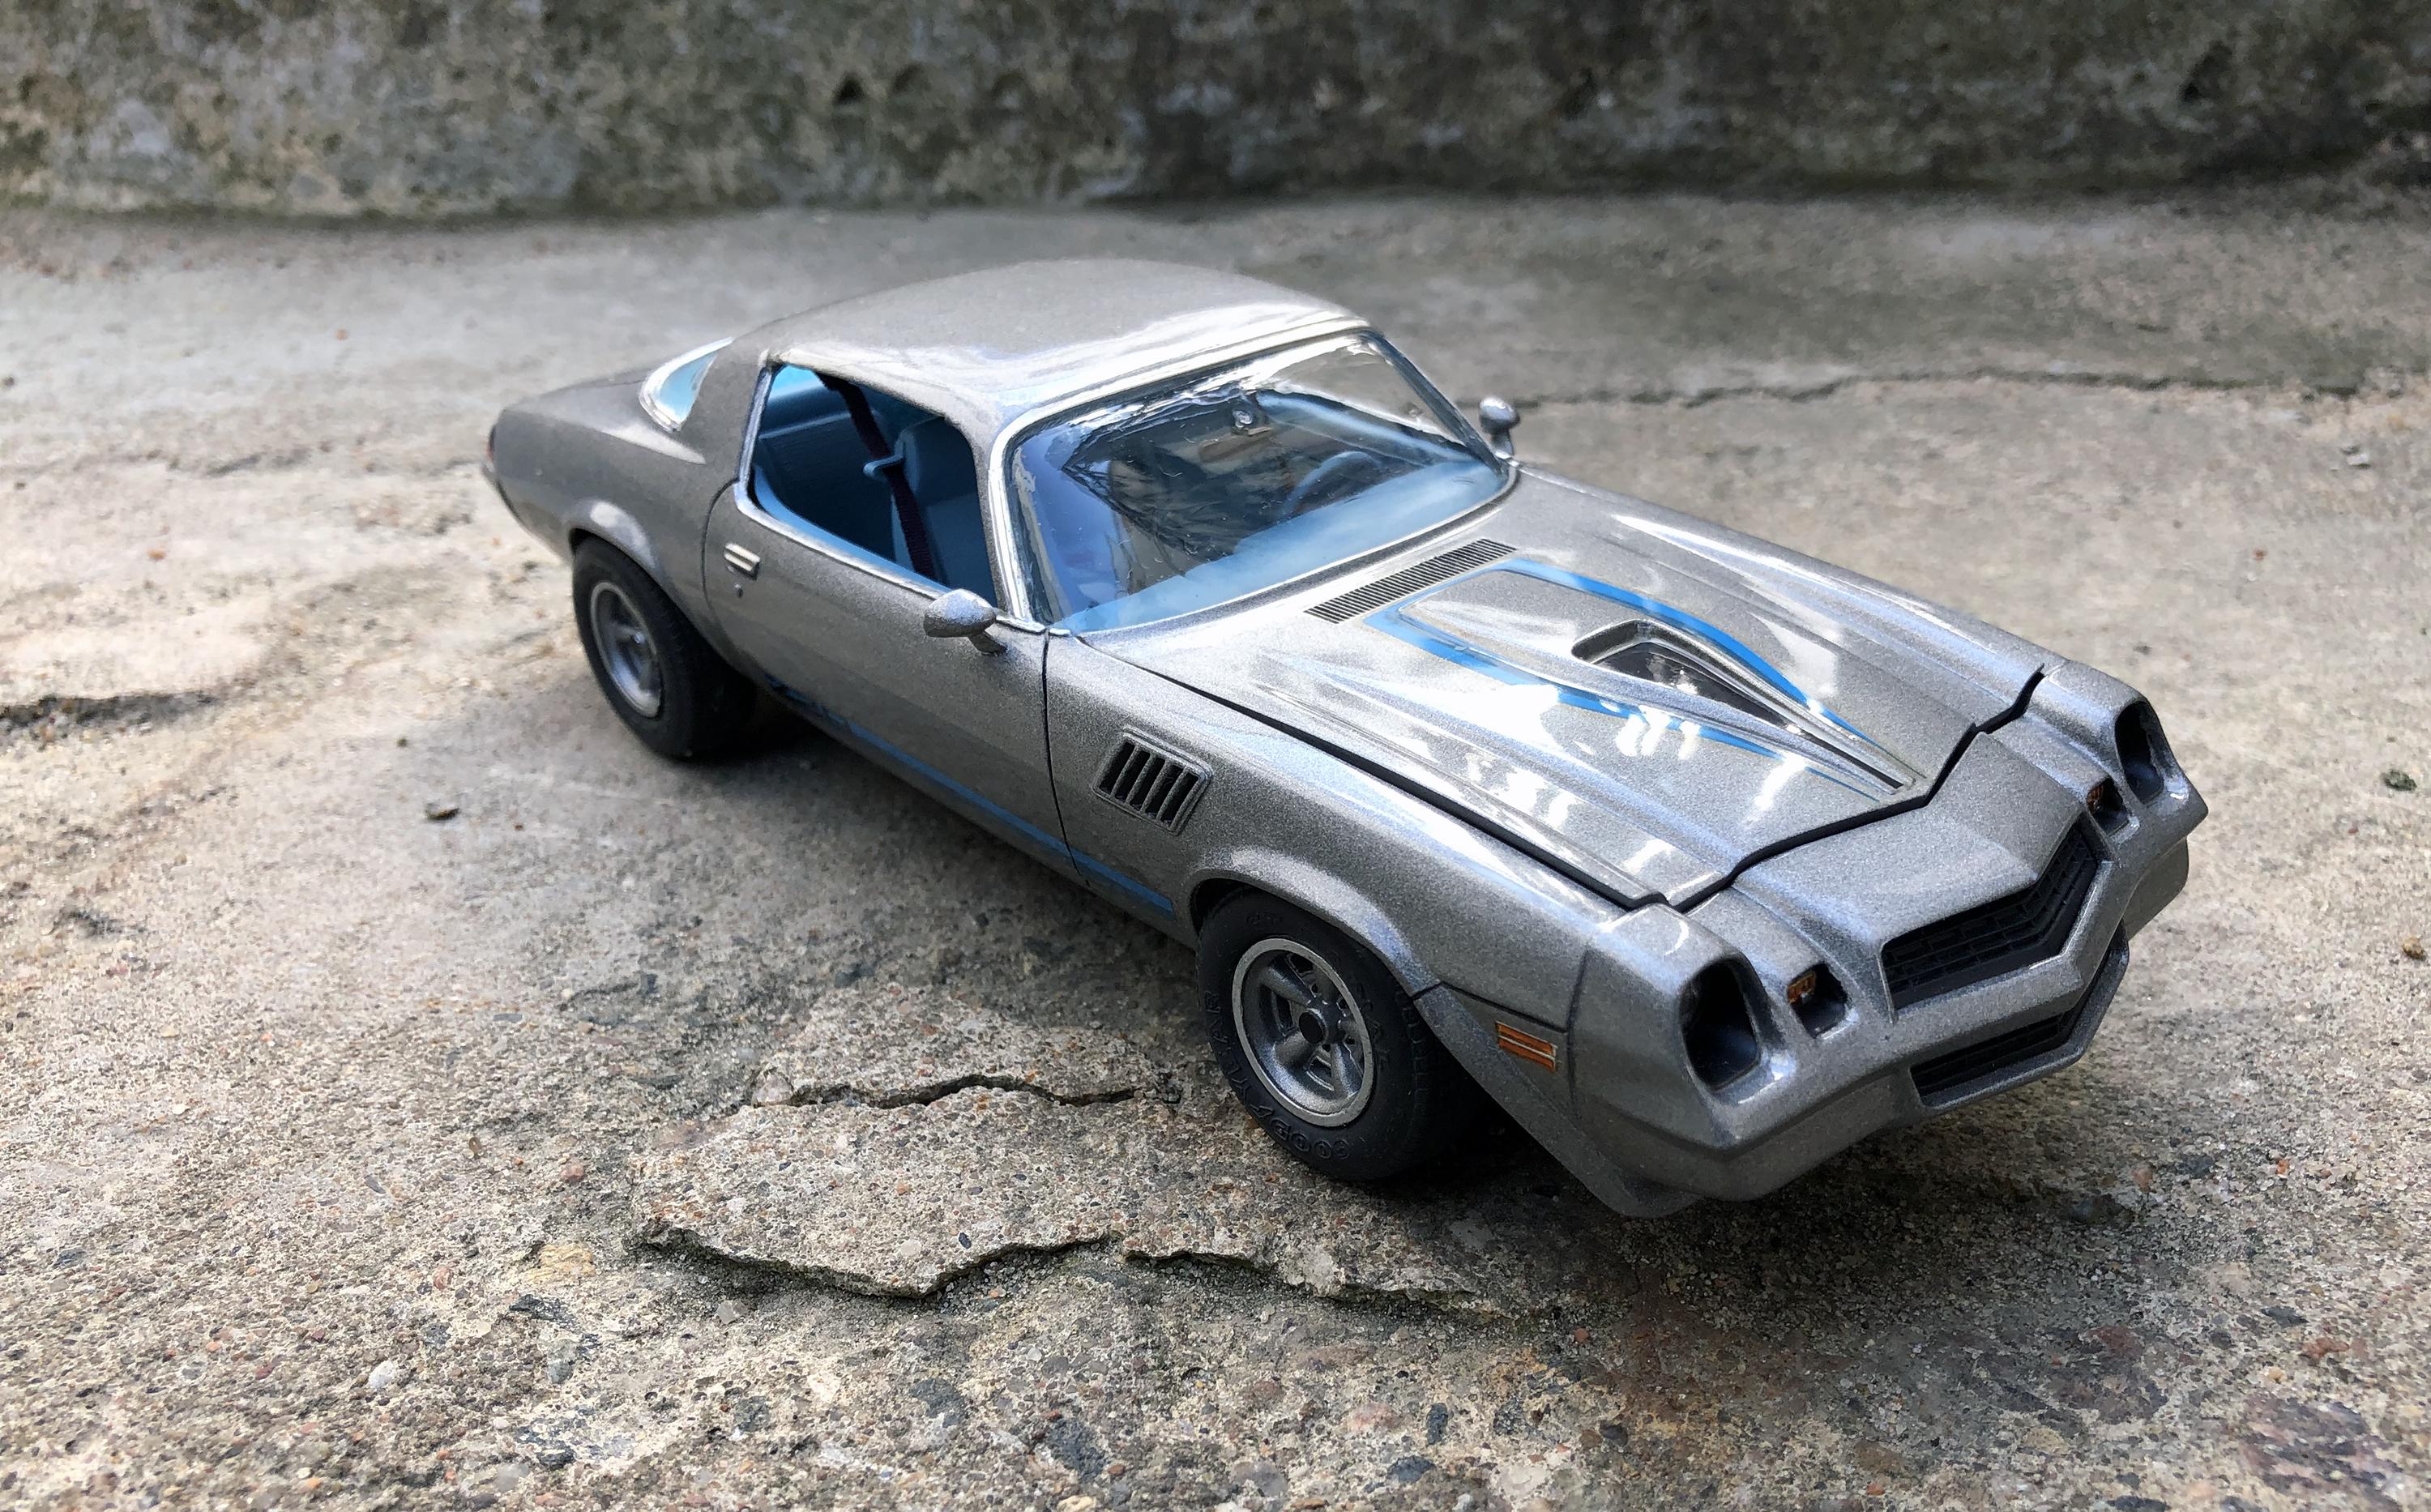
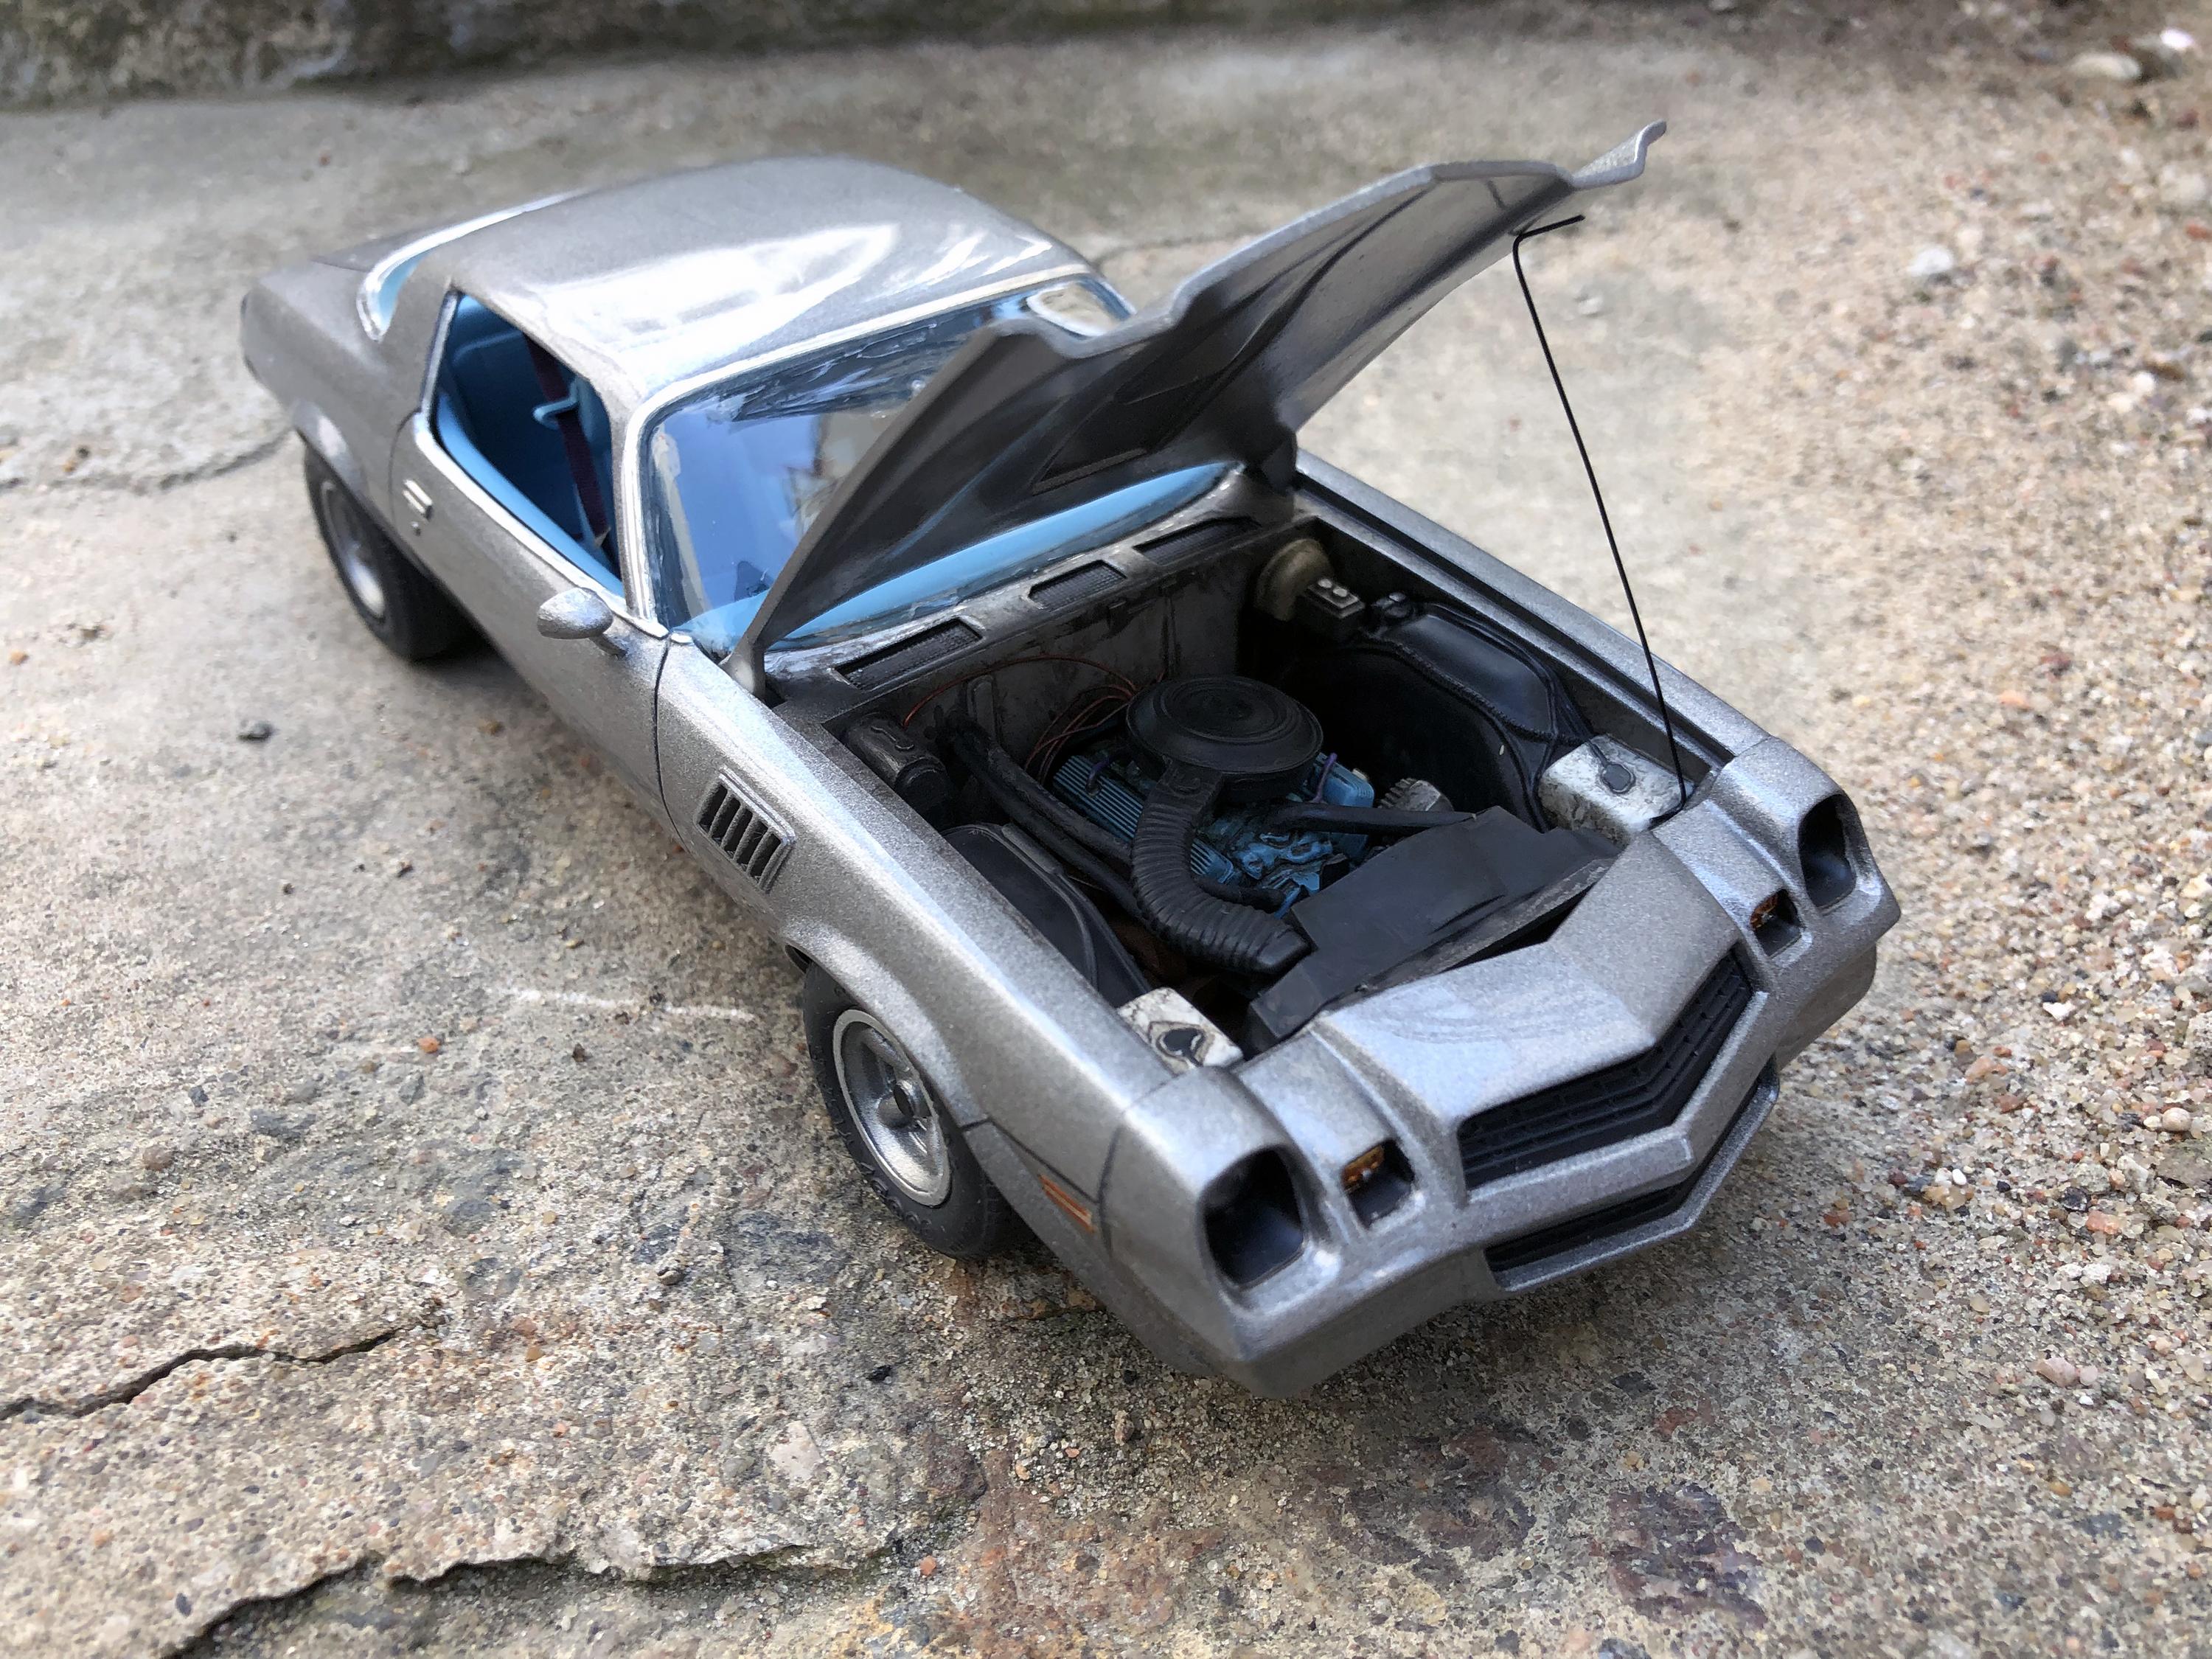
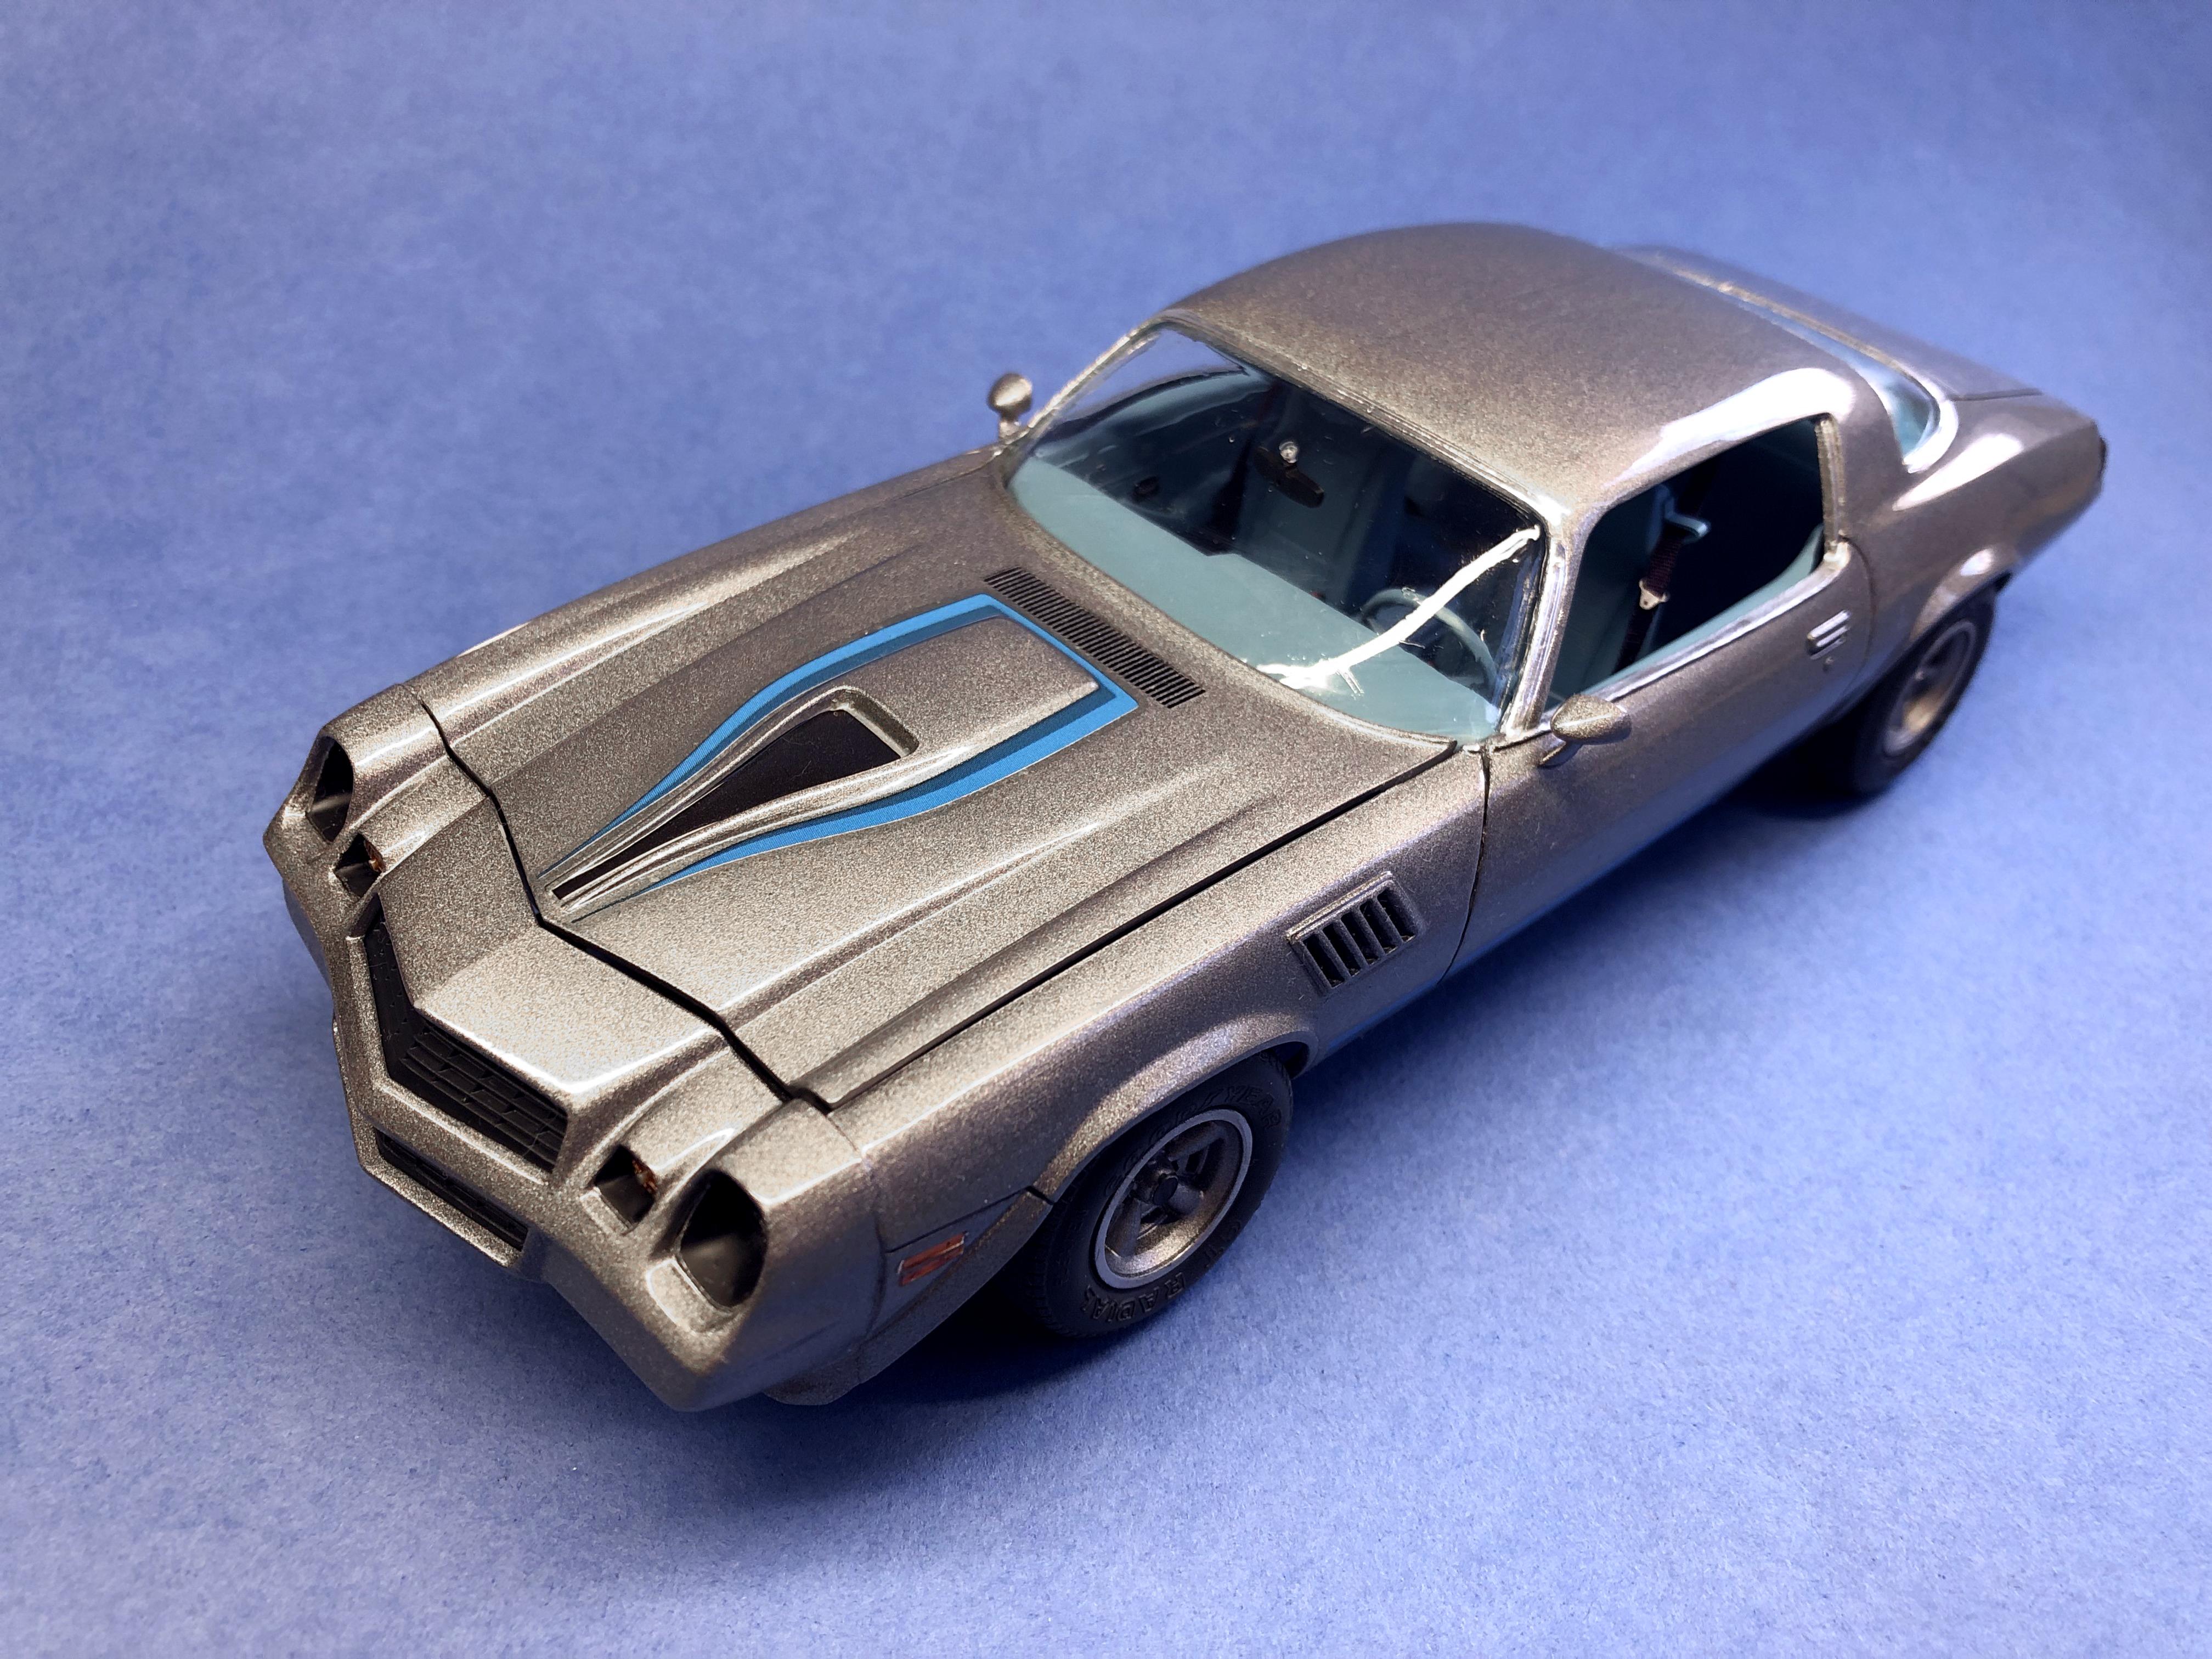
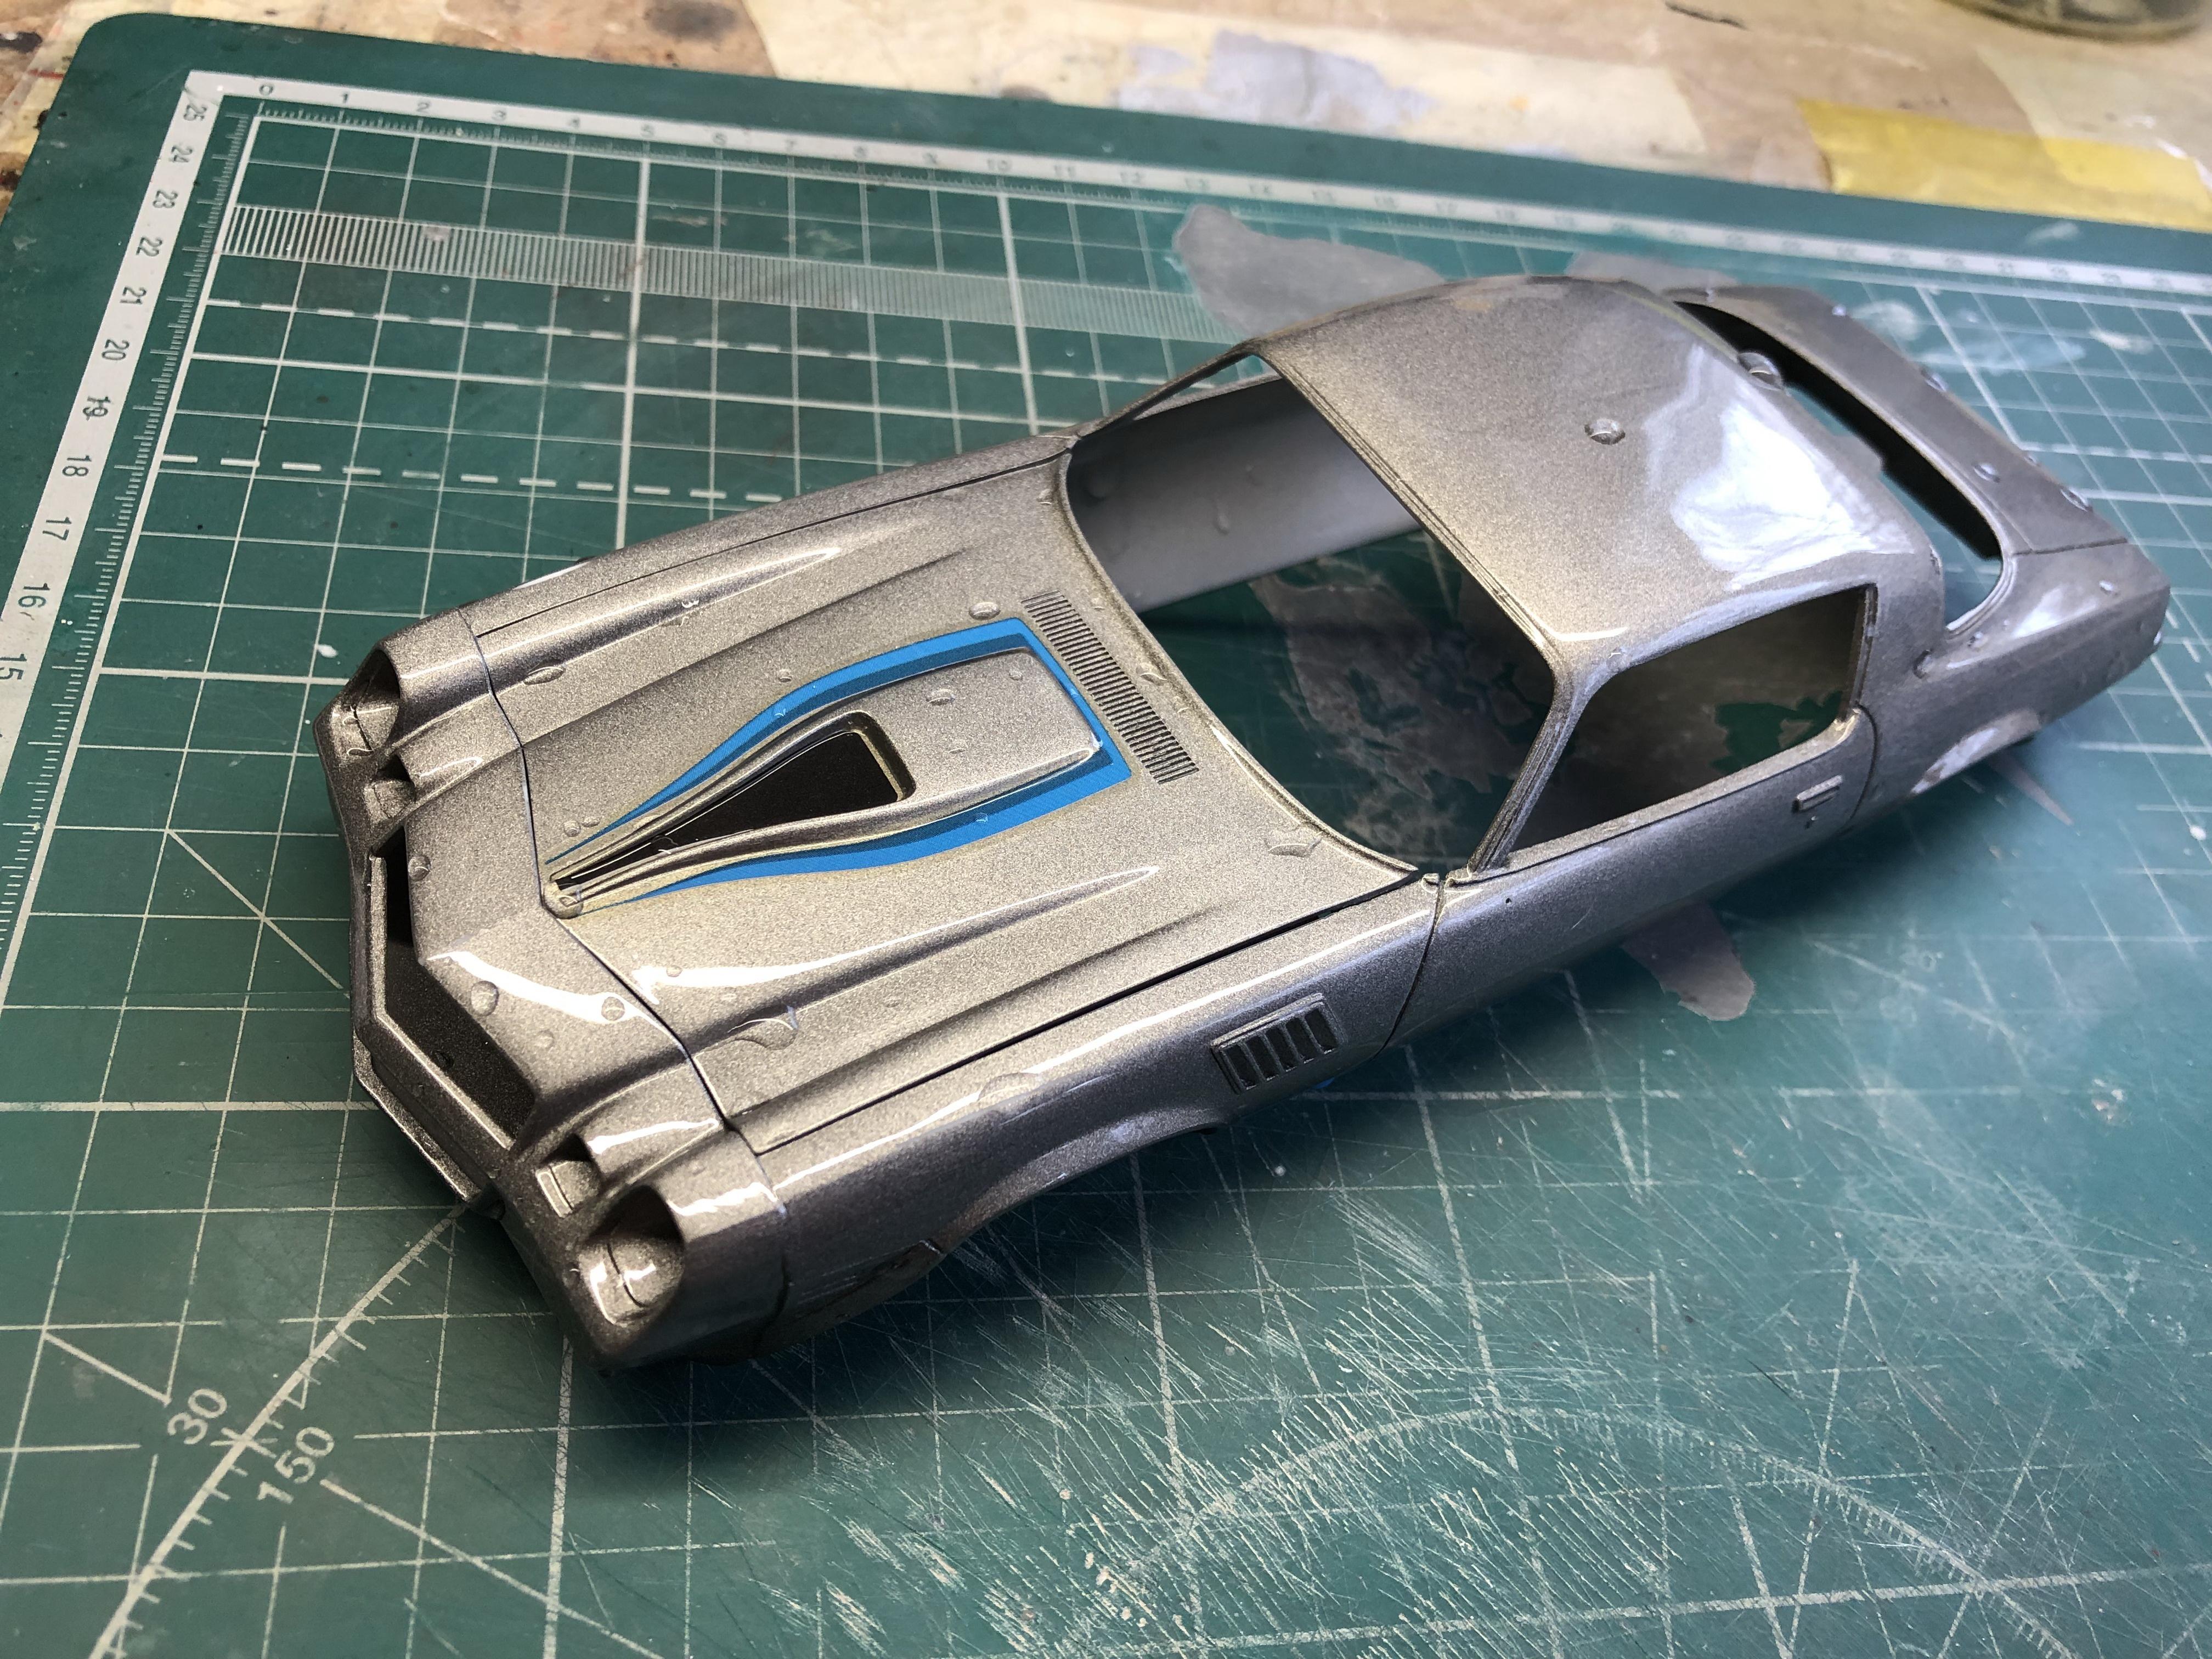
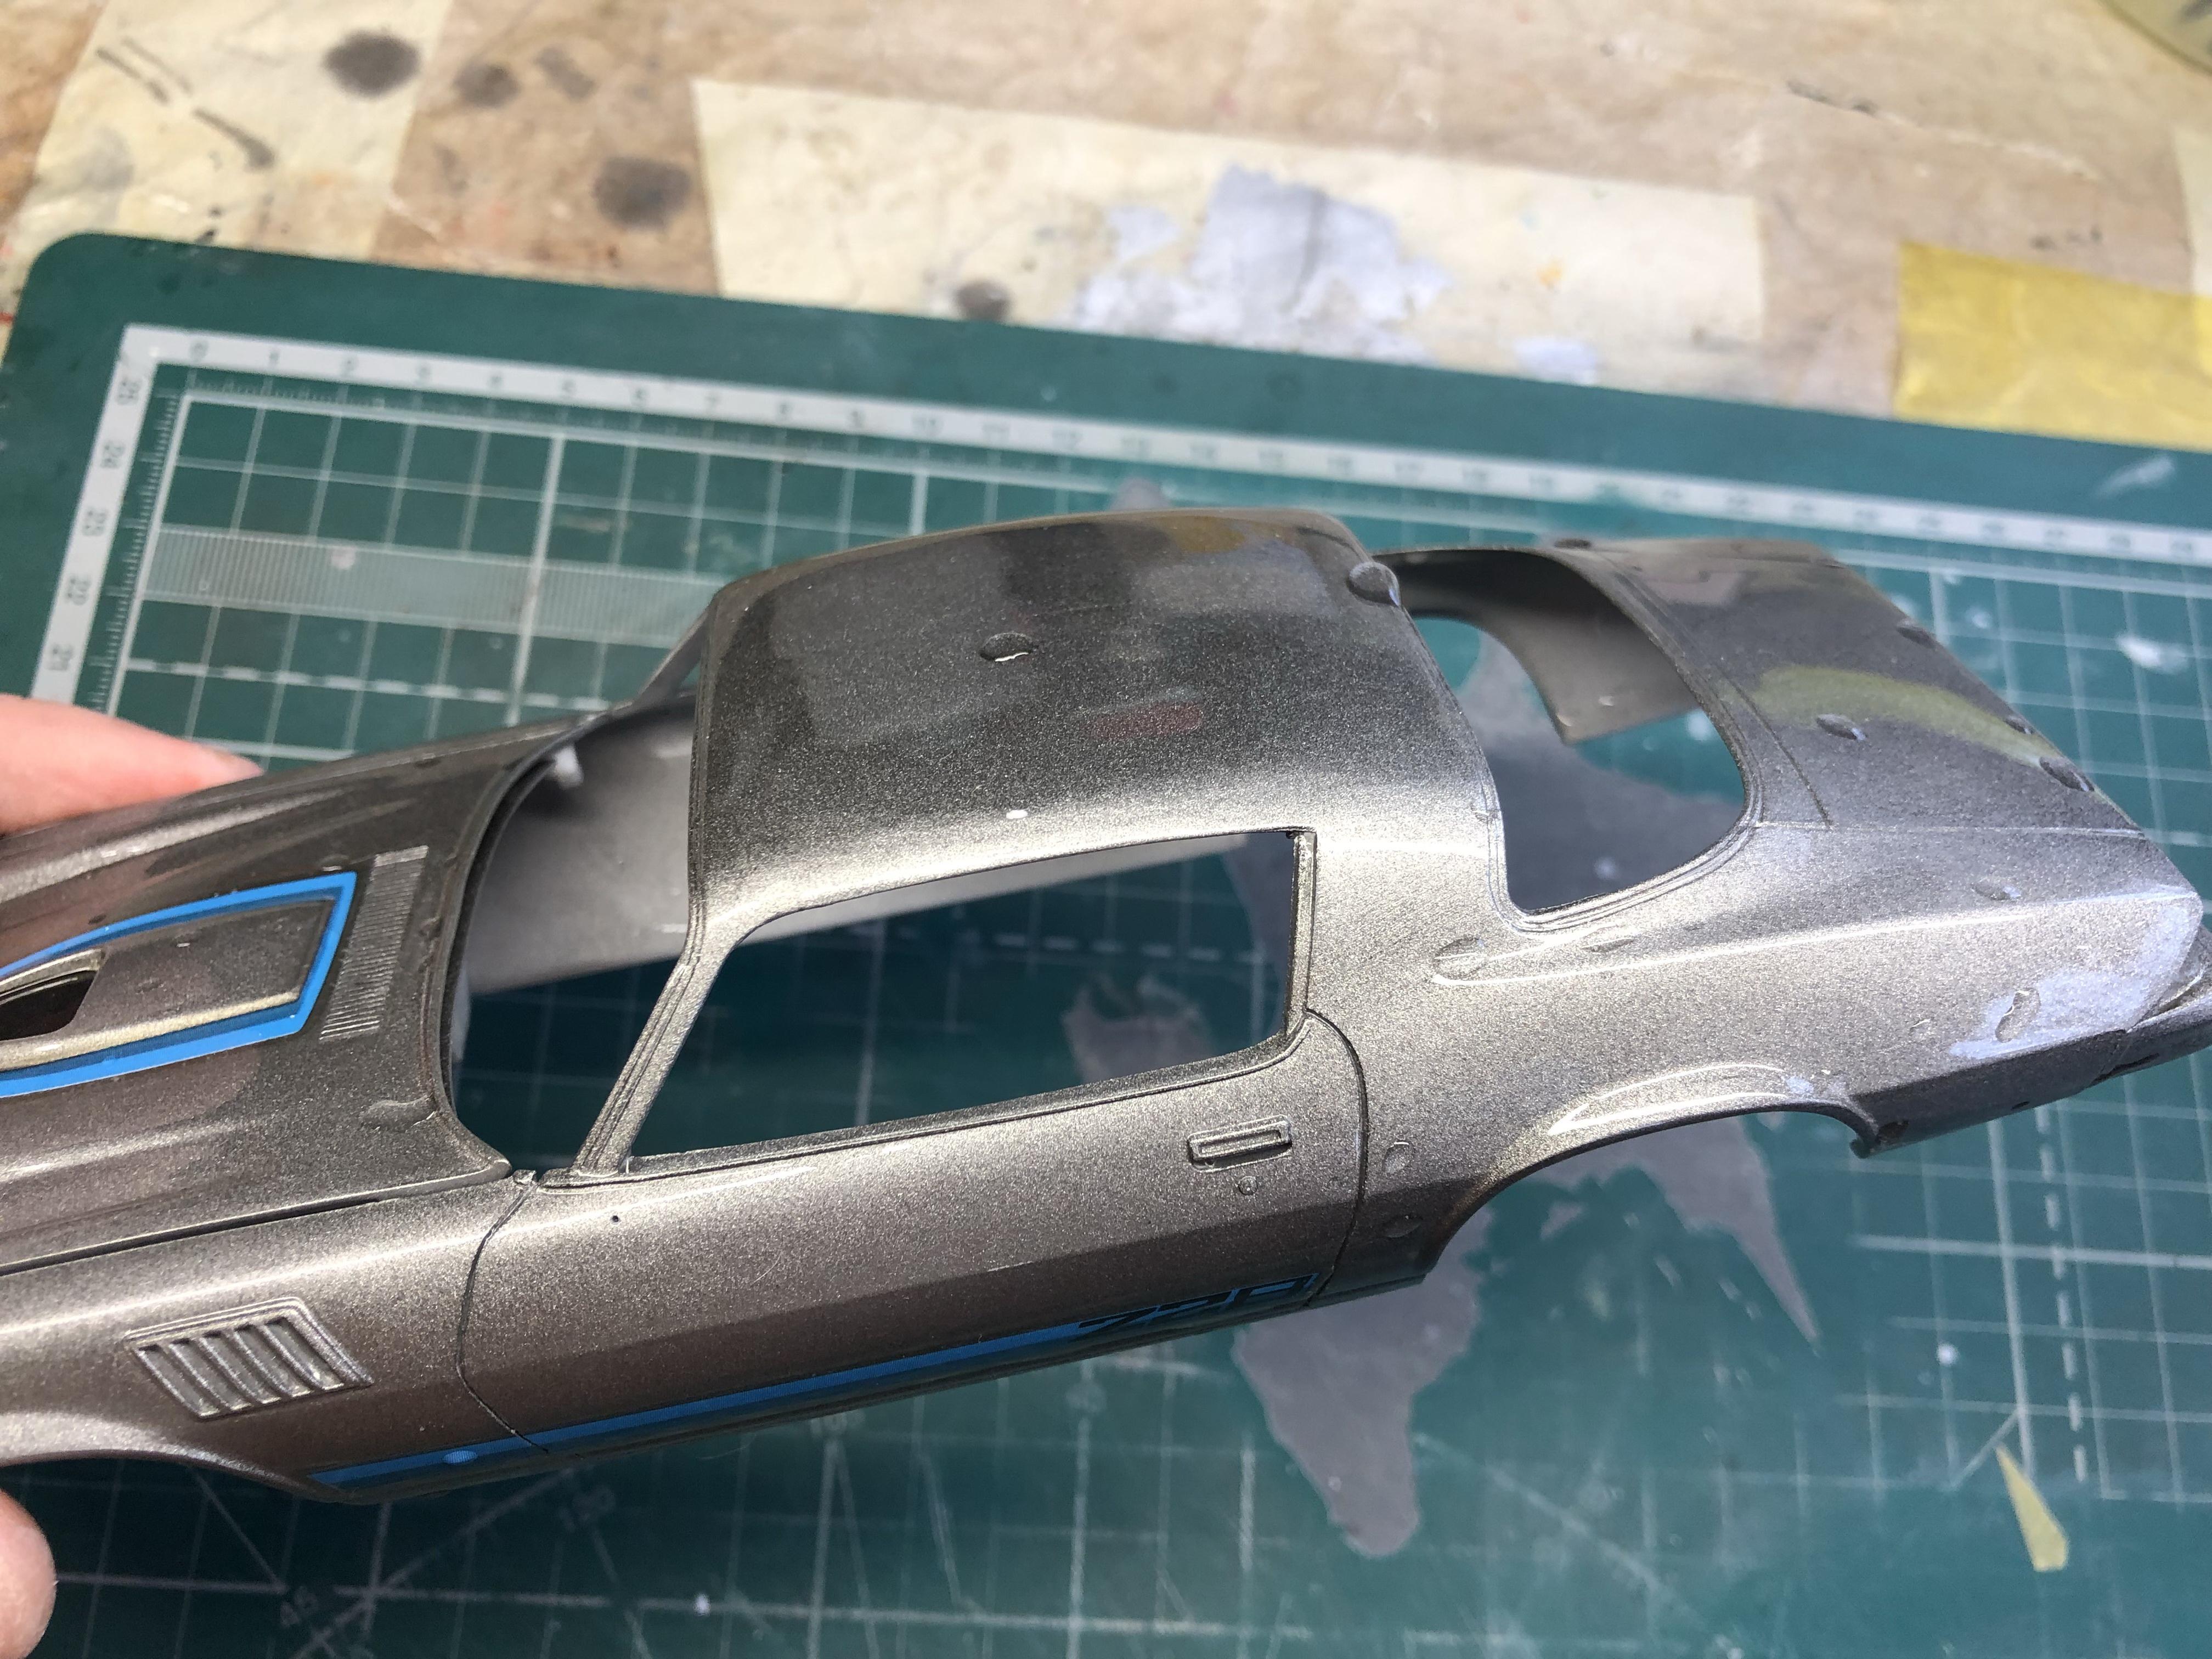
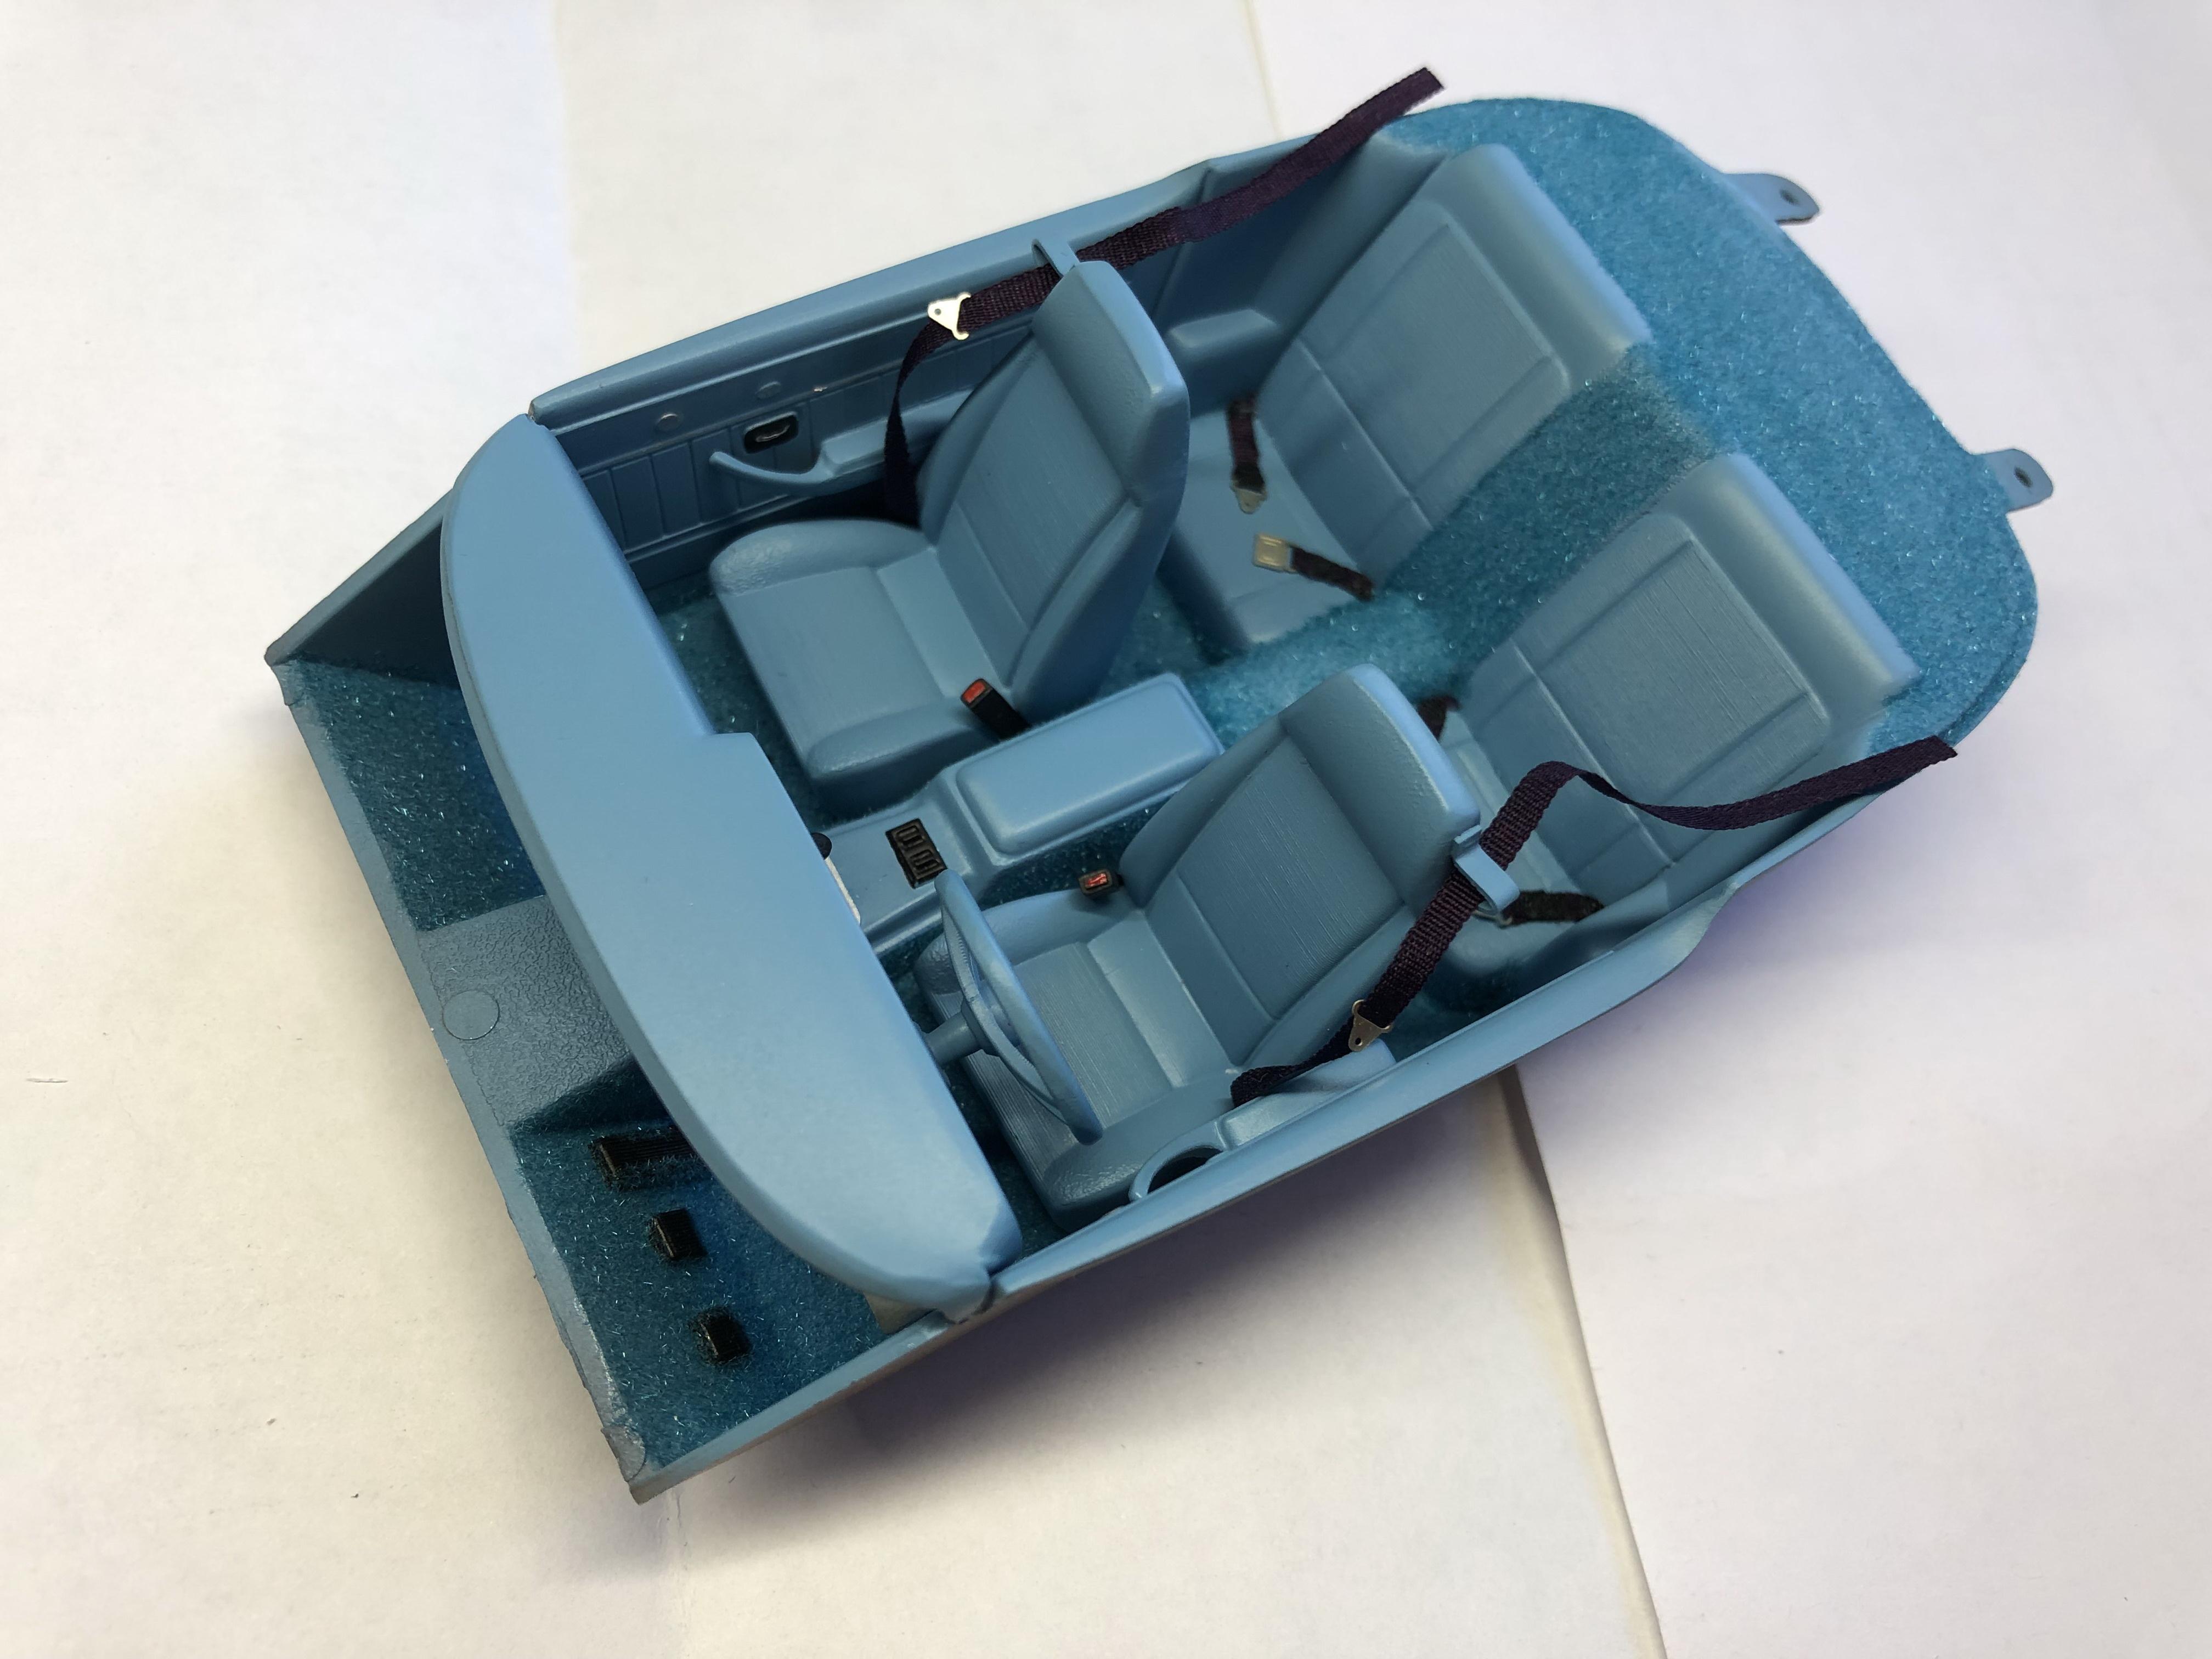
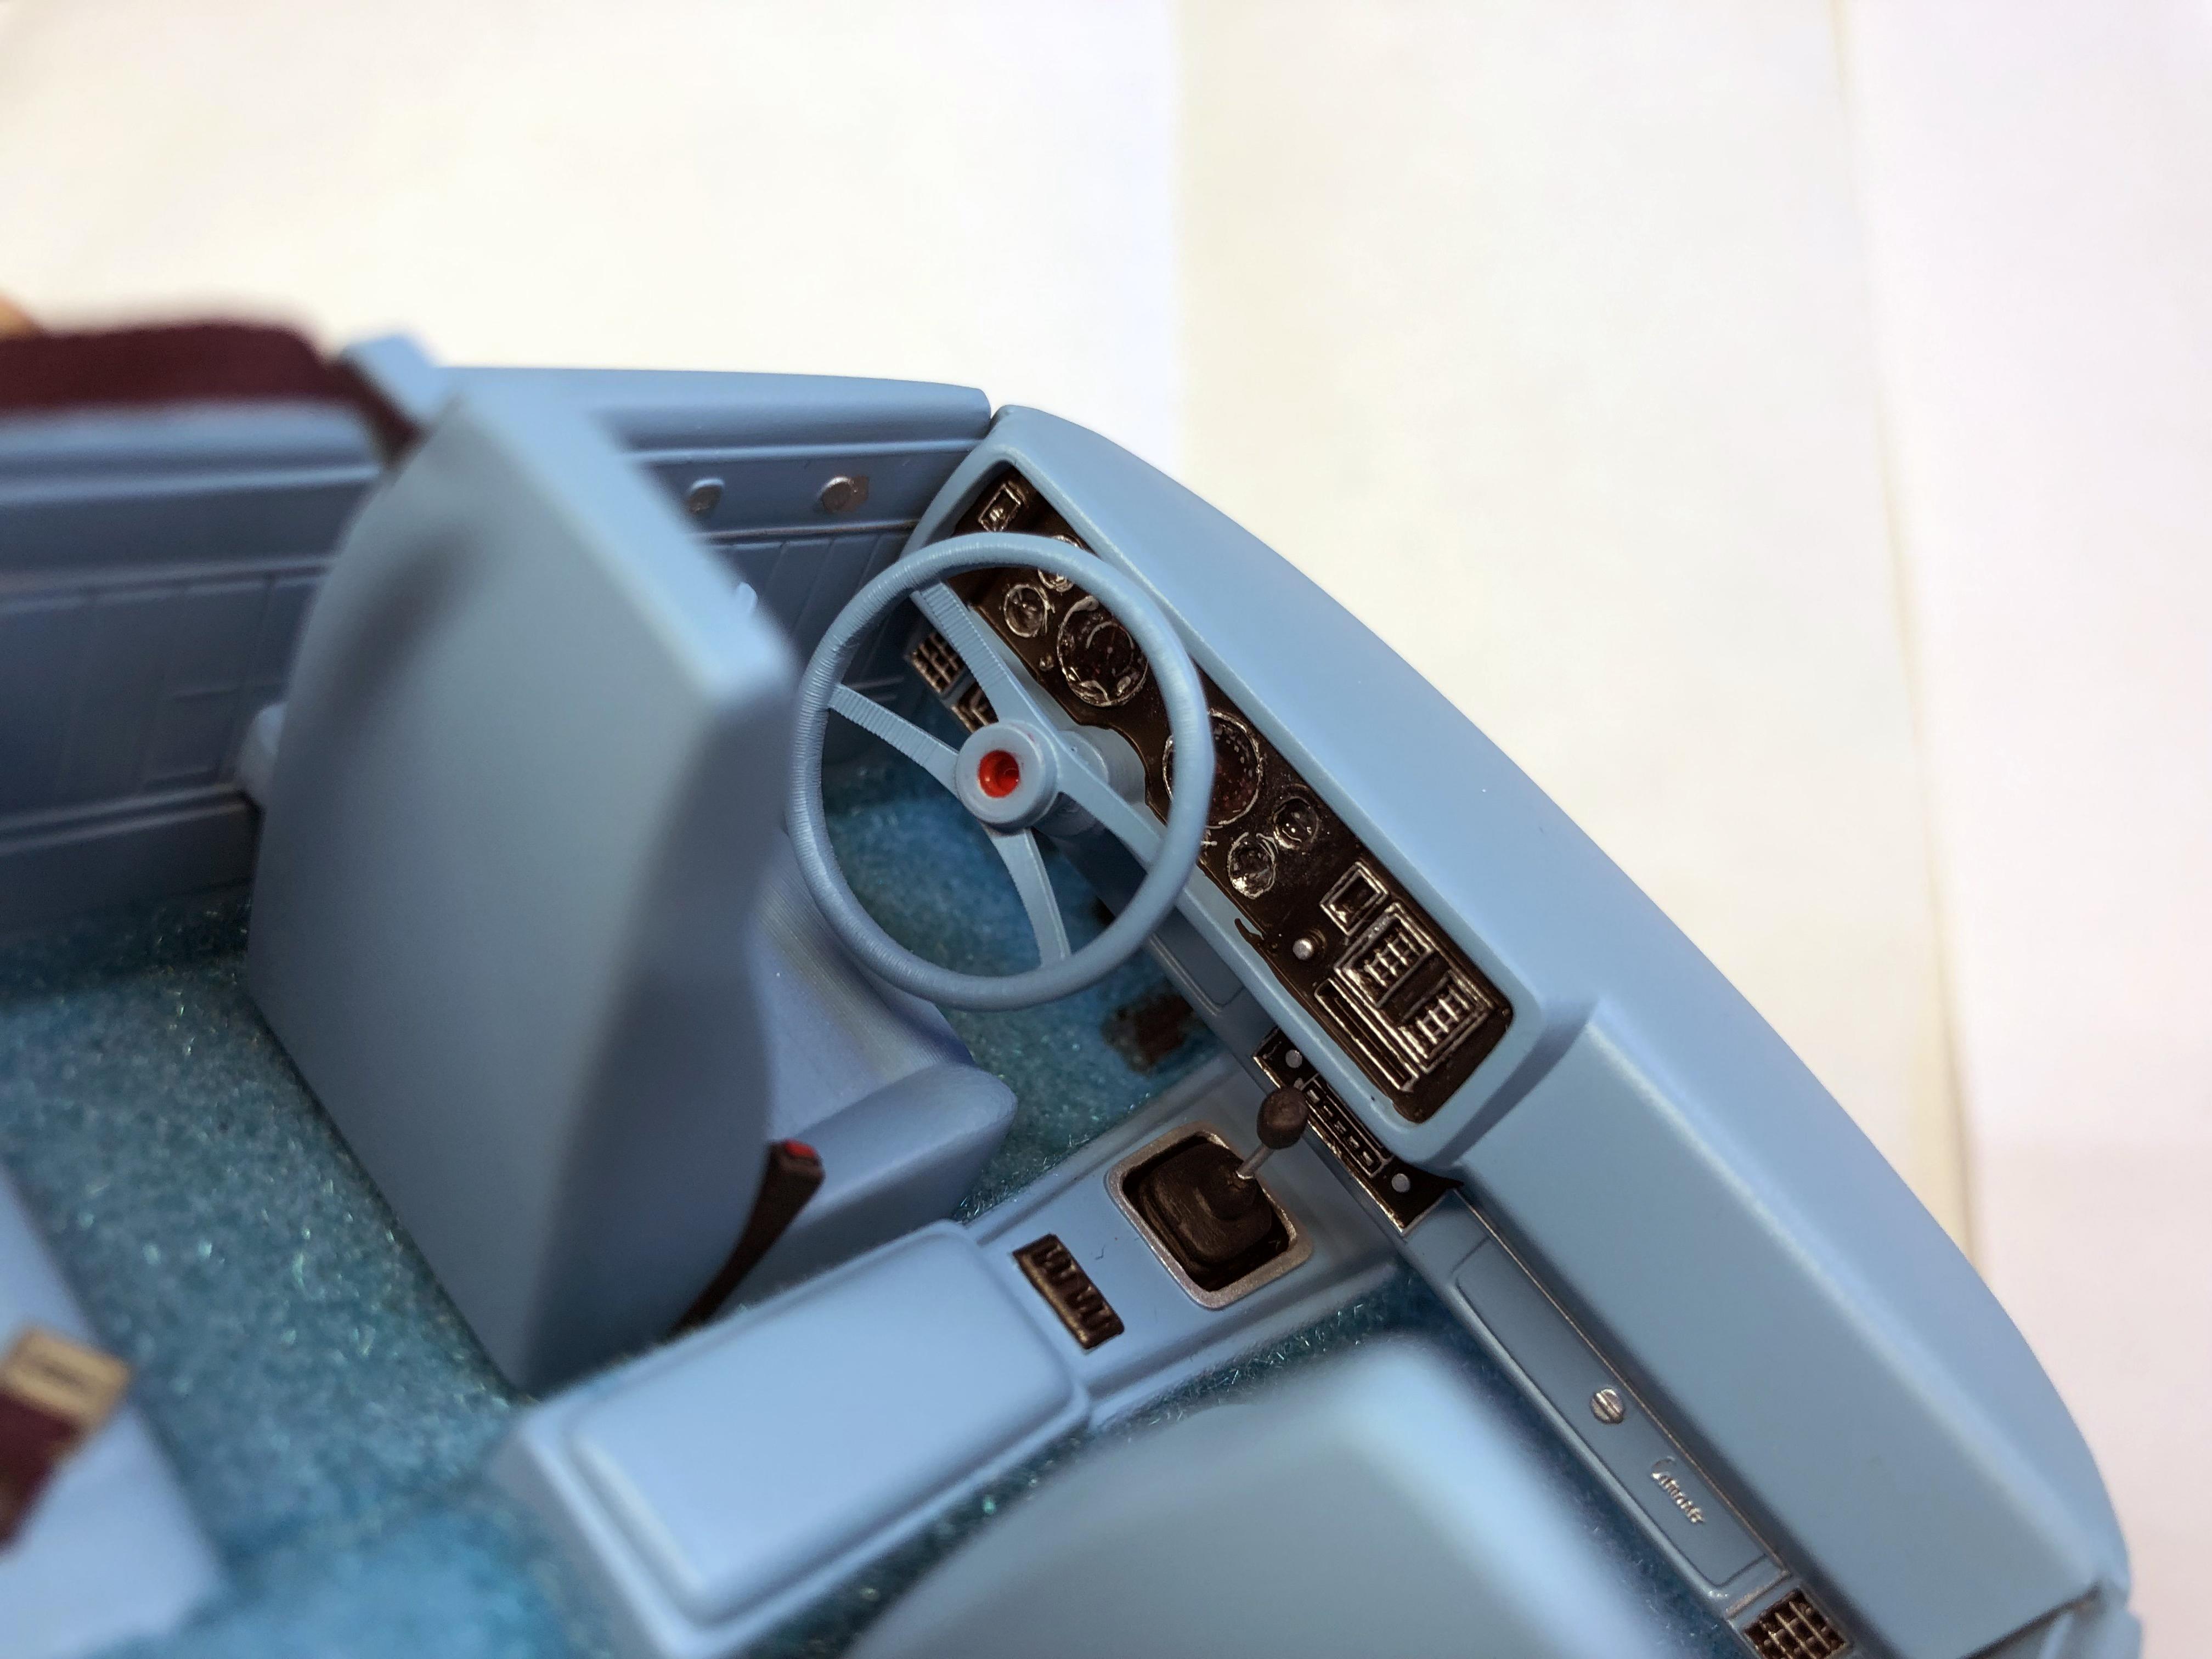
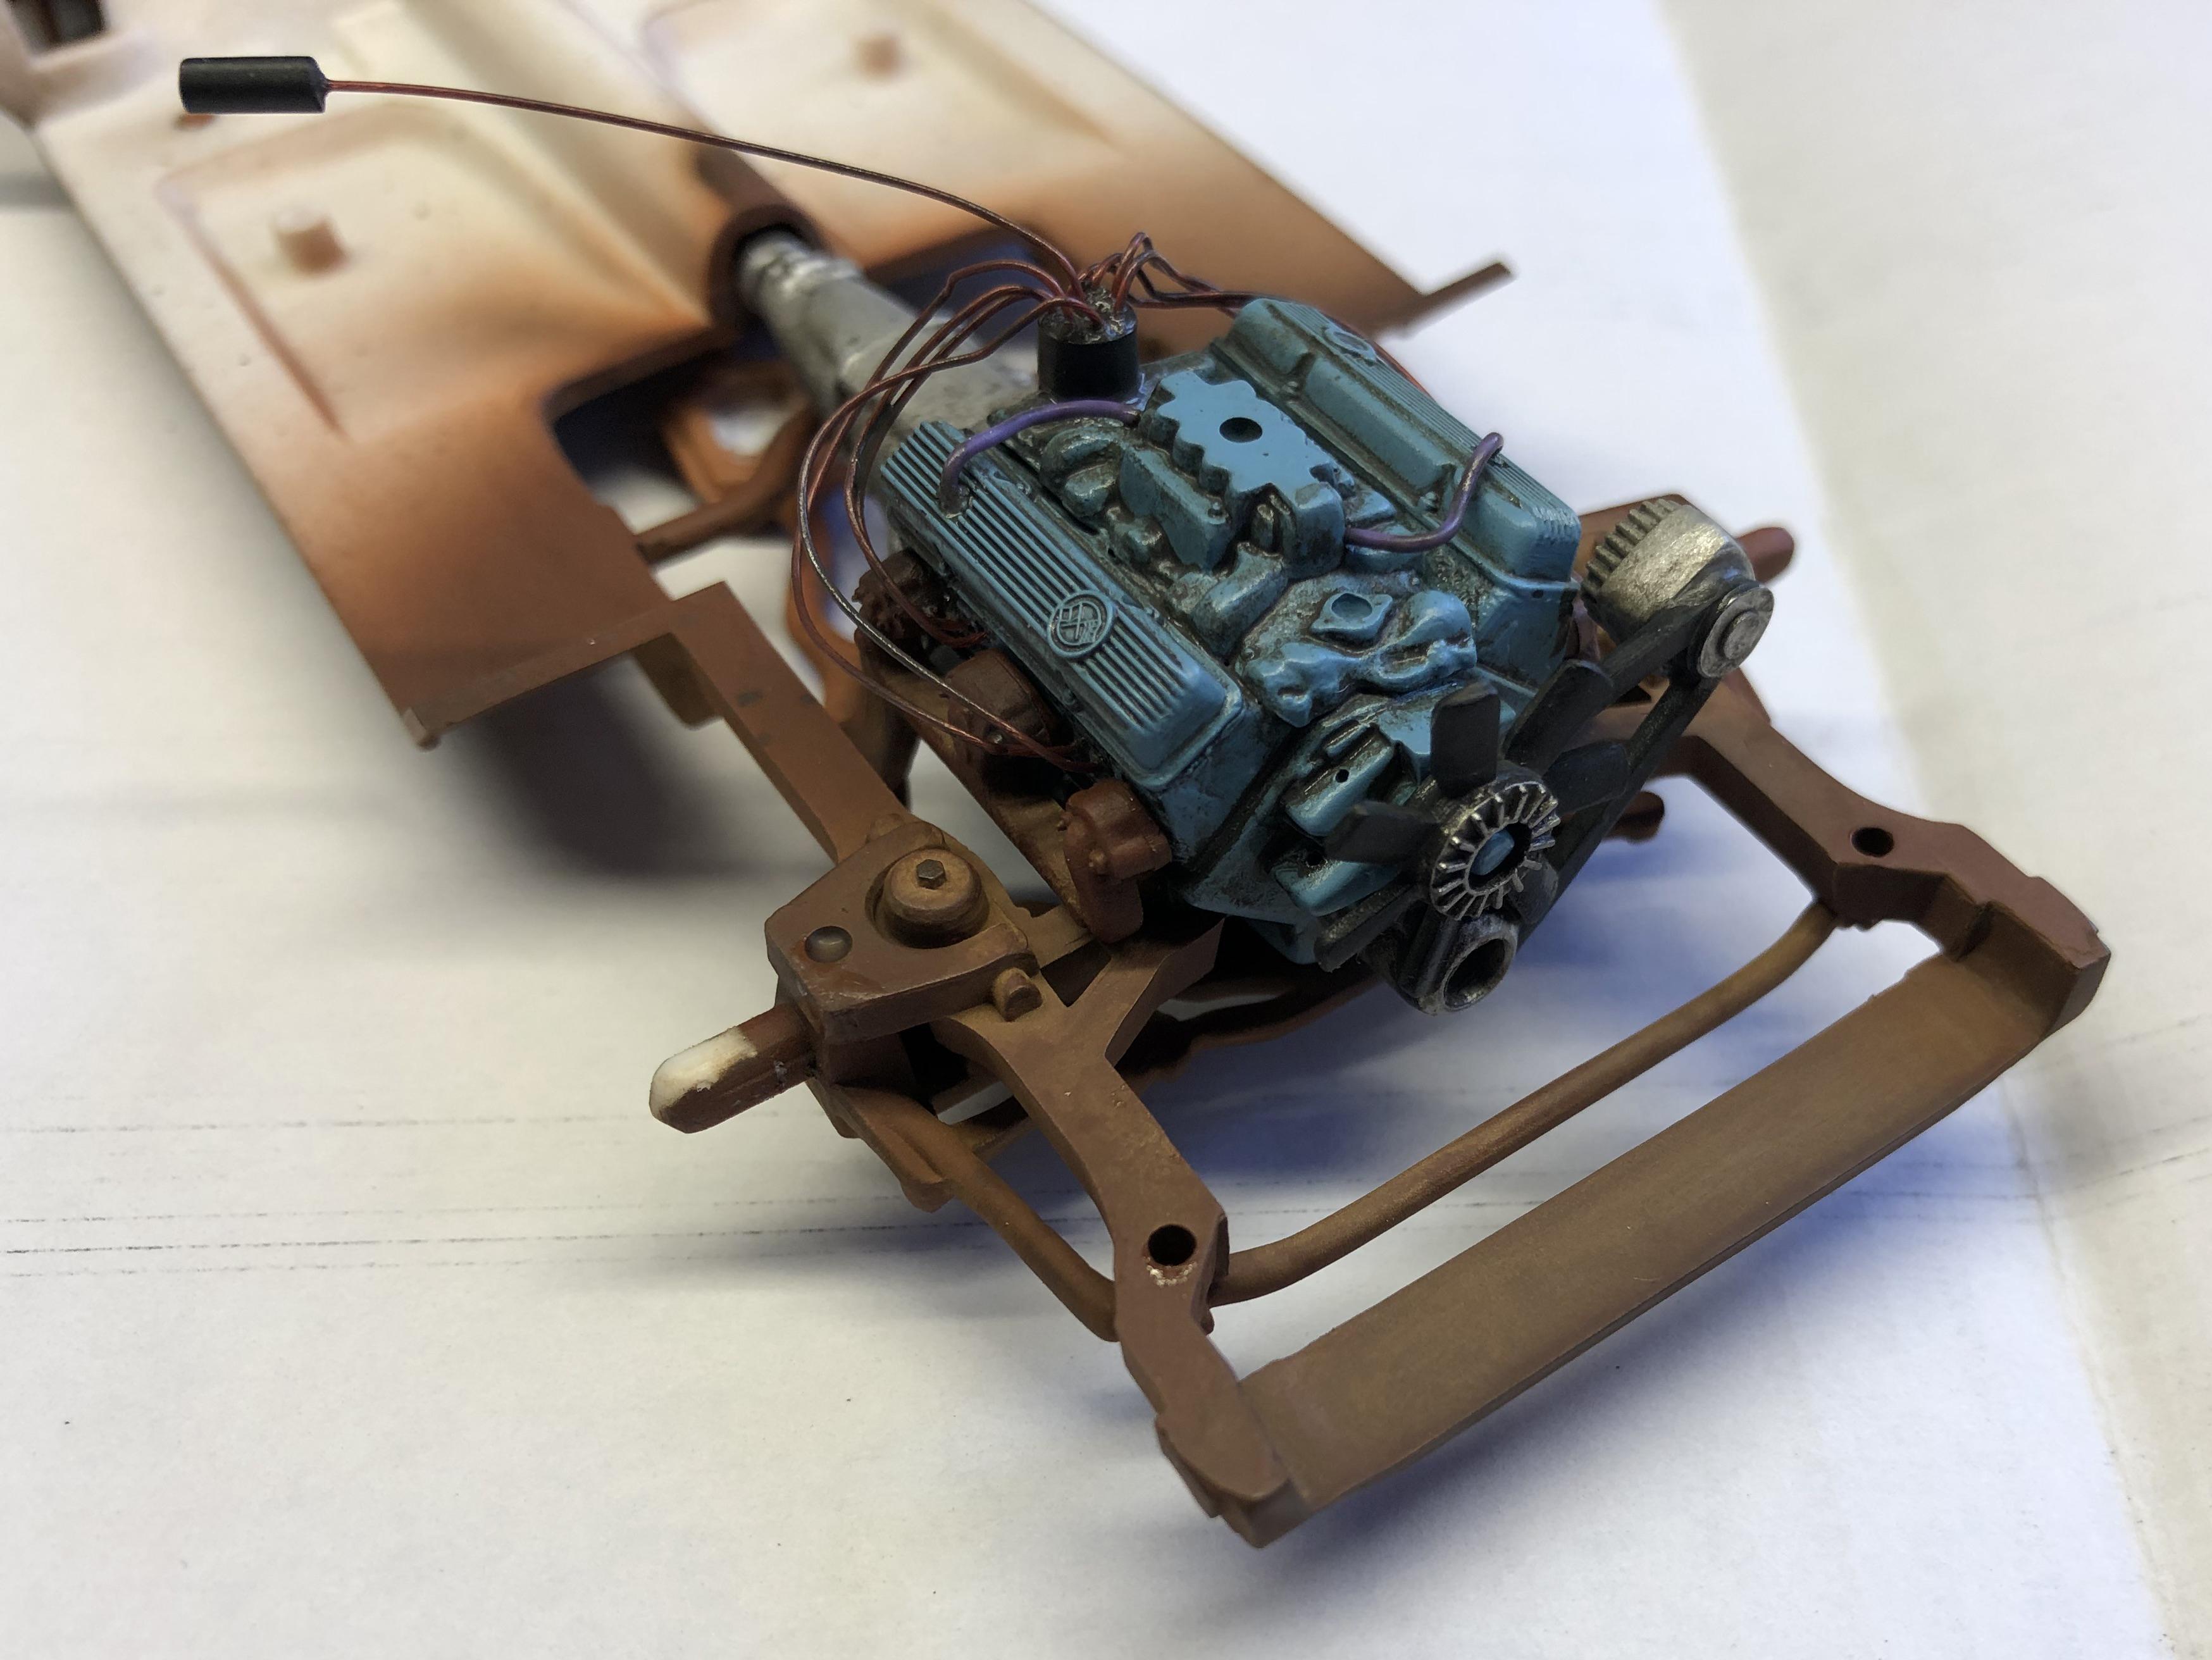
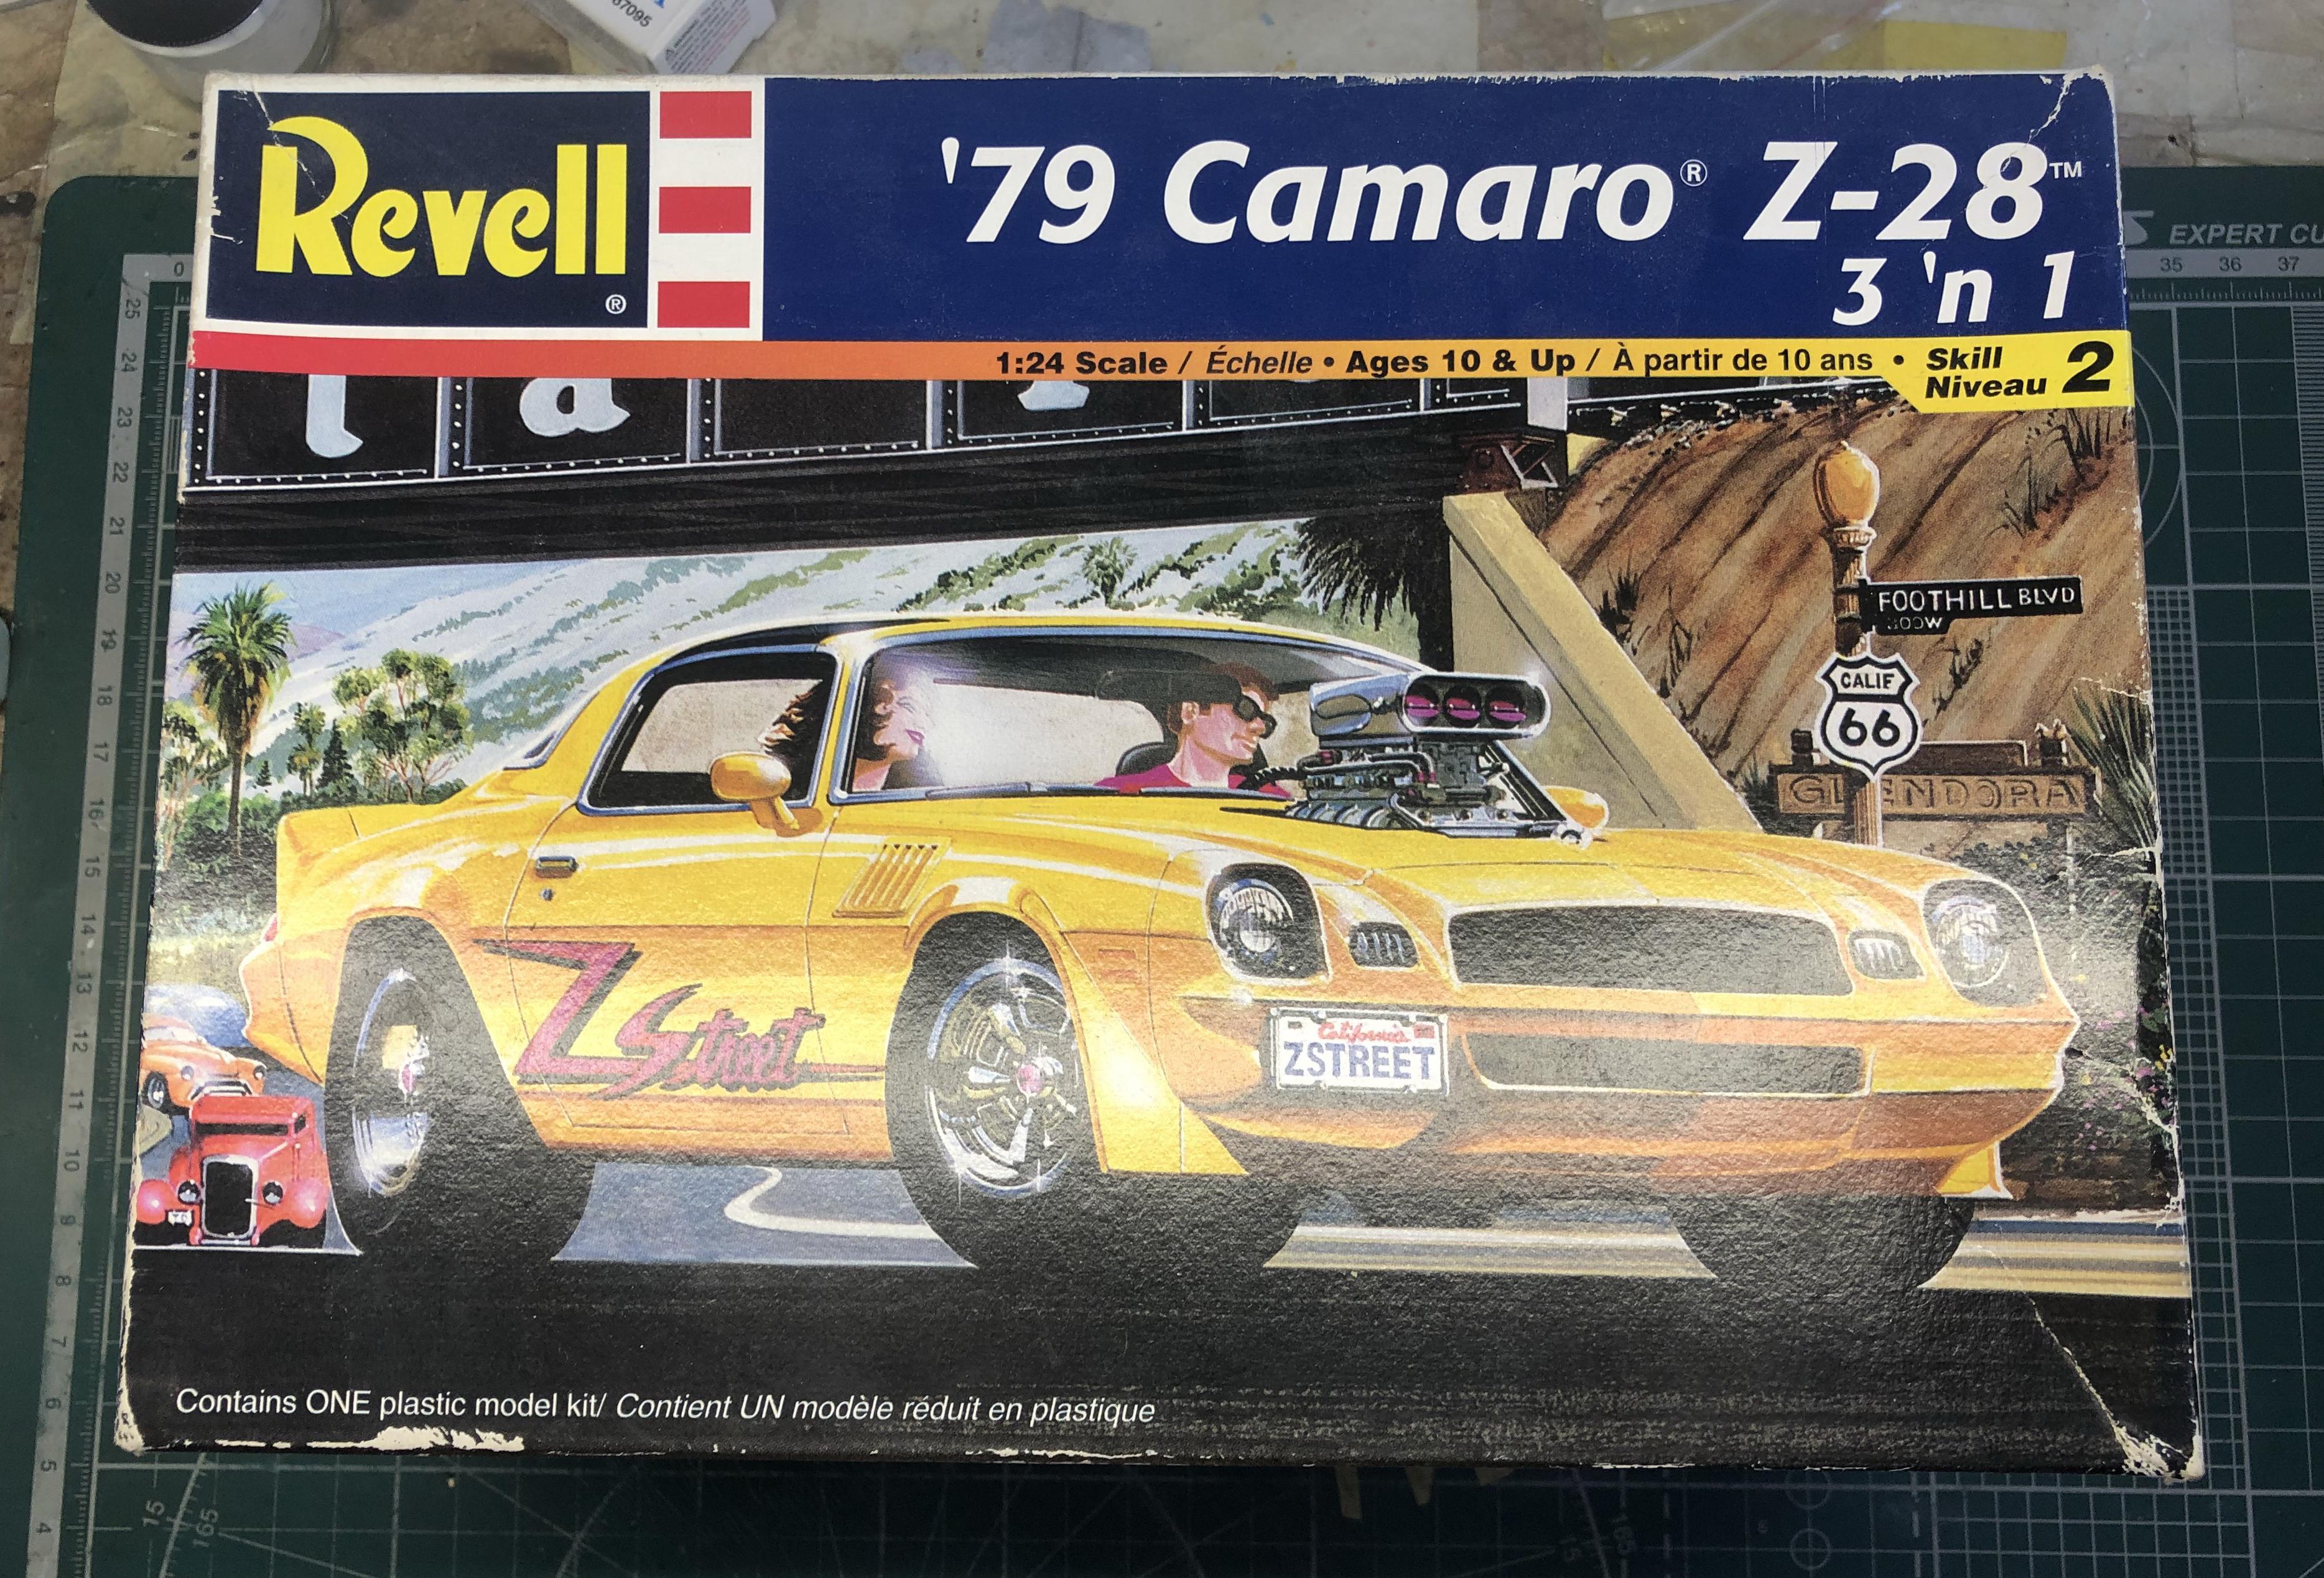
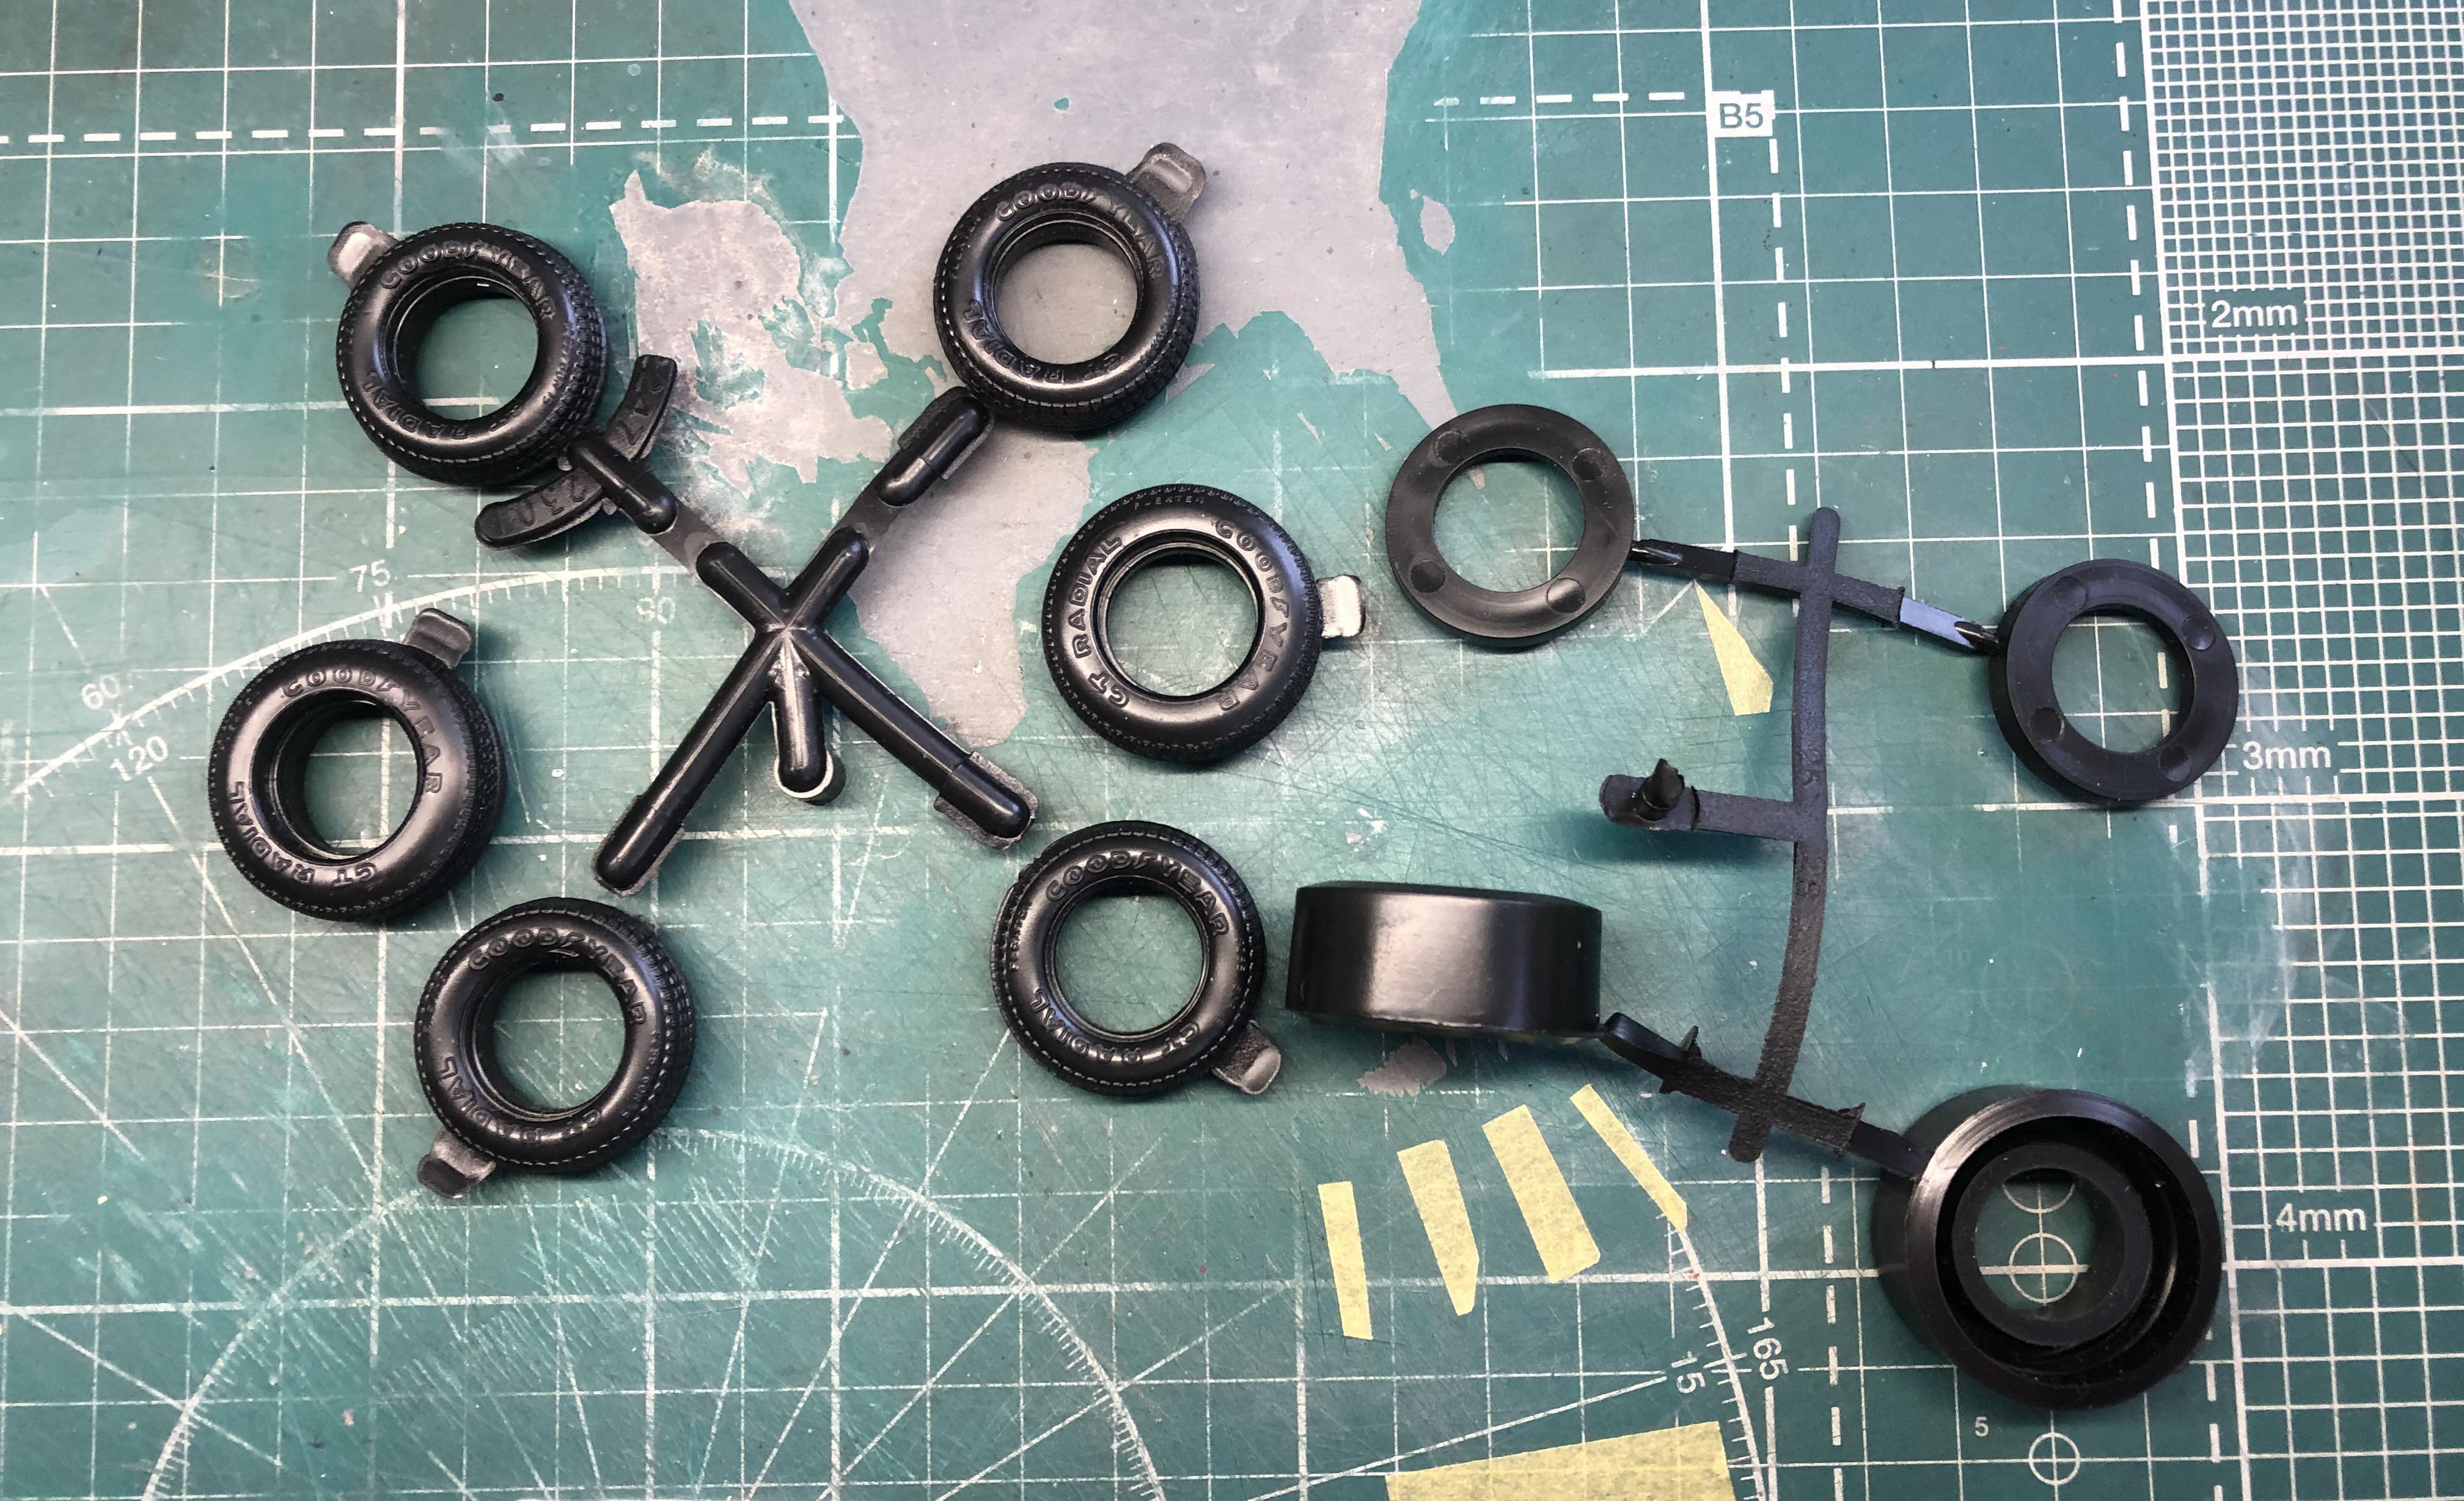
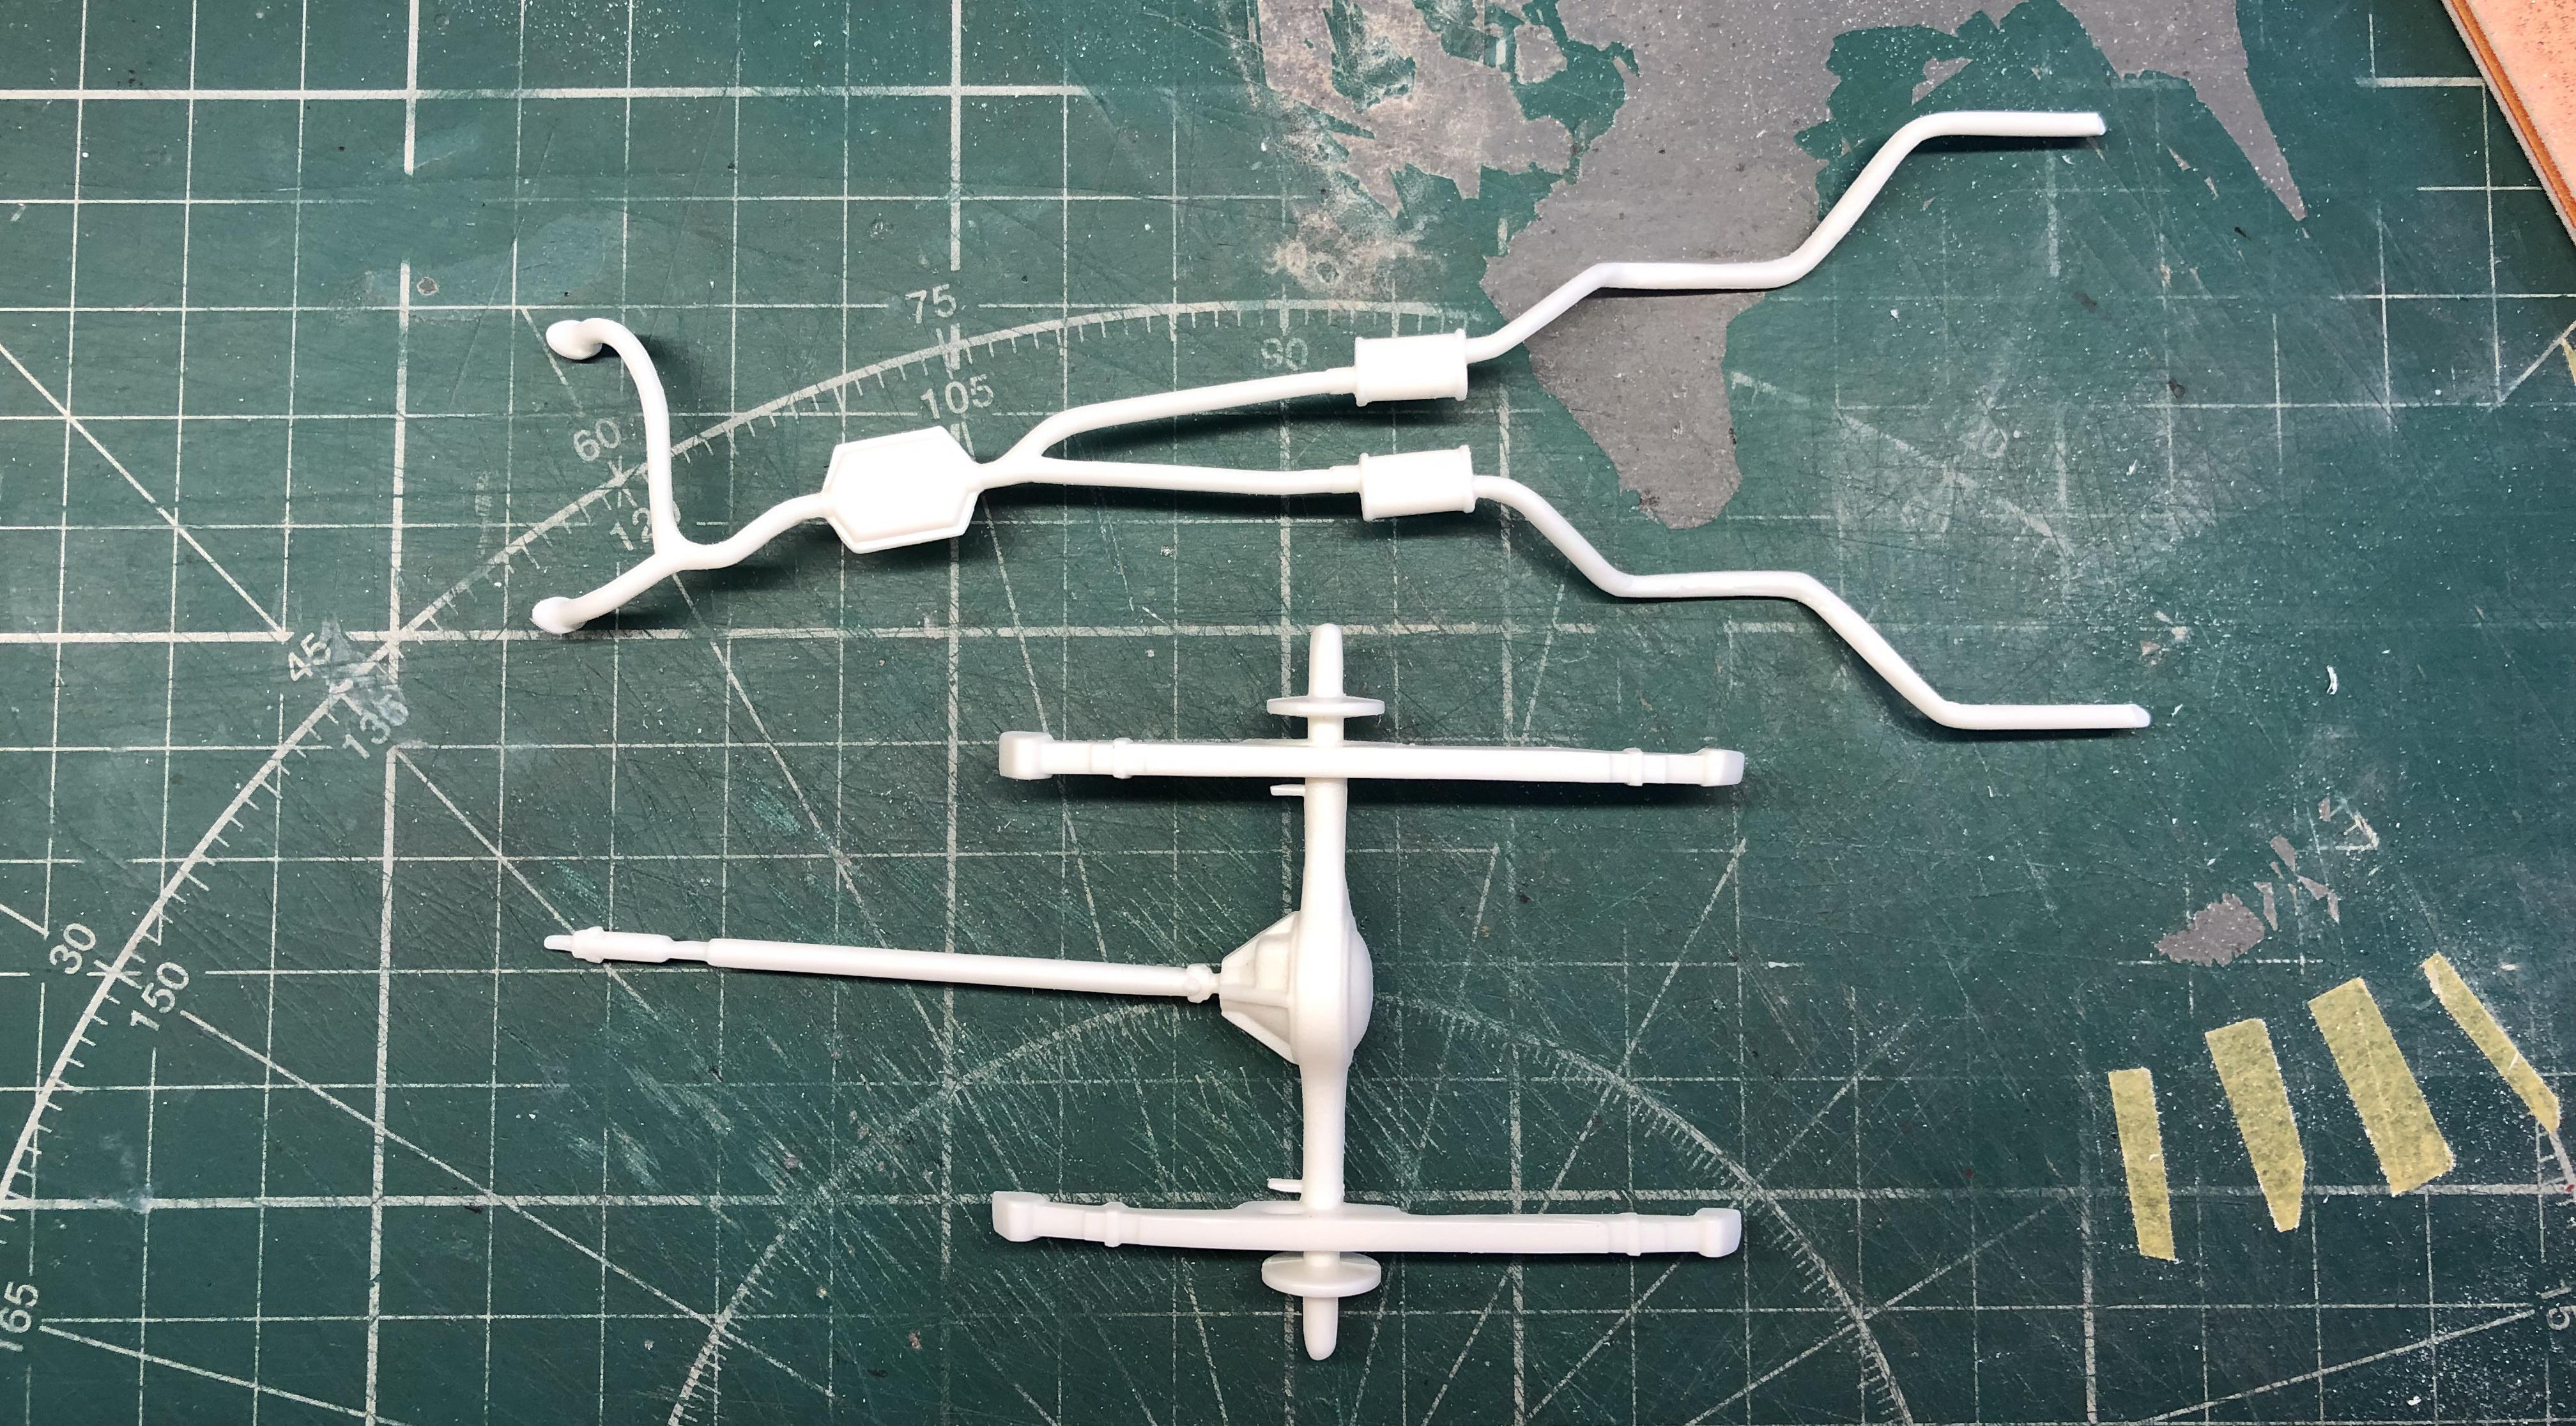
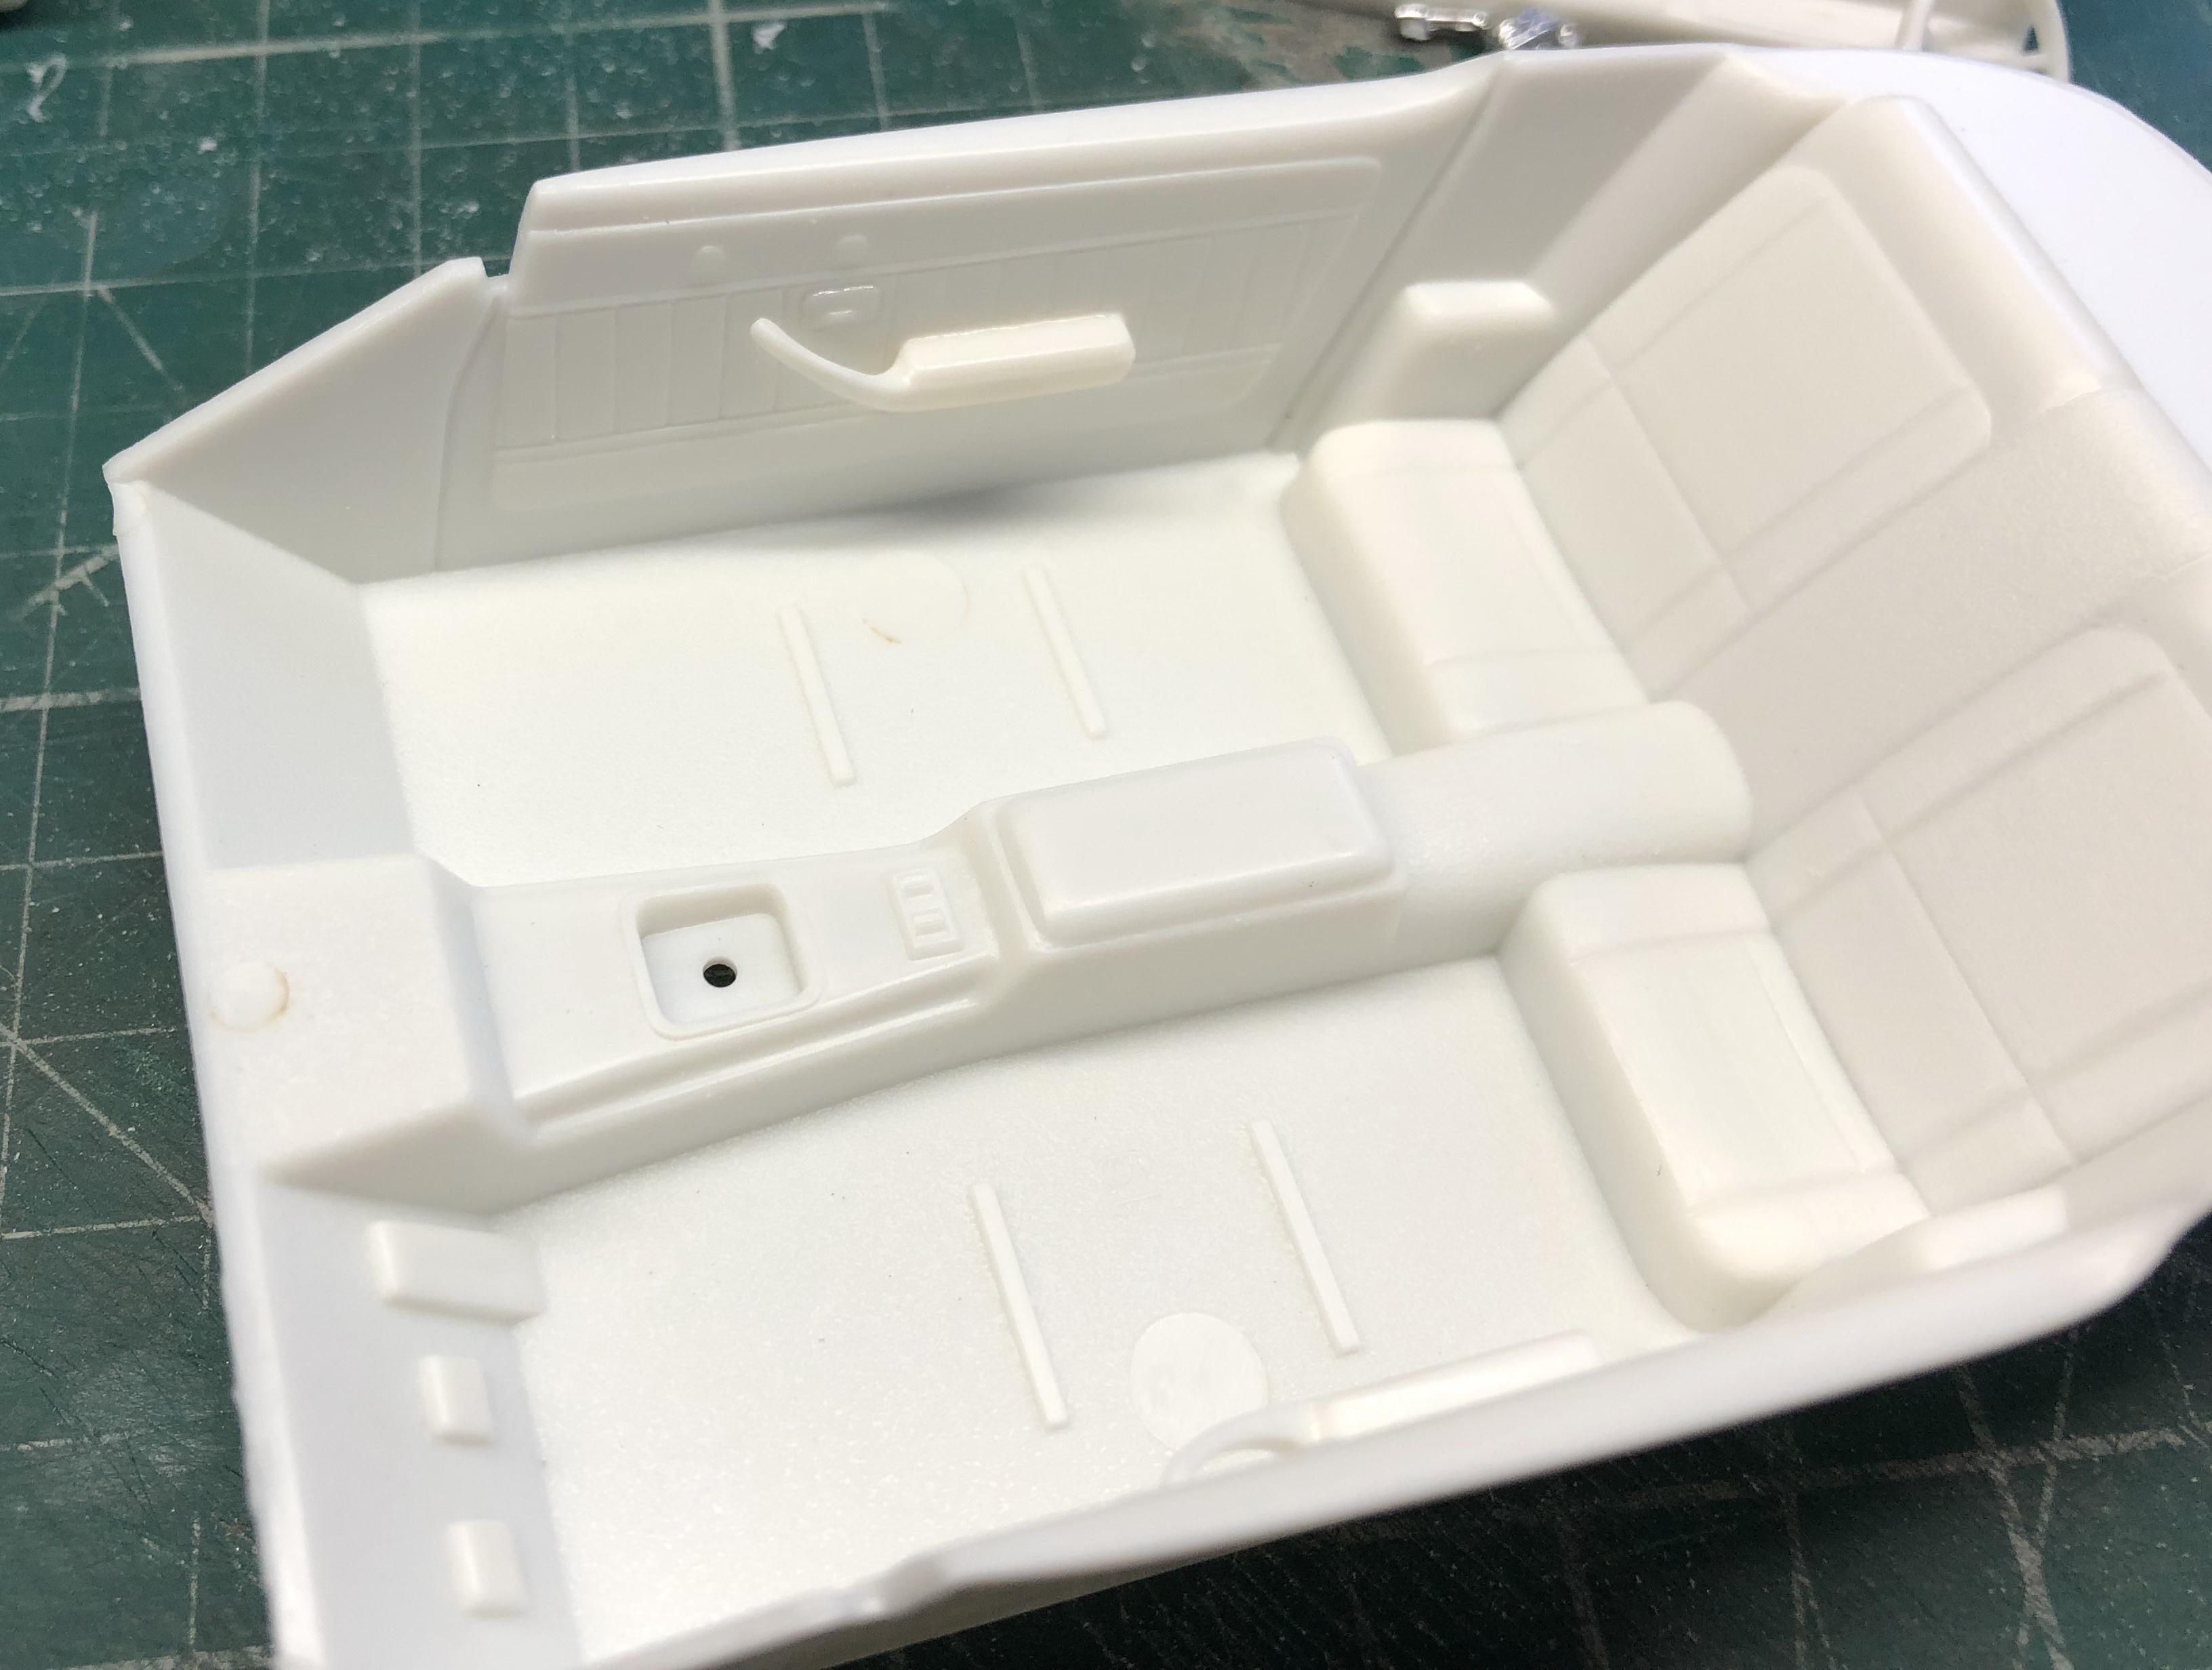
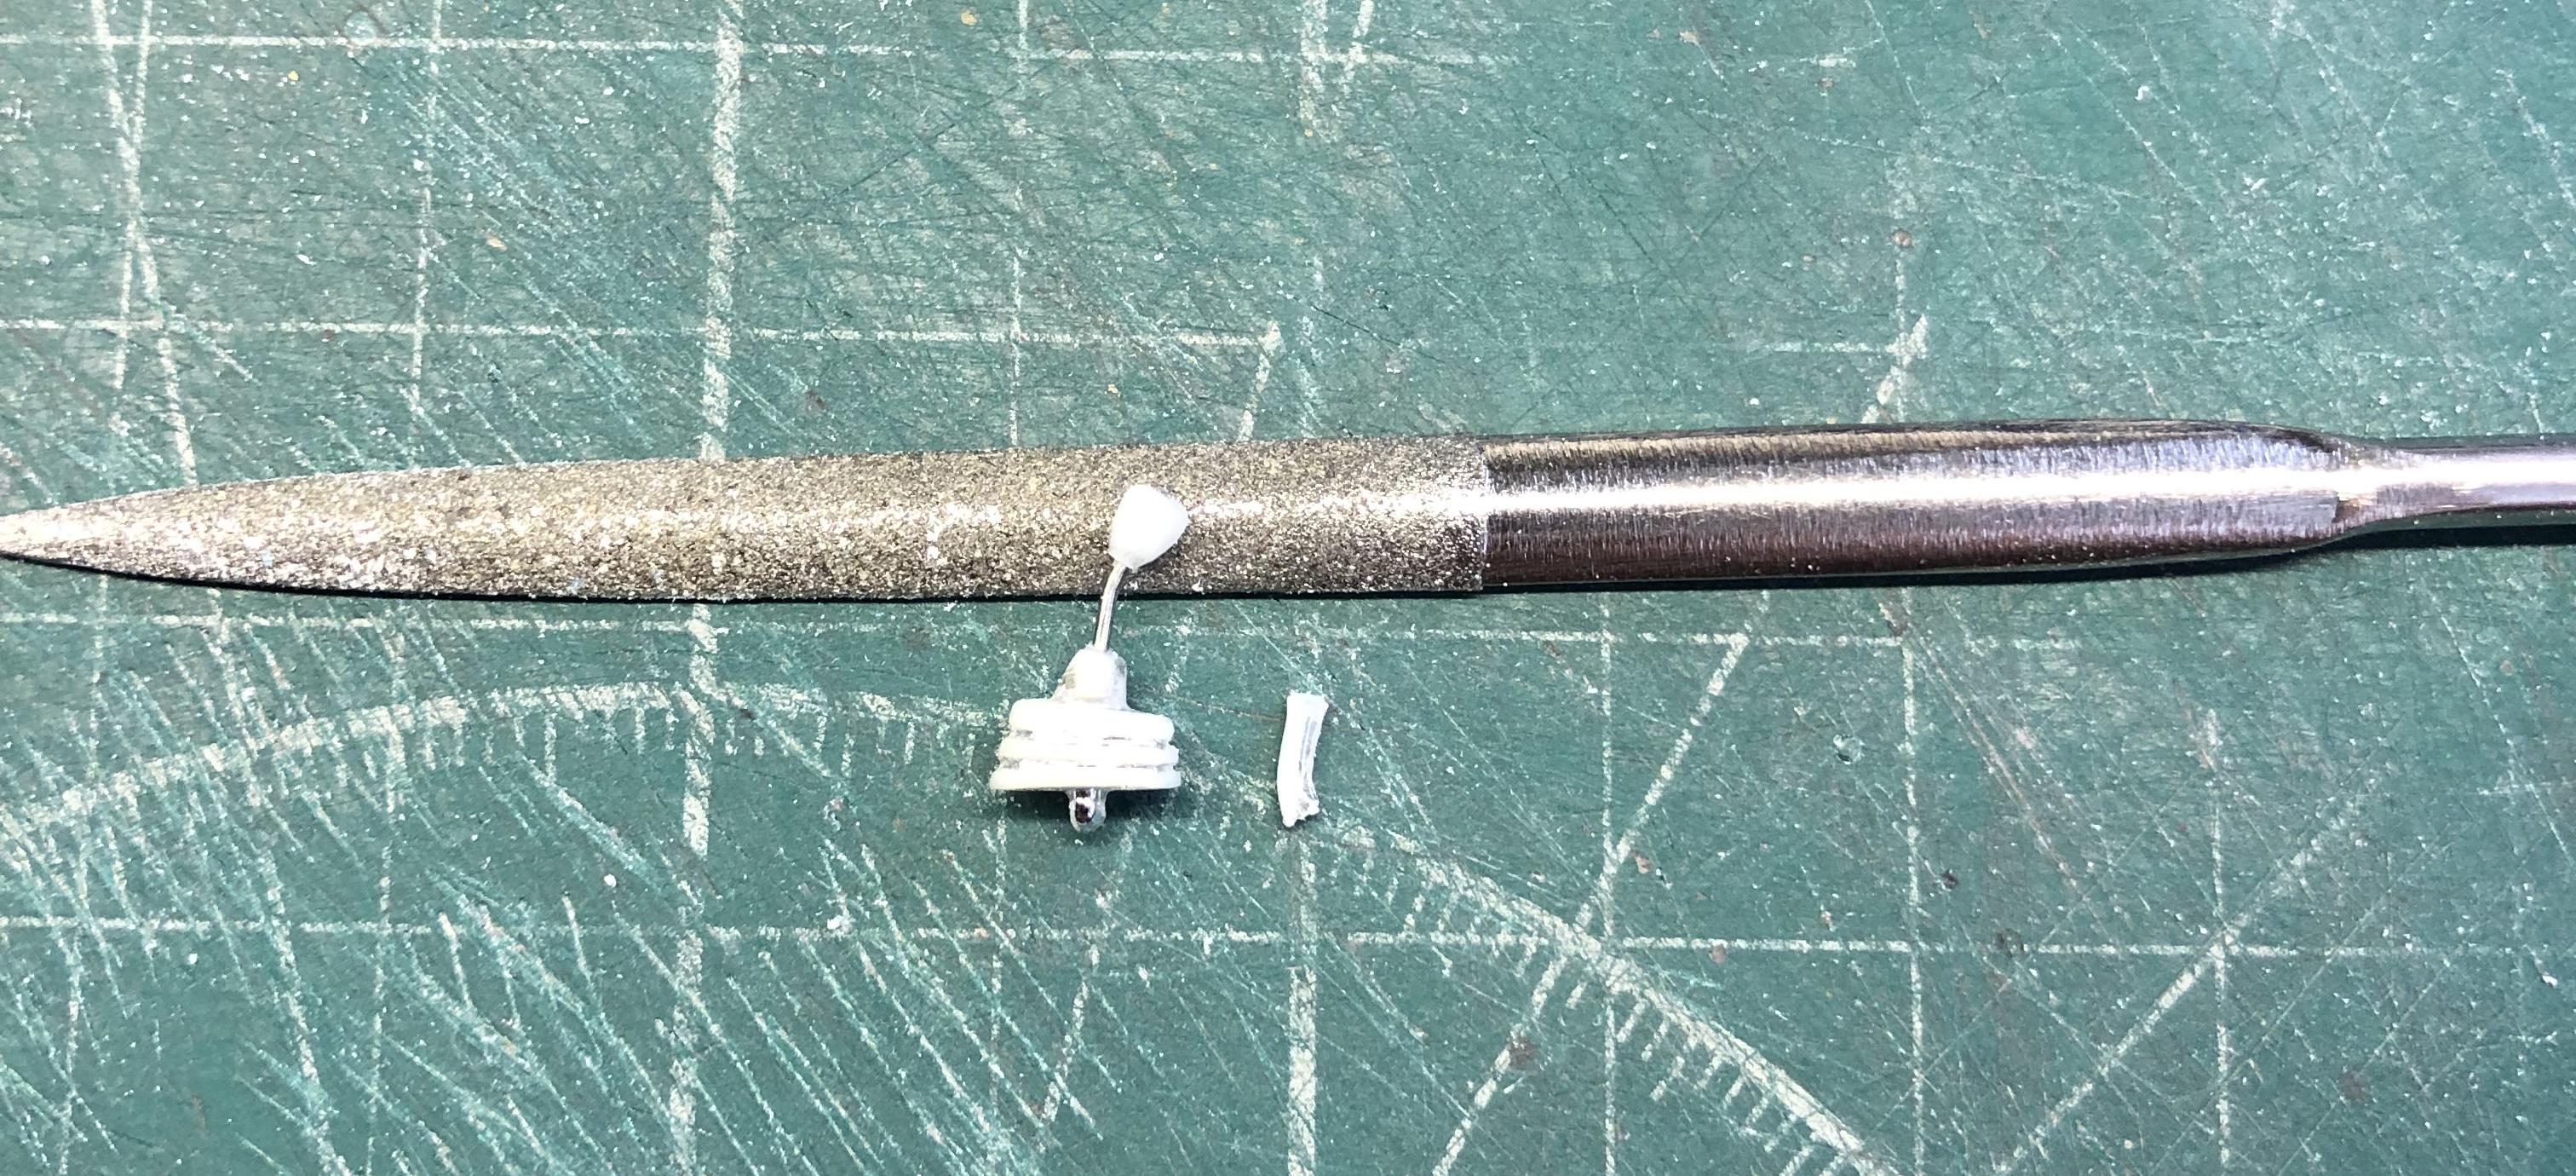
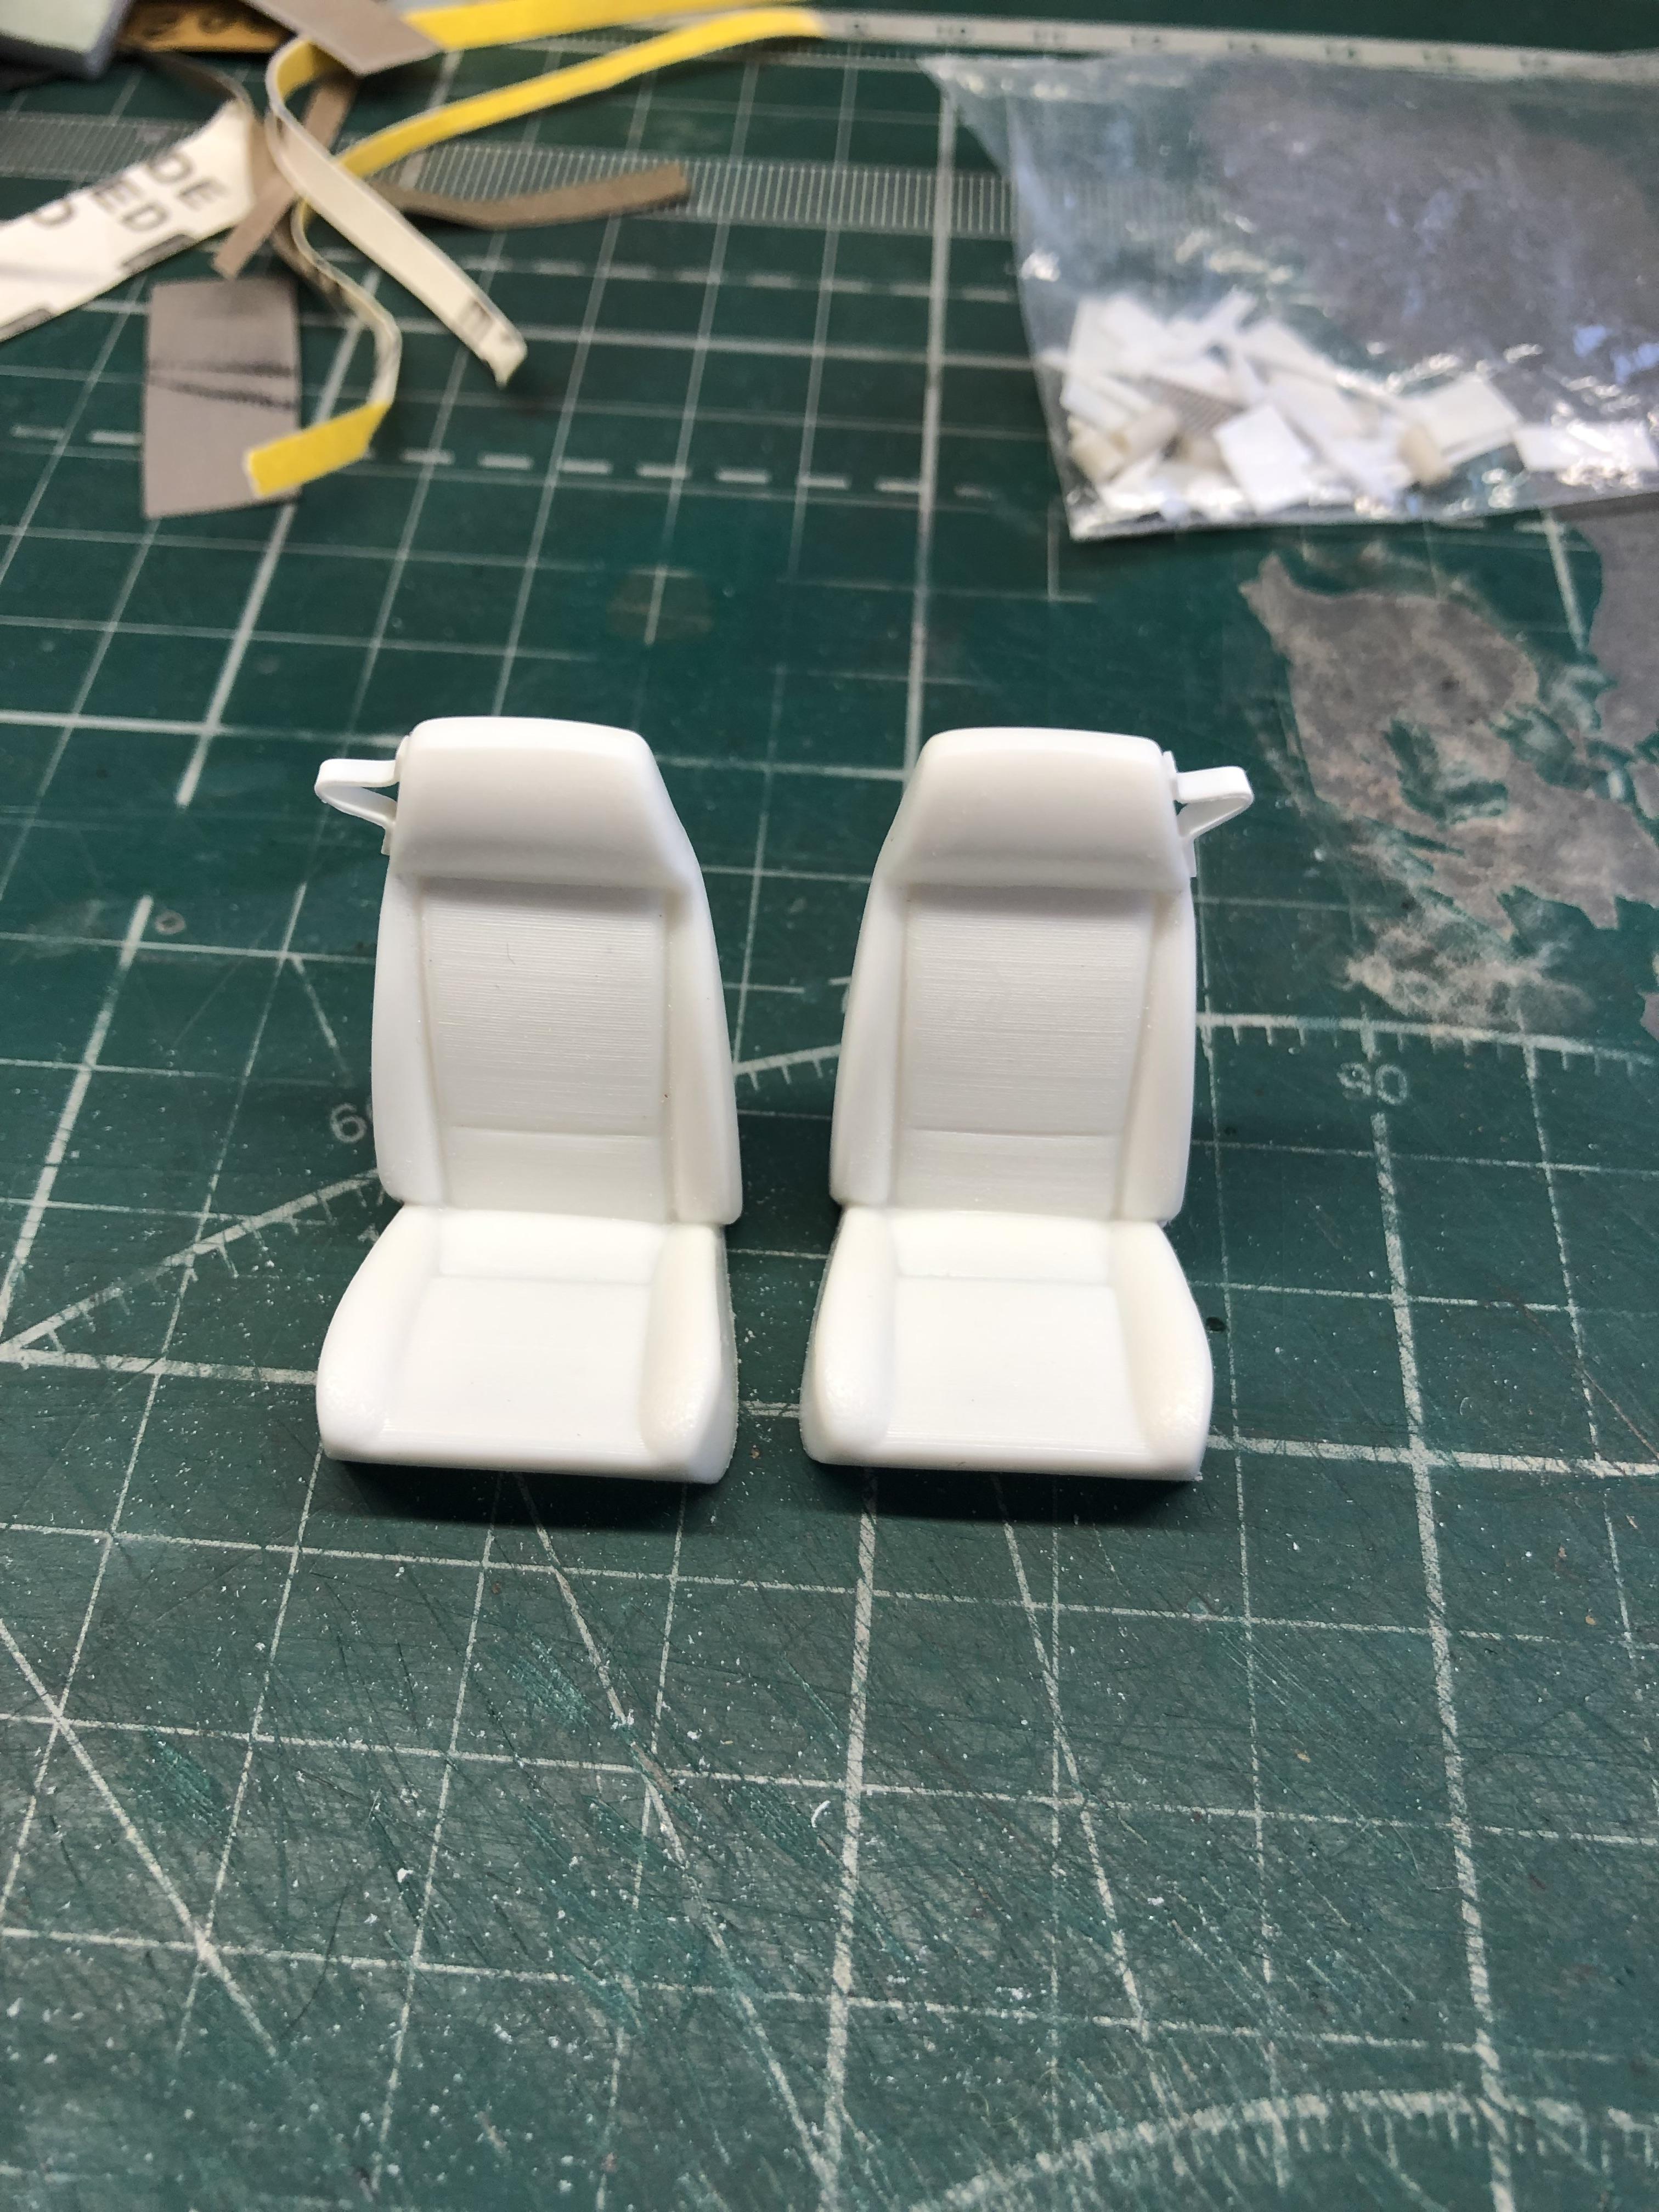
Good afternoon friends. The choice for the next building fell on just such a box. I really like the Camaro in this body. I have been wanting to add to my collection for a long time. What do we have in the box. Chrome sprue. It’s rich details here, you can build a stock engine, or you can build a supercharger. Rubber. A completely incomprehensible decision for me is to make slicks from 2 parts. White sprues. The salon bath, although without separate door cards, is very good in terms of elaboration. Next are the white sprues. Decals. I have my own modeling system and I always, absolutely always start processing parts strictly according to the instructions. Started with wheels. I will use stock wheels. Made holes where Revell forgot. It was became. Further, the exhaust is combined with the rear axle. Pornography. Cut it off. I glued the door armrests right away, because. it will be unrealistic to do this evenly and accurately on an already painted one. Replaced the gearshift lever with a clip. On the right is what is given by default. Made eyelets for seat belts on the front seats. Well, the longest, most difficult and tedious - the body. By default, we are allowed to make a T-top, which I absolutely do not want to see here, as well as an ugly duck tail on the back. I don’t understand in my heart who even thought that this under-spoiler is cool and beautiful on a car. Also reduced these ugly places. Here's what happened as a result. Well, it's all in color. And clear coated body.
-
This is the backdrop that came with the photobox.
-
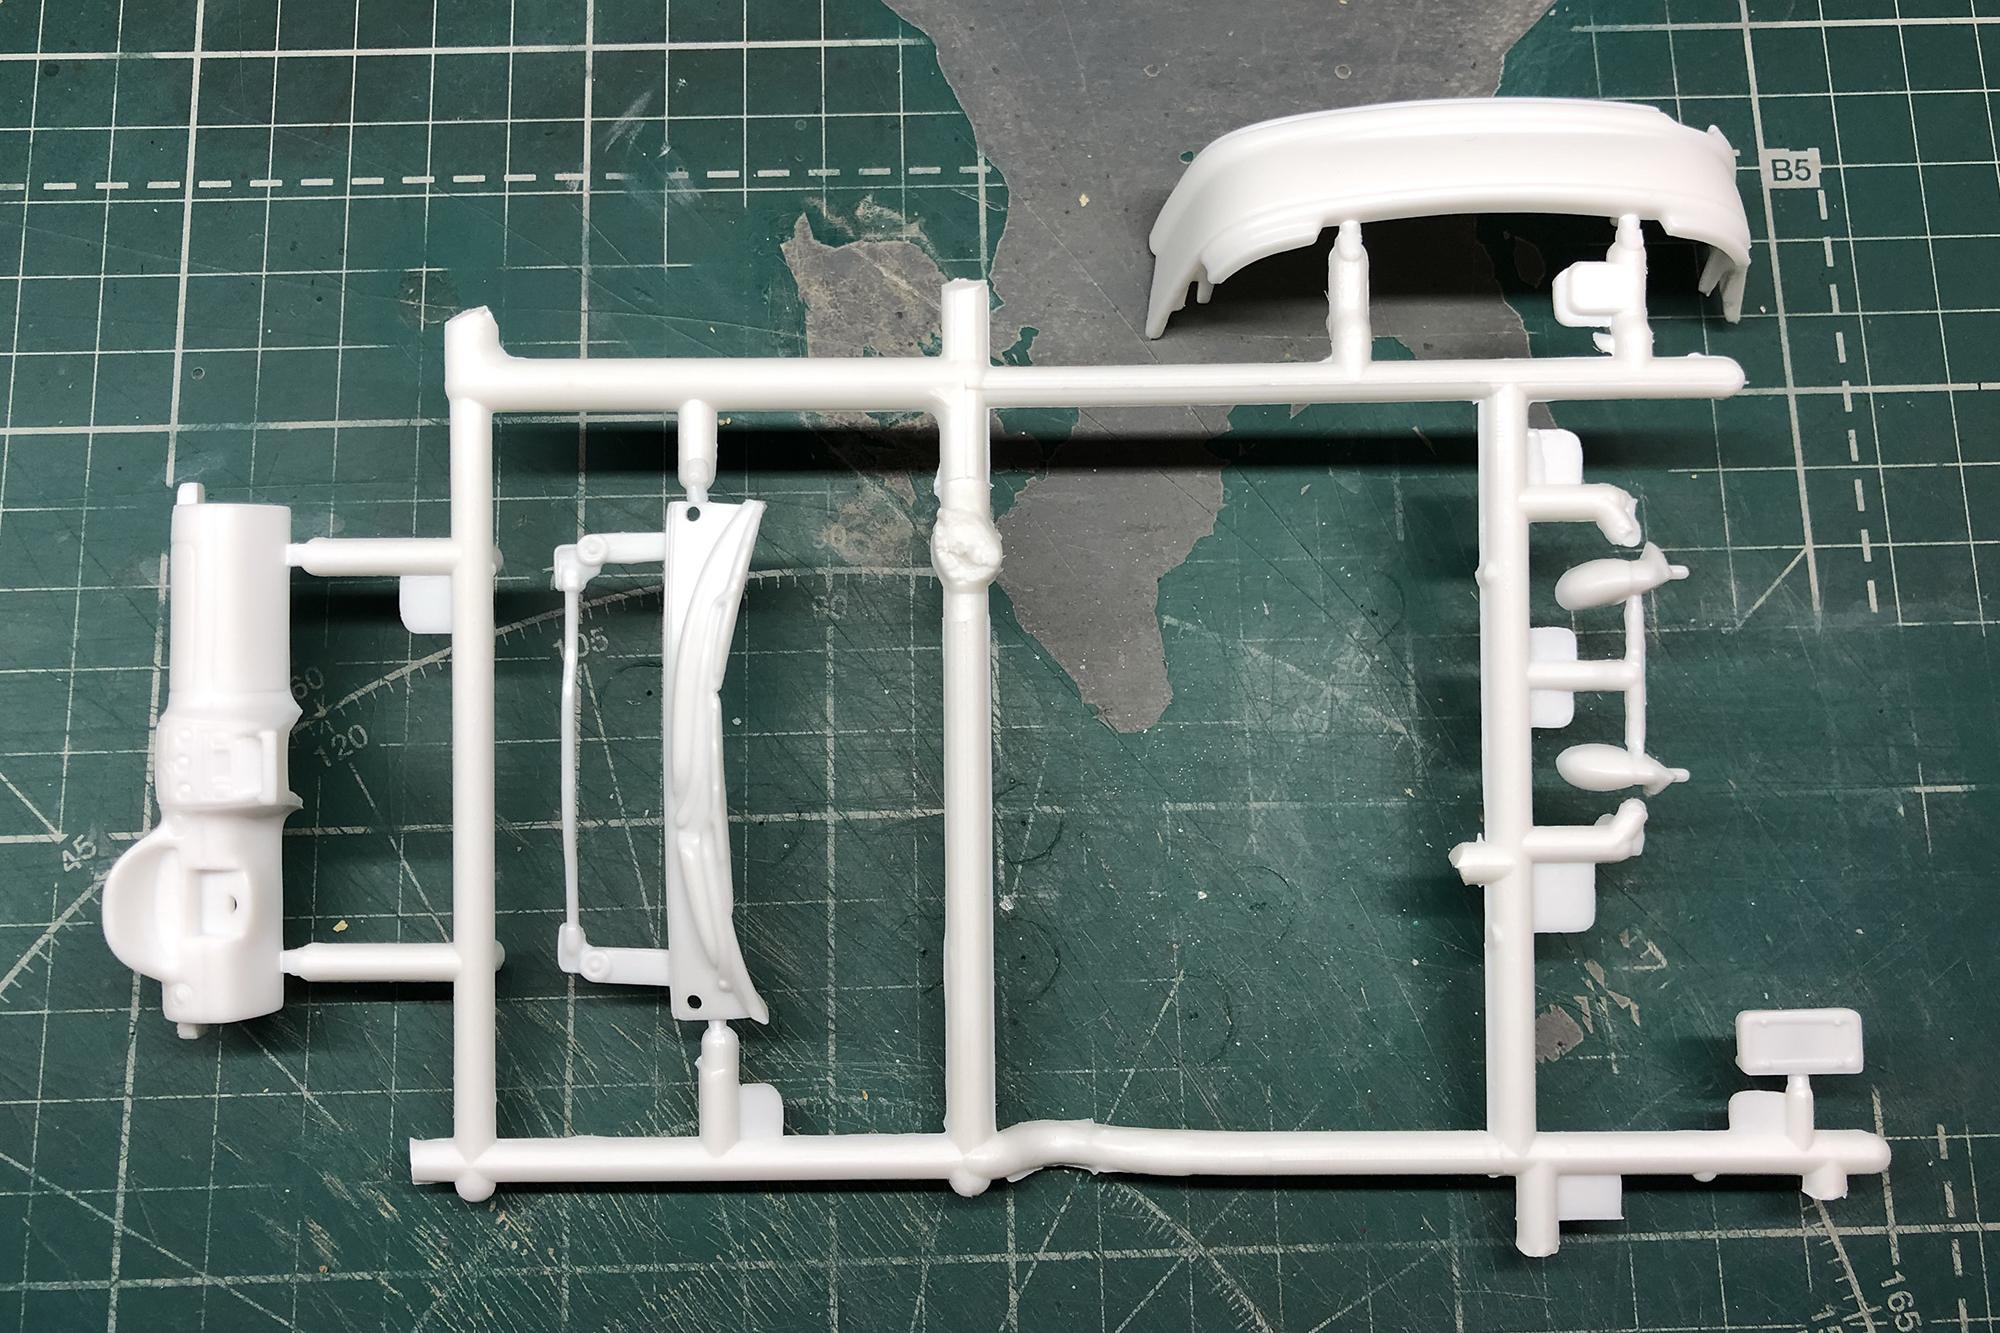
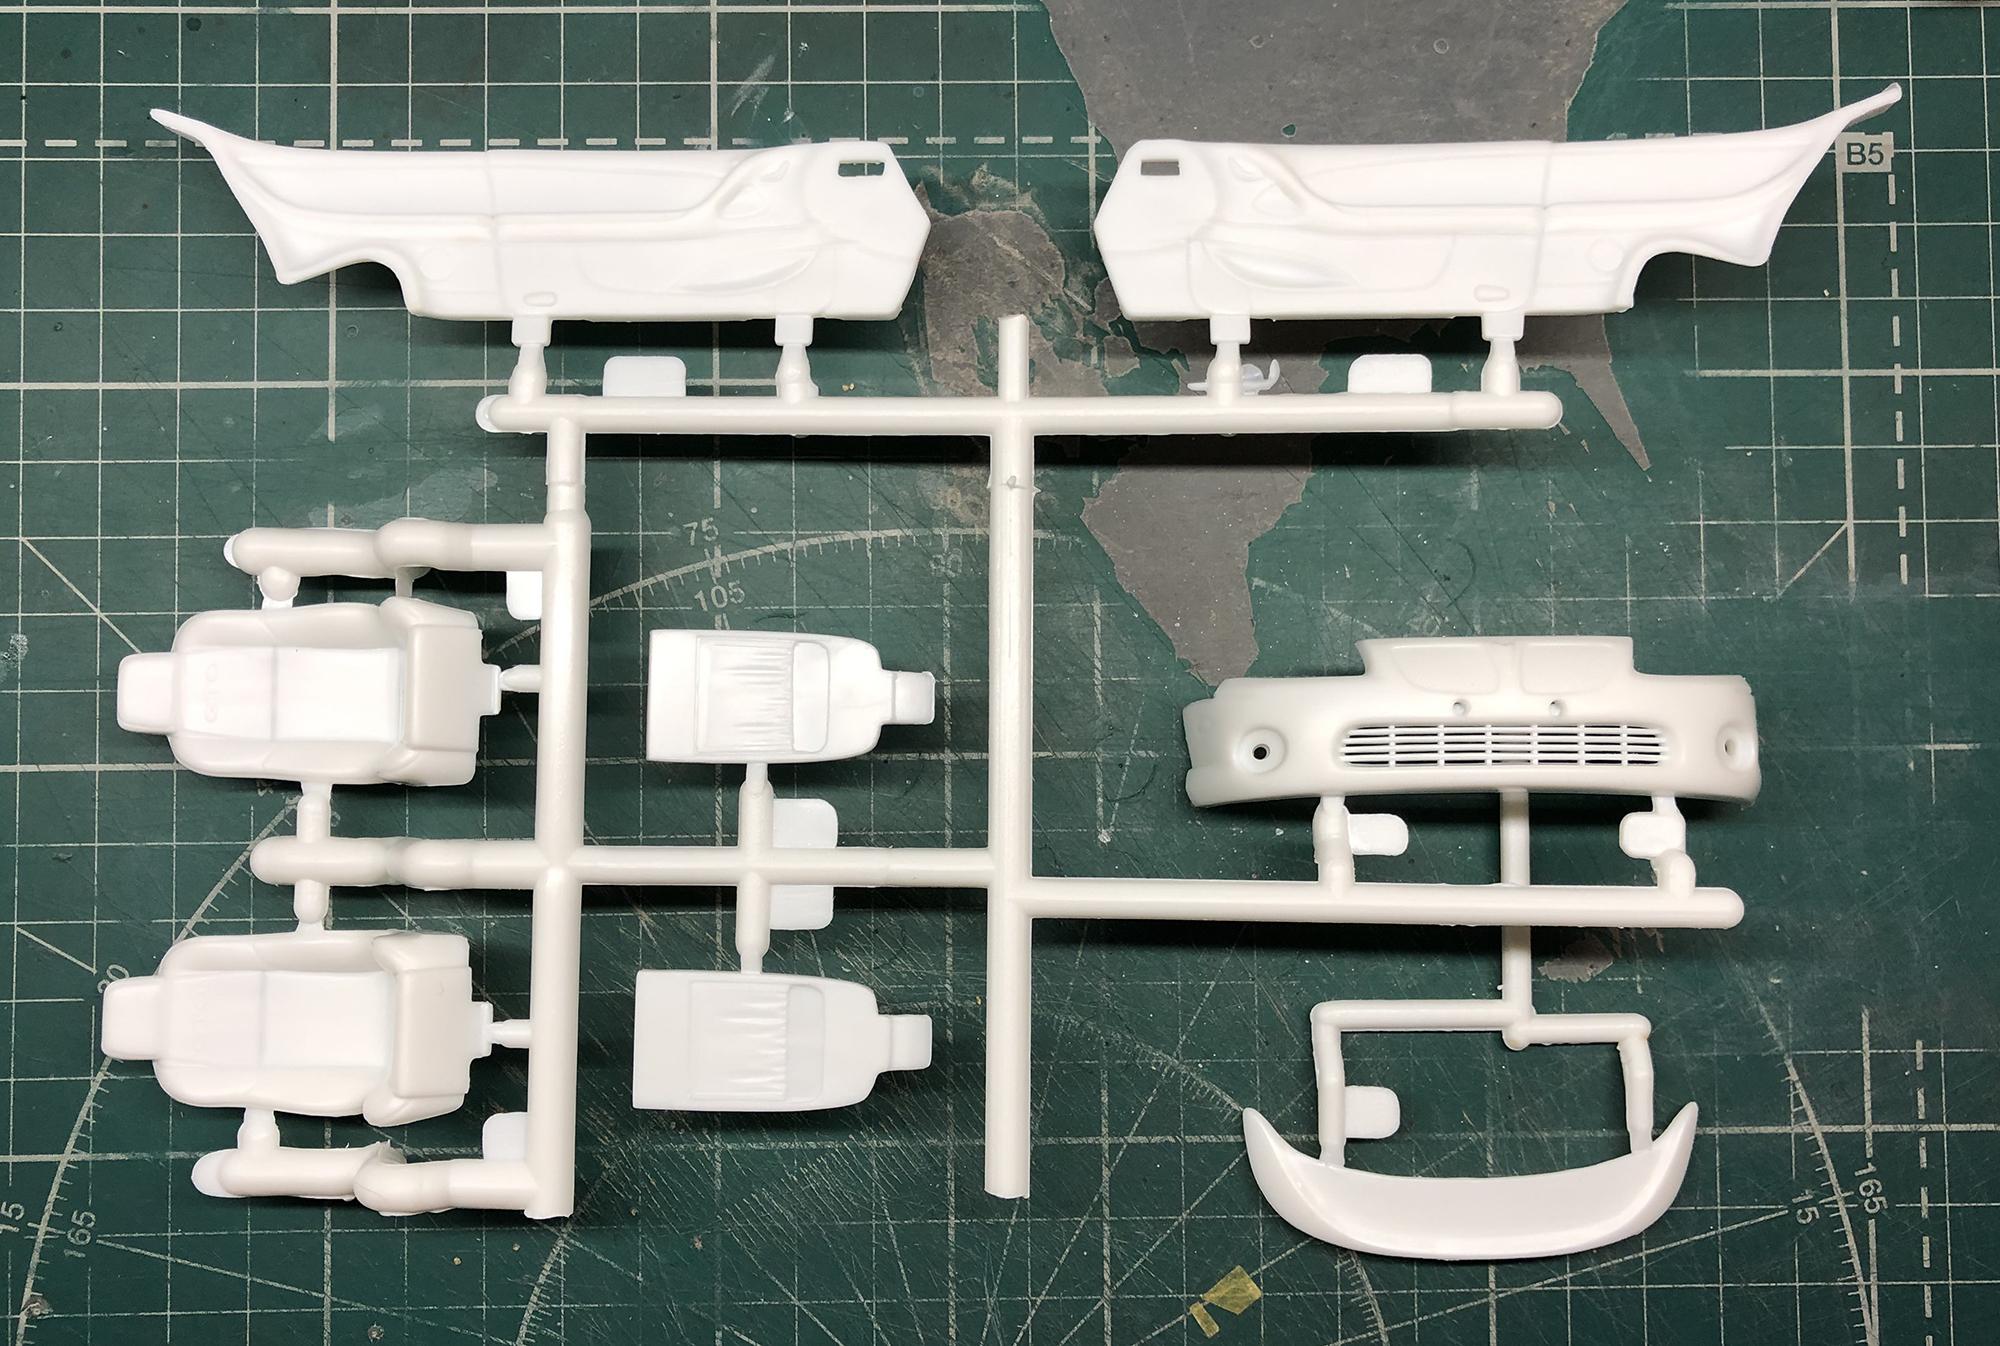
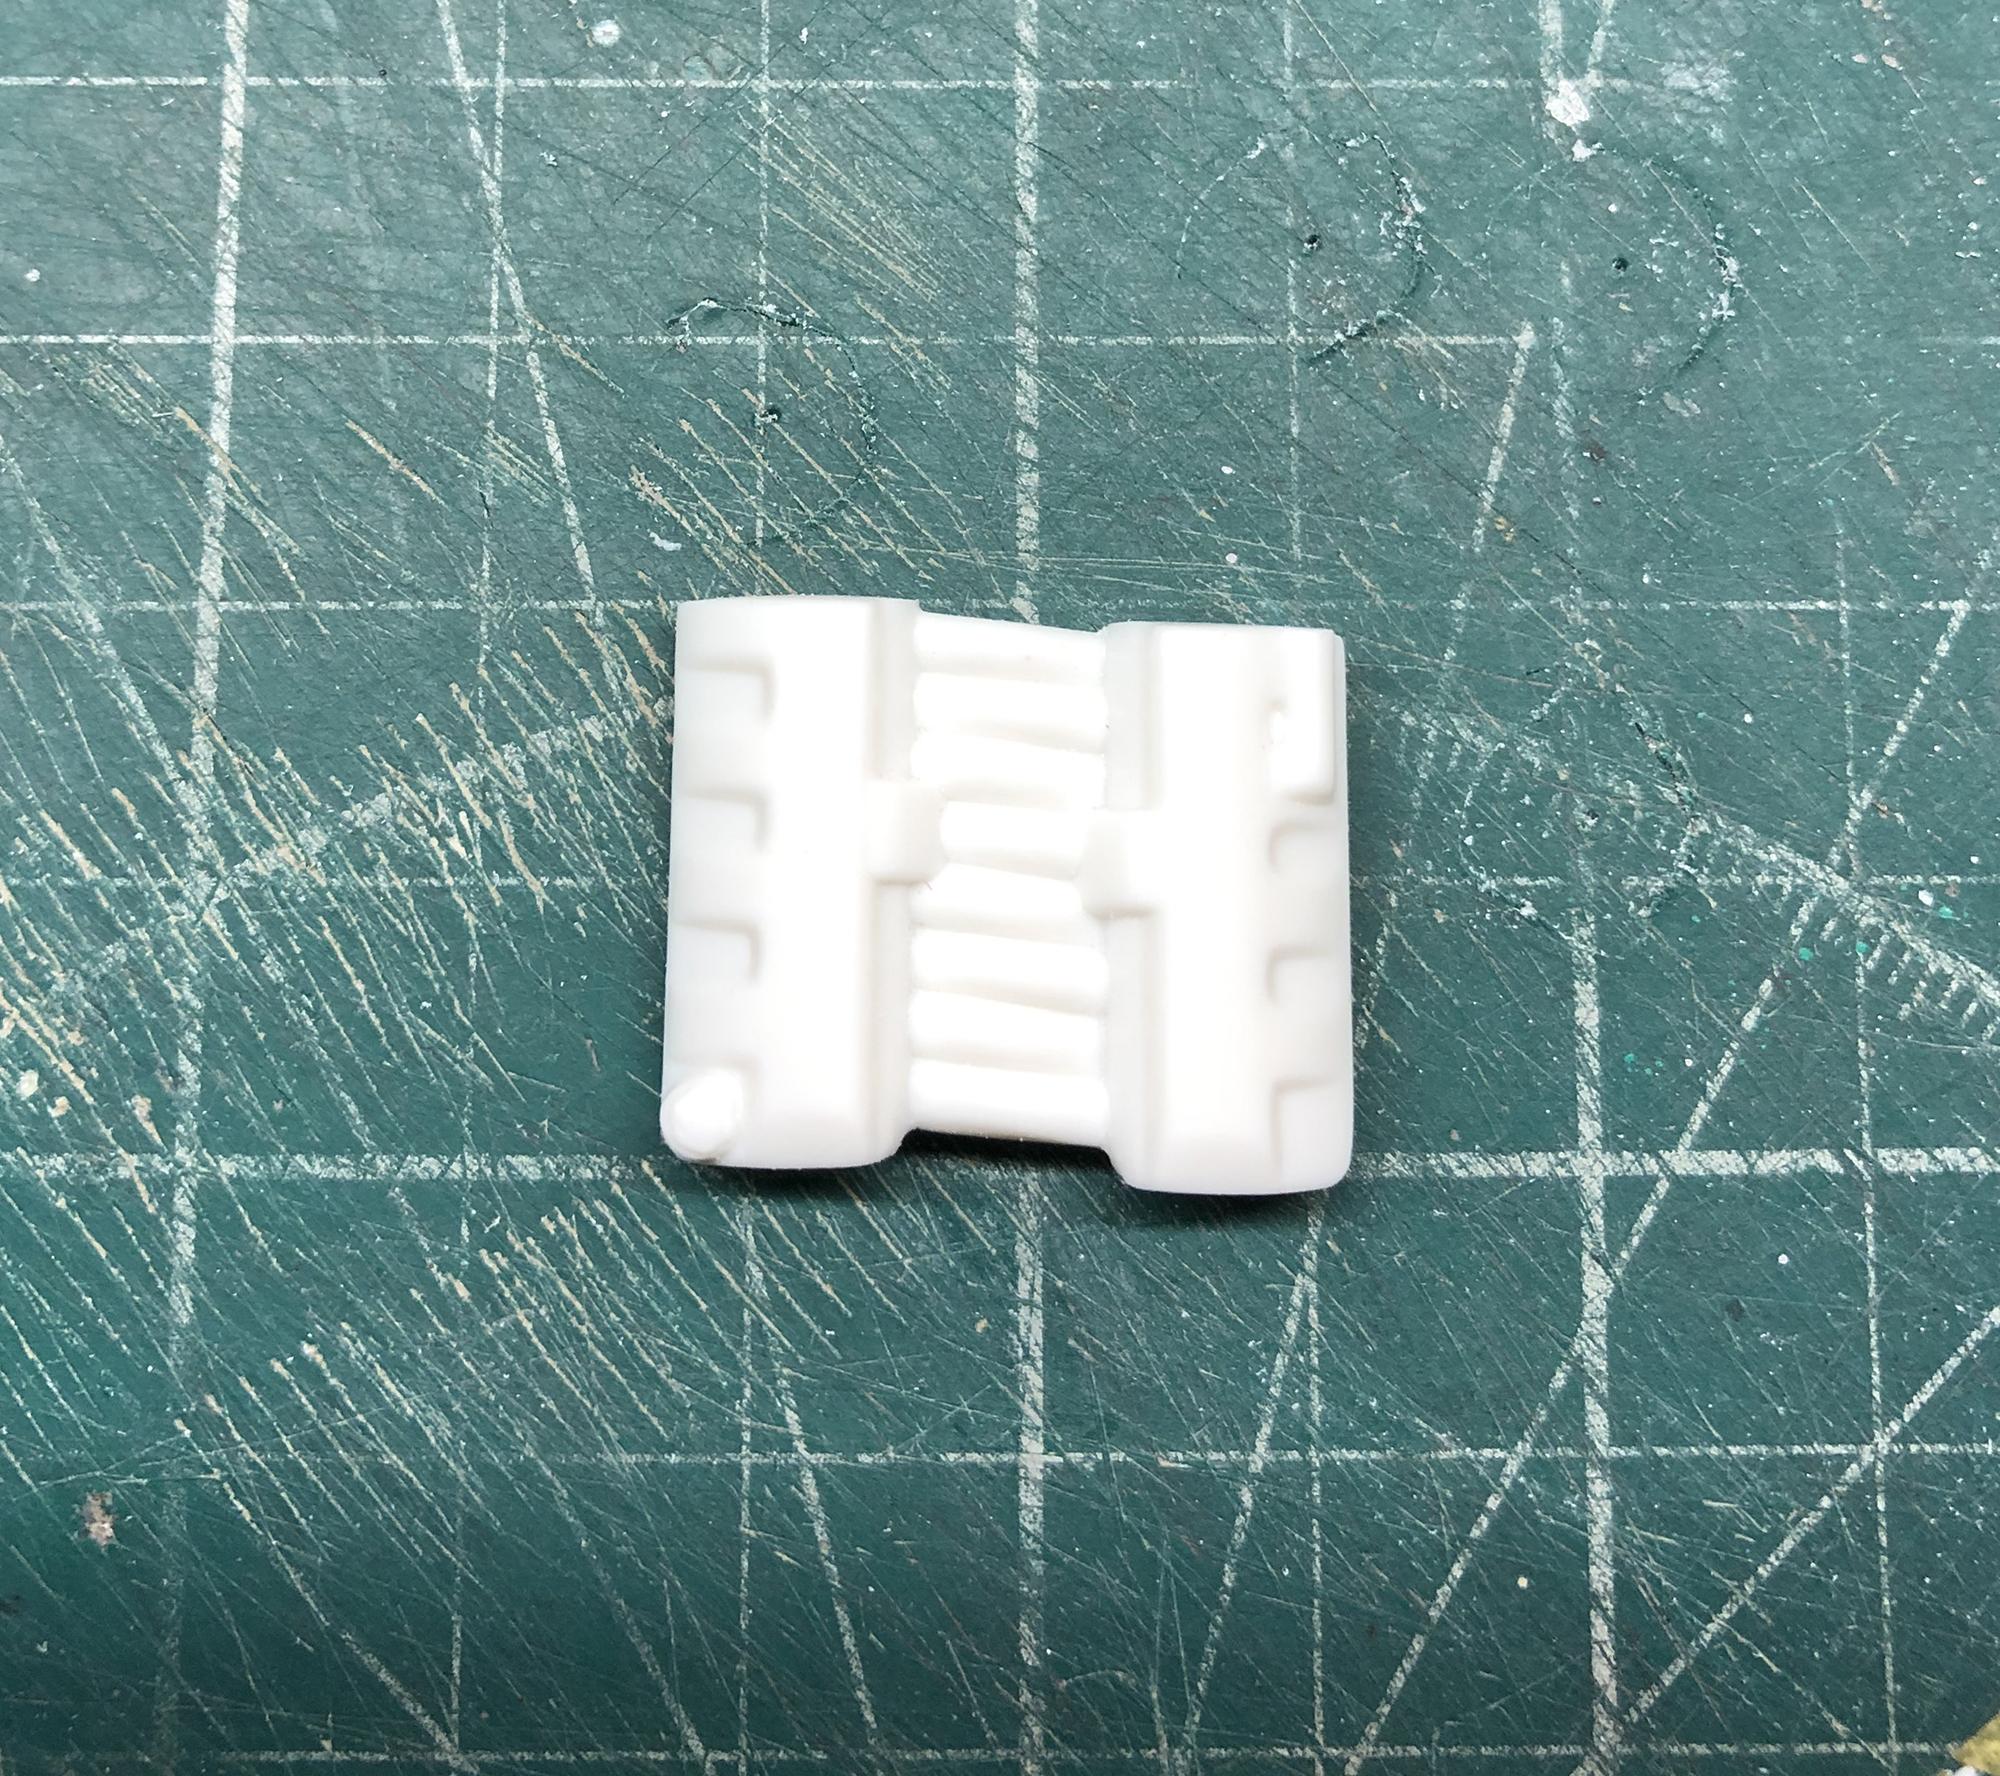
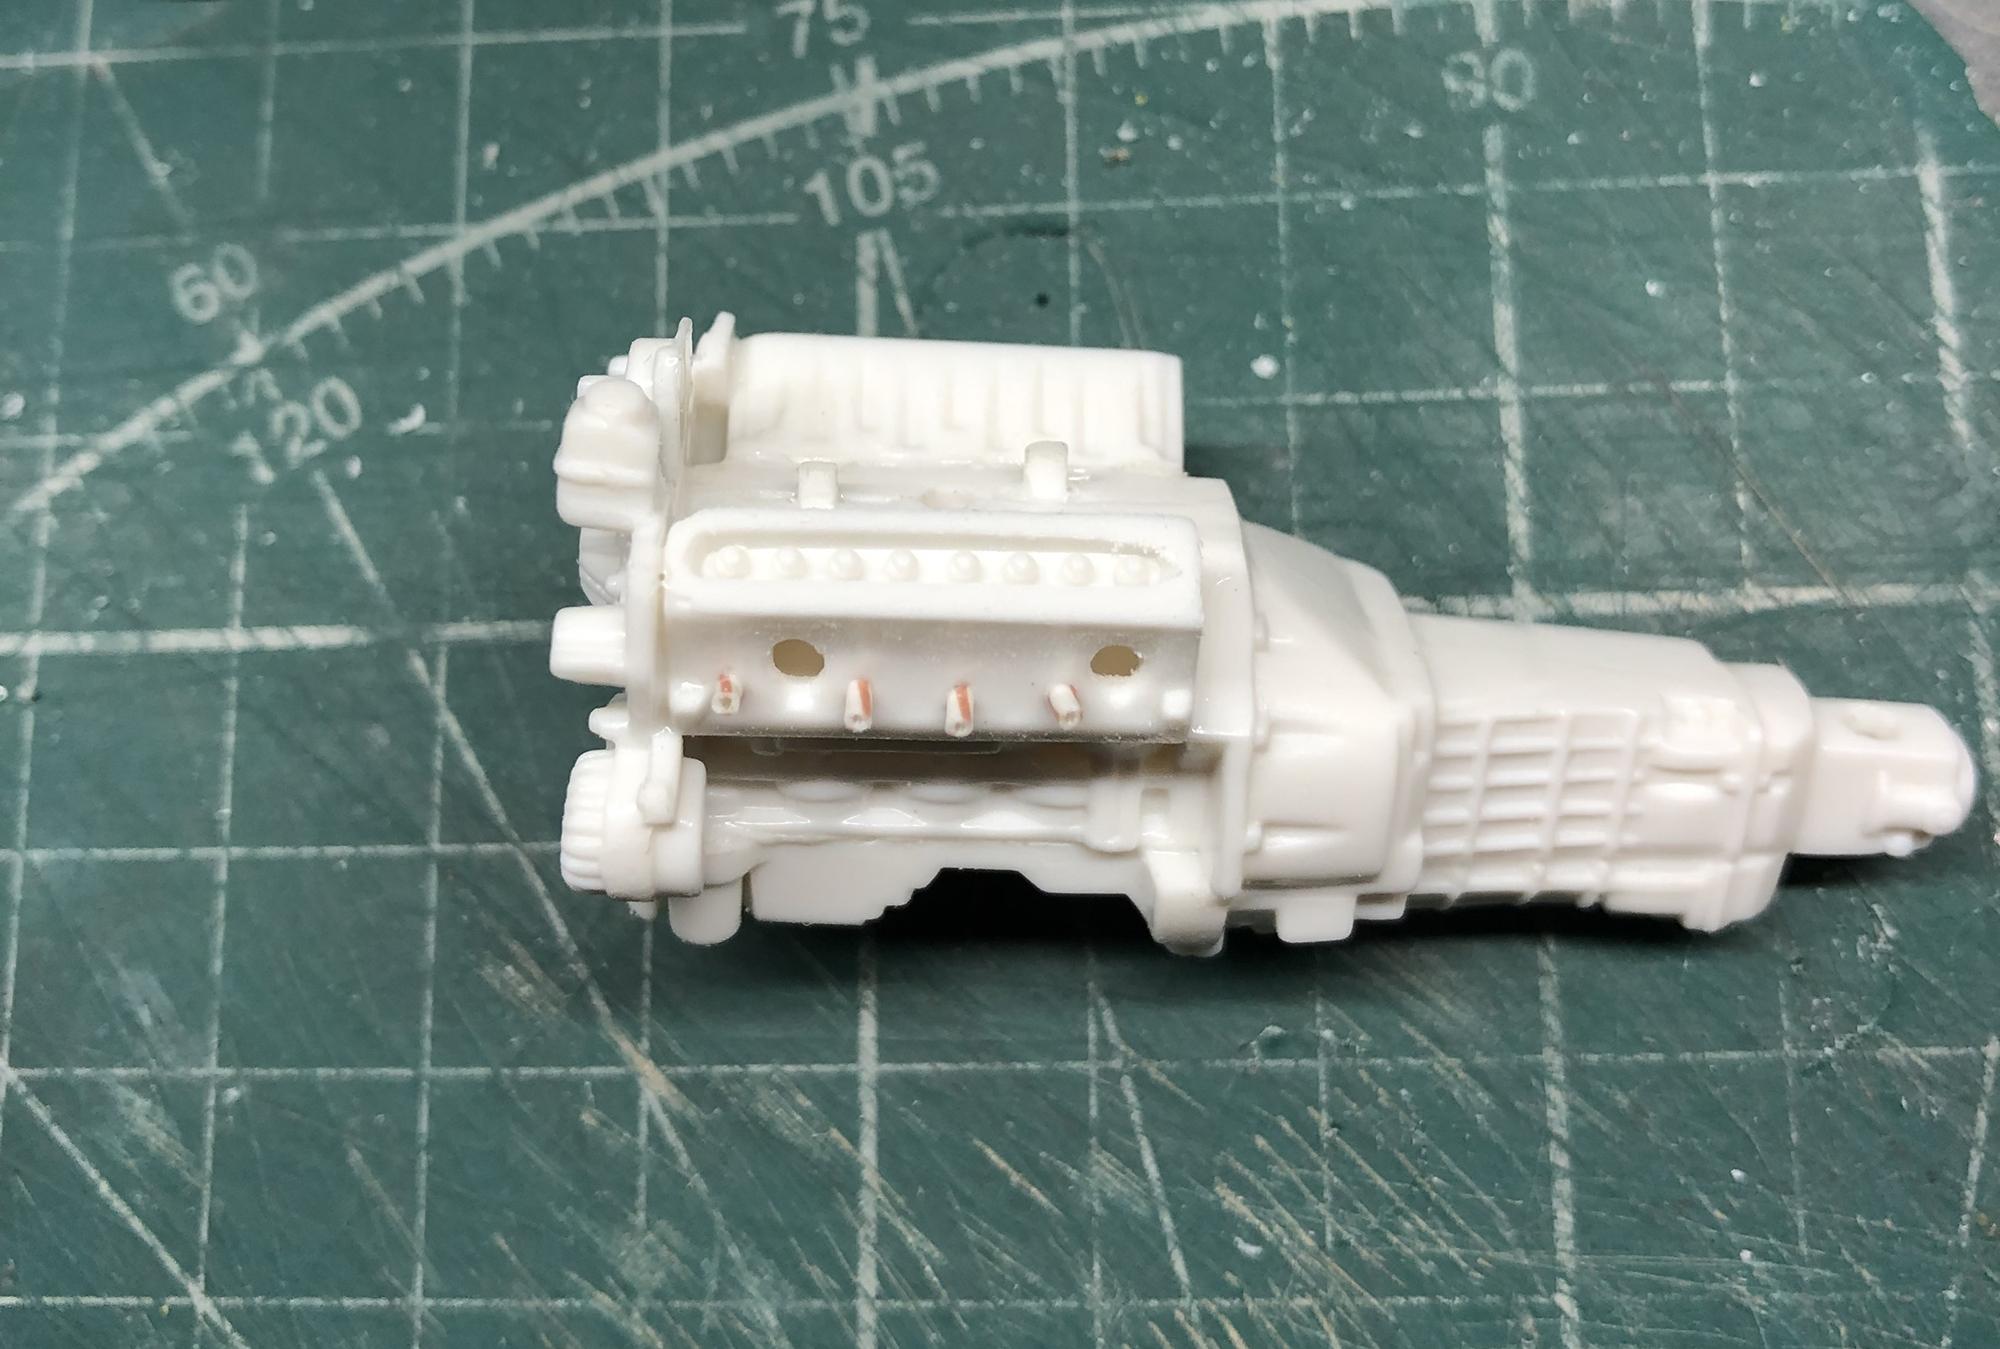
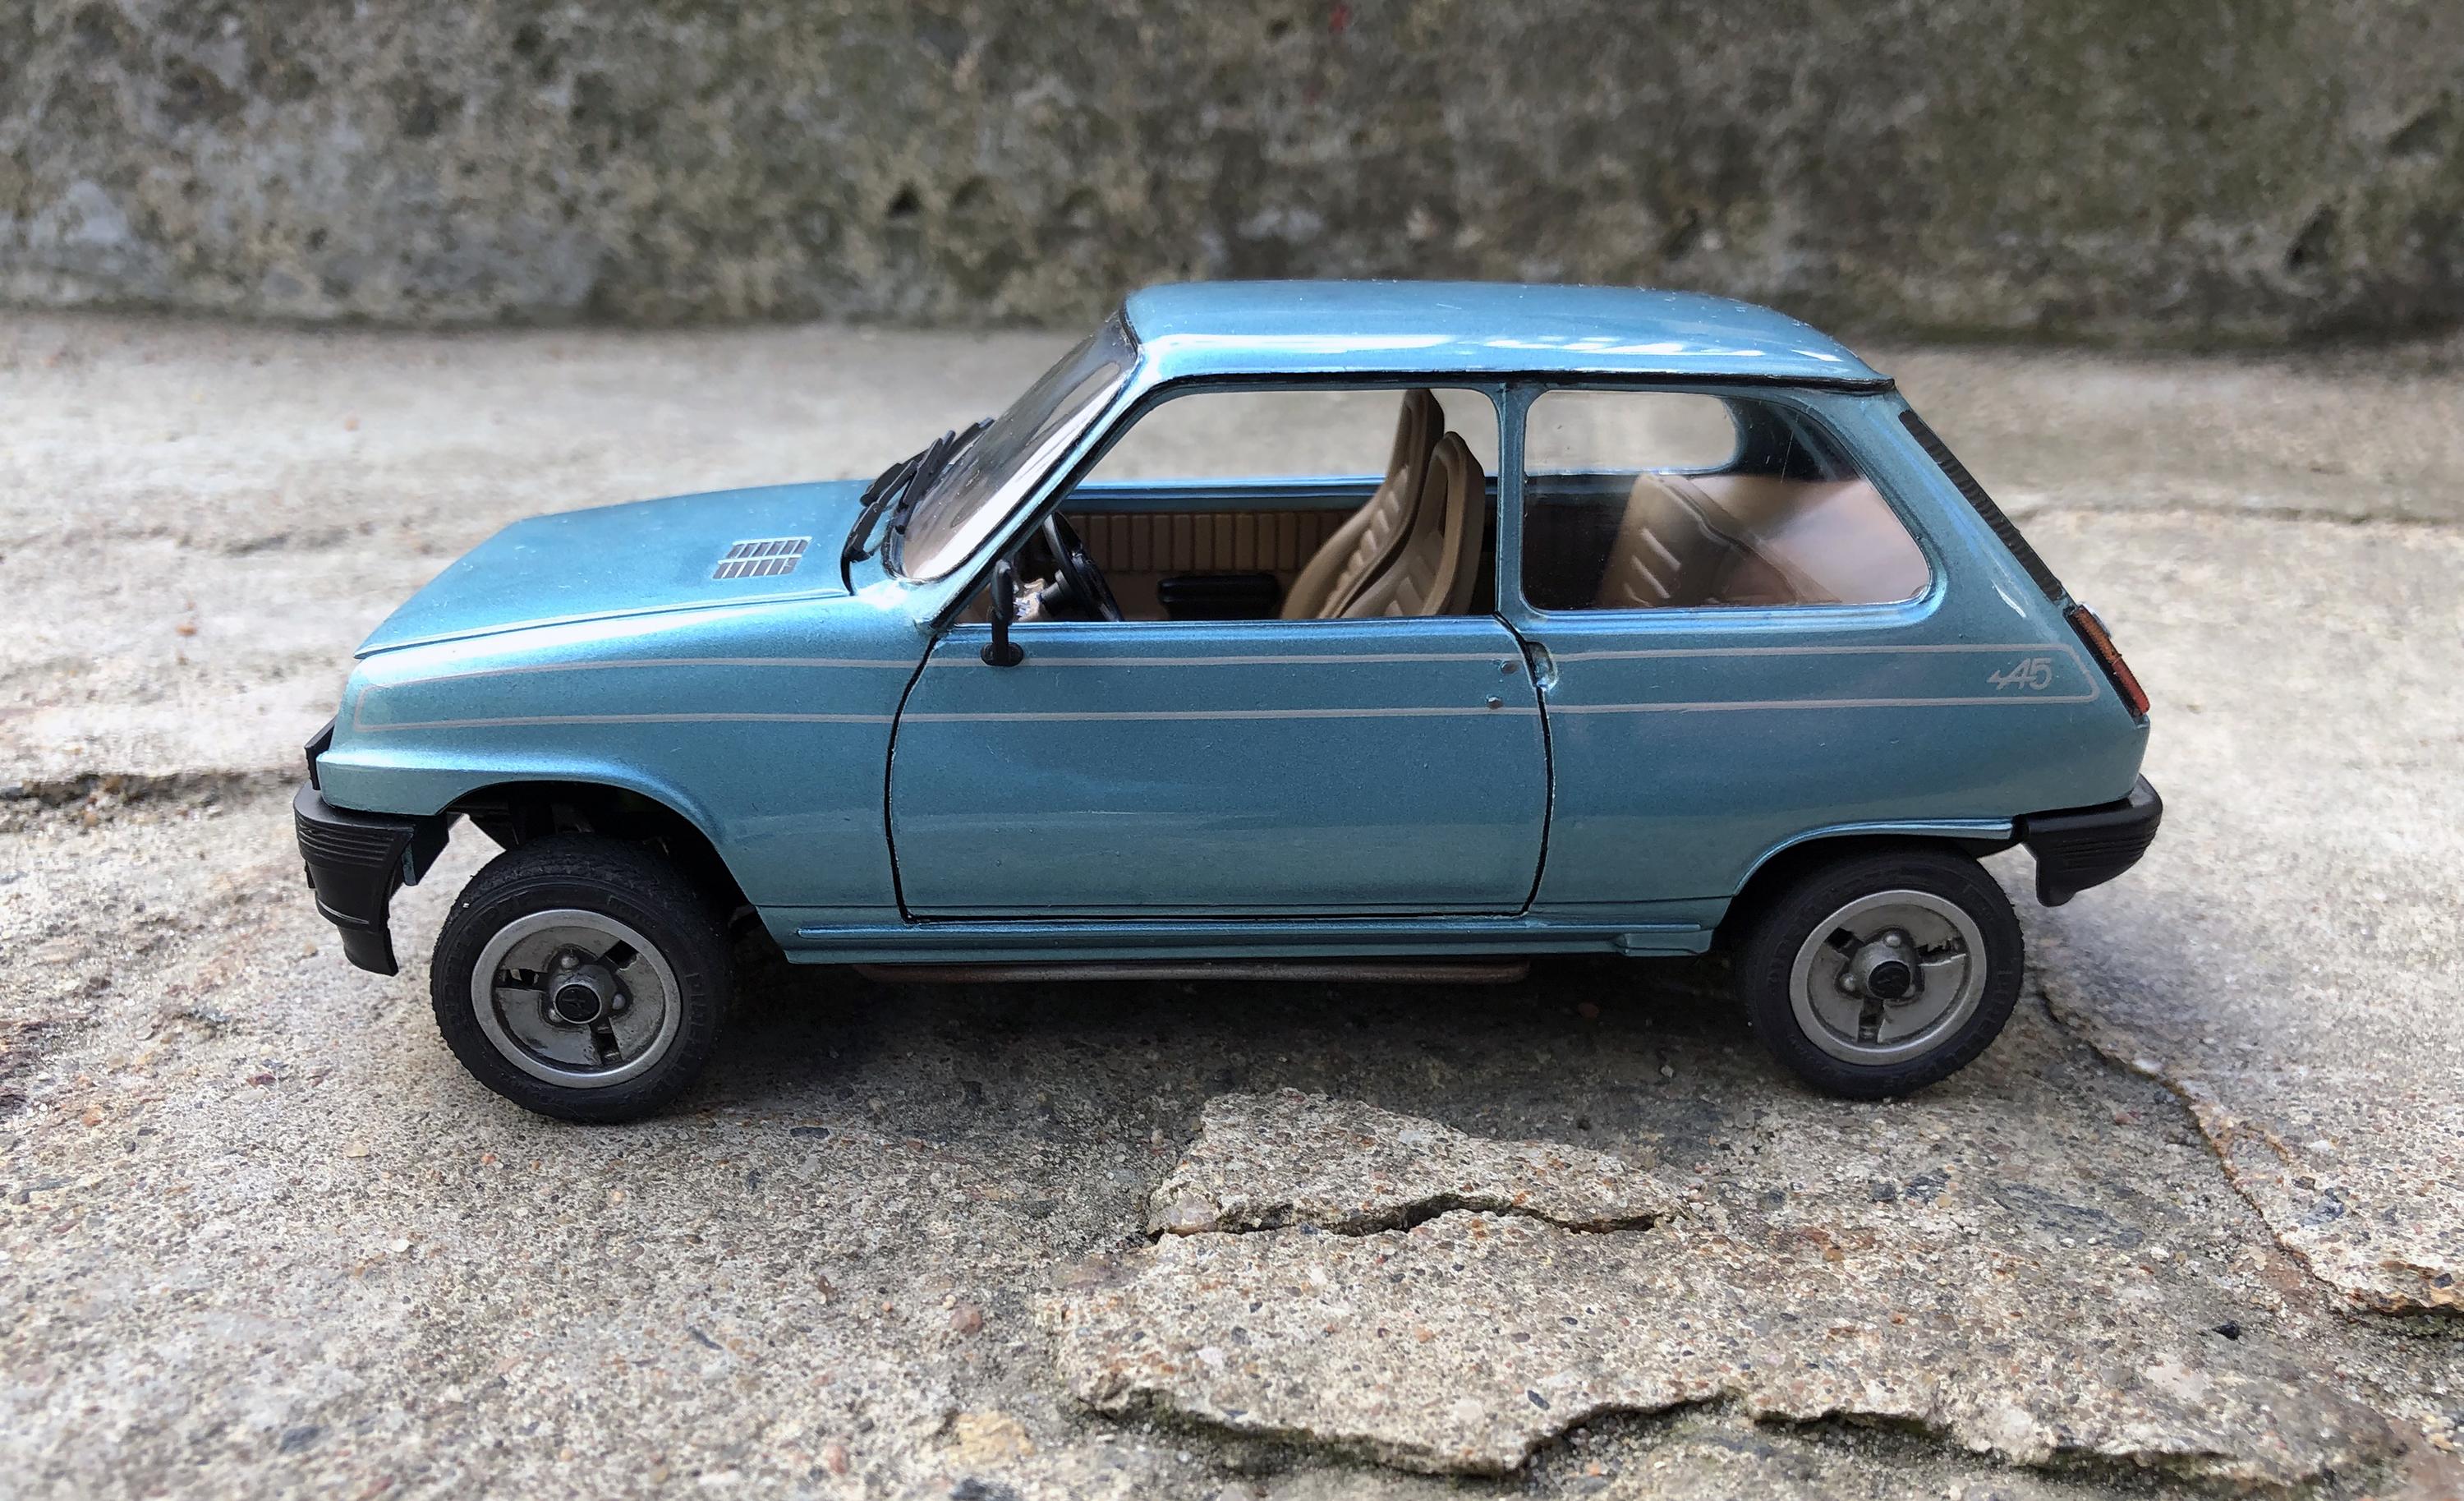
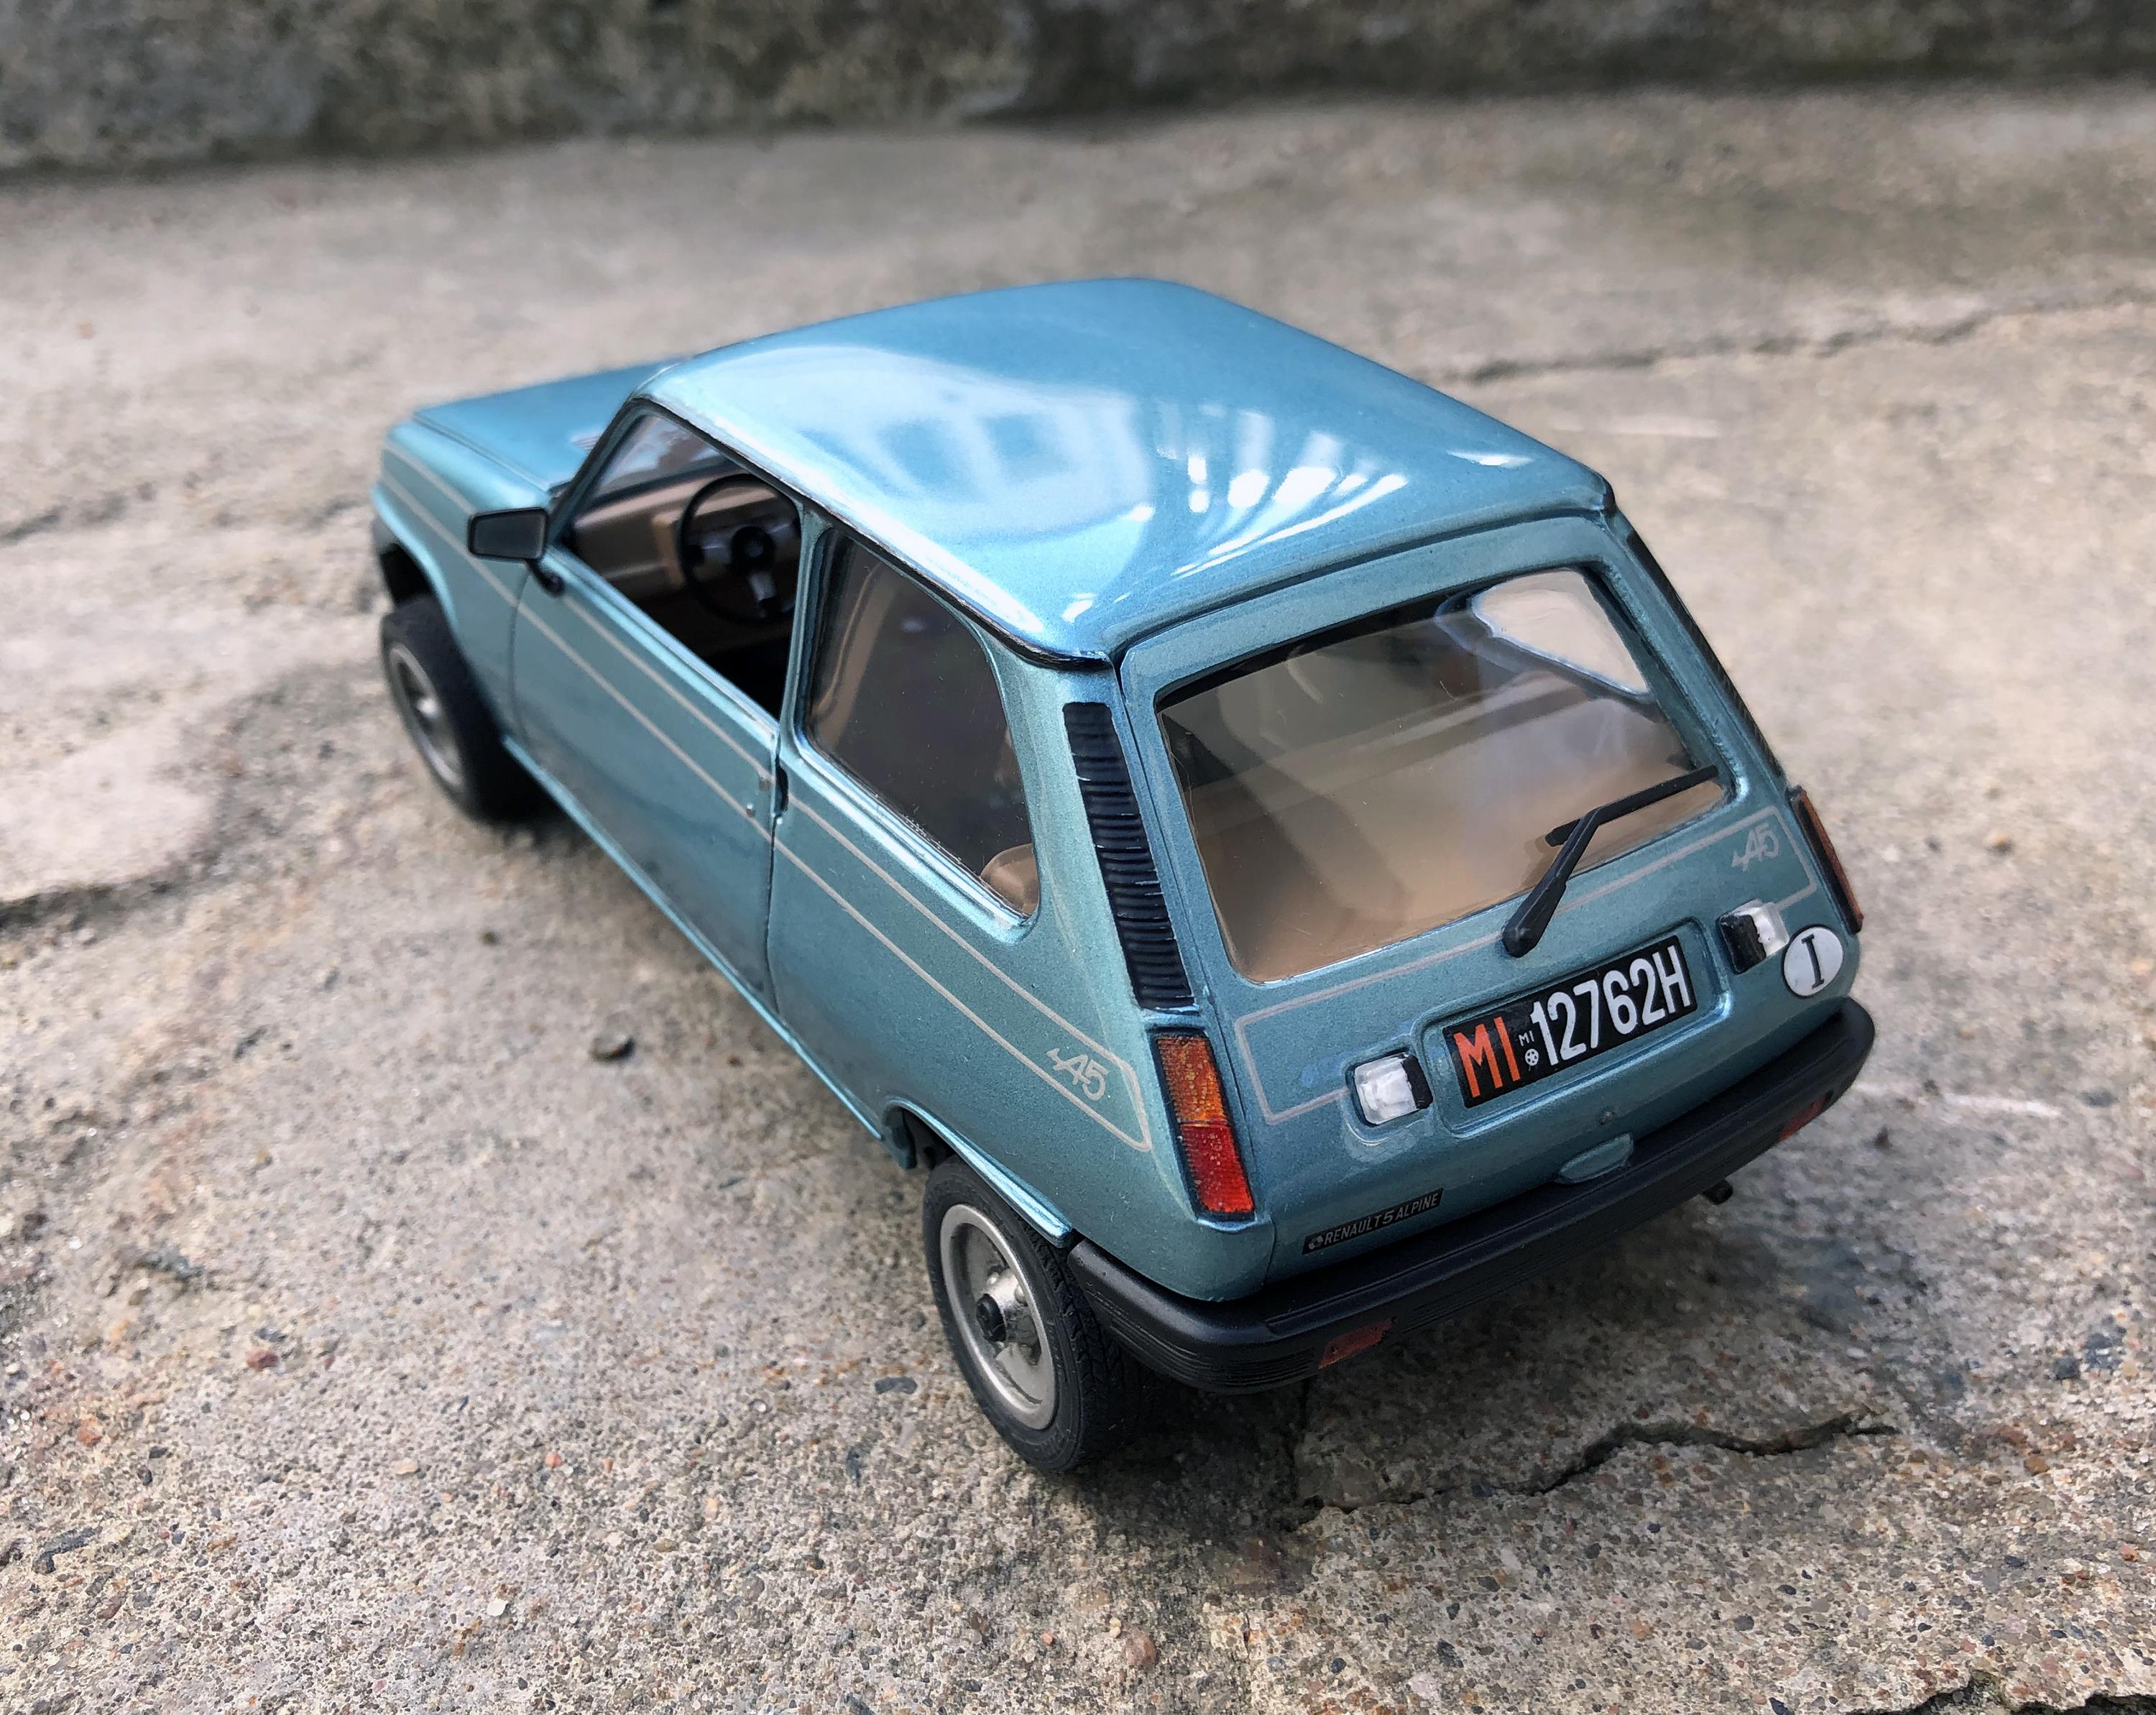
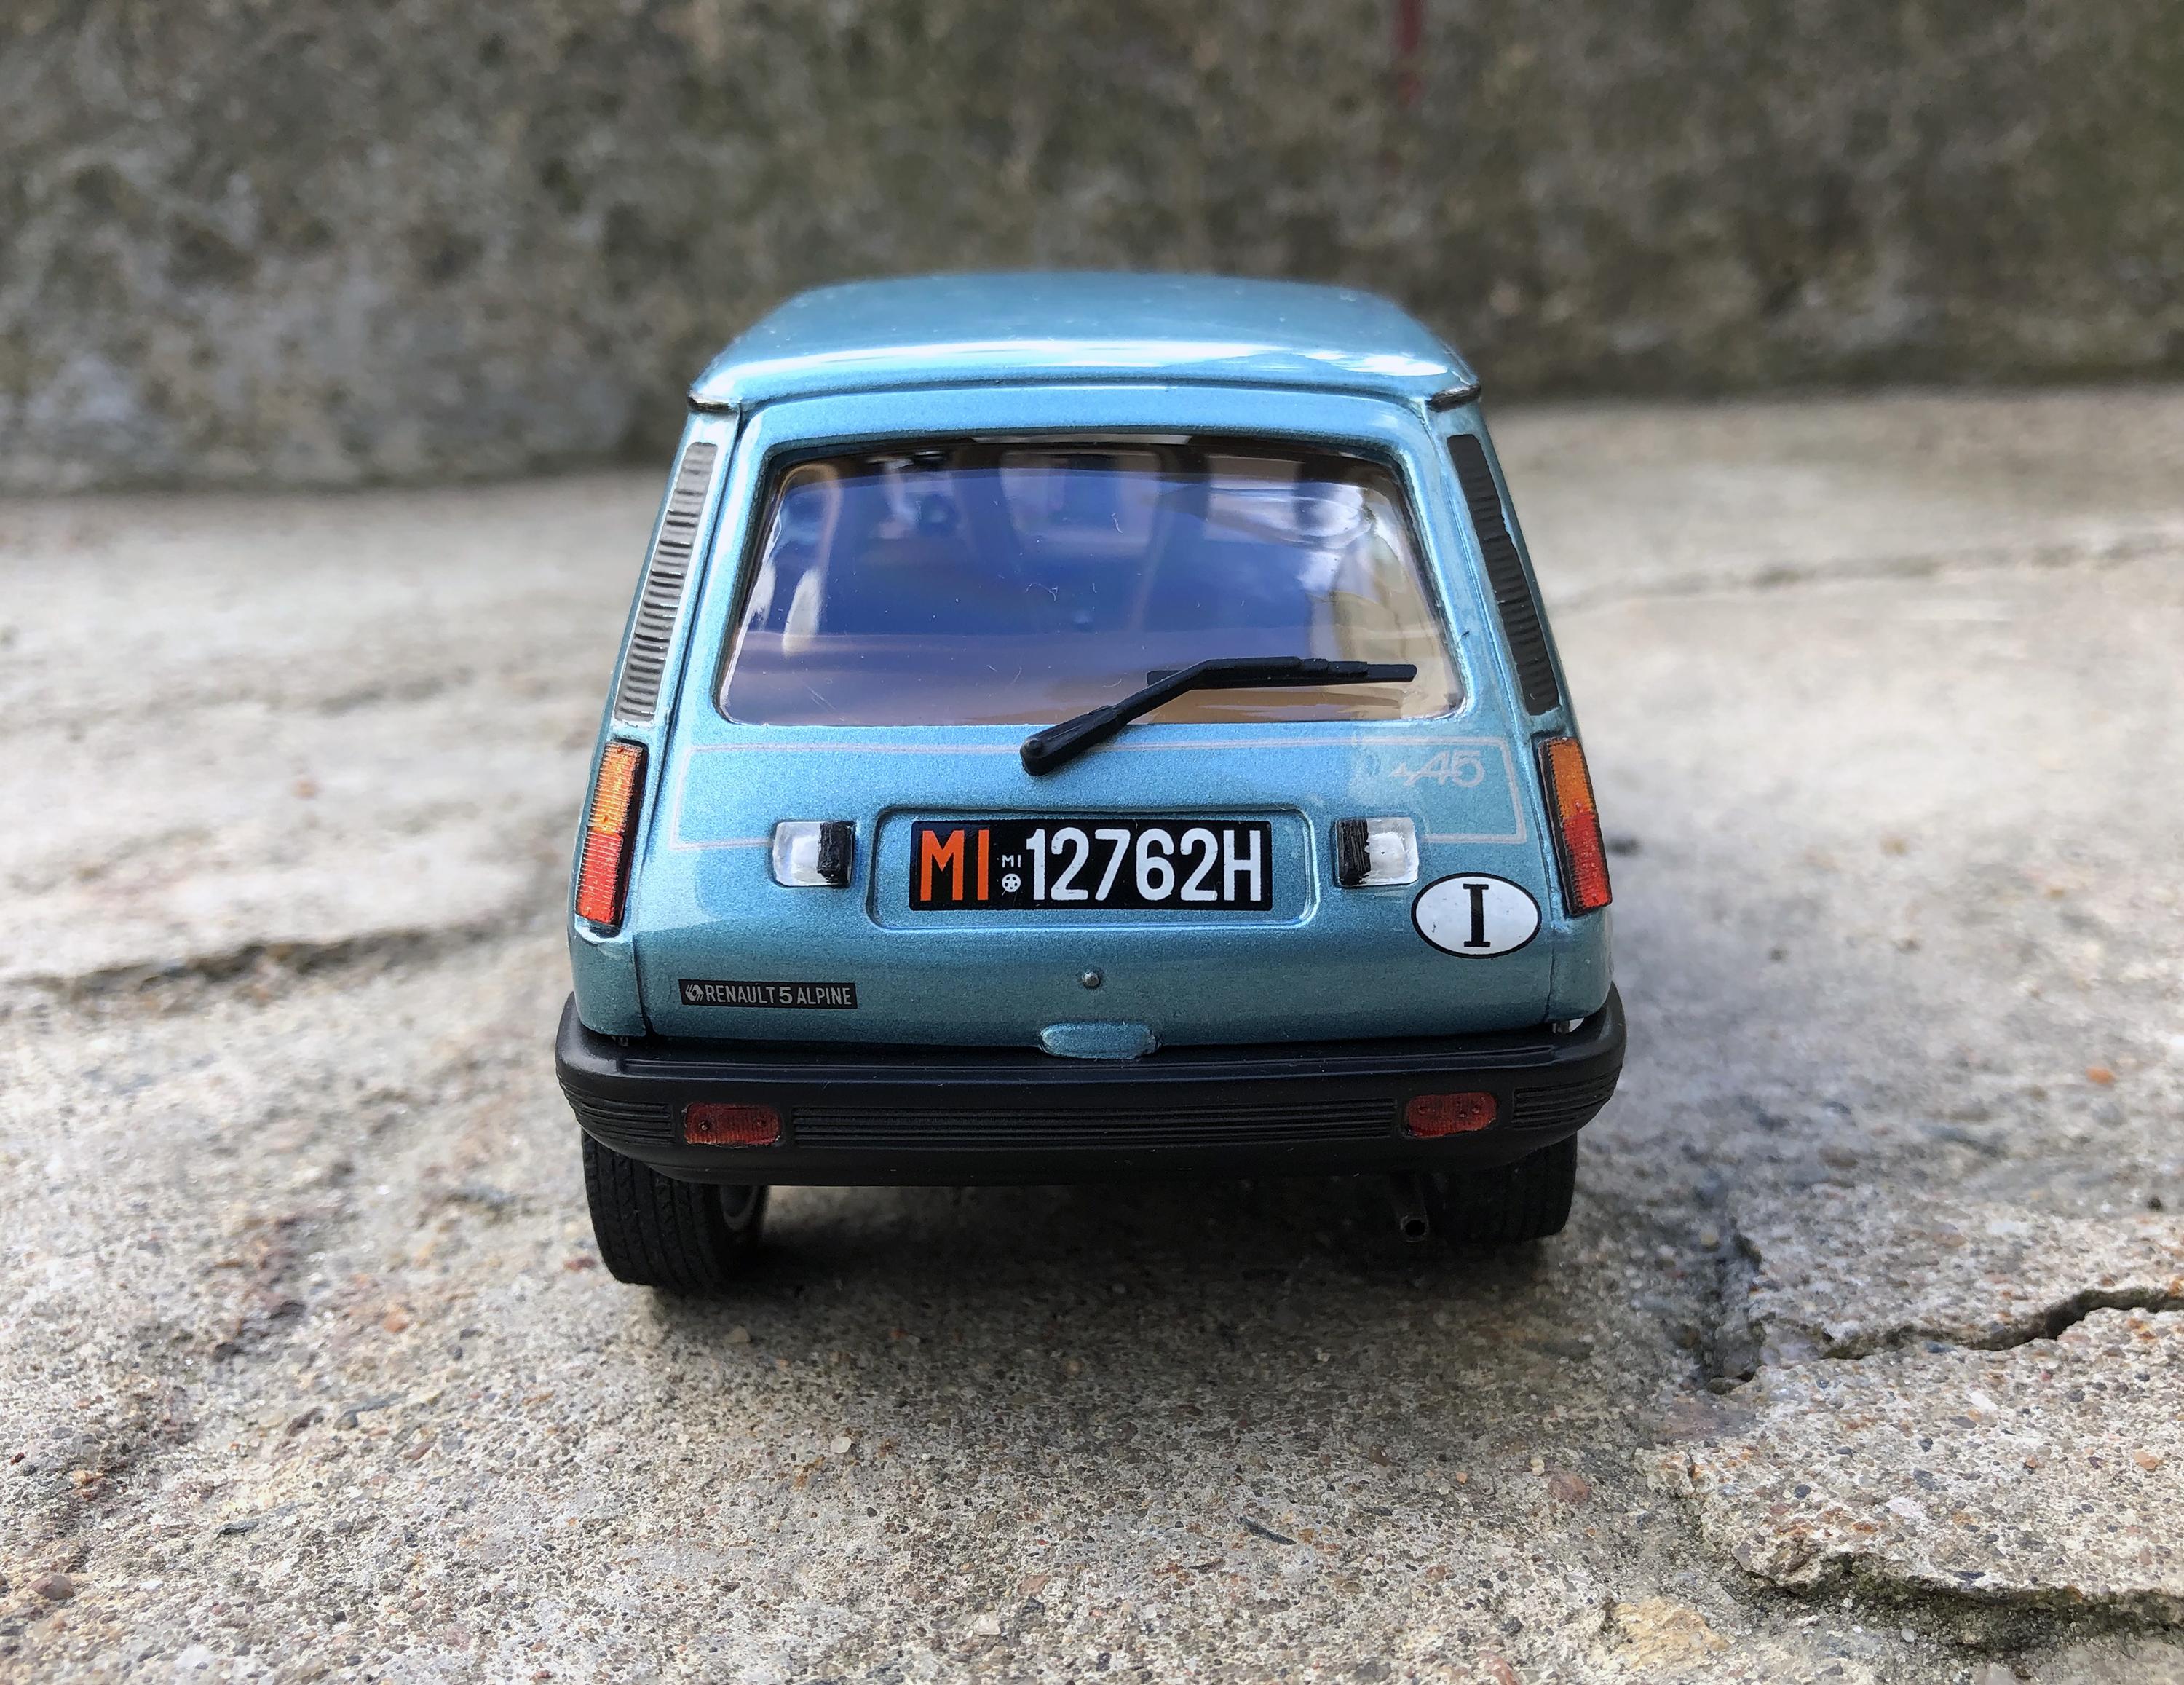
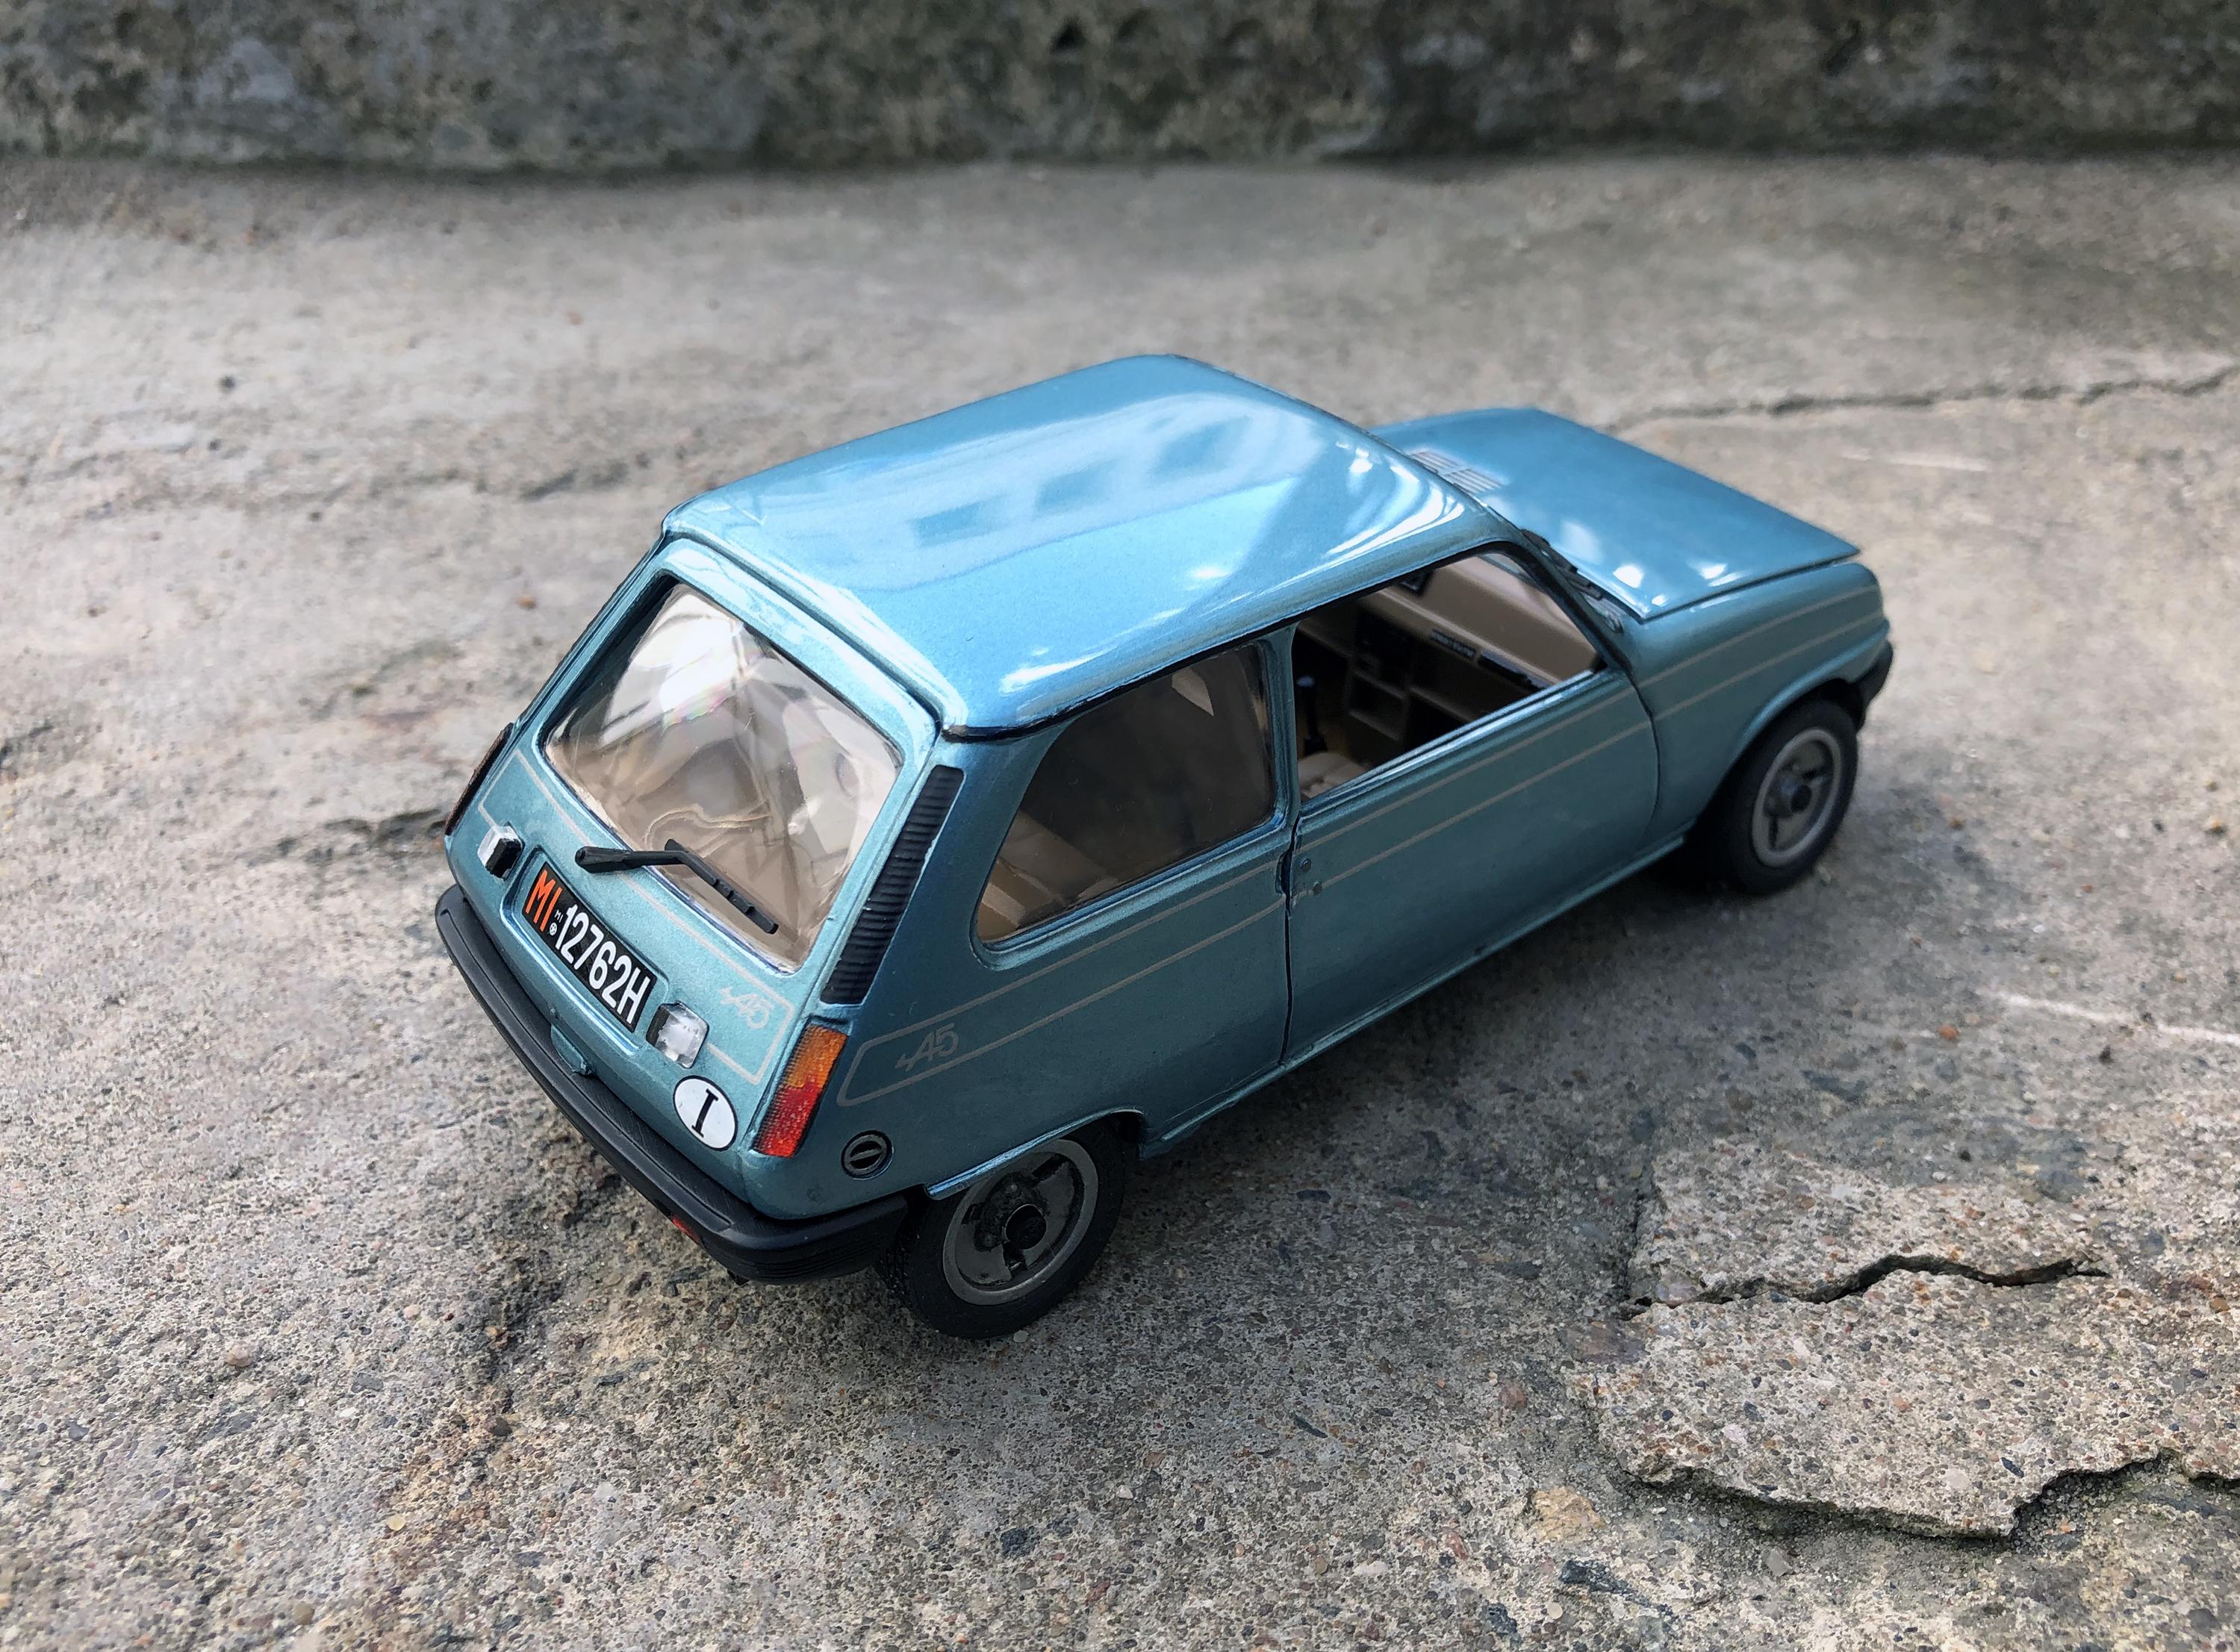
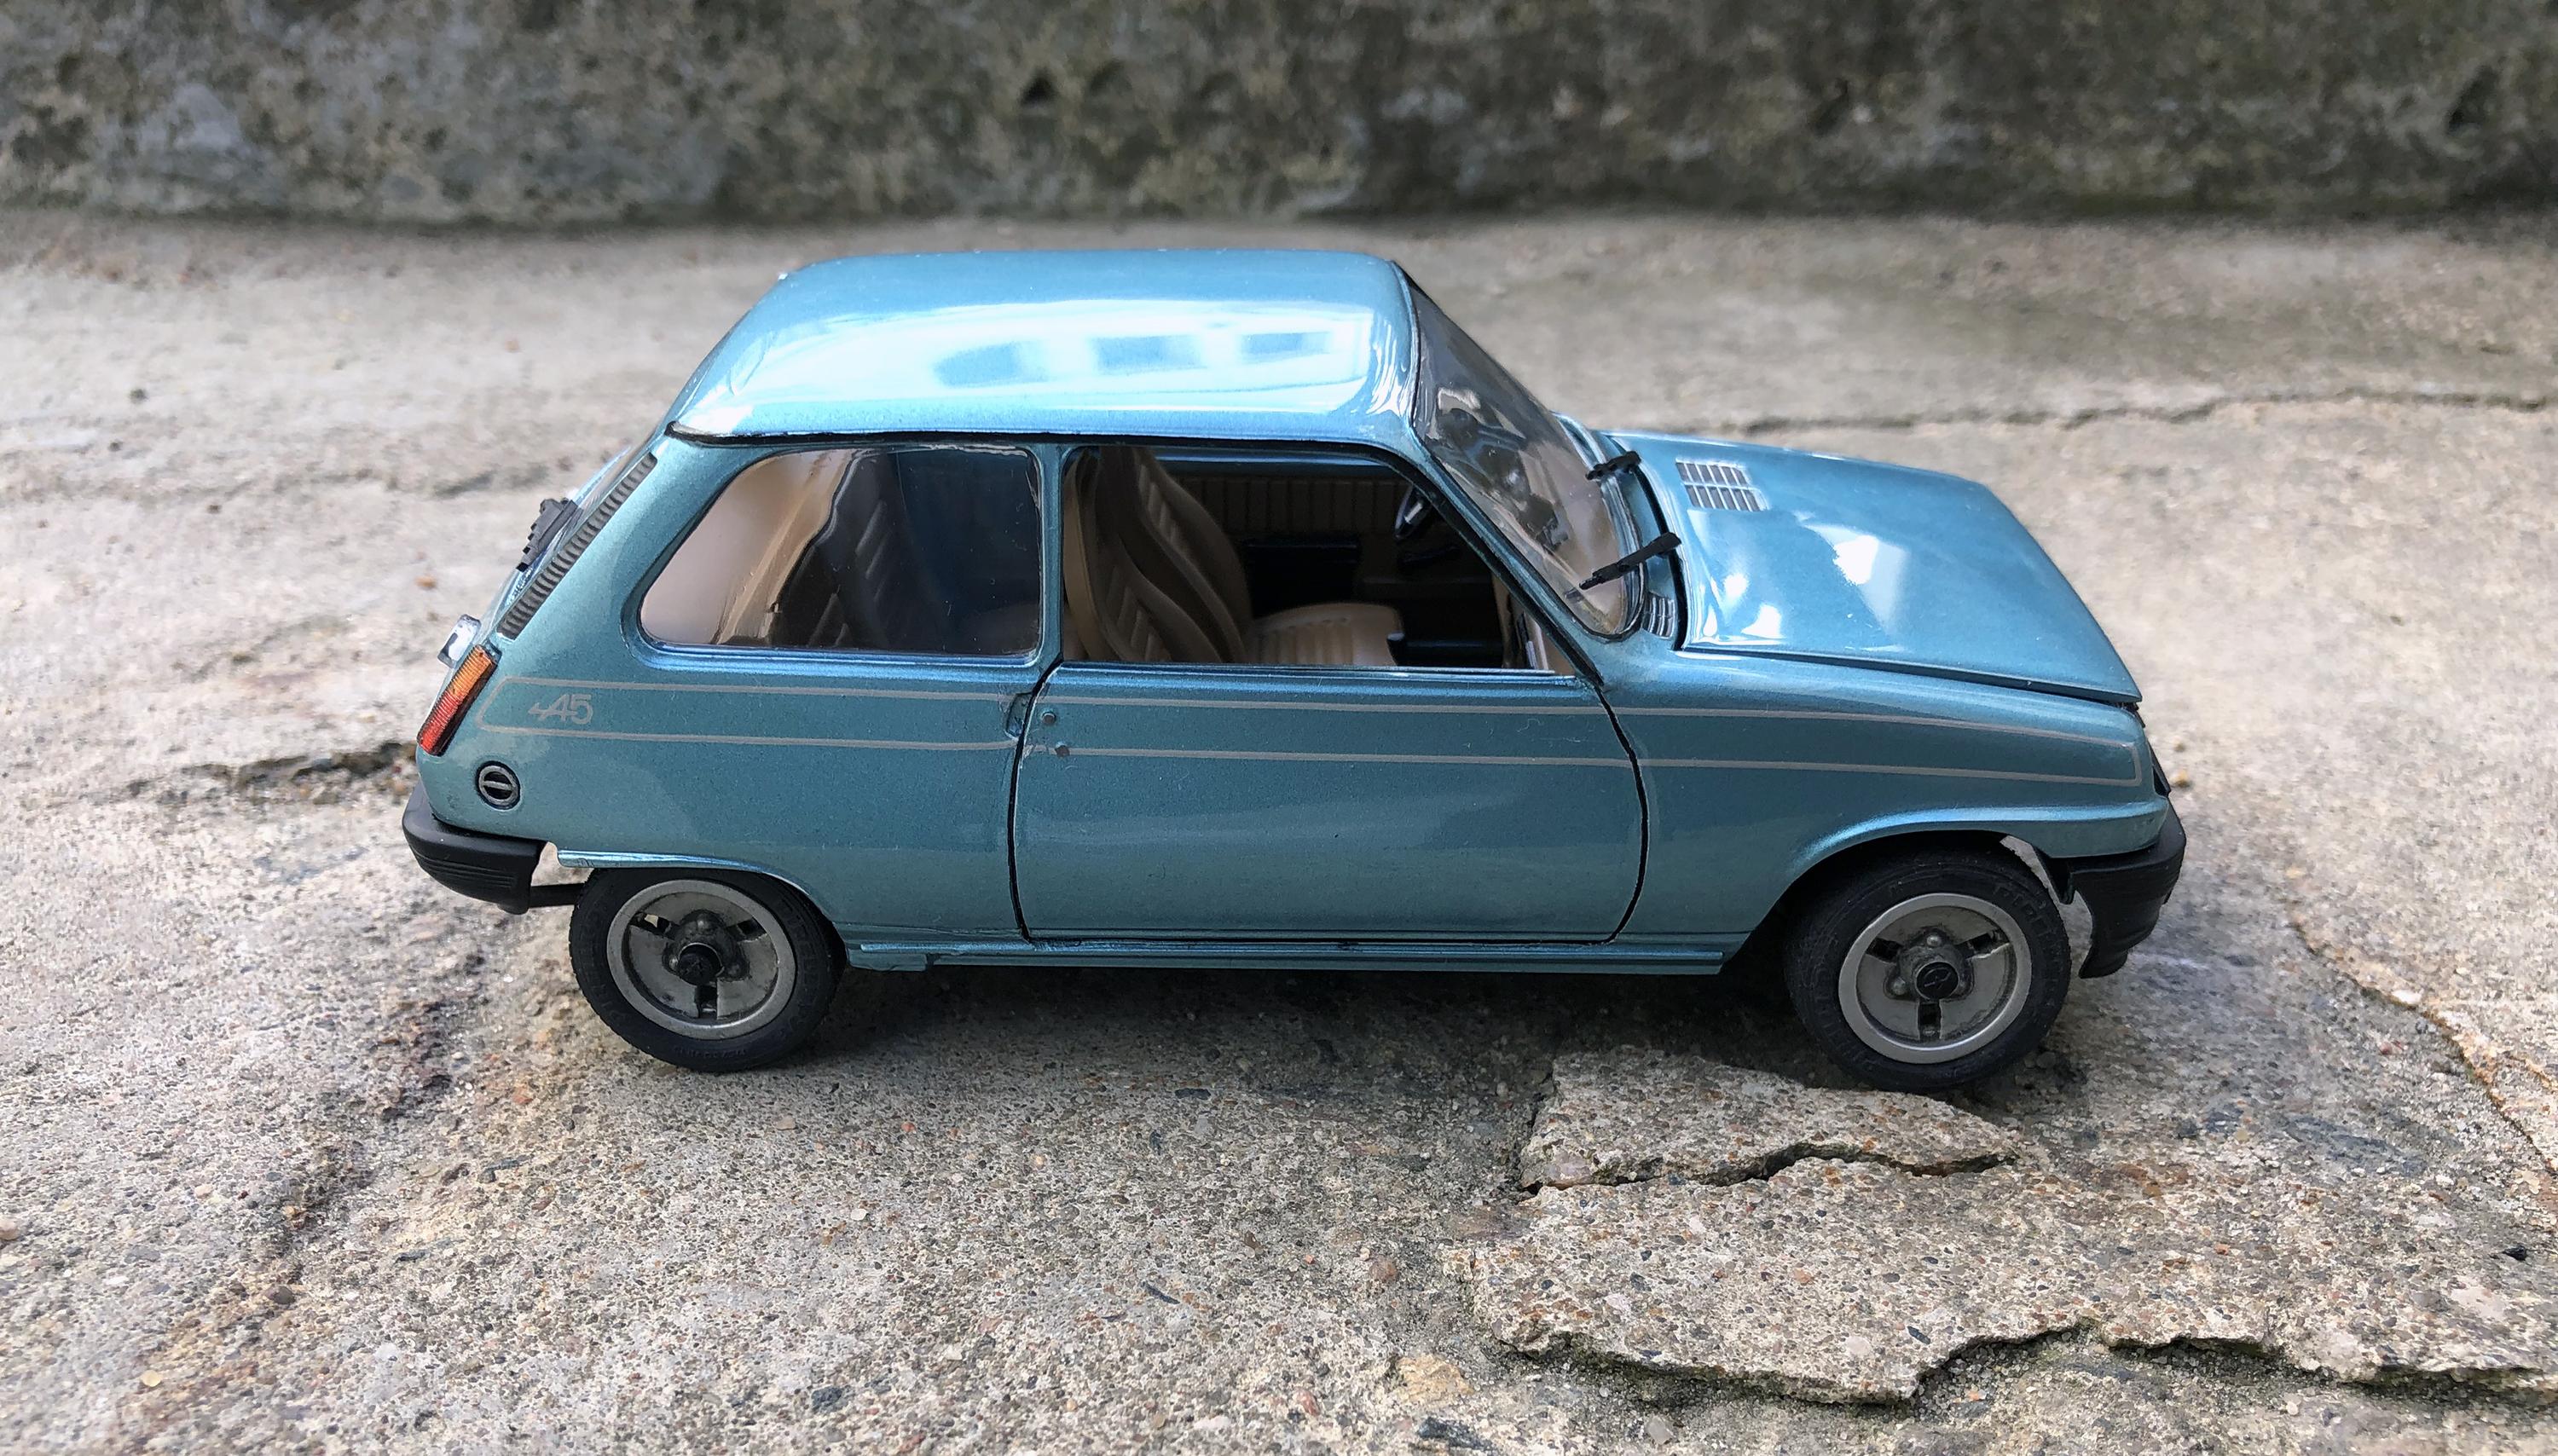
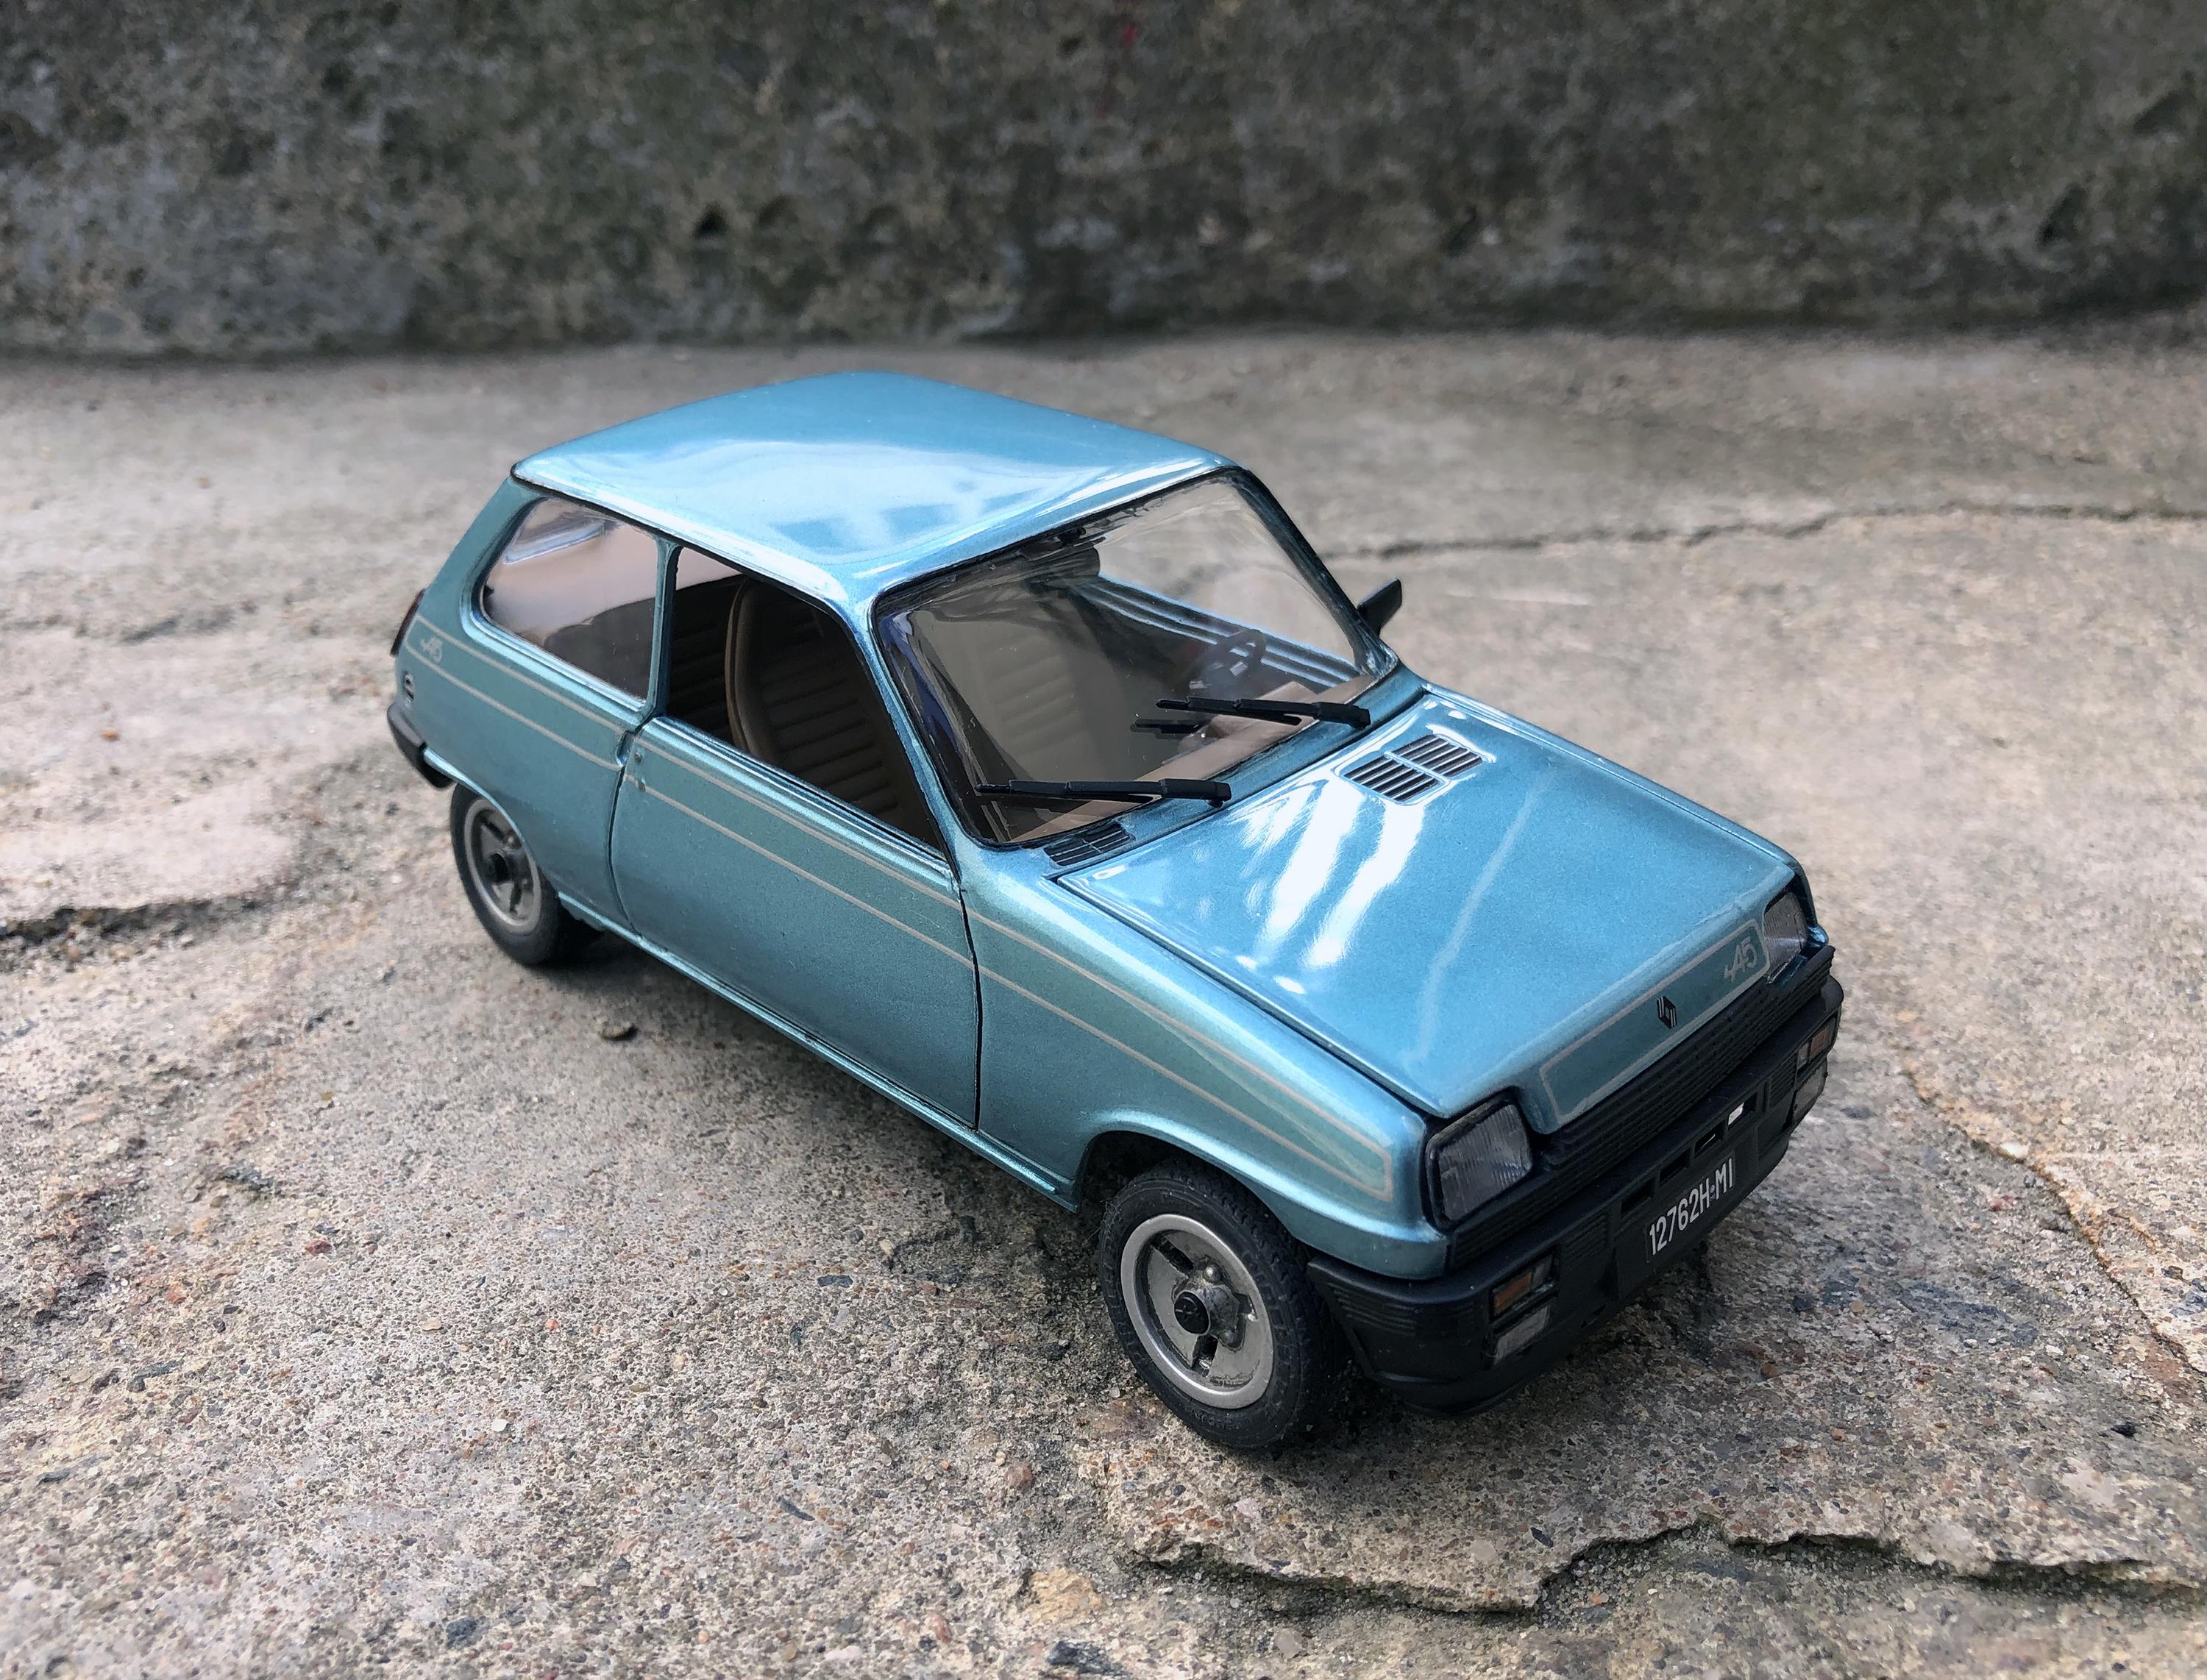
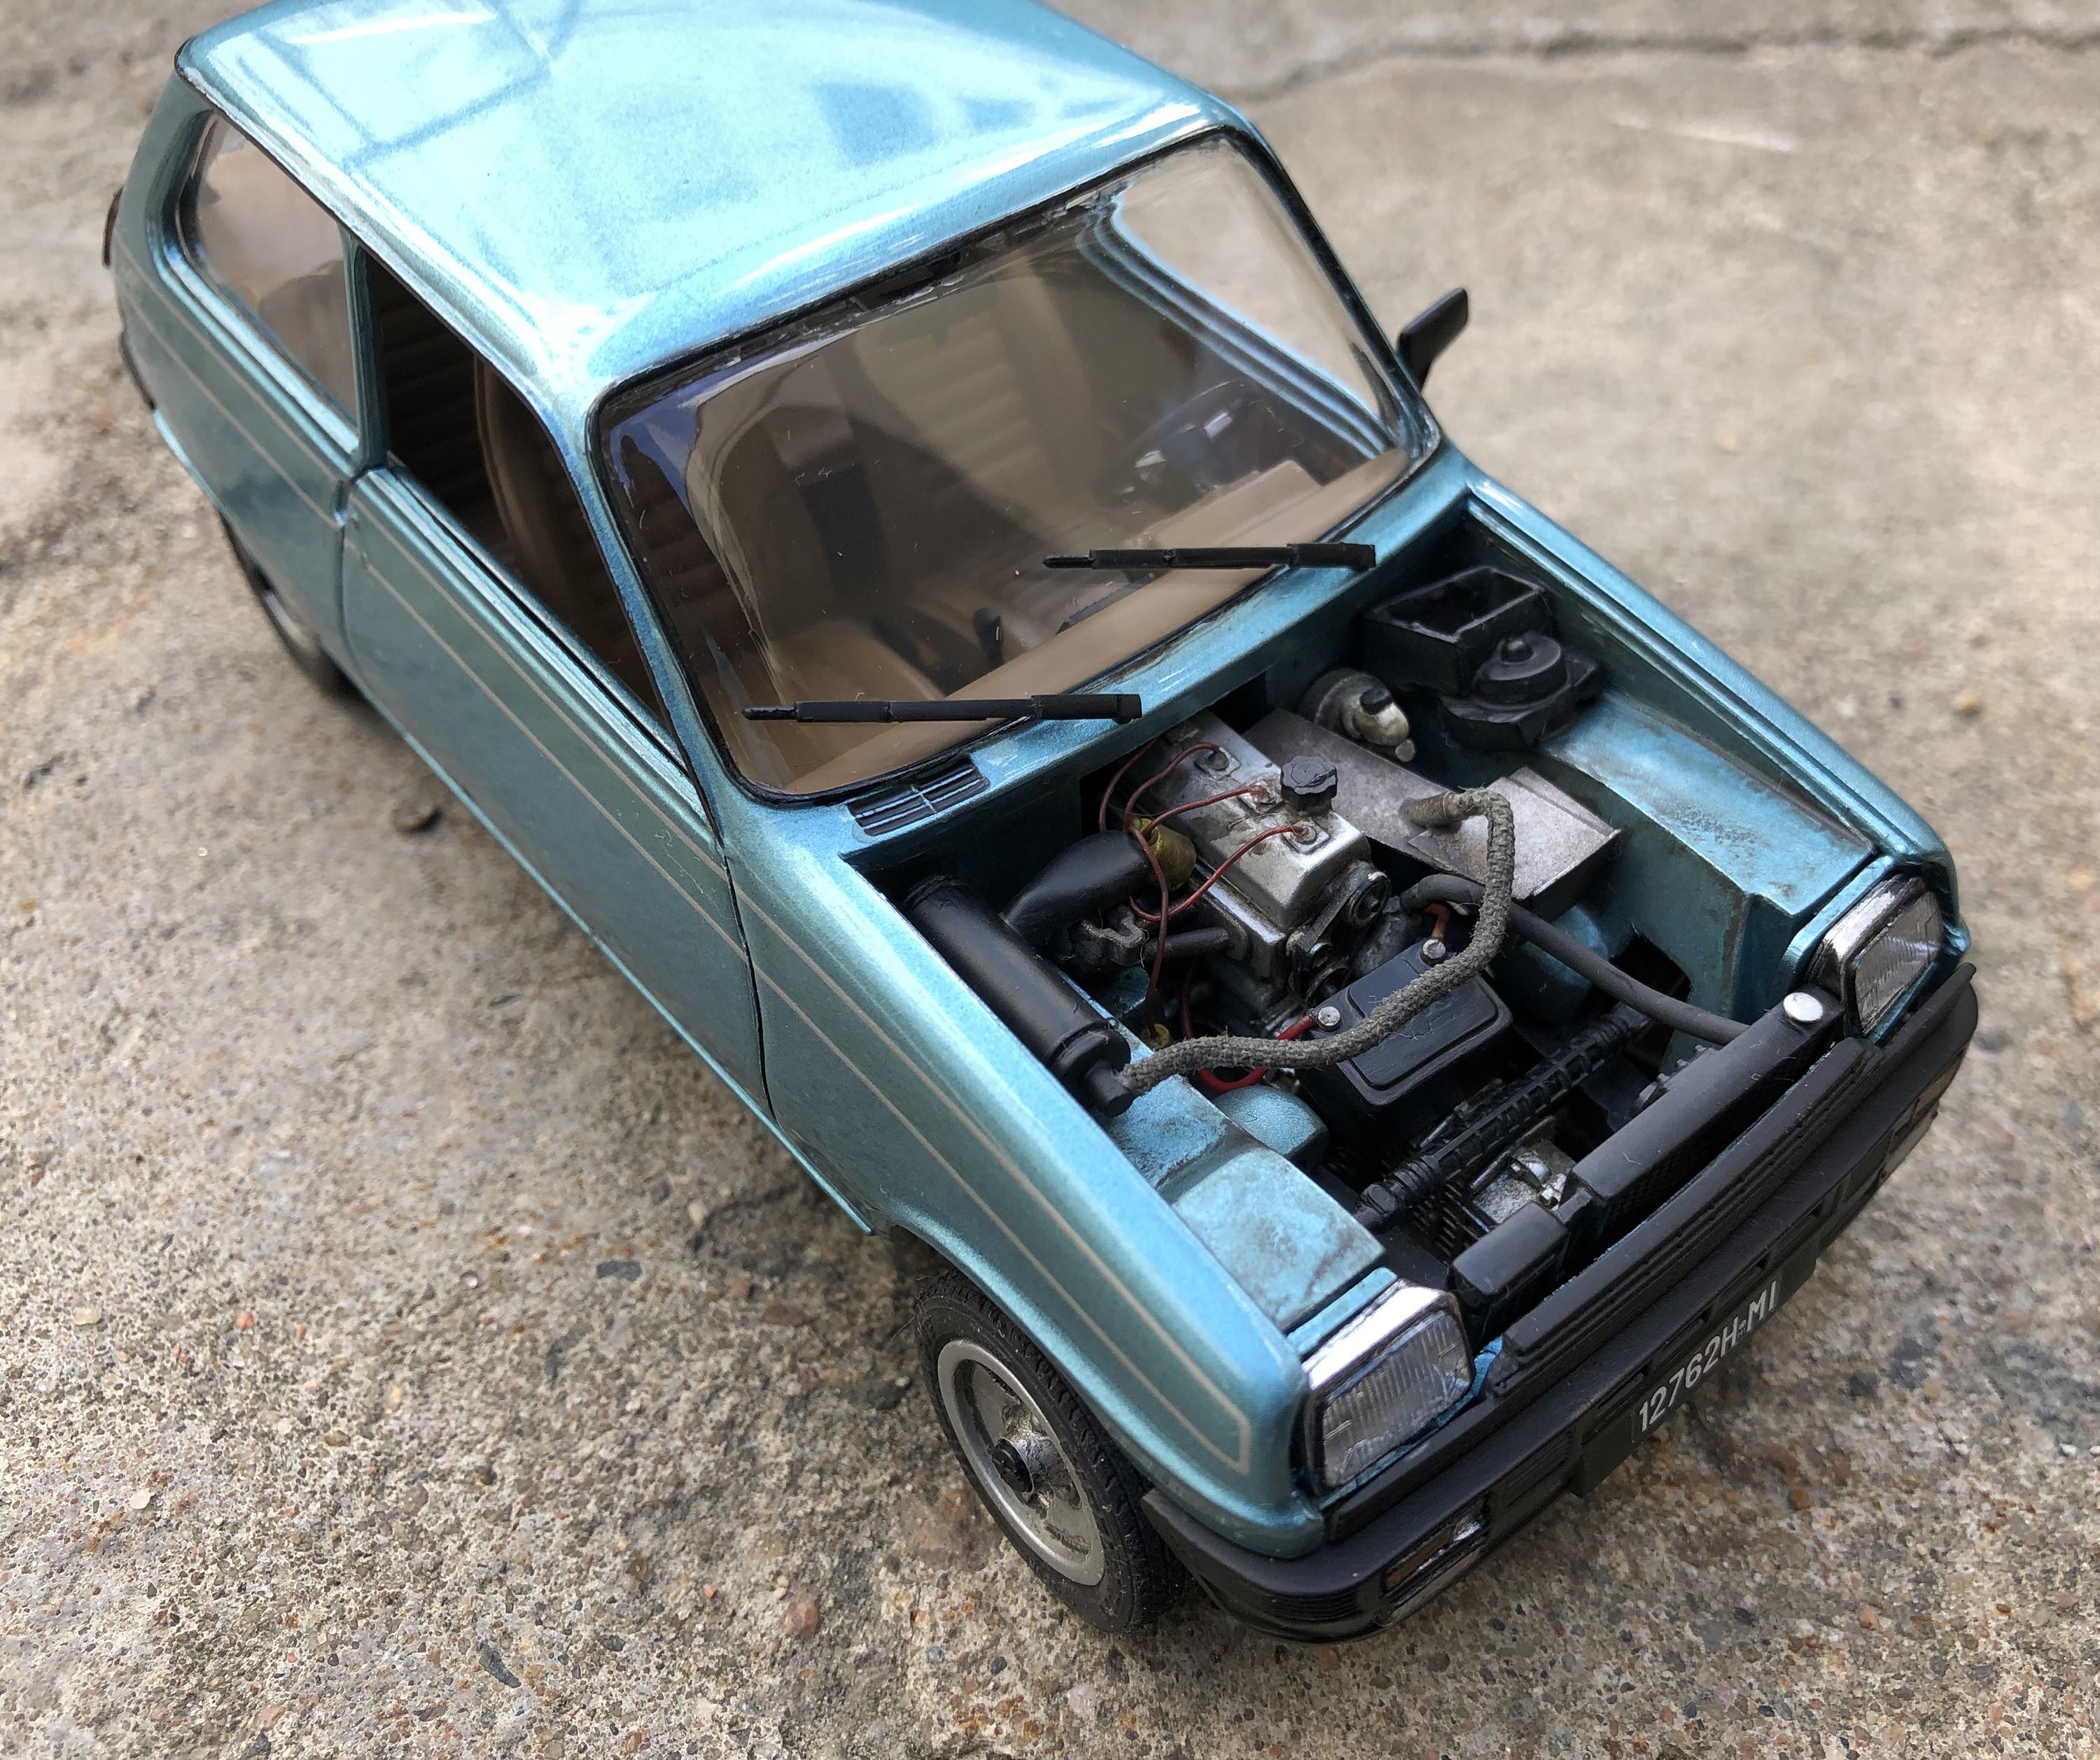
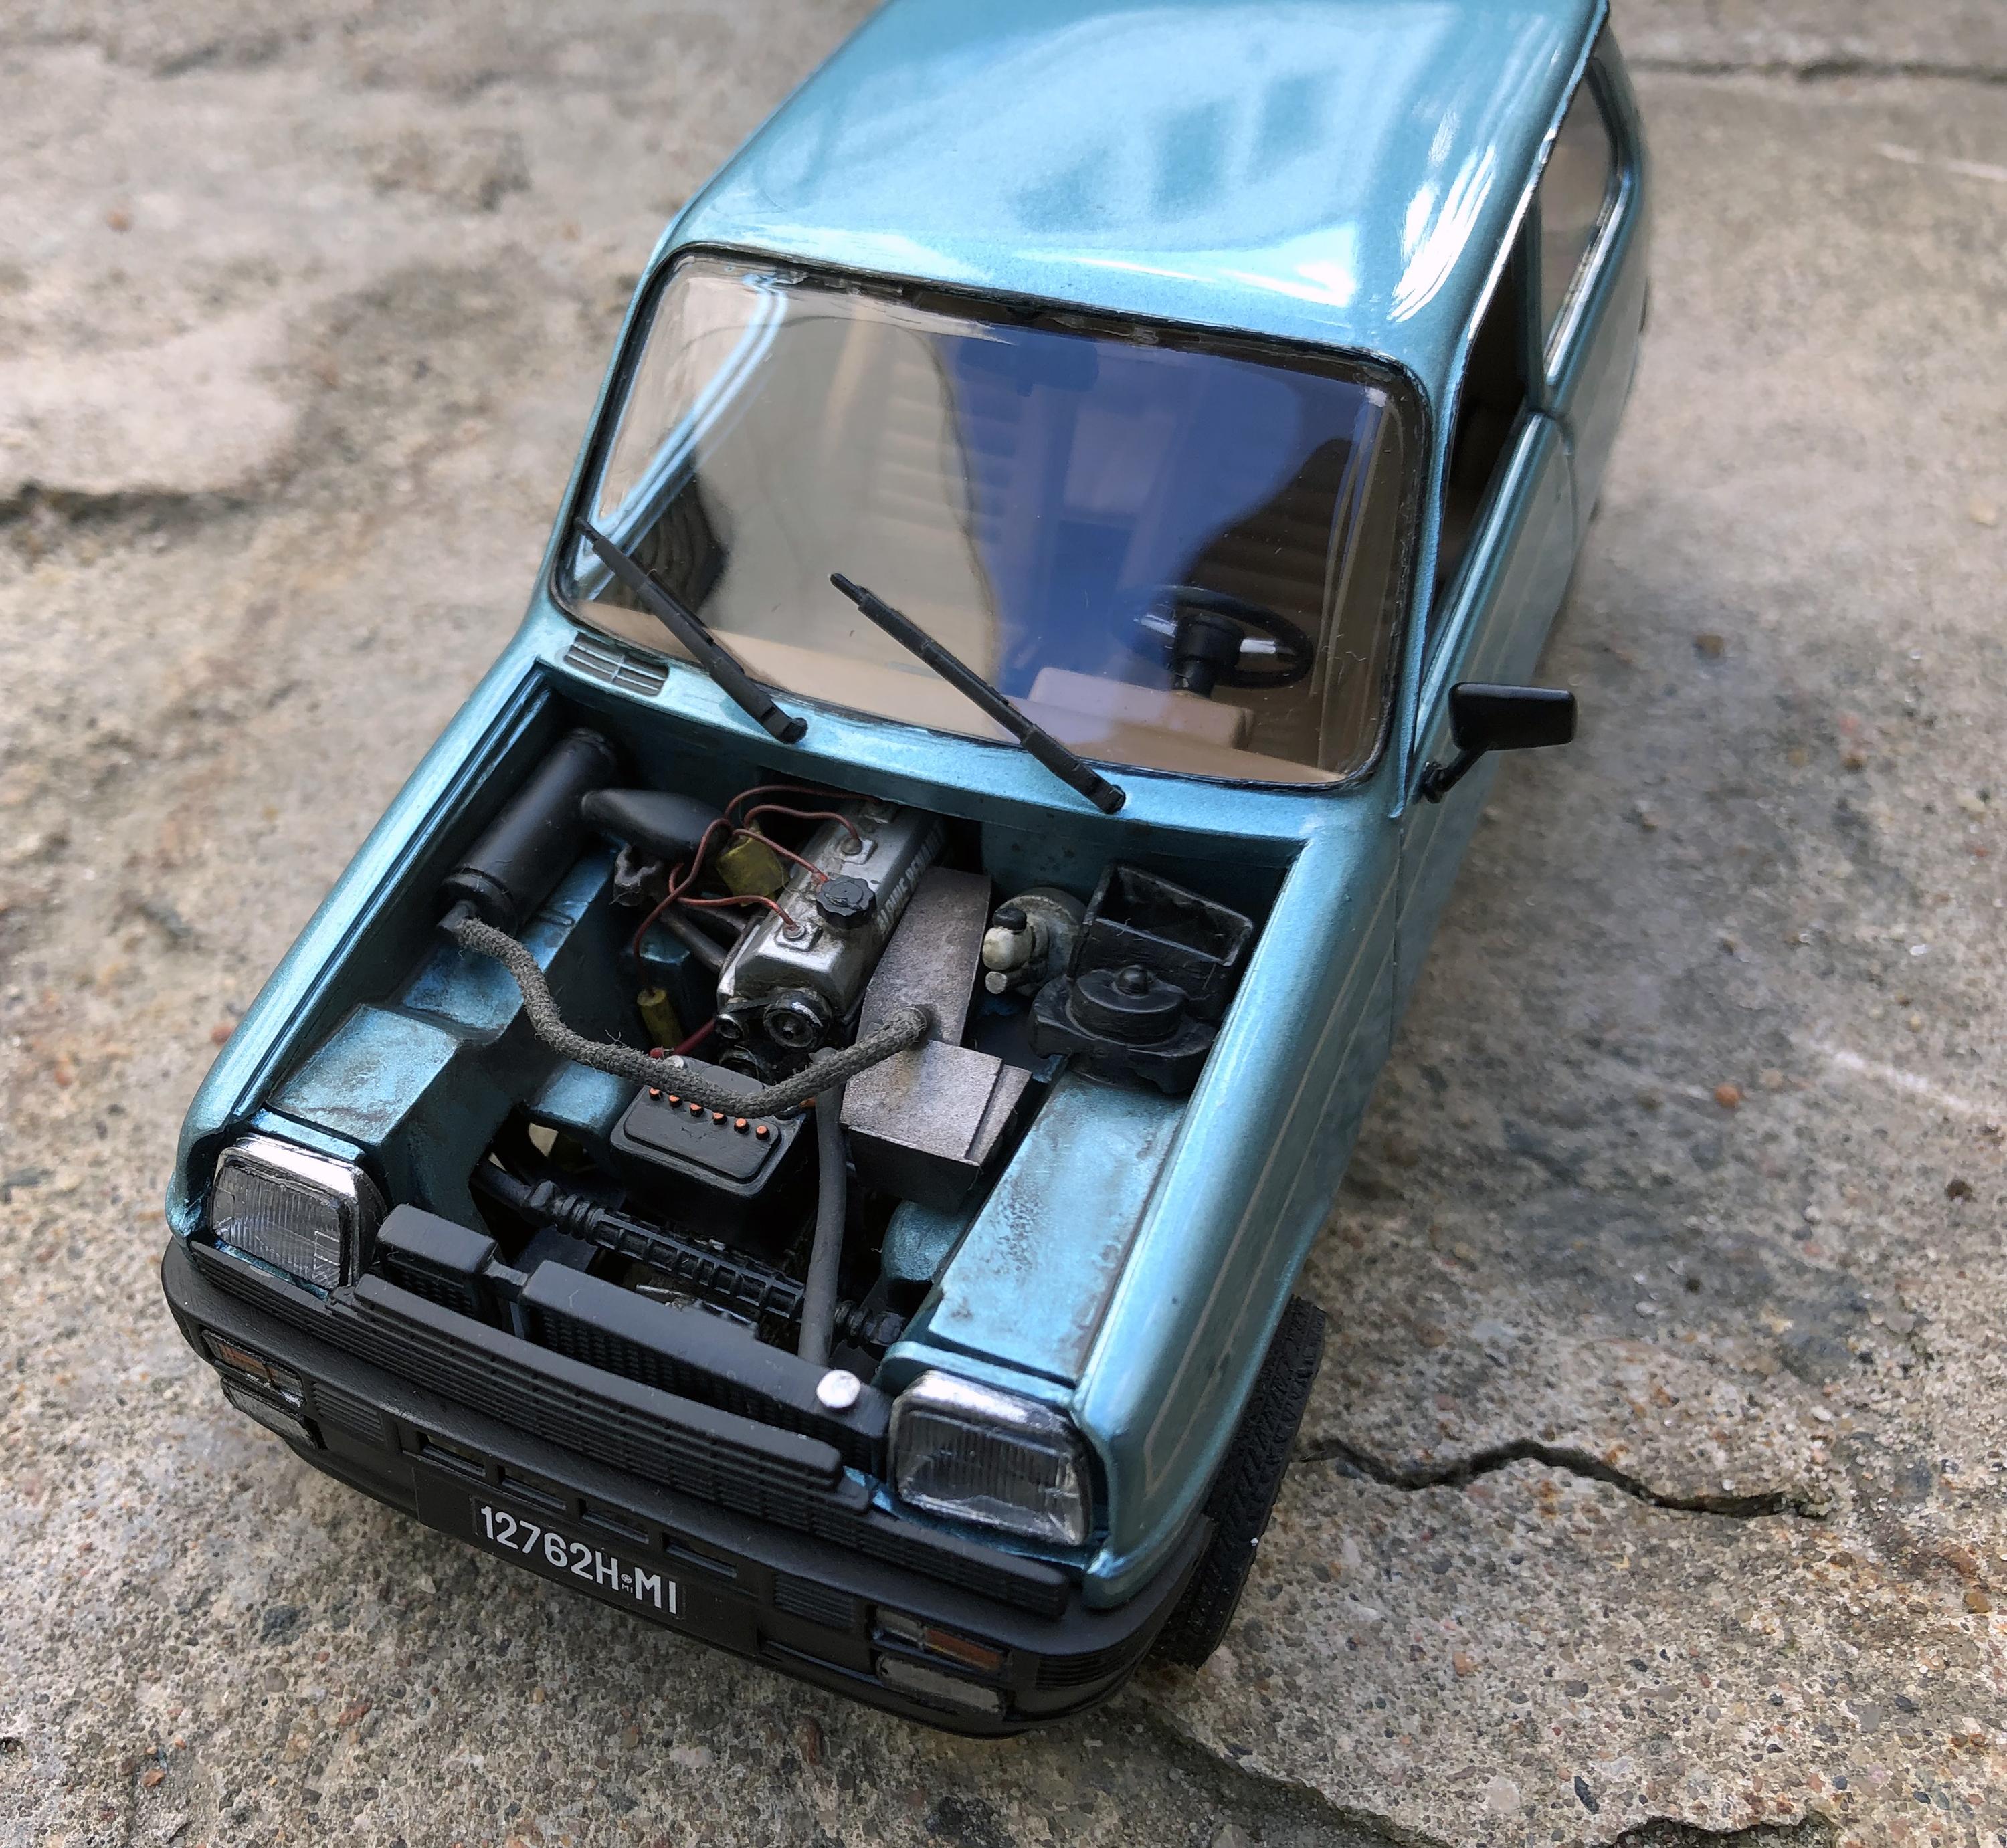
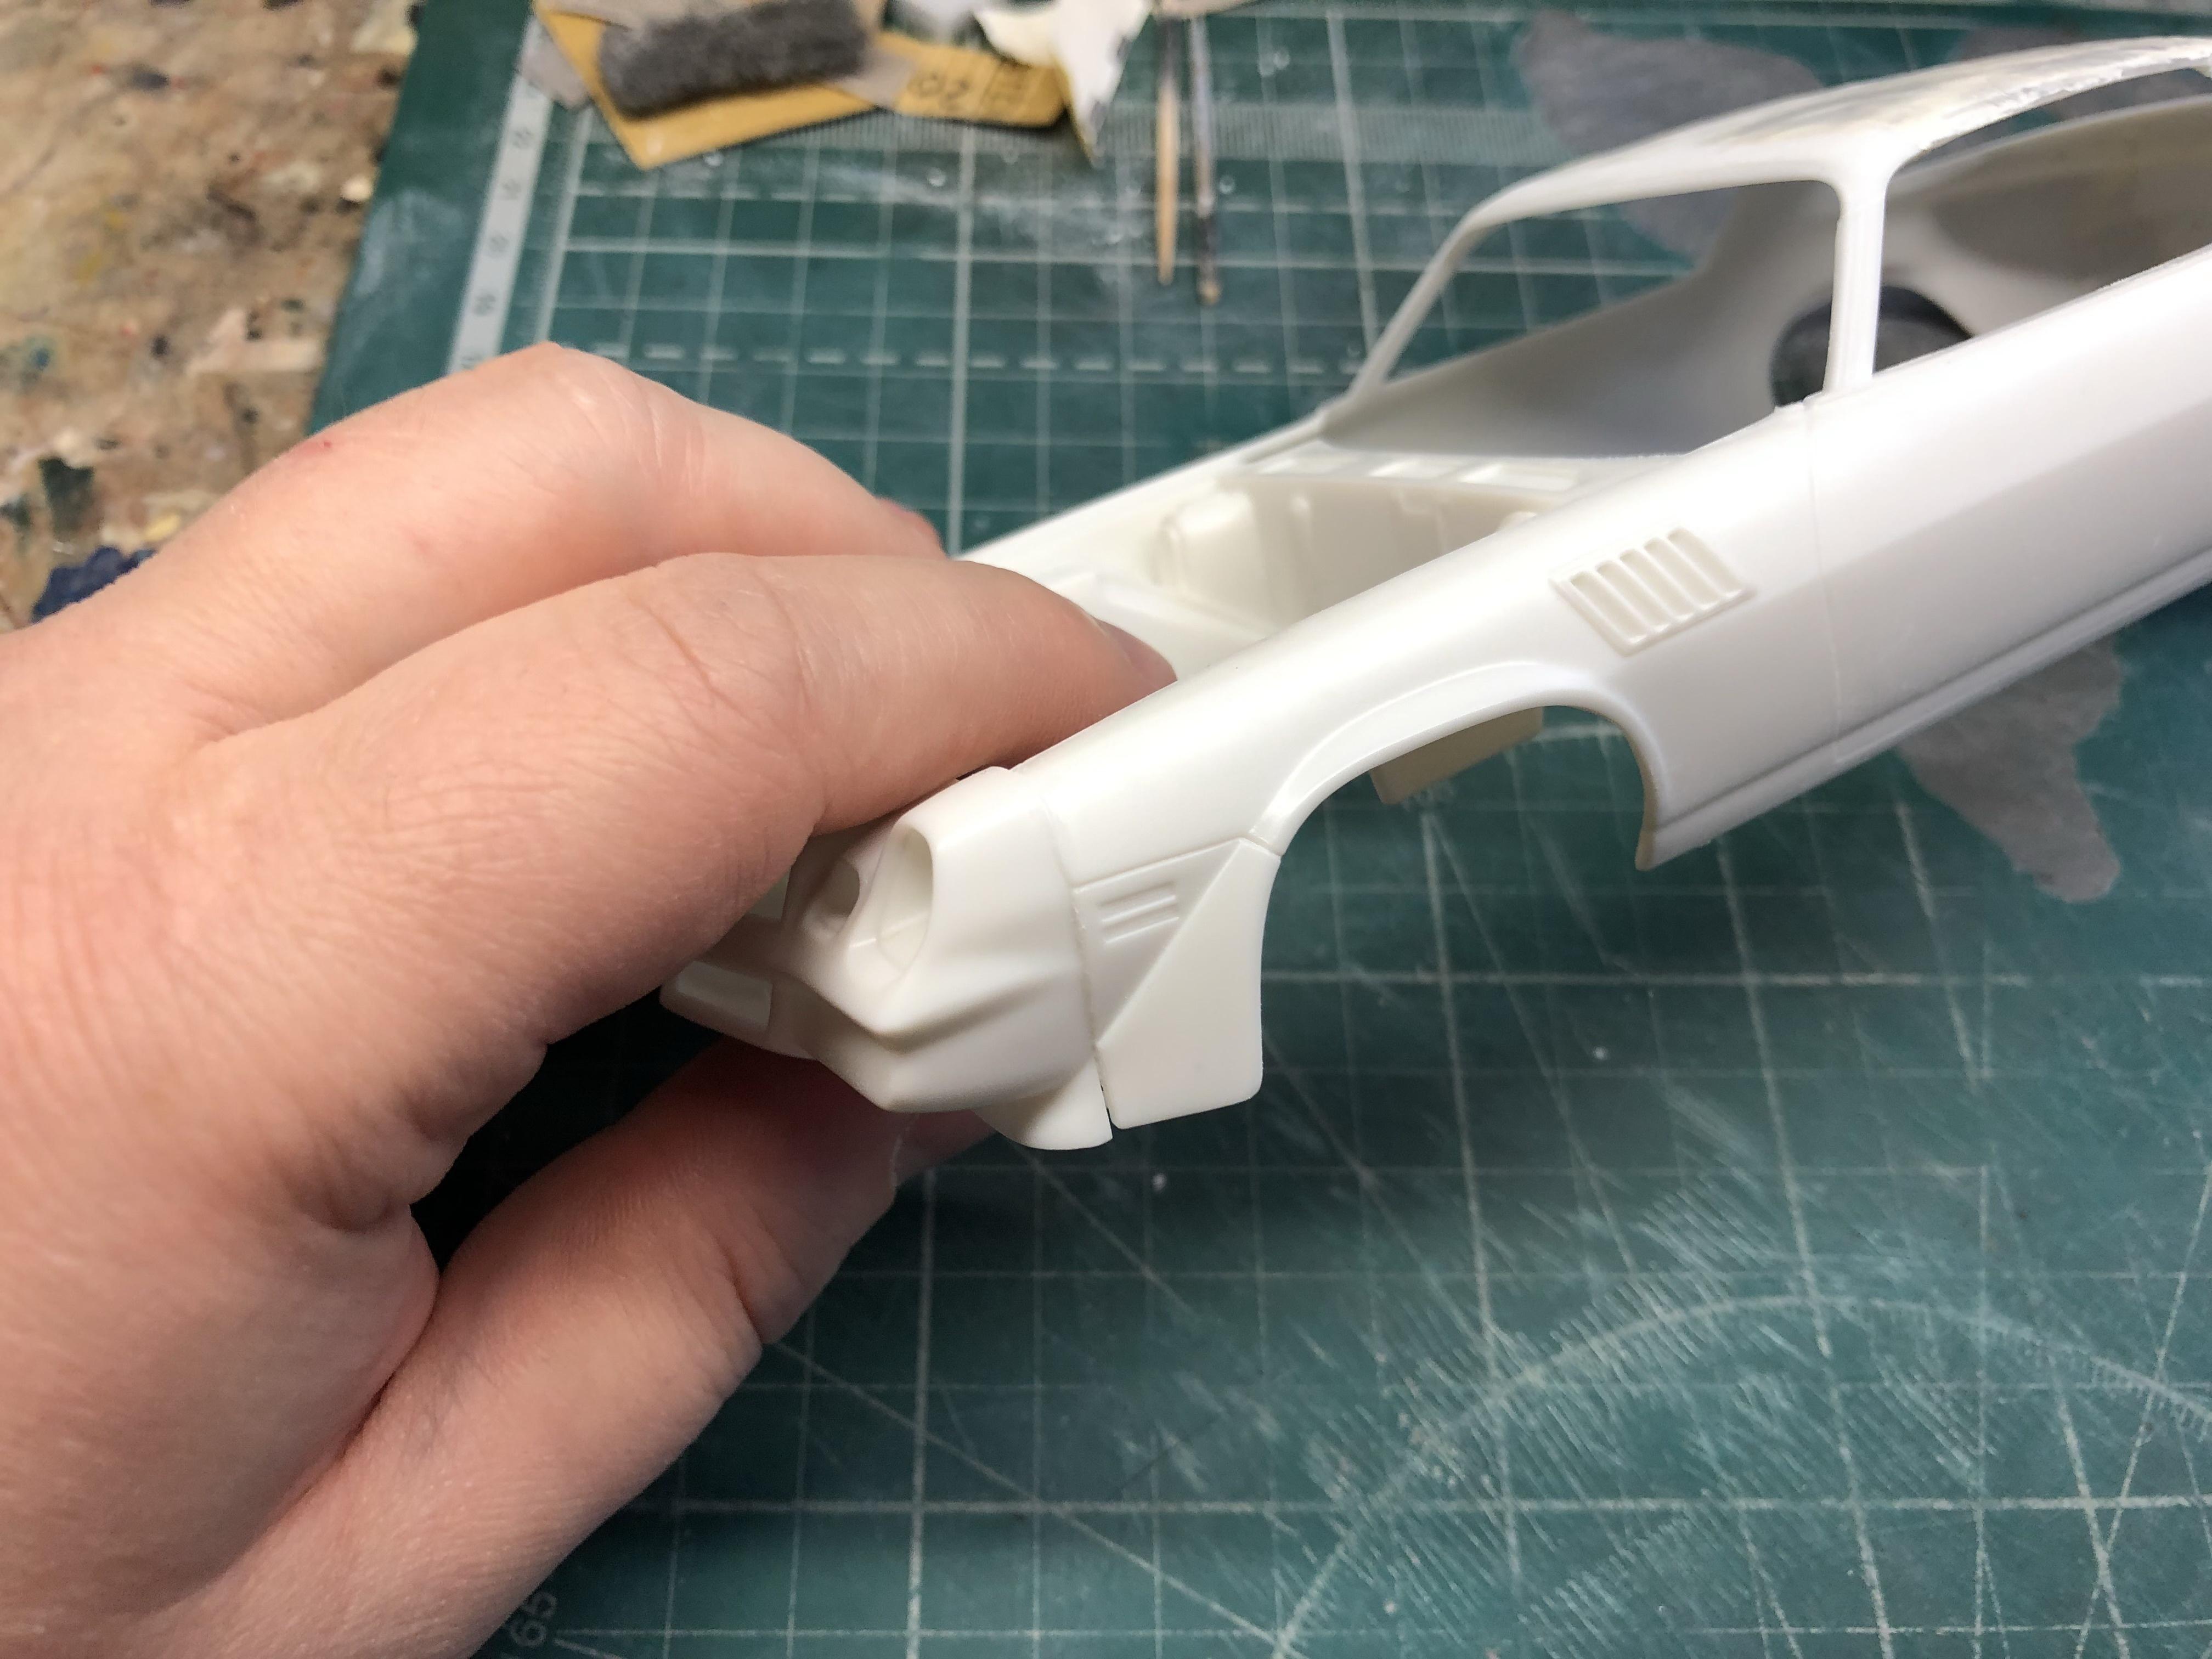
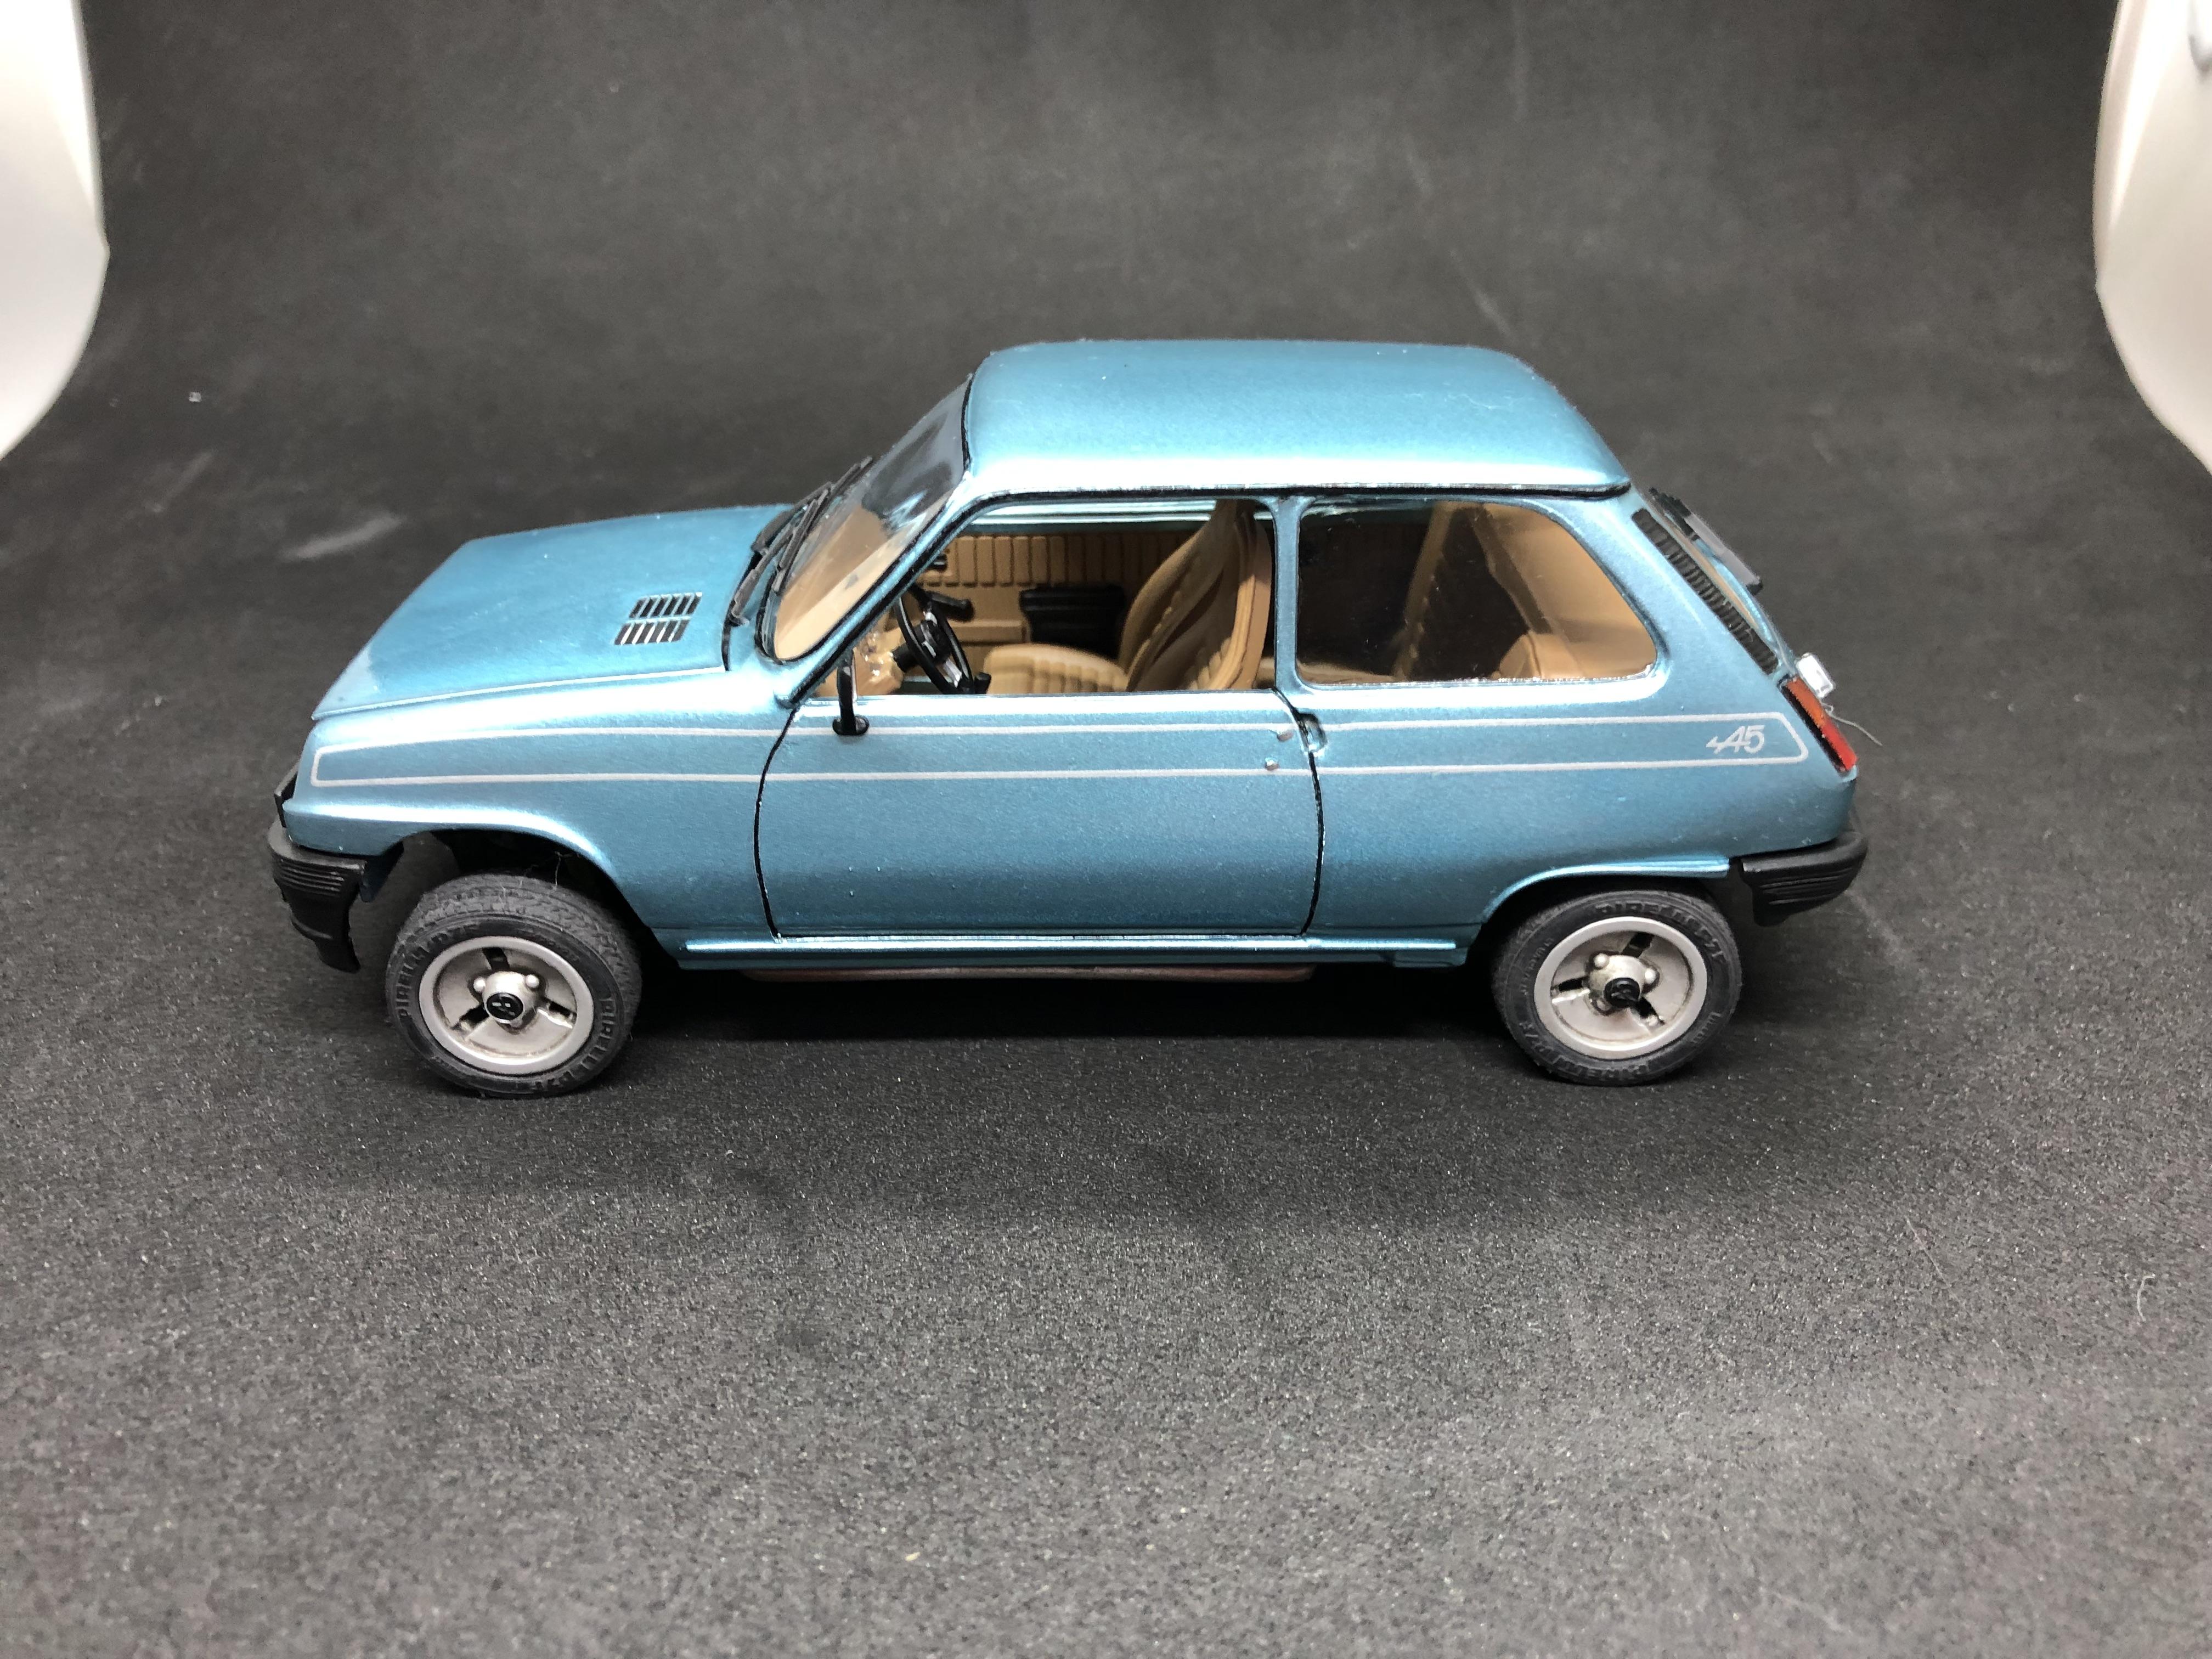
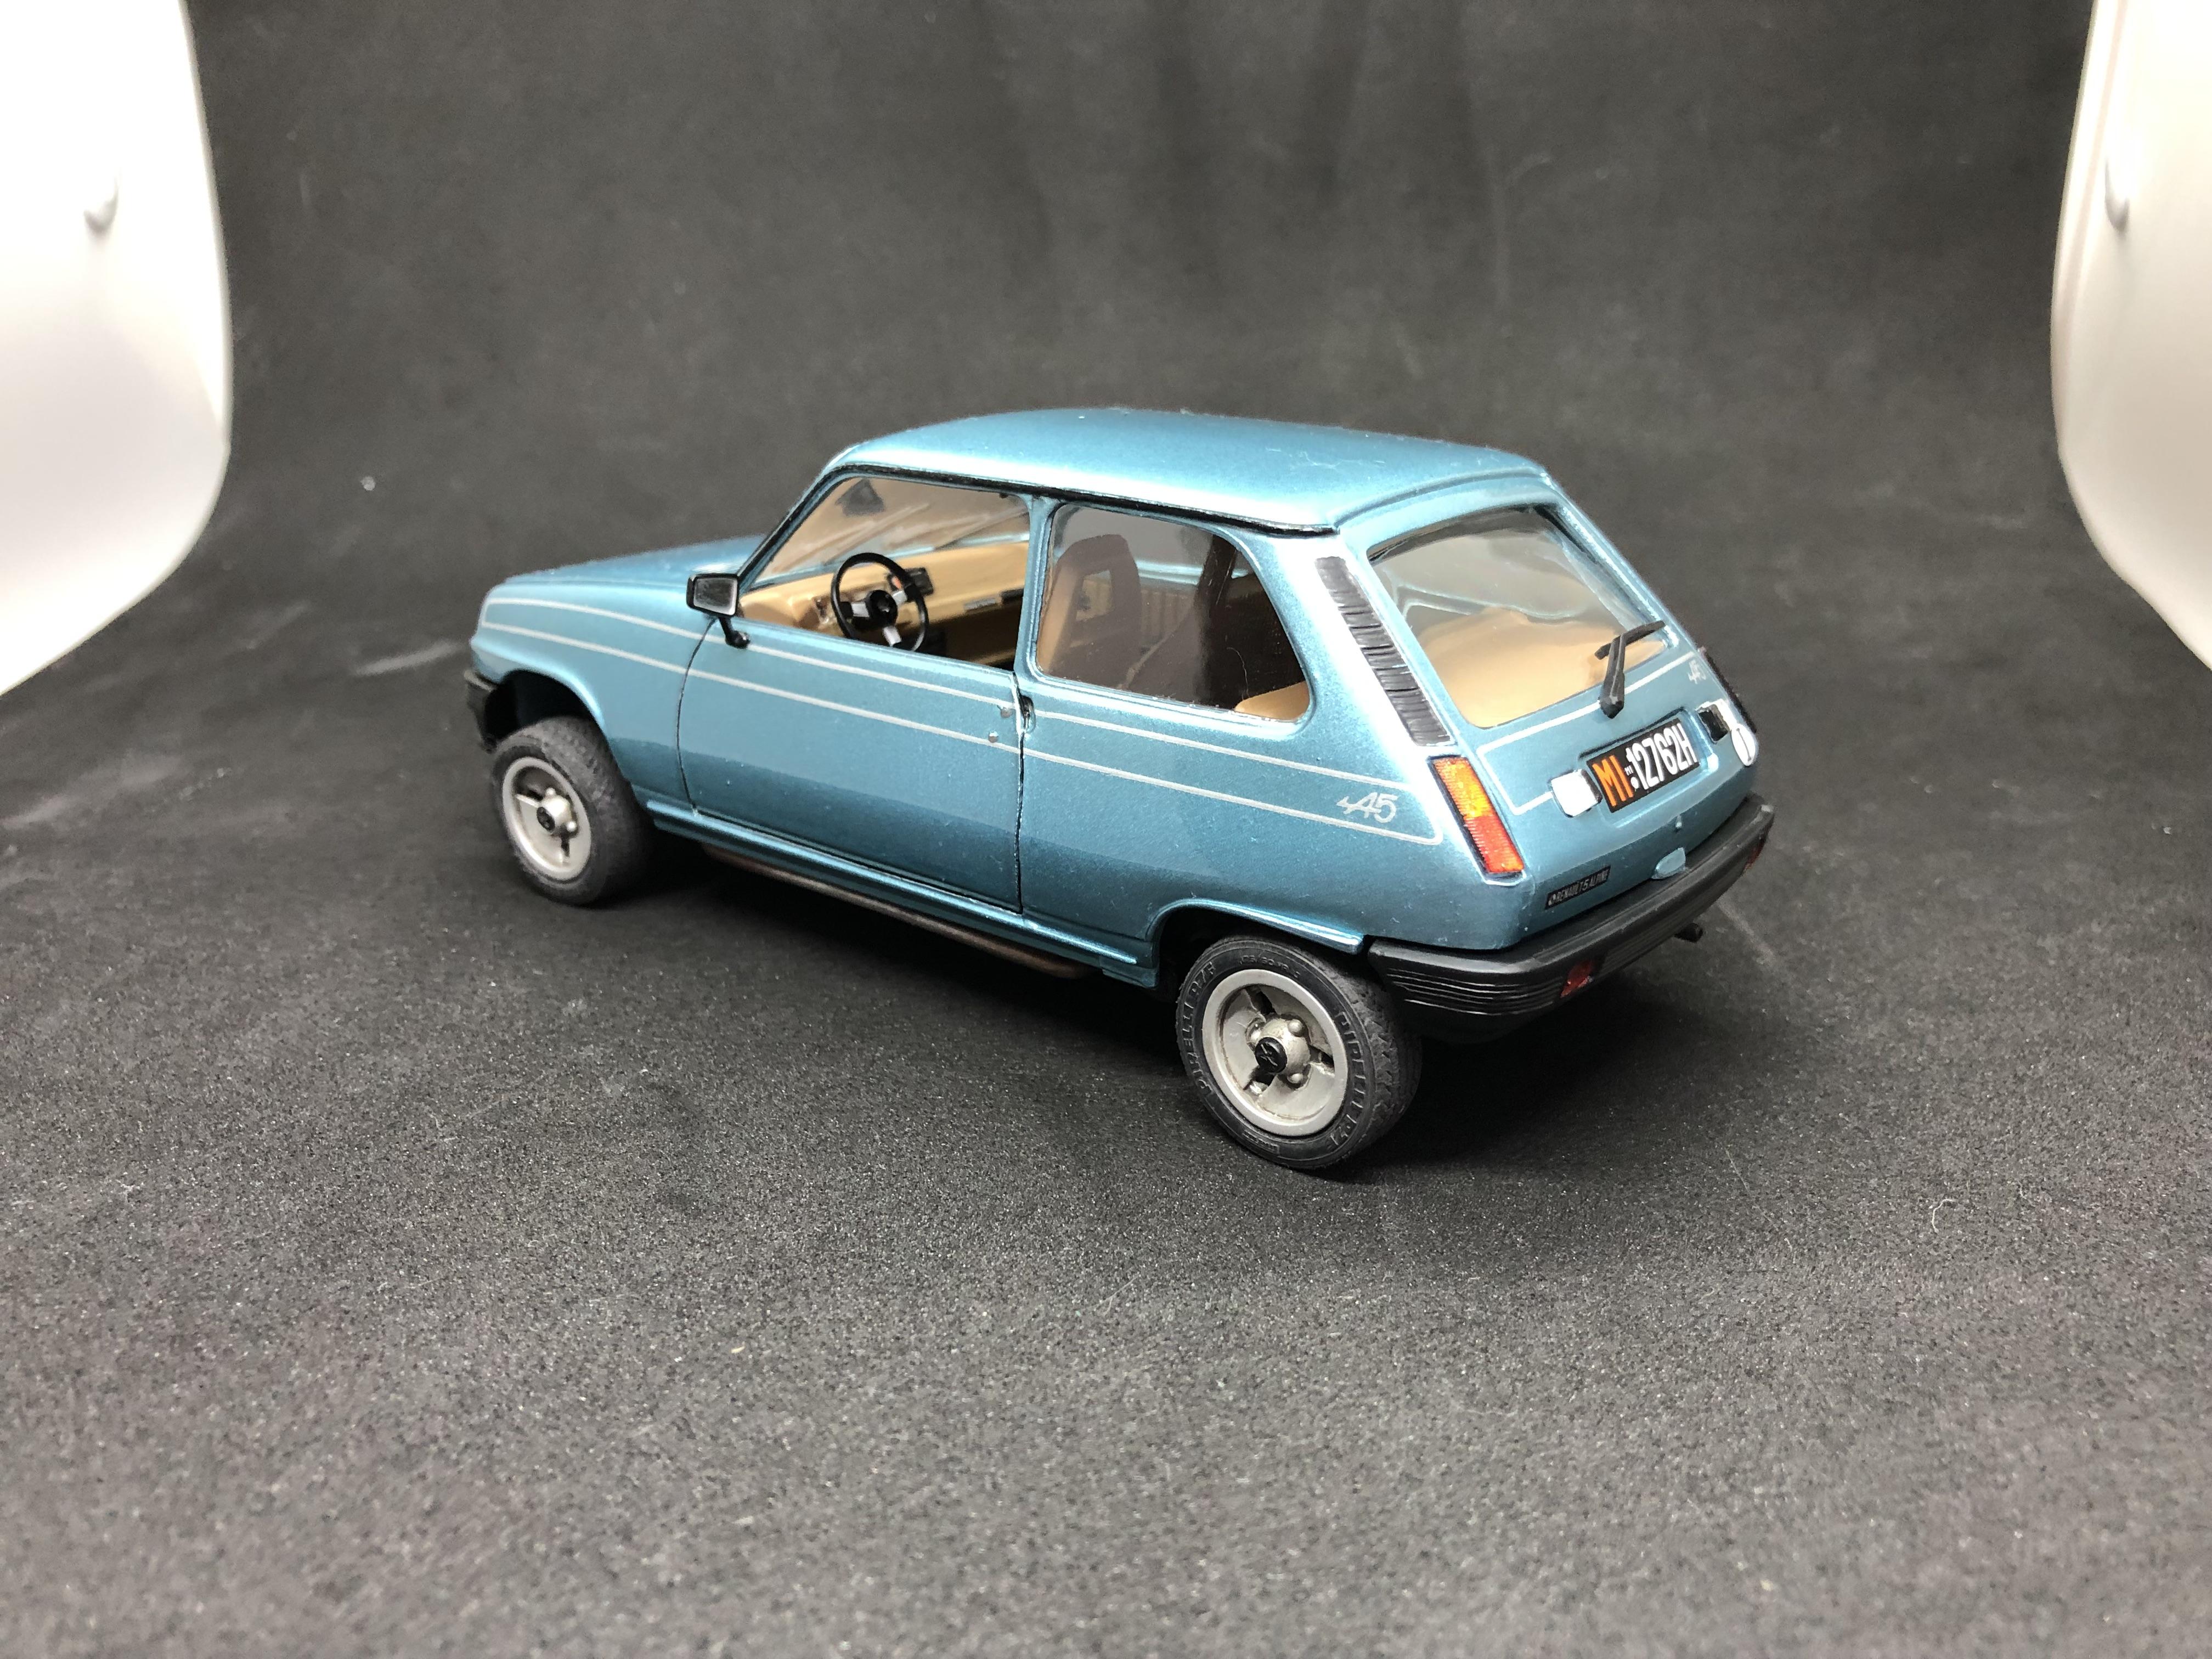
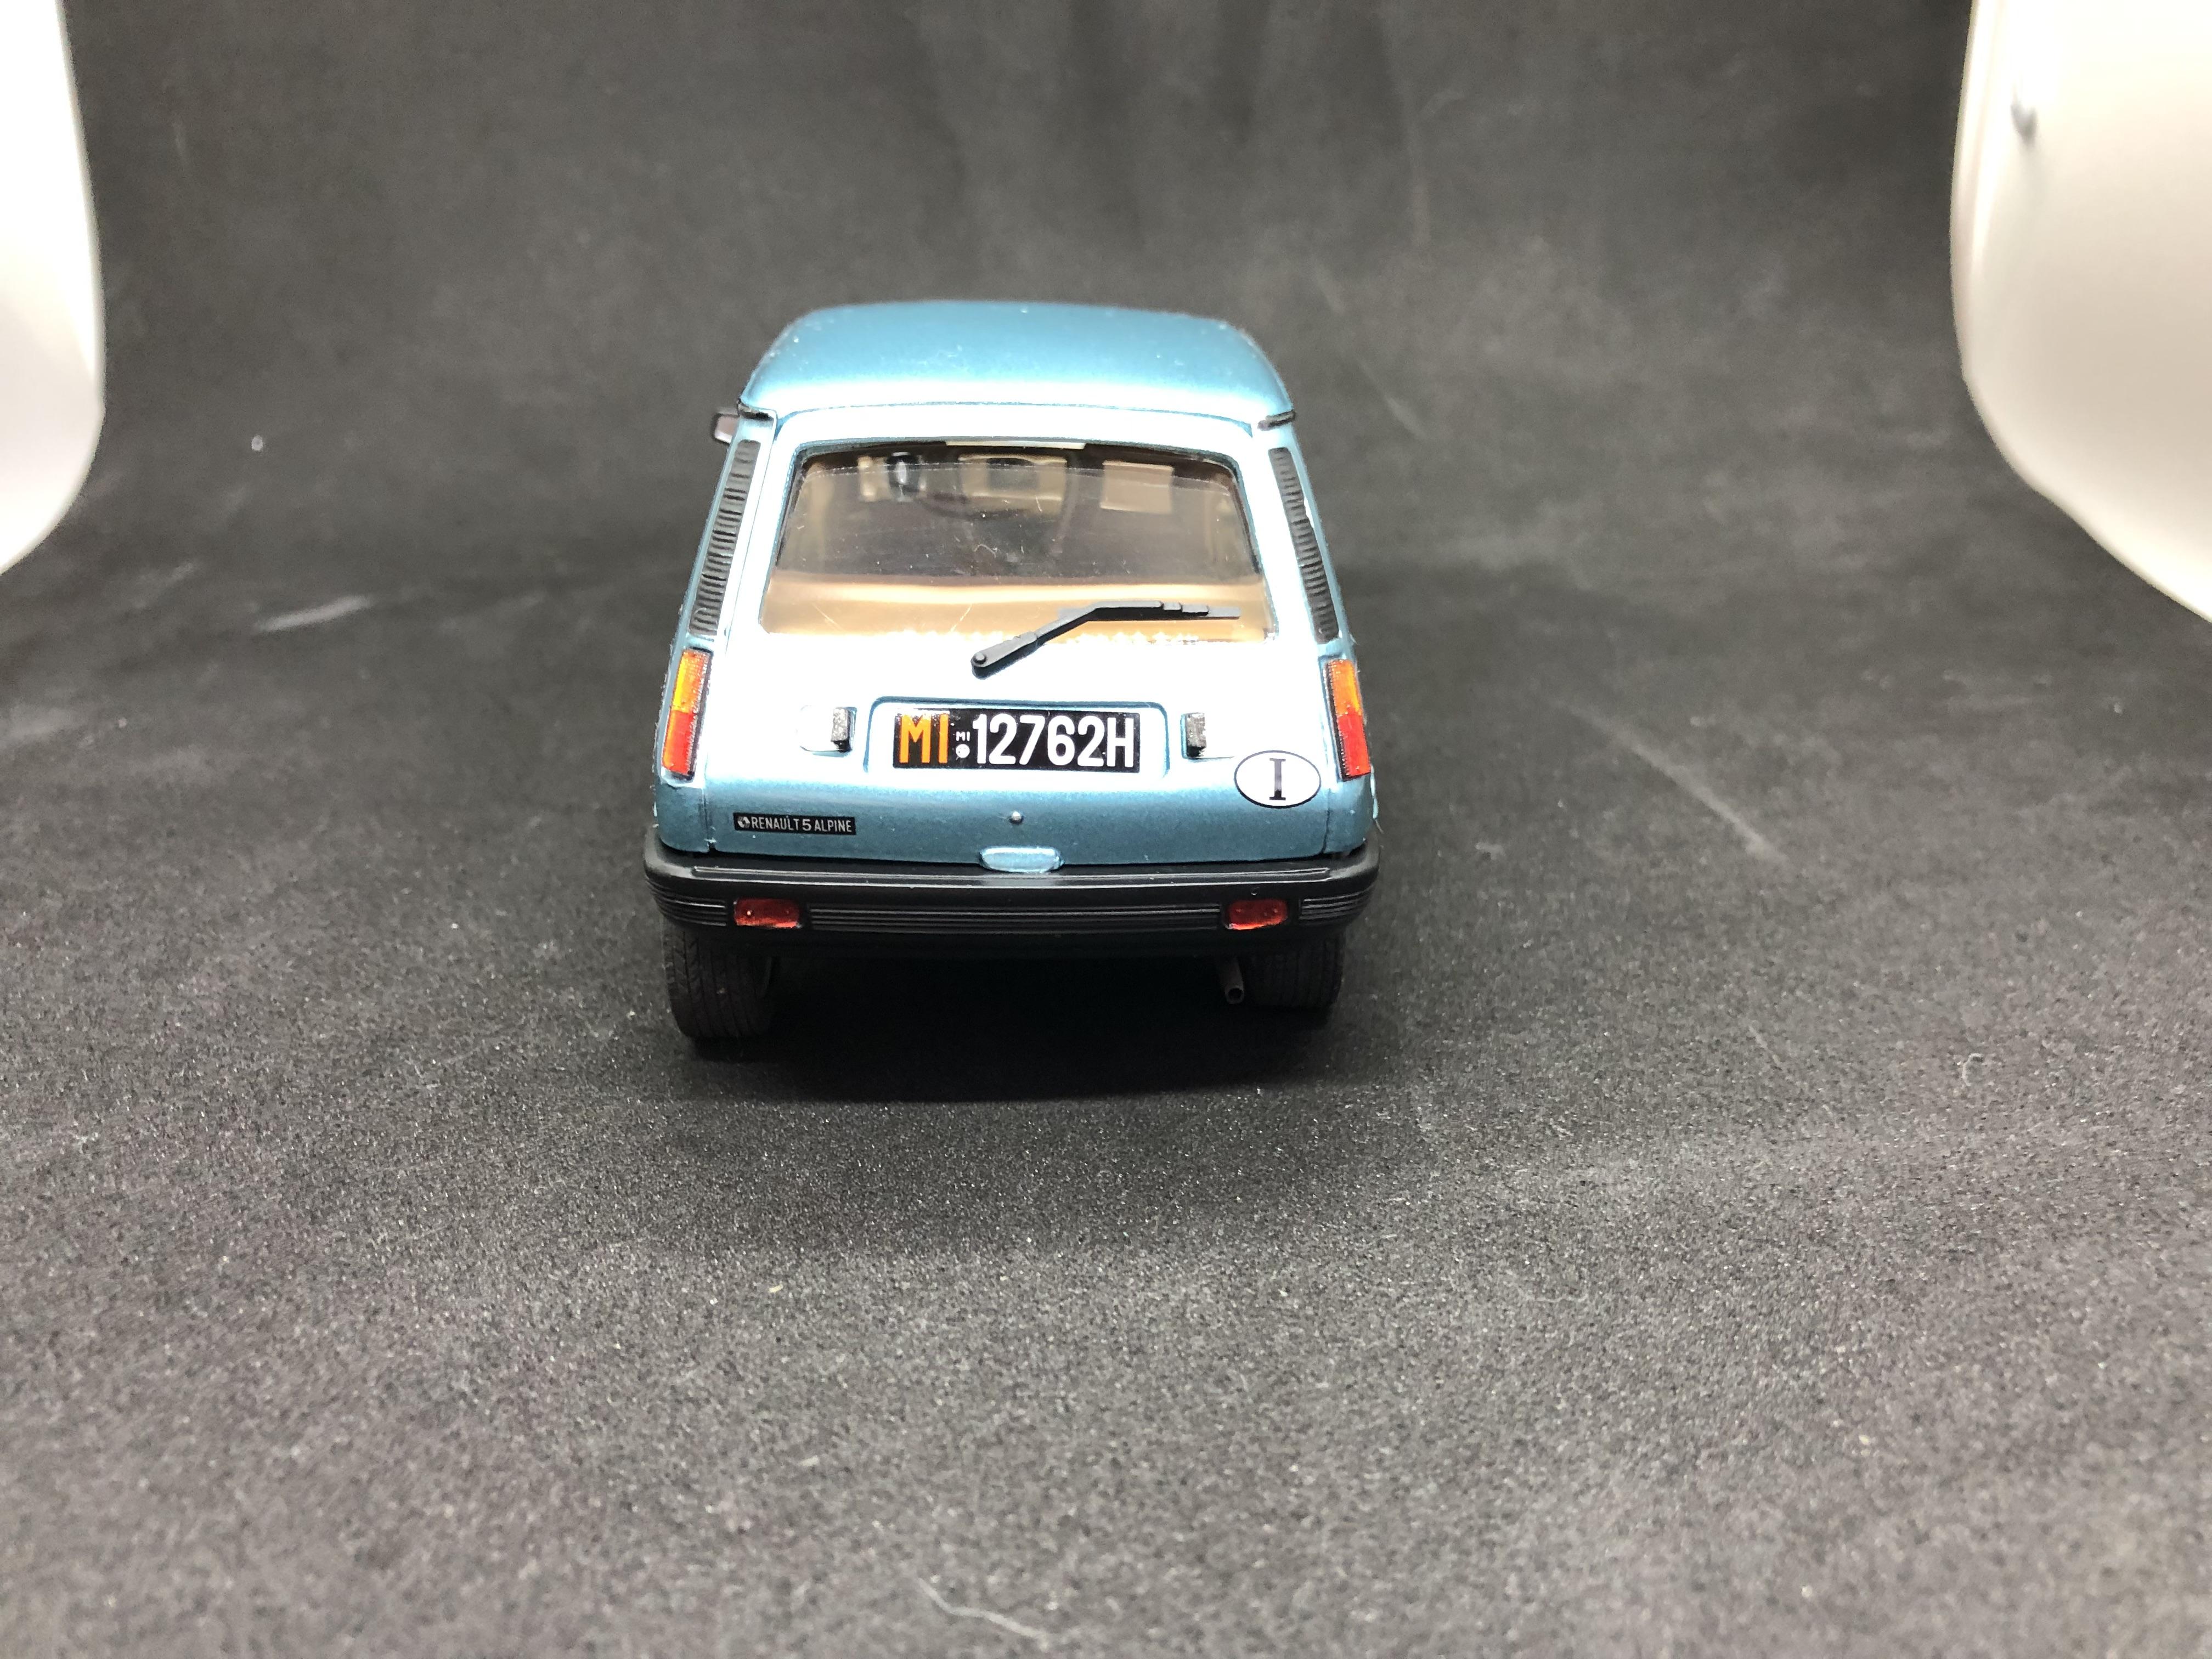
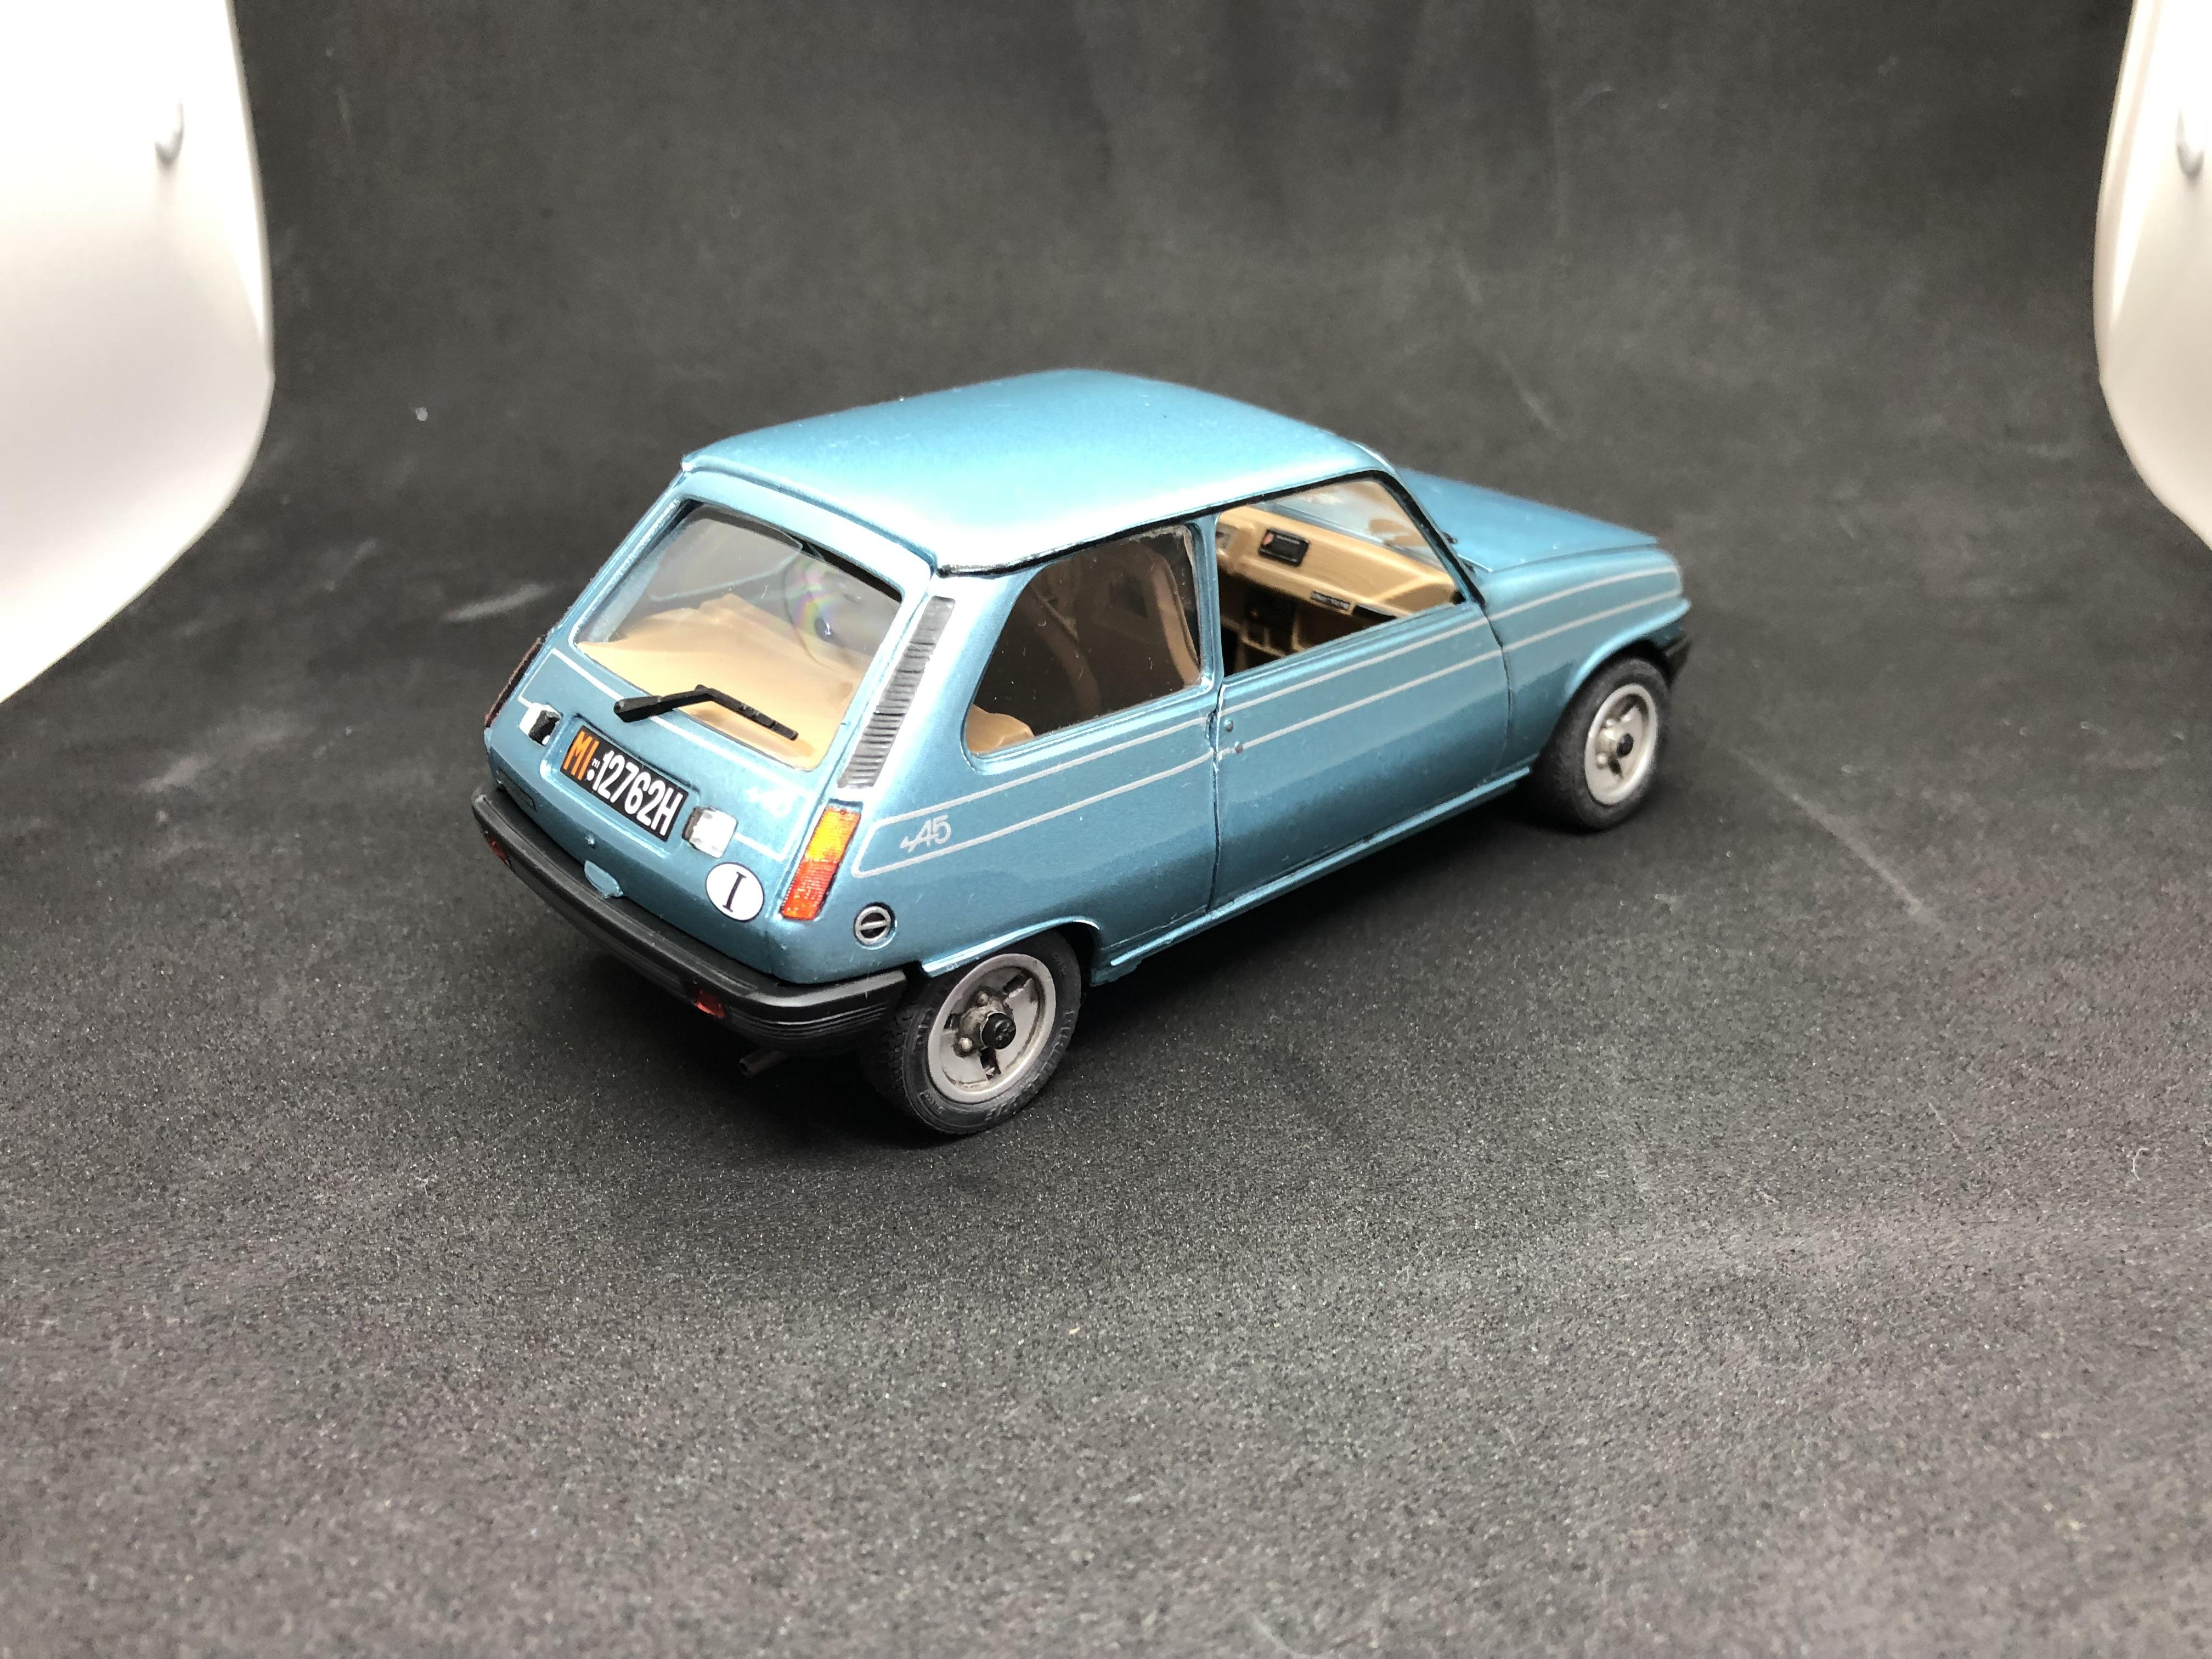
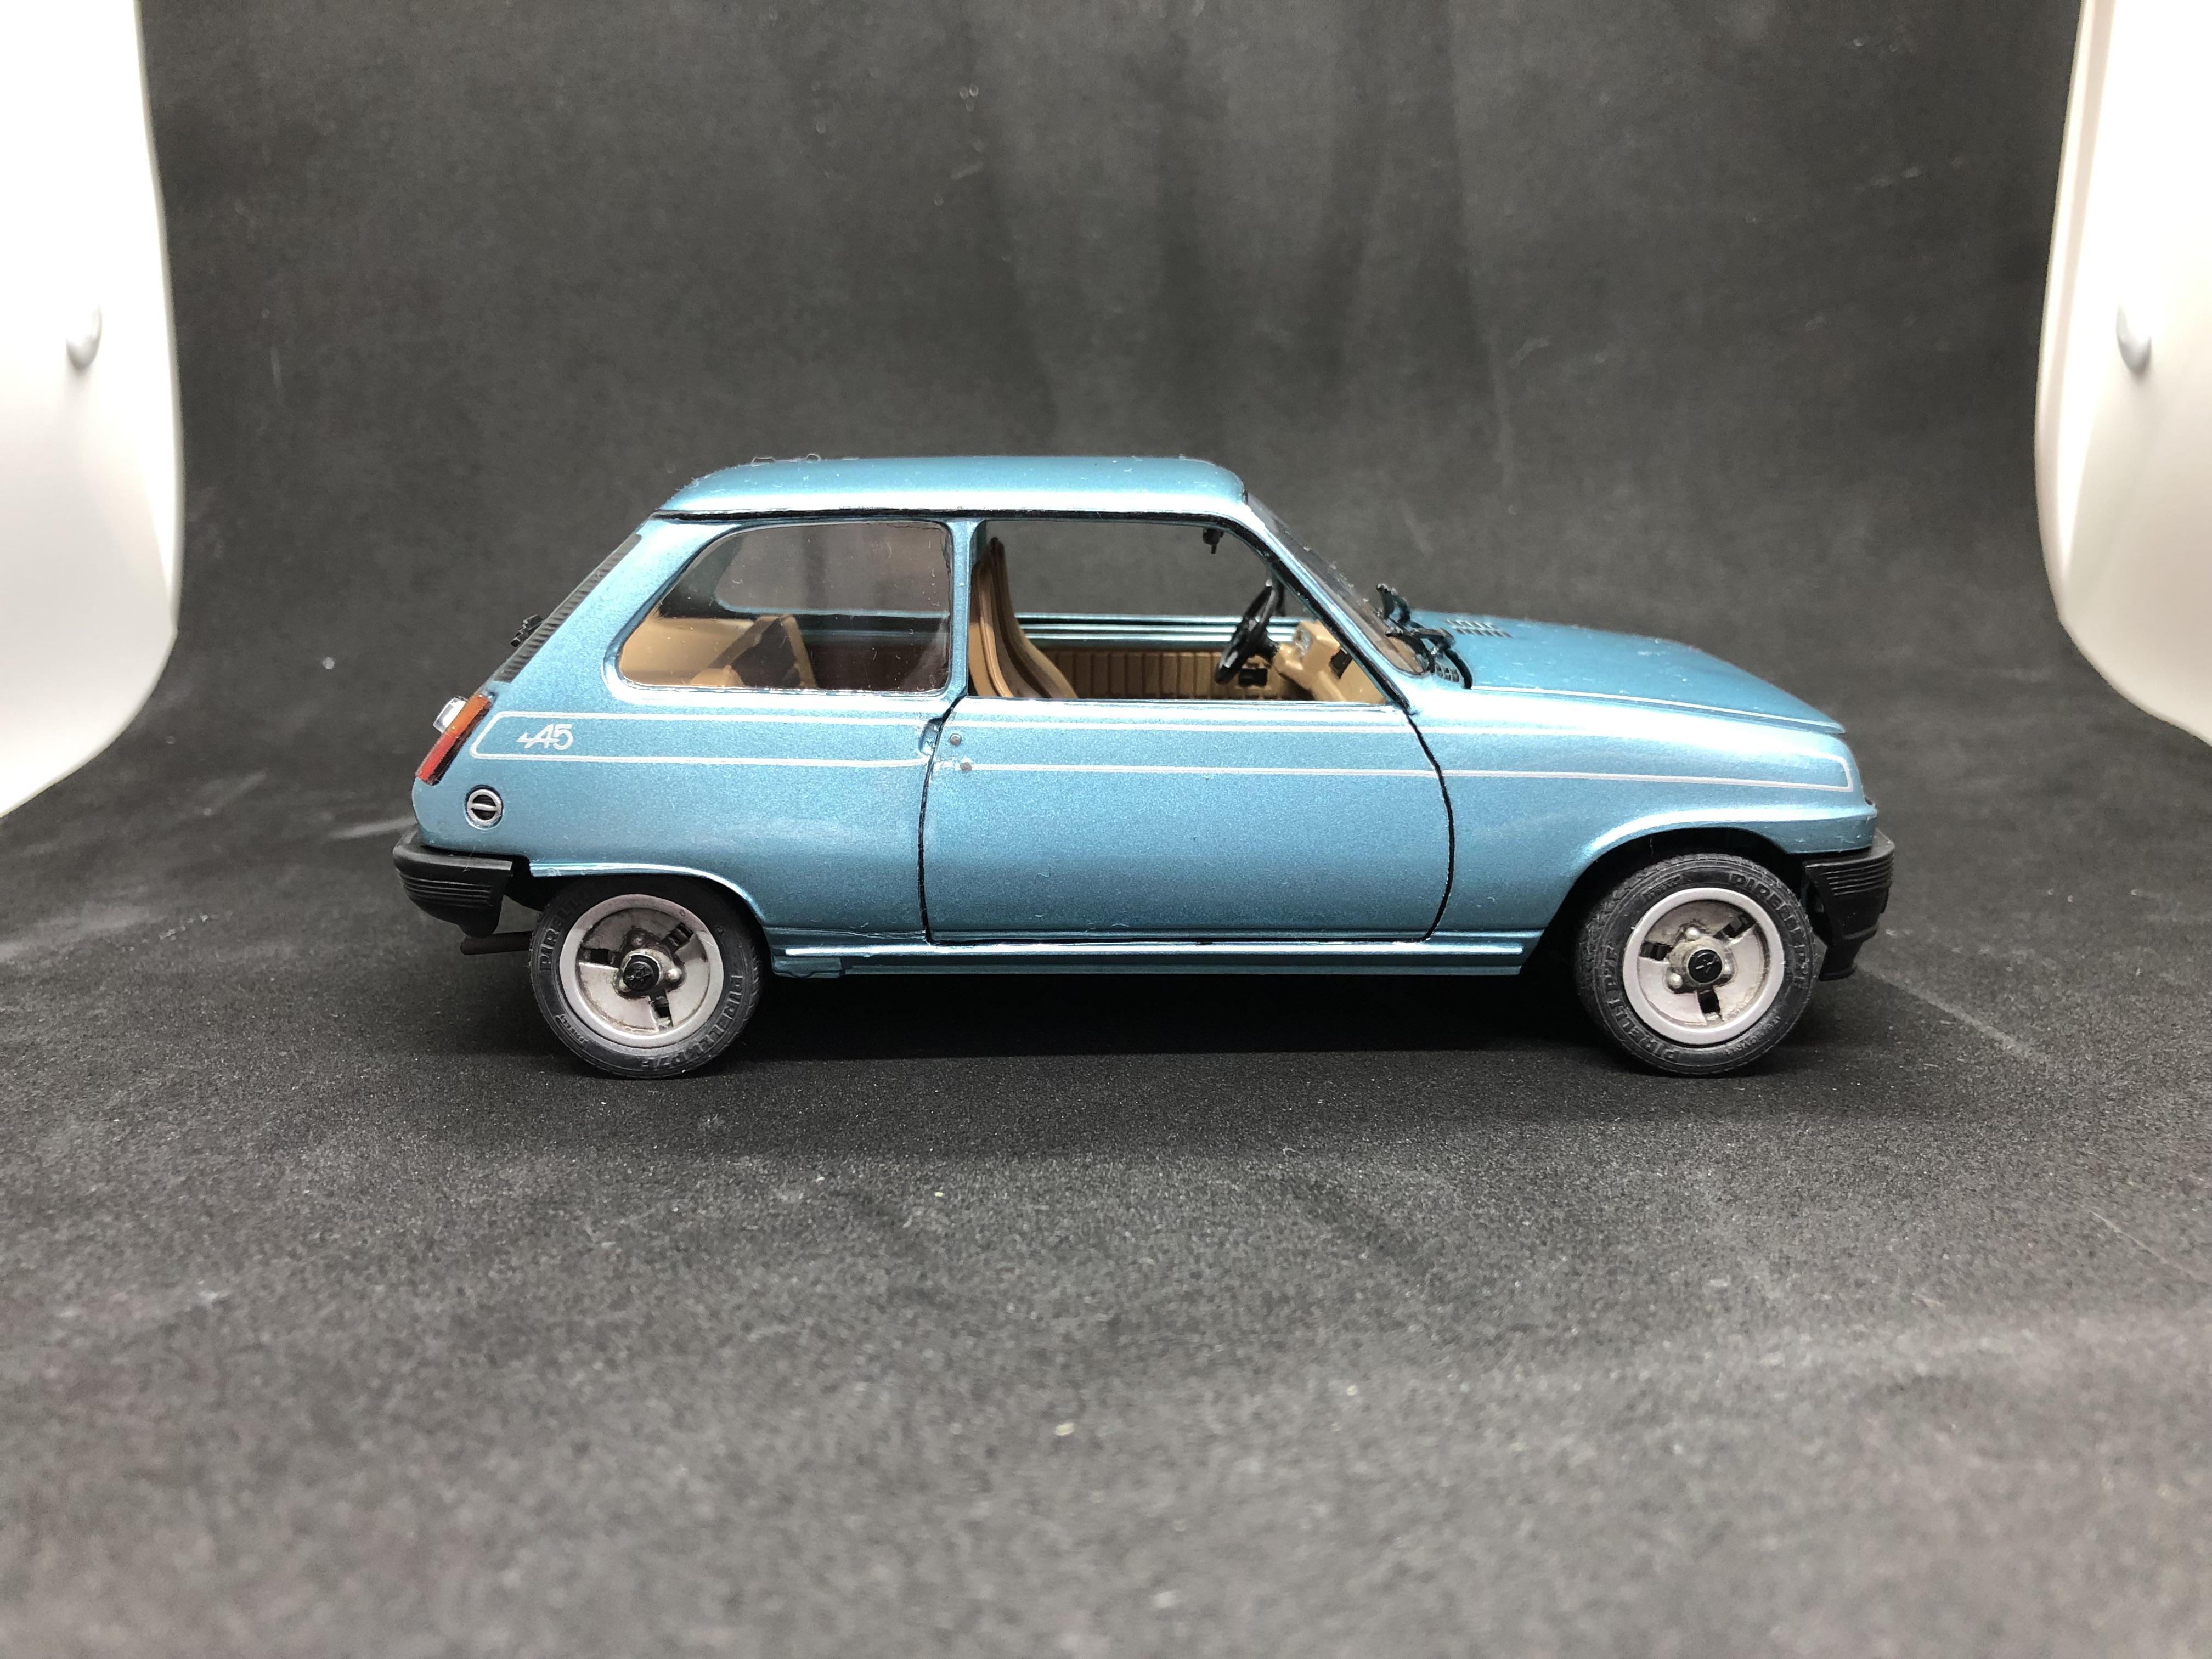
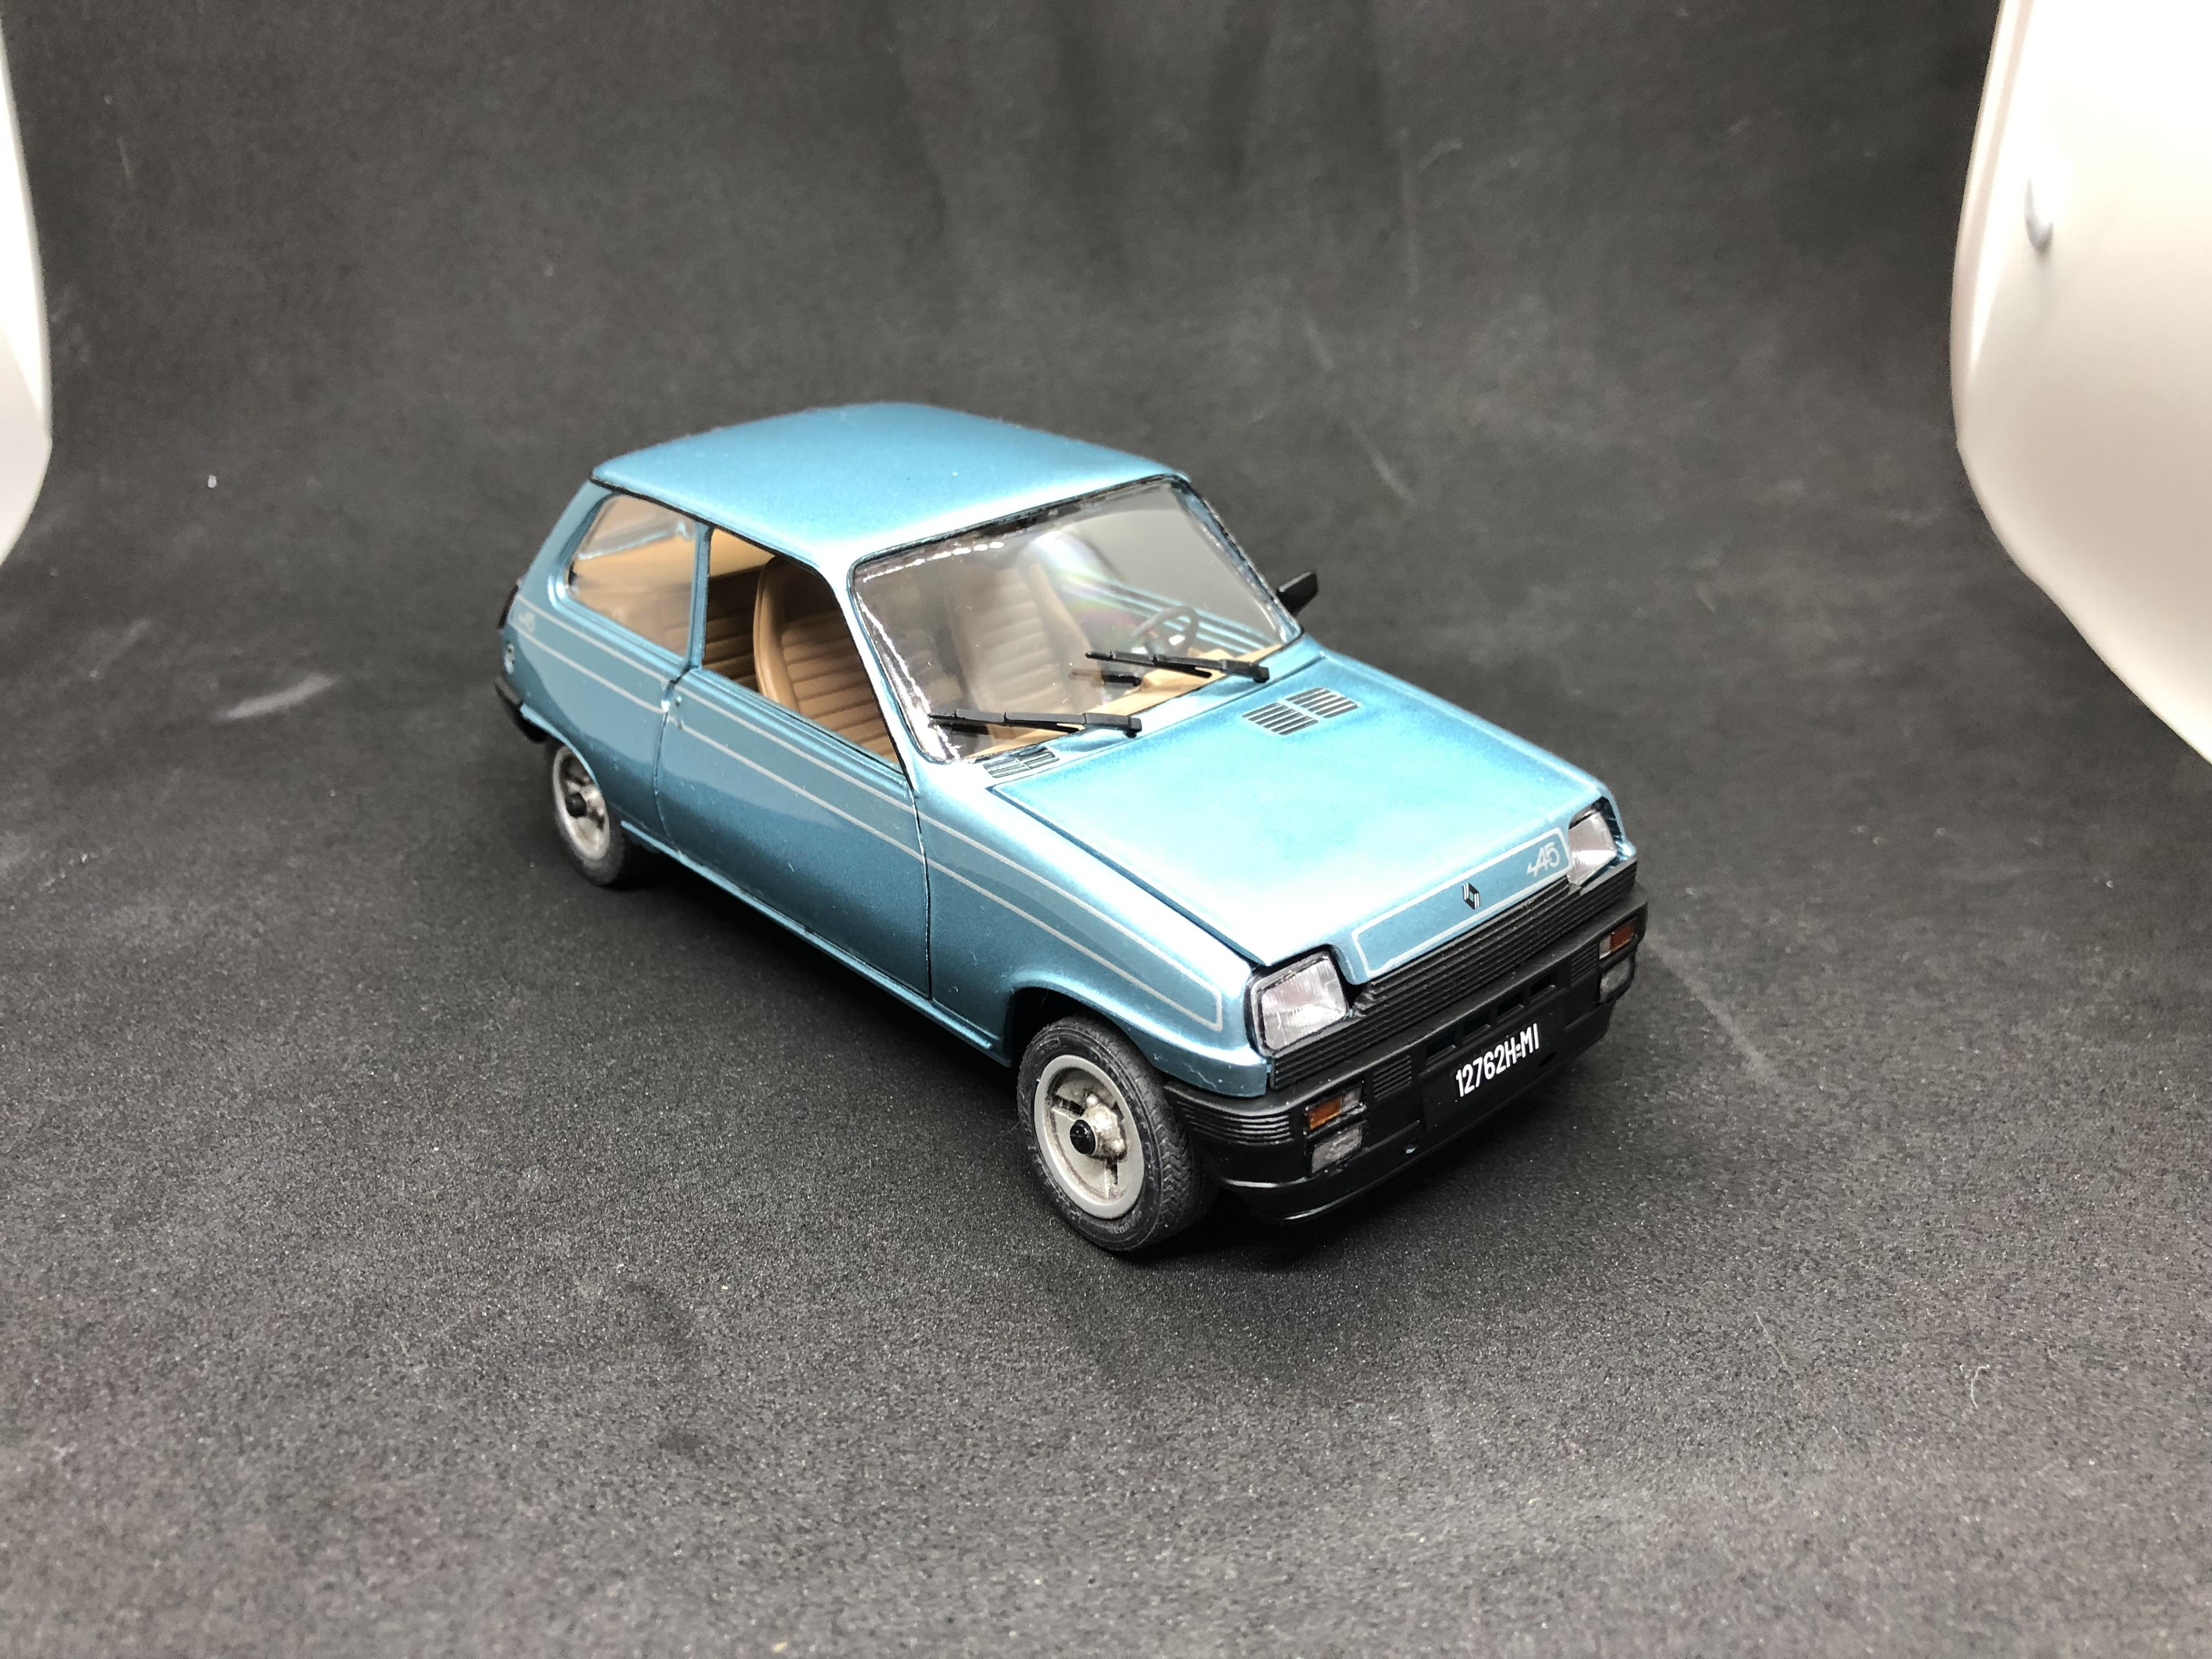
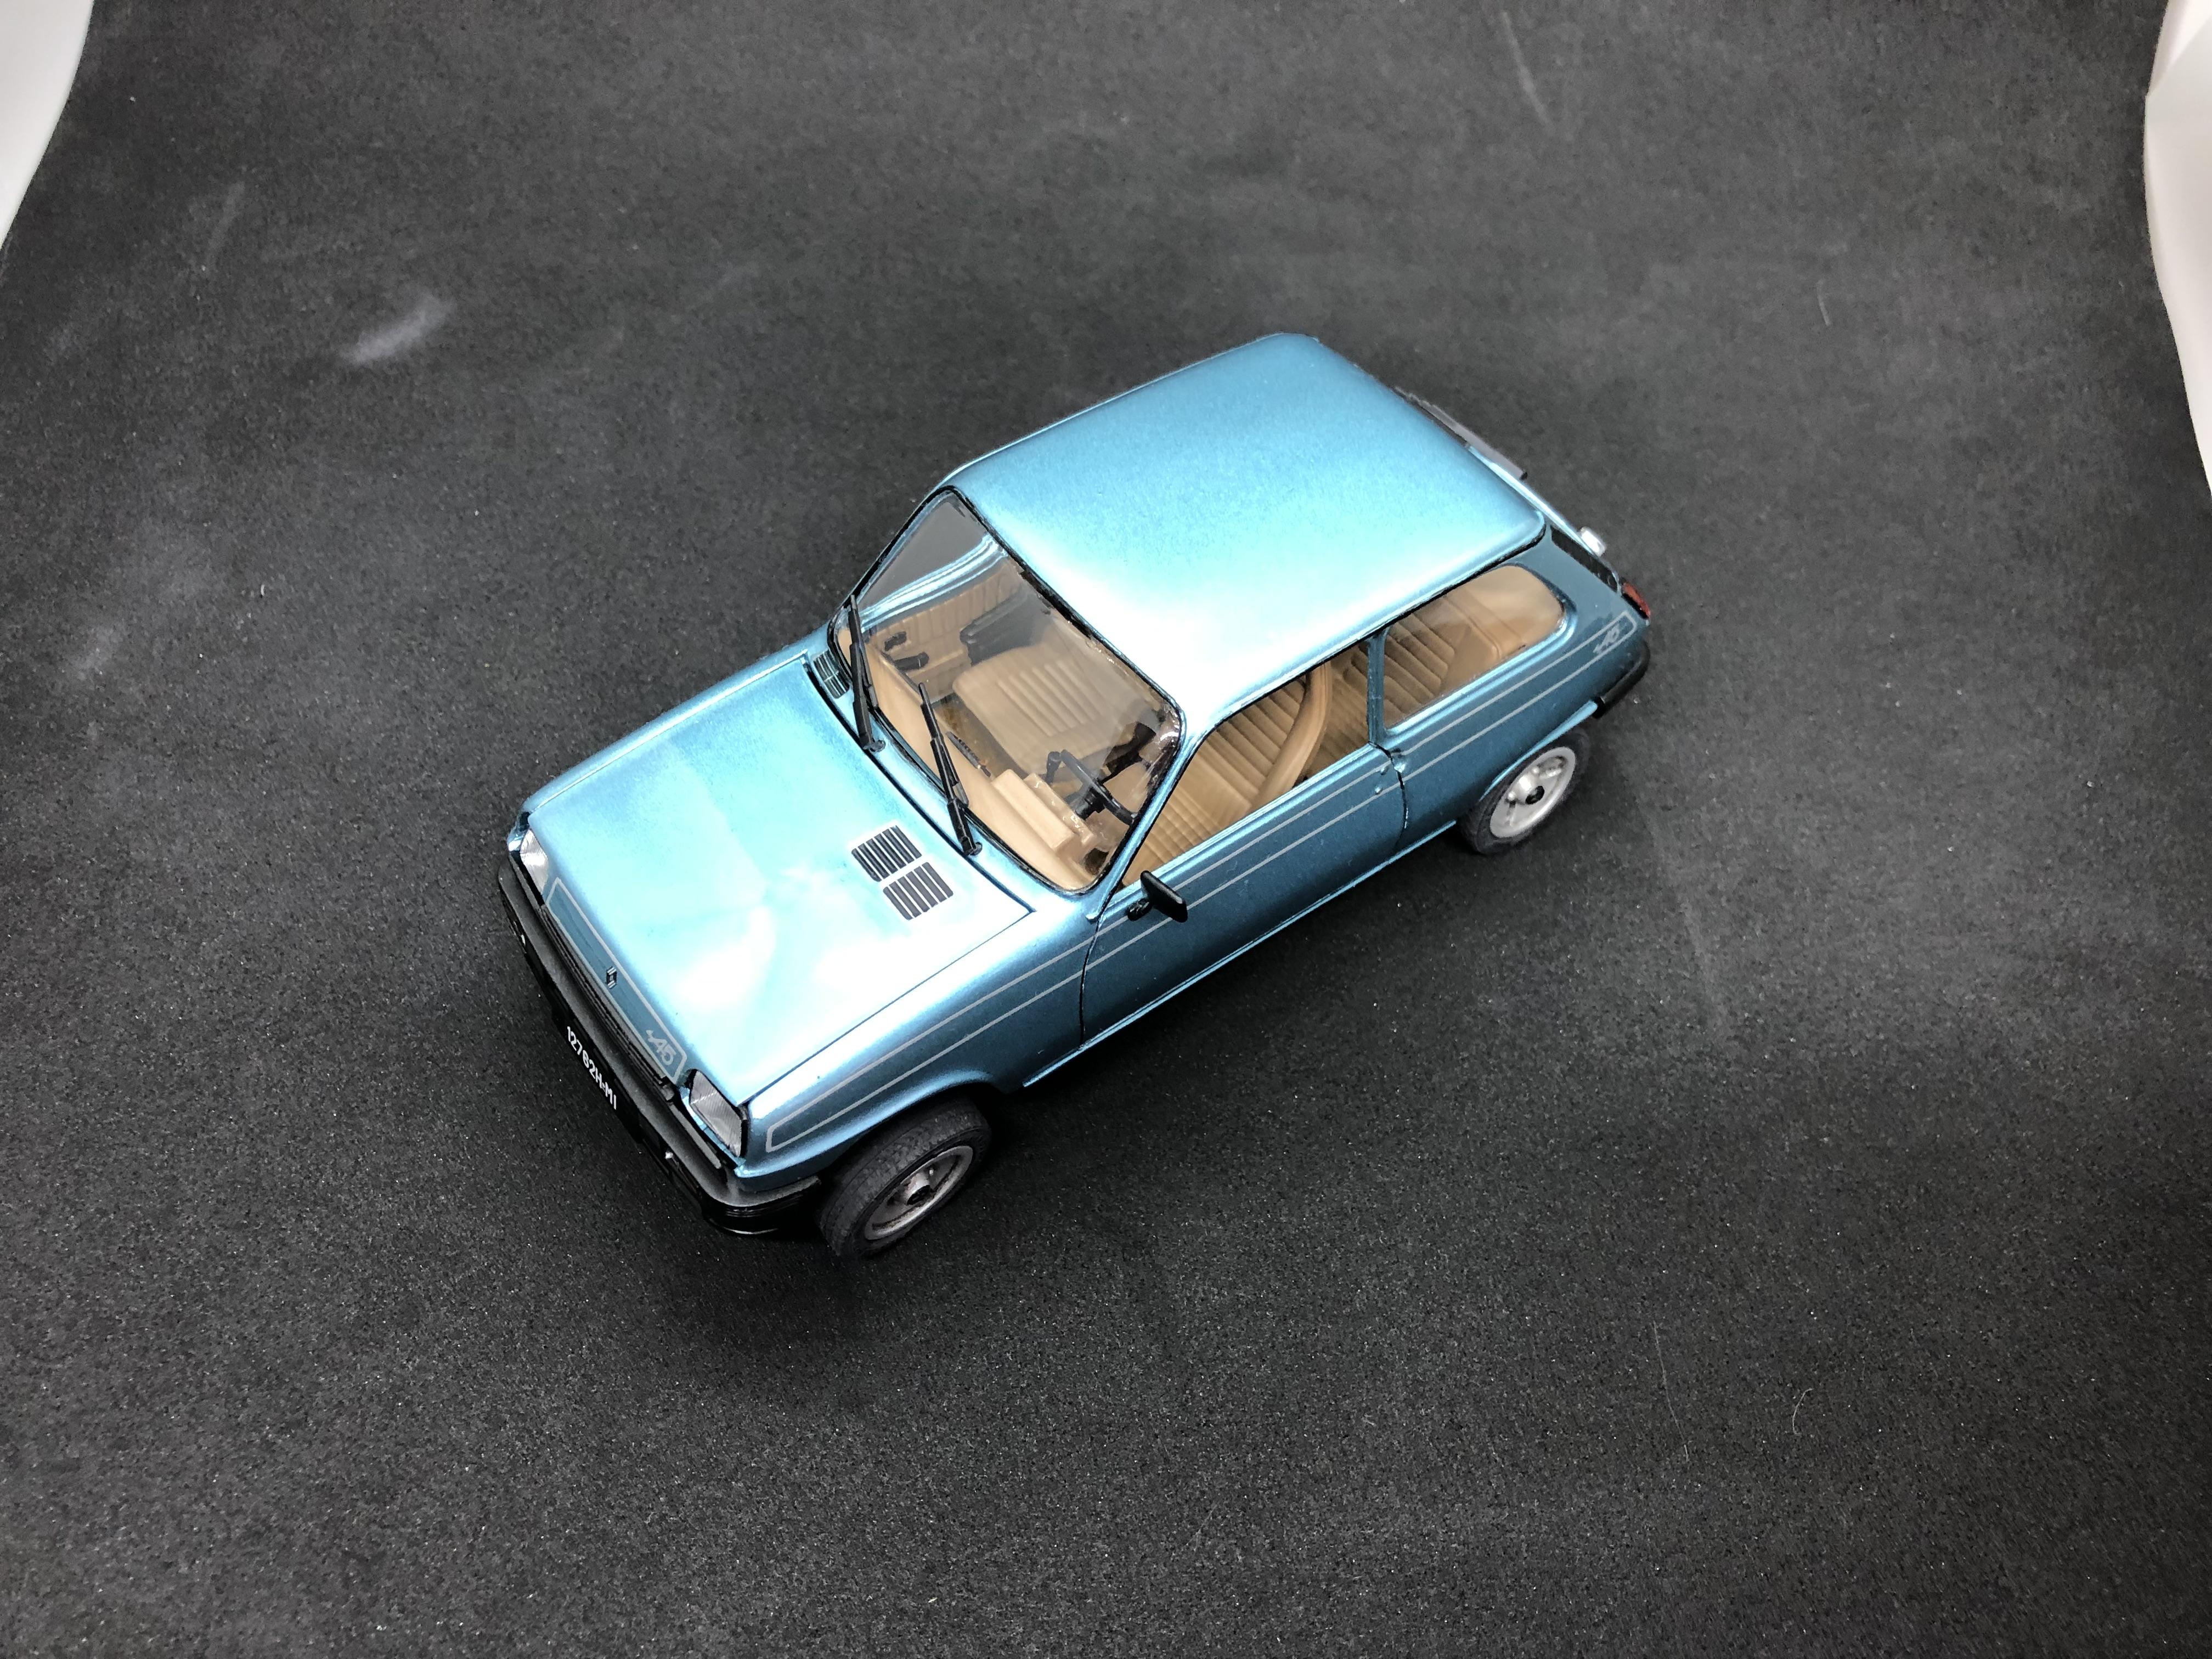
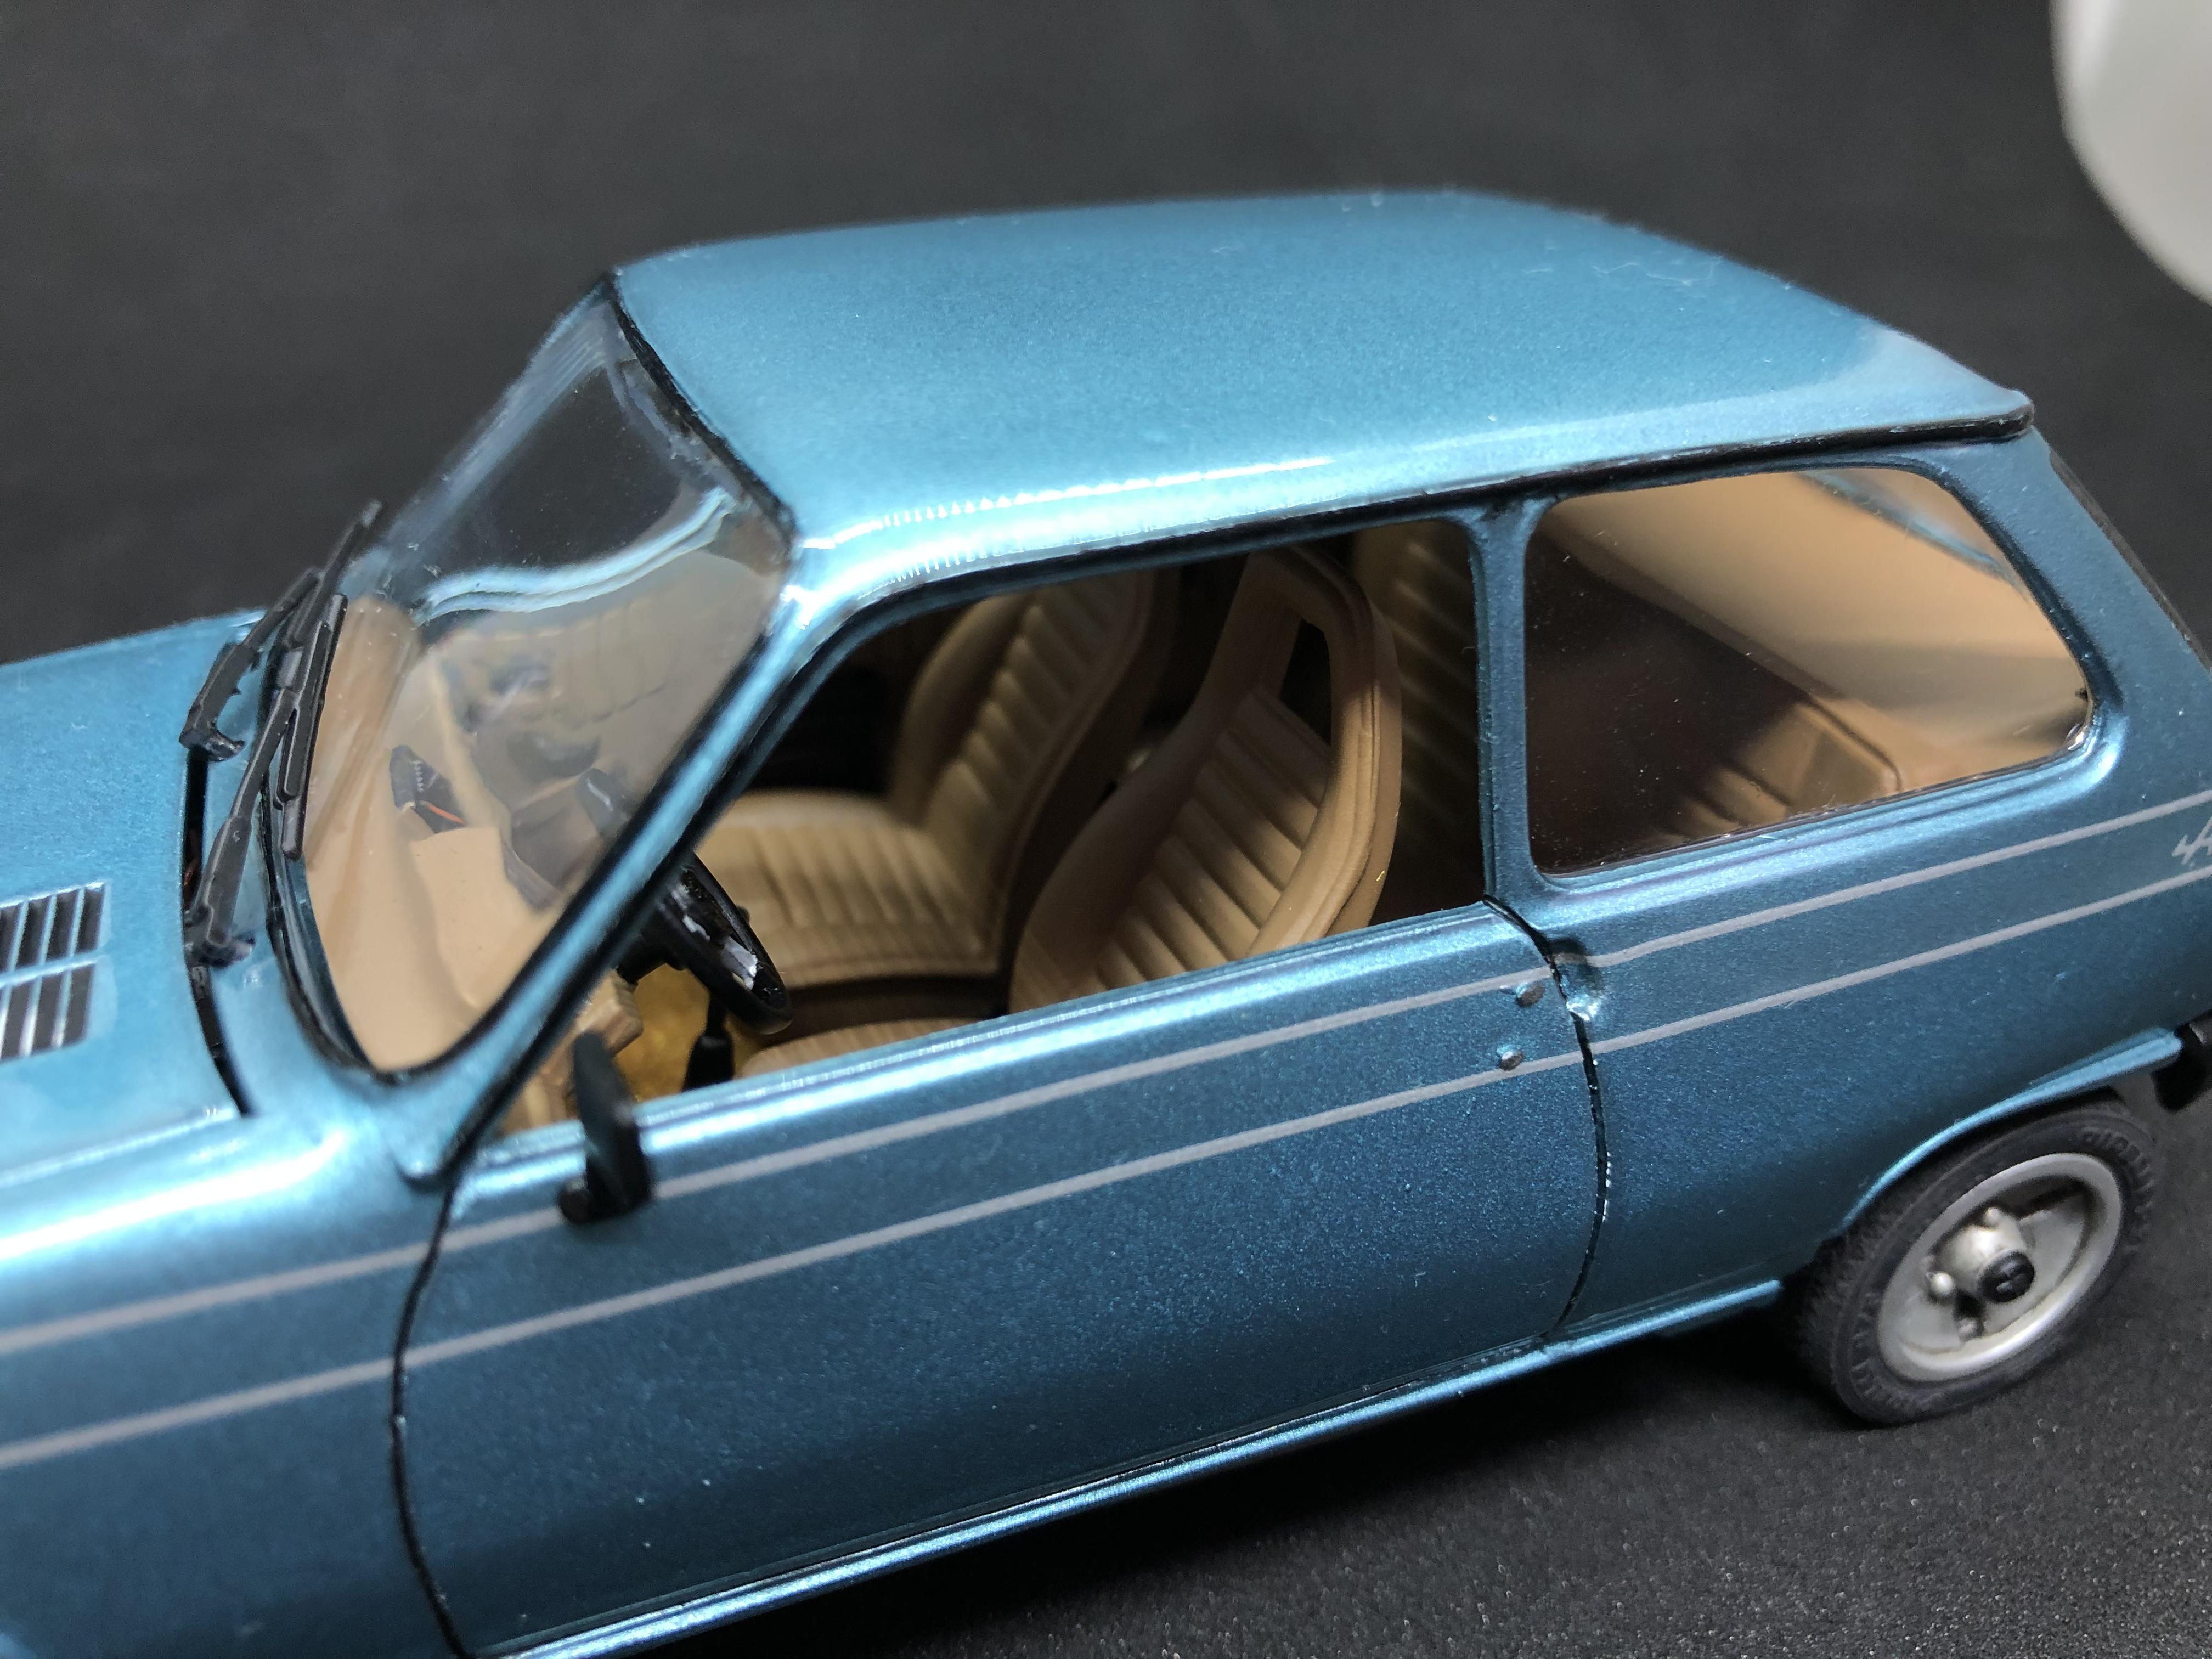
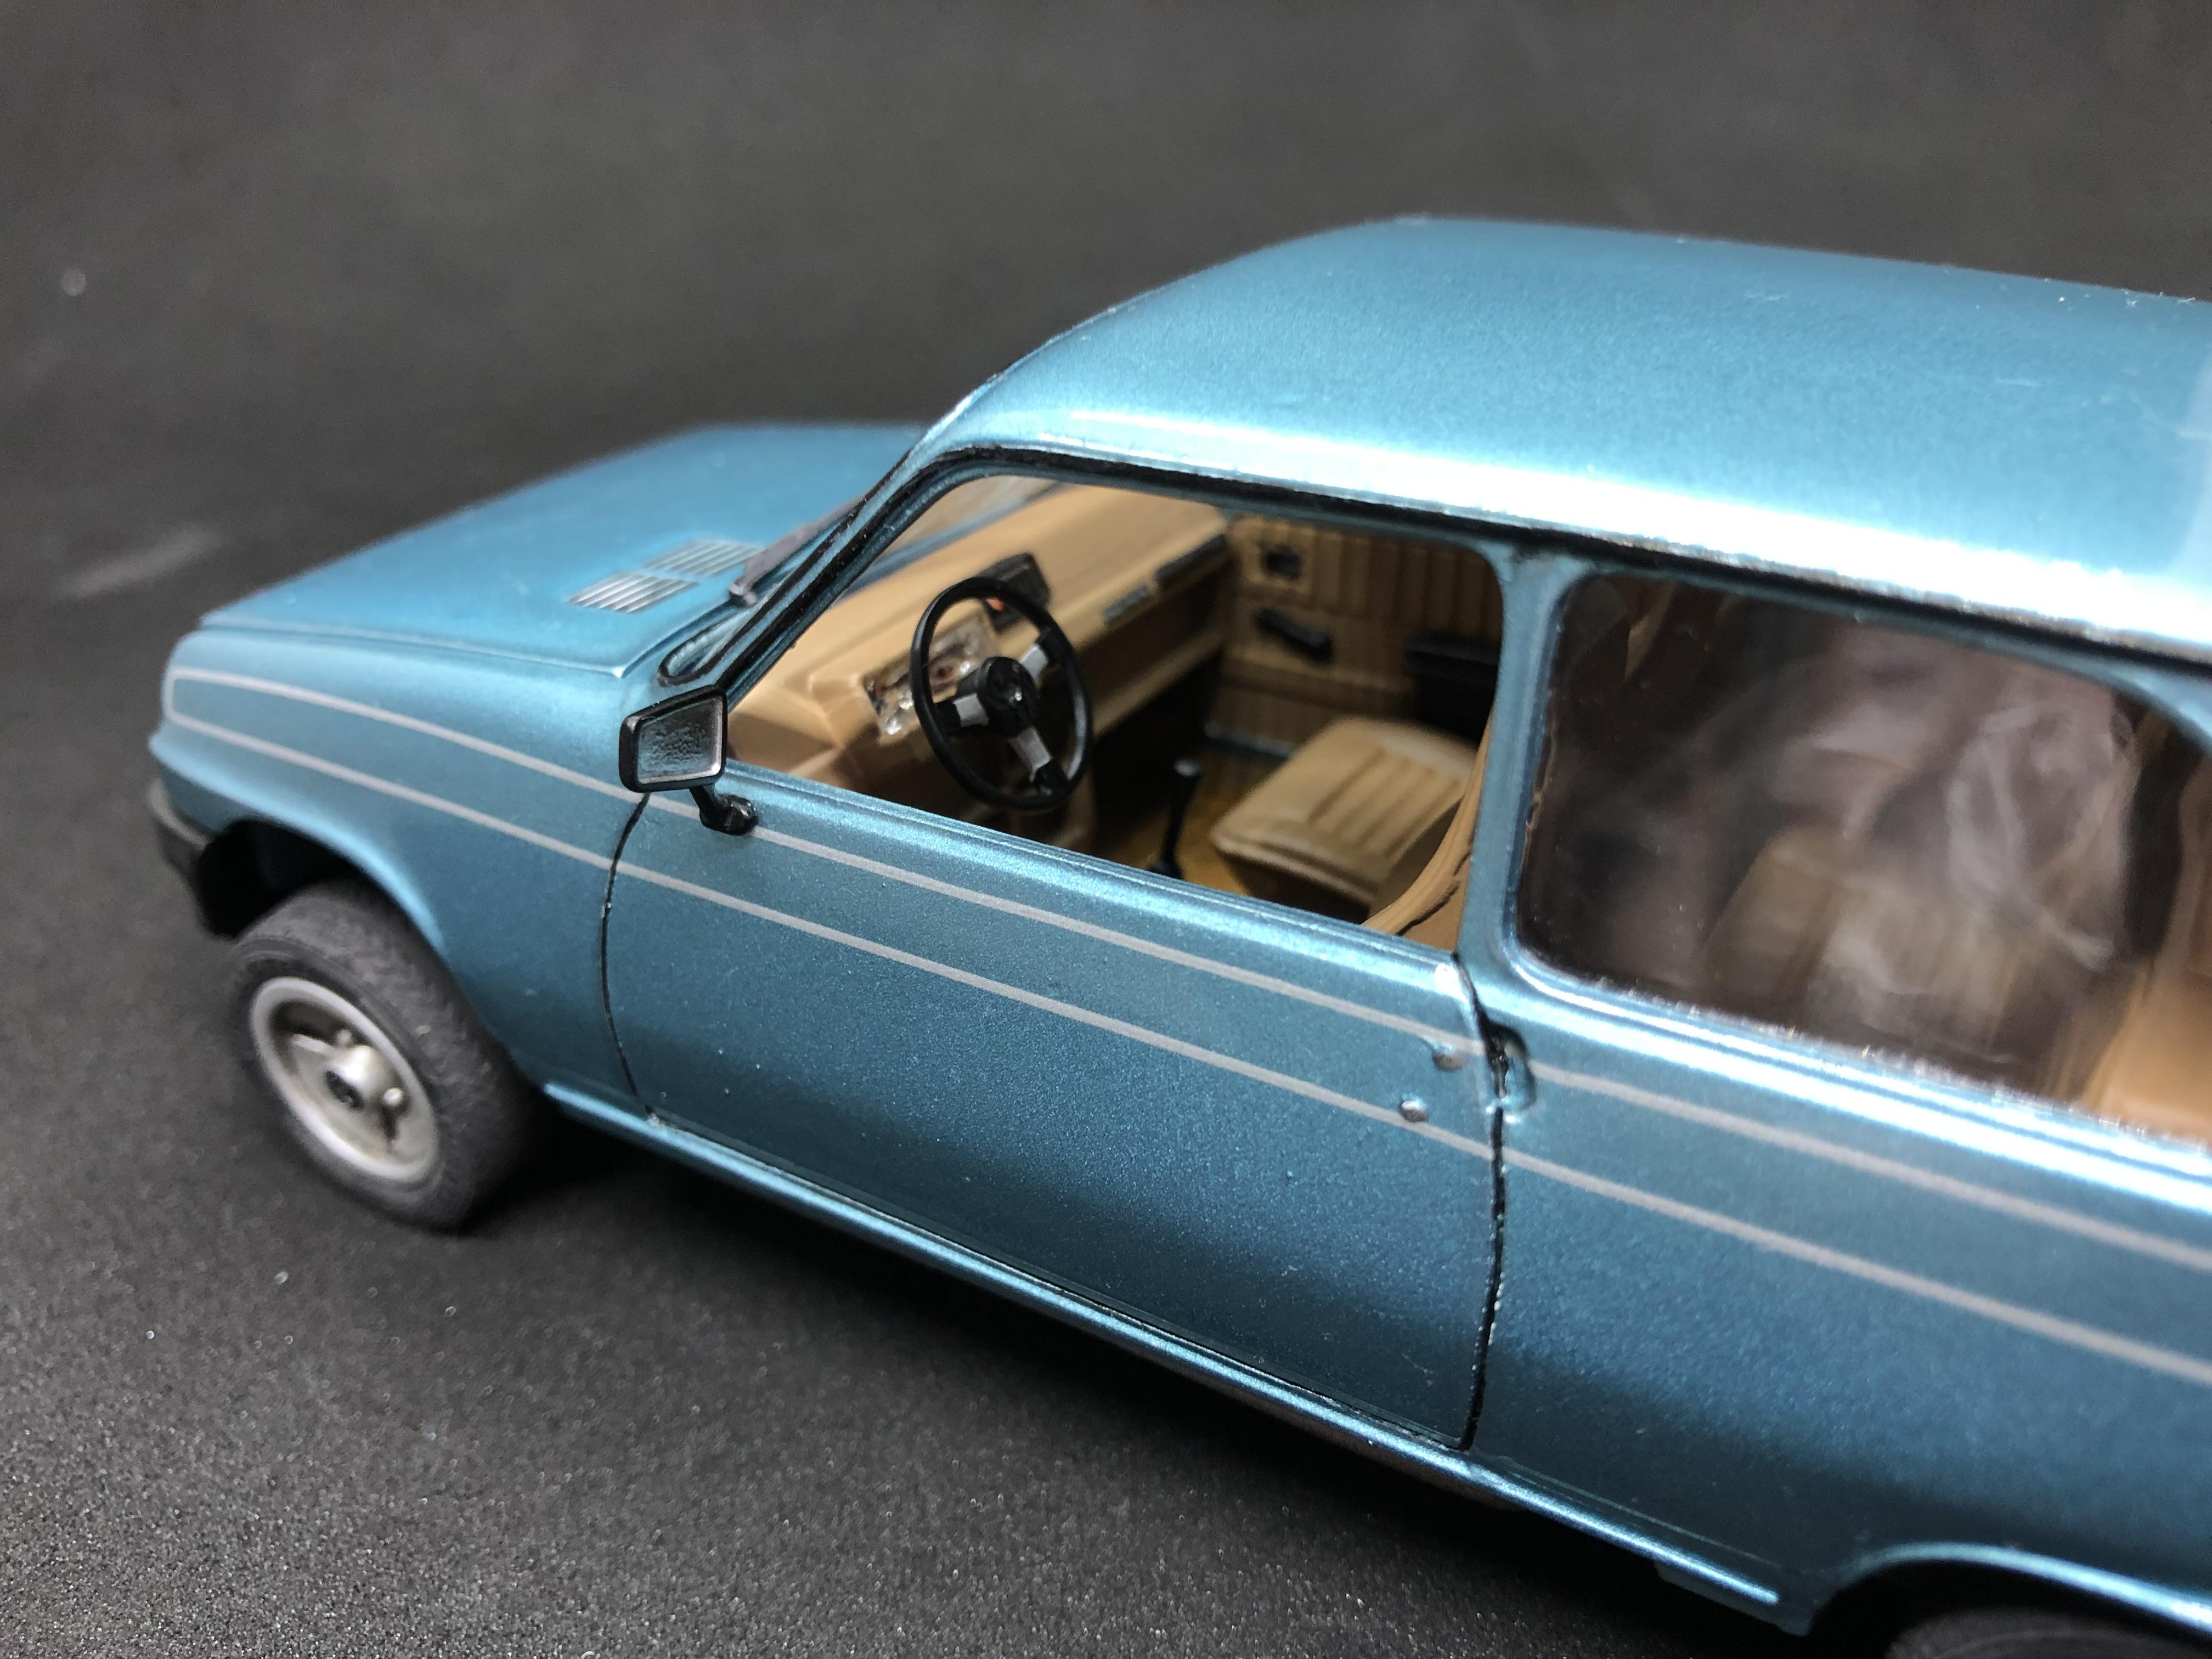
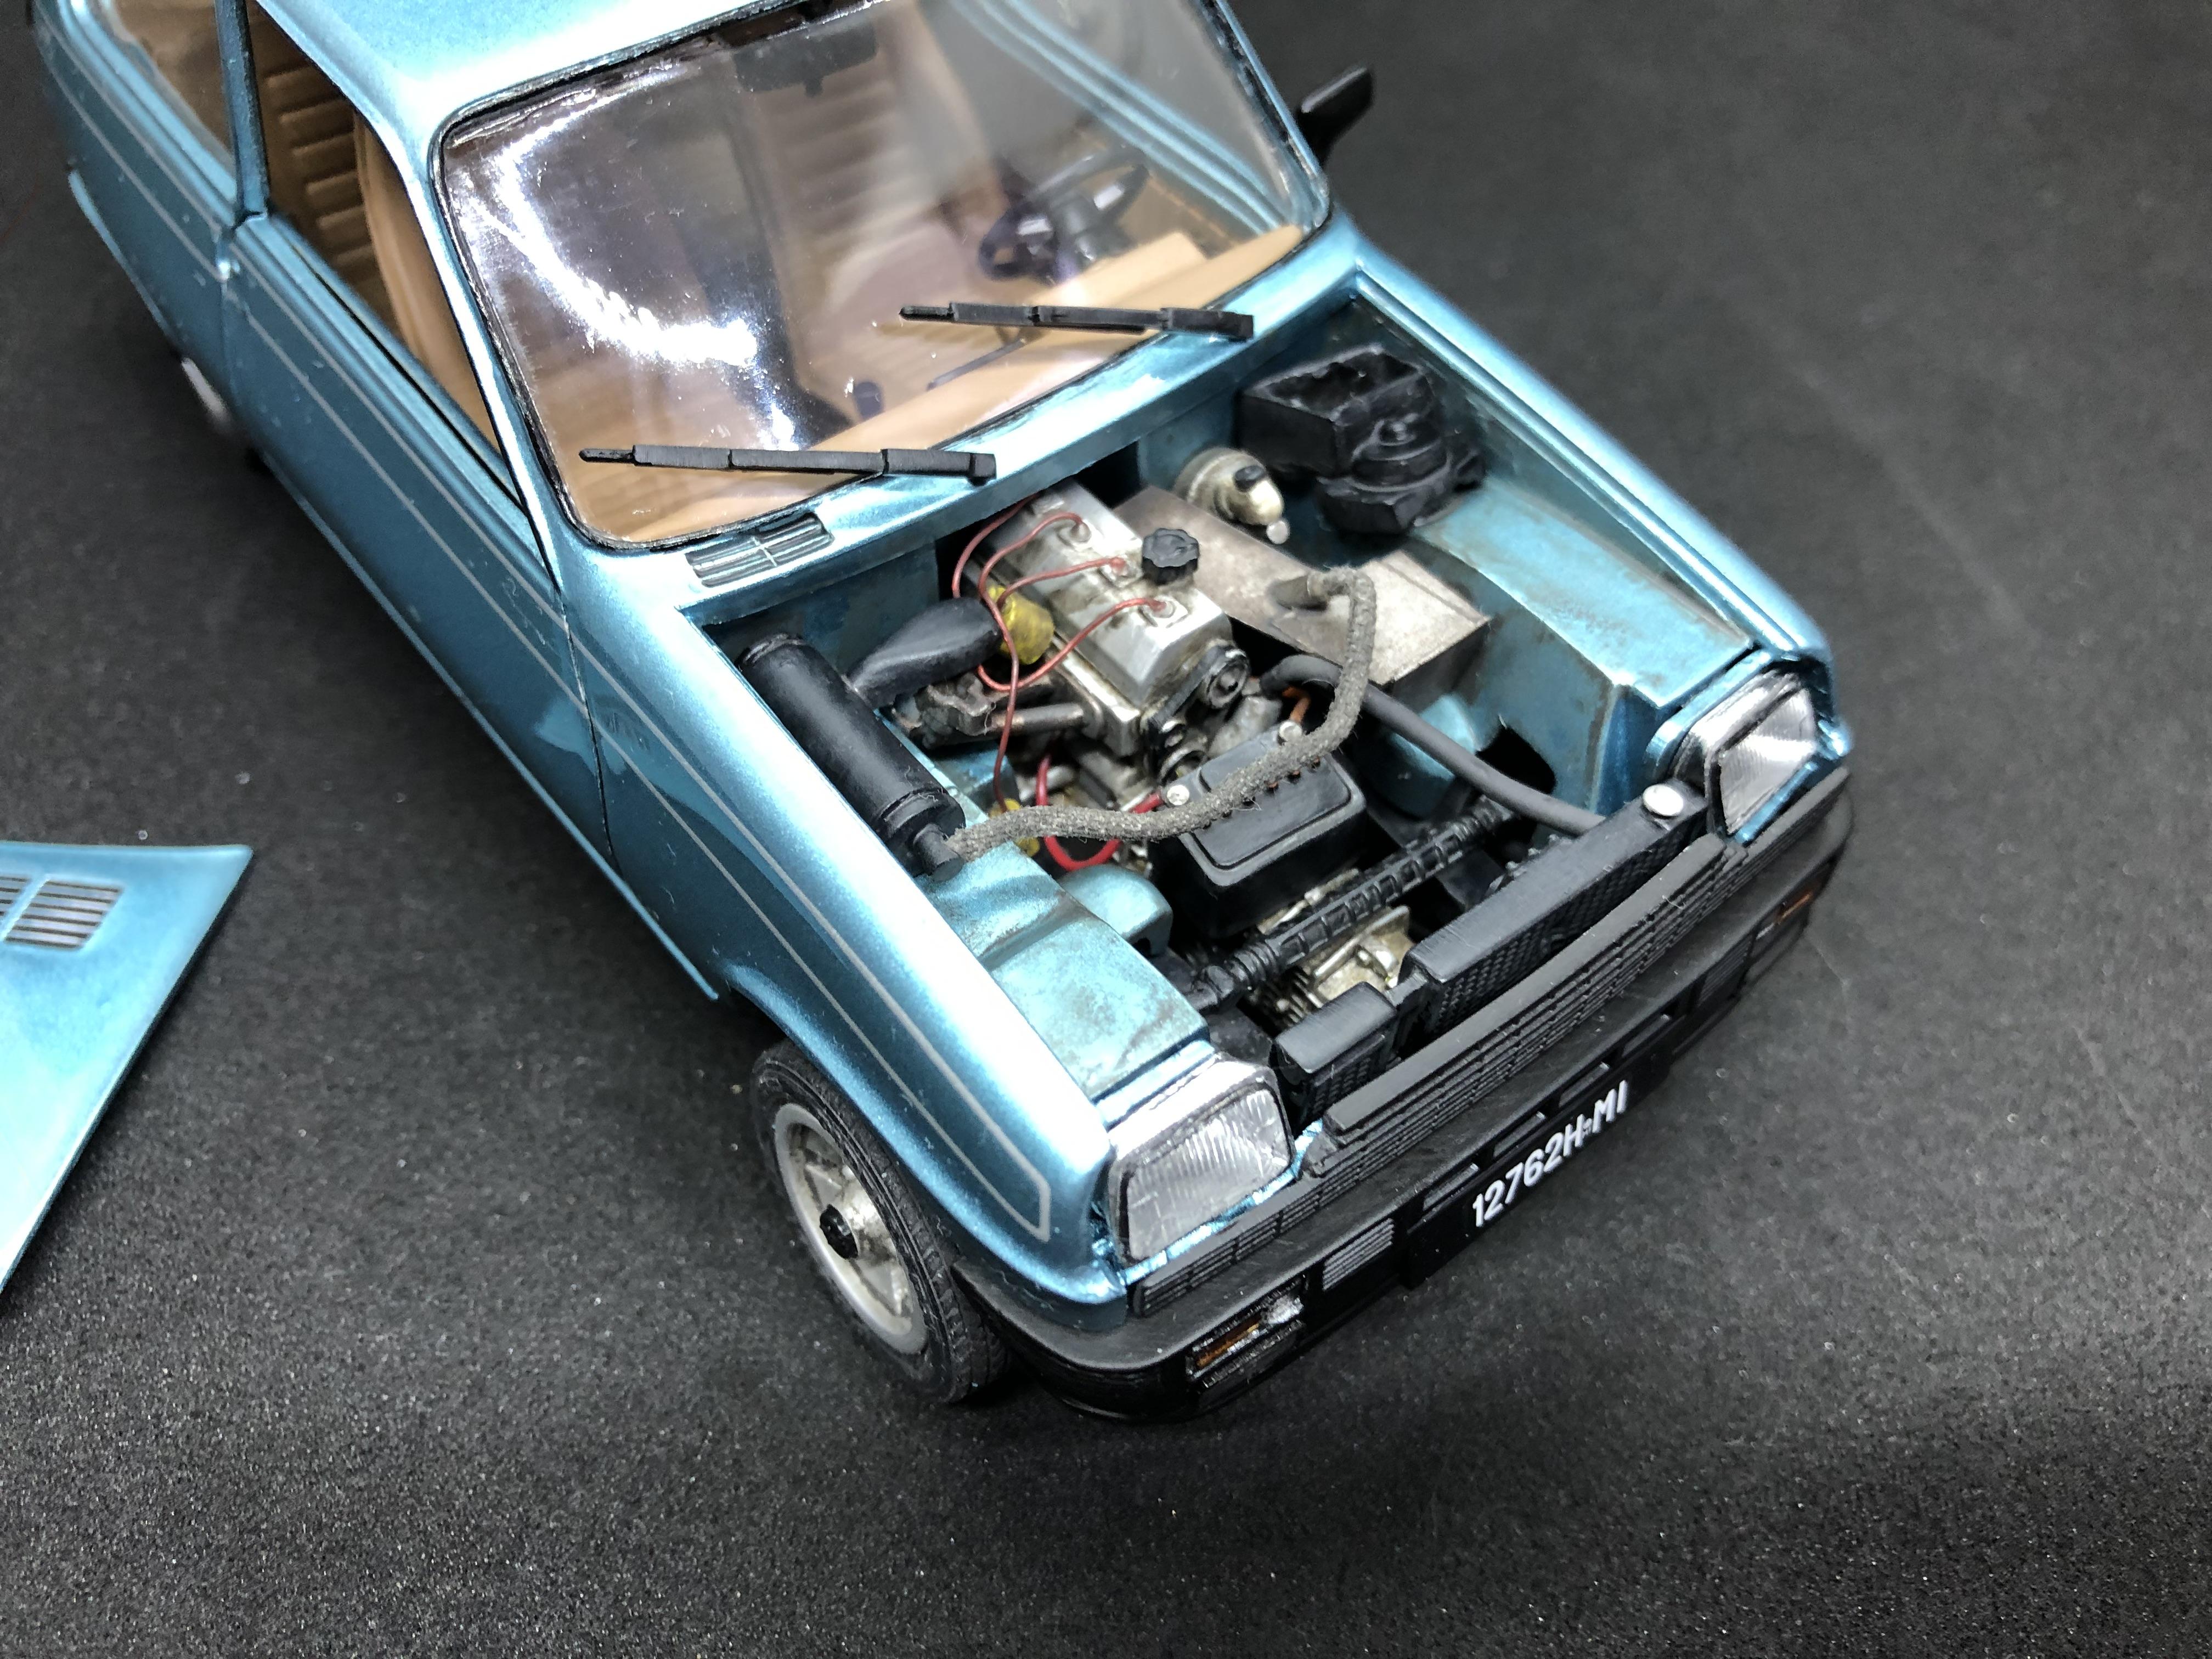
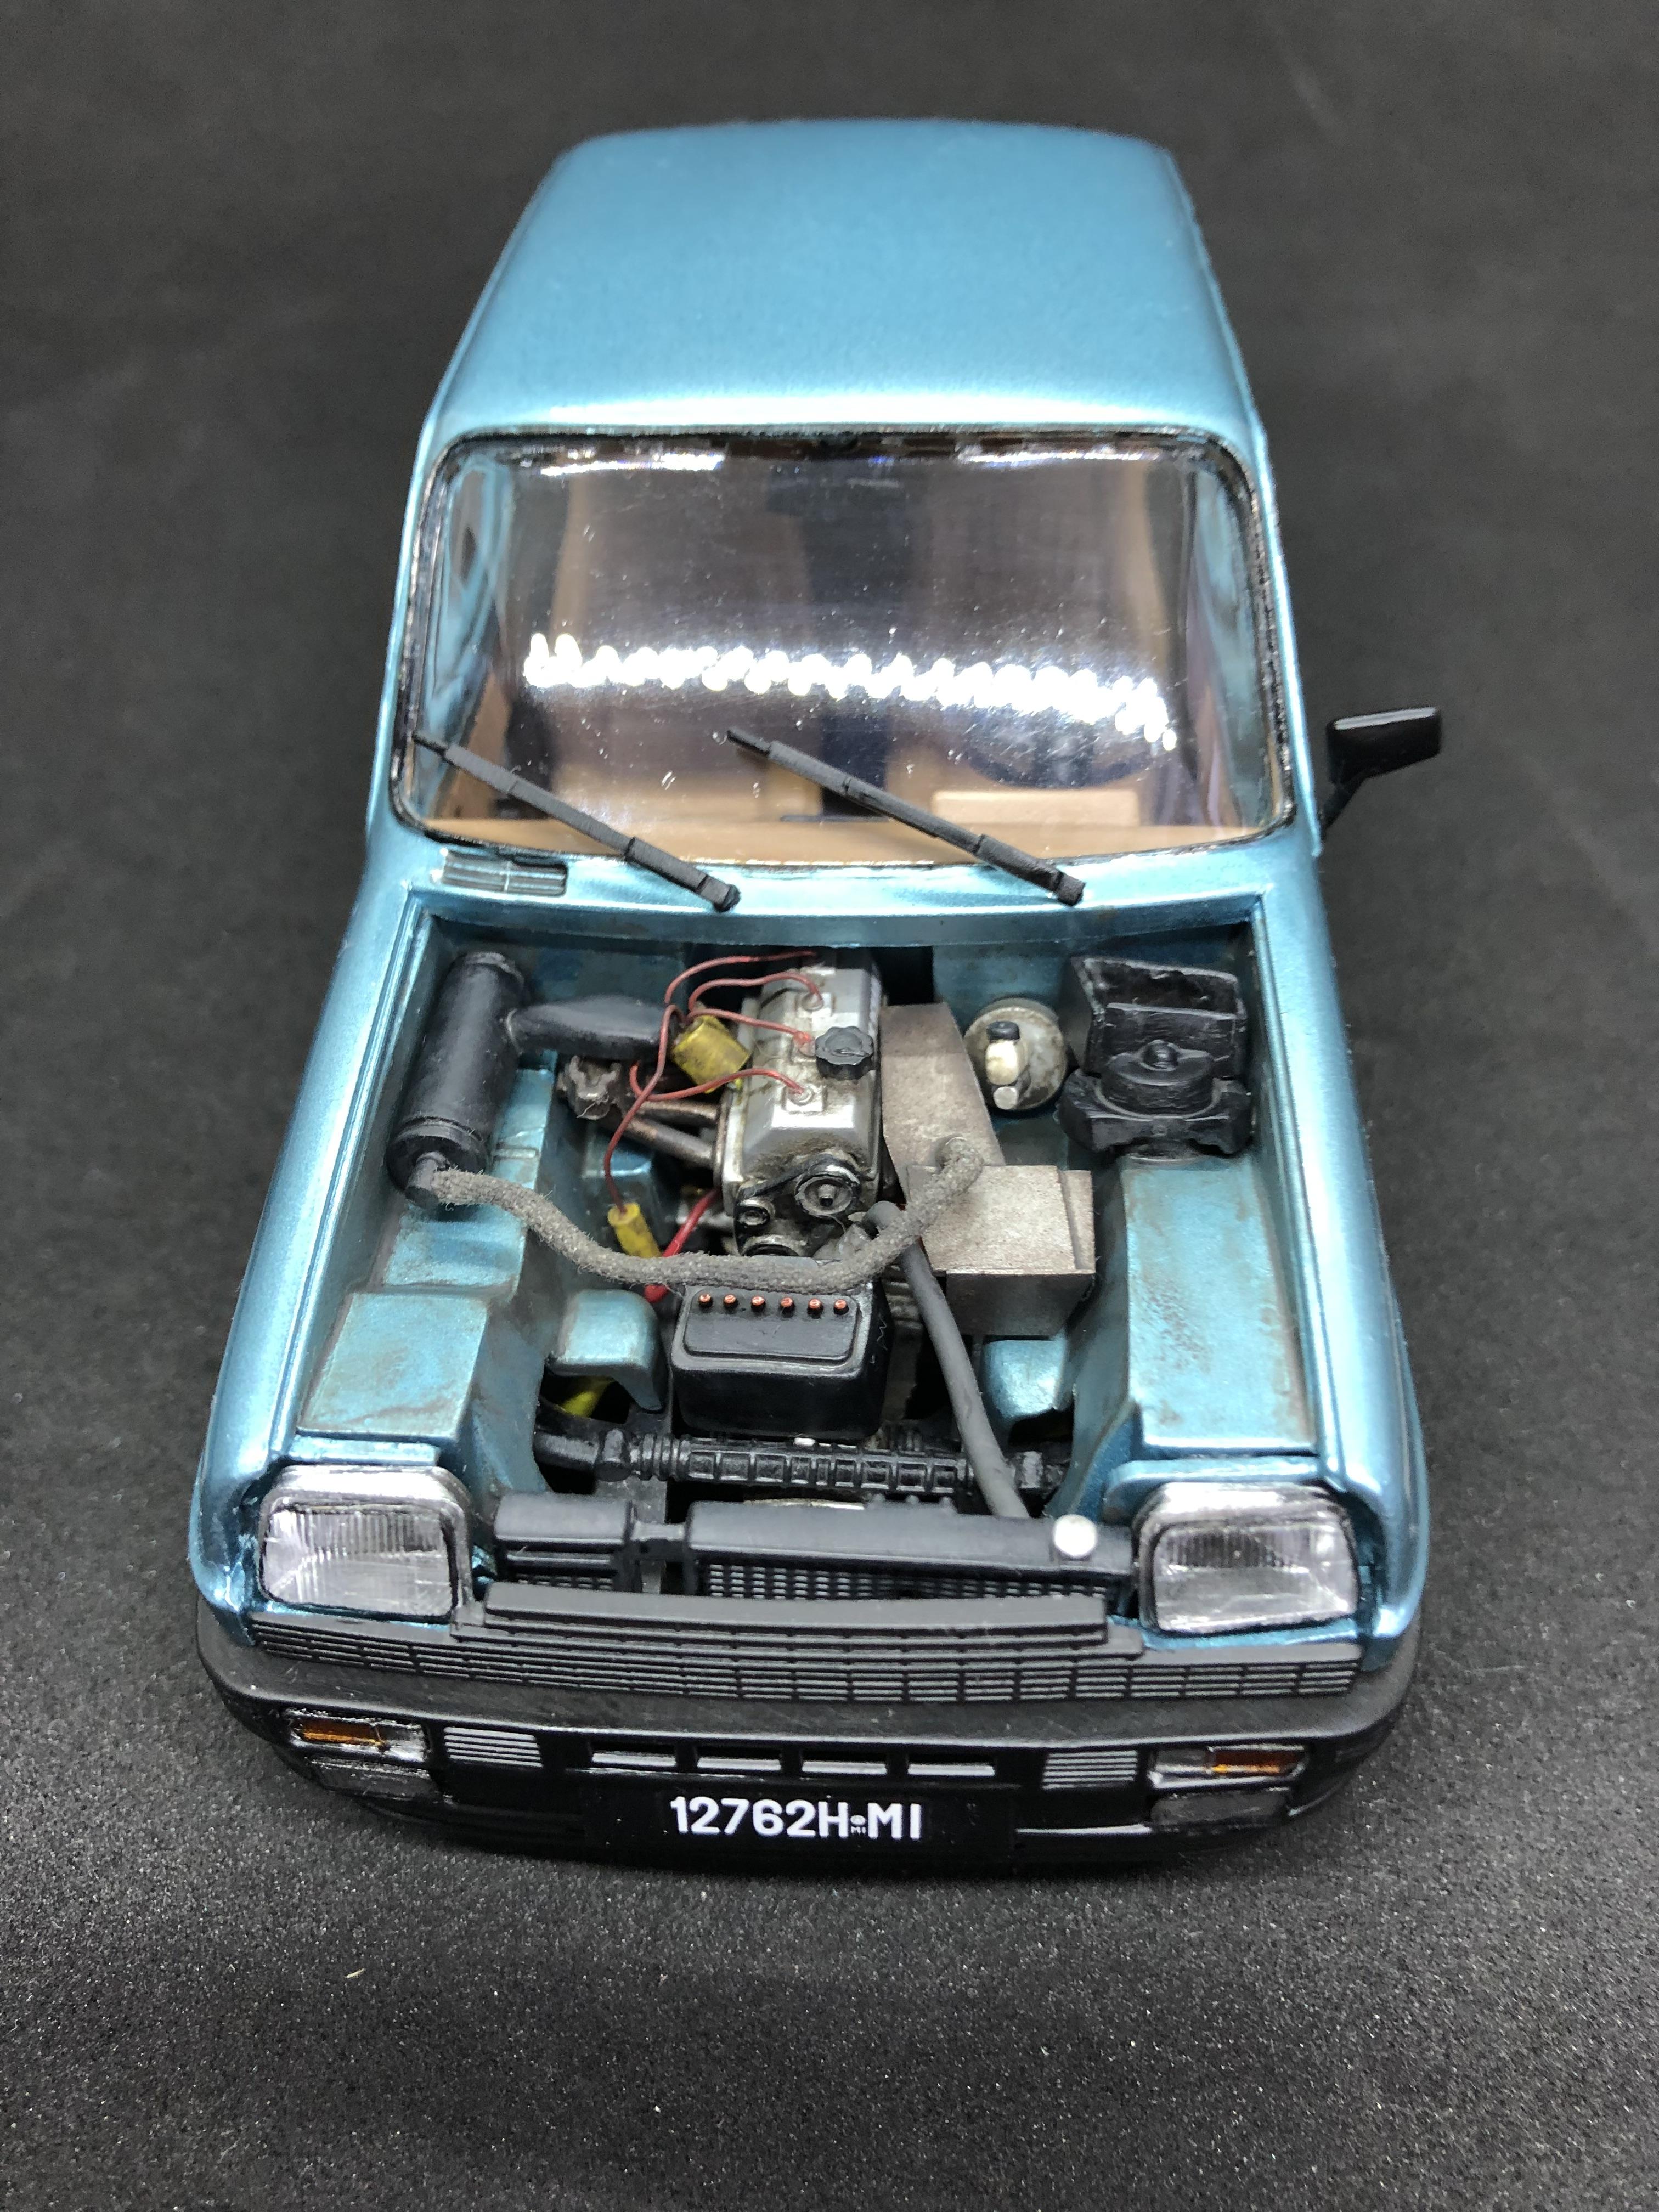
Good afternoon friends. So the "baby" Renault is assembled. Because it's -9 outside now and it's snowing, then the final photoset was done in photobox from Aliexpress. Photographed with my phone, so please excuse the quality. What can I say about the set - firewood-firewood, to make a normal model you need to work hard. This is especially true for the final assembly. You can’t really check it dry, and then surprises begin. The underhood was heavily modified, the headlights, the brake master cylinder made from scratch, the exhaust manifold sewing and the ventilation thing, which is in the corner near the brake cylinder. As a result, I am satisfied with the result, but I will definitely not return to Italeri soon.
-
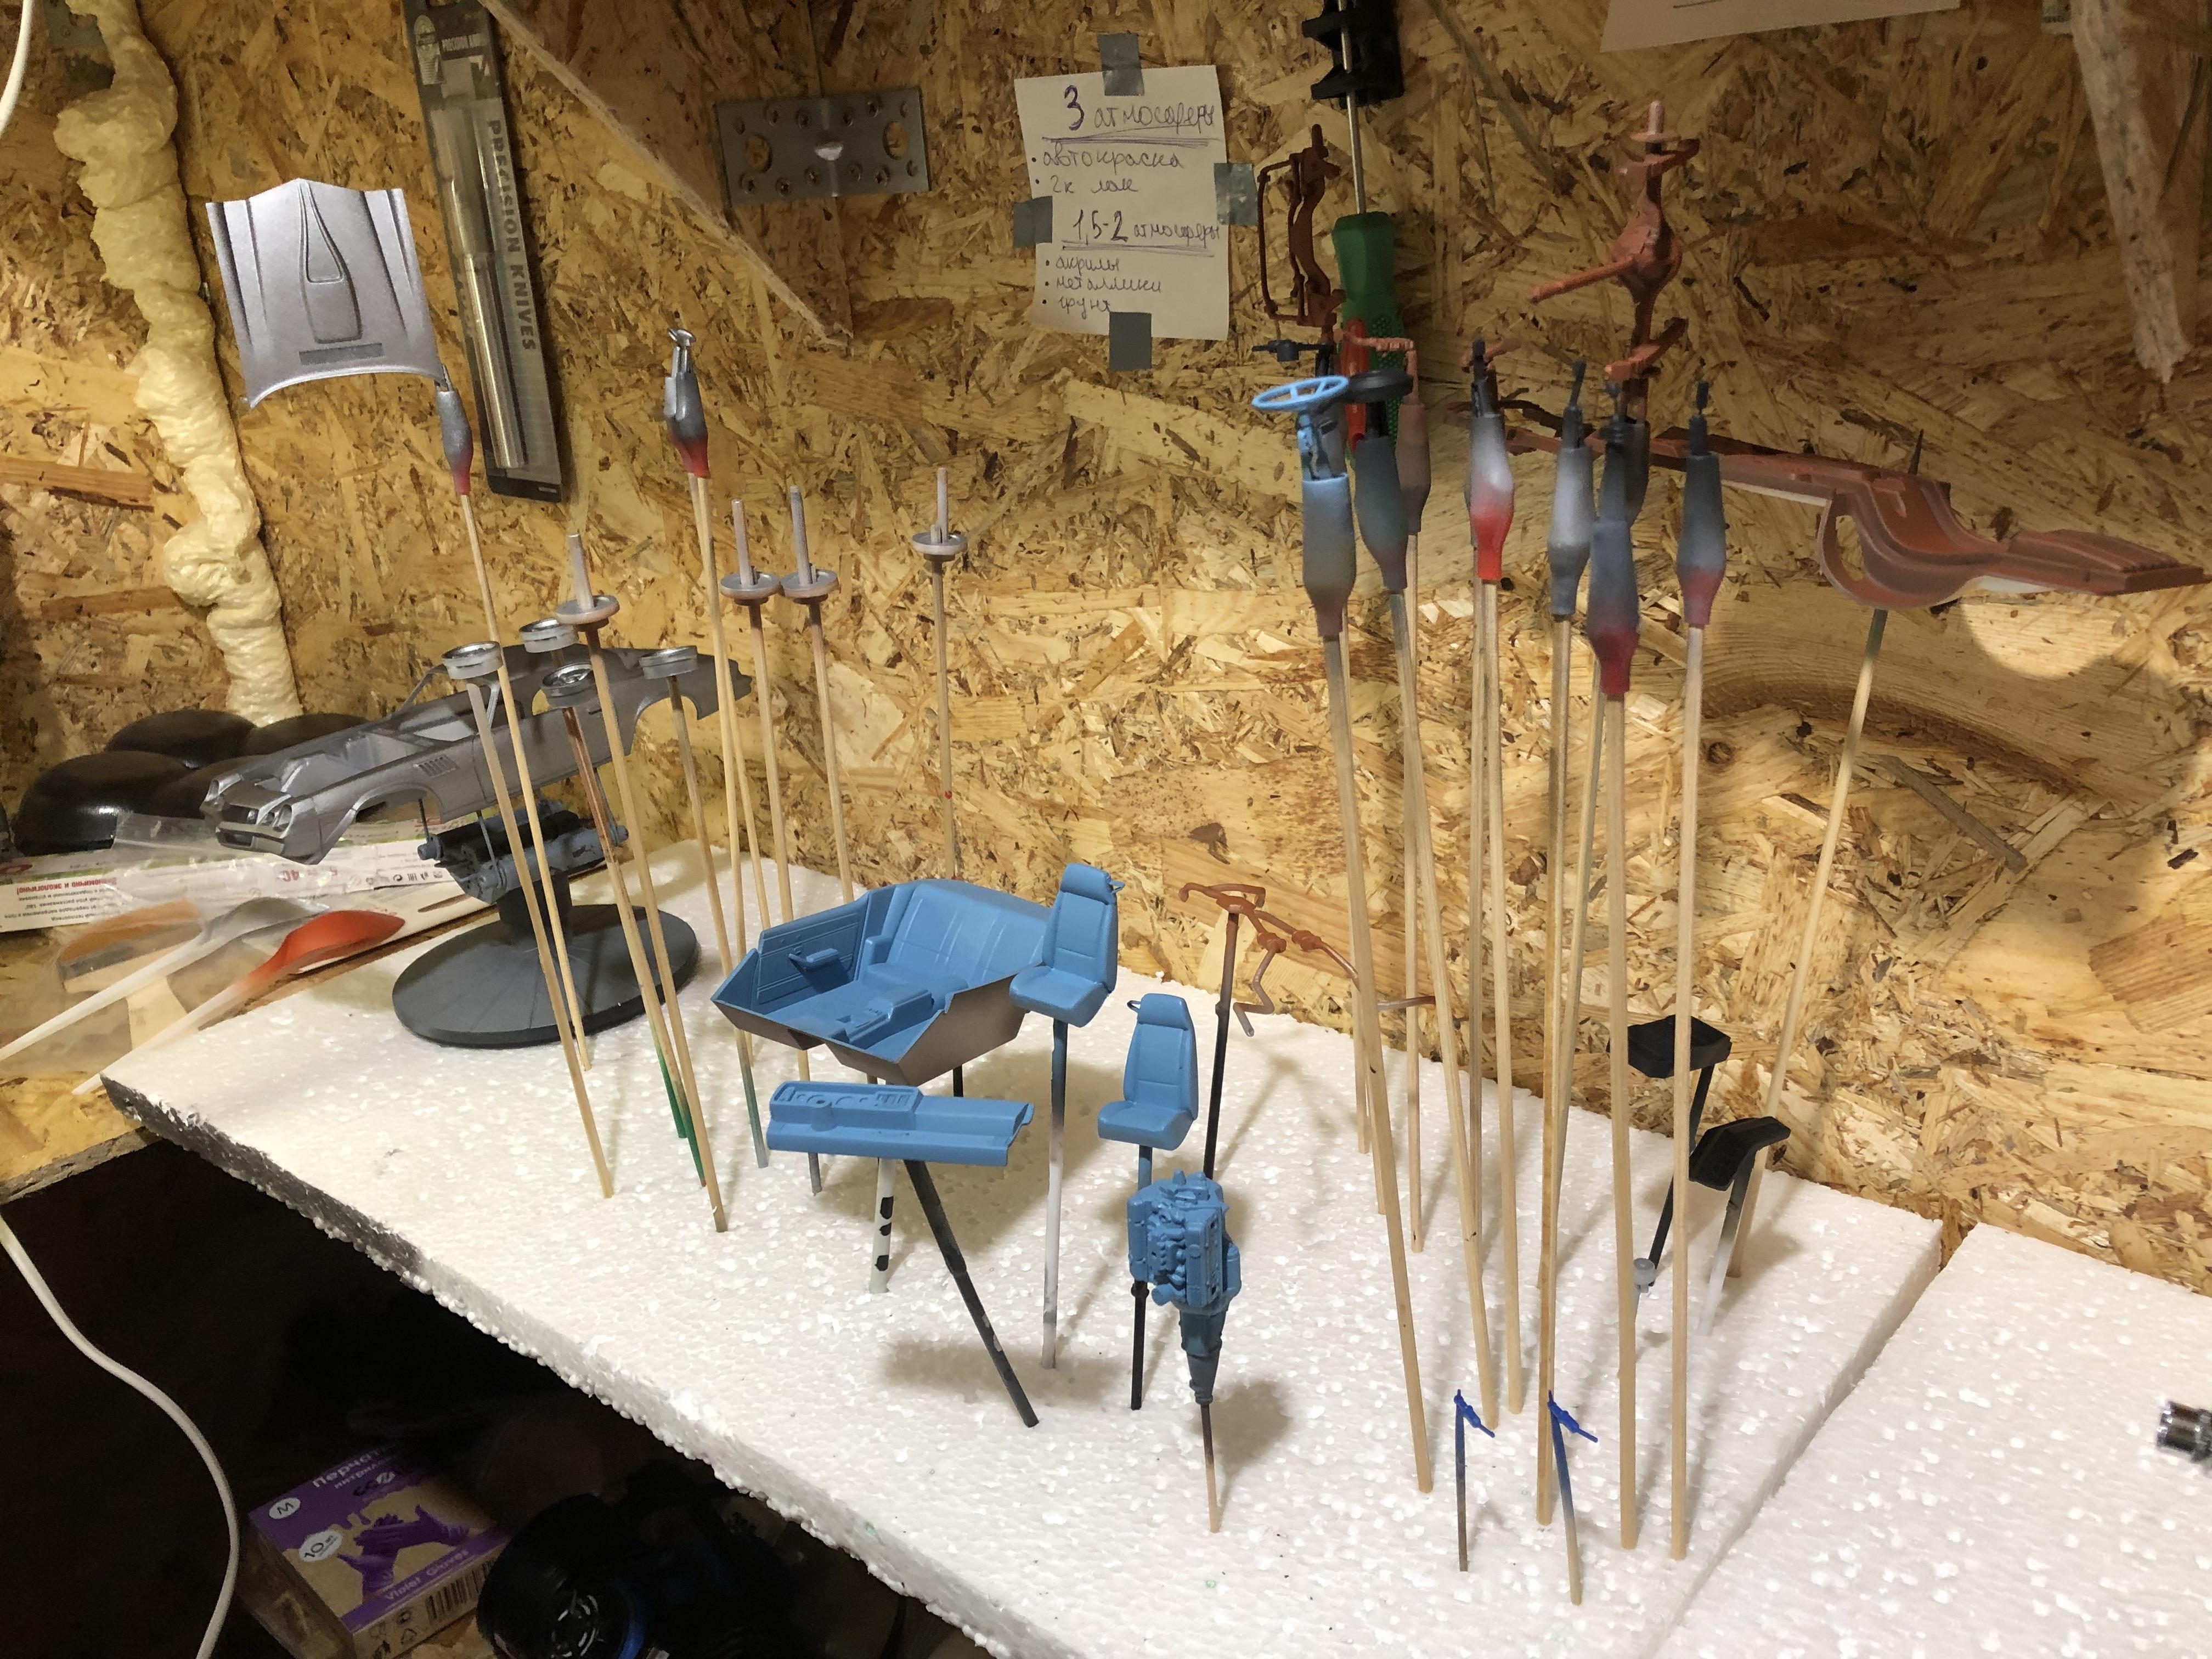
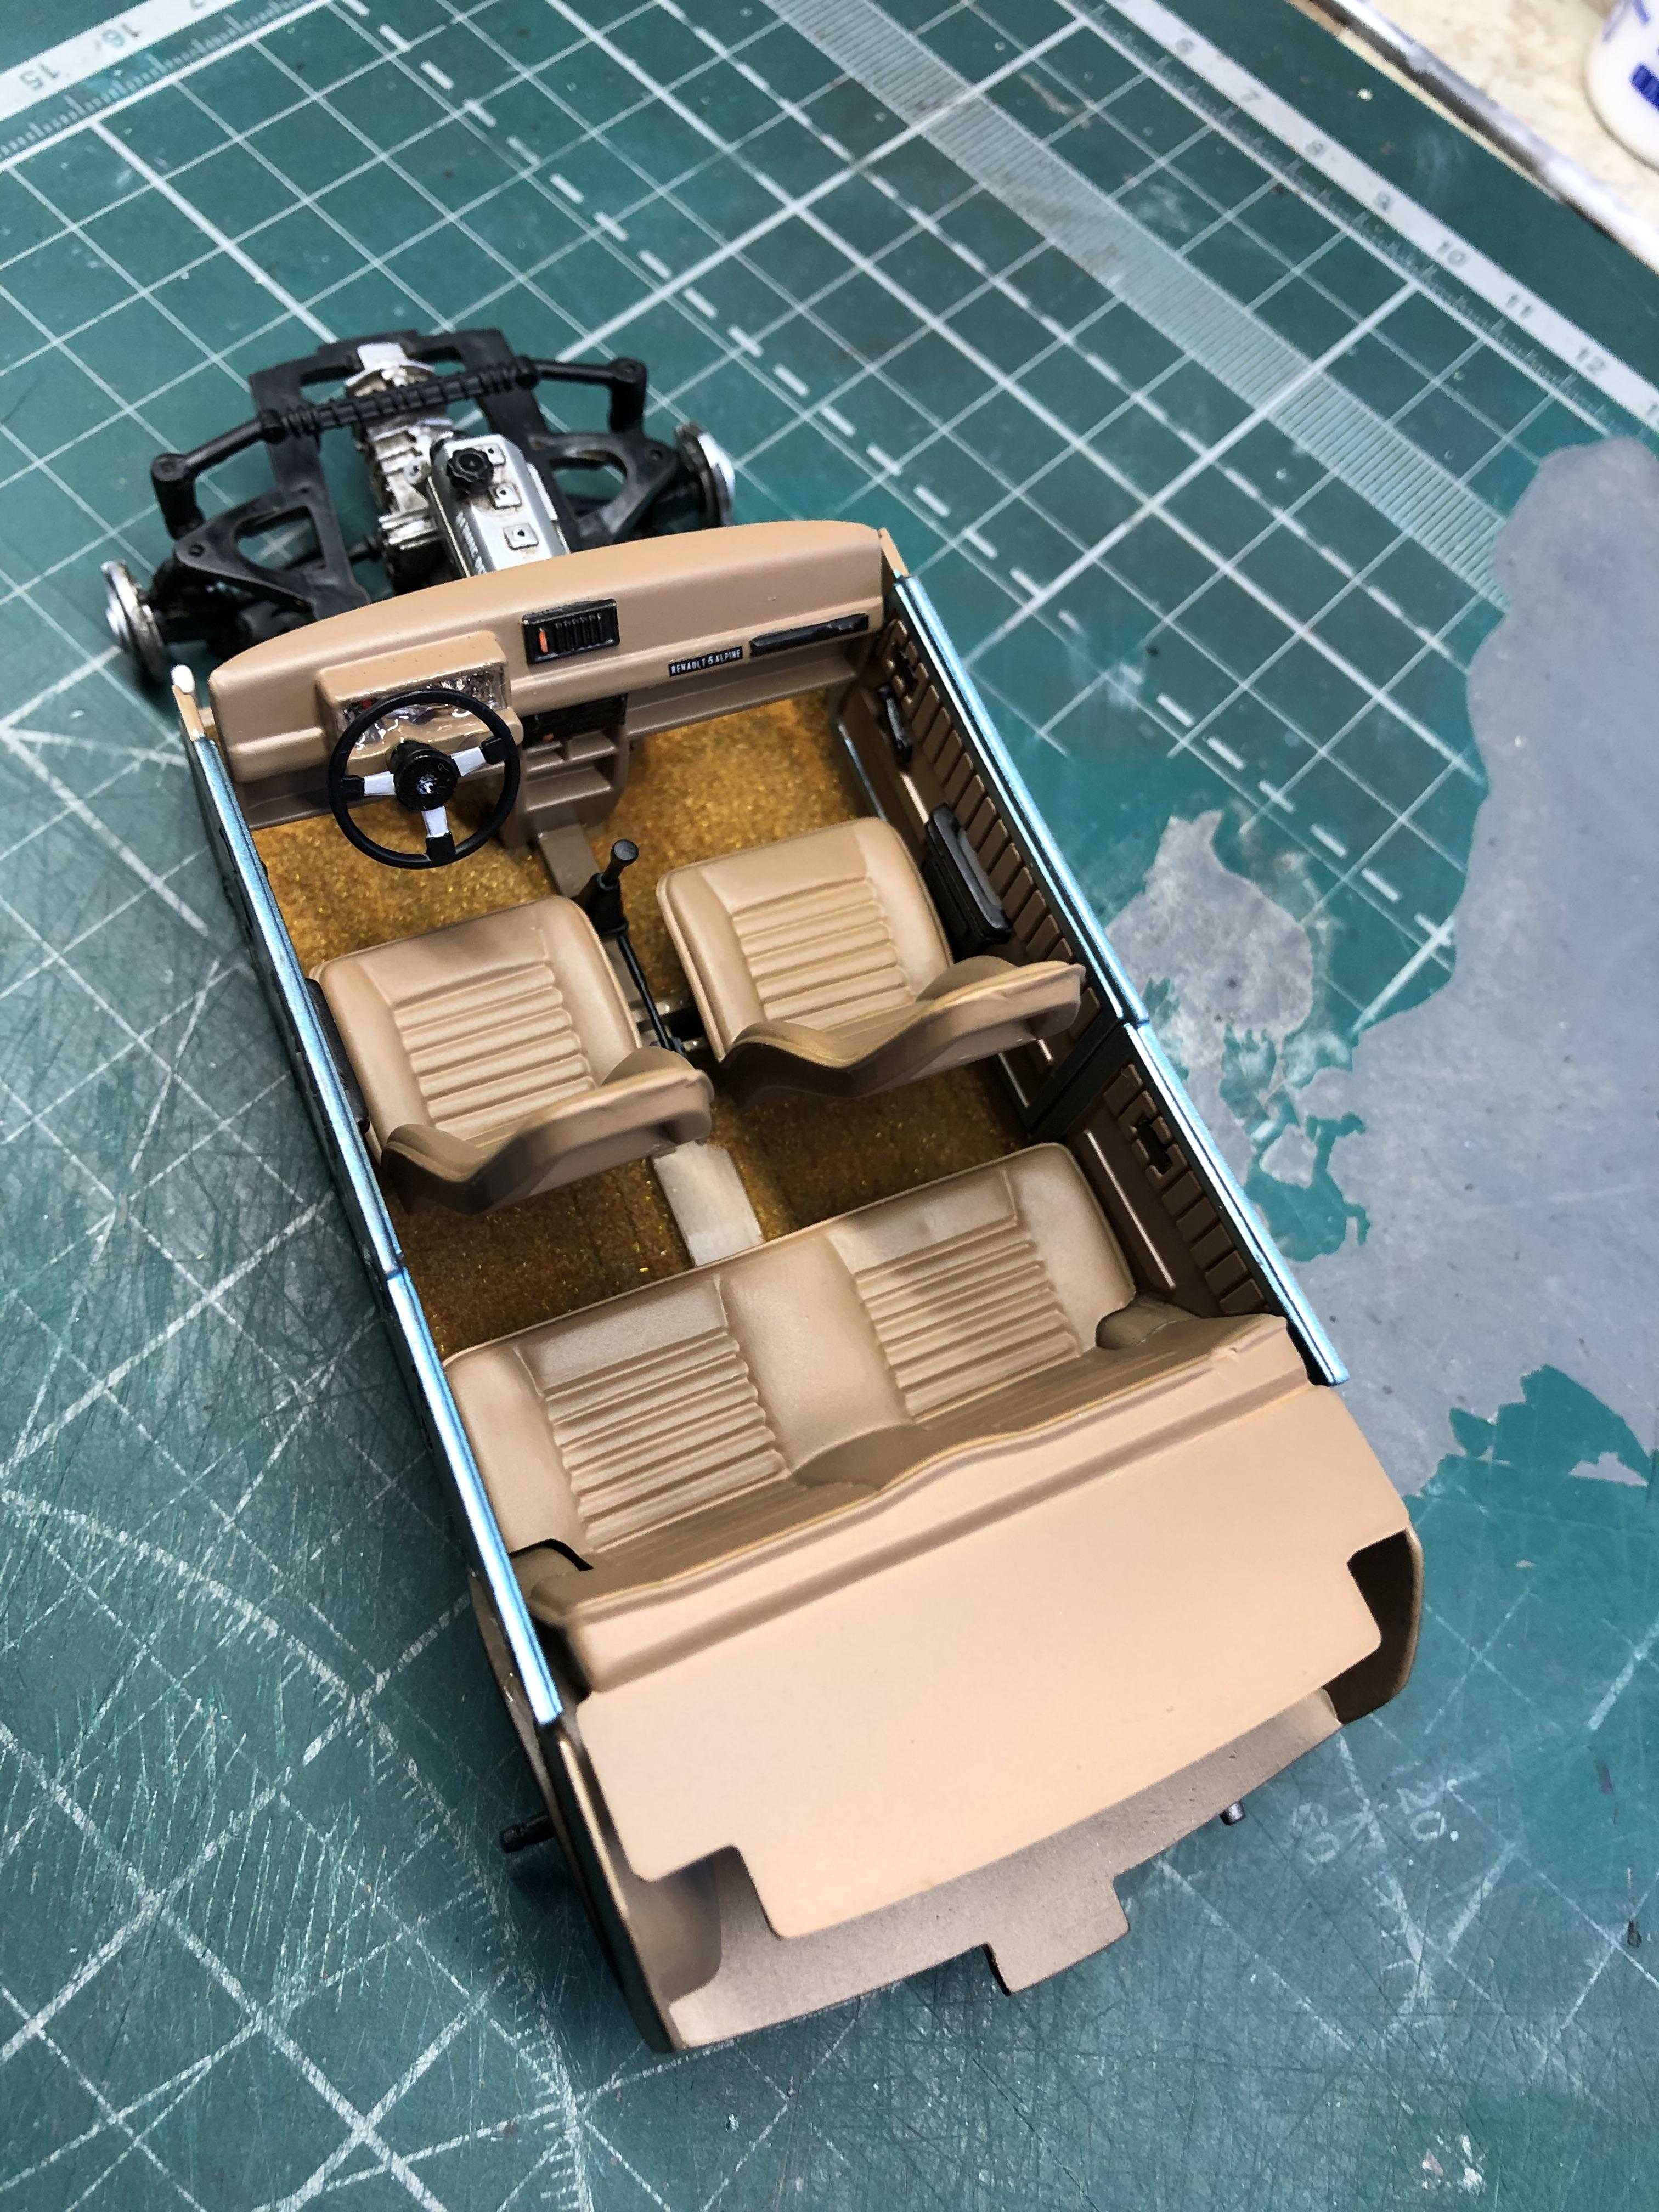
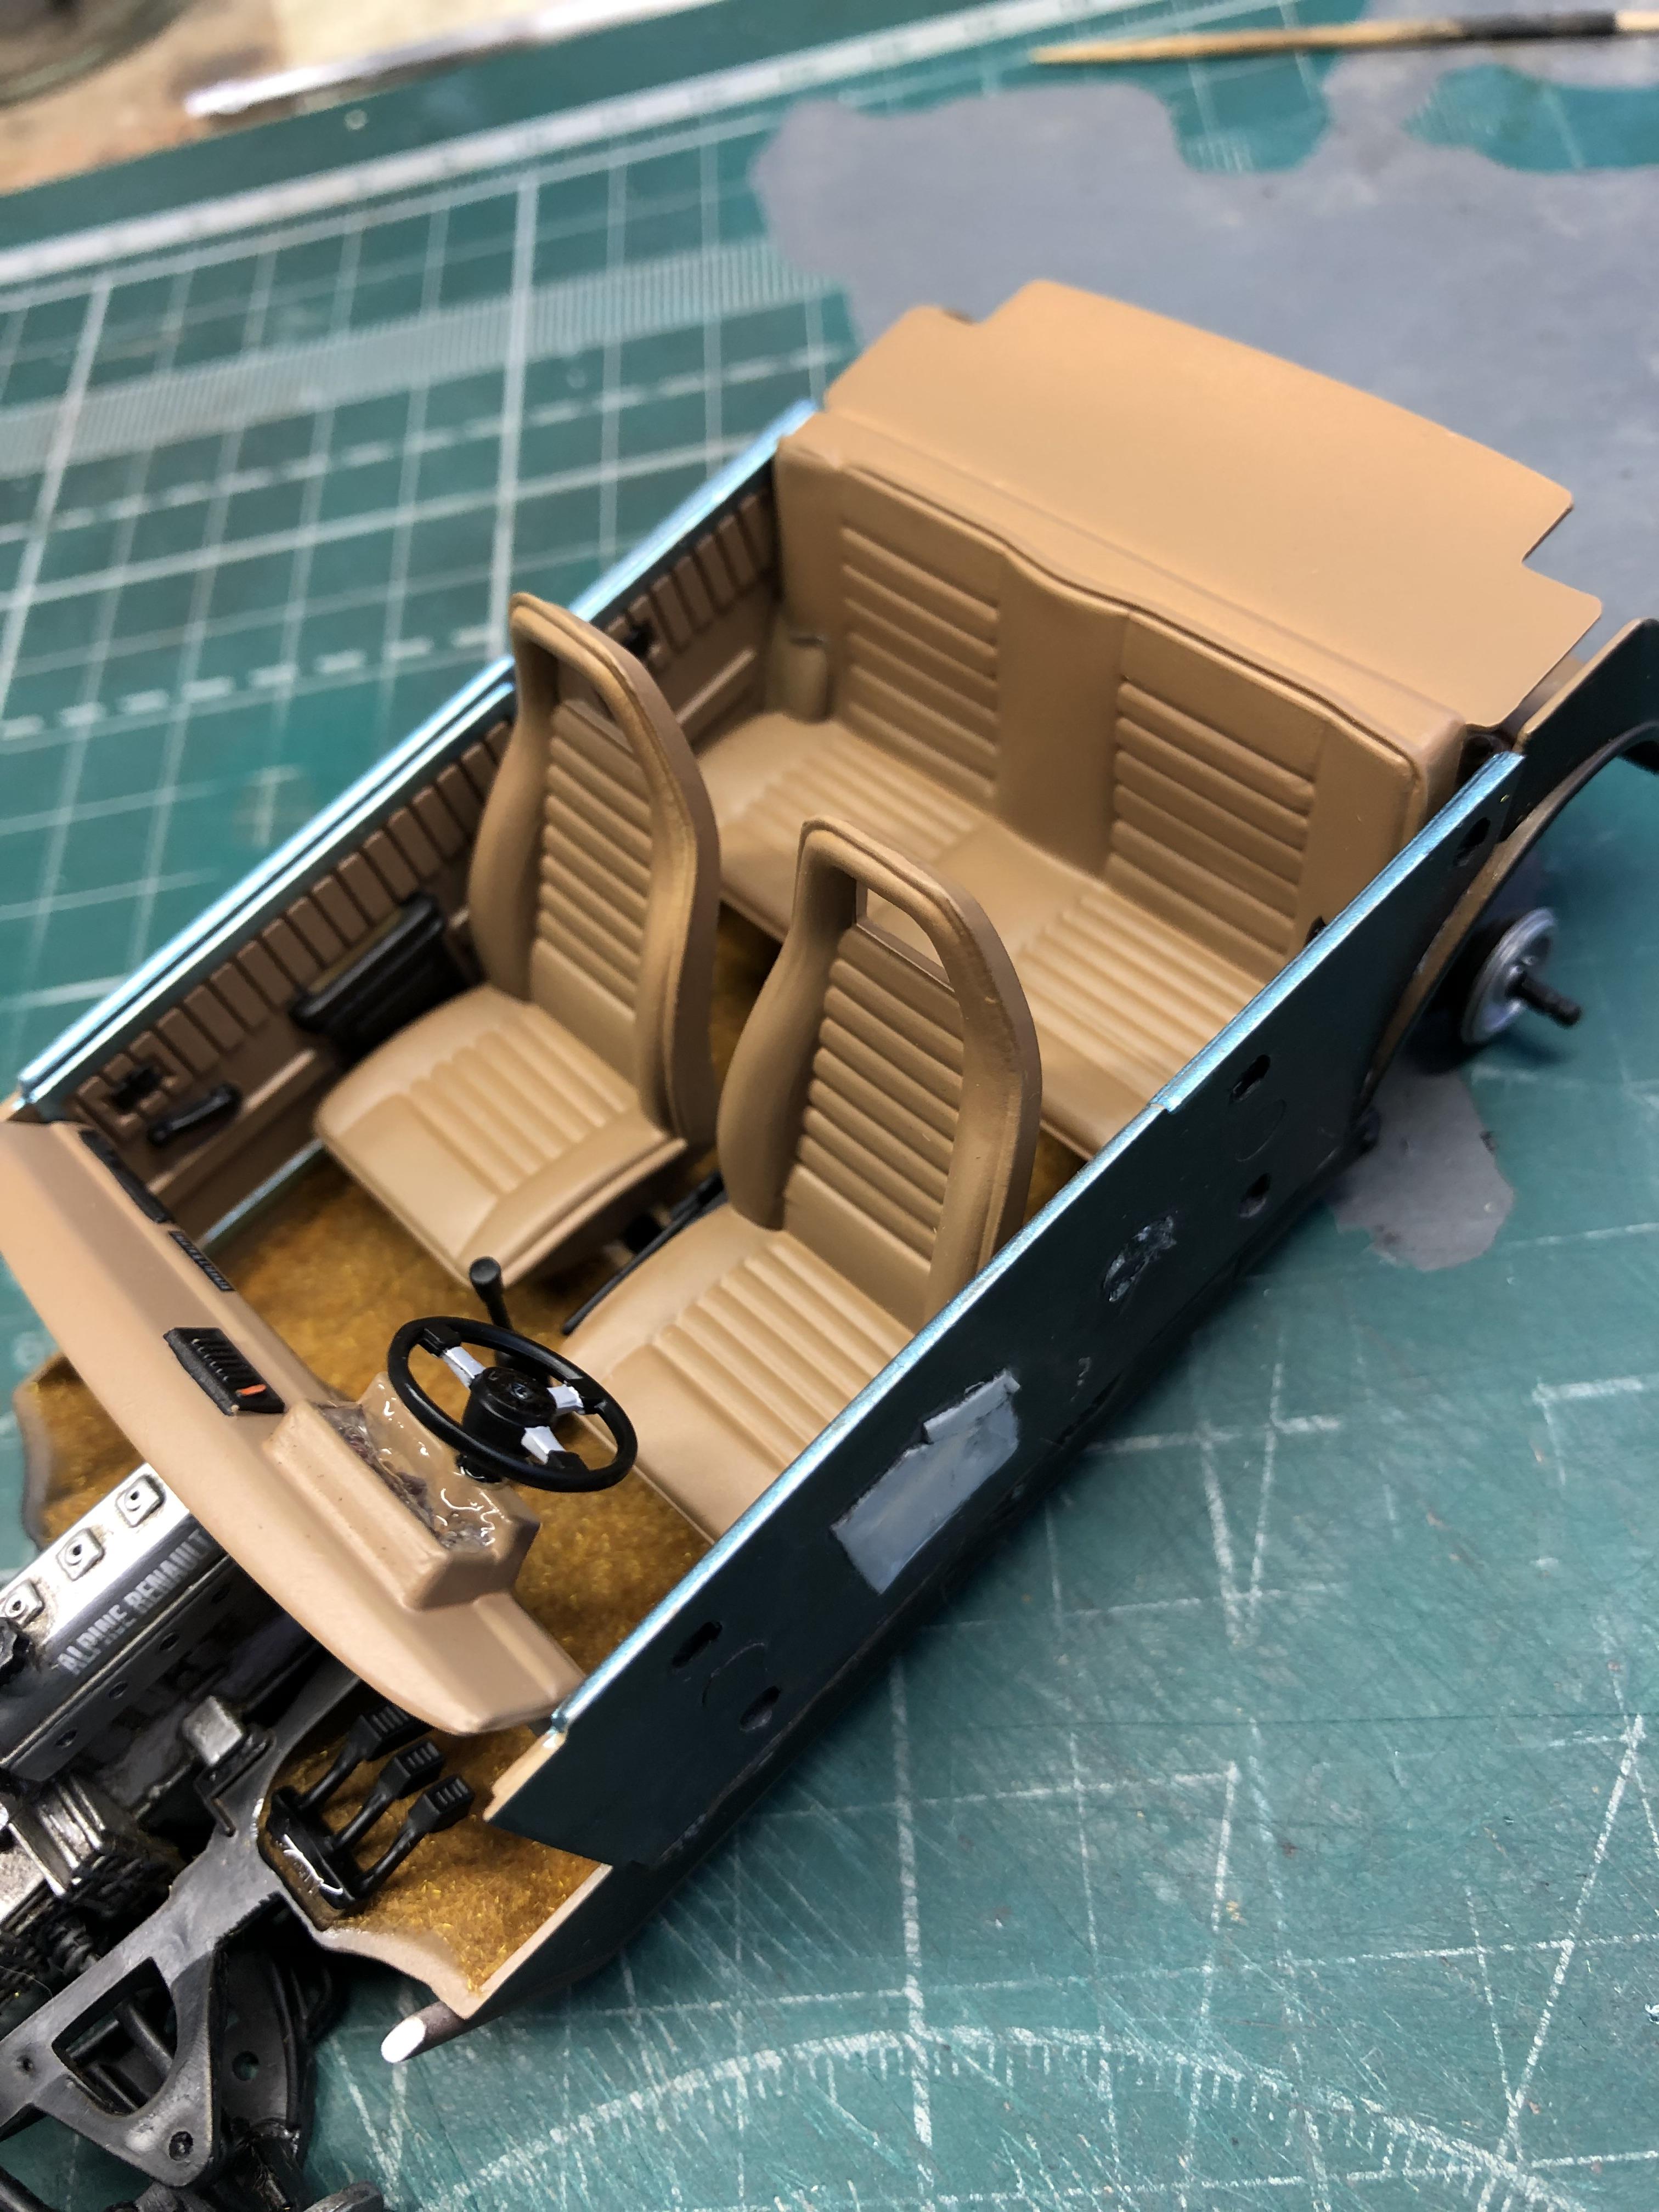
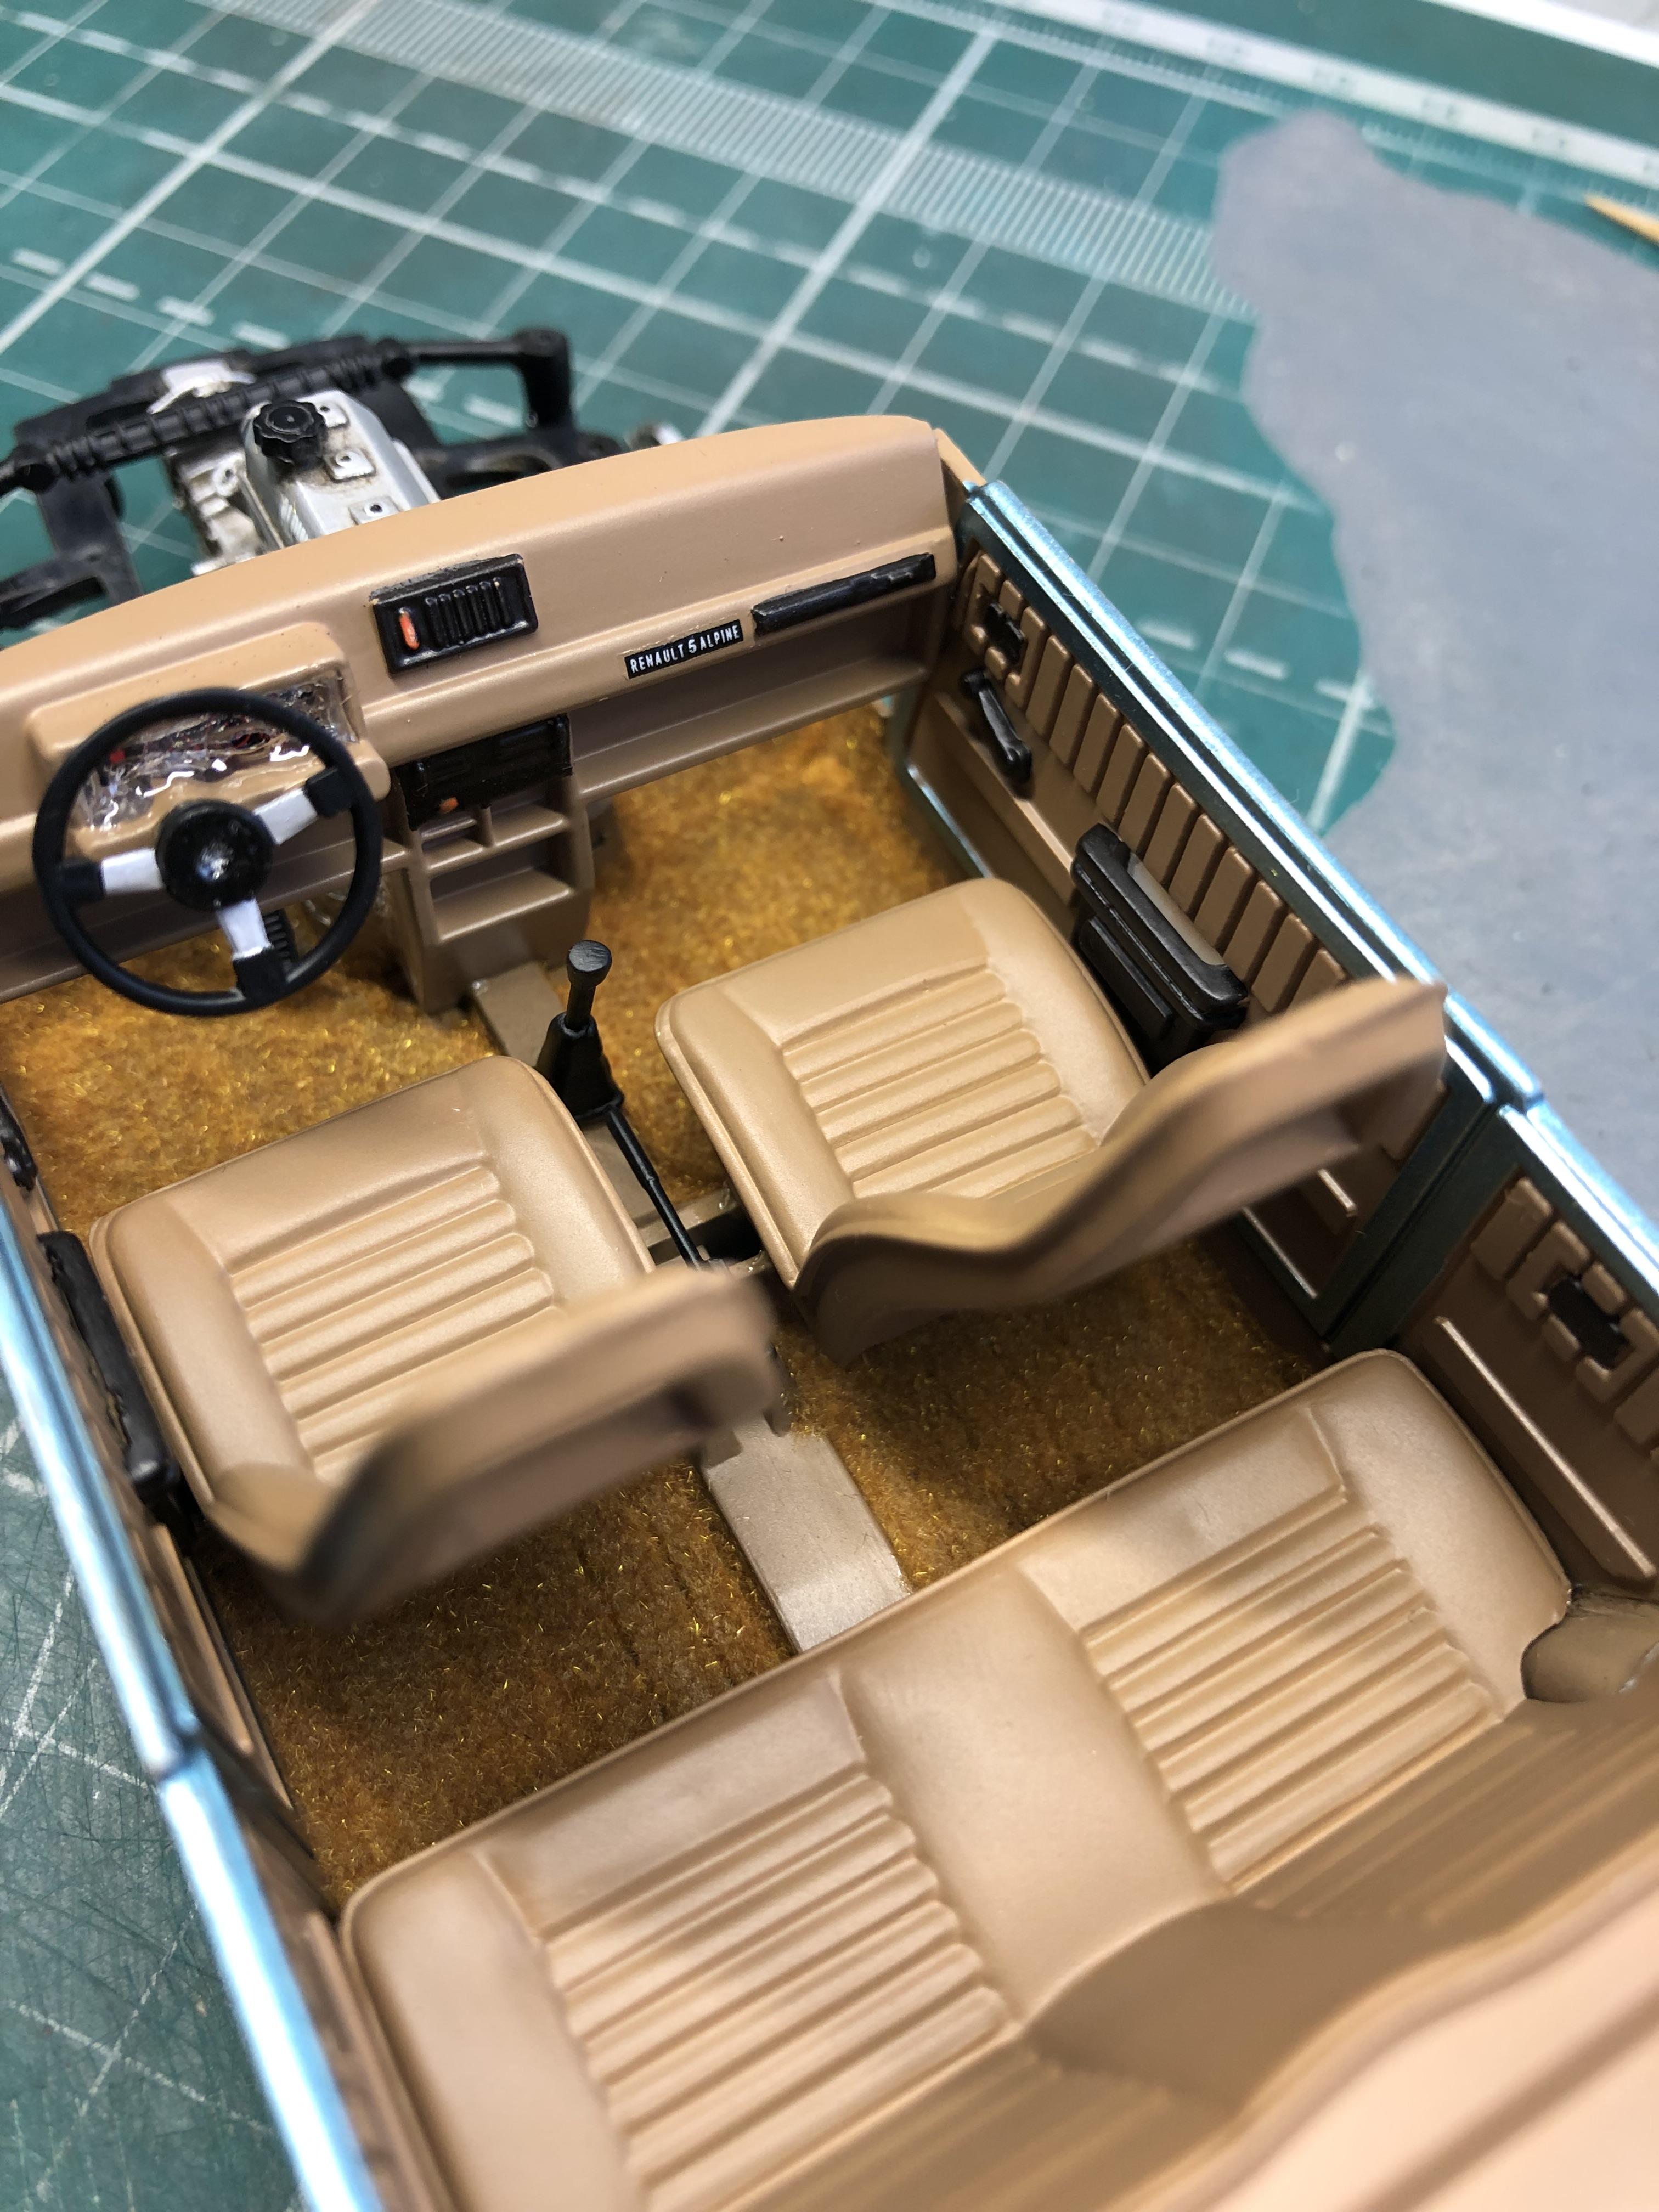
Good afternoon friends. Small final update. The body is varnished and waiting for polishing. Complete interior. And complete undercarriage. The model is done, wait in the under the glass topic. Thank you for your attention.