IanH
-
Posts
139 -
Joined
-
Last visited
Content Type
Profiles
Forums
Events
Gallery
Everything posted by IanH
-
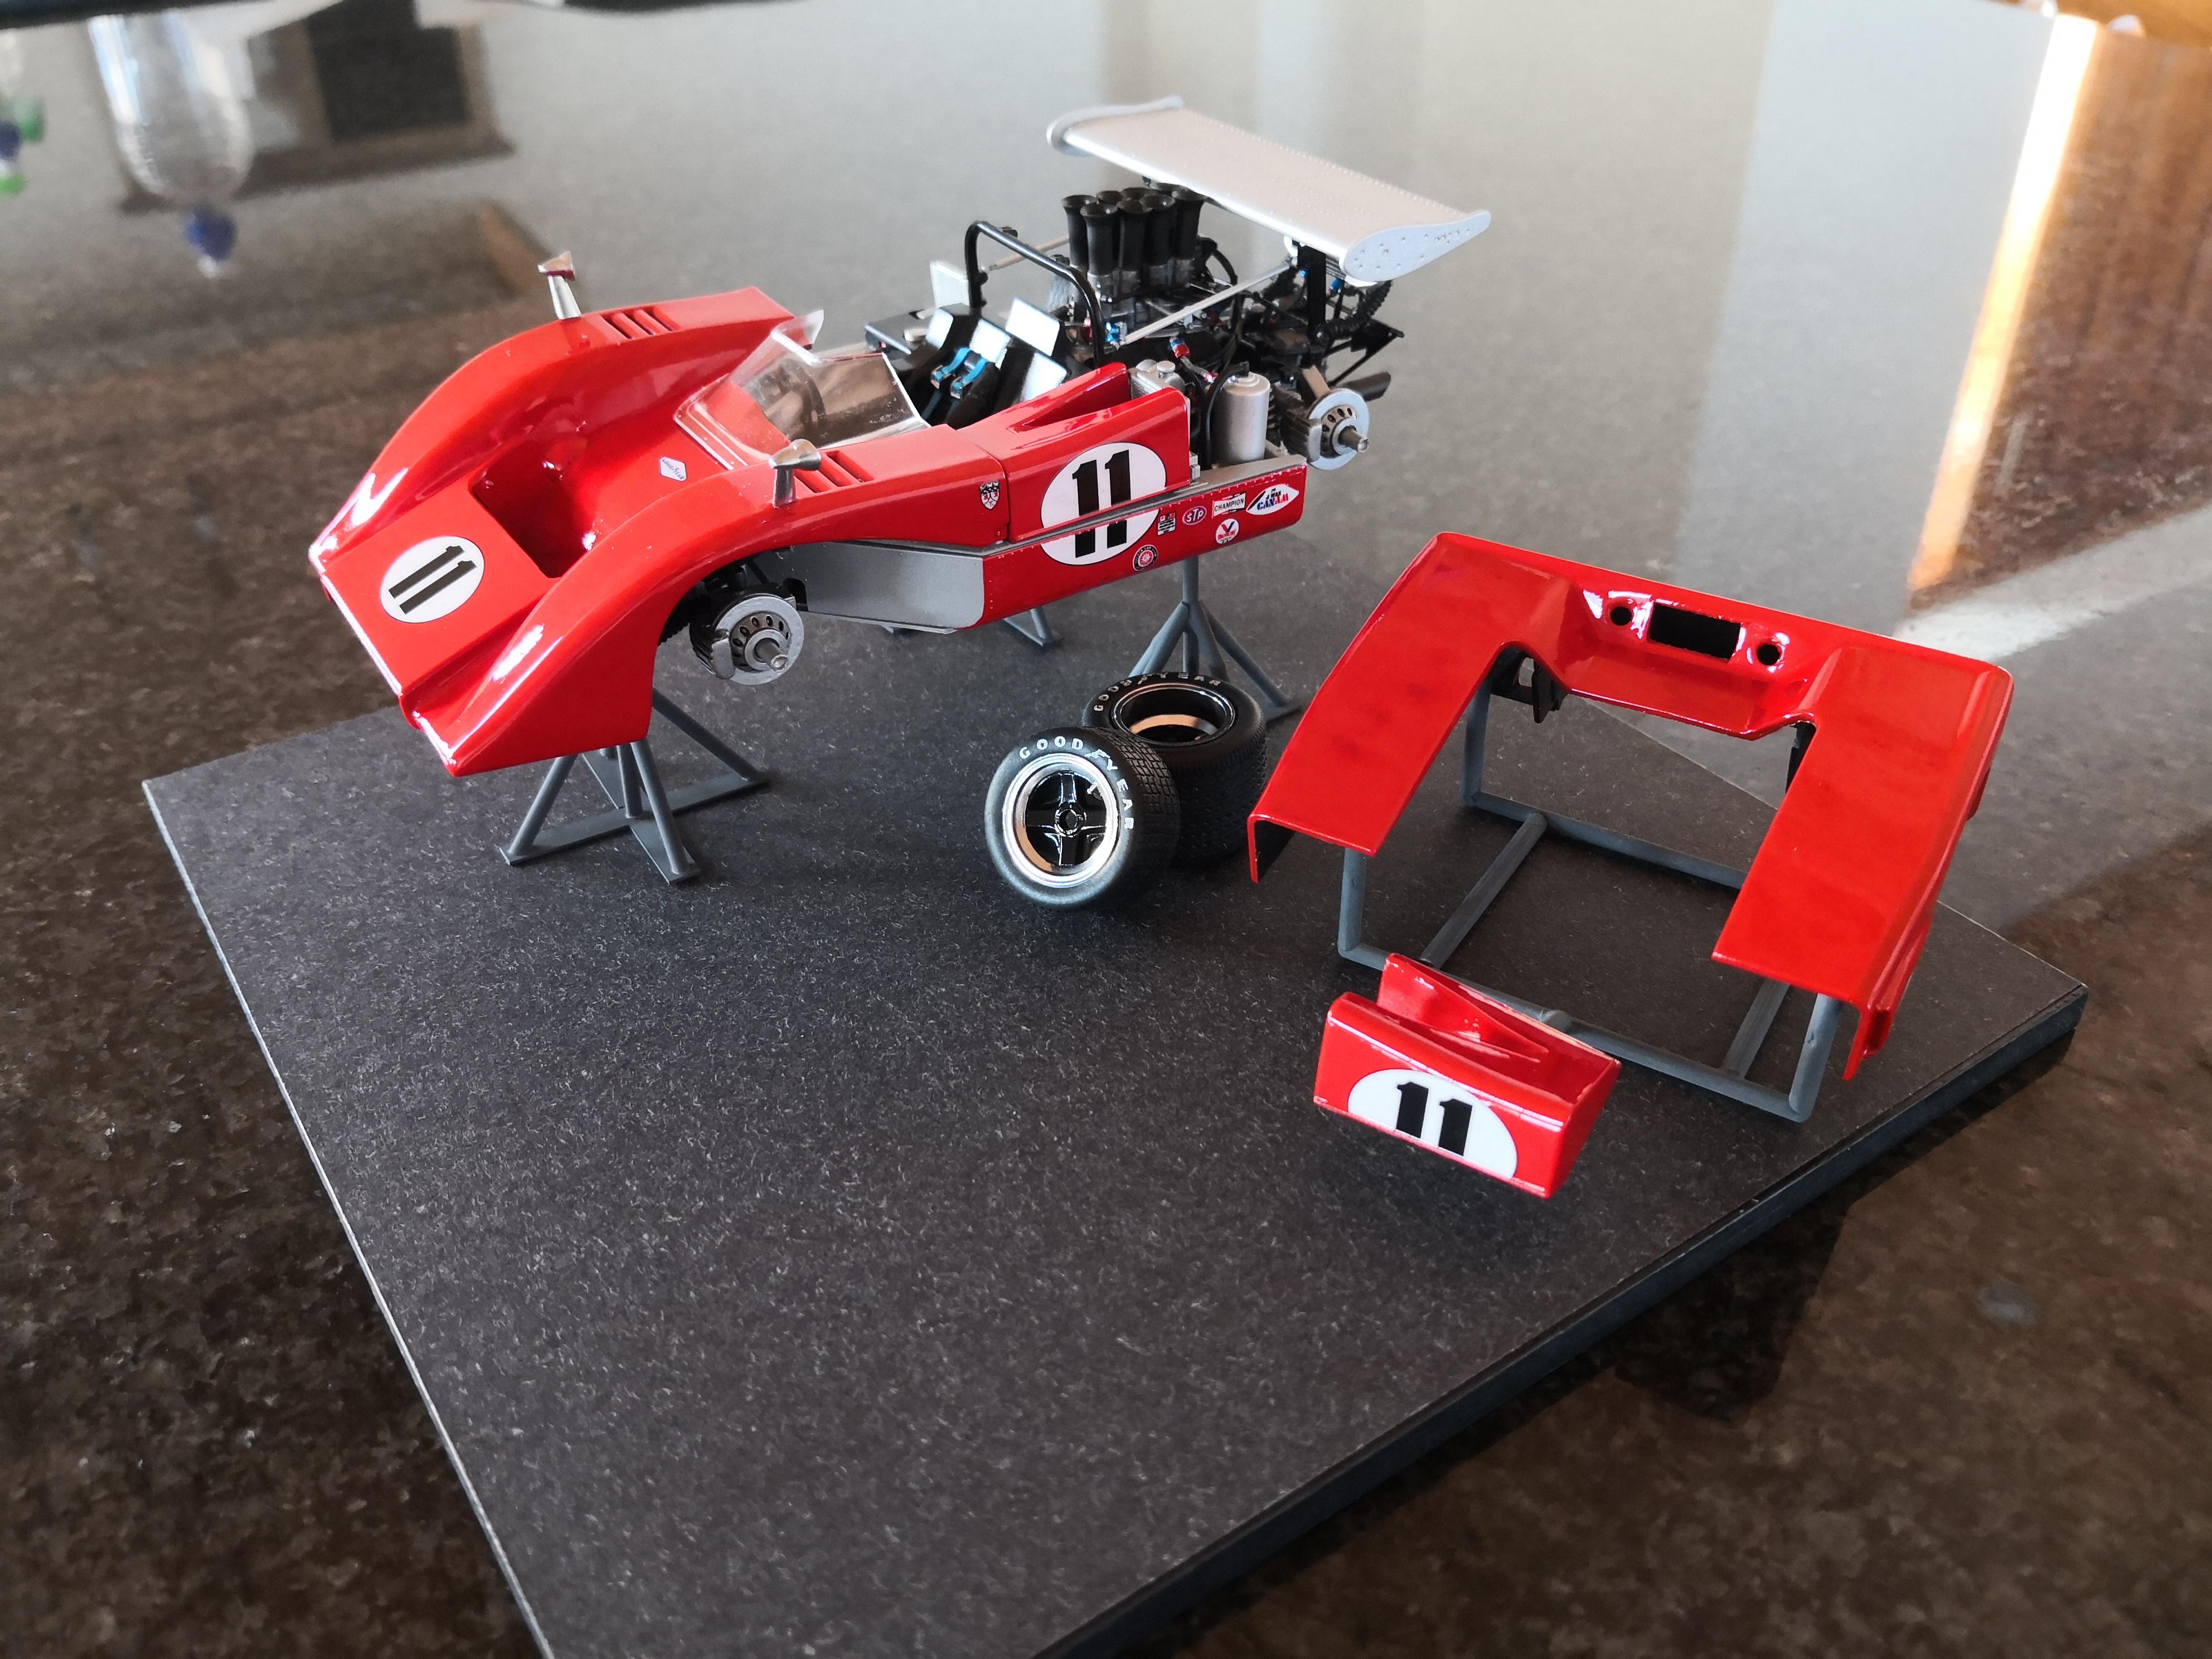
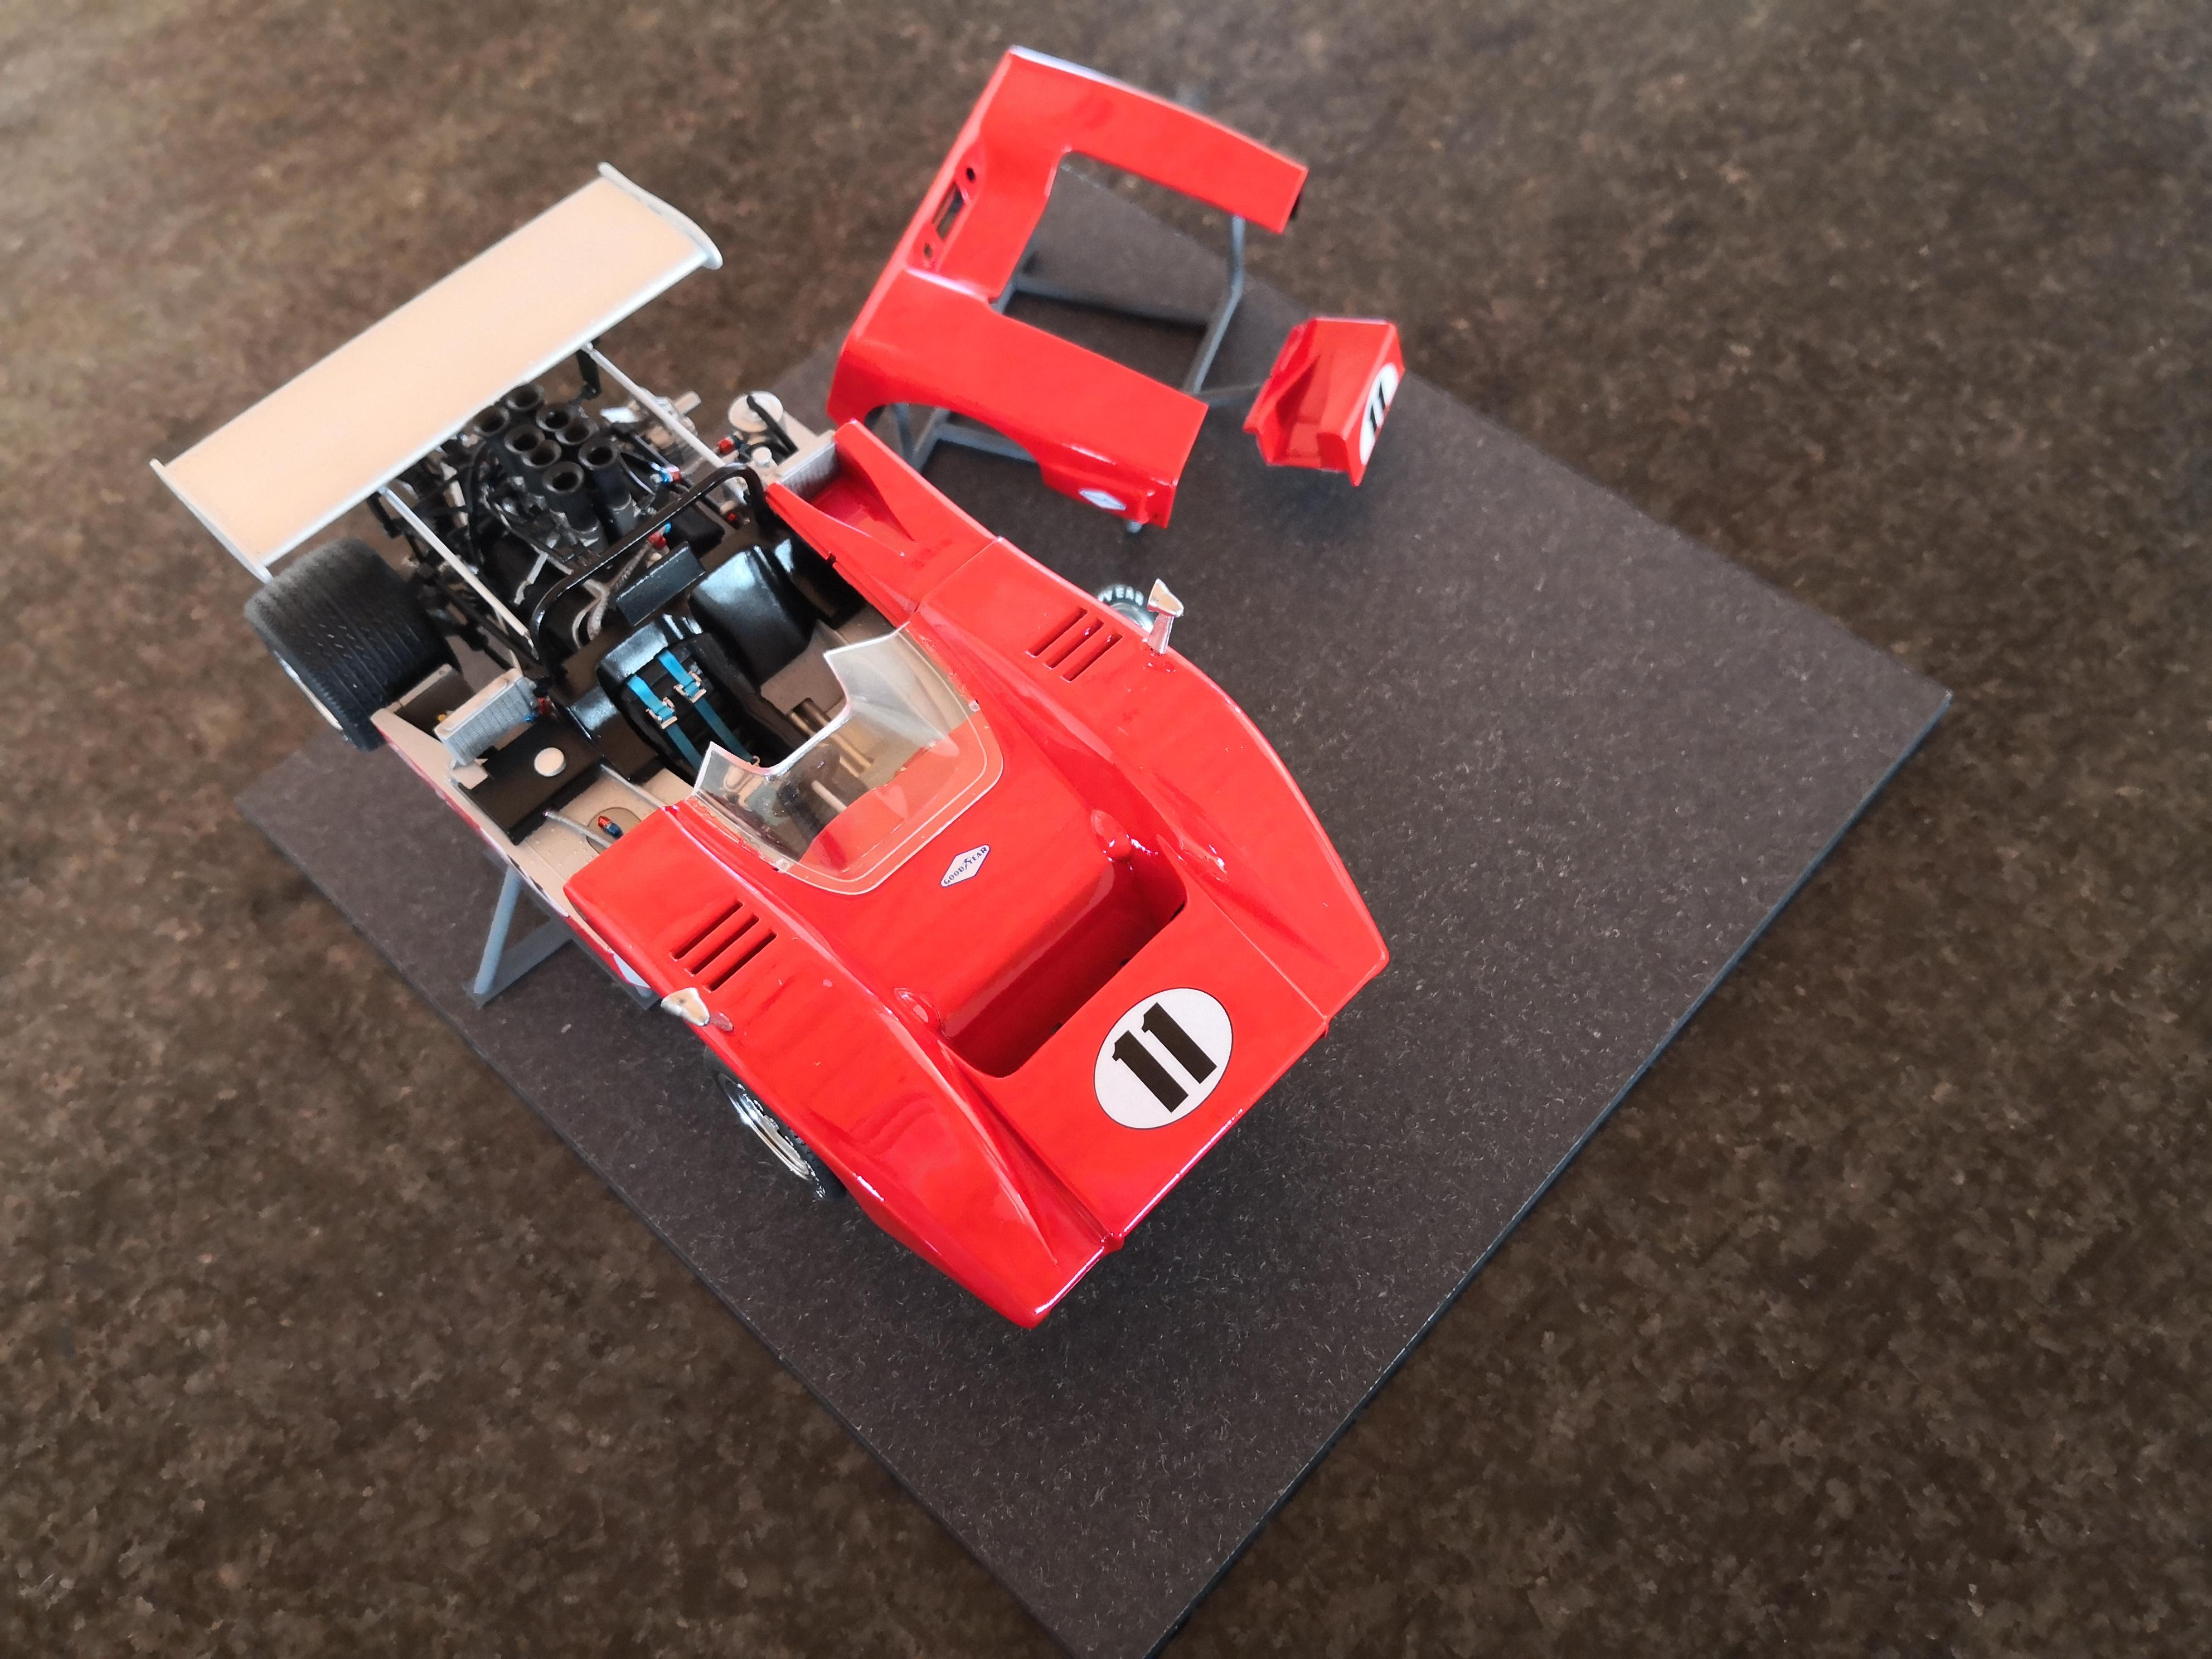
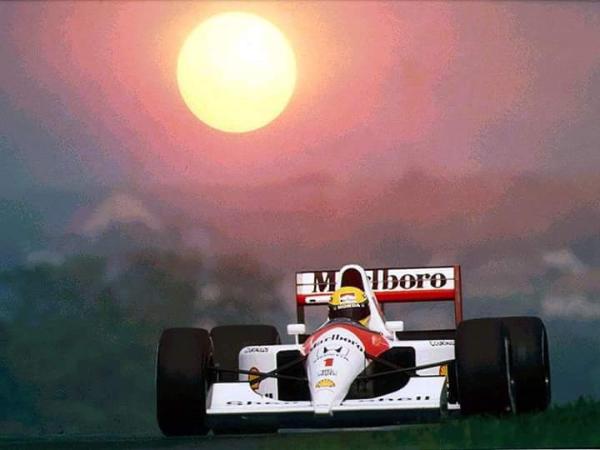
Tamiya 1/12 Ferrari 312b
IanH replied to IanH's topic in WIP: Other Racing: Road Racing, Land Speed Racers
Yeah, I struggled, but over time built up a nice collection of reference photos, and will happily share them... Not sure what the best way to do that is... From this pic, that part is black...
-
Tamiya 1/12 Ferrari 312b
IanH replied to IanH's topic in WIP: Other Racing: Road Racing, Land Speed Racers
Thanks, I almost have the oil coolers smooth enough to my liking, will be re-attempting the paint on them in the next few days when I start to primer the body. It's really quite a complex piece of bodywork to paint, as I want to clean up the join between the two body halves, so I need to finish up the bulk of the interior before I can tape it off to fix up the join, and the there is the fitting which goes around the driver section which also fits with some gaps, so I want to fix that up too, which all means paint in sections, then tape up and Putty, paint again, etc.. Maybe I am over complicating it, but it will get there eventually! Post up your restoration project, would be keen to have a look? -
Tamiya 1/12 Ferrari 312b
IanH replied to IanH's topic in WIP: Other Racing: Road Racing, Land Speed Racers
Finished up the additional holes on the lower portion of the body, photos are not awesome, but you can see the new holes, which align so much better with the upper portion of the body than the original holes which were drilled in place of the factory dimples.
-
Tamiya 1/12 Ferrari 312b
IanH replied to IanH's topic in WIP: Other Racing: Road Racing, Land Speed Racers
Thanks, I hope so ? -
Tamiya 1/12 Ferrari 312b
IanH replied to IanH's topic in WIP: Other Racing: Road Racing, Land Speed Racers
OK, so I realised that I need to fix up some holes... The bottom half of the body was drilled out according to the dimples molded by Tamiya, and when looking at it now (the filled black marks) it just doesn't look right... If it were a panel, the rivets would continue in the same direction. So I have filled these with sprue goo, sanded, and will be re drilling new holes in the direction following the holes from the main body.
-
Tamiya 1/12 Ferrari 312b
IanH replied to IanH's topic in WIP: Other Racing: Road Racing, Land Speed Racers
Well I am done drilling the holes for the rivets... Hope all this time and effort is going to pay off! Quite rewarding seeing the light!
-
Tamiya 1/12 Ferrari 312b
IanH replied to IanH's topic in WIP: Other Racing: Road Racing, Land Speed Racers
This was Tamiya Acrylic.... I think I put it on too thick... Going to rather use the TS or LP paint from Tamiya when I get to this again, hopefully in the next few days. -
Tamiya 1/12 Ferrari 312b
IanH replied to IanH's topic in WIP: Other Racing: Road Racing, Land Speed Racers
Been a while since I've done much on this kit, but starting to get the body ready by drilling out all of the rivets as I will be replacing the molded bumps with 3d printed resin rivets. I think I am about 3/4 done...
-
My 2nd car build, this of the 1970 McLaren M8b driven by Lothar Motschenbacher in the Canam series. This is an Accurate Miniatures kit, and won 1st place at SA Nationals in the Overall OOB Category.
-
Mostly out of the box build, except for some wiring and seat belts. Some in progress photos included. My first completed Model Car.
-
Tamiya 1/12 Ferrari 312b
IanH replied to IanH's topic in WIP: Other Racing: Road Racing, Land Speed Racers
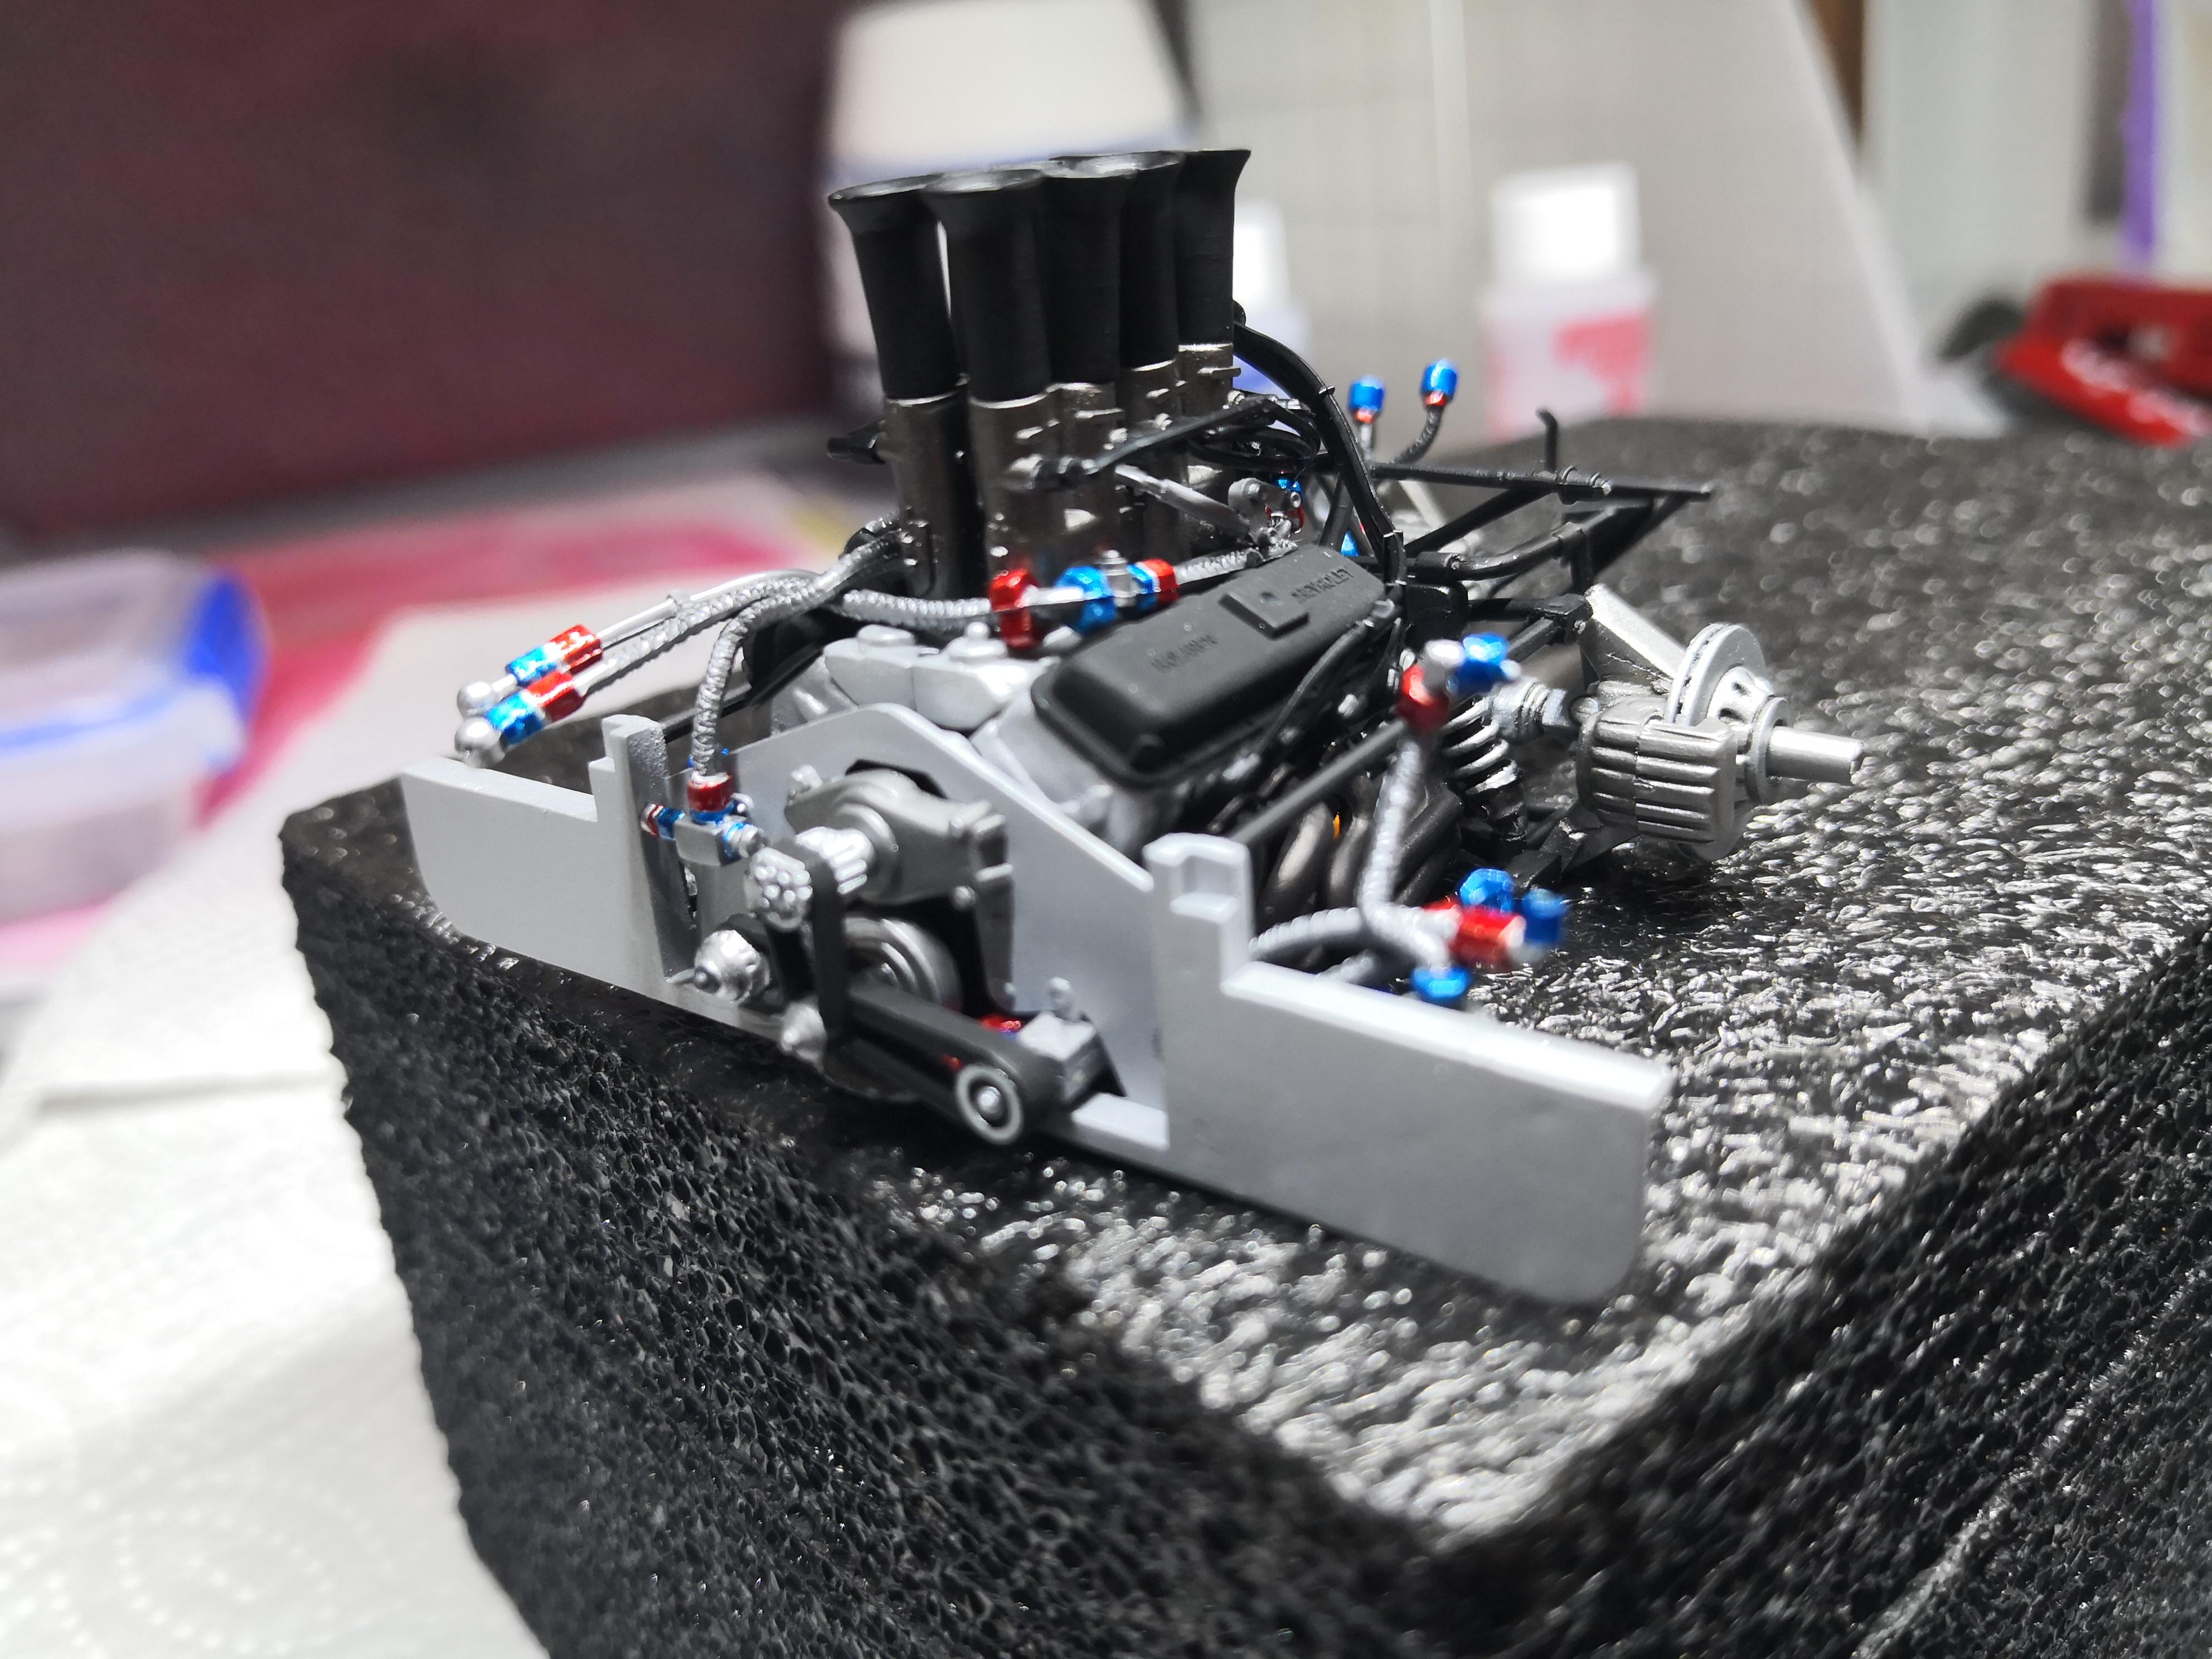
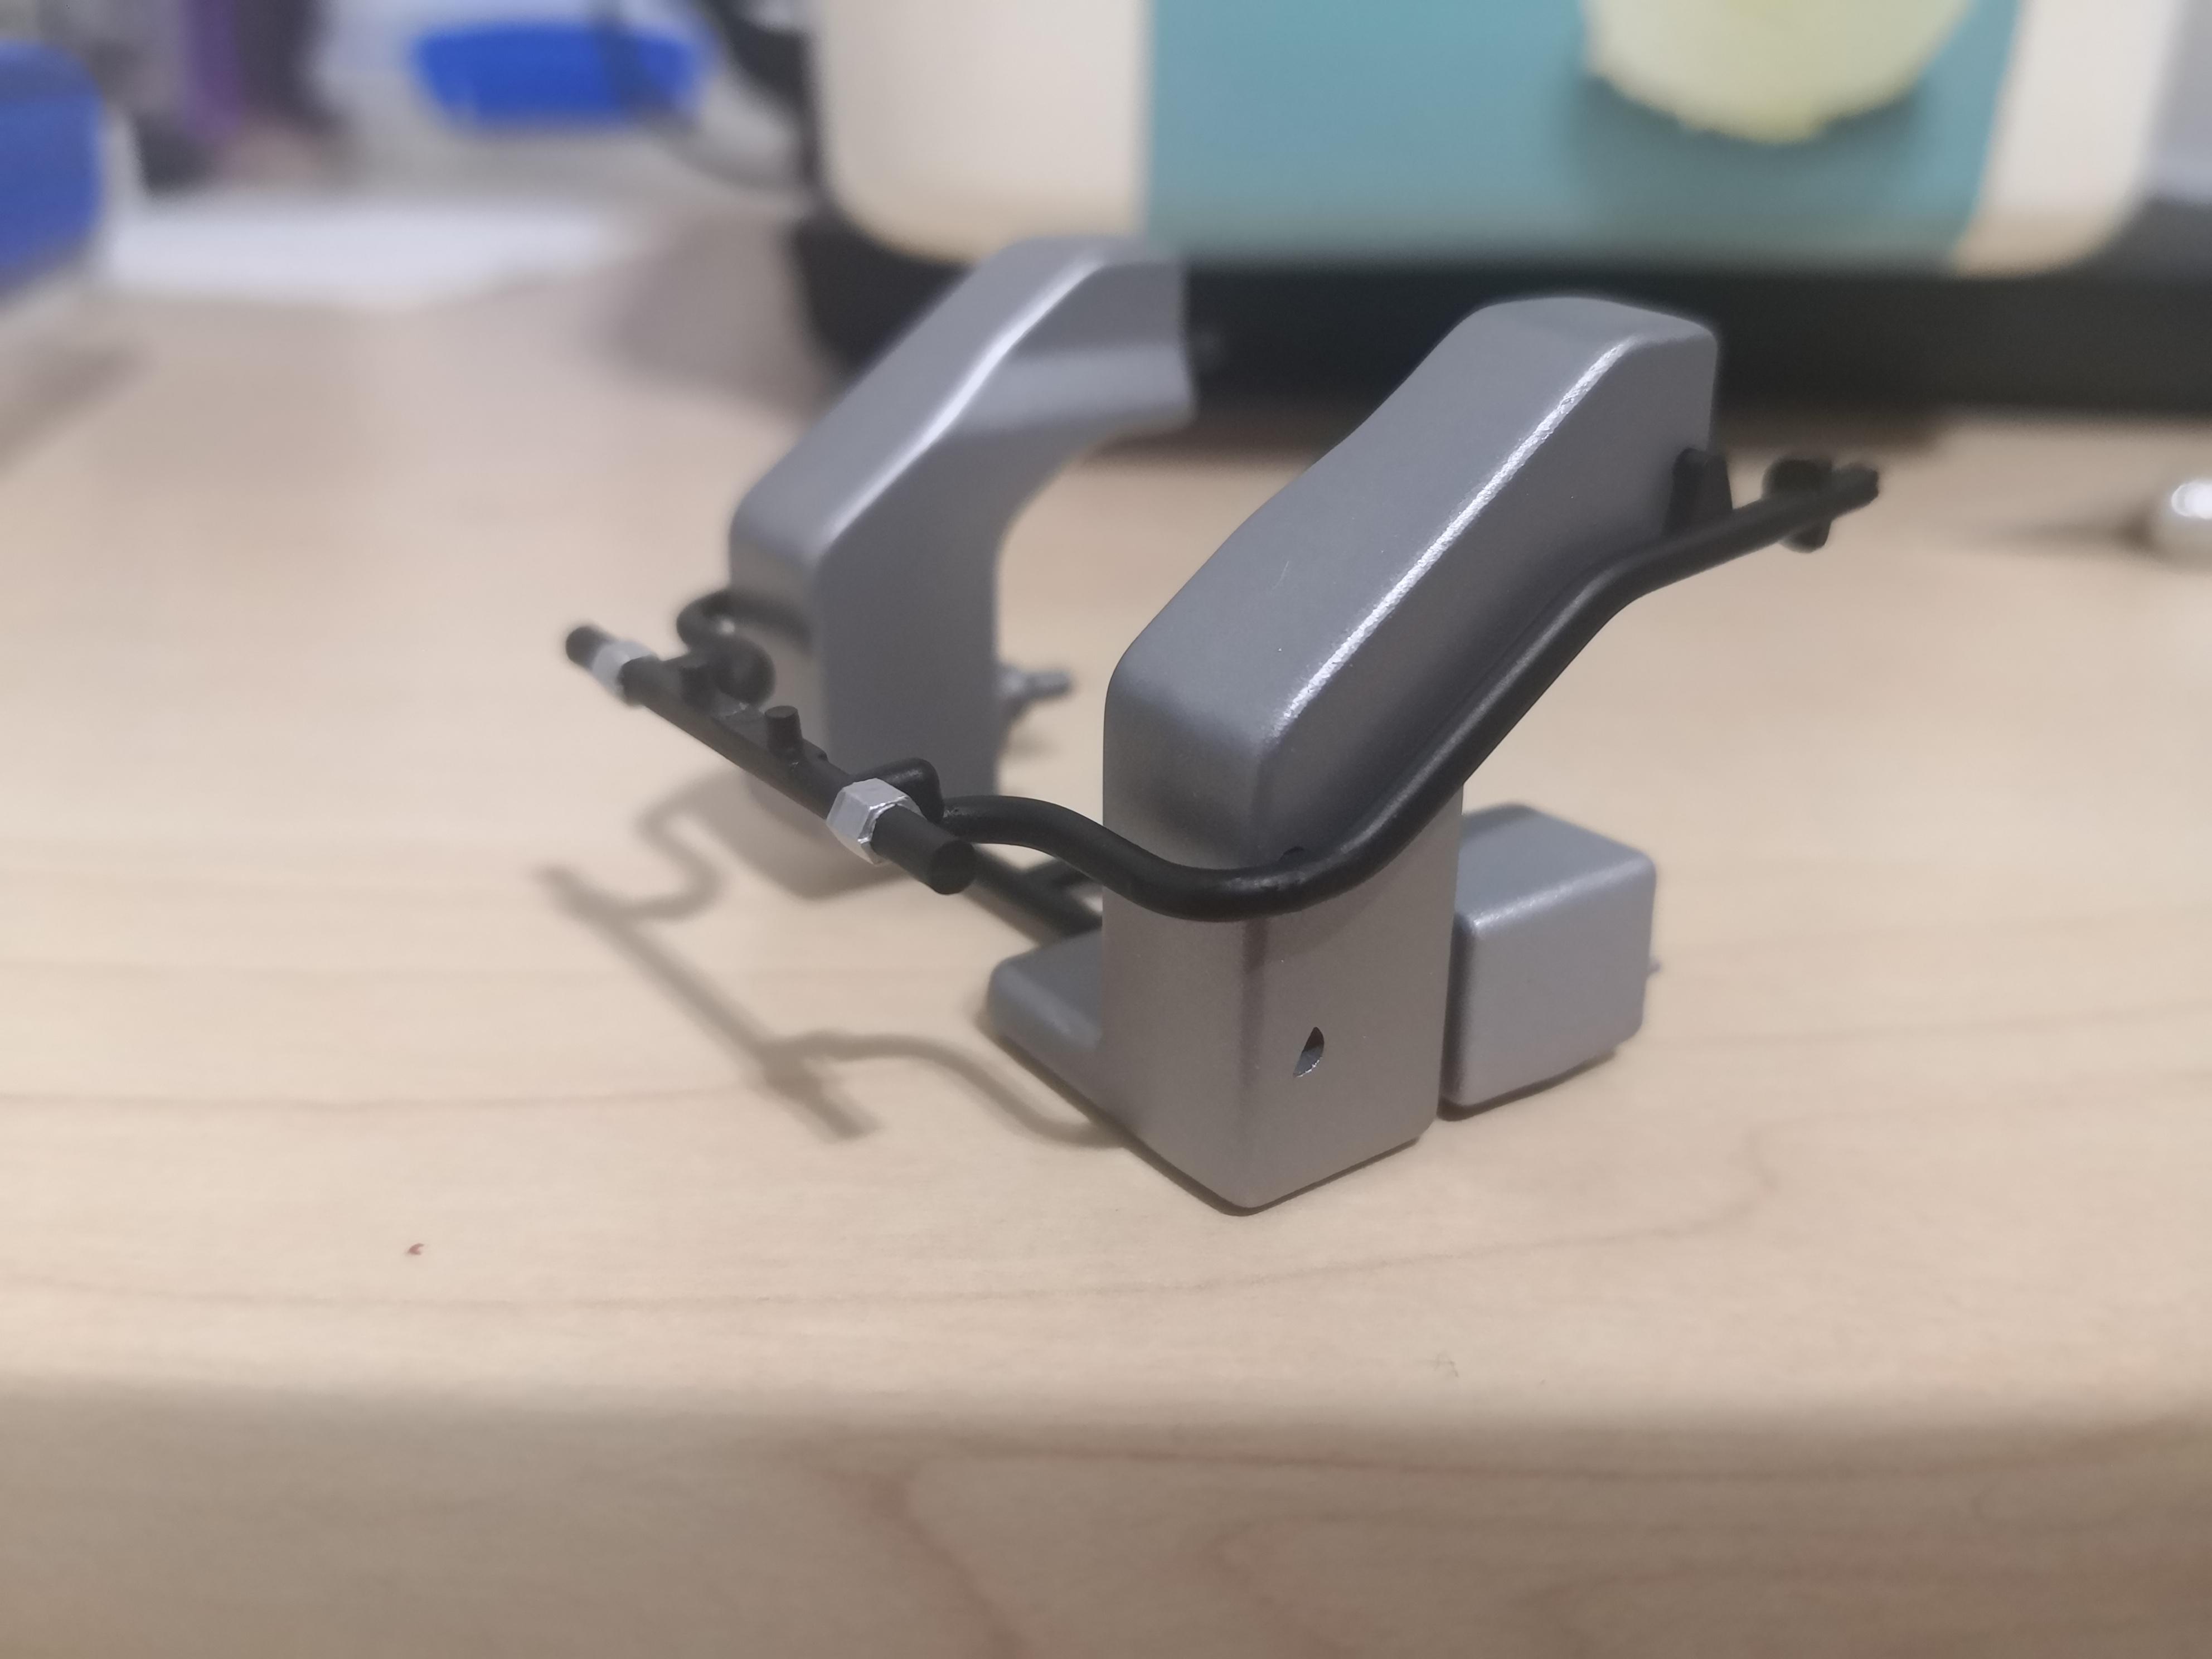
Oil Tanks & Battery: I am quite happy with the outcome of the oil tanks and the battery. Oil tanks took some time sanding to get rid of the seams, they're not 100% gone, but they will be hidden by the oil coolers, so I they're good. Battery took some careful masking to get clean lines for the yellow caps, and look pretty neat to me. What's a battery without a battery clamp! I scratch built this battery clamp as per reference photos, and used some Top Studio bolt heads to make it look more realistic. I will still be adding battery cables, but that will be a bit later.
-
Tamiya 1/12 Ferrari 312b
IanH replied to IanH's topic in WIP: Other Racing: Road Racing, Land Speed Racers
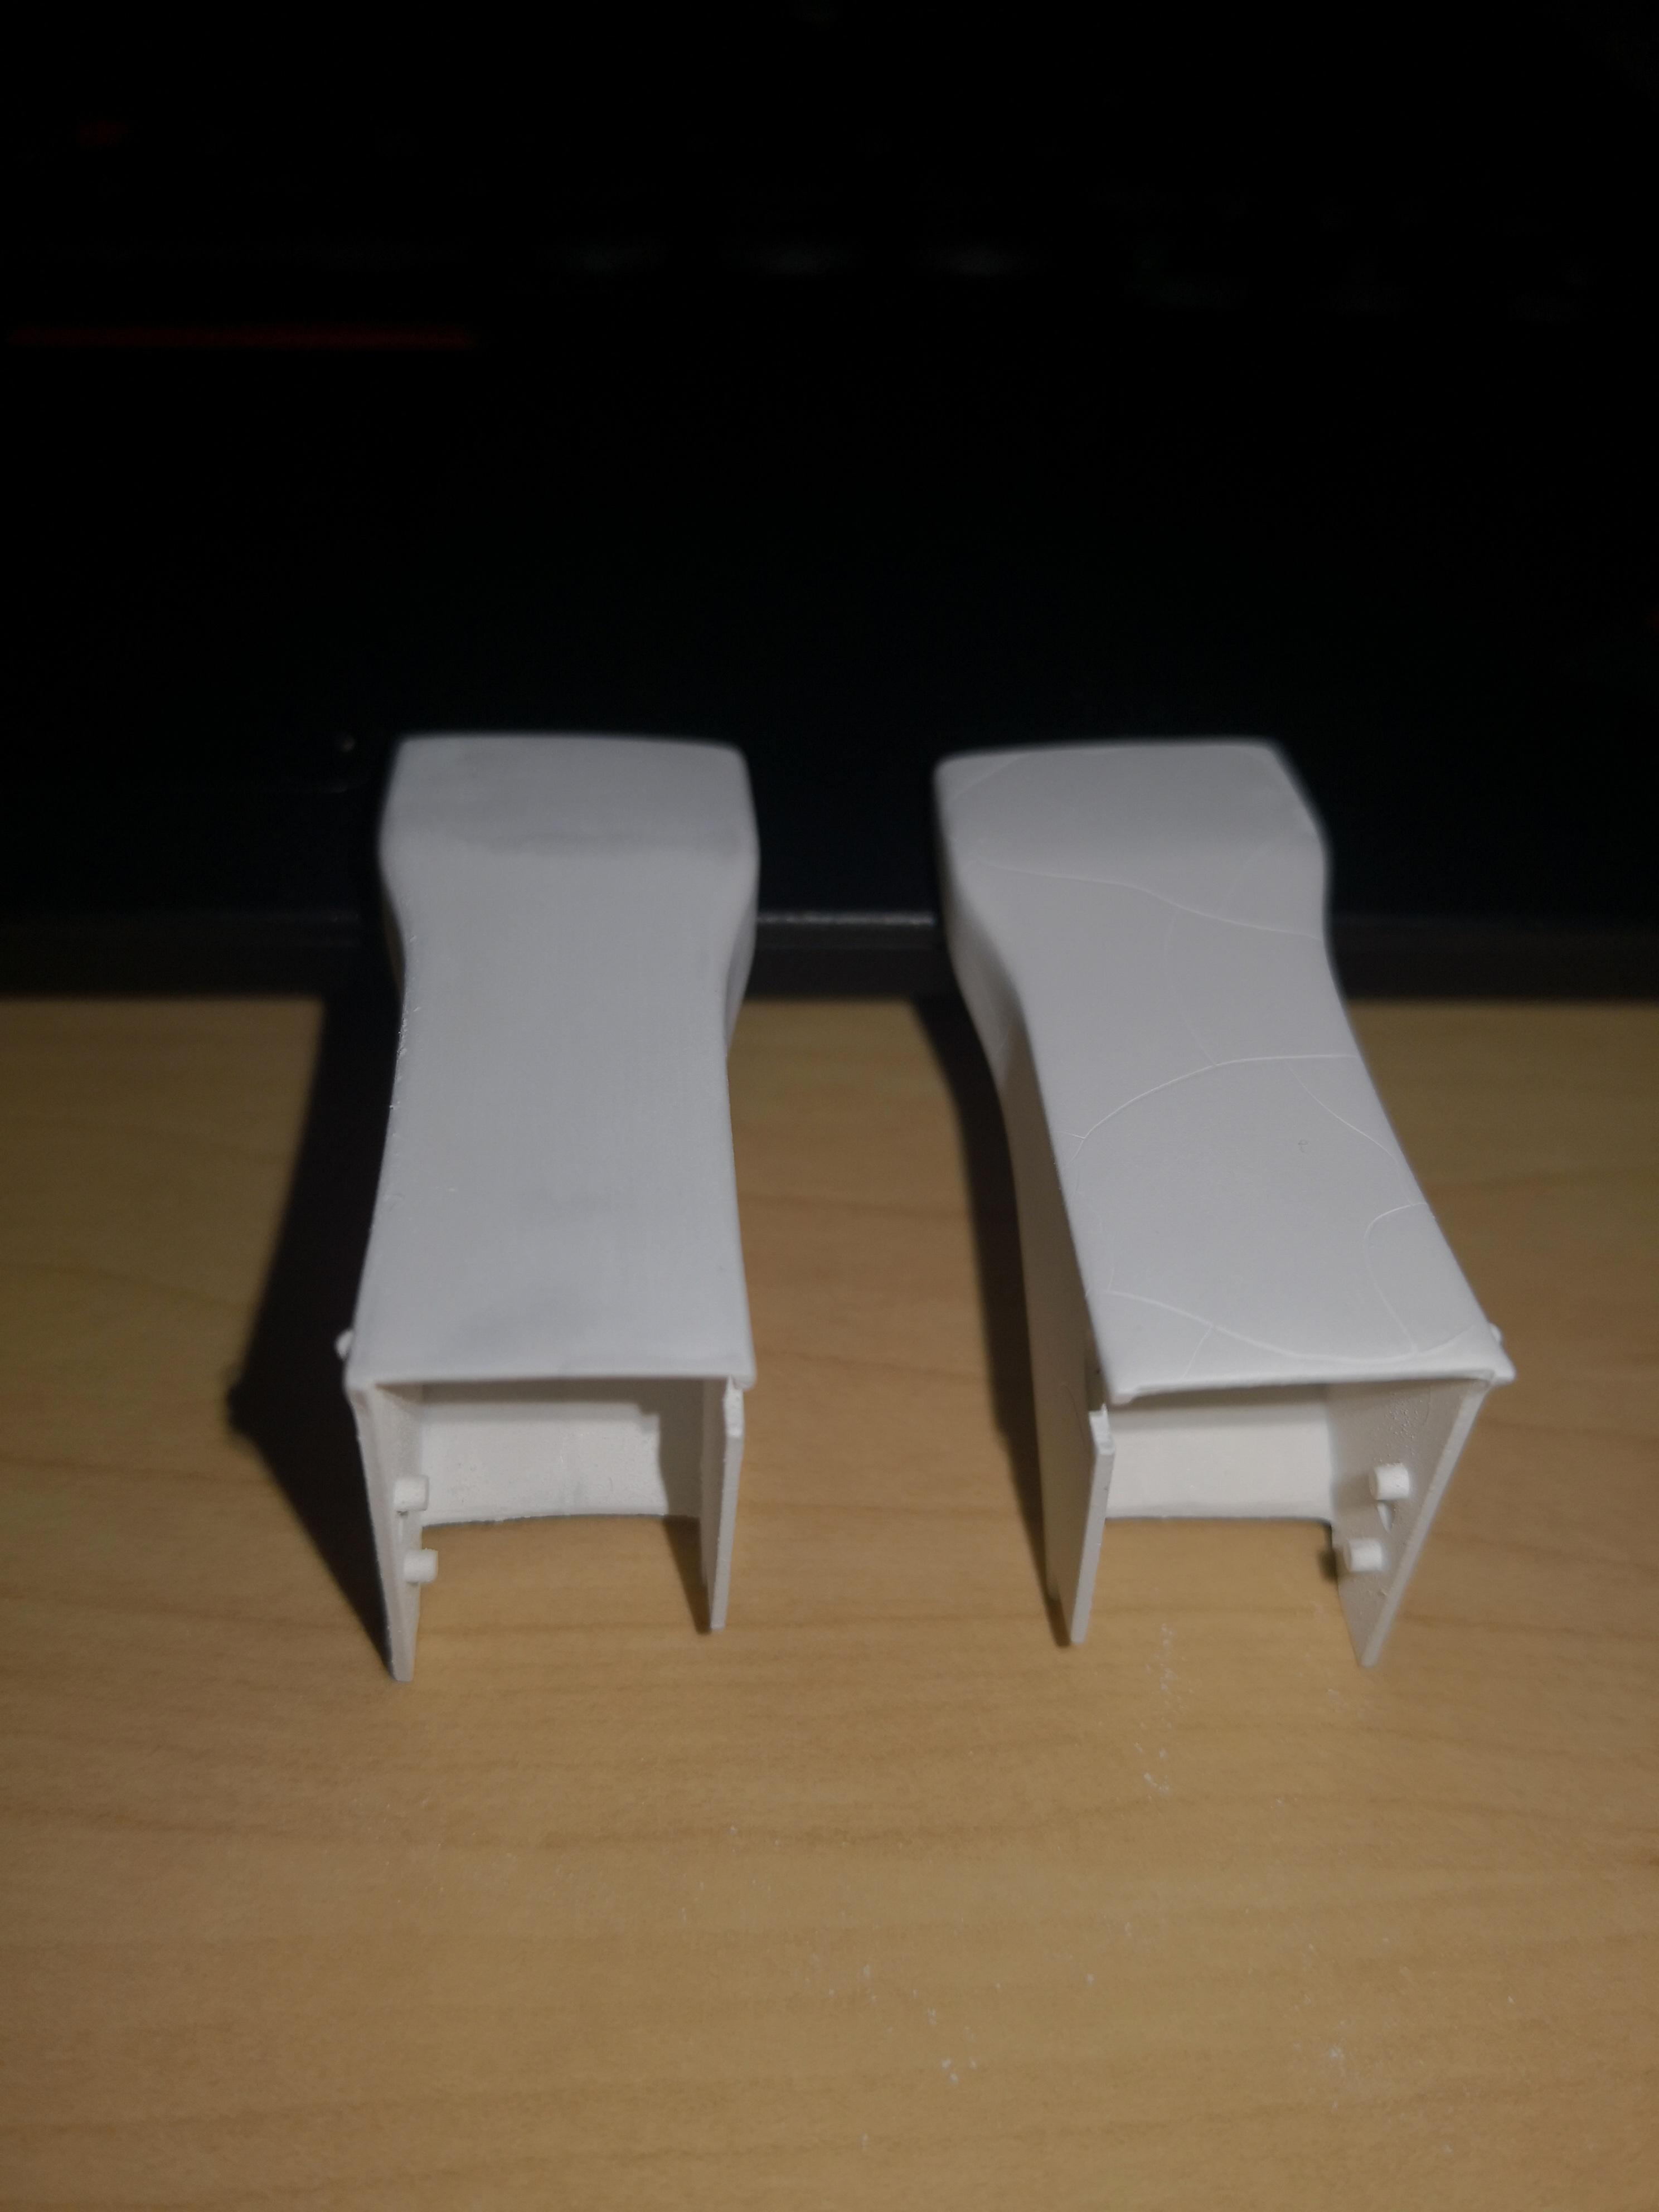
Oil Coolers: These are as they are currently, the one on the left has been sanded down after having indentations come up as seen on the right one. I will be stripping these fully and will be starting over again, spent hours on this, but am just not happy with it.
-
Tamiya 1/12 Ferrari 312b
IanH replied to IanH's topic in WIP: Other Racing: Road Racing, Land Speed Racers
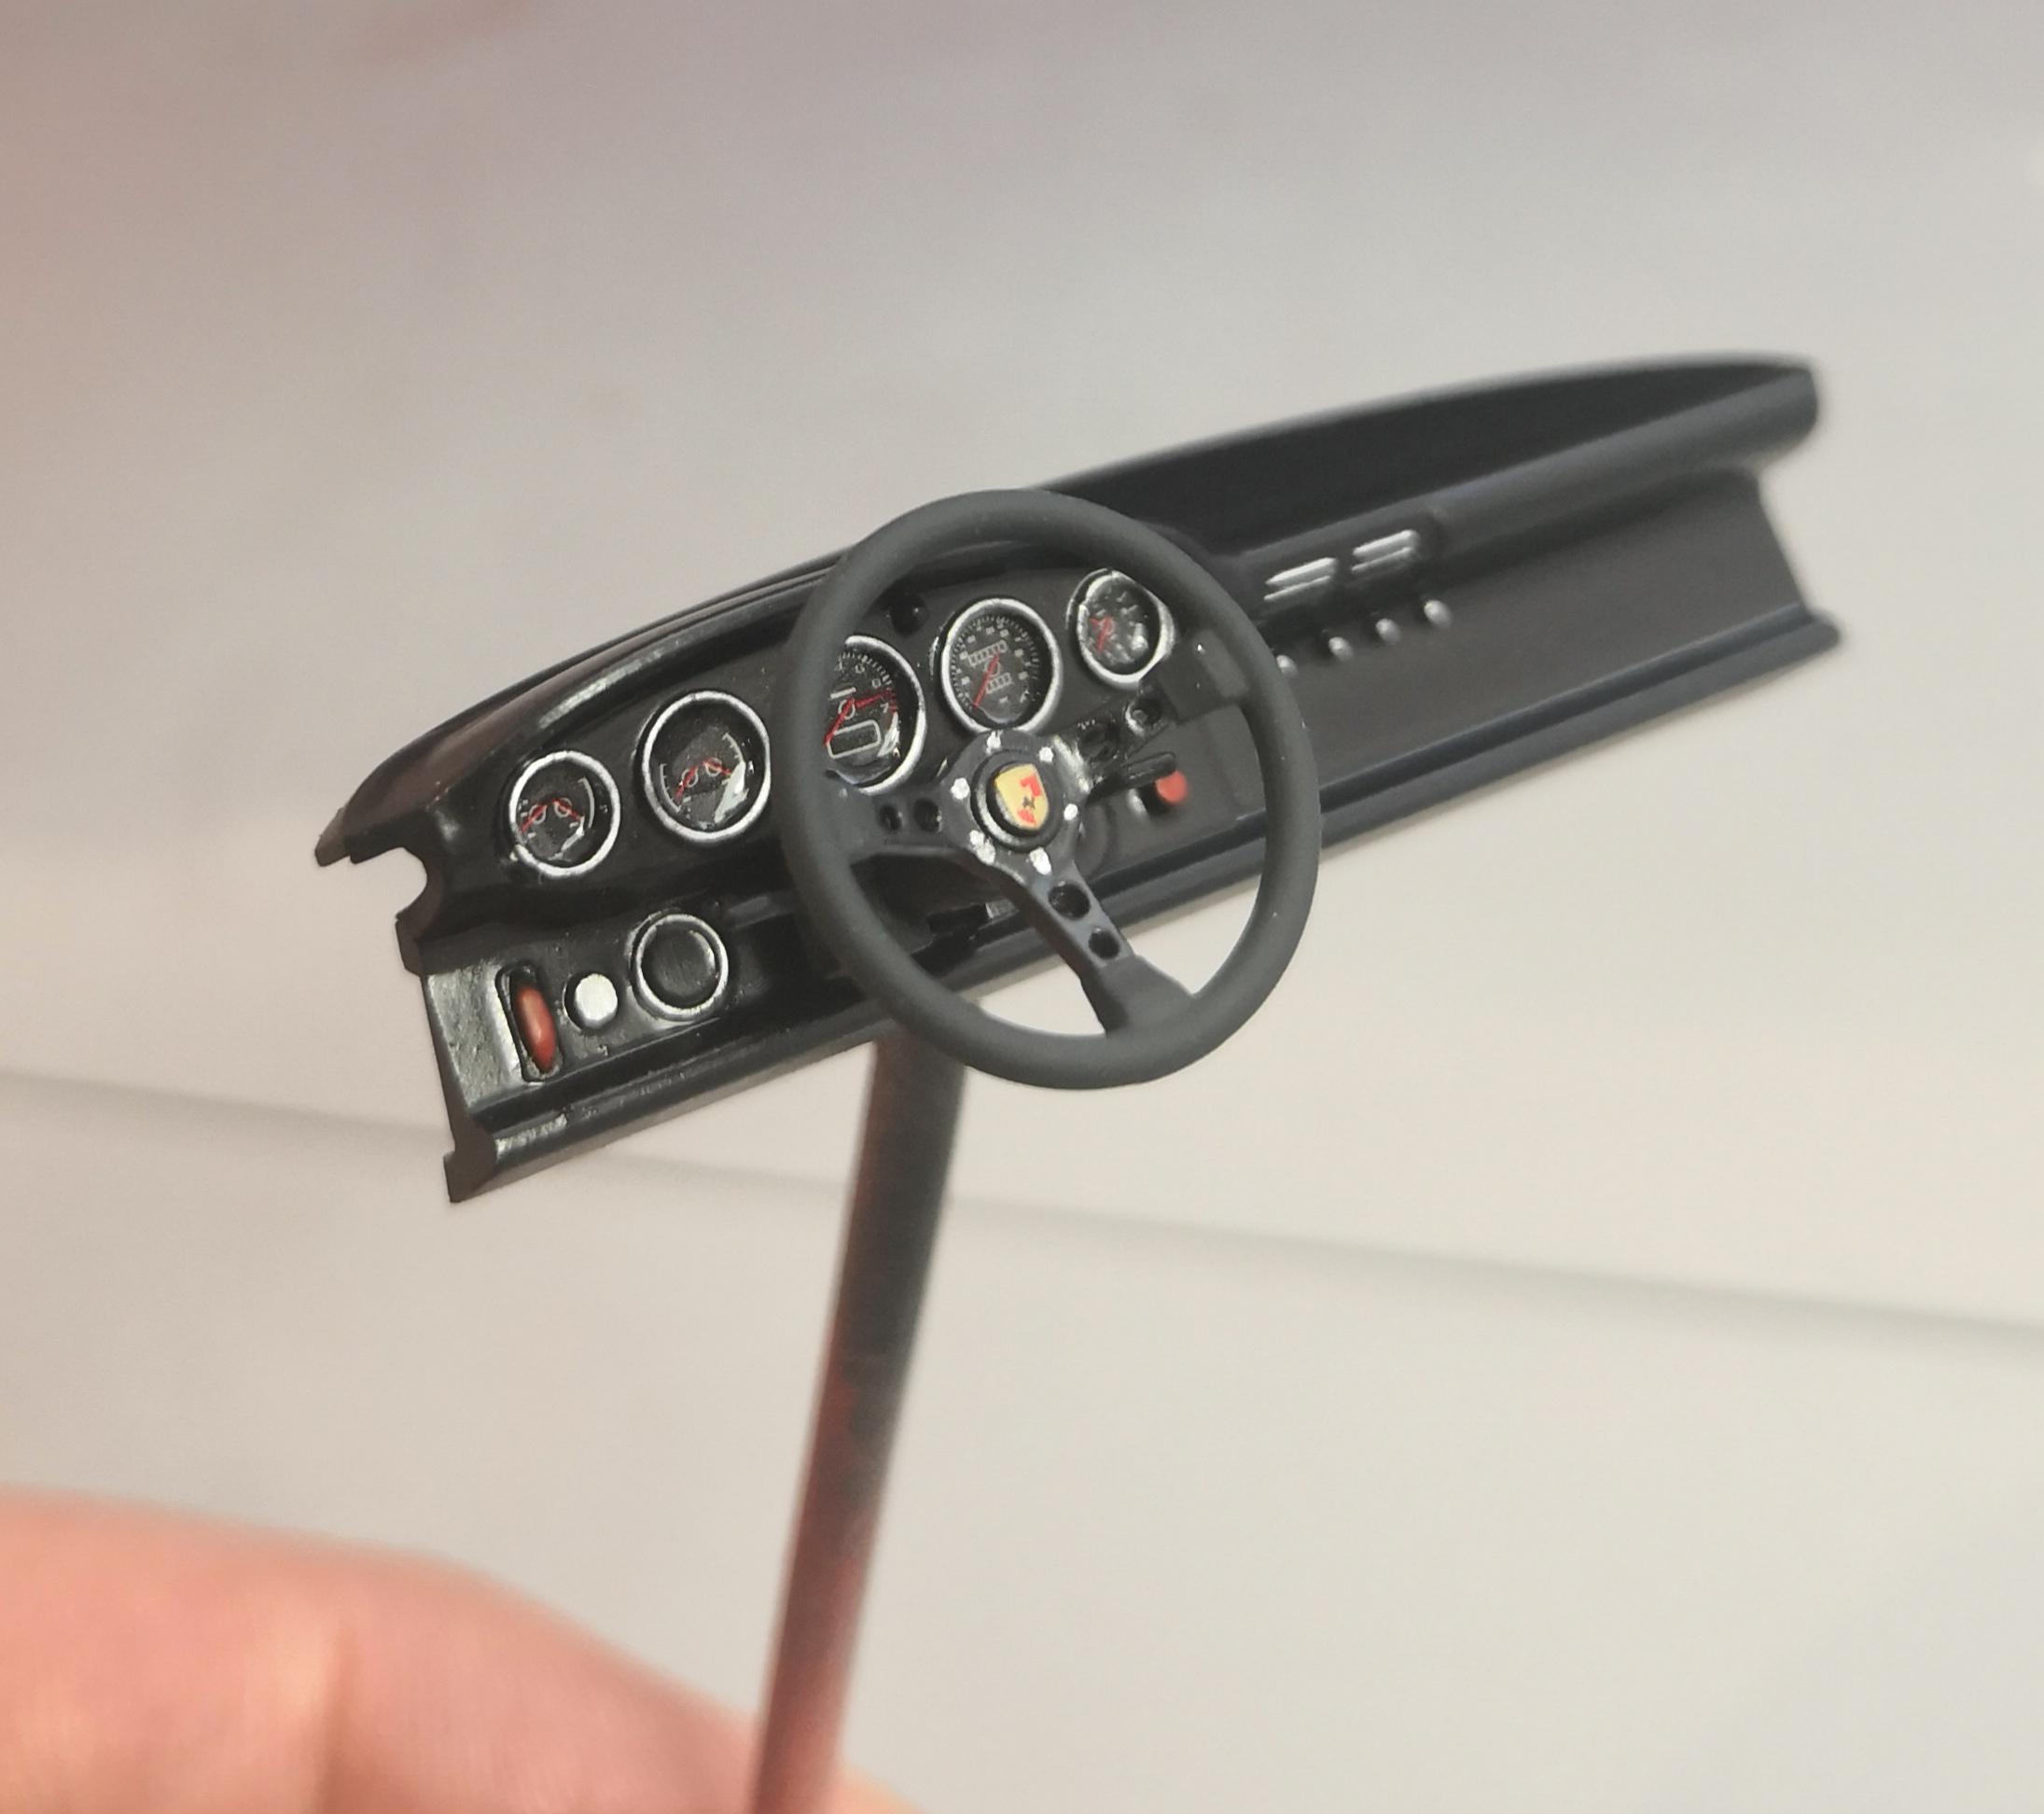
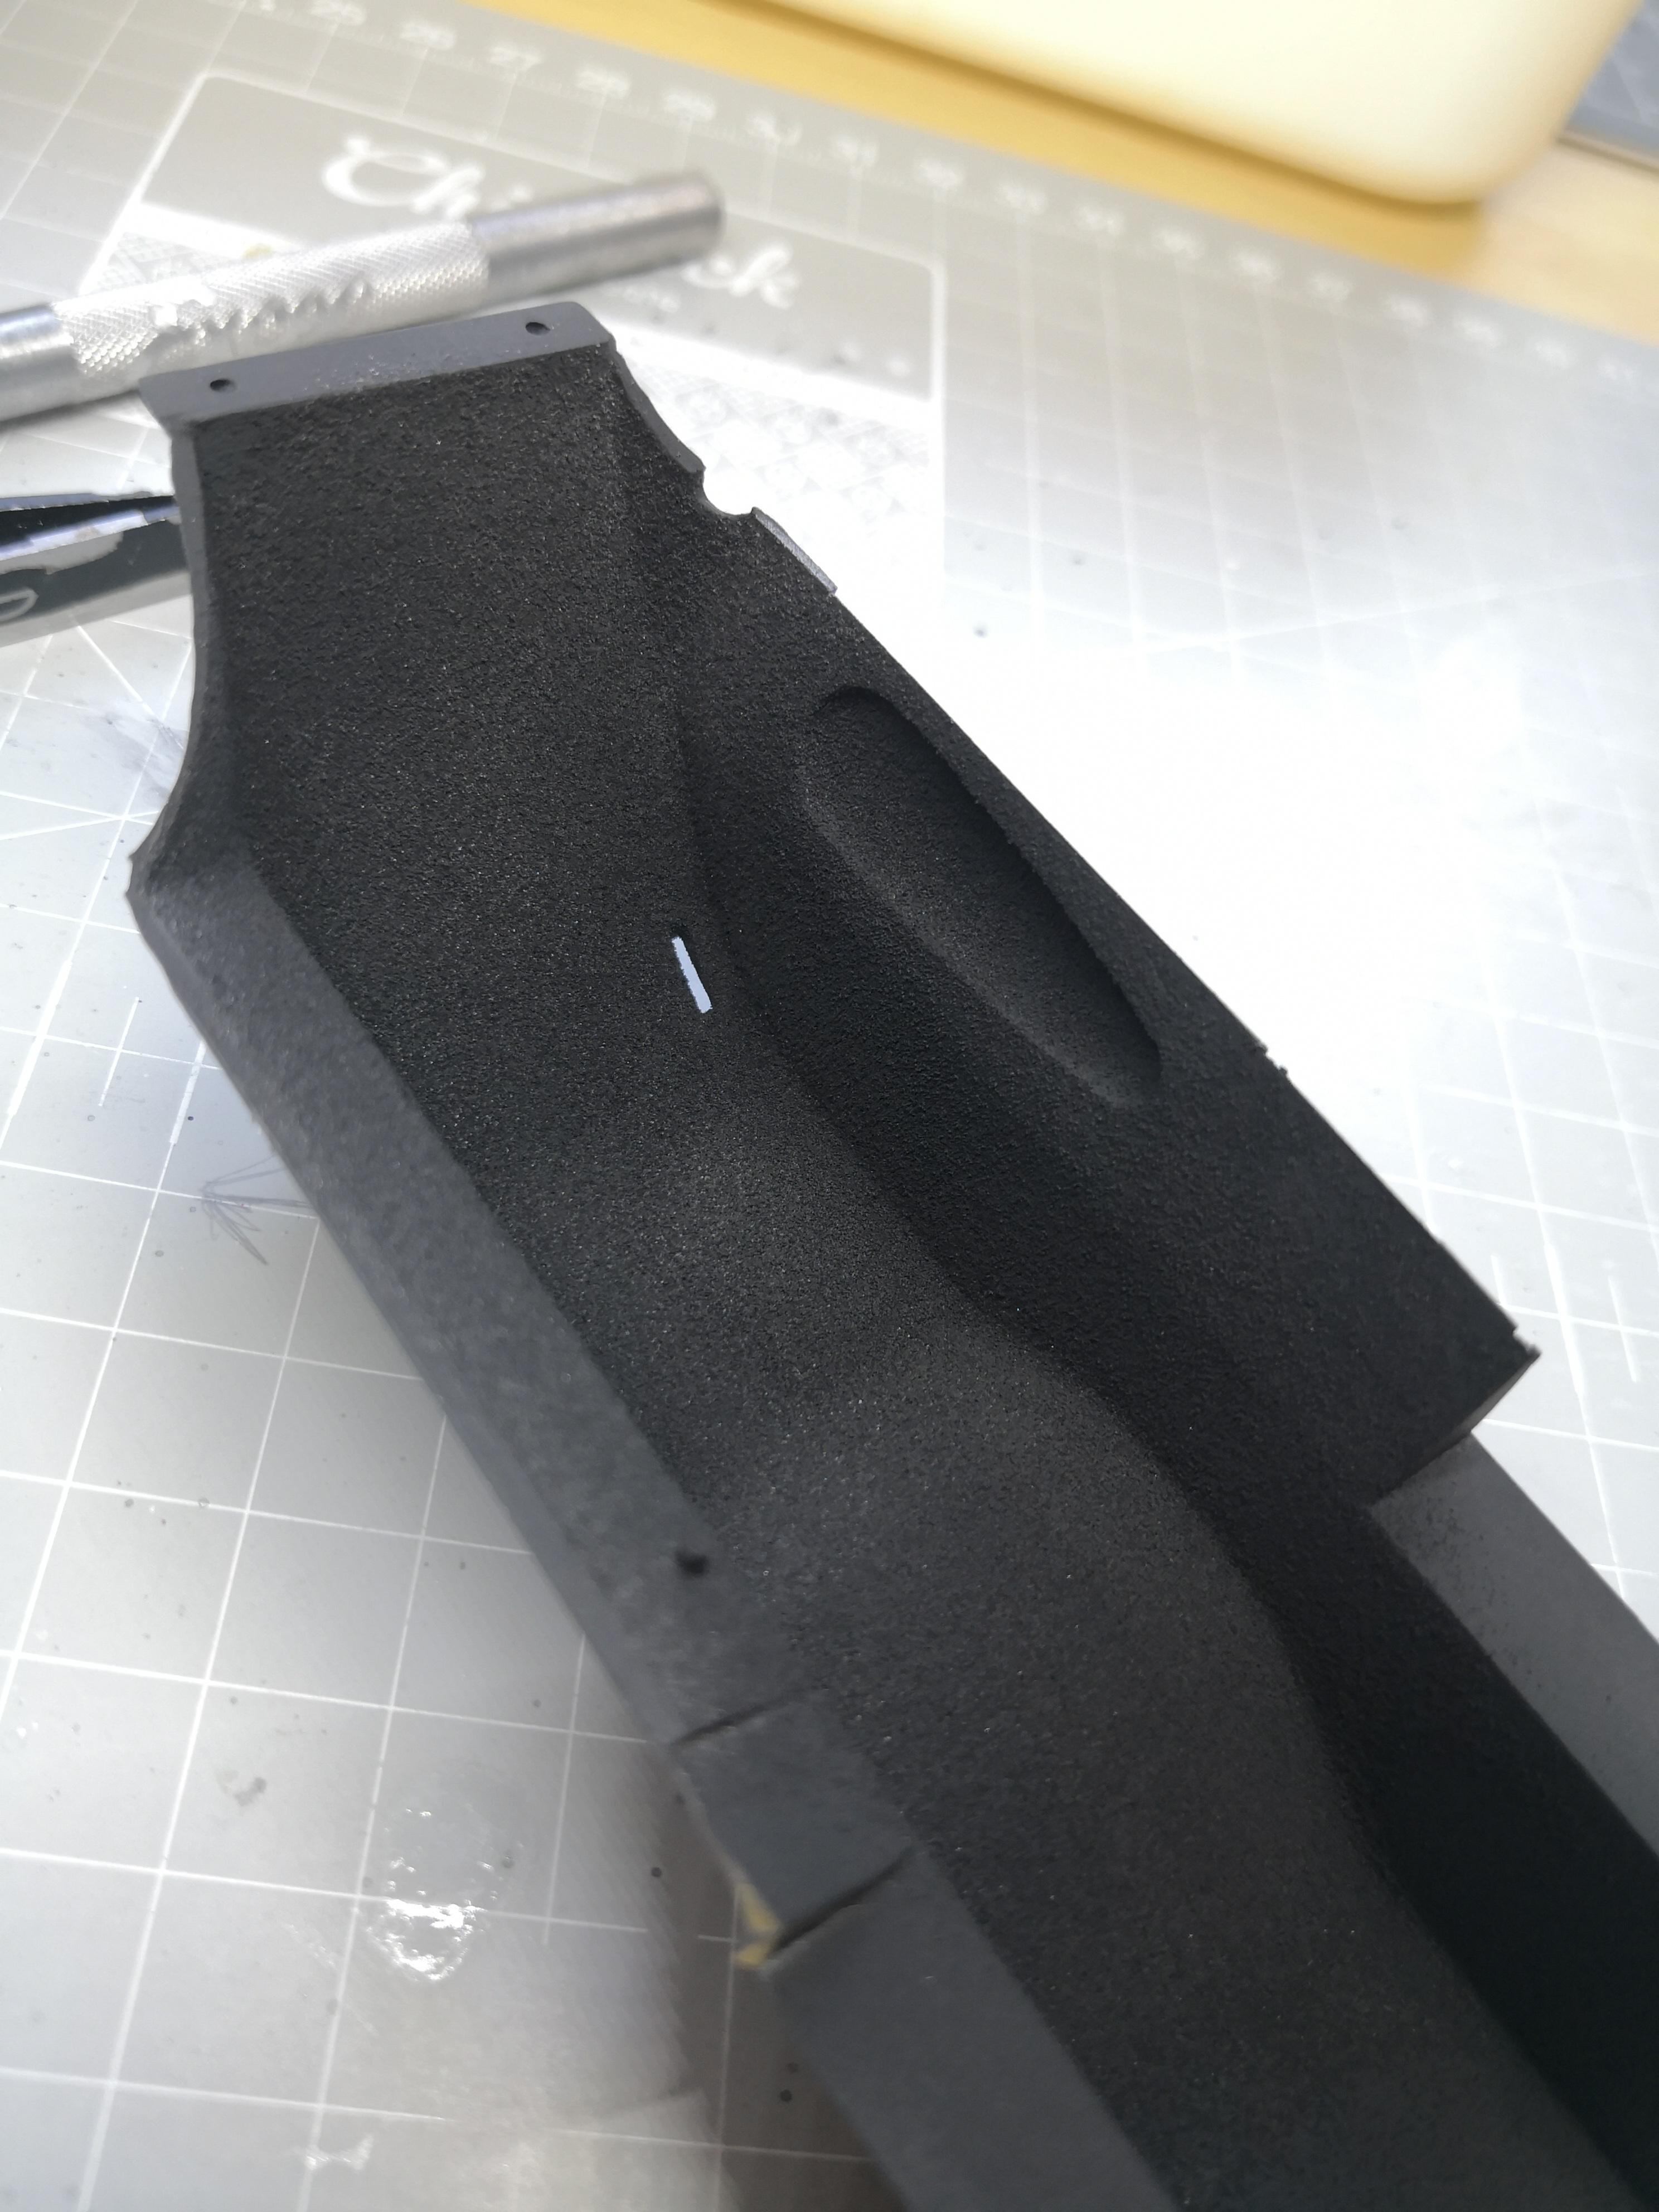
Seat: After gluing in the elbow section of the seat, I filled in the gaps with putty and sanded it down. I decided to go with black interior, gave it a coat of black, and poured on some clear embossing powder to give it some texture. I could not leave it with the original texture, as the sanding around the elbow section was smooth out, and would look odd. A few more coats of Matt black over the embossing powder, and I am quite happy with the outcome.
-
I have been working on this kit on and off since the beginning of the year year, haven't made much progress on it, as I started off with the oil coolers, and the struggle to 100% get rid of the nasty in your face seam lines. Eventually got them perfect, and then had some hassles with the white paint, I think it was a bit thick, it had a lovely finish, but even after 2 weeks of curing, it was soft enough to leave imprints... So back to the beginning, stripping them down. Will do a bit of a catch up post in the next day or so, and then continue with updates as I progress.