BK9300
-
Posts
2,075 -
Joined
-
Last visited
6 Followers
.thumb.jpg.4bca3333e1da4027c381d8d56a564ec1.jpg)


Recent Profile Visitors


BK9300's Achievements
MCM Ohana (6/6)
-
 Fine looking truck, Scott! With your many truck builds, would be very interesting to see a group photo! Looking forward to your next project.
 -
Western Star 4900 FA plow truck
BK9300 replied to BK9300's topic in WIP: Model Trucks: Big Rigs and Heavy Equipment
Thanks for that, Jeff. The chrome issue has really been dogging me - need to get past it! Thanks for this tip, Jürgen - you’ve given me an idea for something similar to yours, that I will try next time! -
Ford Louisville
BK9300 replied to Jürgen M.'s topic in WIP: Model Trucks: Big Rigs and Heavy Equipment
Well done on the ‘used and abused’ look, Jürgen! -
Western Star 4900 FA plow truck
BK9300 replied to BK9300's topic in WIP: Model Trucks: Big Rigs and Heavy Equipment
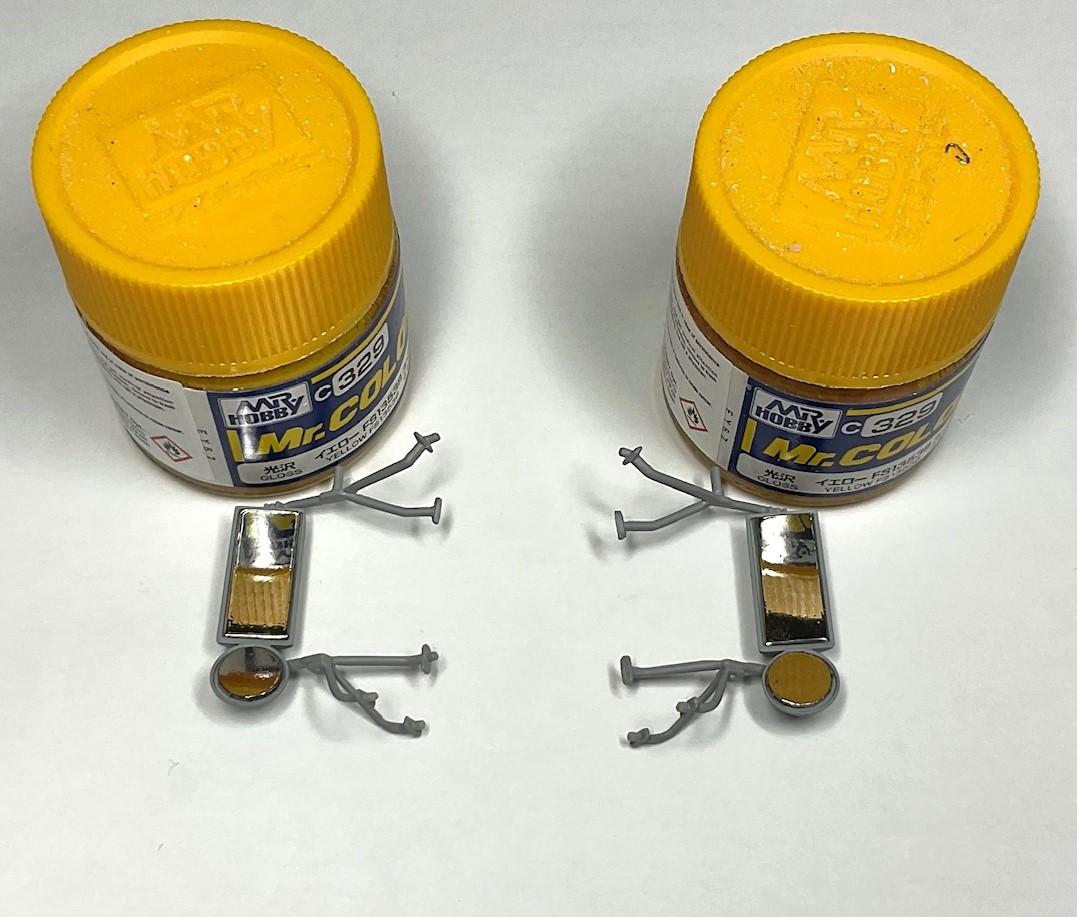
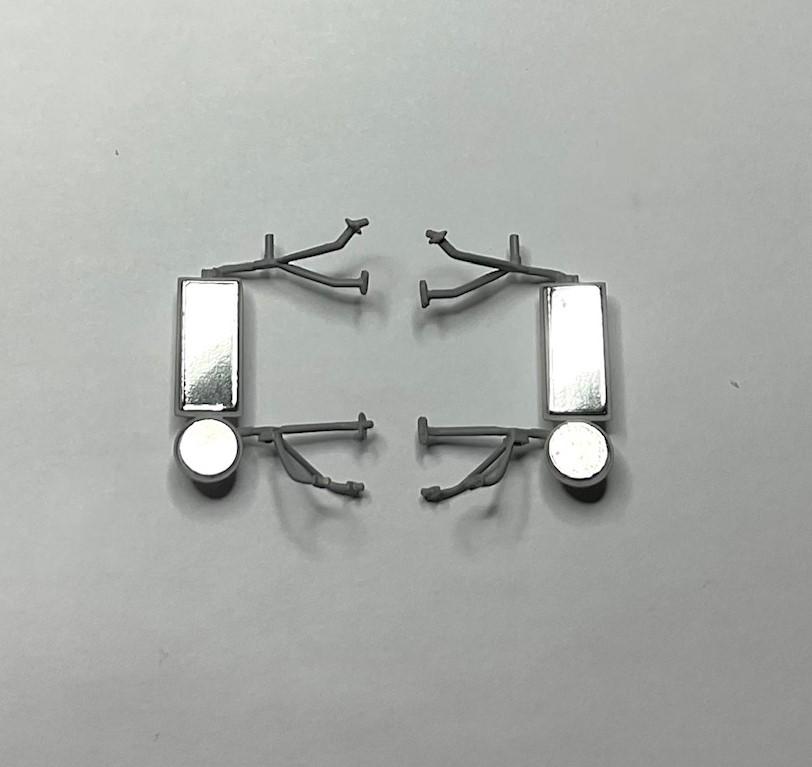
I think the only reason I did the mirrors this way, is because the Western Star mirrors have borders or raised edges, if you will, where the mirrors are. It seemed to me that some very thin styrene with the film could work better than the paint. Maybe that could work for you as well! Thanks, Gary. Thanks very much, Wolf - I appreciate the terrific compliment! Thanks, Jeff, and I do know these trucks in real life were a big part in your life! And I also know that any kind of painted chrome is unlikely to come near to the plated chrome in many kits. Good thing about the chrome paint is that all the glue joints and seams can be minimized or eliminated! Just for the hell of it, I took a pic of the test this afternoon - the Alsa Easy Chrome. It turned out ok, better than a couple of others, but not quite as reflective, believe it or not, as the Revell chrome! The big plus for the Easy Chrome is it is supposed to stand up to handling without clear coat. Don't think the Revell is going to pass that test, without some clear, and the clear will dull it a bit, apparently. Need to test that as well. For now, this may be where I'm leaning - test panel was one side of the Constellation sleeper - didn't spend a lot of time 'smoothing' the surface underneath, as I won't be able to do any smoothing on the mirror struts, or grille, or cab lights, etc! -
-
Western Star 4900 FA plow truck
BK9300 replied to BK9300's topic in WIP: Model Trucks: Big Rigs and Heavy Equipment
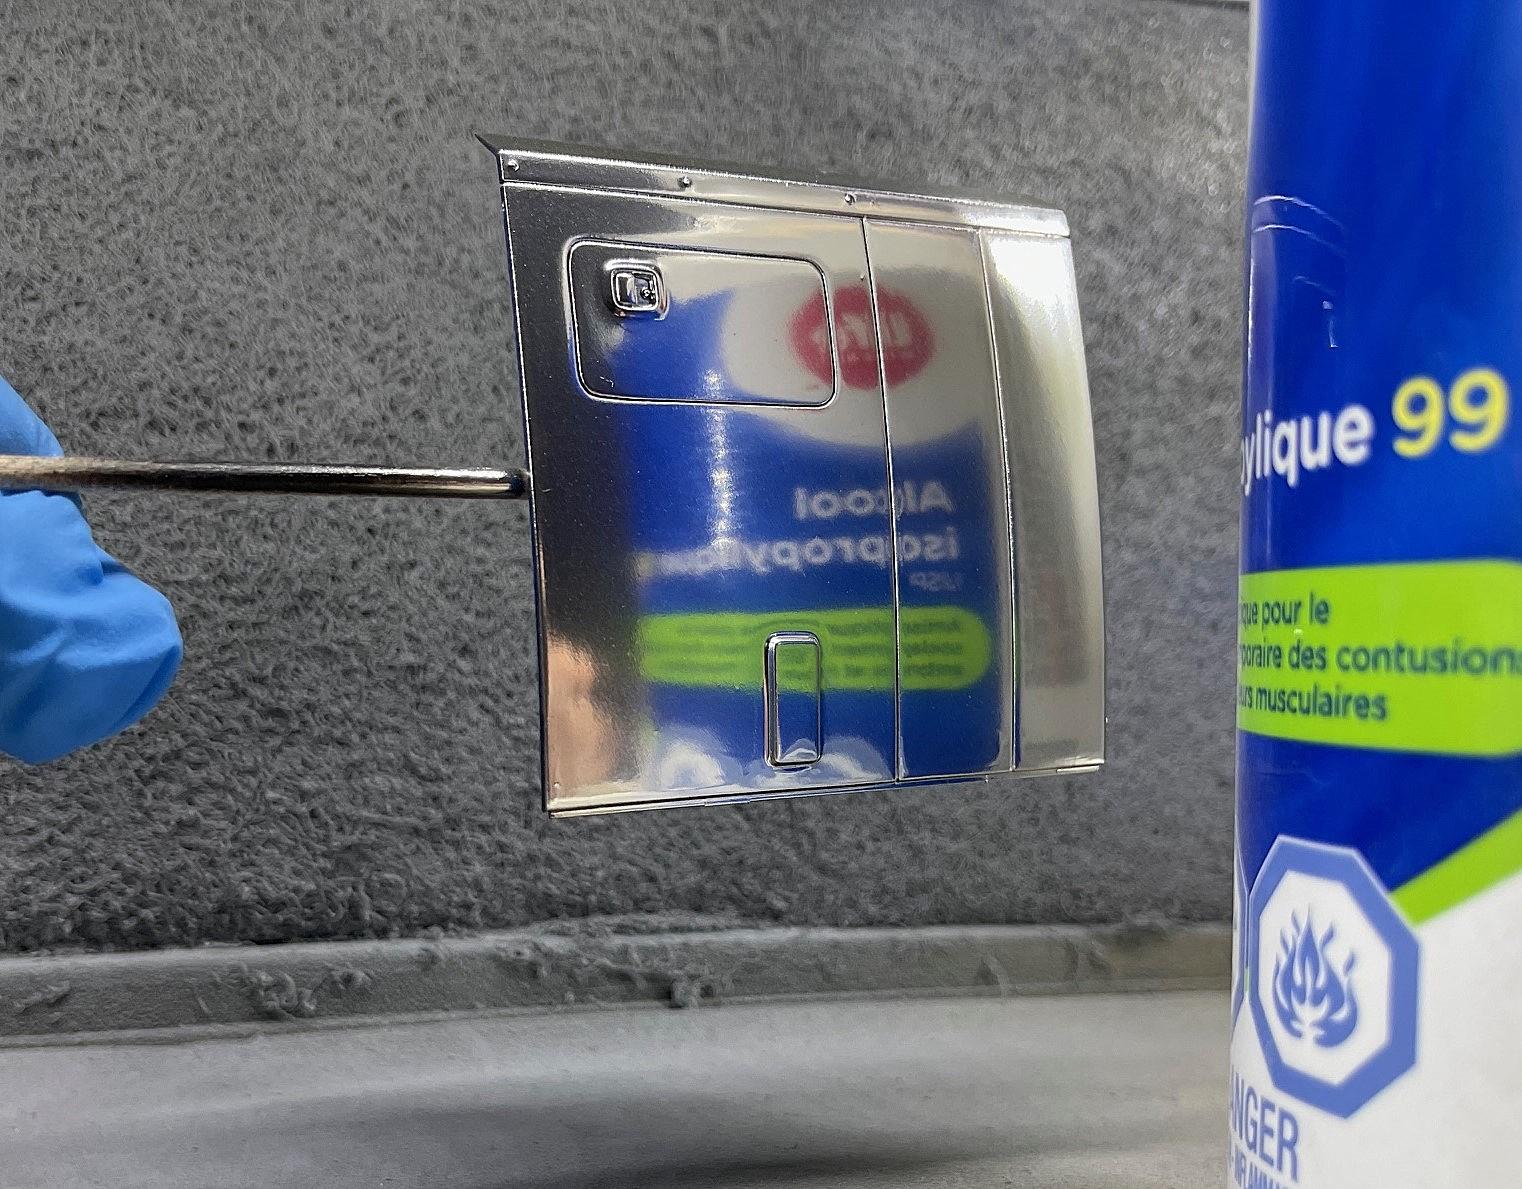
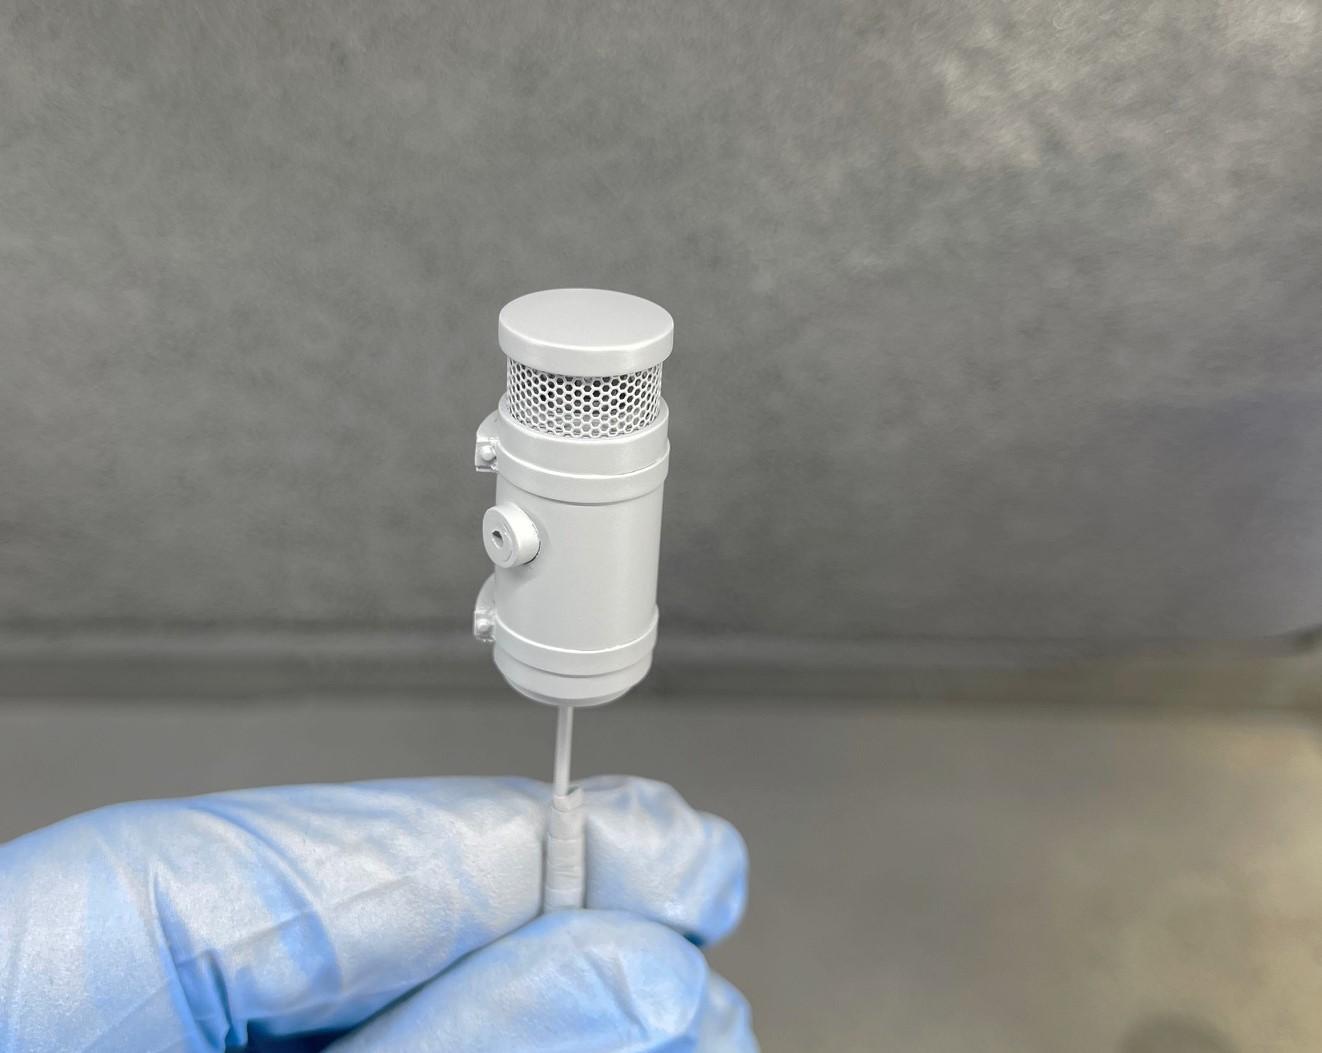
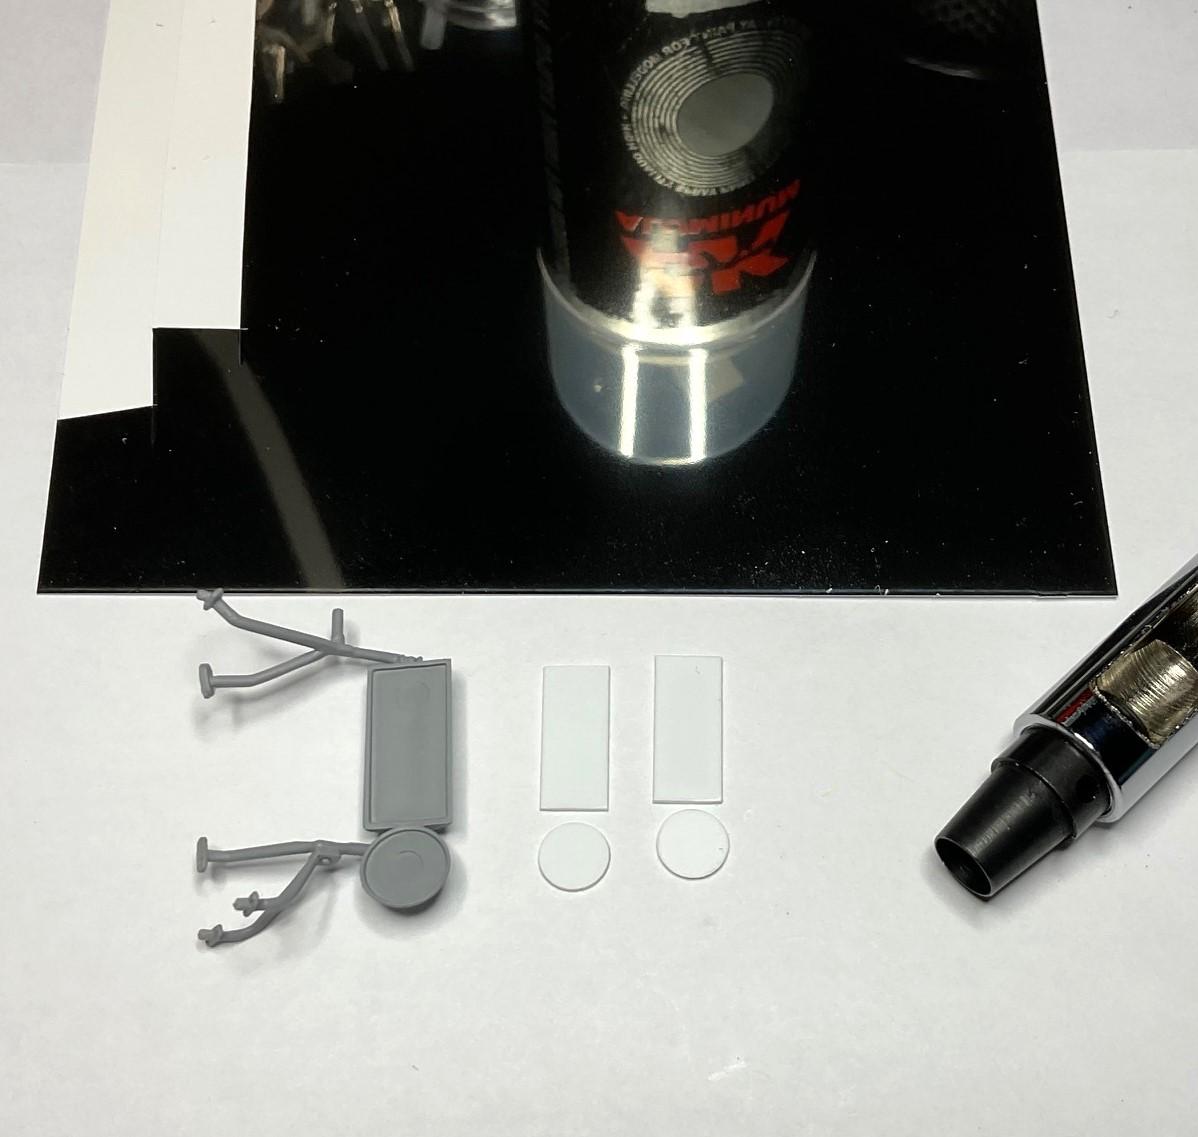
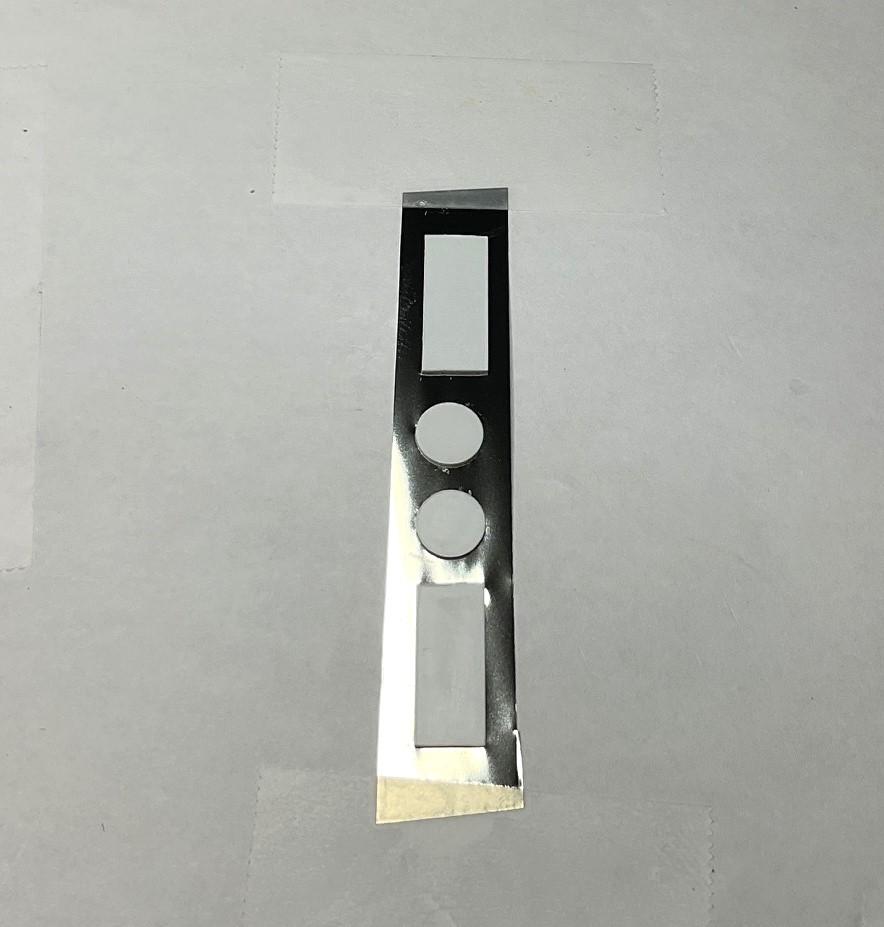
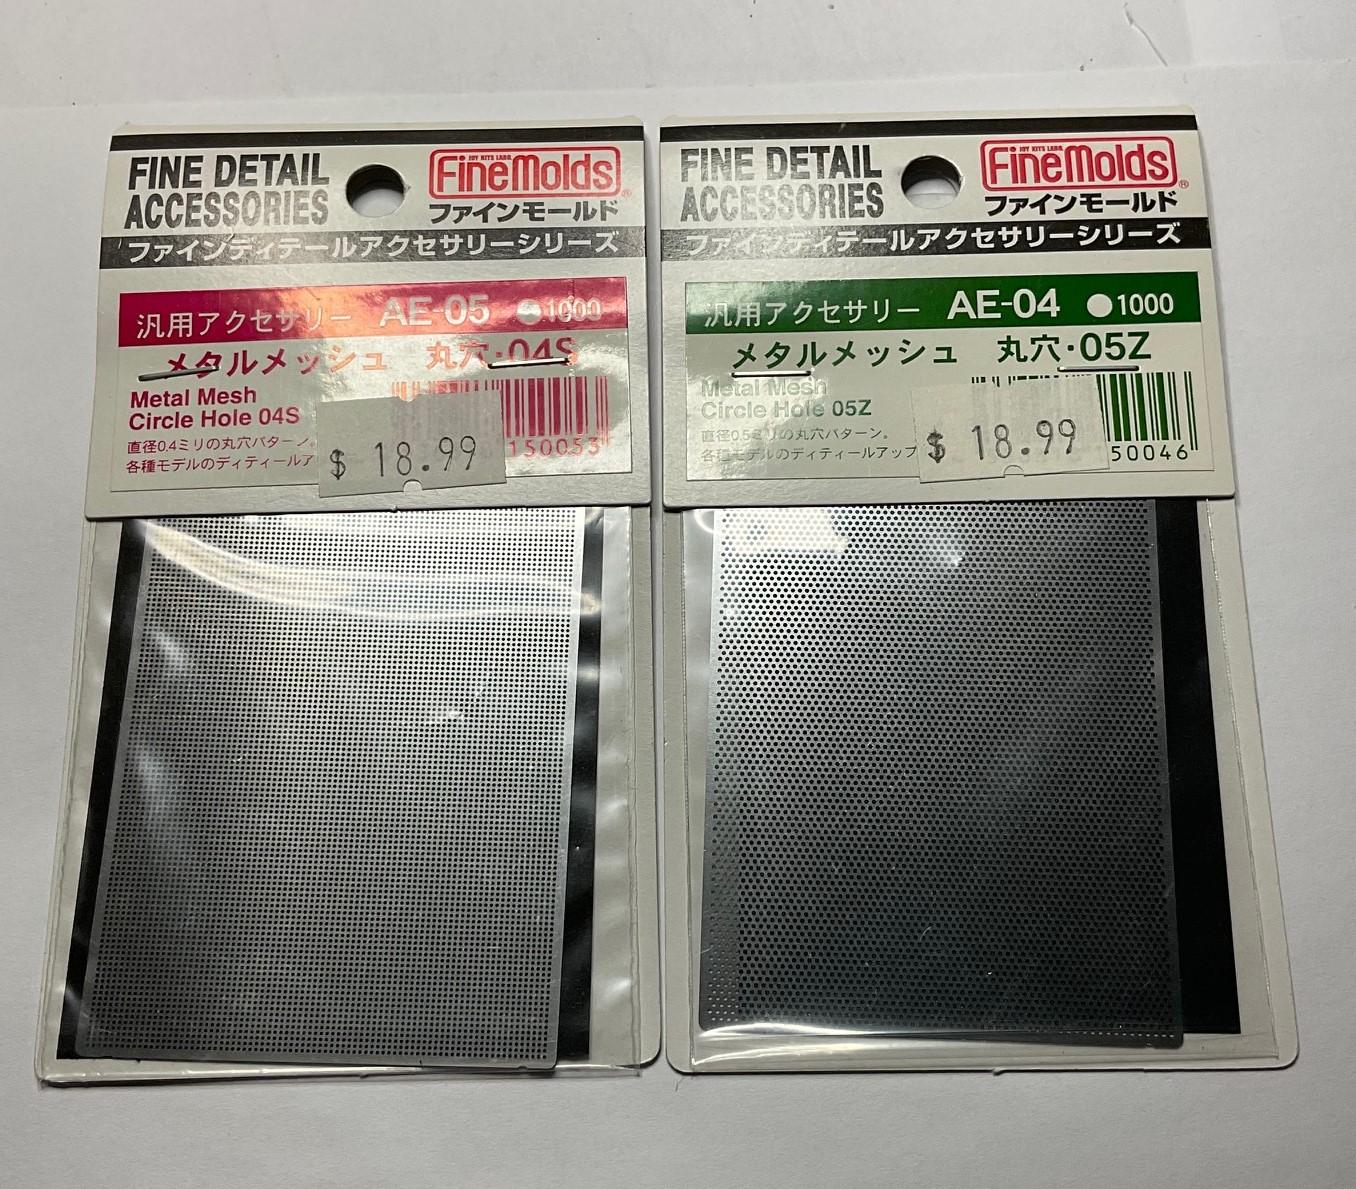
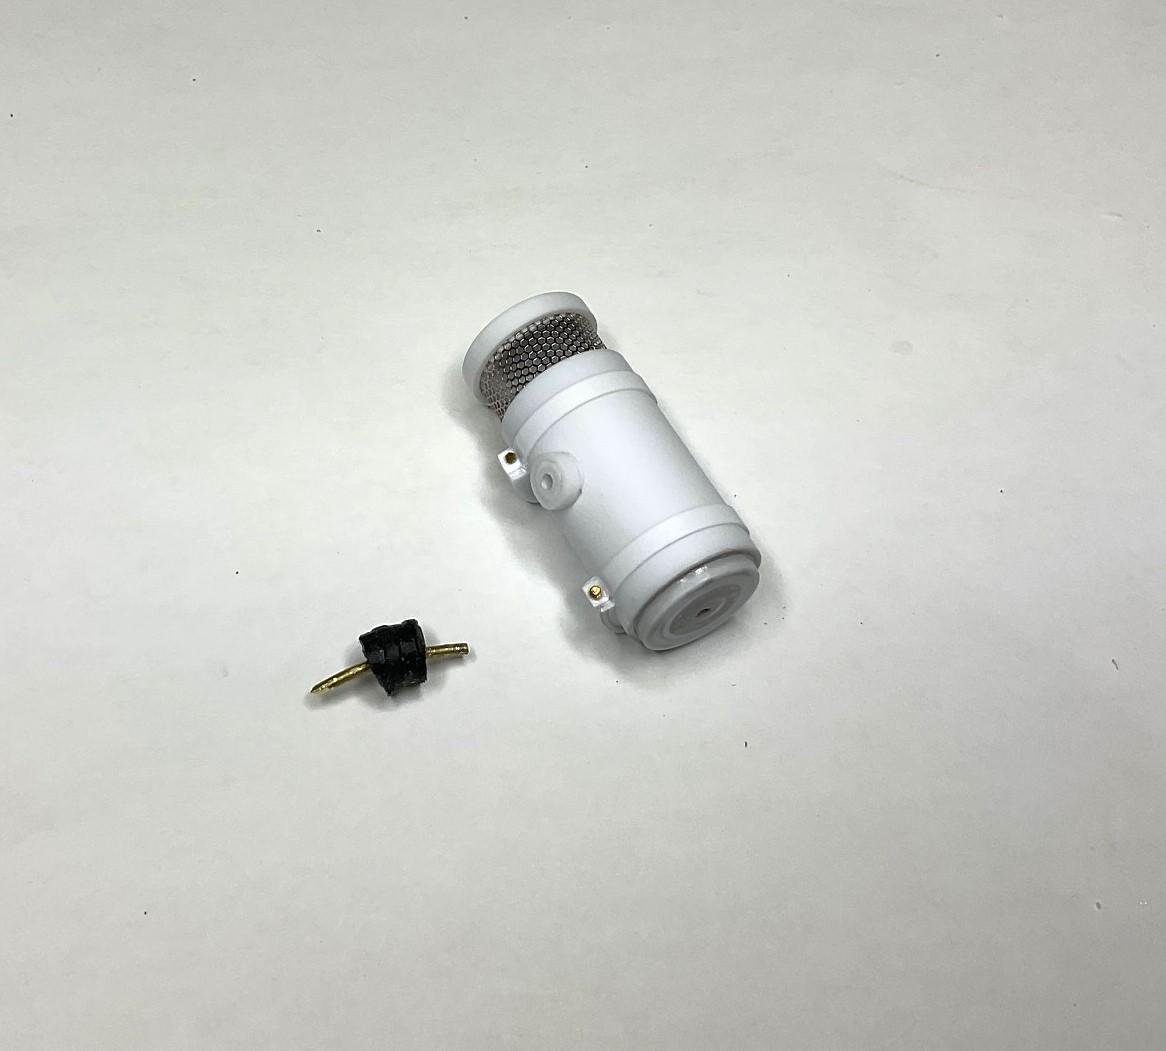
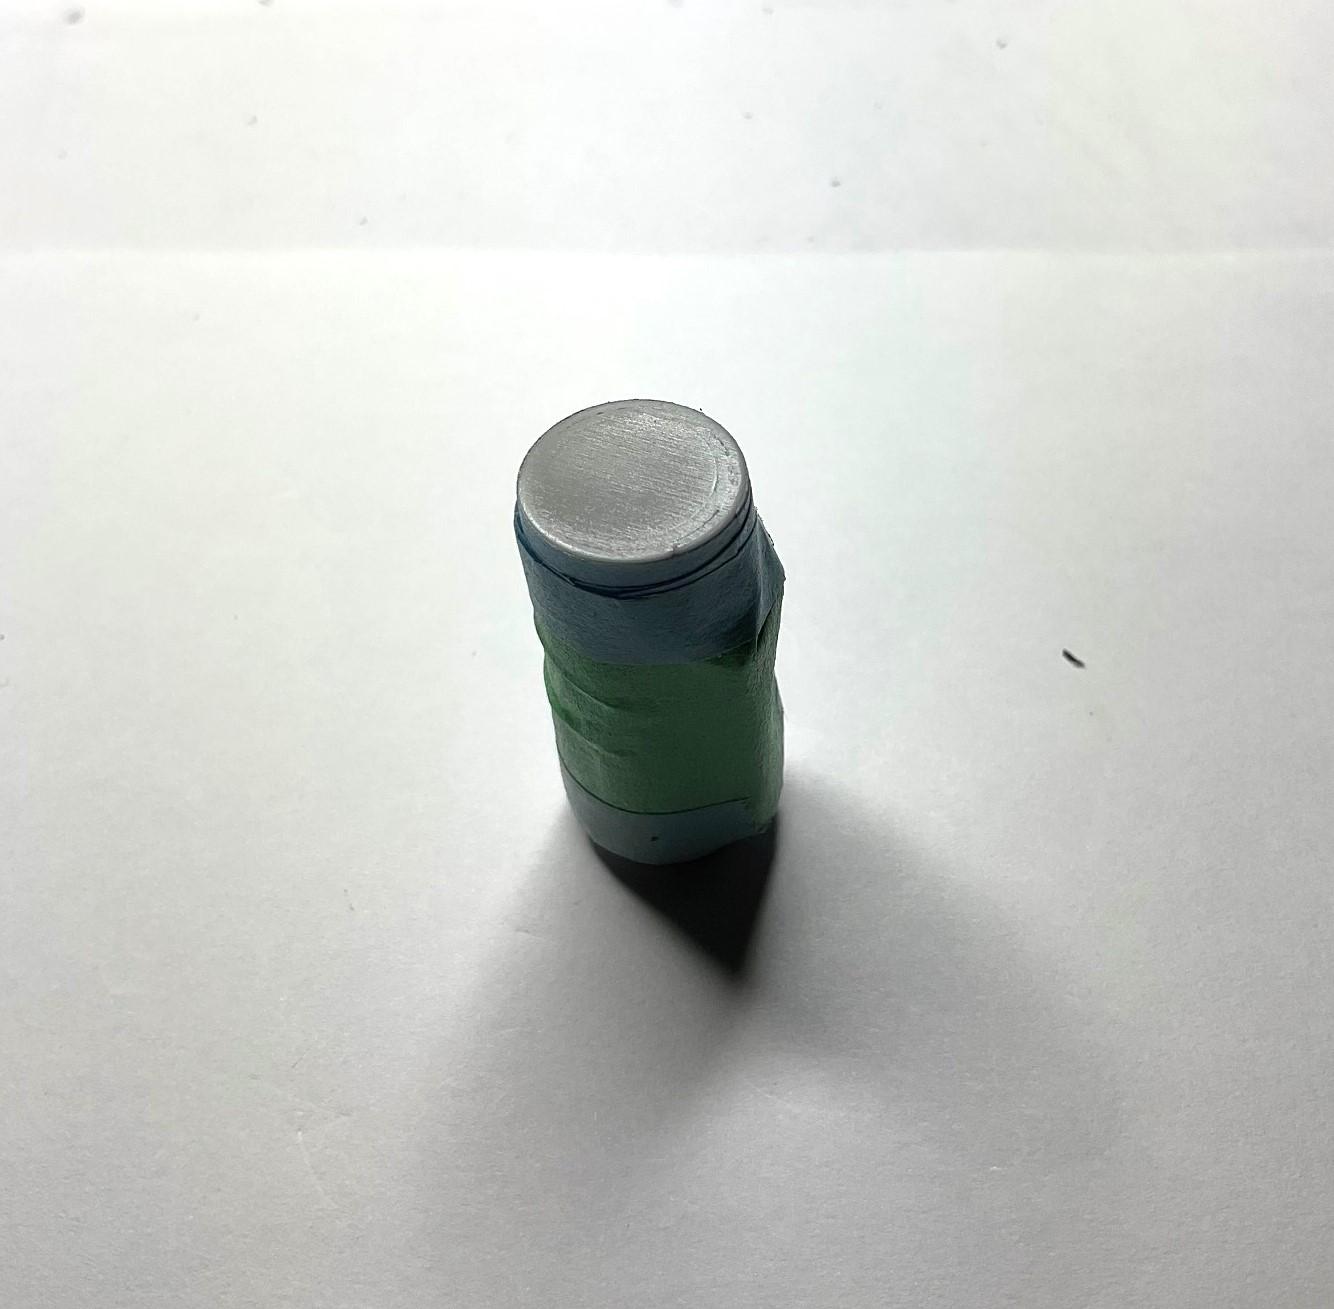
I did do some chrome testing yesterday - at the moment, I don't know what to think. My testing was hardly rigorous, and right now, not sure which product I'll use. I apparently have to wait a few cure days, before checking out hardness of finish, or if clear coat is needed, etc. I have one more product to test later this afternoon, more cure time for that, and see how it all turns out. Nothing really 'doing it' for me at the moment! More work today, though, on the little stuff. Yesterday, had to repair a small bit on the air cleaner, that the primer showed up glaringly. Did second coats of primer on some parts, including the cleaner, earlier this afternoon. But the most work today, apart from a trip to the hobby store, went into attempting those cab mirrors I mentioned awhile back. Always fun to poke around the hobby store - something always turns up that section that doesn't have high turnover, sometimes a bit of dust on things, and that I never get completely through on any one visit. Found some mesh that is smaller than the Braun screen, and would have been a better scale fit for the air cleaner, but good to go for the next project! - Air cleaner ready for chrome - Dug out some of that Tamiya Mirror Finish film, and a leather punch that worked for making the round mirror backs out of 0.25mm styrene - Laid the mirror backs on the film, which is sitting sticky side up - The film picks up every little imperfection in the underlying surface, but still looks better than the chrome paint alone would have, in my opinion! Better shot of the film reflectivity - Still undecided about the chrome, but this indecision can't continue. Like I said before, I've never used chrome paints before, so there is a high probability that I'm not using/applying them correctly. Regardless, will have to pick my poison and go with it, and soon. Hoping the test this afternoon turns out better.
-
I continue to marvel at how you're able to manipulate such tiny parts into finished items - the fittings in your last couple posts don't look big enough to add lines to, but you do. Always a treat to look in on your work!
-
Western Star 4900 FA plow truck
BK9300 replied to BK9300's topic in WIP: Model Trucks: Big Rigs and Heavy Equipment
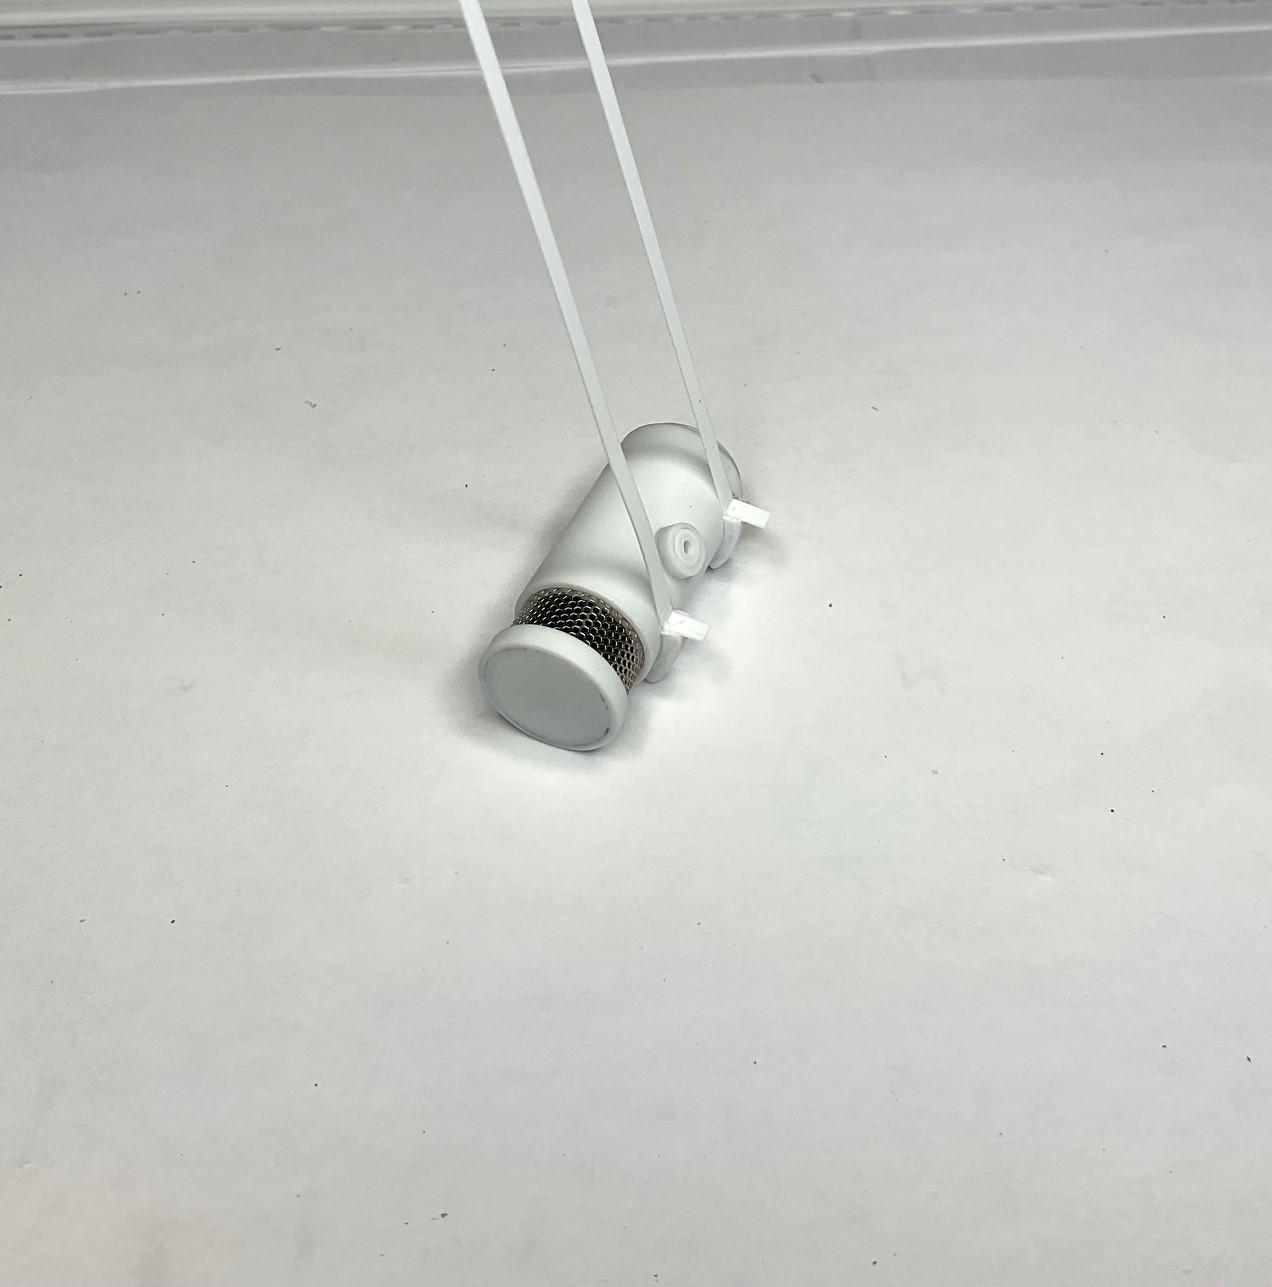
Jurgen - thanks a lot. Just trying to get as much into this as I can. Daniel - always problems to overcome when scratch building, as you well know! Thanks. Much appreciated, Jeff, as always. Lots of those 'problems' are of my own making! Made some more progress with air cleaner. Got some straps attached and trimmed up a silicone air pipe connector, from Moluminum, to begin the air intake piping. And, had to fuss with a couple mock up pics. . . Started attaching 0.25mm x 2 mm strap to cannister mounts - Added four, photo etch bolt heads; pinned the trimmed silicone connector to match the angle coming from the air cleaner outlet - I now have everything lined up, to continue the under hood intake piping, once cannister (and other cab parts!) are chromed and attached. The gap between the cannister and the side of the cab fairing should, hopefully, allow the hood to close ok. I must have checked how far down the cannister could go, and not obstruct the hood, many times - I will have to check a couple more before the CA glue comes out! - I chickened out on the strap attachment on this side of the cannister - on the full size truck, the straps attach to the vertical edge of the cab. I just continued my straps around to the mount - I didn't want to risk a screw up after all this. . . Going to spend the next hour, or so, spraying some chrome paint tests - finally have some decent enough weather! Will let you know what happens.
-
Kenworth C500
BK9300 replied to Gary Chastain's topic in WIP: Model Trucks: Big Rigs and Heavy Equipment
I know how you feel, but scratch building really makes the grey matter work overtime - staves of my pending dementia! -
Western Star 4900 FA plow truck
BK9300 replied to BK9300's topic in WIP: Model Trucks: Big Rigs and Heavy Equipment
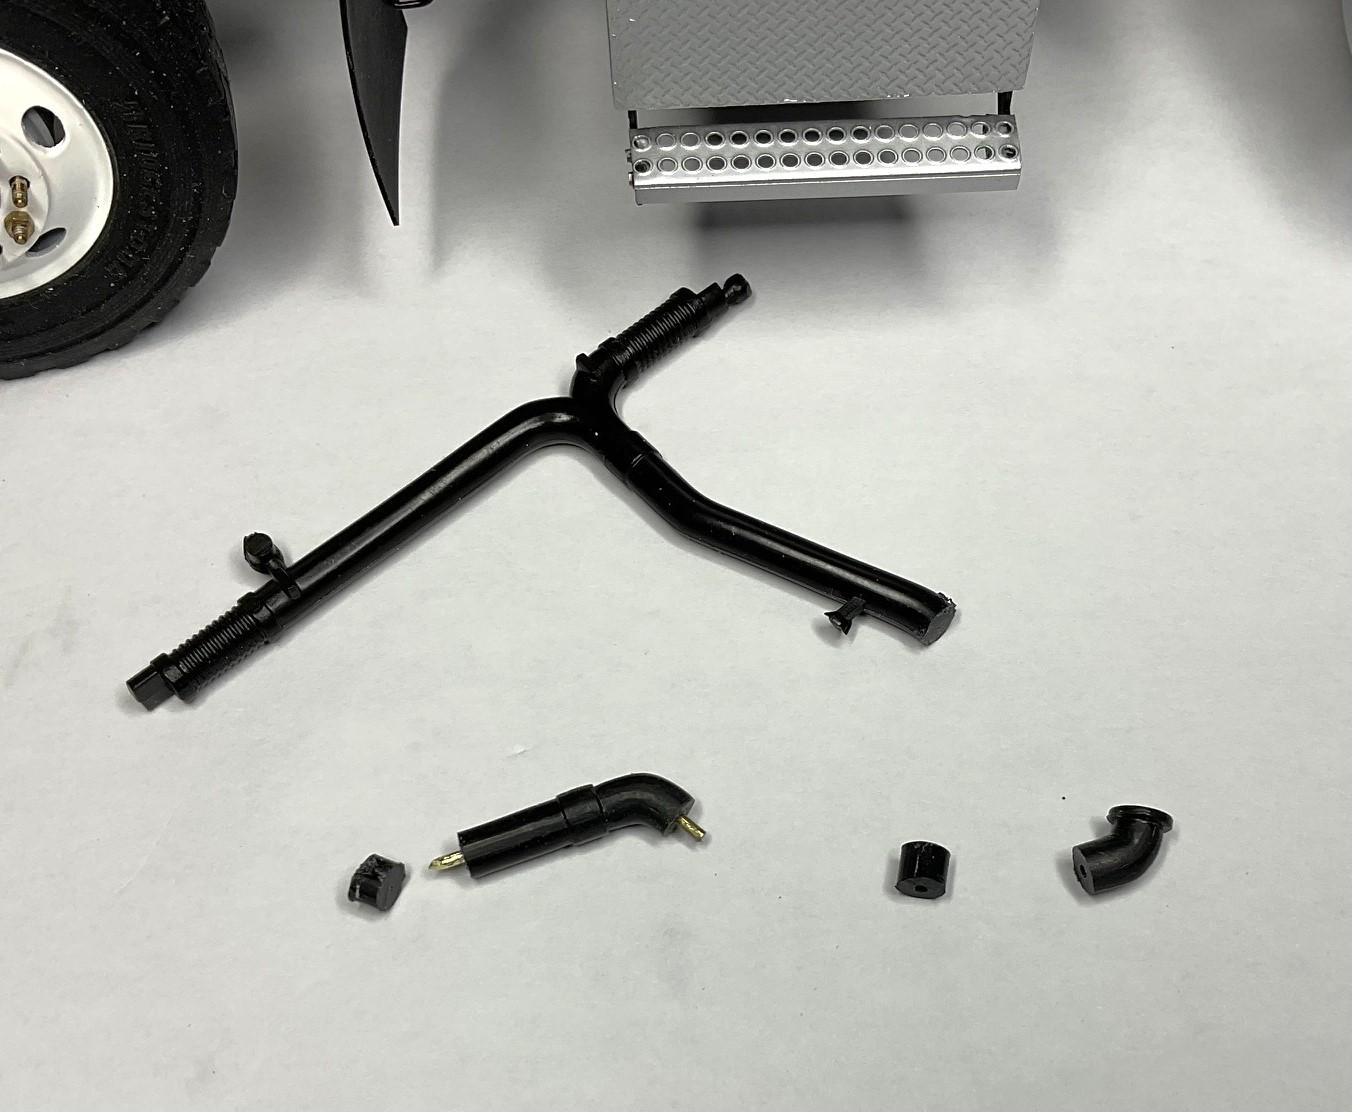
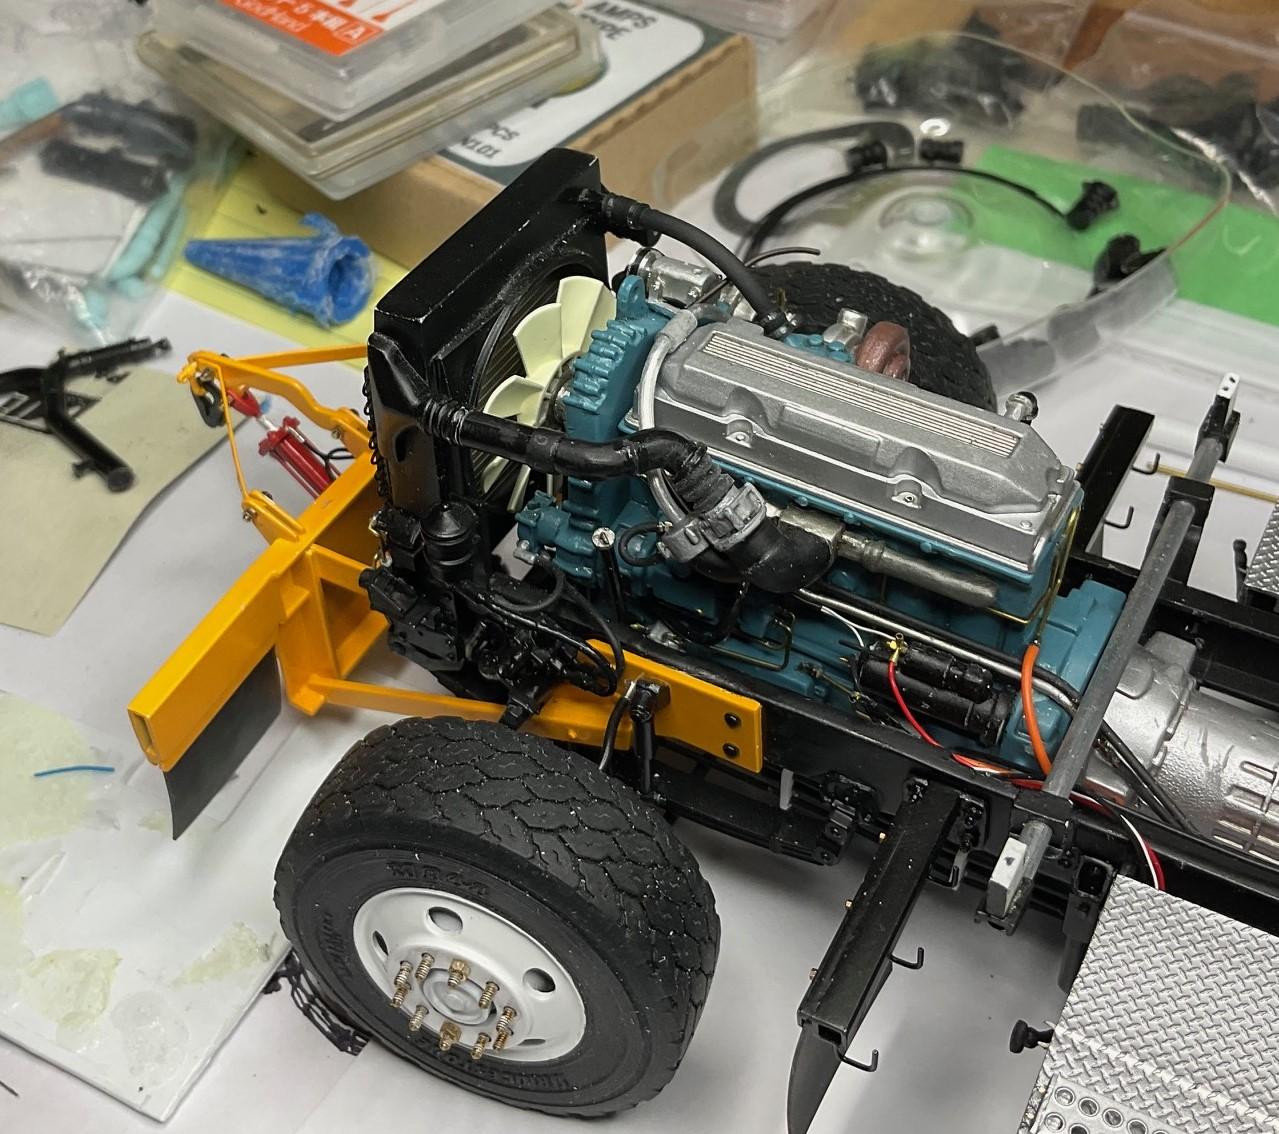
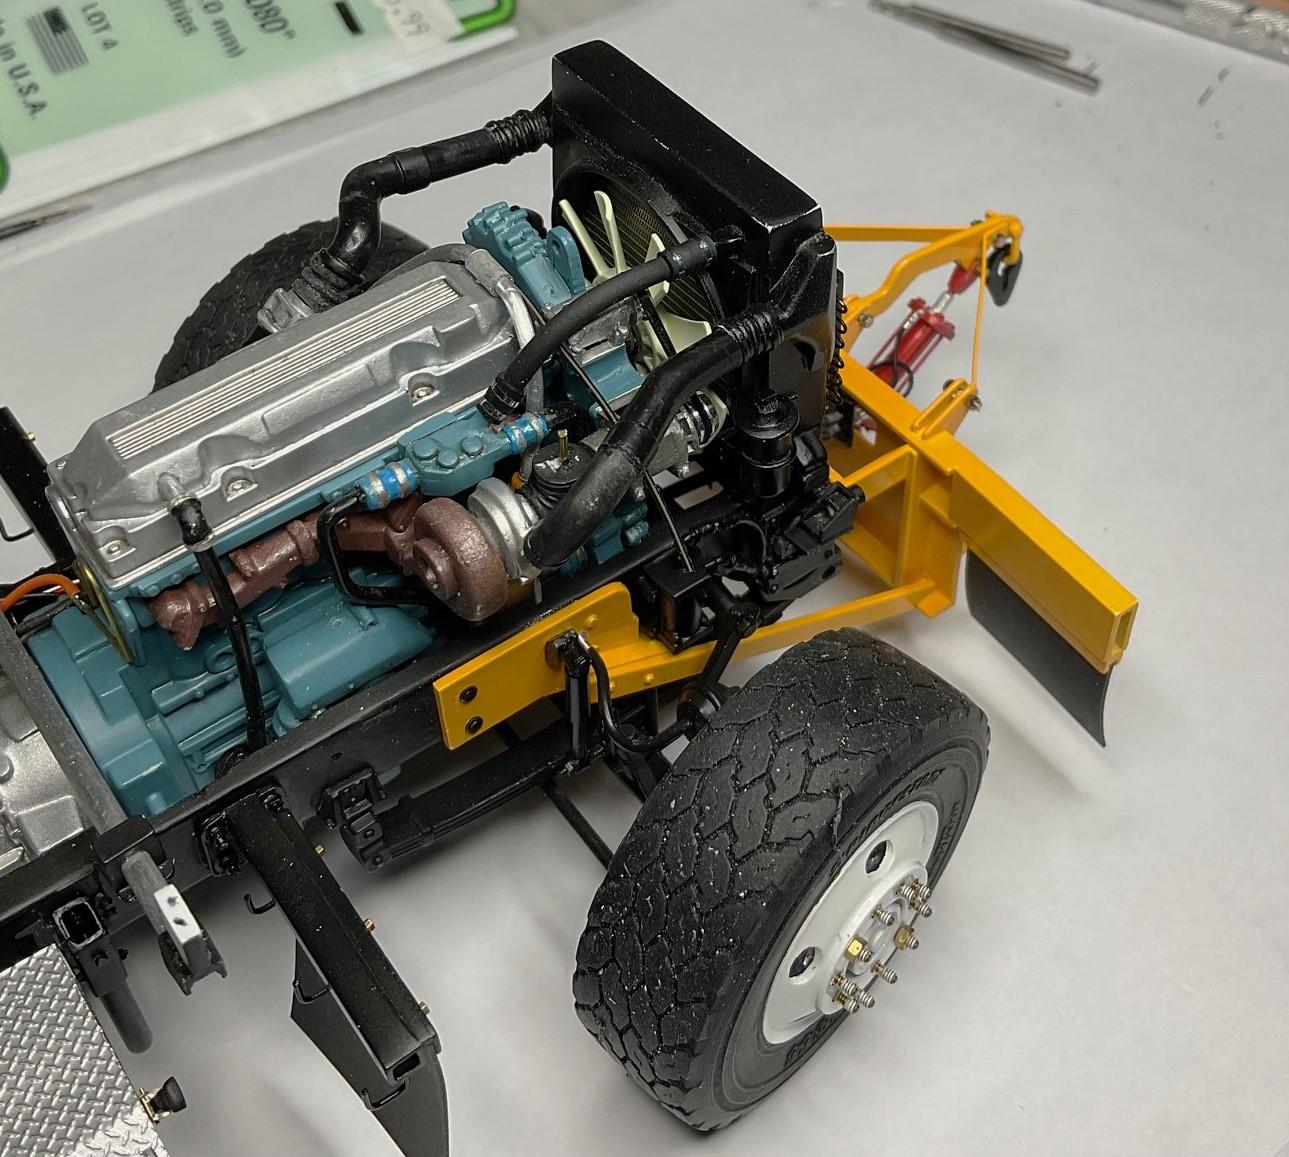
Doing what I can to carry on, while waiting to do chrome paint test - might get to do that tomorrow, weather permitting. Not making big progress anywhere at the moment - efforts at the bench feel quite fragmented - so close and still lots of little stuff to do. Carried on with the air cleaner, which forced me to think about the intake air tubing and fittings, which landed me on needing to do the charge air cooler lines, to make sure there would be clearance for the tubing to inlet of the intake turbo. All things I didn't spend a lot of time thinking about, way back when, and now causing me a bit of grief. The 'tube in tube' solution for the air cleaner worked well for the grating, but the tradeoff is that extra work will be needed to hide the outlines of the tubing on the top and bottom of the cannister. I masked off the body of the cannister, to concentrate on the ends, and at this point, I have primed, sanded and primed again, hoping the primer would be enough cover the outlines on the ends. Not happening yet! Let this coat cure, sand it and then apply some Tamiya white putty to see if that helps - A resin motor, with a modified intake manifold and a modified radiator, means no kit parts will work for the charge air piping. Started with a parts box exhaust that already had a few curves in it and started making pieces to line things up - The driver's side piping is just sitting in place, after positioning the two pieces and CA gluing them together. The piping will line up better with the intake, once both ends of the piping are glued in place - Similarly for passenger side piping - pieces resting in place after gluing - Today's fiddling around reminded me again of more things to pay attention to in the next build, as well as the need for a better order of building. All of the engine components should have been finished long ago. Even now, I'm not 100% certain the hood will clear the charge air piping on the turbo side - I did a quick test, and there was a bit of a rub, but the piping still needs to be glued in, so, maybe I can adjust that clearance while the glue is drying. Need to clean up the charge air piping, get the two sections painted and glued in place so I can carry on with the intake piping from the air cleaner.
-
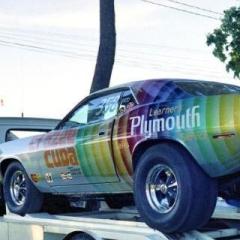
I know I just said it, over in your WIP - this is a great looking build! I hadn't remembered the details of your injection machine; looks right at home on your trailer. Very well done!
-
Kenworth C500
BK9300 replied to Gary Chastain's topic in WIP: Model Trucks: Big Rigs and Heavy Equipment
Geez, this is going to be a brute! Looking forward to seeing what you create with this one. -
Kenworth W-925 (mild custom)
BK9300 replied to Gary Chastain's topic in WIP: Model Trucks: Big Rigs and Heavy Equipment
This looks really good, Gary - I really like the perspective, angle shot, with the trailer attached - very cool looking combination! Off to look at other photos in Under Glass. . . -
Ford Louisville
BK9300 replied to Jürgen M.'s topic in WIP: Model Trucks: Big Rigs and Heavy Equipment
This is really coming along nicely, Jürgen! Will you make a 'load' out of your parts box or use other stuff? -
An exceptional build, David - beautiful work!
-
Kenworth W-925 (mild custom)
BK9300 replied to Gary Chastain's topic in WIP: Model Trucks: Big Rigs and Heavy Equipment
Despite the struggles, you turned them all around and what a great looking truck to show for it - wonderful job, Gary!