BK9300
-
Posts
1,986 -
Joined
-
Last visited
6 Followers
.thumb.jpg.4bca3333e1da4027c381d8d56a564ec1.jpg)


Recent Profile Visitors


BK9300's Achievements
MCM Ohana (6/6)
-

California Special
BK9300 replied to Rockford's topic in WIP: Model Trucks: Big Rigs and Heavy Equipment
The Special is looking pretty good, in front of that reefer! -
Micro Bus, the final Convoy build
BK9300 replied to Jürgen M.'s topic in WIP: Model Trucks: Big Rigs and Heavy Equipment
Great start on the digital model, Jurgen! It’s interesting to see your adjustments and how you fit them to the original file - fun to watch! -
Western Star 4900 FA plow truck
BK9300 replied to BK9300's topic in WIP: Model Trucks: Big Rigs and Heavy Equipment
Thanks, Steve - not much further to go; only a bit more pain coming! -
Western Star 4900 FA plow truck
BK9300 replied to BK9300's topic in WIP: Model Trucks: Big Rigs and Heavy Equipment
Thanks, Daniel - there’s a lot going on here, for sure! -
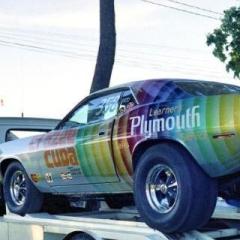
Very nice - a lot of work has gone into this! I’m imaging what a thrill it would have been to drive the real car.
-
‘Tire Slayer’, indeed - this is such a beast!
-
Western Star 4900 FA plow truck
BK9300 replied to BK9300's topic in WIP: Model Trucks: Big Rigs and Heavy Equipment
Thank you, Lee! -
Western Star 4900 FA plow truck
BK9300 replied to BK9300's topic in WIP: Model Trucks: Big Rigs and Heavy Equipment
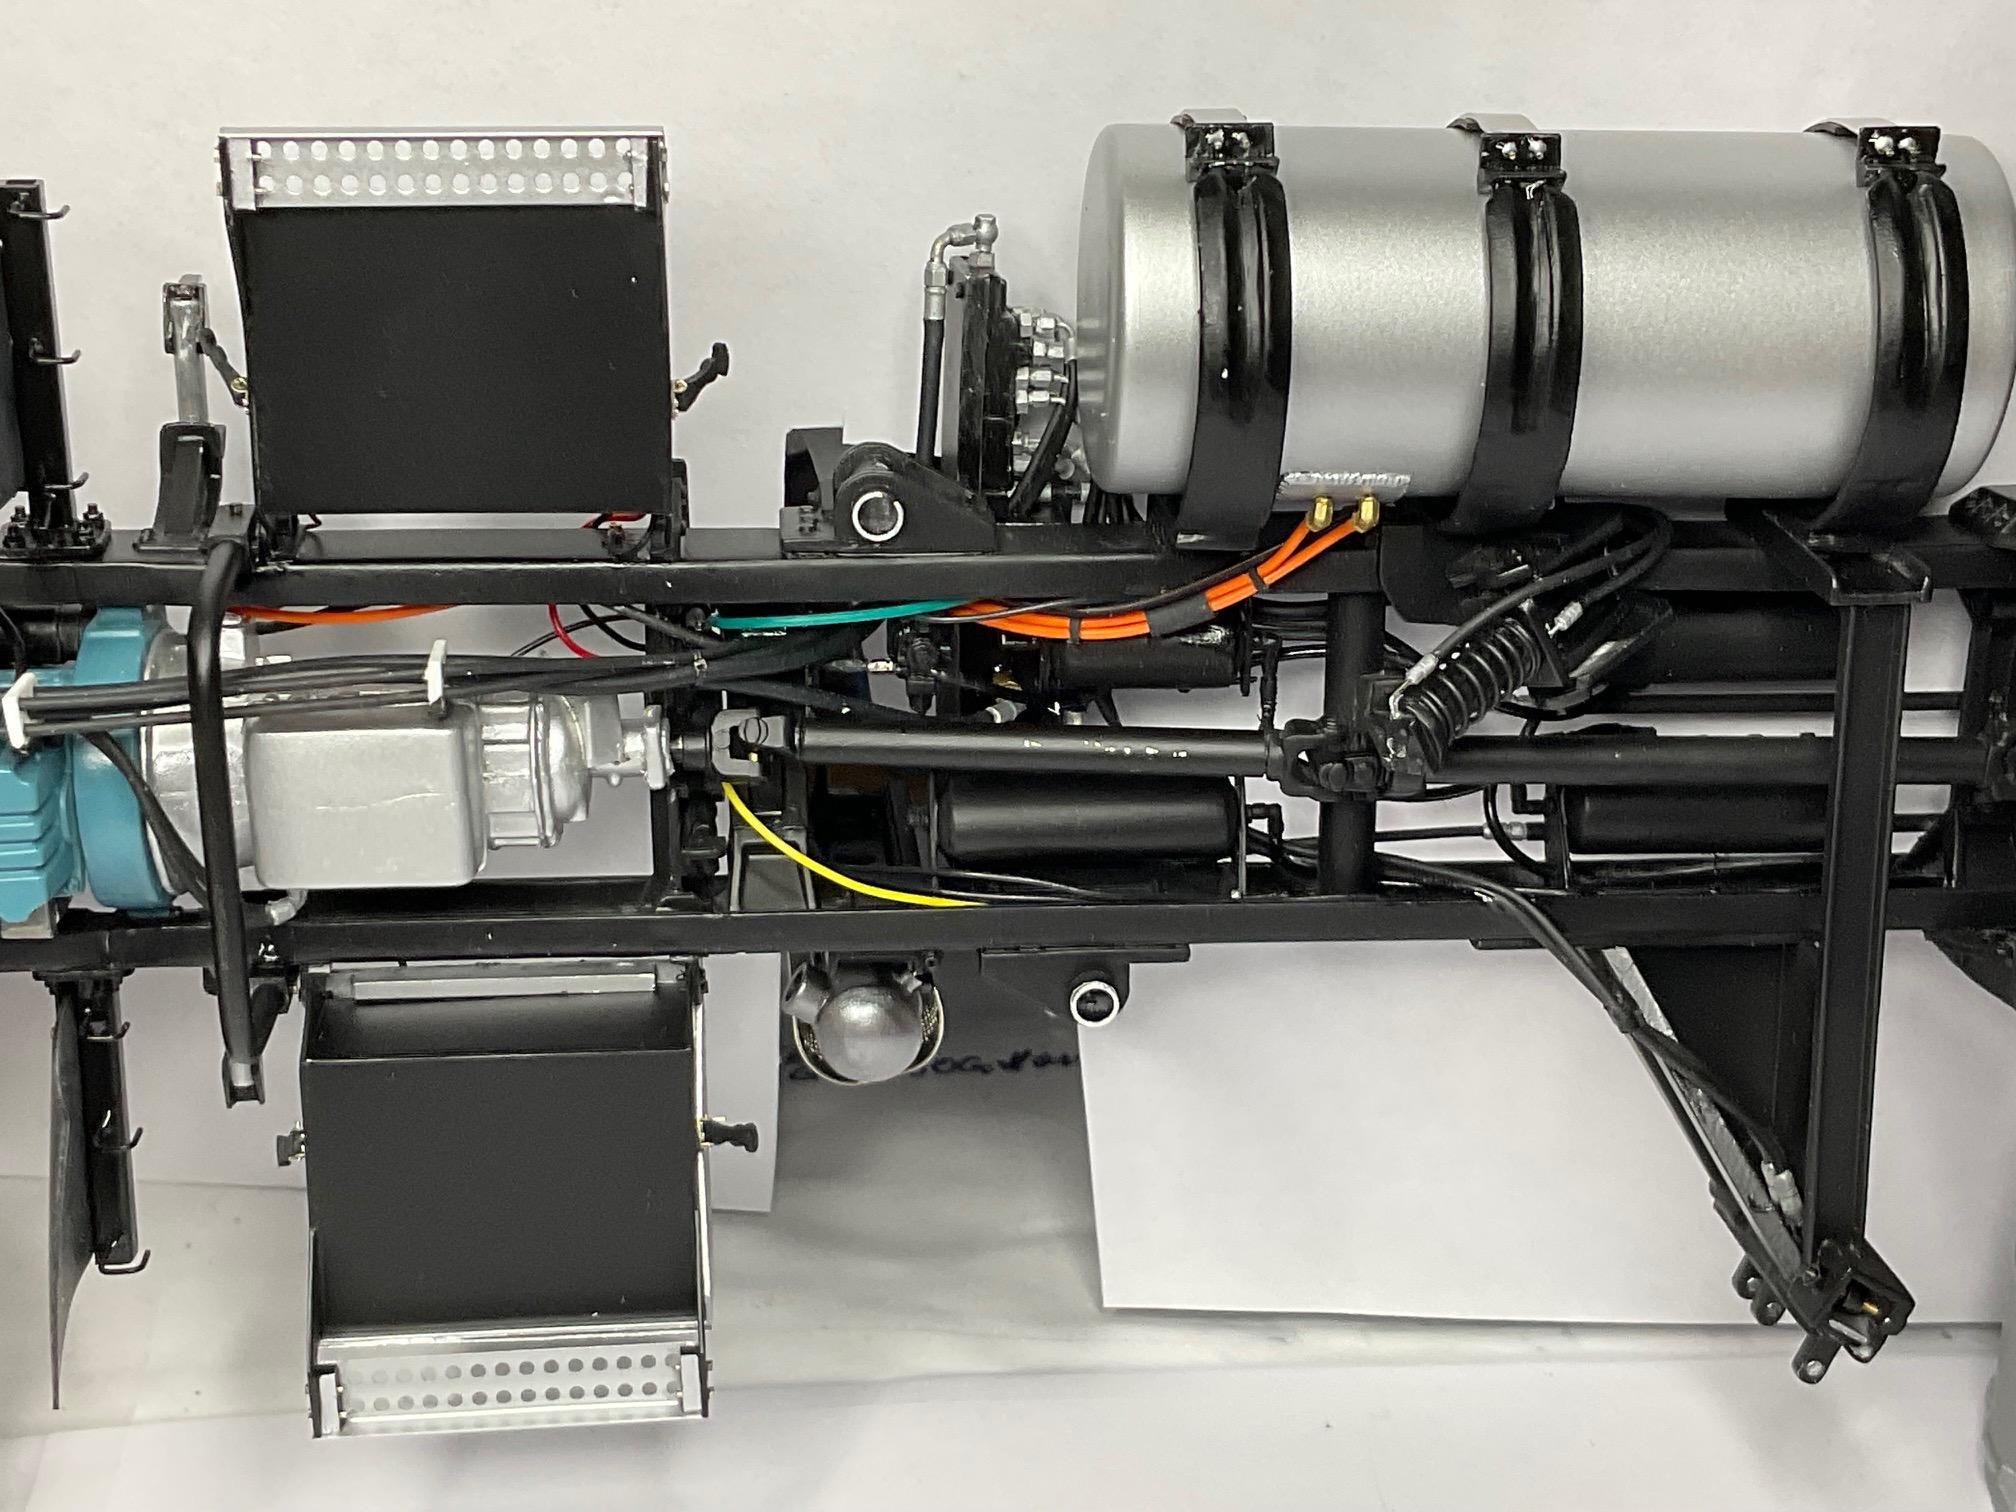
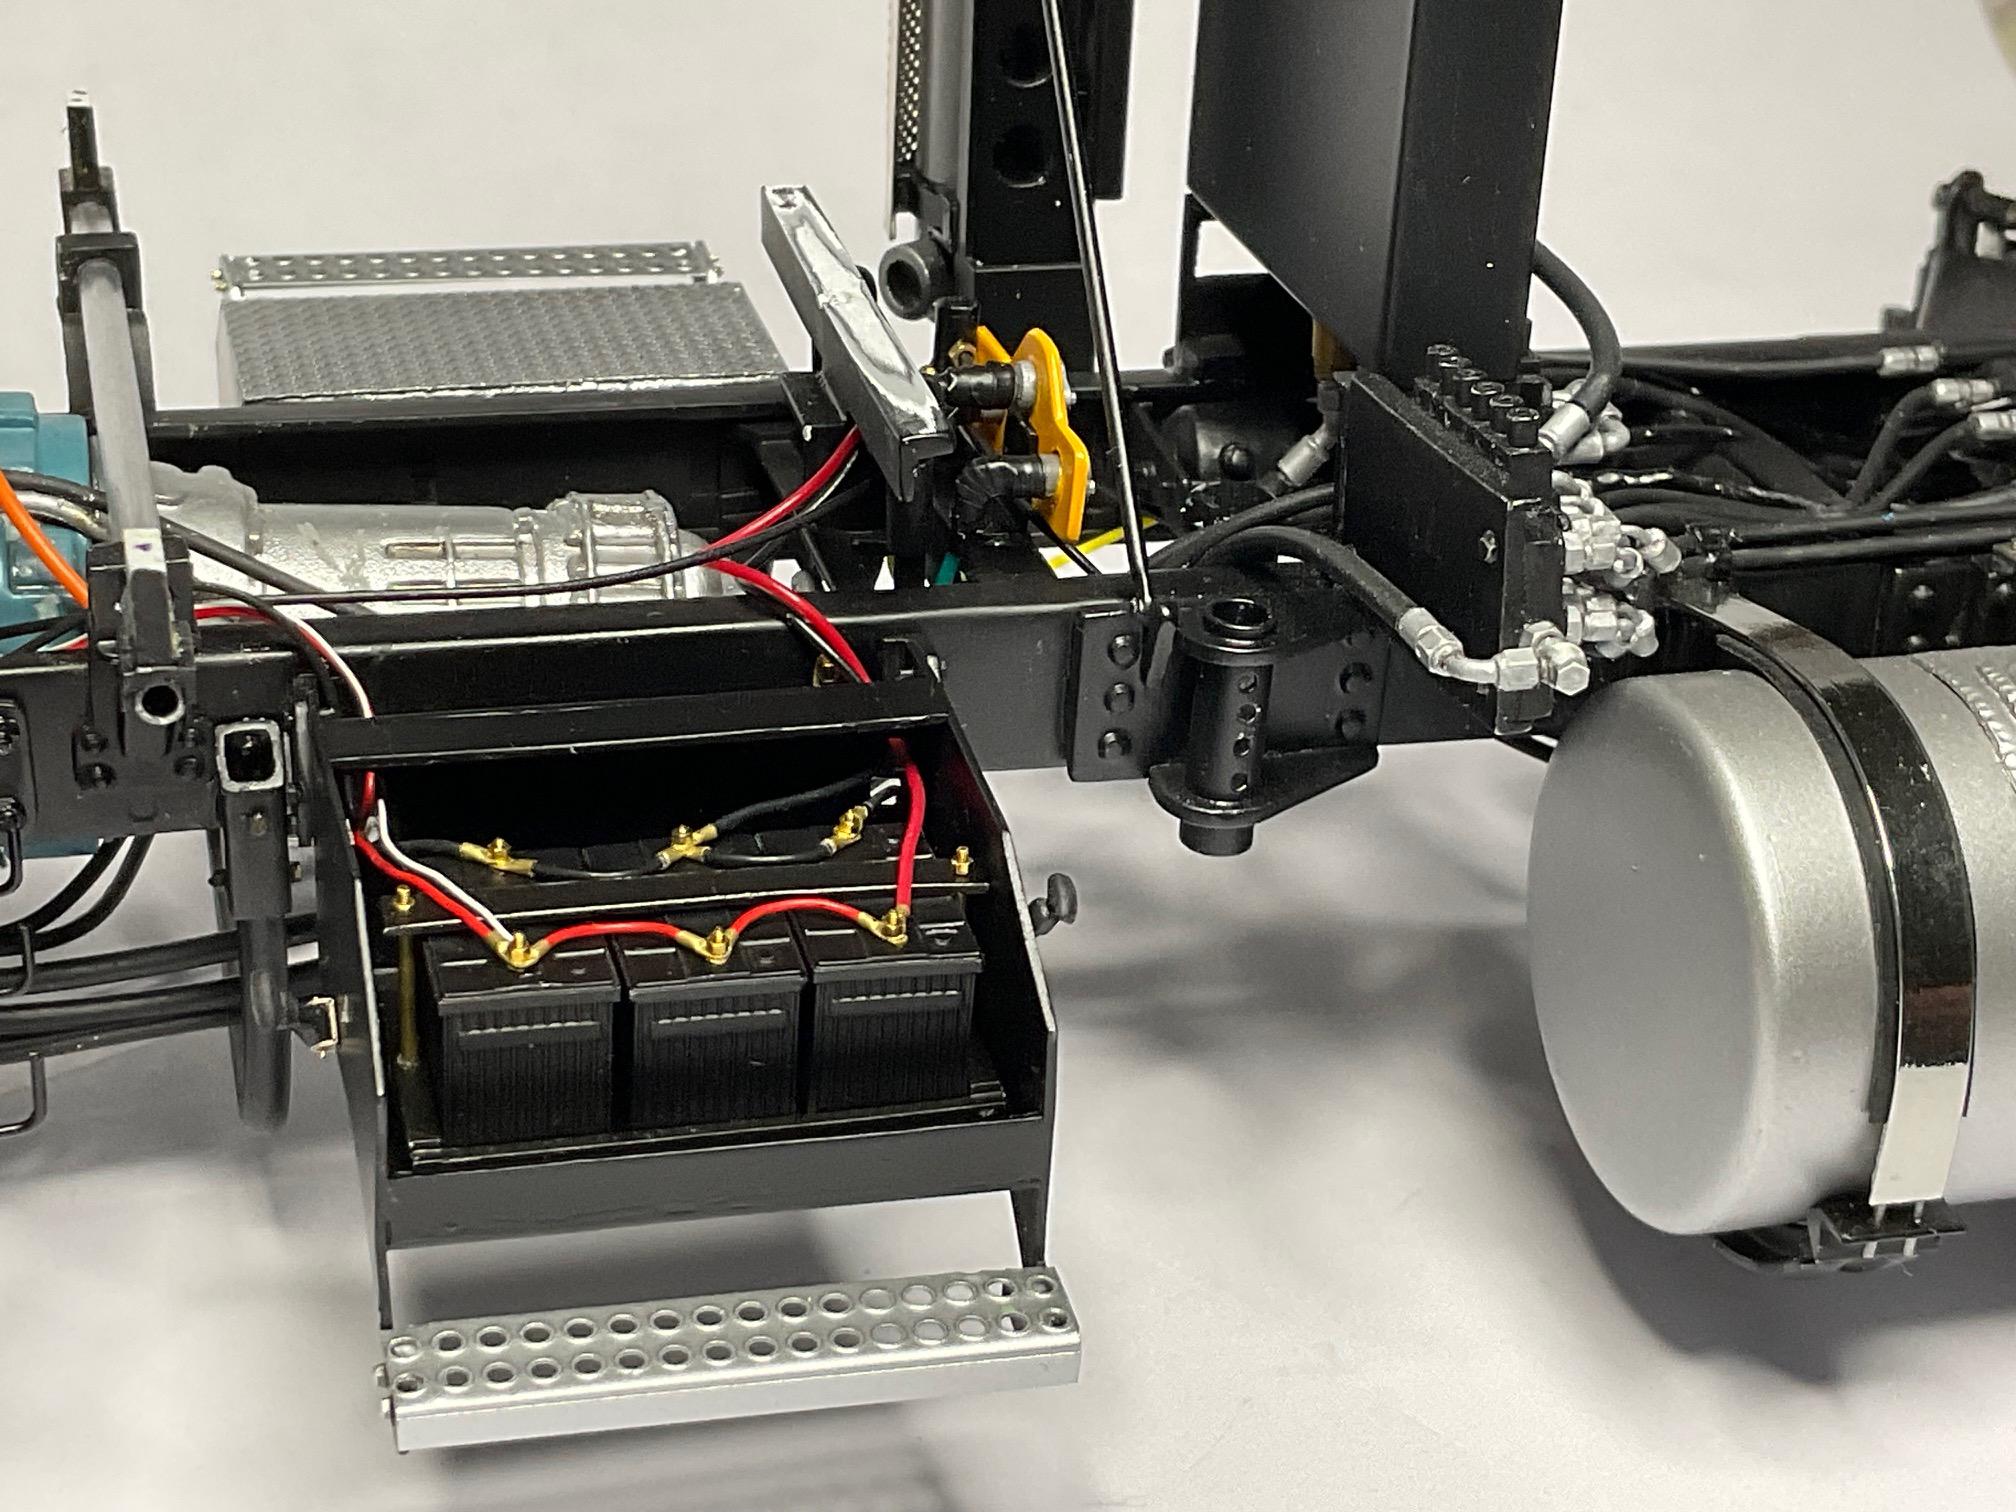
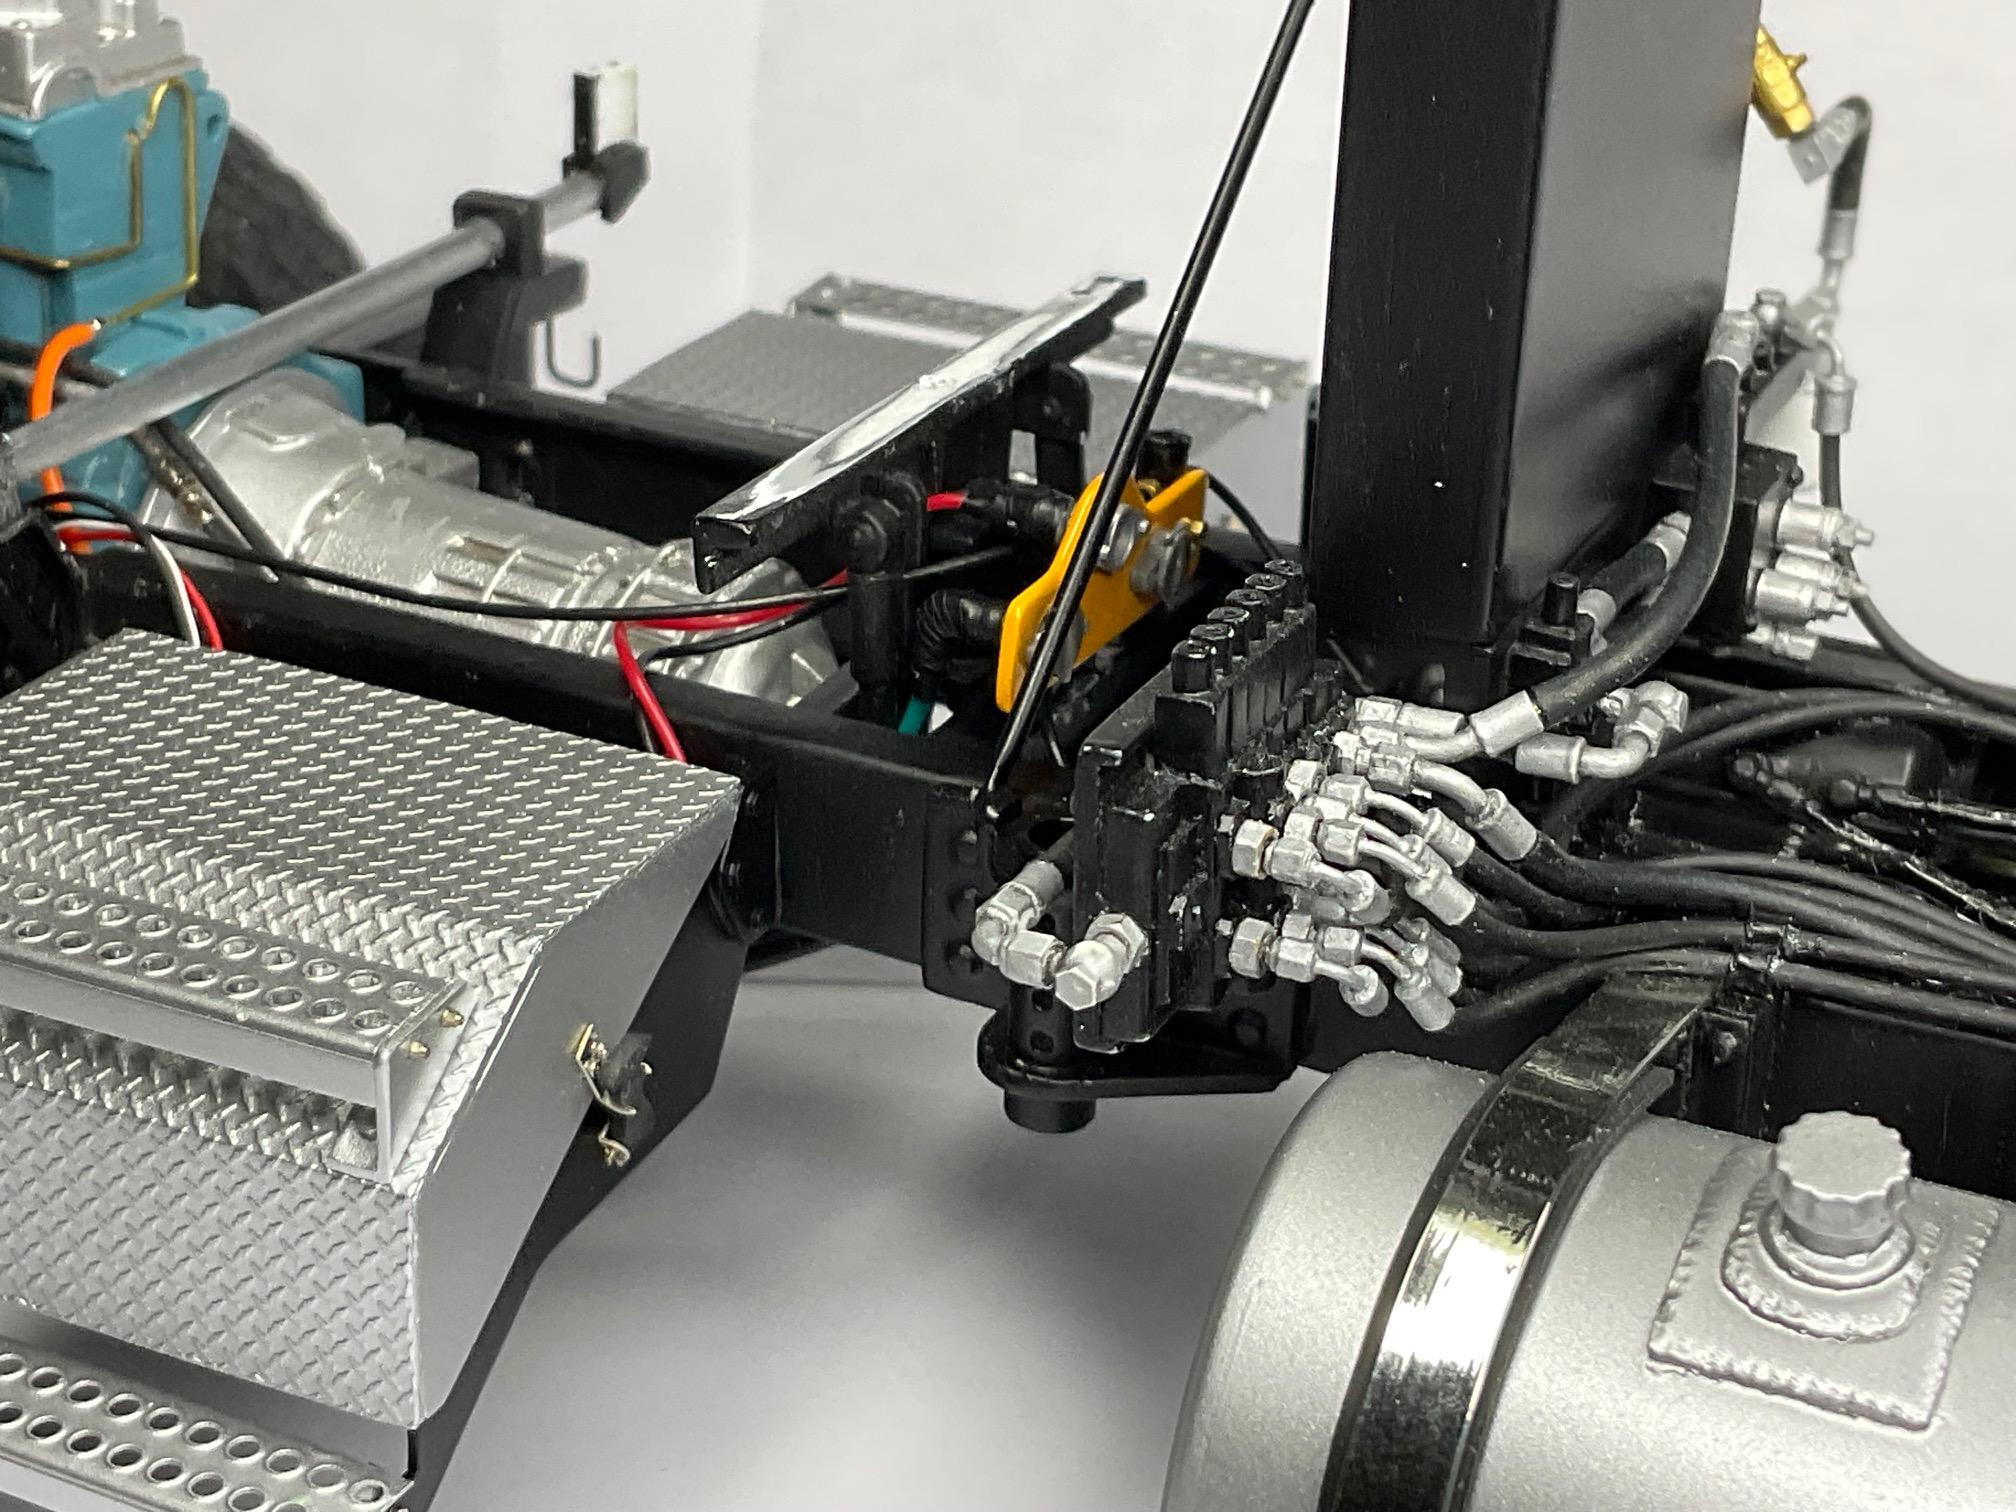
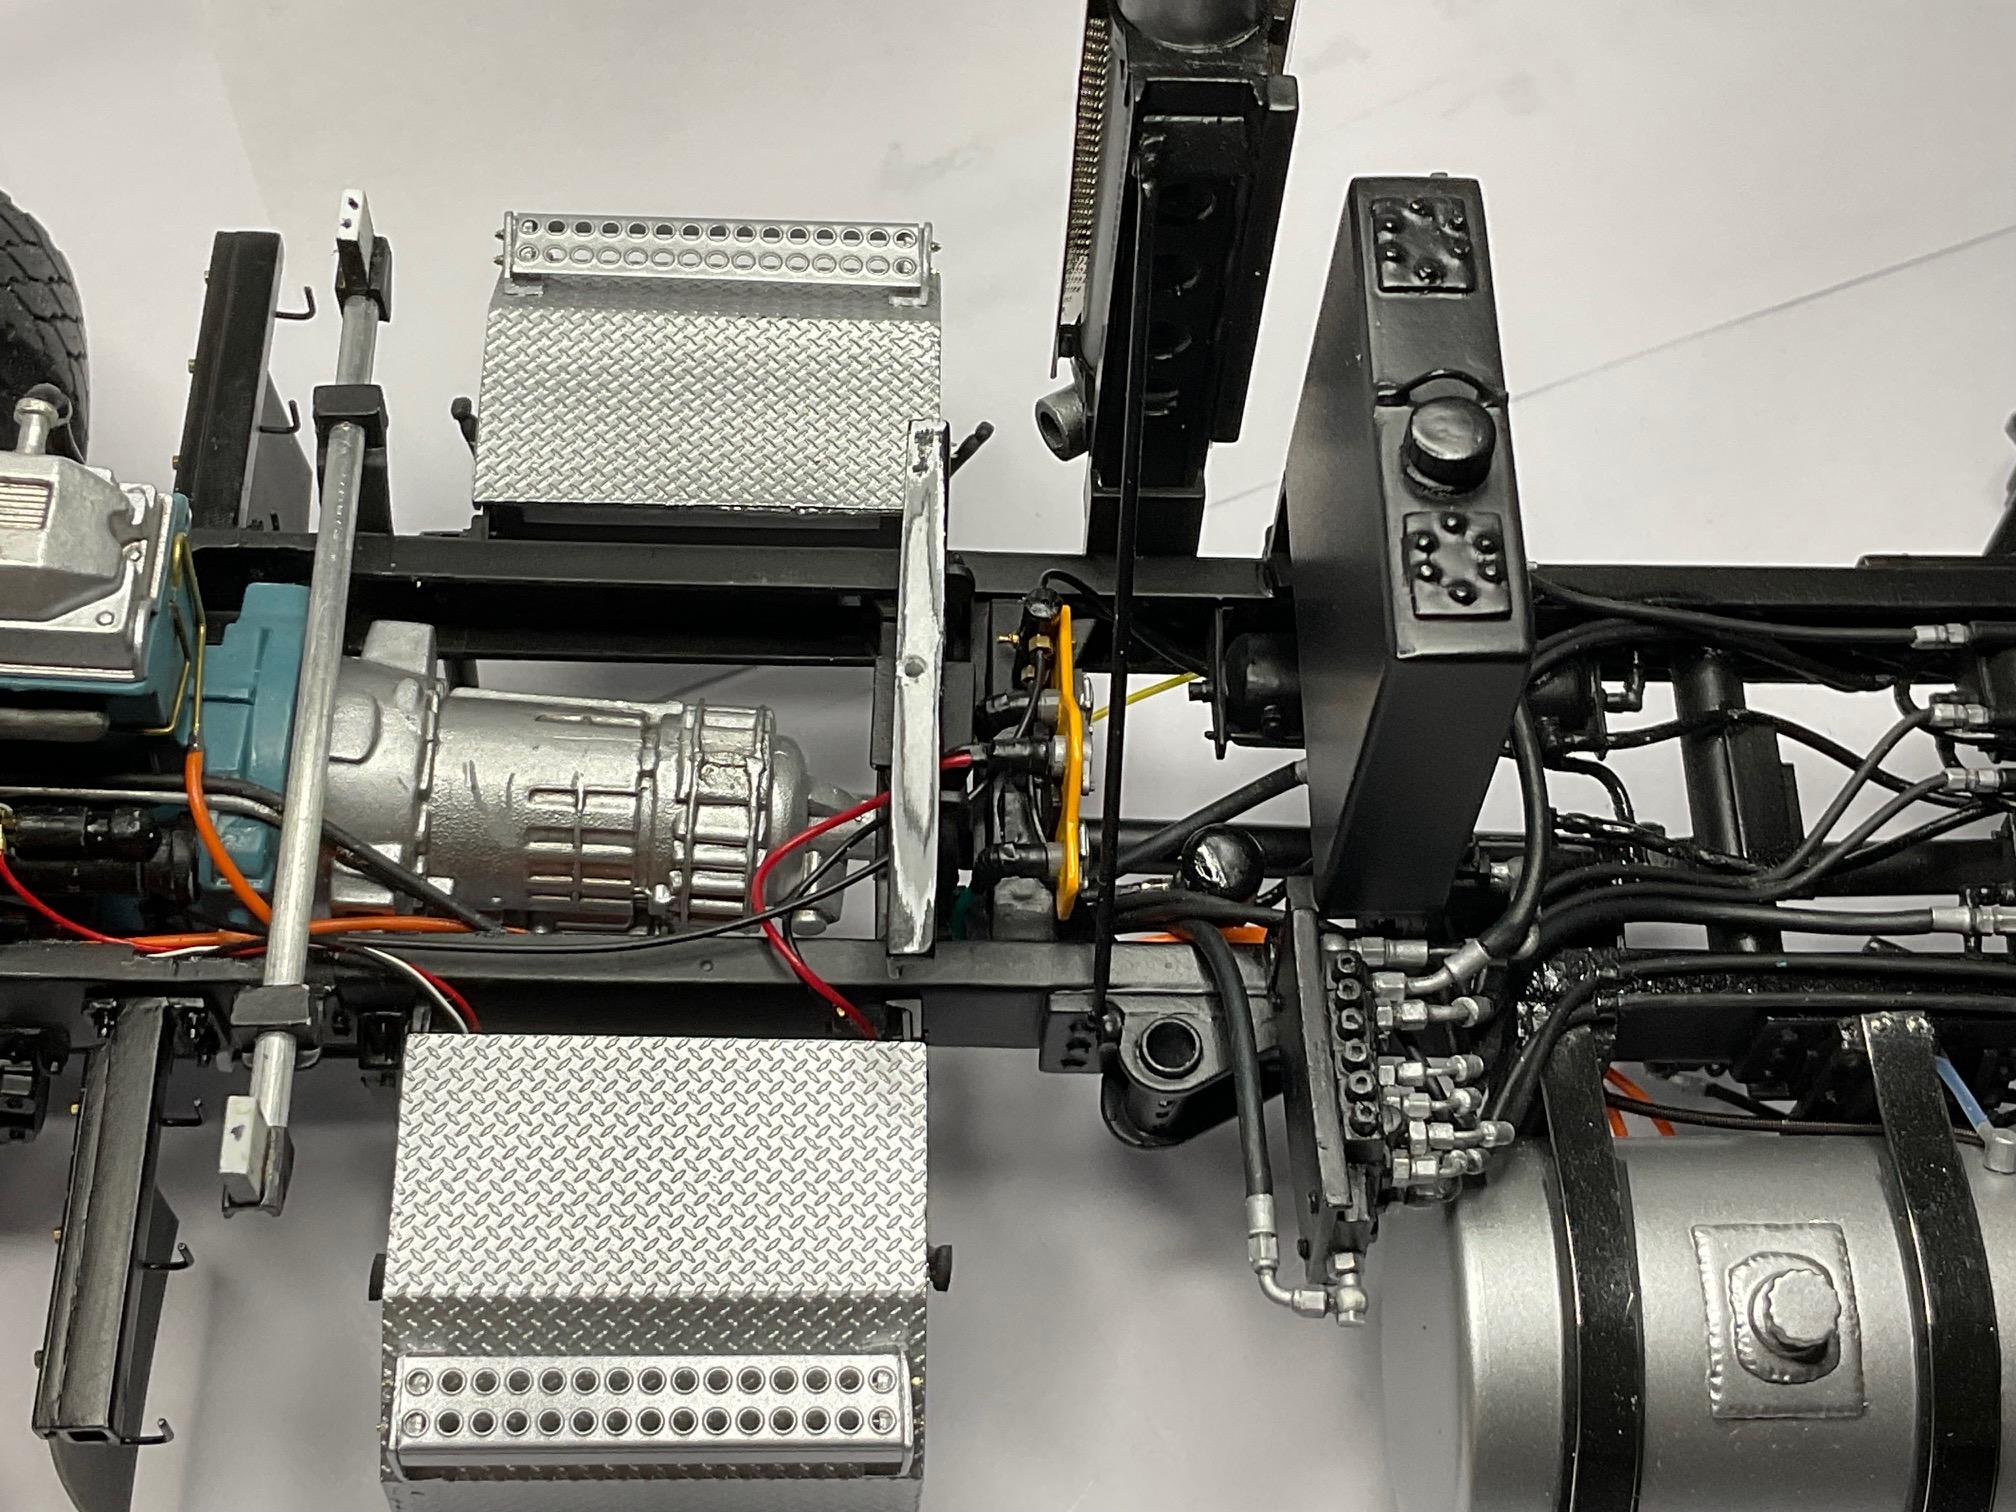
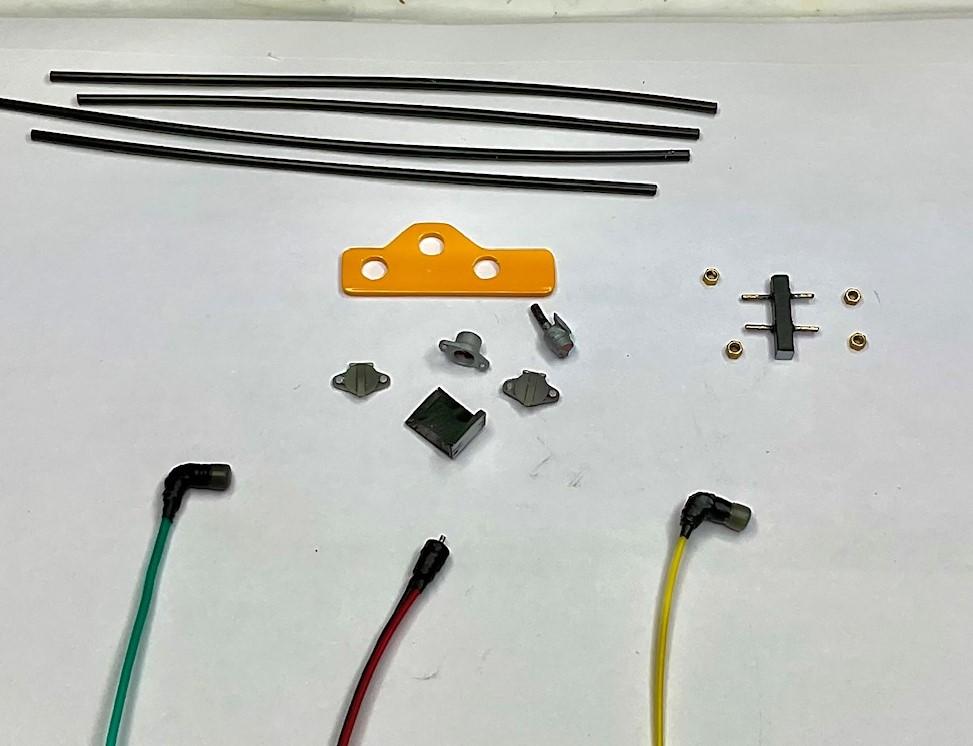
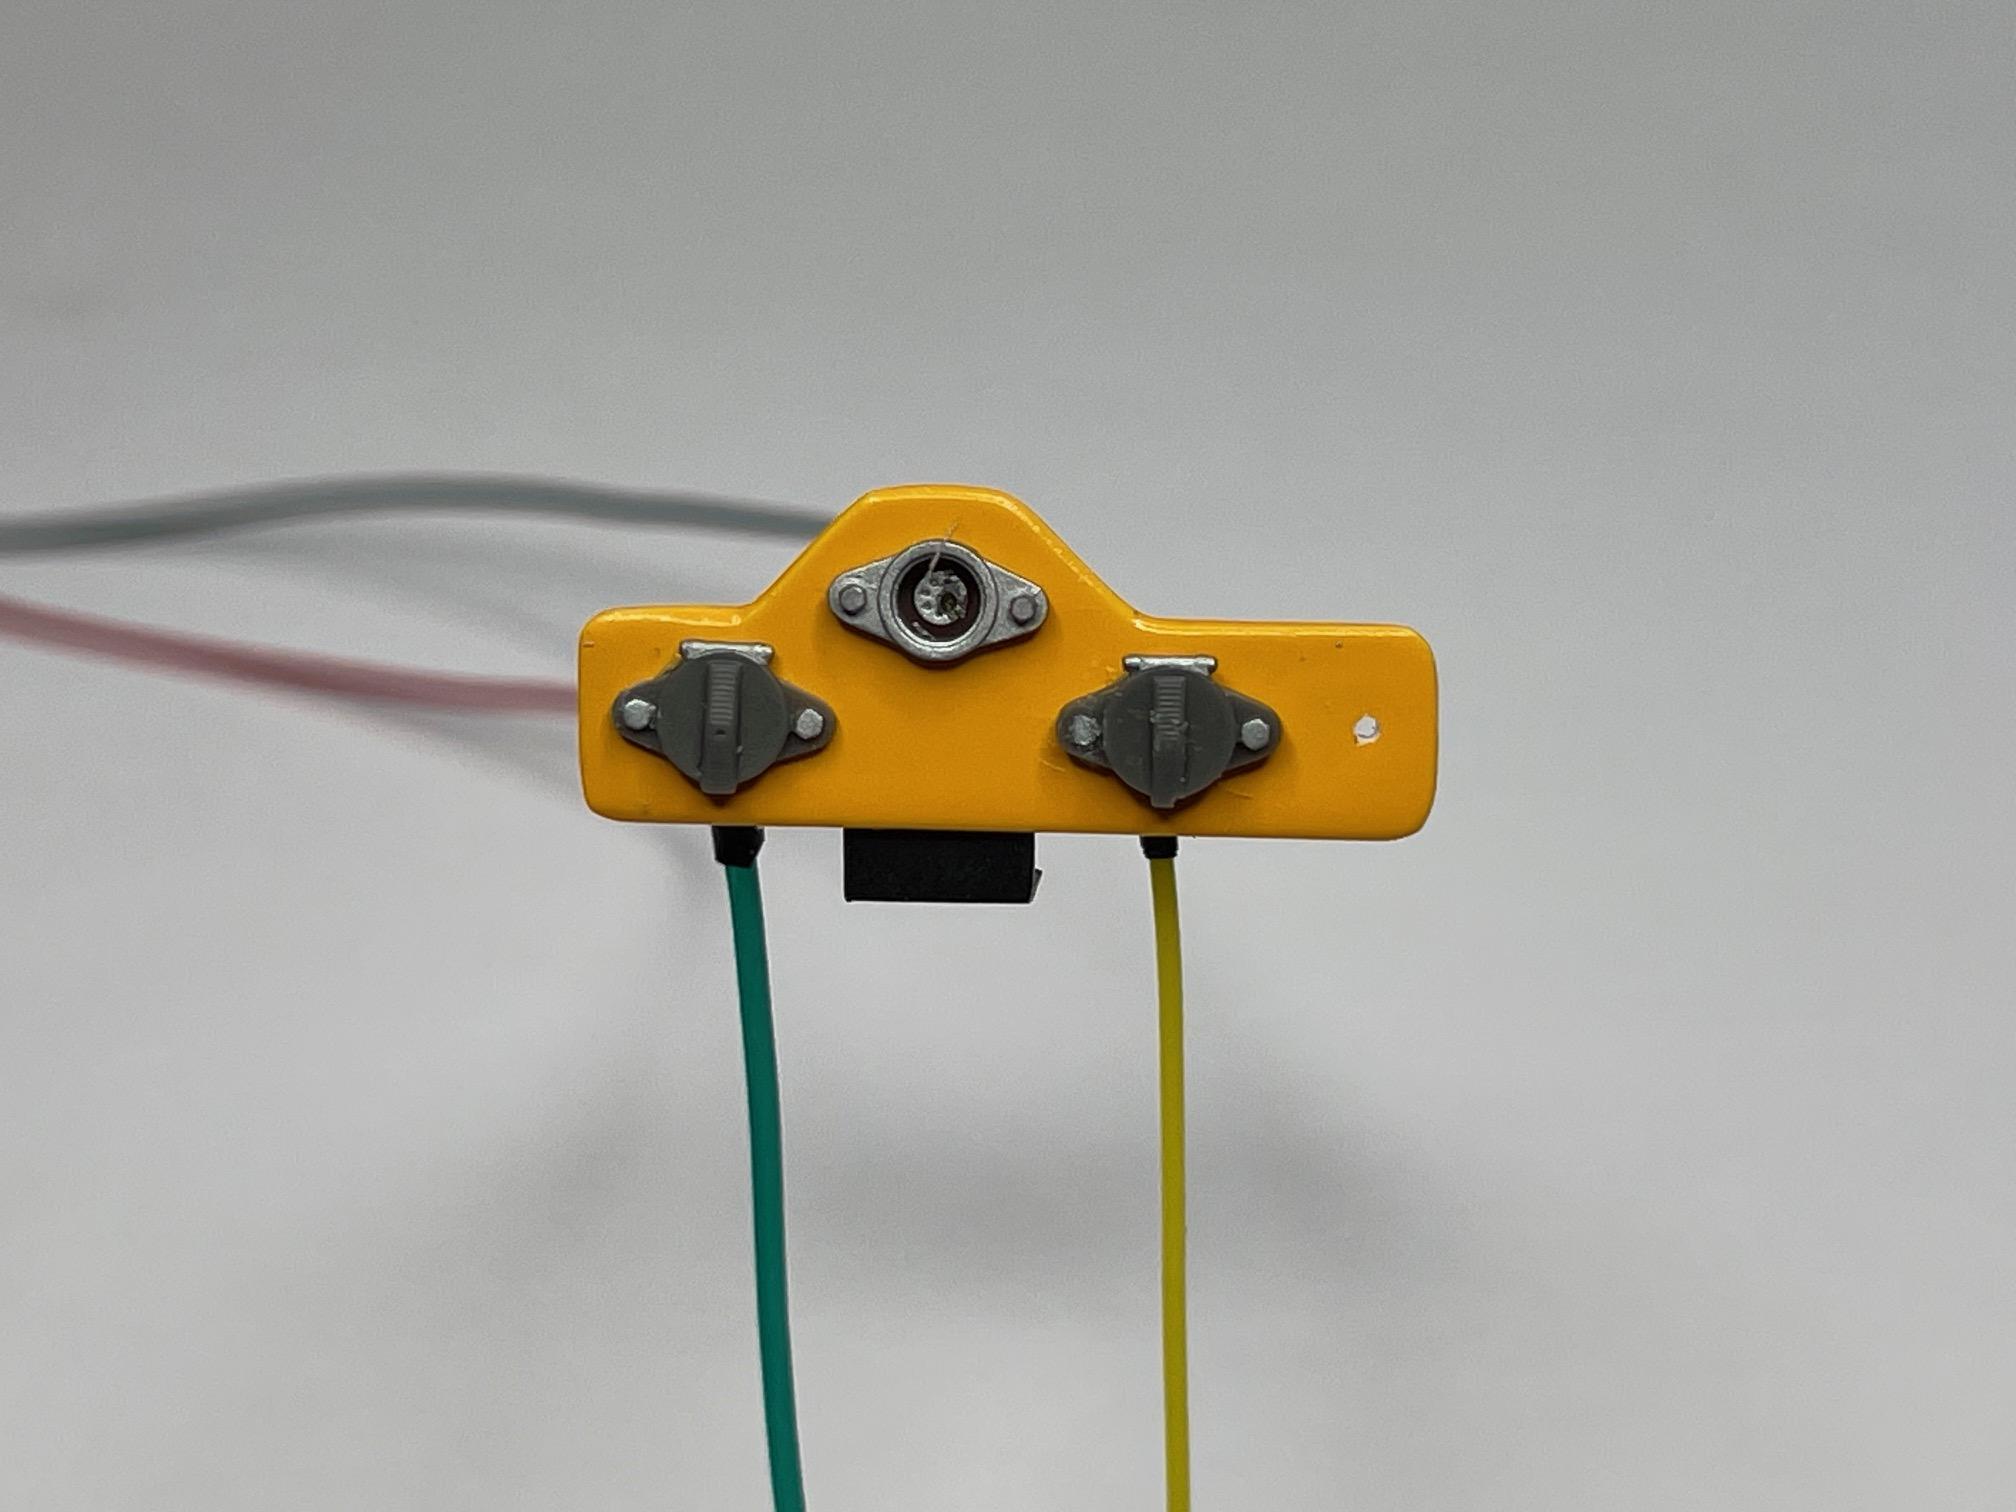
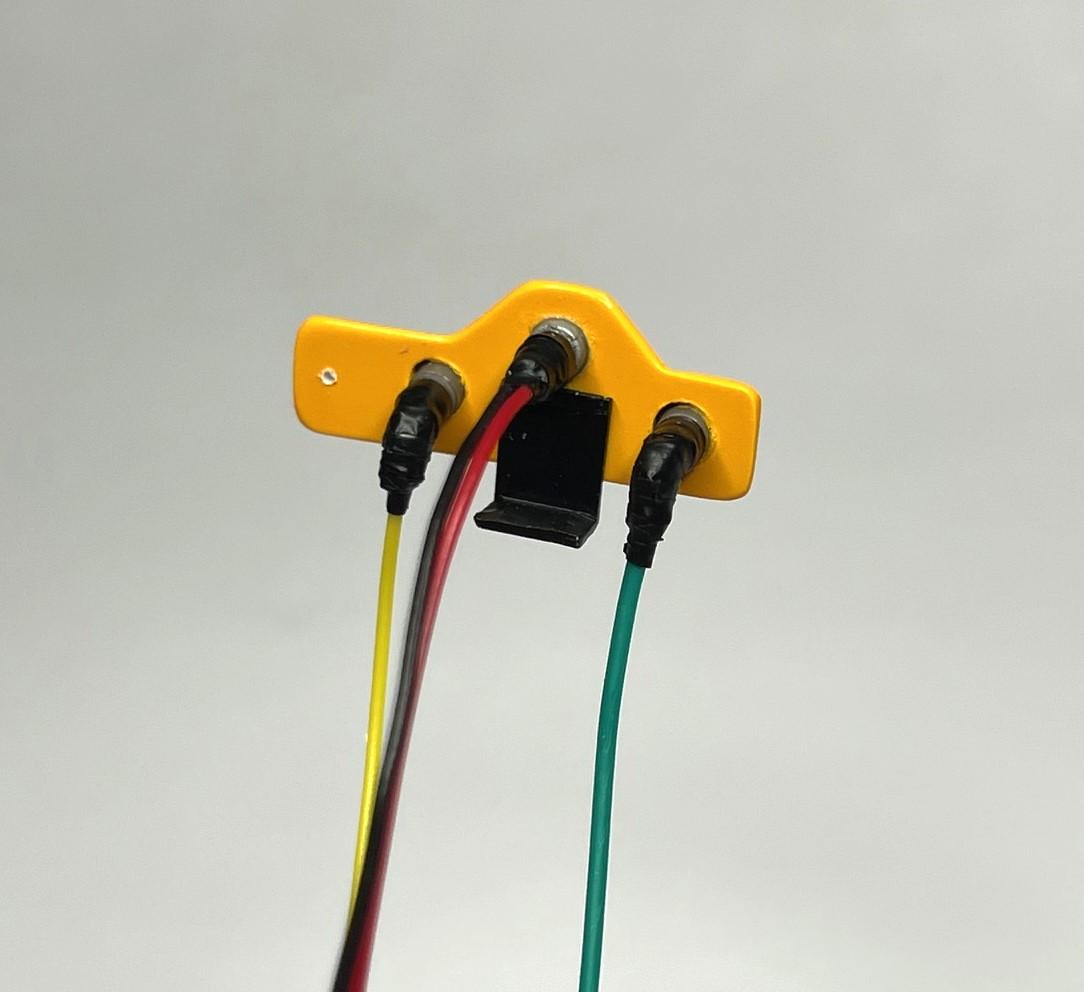
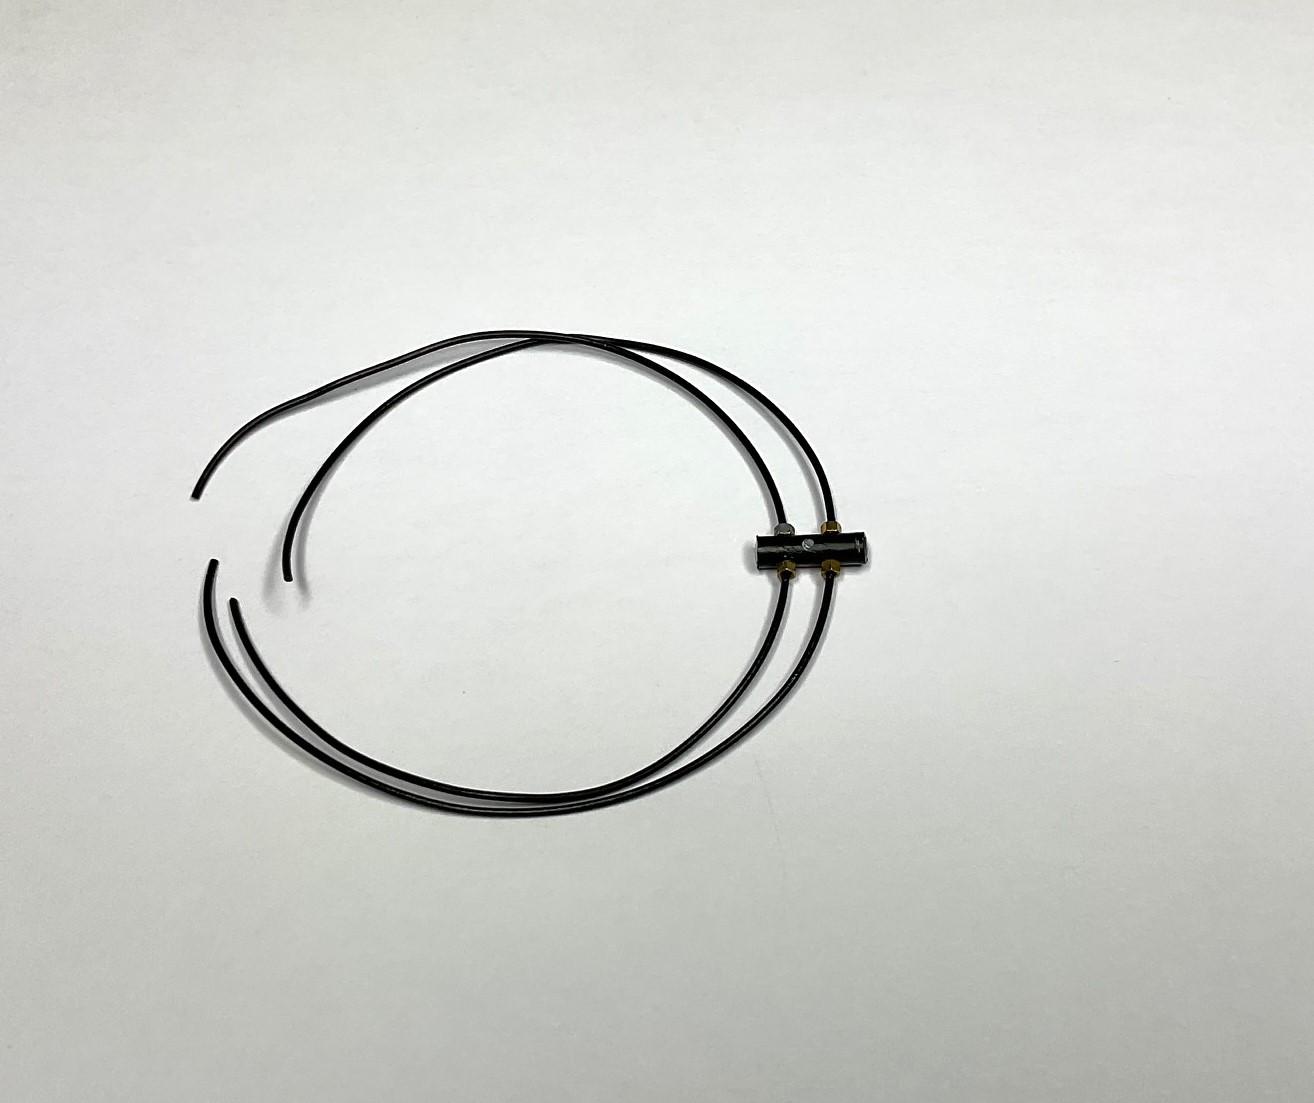
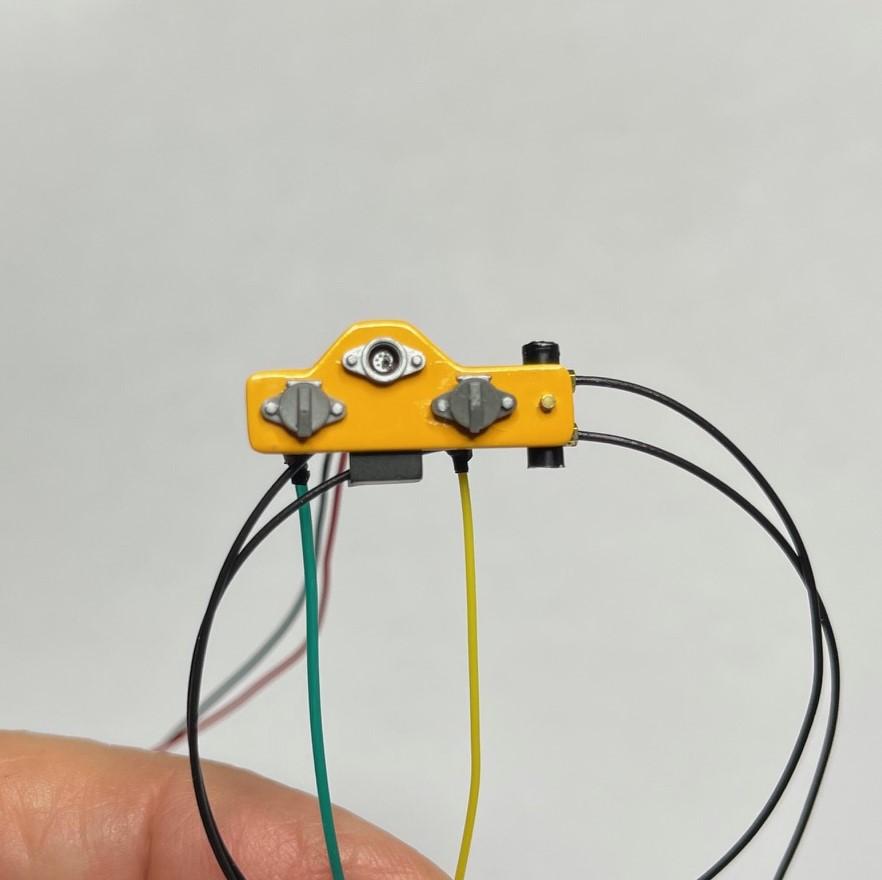
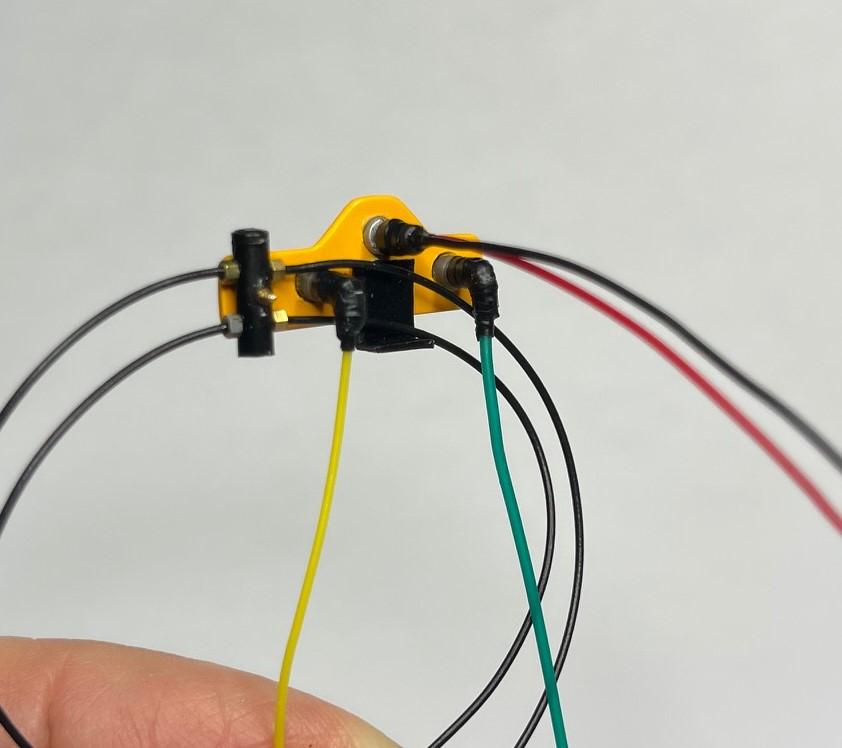
After a couple trial runs, threading the tubing where they needed to go, and positioning the connections plate on the cross member, I got the plate assembly CA glued to the cross member, and didn't break anything! Yellow plate glued in place - had to make up two battery cable ends for the sander connection and attach them to the wires before gluing plate in place. Then, fed them into battery box and bolted them in place - I just ran the trailer wiring, ABS wiring and trailer air line runs along the frame and ended them 'out of sight'. They can be partially seen from above and that's what matters most - Will be a tight fit, using tweezers, to get sander cable glued into the top connector, without making a mess - Showing the tractor protection valve a bit better. I took some liberties while fabricating it, but it looks the part - Still don't have my last order of chrome paint to test with. Next, finally, I need to make the air cleaner and then chrome it and all the other cab/hood bits when I decide which chrome paint to use. Hope to get the rest of the paint soon!
-
Western Star 4900 FA plow truck
BK9300 replied to BK9300's topic in WIP: Model Trucks: Big Rigs and Heavy Equipment
Thanks, Daniel. That Tamiya film works well for electrical tape, but sure is fussy to work with in thin strips, though! -
Hope you can find another can - you've done so much good work on this, would hate to see it stay 'up on the rack of respite' for very long!
-
I like the spare tire as is, too - goes with the look of the whole car, which is so detailed, and besides, not sure the owner of the car could spare the money for a tire cover!
-
Western Star 4900 FA plow truck
BK9300 replied to BK9300's topic in WIP: Model Trucks: Big Rigs and Heavy Equipment
Got back at it late yesterday and today. I needed to make the support plate for trailer electrical/air connections that sits on a cross member between the cab and the hydraulic tank. Doing double duty - plow truck in winter and dump/pup or tractor application in the summer, this truck has trailer connections for electrical, ABS and air runs to the rear drop cross member for dump and pup setups. This truck also has trailer wiring and ABS wiring runs coming back to this plate behind the cab, should the truck be set up with a fifth wheel for the summer. On many of the trucks, this plate also provides the electrical connection to power the sander's roto, signal and brake lights. I don't have first hand knowledge of all this - was given lots of info by Craig and Jeff. Made up the mounting plate and bracket, made up the power supply for the sander lights, and the runs for trailer wiring and ABS wiring. The pinned item, the four nuts and the lengths of tubing are going to be my effort at a tractor protection valve, which will attach to the yellow plate as well - Connectors glued in place - finally have a spot for the sander power line to plug into! - The 'electrical' tape is Tamiya film, Flat Black Finish, cut into thin strips - I changed materials for the tractor protection valve - thinner air lines and a bit thicker valve body - Truck protection valve bolted in place - not correct to real one, but works for my little setup! All of these lines will disappear along either frame rail. Going to be a chore to get them where they need to go, temporarily, so I can glue black bracket to the cross member behind the cab and not bust any connectors off. Hope to get that done in the morning!
-
Western Star 4900 FA plow truck
BK9300 replied to BK9300's topic in WIP: Model Trucks: Big Rigs and Heavy Equipment
Thanks again, Lee, and I appreciate the kind comments! -
Looking good, Scott! Did you have to pin the white metal axle?
-
Pintle hitch looks good, Lee and the spreader chains are going to be a cool addon, too!