StokeModels
-
Posts
60 -
Joined
-
Last visited
.thumb.JPEG.9ed451aeb67ccdff2068dff39ffb6e05.JPEG)


StokeModels's Achievements
MCM Regular (3/6)
-
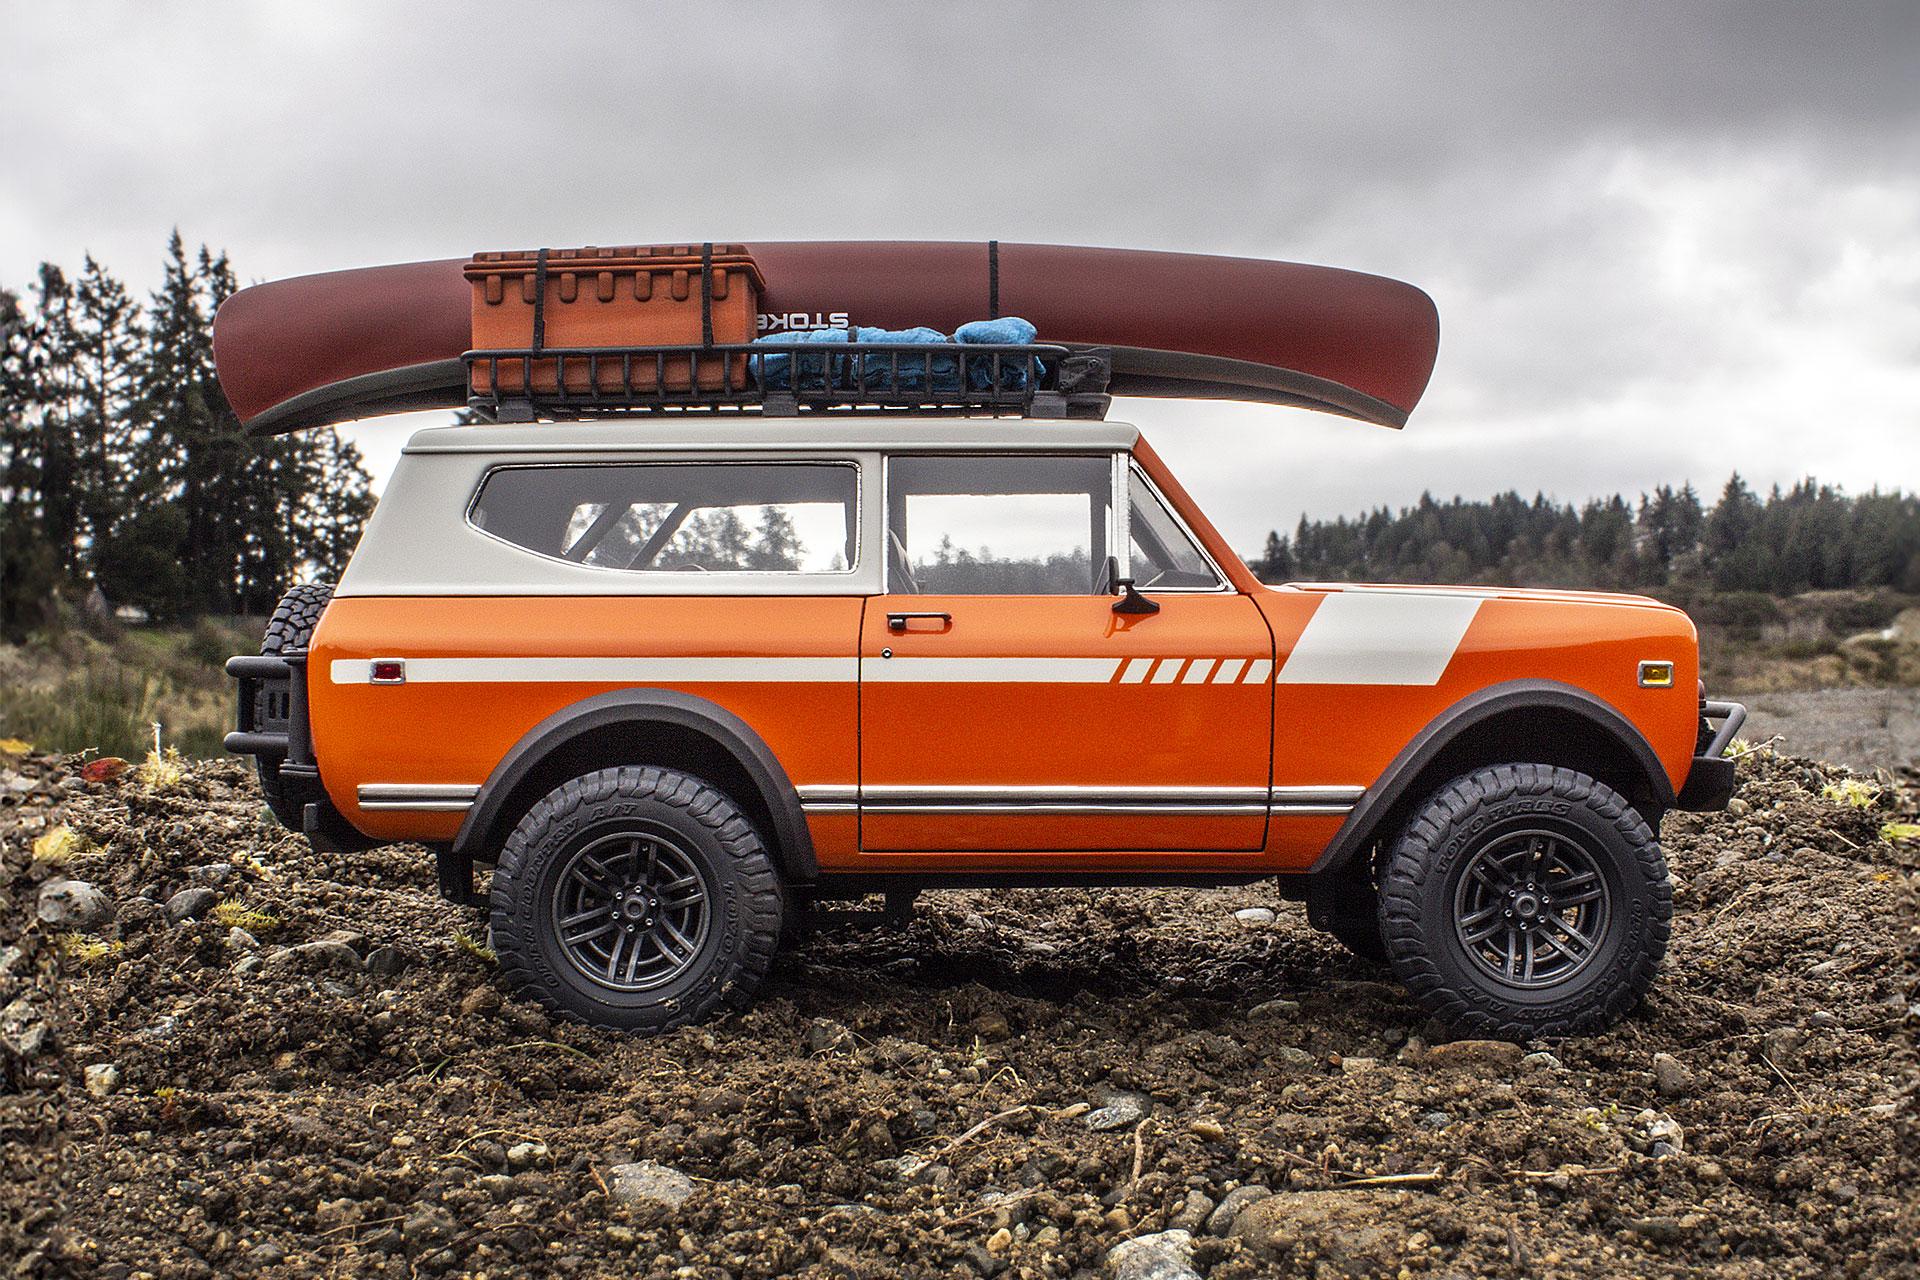
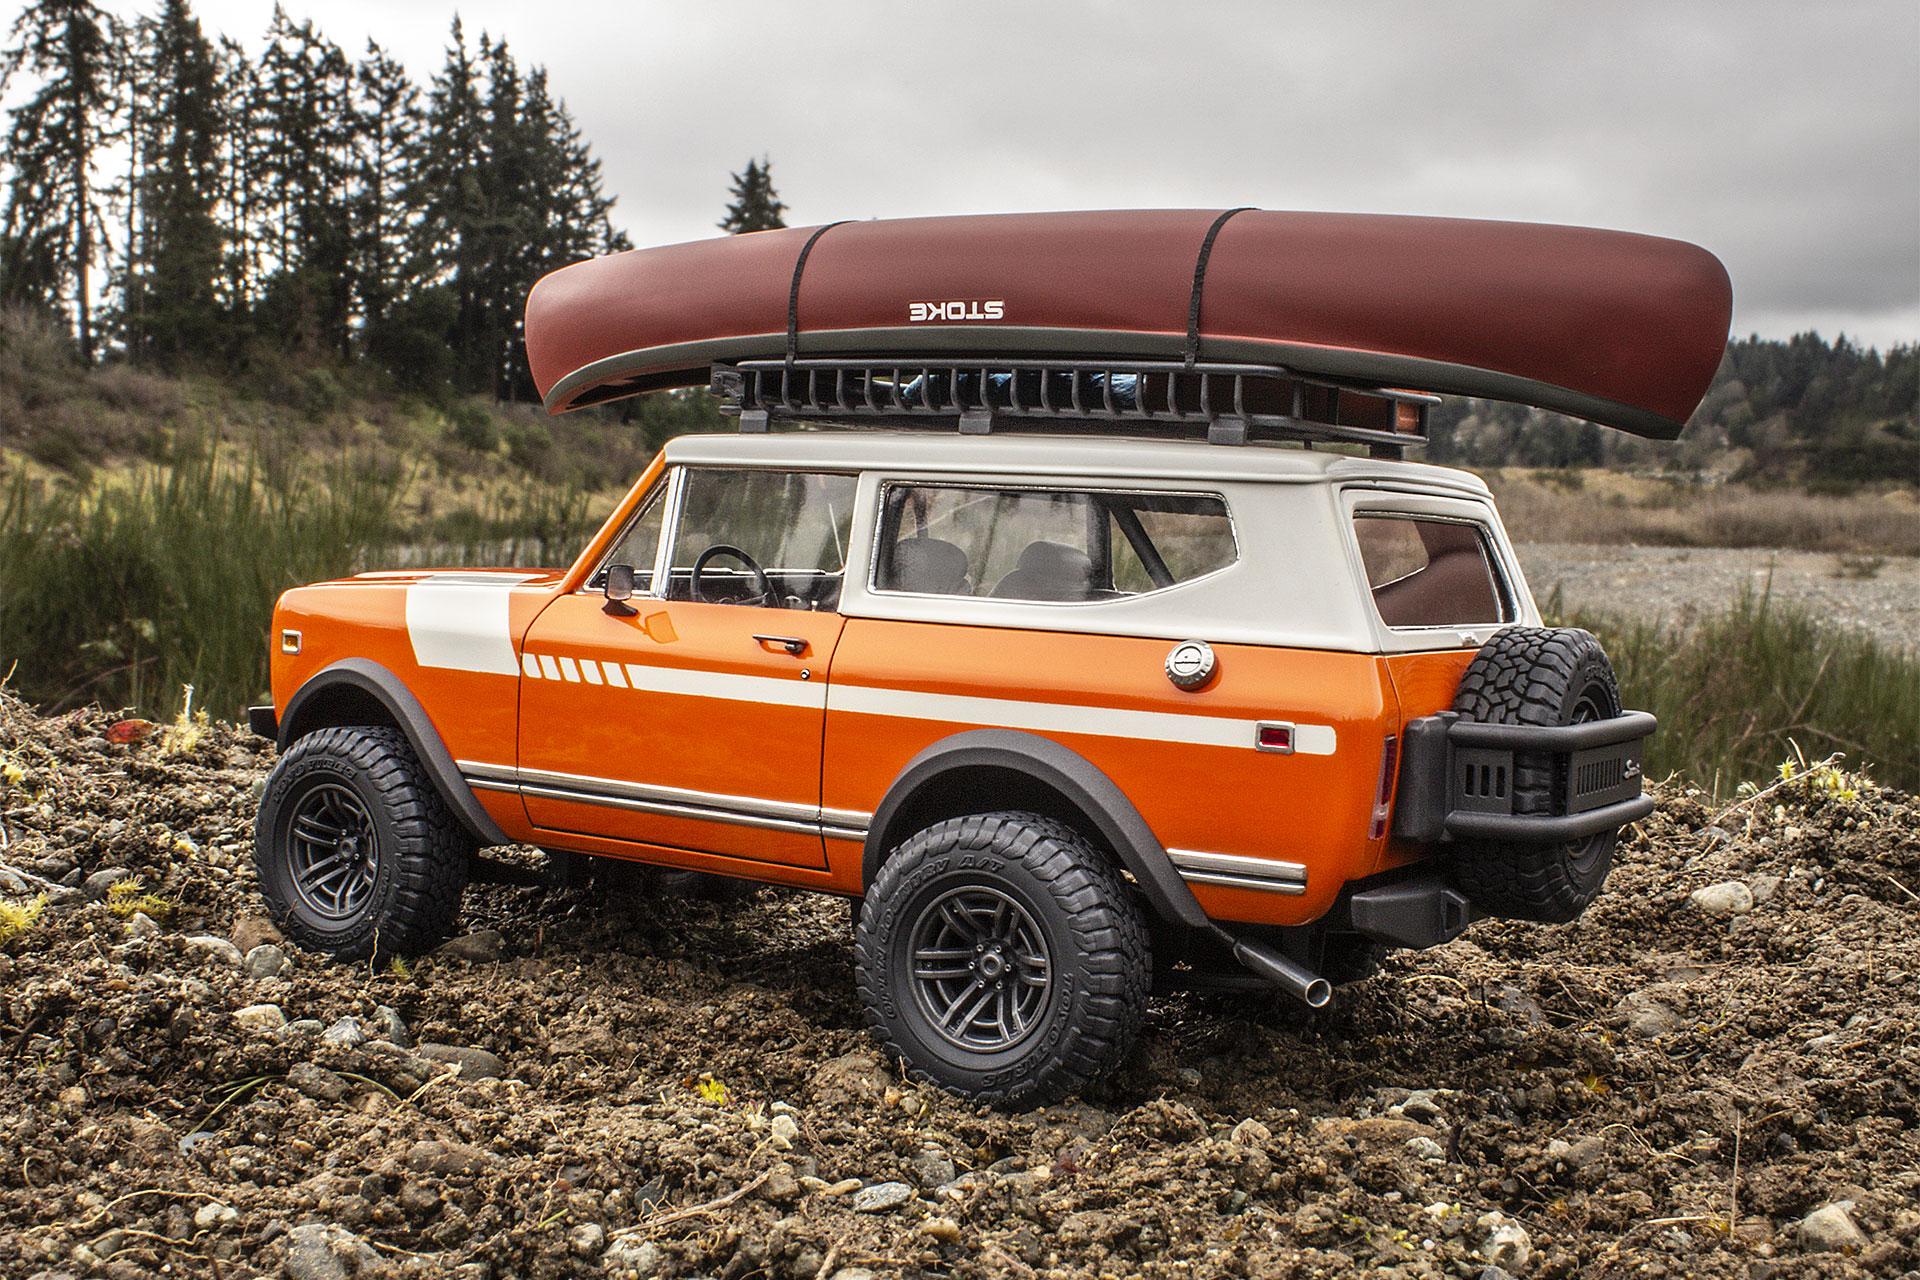
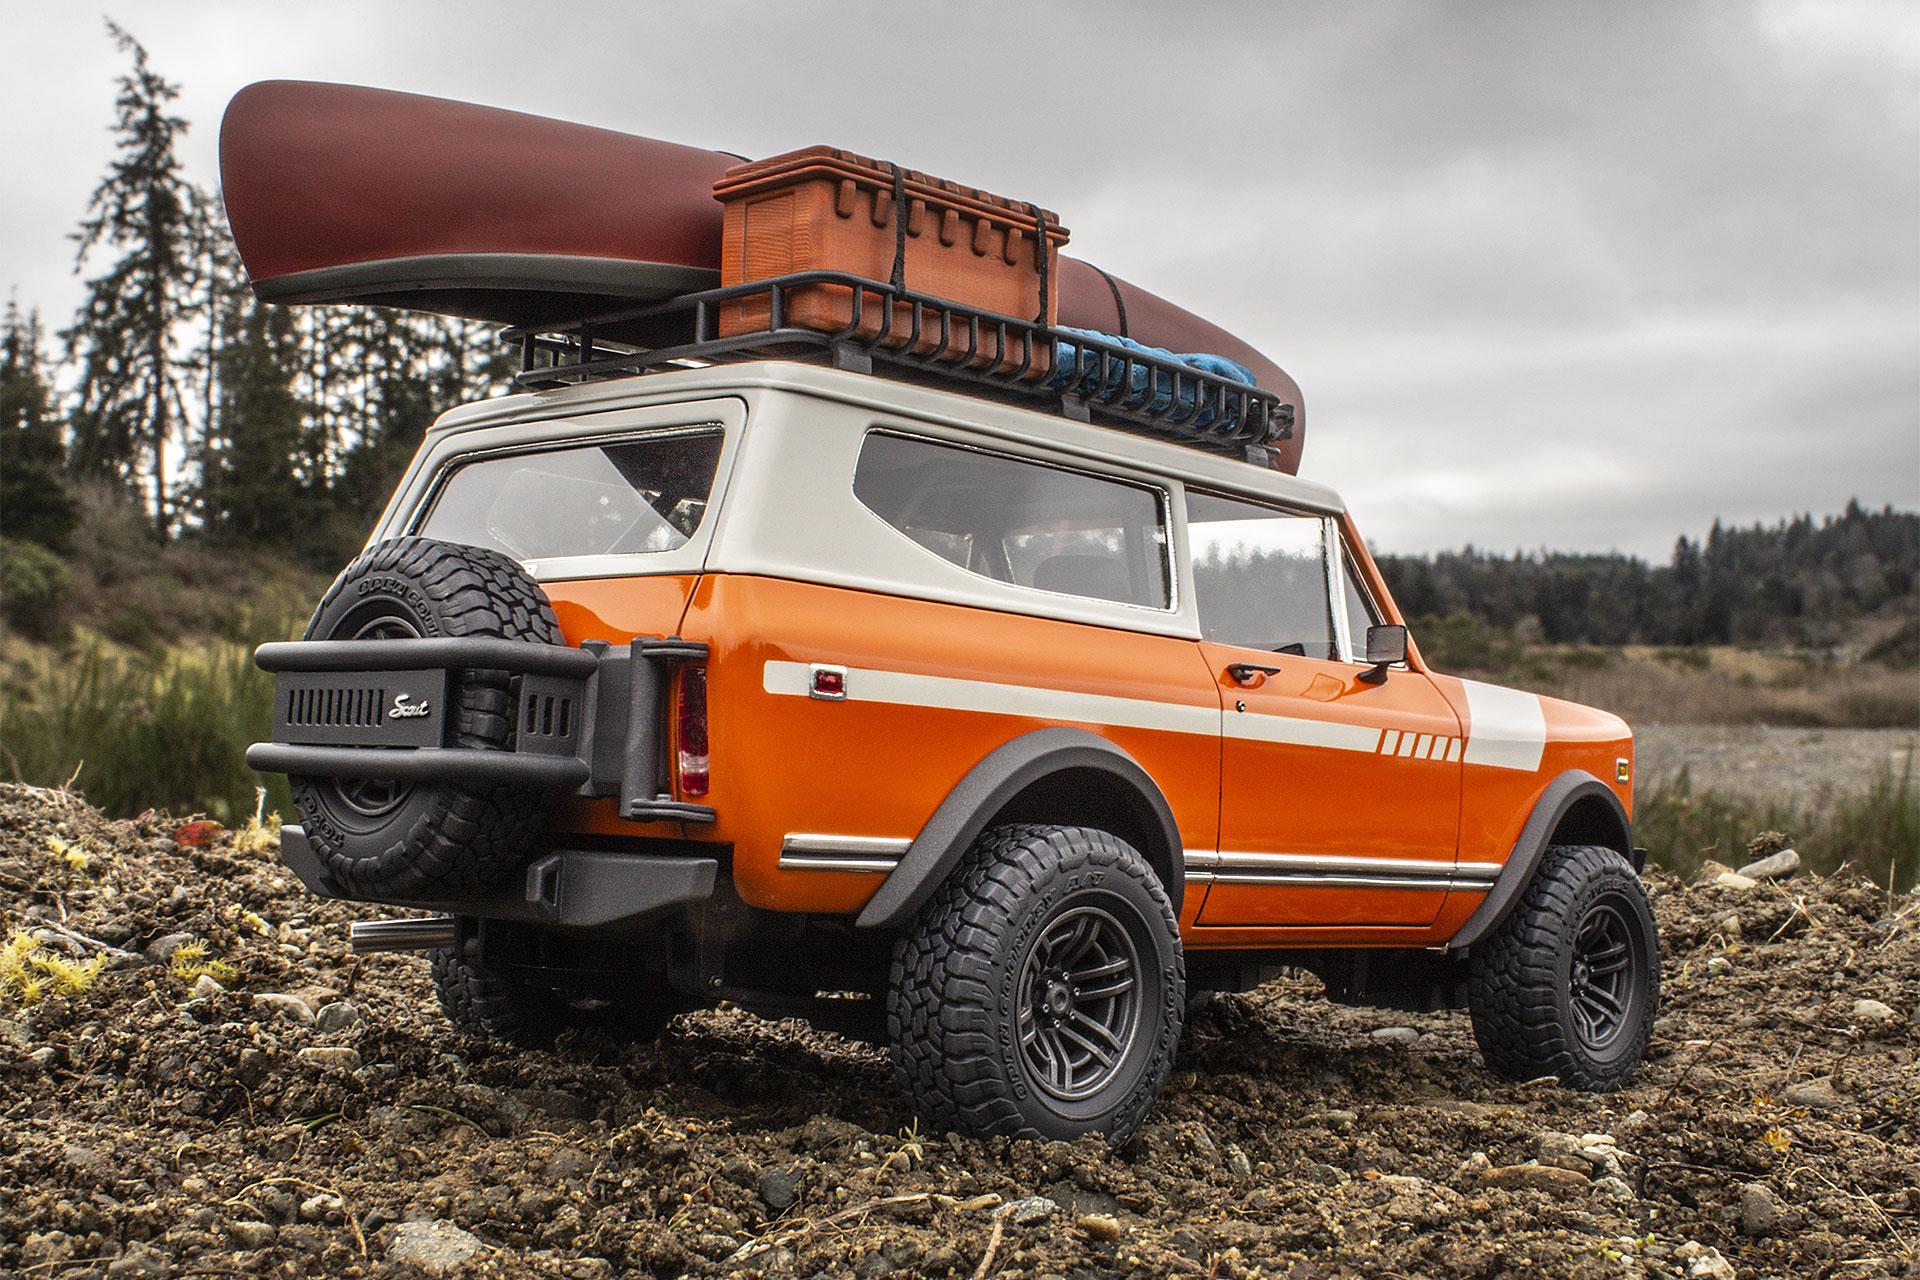
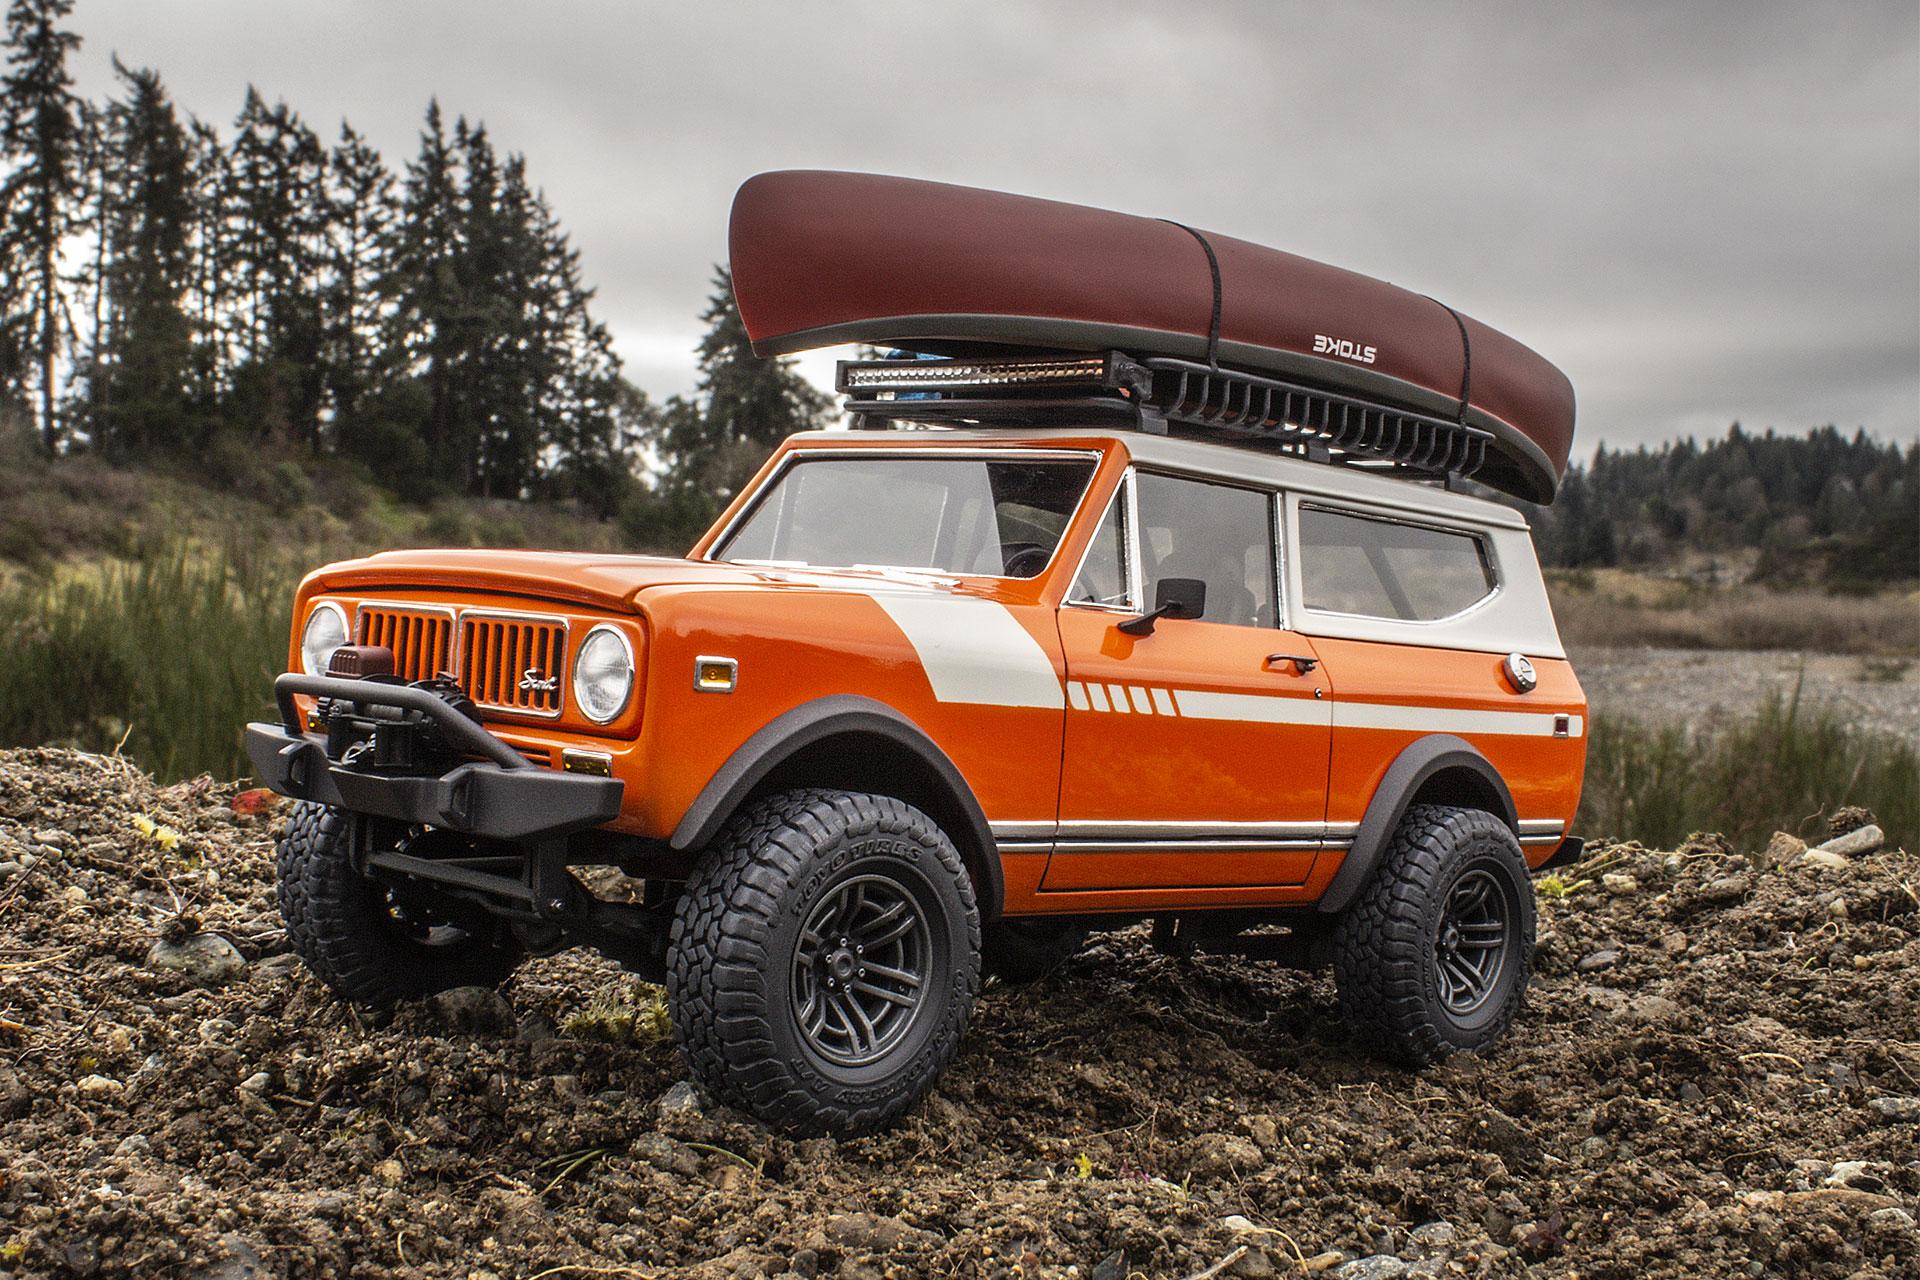
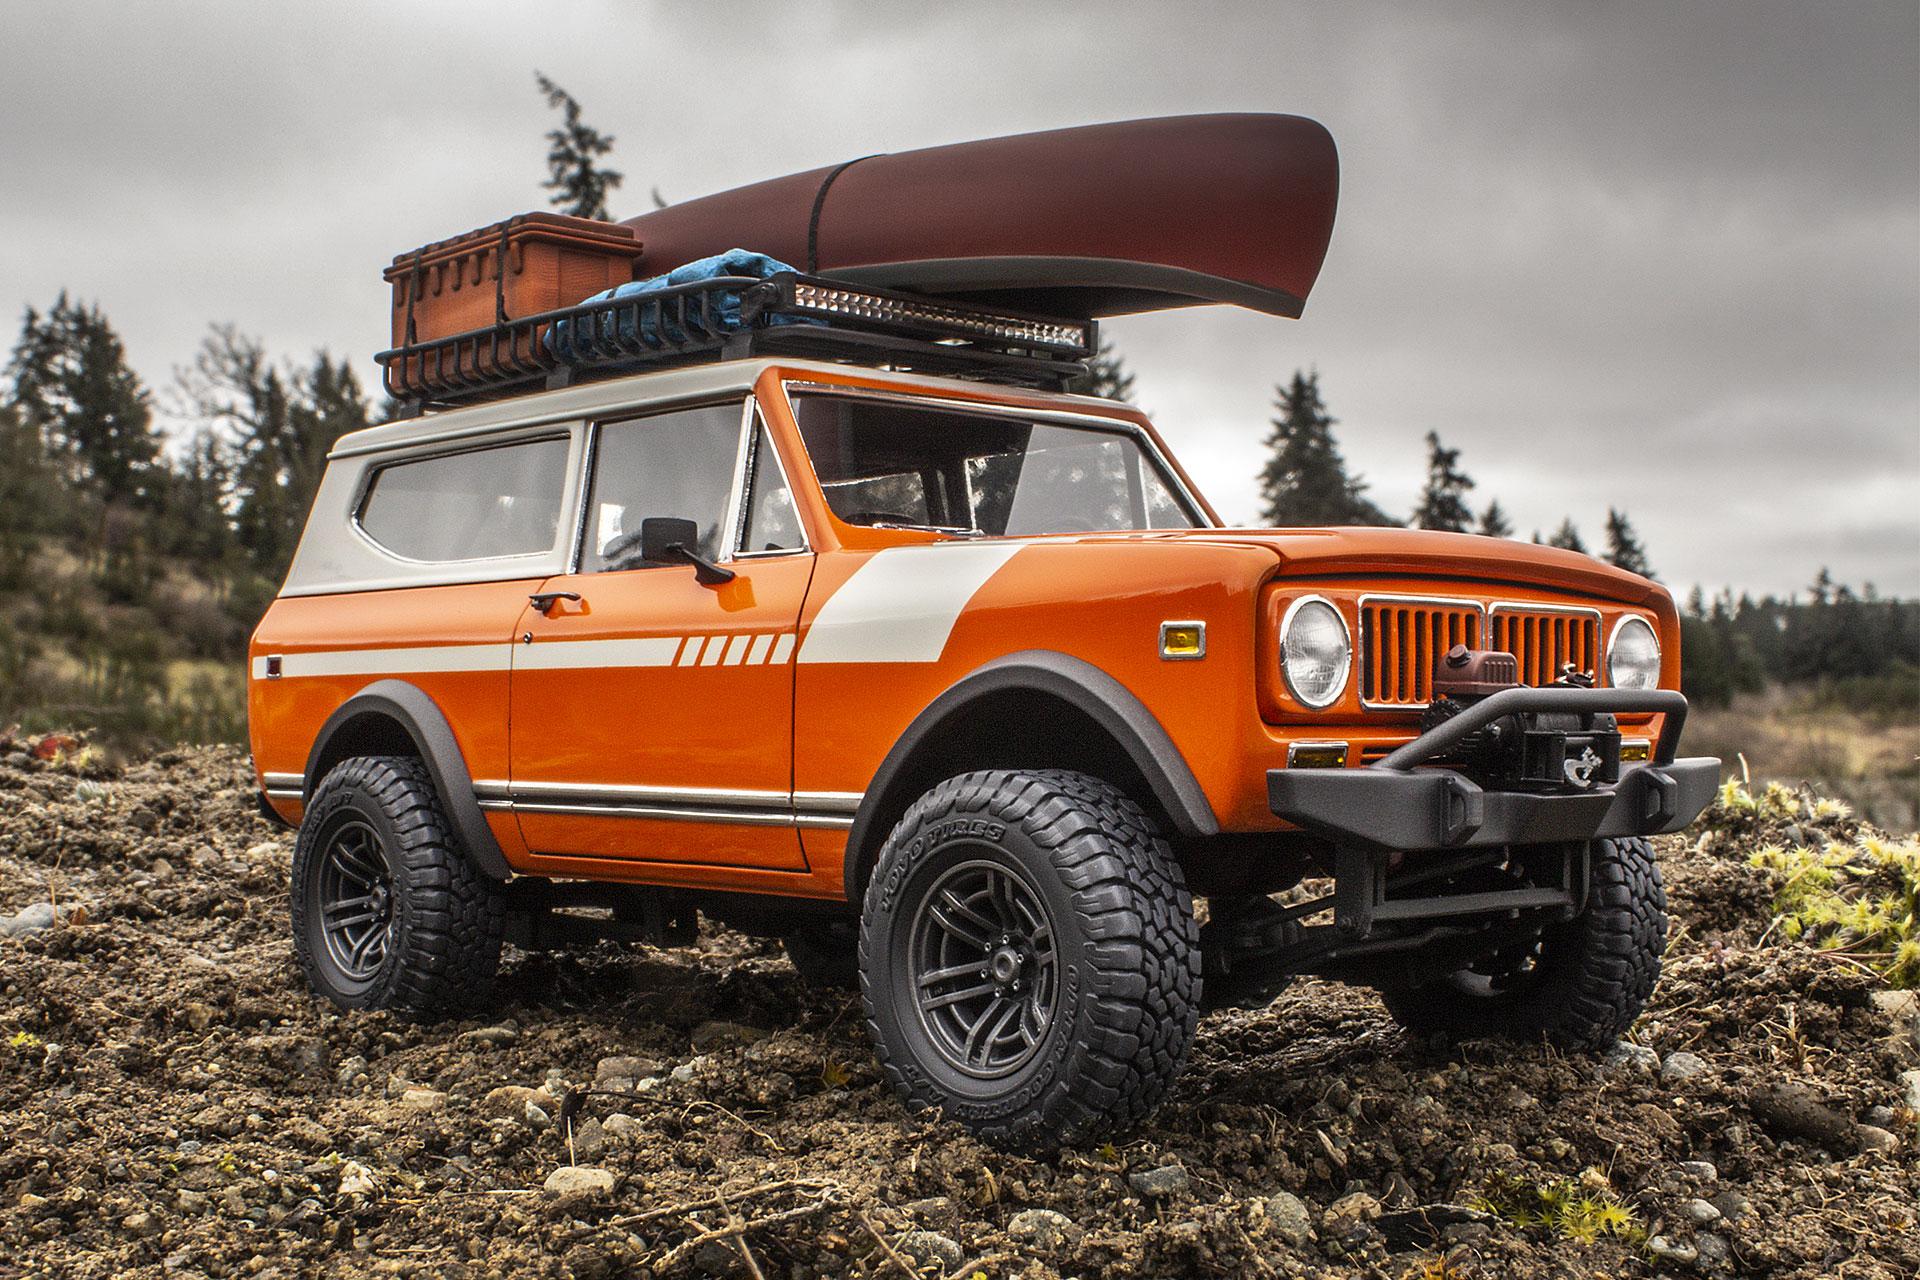
 This is outside of my usual comfort zone, but I was contacted by the social media managers for the new Scout Motors – they were looking for content for their blog and asked if I would be interested in building a classic Scout model. I was given free rein to build it however I wanted so I went with a restomod look, heavily influenced by the full-size builds of New Legend 4x4. I started with the AMT International Scout kit and then 3D printed a whole bunch of new parts. I took some design cues from the new Scout, like the wheel style, bumpers and rear tire carrier in particular. I also created a new grill to backdate it a little bit as I preferred the round headlight look. The chassis is pretty much from the kit with a 'lift kit' made of sheet styrene and Meng bolts. Other 3D printed parts include the seats, steering wheel, gas cap, roof rack, canoe, mirrors, luggage, roll cage, winch, door handles, door locks and pulls and fender flares. The engine bay of this kit is pretty sparse so I added the heater box, hood latch, air cleaner, brake master cylinder, distributor, radiator and catch tank to fill it out a bit. The body was painted with Tamiya lacquers, Insignia White and then the stripe pattern and roof were masked and Tamiya Pure Orange sprayed over top. All of the glass was replaced with sheet styrene. Thanks for looking! Martin.
- 25 replies
-
- 27
-

-
Thanks to all for the great comments - much appreciated!
-
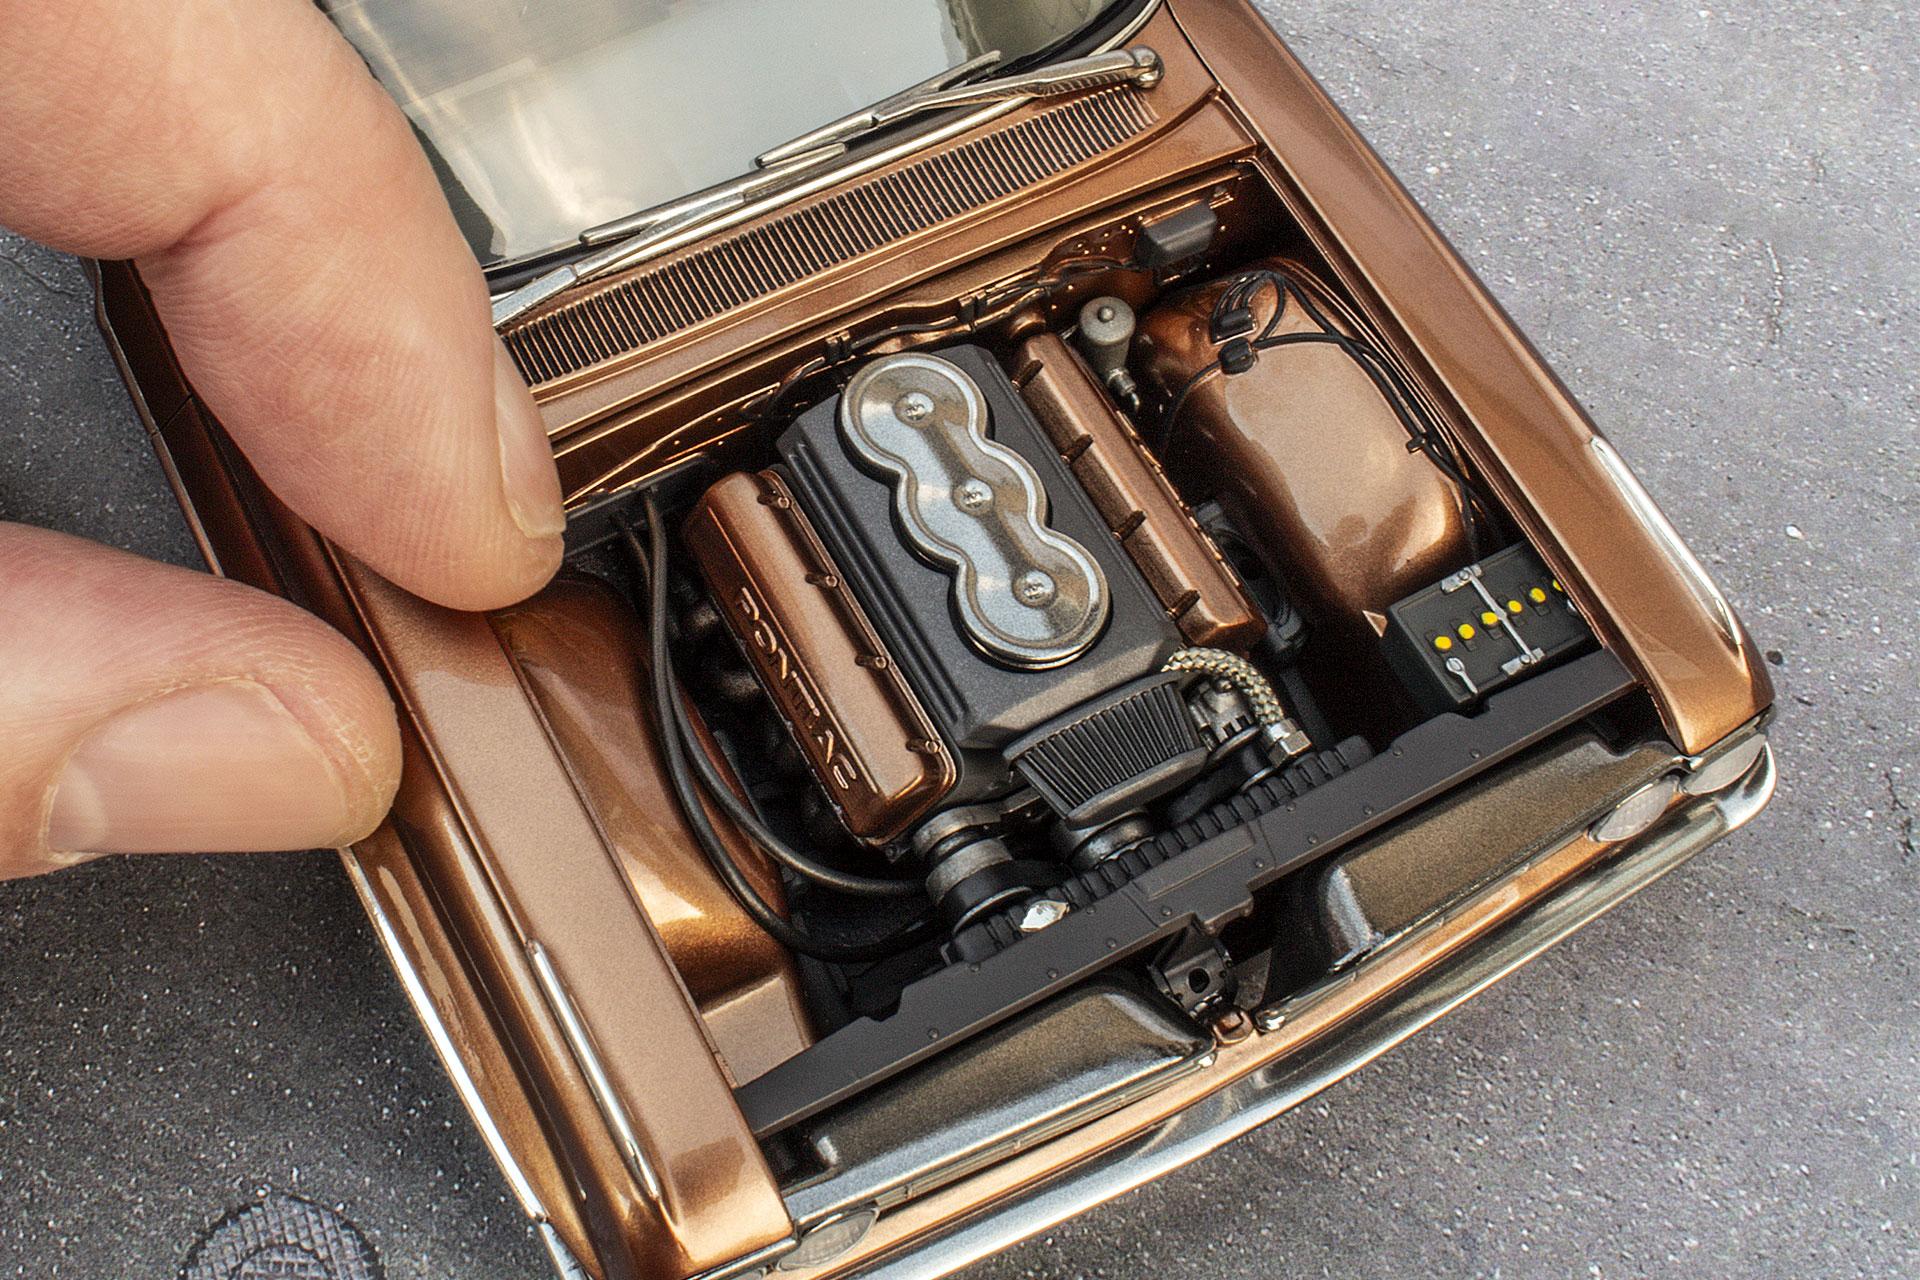
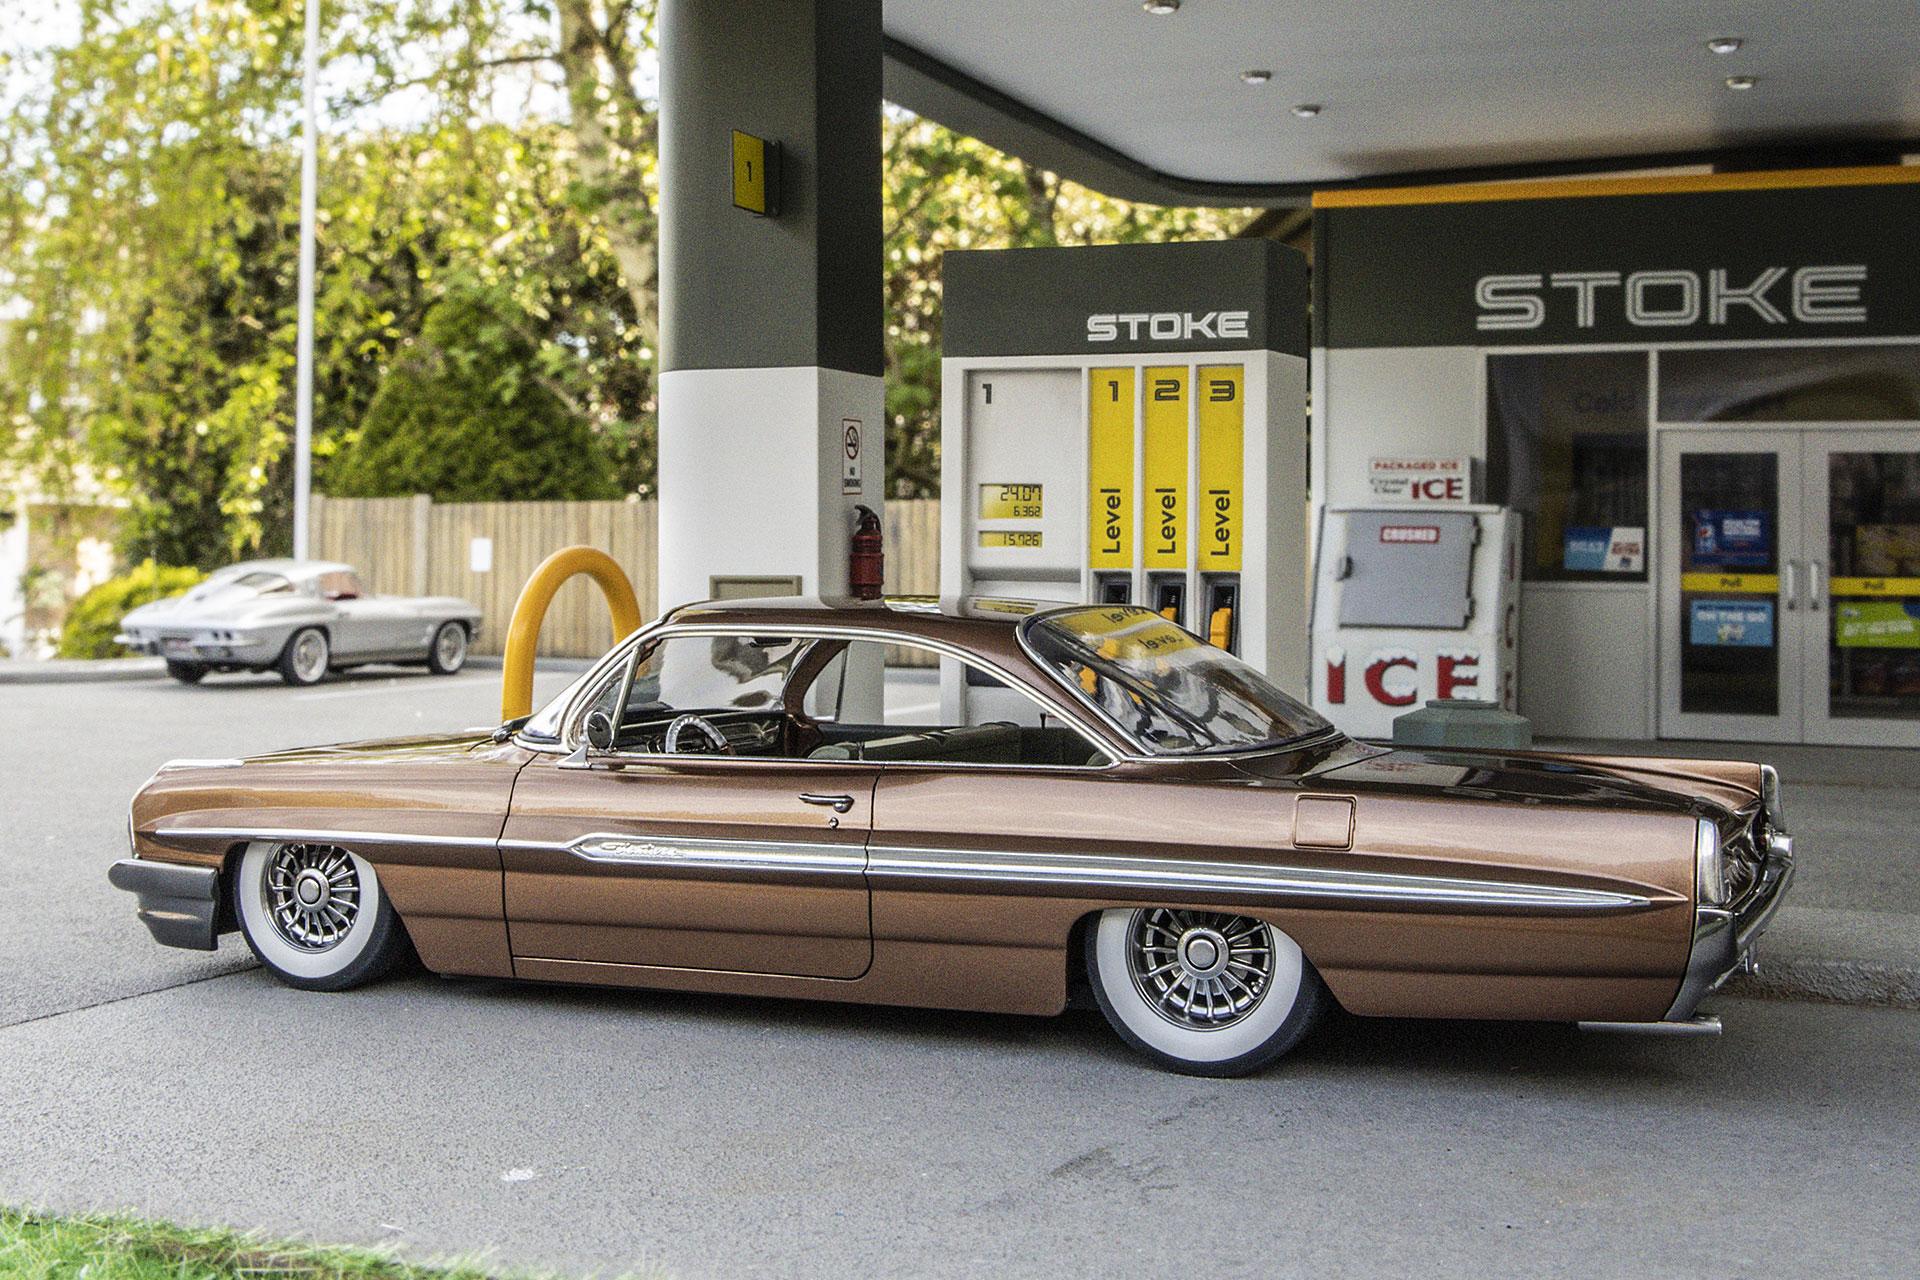
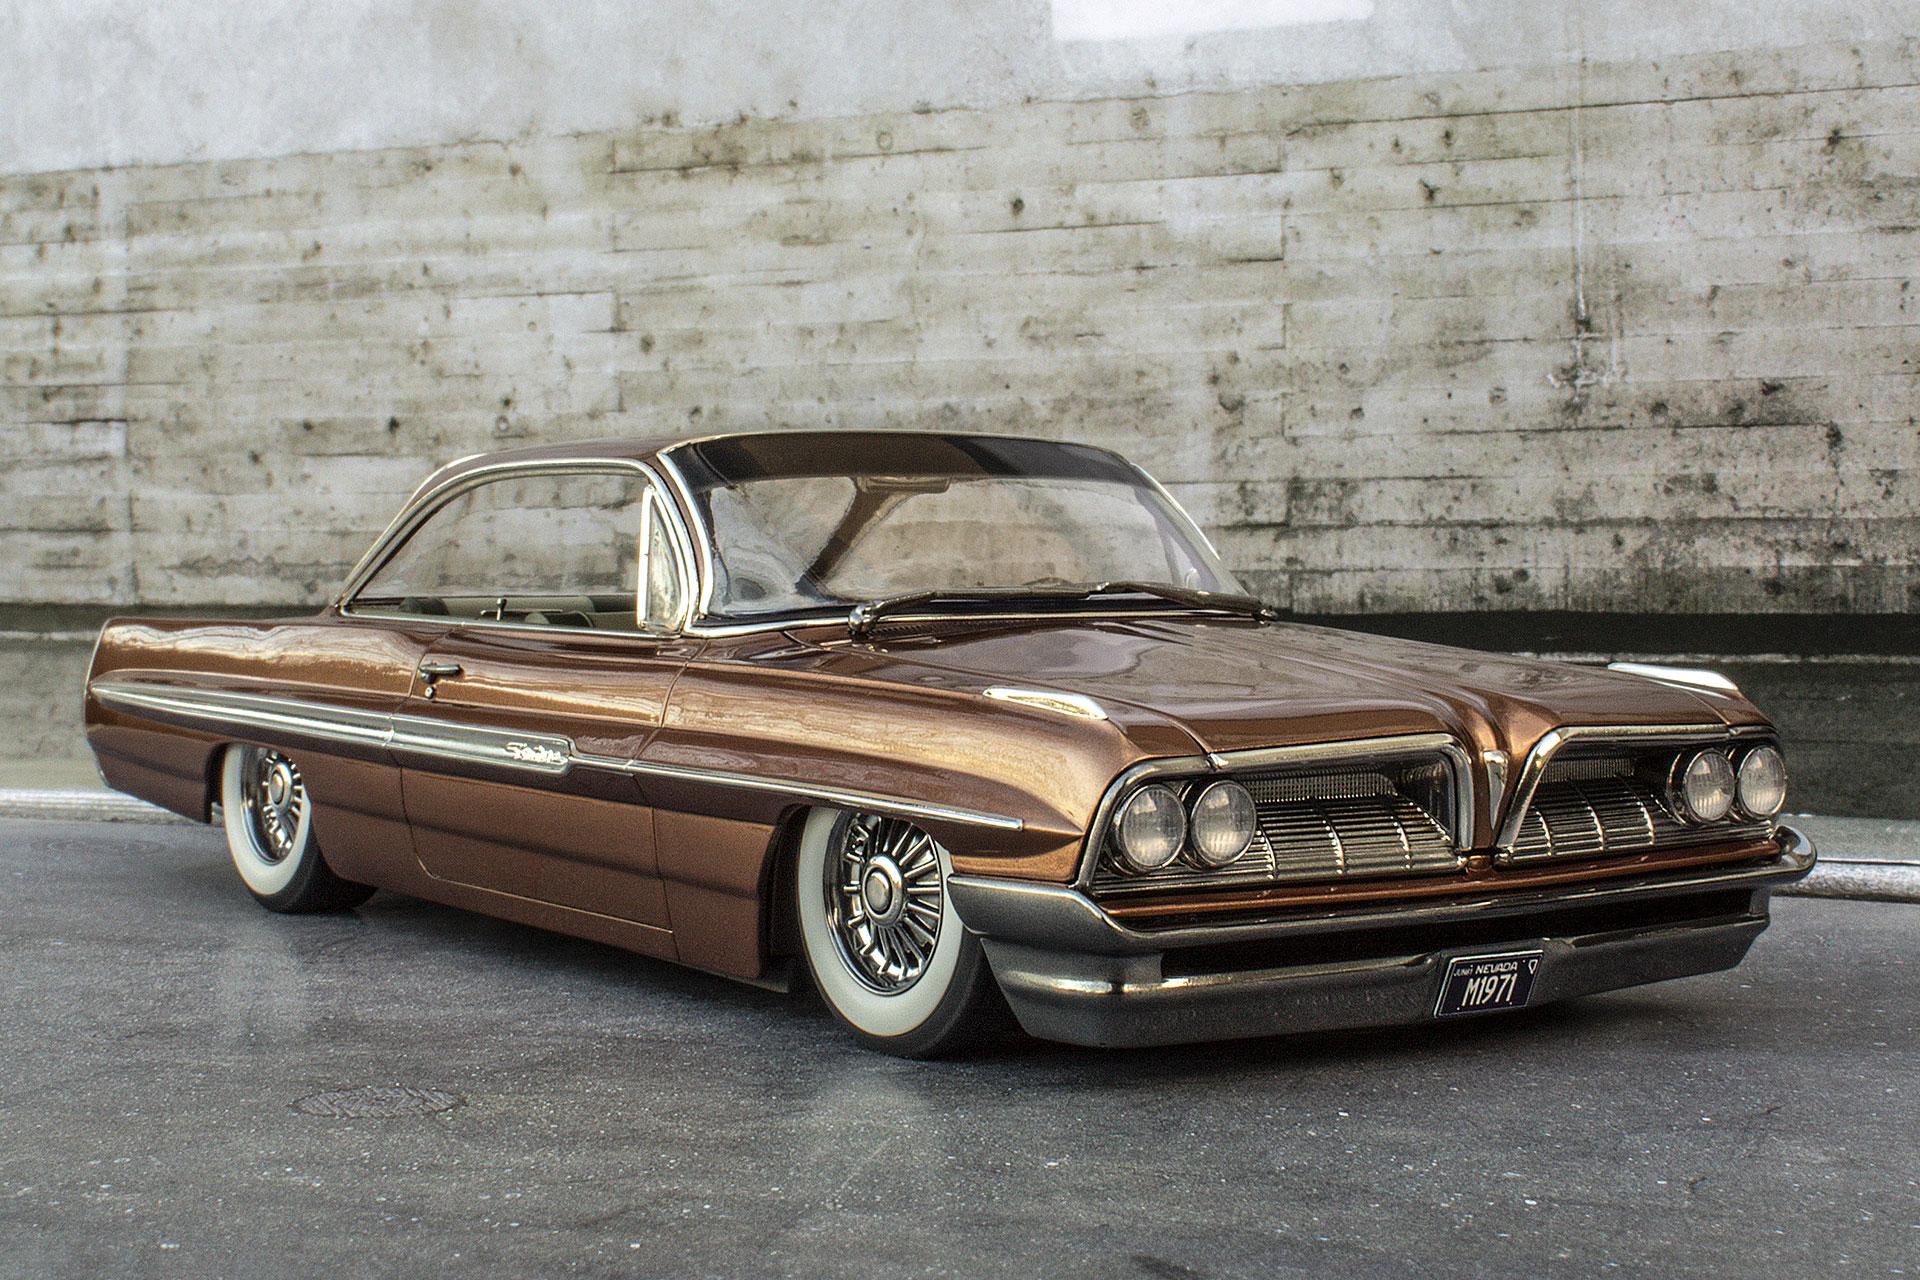
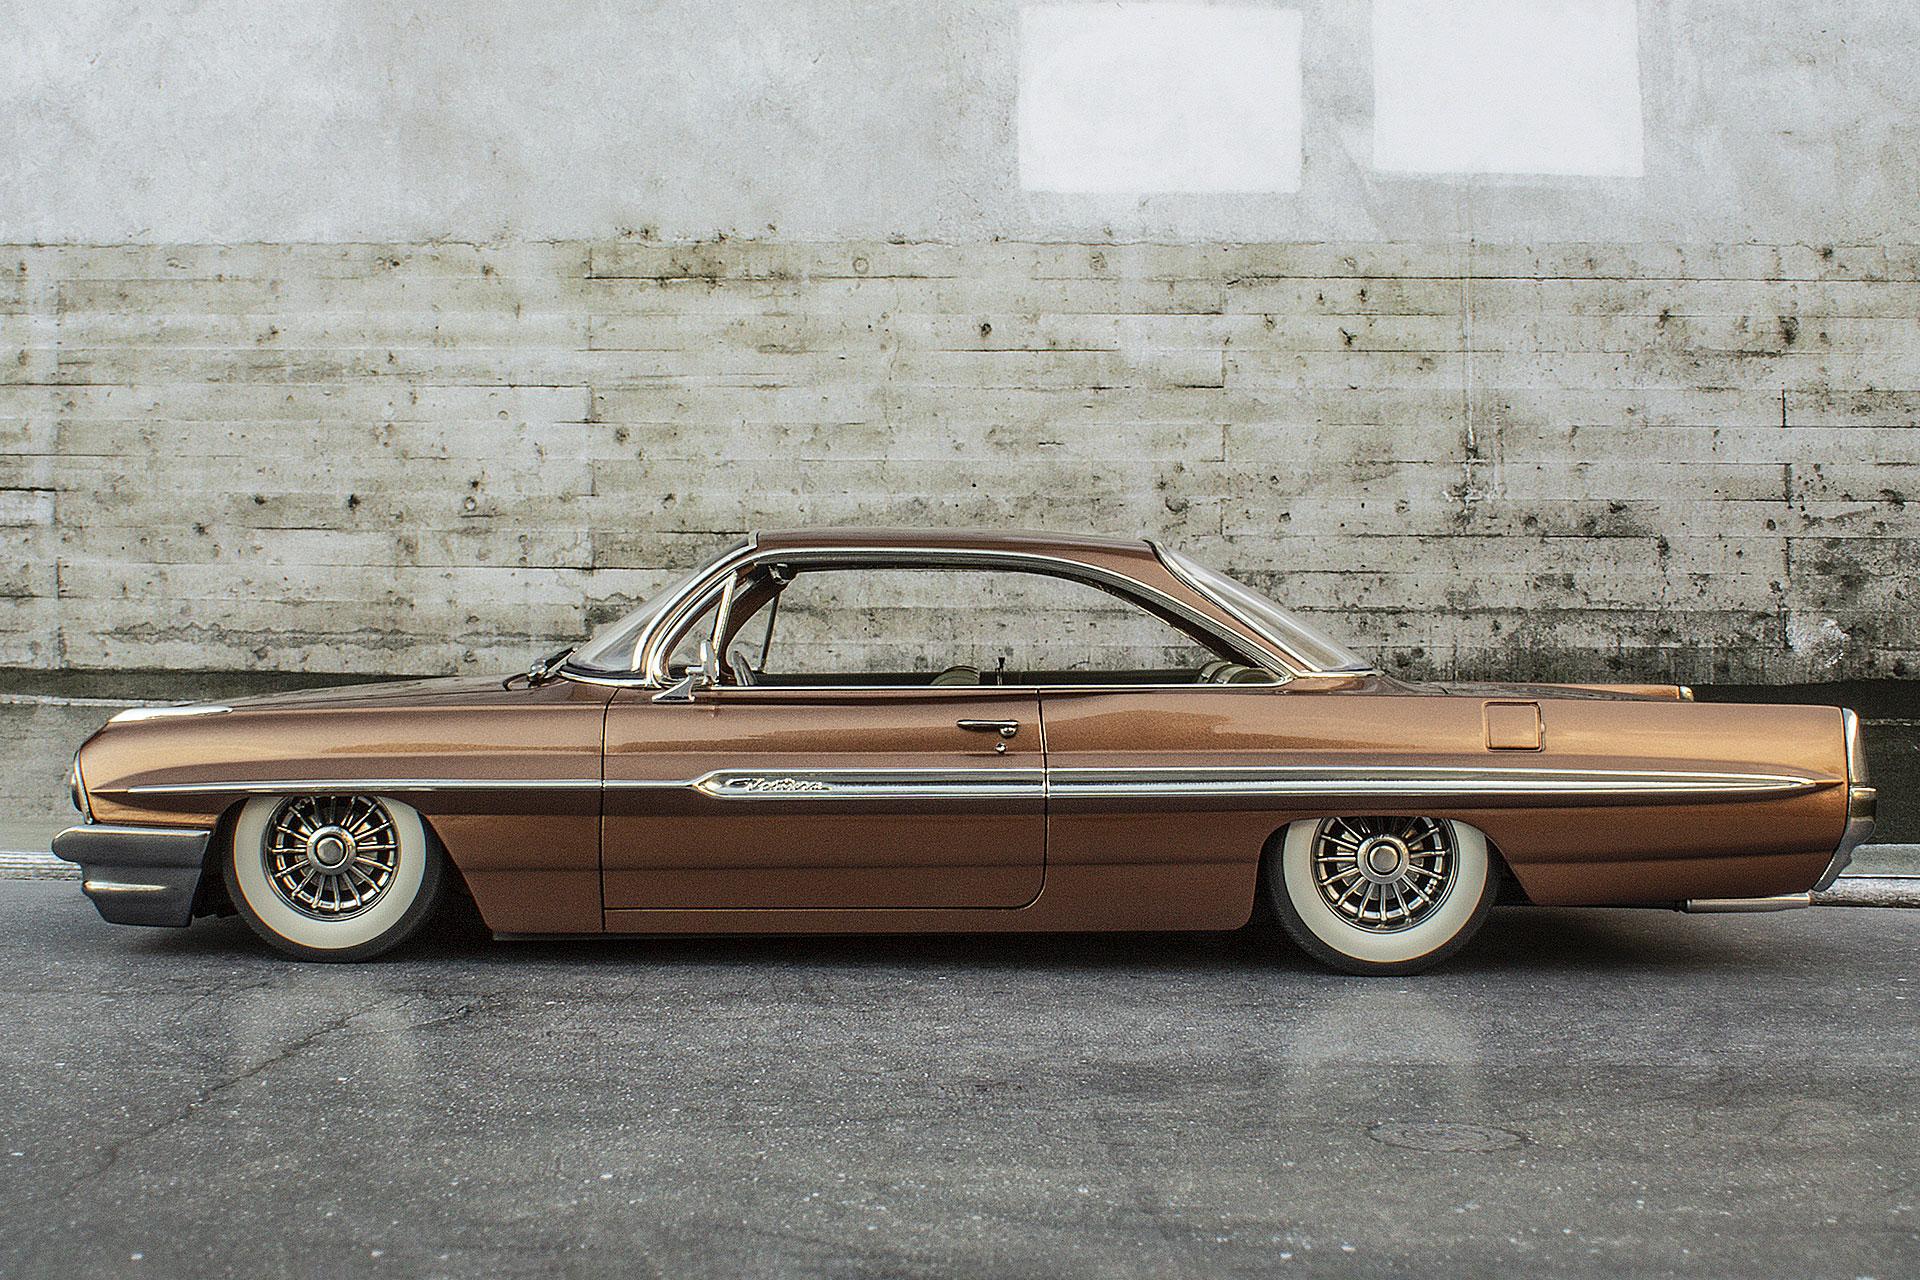
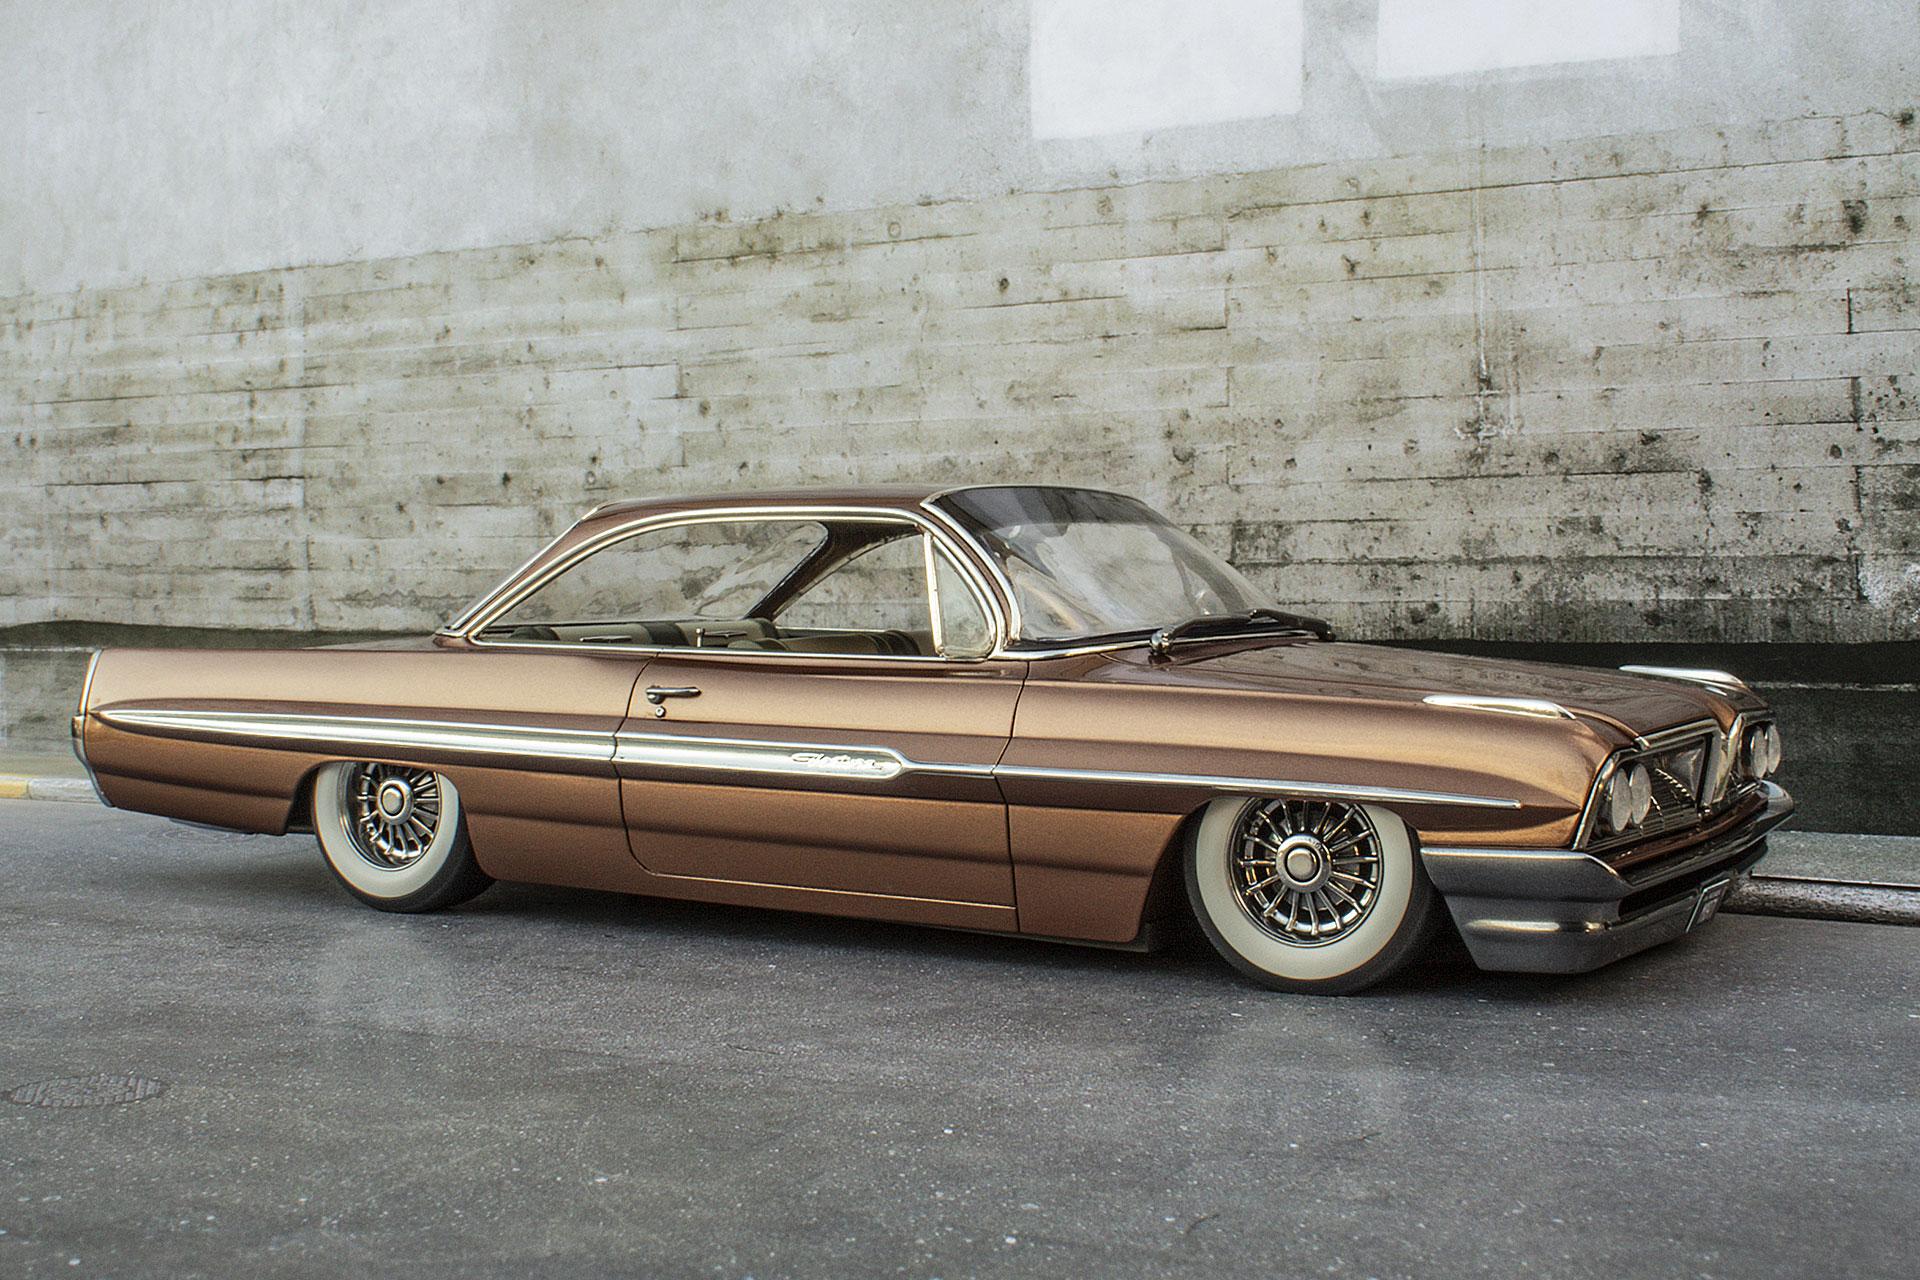
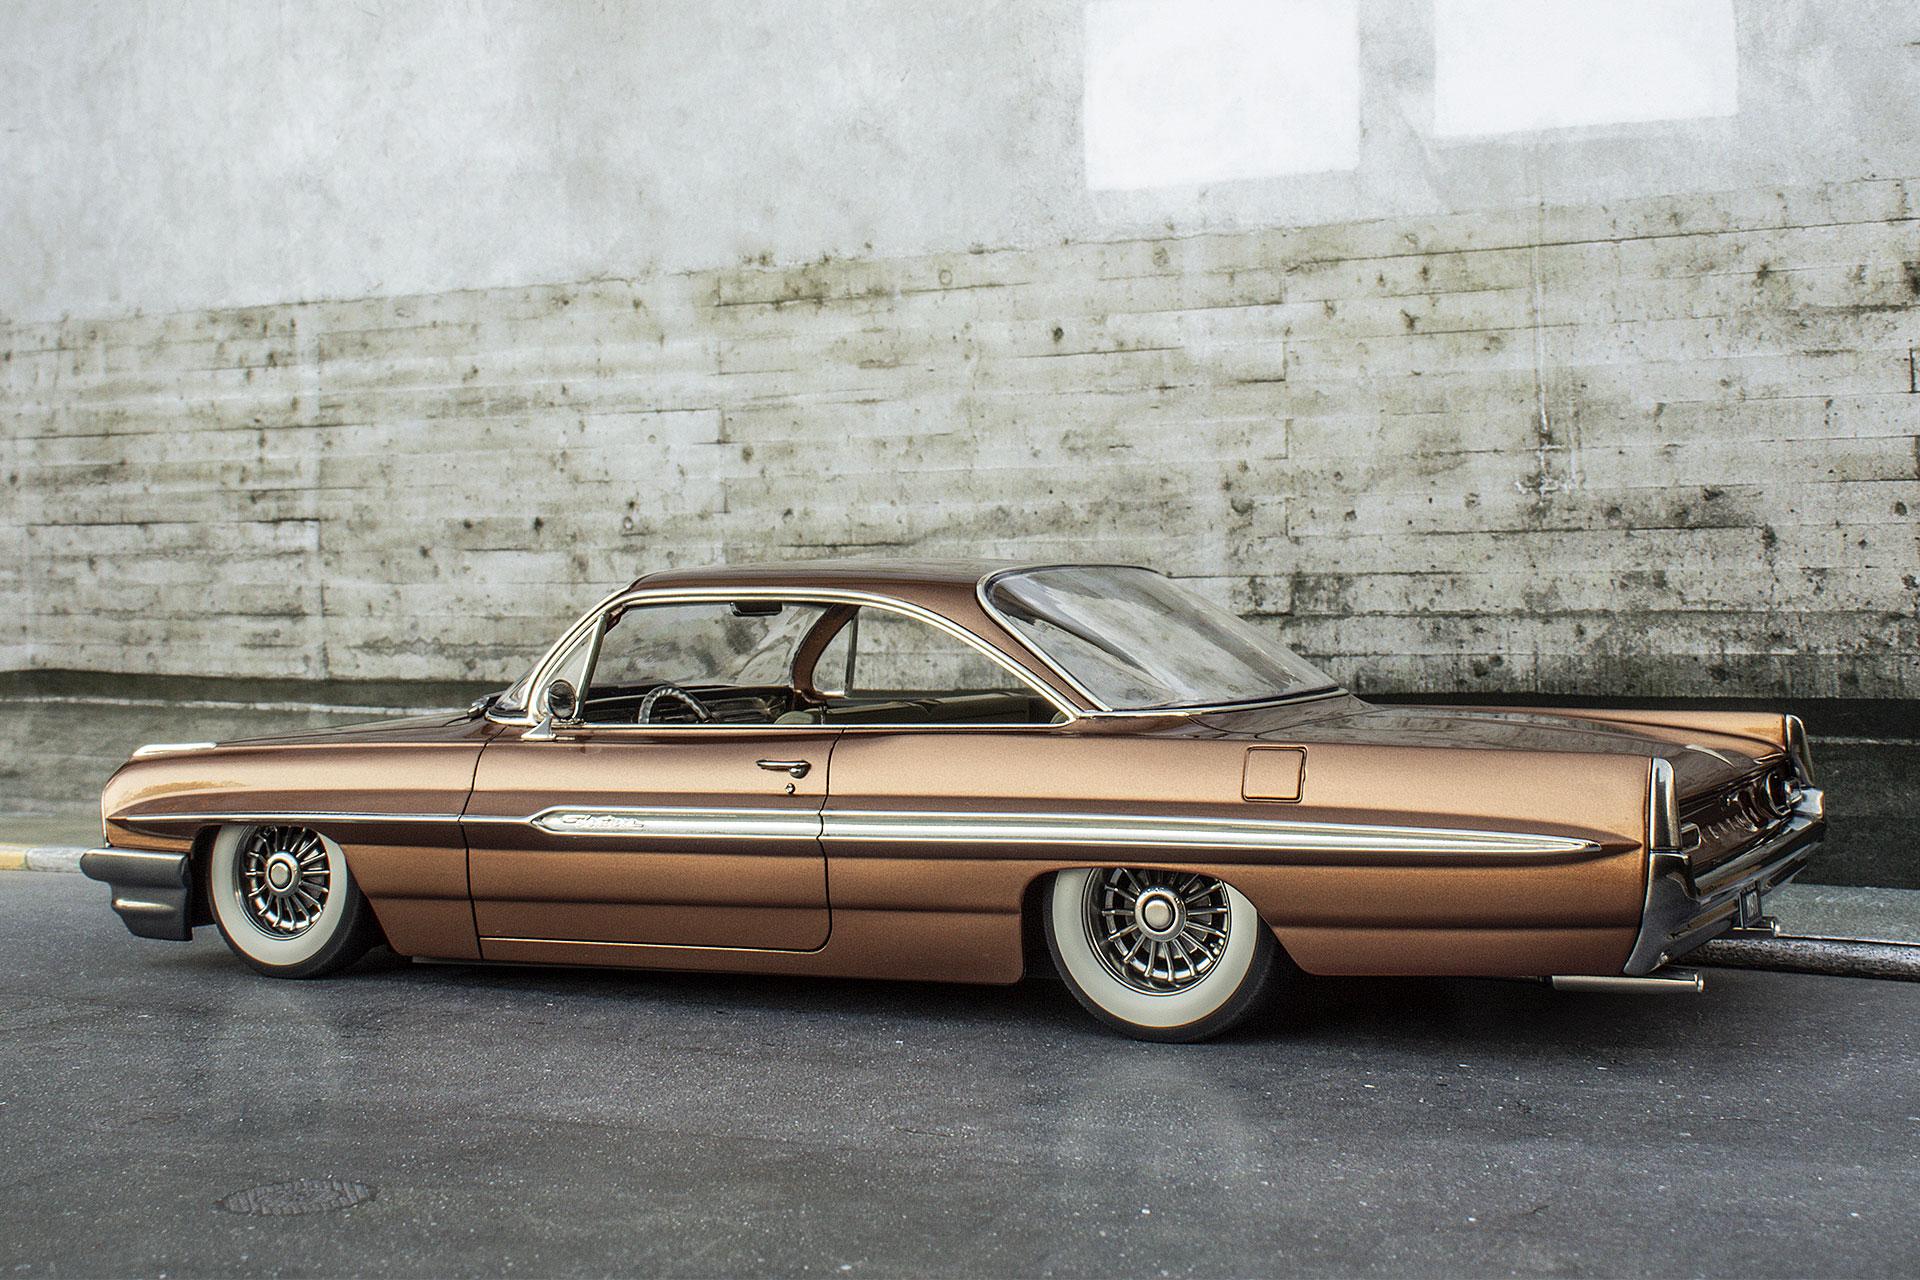
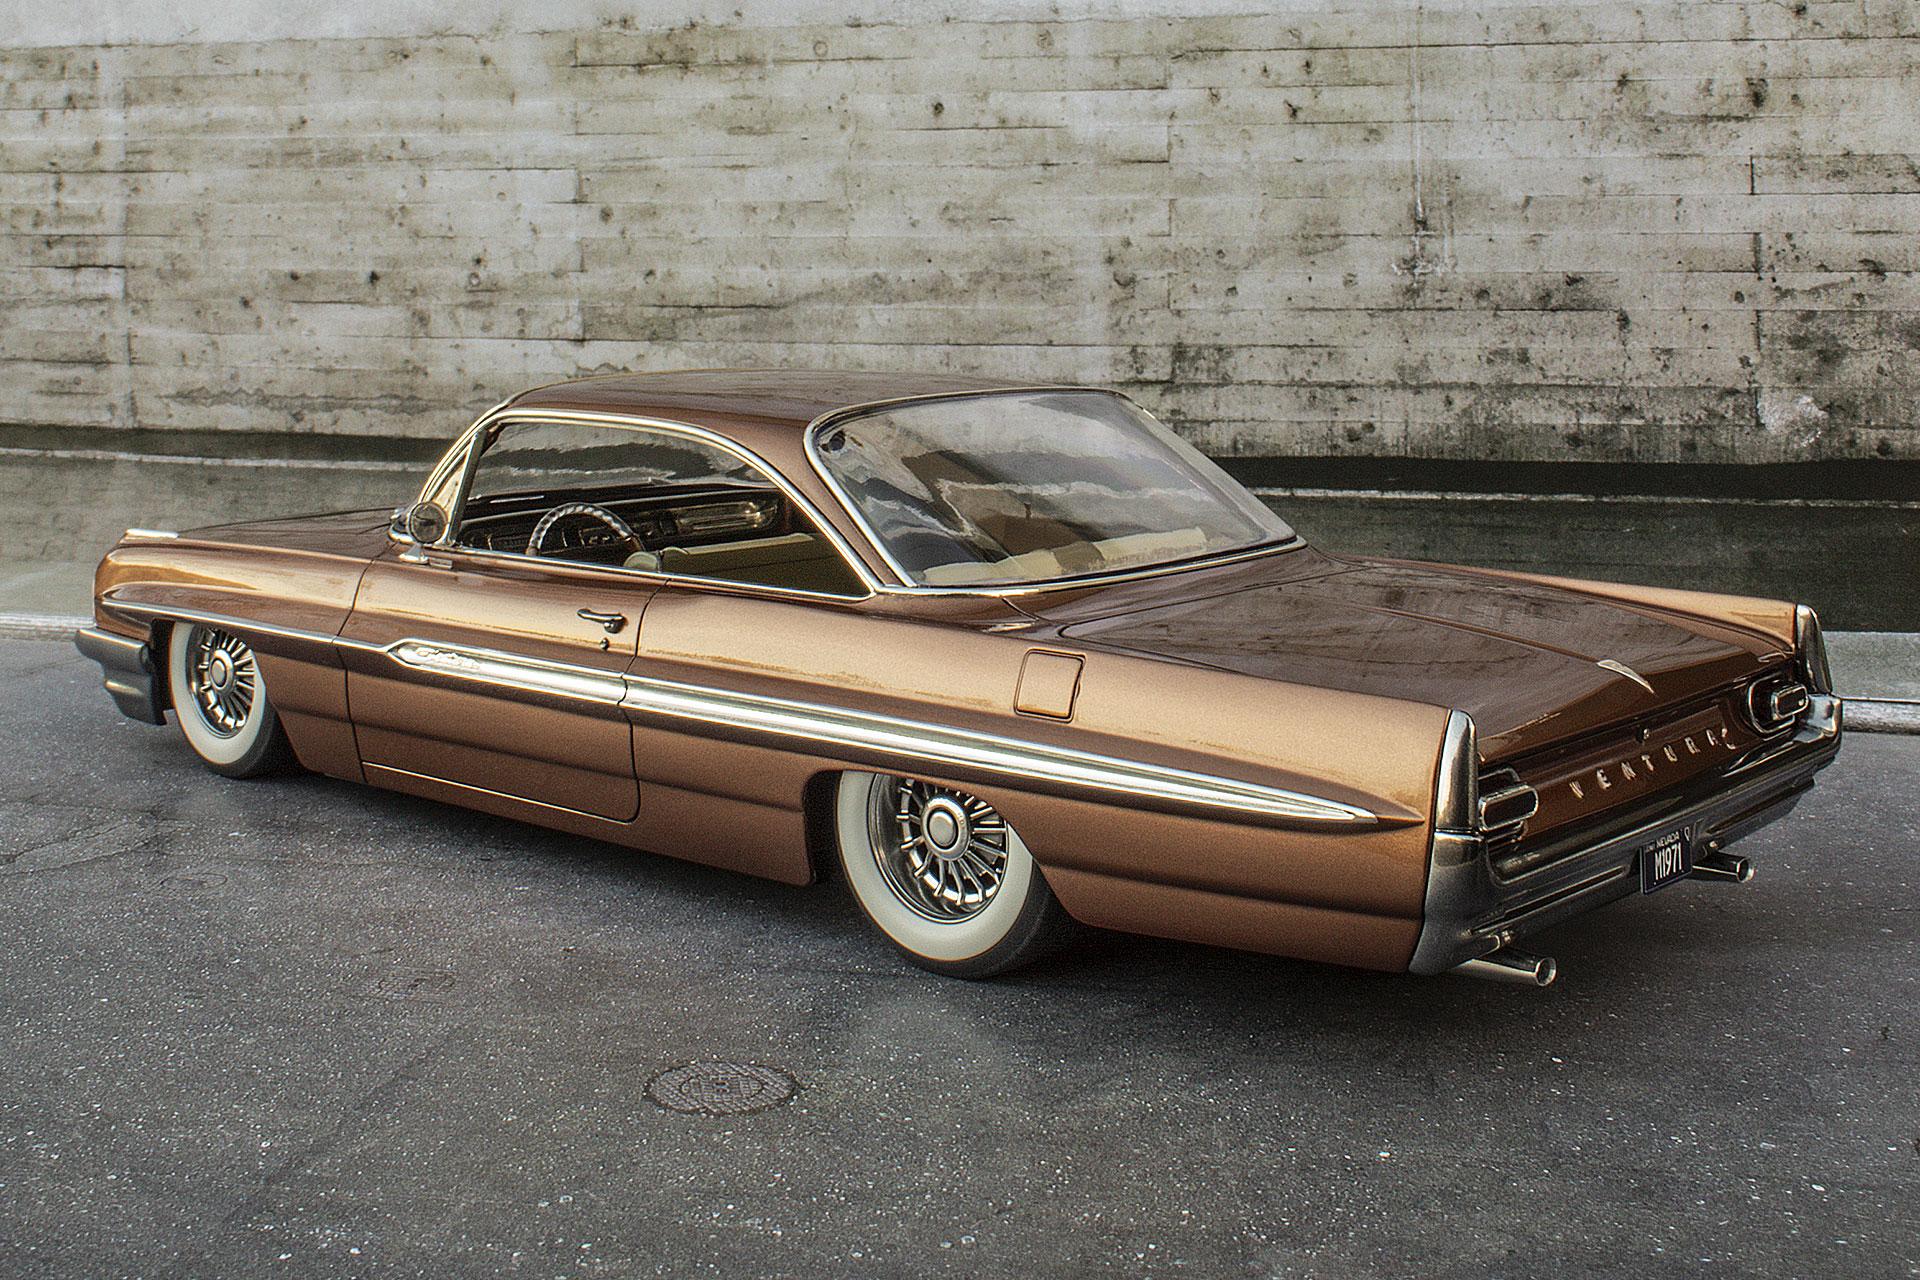
I've built a couple of these Moebius kits now and have been generally impressed by the quality. I had heard that this one had some issues with the fit of the glass pieces so I spent some time finessing the fit on both the glass and the body. I painted it with Mr Color Super Metallic Copper and then put GX100 Super Clear over top. The wheels were custom designed and 3D printed with separate whitewalls to make painting easier. I styled the wheels after the original 8-bolt wheels but removed the bolts for a cleaner appearance. All of the chrome pieces were stripped, smoothed and repainted with Alclad Chrome Lacquer. I used a new sheet of Bare Metal Foil for the trim and it's the best sheet I've had in a while. Very smooth adhesive, easy to apply and less residue from the pieces that were removed. I added a few details like aluminum tubes for the exhaust and door locks but didn't go crazy. I also airbrushed the windshield tint and tried to get the bend out of the hood. I kept the engine bay pretty simple with a 3D printed 572 that I added the Pontiac logo to and my own take on the original Tri-Power setup. And a bonus shot in my gas station diorama. Thanks for looking! Martin.
- 38 replies
-
- 42
-
-
These are a set that I designed and printed myself. I based them on the look of the original F1 GTR wheels.
-
Revell Snap-Tite 63 Corvette Transformation
StokeModels replied to StokeModels's topic in Model Cars
Hey Peter, I use a Canon T3i that I've had for about 12 years now. I run all of my photos through Adobe Lightroom that allows me to adjust exposure and contrast - I create presets that allow me to use my favourite settings quickly. The biggest thing I've found for getting realistic looking photos is to get the maximum depth of field that you can. I use very small aperture settings which means shooting with a timer and a tripod even in bright outdoor lighting. -
I use the standard Elegoo Grey Resin and print everything at 0.01mm layer height. Takes a lot longer but the reduction in visible layer lines is worth it to me.
-
Revell Snap-Tite 63 Corvette Transformation
StokeModels replied to StokeModels's topic in Model Cars
It's a printout of a photo for the background. The road and sidewalk are also just printouts with the sidewalk photo wrapped around a piece of foamcore. -
Cyberpunk Toyota MR2
StokeModels replied to StokeModels's topic in Other Racing: Road Racing, Salt Flat Racers
Thanks Steve! Yep, will be there on the 29th - the Spitfire is still insured but only doesn't leak oil when there's no oil in it! ? -
Cyberpunk Toyota MR2
StokeModels replied to StokeModels's topic in Other Racing: Road Racing, Salt Flat Racers
Thanks to all for the great comments, really appreciated! -
The idea for this project had been running around my brain for a while and when I saw the new Hasegawa MR2 kit, I knew that would be the perfect starting point. I used the body and interior from the MR2 kit and mashed it together with the Tamiya Toyota GT-One LeMans kit to make a futuristic Cyberpunk style racer. The chassis, suspension and base engine/gearbox came from the GT-One kit and I added my own 3D designed and printed twin turbo setup. That included the intake plenum, intercoolers, turbos and all of the plumbing. Wheels and tires were 3D printed as well and were meant to look like some 80s F1 wheels. The livery was meant to look like someone had painted over the original white and gold two-tone finish of the MR2. The lettering on the side is an old version of the Toyota logo with the stripes and colours picking up from 80s era Toyota racing liveries. LED lighting was added to the front and rear lights. I cut the fenders off the body and made up some of the under fender detail but the Hasegawa kit actually comes with a lot of panel detail under the hood and bumpers which was nice. Tire lettering was done by airbrushing through a photo-etched stencil. All of the chrome finishes on the engine were done with Alclad Chrome over gloss black lacquer. The braided hose is from Top Studio and the carbon effect is a mix of decals and spraying through a mesh stencil. Thanks for looking! Martin.
- 40 replies
-
- 26
-
-
Revell Snap-Tite 63 Corvette Transformation
StokeModels replied to StokeModels's topic in Model Cars
Pretty easy, really. The fit between the 67 chassis and the Snap-Tite body is not perfect but about as decent as any Revell kit. I used the seats and door panels from the Snap-Tite kit on the tub from the 67 and I didn't have to trim the tub at all to fit inside the body. -
Revell Snap-Tite 63 Corvette Transformation
StokeModels replied to StokeModels's topic in Model Cars
Thanks to all for the great comments - much appreciated! -
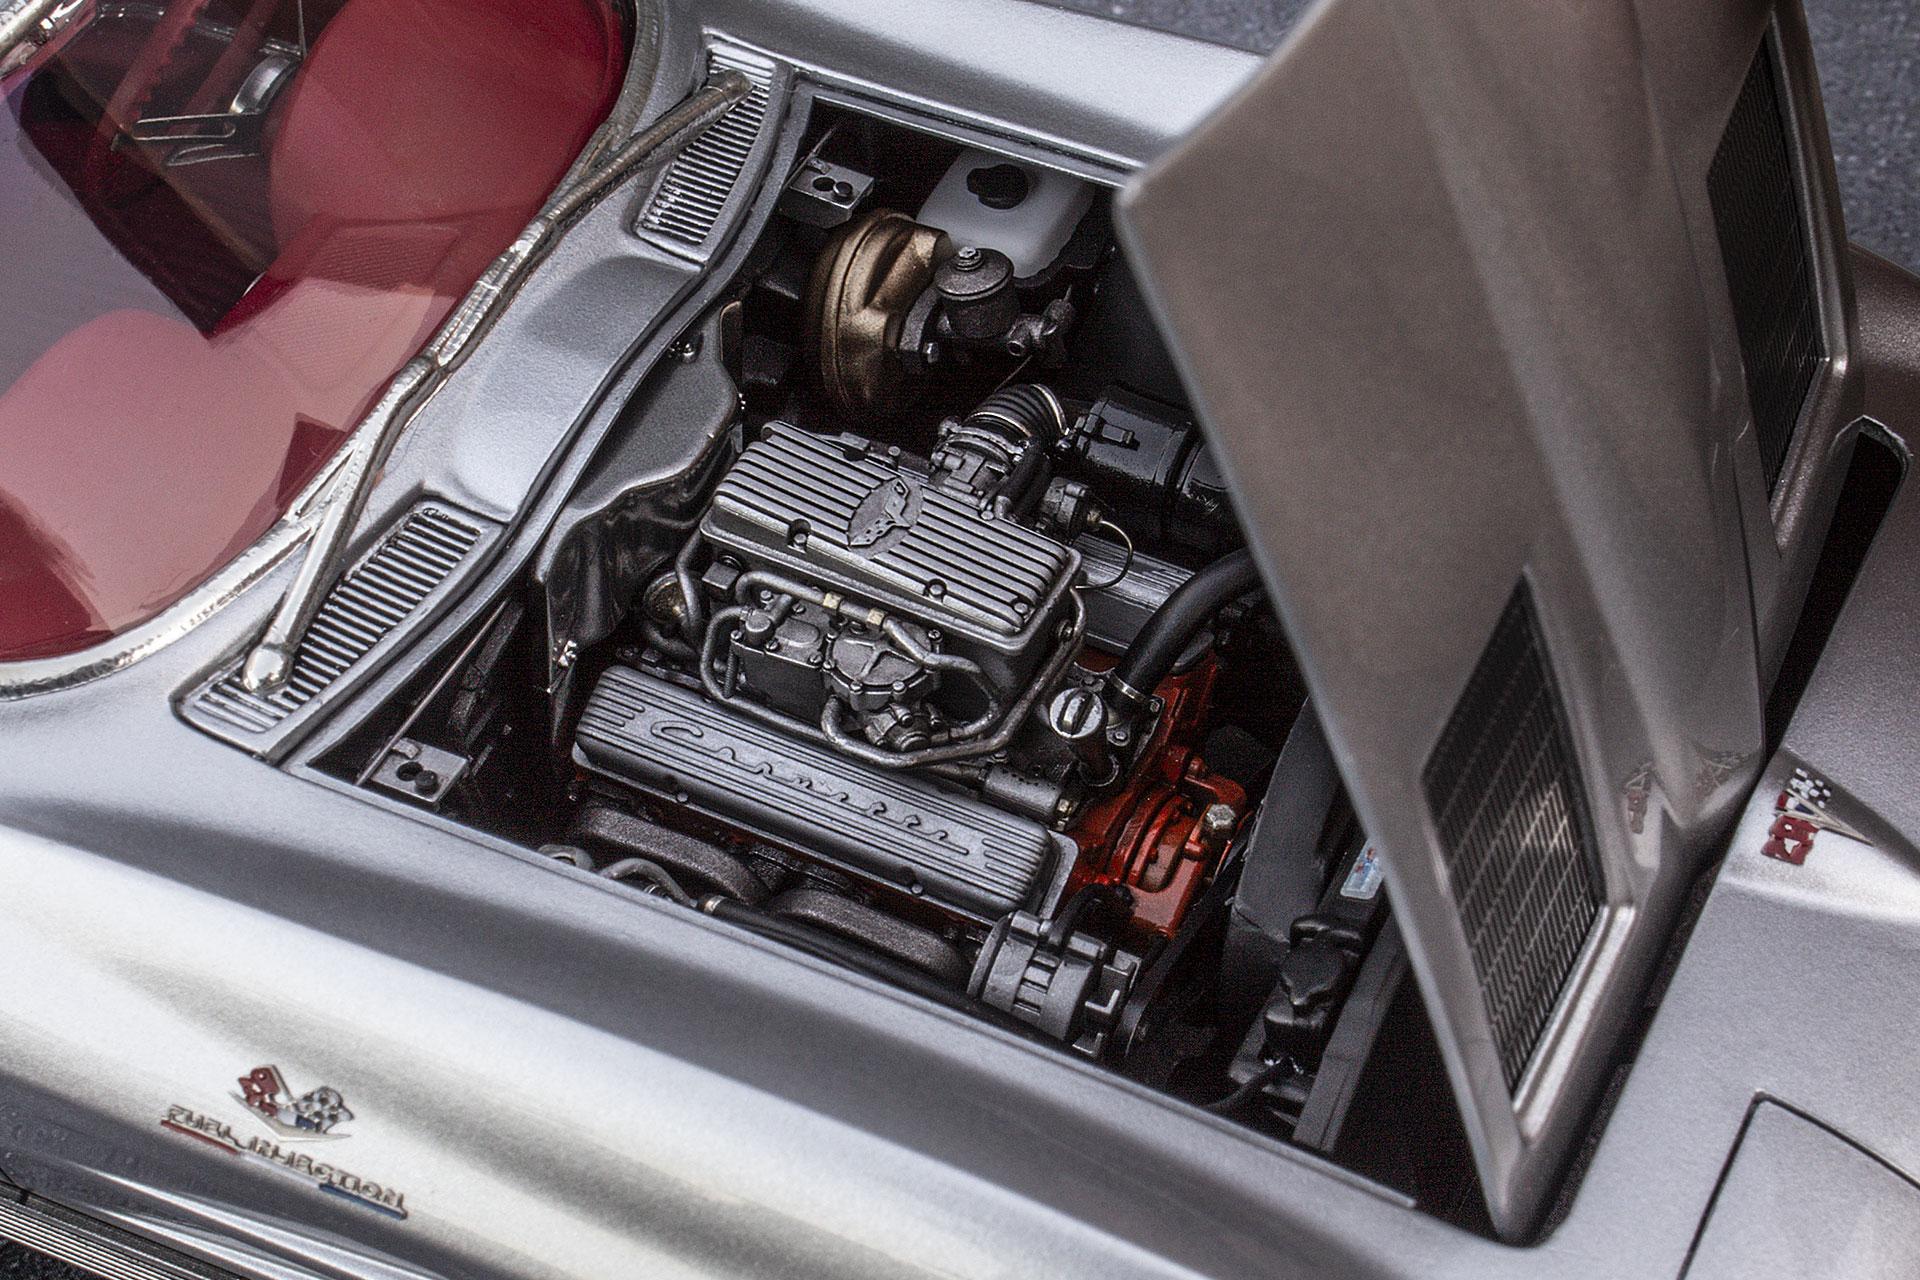
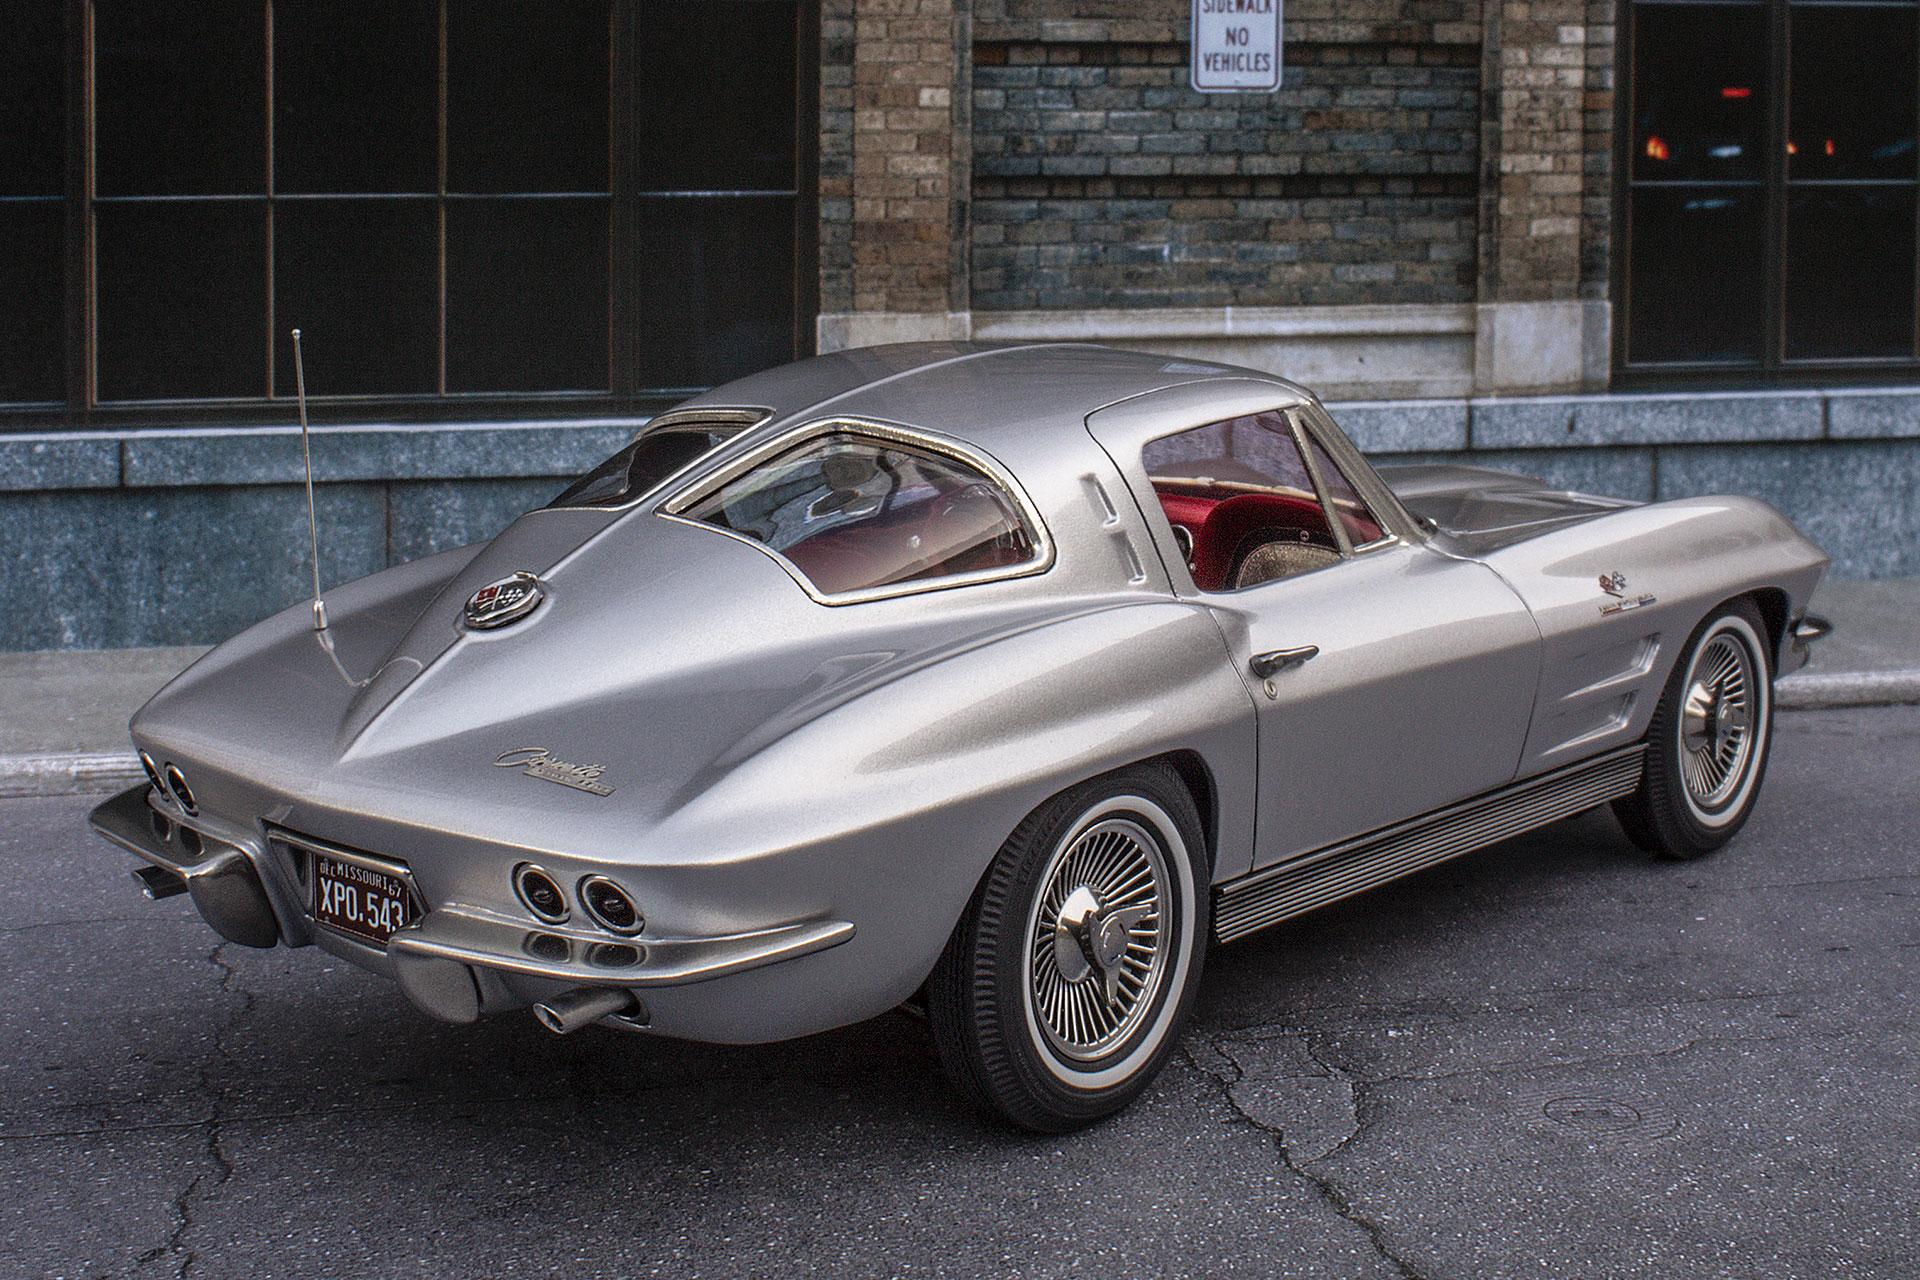
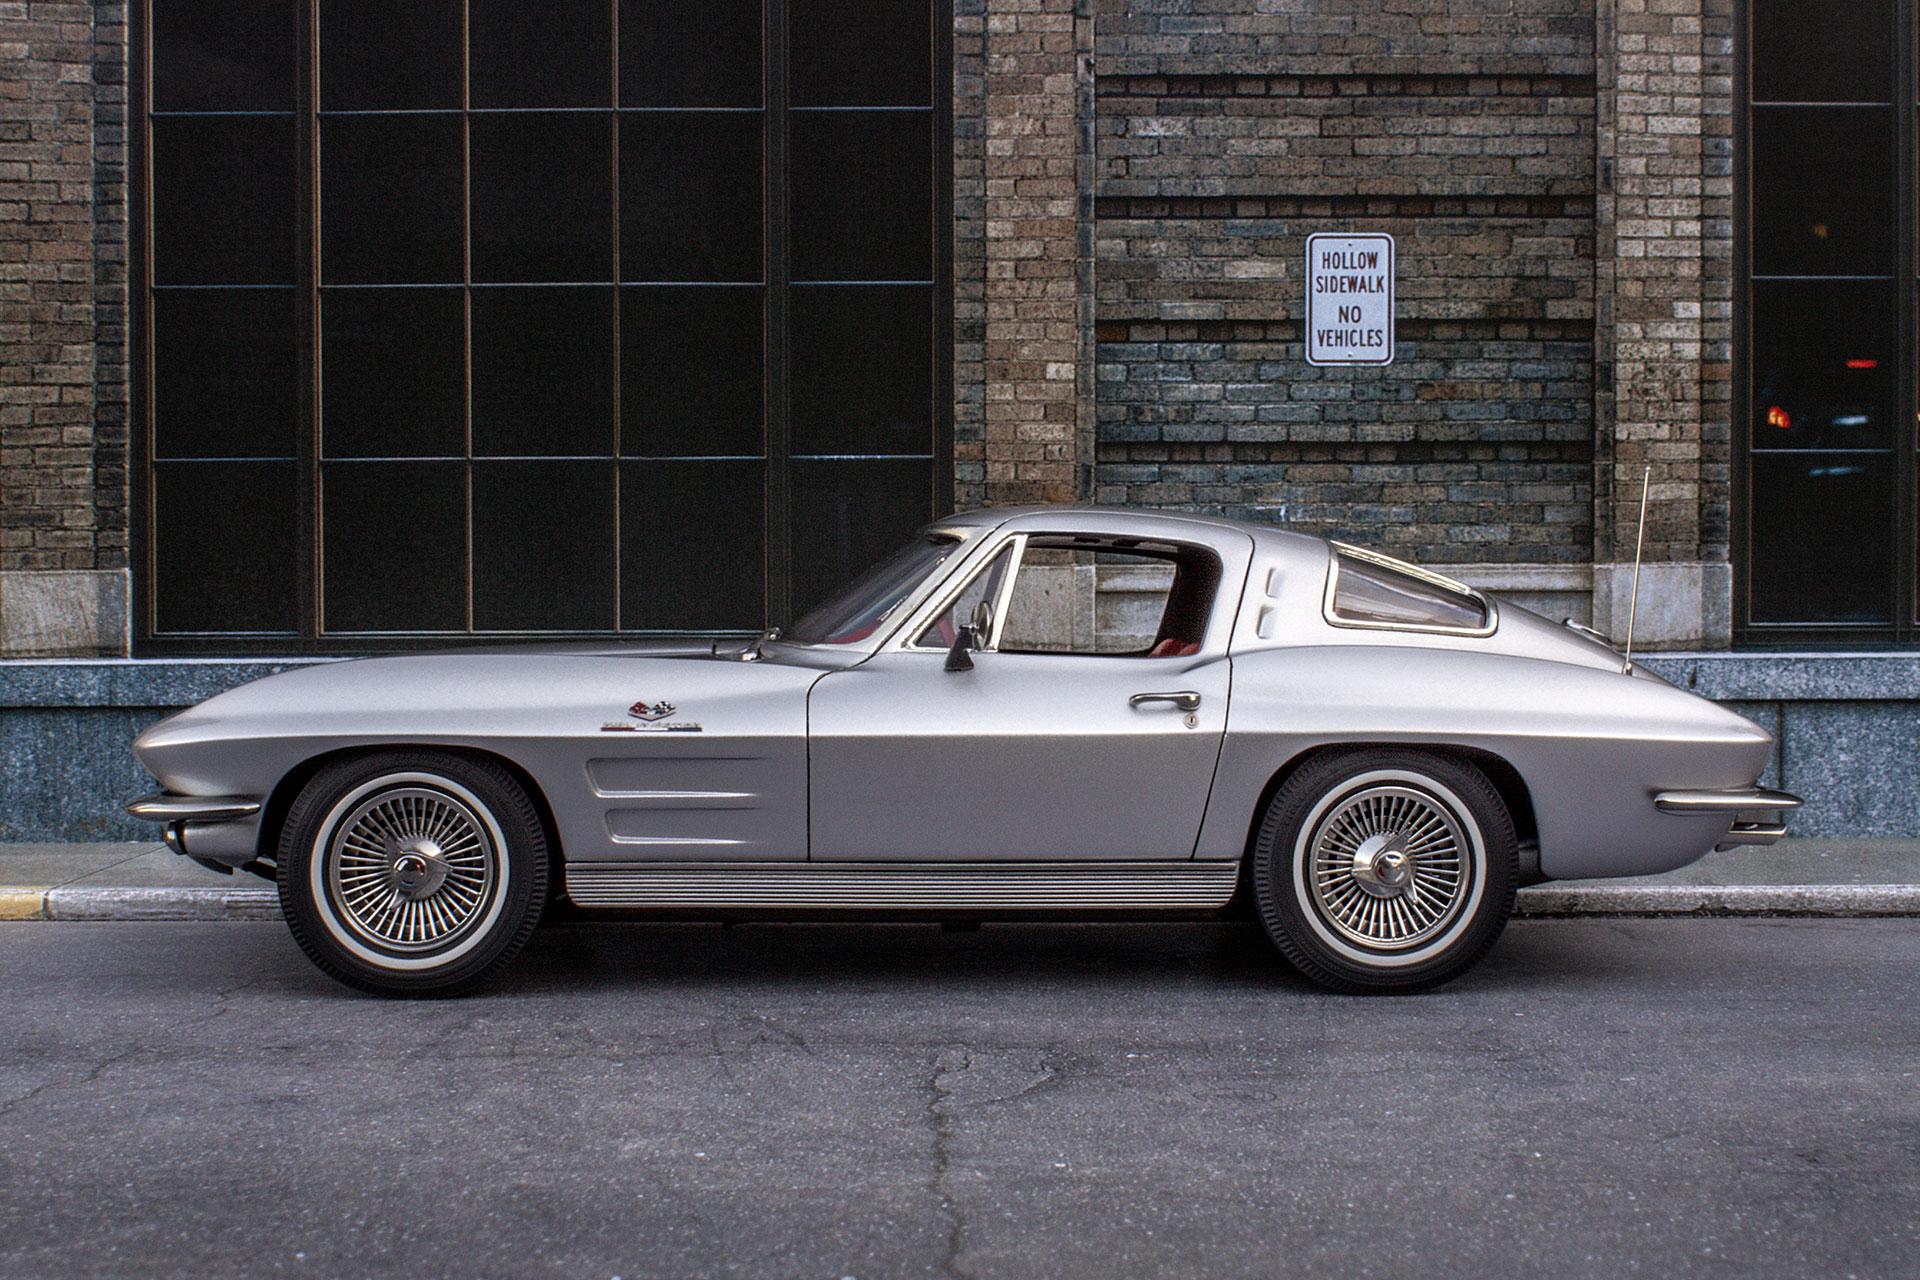
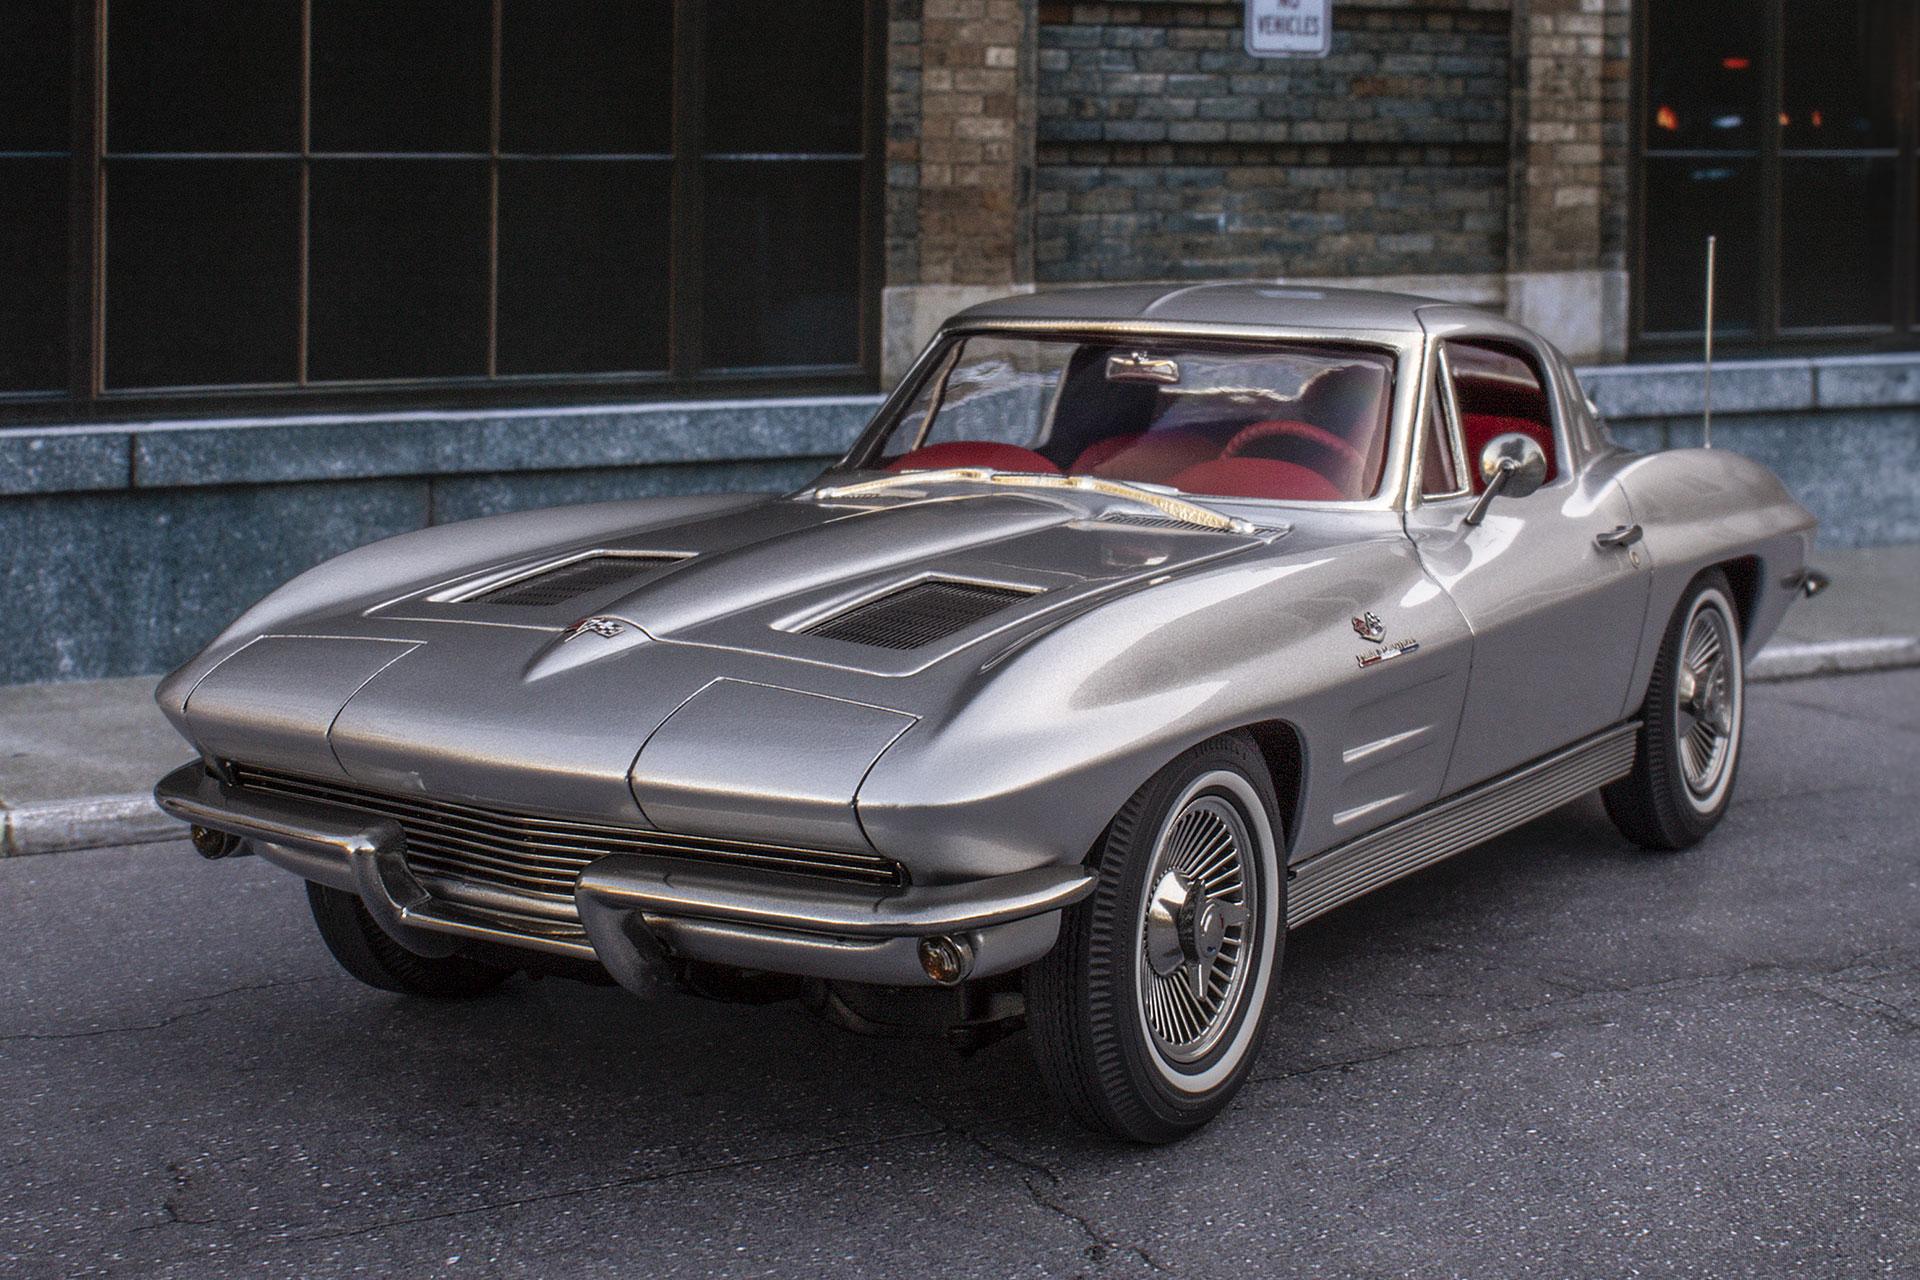
I've seen a few builds of the Revell Snap-Tite Corvette and was always impressed by the look of the body lines. The rest, not so much. I decided to build as close as I could get to a stock, fuel injected 63 by combining the Snap-Tite body with the chassis and interior tub from the Revell 67 kit as well as 3D printed engine, wheels, tires, grill and rocker trim. I started by shaving all the emblems off the body as I knew I would be replacing them with photo-etched pieces from The Model Car Garage. I custom designed and 3D printed the wheels and tires, including a bit of weight deformation to the tires. The whitewalls were made as separate pieces to make painting easier and tidier. The wheels and the rest of the chrome were all painted with Alclad Chrome. The body was painted with Mr Color Super Silver and cleared with Mr Color GX100. The bumpers are from the 67 kit with the 3D printed grill in place of the original Snap-Tite part that was all one piece. I used the dash from the 67 and drilled out all of the gauges. I used aluminum tube for the bezels and painted silver circles on the kit decals to try to get them closer to the 63 versions. I know I've probably missed some key differences on the 63, but I'm happy with the overall look. The engine was downloaded from a designer called Motabas on Cults3D.com. I changed a few things from his model including adding bellows to the air intake, plumbing to the fuel injection, fins on the valve covers and moving the alternator to the other side of the engine. I also added the aluminum tank, ignition cover and hood latches. The photo-etched fake vent pieces on the hood were tricky as they were probably sized for the AMT kit and didn't really fit on the hood of this kit. I ended up cutting through the hood and thinning it out to get them as close to the surface of the hood as possible. Thinning out the super thick Snap-Tite plastic around the hood opening was also time consuming. The exhaust trims were drilled out and replaced with aluminum tube and the antenna was made from a guitar string and small piece of styrene rod. The door handles were sanded off the Snap-Tite kit and replaced with the ones from the 67 and I added the door locks from the photo-etched set. And that's what it looked like when I bought the already assembled kit. Thanks for looking! Martin.
- 64 replies
-
- 34
-
-
Wouldn't miss it Steve. See you then! I tried - I filmed the whole build of my Karmann Ghia but the shooting and editing turned into such a chore that I stopped.
-
Thanks to everyone for the great comments - much appreciated! The red is Tamiya Dull Red with Mr Color GX100 gloss clear over top.