eran_k
-
Posts
181 -
Joined
-
Last visited
Content Type
Profiles
Forums
Events
Gallery
Everything posted by eran_k
-
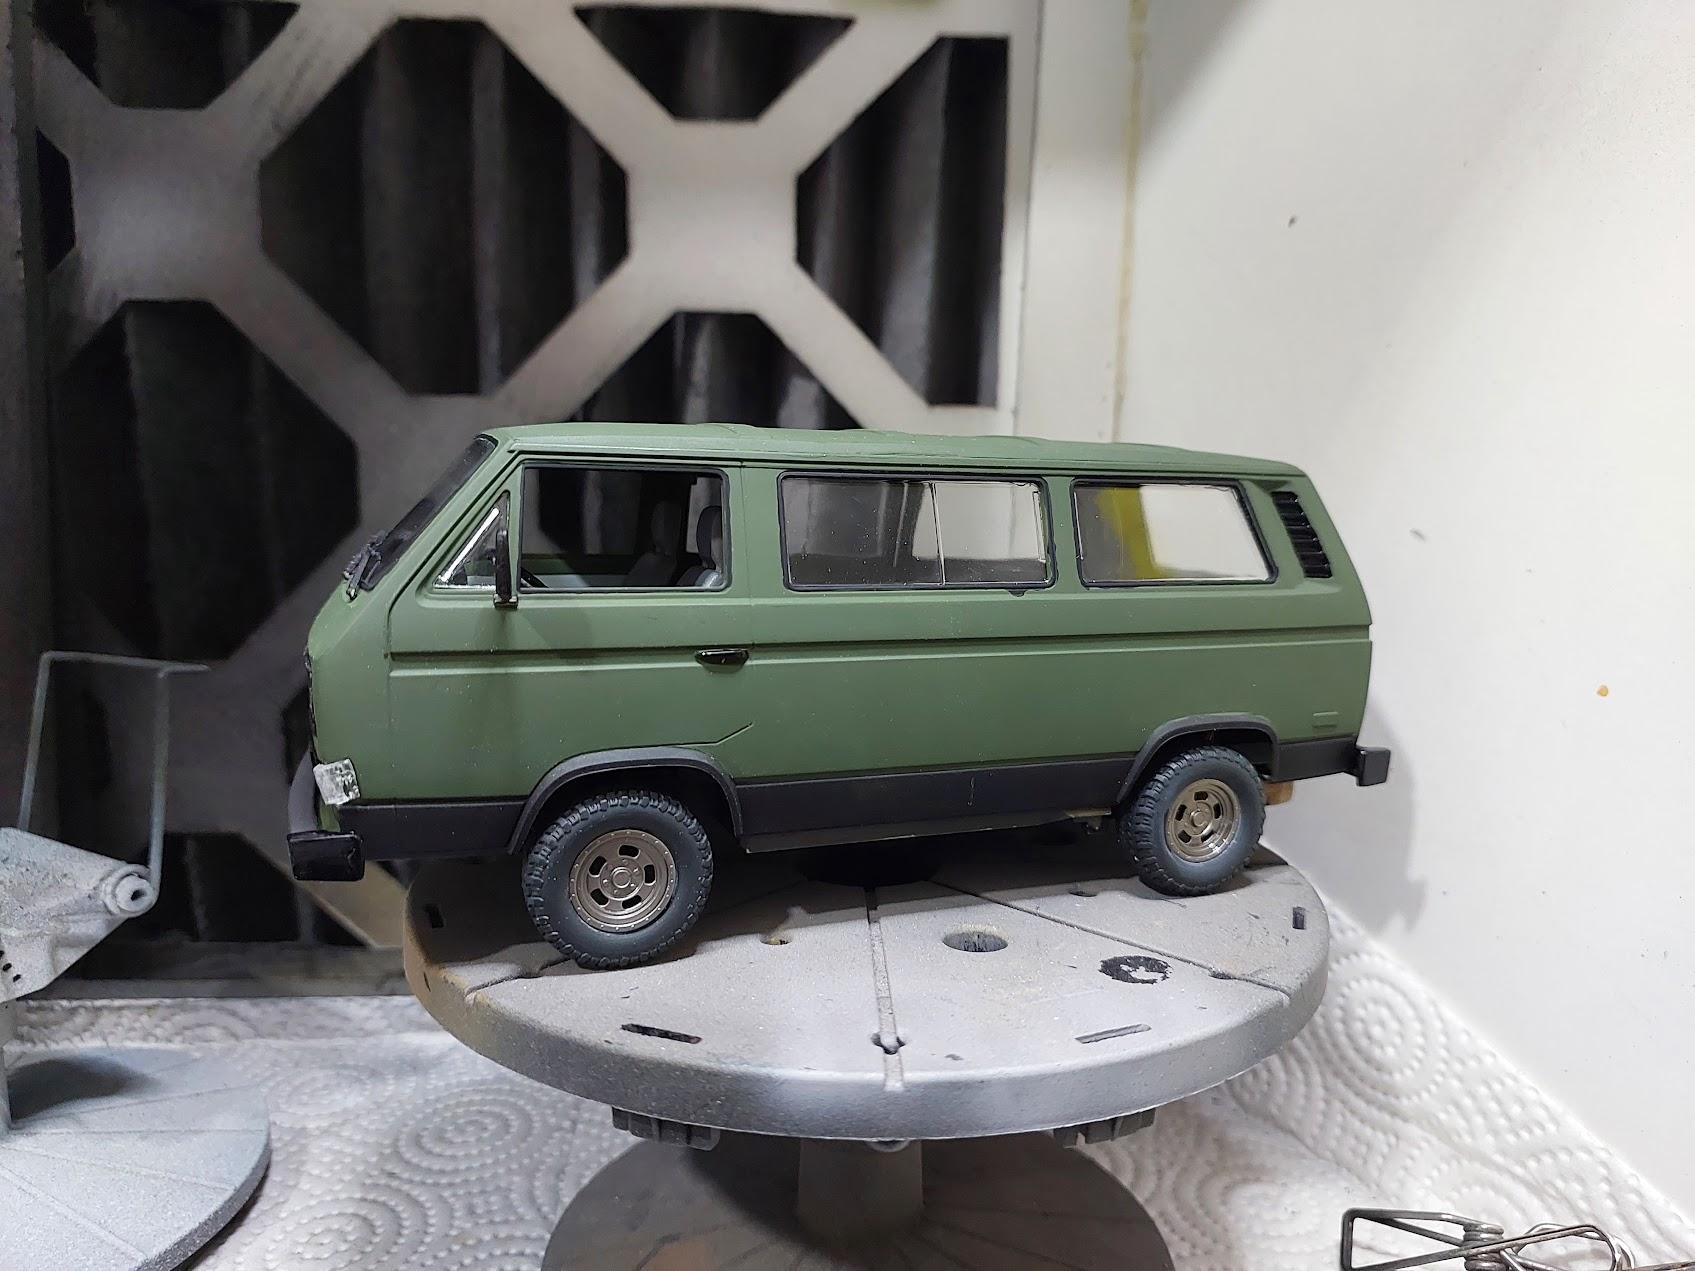
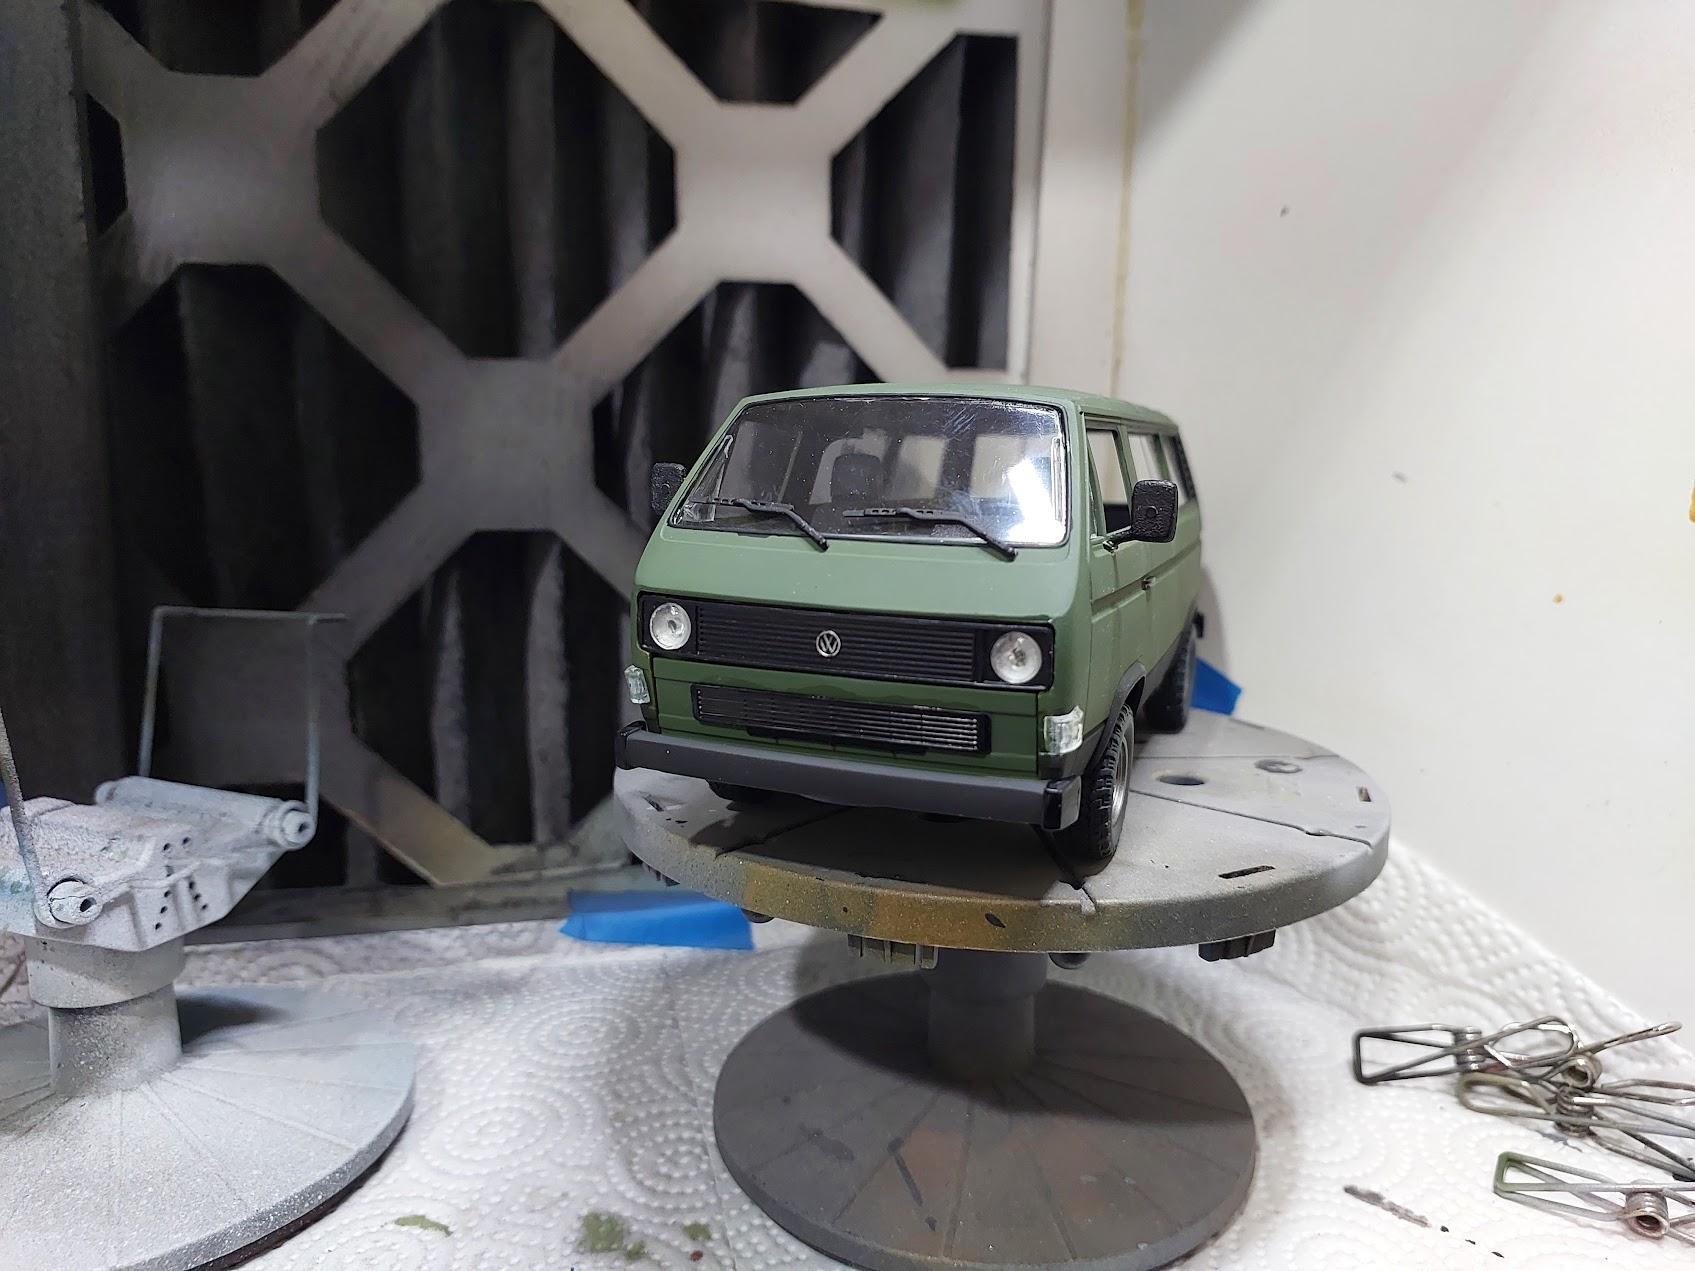
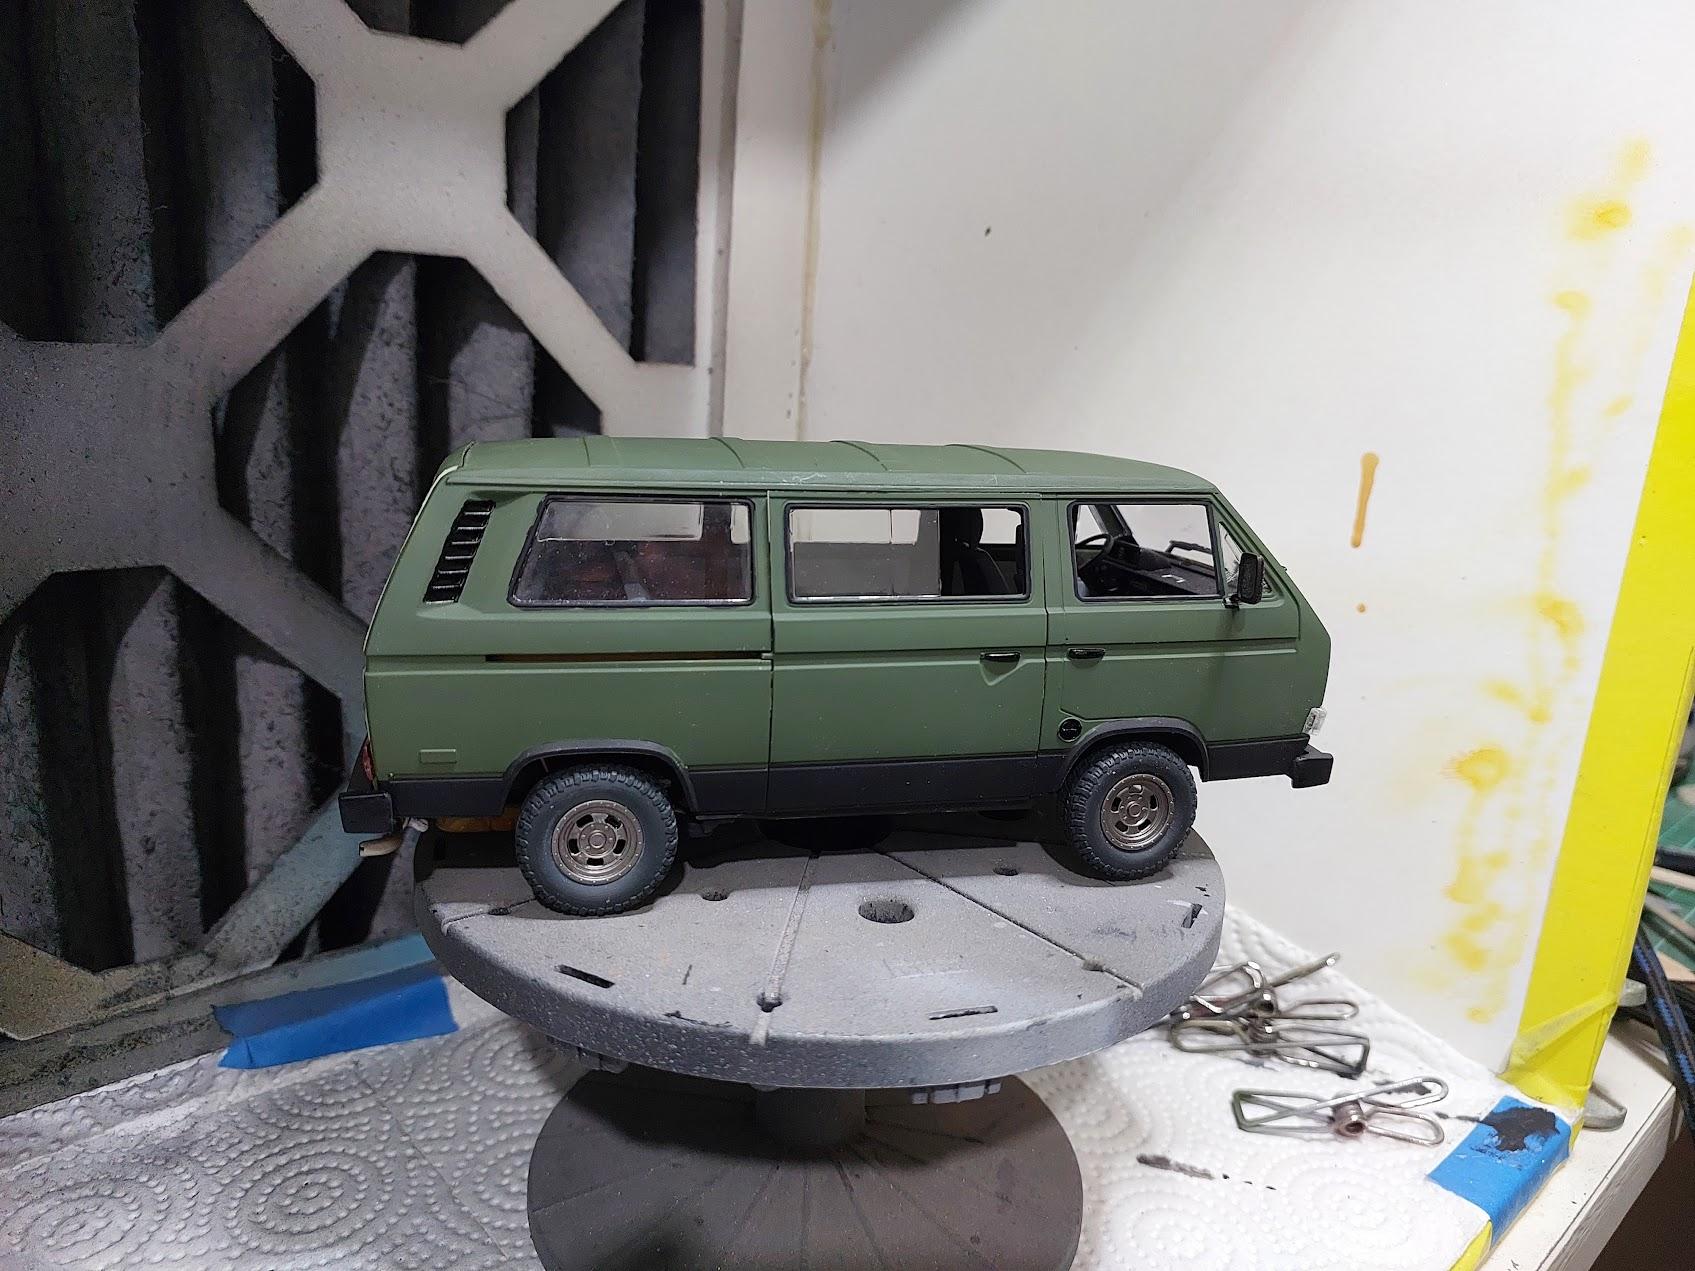
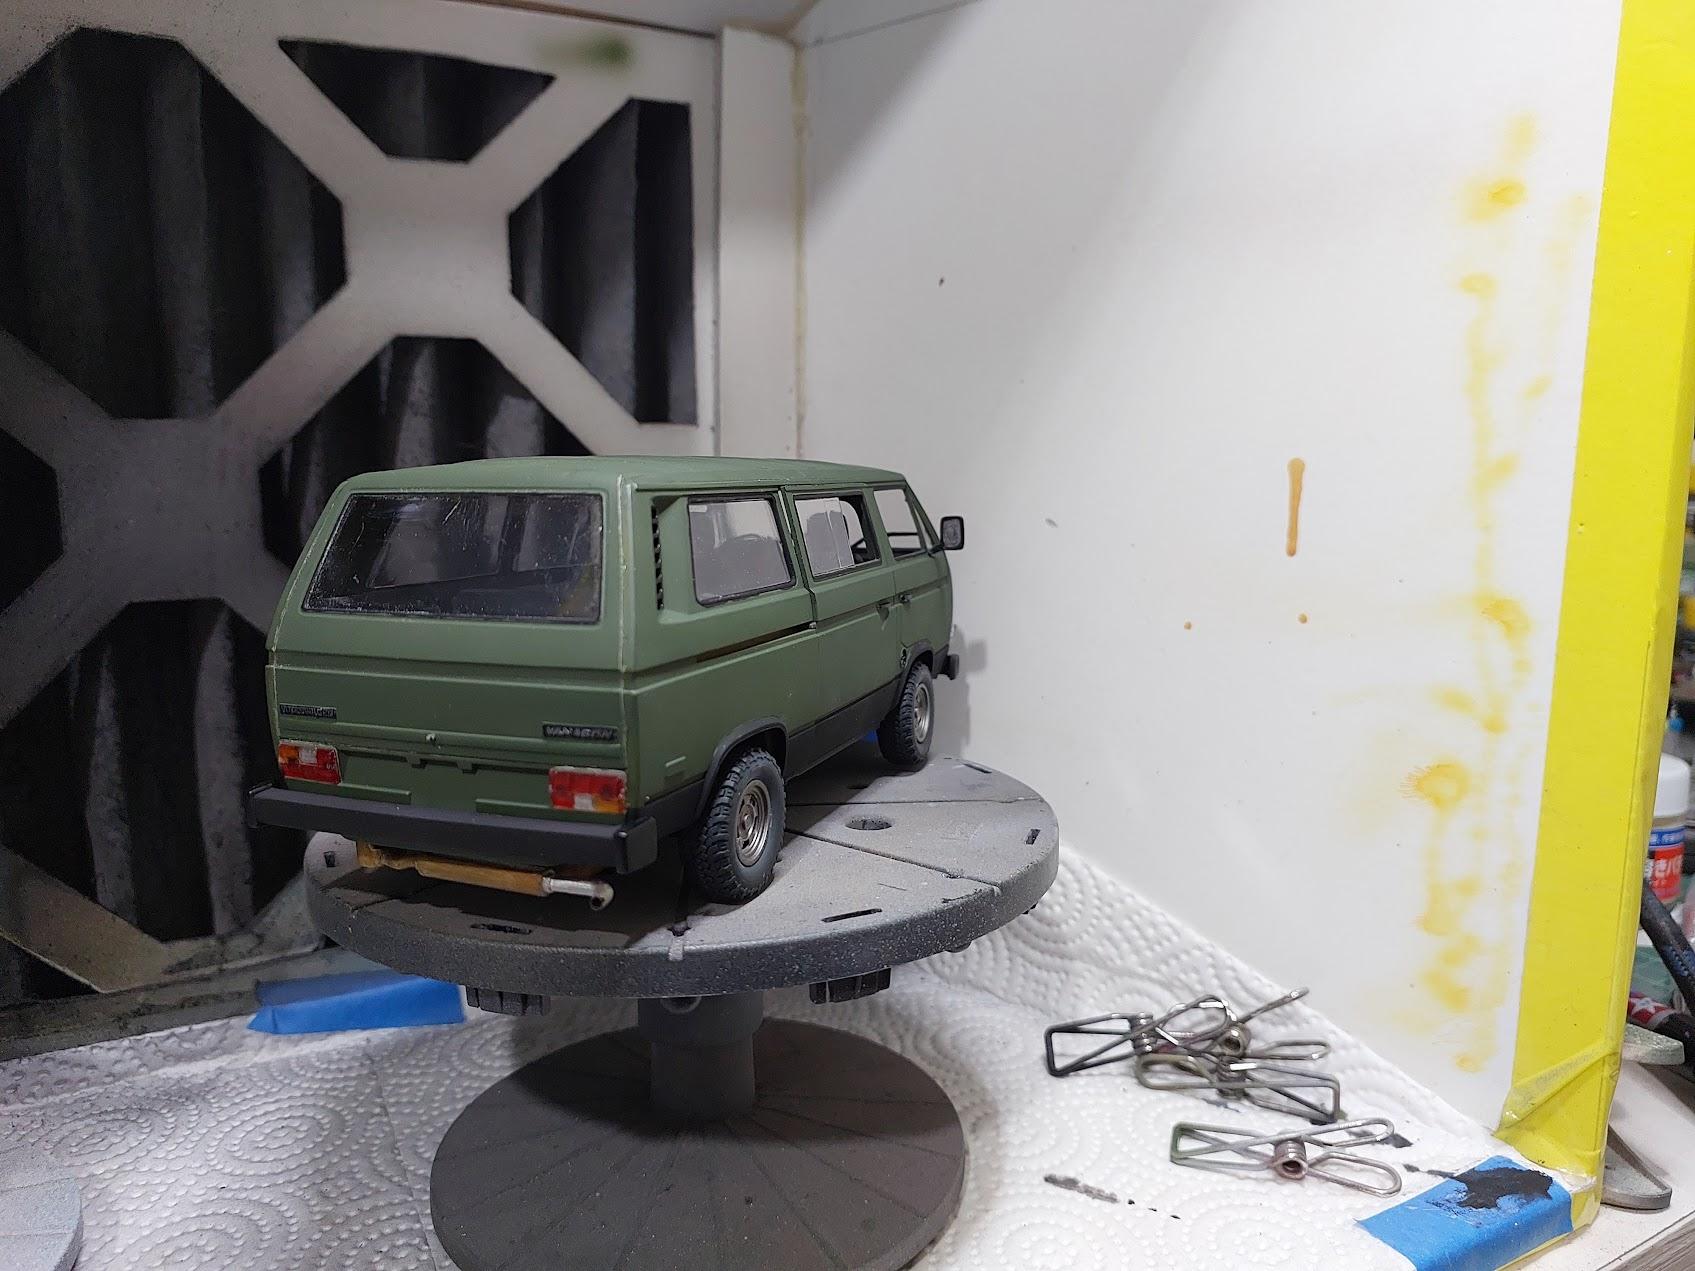
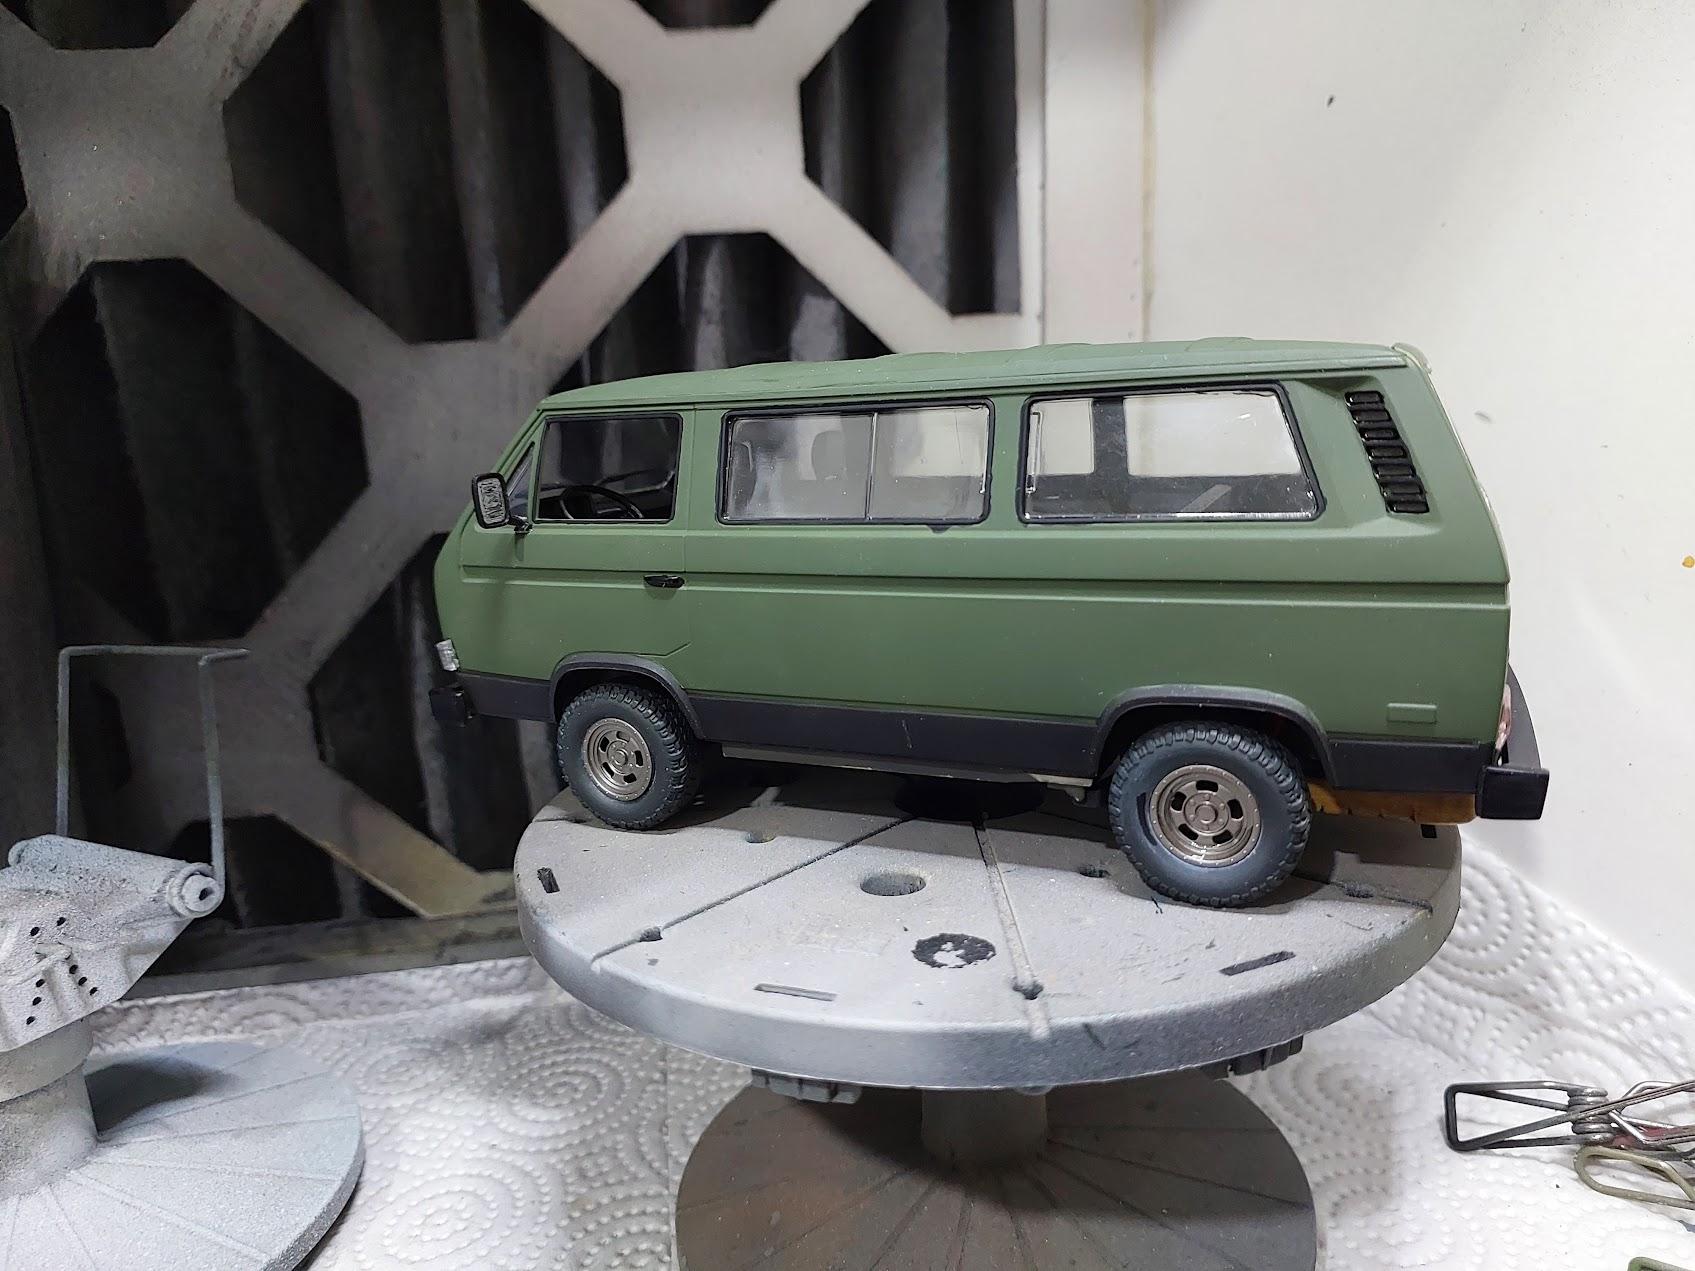
This is the latest "Stranger things" VW T3, i didn't use the "Stranger things" parts except for the additional radiator grill of the waterboxer later model. also added some 3d printed wheels and tires i had lying around, all in all a nice model showing it's age (some flash and some fit issues)

- 1 reply
-
- 5
-

-
Software to create decals
eran_k replied to Mike 1017's topic in Model Building Questions and Answers
inkscape is free and quite powerfull -
1/25 vintage go kart, my last 2024 build
eran_k replied to eran_k's topic in Other Racing: Road Racing, Salt Flat Racers
the files are are now on cults https://cults3d.com/en/3d-model/game/vintage-gokart-1-25-scale-model -
After some delays, mainly ruining the hood with dripping clear coat and few attempts correcting it, i finally finished this model, now posted in "Under glass"
-
Finished this one today, nice kit no real issues.
- 6 replies
-
- 14
-
-
i have an opportunity to buy 2 IMC/Union kits: Lola T-70 VW beetle 2 in 1 the asking price is ~70$ per kit. are these actually good kits in todays standards? - i'm a builder not a collector.
-
where can this be orderd from?
-
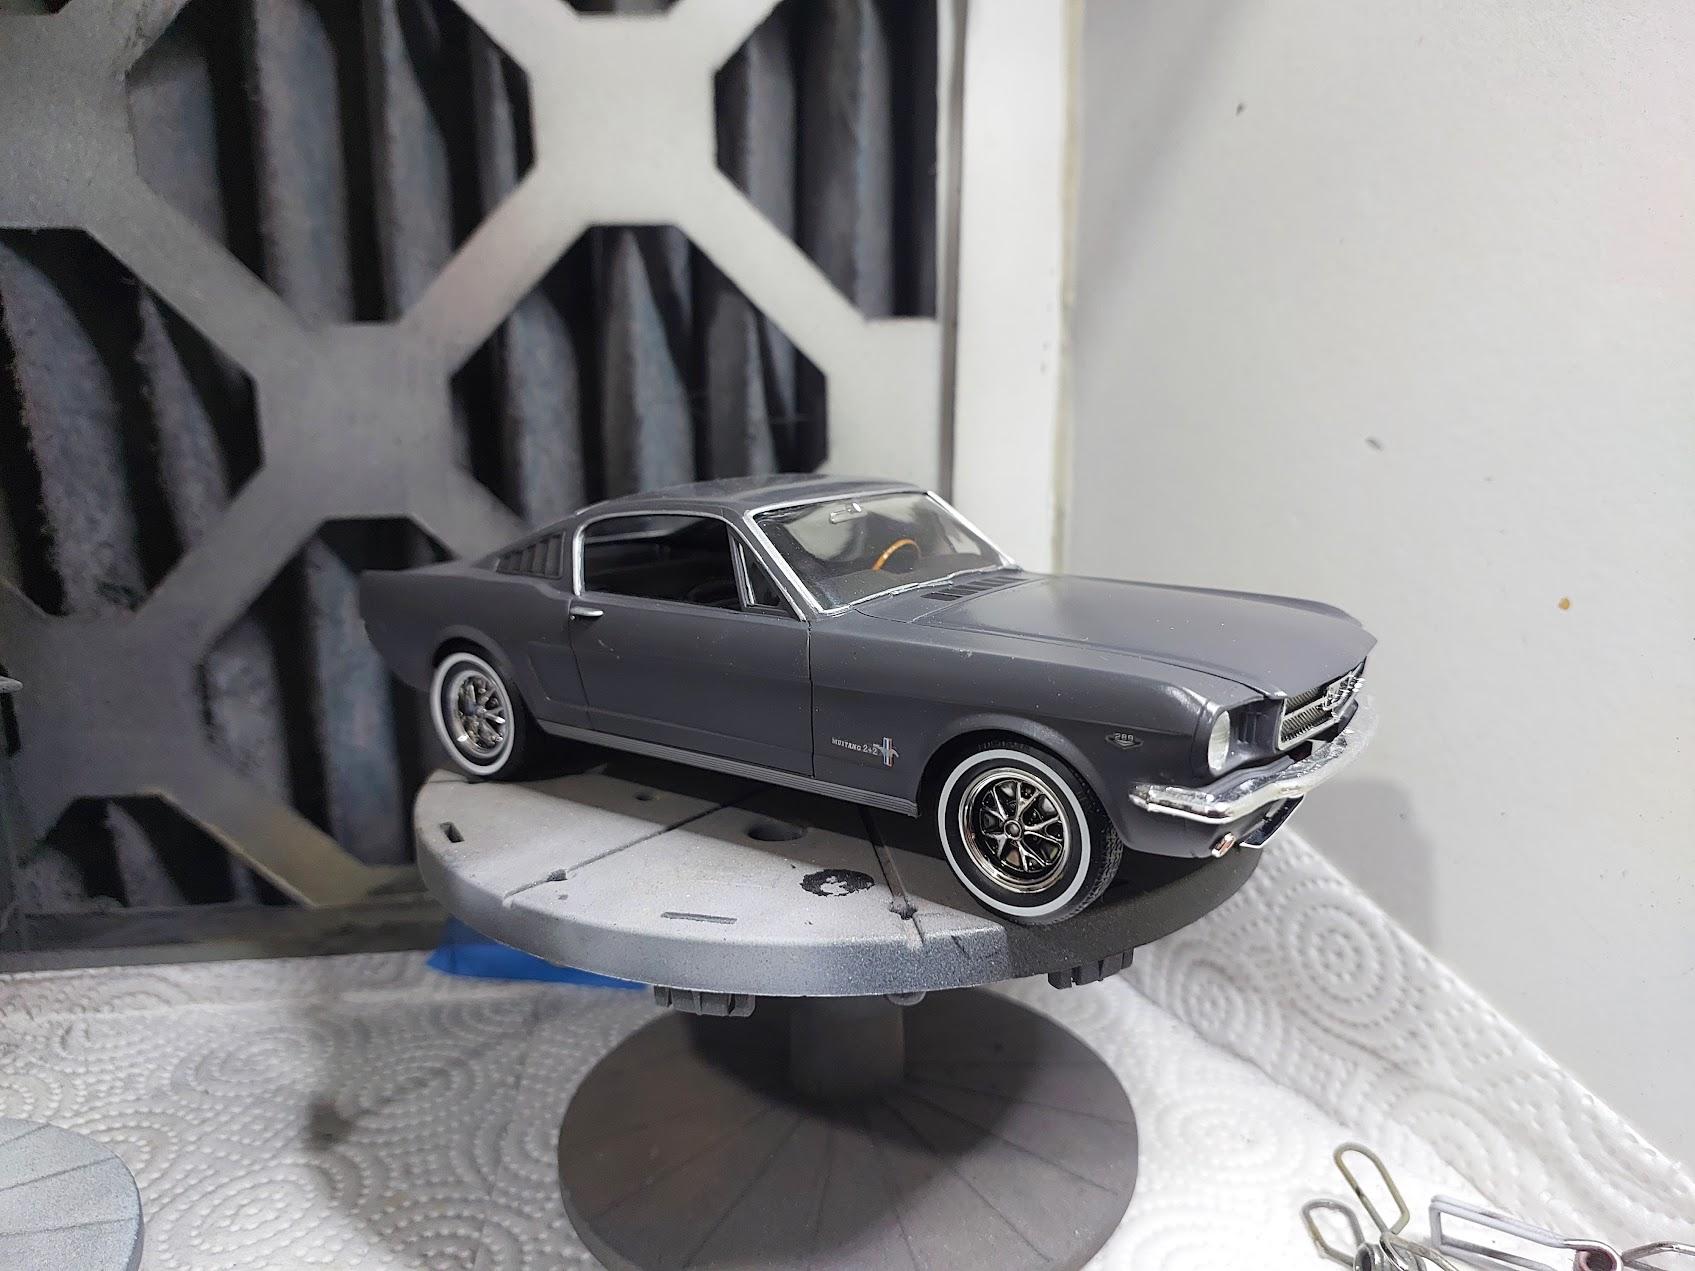
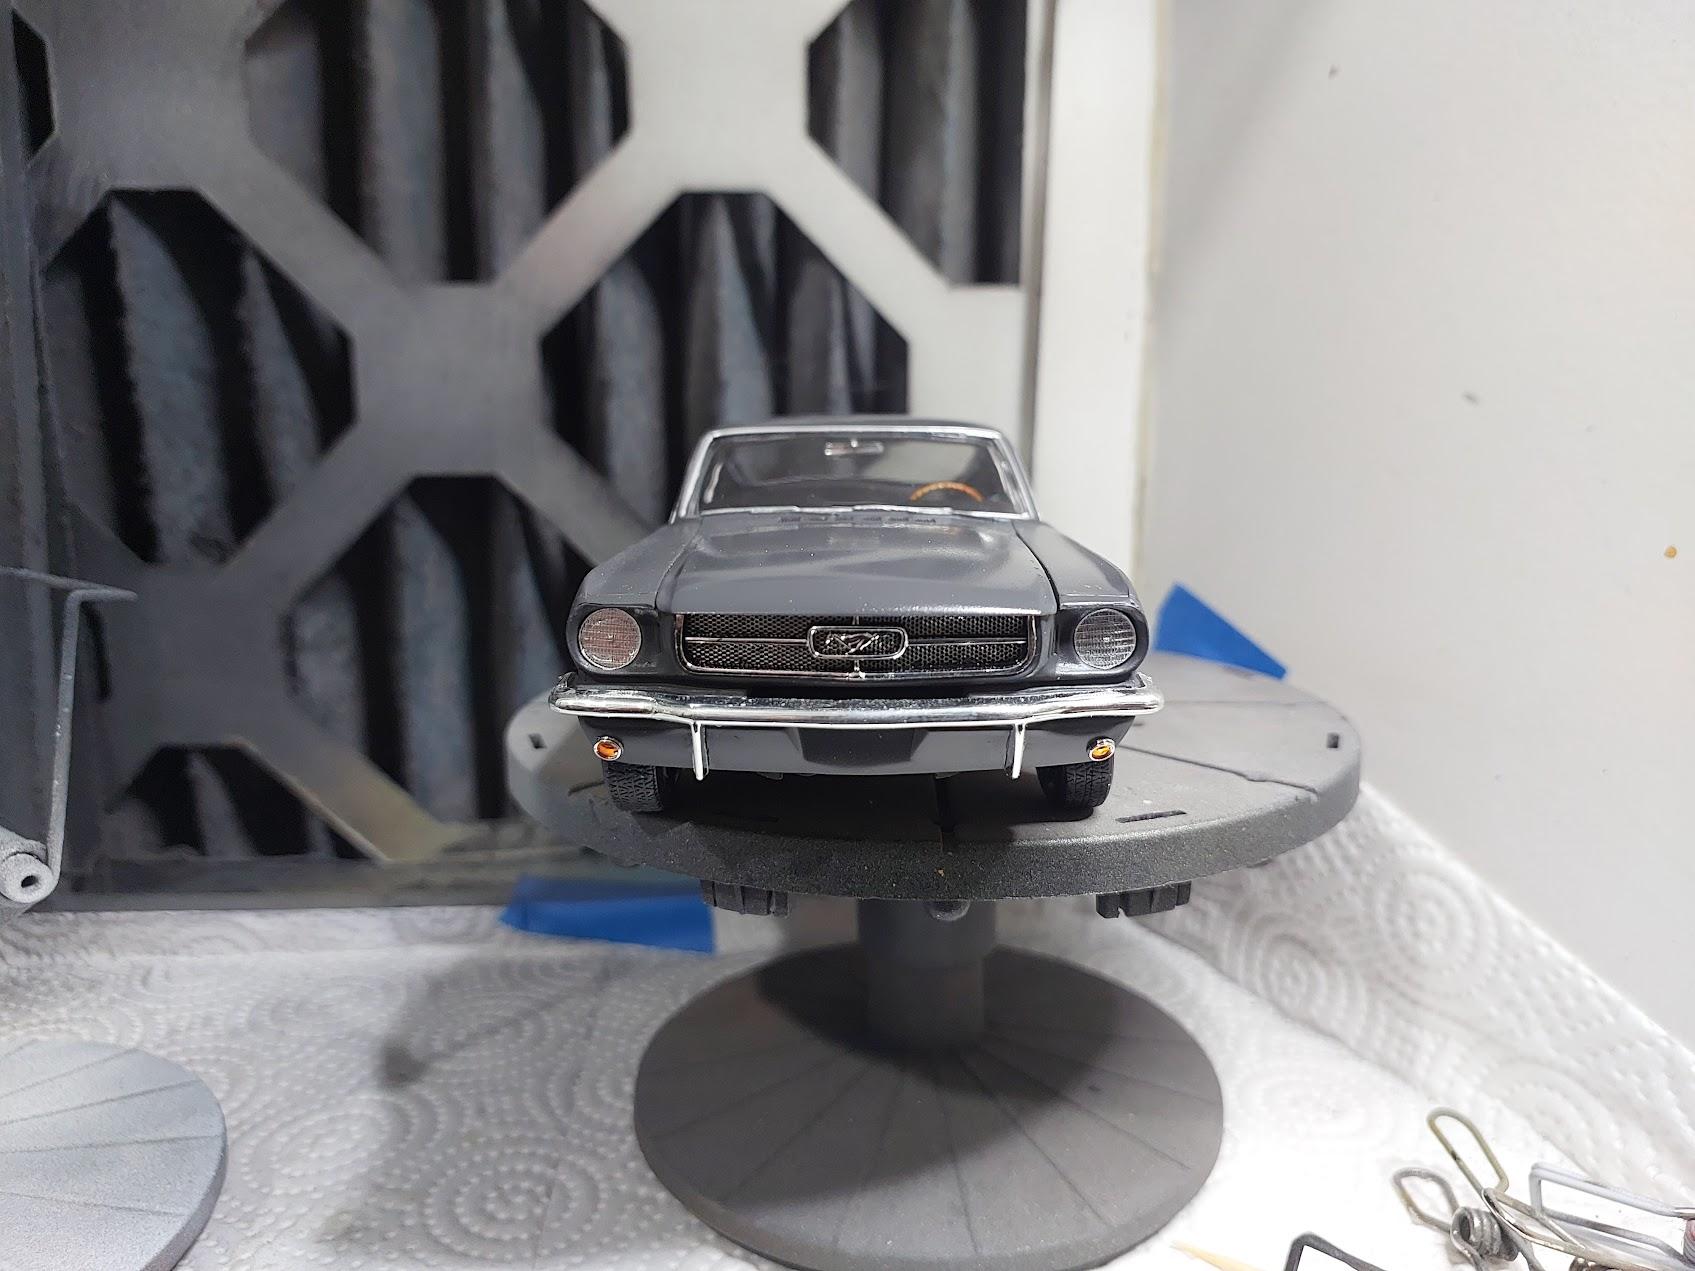
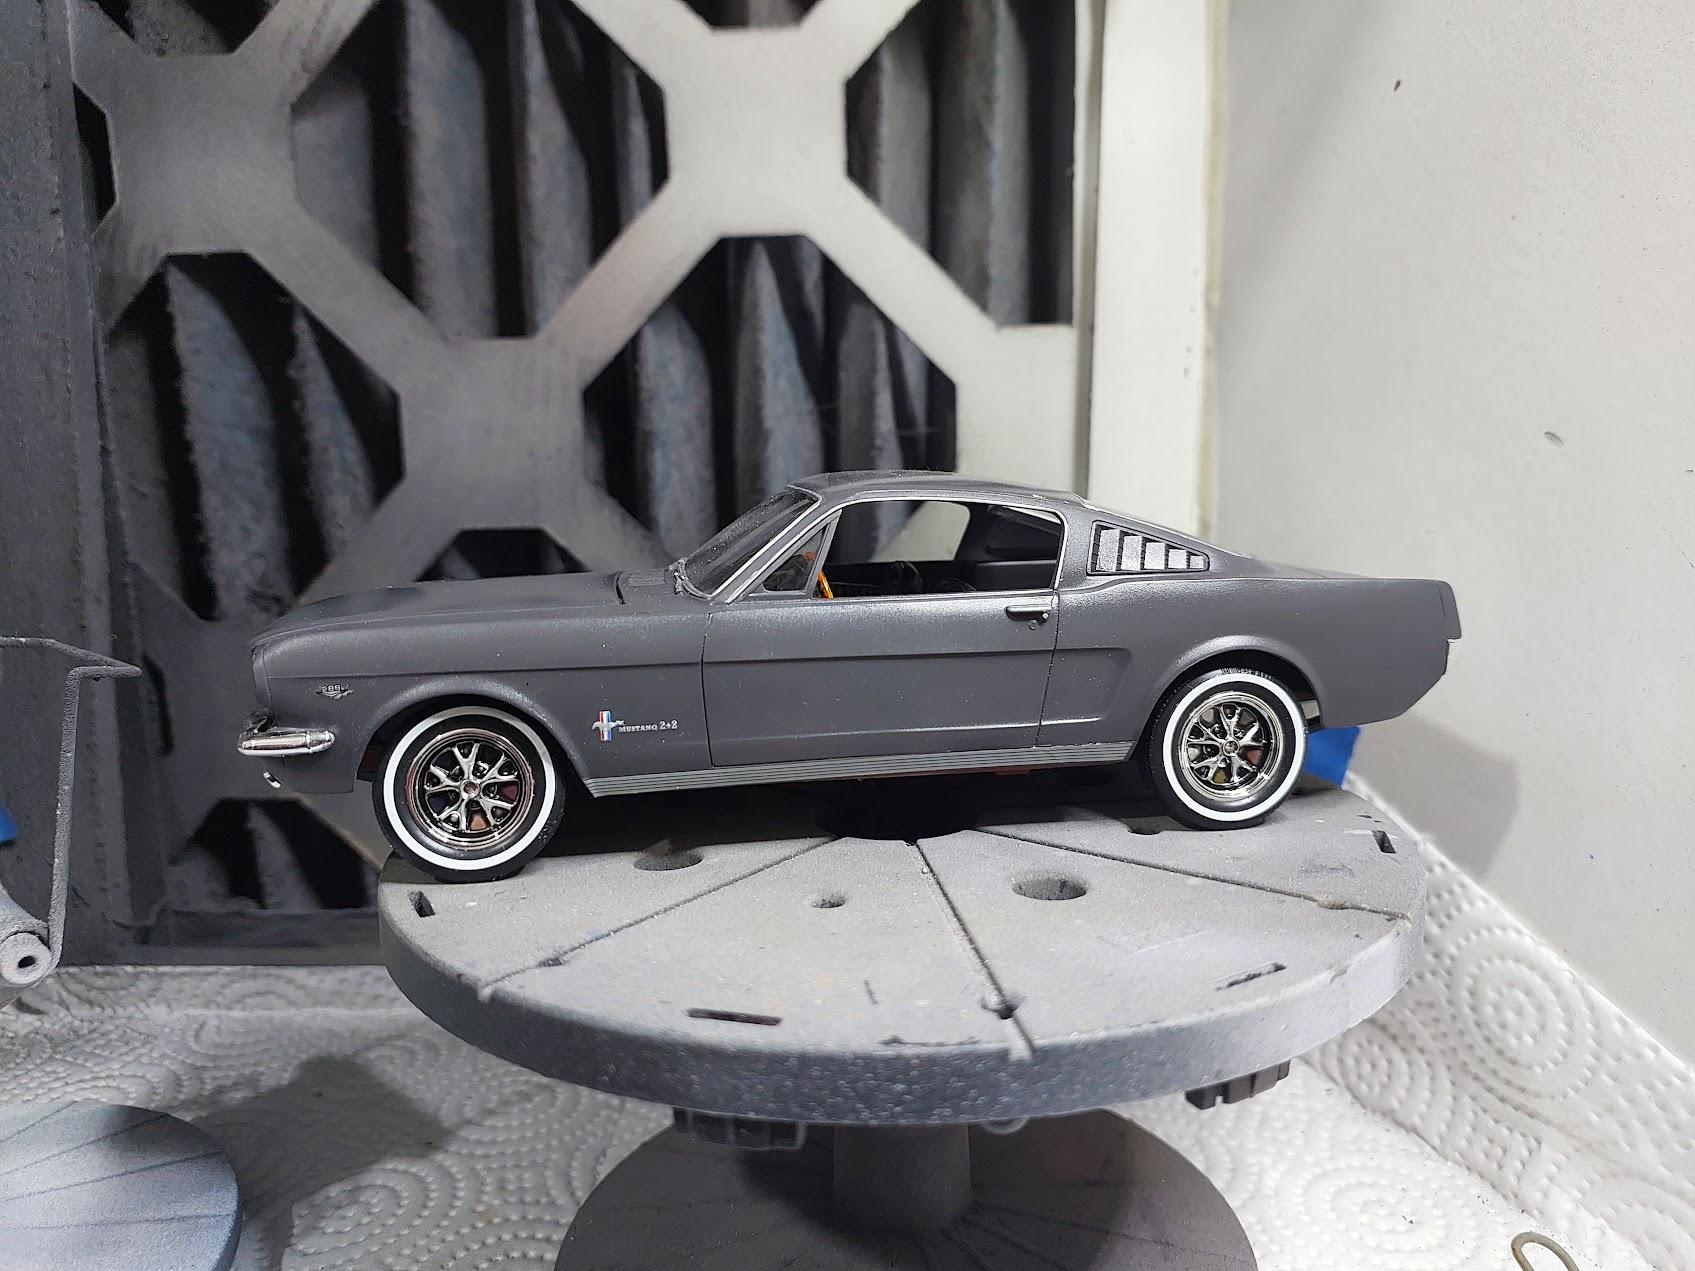
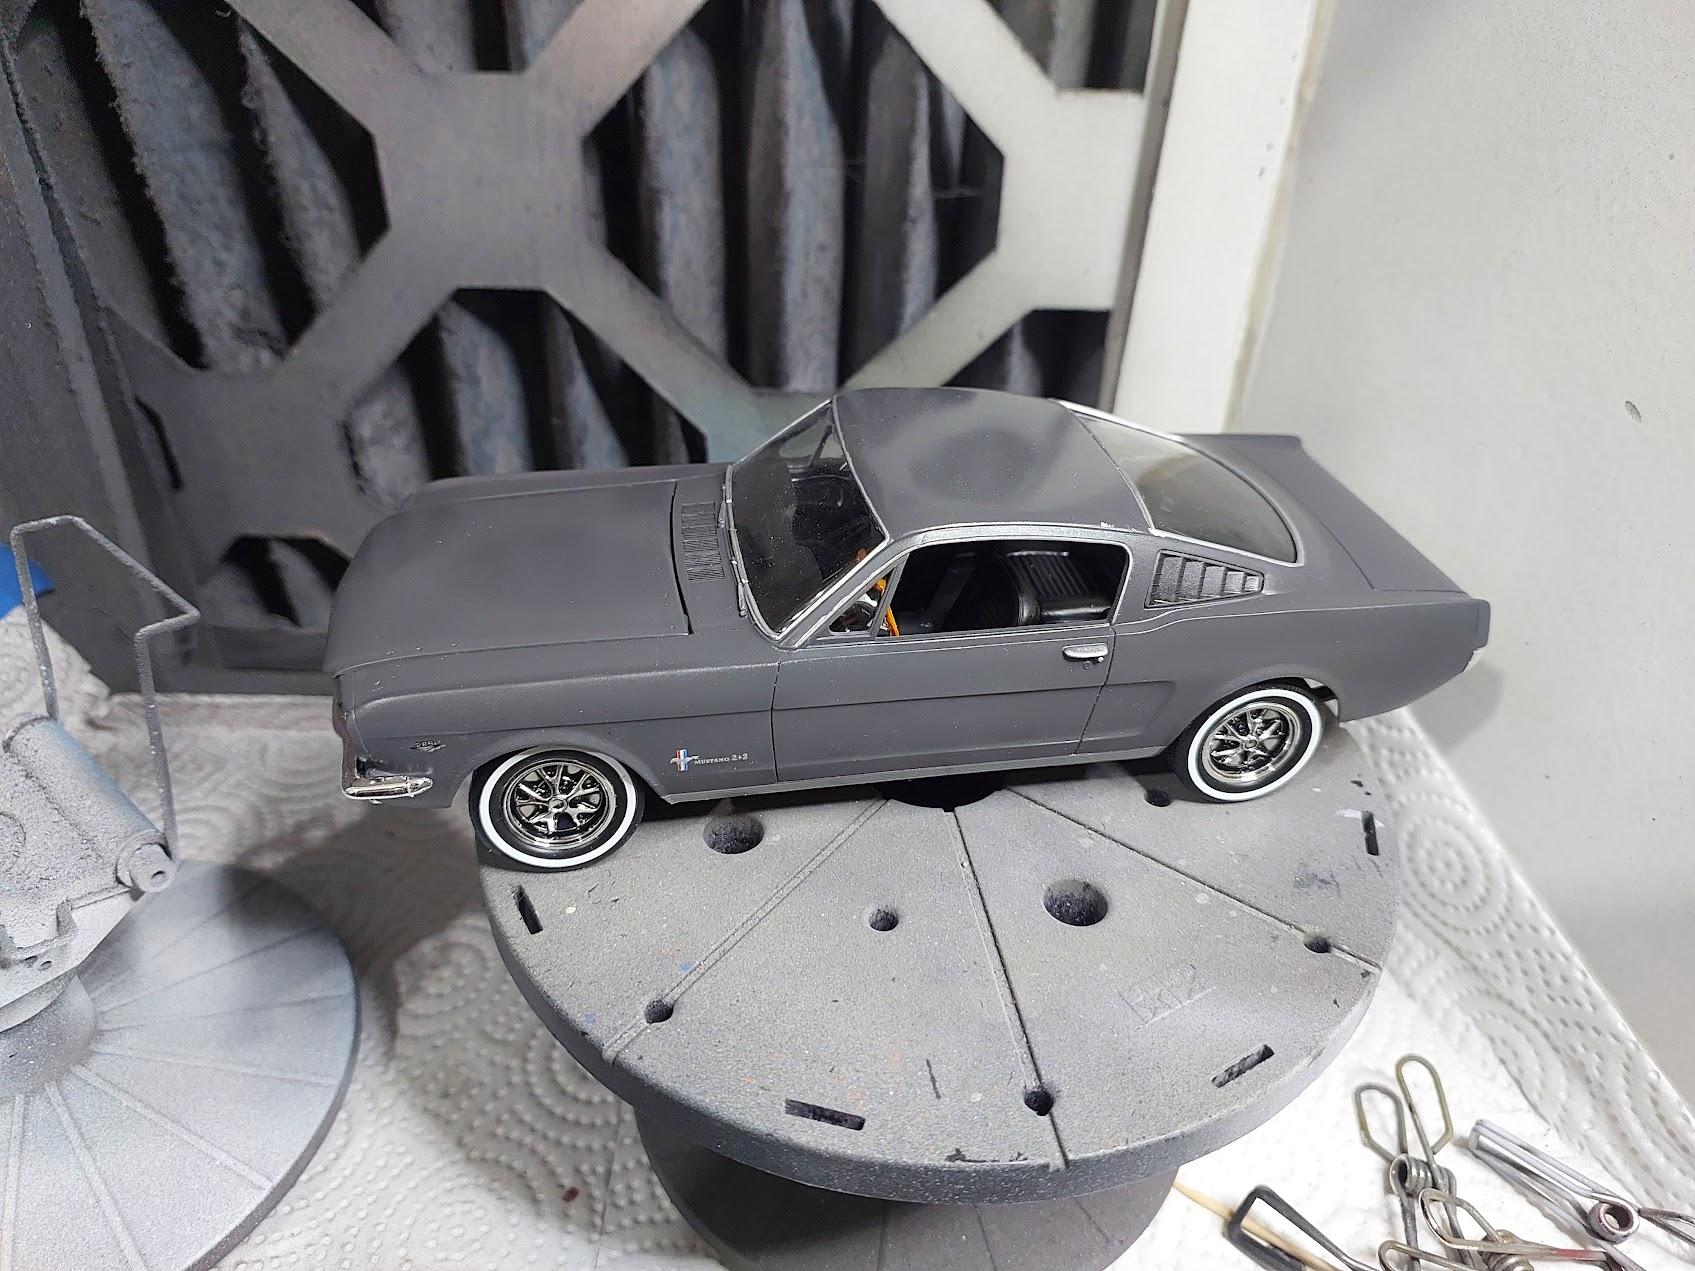
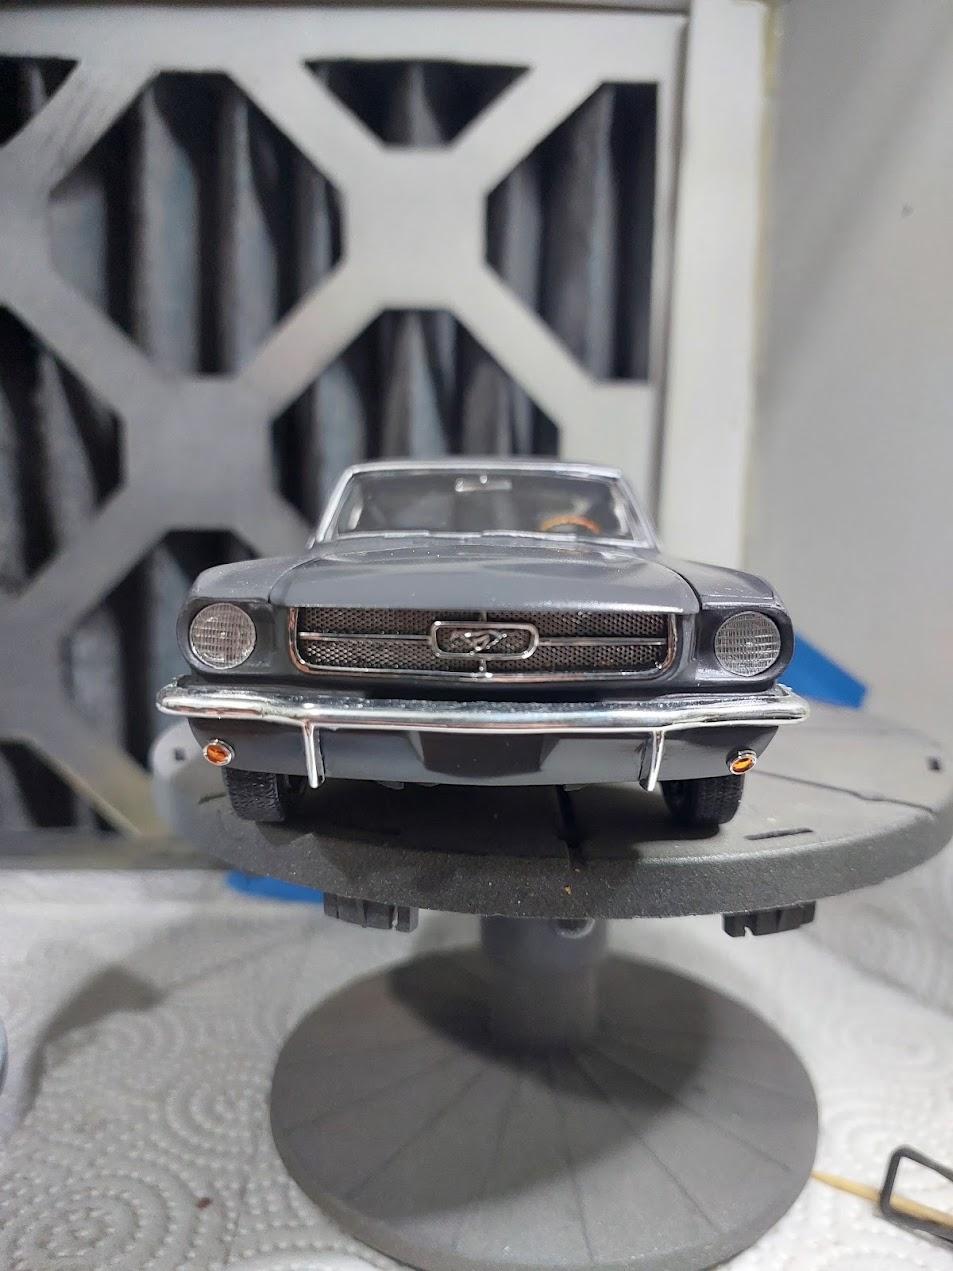
in the last few days i panted the body, and just did the 3rd Wet coat of clear now. the color is "Graphite Gray" , i'll let the clear dry for couple of days and see how bad is the orange peel -i cant seem to finish a paint job without it no matter what i do 🫤
-
Thanks, haven't decide on a color yet
-
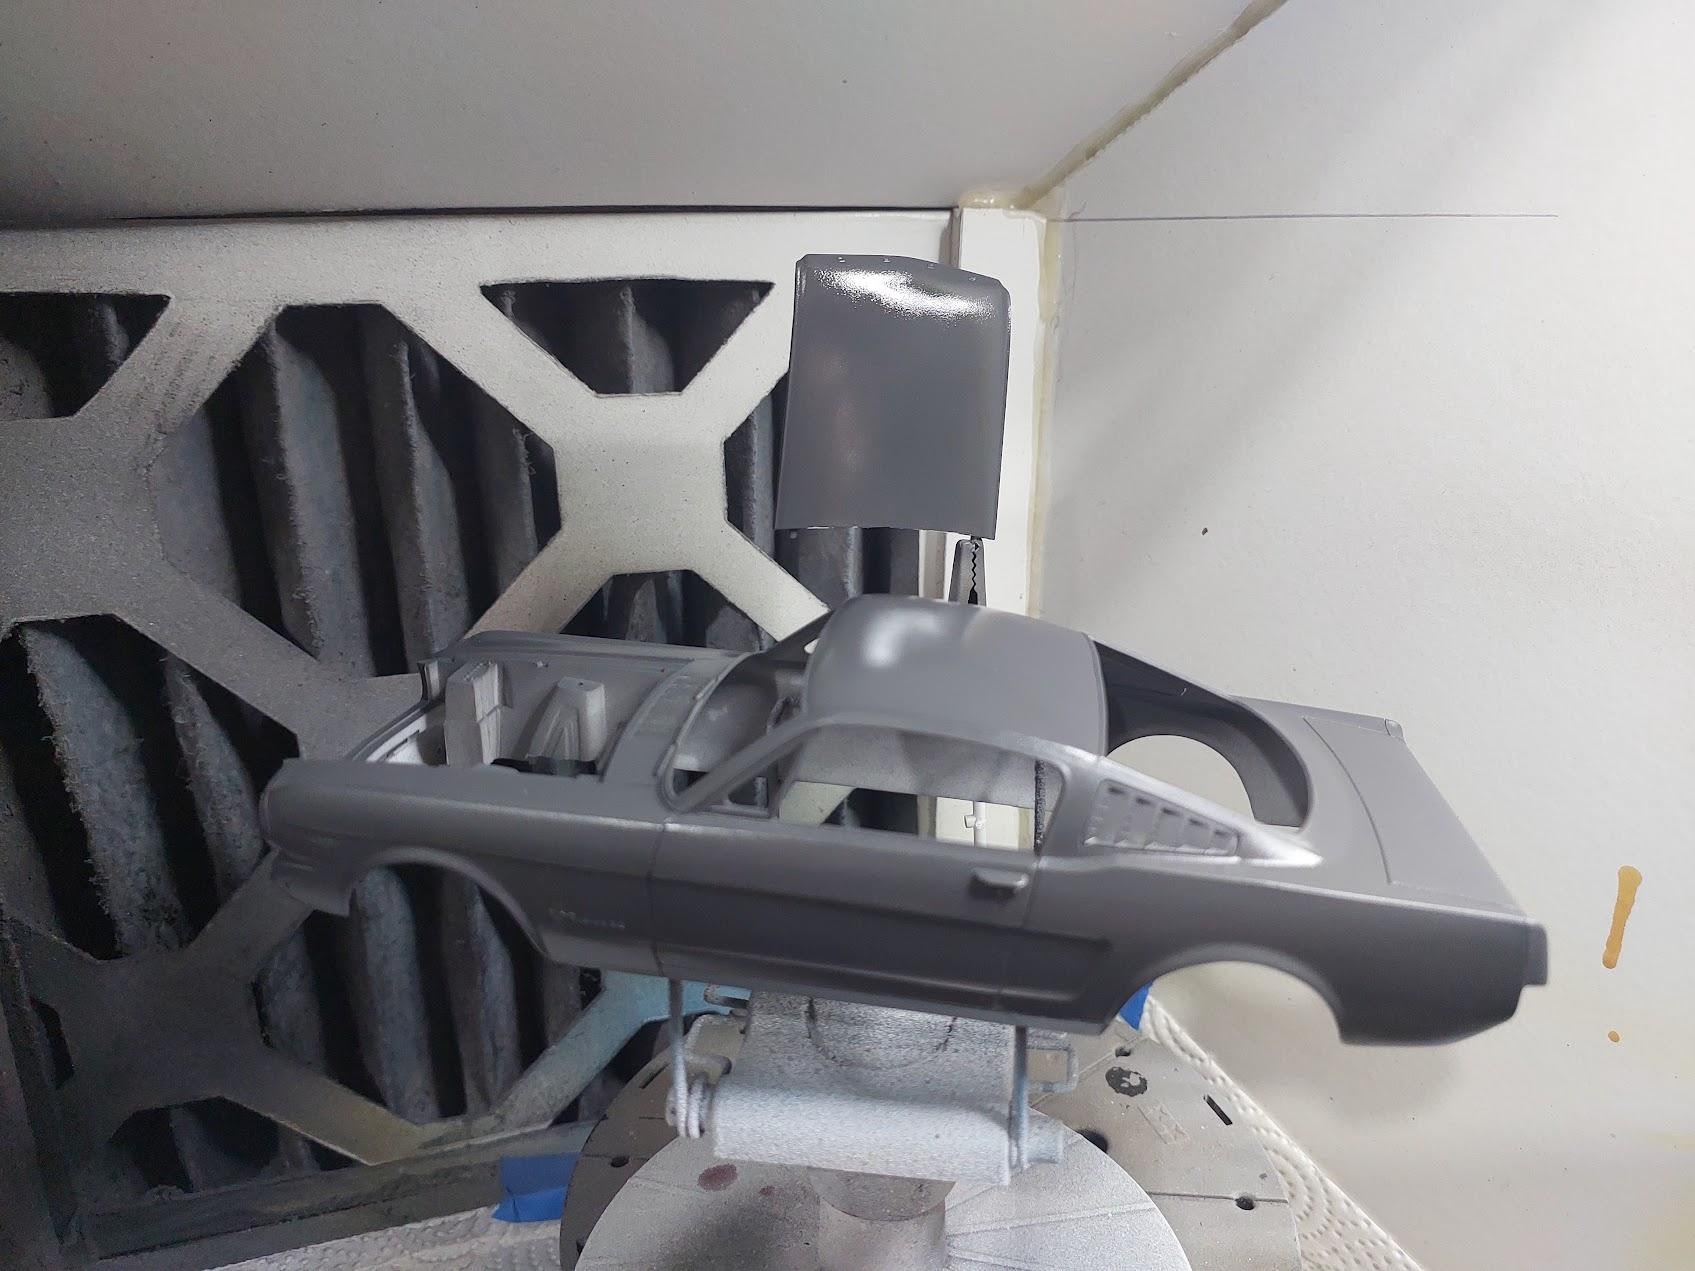
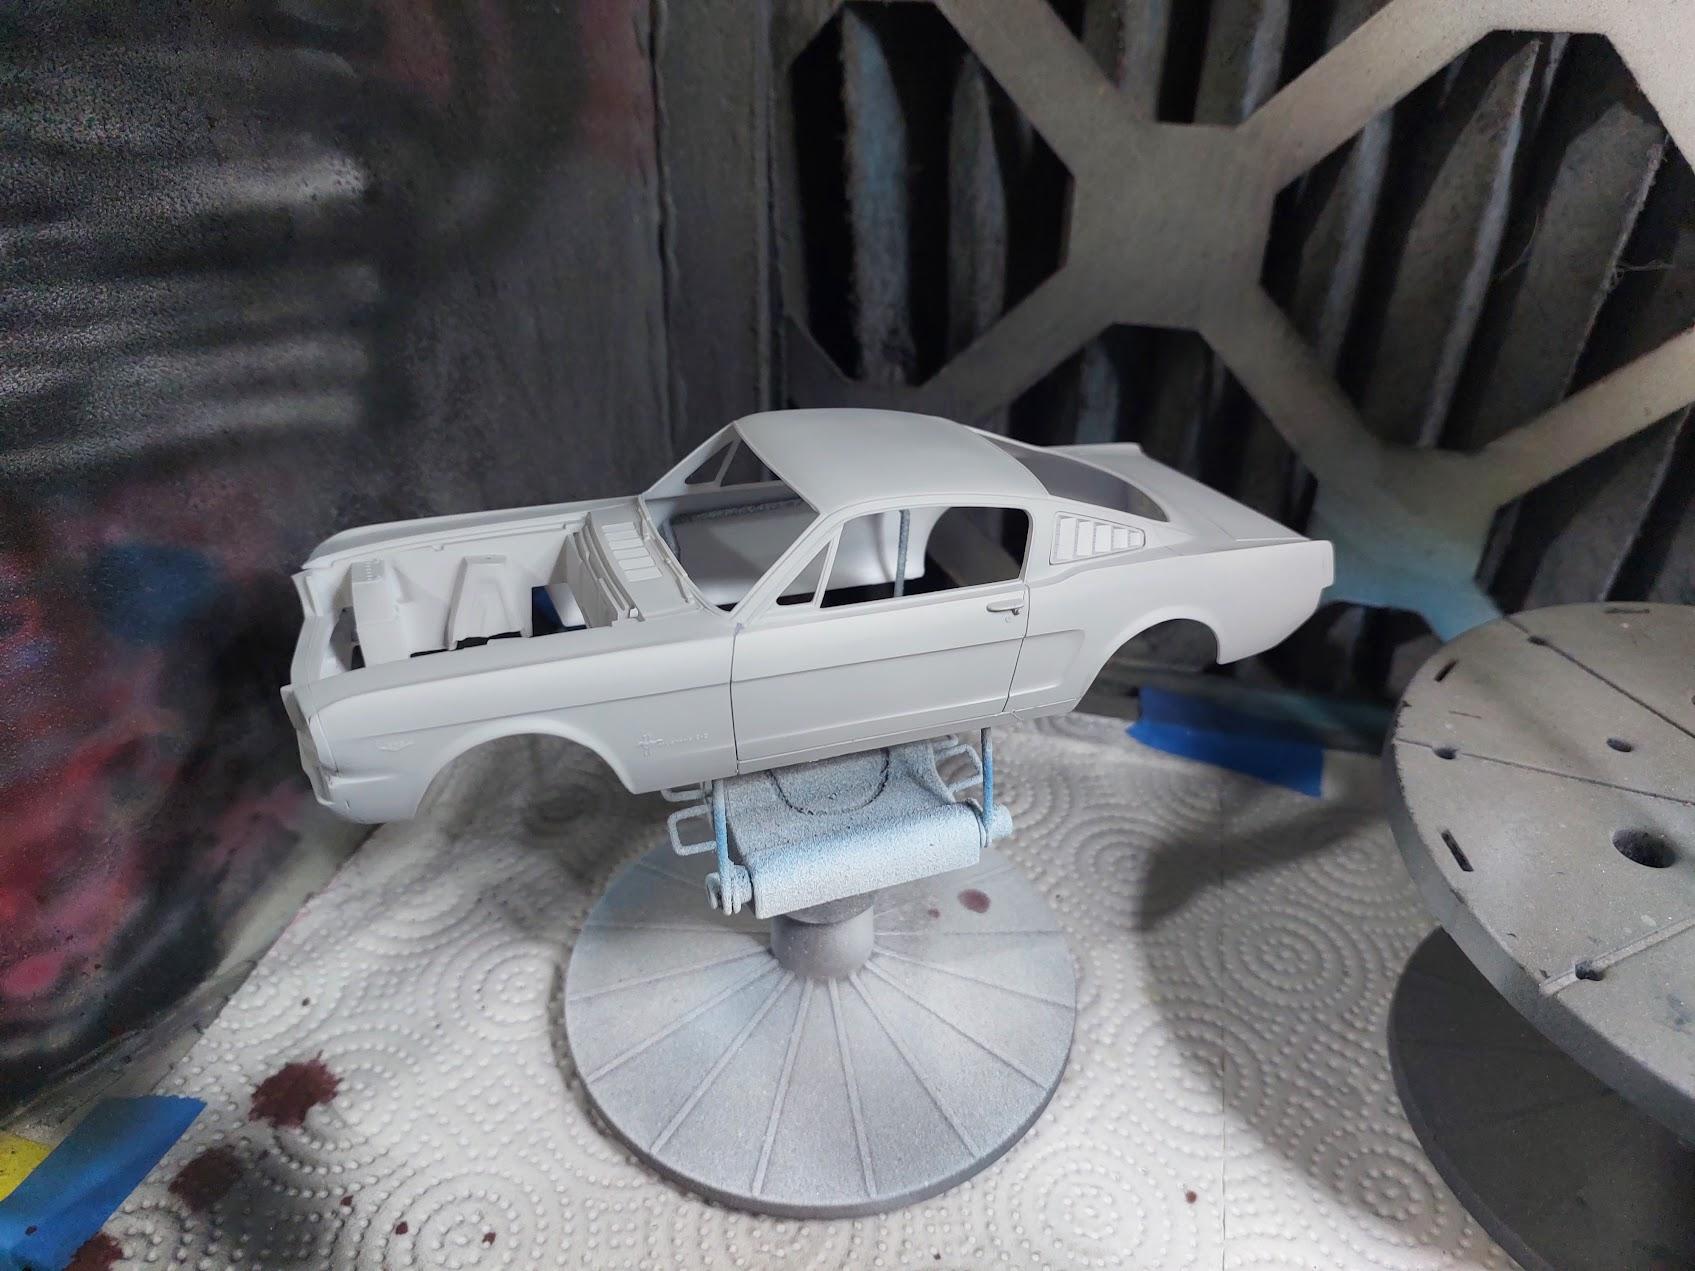
My current wip, a Revell 65 mustang fastback most subassemblies are done, i just primed the body and waiting for it to dry before wet sanding and base coat.
-
Very nice, i also designed, printed and built one some time ago...
-
i'm in the process of building this kit, and before i move forward with assembly id like to lower the car a little, nothing to radical but it seems to sit a bit ti high. any tips or ideas for this specific kit?
-
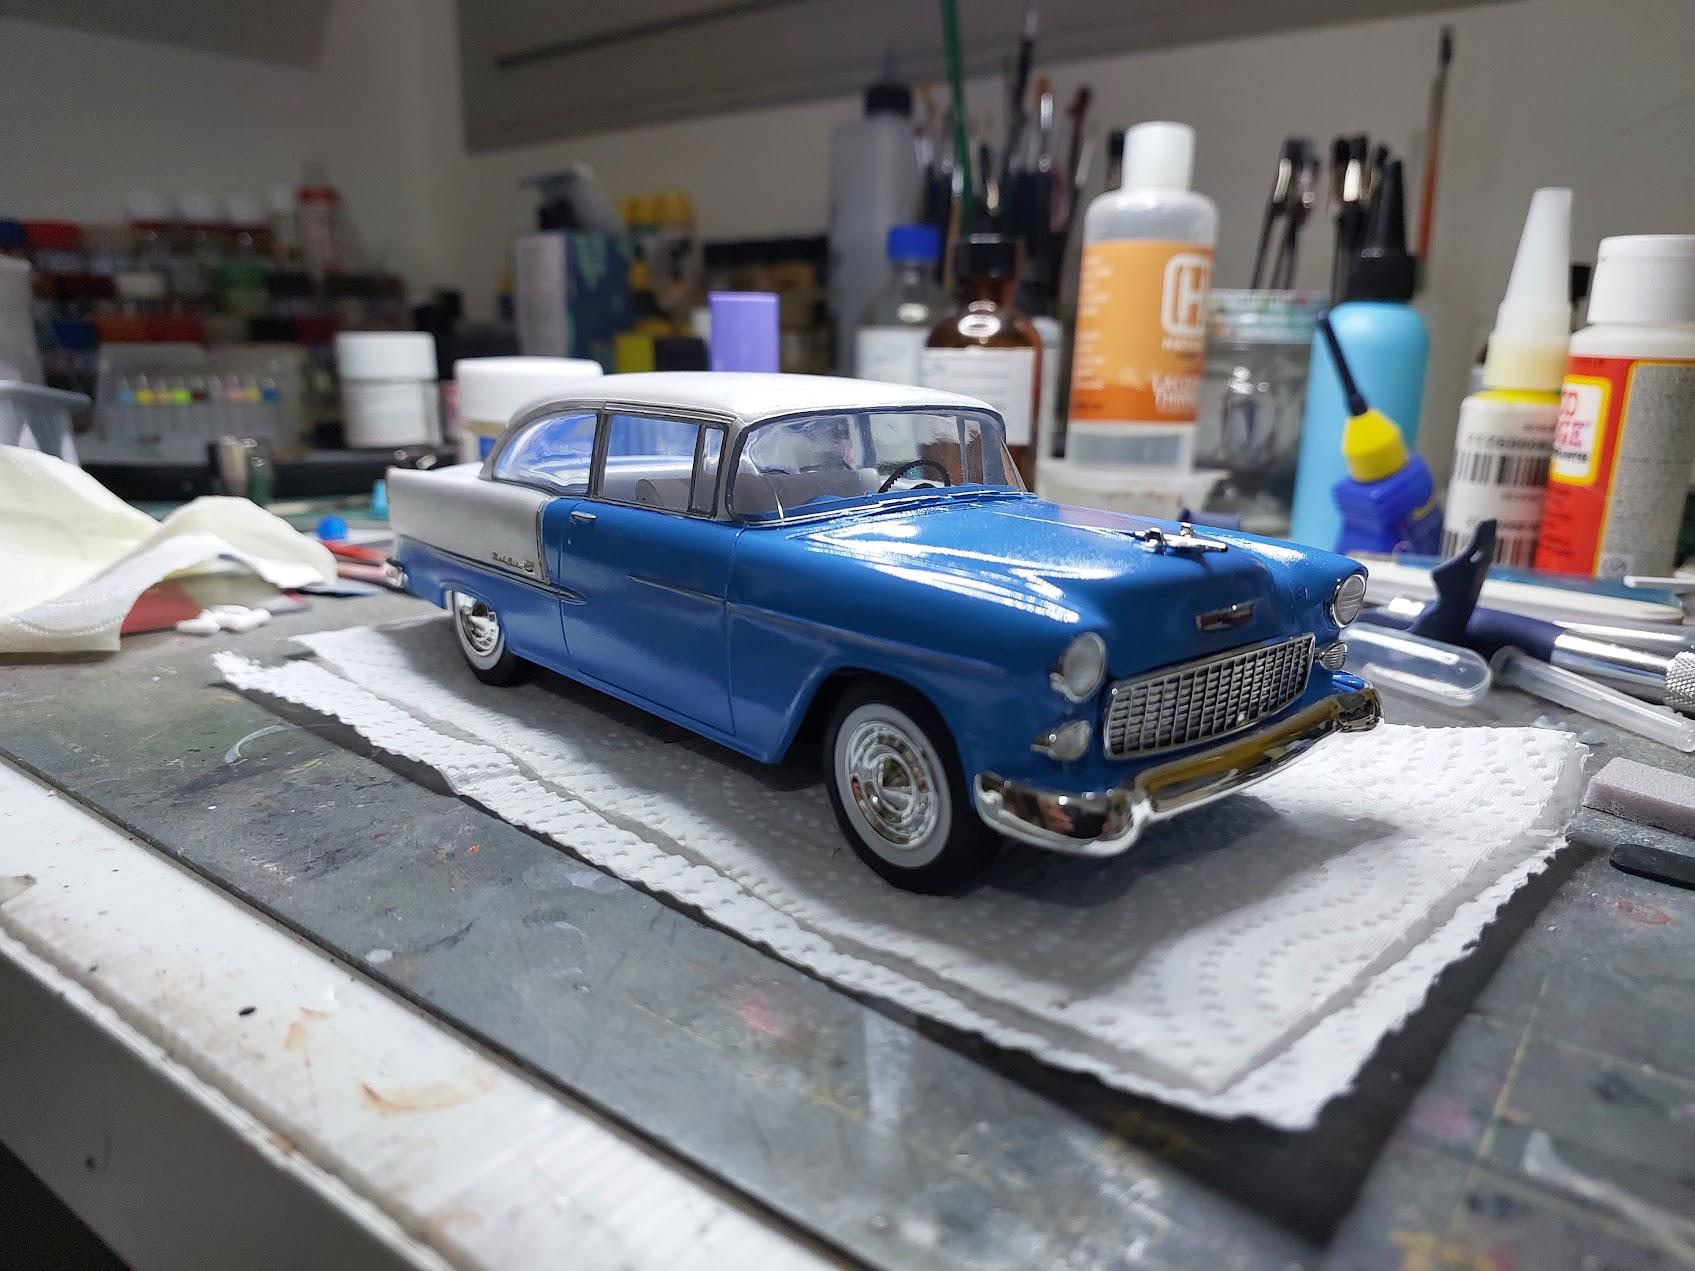
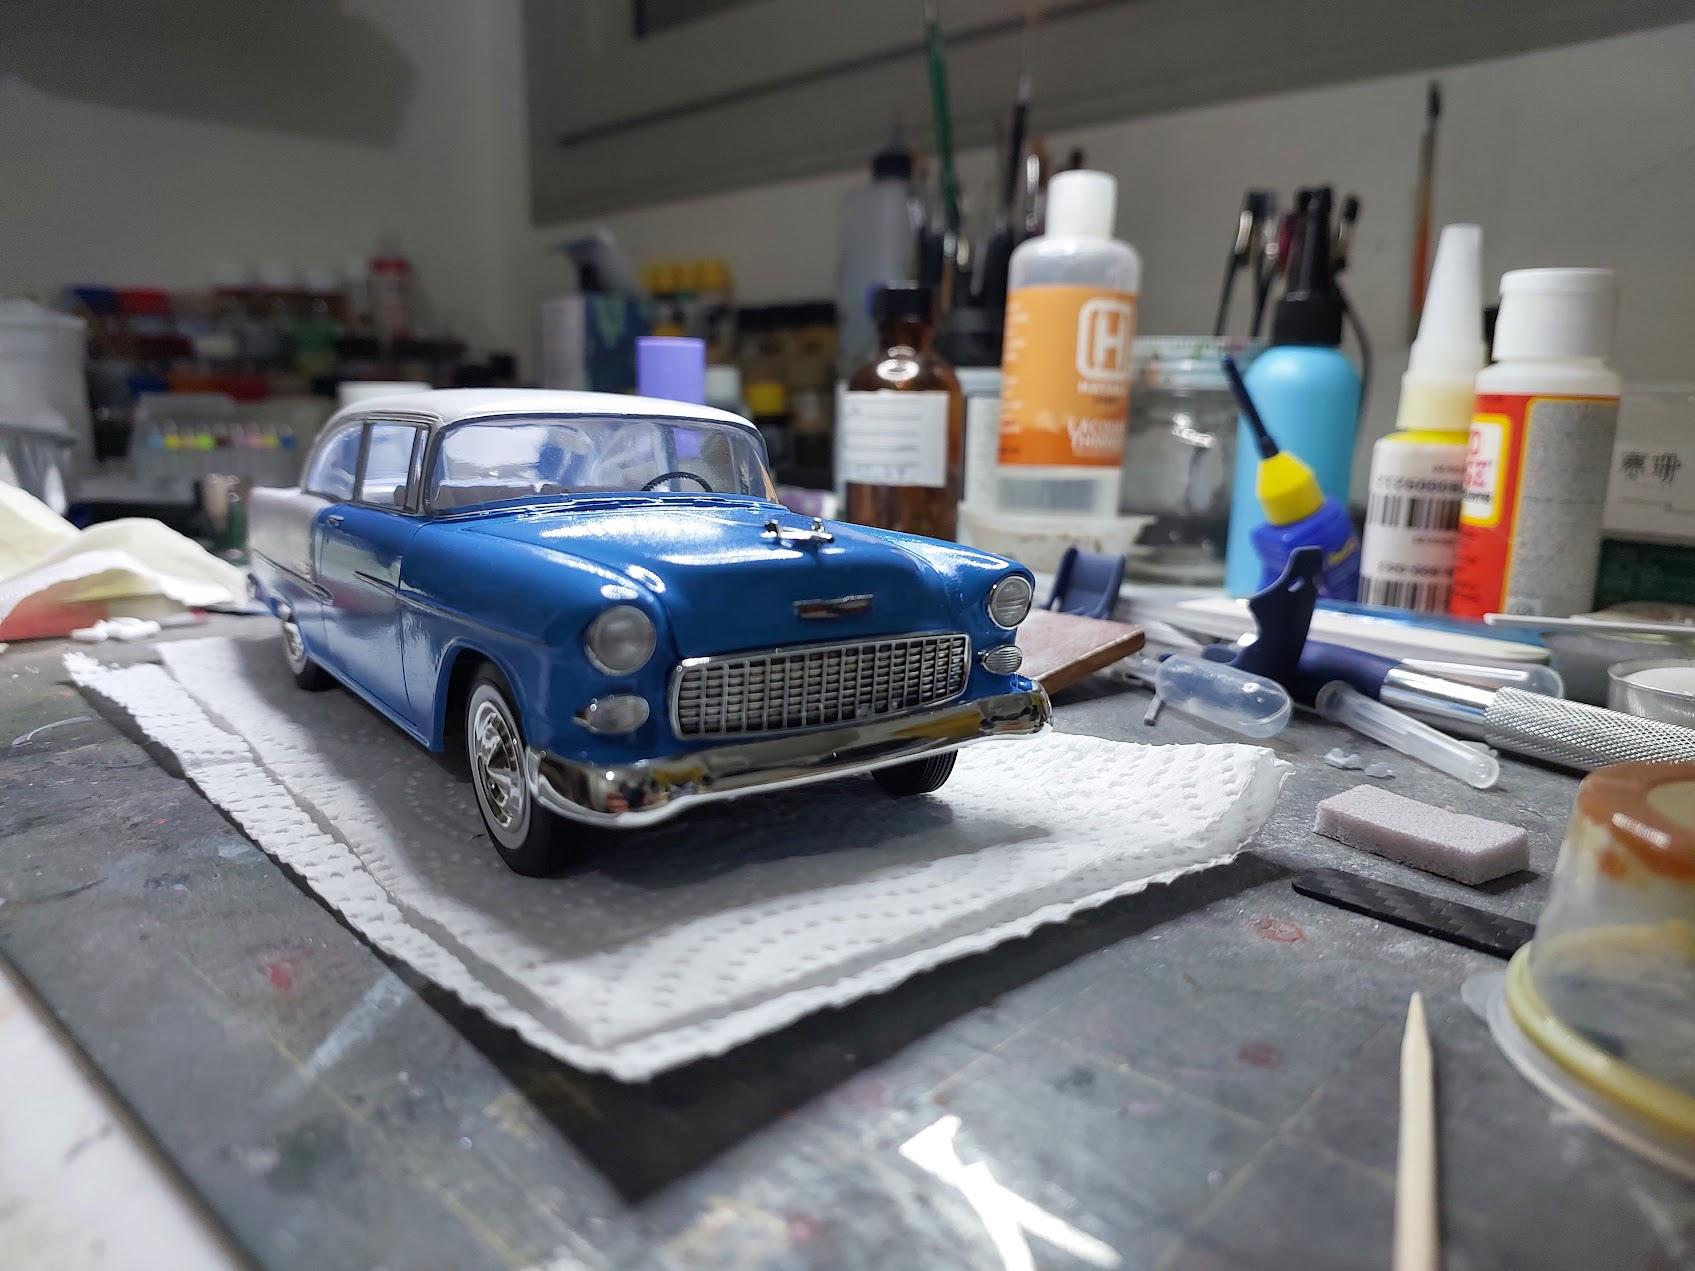
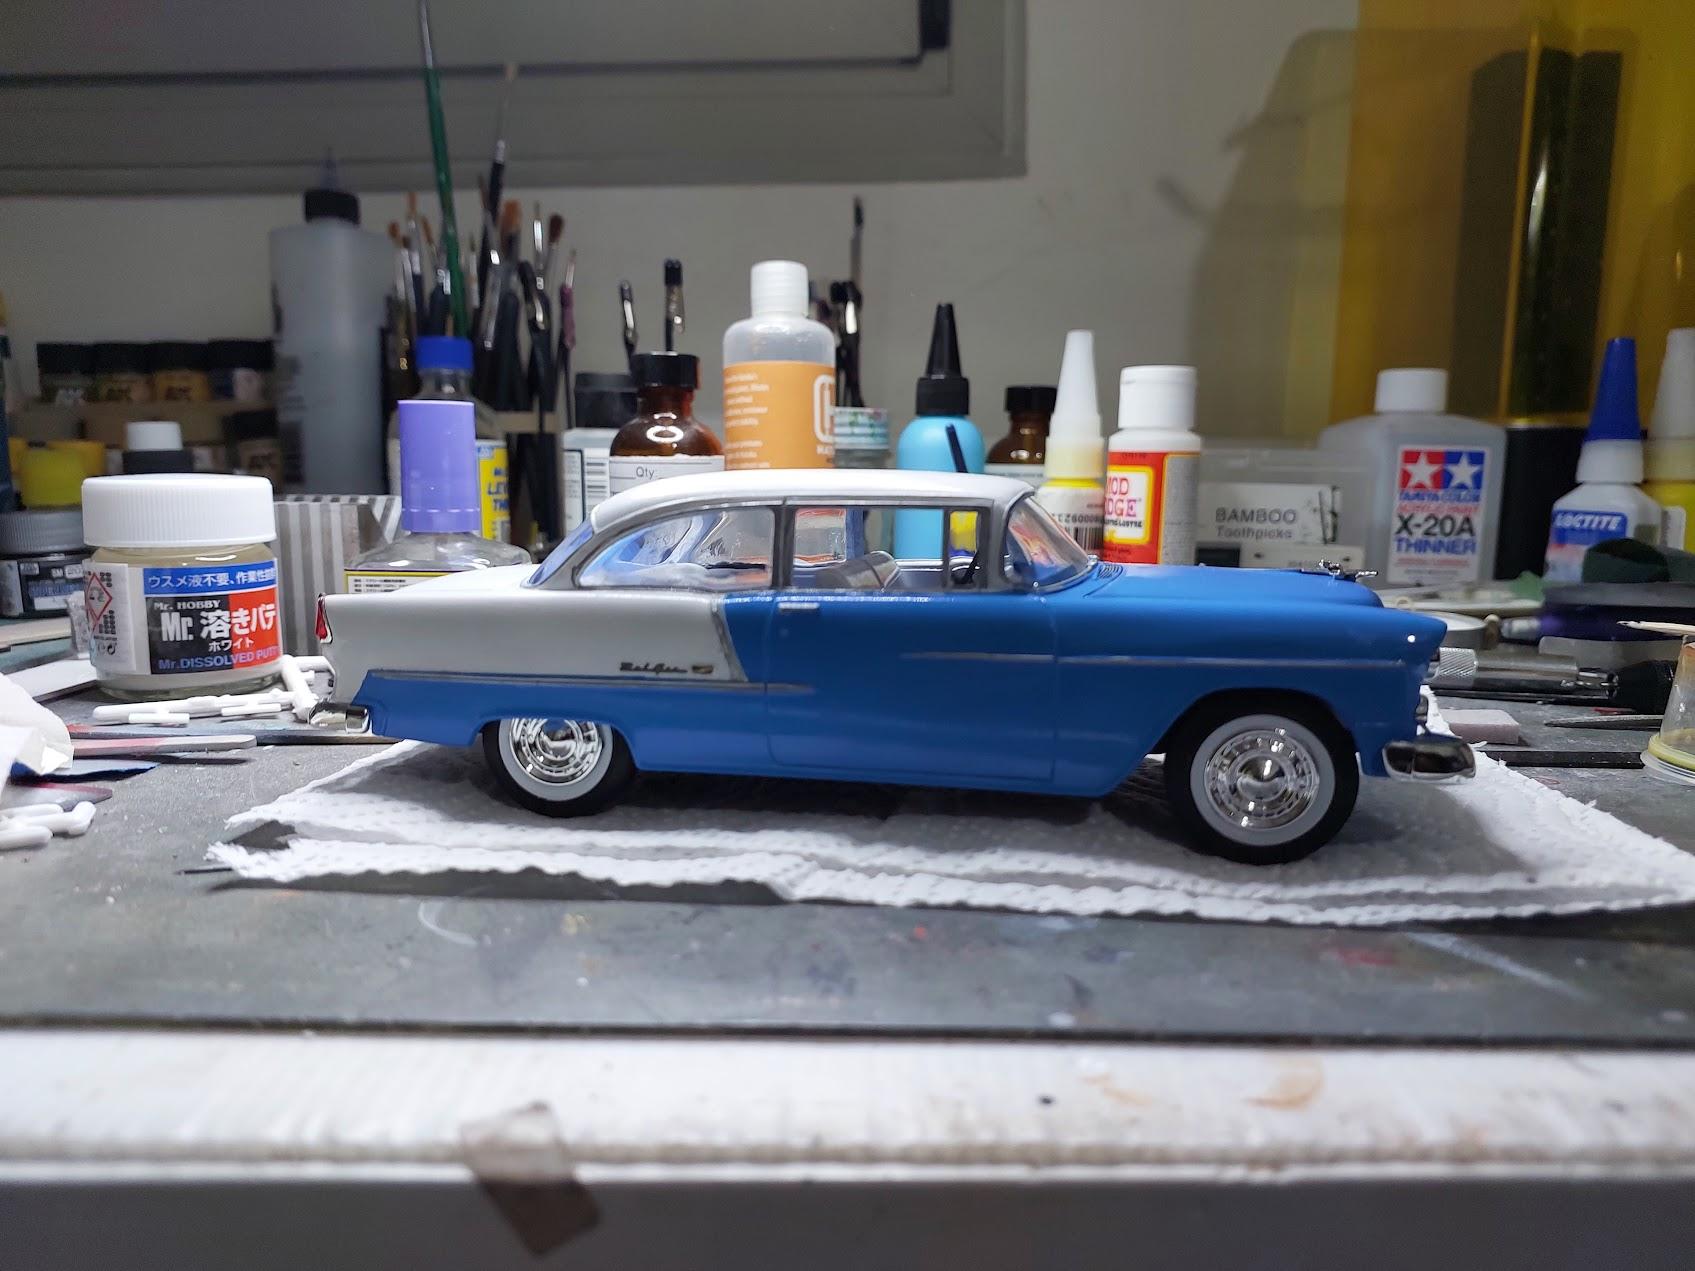
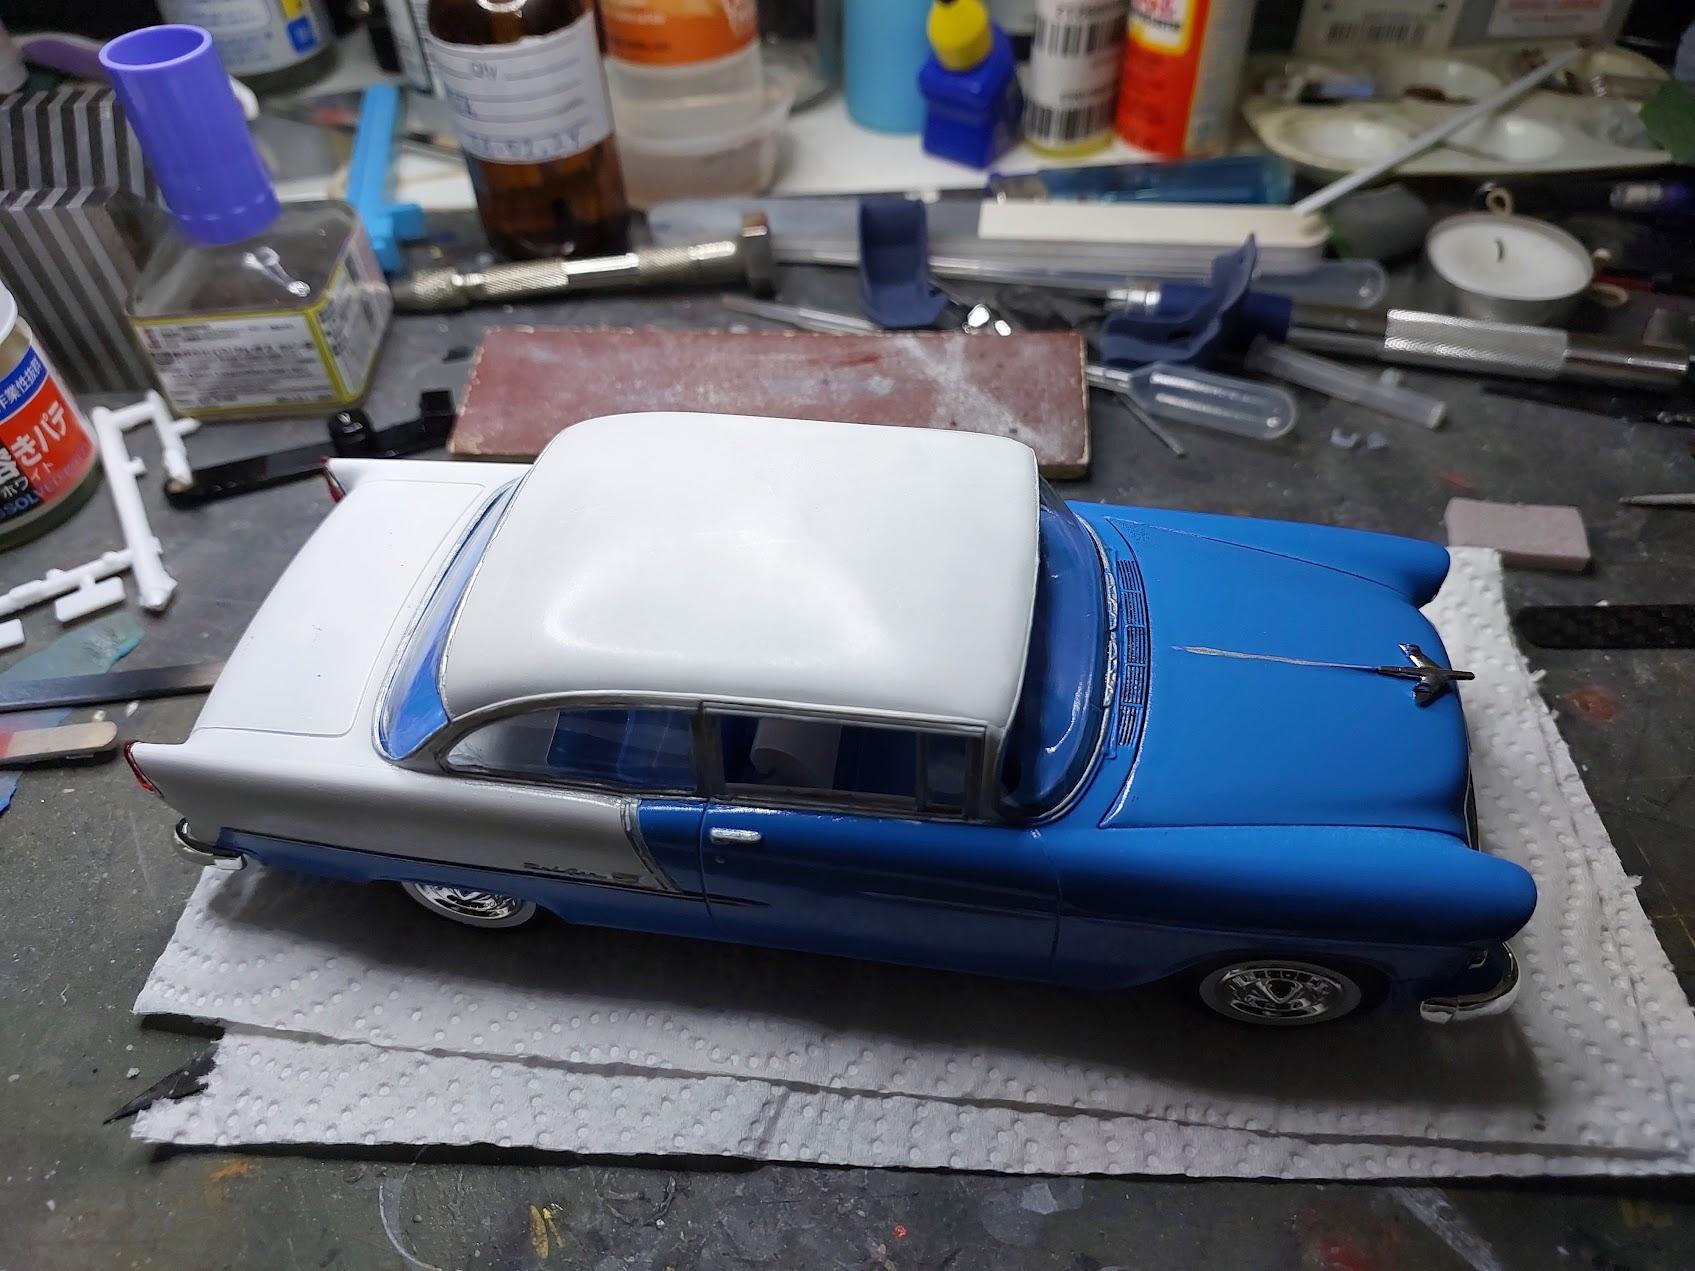
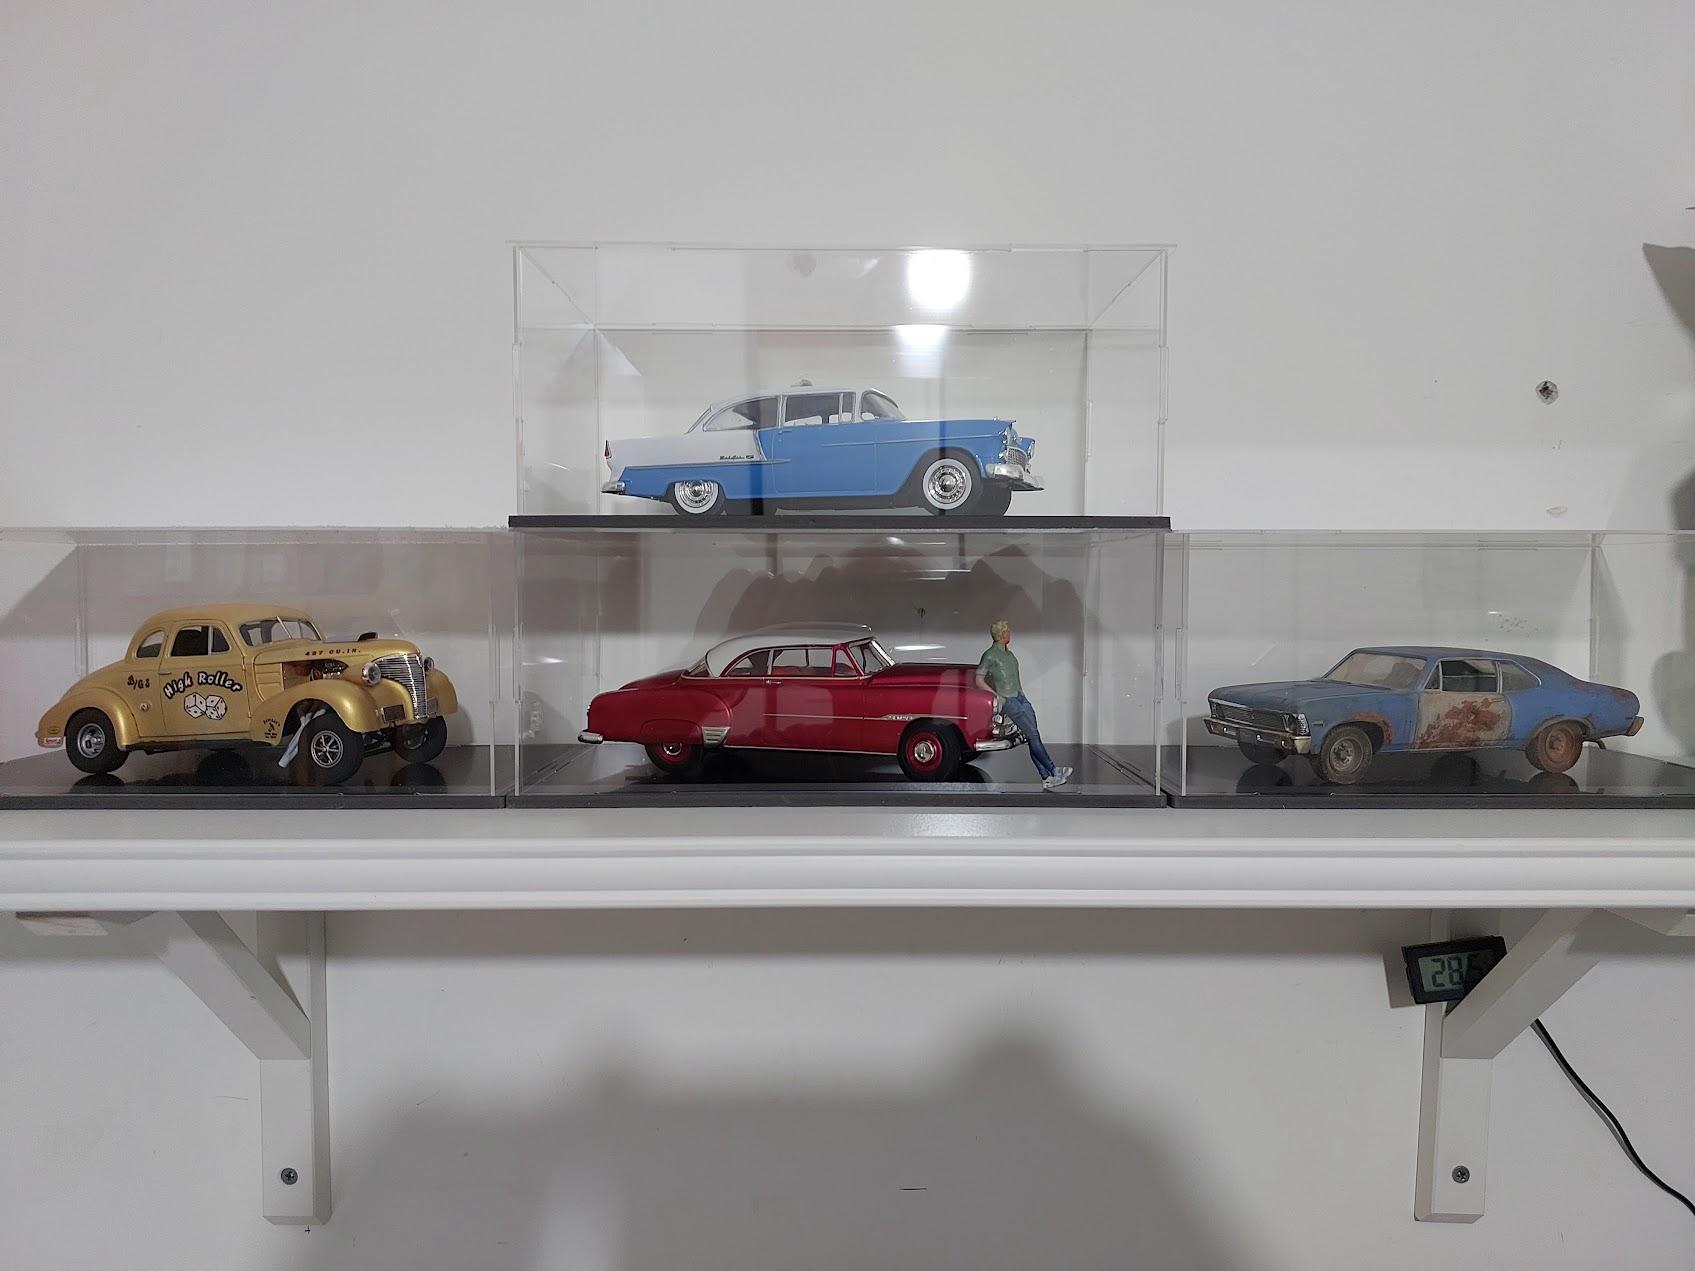
this is my 55 bel air (AMT) built box stock, decent model for it's age. also, as it seems almost all of my latest builds were Chevy's, time to look for something else in the stash i guess.
- 14 replies
-
- 13
-
-
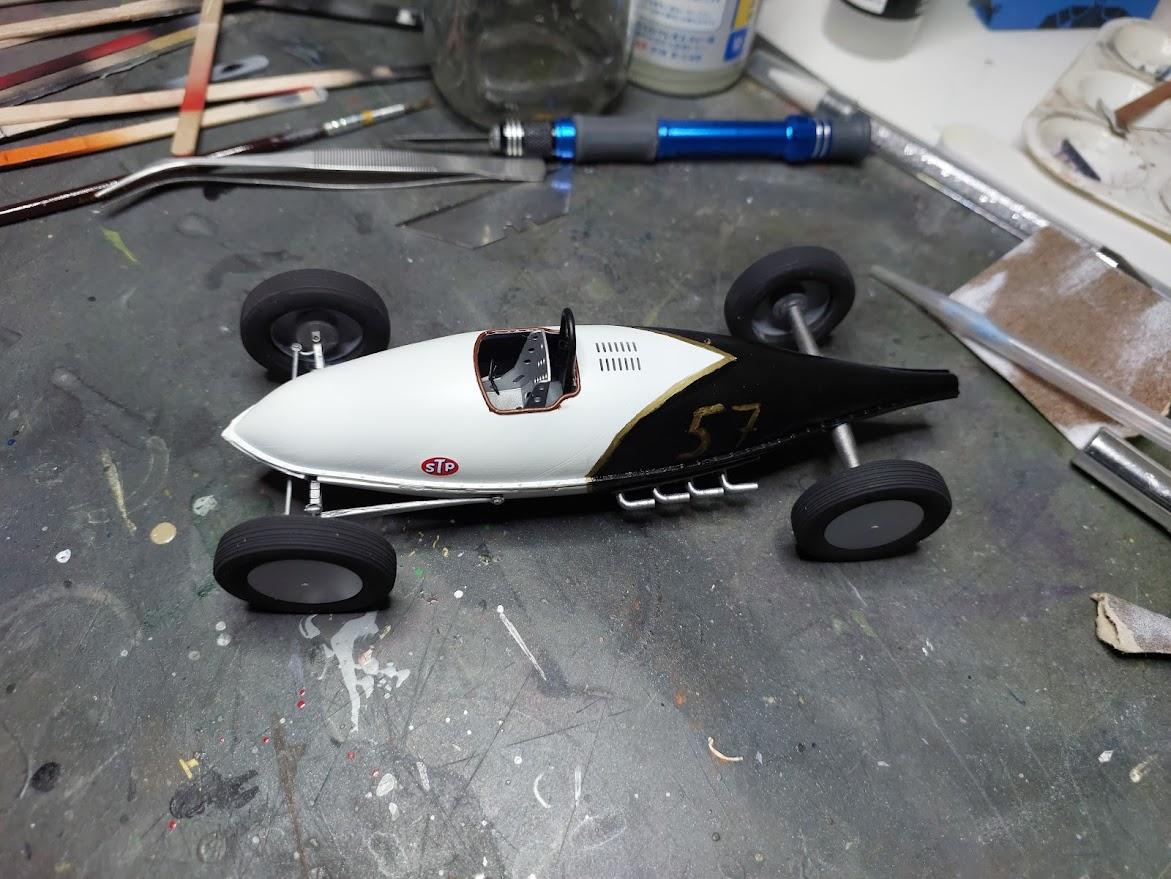
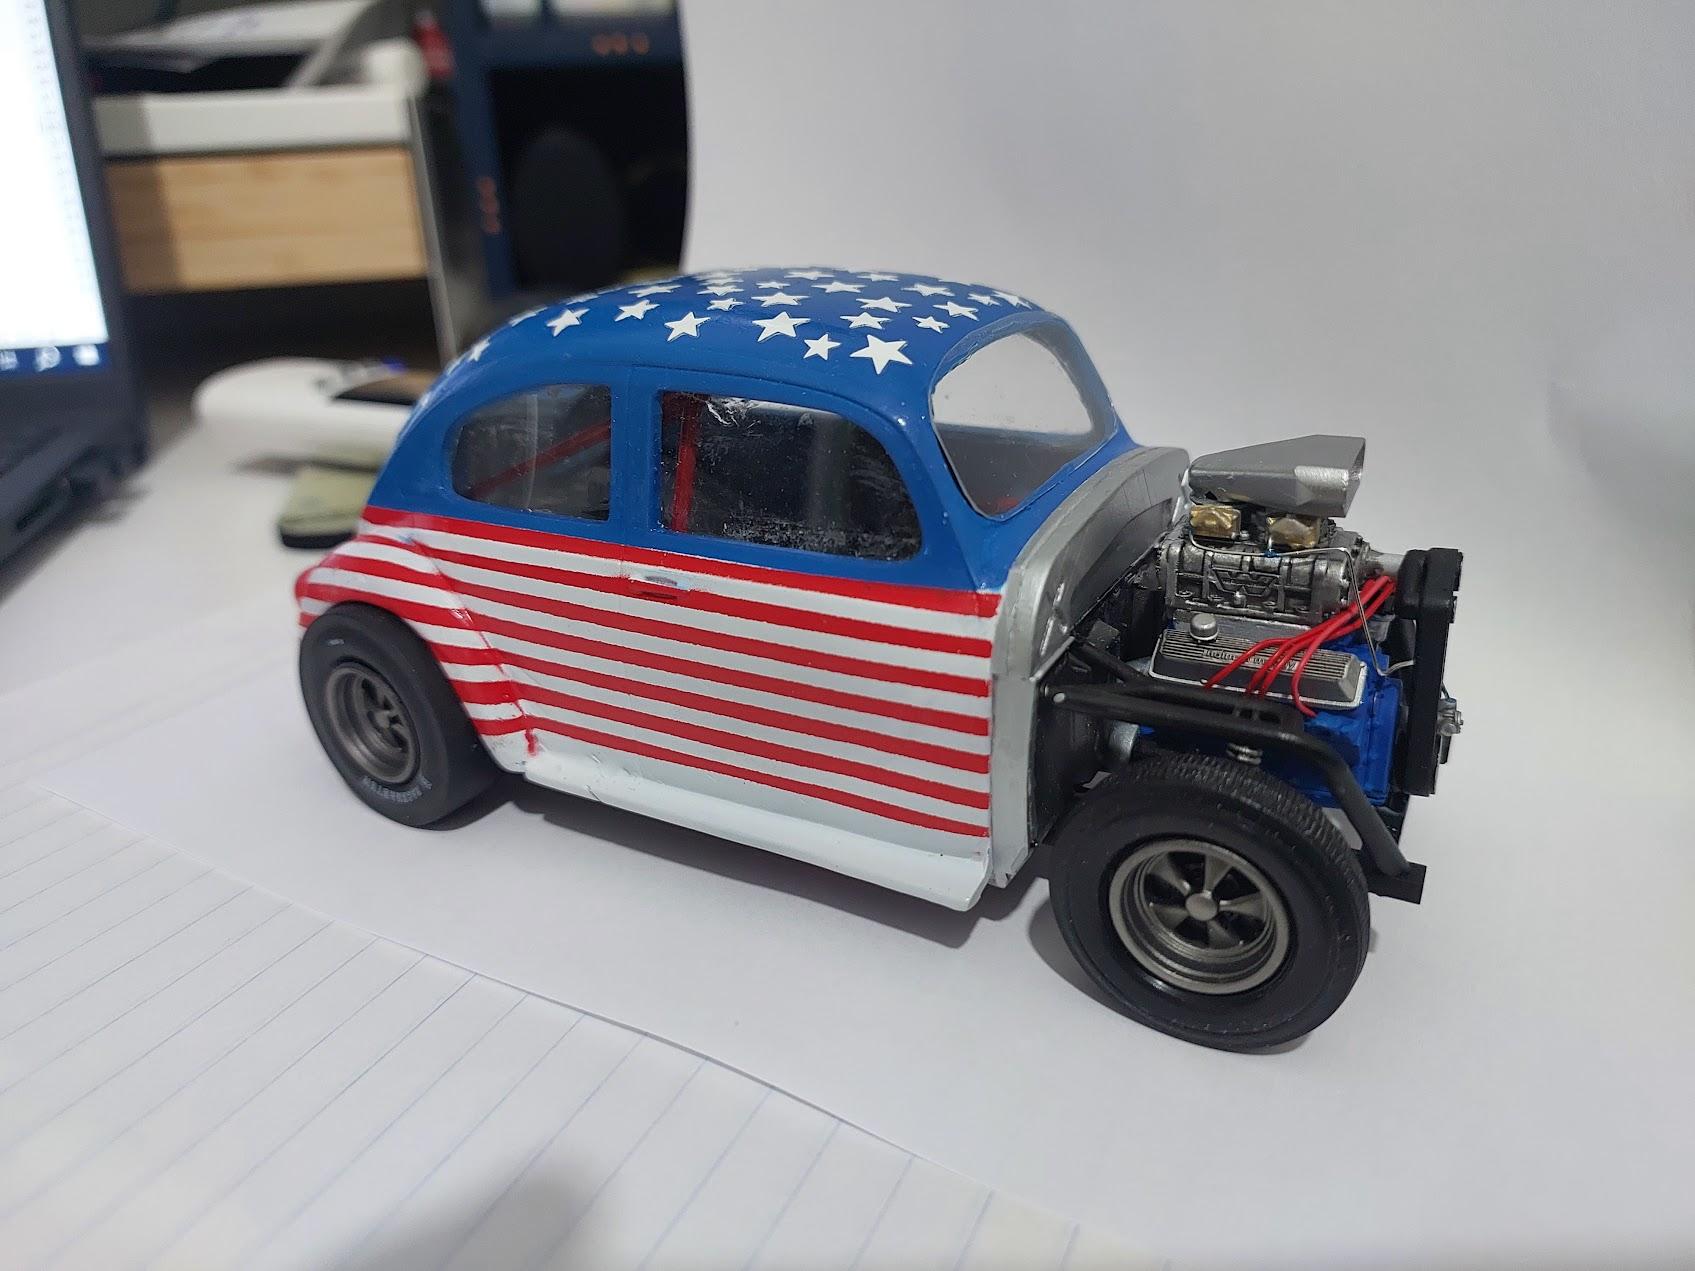
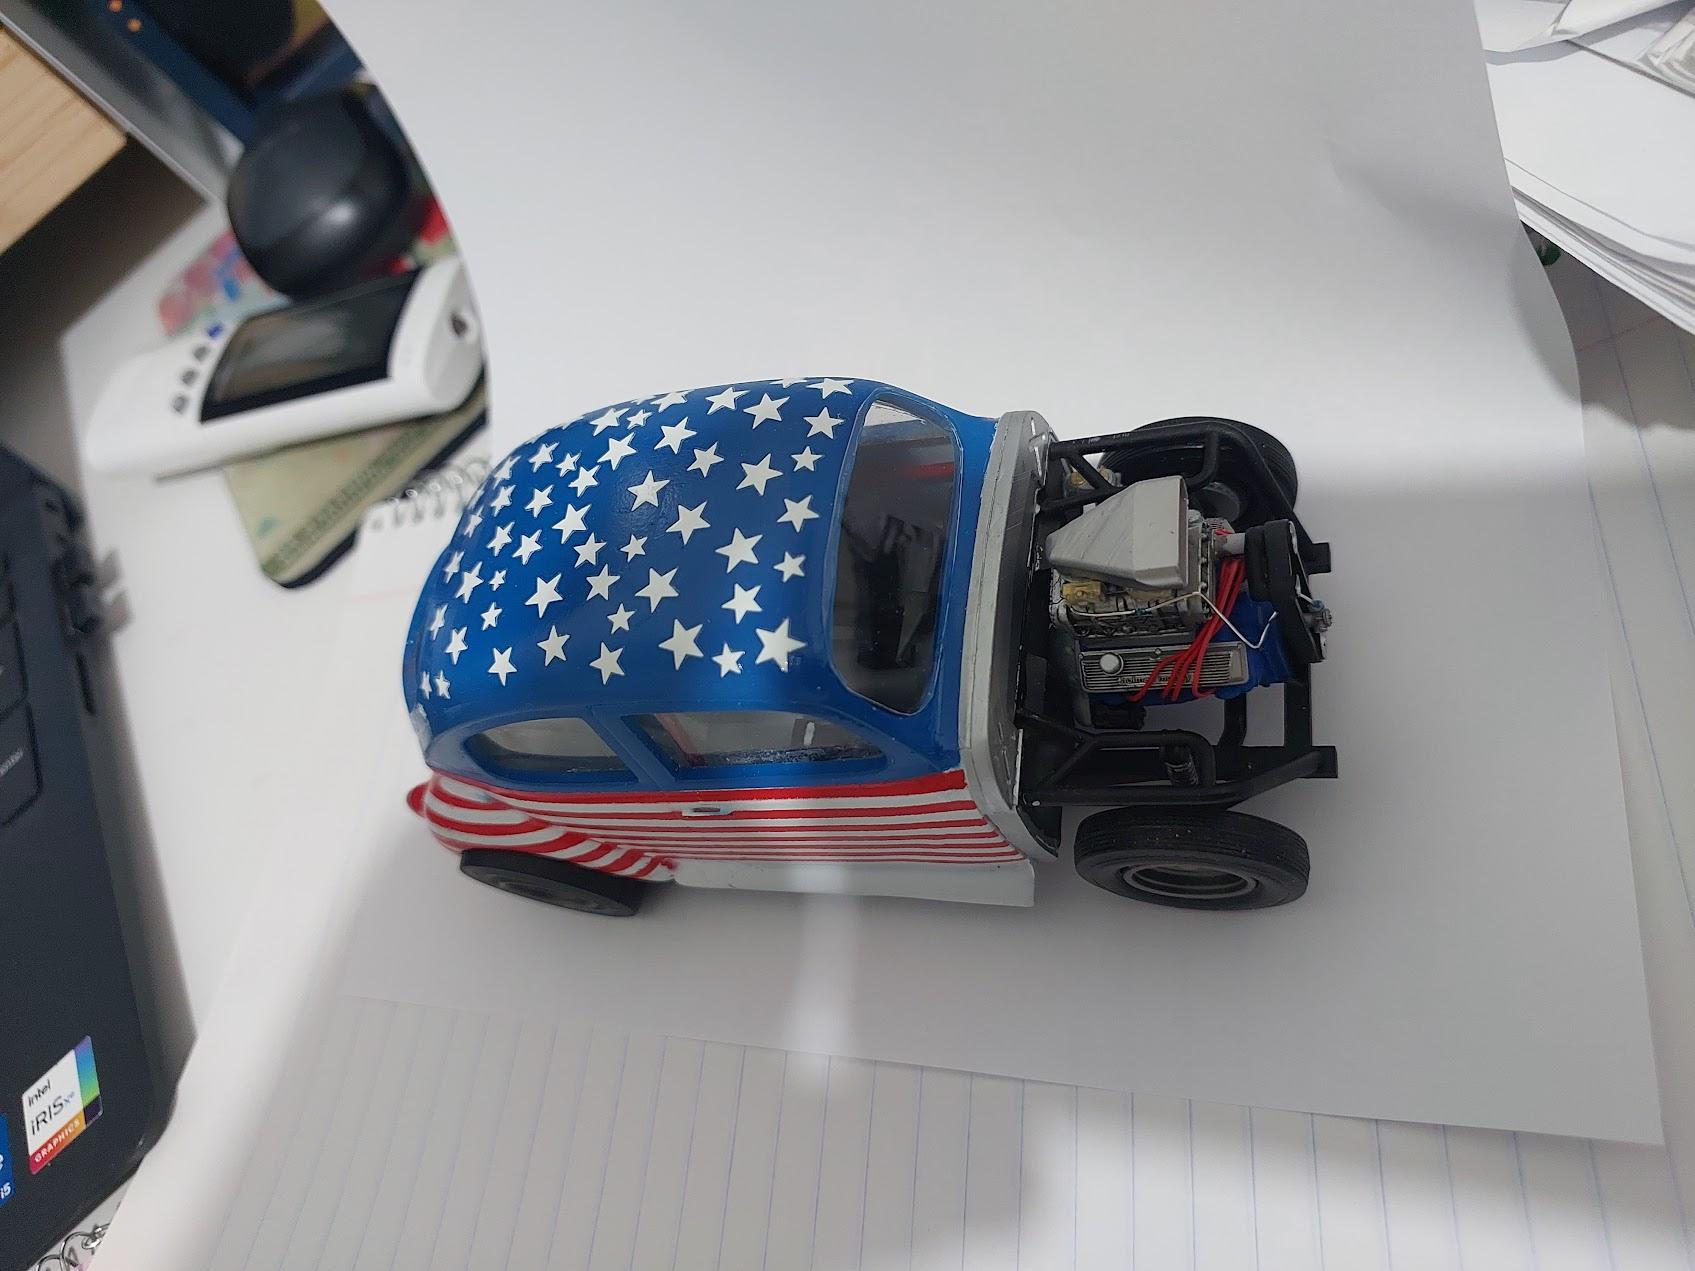
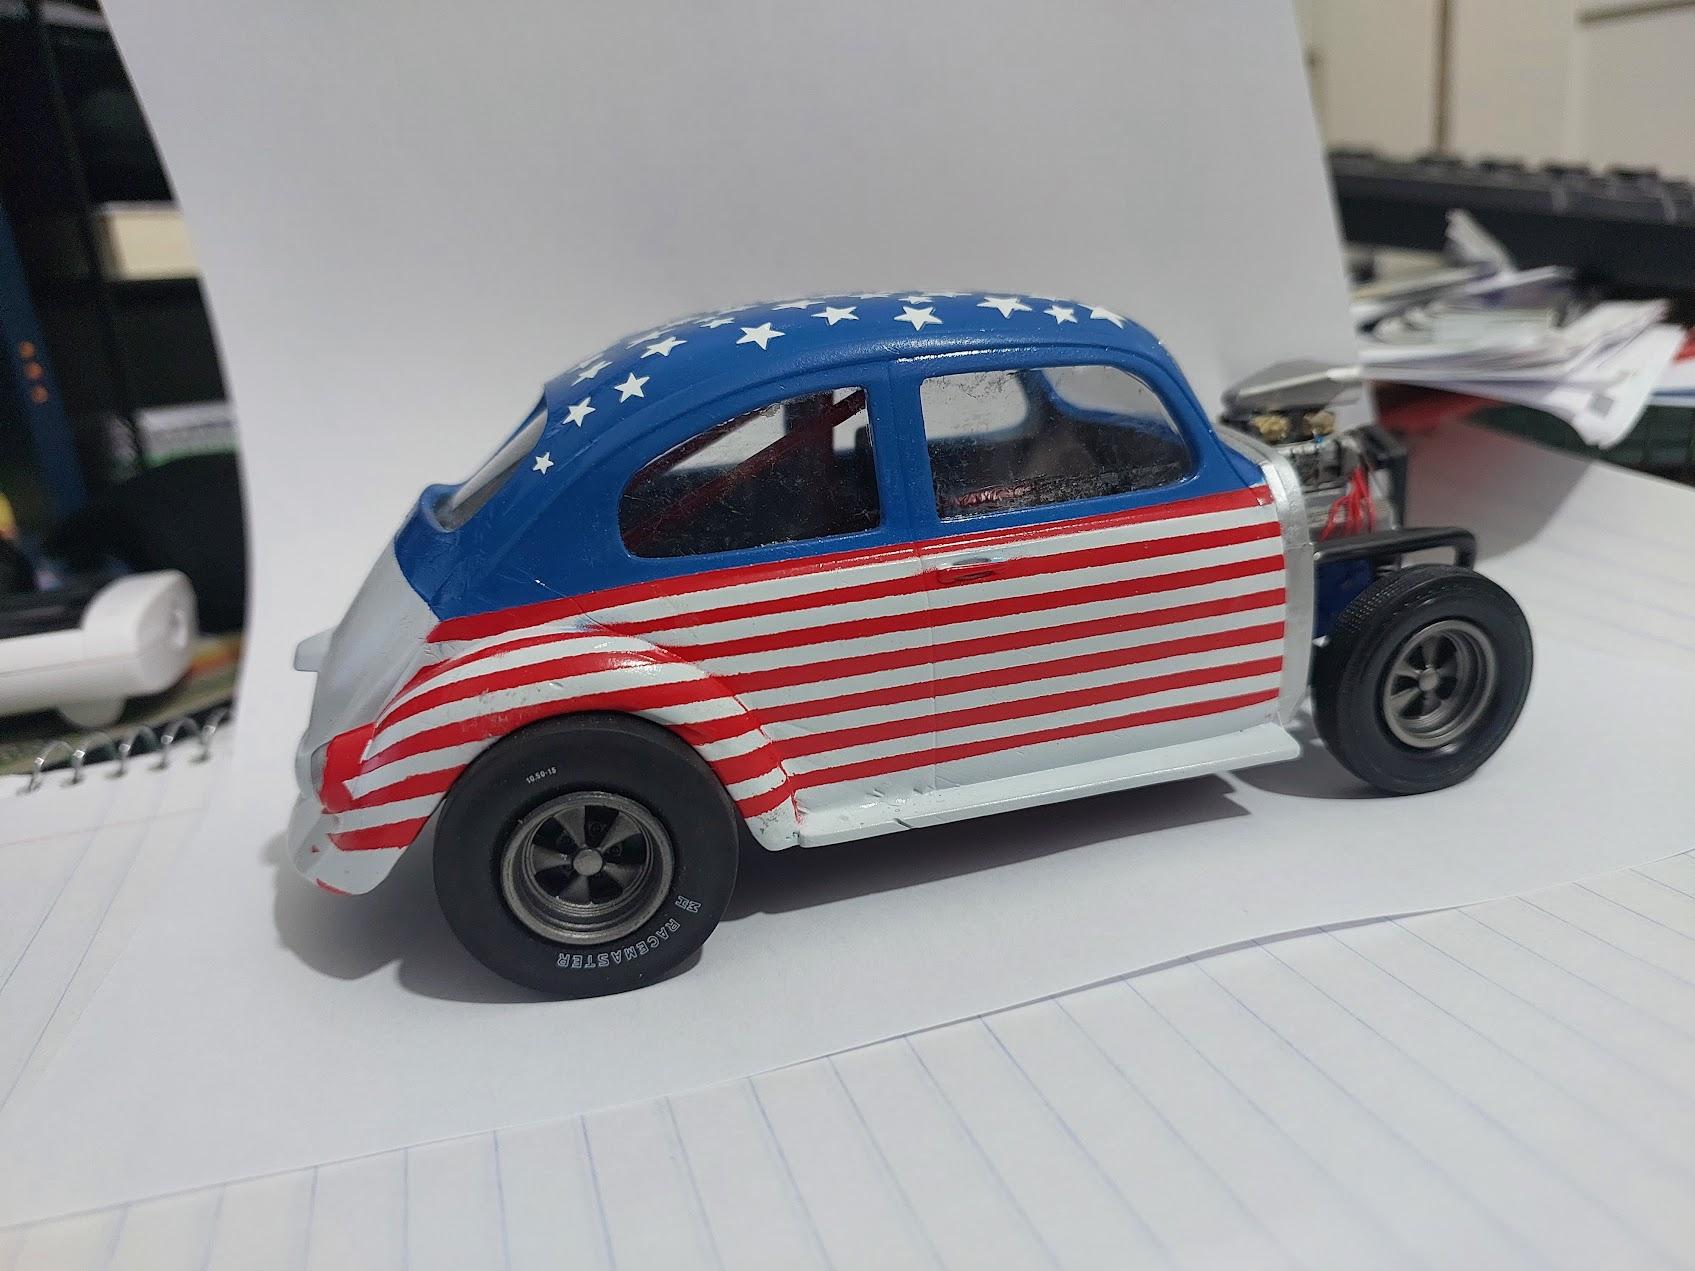
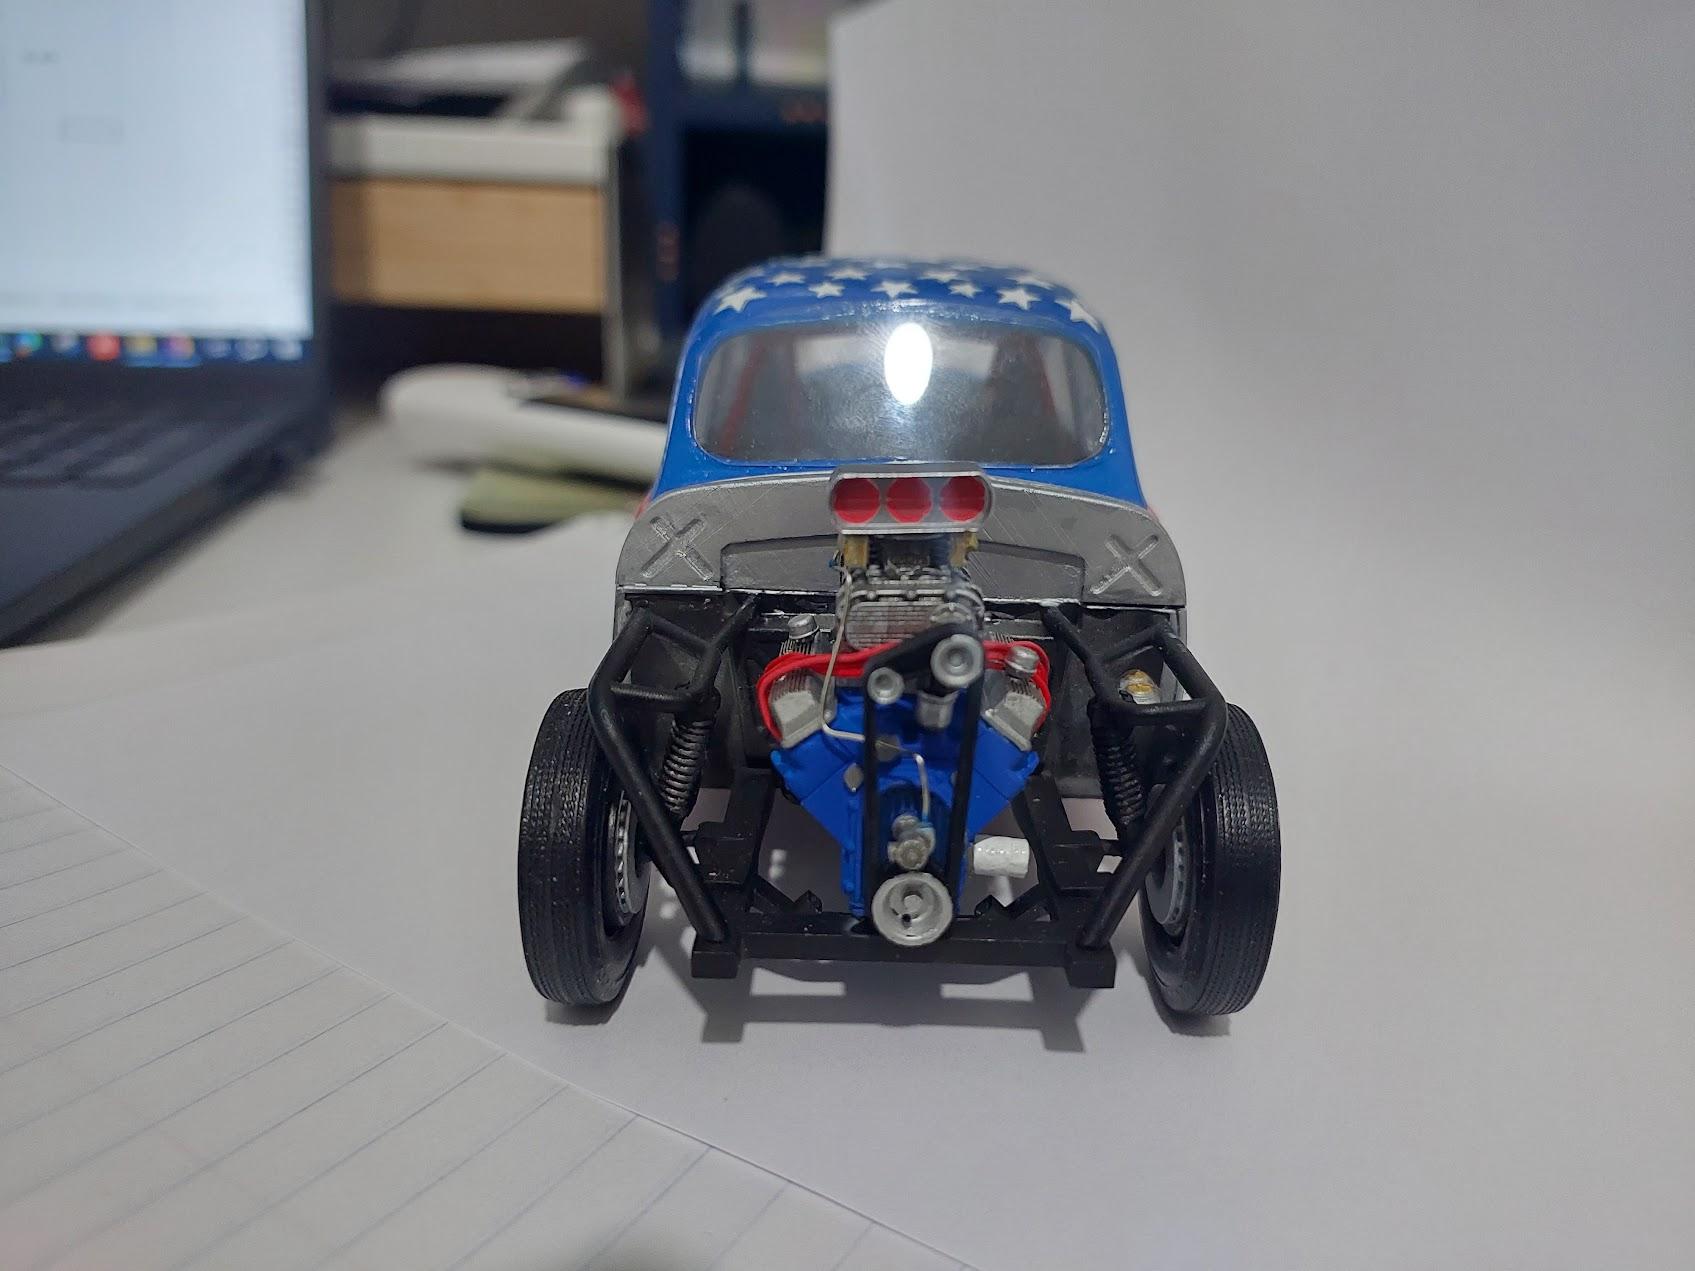
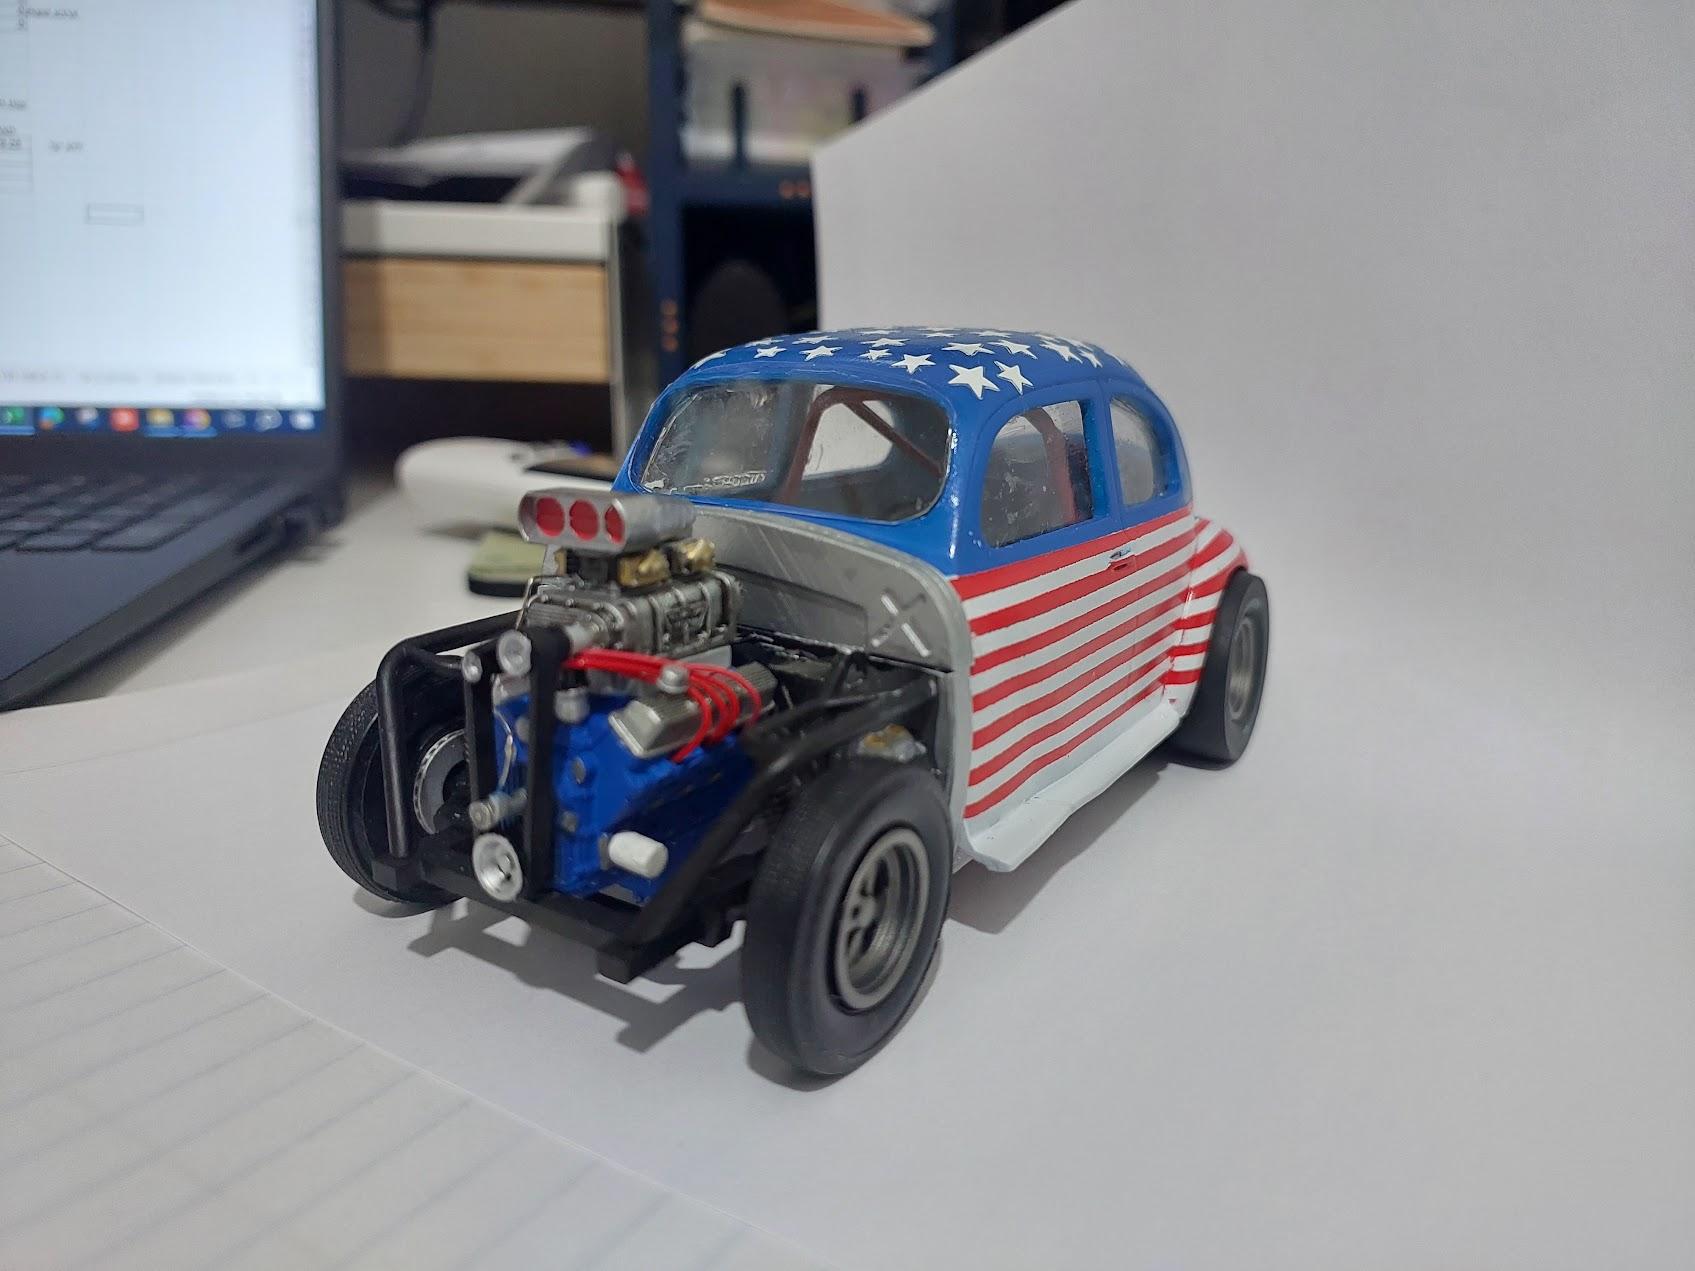
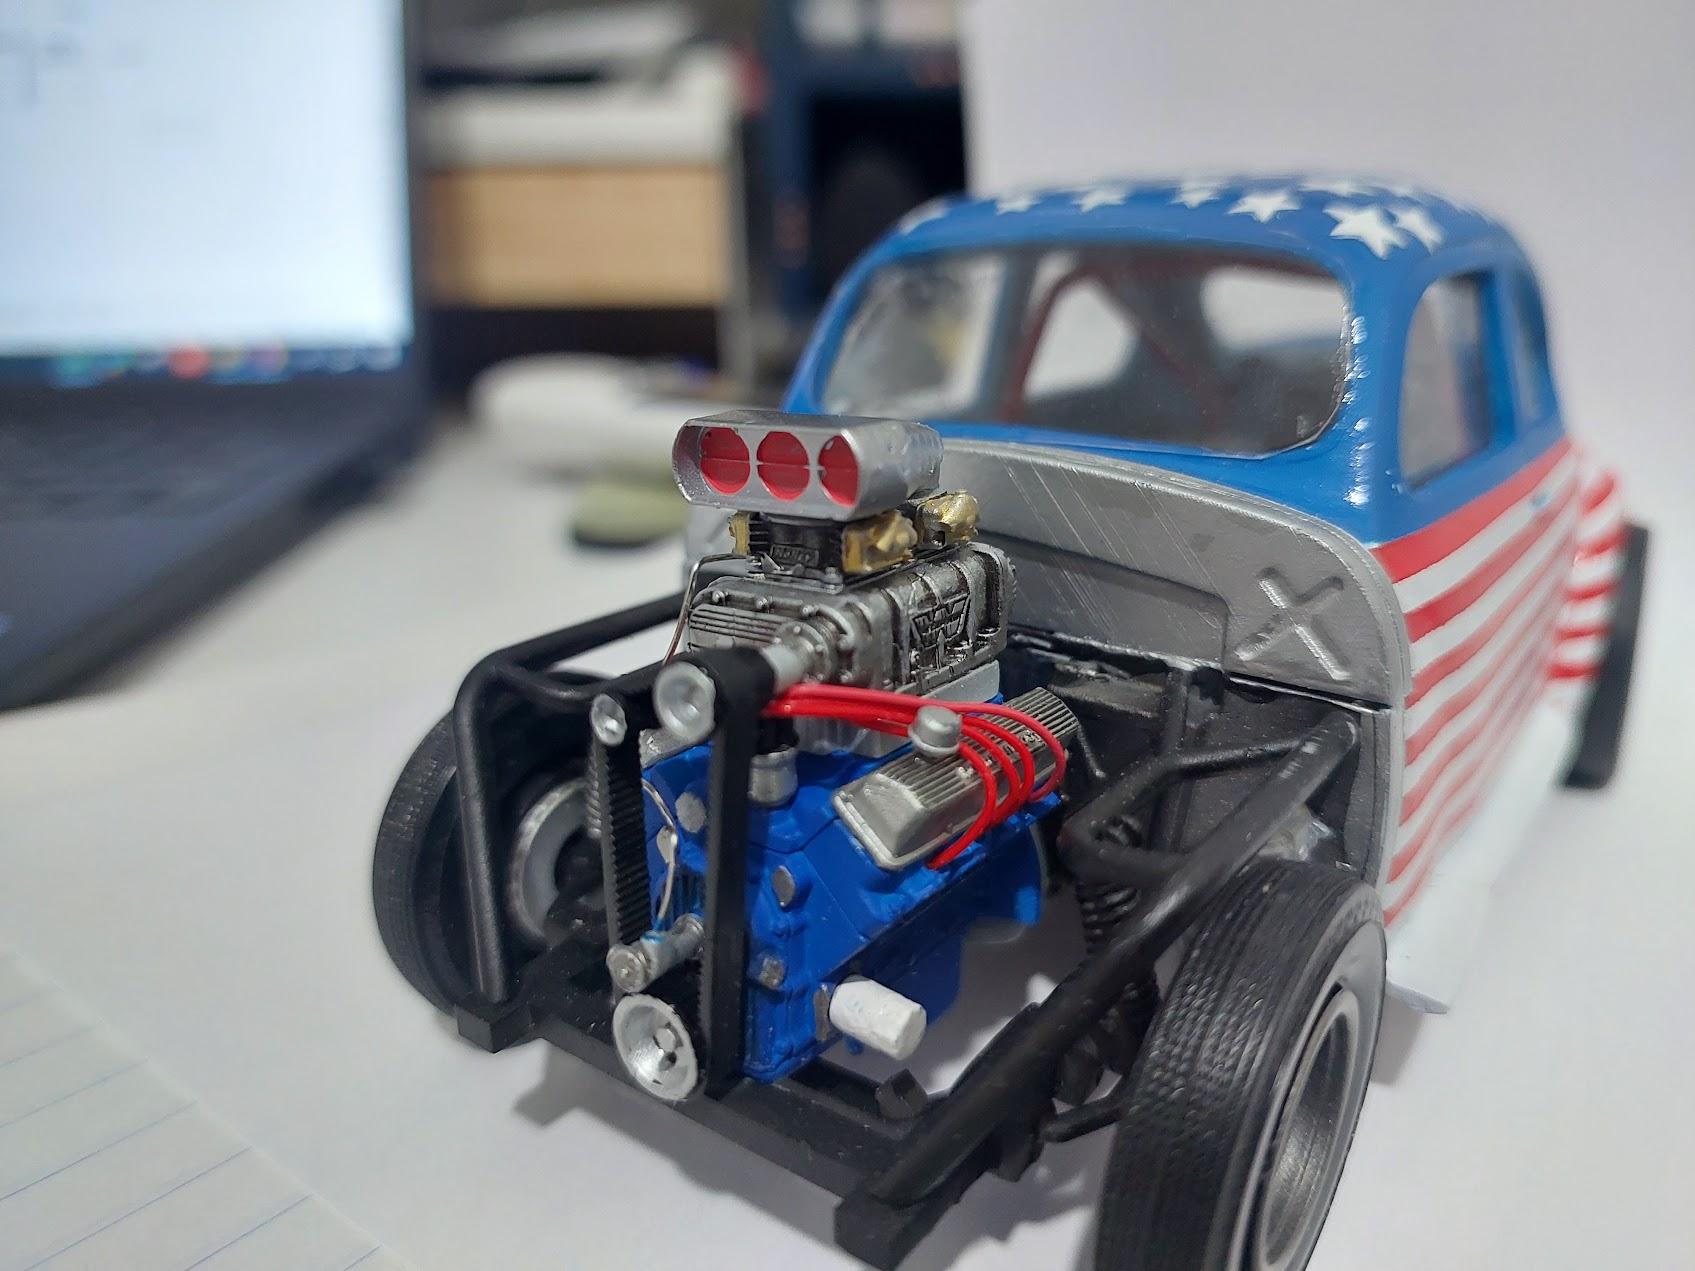
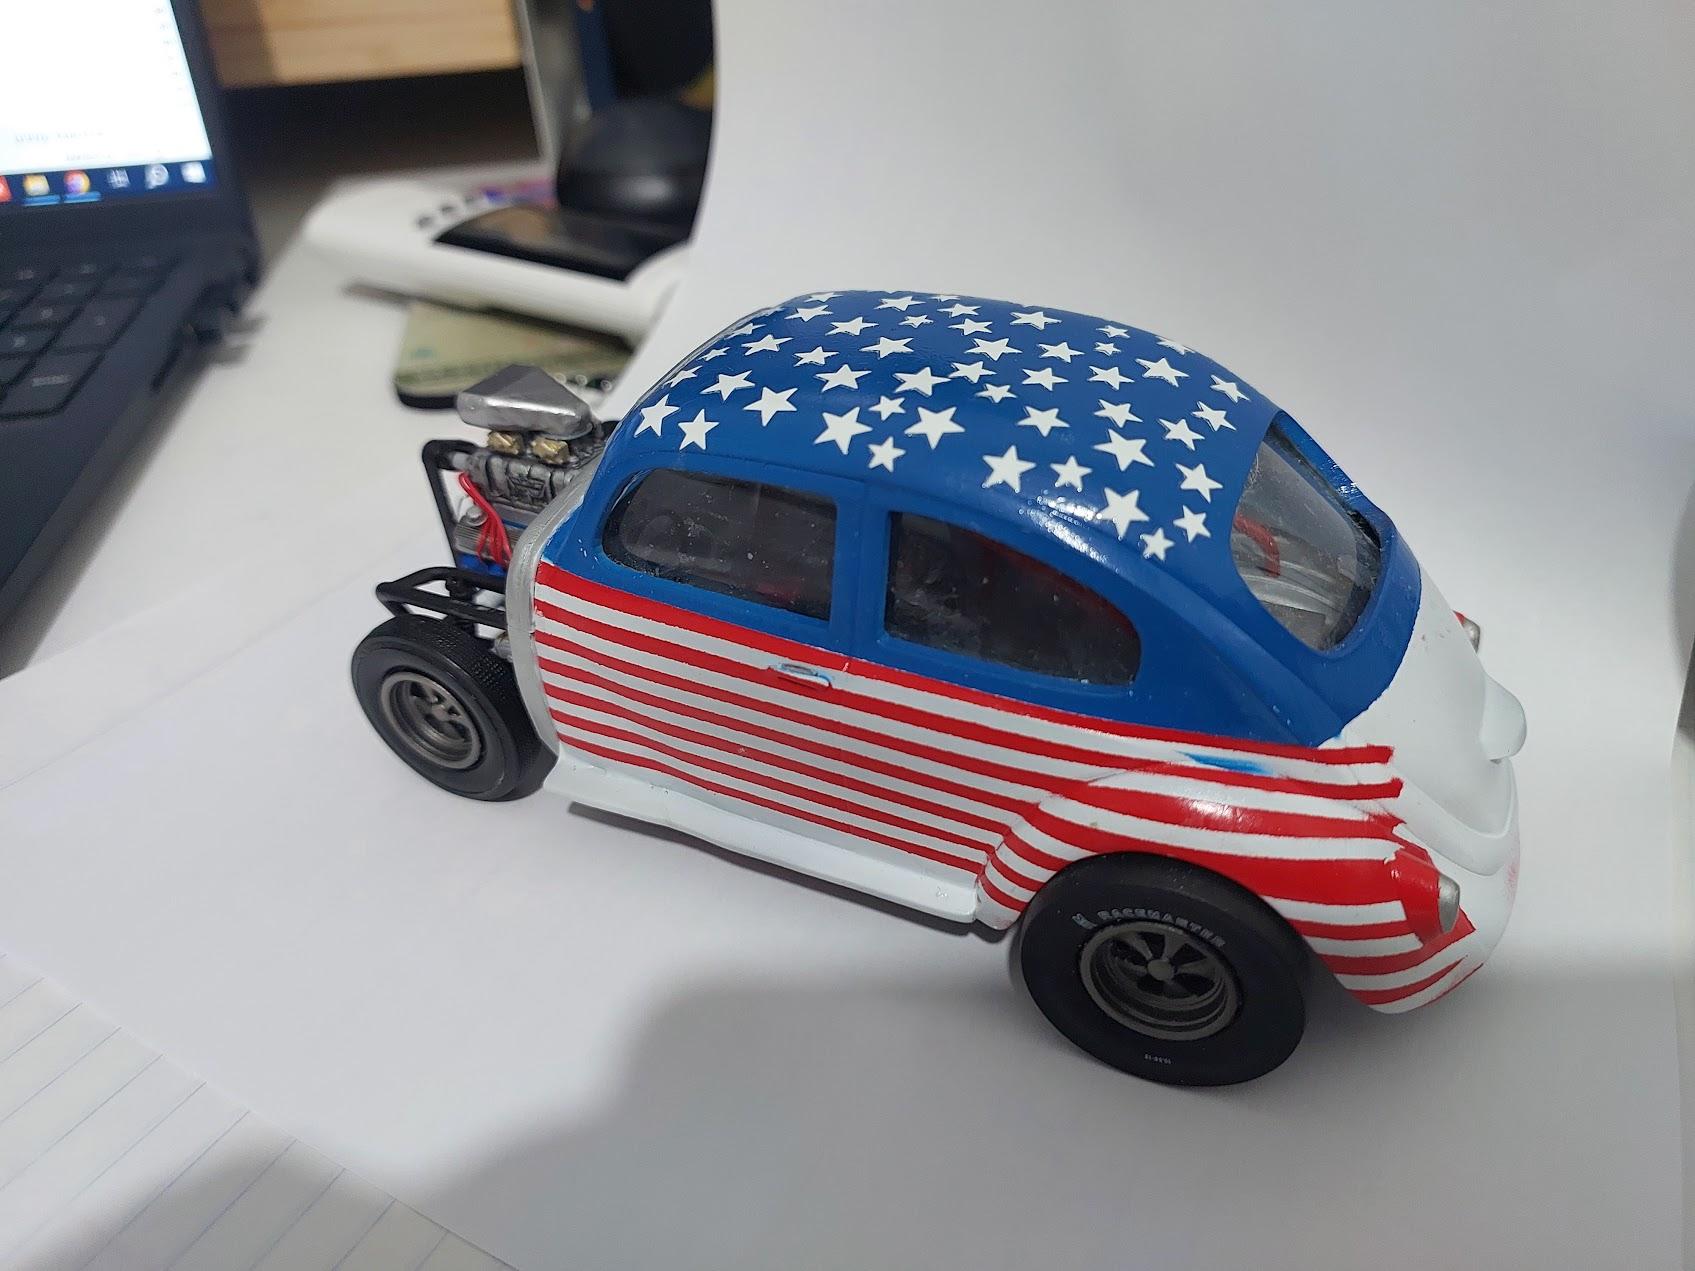
i built this as part of a Facebook group build, the subject of the build was to build something based on the scale speed garage pro mod frame. everything except the wheels and tires is 3d printed, both bought and self designed. not my best work in terms of finish quality, but an interesting subject (i think)
-
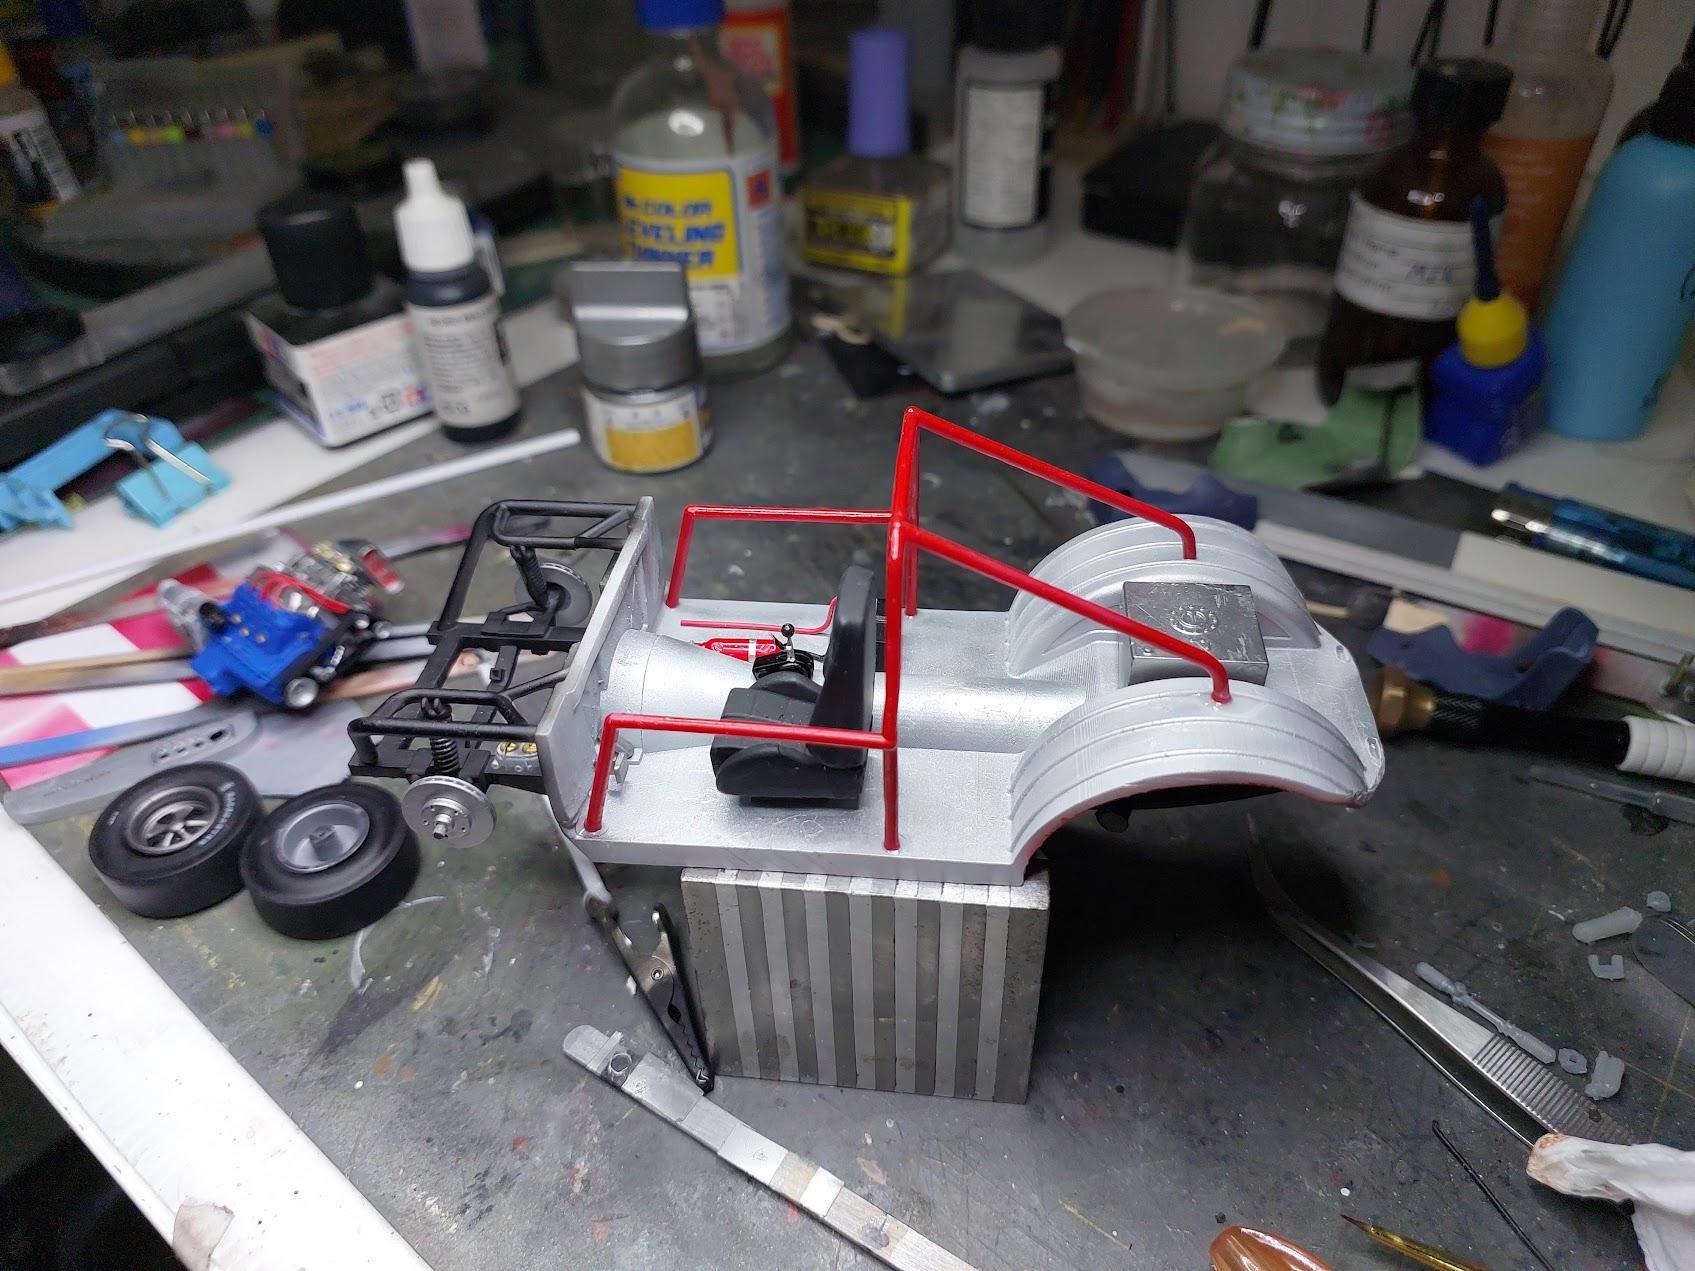
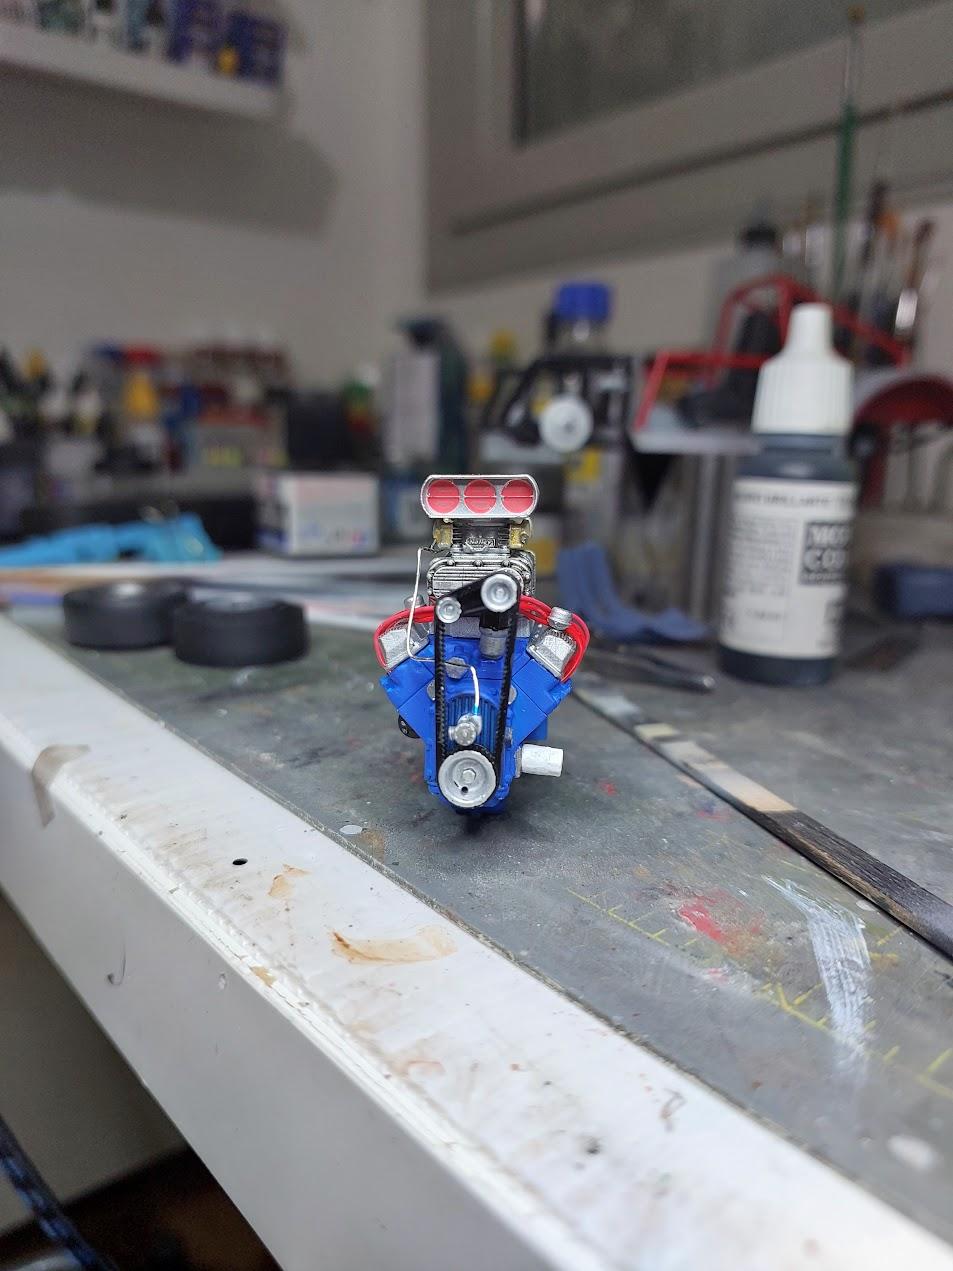
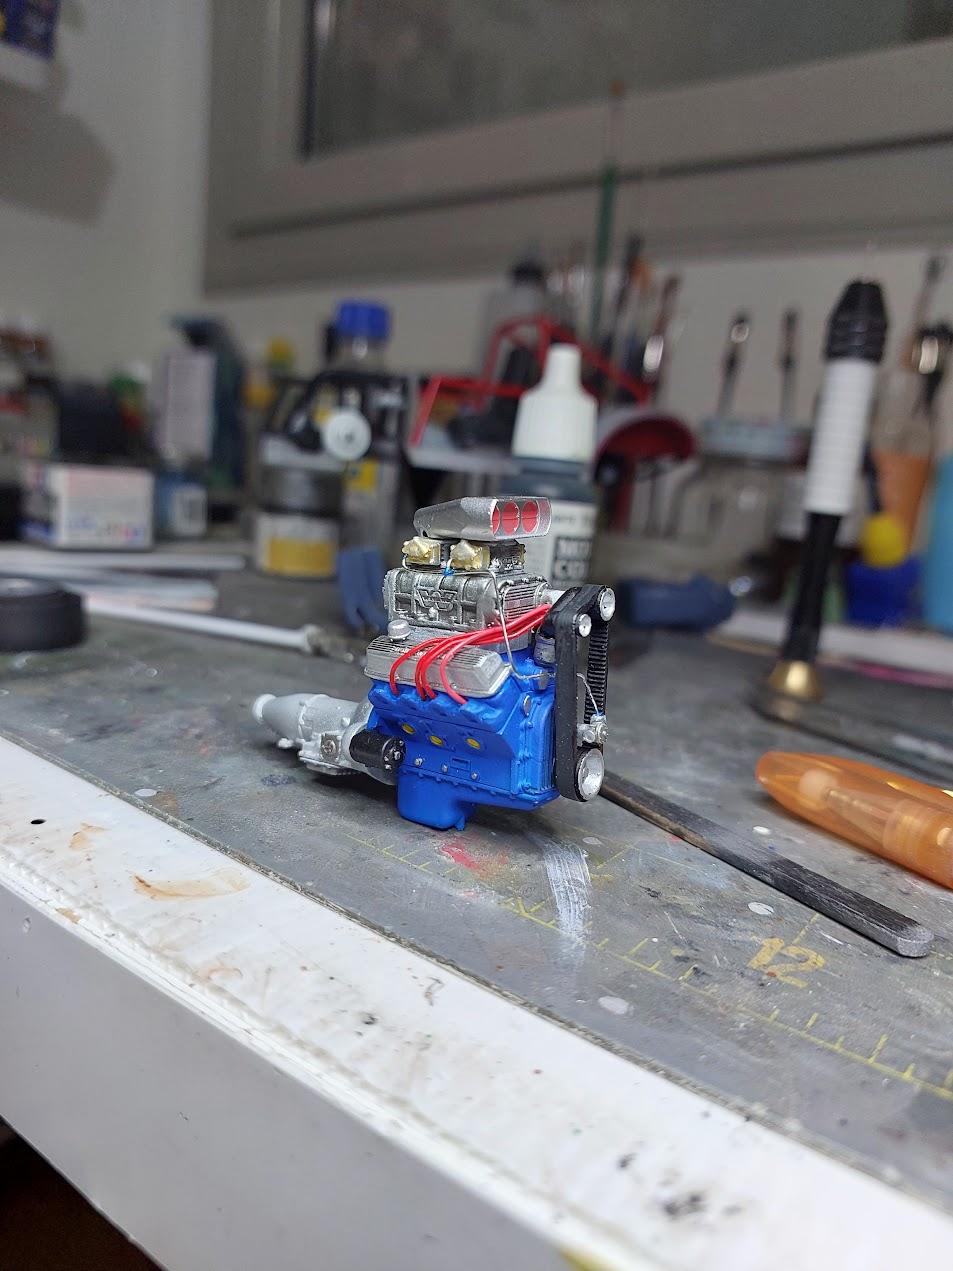
some progress has been made
-
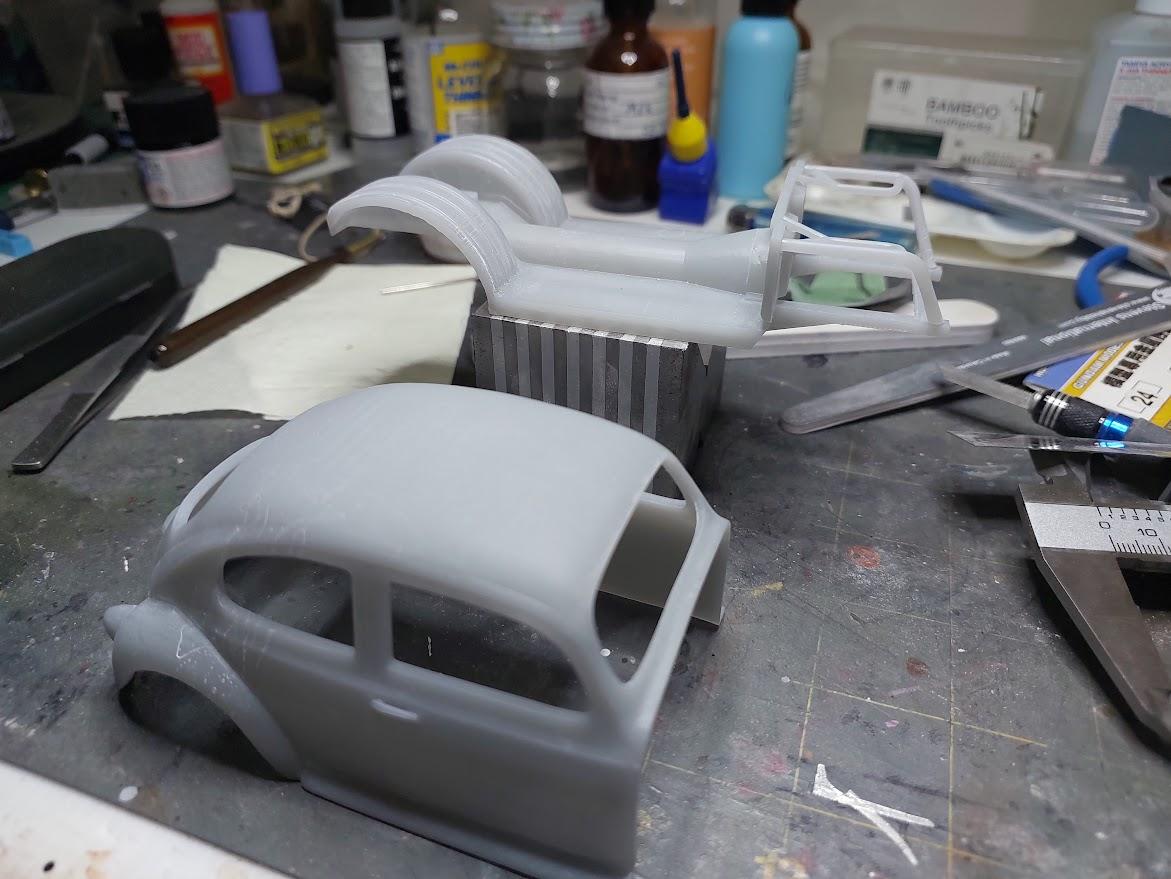
started working on a new idea, it will probably be at leat 90% 3d printed. it's not a new concept im sure. but it new to me. here is the first picture
-
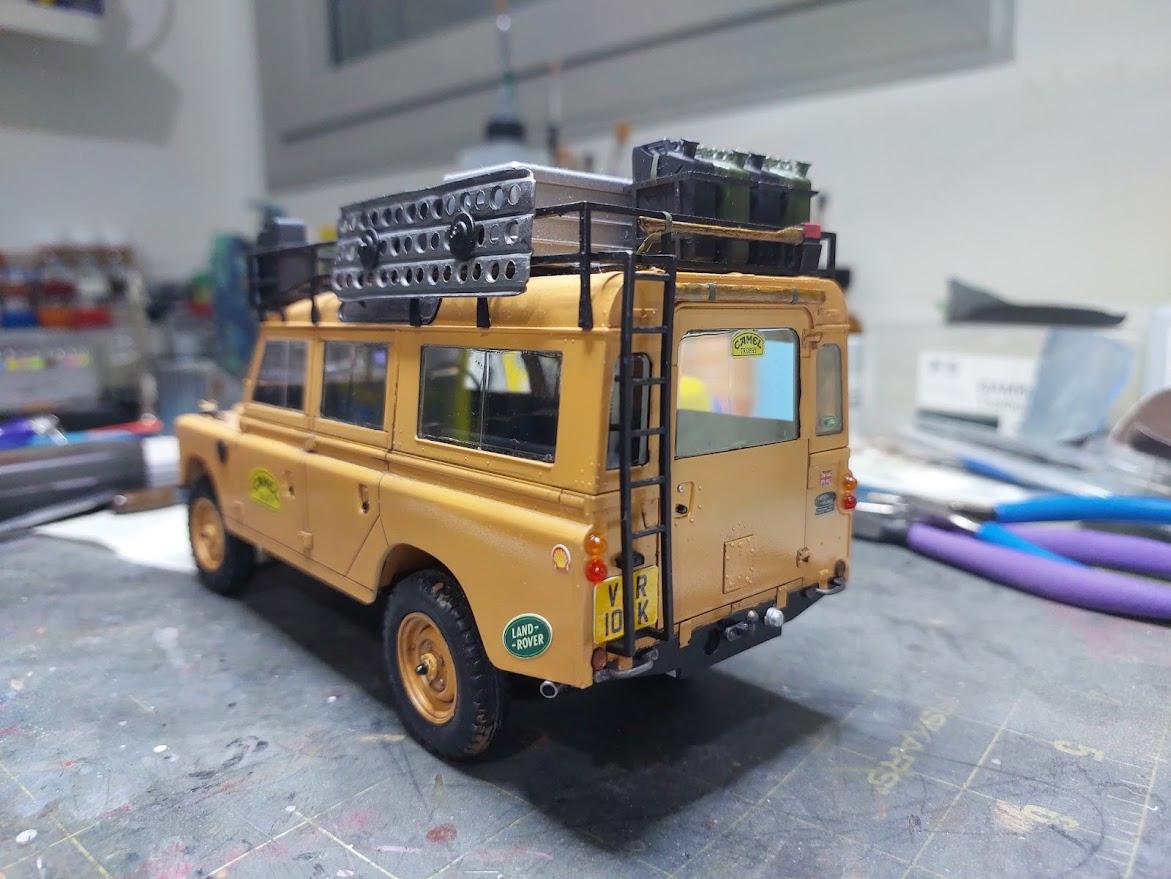
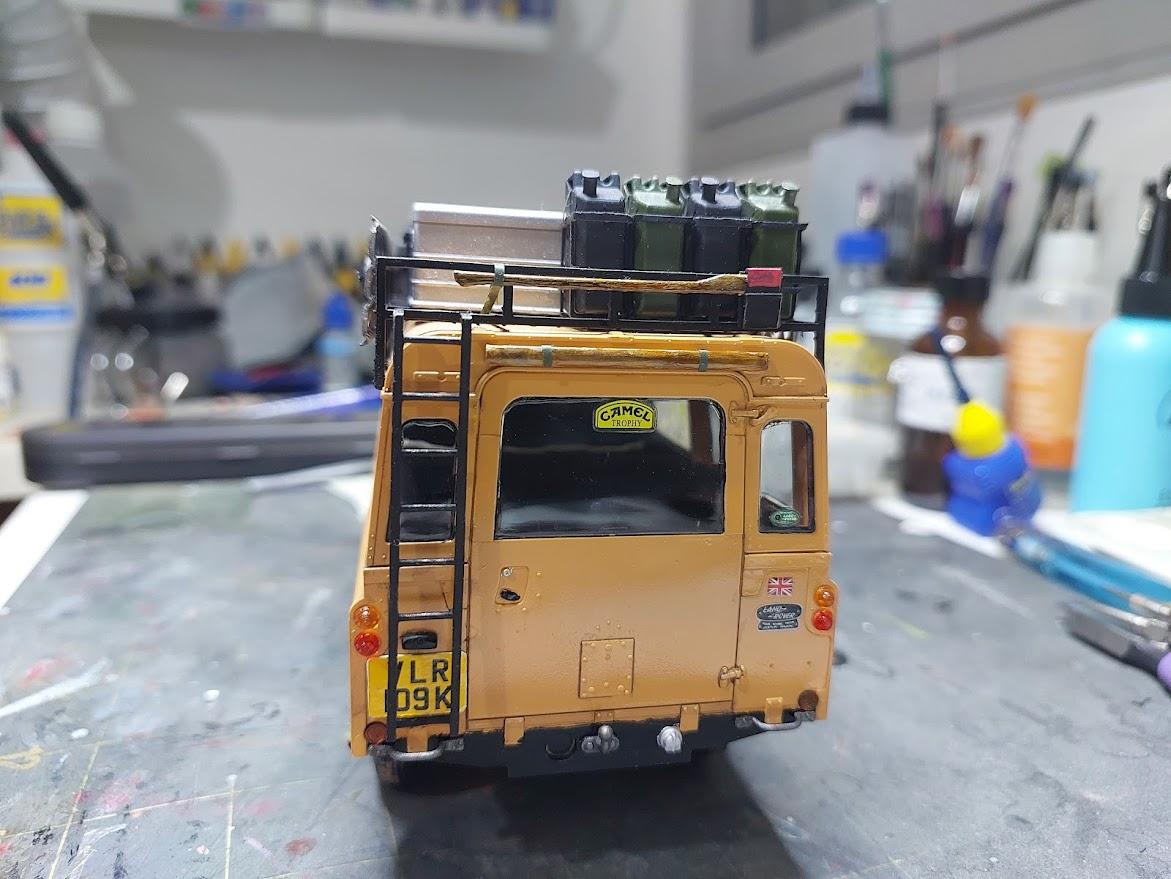
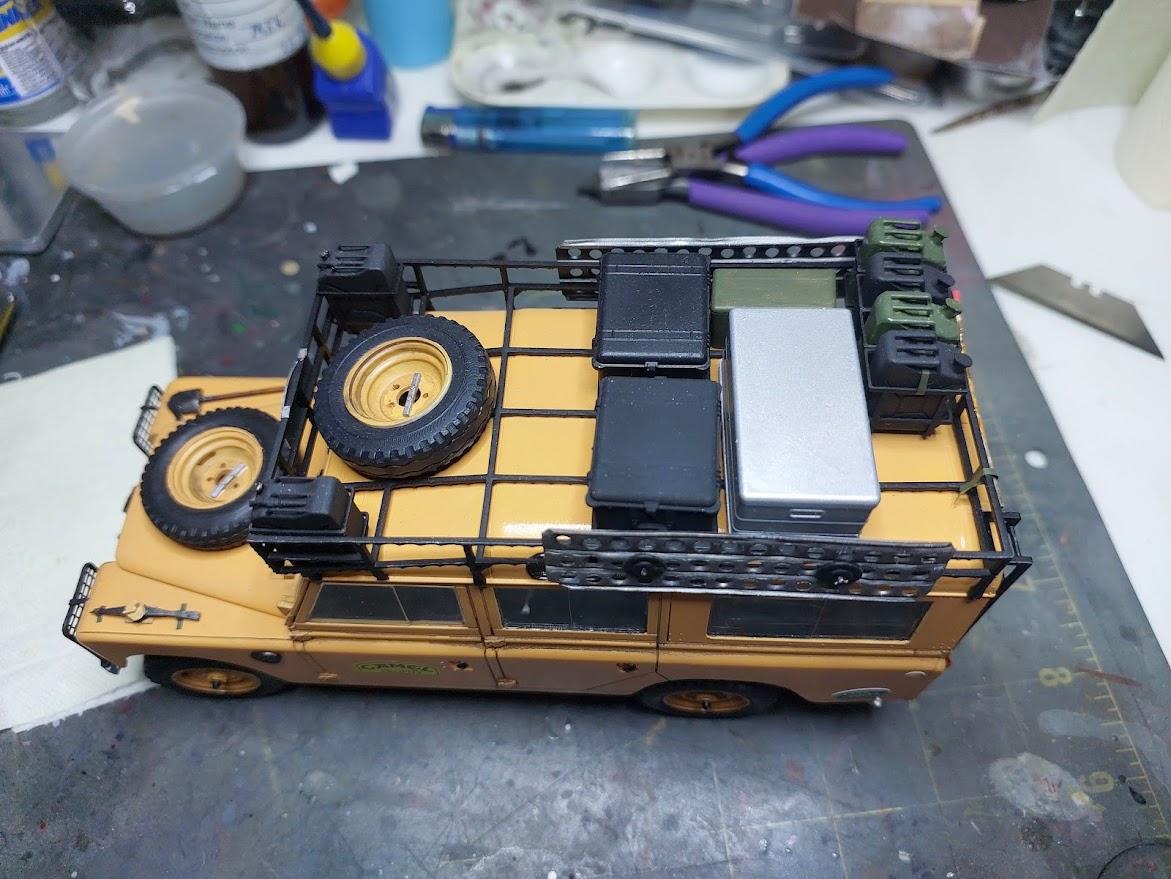
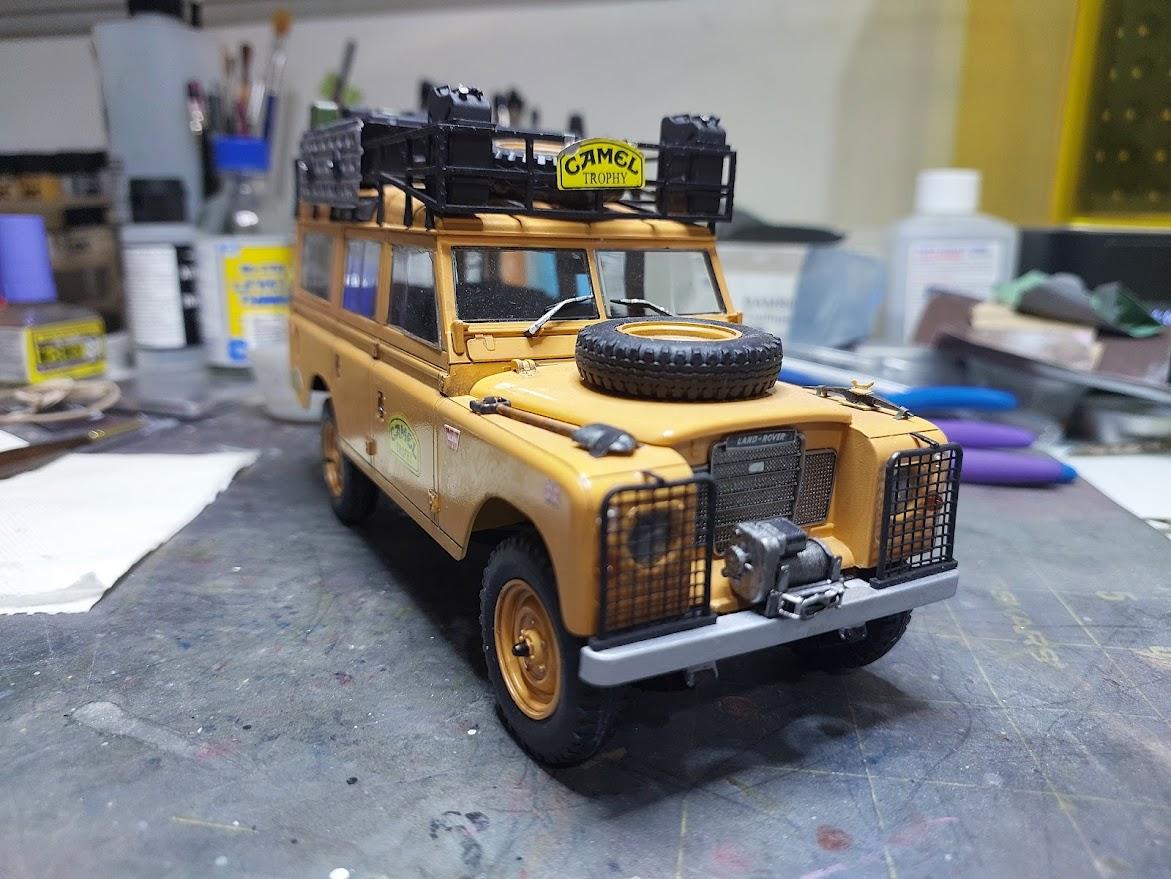
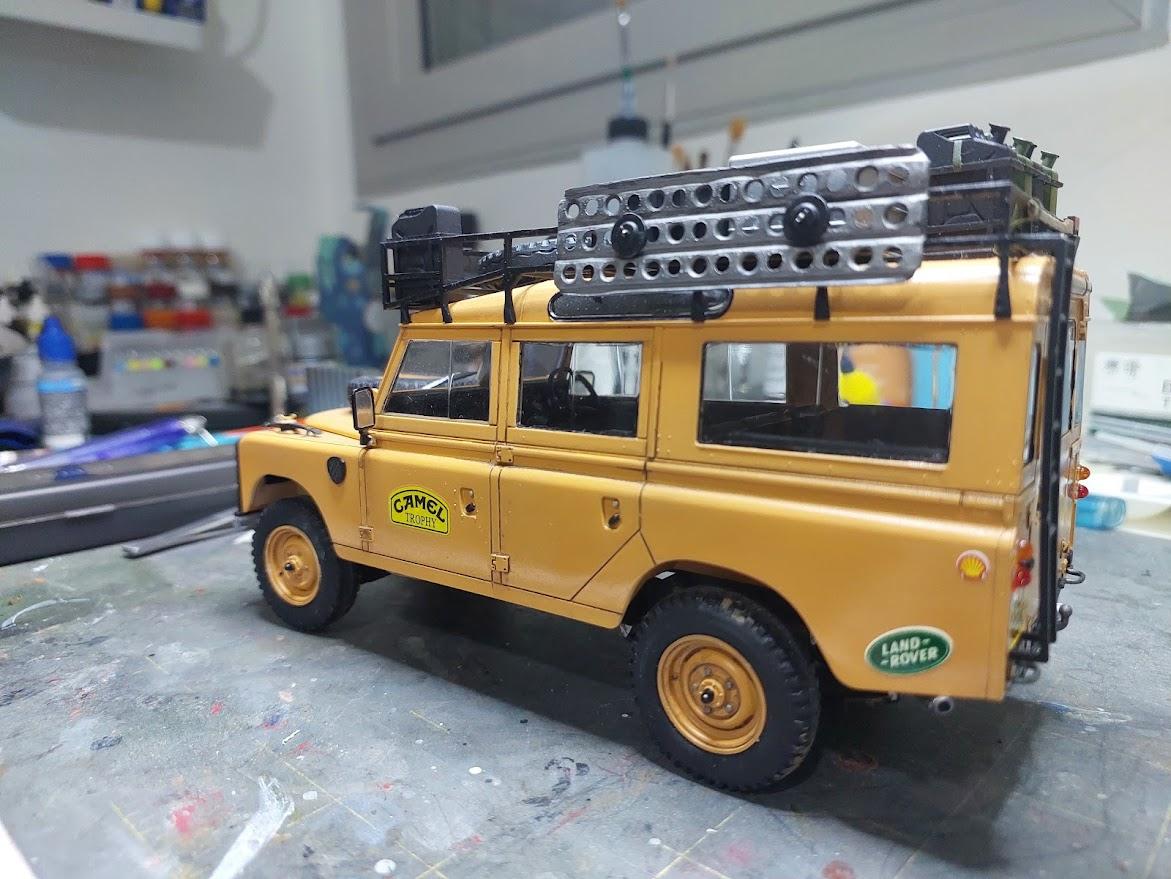
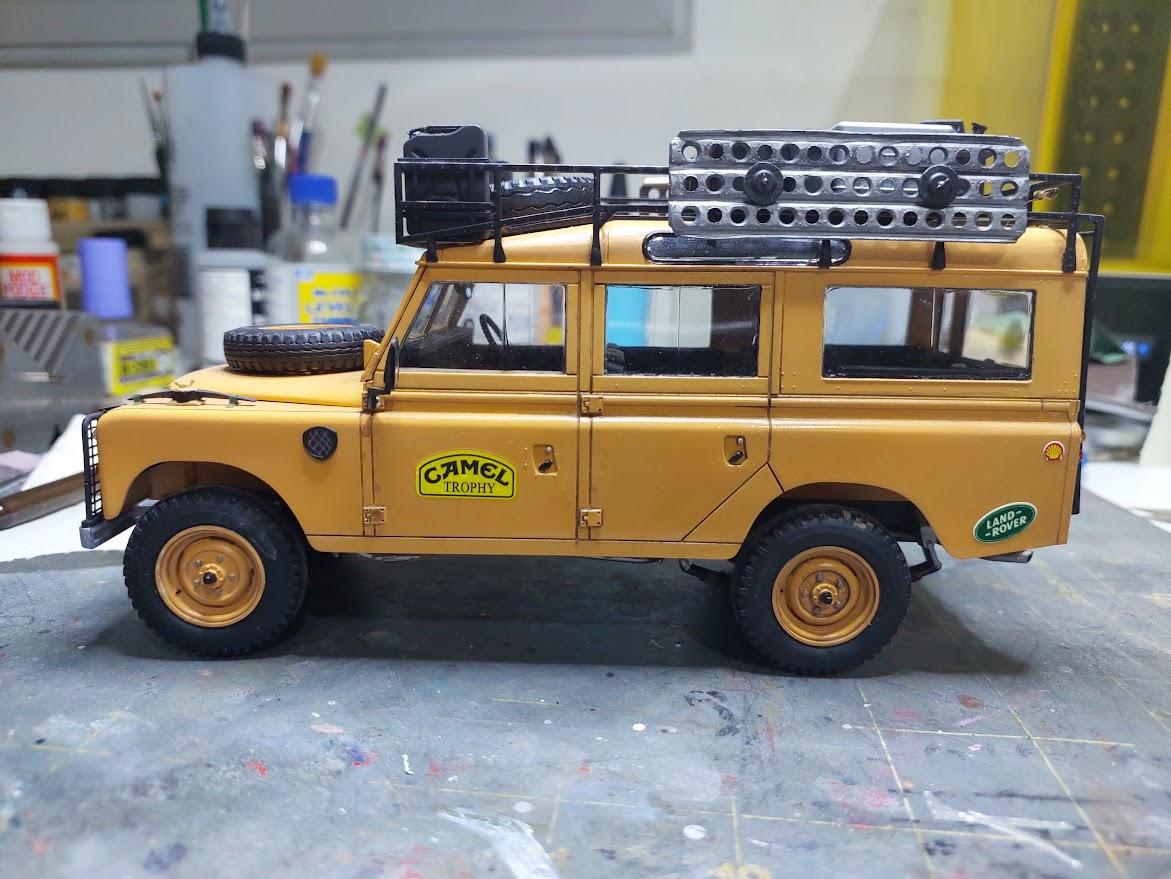
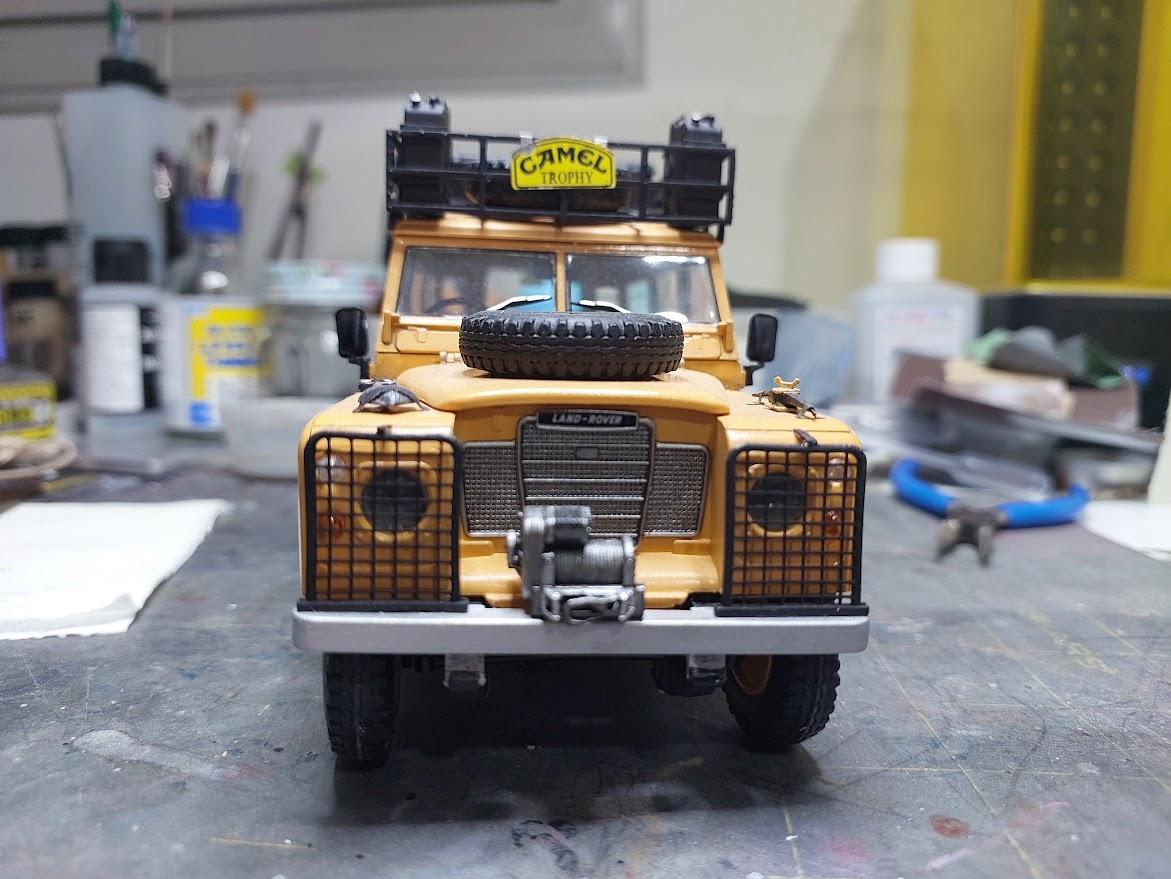
https://en.wikipedia.org/wiki/Camel_Trophy
-
been working on this one for a while, all the gear and equipment is 3D printed, at first a was going to add heavy dirt and mud but at the last minute decided to leave it cleaner - just a personal preference. it's "semi fictional" because the series II 109 were never in the camel trophy (well maybe as support vehicles) Some of the pictures were taken before i remembered to attach the mirrors.
- 10 replies
-
- 13
-
-
posted in under glass
-
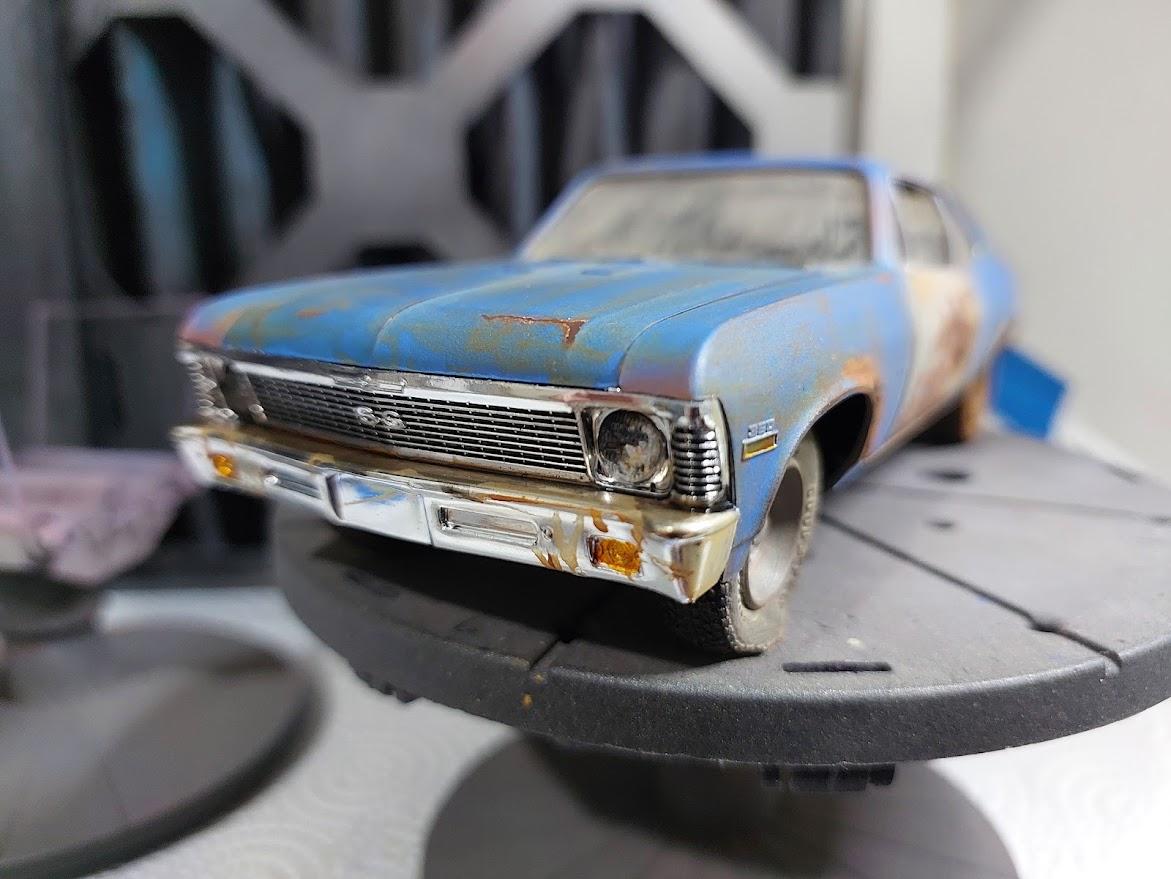
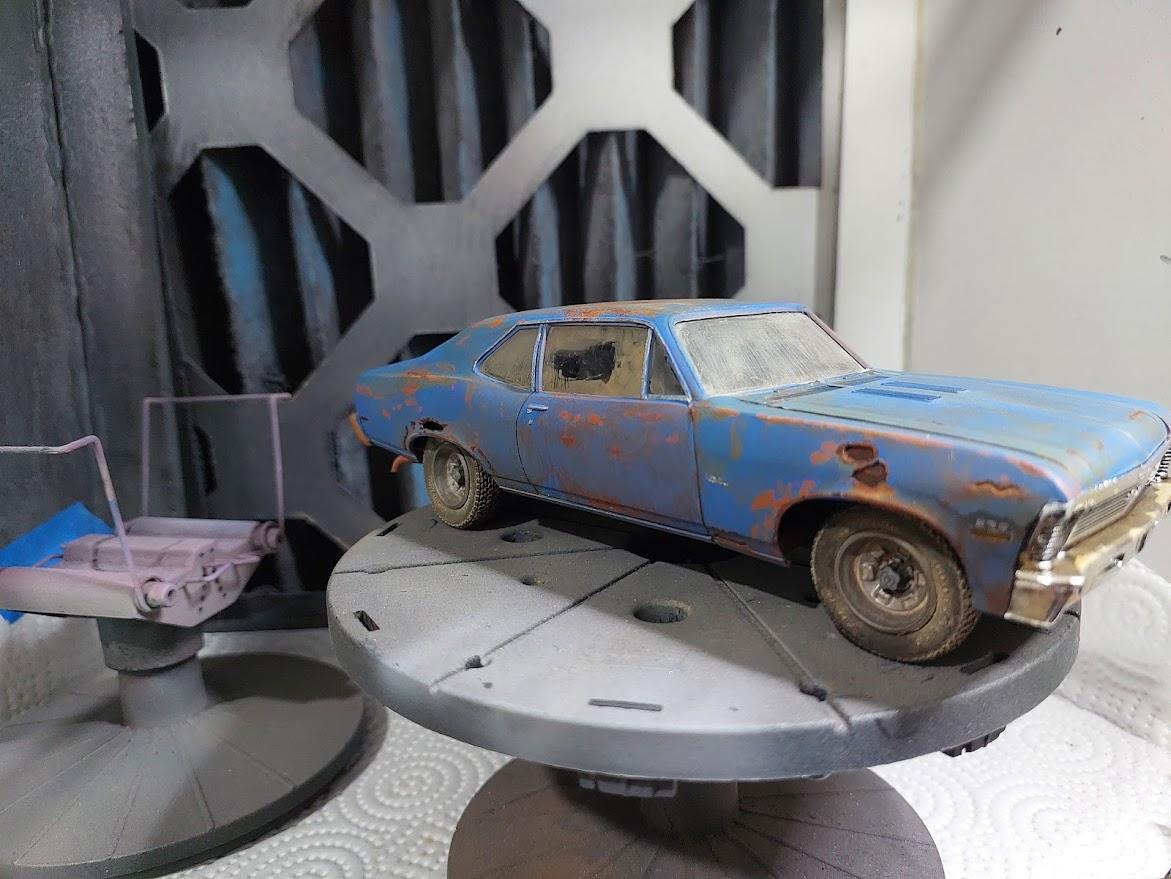
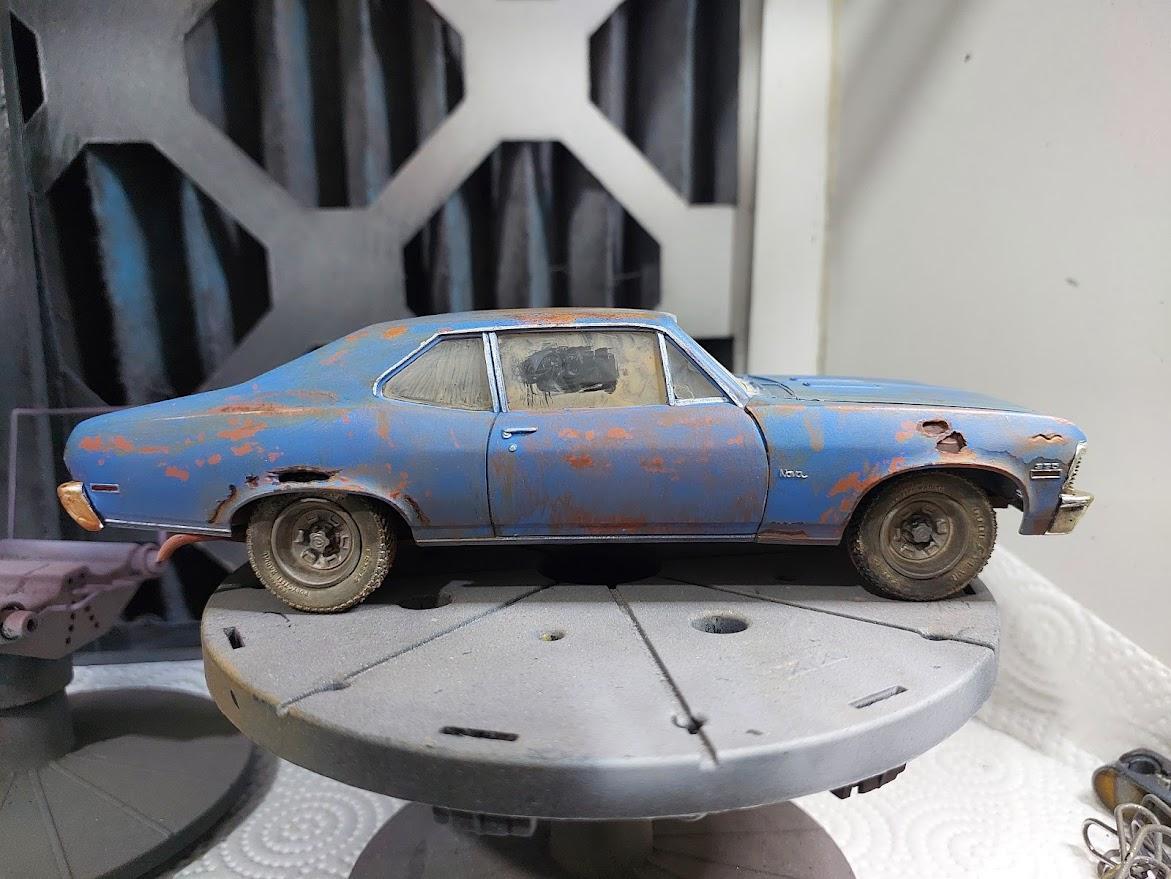
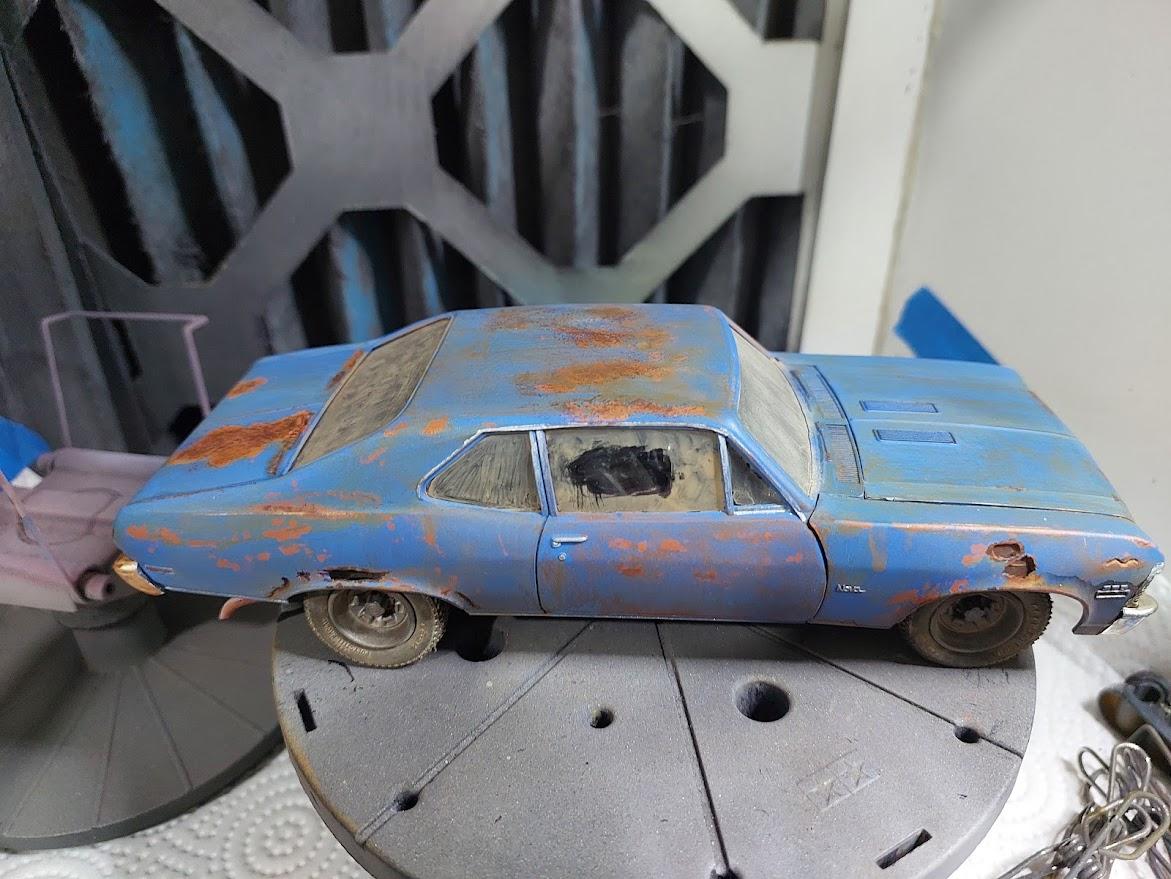
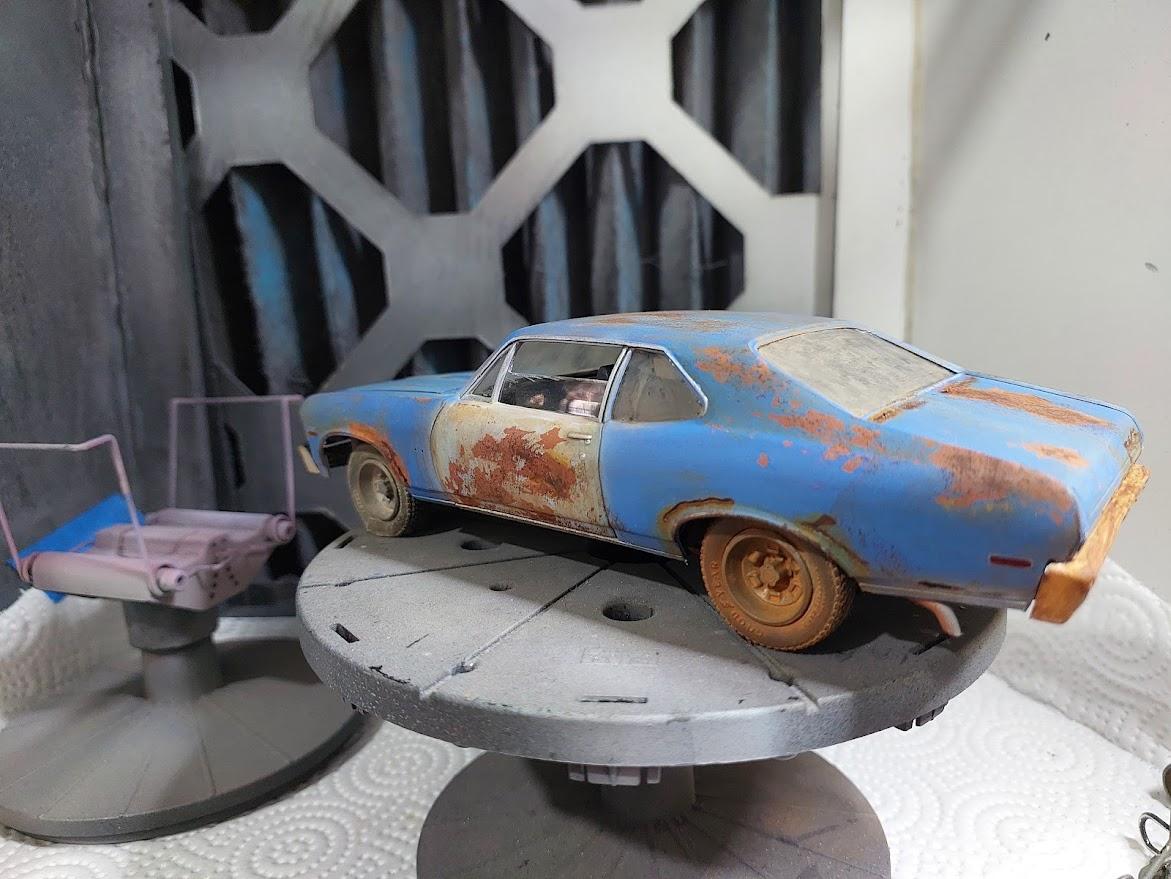
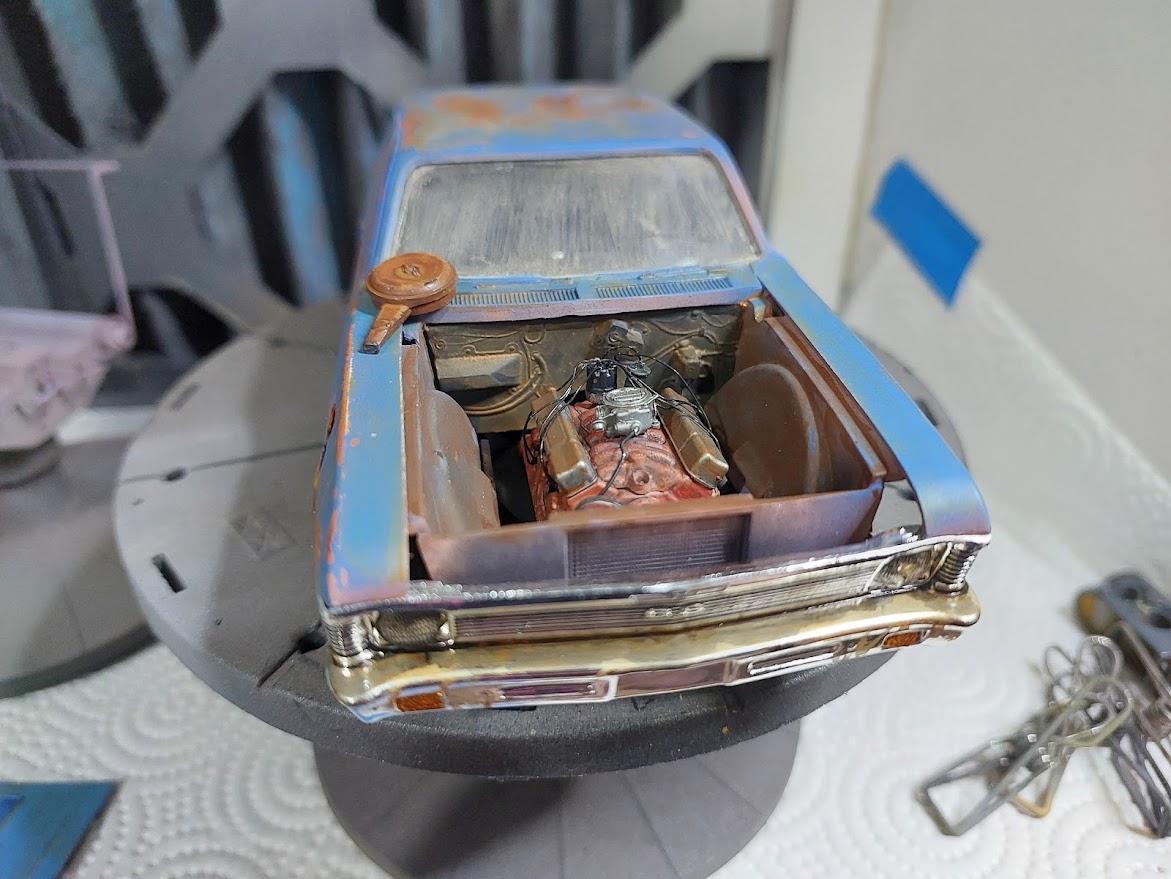
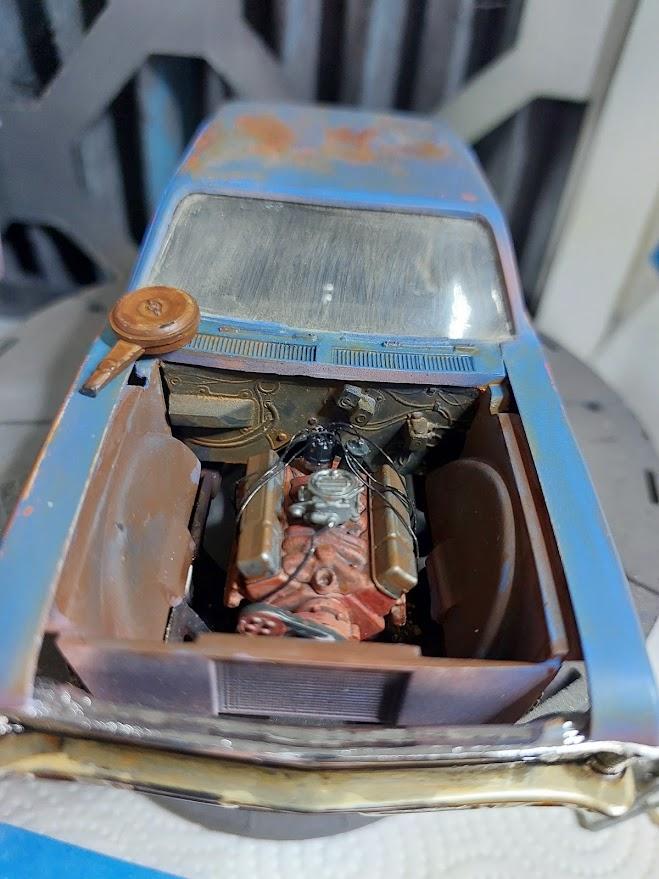
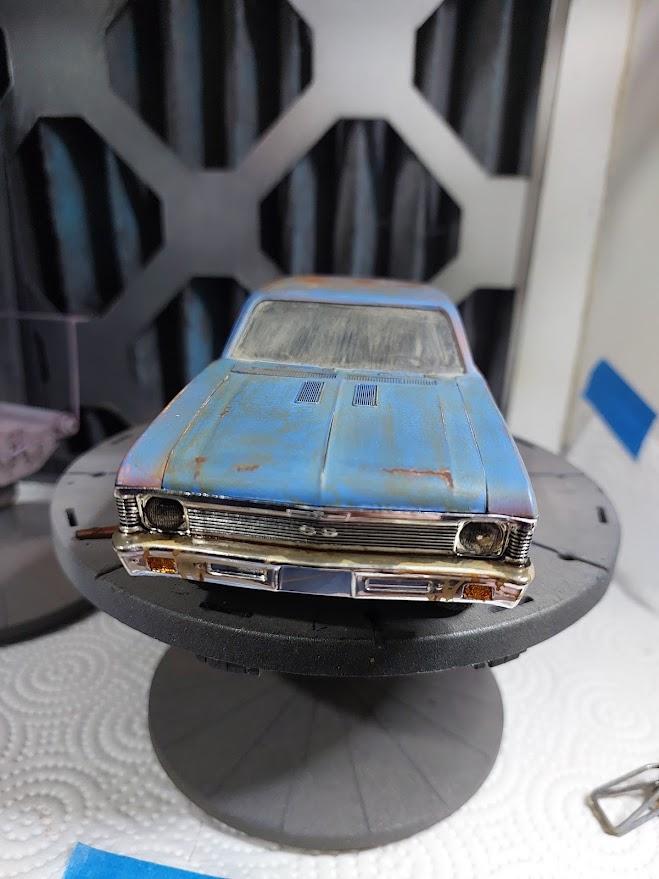
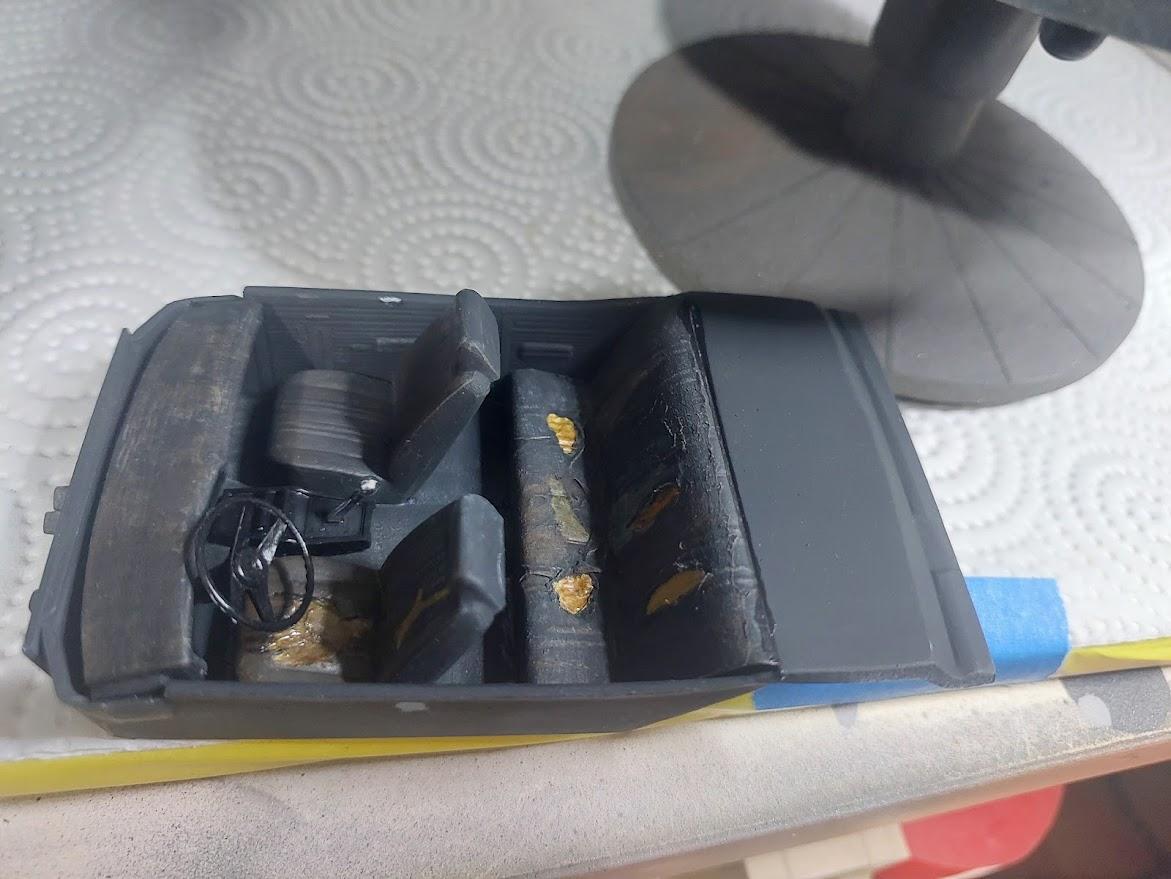
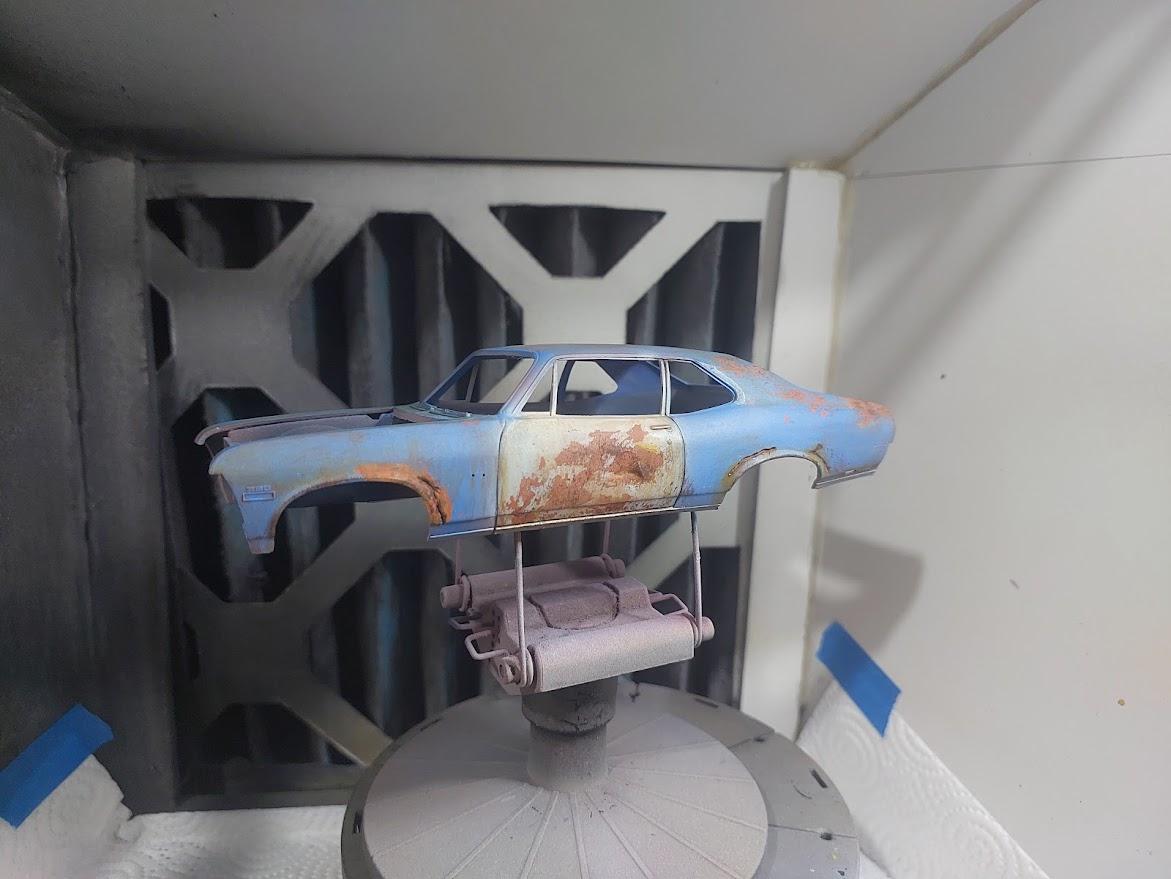
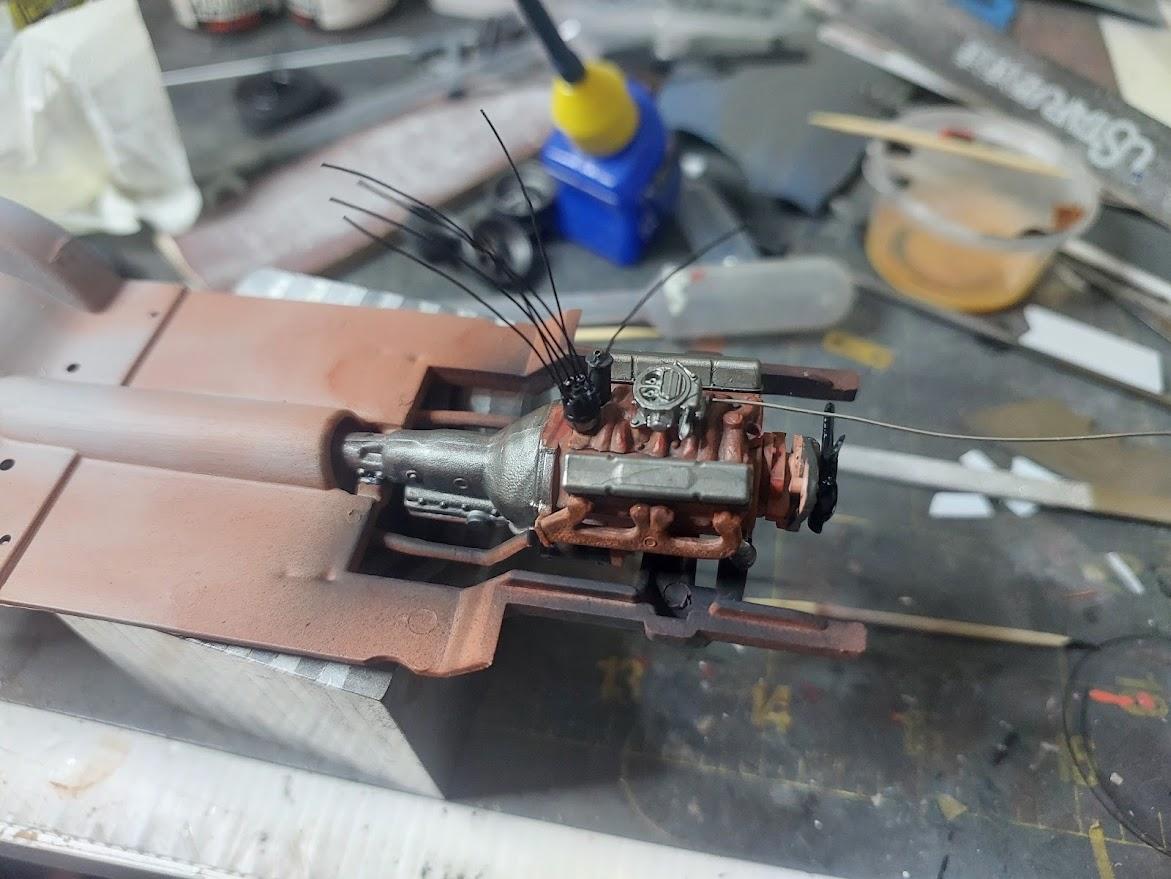
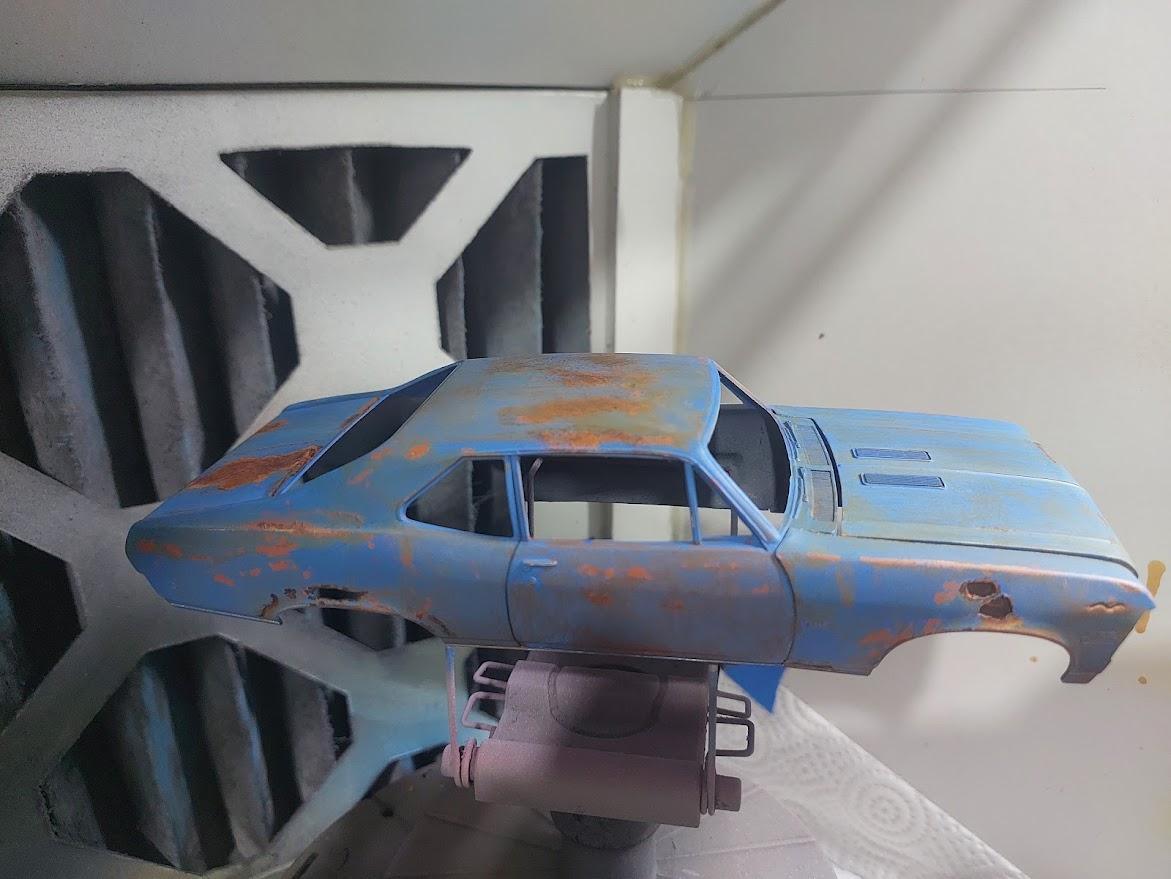
This is the the AMT "Old Pro" Nova, done this time stock, rusted and neglected, since the interior is not very visible, i included one picture from the build before it was installed, hope you like it
- 24 replies
-
- 14
-
-
Working on a new project, this is the AMT "Old pro" nova kit. being a rather poor kit with many known issues, i decided to try and make it into an old and rusty vehicle used some chipping and other weathering techniques I'm trying to build a car that has been neglected and is slowly rusting away.
-
AMT 51 Chevy Bel Air - build start and a question
eran_k replied to eran_k's topic in WIP: Model Cars
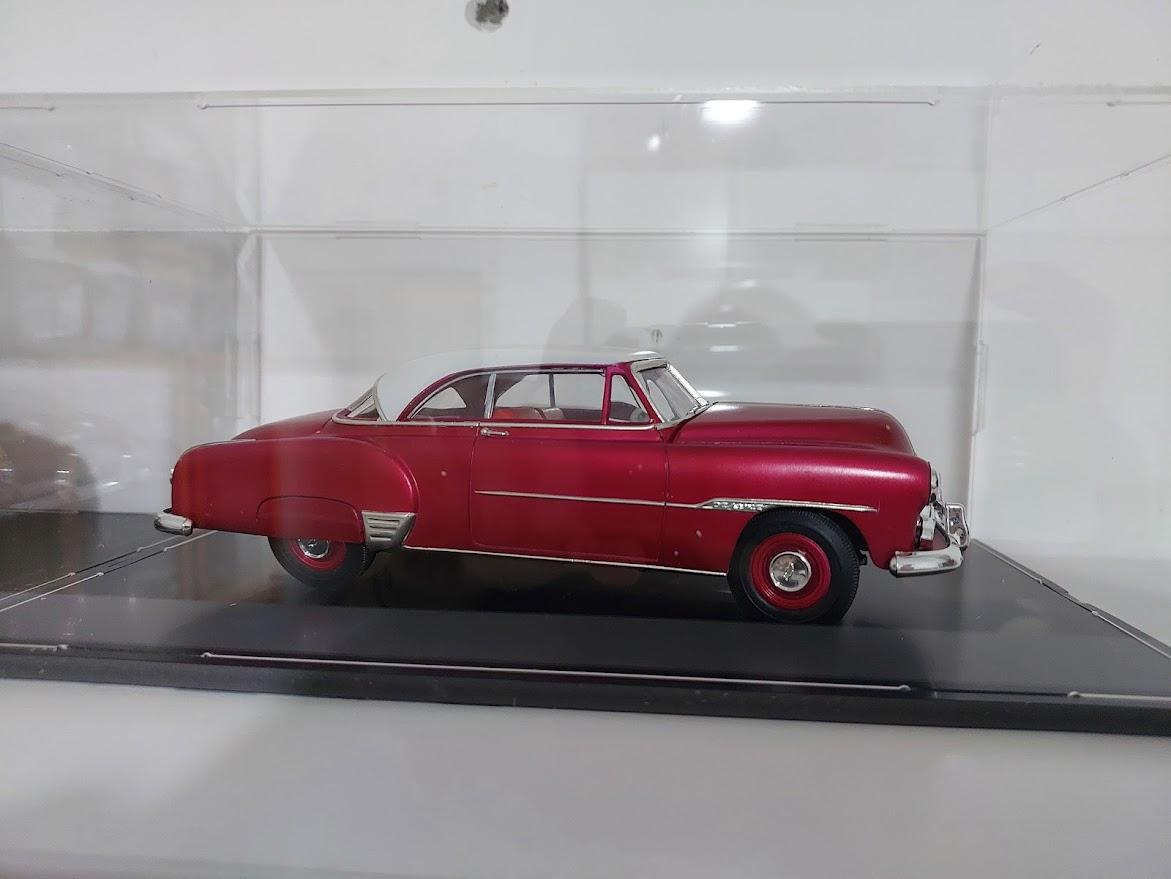
calling this one done.
-
AMT 51 Chevy Bel Air - build start and a question
eran_k replied to eran_k's topic in WIP: Model Cars
i broke the fear barrier and used BMF for the first time, not perfect but I'm quit pleased with the results
-
AMT 51 Chevy Bel Air - build start and a question
eran_k replied to eran_k's topic in WIP: Model Cars
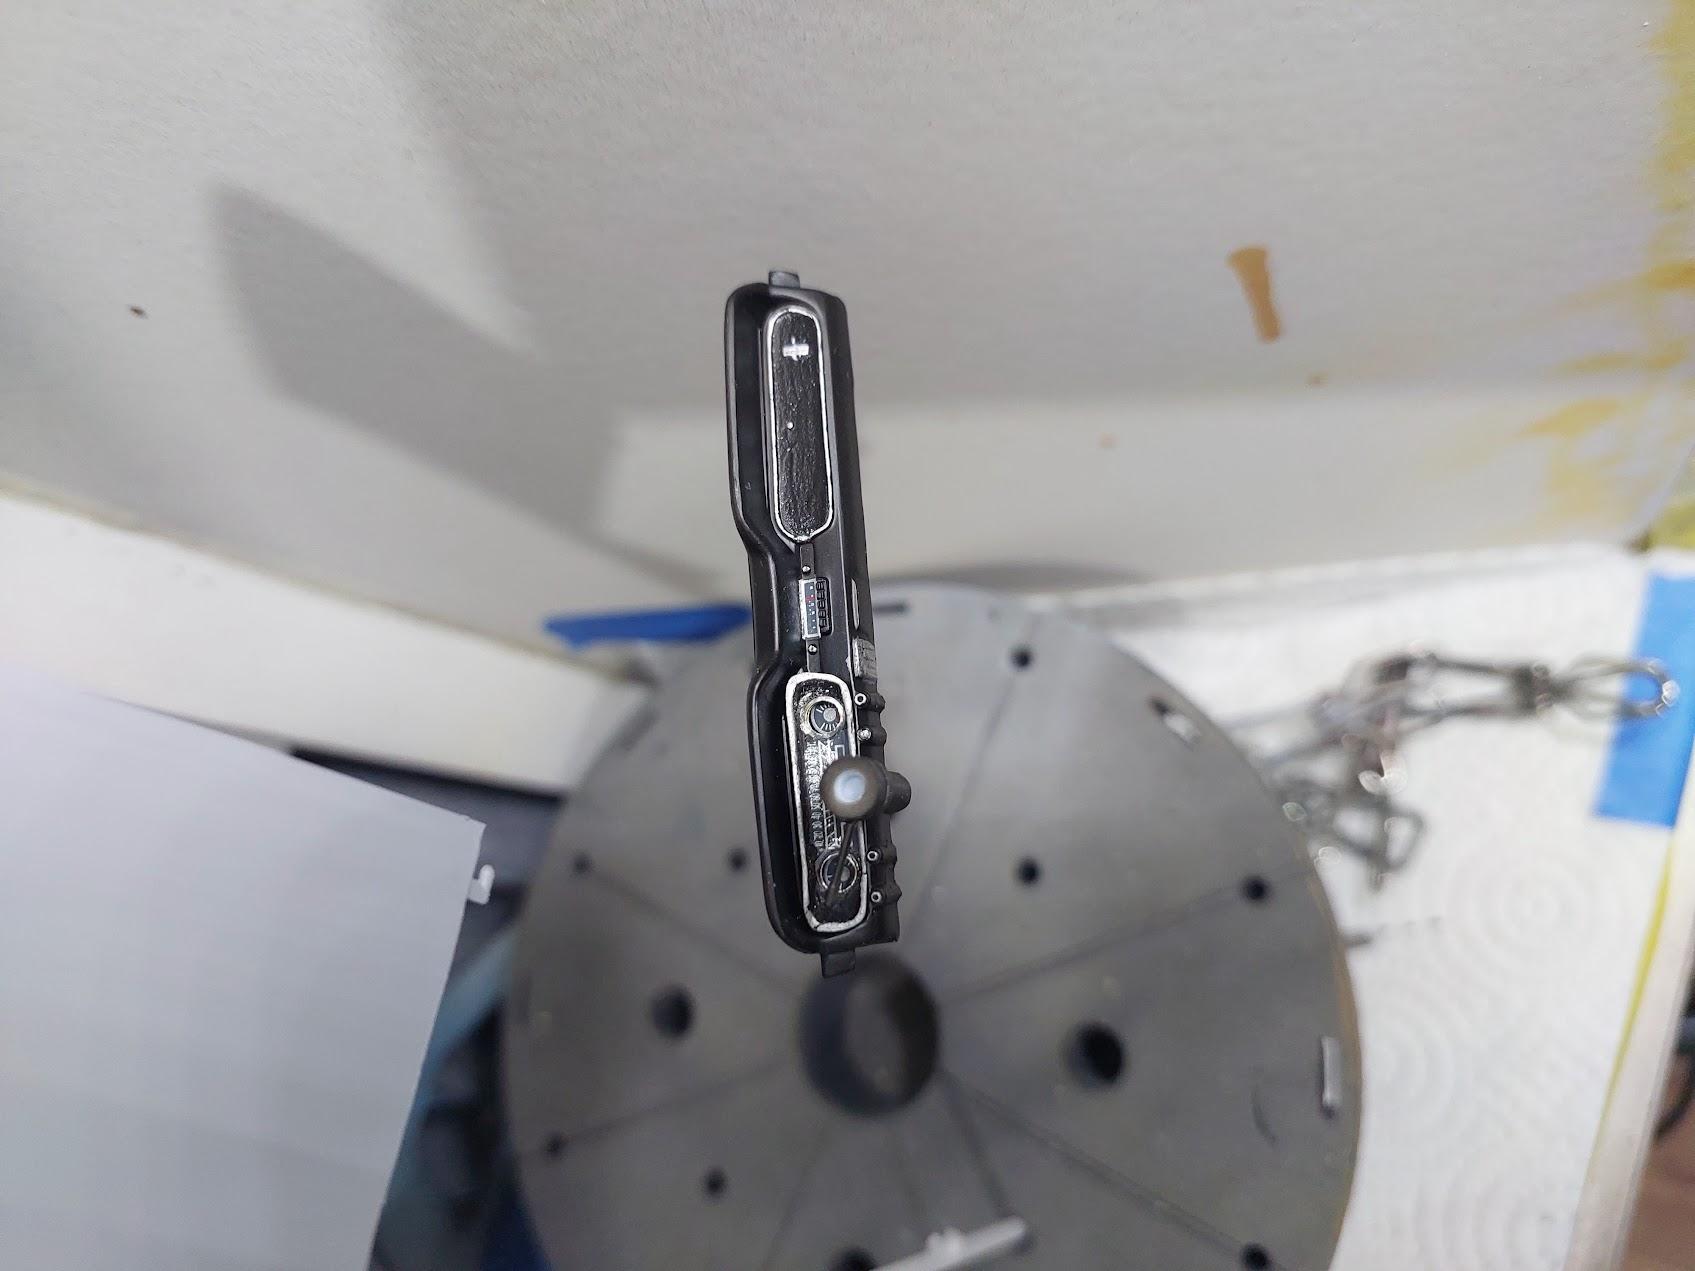
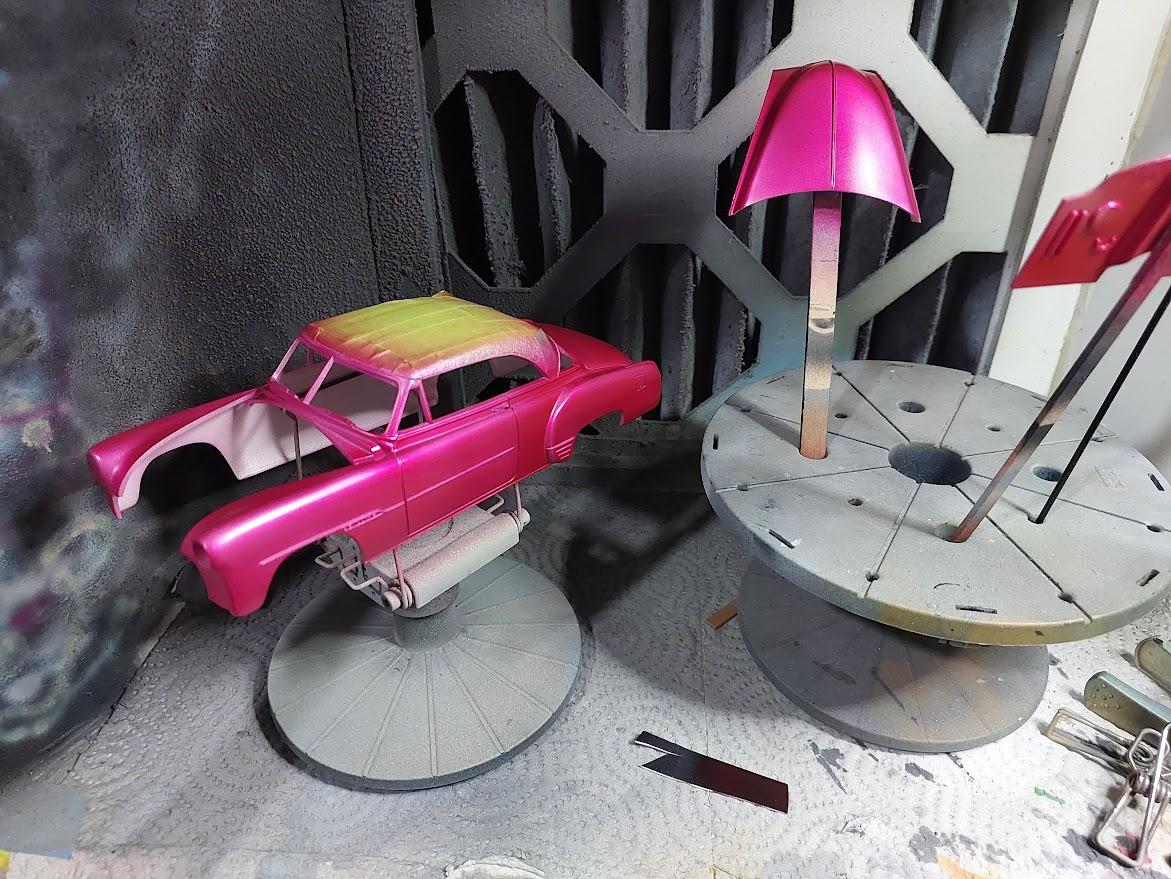
Well that's as far as I'm going with paint, this is like 5 or 6 layers of wine red over the gold. now it will get to cure for couple of days and I'll try some foiling for the first time ever...will see how that goes.
-
AMT 51 Chevy Bel Air - build start and a question
eran_k replied to eran_k's topic in WIP: Model Cars
trying to get to the color i wanted, i sprayed the body with pale gold, following several thin coats of wine red. i'll keep going and hopefully it will be ok. over the gold it looks like candy paint. this is after 2 or 3 coats