CA Whitecloud
-
Posts
360 -
Joined
-
Last visited
Content Type
Profiles
Forums
Events
Gallery
Everything posted by CA Whitecloud
-
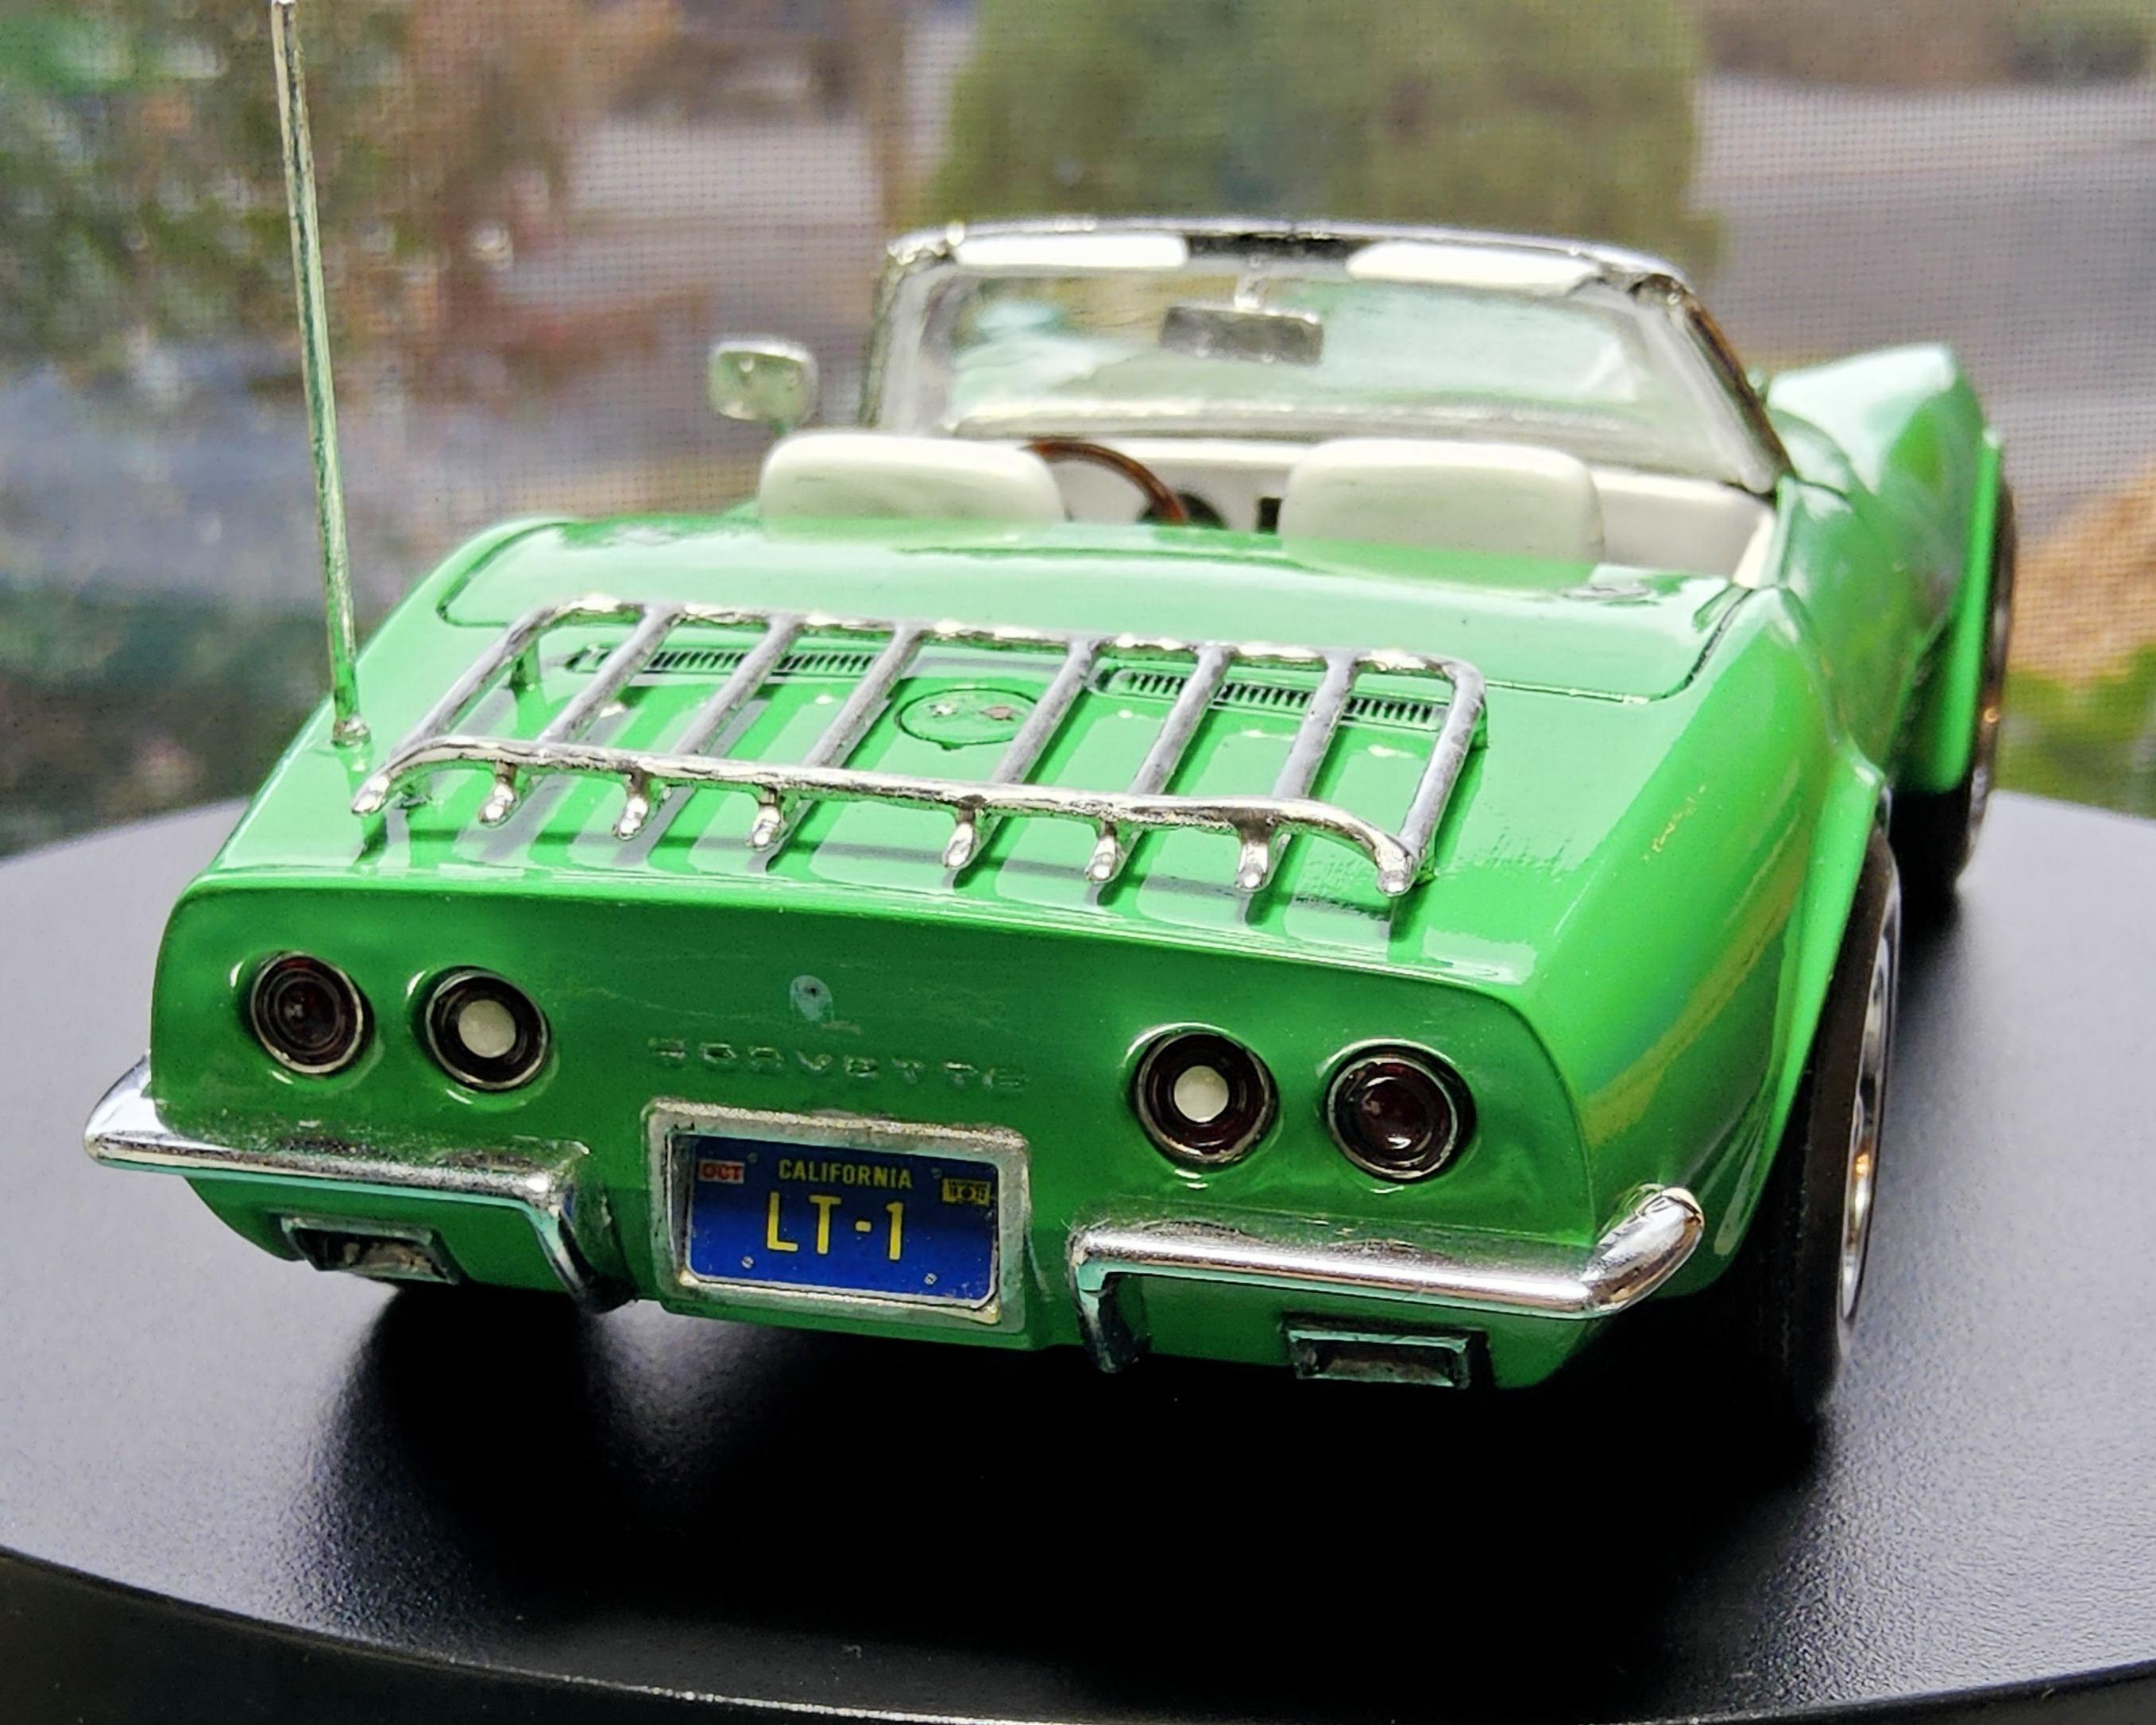
Thanks Stuart. This hobby, and many others I imagine, have a fine line between "No one will ever see it" and "But, I'll know it's there". Sometimes it is hard to commit to the detail when I know no one WILL ever see this or any of my builds. I like looking at them though, so all is good.
-
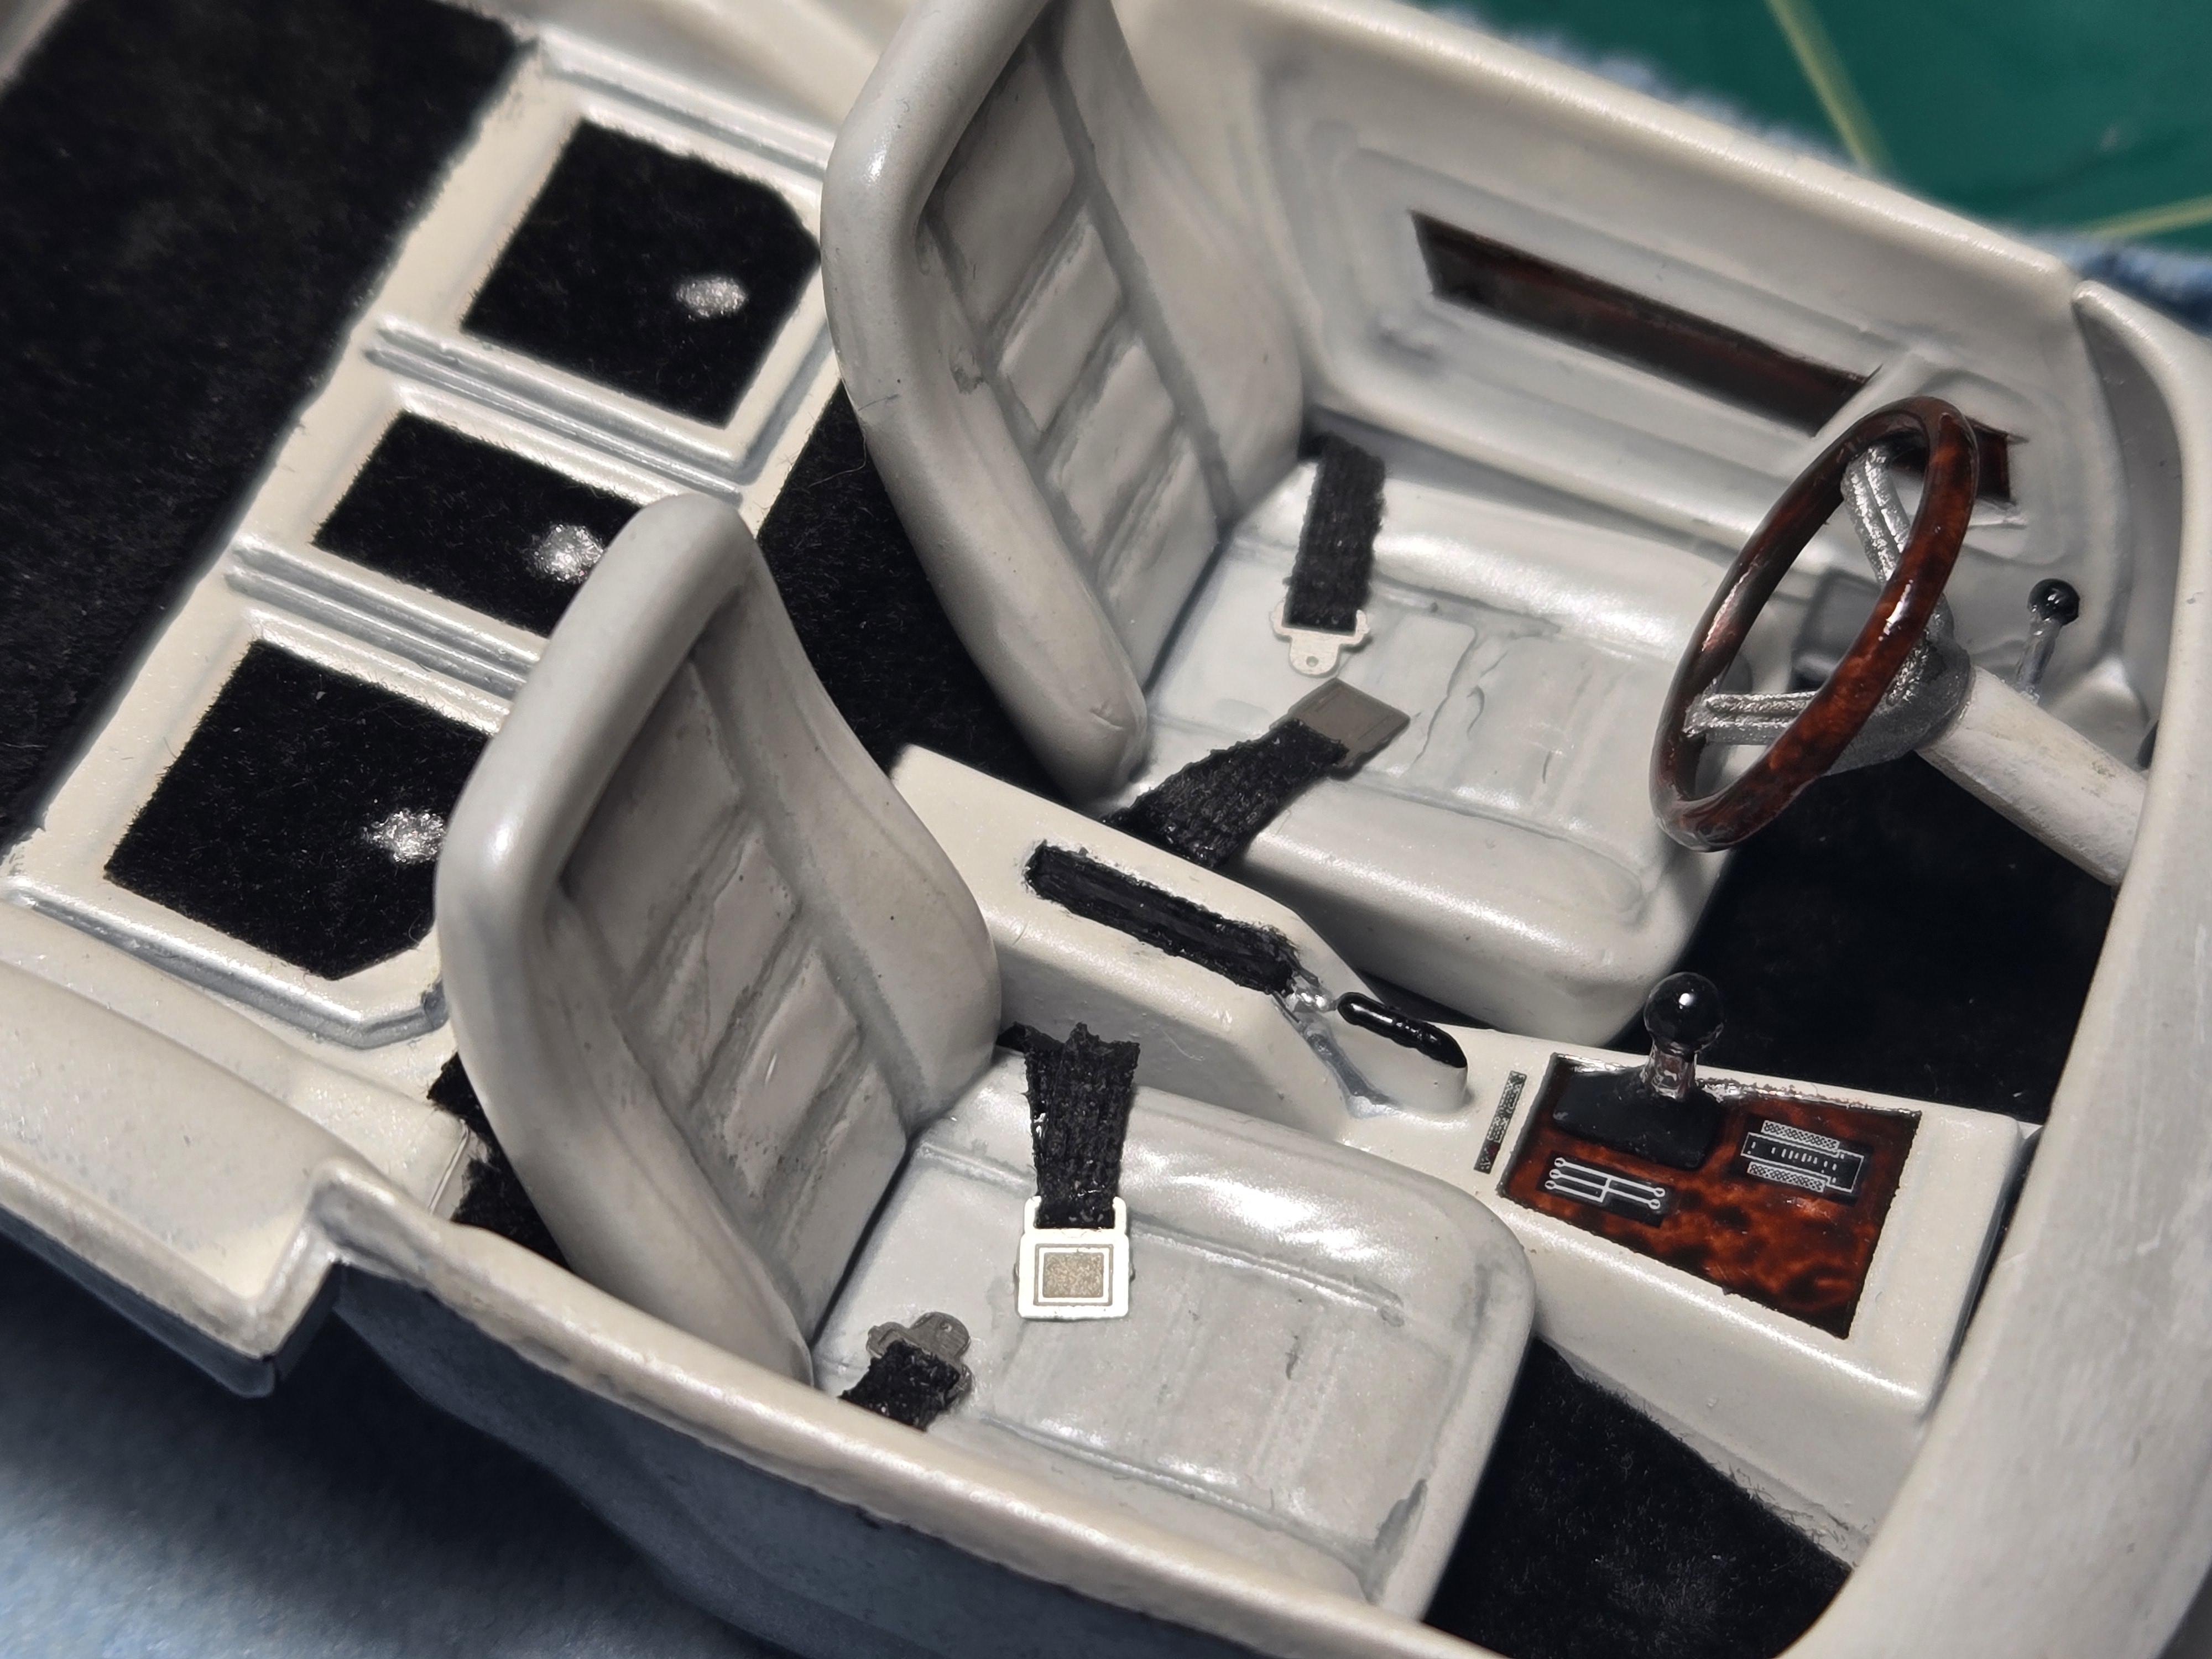
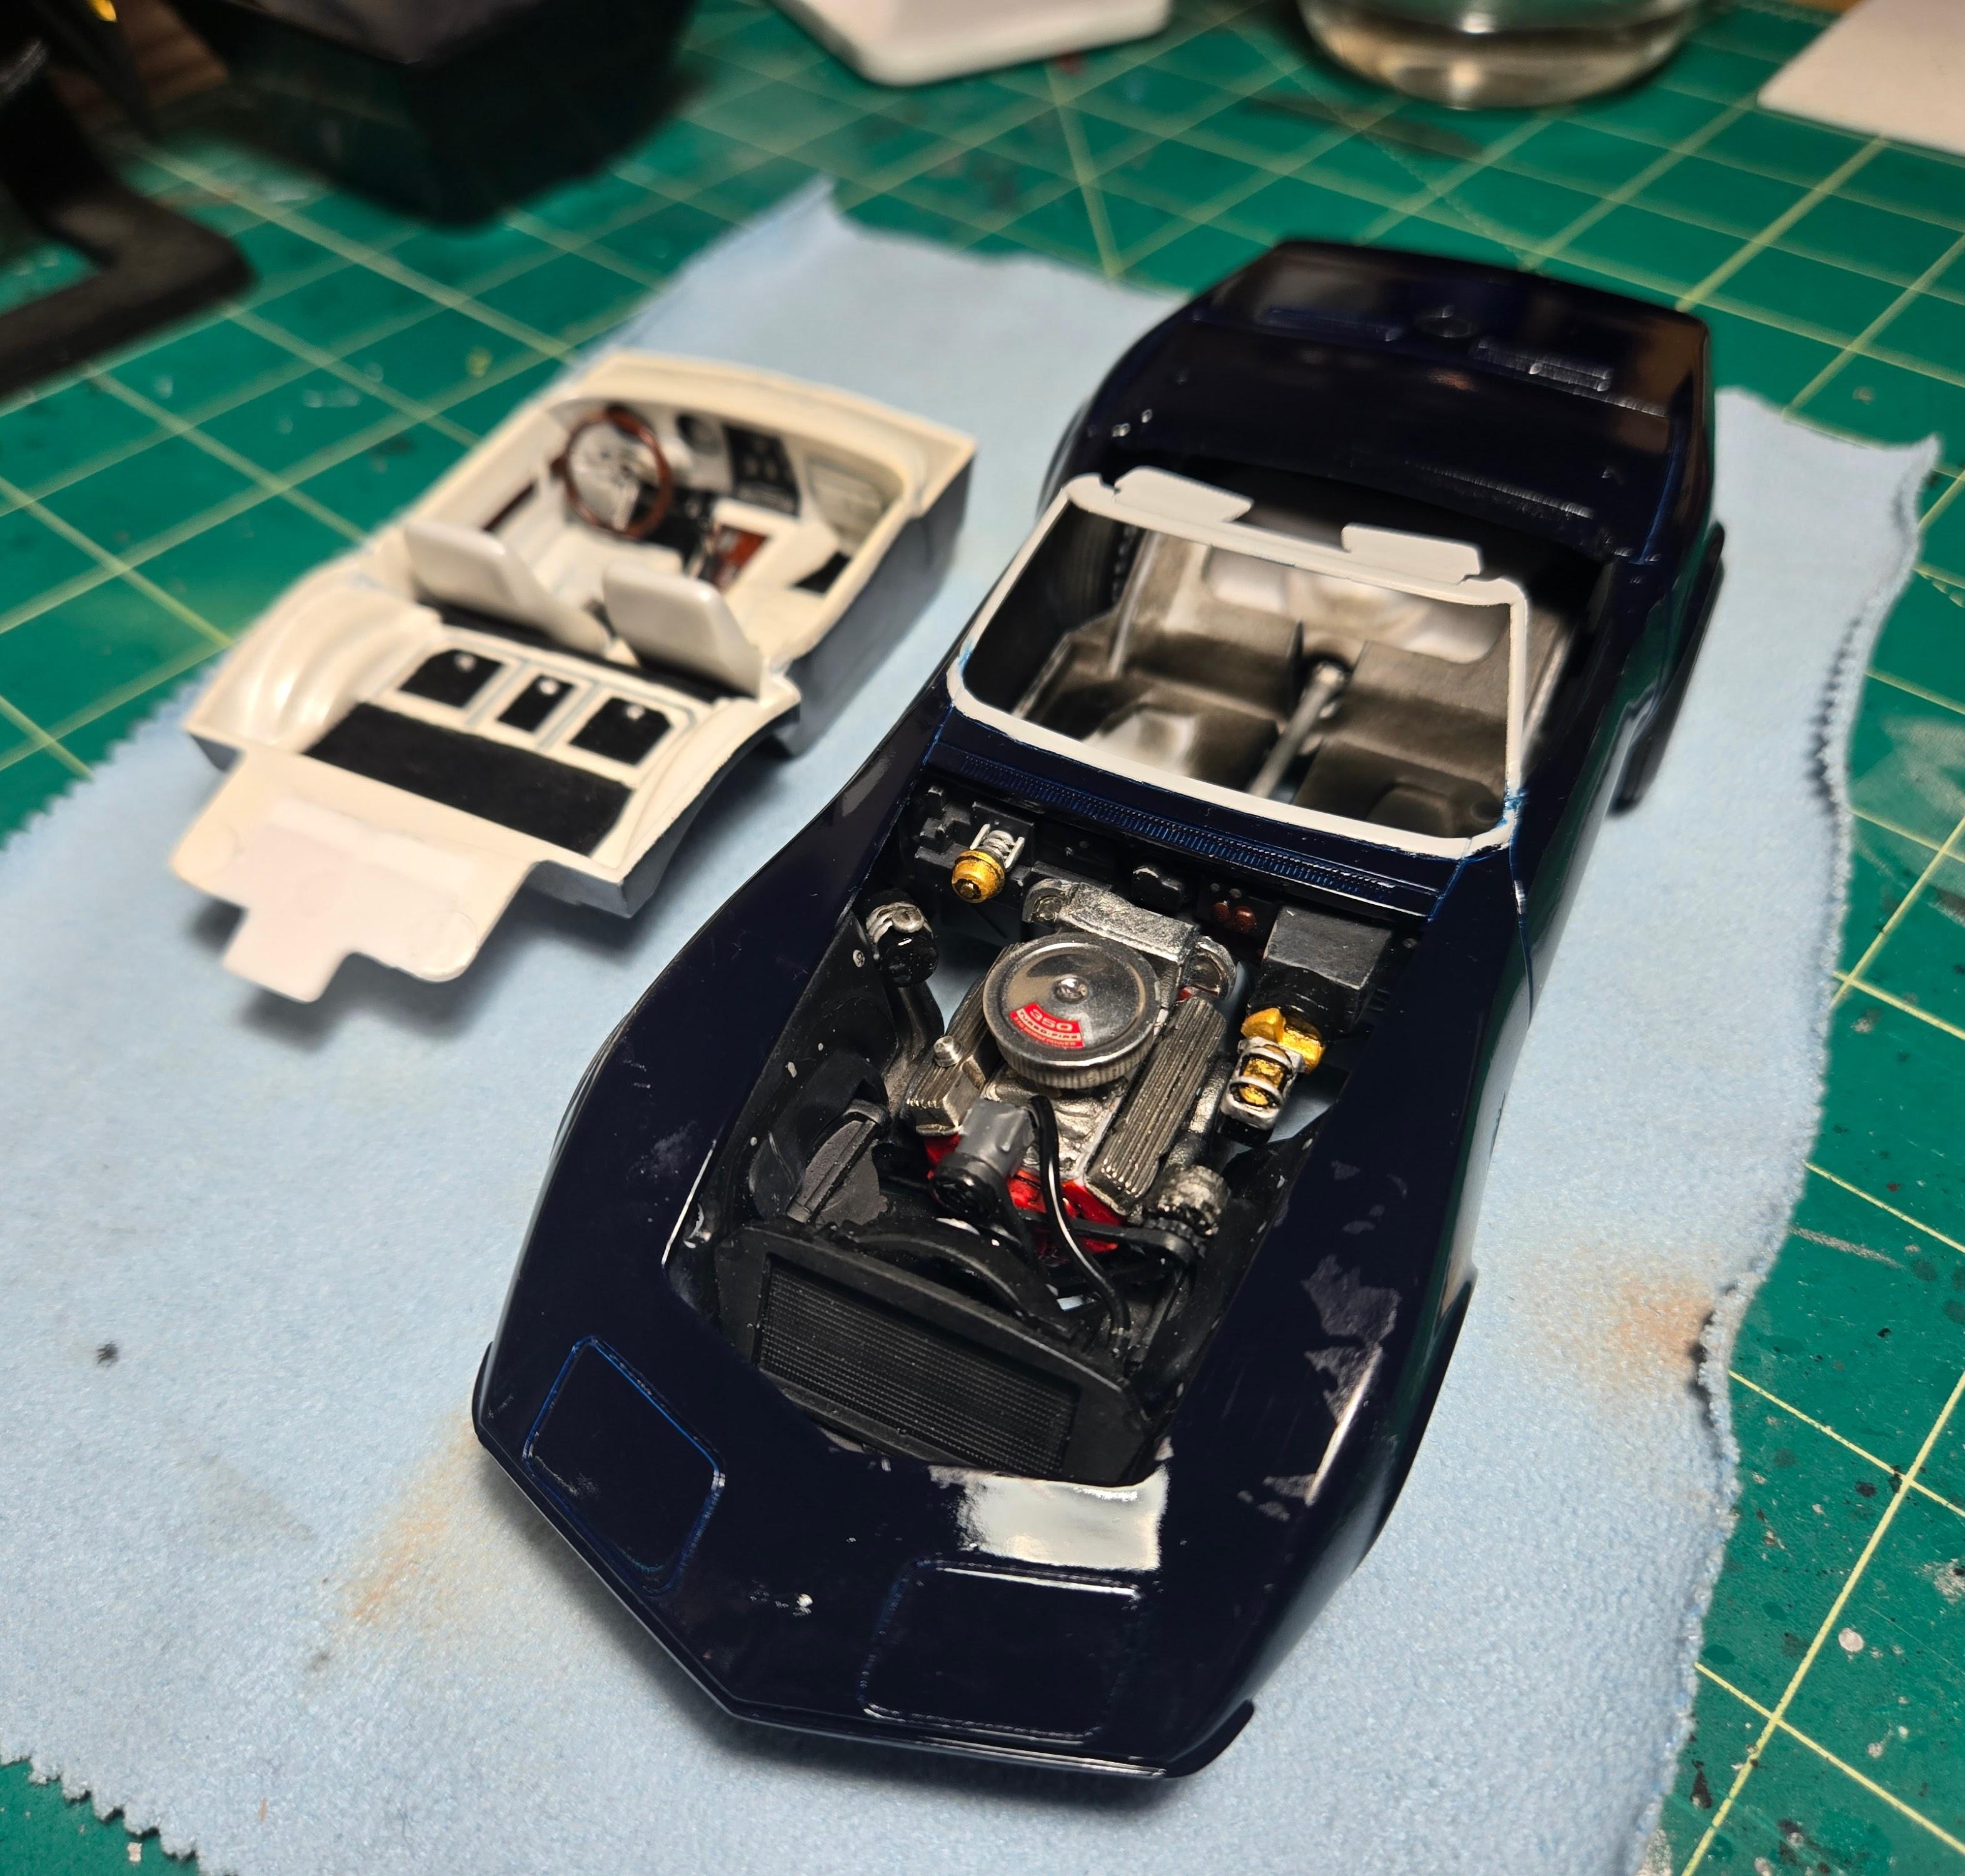
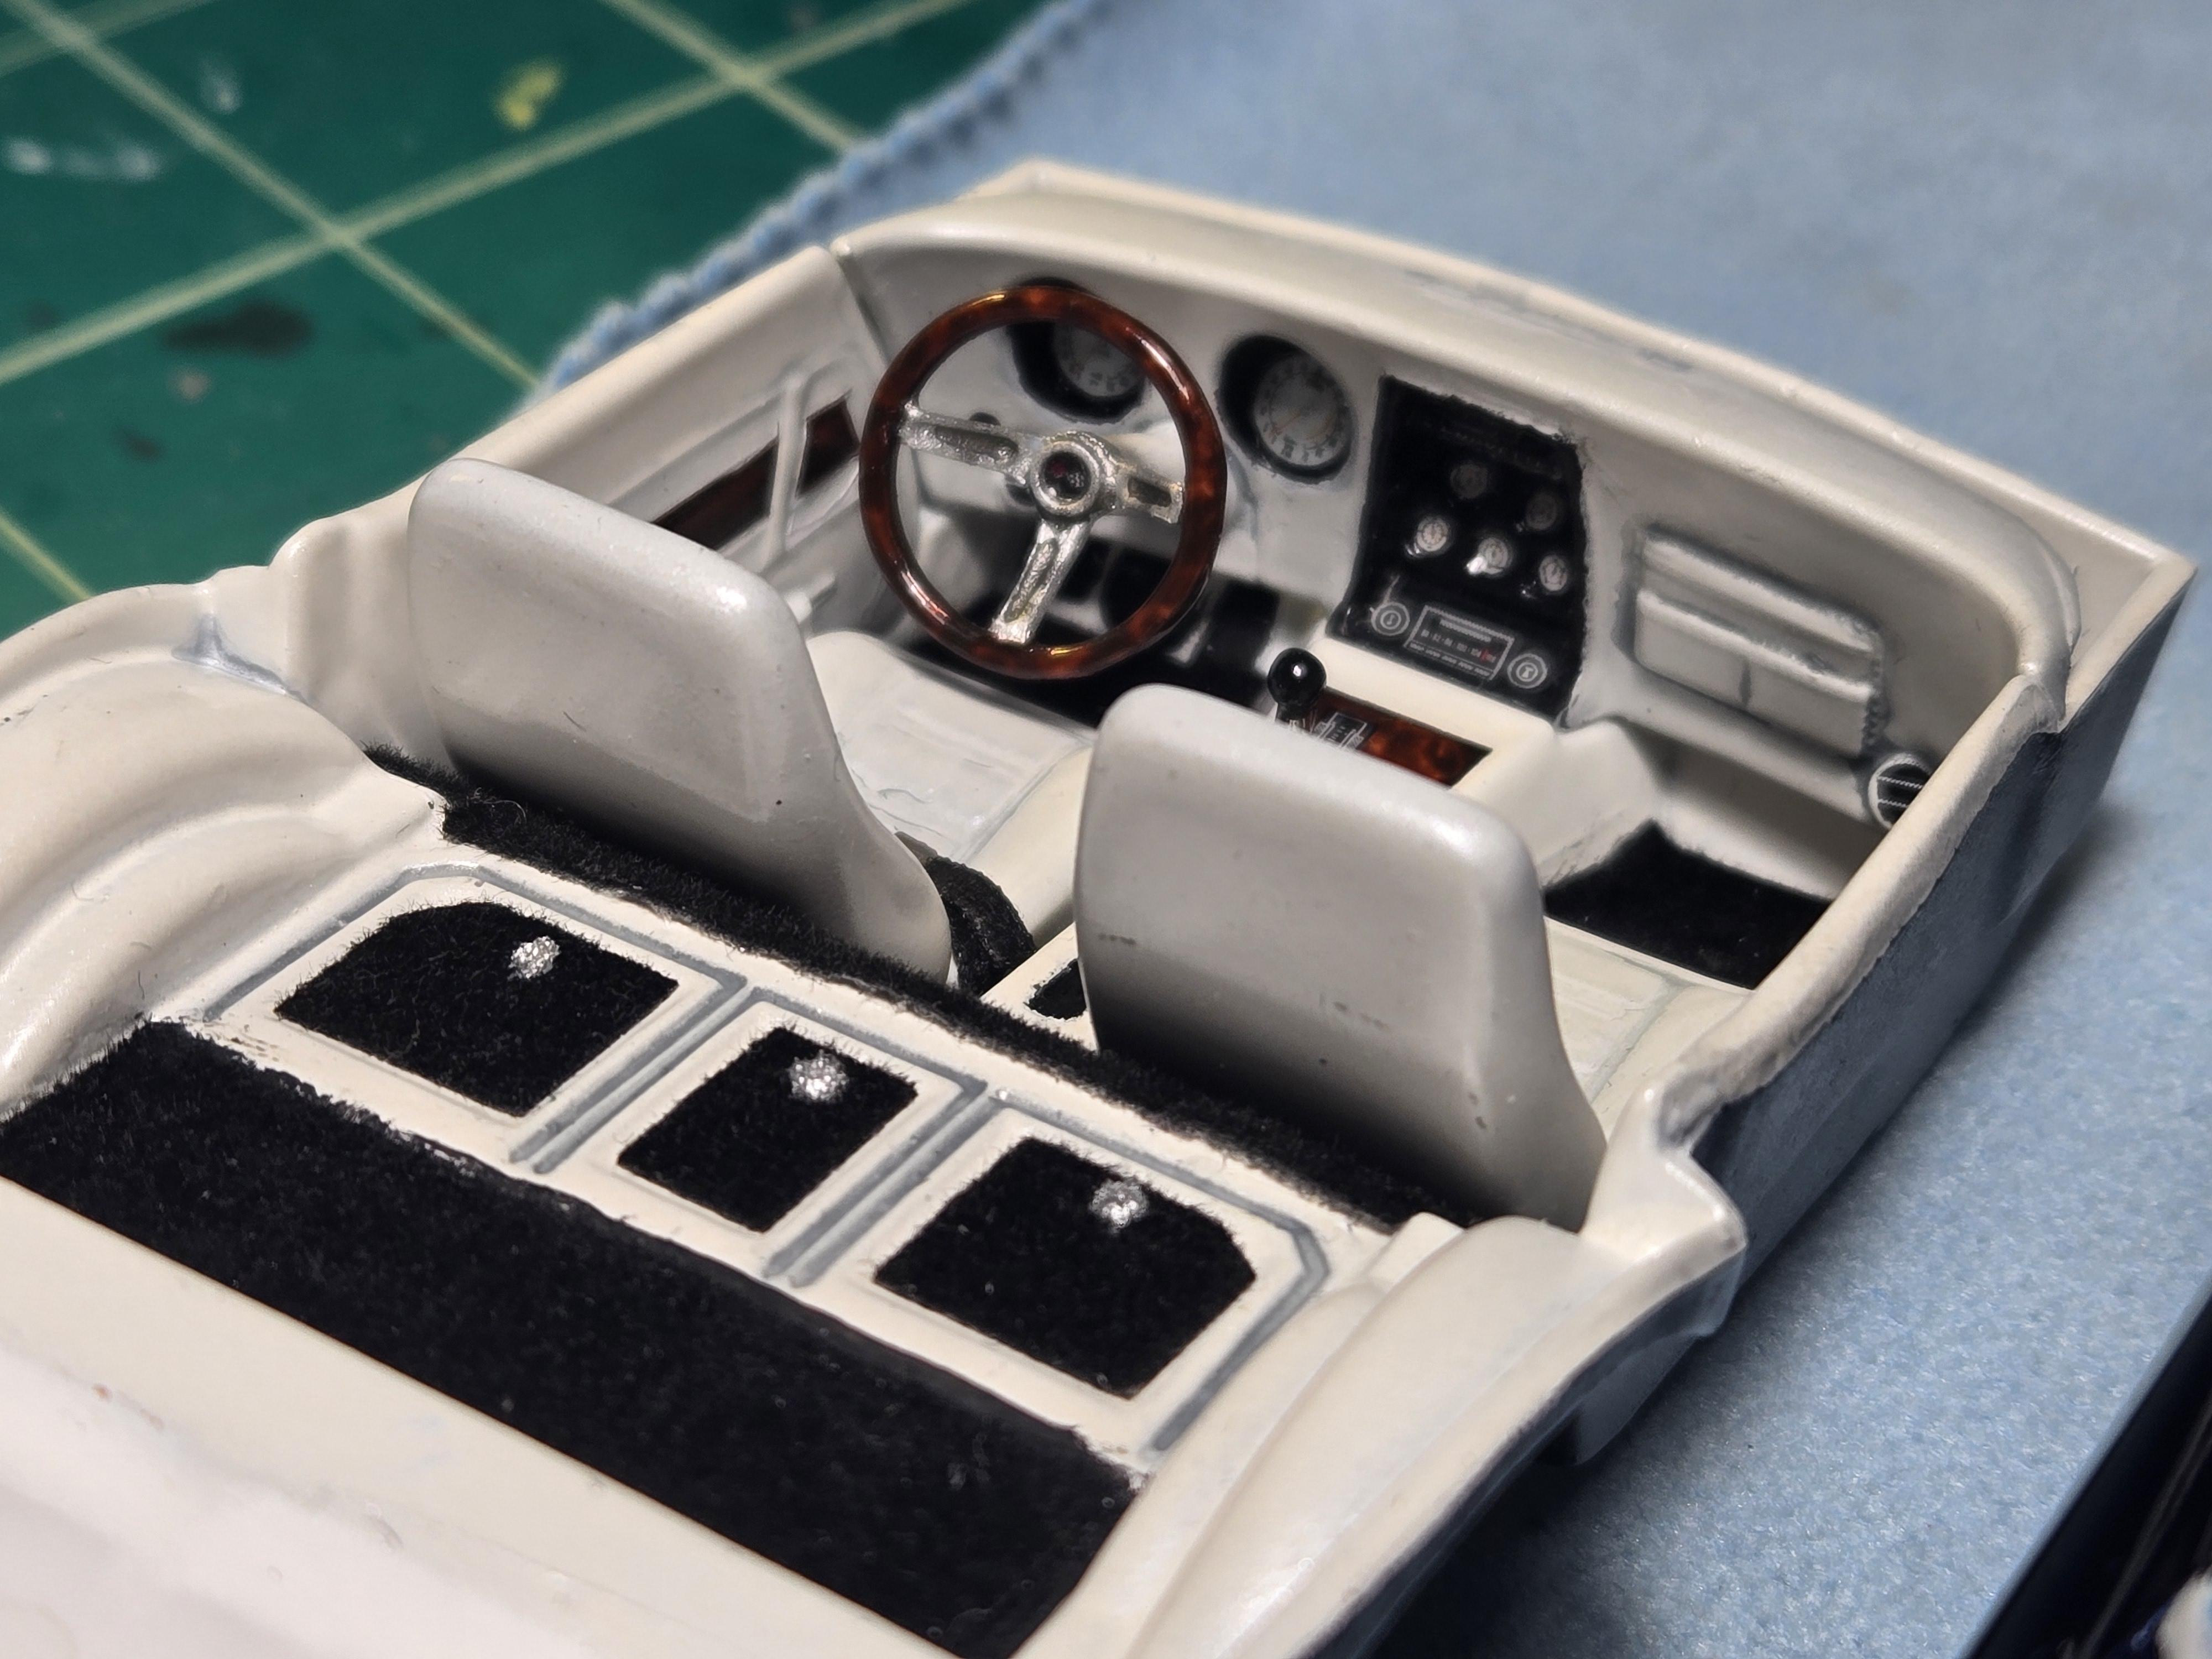
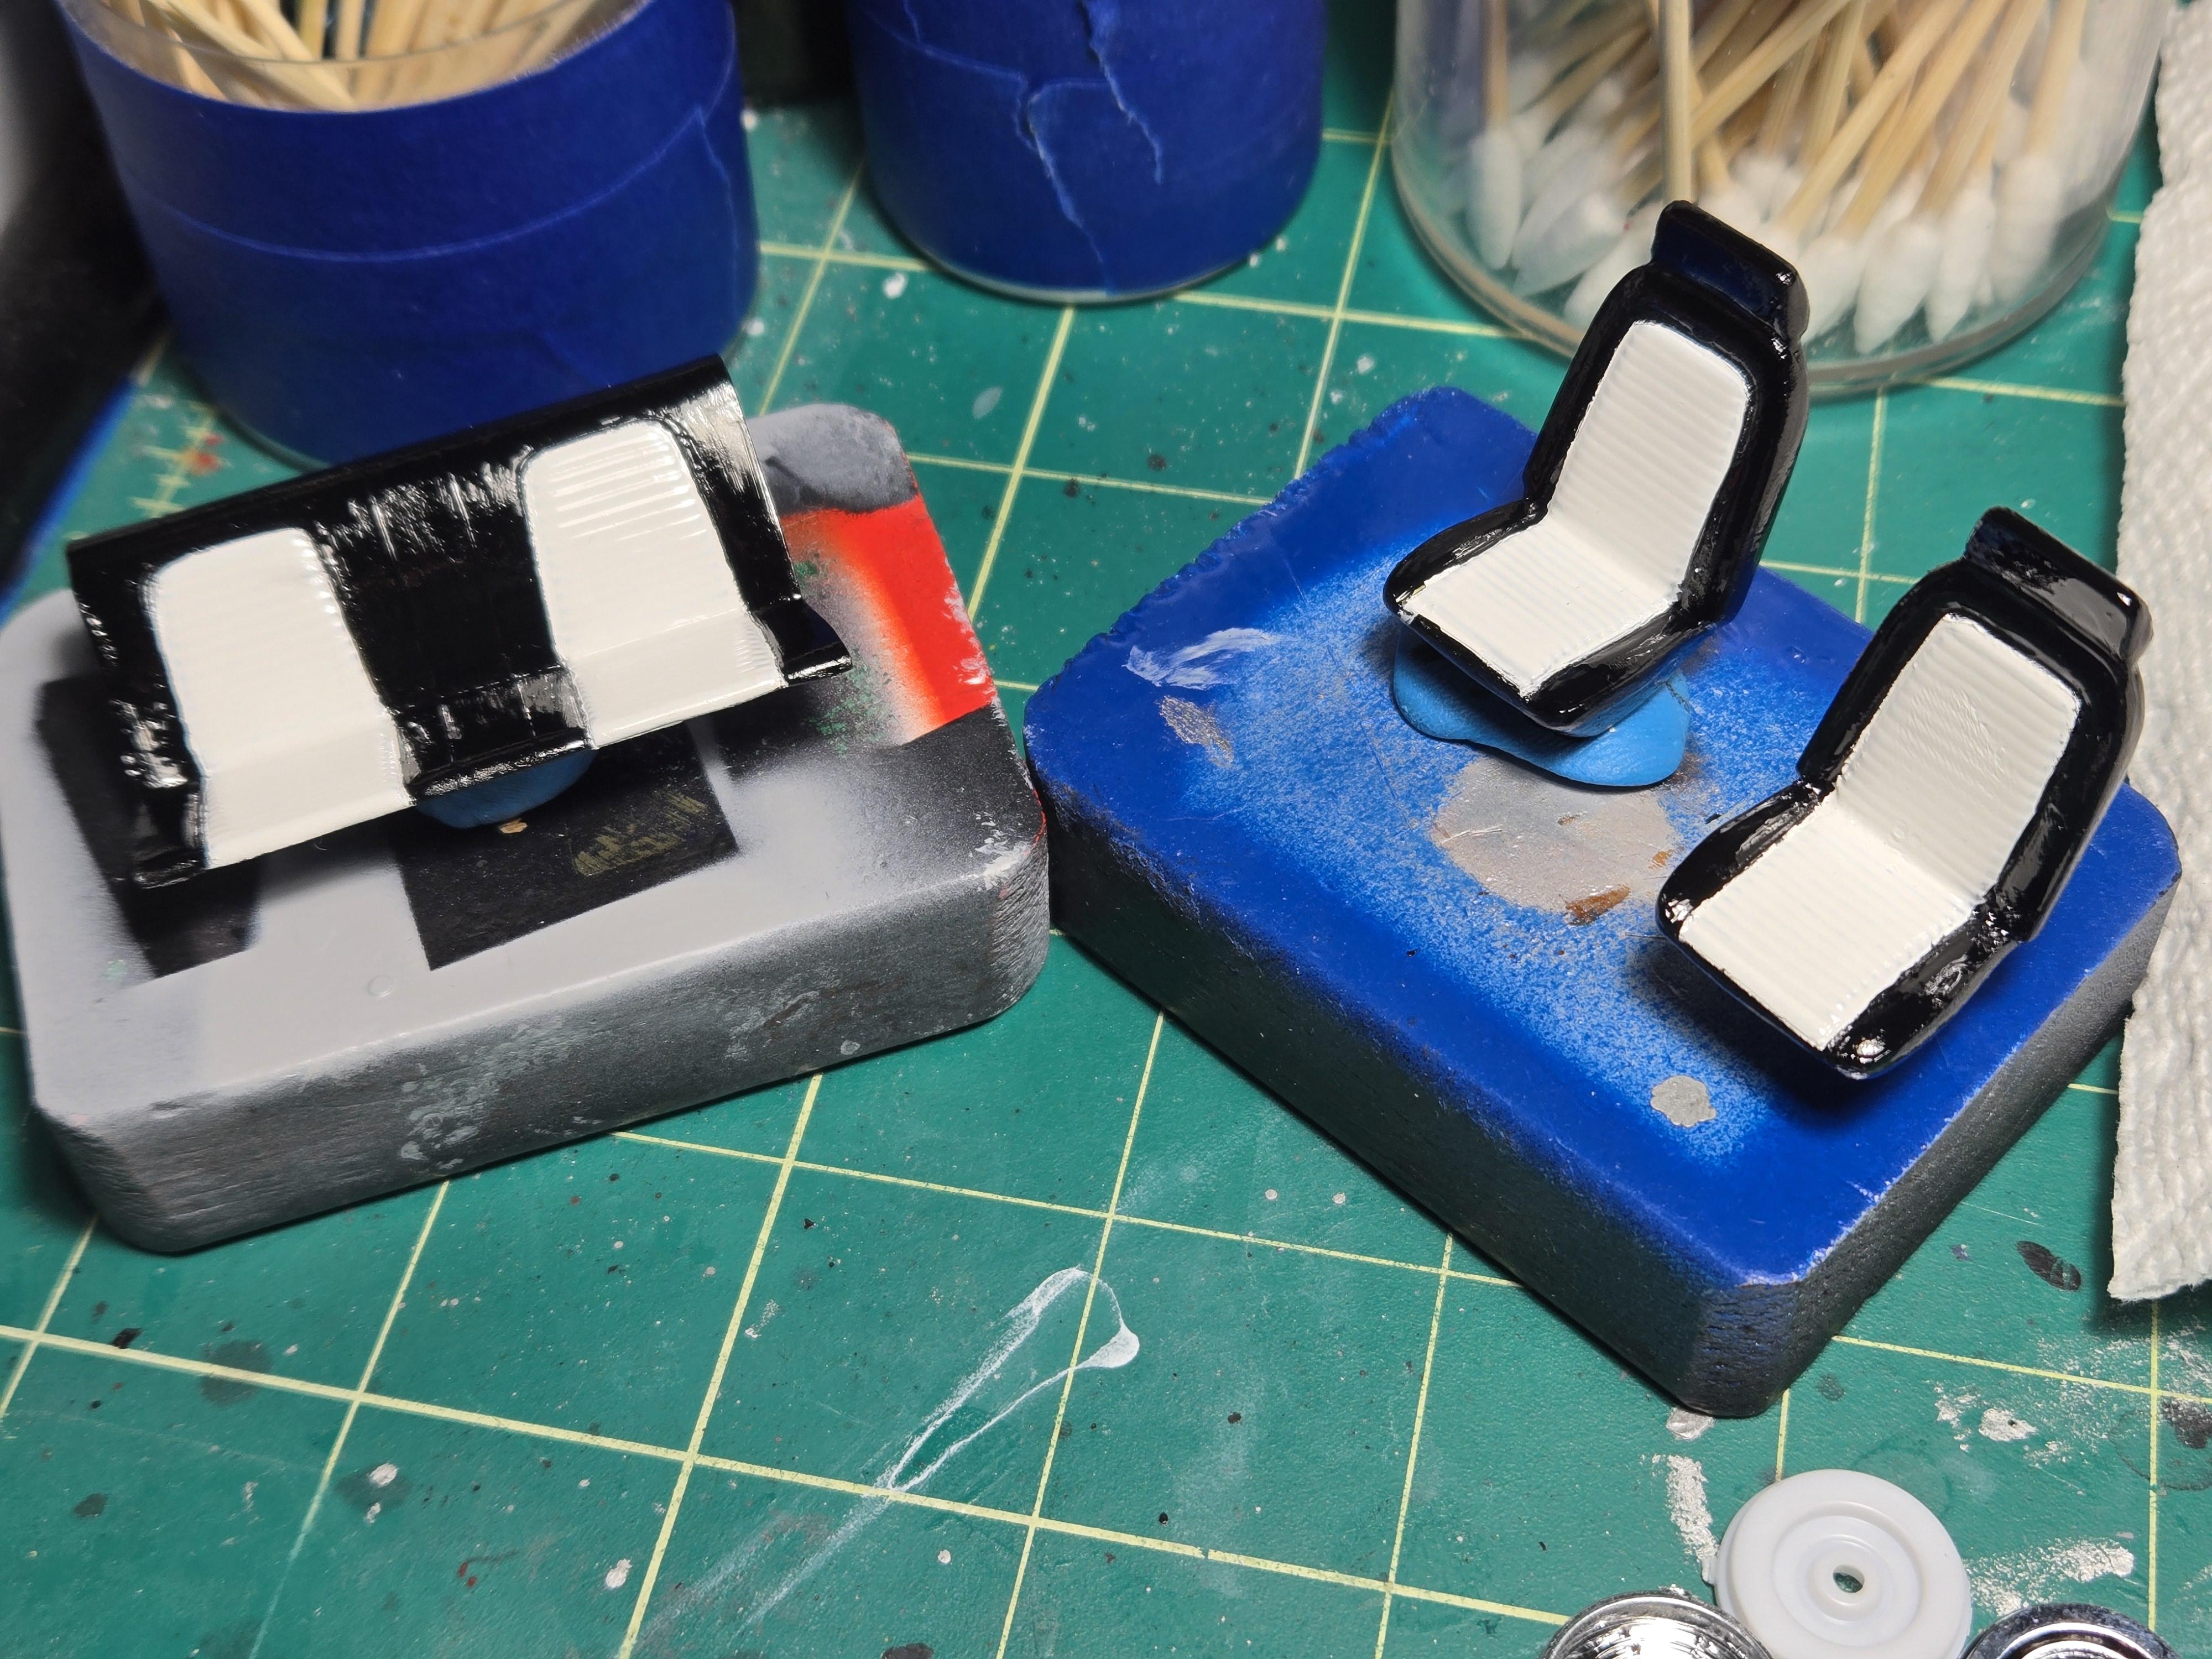
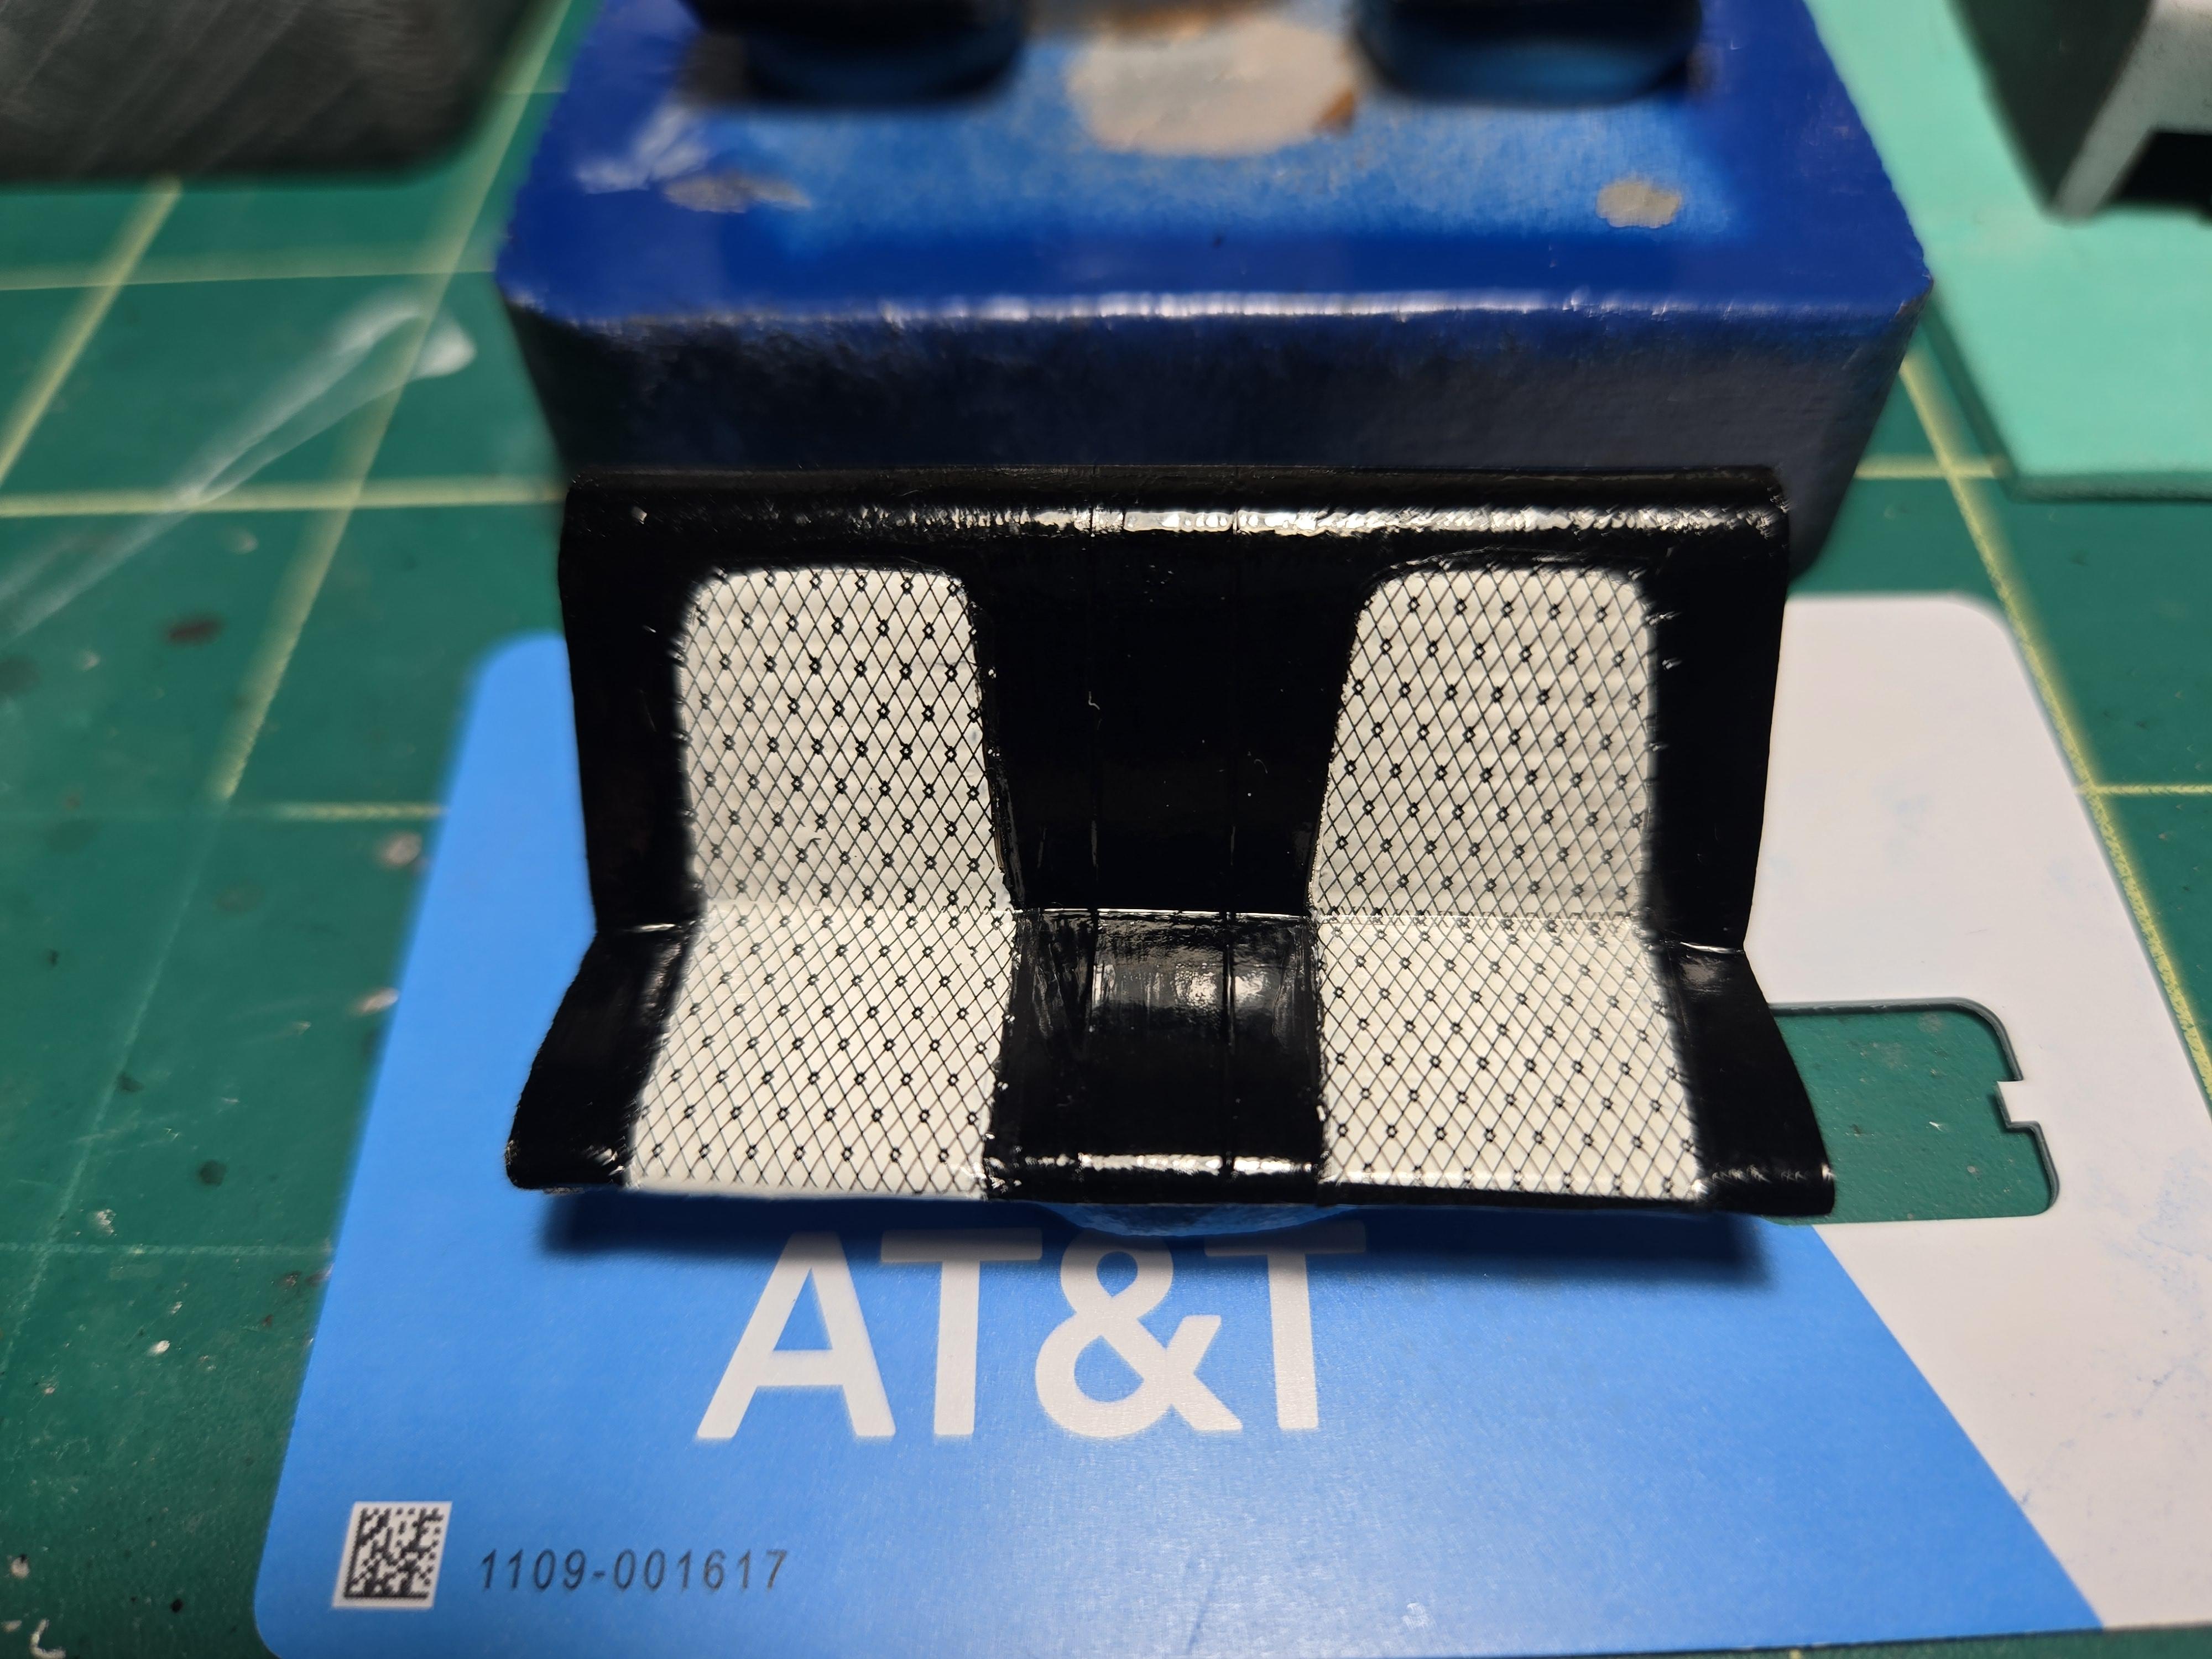
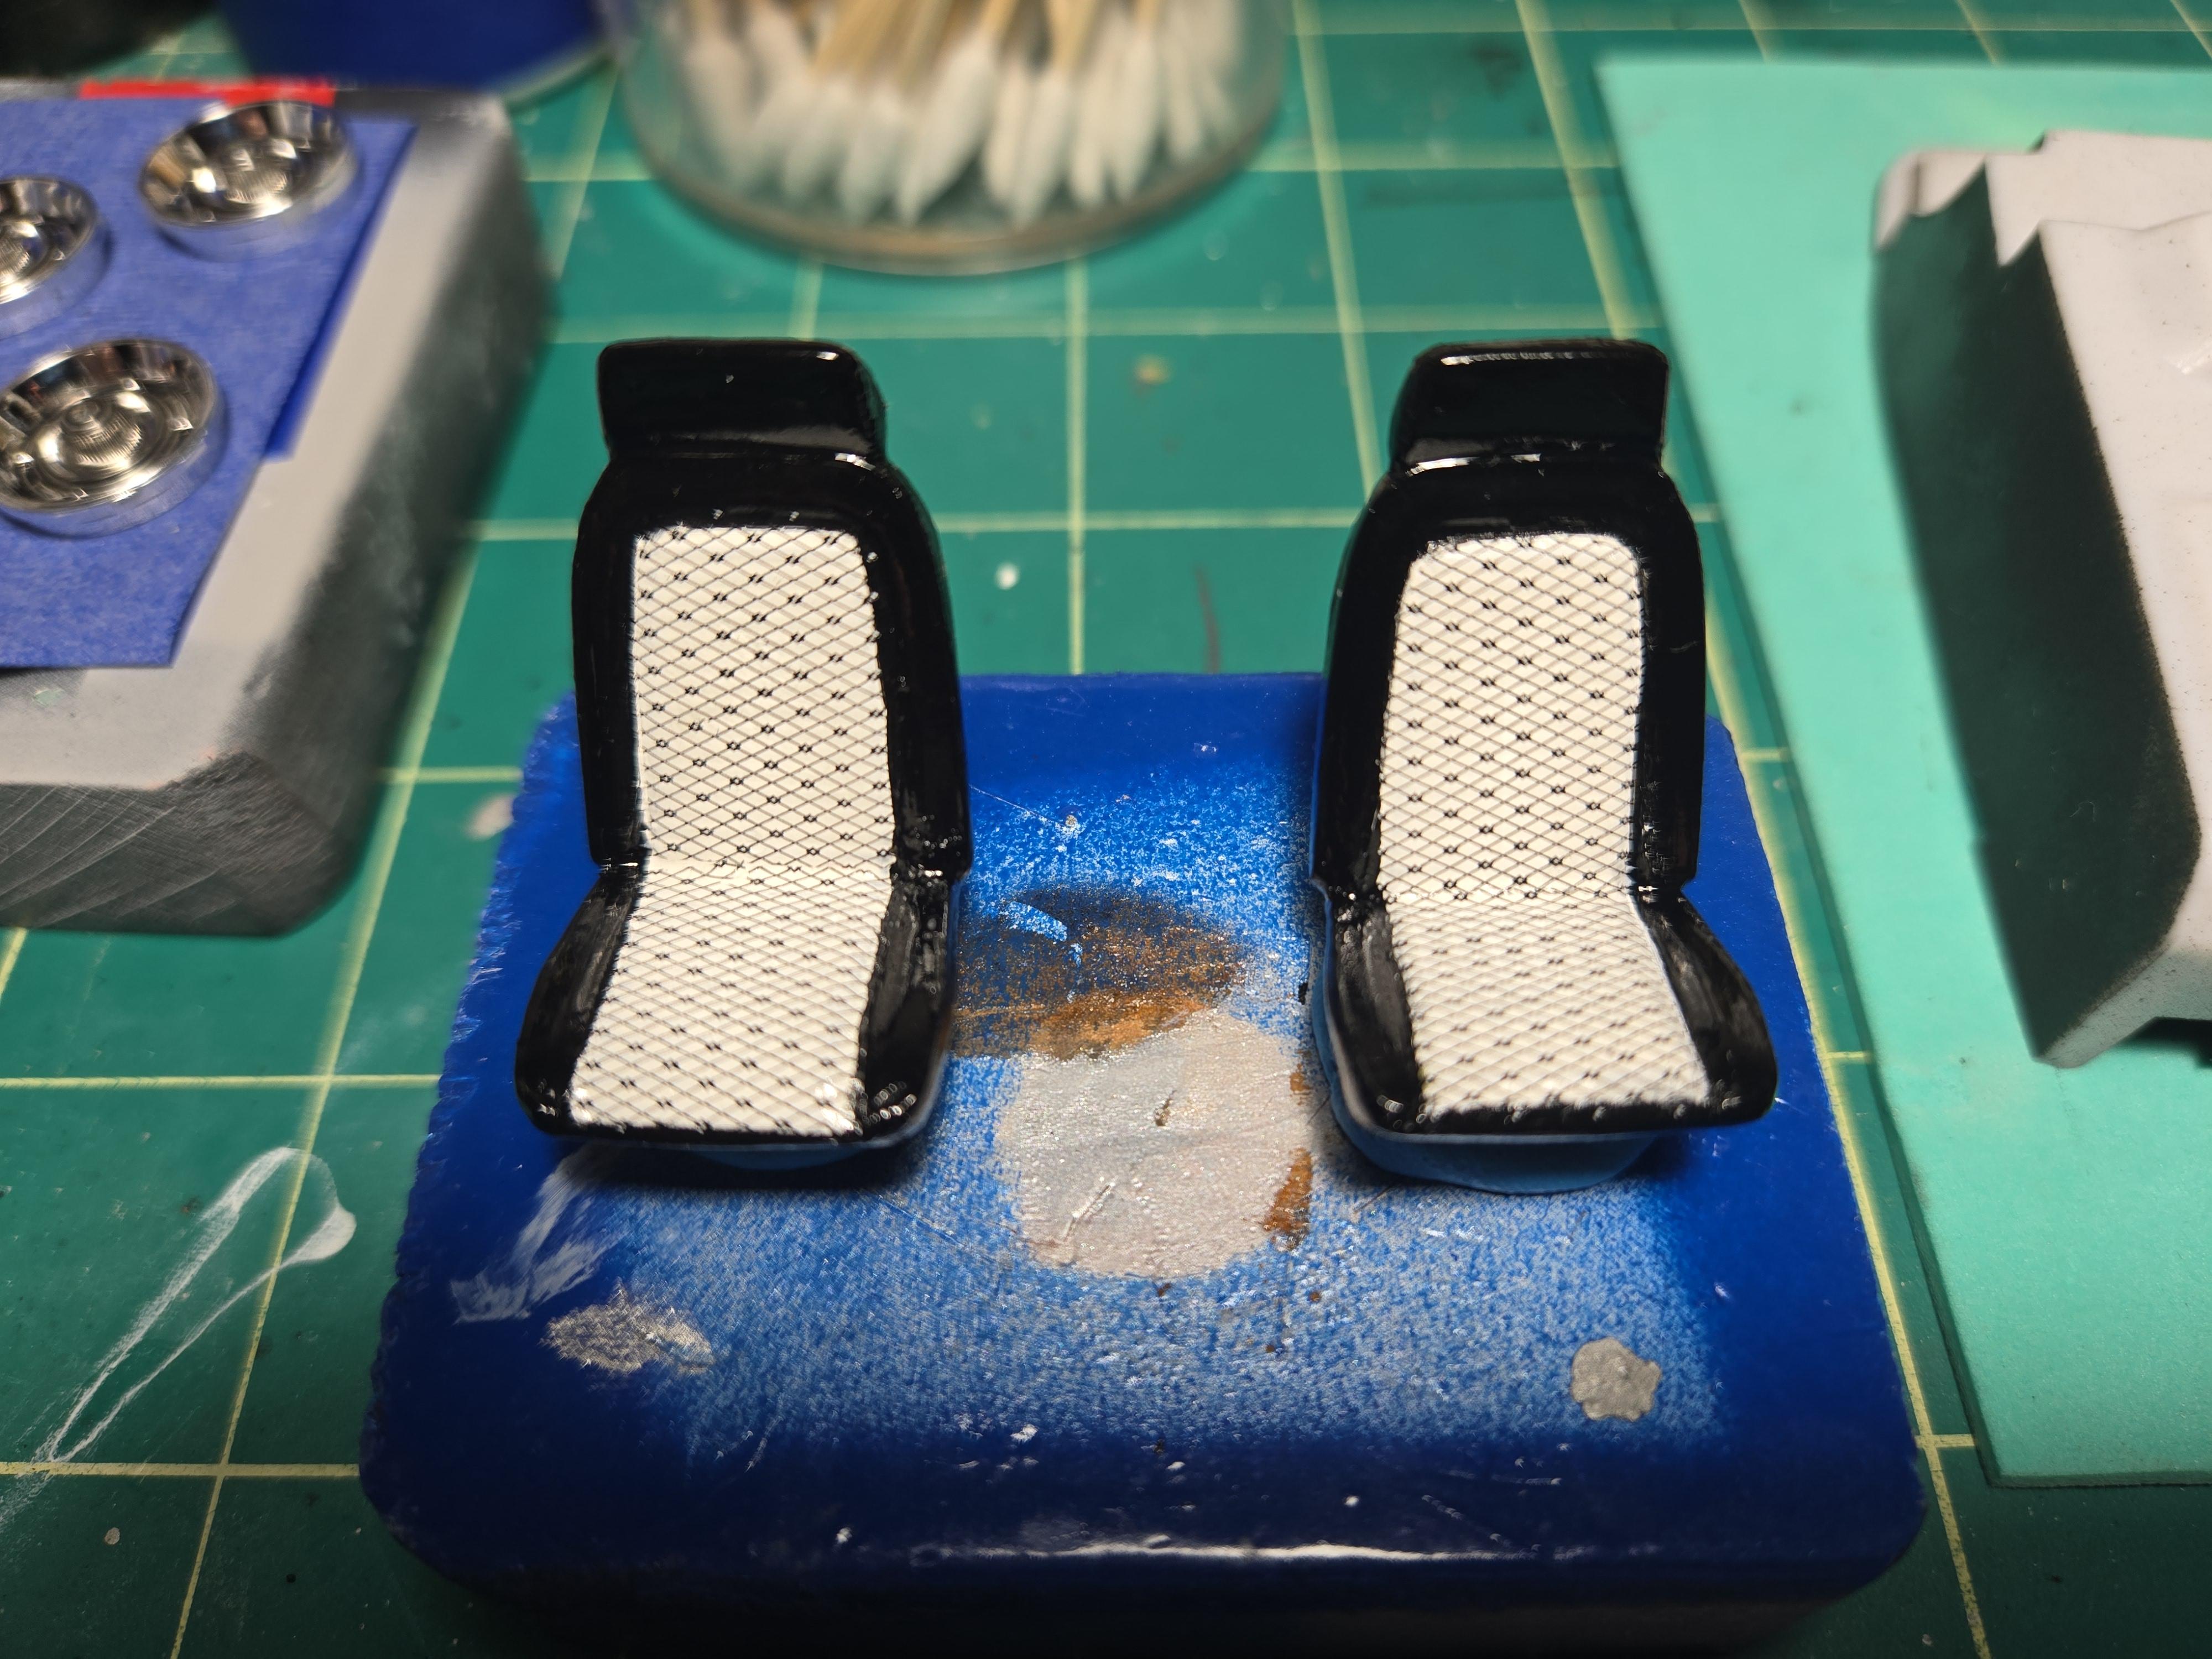
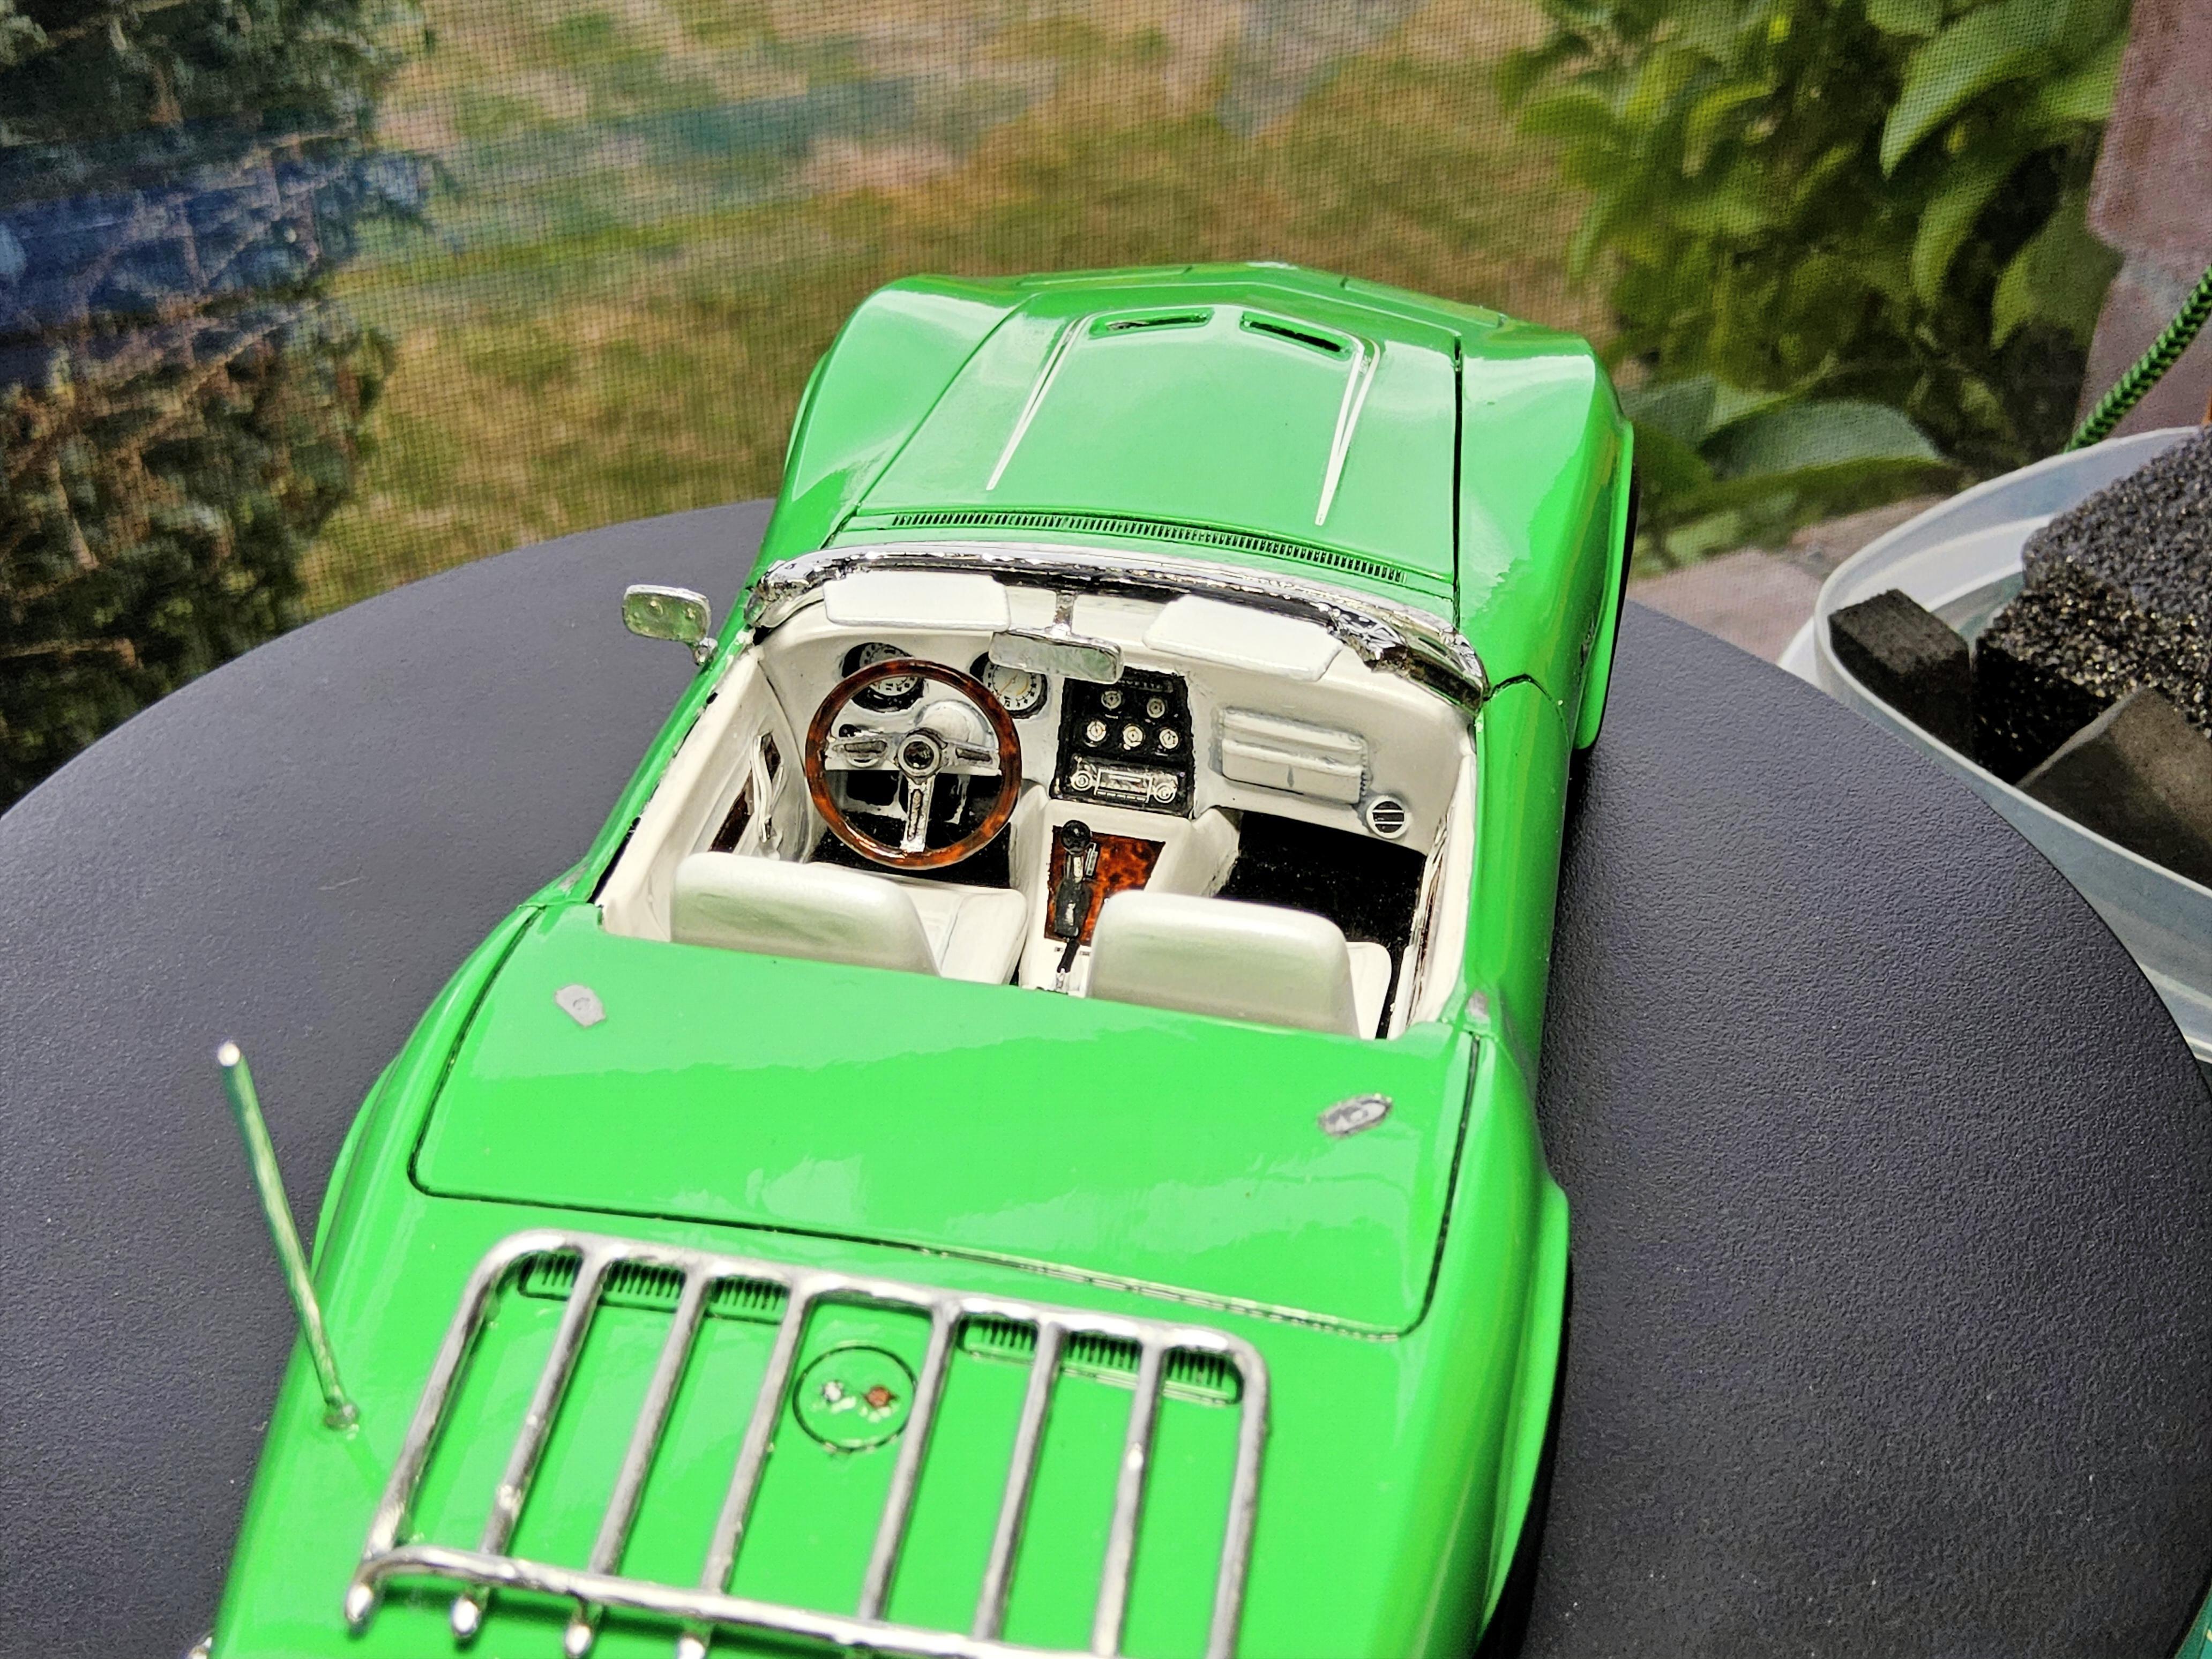
I had some fun with the seats. I added upholstery decals. Who can tell me where things went sideways?

-

Quick Queries
CA Whitecloud replied to CA Whitecloud's topic in Model Building Questions and Answers
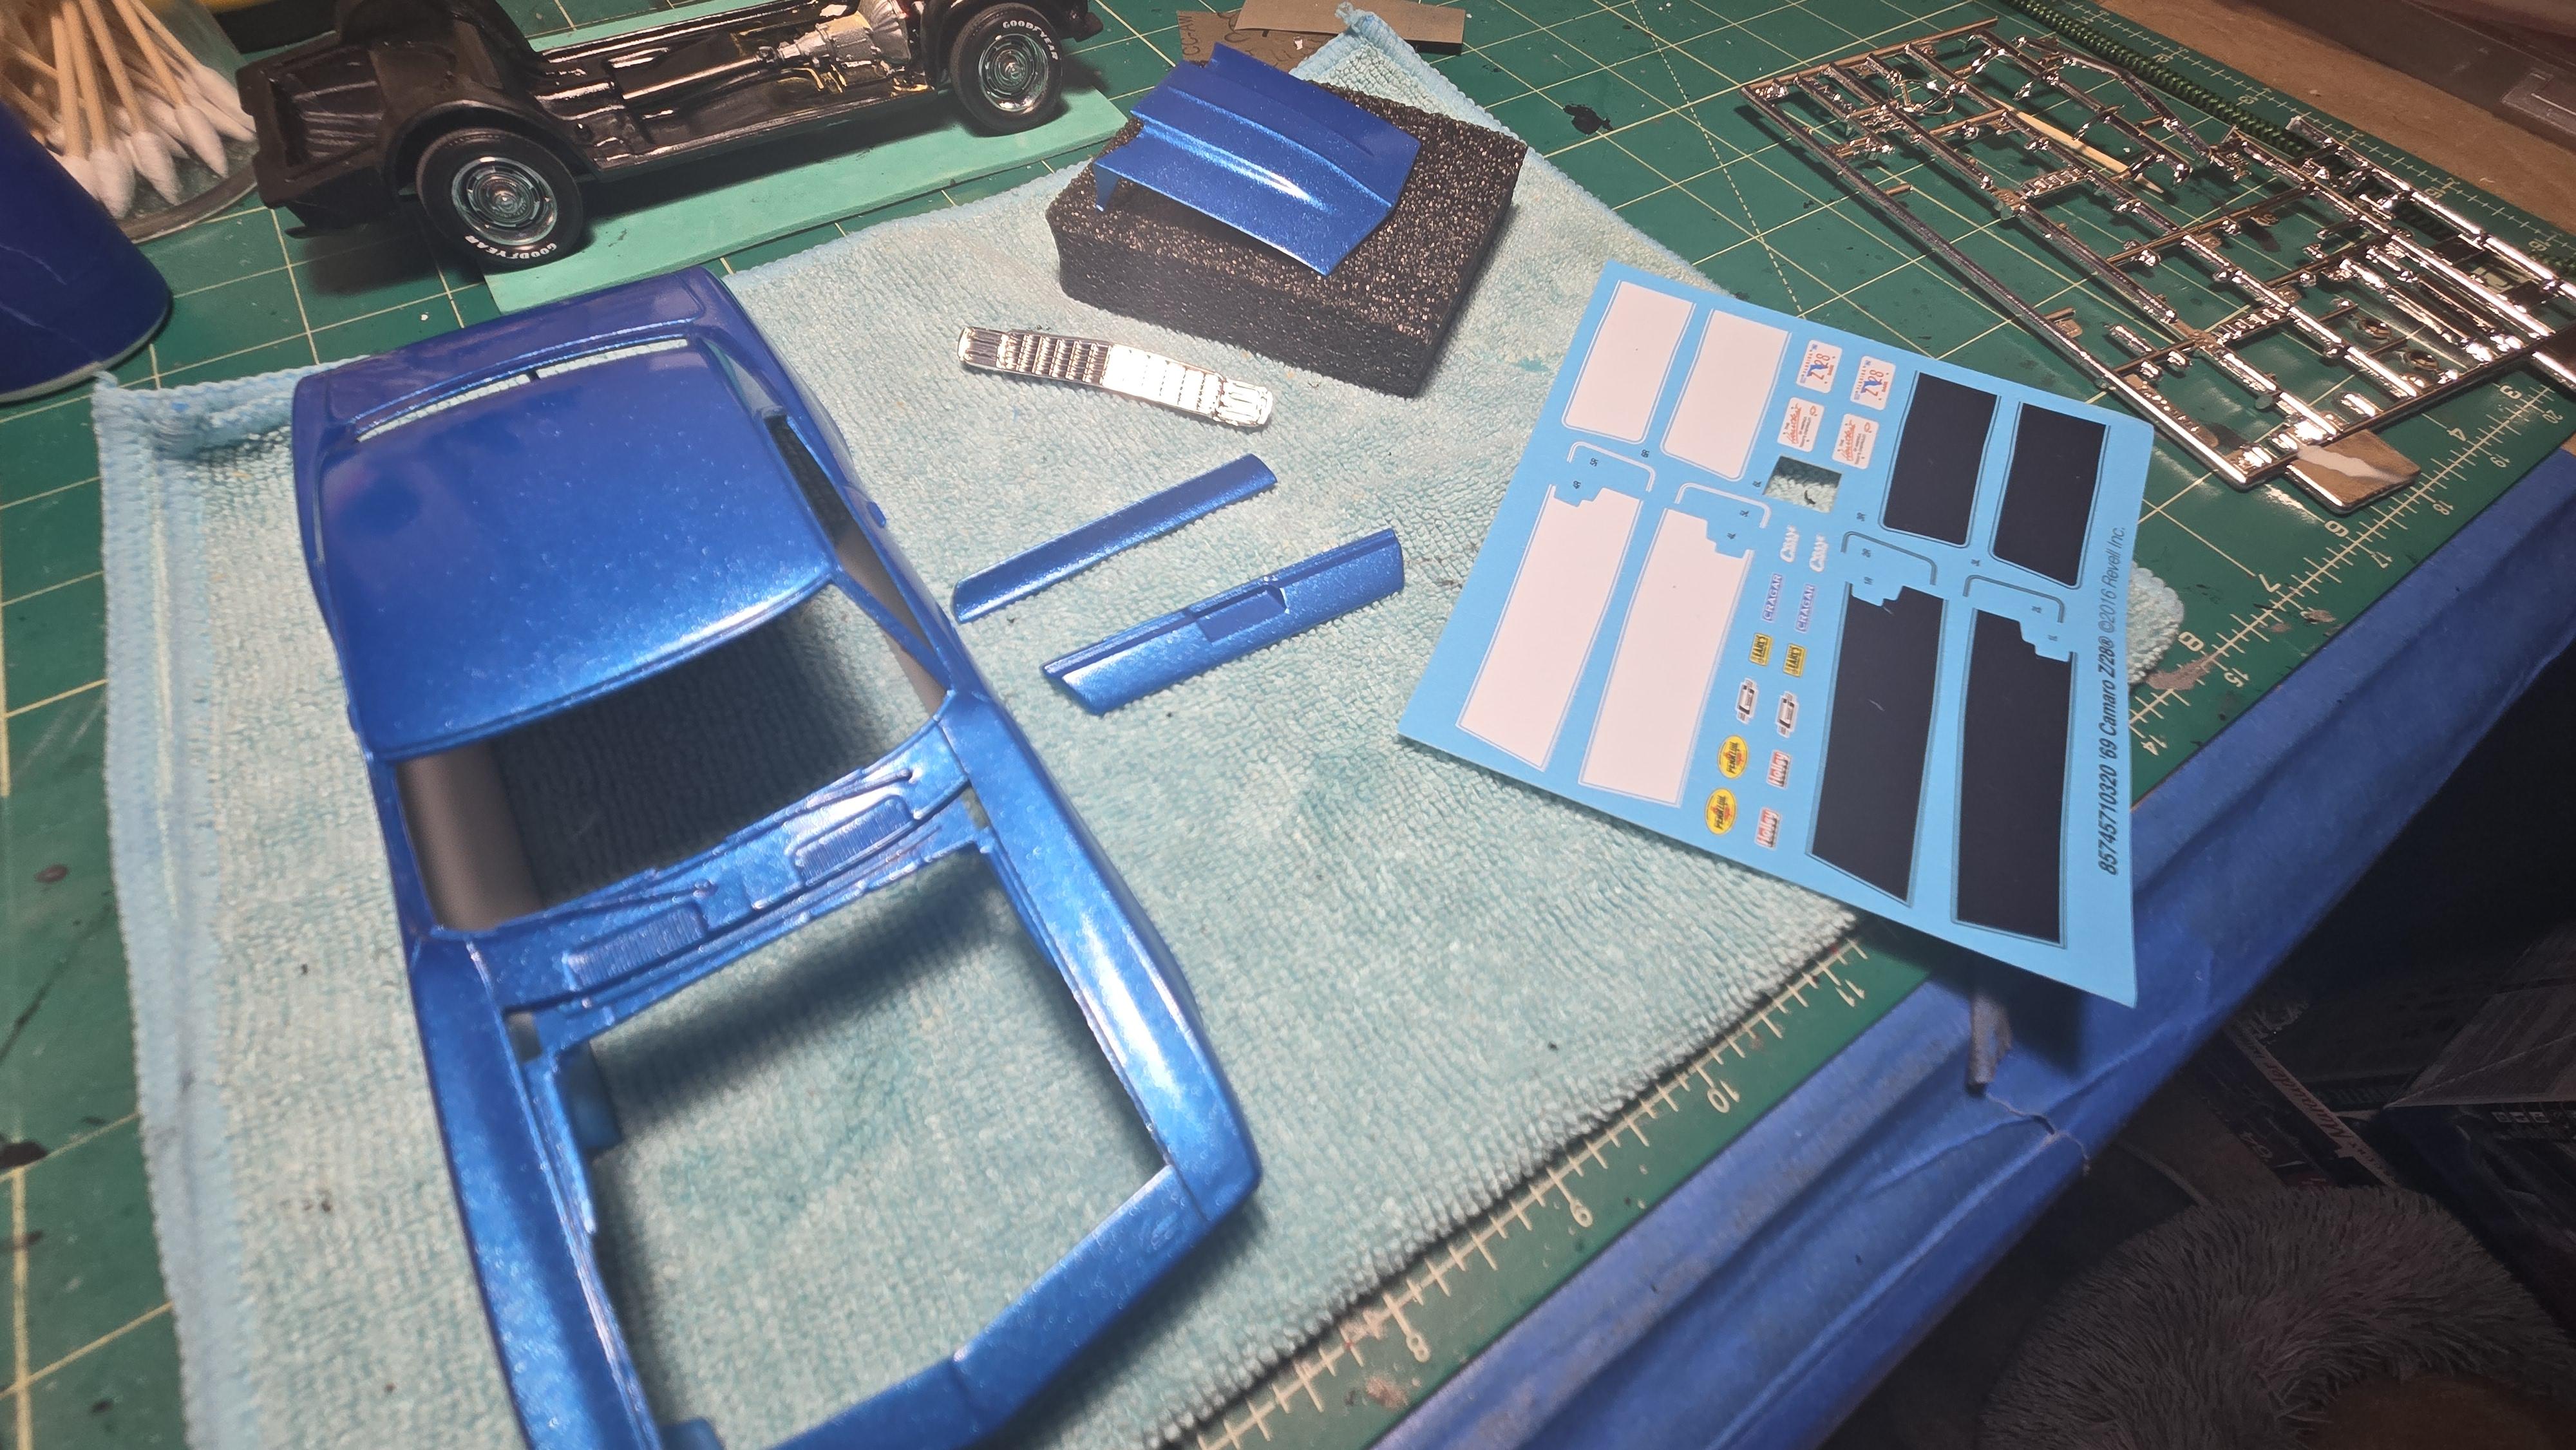
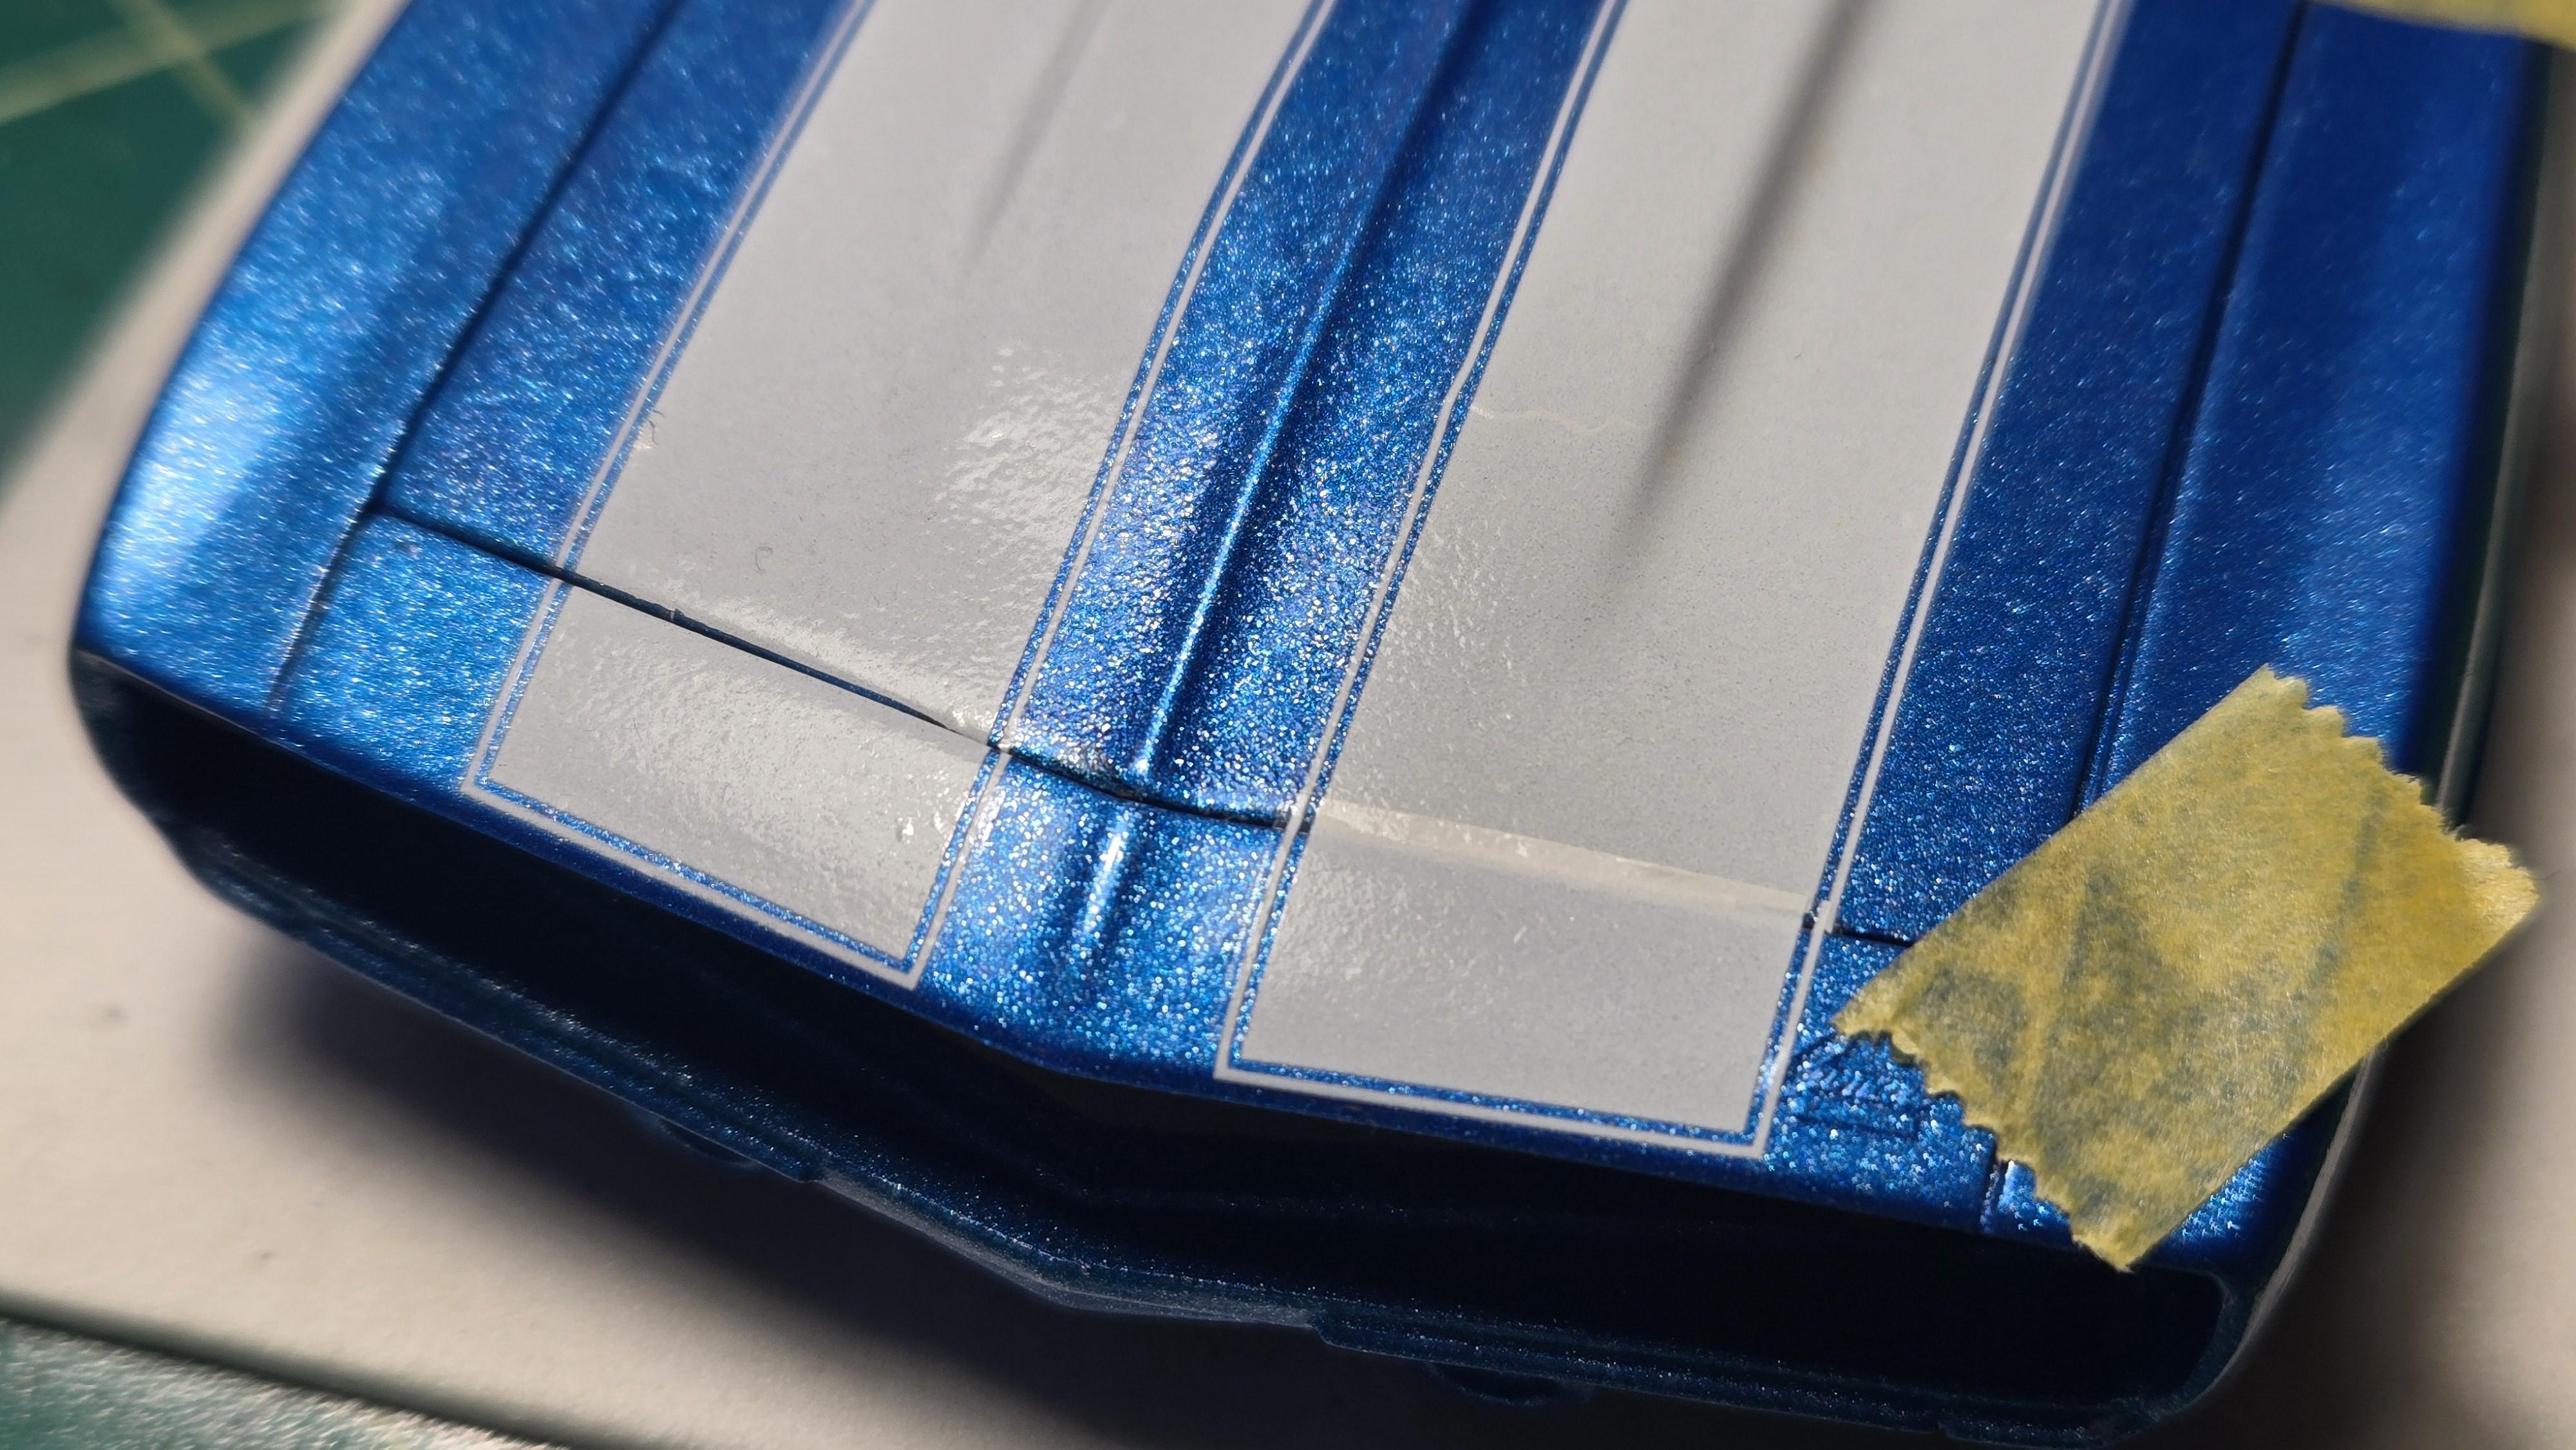
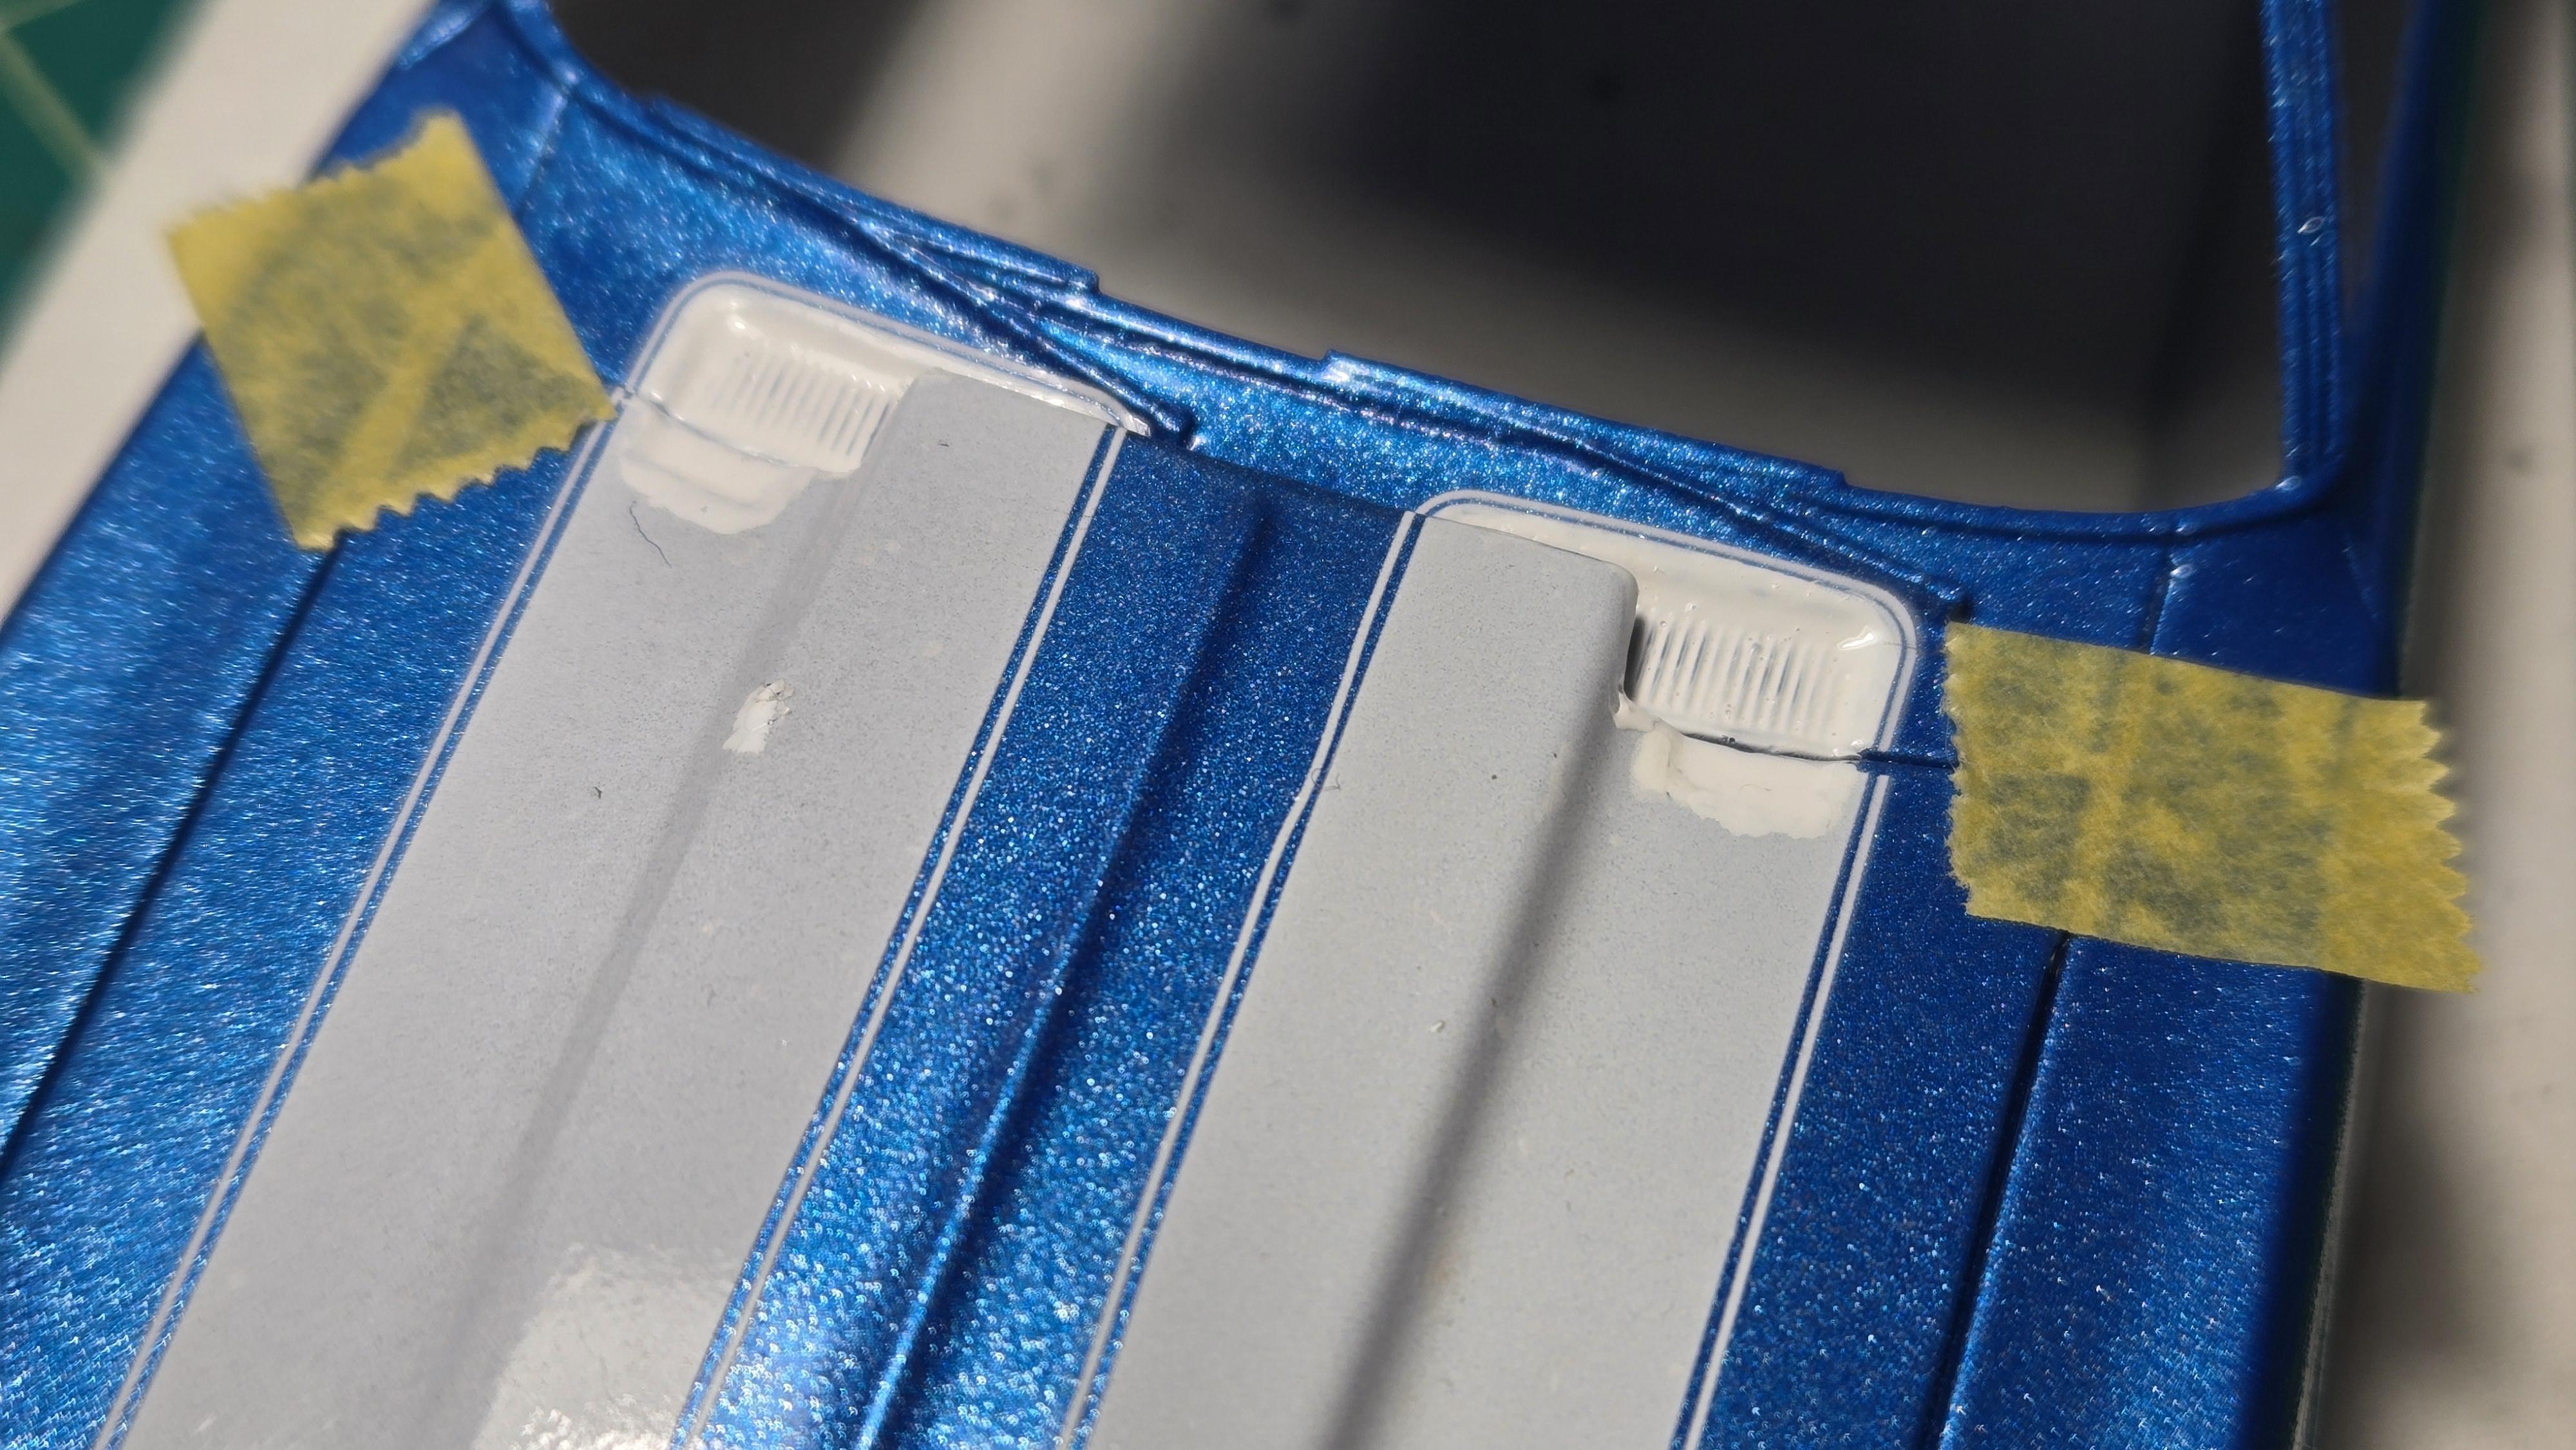
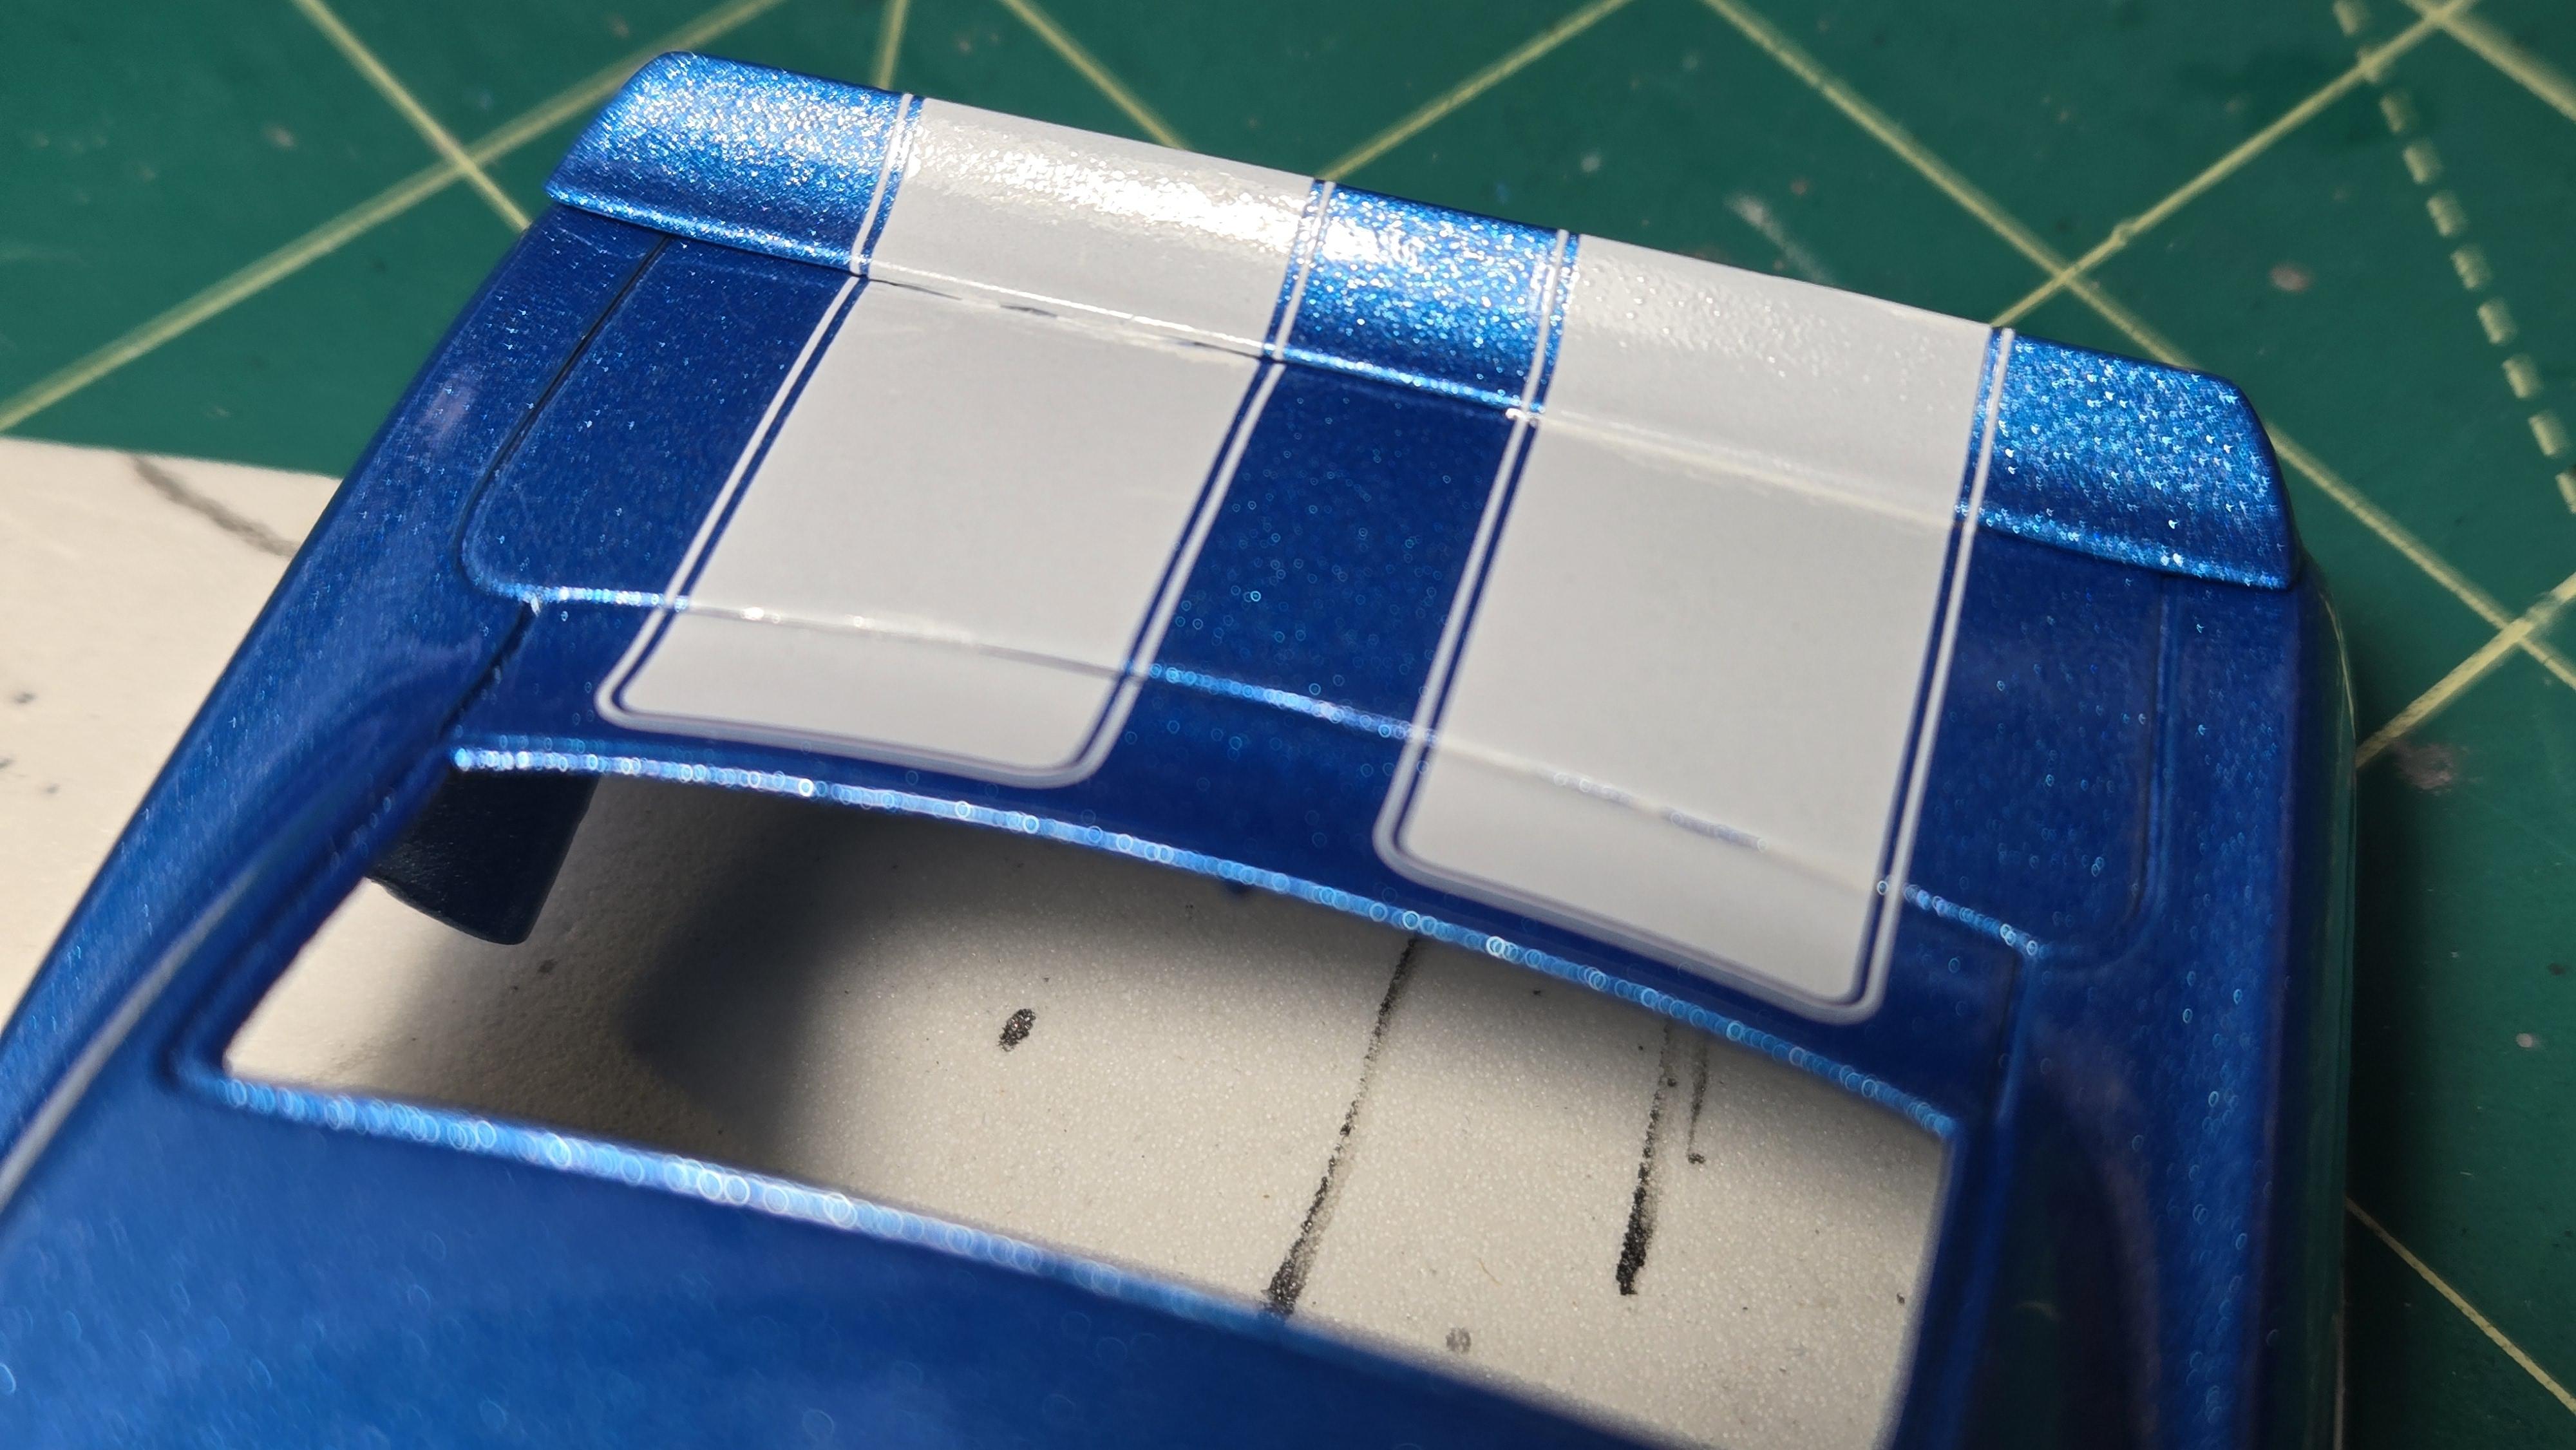
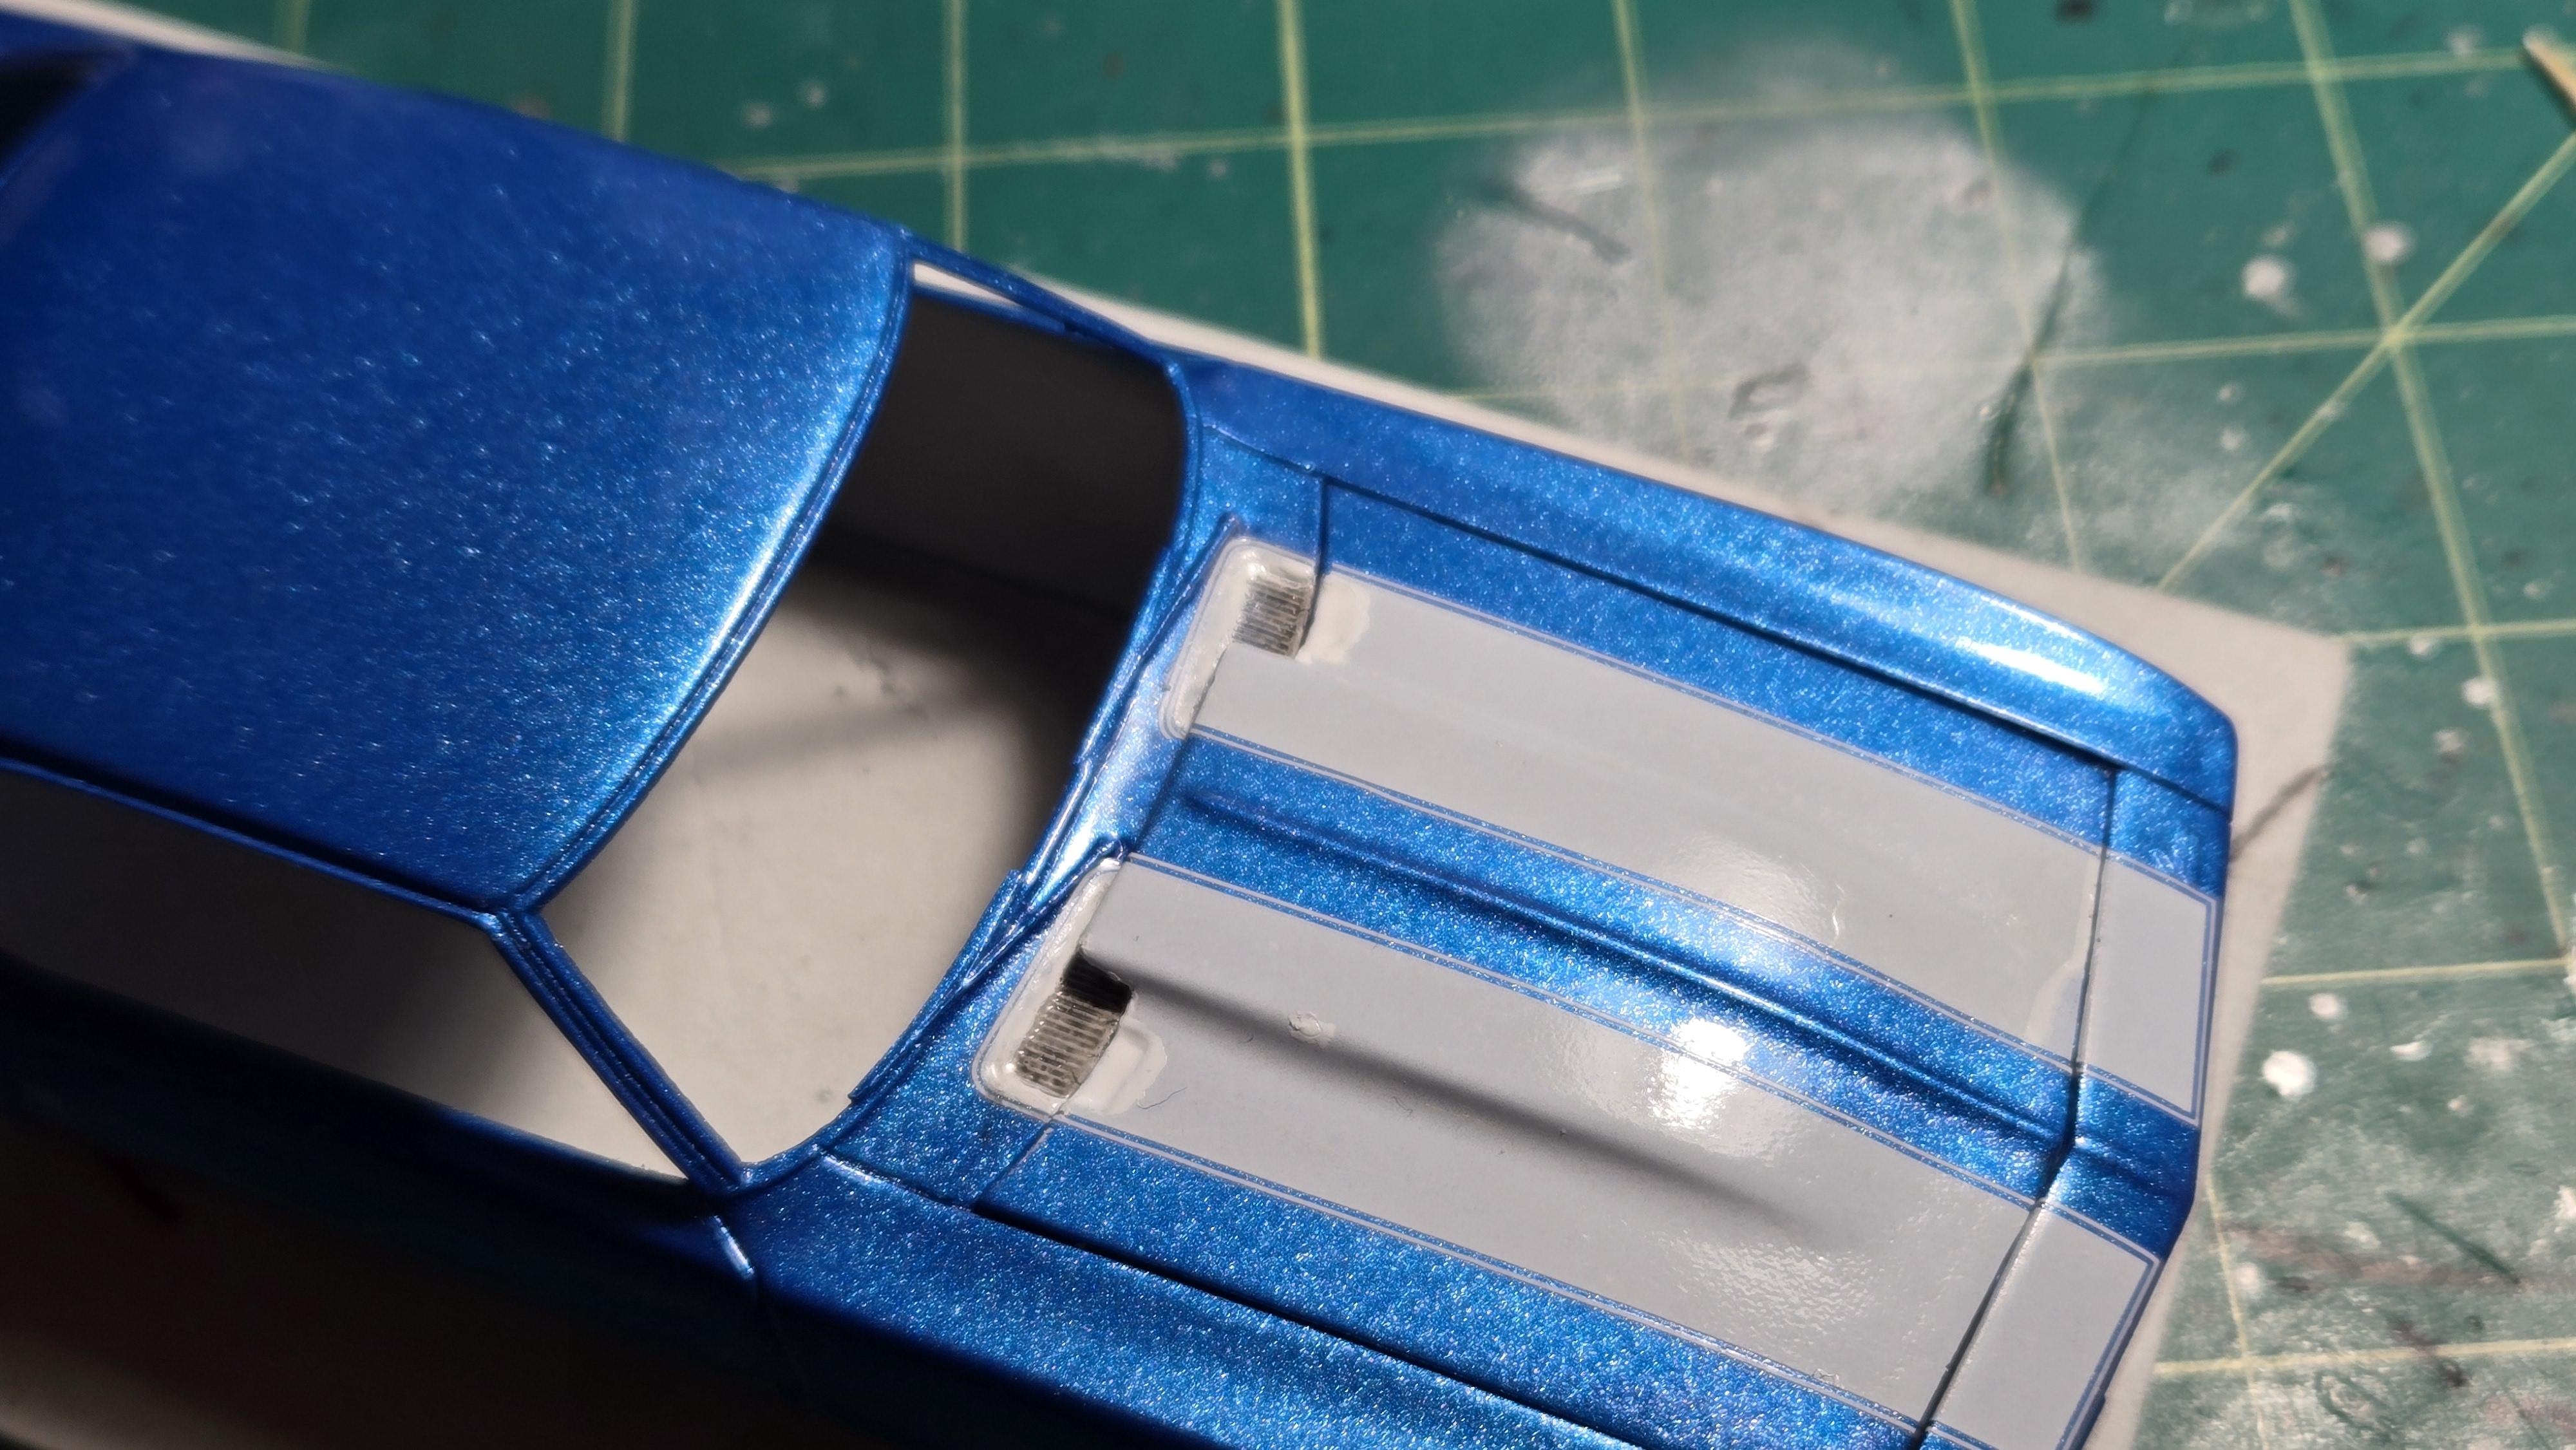
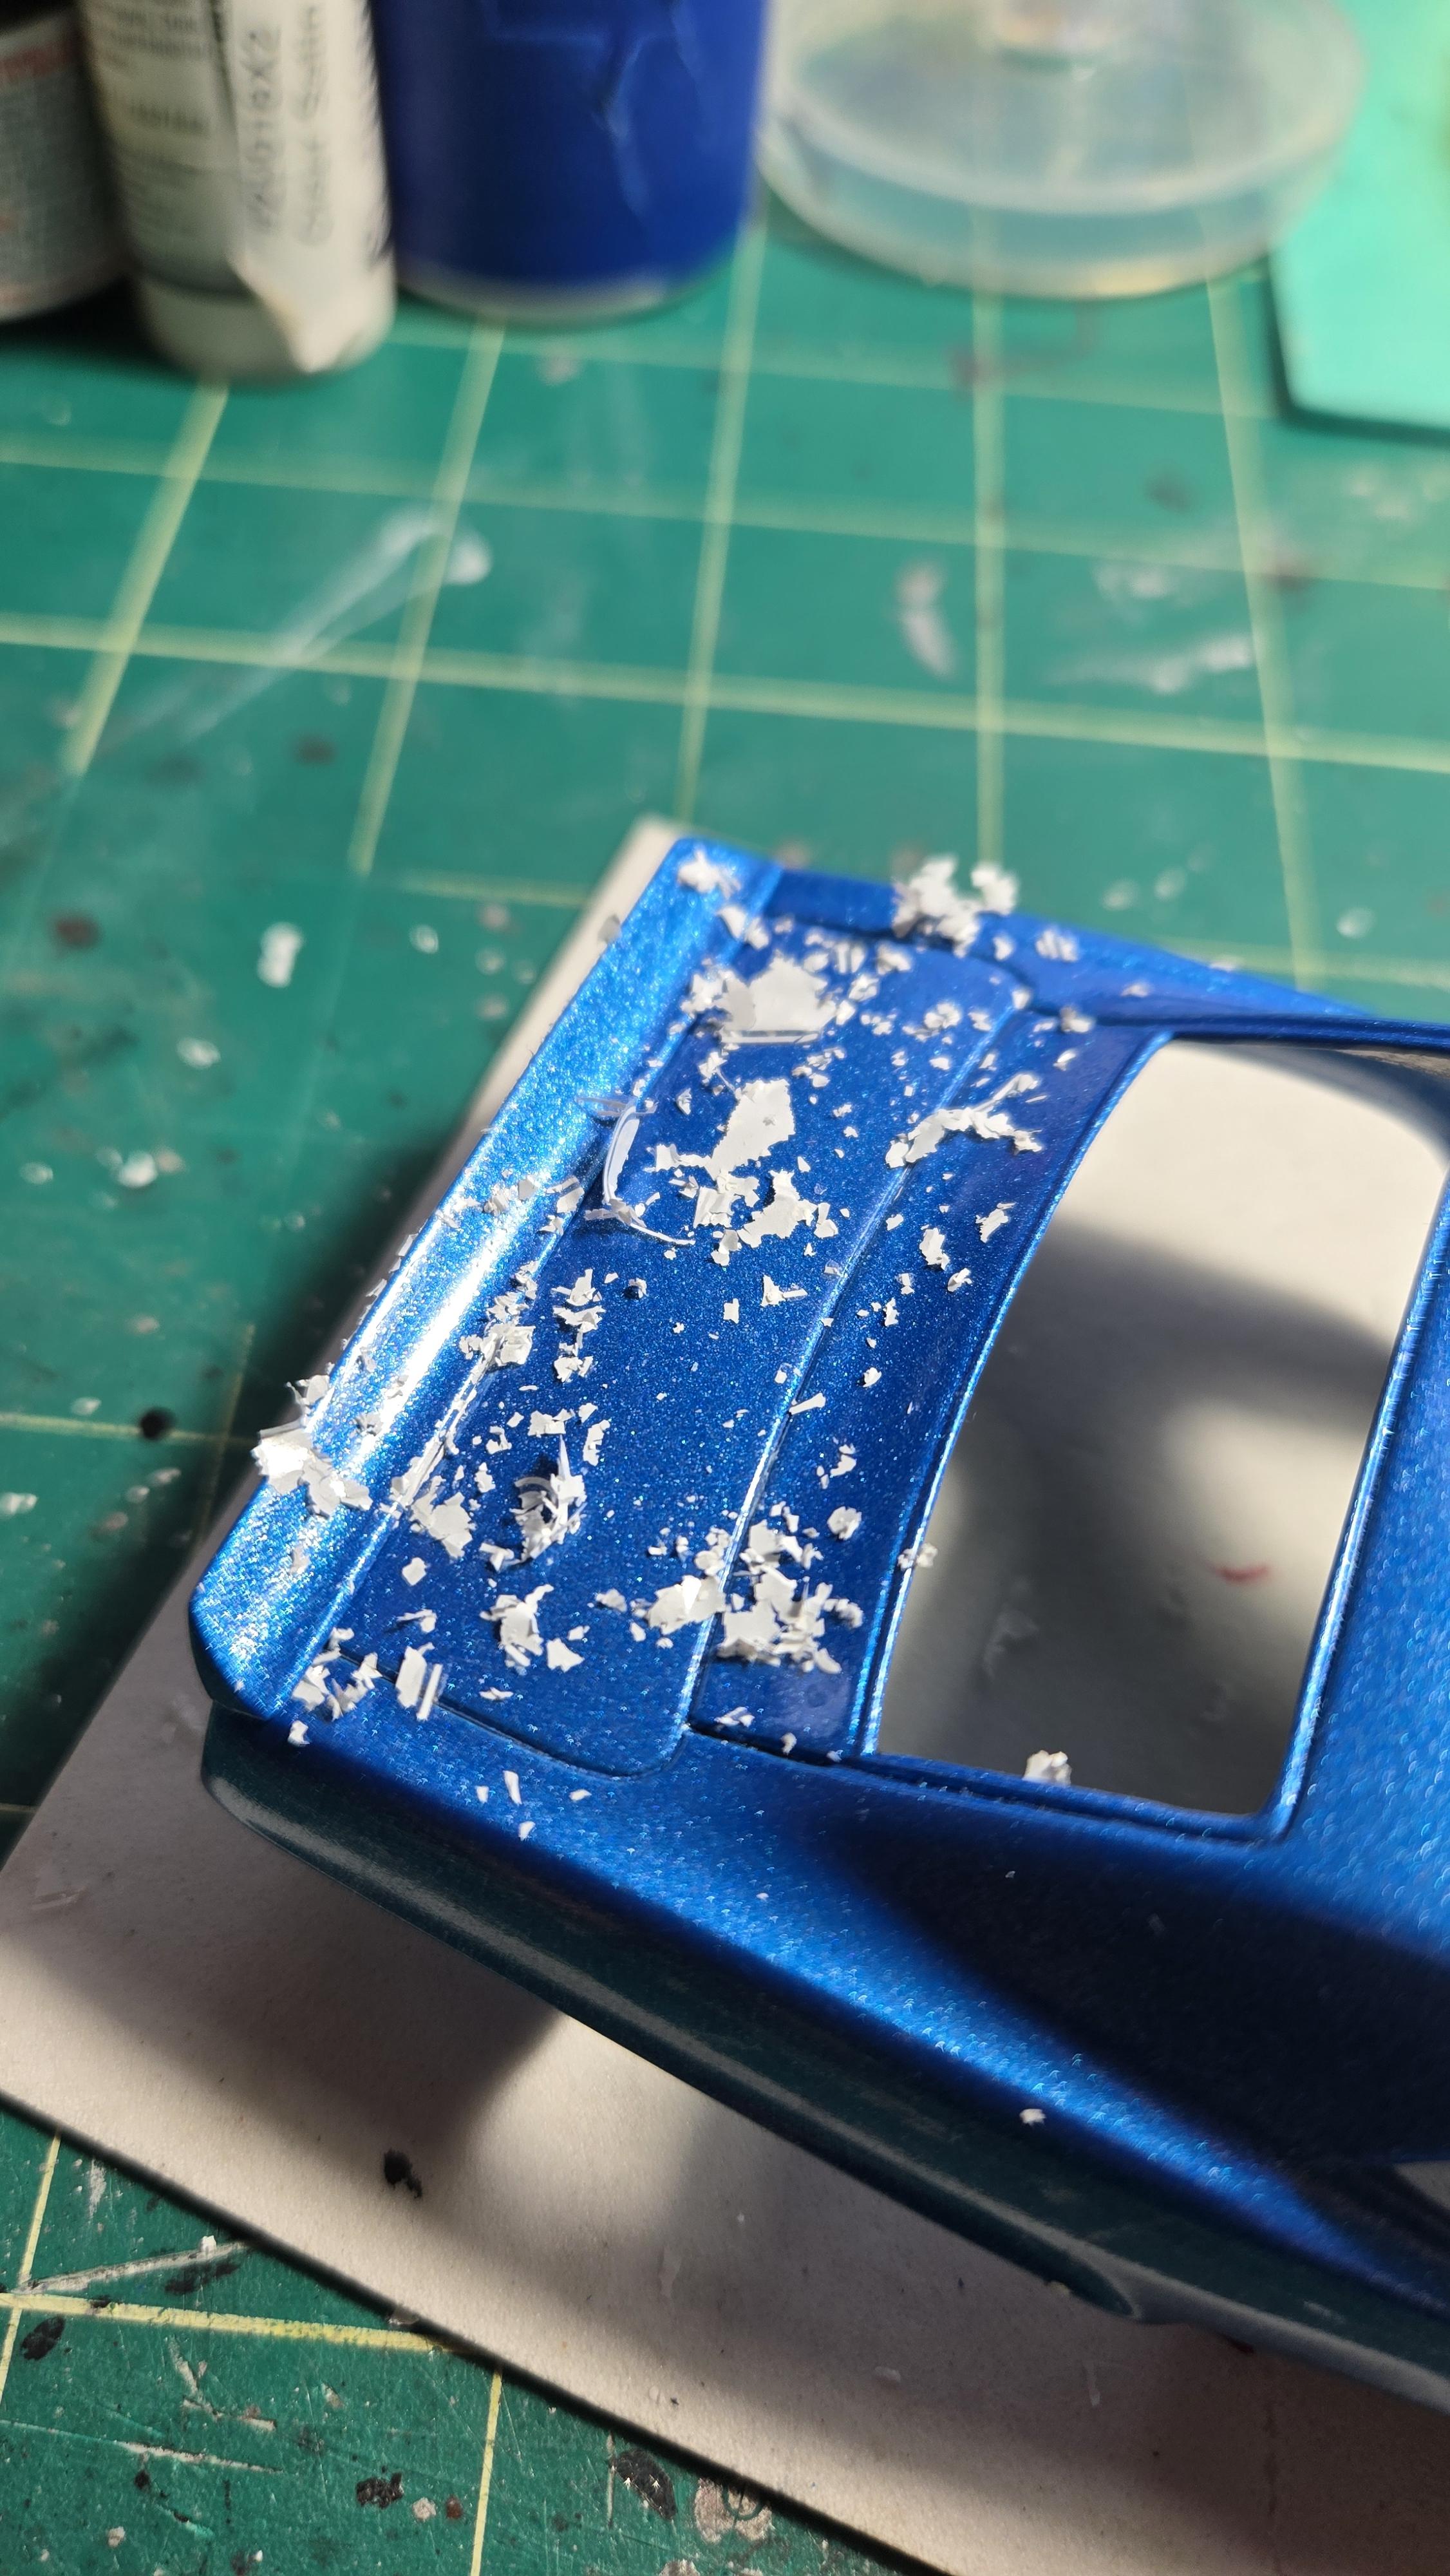
Decal Advice For starters, I'm miffed that the sheet has zero side or hood badges. No Z/28 emblems. The hood stripes are in one piece, except for the vent portion which, evidently, will need to be painted/filled in. I tried to perceiver, but you'll see where this goes. Tried cutting after application which kinda worked (left). I tried to measure and cut before applying, but I think my measurements were off (right). I tried to fill in the empty space. I could live with how the vents came out, but that notch in the hood gave me trouble. Besides, how hard is it to match WHITE? Again, the creases caused me grief. I could not get a clean/straight cut, yes with a new blade. It just got worse. Notice the patch job in front. I can't leave it like that, so.. Round 2 (Any advice?)
-
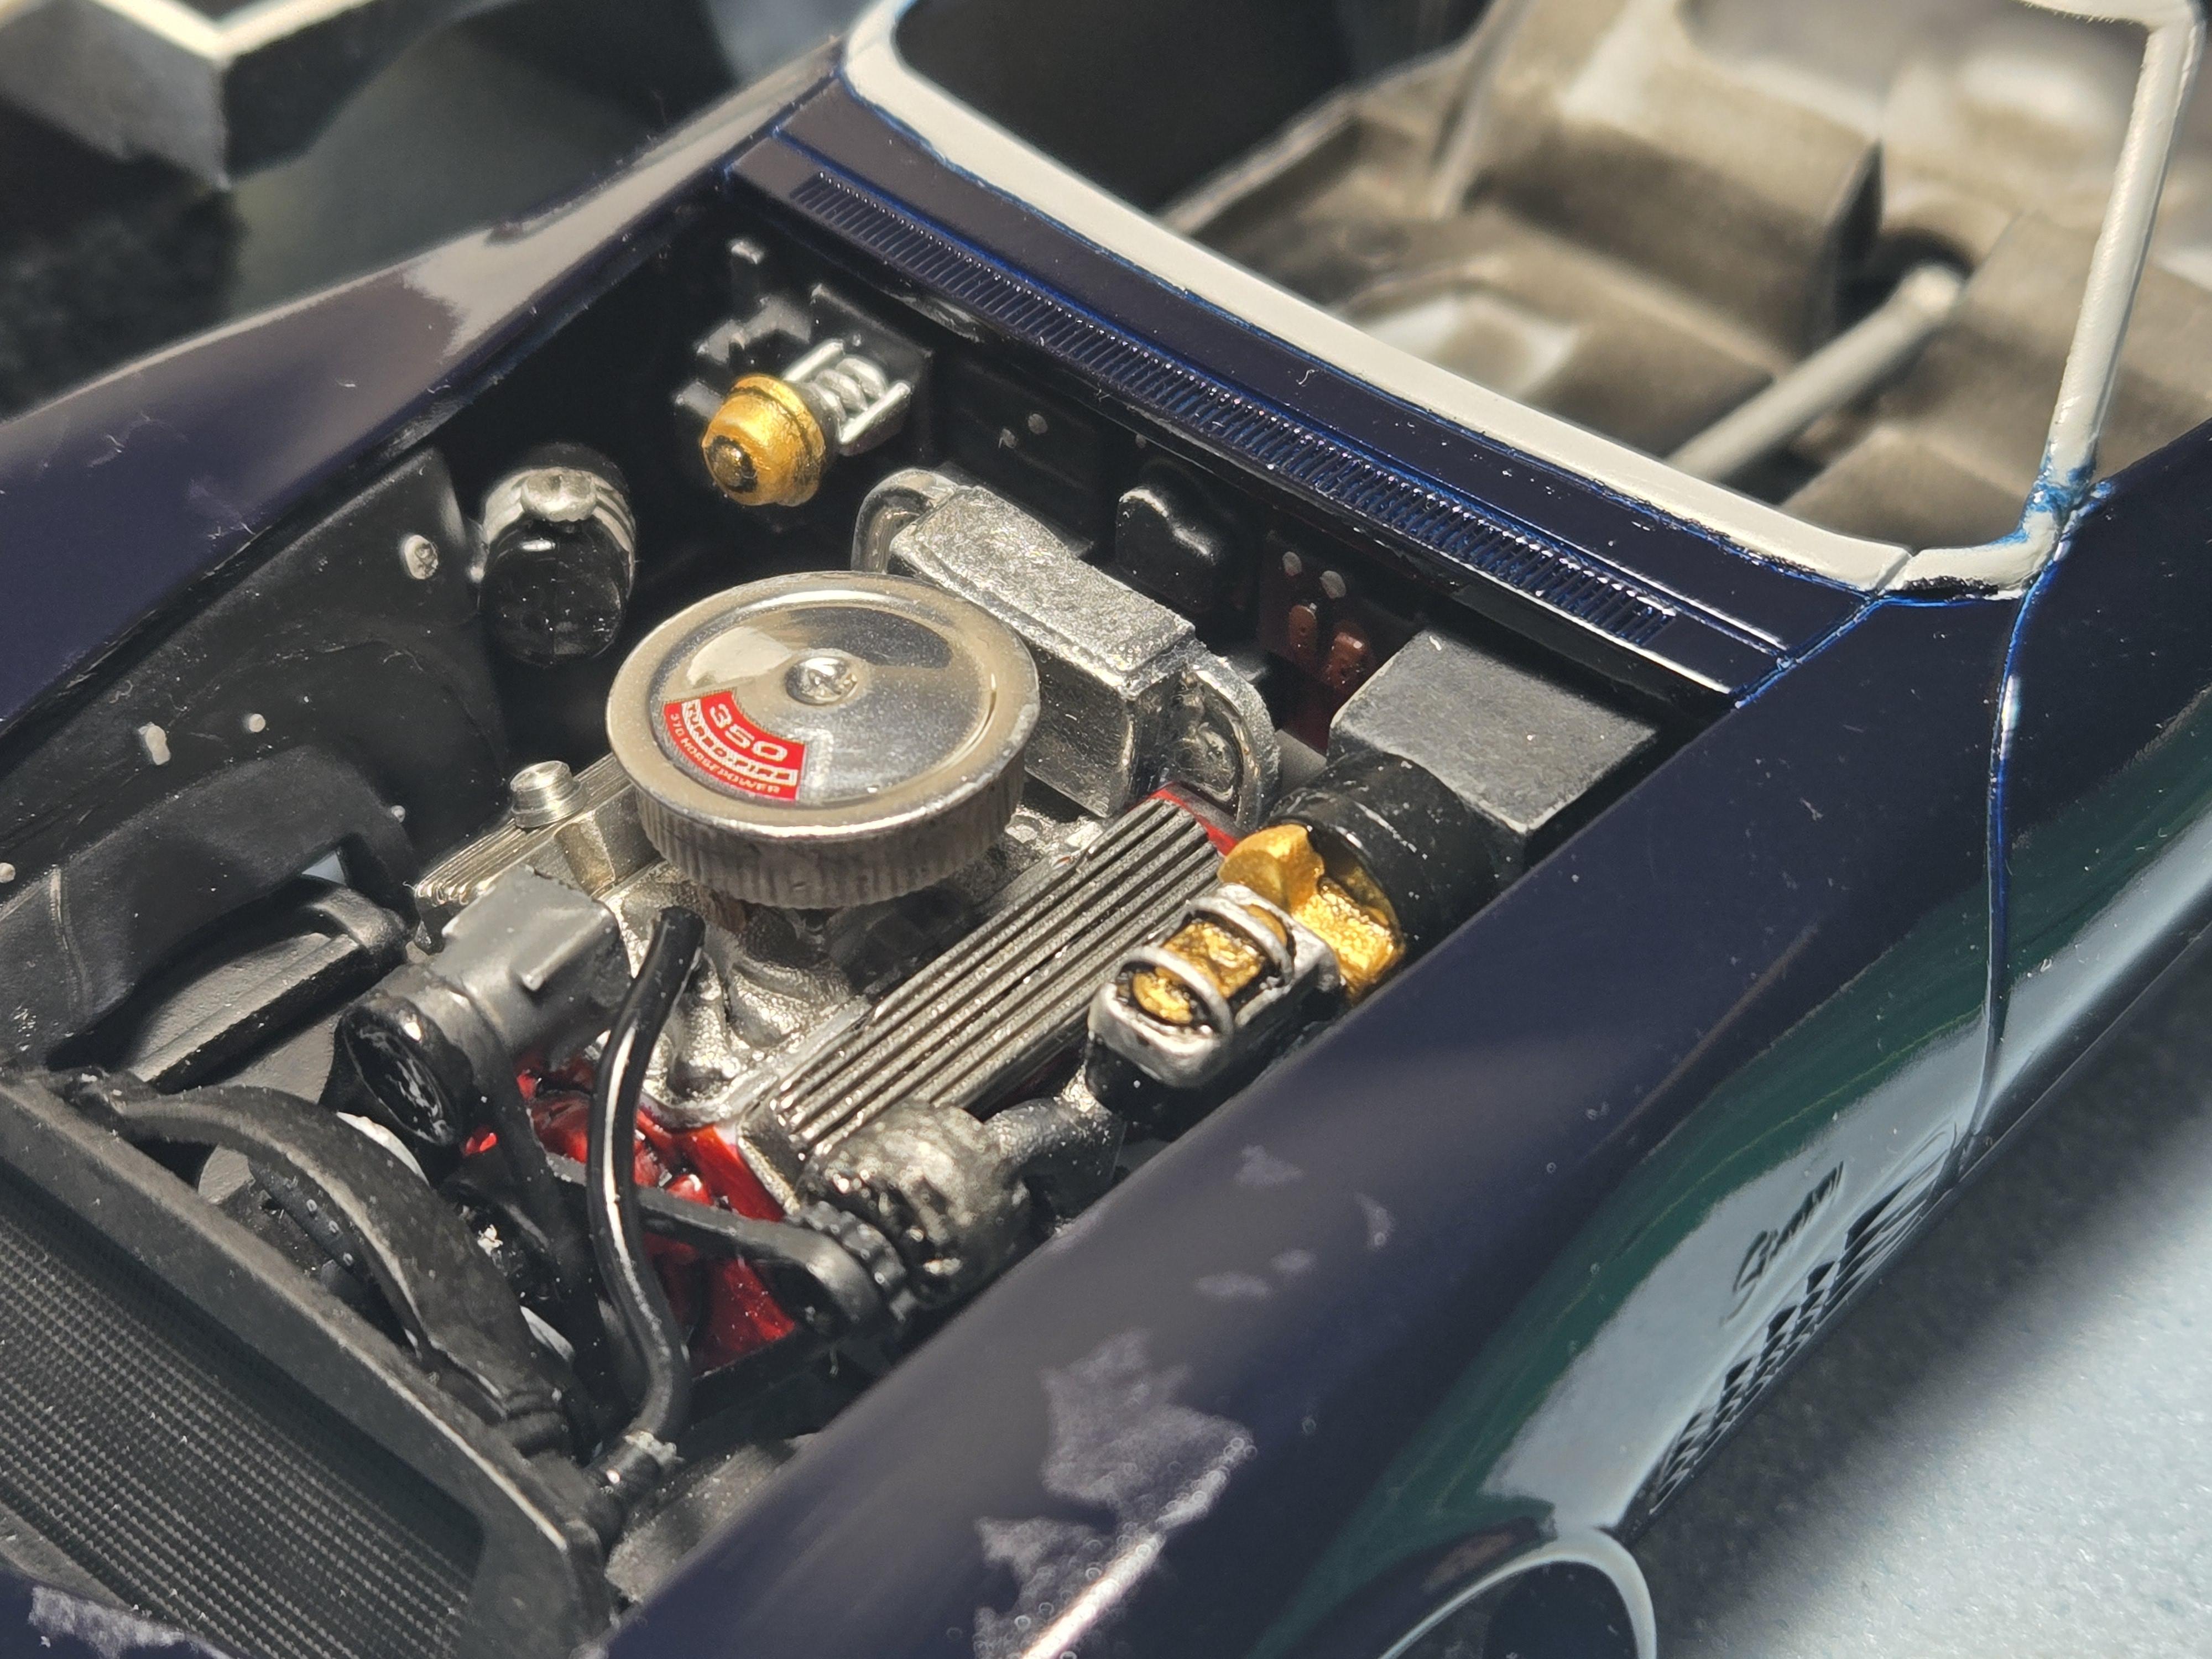
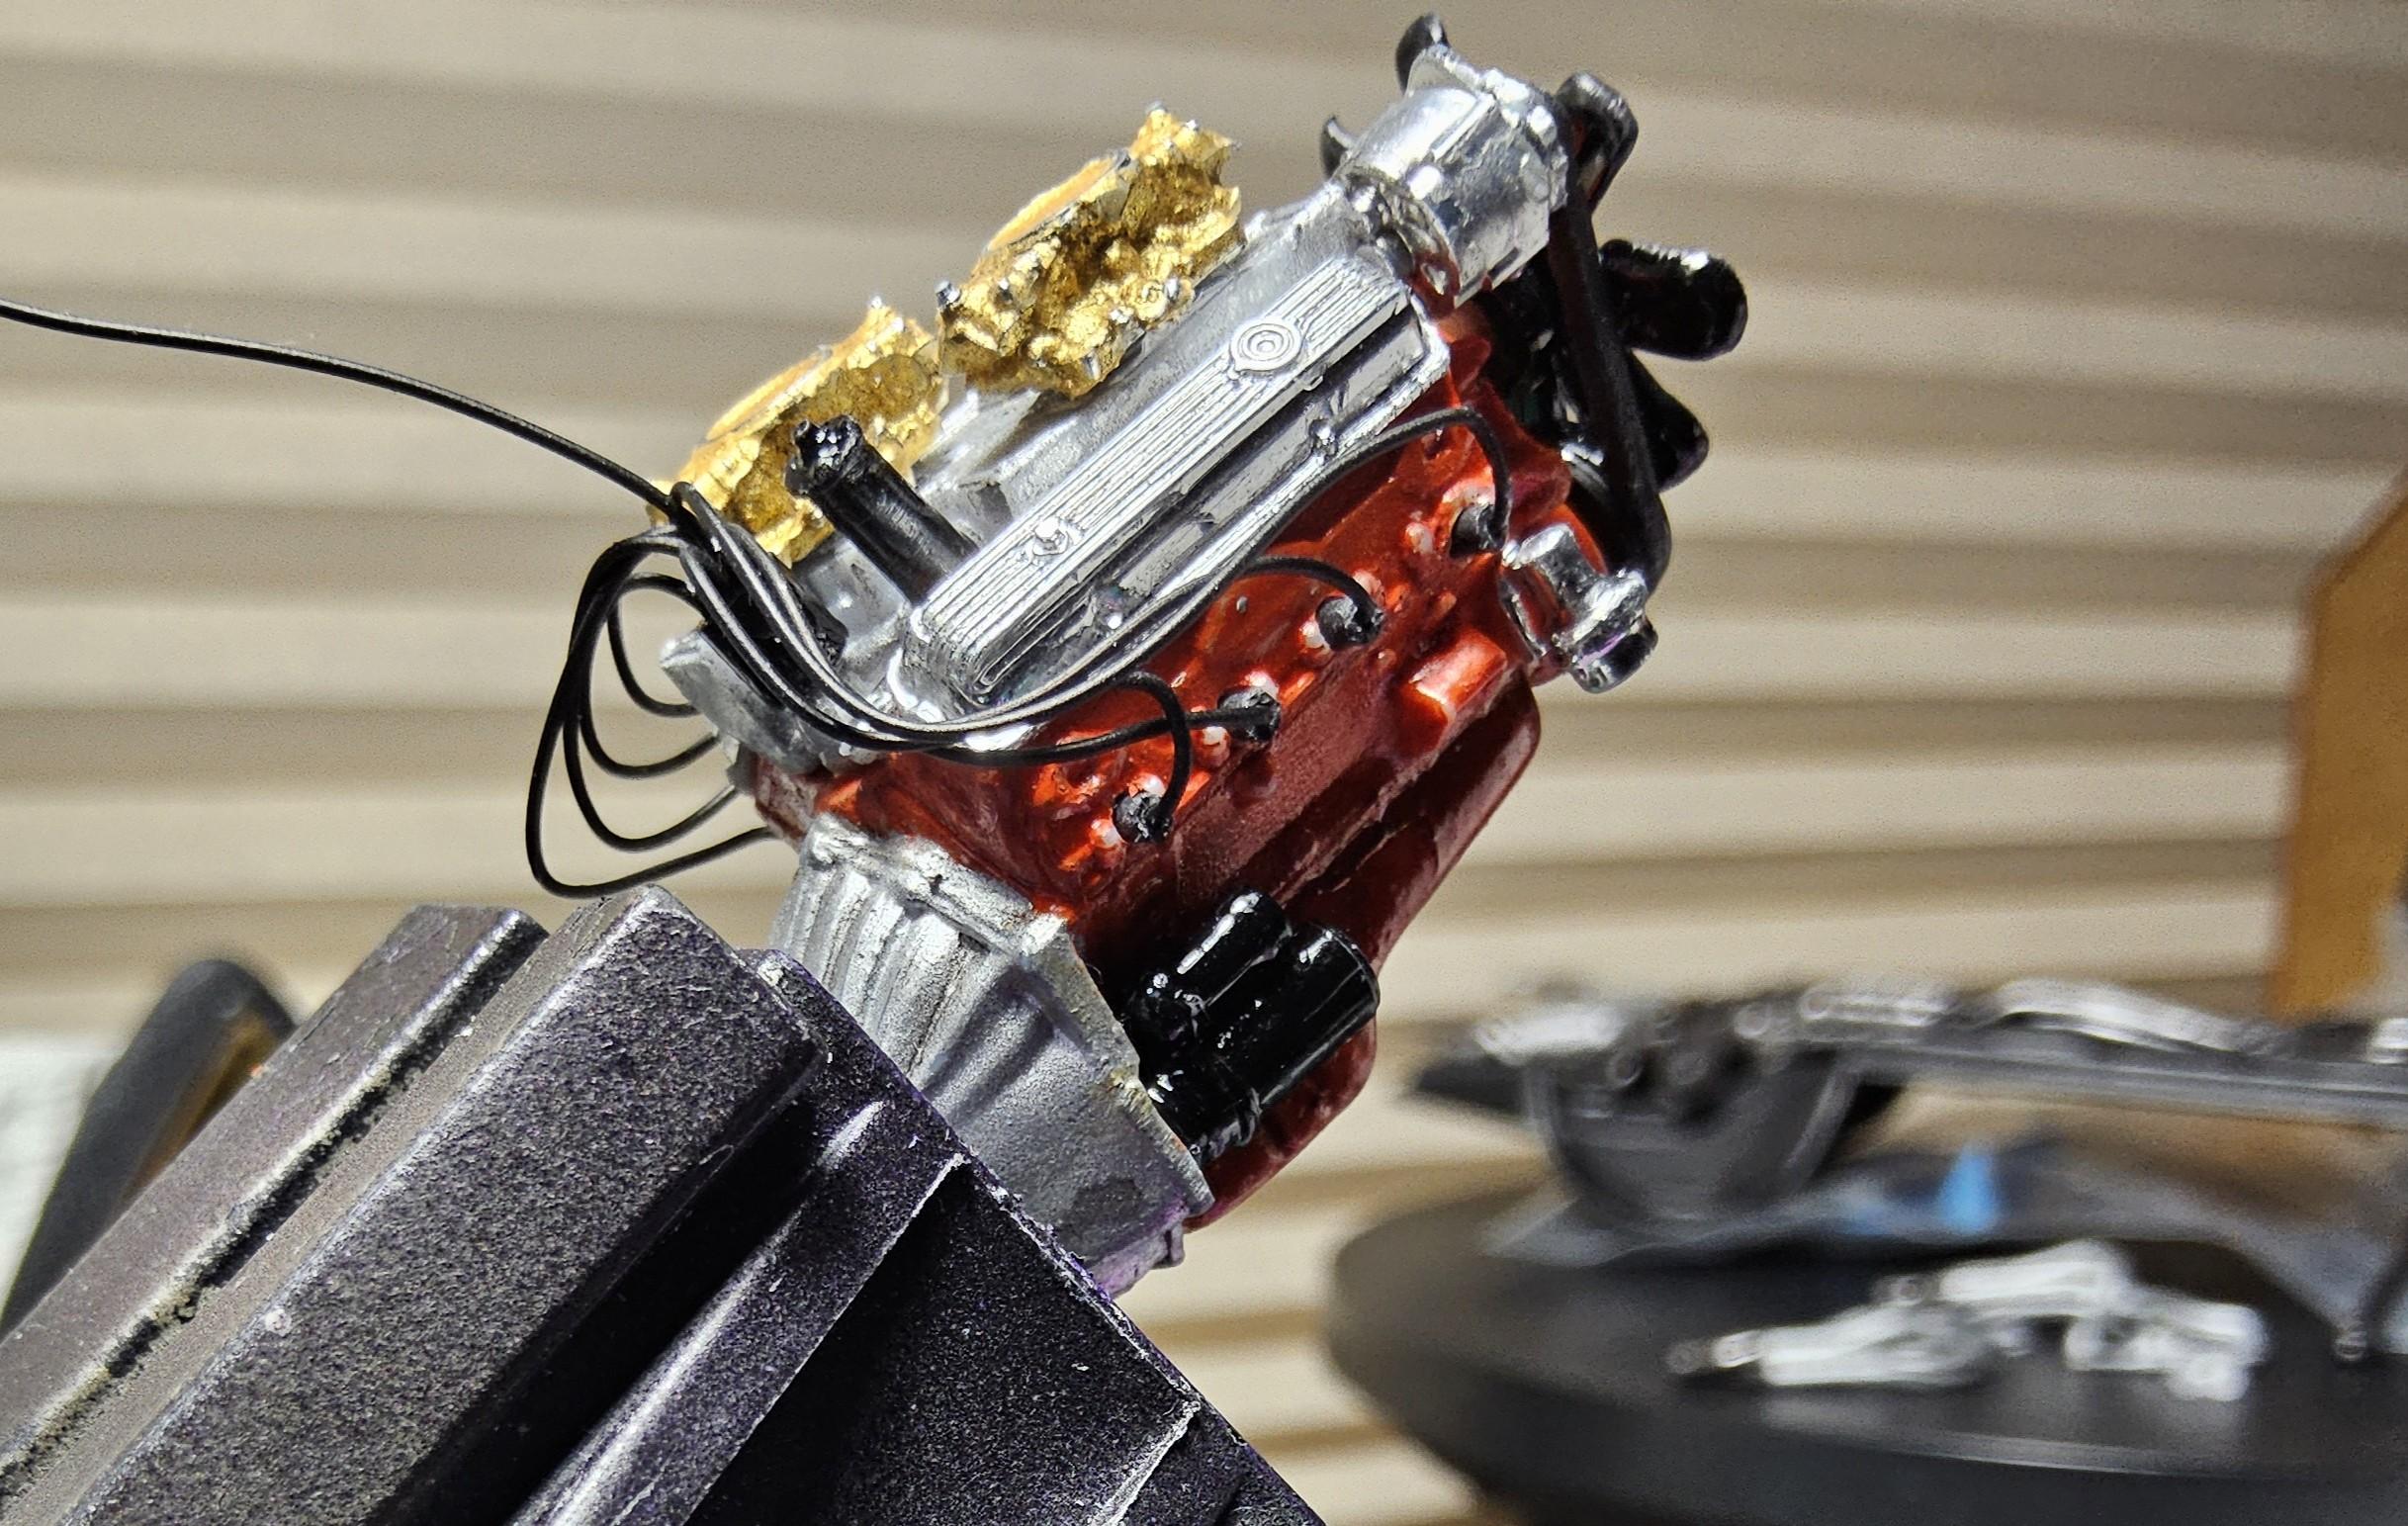
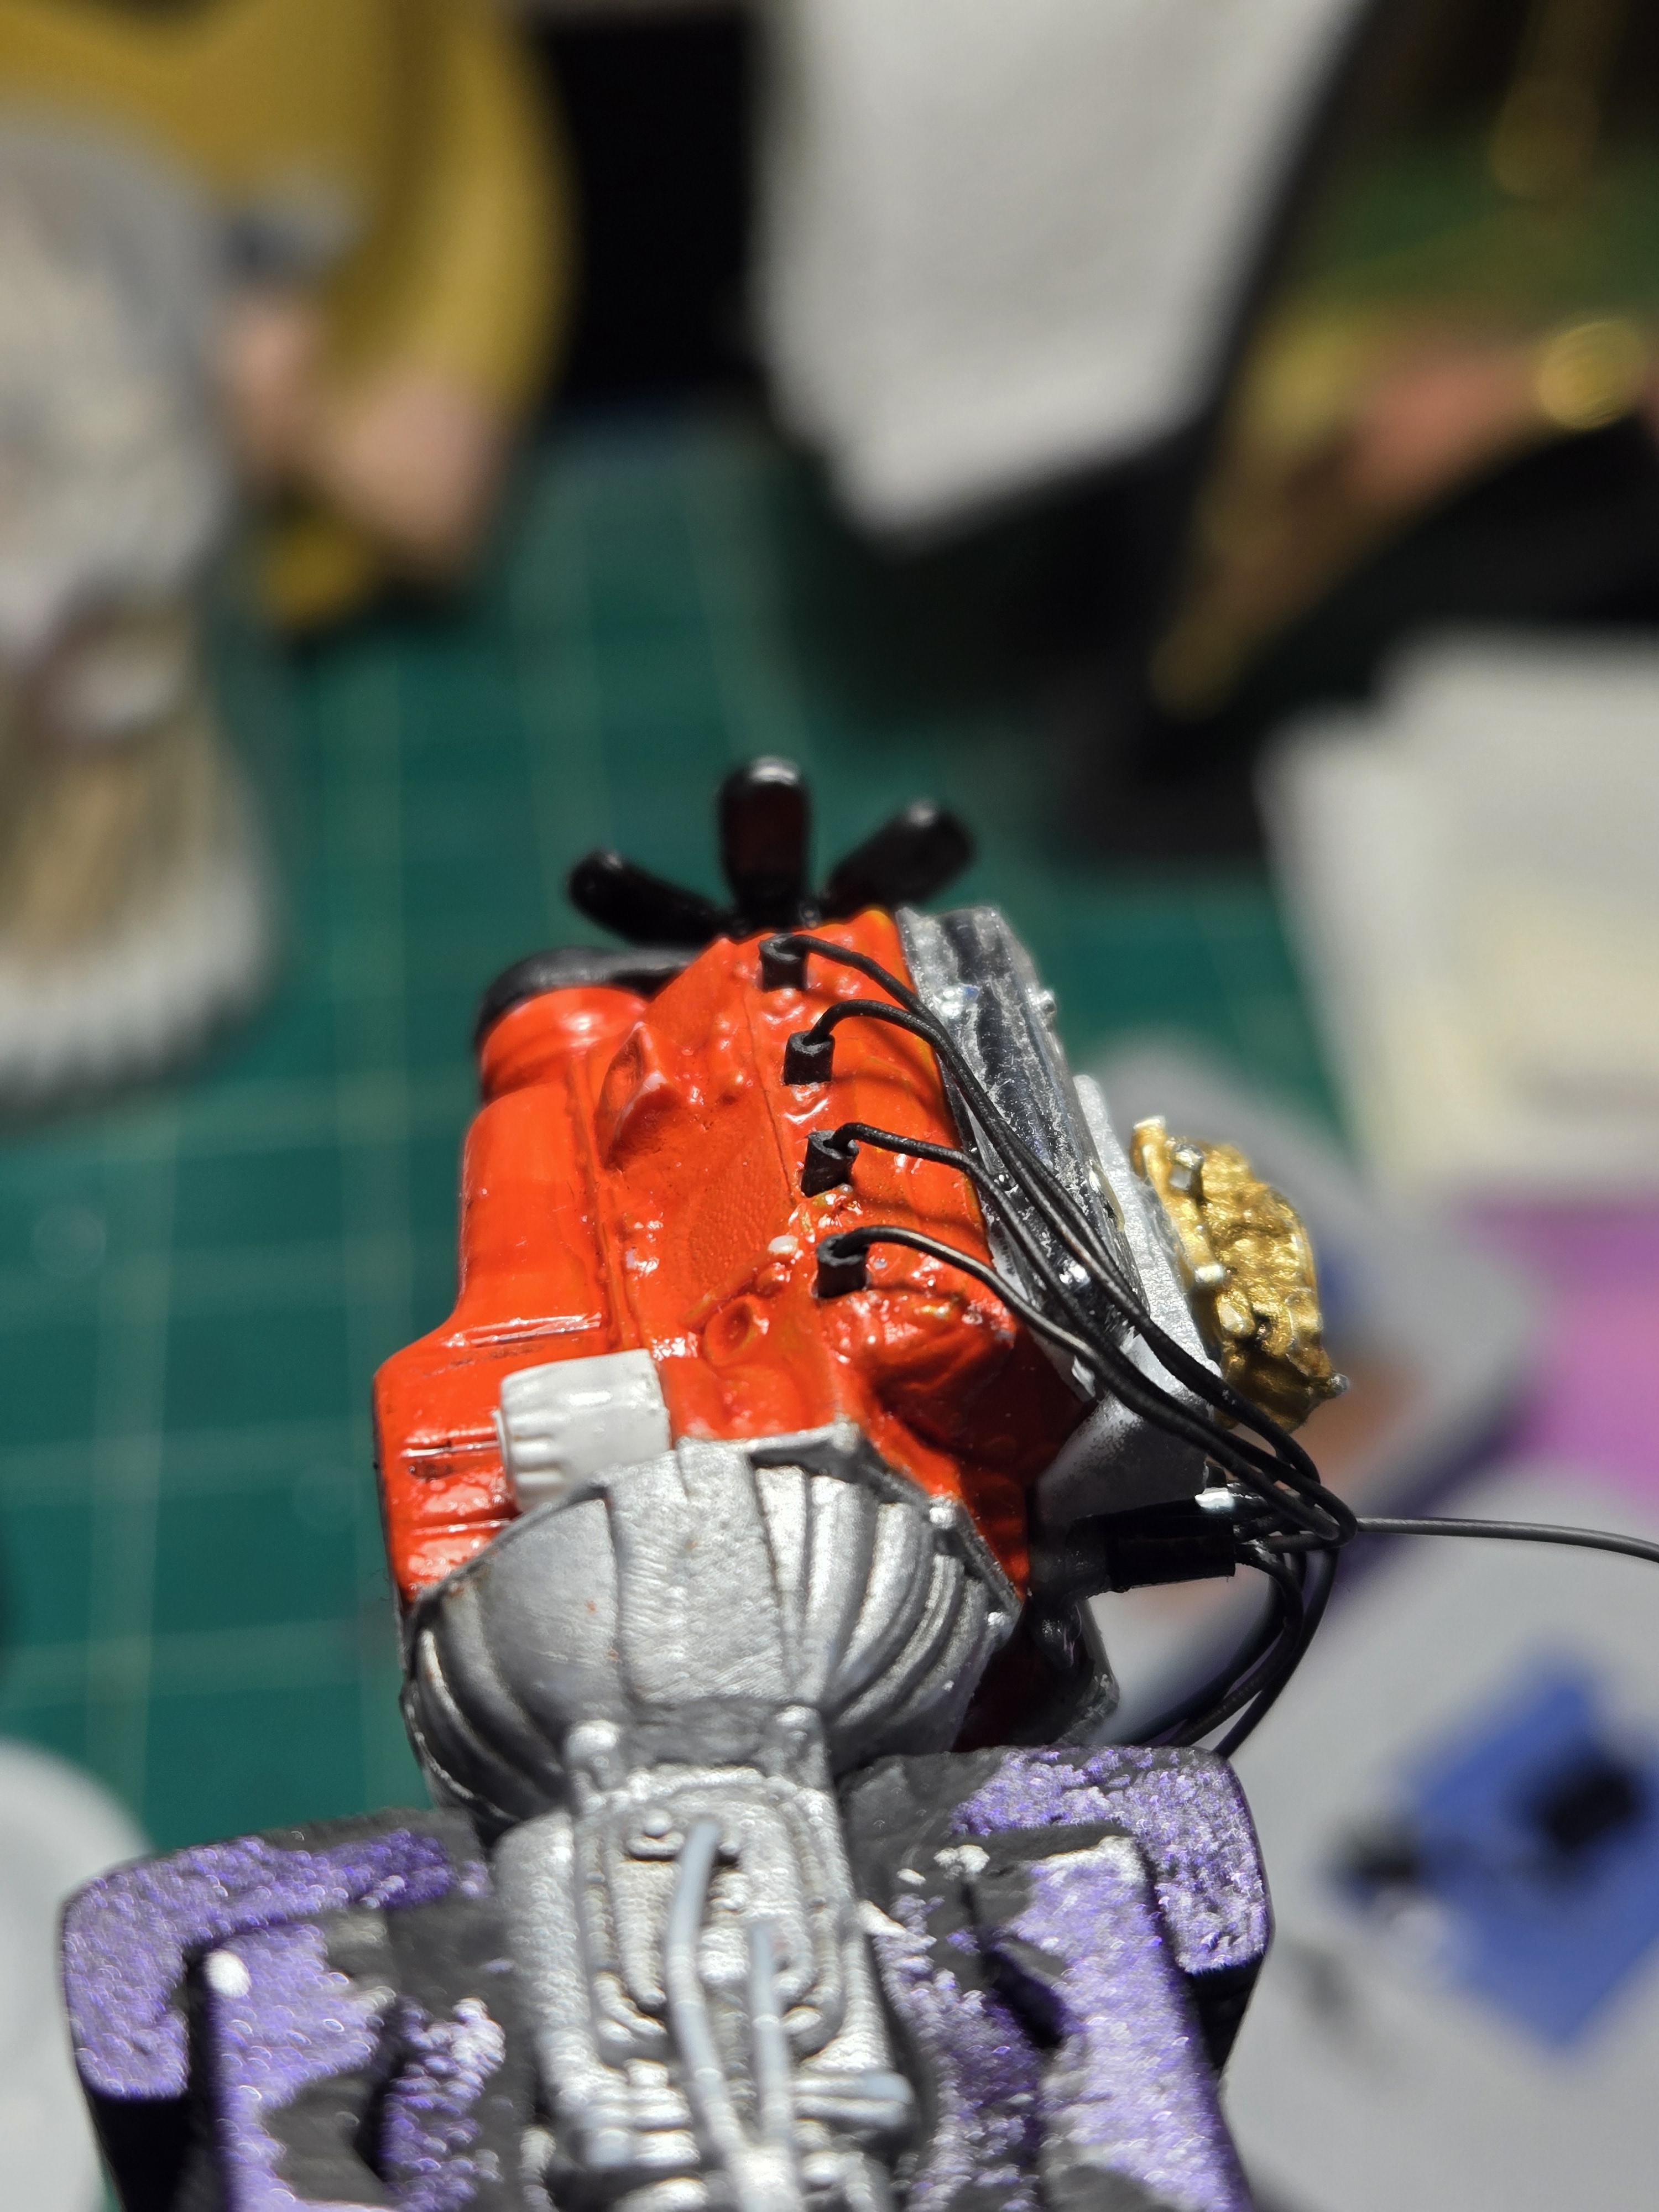
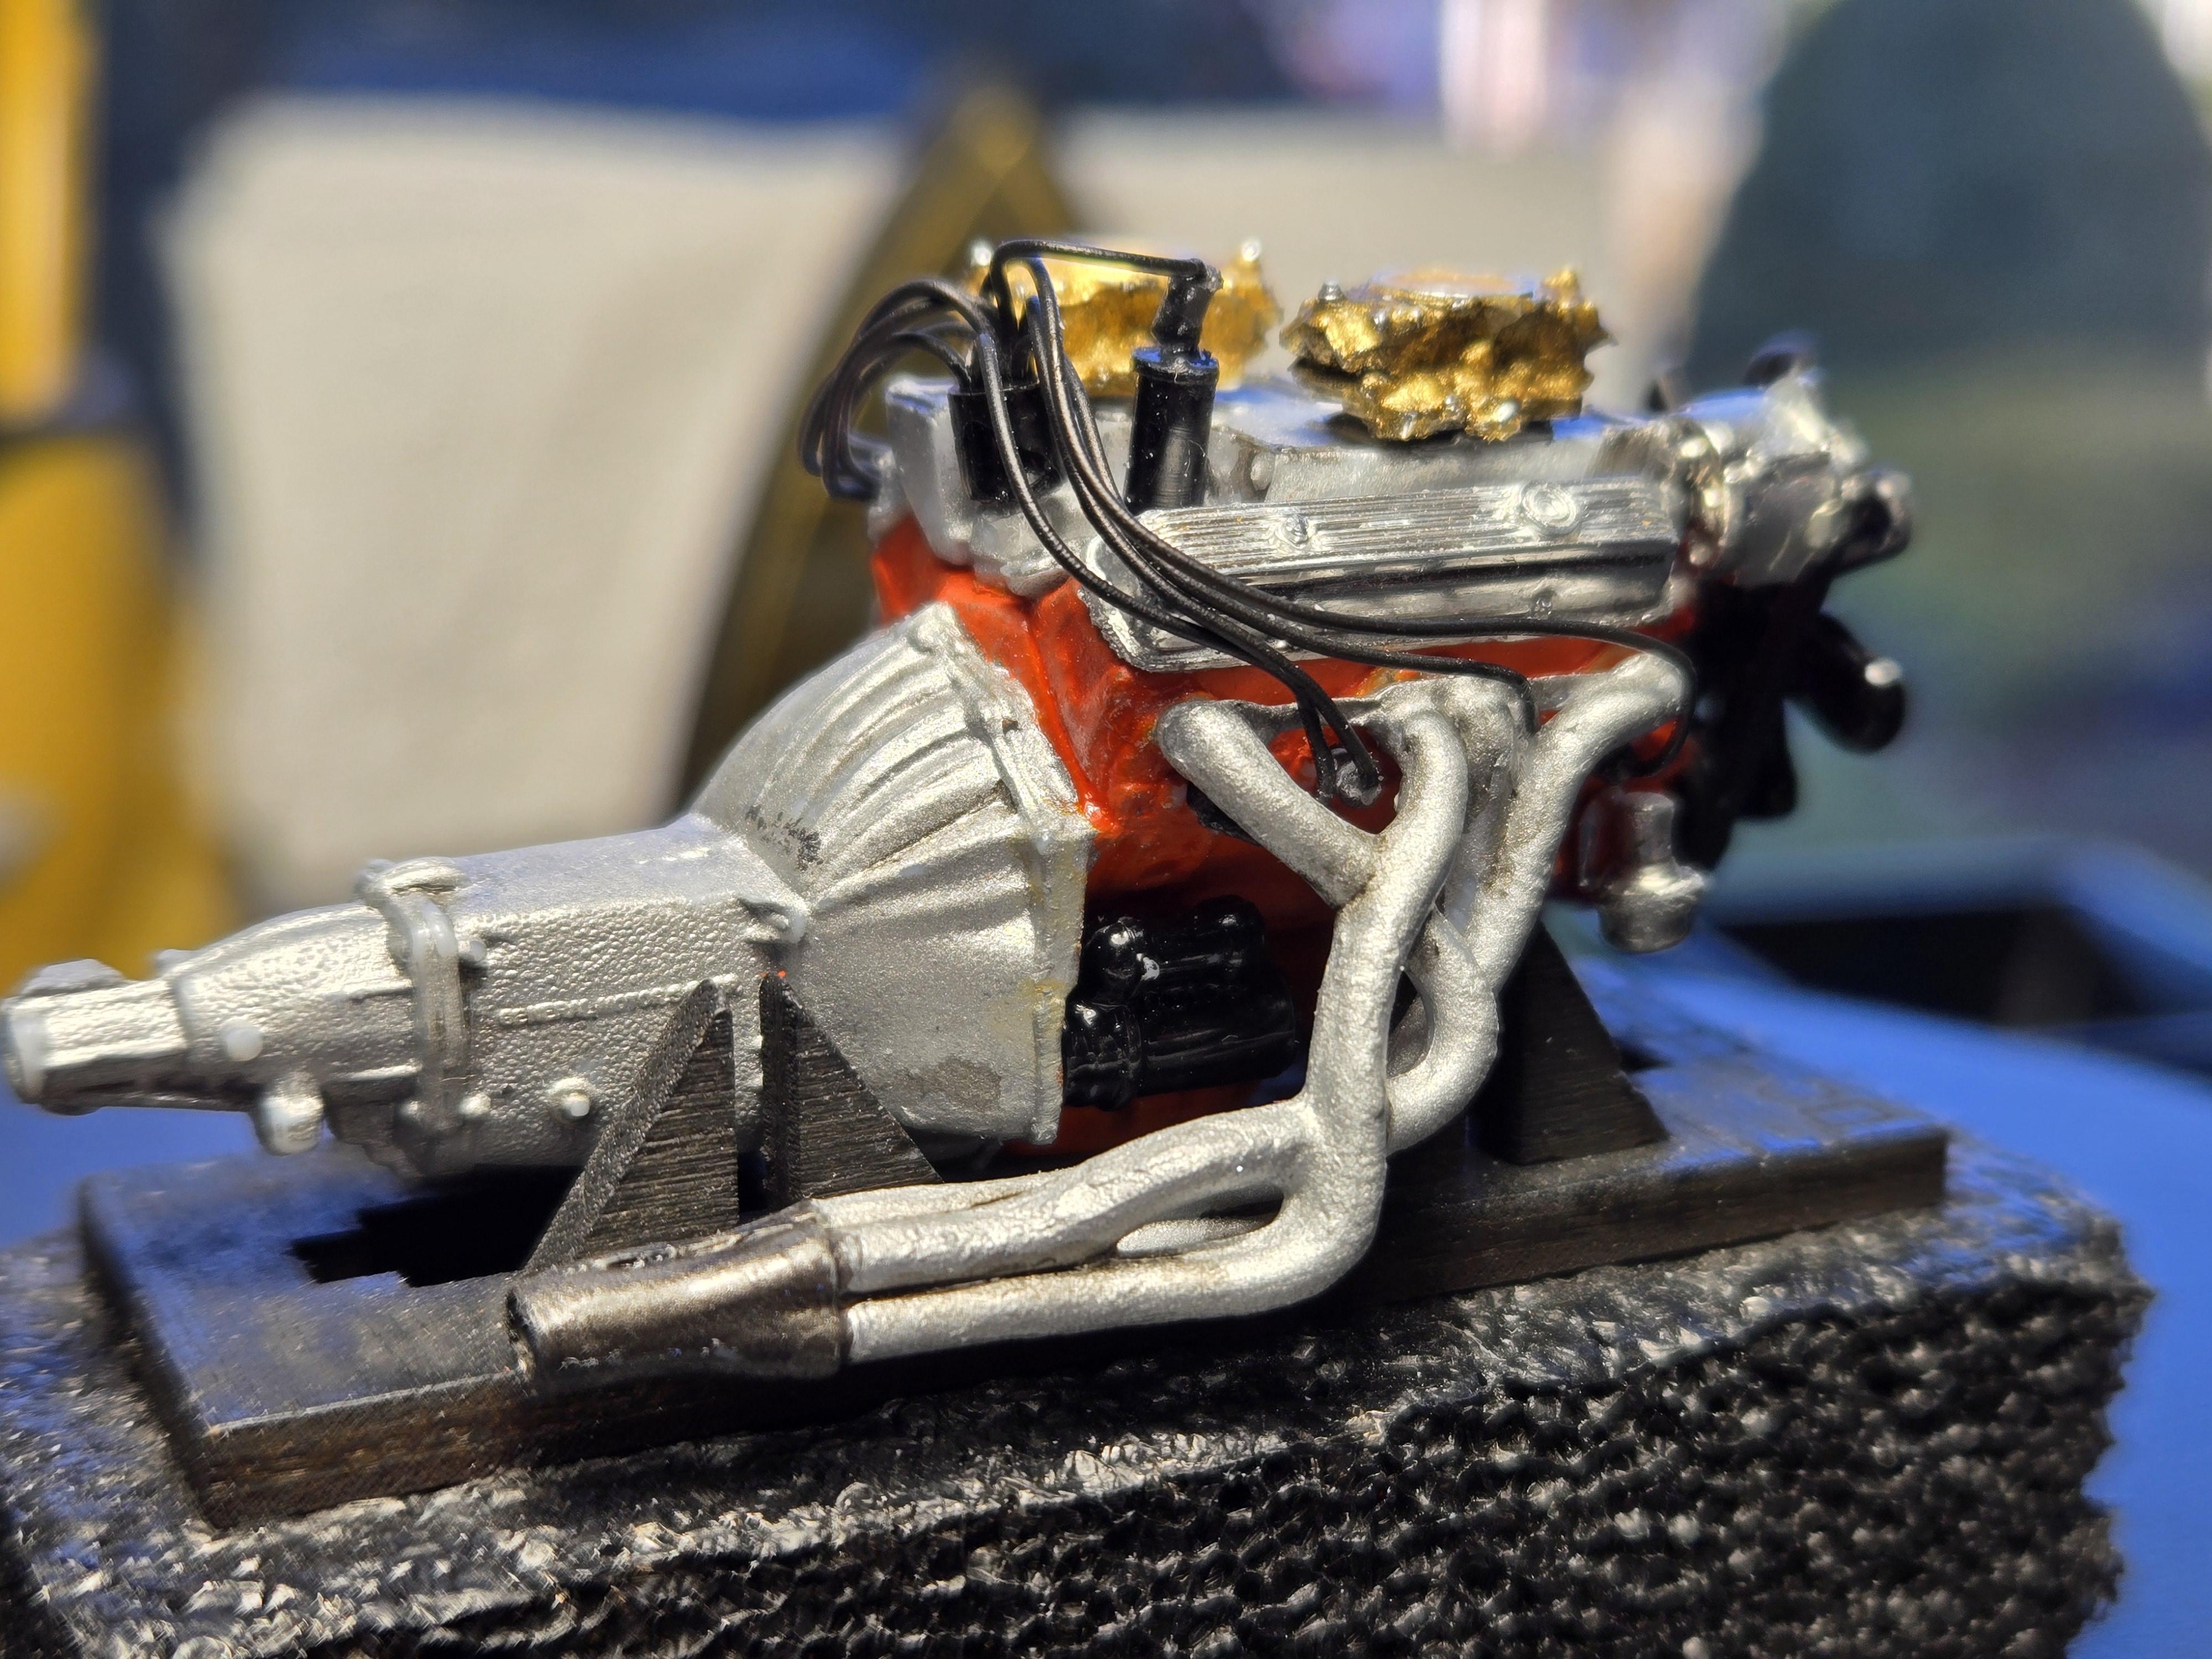
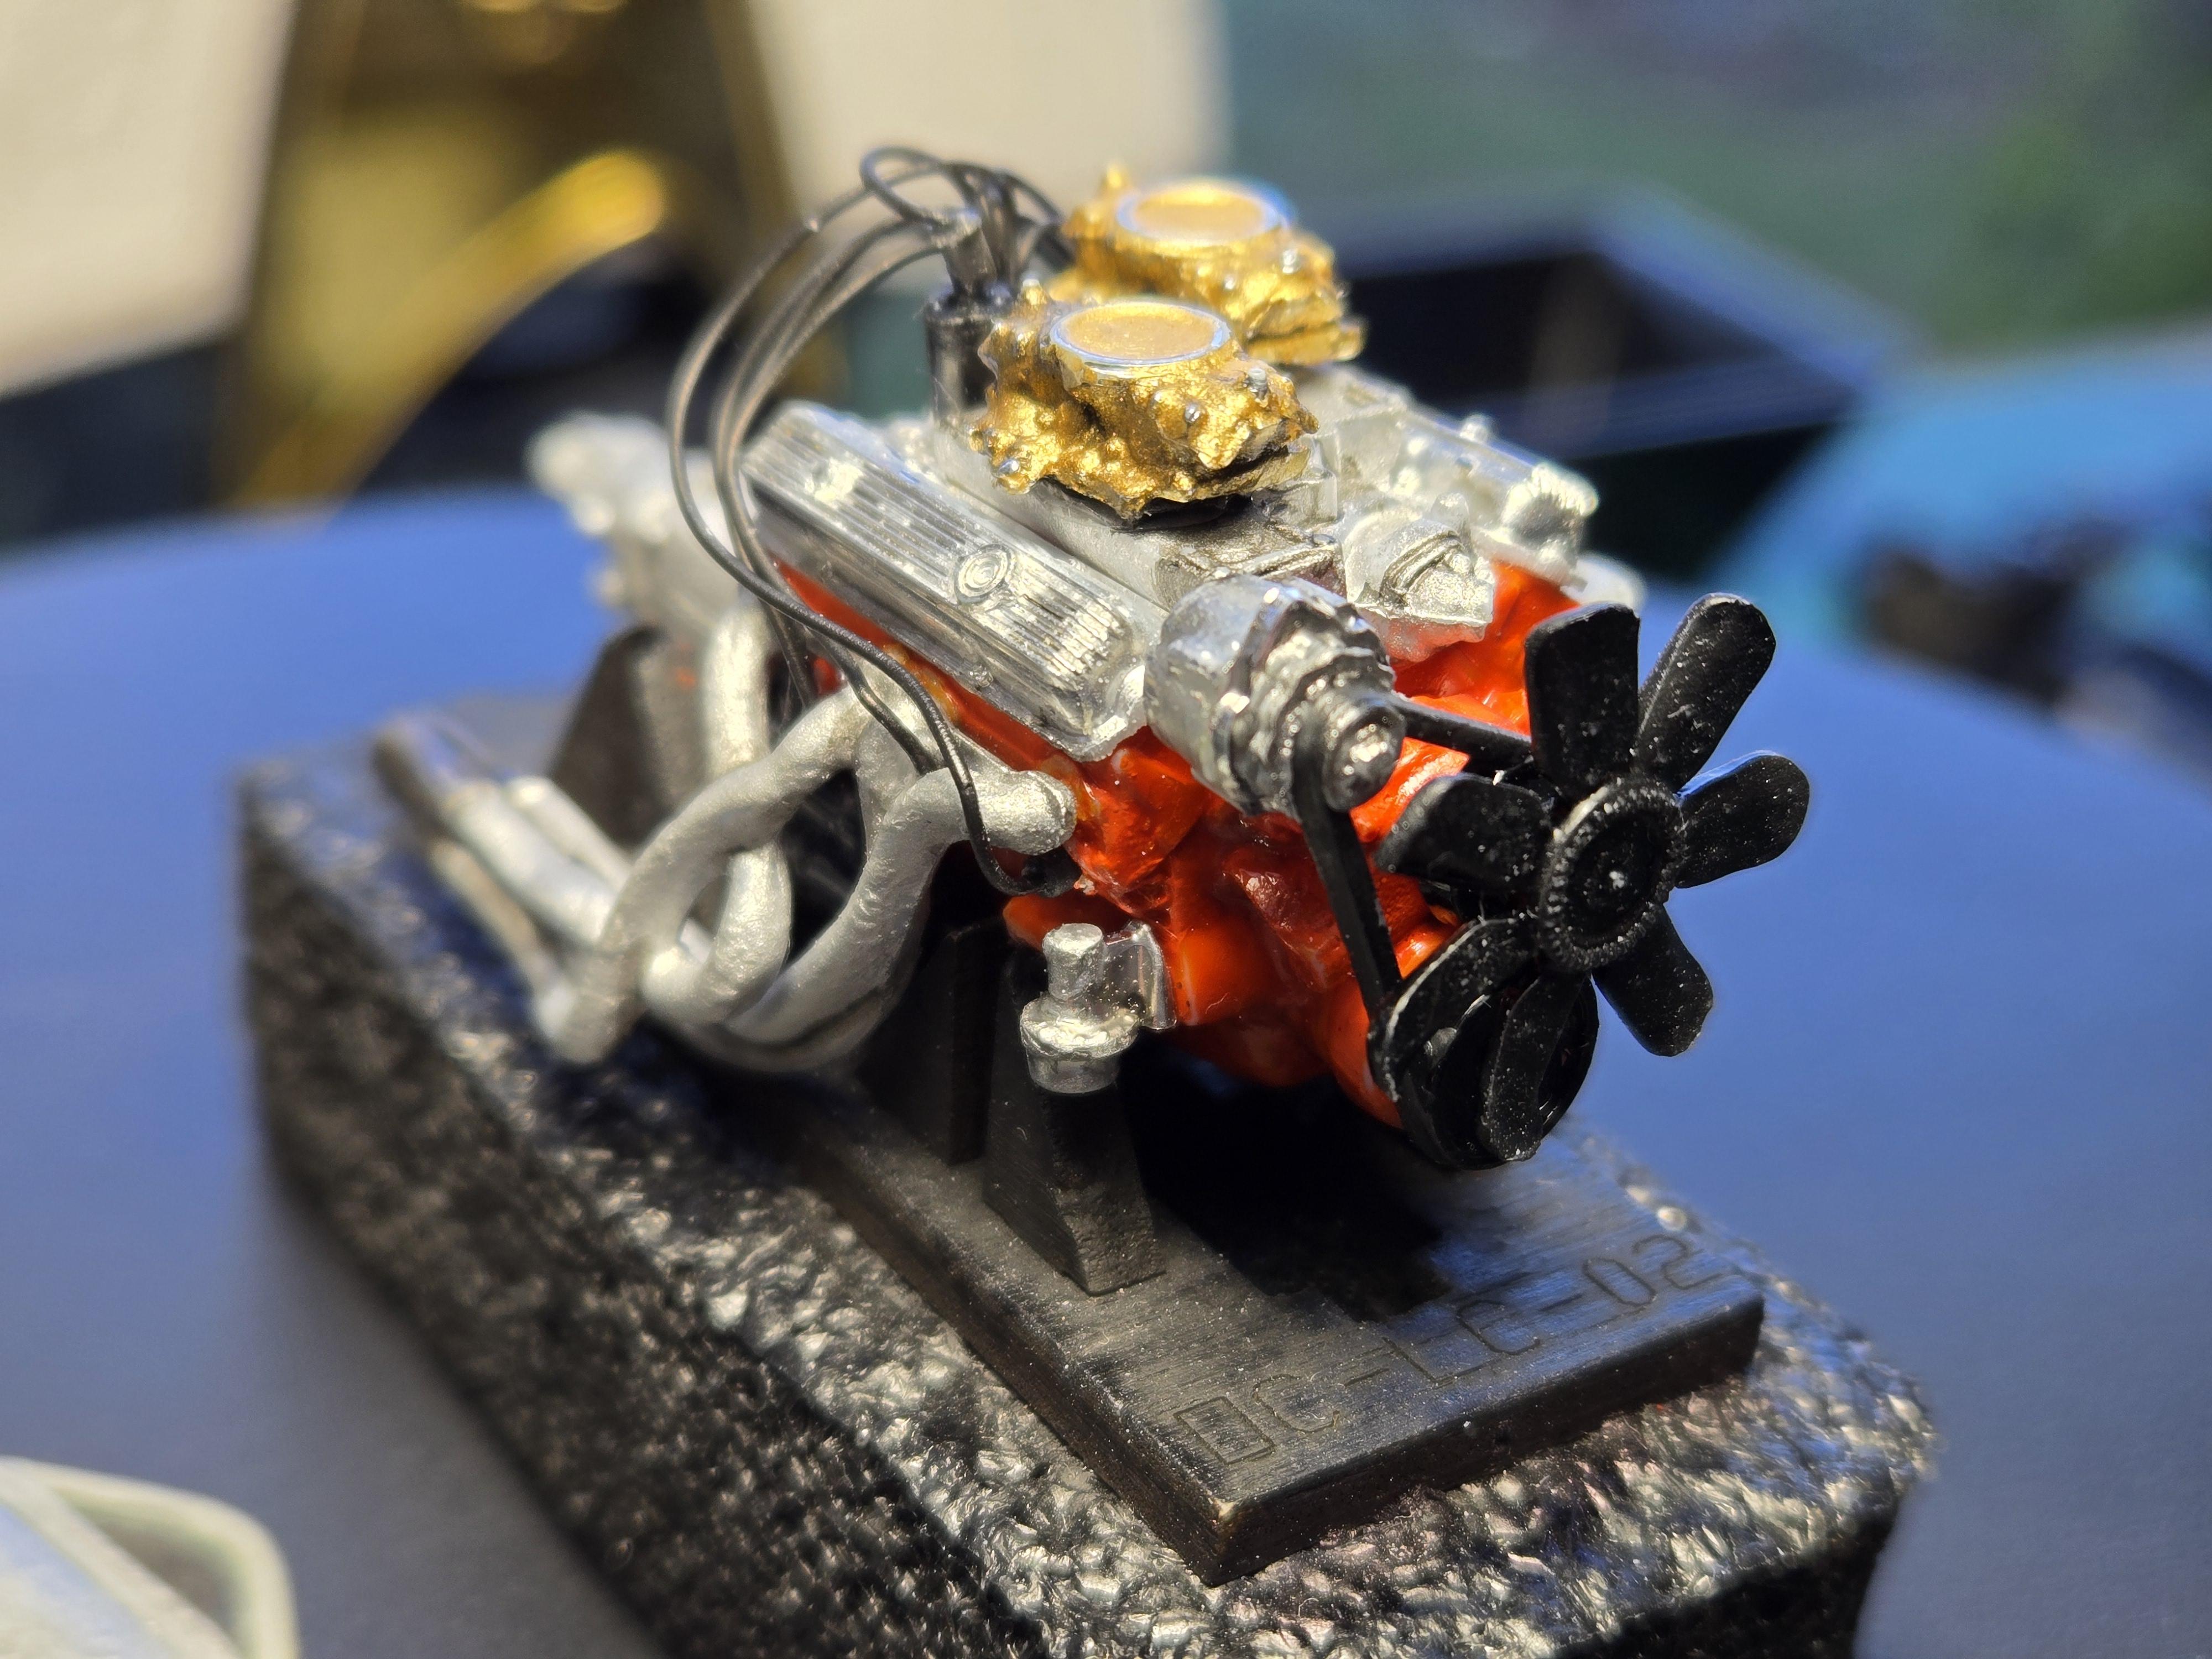
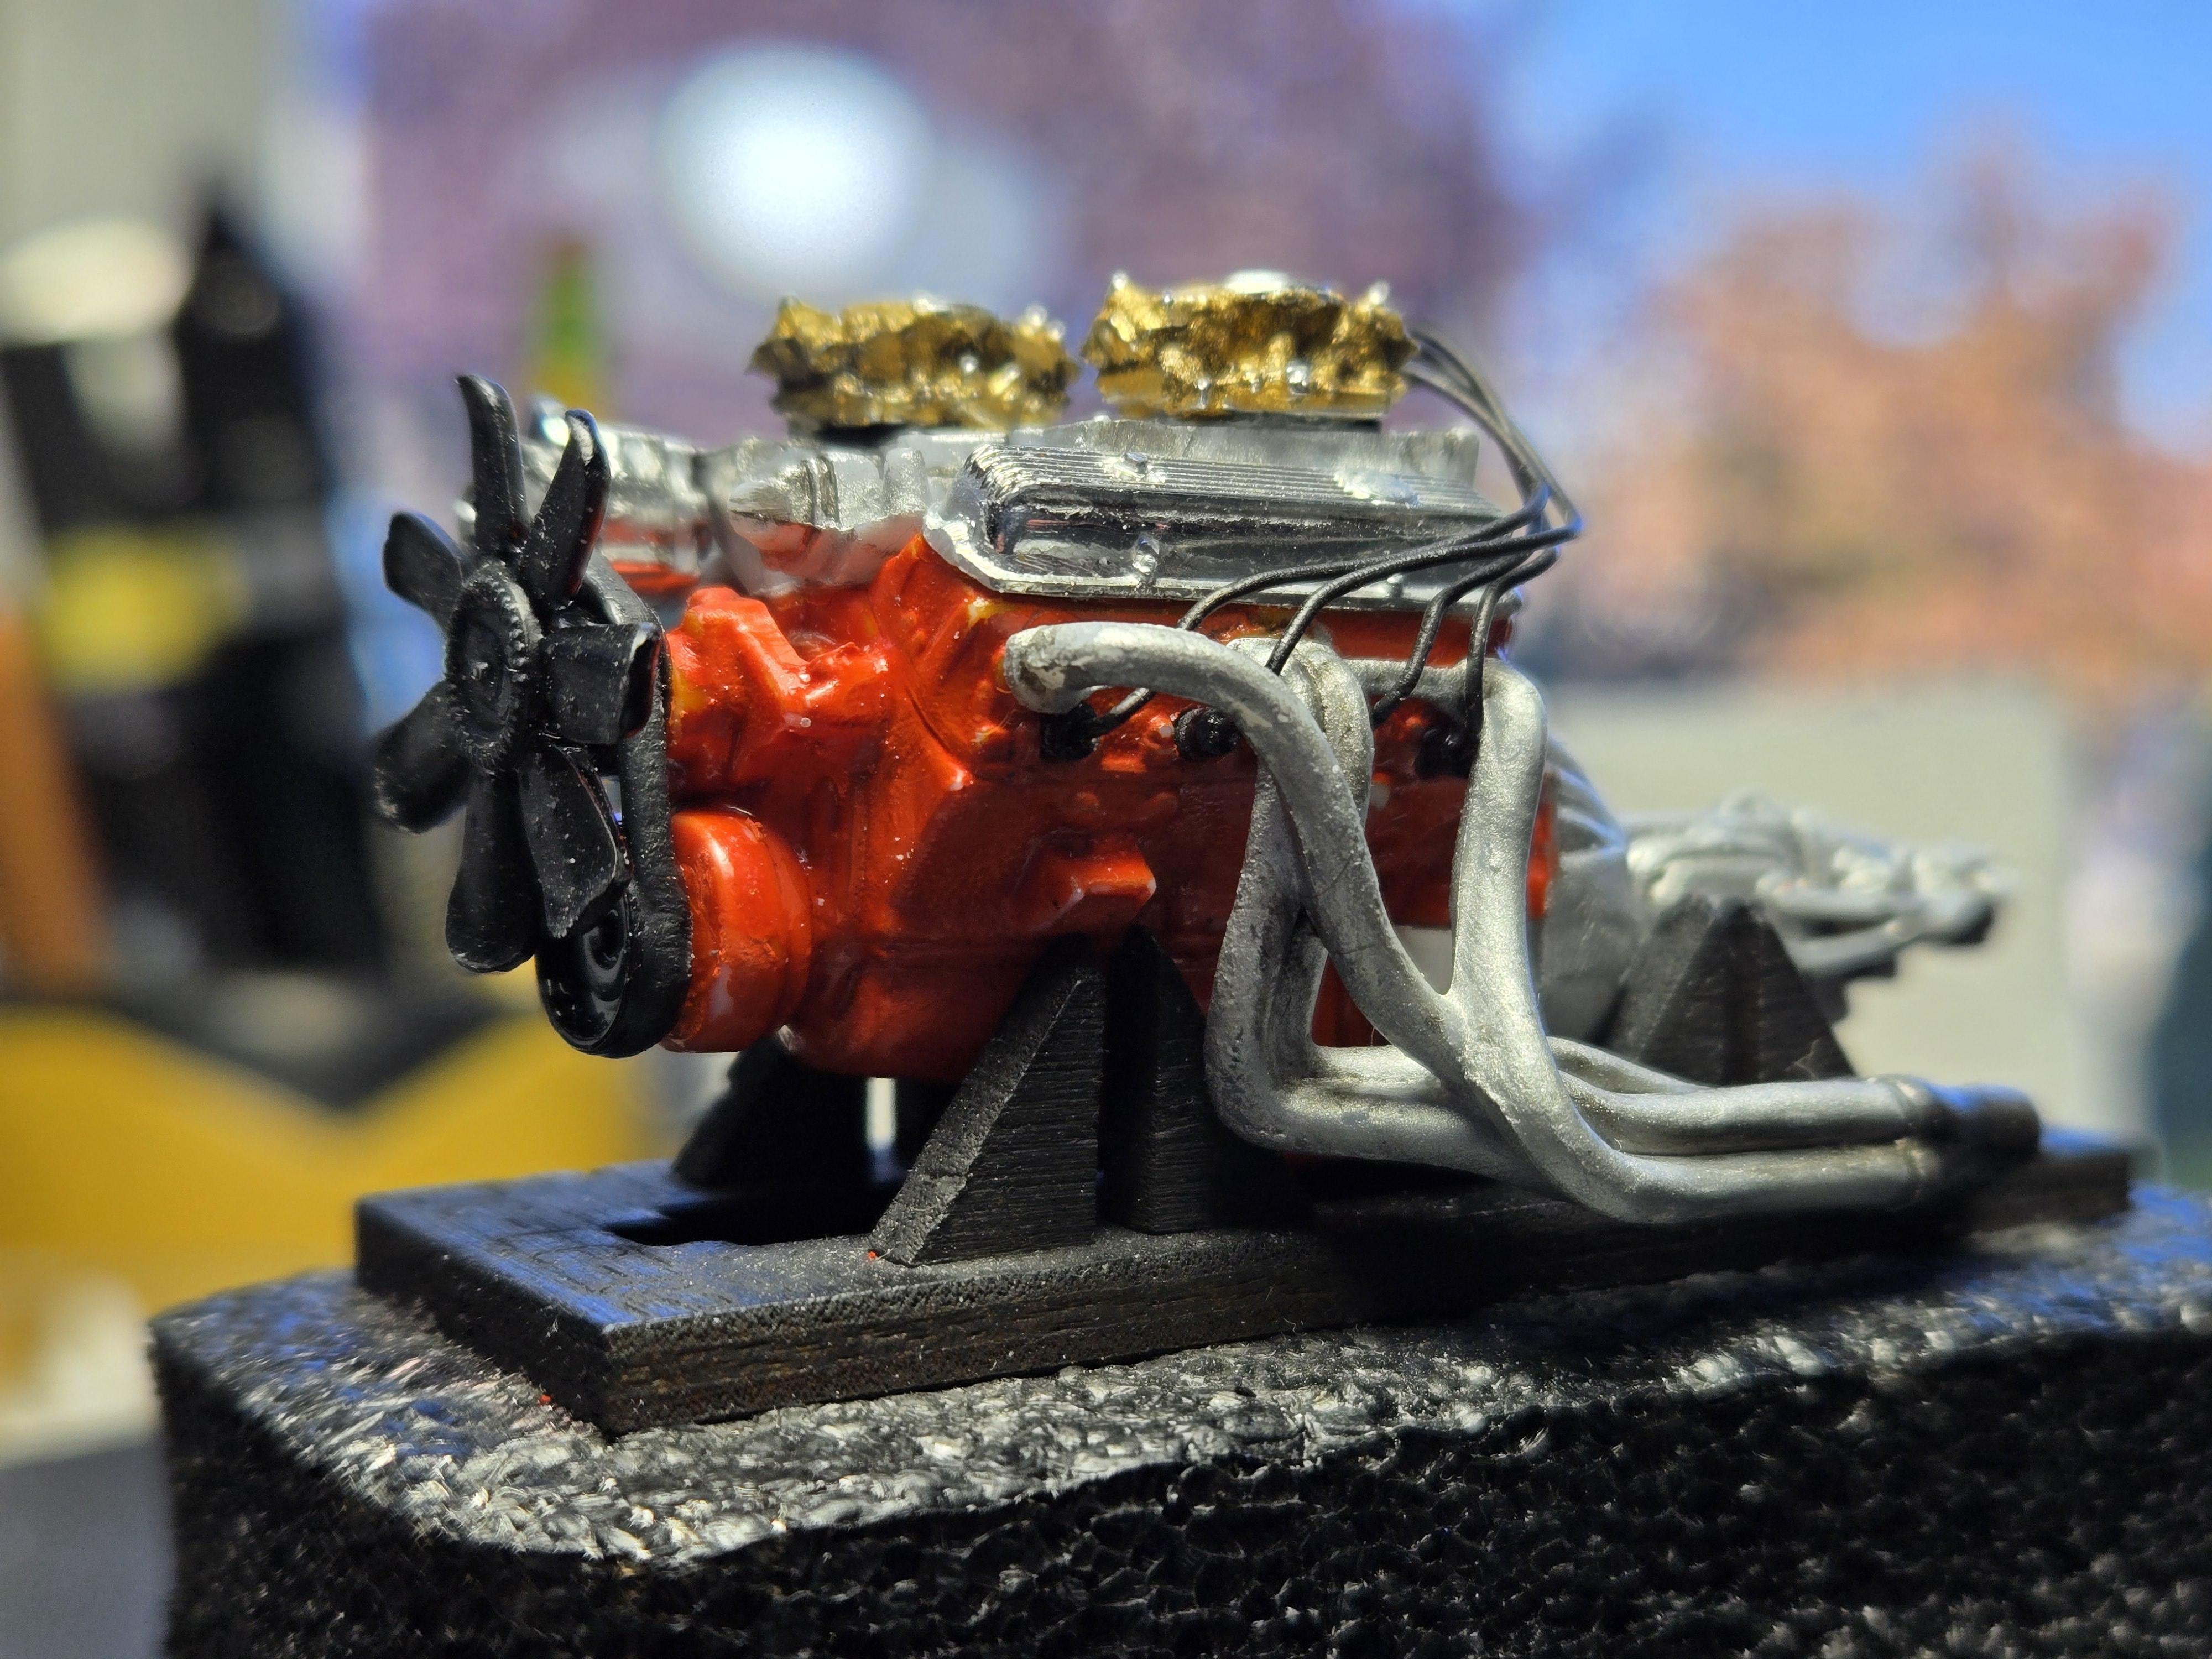
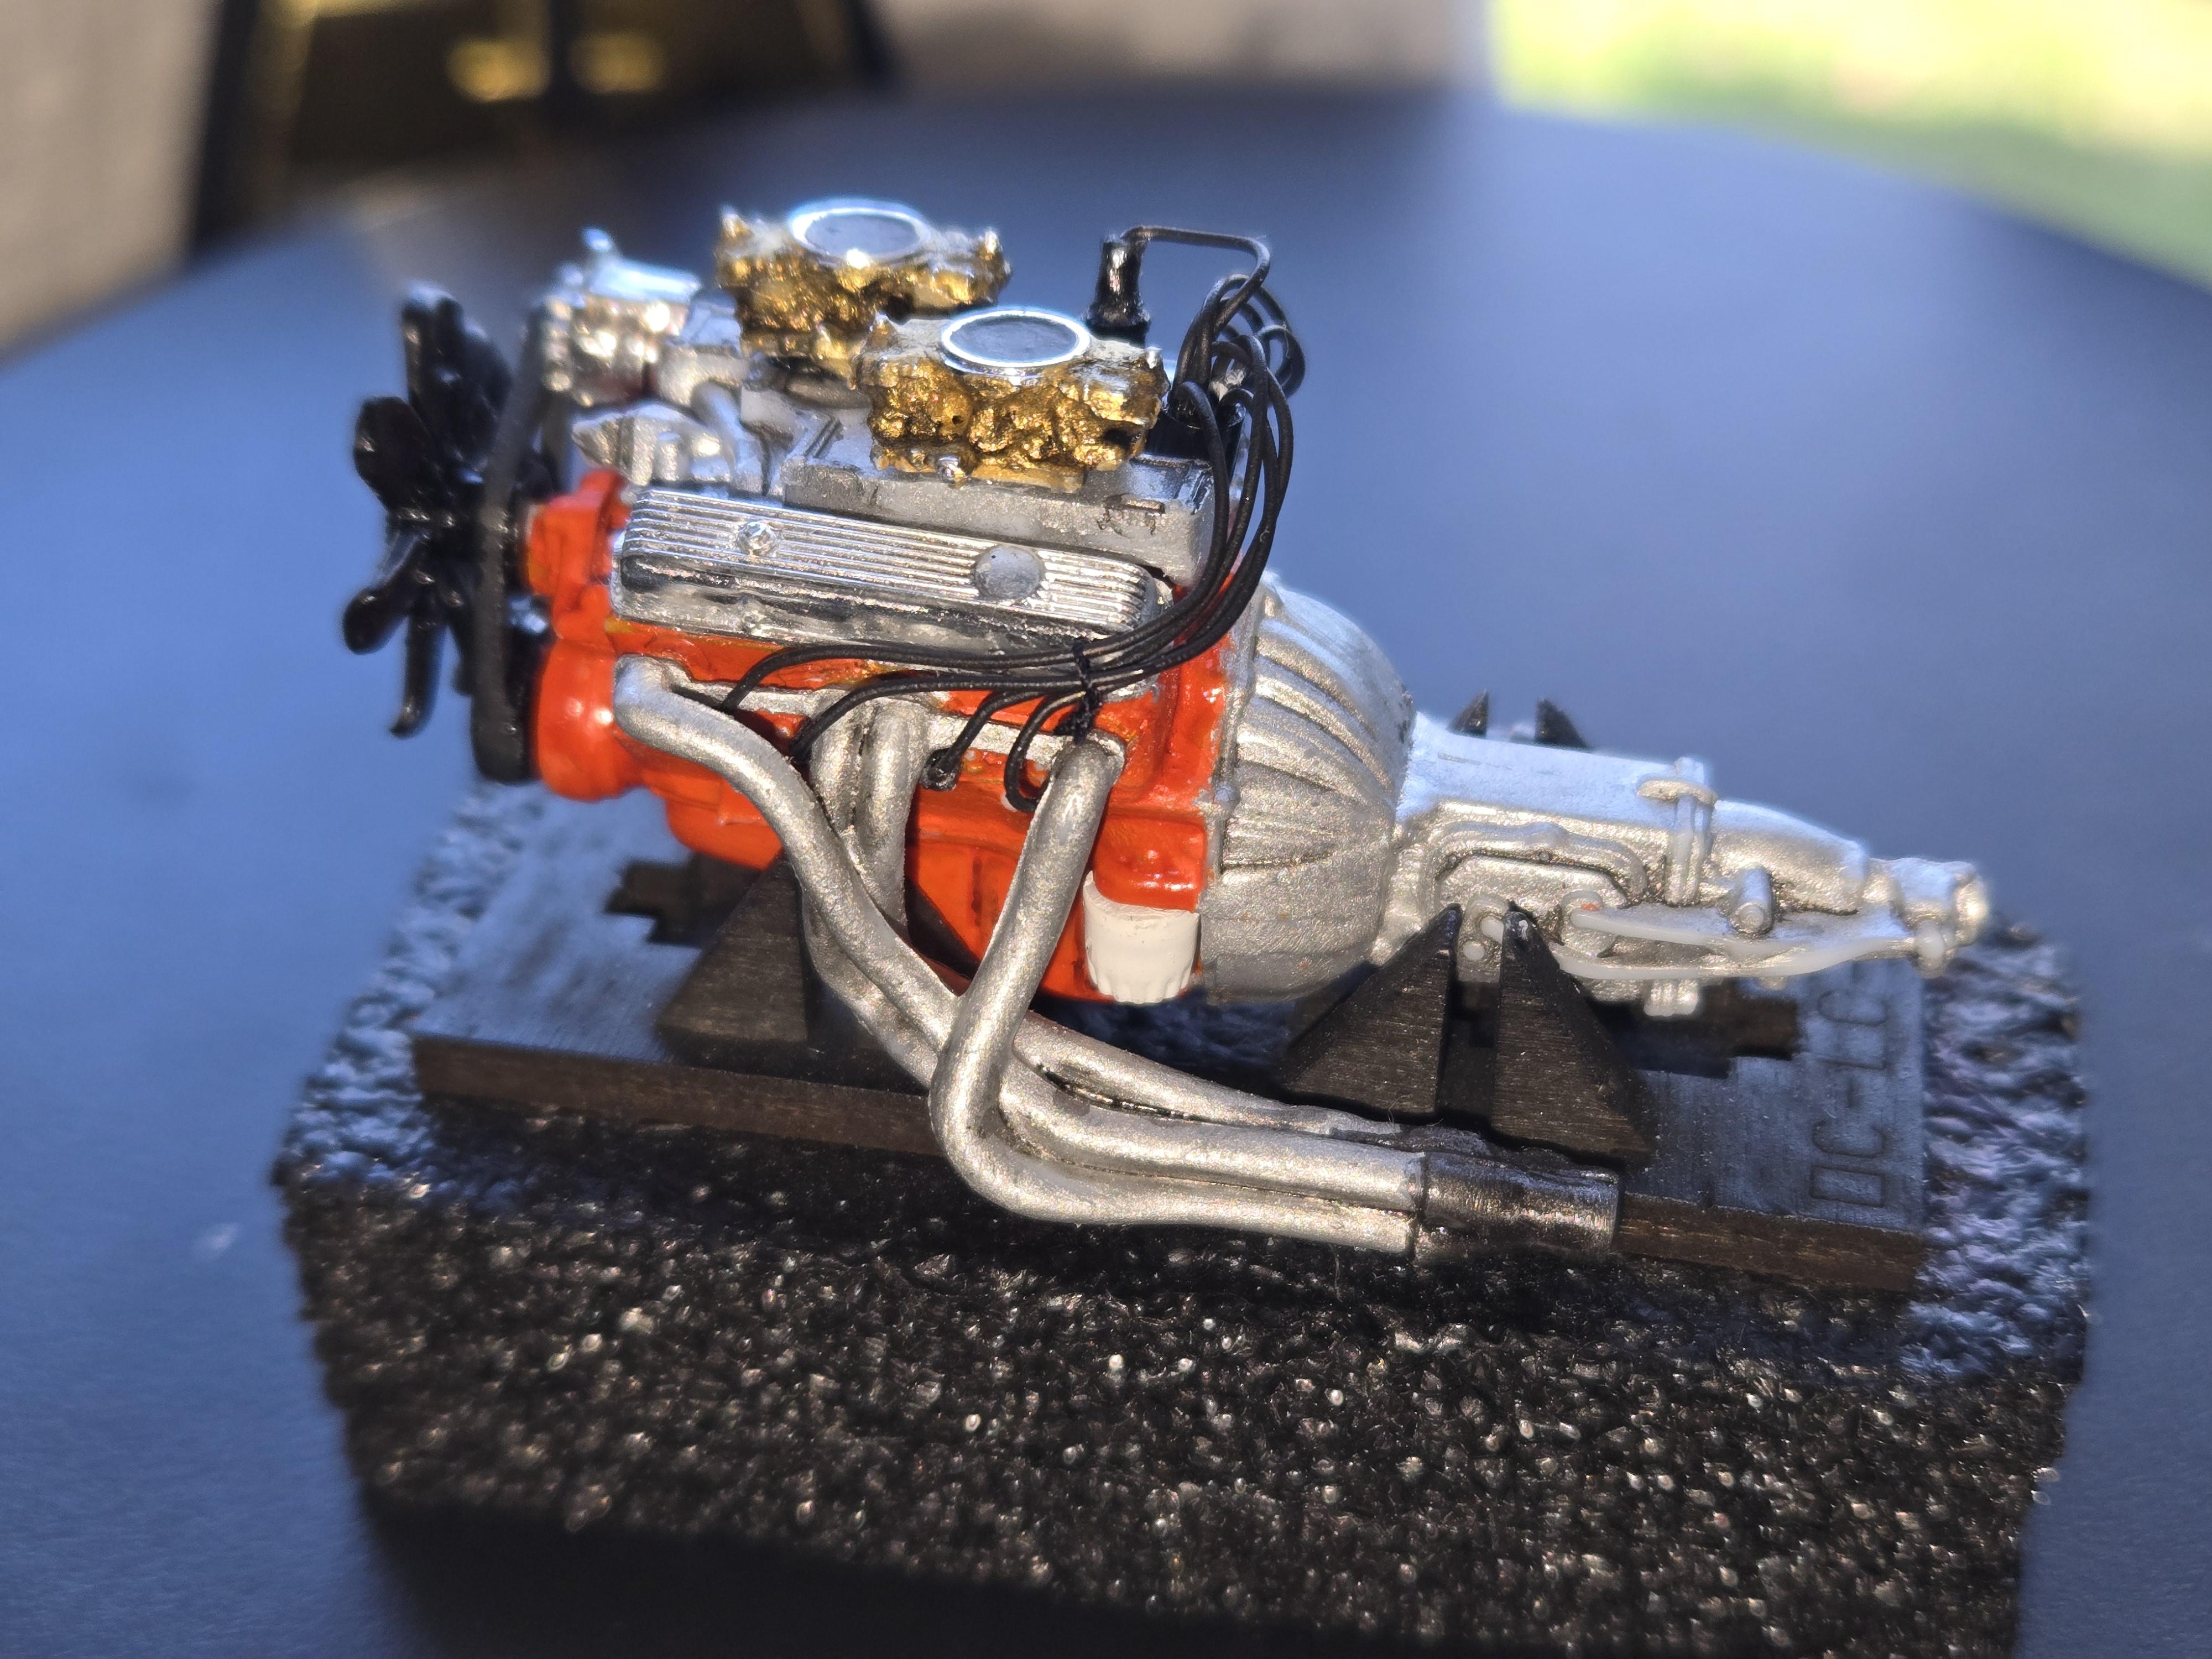
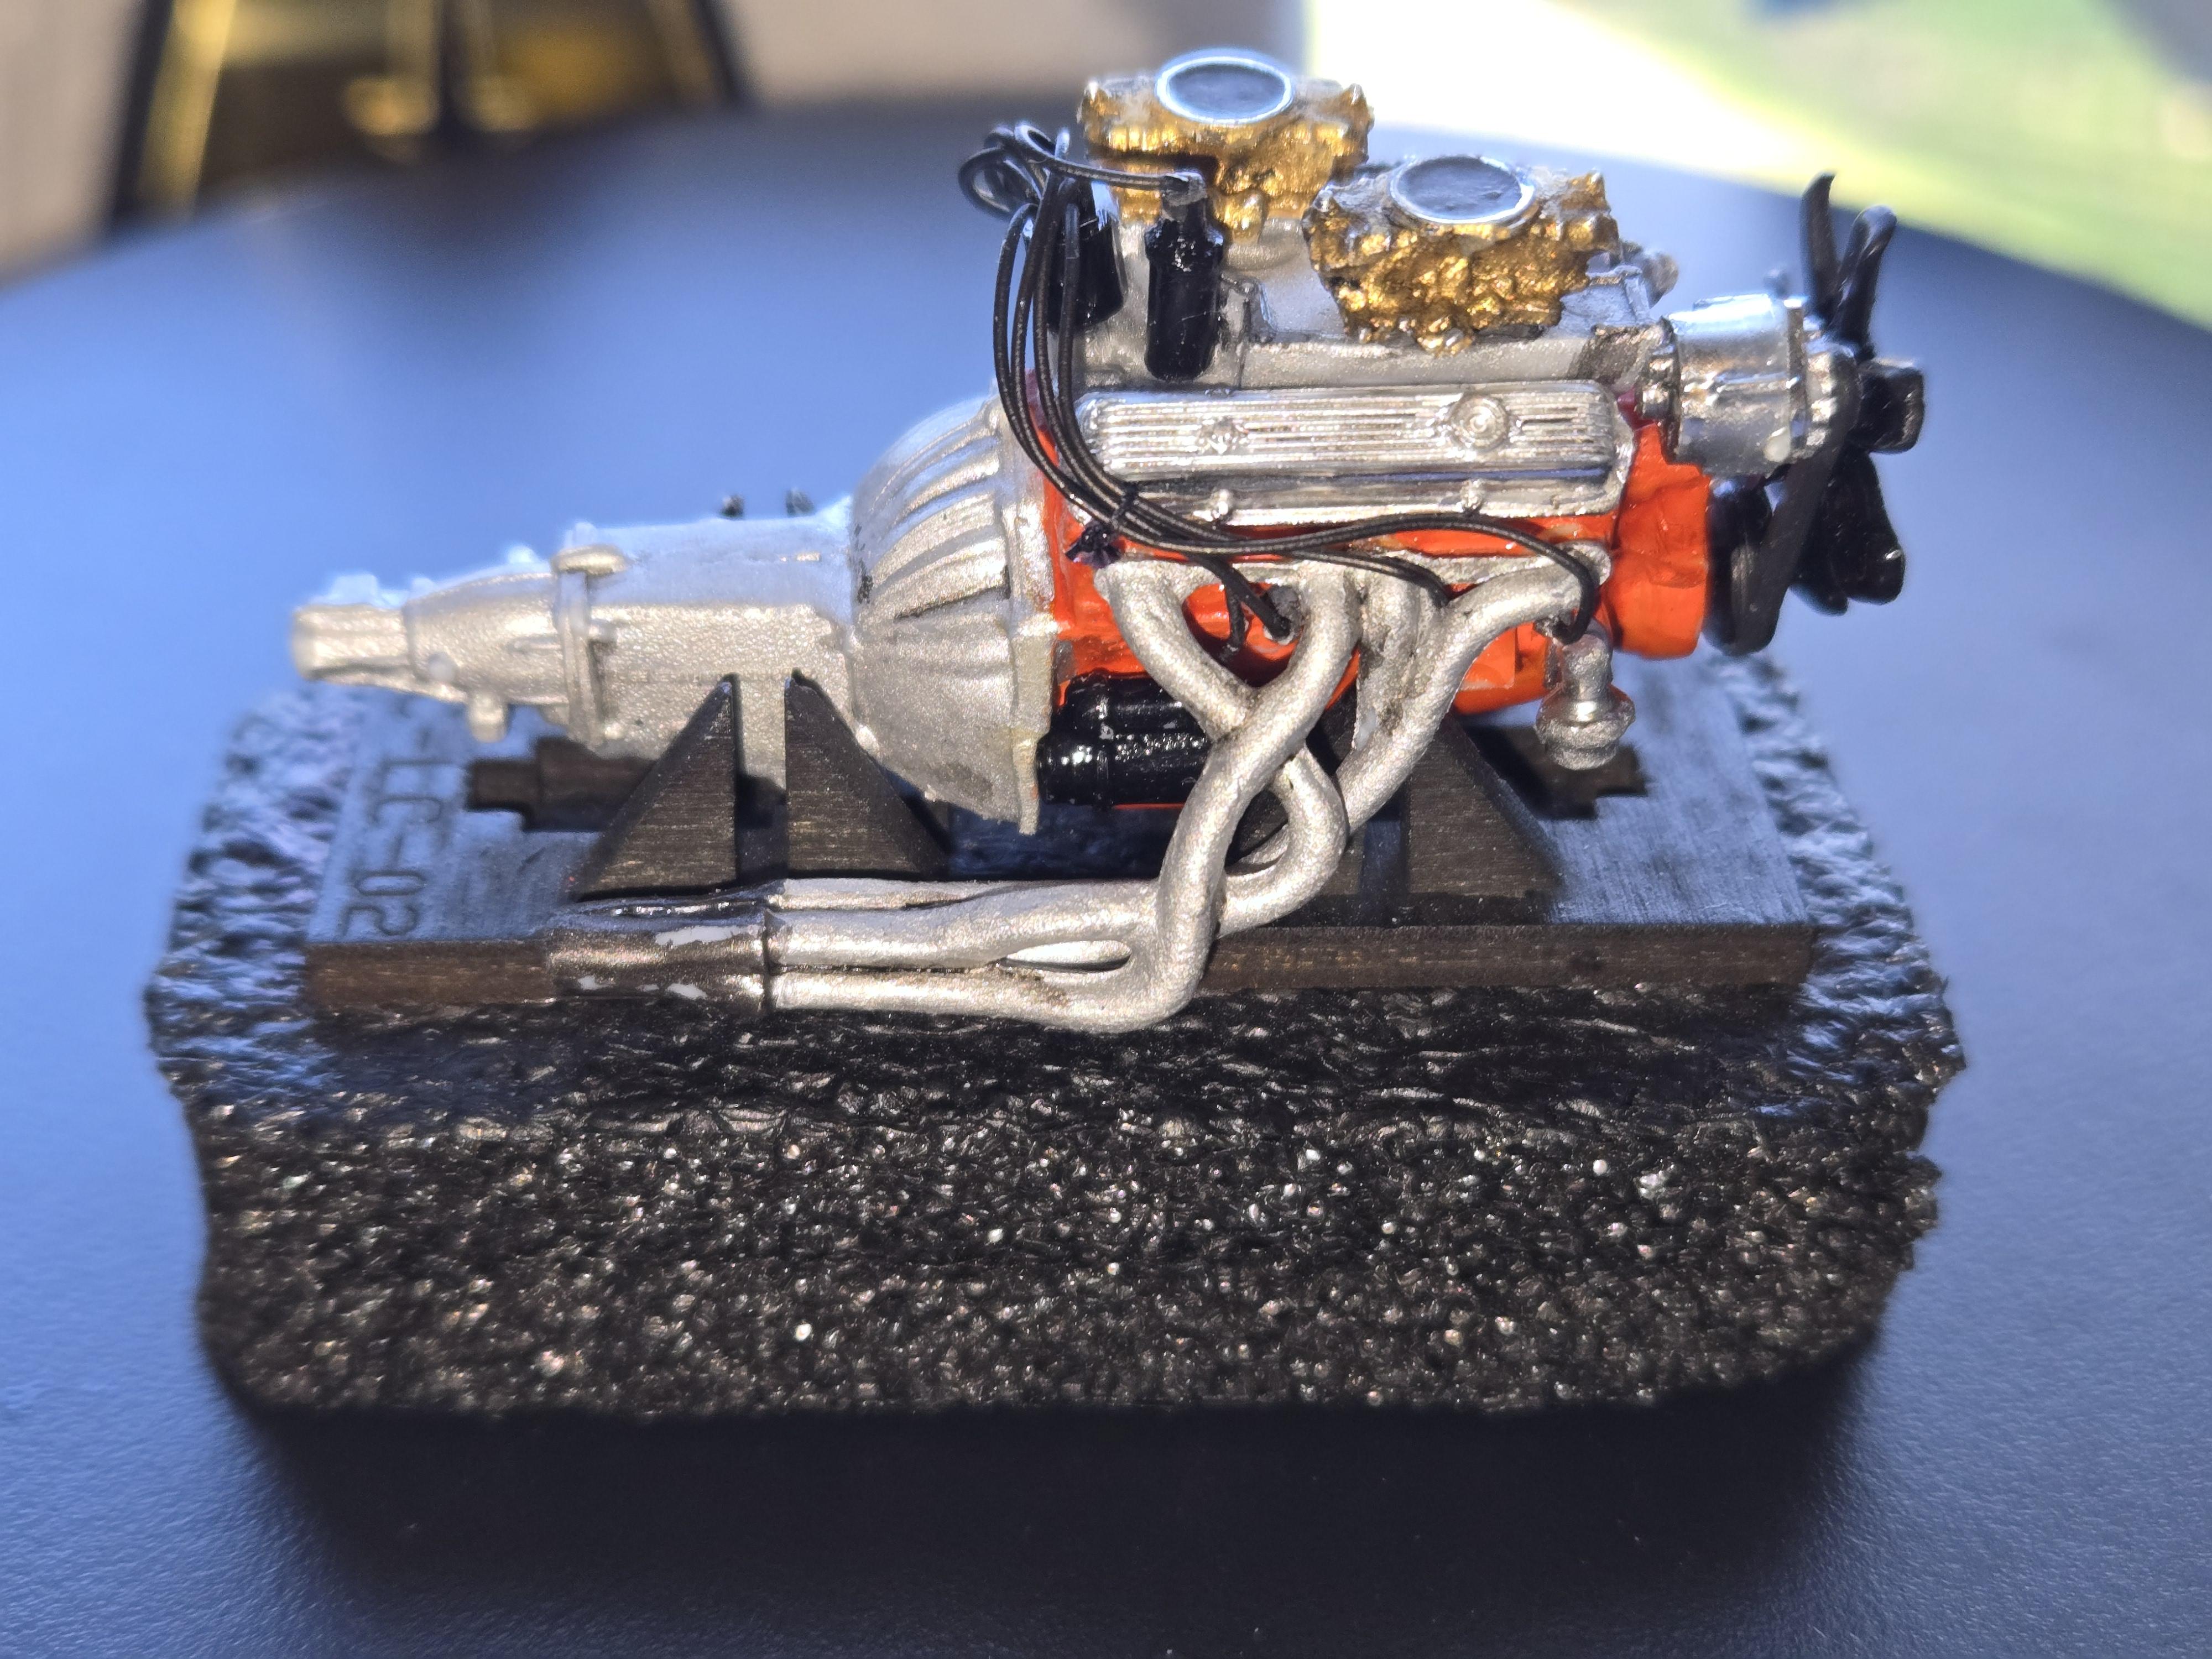
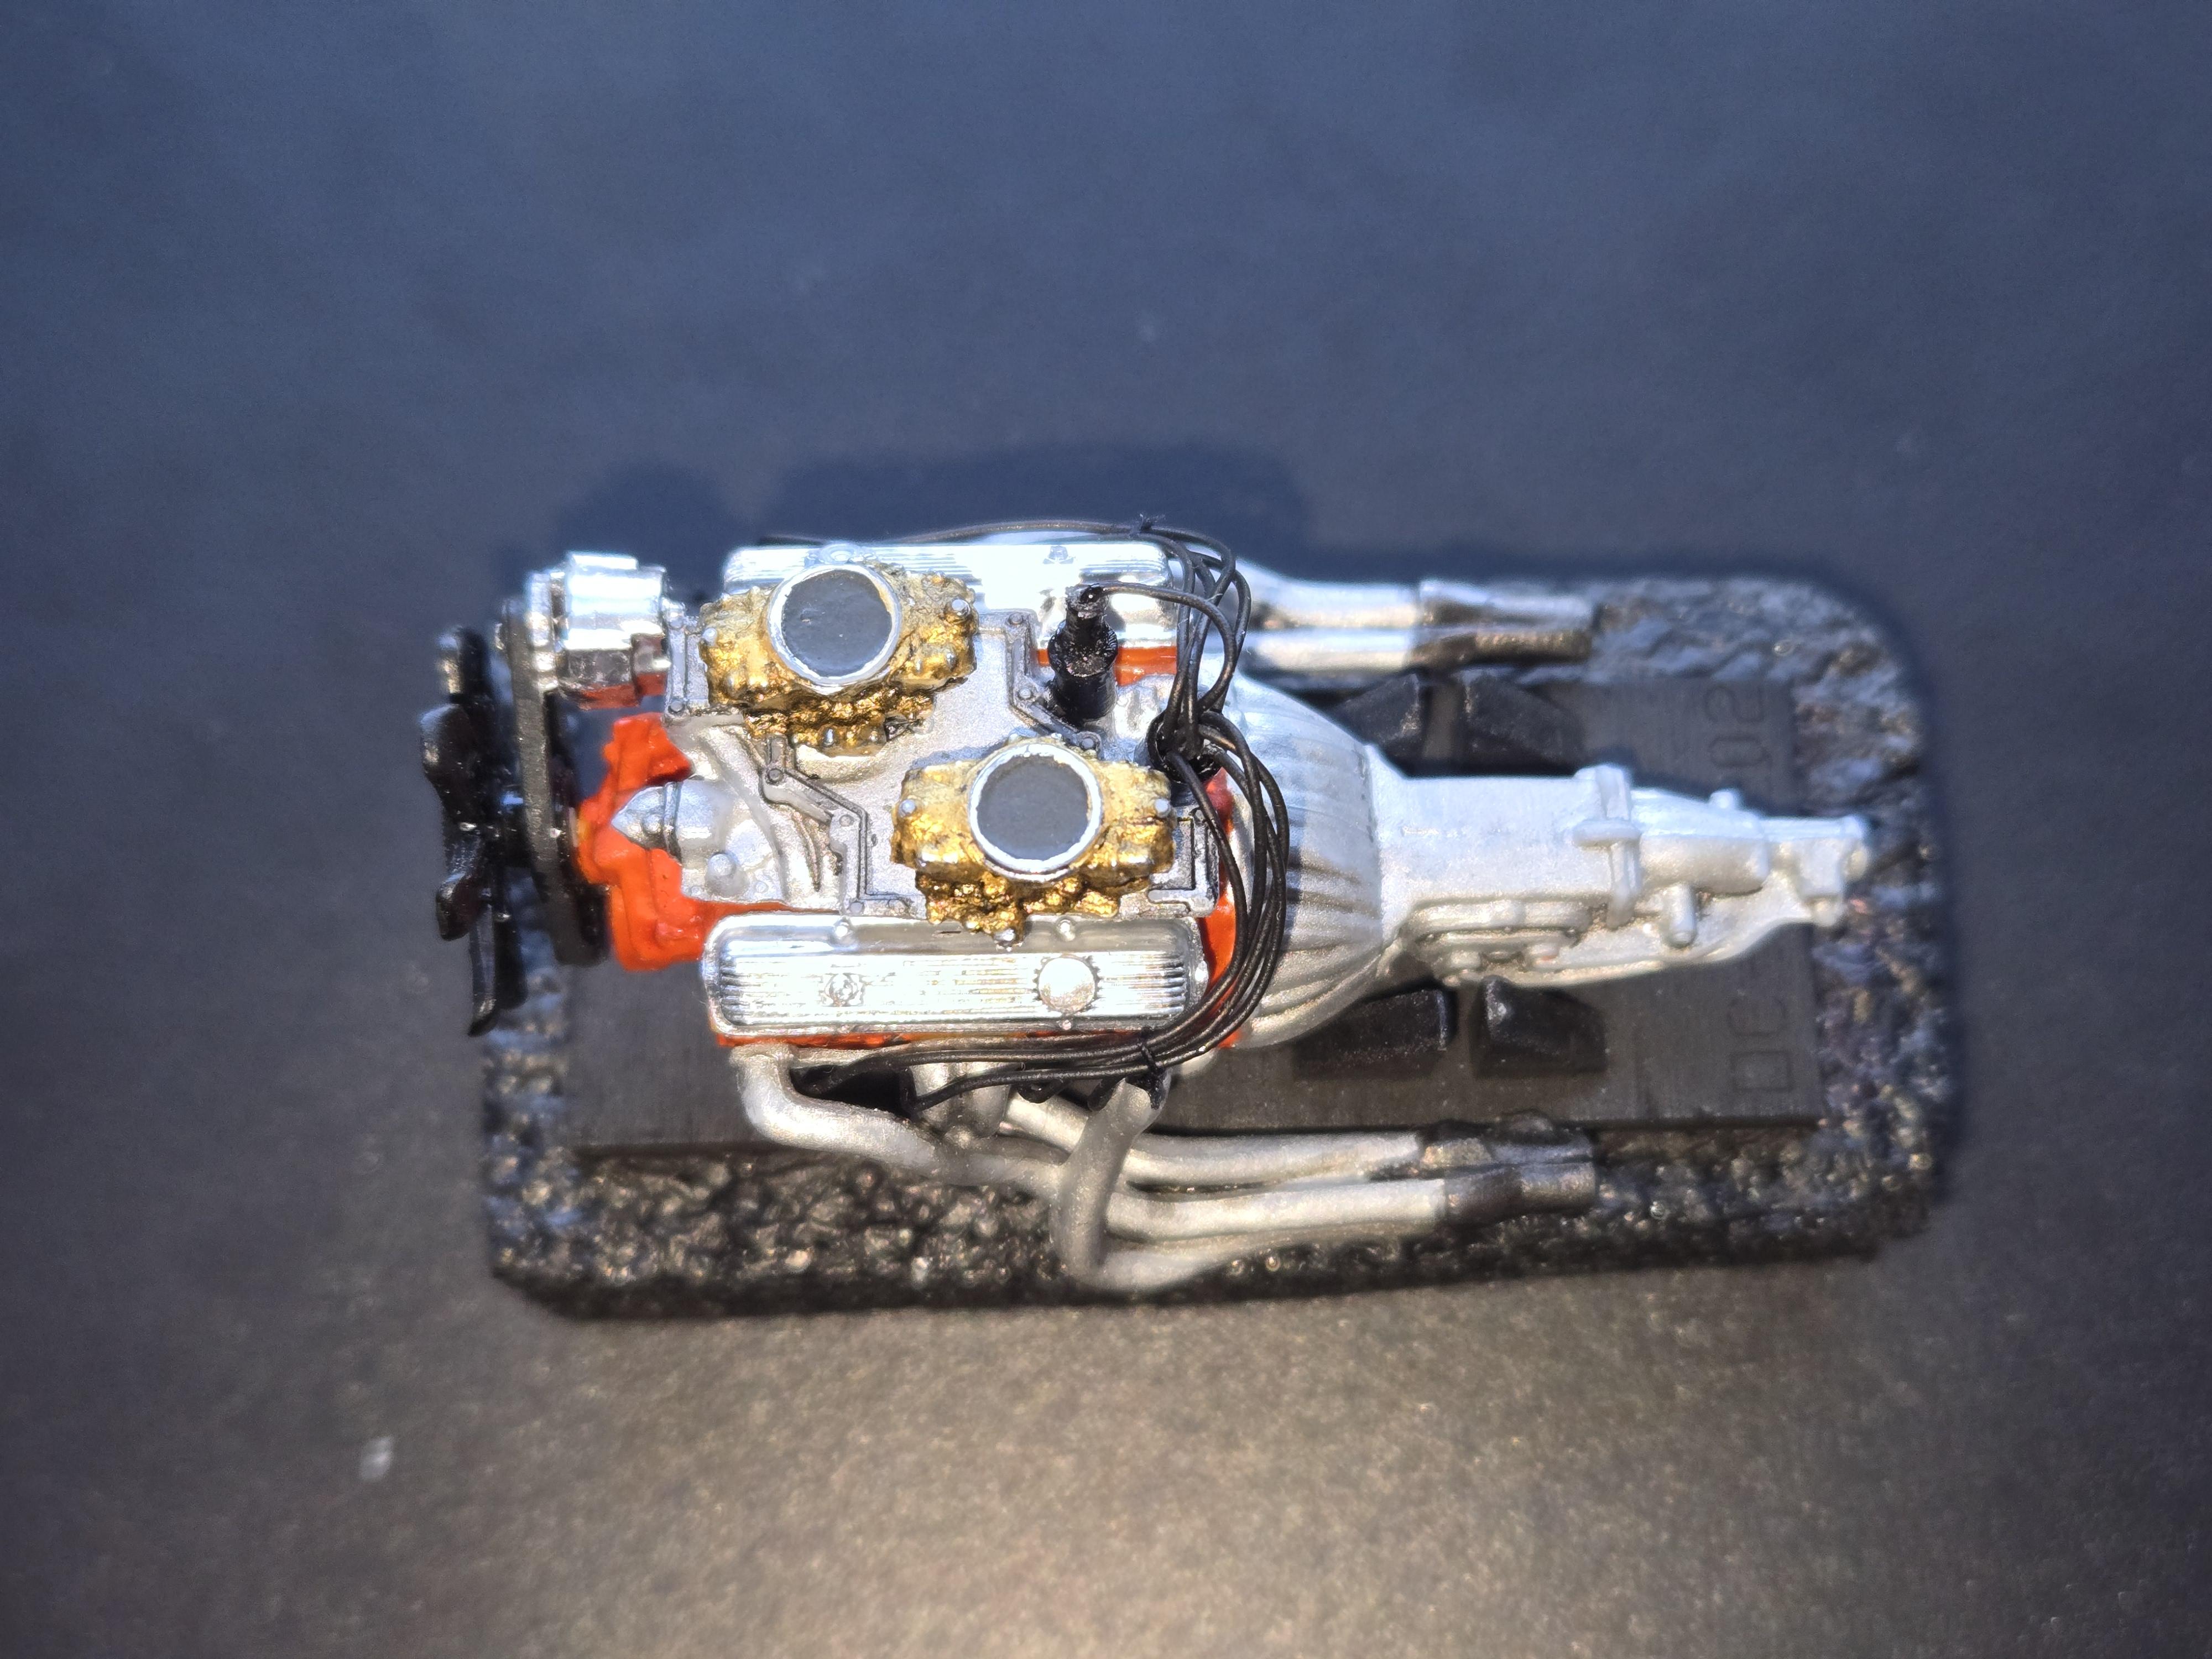
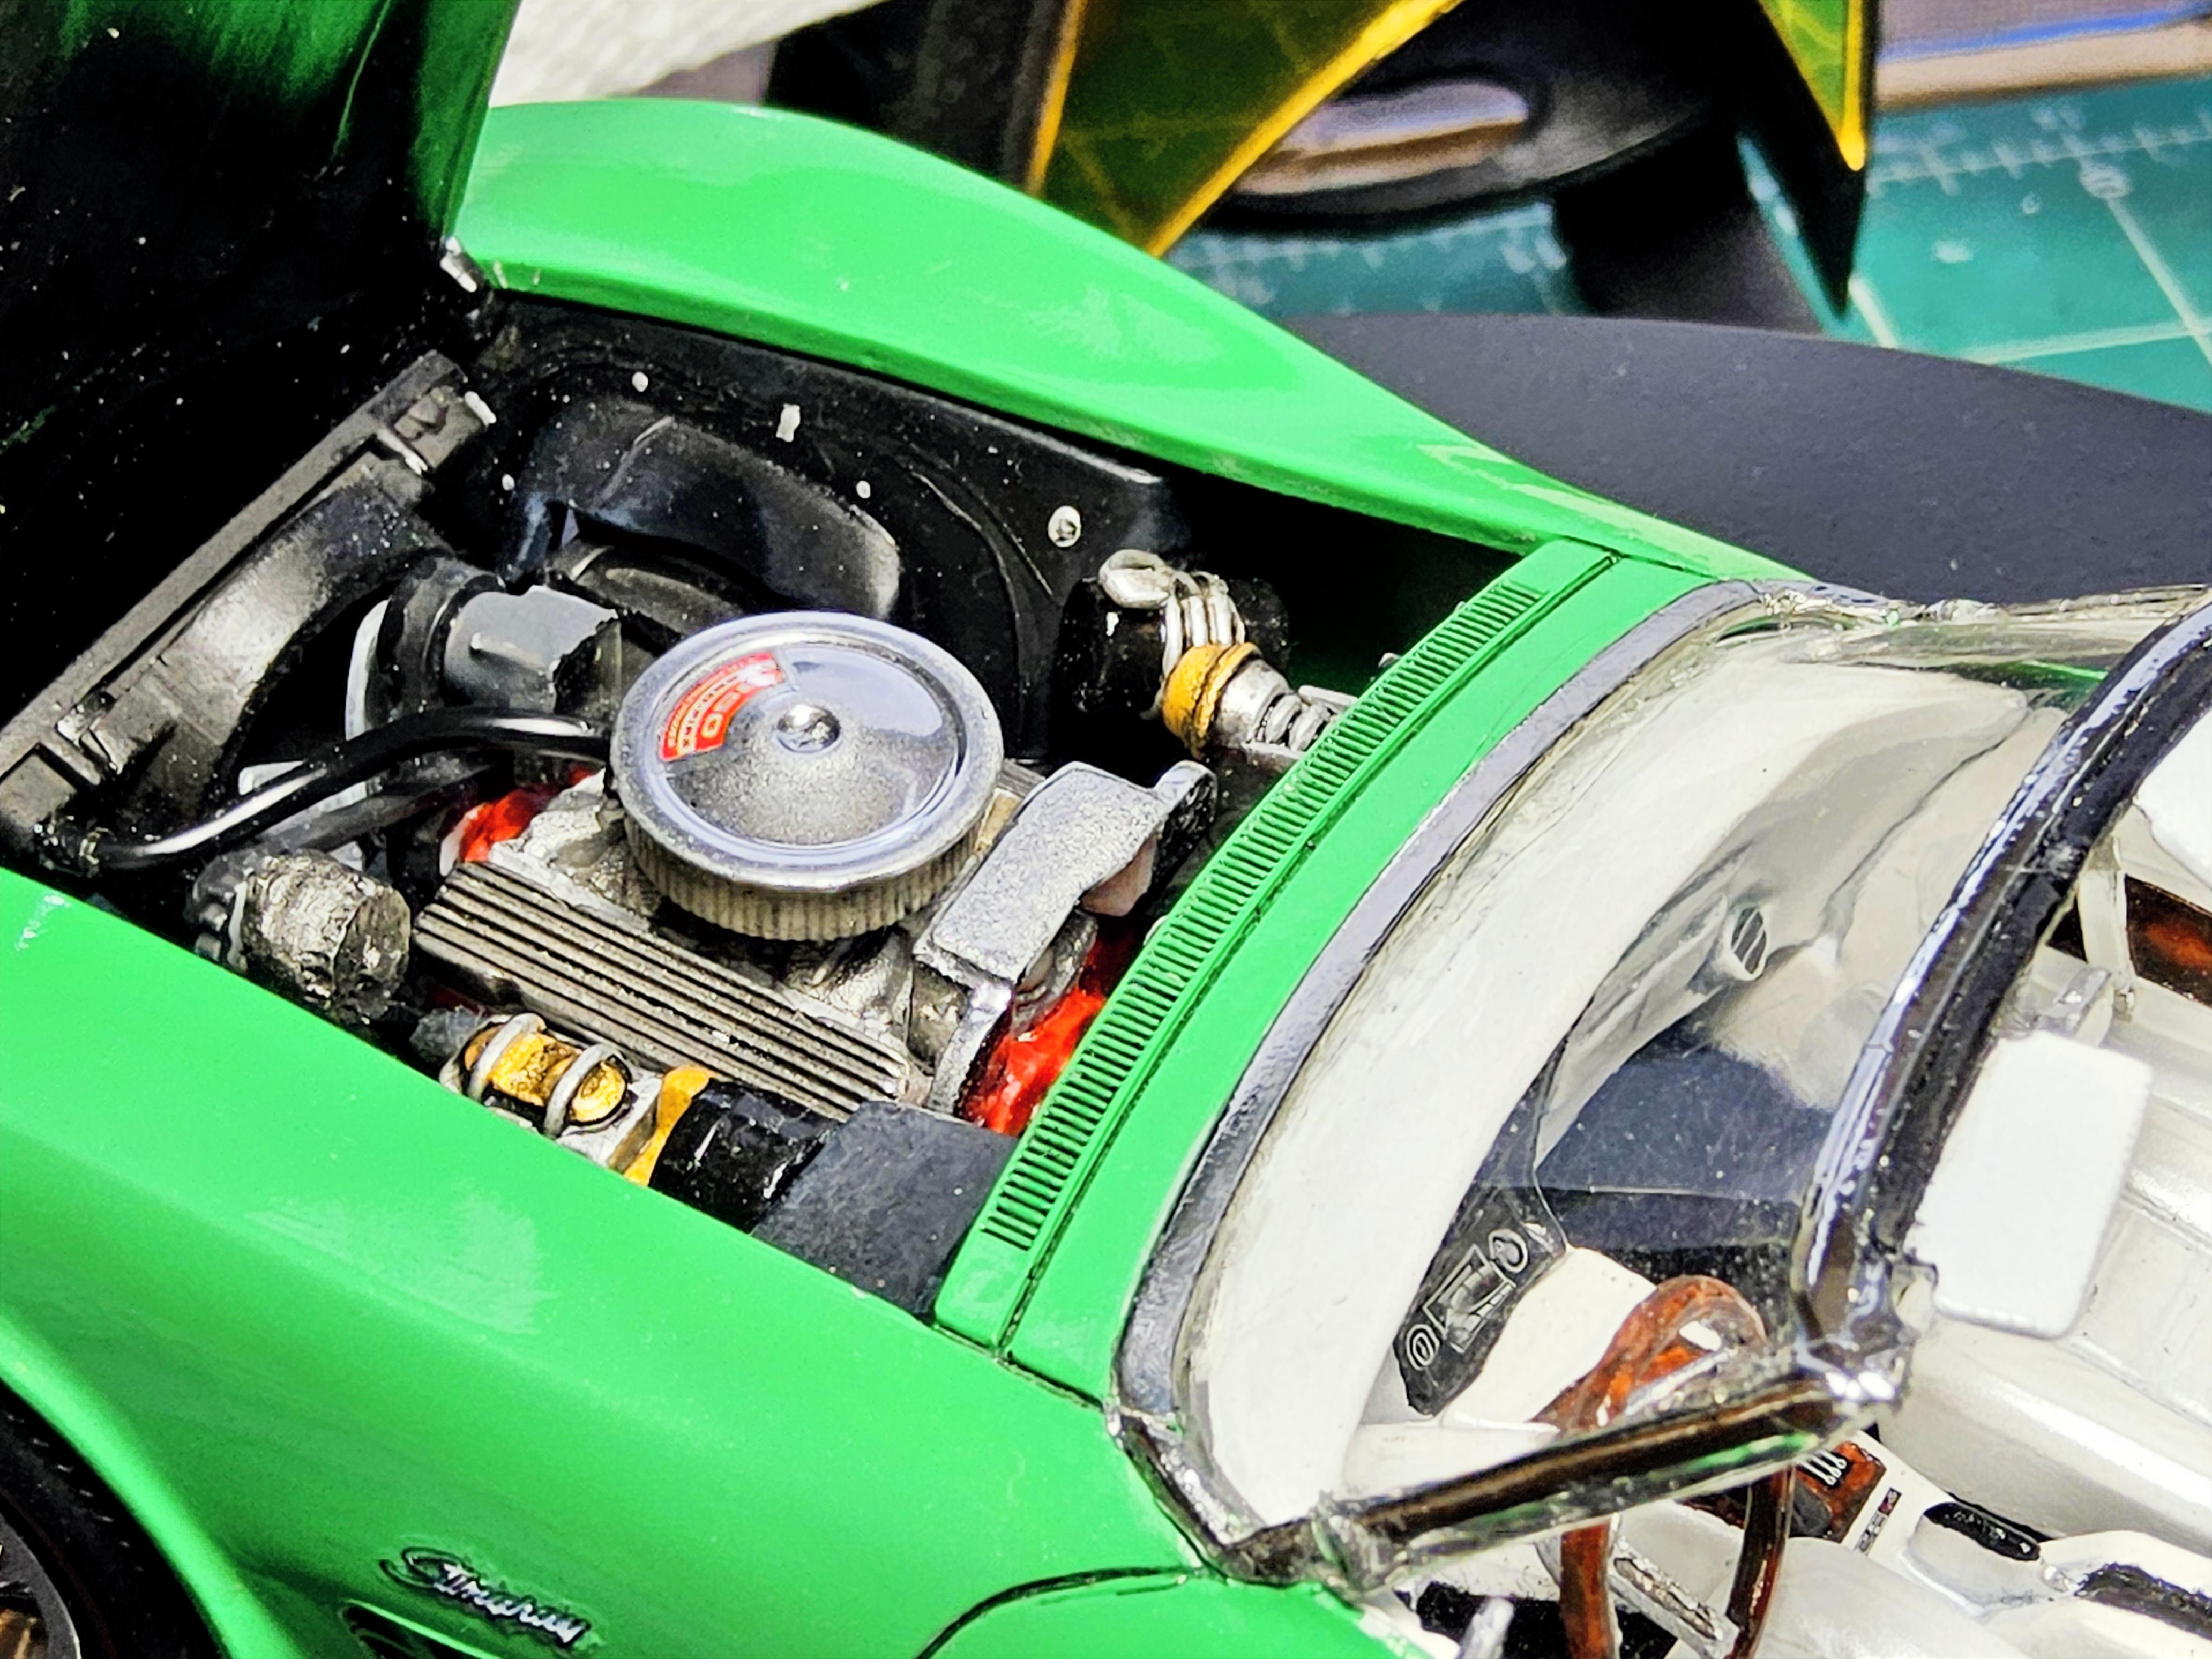
I have no grand plan for this build except to end up with something shelf worthy. Here are some engine pics. I'm adding plug wires and boots. I did not line them up great with the openings in the headers. I can already tell the the hood will never close. I used some black thread to resemble zip-ties. I've seen some folks get the wires so flat and uniform. I'm curious to know that trick. I did not weather the engine much. I sometimes get to heavy with the panel liner. I did touch up the paint on the trans mission...
-
Quick Queries
CA Whitecloud replied to CA Whitecloud's topic in Model Building Questions and Answers
Thanks for that. -
Quick Queries
CA Whitecloud replied to CA Whitecloud's topic in Model Building Questions and Answers
Clear Coats: Is there a rattle can equivalent to 2K? Or, what spray clear coat do you recommend? I've used Tamiya and Testors. Just wondering if there is another to try. -
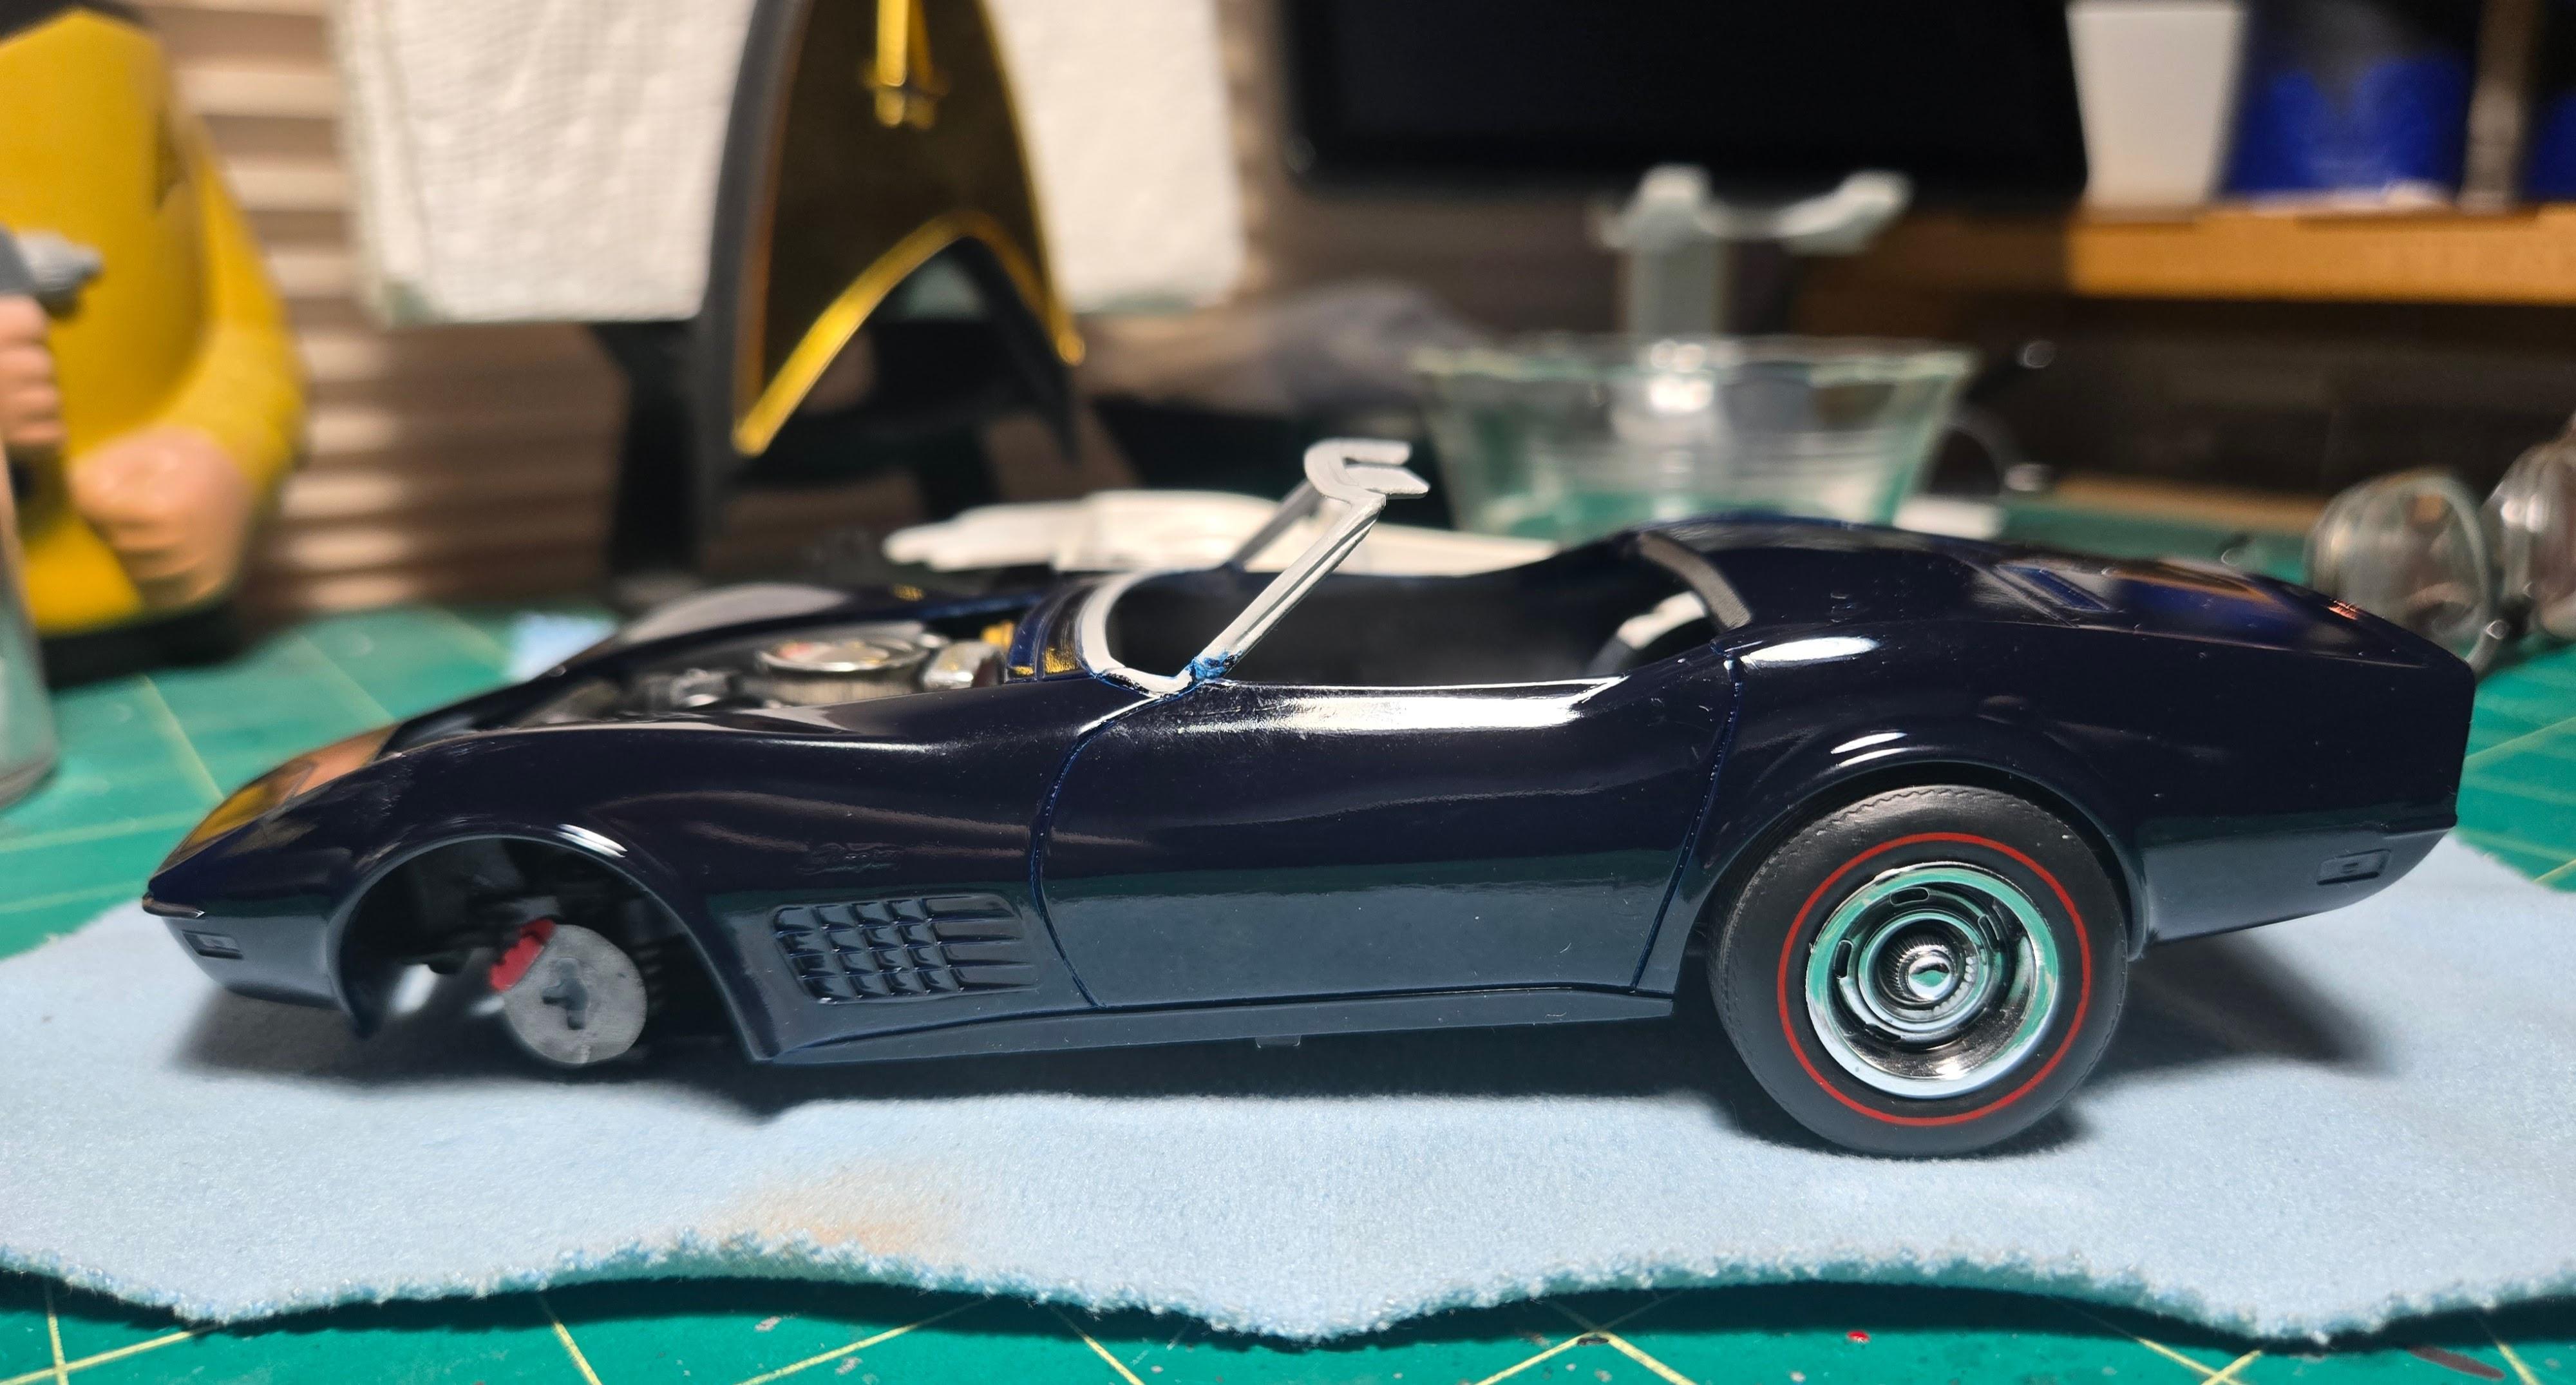
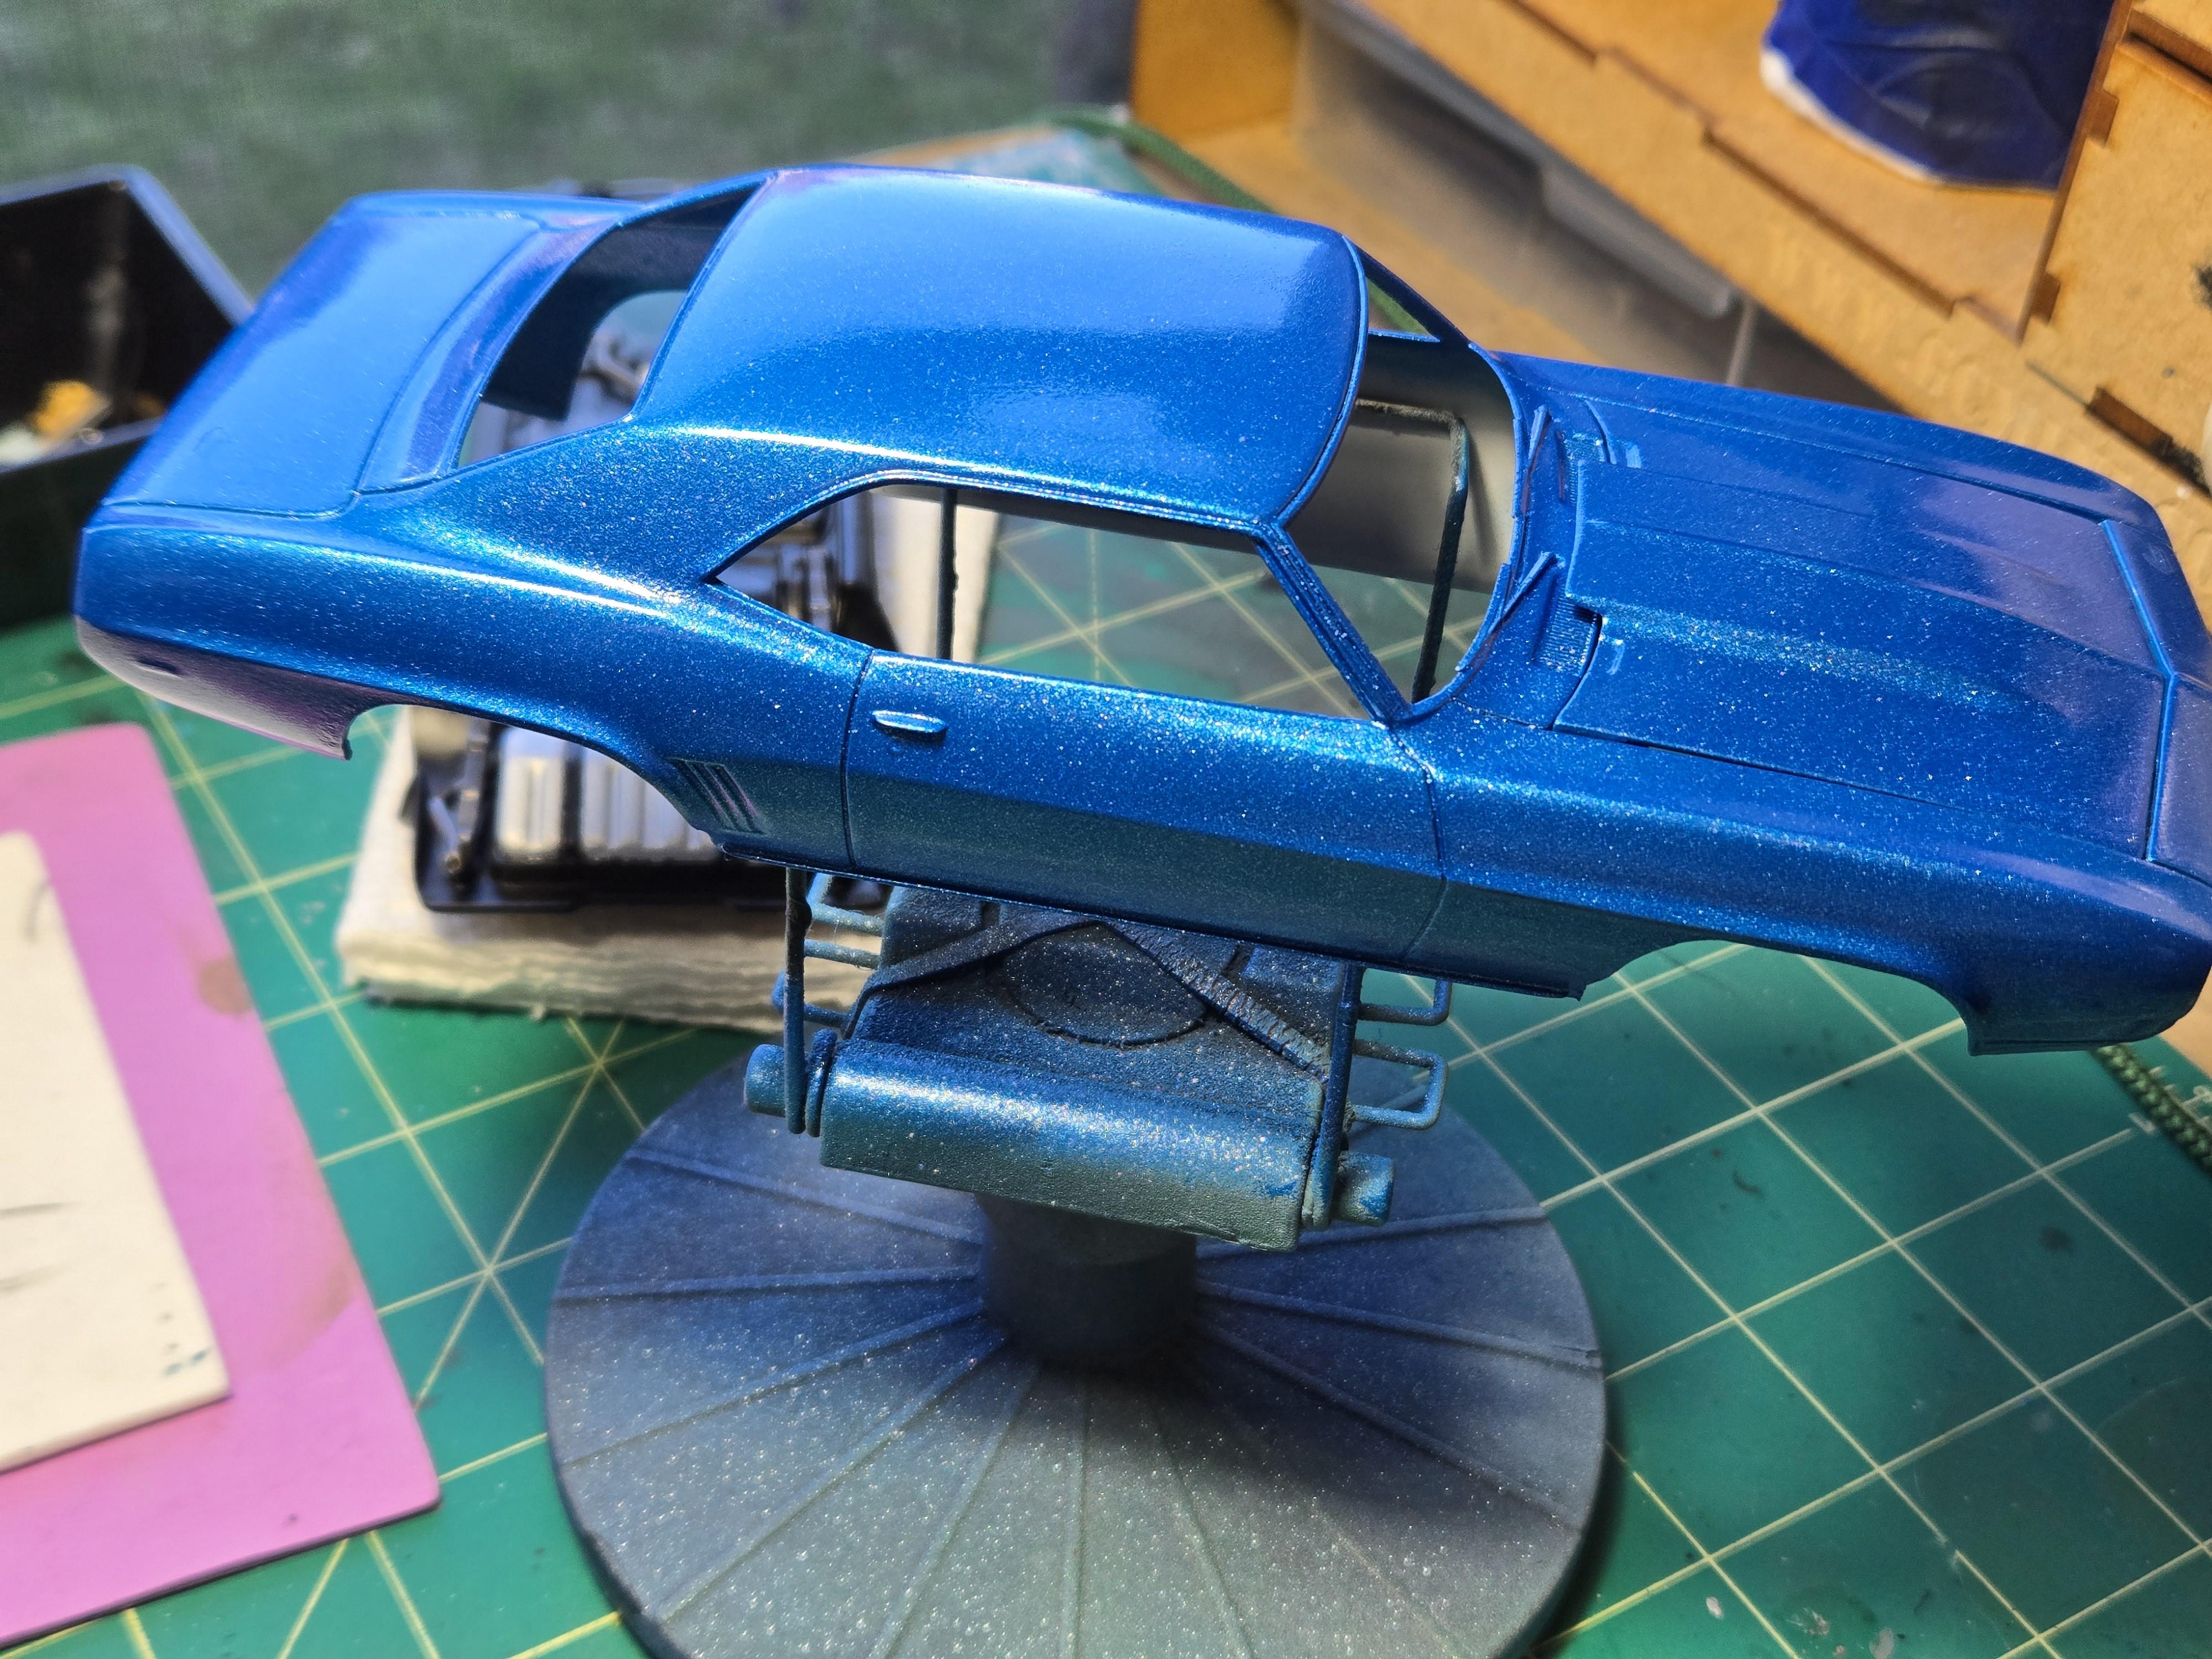
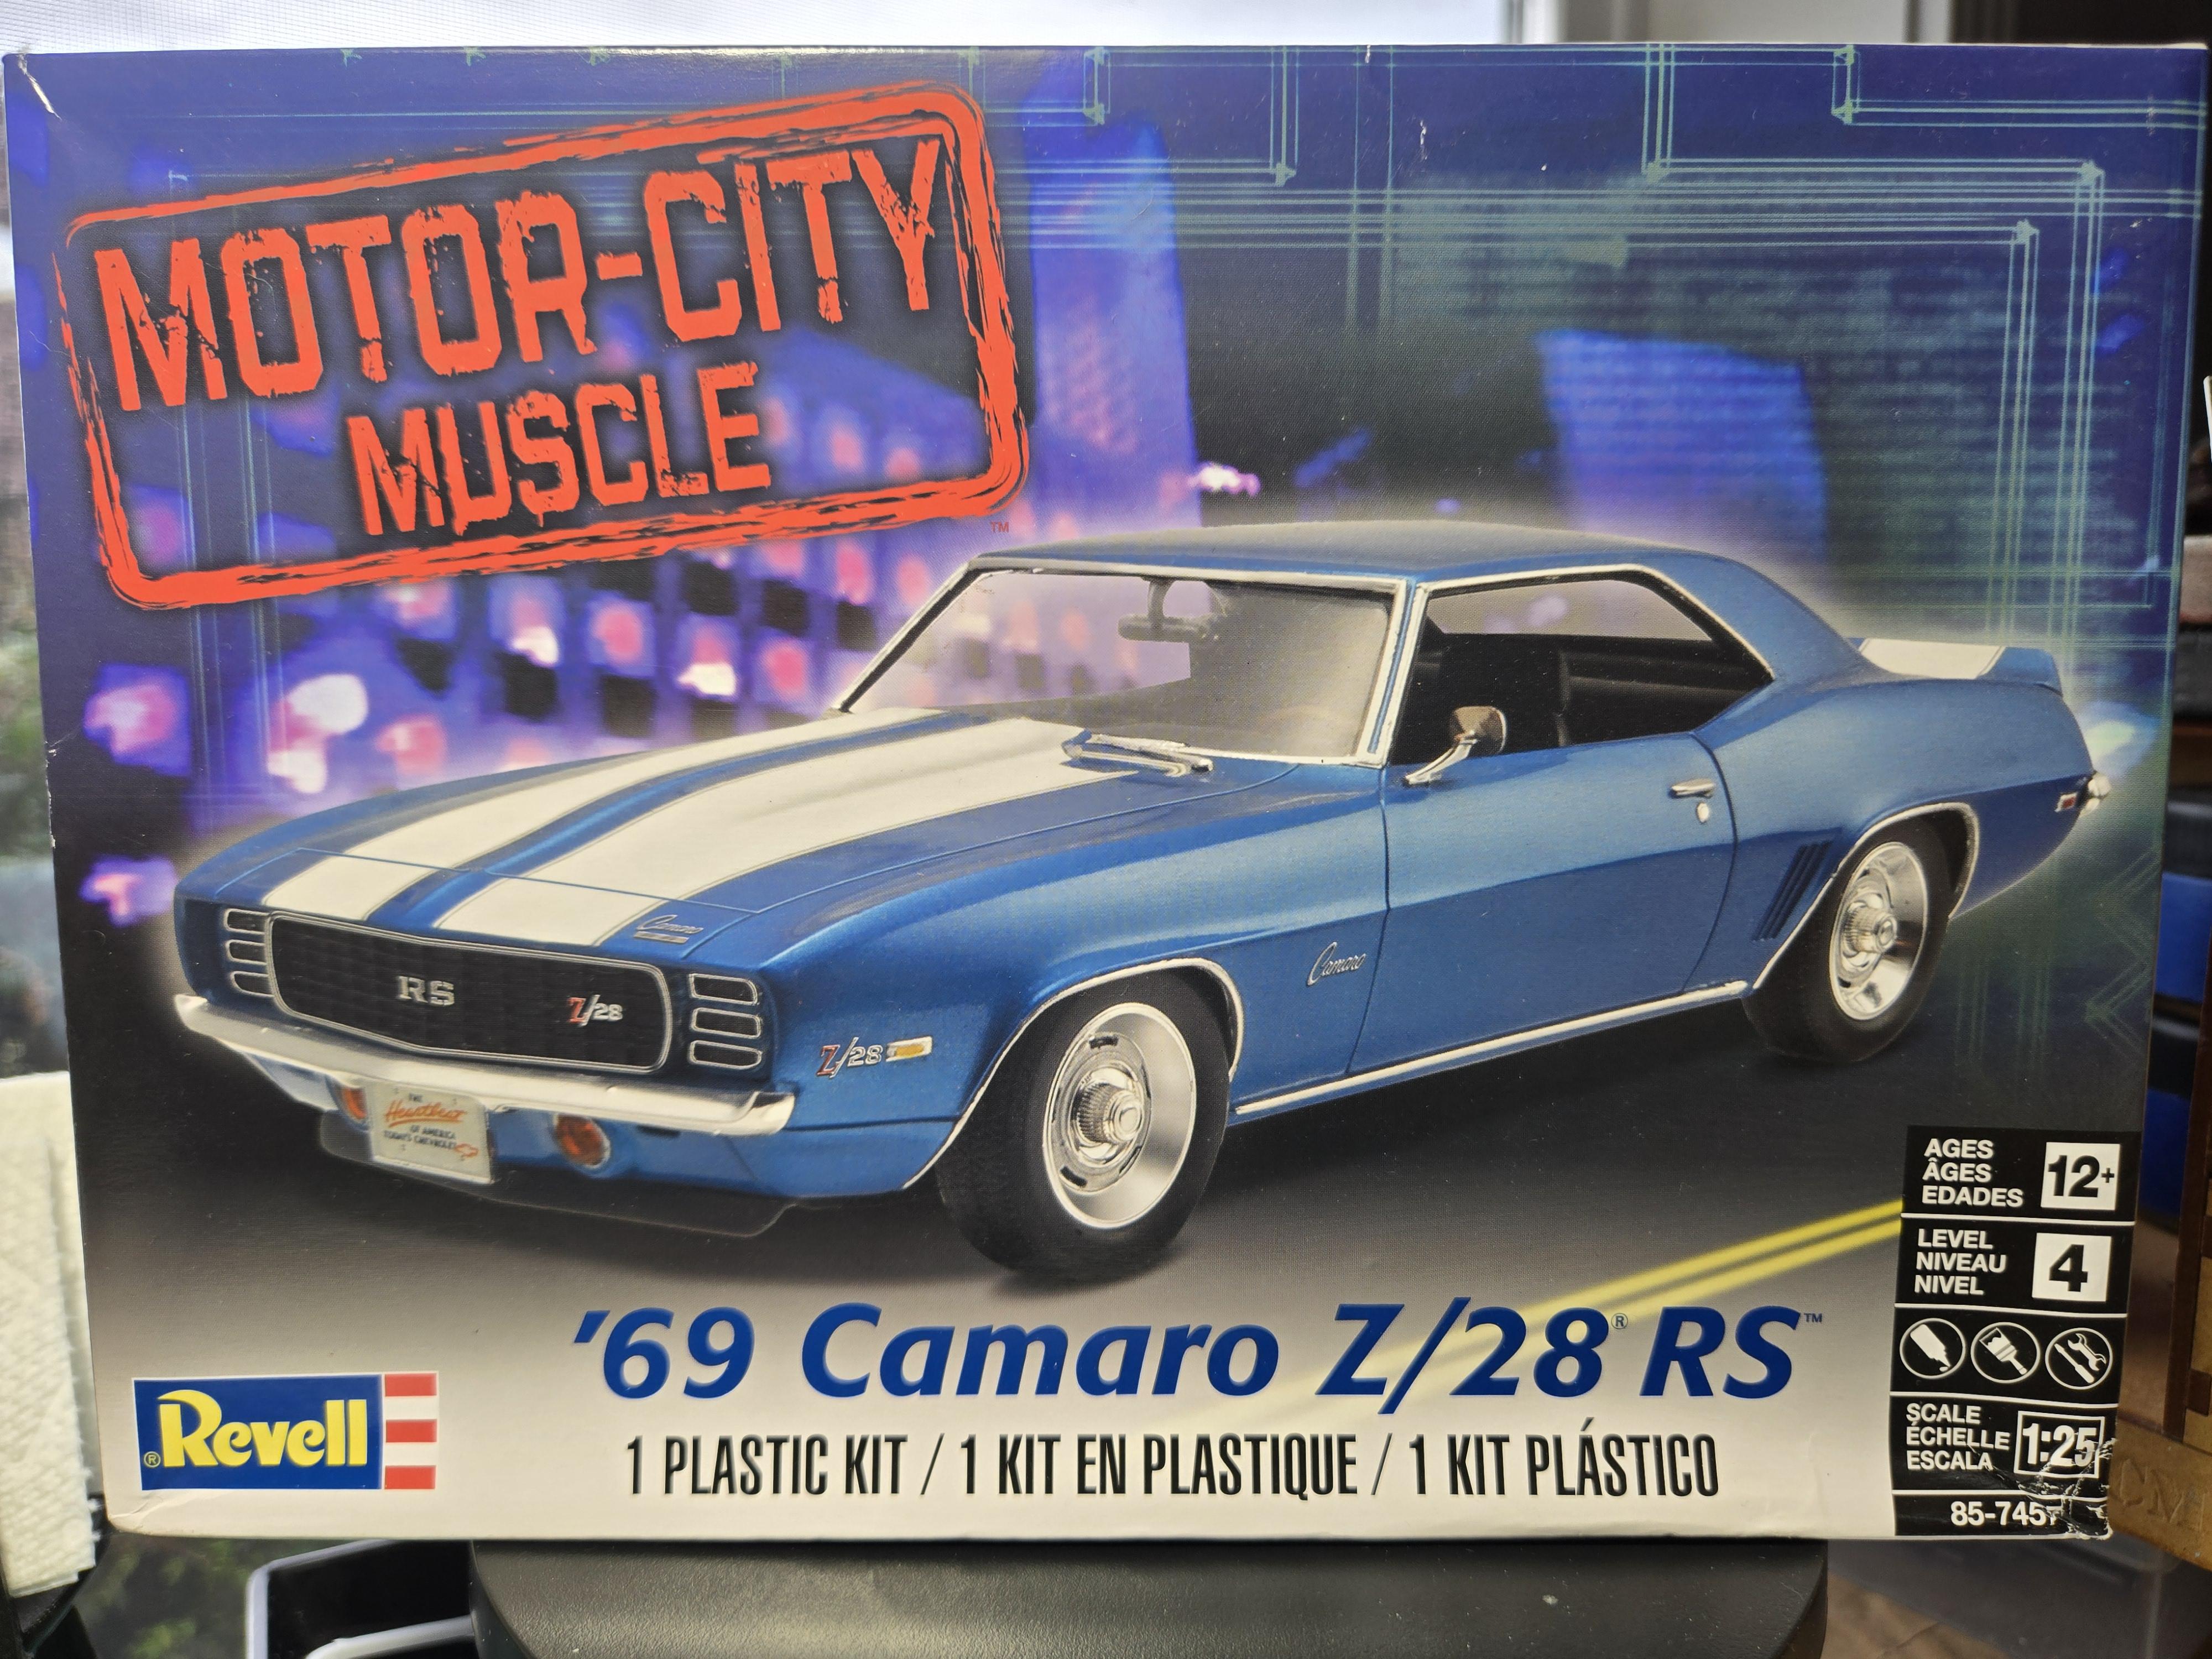
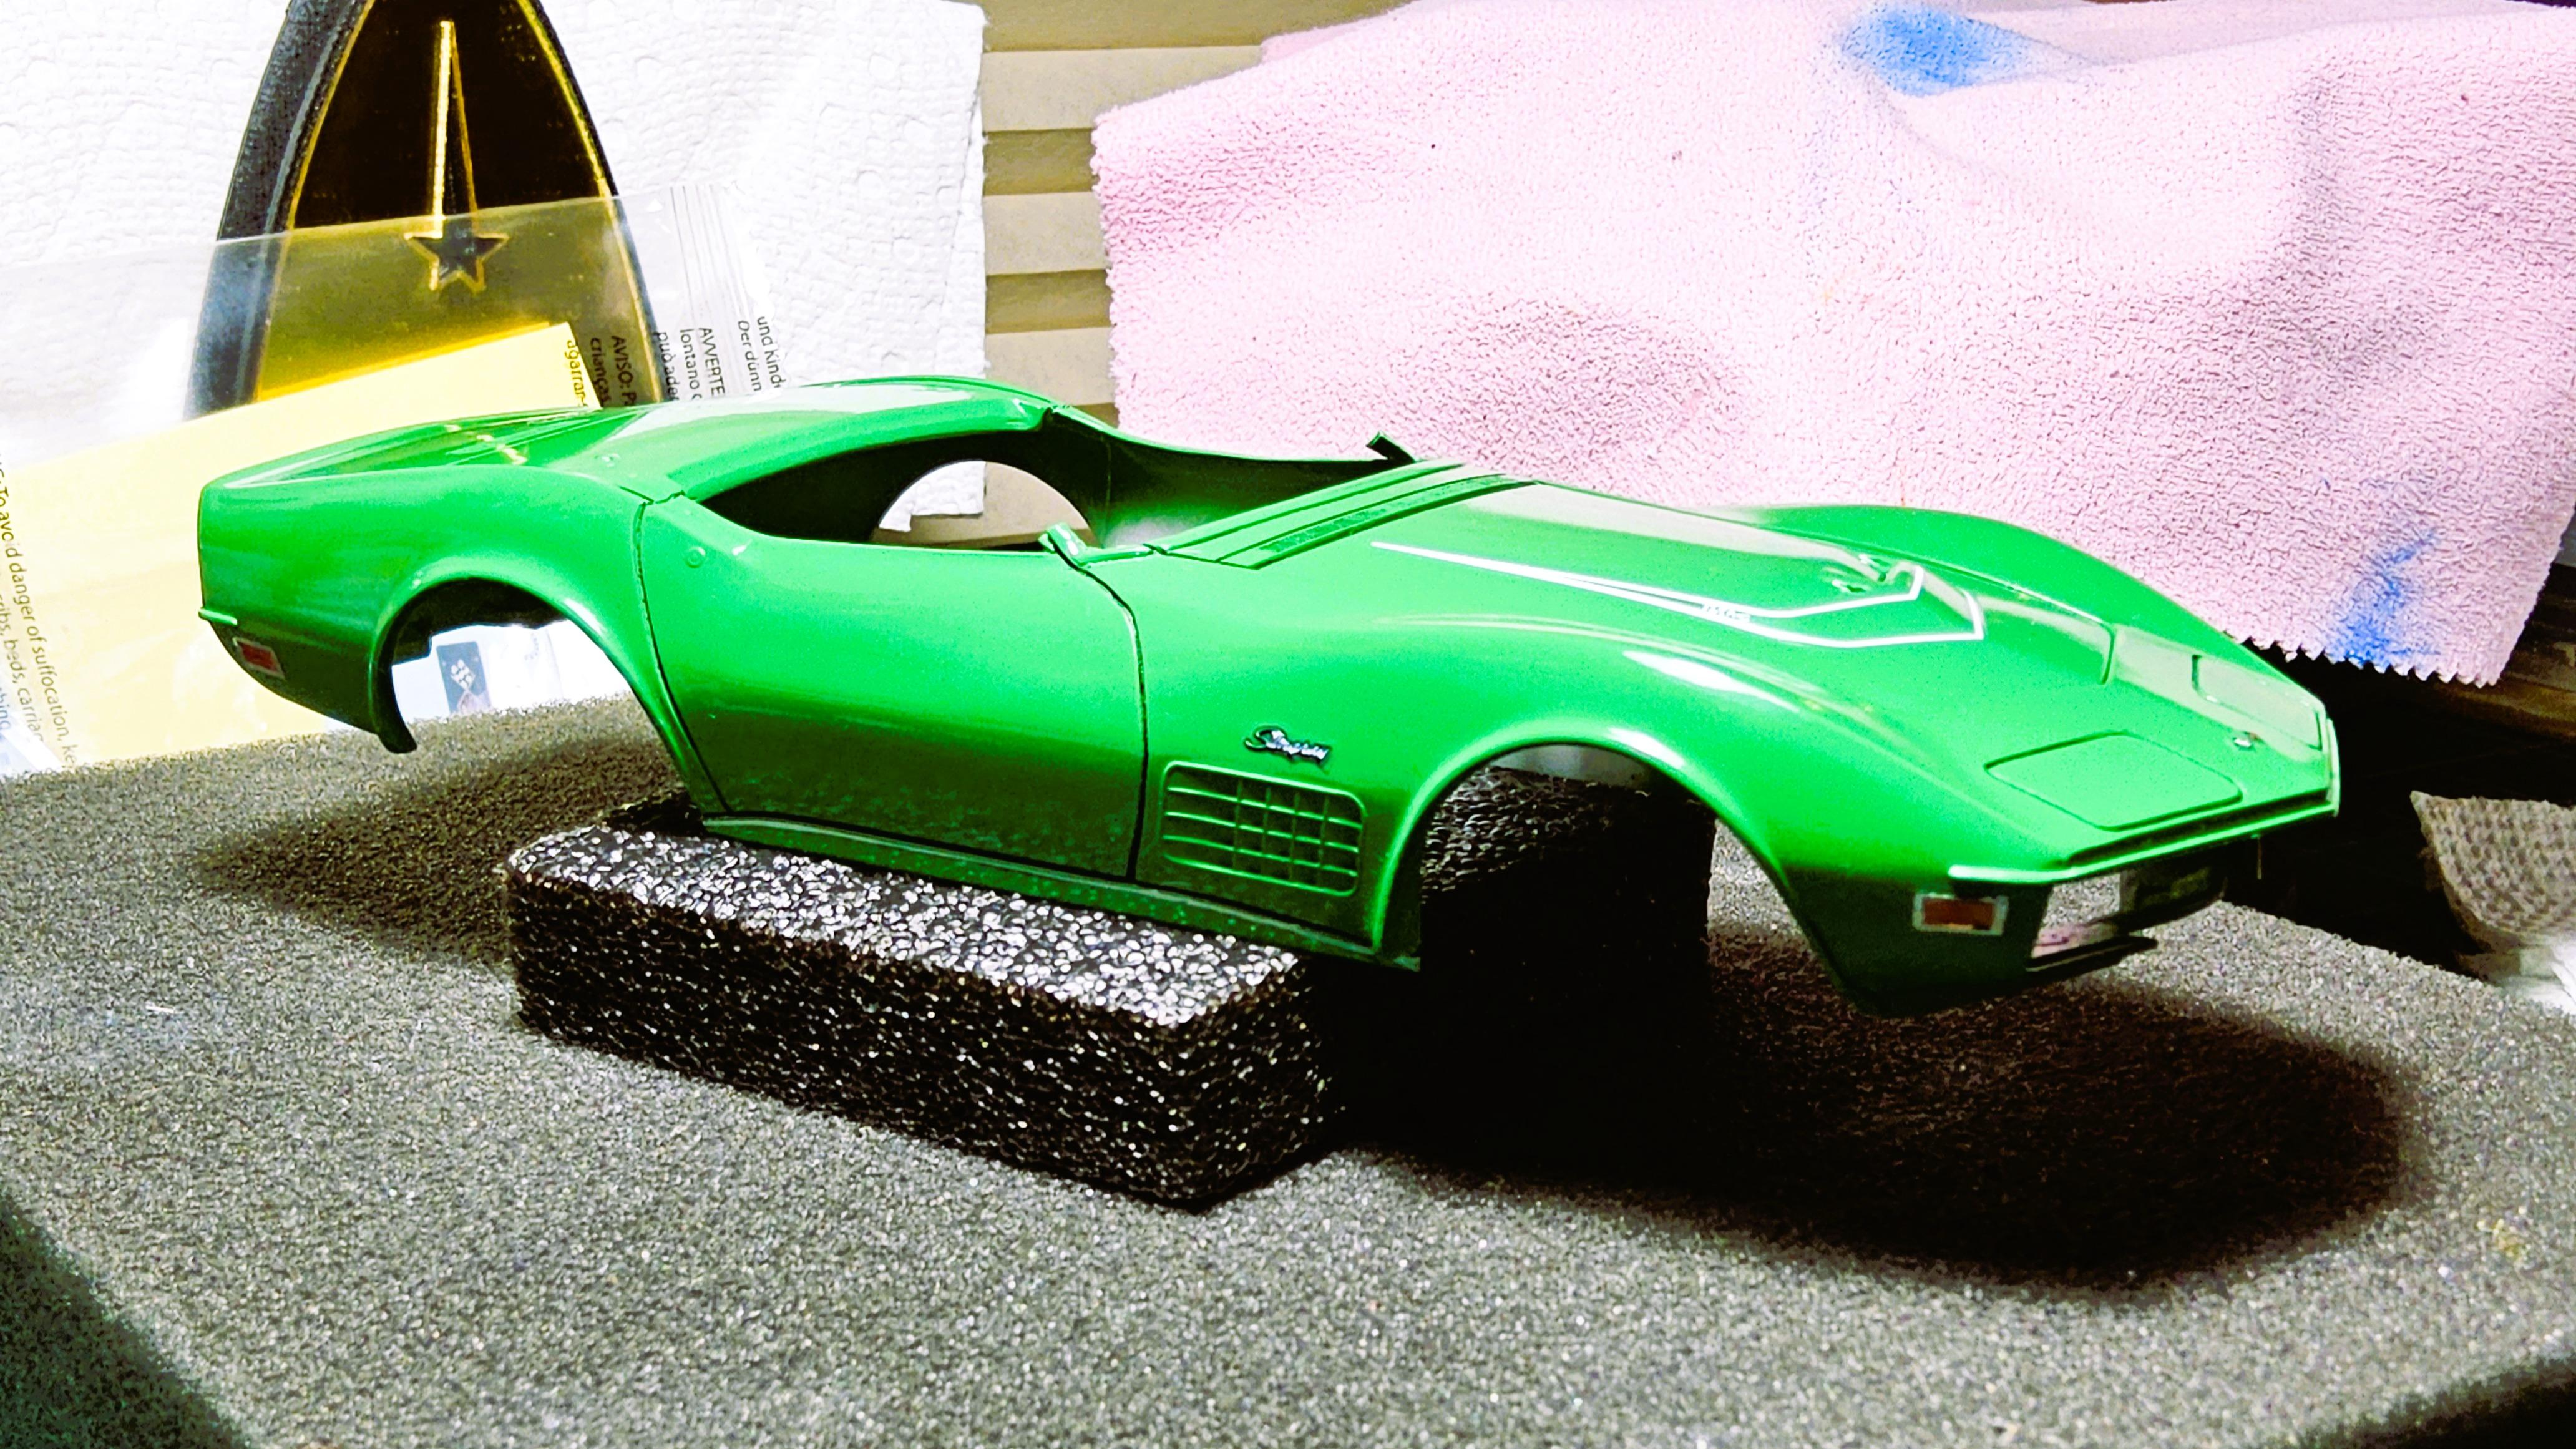
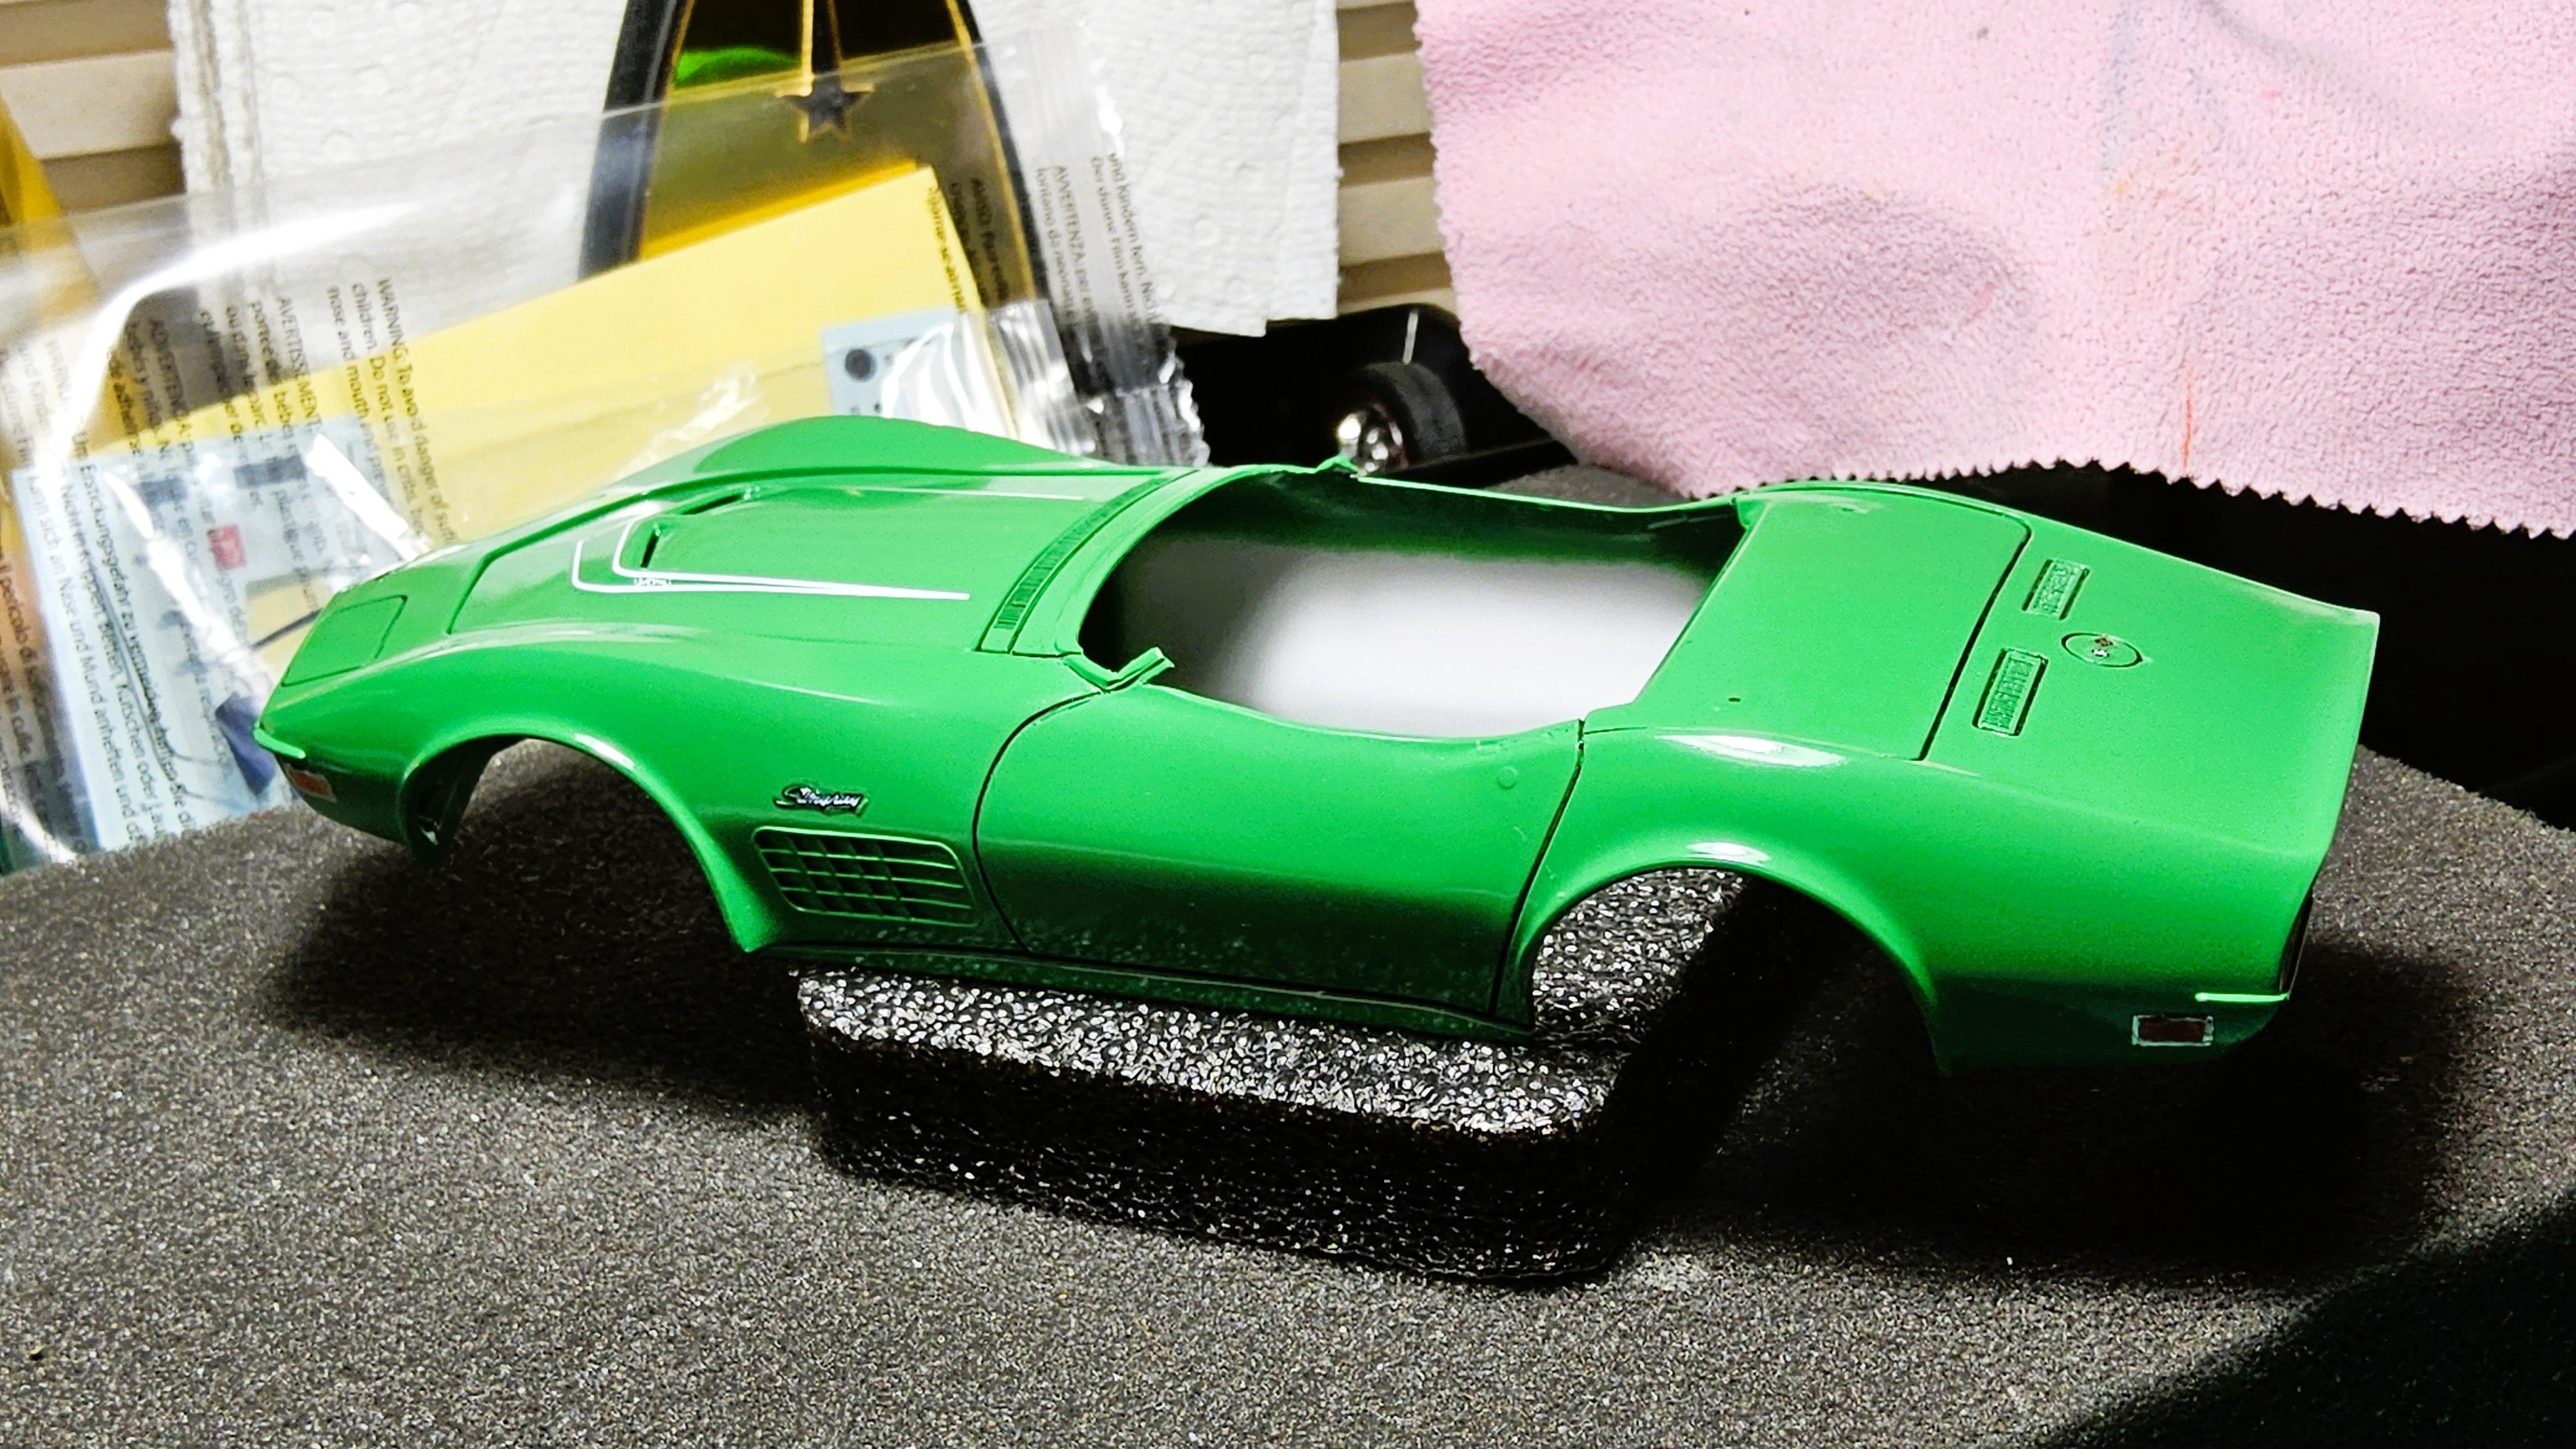
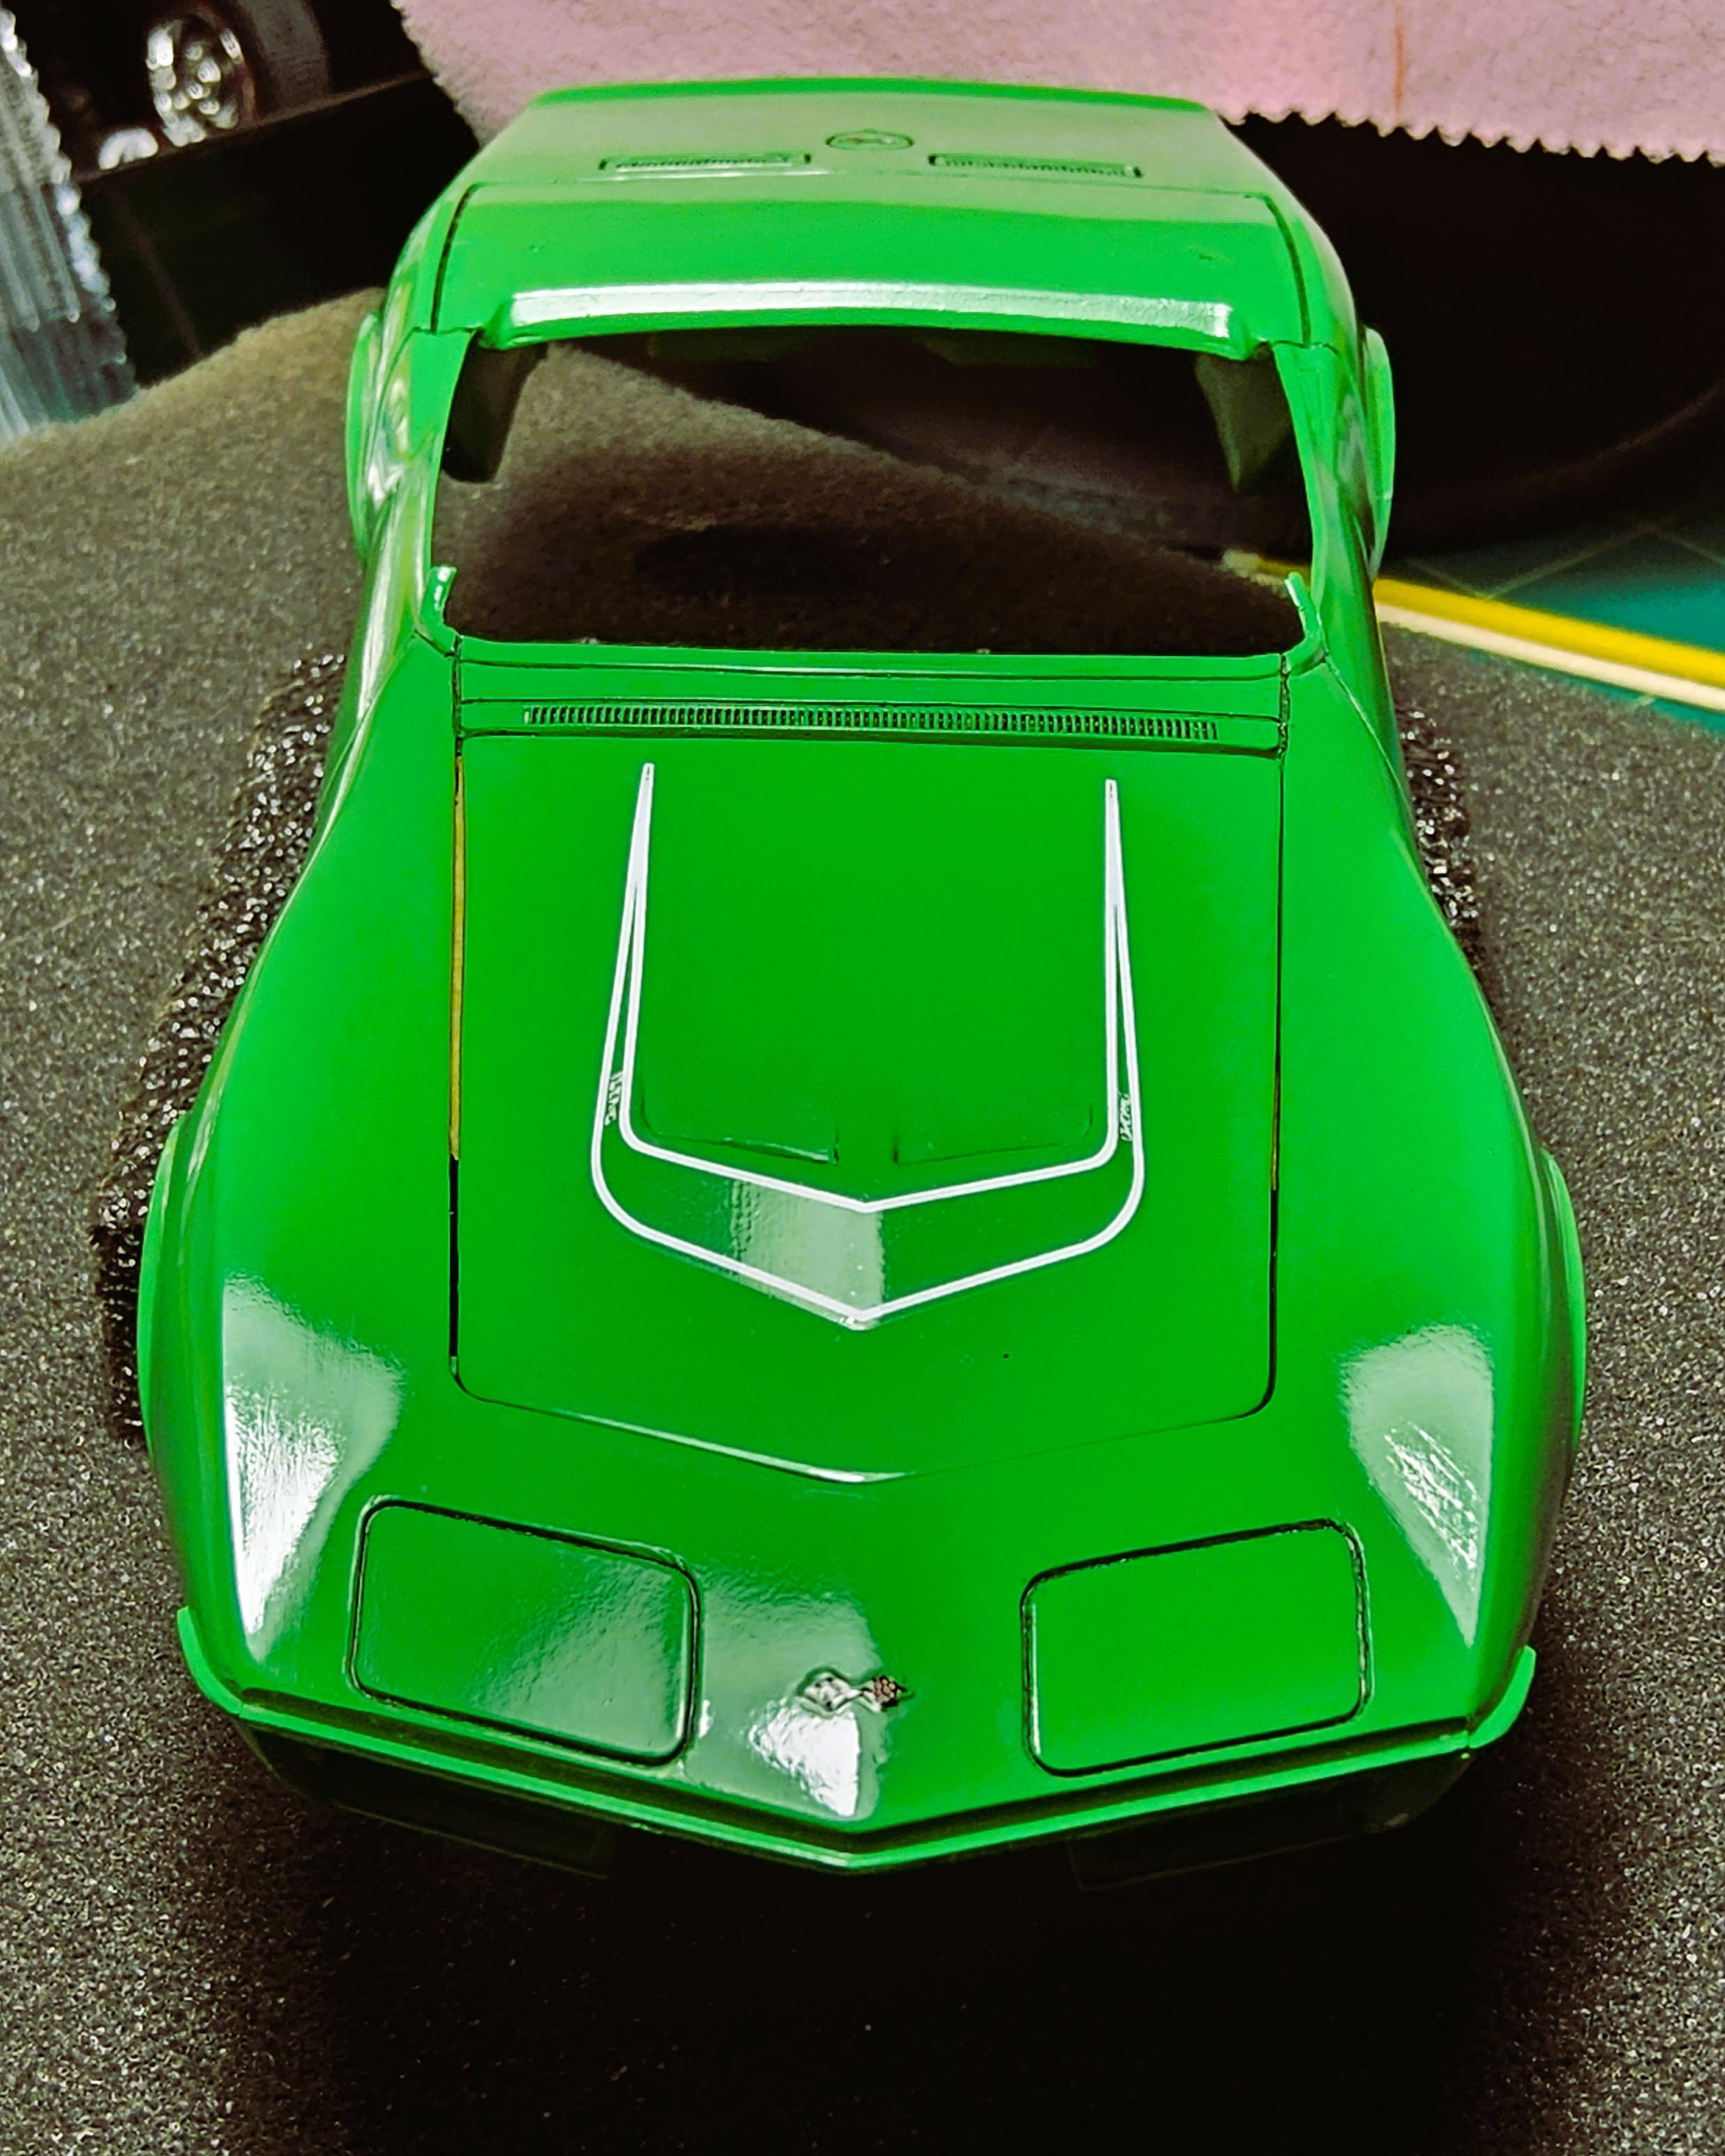
I'm going for another 70's classic. This is a familiar kit to most. Let's see what kind of fine mess I will make of it. I had a real hard time with deciding on and following through with the body color of my last build. Following the box art, I'm sticking with the classic "blue". But has anybody ever Googled, blue 69 Camaro? Yeah, I'm sure there is an official Chevy named color, but I digress. I chose Testors Icy Blue lacquer. It's hard for me to commit to the glitter. Be kind. I'm still working with rattle cans in the backyard/garage.
-
Motor-City Muster: Let the boondoggle begin
-
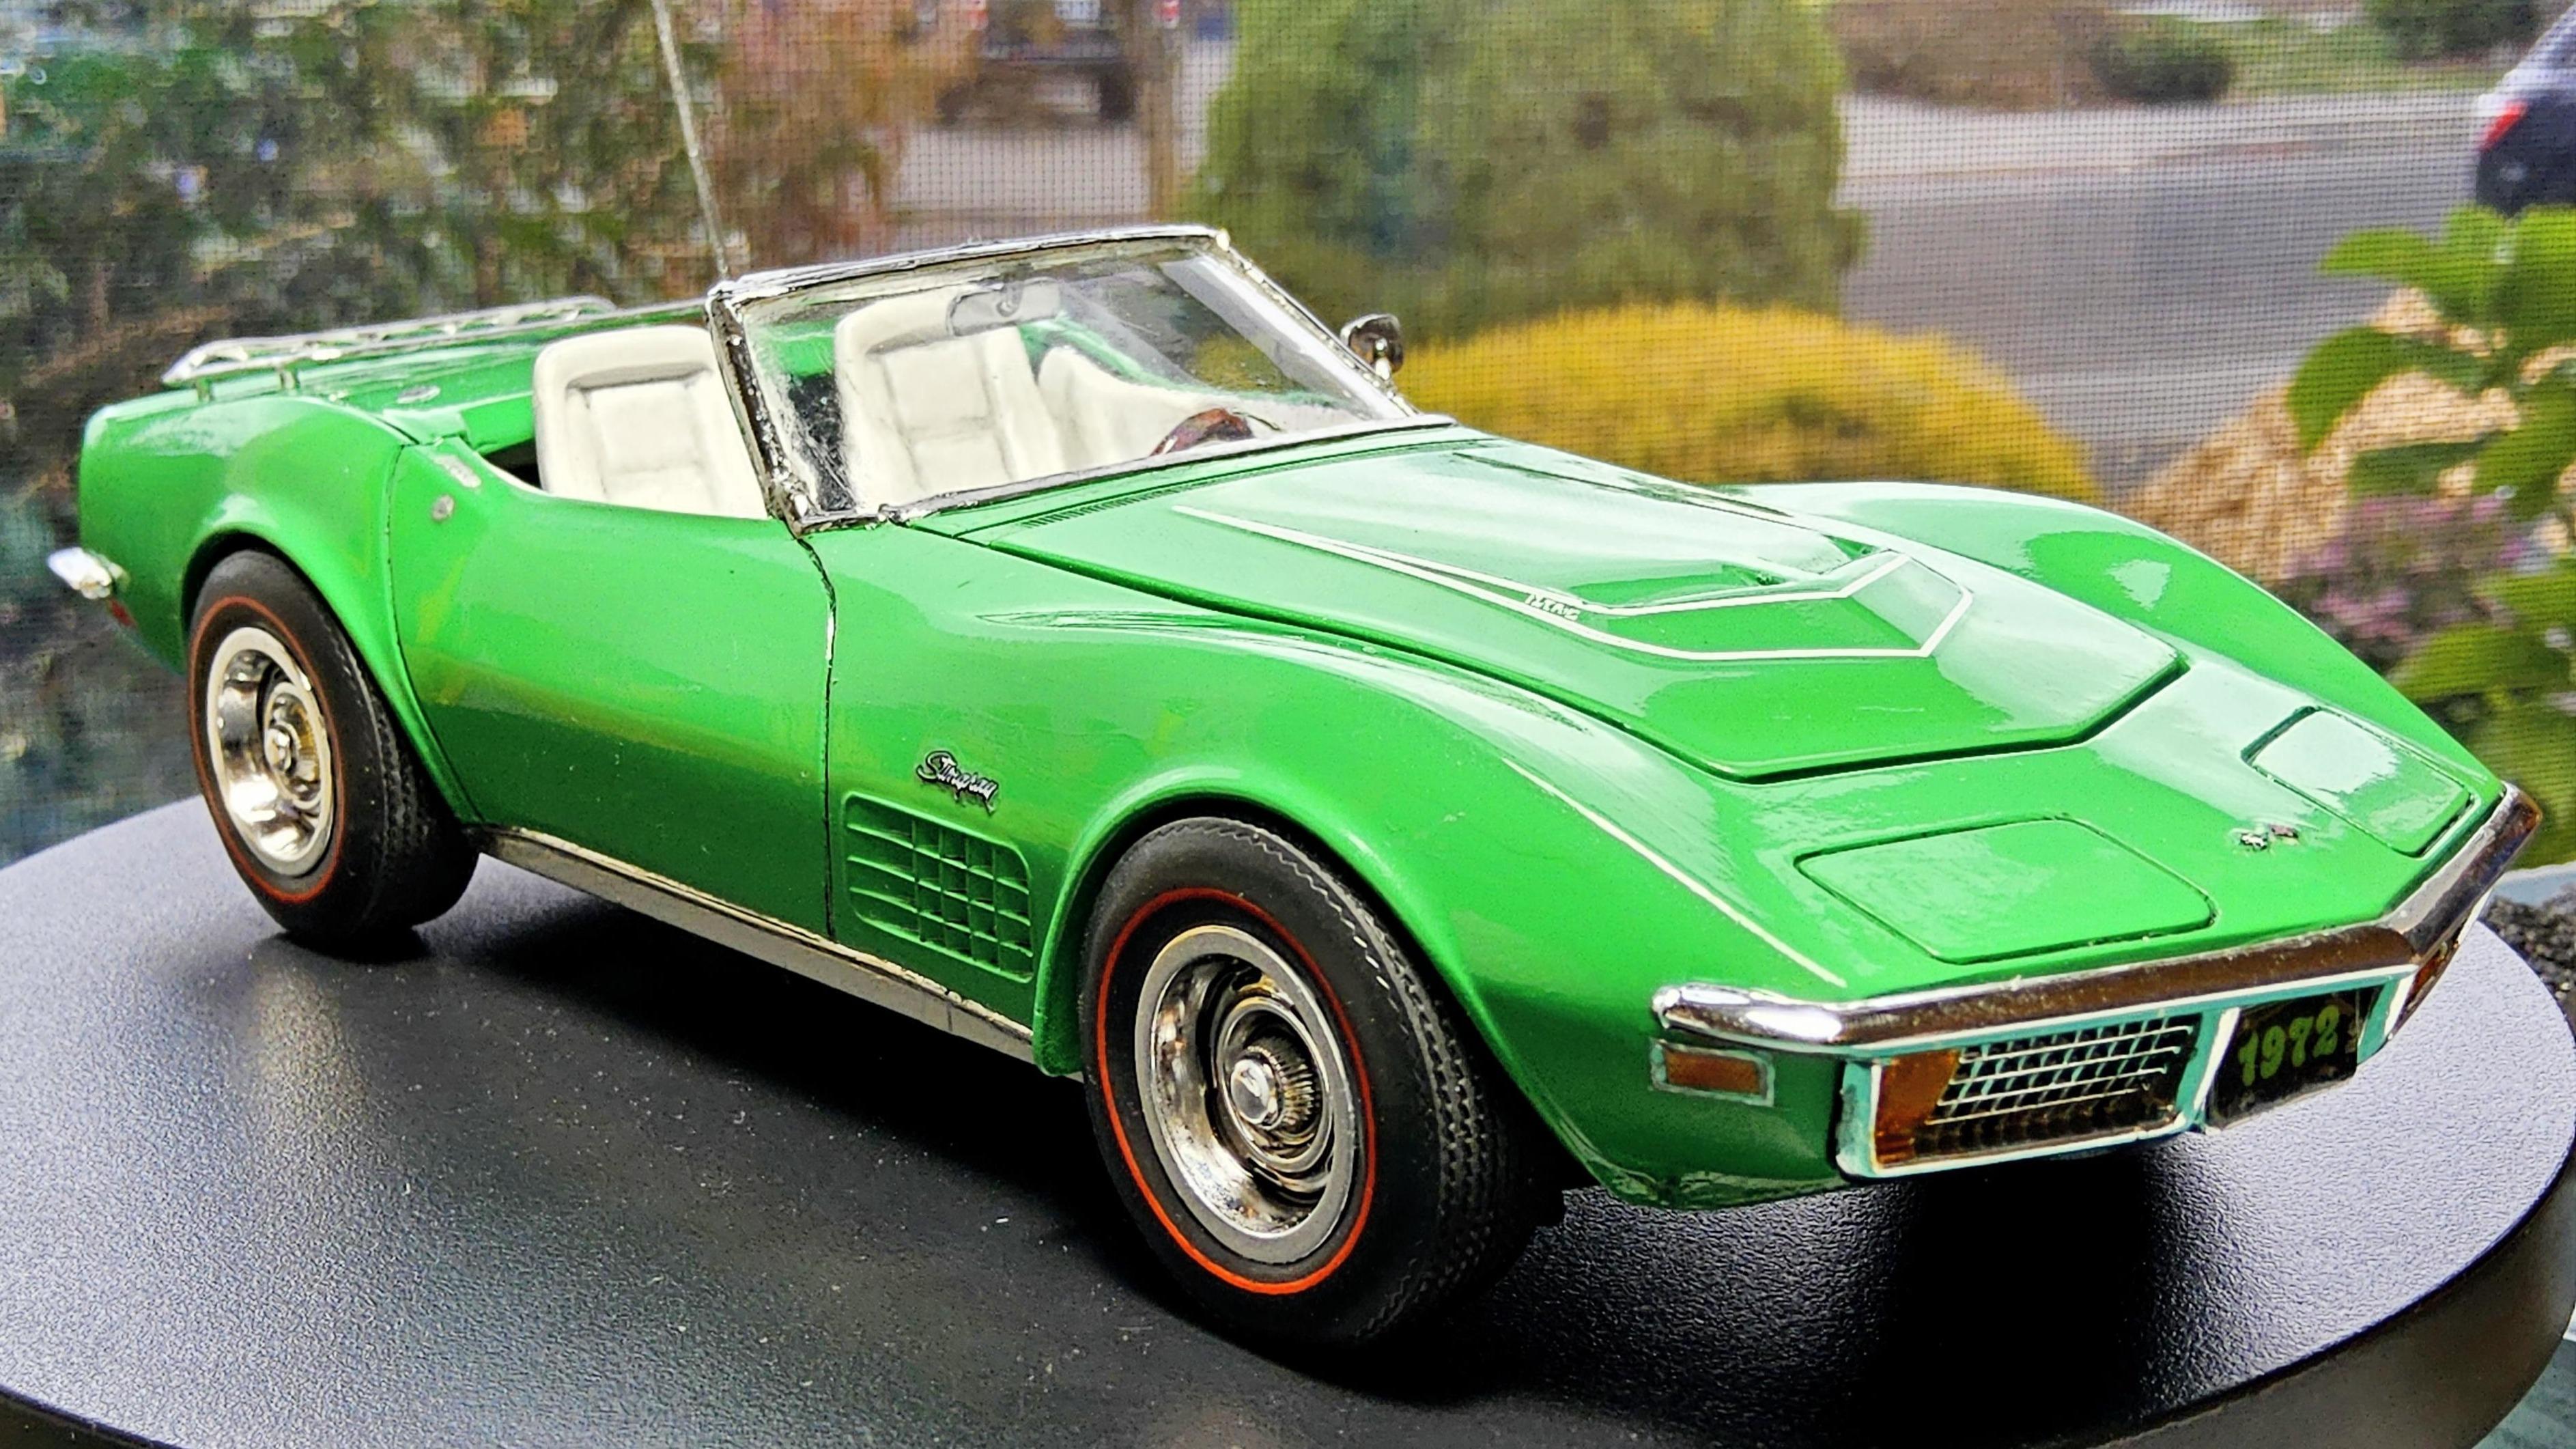
This one was a struggle, but it is complete. Just don't look too close.
-
-
It helps when you have two of the same kit. I finally went back to the first body that had the melted window frame (see above). That's why the window frame is chopped. I can't wait to see how I get that to look decent. I paid for two kits, so I'm going to get at least one build out of it.
-
Moving on!
-
Nope...can't leave well enough alone.
-
*PS. I purposely clipped the window frame to attack separately. That will be fun to watch.
-
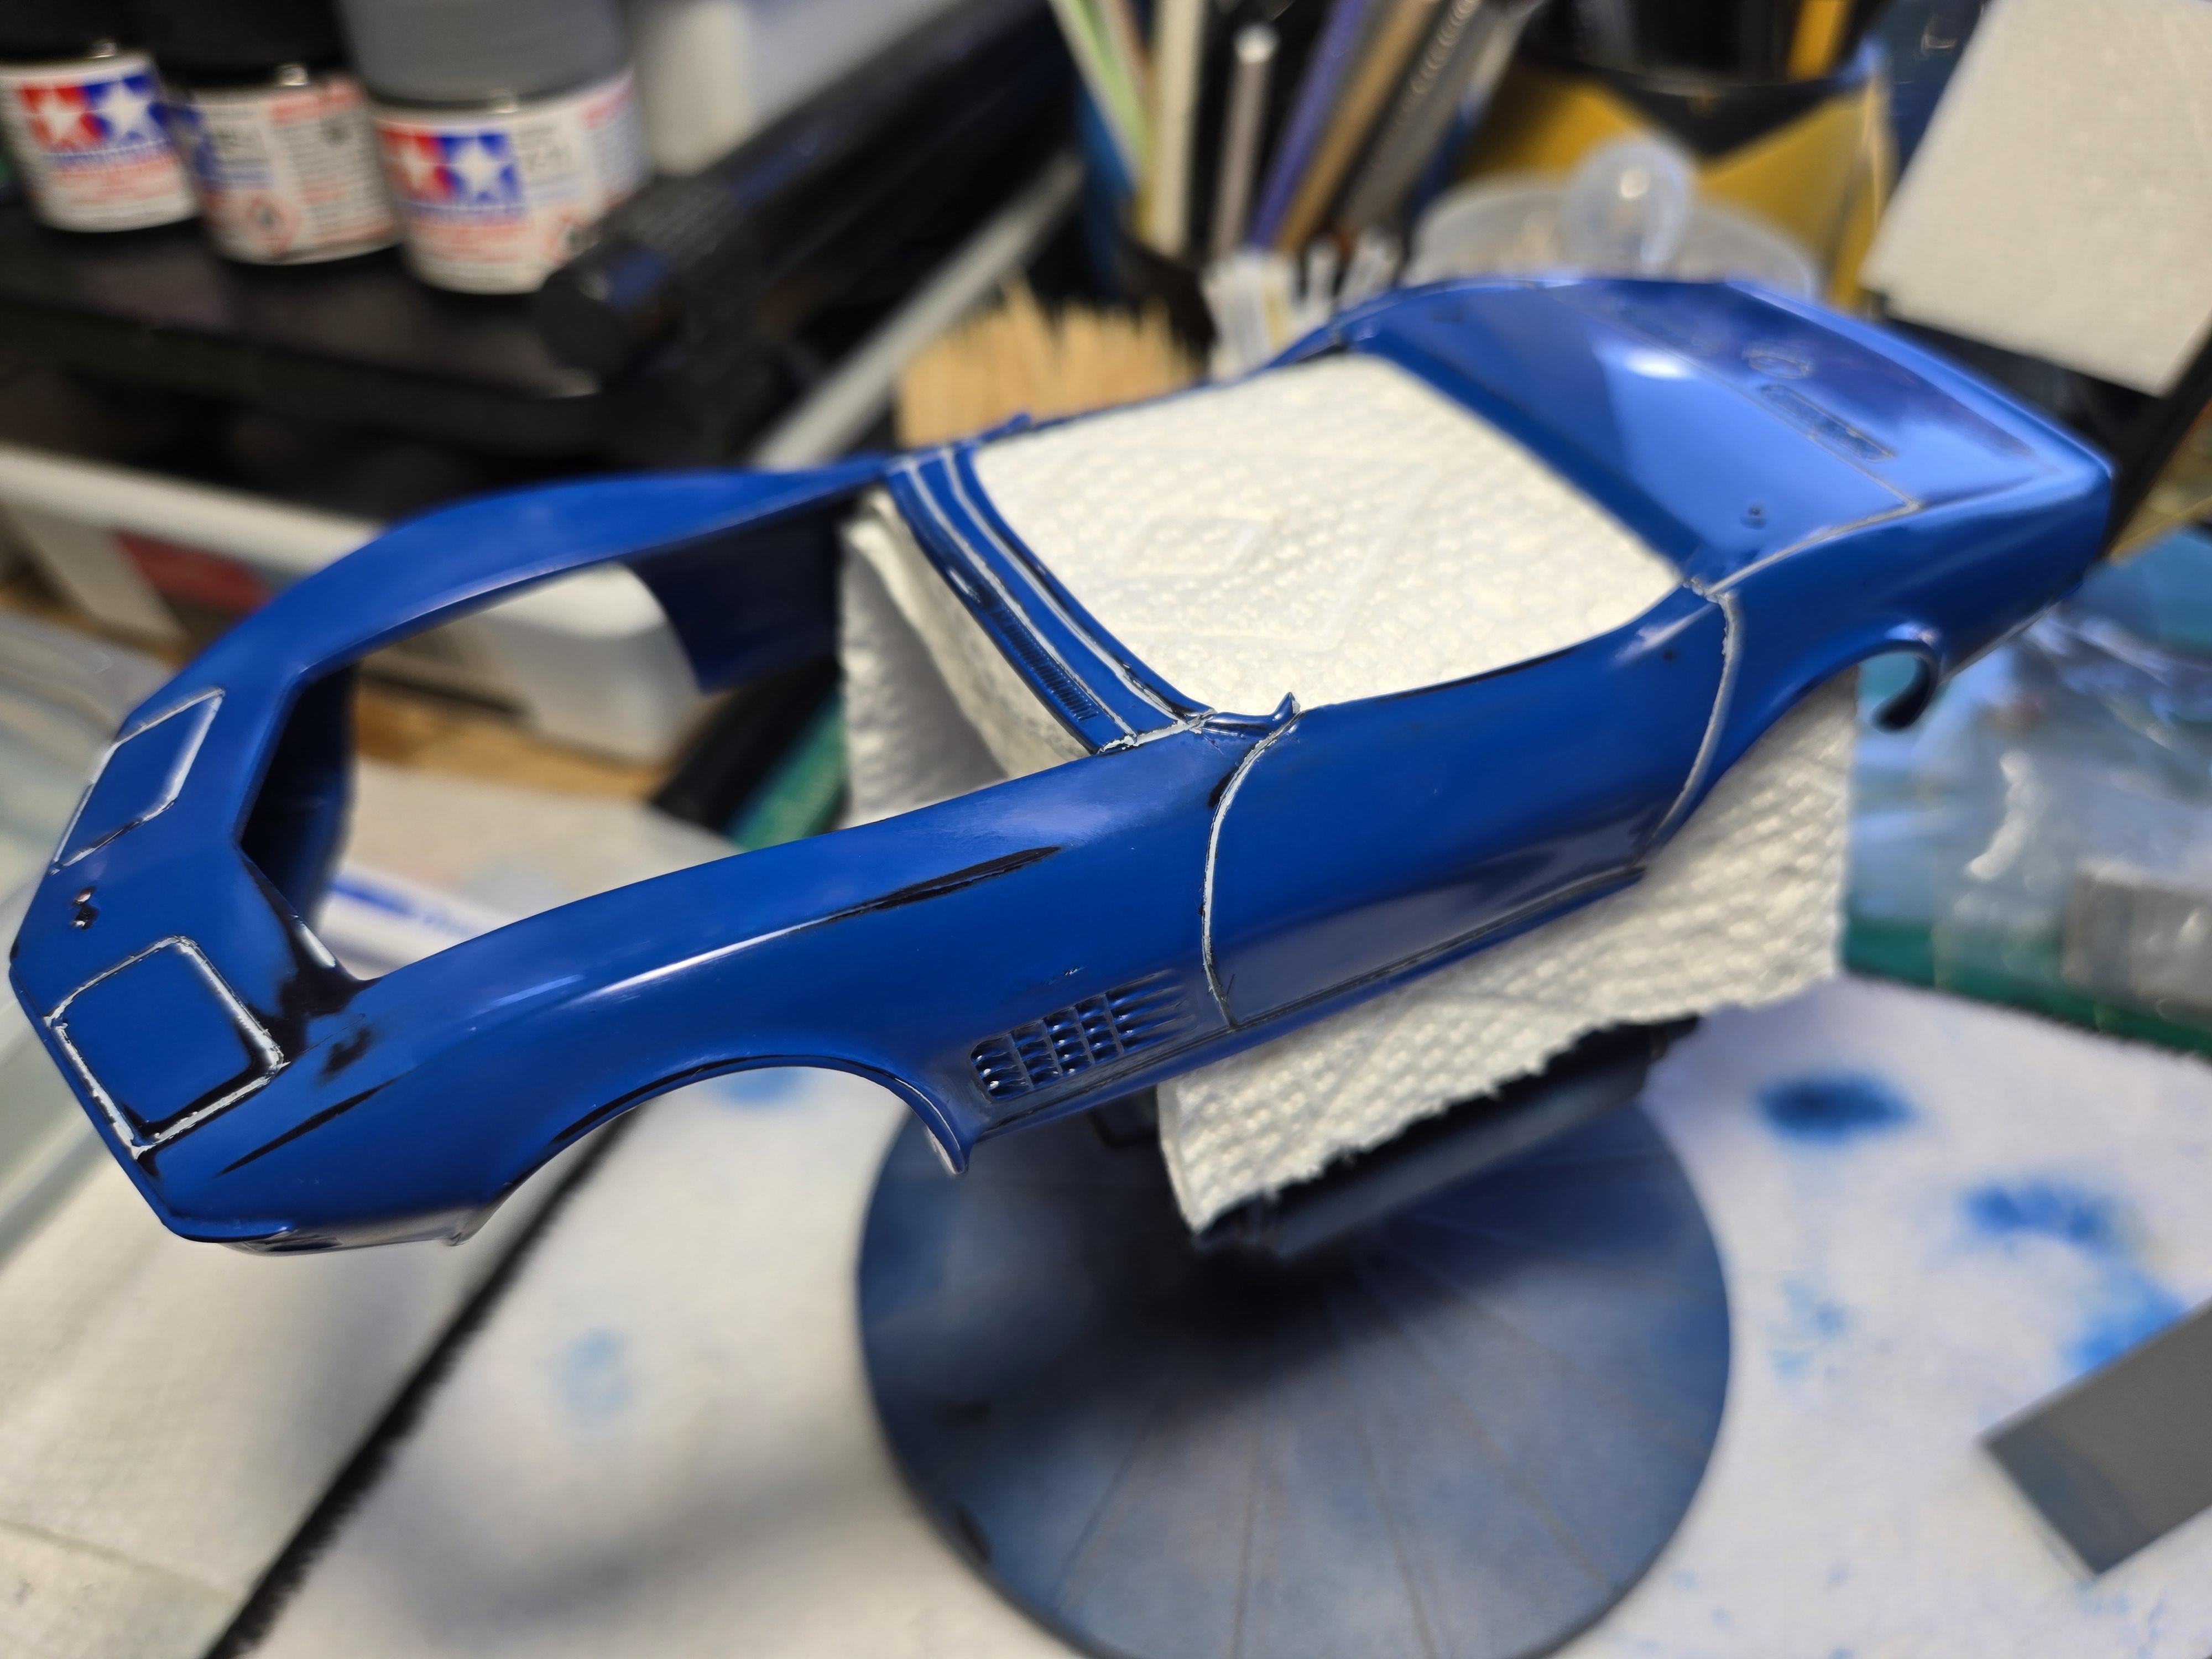
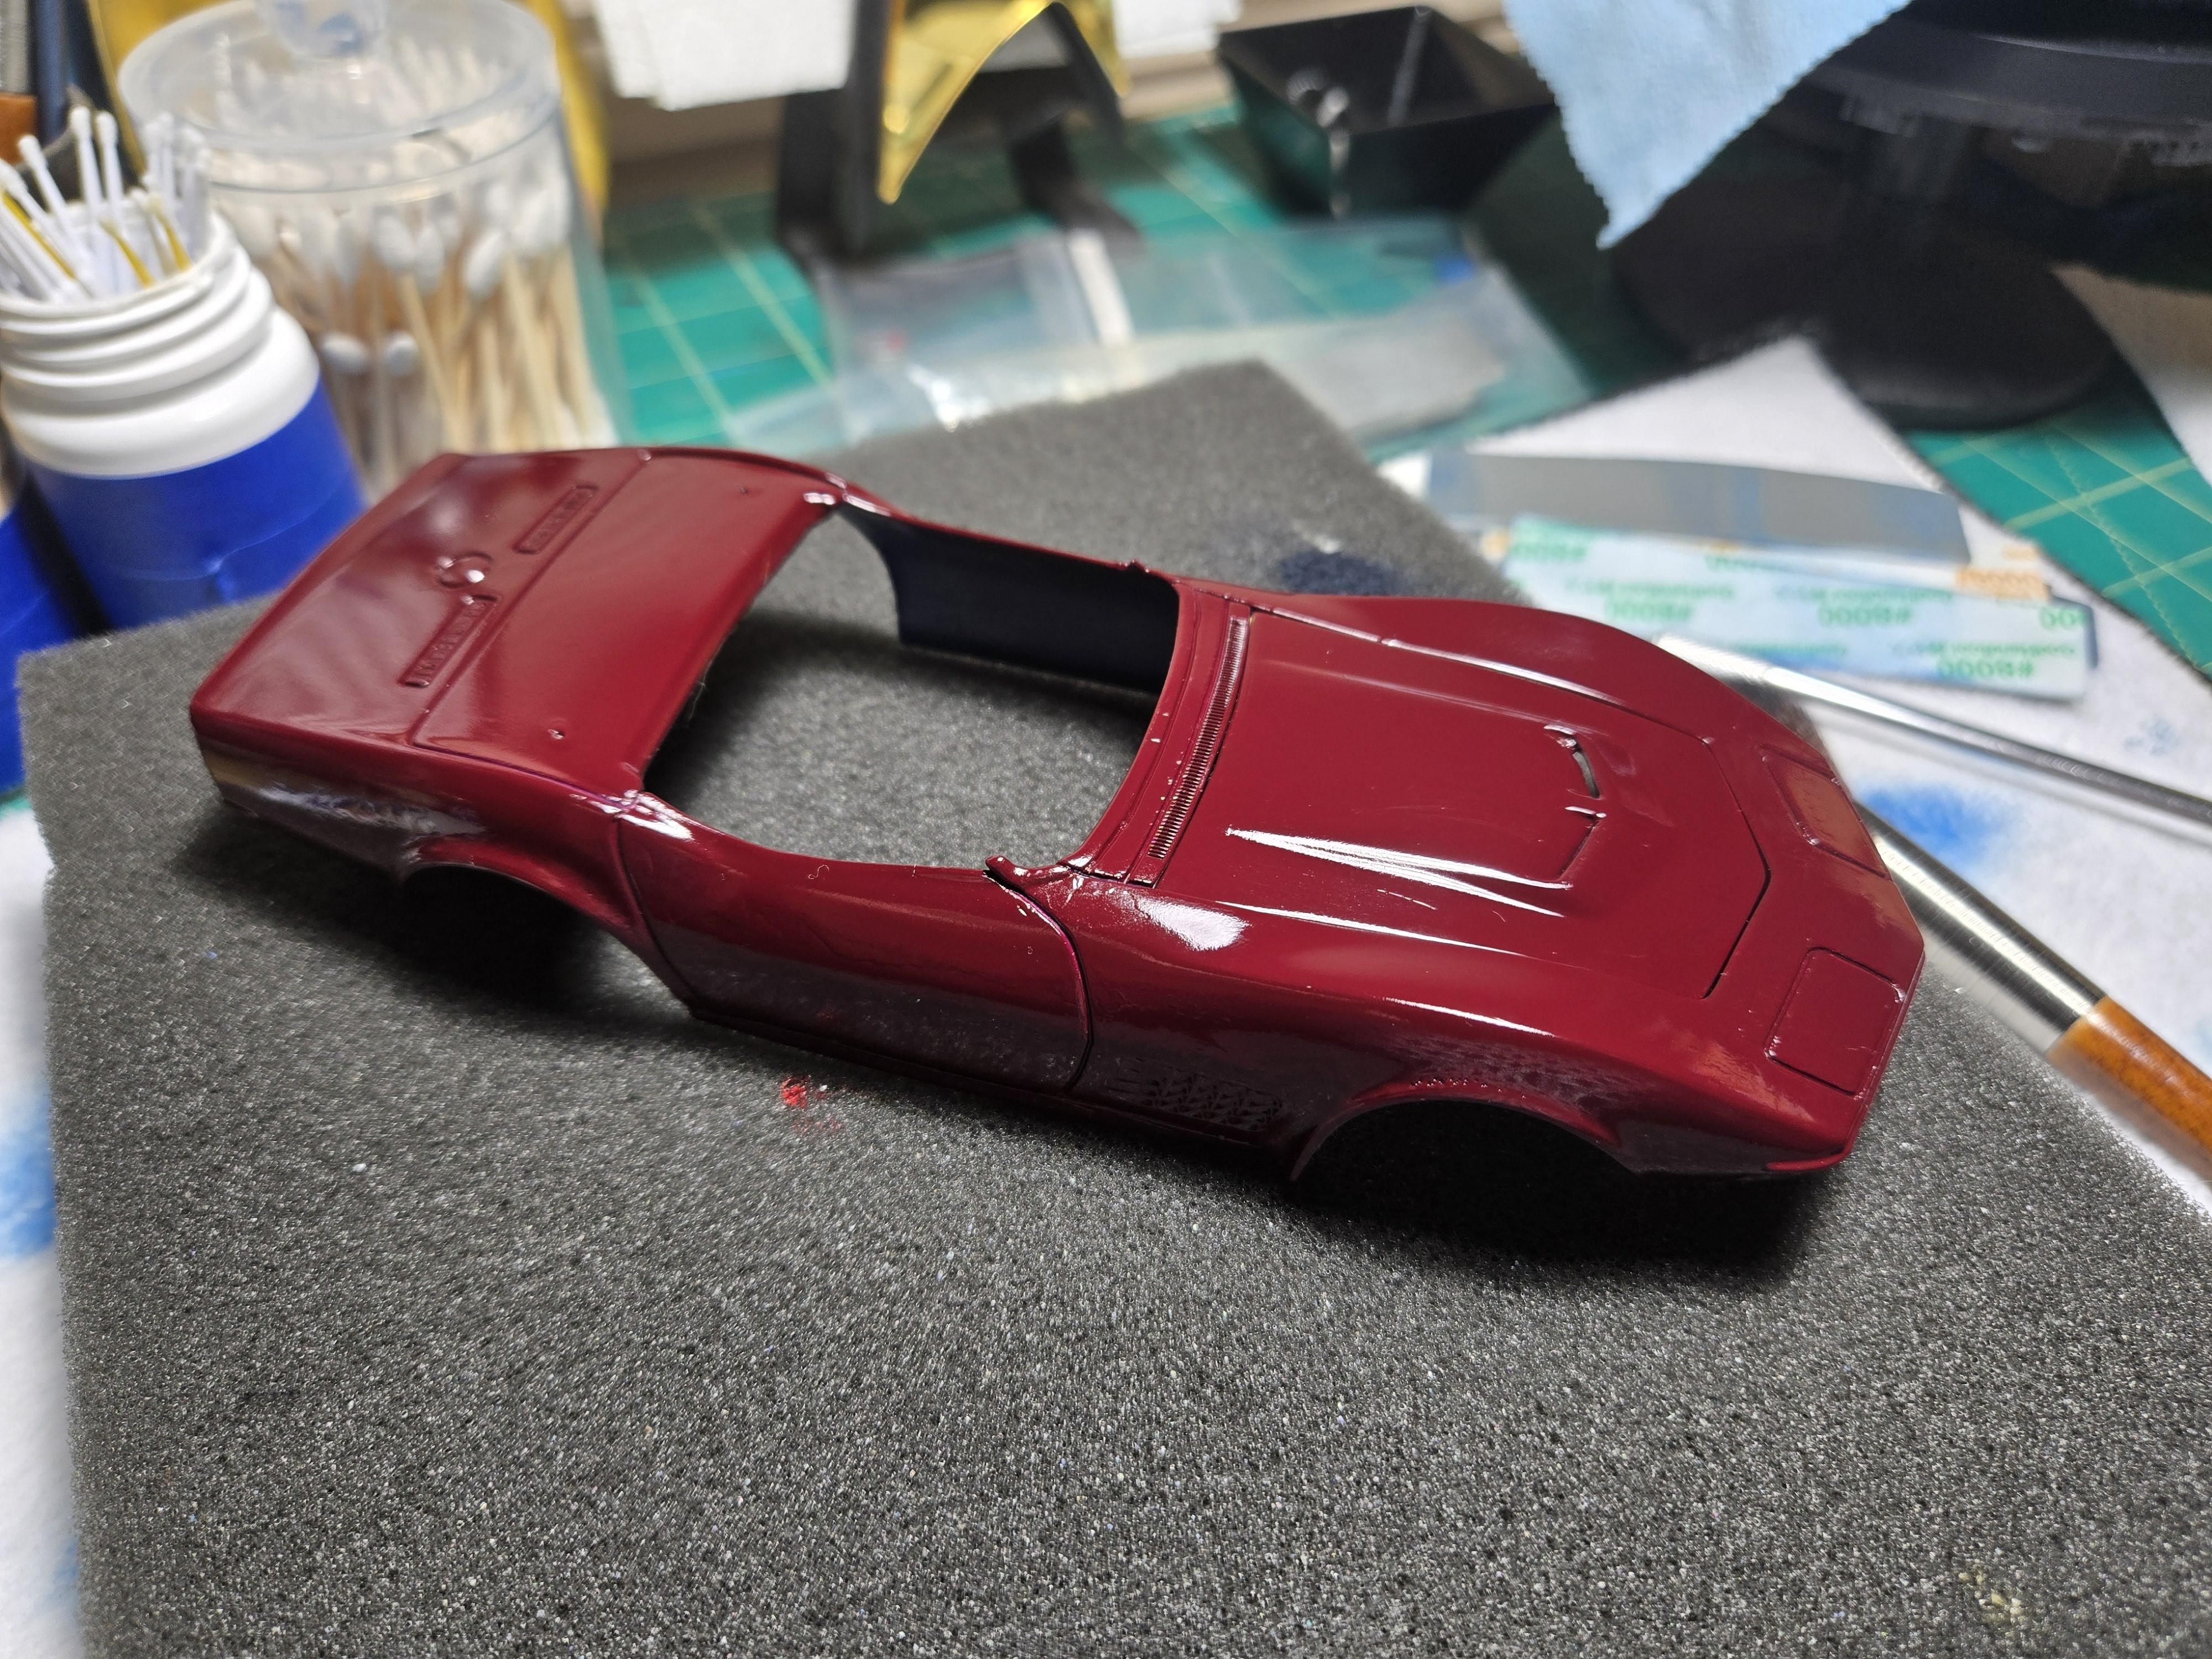
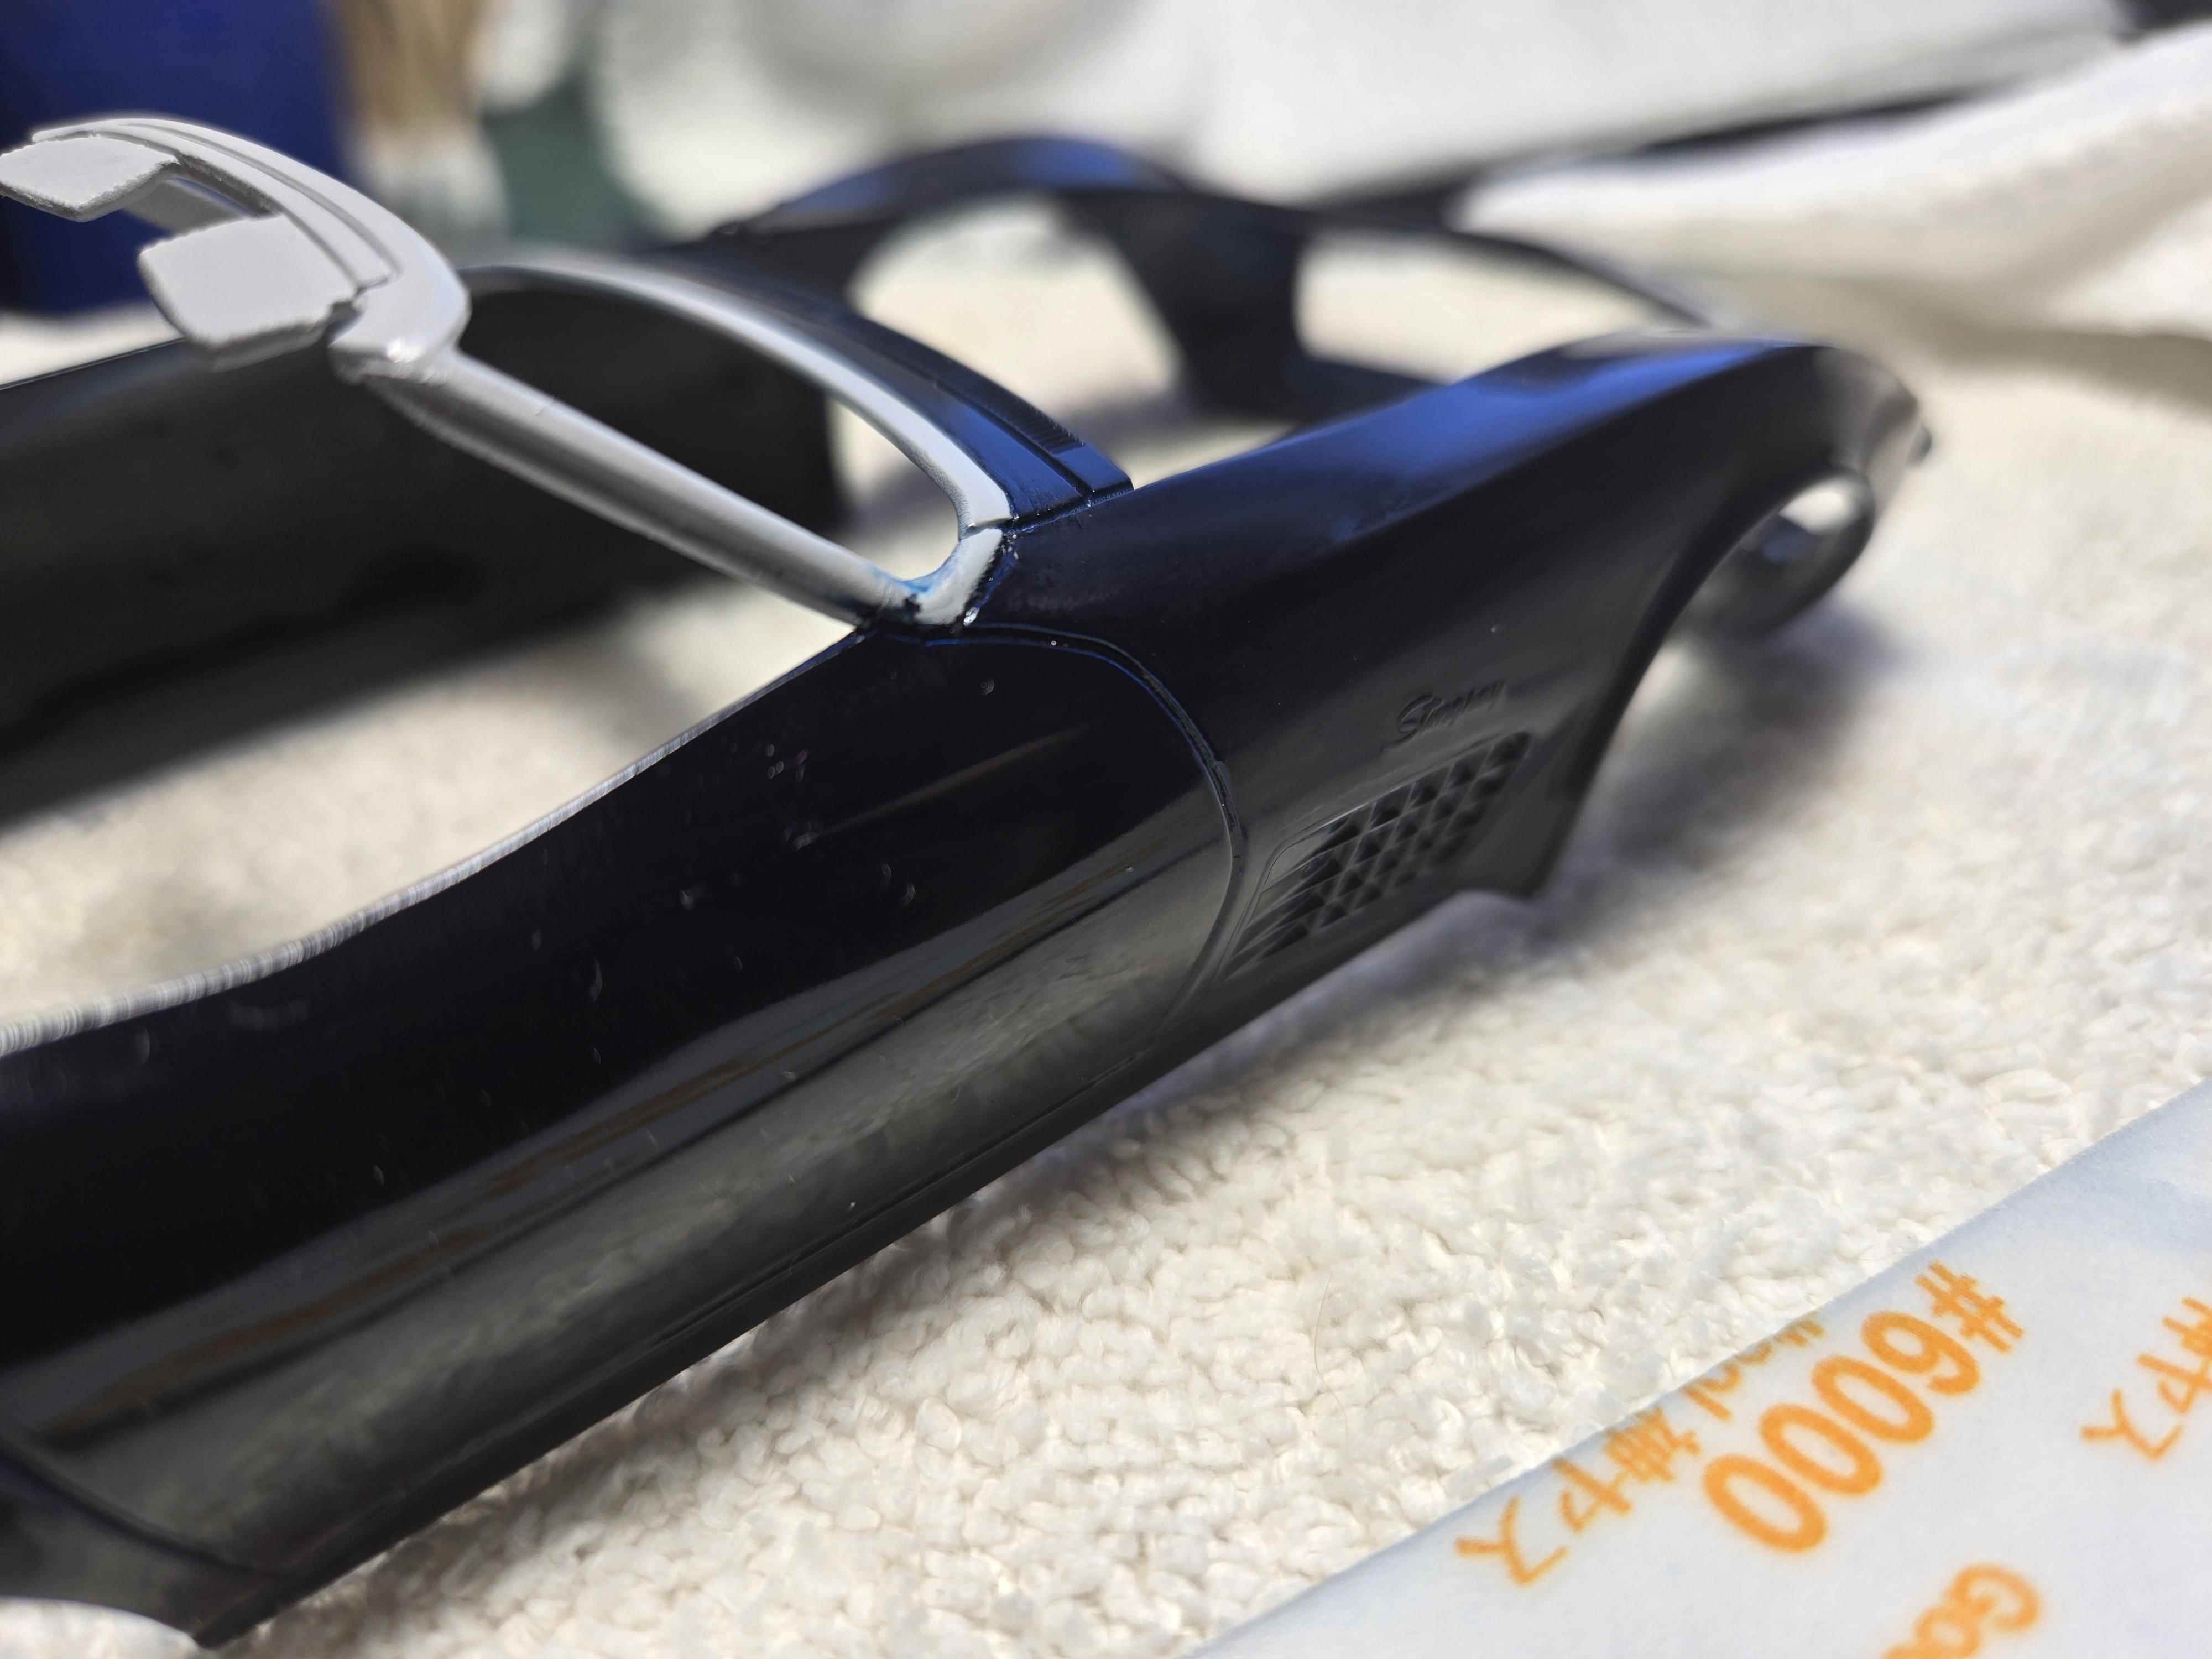
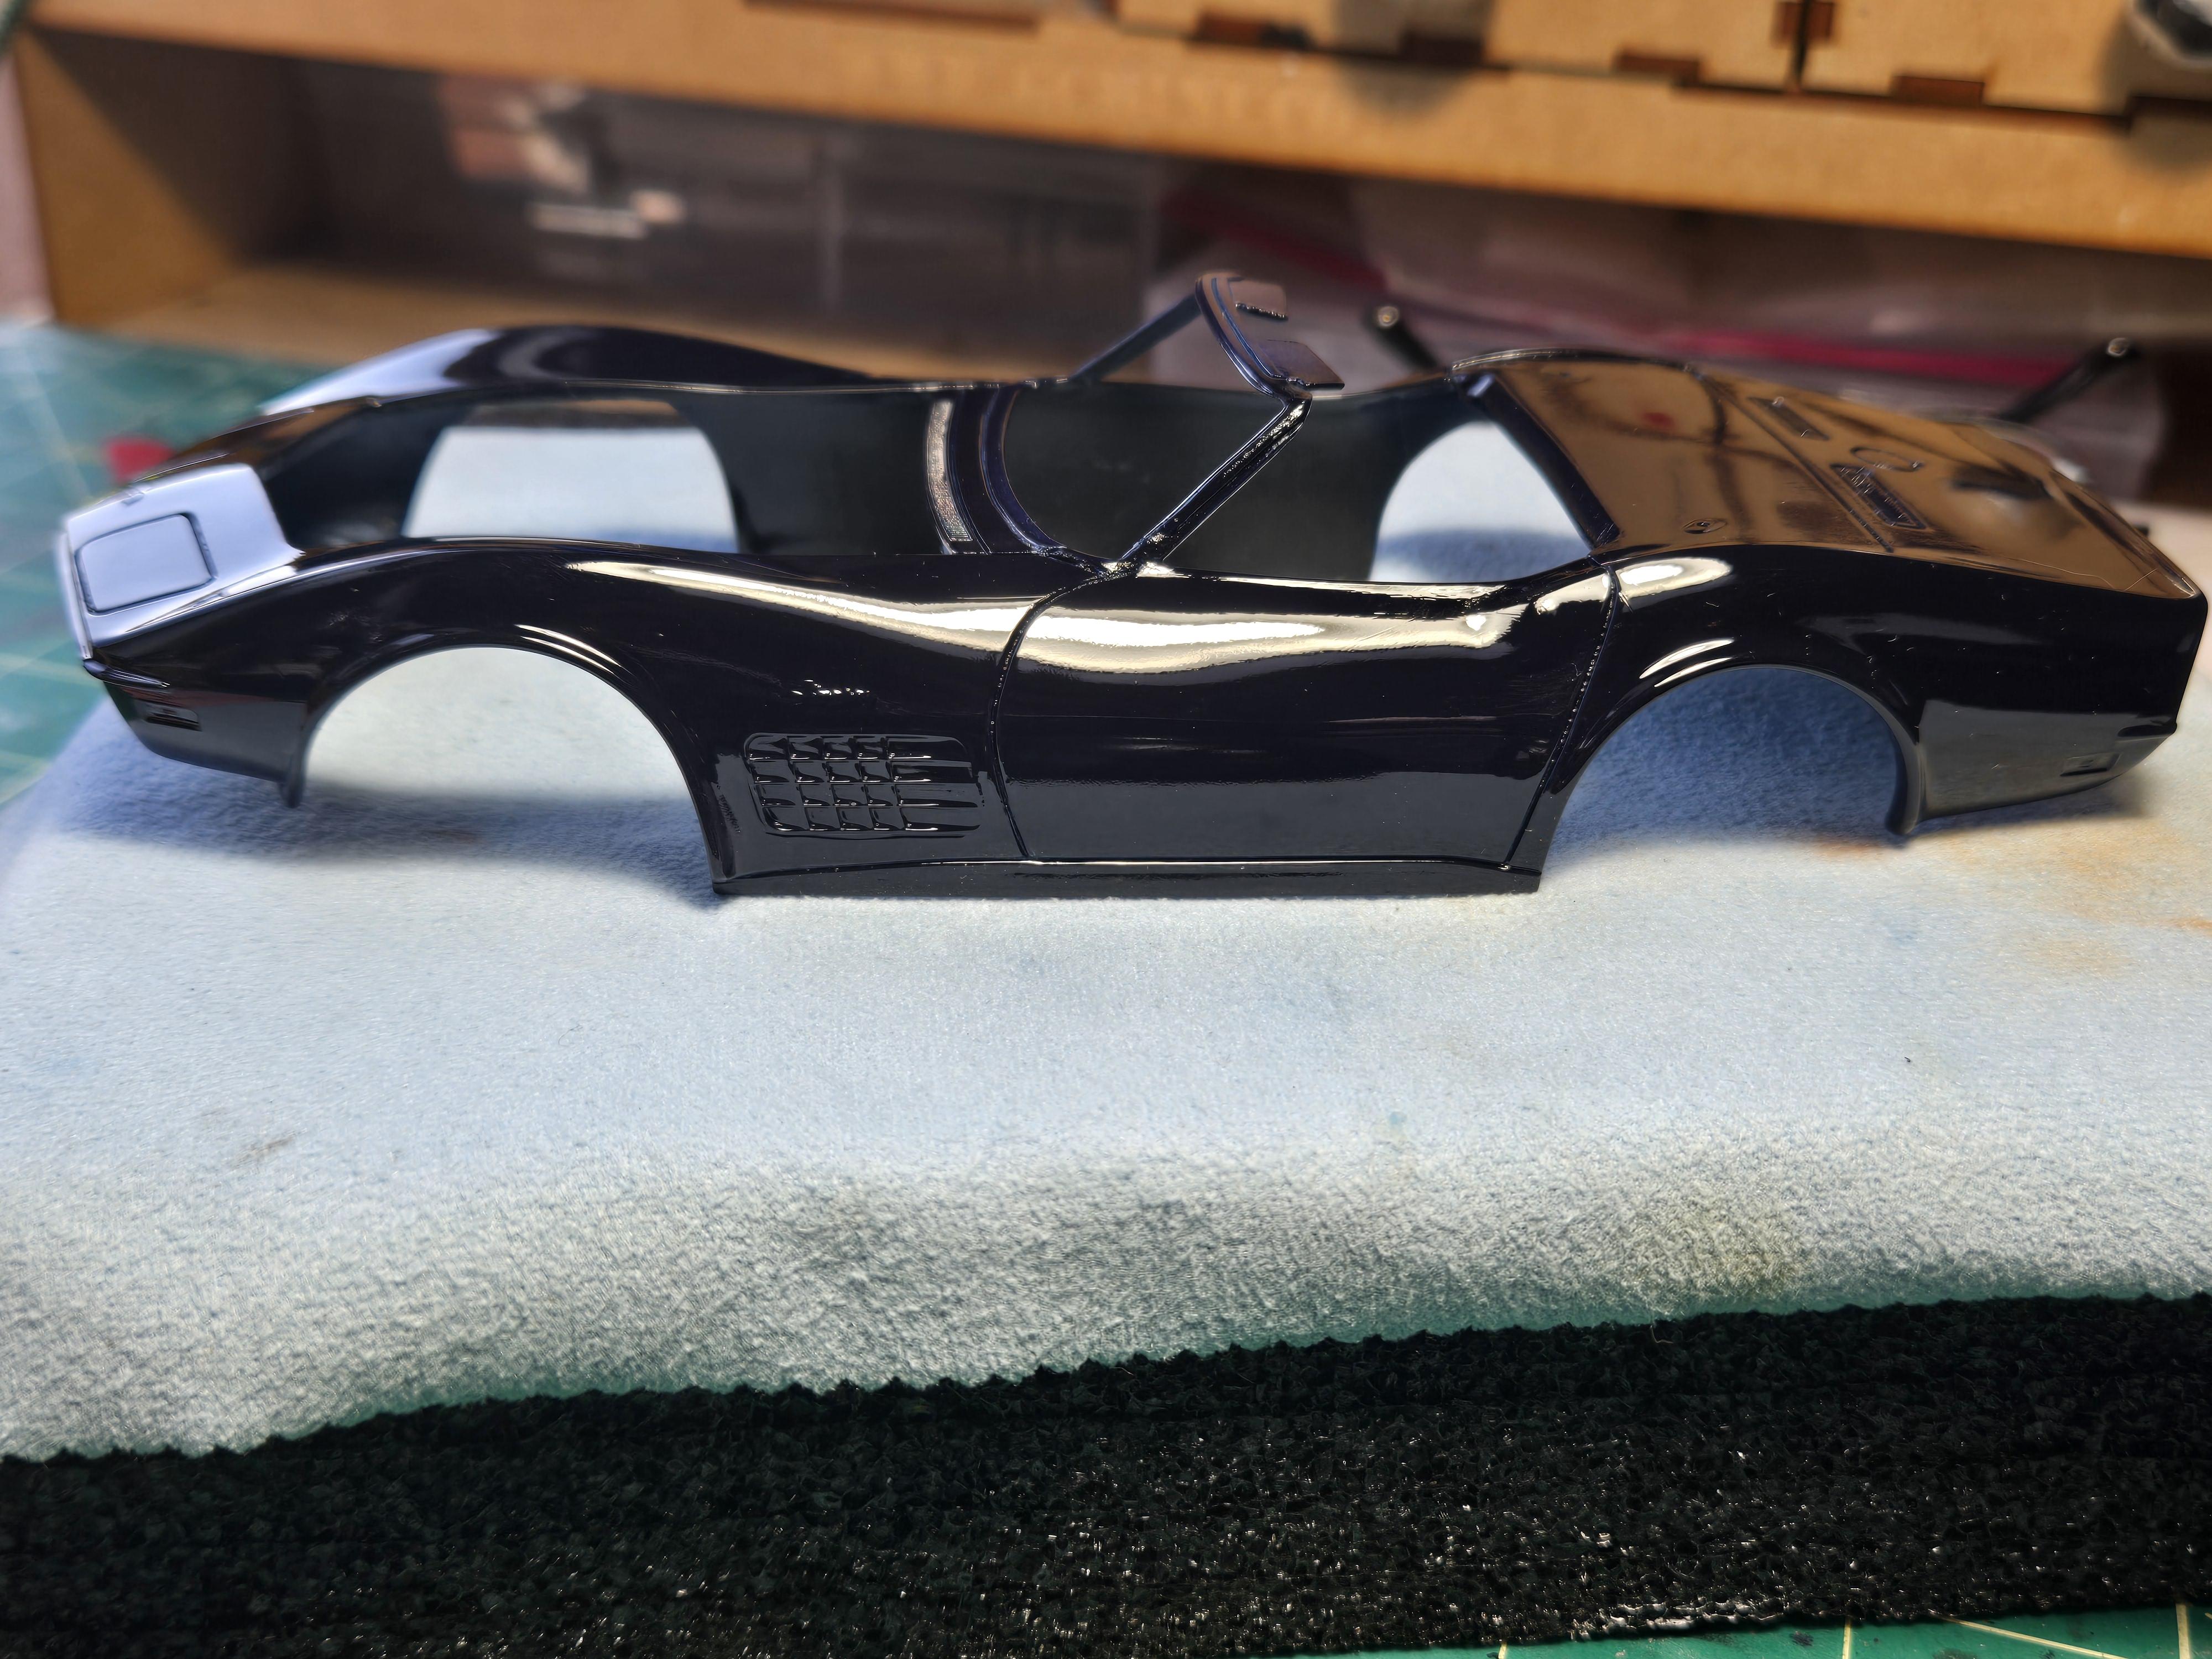
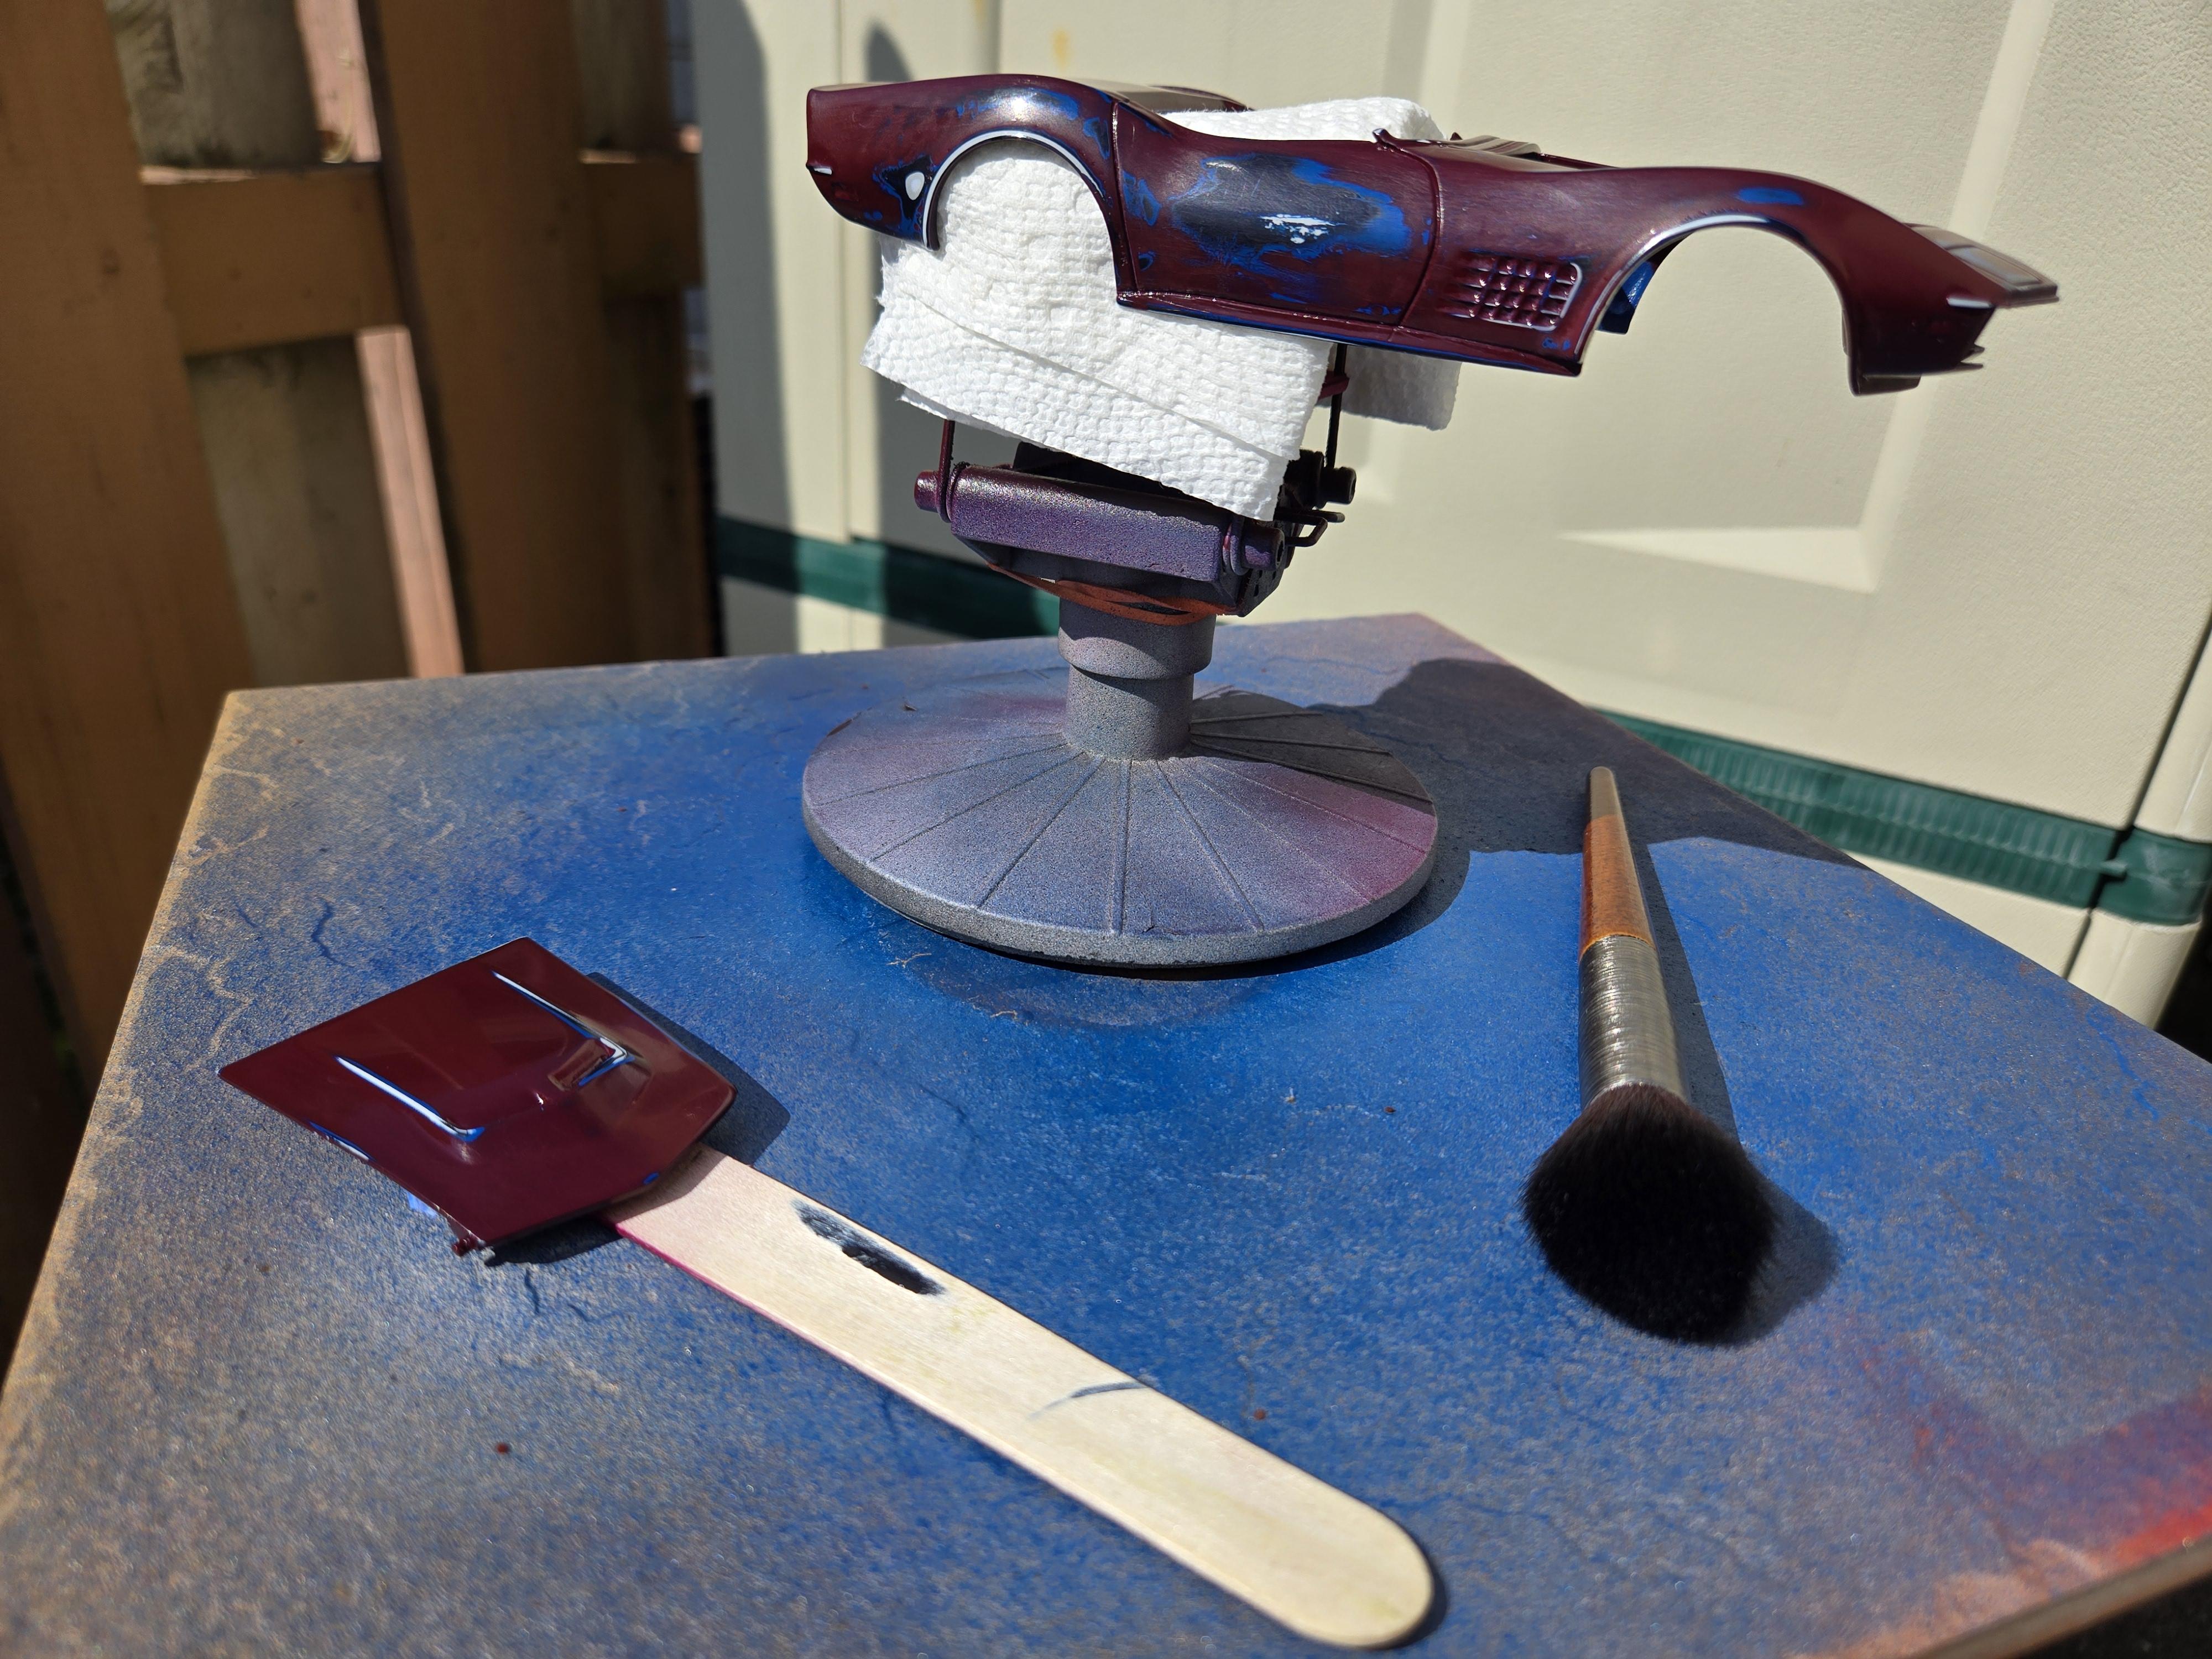
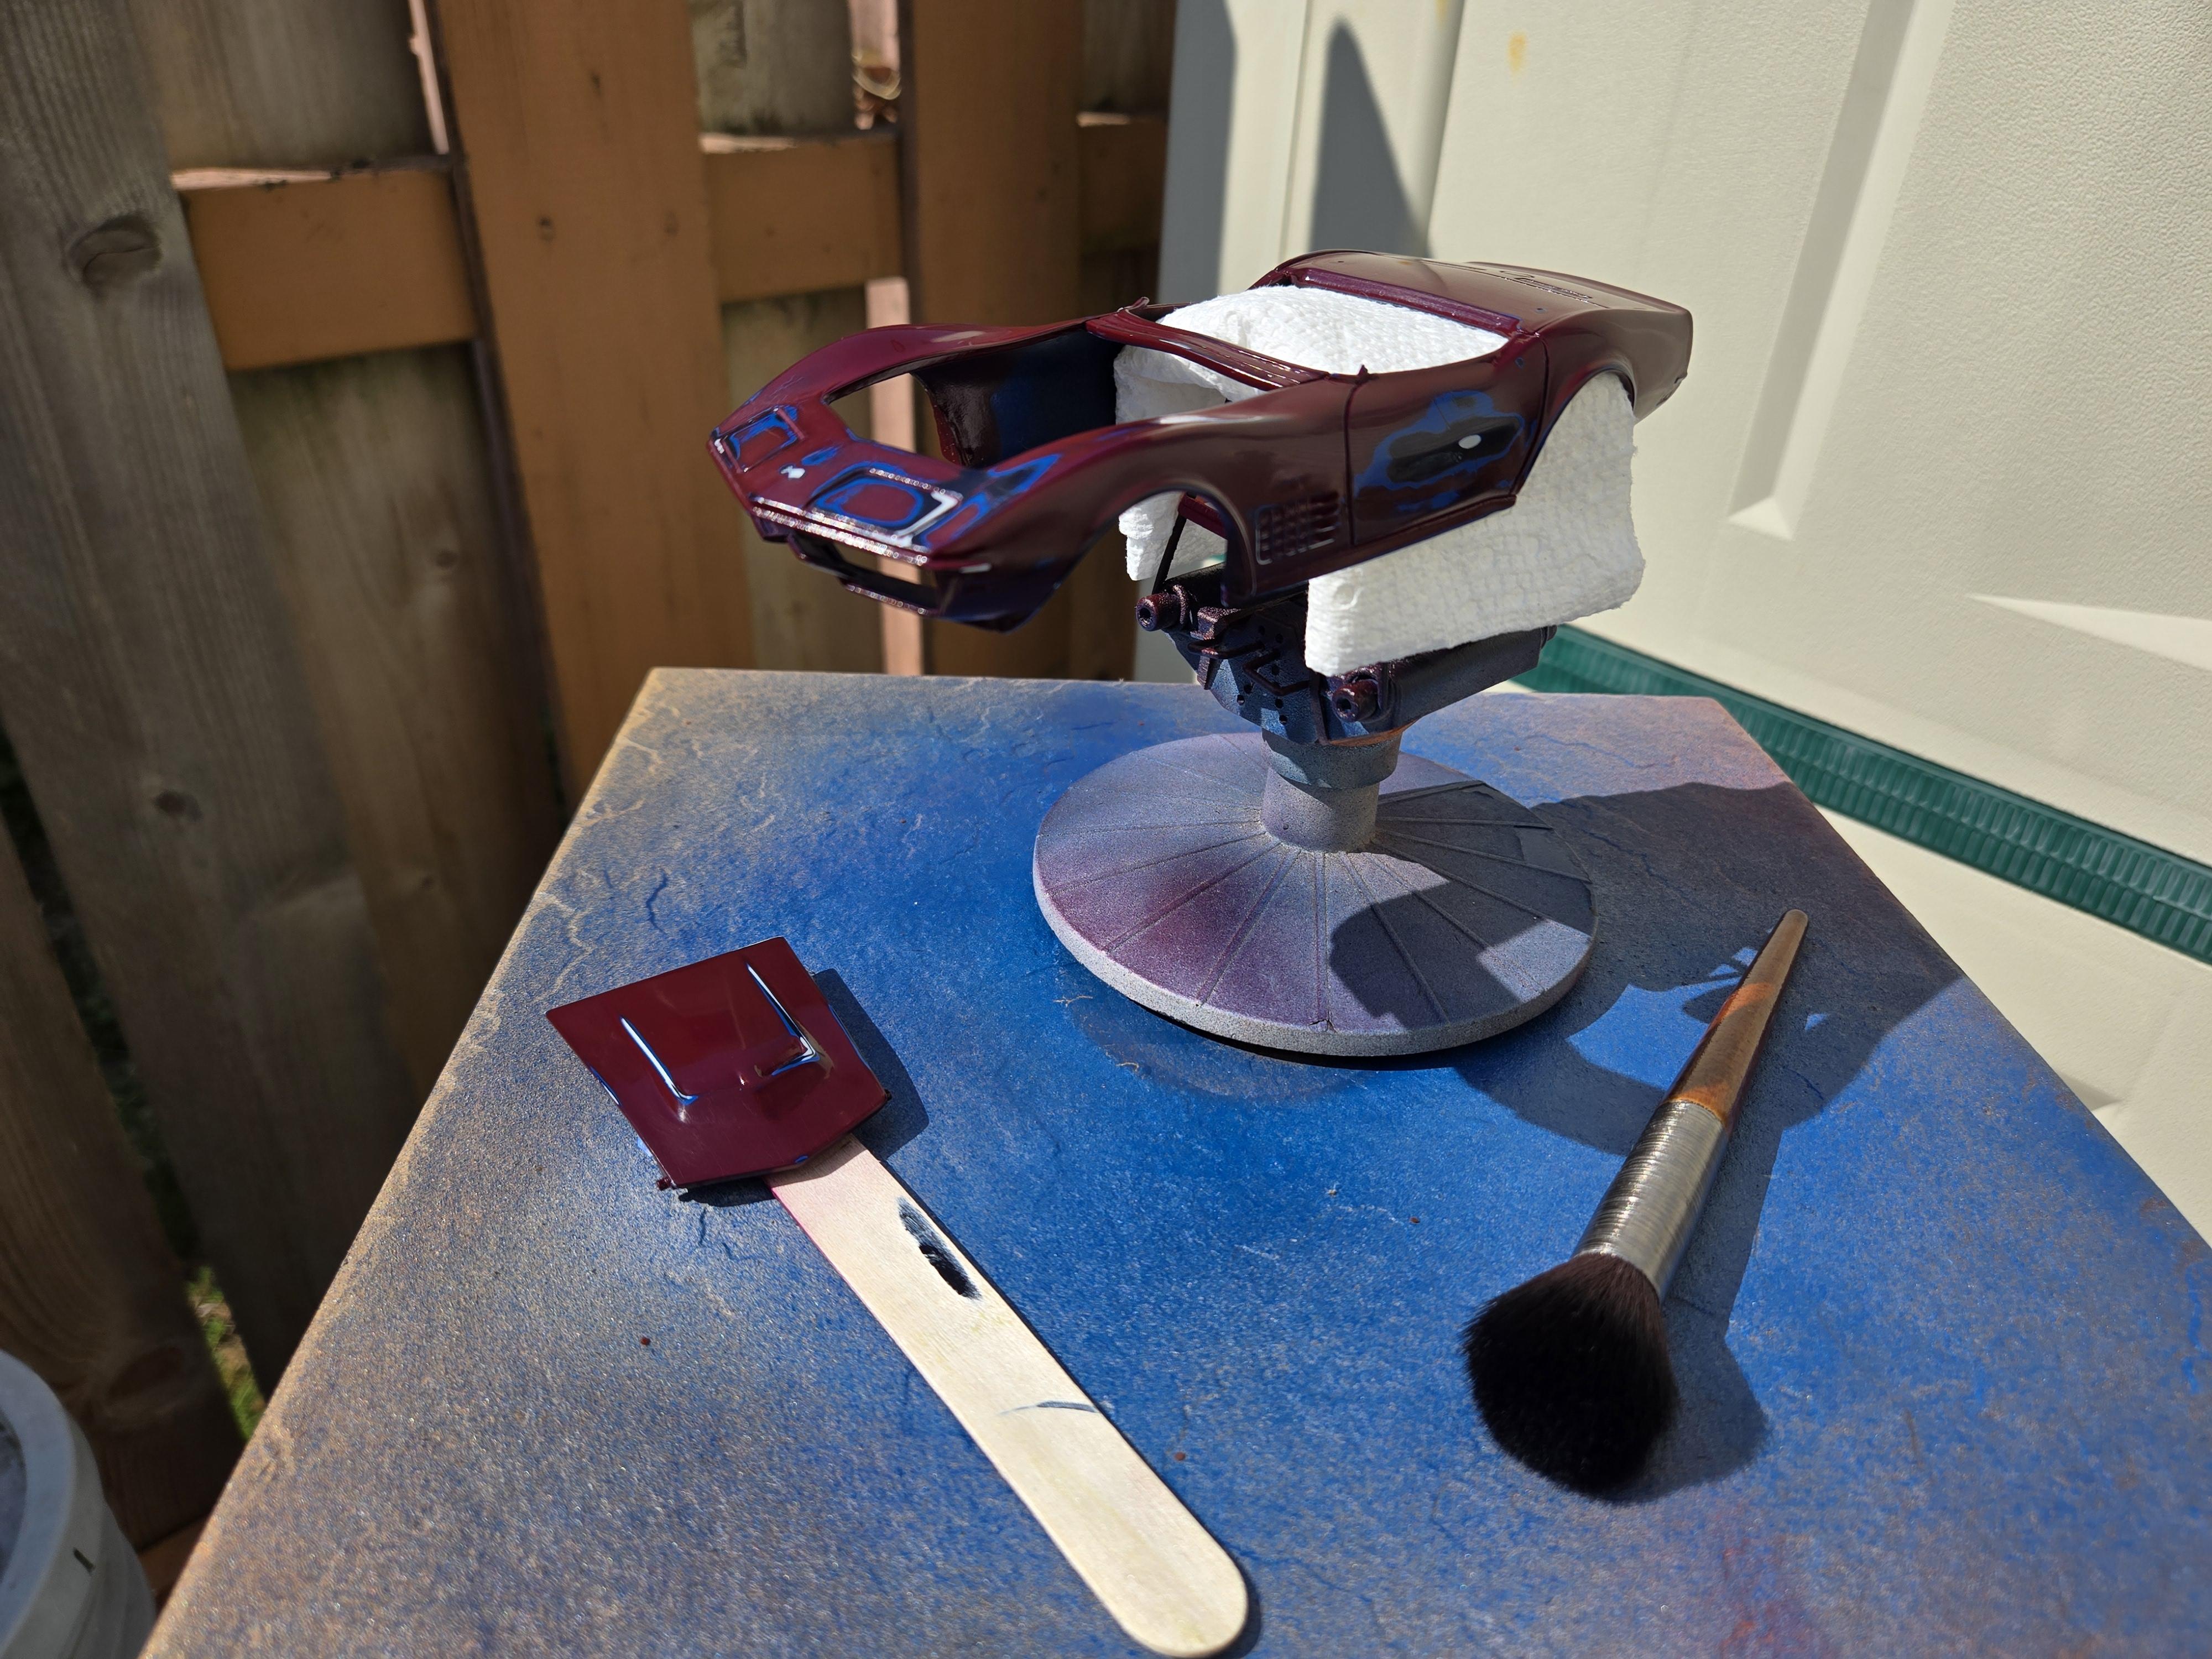
So, another Rub Out and another color change. I still have a ways to go for laying down a good top coat with rattle cans. Still AB deficient.
-
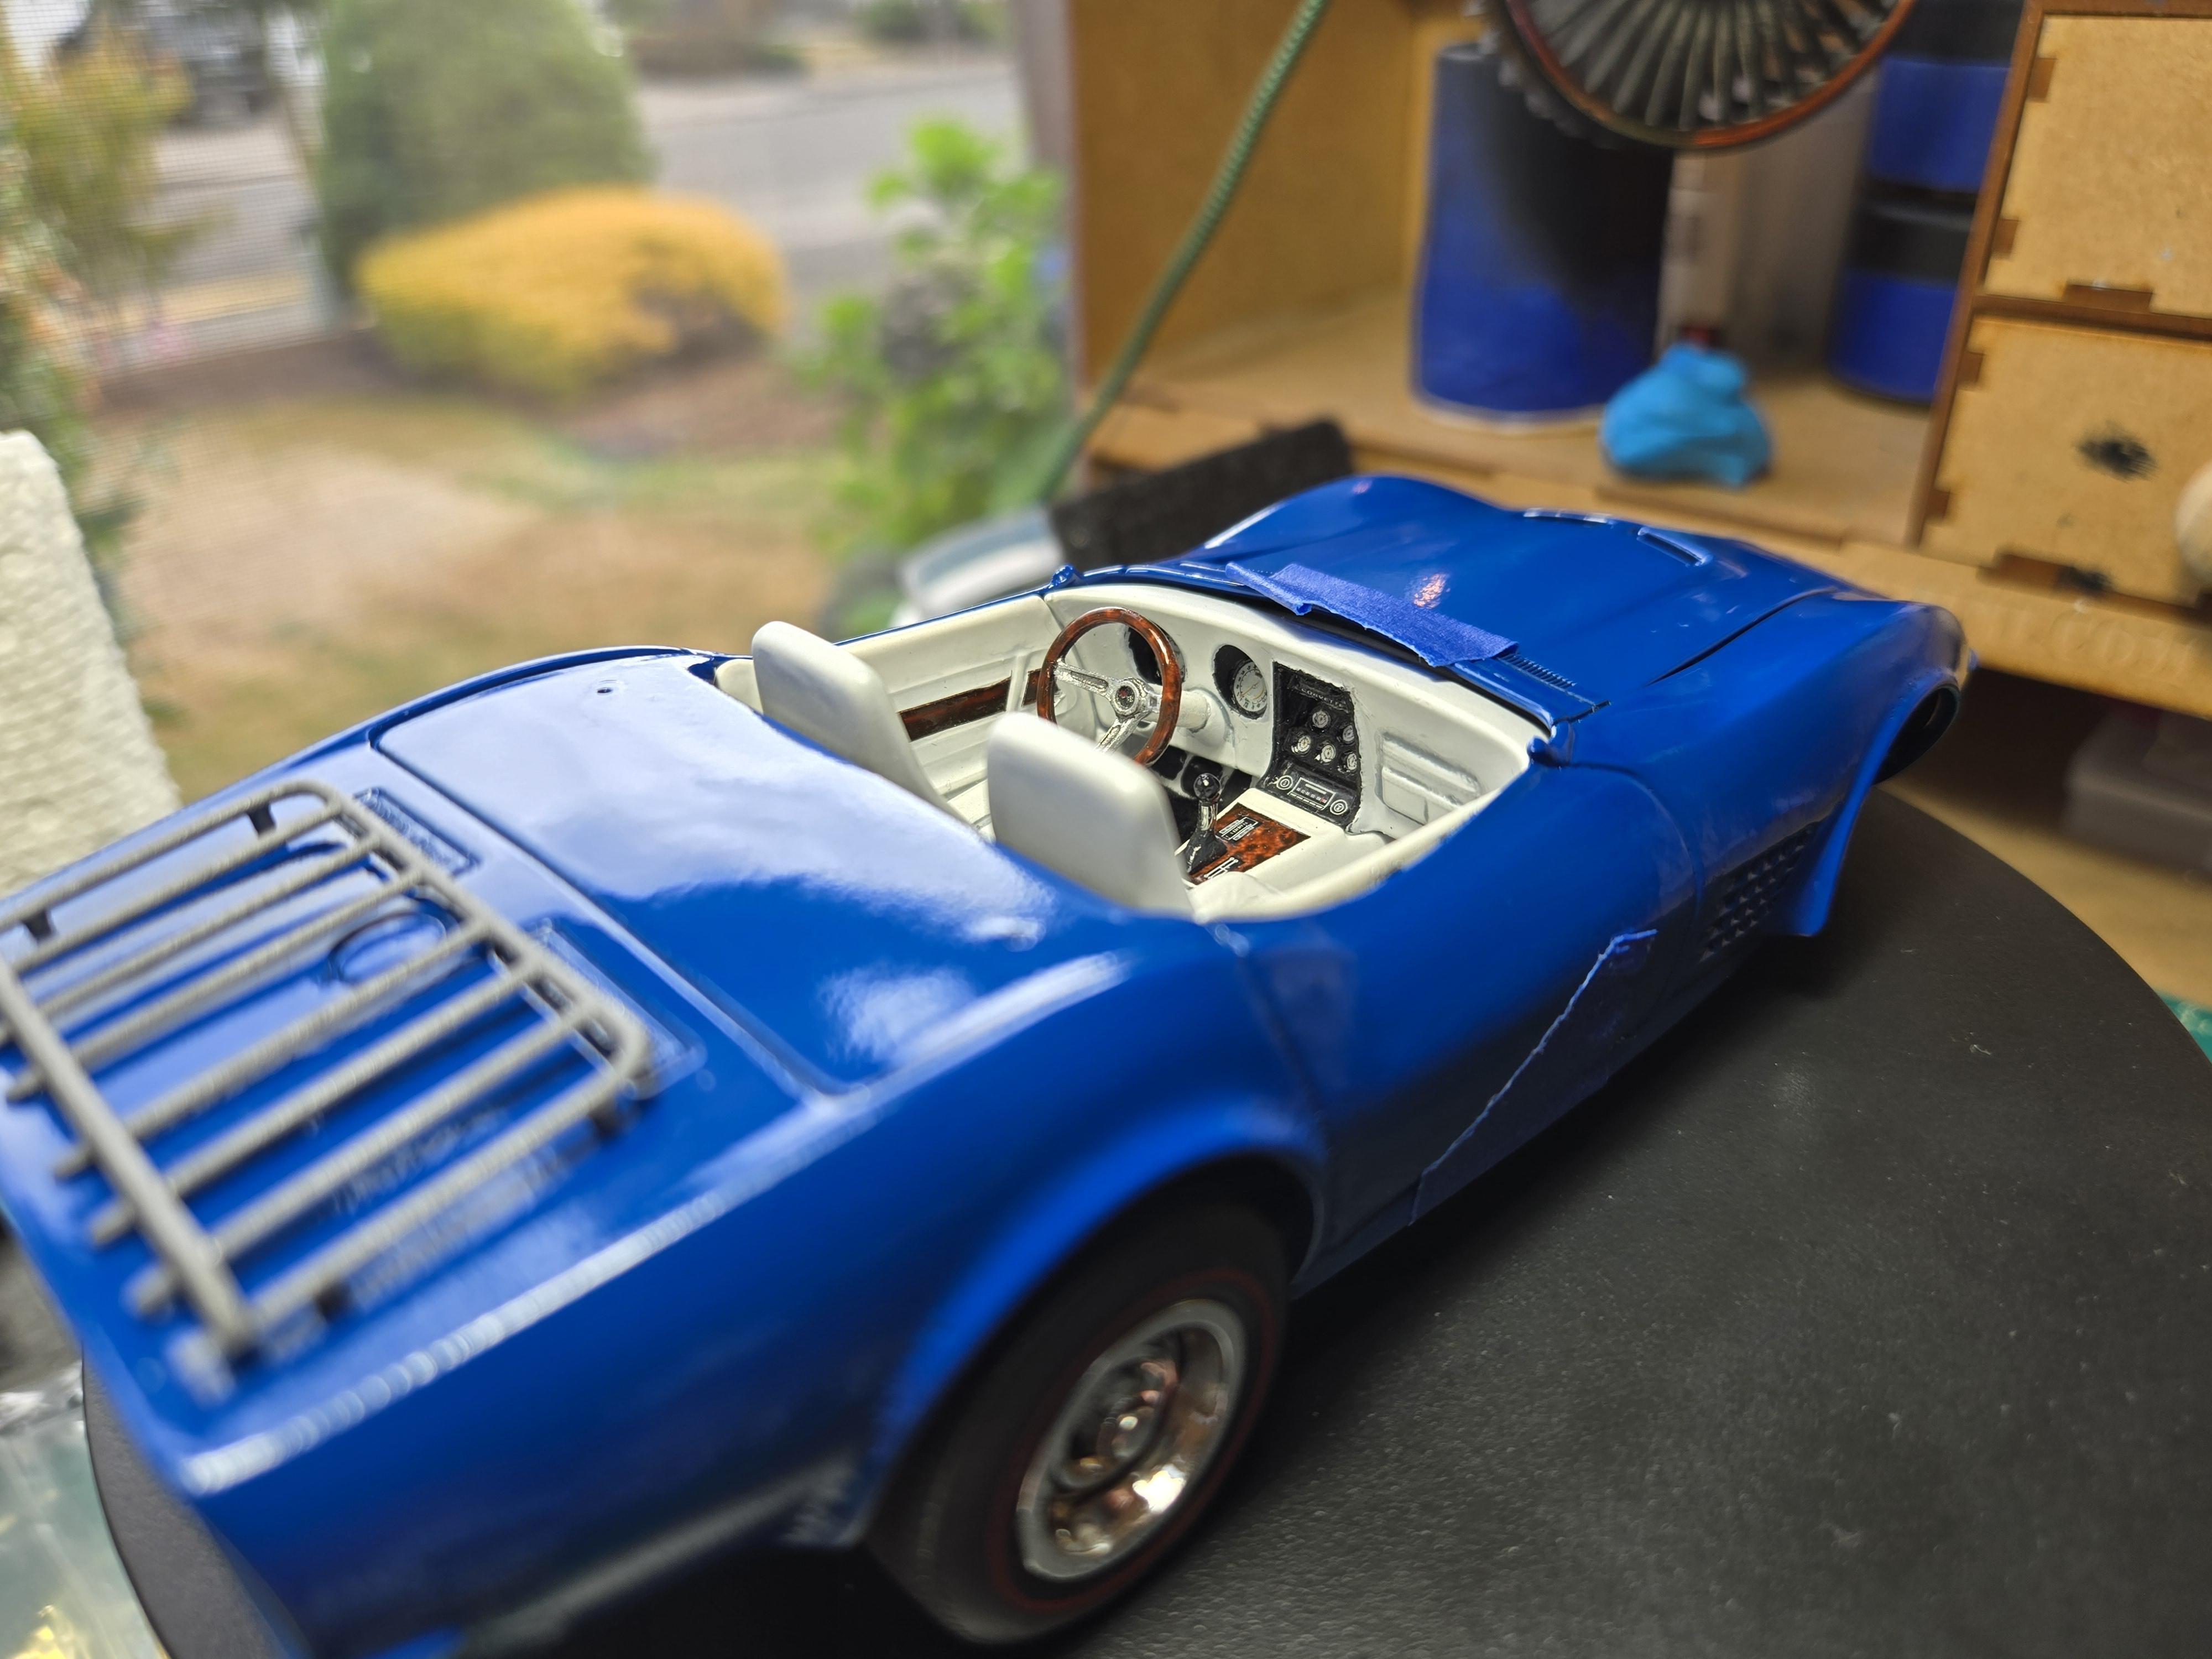
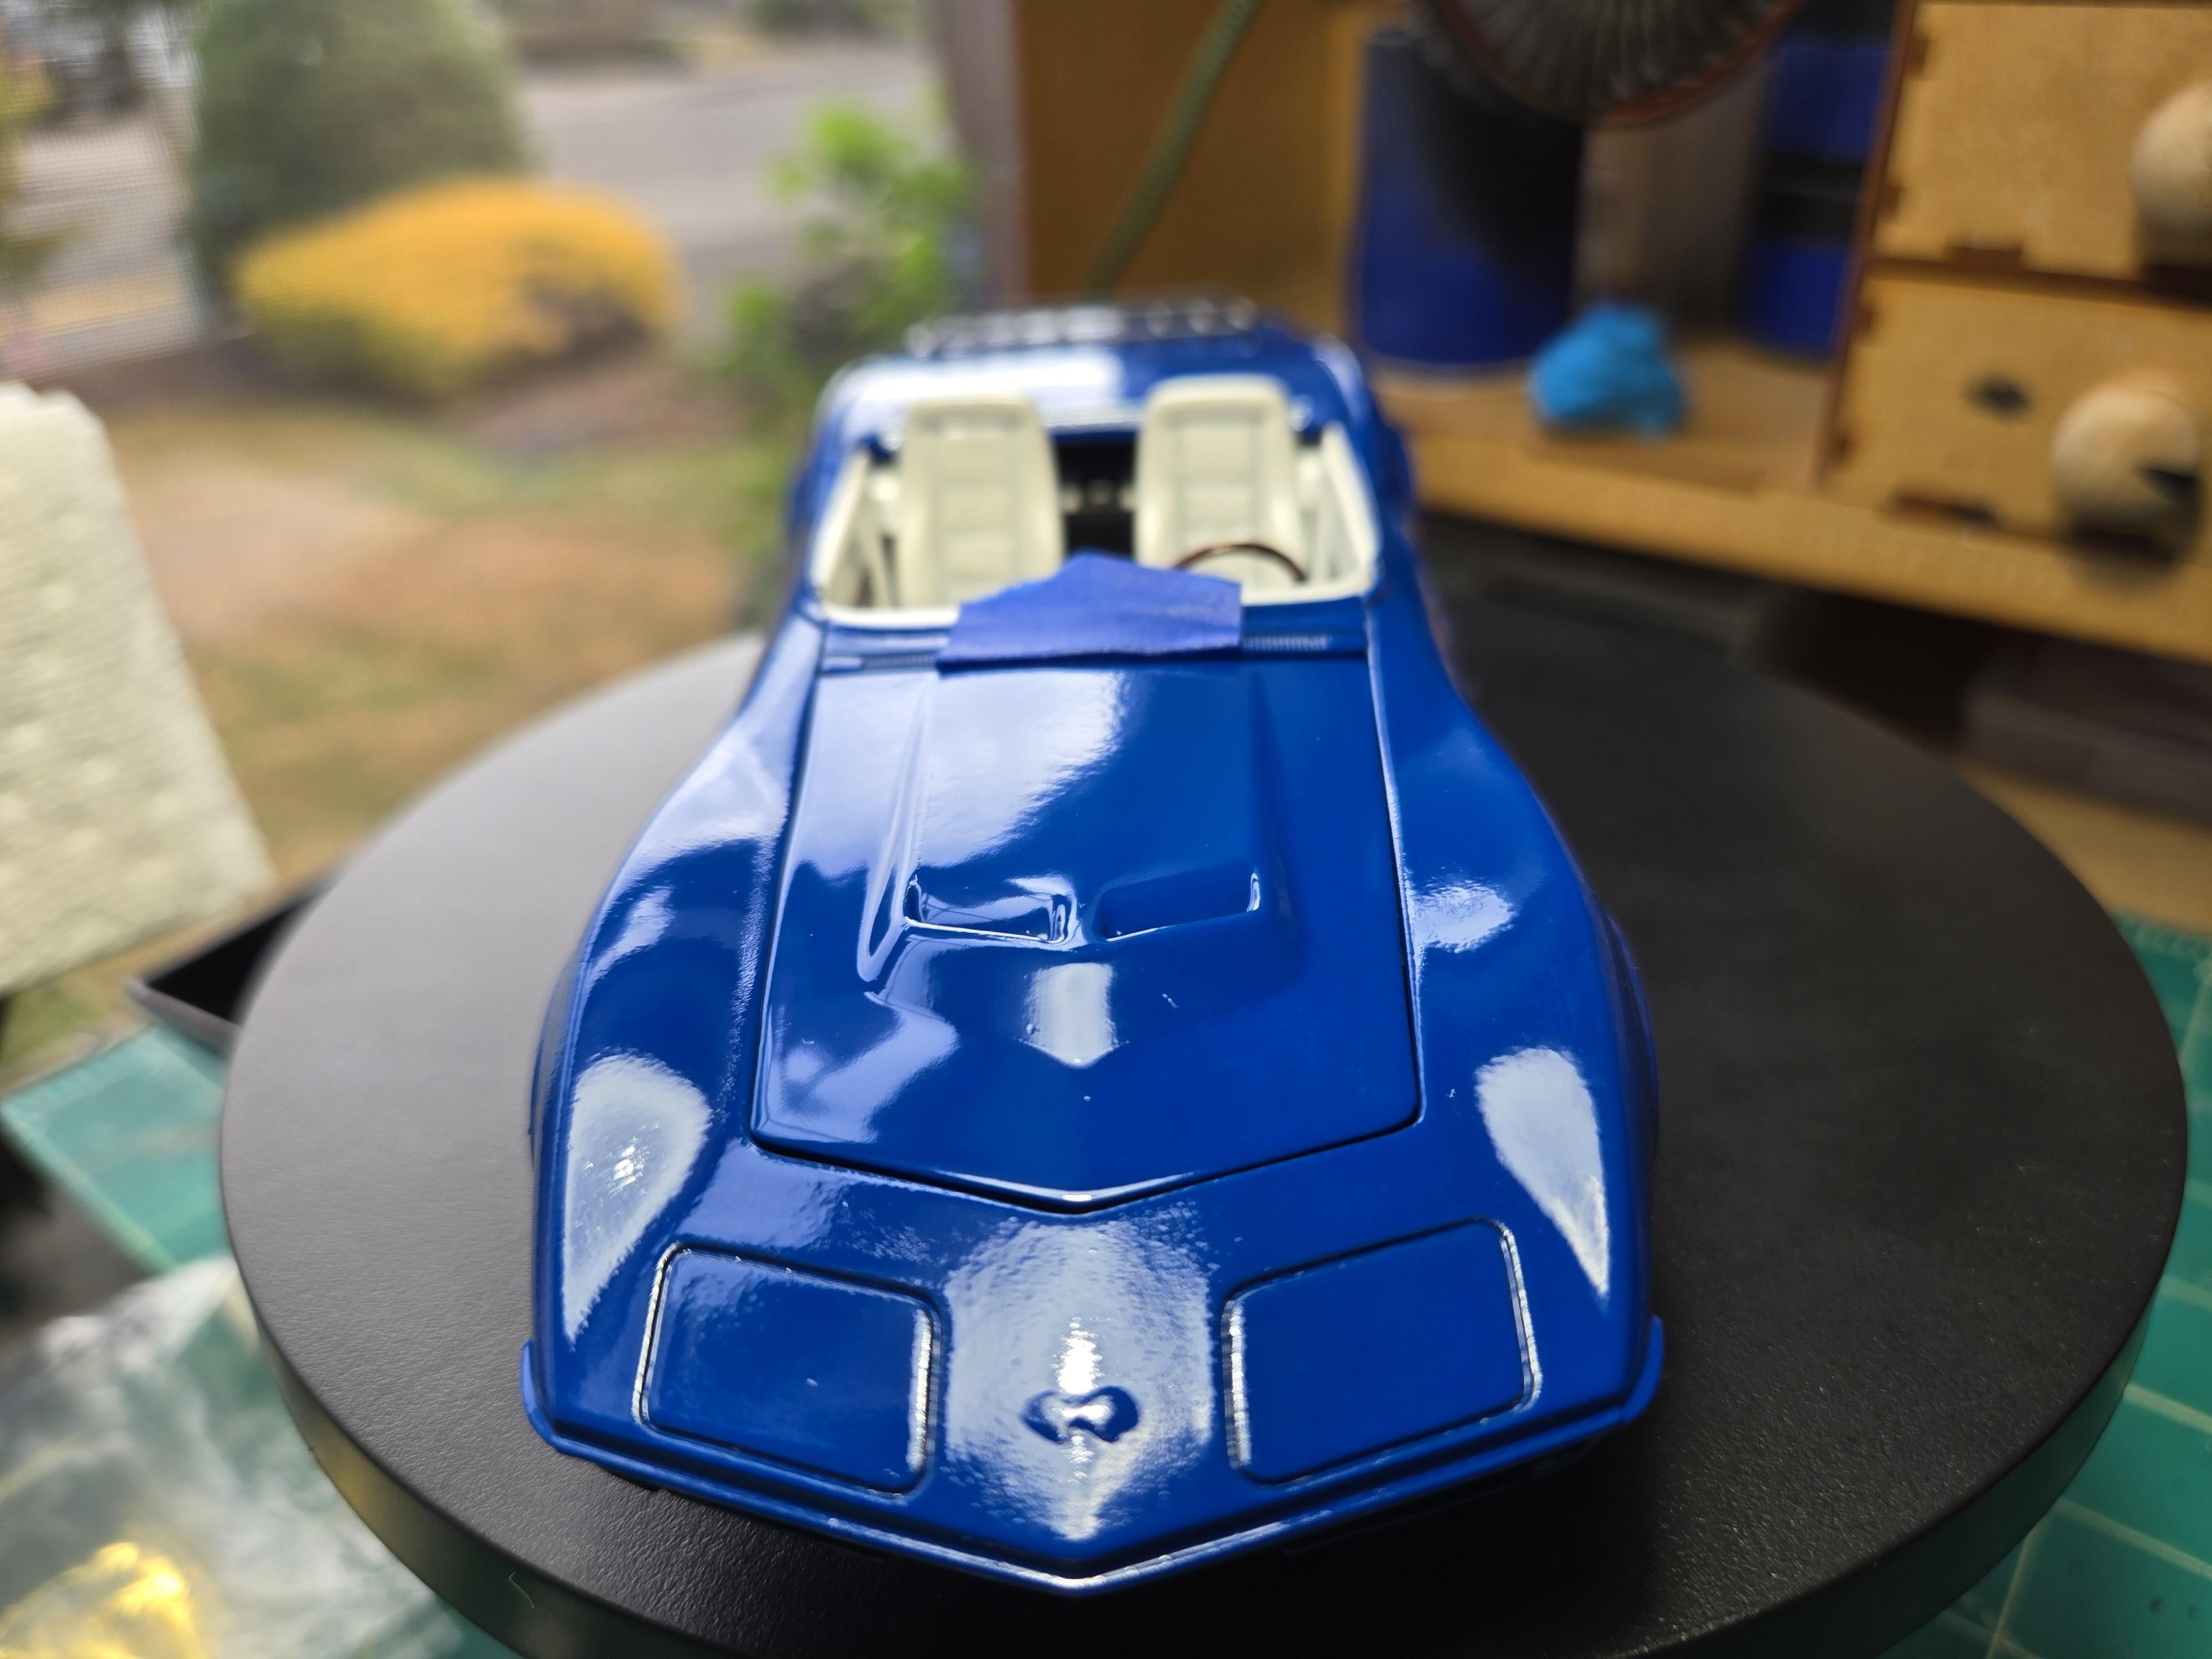
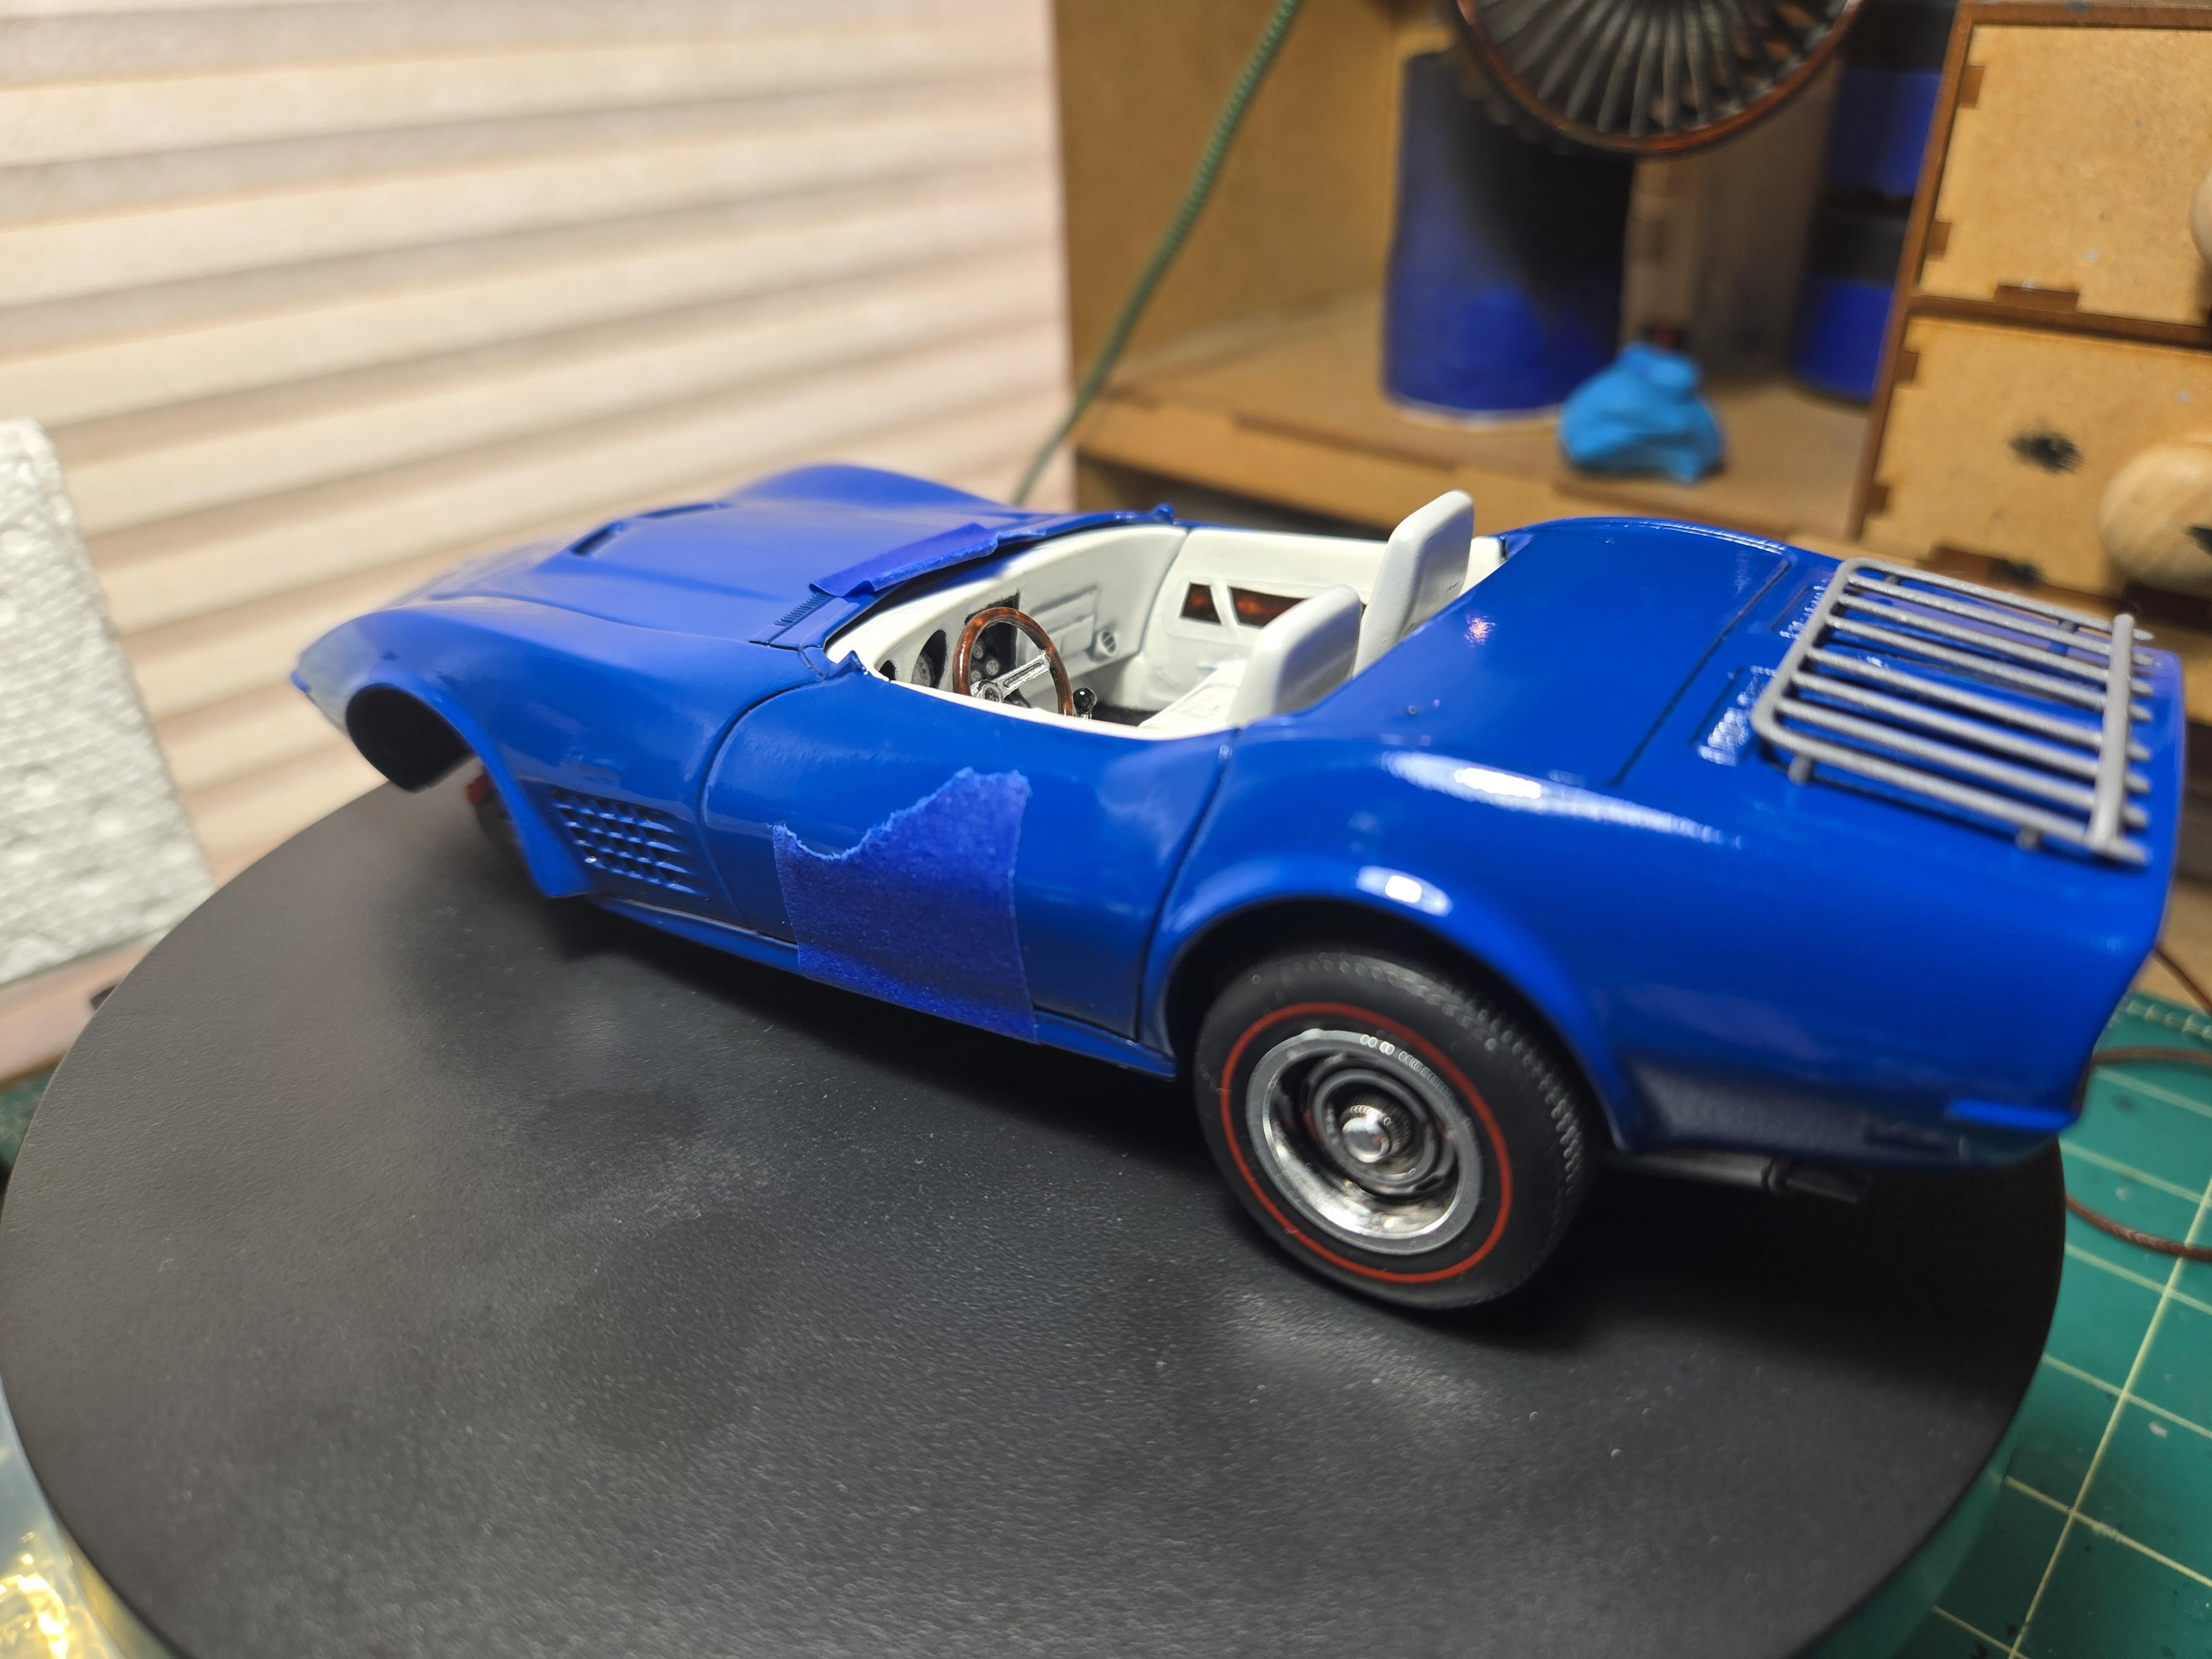
After another Rub Out, I had to try a different blue. I did not want to wait for shipping of another can of the dark blue. I really liked the darker blue with the pearl interior and the red stripped tires. I do not like this blue, shame. Thoughts?
-
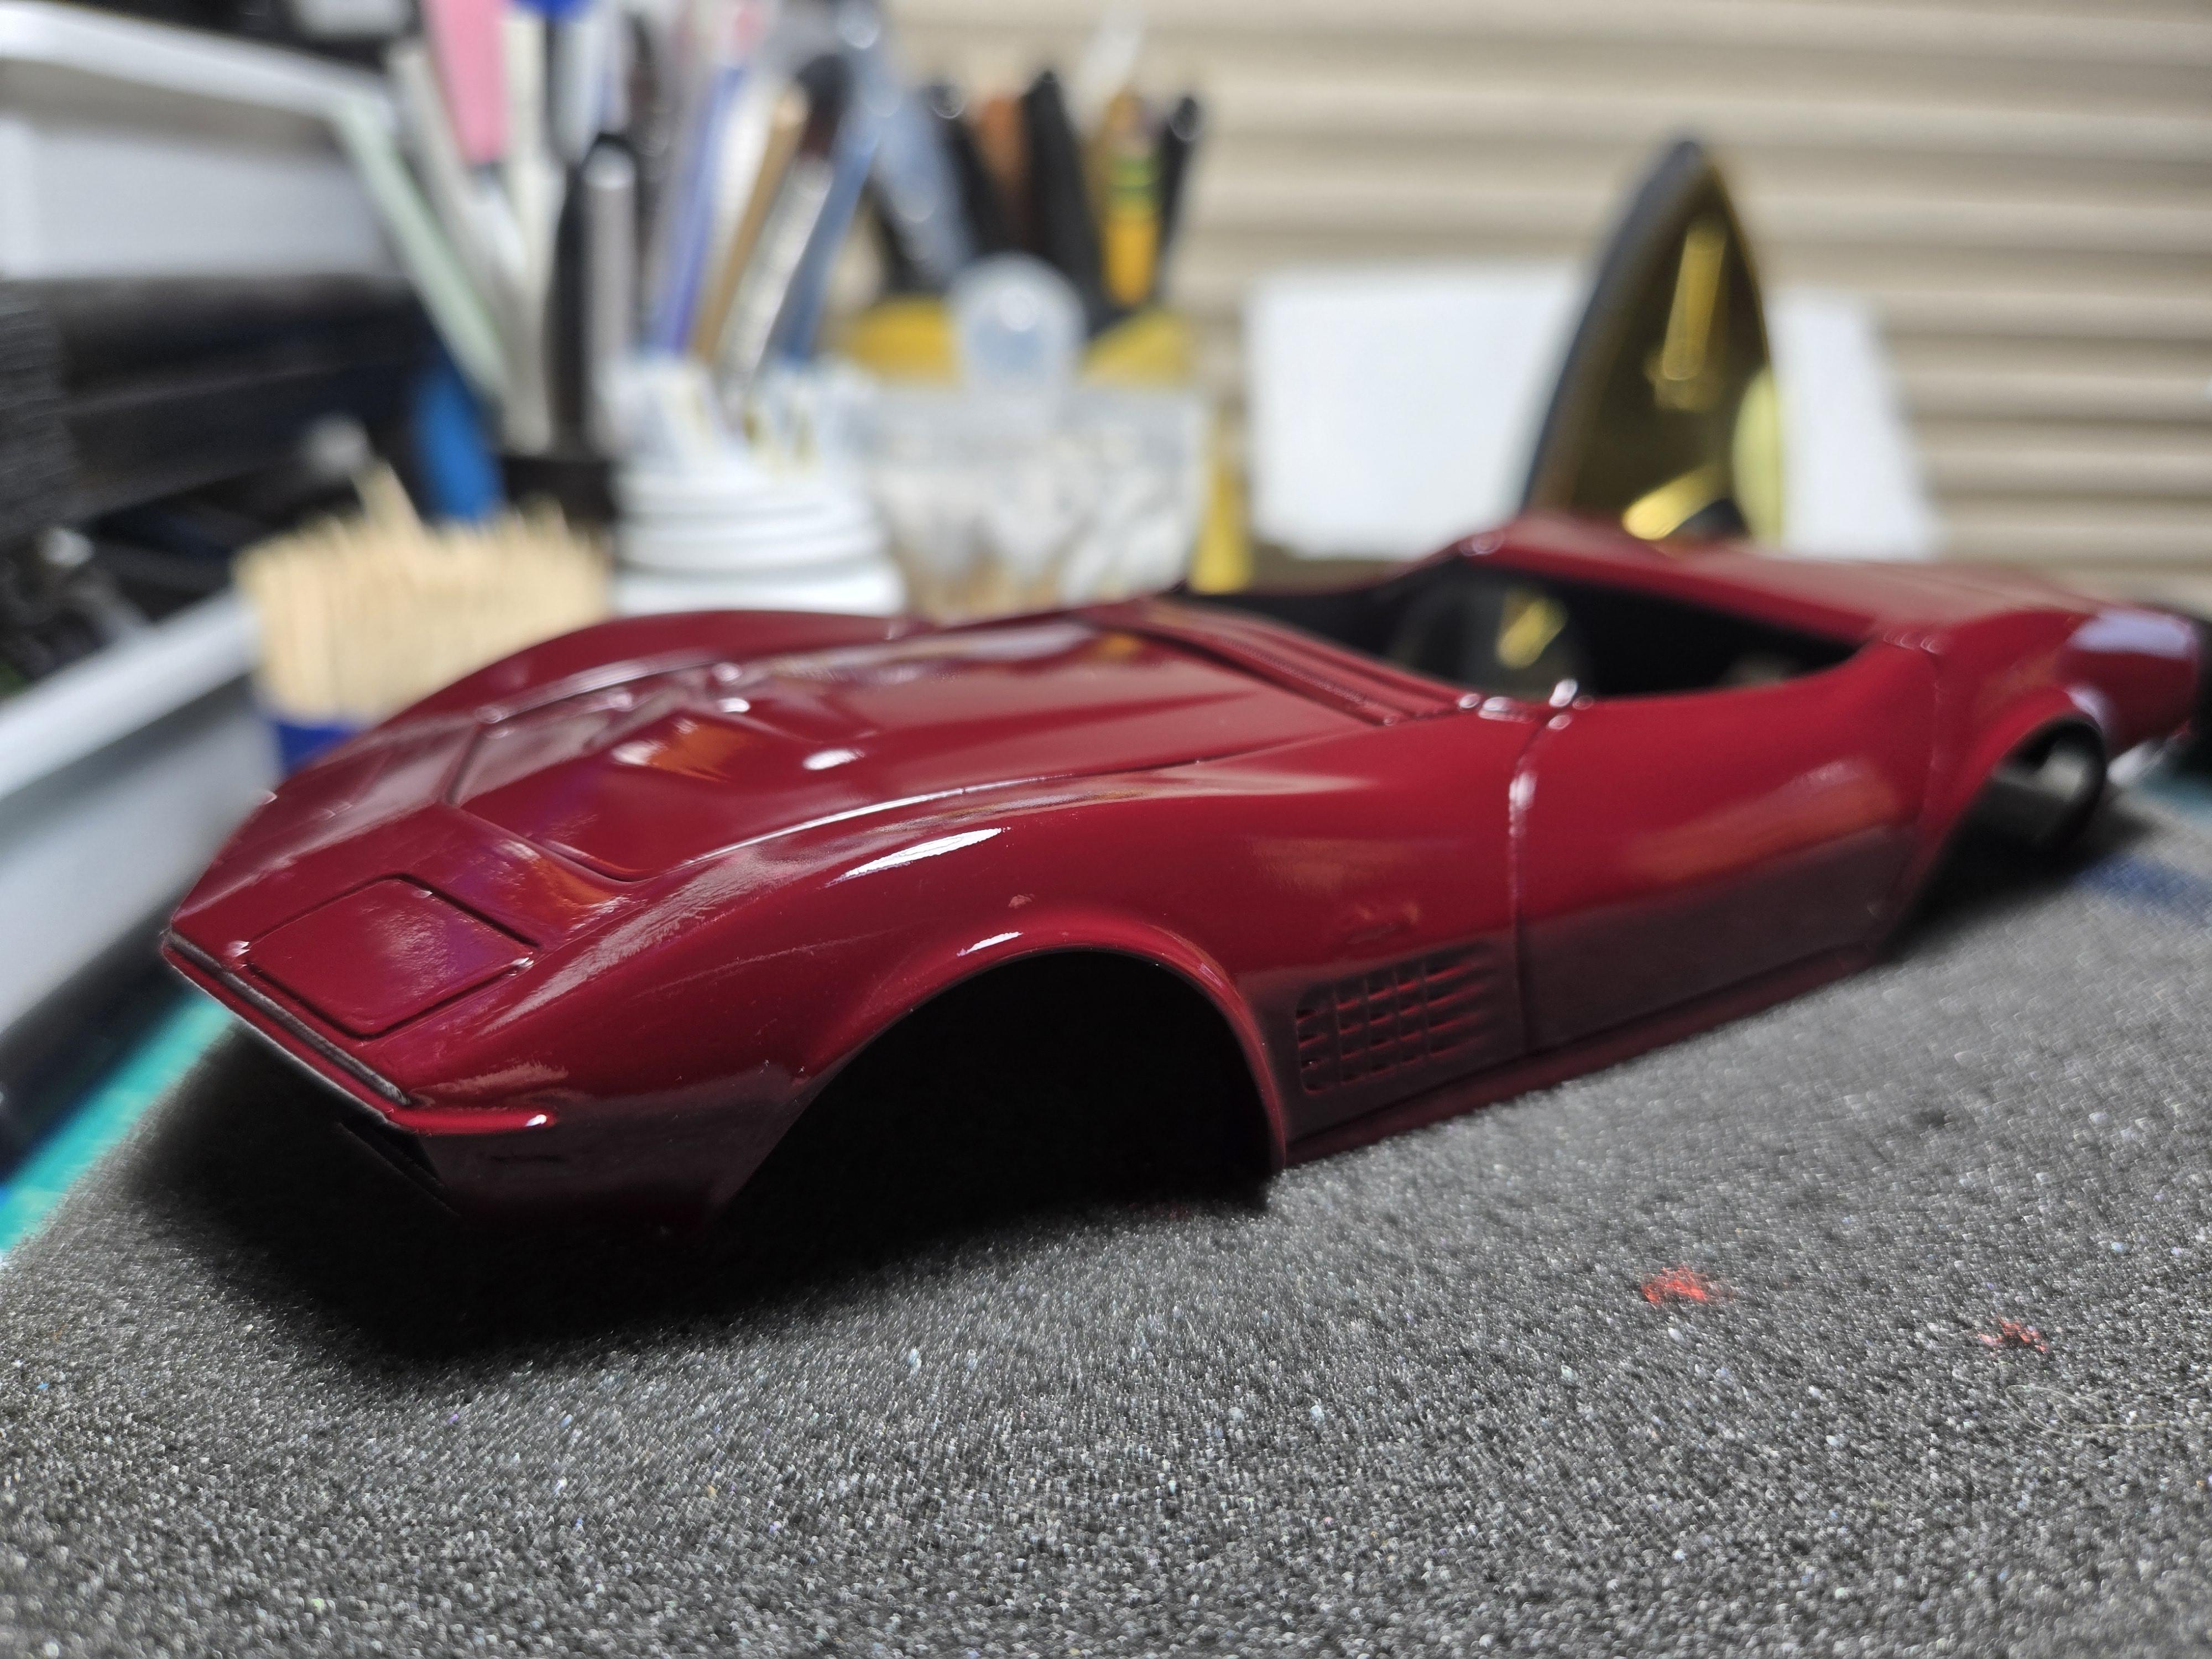
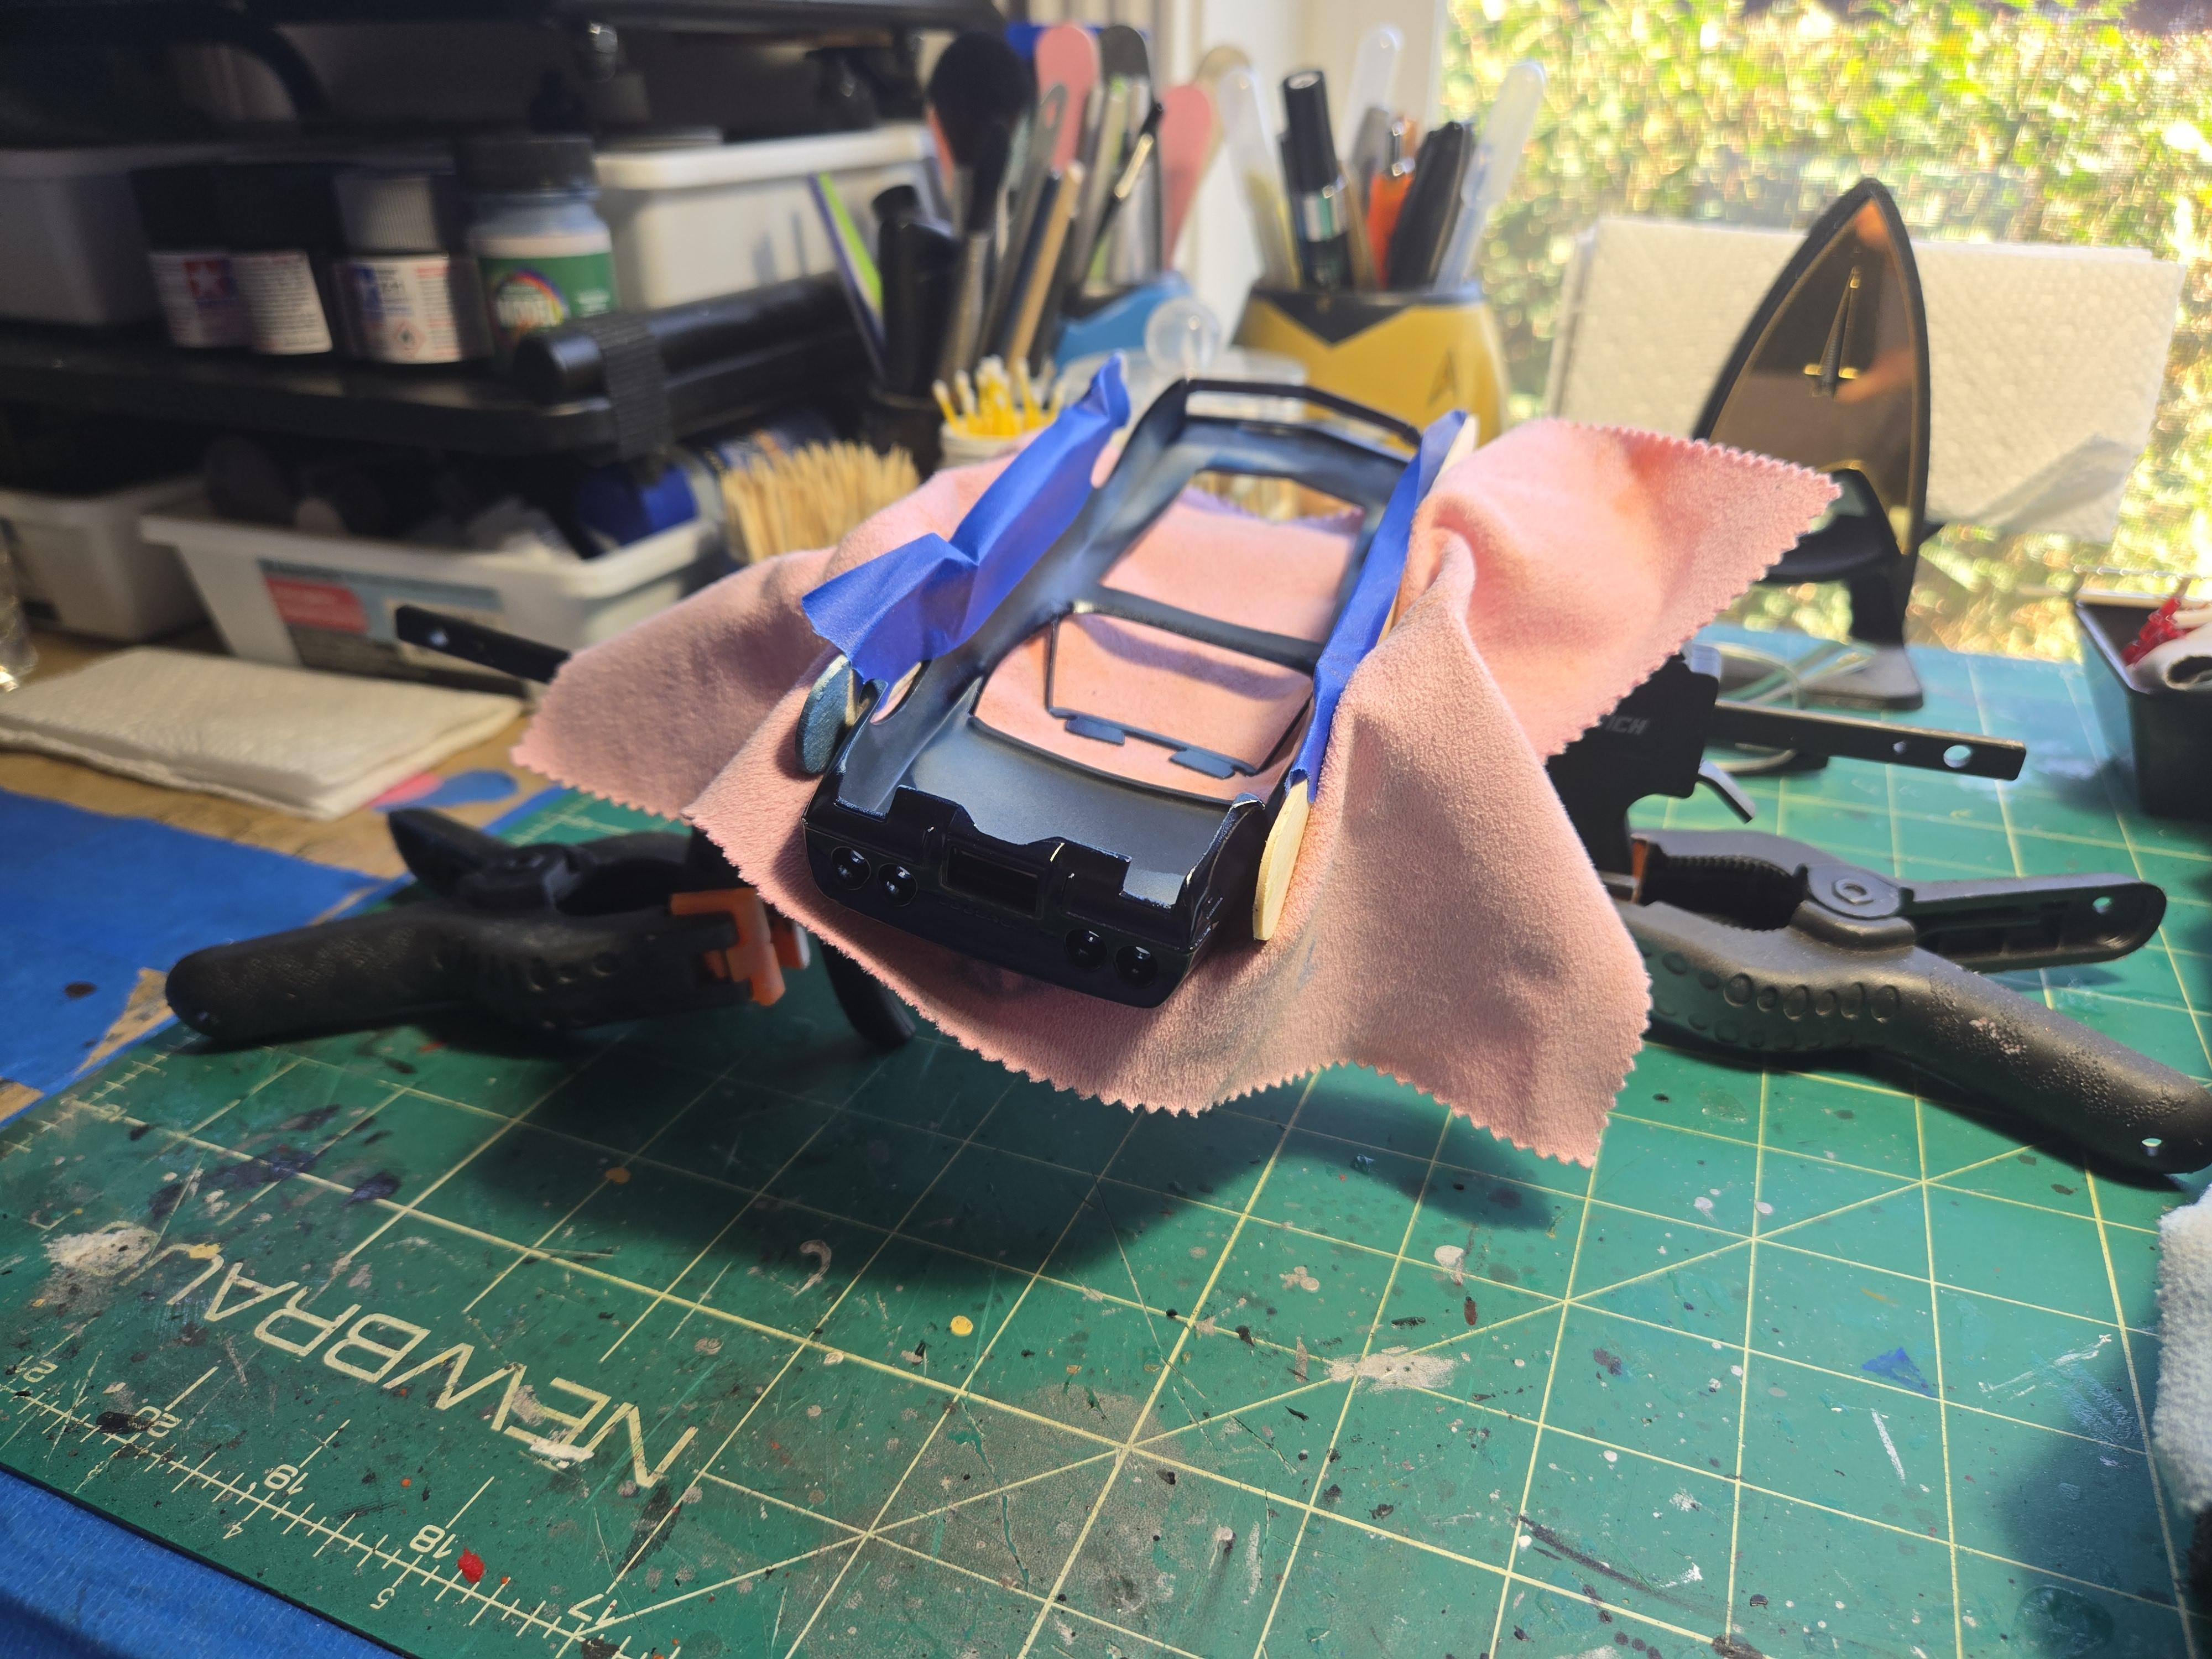
*The squeezing and heating did correct the warping pretty good.
-
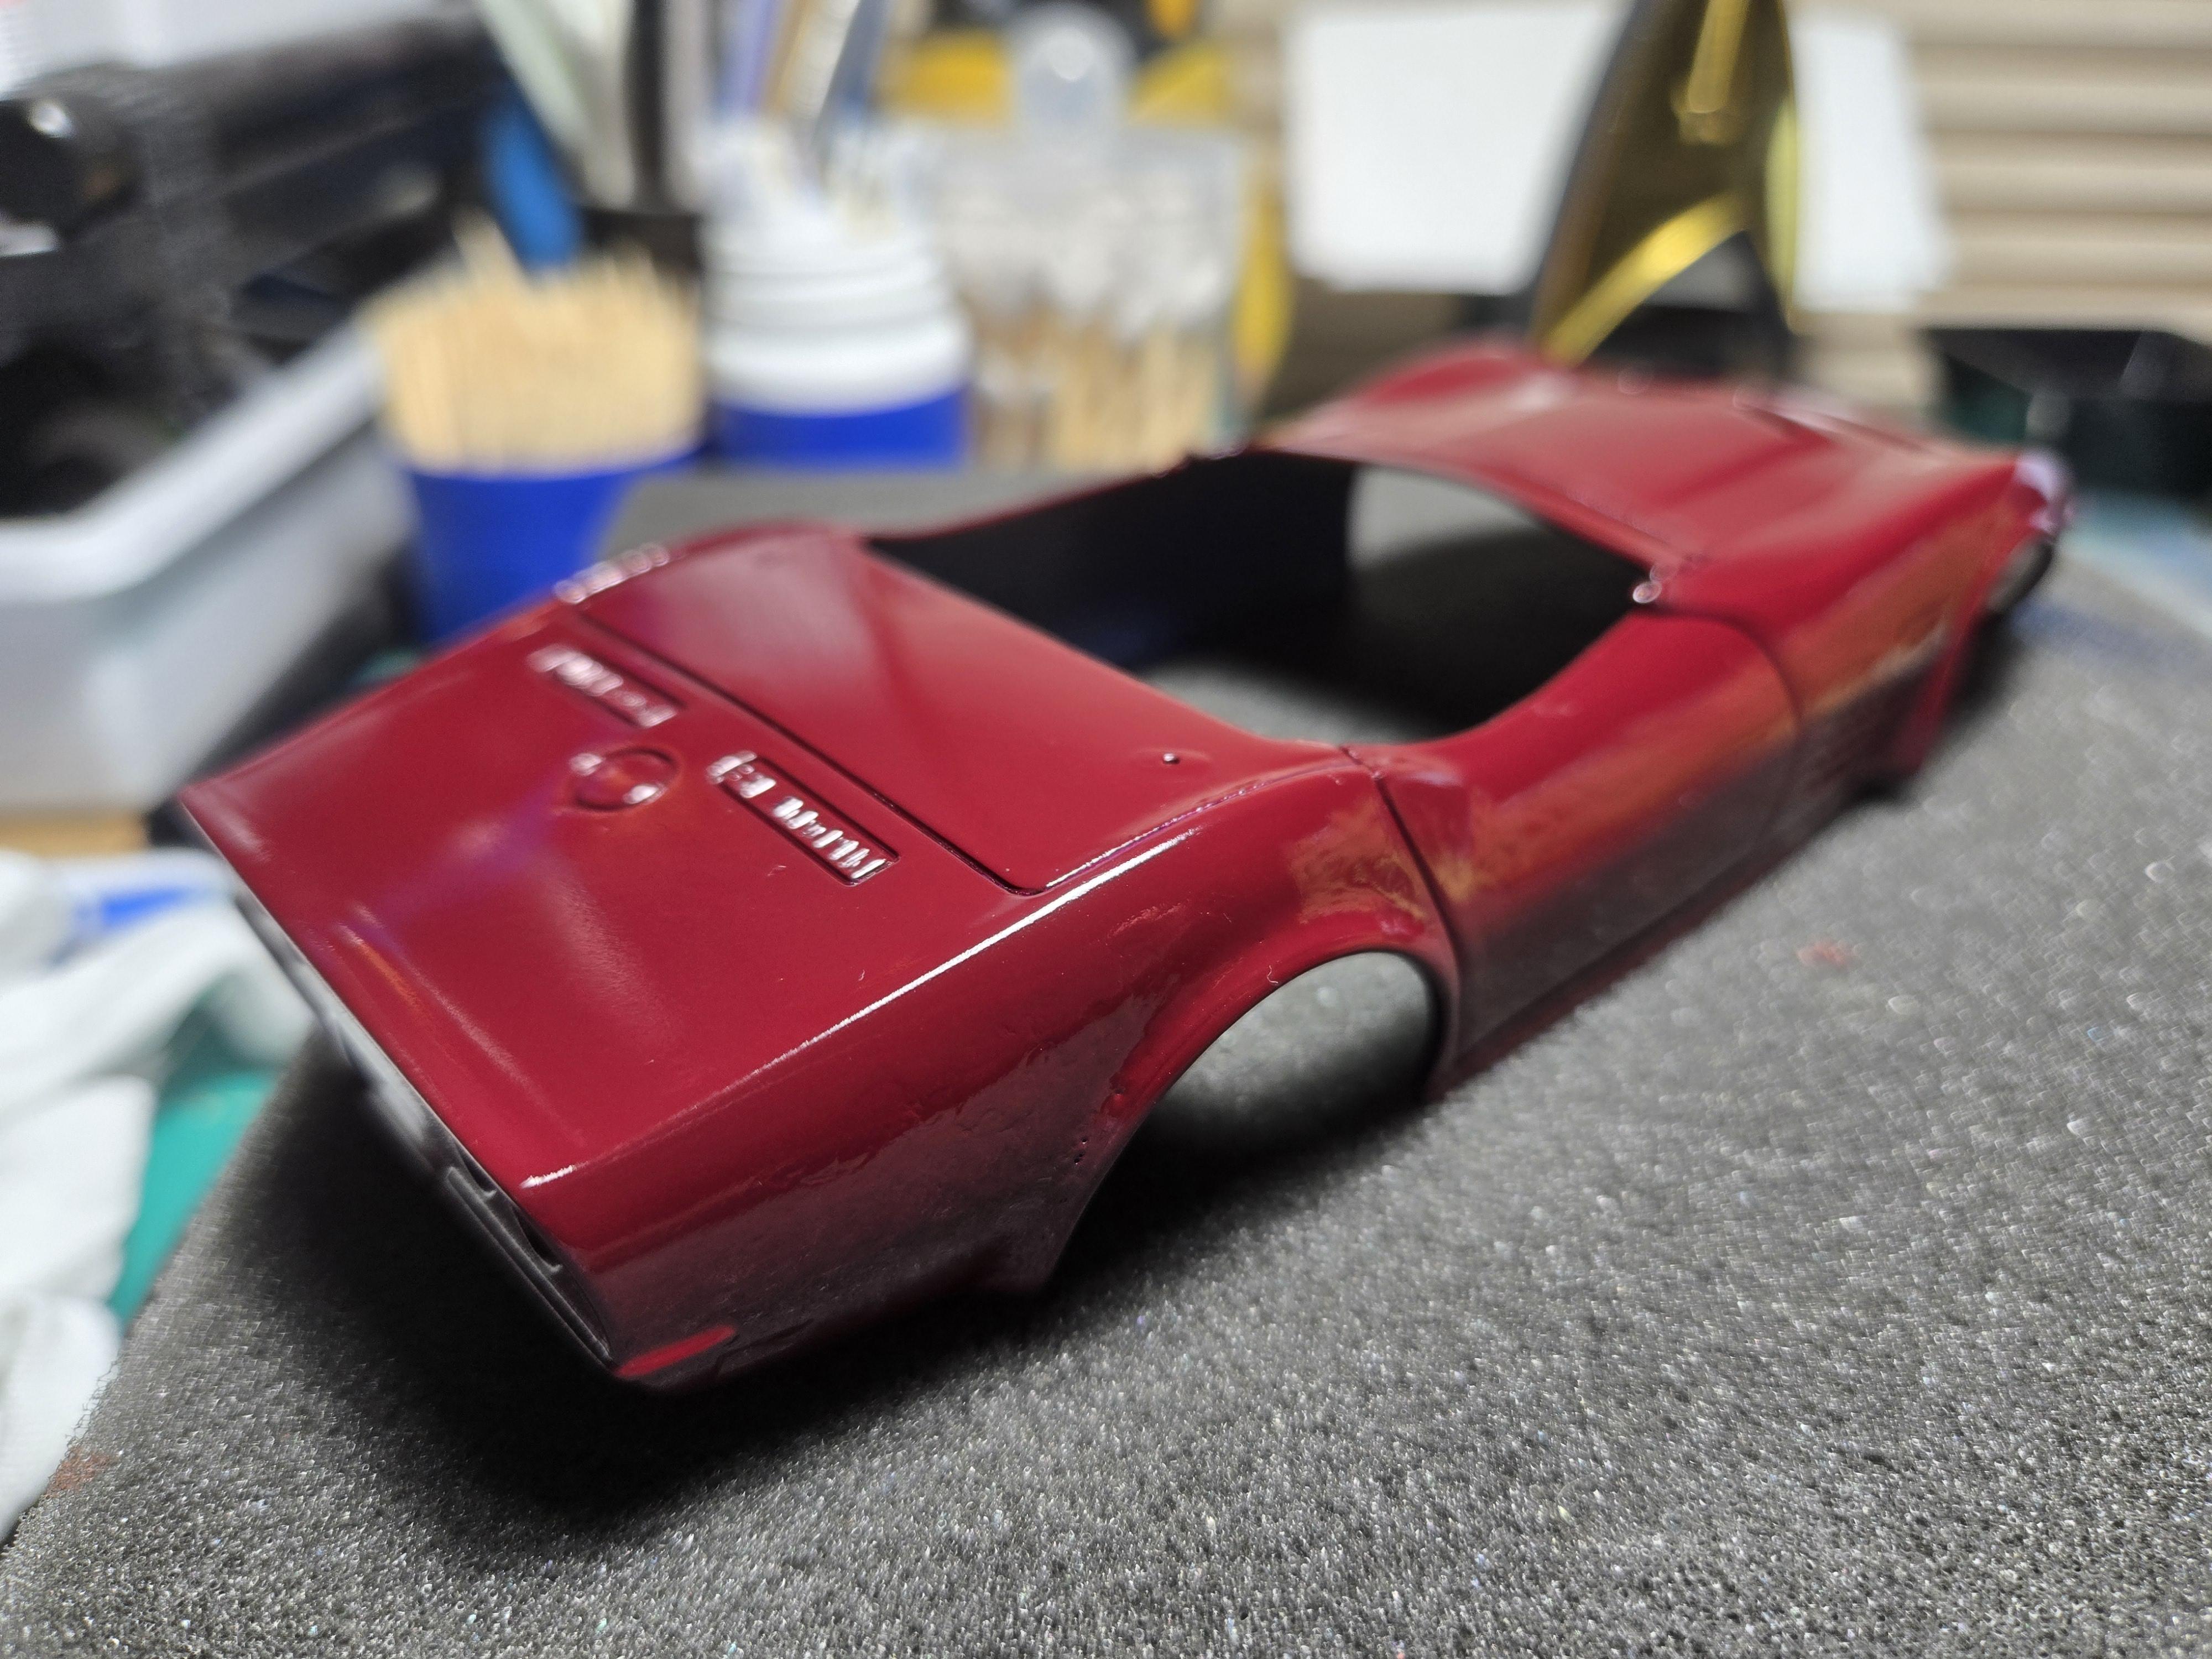
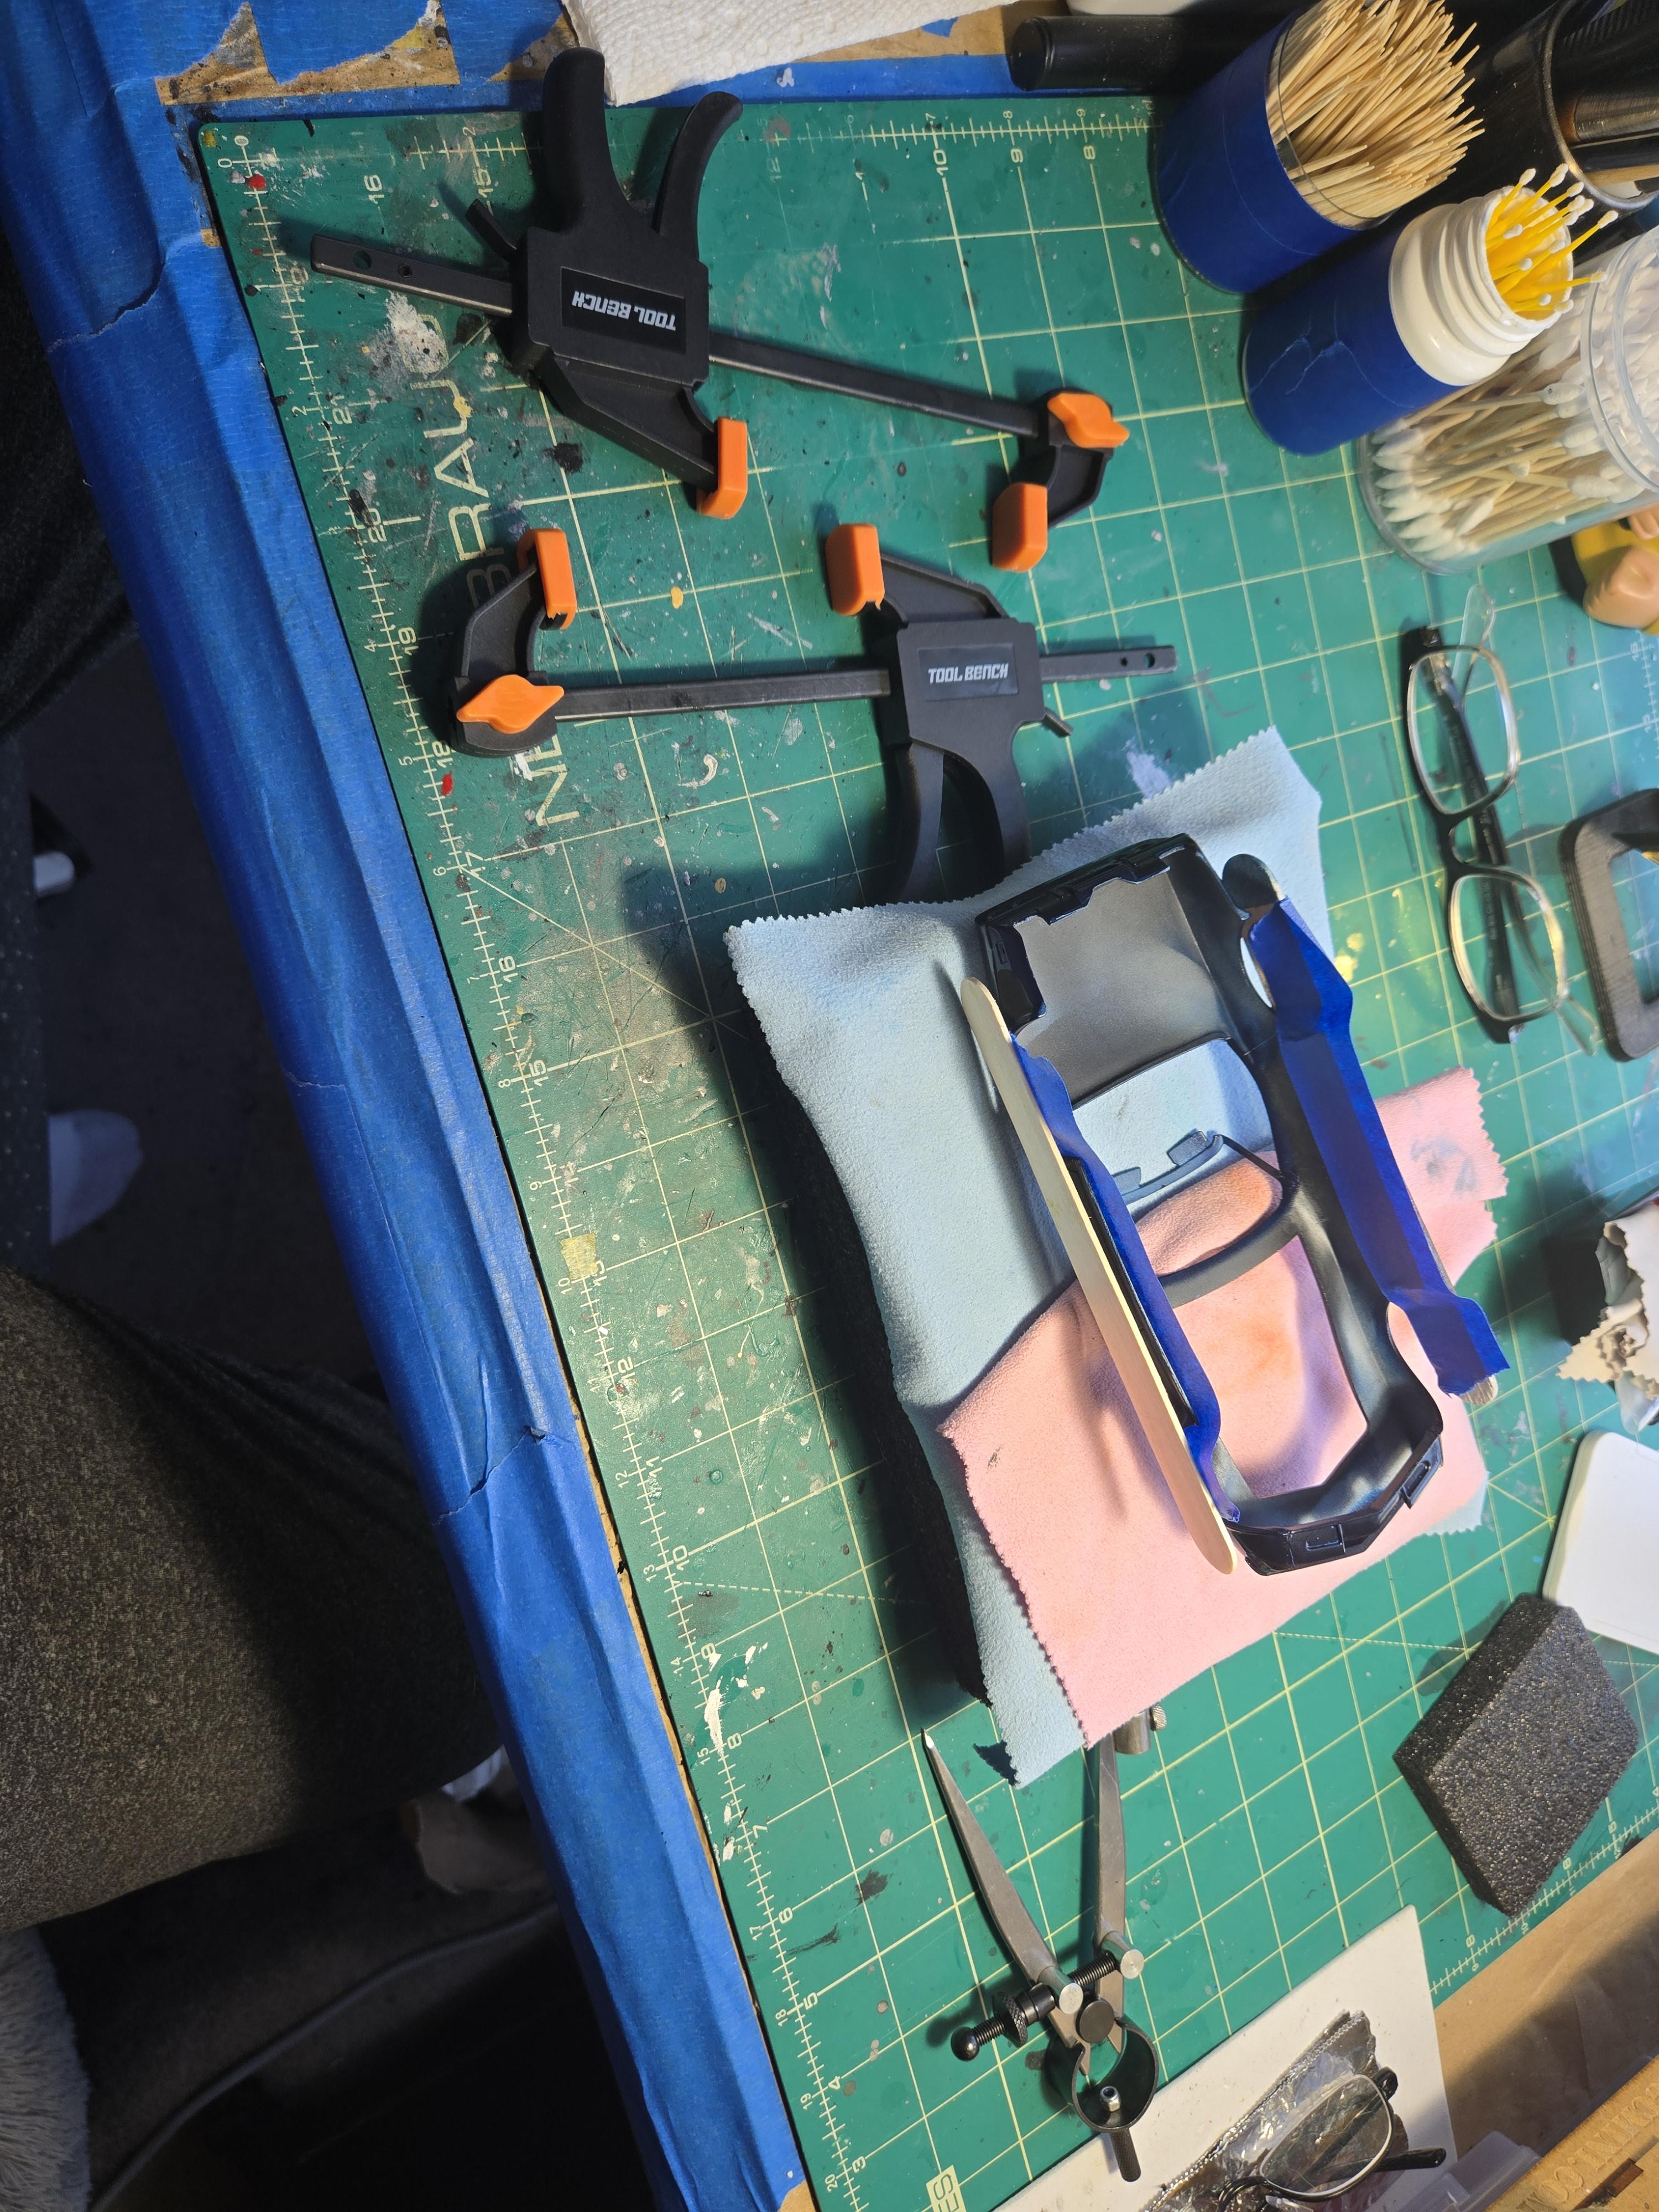
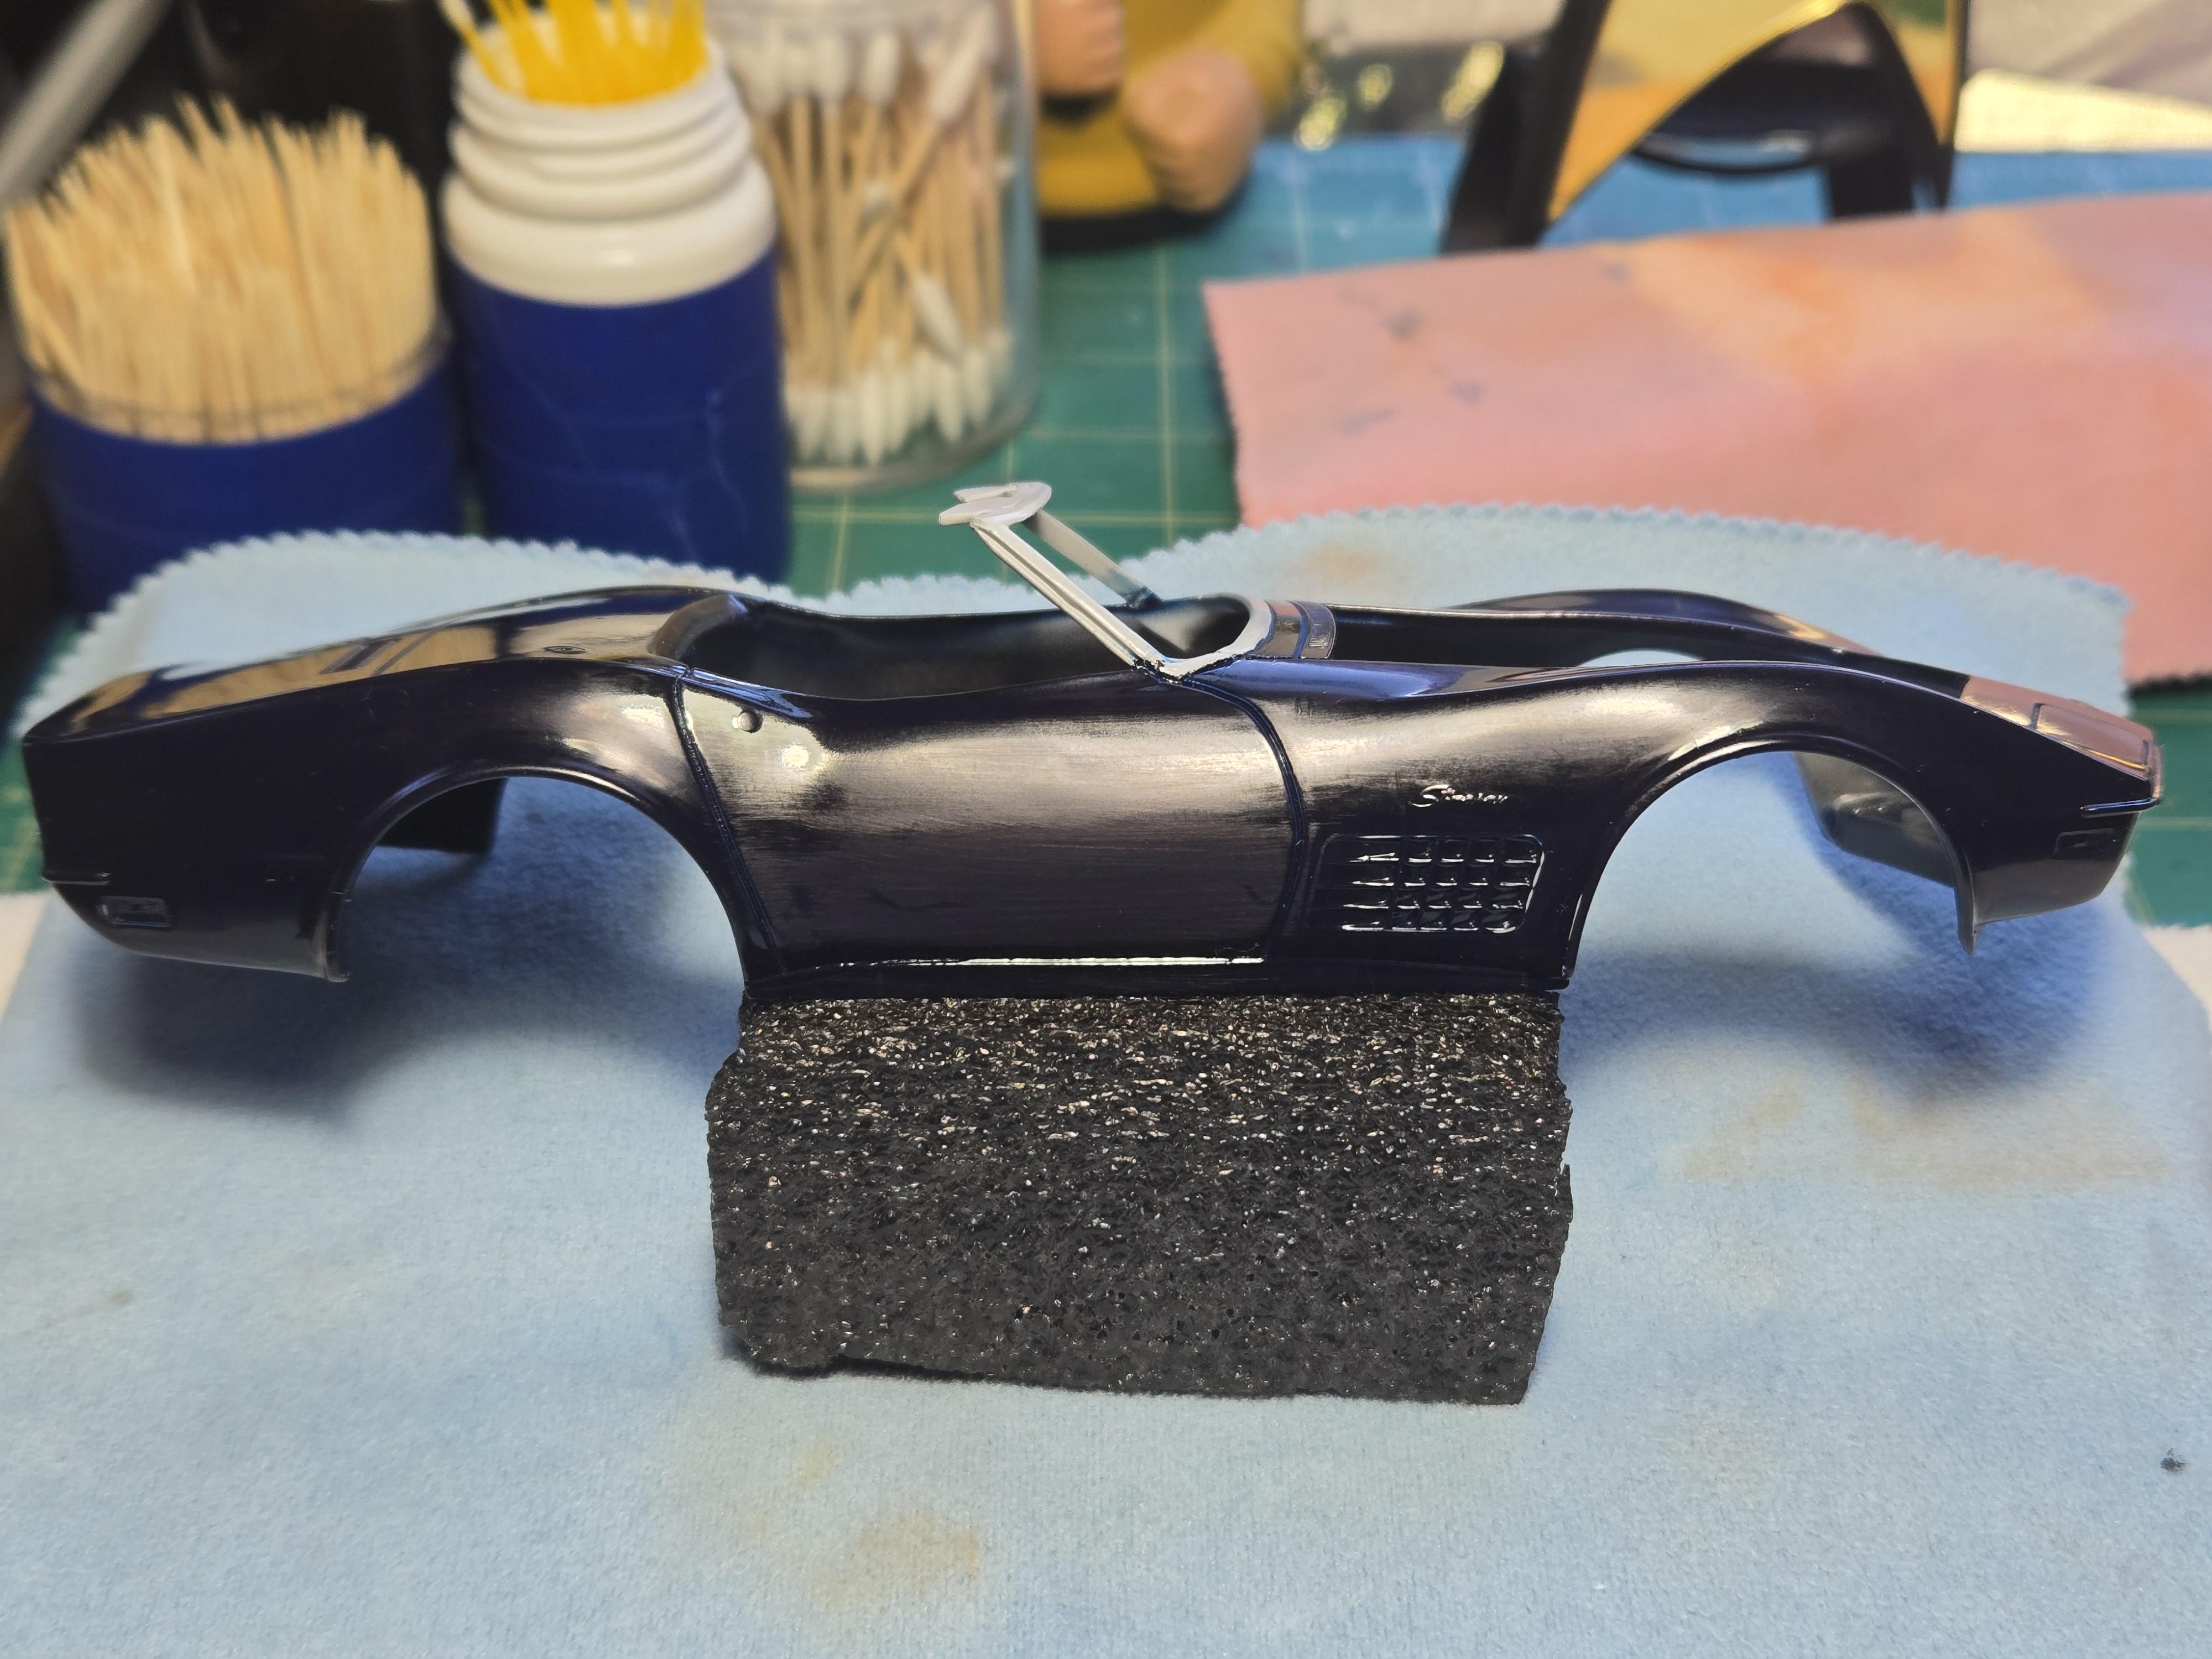
The clamps left severe gouges/deformations on the sides. I sanded around the injury, but it was too deep. I'm not giving up. I'm going to fill the gashes and try to sand it all flush.
-
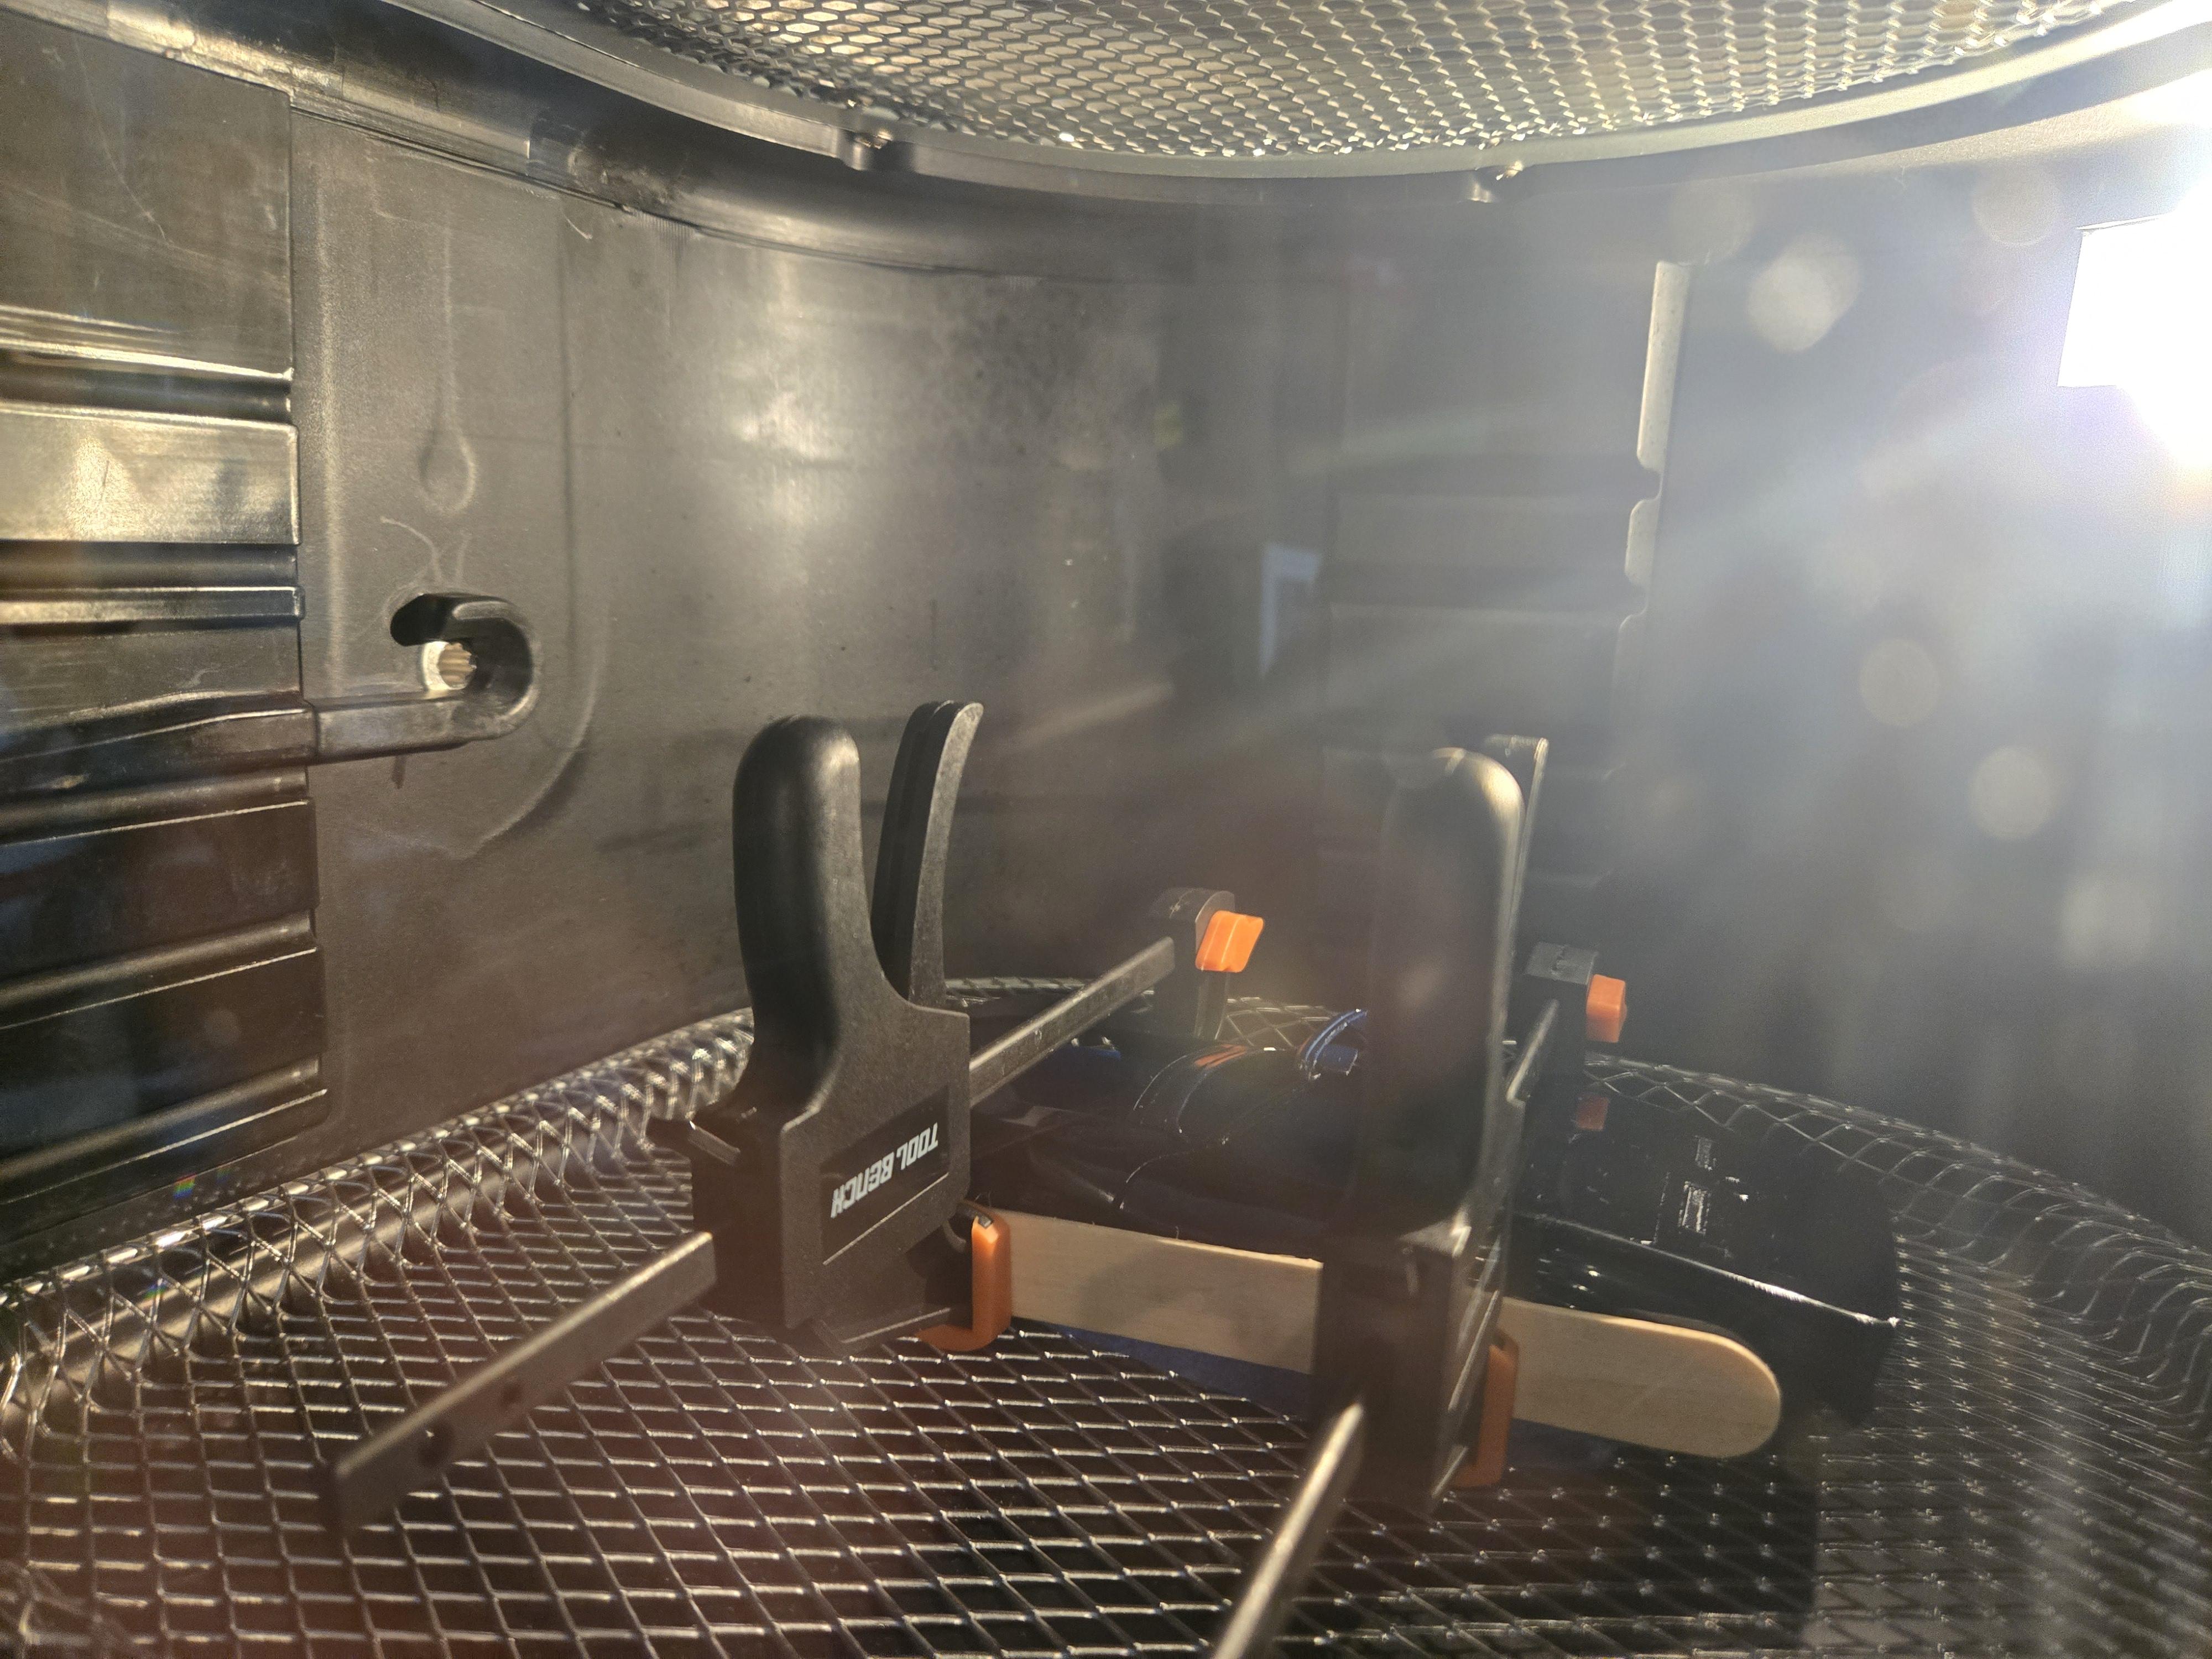
170°?
-
Is it savable? I clamp it and put it in the dehydrator, how hot can I set it before the paint melts?
-
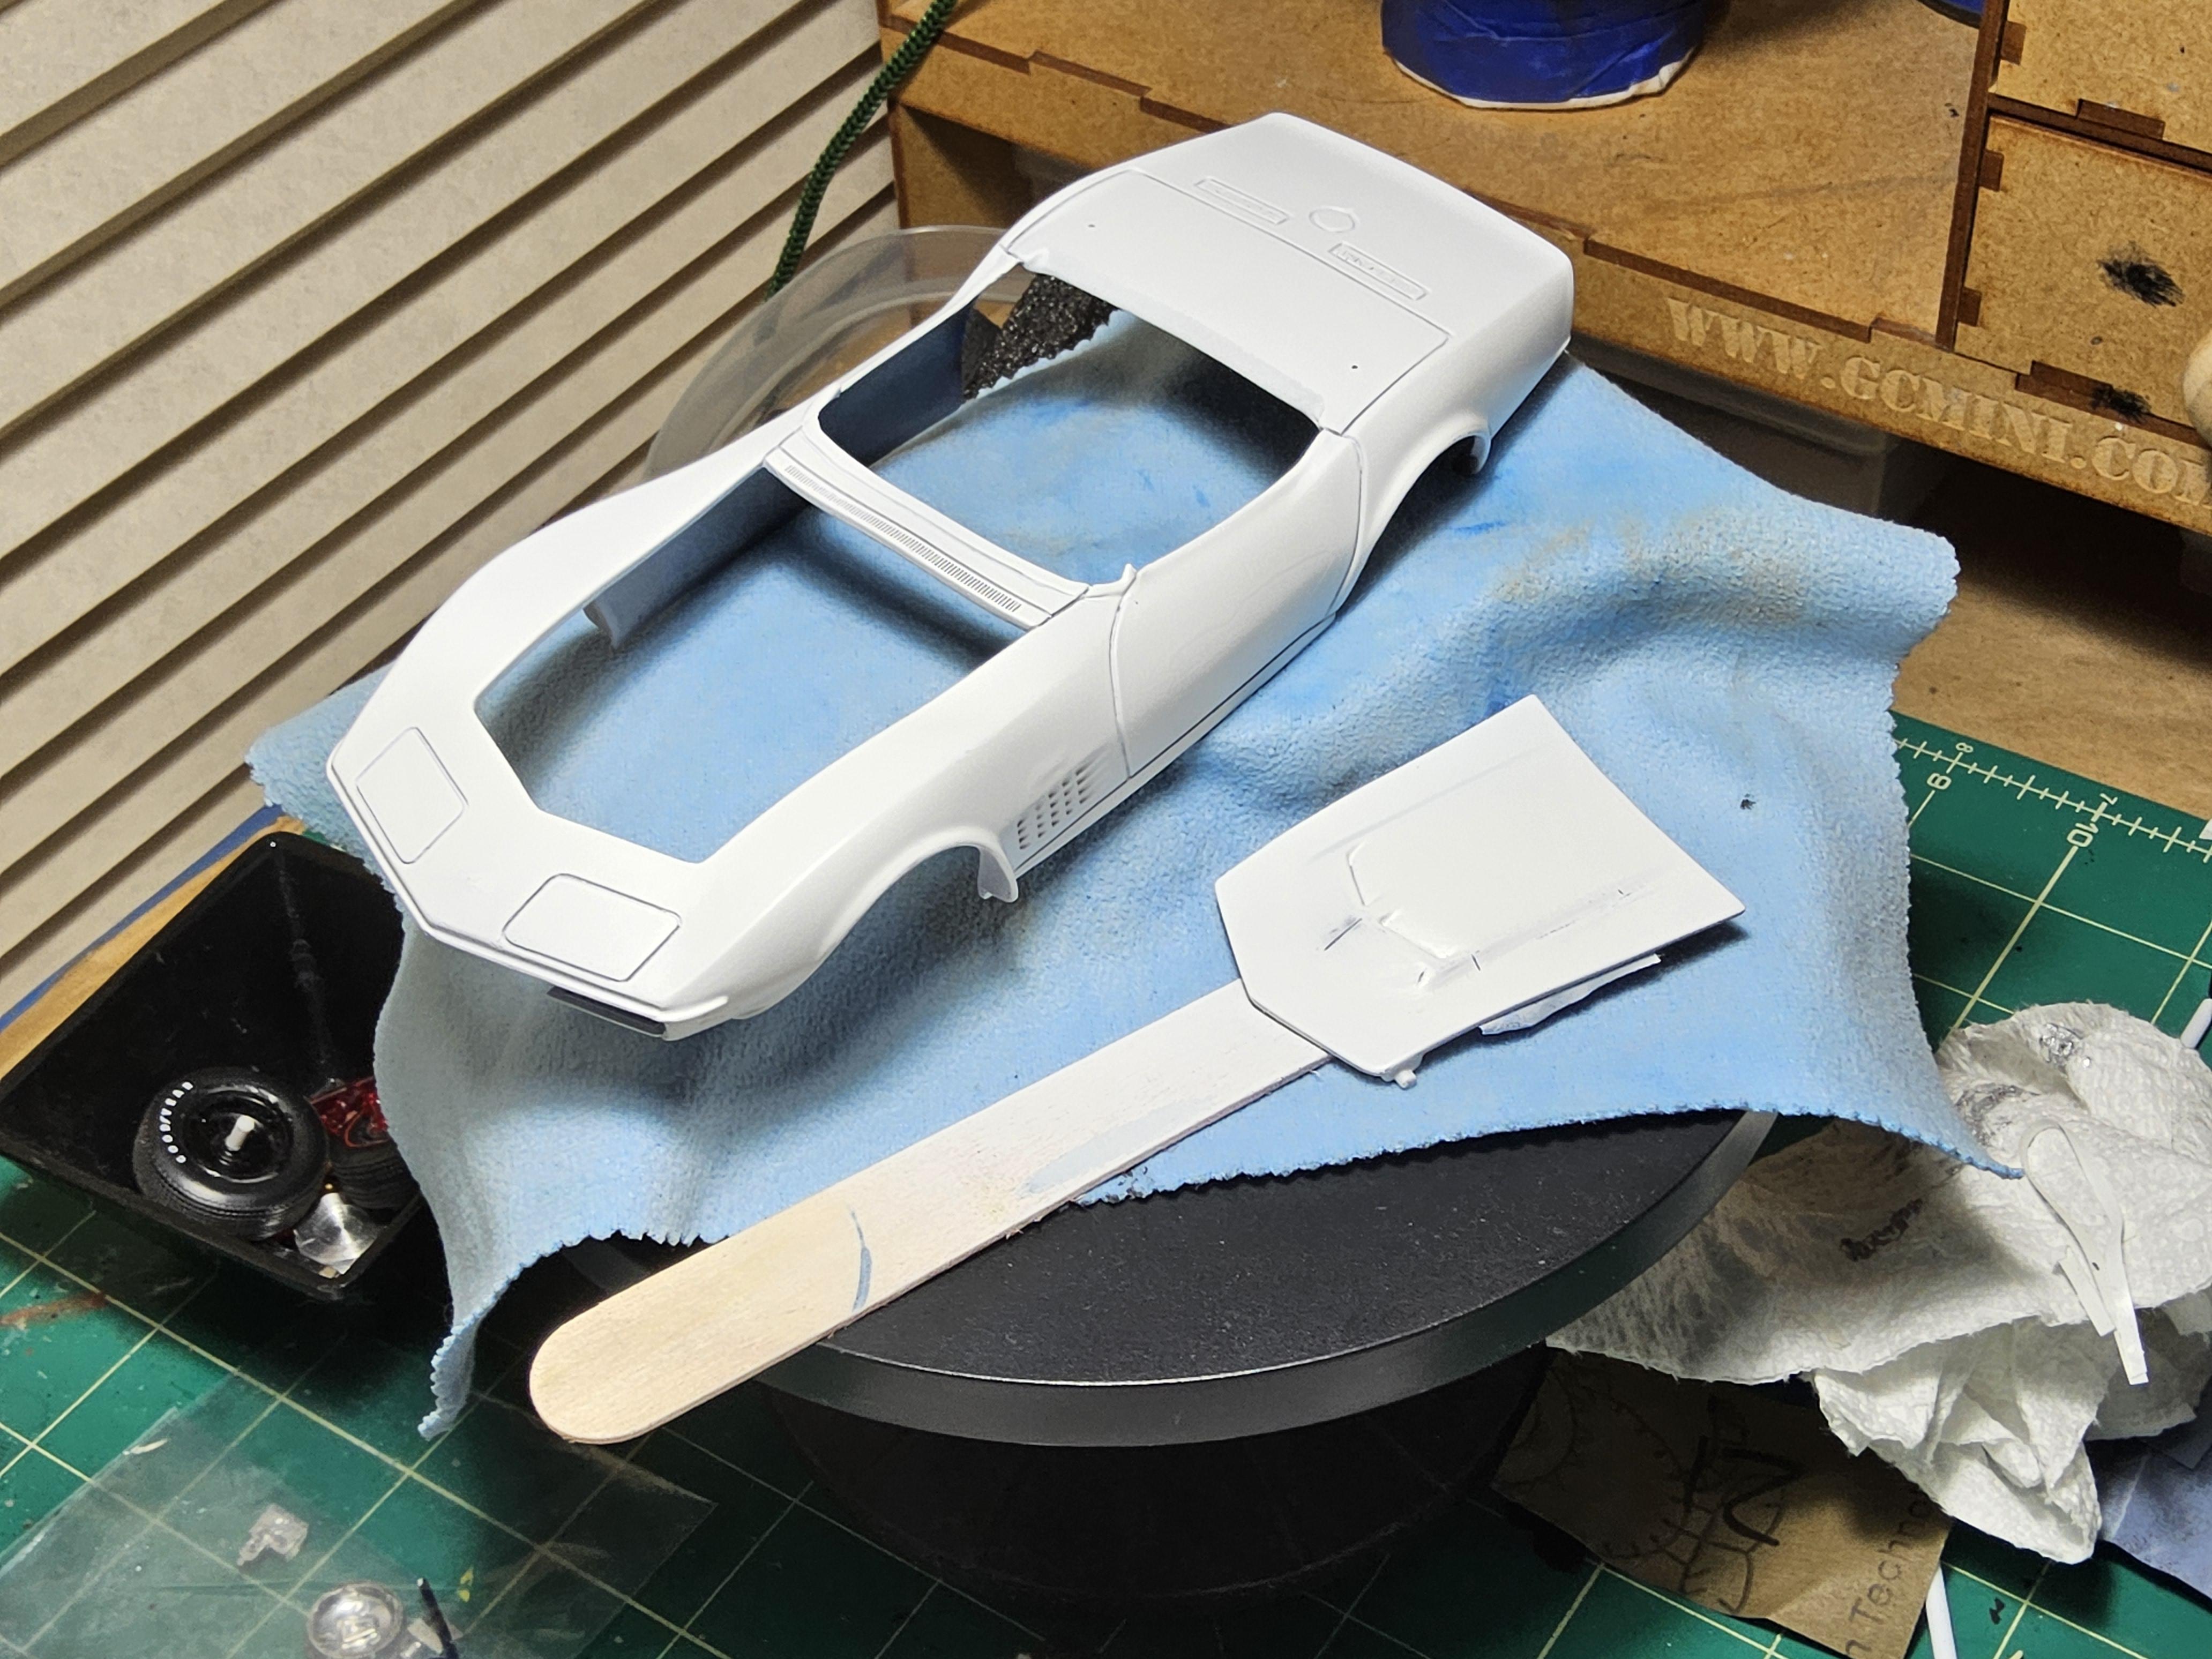
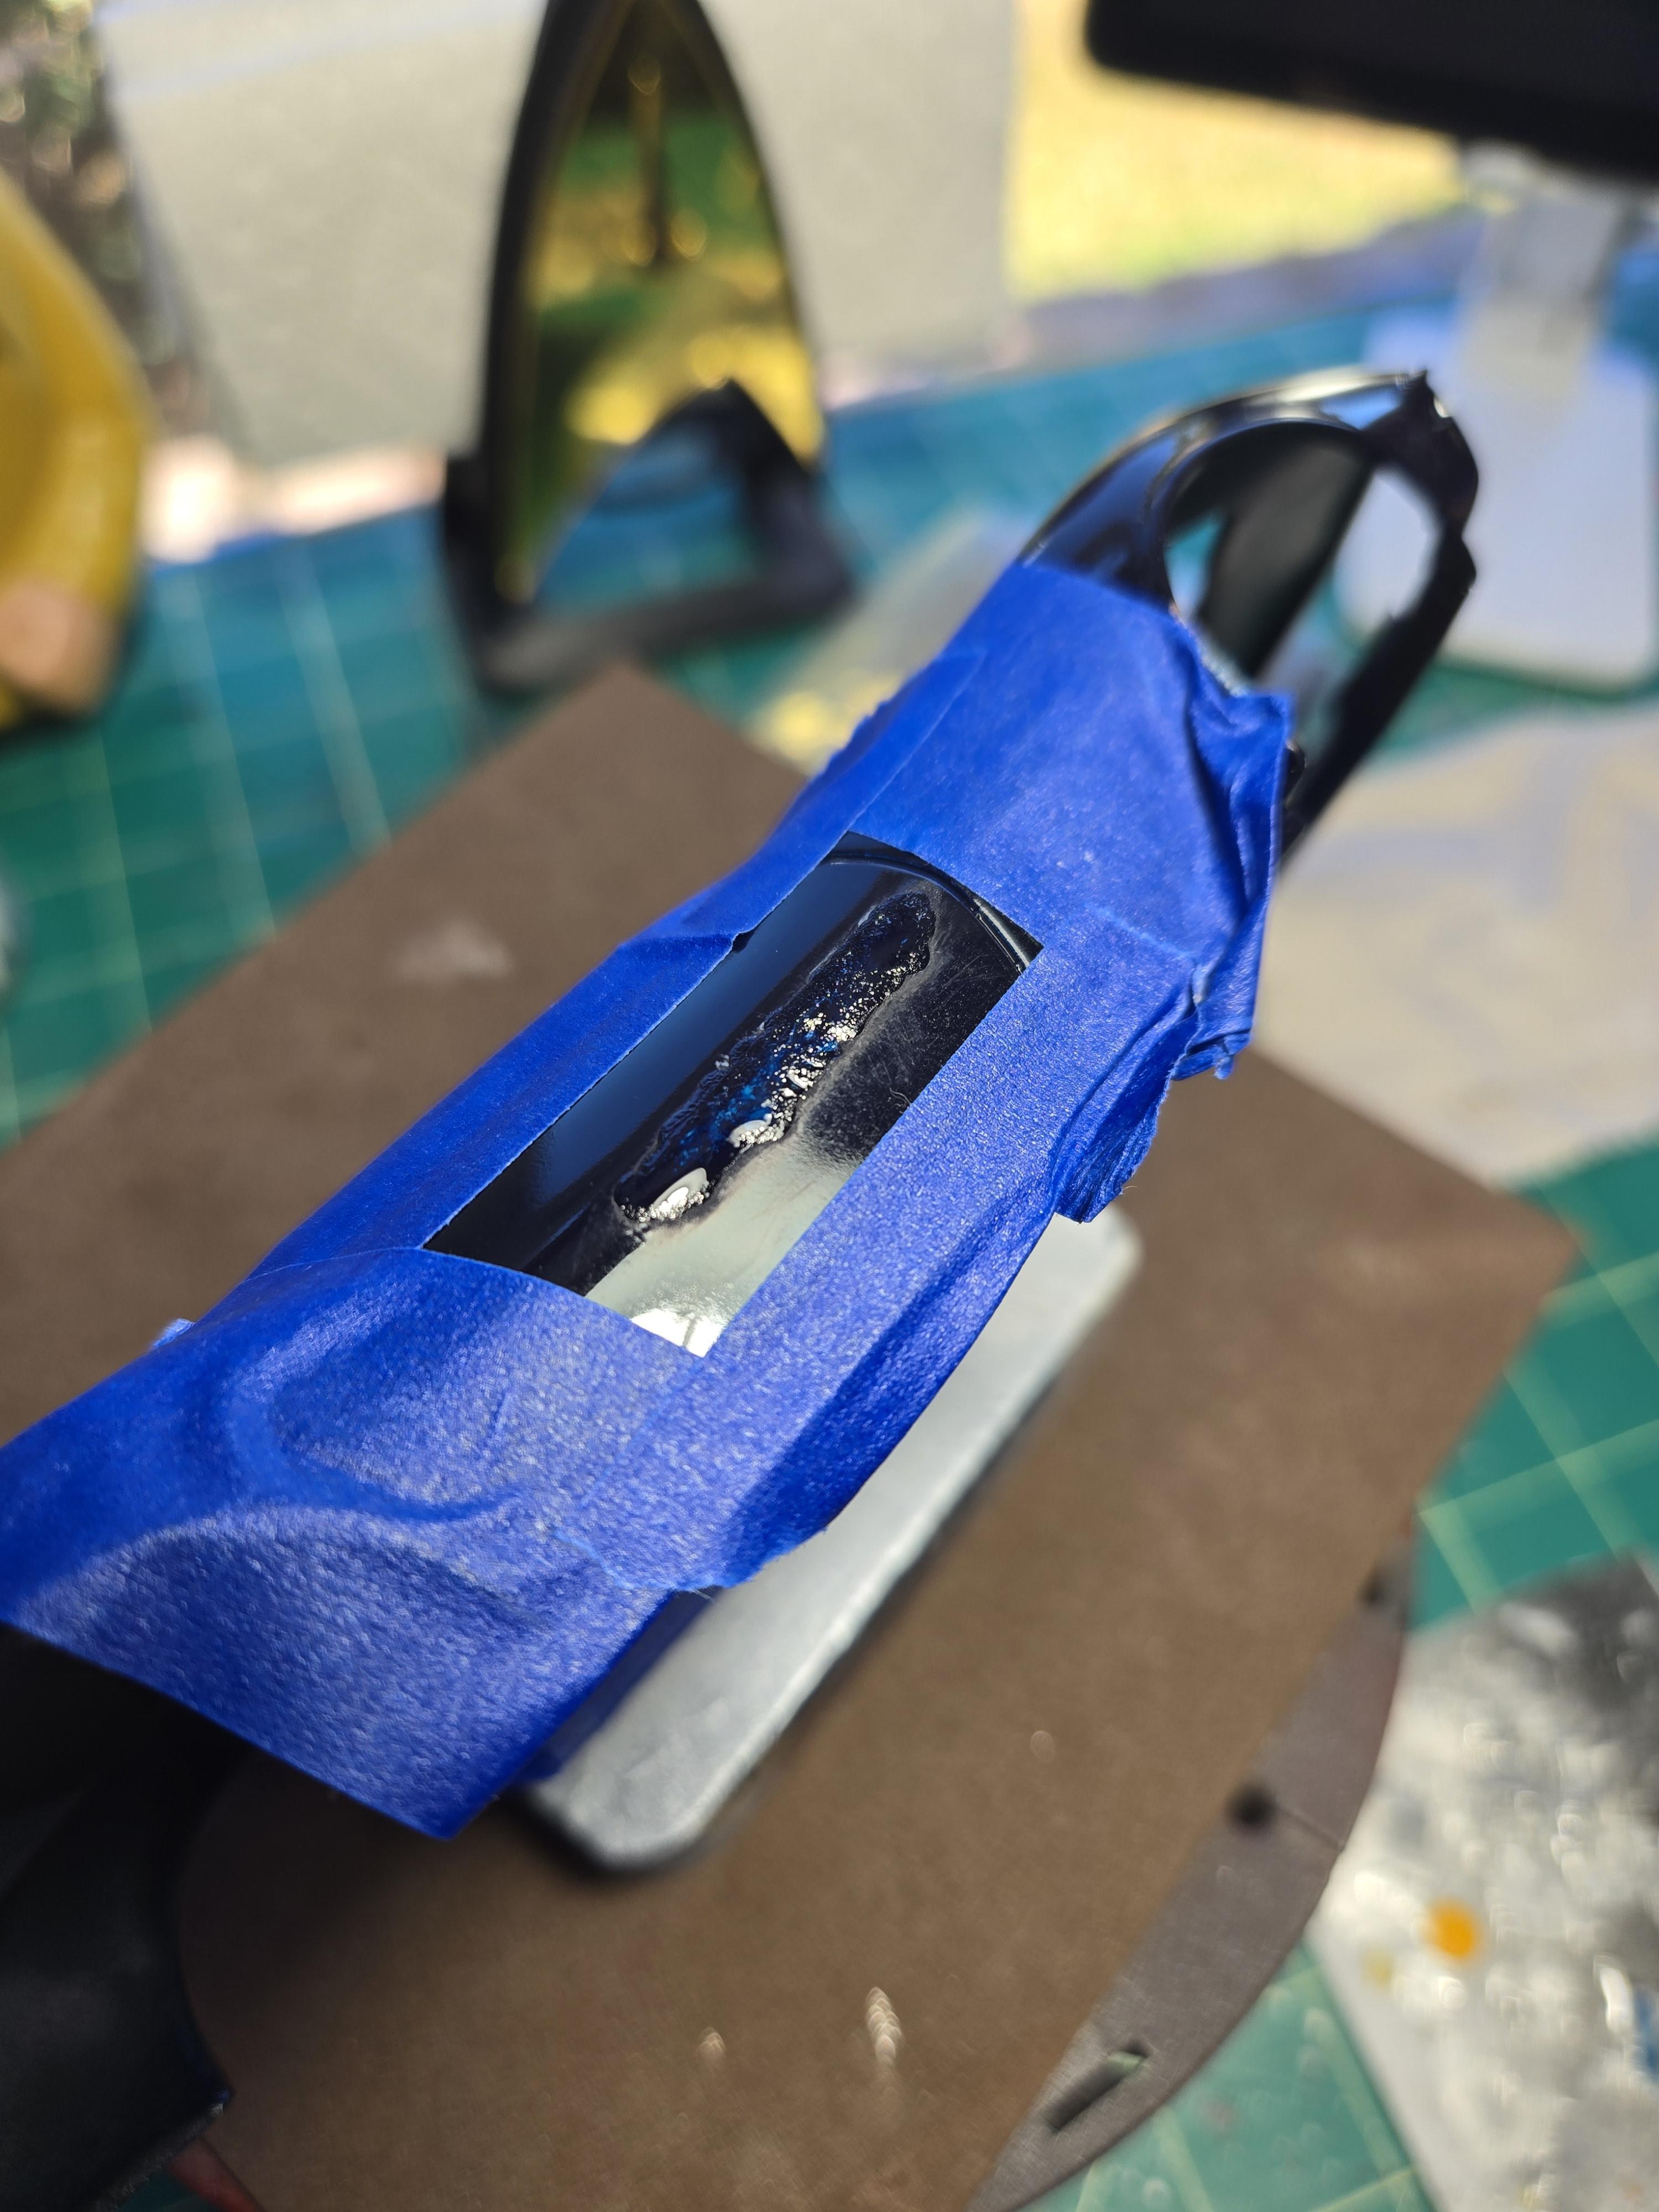
Rookie Mistake! So, I was not happy with the top coat after some sanding. I went to give it another shot, put the body on my trusty Tamiya spring stand, gave the body another coat, and left it to dry...outside...in the sun...for a few hours. Coverage and finish is way better...BUT, Warp Factor 10!!
-
Progress.
-
Is it fixed? It wasn't me.
-
My mistake. Hmm, how to fix it?
-
Thanks, I was wondering. I thought it was AC sumptin. I do research photos and glean what I can. I was mostly commenting on how model car kits always have the alternator and such floating in air. I'm no mechanic, but even as a kid I knew those belts had tension on them so they couldn't just hang there.


.jpg.df8f6ceb013c847549d28a57dd50d1aa.jpg)
.jpg.356fd465399369307e6bf66478ab6963.jpg)


.jpg.c1d2c0960a83dec93b810f51d9e8adf5.jpg)